
Record audio from your PC mic, auto-trigger and edit sample rate/effects, then play or export recordings to an EZ-B v4 SoundBoard for robot playback.
How to add the Microphone robot skill
- Load the most recent release of ARC (Get ARC).
- Press the Project tab from the top menu bar in ARC.
- Press Add Robot Skill from the button ribbon bar in ARC.
- Choose the Audio category tab.
- Press the Microphone icon to add the robot skill to your project.
Don't have a robot yet?
Follow the Getting Started Guide to build a robot and use the Microphone robot skill.
How to use the Microphone robot skill
The Microphone robot skill records audio from your system’s default audio input device and allows the recording to be played back through the EZ-B v4 onboard speaker. This skill is useful for capturing voice, sound effects, or ambient audio and replaying it directly from your robot.
The Settings menu allows you to configure audio effects, sample rate, and automatic recording behavior. You may also adjust the recording level so audio recording begins automatically when sound exceeds a defined threshold and stops when silence is detected.
The most recent audio recording stored in the buffer can be exported to the Sound Board (EZB) skill. This allows the recording to be saved and played back on demand like any other sound file.
Robots generate a lot of mechanical noise. Placing a microphone directly on the robot is often not practical. For best results, position the microphone on the controlling PC or laptop, on yourself, or somewhere in the room away from the robot. A headset or Bluetooth microphone will provide far better results than a built-in laptop microphone.
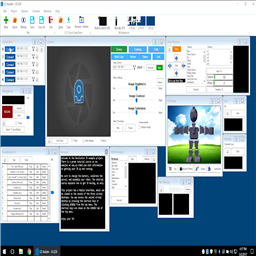
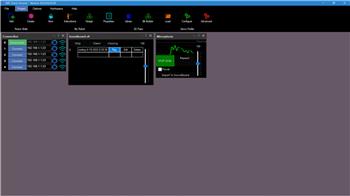
Main Window
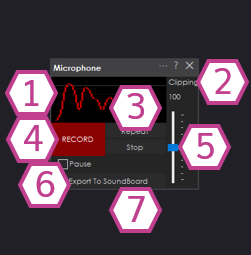
1. Audio Waveform
Displays a live waveform of the audio input. This provides visual confirmation that your
microphone is correctly configured and receiving sound.
2. Clipping Threshold
Audio that exceeds the grey threshold line will be distorted (clipping). Reduce your microphone
gain to keep the waveform below this line for clean recordings.
3. Repeat / Stop Buttons
The Repeat button plays the most recent recording through the EZ-B v4 speaker.
The Stop button stops playback immediately.
4. Record / Stop Button
Starts recording audio from the selected input device and stores it in an internal buffer.
Press the same button again to stop recording.
5. Volume Slider
Adjusts the playback volume of the EZ-B v4 speaker. This does not affect the
microphone input gain.
6. Pause Checkbox
Temporarily pauses audio capture from the microphone input.
7. Export to Soundboard Button
Copies the current recording from the buffer into the selected slot of the
Sound Board (EZB) skill for future playback.
Settings
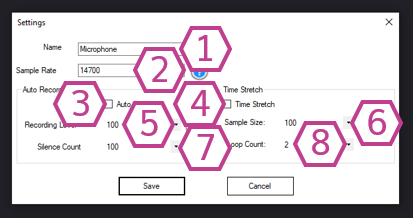
1. Title Field
The name of the Microphone skill as it appears in your ARC project.
Note: Changing the title also changes the identifier used by
controlCommand().
2. Sample Rate Field
Sets the audio sample rate. Increasing or decreasing the sample rate affects playback speed
and audio quality.
3. Auto Record Checkbox
Automatically begins recording when audio exceeds the selected recording level threshold.
4. Time Stretch Checkbox
Enables audio time stretching to slow down playback. This can produce robotic-style audio effects.
5. Recording Level Drop-down
Sets the sound level required to trigger automatic recording. Higher values require louder audio.
6. Sample Size Drop-down
Adjusts recording speed. Smaller values slow down playback.
7. Silence Count Drop-down
Determines how long silence must be detected before automatic playback begins.
8. Loop Count Drop-down
Repeats portions of the audio to create robotic effects. Higher values increase the effect but
slow playback.
How to Use the Microphone Skill
- Install, configure, and test your microphone using the Windows audio settings.
- Add the Microphone skill to your ARC project: Project → Add Skill → Audio → Microphone.
- (Optional) Add the Sound Board (EZB) skill to save recordings.
- Connect to an EZ-B that supports audio playback.
- Verify microphone activity using the Audio Waveform, then press Record.
- Press Stop when finished and use Export to Soundboard to save the recording.
Requirements
Headset or External Microphone
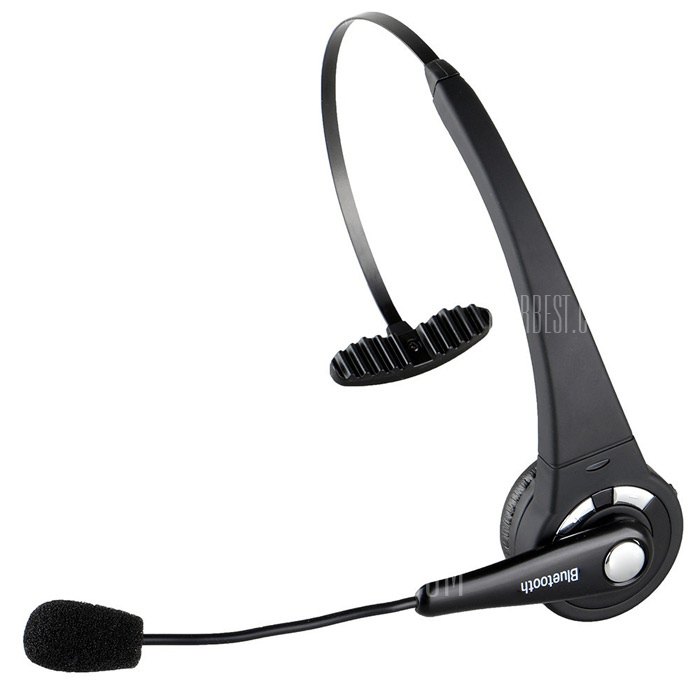
A headset or external microphone dramatically improves audio quality by reducing background noise and preventing the system from hearing the robot’s own speaker output. This results in cleaner recordings and fewer unwanted artifacts.
Resources
Configure Audio Input Device
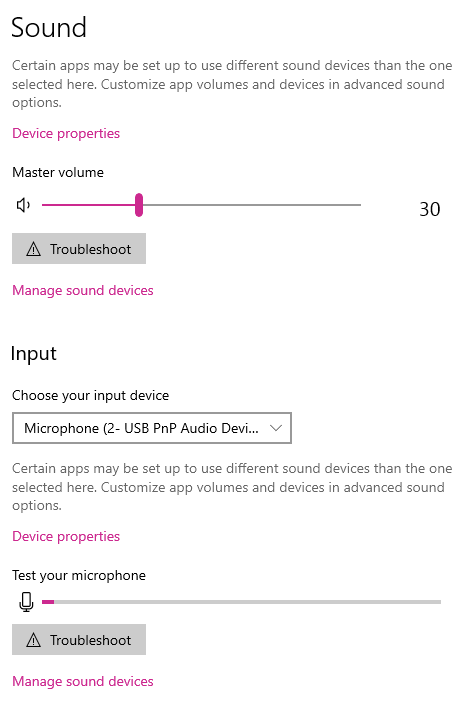
- Right-click the speaker icon in the Windows system tray
- Select Open Sound Settings
- Confirm the correct microphone is selected and responding
- Adjust the microphone volume so normal speech peaks near the middle of the VU meter
Related Tutorials
Break Out Sound Hack: Ez-B V4 External Sound Hack
The Robot Program Episode 012: Getting Adventurebot To Move
The Robot Program Episode 006: Introducing ARC
The Robot Program Episode 023: Mobile JD
Related Questions
Functions Not Working

Error Playing Audio
Recording Audio To Send To AI Platform

Upgrade to ARC Pro
Experience the transformation – subscribe to Synthiam ARC Pro and watch your robot evolve into a marvel of innovation and intelligence.
Am I correct in thinking the microphone app only works with the EZ- B v4 unit, when it is connected and can't record and play through the pc?
I did try this and it only works with the EZ-B v4 unit
Also on the camera, video recording, I am using a USB camera with mic, only the video records no audio, correct?
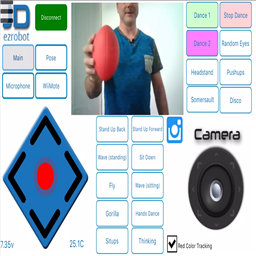
Camera is video only for tracking objects with computer vision. It’s not a video camera as you’d use for home movies.
as for the audio of the camera or audio in general using the pc mic. There’s free tools better than ARC can provide, such as audicity, which we recommend
Press the ? (Question mark) on any control to receive help information and tutorials on that control. Lots of details available for you
Thanks for all you help
You can delete this question if you like, I don't know how to take it off
Questions stay for ever to help others in the future. If you can, ask questions in the appropriate content. For example, if you want to know if there's an iphone app for virtual reality robot, ask it one time in the virtual reality robot thread . That's how we keep things organized
You'll notice this question has been moved into the microphone content thread to help people find similar answers in the future
Hi, how could I use JD's microphones without having to use an external pc microphone? thanks
The JD EZ-Robot does not have a microphone