Servo Profile
When a robot project is used across multiple physical robots, the servos may not be aligned exactly the same. In these situations, servo offsets can be fine-tuned to compensate for small differences in alignment. For example, one robot may have a servo centered perfectly at 90 degrees, while another identical robot may center at 87 degrees. In that case, an offset of -3 would be applied.
If you find that a servo requires a large offset, such as 5 to 10 degrees or more, it is usually better to physically adjust the servo joint instead. This may involve removing the servo horn screw, repositioning the bracket, and reattaching it so the joint is properly aligned when the servo is set to its intended neutral position, such as 90 degrees.
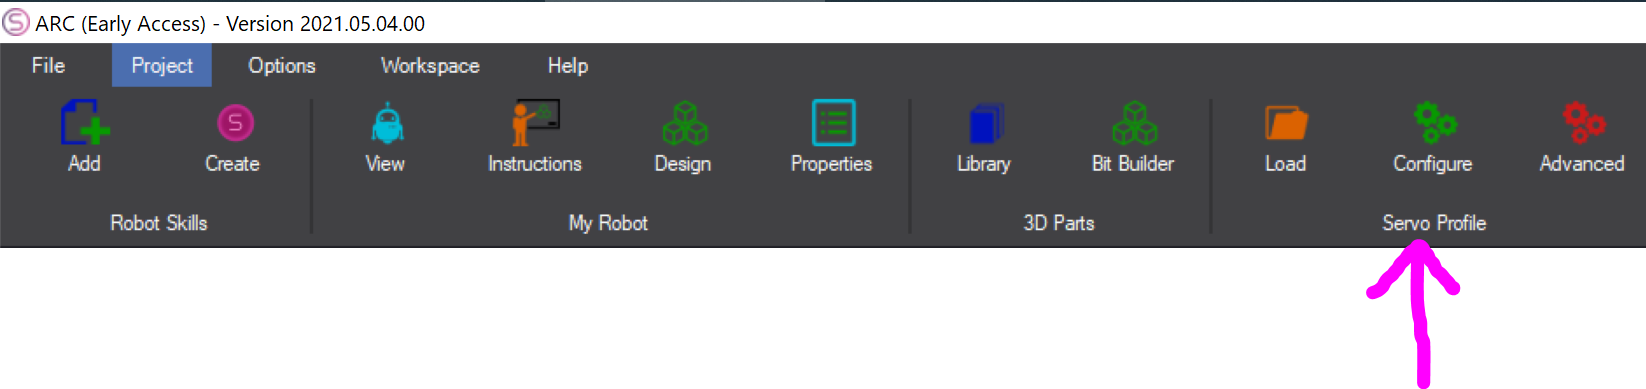
There are two ways to configure a servo profile. The Configure option is used when an Auto Position robot skill defines the servo layout. If no Auto Position skill is available, the Advanced option can be used to adjust all servos across all EZ-B controllers manually.
Configure Button
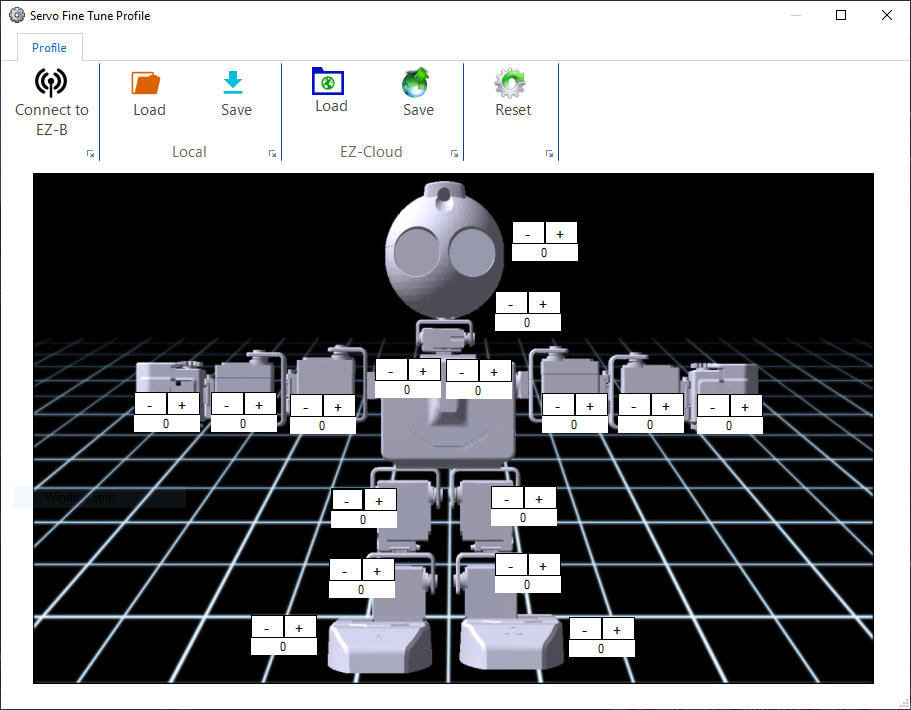
The Configure option uses the servo layout from the Auto Position robot skill. This provides a more user-friendly calibration experience because the servos are shown in a visual layout that represents the robot. This makes it easier to identify which servo is being adjusted.
If a 3D robot model is not included in the project, you can also add a robot image to help identify the servo locations visually.
Preparing Your Custom Robot For Fine Tuning
When creating a servo profile for a custom robot, it is recommended to first define a default Auto Position frame, or create a calibration frame, that places all servos in a repeatable position such as 90 degrees. Because a servo profile stores offsets rather than positions, the robot must always begin from a known and reproducible pose. This gives the servo profile a consistent reference point for fine-tuning.
The purpose of the servo profile is to allow users to make small alignment corrections so the robot reaches the intended pose even if servo installation or servo model tolerances differ slightly from one robot to another.
Since the on-screen servo placement is pulled from the Auto Positioner, it is recommended to place each servo marker close to the actual joint it affects. Proper spacing and placement make it much easier to understand which joint each offset is modifying.
Advanced Button
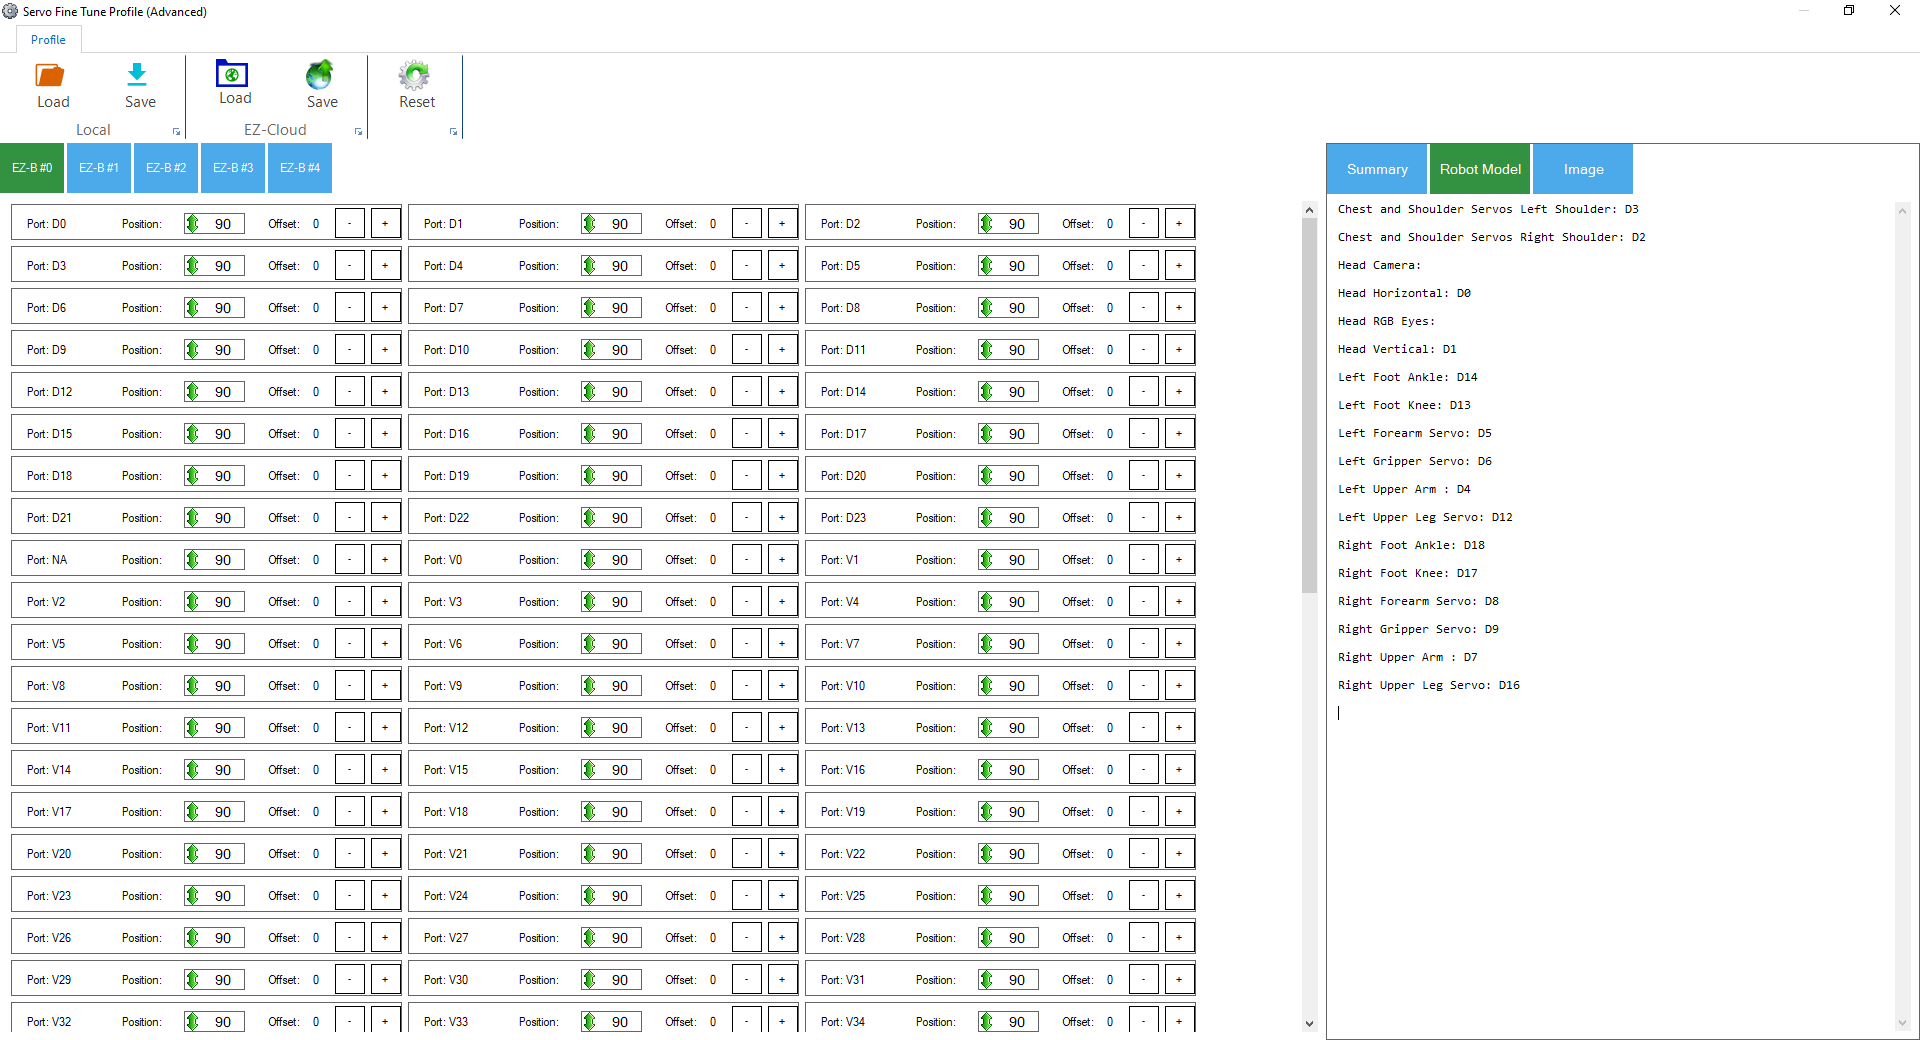
The Advanced option is useful when the project does not include an Auto Position skill, a 3D model, or a robot image. Instead of displaying a visual layout, this option shows a complete list of all servos across all EZ-B controllers so they can be adjusted directly.
This mode is ideal for custom projects or technical setups where a visual representation is not available.
Save and Load Servo Profiles
Servo profiles created with either the Configure or Advanced option can be saved and loaded later. Profiles may be stored locally on the computer or saved to the cloud, making it easy to reuse calibration settings across projects or devices.