
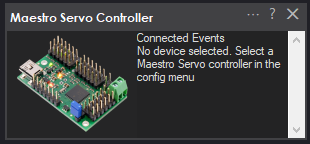
USB control for Pololu Maestro (6/12/18/24) via ARC Vx ports. Maps Vx to Maestro channels; supports position, speed, acceleration, release.
 Hardware Info
 Source Code
How to add the Maestro Servo Controller robot skill
- Load the most recent release of ARC (Get ARC).
- Press the Project tab from the top menu bar in ARC.
- Press Add Robot Skill from the button ribbon bar in ARC.
- Choose the Servo category tab.
- Press the Maestro Servo Controller icon to add the robot skill to your project.
Don't have a robot yet?
Follow the Getting Started Guide to build a robot and use the Maestro Servo Controller robot skill.
How to use the Maestro Servo Controller robot skill
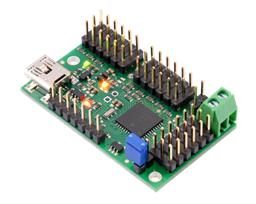
Control servos using the Pololu Maestro servo controllers that come in flavors of 6, 12, 18, or 24 servos. The connection for this robot skill is USB, and therefore great for onboard computers.
This robot skill binds to the ARC Vx virtual servo ports. The index of each Vx port is directly related to the index of the Maestro servo port. That means if you send a movement to V1, the servo is sent to Maestro #1 servo.
Configuration
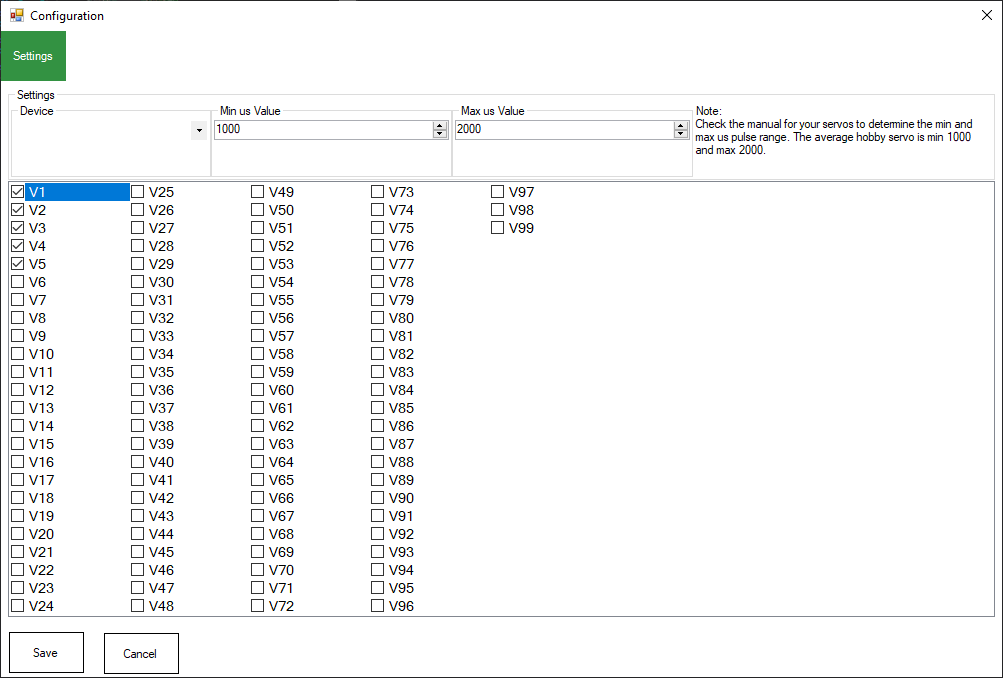
Device This displays the serial numbers of all Maestro USB devices connected to the PC. Select the ID of your device.
Min us Value Hobby servos have a min pulse of 1,000us for the lowest servo position. Because many servos have different ranges, you can fine-tune the range for the min position here. This is value will be the servo position 1 in ARC. So if you move the servo into position 1 in ARC, this is us pulse that will be for that value.
Max us Value Hobby servos have a min pulse of 1,000us for the highest servo position. Because many servos have different ranges, you can fine-tune the range for the max position here. This is value will be the servo position 180 (by default) in ARC. So if you move the servo into position 180 in ARC, this is us pulse that will be for that value. You can fine-tune the max position in ARC to get higher servo position resolution in the ARC project options.
Servo ID Mapping The long list of Vx ports is the mapping for the Maestro servos you wish to bind to. If you have a Maestro with six servos connected, you can check the first 6 of the Vx ports. Each port corresponds to the Maestro servo ID. That means if you select V1, you must have a servo connected on the Maestro on port 1
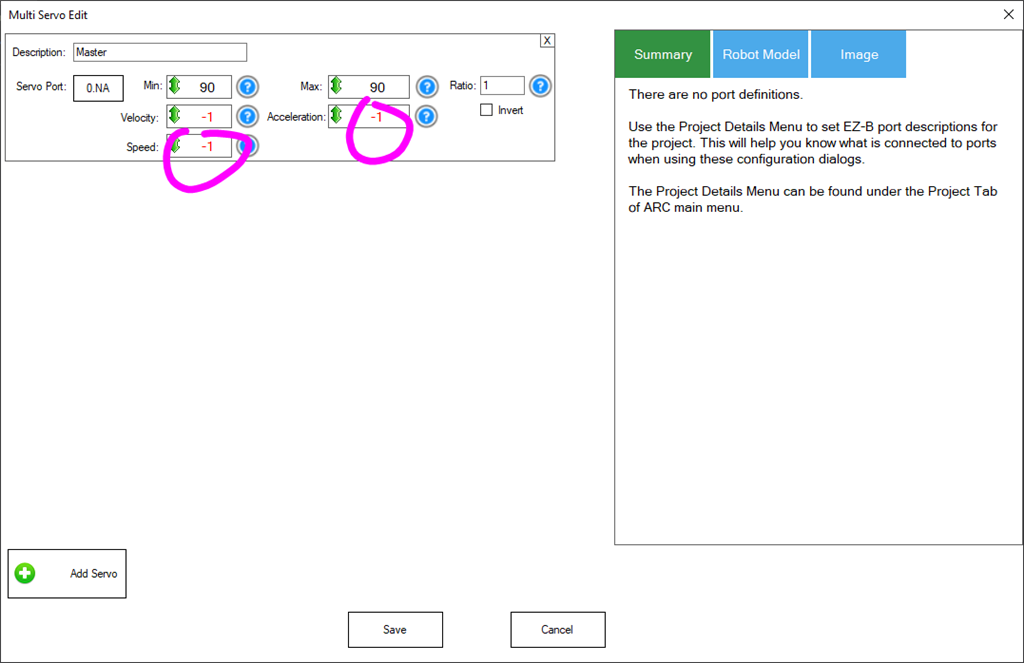
ARC Capabilities
ARC has many parameters that can be assigned to servo movements. These parameters are specified by script commands or in the Advanced menu of robot skillswhen selecting a servo. This skill supports the following ARC parameters...- Servo position
- Speed
- Release
- Acceleration


is this just mapping the Maestro Servos from the ARC tool? Or can with a script in ARC, call an animation sequence on the Maestro which would make more sense and be more useful? As with other plugins i am not seeing any wiring documentation between the hardware
From what I see in the manual above, the maestro uses a USB connection to the PC. So there is no wiring.
This robot skill does not use the maestro's saved sequences because the ARC Auto Position robot skill is superior. The Auto Position robot skill contains features that the maestro's sequence editor does not. Here is information about the Auto Position robot skill: https://synthiam.com/Support/Skills/Servo/Auto-Position-Gait?id=20314
this would be a pointless plugin, the maestro would be in the robot and the EZ should talk to it, USB is only a connection from the Maestro to the IDE to create scripts and in fact i dis-agree the Maestro IDE is superior to EZ for creating animations with a combo of servos, i have used this on B9's claws and wrists and a full size chopper build from star wars. If the EZ would connect to the Maestro and you can then call the scripts on the maestro that would be super and would take the known load off the EZ
Hey Terry - robot skills that use USB hardware require the PC to be in the robot. Most robots have PCs (or called SBCs) in them. However, if you wish to trigger animations from the maestro, you can use the UART commands to start them from an EZ-B by looking at the Maestro manual.
The Auto Position has far more superior features, including additional scripting and the ability to interact with other robot skills. In addition, speed control allows Auto Position movement panels to control the gait speed across all robot skills using movement panels. You may be familiar with the maestro UI, but the Auto Position robot skill is superior. Lastly, the Auto Position robot skill does not merely move servos from X to Y. The Auto Position robot skill uses an algorithm to calculate the speed of each servo and predict arrival time, which the maestro animator does not. I encourage you to read the Auto Position manual and follow some tutorials to learn the power of the Auto Position robot skill, as it will surprise you.
Here's information from the getting started guide regarding the computer type to use in a robot: https://synthiam.com/Support/Get-Started/how-to-make-a-robot/computer-configuration