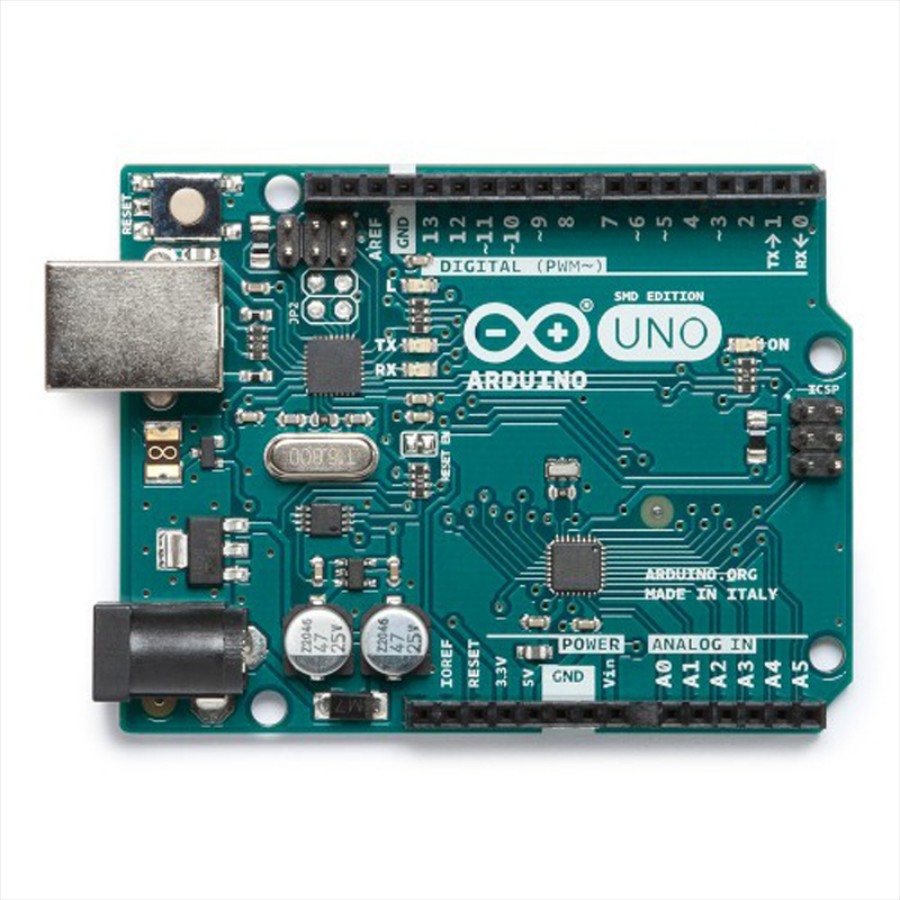
Arduino Leonardo by Arduino
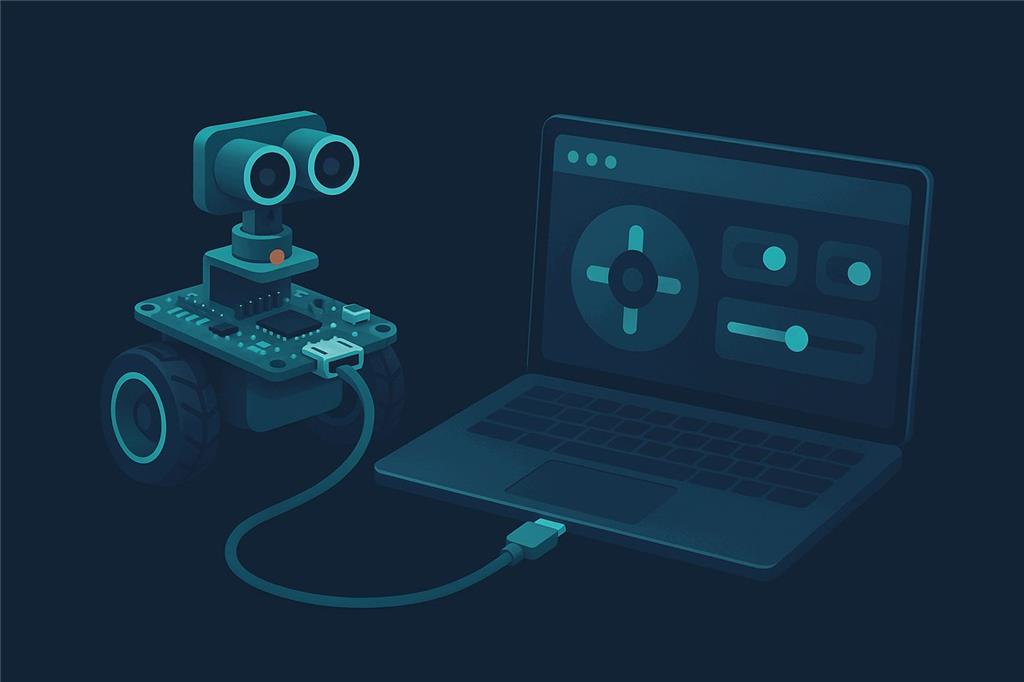
An Arduino Leonardo, driven from your browser
Program the Leonardo with Synthiam's EZB firmware once, then connect it to ARCx or ARC over USB and control its digital, PWM, servo, analog and serial pins directly, with robot skills instead of sketches.
How the Leonardo works with Synthiam. The Leonardo runs Synthiam's EZB firmware, uploaded once with the Arduino IDE. It then connects to ARCx through the Ezb Connection robot skill (or to ARC through EZB Connection) on its USB serial port, and you control its GPIO directly. One setting matters: the Leonardo needs DTR enabled on the connection. We recommend ARCx, which runs on Windows, Ubuntu and Raspberry Pi and is used from any web browser.
What is the Arduino Leonardo?
The Arduino Leonardo is an Uno-sized microcontroller board built around the ATmega32u4, a chip with USB built in. Because the USB connection comes from the main chip itself, the Leonardo's pins 0 and 1 are free to use as a real hardware serial port, which the EZB firmware exposes as a UART.
With the EZB firmware, ARCx and ARC can use the Leonardo for:
- Digital on/off output and input on D0–D13
- PWM duty on the PWM pins, for LED brightness and motor speed
- Hobby servos on the digital pins
- Six analog inputs, ADC0–ADC5
- A buffered hardware UART on pins 0 (RX) and 1 (TX)
- Serial transmit on the digital ports, and HC-SR04 ultrasonic distance sensors
Arduino Leonardo at a glance
| Type | Microcontroller board (DIY EZB with Synthiam firmware) |
|---|---|
| Maker | Arduino |
| Microcontroller | ATmega32u4 (native USB) |
| Connection | USB (serial), DTR enabled |
| EZB ports | D0–D13, ADC0–ADC5, UART 0 |
| Firmware | EZ-Genuino_Leonardo, last updated 2022/08/24 |
| Synthiam uses it for | Low-cost servo, sensor and serial I/O over USB |
| Website | store.arduino.cc |
What you can do with a Leonardo in Synthiam
Servos
Hobby servos on the digital ports, with release. Use the Servo, Servo Pad, Auto Position and Servo Animation skills.
PWM and motors
Dim LEDs and set motor speed through an H-bridge with the Hbridge Movement Panel or Pwm Slider.
Digital I/O
LEDs, relays, buttons and switches, shown and toggled live in Digital Monitor.
Analog sensors
Read ADC0–ADC5 in Adc Monitor, chart them in Ez Chart, or use ADC.get(adc0) in a script.
Hardware UART
Talk to a GPS, RFID reader or motor controller on pins 0 and 1, with a receive buffer in the firmware. In a script: UART.initHardwareUart(0, 9600), then the UART.hardwareUart... read and write commands.
Ultrasonic distance
HC-SR04 sensors on any two digital ports, read with Ping.get(trigger, echo), or in ARC with the Ultrasonic Distance skill.
Leonardo pins and EZB ports
EZB port numbers match the Leonardo's pin numbers: D9 in ARCx is pin 9, and ADC0 is A0. The digital pins can be used for PWM, servos and digital on/off. The ADC ports are 0–5 for analog input. Digital pin 0 is UART #0 RX, and digital pin 1 is UART #0 TX.
| EZB port | Leonardo pin | PWM duty | Also used for |
|---|---|---|---|
| D0 | 0 | No | UART #0 RX. Use it for digital only if you do not use the UART. |
| D1 | 1 | No | UART #0 TX. Use it for digital only if you do not use the UART. |
| D2 | 2 | No | Servo, digital, serial TX, ping |
| D3 | 3 | Yes (980 Hz) | Servo, digital, serial TX, ping |
| D4 | 4 | No | Servo, digital, serial TX, ping |
| D5 | 5 | Yes (490 Hz) | Servo, digital, serial TX, ping |
| D6 | 6 | Yes (490 Hz) | Servo, digital, serial TX, ping |
| D7 | 7 | No | Servo, digital, serial TX, ping |
| D8 | 8 | No | Servo, digital, serial TX, ping |
| D9 | 9 | Yes (490 Hz) | Servo, digital, serial TX, ping |
| D10 | 10 | Yes (490 Hz) | Servo, digital, serial TX, ping |
| D11 | 11 | Yes (980 Hz) | Servo, digital, serial TX, ping |
| D12 | 12 | No | Servo, digital, serial TX, ping |
| D13 | 13 | Yes (490 Hz) | Servo, digital, serial TX, ping; the on-board LED |
| ADC0–ADC5 | A0–A5 | Analog input, 10-bit | |
PWM pins vary by board
On the Leonardo, PWM works on pins 3, 5, 6, 9, 10, 11 and 13. PWM pins may vary based on the board type, so check the table below if you use a Leonardo-compatible board such as a Micro.
Servos and PWM share timers
The hardware spec lists up to 12 servos. Arduino's Servo library notes that, on boards other than the Mega, using servos disables PWM on pins 9 and 10. The Leonardo firmware does not include I2C.
| Board | PWM pins | PWM frequency |
|---|---|---|
| Uno, Nano, Mini | 3, 5, 6, 9, 10, 11 | 490 Hz (pins 5 and 6: 980 Hz) |
| Mega | 2 - 13, 44 - 46 | 490 Hz (pins 4 and 13: 980 Hz) |
| Leonardo, Micro, Yún | 3, 5, 6, 9, 10, 11, 13 | 490 Hz (pins 3 and 11: 980 Hz) |
| Uno WiFi Rev2, Nano Every | 3, 5, 6, 9, 10 | 976 Hz |
| MKR boards * | 0 - 8, 10, A3, A4 | 732 Hz |
| MKR1000 WiFi * | 0 - 8, 10, 11, A3, A4 | 732 Hz |
| Zero * | 3 - 13, A0, A1 | 732 Hz |
| Nano 33 IoT * | 2, 3, 5, 6, 9 - 12, A2, A3, A5 | 732 Hz |
| Nano 33 BLE/BLE Sense | 1 - 13, A0 - A7 | 500 Hz |
| Due ** | 2-13 | 1000 Hz |
| 101 | 3, 5, 6, 9 | pins 3 and 9: 490 Hz, pins 5 and 6: 980 Hz |
Source: Arduino's analogWrite() reference. * These boards also have a true analog output (DAC) on pin A0.
** The Due also has true analog outputs on pins DAC0 and DAC1. The EZB firmware on this page is built for the Leonardo.
Connect a Leonardo to ARCx
- Download the firmware. EZ-Genuino_Leonardo.zip (last updated 2022/08/24). Extract it to a folder.
-
Upload it with the Arduino IDE. Open
EZ-Genuino_Leonardo.inoin the Arduino IDE, choose Tools → Board → Arduino Leonardo and its port, and press Upload. The firmware upload tutorial shows each step. - Install ARCx on the computer the Leonardo plugs into: Windows, Ubuntu or a Raspberry Pi with Ubuntu 24.04. Download ARCx.
- Enable DTR. Add the Ezb Connection robot skill (Communication category), open its configuration, select EZB 0, open the Connection tab and tick Enable DTR (Data Terminal Ready). Set Baud rate to 115200 to match the sketch. Save.
-
Connect. Pick the Leonardo's serial port and press the green connect button.
Windows: COM3 (check Device Manager for the number) Linux: /dev/ttyACM0 - Test. Toggle D13 in Digital Monitor to blink the on-board LED, then add a Servo skill on a digital port.
Why DTR?
Due to an undocumented feature of the Leonardo's USB serial driver, the board only receives data events when DTR is enabled. Without it, the connection opens but the Leonardo never answers.
Using ARC instead?
The firmware works with ARC versions greater than or equal to 2019.06.25.00. Open ARC's connection control Config screen (the same place you set the baud rate), tick DTR Enabled, save, pick the Leonardo's COM port and press Connect.
Both work, ARCx is recommended
| ARCx Recommended | ARC | |
|---|---|---|
| Runs on | Windows 10/11 x64, Ubuntu 24.04 x64 and ARM64, Raspberry Pi 4/5 with Ubuntu 24.04 | Windows |
| User interface | Any web browser, several people at once; closing the browser leaves the robot running | Windows desktop application |
| Connection skill | Ezb Connection, with Enable DTR | EZB Connection, with DTR Enabled |
| AI agents | Built-in MCP server: agents like Claude can see, drive and program the robot | Through ARC robot skills |
If something does not work
UART.initHardwareUart(0, 9600)), wire the device's TX to pin 0 and its RX to pin 1, and share ground. Do not use D0 or D1 as digital ports at the same time.
dialout group, then log out and back in:
sudo usermod -aG dialout $USERFrequently asked questions
Digital.set(d13, true, 1).
Make your Leonardo a robot controller
Upload the EZB firmware, install ARCx, enable DTR, and control the Leonardo from any web browser.