Auto Release— Auto-release servos after inactivity: set EZB board/ports, choose 1-60s delay, add/remove ports, pause and view status.Try it →
Moving A Servo
The first and most important action of any robot is moving a limb with a servo. Even if your robot is not complete, it's a good idea to practice moving a servo with ARC to become familiar with how easy it is. Because it is easy to move servos with ARC, you can now focus on the creative aspect of the robot. This tutorial will add a servo robot skill, configure the servo robot skill, and move a servo.
Requirements
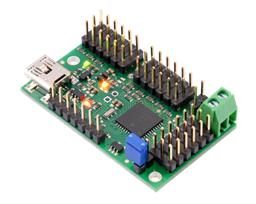
Connected to an EZB
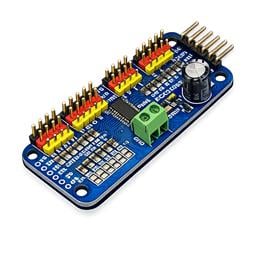
Servo connected to the EZB
Robot Skills Used
The following robot skills are used in this tutorial. Click any of these to further read the manuals for the robot skills.
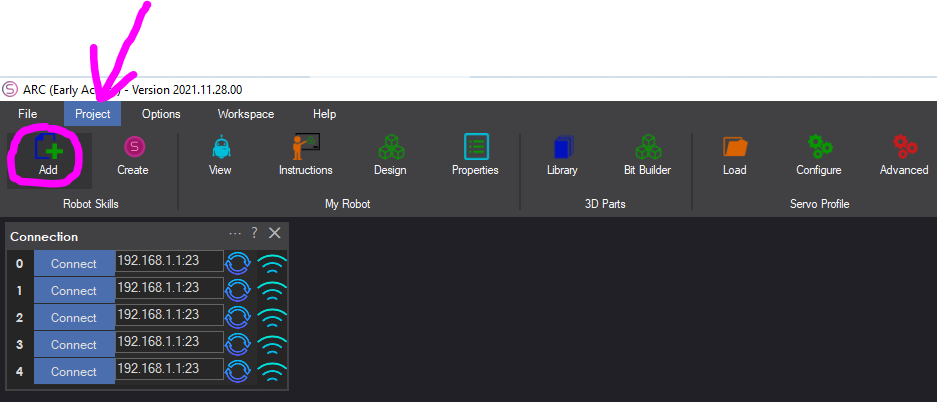
Press the Project button from the top menu, and select Add Robot Skill.
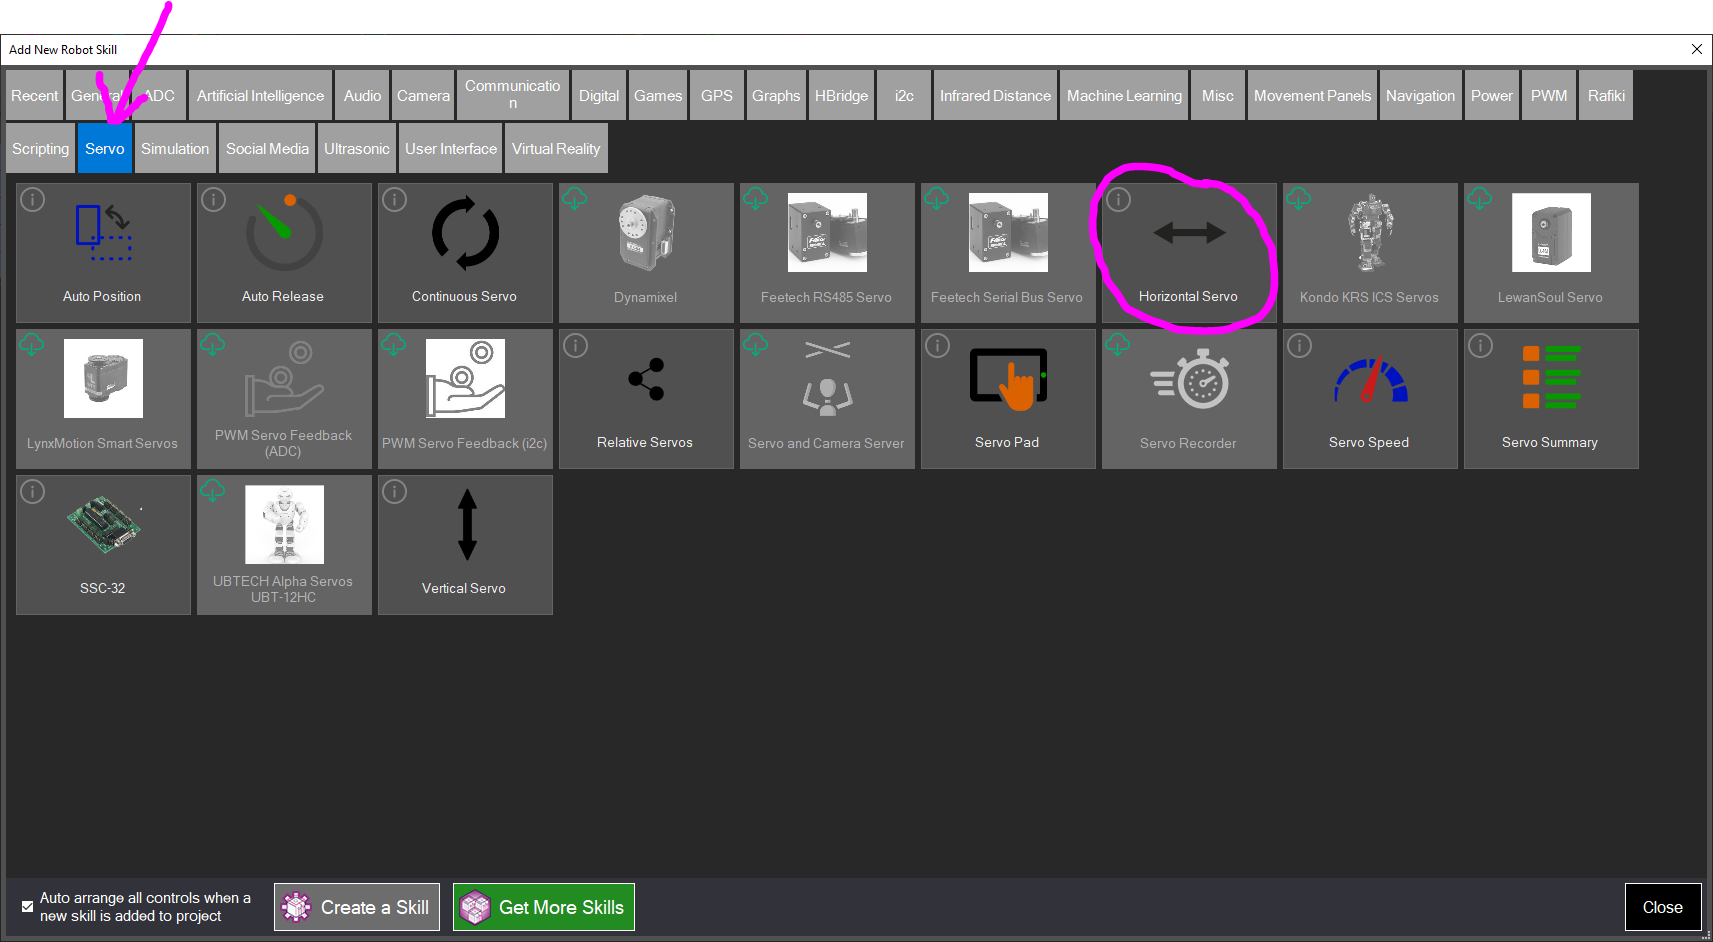
The Robot Skills window will display. Navigate to the Servo tab and select Horizontal Servo.
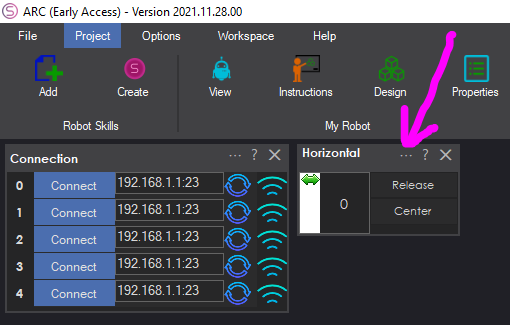
Now the Horizontal Servo robot skill is visible in your project. Press the Config button on the Horizontal robot skill.
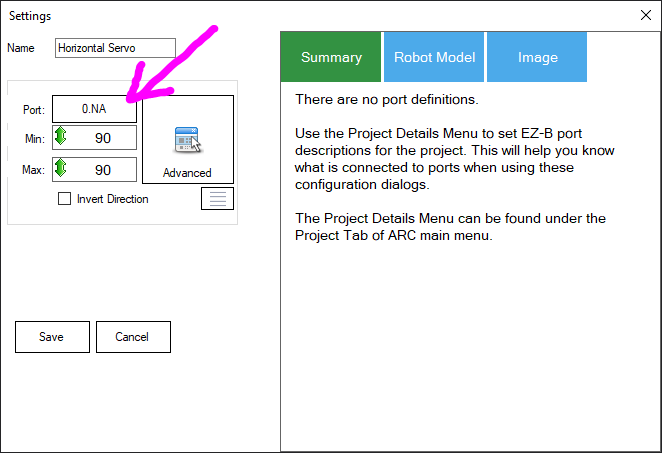
Select the Servo Port that your servo is connected to on the EZB. The servo port will vary based on the type of EZB used.
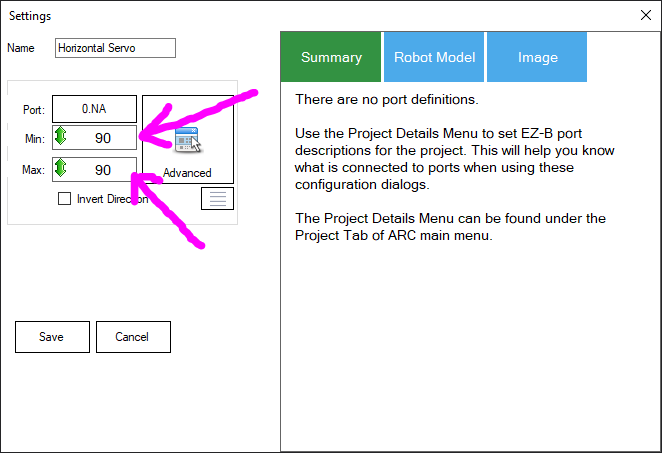
Either drag the Min and Max values to specify the range, or right-click and enter the range with the keyboard. By default, the global range in ARC is between 1-180 to accommodate PWM hobby servos. You can alter this global value for high precision servos in the ARC settings menu.
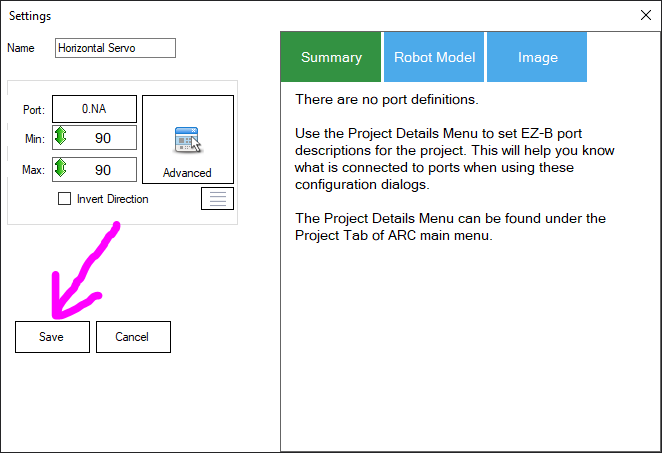
Press SAVE on the config window to save the settings.
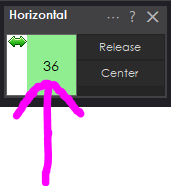
Click the mouse on the horizontal robot skill servo position display, and drag LEFT and RIGHT. Watch as the servo moves.
This is only the beginning...
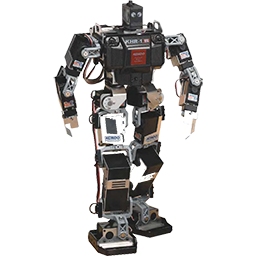
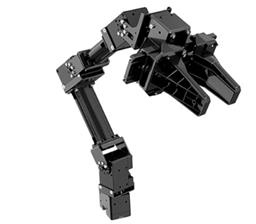
Moving a servo with this robot skill is exciting, but the following steps are even more exciting. When several servos are connected to a robot for arms or grippers, you can configure the Auto Position robot skill to re-create animations. This is a popular robot skill for humanoid robots, such as the InMoov. Also, the Getting Started guide has a movement page that lists the different wants you can make a robot move.