Uninstall ARC
If ARC is behaving unexpectedly, a clean reinstall often resolves the issue. The recommended process is: uninstall ARC, restart the PC to release any in-use files, download the latest ARC installer, and then reinstall. Follow the steps below to perform a clean uninstall and reinstall.
Uninstall ARC (Windows Settings)
-
Right-click the Start menu icon to open the Quick Access menu.
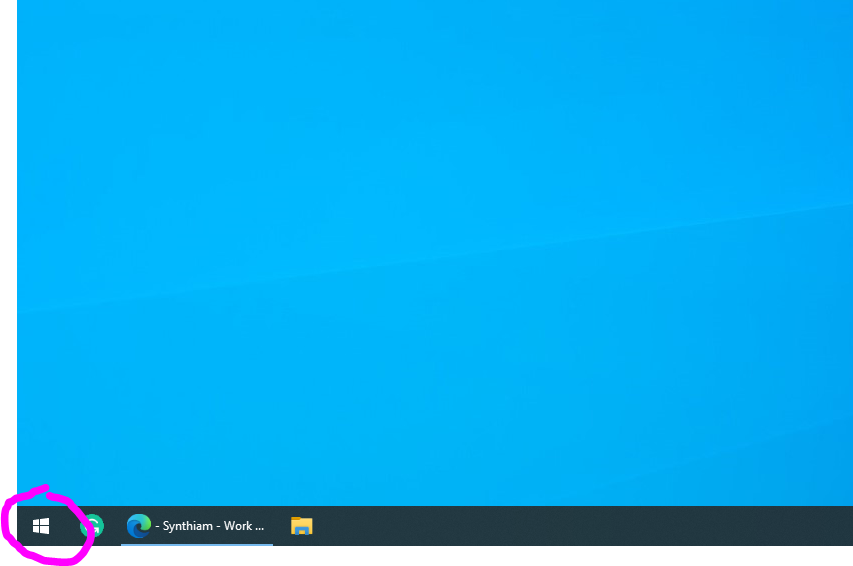
Open the Quick Access menu by right-clicking the Start icon. -
Select Apps and Features from the menu to view installed applications.
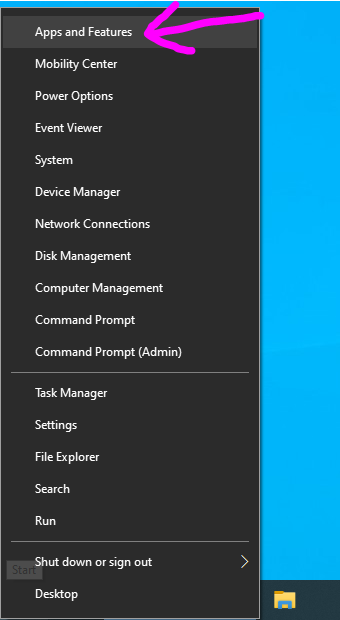
Choose Apps and Features to manage installed programs. -
In the Apps list, locate Synthiam ARC and click the entry to expand its options.
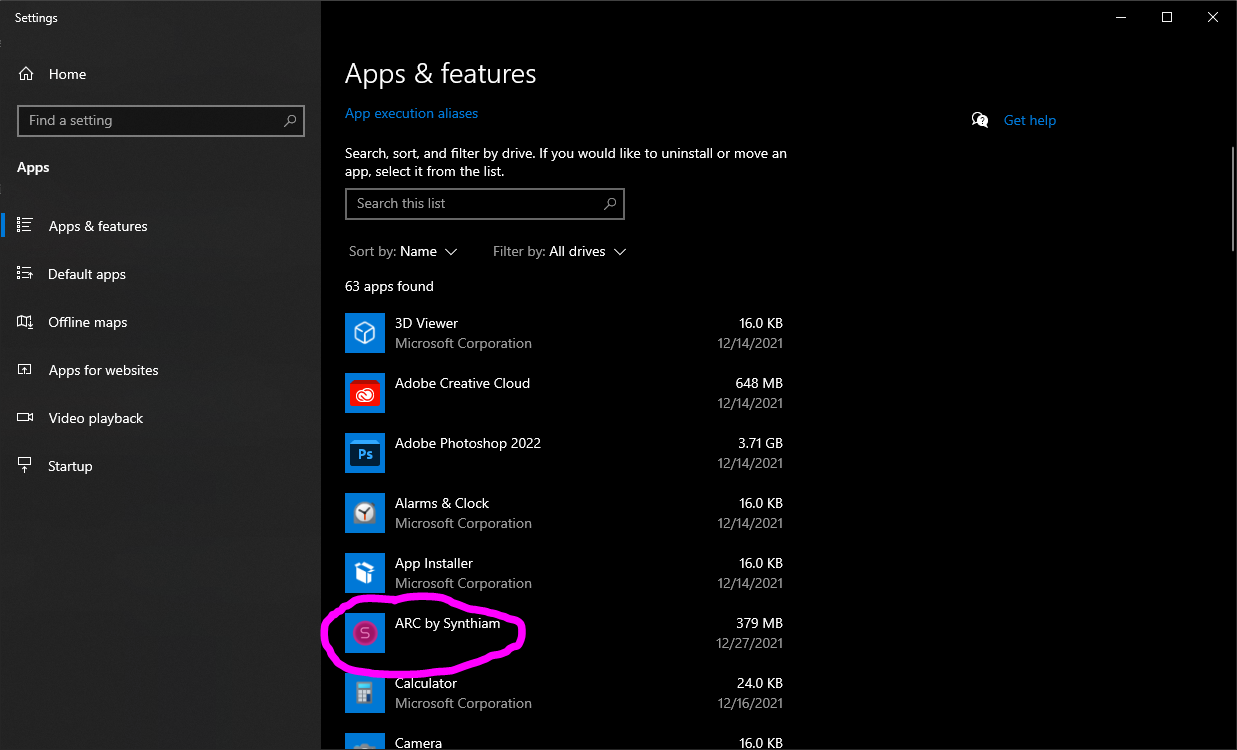
Find Synthiam ARC among the installed applications. -
Click Uninstall and follow any prompts to remove ARC from the system.

Select Uninstall to start the removal process. -
Restart your PC. Rebooting helps Windows release files that may be in use so they can be fully removed.
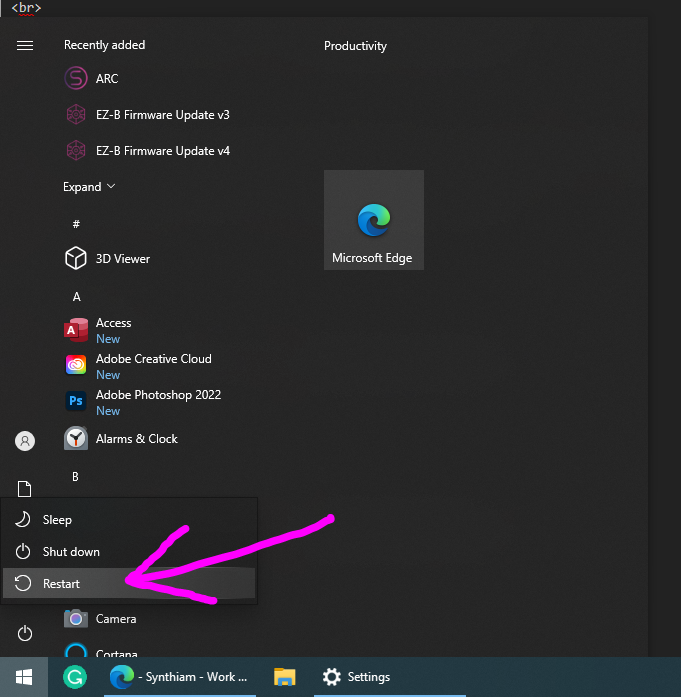
Restart the computer to ensure all ARC files are released. -
Download and install the latest ARC installer. Get the most recent version from
HERE. Choose the edition you use (ARC Free or ARC Pro) and run the installer.
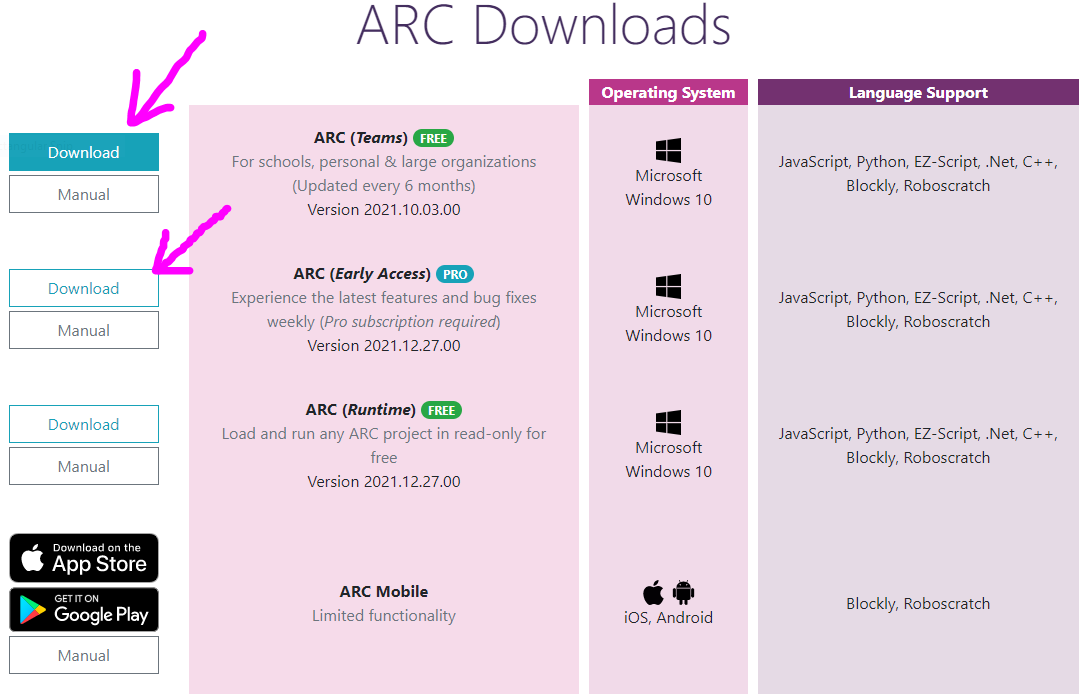
Download the current ARC installer from the Products/ARC page.
Uninstall from the Command Line
You can uninstall ARC using WMIC from an elevated Command Prompt (run CMD as Administrator). Enter the command below and follow any prompts:
WMIC product where name="ARC by Synthiam" call uninstallNote: WMIC may take a moment to list and remove the product. If WMIC does not find the product, use the Windows Settings method above or see the complete removal instructions linked below.
Completely Remove All ARC Components
If you need to remove every trace of ARC (configuration files, registry entries, and leftover folders), follow the complete removal guide: Complete ARC Removal Guide.