Speech Recognition With Push Button Microphone
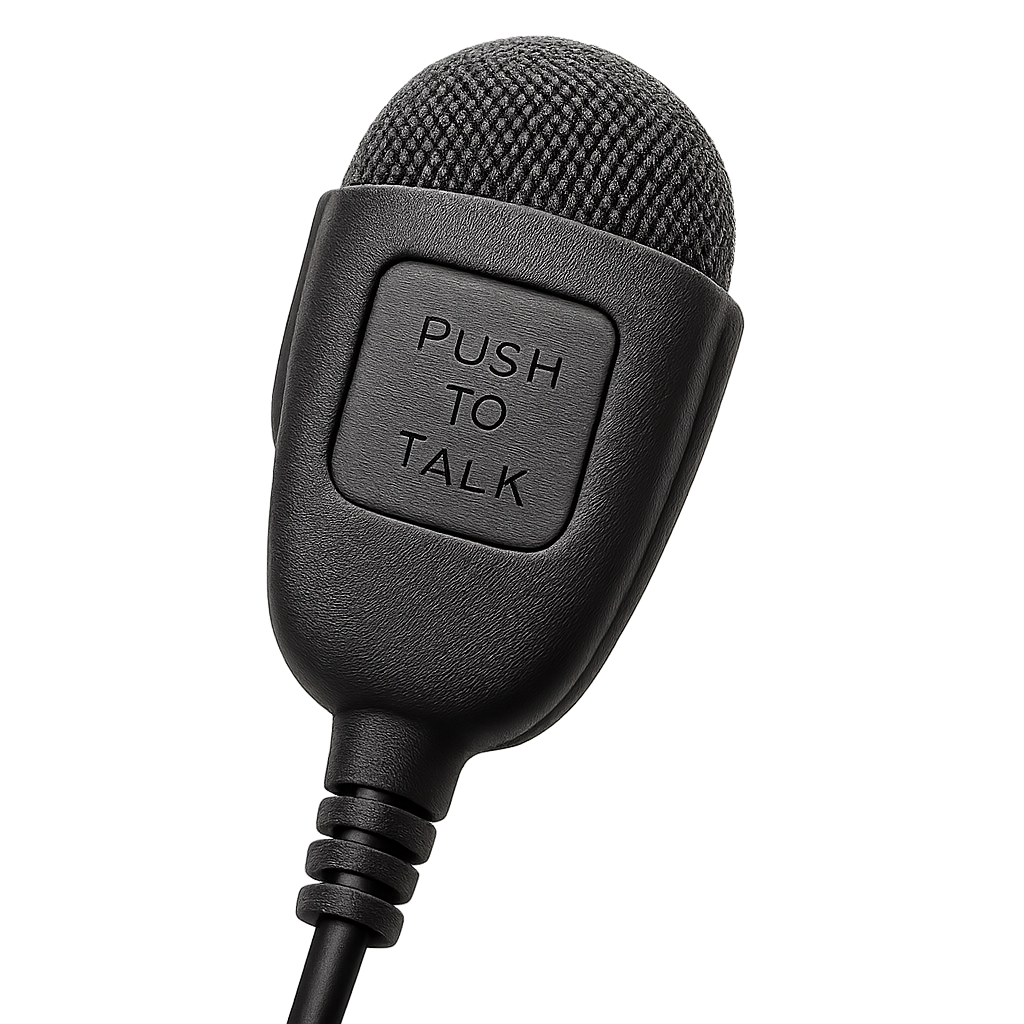
This tutorial shows how to use a physical walkie-talkie-style button connected to your EZB to control when the
Bing Speech Recognition robot skill listens to and transcribes speech in Synthiam ARC. You can use other speech recognition robot skills by substituting the variables and control commands. Instead of relying on wake words or always-listening Voice Activity Detection (VAD), you’ll build a
reliable push-to-talk style system: press and hold the button to record, release to stop, and
transcribe into $BingSpeech.
- Press and hold the microphone button to call
ControlCommand("Bing Speech Recognition", "StartListening"). - Releasing the button calls
ControlCommand("Bing Speech Recognition", "StopListening"), which ends the recording, updates the$BingSpeechvariable with the recognized text, and Bing executes the "All Recognized" script.
*Tip: Bing's All Recognized script can send another ControlCommand with the $BingSpeech variable as a parameter to any other robot skill, such as Chat GPT or Autonomous AI, so you can have a fluent conversation with your robot without disruptions and being rushed while it listens to transcribe.
Why Use a Button Instead of Always-On Listening?
Some robot skills and speech systems try to guess when someone is talking using Voice Activity Detection (VAD). While convenient, VAD cannot easily distinguish whether the speech is intended for the robot or is just background conversation, music, or other noise. This can cause:
- Accidental triggers when people nearby are talking.
- Partial sentences if the robot starts or stops listening at the wrong time.
- Overlapping or repeated responses when speech is detected while the robot is still replying.
A push-to-talk button fixes this by giving you a clear, intentional signal: the robot only listens while the button is held down. This is similar to how a walkie-talkie works and is the recommended method for reliable conversational input with robots.
What You’ll Need
- Synthiam ARC (latest version) installed on Windows.
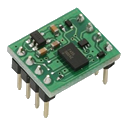
- An EZB-compatible controller (e.g. EZ-B v4, IoTiny, Arduino via EZB firmware, etc.).
- A momentary push button (normally open).
-
Wiring to connect the button to a digital port (e.g.
D0) and ground. Use a pull-up resistor so the input is high when released, and low when pressed. - A microphone connected to the PC running ARC, or an EZB board with audio input.
- An internet connection (Bing Speech Recognition uses an online service).
How Bing Speech Recognition Works in ARC
The Bing Speech Recognition robot skill listens to audio through your configured microphone
and sends it to Microsoft’s speech service. When recognition completes, the translated text is stored in
a variable called $BingSpeech. Other robot skills (such as AI chatbots, movement controllers, or
custom scripts) can read this variable to determine how the robot should respond or move.
ARC’s ControlCommand() messaging system lets one robot skill send commands to another.
In this tutorial, a Script robot skill will send StartListening and
StopListening commands to the Bing Speech Recognition skill whenever the hardware button is pressed
or released.
Step 1 — Add the Bing Speech Recognition Robot Skill
- In ARC, open your robot project (or create a new one).
- In the top menu, select Project > Add Robot Skill.
- Browse to the Audio category and add Bing Speech Recognition.
- Once added, click the Config (gear) icon on the Bing Speech Recognition robot skill to open its configuration.
Inside the configuration, you’ll find options such as the wake word, recording time limits, and script
callbacks (e.g. All Recognized Script). The recognized transcription text is exposed via the
$BingSpeech variable, so any script or robot skill can use it.
Step 2 — Configure Bing Speech for Push-to-Talk
Because we want the robot to listen only when the button is held, you should configure Bing Speech Recognition for a manual, software-controlled workflow:
- Optional: Turn off or ignore the wake word if you don’t plan to use it. This prevents the robot from accidentally starting to listen during background conversations.
-
Set the maximum recording time to the longest allowed duration. This ensures that listening
does not stop prematurely while the button is held. When you release the button, our script will send
StopListeningexplicitly to end the recording. -
If you plan to send recognized text to an AI service or movement script, configure the
All Recognized Script in the Bing Speech skill. That script will run every time
$BingSpeechis updated.
Step 3 — Wire the Physical Button to the EZB
Next, wire a button to one of the EZB’s digital ports, such as D0. The goal is:
- Released button = input is high (logic 1).
- Pressed button = input is low (logic 0).
To achieve this, use a pull-up resistor on the input:
-
Connect one side of the button to EZB digital port
D0. - Connect the other side of the button to GND.
-
Add a pull-up resistor between
D0the EZB’s +5 V (or 3.3 V, depending on your controller). When the button is not pressed,D0it is pulled high. Pressing the button connectsD0to ground, making it low.
This wiring matches the logic used in the script below: released = high, pressed = low.
Step 4 — Add a Script Robot Skill and Select JavaScript
- In ARC, click Project > Add Robot Skill.
- Add the Script robot skill (Scripting category).
- Open the Script robot skill and click the Script or Edit button to open the code editor.
- At the top of the editor, select the JavaScript tab. ARC’s Script skill supports JavaScript, Python , and more, but this example uses the JavaScript API.
Step 5 — Push-to-Talk Button Script (JavaScript)
The script below runs in an infinite loop. It waits for the button to be pressed (input goes low), starts Bing
Speech Recognition, then waits for the button to be released (input returns high) and stops listening. At that
moment, Bing Speech transcribes the audio and updates $BingSpeech.
// Push-to-talk Bing Speech Recognition using a button on D0
// Button released = high (pulled up), pressed = low.

while (true) {

  // Wait for the button press (pulls D0 low)
  Digital.wait(D0, false, 10);

  // Start Bing Speech Recognition
  ControlCommand("Bing Speech Recognition", "StartListening");

  // Small delay in case the button is pressed and released very quickly
  sleep(200);

  // Wait for the button release (D0 returns high)
  Digital.wait(D0, true, 10);

  // Stop Bing Speech Recognition and start transcription
  ControlCommand("Bing Speech Recognition", "StopListening");
}
A few important notes about this script:
-
Digital.wait(D0, false, 10)blocks the script until the digital portD0reads low (button pressed). The third parameter (10) tells ARC to check the port every 10 ms, which is efficient and avoids busy-looping. -
The short
sleep(200)helps handle rapid taps by giving Bing Speech a moment to engage, mimicking how a person naturally holds a push-to-talk button for at least a fraction of a second. -
Digital.wait(D0, true, 10)then waits until the button is released (input returns high). -
When
StopListeningis called, the Bing Speech Recognition skill finishes the recording, sends the audio to the cloud service, and updates$BingSpeechwith the recognized text.
Step 6 — Using the $BingSpeech Variable
Once you release the button and Bing finishes processing, the recognized phrase is available in
$BingSpeech. You can use this in many ways:
-
In the Bing Speech skill’s All Recognized Script, call an AI chat robot skill (for example,
OpenAI ChatGPT or PandoraBots) using
ControlCommand()and pass$BingSpeechas the user’s phrase. -
Use conditional logic to trigger movements, animations, or servo actions. For example, if
$BingSpeechcontains “wave hello”, trigger an Auto Position frame to wave the robot’s arm. - Log recognized phrases to a file or a variable array for diagnostics and debugging.
Tips and Variations
- Place the button on the microphone. Mounting the button directly on, or next to, the microphone makes the interaction intuitive: press where you speak.
- Combine with wake words. You can still keep a wake word enabled for hands-free use, while using the hardware button when you need strict control, such as in noisy environments.
-
Guard against overlapping responses. In more advanced projects, use a global variable
$IsSpeakingto prevent new questions from being sent to an AI skill while the robot is still talking. Only allow new input when the robot finishes speaking. -
Support multiple EZB boards. If your button is on a different EZB index, pass the
ezbIndexparameter toDigital.wait()so it reads the correct board.