Control UBTECH Alpha UBT-12HC smart servos via ARC using EZ-B v4/IoTiny UART, assign virtual ports, set baud, custom bits and position mapping.
How to add the UBTECH Alpha Servos UBT-12HC robot skill
- Load the most recent release of ARC (Get ARC).
- Press the Project tab from the top menu bar in ARC.
- Press Add Robot Skill from the button ribbon bar in ARC.
- Choose the Servo category tab.
- Press the UBTECH Alpha Servos UBT-12HC icon to add the robot skill to your project.
Don't have a robot yet?
Follow the Getting Started Guide to build a robot and use the UBTECH Alpha Servos UBT-12HC robot skill.
How to use the UBTECH Alpha Servos UBT-12HC robot skill
Control the UBTECH Alpha Robot Digital smart Servos (UBT-12HC) with ARC. The servos must be powered appropriately, and connected to the EZ-B v4 or IoTiny with the respective port. Visit the Config menu of this plugin to view the port configuration.
The Virtual Ports (V0..V99) in ARC can be assigned to the UbTech servos.
UART Ports
This plugin requires the RX signal wire of the servo be connected to TX of the selected UART or digital port (if Software UART is selected on IoTiny)
Hardware UART is for the EZ-B v4 only. Do not use software UART on EZ-B v4. View the EZ-B v4 datasheet to identify the UART ports (0, 1, or 2). EZ-B v4 datasheet can be found here: https://www.ez-robot.com/Tutorials/Lesson/18
Software UART should only be used with IoTiny
Default baudrate of UBTECH servos is 115,200
Bind To Virtual Servos
- The configuration menu also provides an option to select the Virtual Ports, which correspond with the ID's of the UBTech servos. If the UBTECH servo ID #0 is connected, select V0. #1 = V1, #2 = V2, etc..
Additional Info
- Discussion on these servos is here: https://synthiam.com/Question/3932
Custom Bit Settings There are 3 bits that seem to not be understood for the protocol. Since UBTech does not release the protocol for their products, the community is working to better understand what the parameters are. The configuration menu of this plugin allows you to set hardcoded values for those bits. The bits are for 5, 6 & 7.
Custom servo Position Mapping The UB Tech servos have their own position range, and we don't know what it is. So, the configuration menu allows you to specify the min and max positions for the range. This will be mapped to the ARC servo position range. Meaning, if you set the range in this plugin, it will be mapped to the range for all ARC servo controls.
Protocol Packet Code Here's a copy and paste from the plugin code. This is how the packet is being assembled to be sent to each servo. The values specified by you in the configuration menu are b5, b6, b7, mapLow and mapHigh.


Read the instructions above. They're quiet detailed
Let us know your success - the instructions above are quiet detailed
leonardo46
the alpha 1s stability comes mostly from using metal brackets. also he has no movelble head or hands.that makes the robot very solid. there is a new alpha 1E out now .
I have alpha 1S and have been trying to hack it with EZB, but I had problems... What's new with alpha 1E ? New software ? Same hardware ?
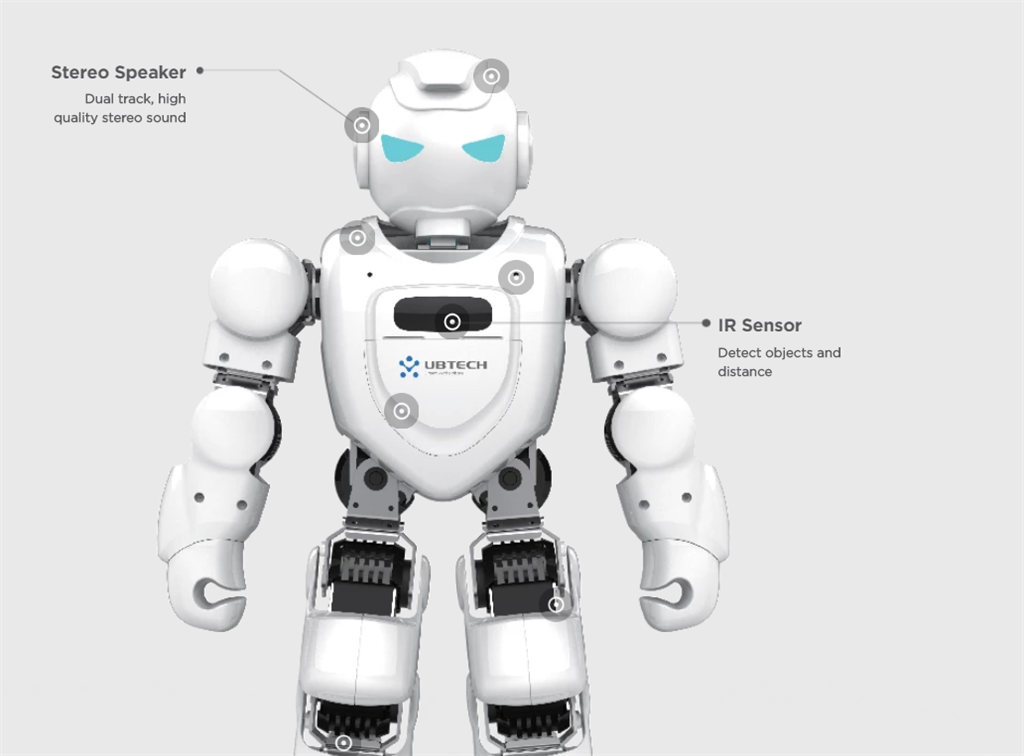
he have ears now and have a sensor in the chest. i know only what is in the video.he will have new software cause, off his ears.
which sensor in the chest ?
its an ir sensor .

ubtech.comis there a plugin version that works on windows 7 ?