

Drag vertically to control a servo within set min/max limits; center, release, invert, and mirror to other servos. For 3-wire GVS servos.
How to add the Vertical Servo robot skill
- Load the most recent release of ARC (Get ARC).
- Press the Project tab from the top menu bar in ARC.
- Press Add Robot Skill from the button ribbon bar in ARC.
- Choose the Servo category tab.
- Press the Vertical Servo icon to add the robot skill to your project.
Don't have a robot yet?
Follow the Getting Started Guide to build a robot and use the Vertical Servo robot skill.
How to use the Vertical Servo robot skill
Main Window
The main window is where you manually move (and test) the servo.
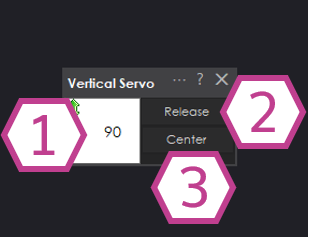
1) Position Adjust / Display
- Drag to move: Click and hold the left mouse button on this area, then drag up or down to move the servo.
- Type an exact value: Right-click to enter a position using the keyboard.
- What the number means: The display shows the current servo position in degrees (typically 1–180).
- Safety limits: Even if you type a value, the servo will still stay within the Minimum and Maximum limits set in Settings.
2) Release Button
Releases power/holding torque from the servo so it no longer “holds” its position. If your servo and linkage allow it, you can gently move the horn/gear by hand.
Tip: Use Release when you need to reposition a mechanism manually. Avoid forcing the servo if it feels stuck.
3) Center Button
Moves the servo to the midpoint between your Minimum and Maximum settings.
Example: Minimum = 10, Maximum = 140 → Center = 75.
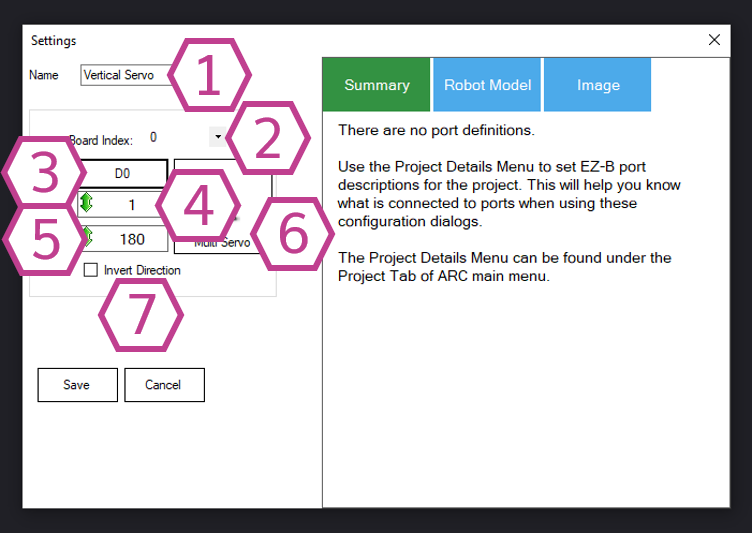
Settings
Use the Settings panel to choose the correct servo port and to set safe movement limits.
controlCommand() for this skill.
Beginner tip: If you only have one board connected, this is usually Board 0 (or the first option in the list).
Reminder: Servos typically have 3 wires: Ground, Voltage, and Signal (GVS). Make sure the signal wire is on the correct pin for the port you select.
- Drag with the left mouse button to adjust.
- Right-click to type the value.
- Drag with the left mouse button to adjust.
- Right-click to type the value.
Example use: If your robot has two servos lifting the same mechanism (left and right side), you can mirror them so they move together.
Example: Normally, a value of 180 might move the servo “up.” With Invert Direction enabled, sending 180 will move it “down.”
How to Use Vertical Servo (Beginner Steps)
-
Add the skill to your project:
In ARC, go to Project → Add Skill → Servo → Vertical Servo.
-
Open the skill settings:
Select the correct Board Index (the controller your servo is plugged into).
-
Select the servo port:
Choose the digital Port that matches where the servo signal wire is connected.
-
Set safe movement limits:
Adjust Minimum and Maximum. Start with a small range and increase slowly to avoid binding.
-
Move the servo from the main window:
Click-and-drag up/down in the Position area (or right-click to type an exact angle).
Video
Requirements
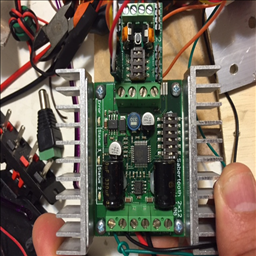
- A standard 3-wire GVS (Ground-Voltage-Signal) 180° servo motor.
- A compatible controller supported by ARC that can output a servo signal on the selected digital port.
Resources
Related Tutorials

Rotating Servo Calibration-Unscripted
Sabertooth+Kagaroo+DC Motors As Servos
Setting Servo Speeds And Initialization Script Tutorial
Related Robots

Related Questions

Upgrade to ARC Pro
Experience the transformation – subscribe to Synthiam ARC Pro and watch your robot evolve into a marvel of innovation and intelligence.