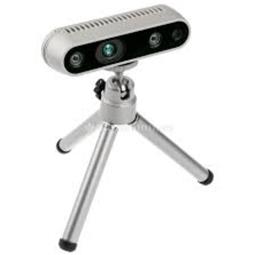

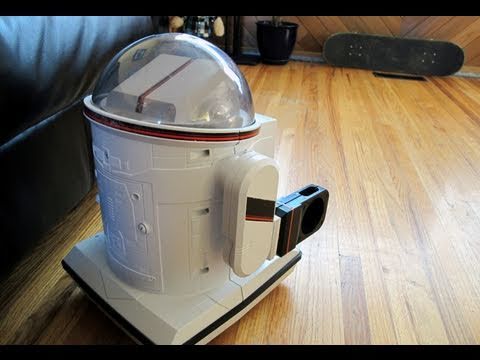
This project has evolved some , the basic rundown is I'm modding two Omnibots , one a regular the other a larger 2000 model. I will have two ezb kits , rad base idea was thrown out because of so much noise but could go back on the table if the omnibot drivetrain is too weak to pull it.
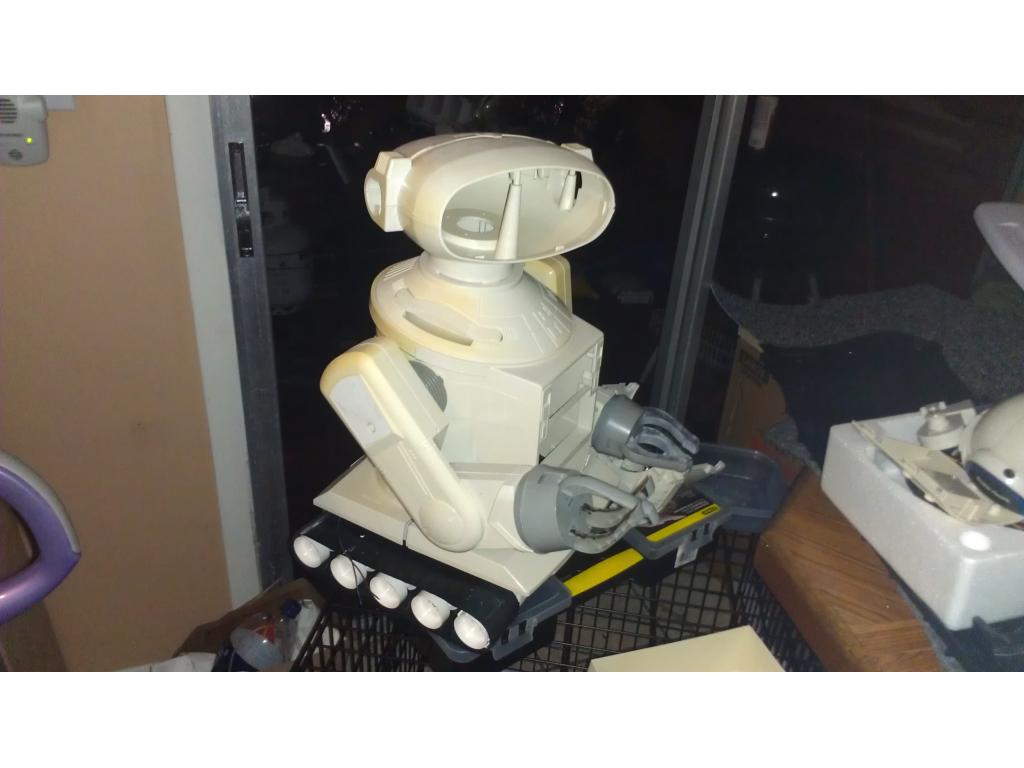
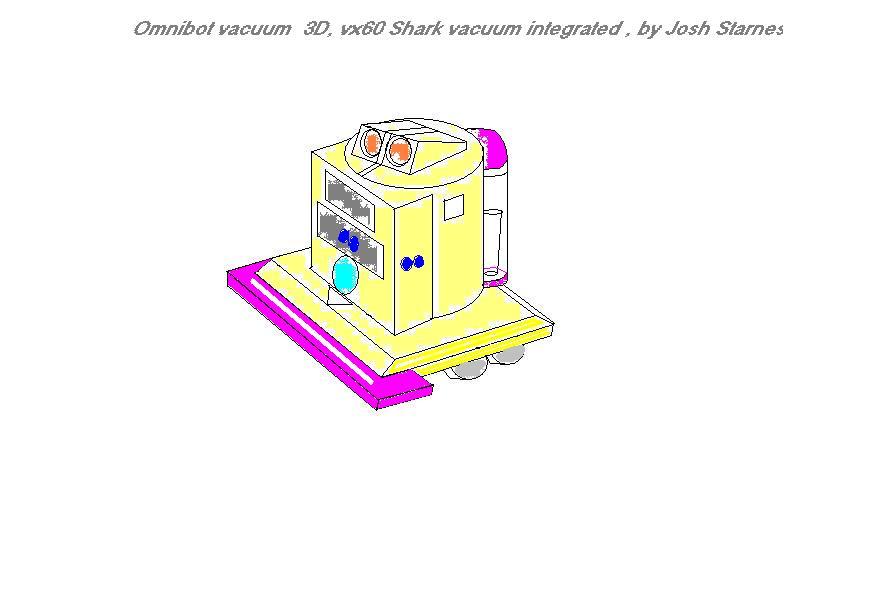
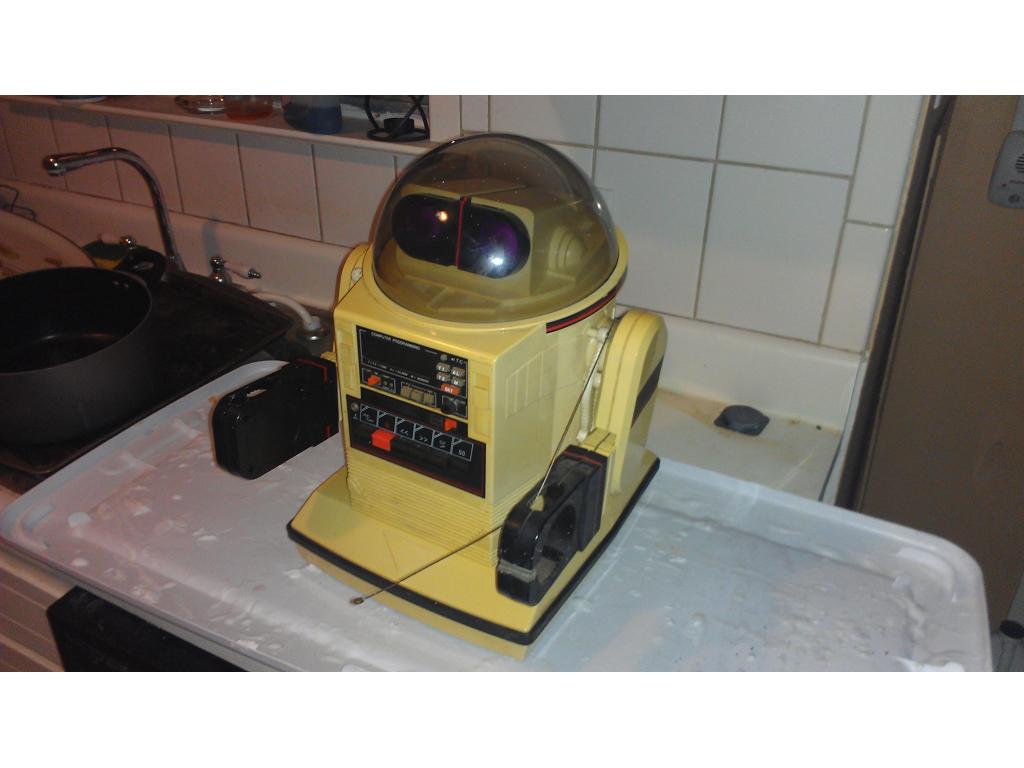


H... I am in the bay area. Pretty close to SF. TY....
Josh have you decided about the riser? How are you going to do it? The standoffs worked out great with the acrylic. I think it would be plenty strong enough for what you are doing?
Samantha
I want acrylic on the bottom piece , but I'm using plastic with fiberglass reinforcement on the larger 7 inch riser.
Ok so I did both Jarvis shoulders made from a regular omnibots shoulder inserts , I'm trying to save parts for others
Part 1 servo shoulder mod hitec hsr 5995tg 414 oz in servo
Part 2 of mod
Part 3 of servo fitting
Woo hoo... are the shoulders done now?
Not done , I gotta clean them up , I'm going to drill a holes for wires and fill the insert with epoxy or bondo to make sure it really lasts. It's too late to get epoxy so I'm starting back in the am. Then once that's done I need to mount brackets for the shoulder and get those sanded down too. It's close , ill be done with them tommorow and probably move on to the elbows or riser tommorow.
Just watched the videos. Pretty interesting. I am really anxious to see the arm actually ON the servo. Will keep checking for more updates from you! Mike
Yea I will assemble the shoulders tonight and make the servo cut/mount for the elbow as well. After that I'm making the torso riser
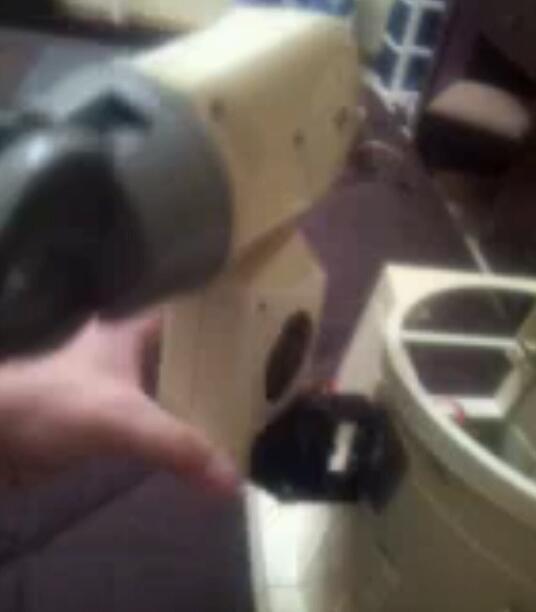
This is just a example pic , not my bot, but you can see the mounting position is a little farther back about 2 inches where the original hole is.looks like your post might reach 200 pages
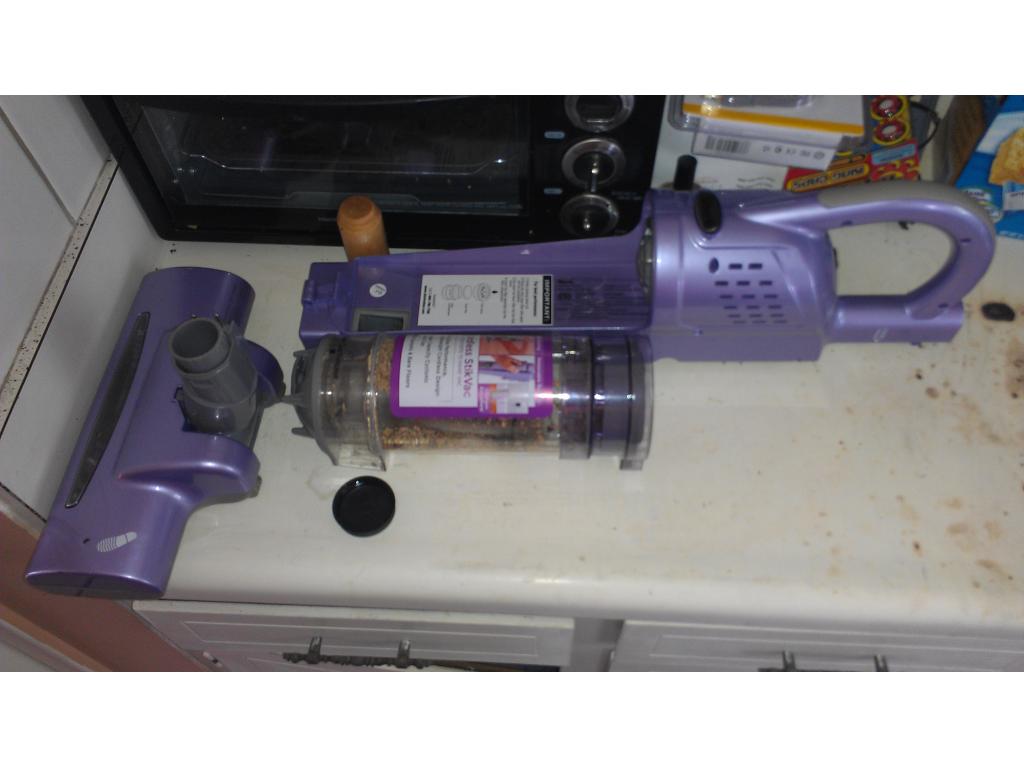
looking to make a plastic vacuum forming machine this week with vacuum forming you can make any panel or piece the same on the omnibot and can make it thicker too,and very simple and easy to use all needed is a oven ,vacuum cleaner or ?,wood and metal frame and a copy of the mold at work we have a few vacuum forming machines that make plastic cases for the instruments we make to form thicker plastic only stronger vacuum is needed and longer heat time my design taking parts from a old oven
Josh -
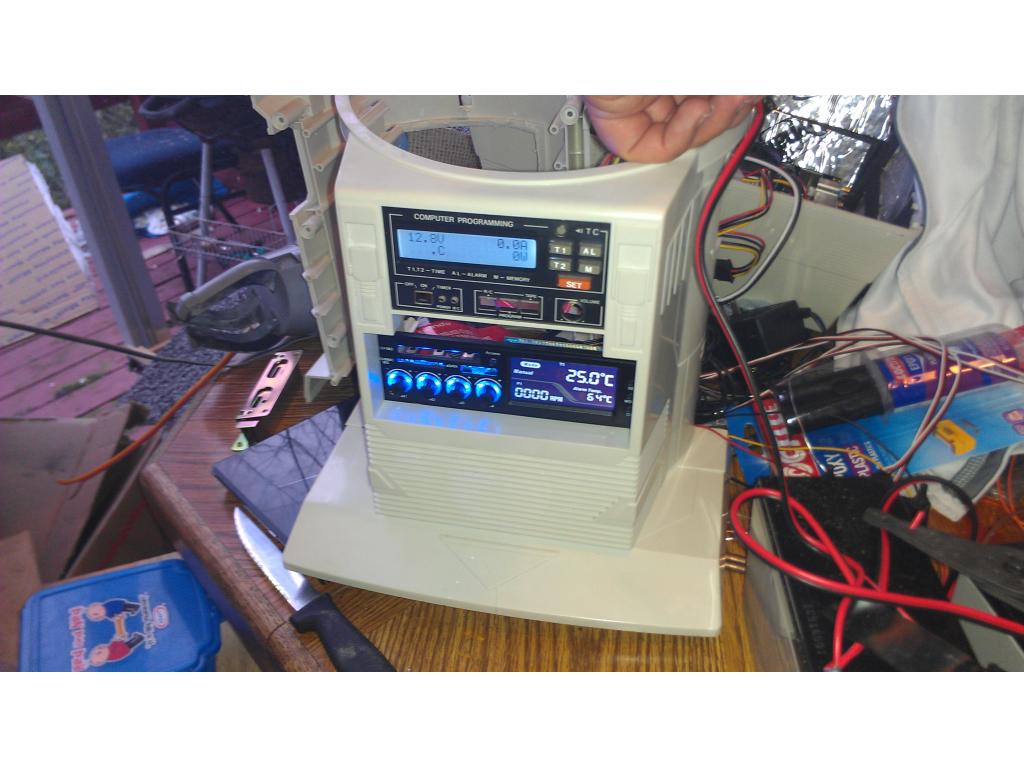
Didn't I see somewhere that you got this screen?
How are you going to hook it all up? It is so hard to find stuff in this thread.... :o)
Do you have a recent drawing/diagram of everything and how it's gonna be wired up?