


cE9s4PsOgeBQIORwjd5!~~60_1-634818020230156250.jpg)


BO)Lupuc4g~~60_35-634706297915000000.jpg)
LupbT6!~~60_35-634706298769375000.jpg)


C5j!~~60_35-634655044863125000.jpg)


C5j!~~60_35-634659603510781250.jpg)


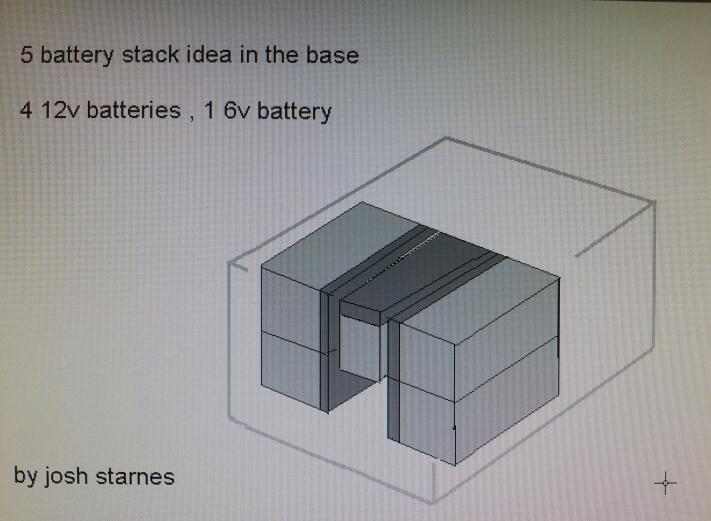
C5j!~~60_35-634651704046230469.jpg)
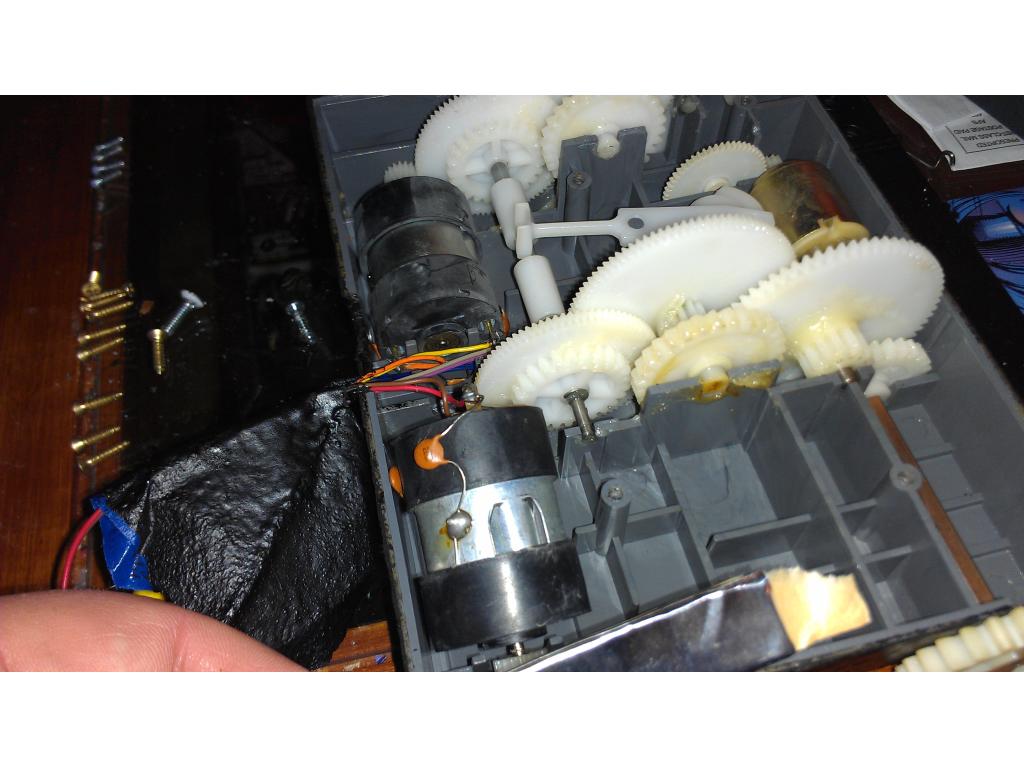
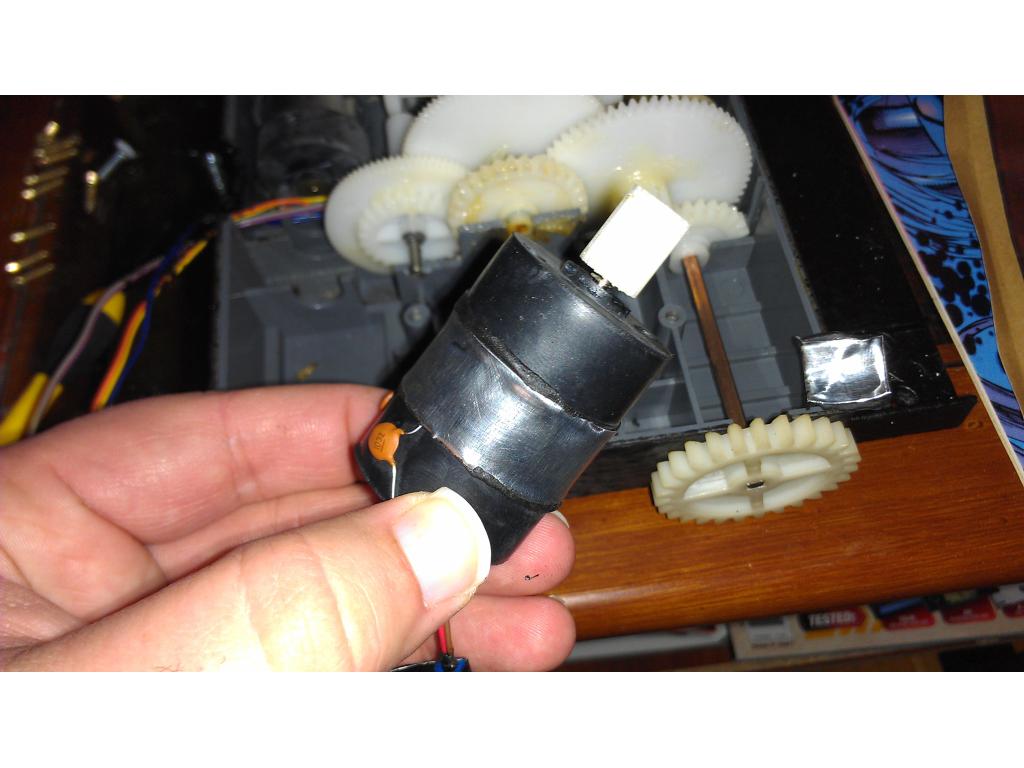
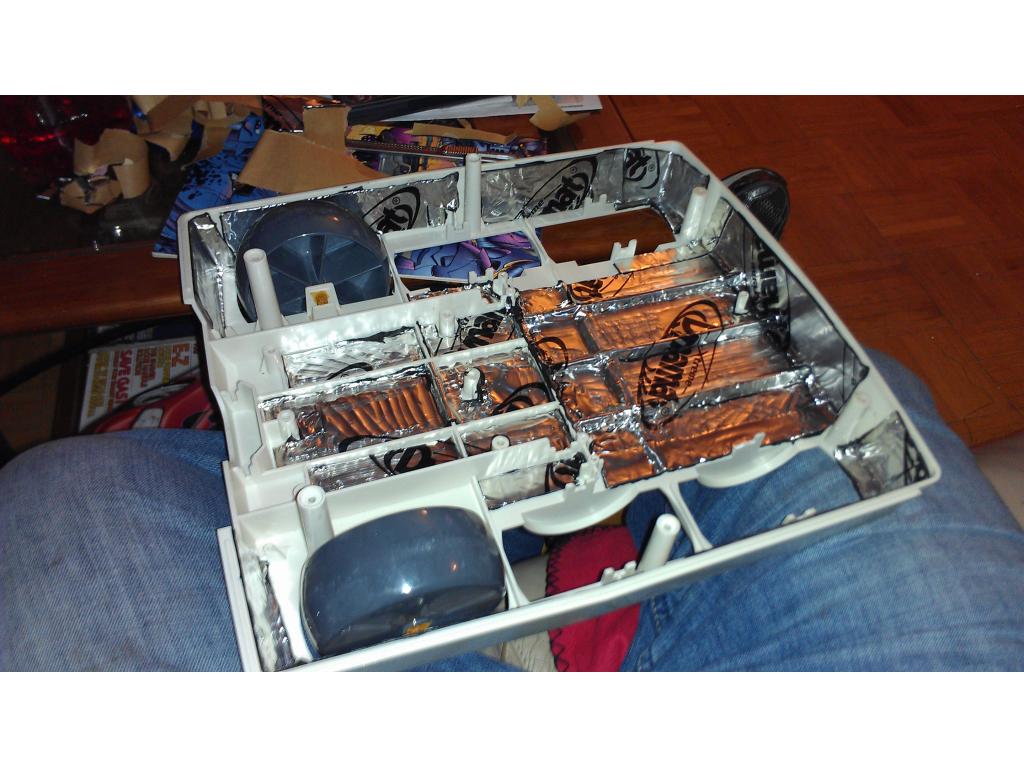
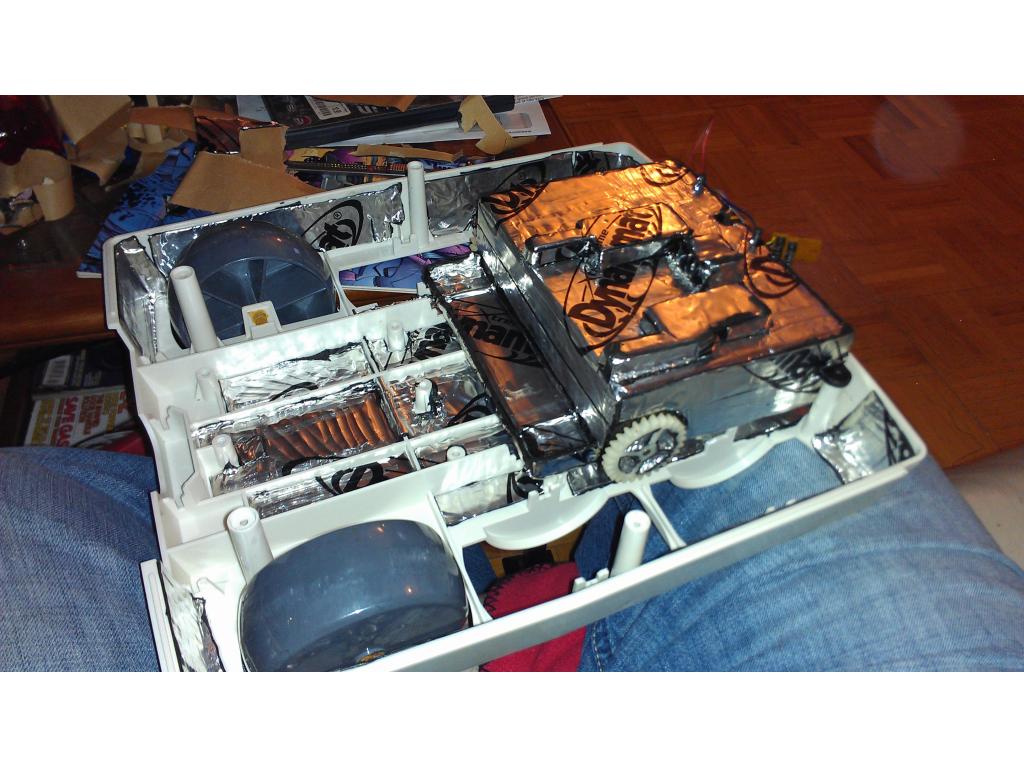
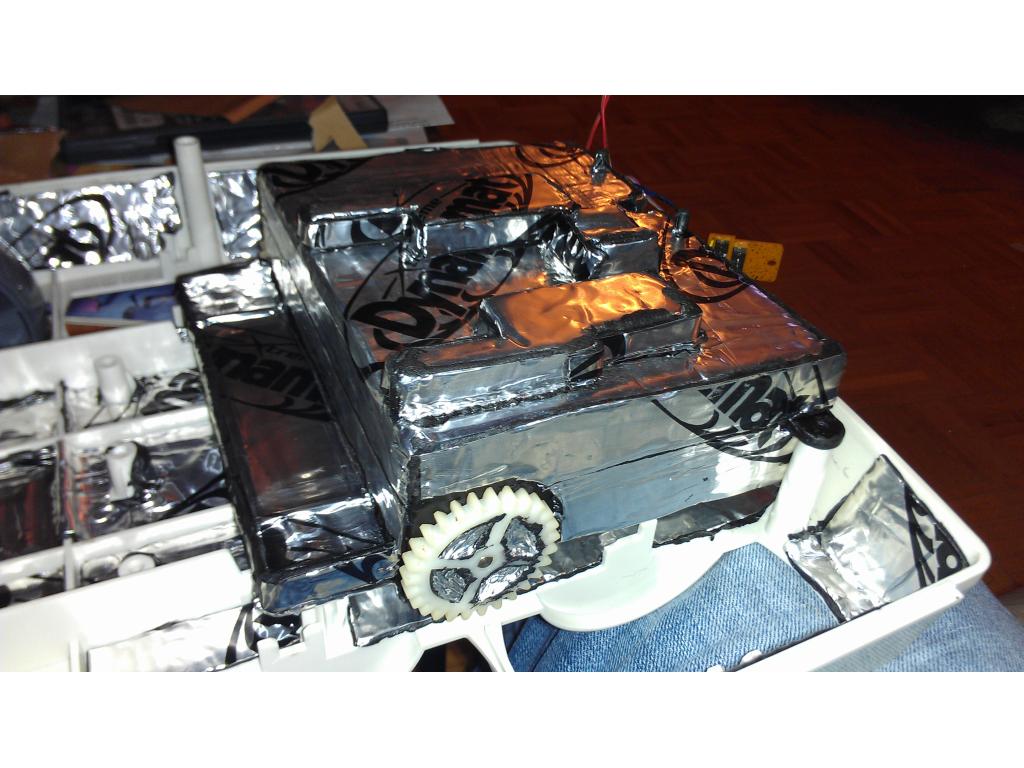


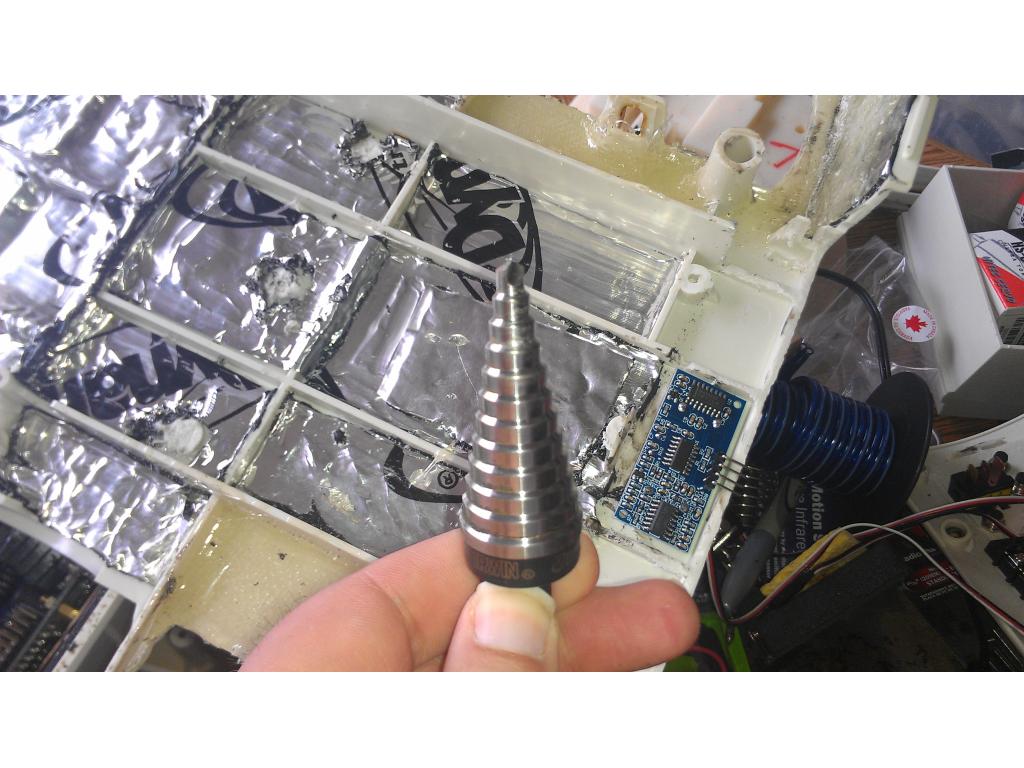

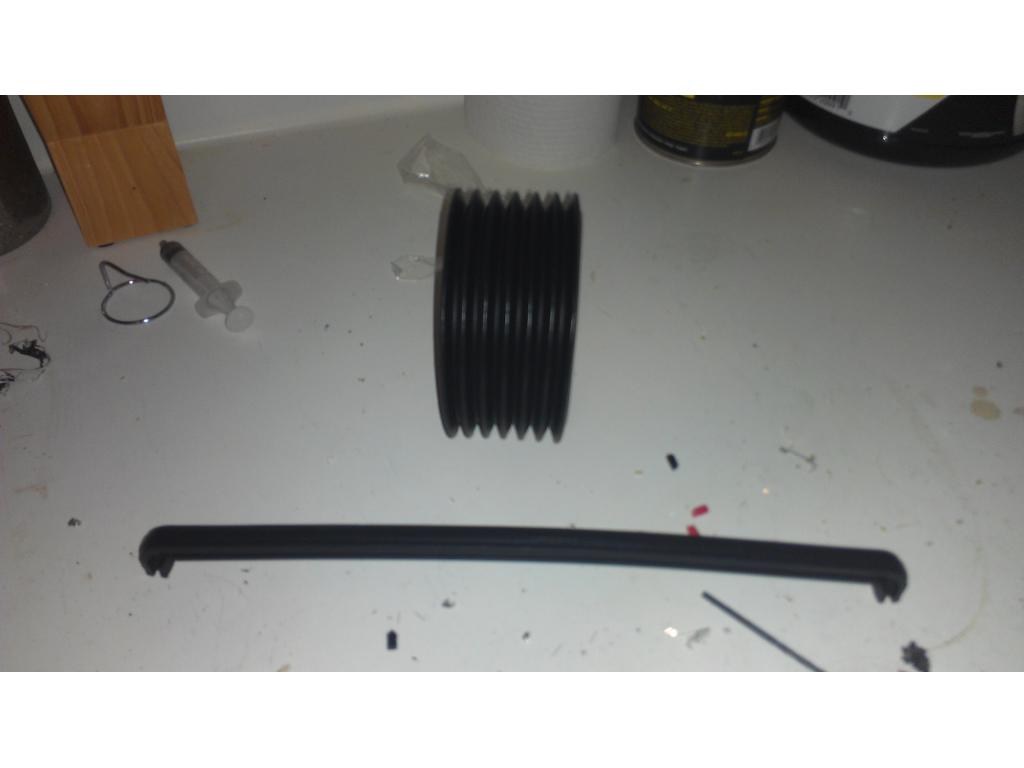
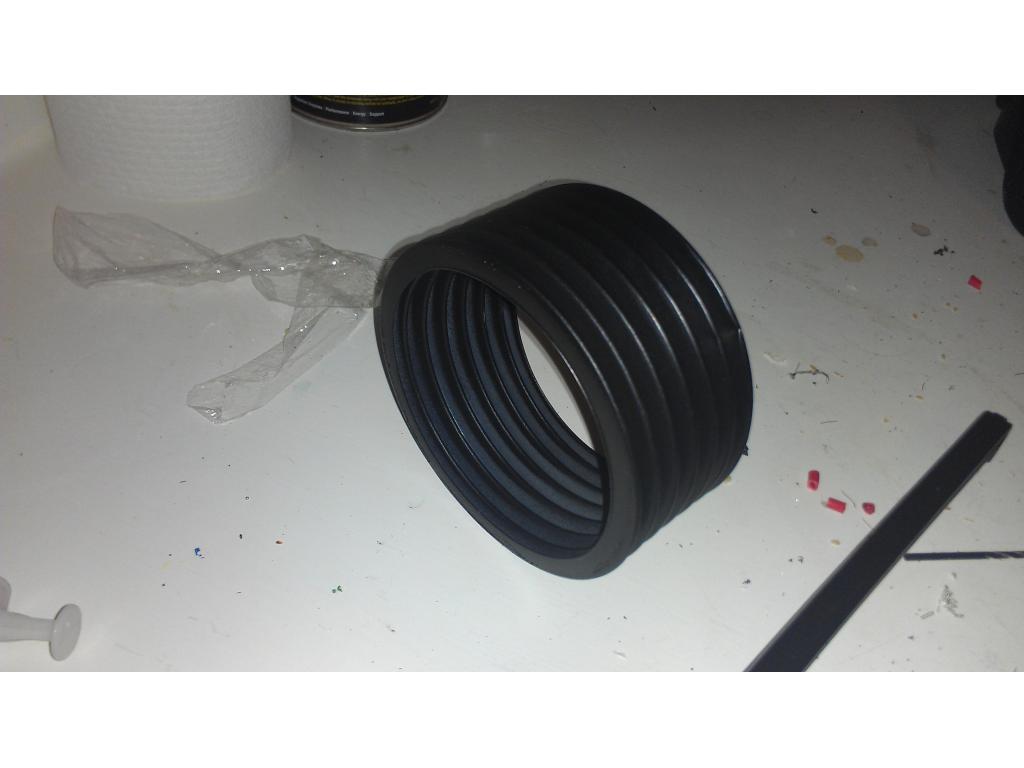
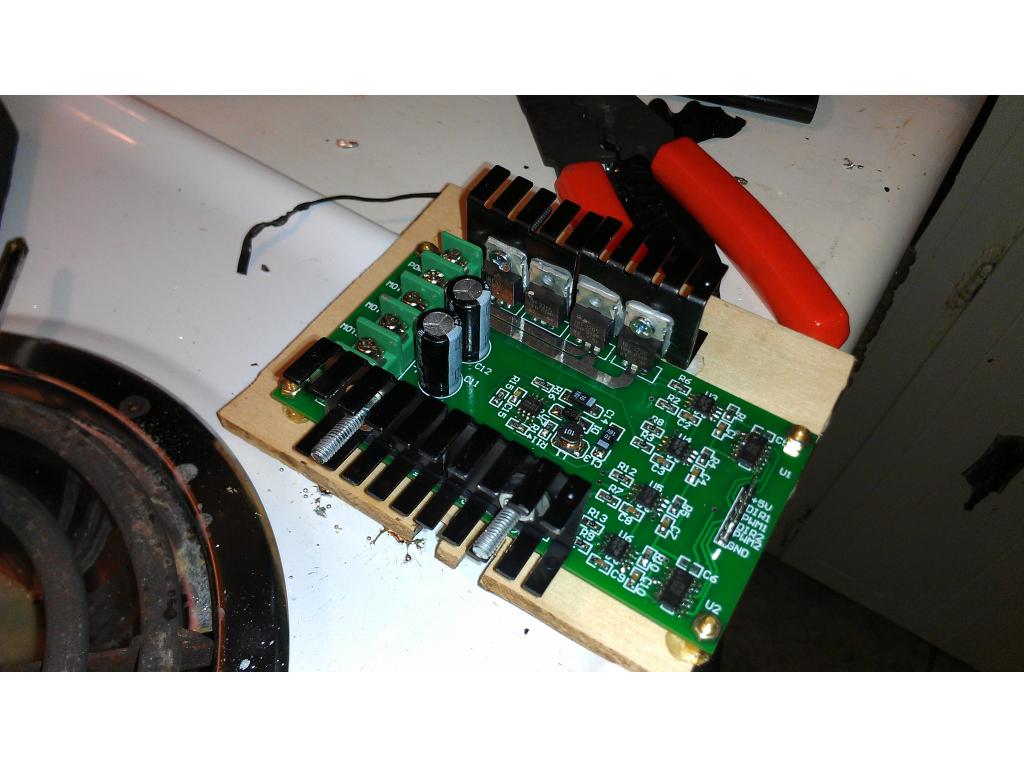
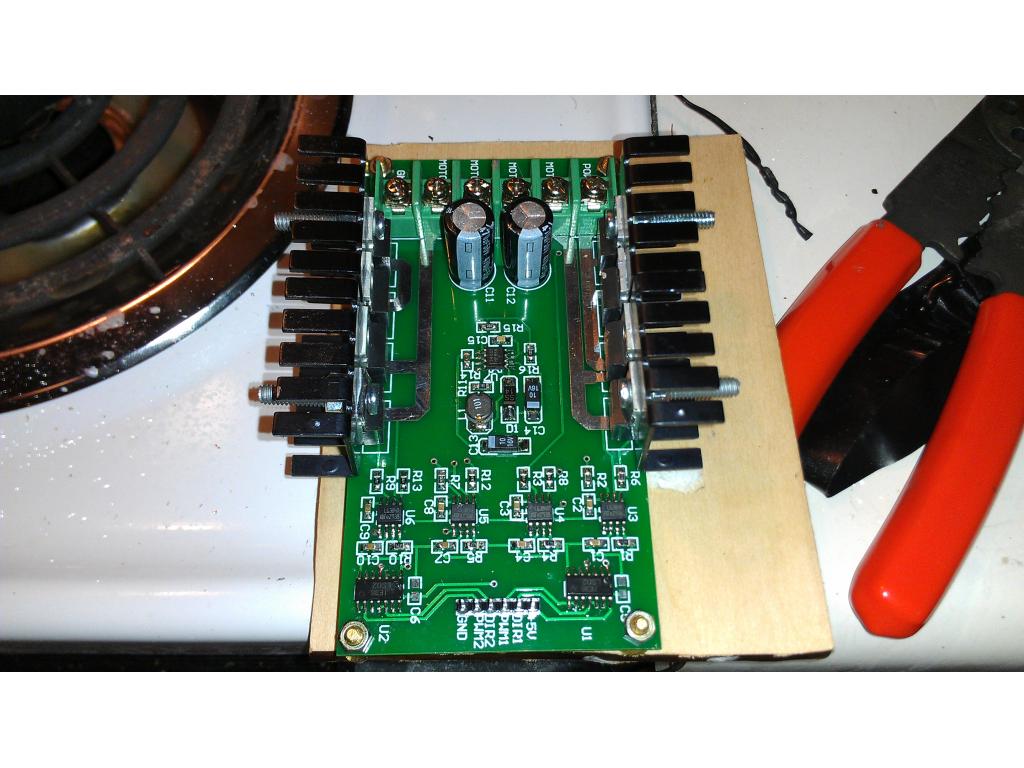

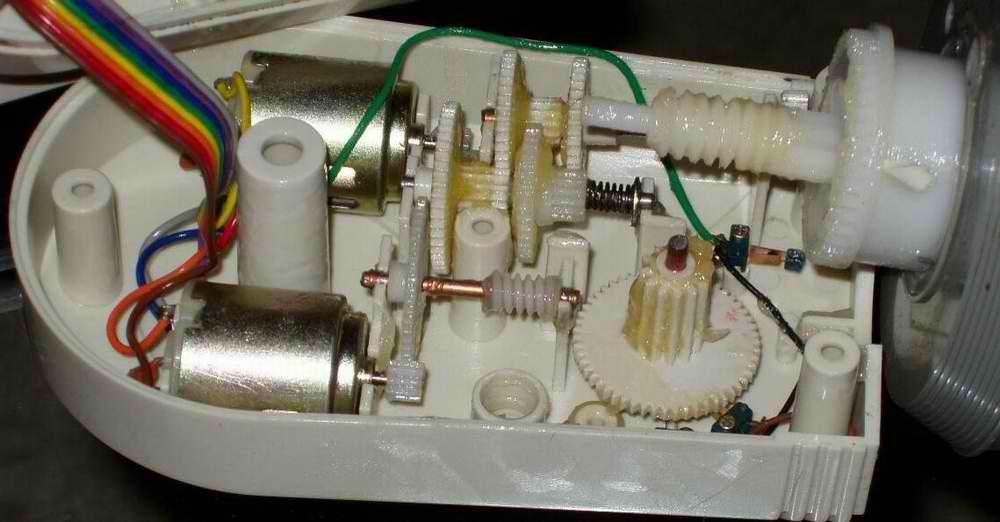
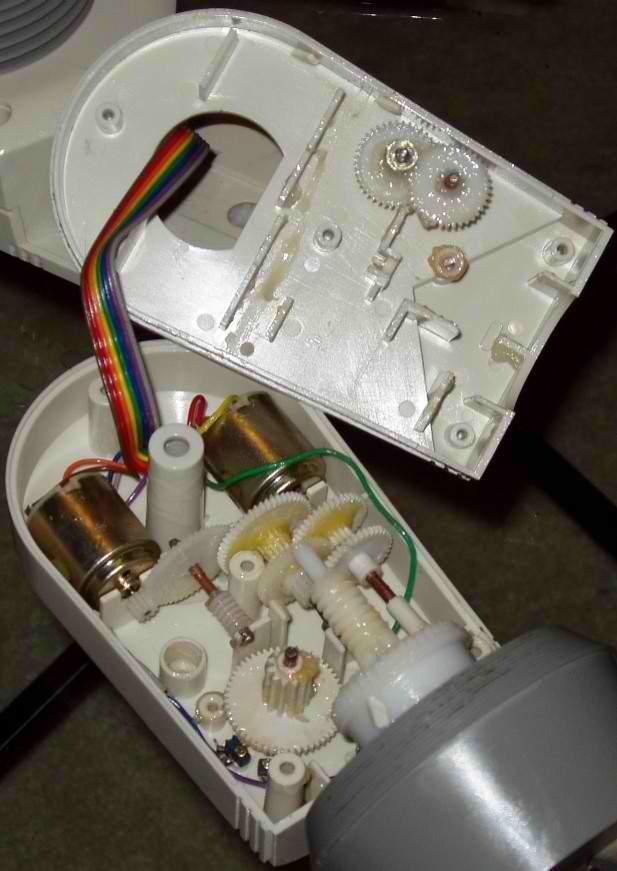

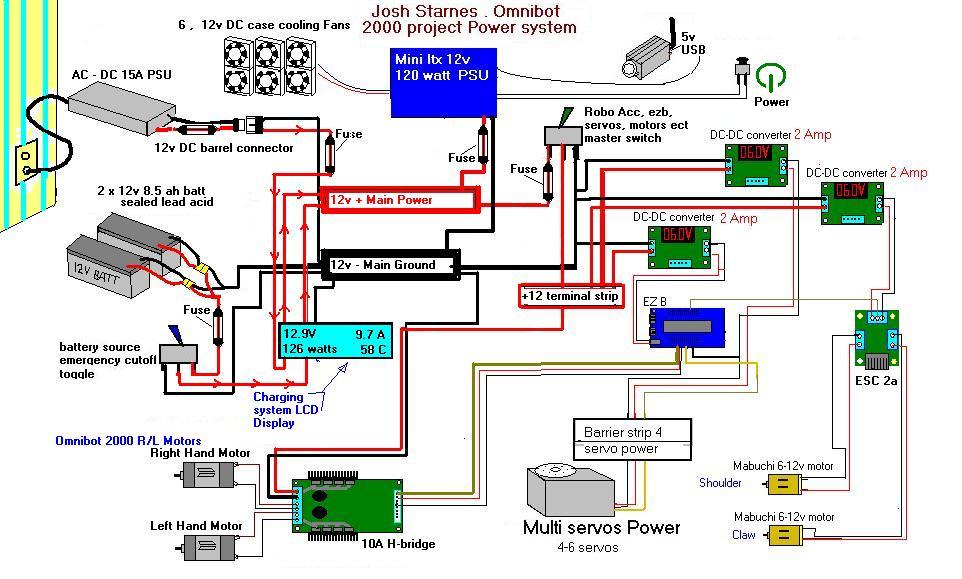
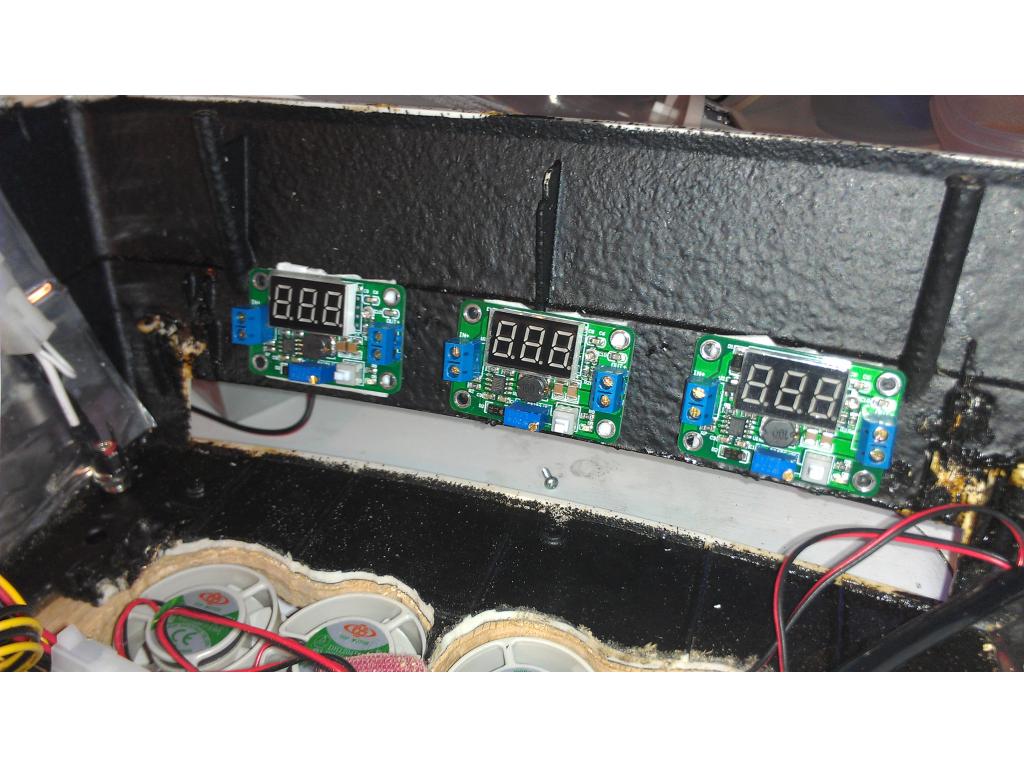
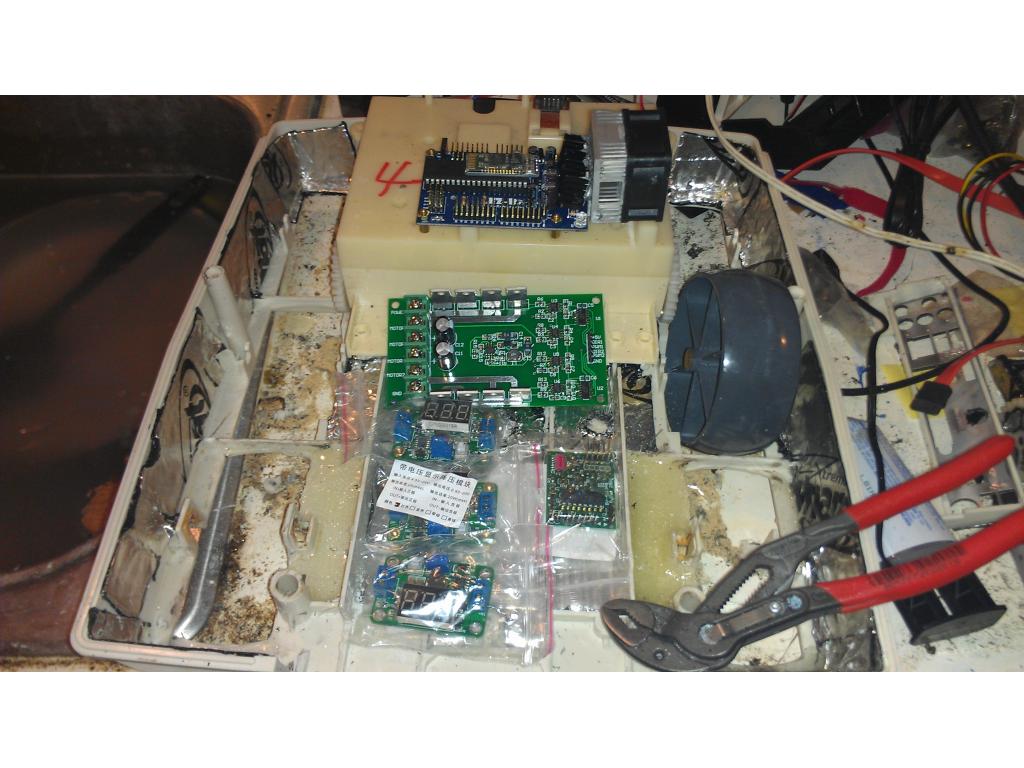
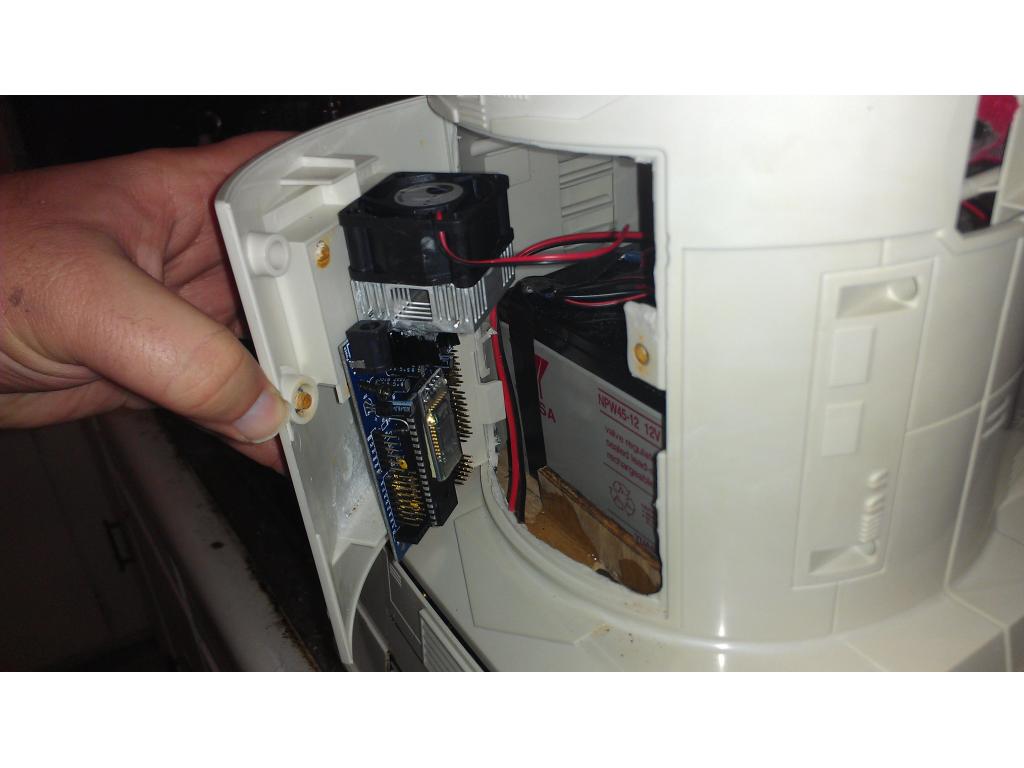
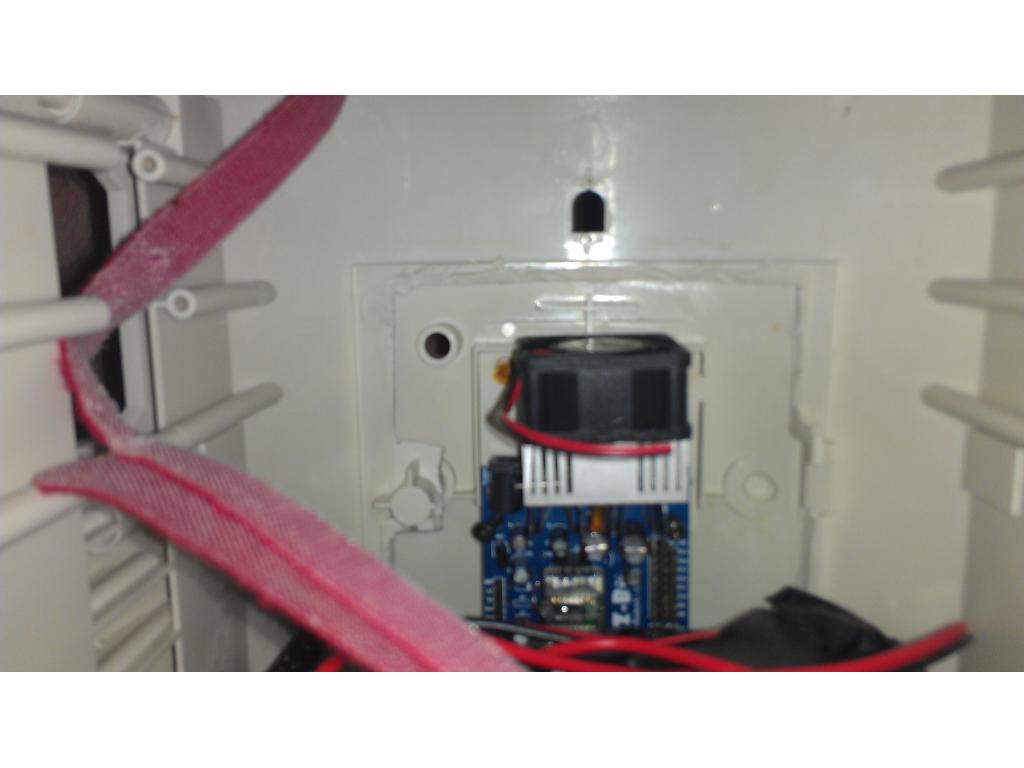
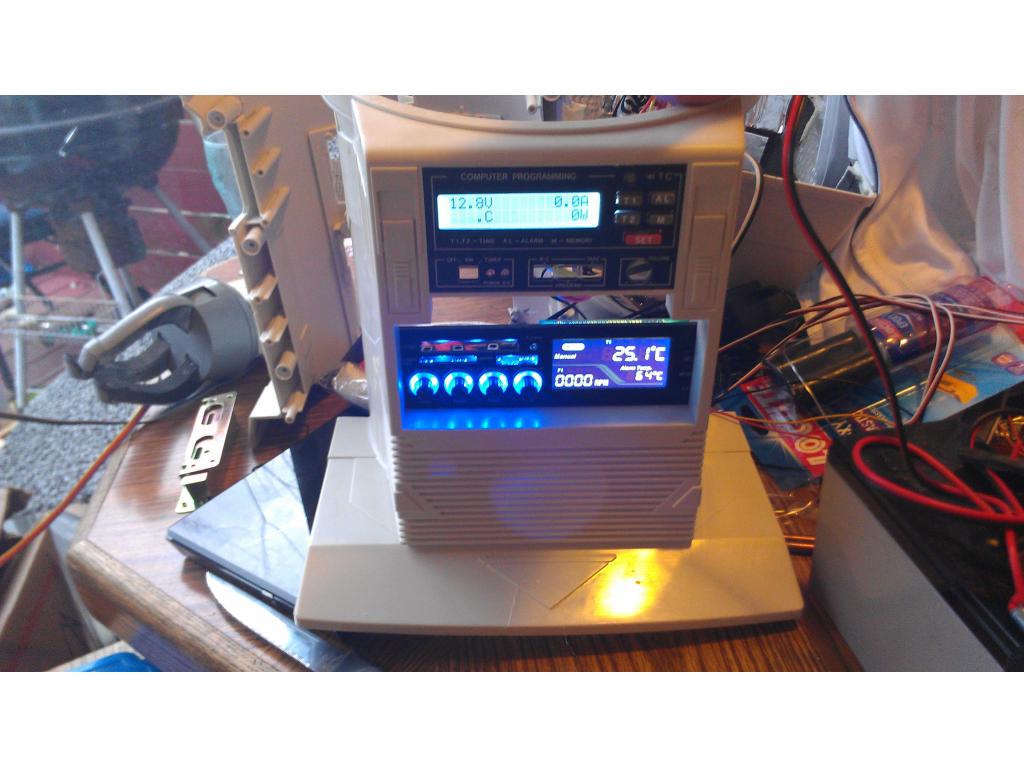

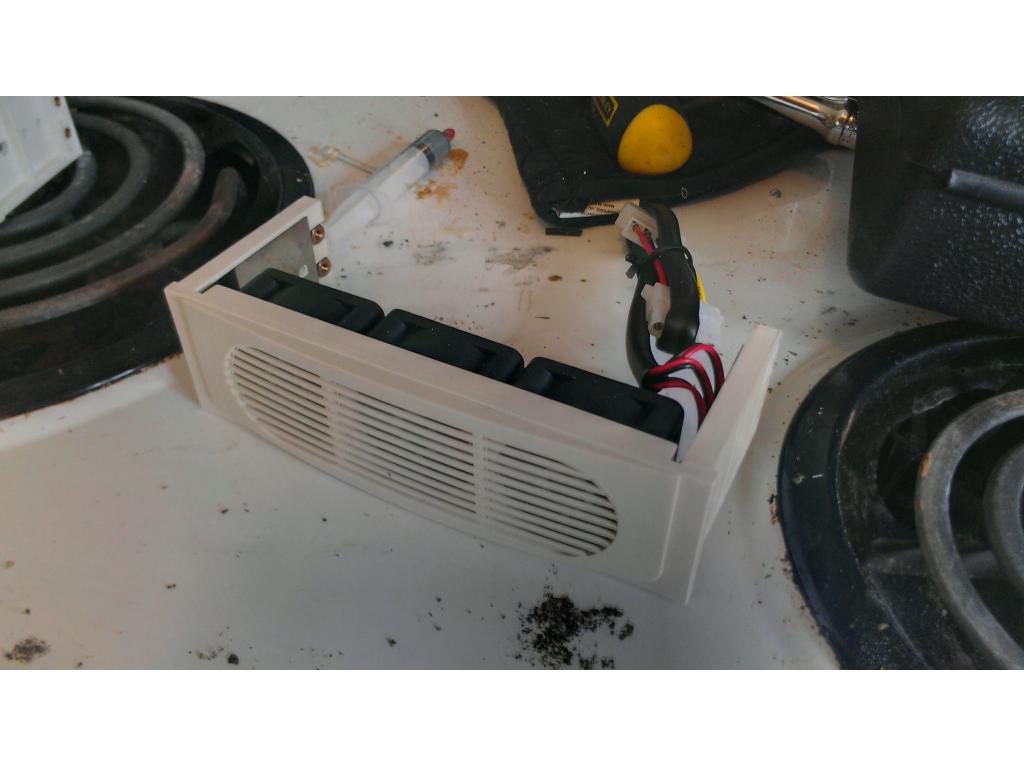

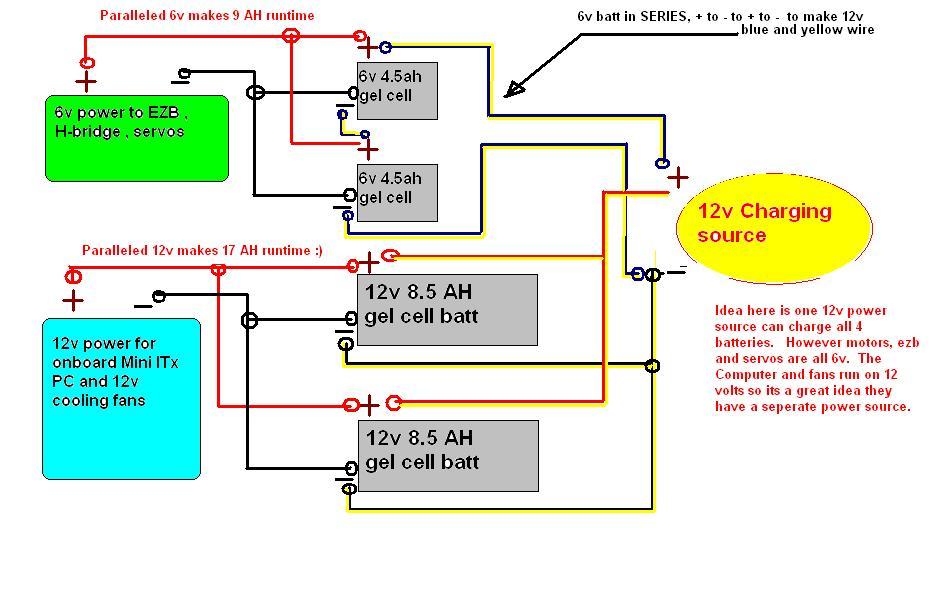
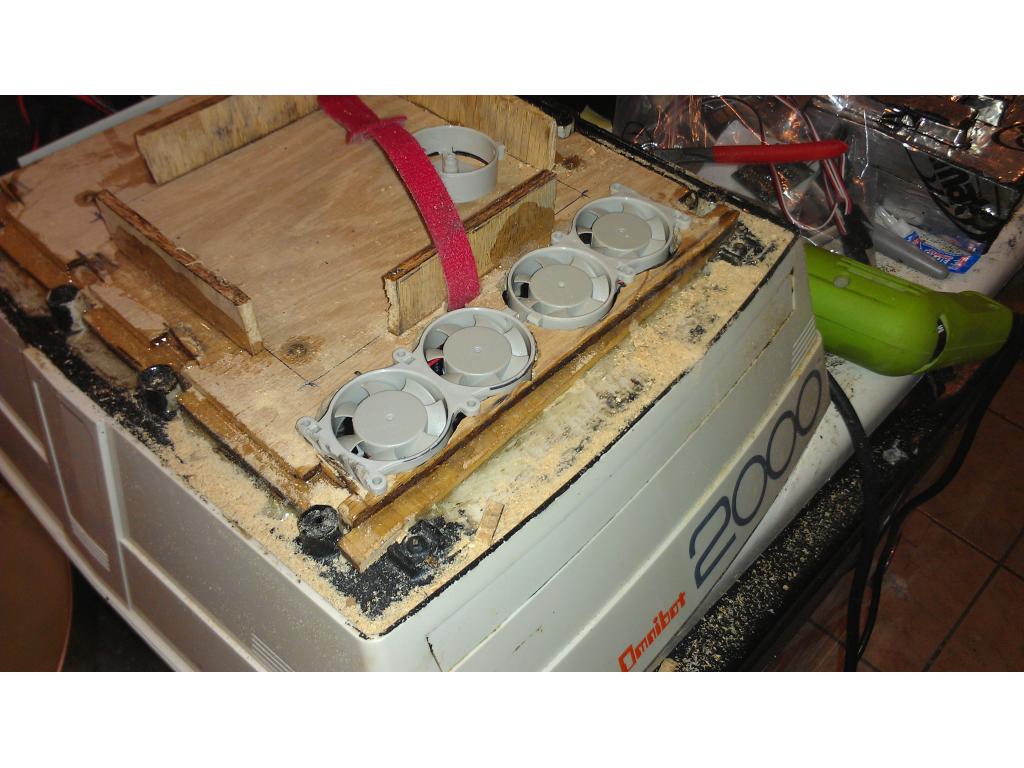
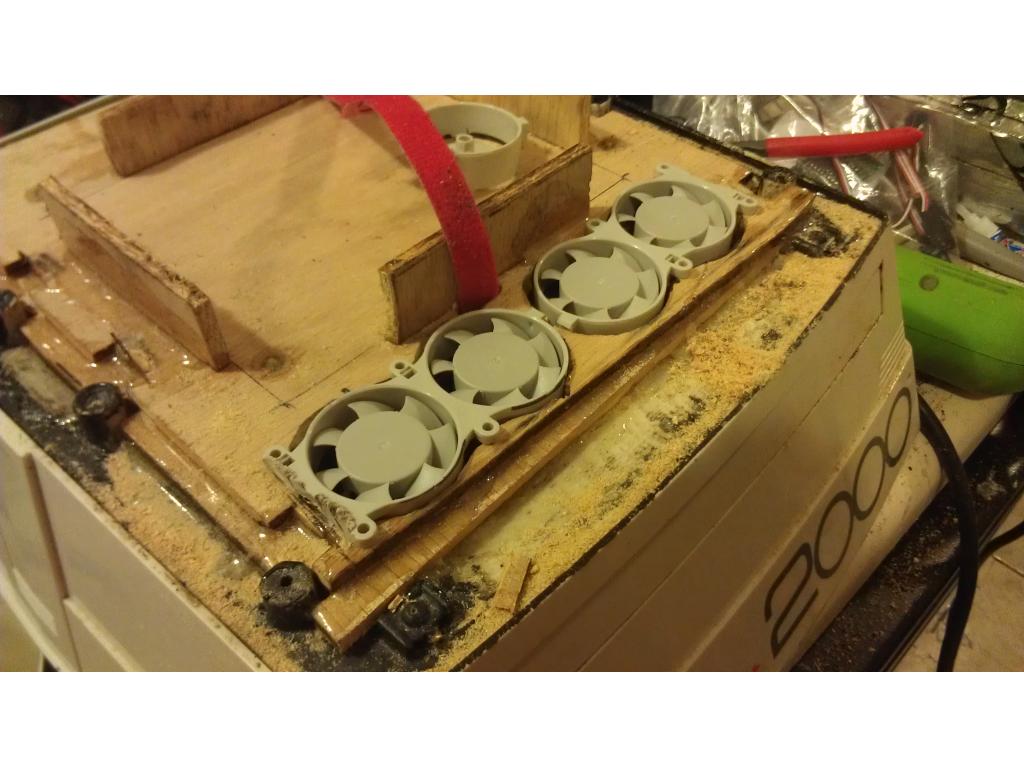
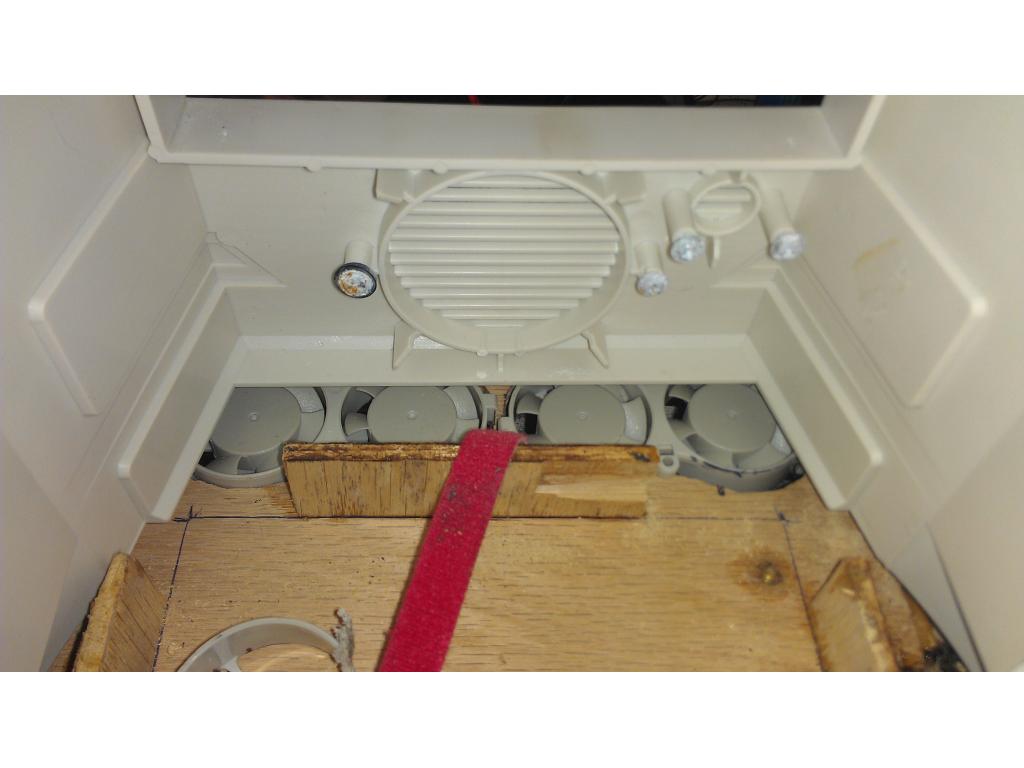

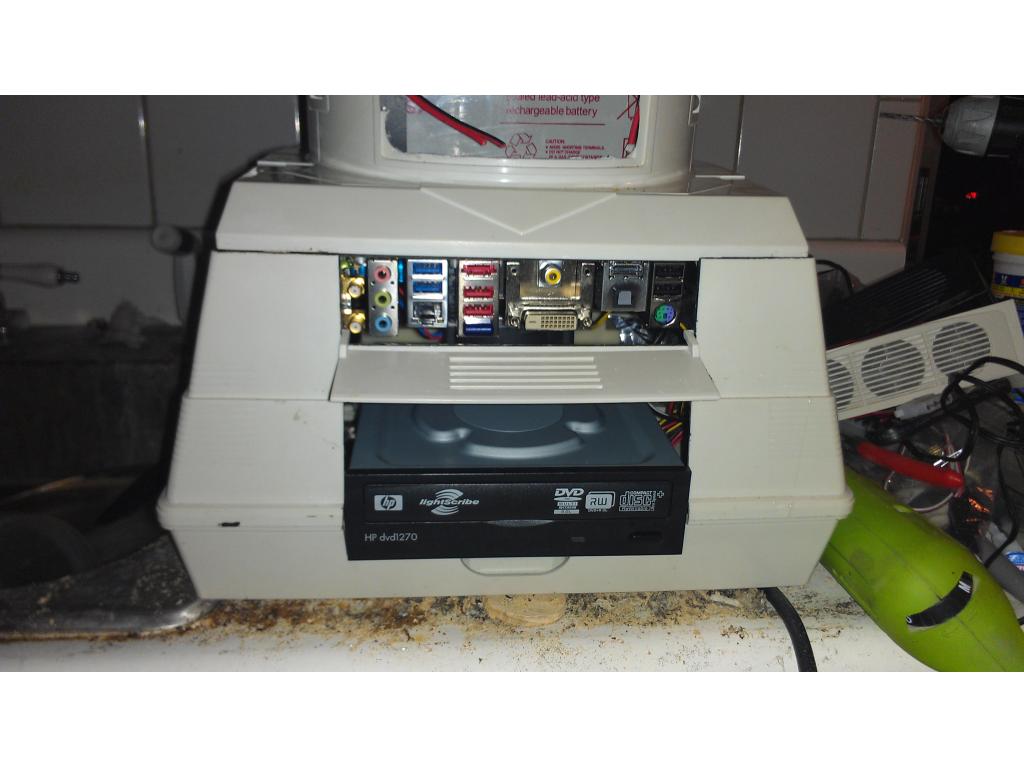
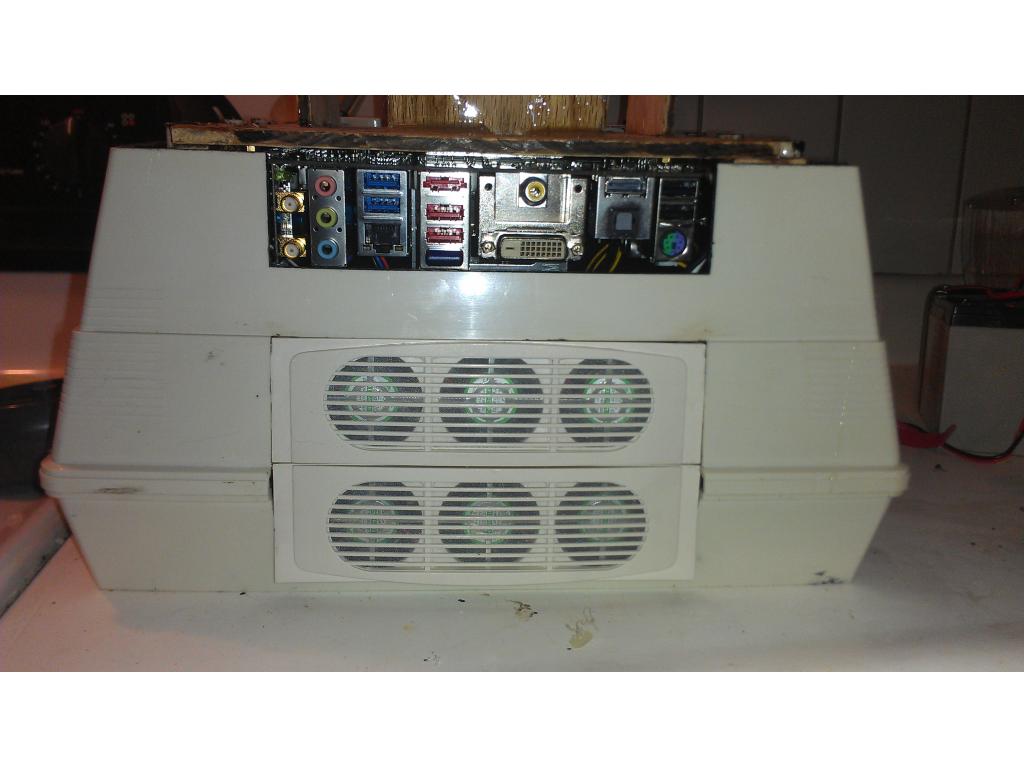


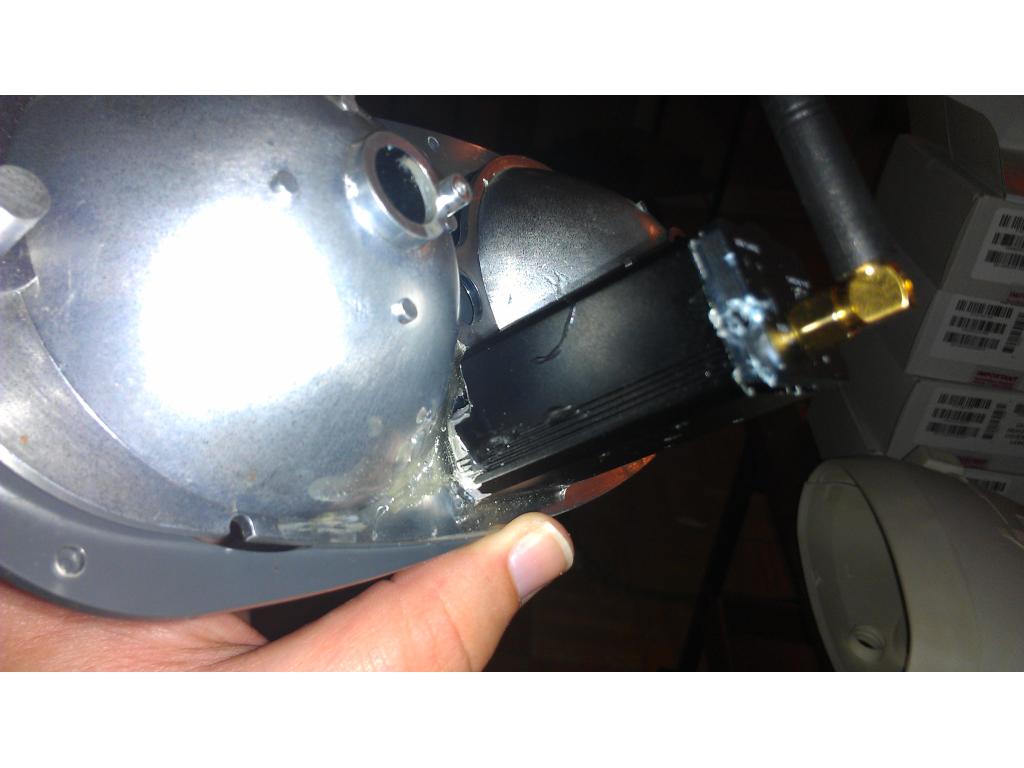
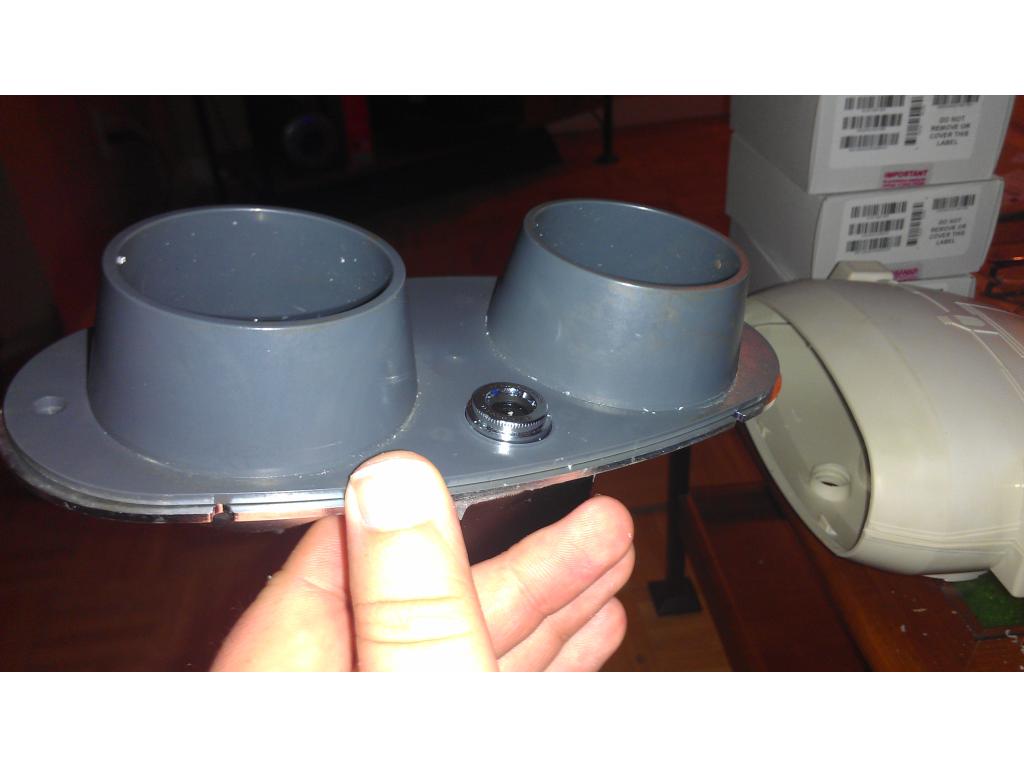
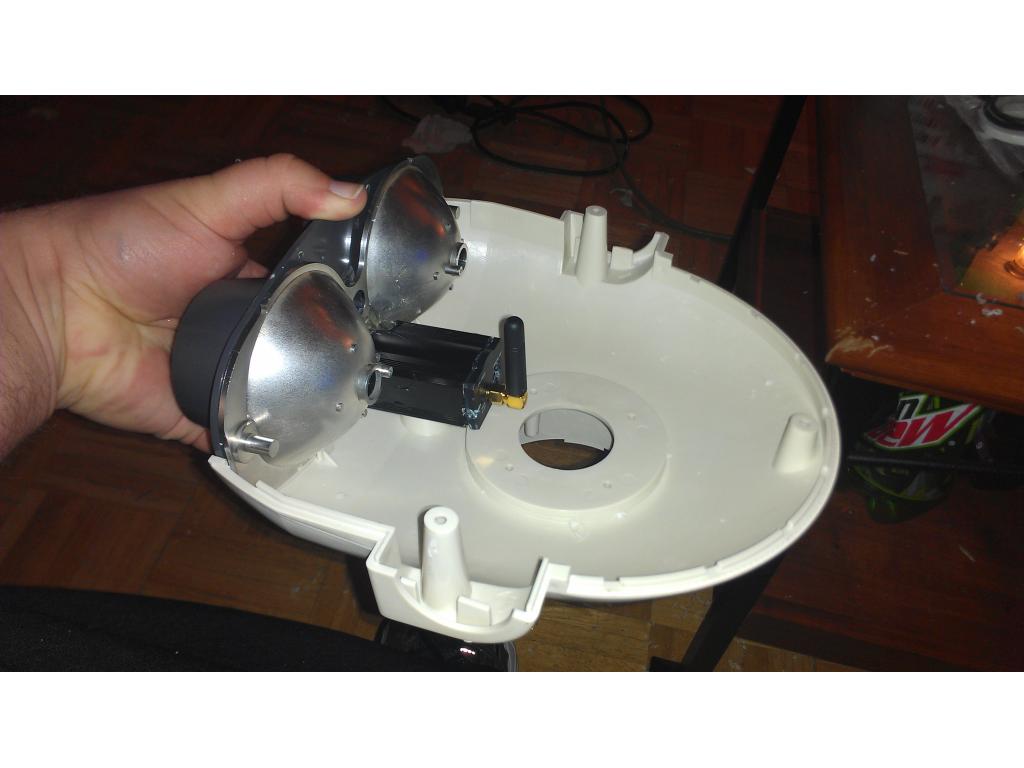

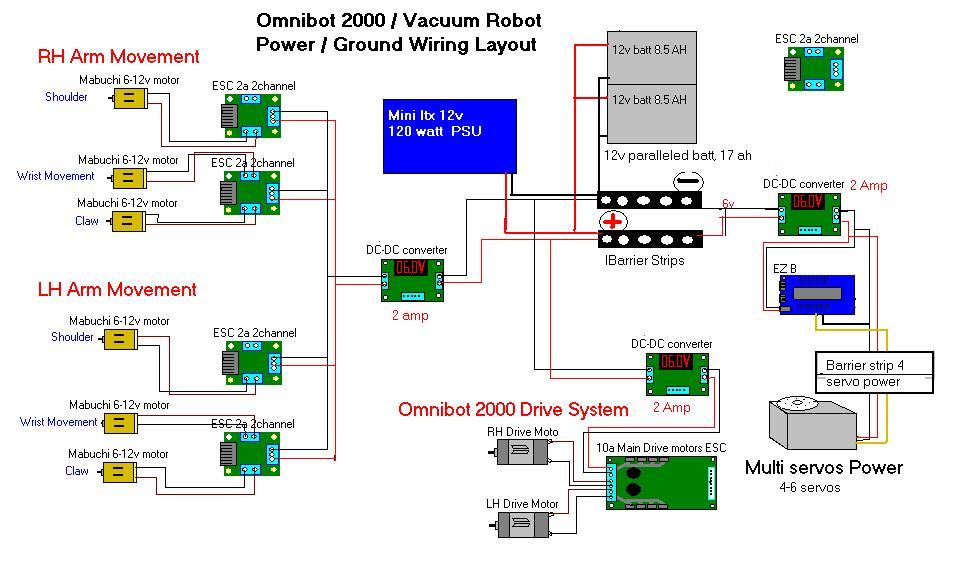

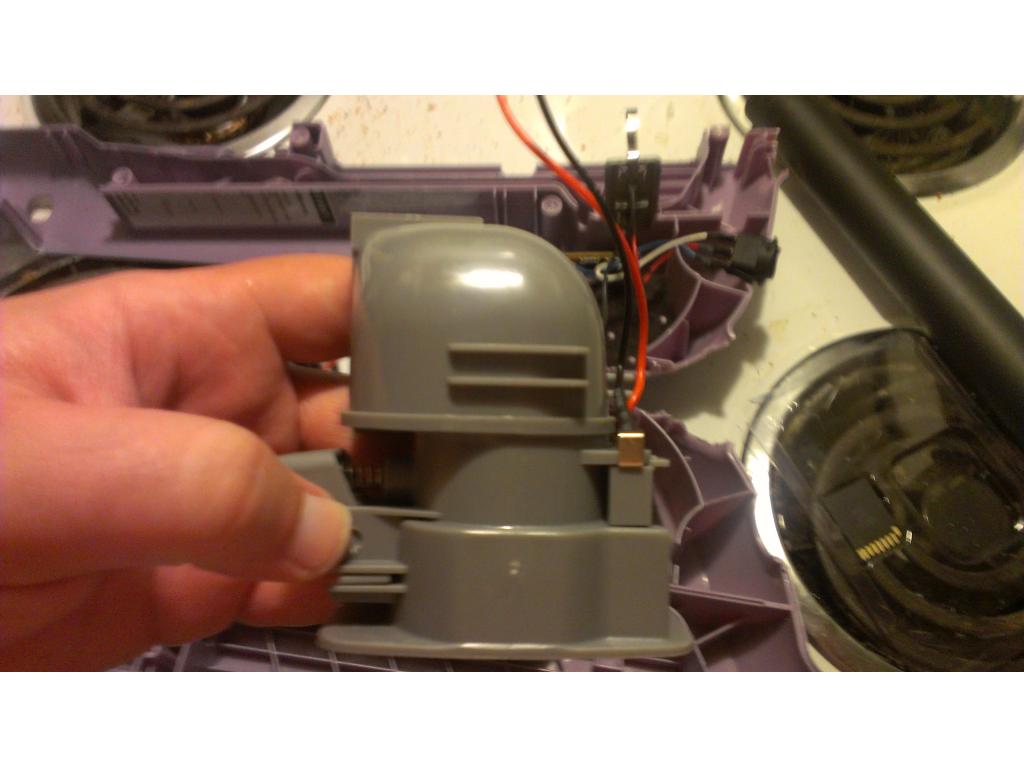


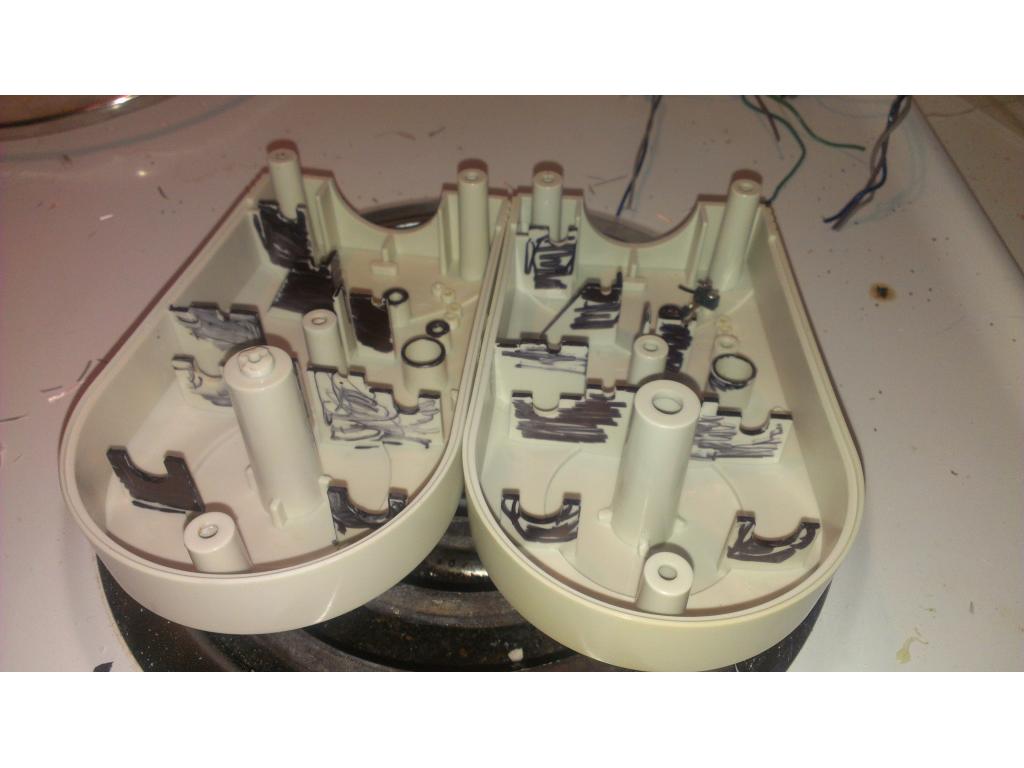
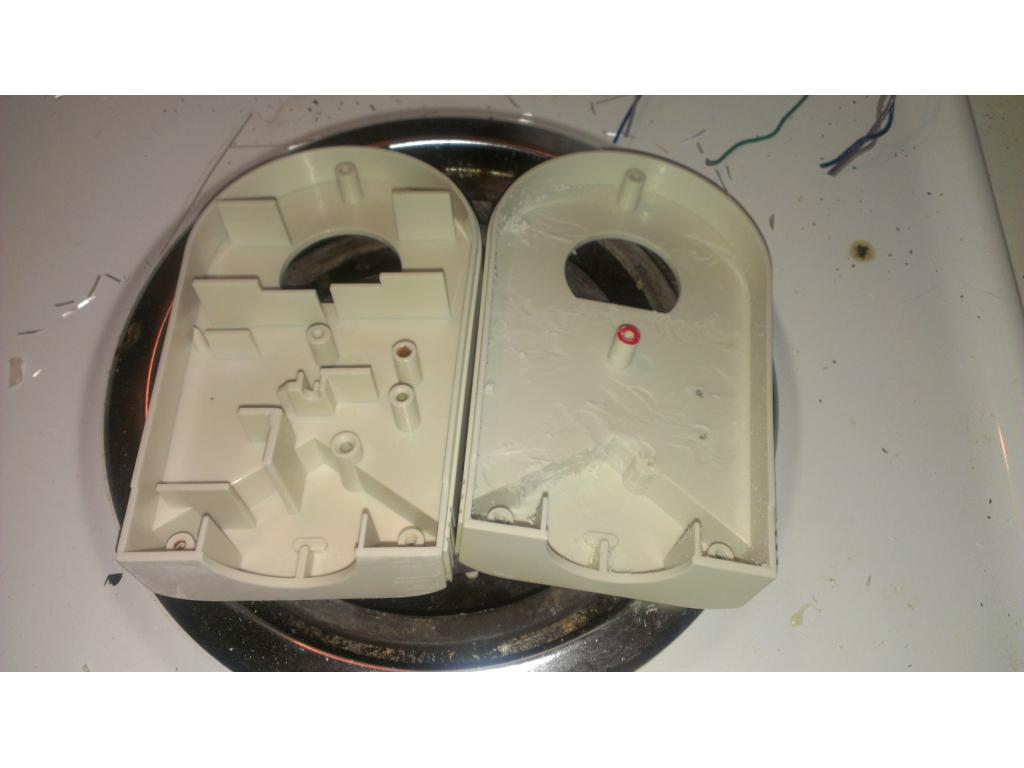
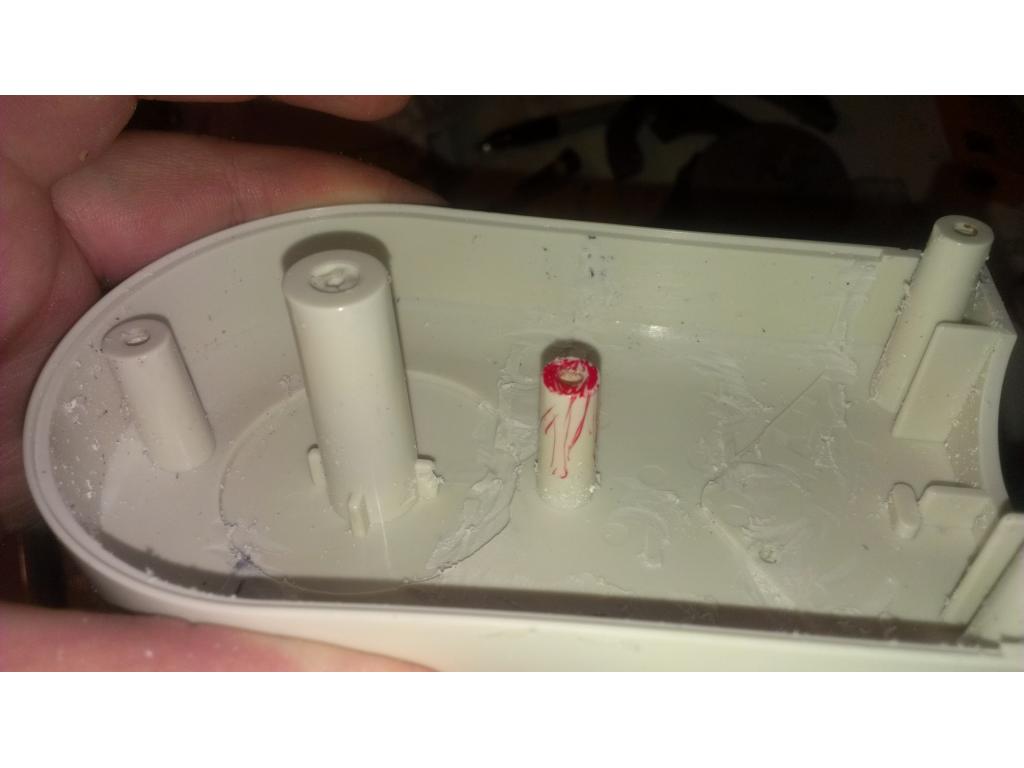

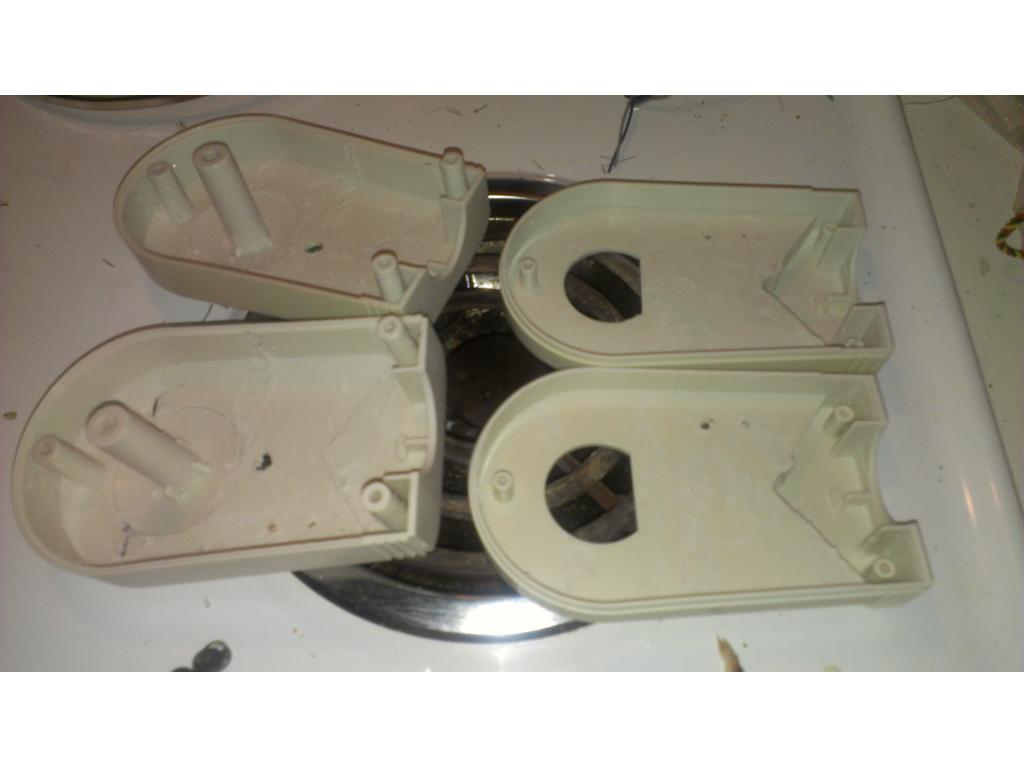


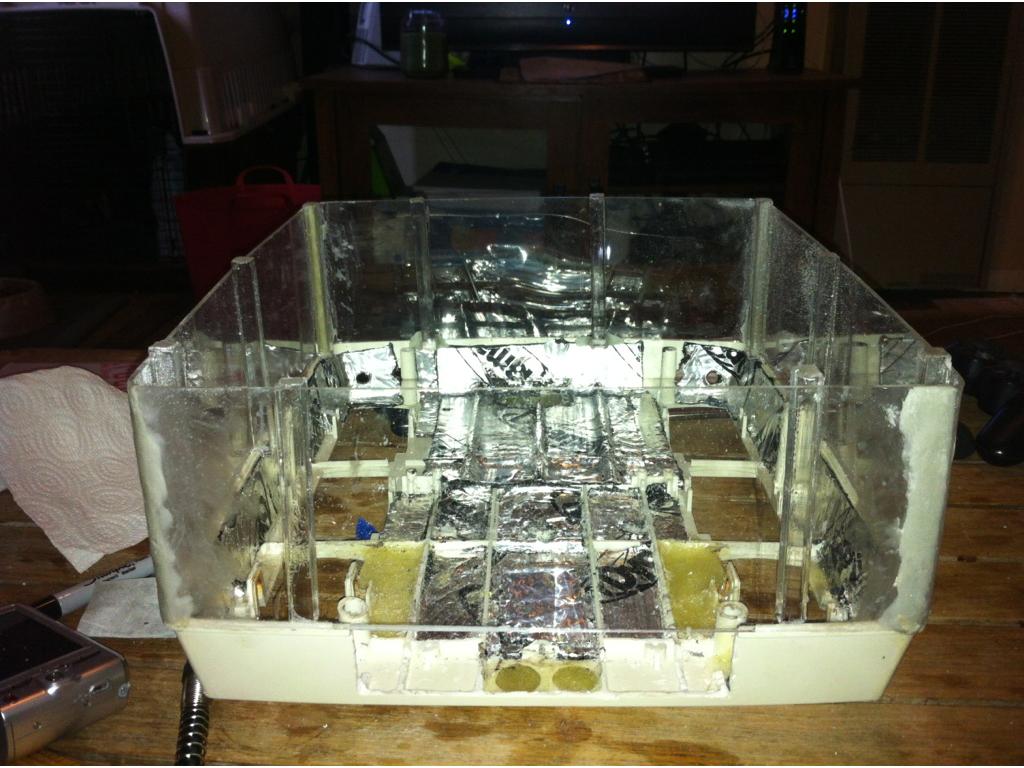
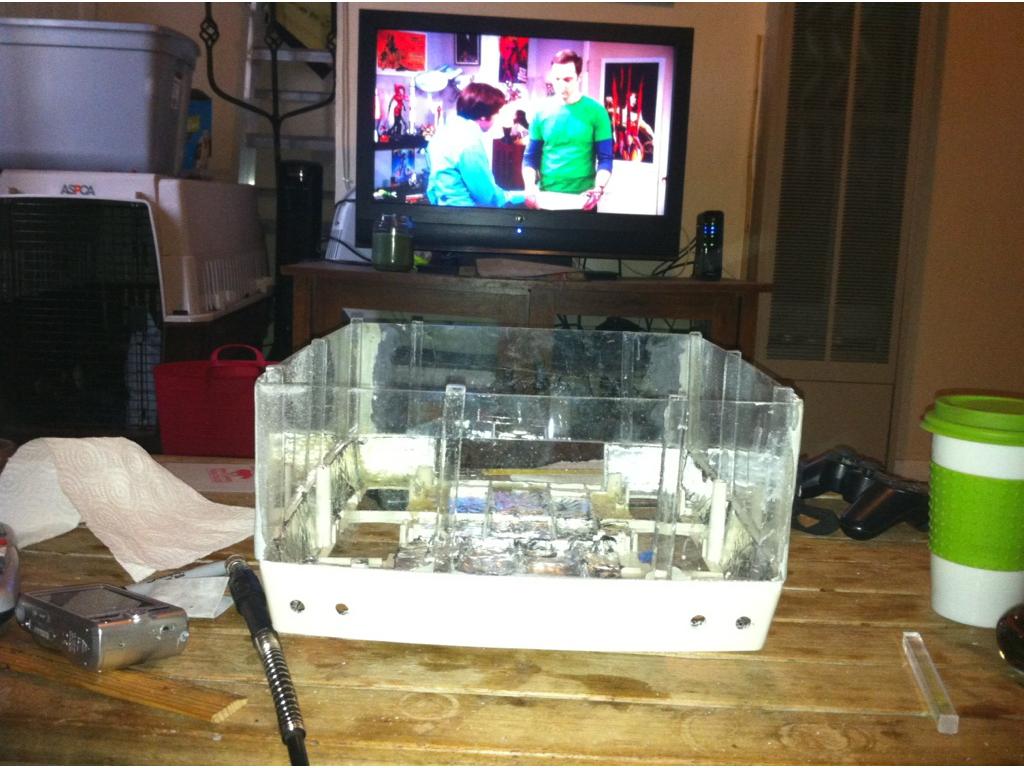


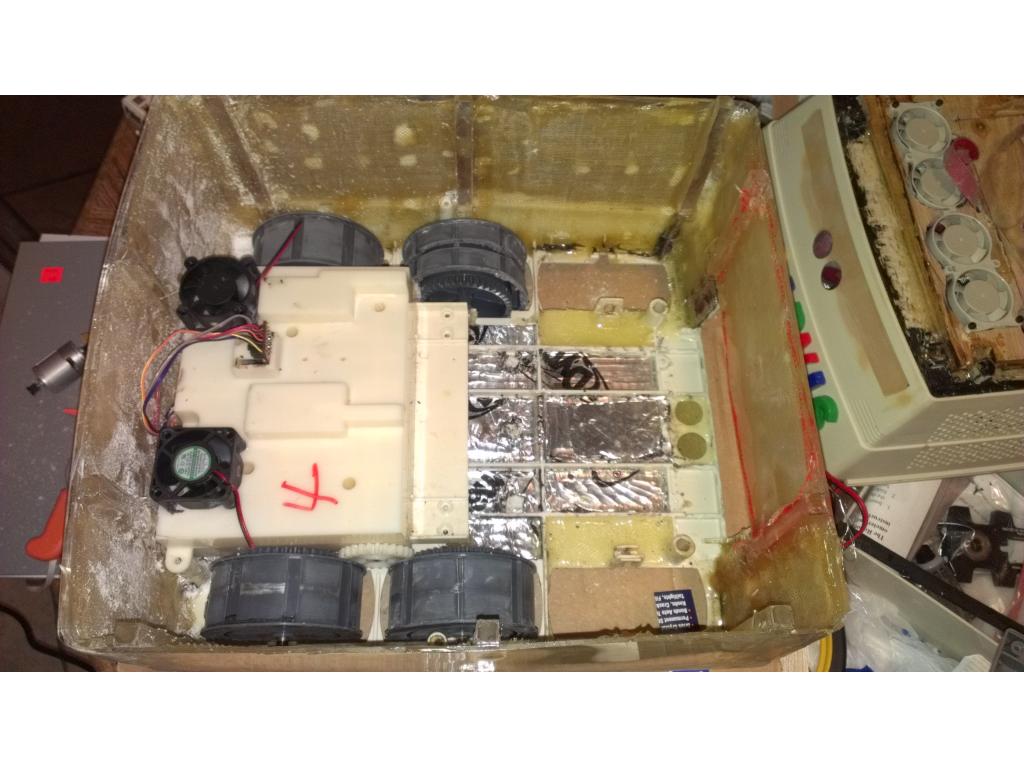
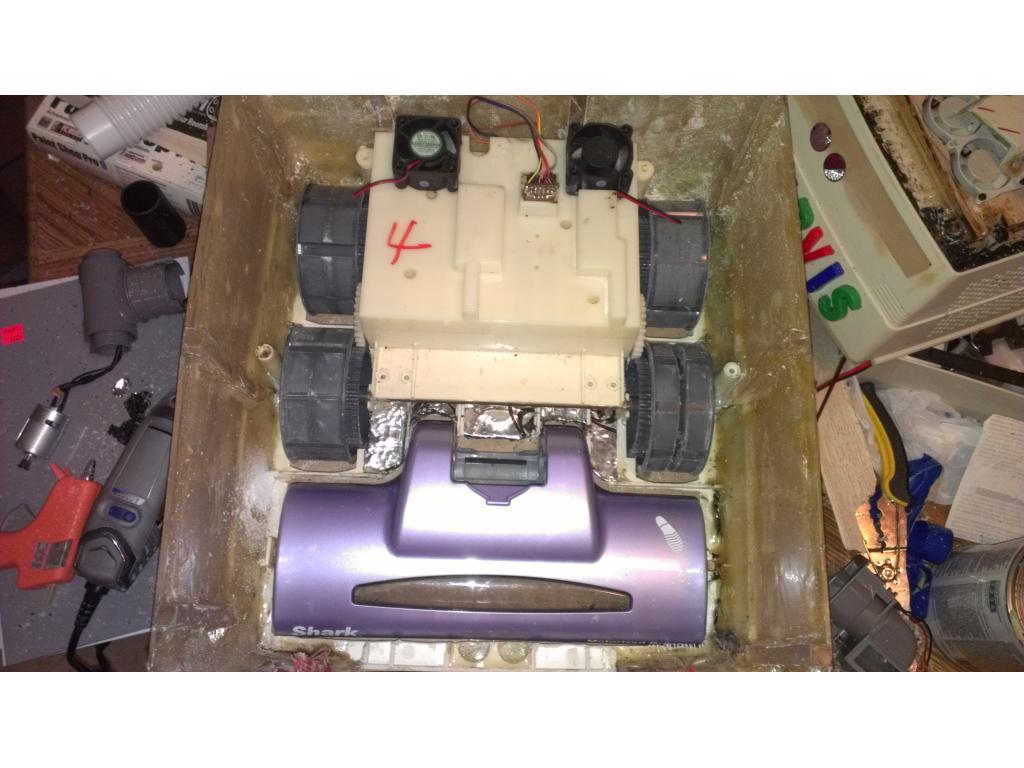
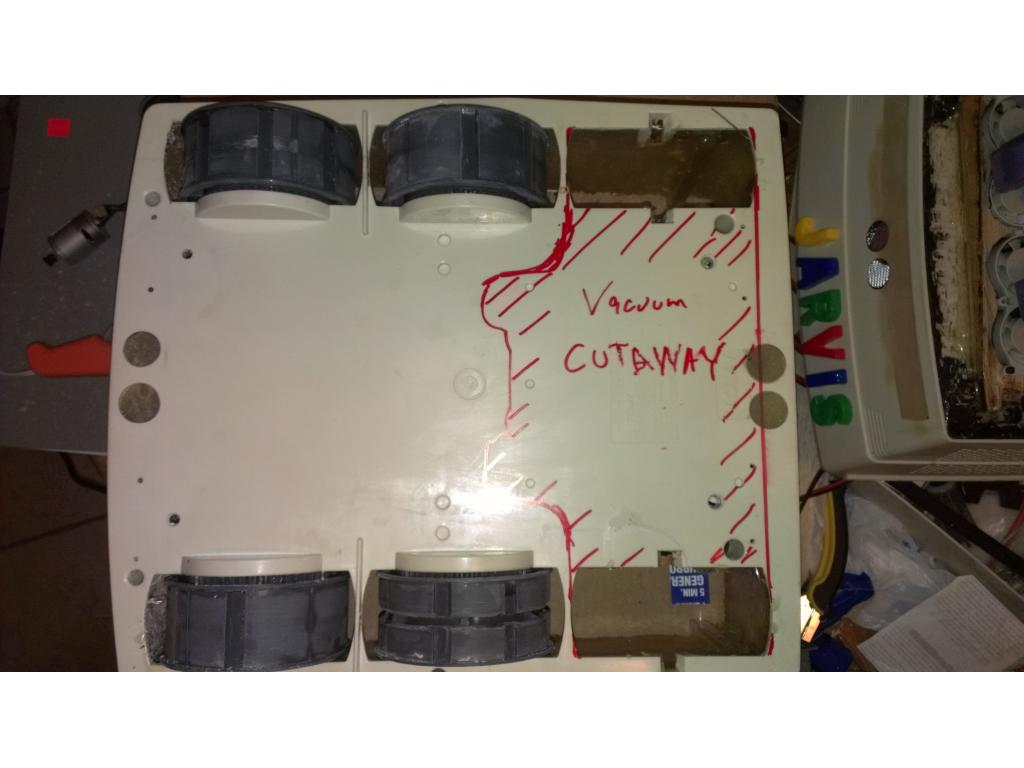
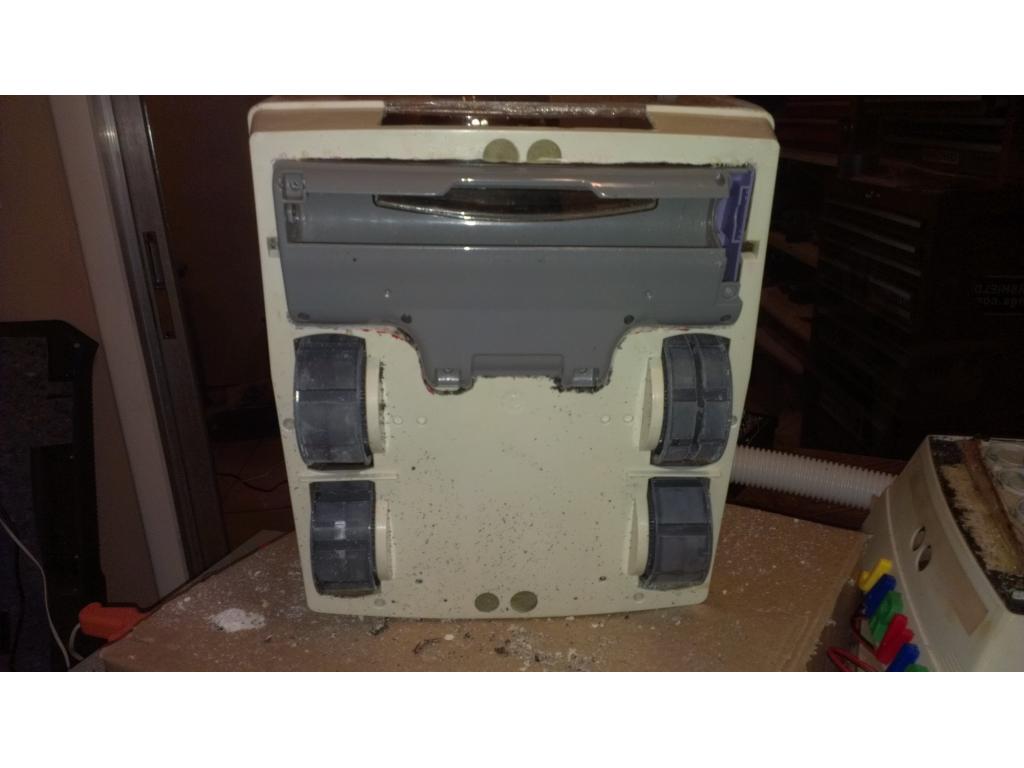
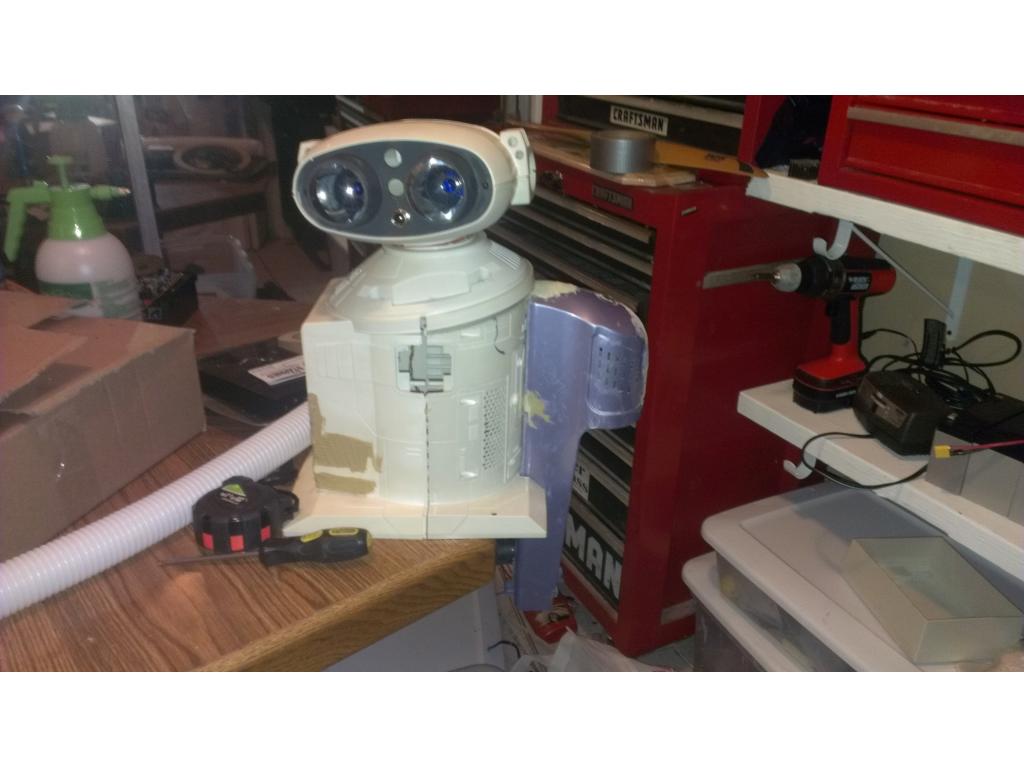
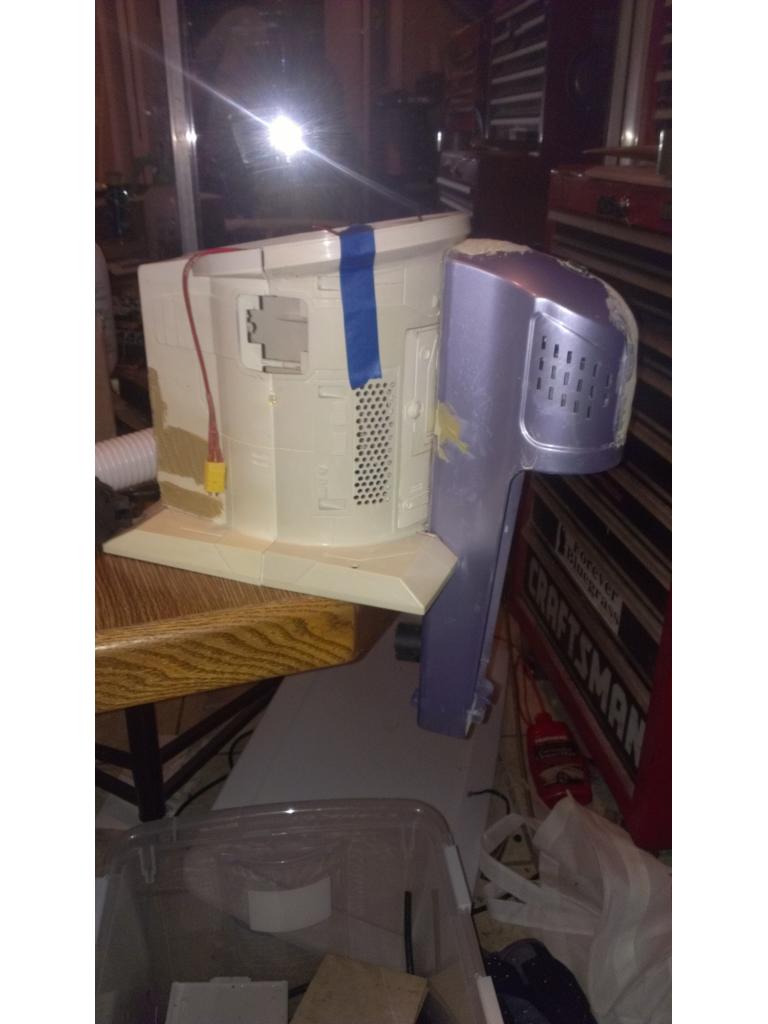


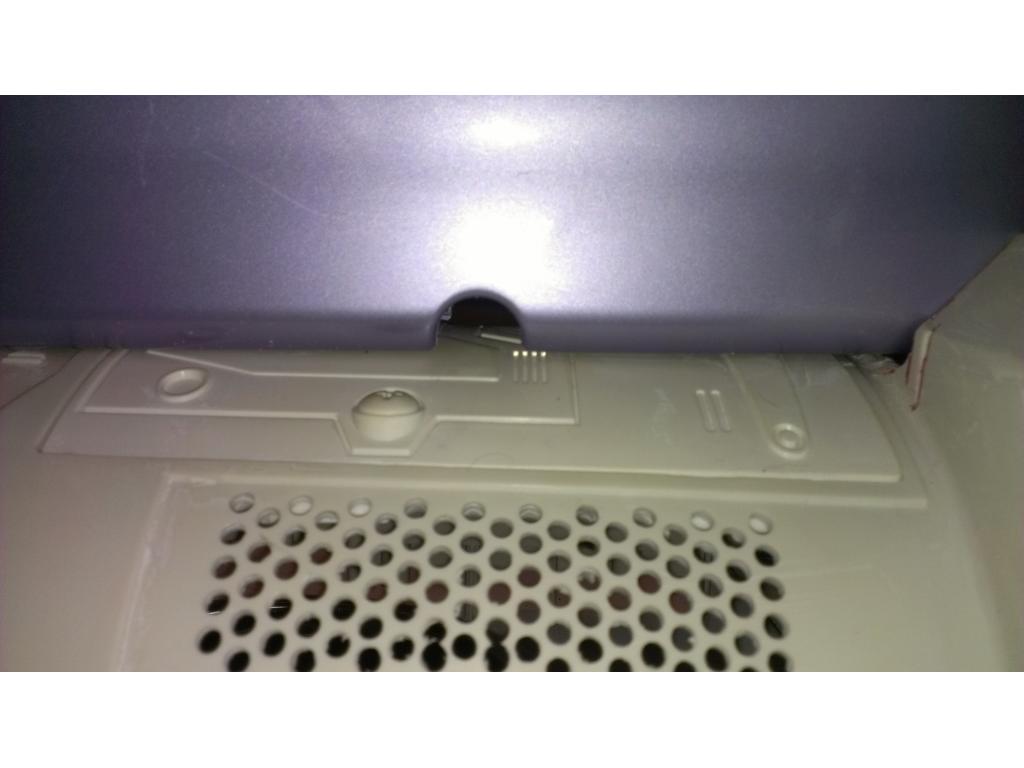
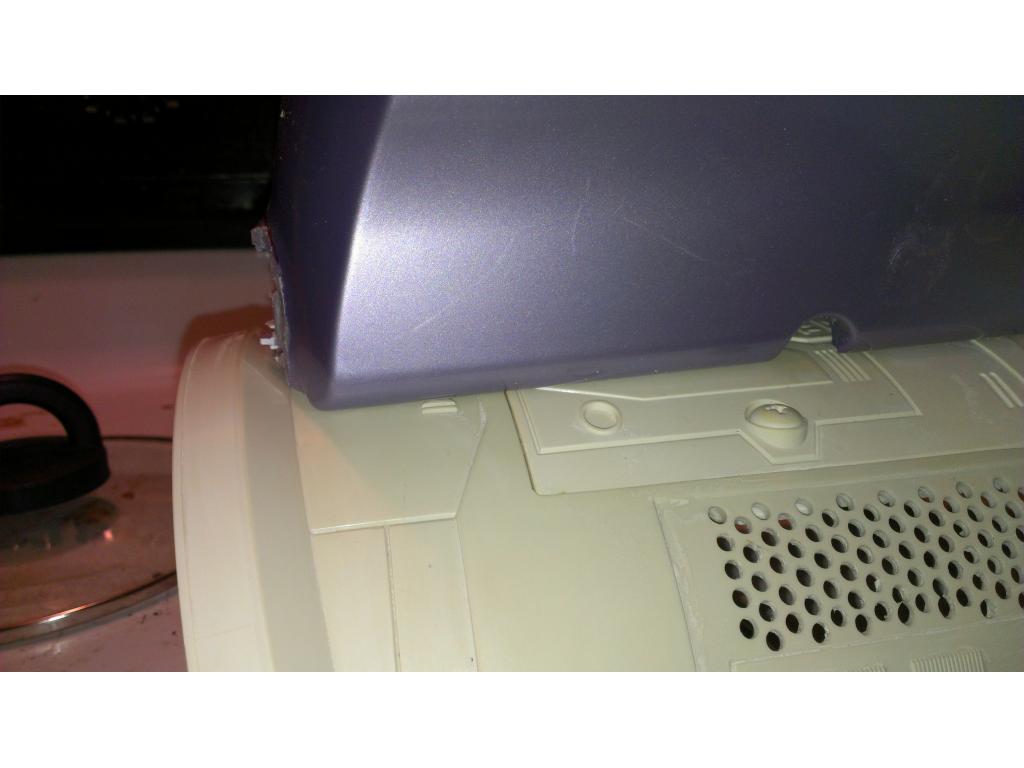

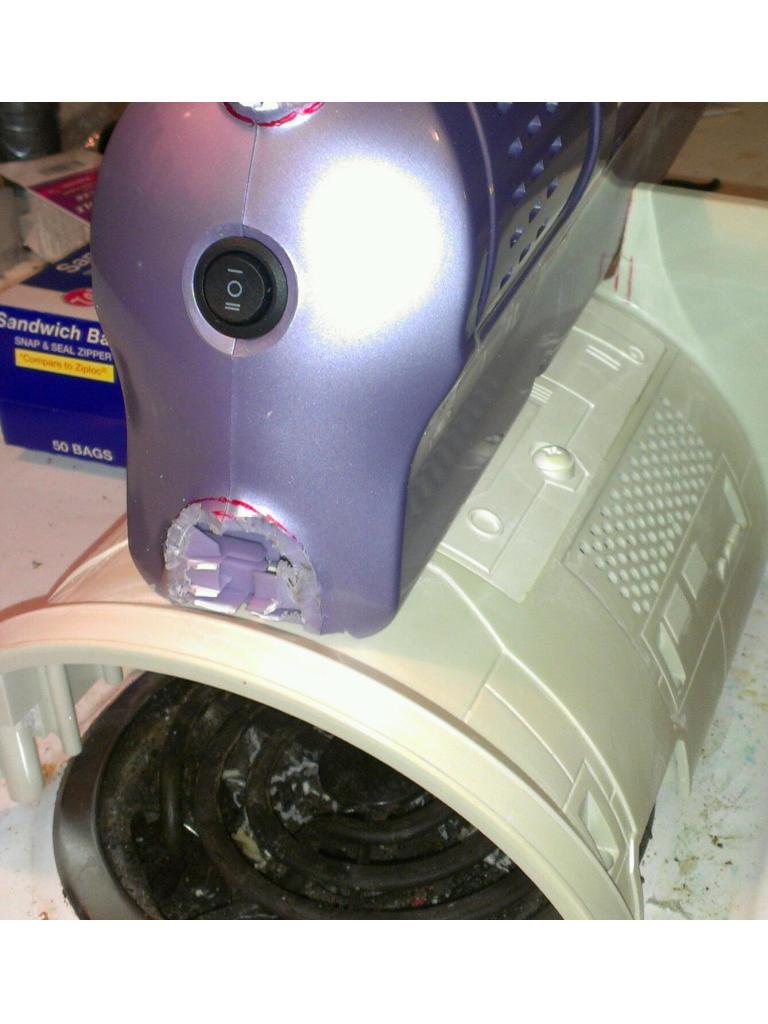
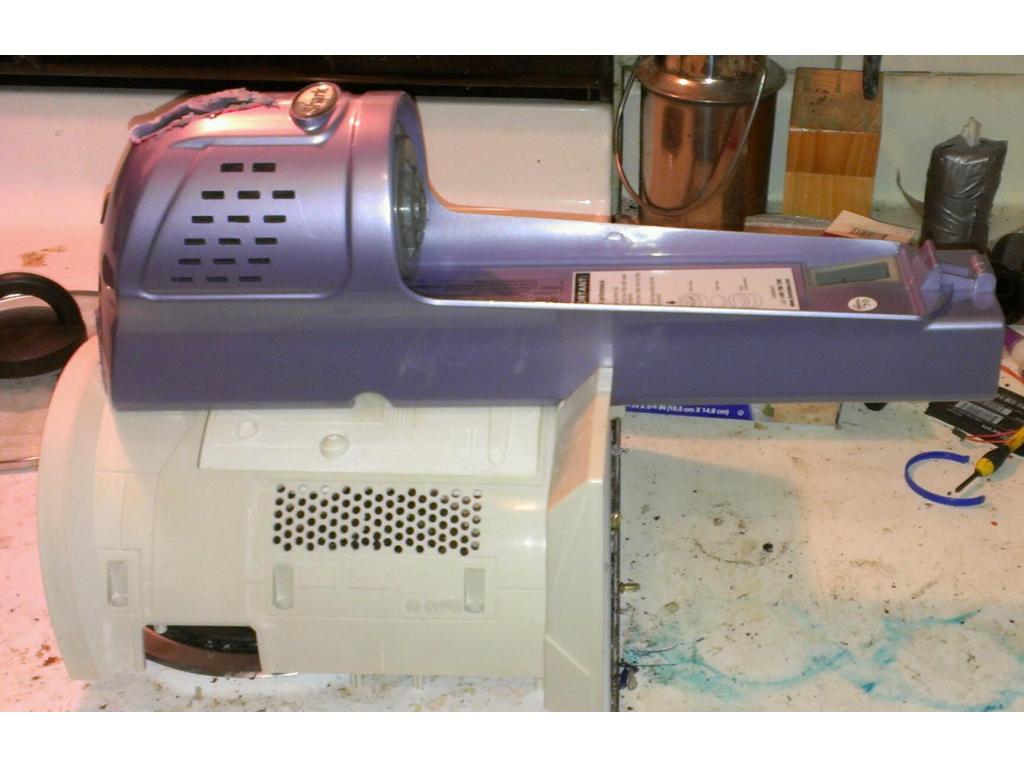

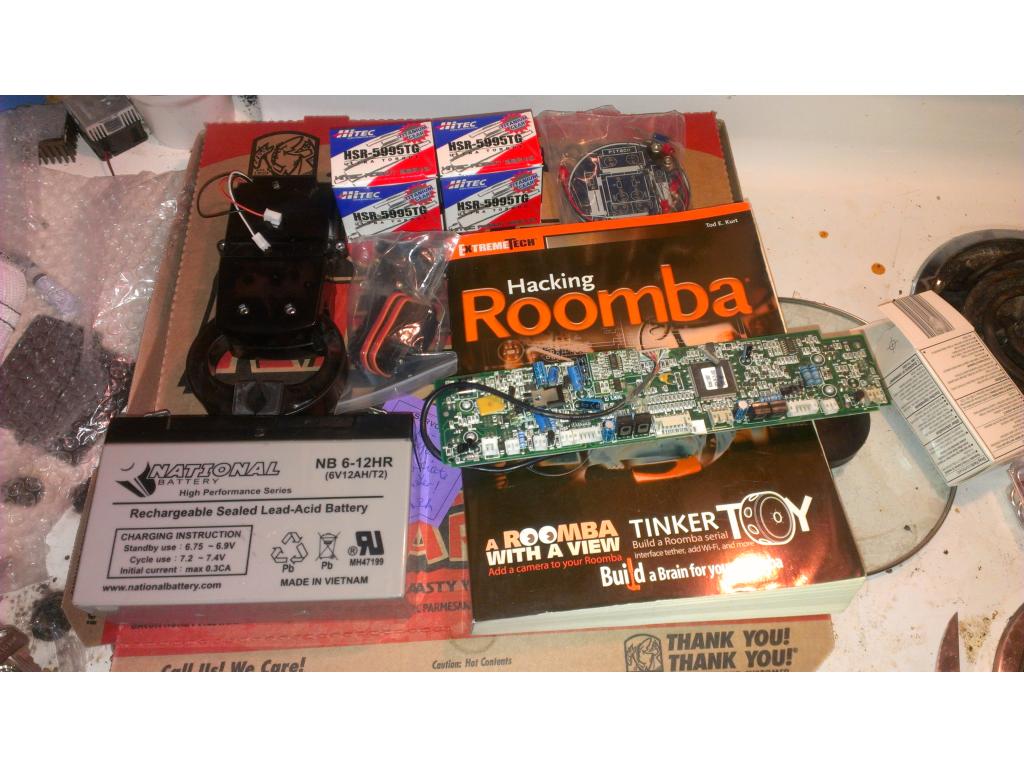


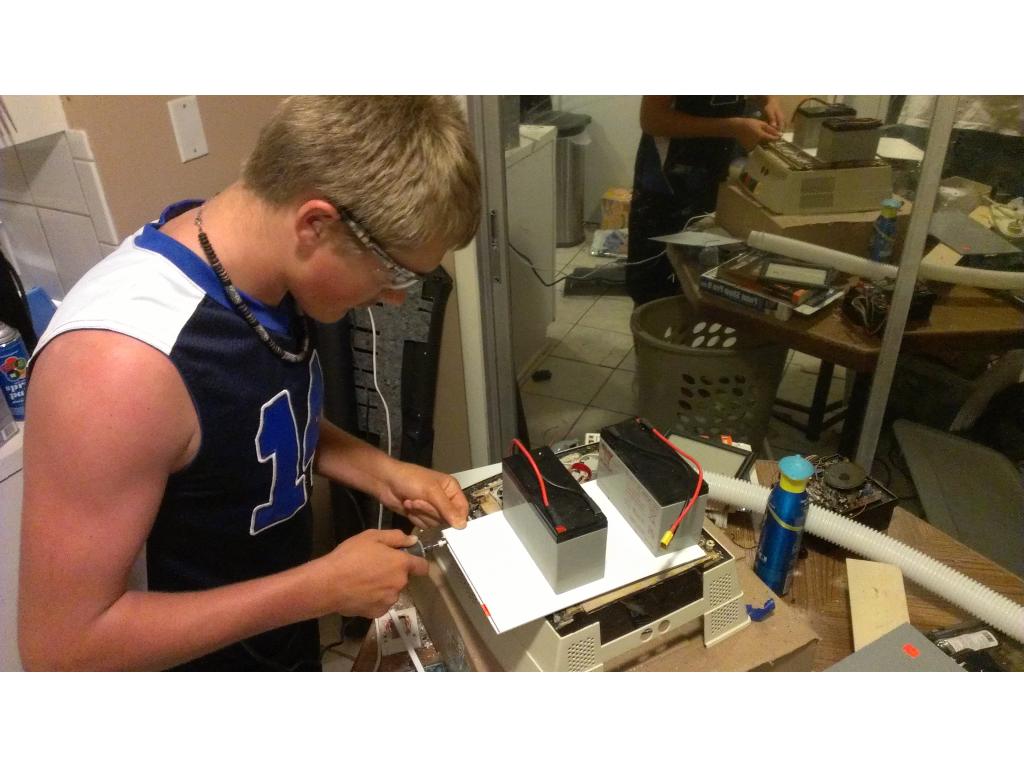

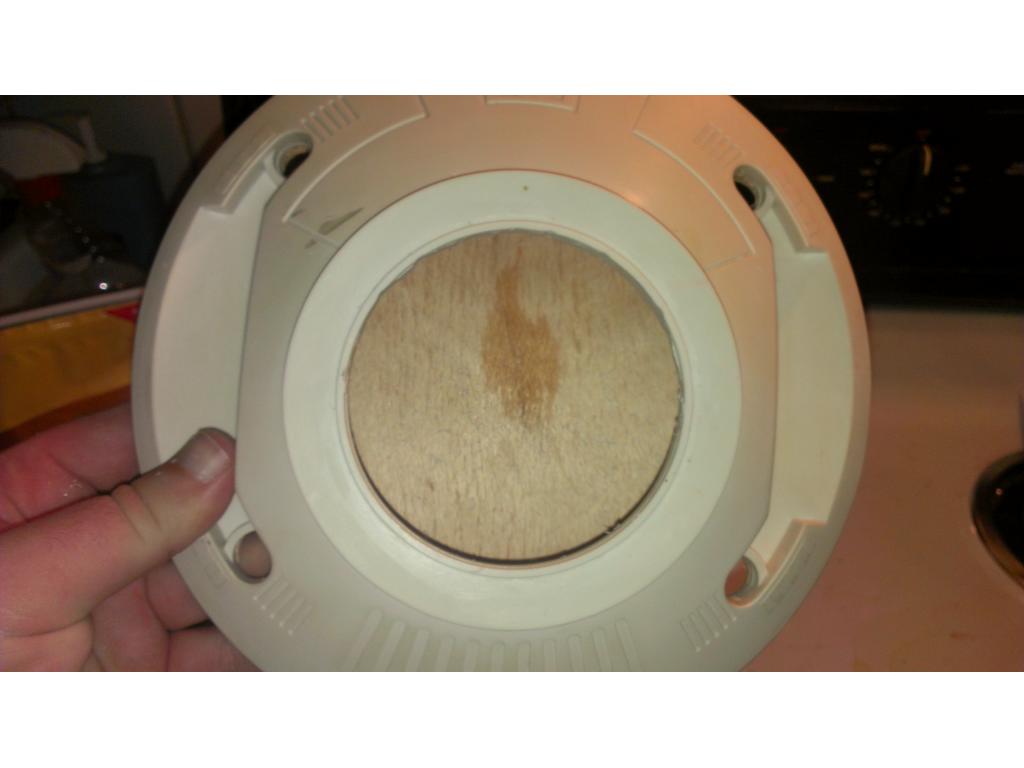
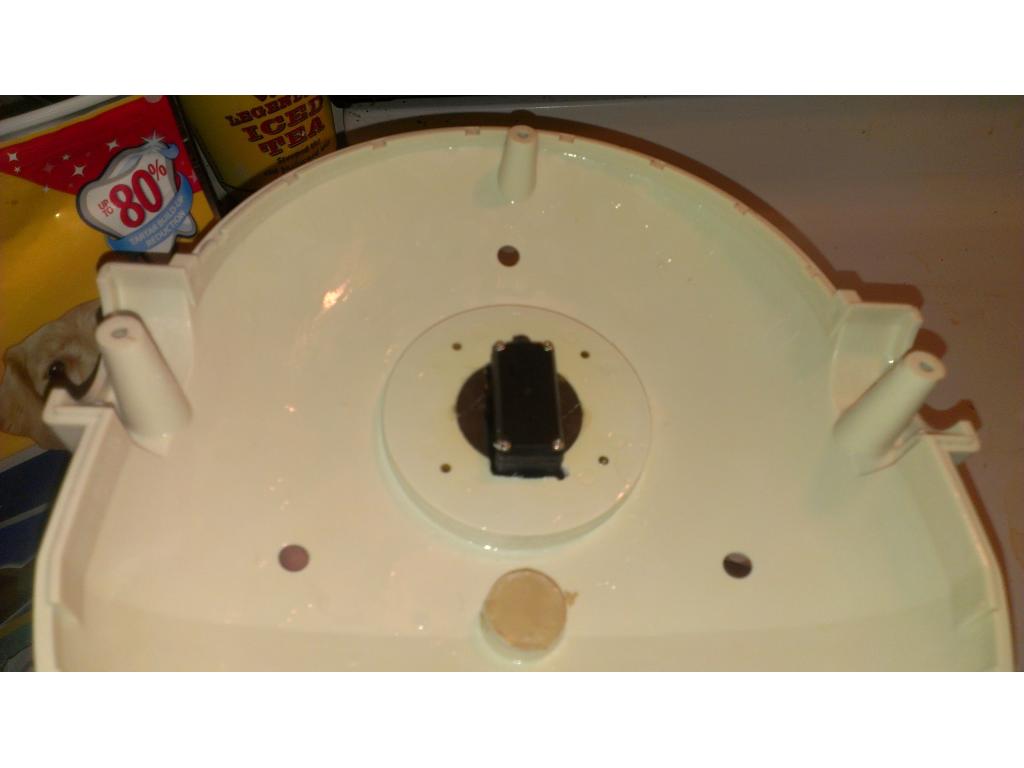
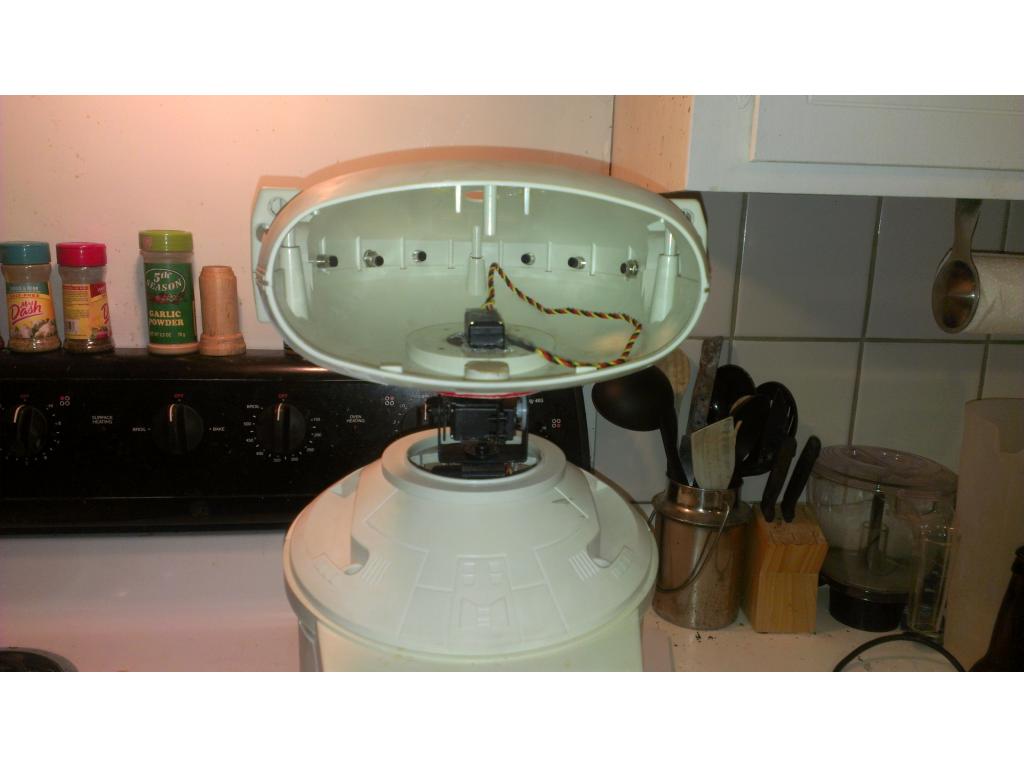
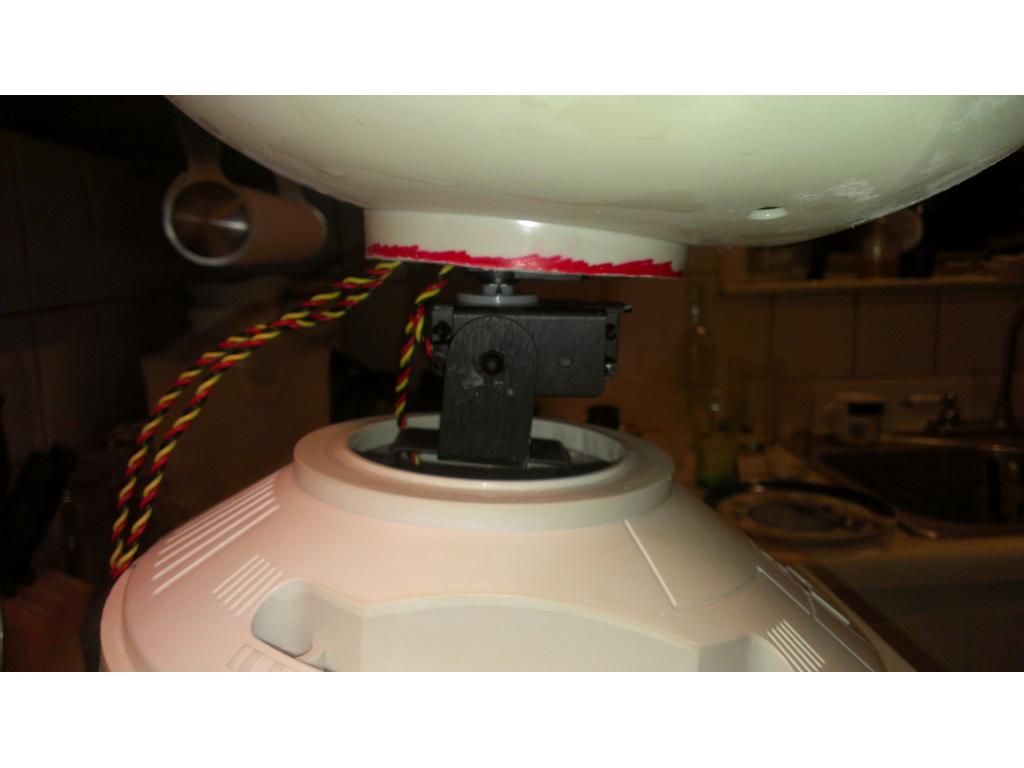


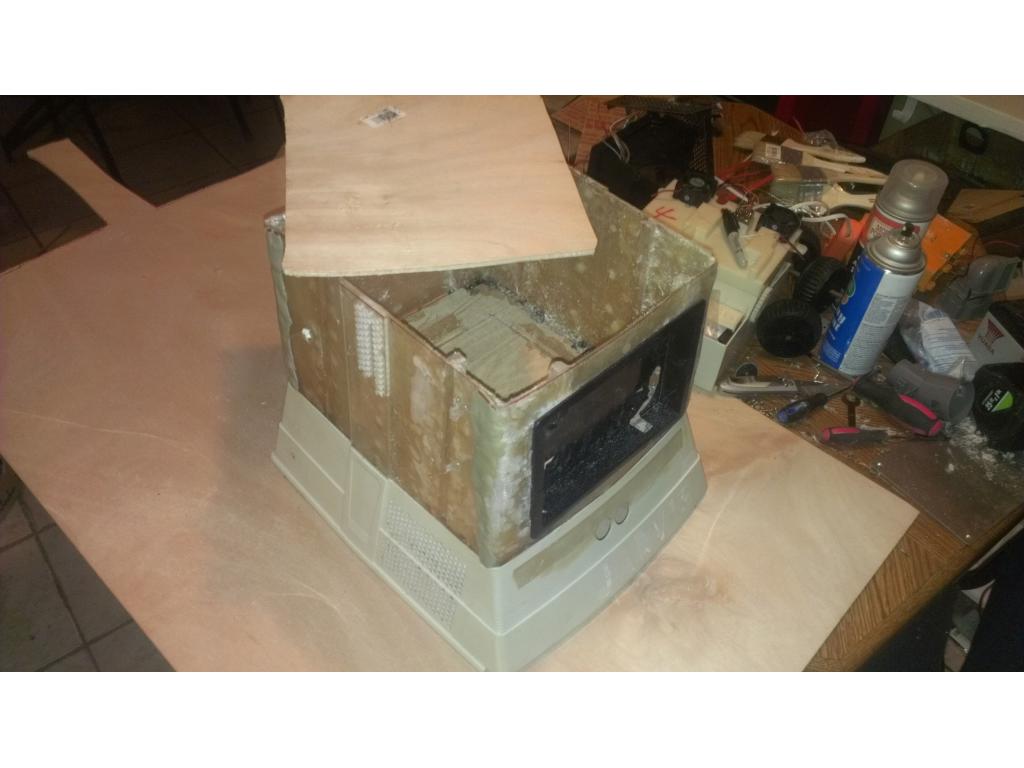
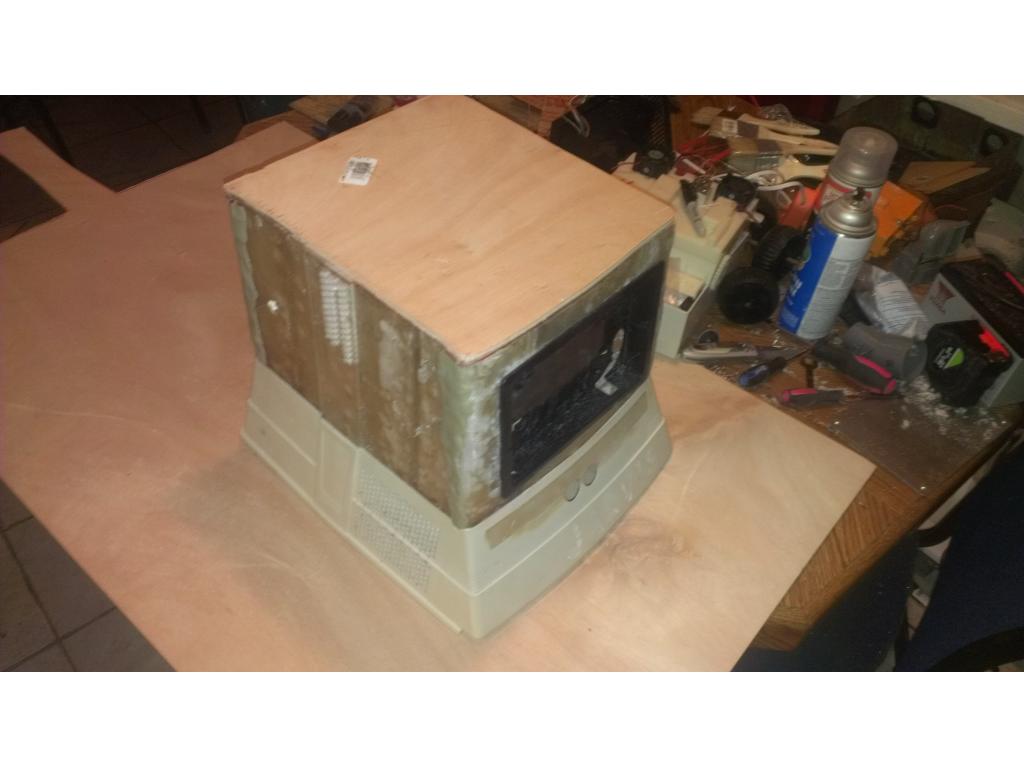
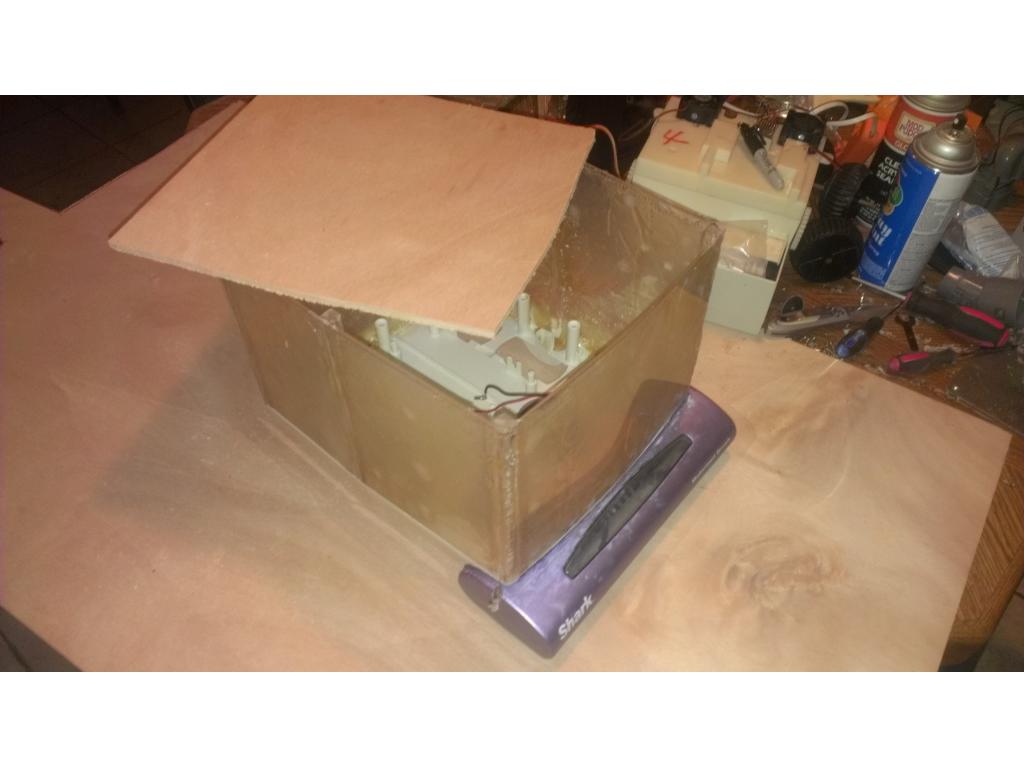
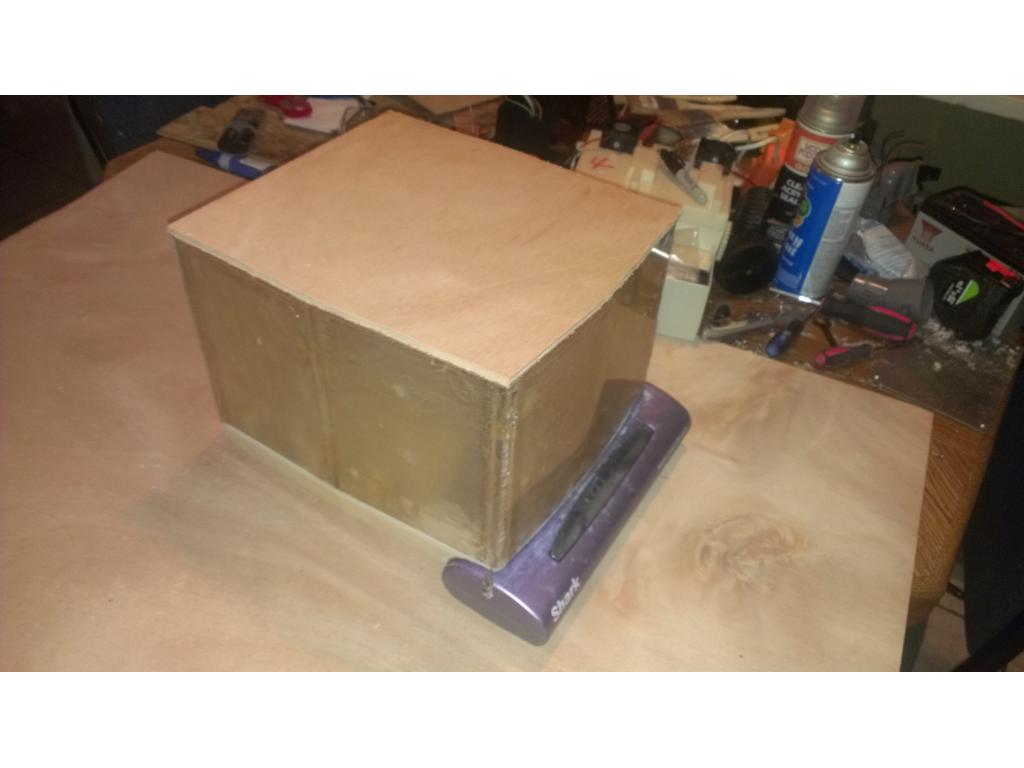
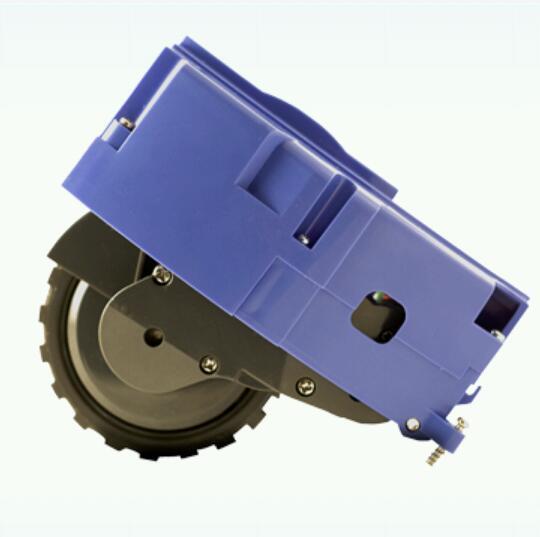

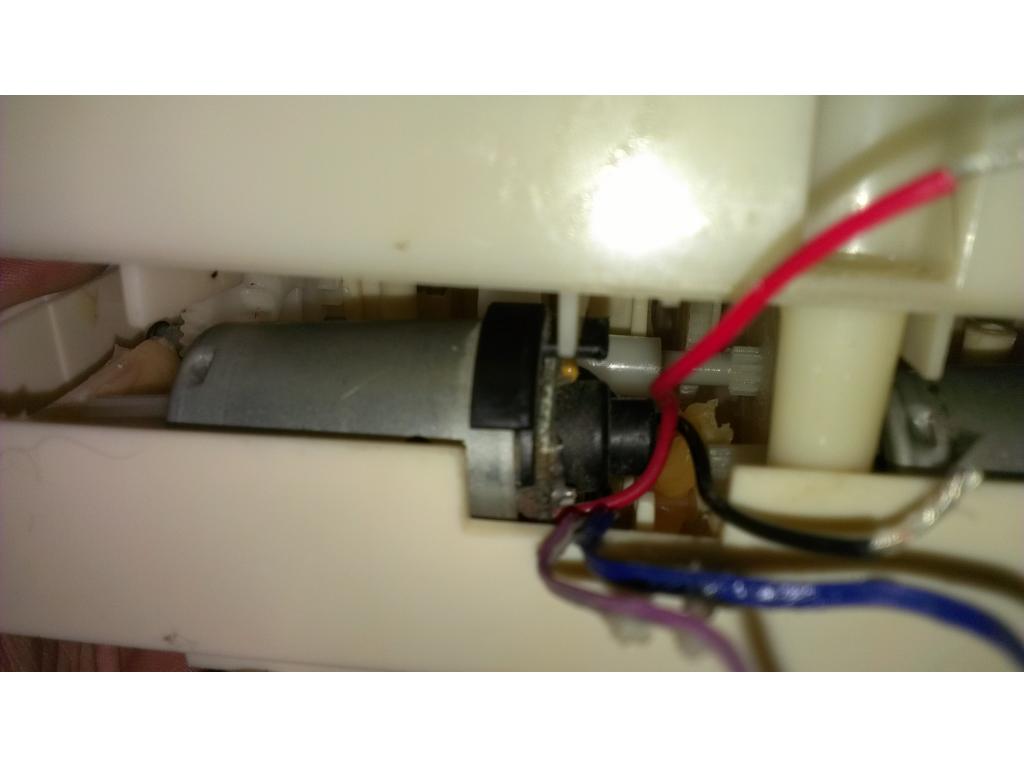
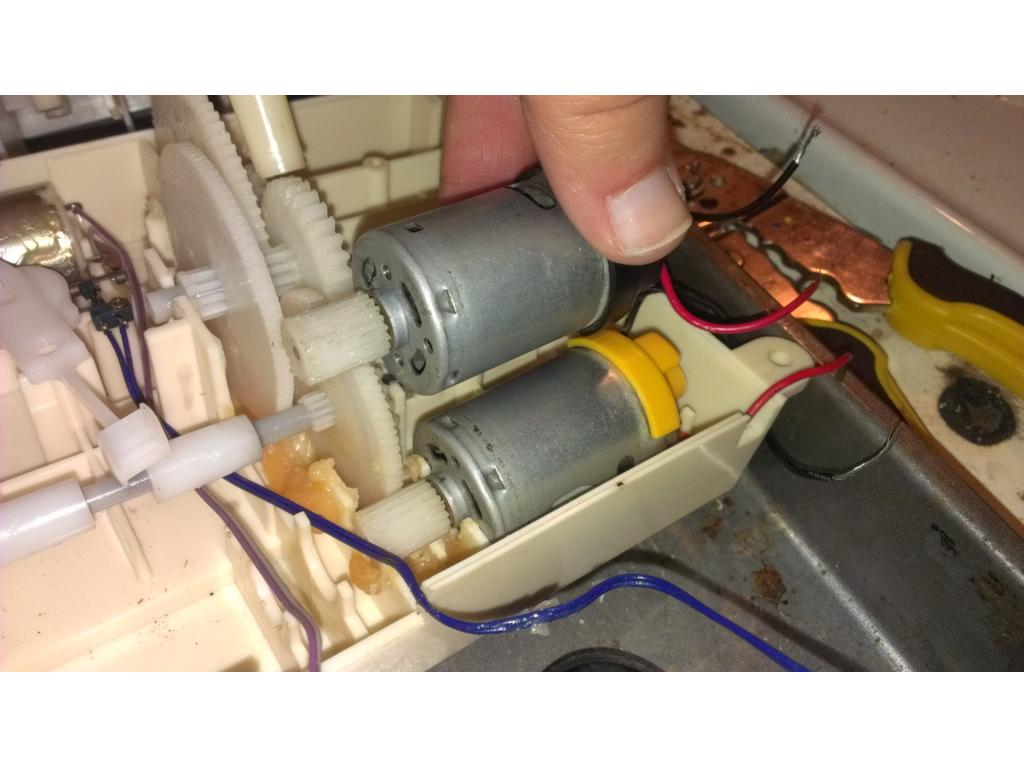
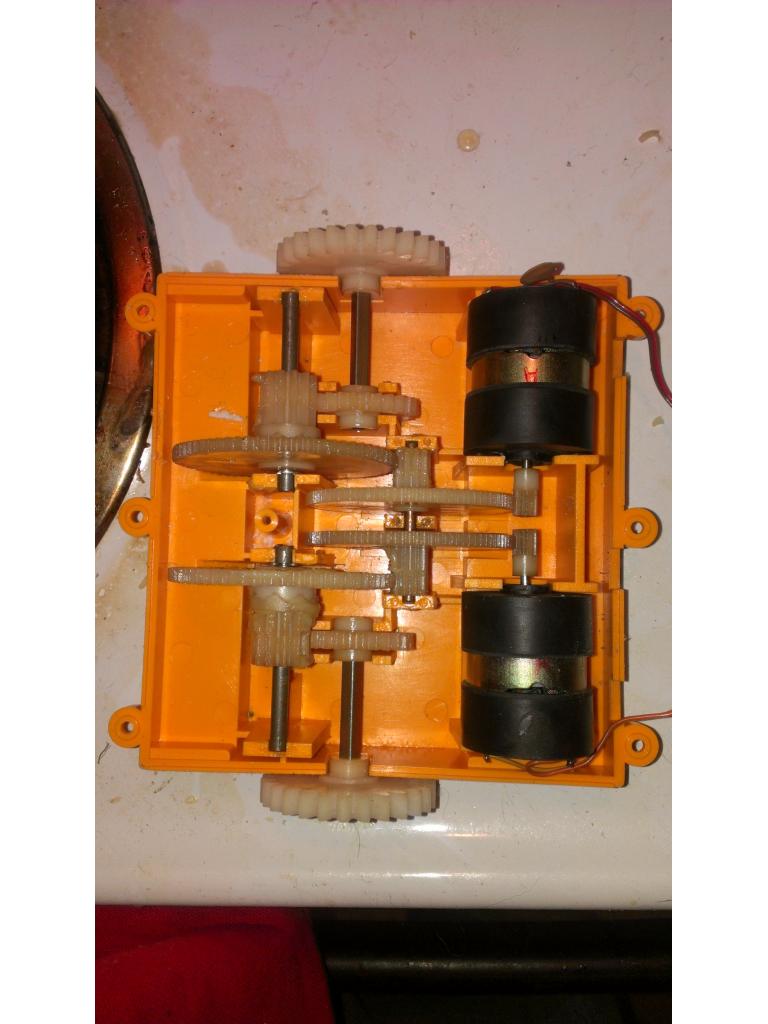
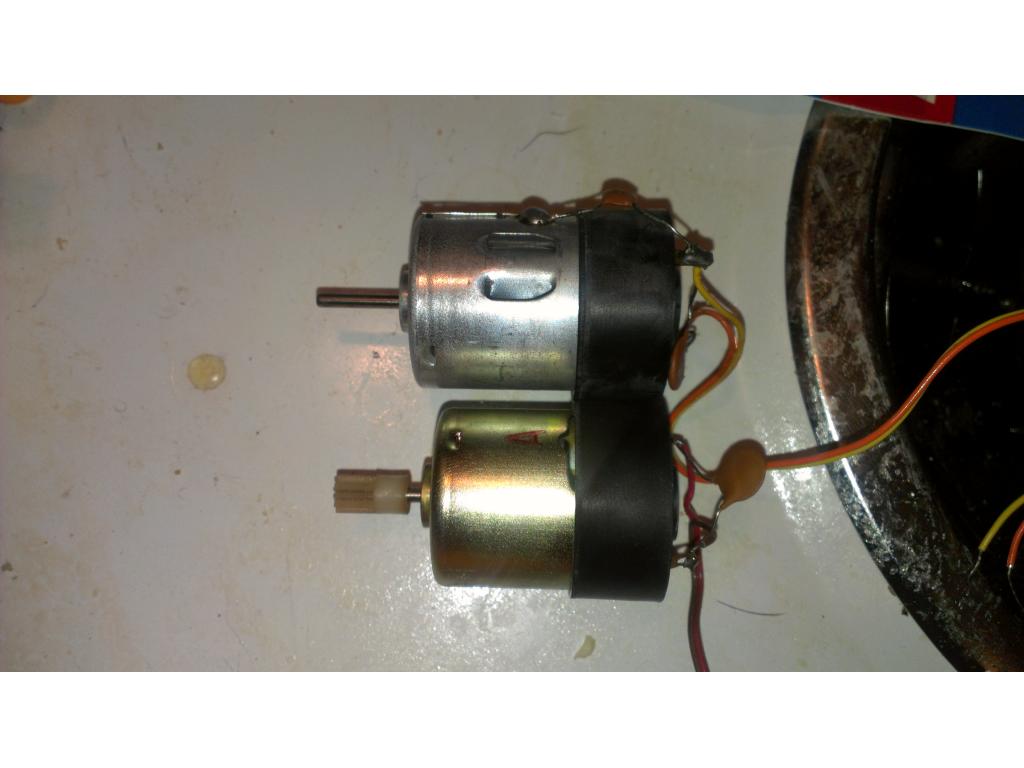
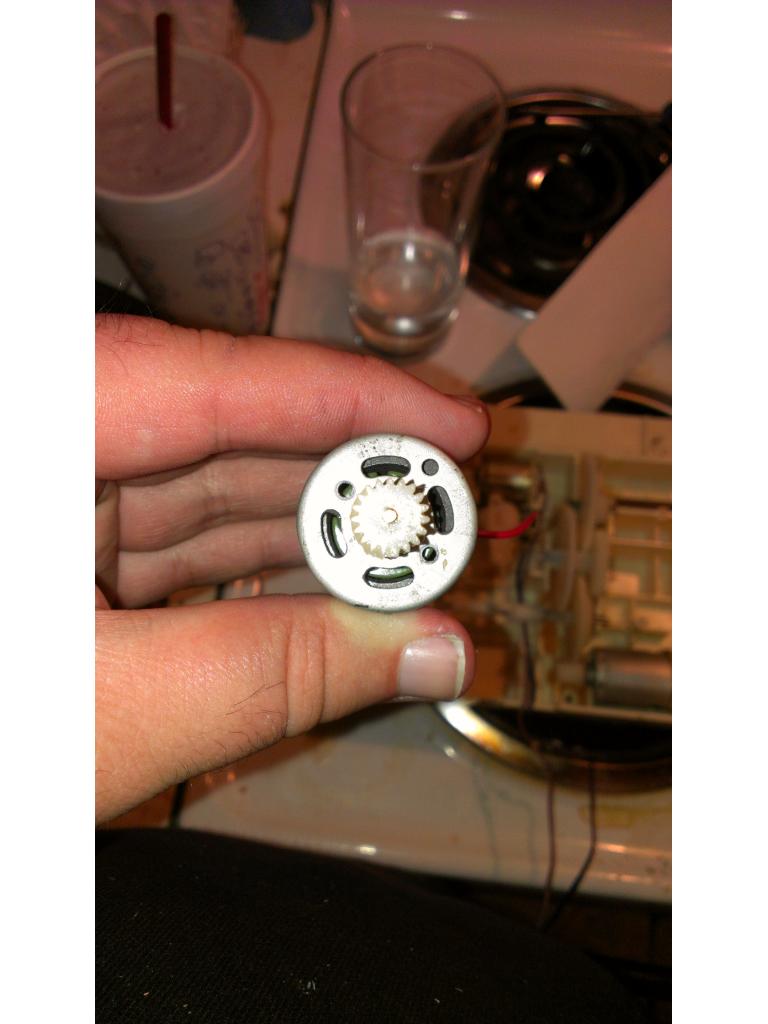


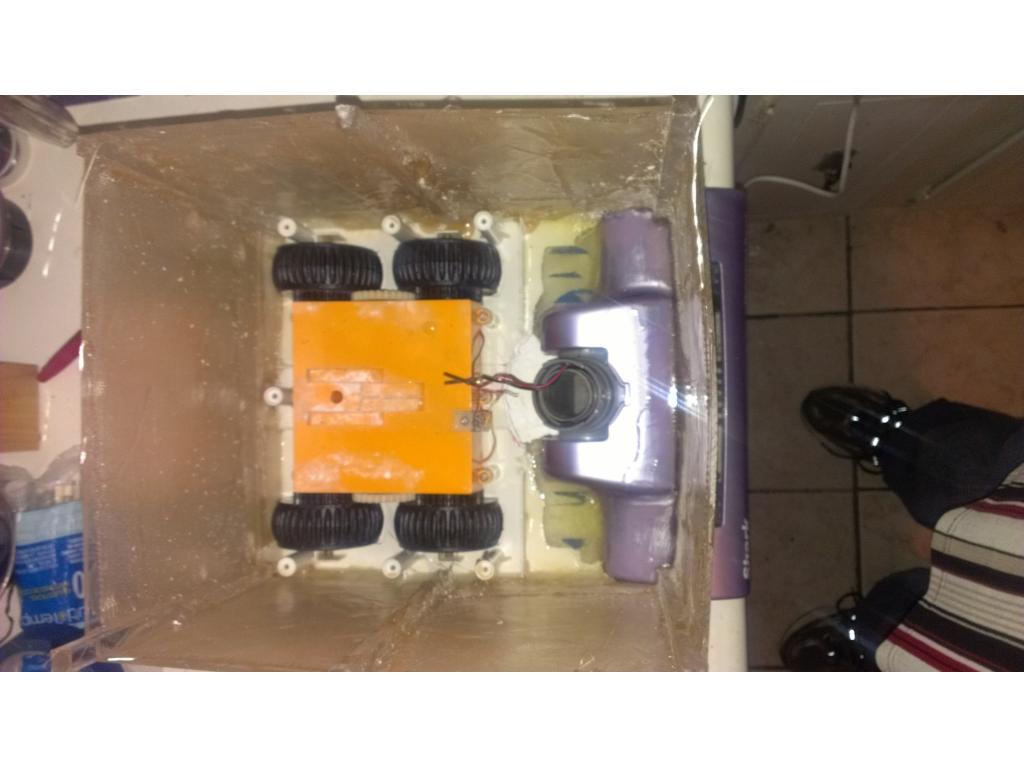

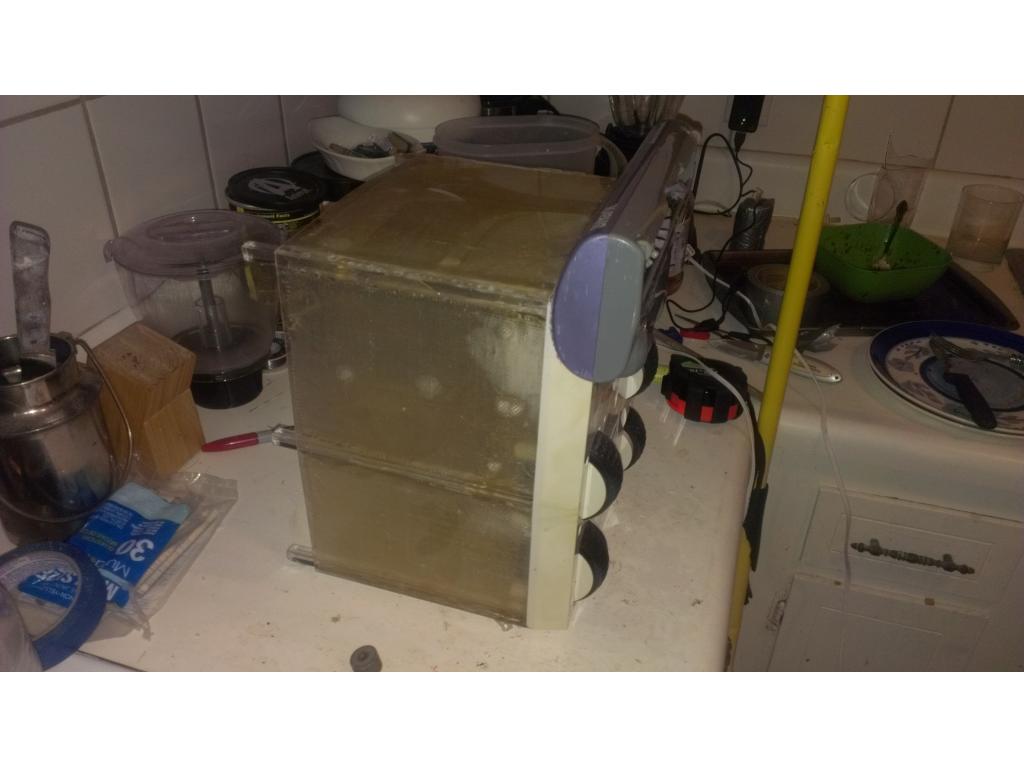
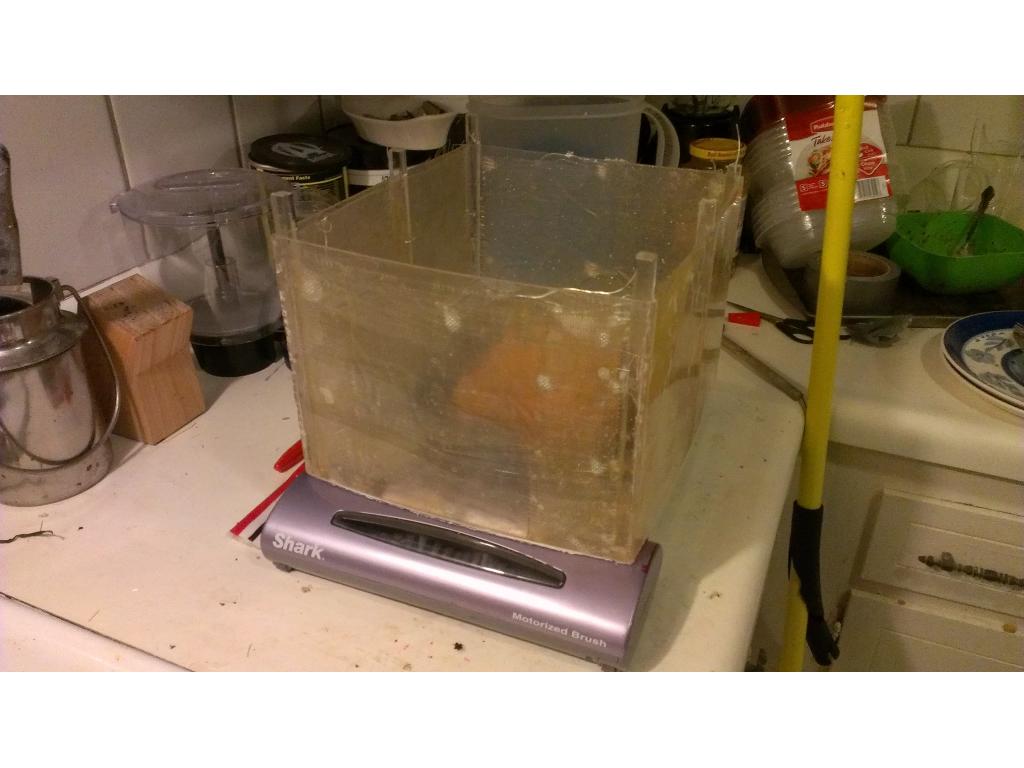
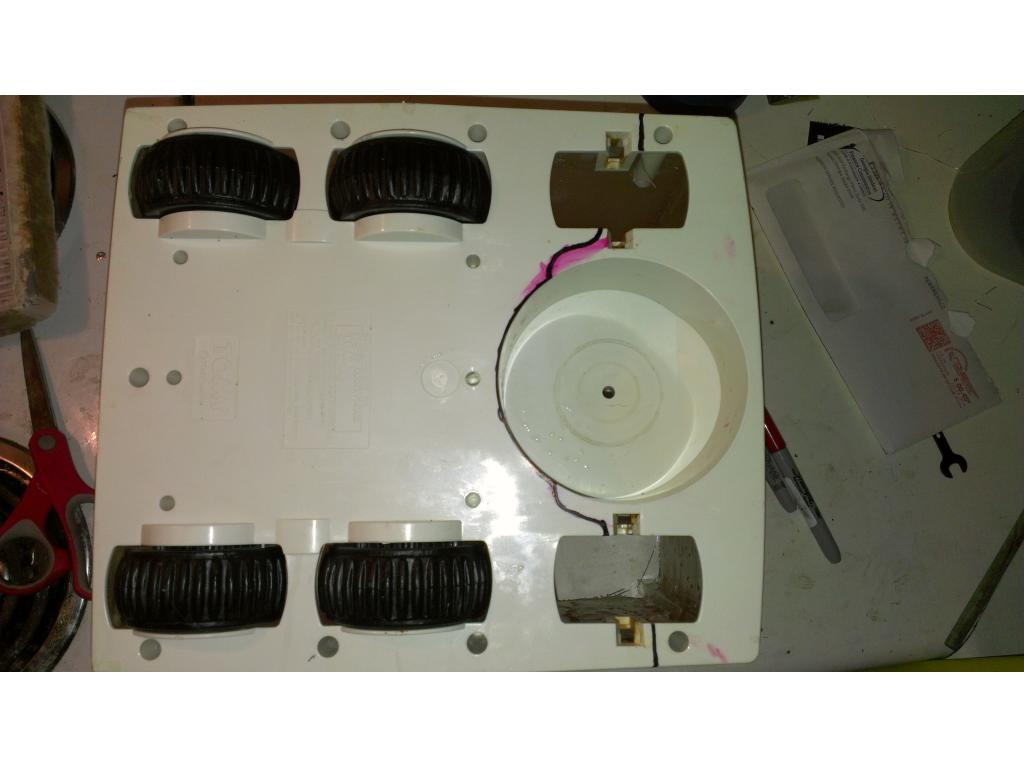
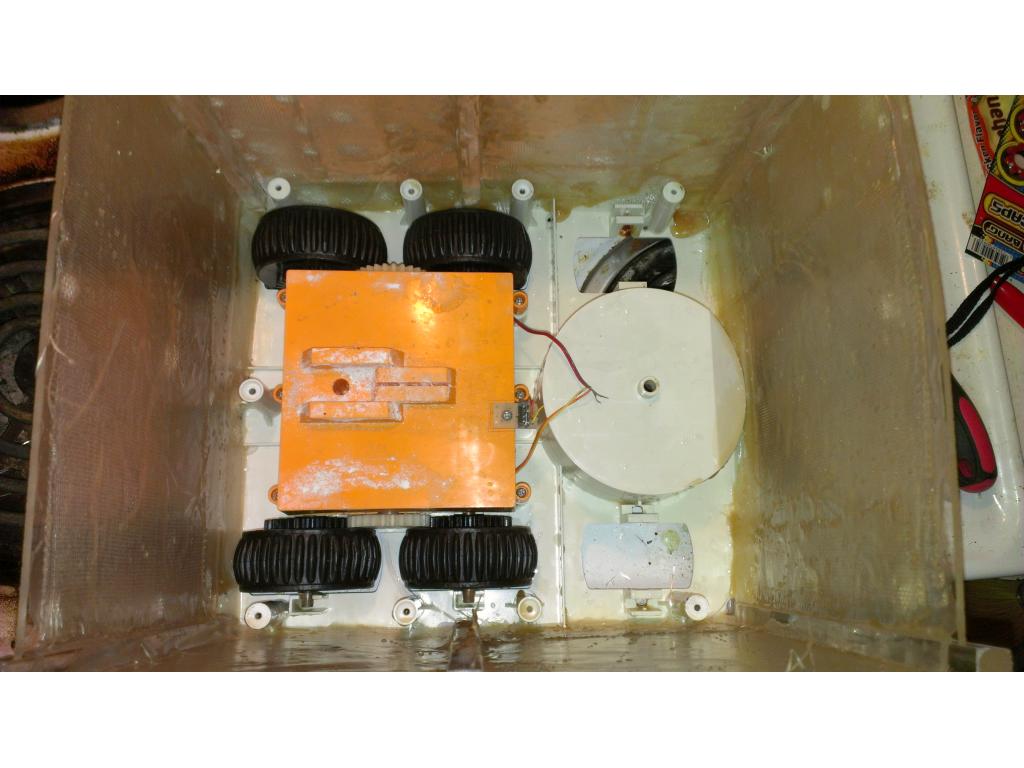

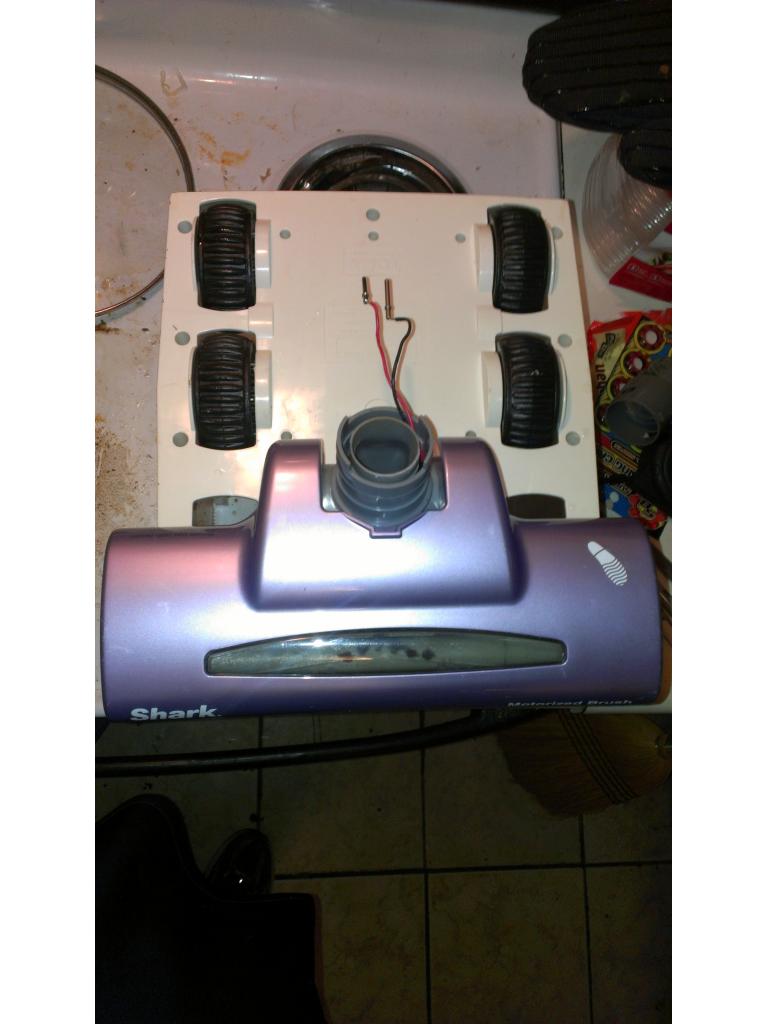
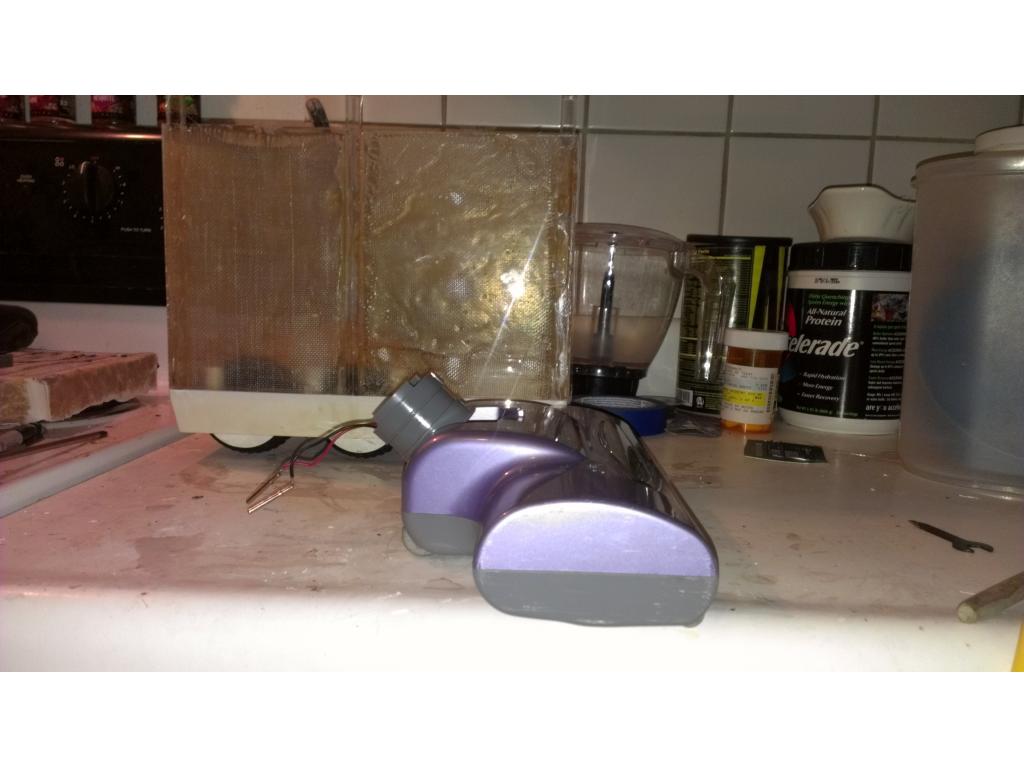


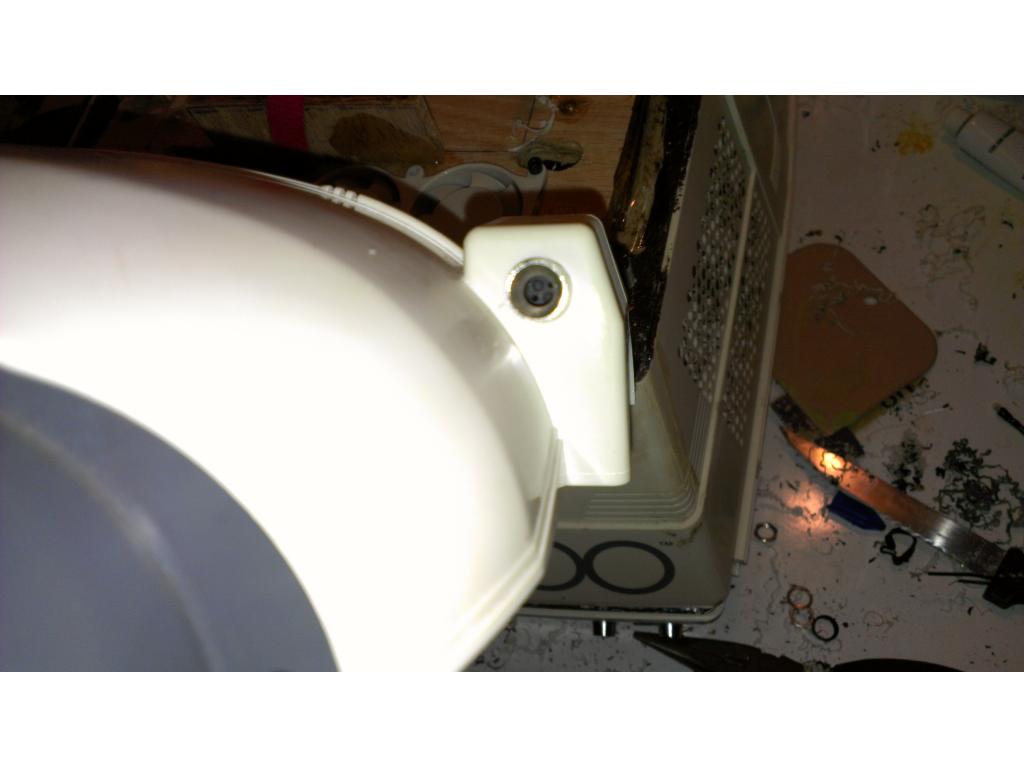

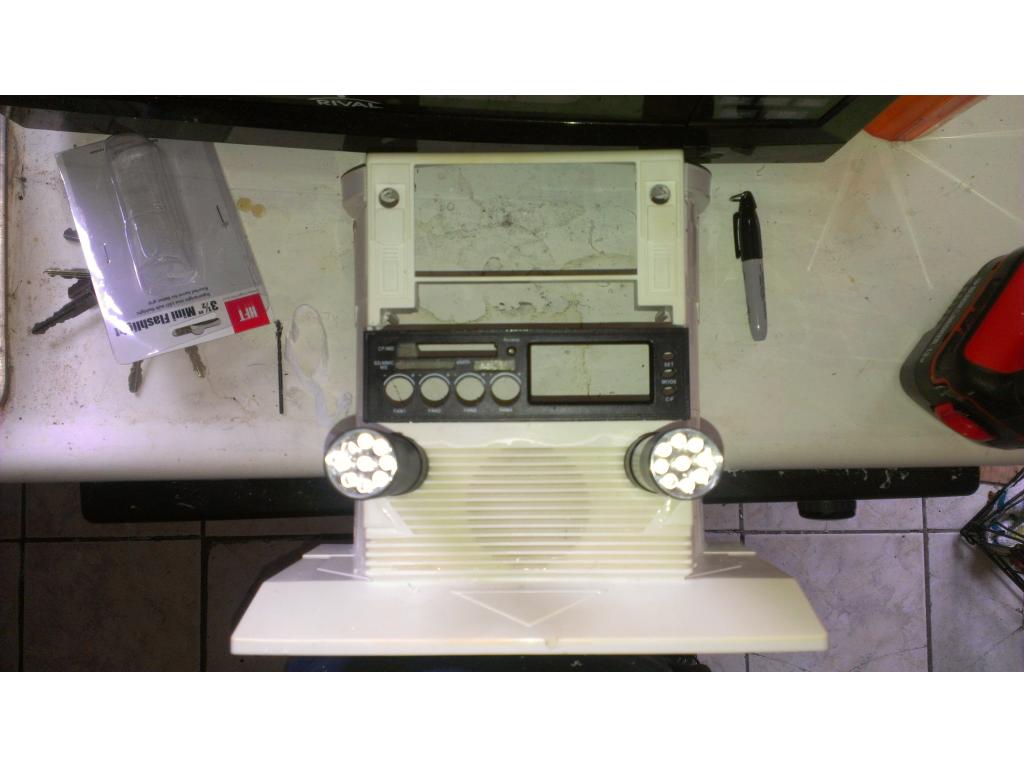
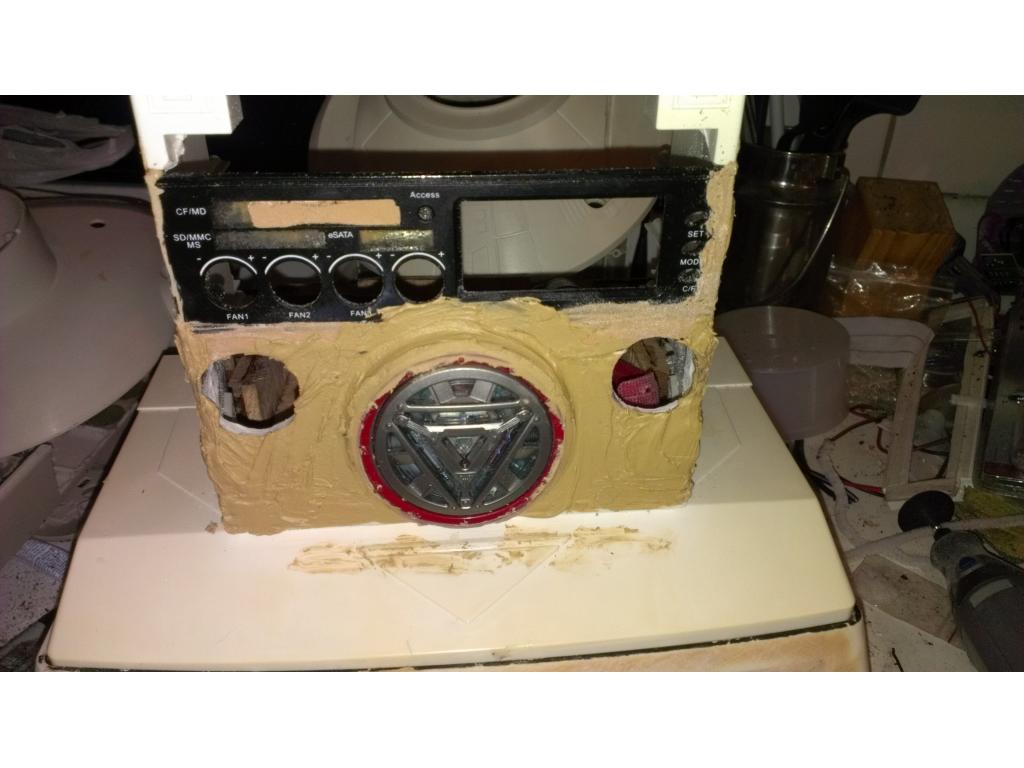
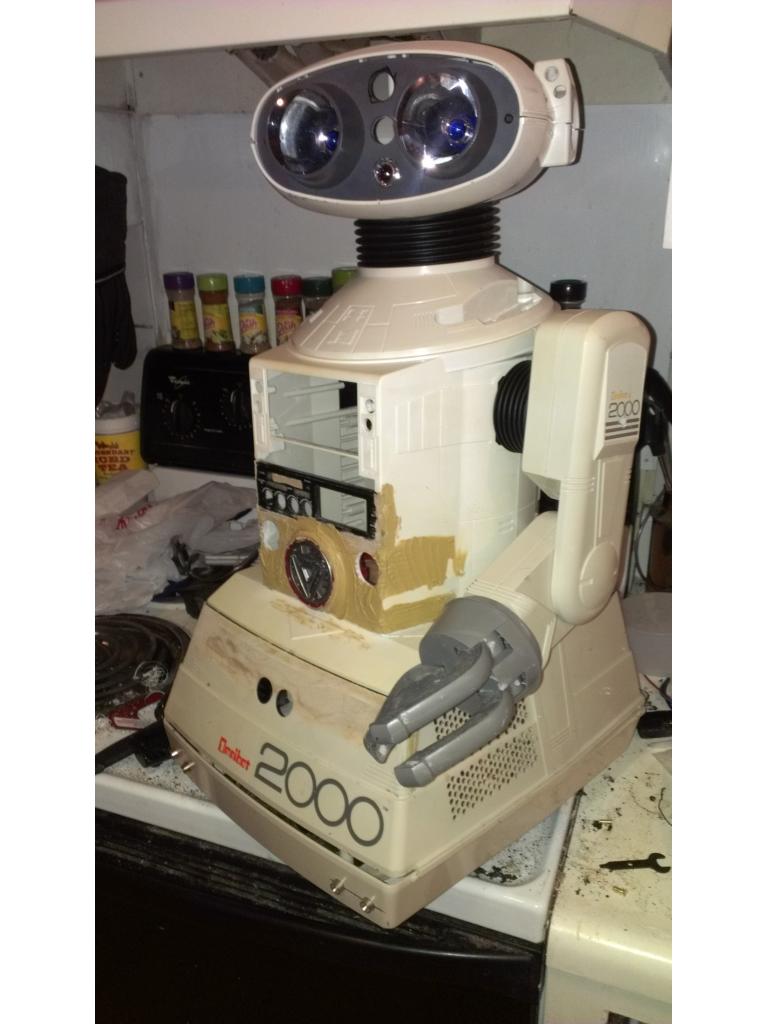


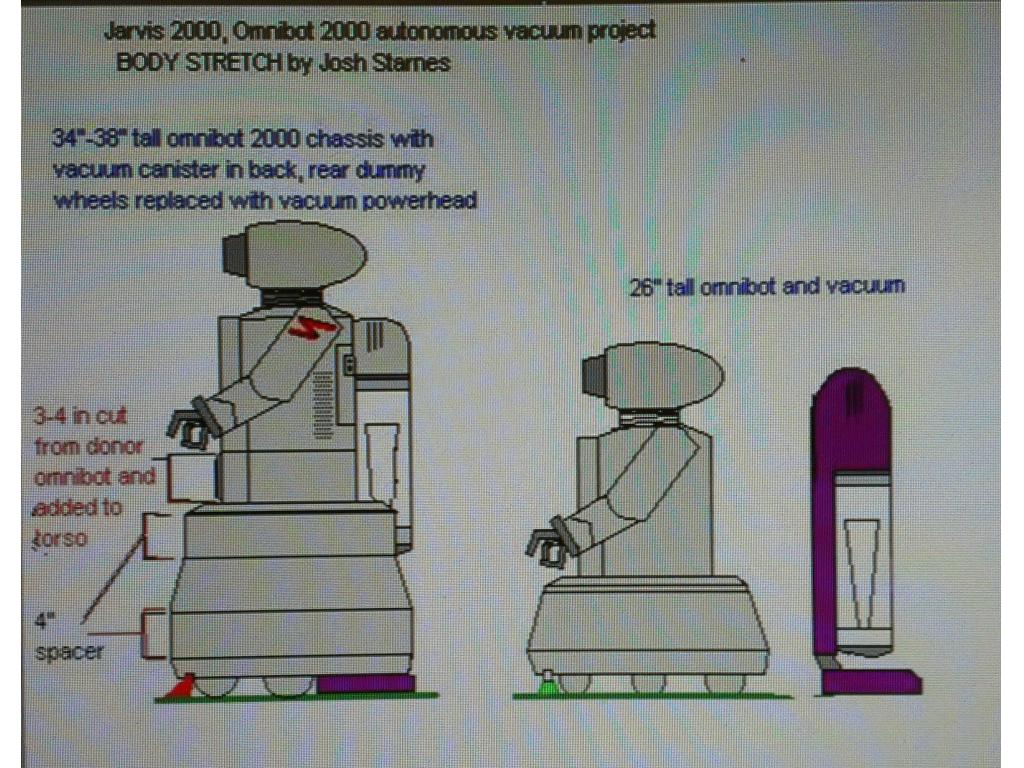


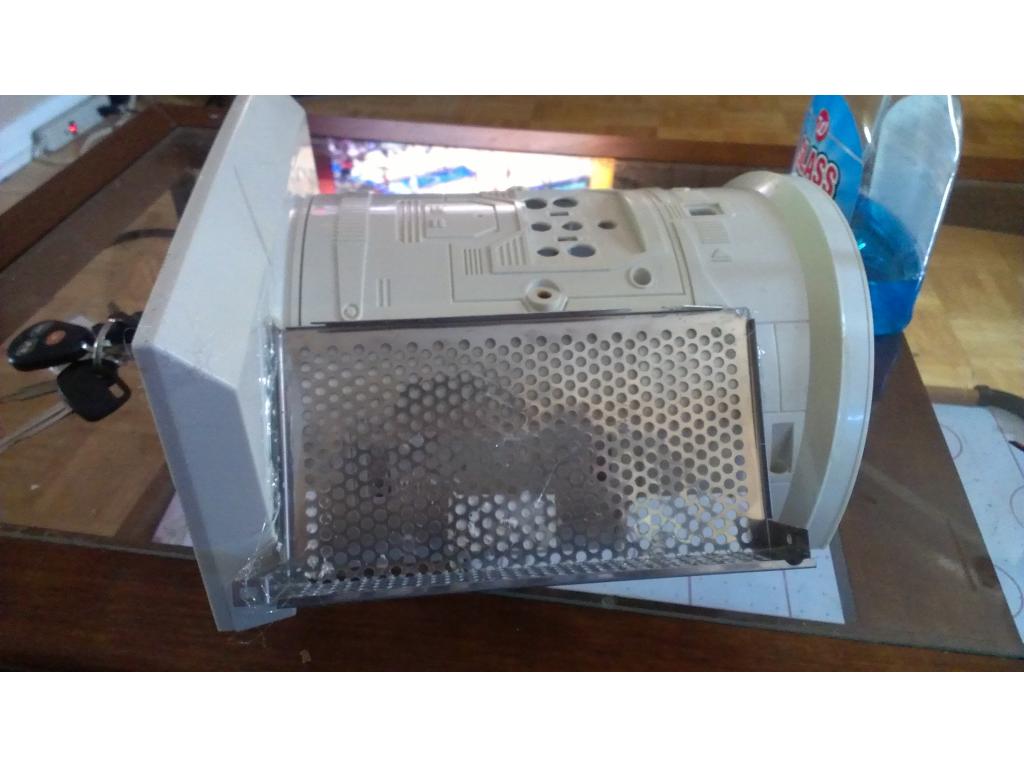
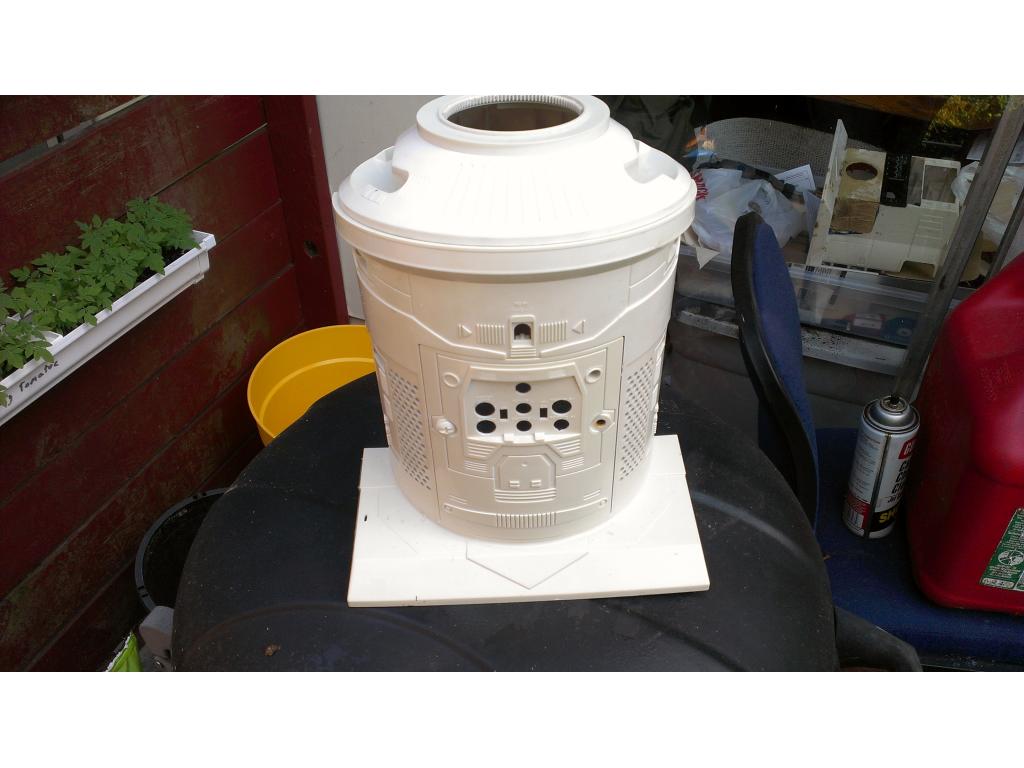
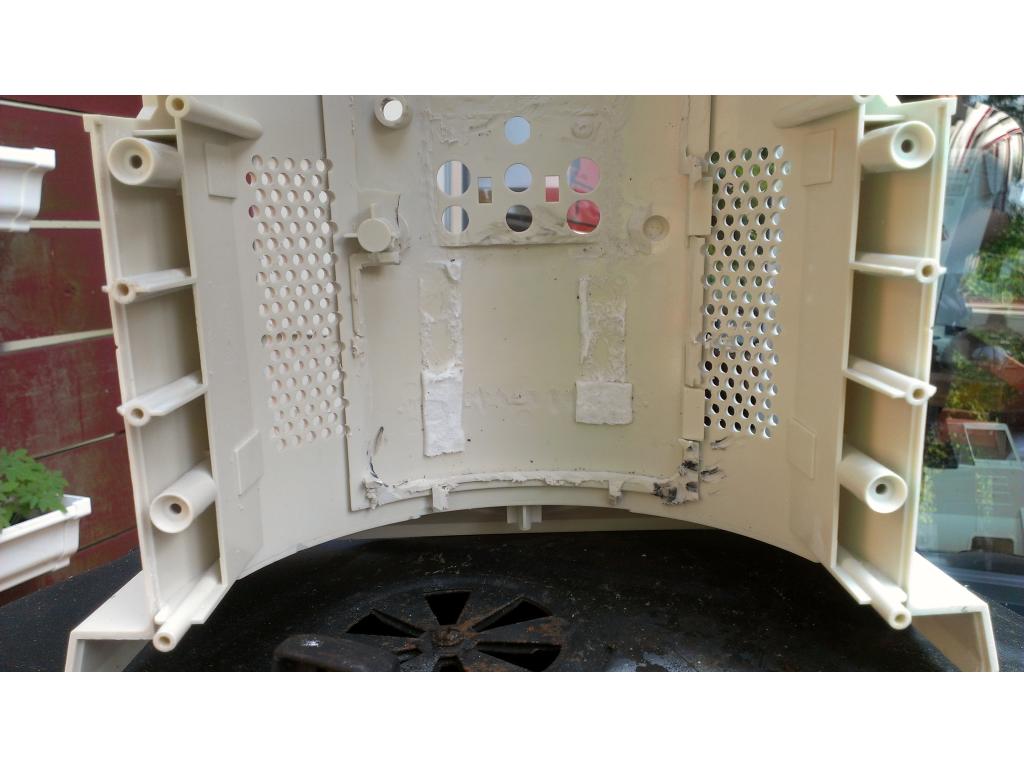
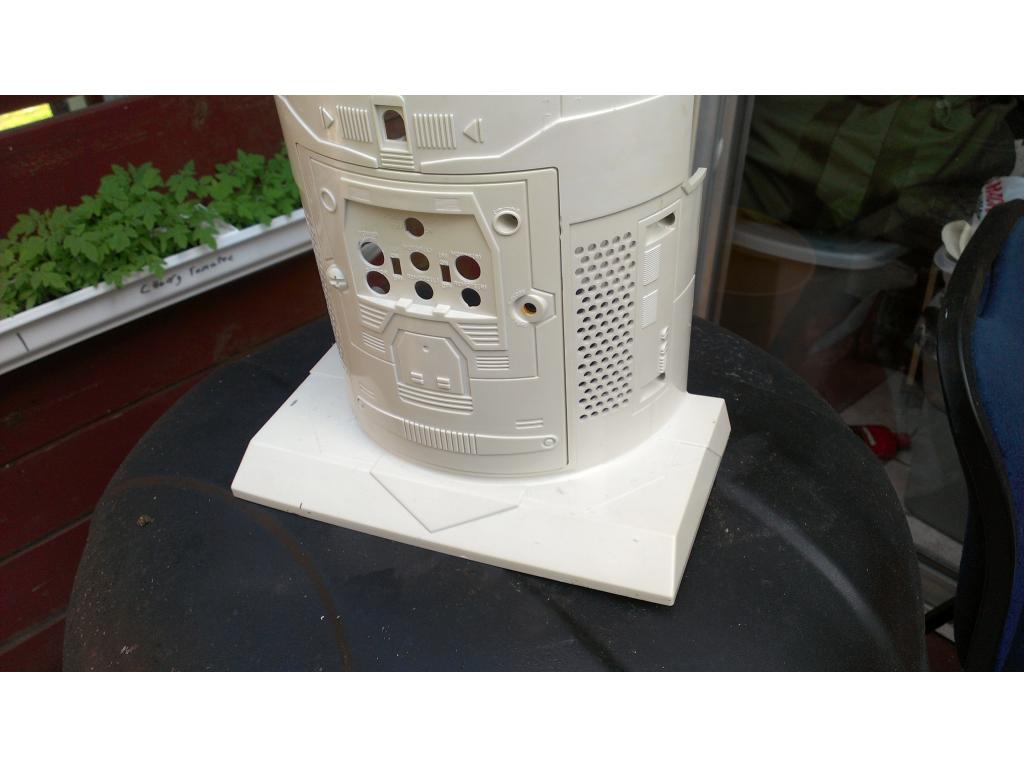


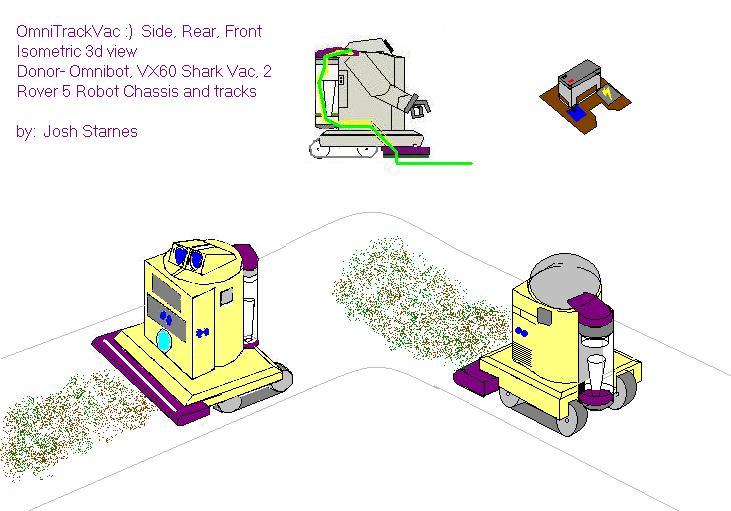
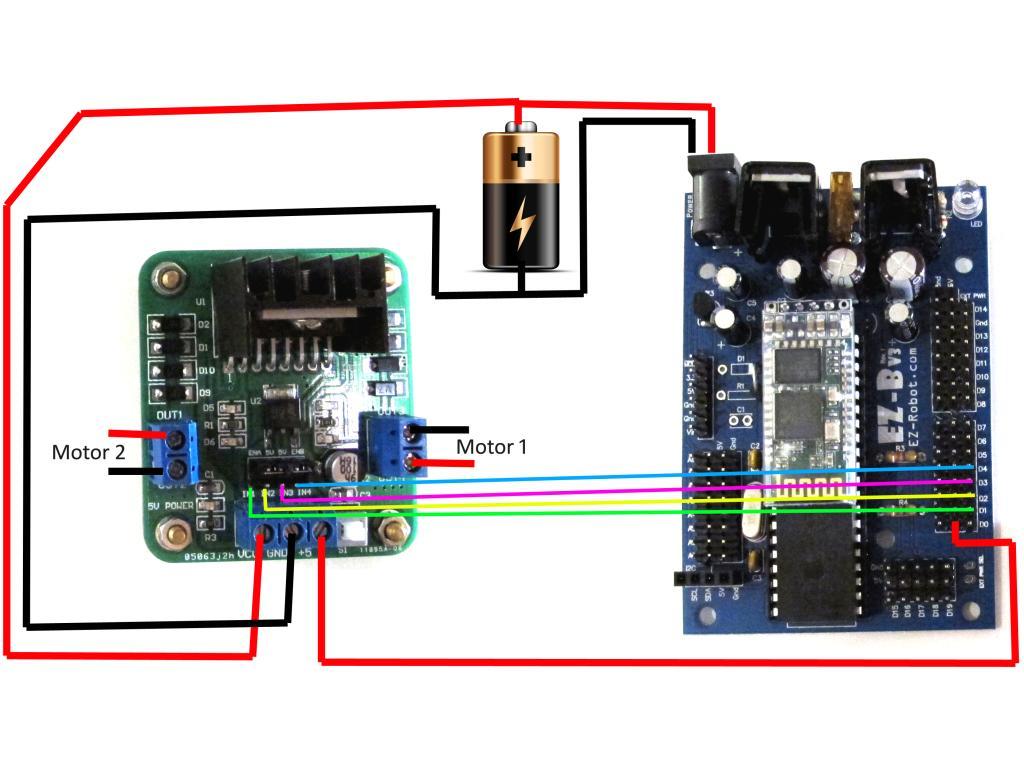

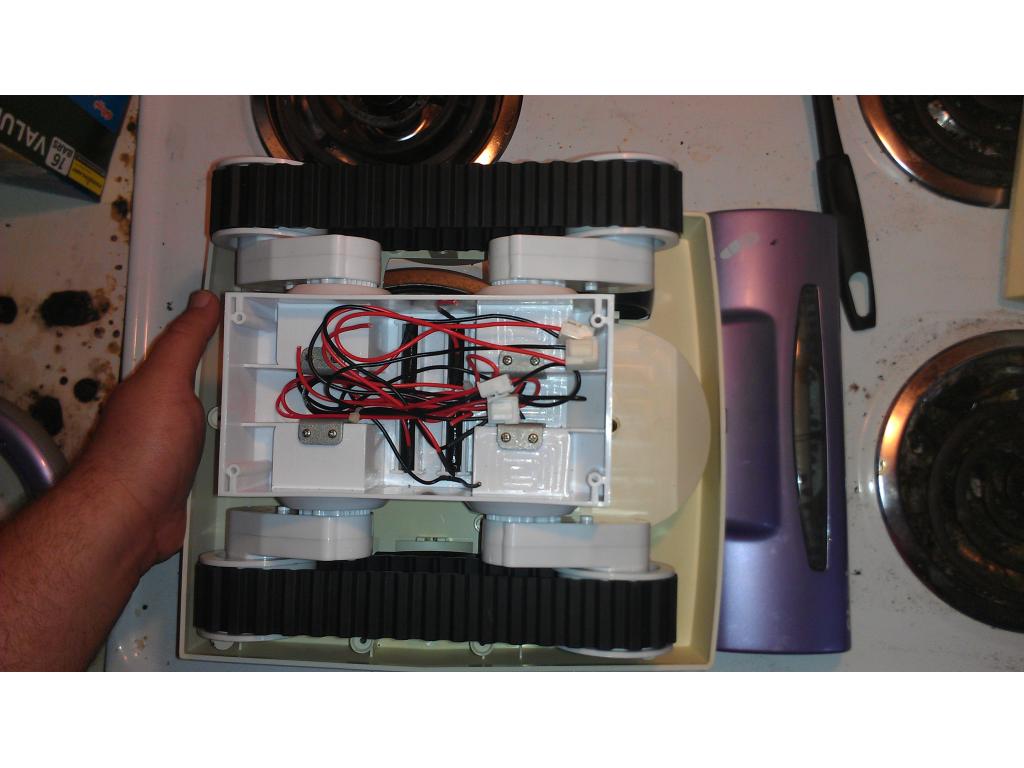
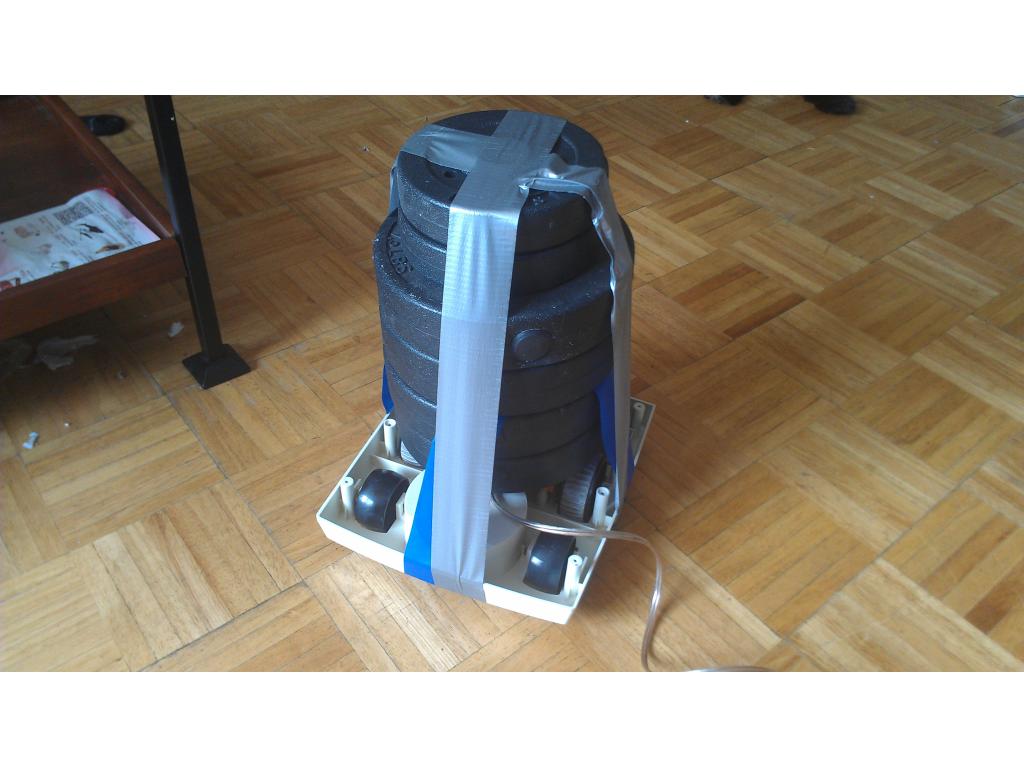
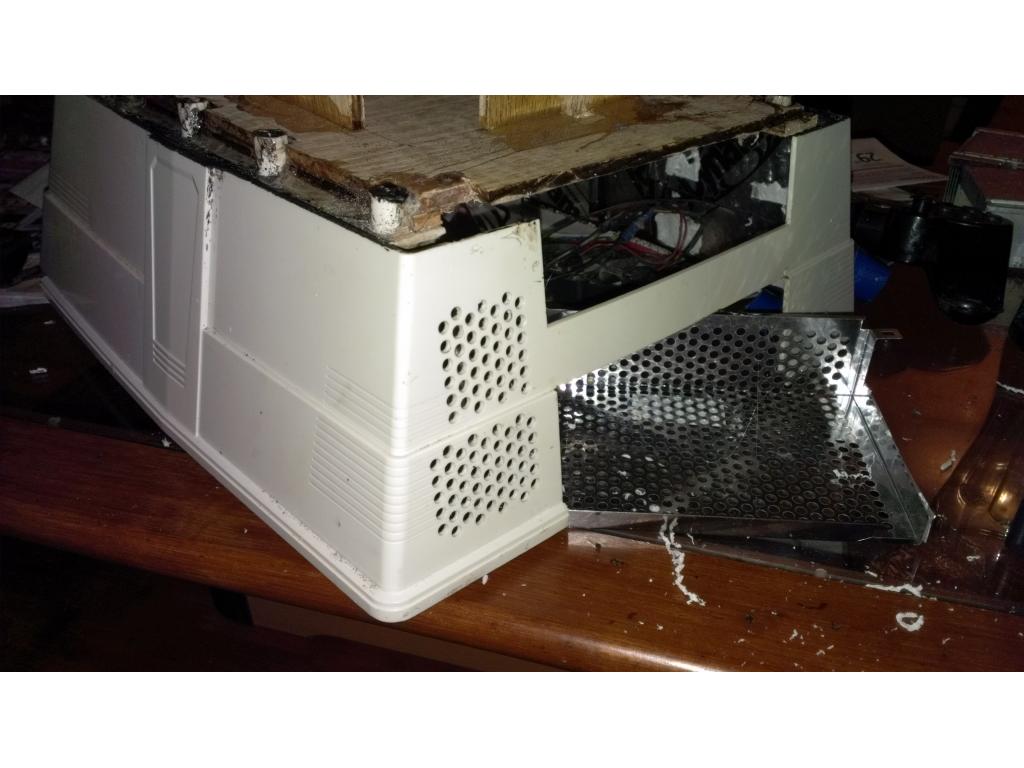
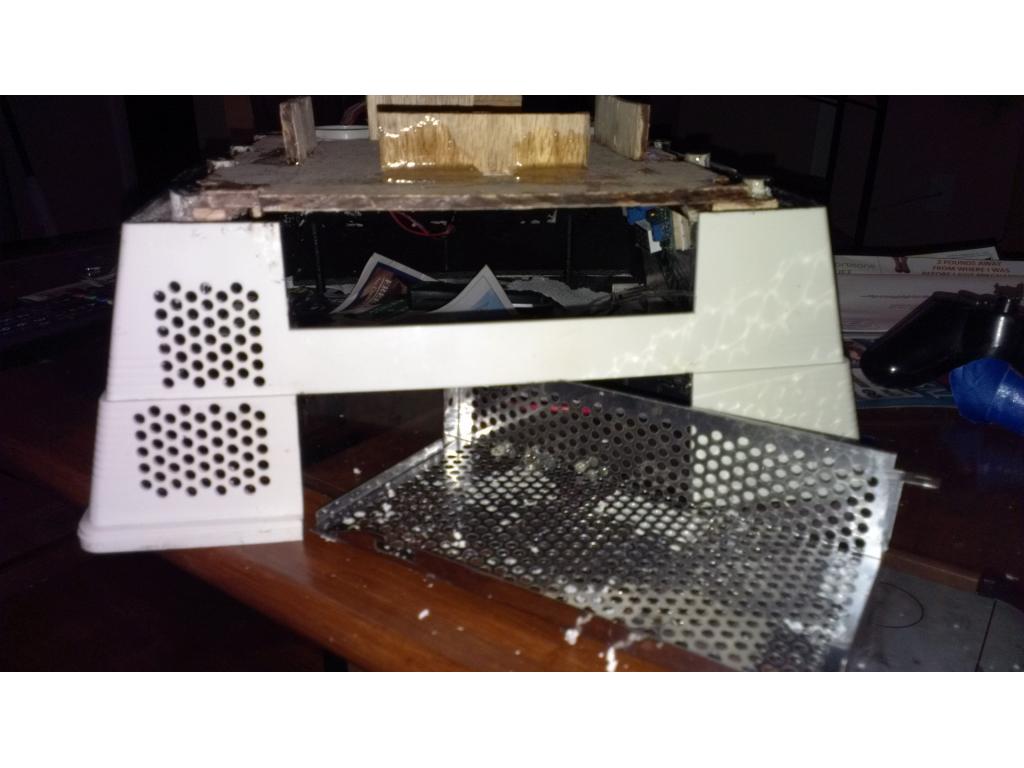
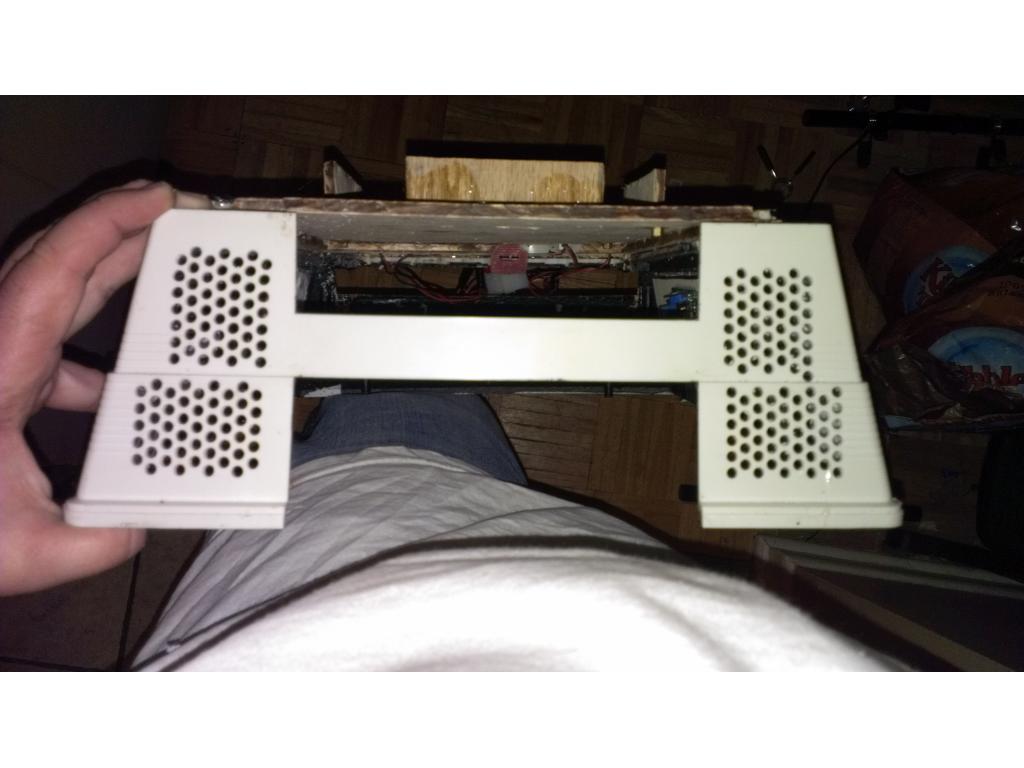

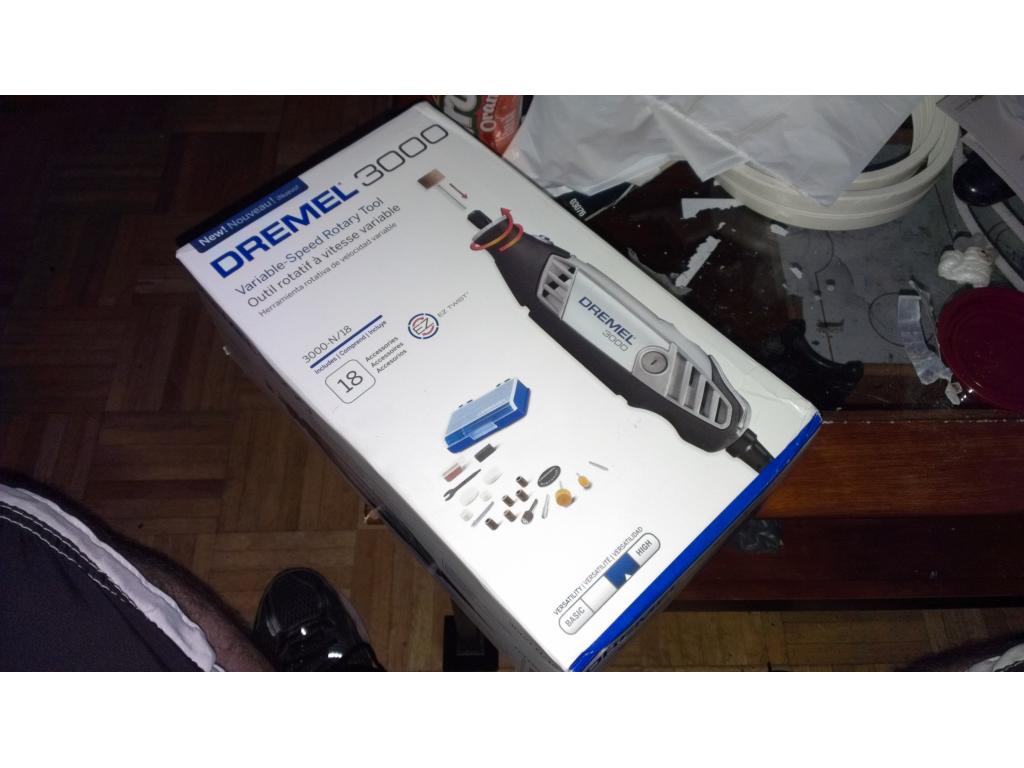
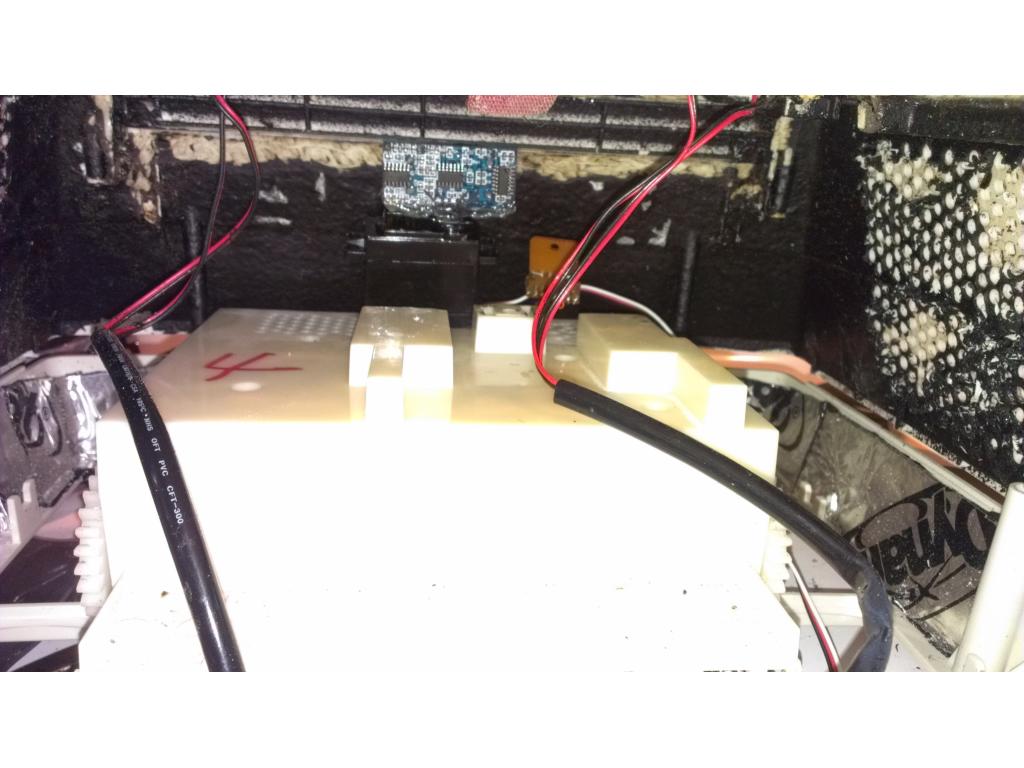
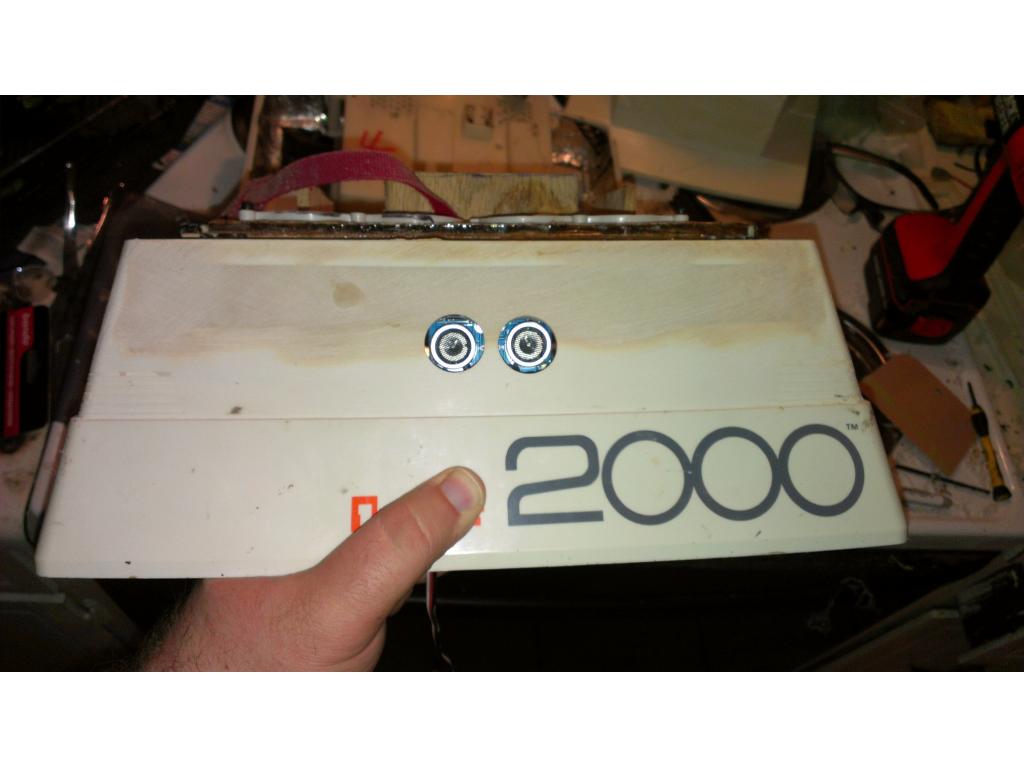
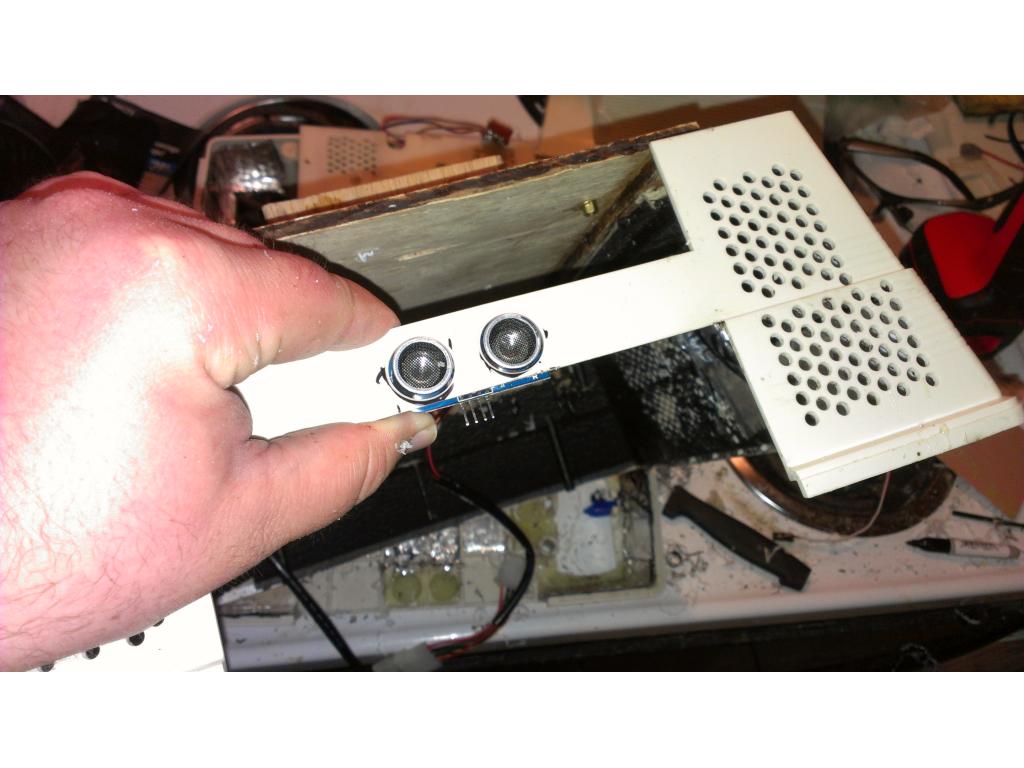
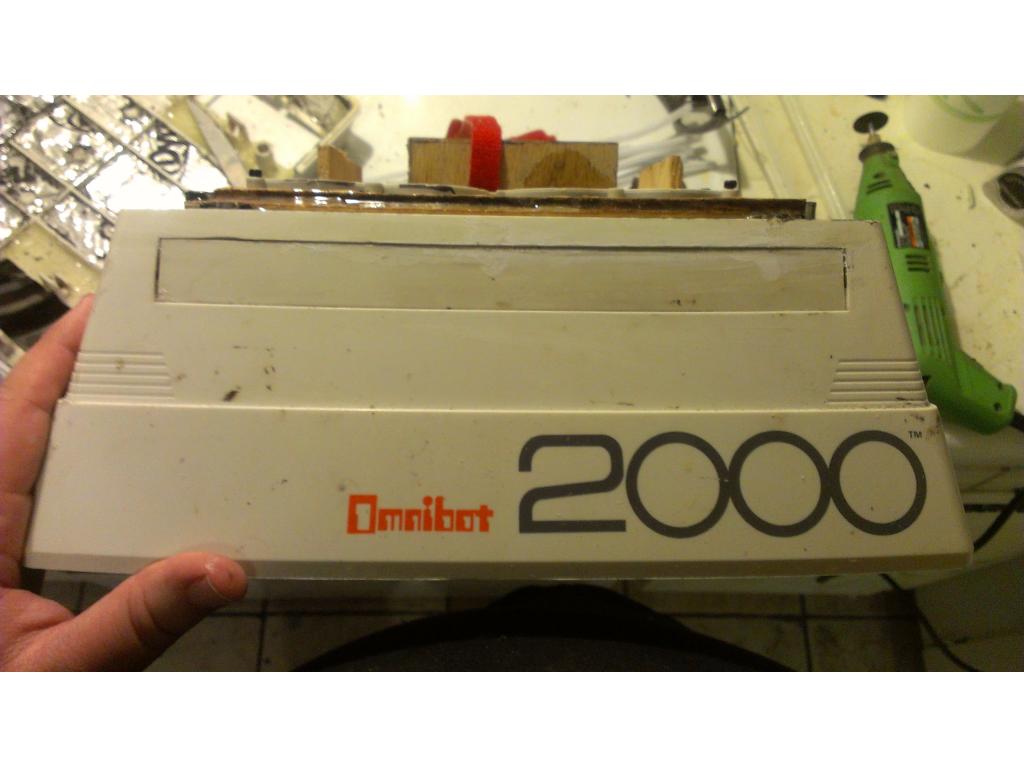
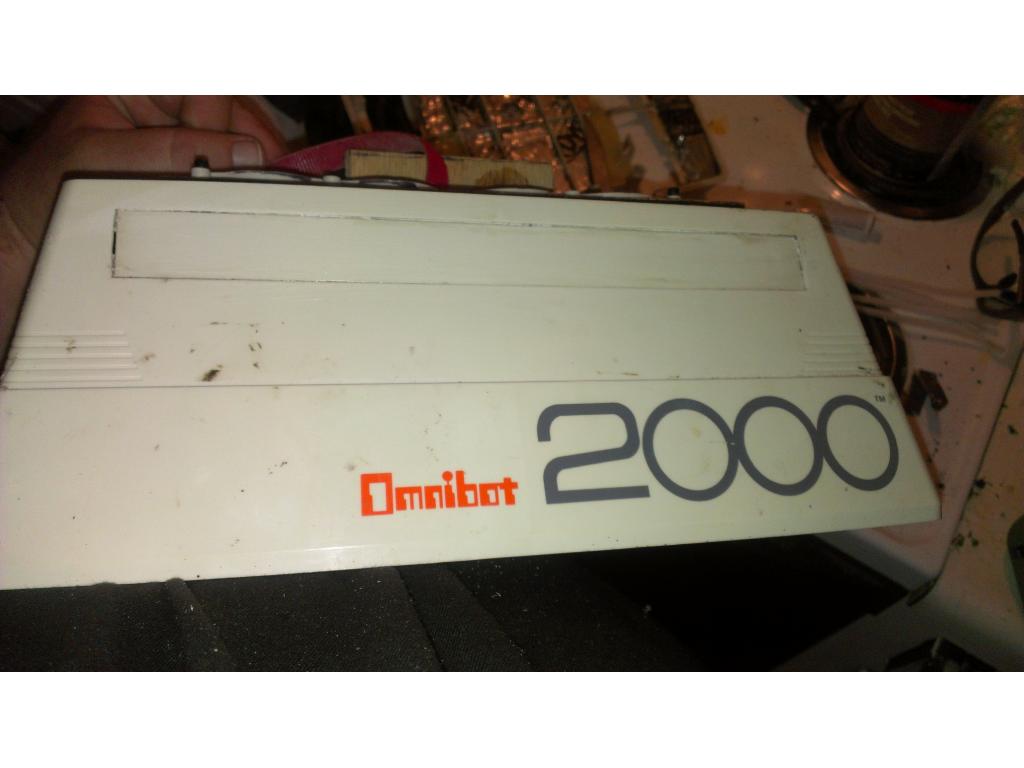
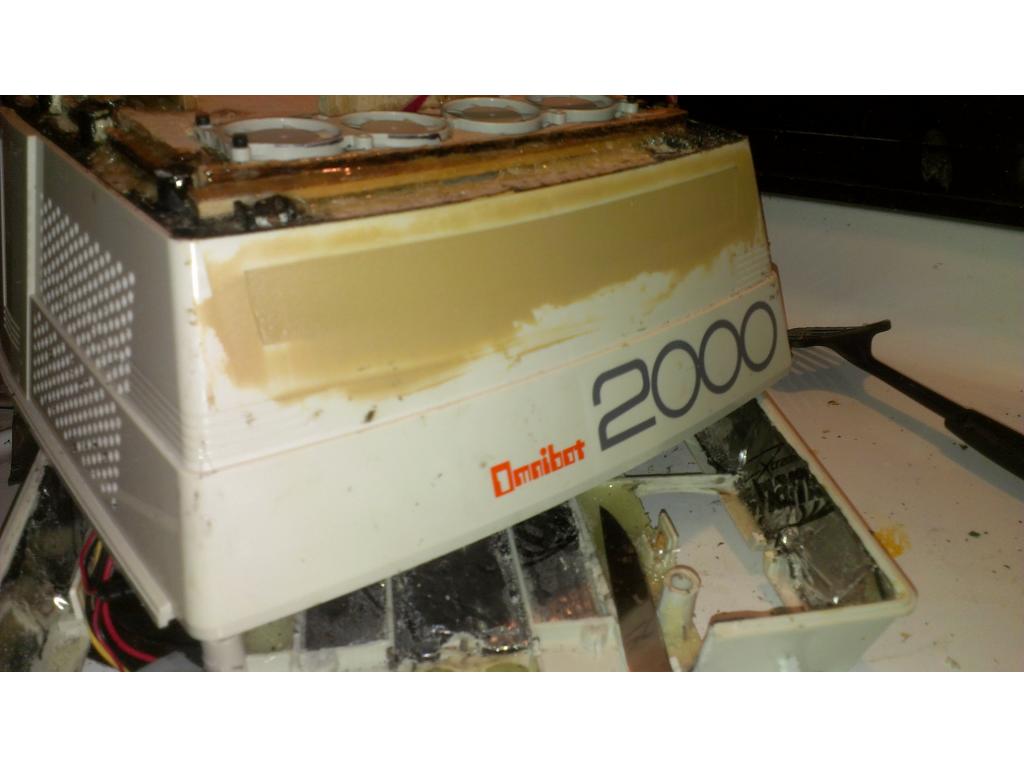


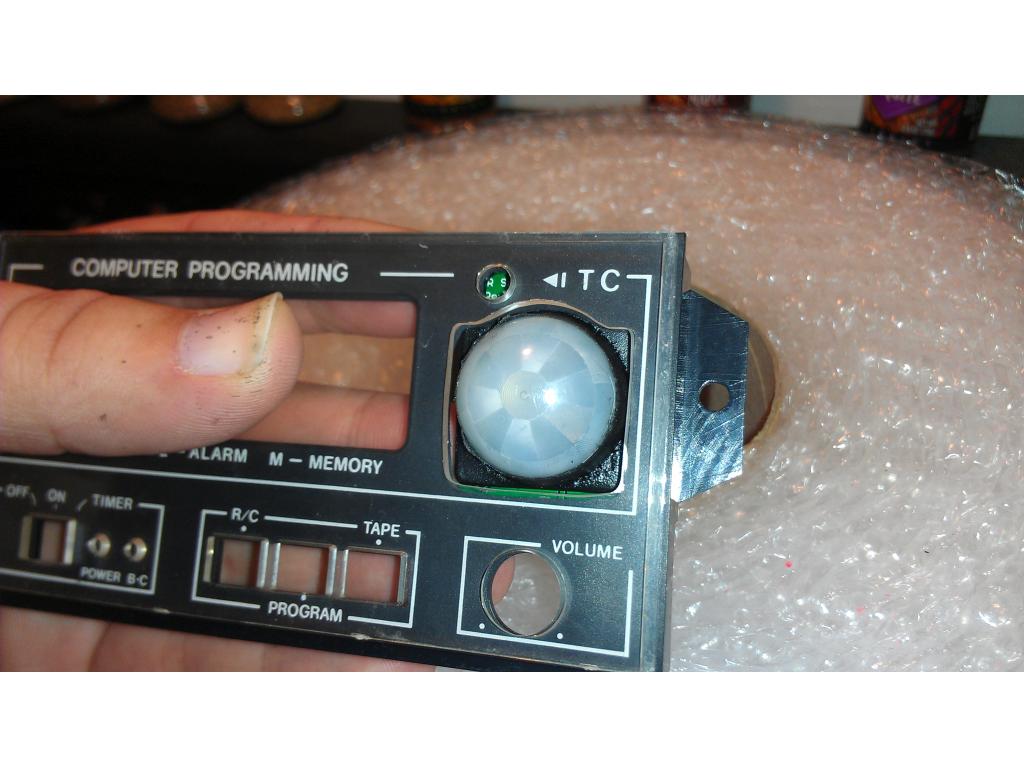
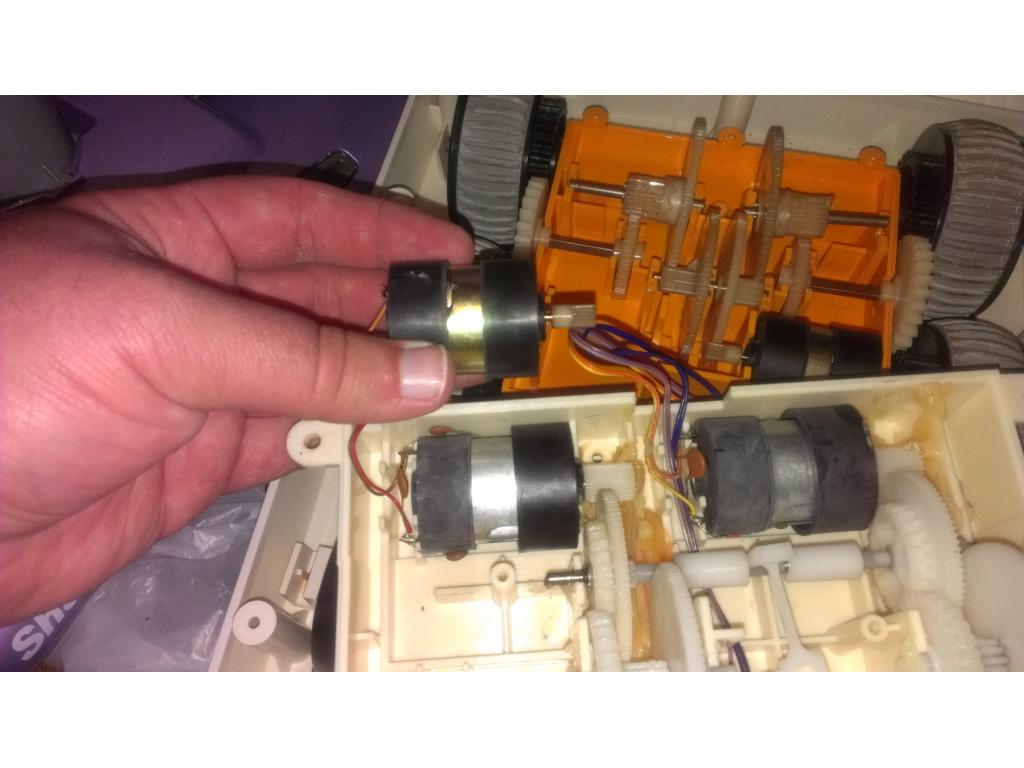

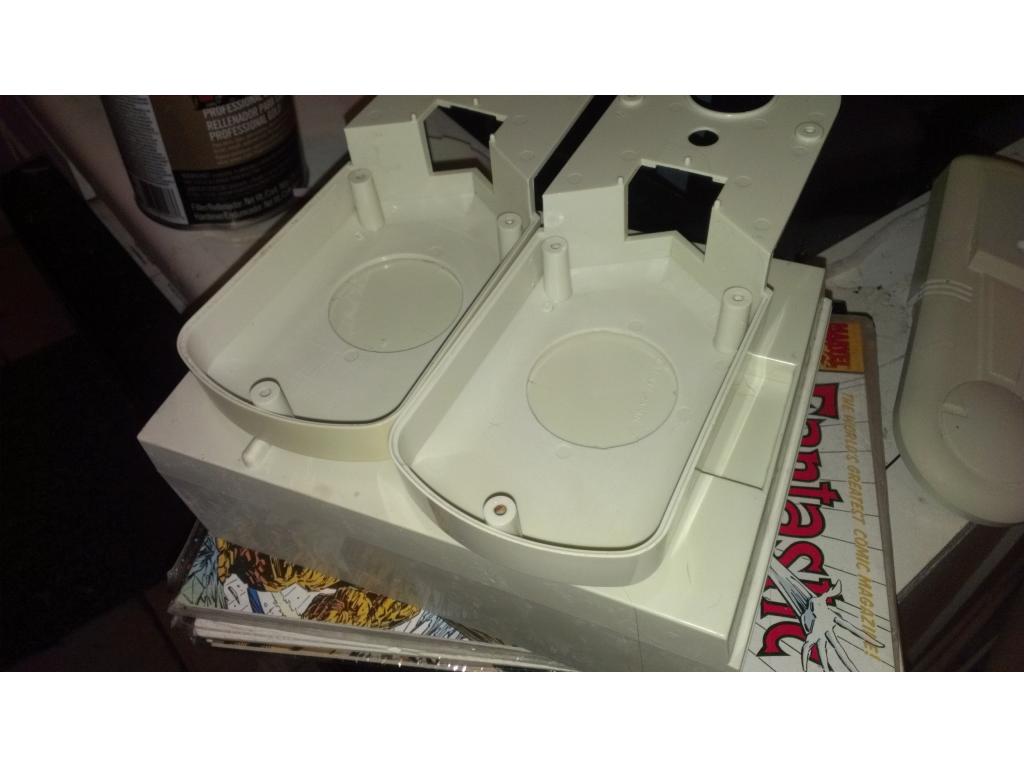


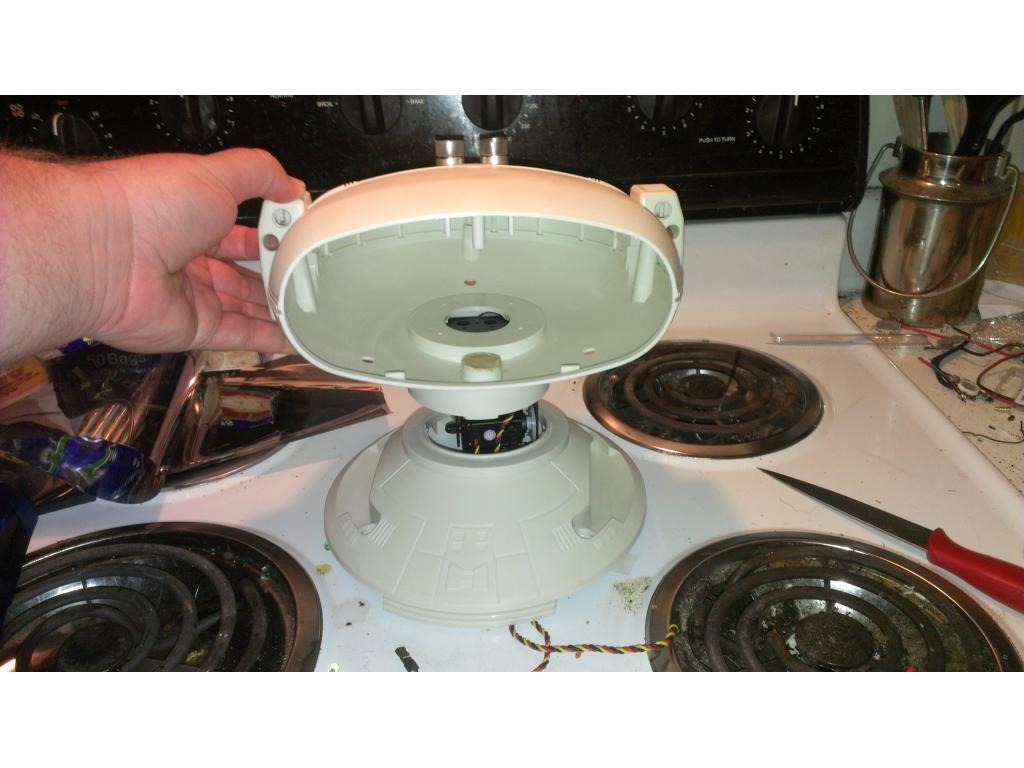
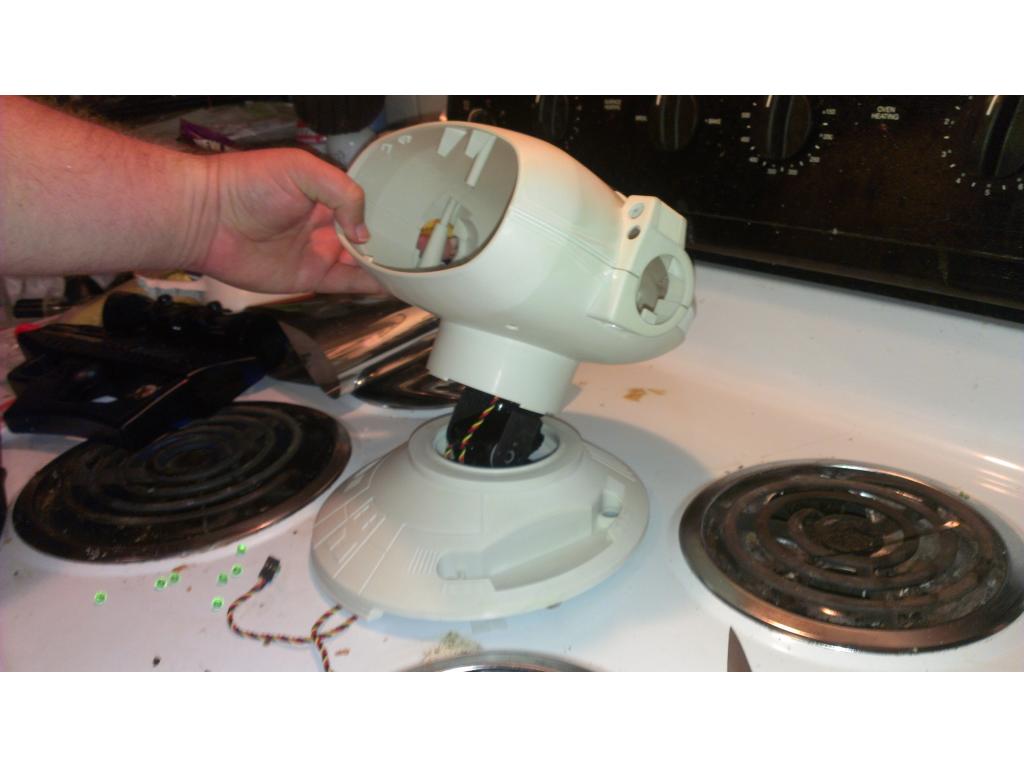
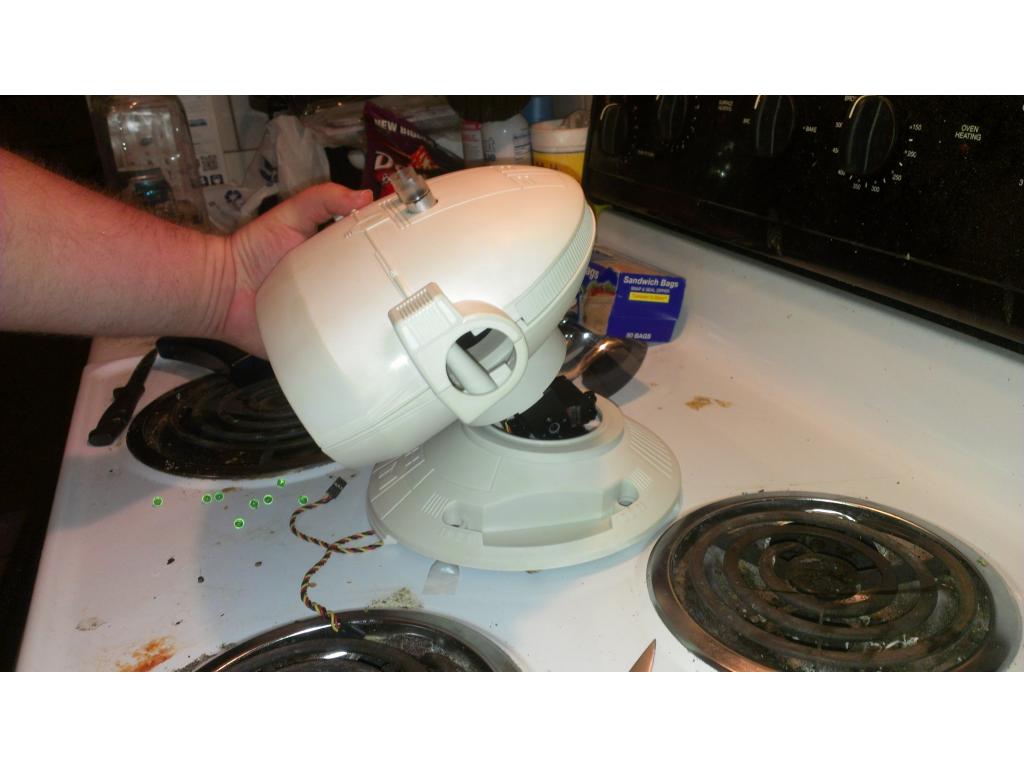
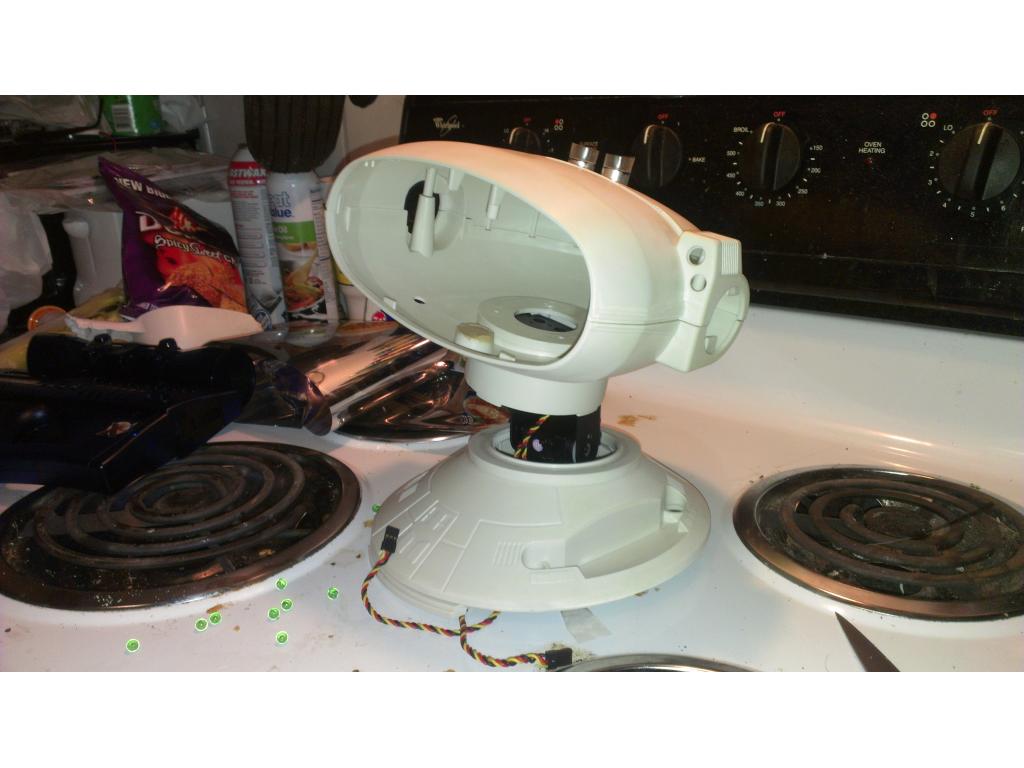

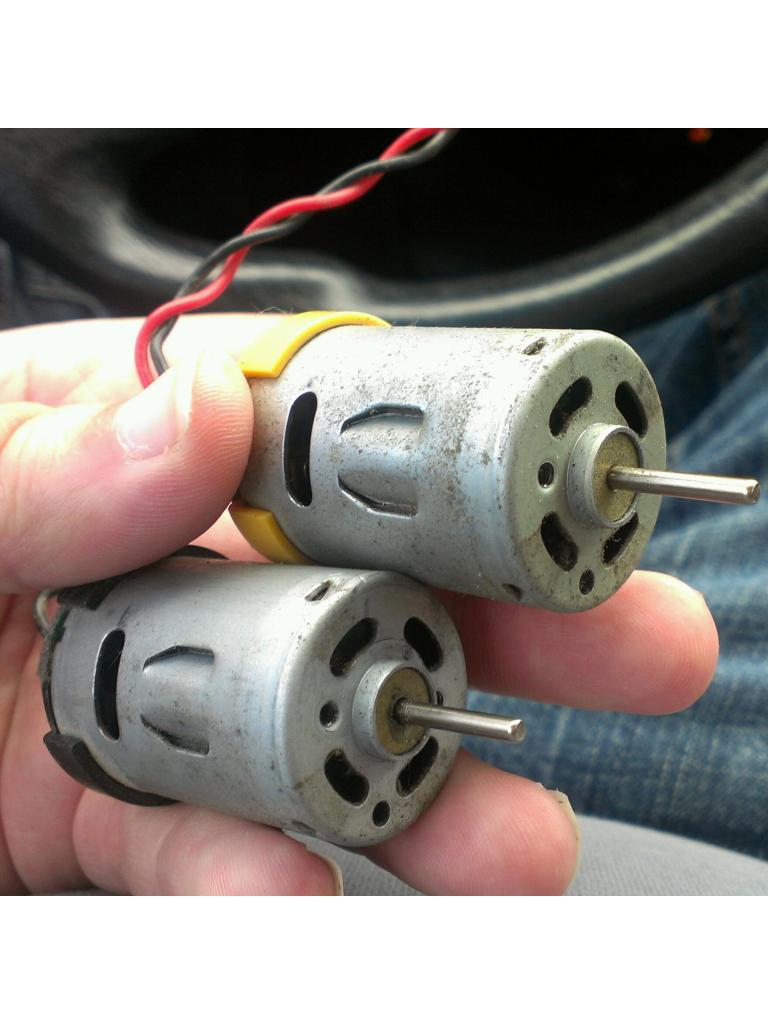
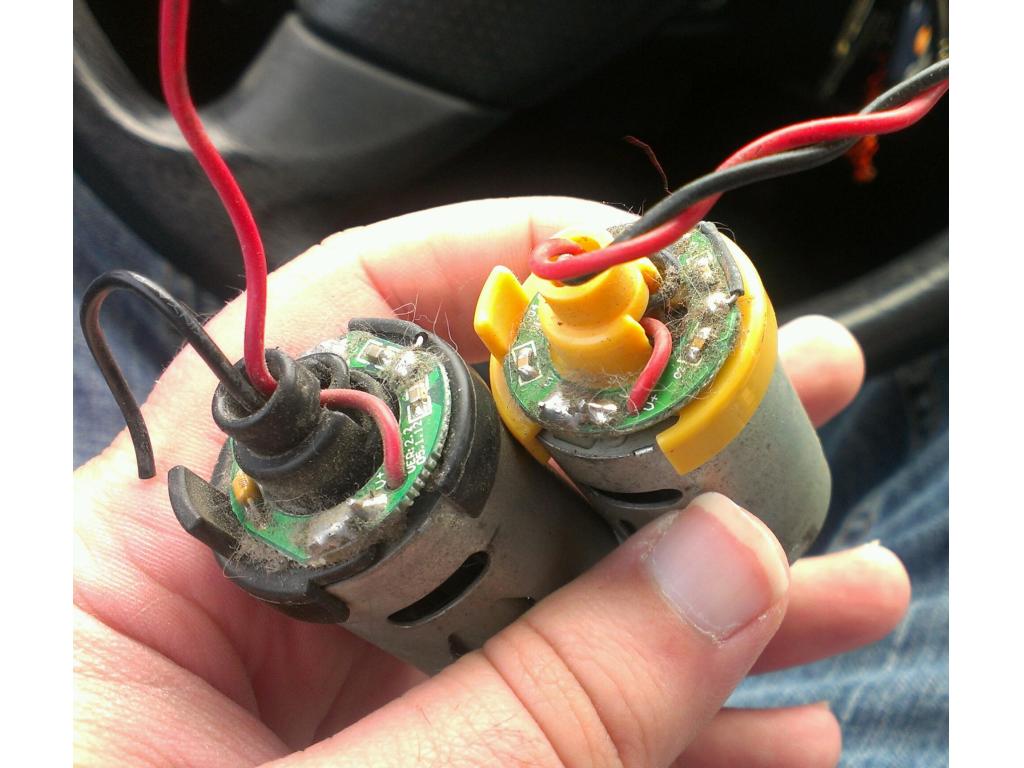
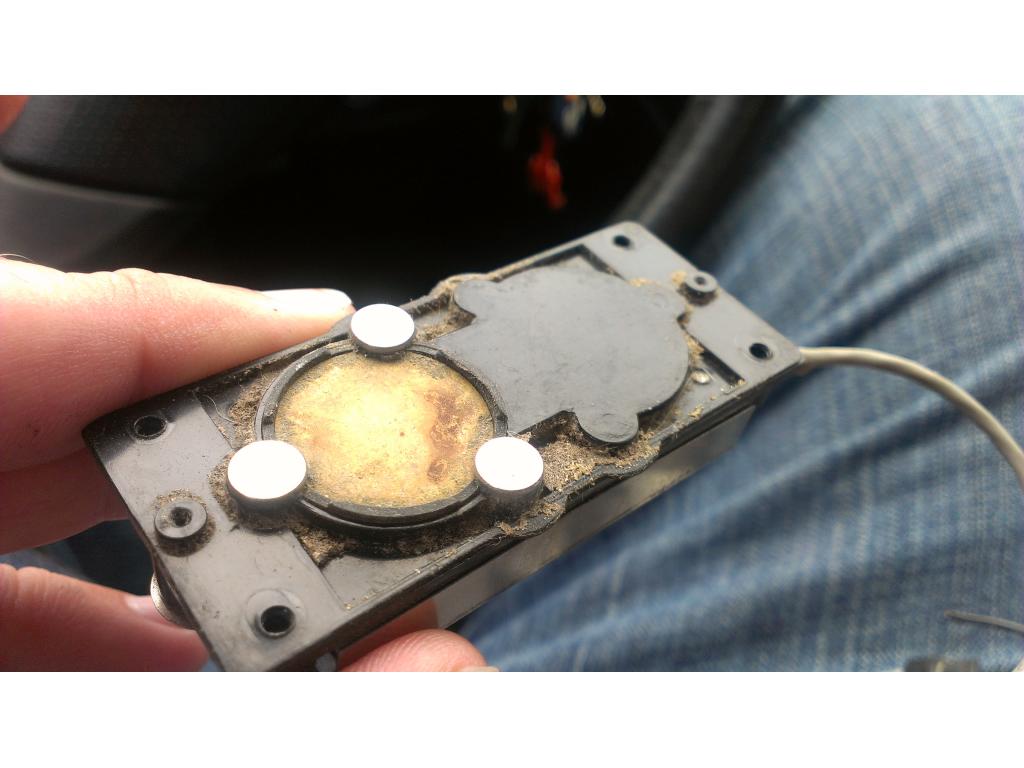
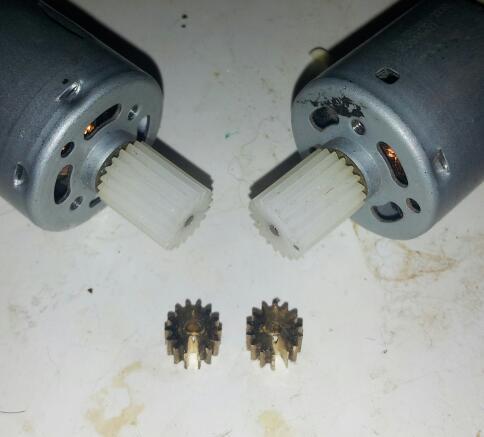
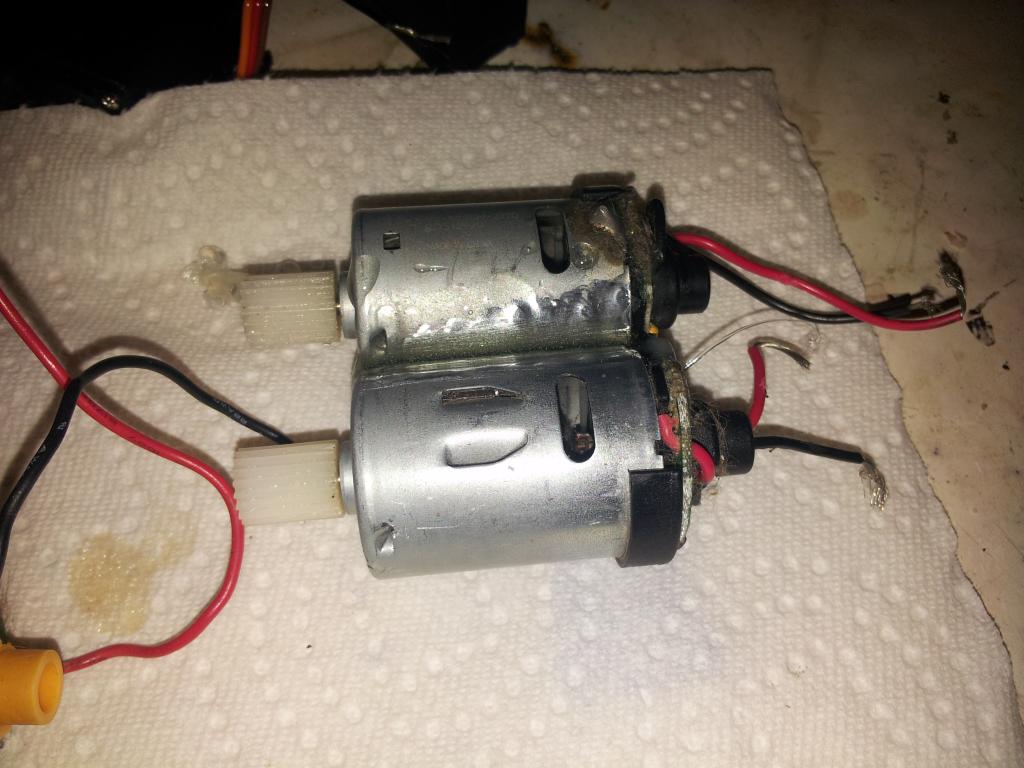
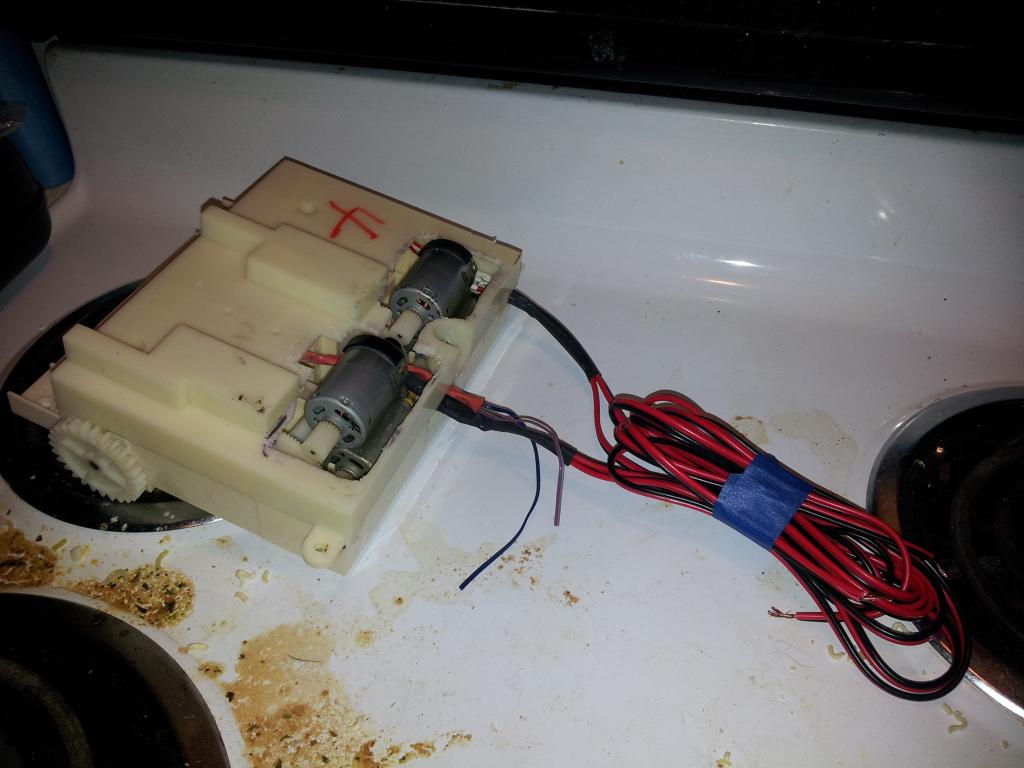
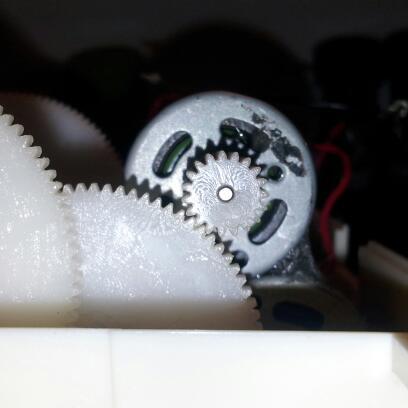
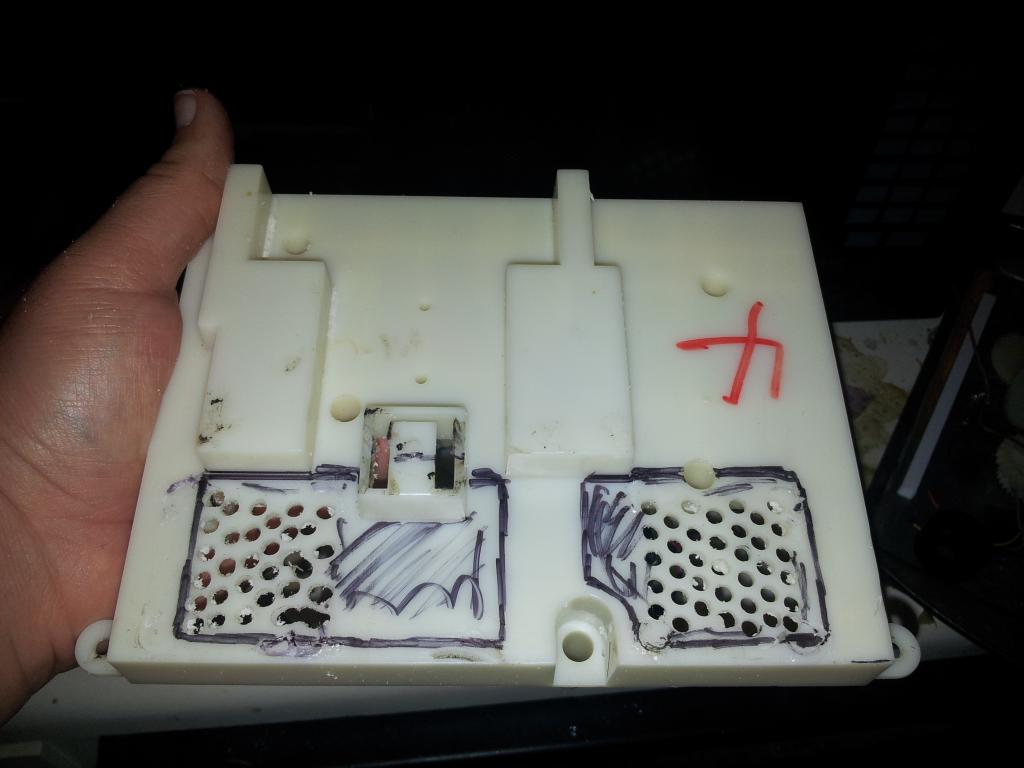
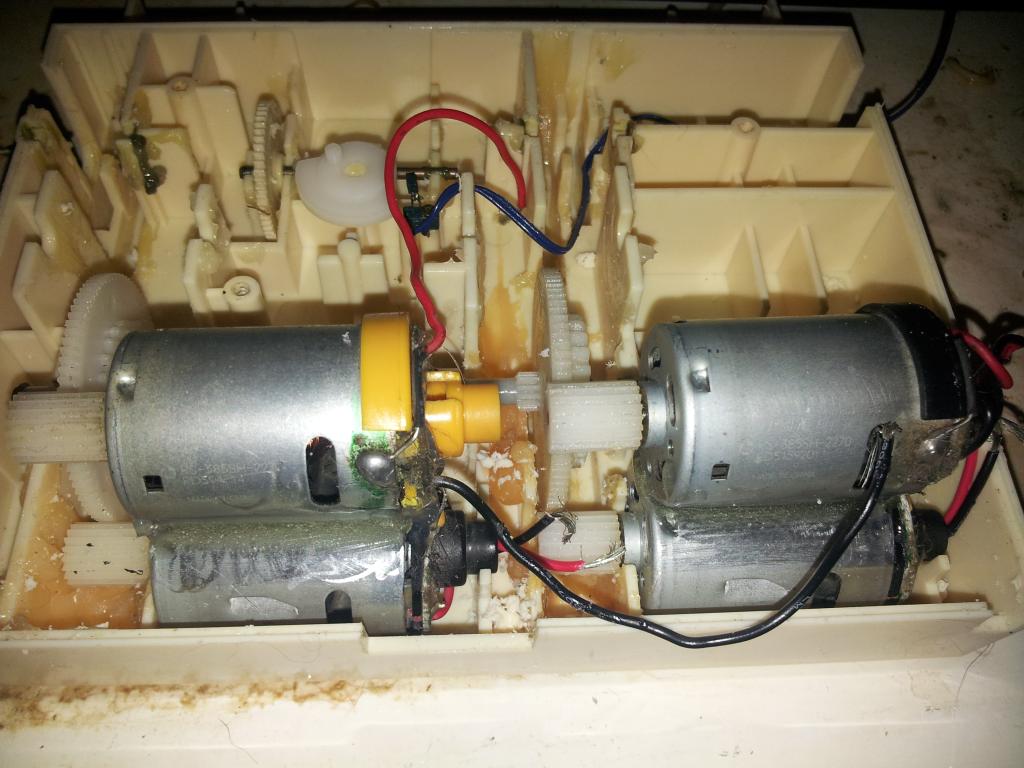
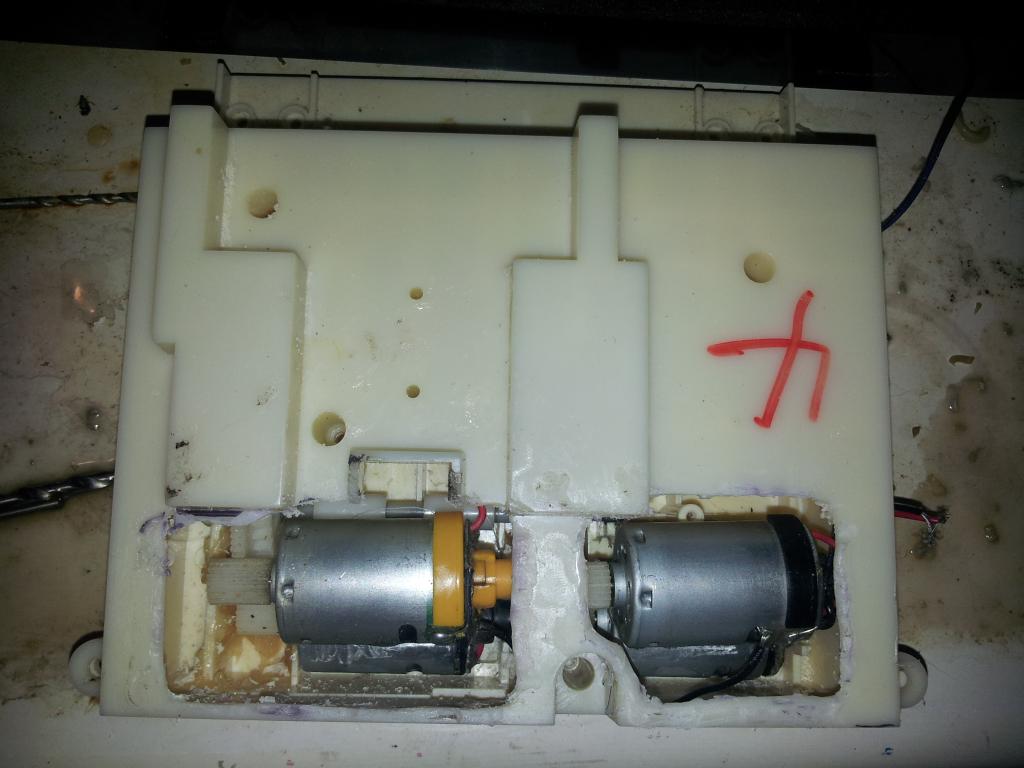
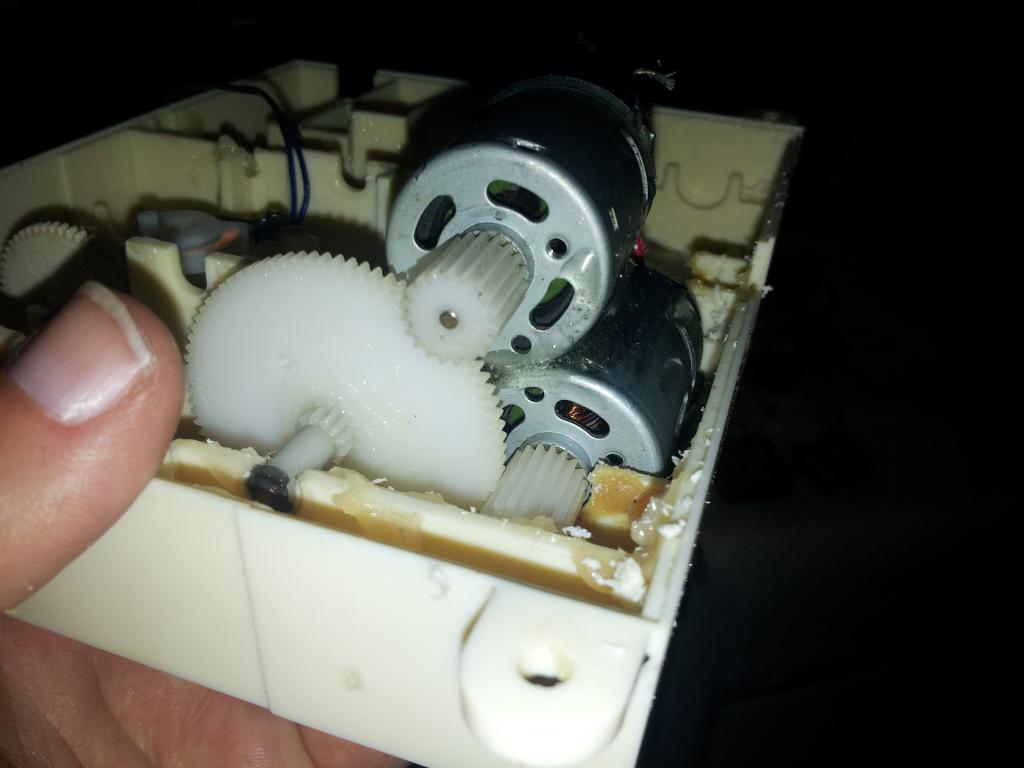
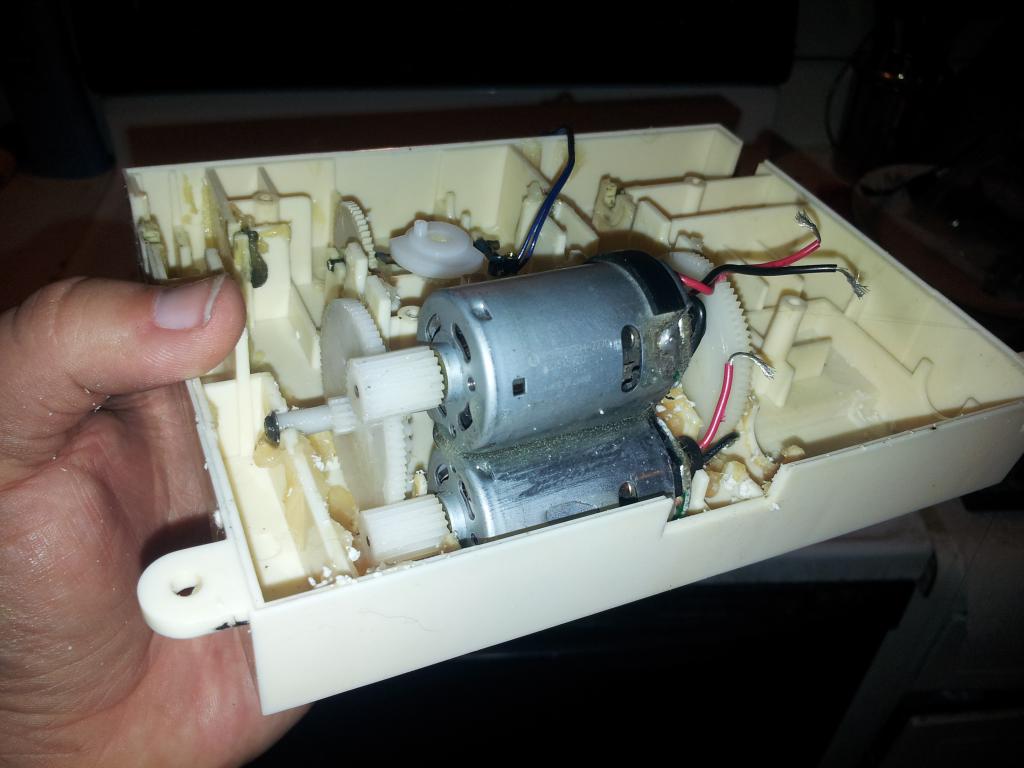
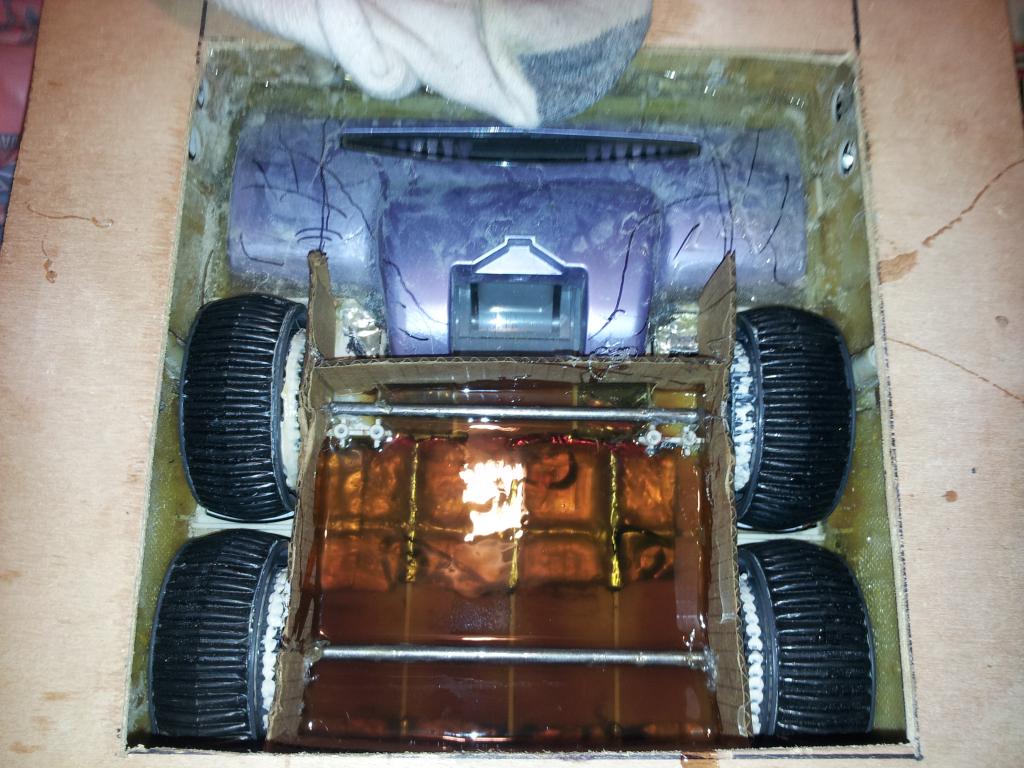
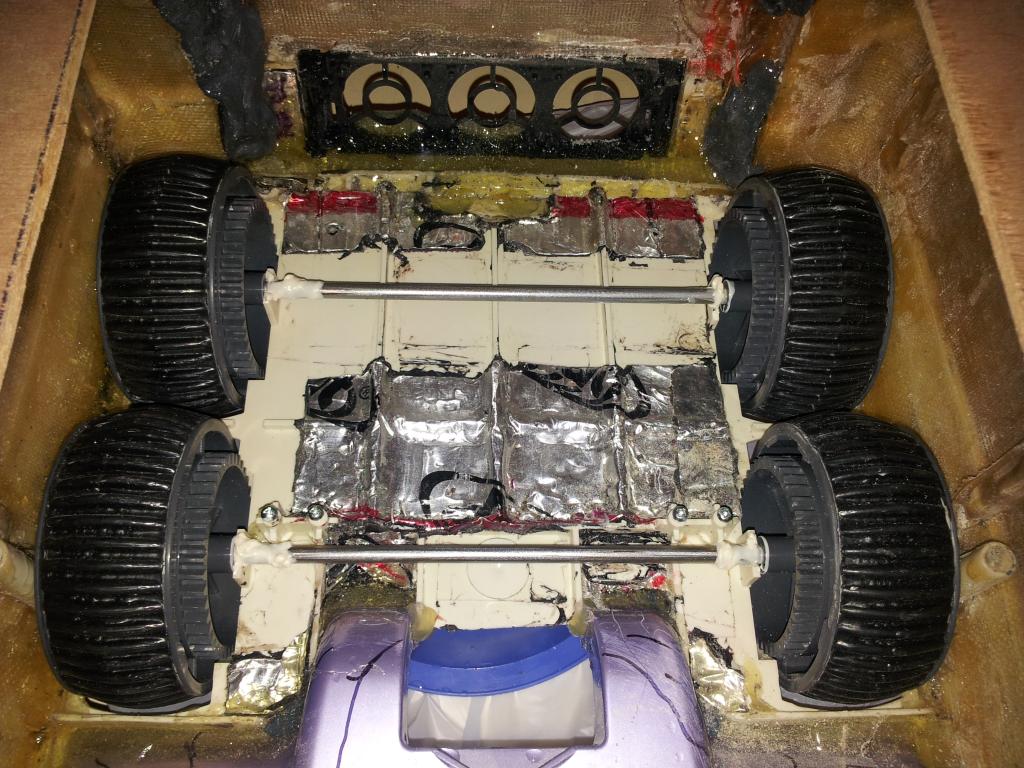
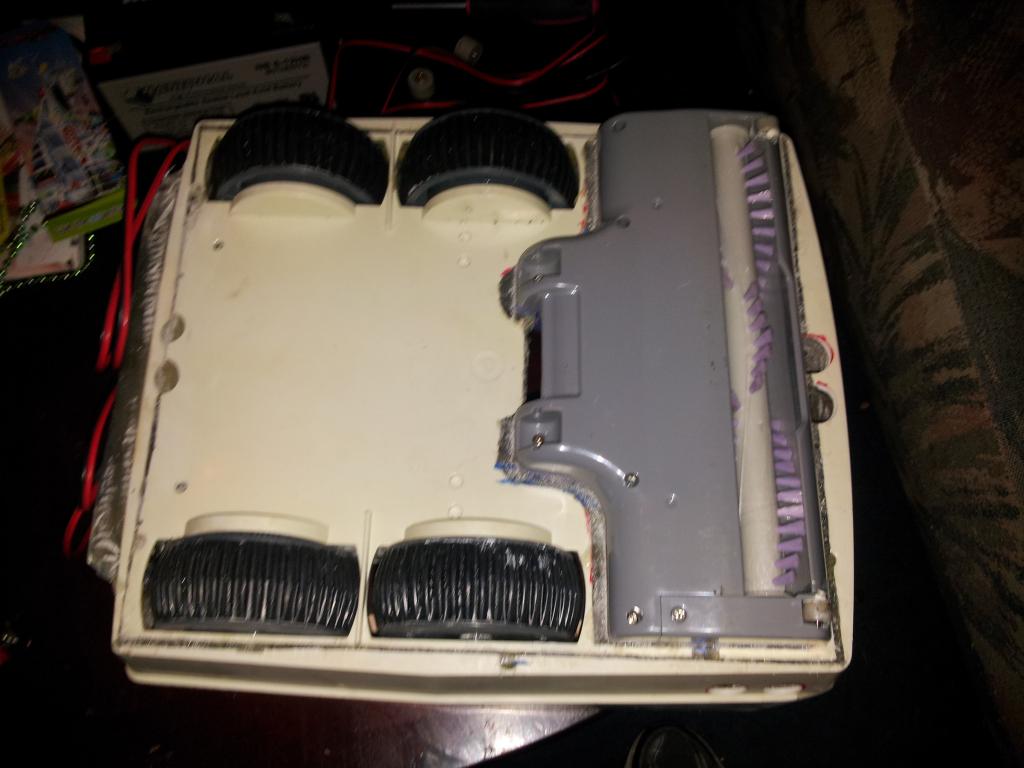
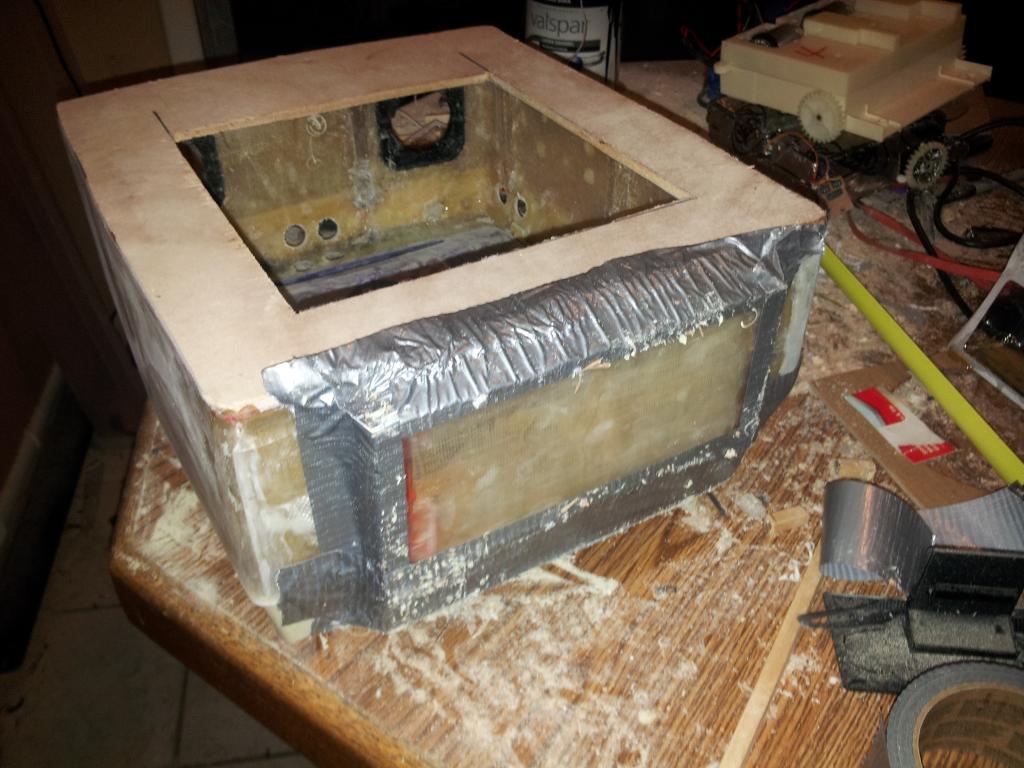
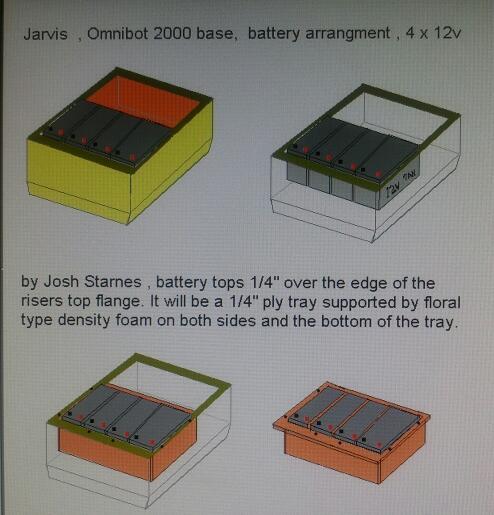
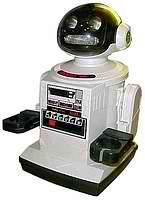
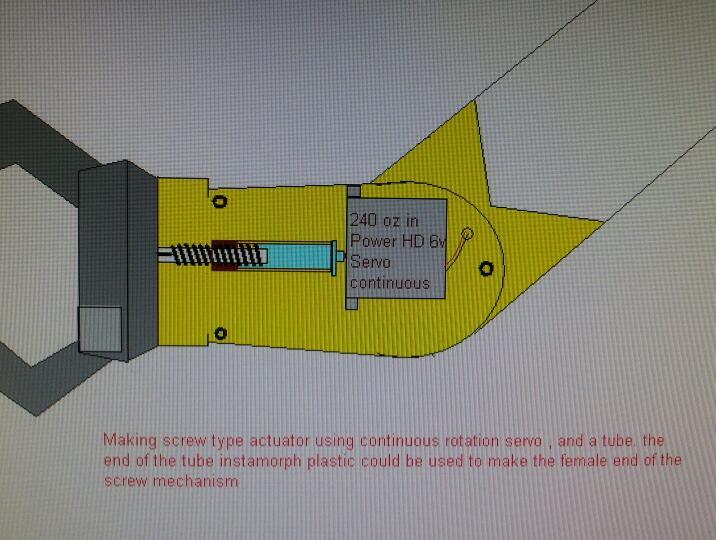
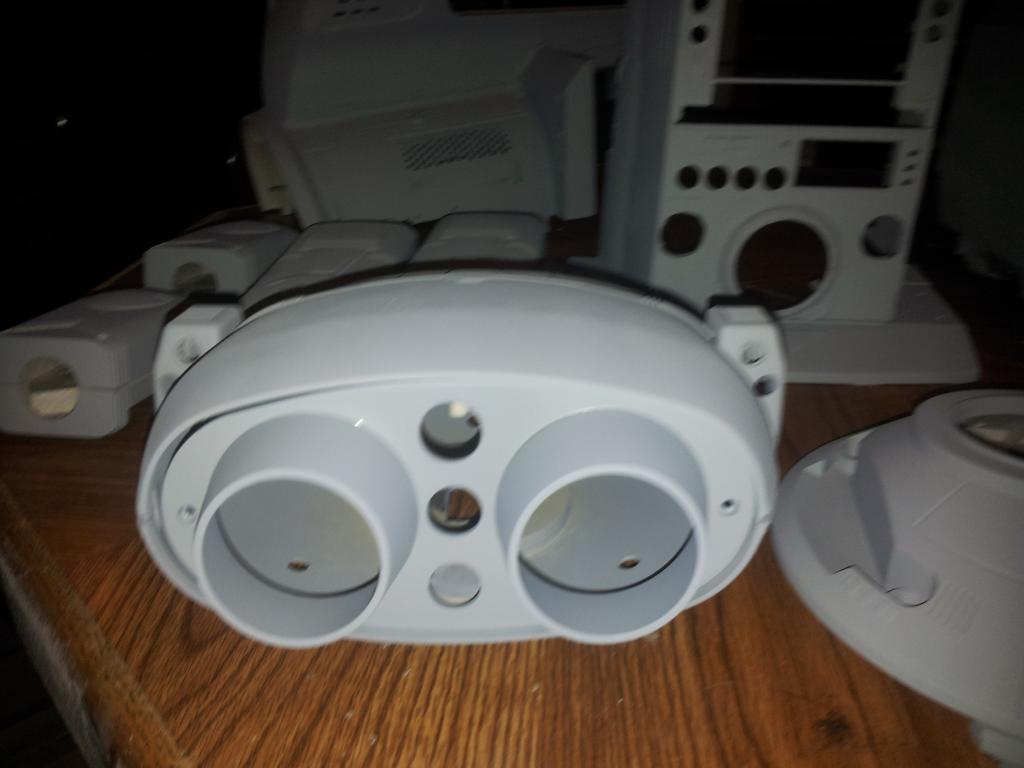
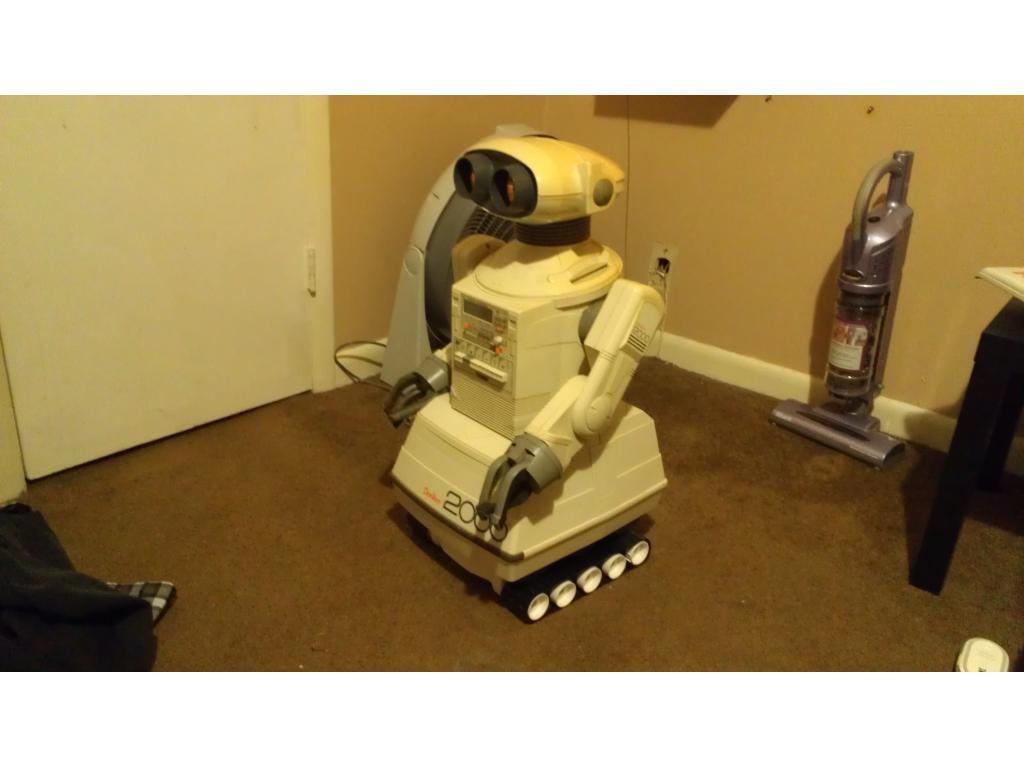
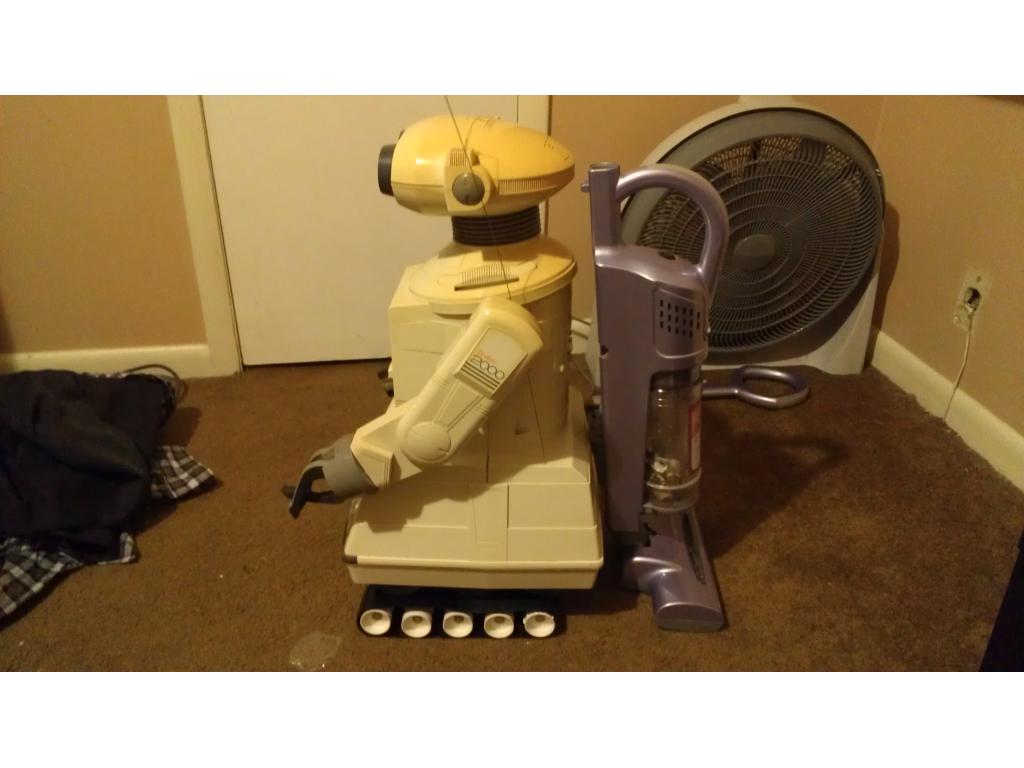
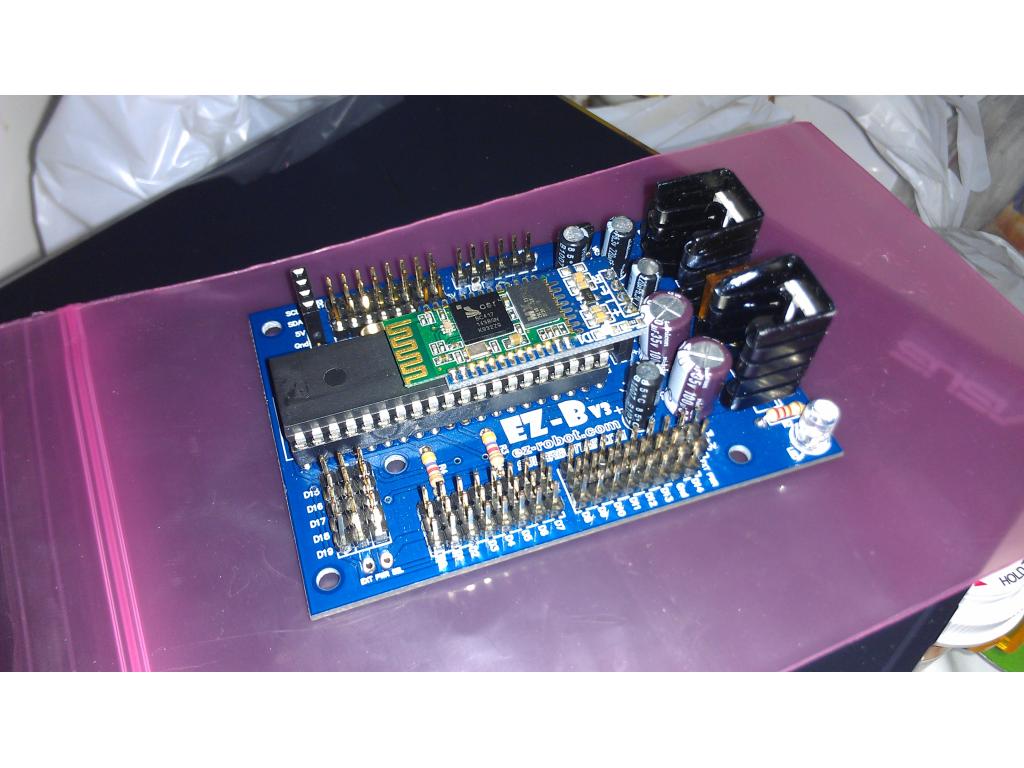
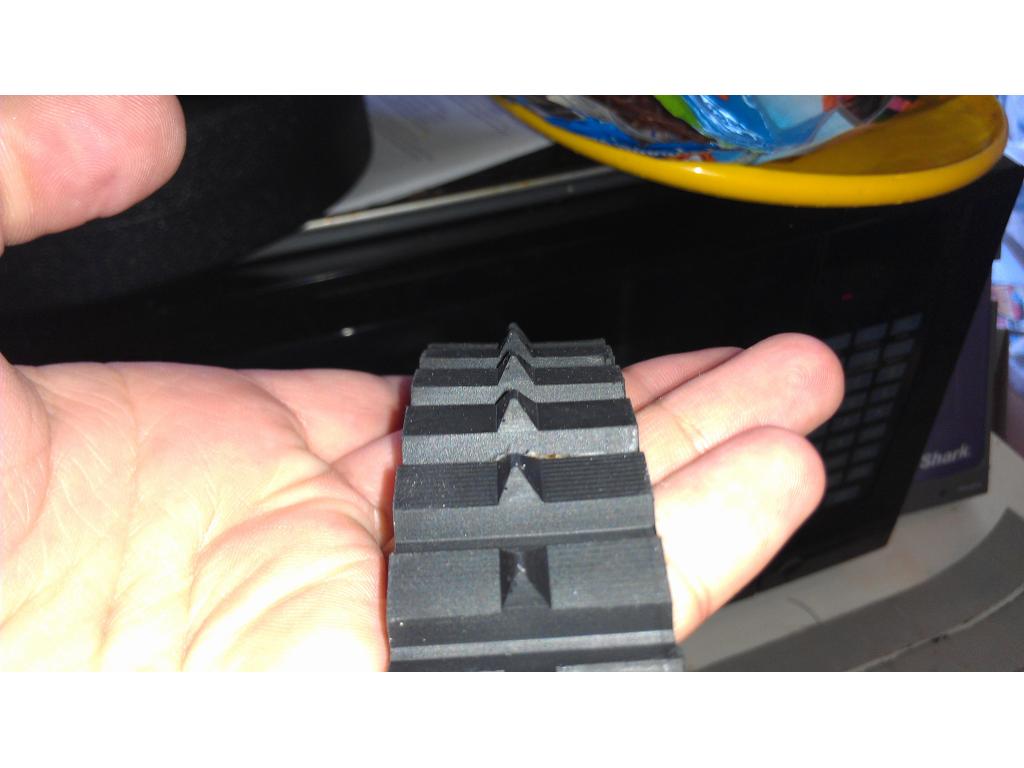
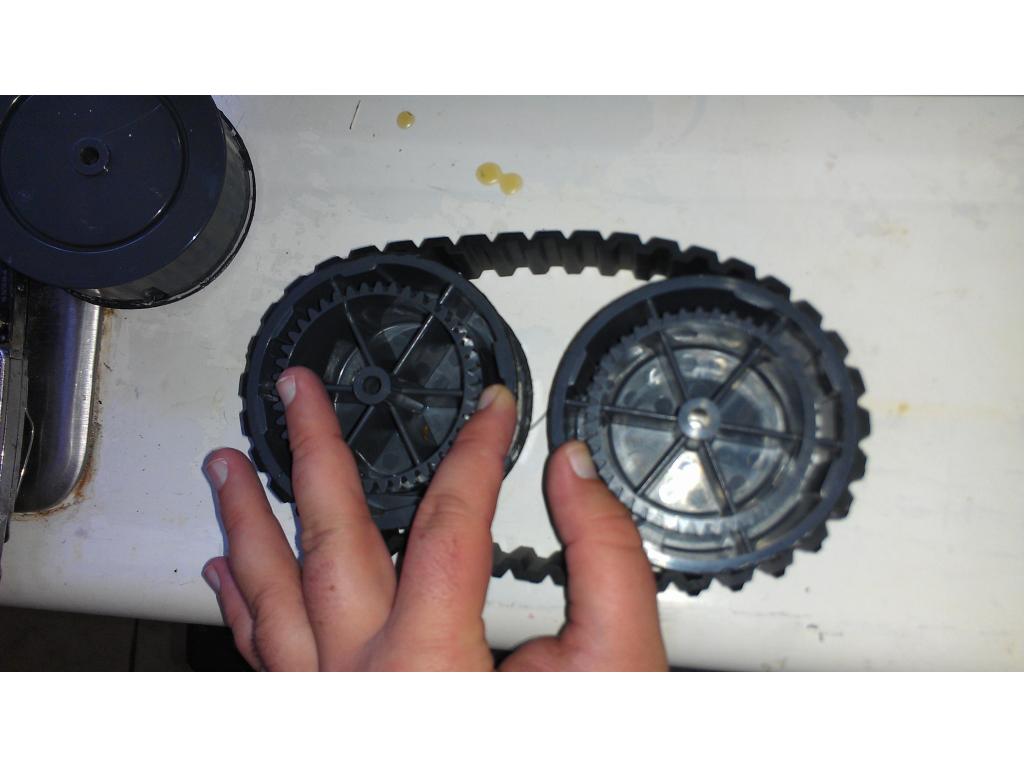
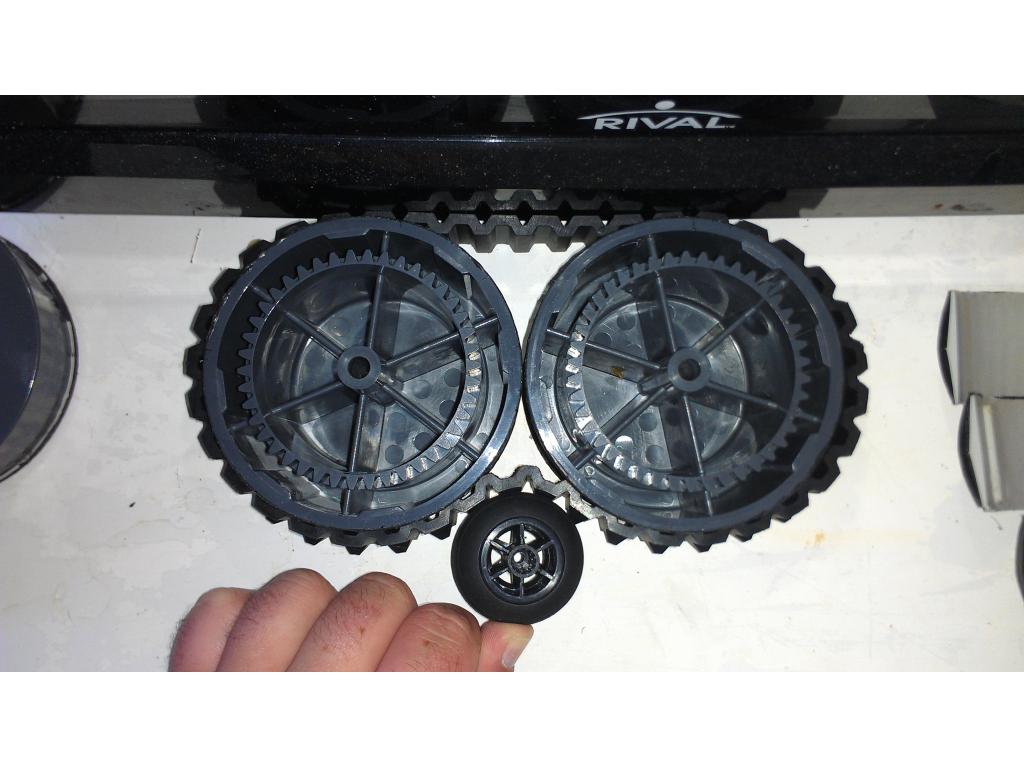
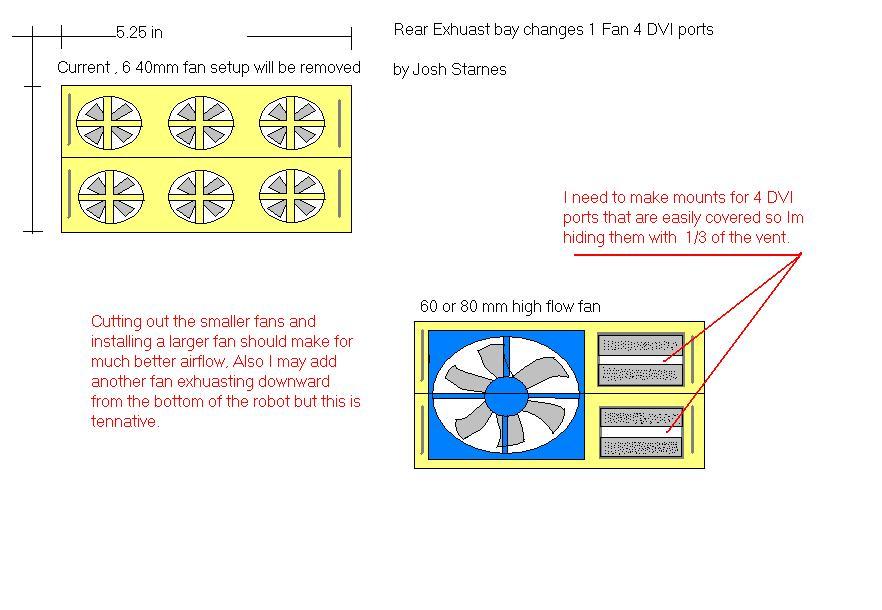
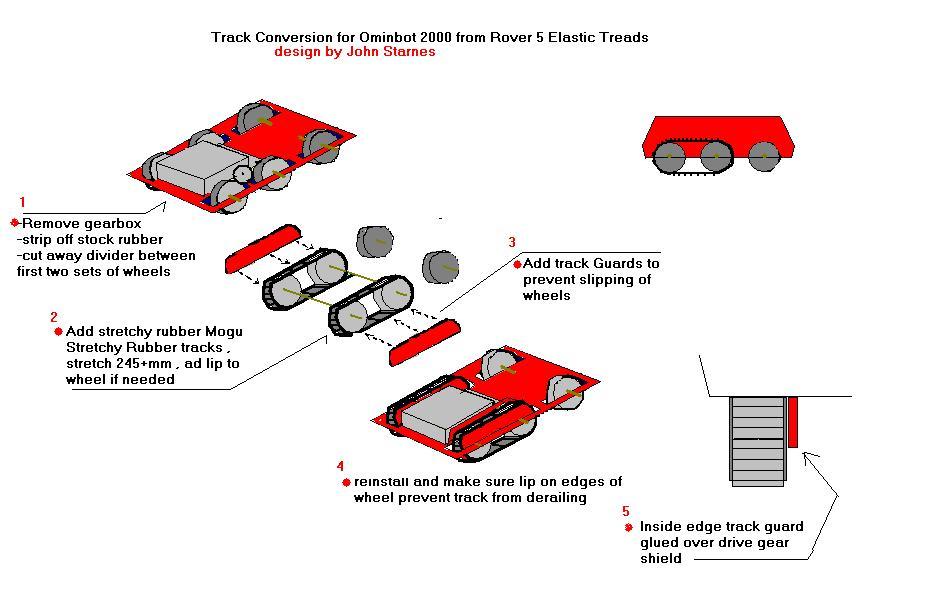
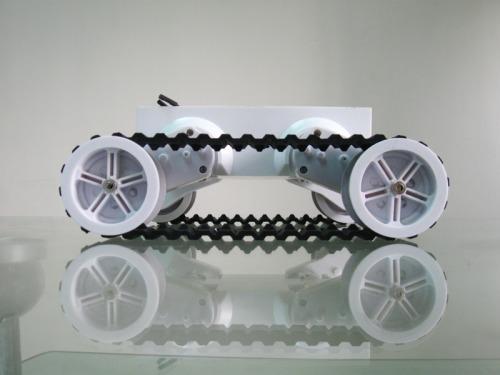
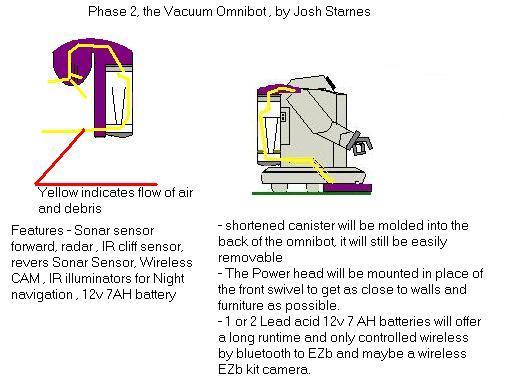
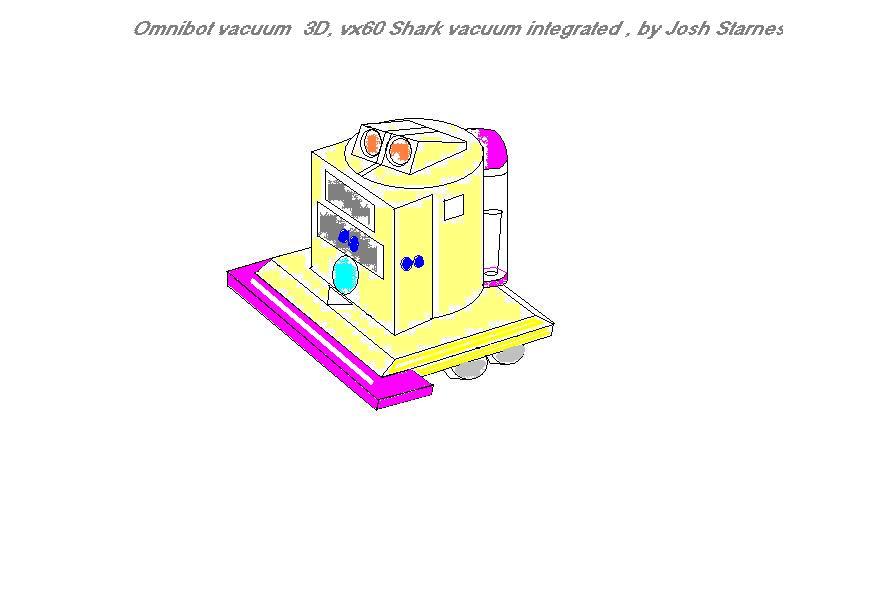
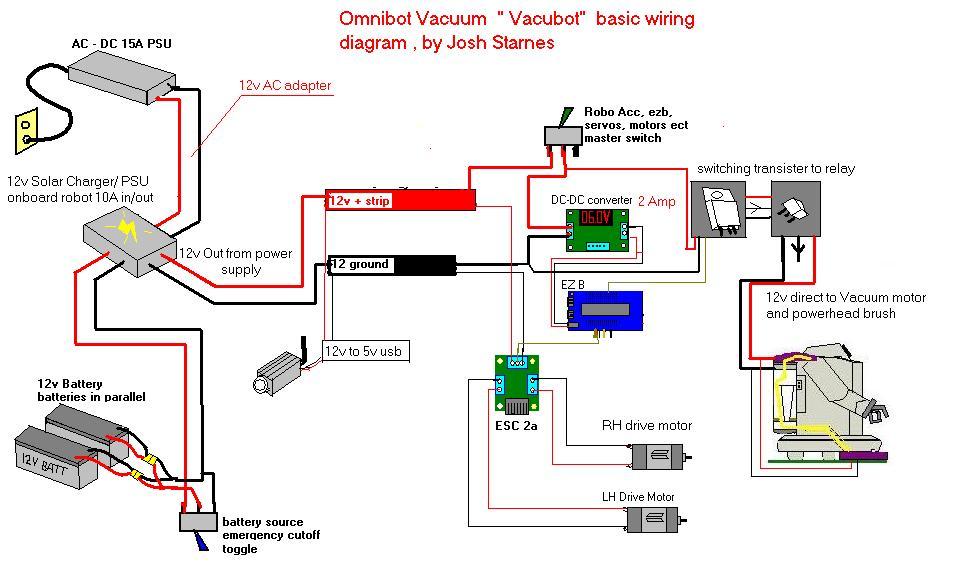
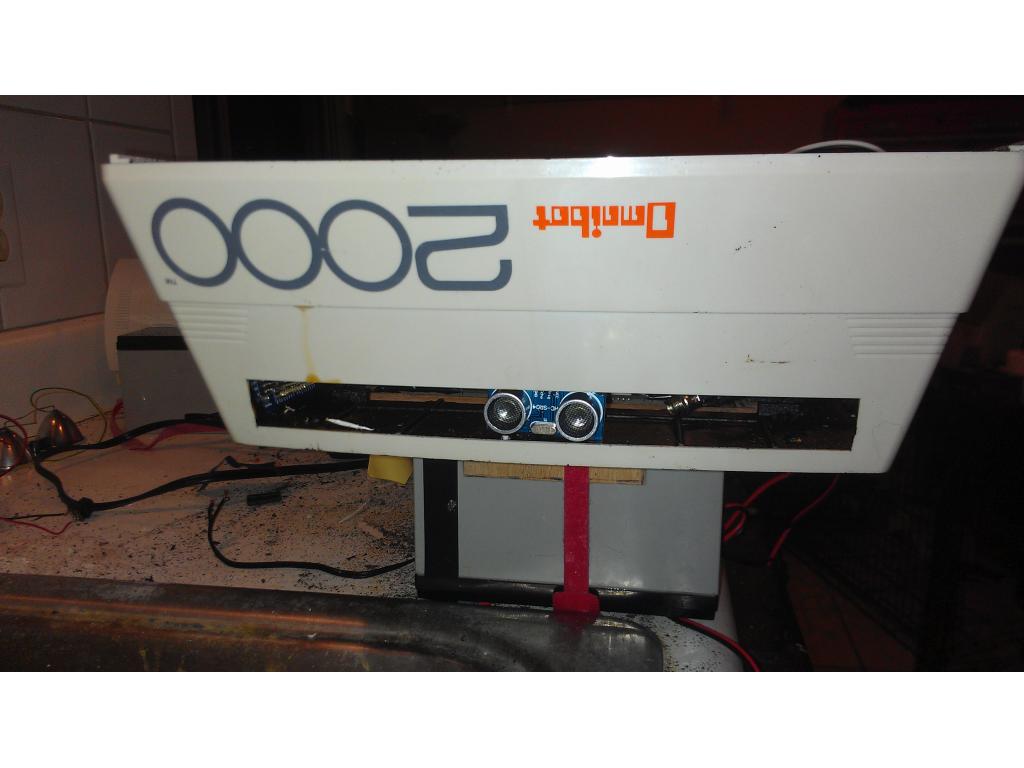
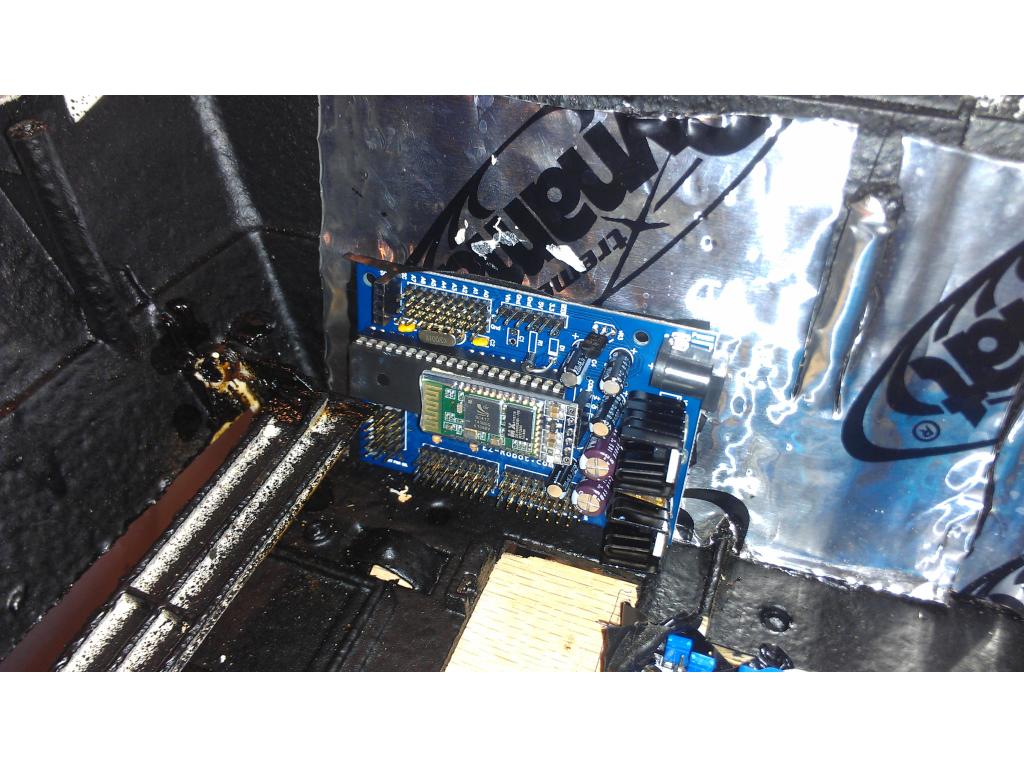
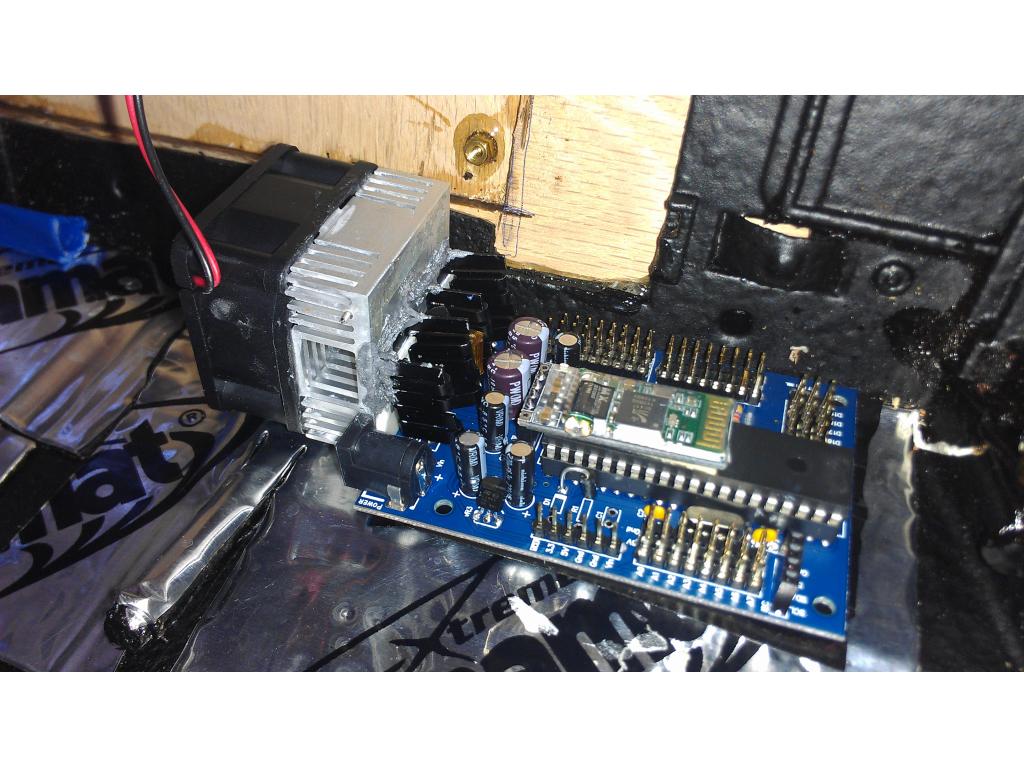
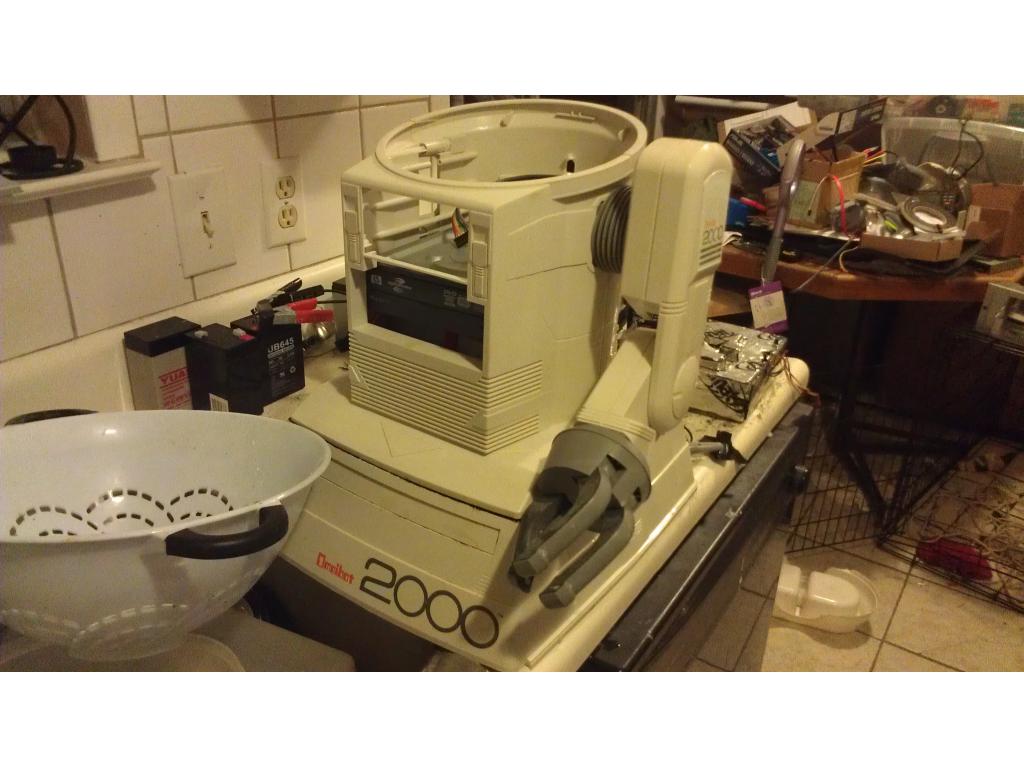
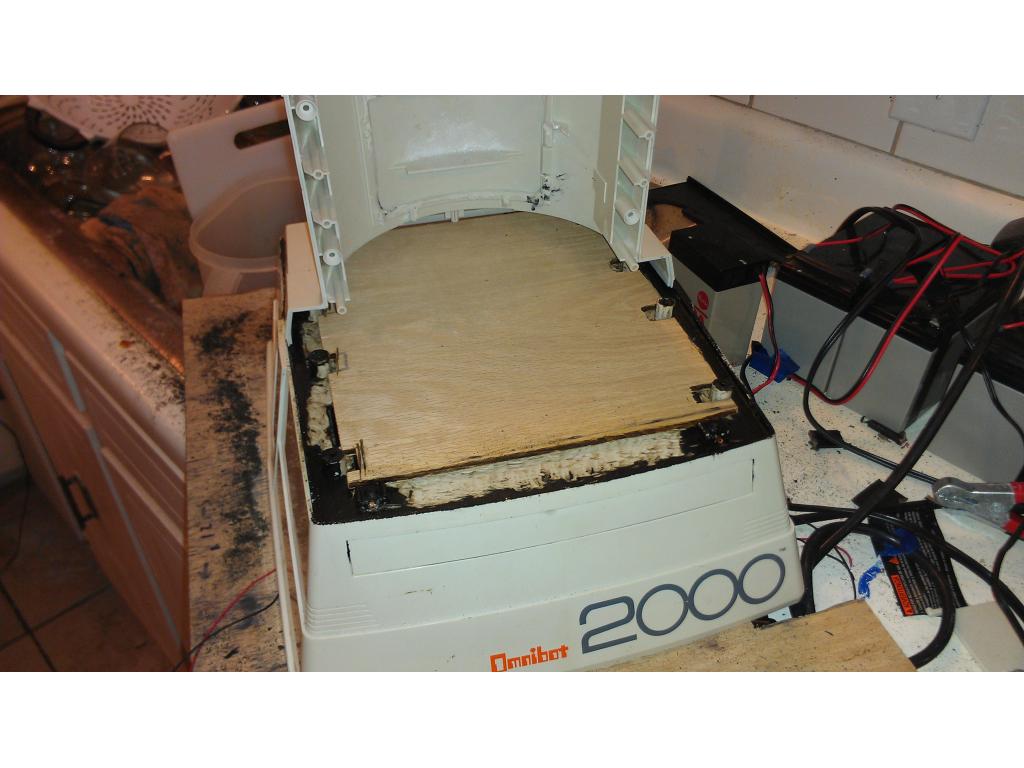
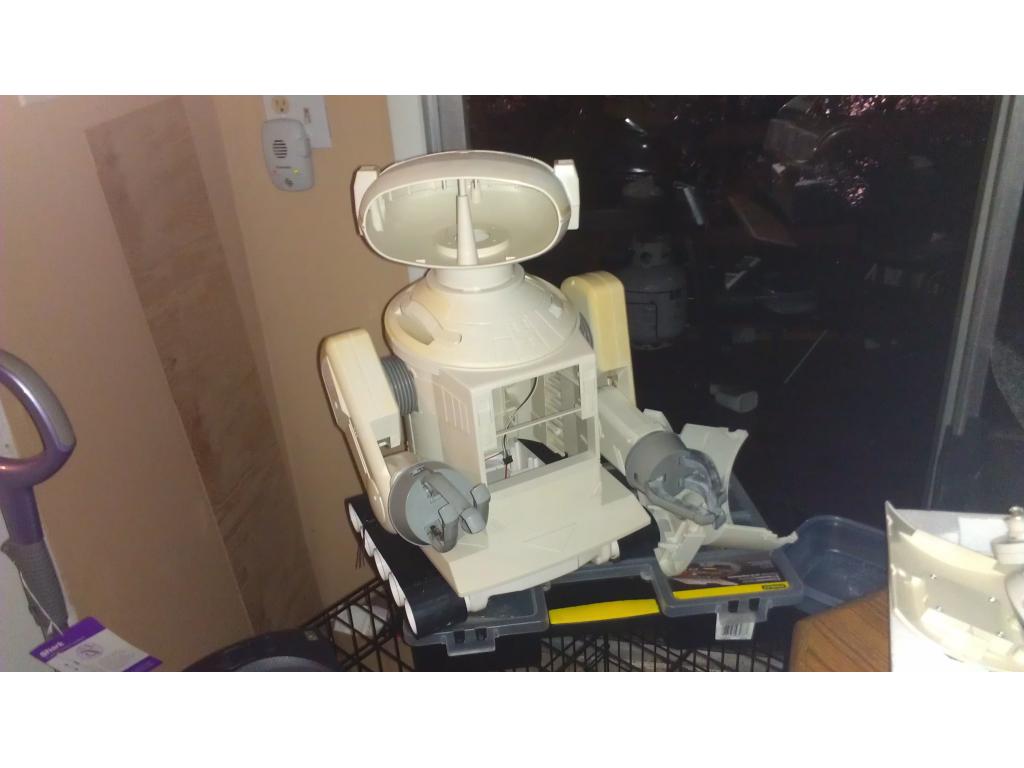
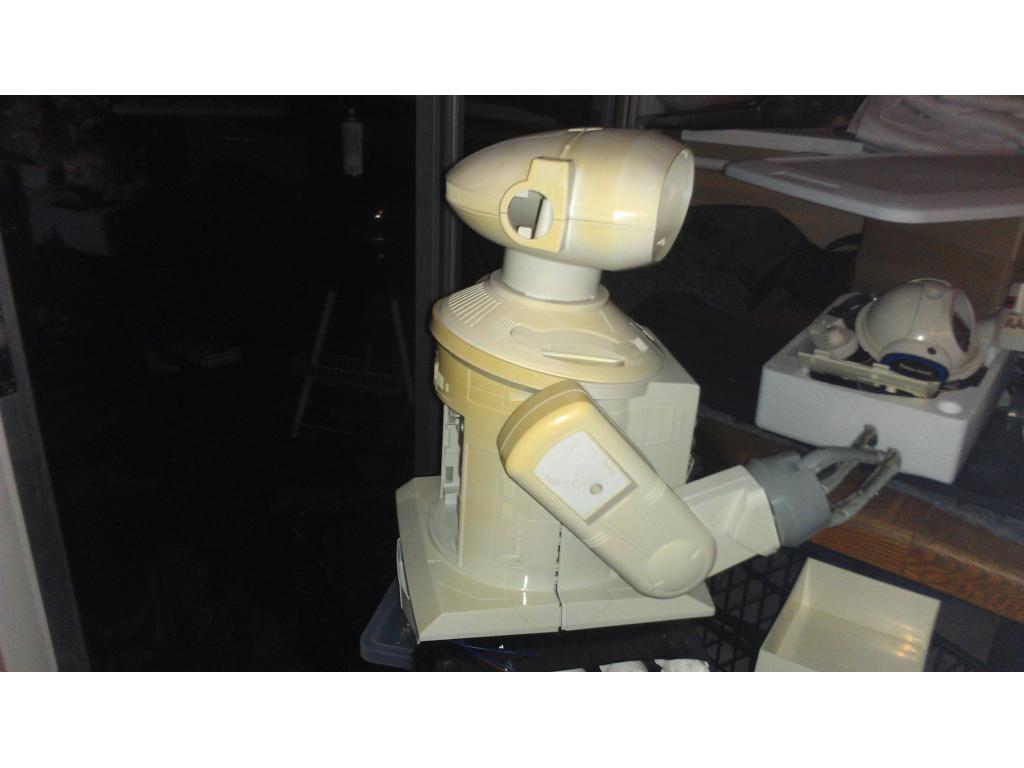
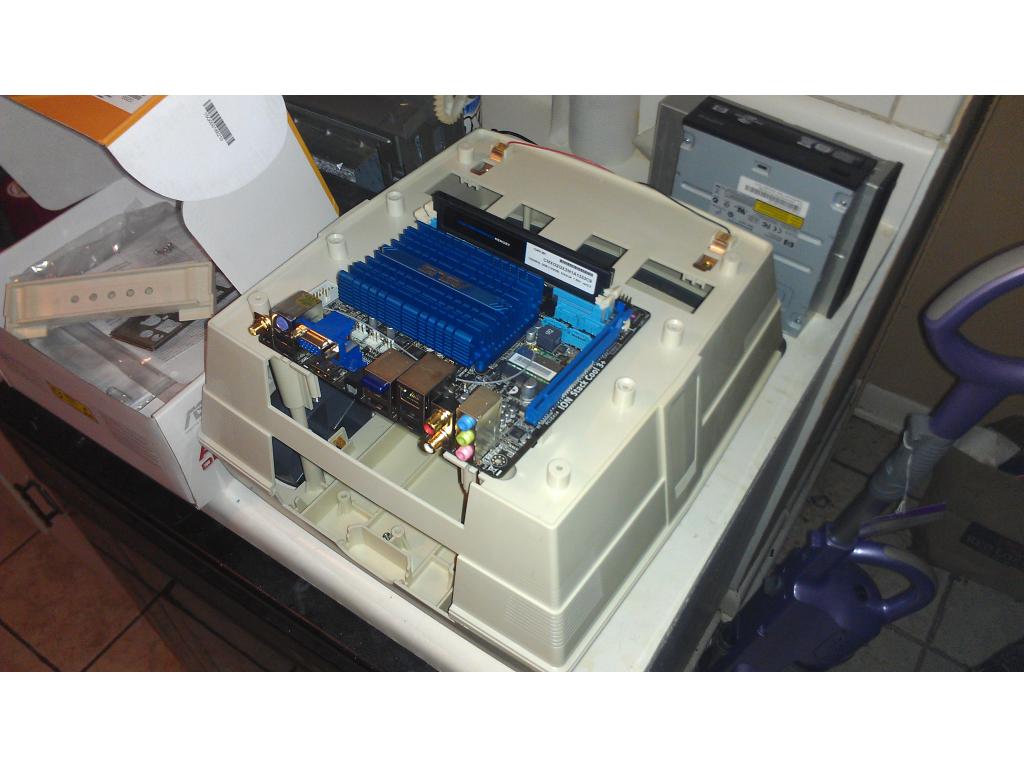
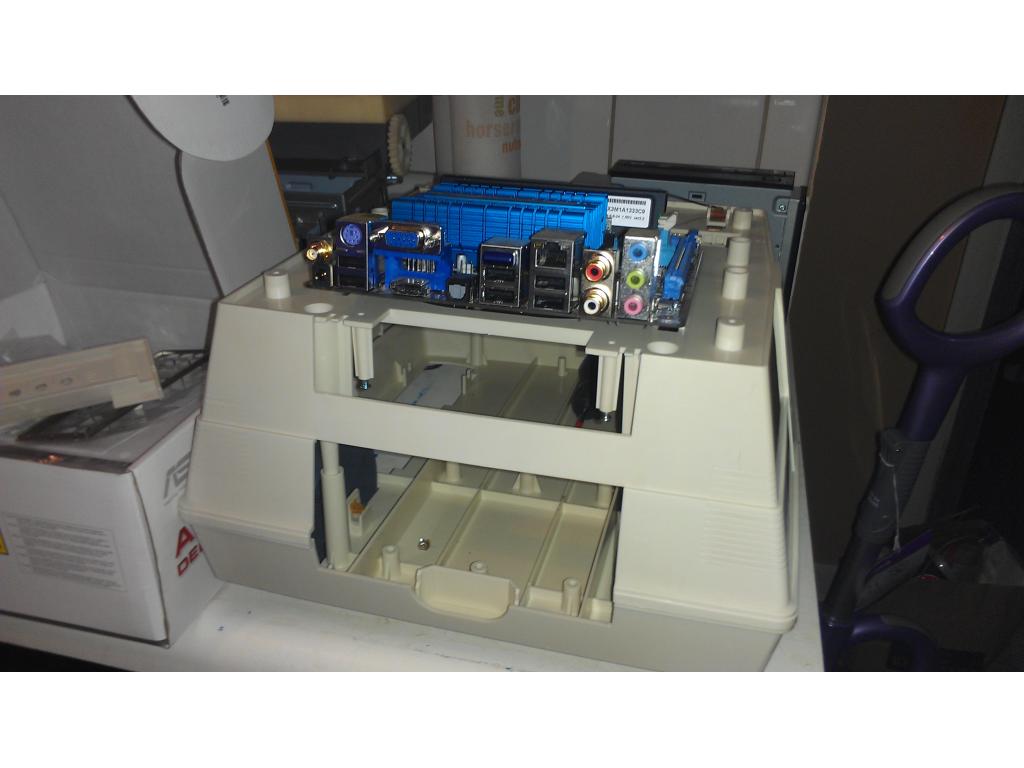
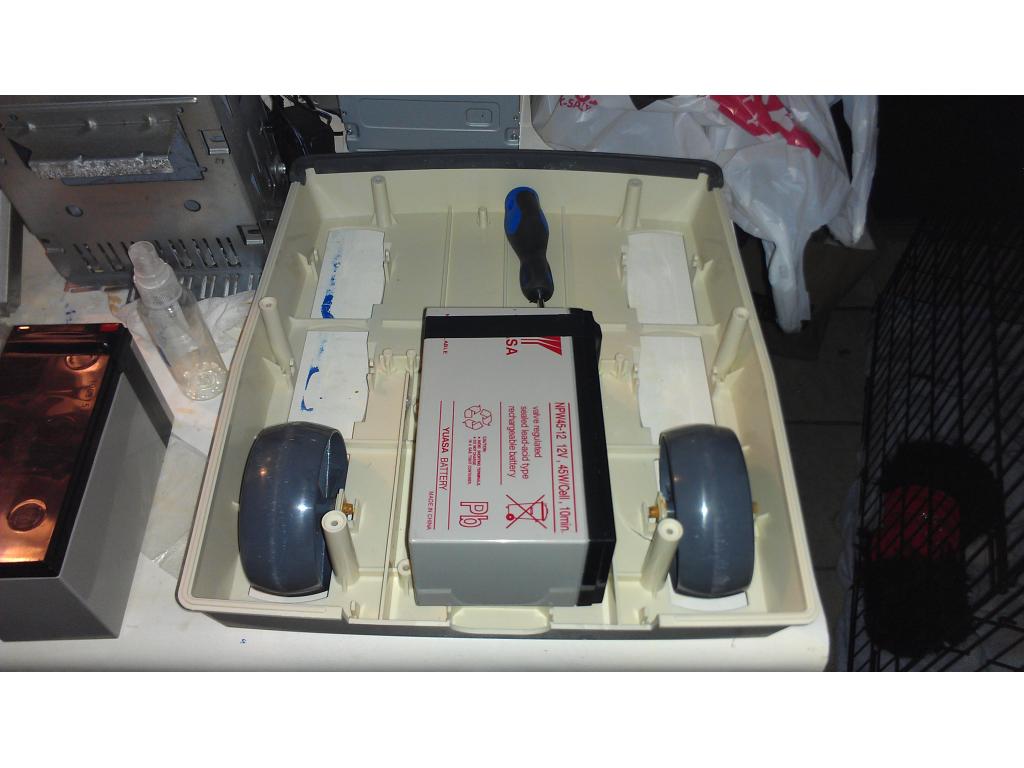
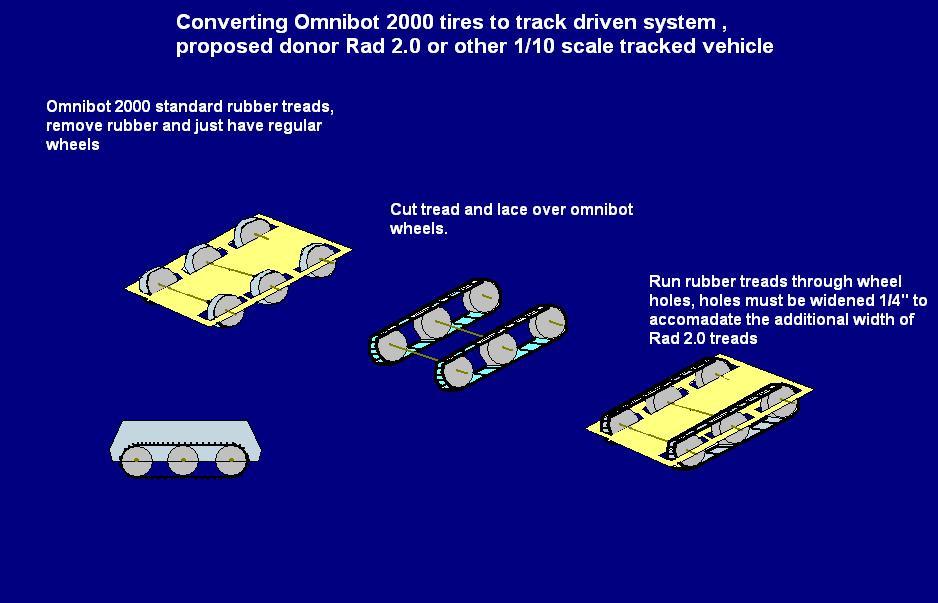
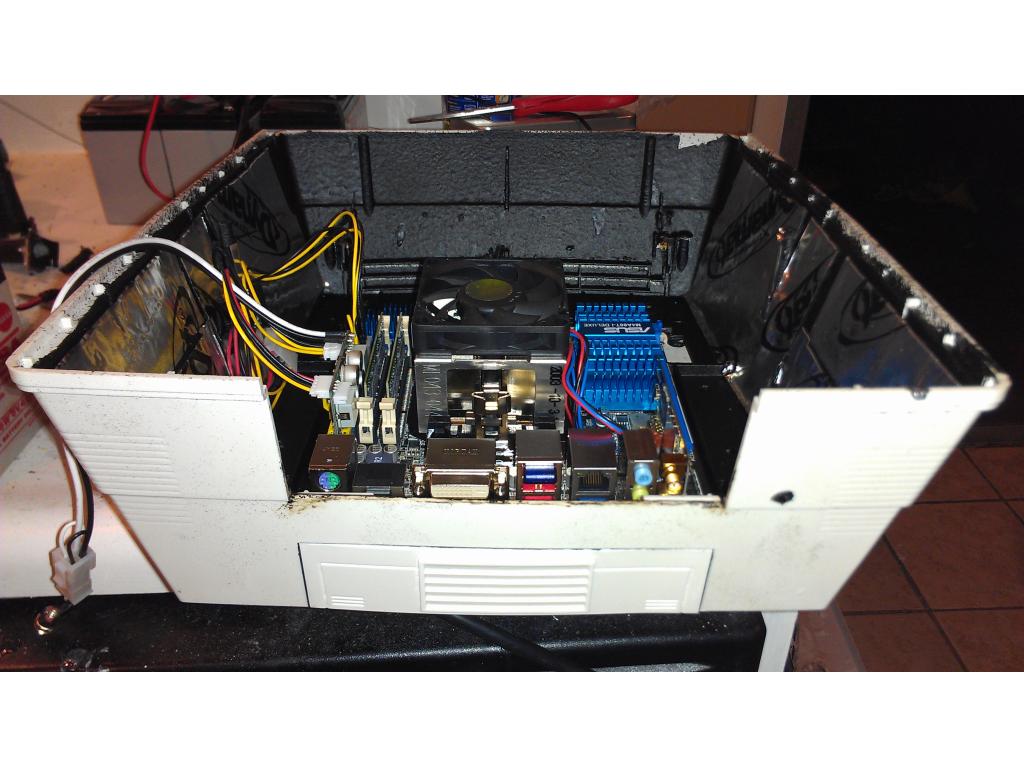
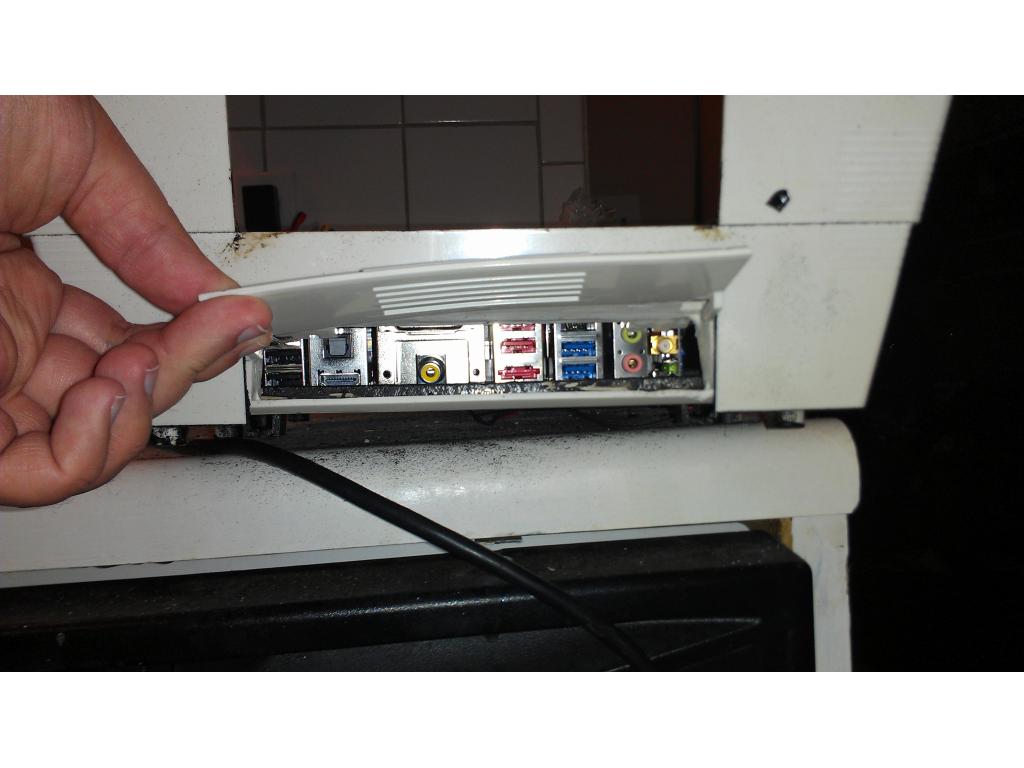
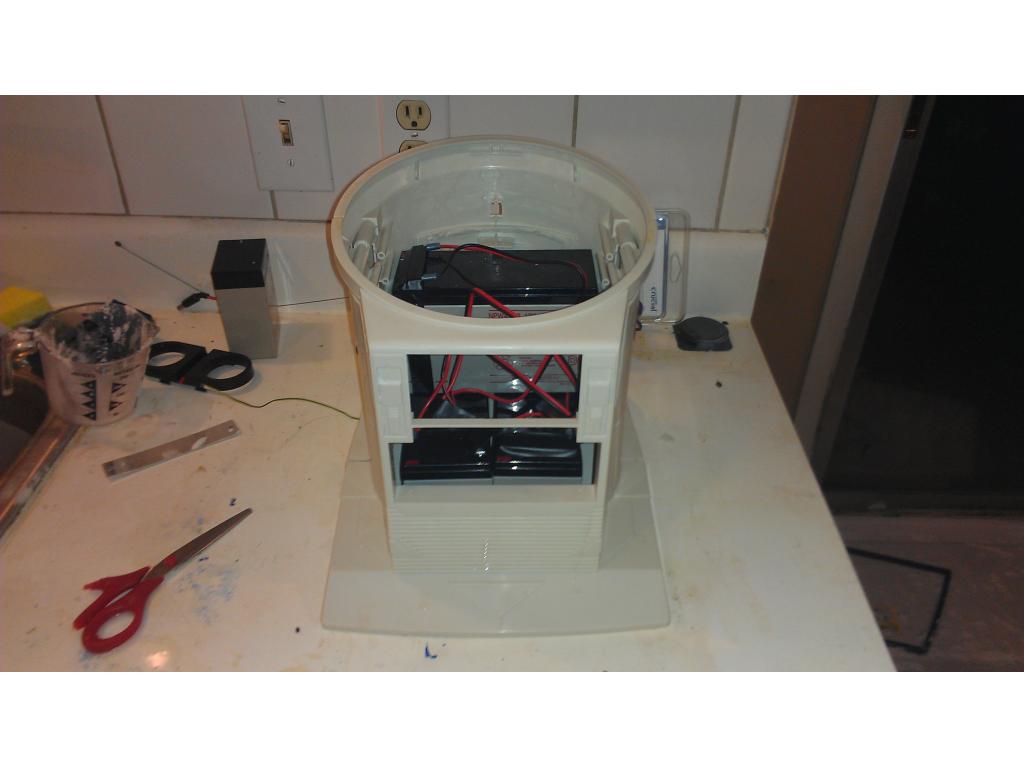
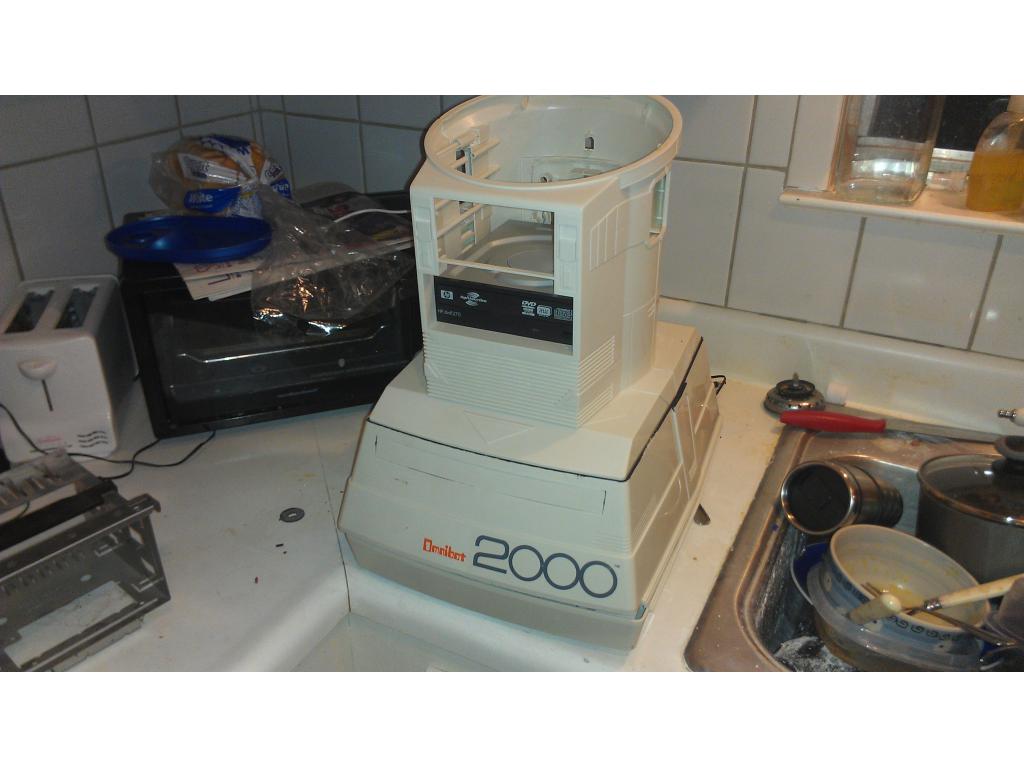
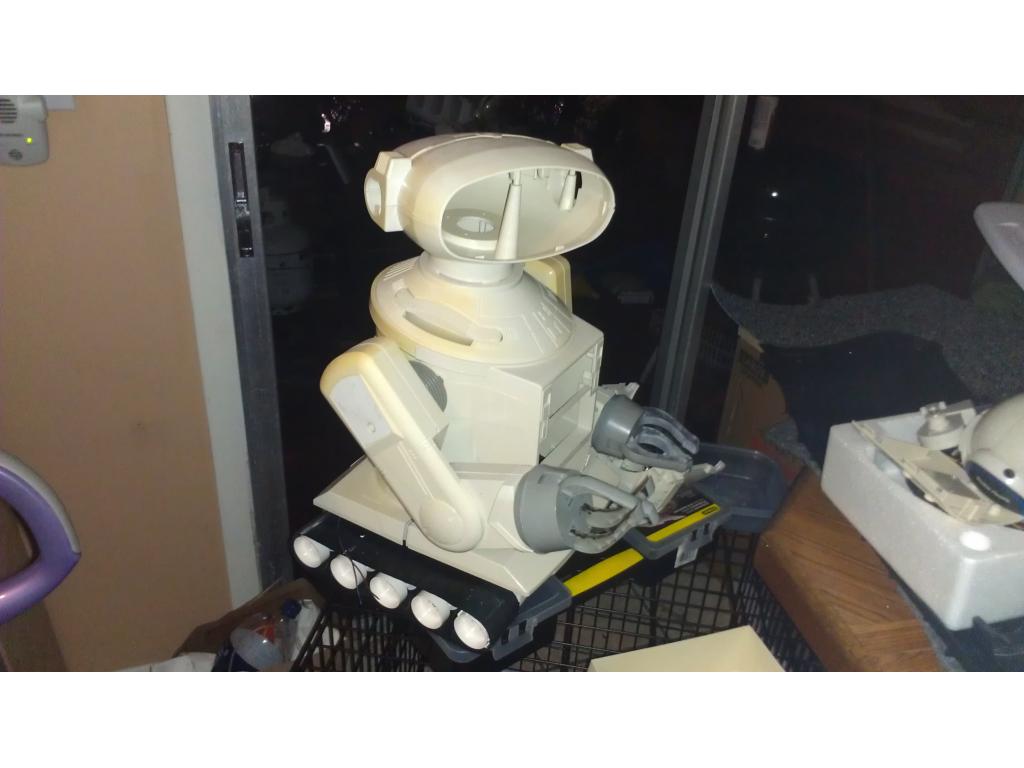
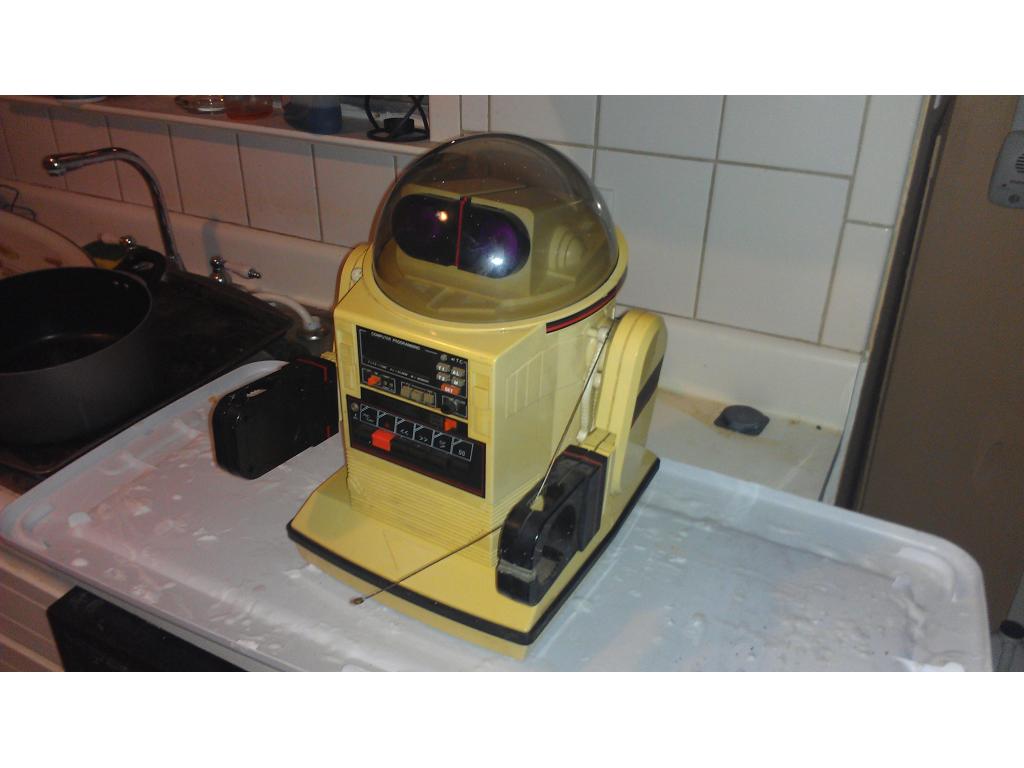
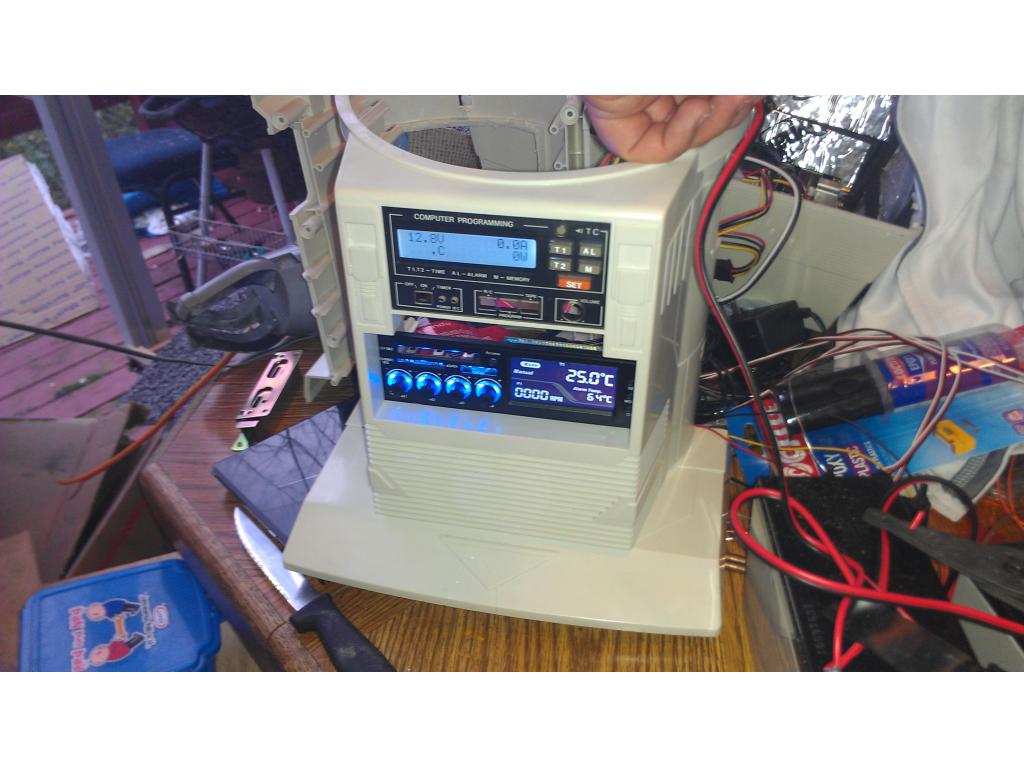
This project has evolved some , the basic rundown is I'm modding two Omnibots , one a regular the other a larger 2000 model. I will have two ezb kits , rad base idea was thrown out because of so much noise but could go back on the table if the omnibot drivetrain is too weak to pull it.


By jstarne1
— Last update
Discover more robots
Hablijack's Project: Marvin
DIY MARVIN robot: USB-powered camera, moving head, OWI-arm hand with servo; arms next, feet TBD.
Rich's Ez-Rover Mk I
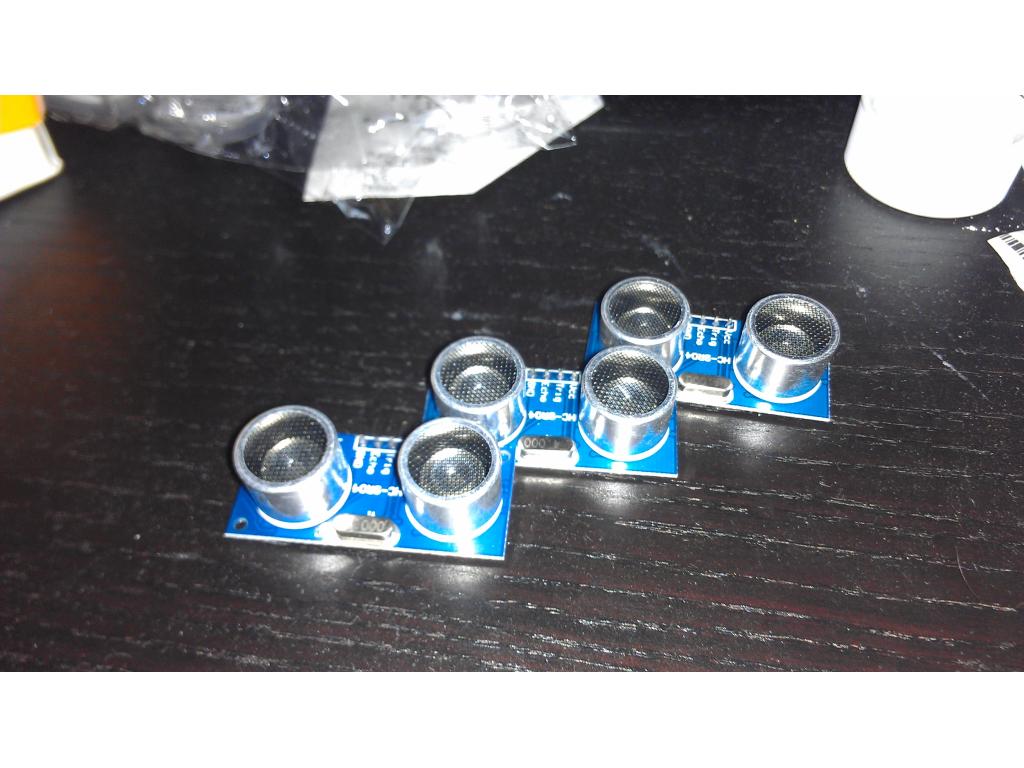
EZ-Rover MK1 autonomous rover converted with EZ-B, H-Bridge and camera; 6x AA power, IR/ultrasonic sensors for...
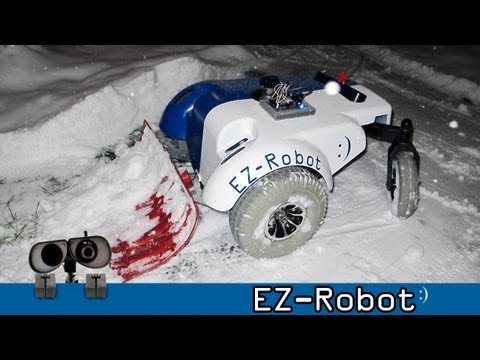
DJ's Snow Shovel Robot
Remote-control 80 lb mobility-scooter robot fitted with a shovel using Synthiam ARC, EZ-B controller and Sabertooth...

@robotmaker, Im just in a middle east time zone (UTC+3). Its actually 6:45am here.
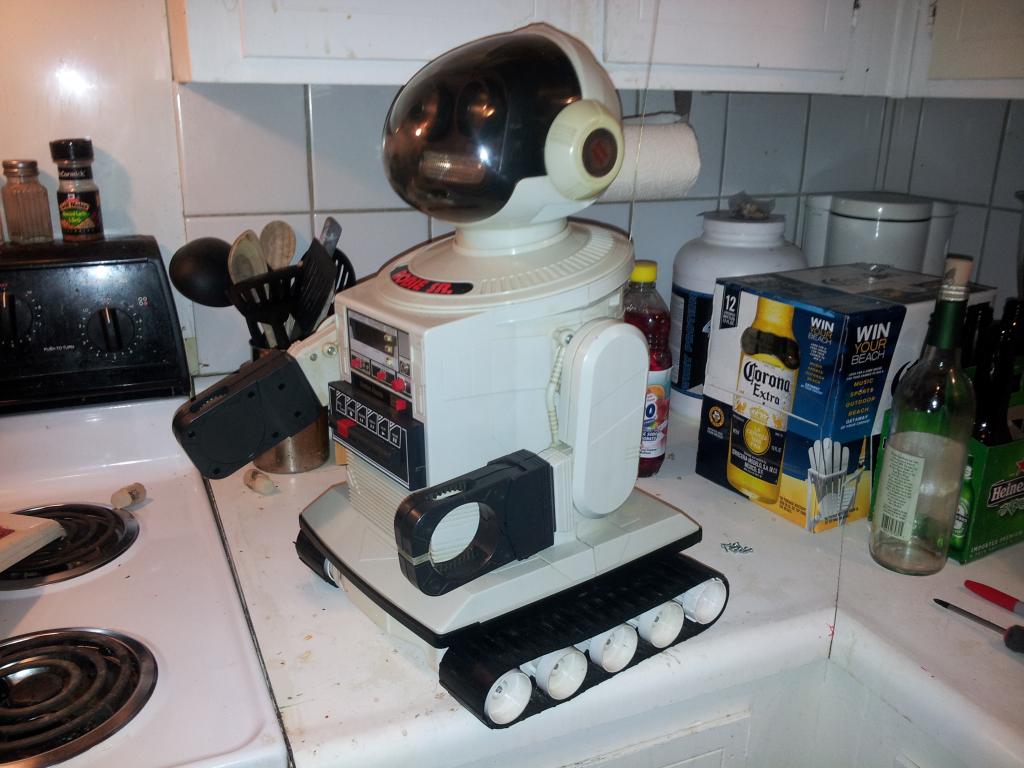
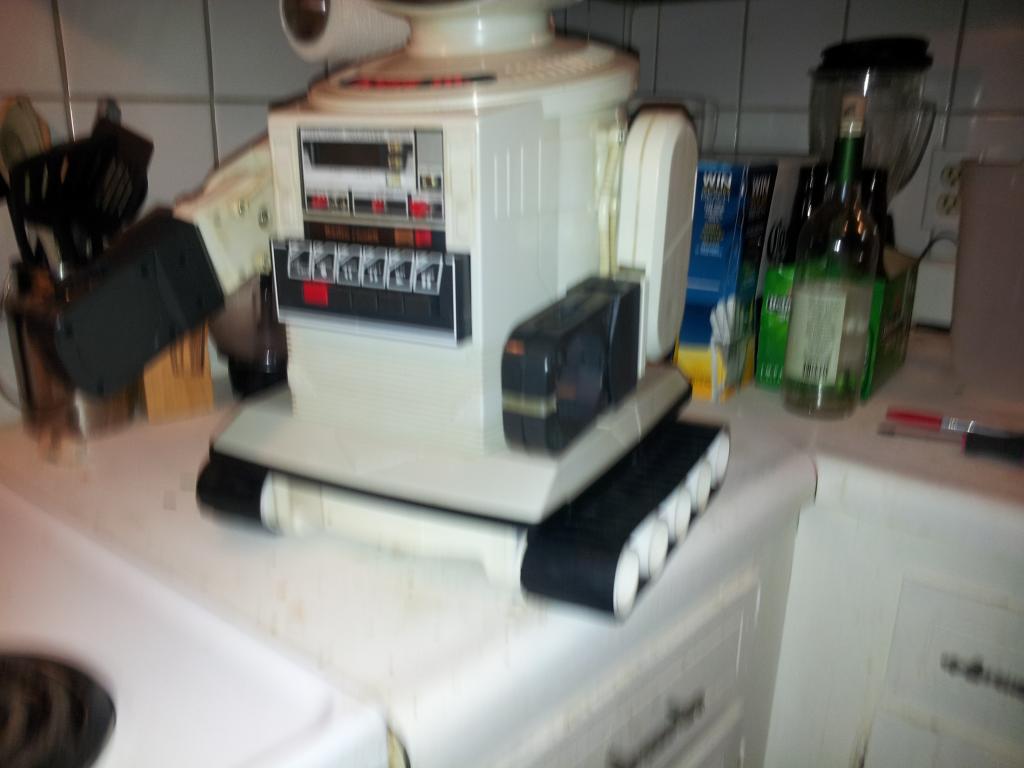
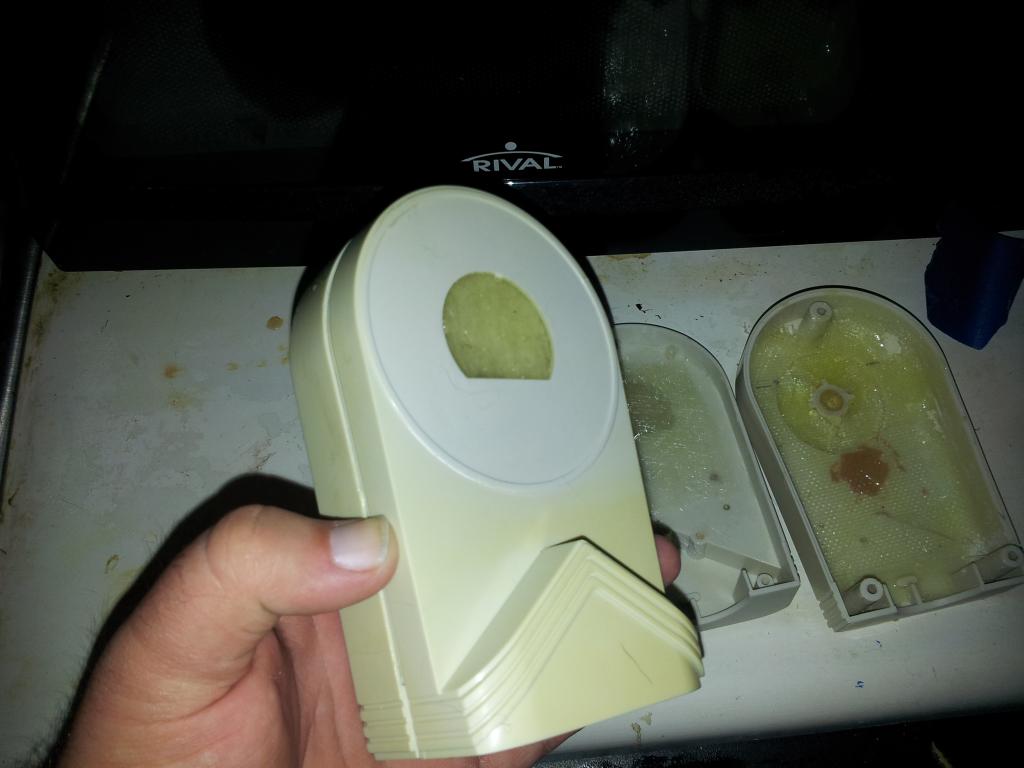
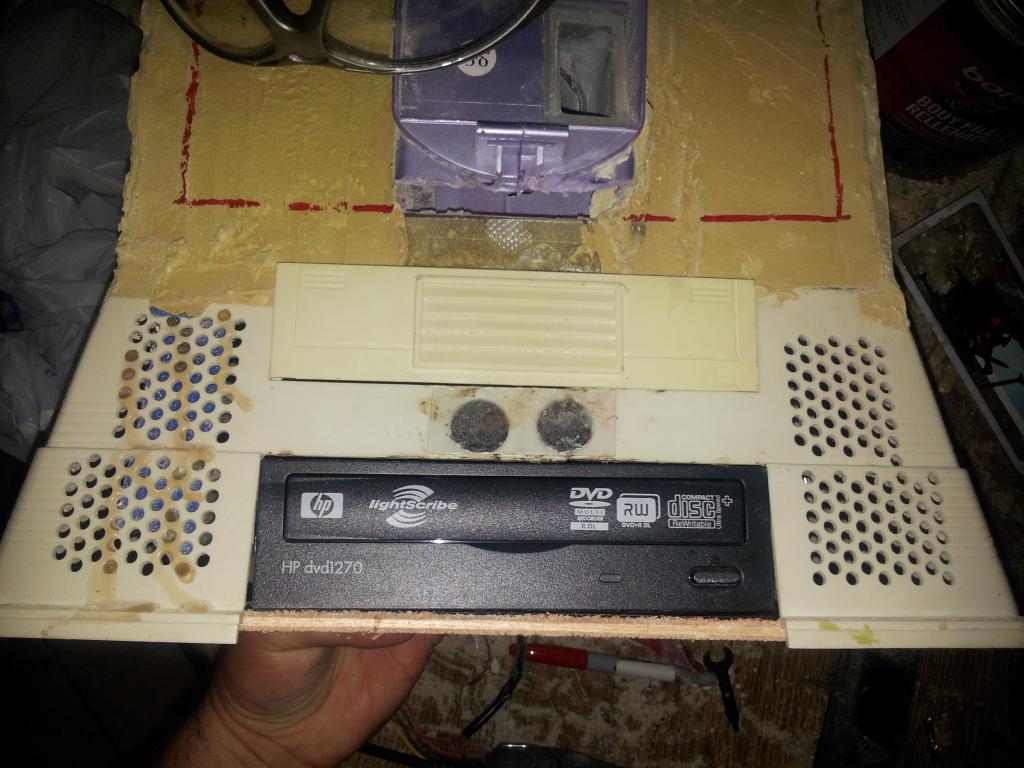
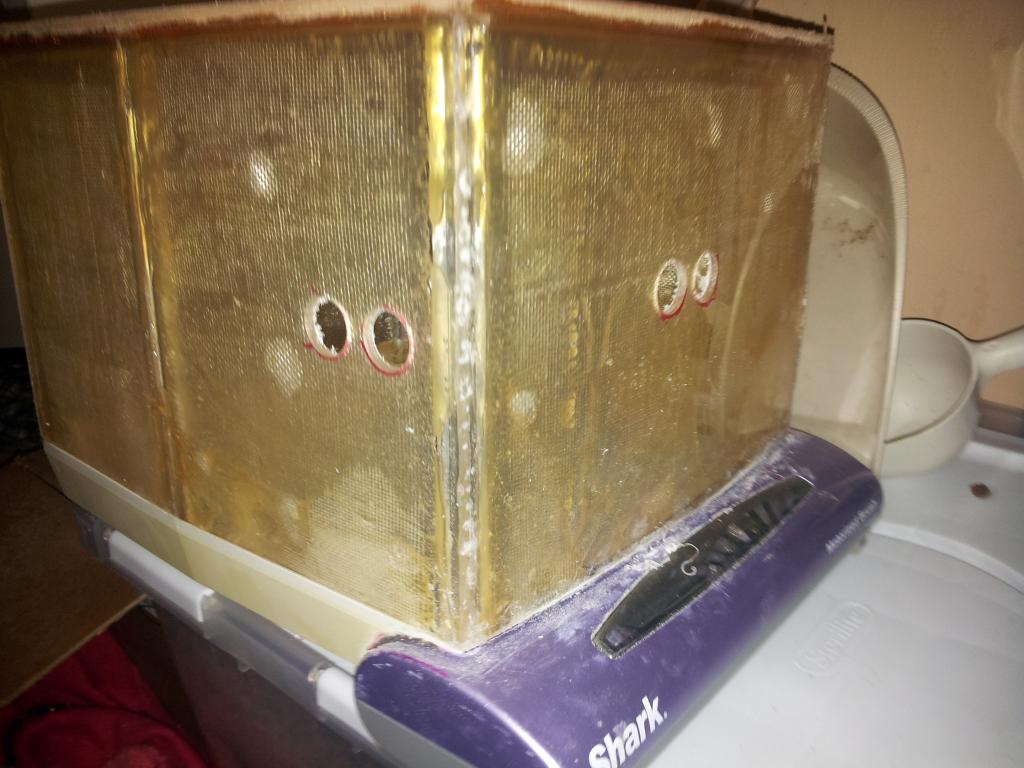
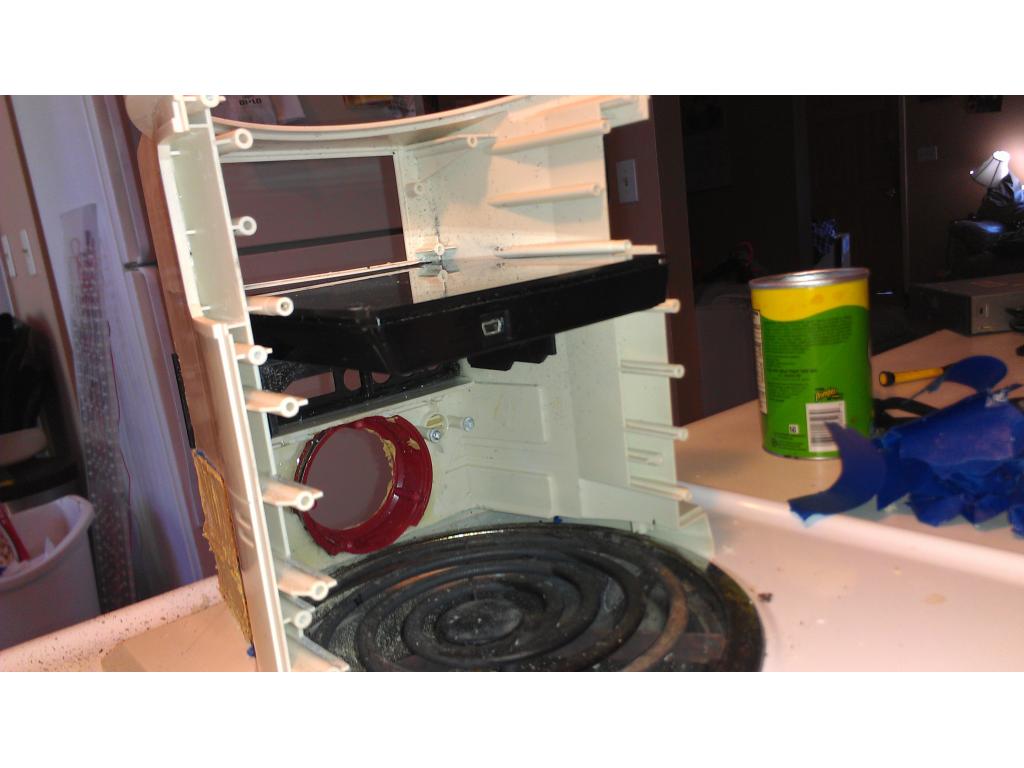
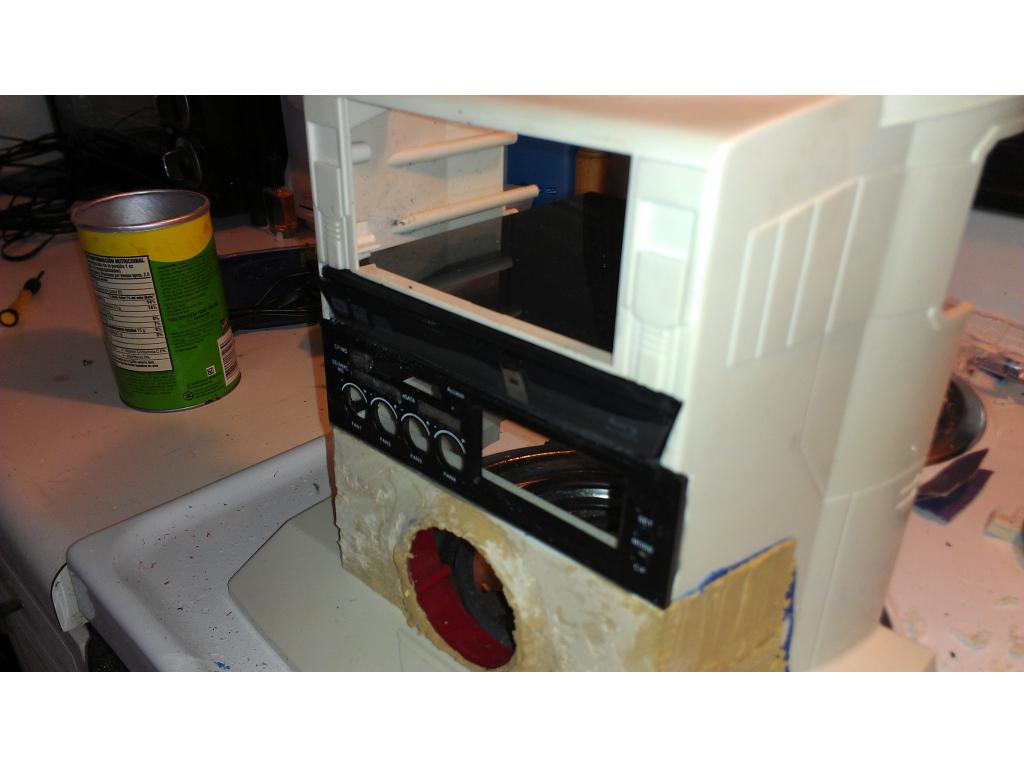
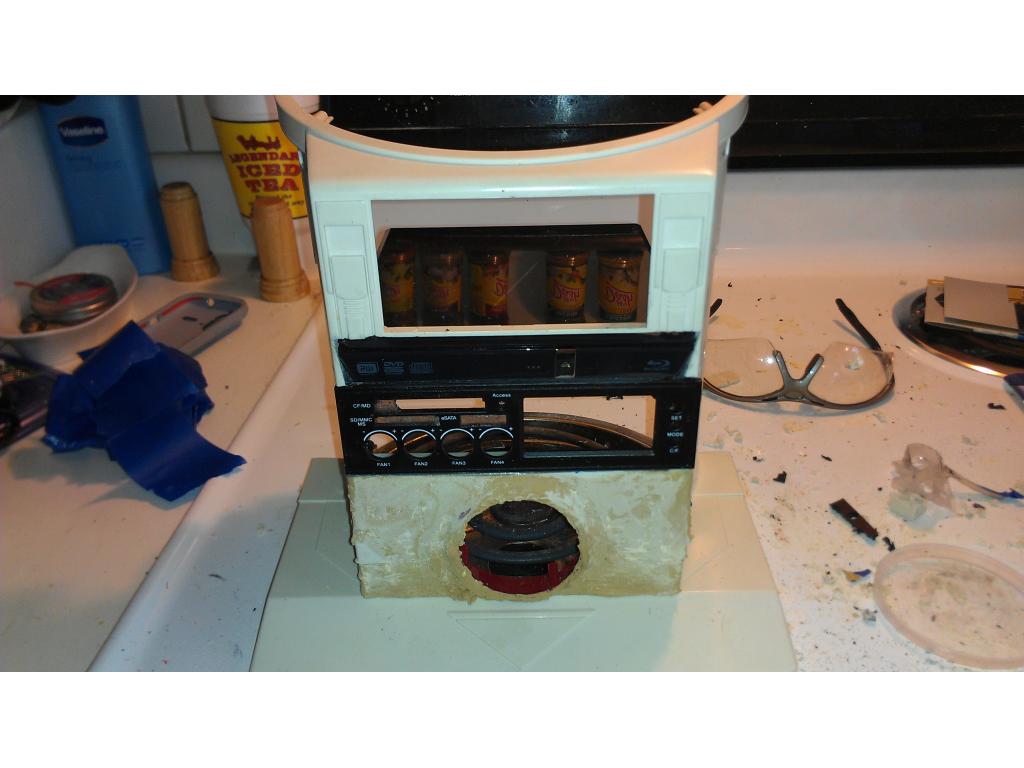
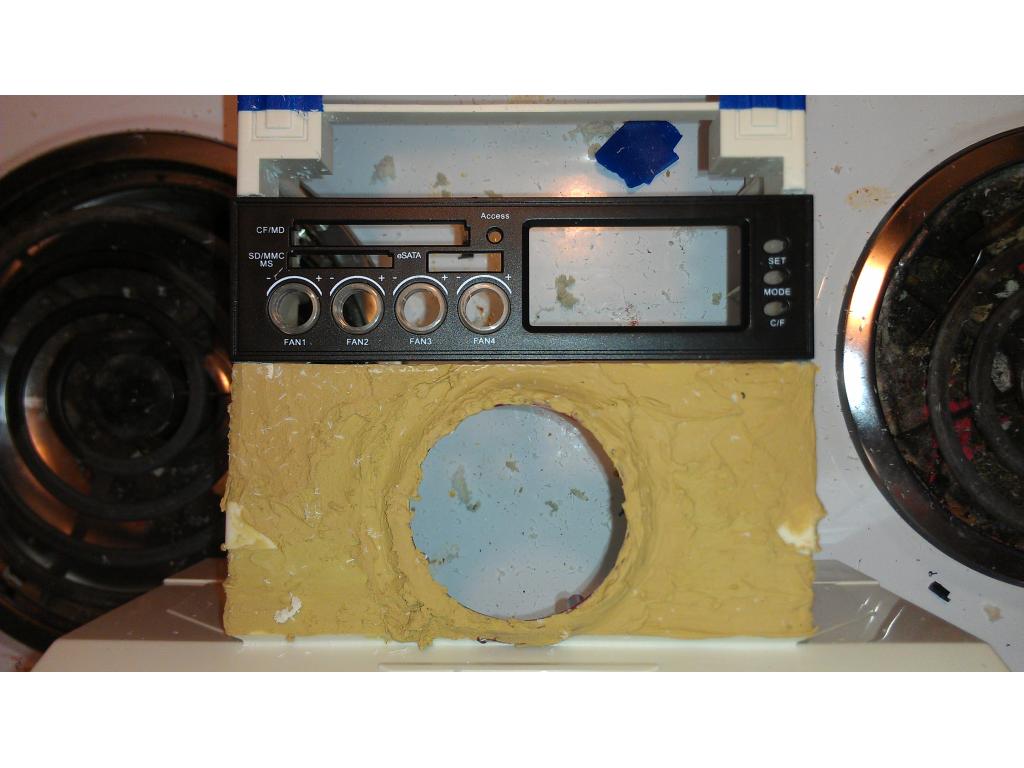
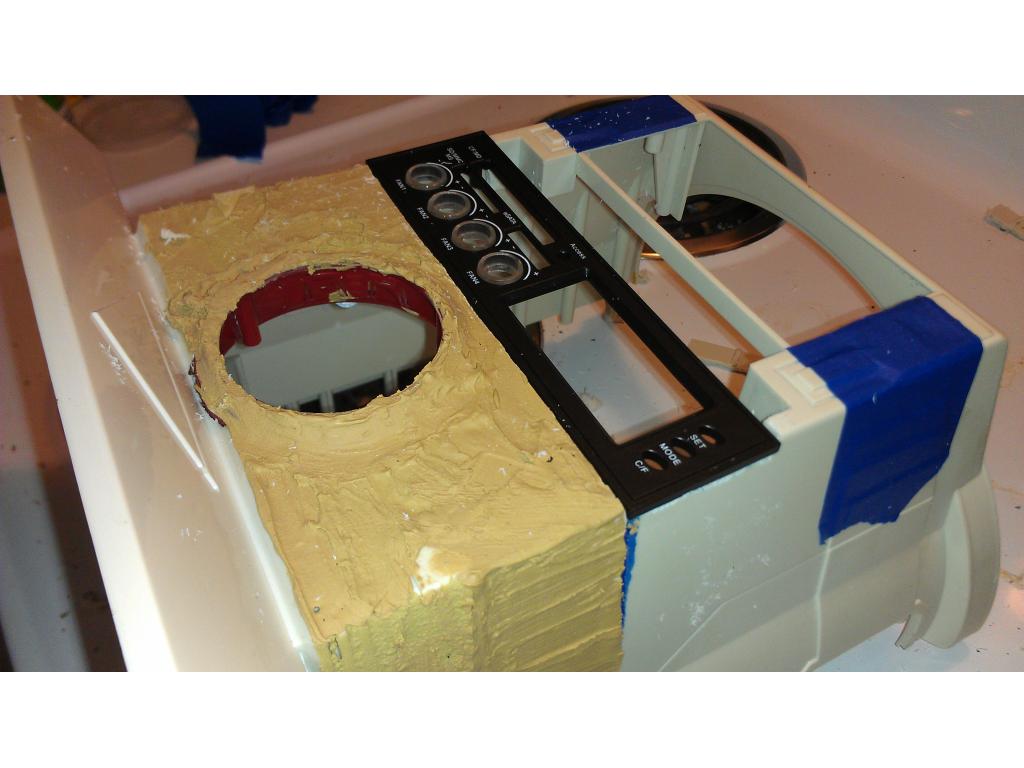
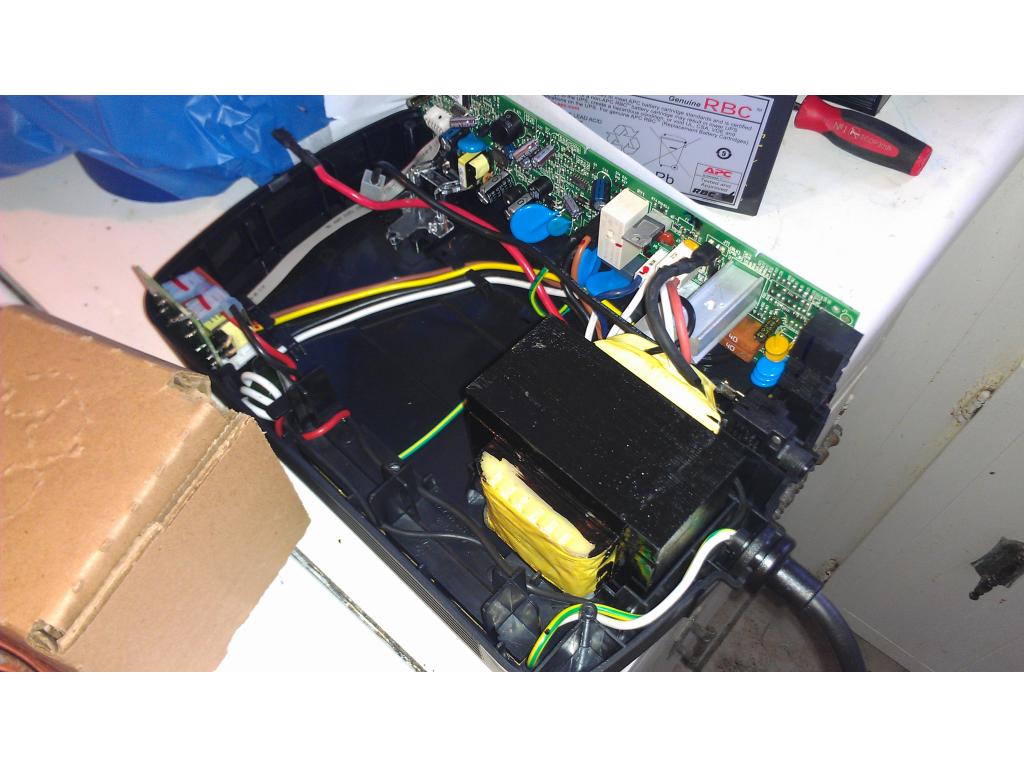
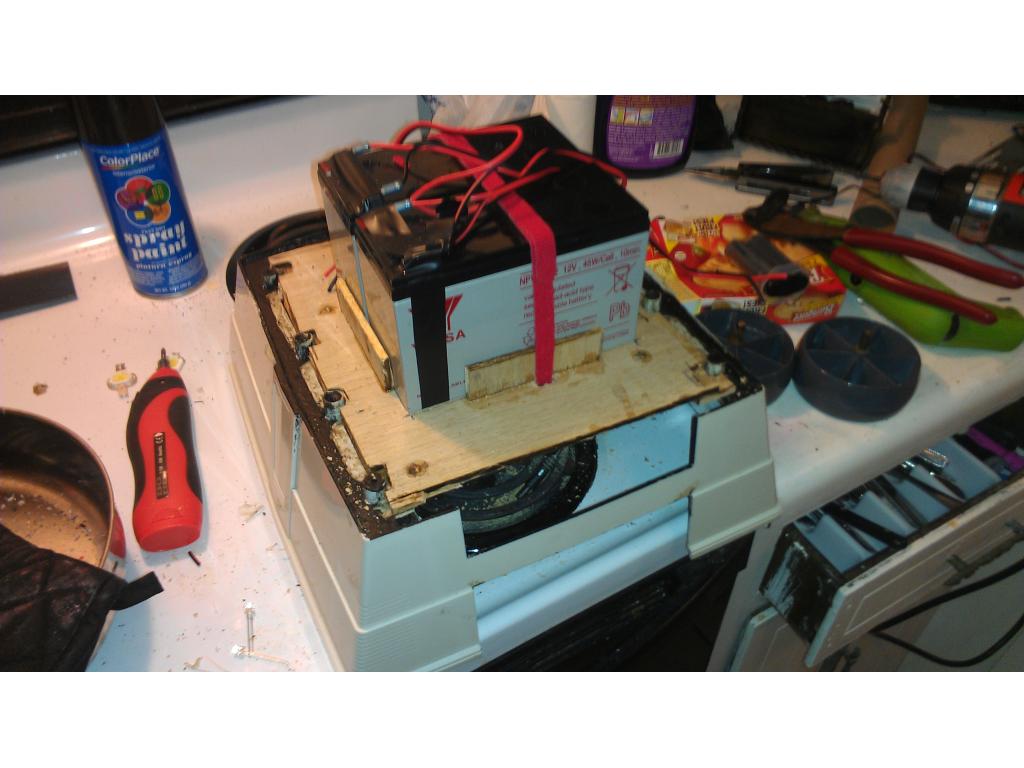
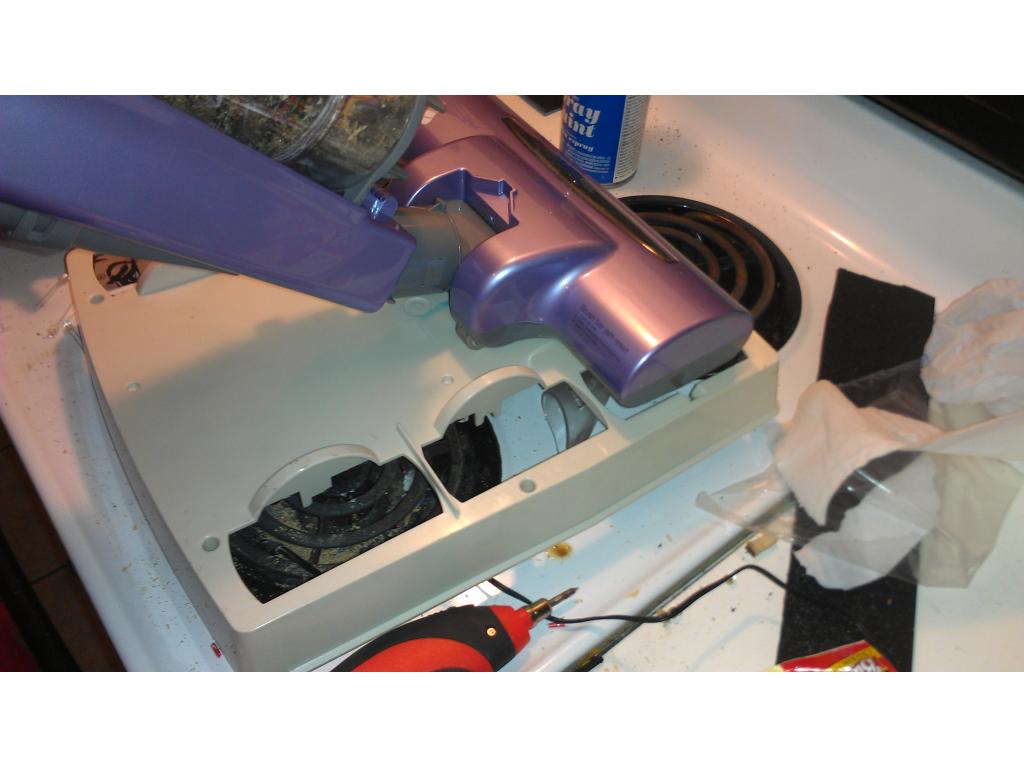
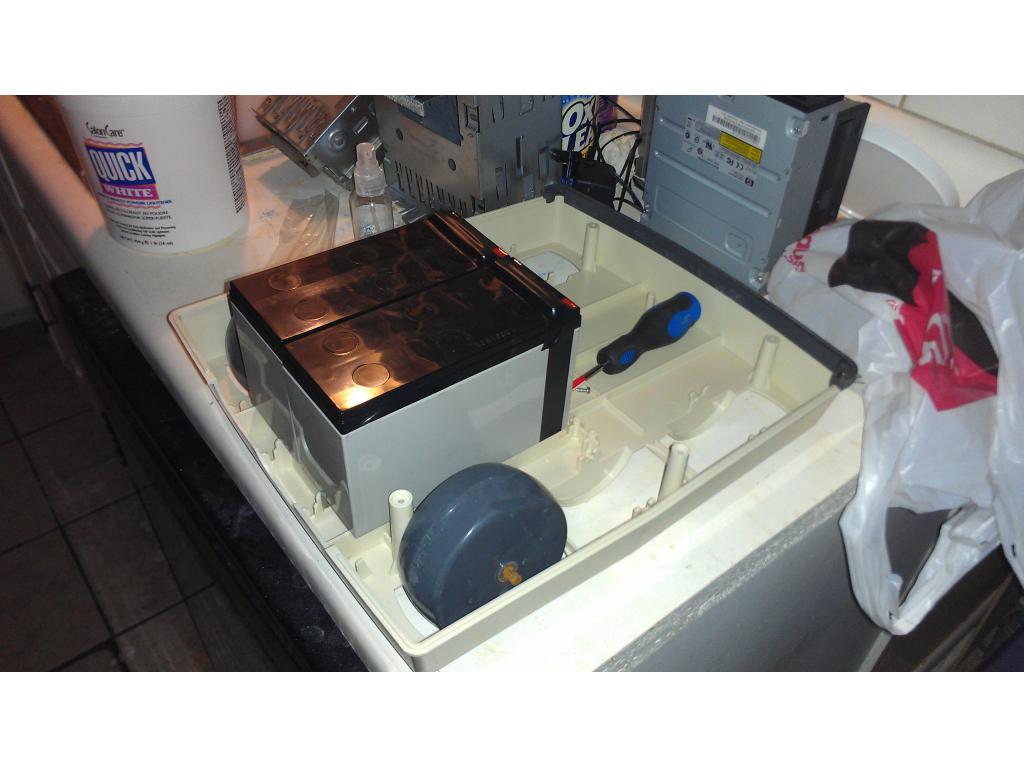
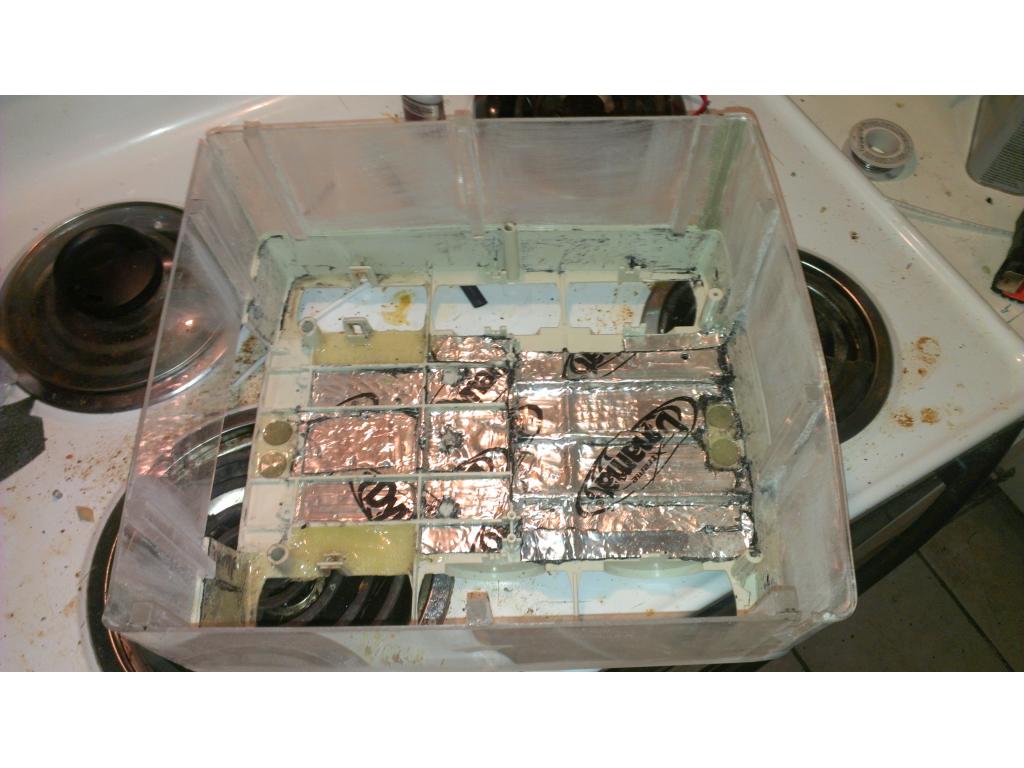
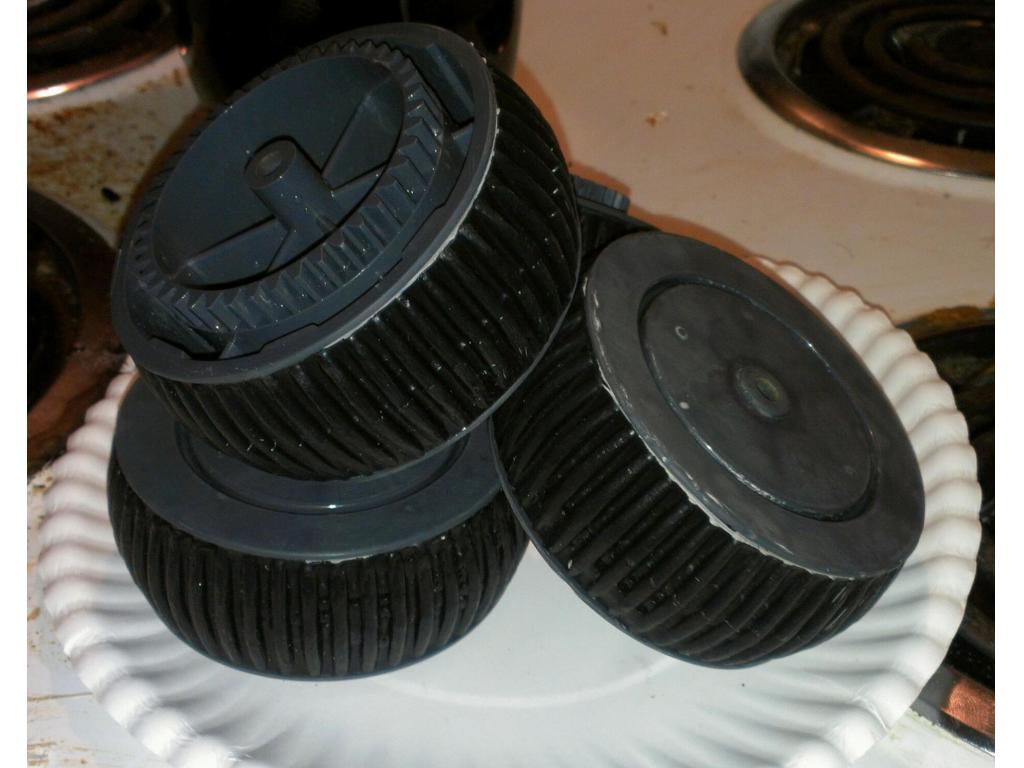
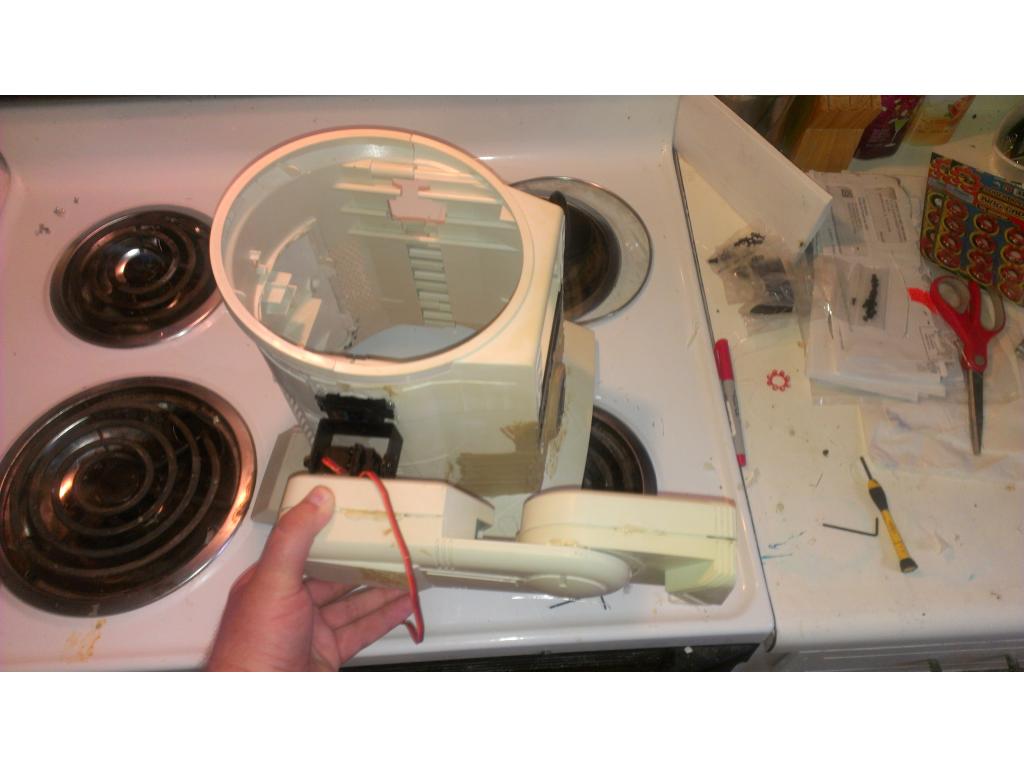
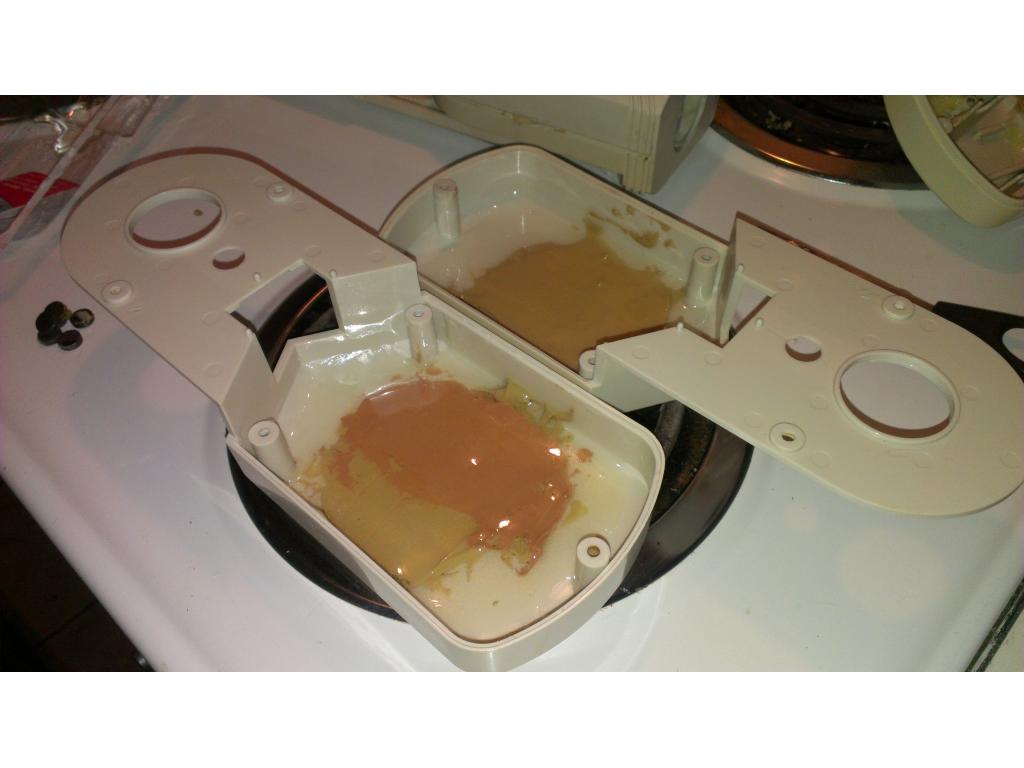
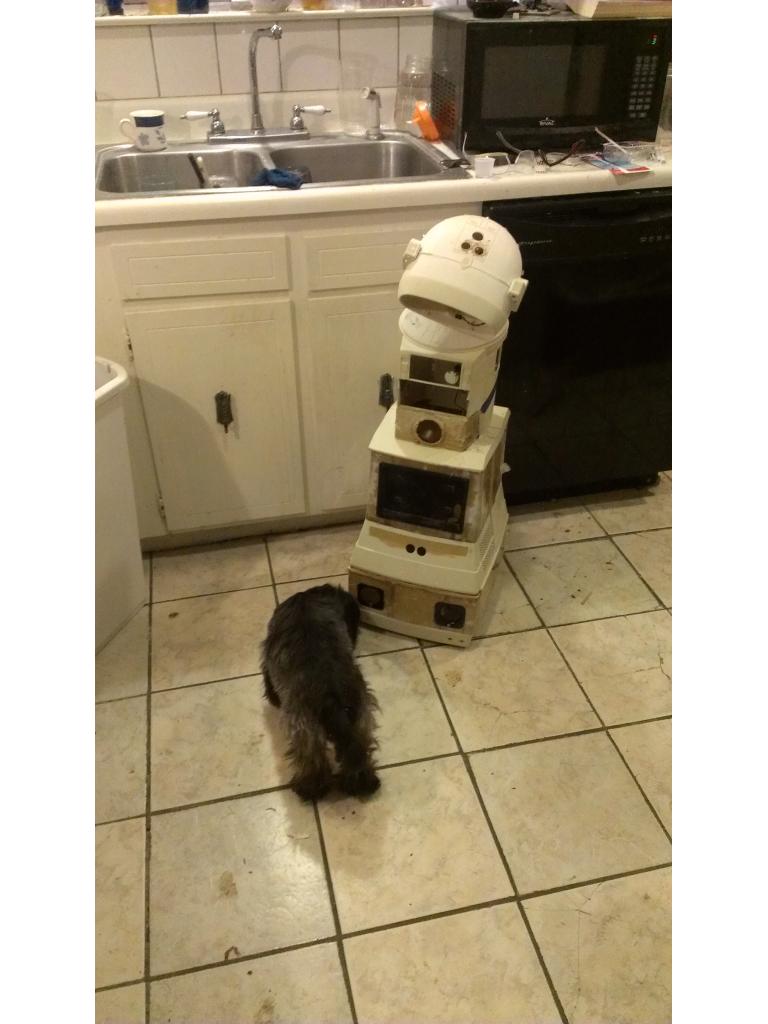
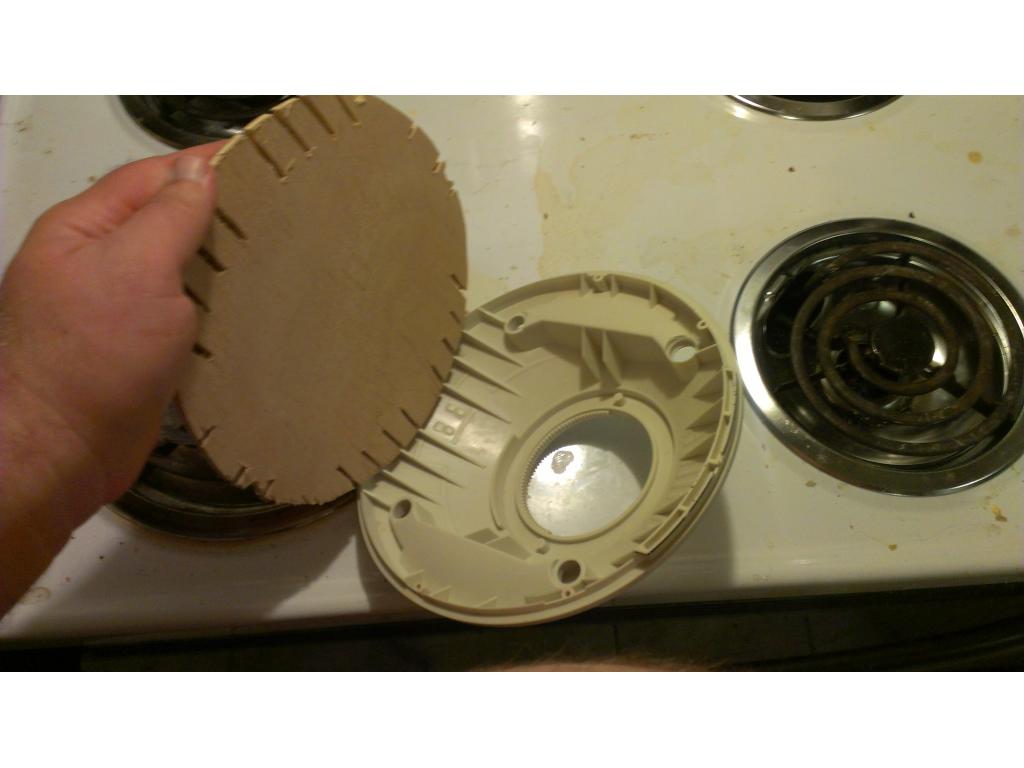
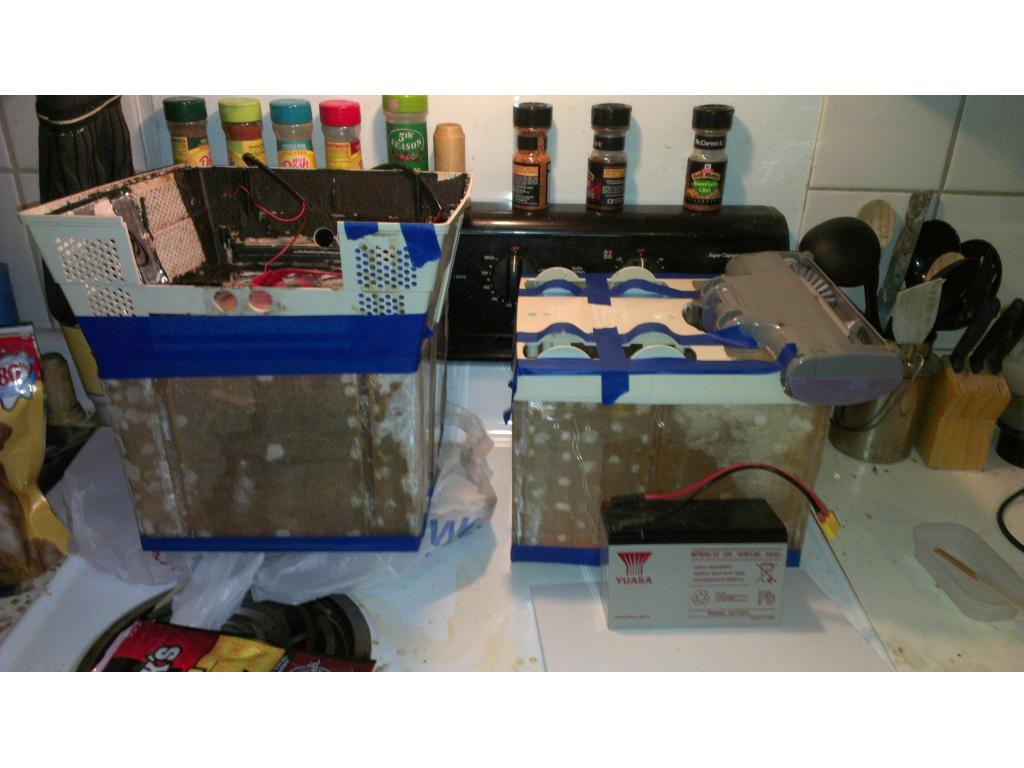
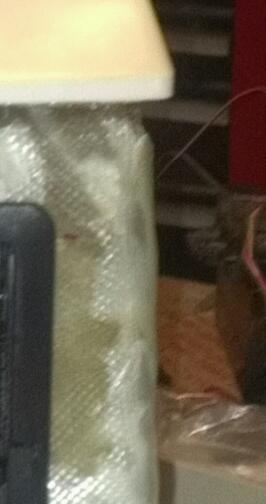
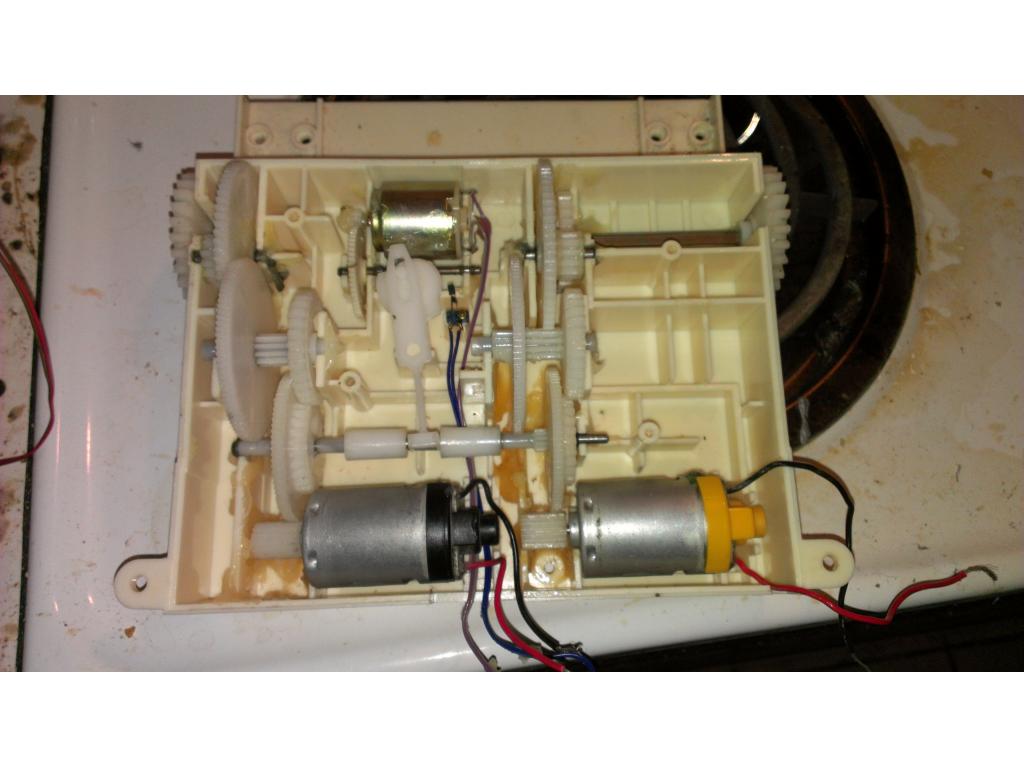
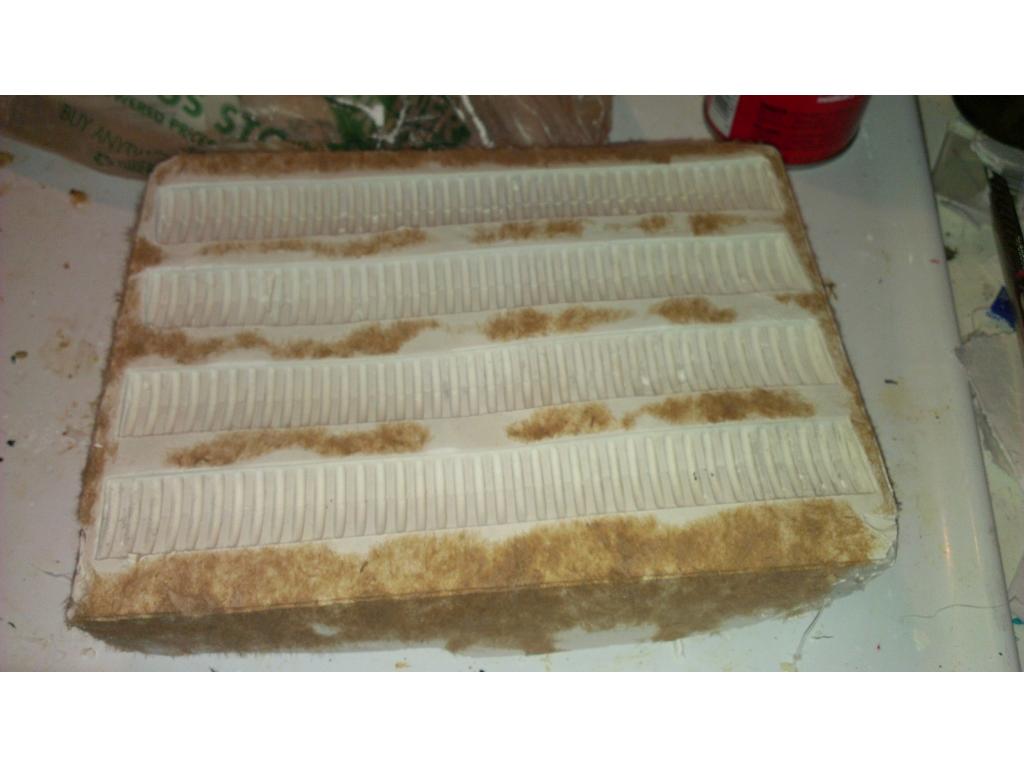
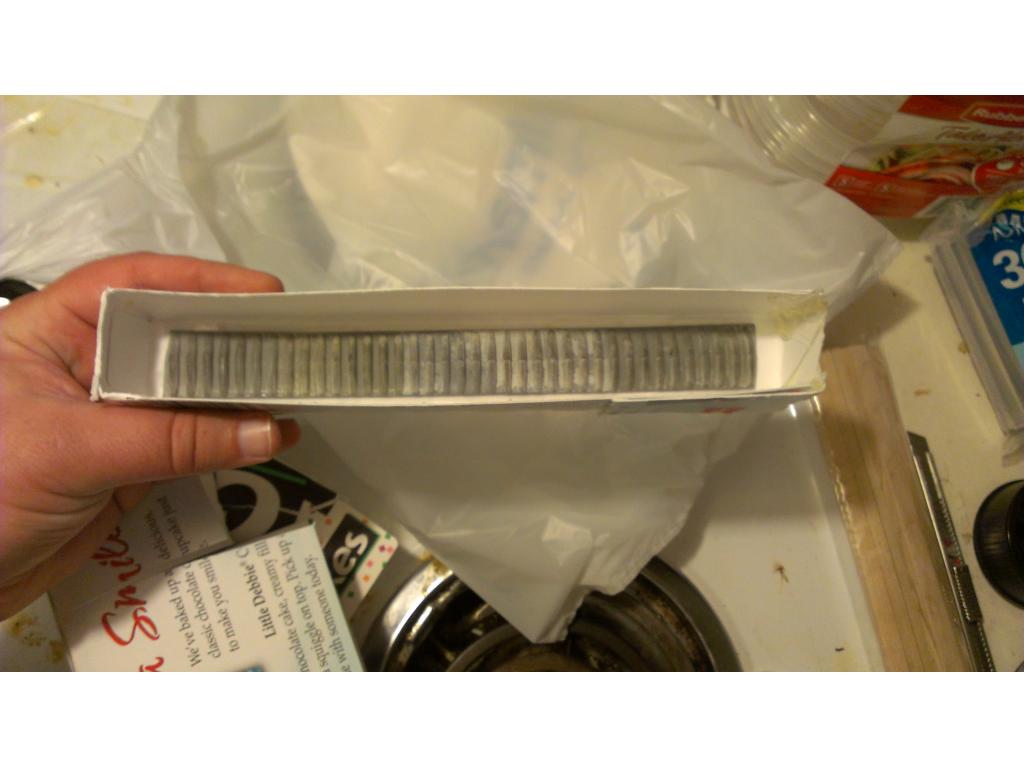
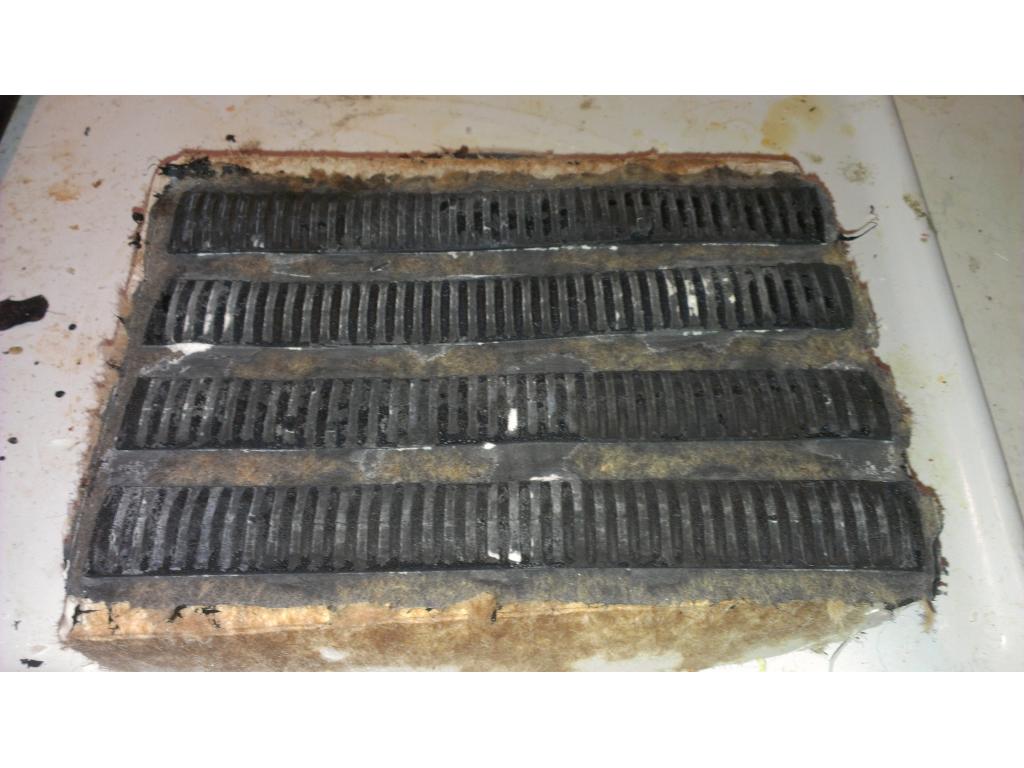
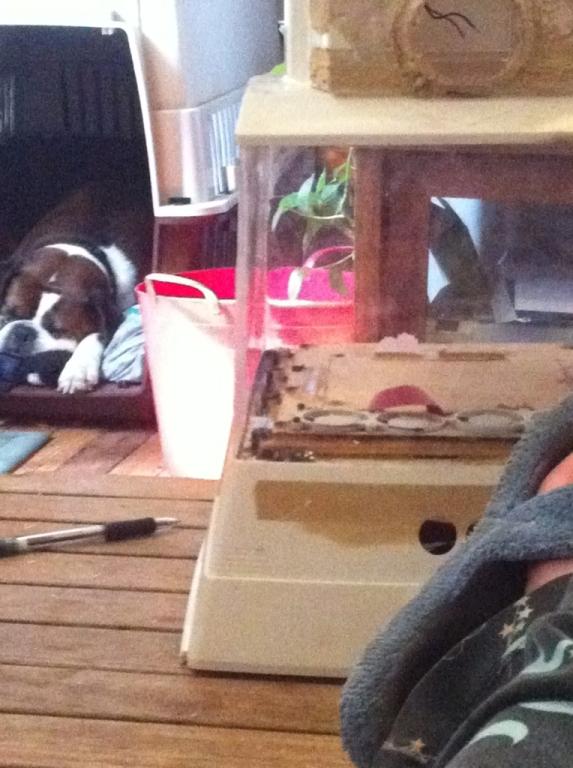
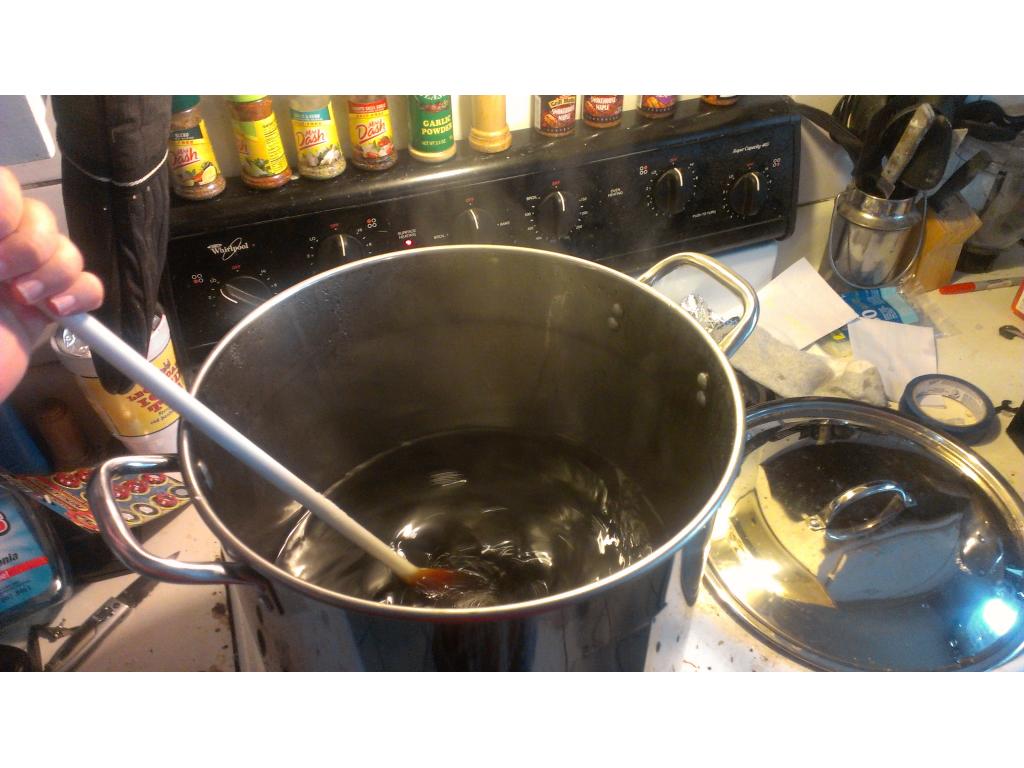
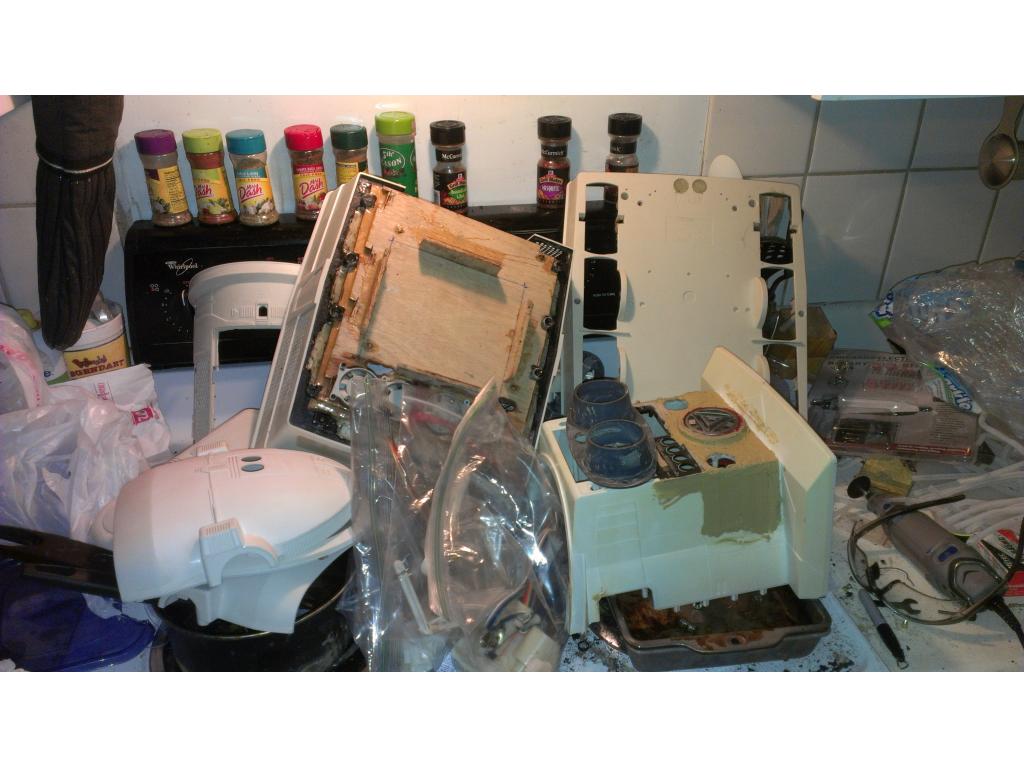
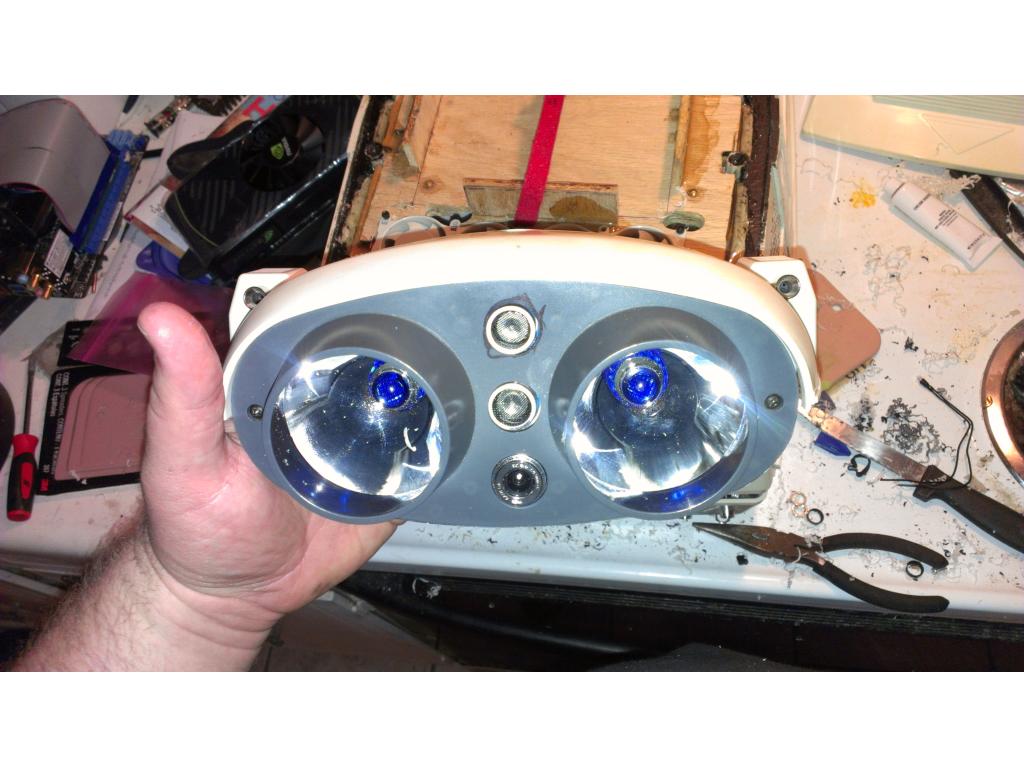
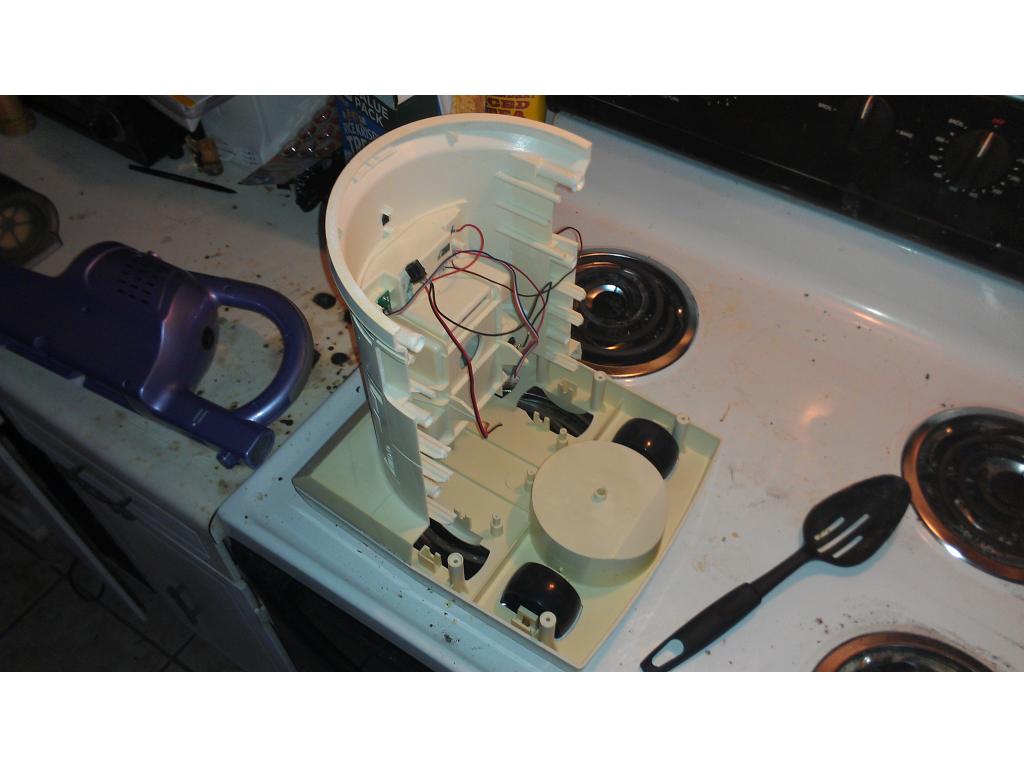
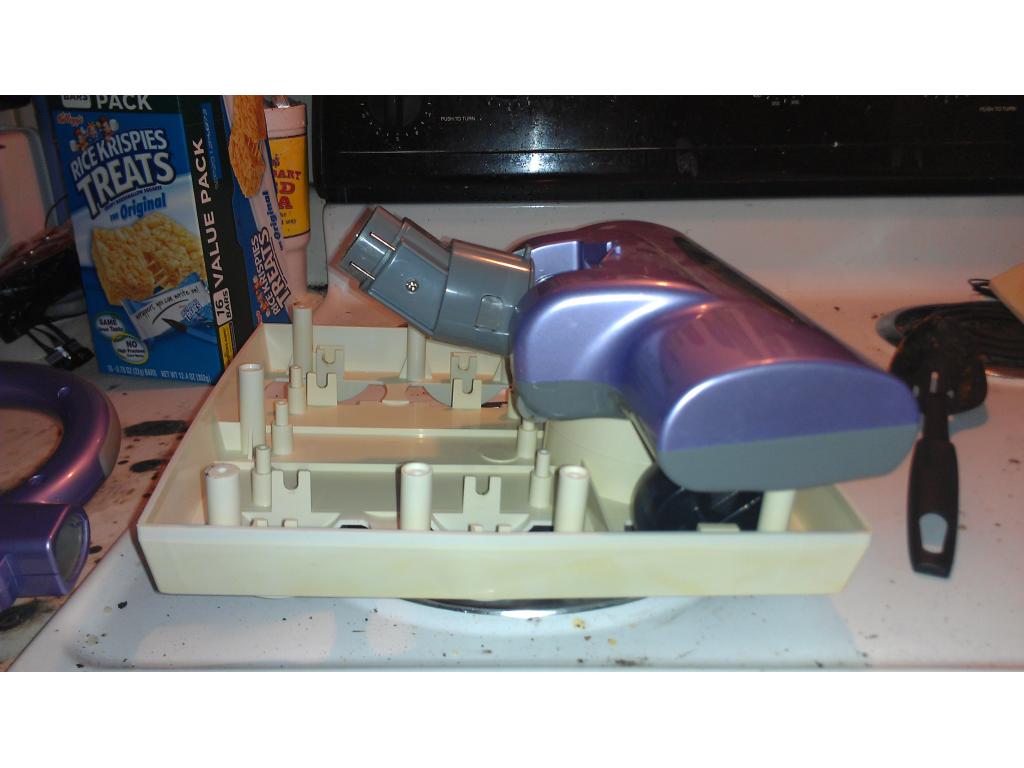
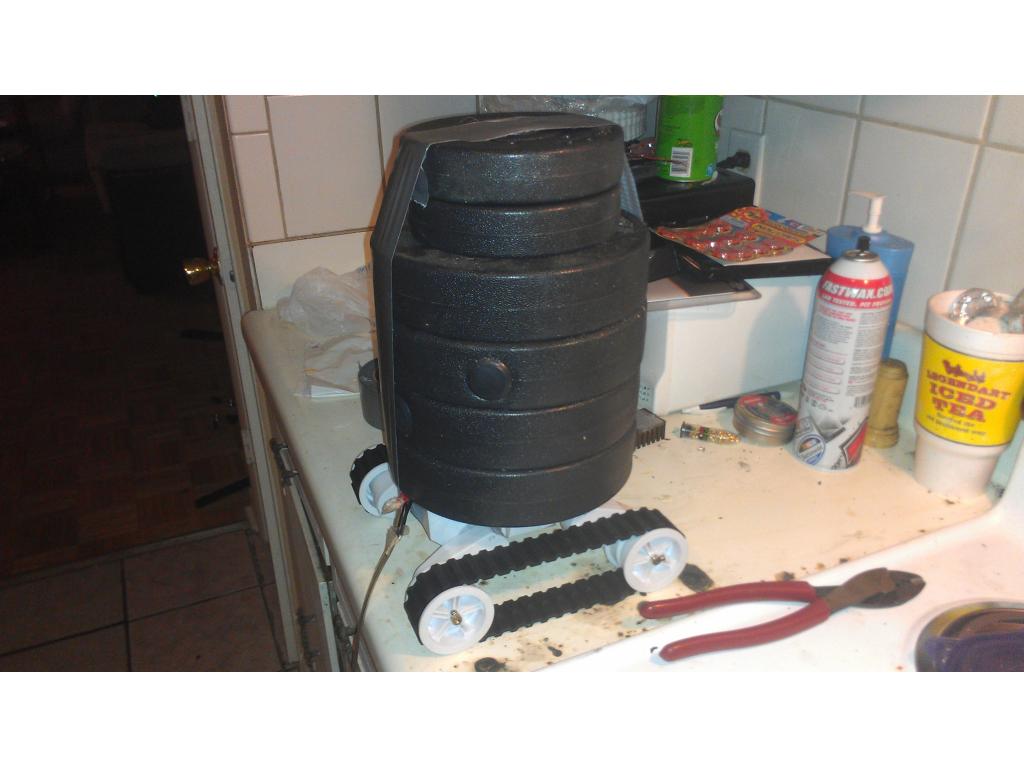
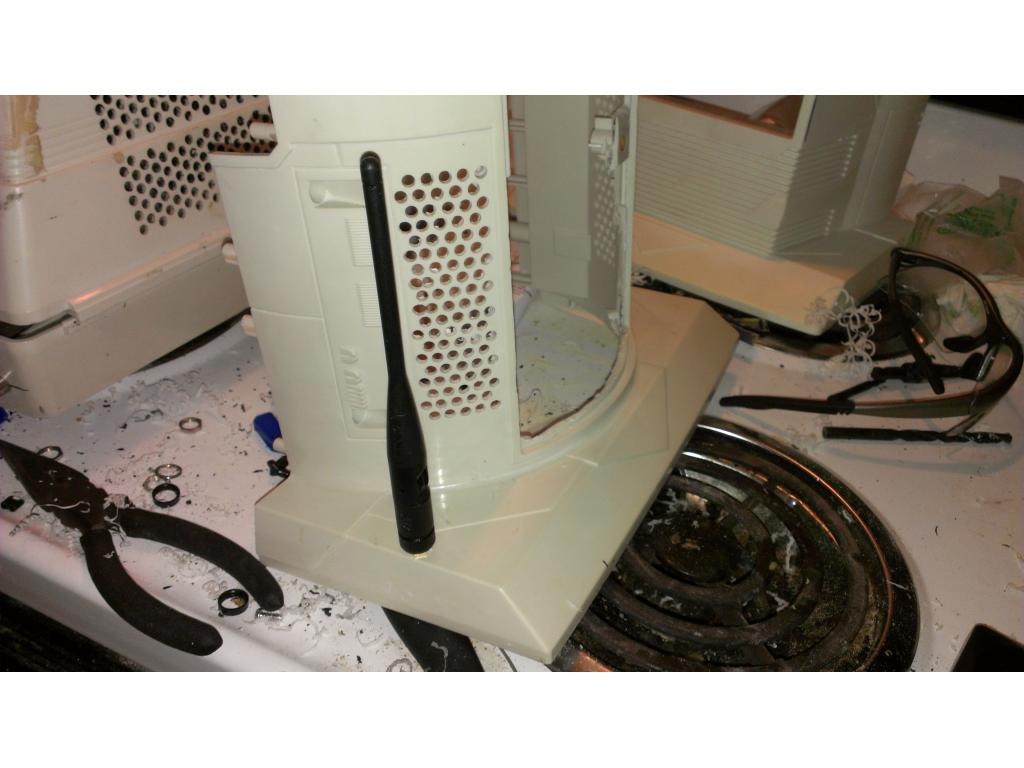
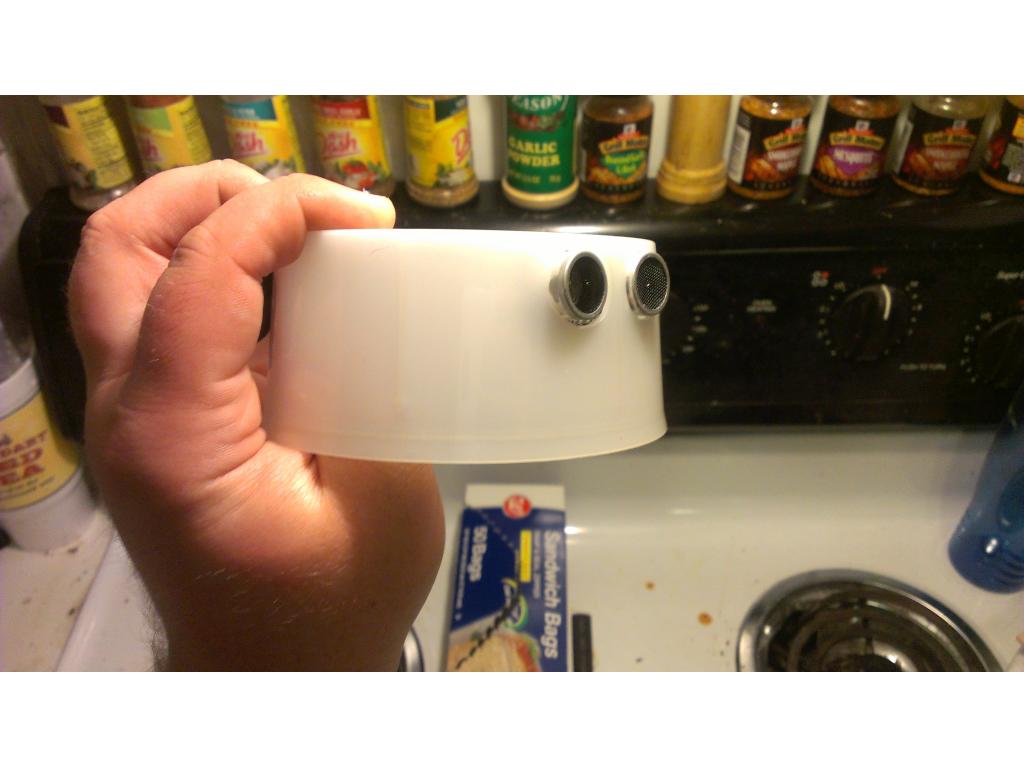
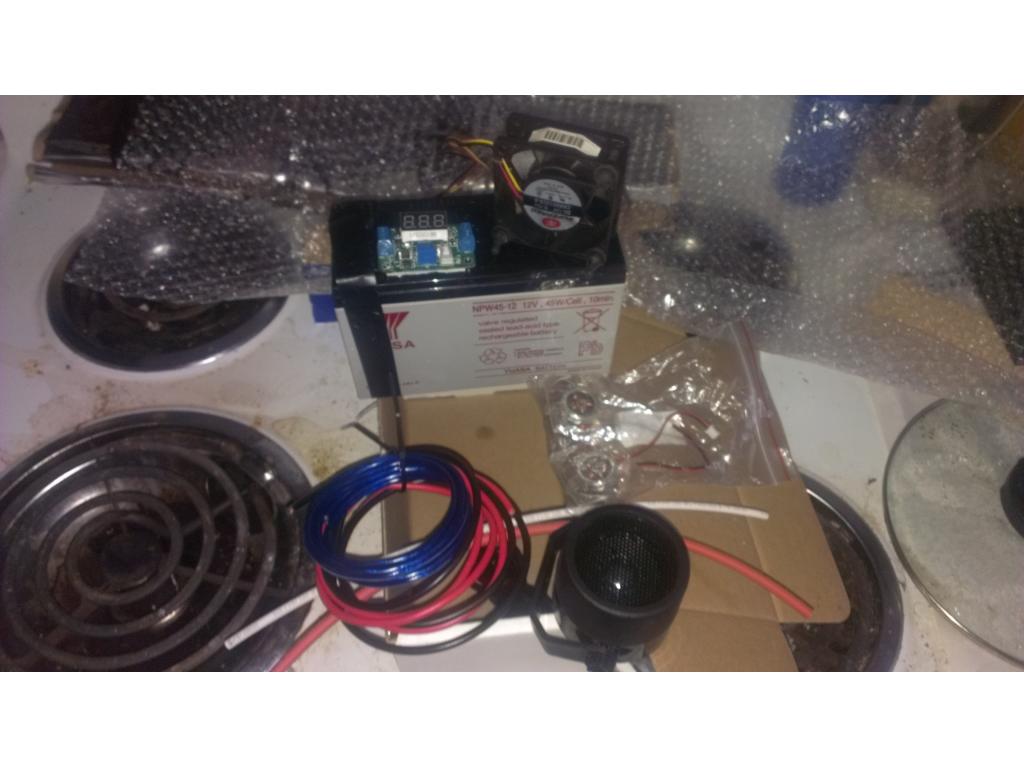
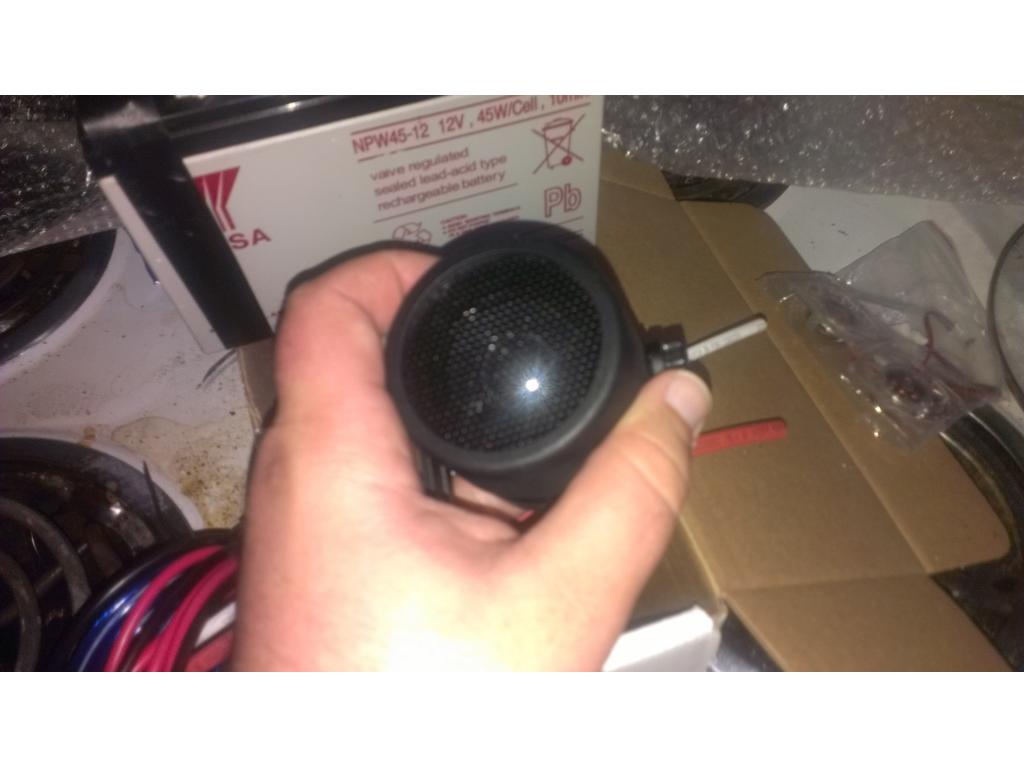
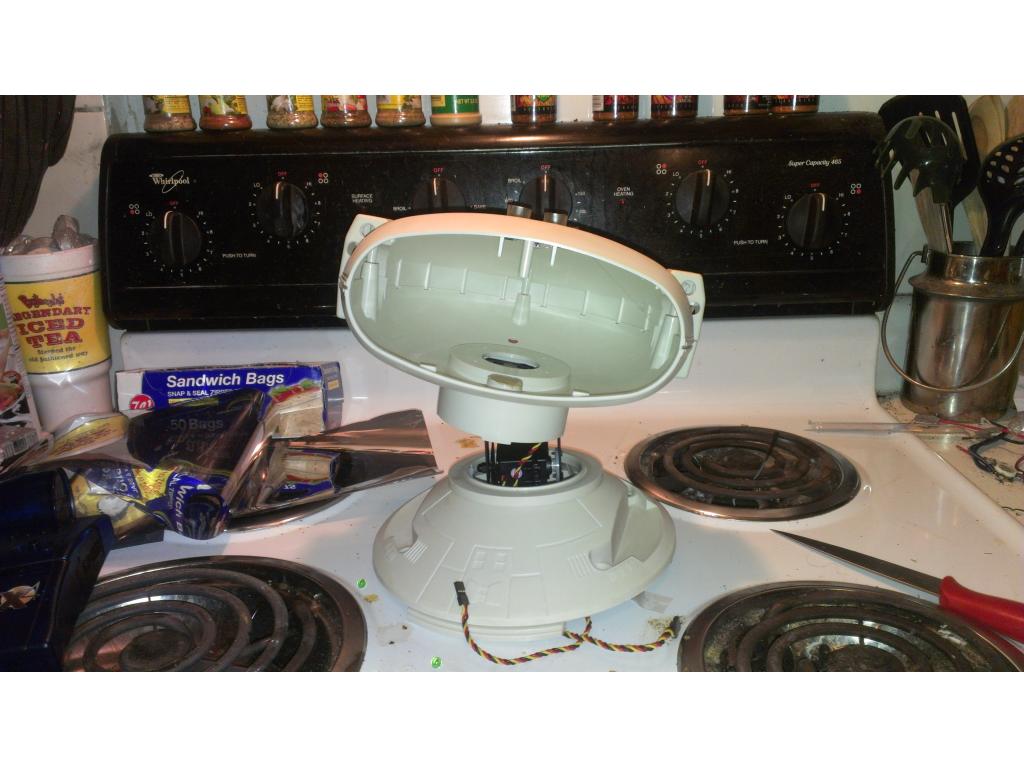
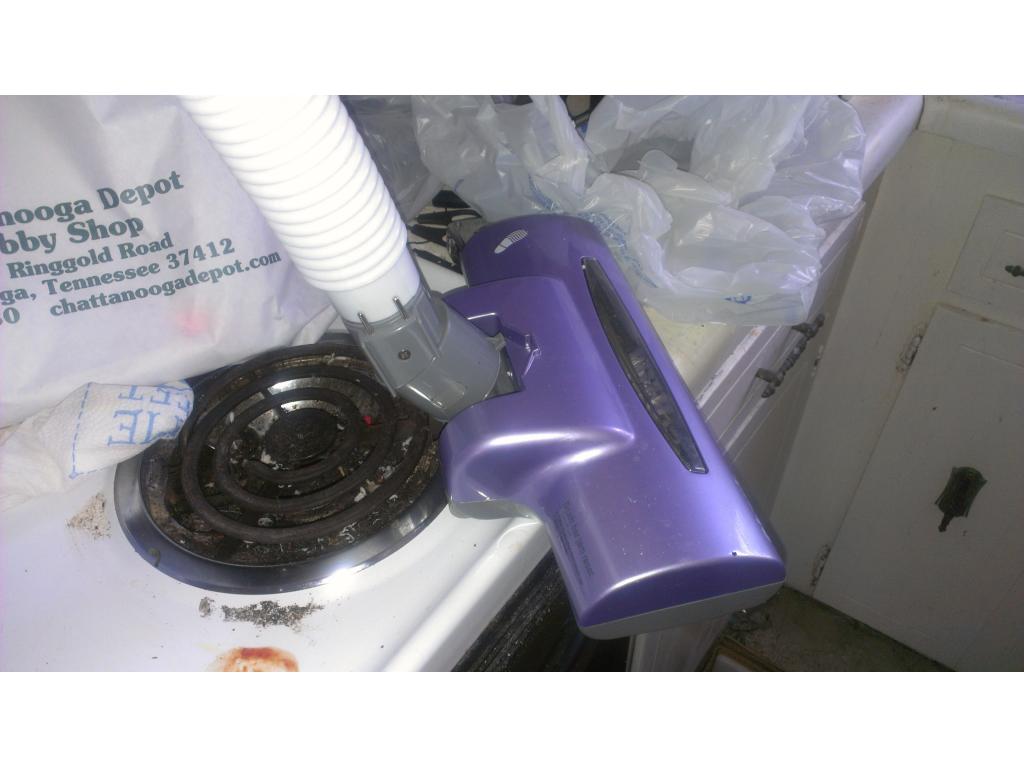
@josh, lol the stove looks a little cleaner!
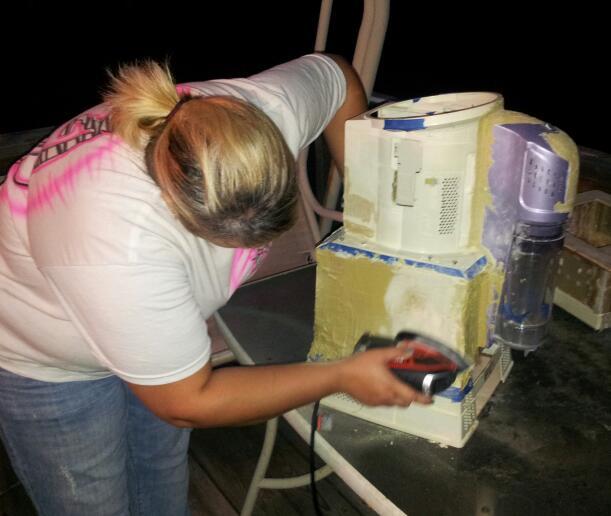
Yes sir I have been cleaning
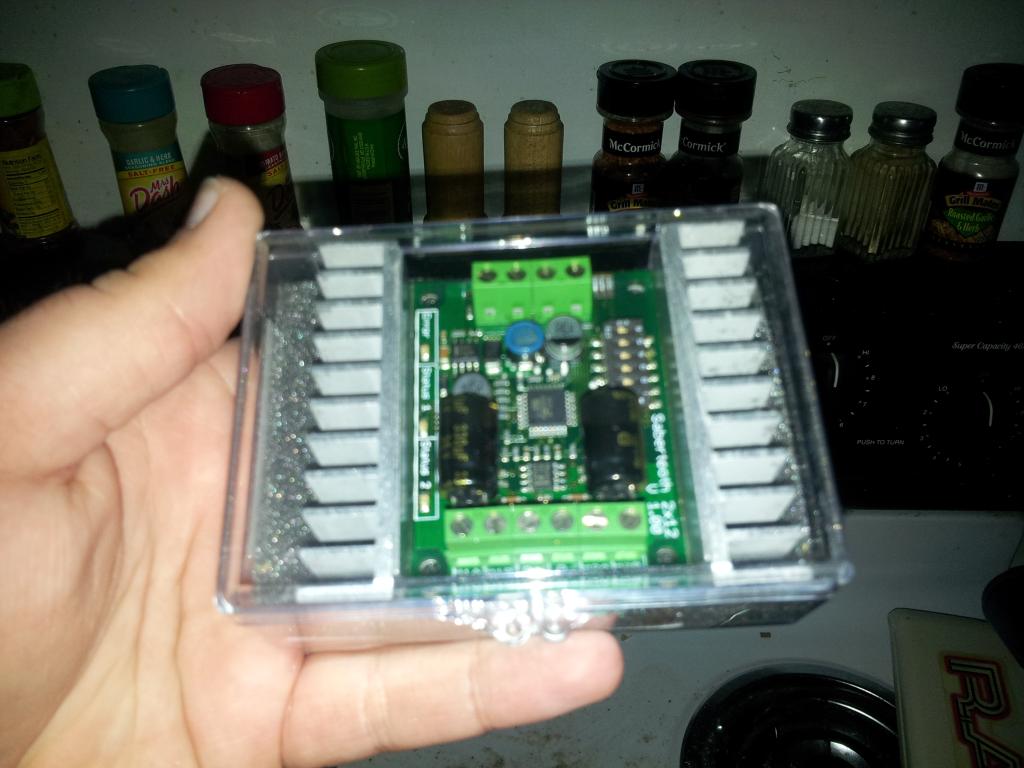
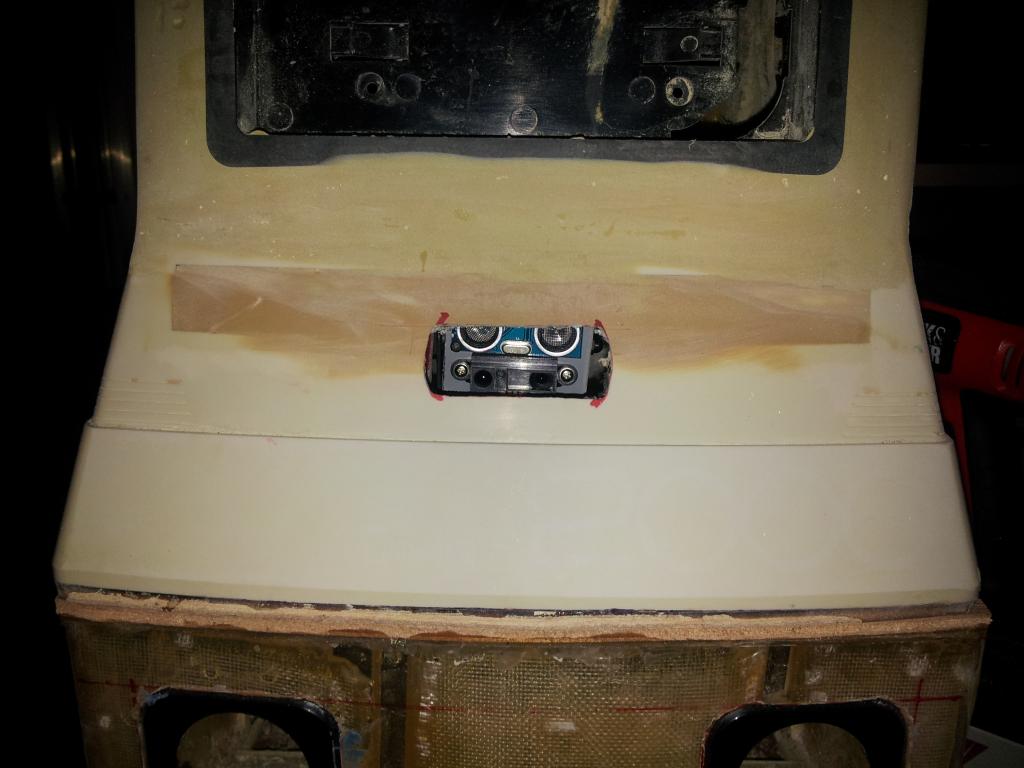
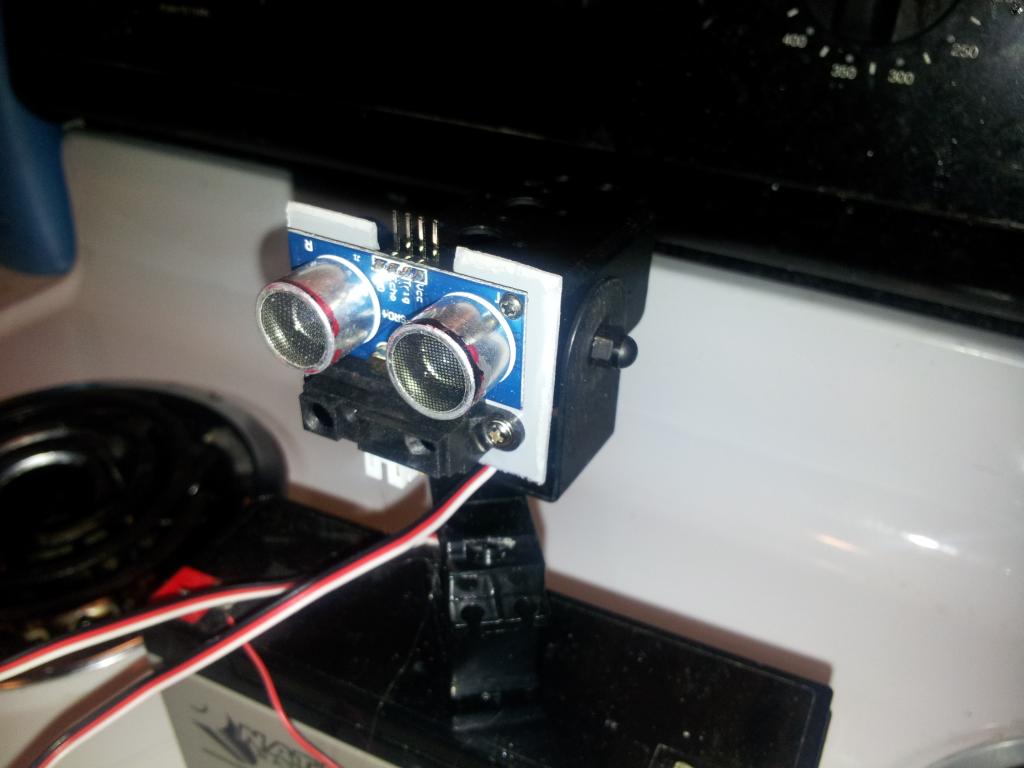
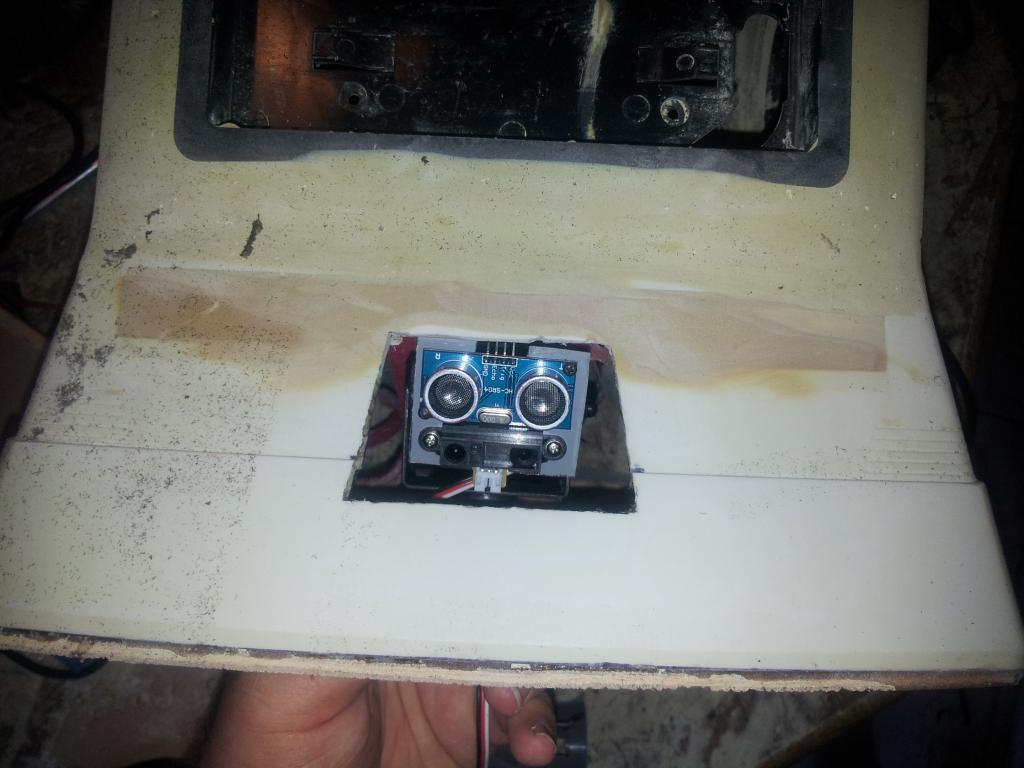
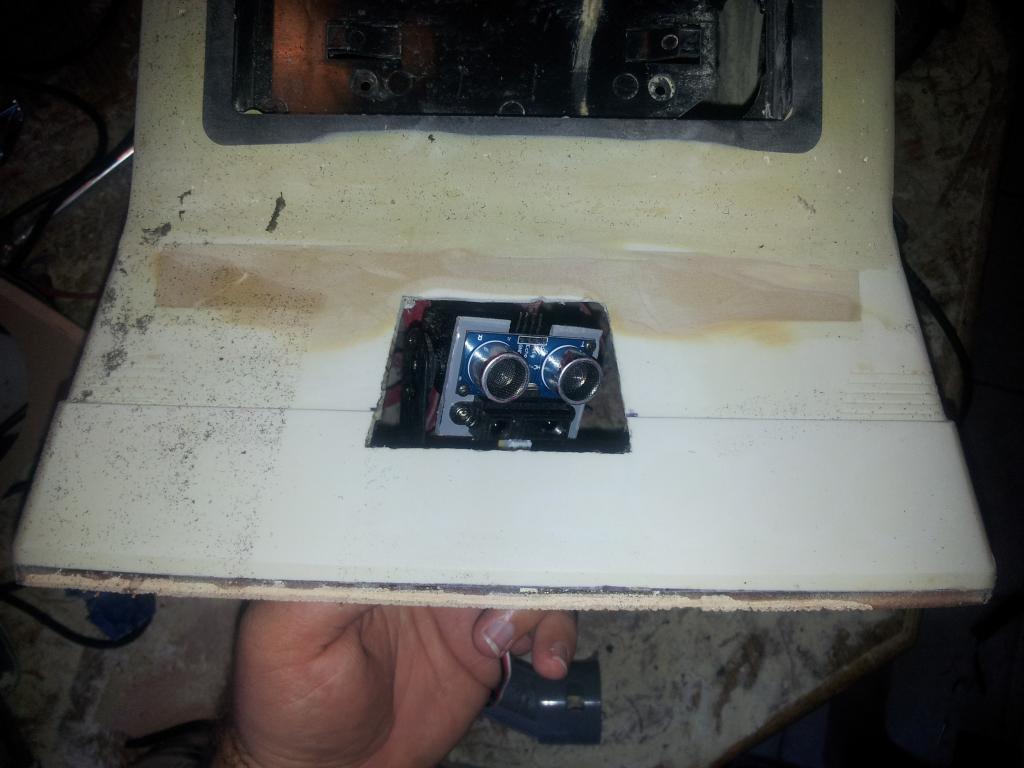
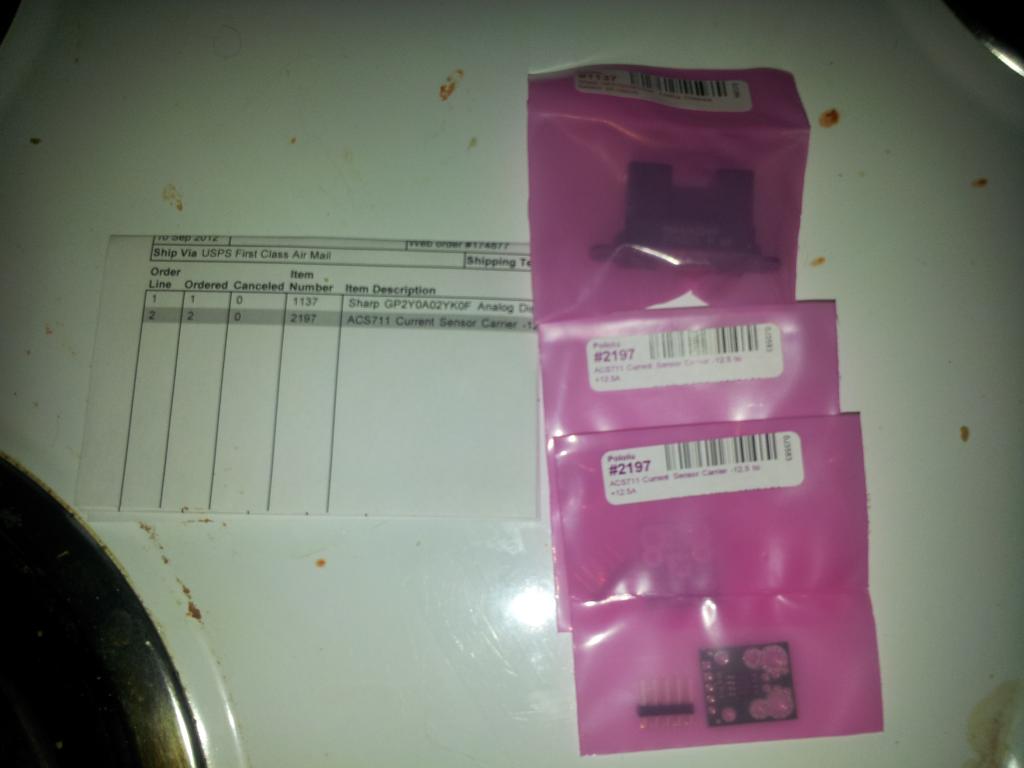
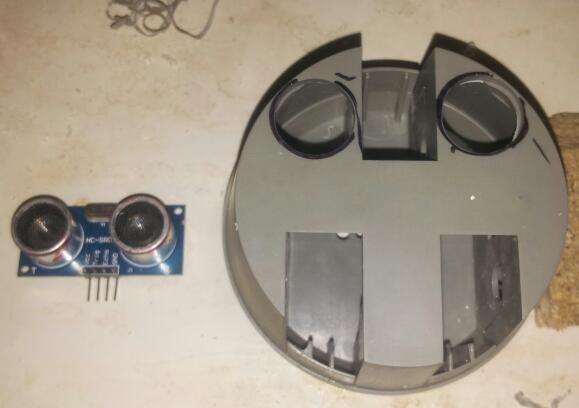
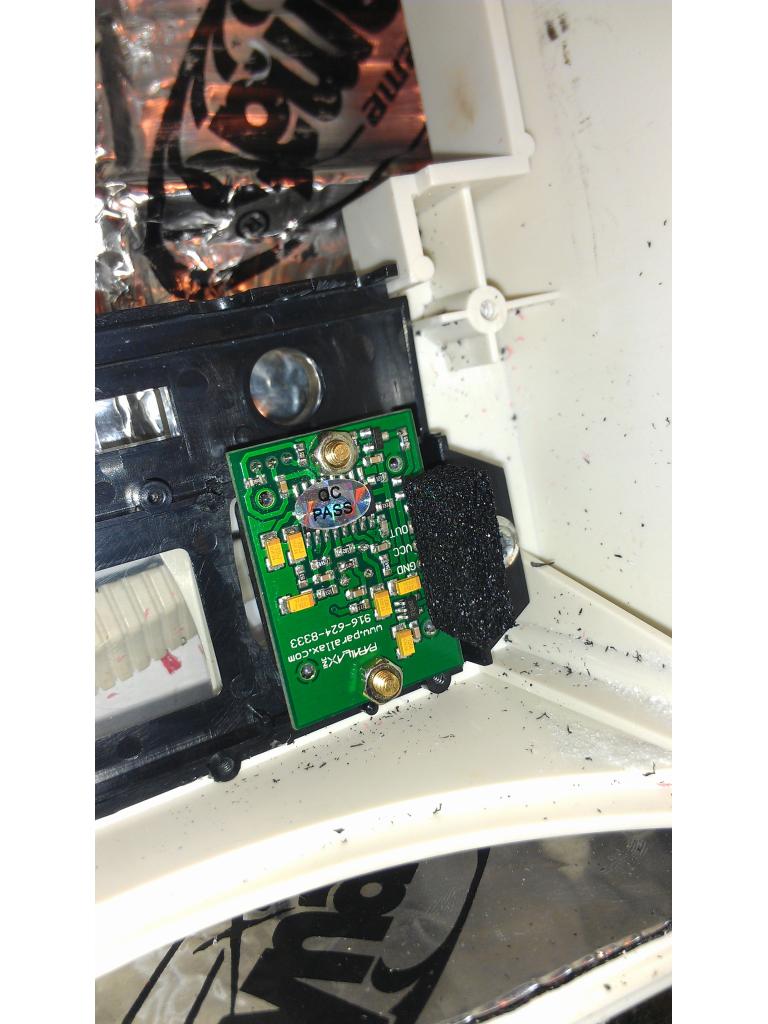
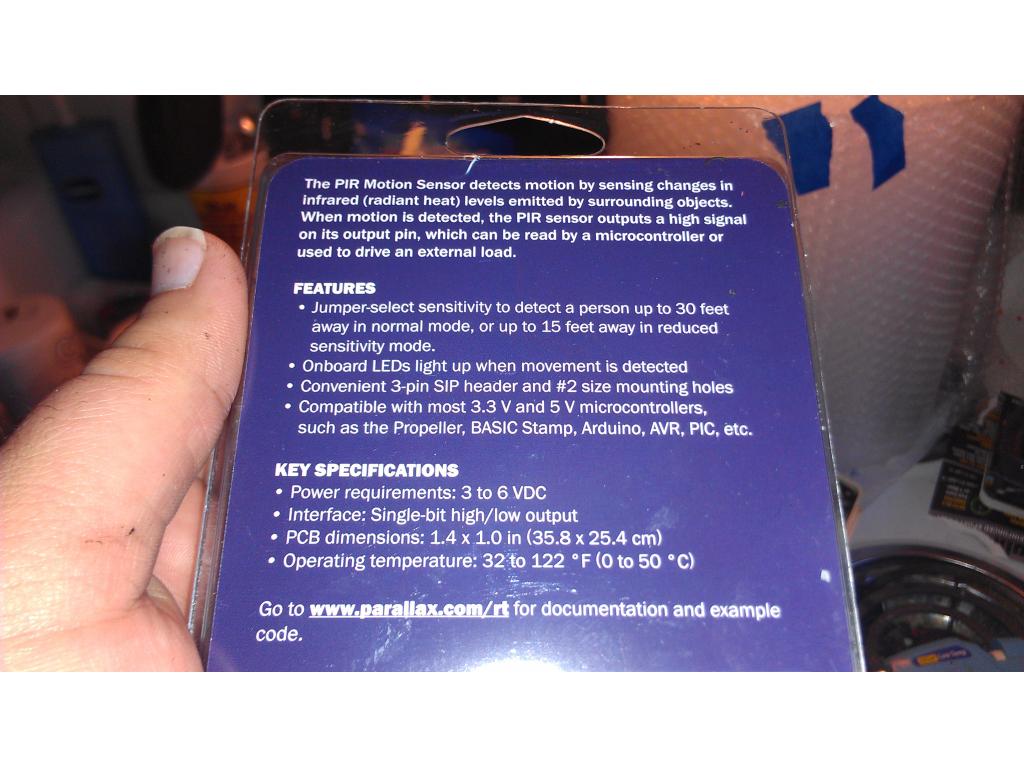
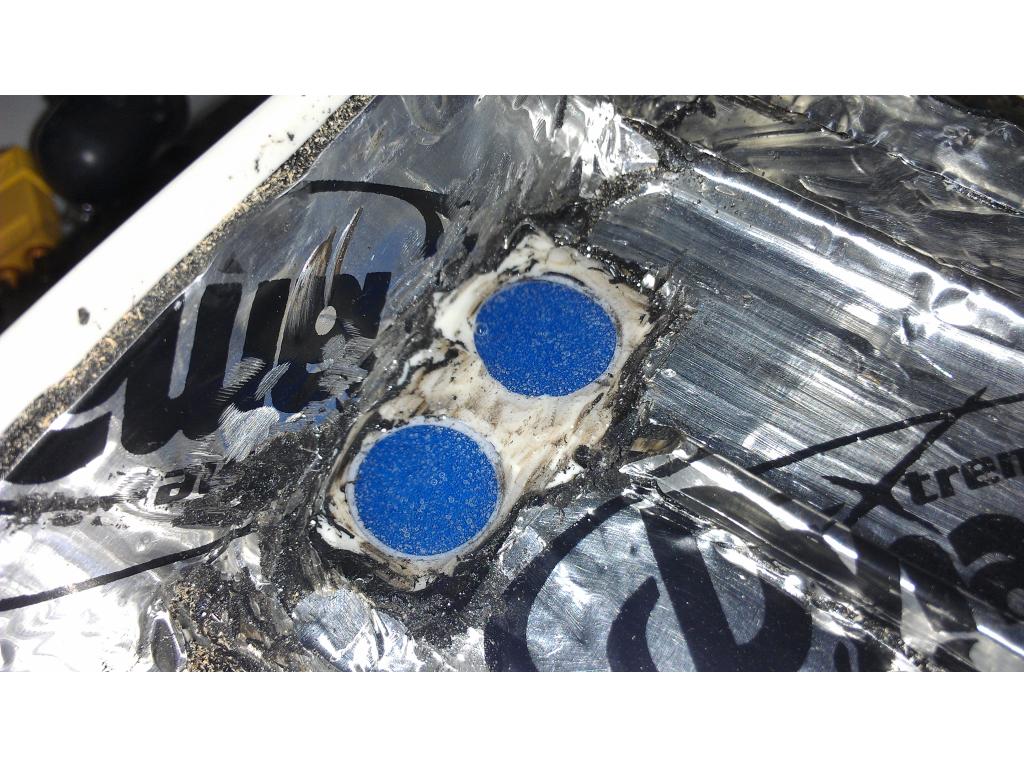
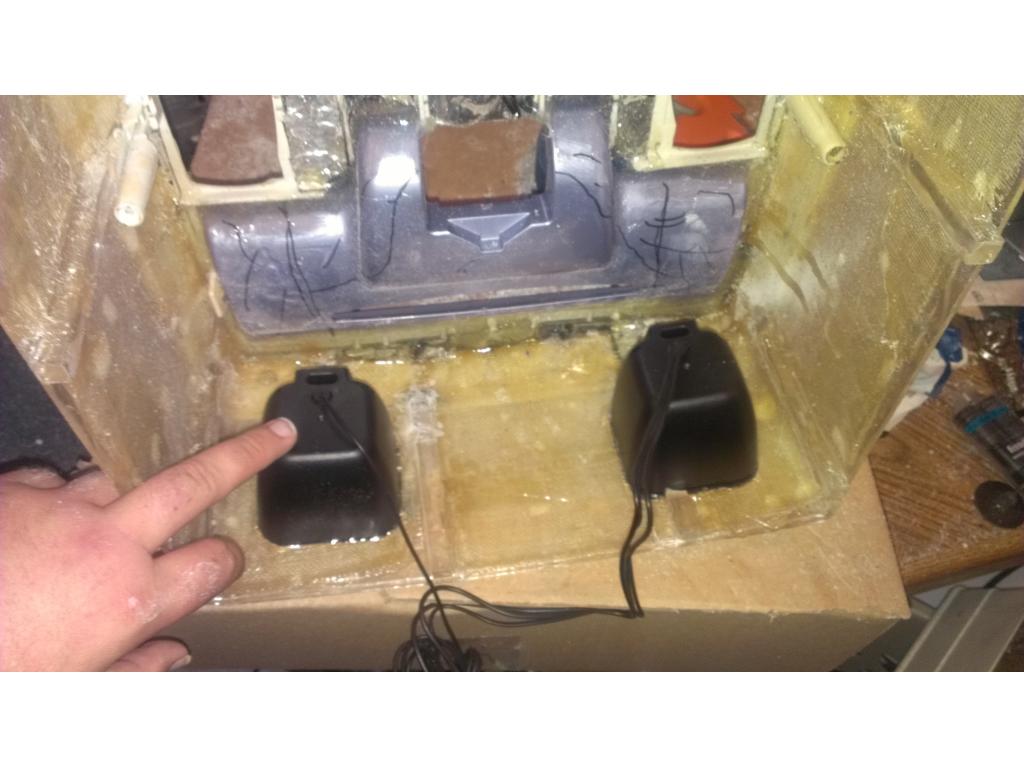
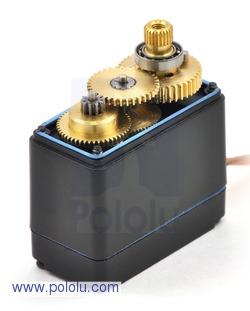
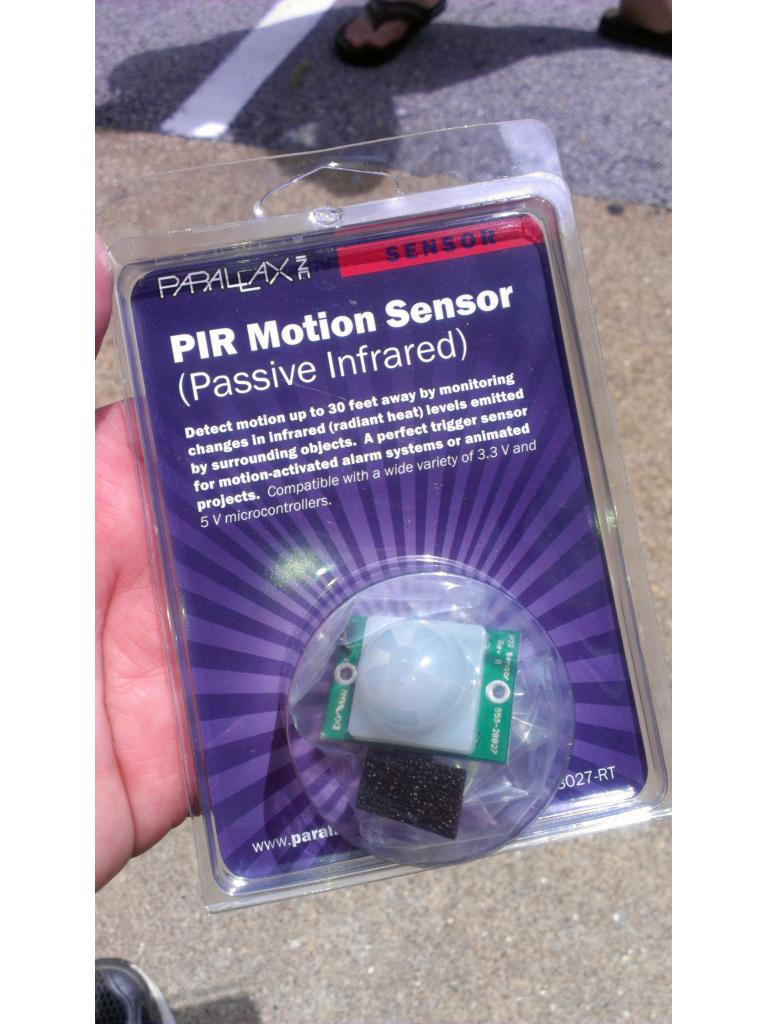
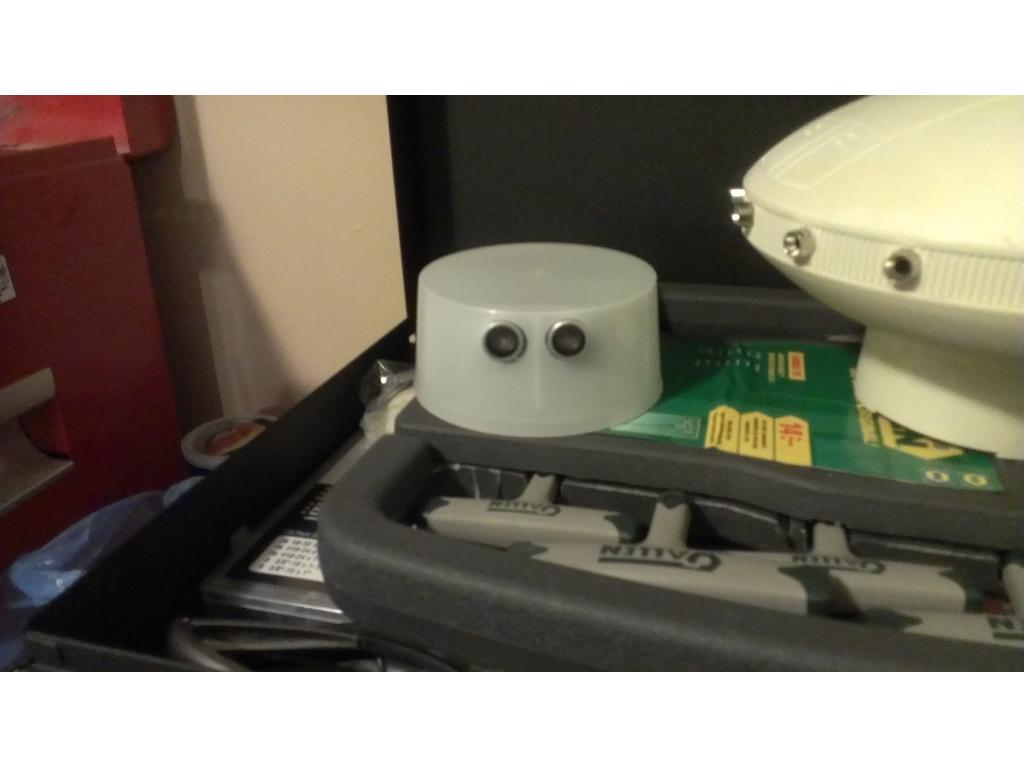
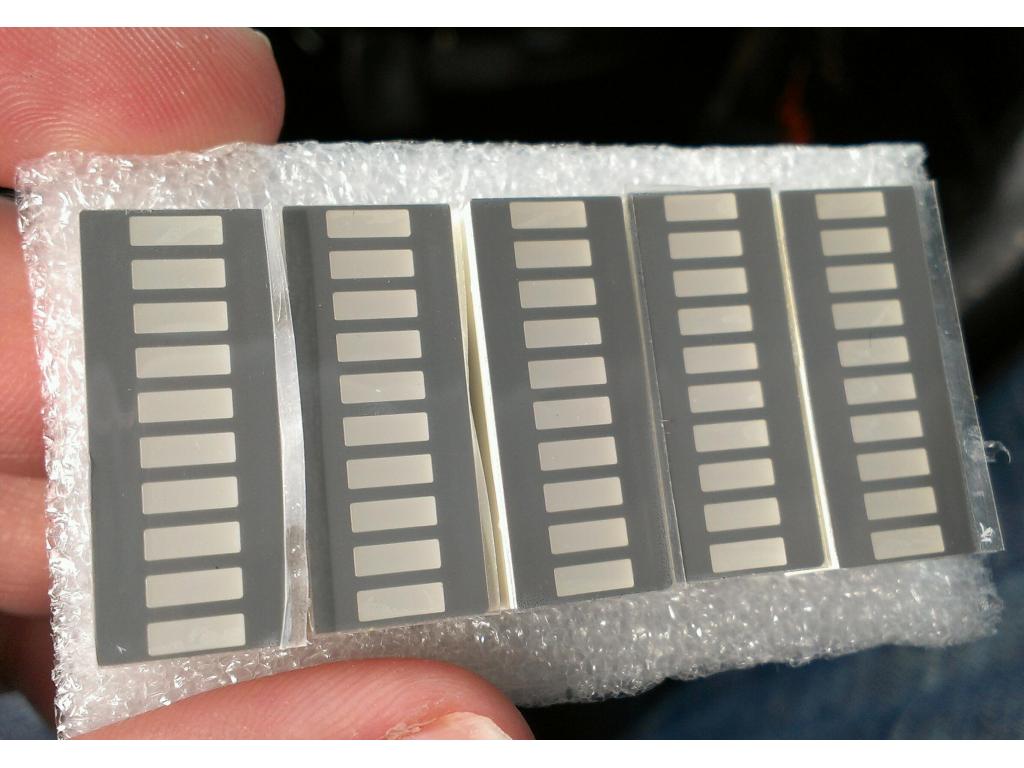
Did you try the touch sensors yet?
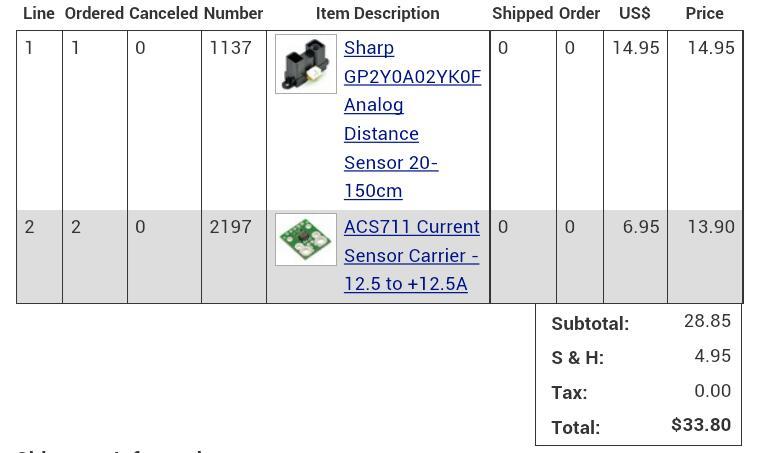
I have not received the sensors yet , but I am excited to get them!
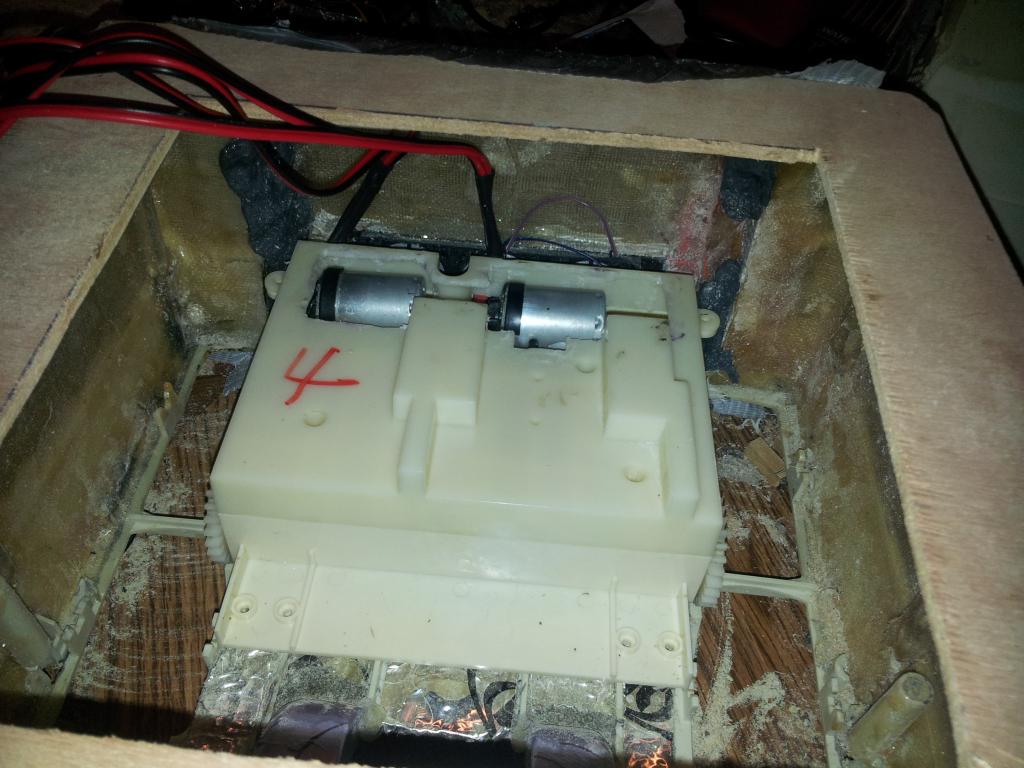
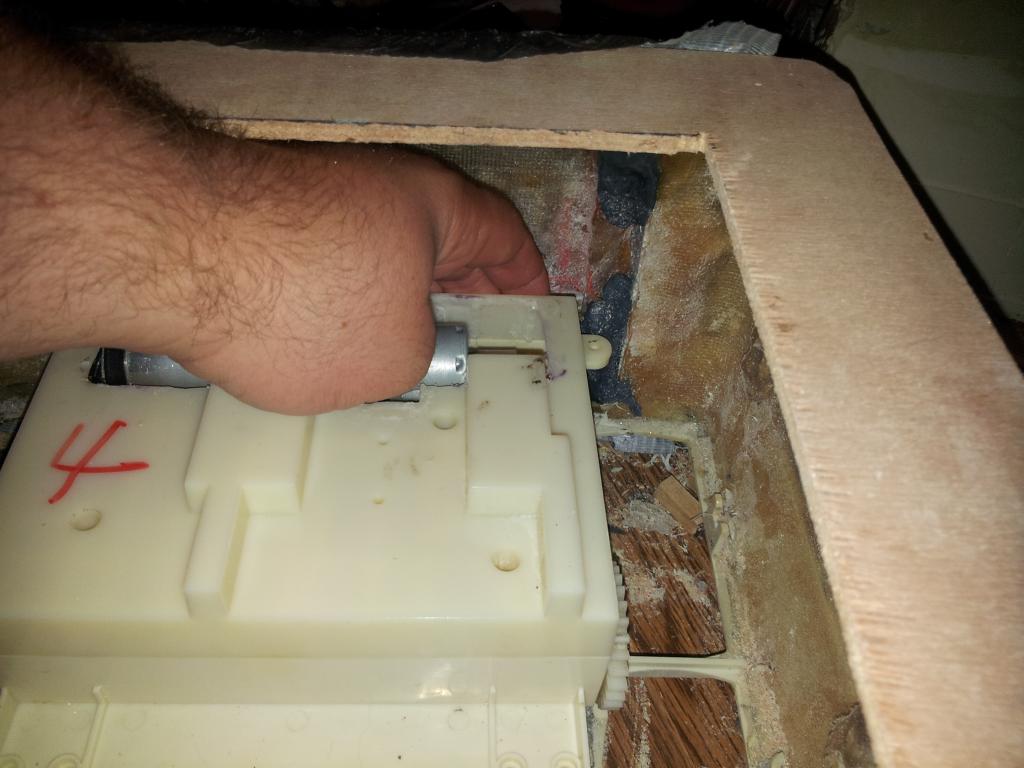
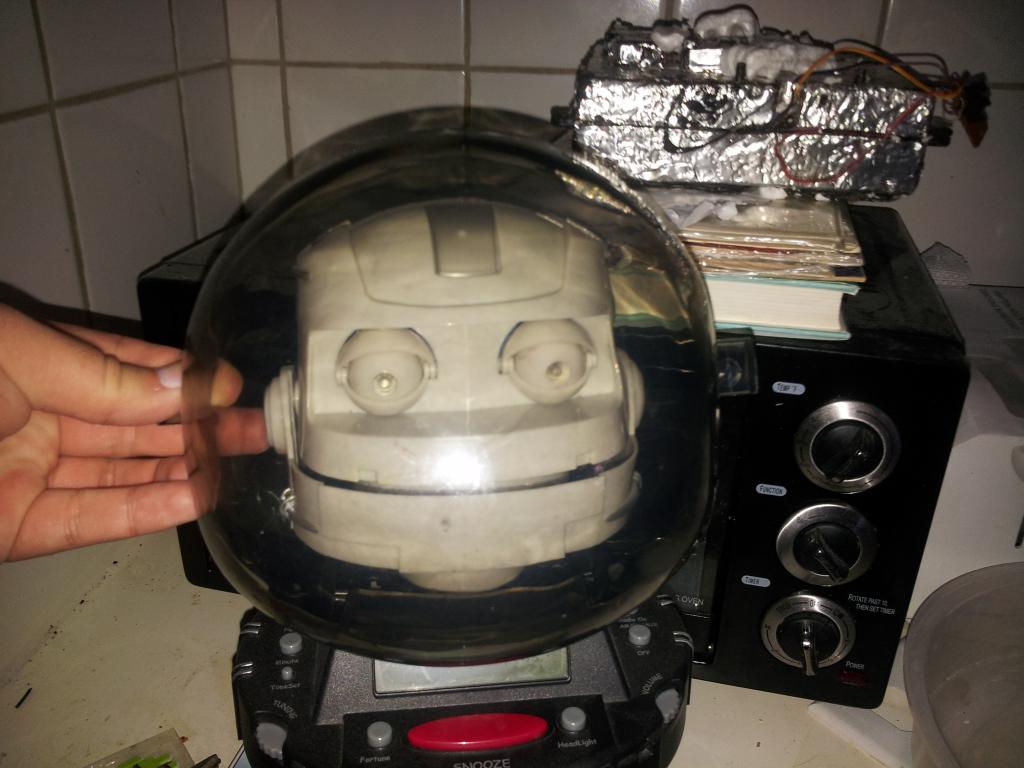
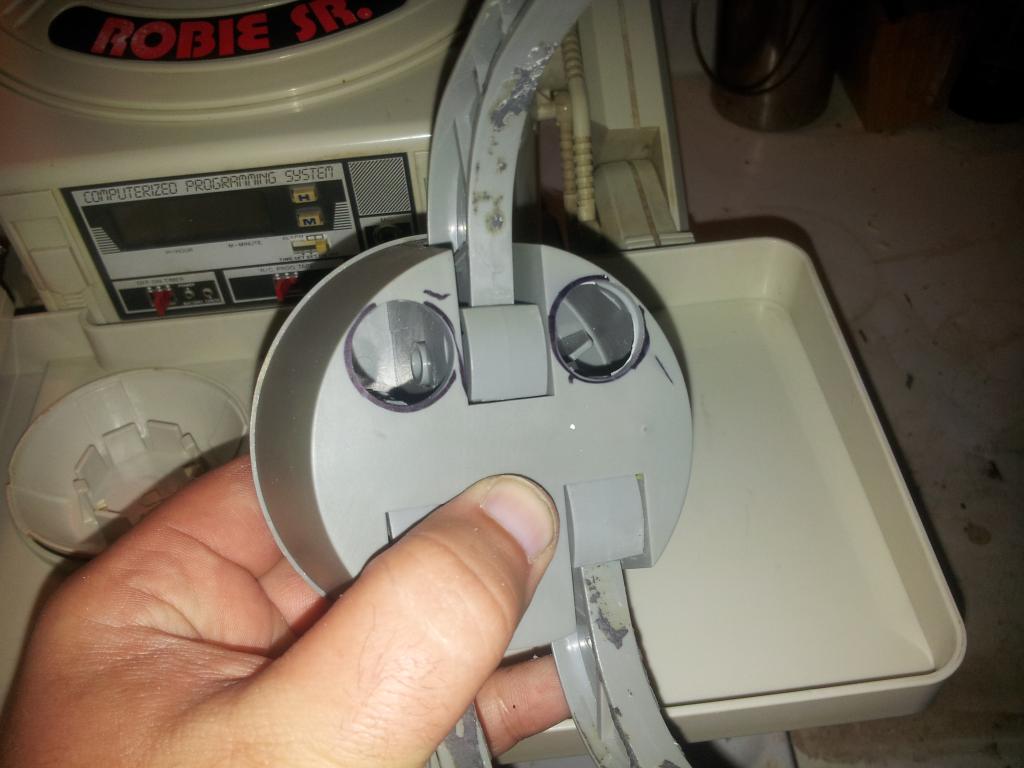
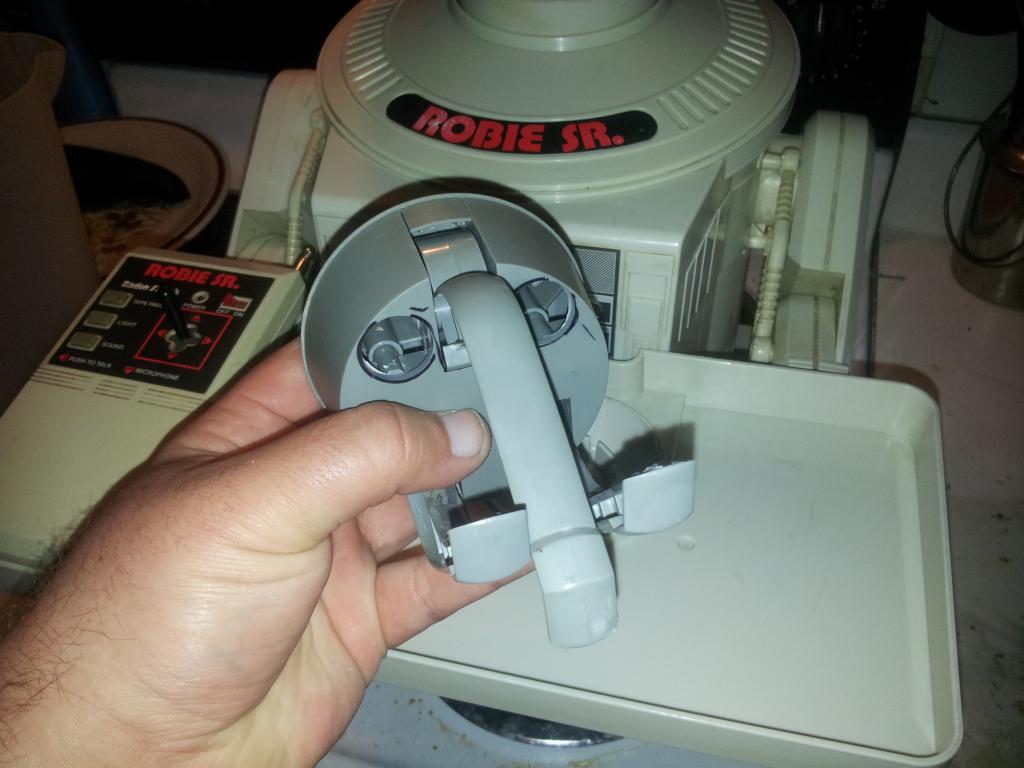
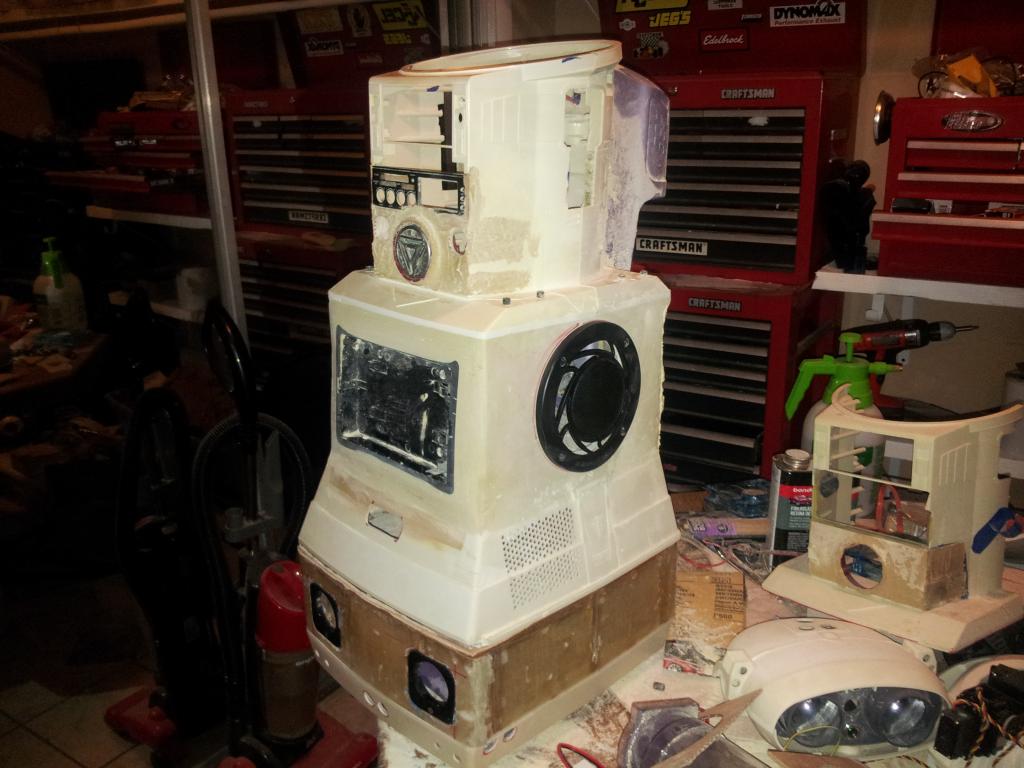
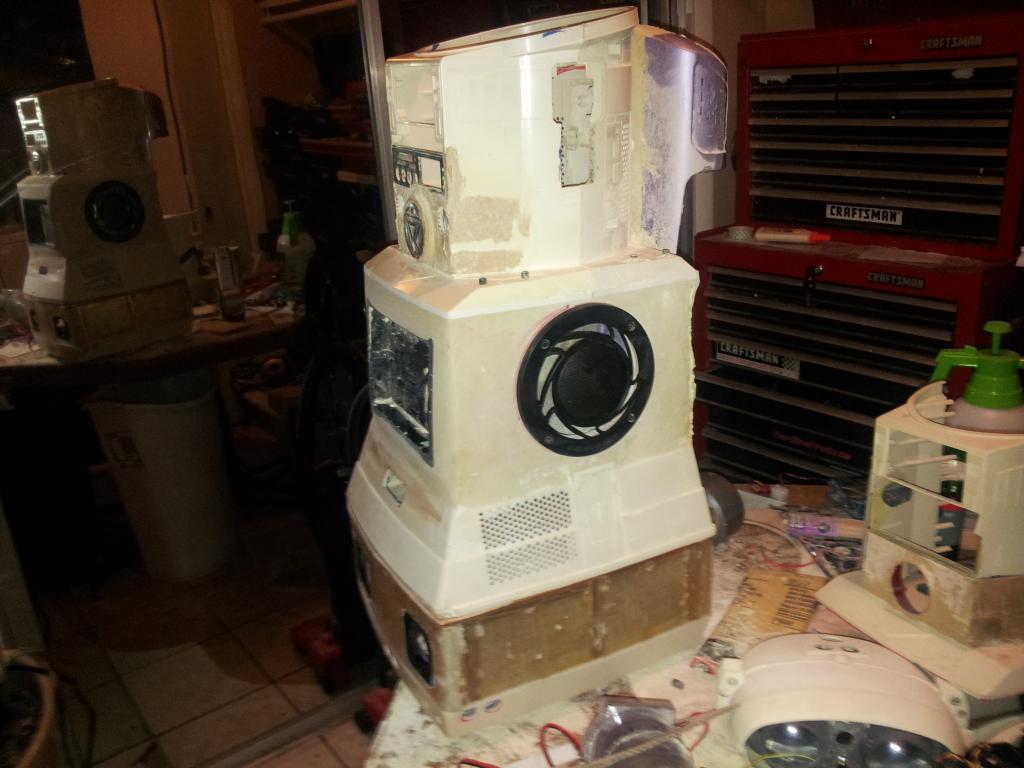
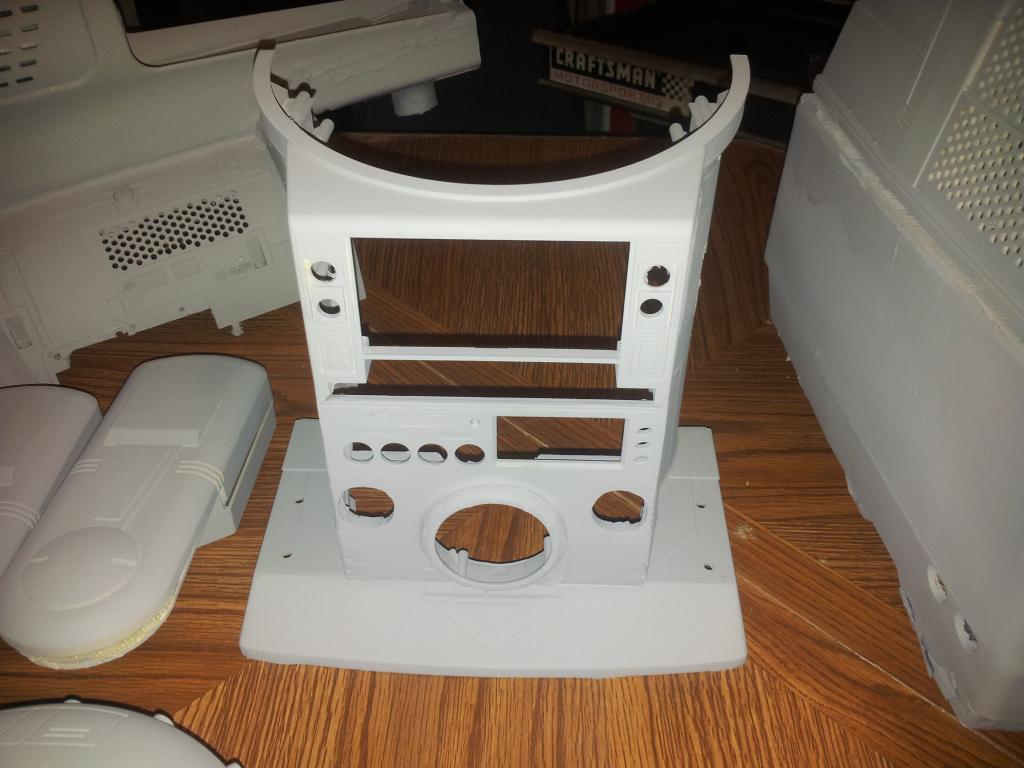
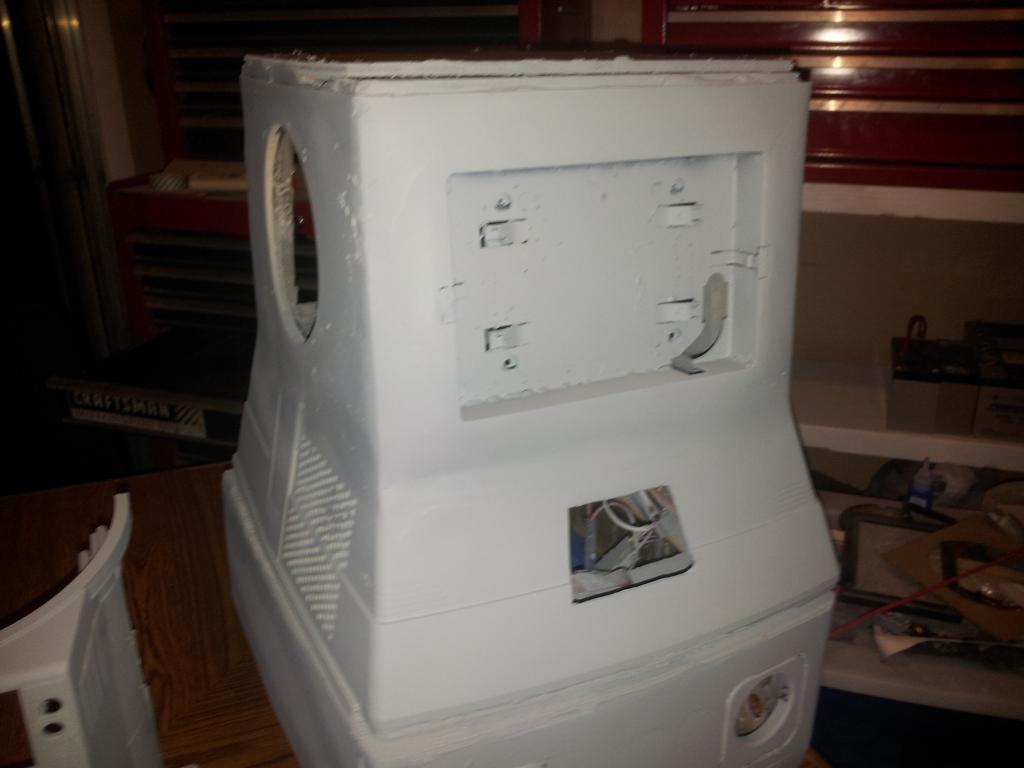
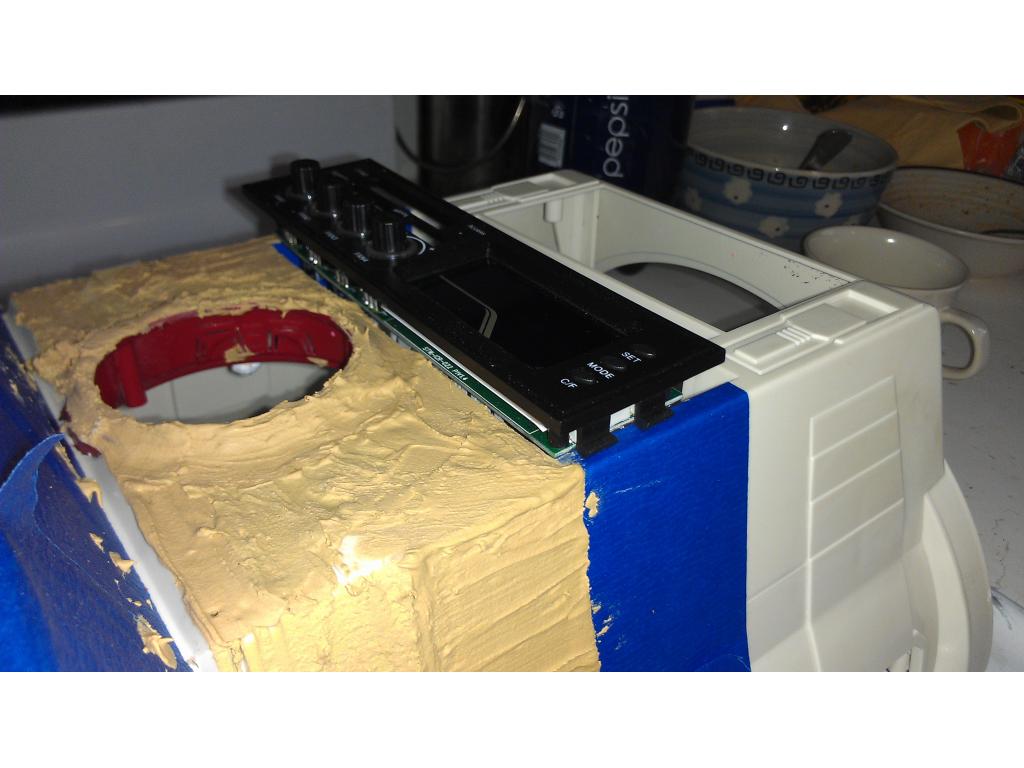
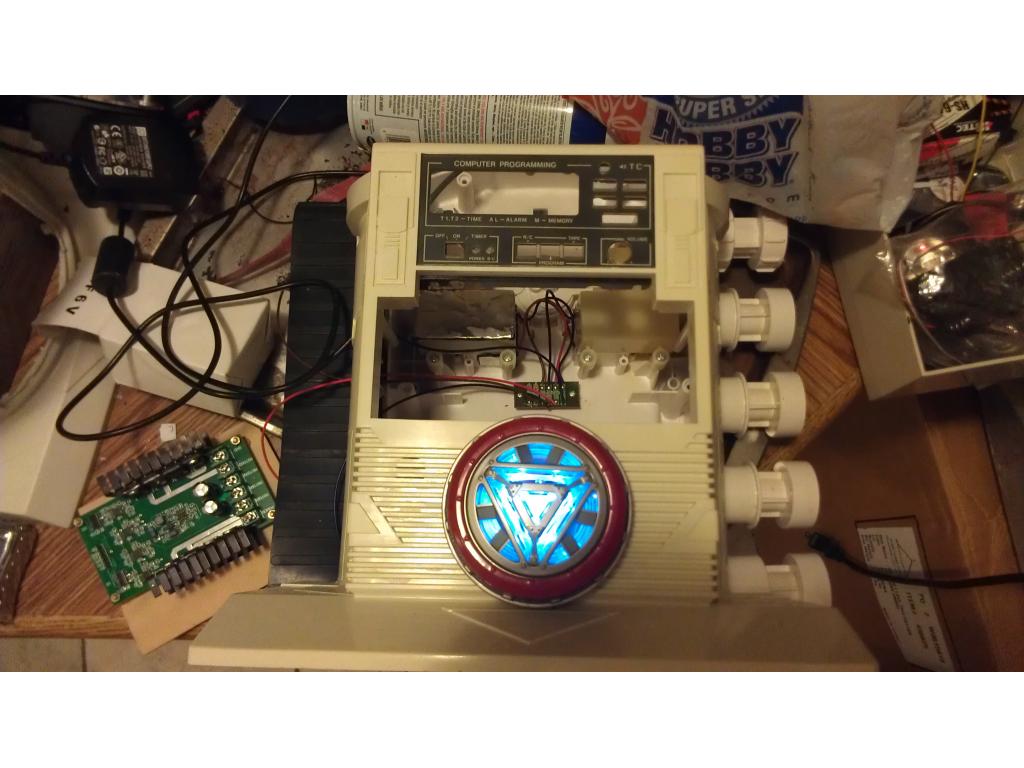
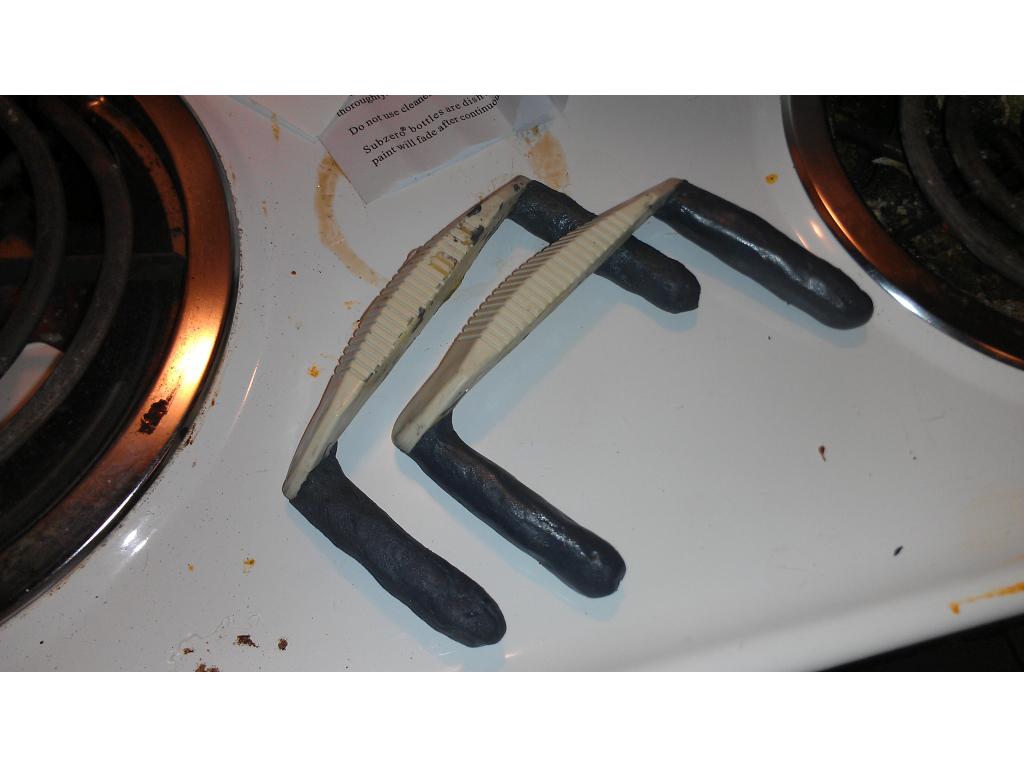
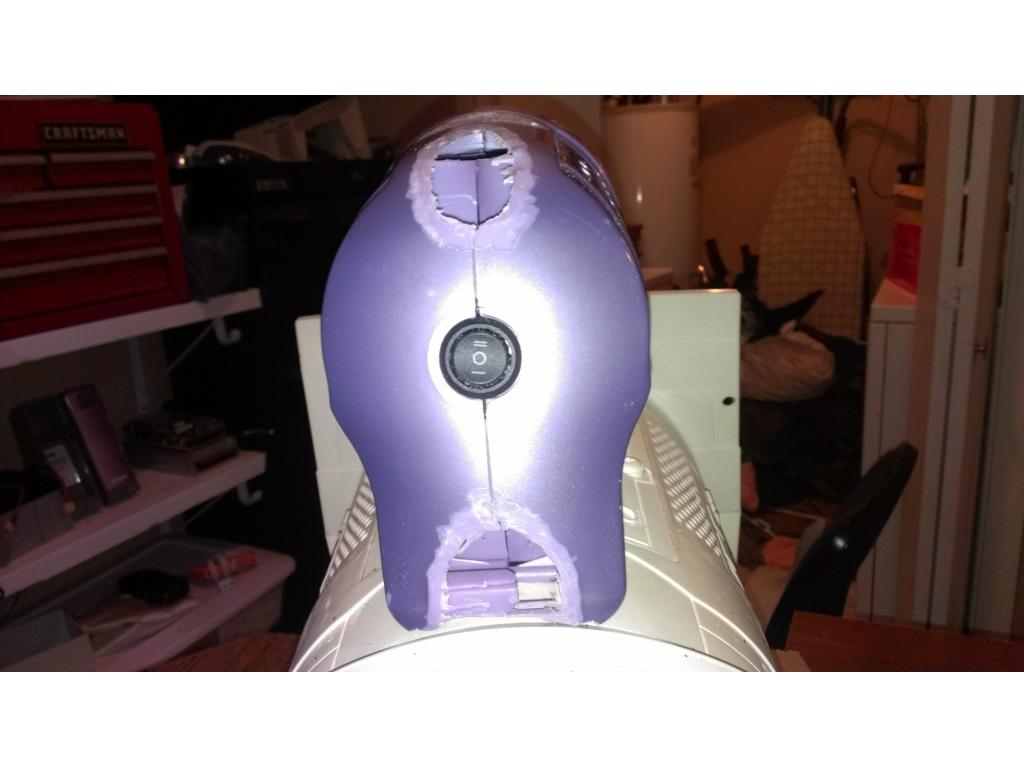
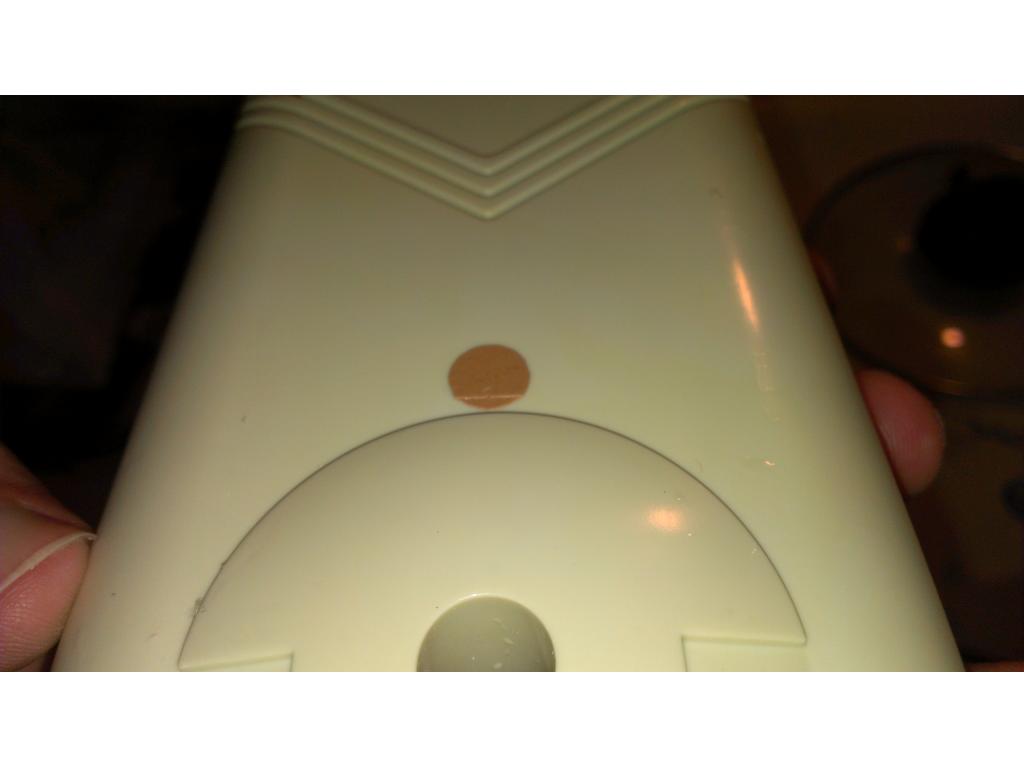
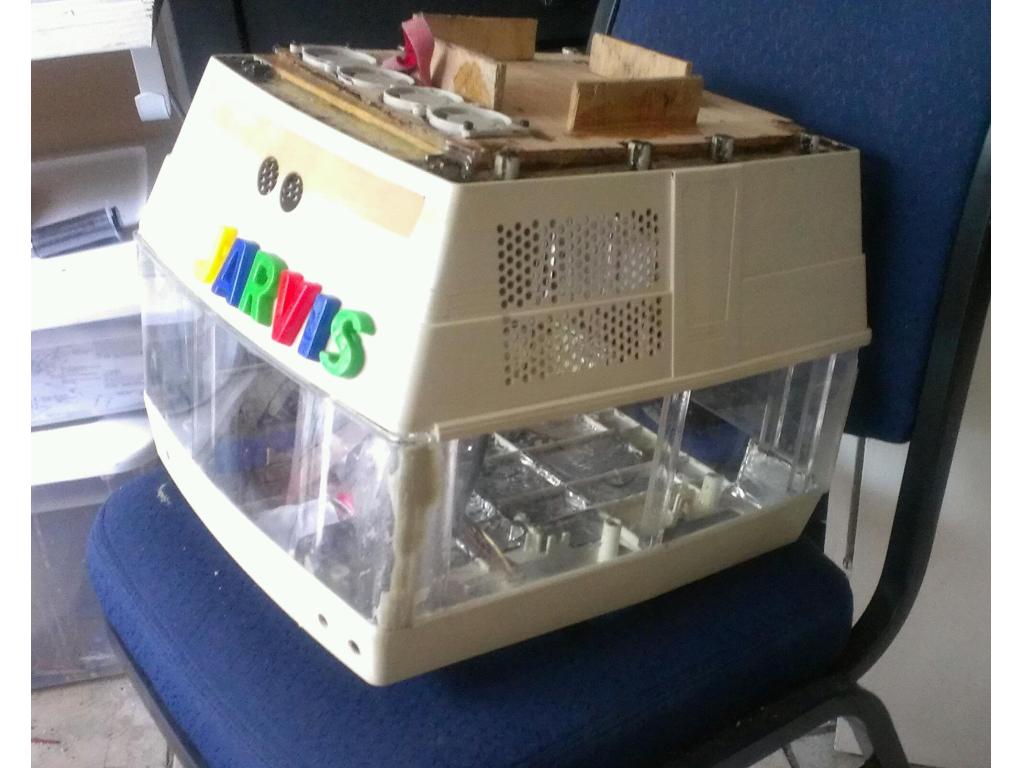
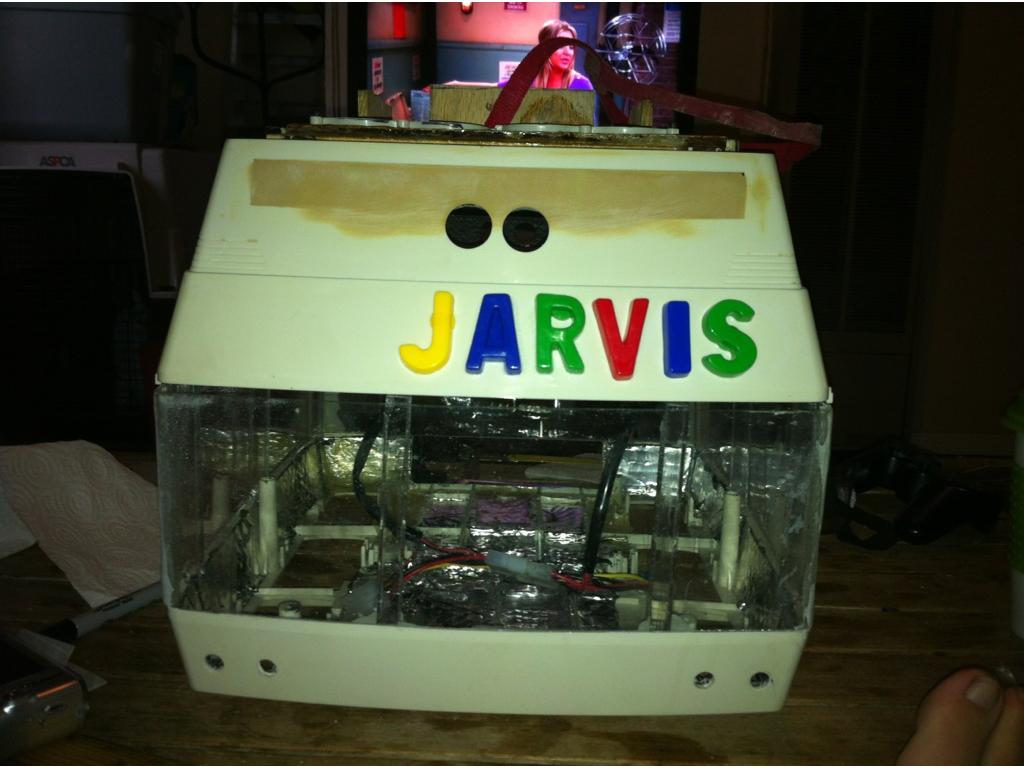
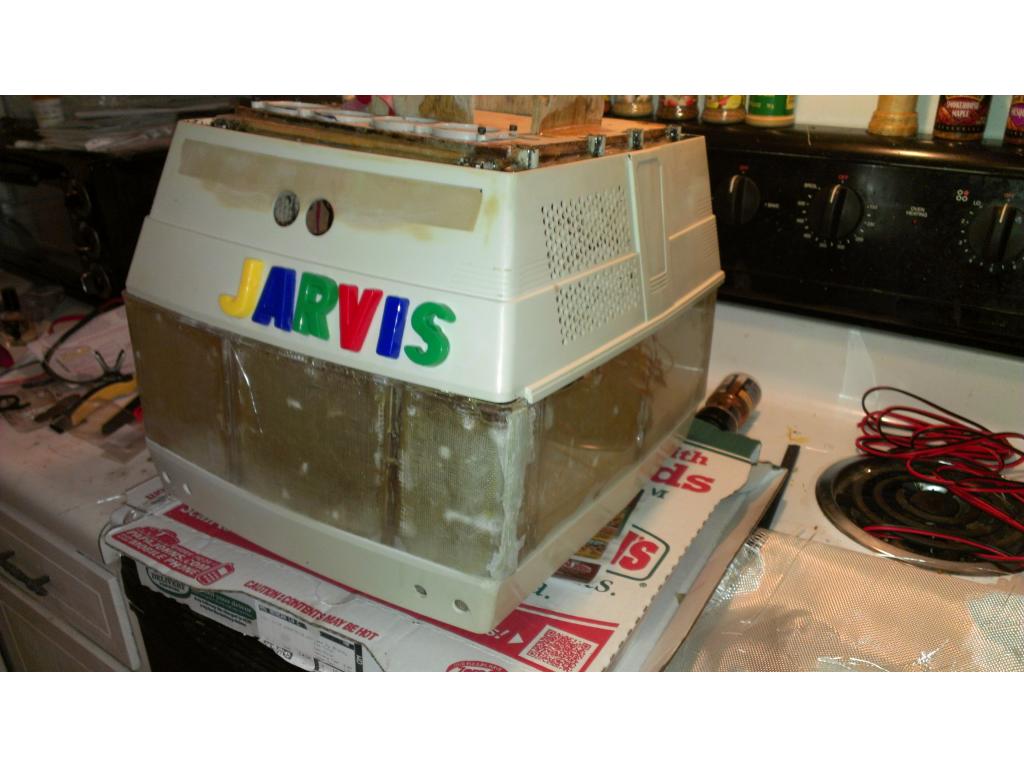
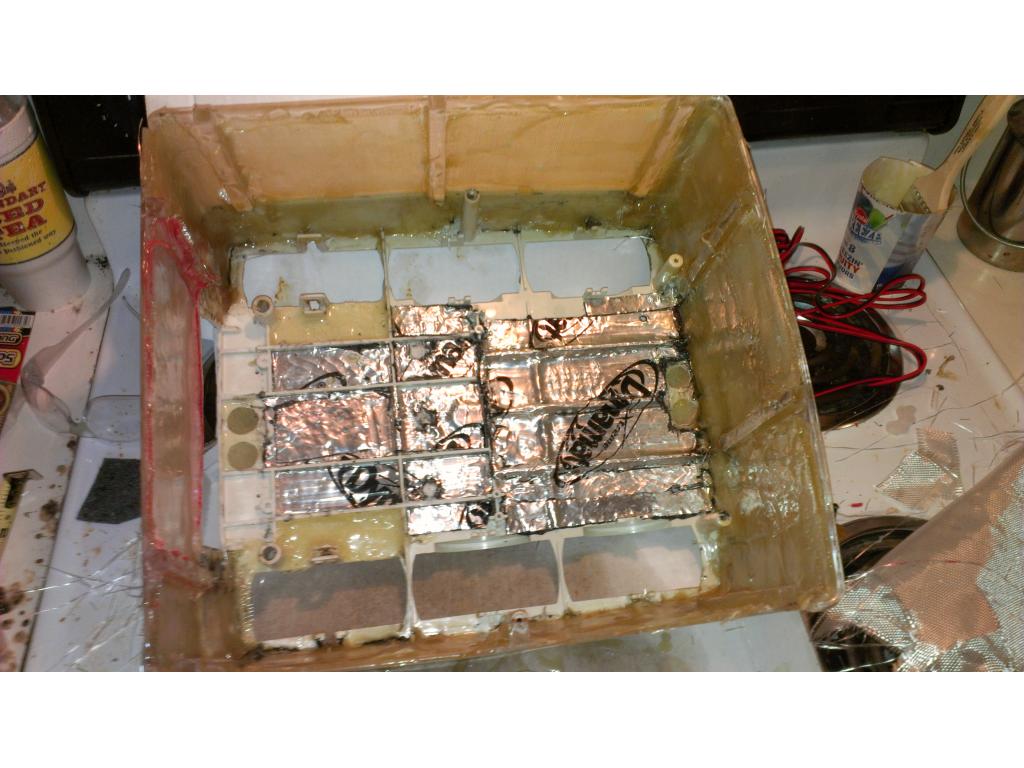
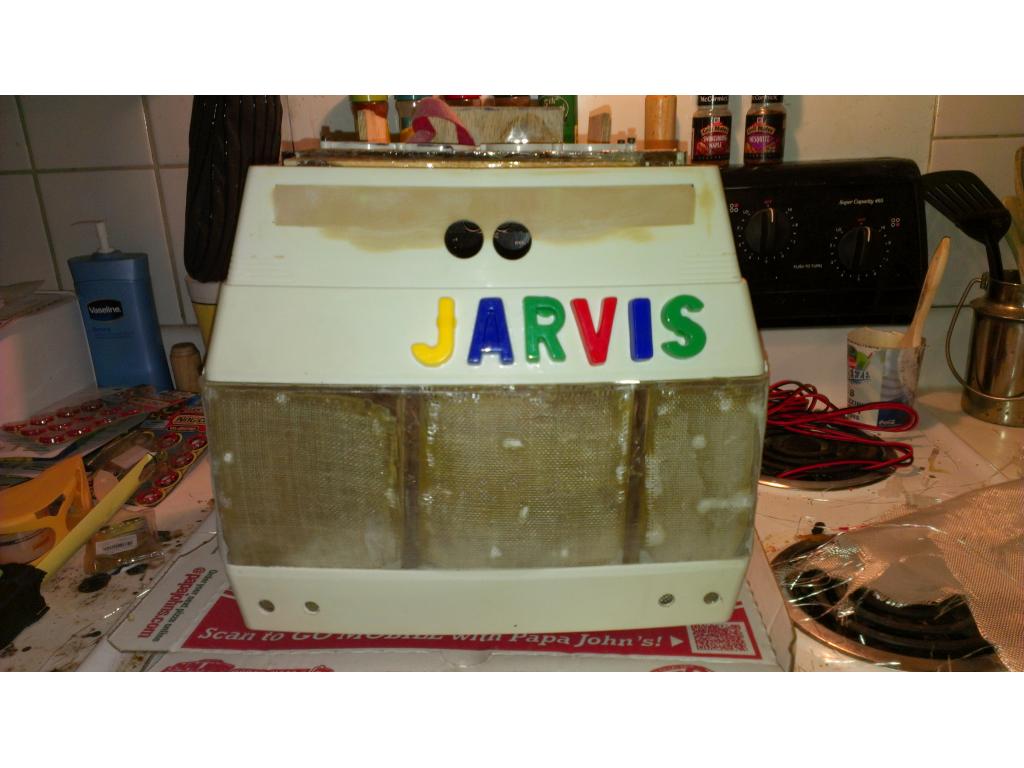
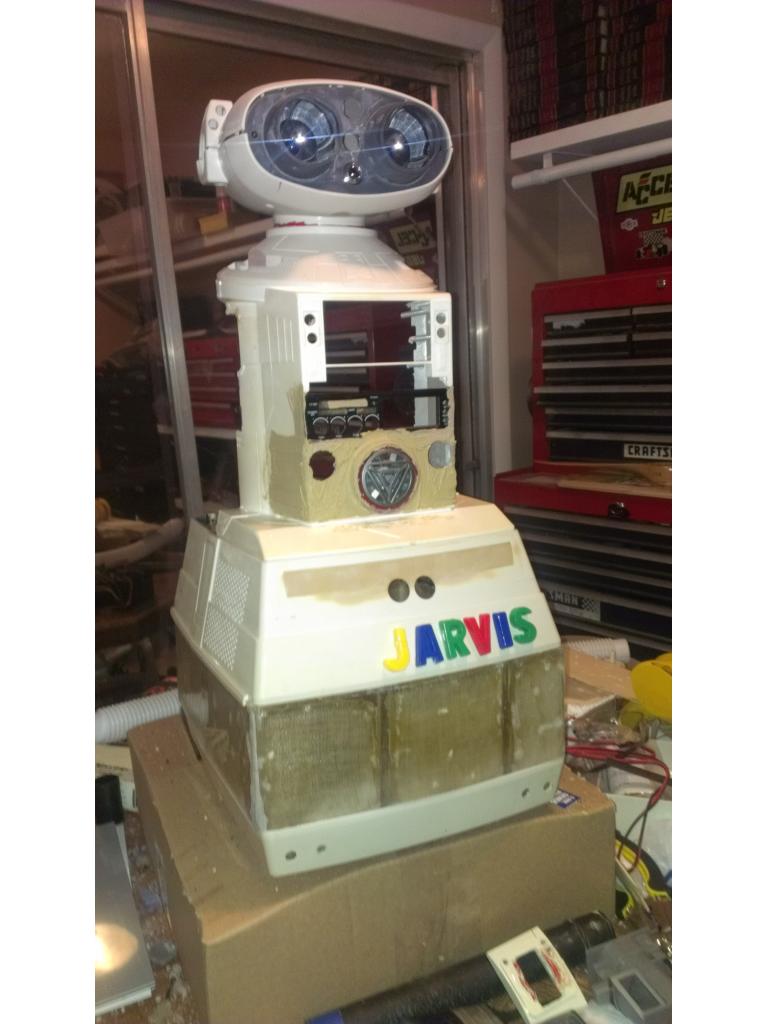
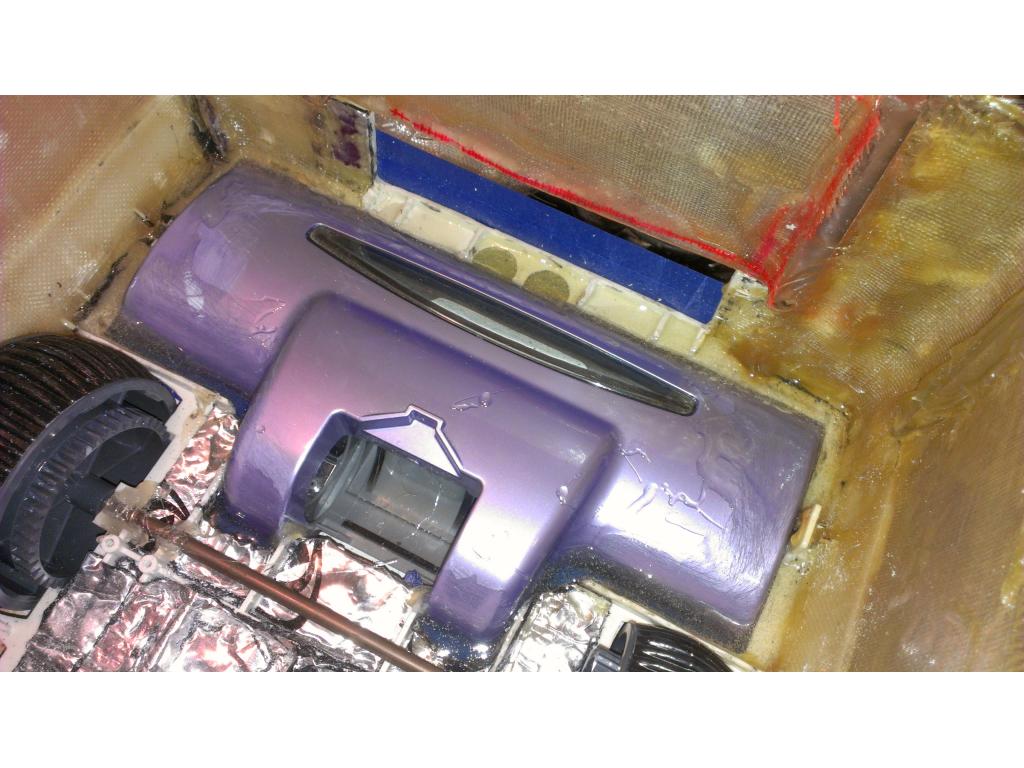
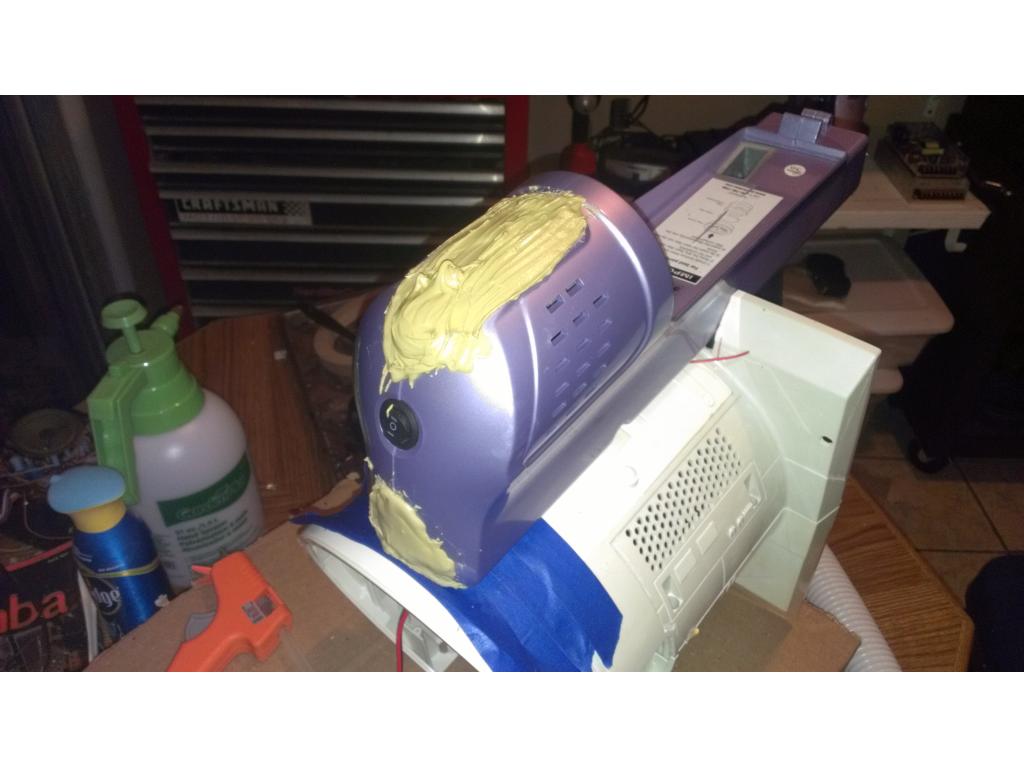
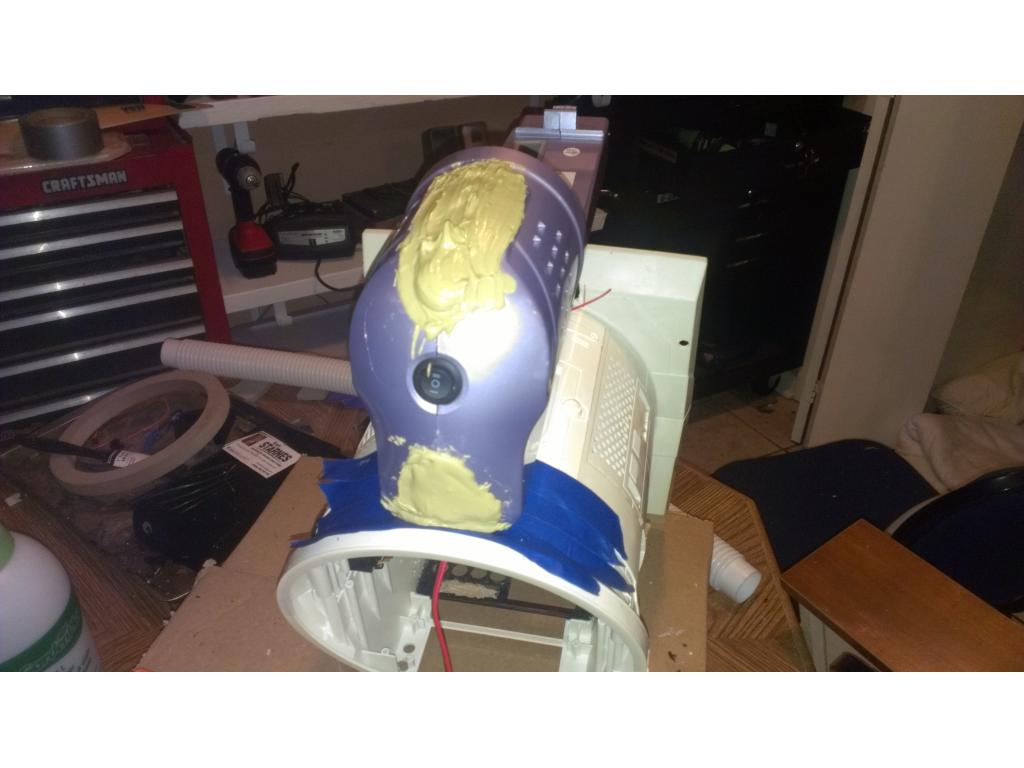
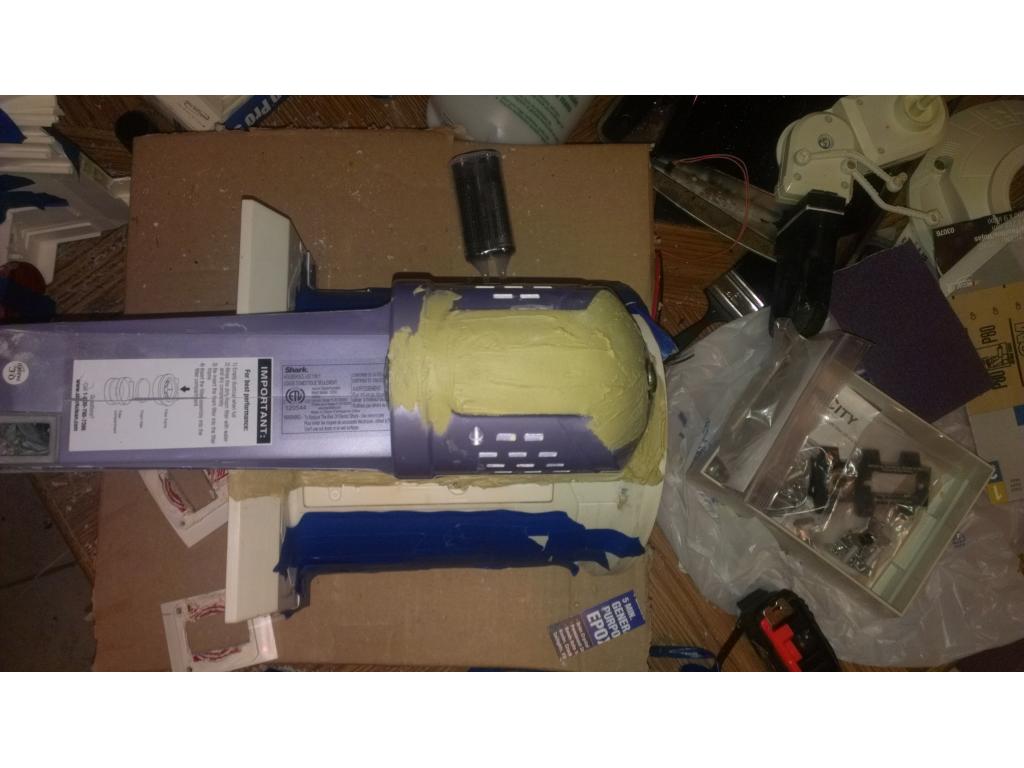
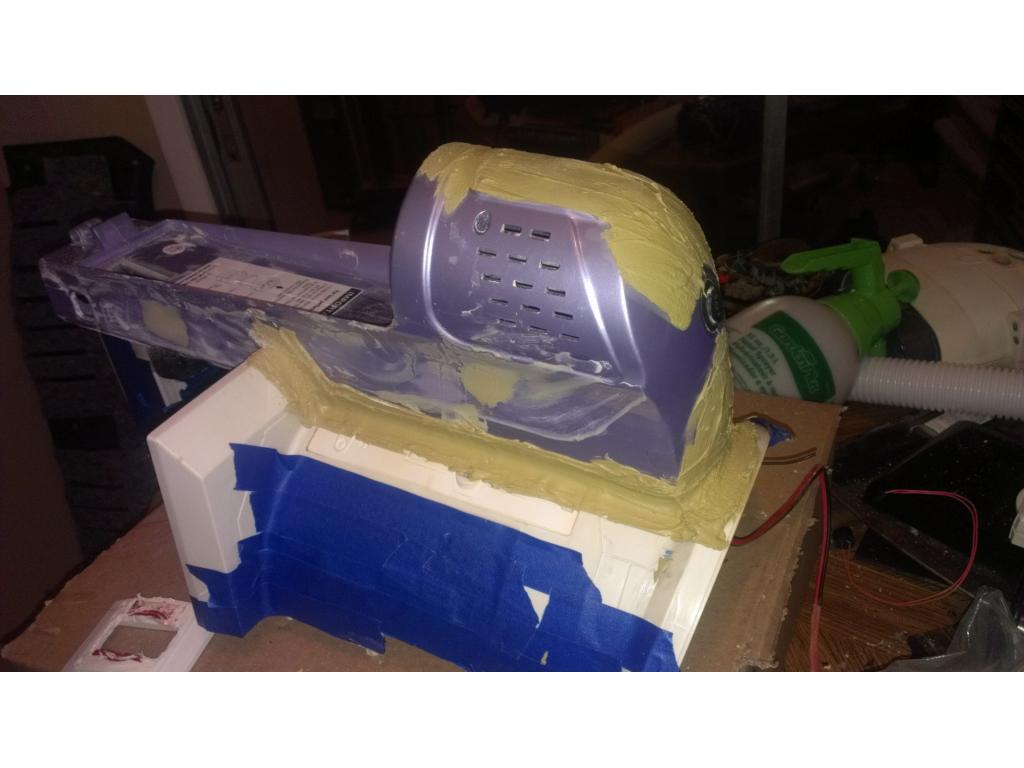
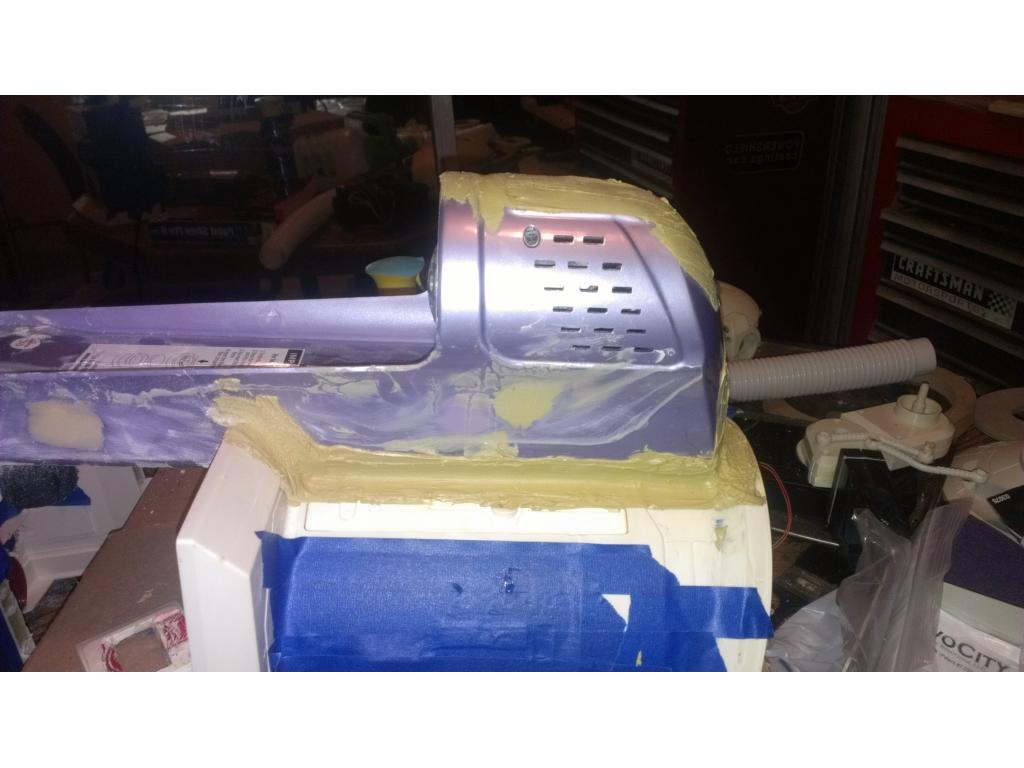
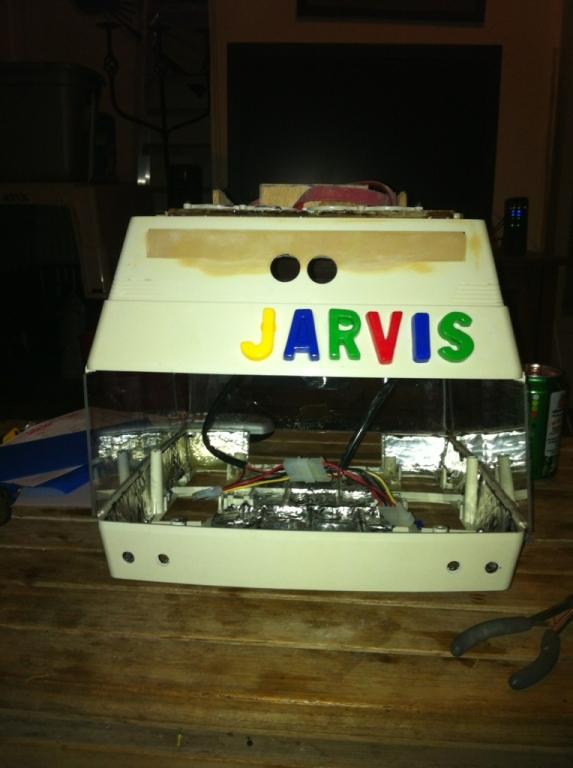
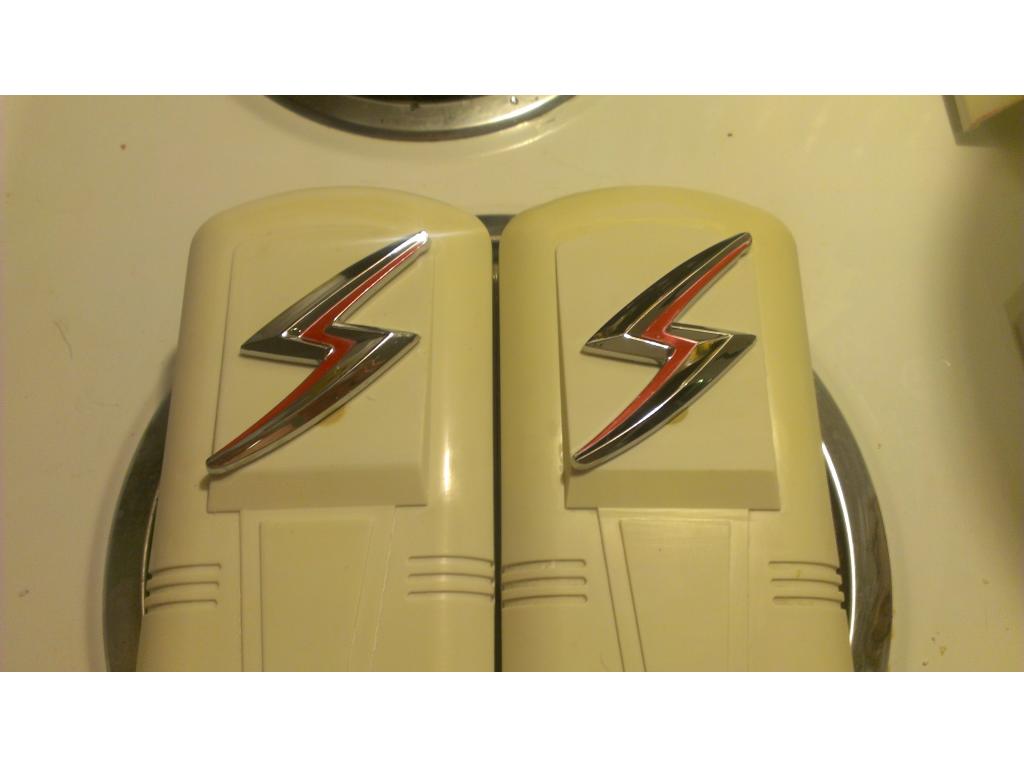
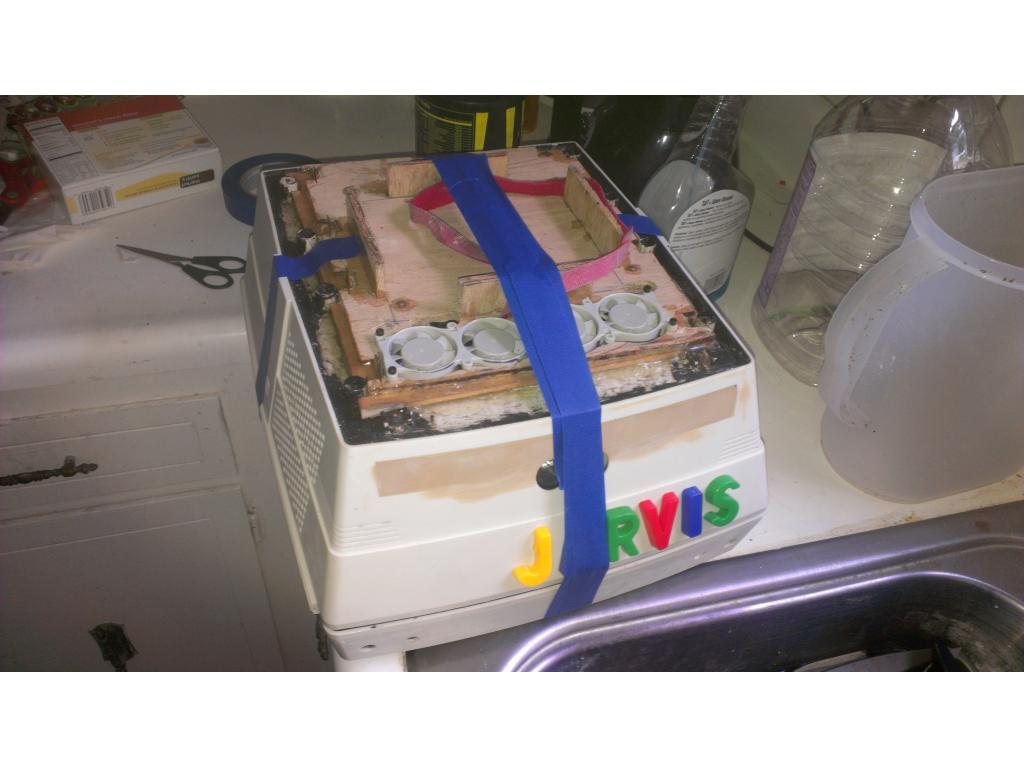
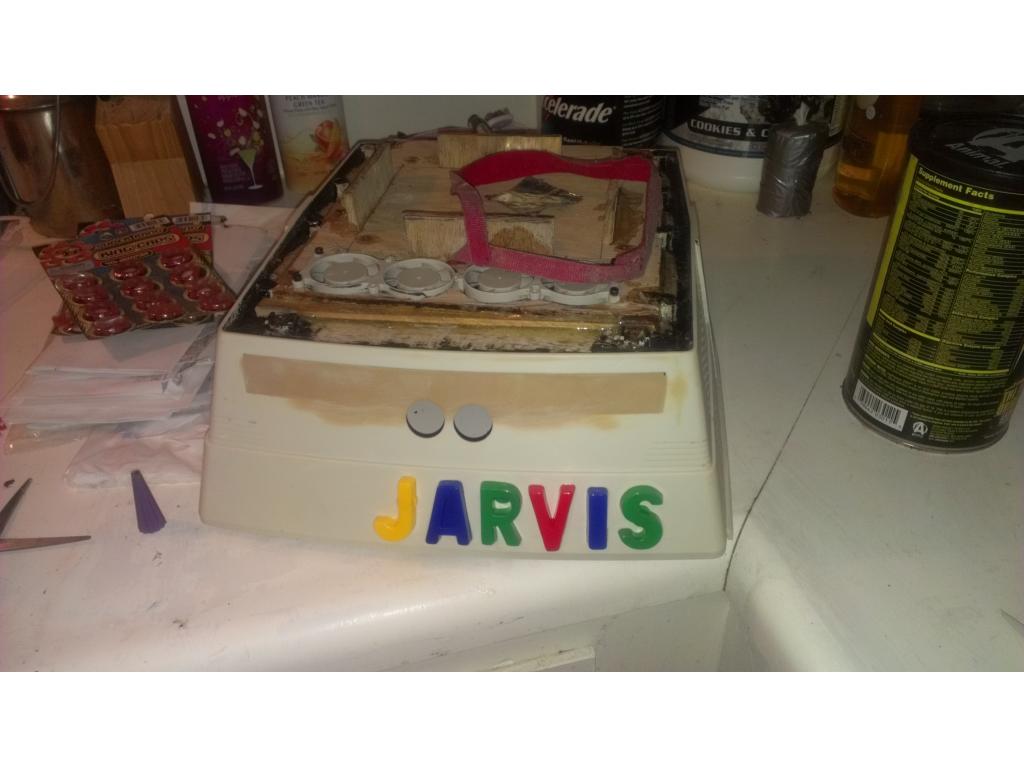
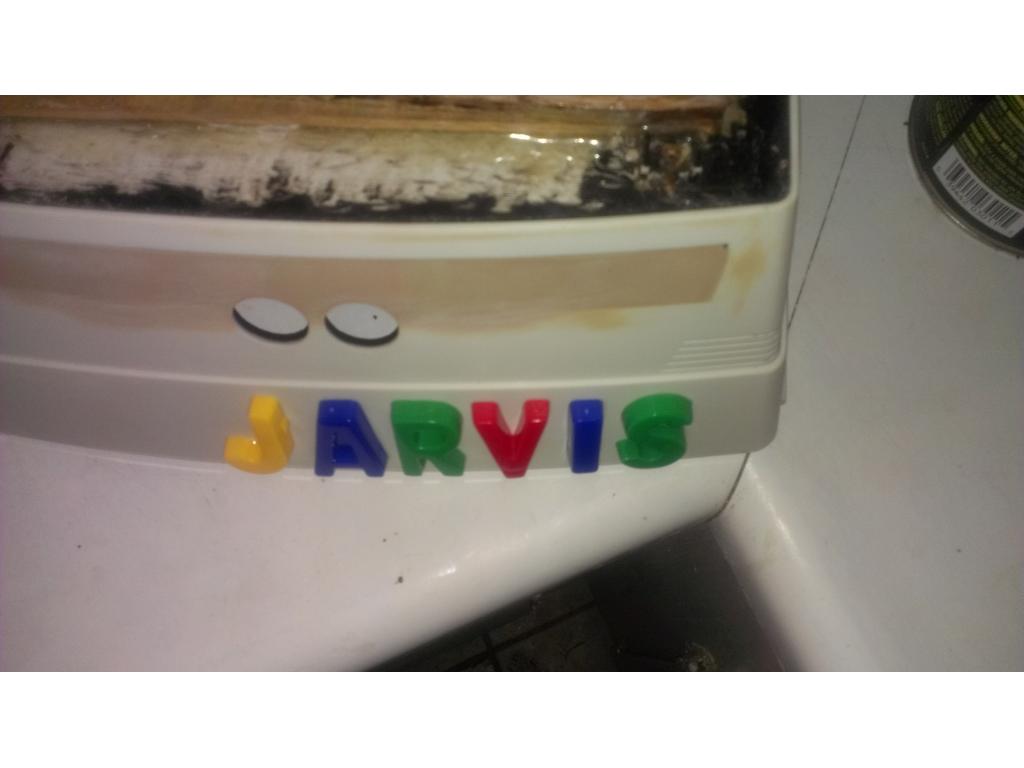
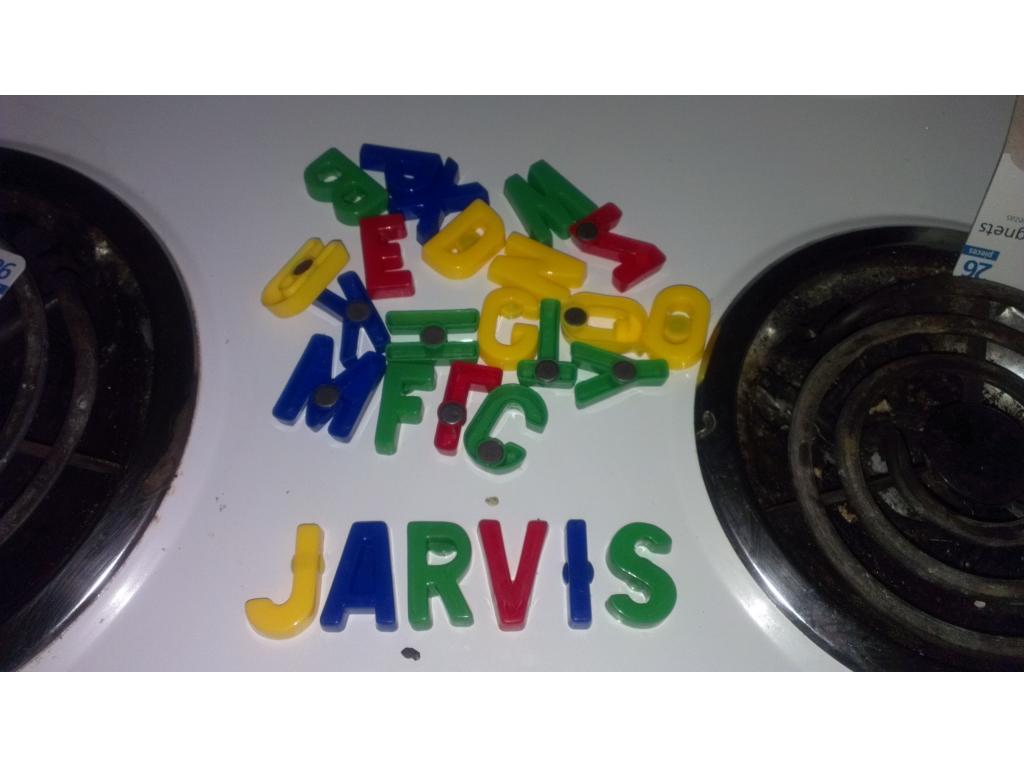
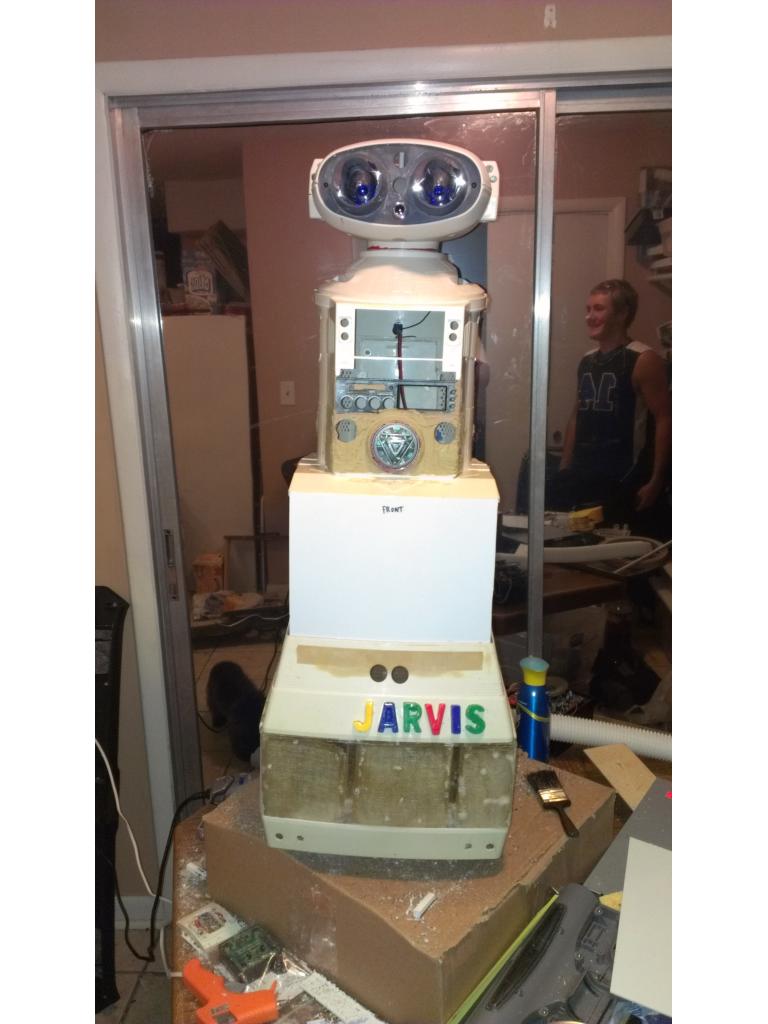
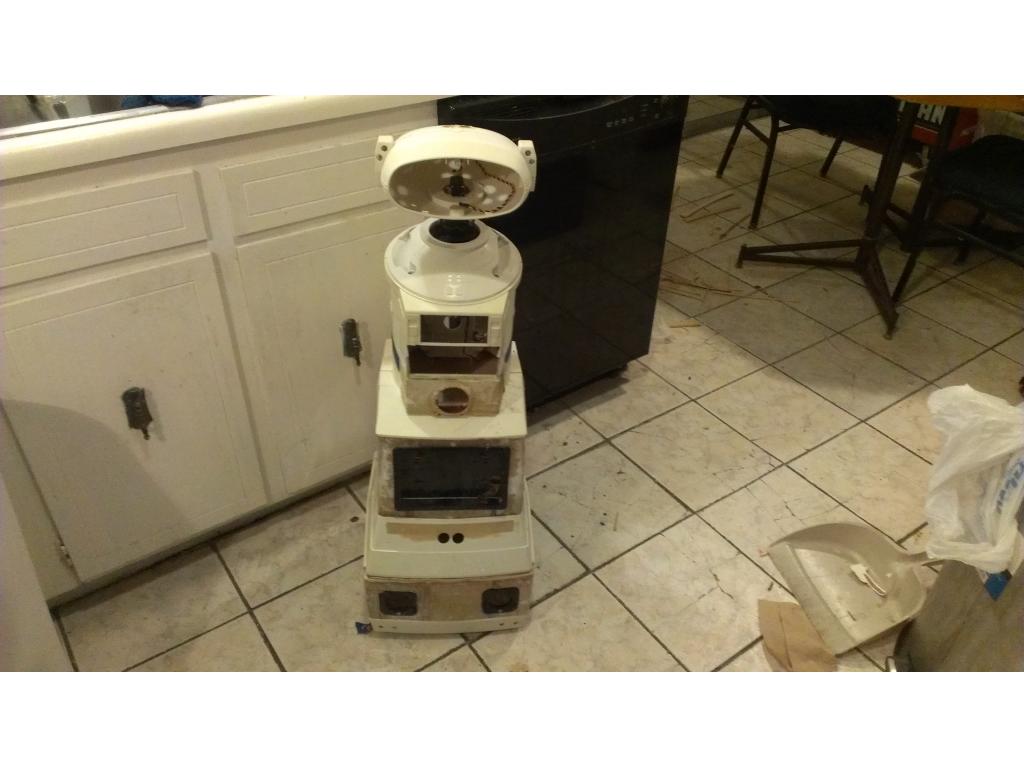
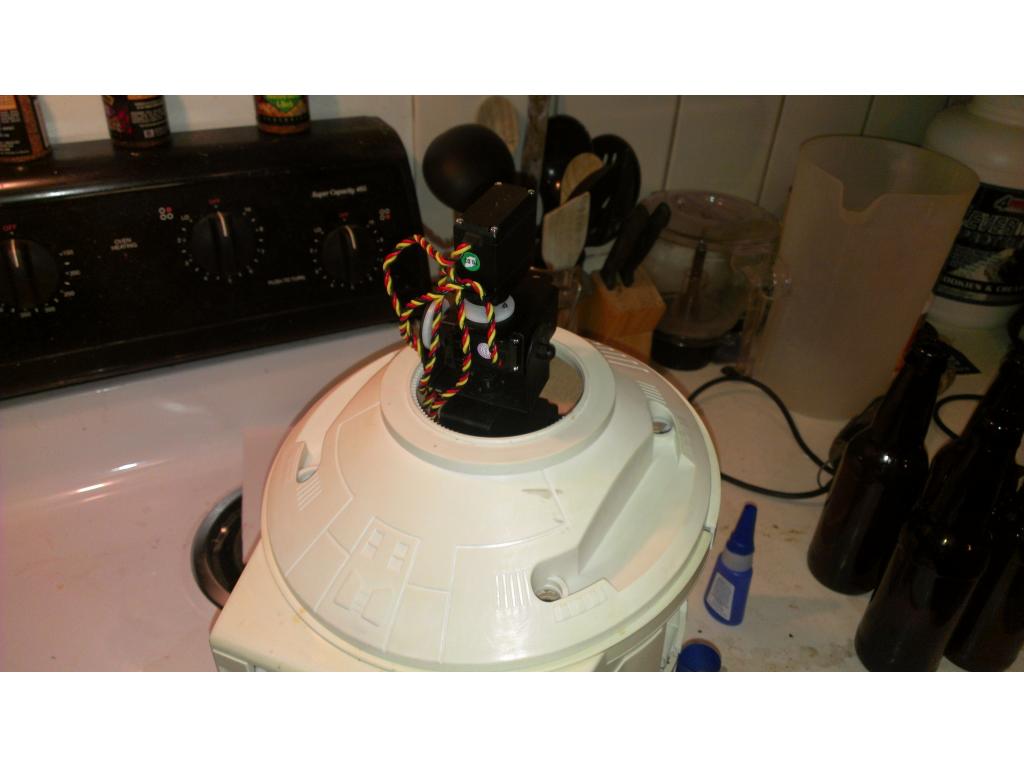
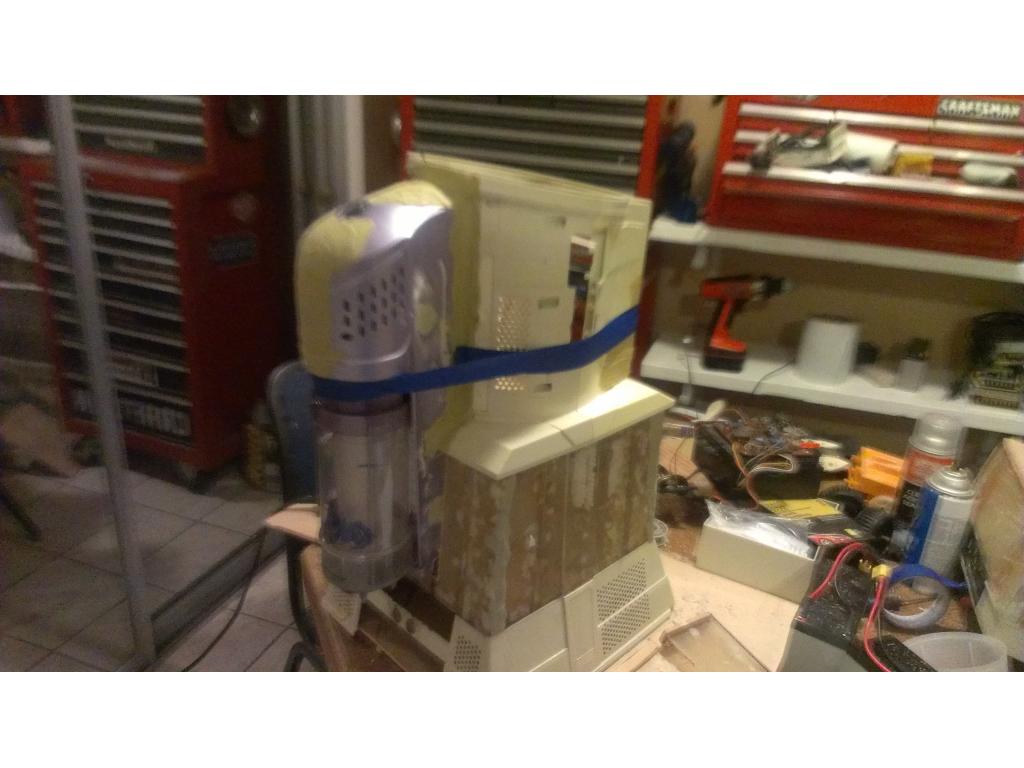
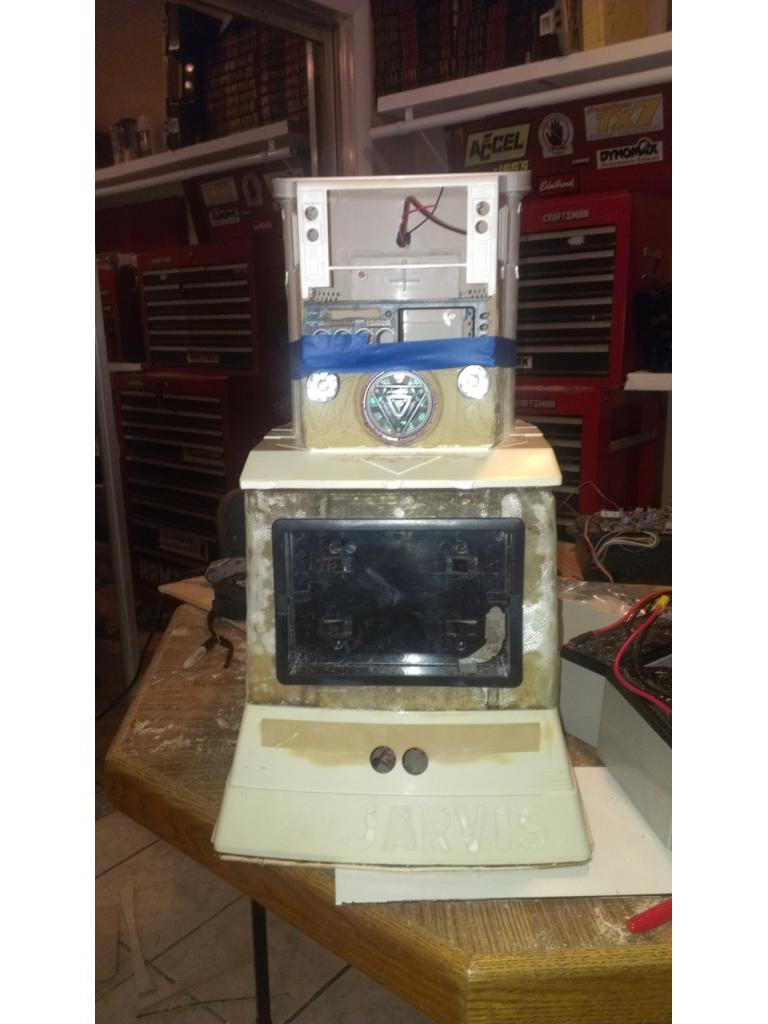
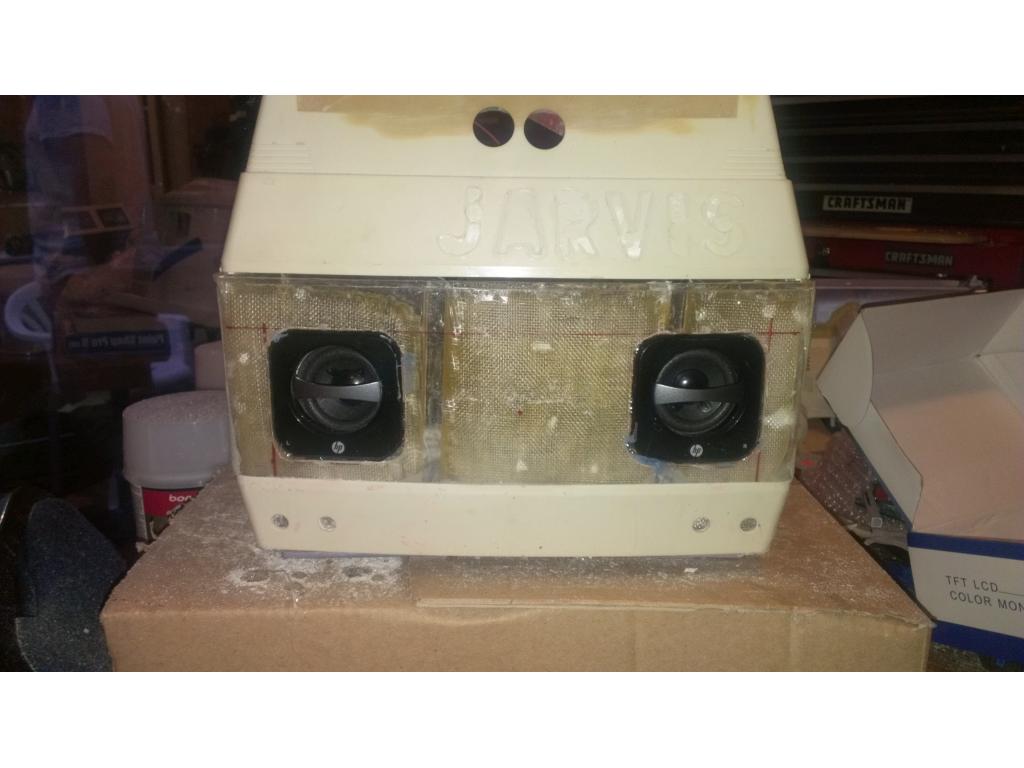
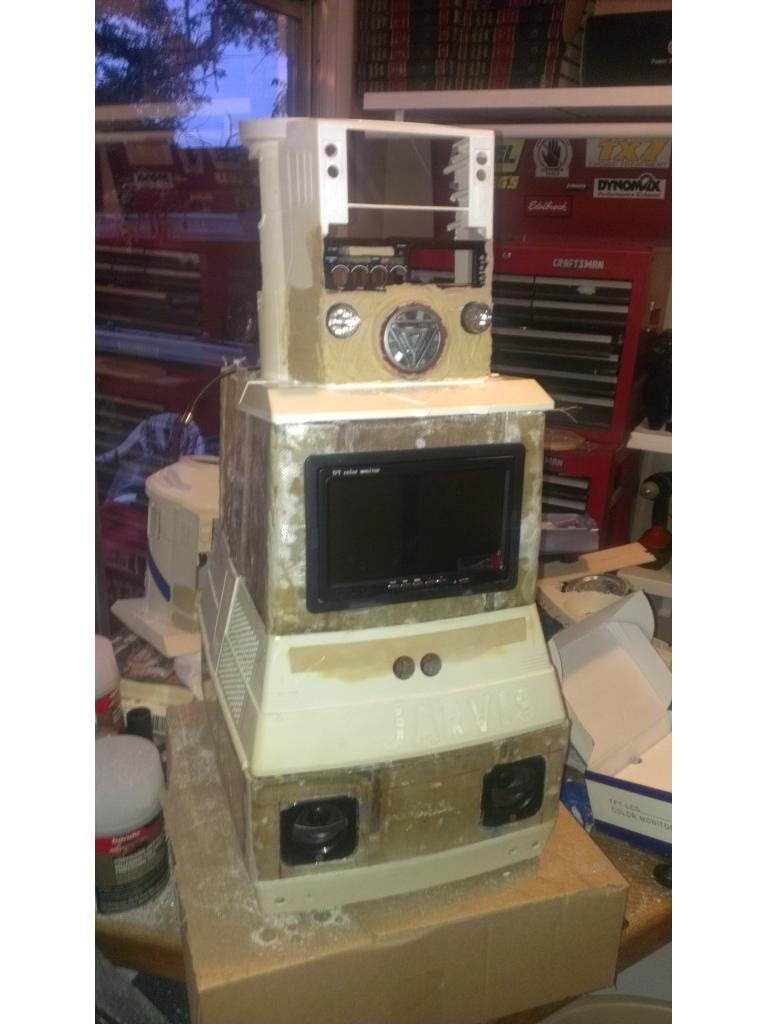
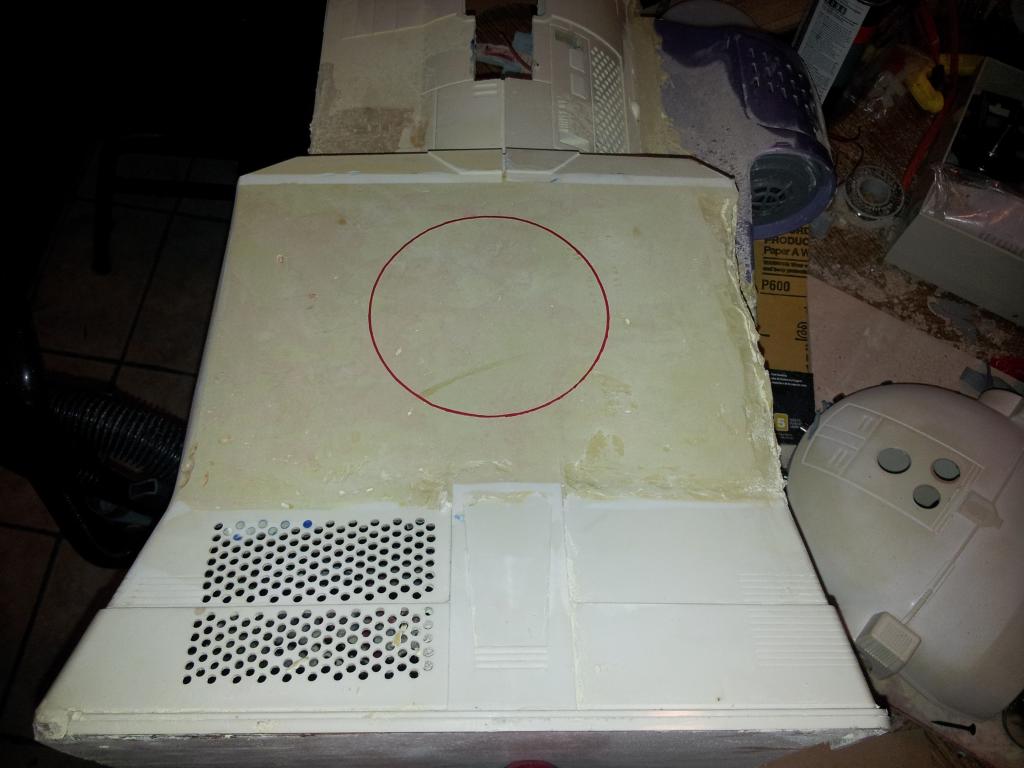
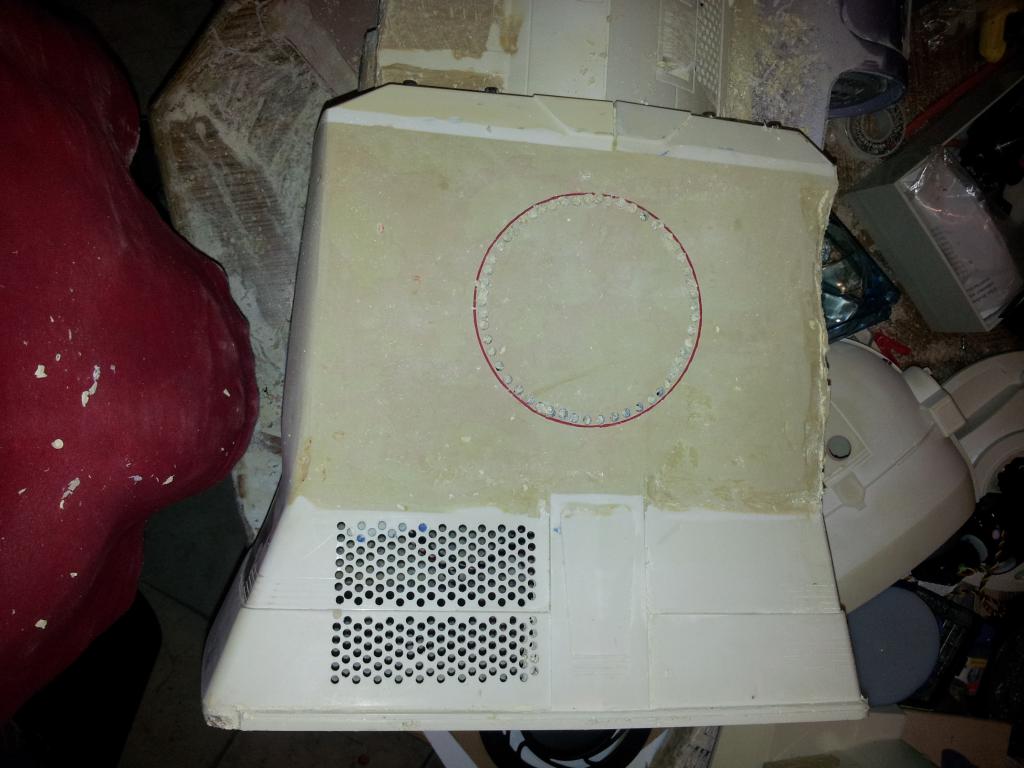
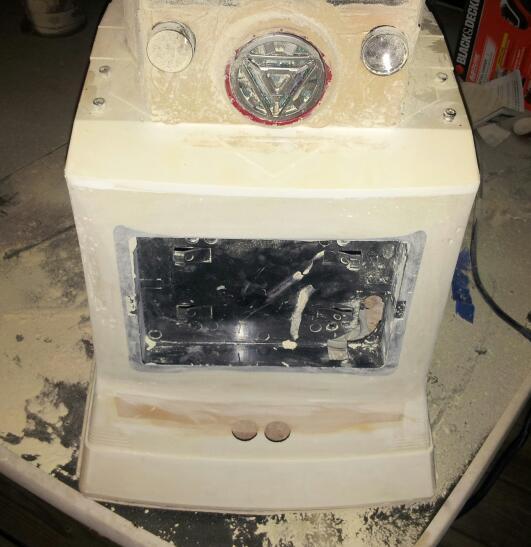
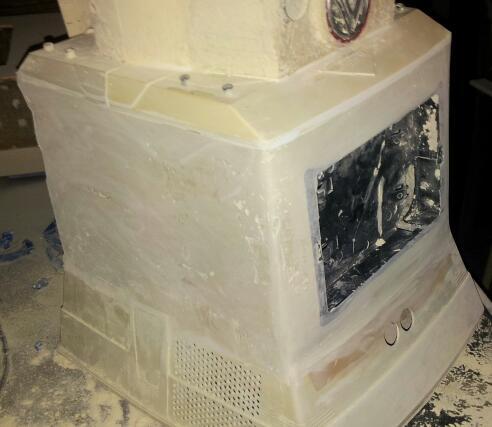
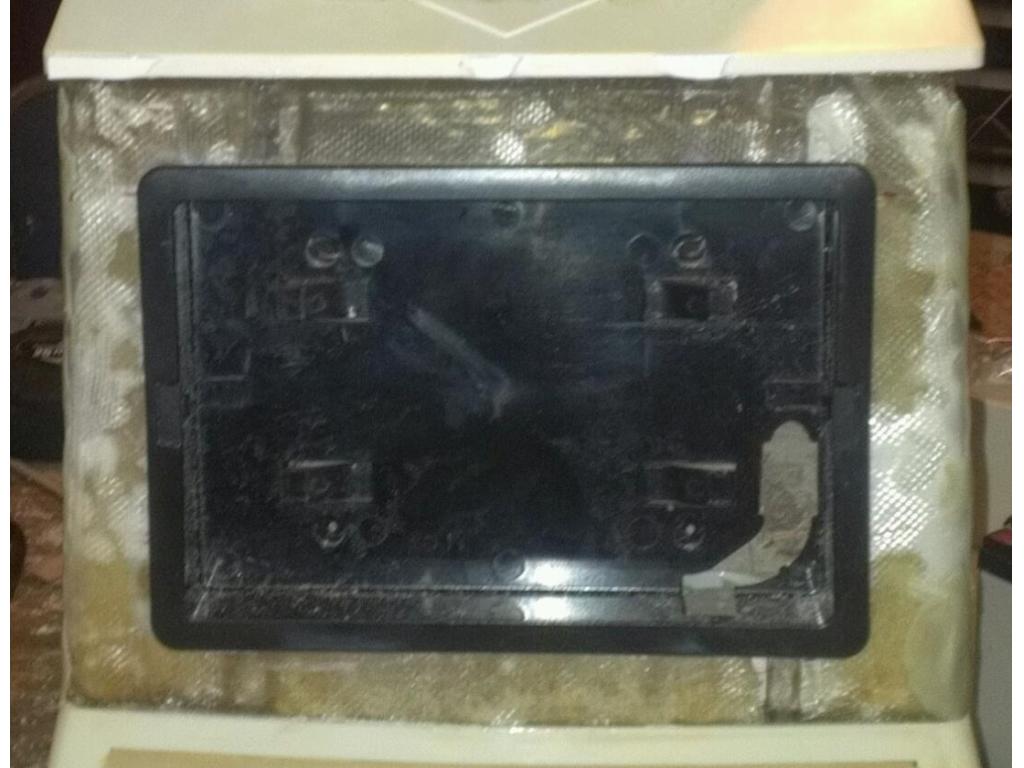
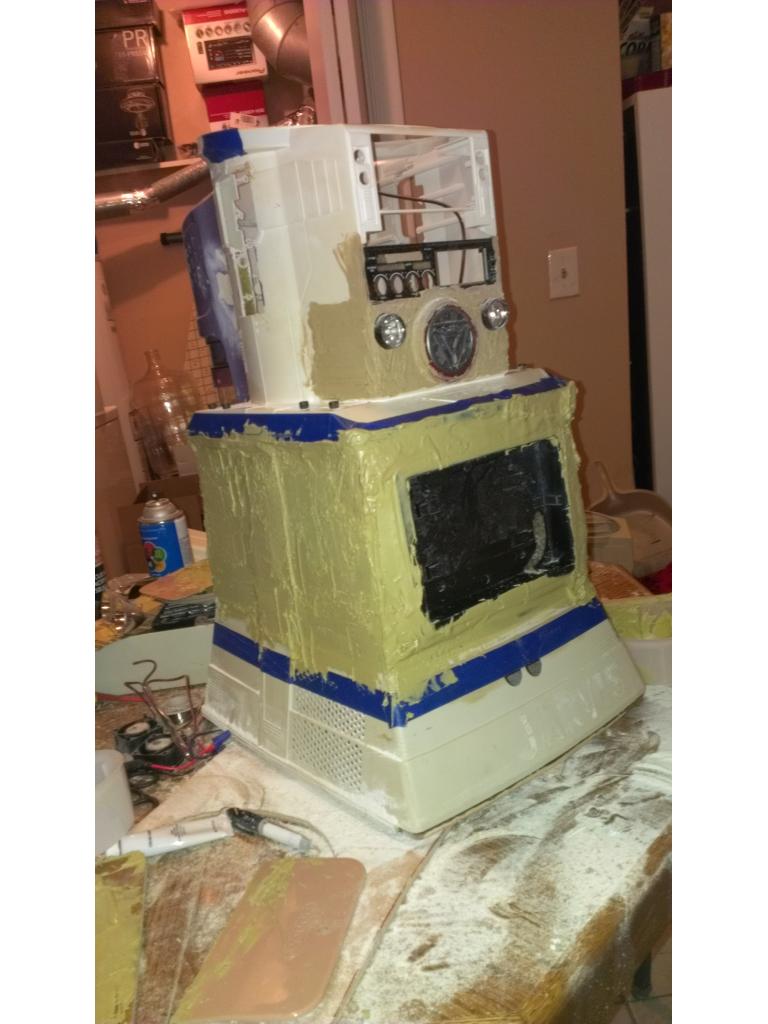
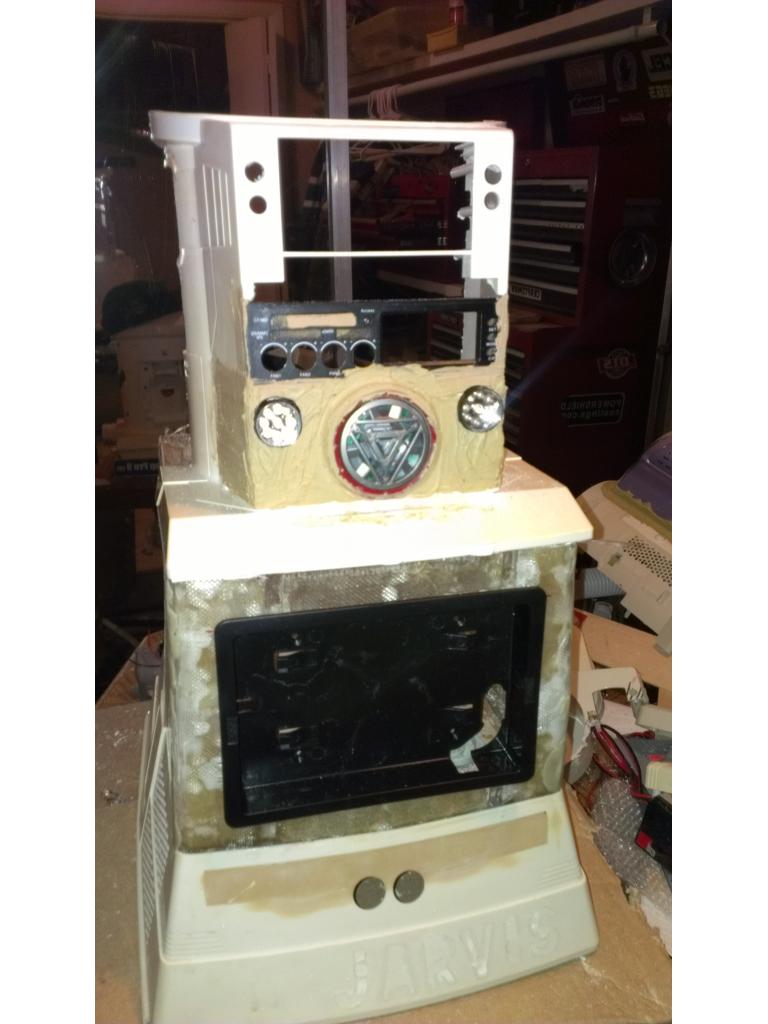
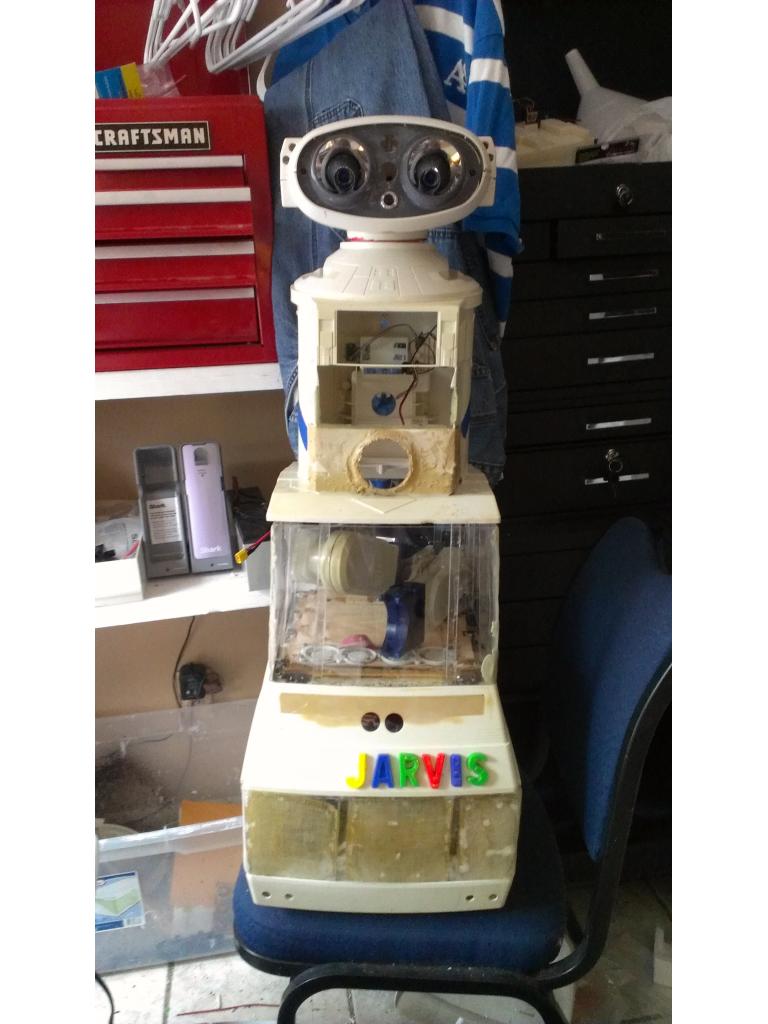
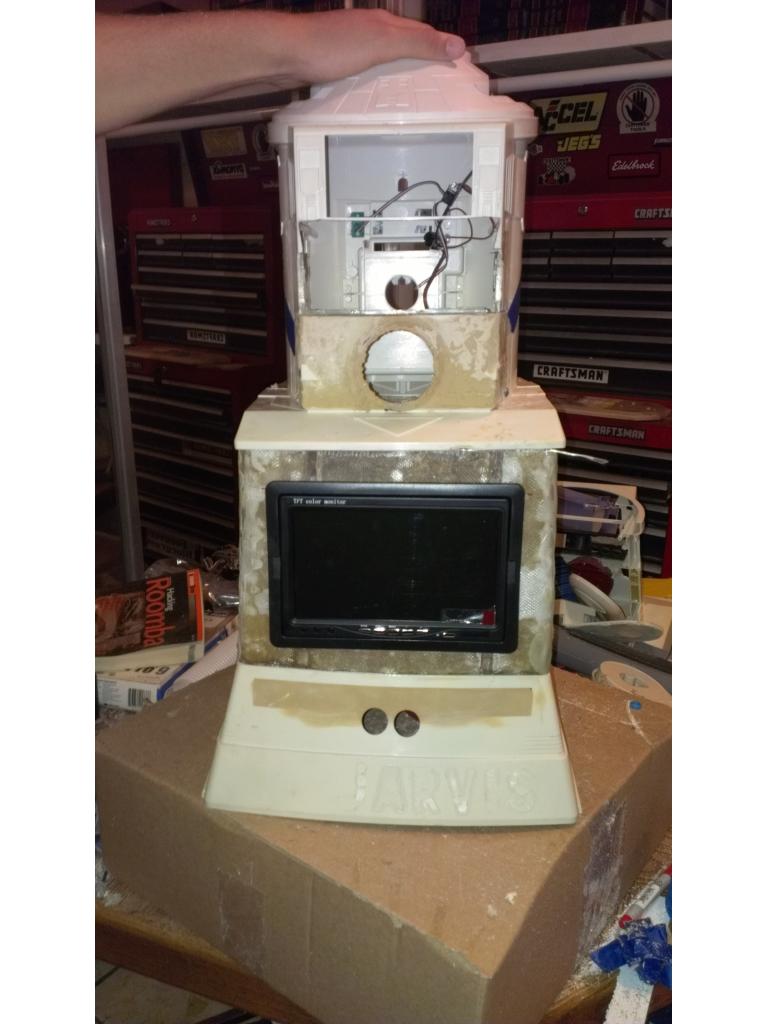
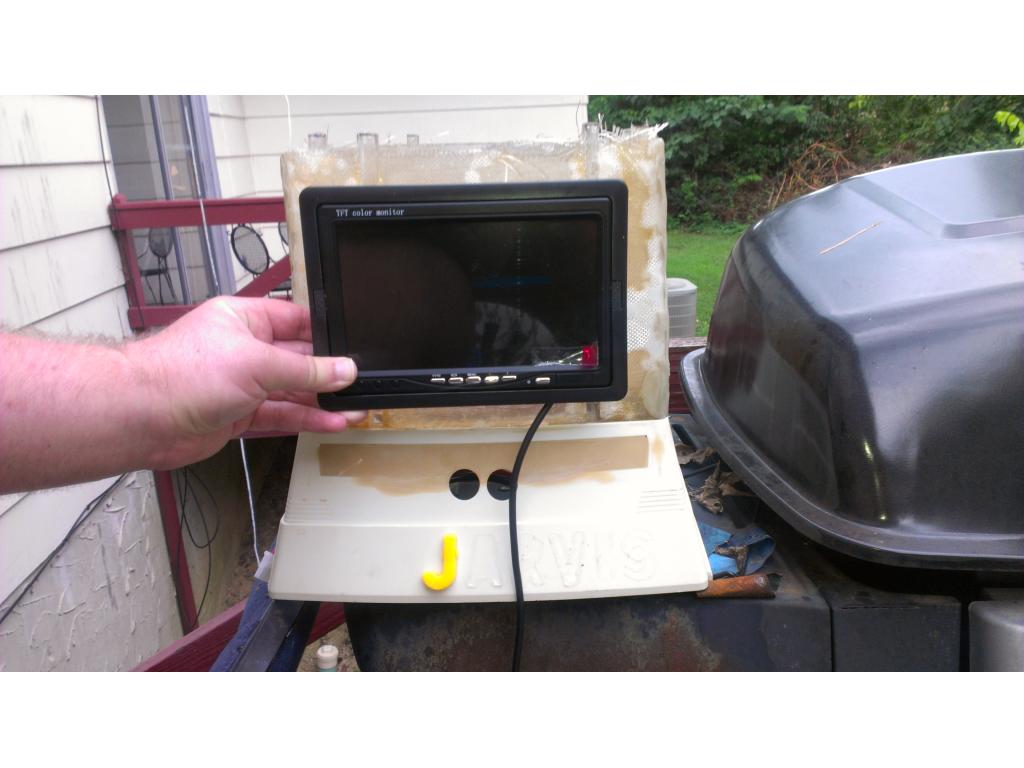
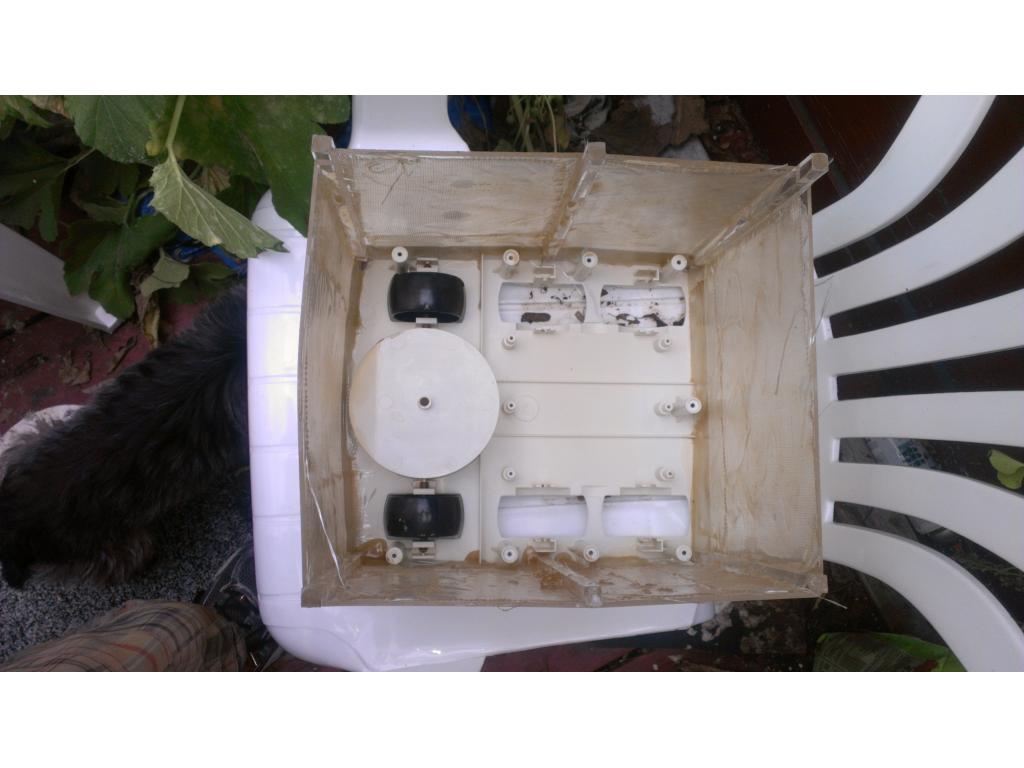
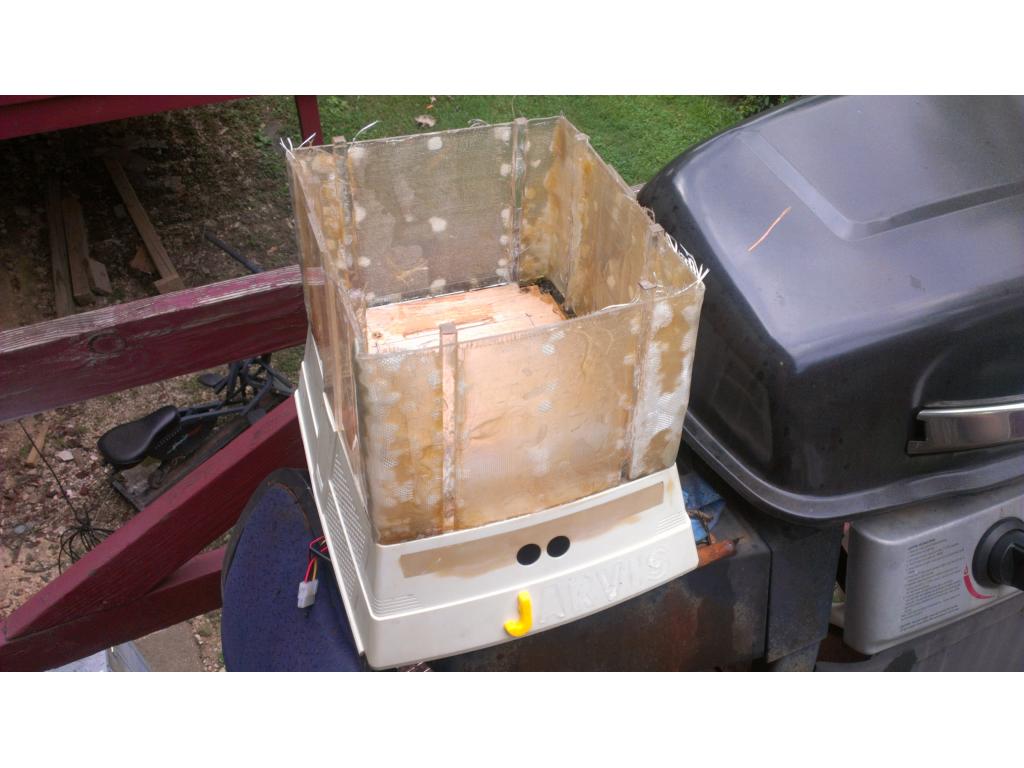
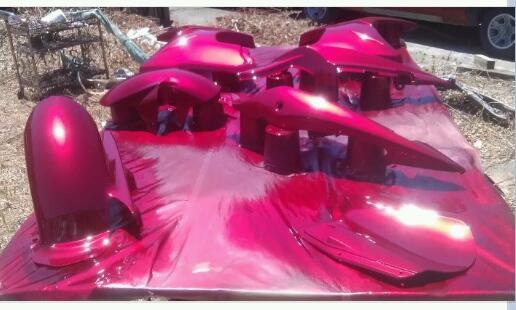
Ok Jarvis gets a name tag , I glued them on with ca and these will be painted over as part of the body. I might make accent decals for the face but that's something.I will see after I get him back from paint.
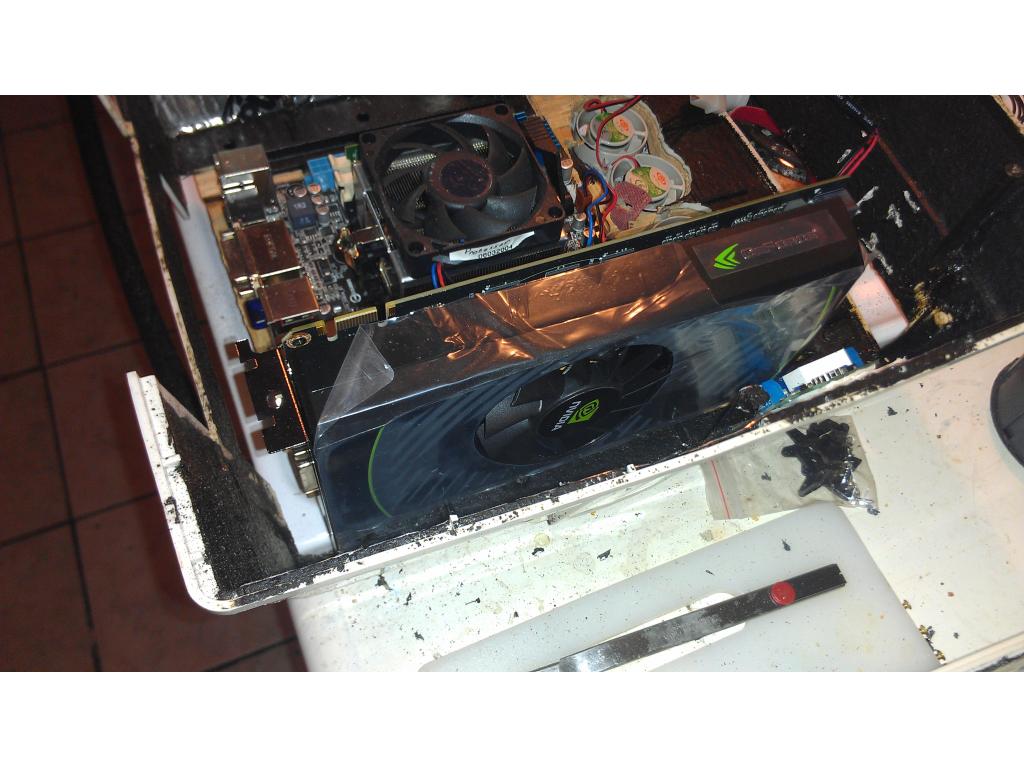
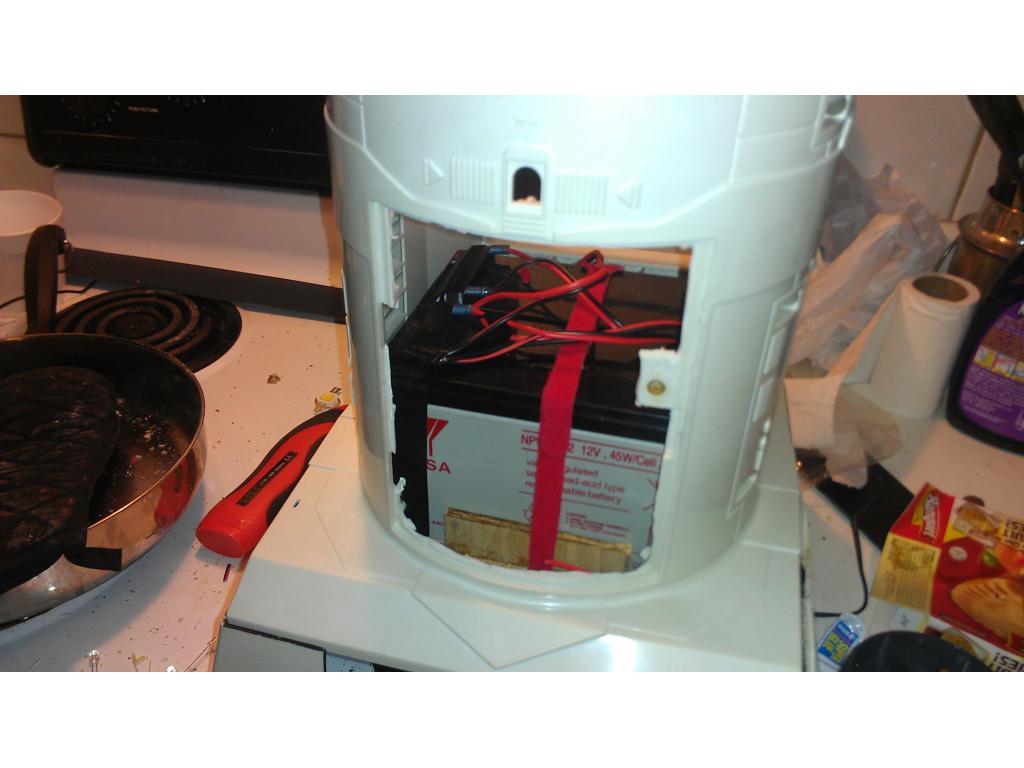
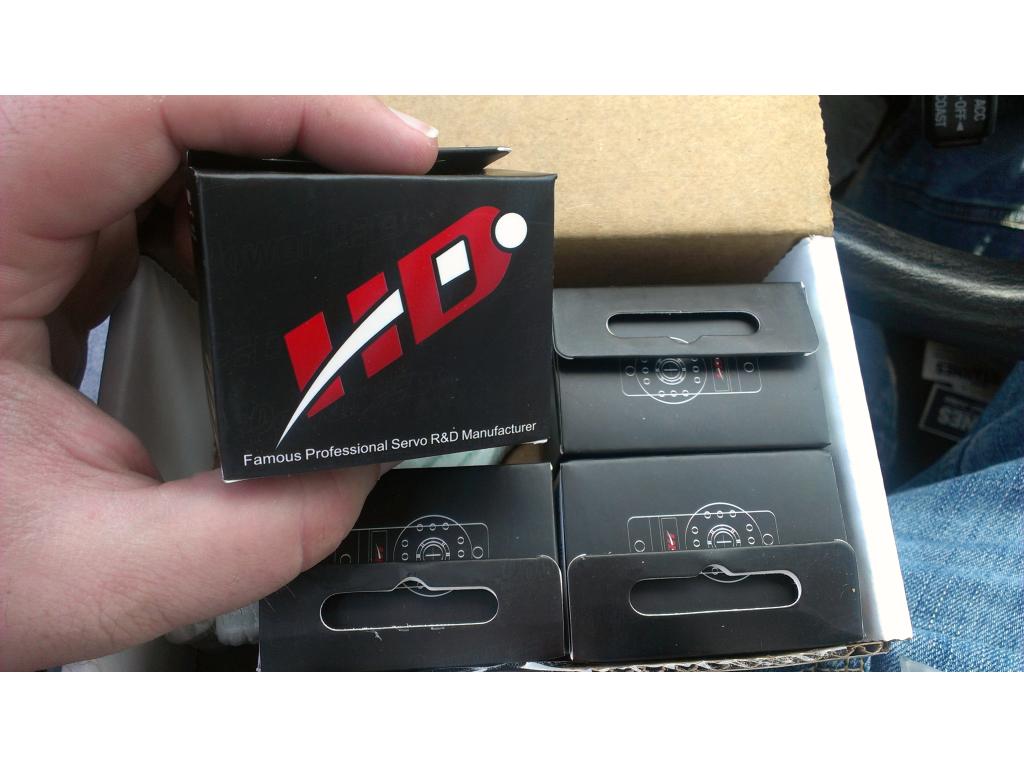
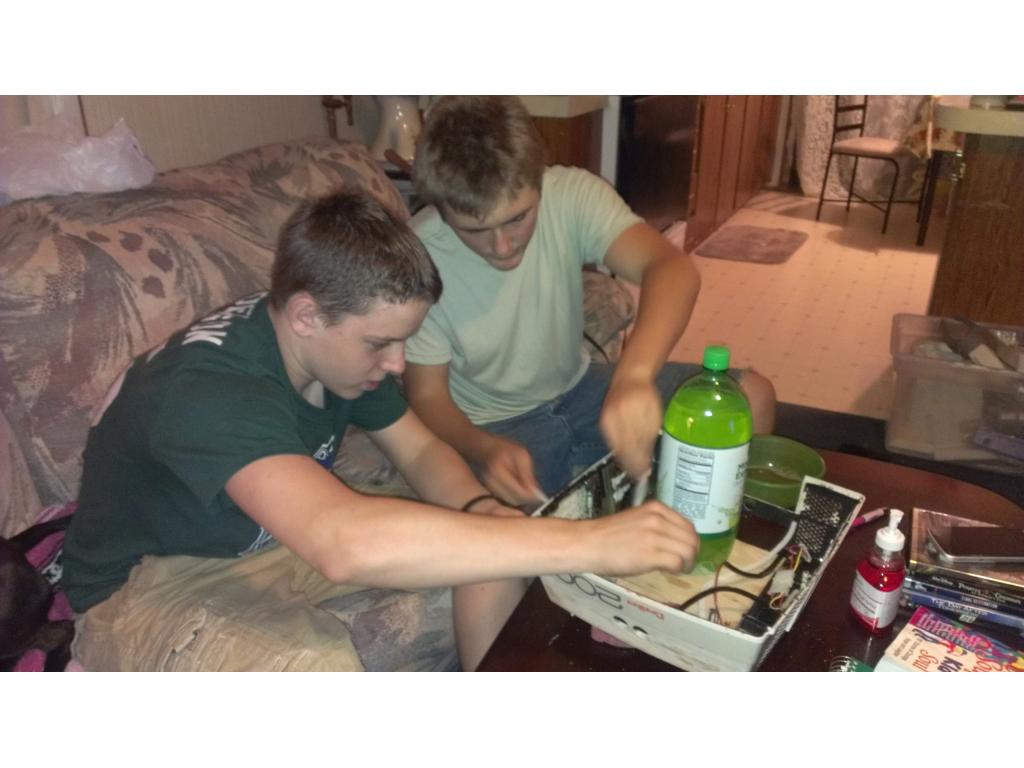
As you can see it takes a while to get things from the states for me. Imagine from China! It has to get to USA port then right back out to me! eyeroll
Sam could have given you an artistic way of dressing up those letters.
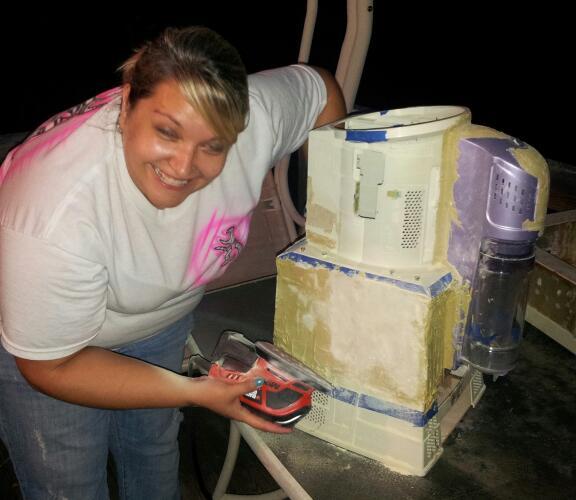
@troy I may be sending the base to Sam to do a lift just like she did on her omnibot. She did such a great job on hers
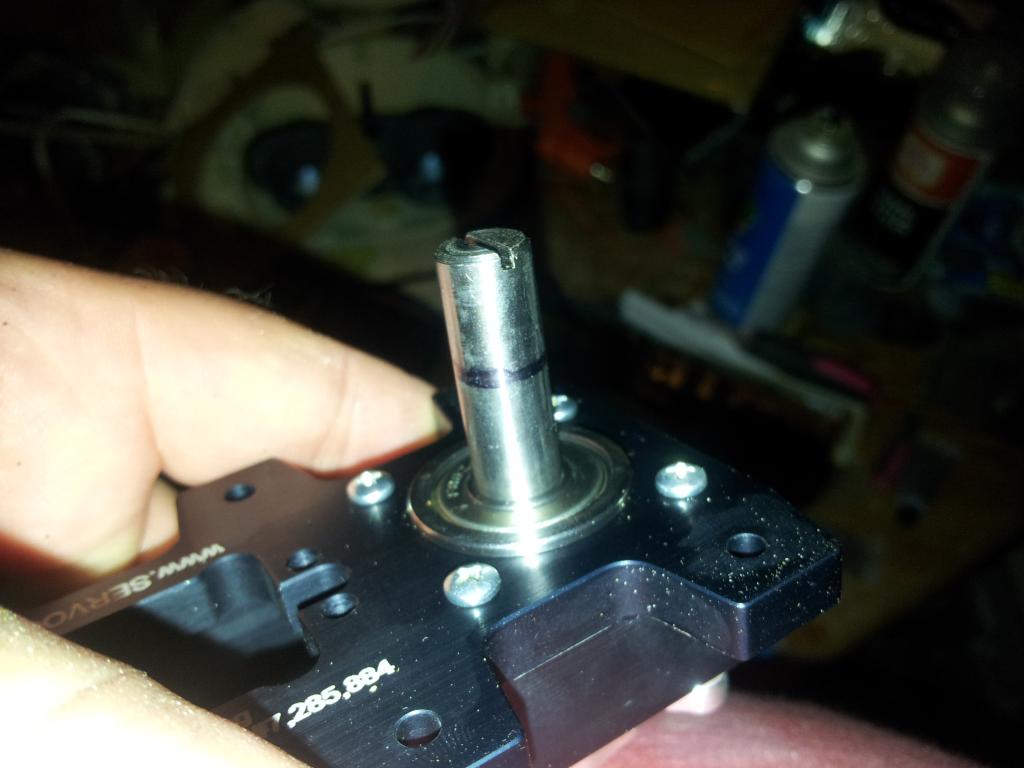
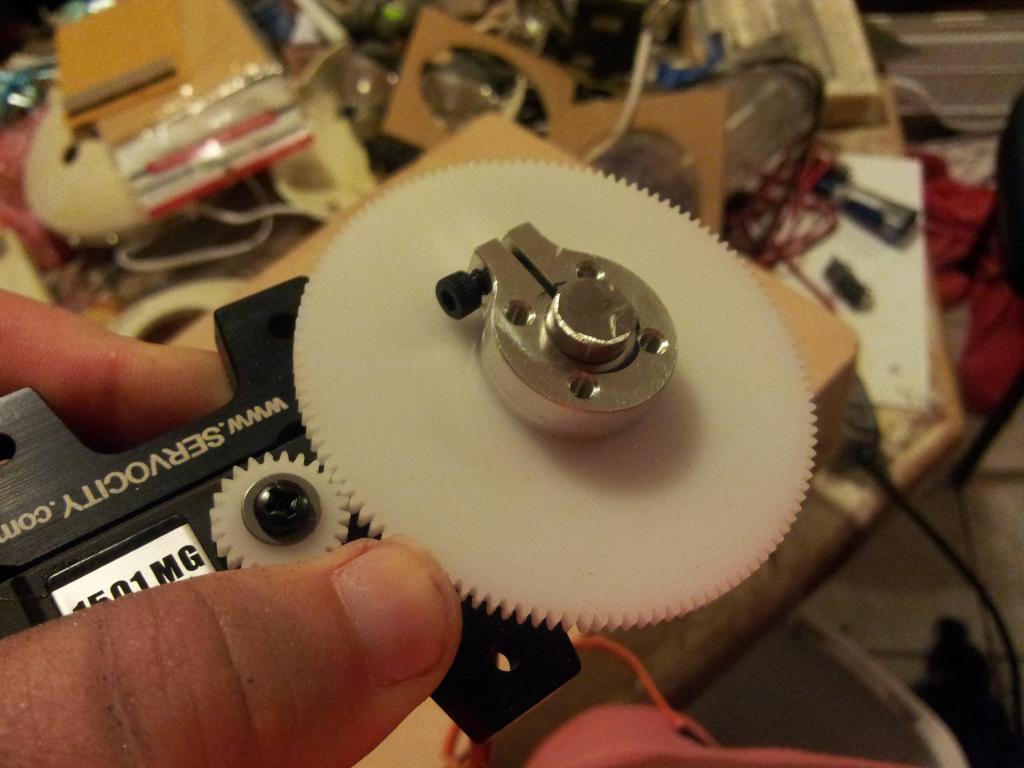
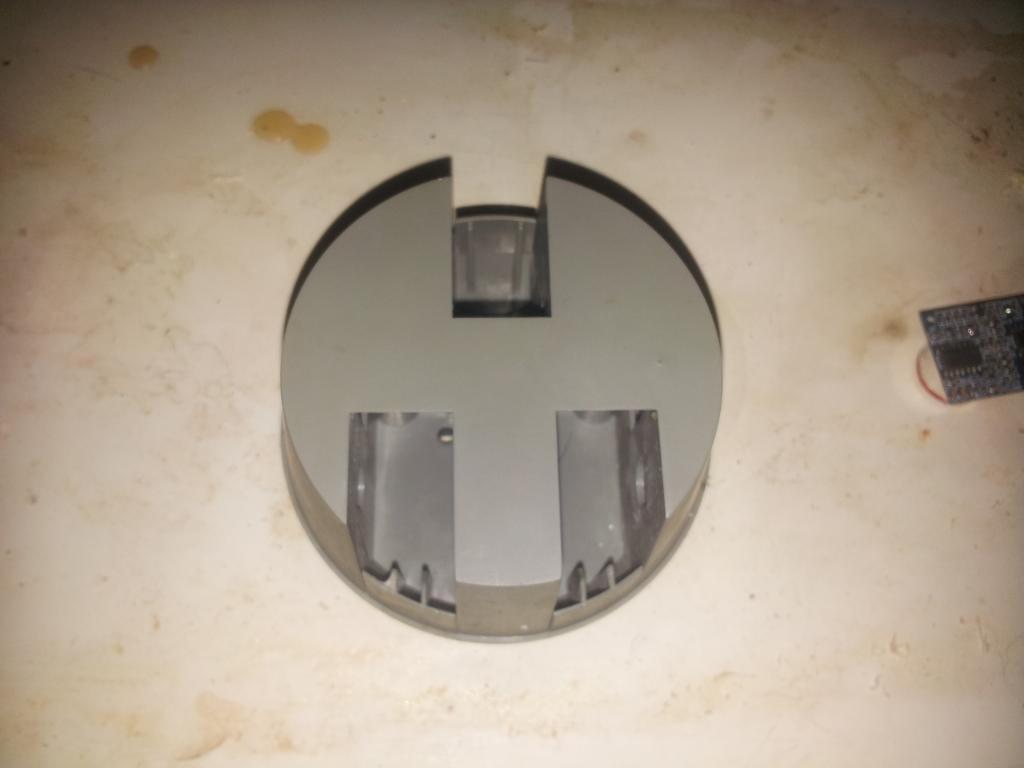
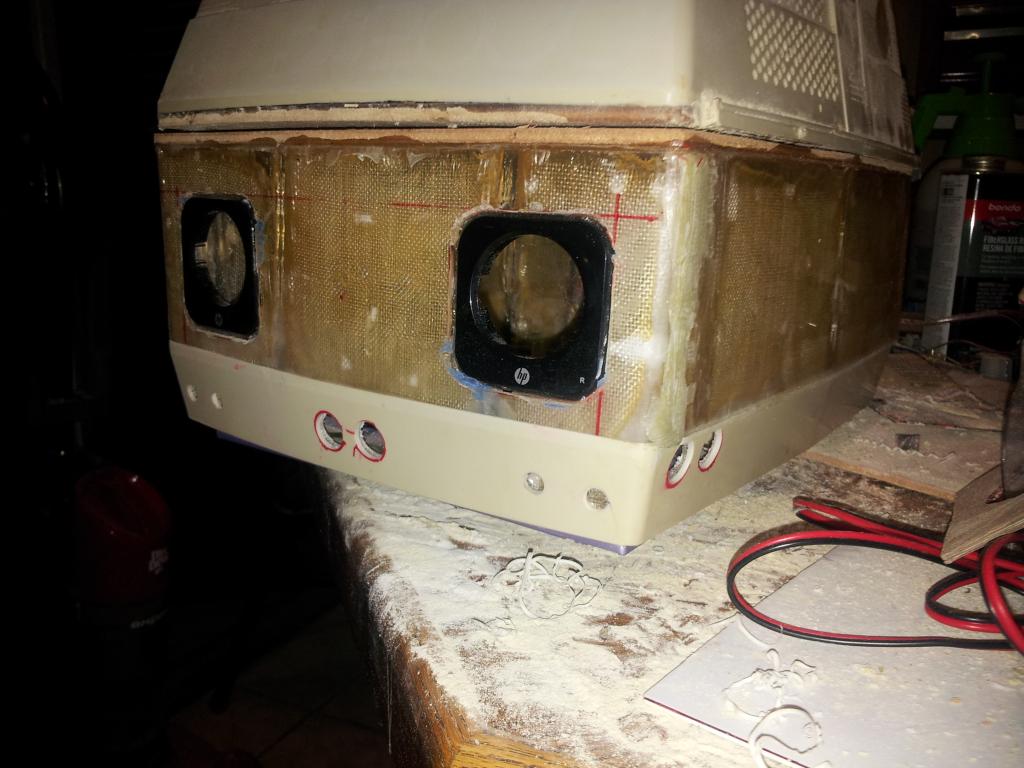
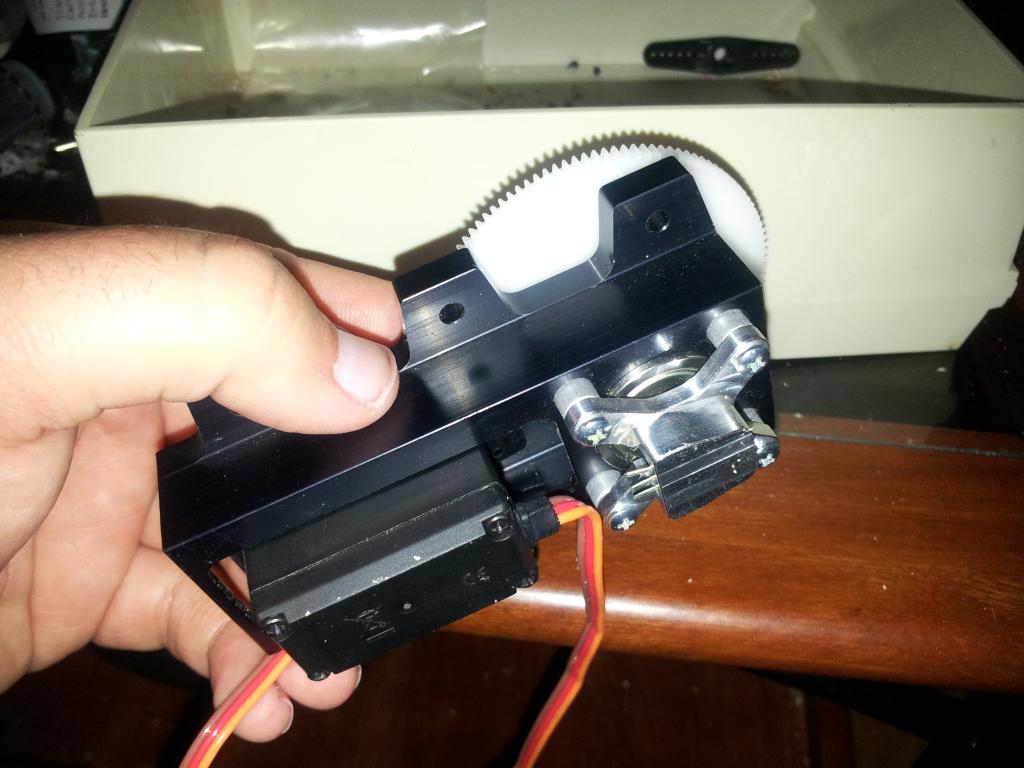
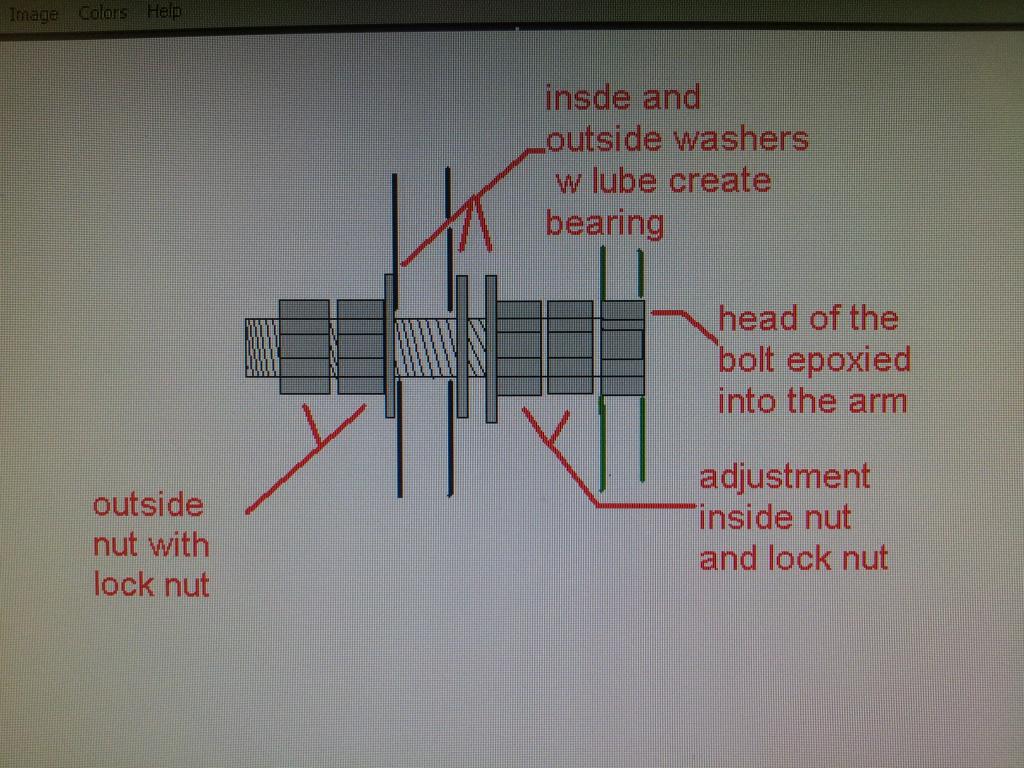
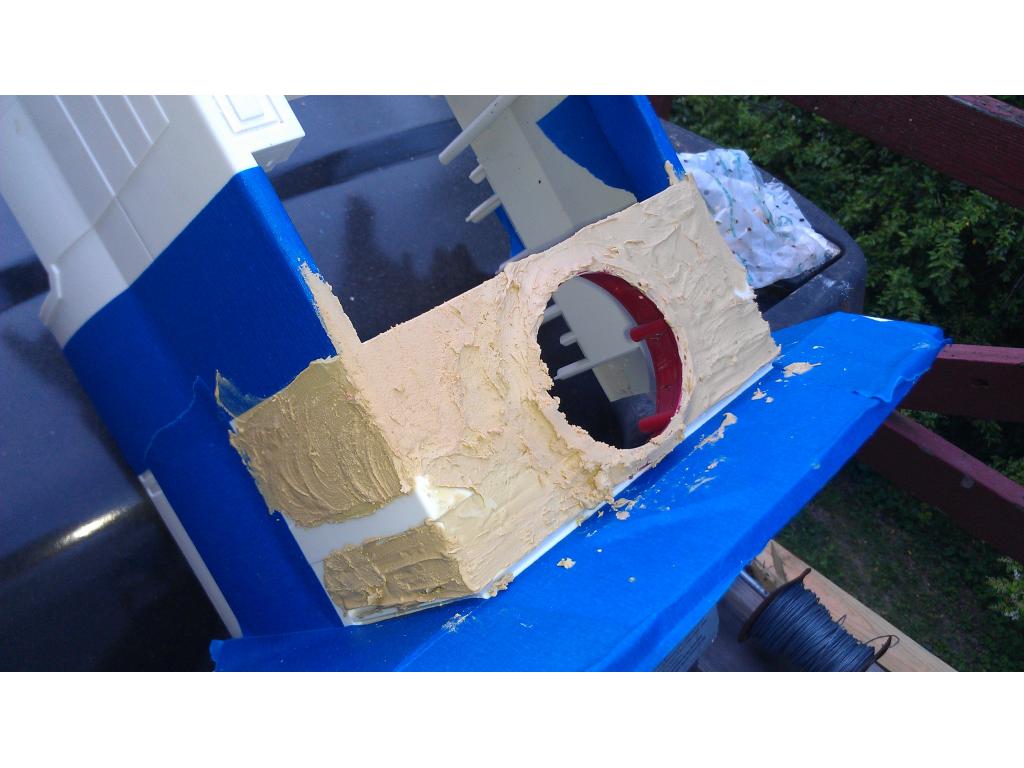
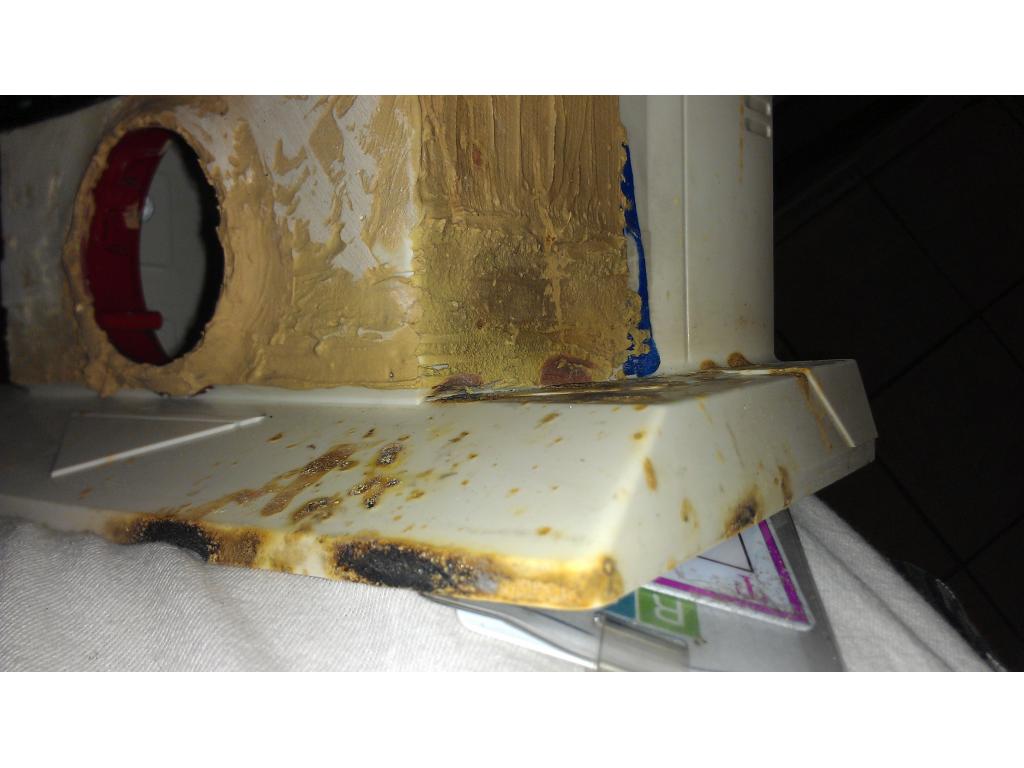
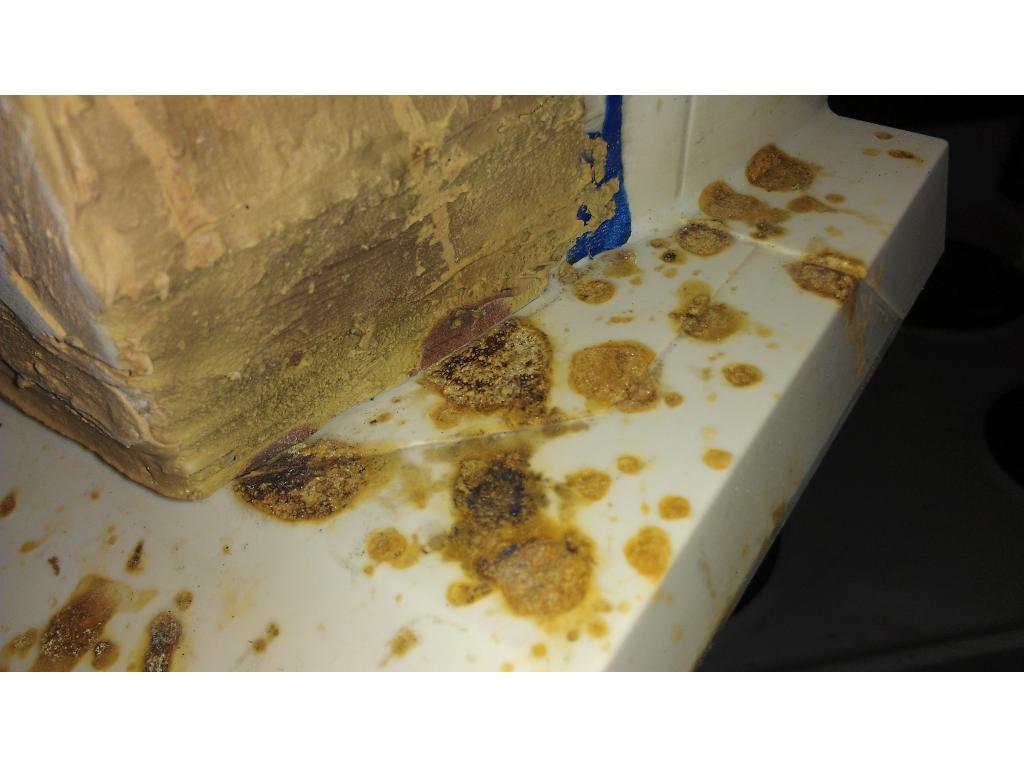
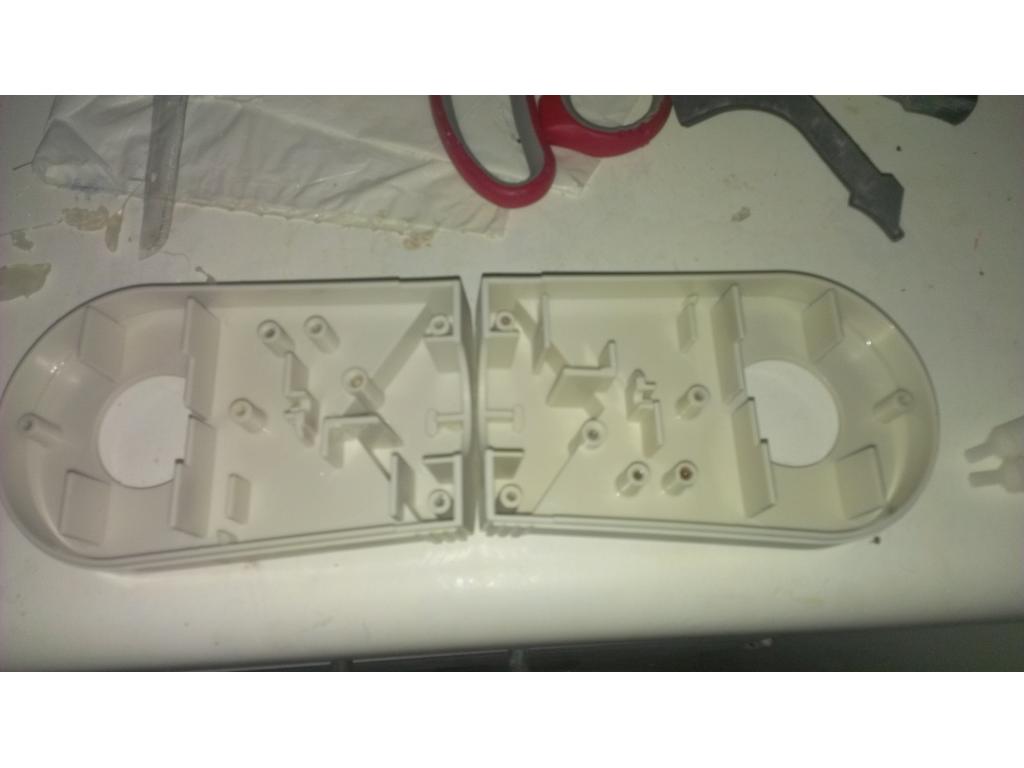
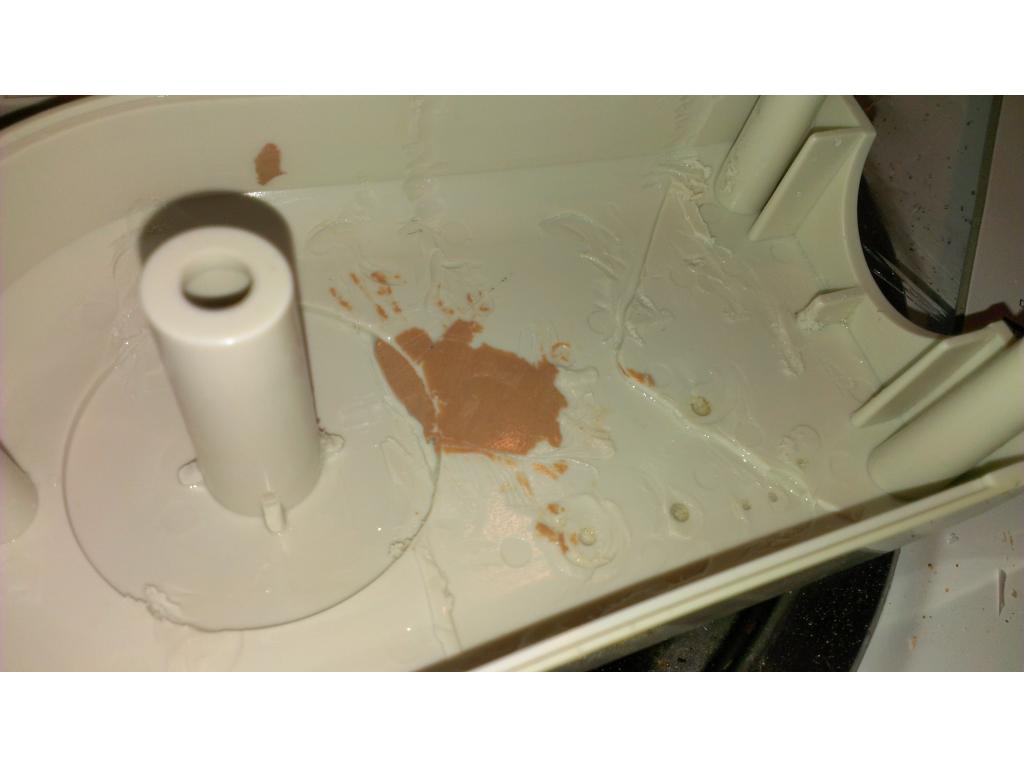
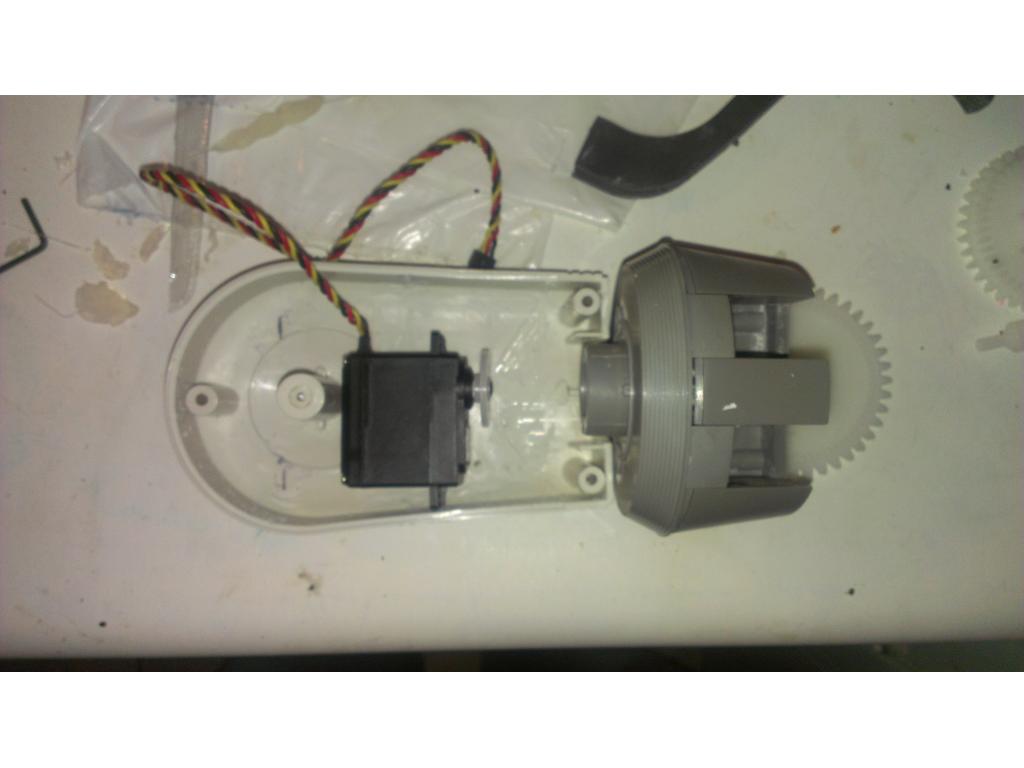
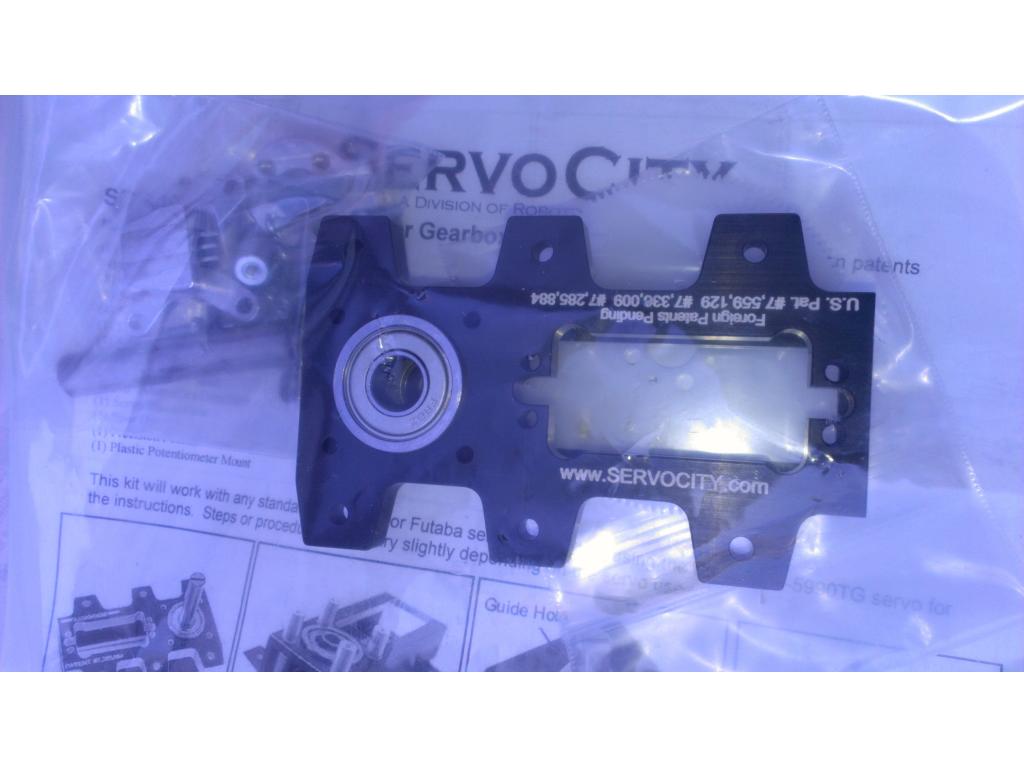
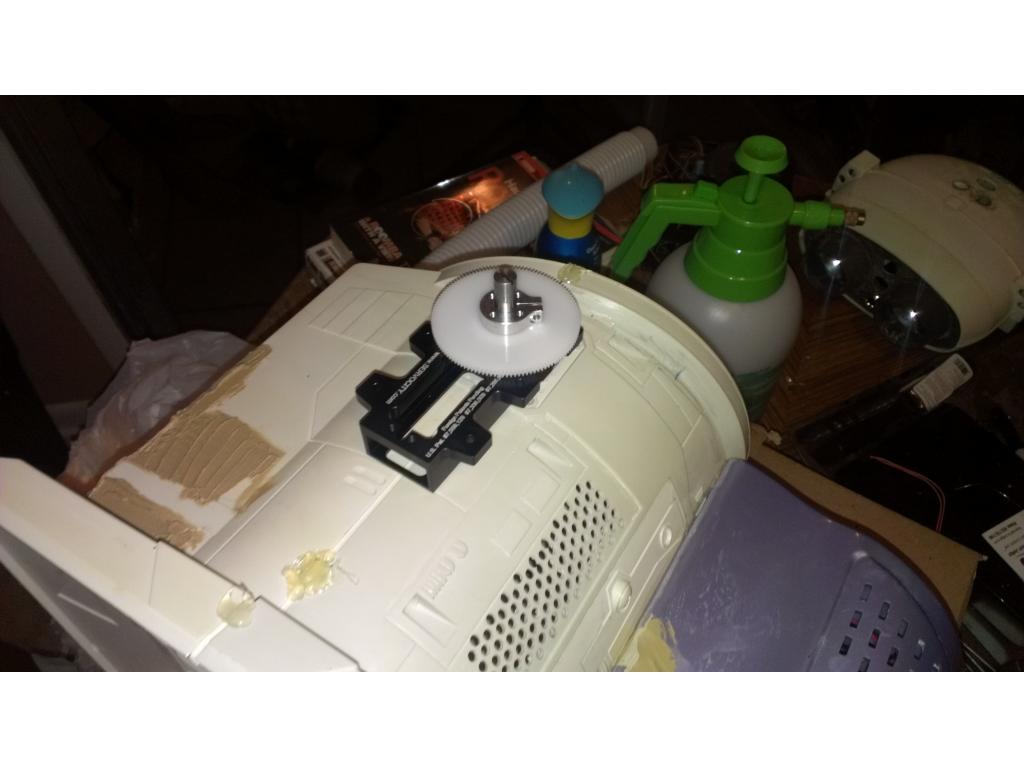
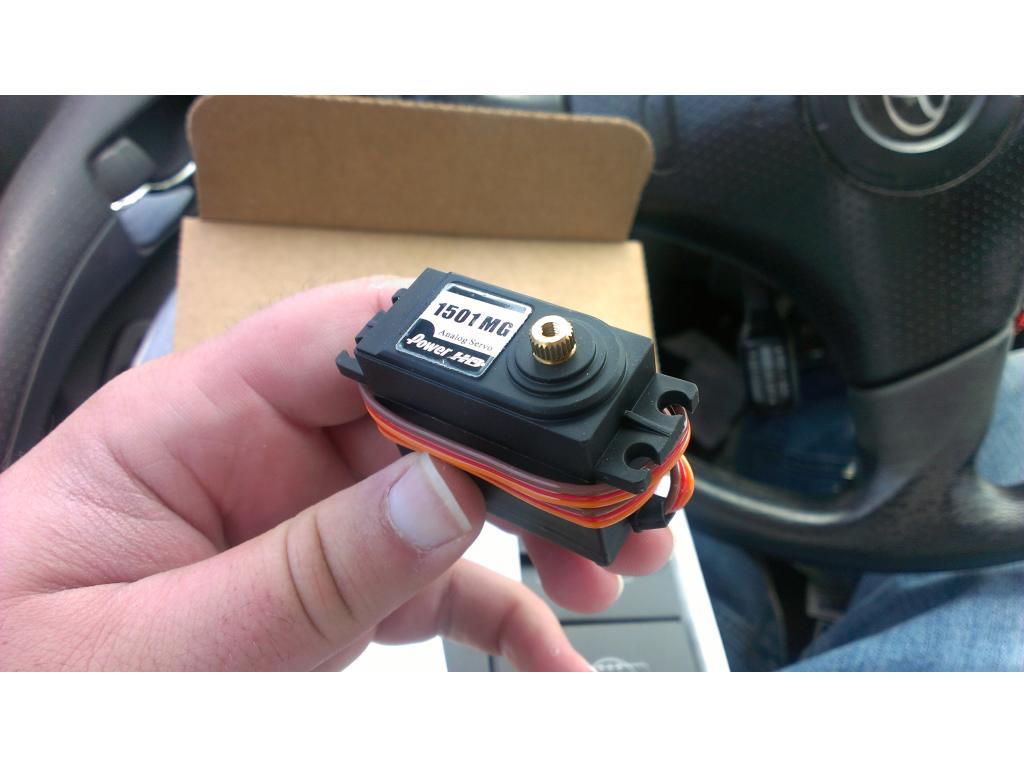
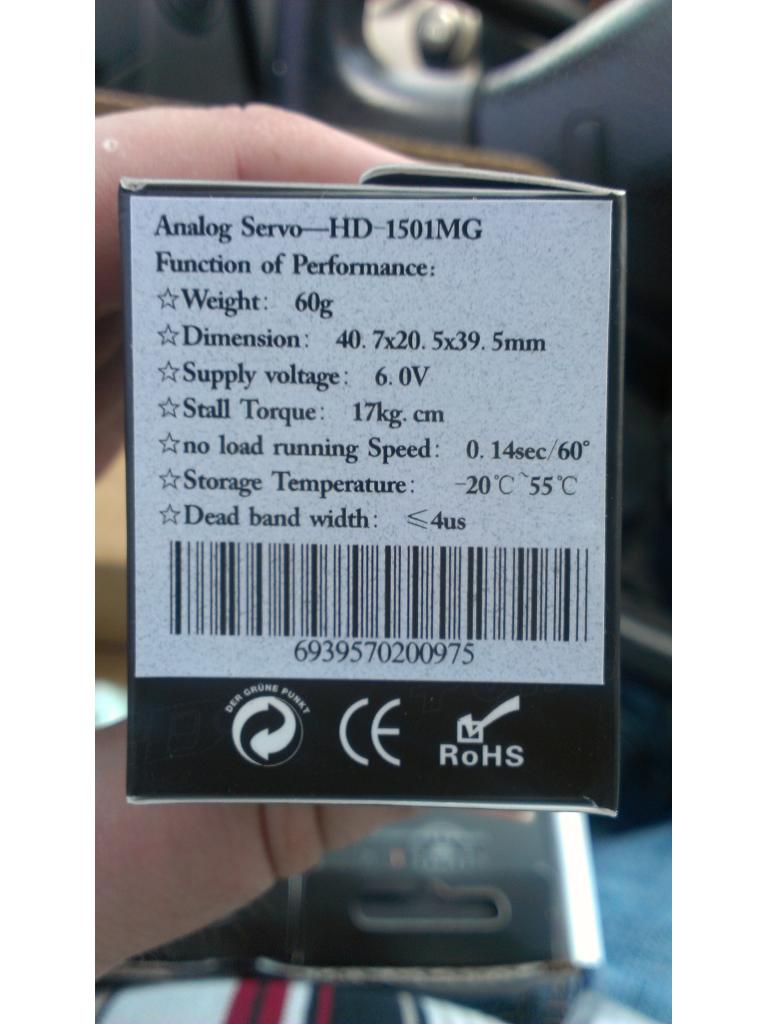
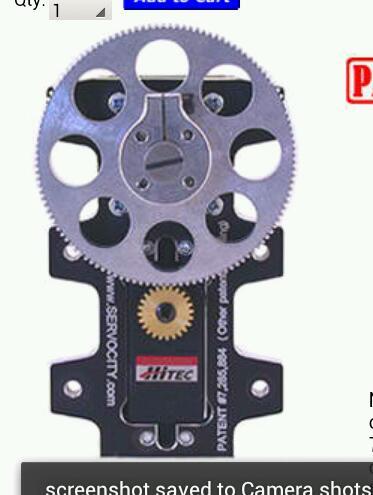
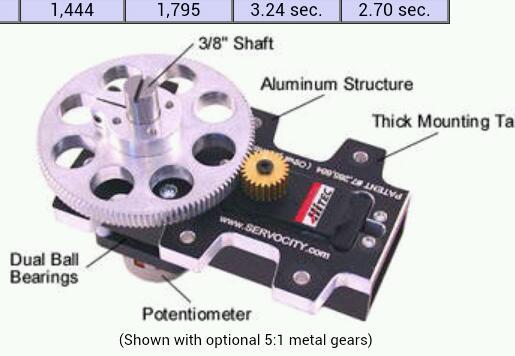
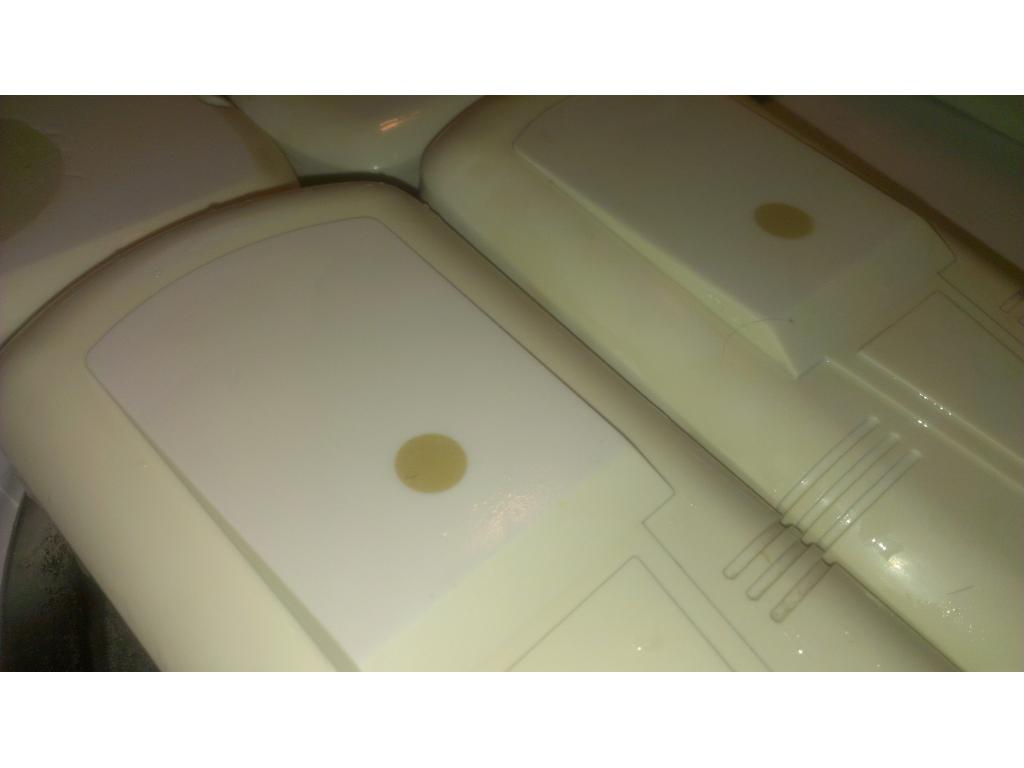
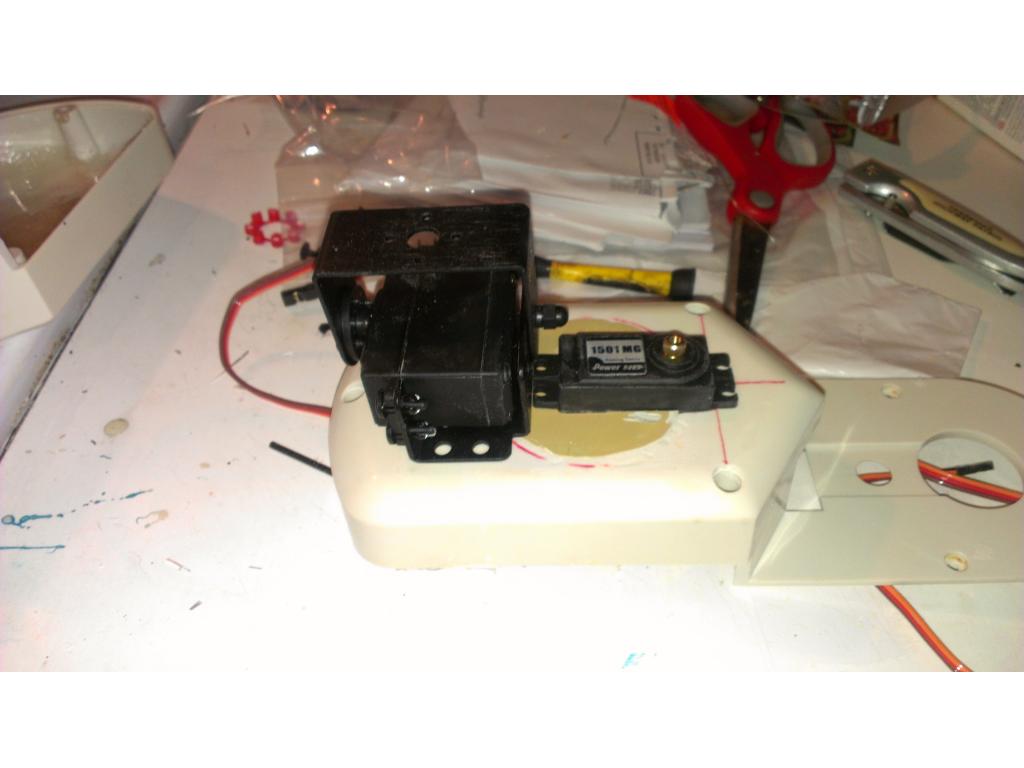
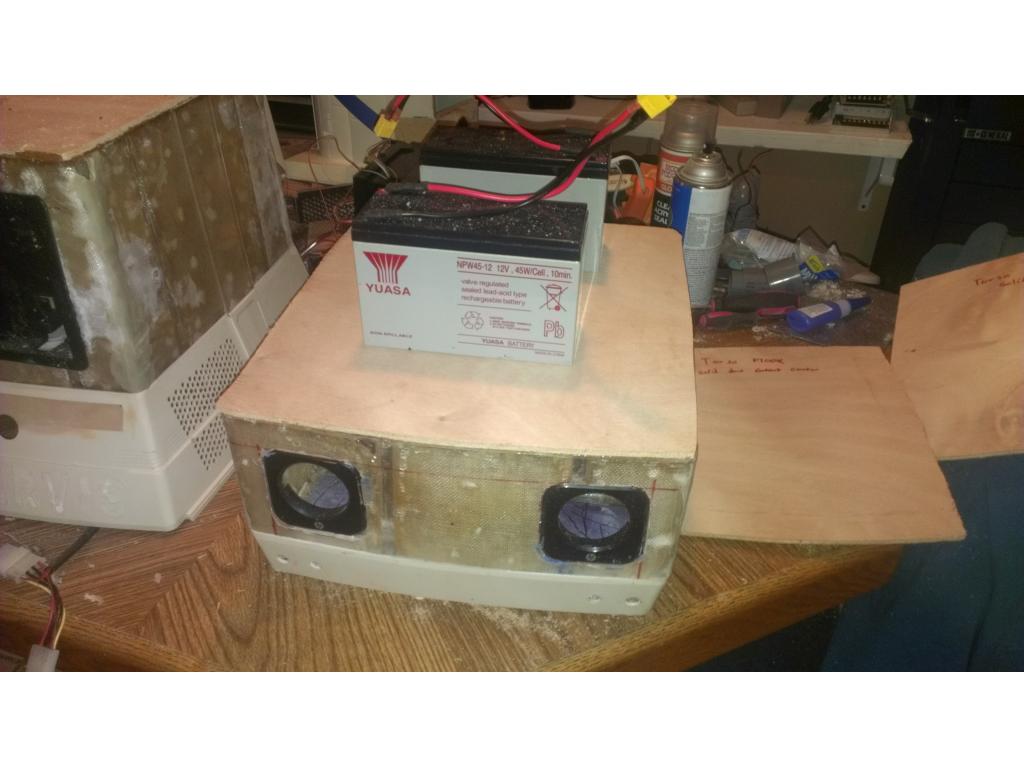
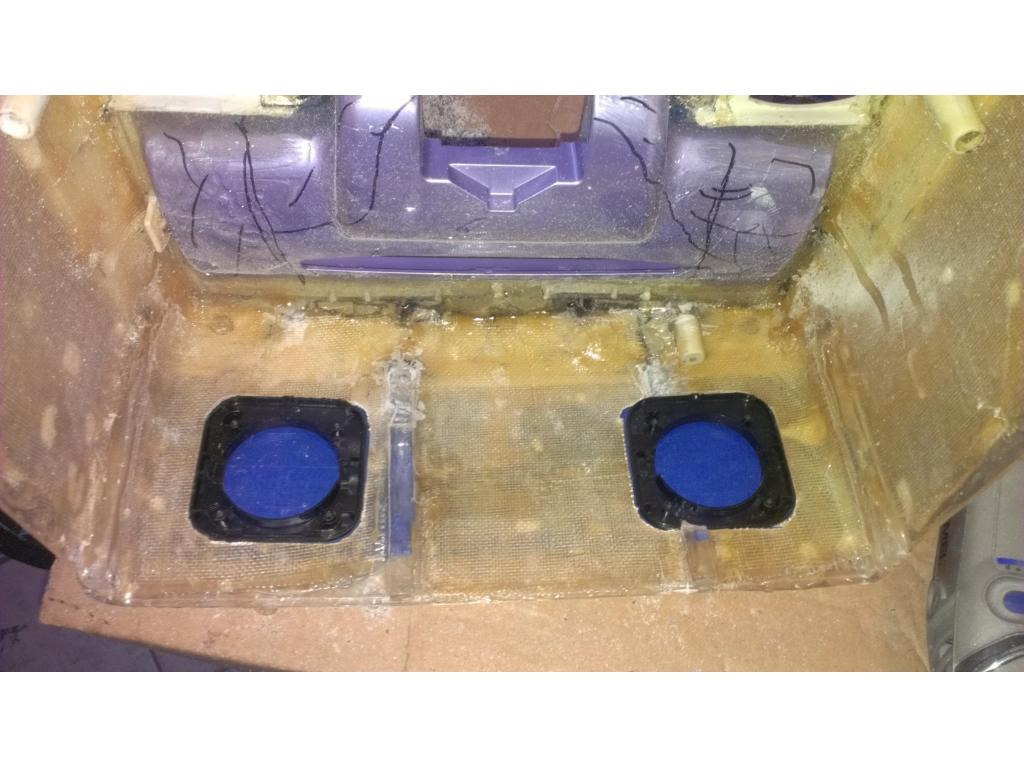
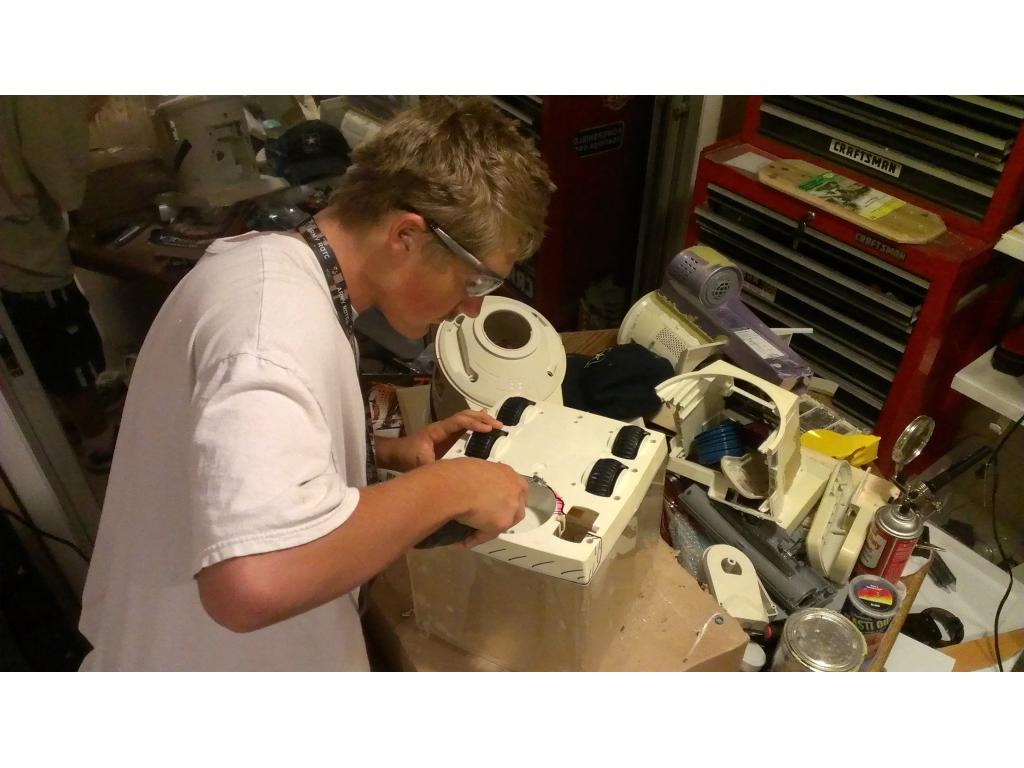
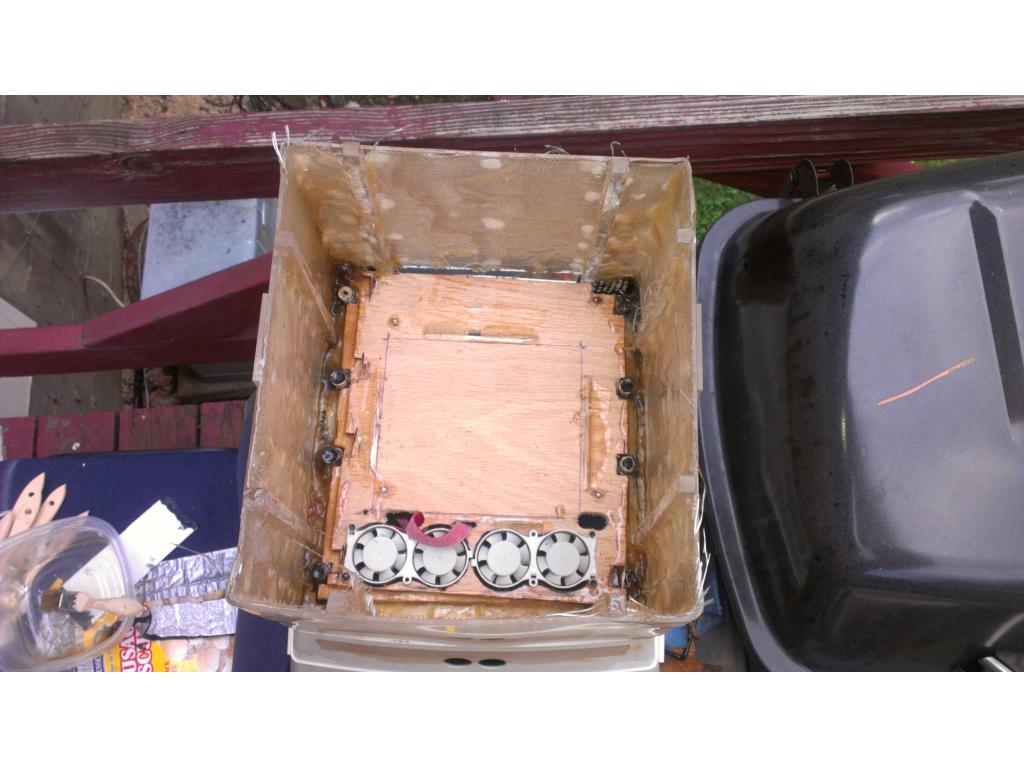
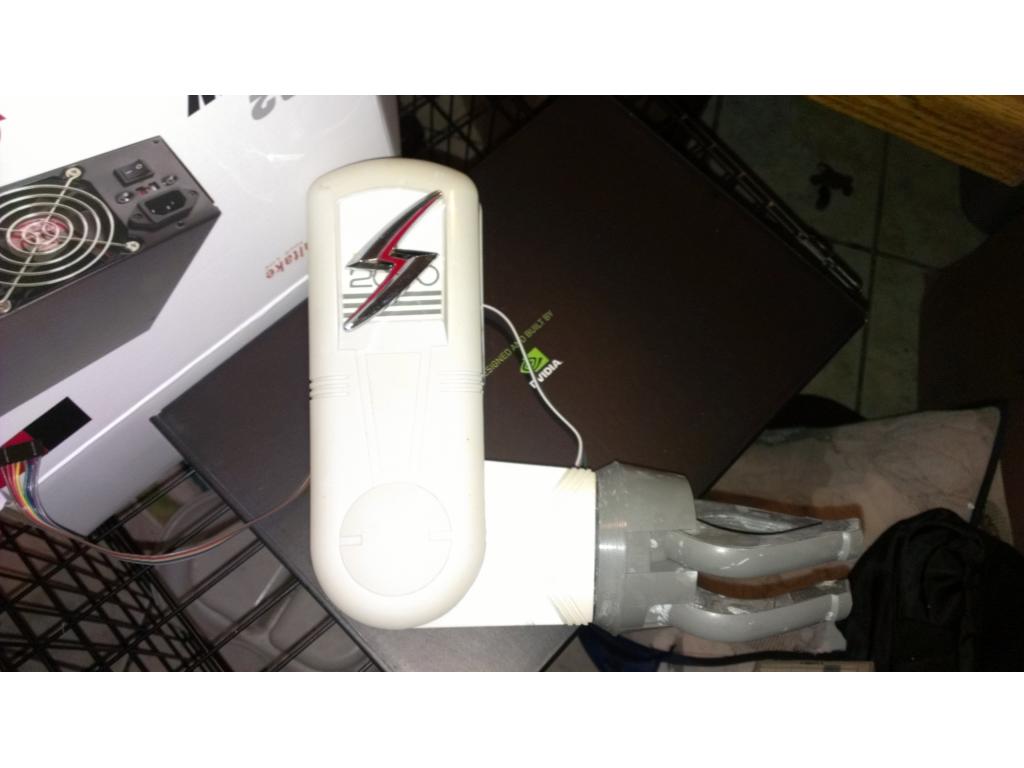
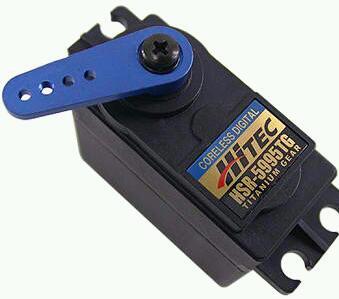
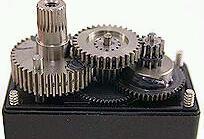
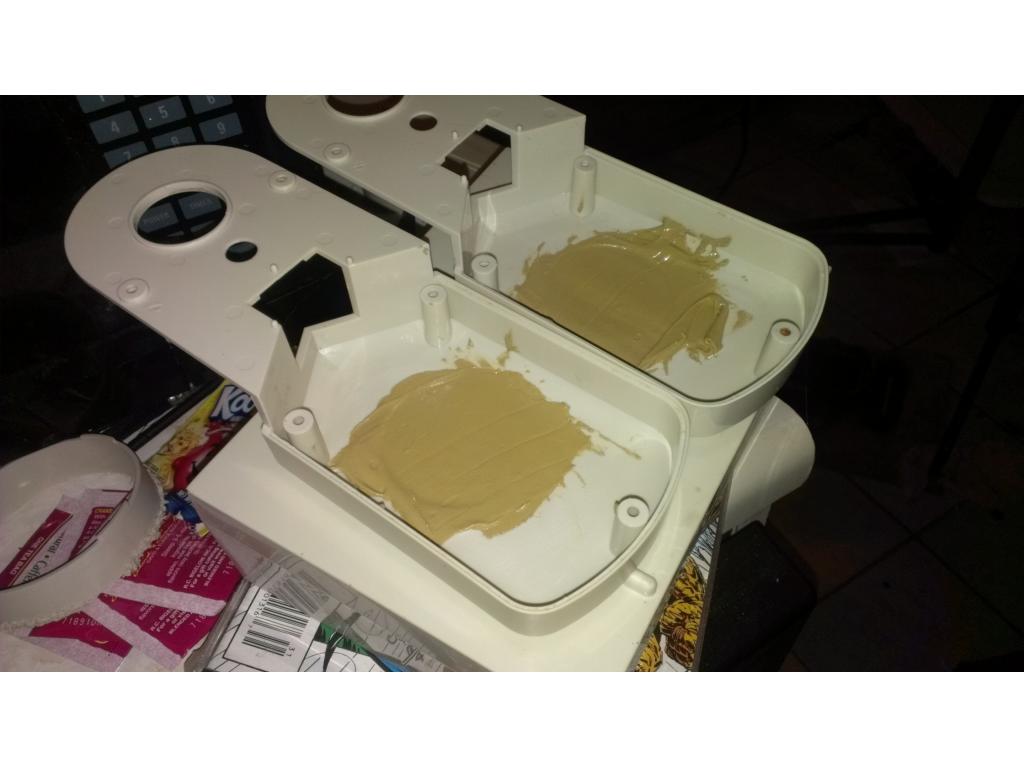
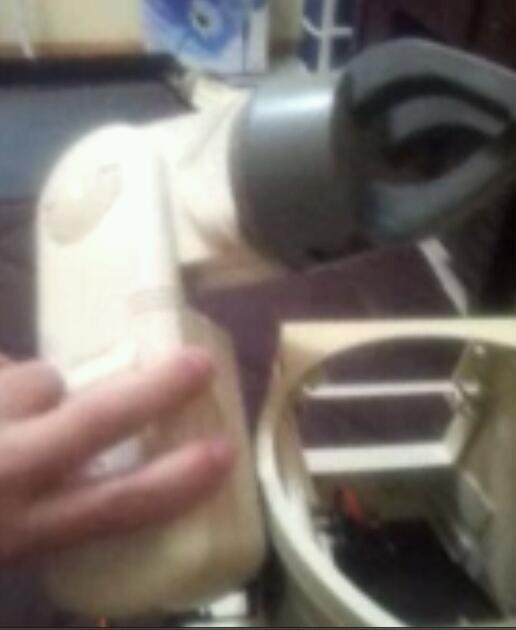
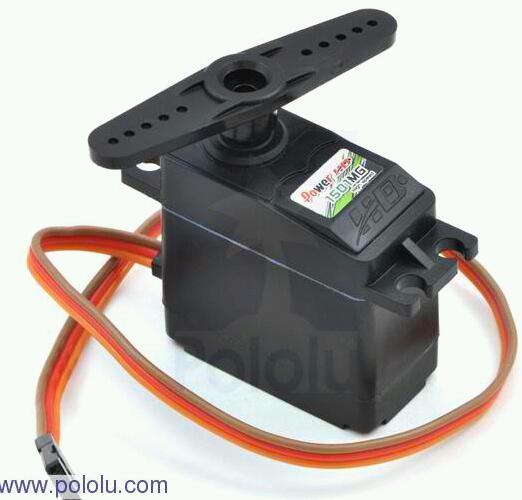
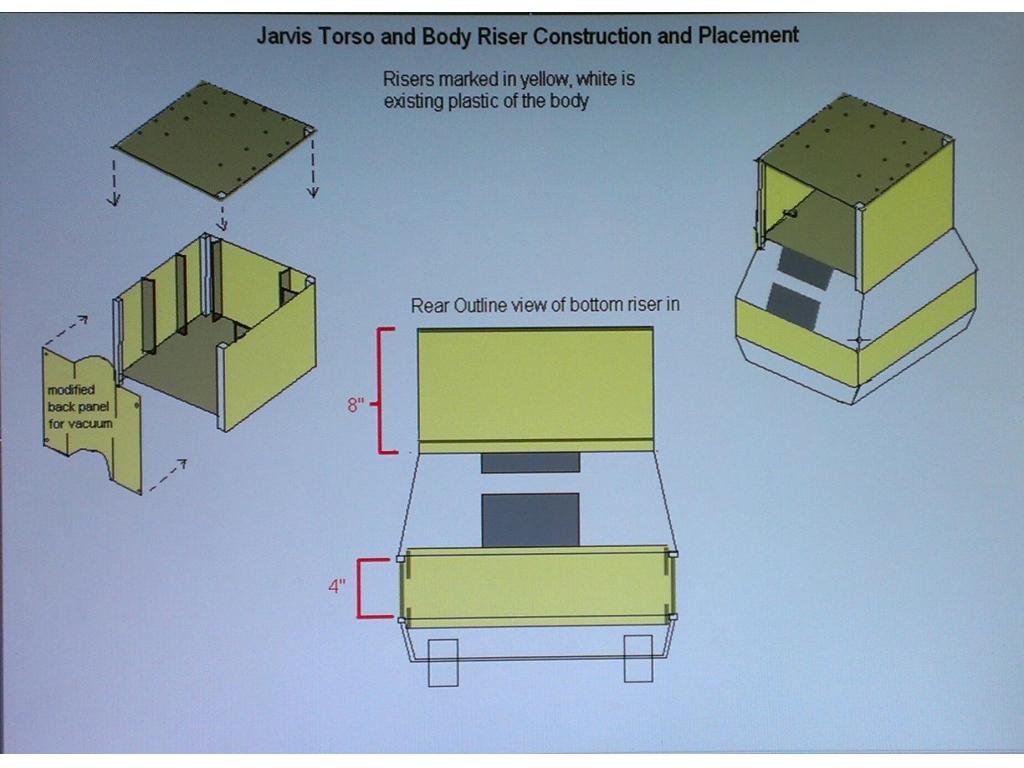
I will start cleaning up those shoulder inserts in a minute , fill gaps with epoxy and also find a spot for the high torque servo on the upper arm.

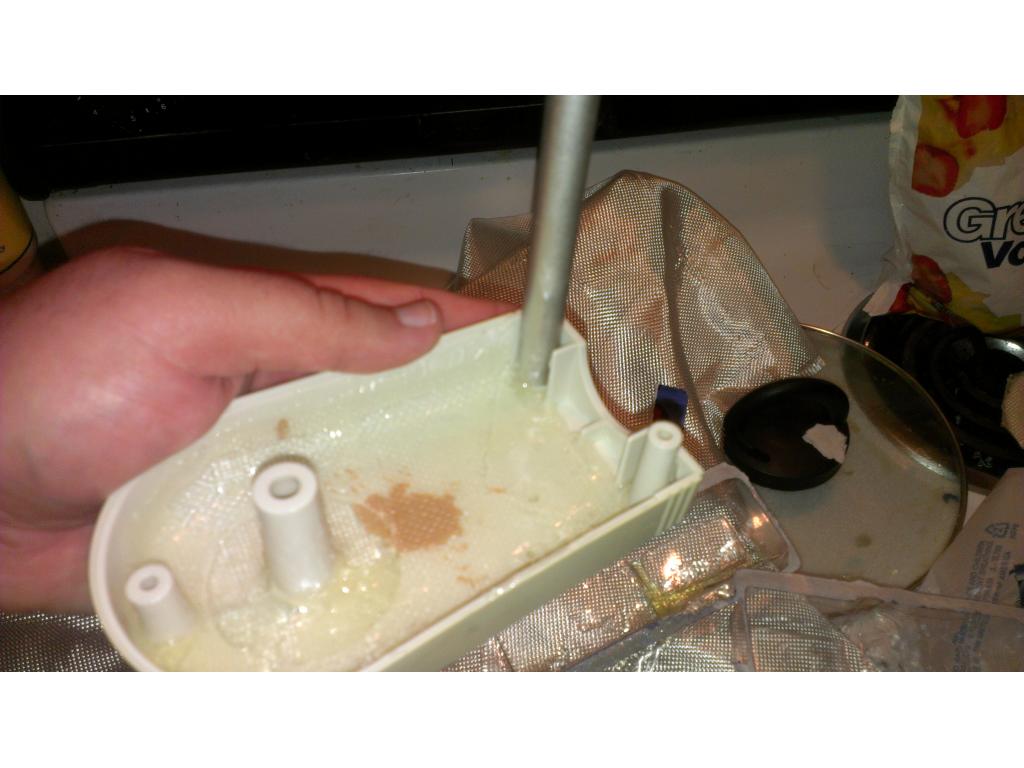
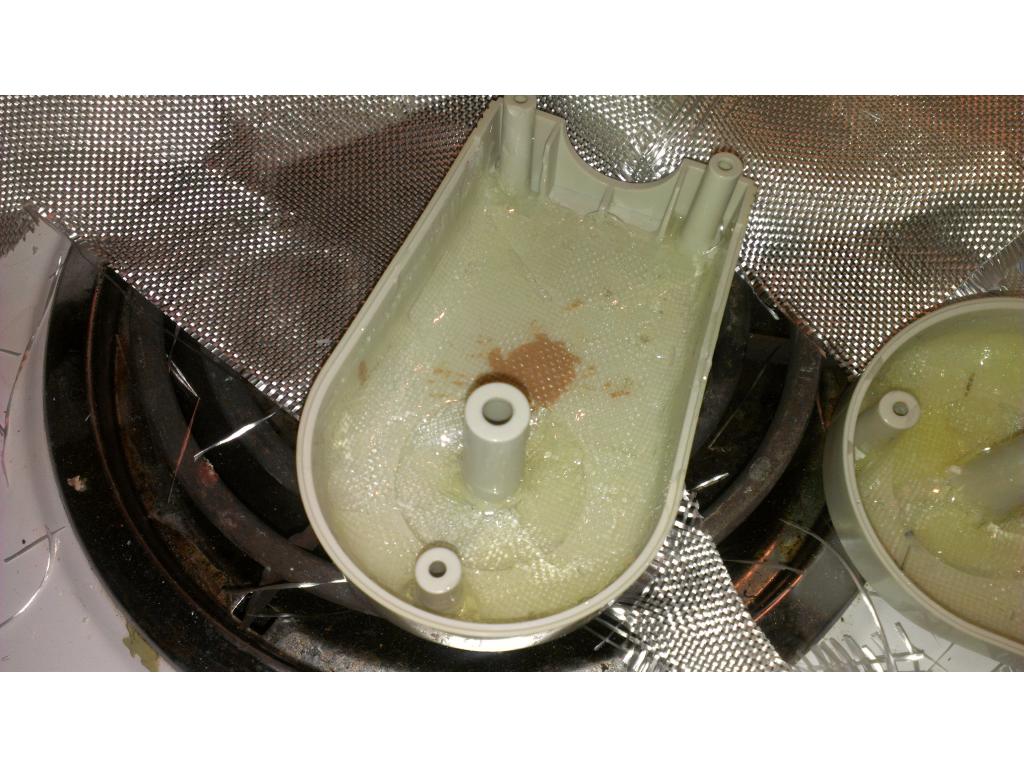
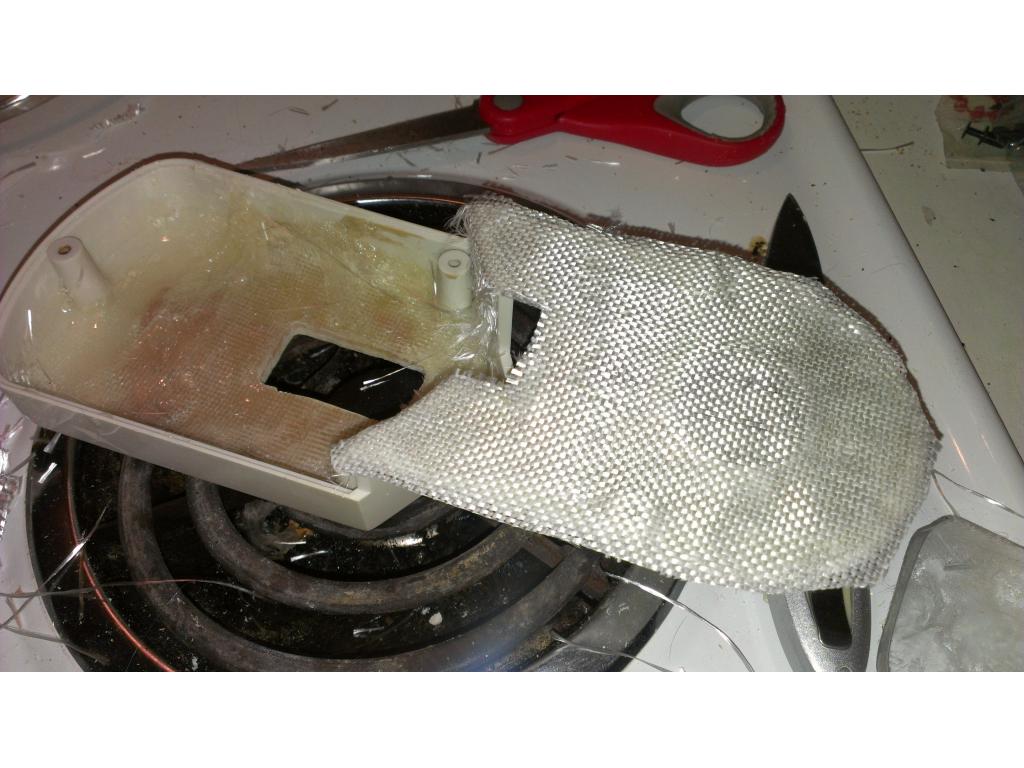
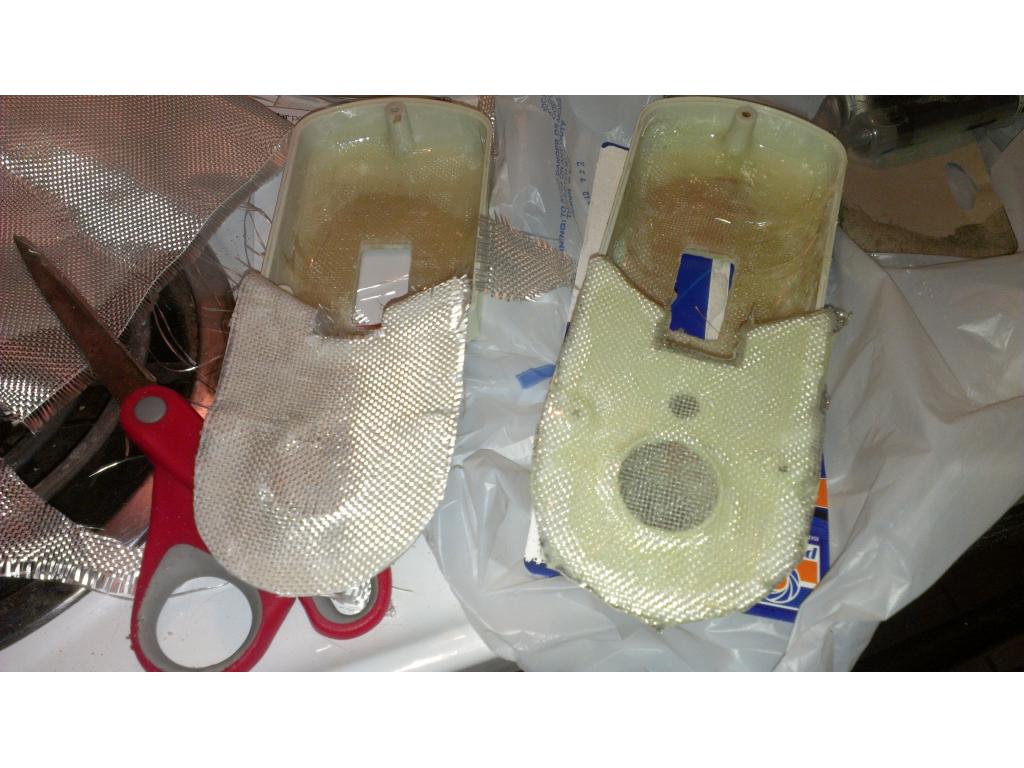
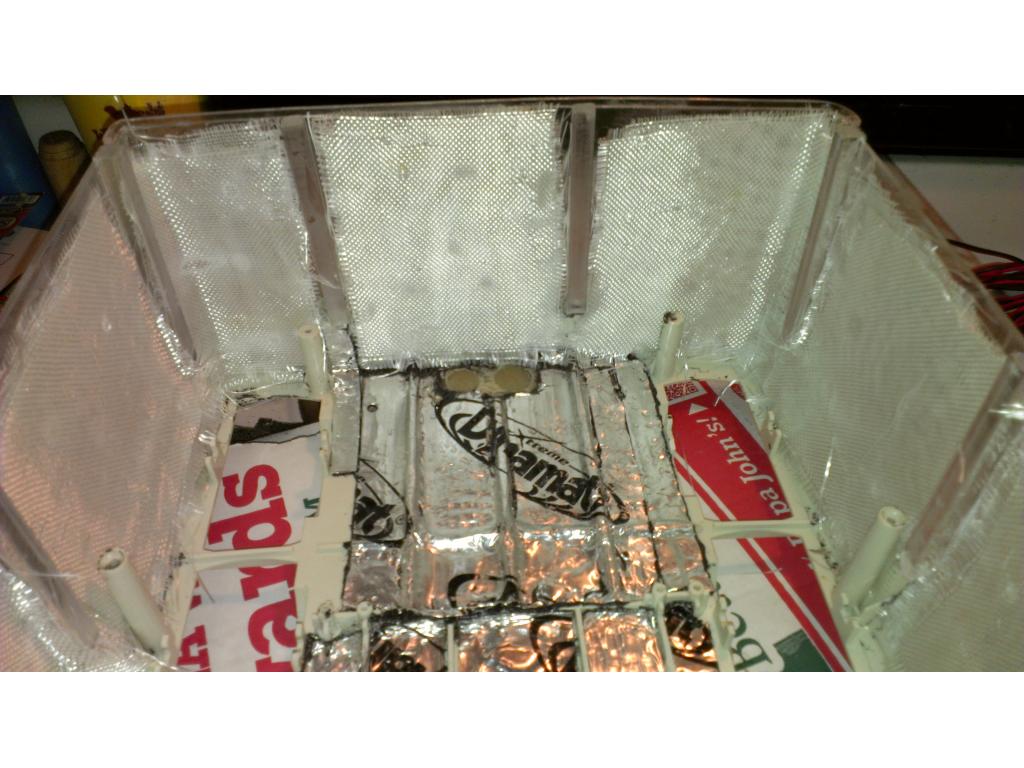
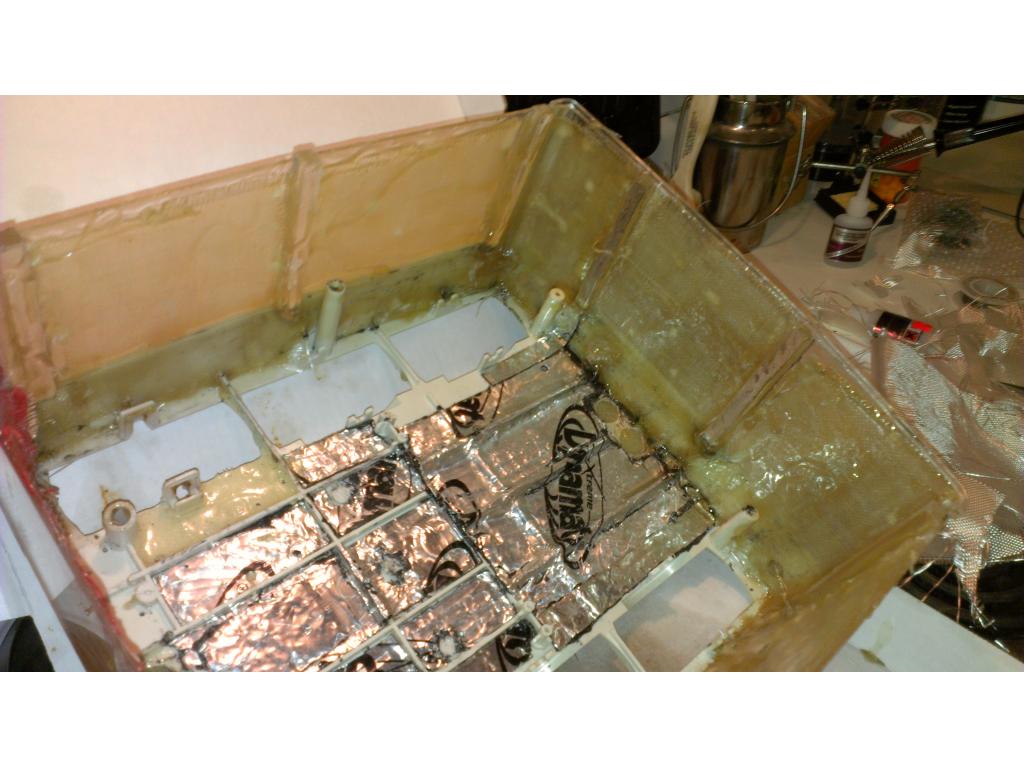
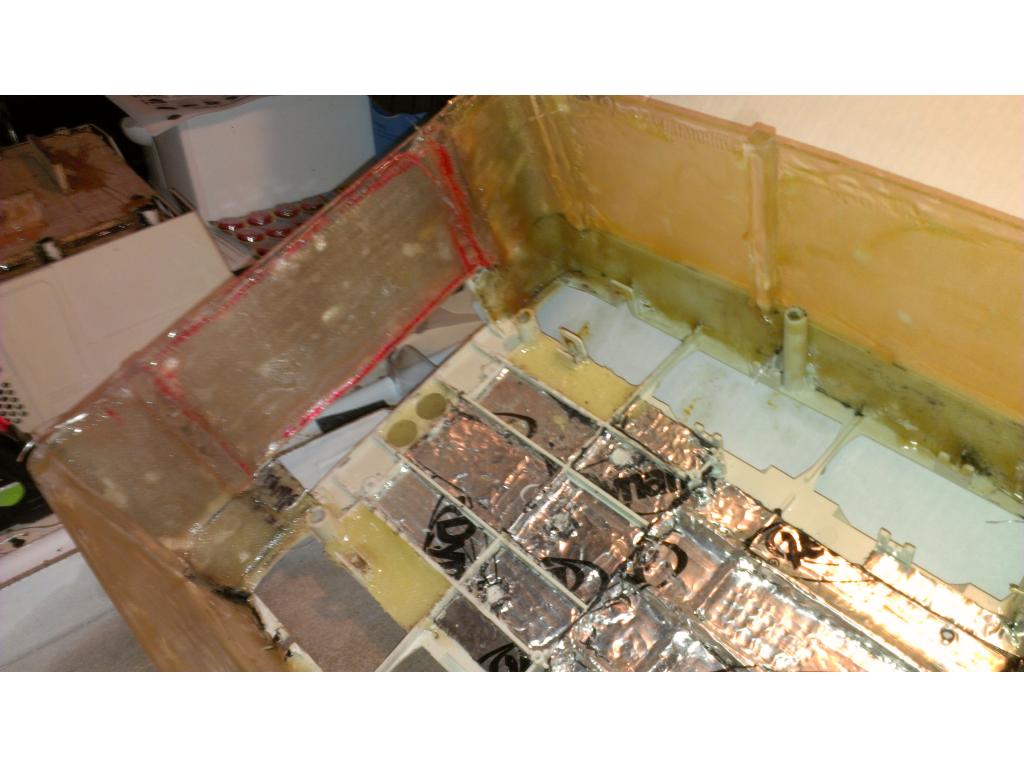
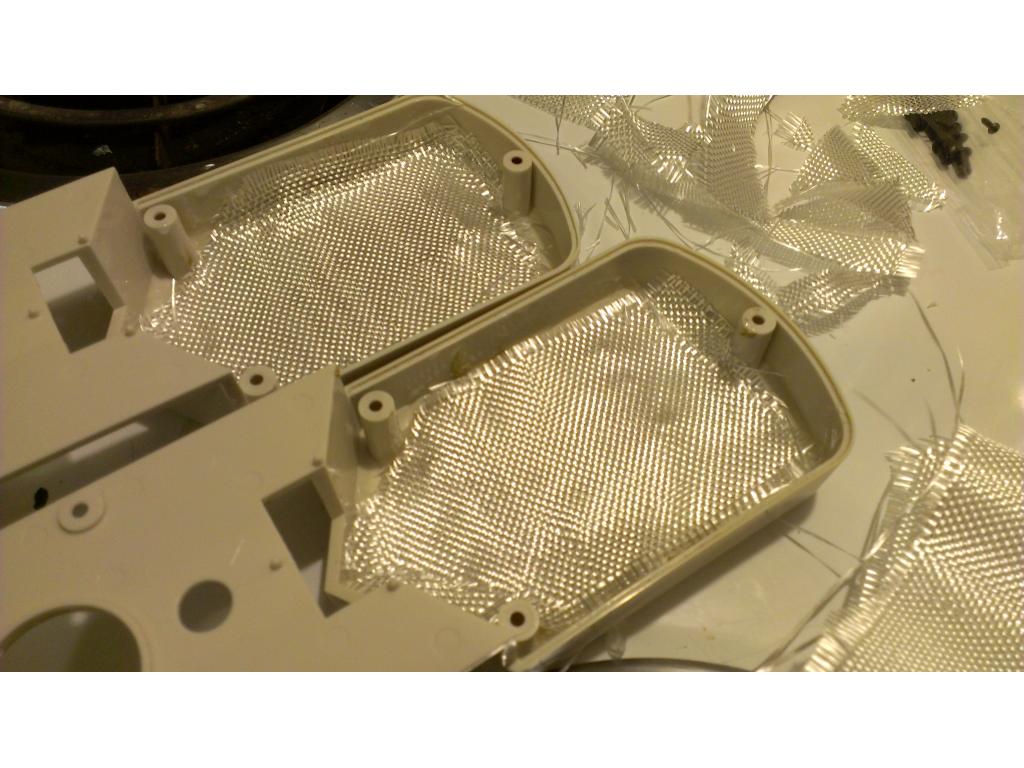
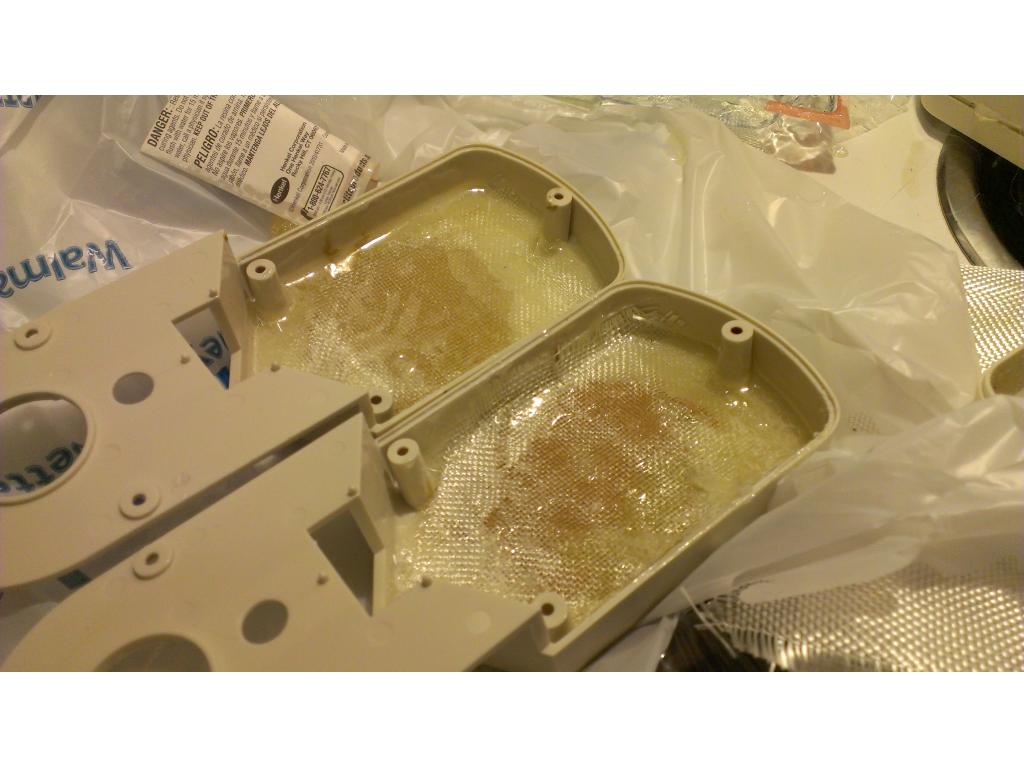
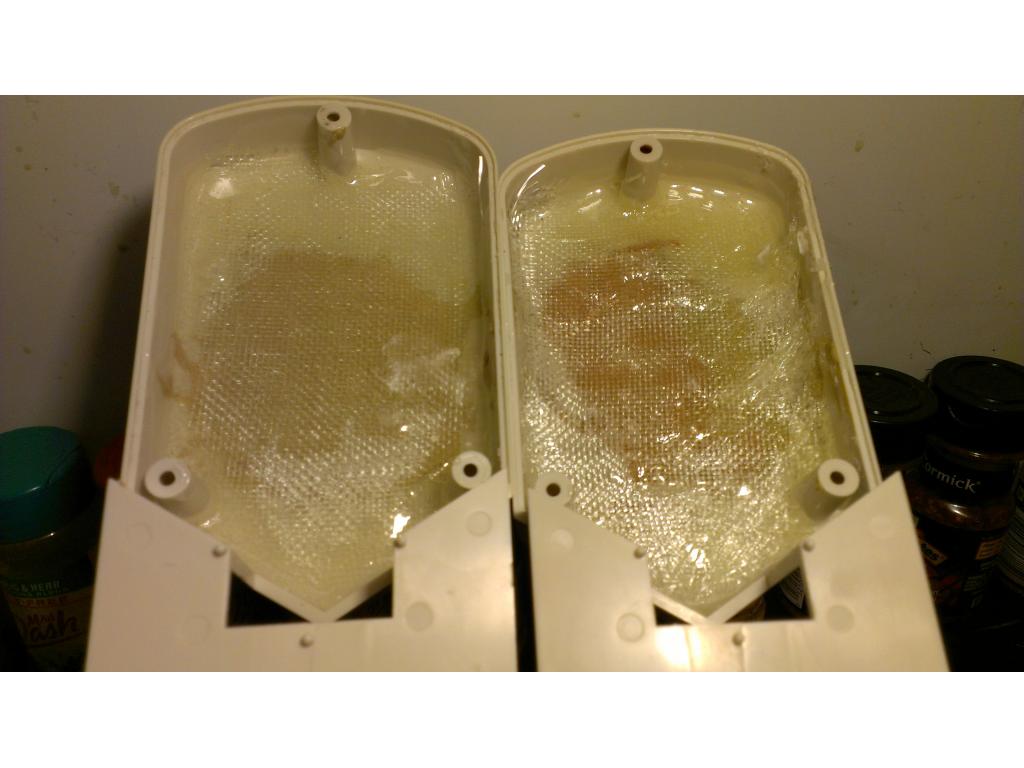
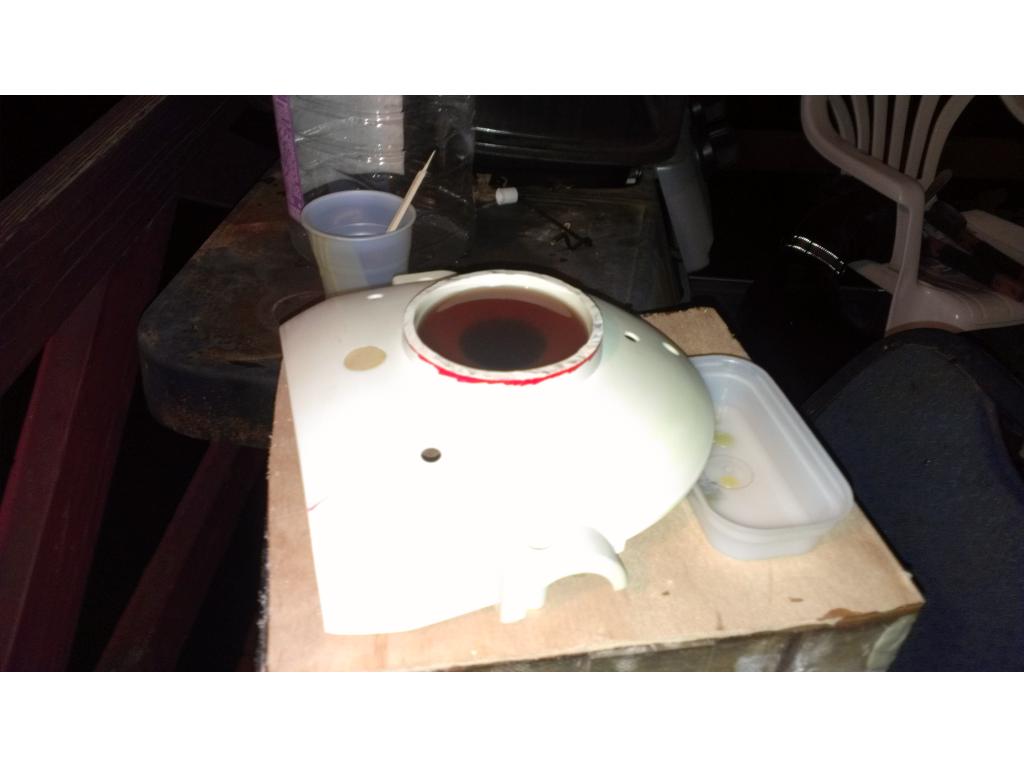
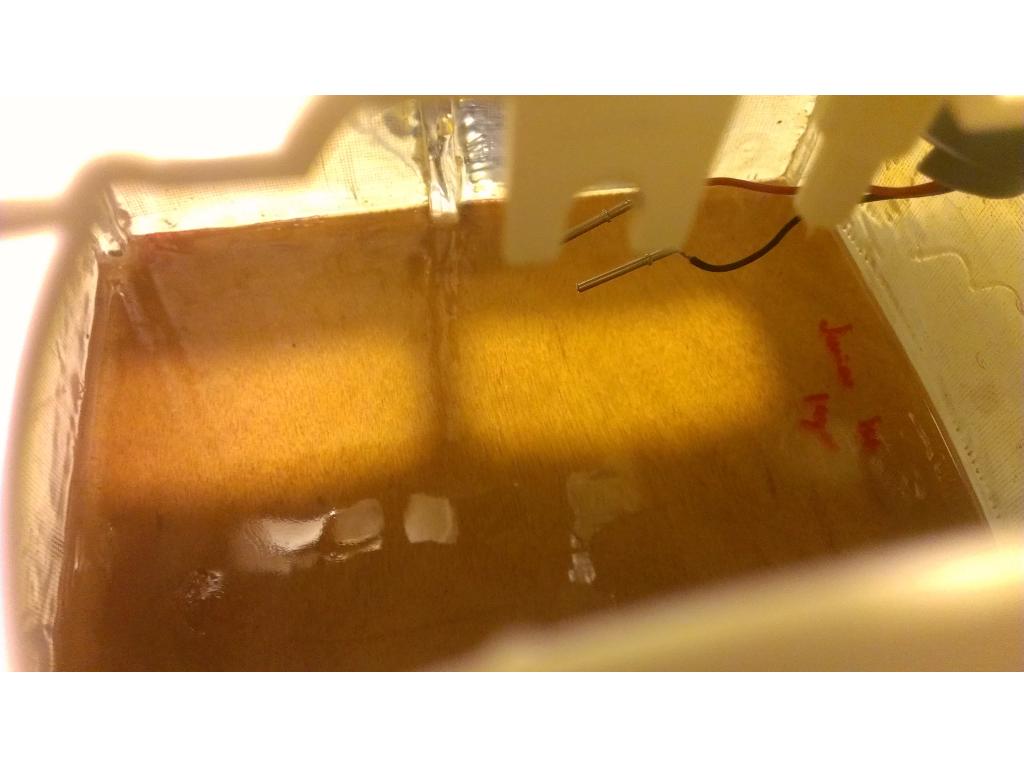
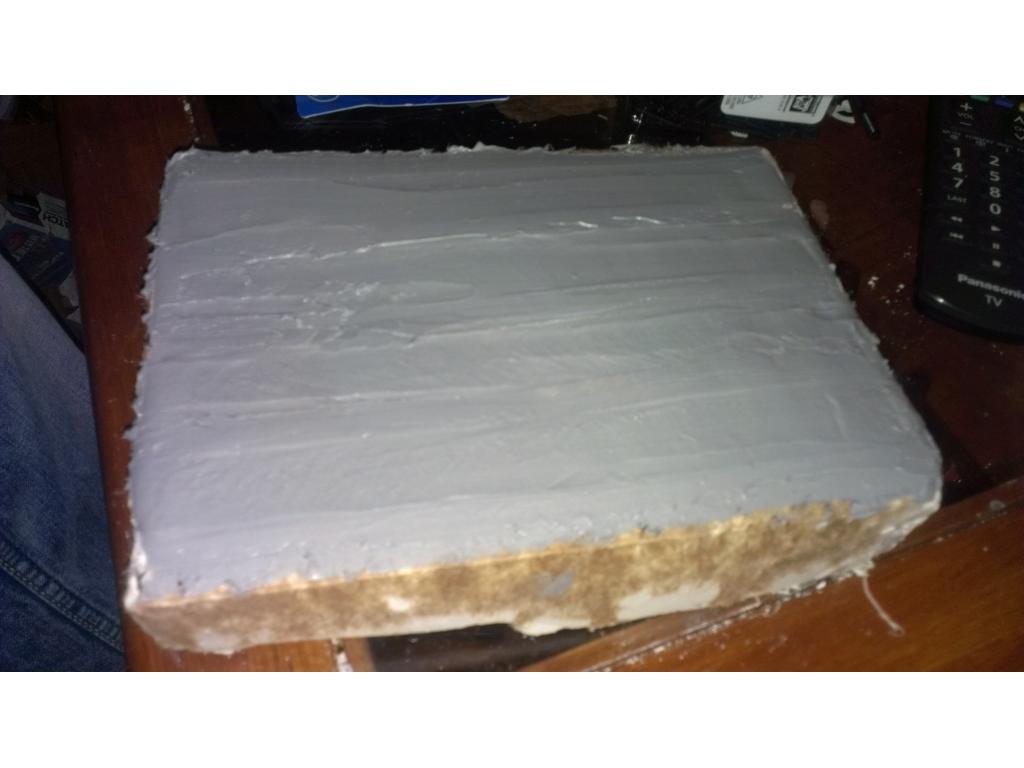
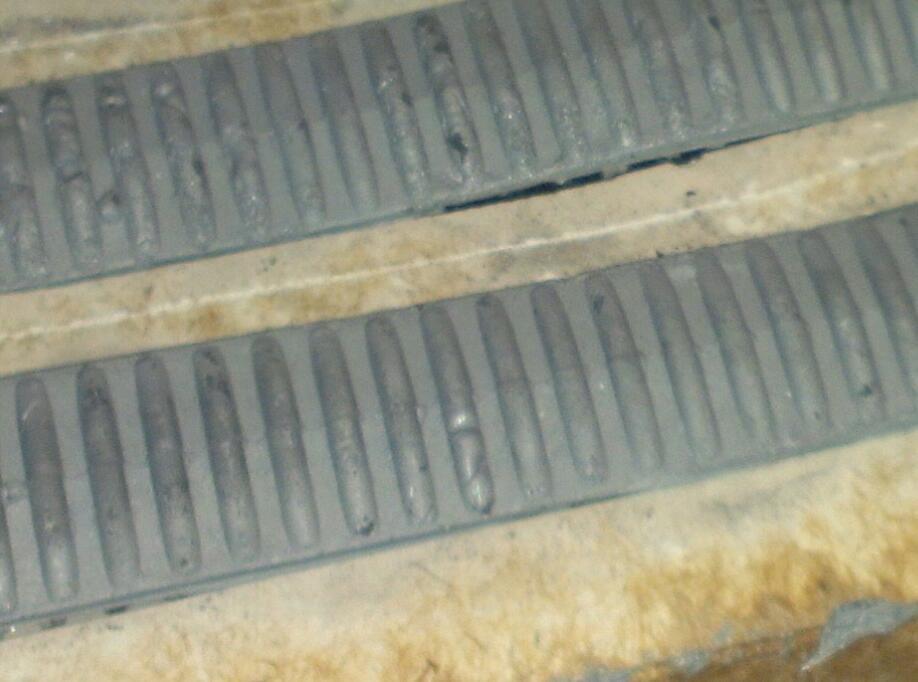
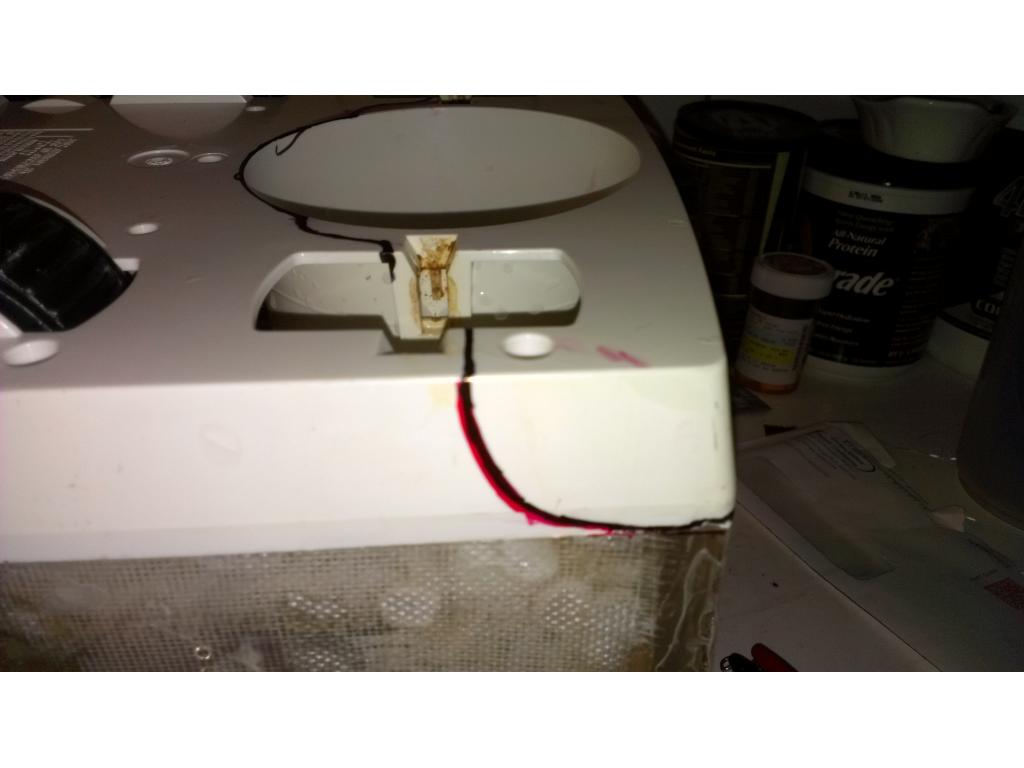
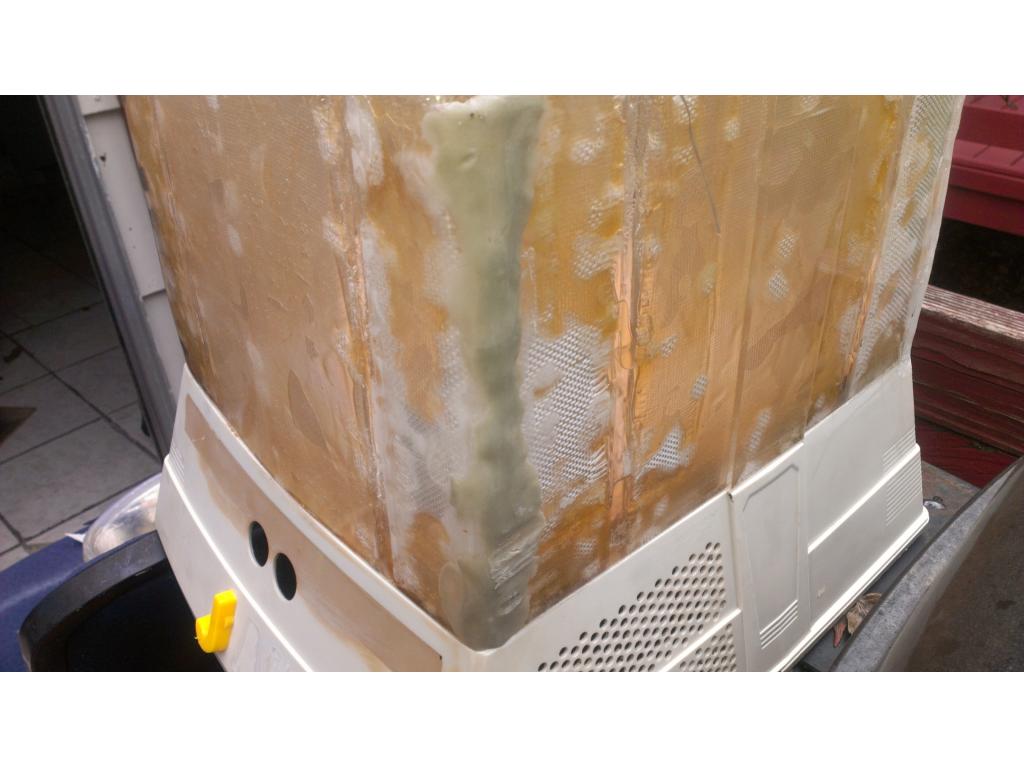
First I reinforce the inside of the arm with epoxy , once this cures I will apply one layer of fiberglass matt or overall lightweight strength.
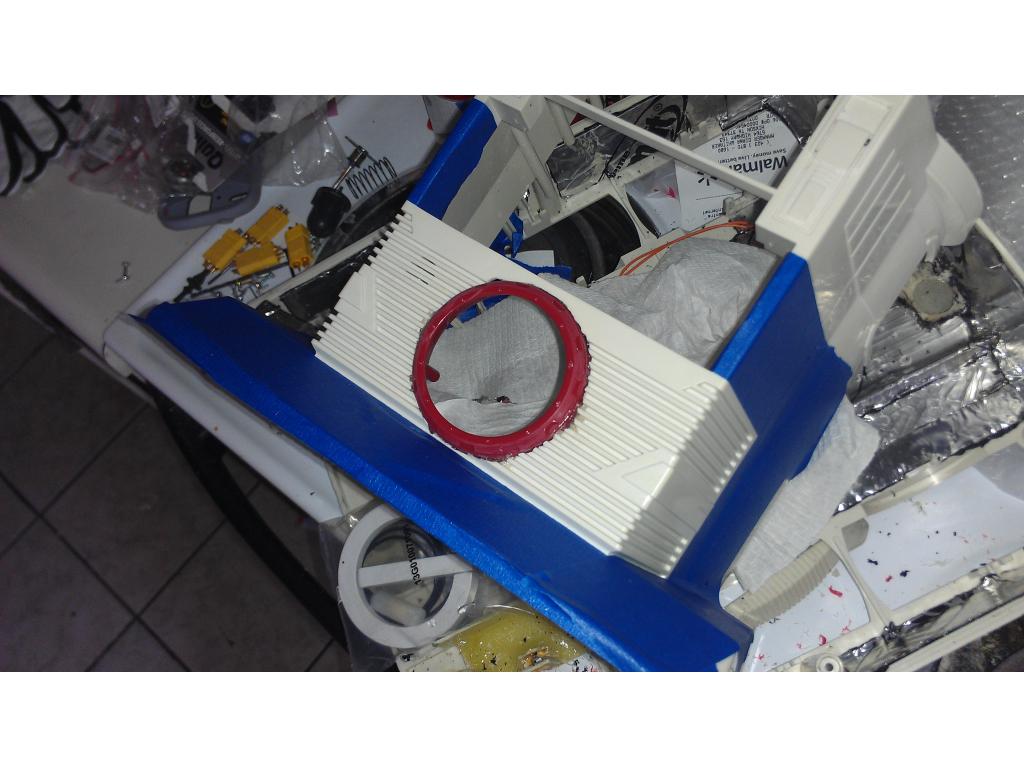
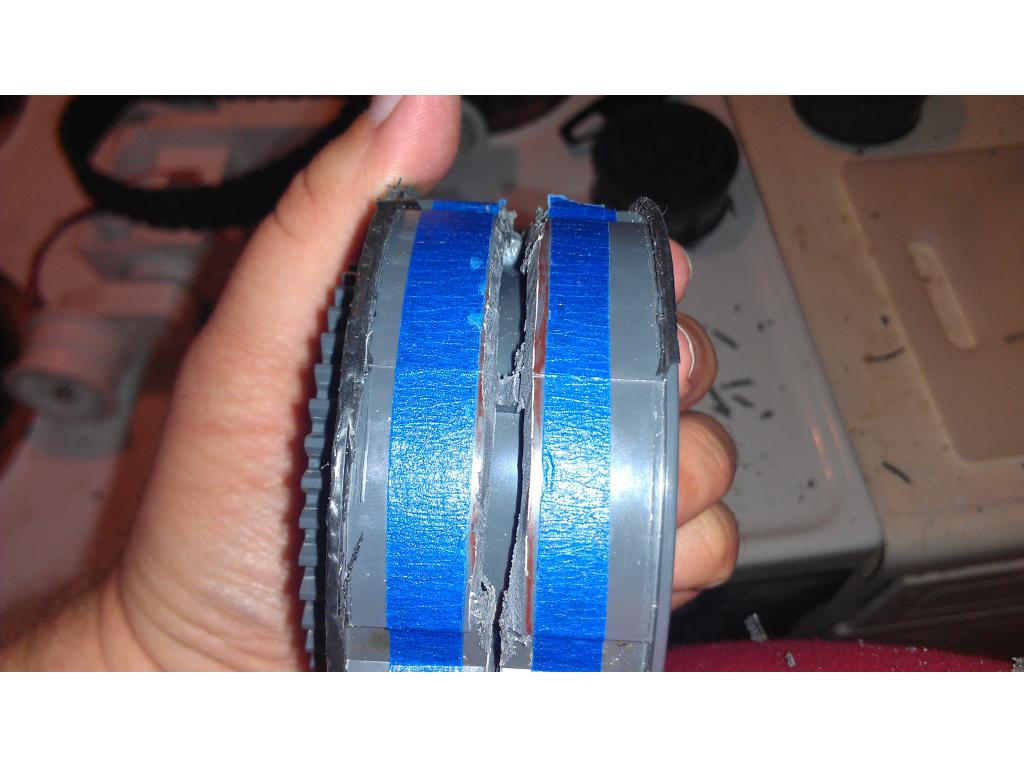
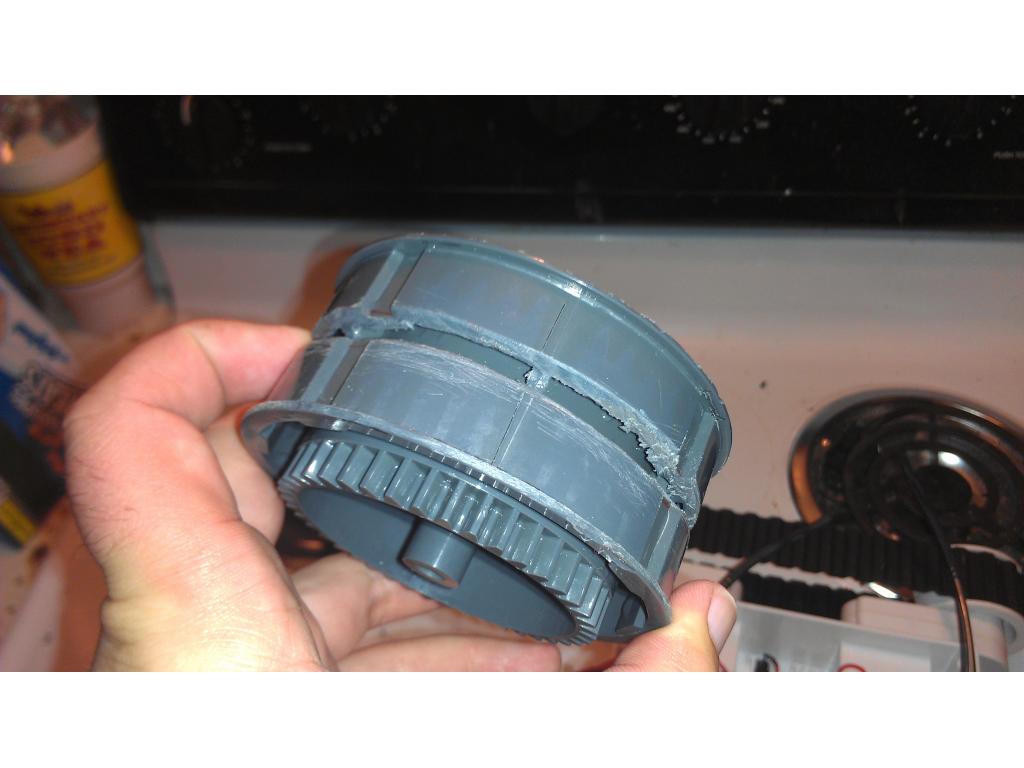
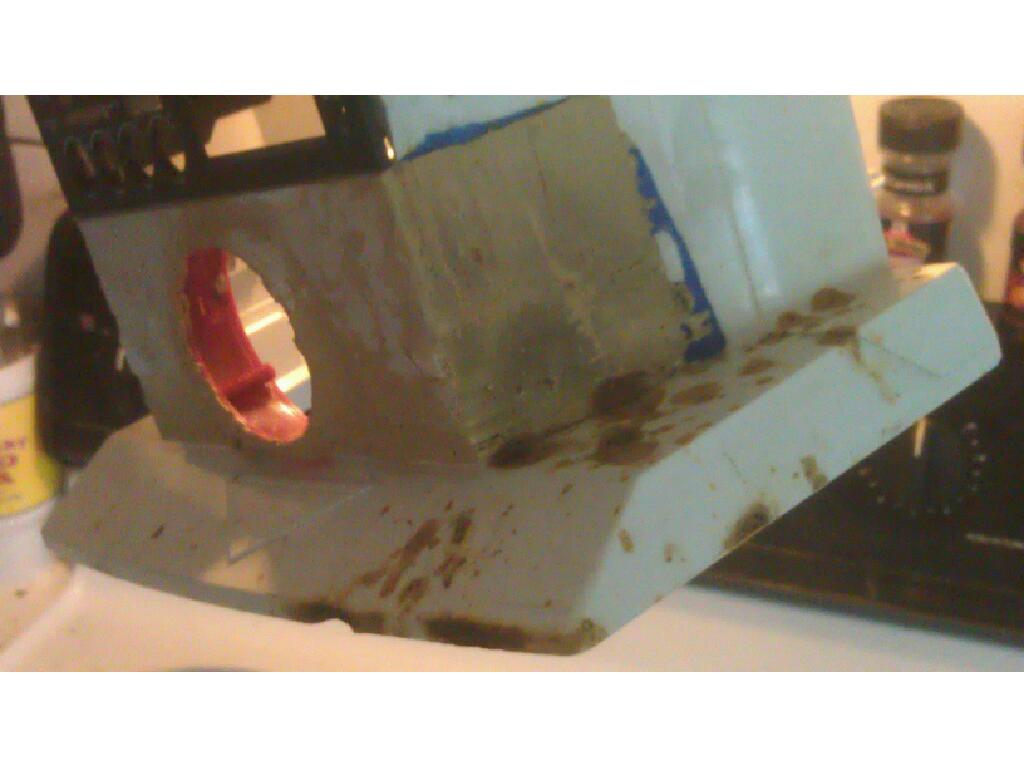
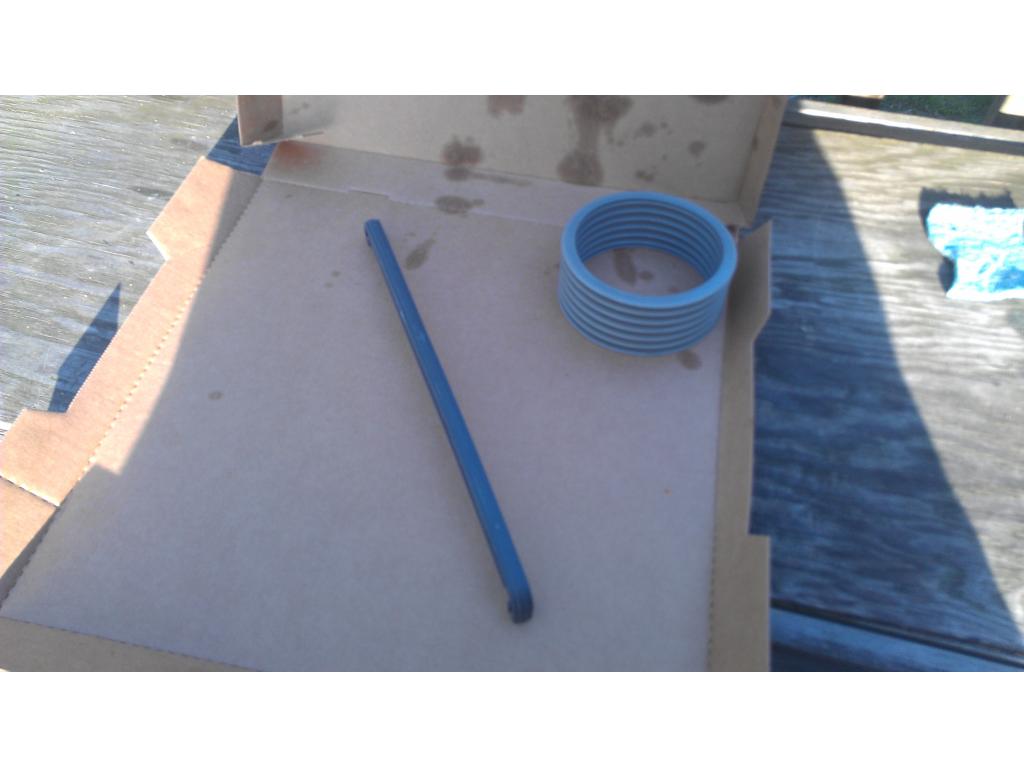
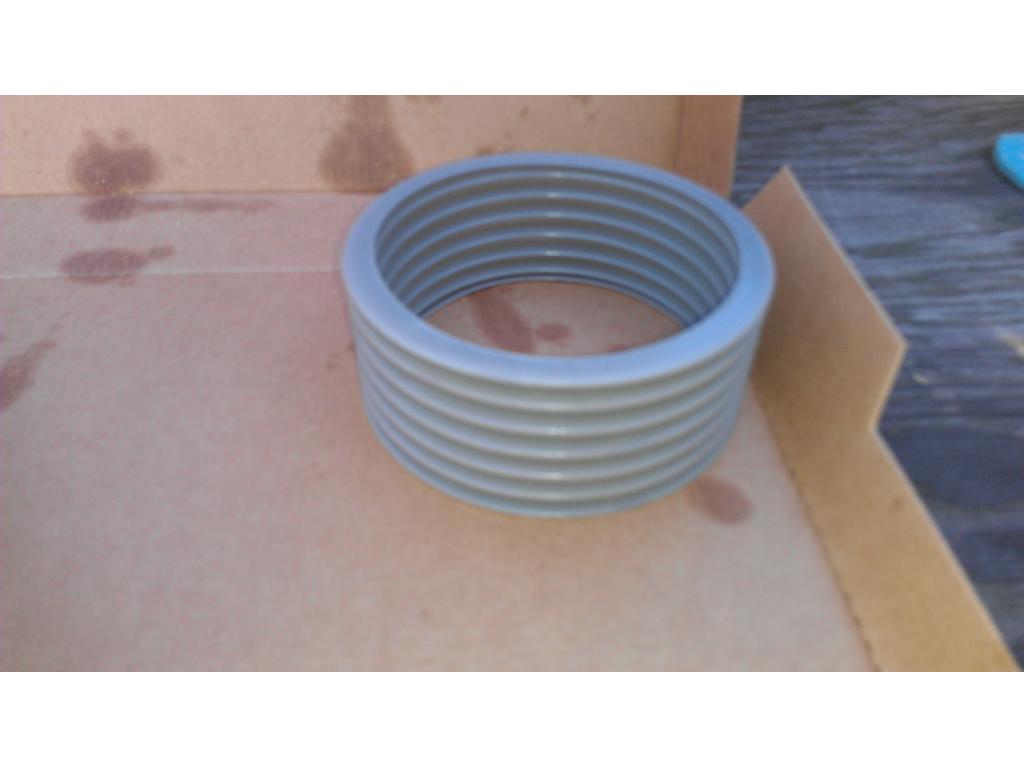
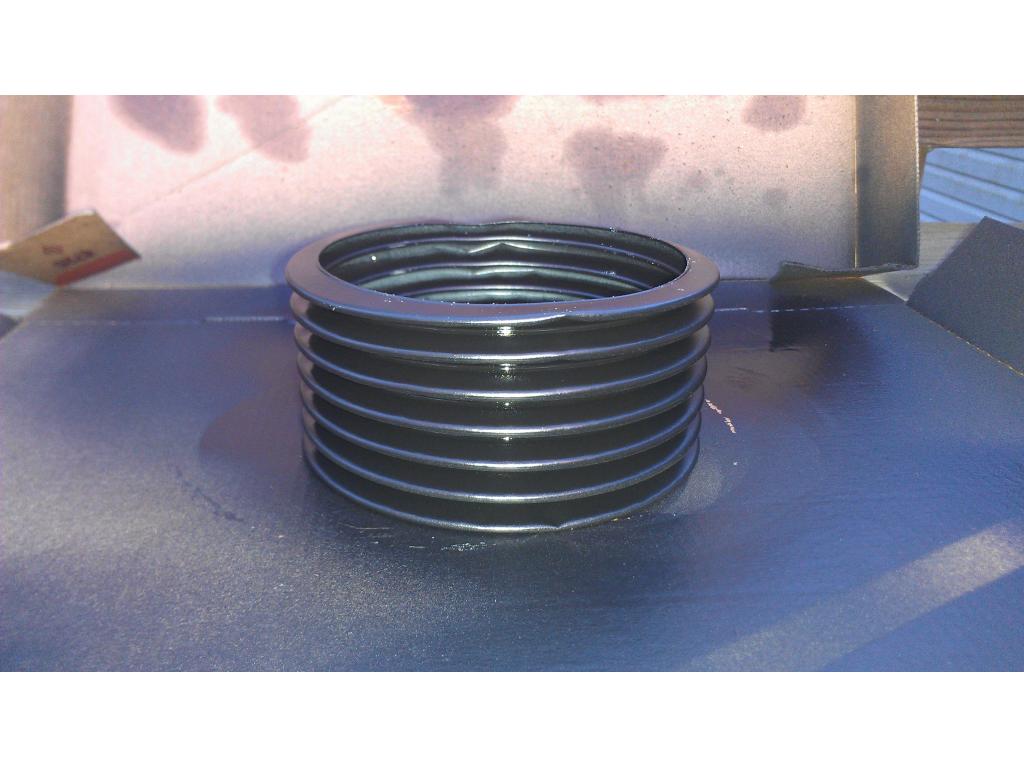
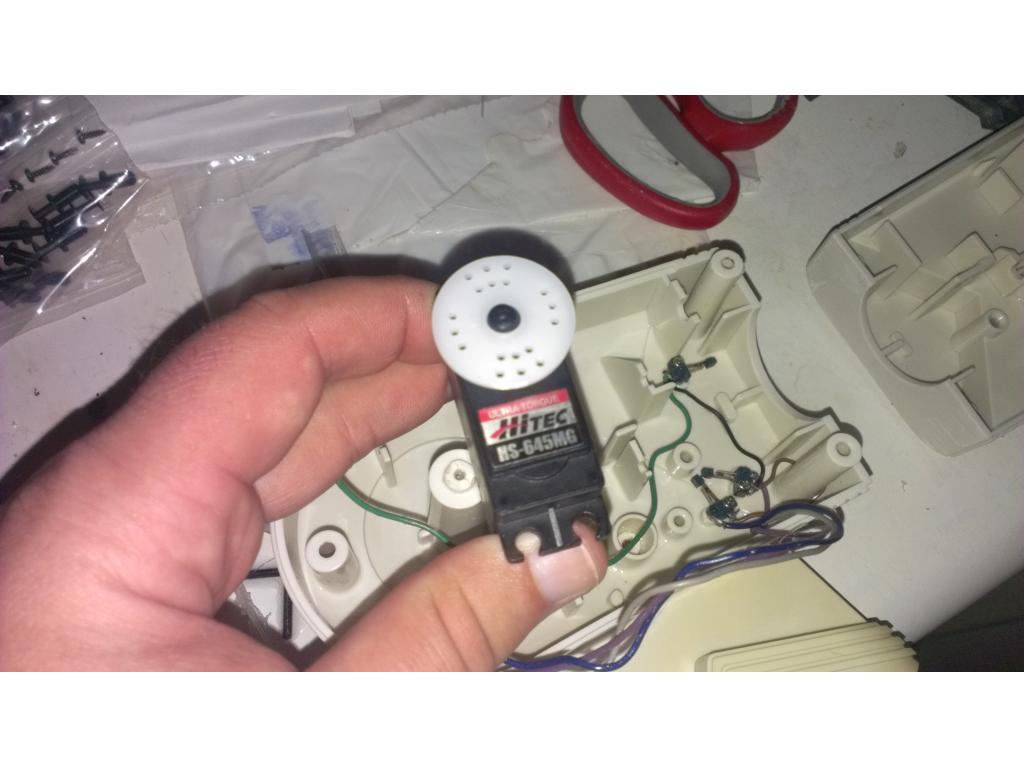
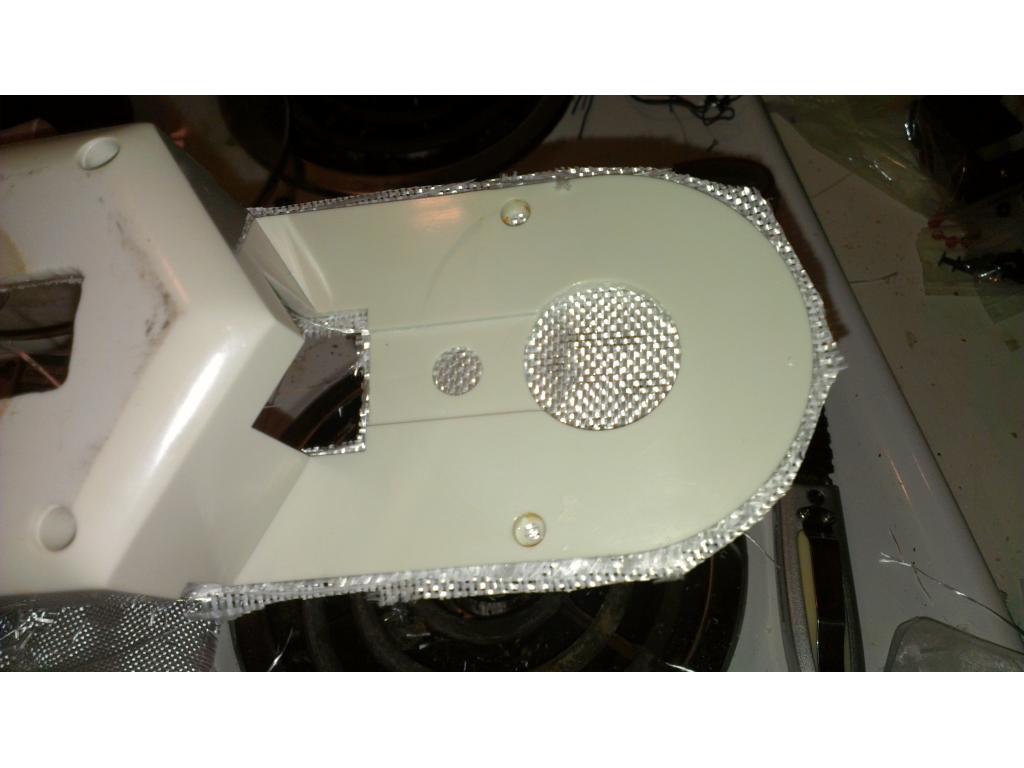
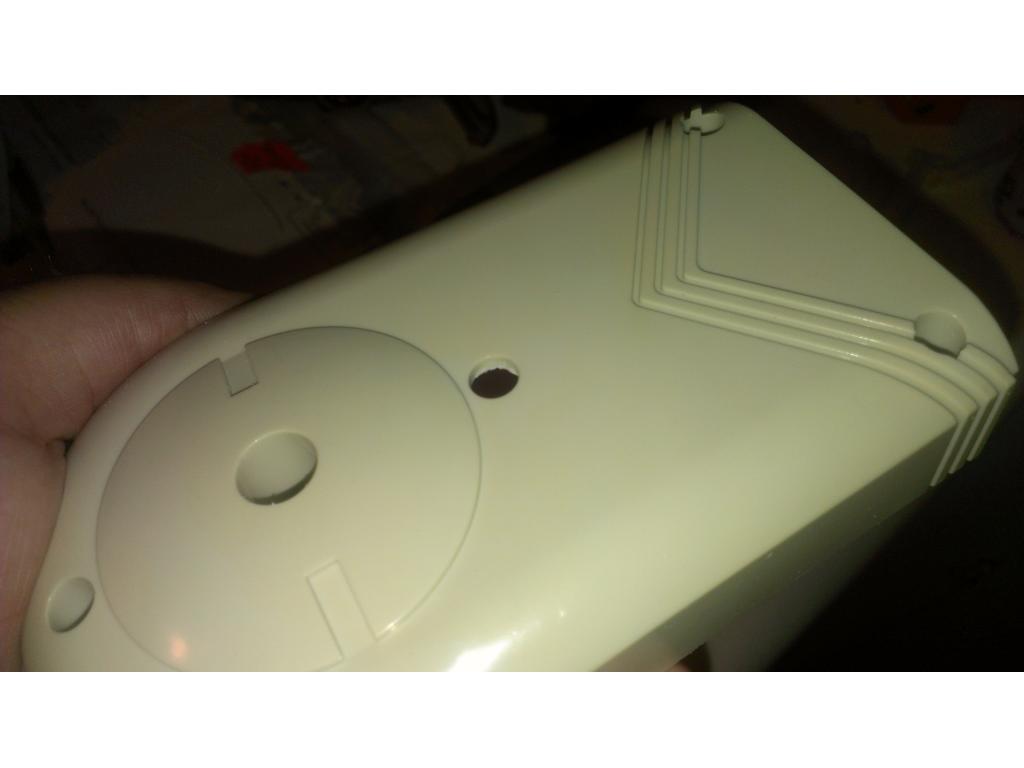
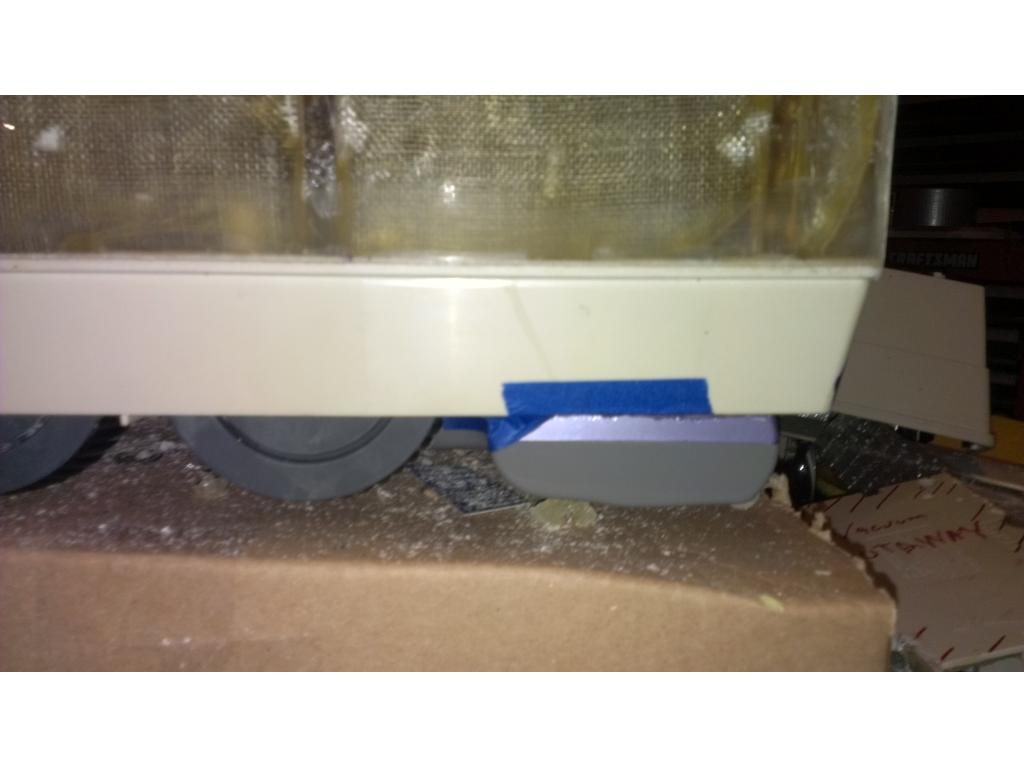
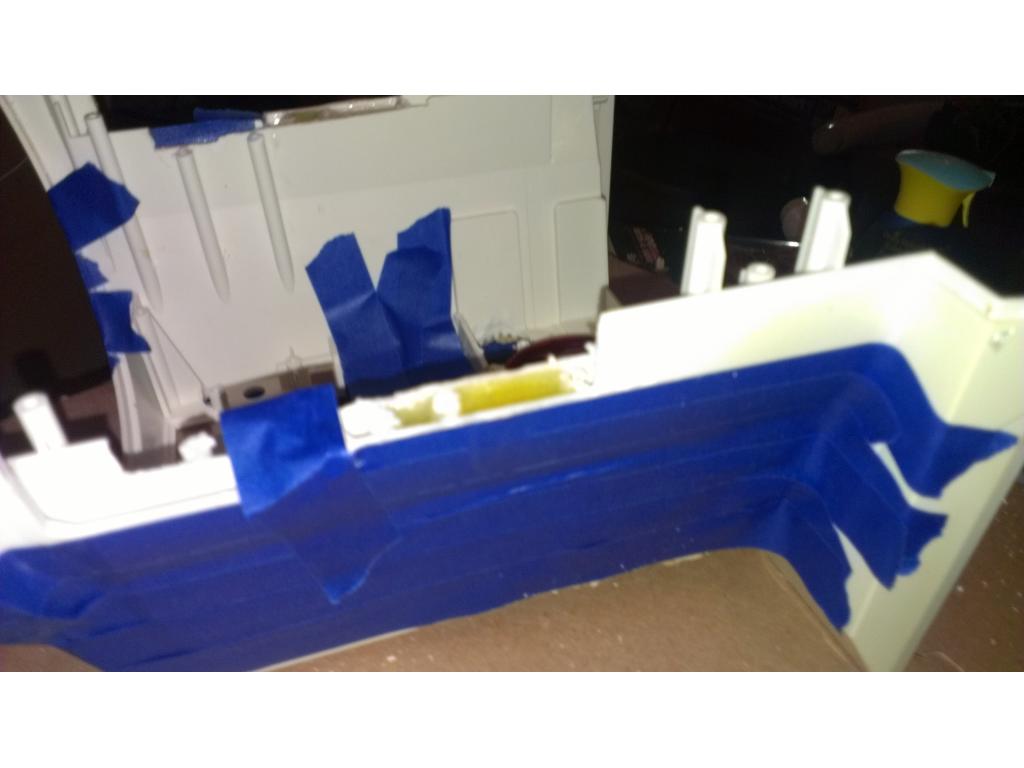
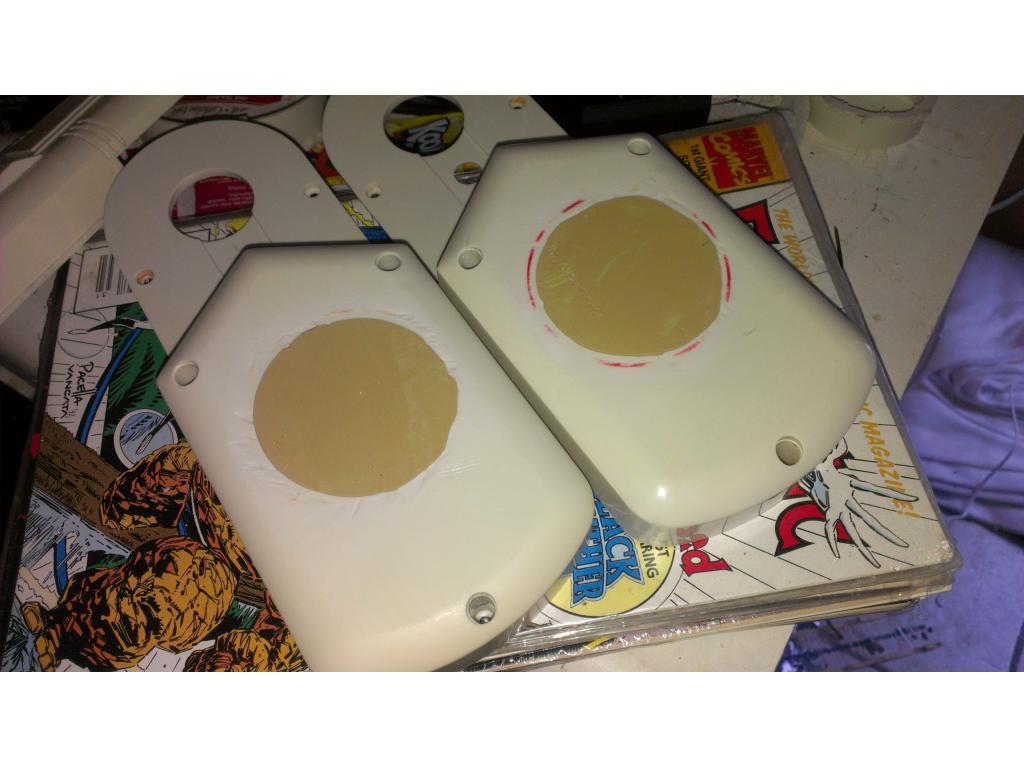
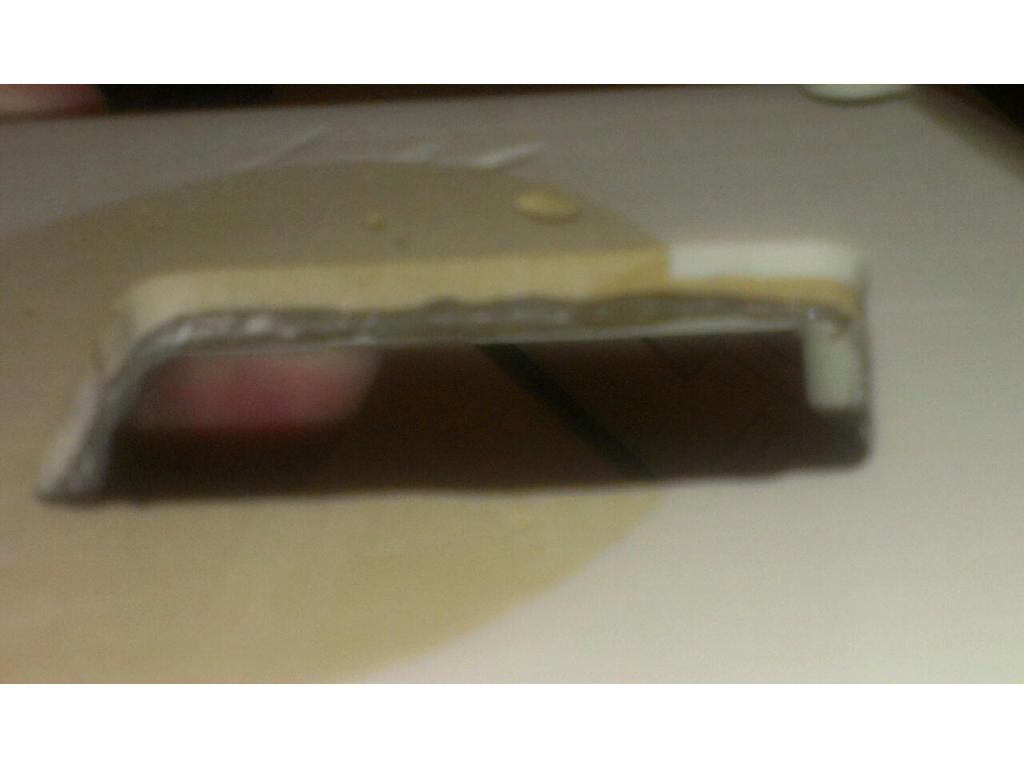
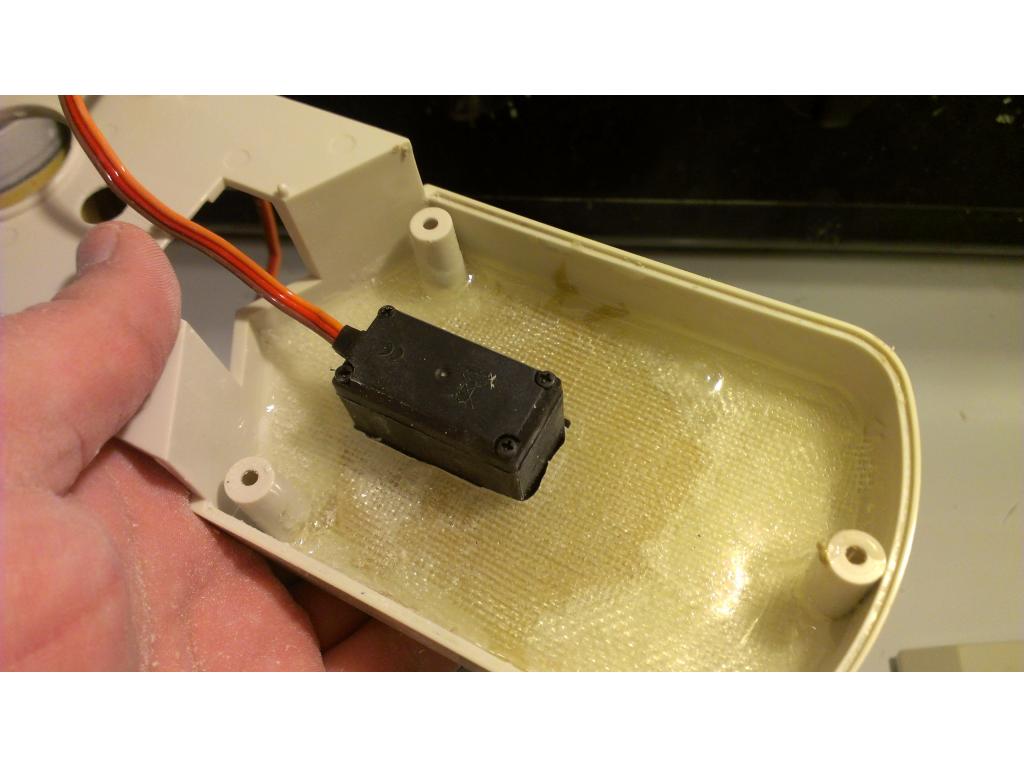
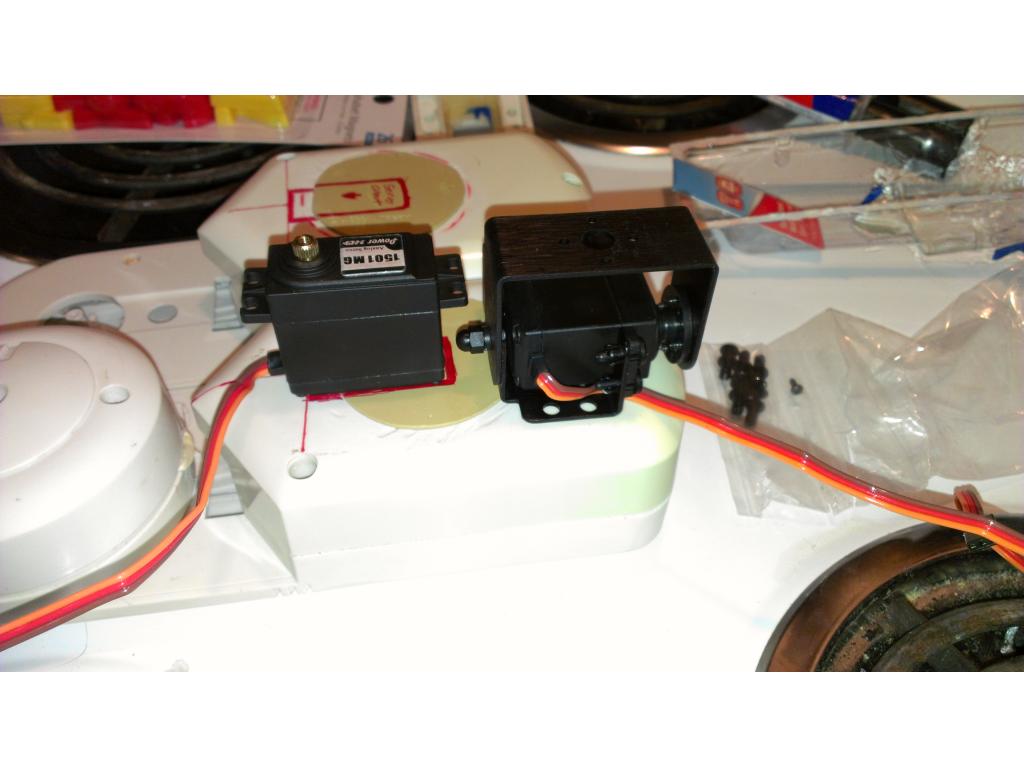
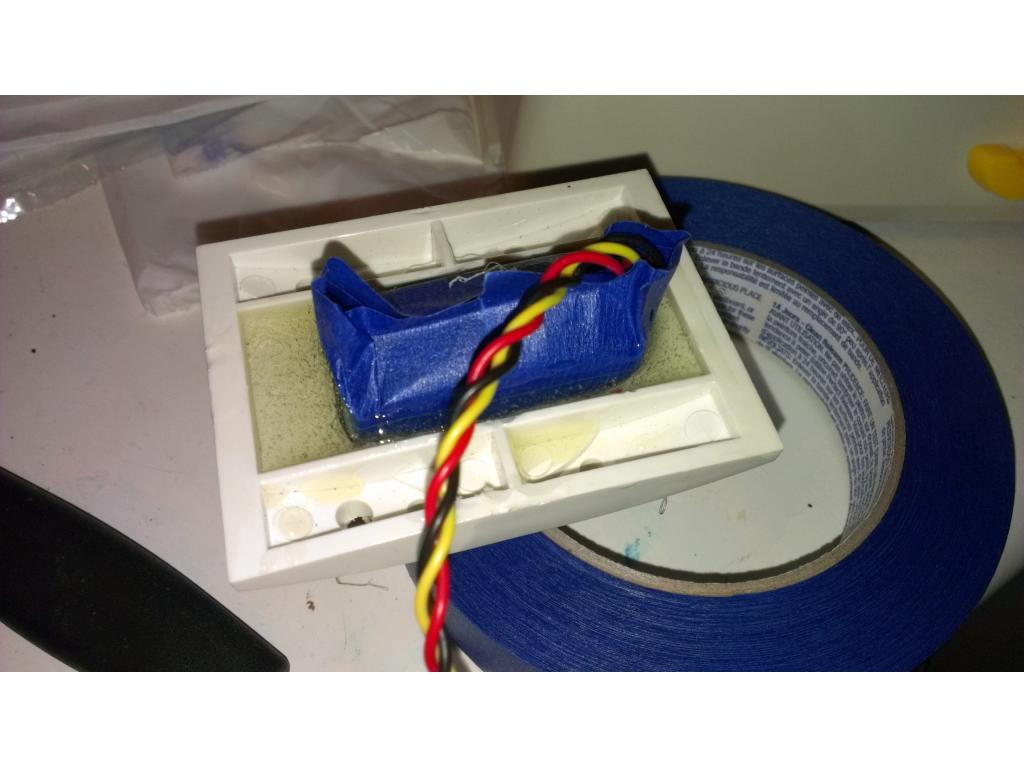
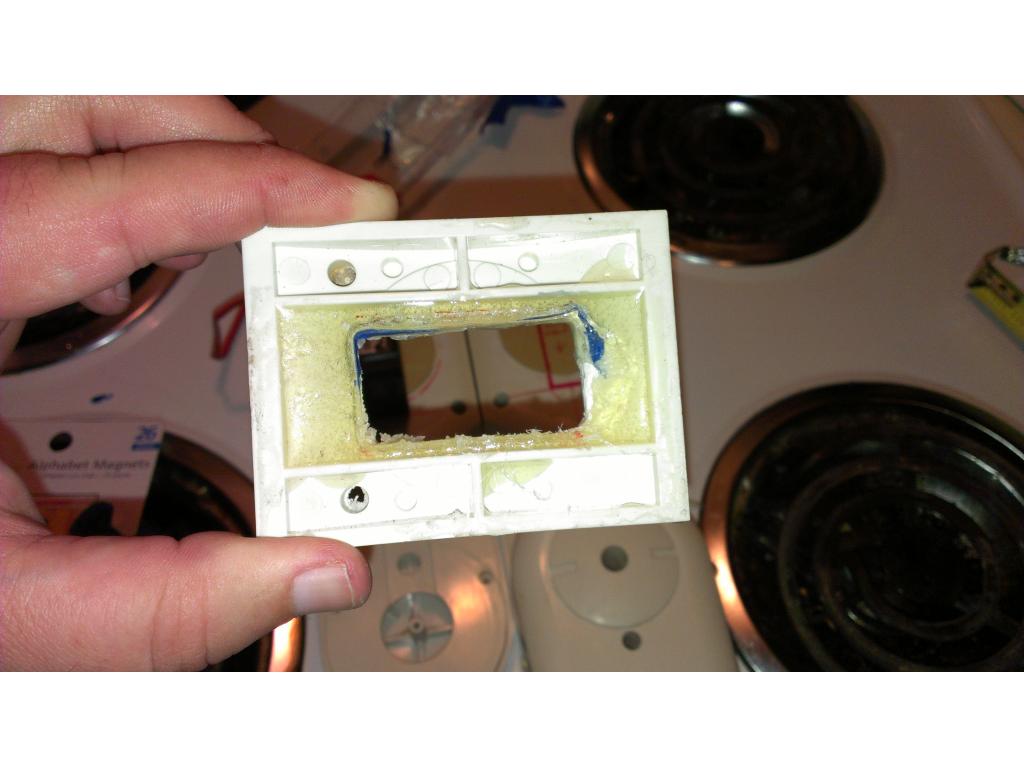
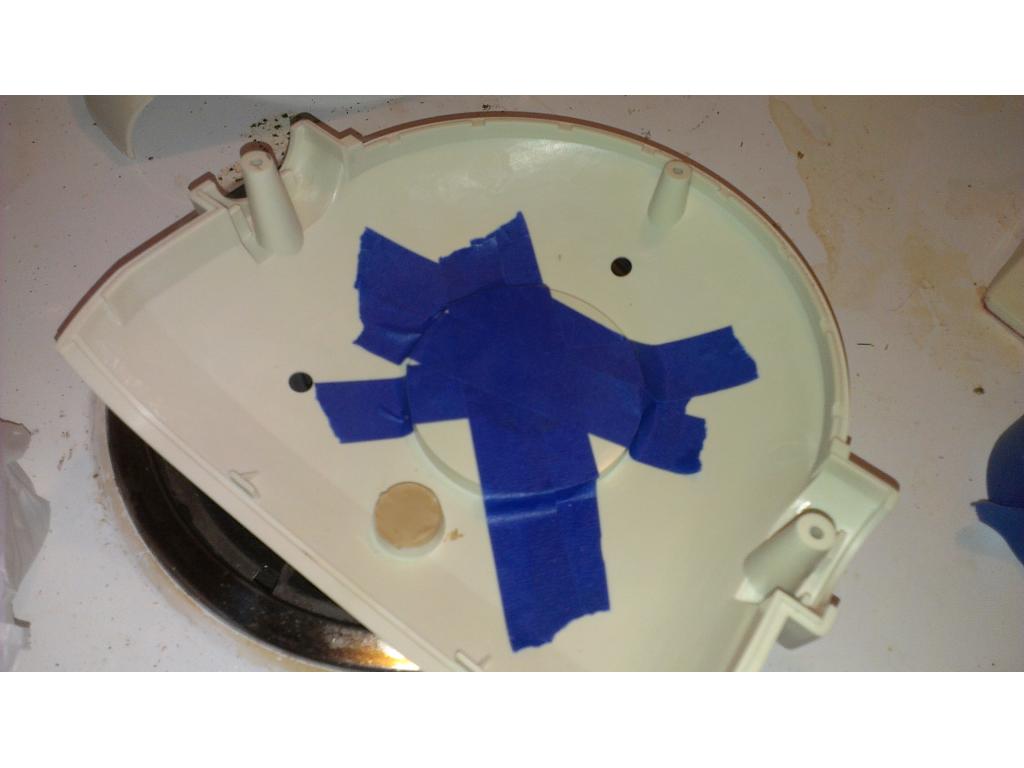
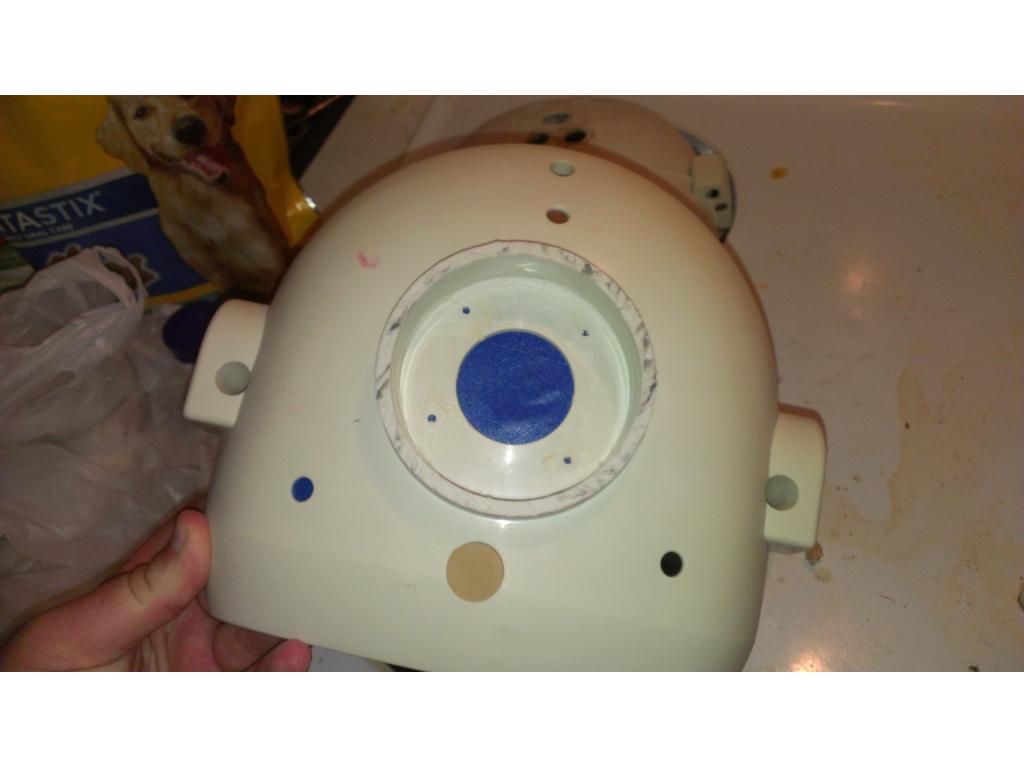
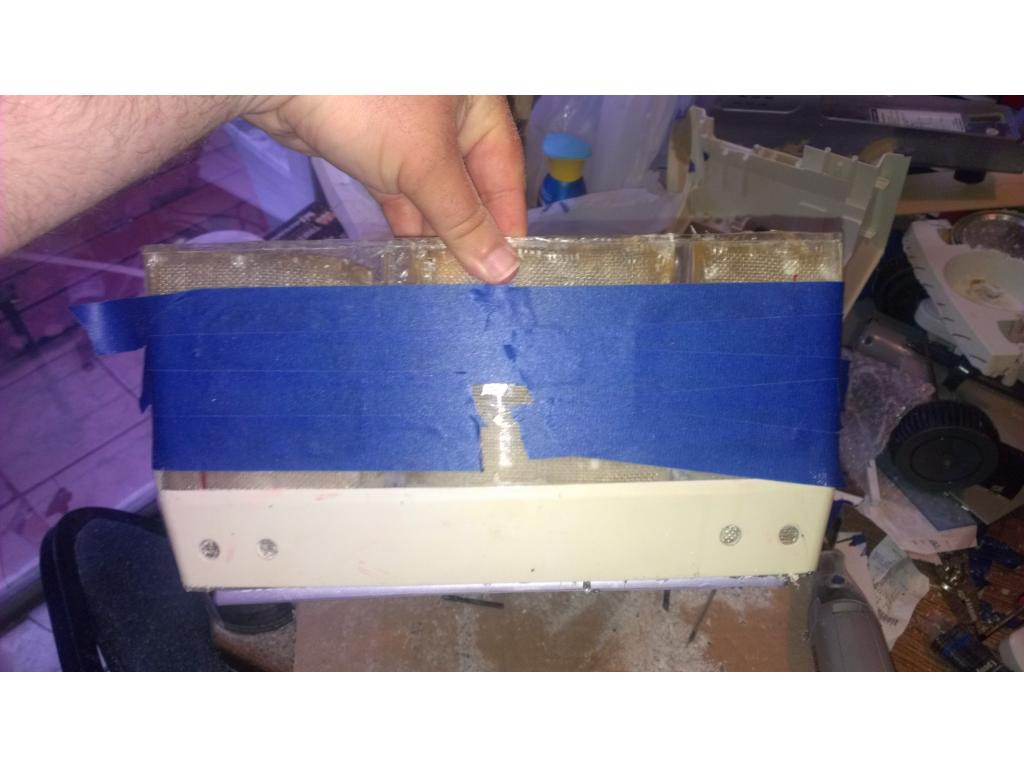
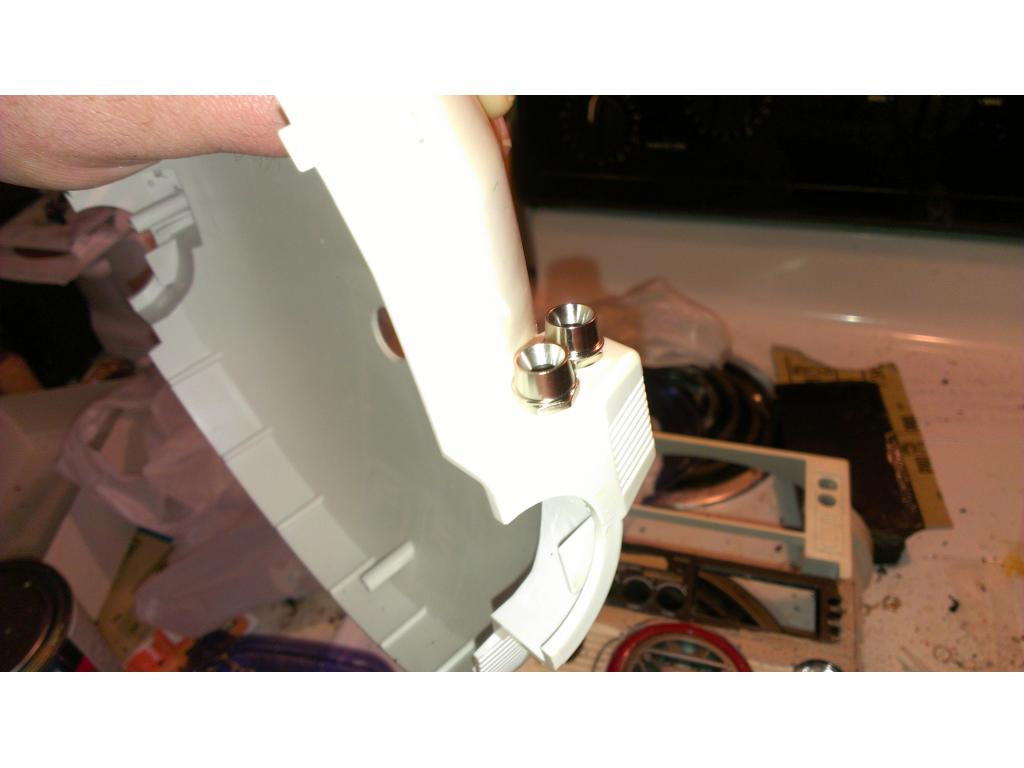
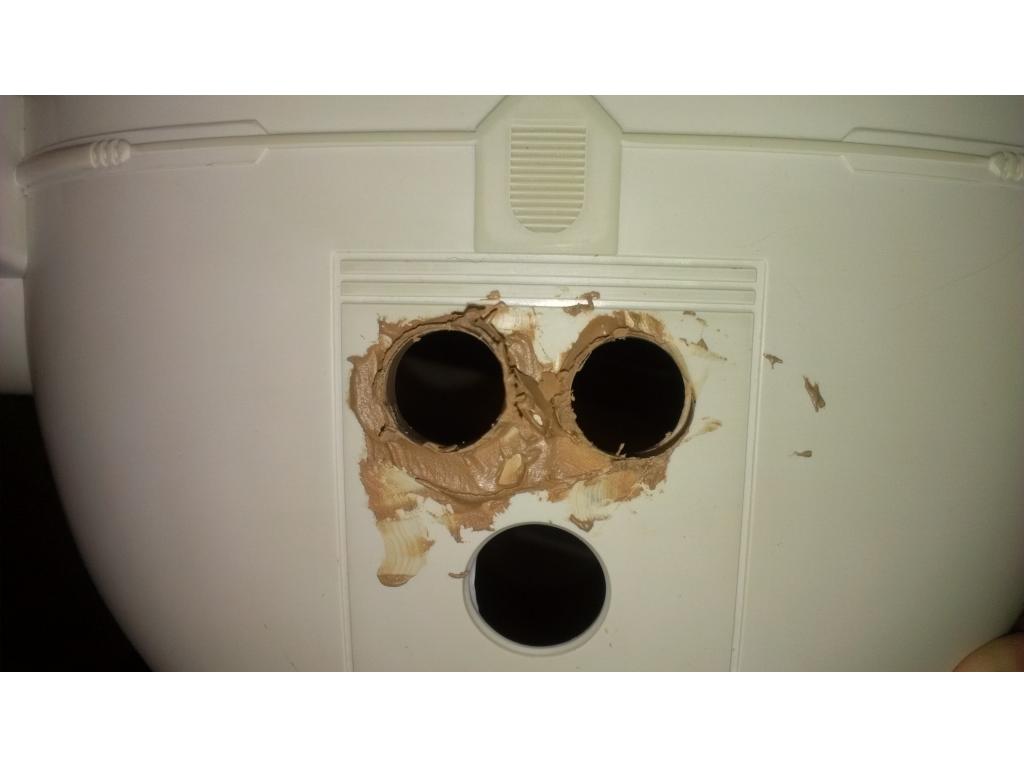
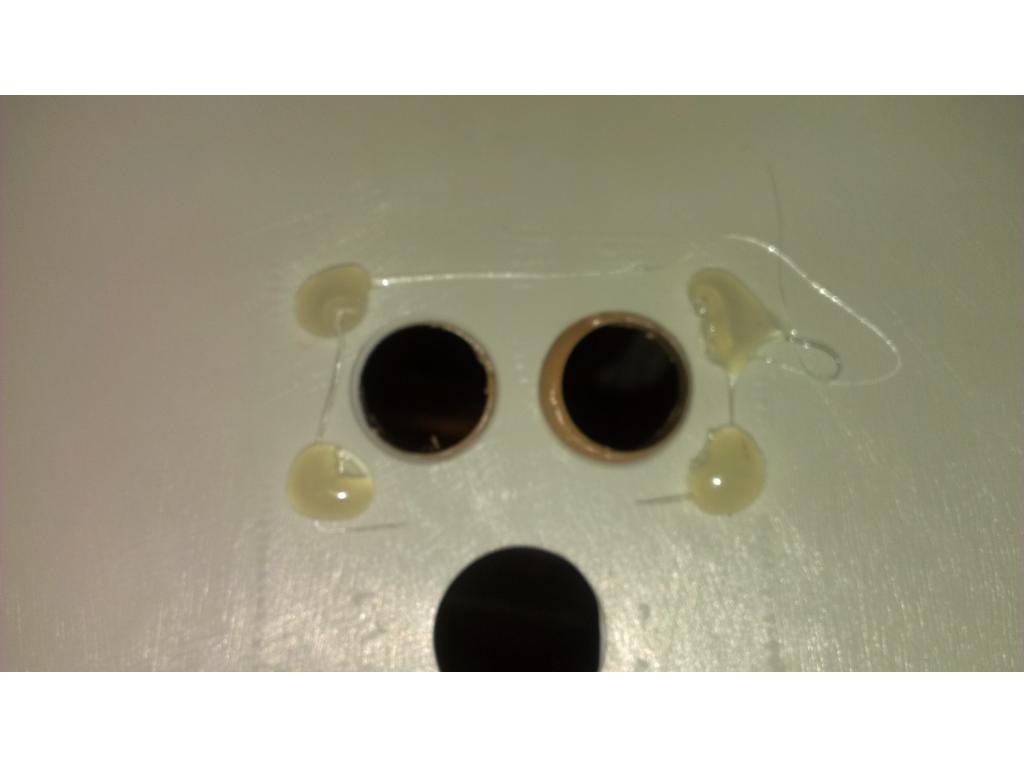
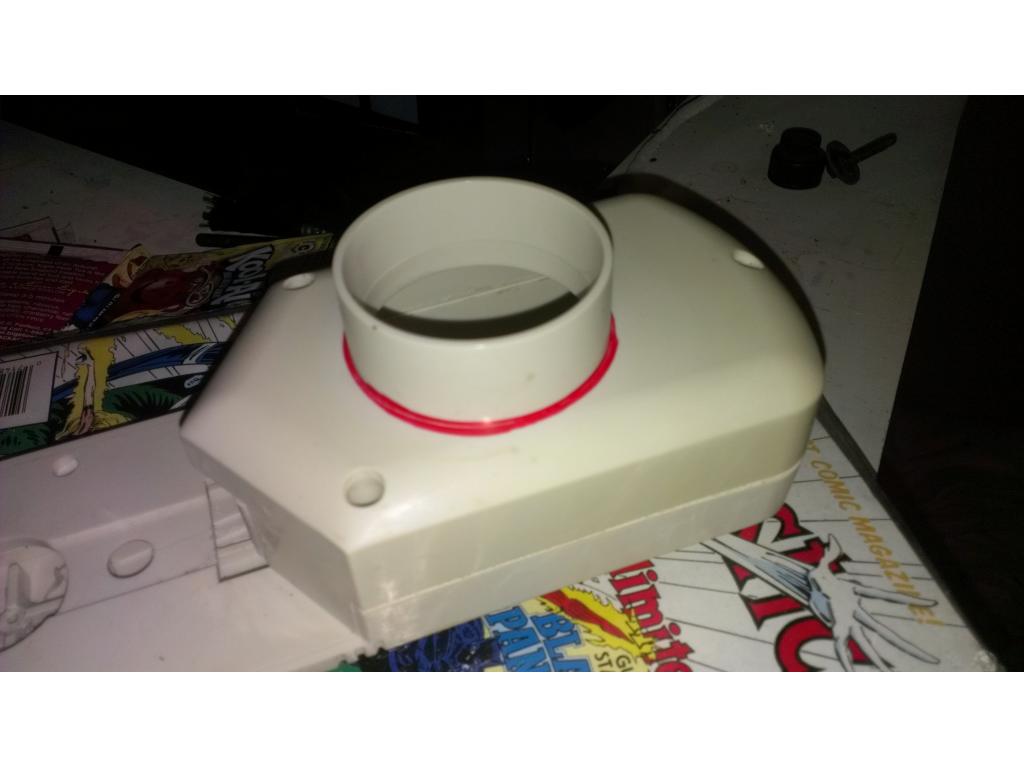
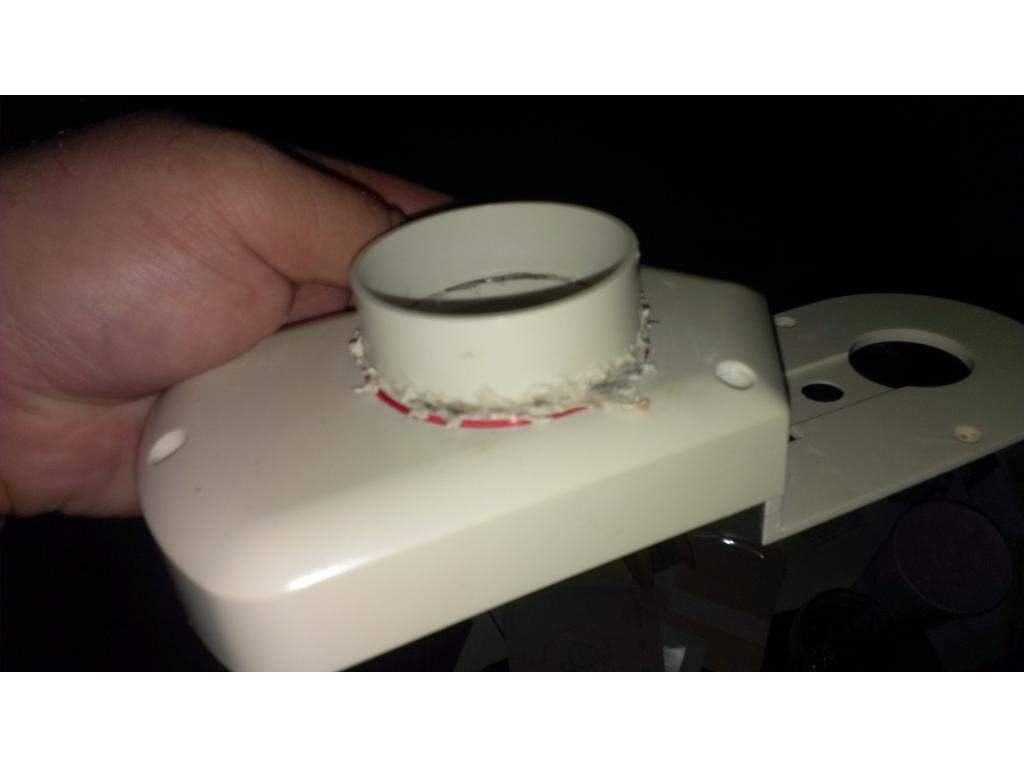
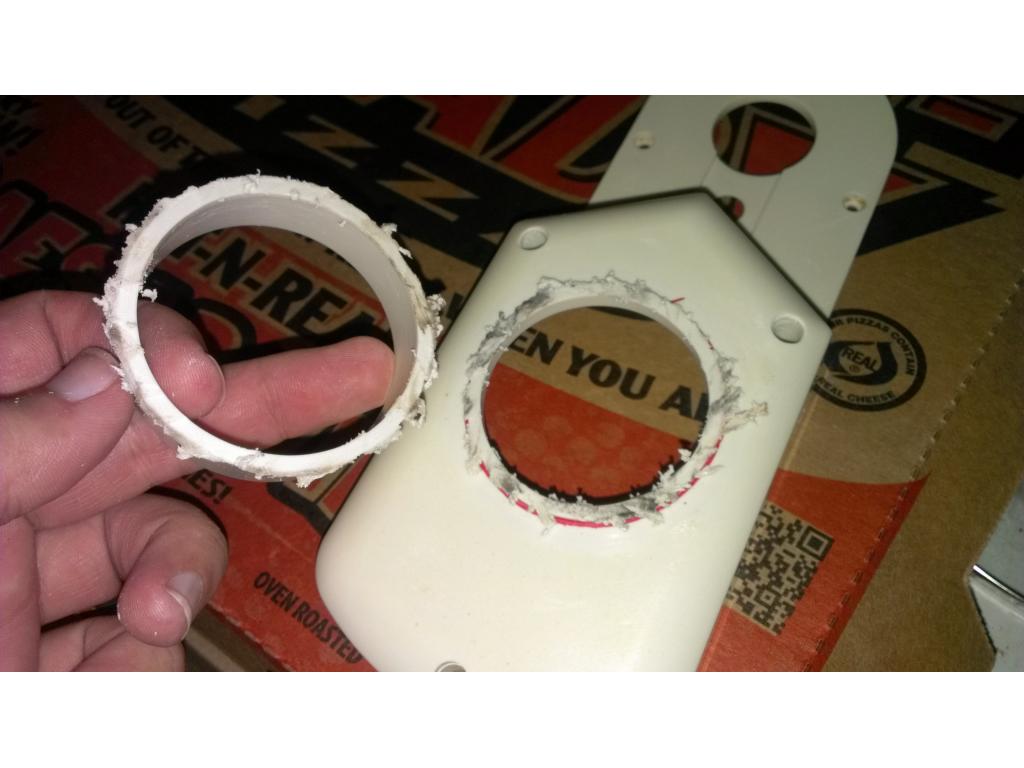
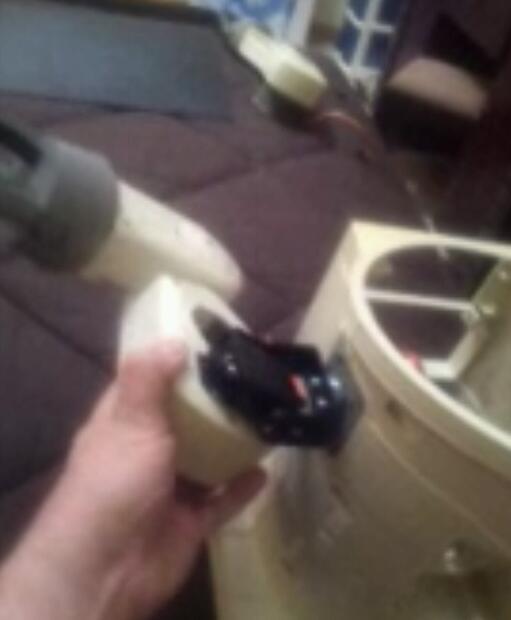
Ok to make a tighter fit I taped off.a servo and filled gaps where I overcut some
Final product for a tighter fit....
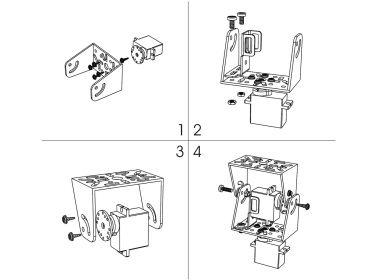
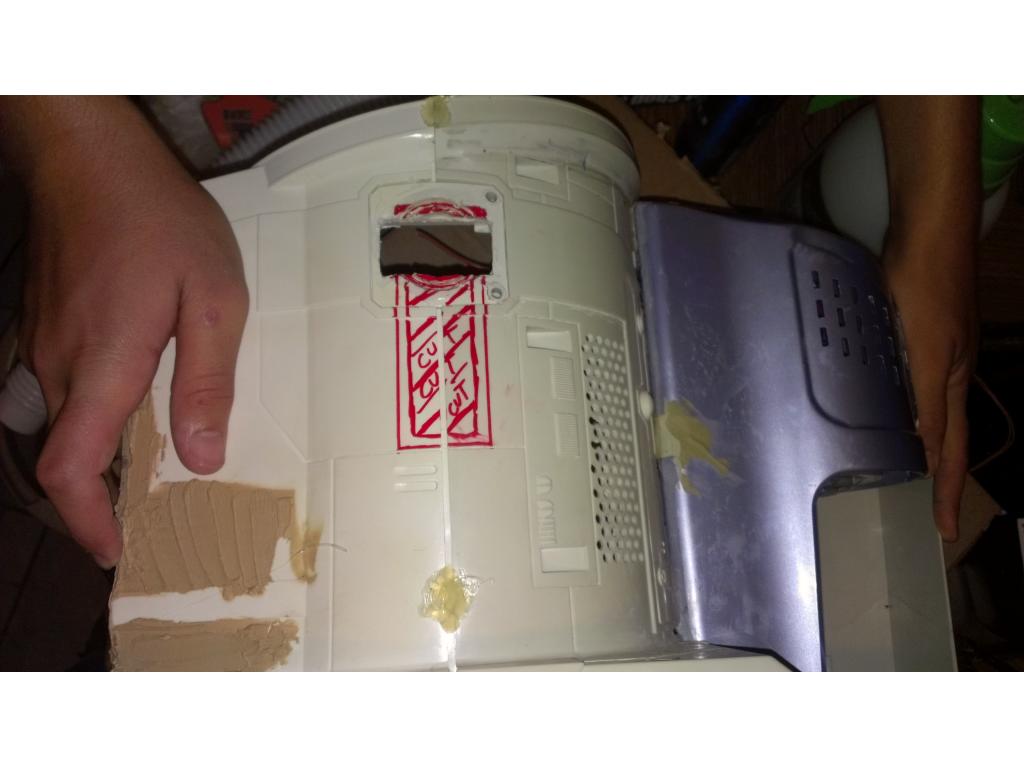
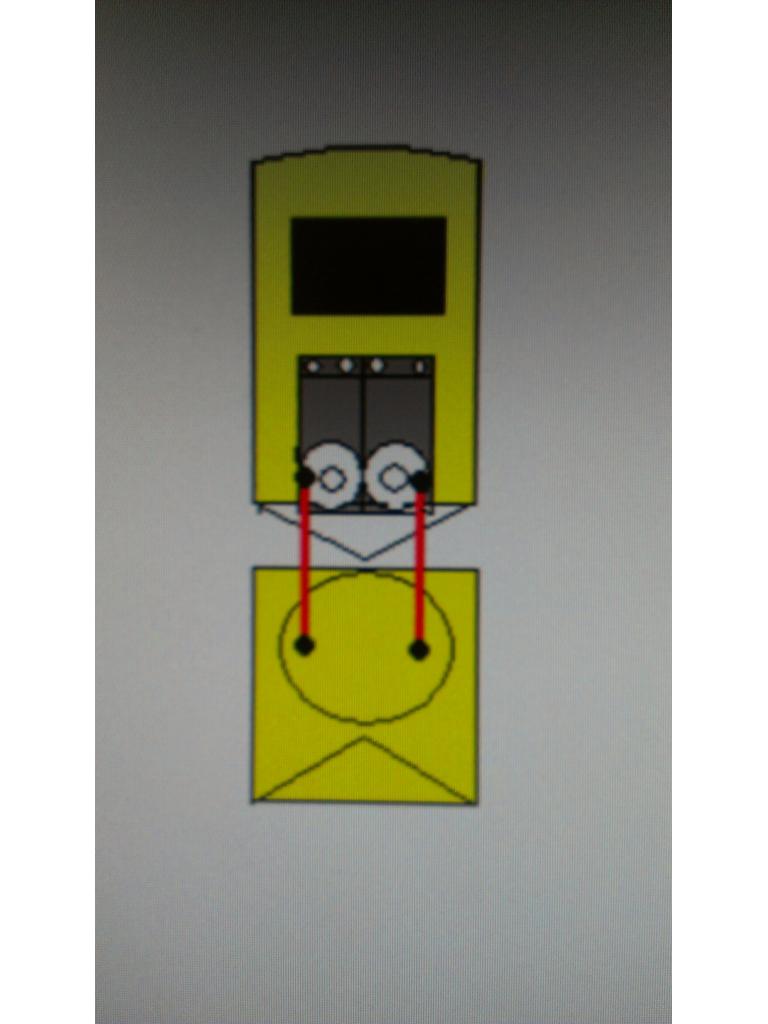
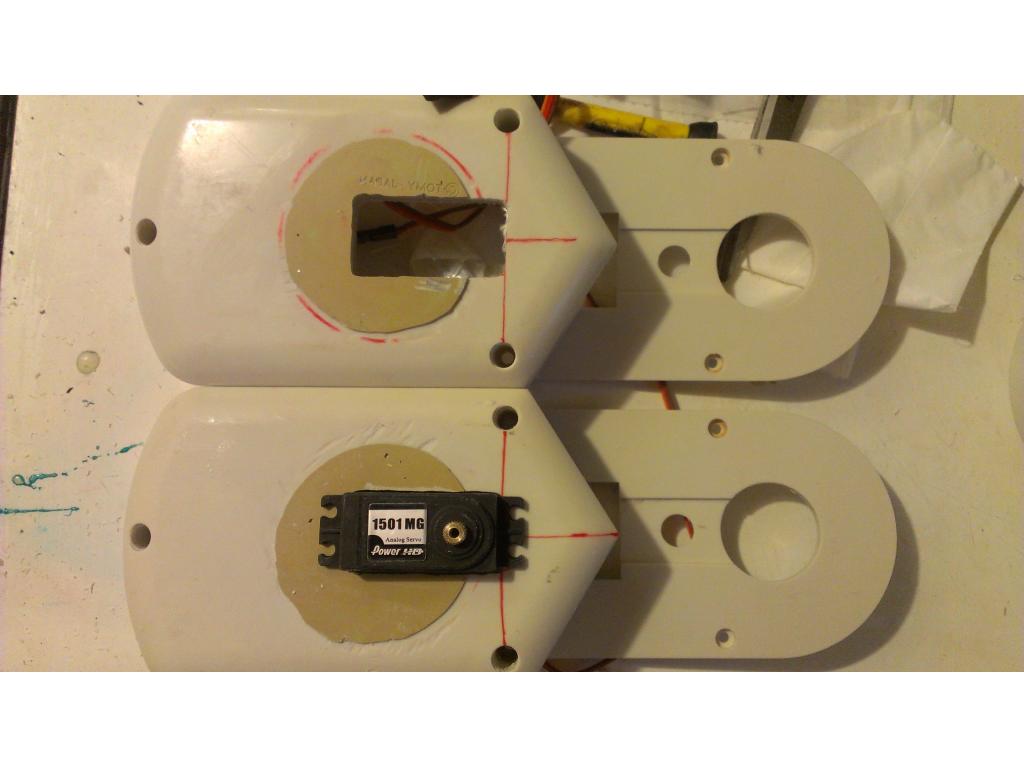
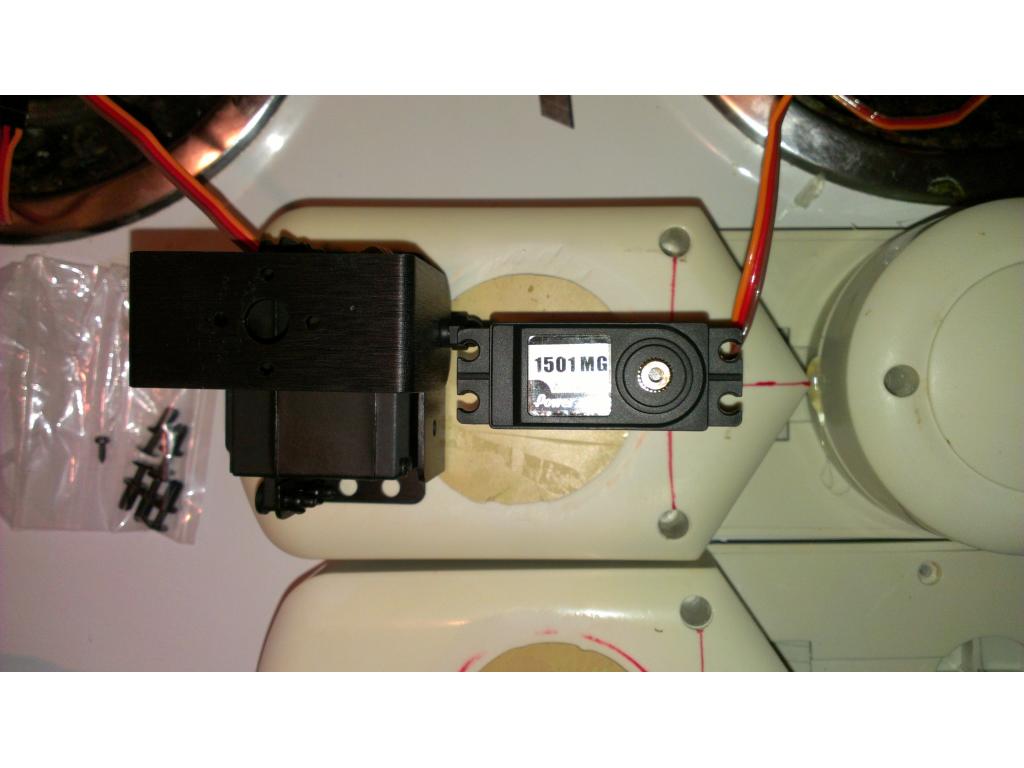
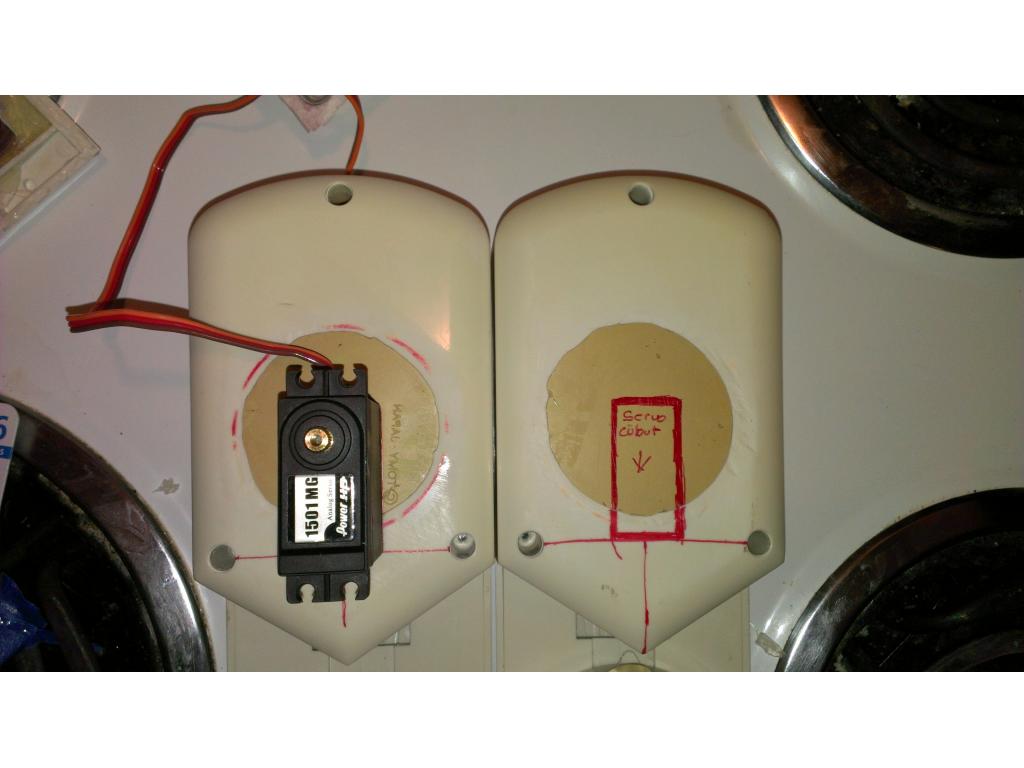
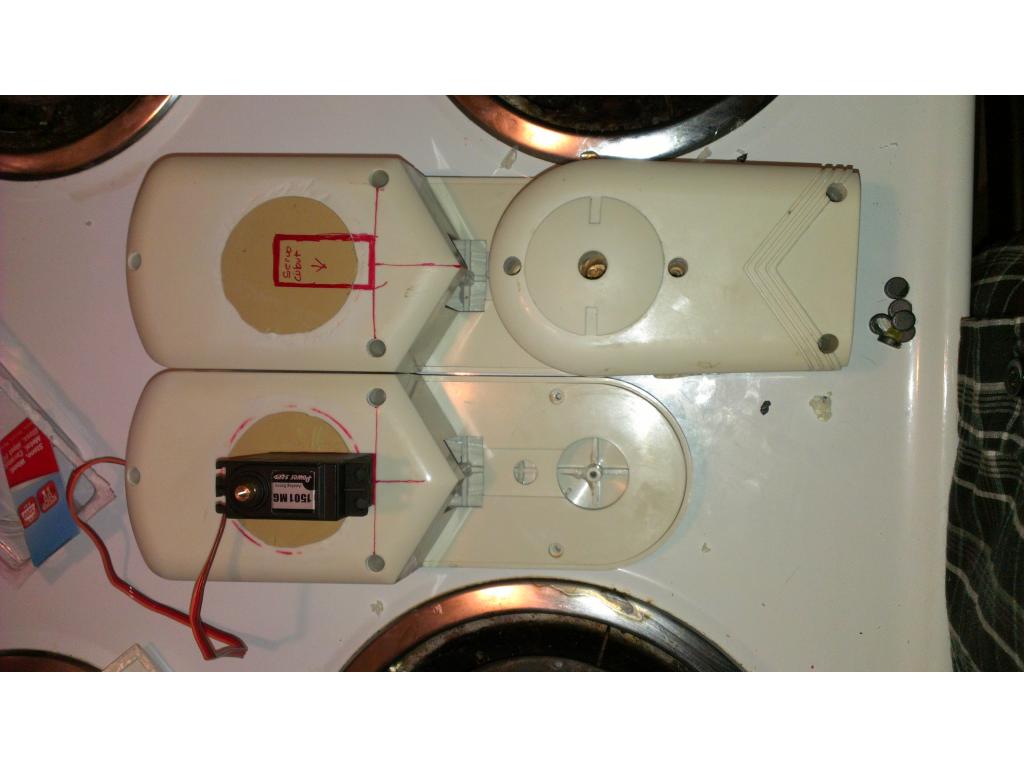
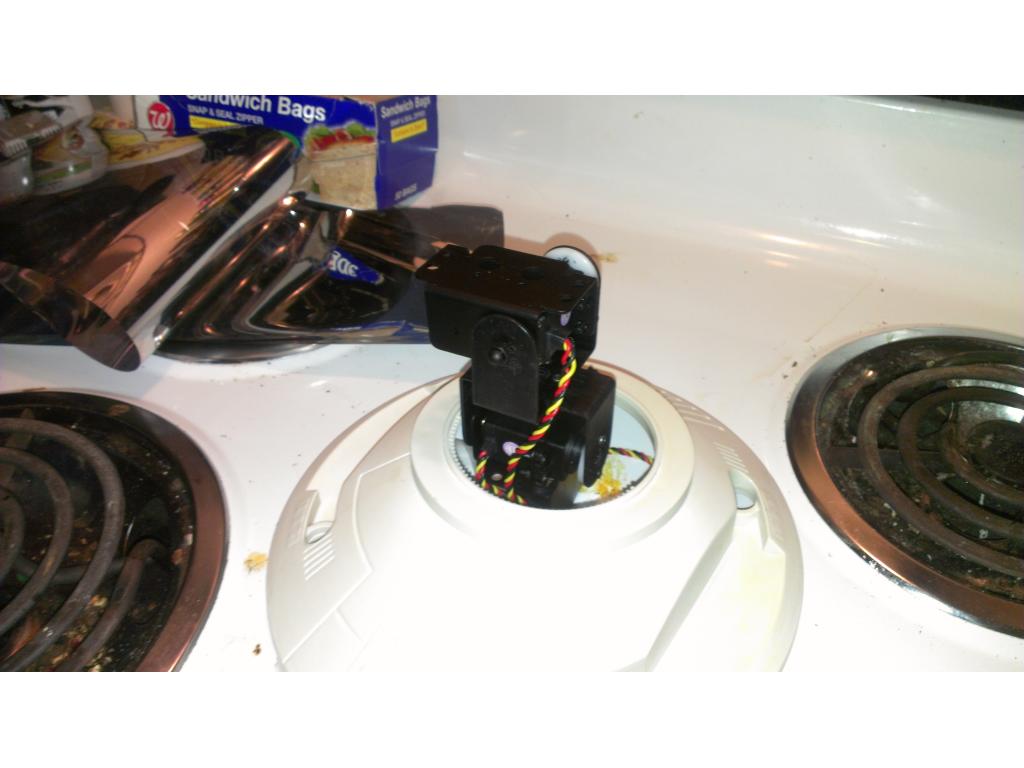
Side by side my plans for cutting , I'm using a centered placement so that if I ever want or need a tandem setup I only need to trim from left to right to accommodate the additional servo
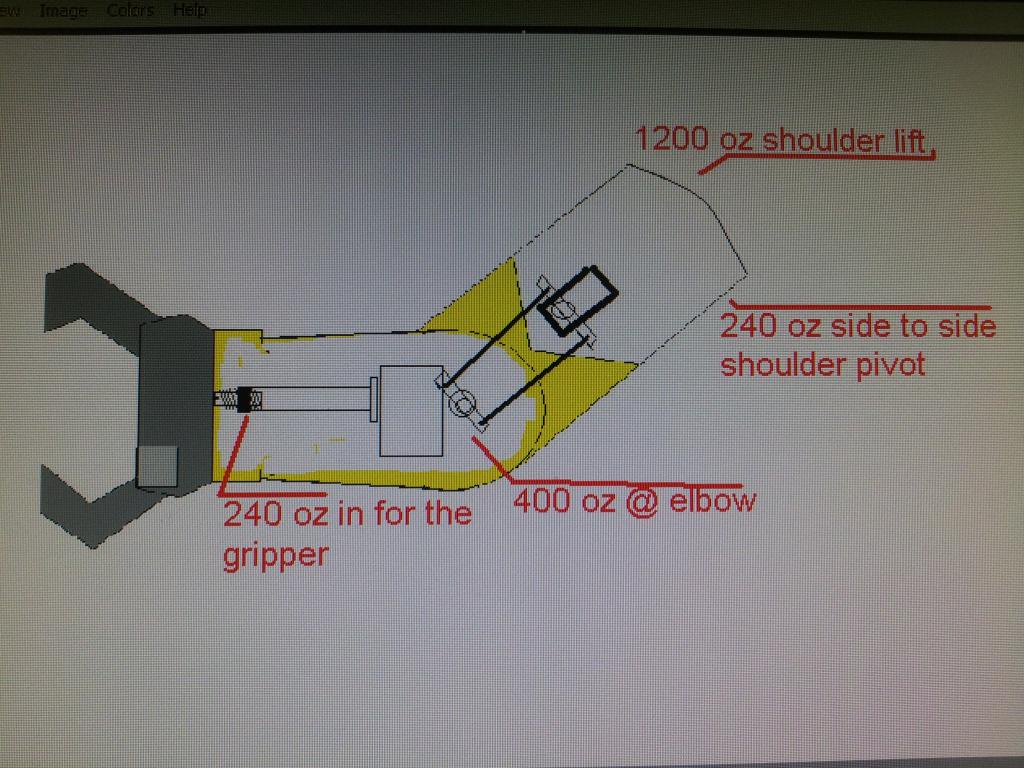
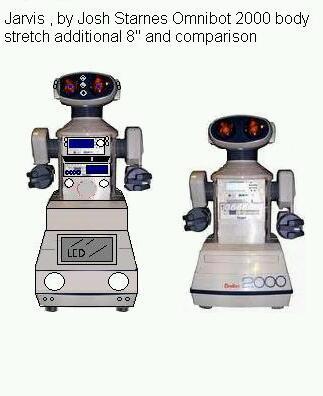
Moving back the shoulder a tiny but made room for a servo (and options for tandem if needed) and you will notice that the servo is placed very close to the shoulder pivot point. This reduces torque from the weight of the elbow servo. Having the servo in the elbow itself would stress the shoulder servo 2.5 Times as much as this location based off the distance from the pivot point.@troy is this the position you had yours in? I love the range of motion yours had I just can't be sure from the lower resolution pics I have. I didn't want to cut tonight till I was sure.