

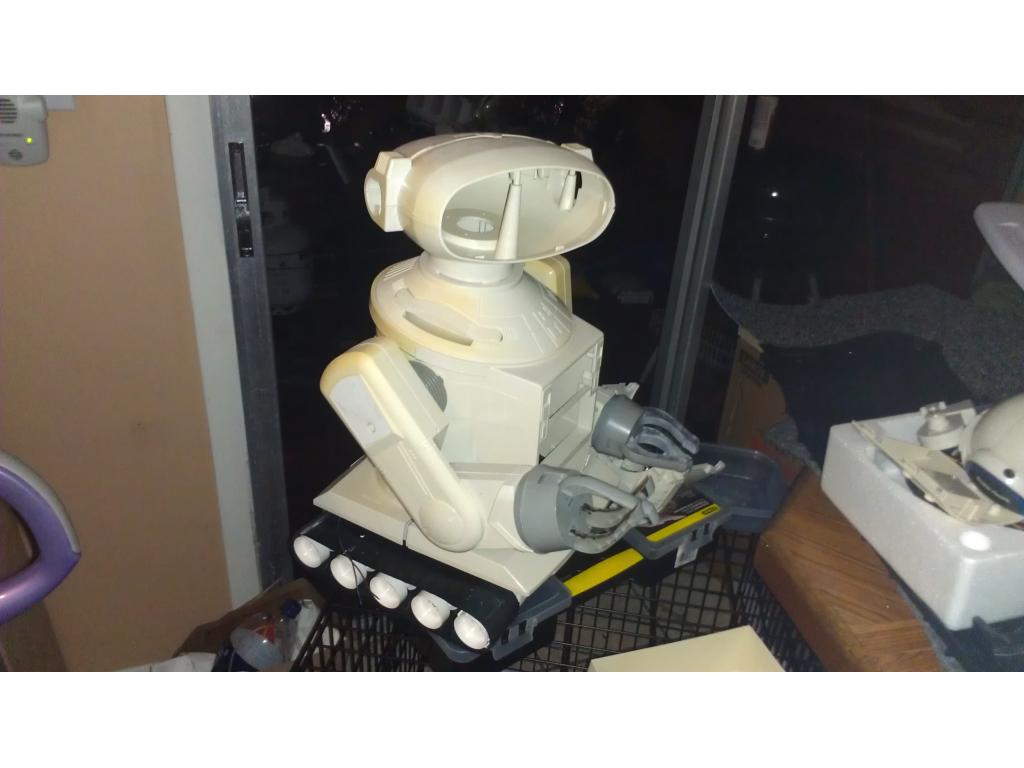
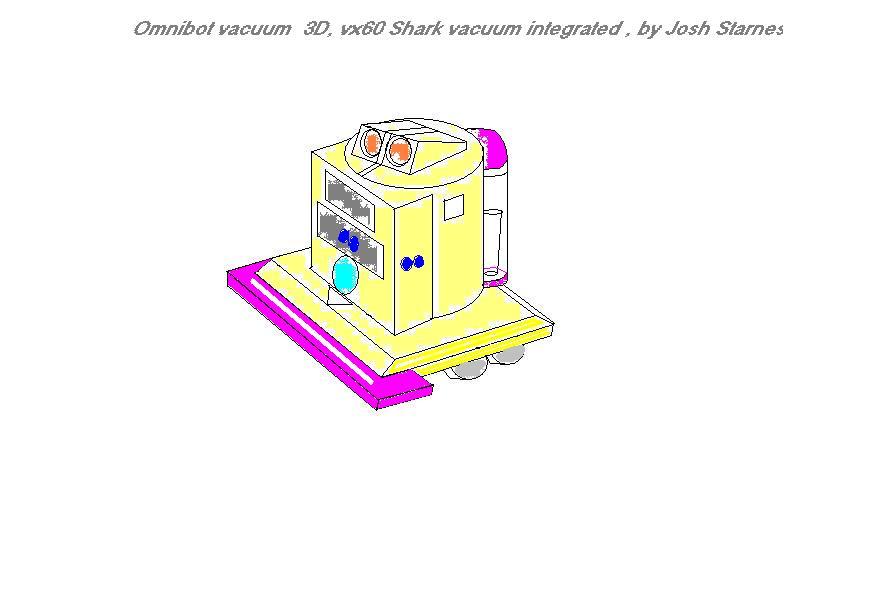
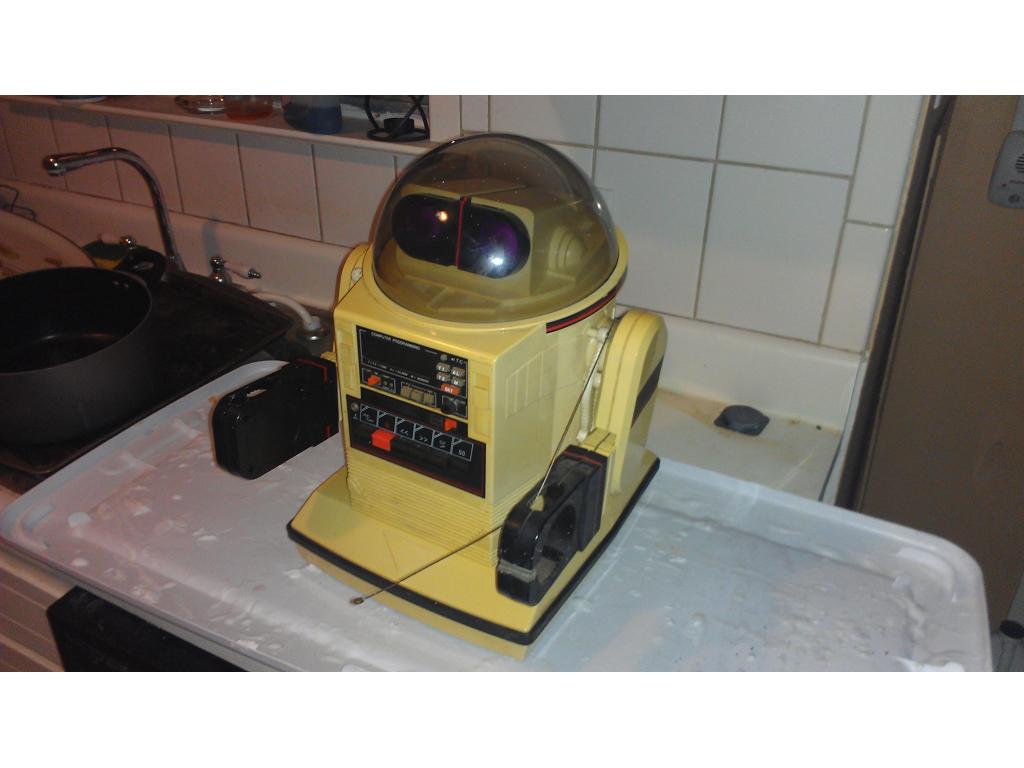
This project has evolved some , the basic rundown is I'm modding two Omnibots , one a regular the other a larger 2000 model. I will have two ezb kits , rad base idea was thrown out because of so much noise but could go back on the table if the omnibot drivetrain is too weak to pull it.
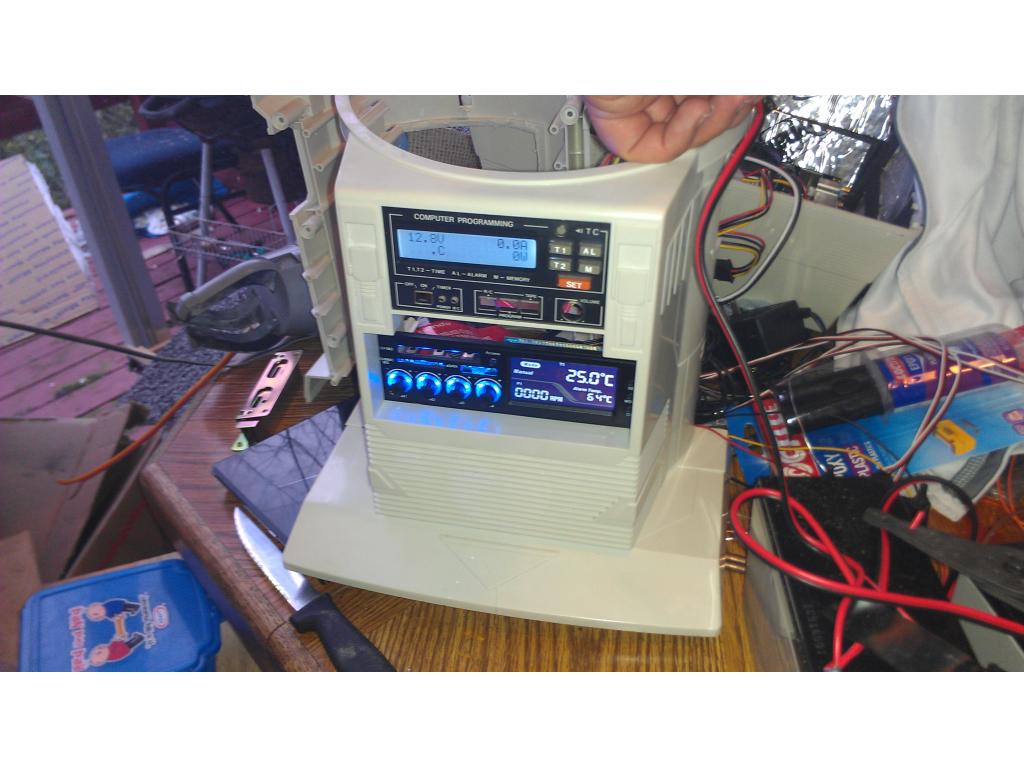
I guess I just don't want to spend anymore lol I.already have it laying around and it plays independent from the computer so if I'm just wanting to listen to music for a few hours without the computer running I can. Most important is 14 watts is rms (real watts) and 25 max per speaker. It has USB plug in to connect to mass storage , hard drive and a remote control for volume. This way I can quickly turn volume up or down as well. It also accepts a input from the onboard pc too , plus if I run it remotely I can project jarvis voice and noises to the radio via fm modulation.
i think i got my amp board on ebay for $25 ,very small board,cd player took from a old computer my plan for mine i can play movies ,using a projector or wireless to my 52 inch HD flat screen also
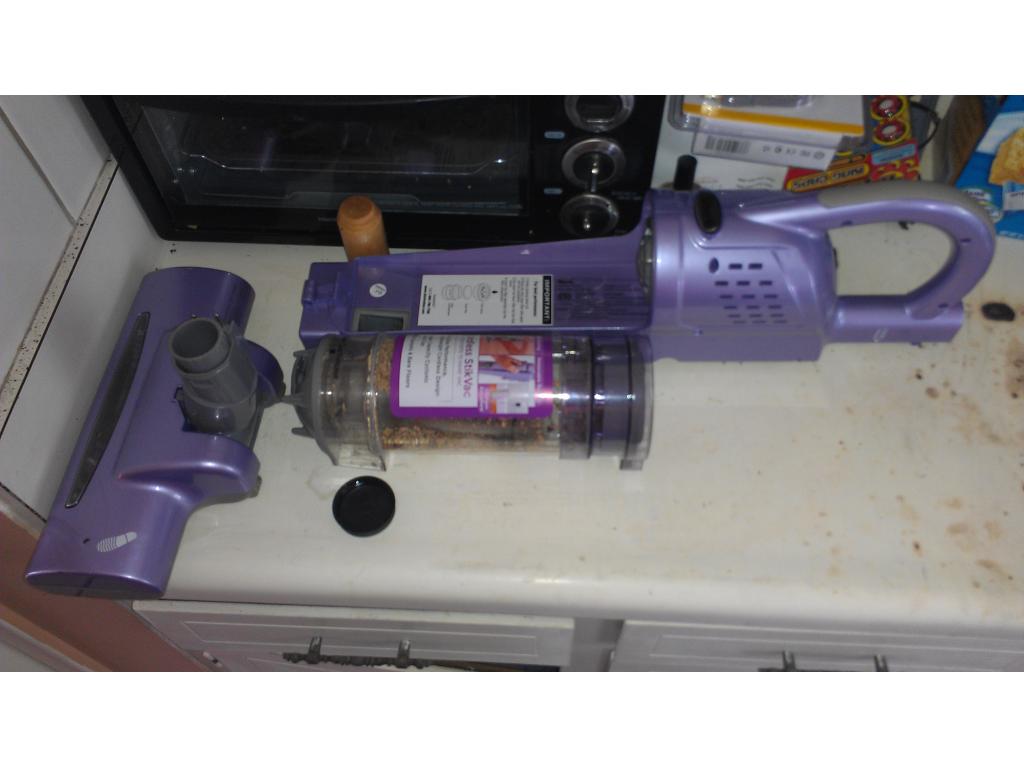
The mad scientists has come out! I eyeballed (that's cutting by the seat of your pants) , the back cover and the vacuum. It requires some fine cutting but I admit it came out very close for a first try!
Here is a upright view for those you can't turn your desktop sideways lol. I cut the handle off the vacuum and will fill the hole with bondo body filler and sand it over smooth before its done , first I must get inside the vacuum and solder power wires to feed this former shark cordless beast! I am considering cutting down about another half inch basically as deep as the half moon knotches seen in the picture. Once its wired and tested I was going to glue it permanently to.the back.or affix it from the inside with screws. Remember all this will be painted the same color. Any suggestions?
That looks REALLY GOOD! You an inspiration to a lot of us. You combine form with function. It isnt only about a vacuuming robot, its a great looking robot that vacuums!
@troy thankyou! Hopefully he will look really good and be a robot worth having.