


Day 1 (4th August 2015)
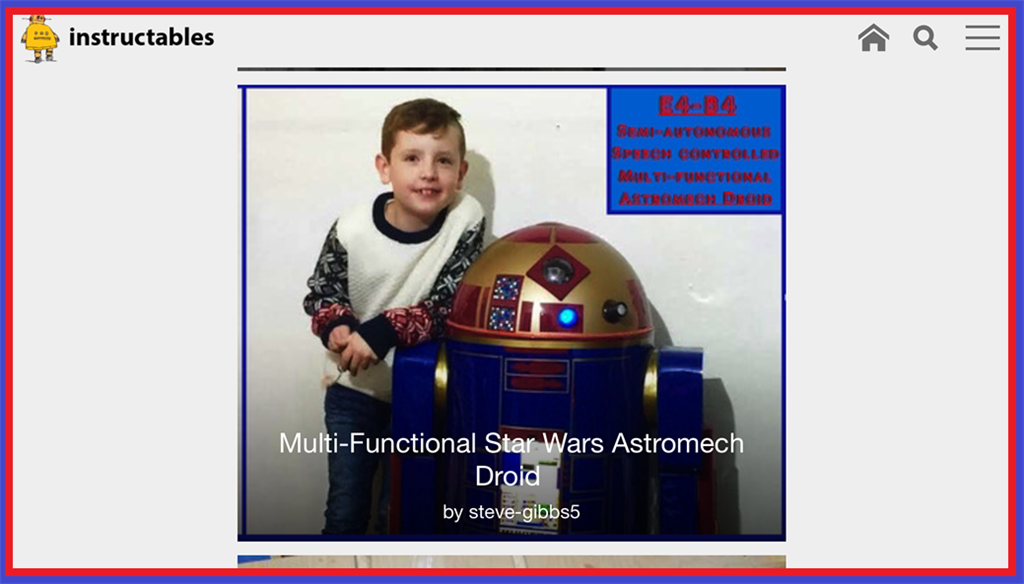
So after throwing around a few ideas for a new project to sink my teeth in to, I decided to go ahead and do my own version of an Astromech Droid, rather an Astromech "Smartdroid". With K-9 being one of my all time favourite on-screen robots, R2-D2 was (and still is) just as much of an all time favourite of mine so building one of my own droids is a logical step for me. As my other robot showcases where posted when the majority of the work was done, this will be a build diary of sorts, with updates throughout the build.
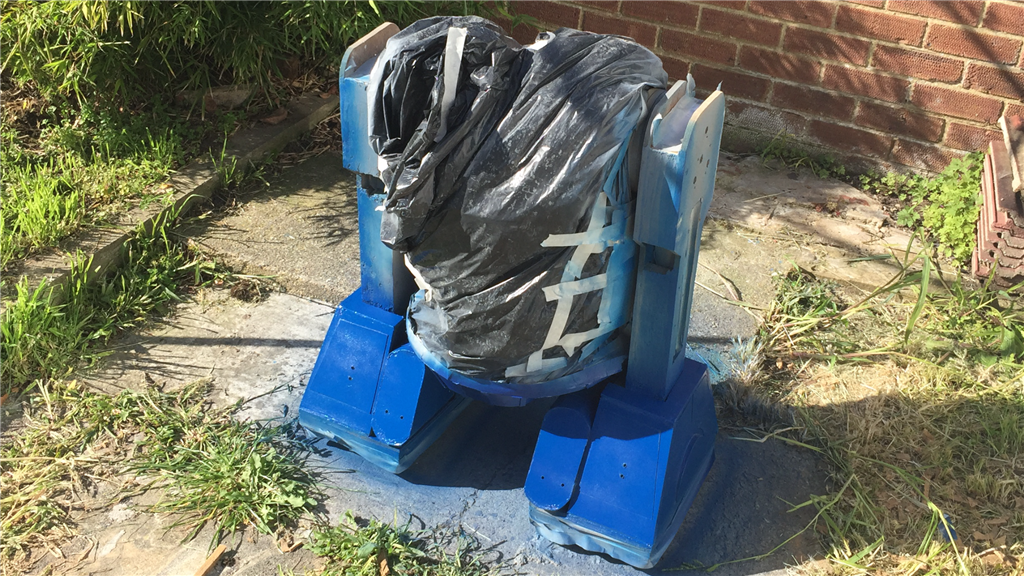
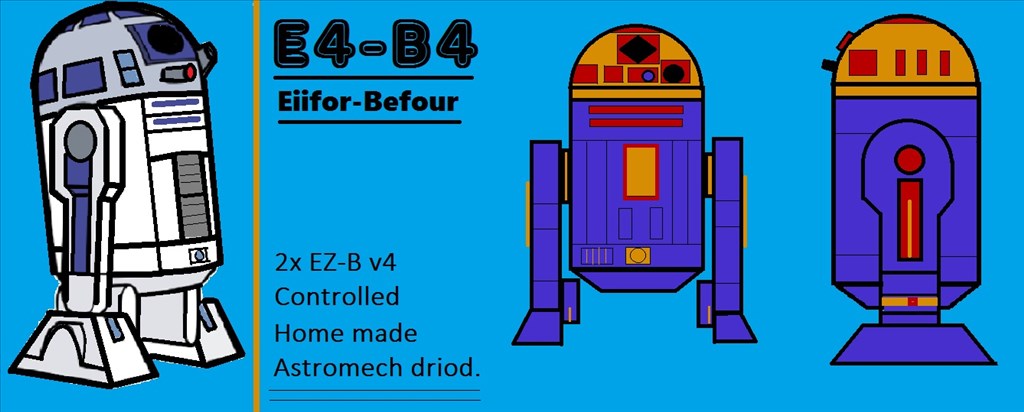
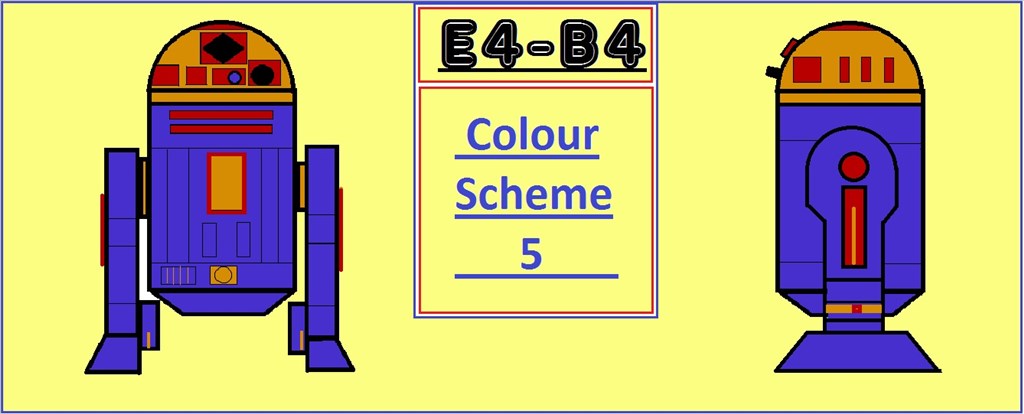
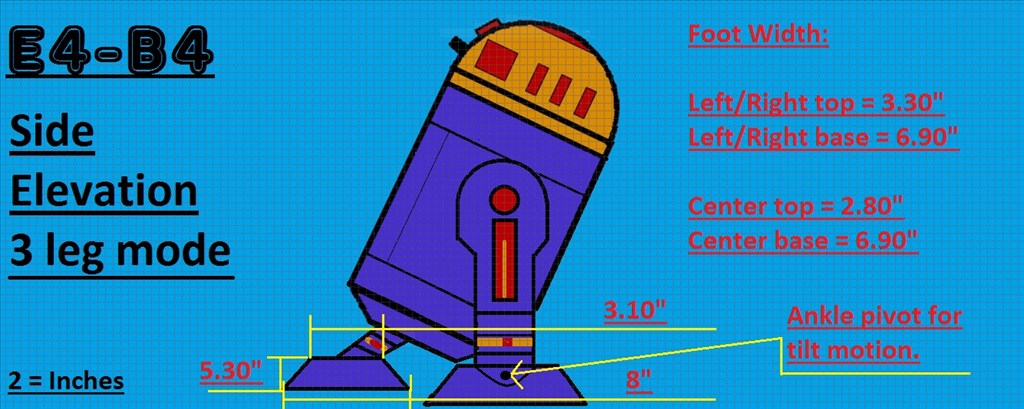
So wanting to get back to building, I had a few ideas floating around for my next BIG project and the thought about doing an R2 style robot came up a few times in the past (the blueprints I drew up that I've posted are 3 years old and was for an R/C version), and after encountering a few design issues for a large custom robot (which I will get back to one day), it was @Robot56's fantastic Astromech Droid project that was the final push for me to decide what direction I should go. There are so many great scale replica Astromech builds around that people have done, but much like my K-9 2.0 build, I want to stay away from doing an exact prop replica build and do a custom build with custom paint job (as seen in the blueprints) while still keeping with the overall original design.
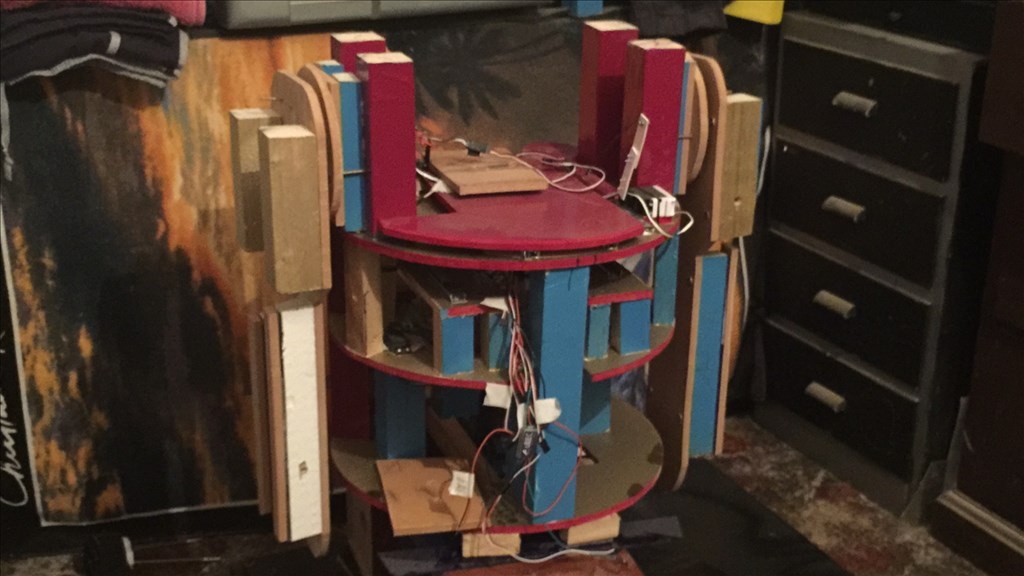
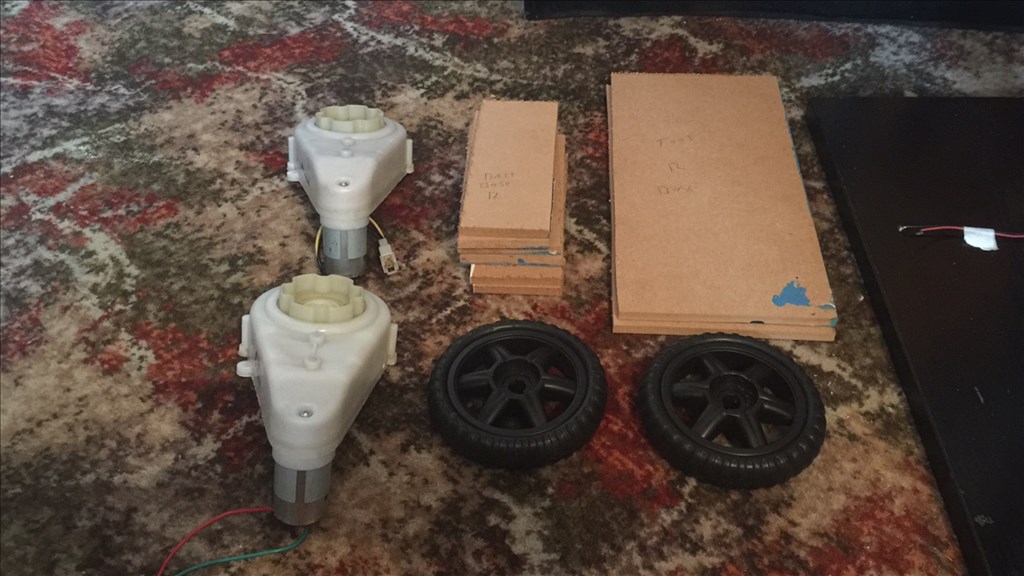
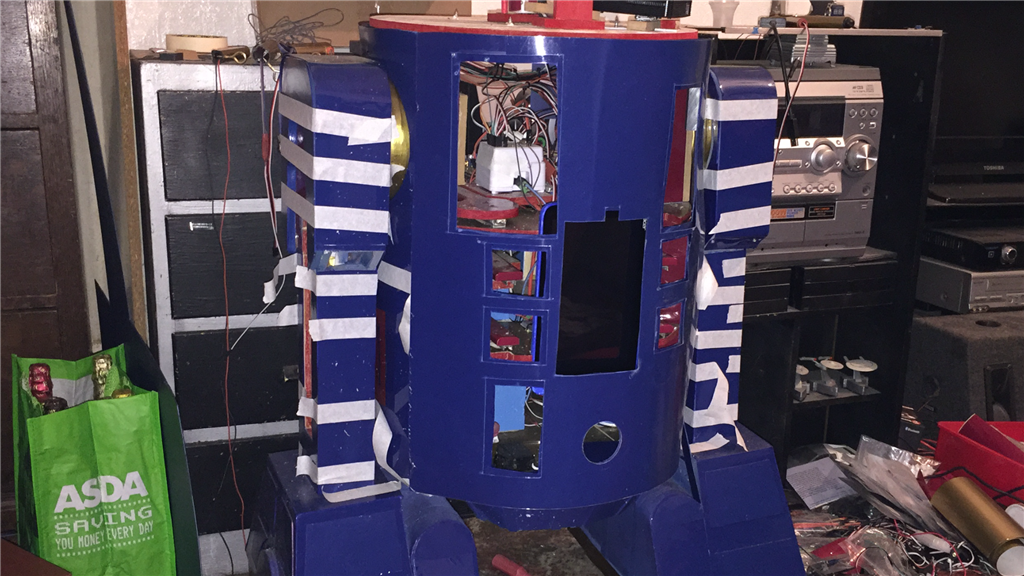
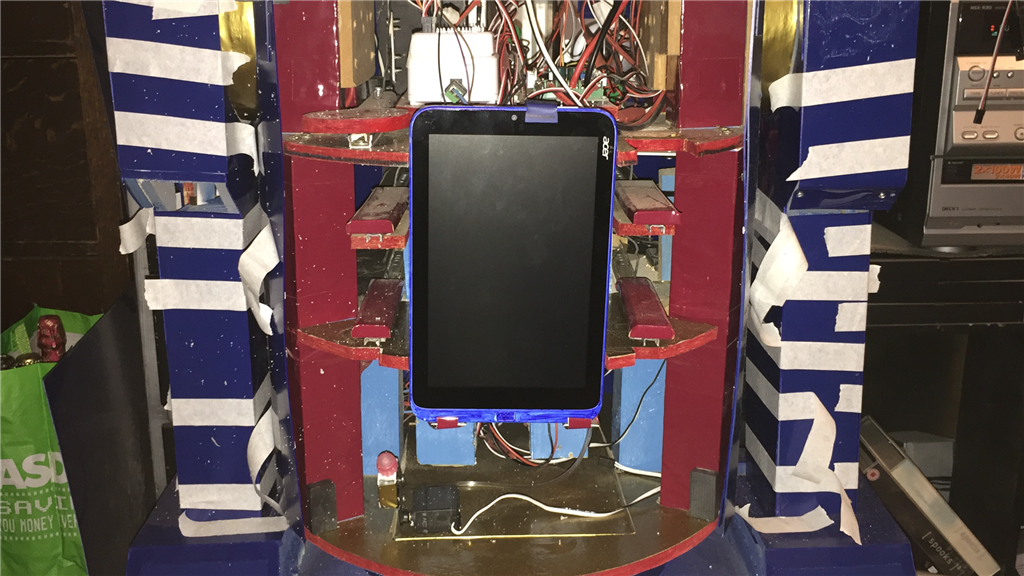
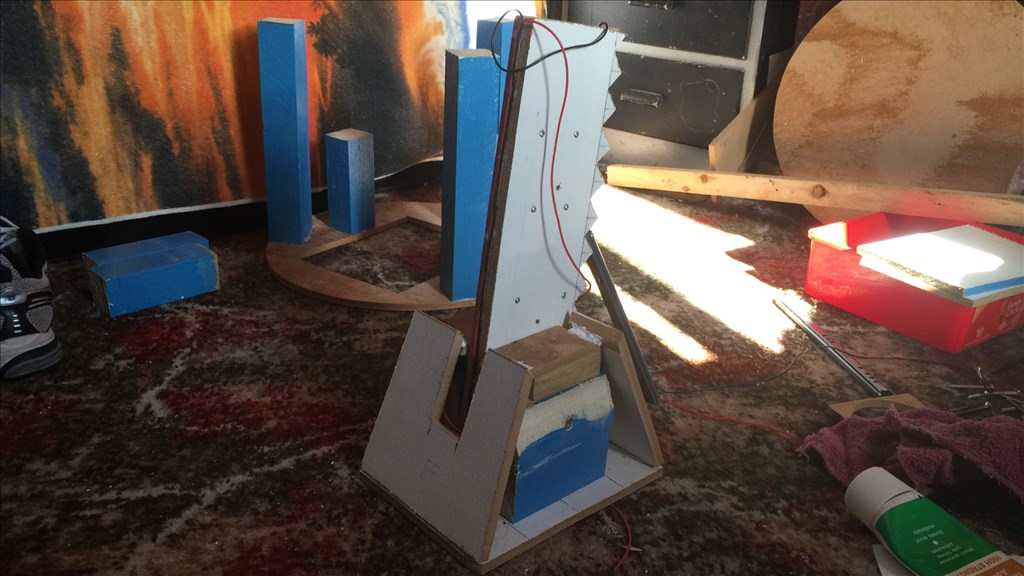
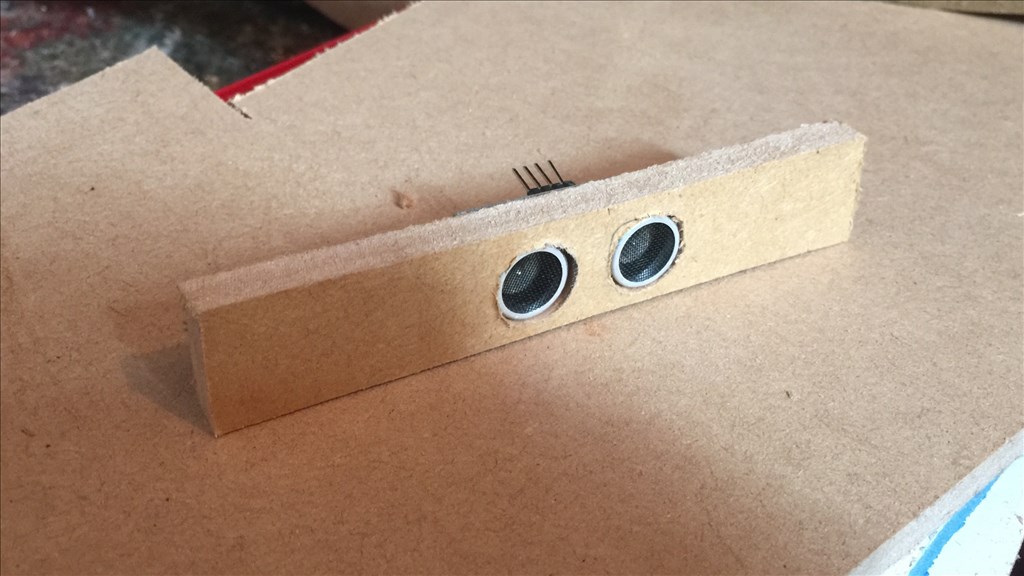
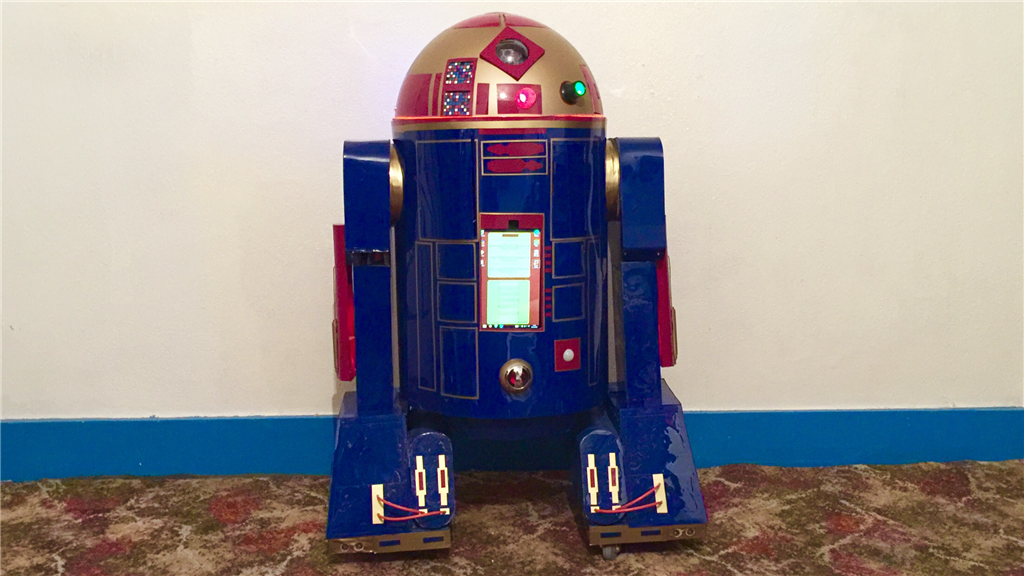
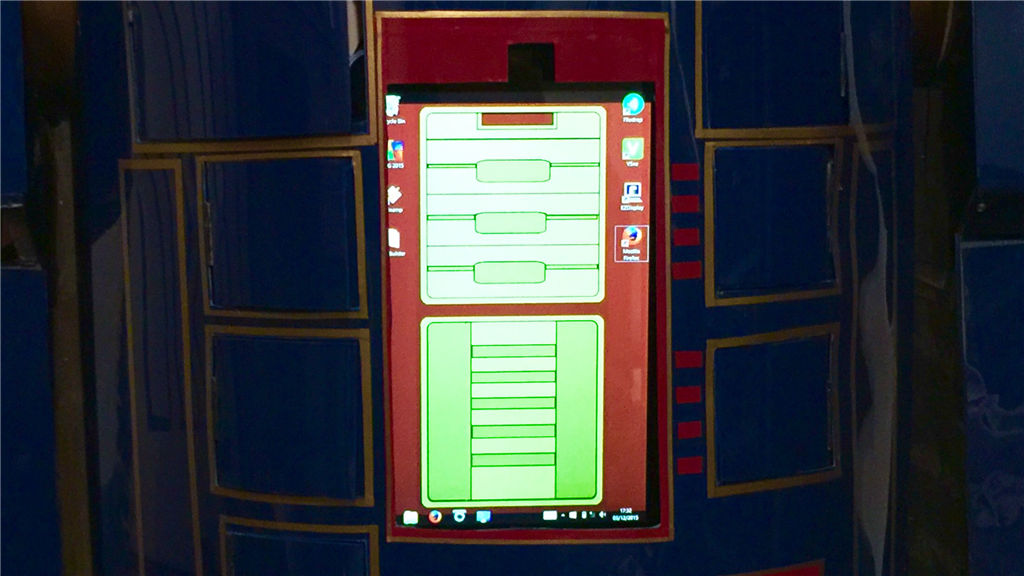
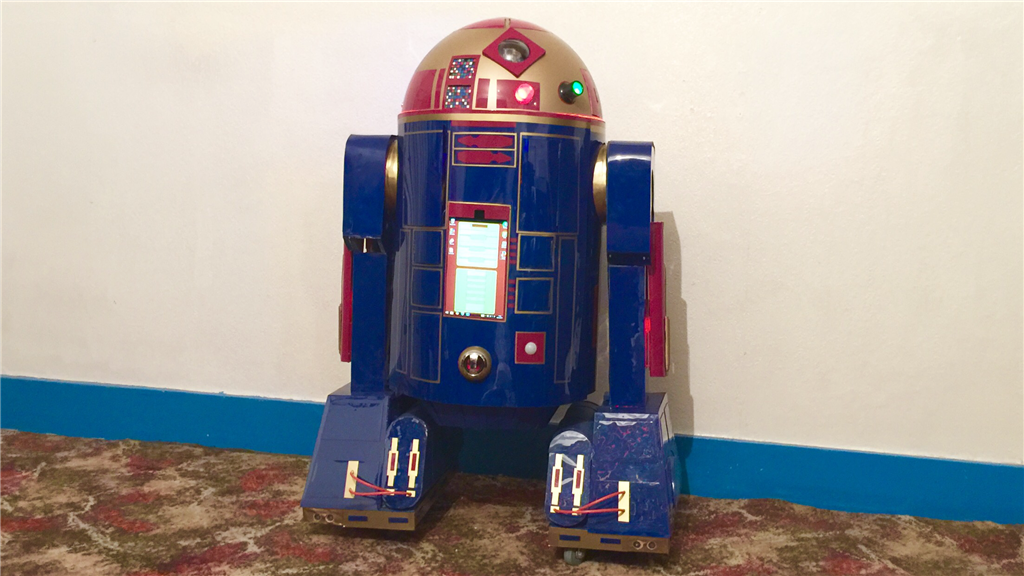
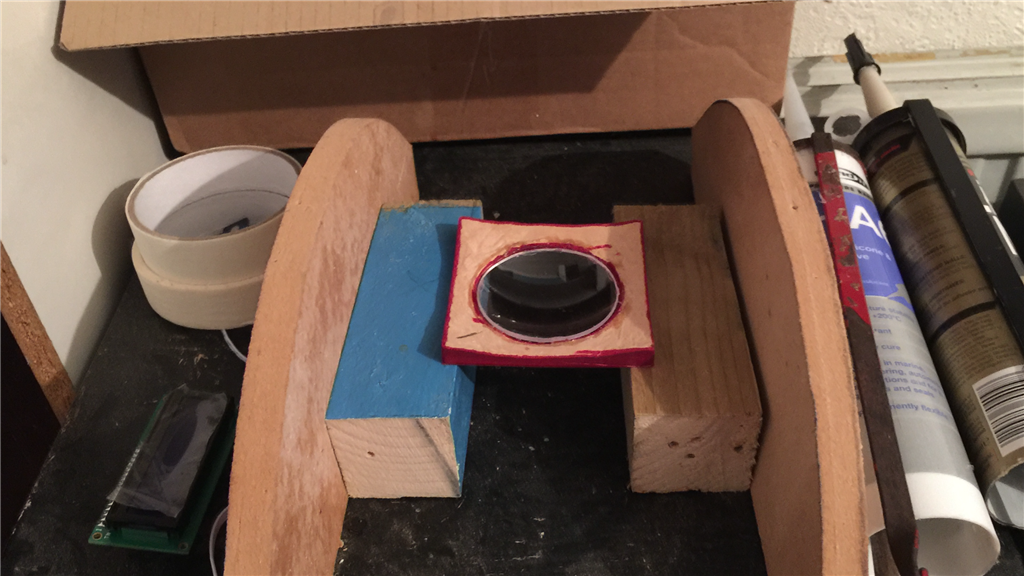
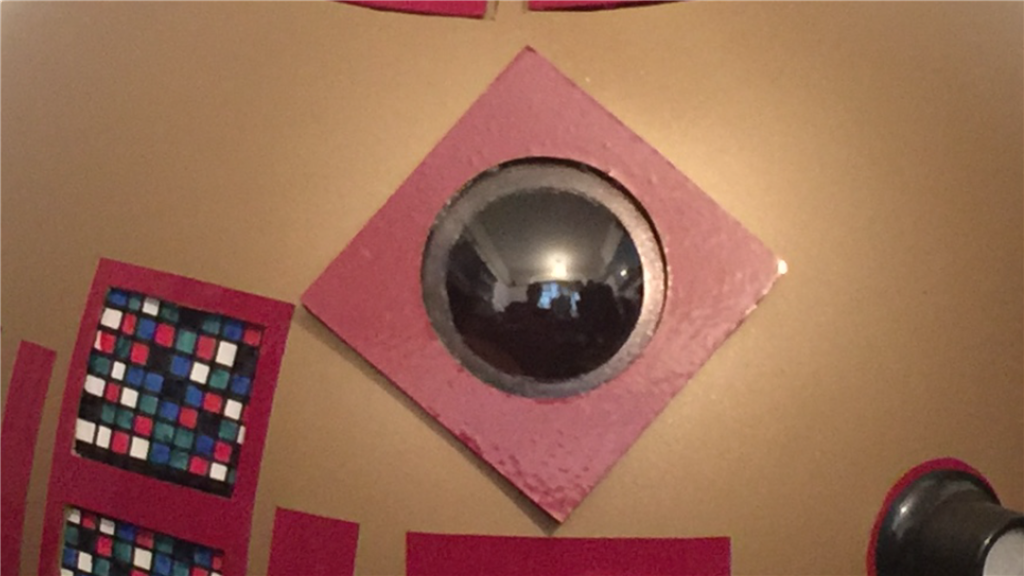
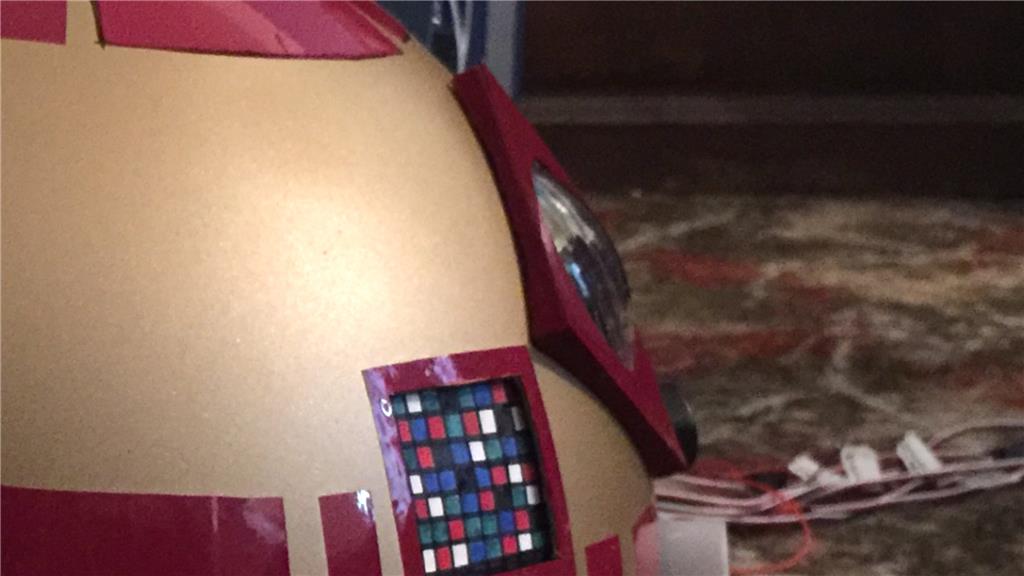
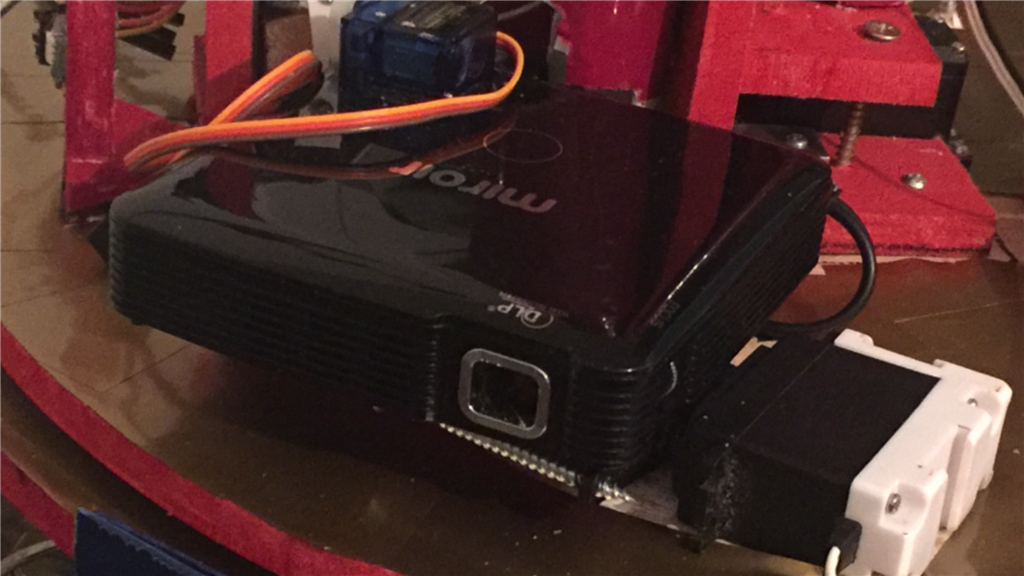
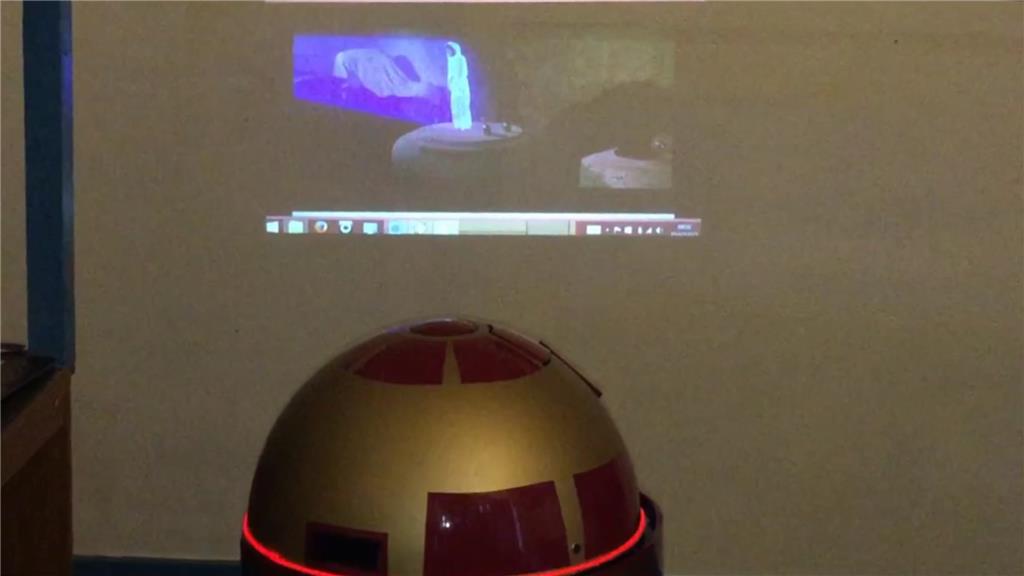
So what's with the name E4-B4 (Eiifor-Befour)? Well its kinda based on the EZ-B 4, of which this little'ish guy will have two of them. One master v4 to control motor controllers, ping sensors, v4 soundboard, camera and sensors, while the 2nd slave v4 will be used for all of the servos used as well as additional sensors. E4 will be mainly built using MDF with a plastic covering, and movement will be powered by 12v 30 watt gearbox/motors for the drive system. The "burtt acoustic signaller" and system ventilation vents on R2-D2's chest area (the two silver square'ish panels) will be replaced on E4 with a tablet PC, and the Optical Holographic Projector in R2's head will be something similar to what E4 will have, using a portable projector like the Aiptek or the Pico Genie, so no holograms... yet.
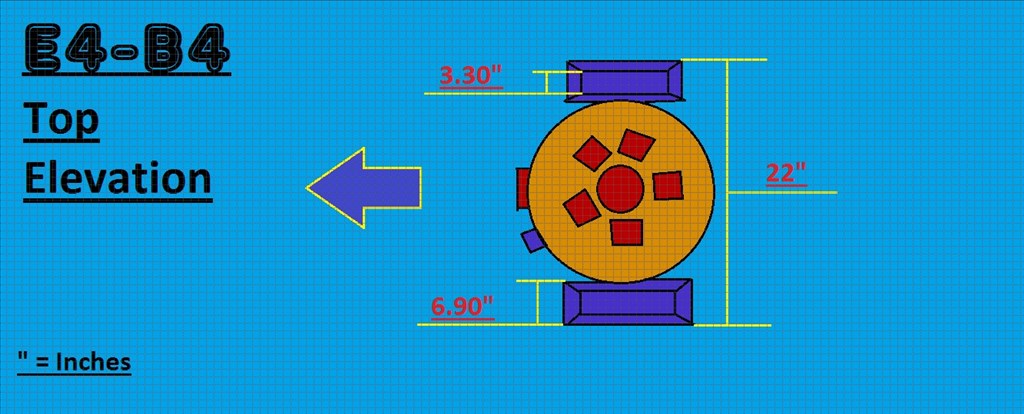
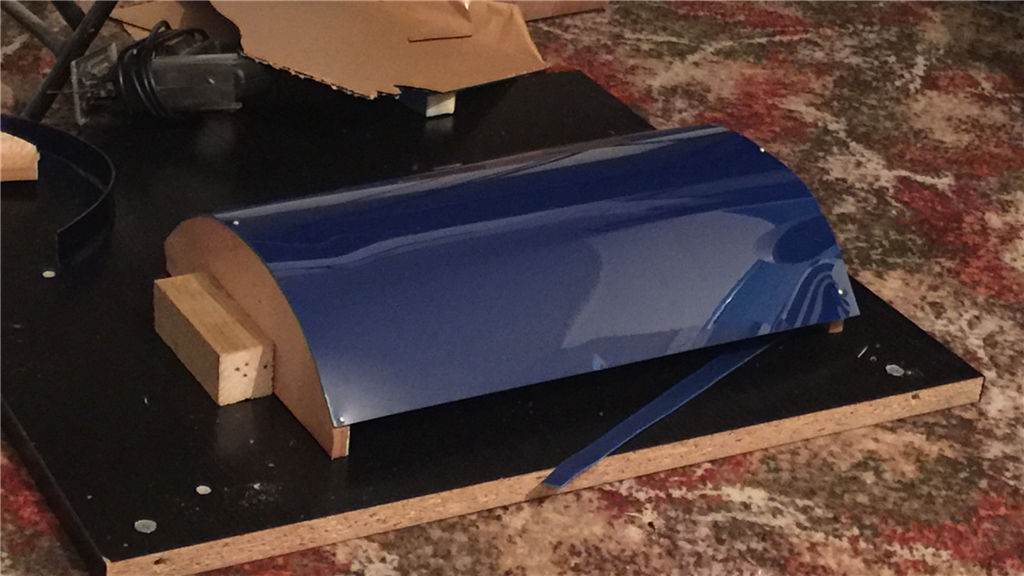
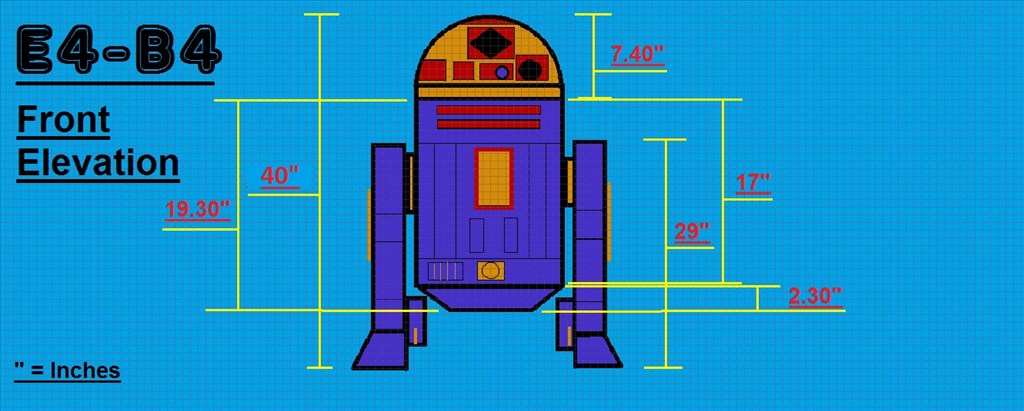
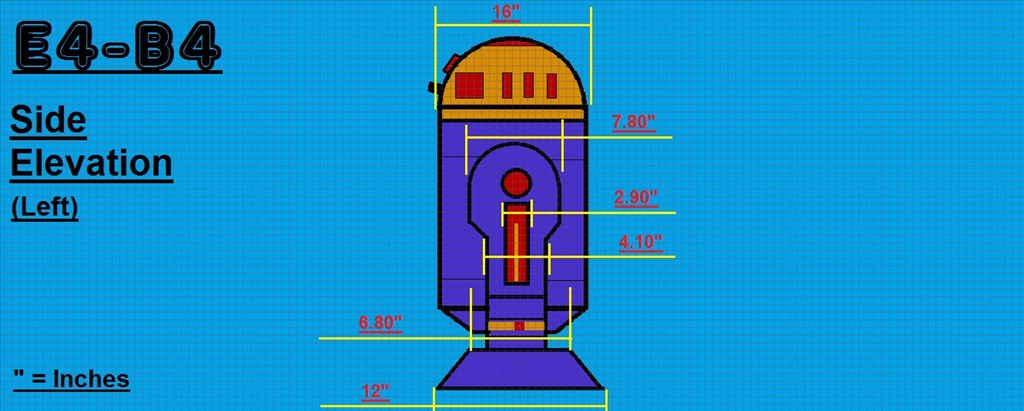
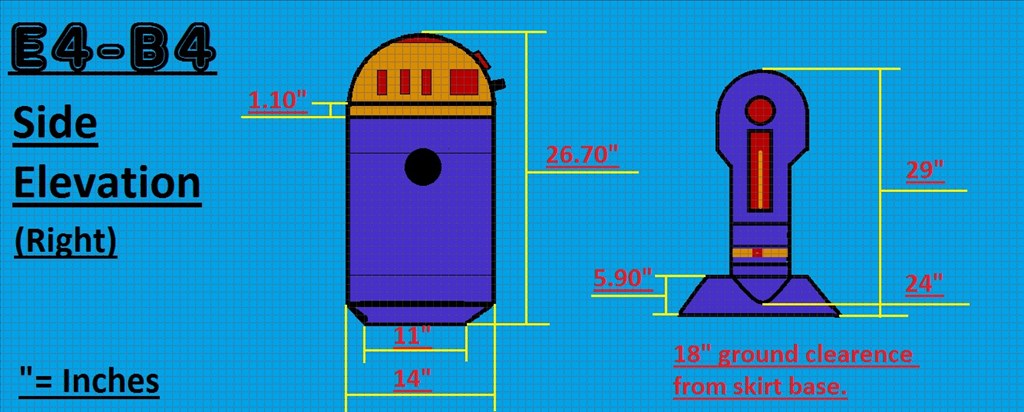
The dimensions will be slightly smaller than the original prob, but not by much so E4 will be plenty big enough. I'm intending to fit a few useful tools that he will be able to deploy, and of course have the fully rotating head which will have all kinds of bells and whistles. I have some of the MDF sheets and 2x4 wood lengths for the frame already, and the motors and head dome (lampshade) should be with me sometime this week, so it will be power tools at the ready. I'm in no rush to finish this project, but I am aiming to have E4-B4 pretty much finished by this December.
I will posting lots of photos and few videos throughout the build process, so I hope anyone reading will find this build dairy interesting and enjoyable. And as always, I'd love to hear your thoughts and suggestions (especially on the colour scheme). Anyway thanks for reading, and let the build begin...
Steve.
Discover more robots
Techcrab101's My Robot Keepon
Cobra71's Beginner Starts With Dickeys Rolling Olli

Hey Dave.
Thank you for your comments. I'm really pleased to hear that you like what I've done so far.
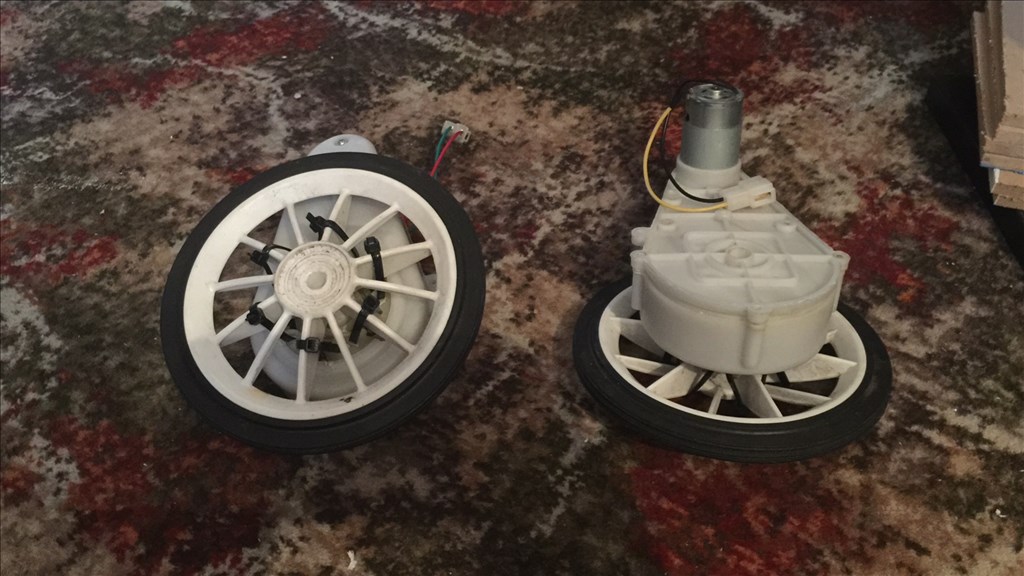
In regards to the motors, no, I'm not using encoders. Just the two 12v DC motors/gearbox going through a 15 amp motor controller/H-Bridge. I have slightly offset one of the motors PWM by two points to help it track straight, which I think was causing some of the issues I had. Like it has been said in the past... not all motors are created equal.
Day 49 (21st September 2015)
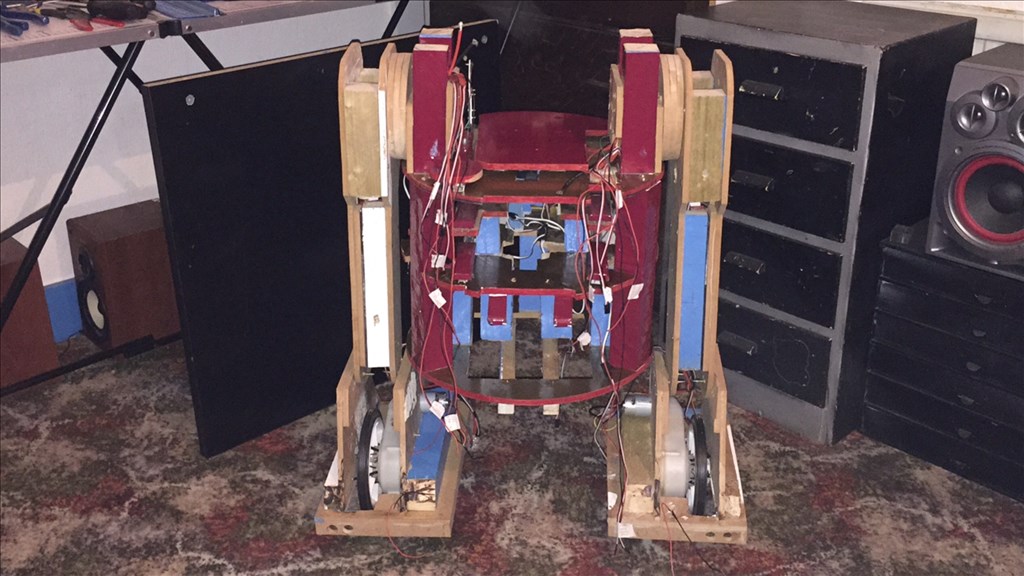
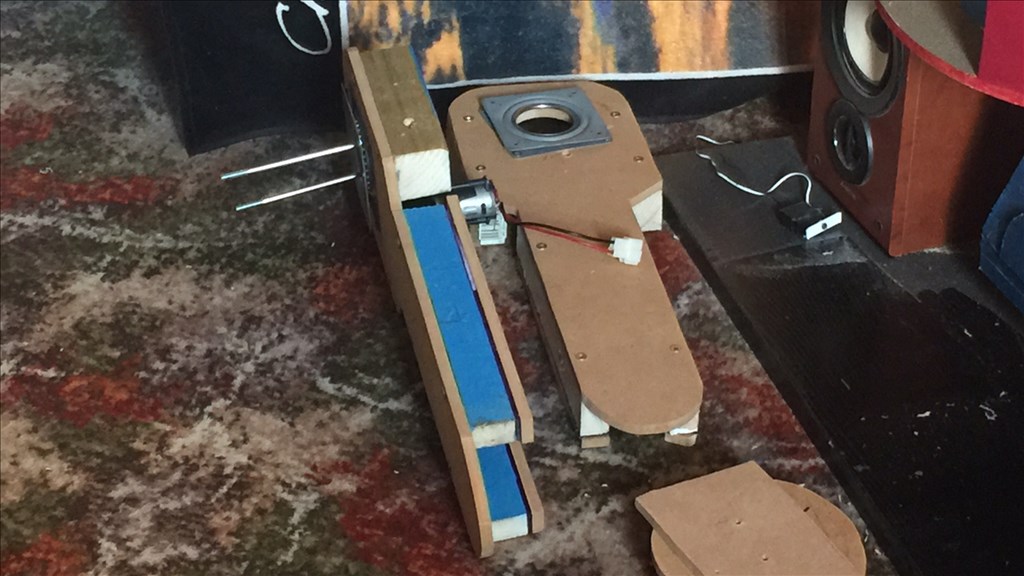
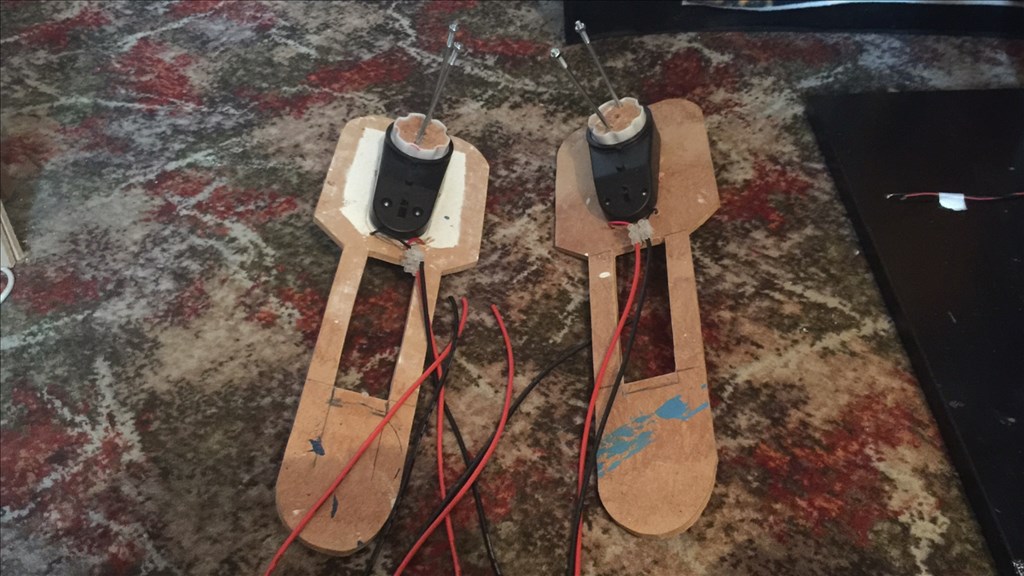
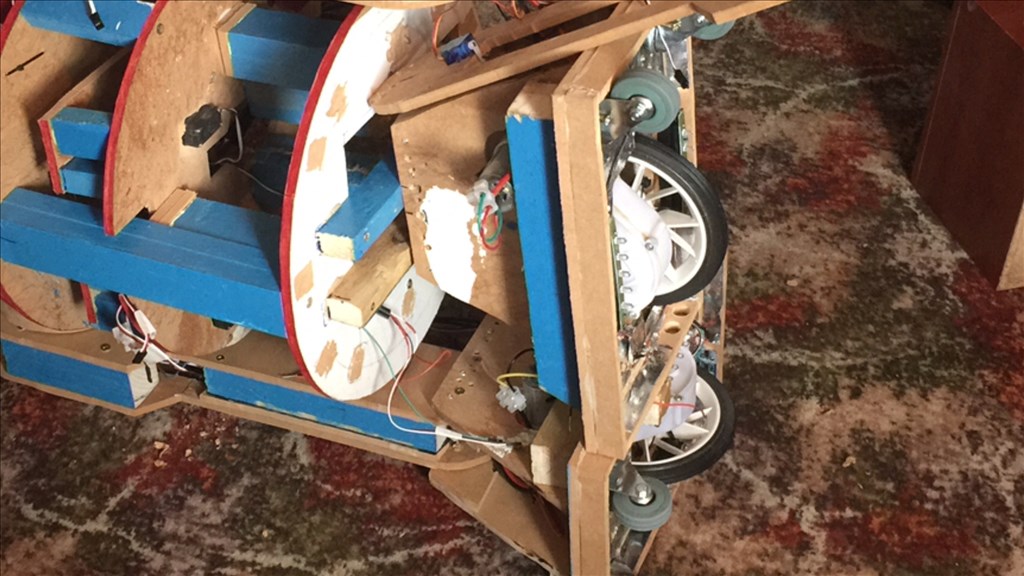
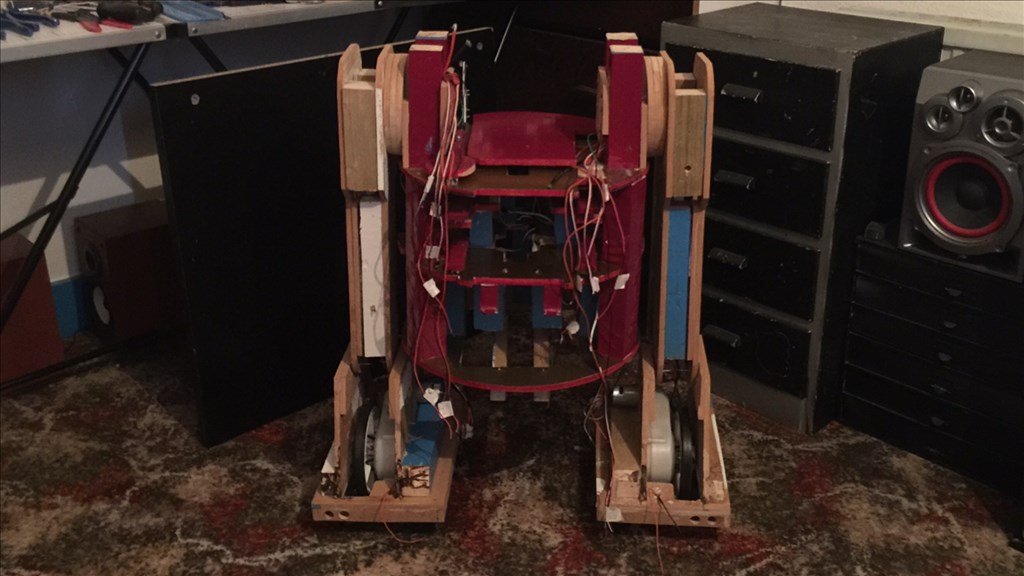
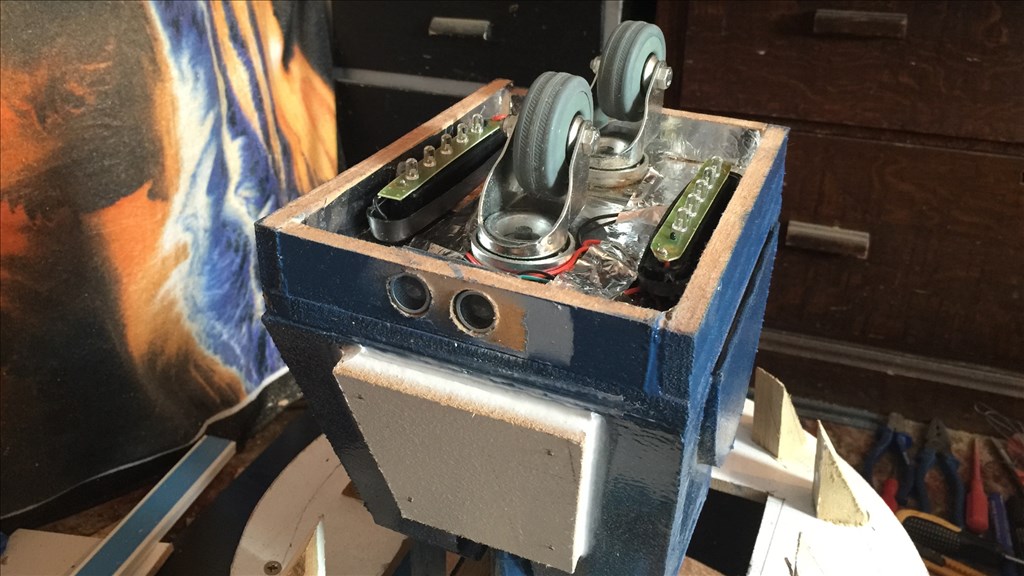
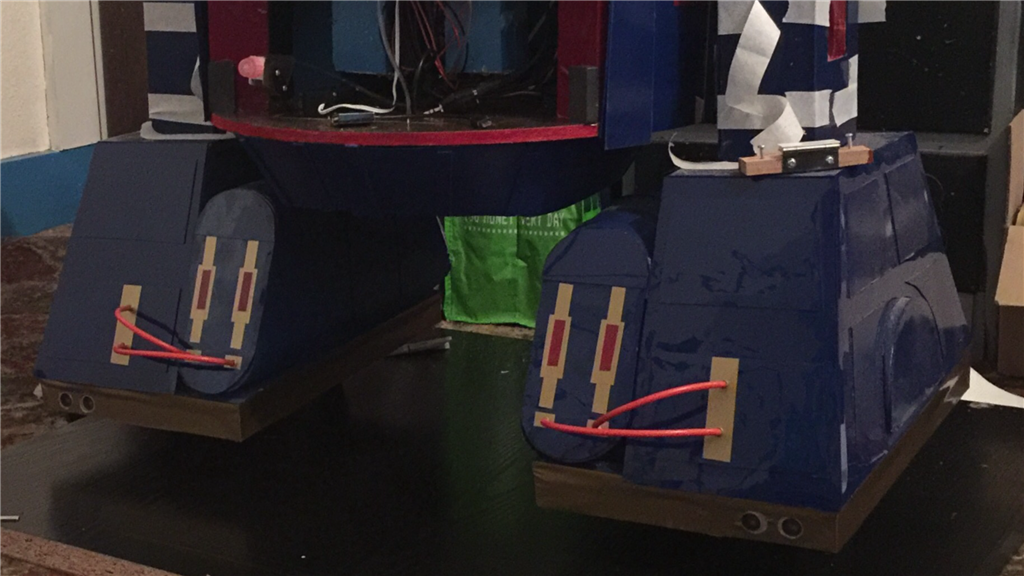
A short update to show what I've been doing over the past few evenings. E4 has some new shoes...
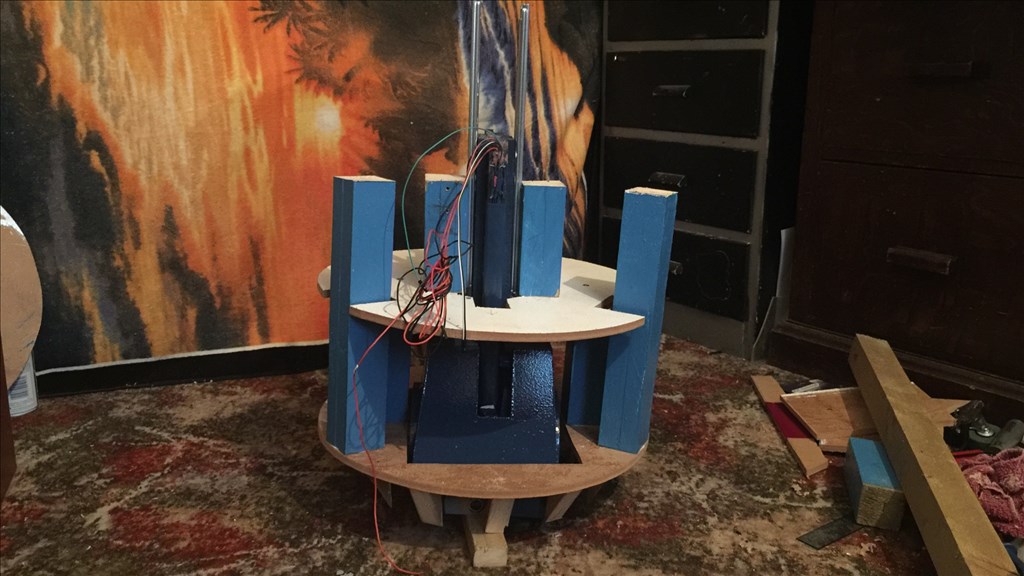
Ive made some more progress over the last few days, and the end of the actual build is getting ever closer now. Here is where I am at...
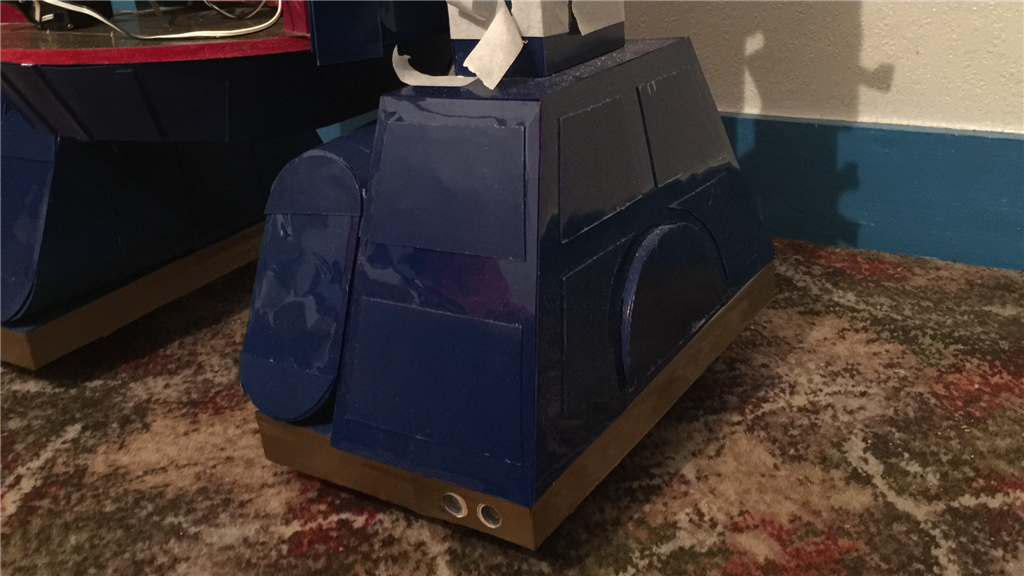
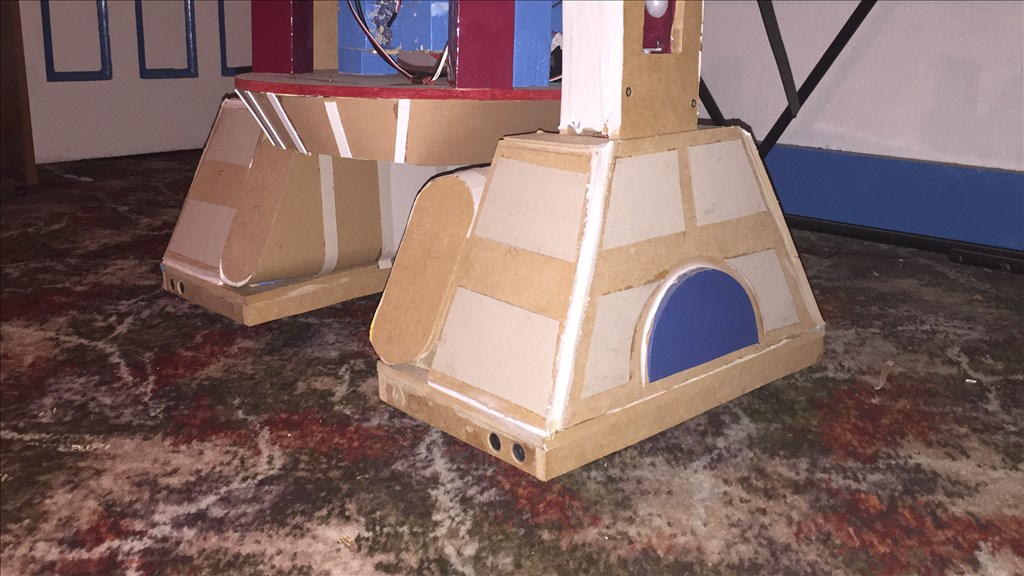
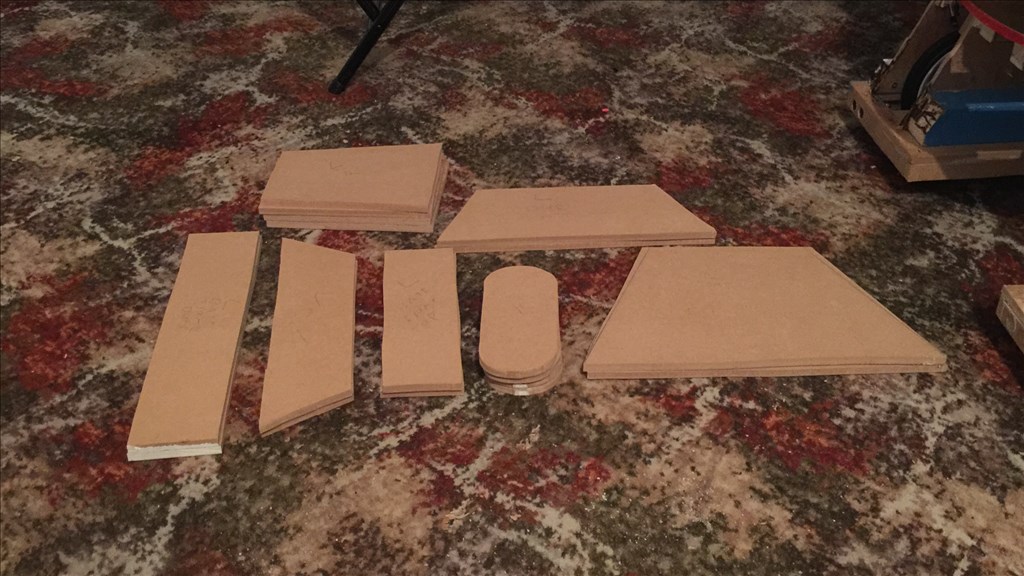
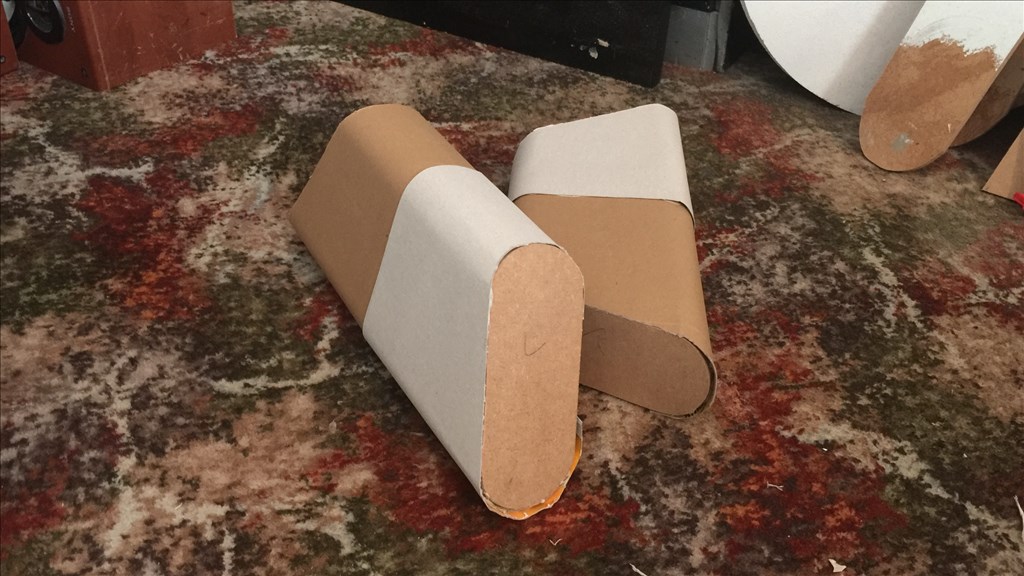
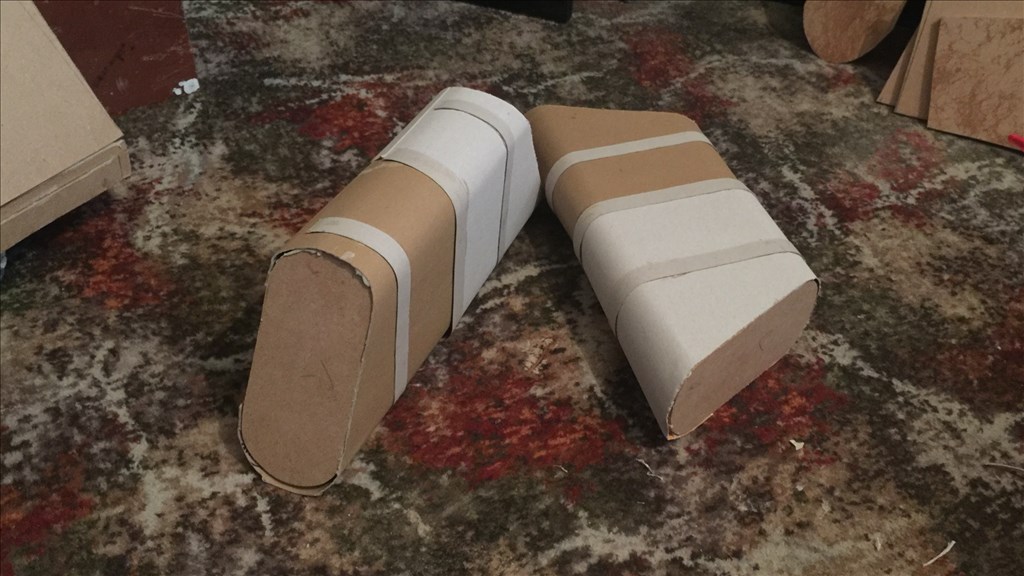
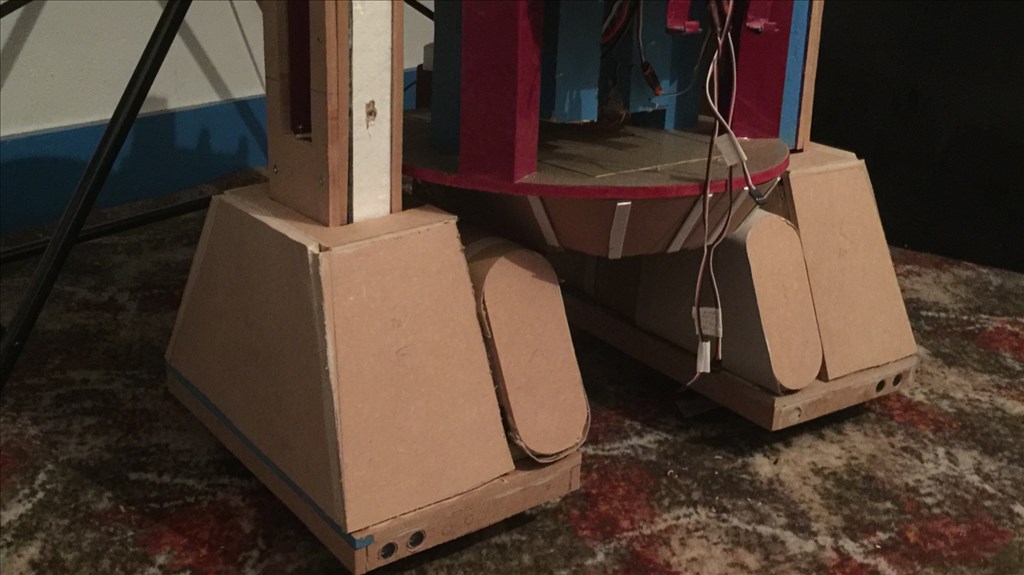
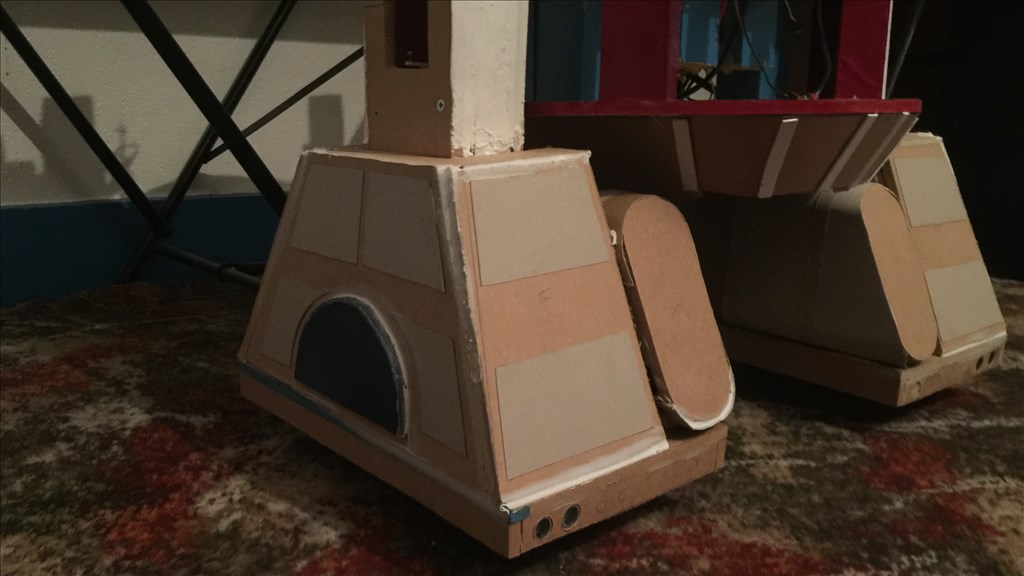
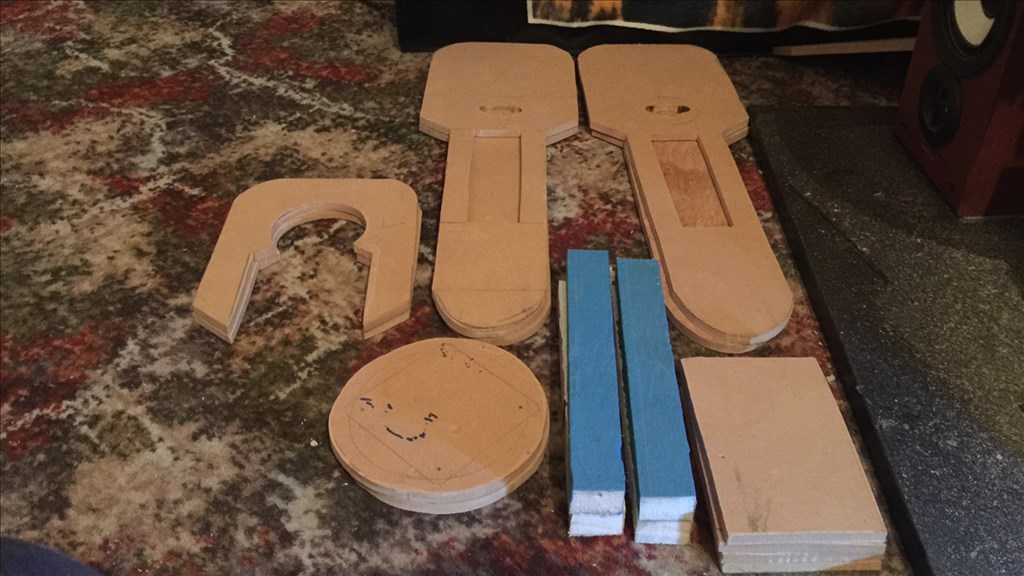
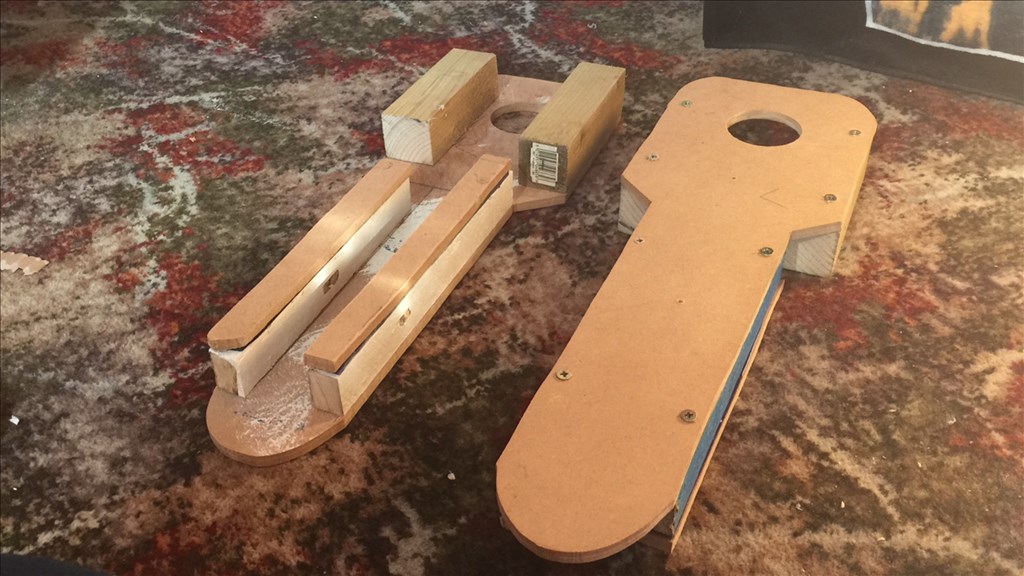
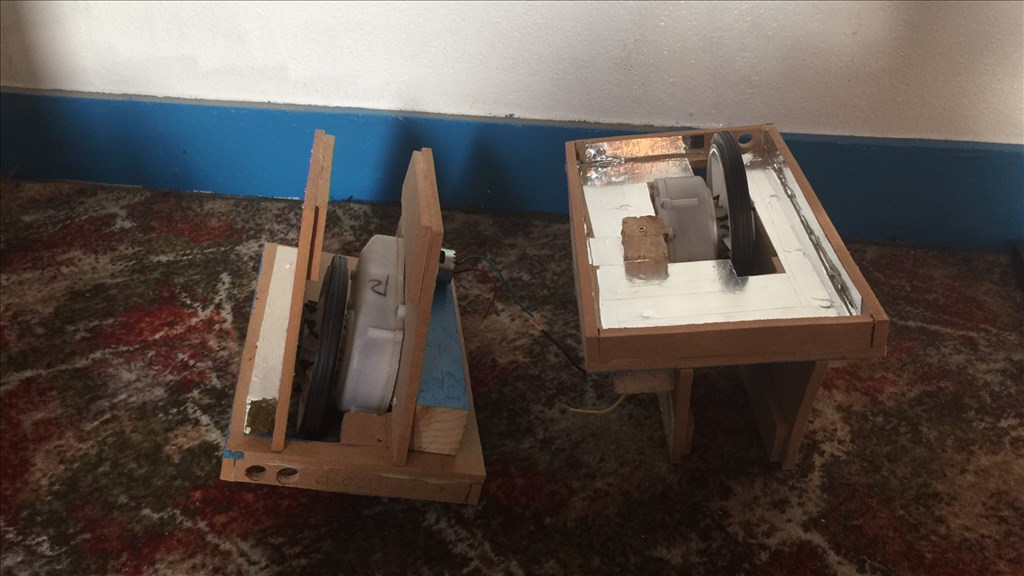
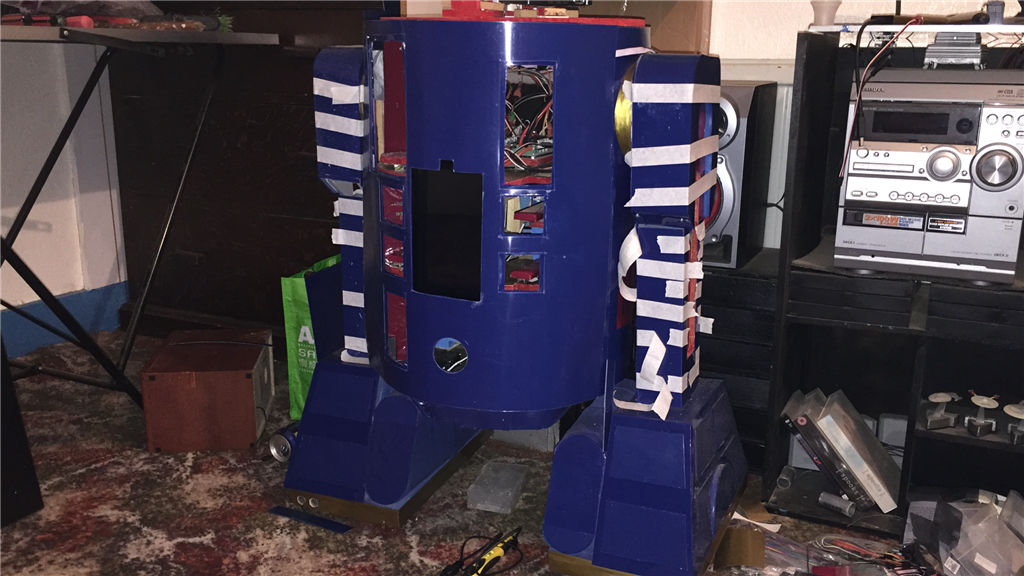
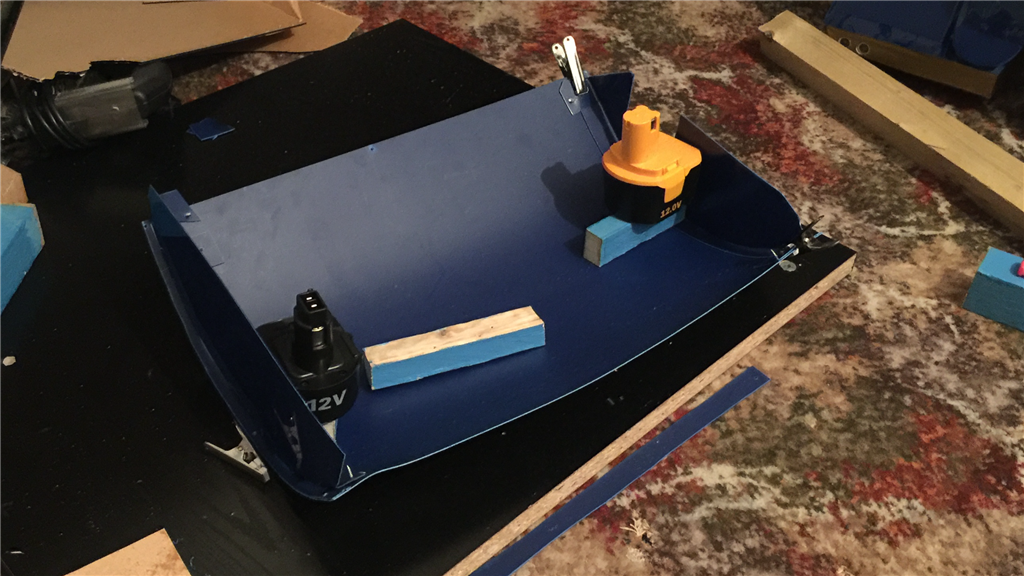
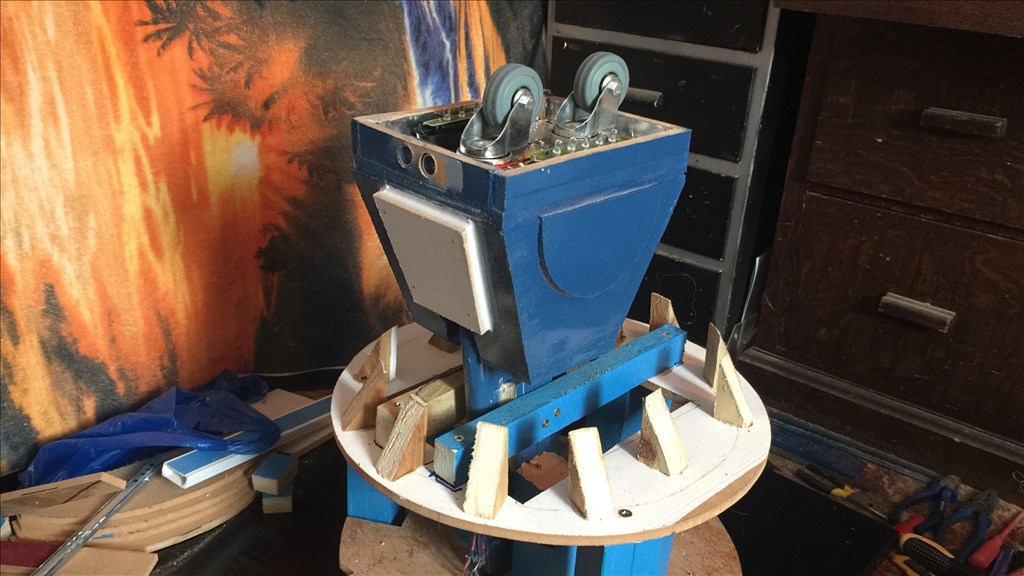
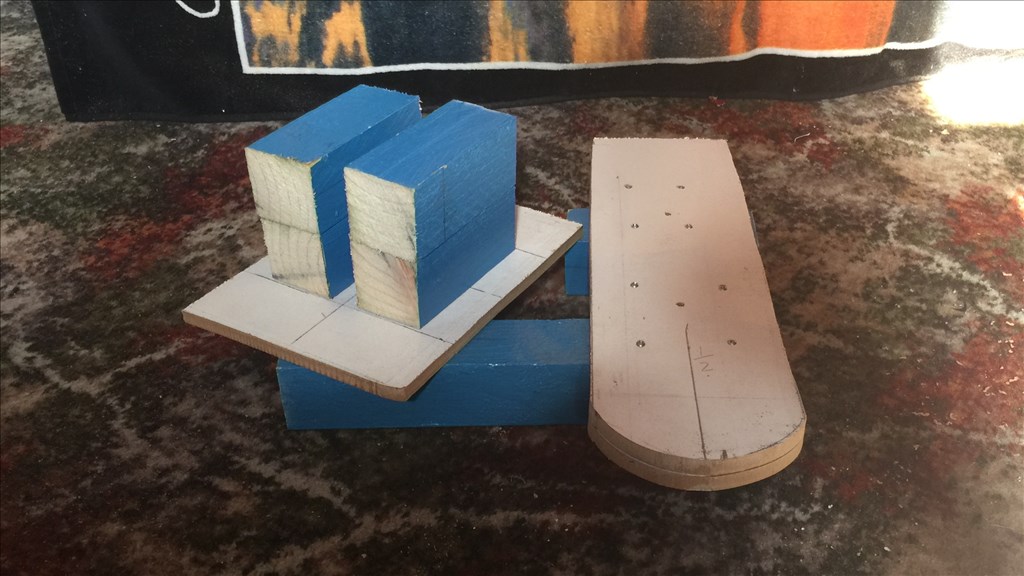
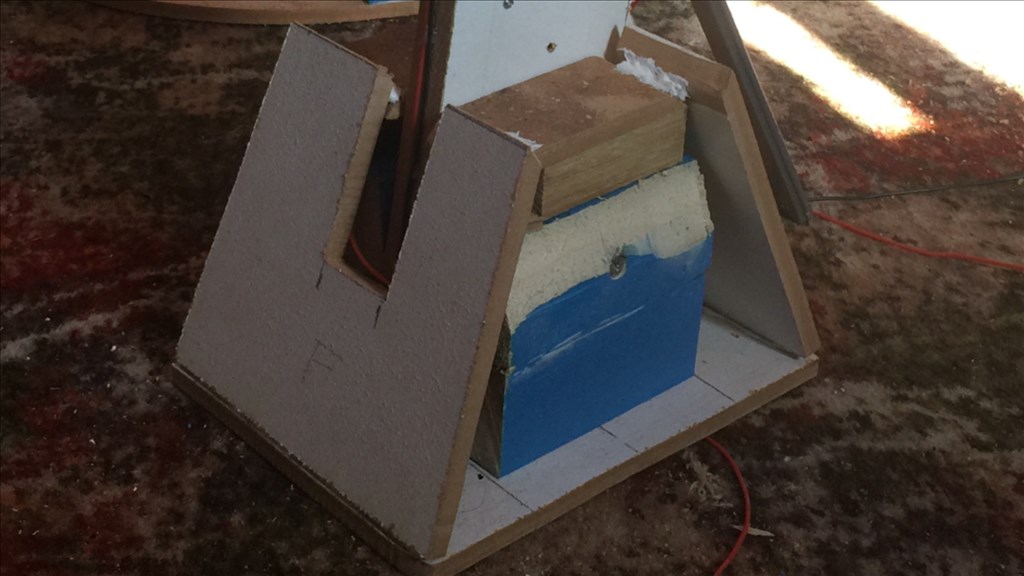
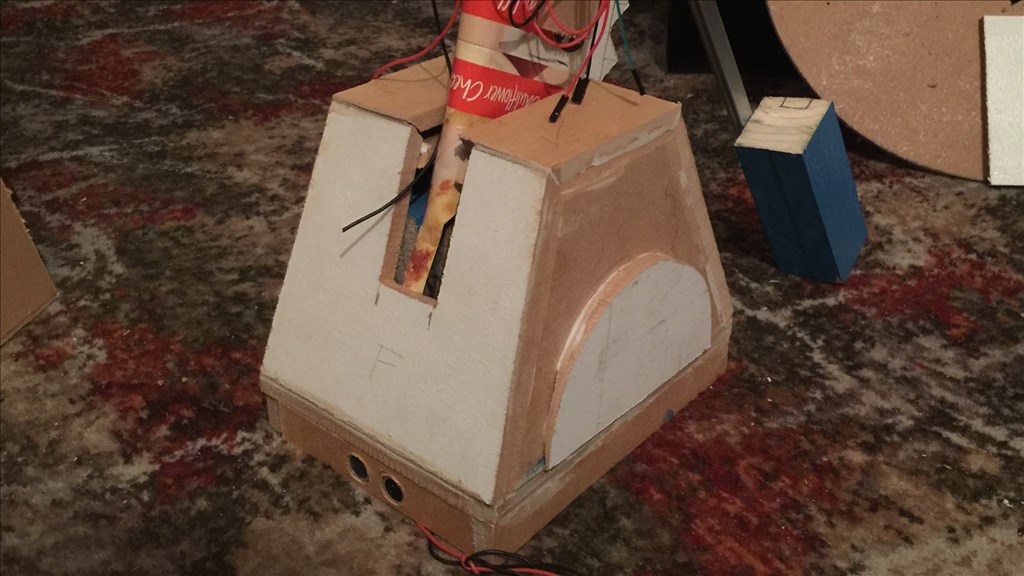
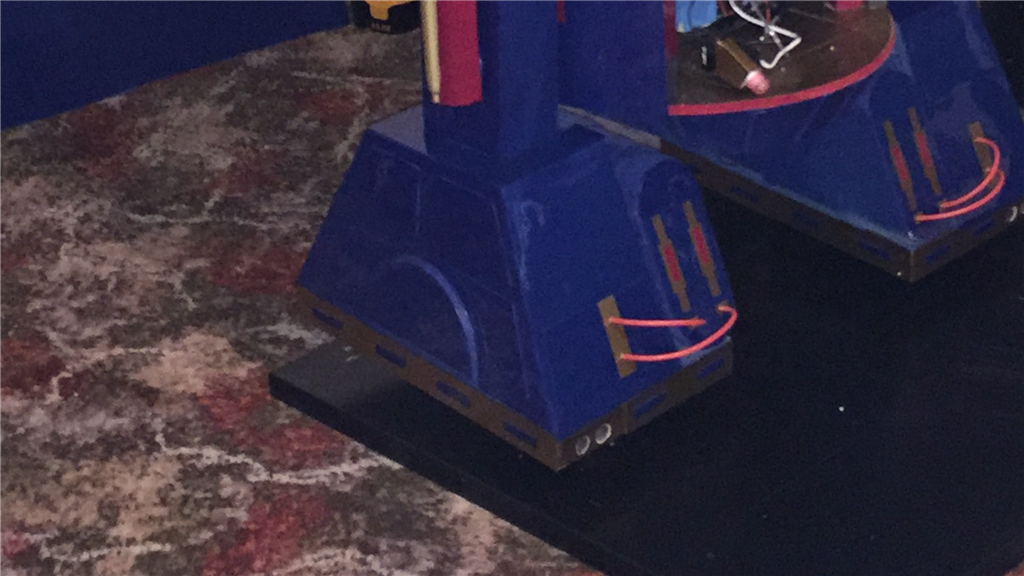
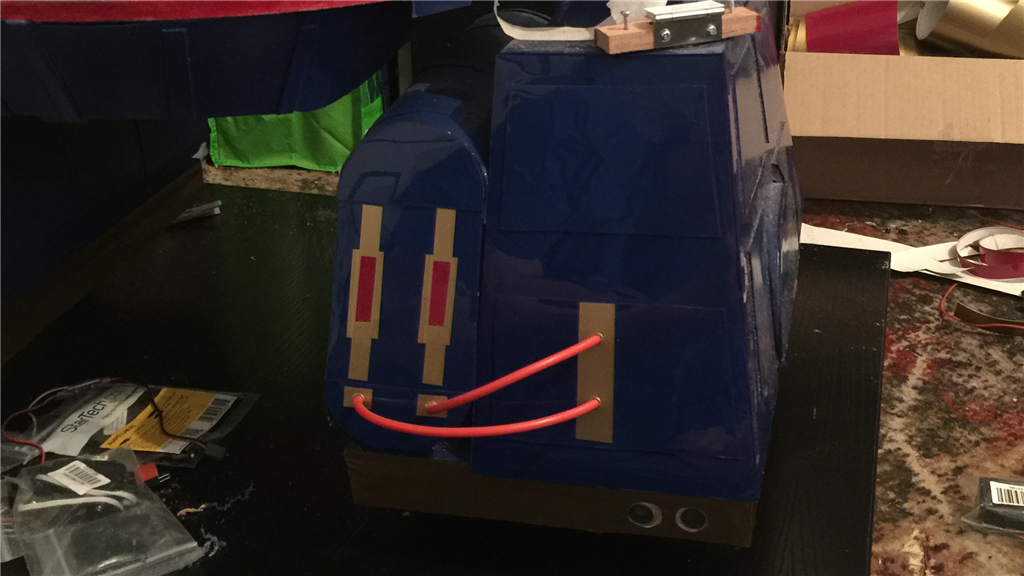
To get the feet finished, I cut out some MDF panels for the battery boxes and feet panels. I decided to make the battery boxes a little different to what R2-D2 has, which are slightly longer and the front and back panels slanted.
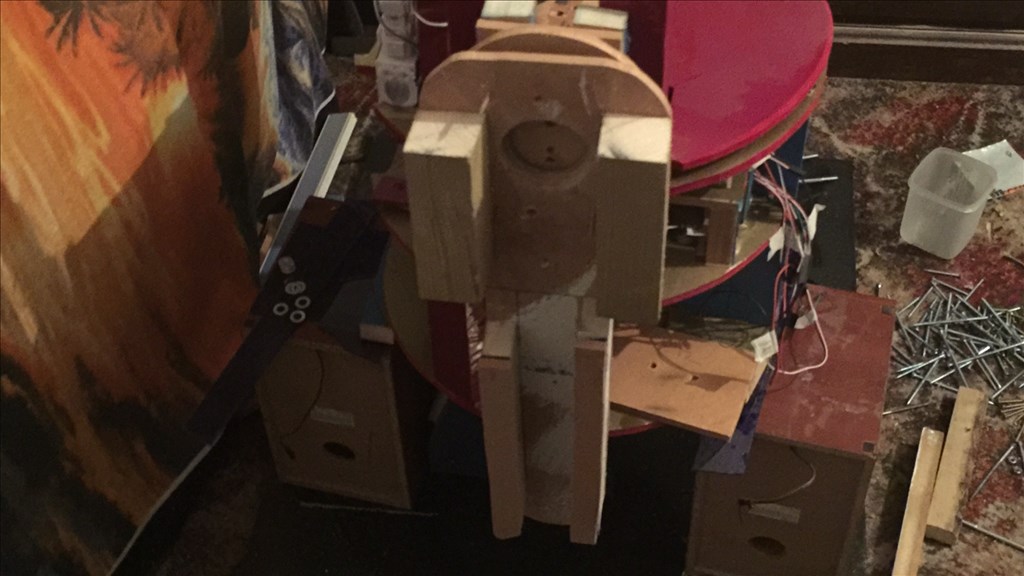
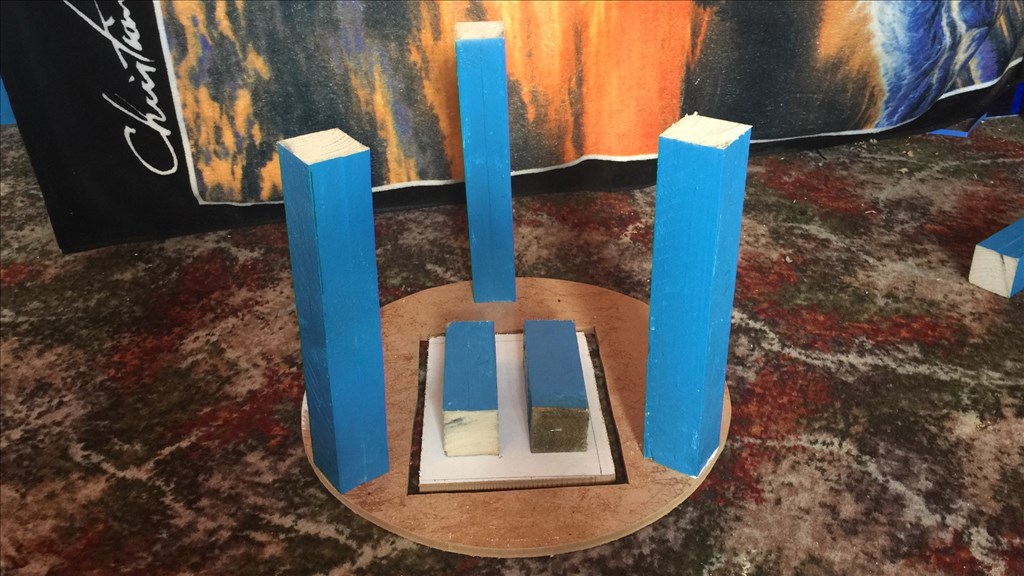
While E4 was doing a hand stand, I have refitted the body skirt supports and cut out the skirt panelling which is now fitted to the body. I added some detailing and it is now ready for paint.
Finally, I cut, filled and fitted the foot panels and added some detailing that will all be painted the same colour. I was going to give him a Nike swoosh or some Adidas stripes for his new shoes, but quickly decided against it . The final detailing will be added after the filler is rubbed down, and they are primed and painted.
I've filled over the side leg panels and are waiting to be rubbed down, primed and painted, so it's a trip down to my local auto accessories shop to get the paint mixed.
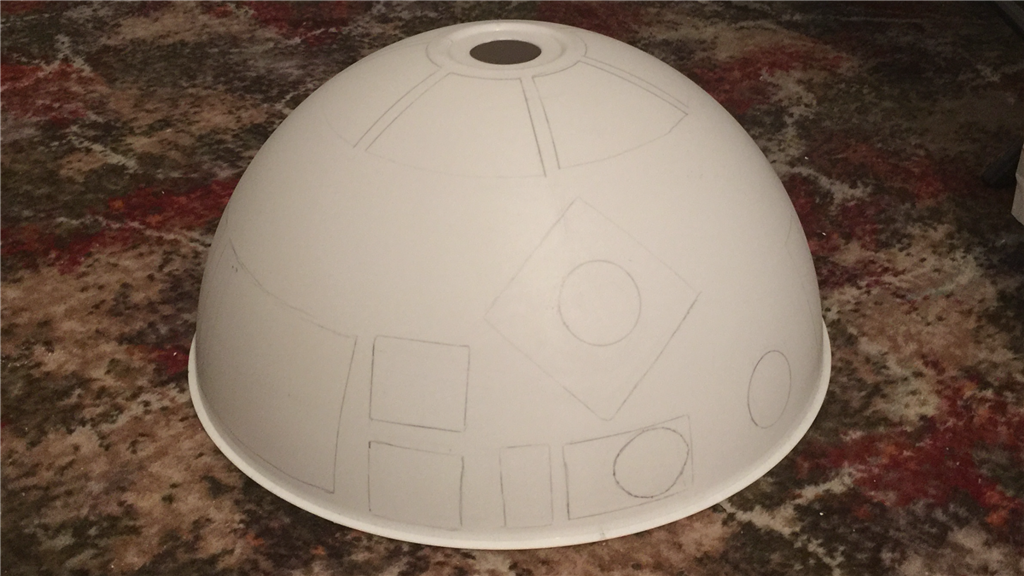
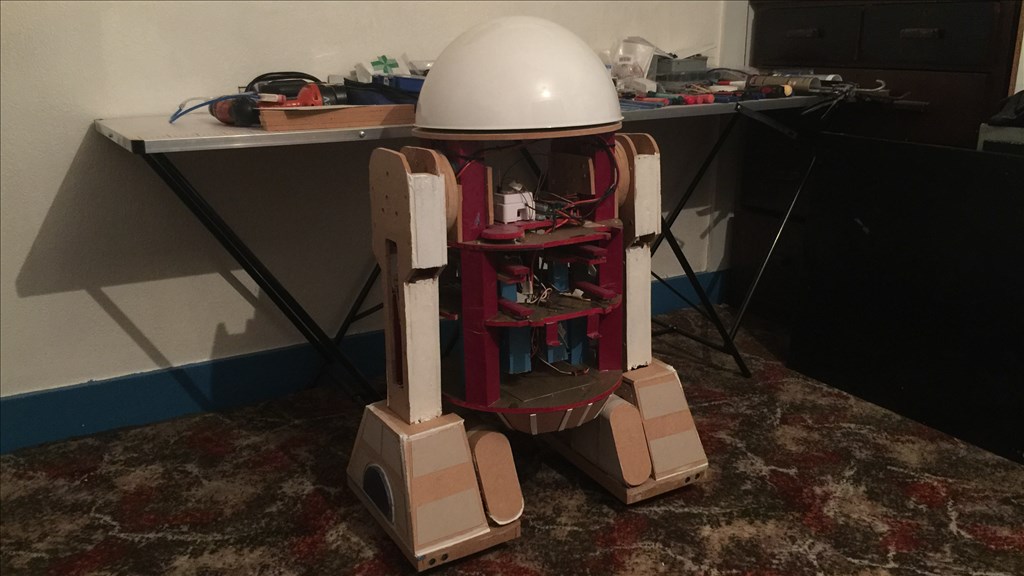
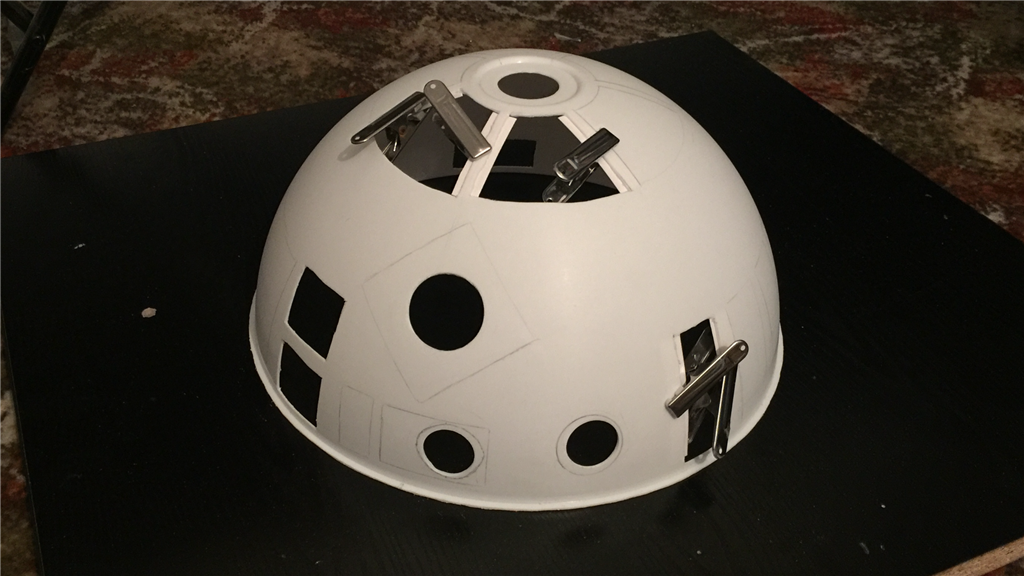
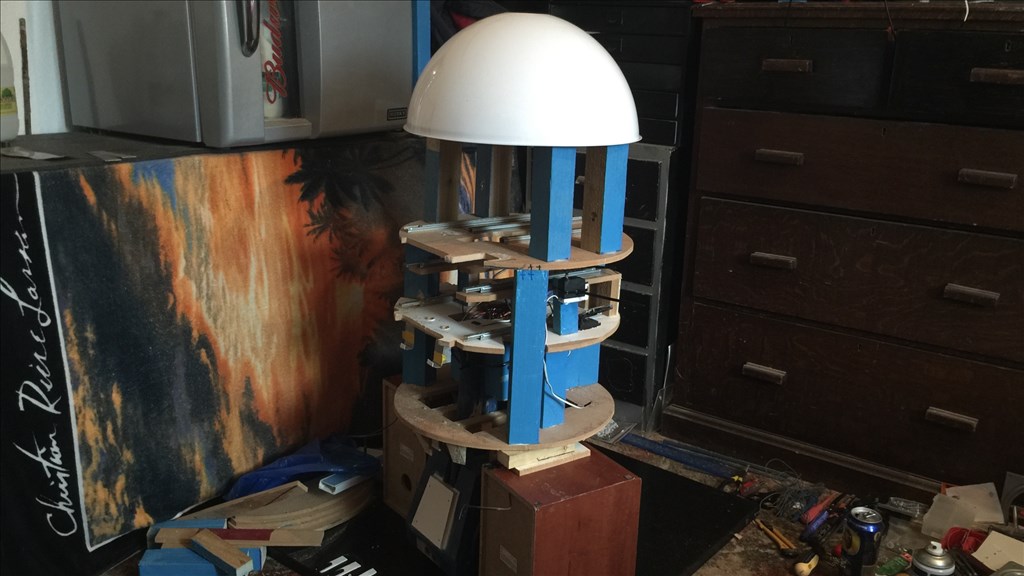
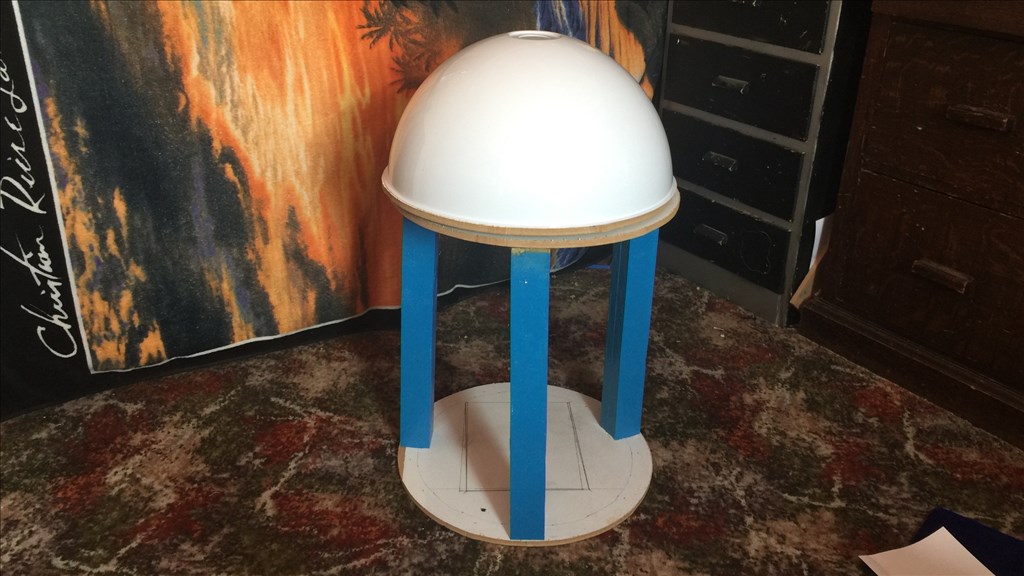
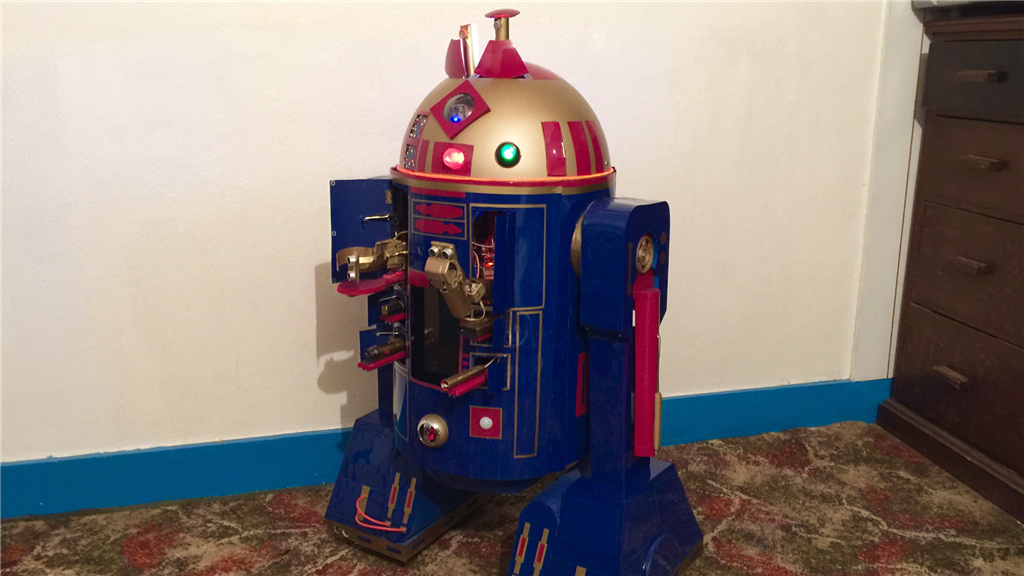
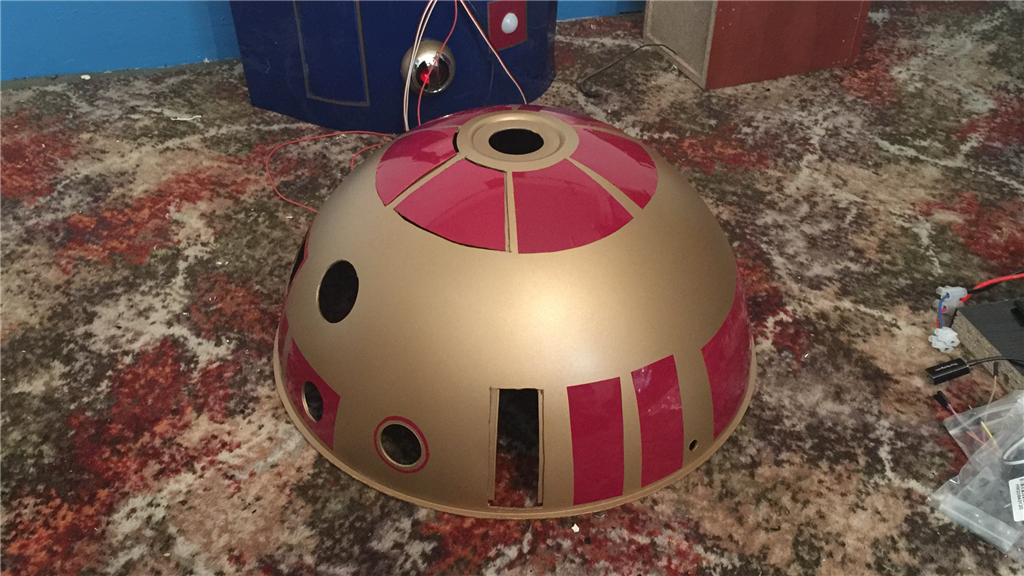
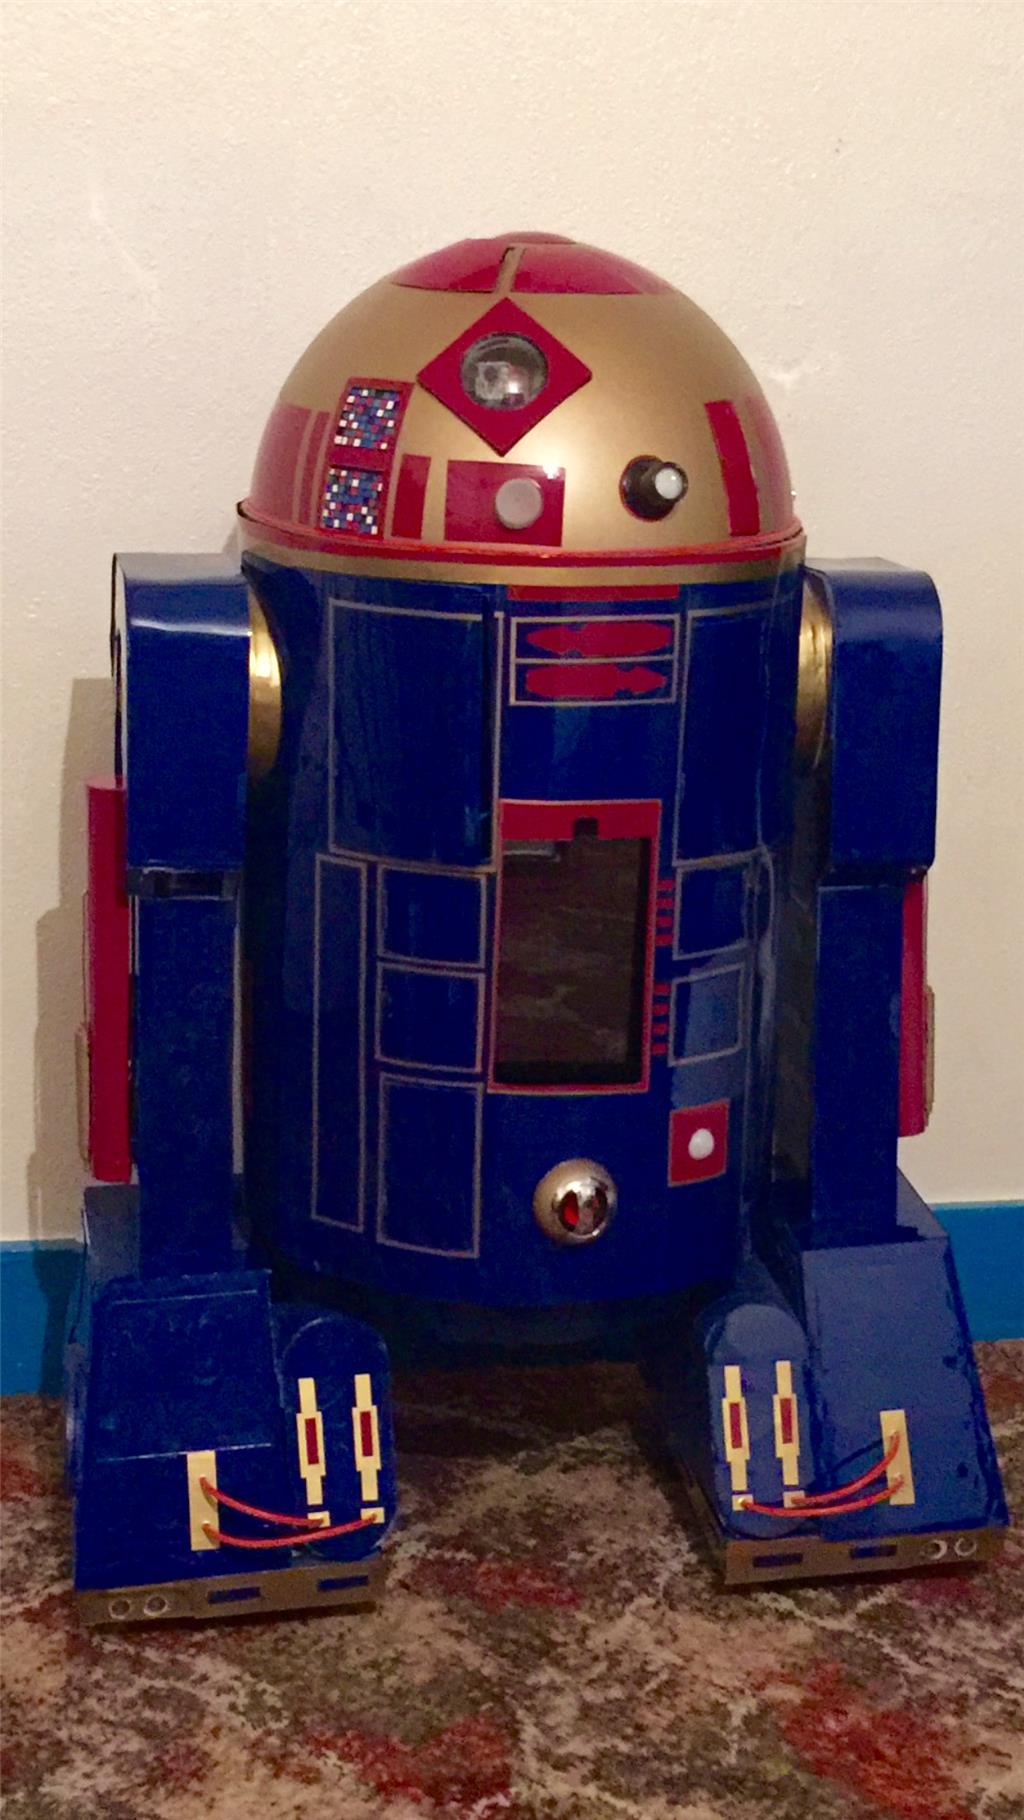
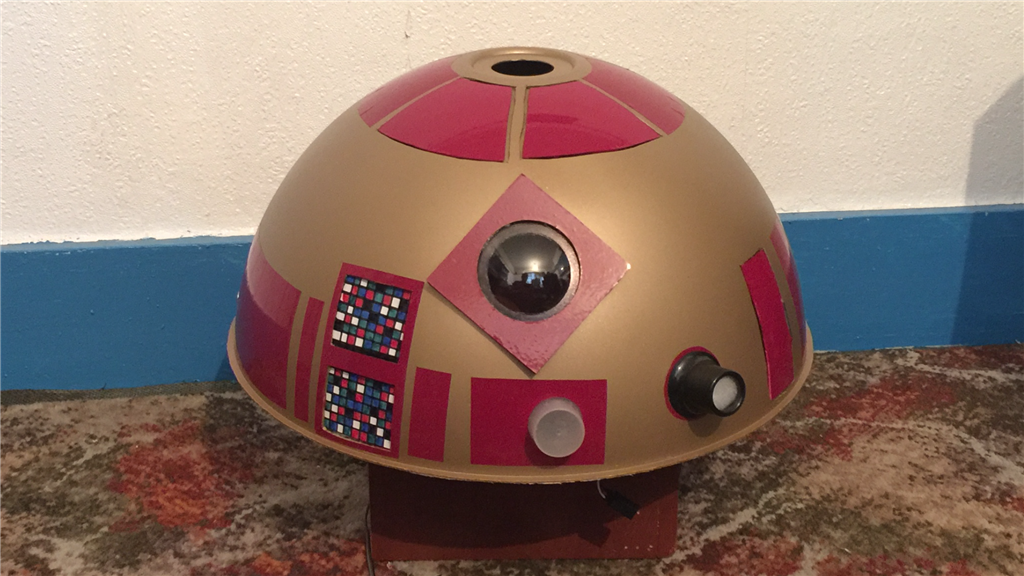
And I couldn't resist putting the dome on to see what I'm working towards...
Over the next few days, I will be getting some of the electronics fitted, such as the SSC-32 servo controller, relays, and regulators, then get some of wiring traced and connected to the EZ-B. I will also make a start on the head and start to get the inner body skin fitted.
Until then.
Steve G, That robot is looking awesome! Great build and I love your approach. Can't wait to see more. Steve S
Thanks Steve. Very nice of you to say.
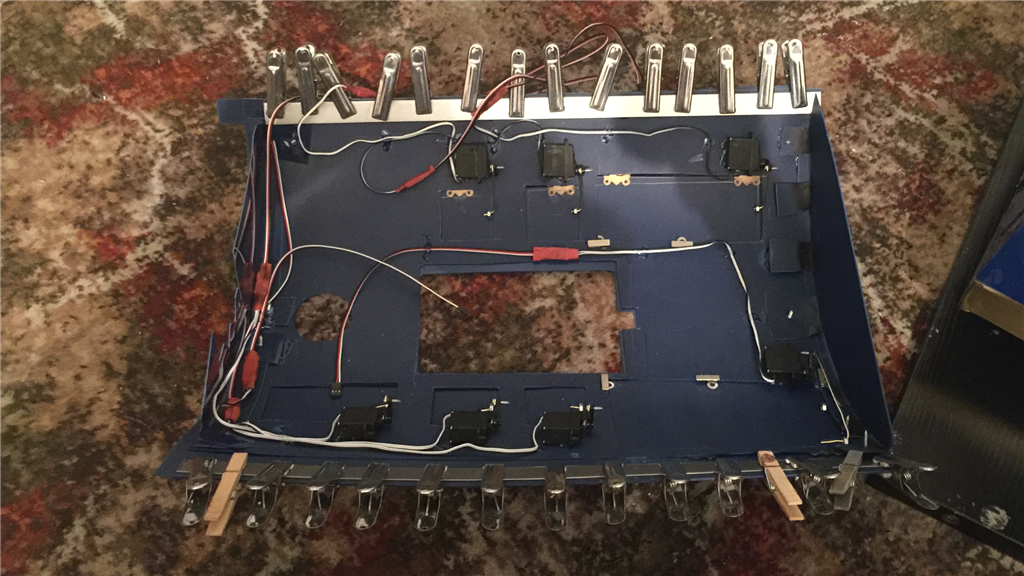
Yes the materials I'm using are mostly reclaimed stuff I had laying around with all of the electronics being new. The really fun part is not to far away now... that being the electronics. I've already got some of the servos fitted, but still got another 20 or so to install as well as a few other bits and pieces to squeeze in to the body.
Doing the head shouldn't be so bad, but I think adding his skin will be challenging though. Still, it's all part of the fun. Once I get some more of the electrics sorted I'll post another test video.
Thanks again.
Day 89 (31st October 2015)
eek eek HAPPY HALLOWEEN EVERYBODY. eek eek
It's been a while since the last update as not much progress has been made. I must admit that I lost a little bit of motivation, so decided to take a couple of weeks out to recharge my own batteries. I took the time to write some tutorials for the community as some of you know, which gave me something new to focus on that helped a great deal, but I'm back on to the build now, and hoping to get E4 finished by Xmas (this year ).
).
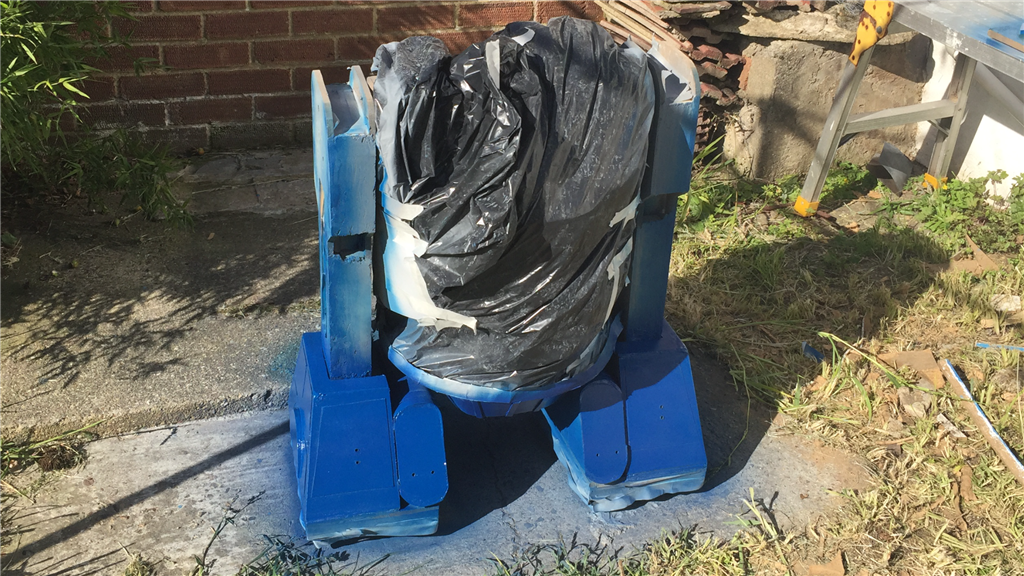
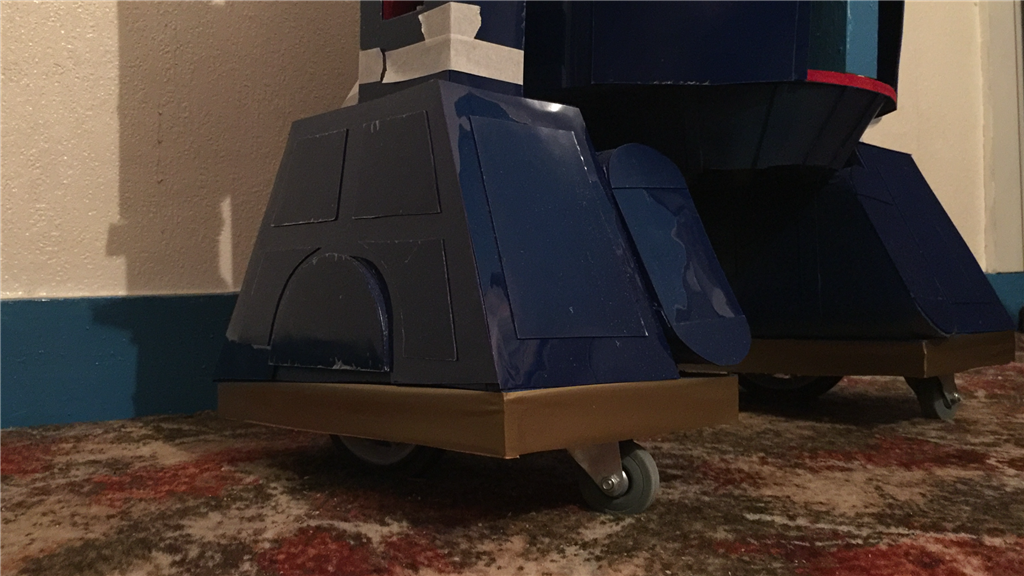
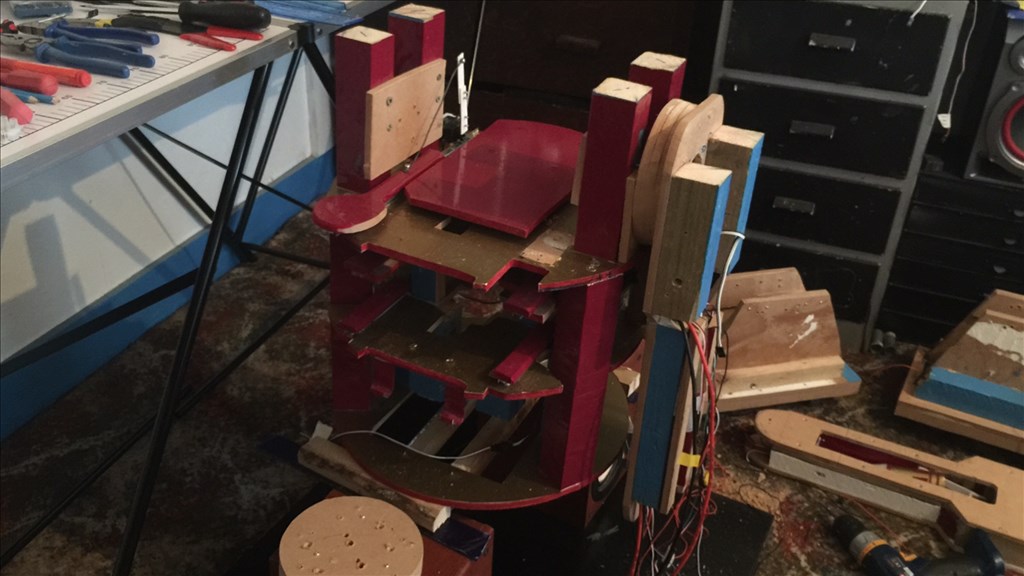
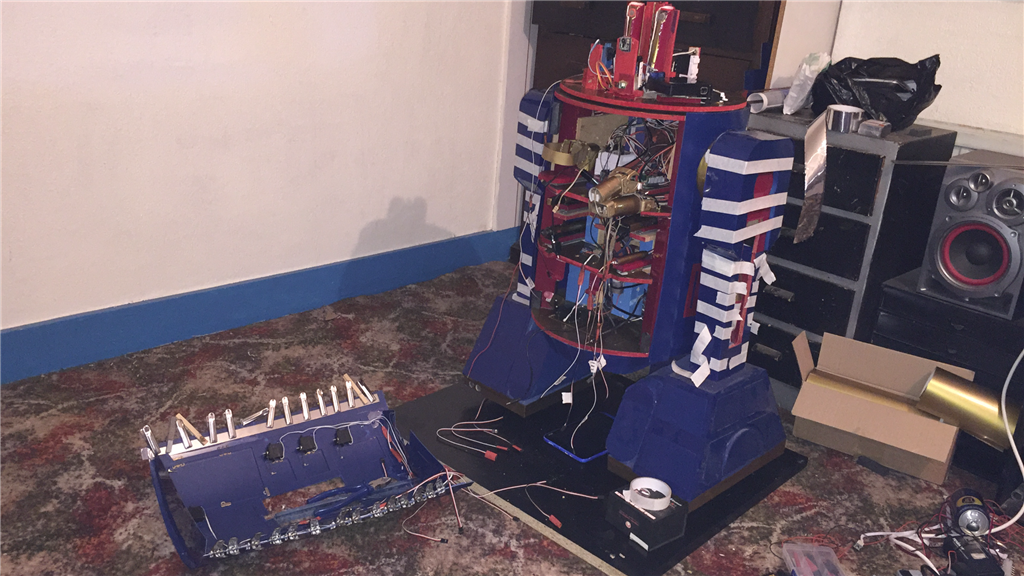
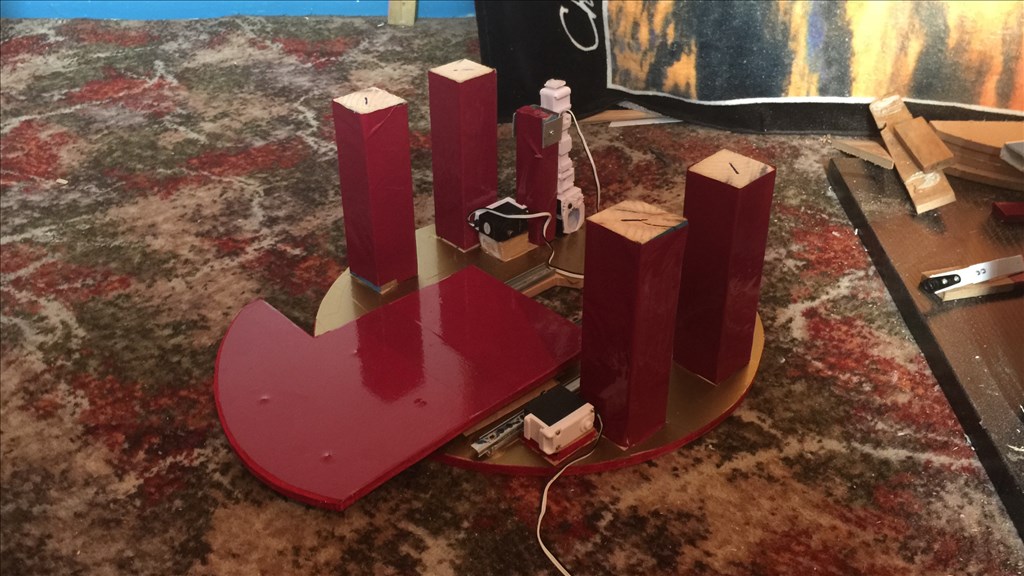
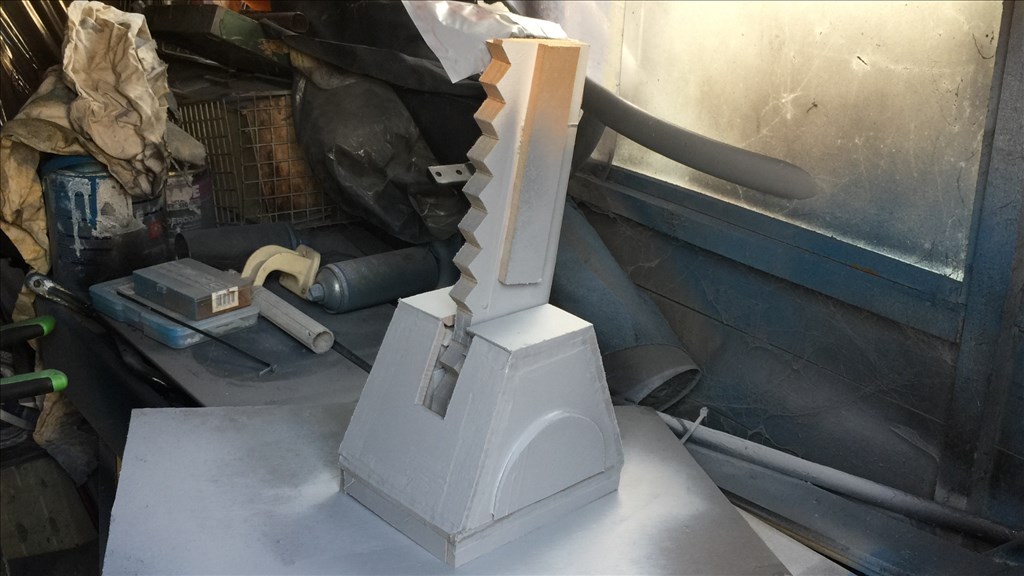
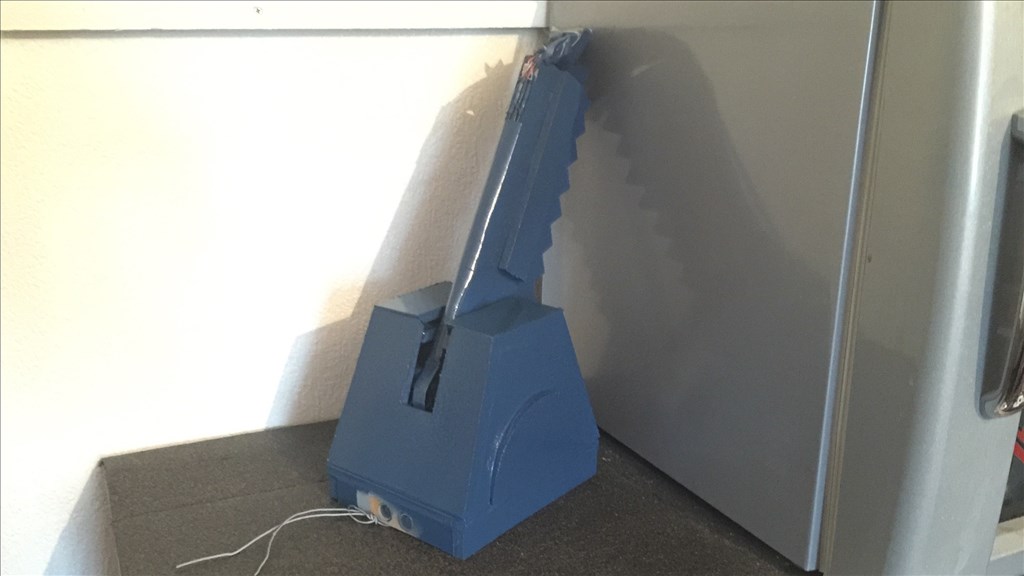
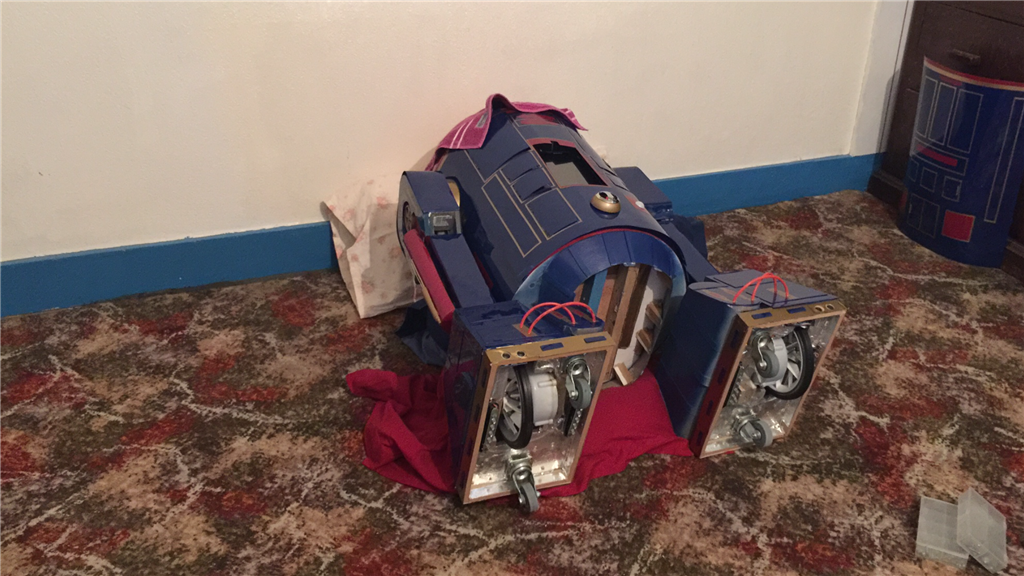
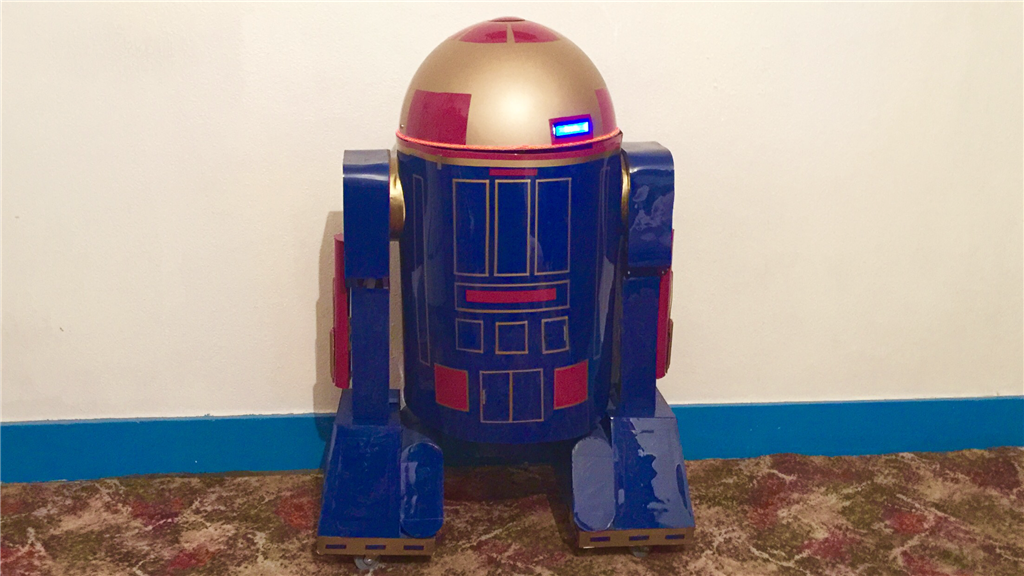
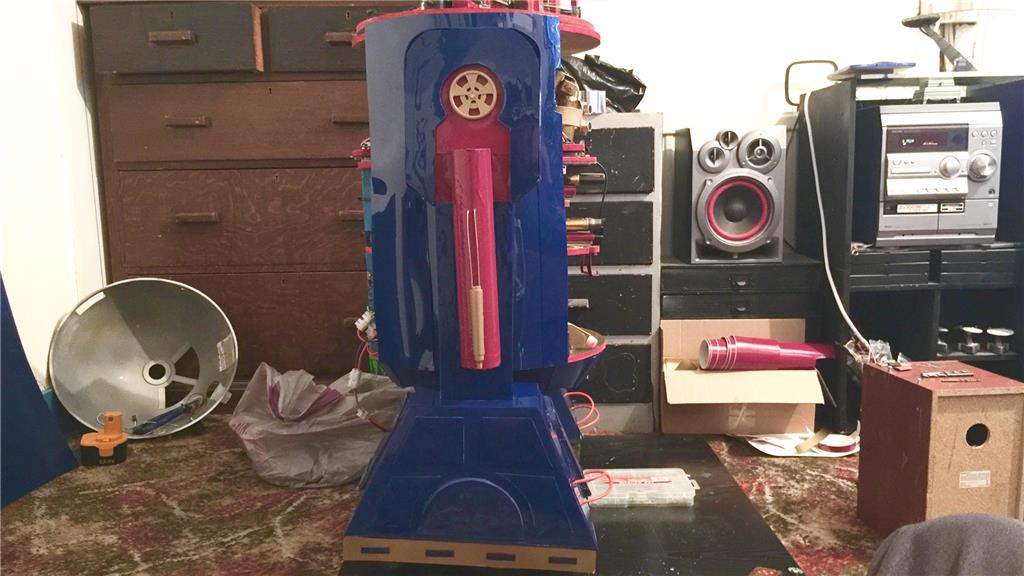
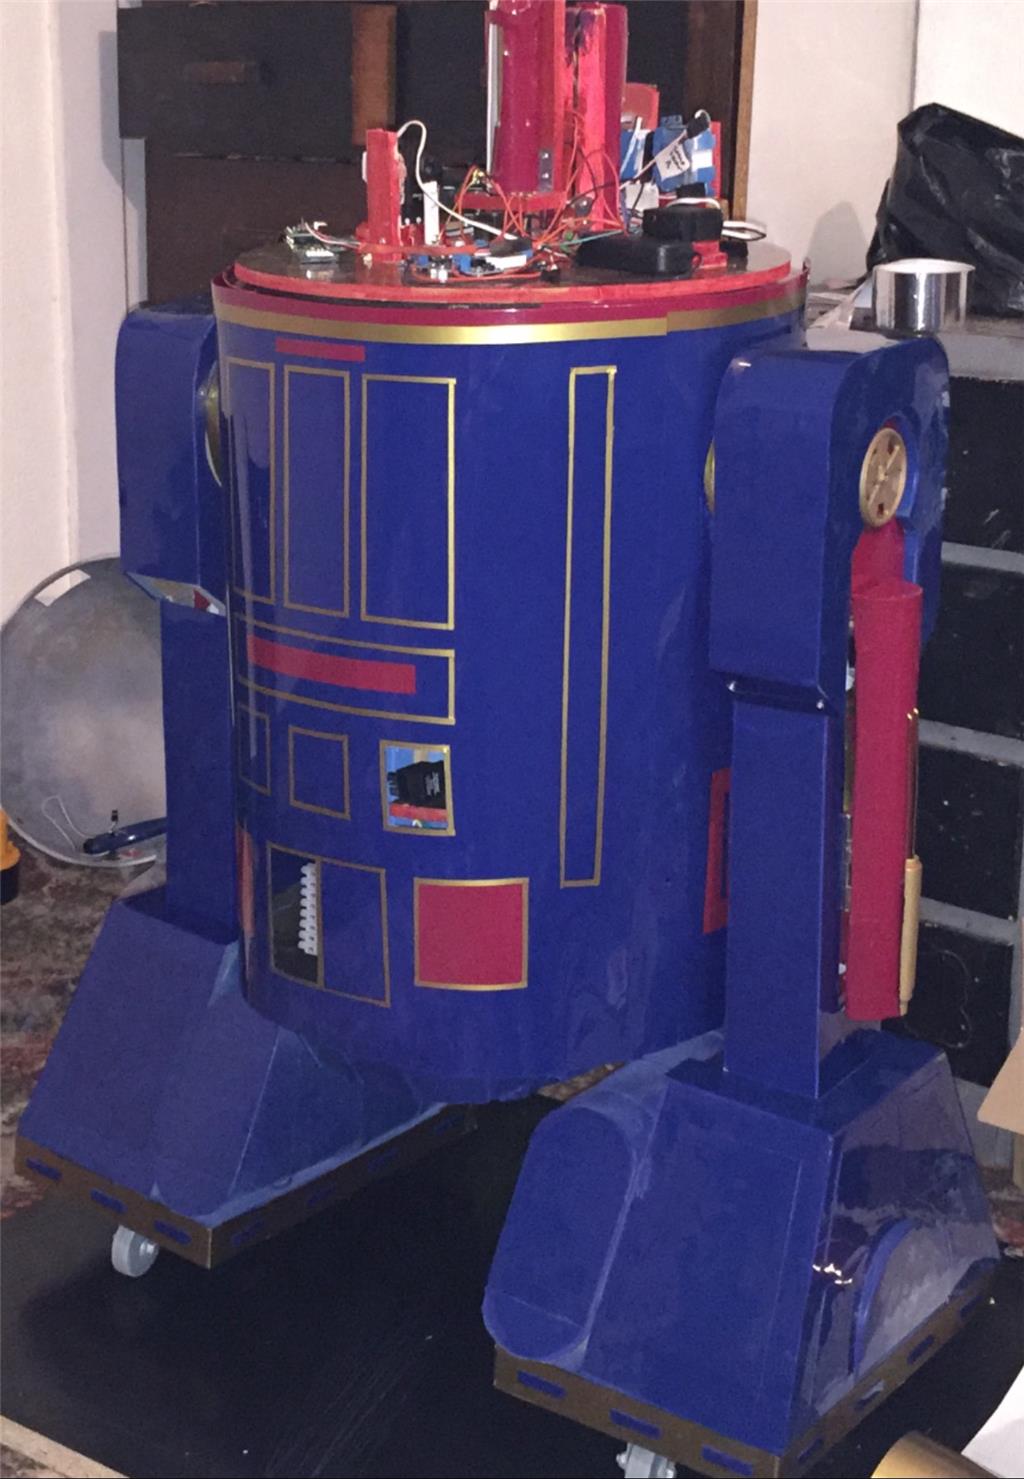
So, where's the build at now? Well, all of the unremovable feet and leg panels have now filled and sanded smooth. Heading in to October, I got lucky with the weather, so this gave me the opportunity to get a lot of the painting done. Below are a couple of snaps with the priming done and E4's first couple of gloss blue coats...
With the feet, legs and skirt now painted and lacquered (clear coated), I set him aside for a couple of weeks to let everything properly cure. I have to say that I am very pleased with the end result. The panels have now been covered with cling film to protect the paintwork while I continue with the build. Last little job for the feet was to paint the lower panels of each foot, gold.
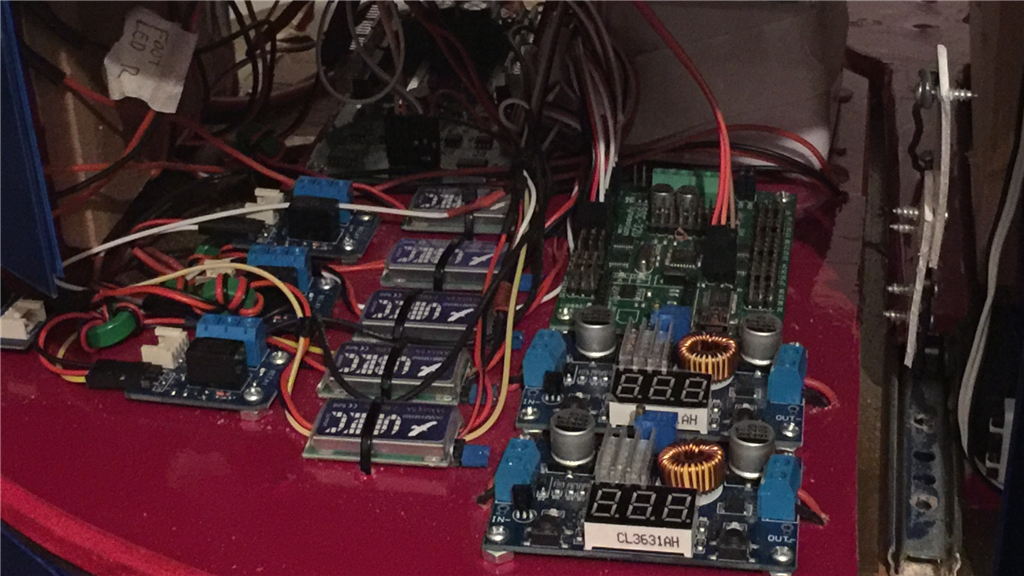
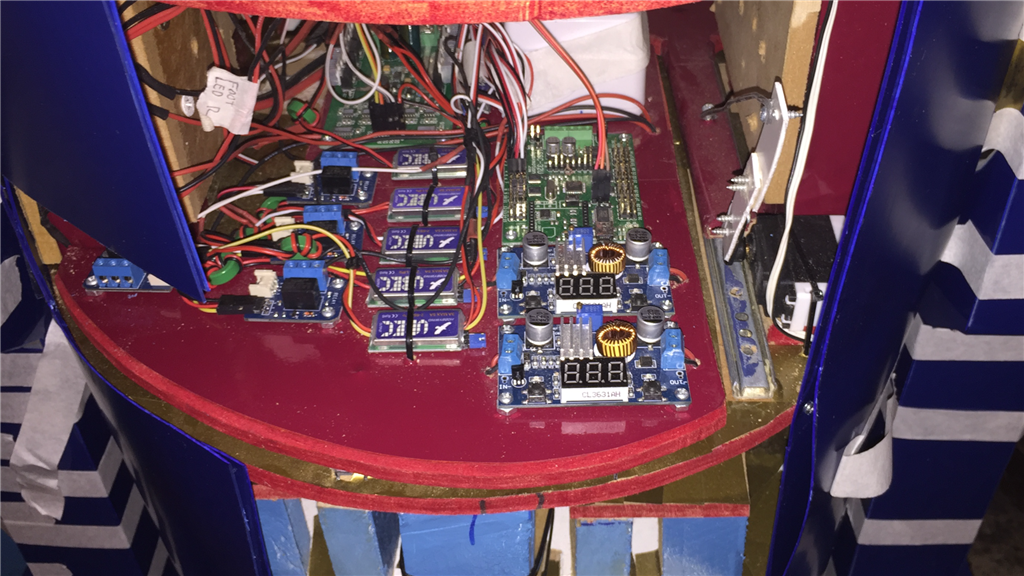
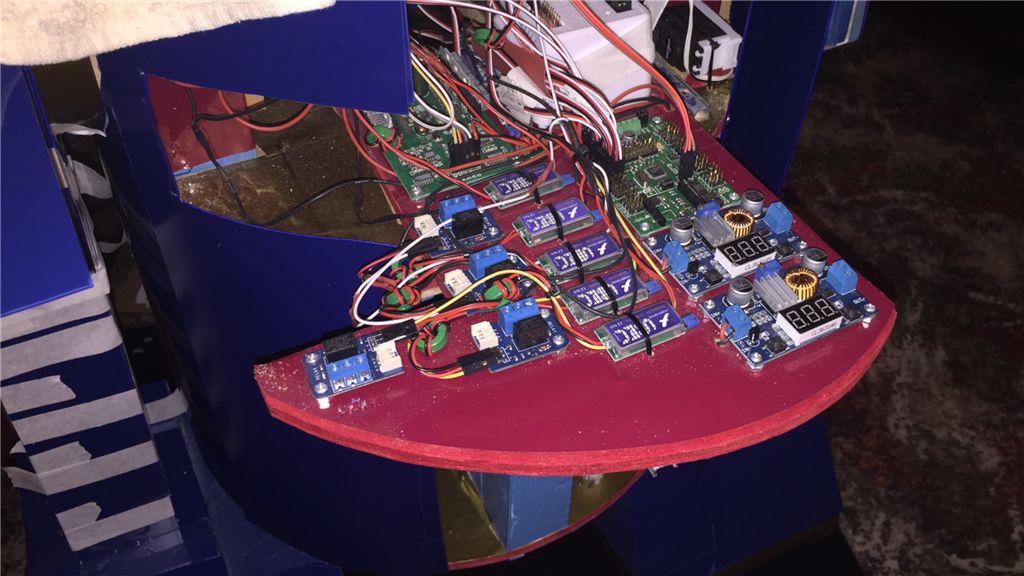
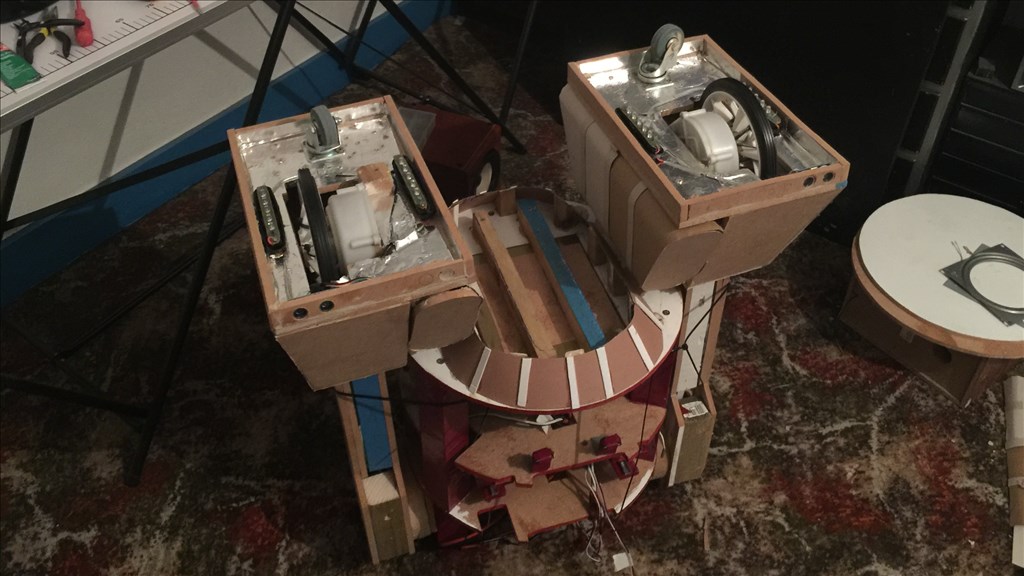
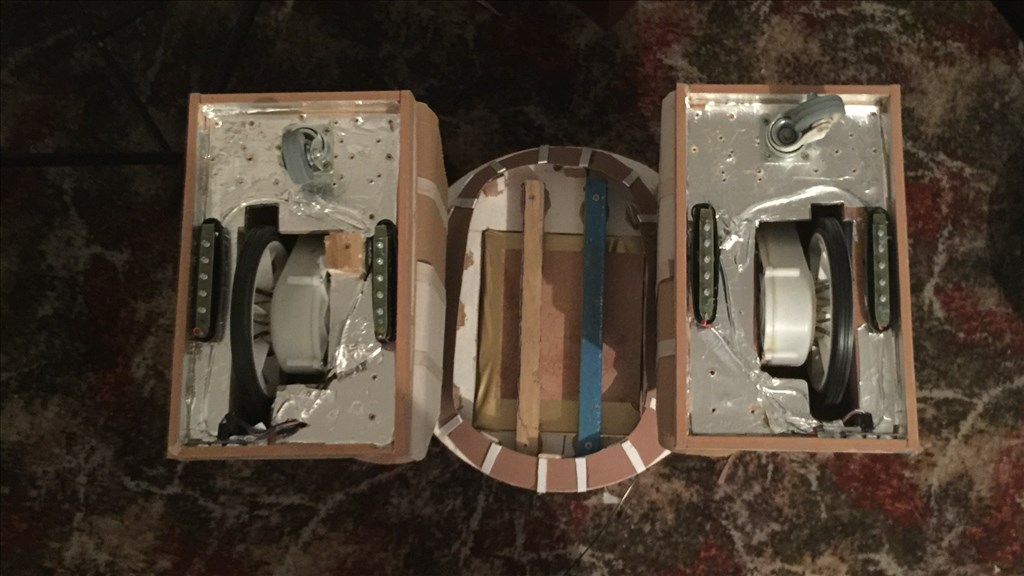
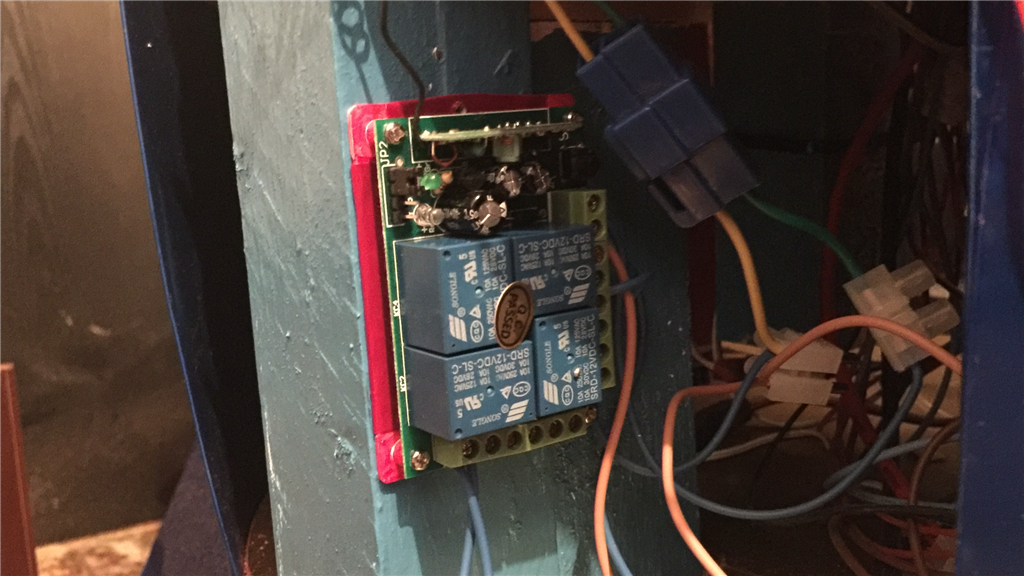
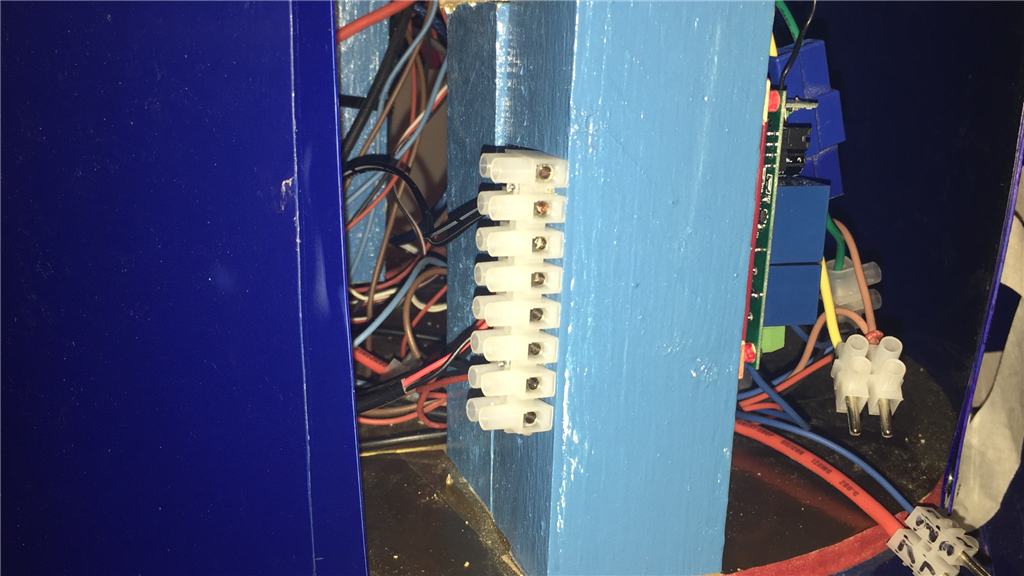
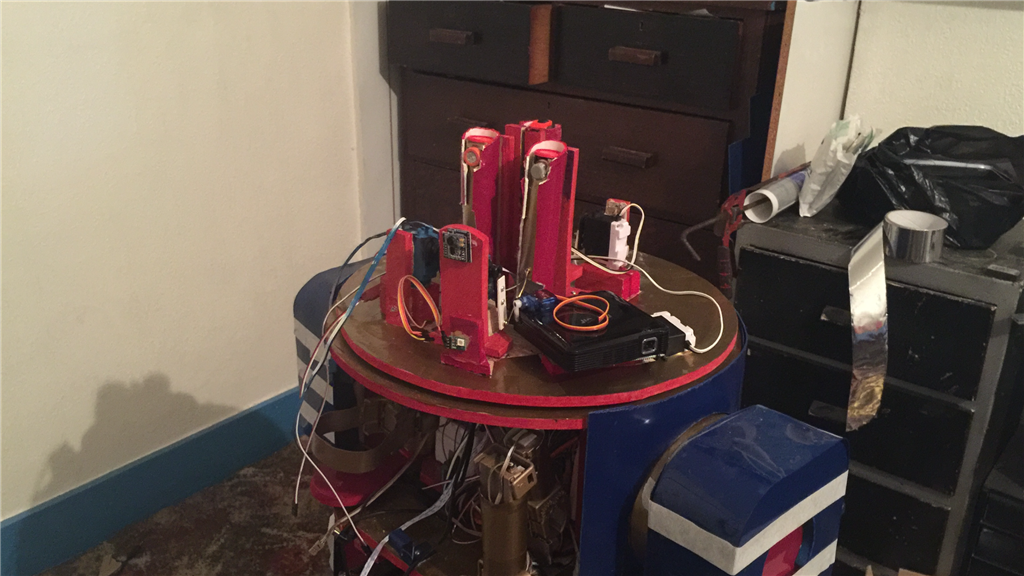
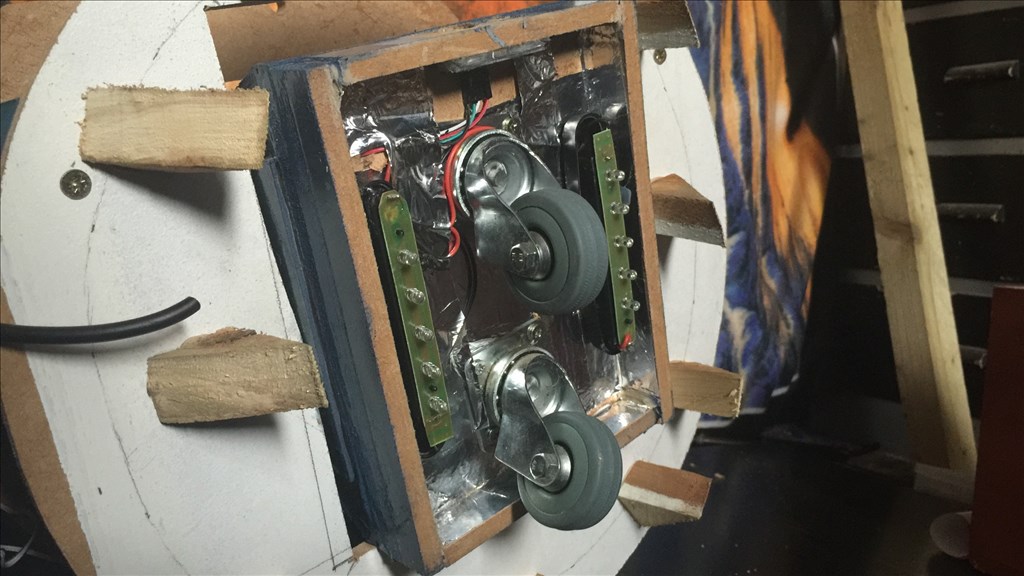
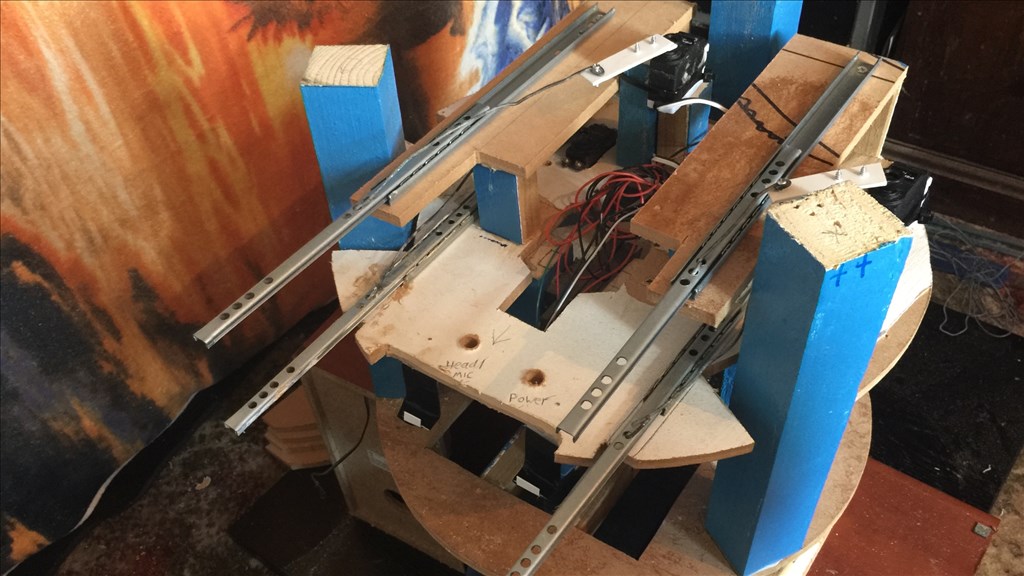
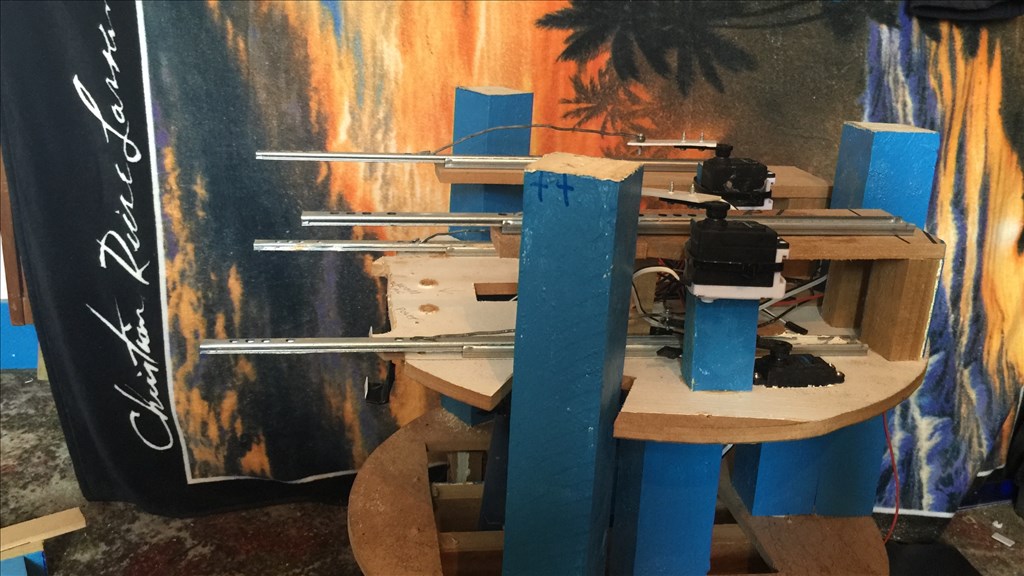
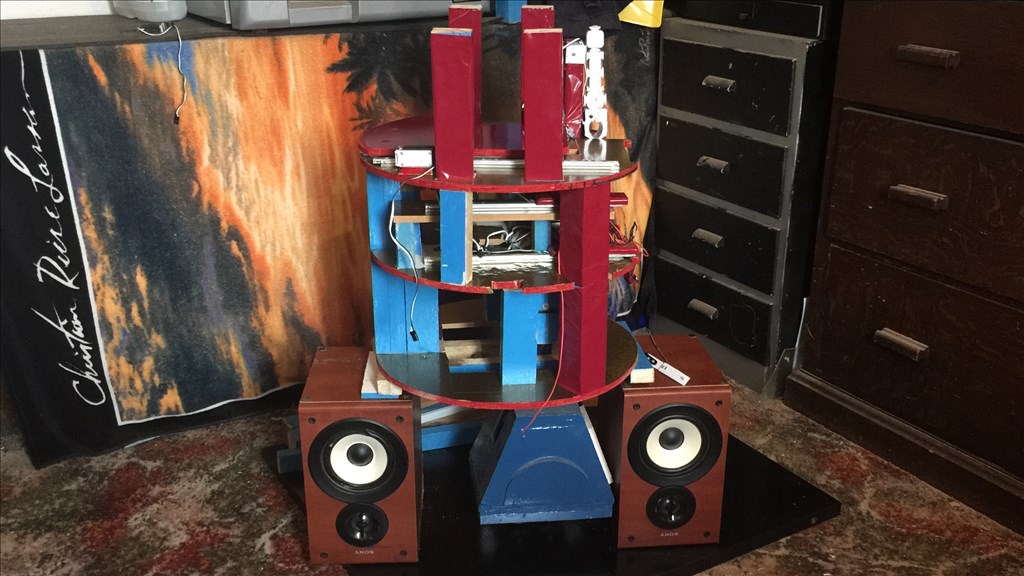
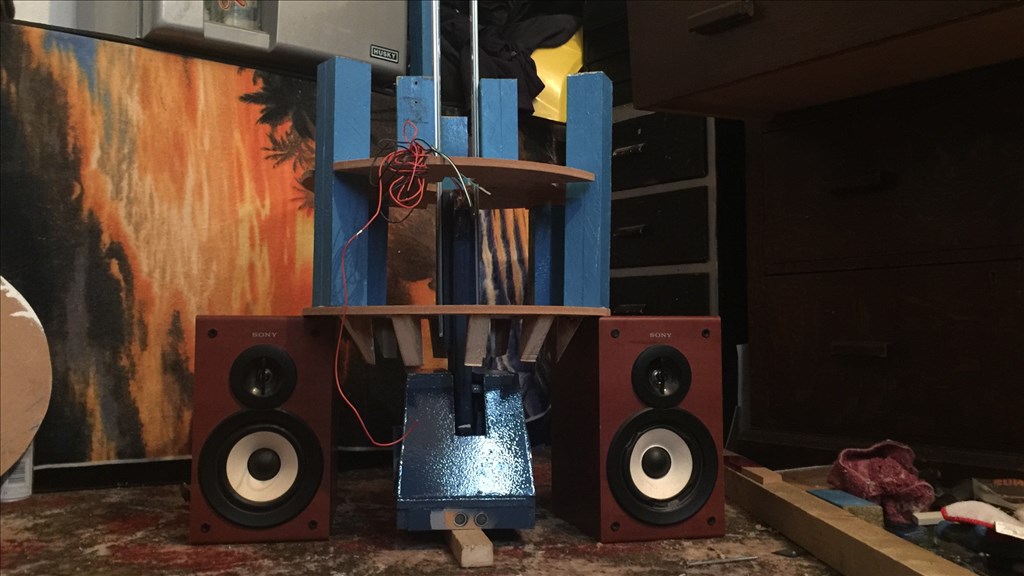
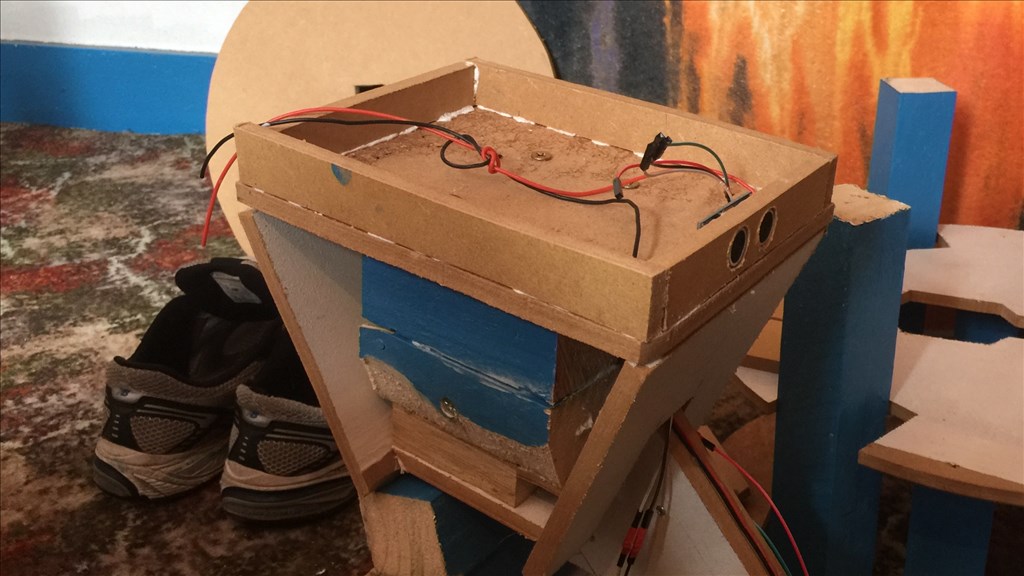
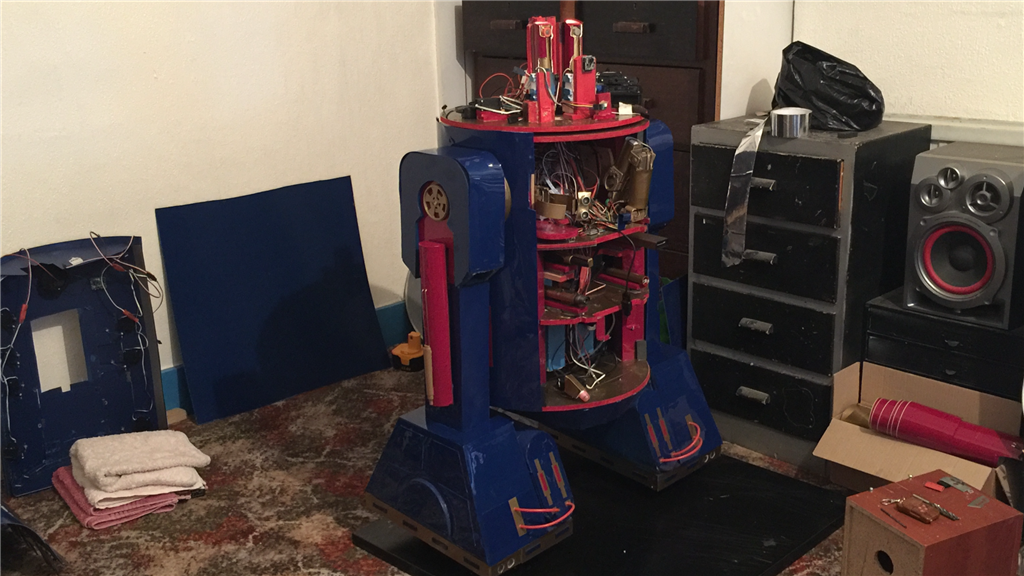
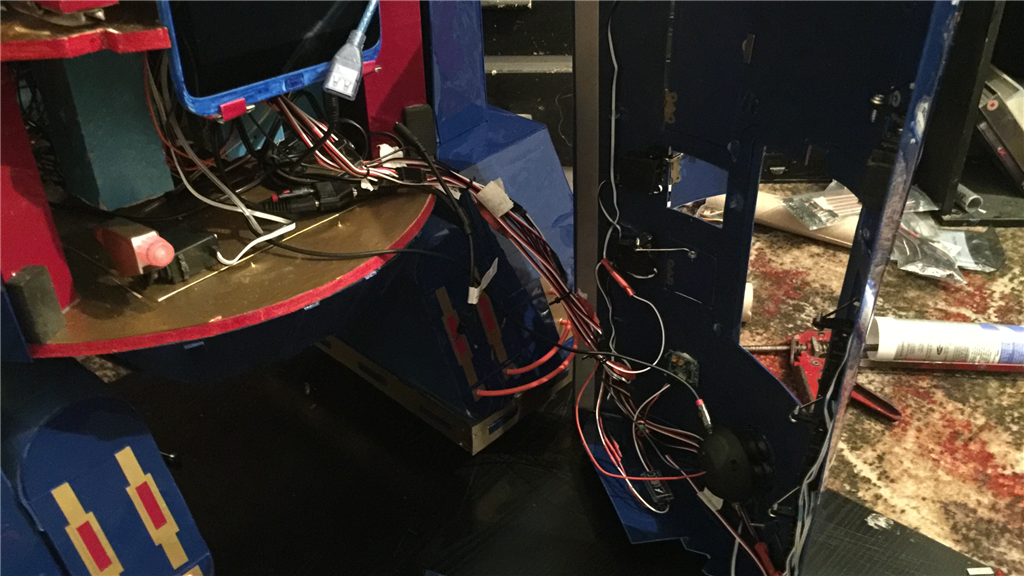
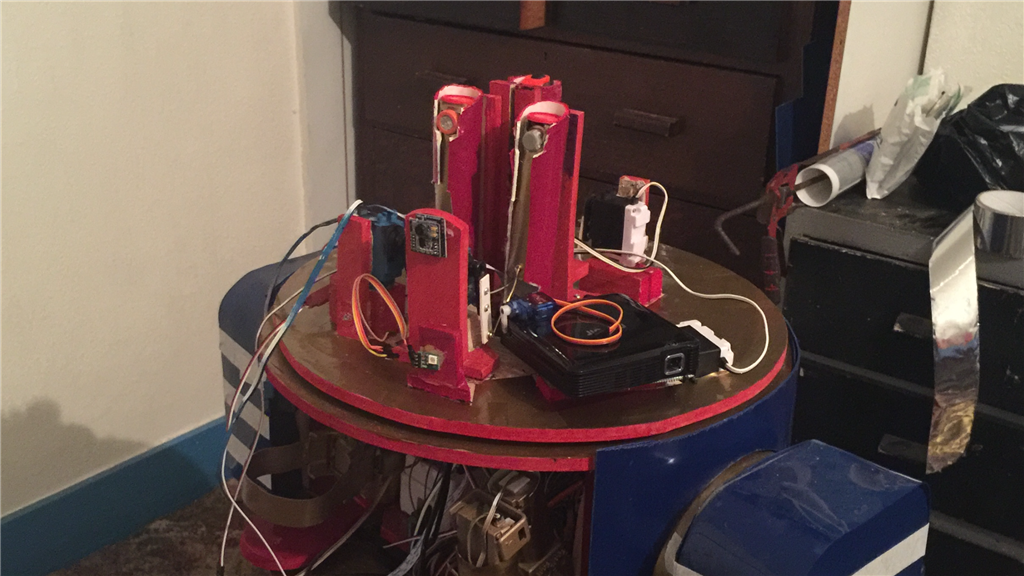
The next job was to get some more of the electronics done. The retractable platform now has...
the v4, SSC-32, 15a motor controller, relay switches, dropdown Buck converters, and some 5v regulators.
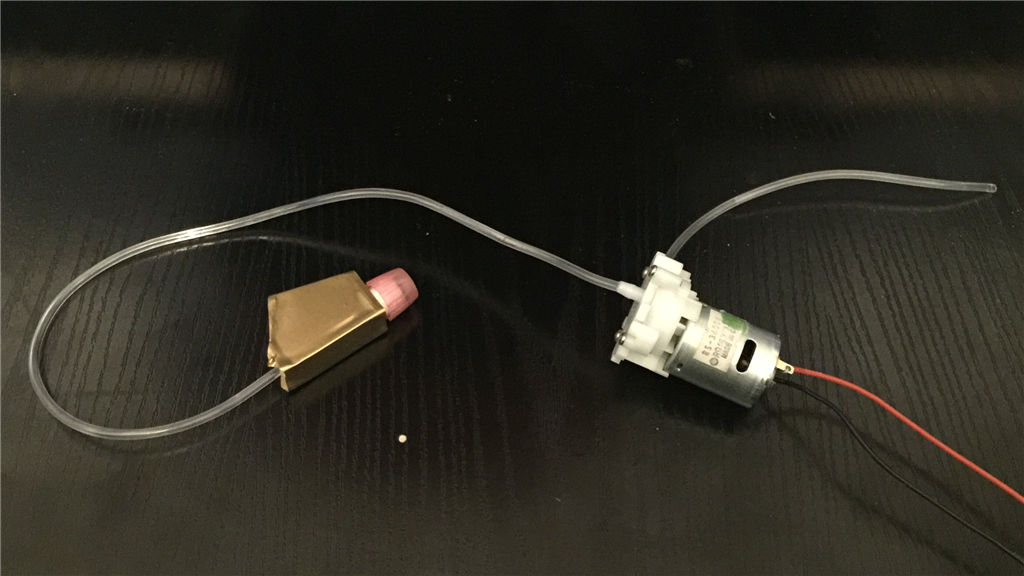
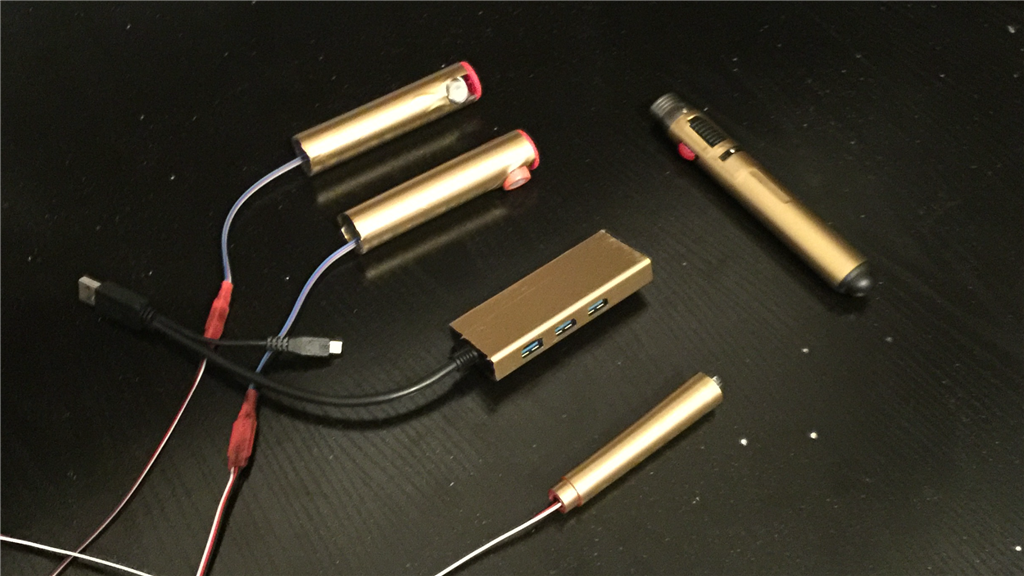
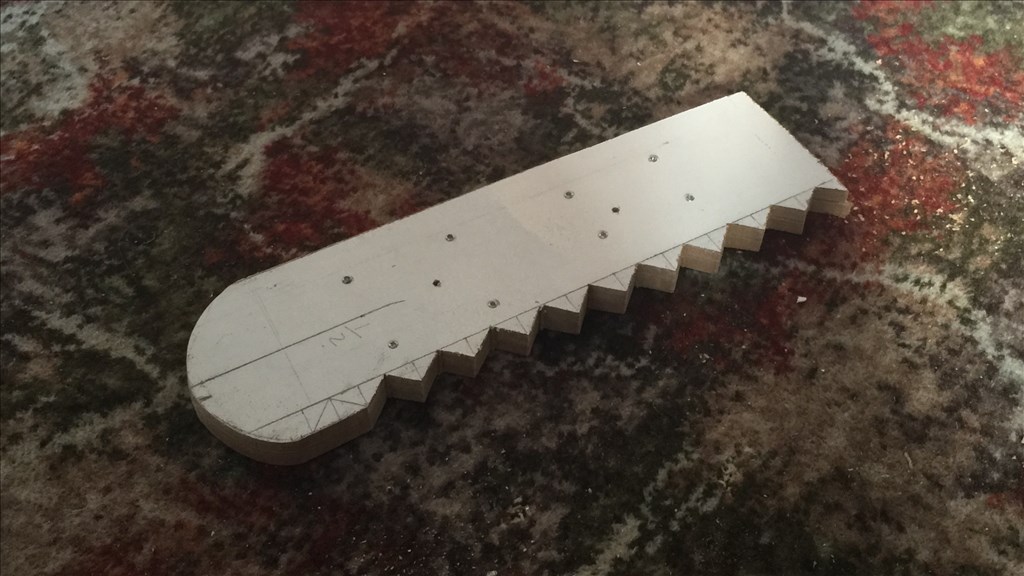
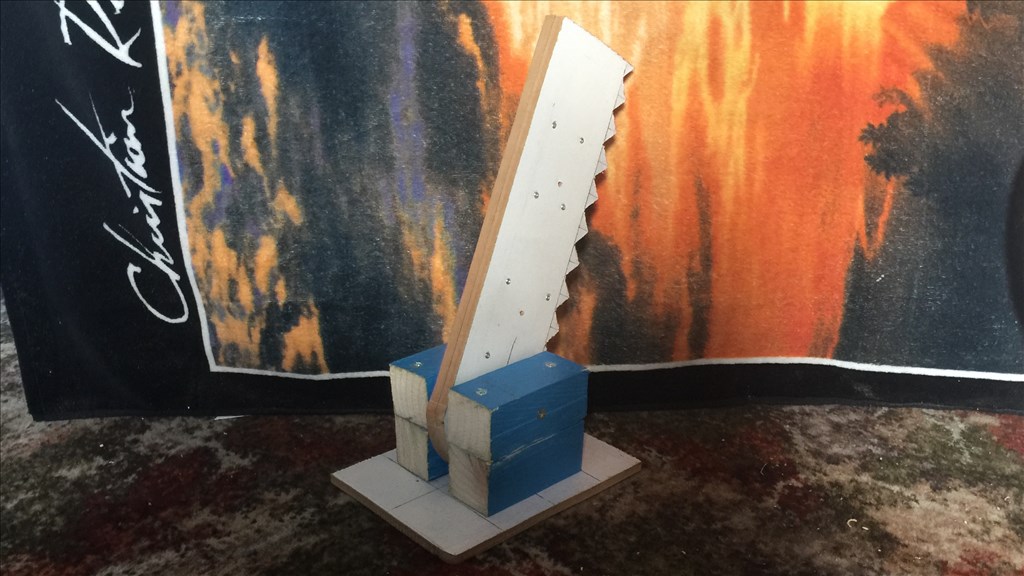
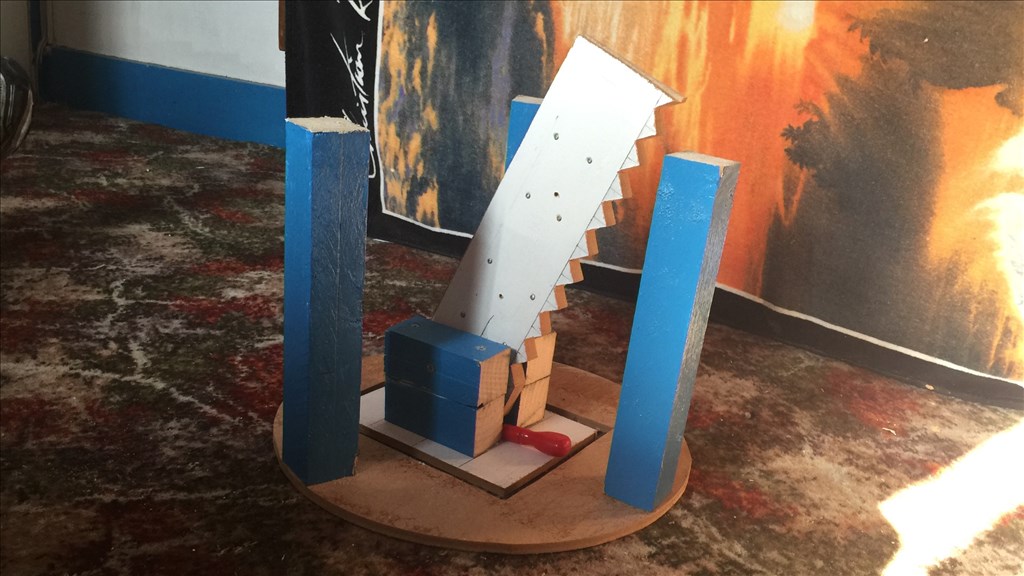
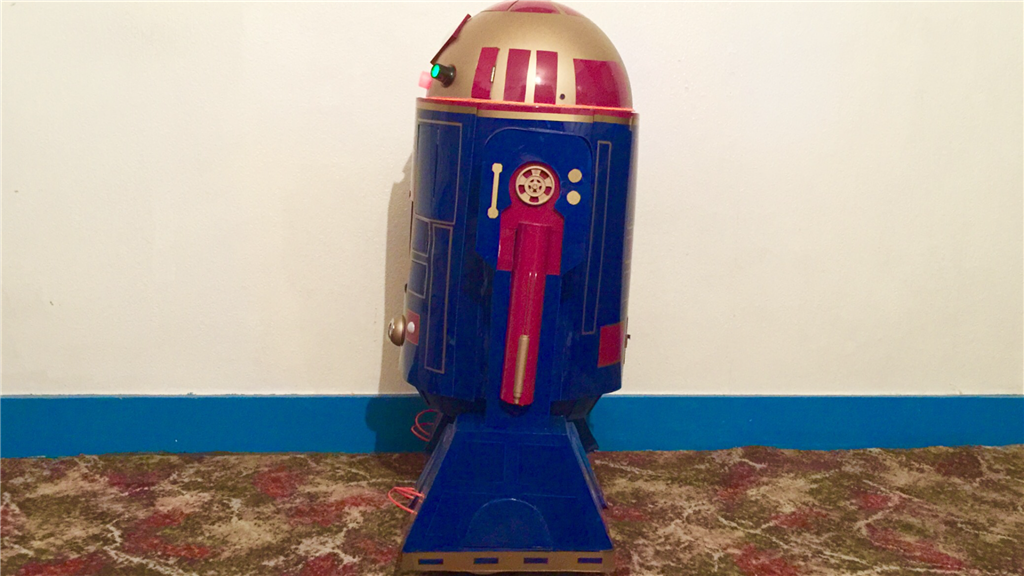
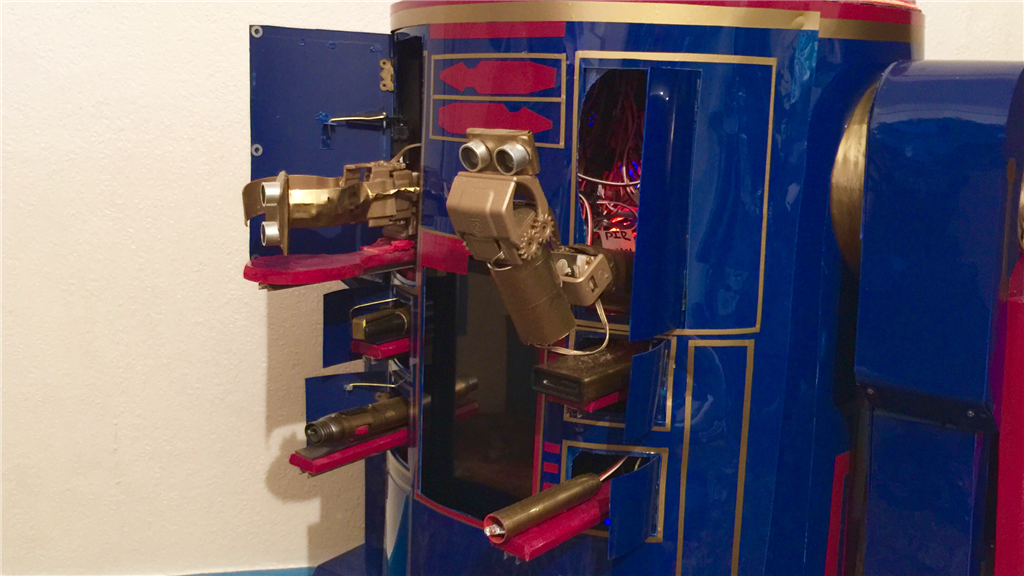
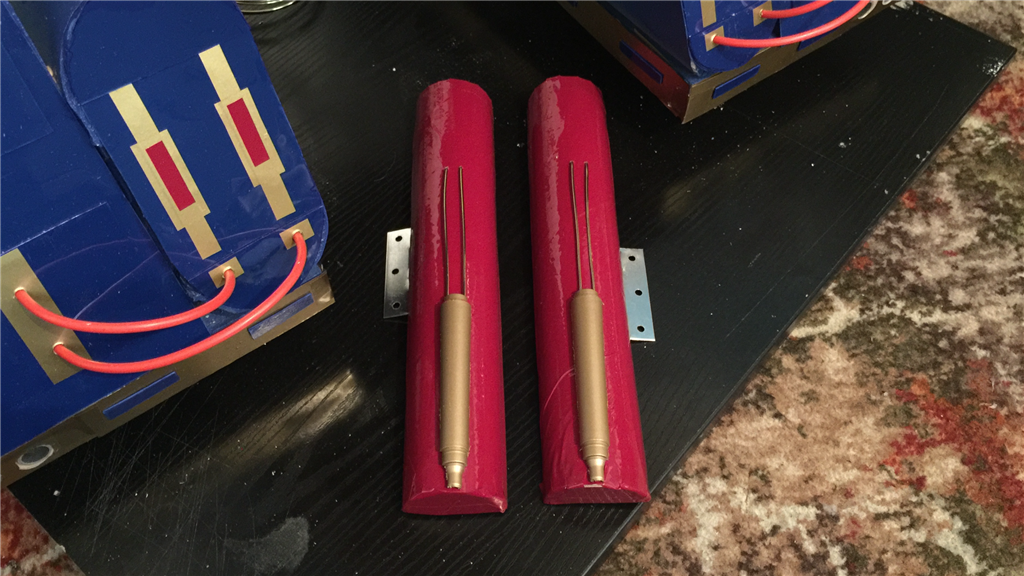
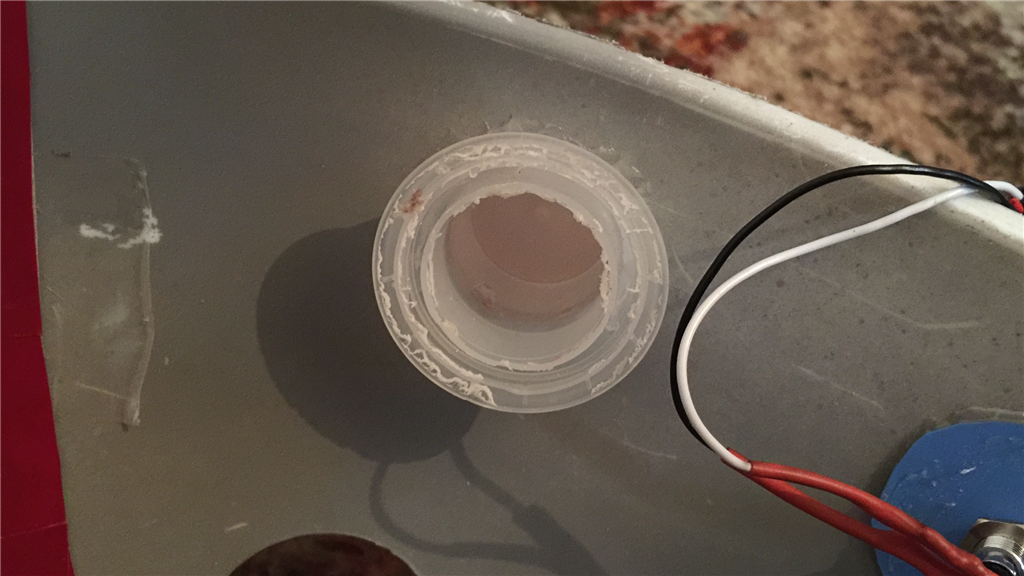
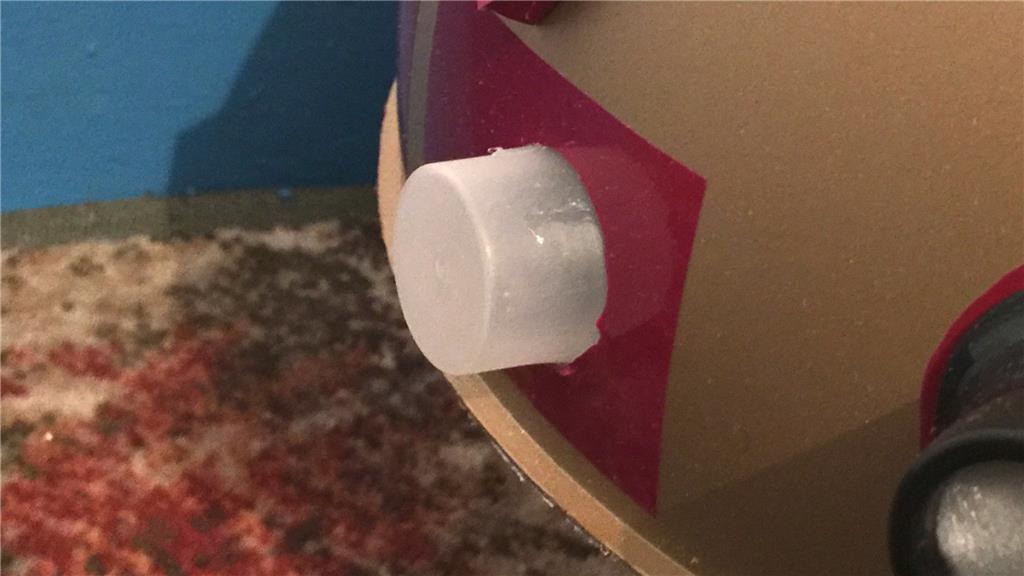
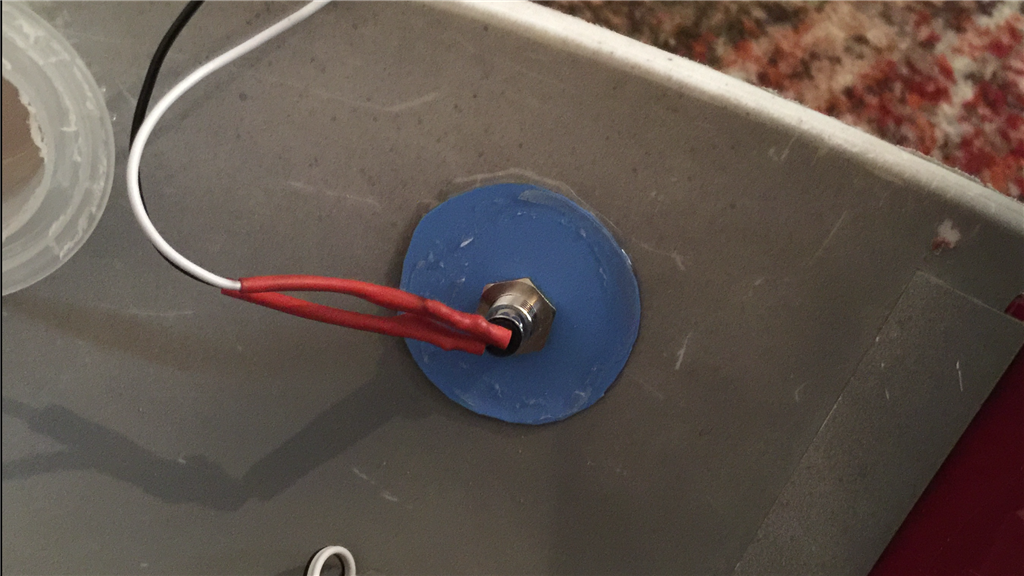
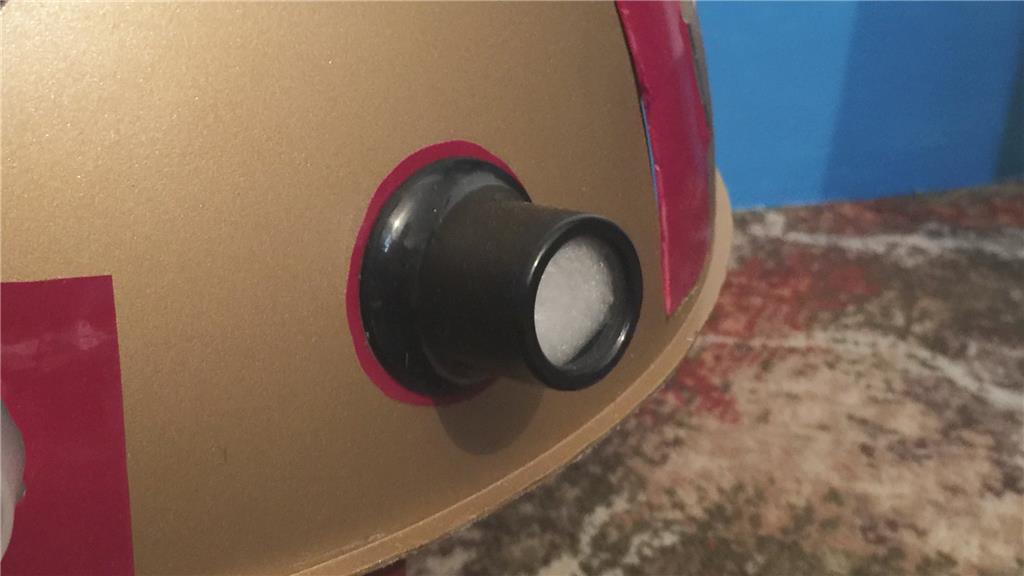
Keeping on with the electronics theme, I have fitted E4-B4's first utility tool. In Star Wars, you may know that R2 has a fire extinguisher. This gave me an idea to have some fun with people, so I rigged up a water squirter. This was made from a trigger section of a water squirter bottle, a small water pump, some tubing and a 180 servo.
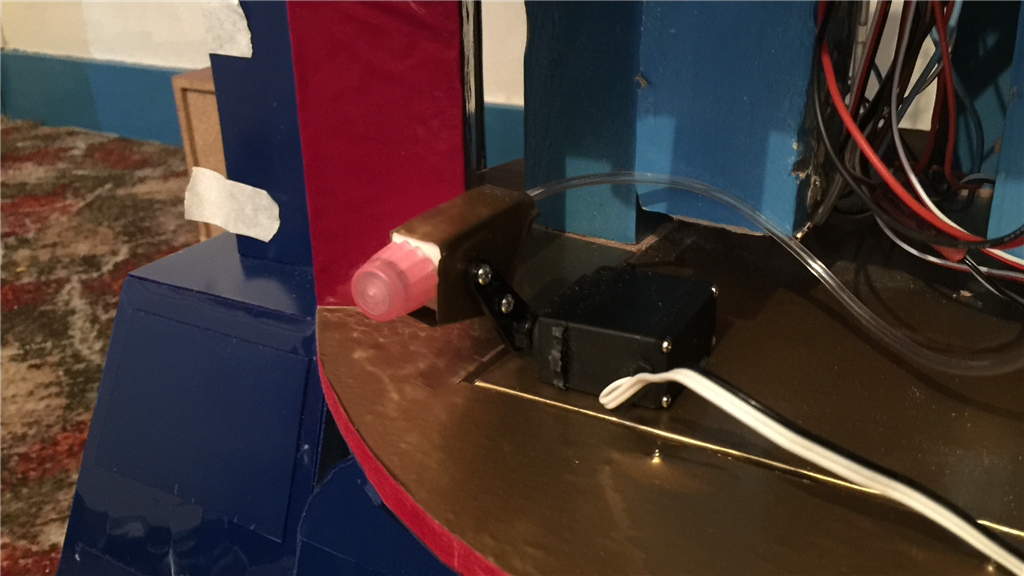
After cutting, painting, glueing the trigger to the tubing, a servo was fitted and attached to E4's body. The servo moves the trigger up and down, and the pump is activated with a relay.
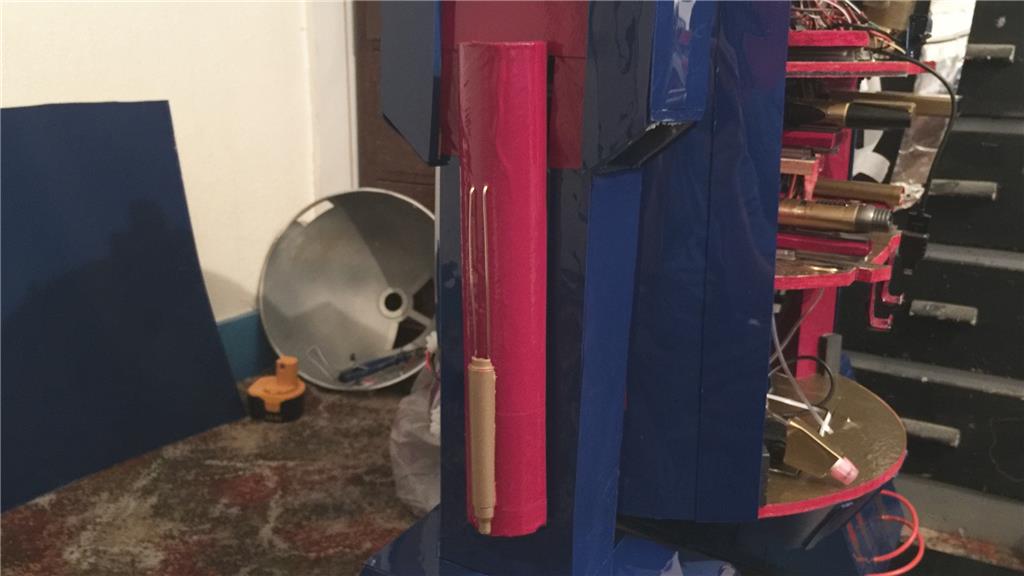
I'm just waiting on the right size water bottle to turn up now, then it will be fitted to a bracket so it can be easily remove to fill it up.
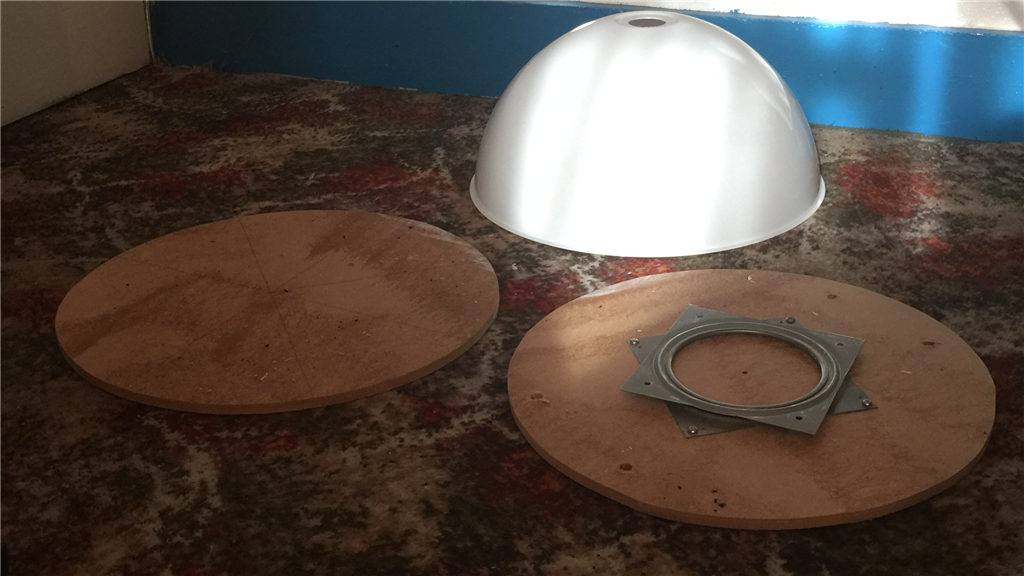
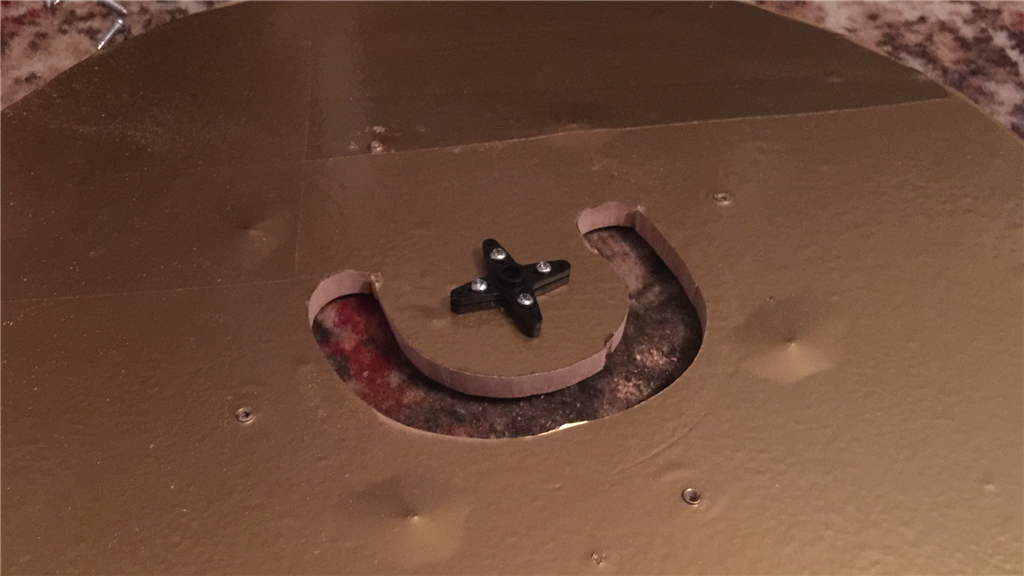
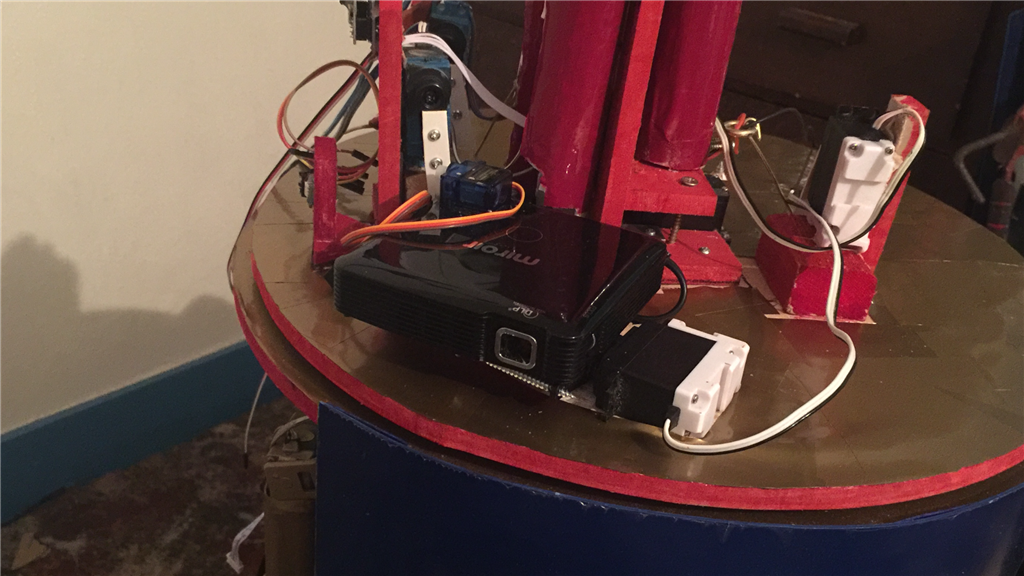
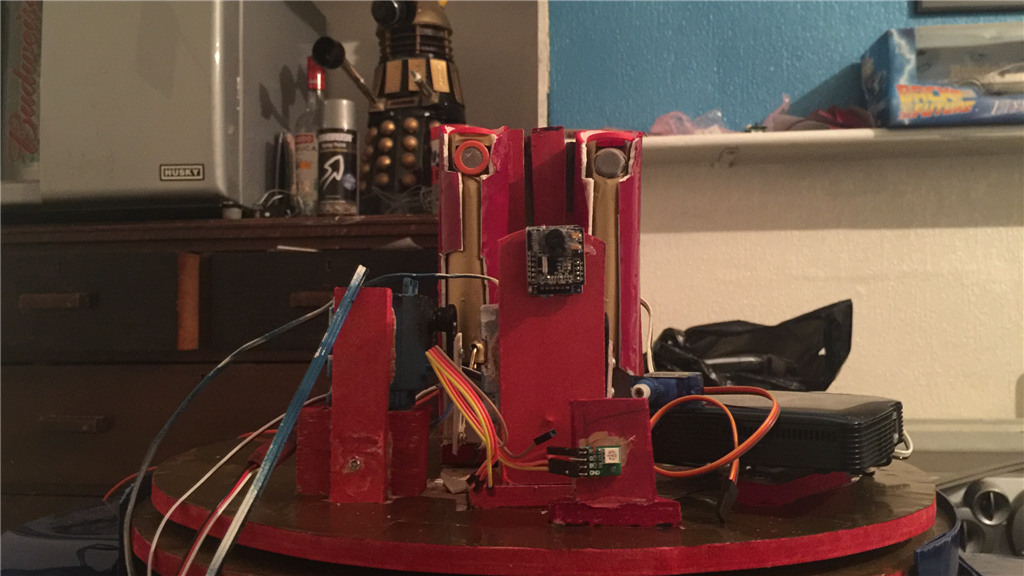
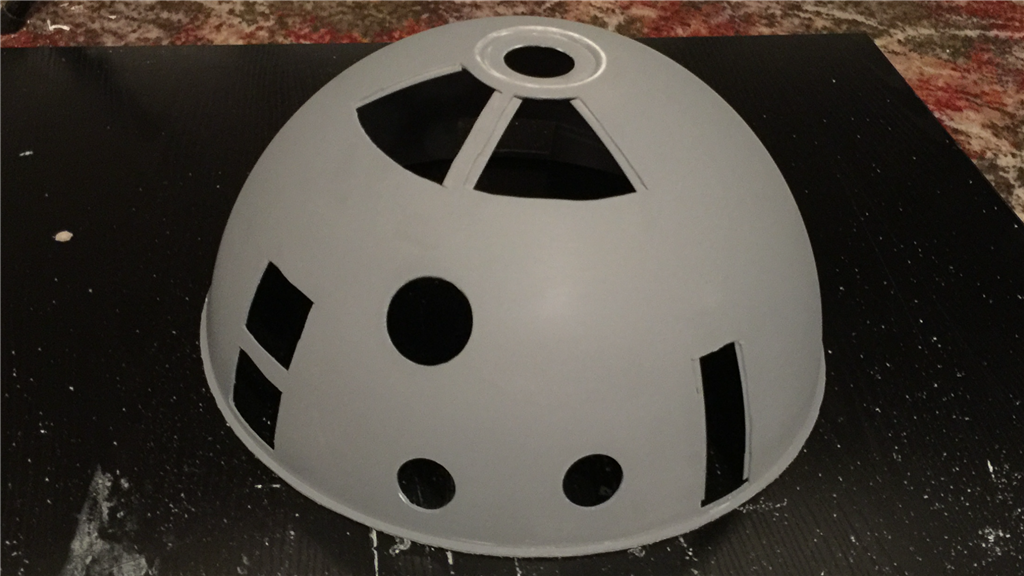
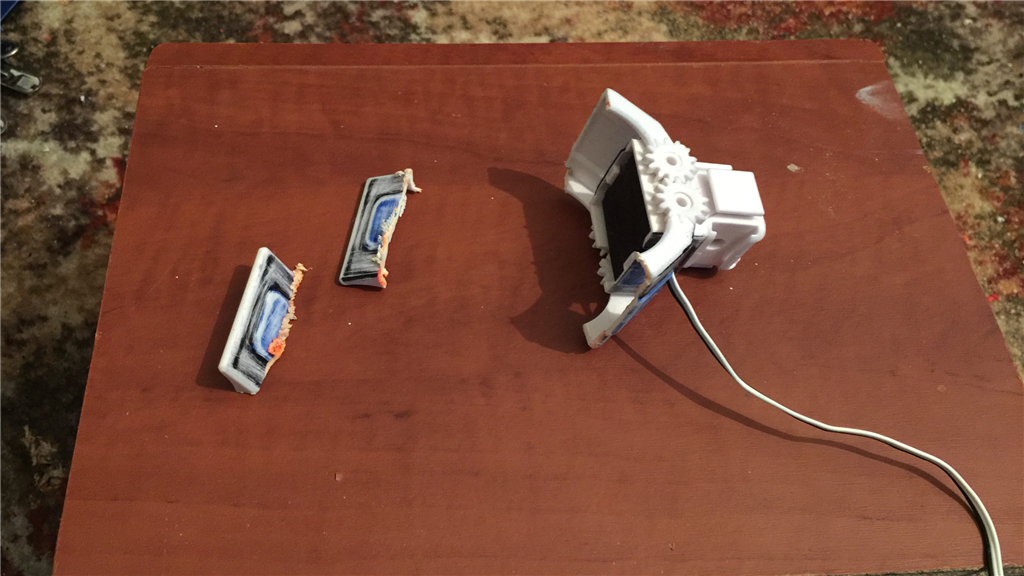
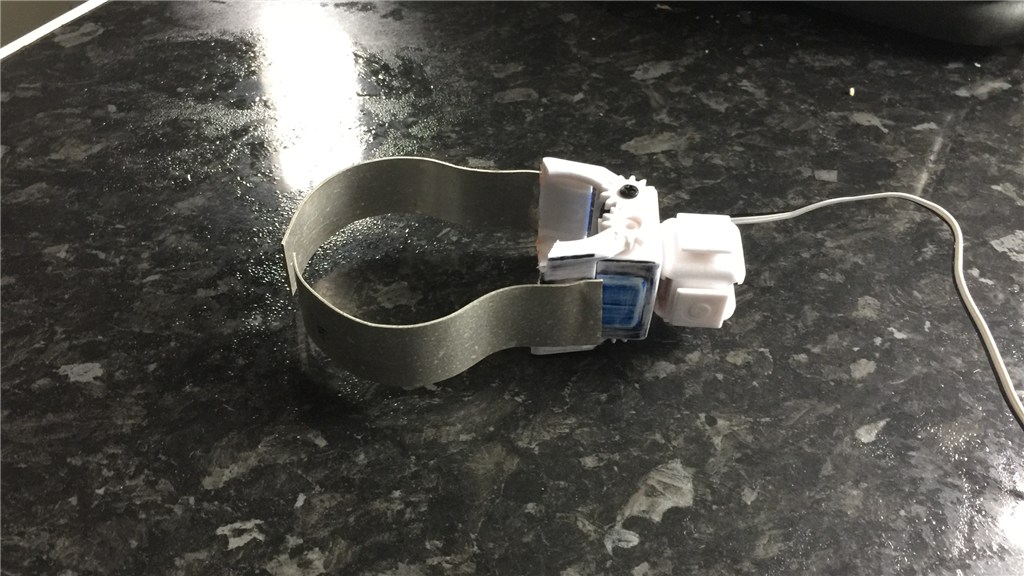
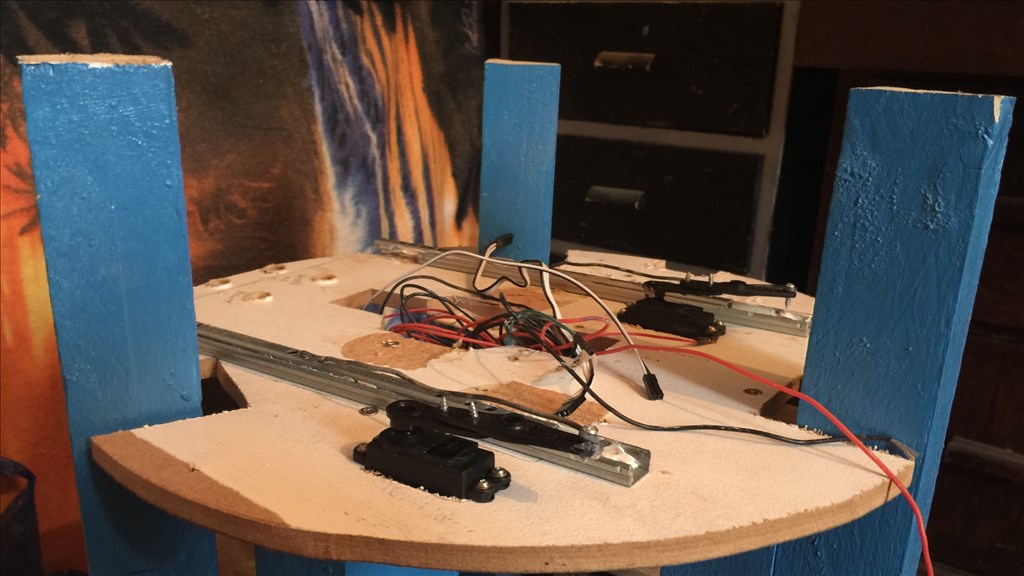
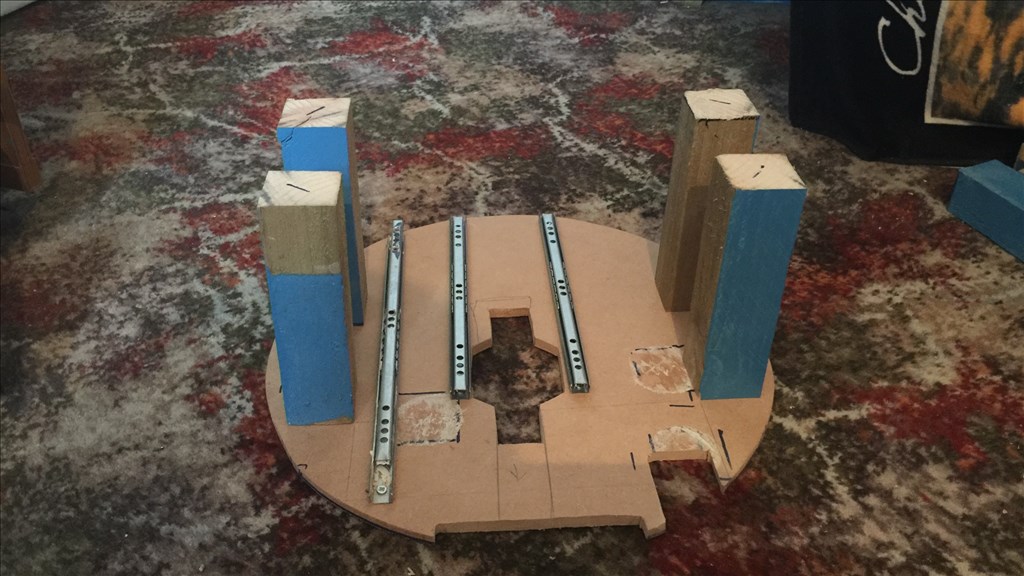
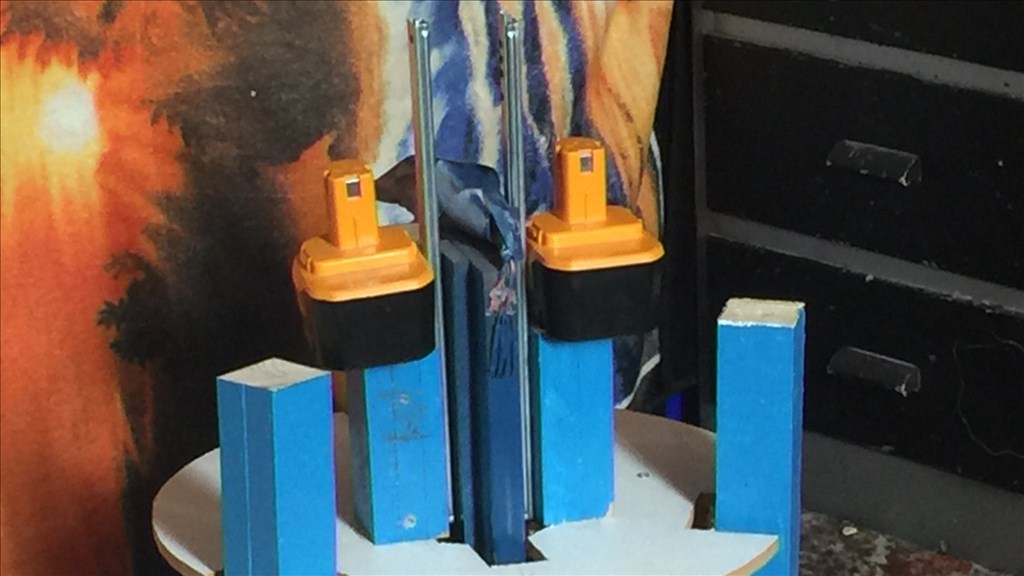
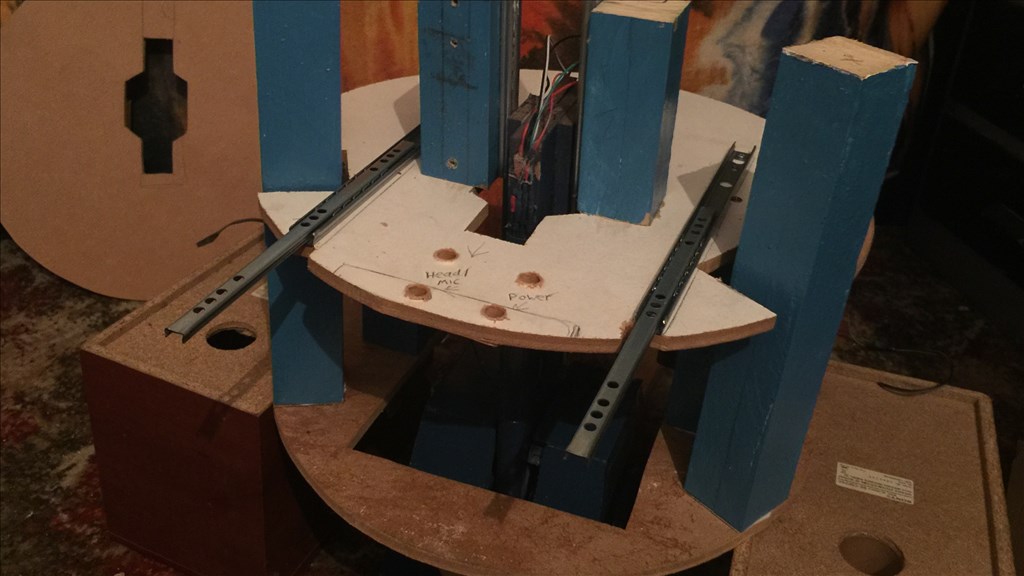
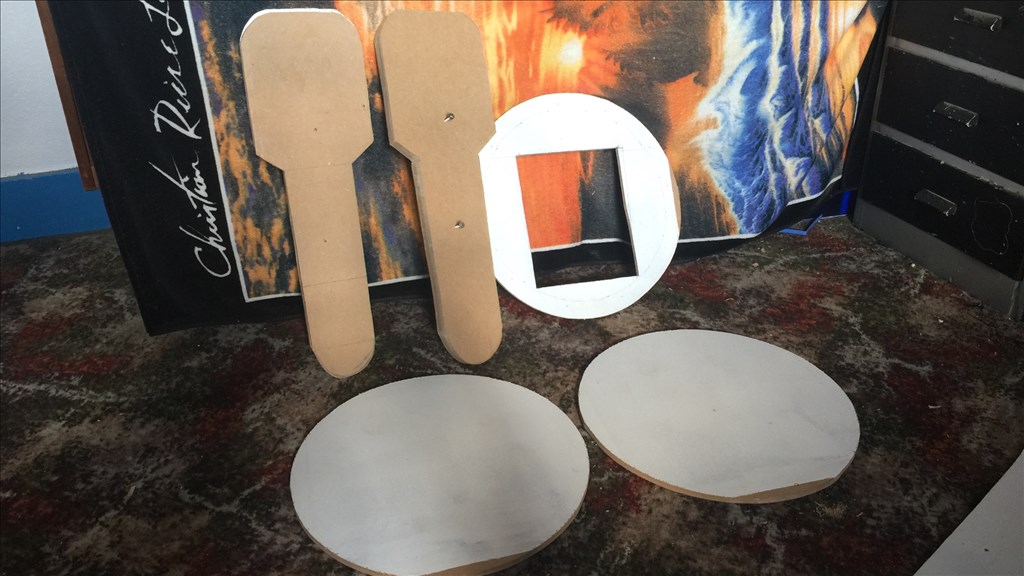
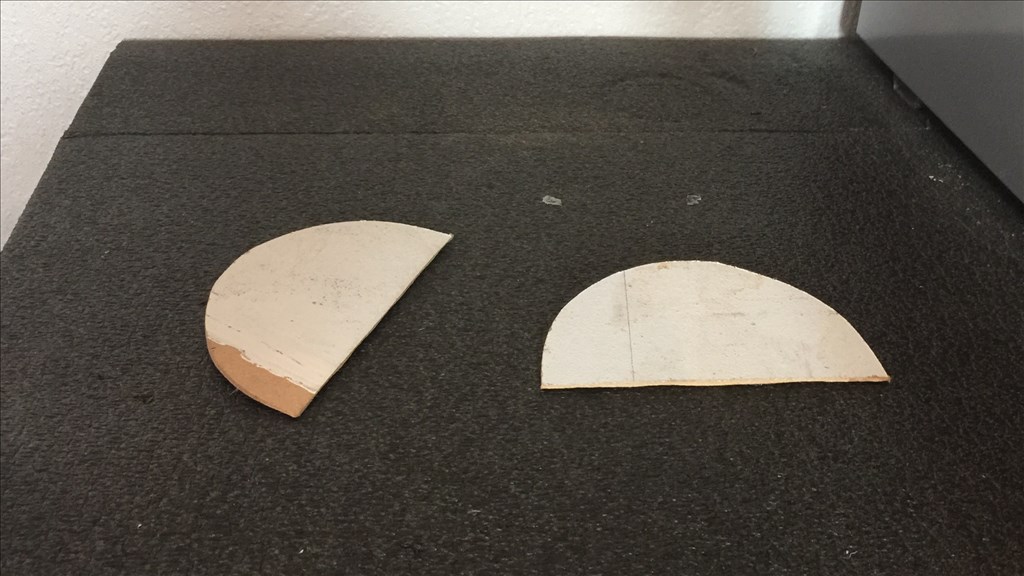
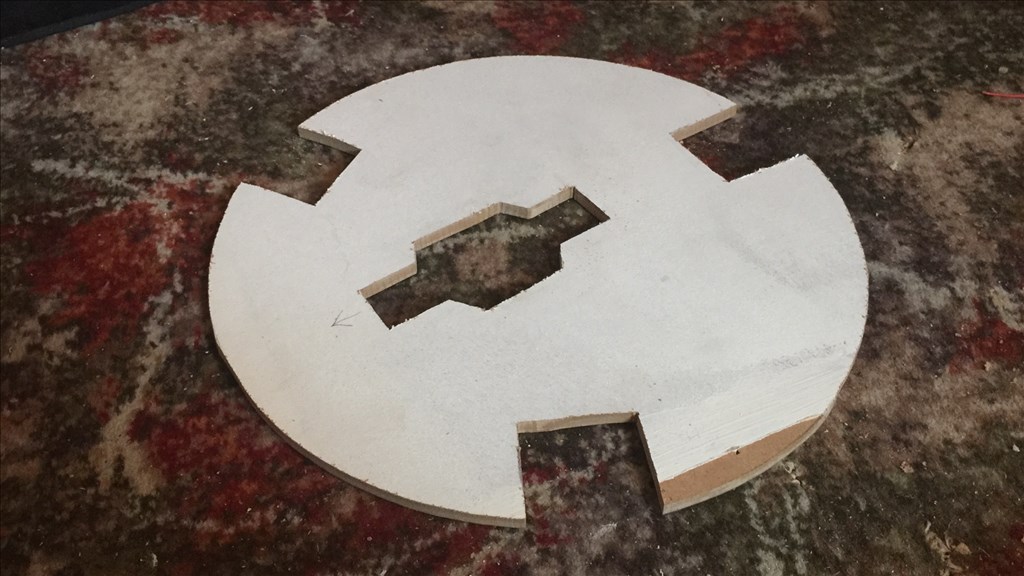
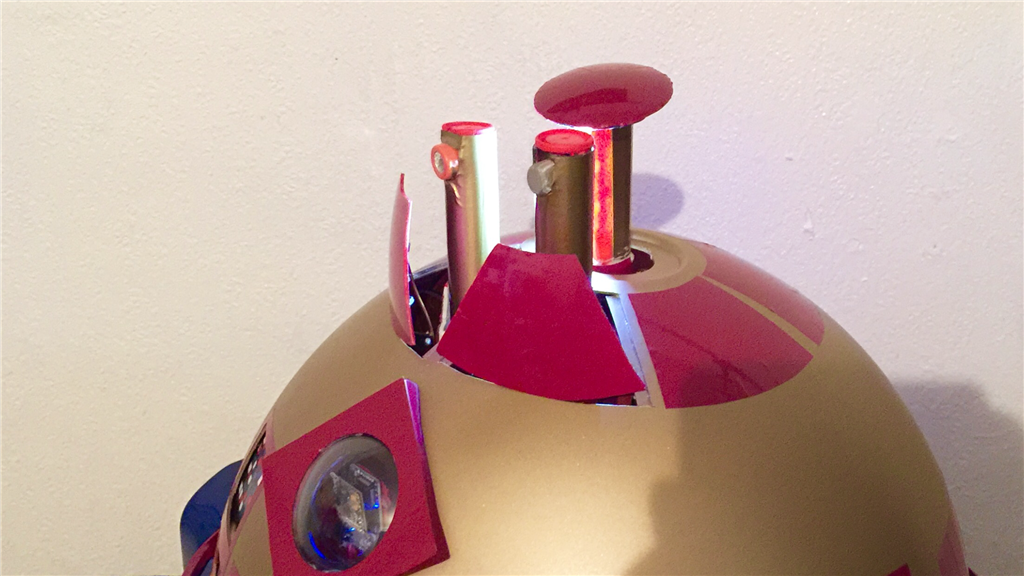
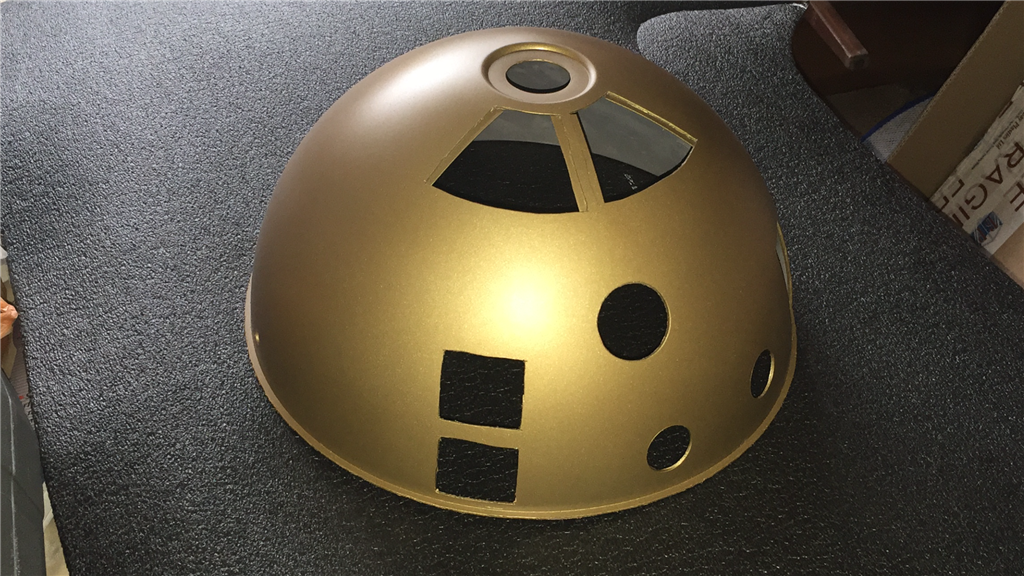
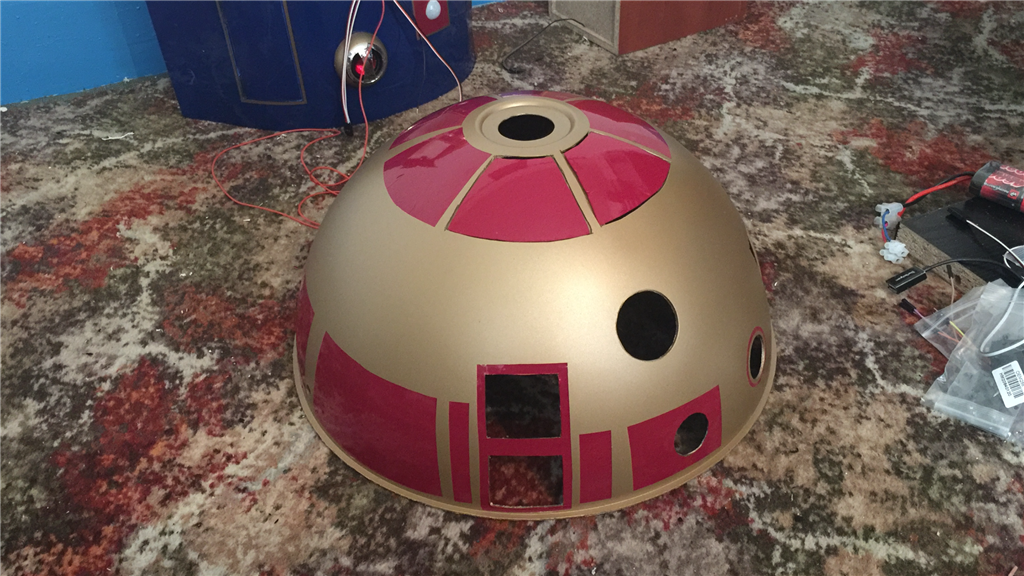
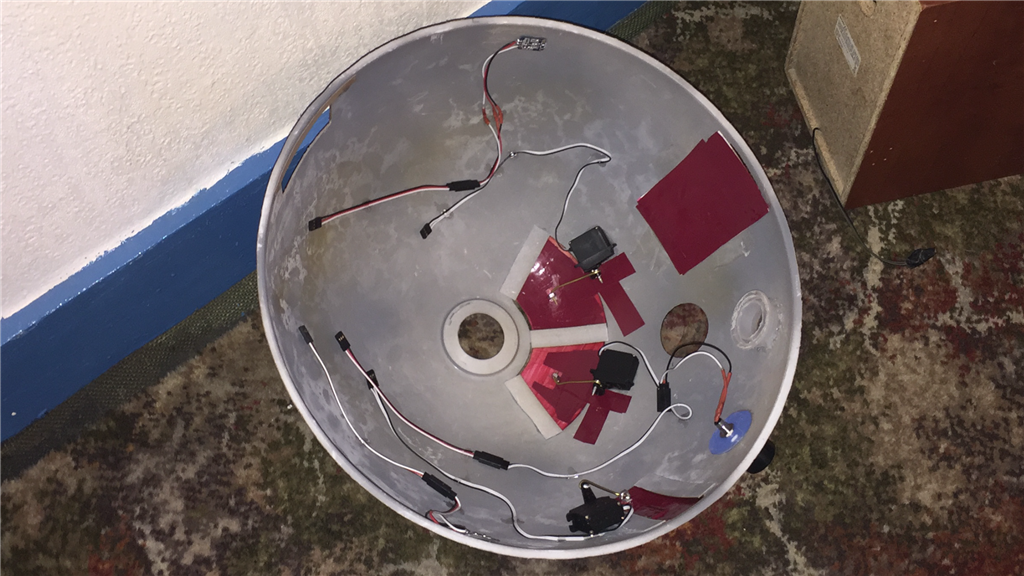
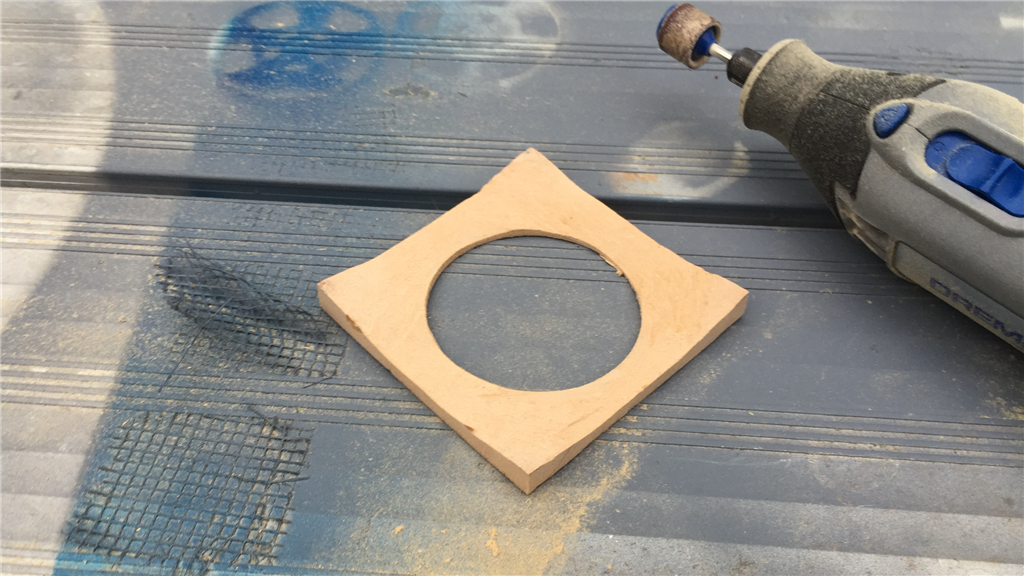
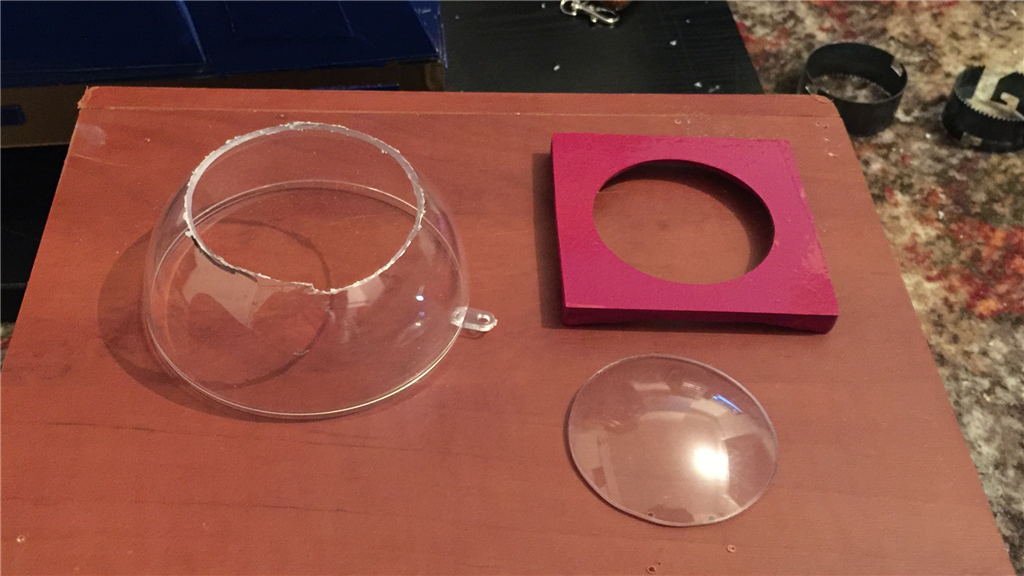
The next job I wanted to do was to get the side body skins fitted, but before I could, I had to make and fit the head platforms. Two MDF disks were cut, one slightly smaller than the other so the dome could fit flush over it. Measurements were made to find the exact centre of both disks, then fitted a 6" lazy Susan bearing to the larger disk. I also took the opportunity to mark out the sections of the dome which are to be painted and cut out.
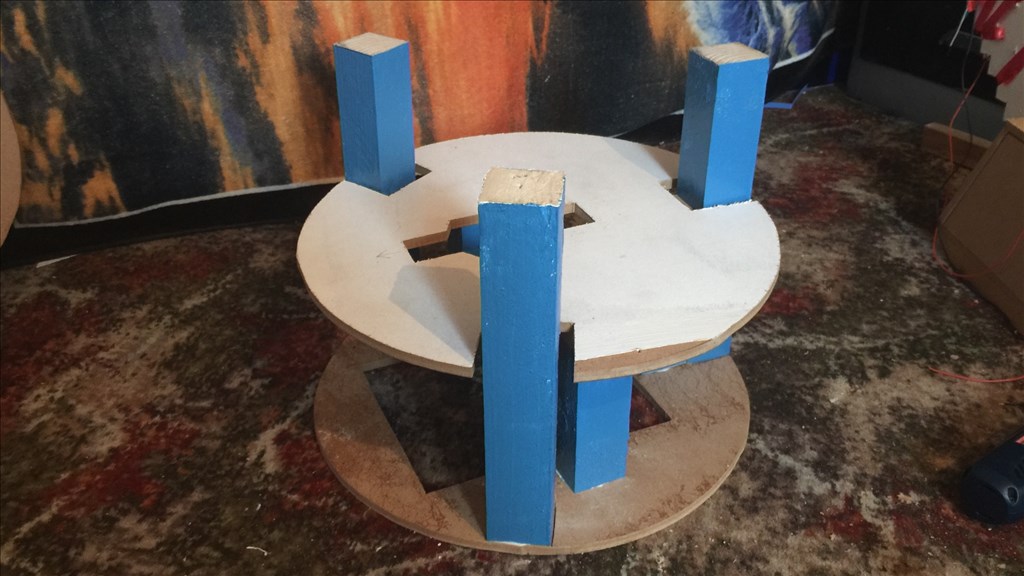
A servo horn was fitted to the centre of the large disk, cut a section out to mount the servo in the smaller disk, joined the two sections together and cut a channel out to feed the wires through.
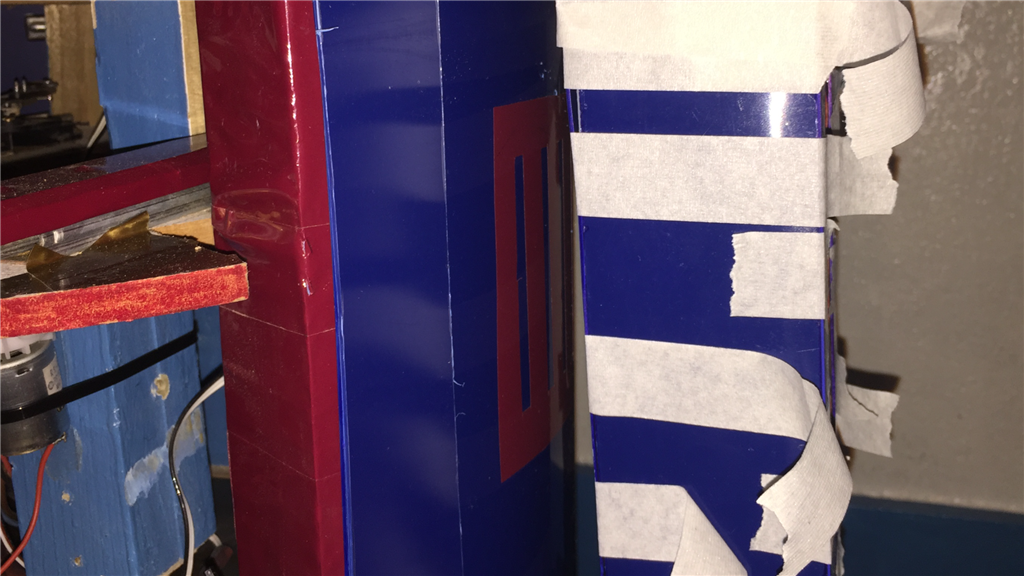
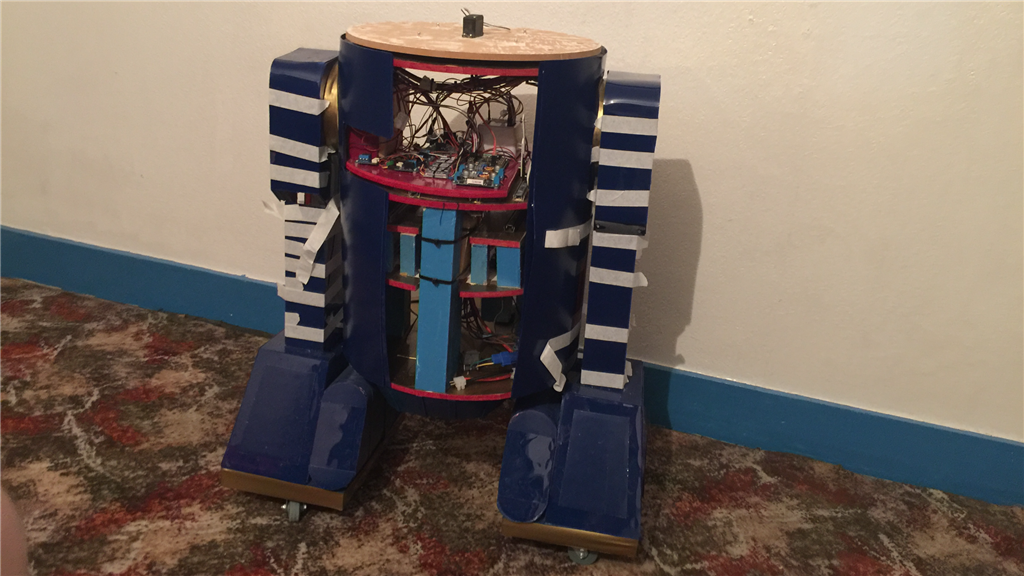
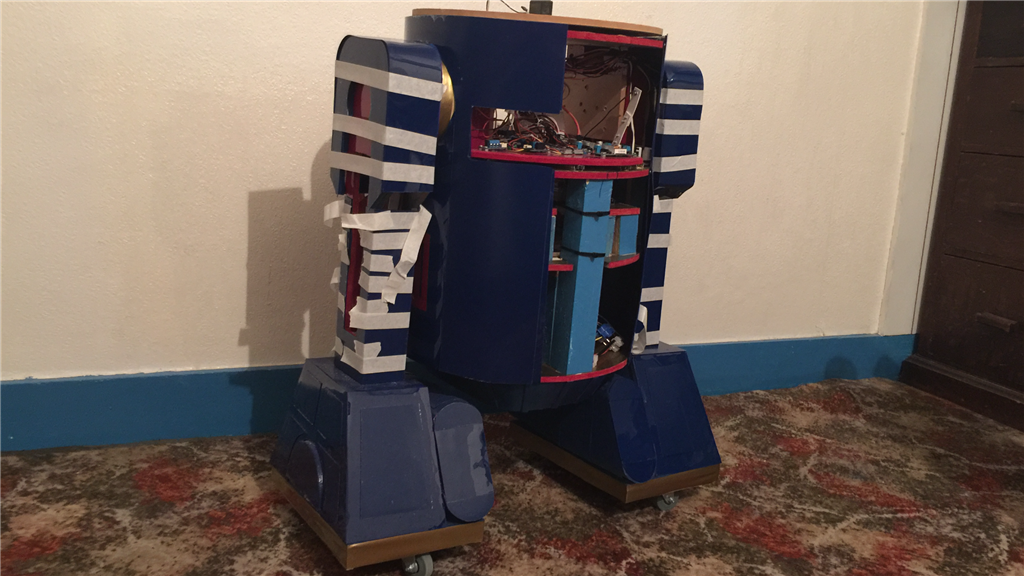
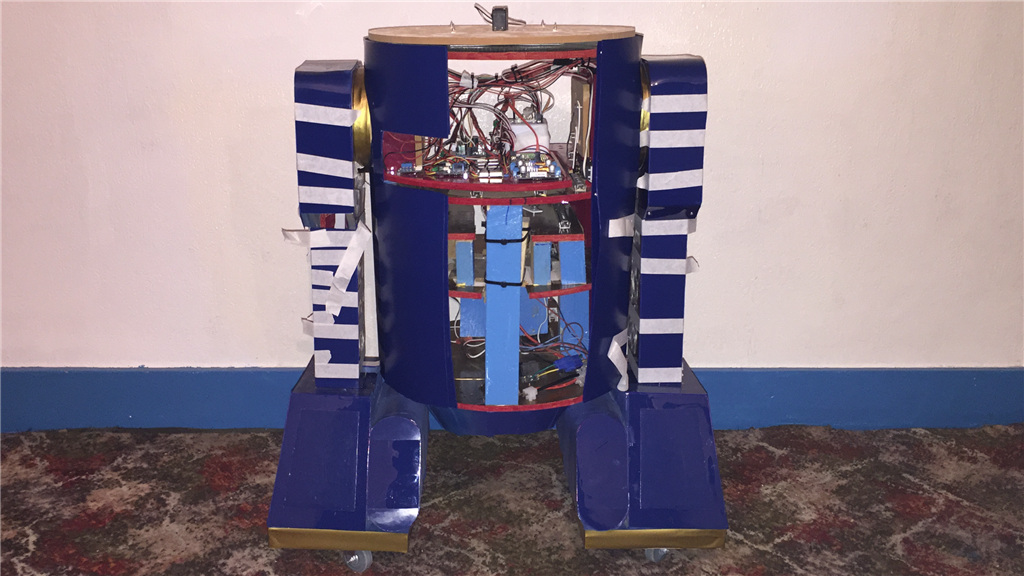
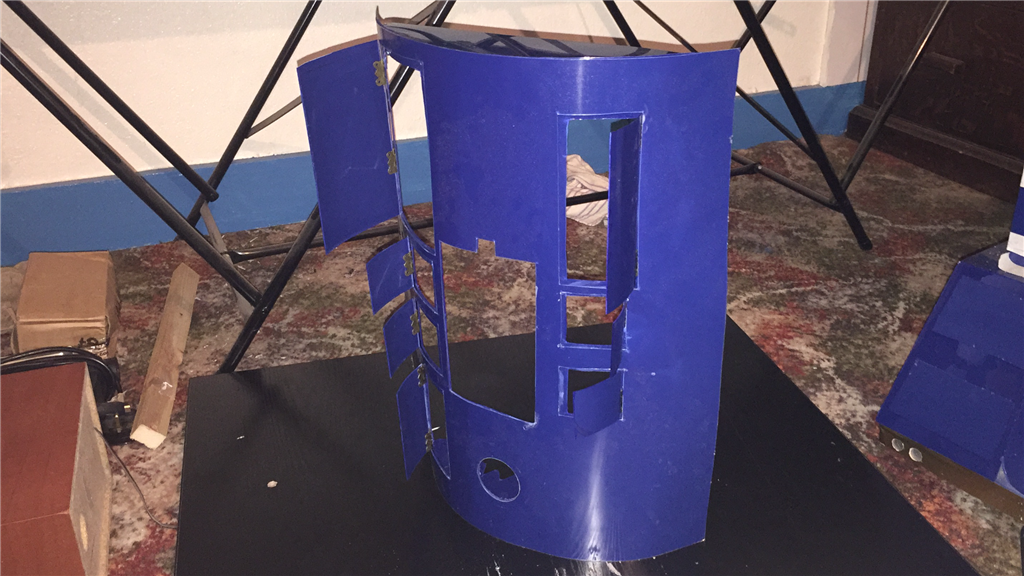
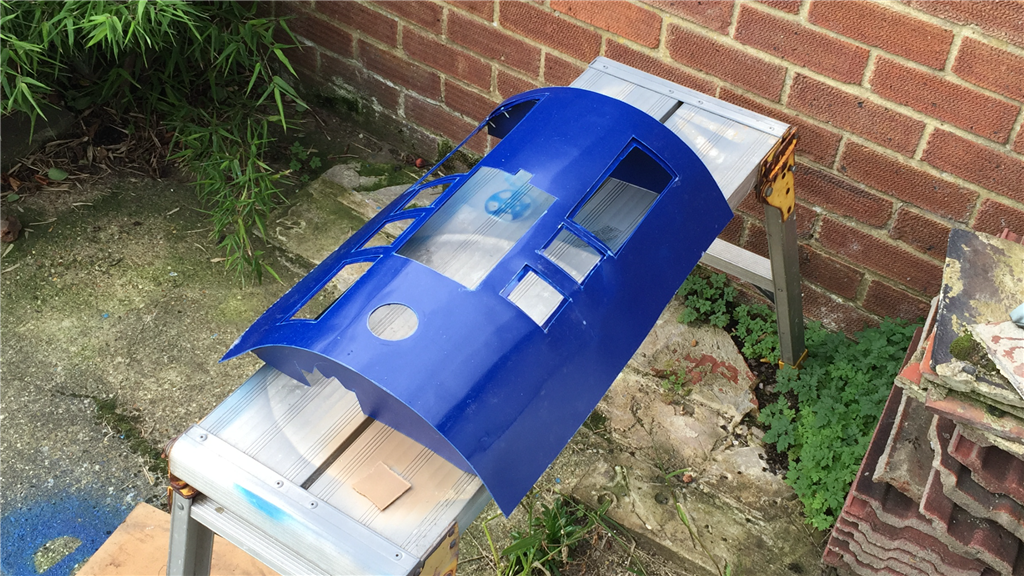
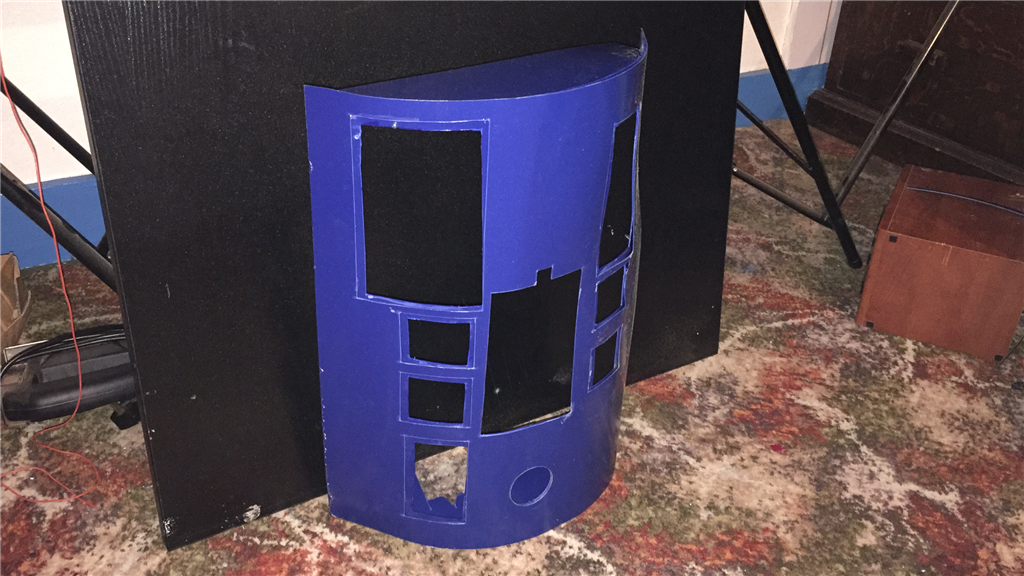
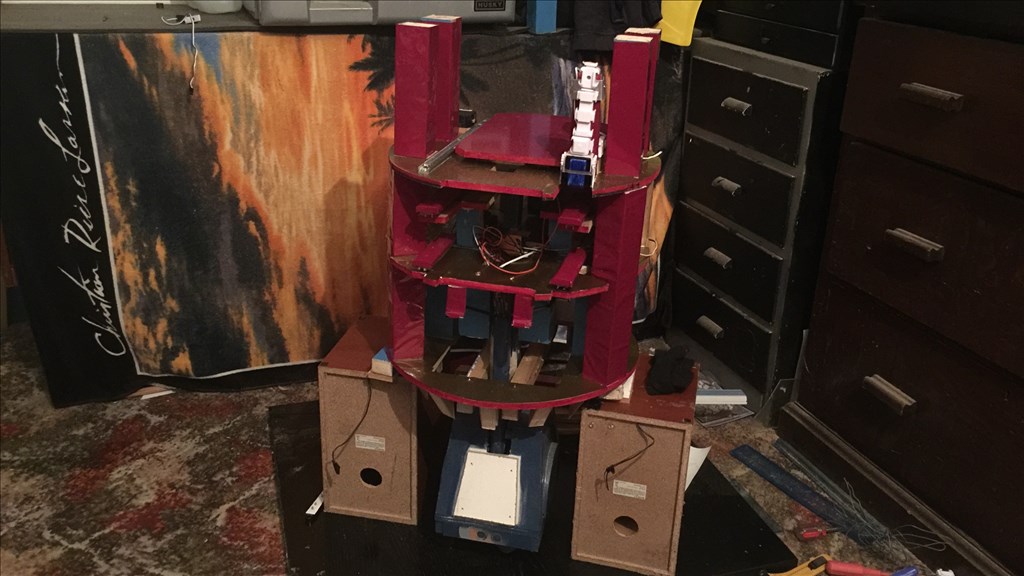
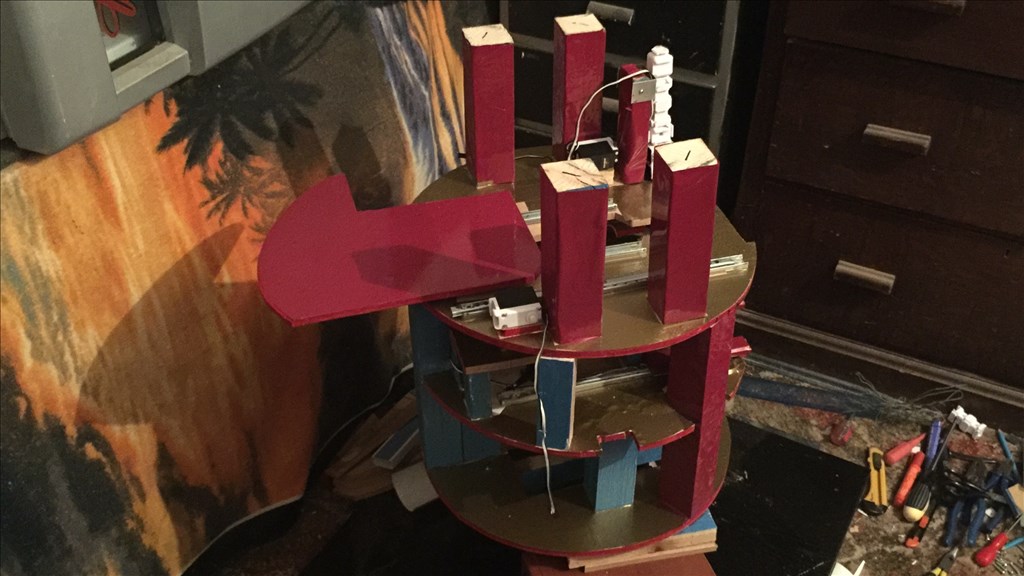
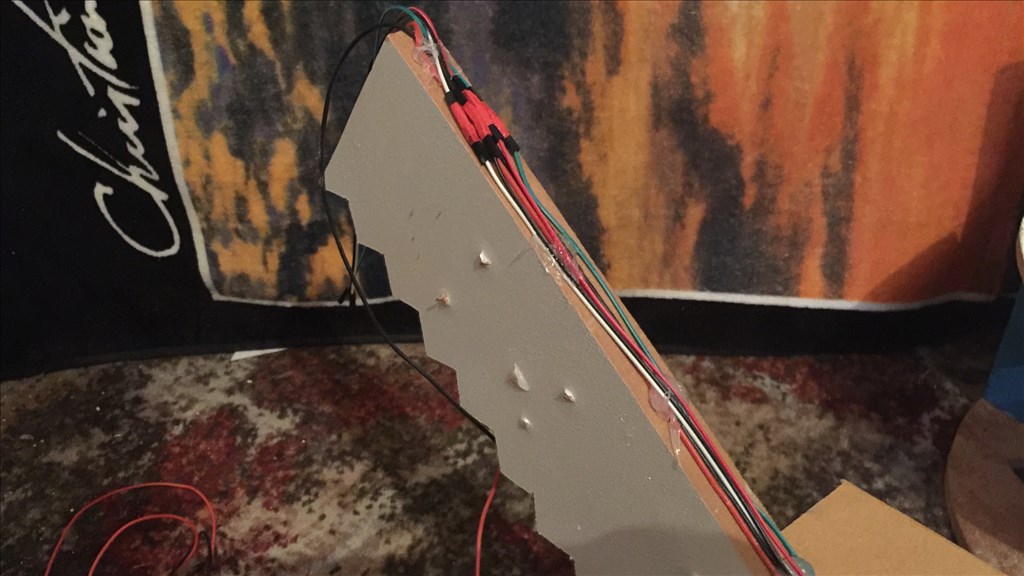
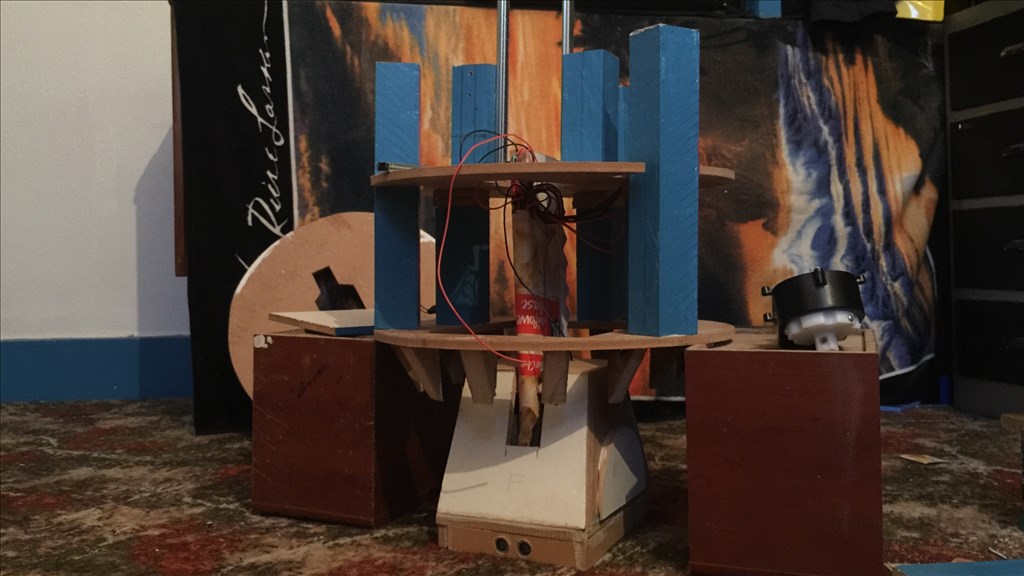
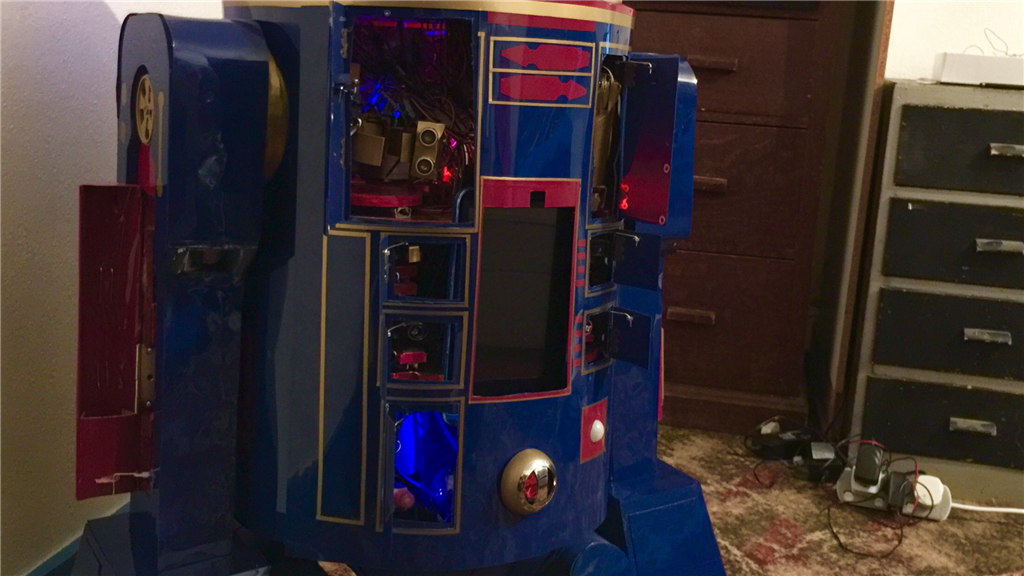
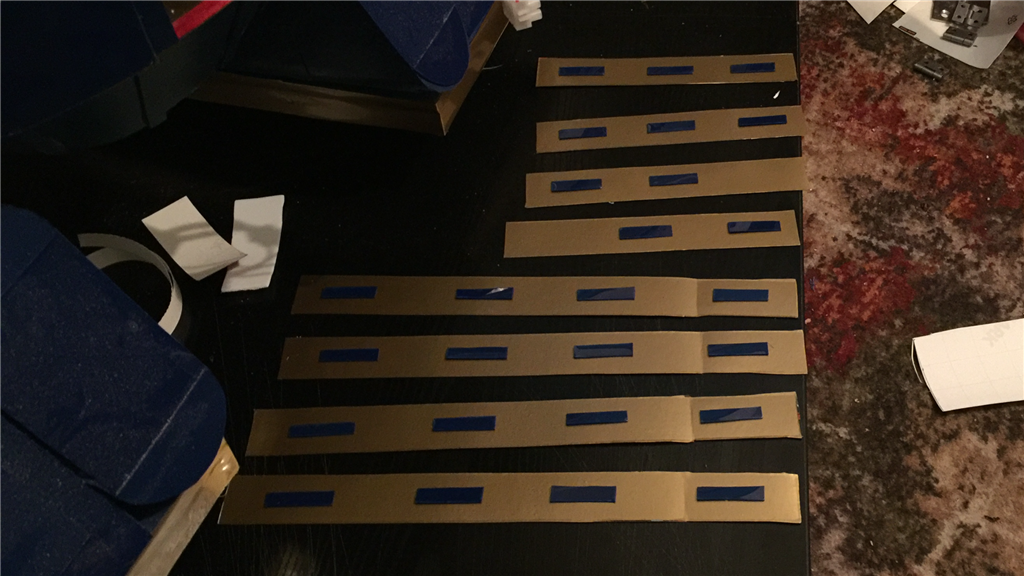
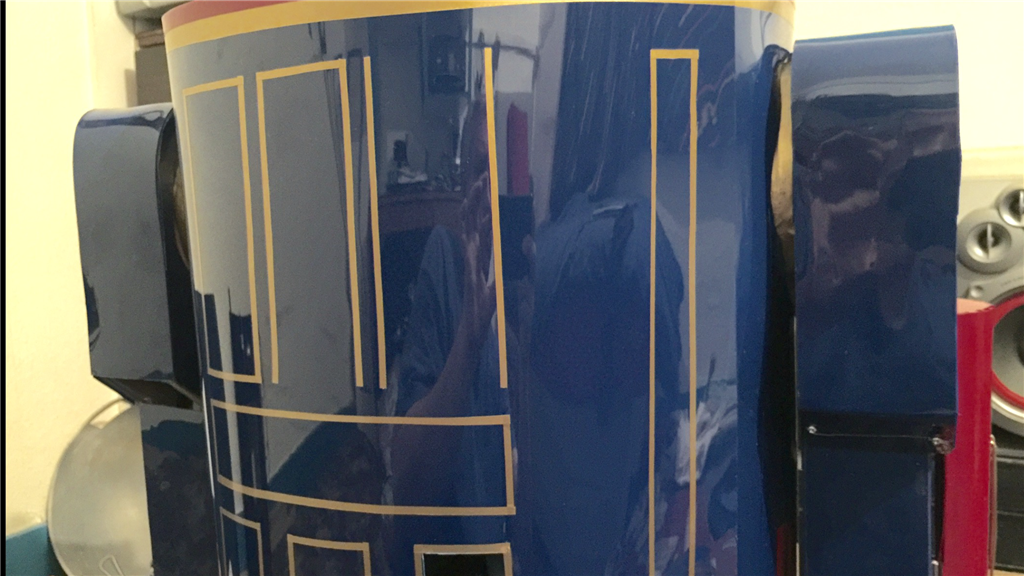
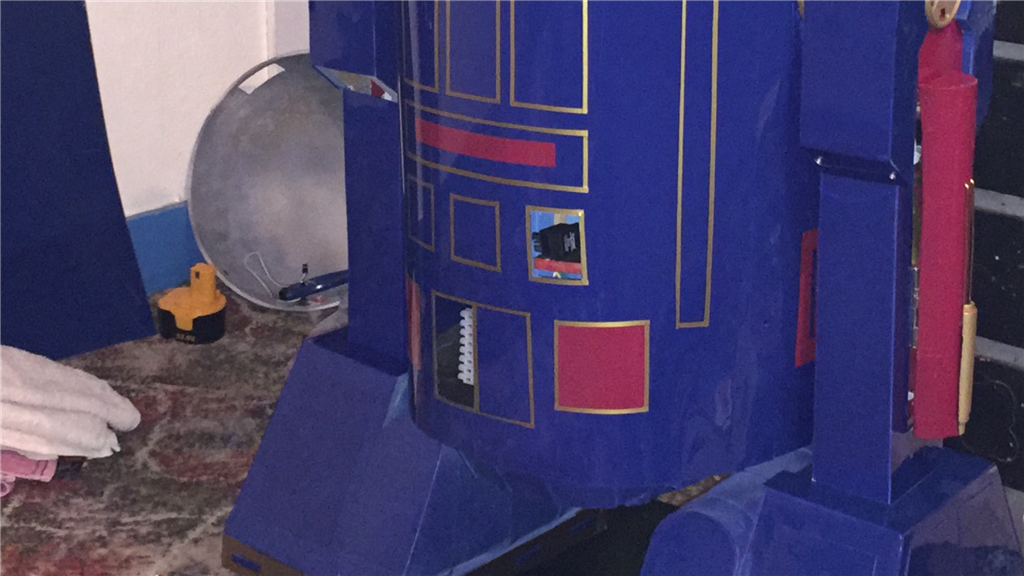
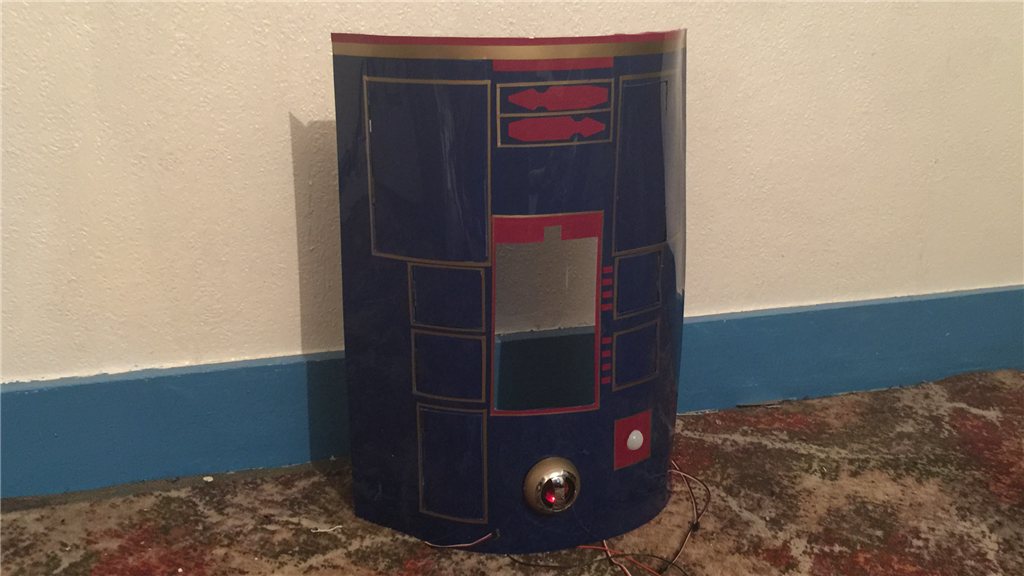
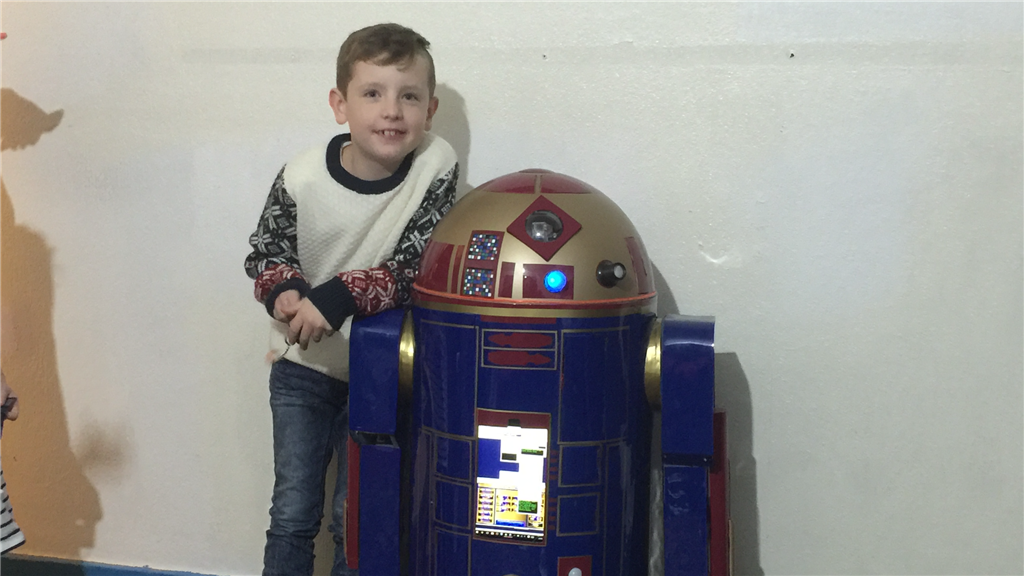
With this part done I carefully measured and attached the head section to the body, calibrating the servo to 90 degrees to make sure the section was centred properly. The final step was to cut, paint and attach the side skin panels. For this, I used 3mm HIPS (high impact polystyrene sheet) which was an off blue matt finish. When cut to shape and size, these were painted and lacquered with the same deep gloss blue to match the feet and legs.
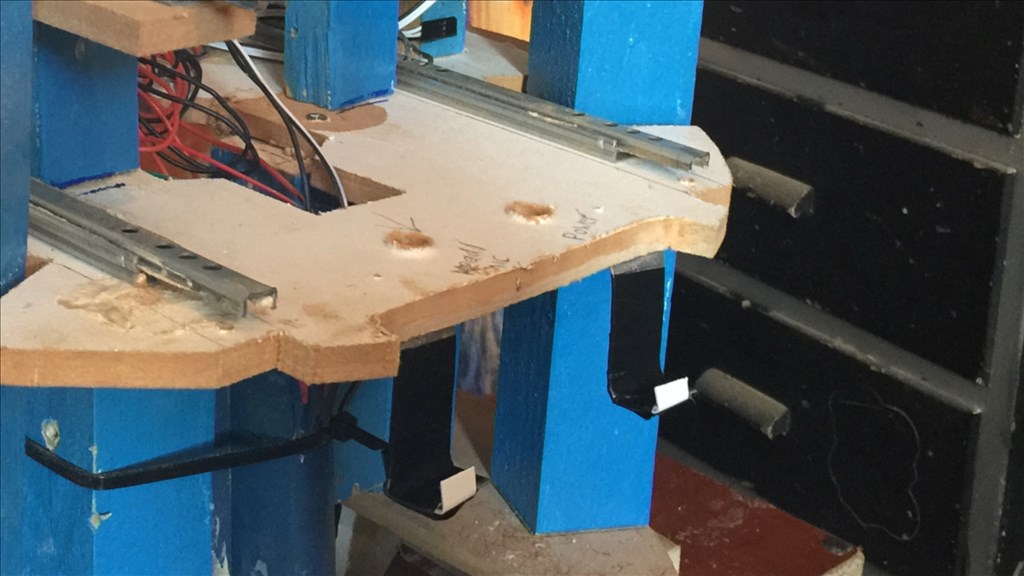
I added a little bit of detailing using some burgundy red vinyl adhesive sheet, and made a cutout for the electronics platform to slide in and out through. These were also temporarily covered with cling film to protect the finish. The electronics platform was tested to make sure nothing would catch, and it had plenty of room to slide in and out.
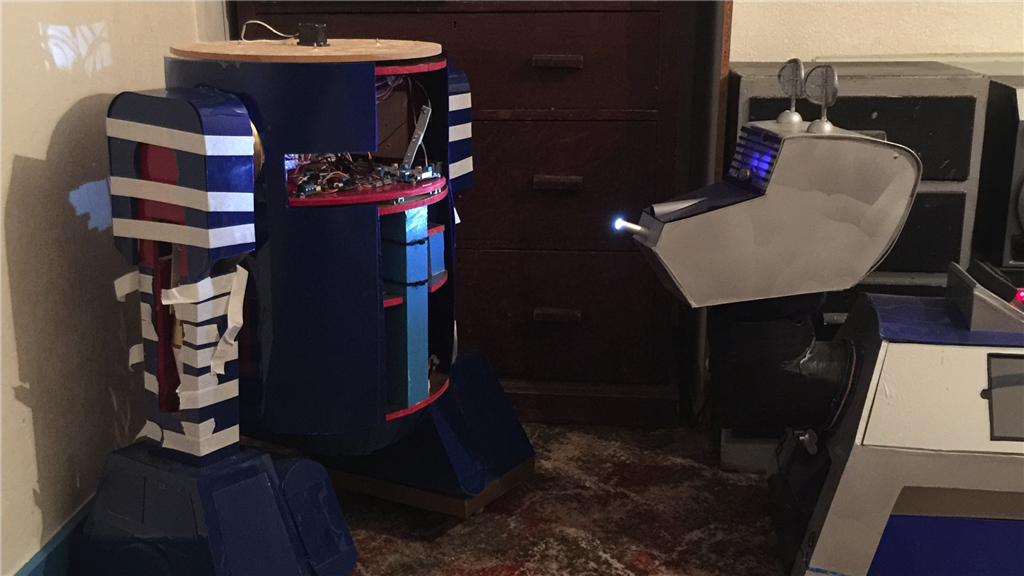
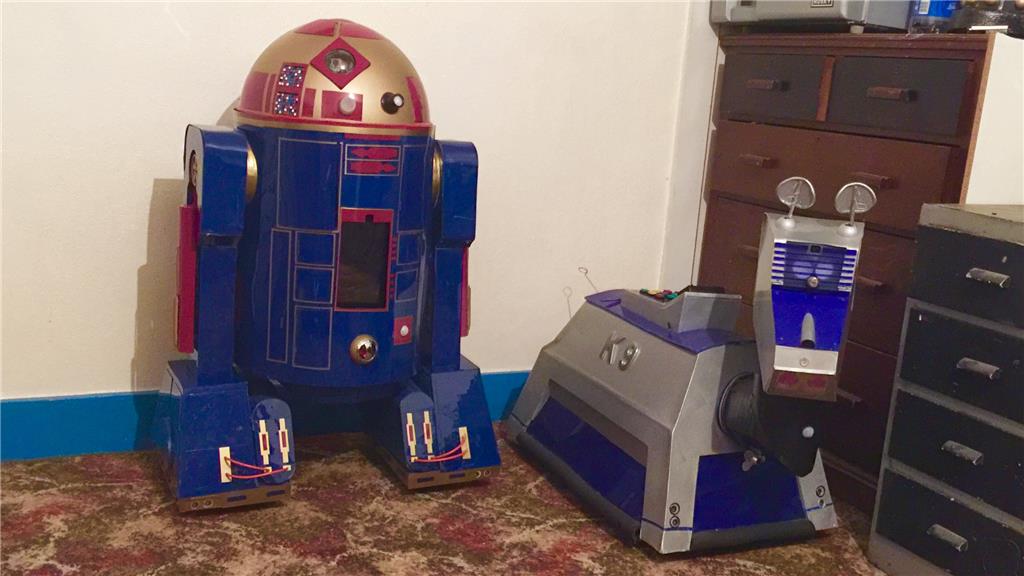
Robots helping to build robots. K-9 lends a helping hand (or rather, nose) and shines some light on the subject...
And that's where the build stands at the moment. Next jobs will be to sort out the front and rear body skins, then work on the head section and dome. There is still a fair bit to do, but it's starting to come together more now.
No robot building to day or tomorrow however, as well as it being Halloween, I also hit 42 years old today, so lots of food and even more drink with some friends today, and sleeping it off tomorrow, lol. sleep
Next update to follow soon.
HAPPY-B DAY steve
nice pis
Thank you Patrick.
Holy cow Steve. What do you mean by not making much progress? That's a huge amount of work! Very nice work. This build is turning out better than K9 (and that was one good looking dog).