


Day 1 (4th August 2015)
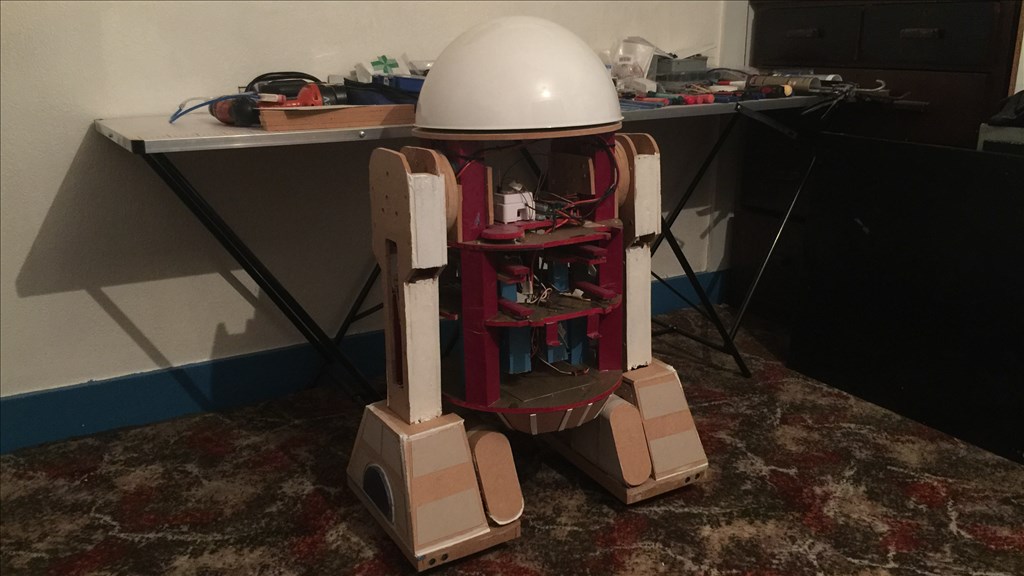
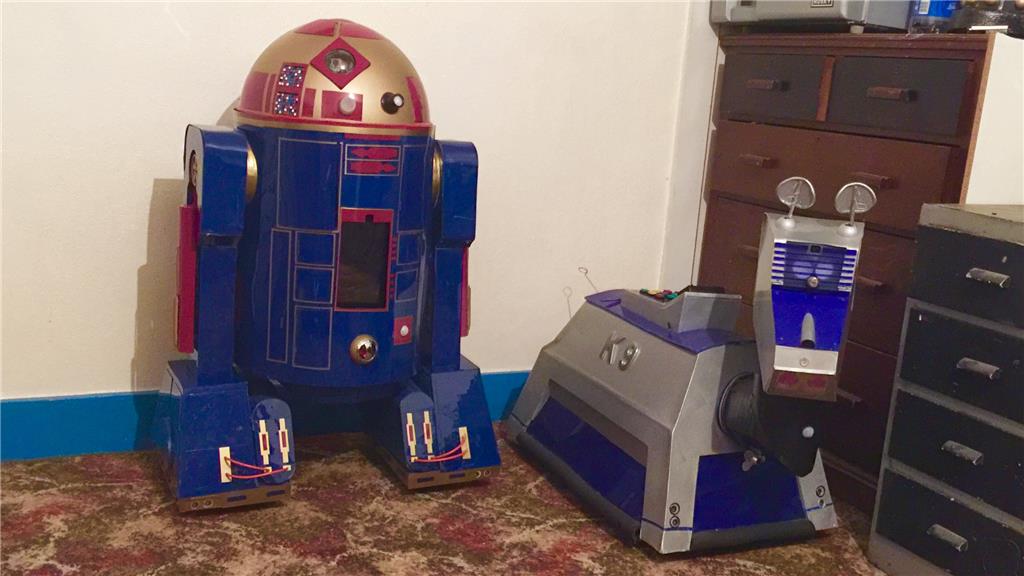
So after throwing around a few ideas for a new project to sink my teeth in to, I decided to go ahead and do my own version of an Astromech Droid, rather an Astromech "Smartdroid". With K-9 being one of my all time favourite on-screen robots, R2-D2 was (and still is) just as much of an all time favourite of mine so building one of my own droids is a logical step for me. As my other robot showcases where posted when the majority of the work was done, this will be a build diary of sorts, with updates throughout the build.
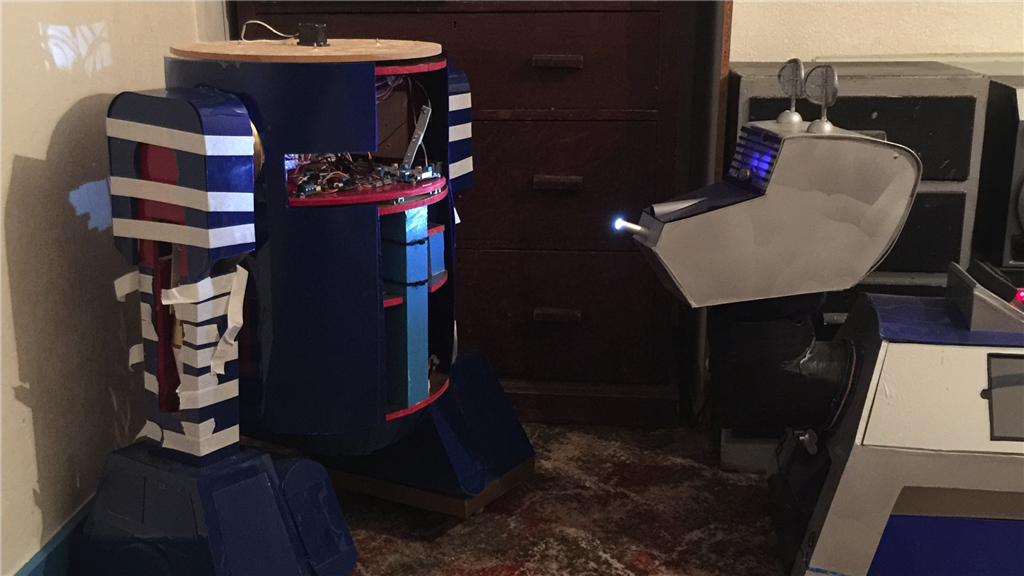
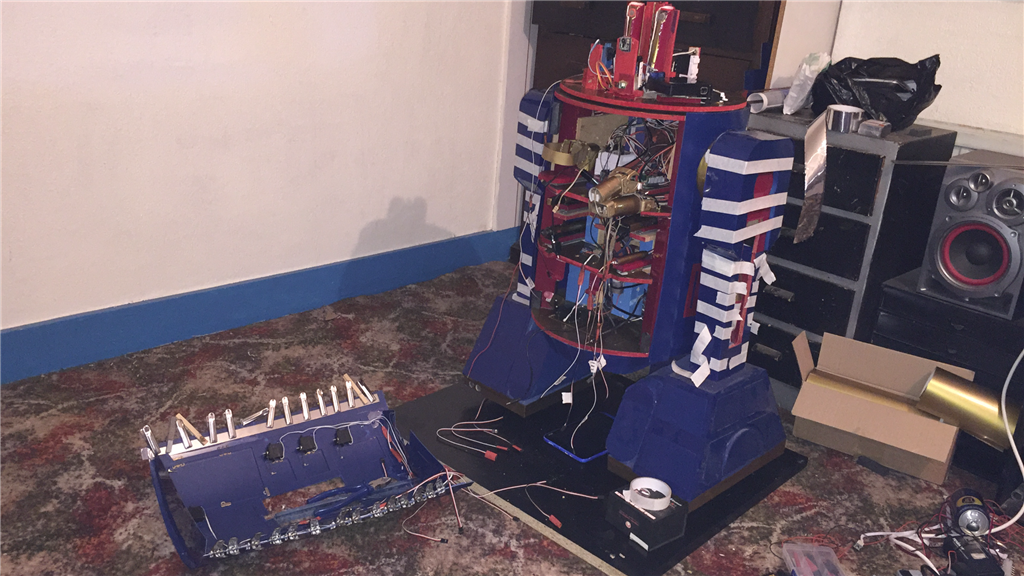
So wanting to get back to building, I had a few ideas floating around for my next BIG project and the thought about doing an R2 style robot came up a few times in the past (the blueprints I drew up that I've posted are 3 years old and was for an R/C version), and after encountering a few design issues for a large custom robot (which I will get back to one day), it was @Robot56's fantastic Astromech Droid project that was the final push for me to decide what direction I should go. There are so many great scale replica Astromech builds around that people have done, but much like my K-9 2.0 build, I want to stay away from doing an exact prop replica build and do a custom build with custom paint job (as seen in the blueprints) while still keeping with the overall original design.
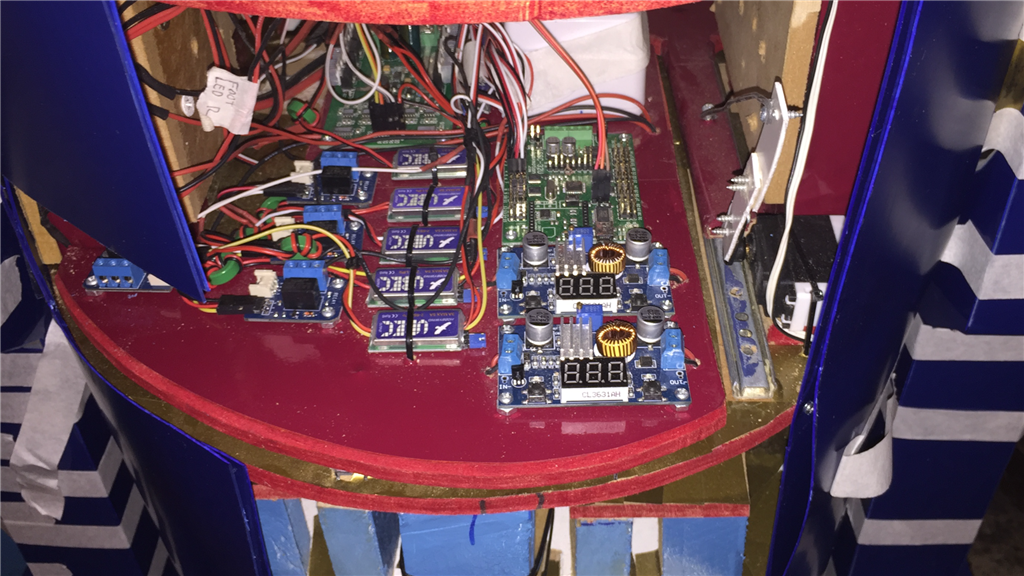
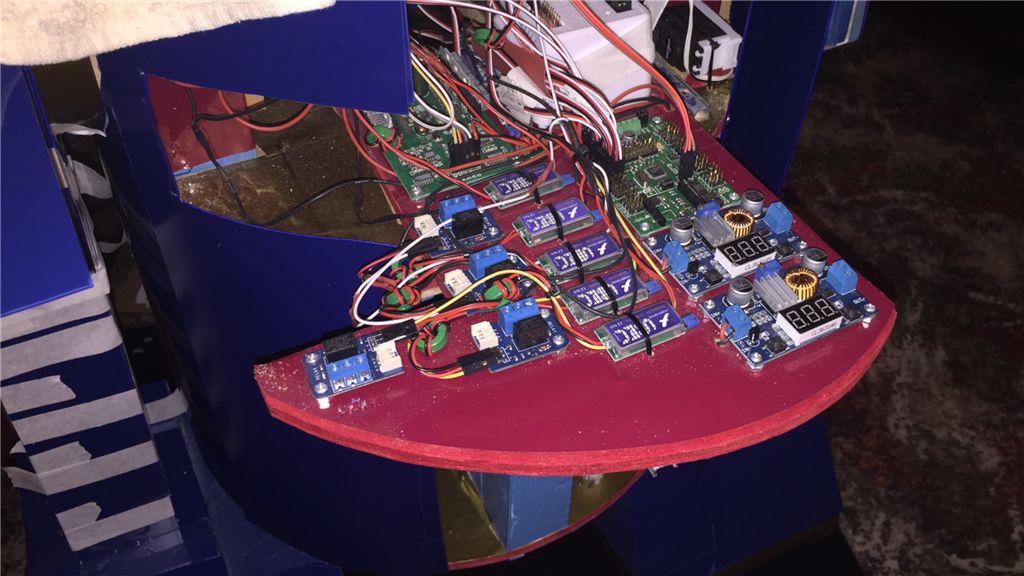
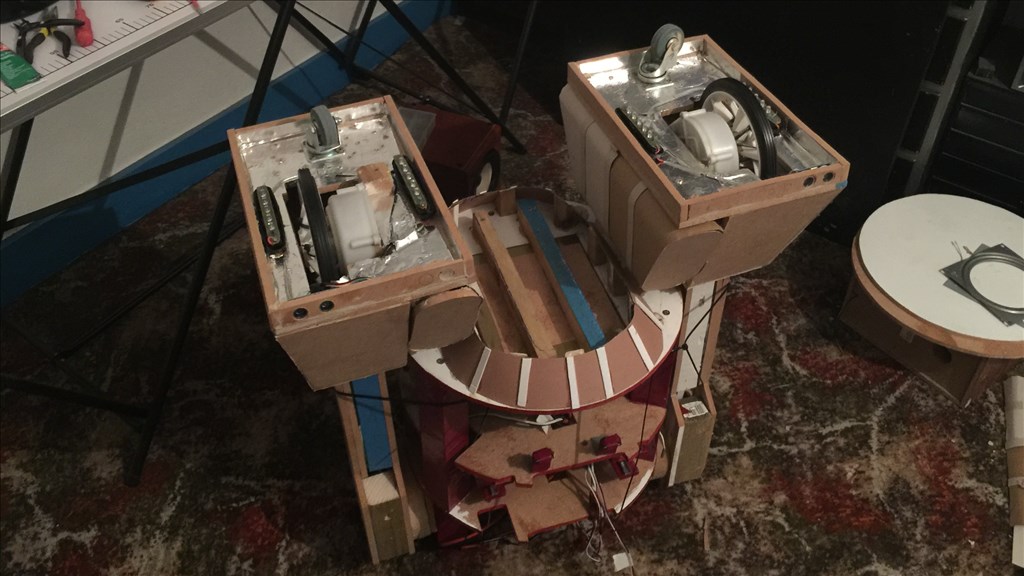
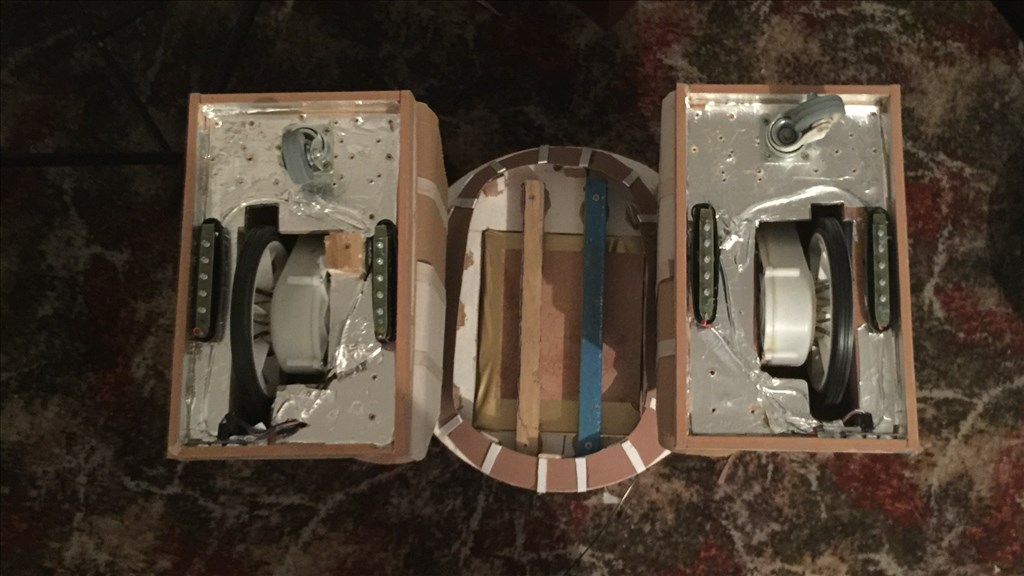
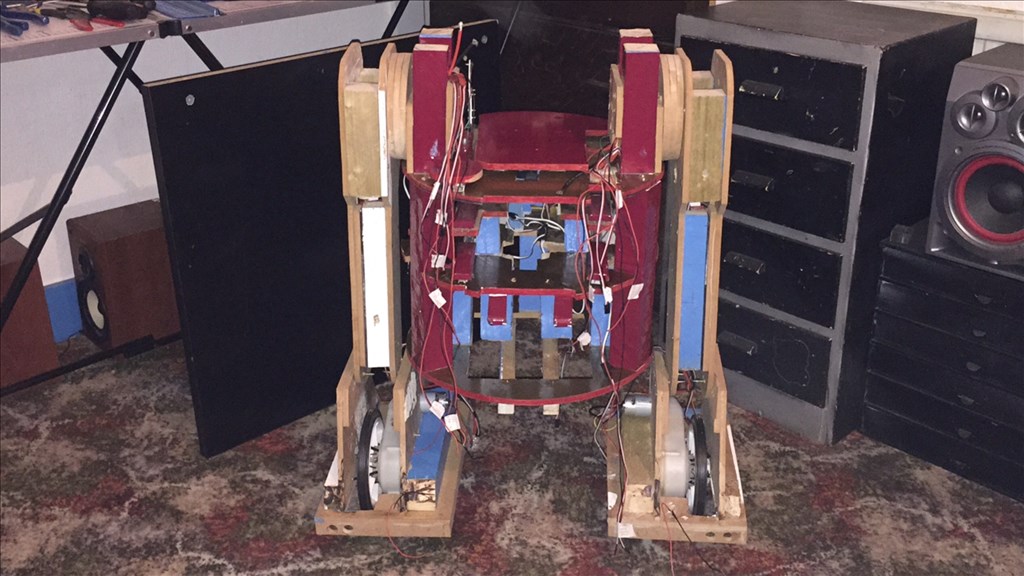
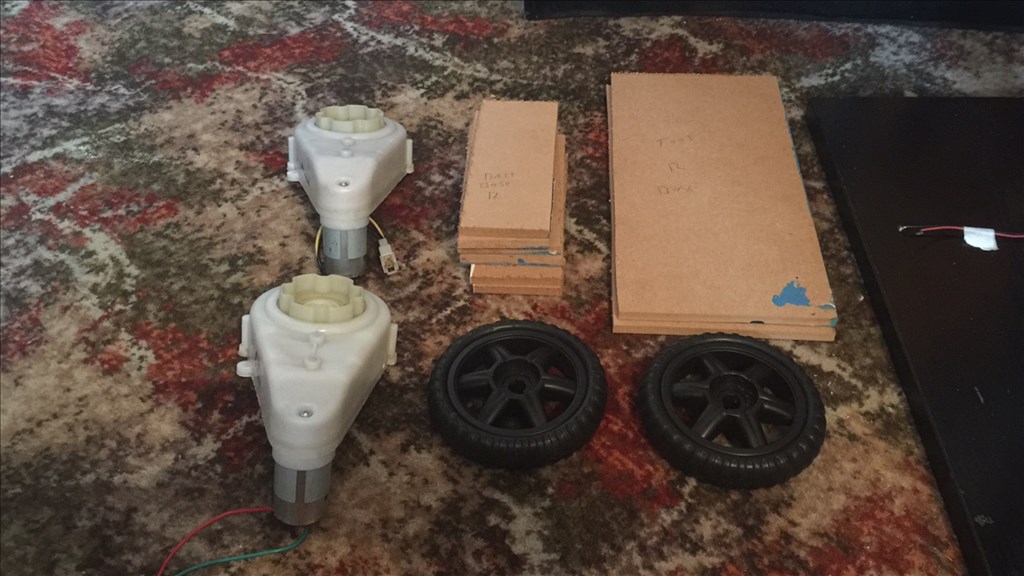
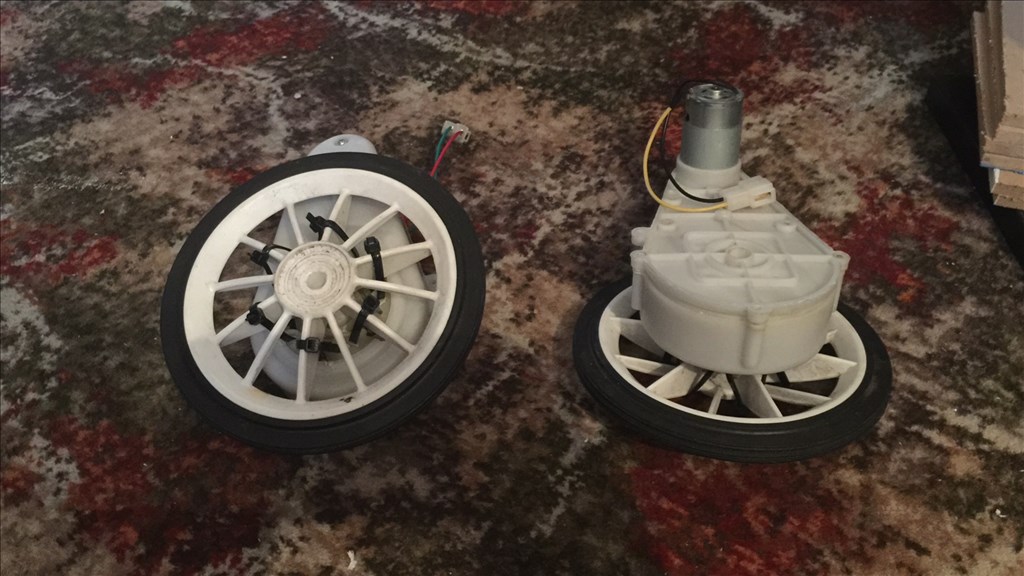
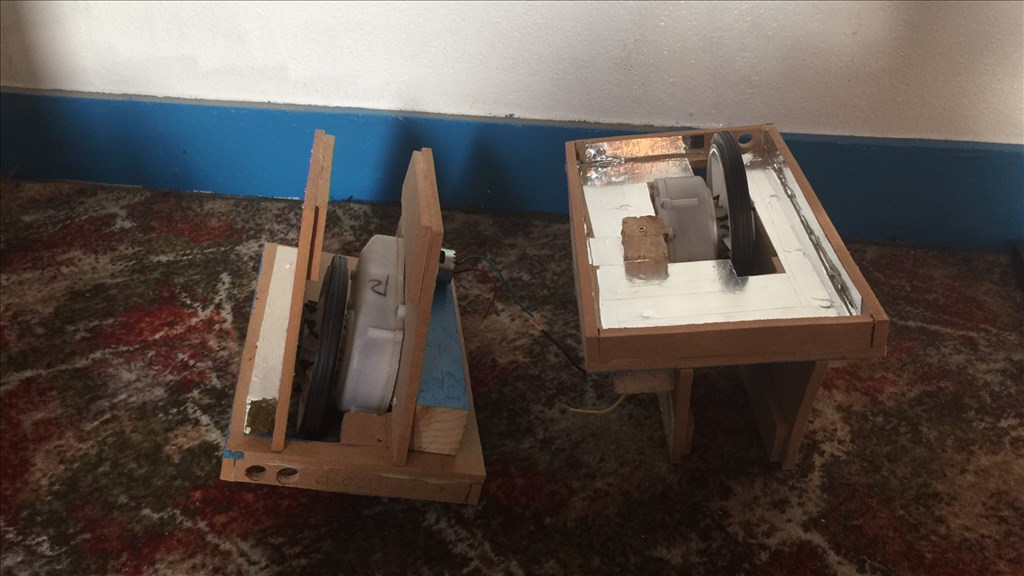
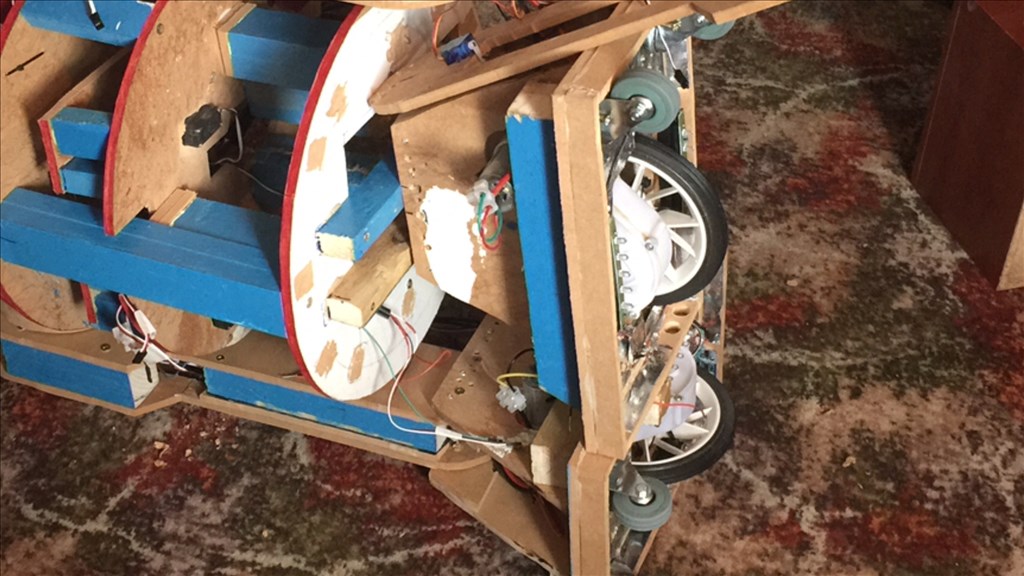
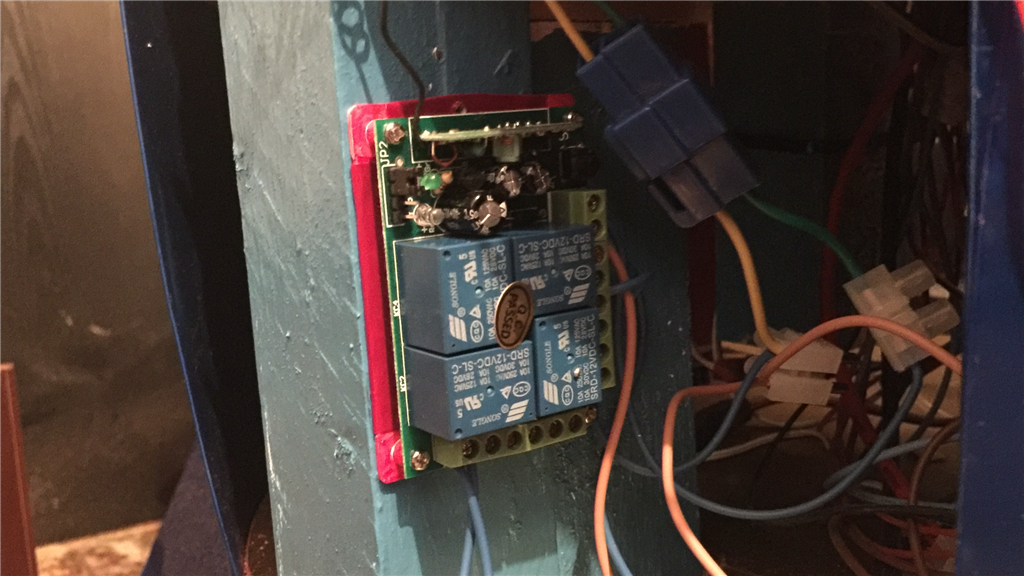
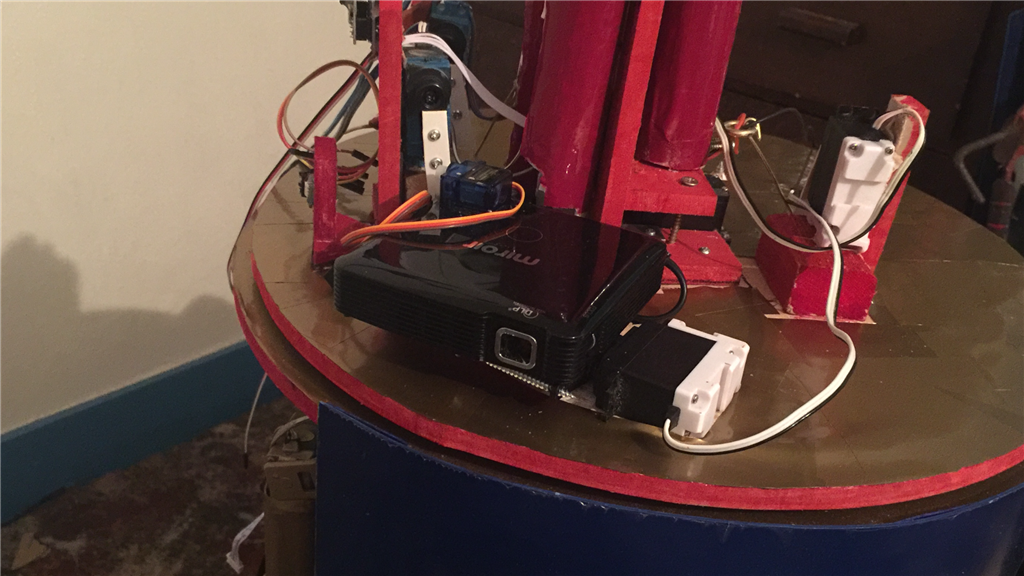
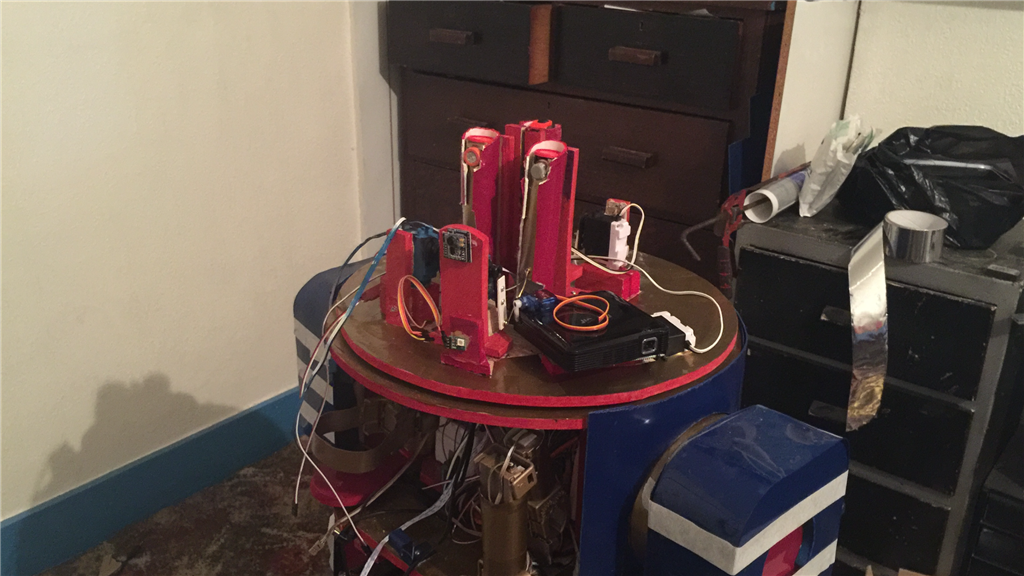
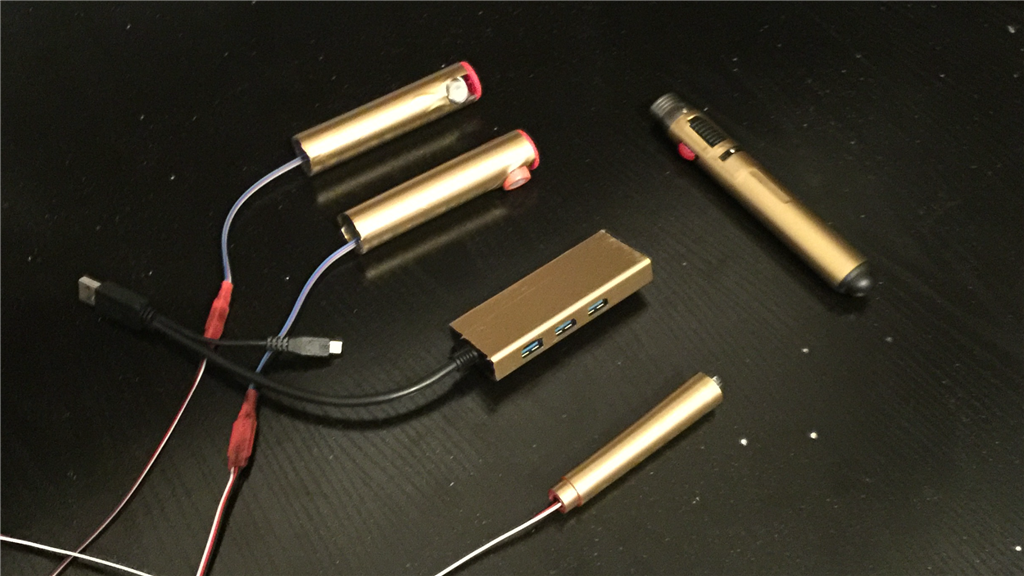
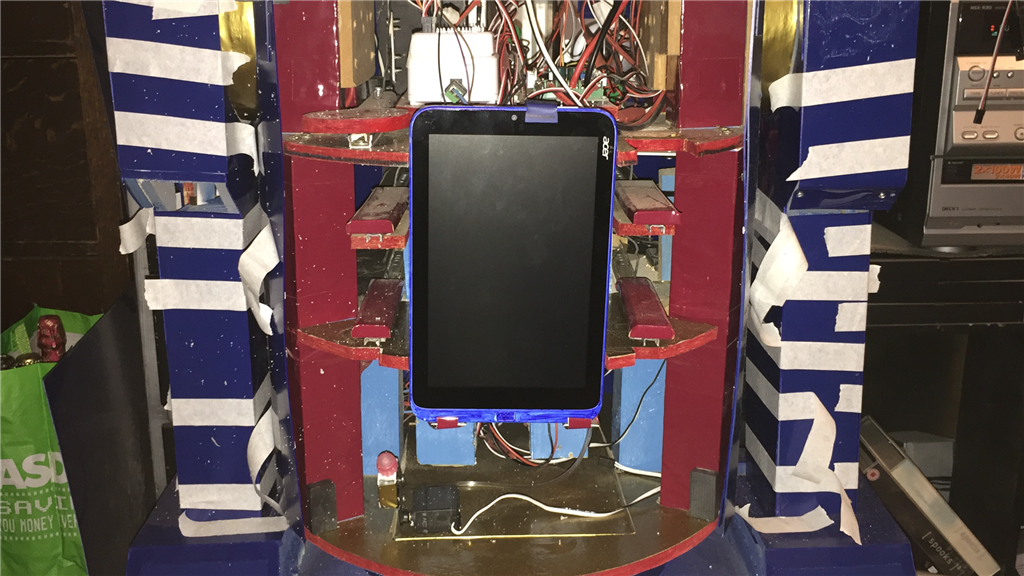
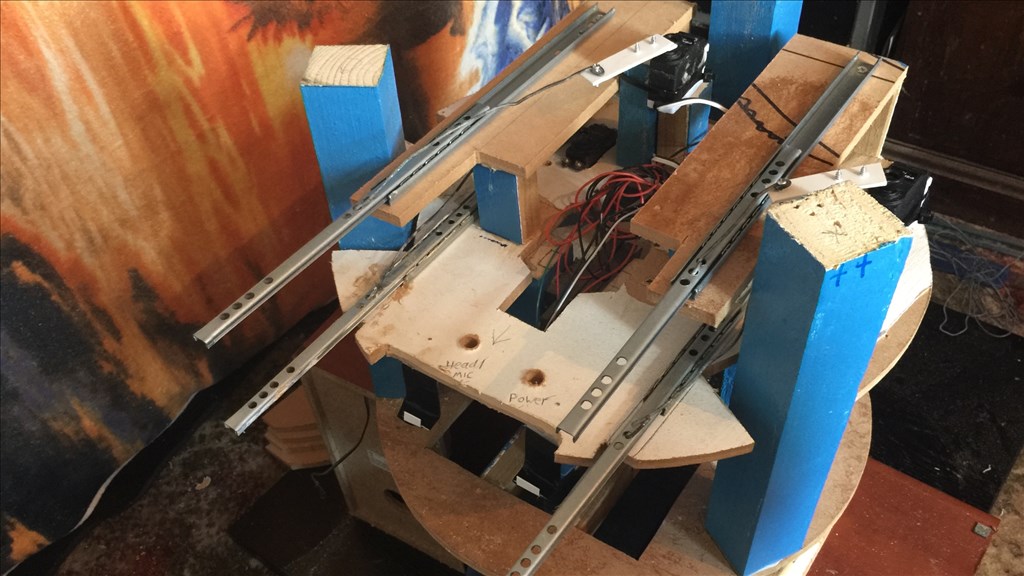
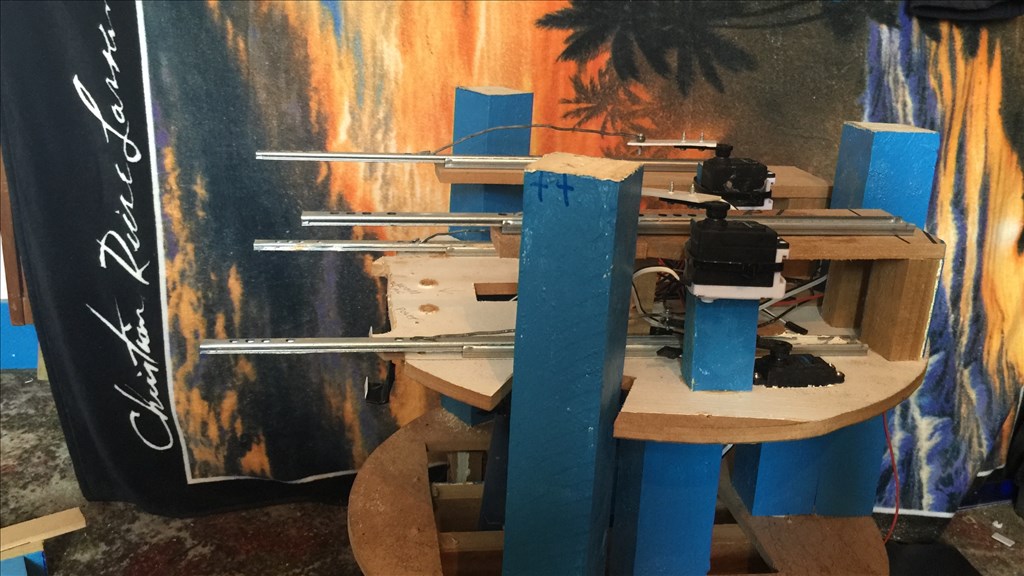
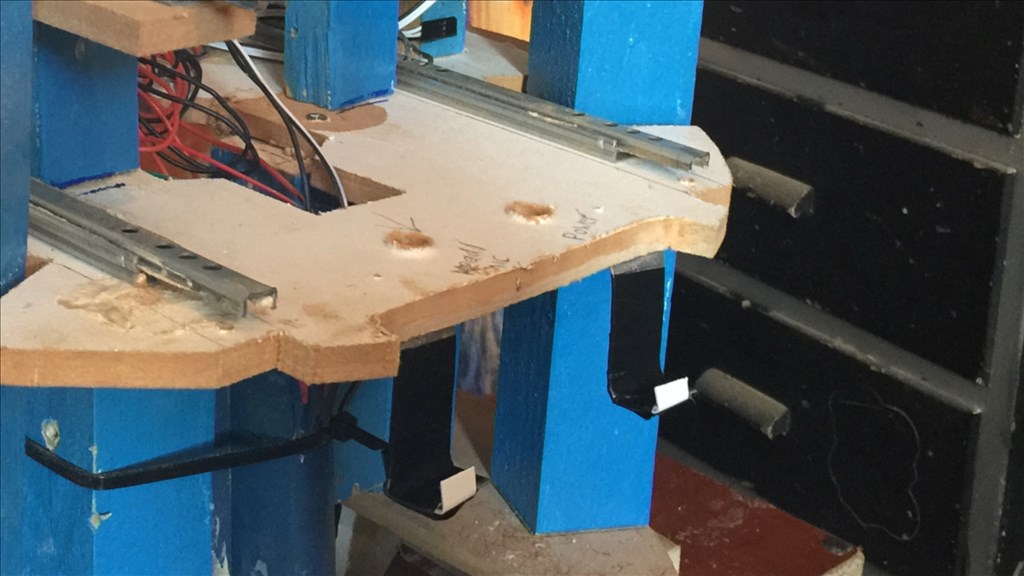
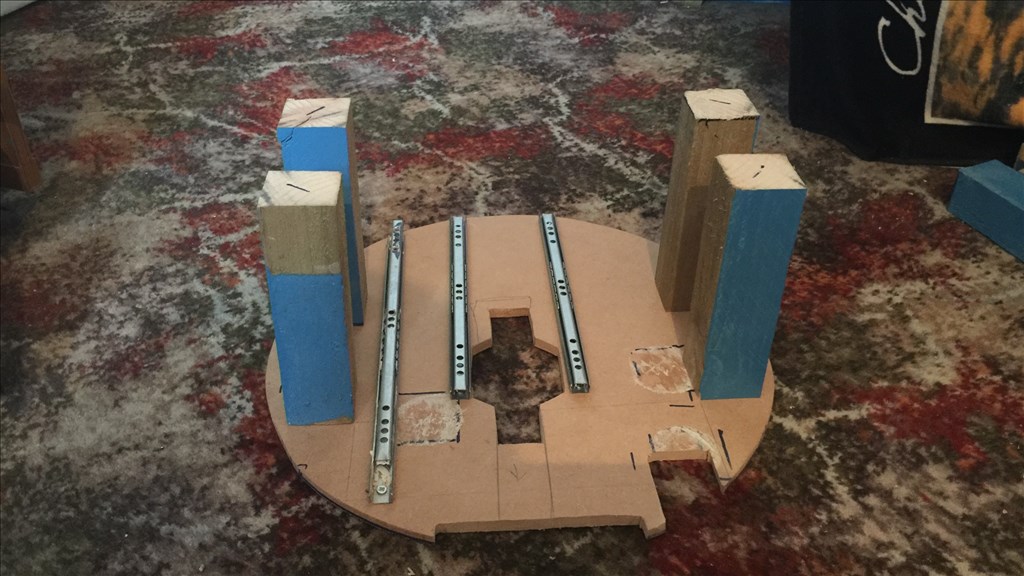
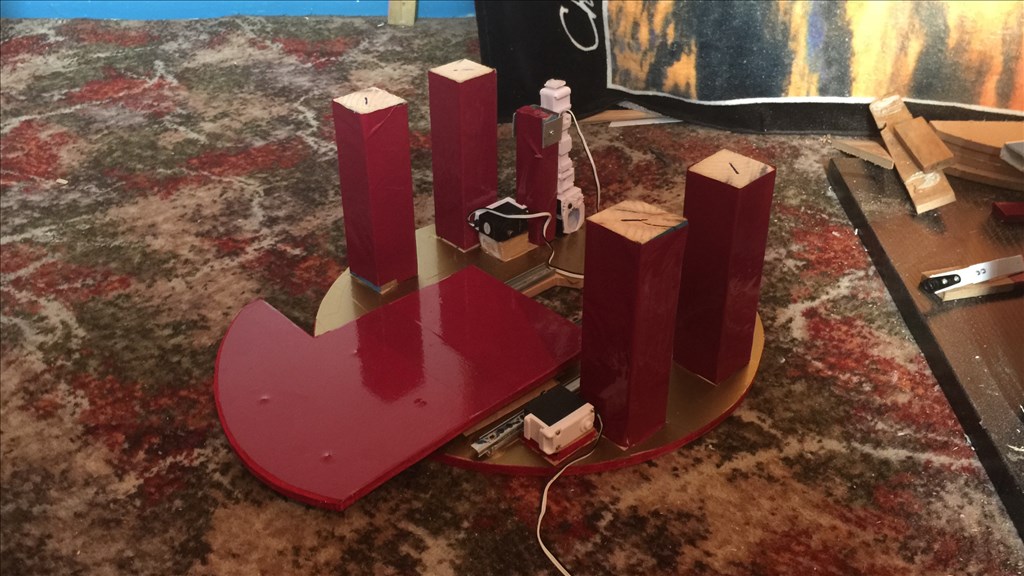
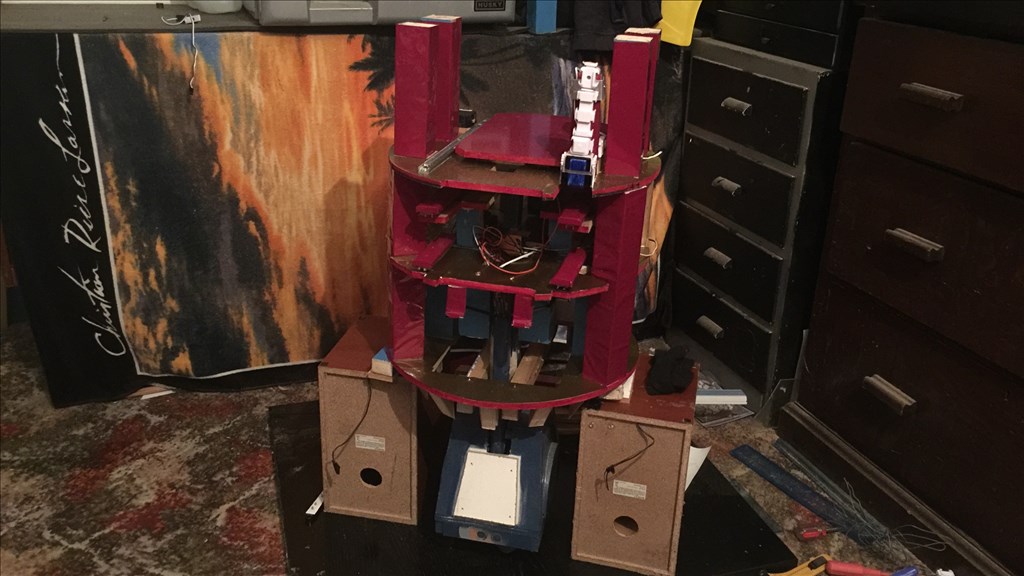
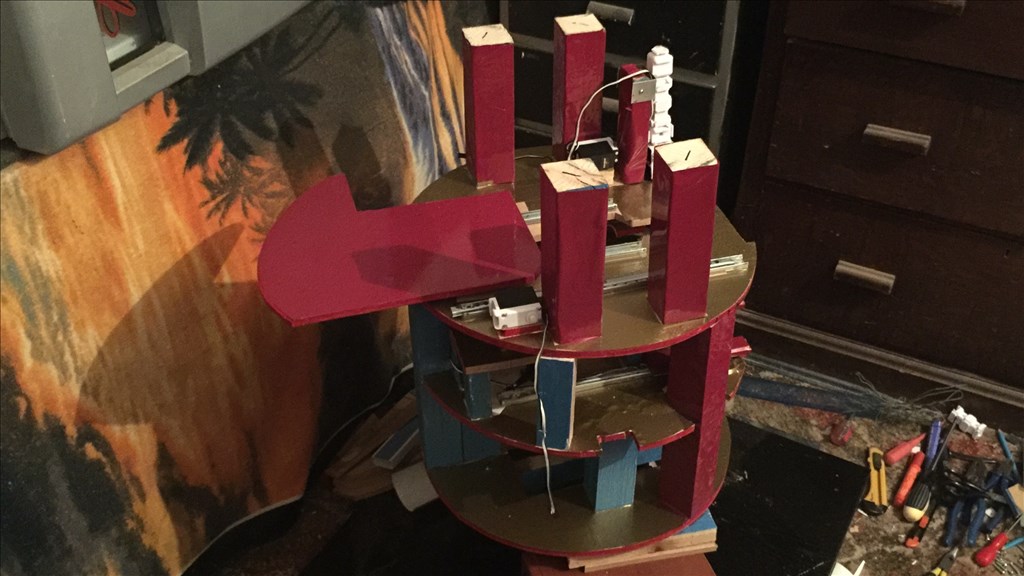
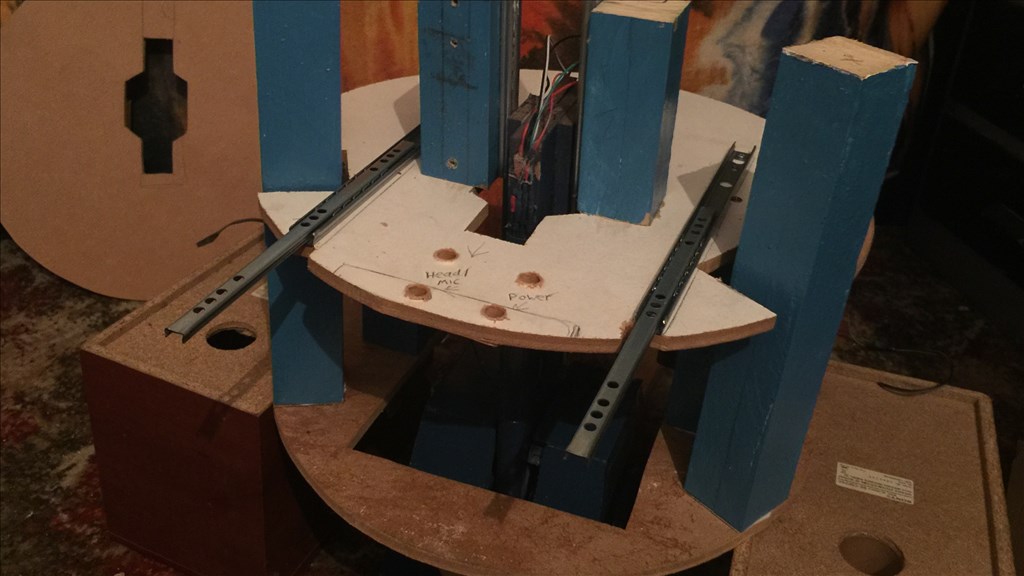
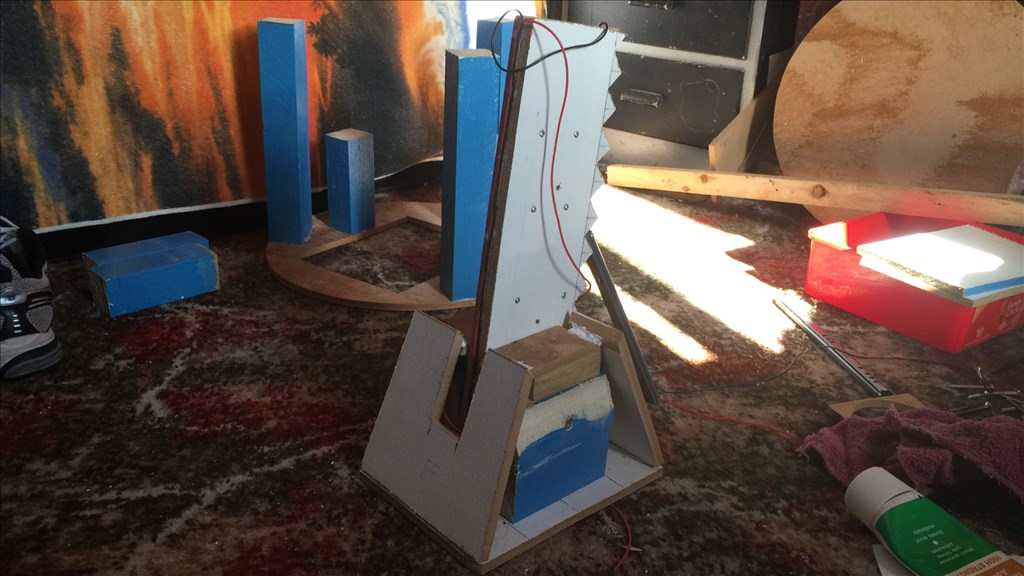
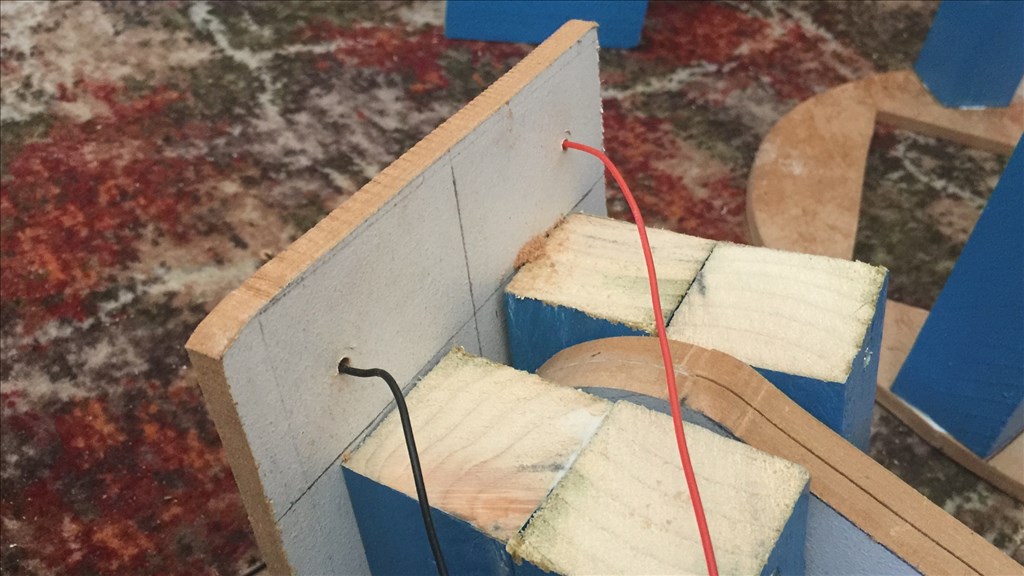
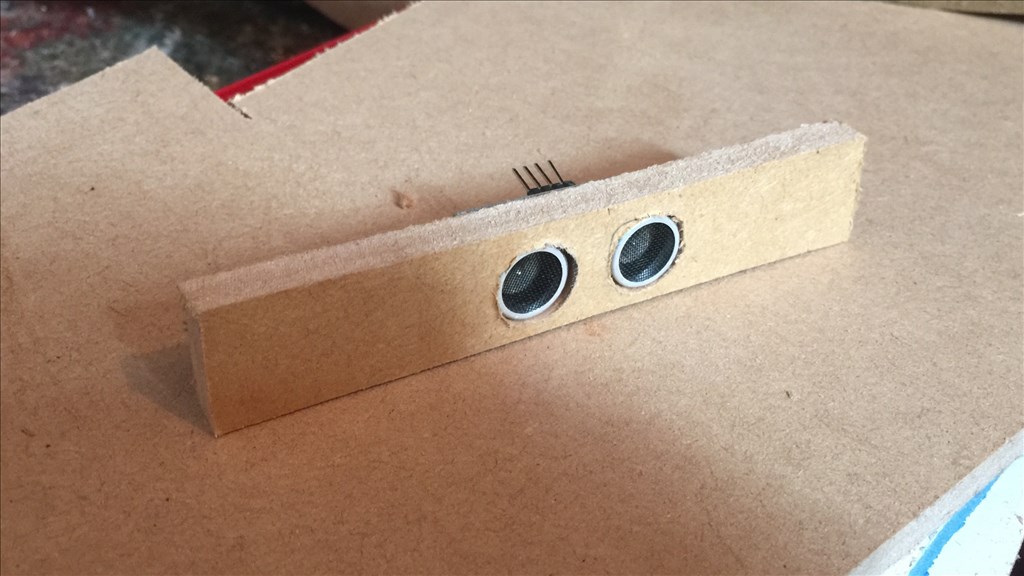
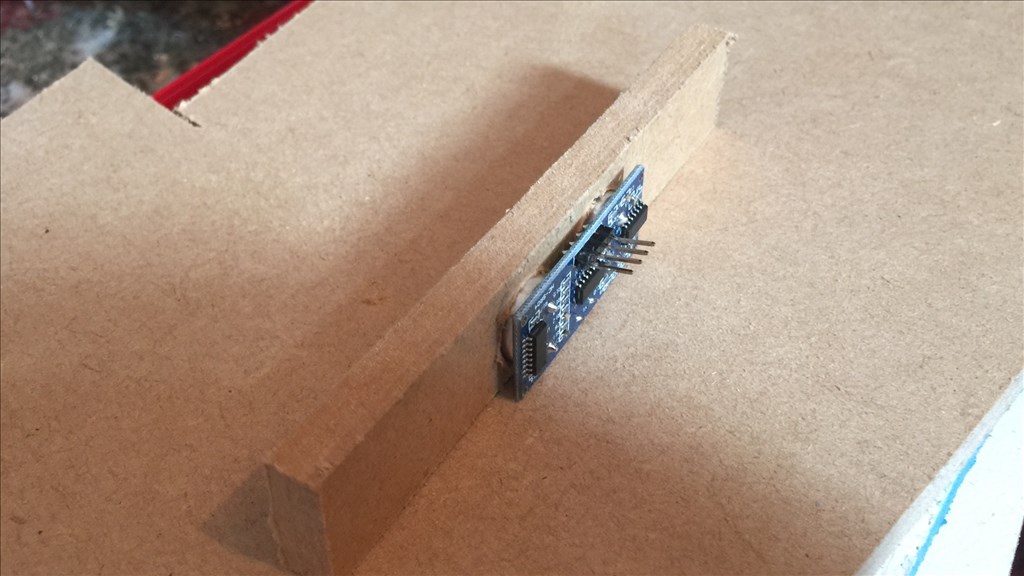
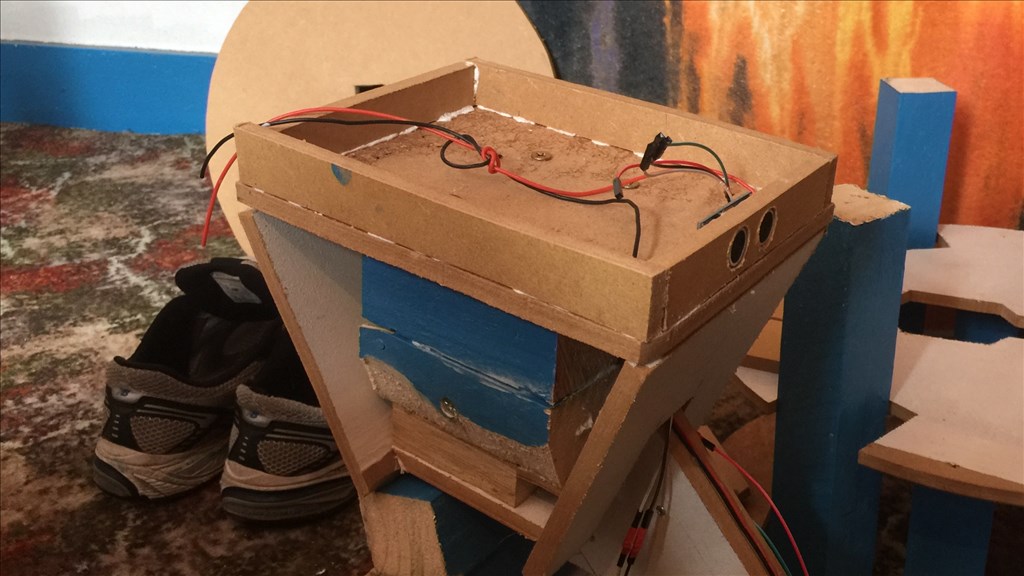
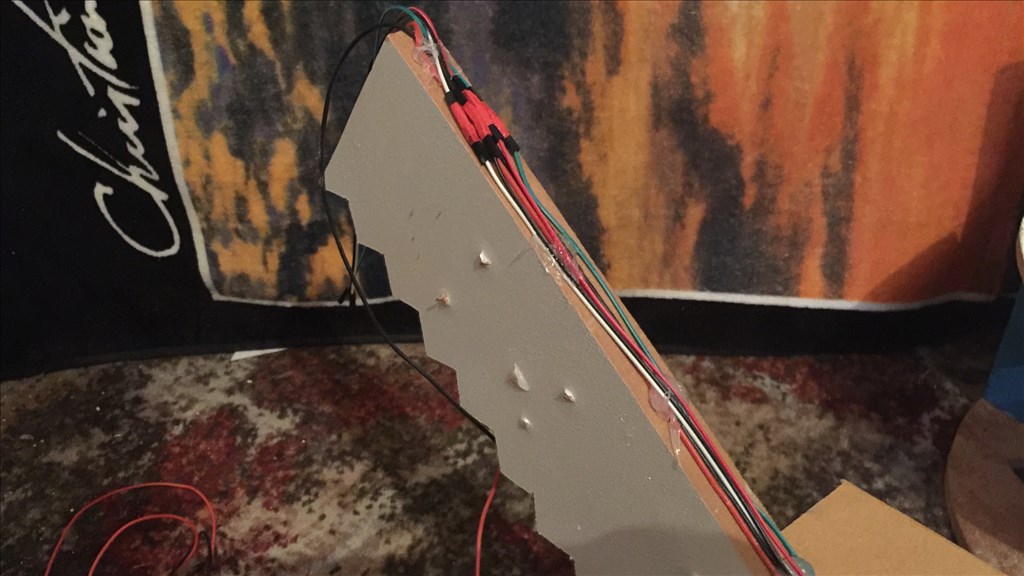
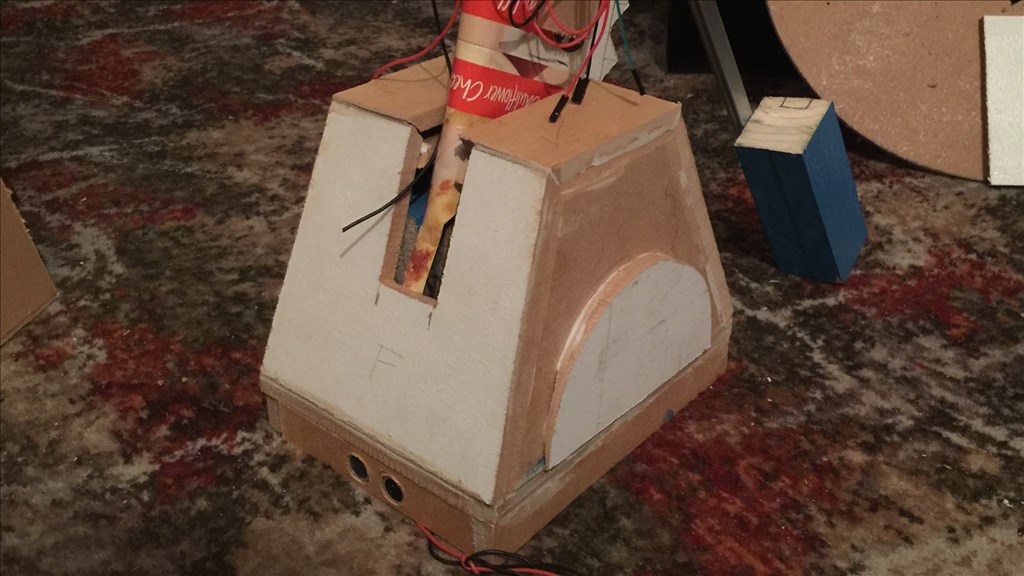
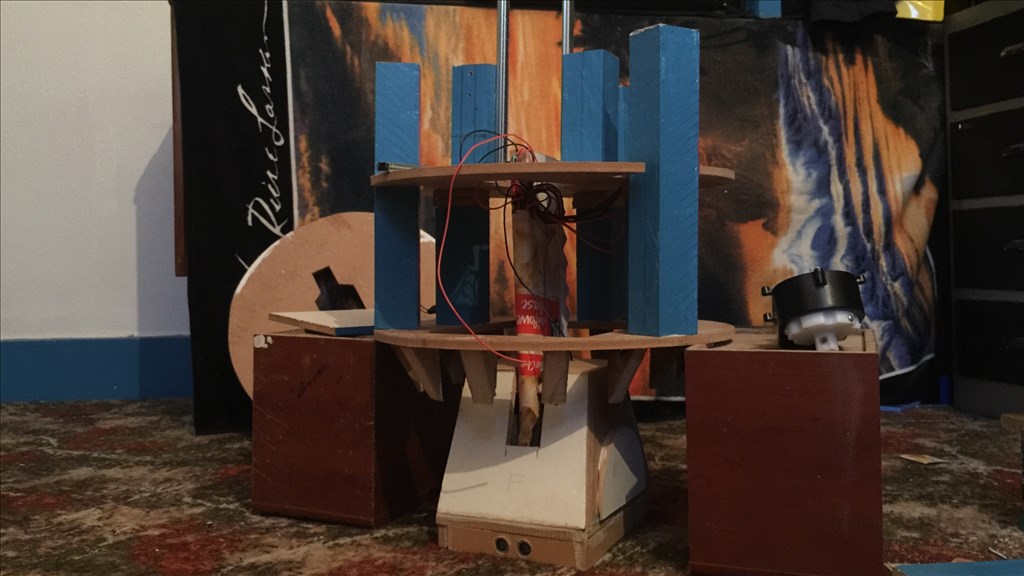
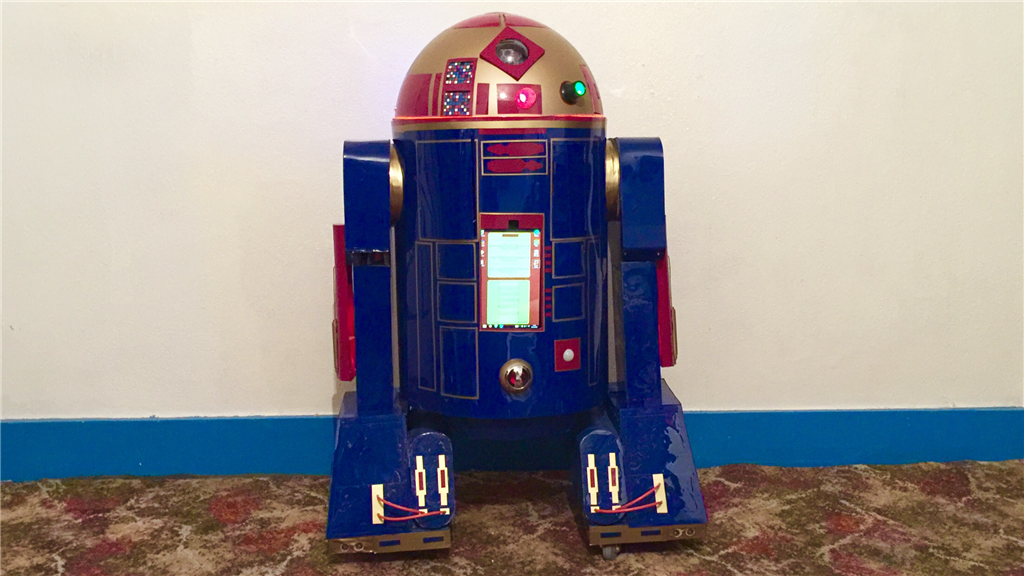
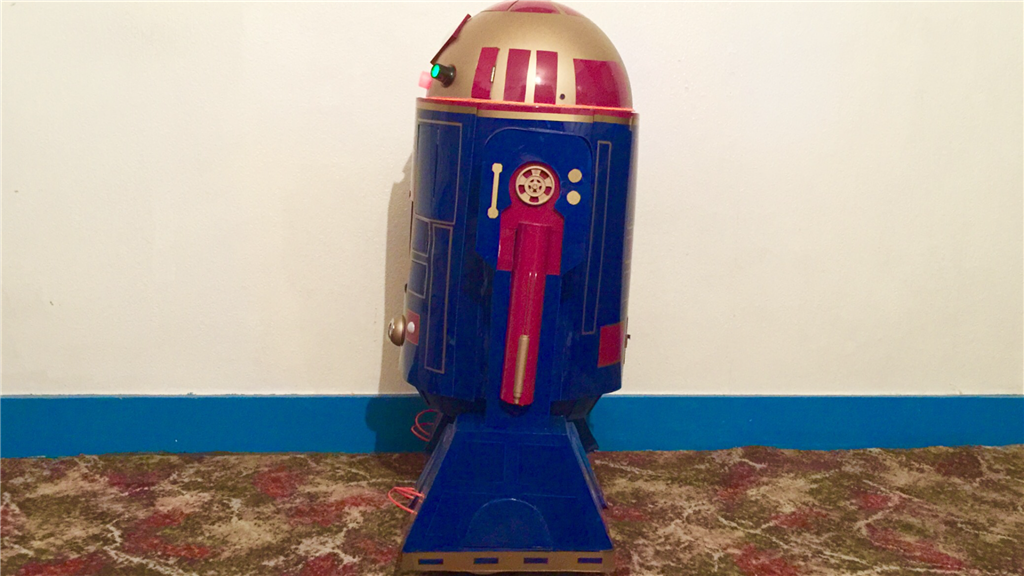
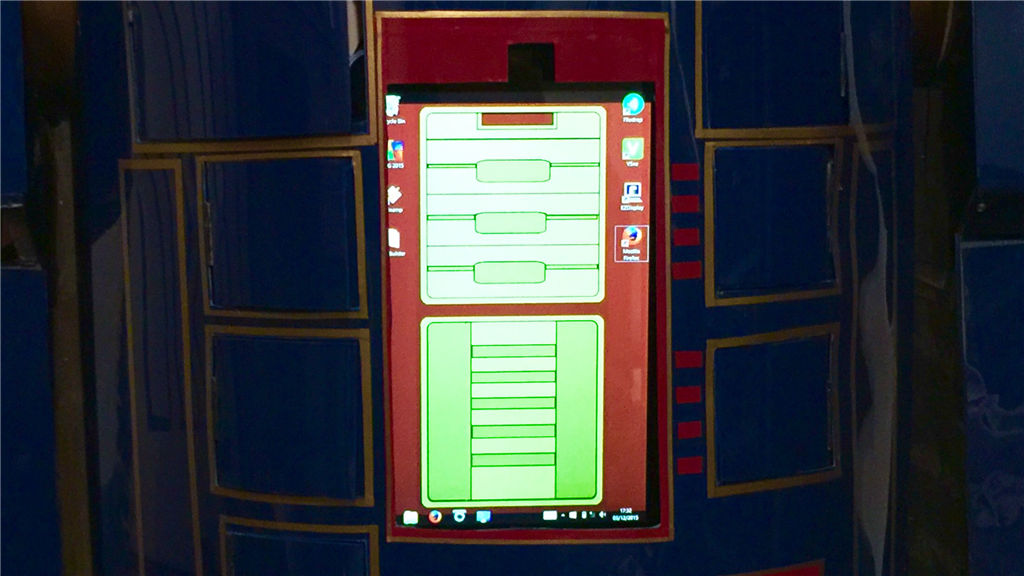
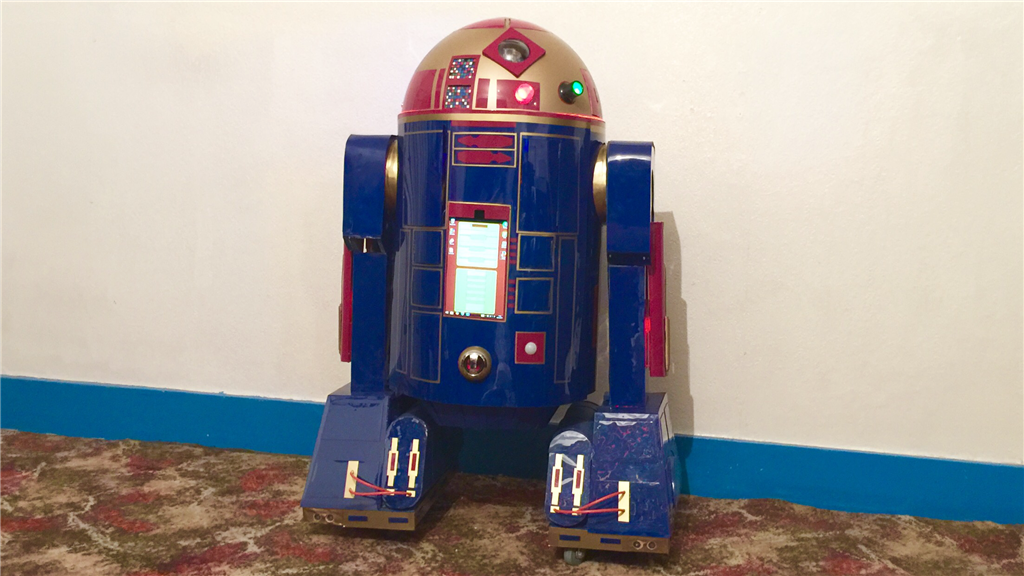
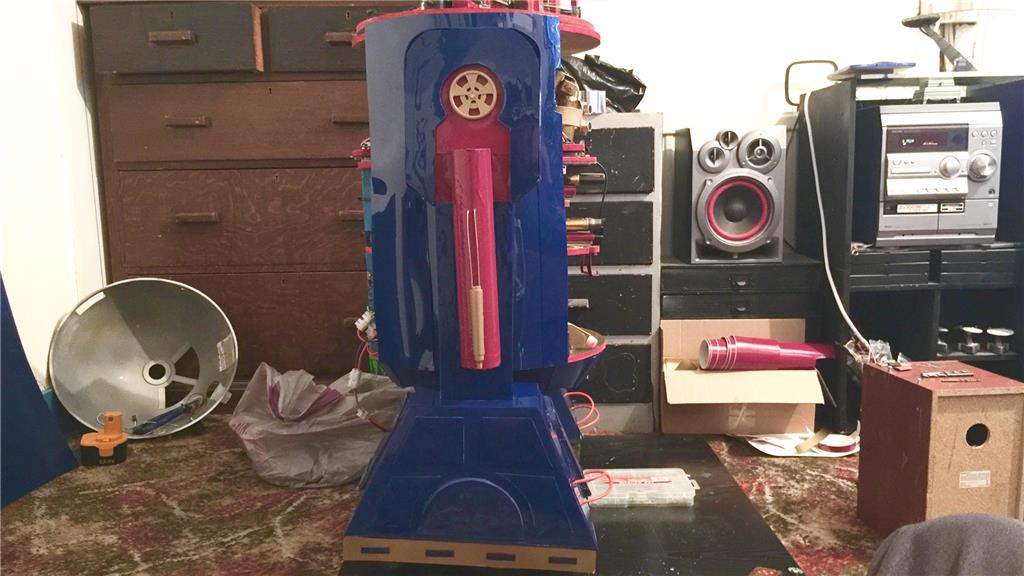
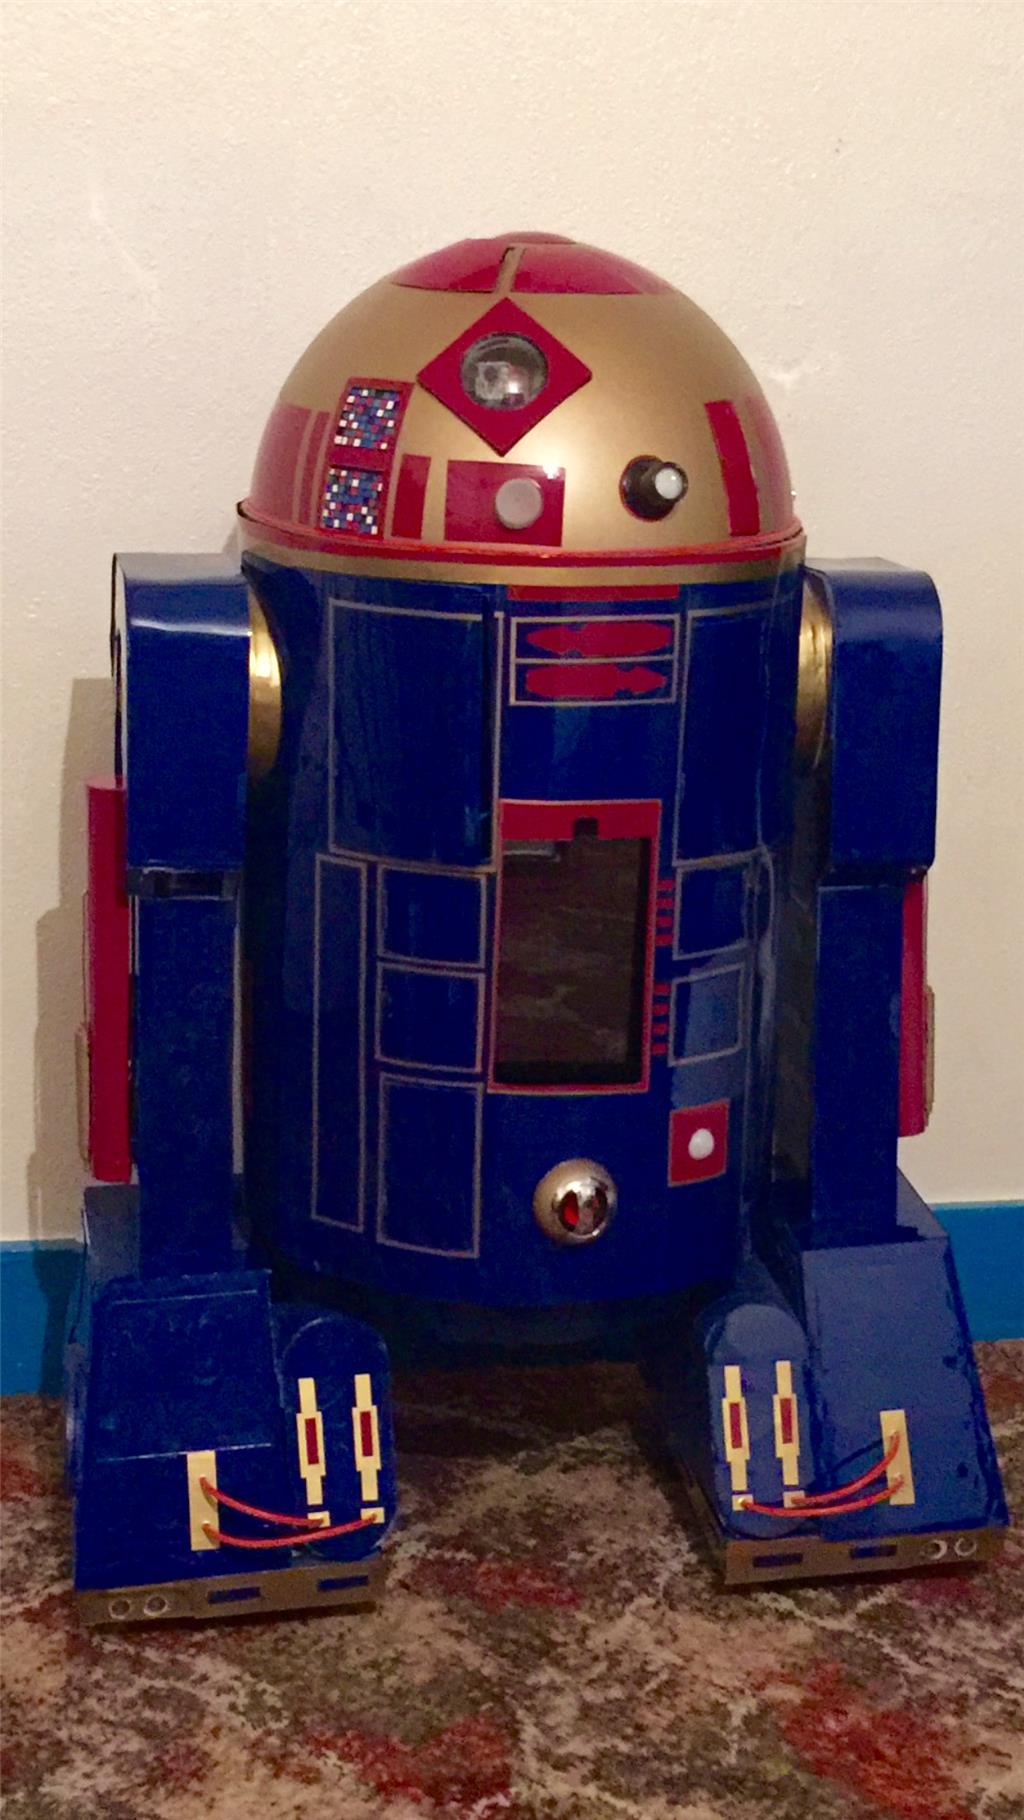
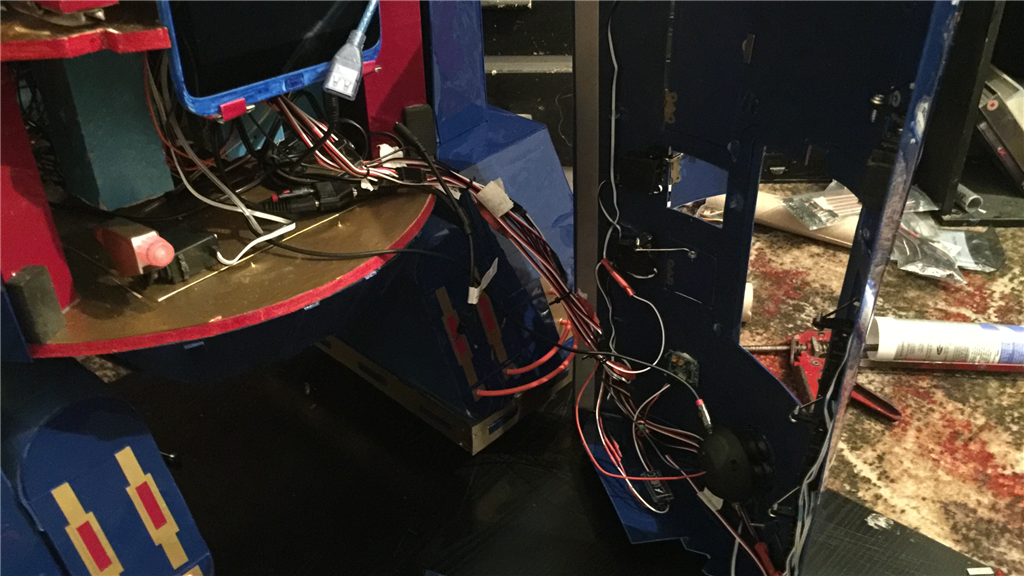
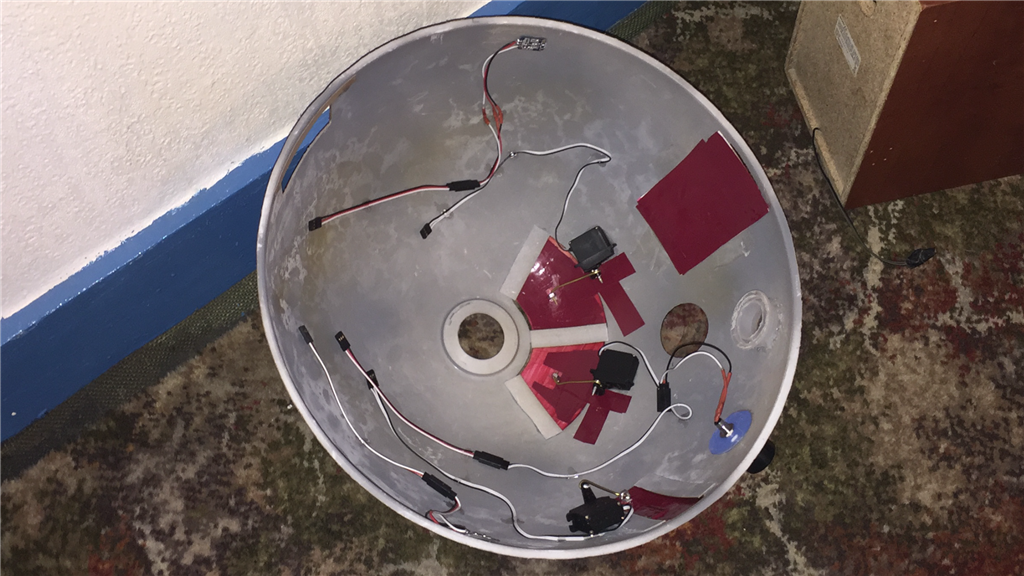
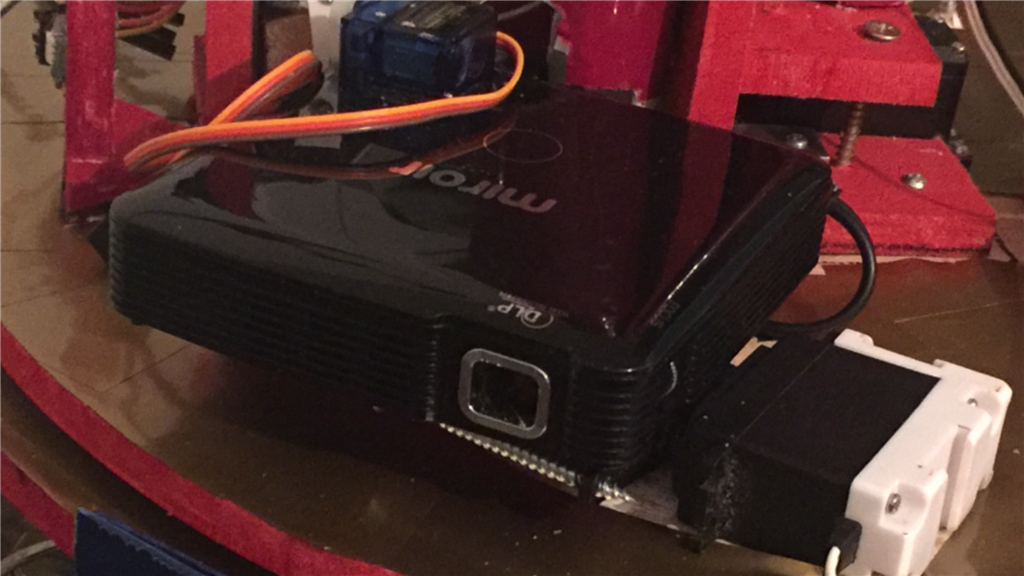
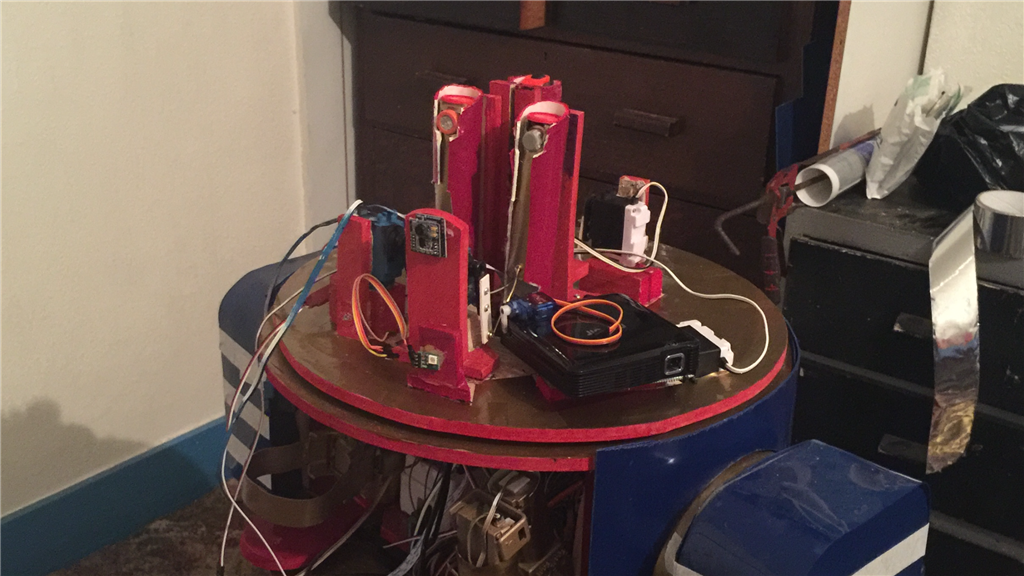
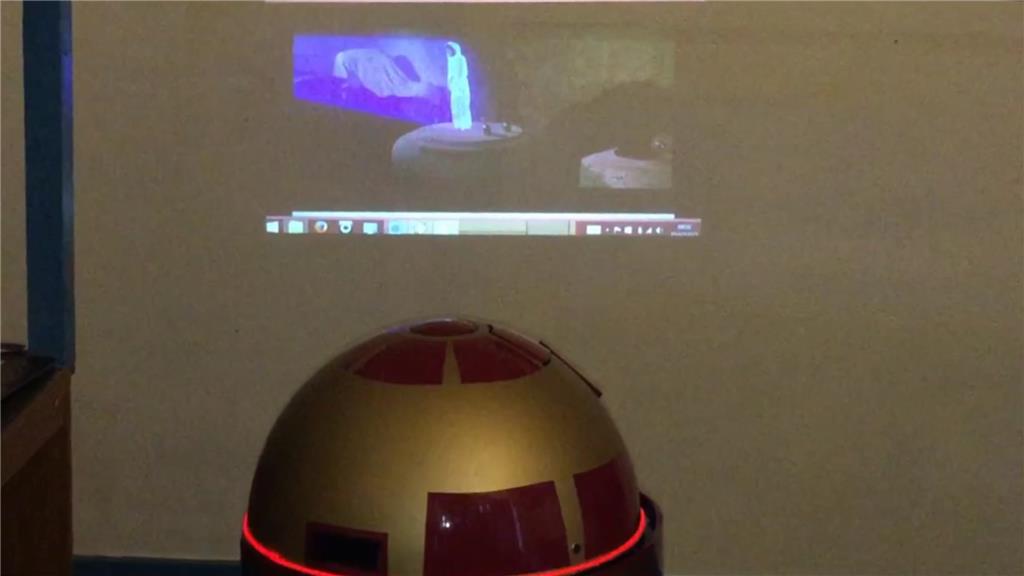
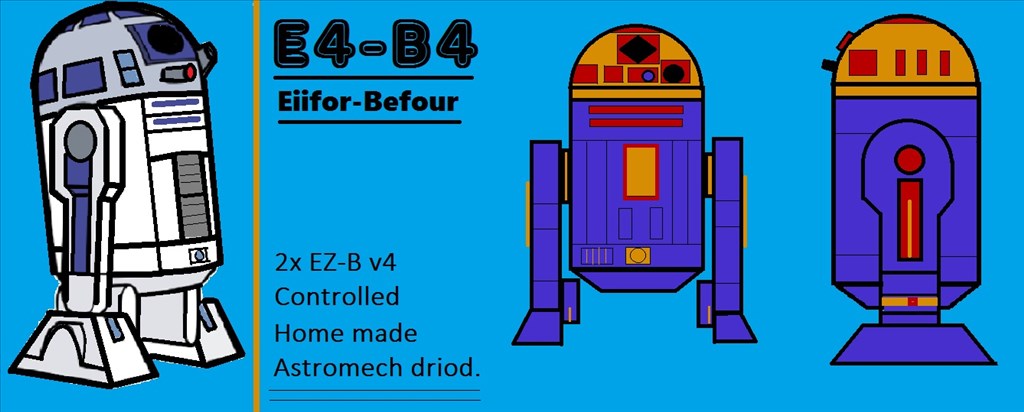
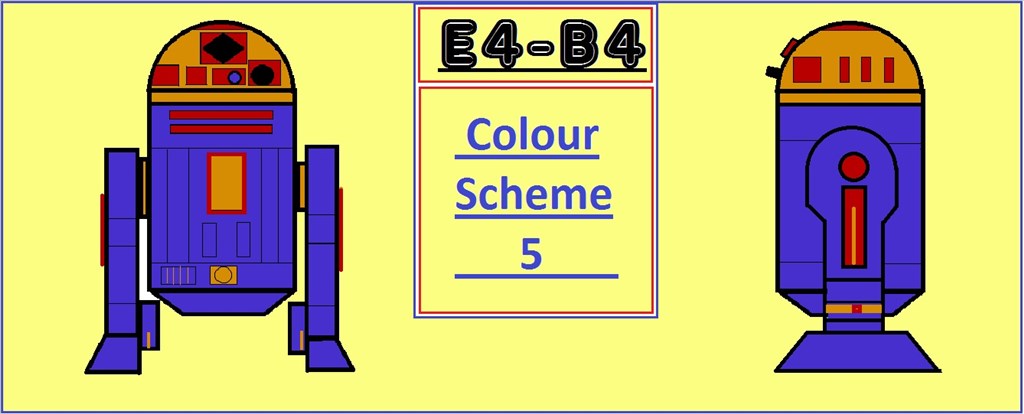
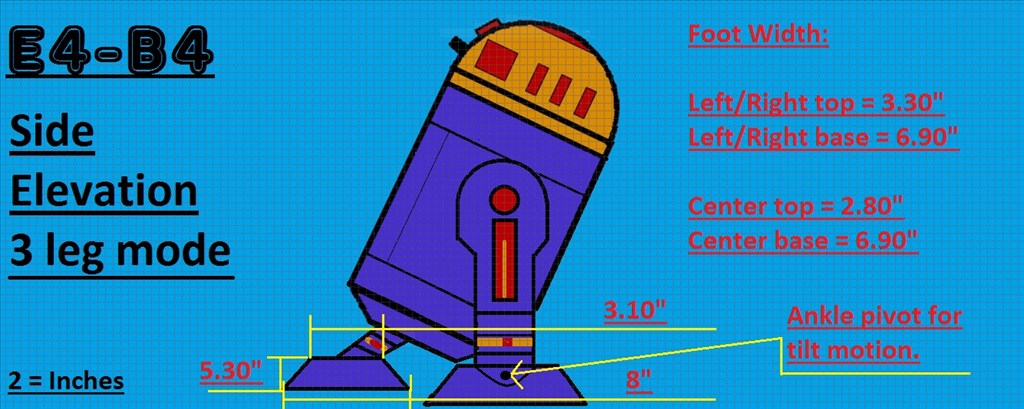
So what's with the name E4-B4 (Eiifor-Befour)? Well its kinda based on the EZ-B 4, of which this little'ish guy will have two of them. One master v4 to control motor controllers, ping sensors, v4 soundboard, camera and sensors, while the 2nd slave v4 will be used for all of the servos used as well as additional sensors. E4 will be mainly built using MDF with a plastic covering, and movement will be powered by 12v 30 watt gearbox/motors for the drive system. The "burtt acoustic signaller" and system ventilation vents on R2-D2's chest area (the two silver square'ish panels) will be replaced on E4 with a tablet PC, and the Optical Holographic Projector in R2's head will be something similar to what E4 will have, using a portable projector like the Aiptek or the Pico Genie, so no holograms... yet.
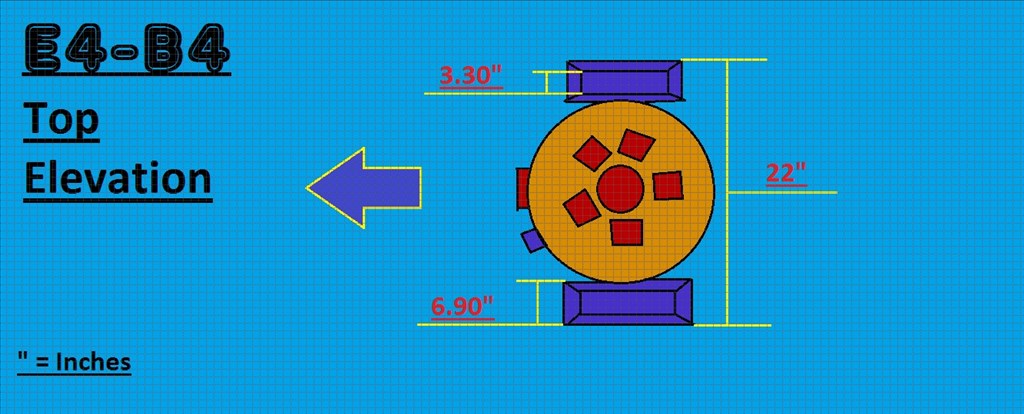
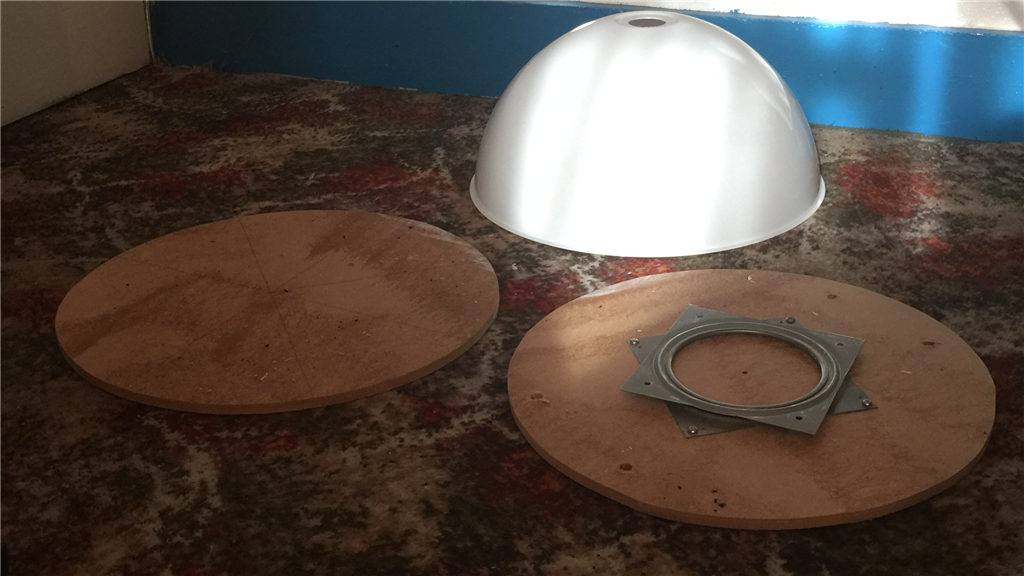
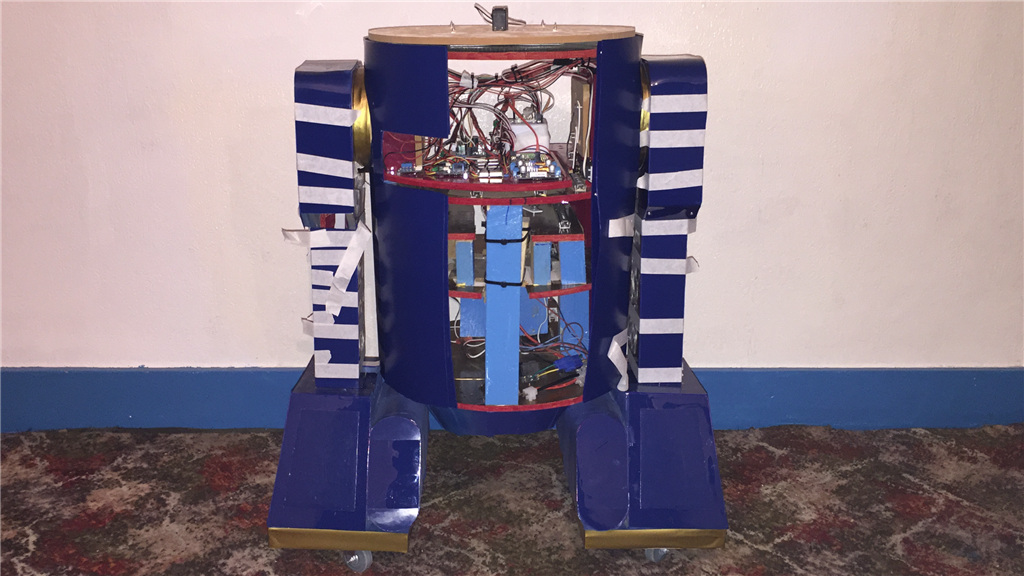
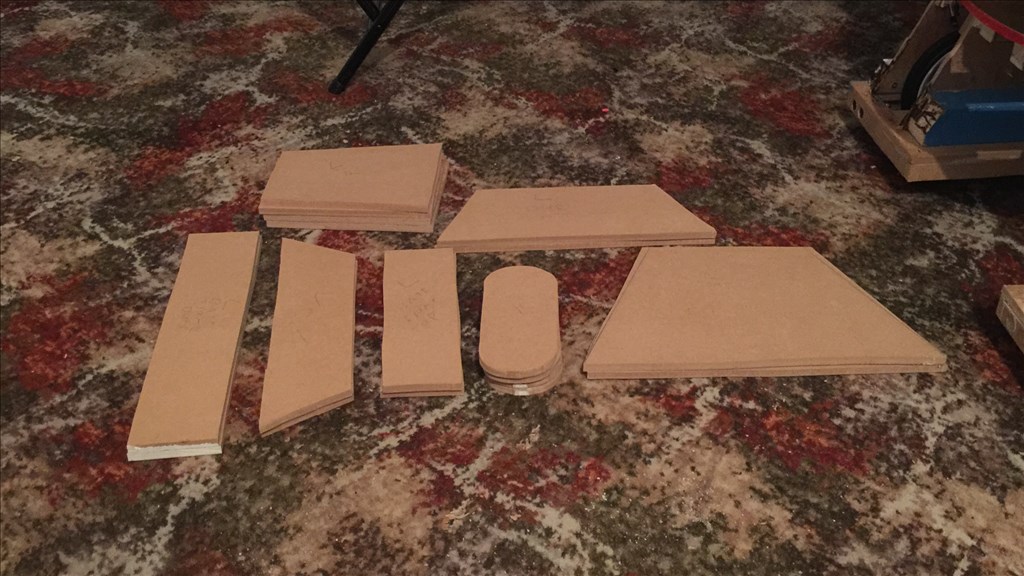
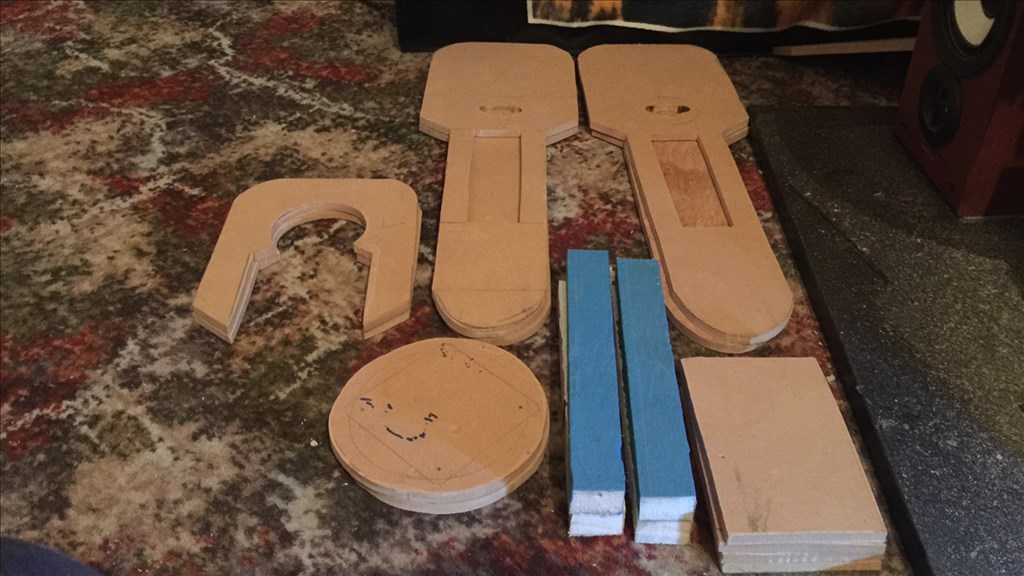
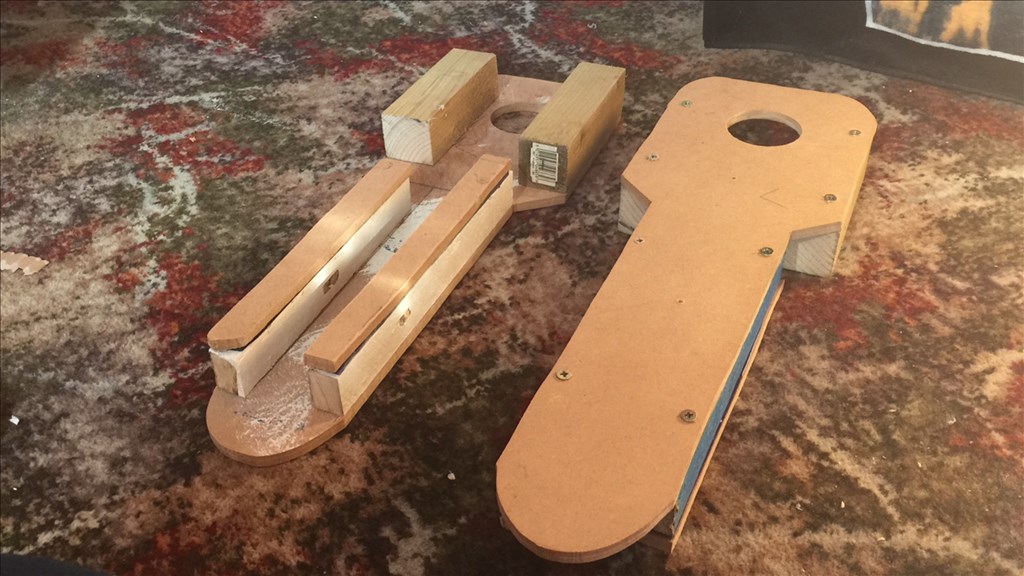
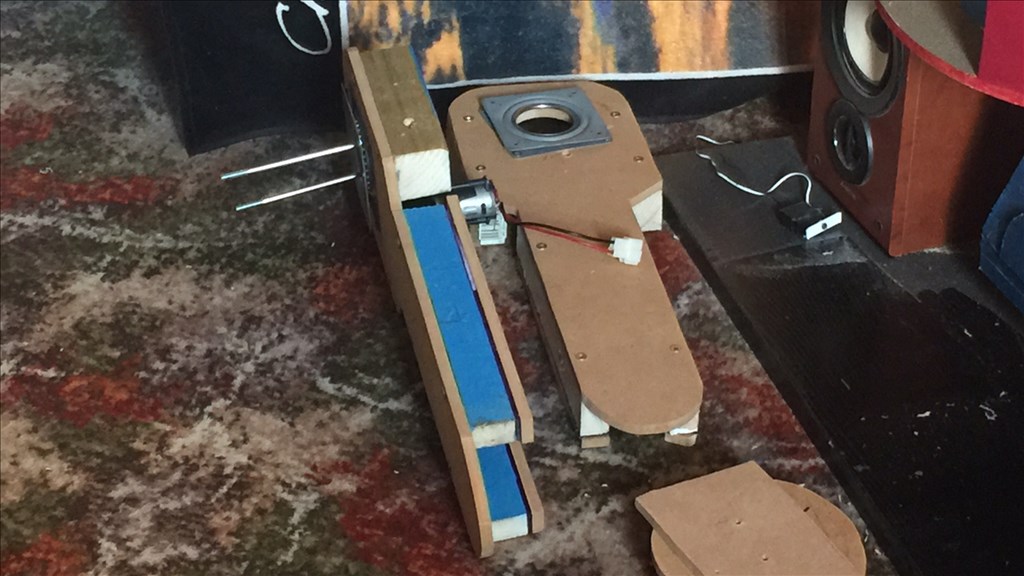
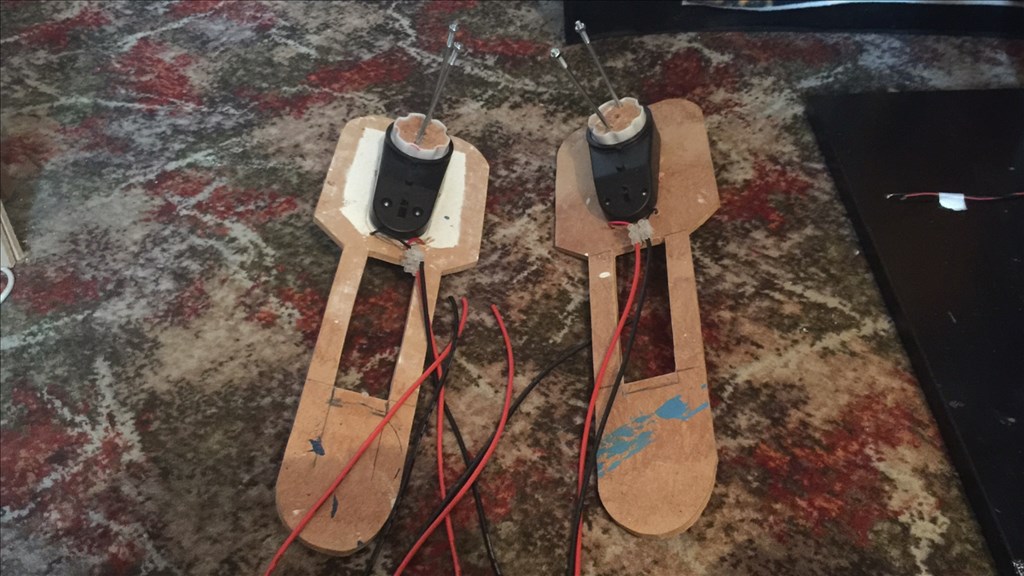
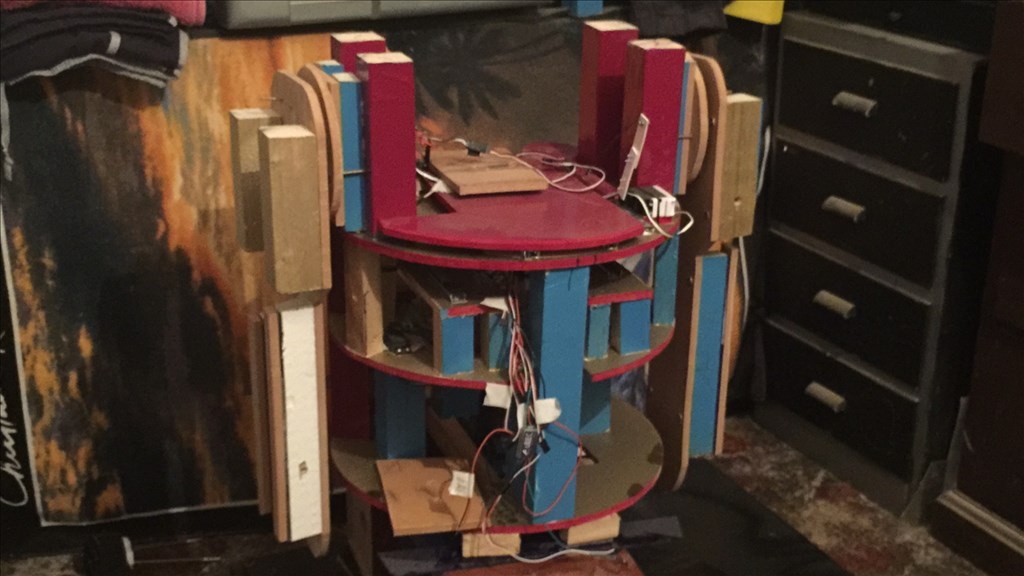
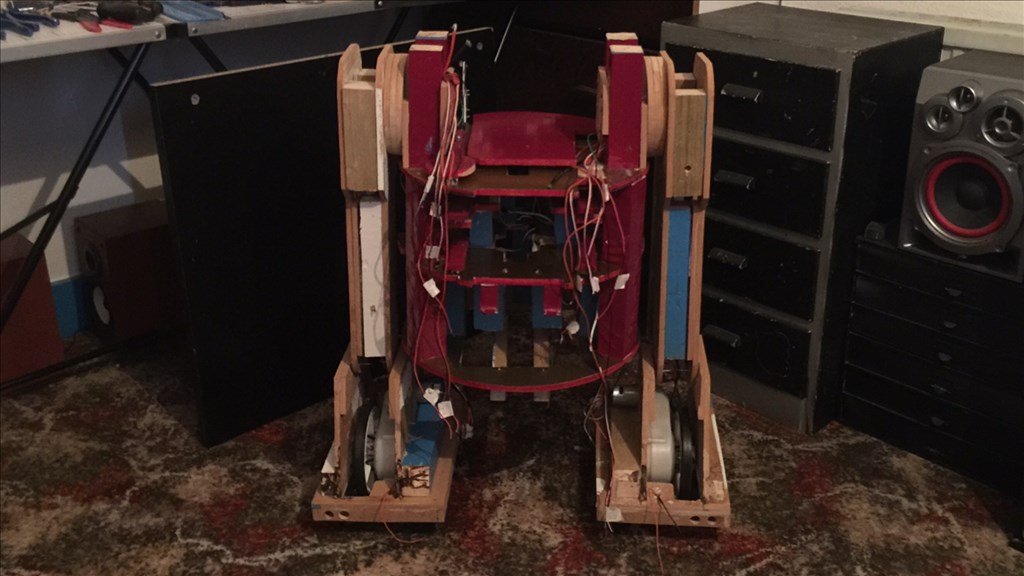
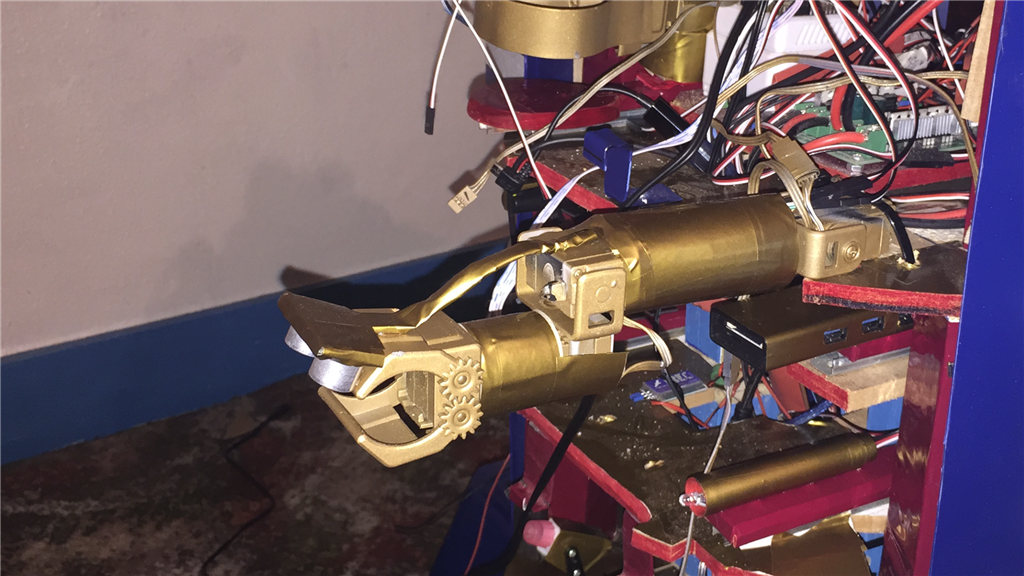
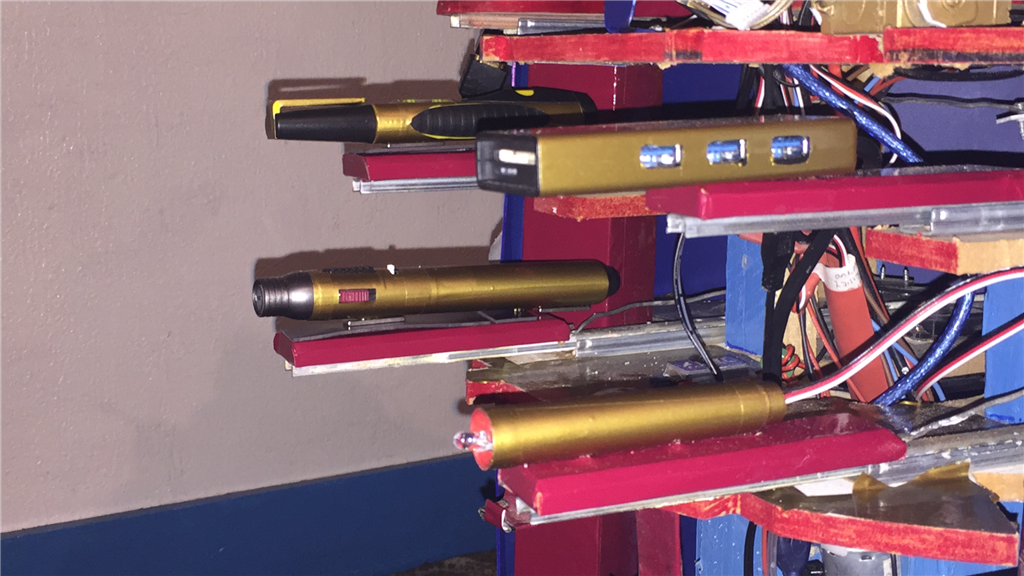
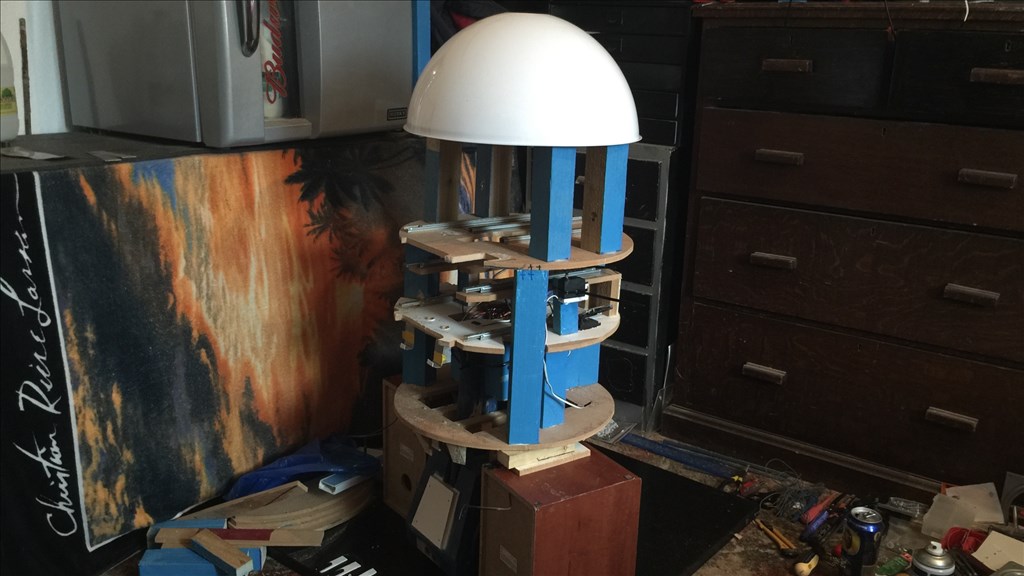
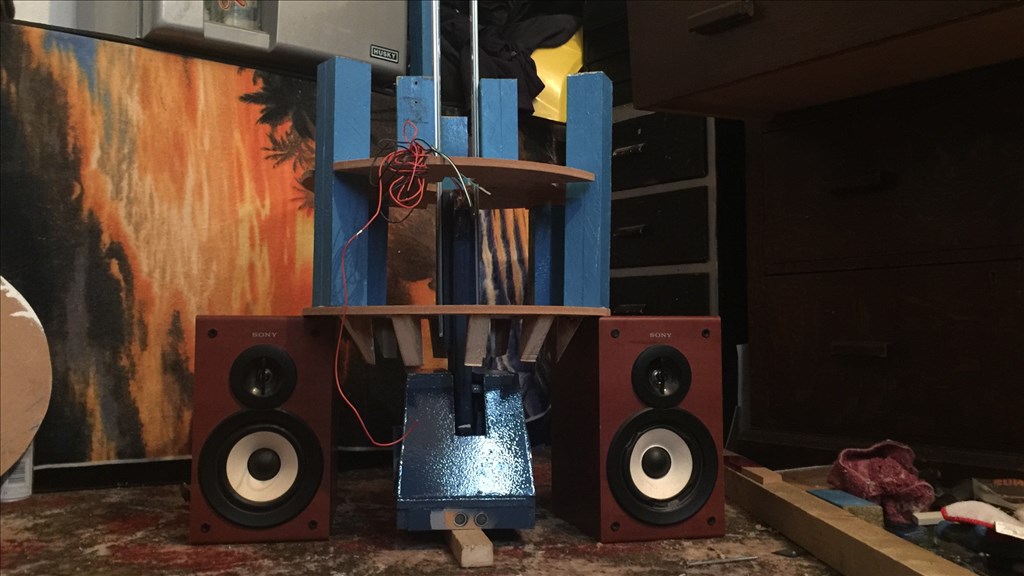
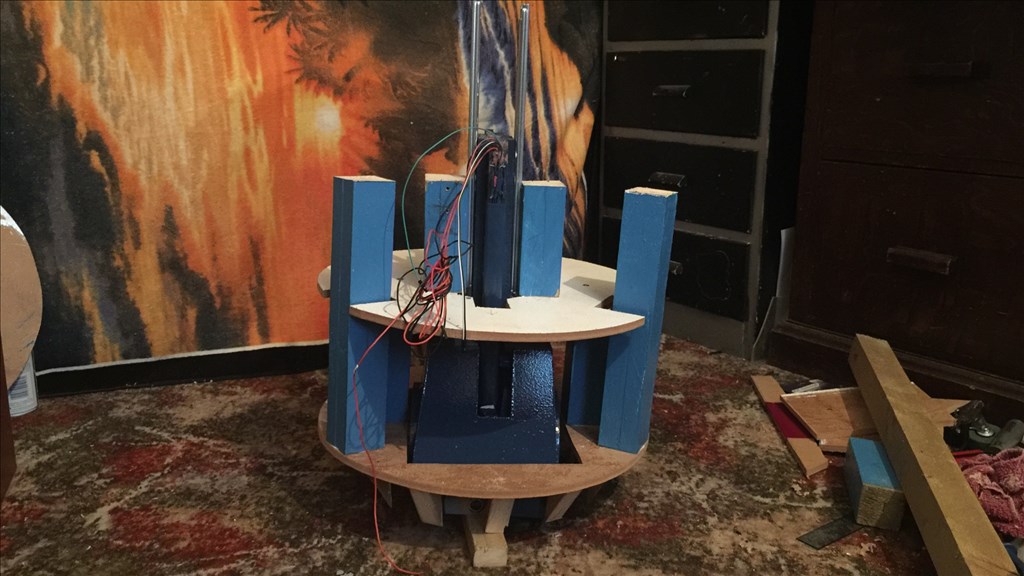
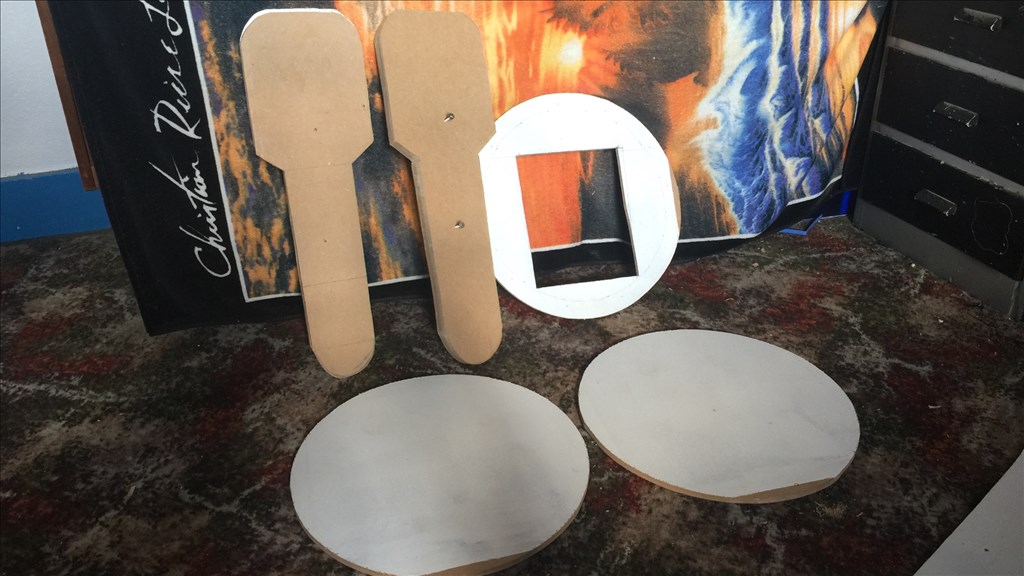
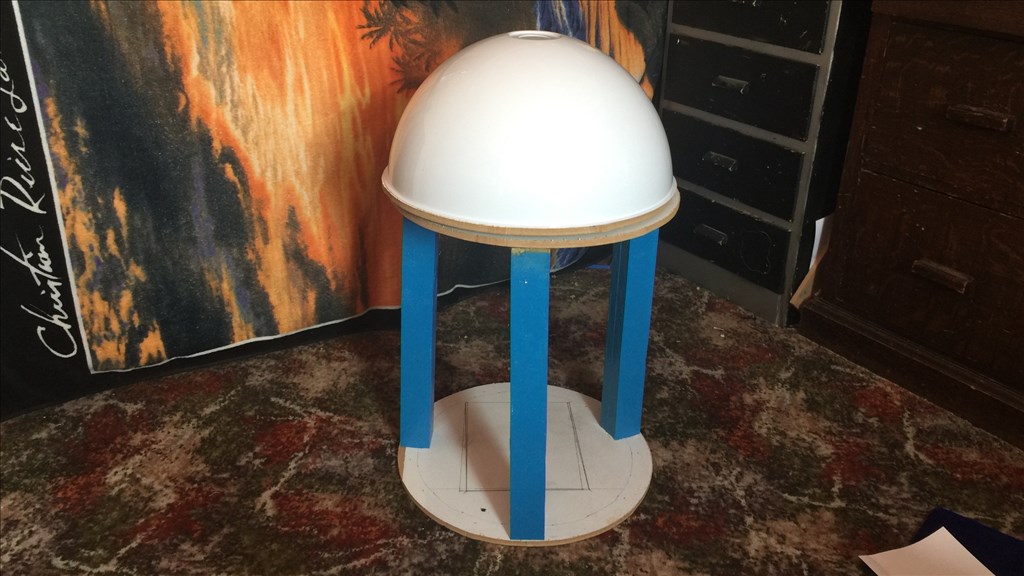
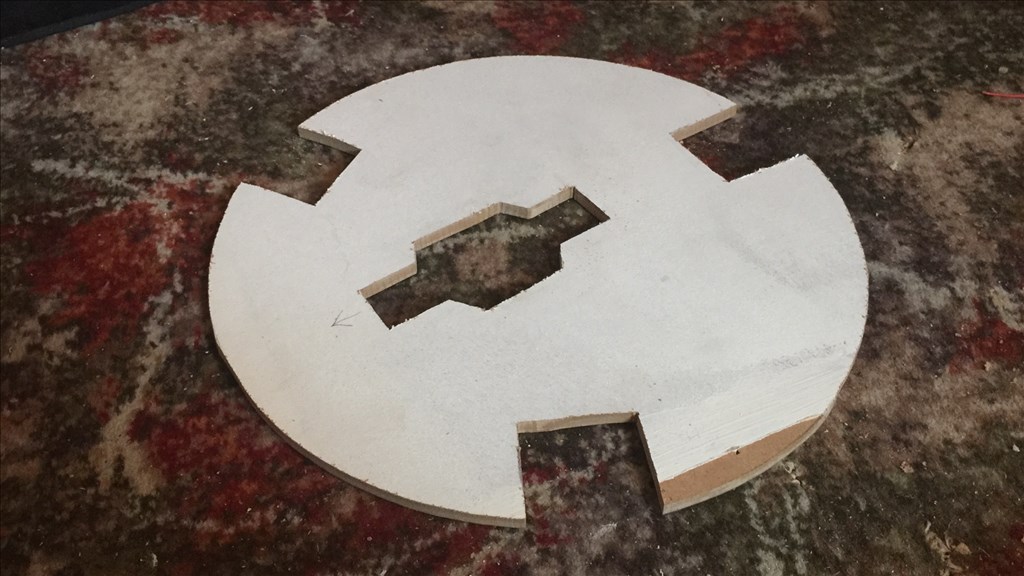
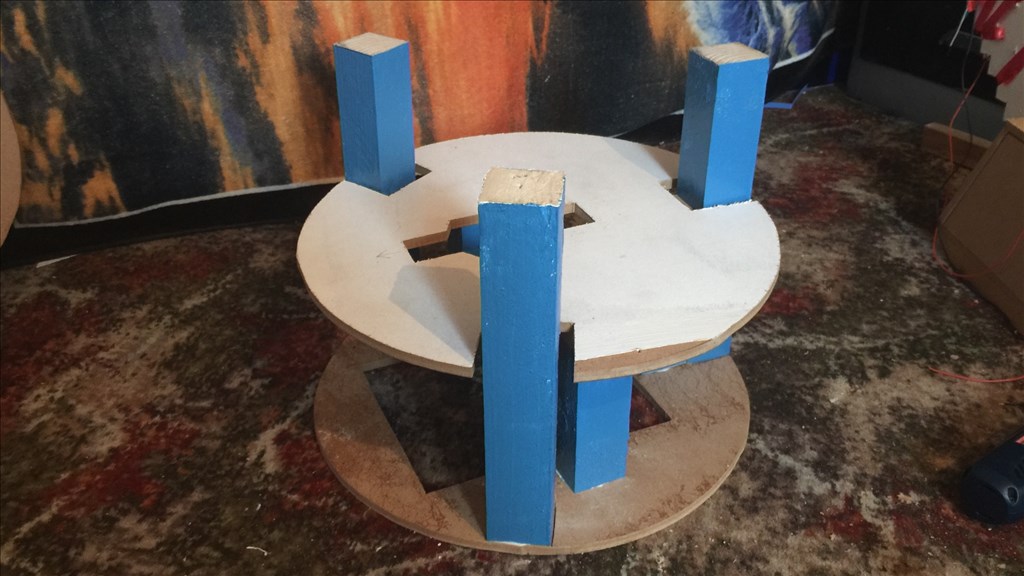
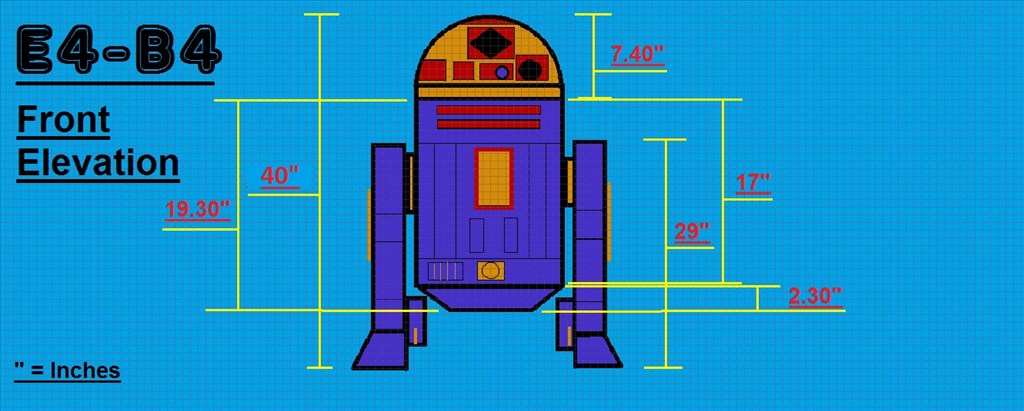
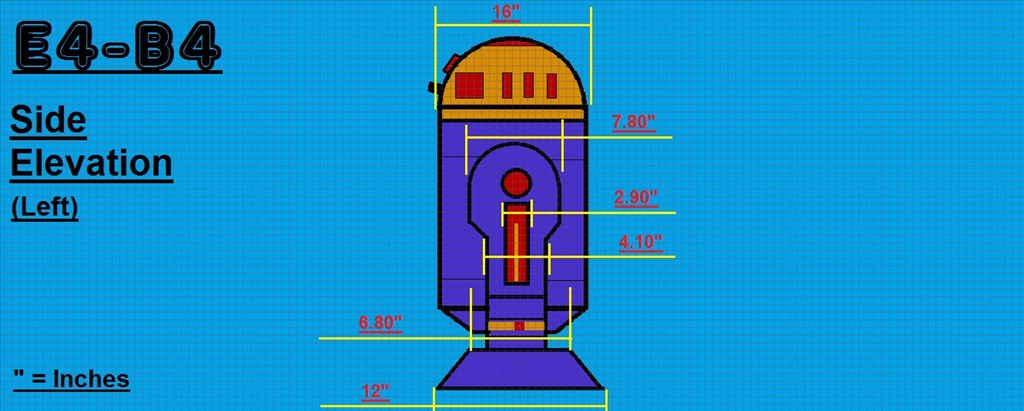
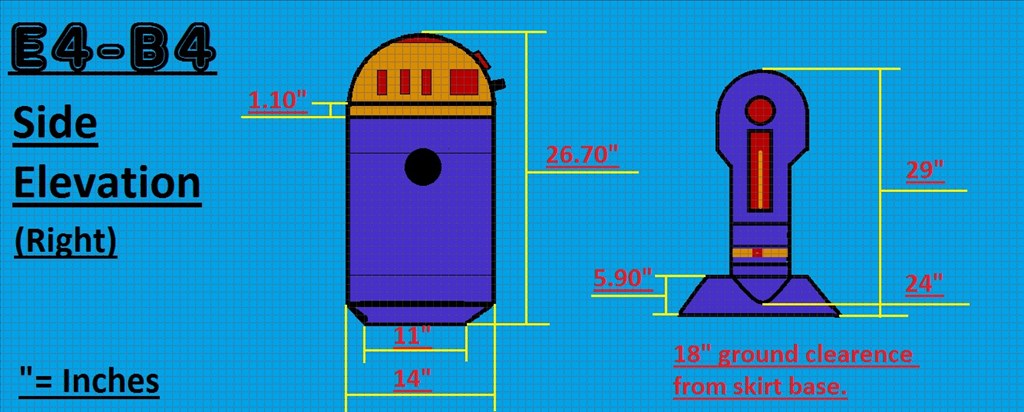
The dimensions will be slightly smaller than the original prob, but not by much so E4 will be plenty big enough. I'm intending to fit a few useful tools that he will be able to deploy, and of course have the fully rotating head which will have all kinds of bells and whistles. I have some of the MDF sheets and 2x4 wood lengths for the frame already, and the motors and head dome (lampshade) should be with me sometime this week, so it will be power tools at the ready. I'm in no rush to finish this project, but I am aiming to have E4-B4 pretty much finished by this December.
I will posting lots of photos and few videos throughout the build process, so I hope anyone reading will find this build dairy interesting and enjoyable. And as always, I'd love to hear your thoughts and suggestions (especially on the colour scheme). Anyway thanks for reading, and let the build begin...
Steve.
Discover more robots
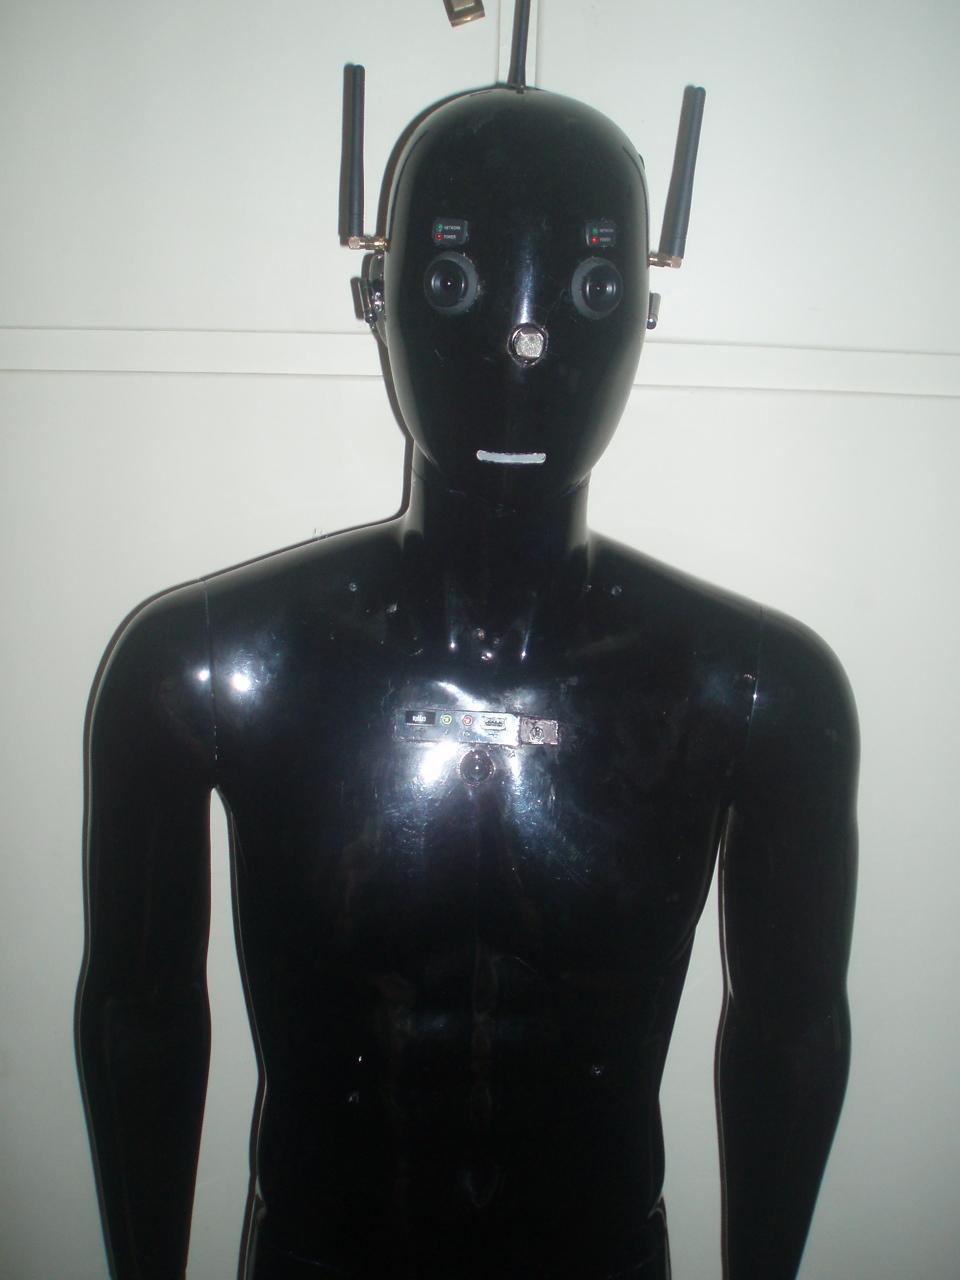
Daedalus's Android Robot
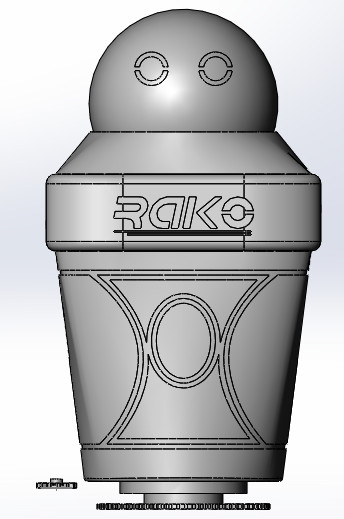
Cardboardhacker's Raiko Personal Robot


Hi Steve, A big WOW... Looks real cool. Of course a cup holder, why not. I look forward to more info and video..
Ron R
@Ron.
Why not indeed . I'll probably post another short video demo over the weekend. Stay tuned.
Really cool Steve. I love what you have done with this bot. Great work!
Thanks David. In really pleased you like I've done so far.
I'll drink to that !
Ron R
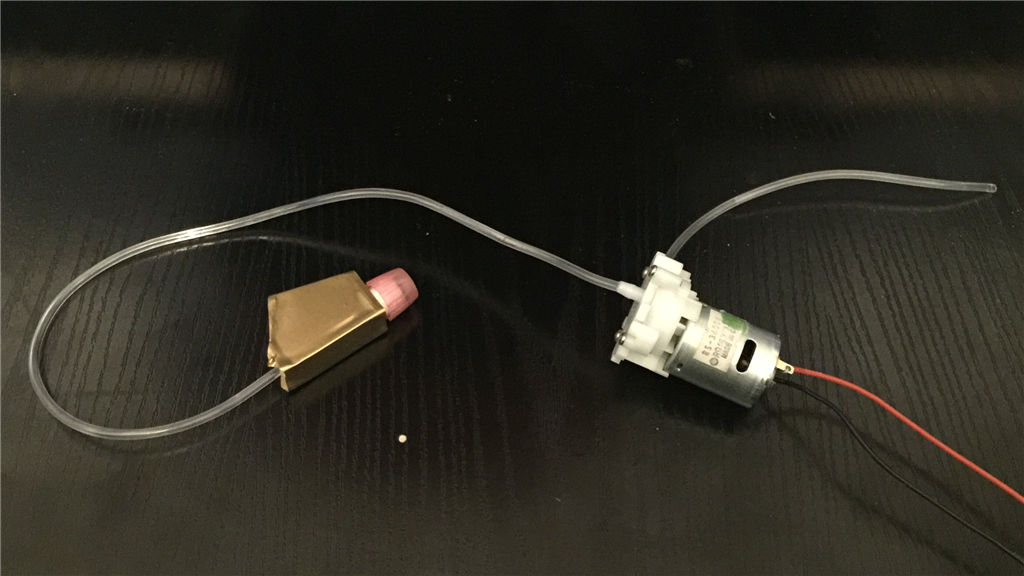
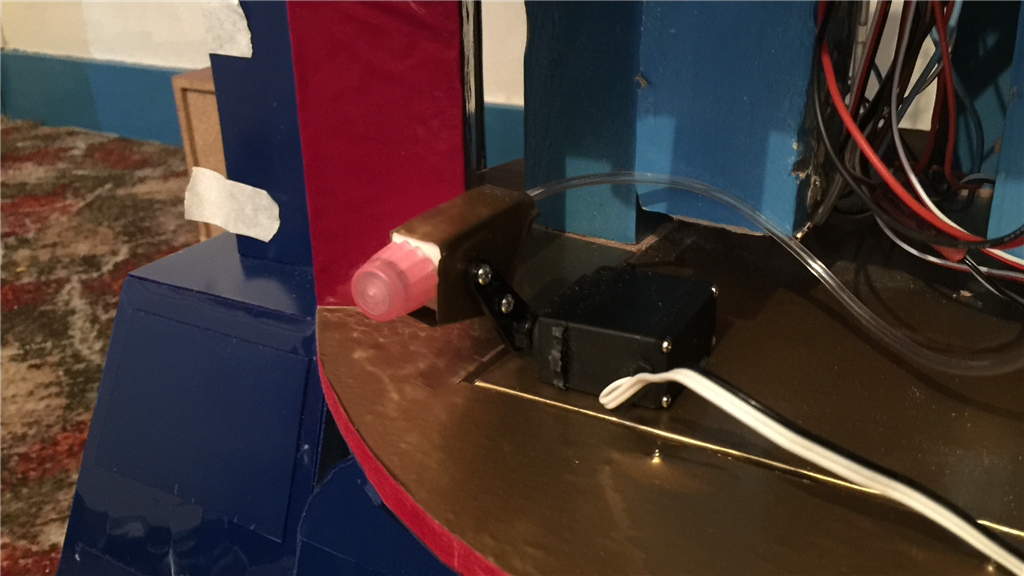
Bottoms up. Still, I could always put the water pipe hose from the water jet in to a bottle of drink, and have E4 squirt the drink straight in to my mouth.
Would save on elbow damage...
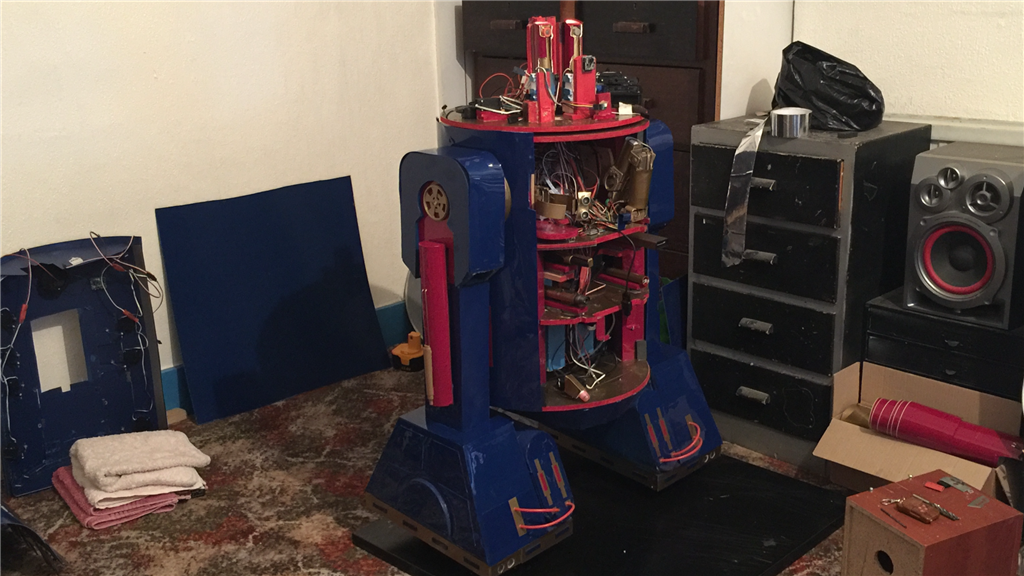
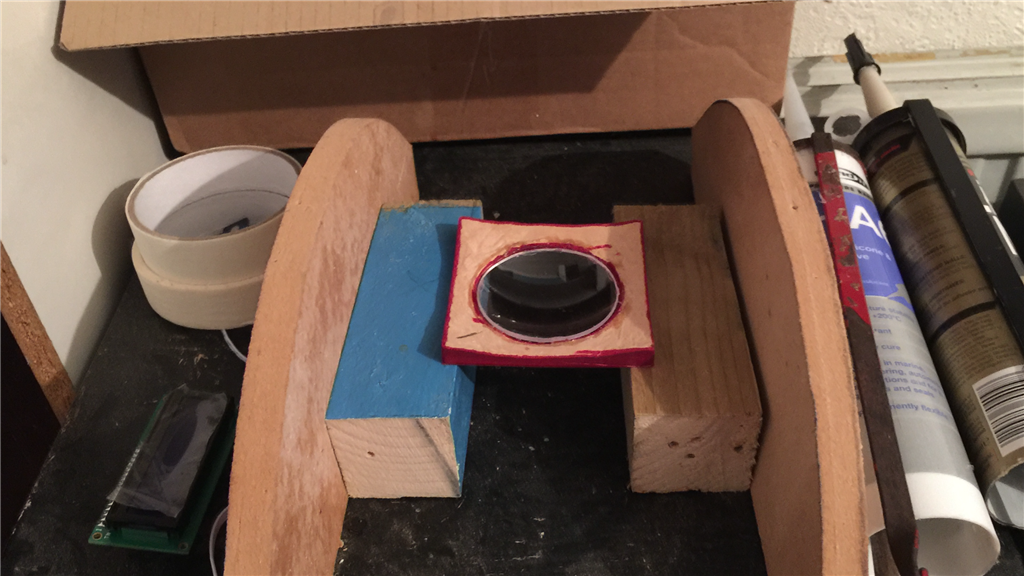
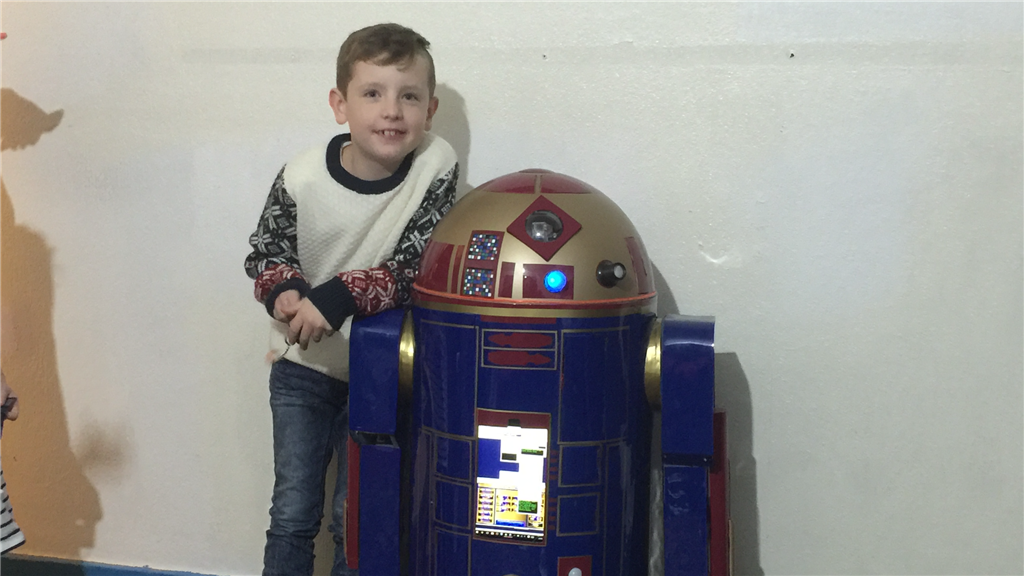
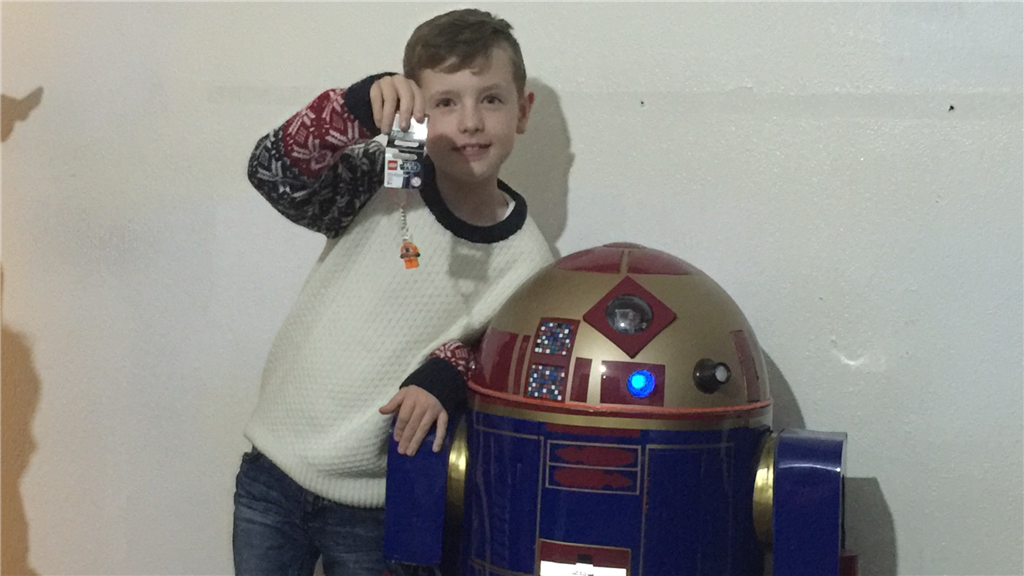
Day 111 22nd November 2015.
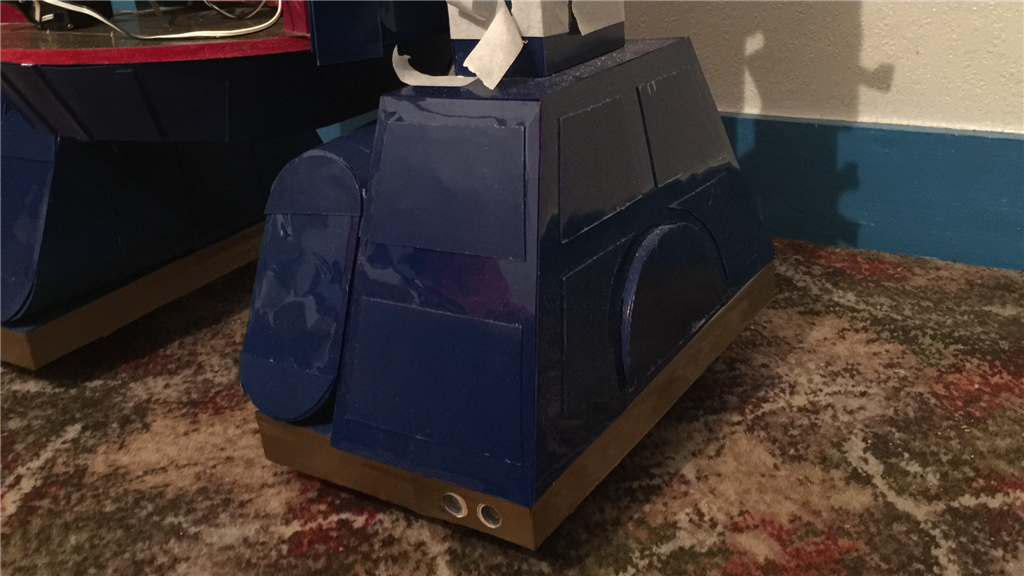
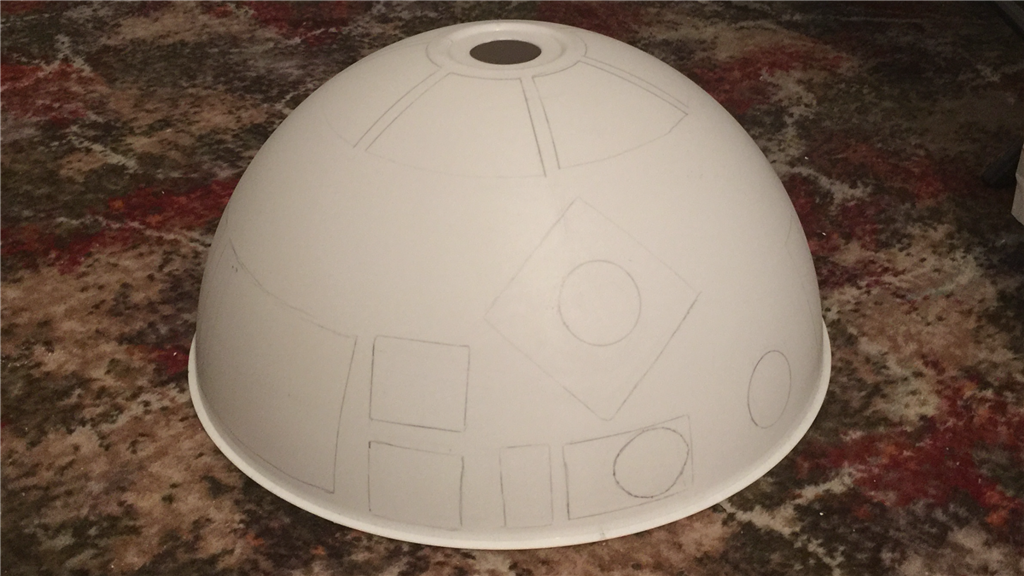
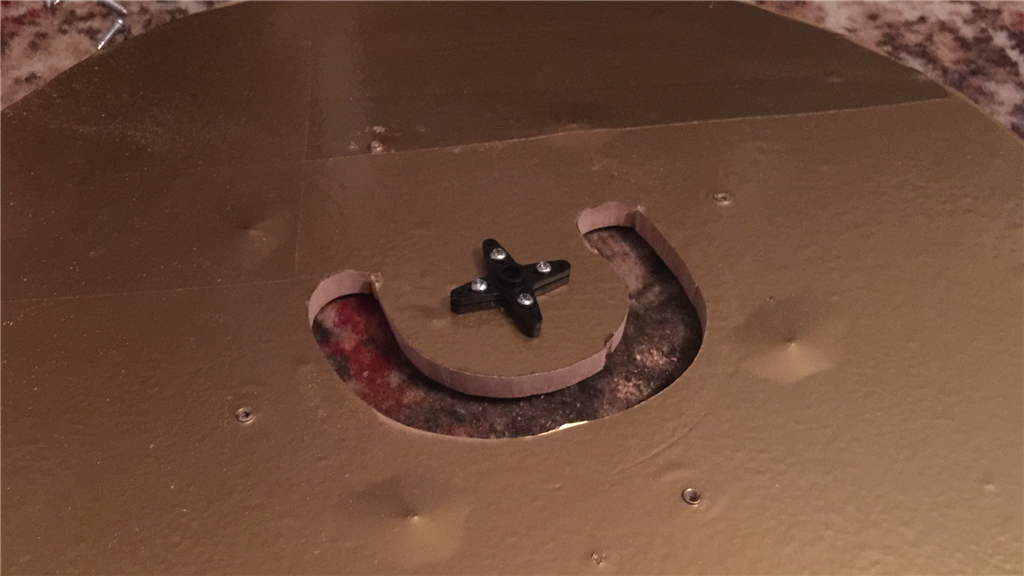
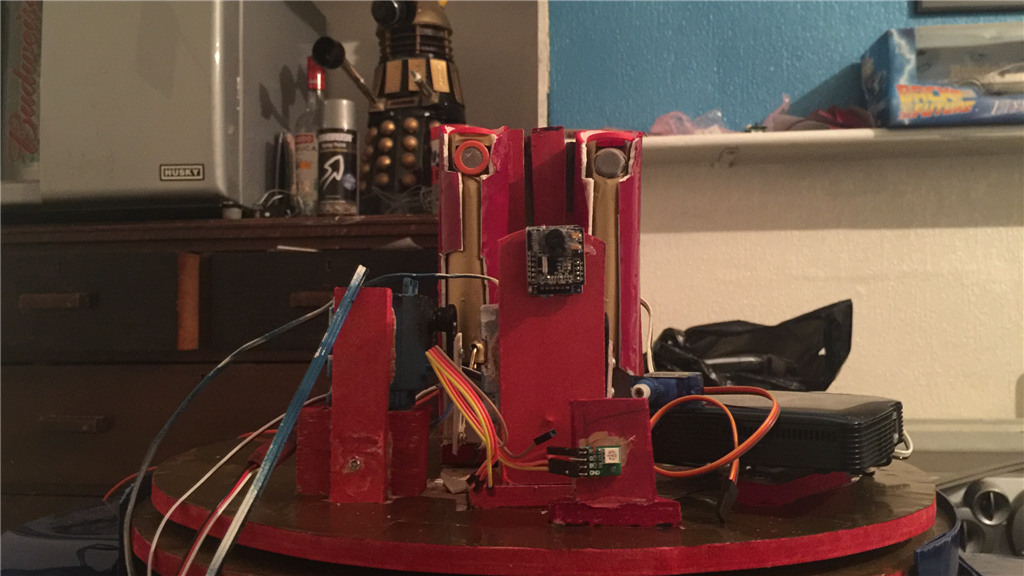
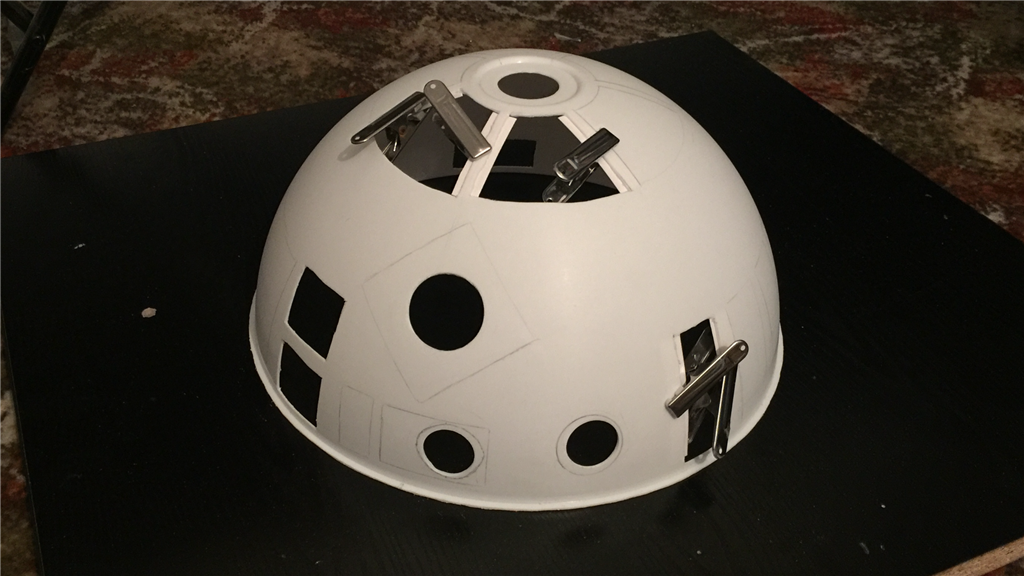
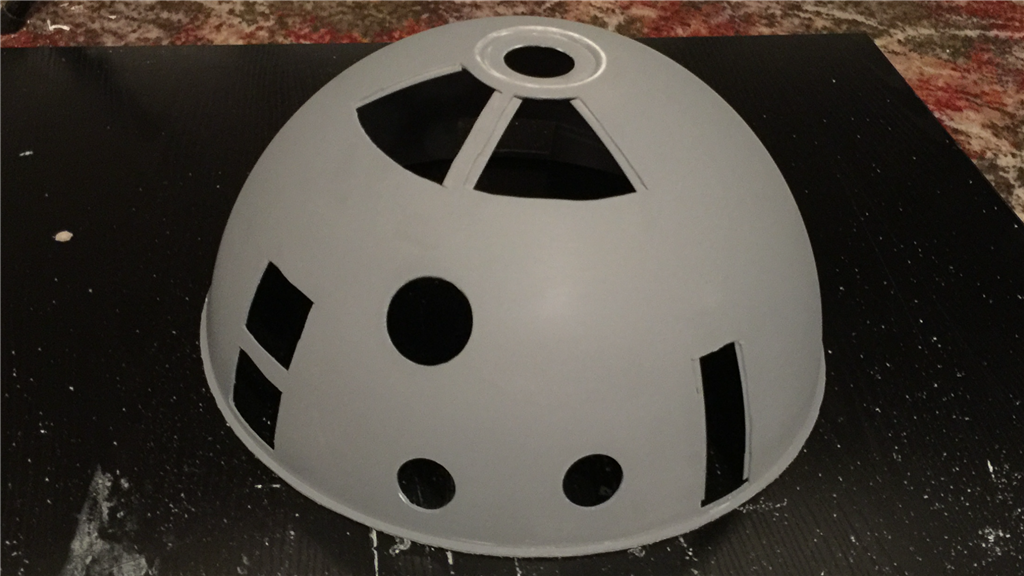
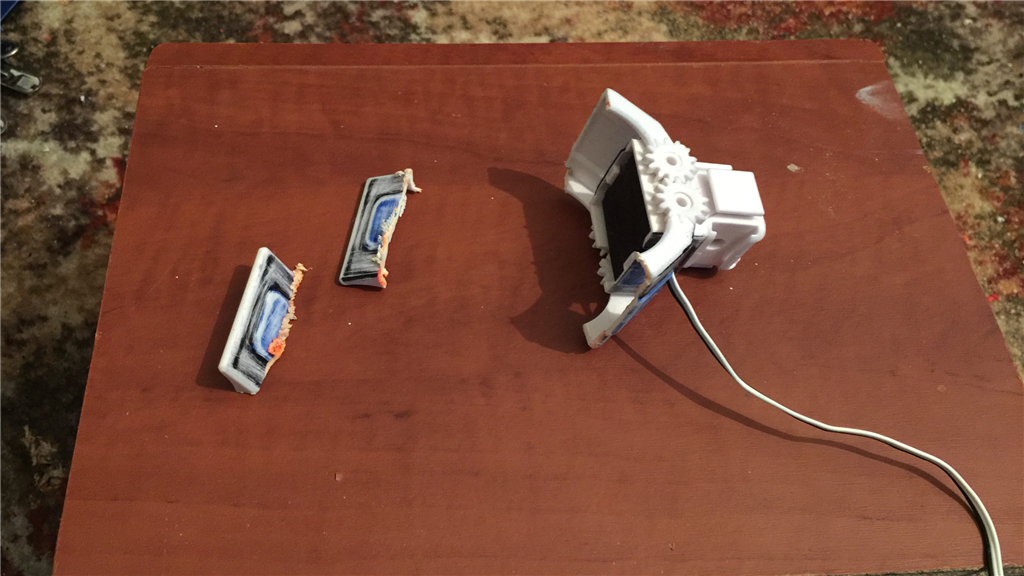
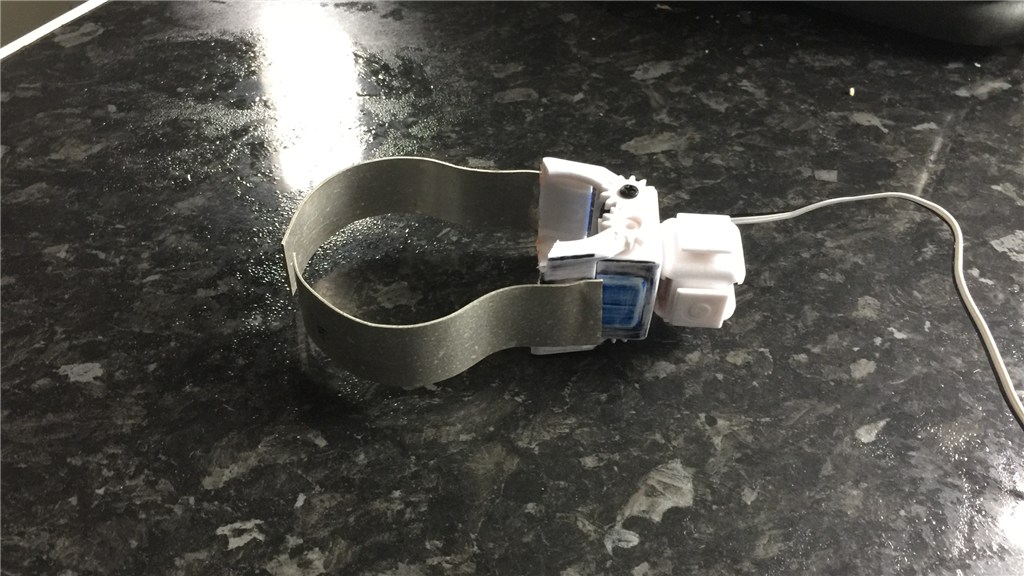
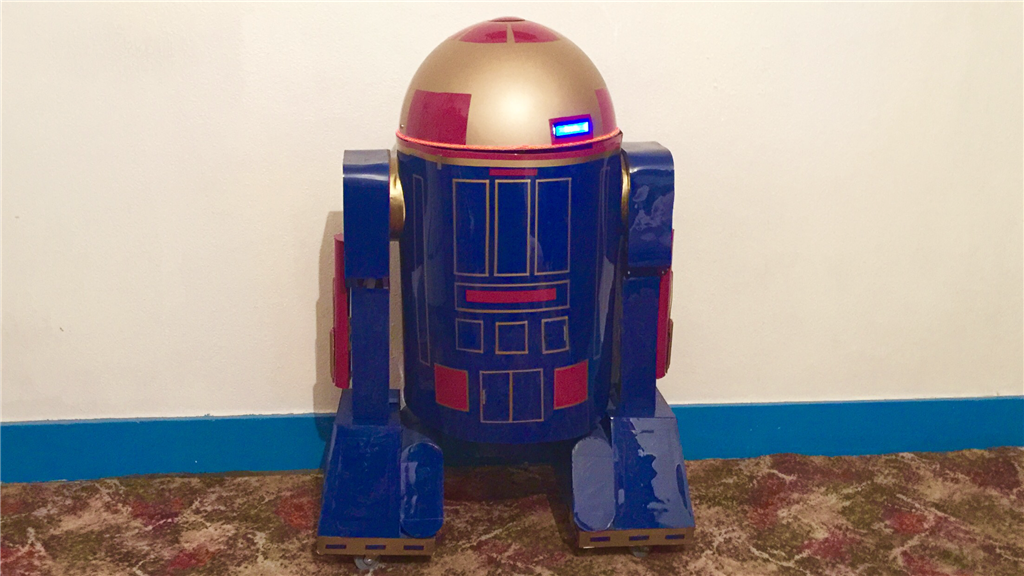
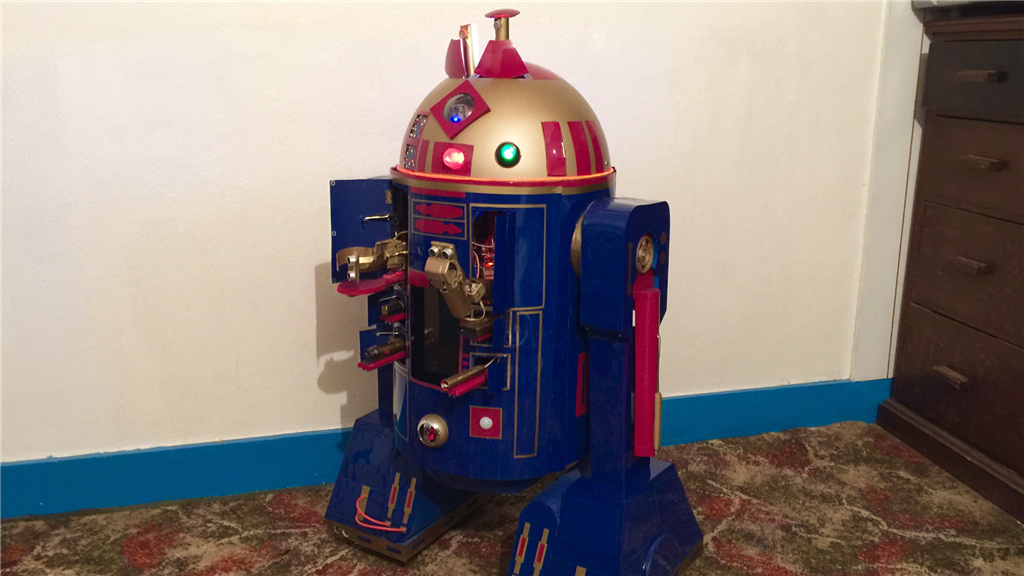
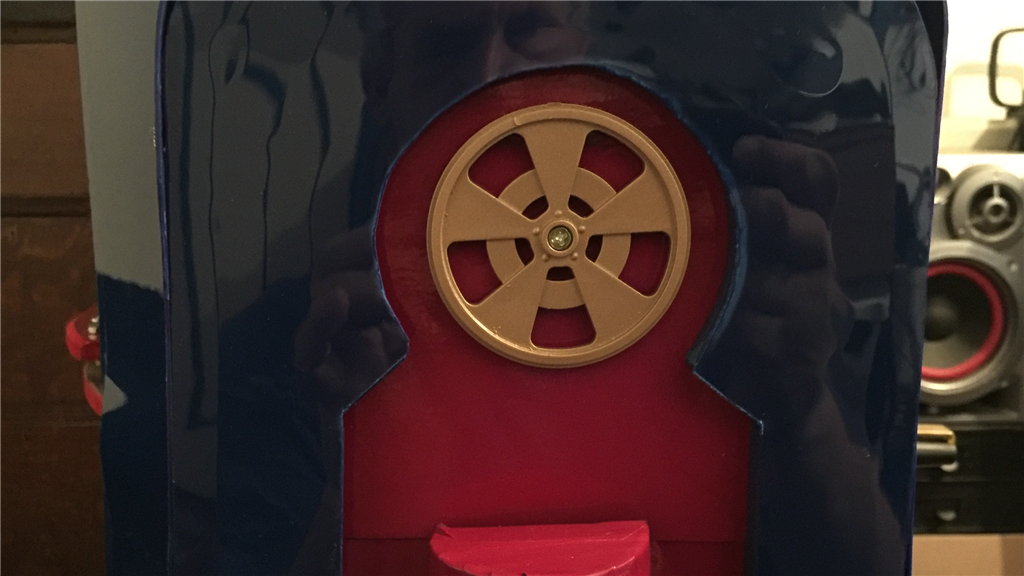
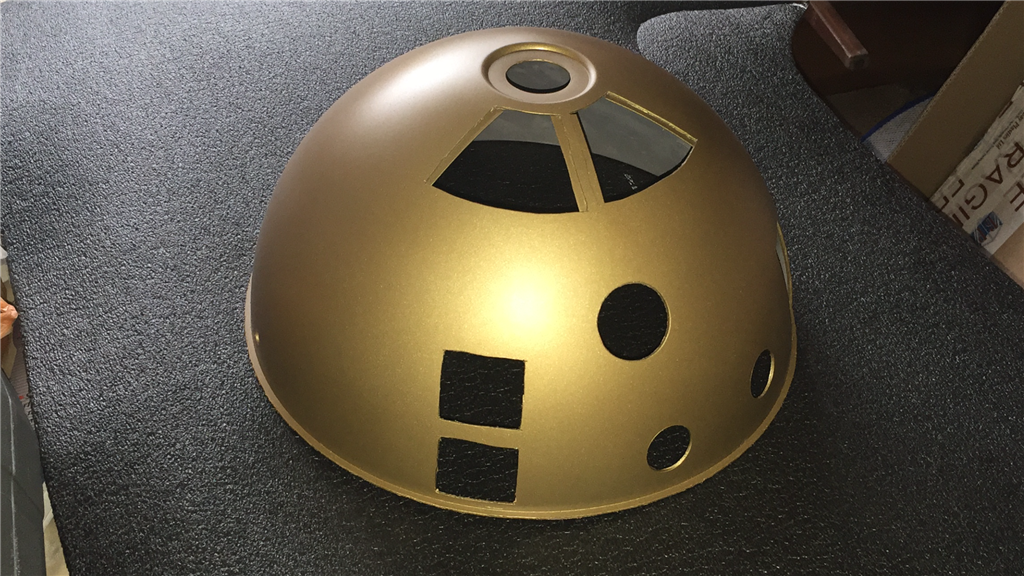
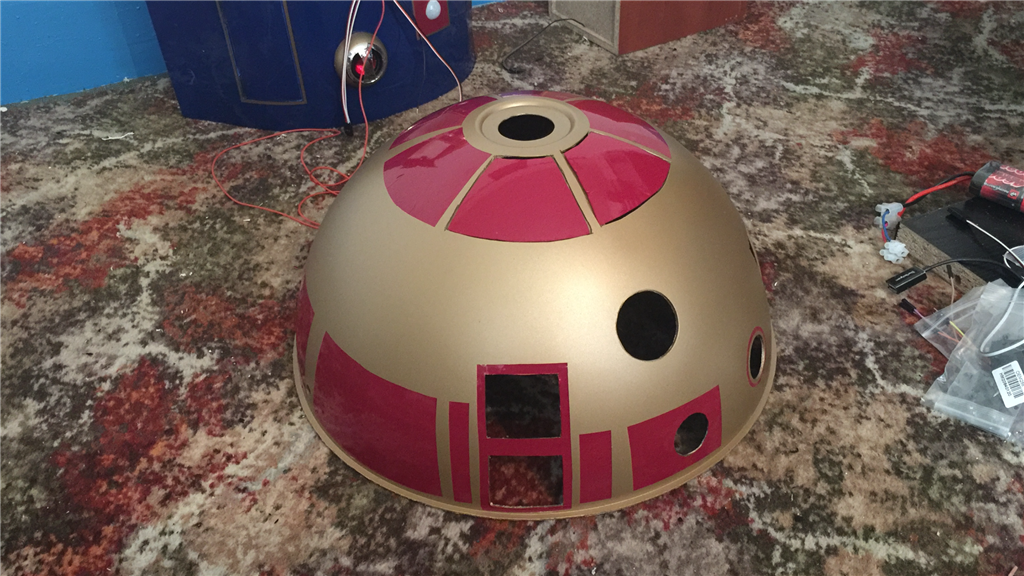
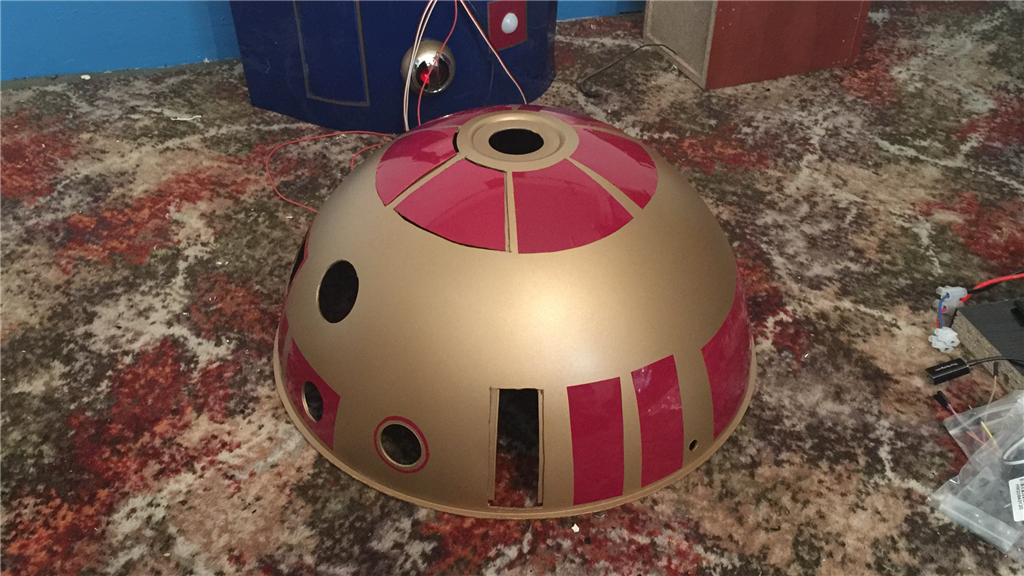
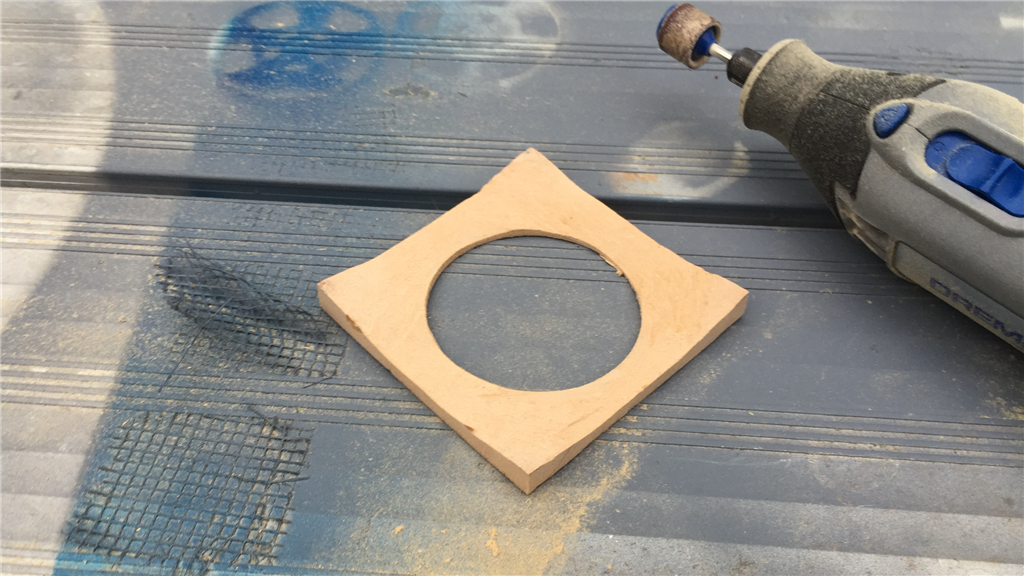
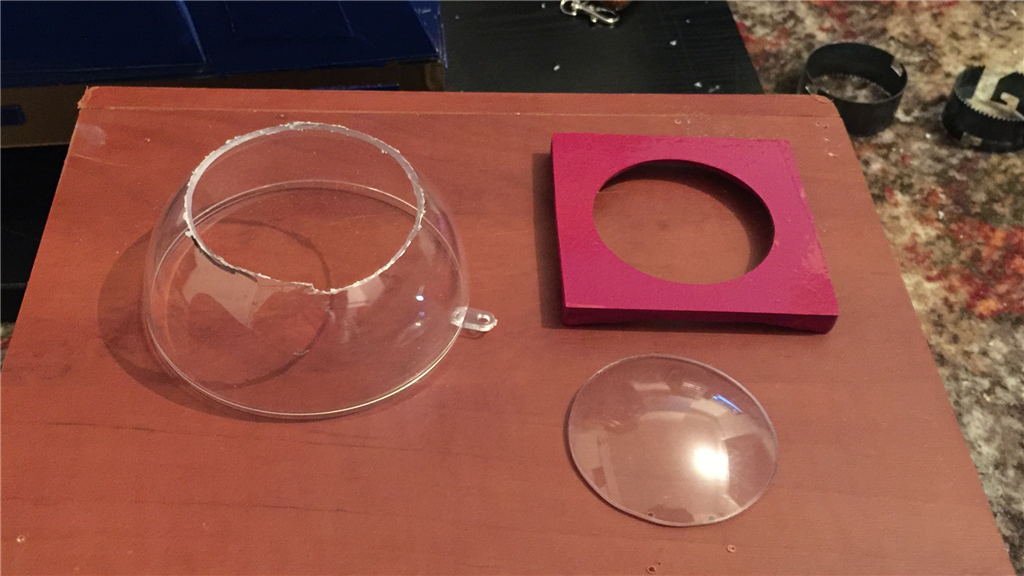
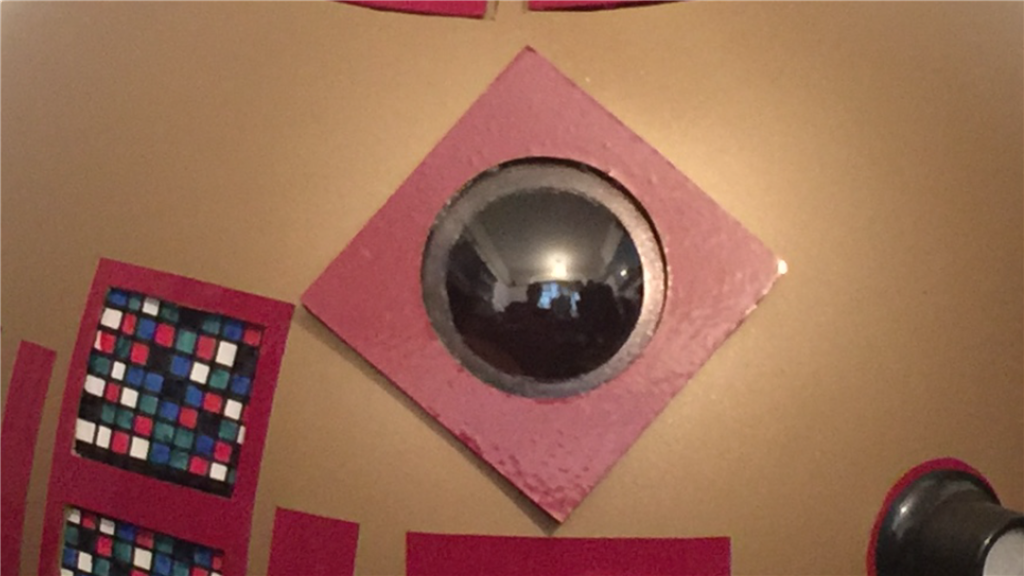
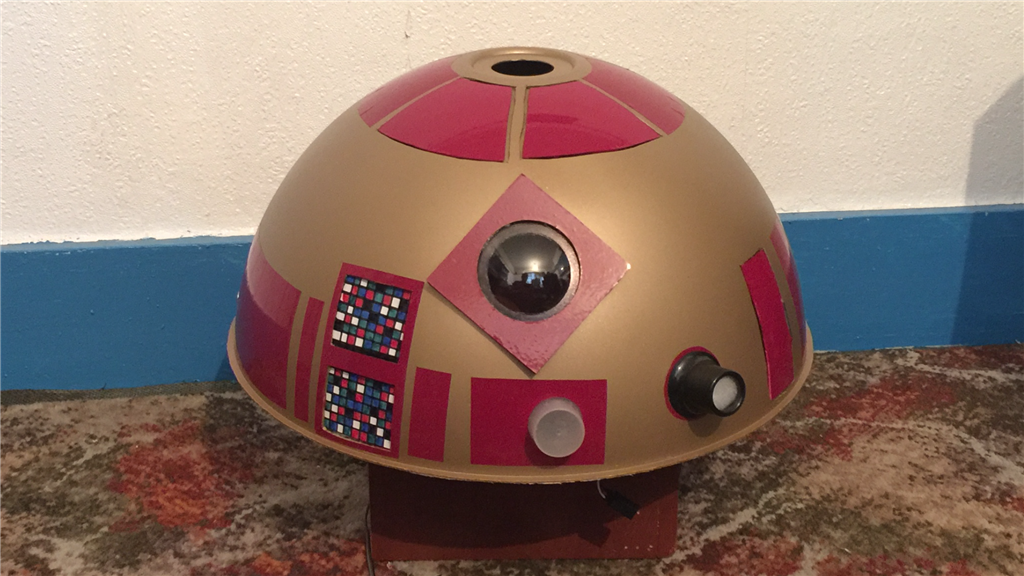
Work on the dome is well under way now. The gold paint finish has come out rather nice which I'm pleased about, and although the masking a trick job, the burgundy detailing really has made all of the difference and its looking more like an Astromech head now. I've got a few pieces that are currently being added the dome which should be finished today, and still have the eye piece to make which I should be able to make a start on tomorrow.
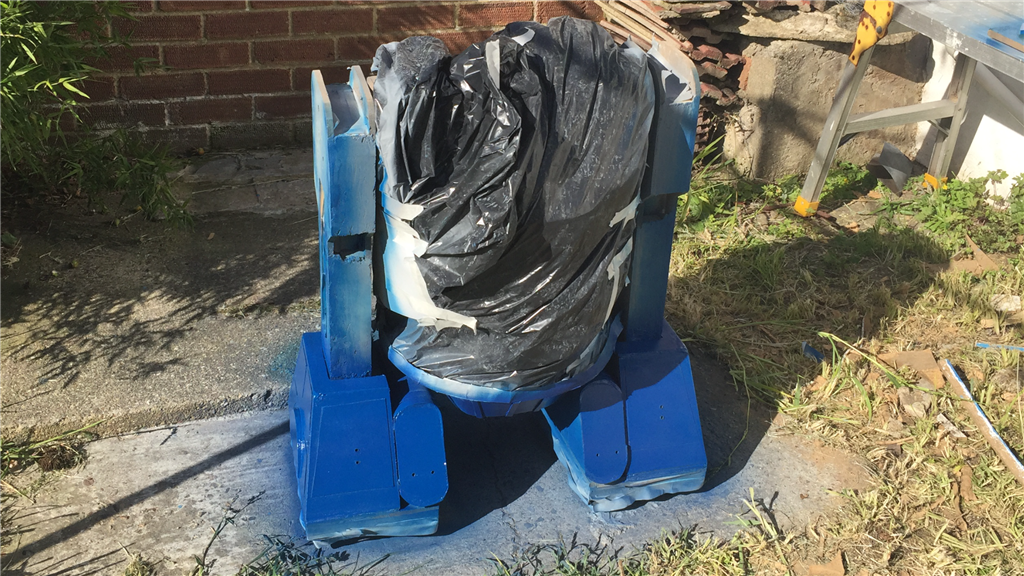
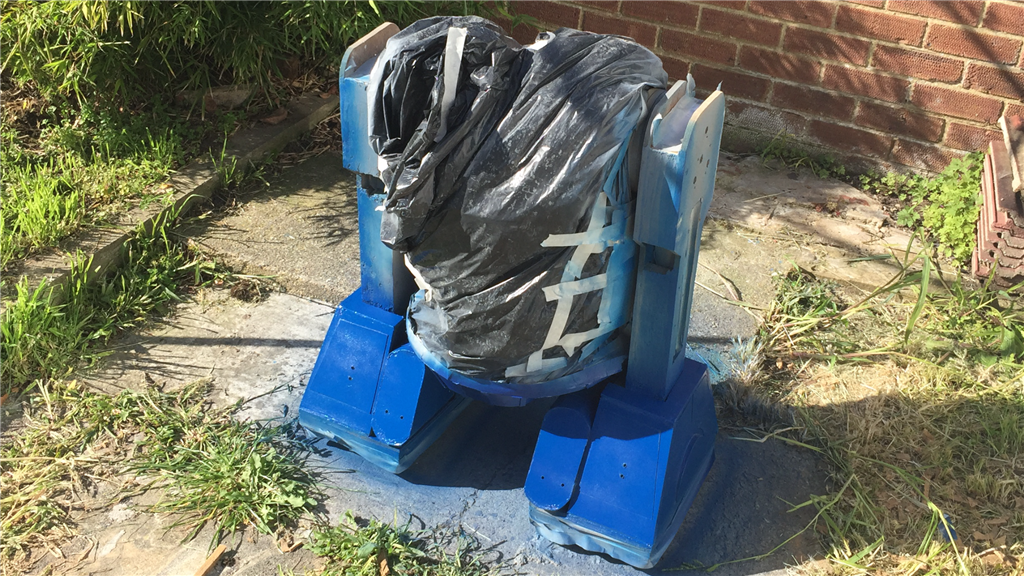
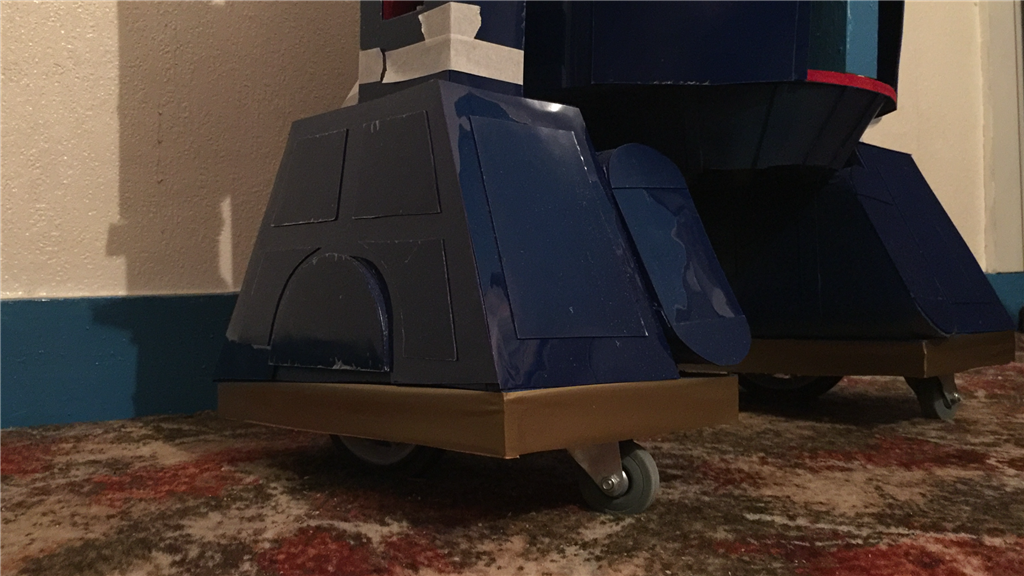
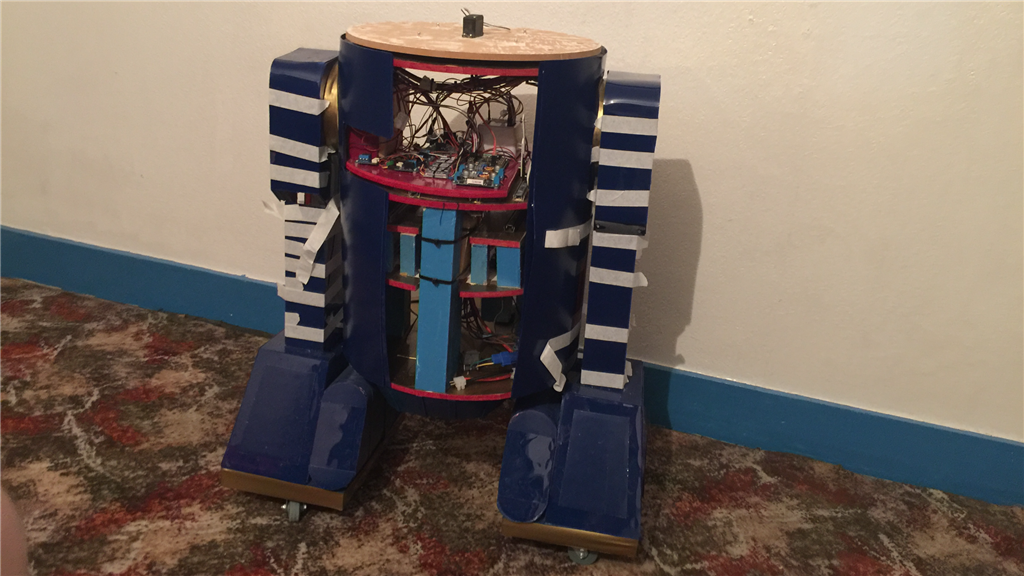
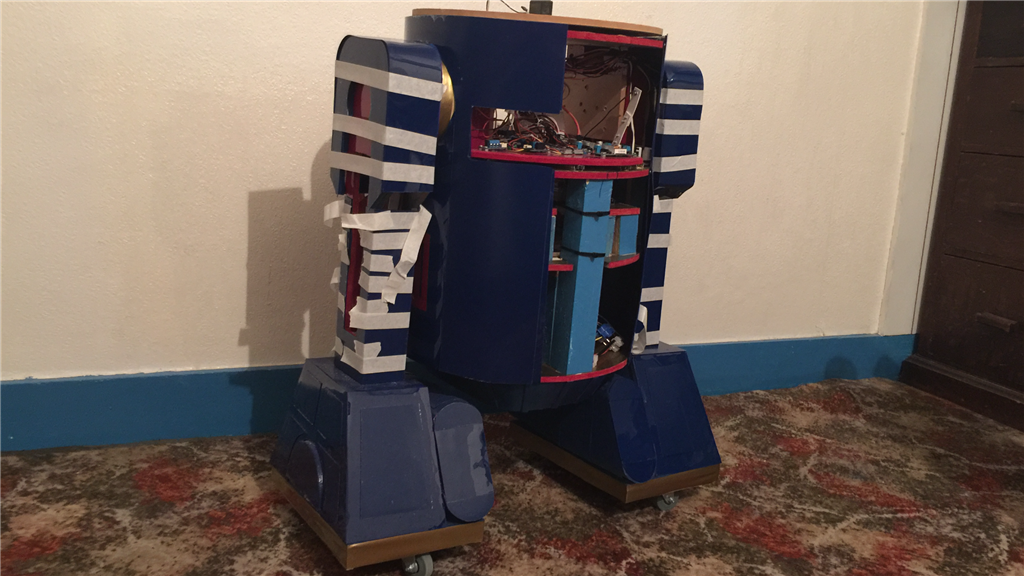
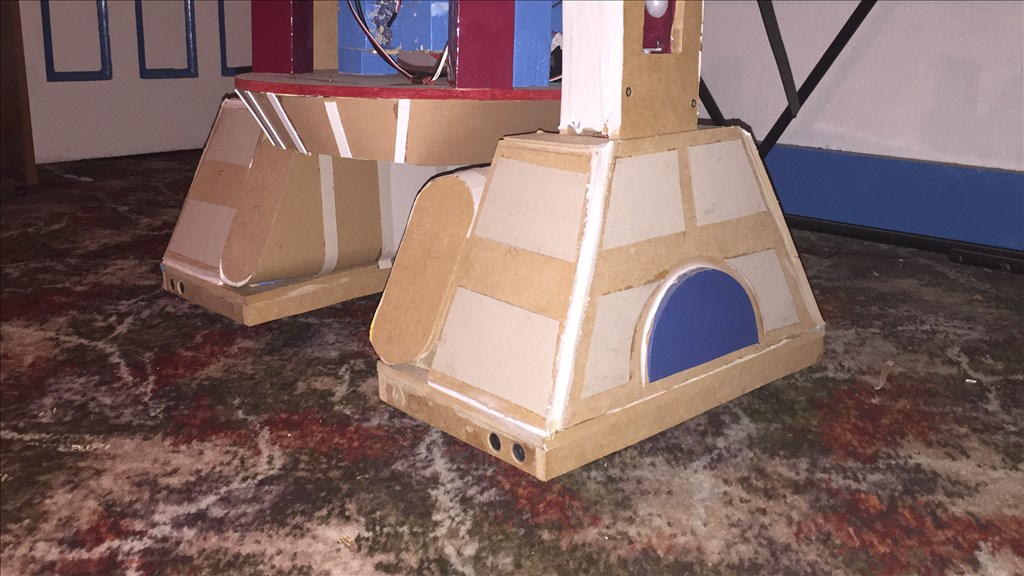
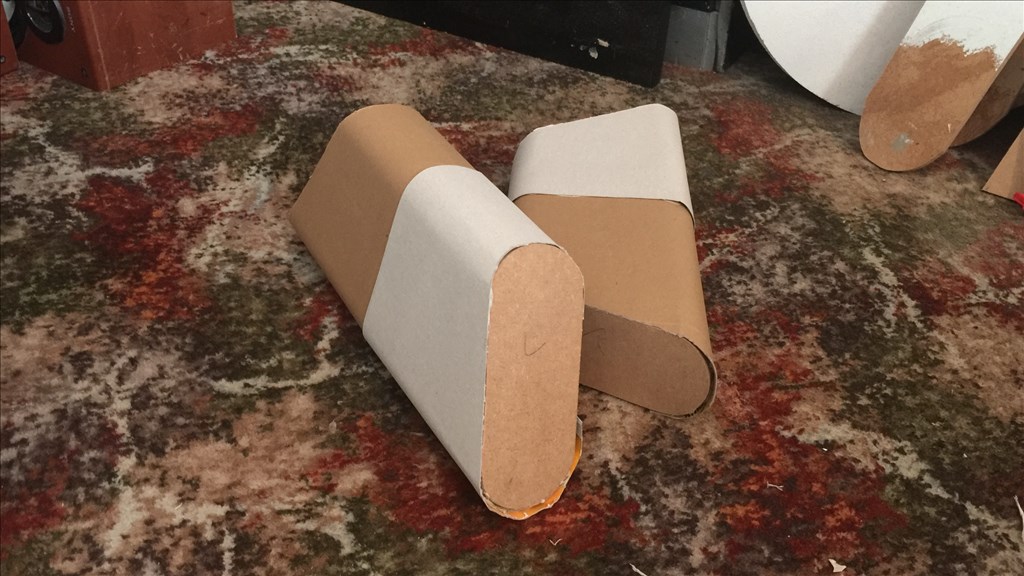
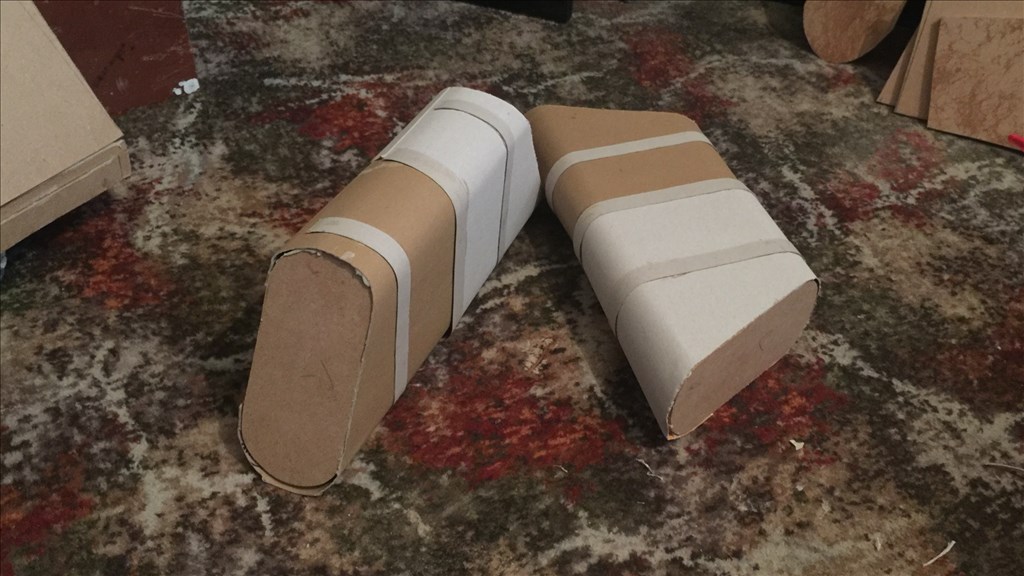
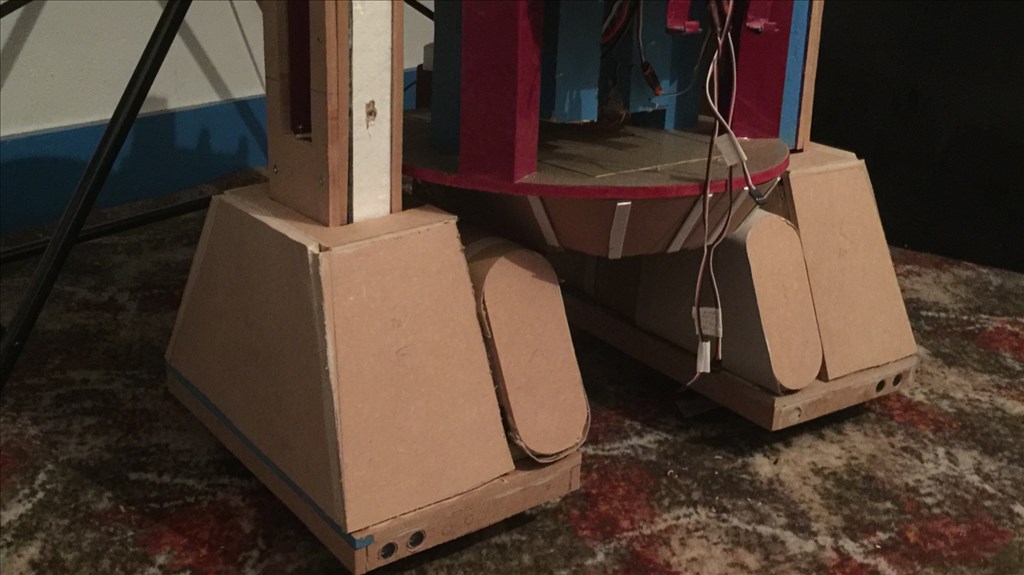
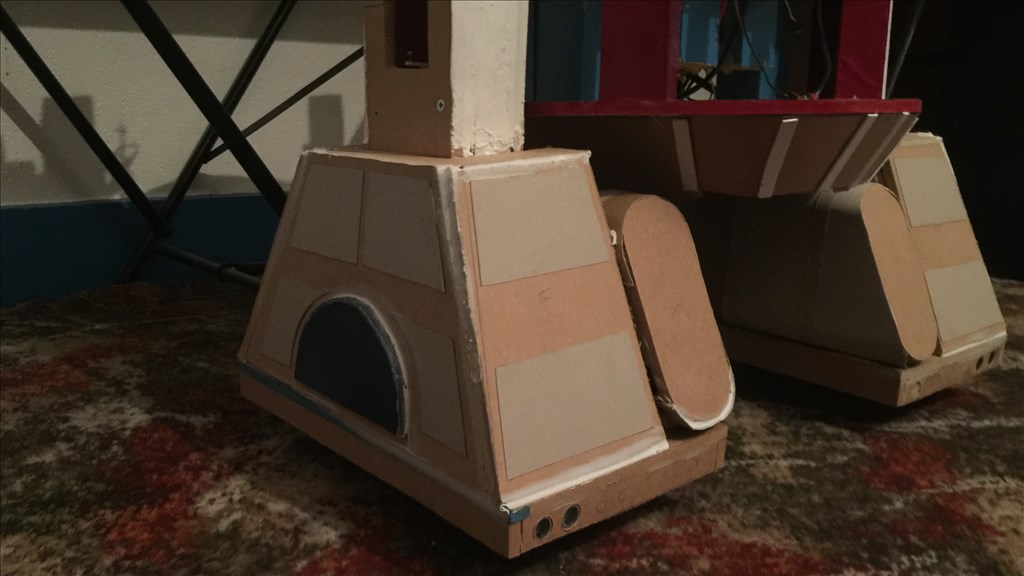
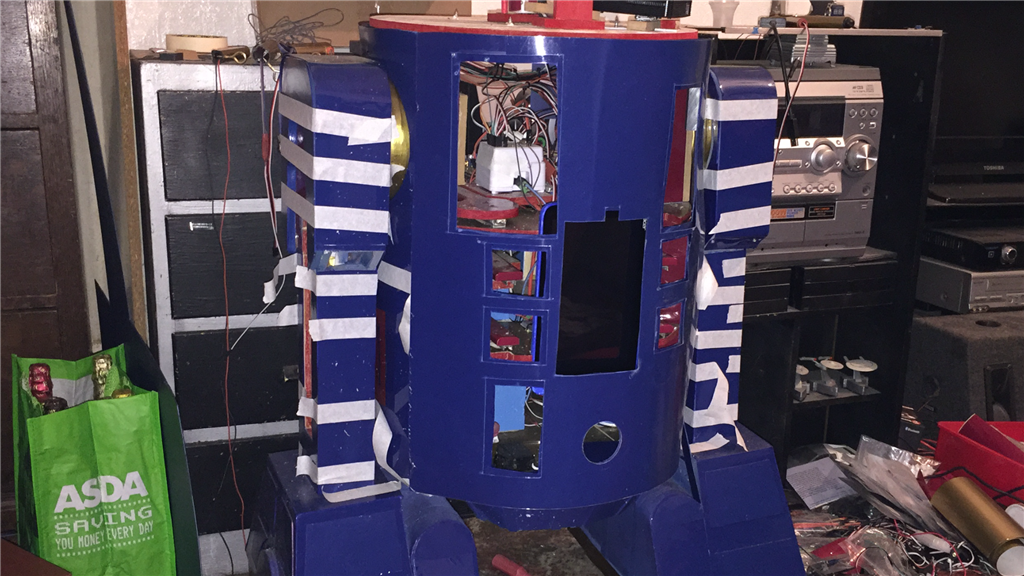
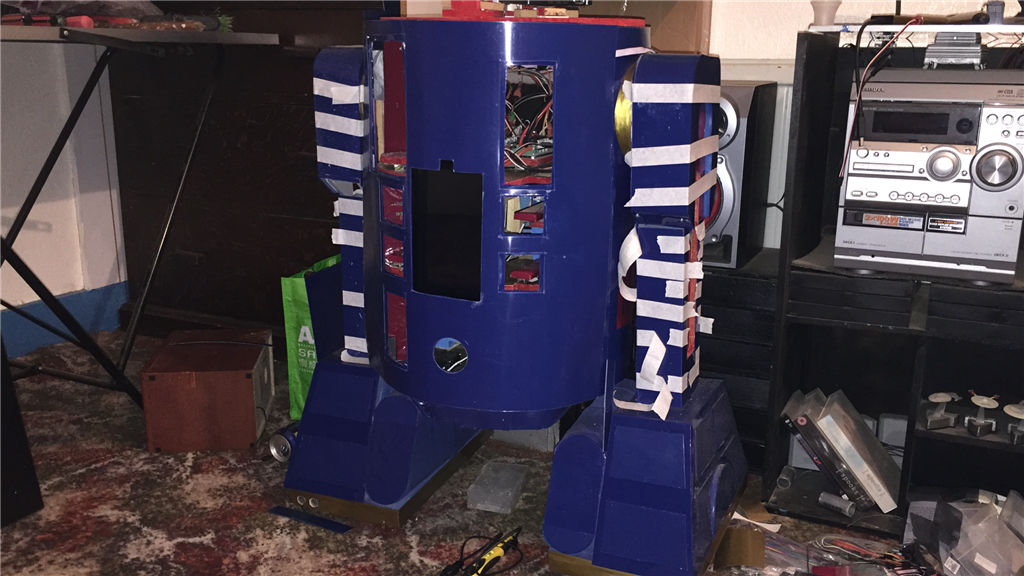
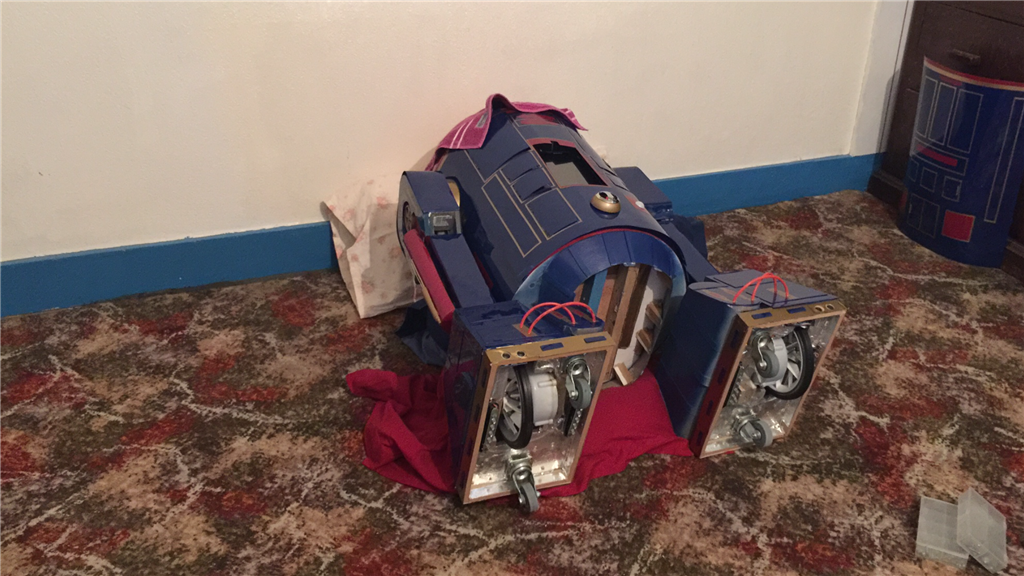
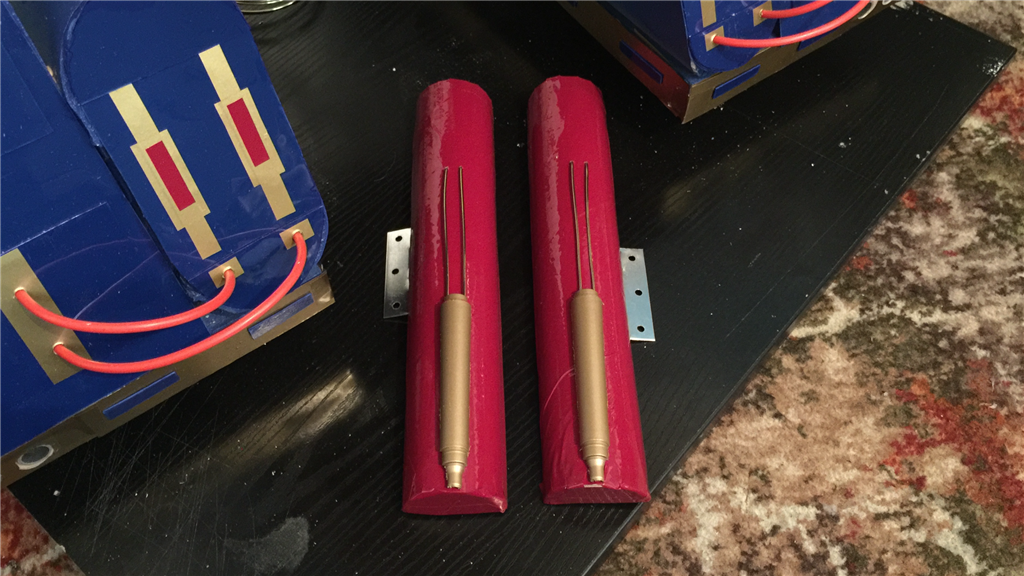
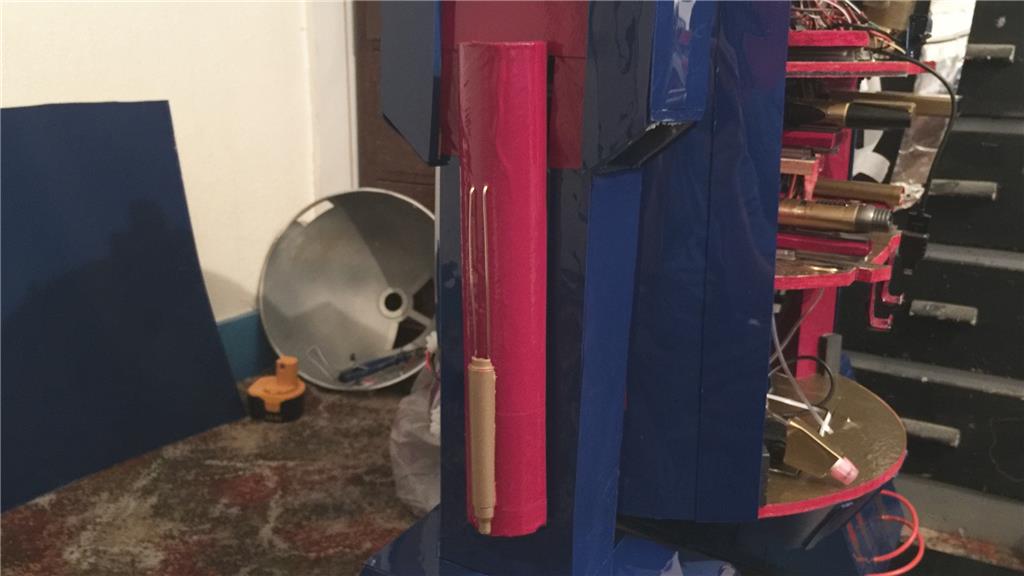
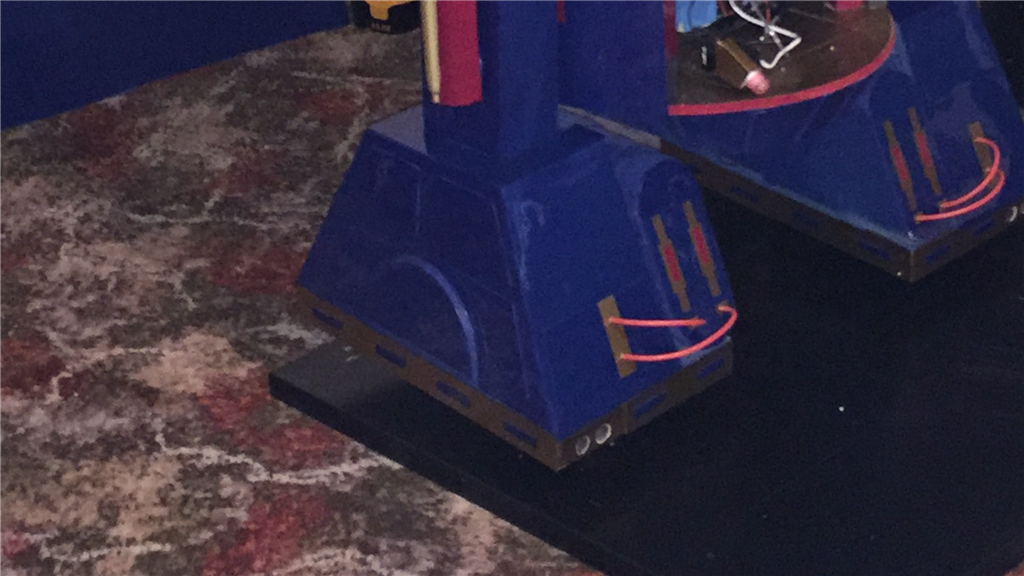
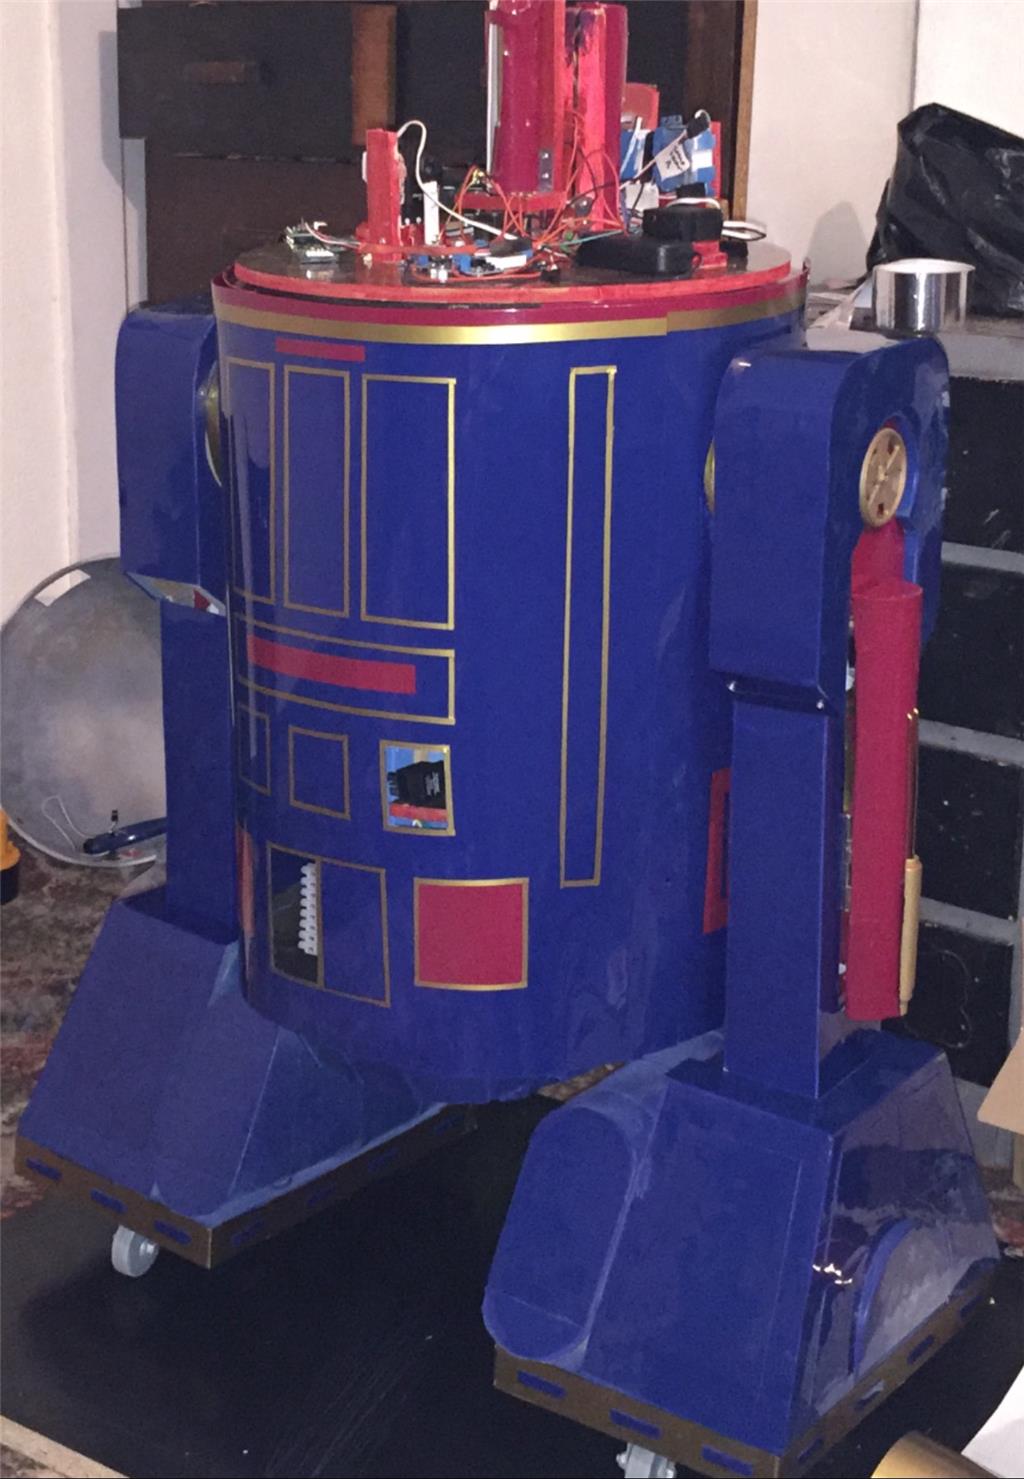
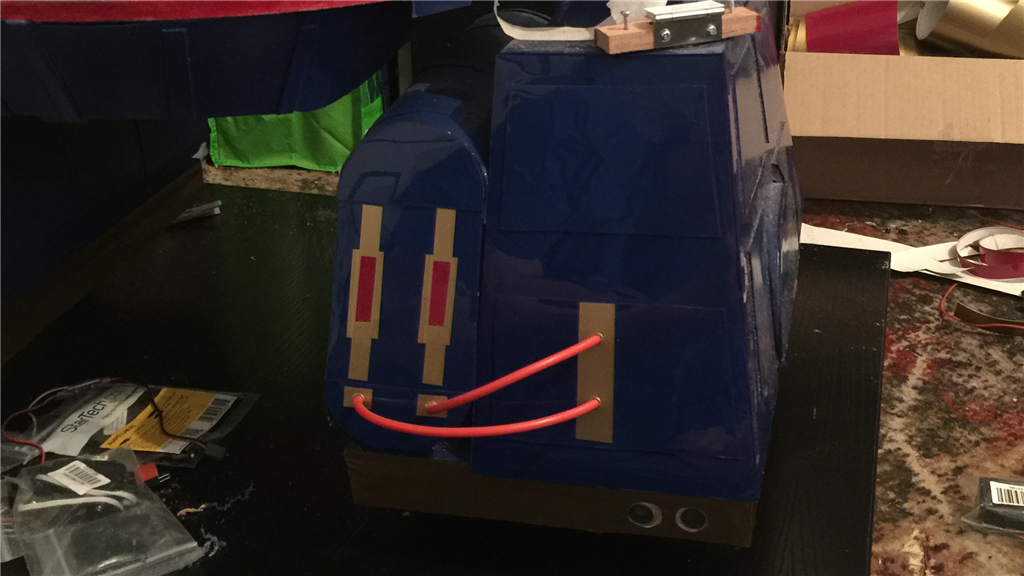
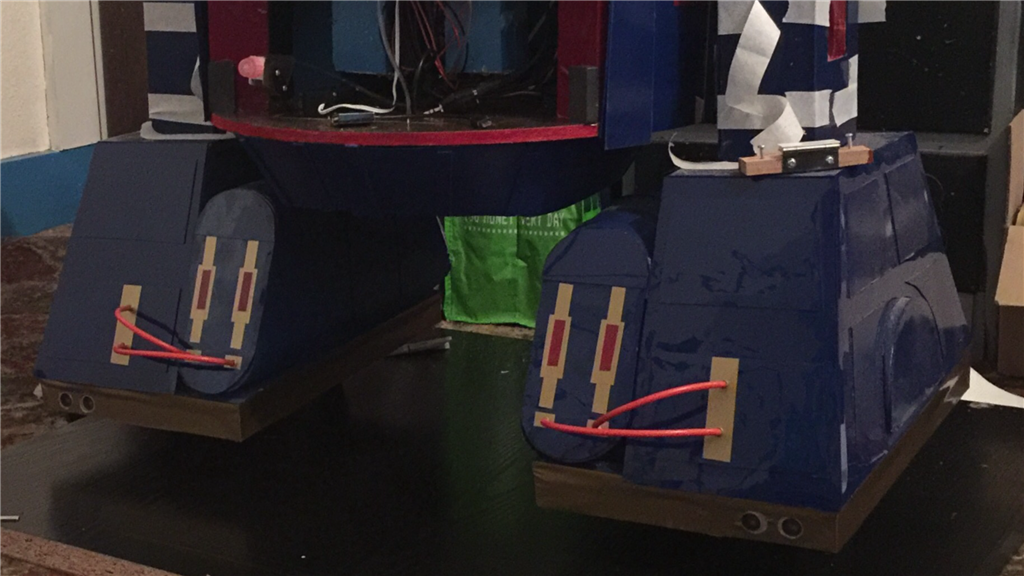
The feet and battery boxes have been unwrapped and finally got to add some detailing...
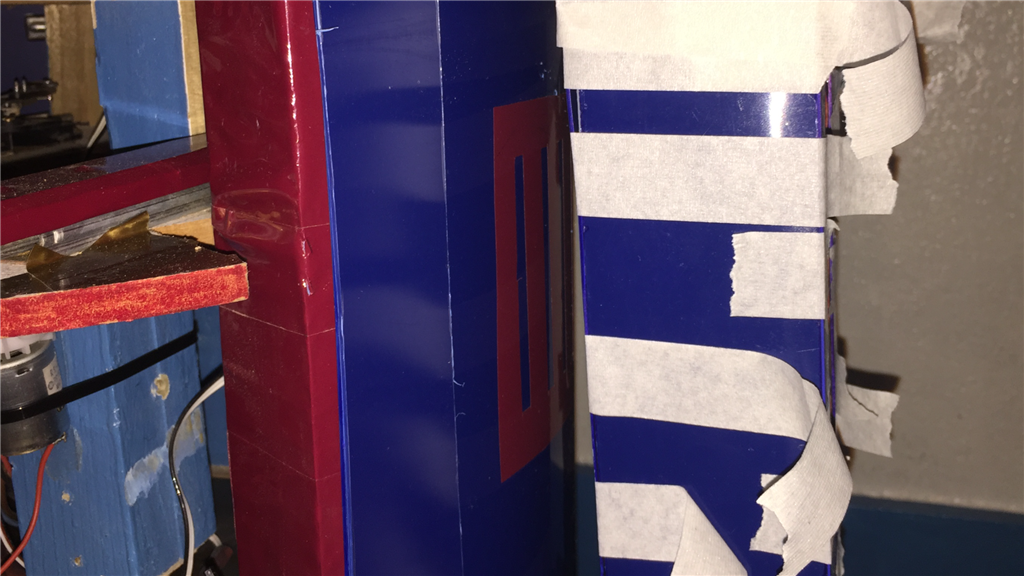
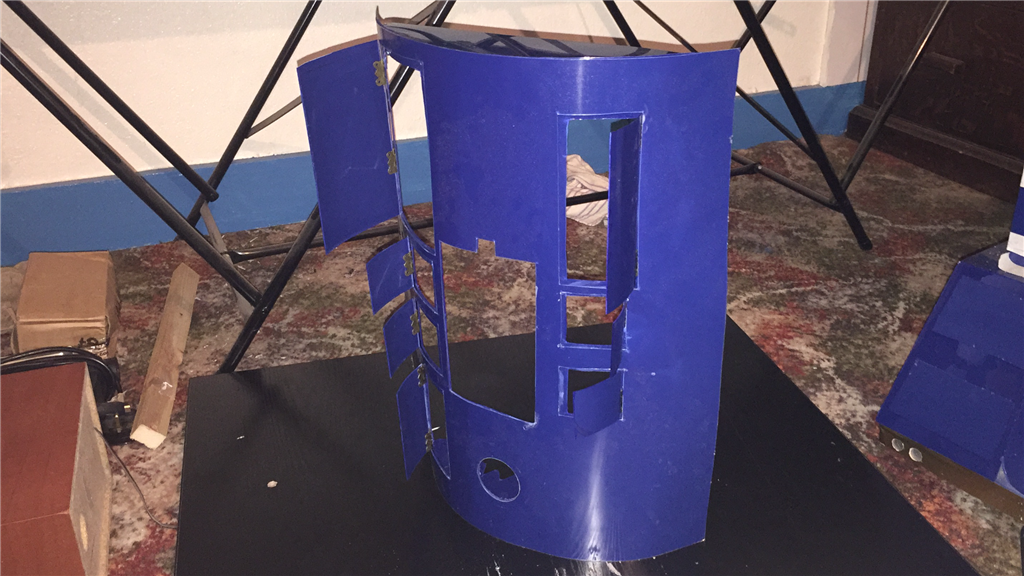
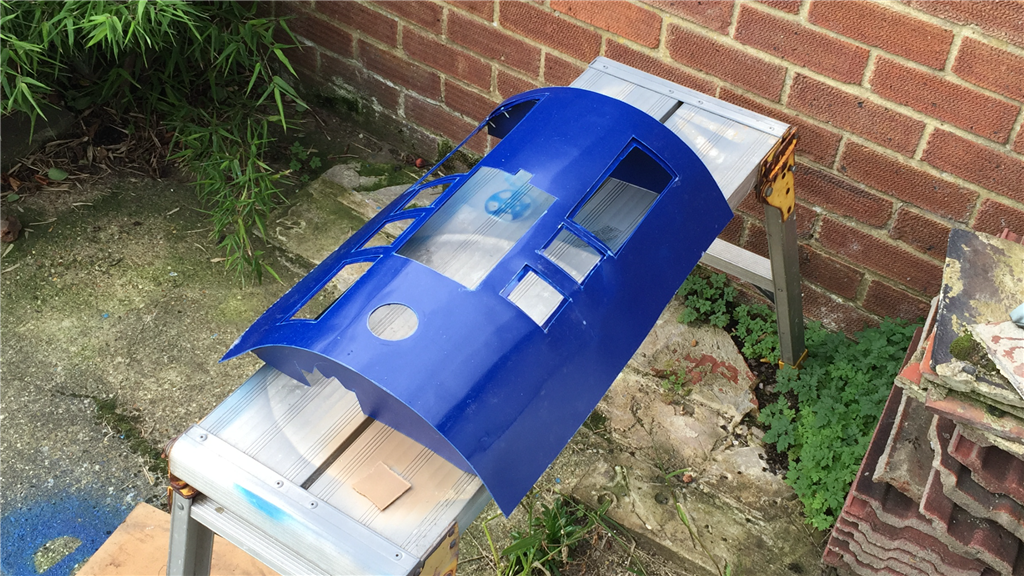
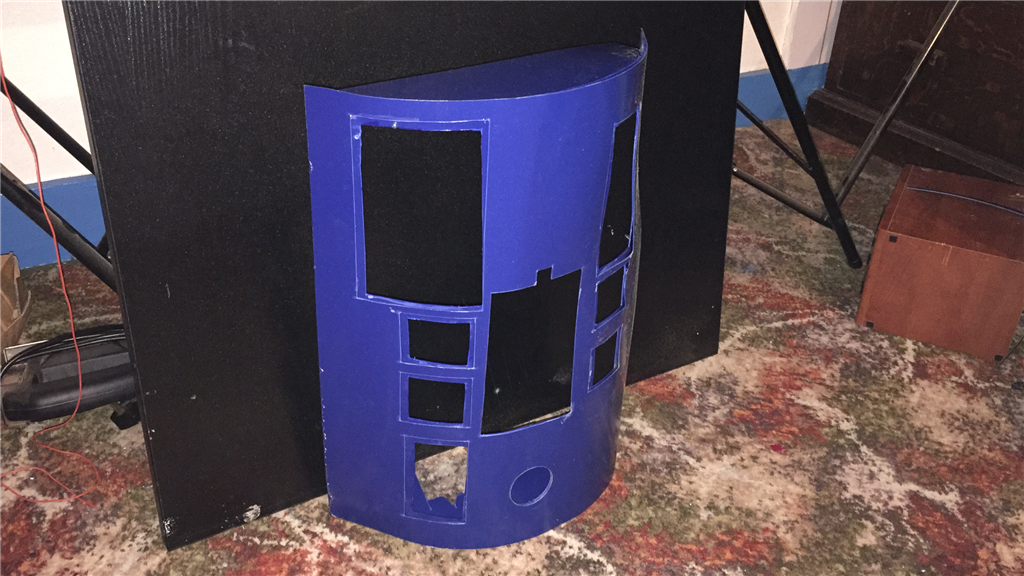
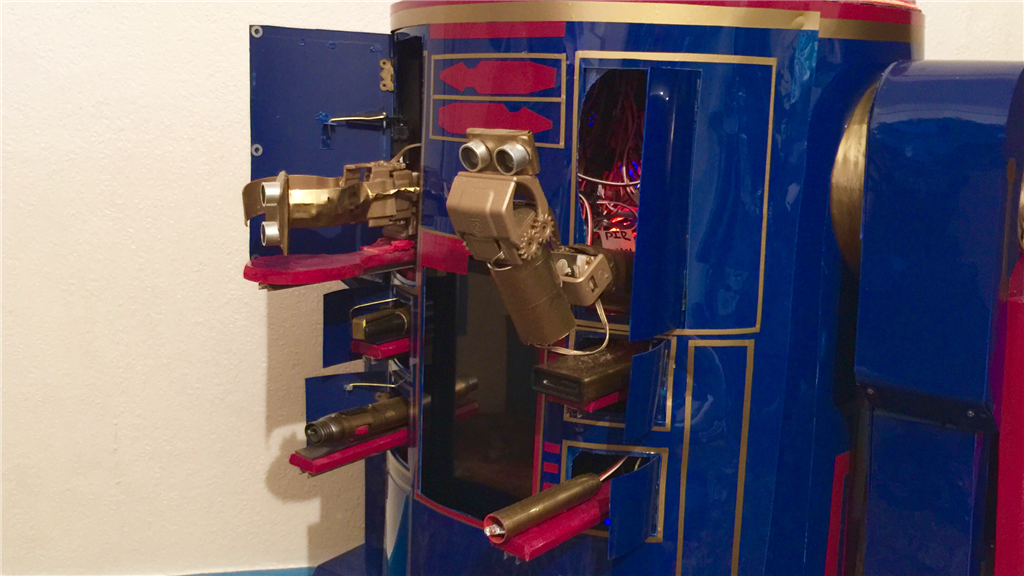
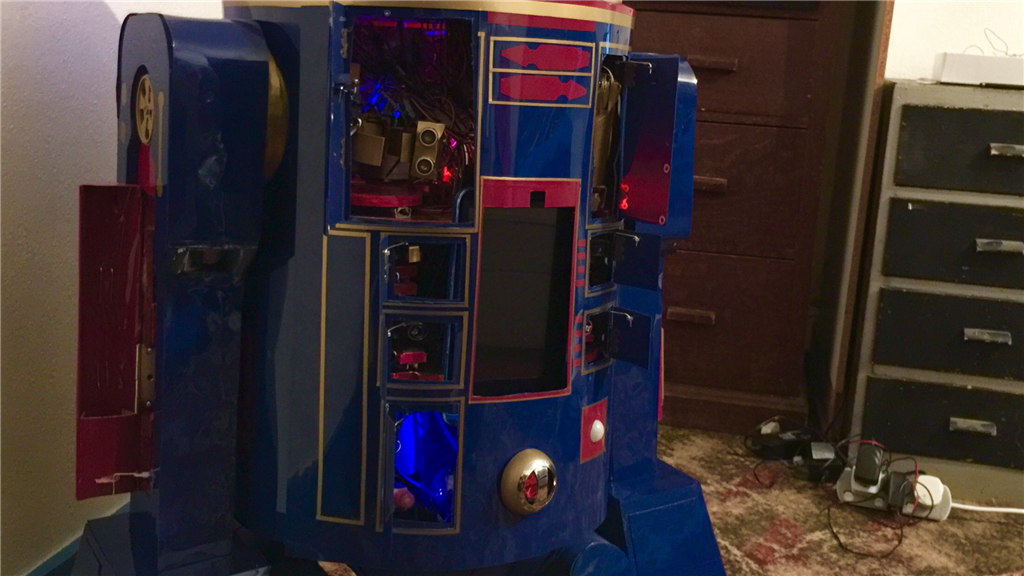
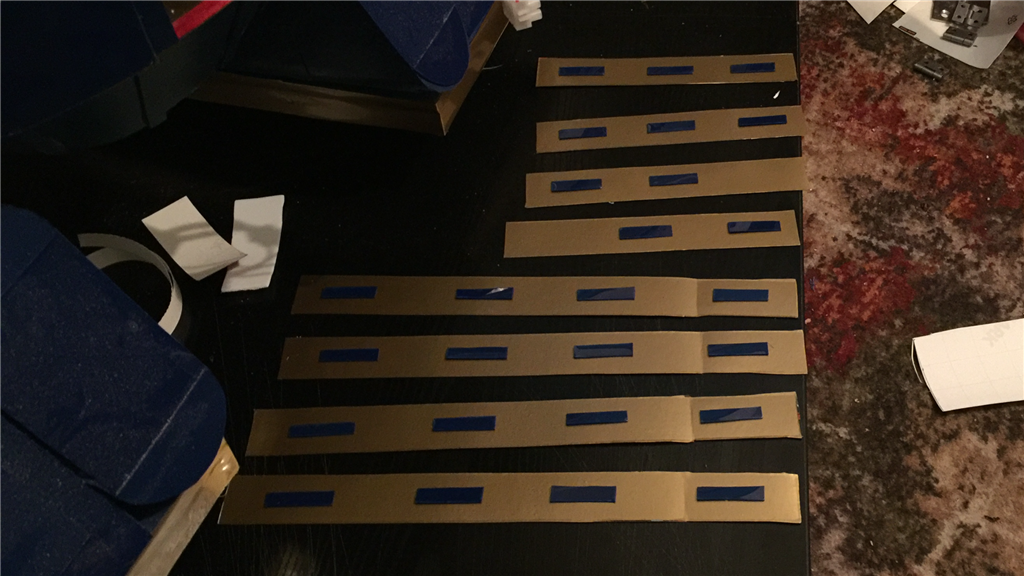
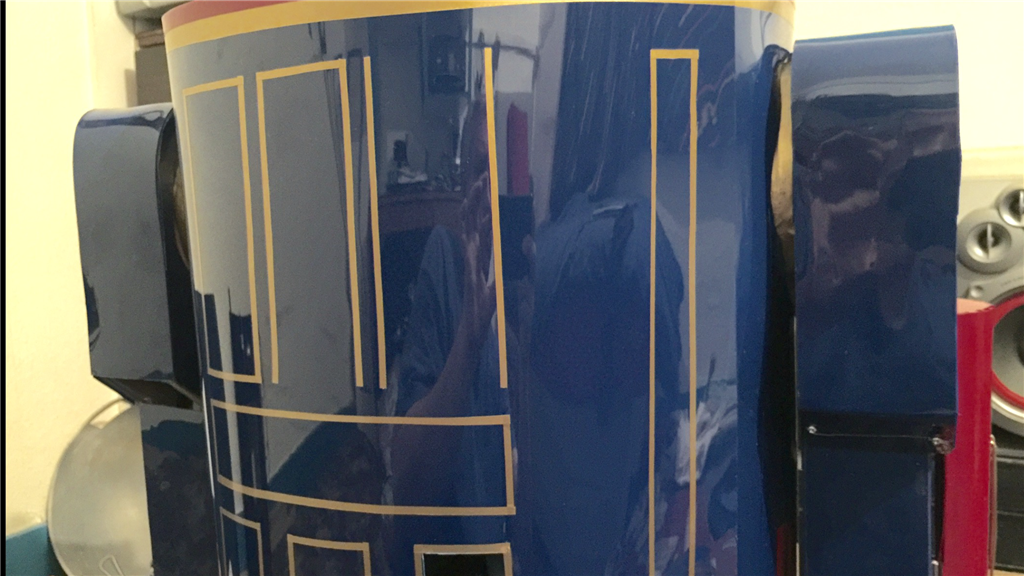
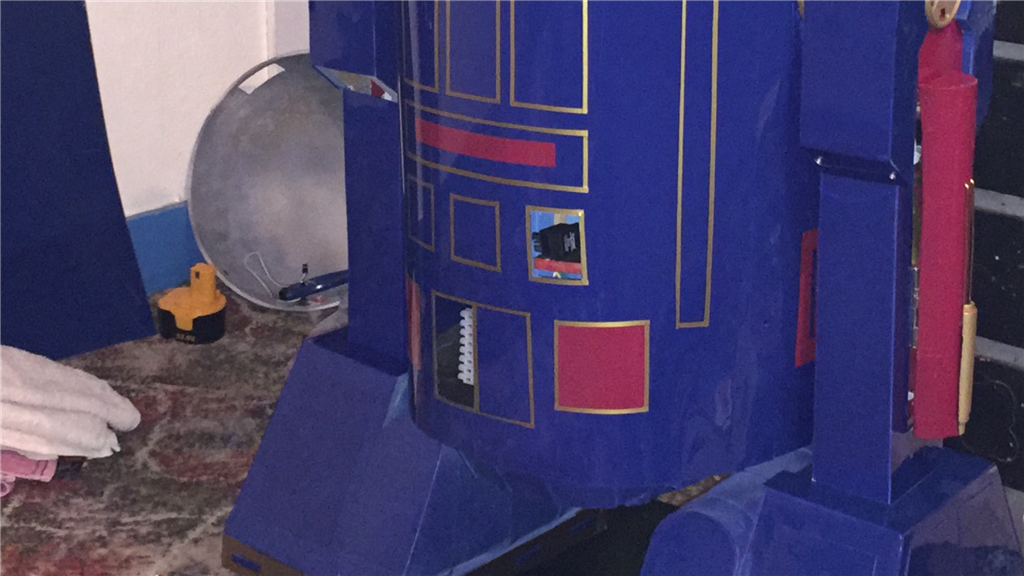
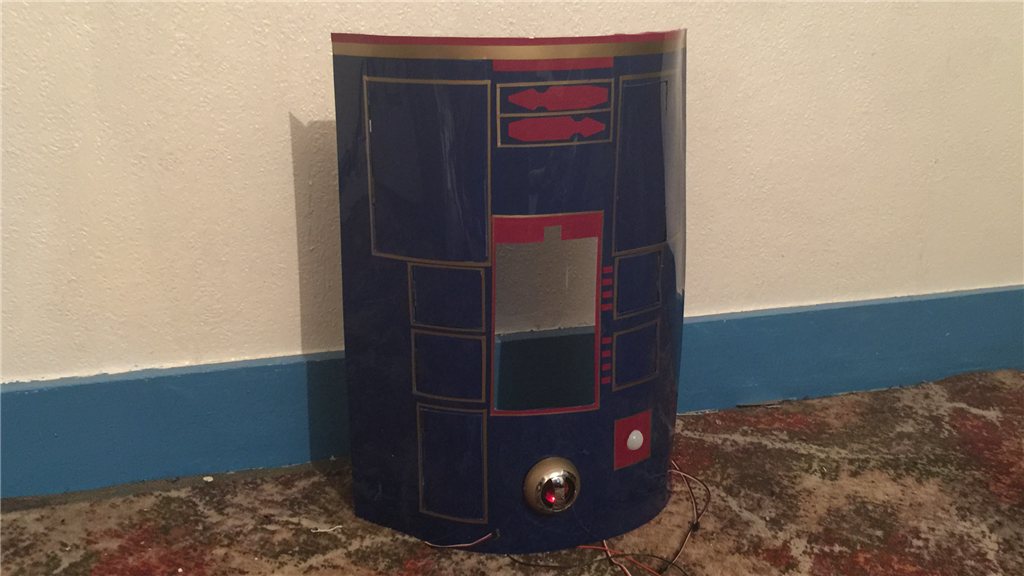
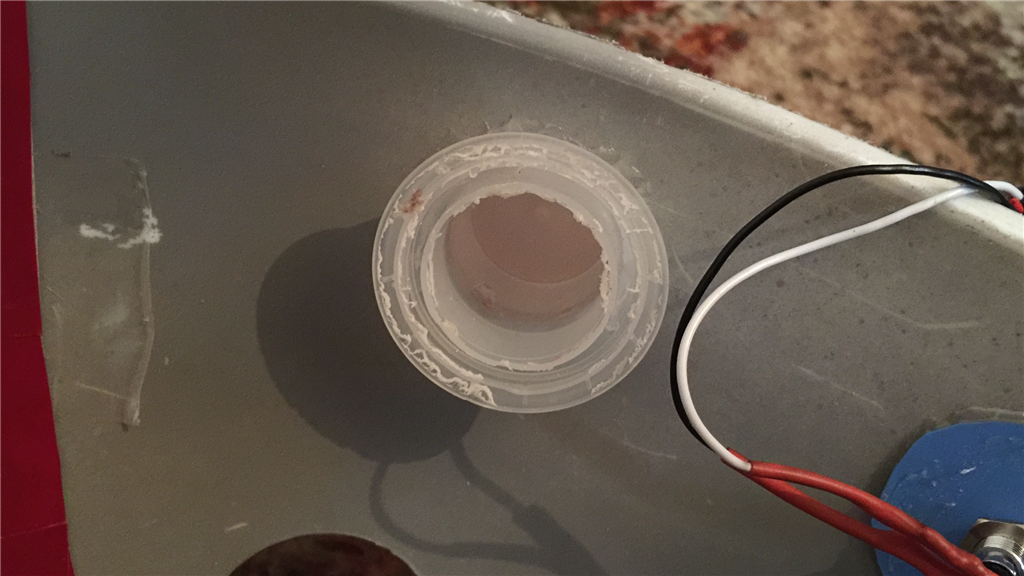
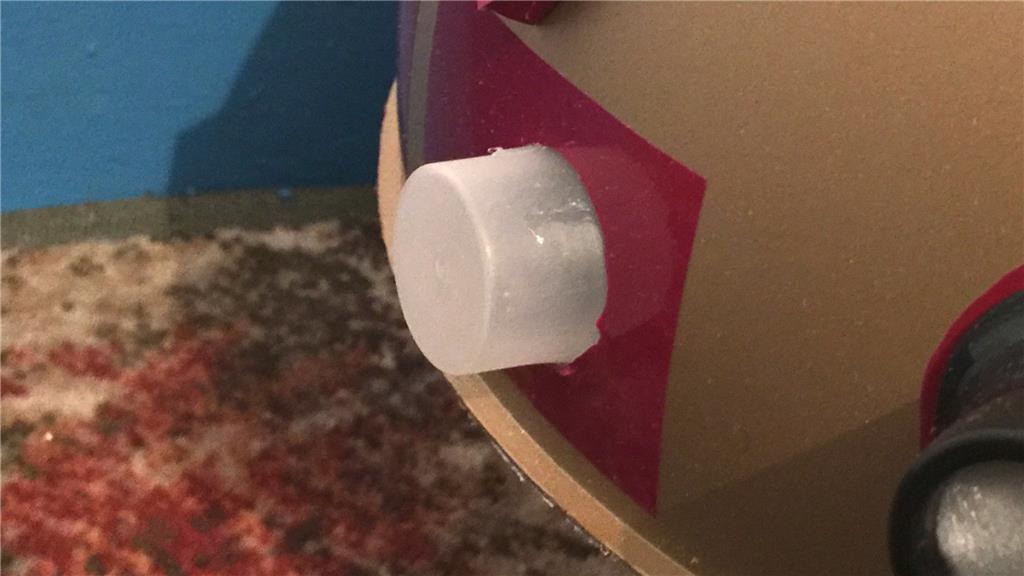
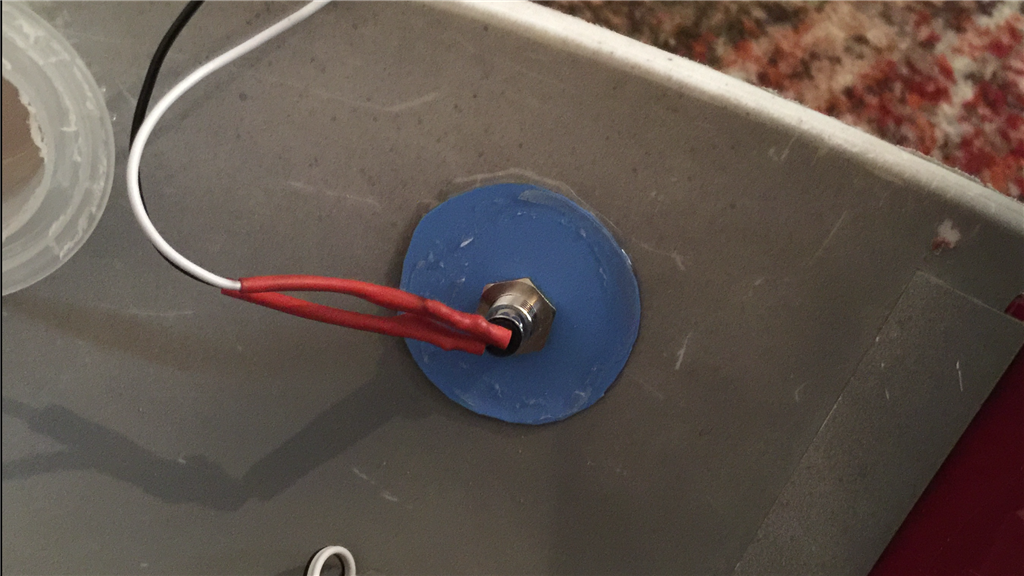
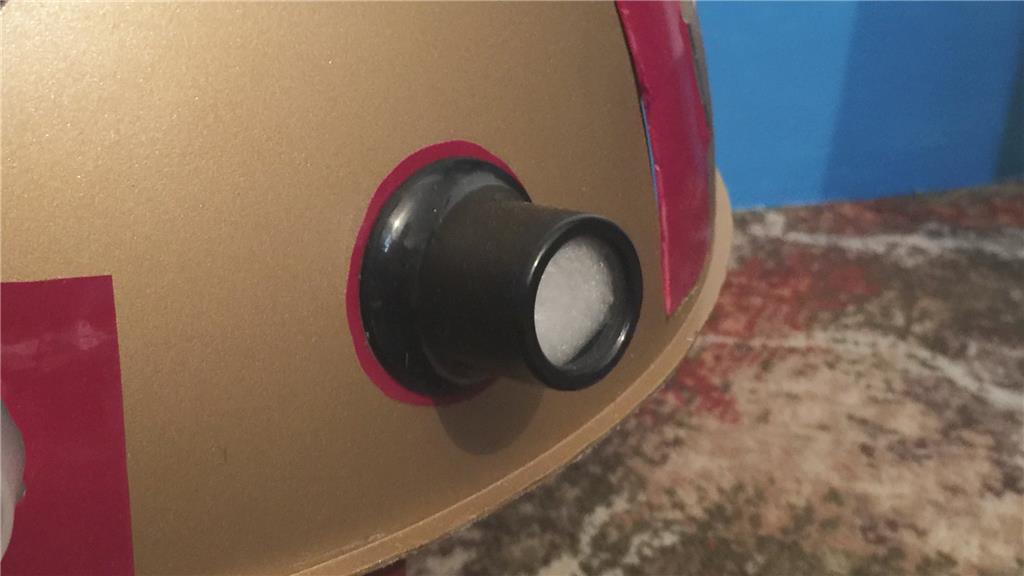
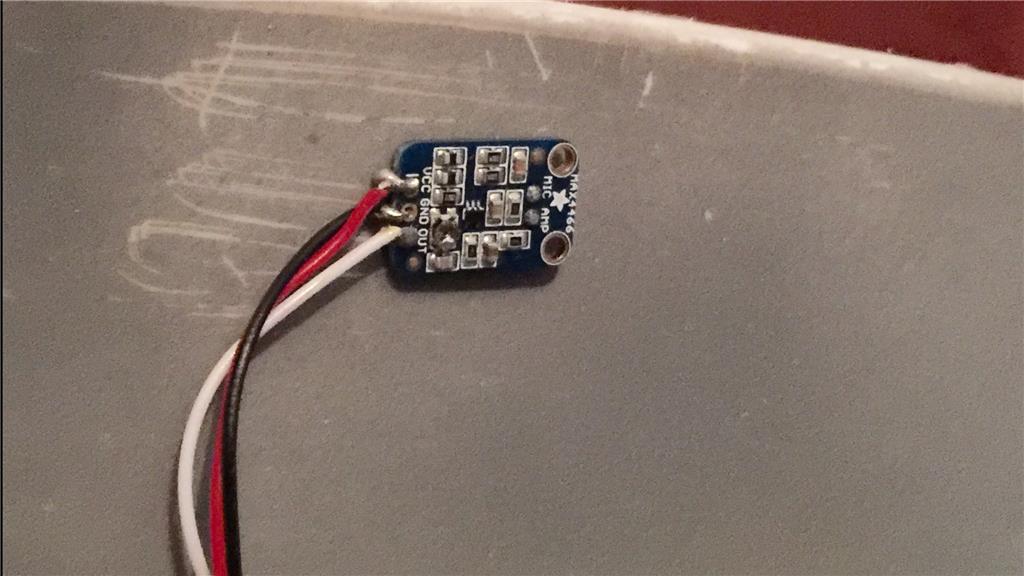
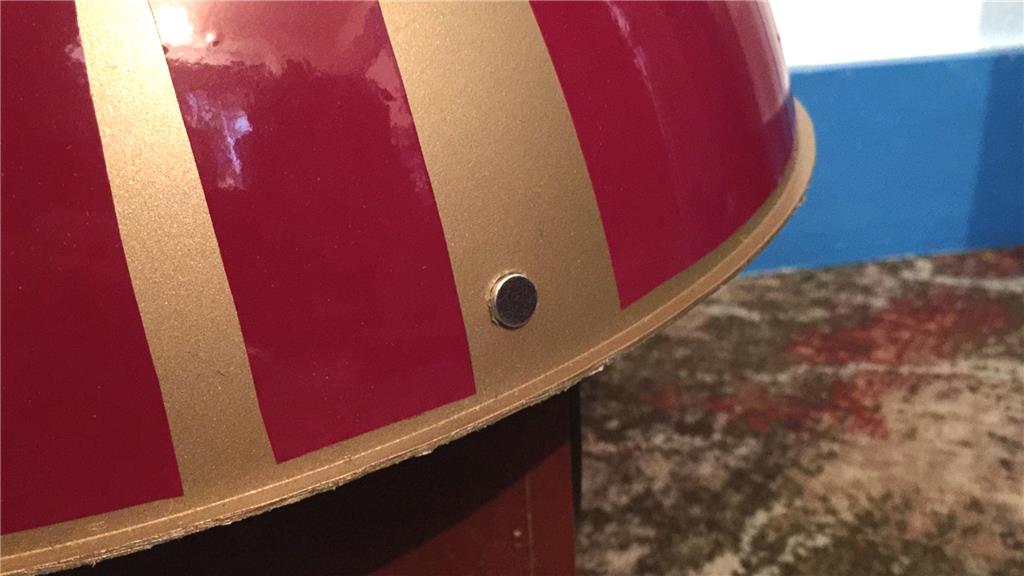
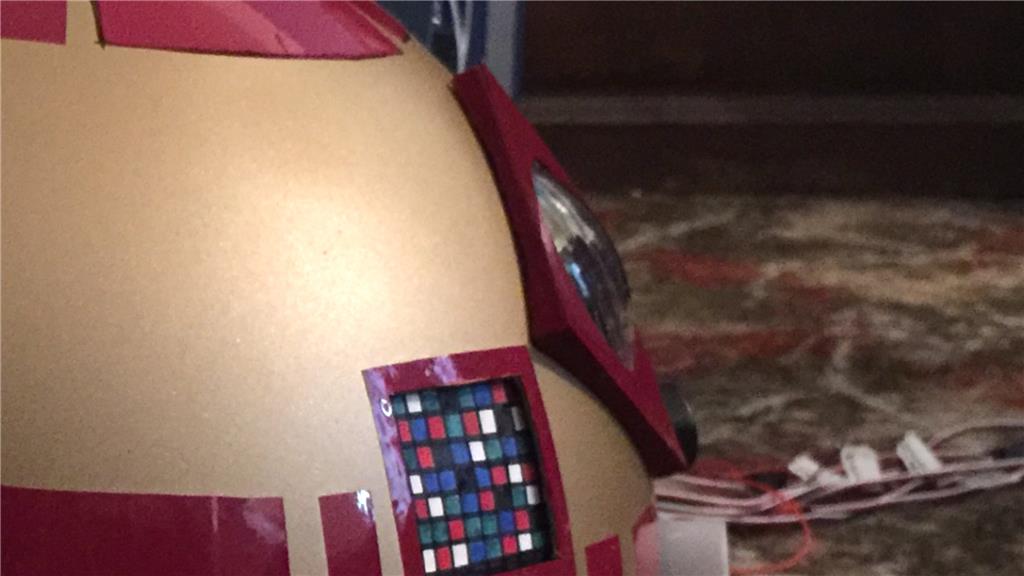
And I can safely say that the front skin is finished (I think). Instead of painting on the detailing, I used some coloured vinyl adhesive sheet which I cut to shape and attached. I got very lucky with the colour match from the paint I was using, and there's little to no difference so it blends in nicely. I've also fitted a PIR sensor, and the Bluetooth/Aux speaker which the tablet will connect to for all of the audio.
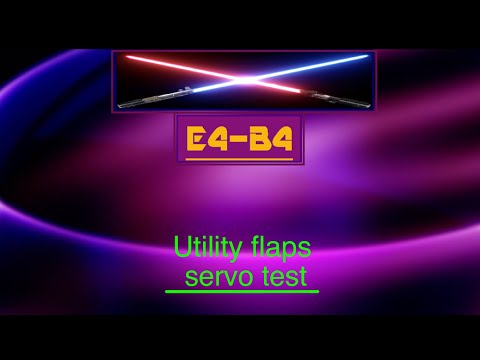
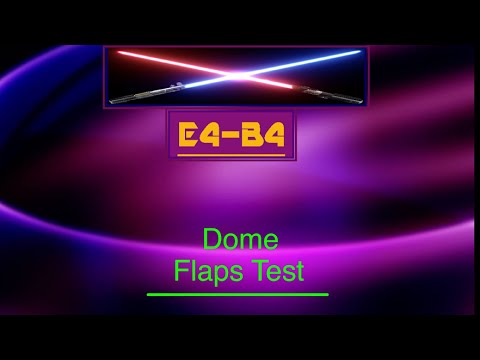
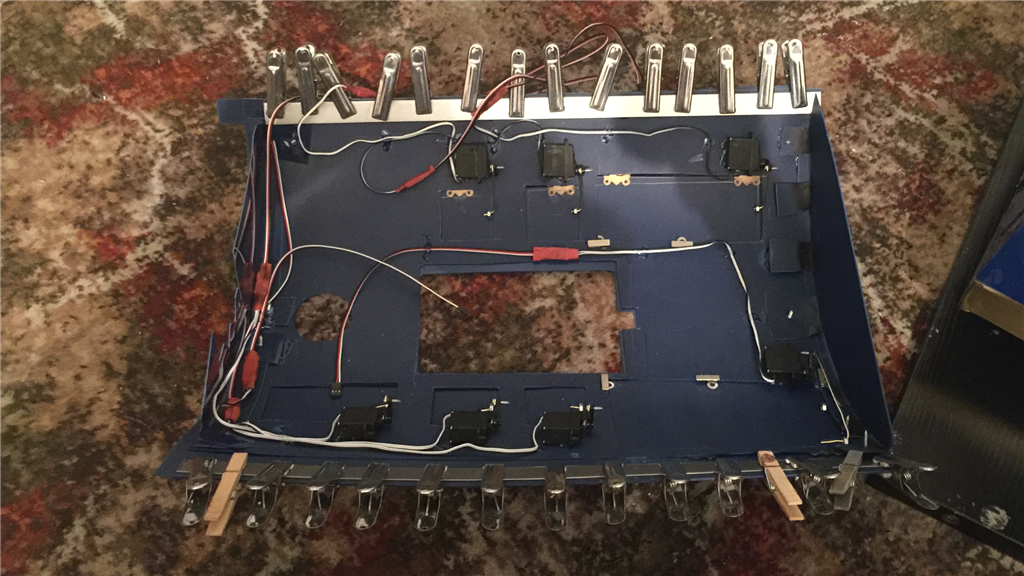
I said "I think", as I just noticed that there is one more piece I need to add to the inside of the skin. I may also add a little more gold edging to the lower left and right areas of the skin as well, but I don't want to overdo it with too much edging. Let me know what you think. Below is another short video demo, this time showing the servo driven flaps in action...
A pretty pleasing test, but a little more work is needed on the two upper flaps as I'm not 100% about how they open with that slight jolt. It's caused by a couple of small magnets which help keep the larger flaps flush with the skin when closed, so a little adjustment, and all will be well.
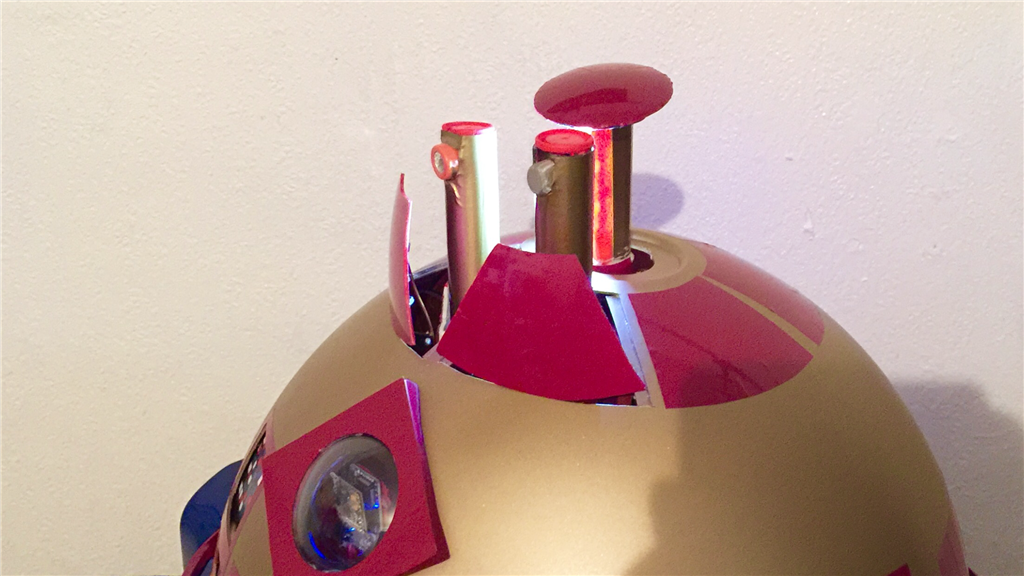
Oh, I had to revisit the projector counterbalance, as I inadvertently glued the hinge together which made it very stiff. Oops eyeroll. Anyway, the hinge has been replaced, and is working better now.
Next update in a couple of days.