


Day 1 (4th August 2015)
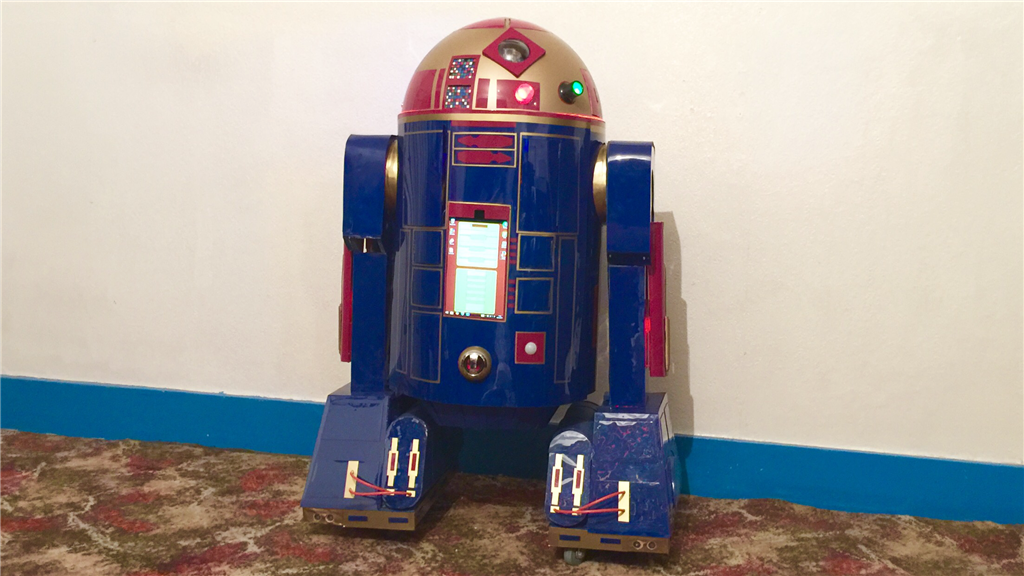
So after throwing around a few ideas for a new project to sink my teeth in to, I decided to go ahead and do my own version of an Astromech Droid, rather an Astromech "Smartdroid". With K-9 being one of my all time favourite on-screen robots, R2-D2 was (and still is) just as much of an all time favourite of mine so building one of my own droids is a logical step for me. As my other robot showcases where posted when the majority of the work was done, this will be a build diary of sorts, with updates throughout the build.
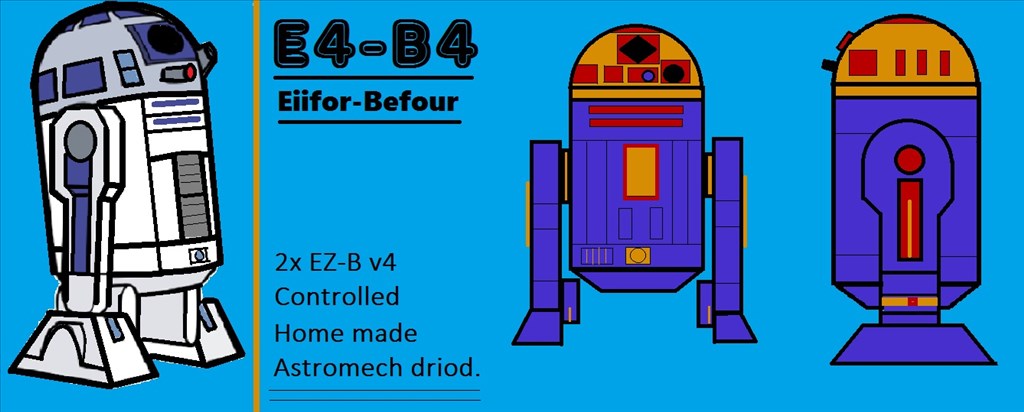
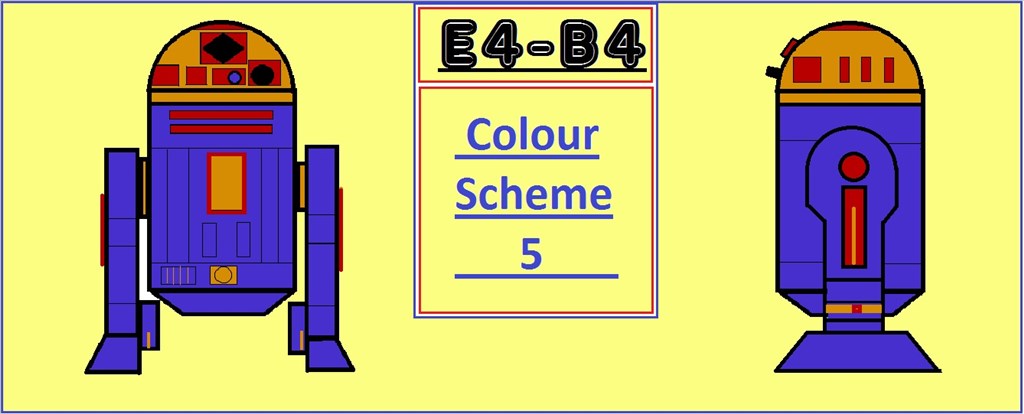
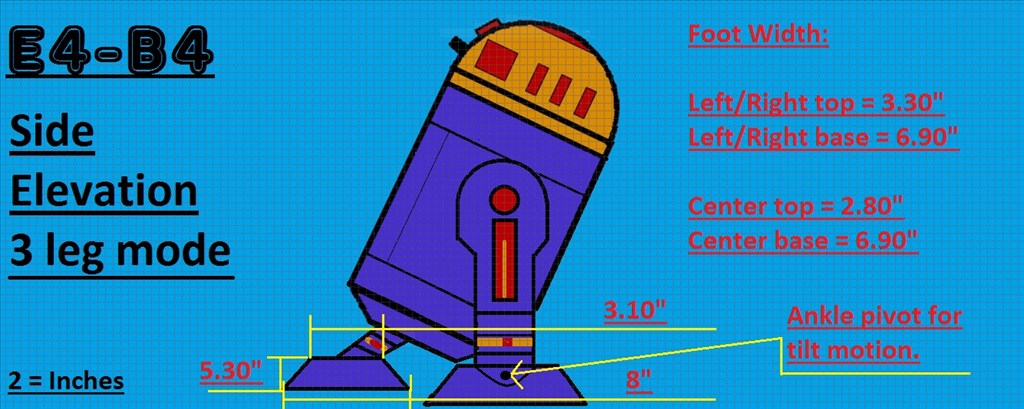
So wanting to get back to building, I had a few ideas floating around for my next BIG project and the thought about doing an R2 style robot came up a few times in the past (the blueprints I drew up that I've posted are 3 years old and was for an R/C version), and after encountering a few design issues for a large custom robot (which I will get back to one day), it was @Robot56's fantastic Astromech Droid project that was the final push for me to decide what direction I should go. There are so many great scale replica Astromech builds around that people have done, but much like my K-9 2.0 build, I want to stay away from doing an exact prop replica build and do a custom build with custom paint job (as seen in the blueprints) while still keeping with the overall original design.
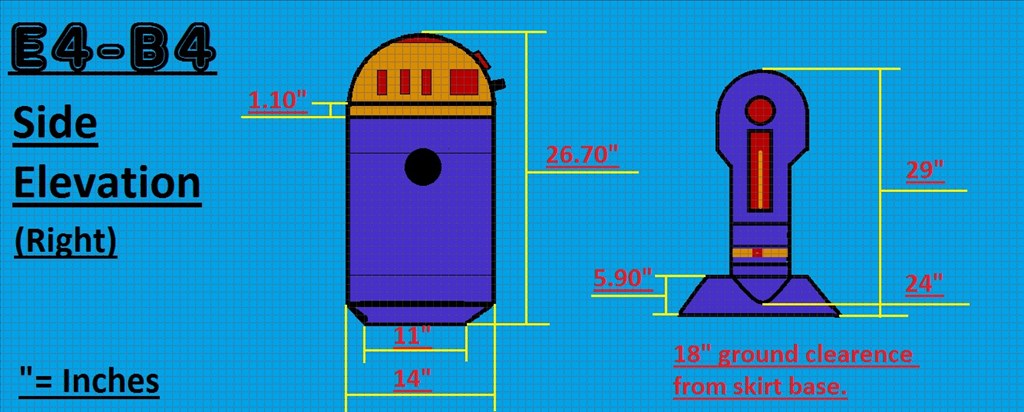
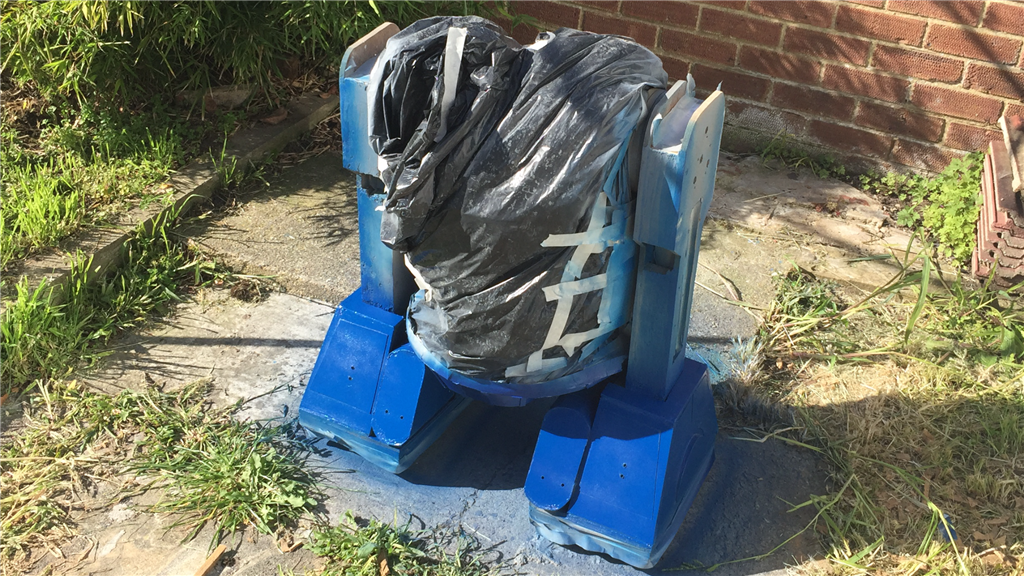
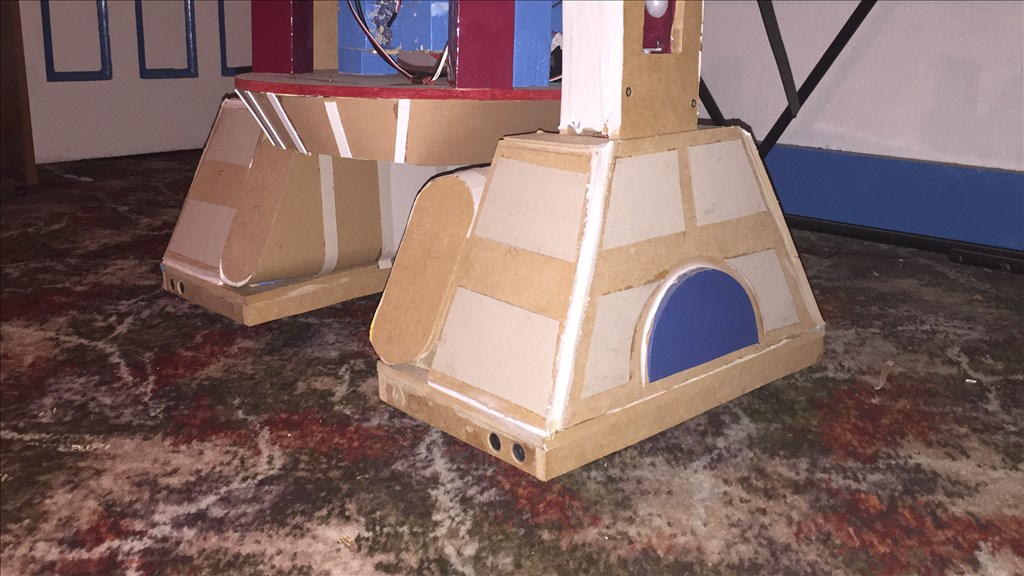
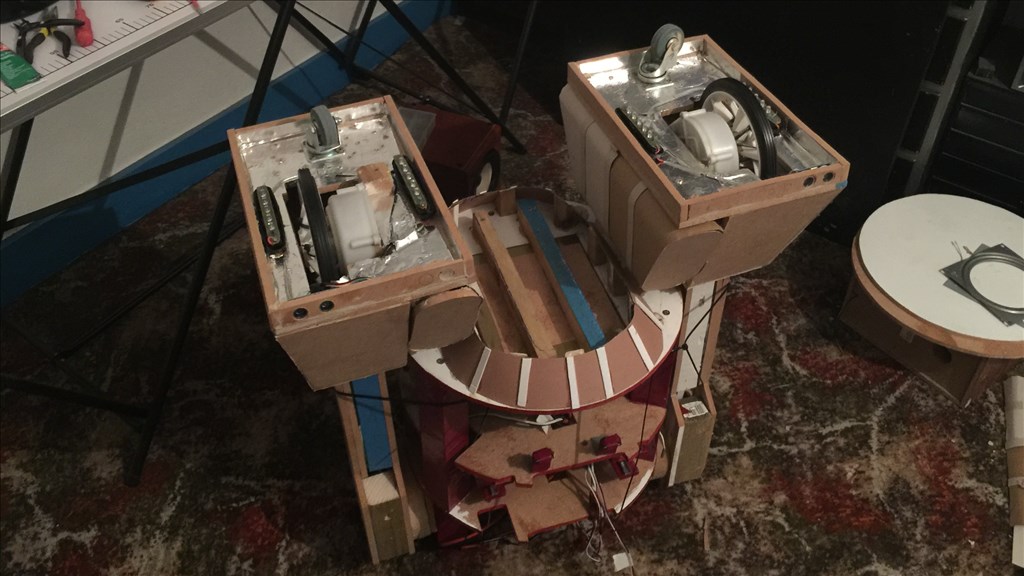
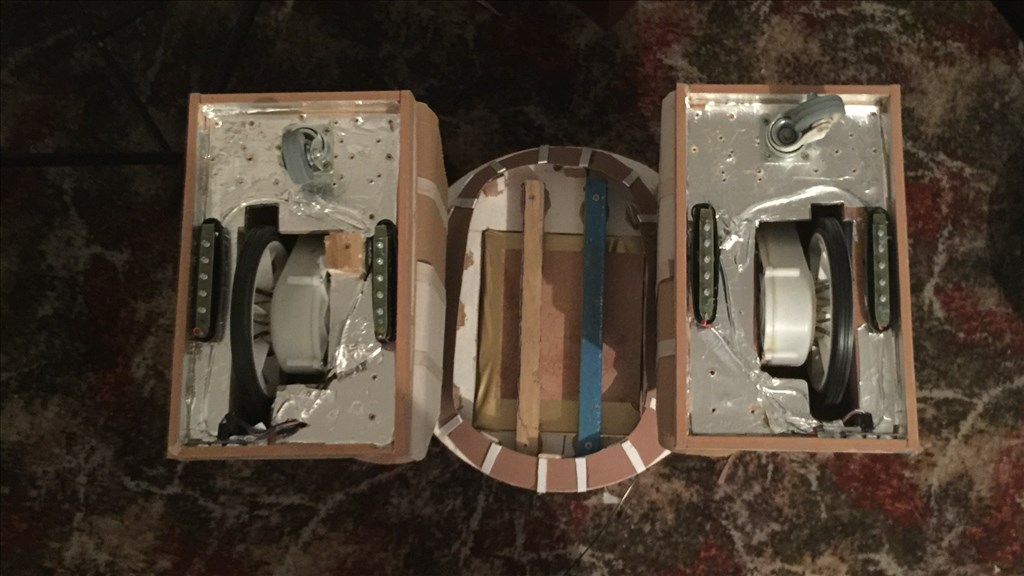
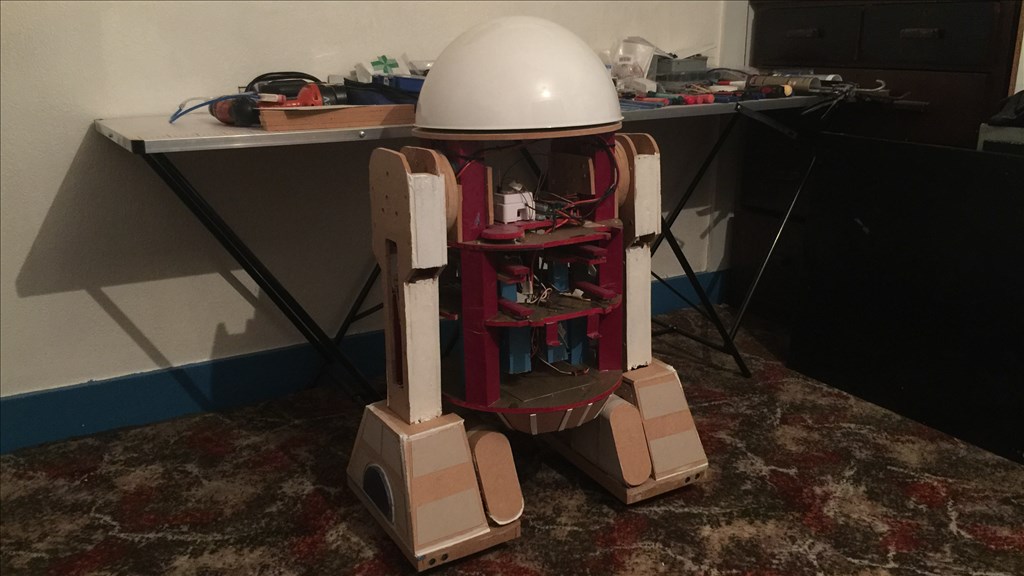
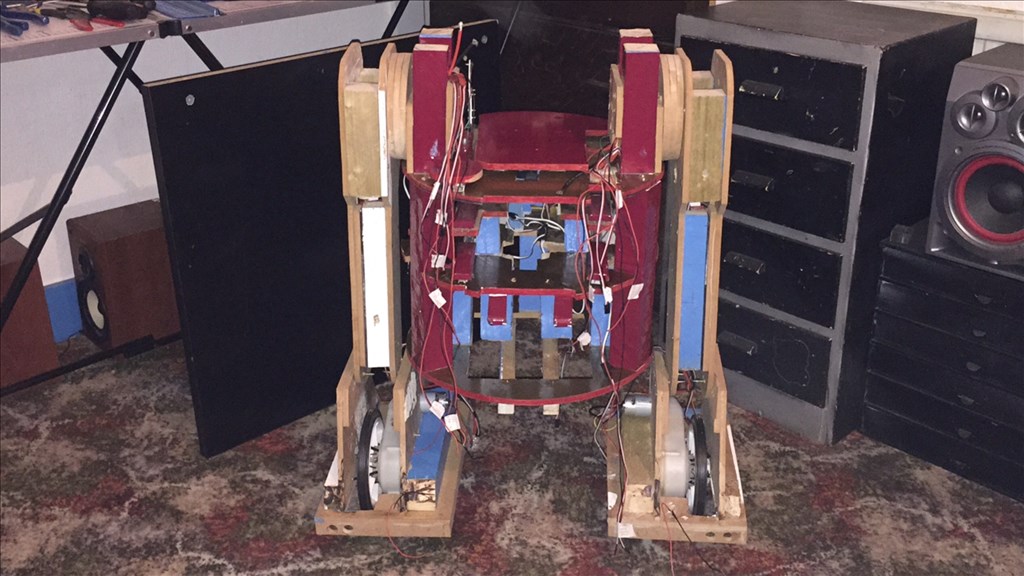
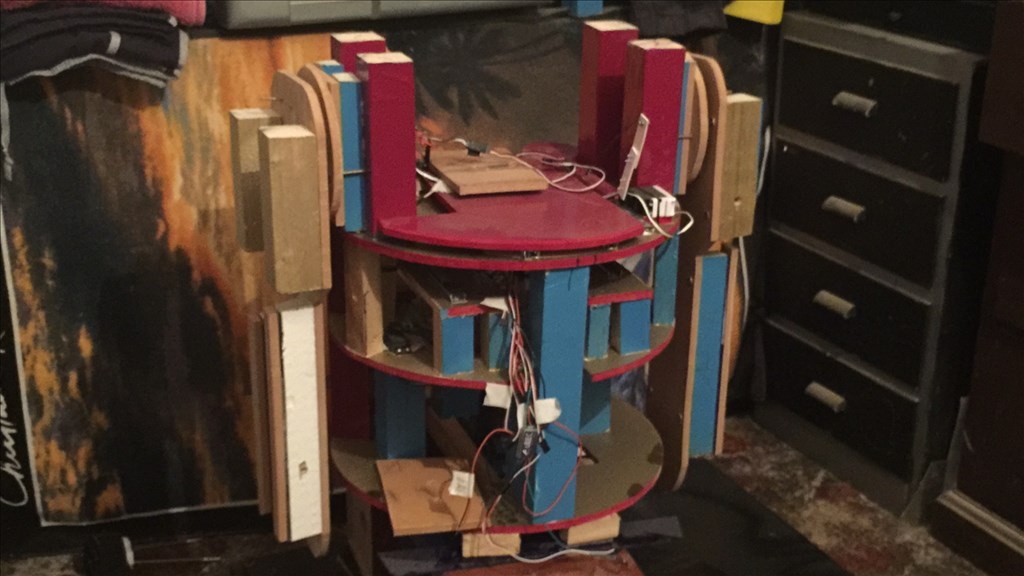
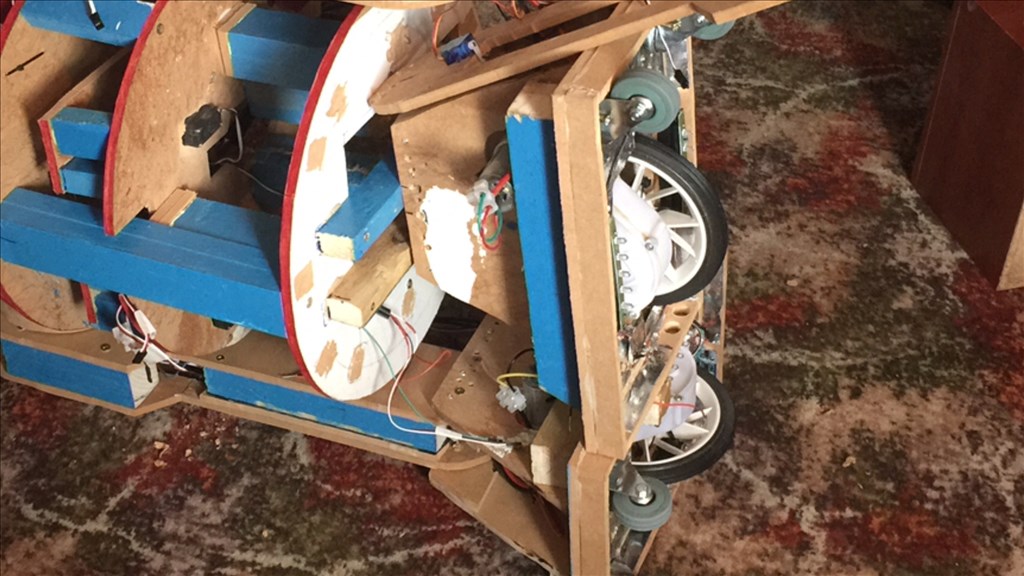
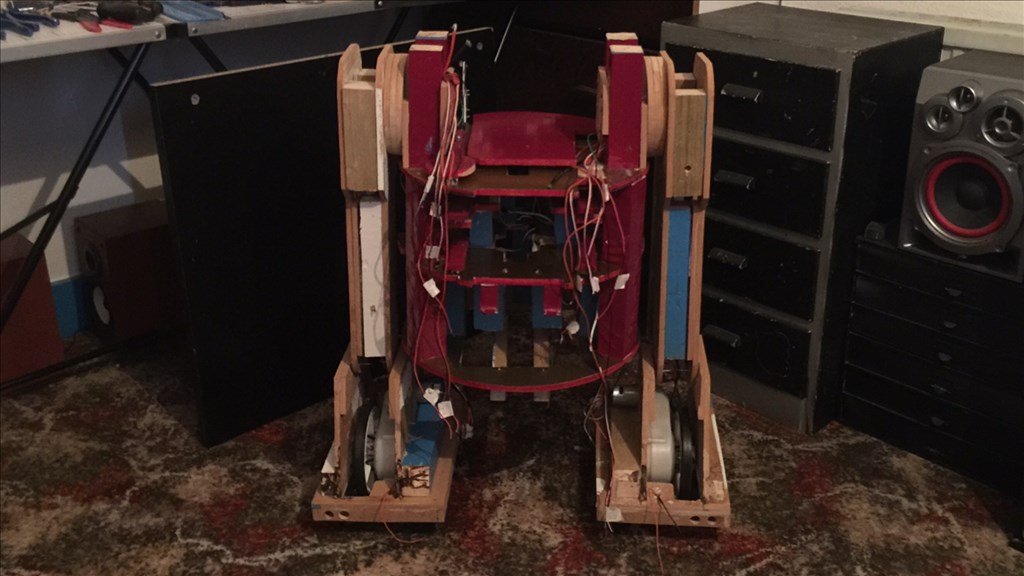
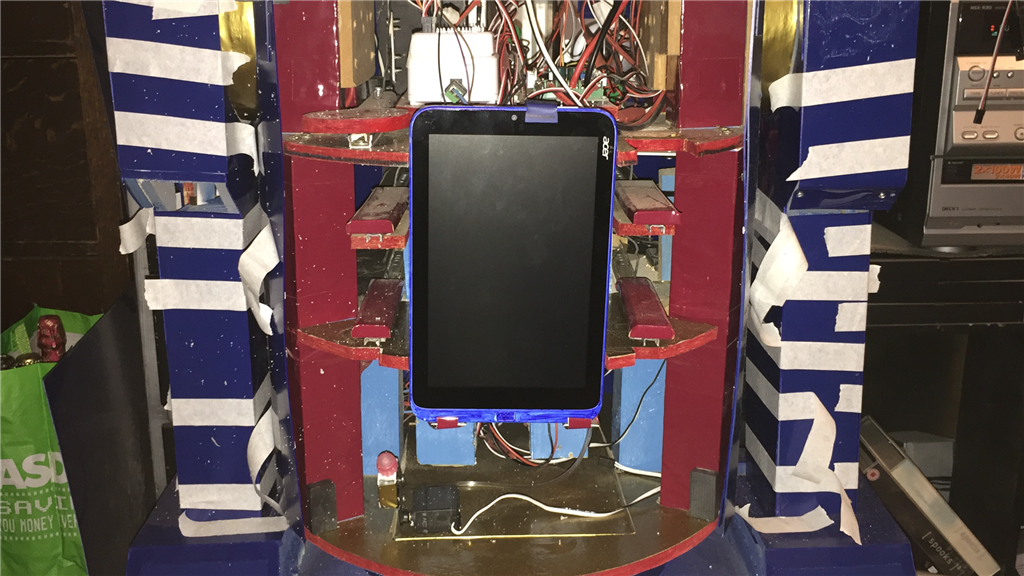
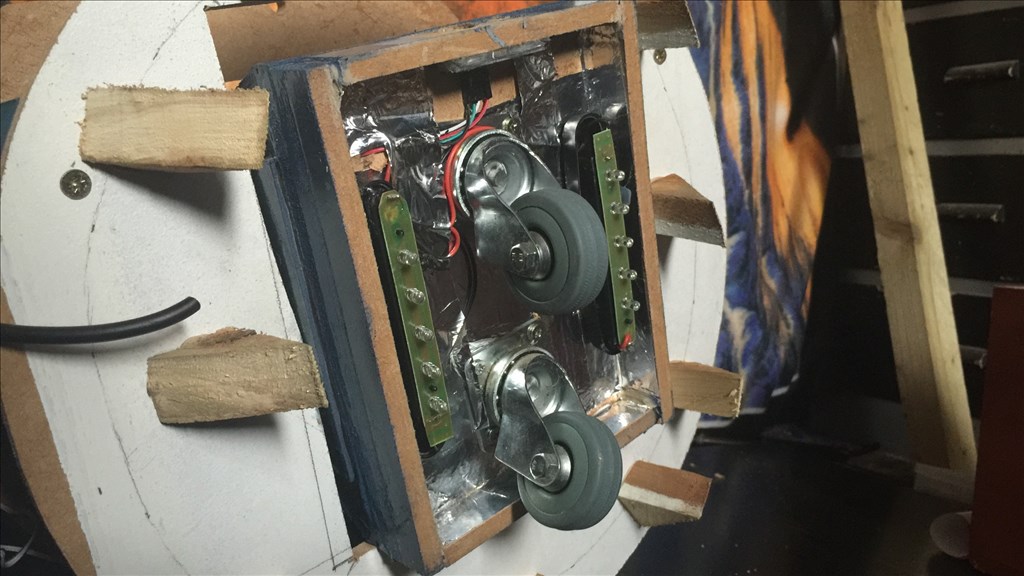
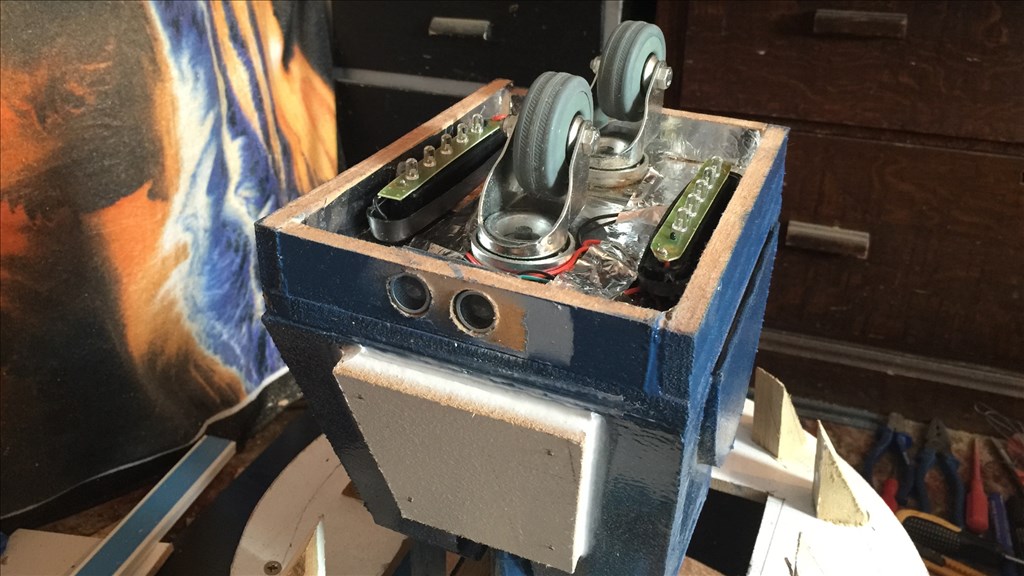
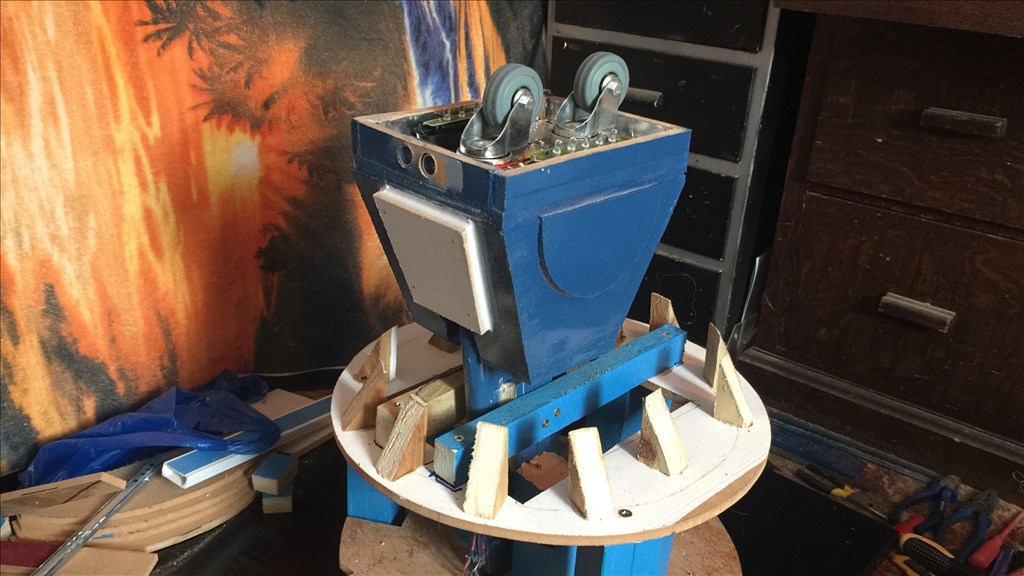
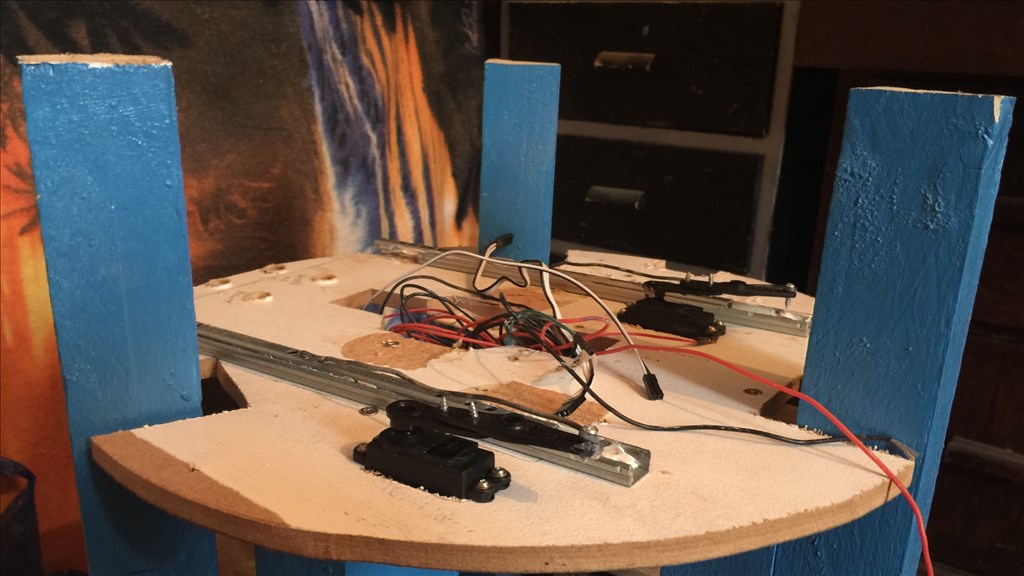
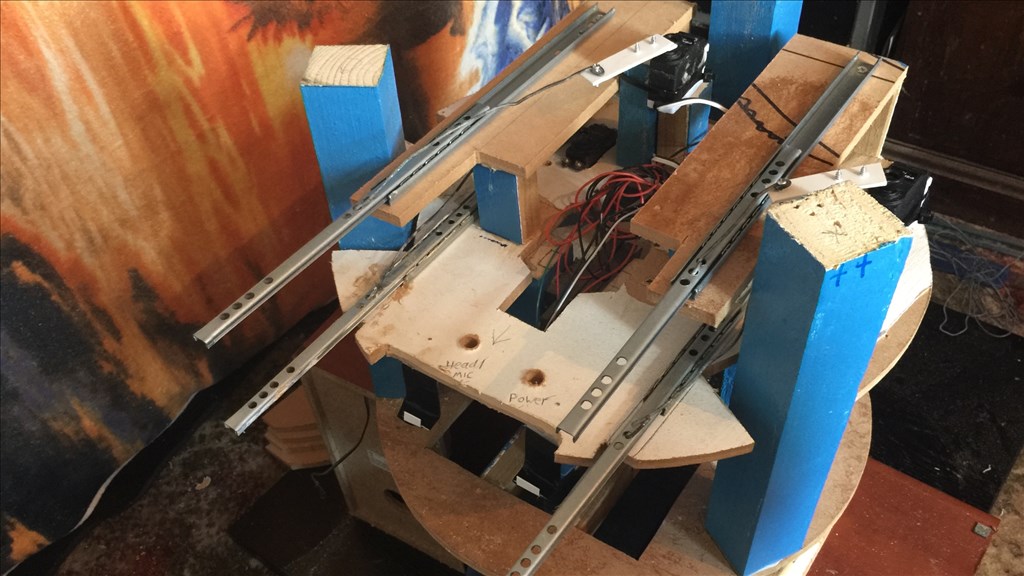
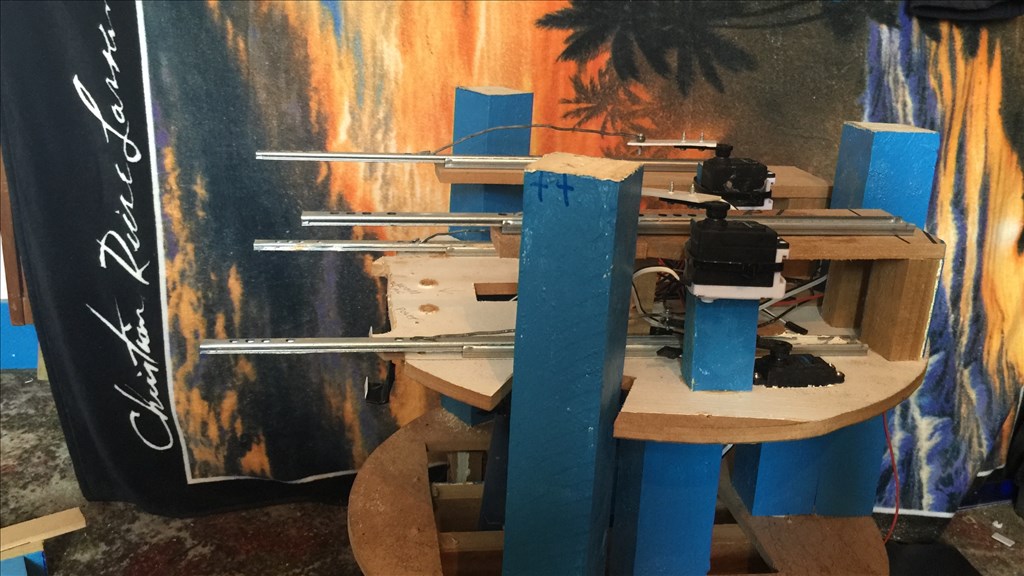
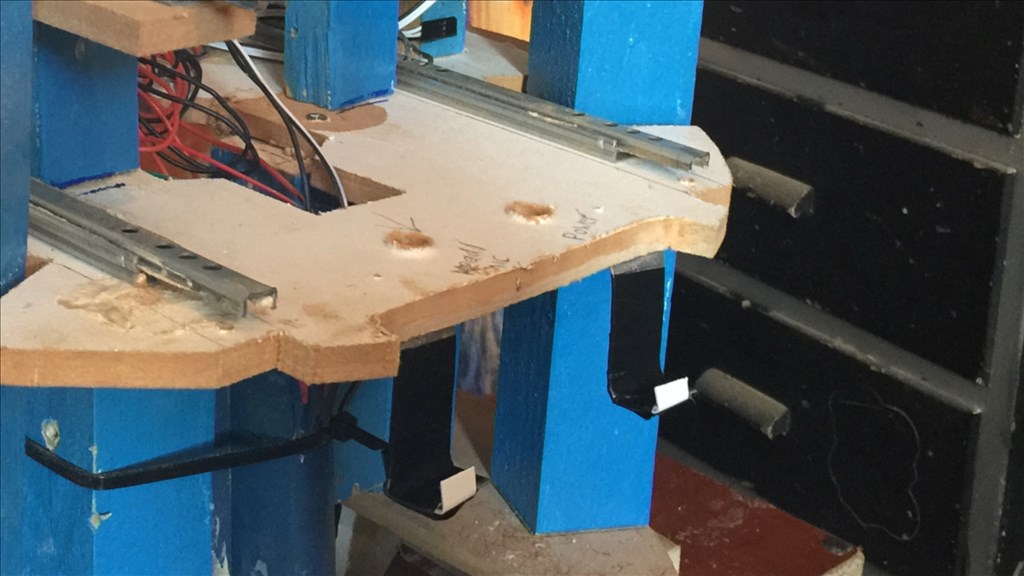
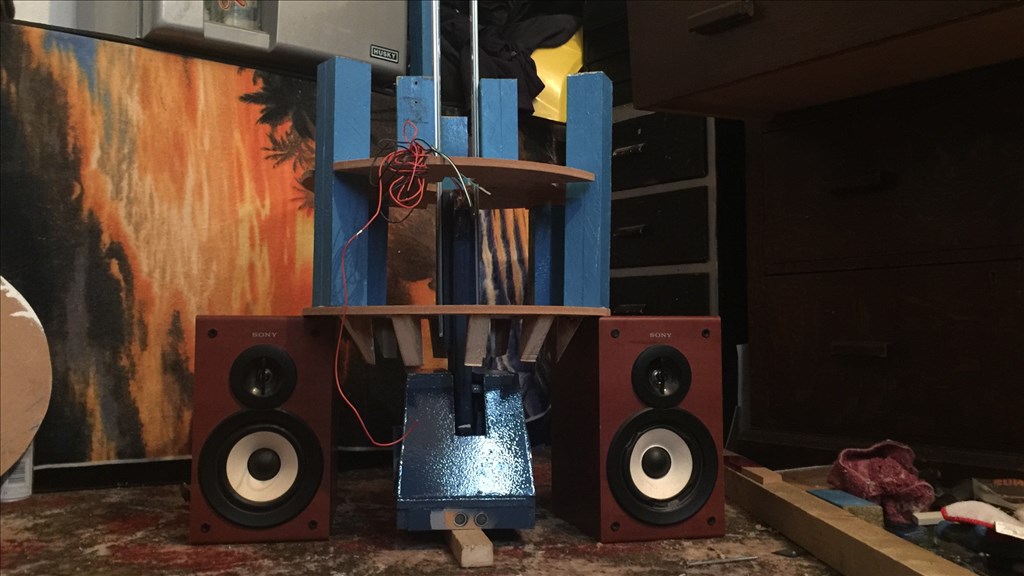
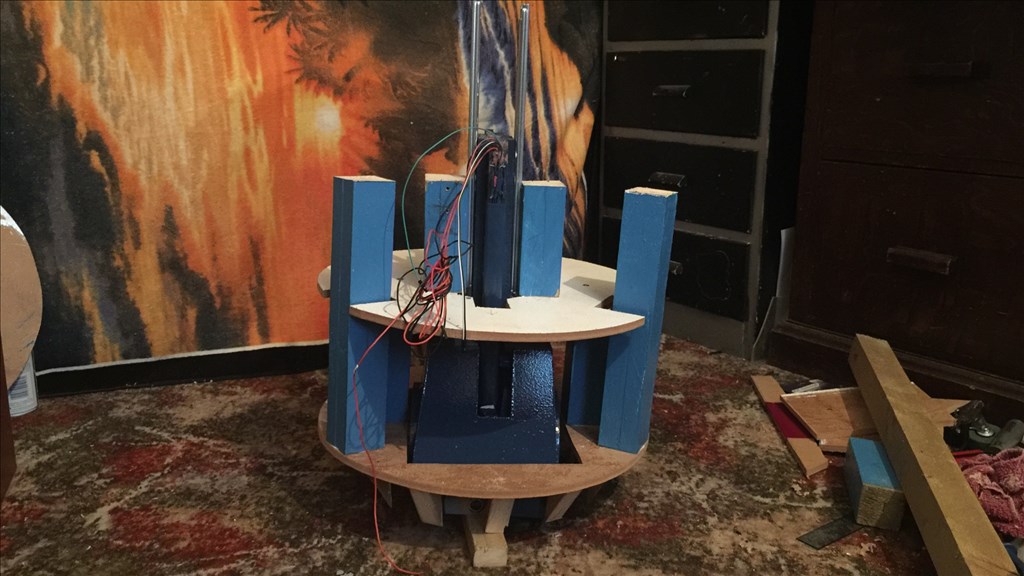
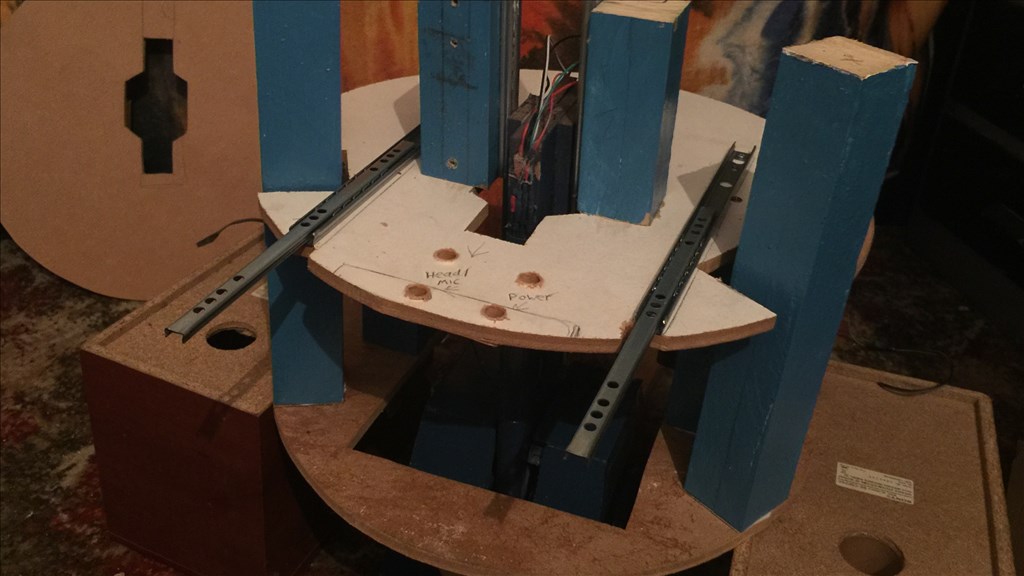
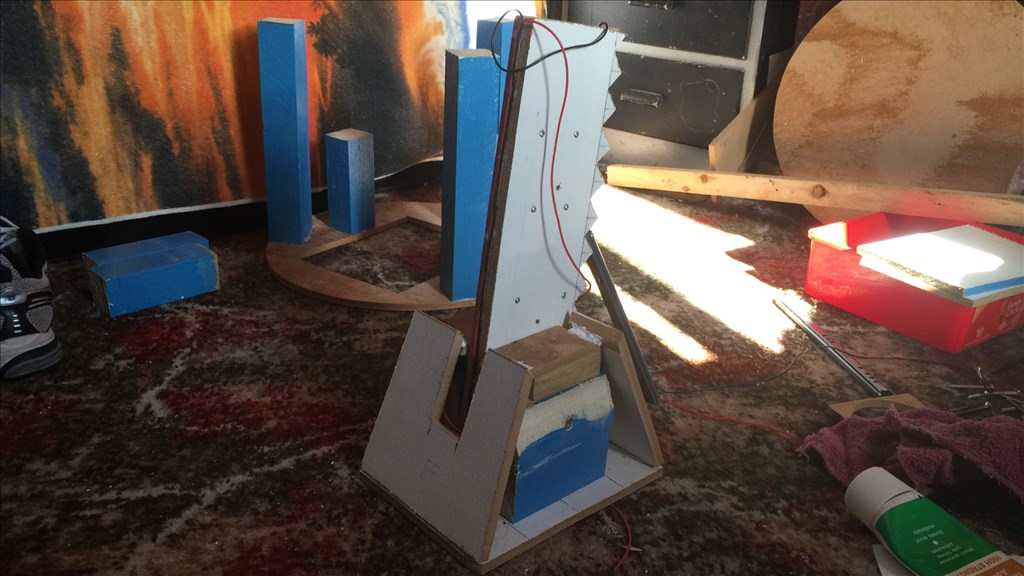
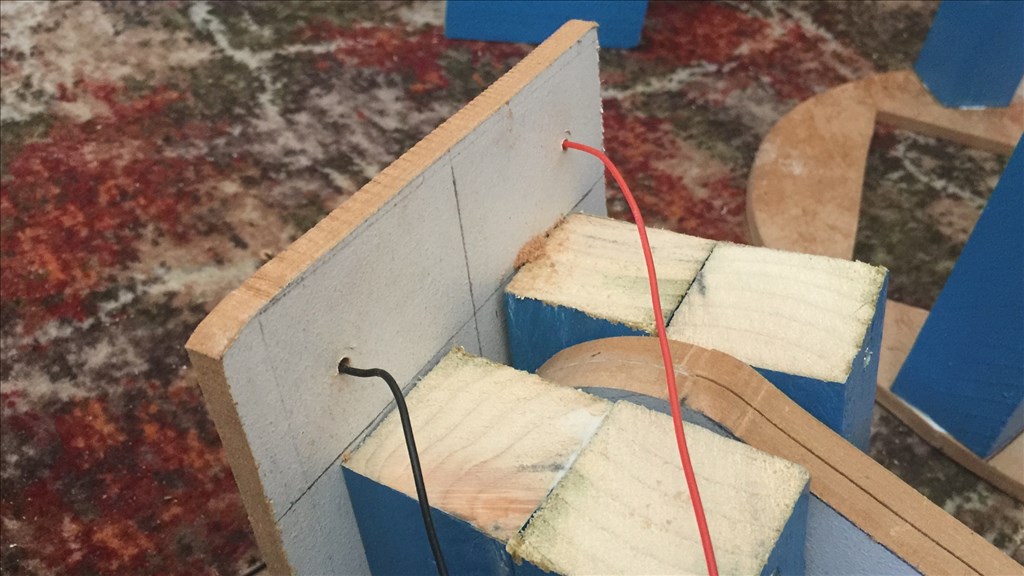
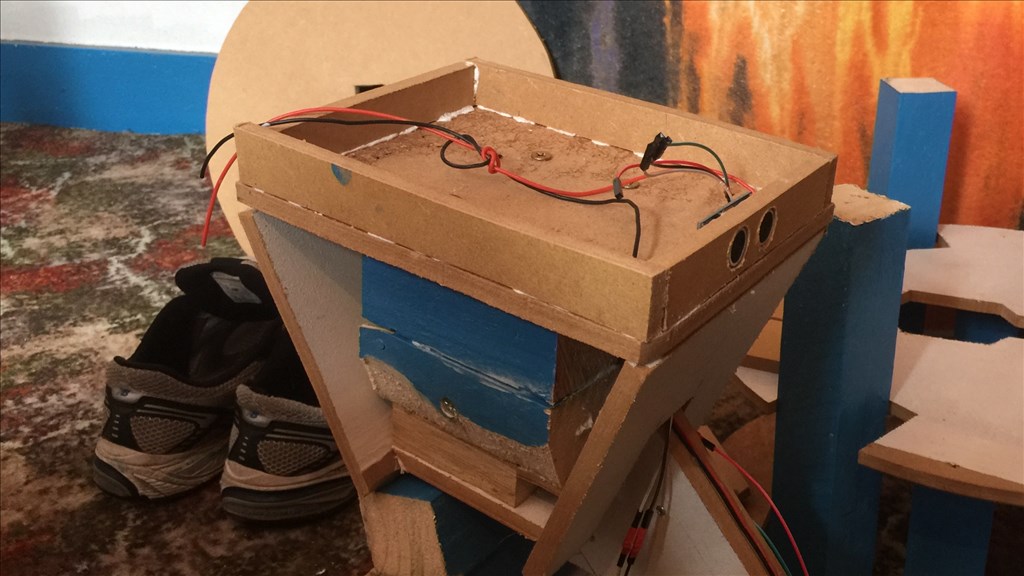
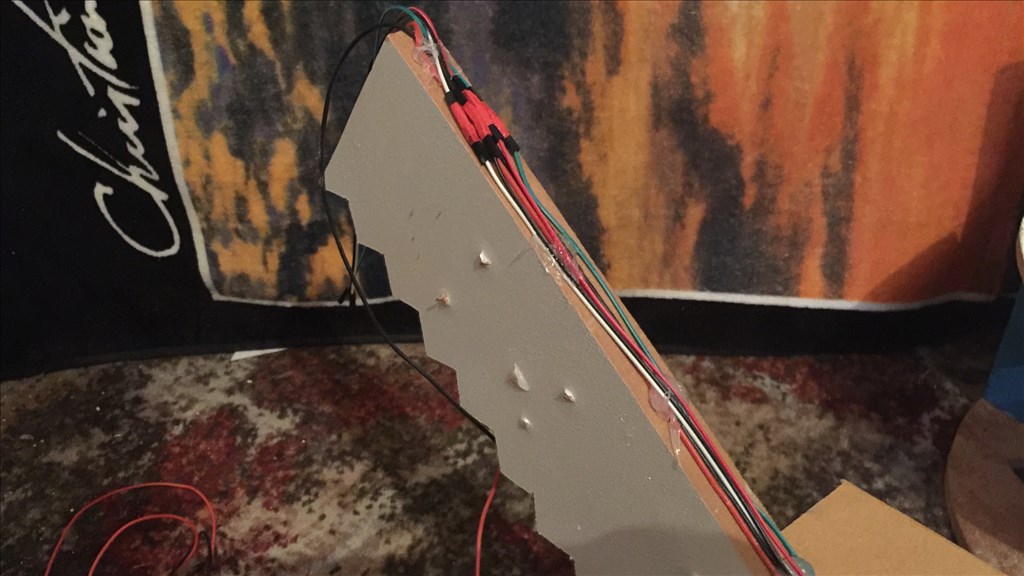
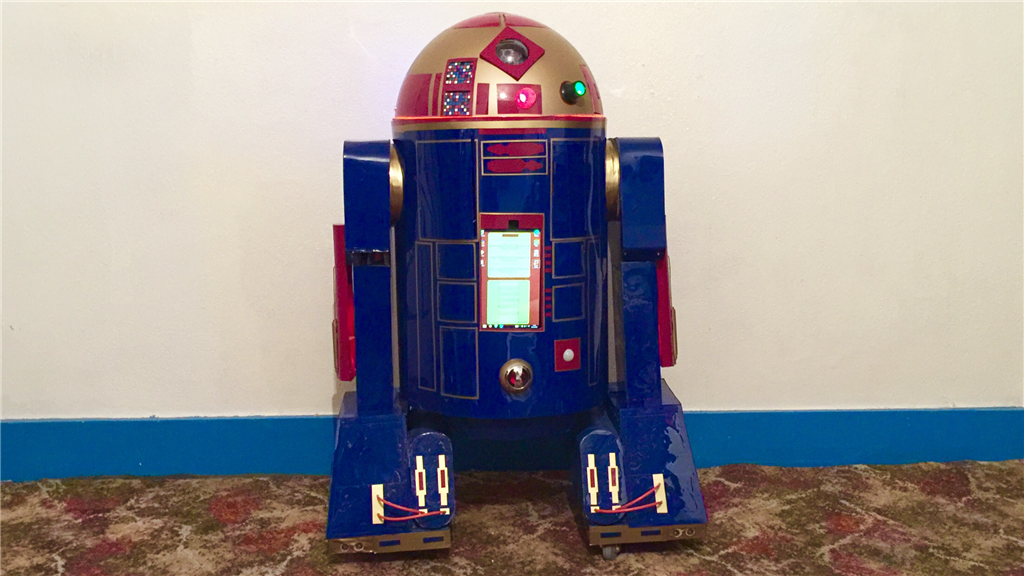
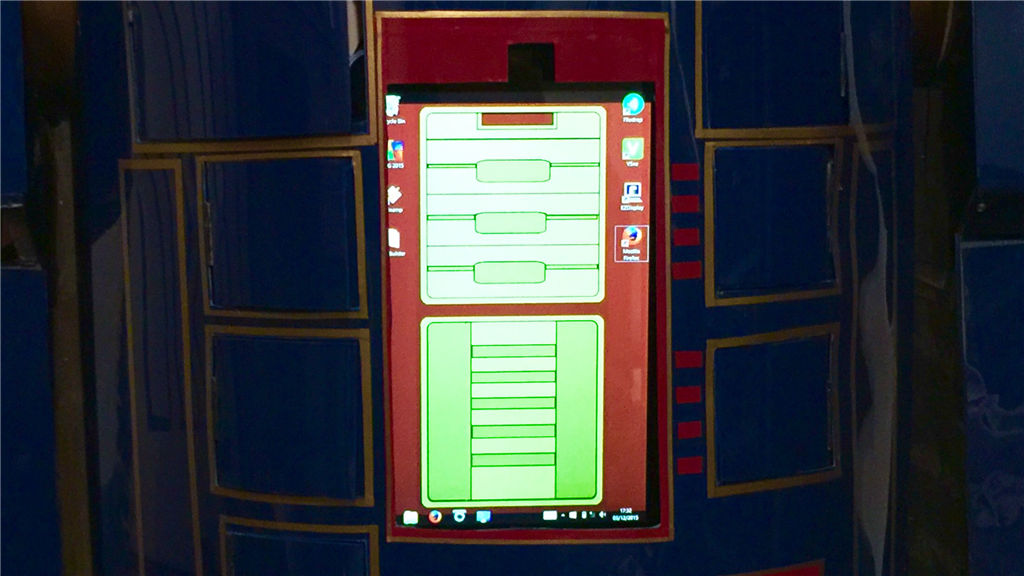
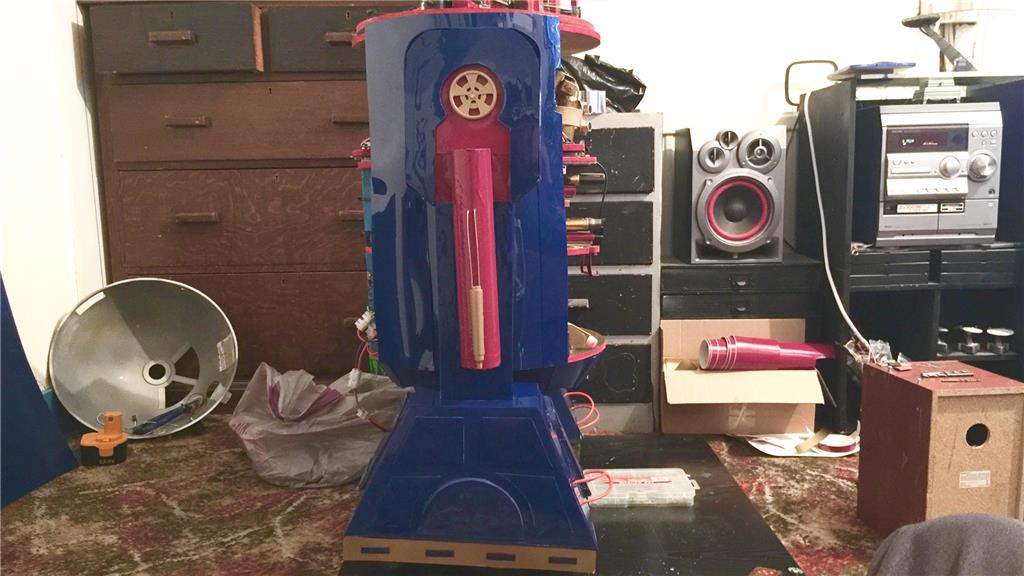
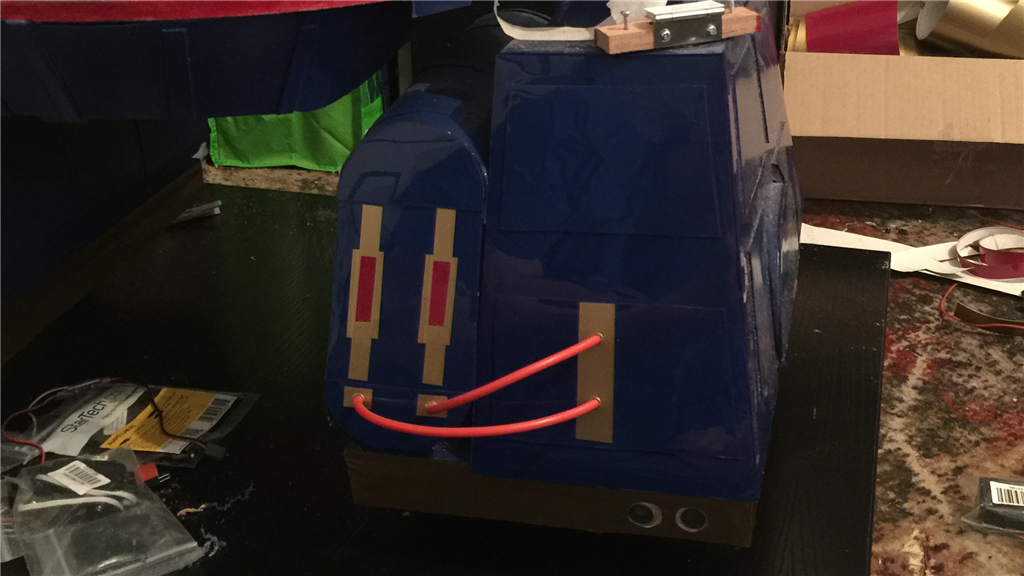
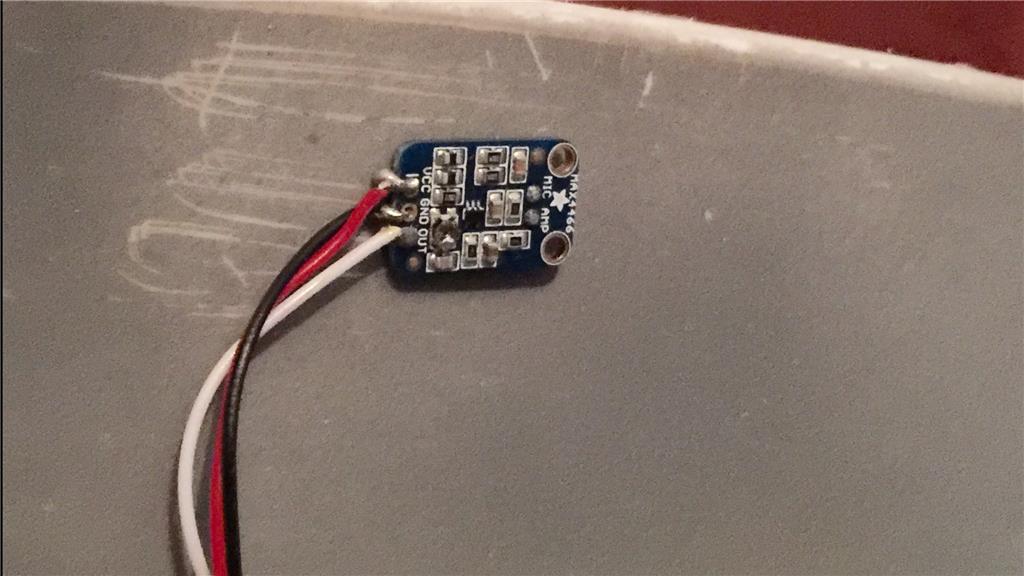
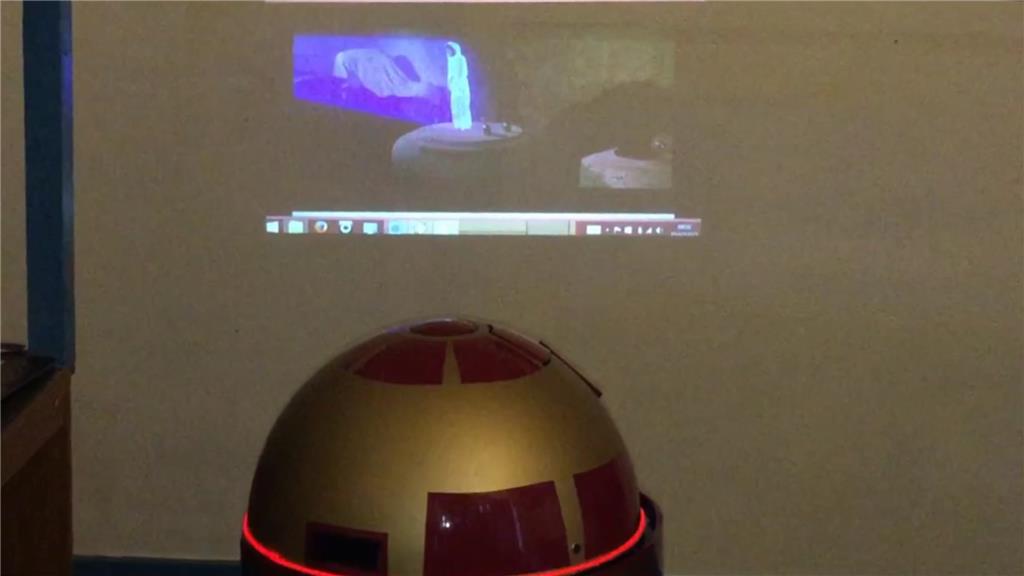
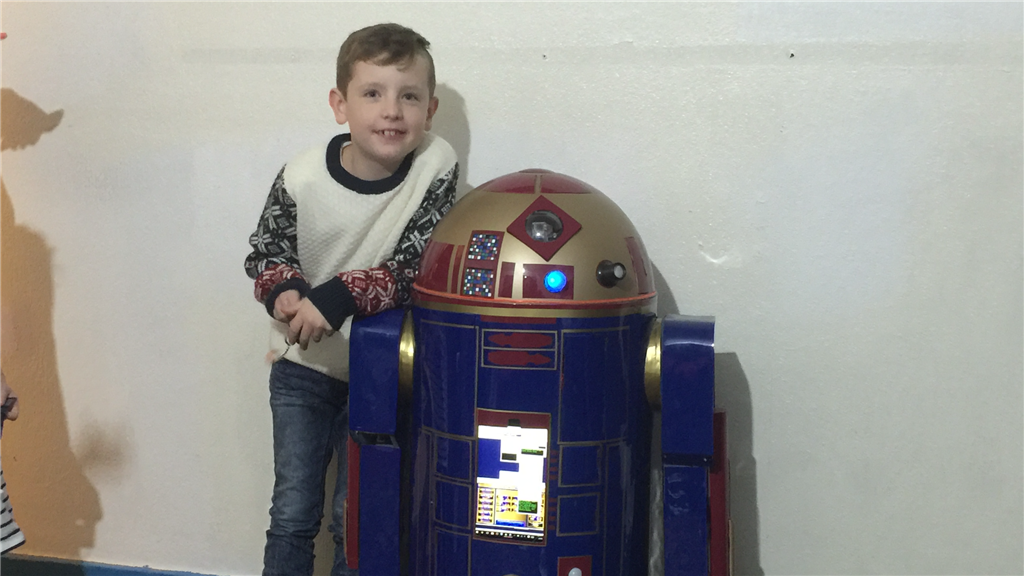
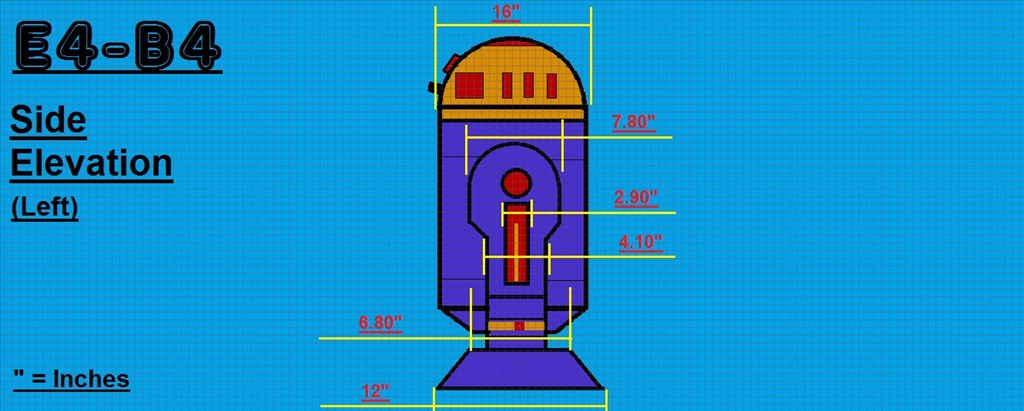
So what's with the name E4-B4 (Eiifor-Befour)? Well its kinda based on the EZ-B 4, of which this little'ish guy will have two of them. One master v4 to control motor controllers, ping sensors, v4 soundboard, camera and sensors, while the 2nd slave v4 will be used for all of the servos used as well as additional sensors. E4 will be mainly built using MDF with a plastic covering, and movement will be powered by 12v 30 watt gearbox/motors for the drive system. The "burtt acoustic signaller" and system ventilation vents on R2-D2's chest area (the two silver square'ish panels) will be replaced on E4 with a tablet PC, and the Optical Holographic Projector in R2's head will be something similar to what E4 will have, using a portable projector like the Aiptek or the Pico Genie, so no holograms... yet.
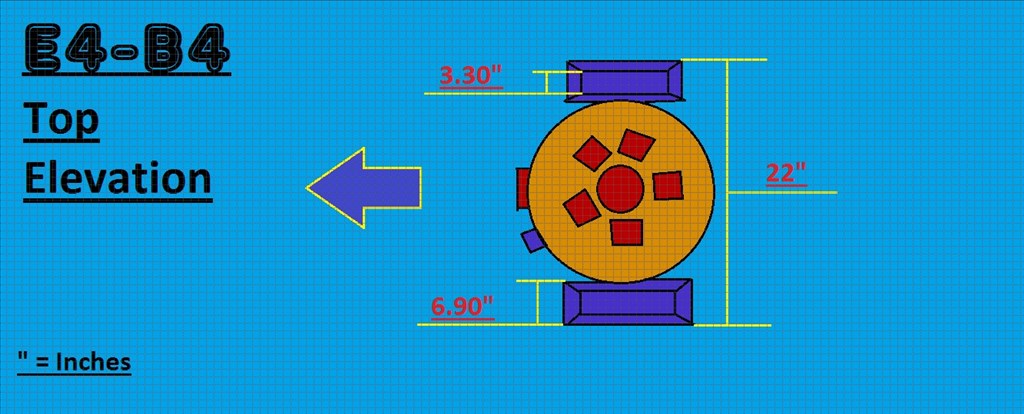
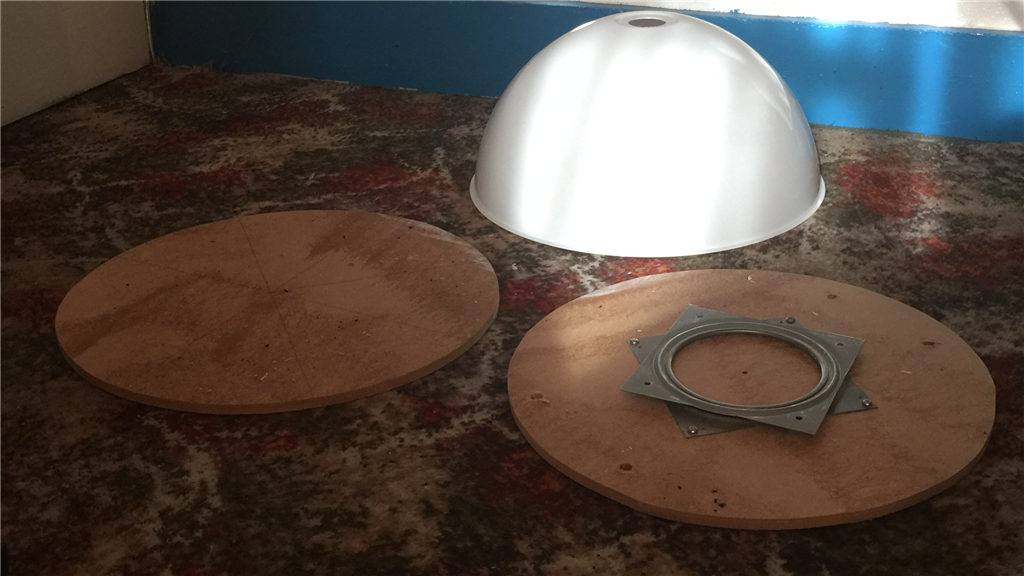
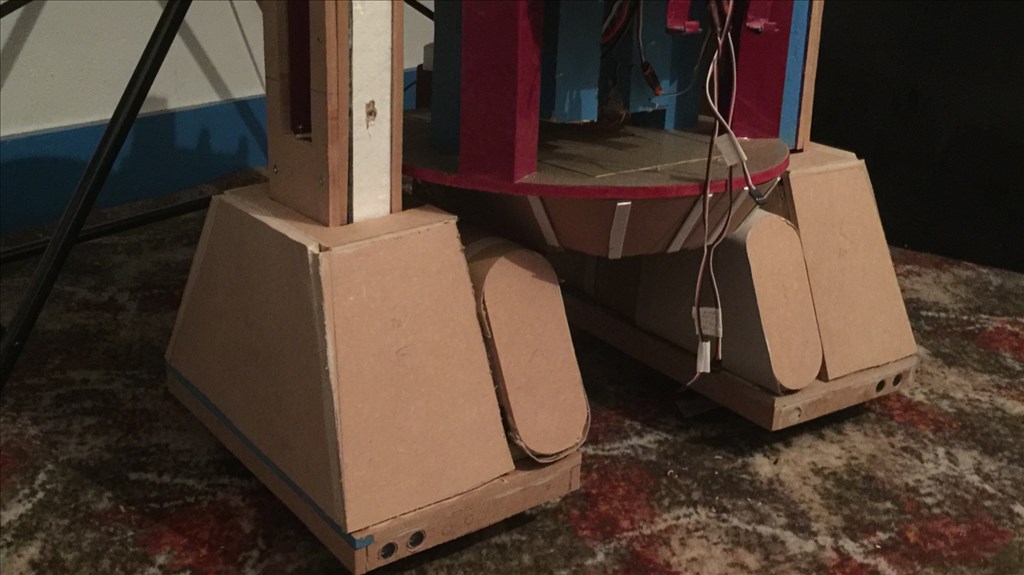
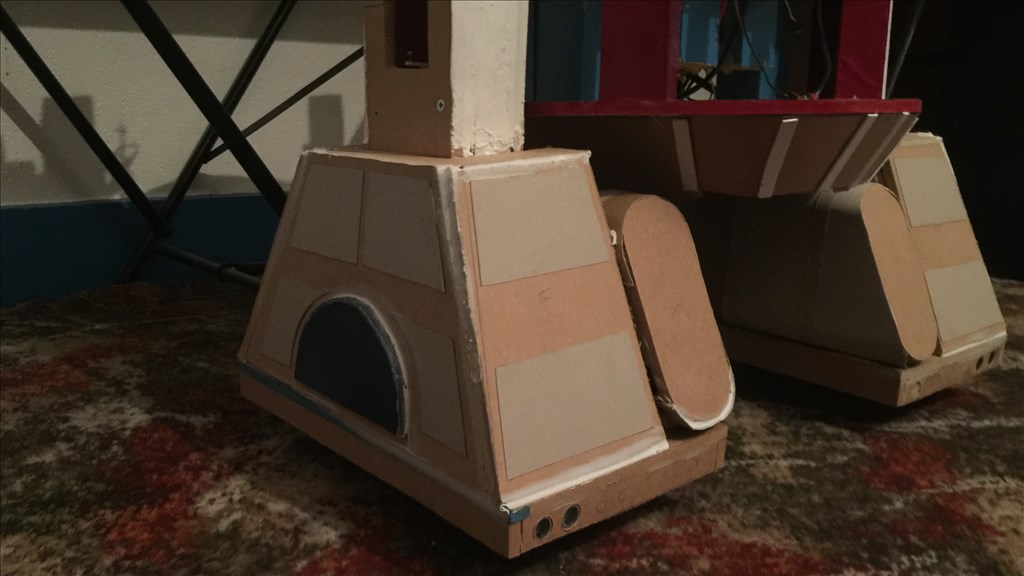
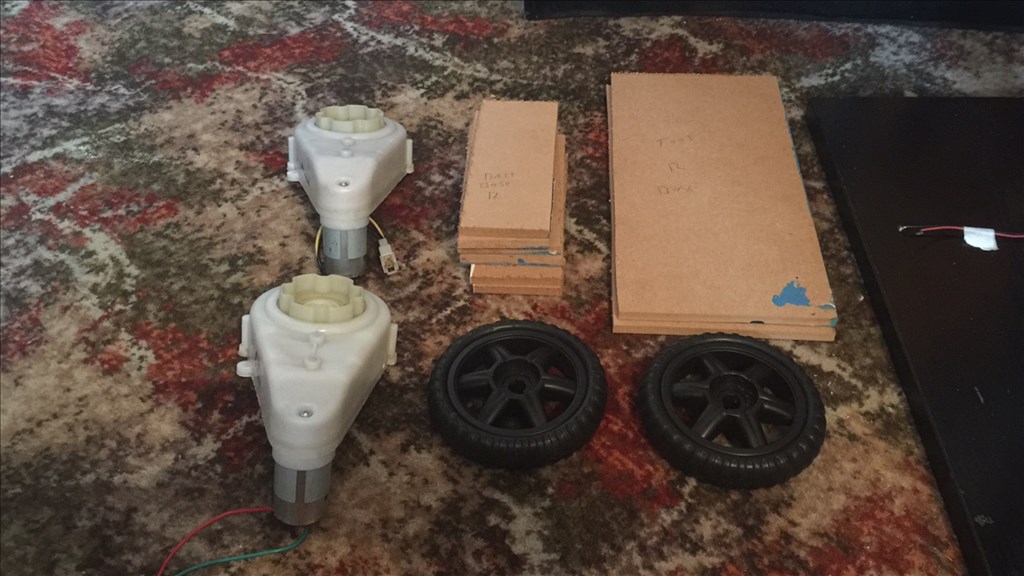
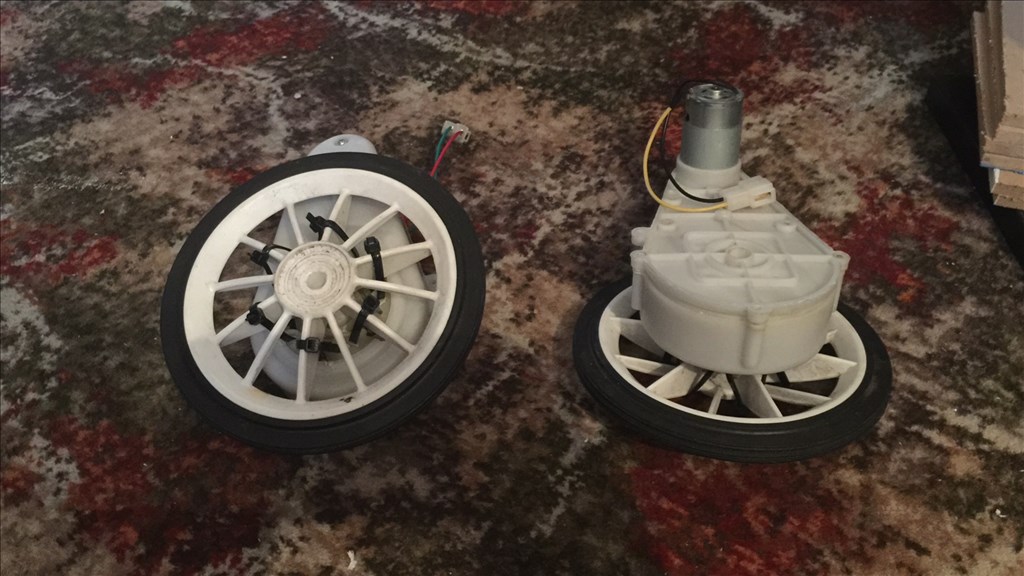
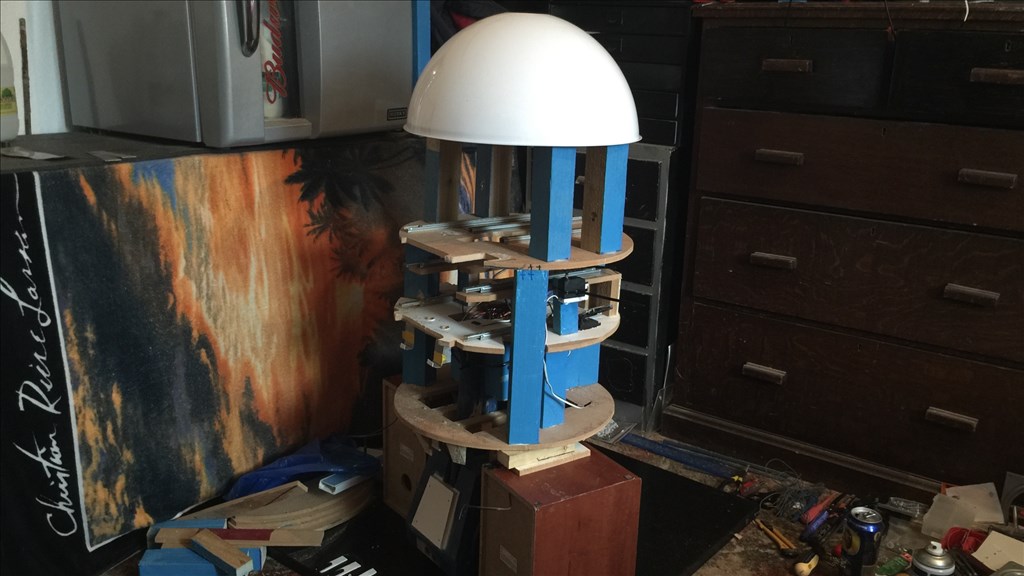
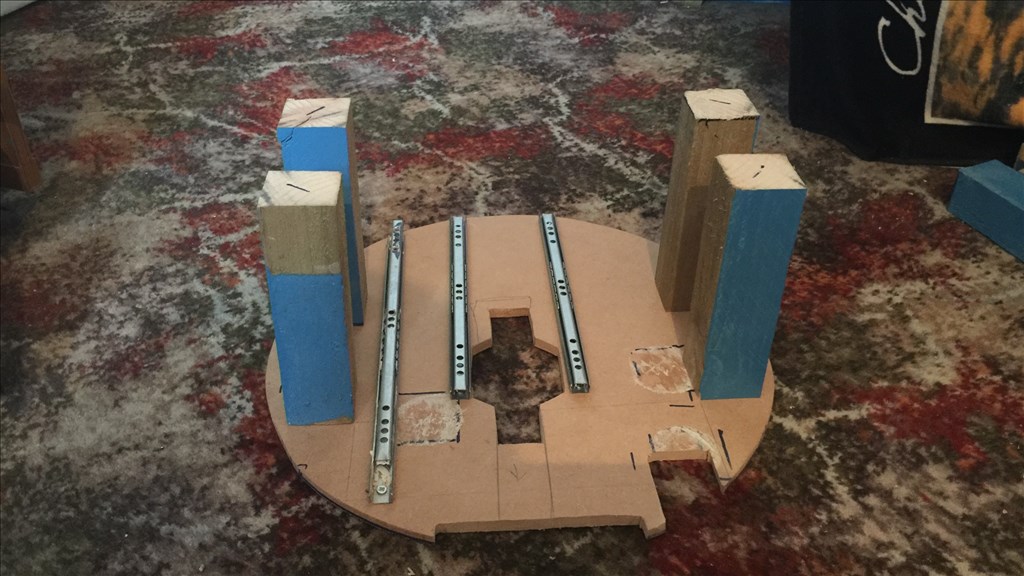
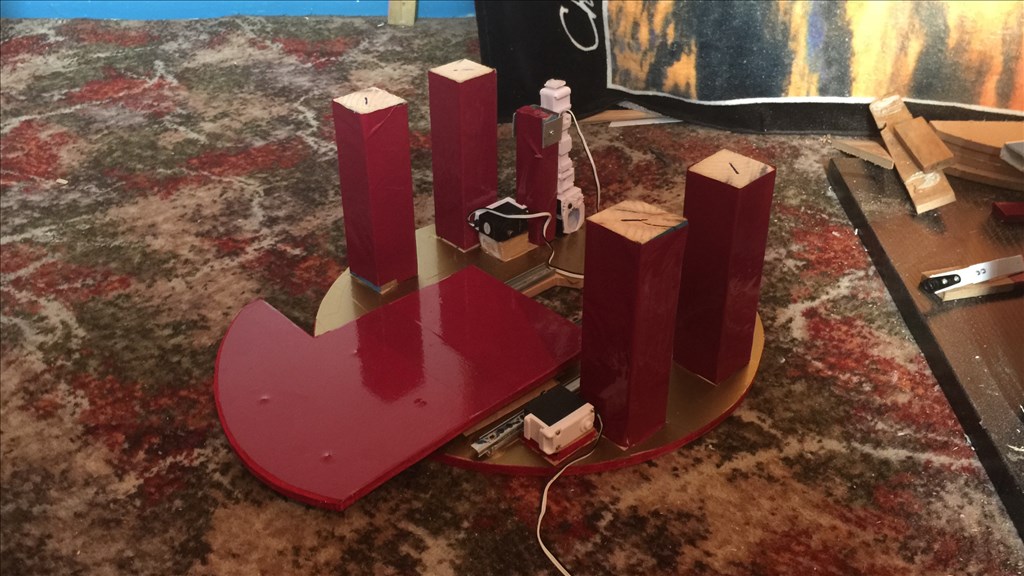
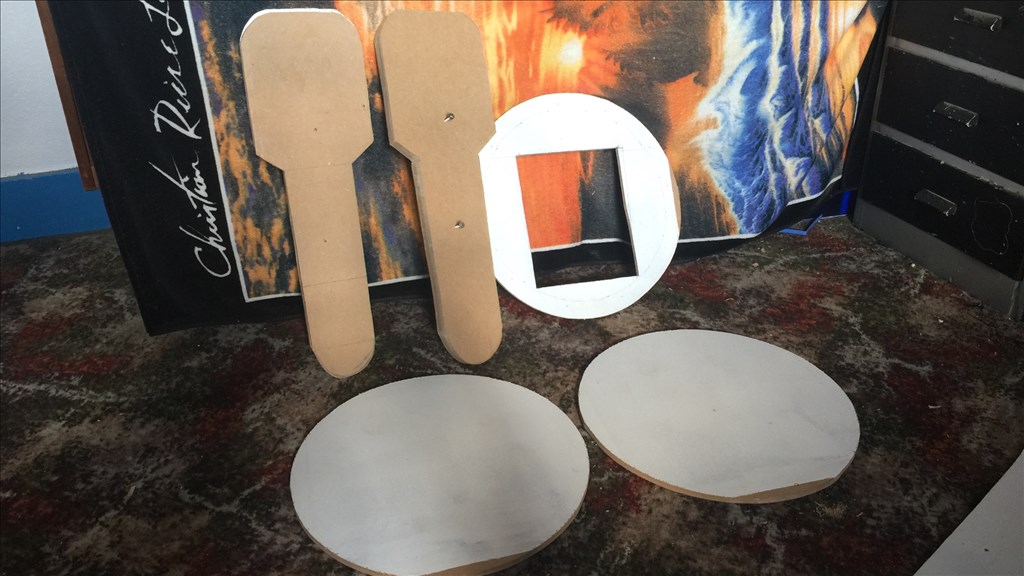
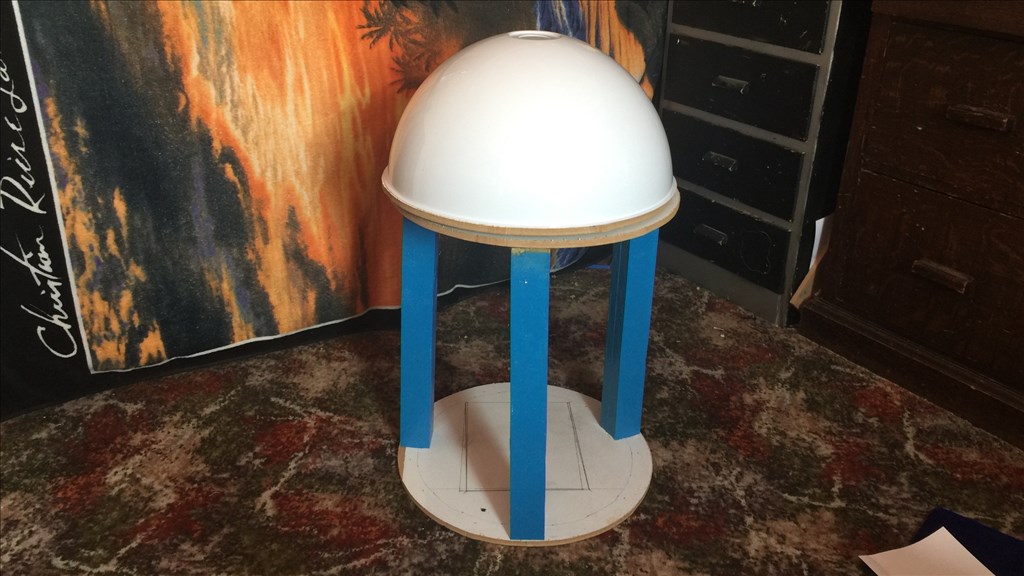
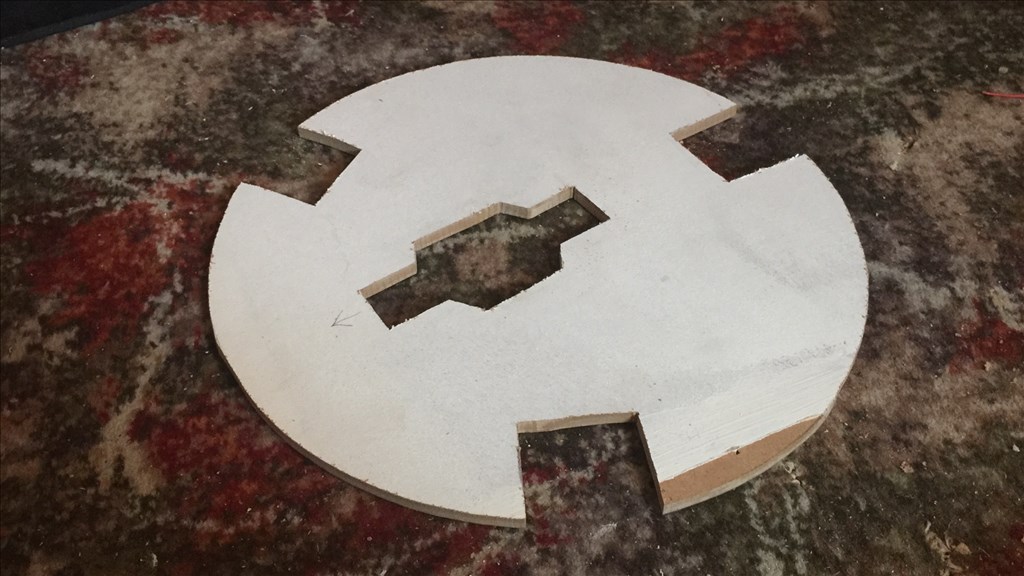
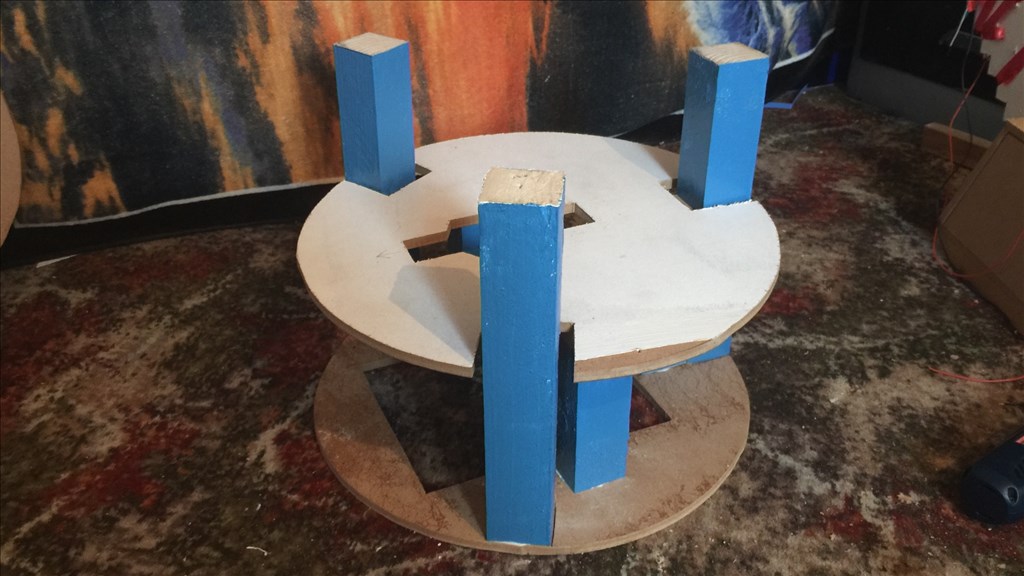
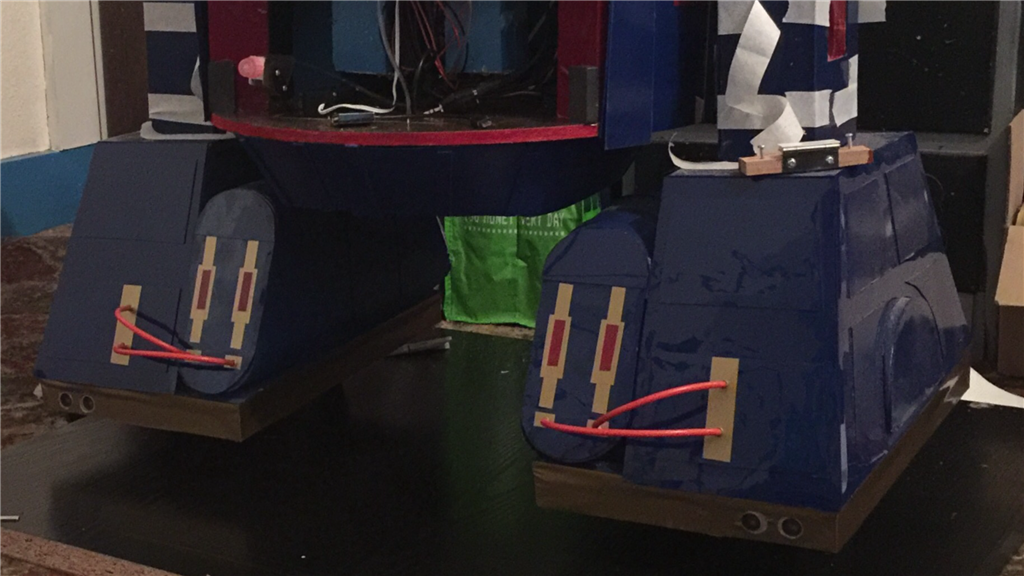
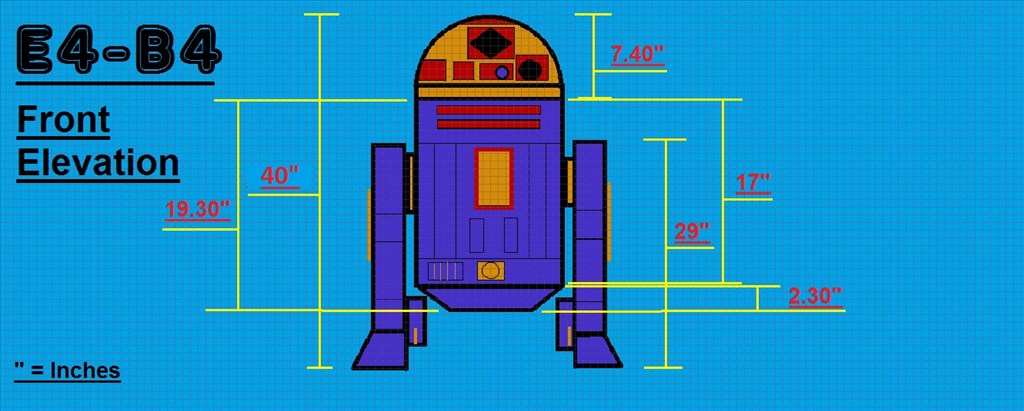
The dimensions will be slightly smaller than the original prob, but not by much so E4 will be plenty big enough. I'm intending to fit a few useful tools that he will be able to deploy, and of course have the fully rotating head which will have all kinds of bells and whistles. I have some of the MDF sheets and 2x4 wood lengths for the frame already, and the motors and head dome (lampshade) should be with me sometime this week, so it will be power tools at the ready. I'm in no rush to finish this project, but I am aiming to have E4-B4 pretty much finished by this December.
I will posting lots of photos and few videos throughout the build process, so I hope anyone reading will find this build dairy interesting and enjoyable. And as always, I'd love to hear your thoughts and suggestions (especially on the colour scheme). Anyway thanks for reading, and let the build begin...
Steve.
Discover more robots
Jeffmorris's Homemade Biped Robot
Jeremie's Richard R And Bhouston In Make Magazine

Lol, thanks Dave. I guess what I meant was that I didn't make much progress before my 2 week time out. Since then I had a better idea of what I wanted to do, how I wanted to do it, and had more motivation to cack on. Anyway thanks for the kind words. I'll try and get a video demo up for the next update showing certian bits and pieces working.
Day 100 11th November 2015.
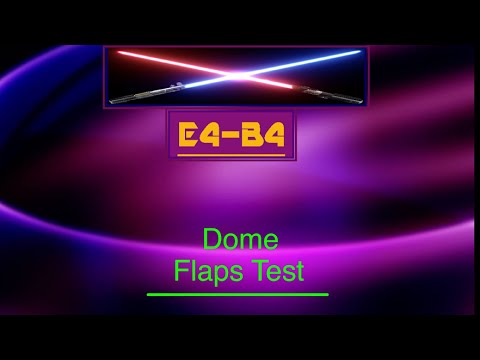
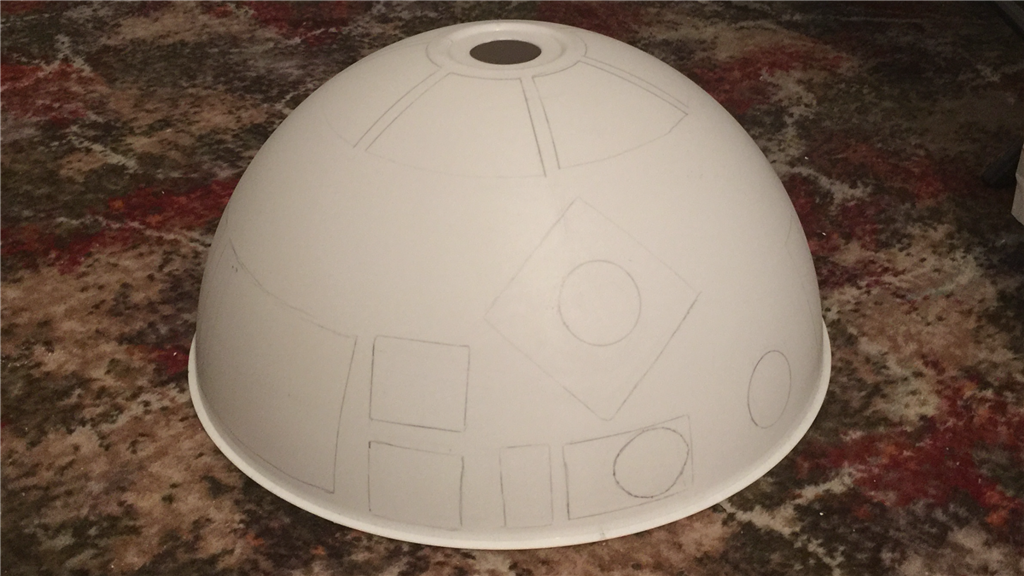
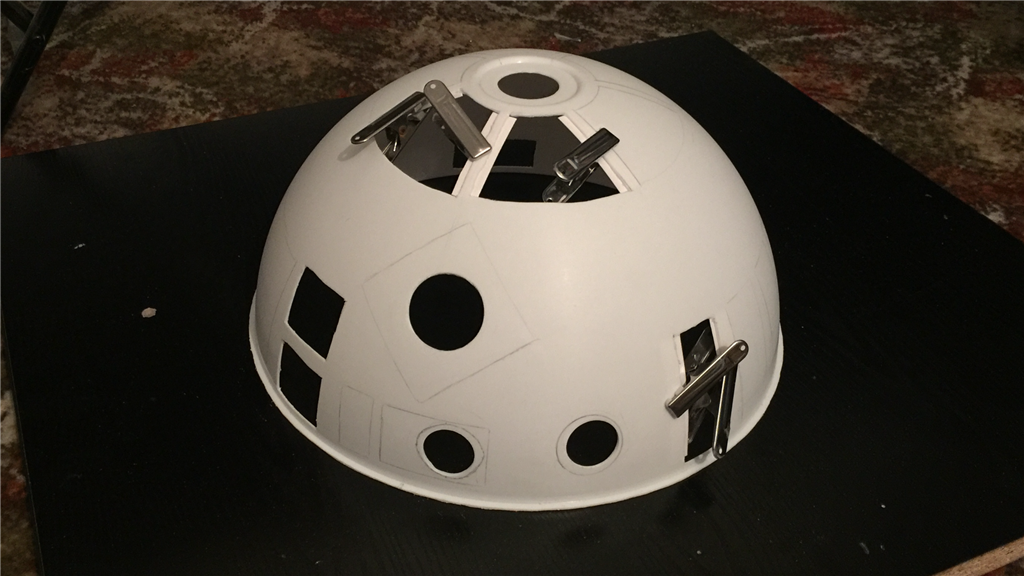
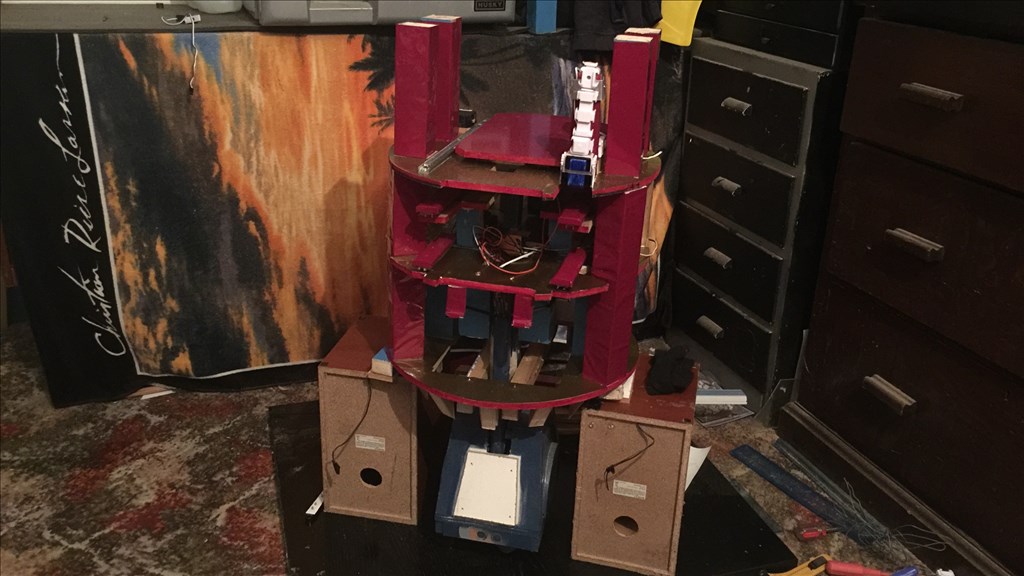
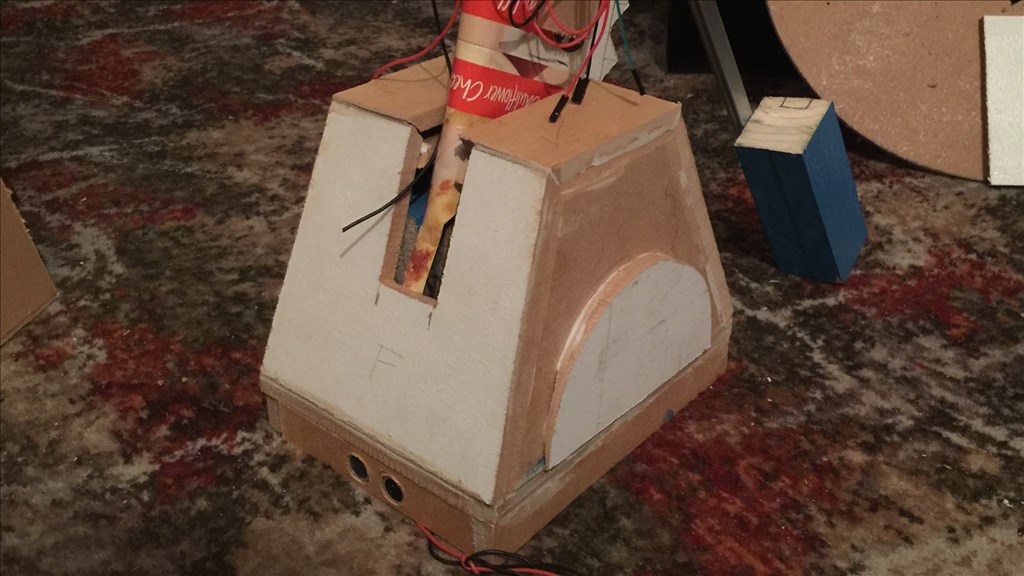
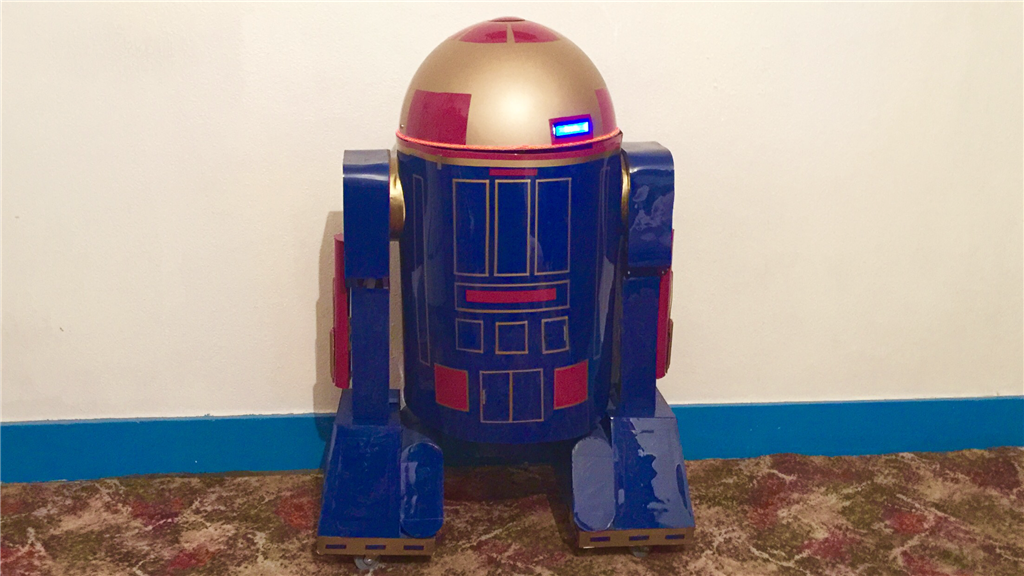
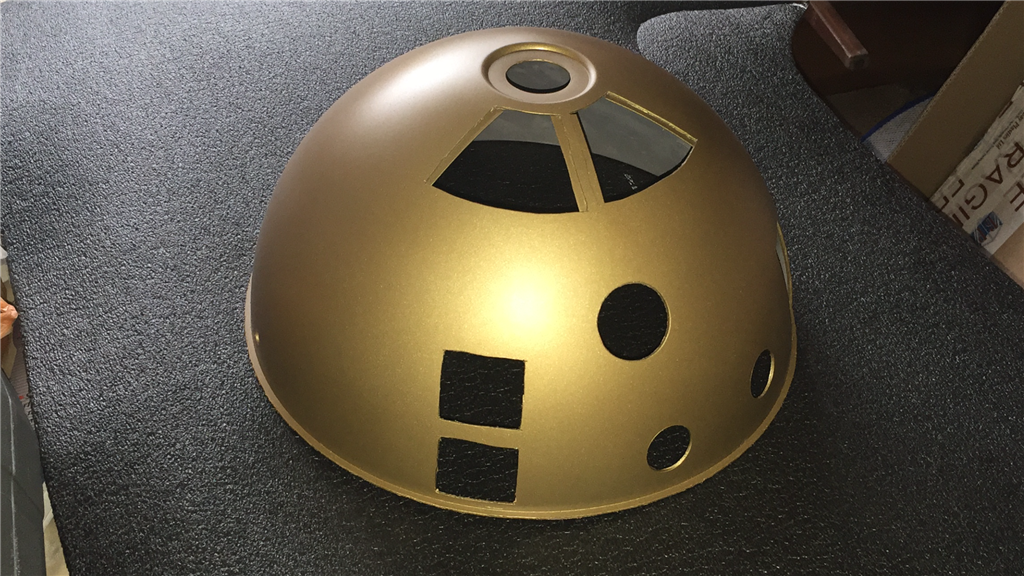
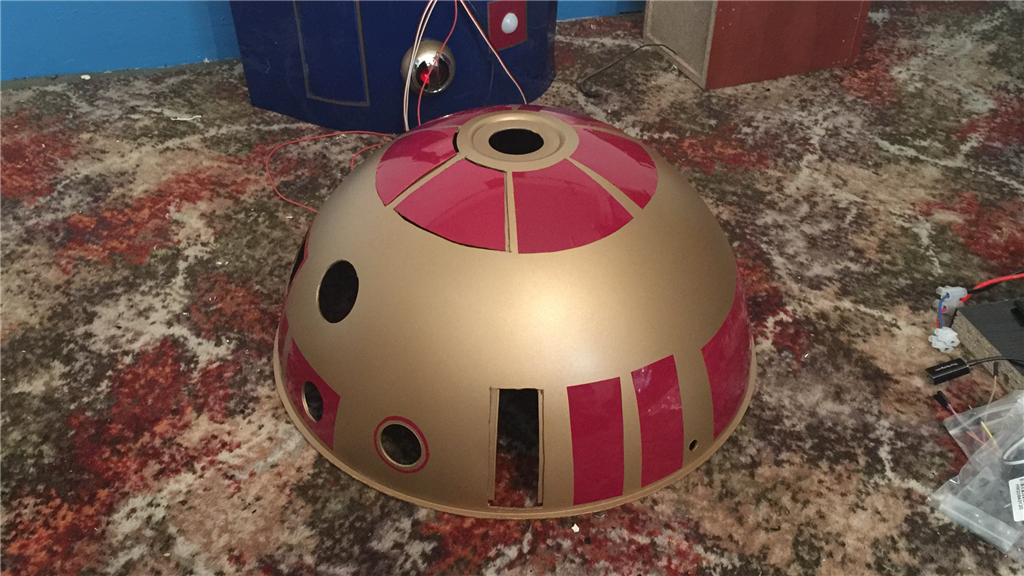
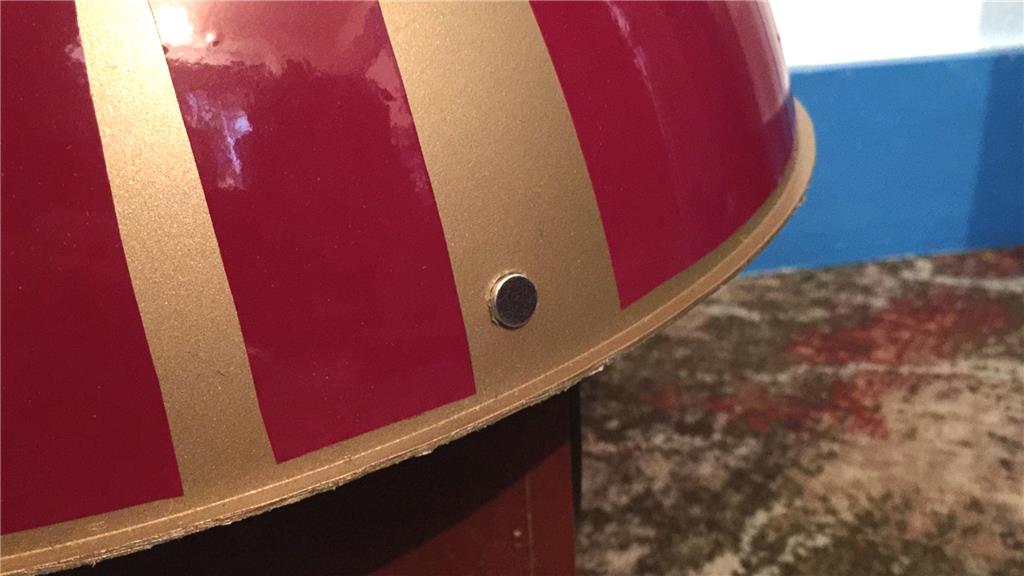
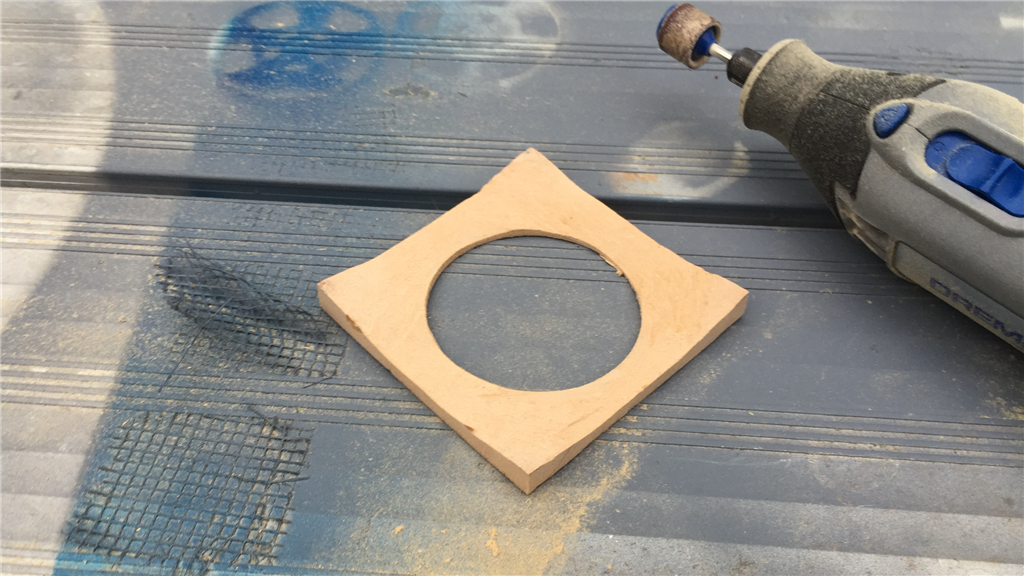
100 days to the day in to the build, so thought I'd post another update. Things are moving along quite nicely again now, and I managed to get a few more bits done. I got the old Dremel out and cut the sections out of the head that will have opening flaps and lights/camera ect. I managed to get the primer undercoat on and rubbed down, but have been hit with some crappy weather so the painting is on hold for now.
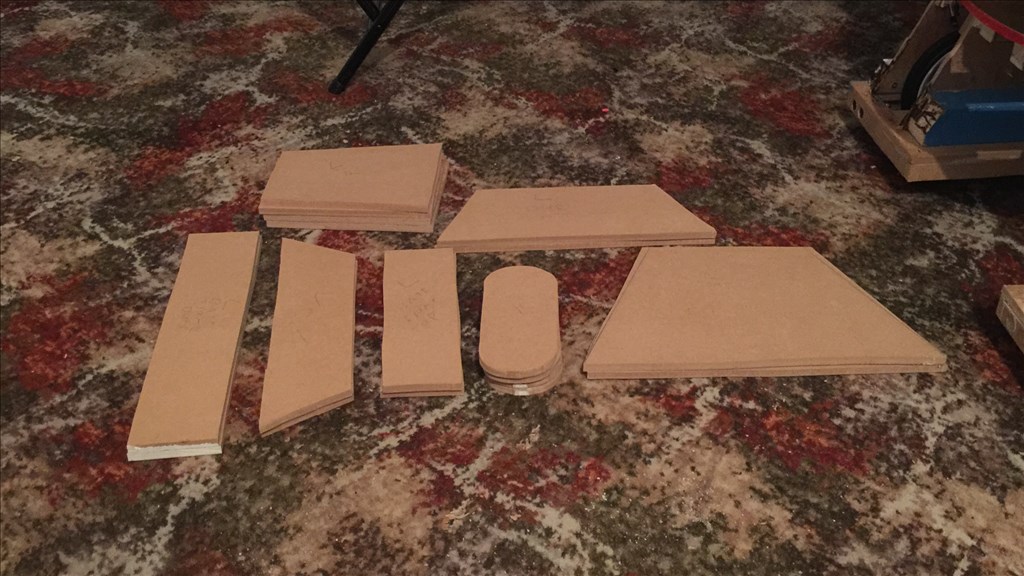
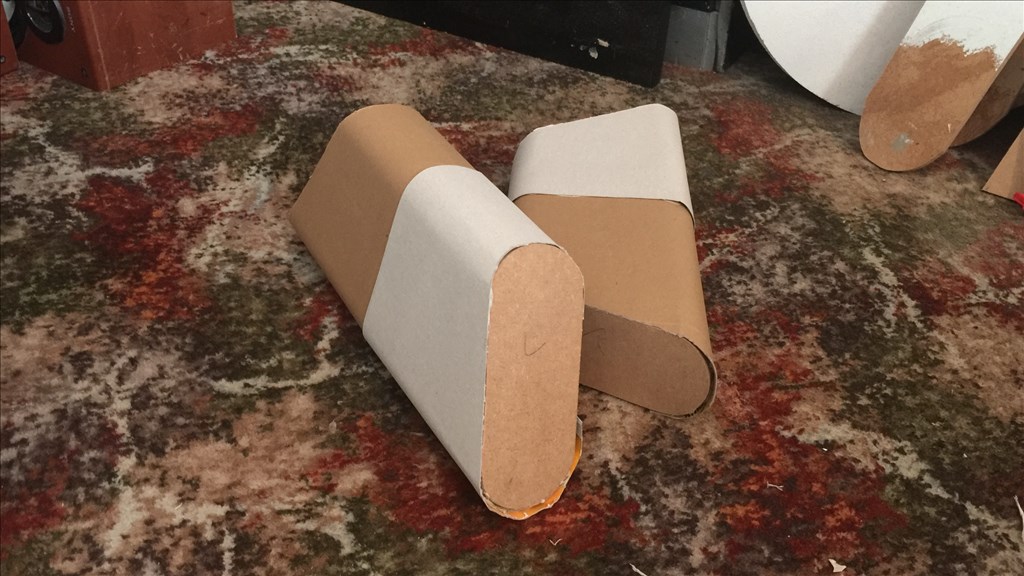
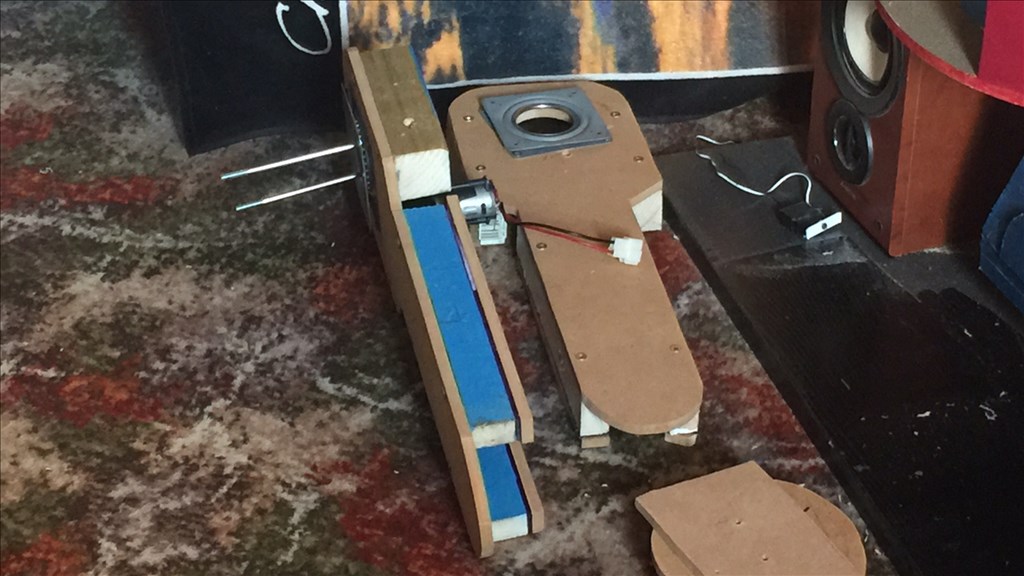
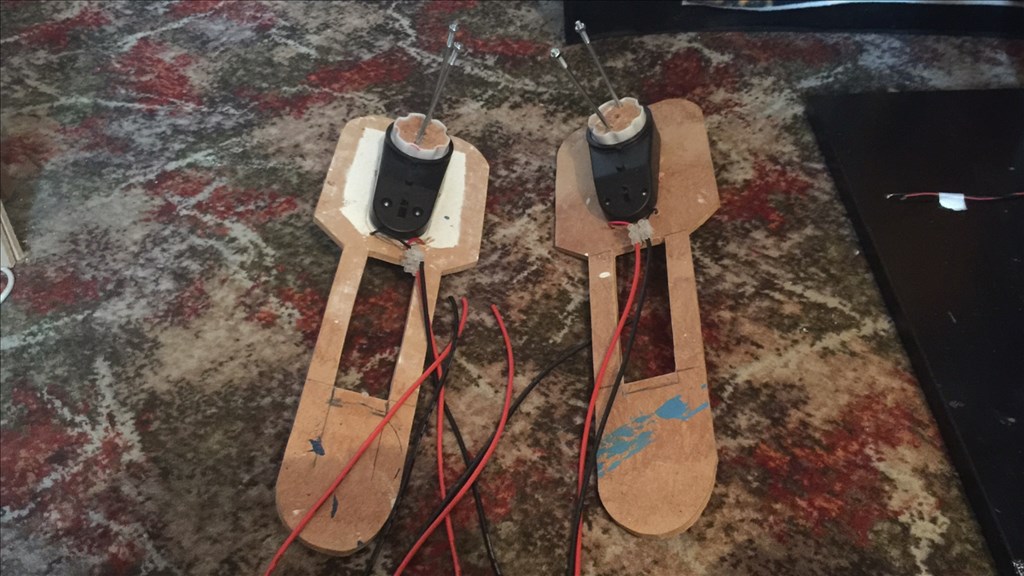
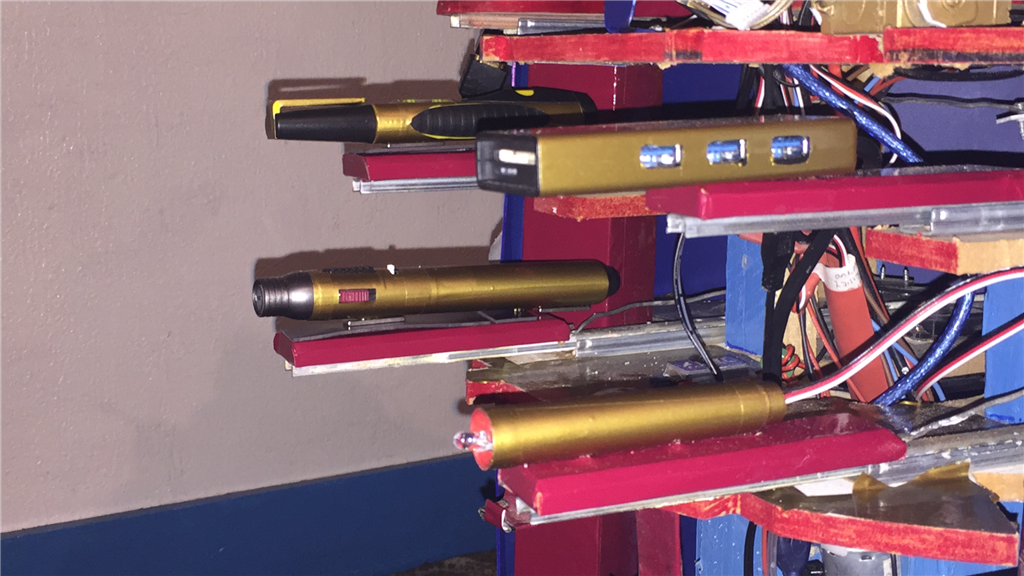
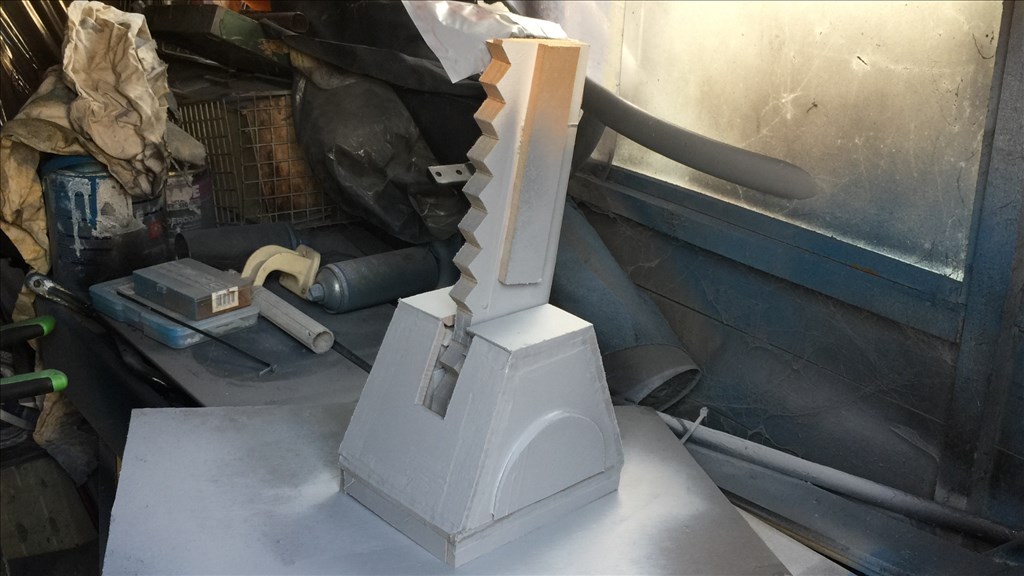
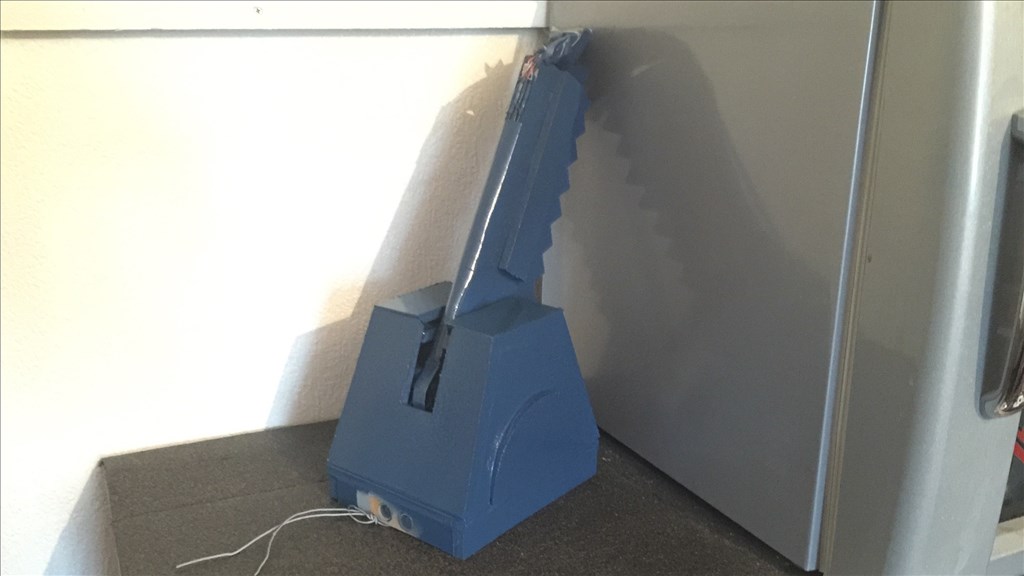
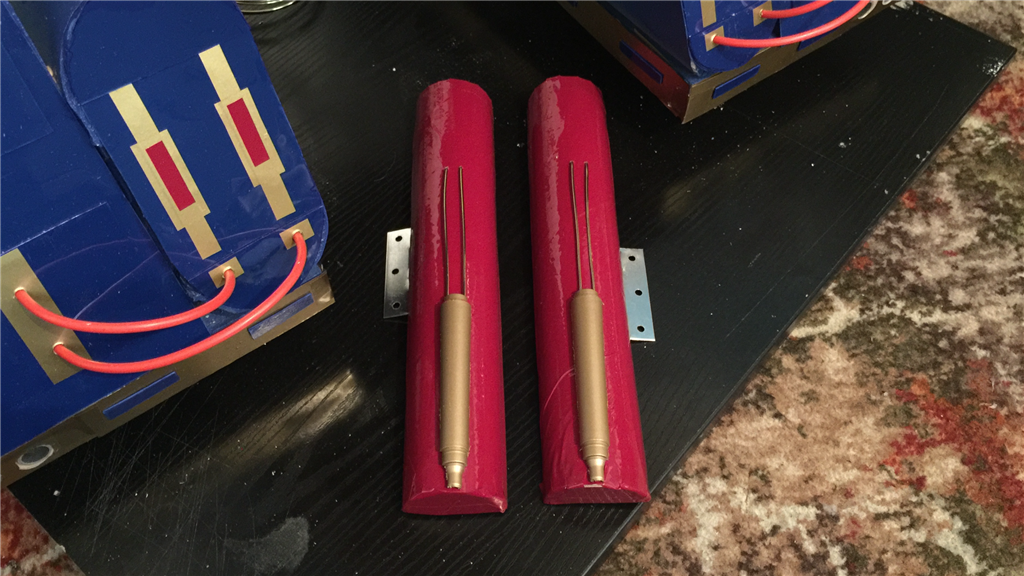
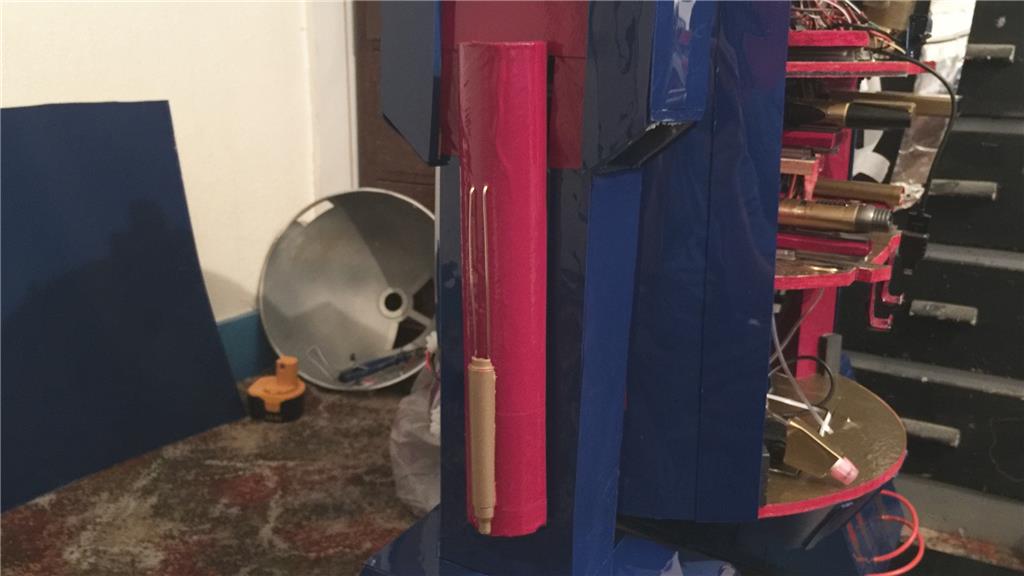
I have also made a start on some of the utility tools which have been made and painted. I still have a couple more tools to finish off.
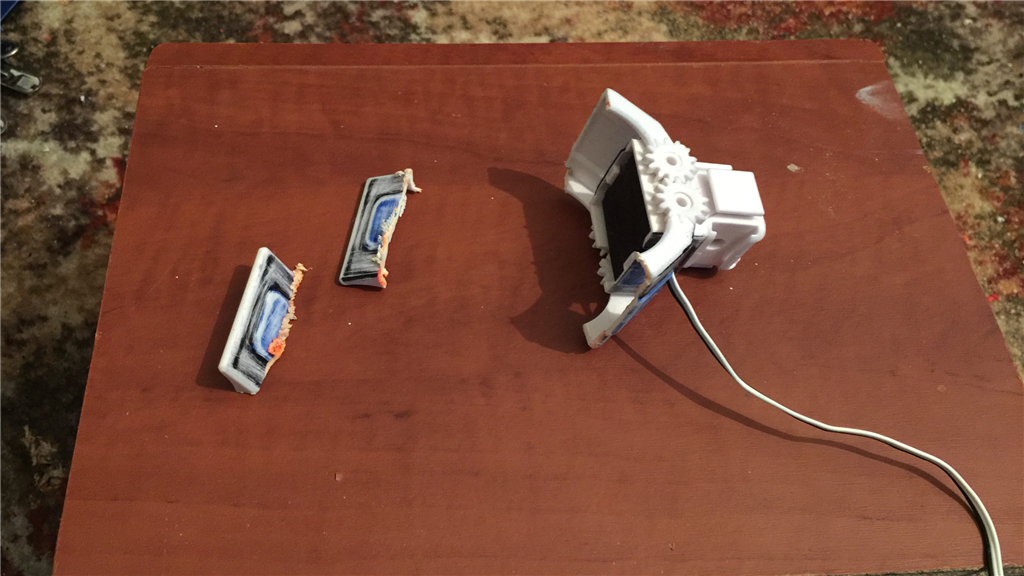
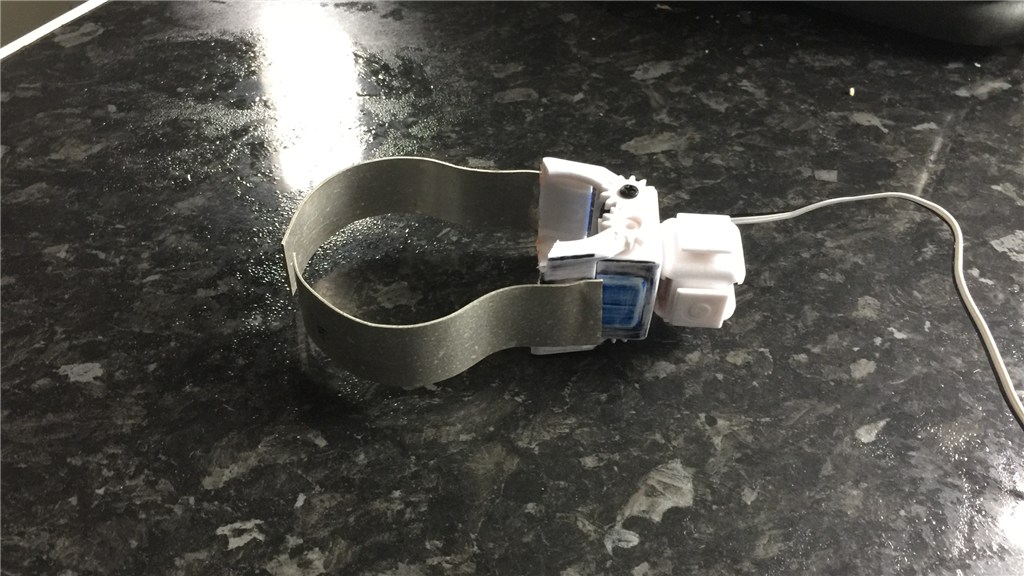
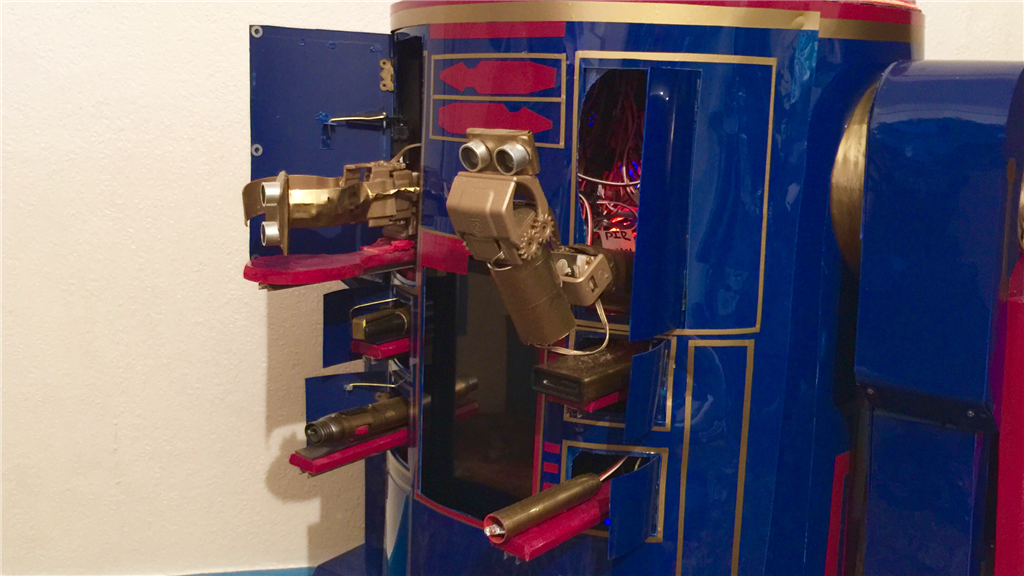
I did a bit of customising on one of the JD grippers. This won't hold anything, but will act as a support and secure items that will be held on a small retractable platform. It just needs painting now.
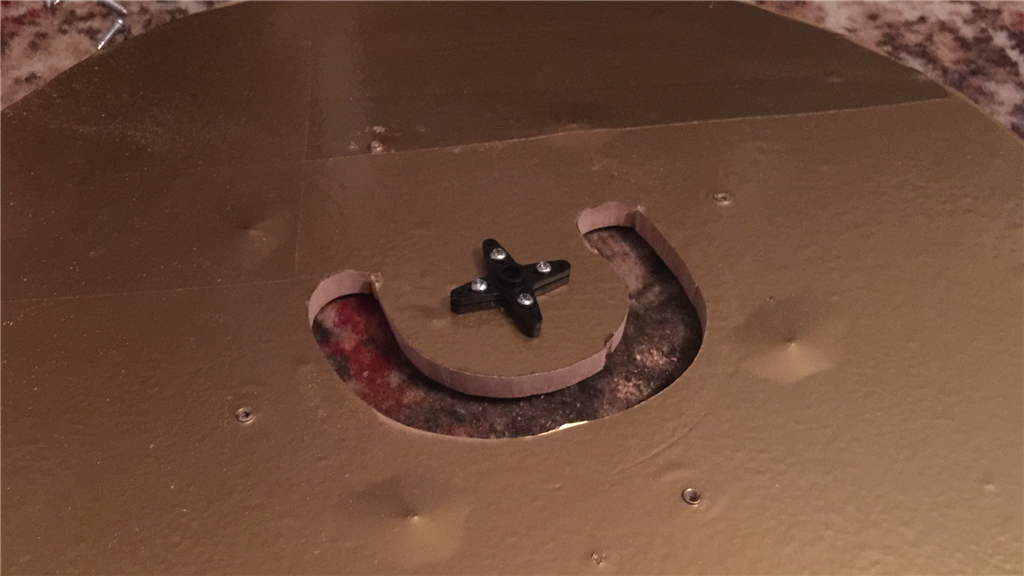
Using a bit of scrap HIPS, I cut out and moulded a securing clip to hold the tablet in place which can be bent back slightly so the tablet can be easily removed if needed.
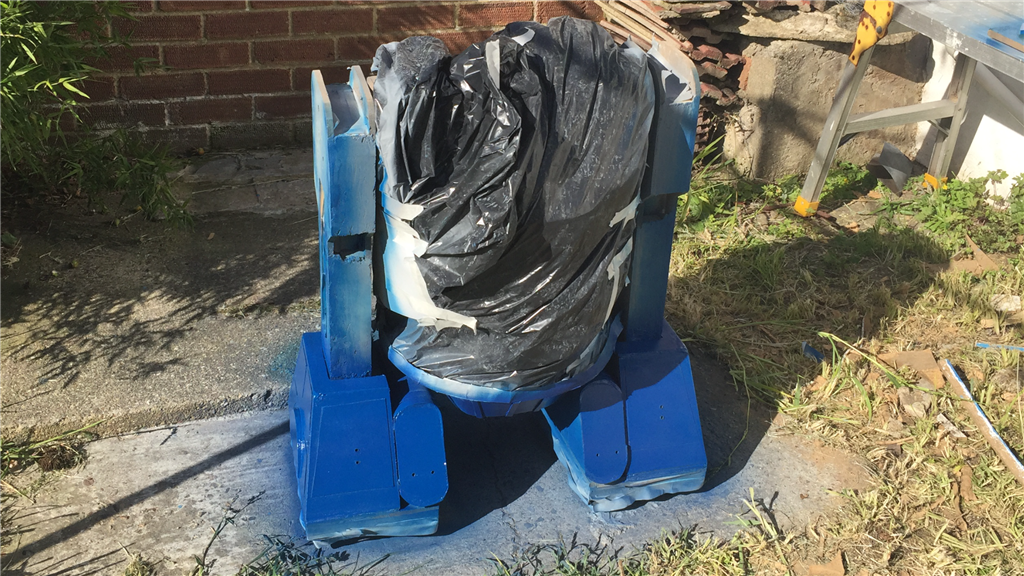
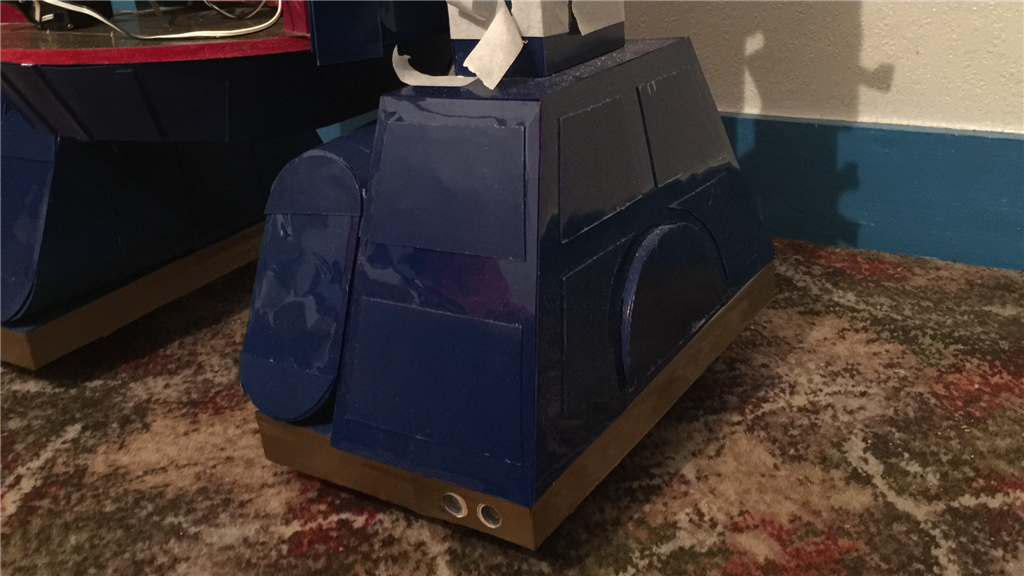
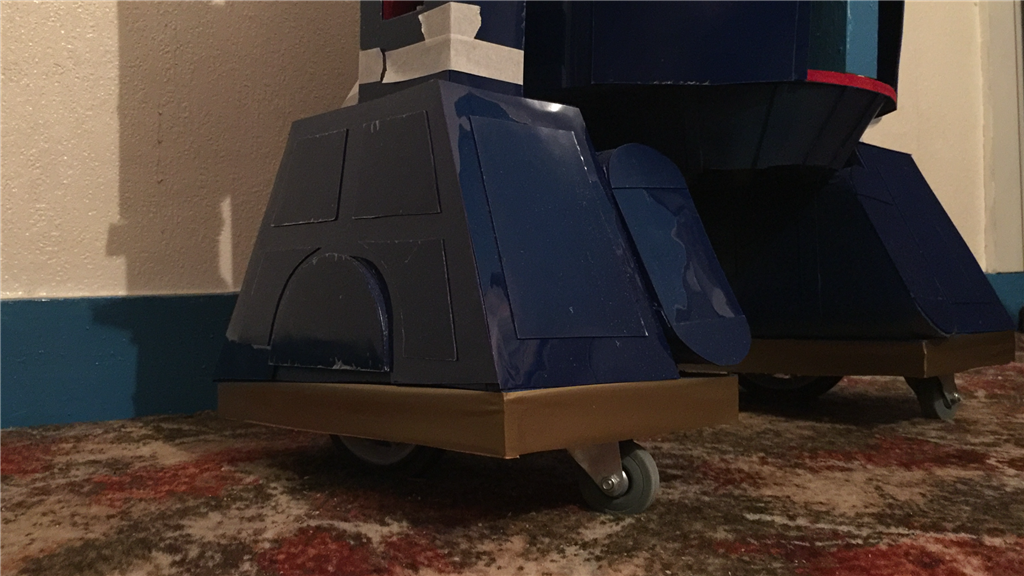
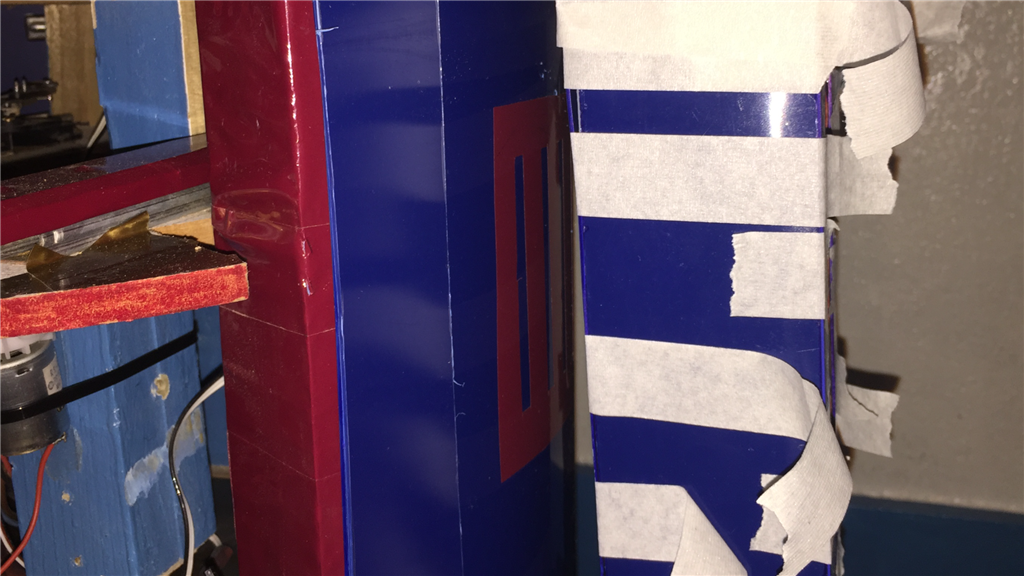
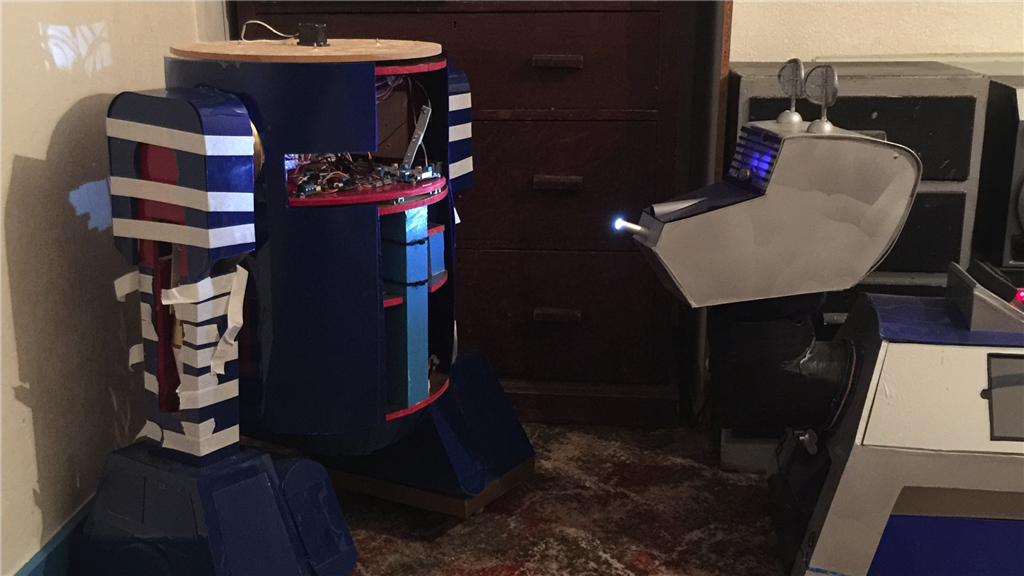
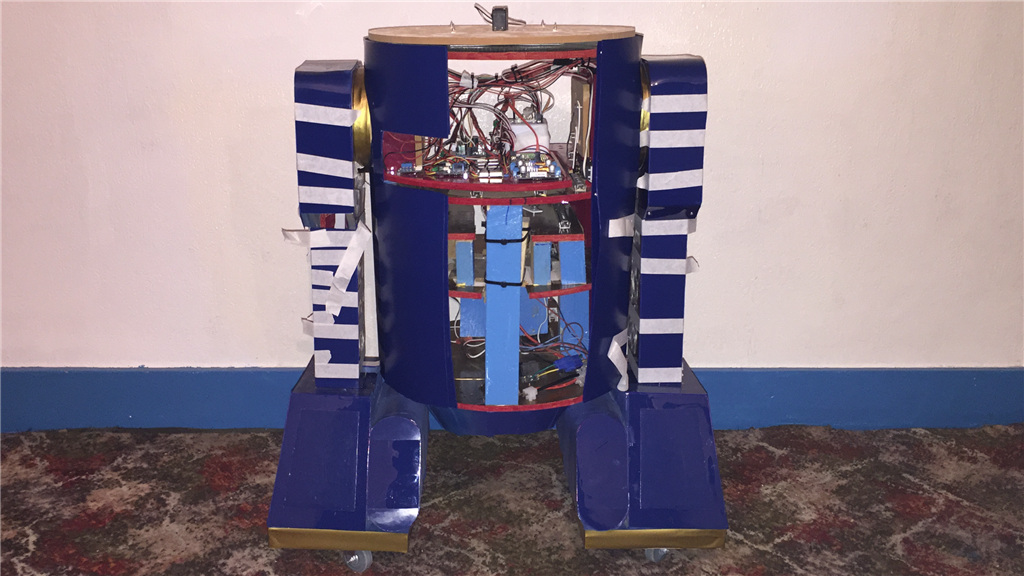
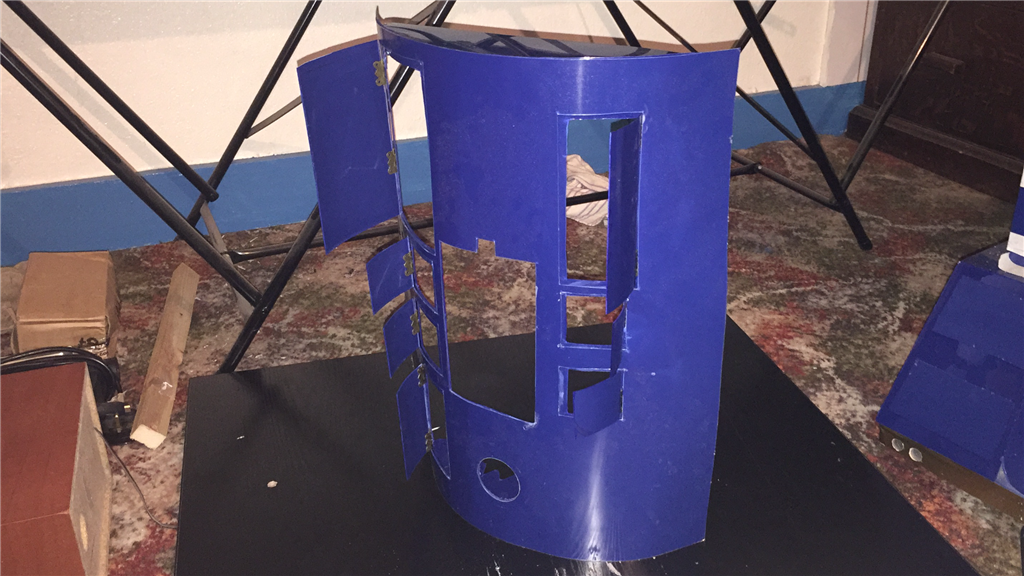
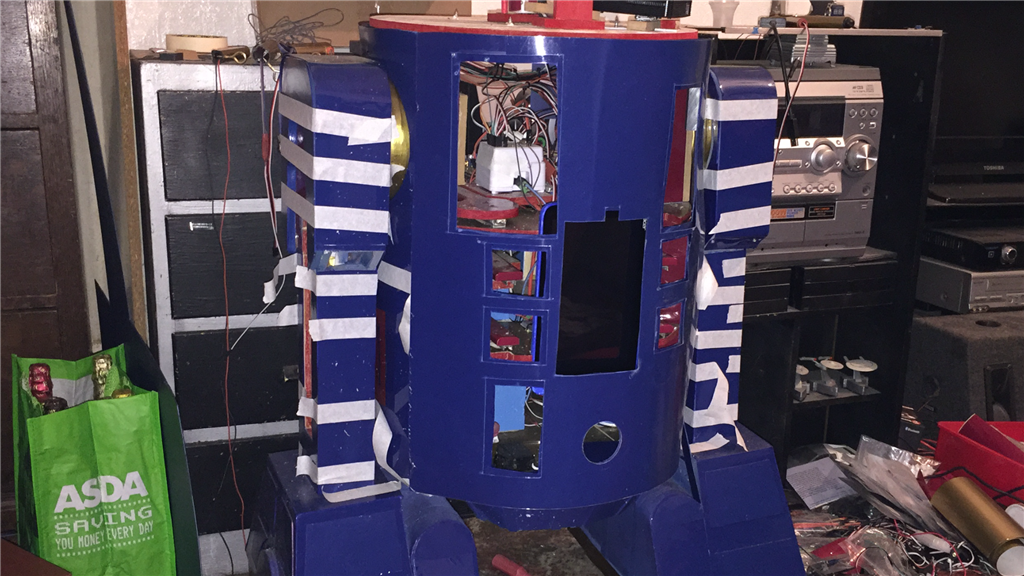
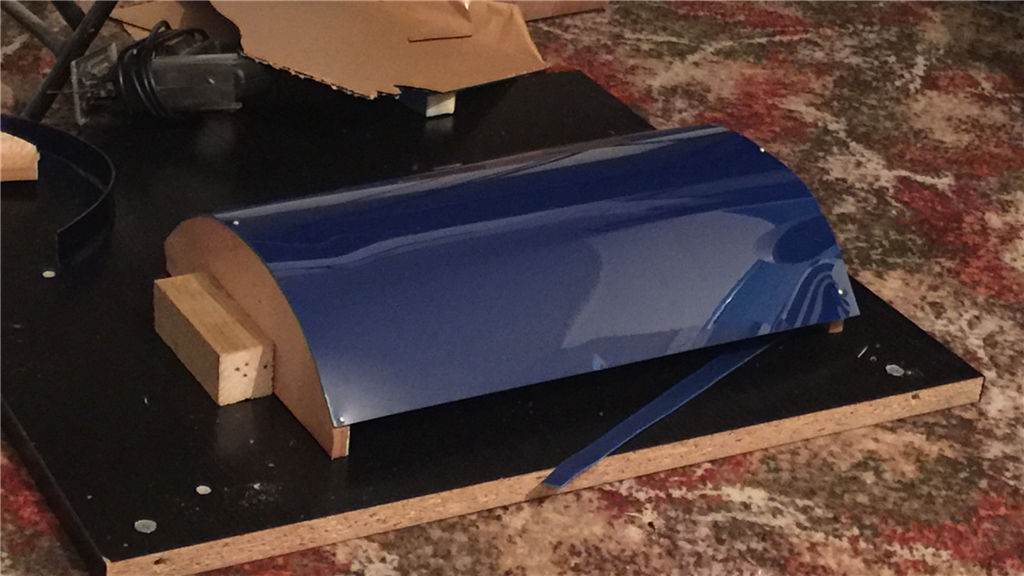
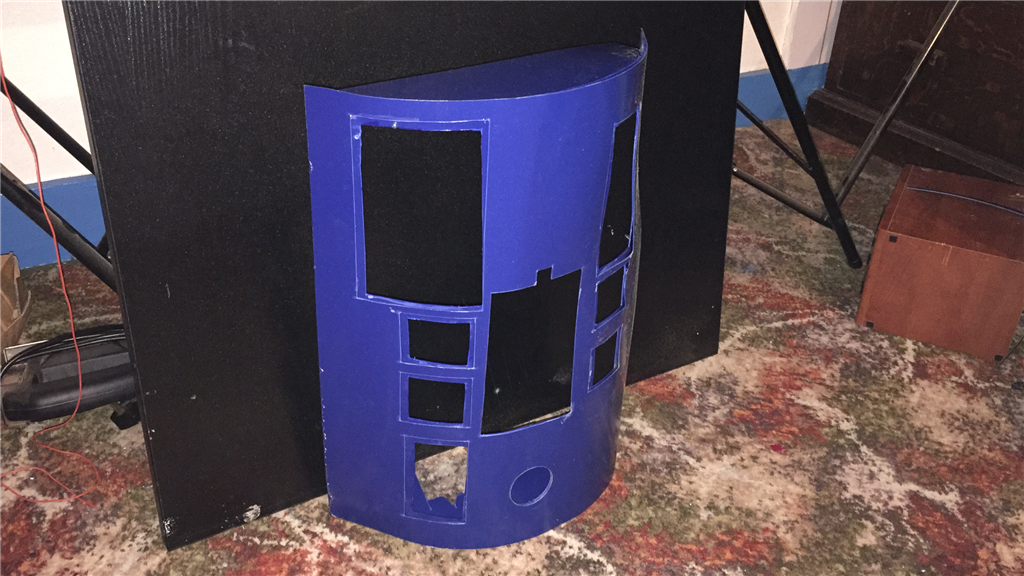
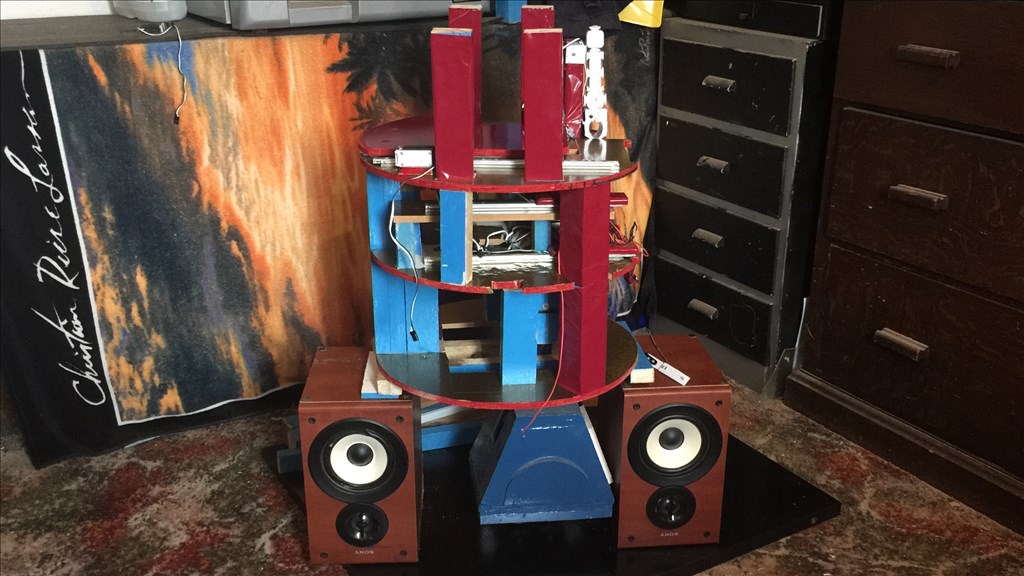
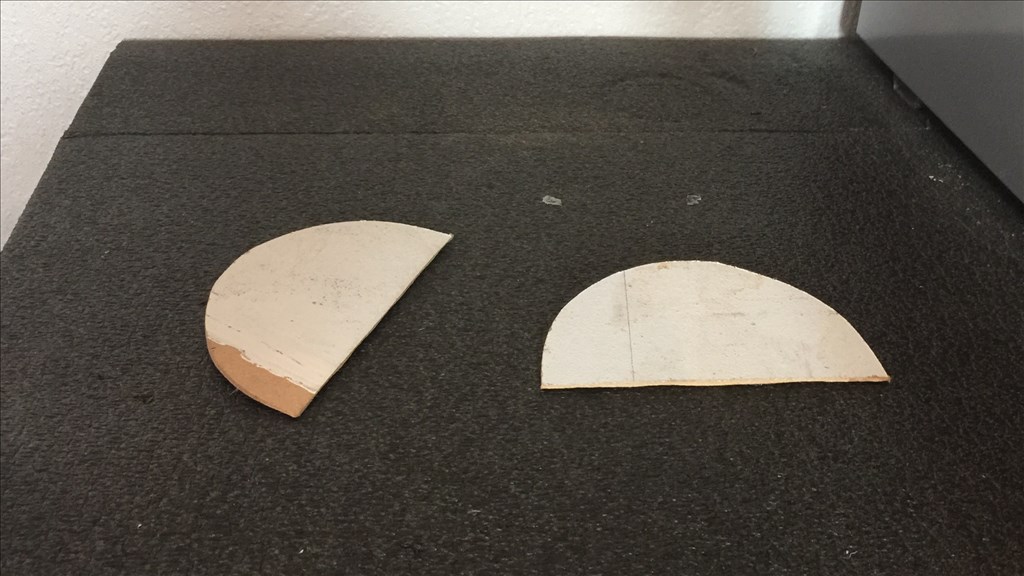
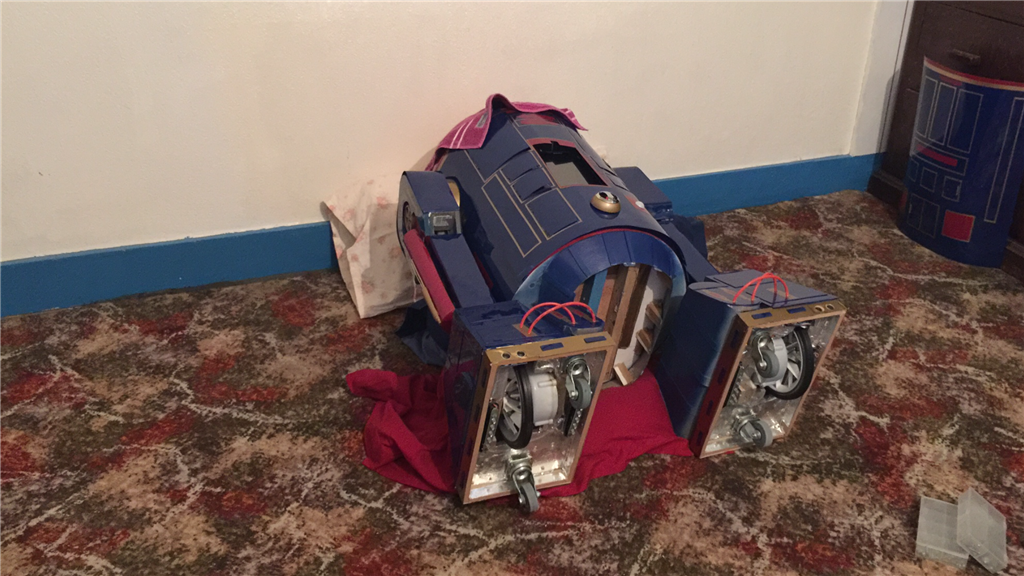
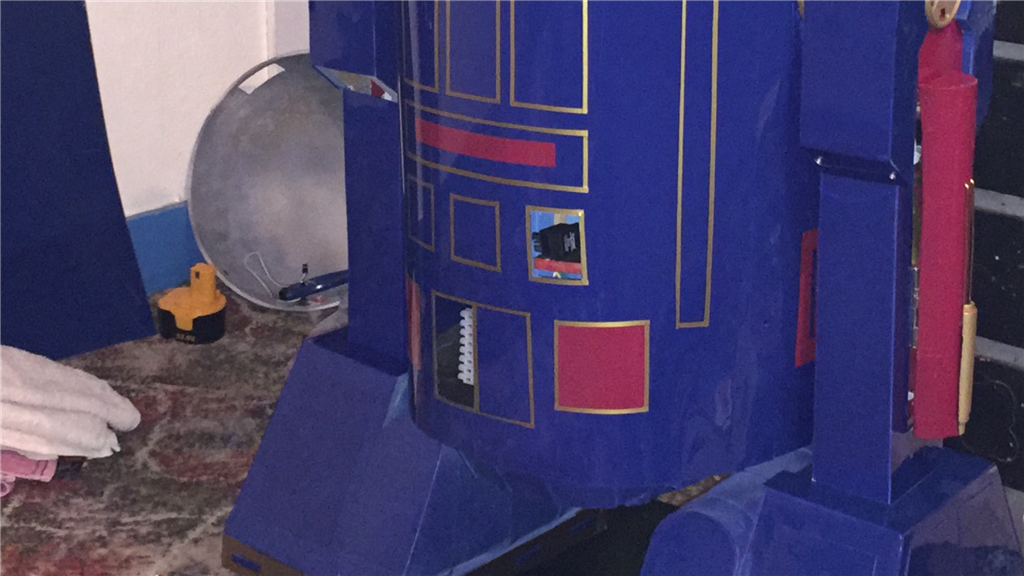
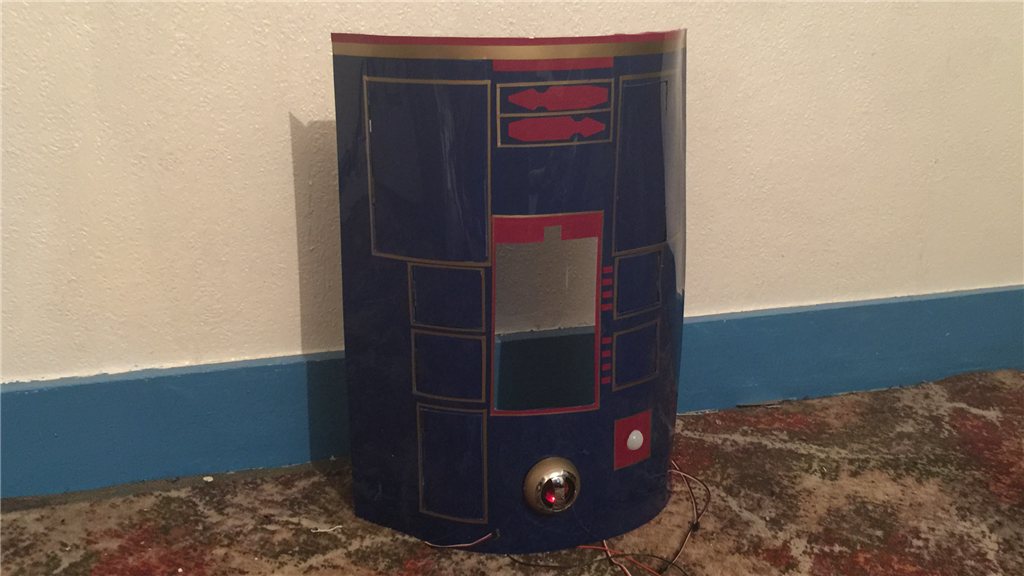
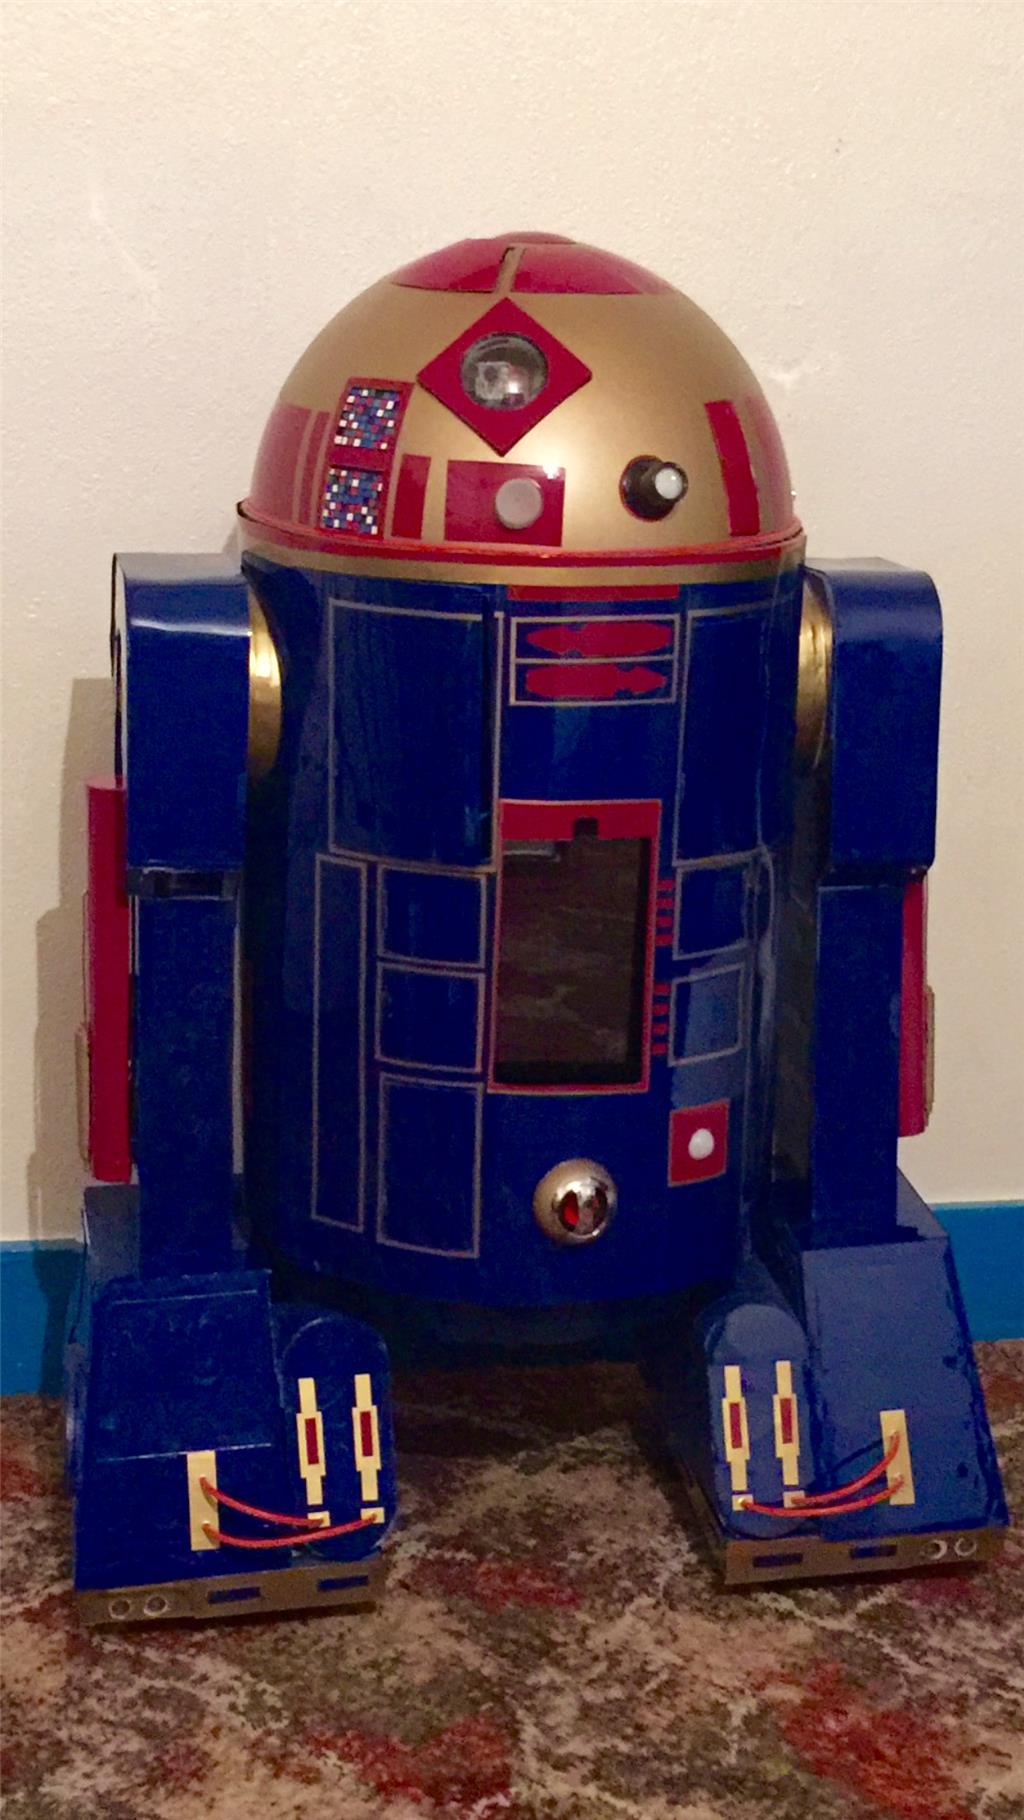
Finally, I set to work of the front body skin. I cut a couple of MDF semi circle templates (same as the body circumference), fixed a sheet cutout of HIPS to them and got to work with a heat gun to form it in to shape. After it was shaped, I made a paper template to mark out the cutouts that needed to be made, then marked it out on the inner skin, which was then it was then painted.
The same thing was done on the outer skin with the cutouts slightly larger than the inner skin so the flaps would rest on the recessed edges. A couple of semi circle HIPS cutouts were made and attached to the skin for added reinforcement. Then the two skins were joined together using plastic Weld and then painted.
The edges in the photo look a bit rough, but it's not the skin, it's plastic cling film covering because as with the legs and feet, I have covered the skin with cling film to protect the paintwork while I work on it (plus, you know that satisfying feeling you get when you slowly peel of led the protective wrapping off your shiny new electronic device... I get to do that too, lol).
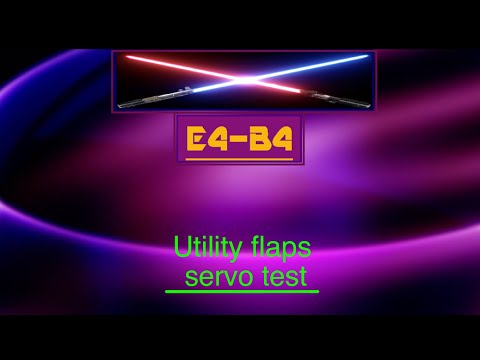
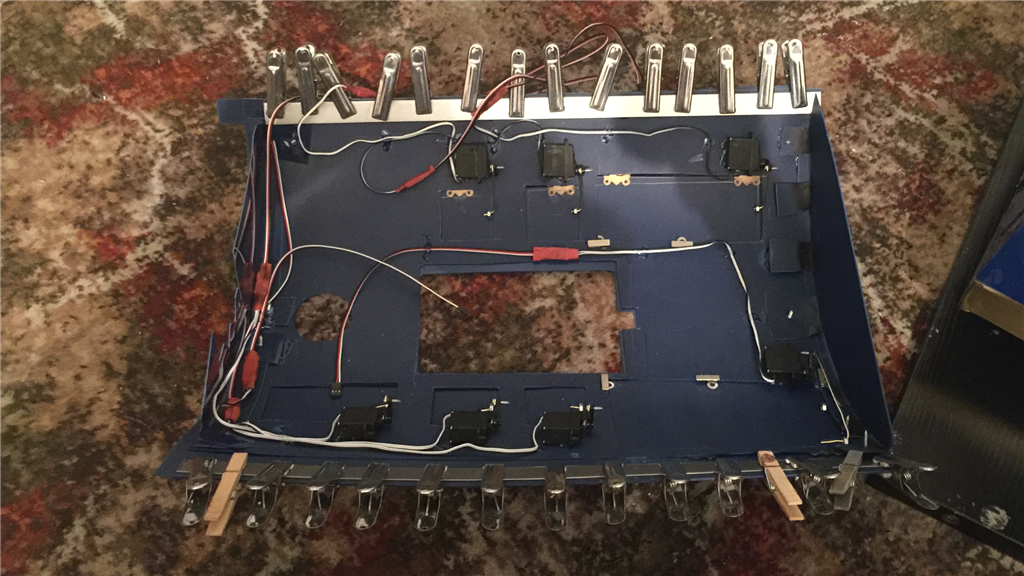
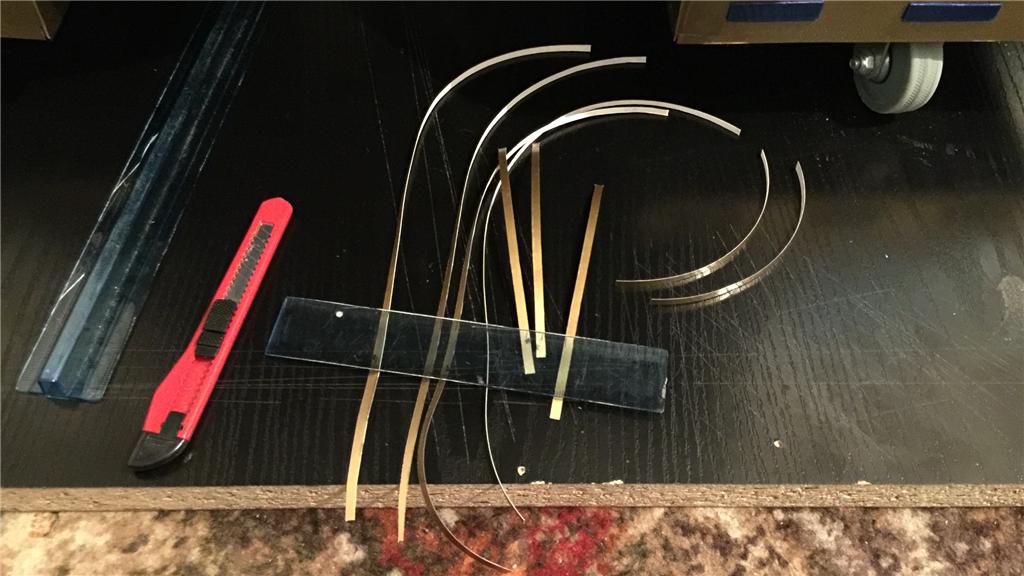
Talking about work, the work that needs to be done next will be to attach a couple of 3mm thick steel strips on each side of the inner skin which will straighten and reinforce the edges, and will be used to hold the skin section in place using magnets. Also, some micro servos will be attached to the inside of the skin, then I'll make some hinges for the flaps. I'll will be adding a speaker that will fit in to the lower part of the skin, but the speaker housing needs painting so I'm held up on that for now.
Work on the head section is already under way, and will feature in the next update which should hopefully be next week.
super nice work
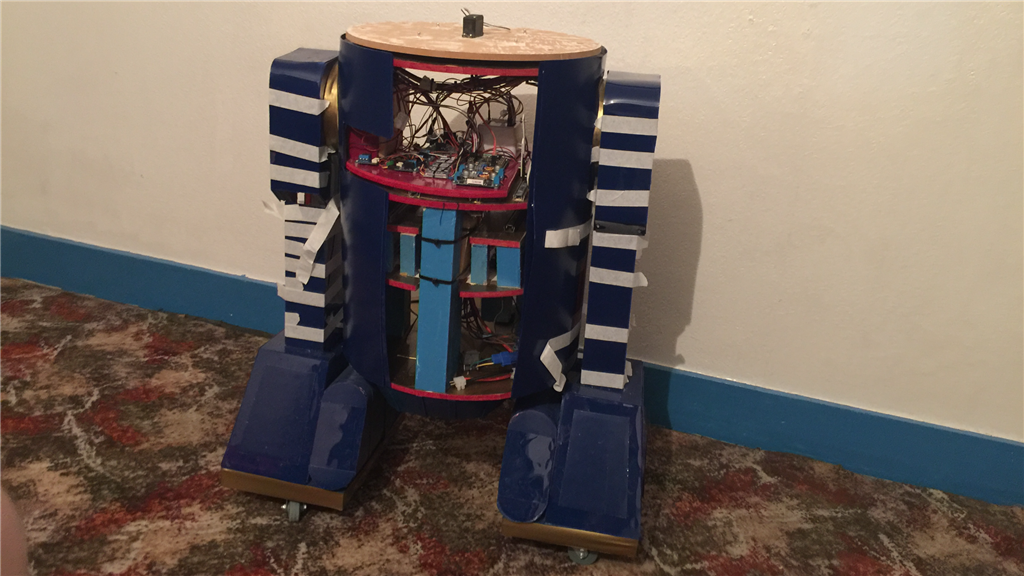
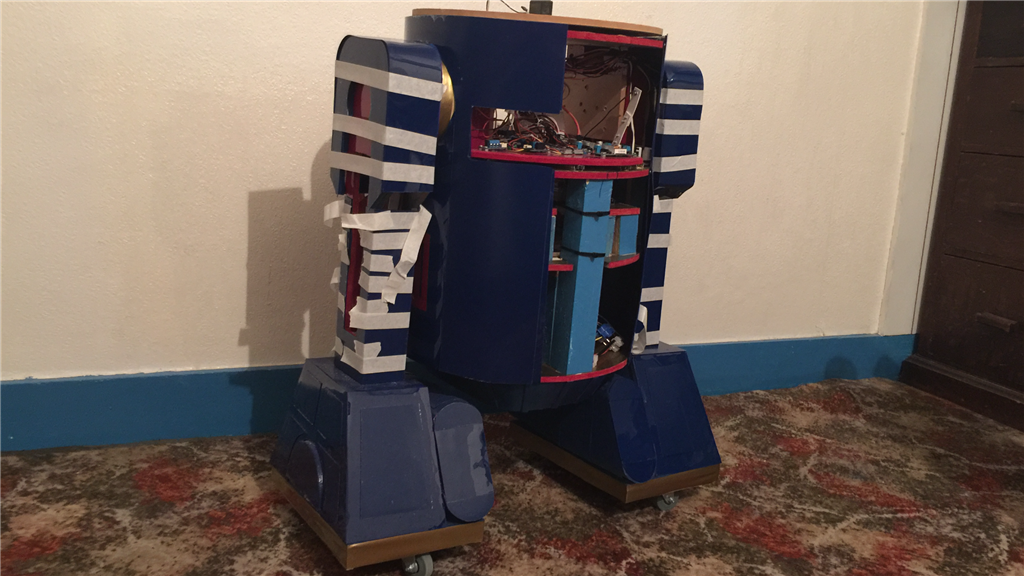
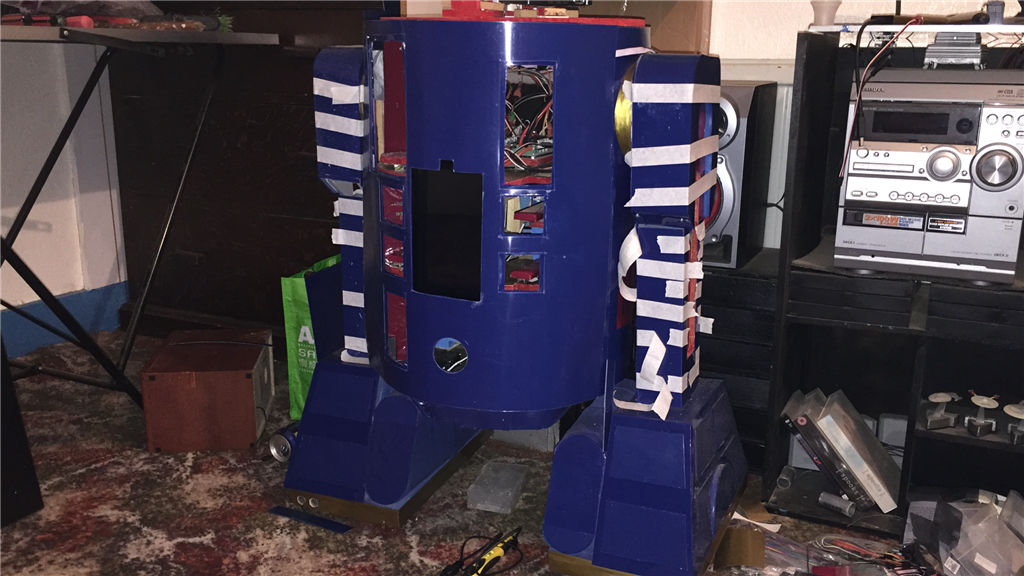
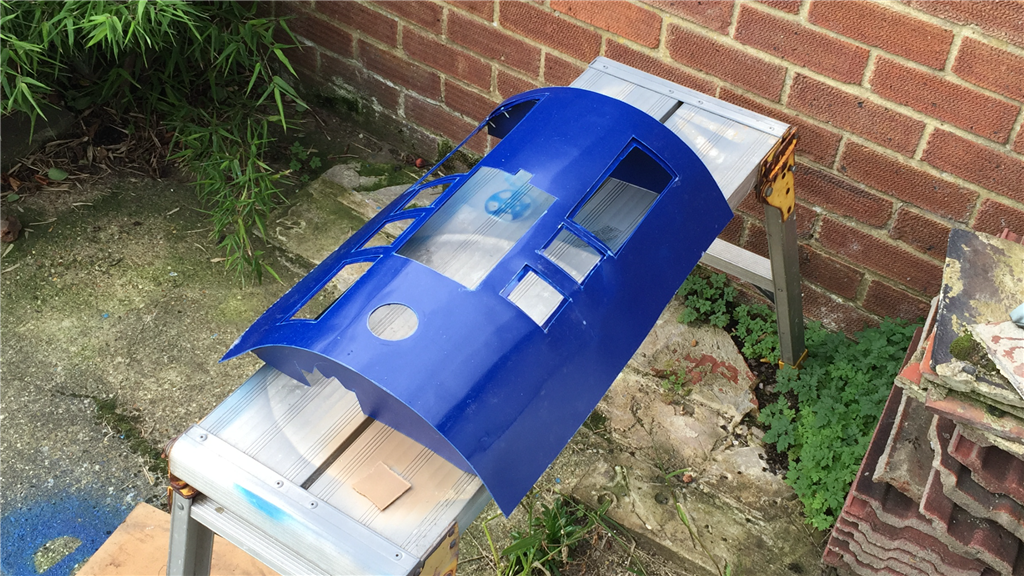
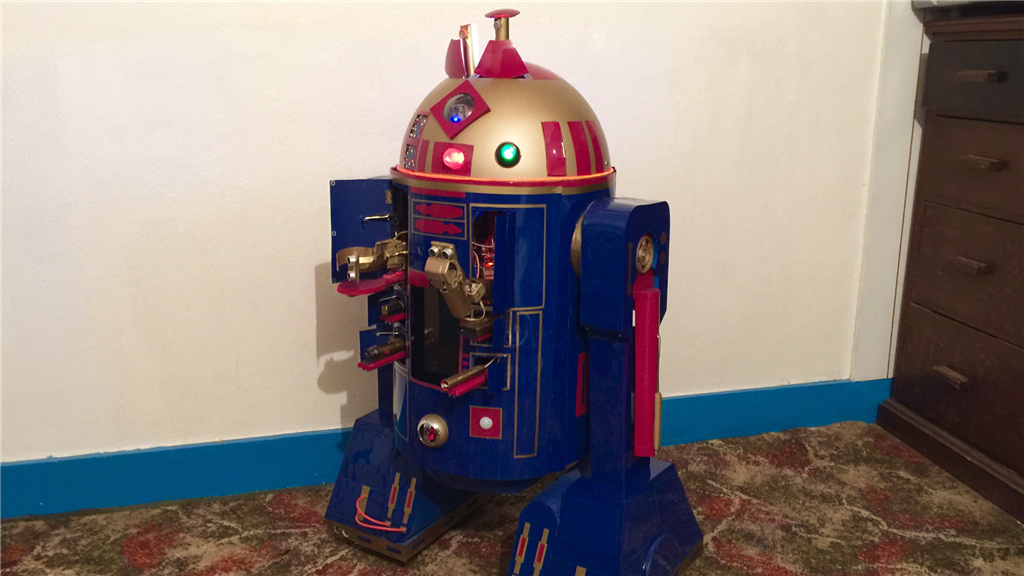
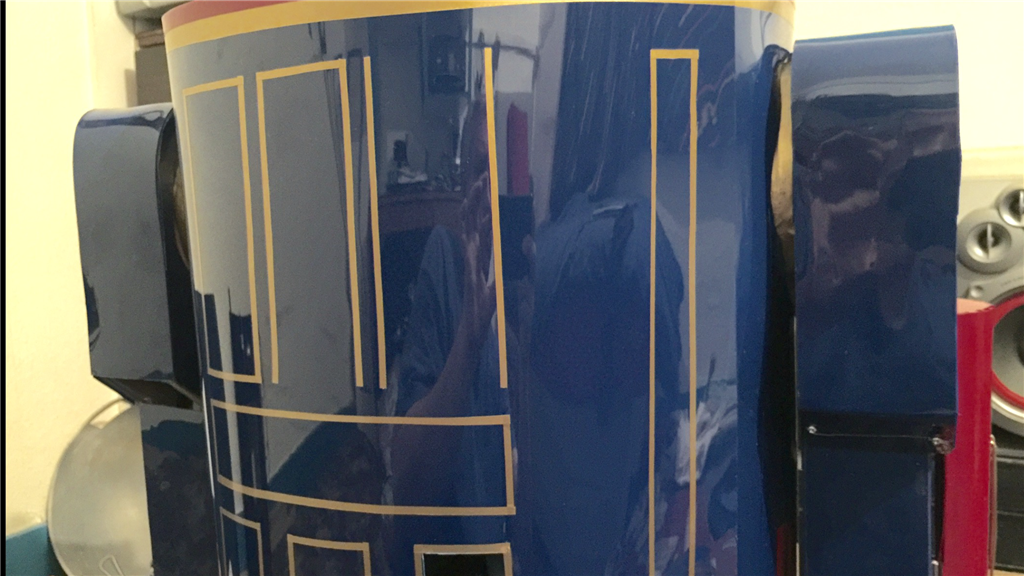
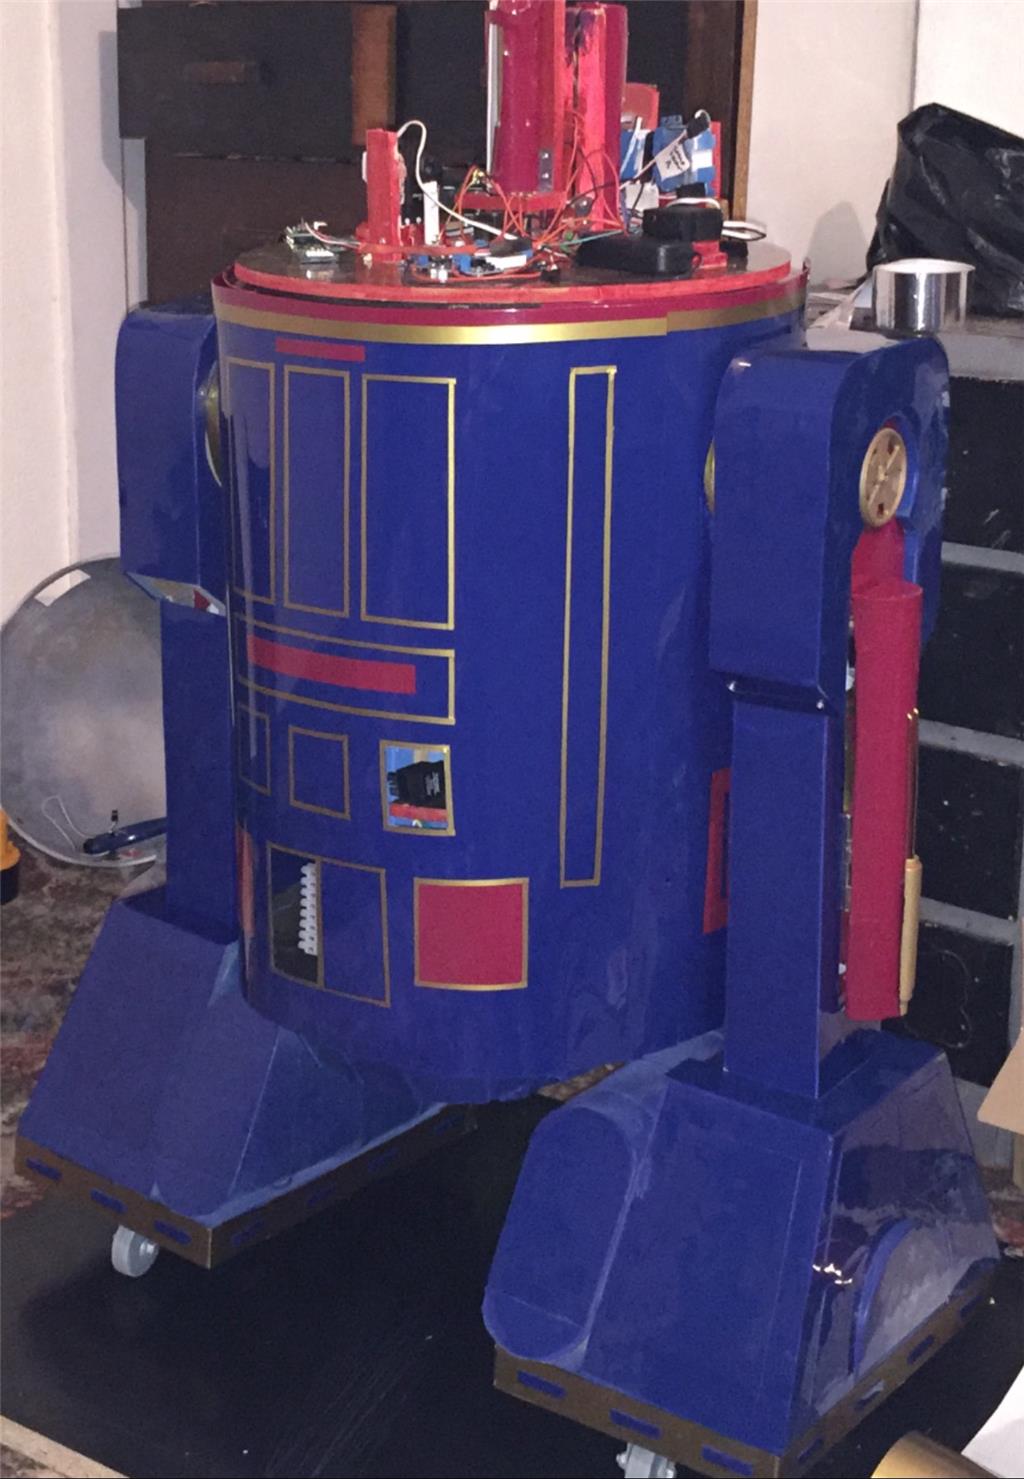
Thanks Patrick. Here's a sneak peek of what the skin looks like on the body. Some final detailing needs to be done which I will do towards the end of the build.
thats a big one
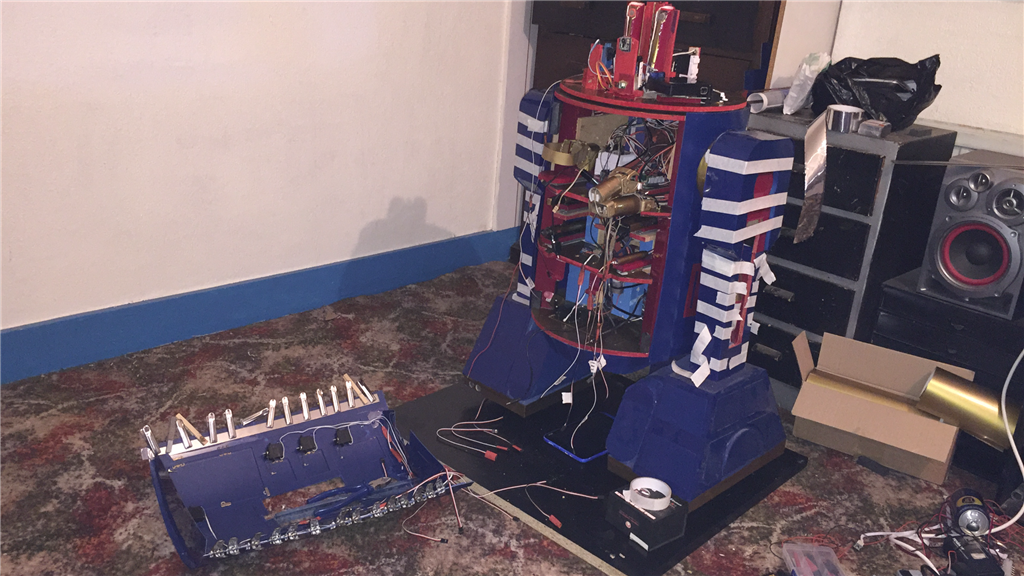
Thanks Anthony. If I'm honest, it still looks a bit of a mess, but there is not a great deal more to do, lots of little jobs, but it's coming together nicely so he will look a lot tidier soon. I like what you're doing with the BB-8 build you have going on BTW. Nice job.
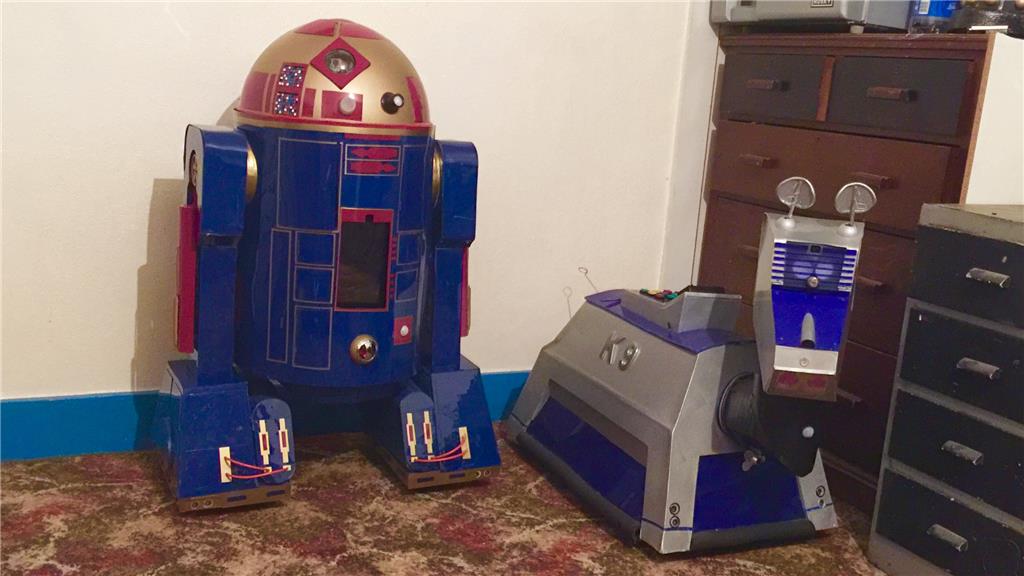
Defiantly a Star Wars trend starting in the forum what with your BB-8, my build, 3 or 4 other Astromech builds going on, and DJ's AT-AT as well.
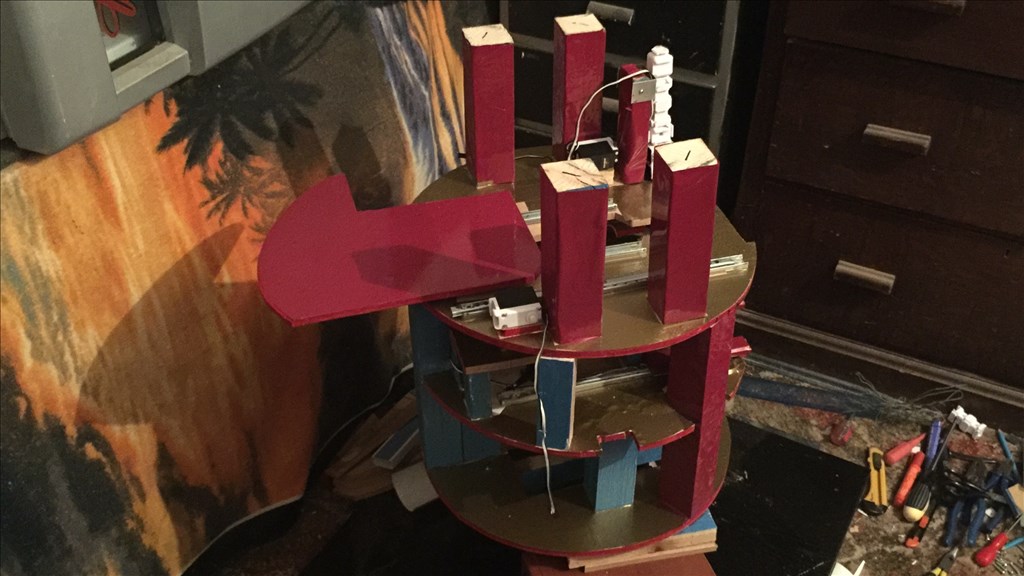
Day 106 17th November 2015.
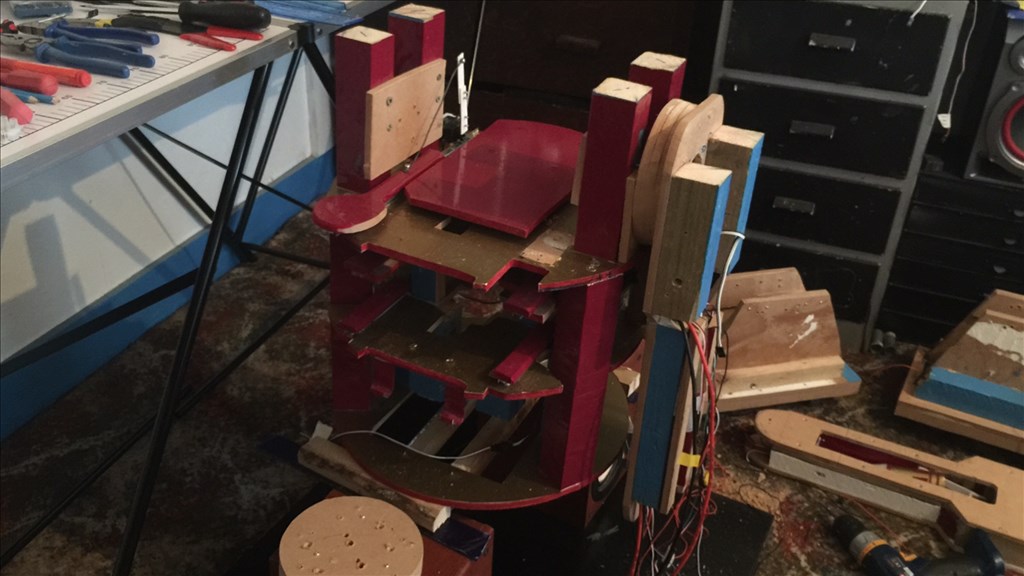
There is light at the end of the tunnel. I've managed to get a few more of the smaller jobs done which is bringing me much closer to the end of the build. I made a list of what still needs to be done, and they are mostly little jobs as well, and not that many of them.
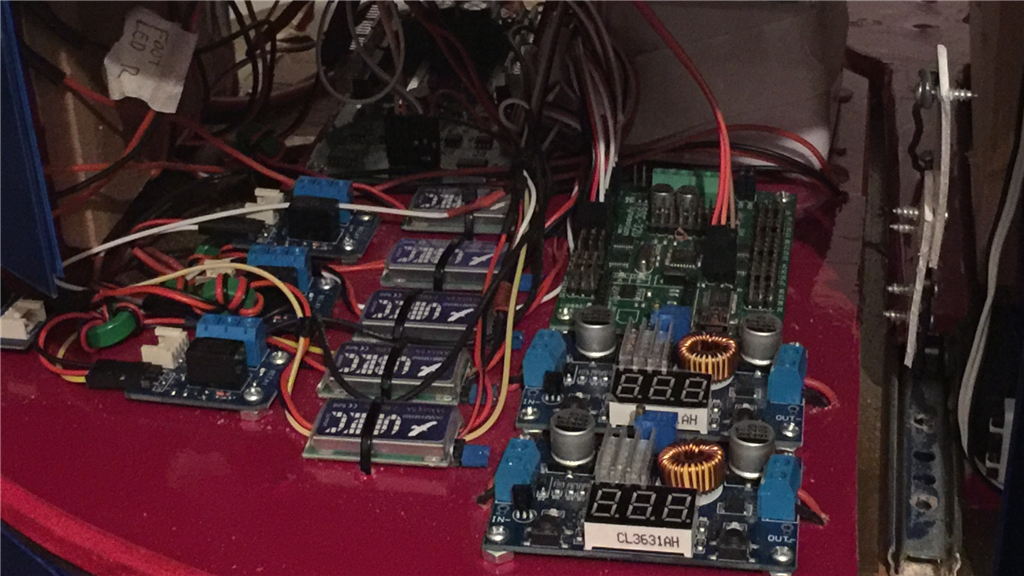
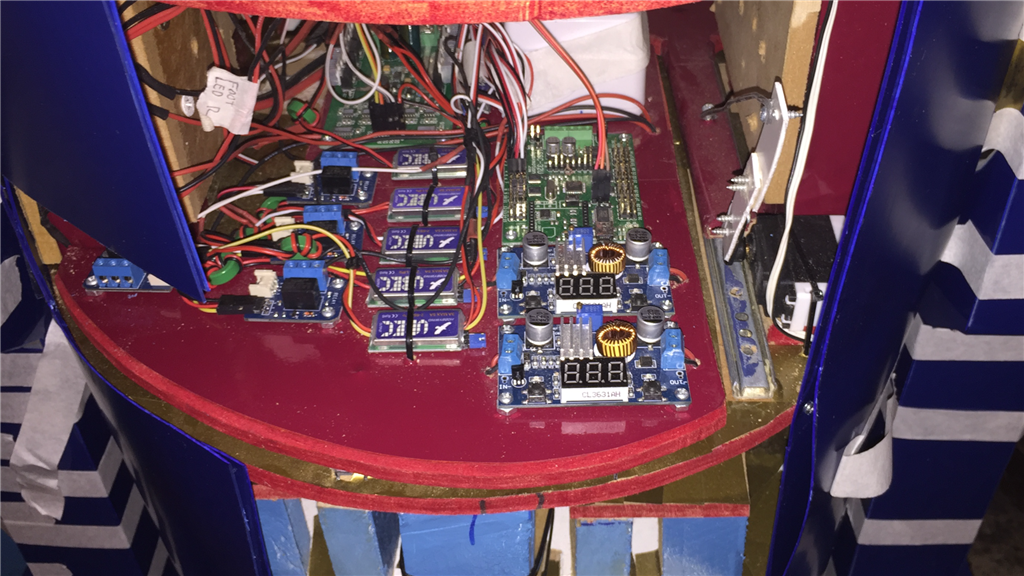
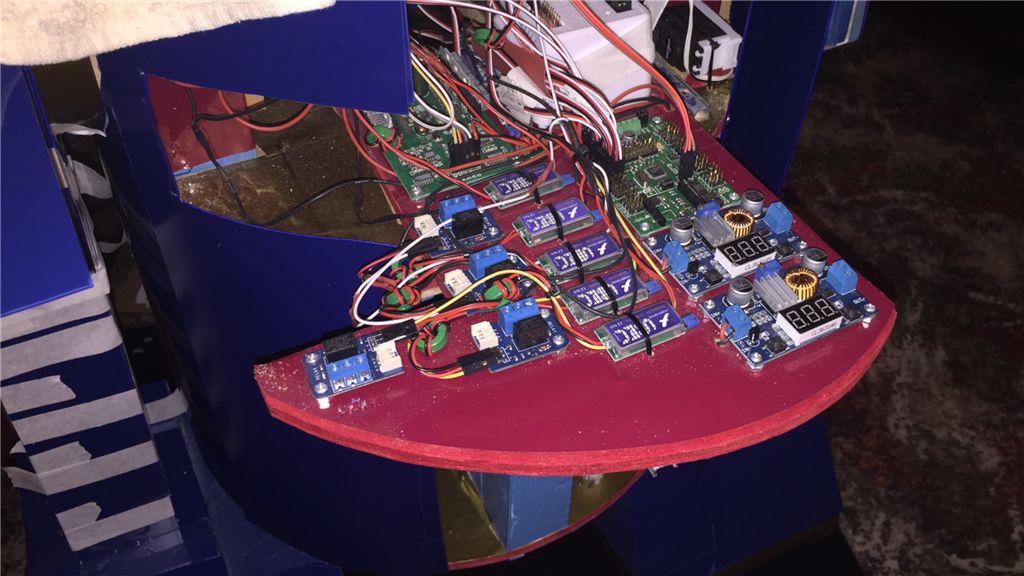
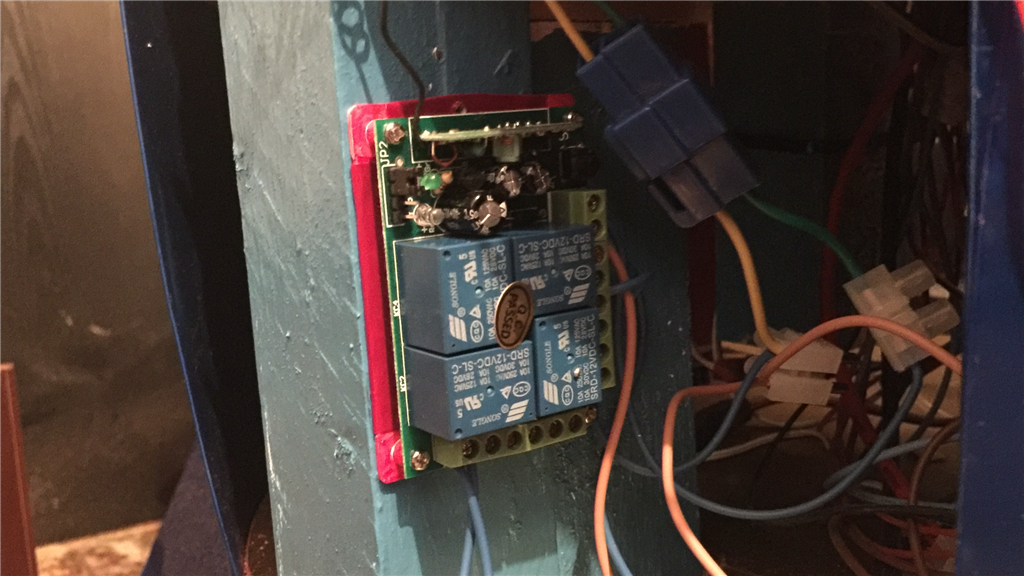
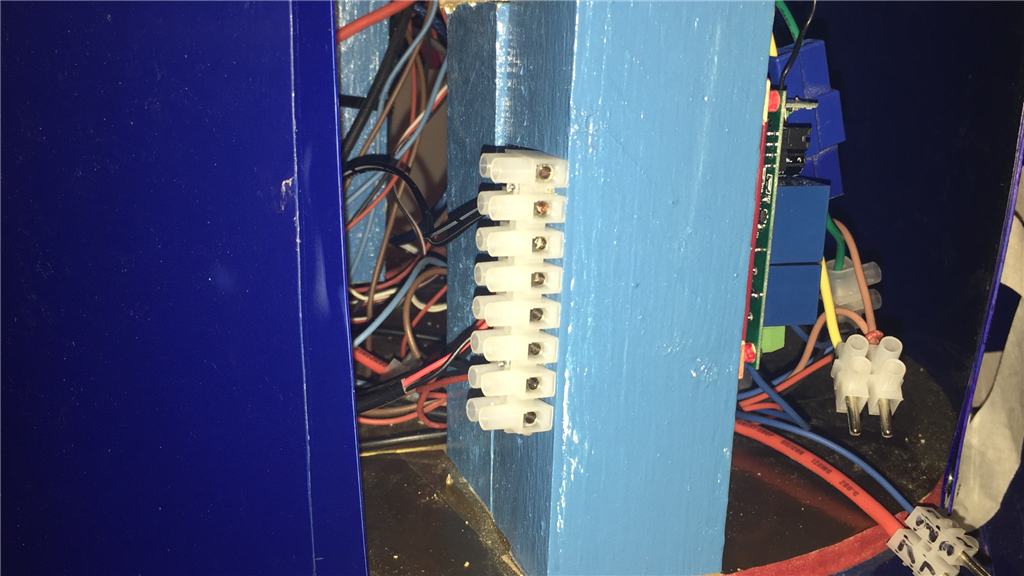
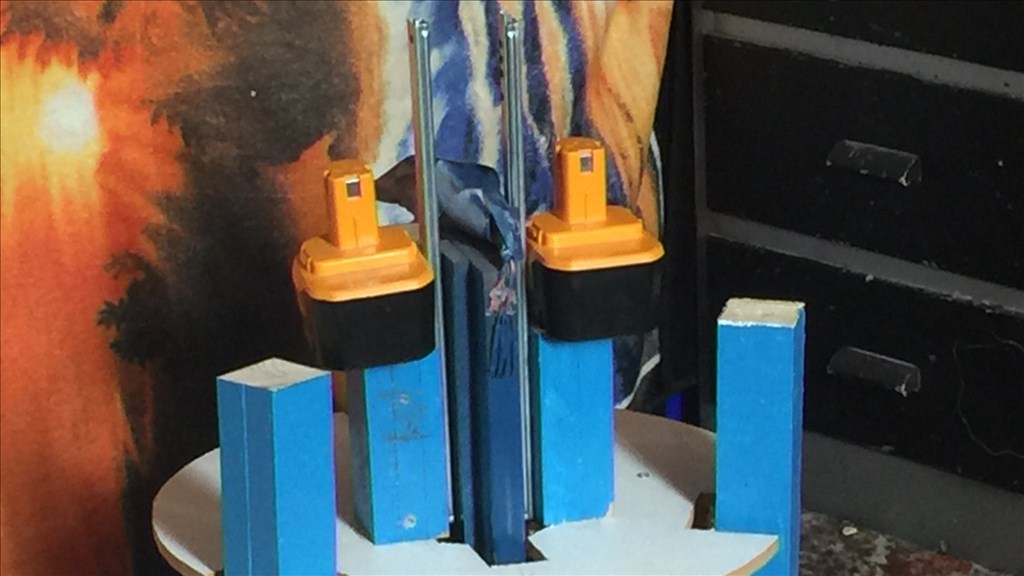
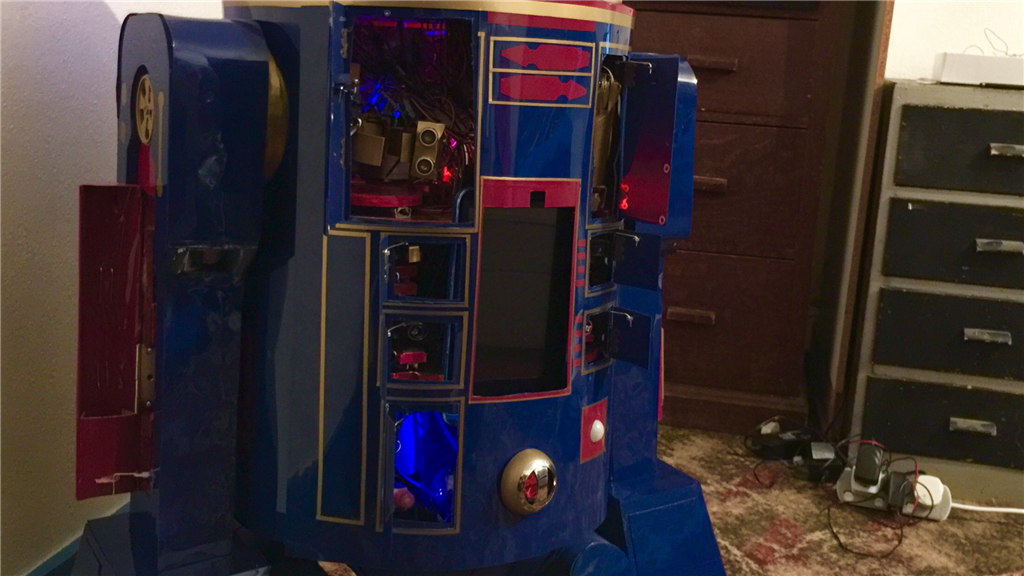
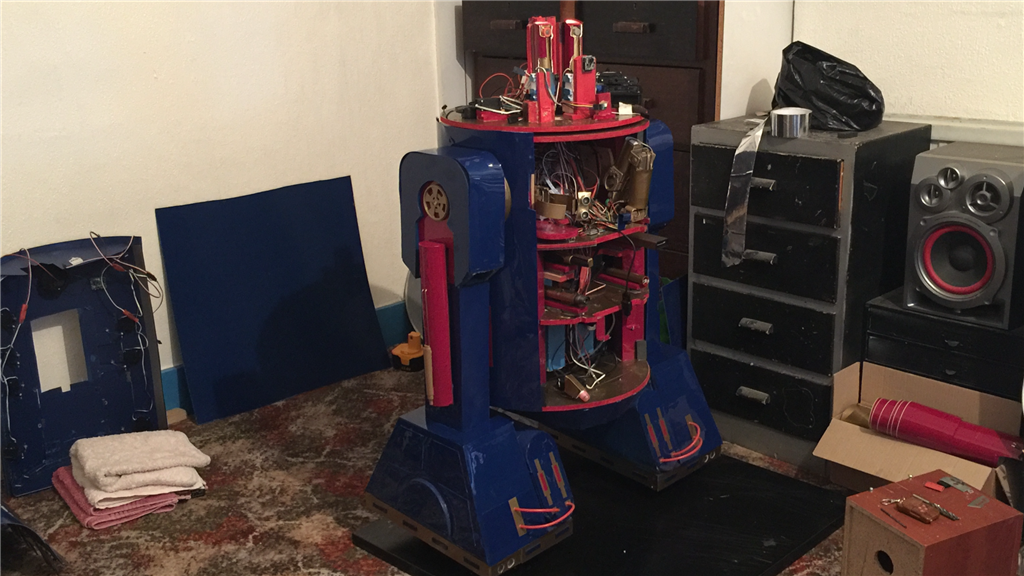
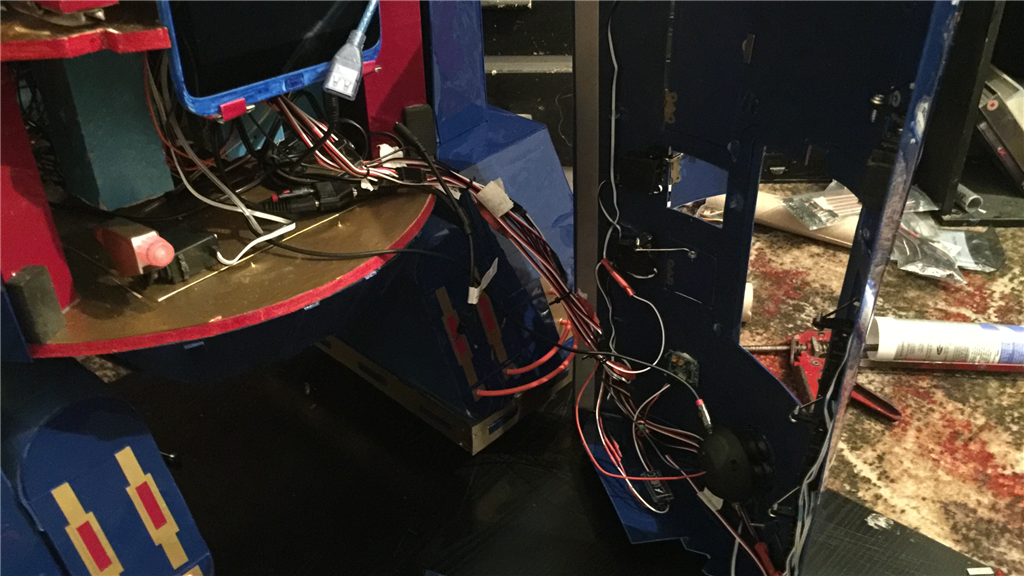
So since the last update, I've fixed up a remote relay power switch for the EZ-B, peripherals, and motor controller systems, and fitted a 8x terminal plug to charge the EZ-B 7.2v battery, 12v motors battery, tablet and projector batteries. This will be accessed via a small flap I'll make for the rear skin.
Talking of skin, the front skin is almost finished. I've cut out the flaps, fixed them to some small hinges, and attached some micro servos with linkages. I also received the steel strips which have been fitted, so the skin is nice and sturdy, and holds to the magnets in the body really well.
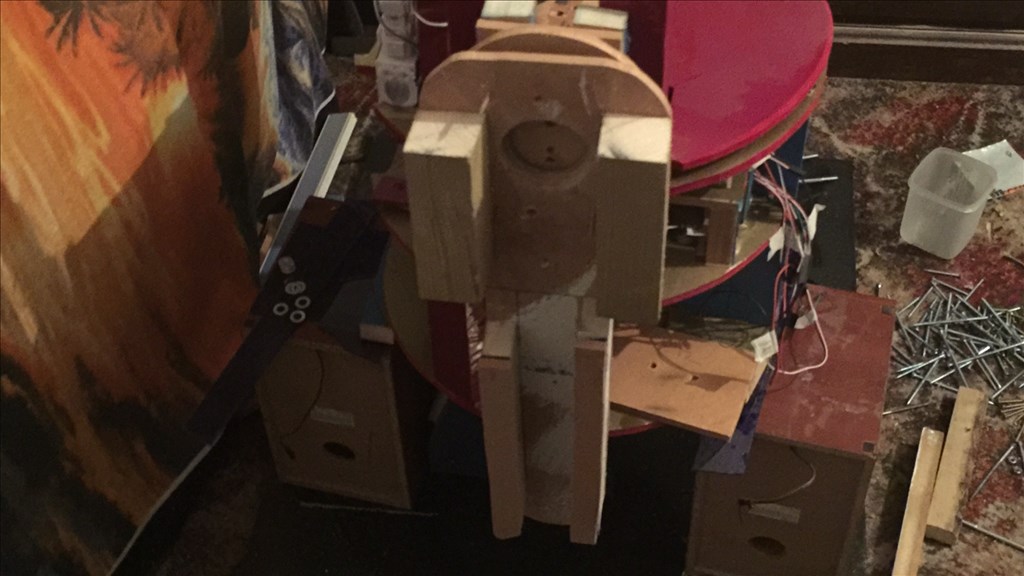
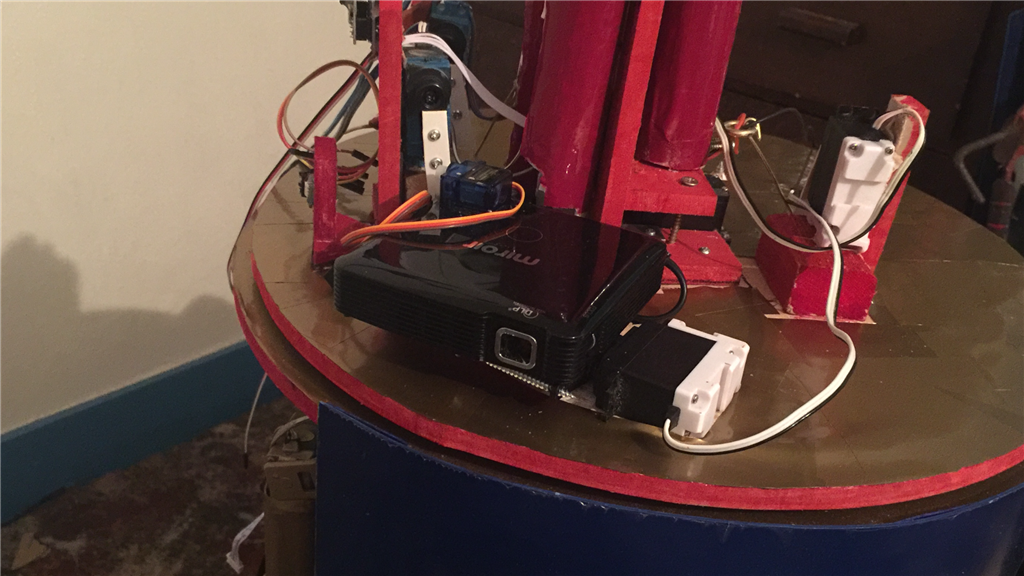
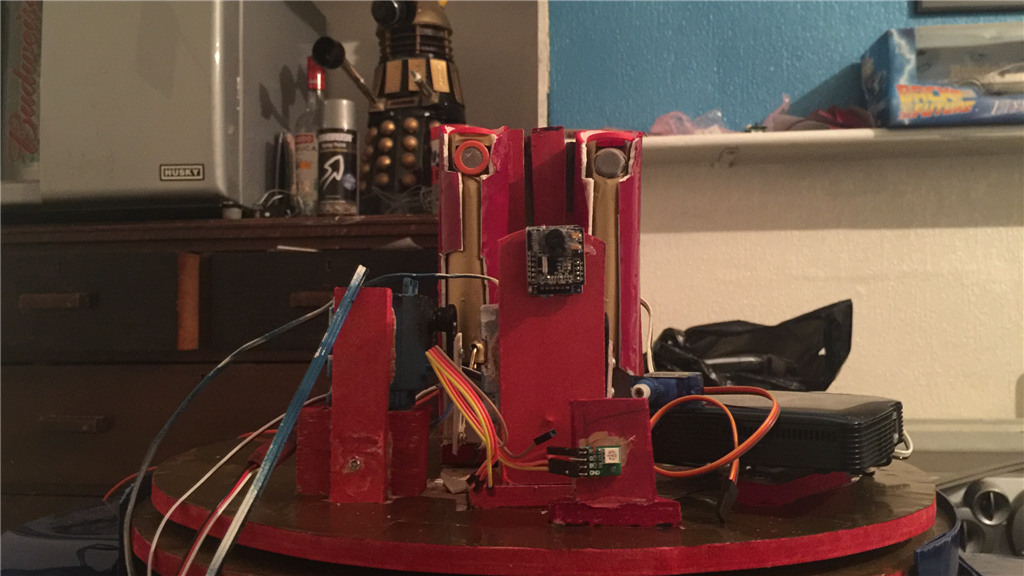
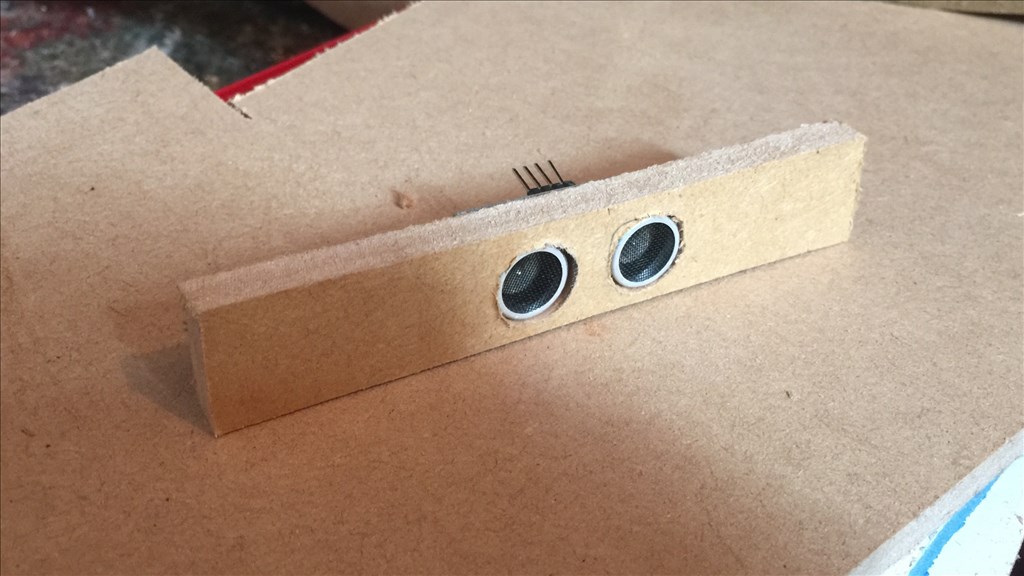
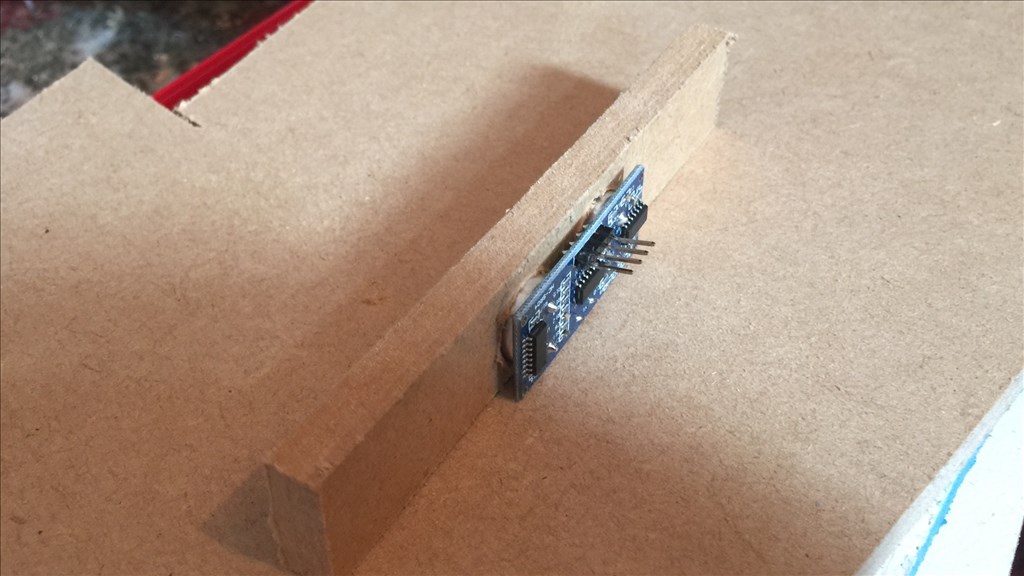
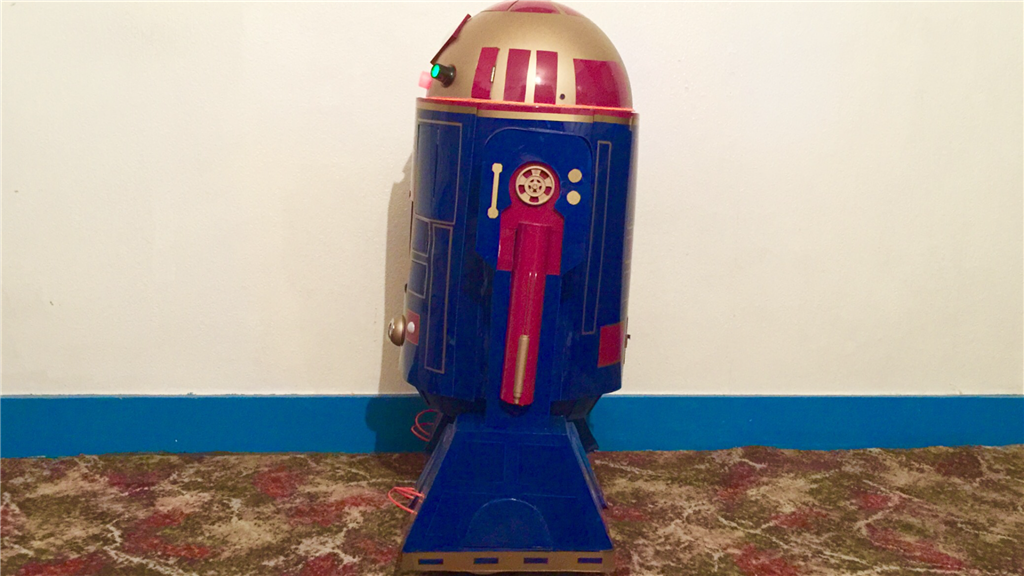
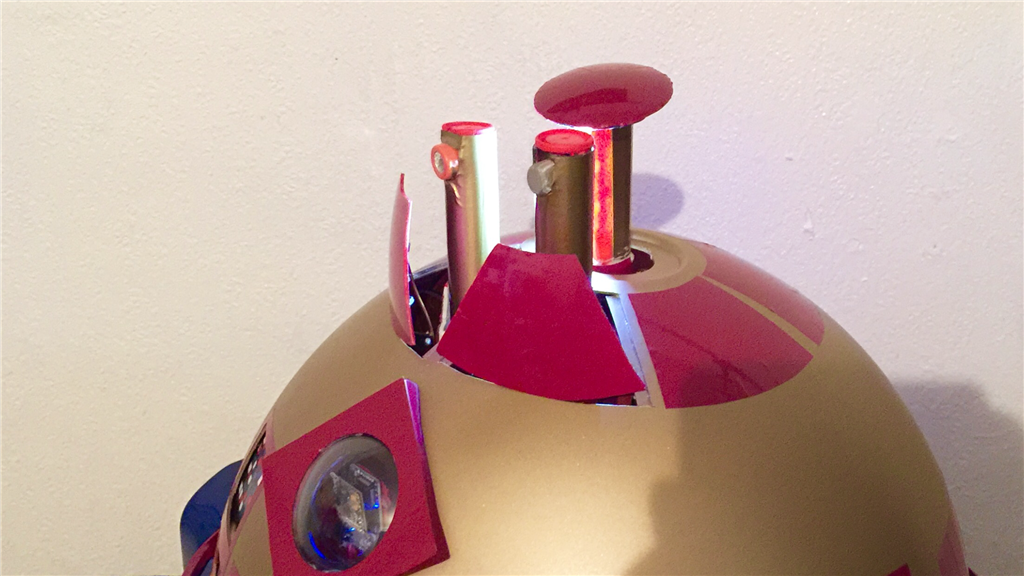
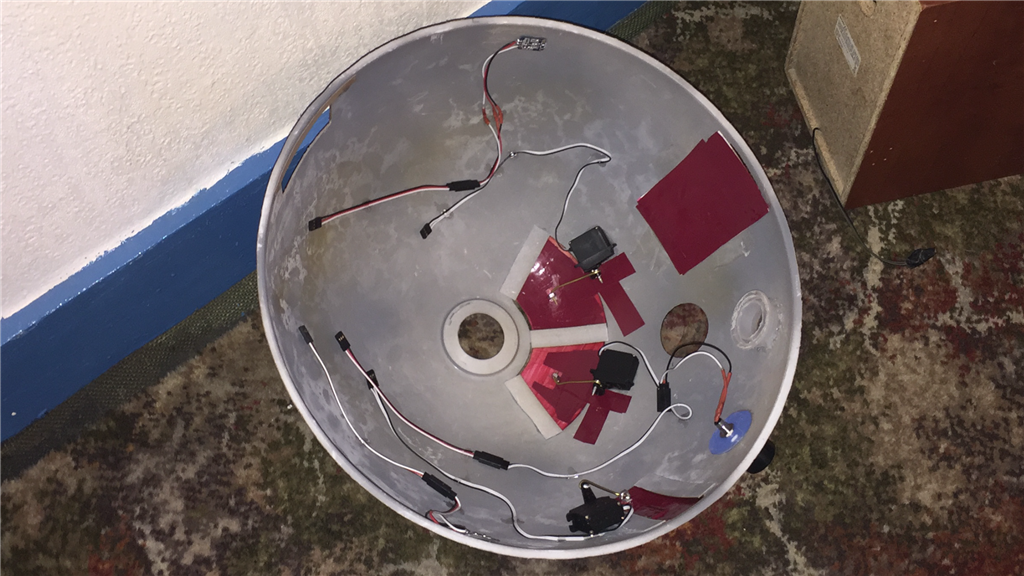
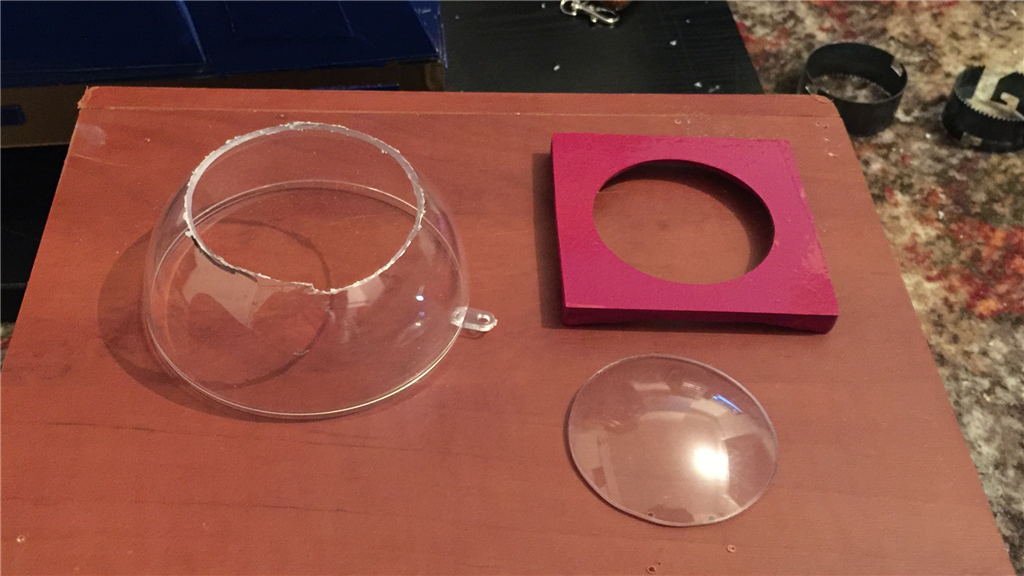
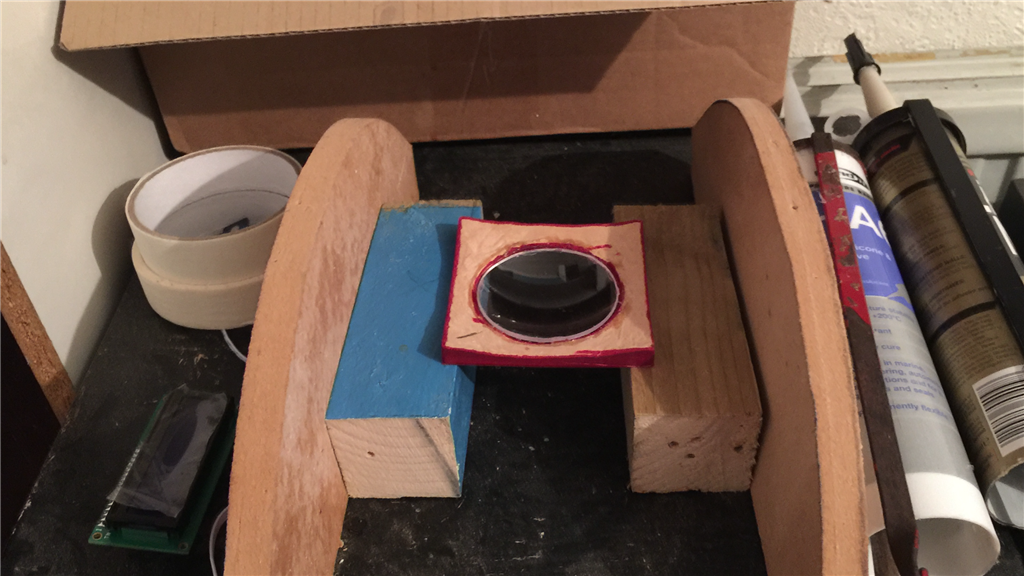
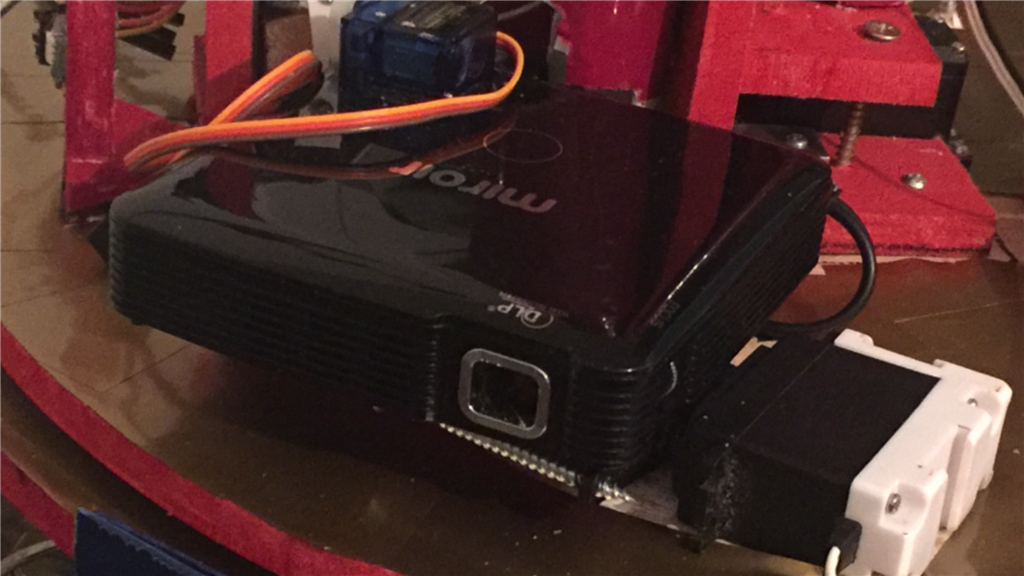
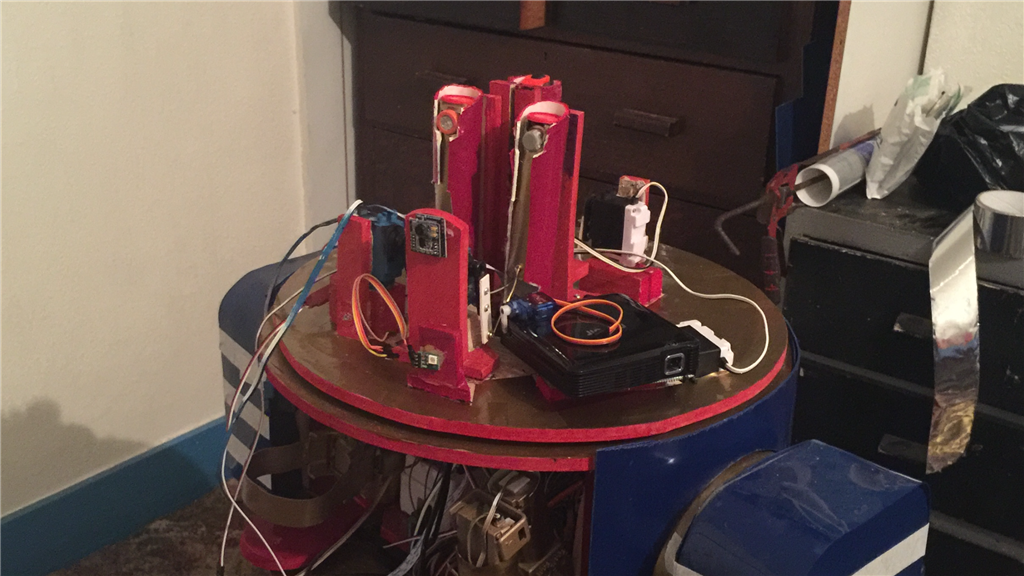
I also made a good start of the head section. I made up some actuators using some PVC pipe and fitted some HD servos and linkages to a couple of sensors and a spotlight I made in the last update. I've also fitted the pico projector on to a counter ballance, and fitted a servo along side it to adjust the projection height. I opened up the projector to try and bypass the On/Off switch so I could wire it to a relay, but for whatever reason, it would power up and promptly turn off again after a few seconds. Thinking it was a flat battery I charged it up but did the same thing again. So I had to do it the "dirty way" and fitted a cheap micro servo to the power switch. Works like a charm.
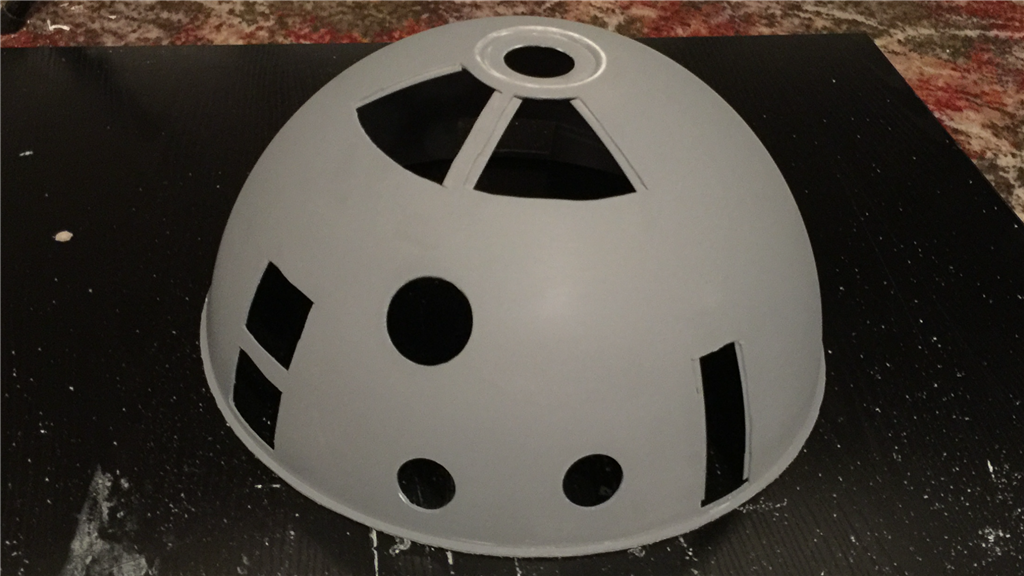
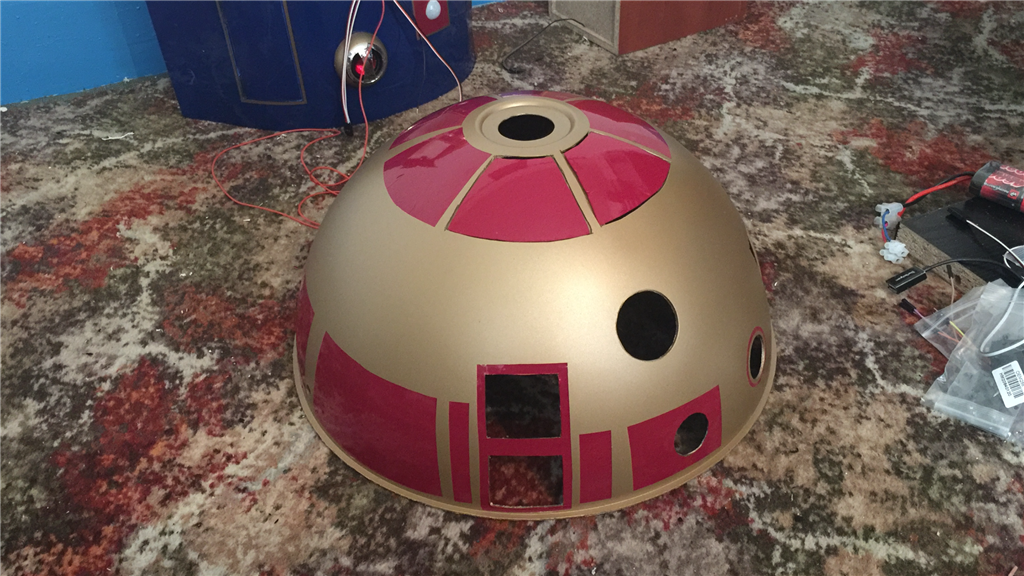
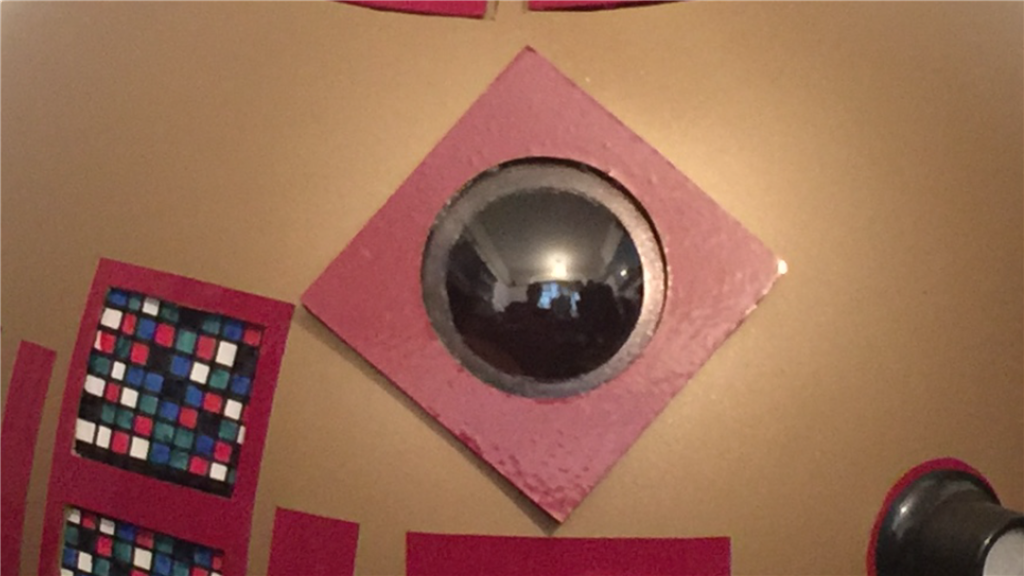
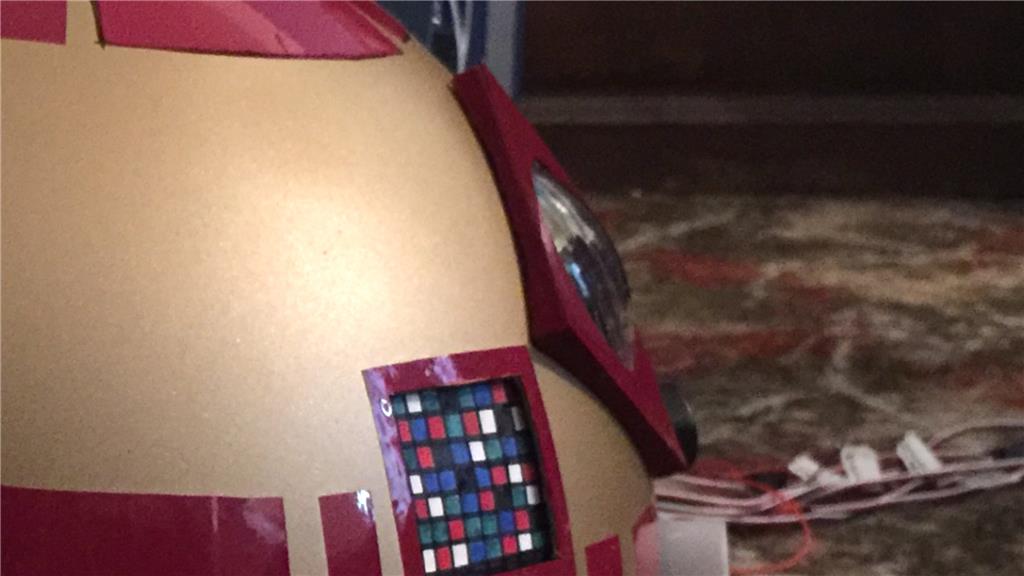
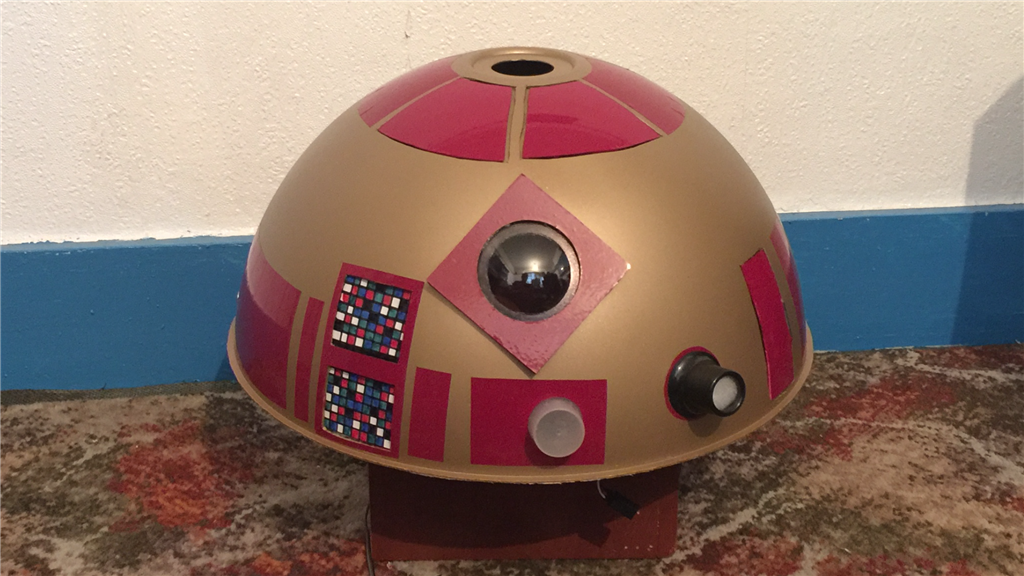
The v4 camera is in place, along with an RGB LED. A couple of more jobs need doing then it's finished. I managed to dodge the crappy weather the UK is experiencing at the moment for a day, and got to paint and lacquer the dome. It's currently stored away in a spare room for a week or two, to let the lacquer cure. A final bit of detailing and that will be finished too.
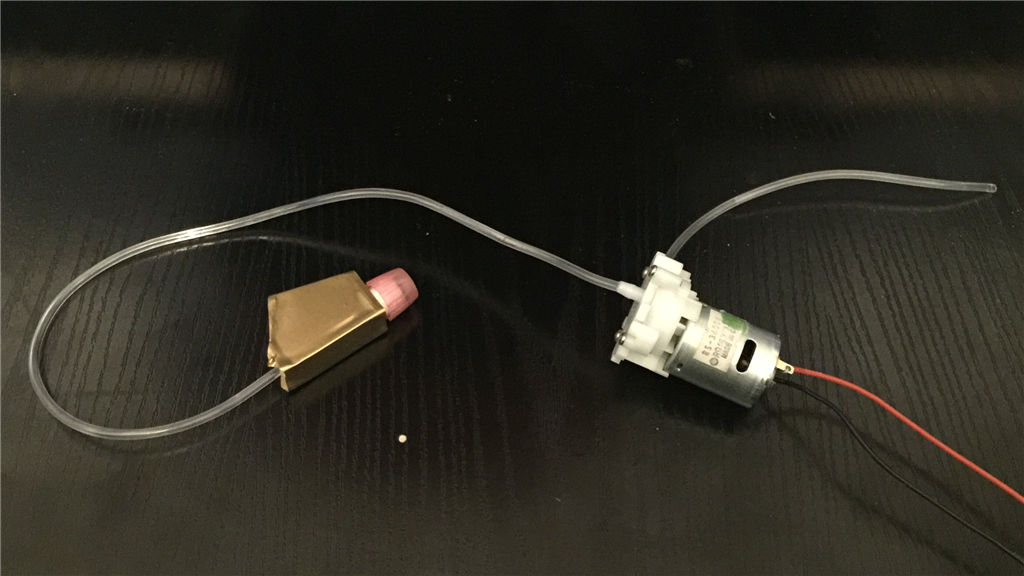
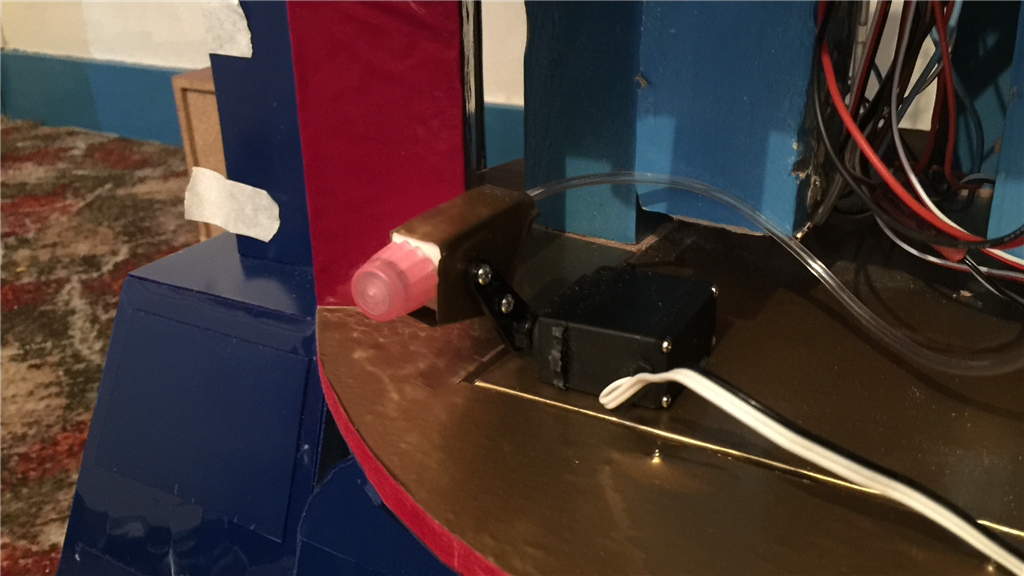
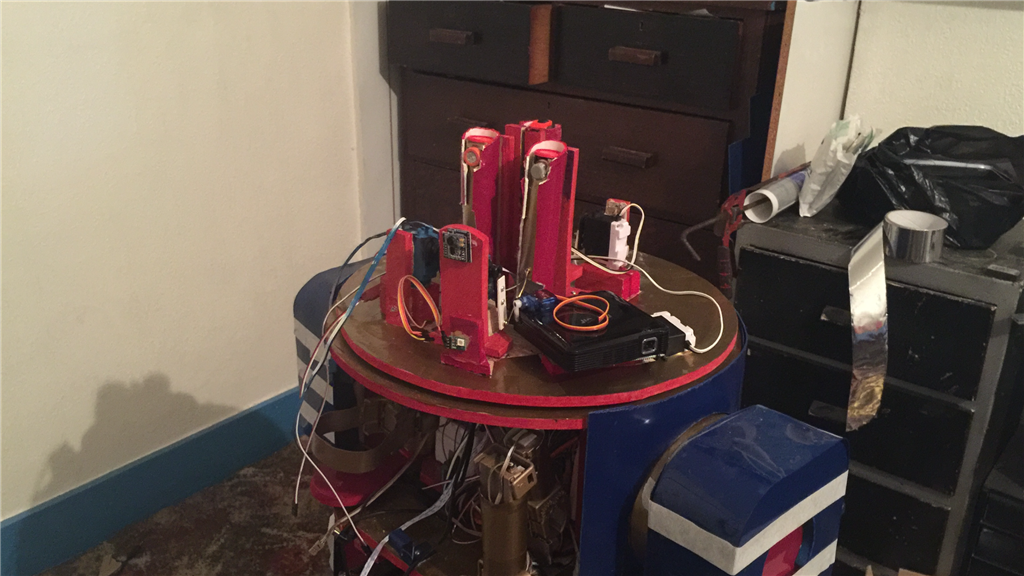
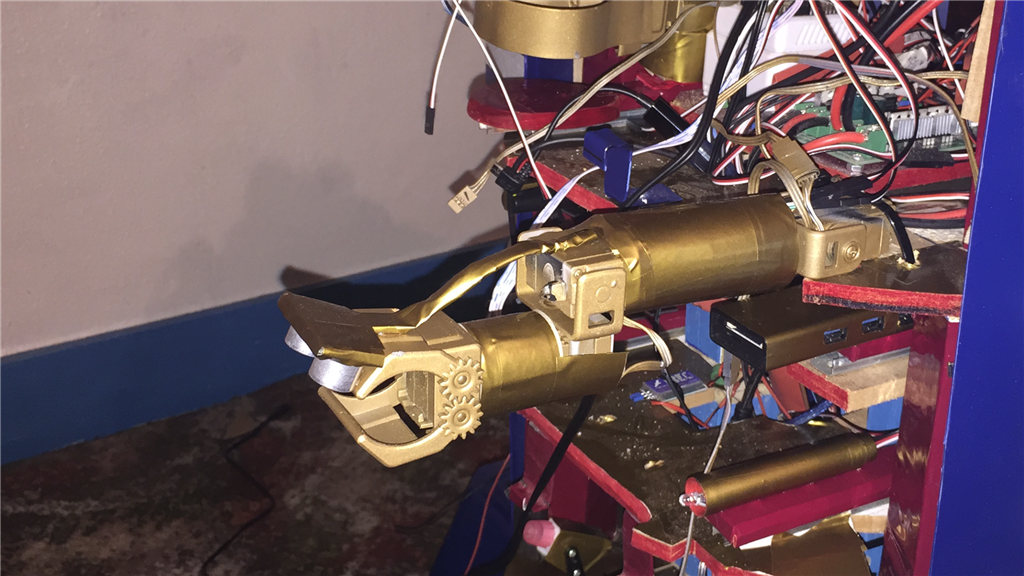
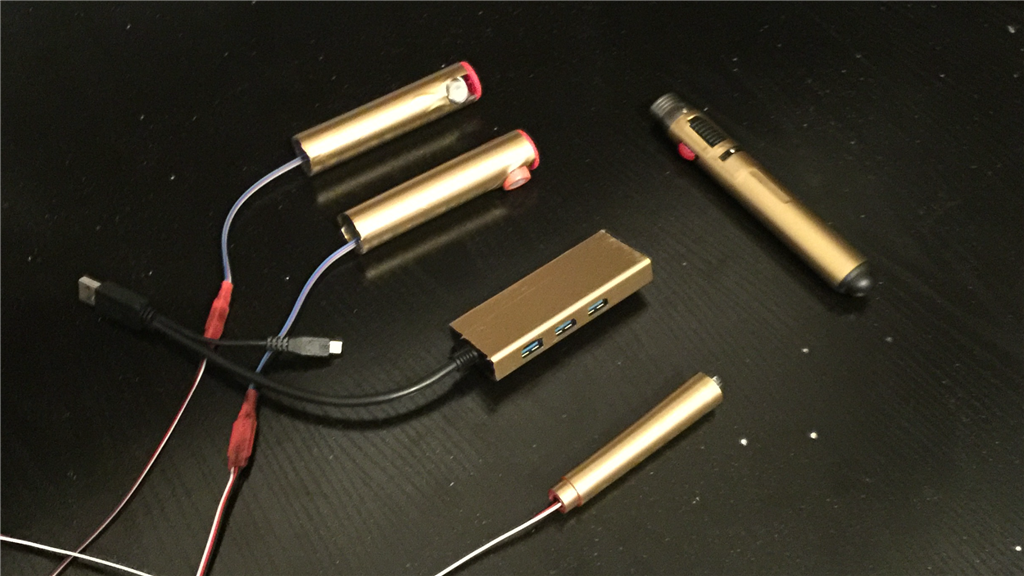
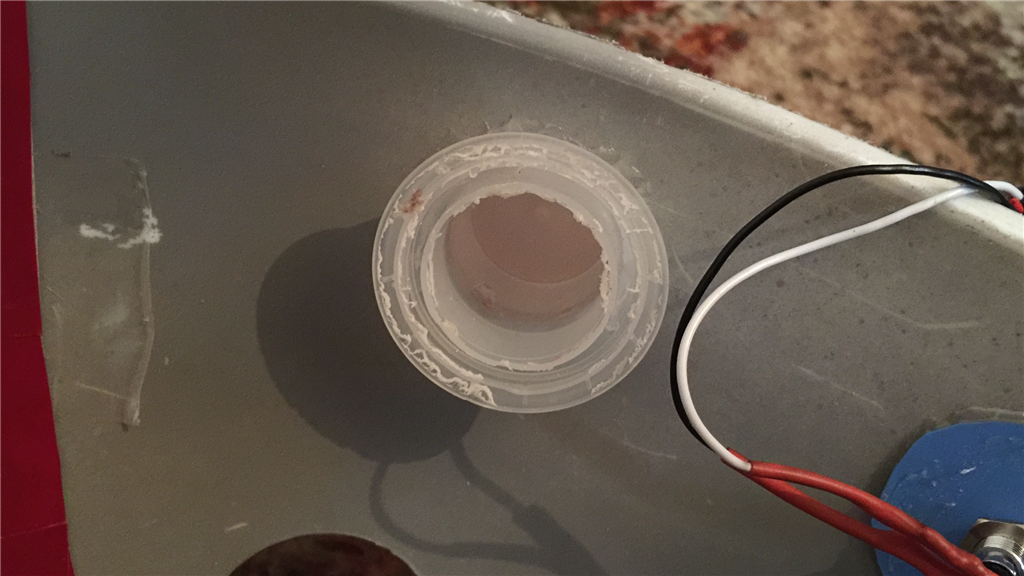
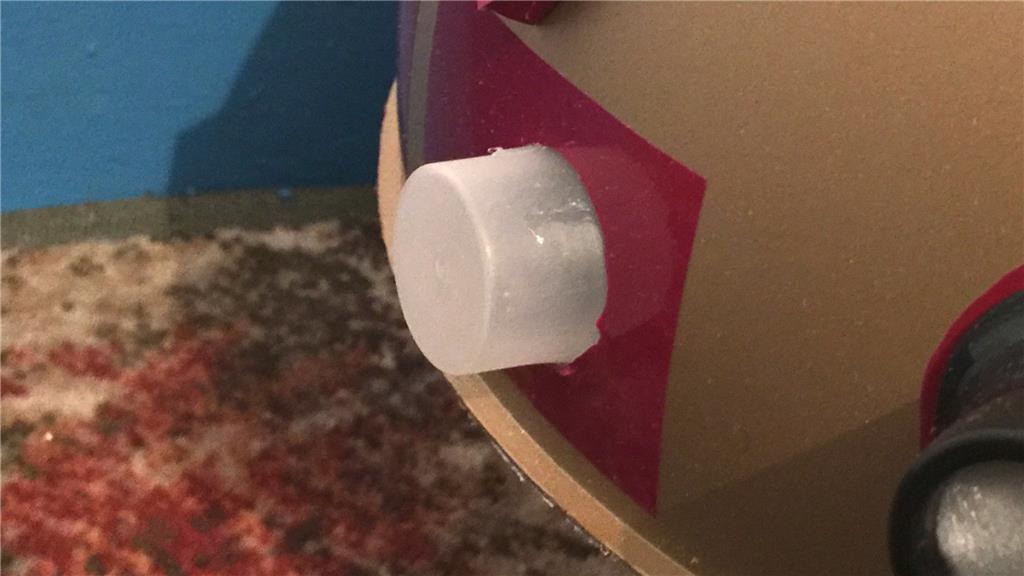
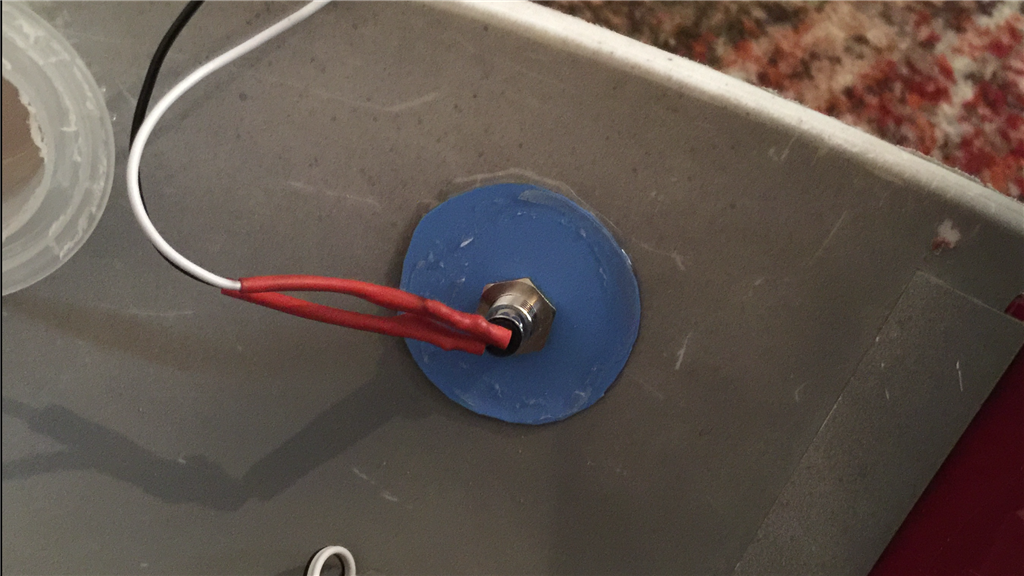
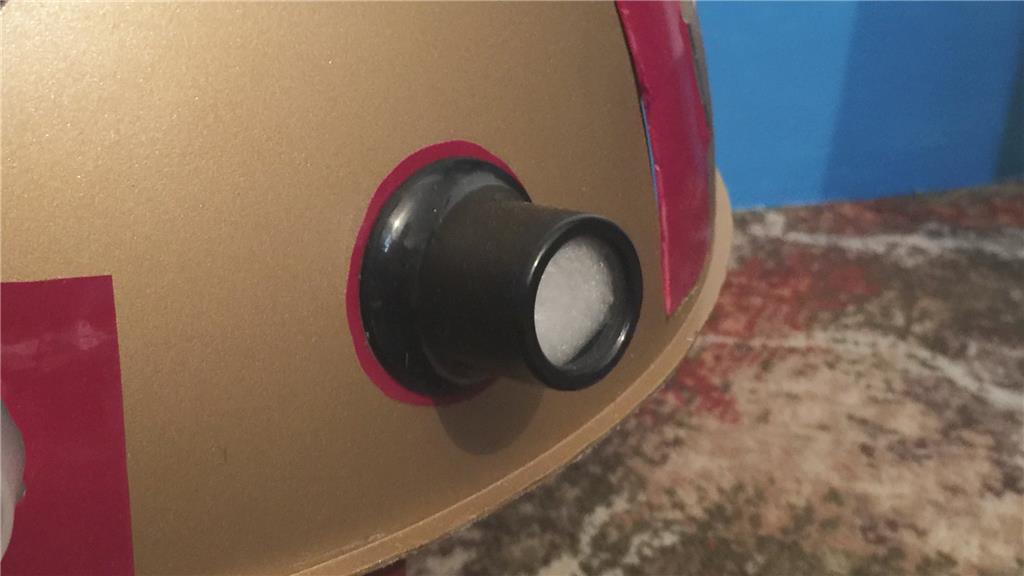
I got a few of my EZ-Bits and JD gripper together and made a manipulator arm which was partially painted, partially wrapped with gold vinyl. I added a ping sensor to it which will react when someone puts their hand nearby to give or take an item E4 is holding.
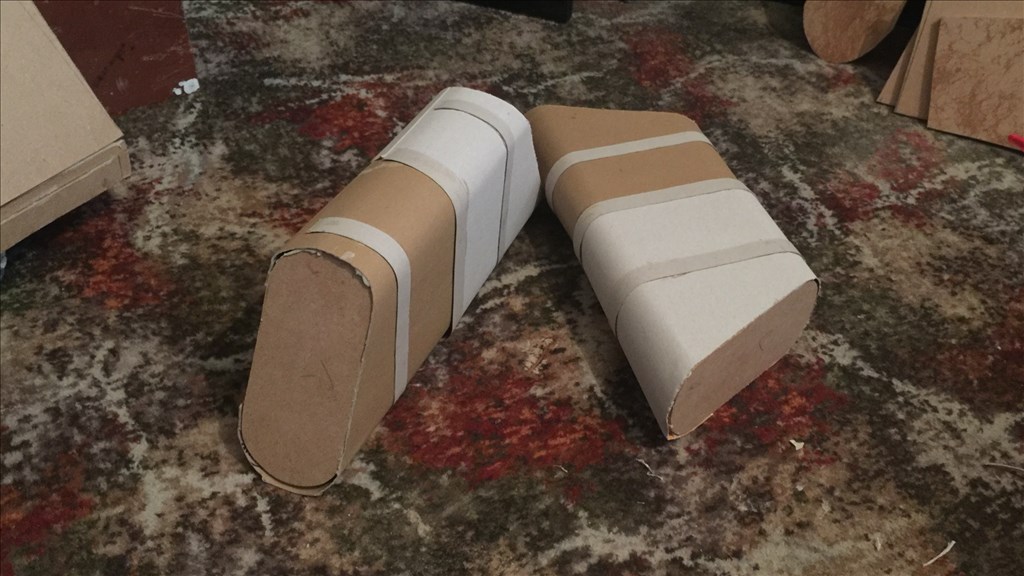
Finally, I have fitted the utility tools that I made previously, and are now waiting to be connected.
The next few jobs I'll be concentrating on over the next couple of days, will be to finish the head section and front skin, and to continue hooking up the newly added components. After a good clean up, I reckon E4-B4 will actually be finished within the next two weeks (the building part that is), then I can start on ARC and get this guy up and running.
Steve your droid is looking incredible! I can't believe how fast its going together.. jealous astromech owner
Aaron