


Day 1 (4th August 2015)
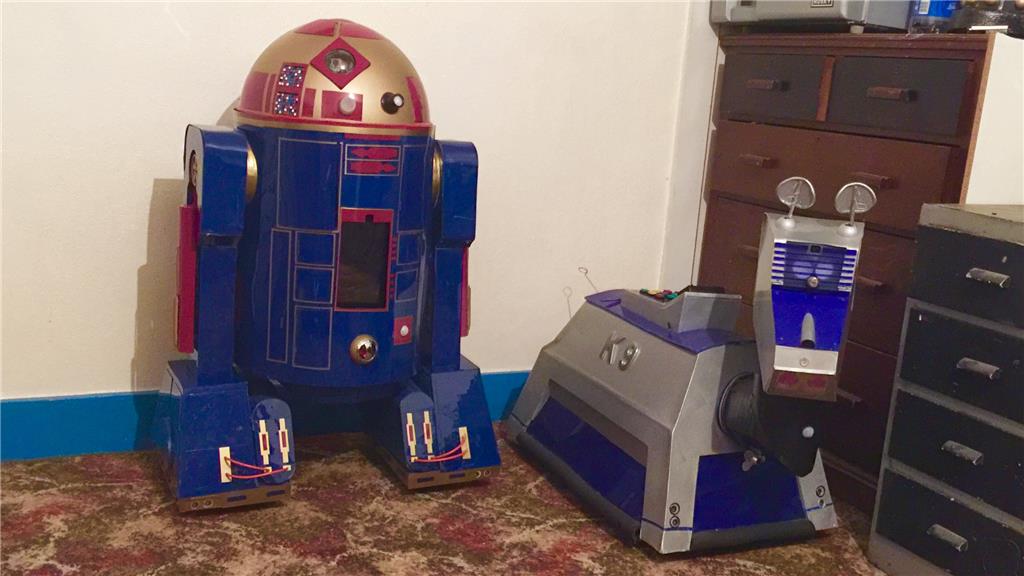
So after throwing around a few ideas for a new project to sink my teeth in to, I decided to go ahead and do my own version of an Astromech Droid, rather an Astromech "Smartdroid". With K-9 being one of my all time favourite on-screen robots, R2-D2 was (and still is) just as much of an all time favourite of mine so building one of my own droids is a logical step for me. As my other robot showcases where posted when the majority of the work was done, this will be a build diary of sorts, with updates throughout the build.
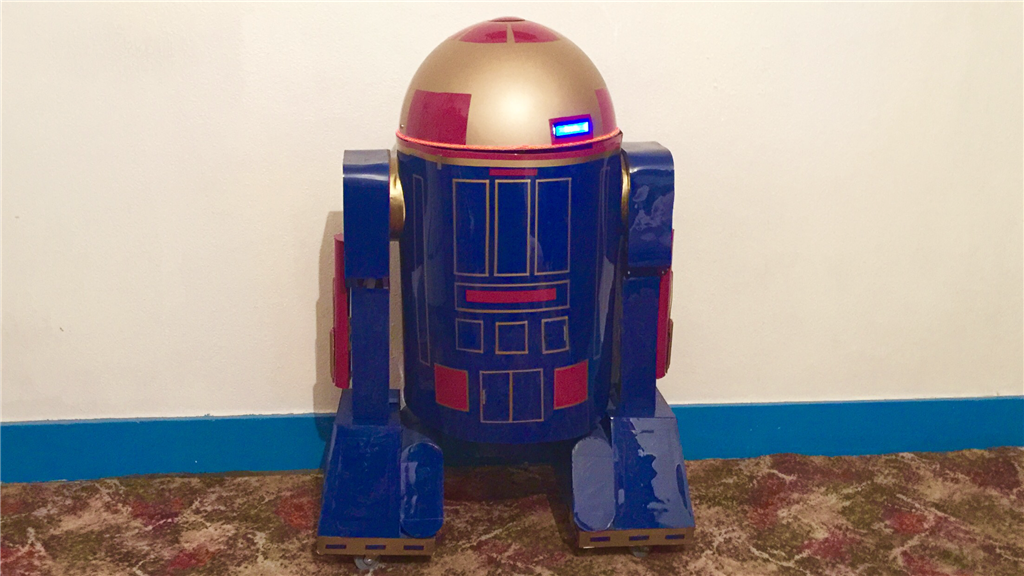
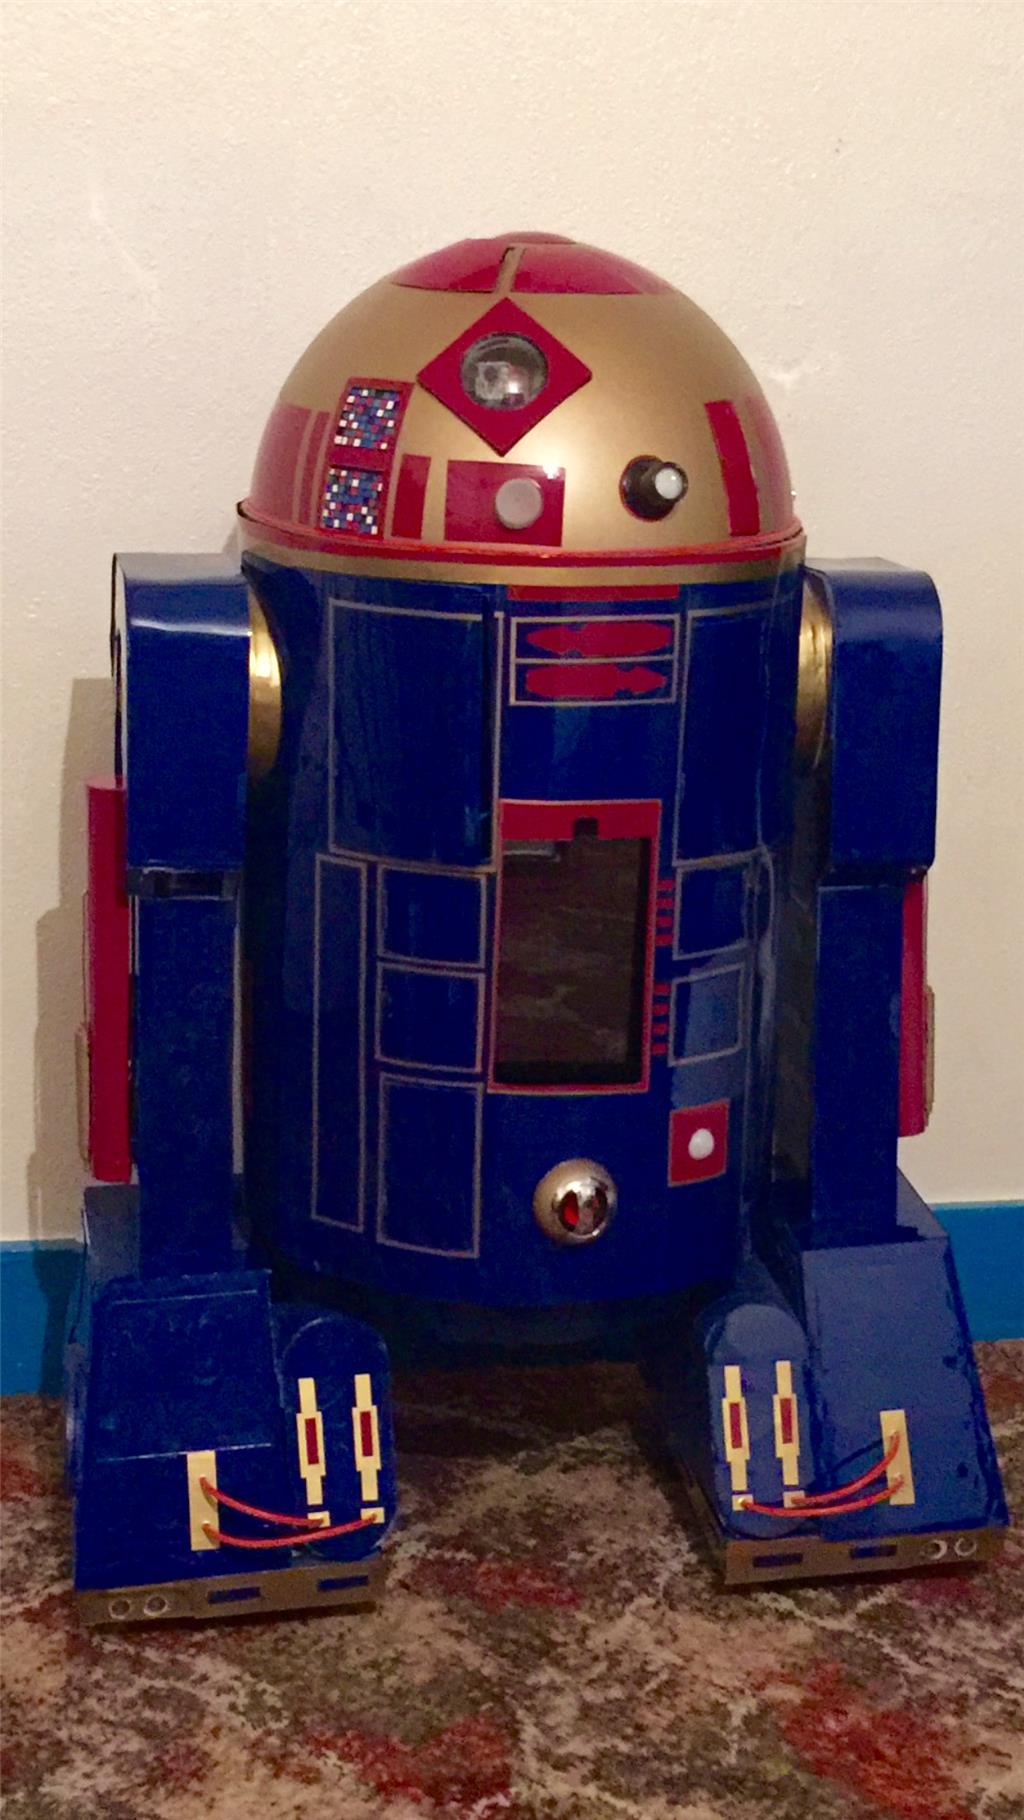
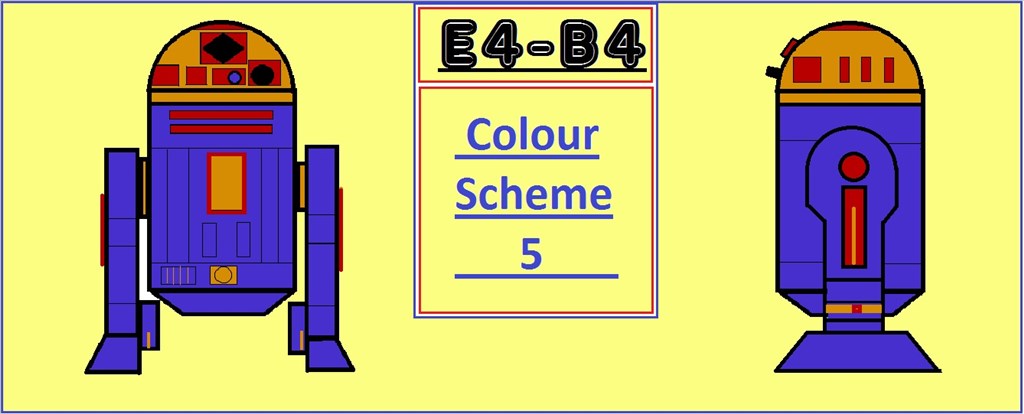
So wanting to get back to building, I had a few ideas floating around for my next BIG project and the thought about doing an R2 style robot came up a few times in the past (the blueprints I drew up that I've posted are 3 years old and was for an R/C version), and after encountering a few design issues for a large custom robot (which I will get back to one day), it was @Robot56's fantastic Astromech Droid project that was the final push for me to decide what direction I should go. There are so many great scale replica Astromech builds around that people have done, but much like my K-9 2.0 build, I want to stay away from doing an exact prop replica build and do a custom build with custom paint job (as seen in the blueprints) while still keeping with the overall original design.
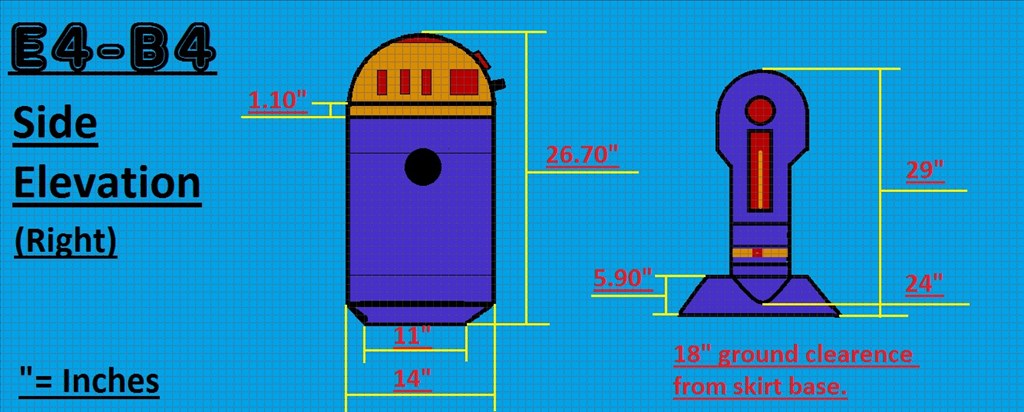
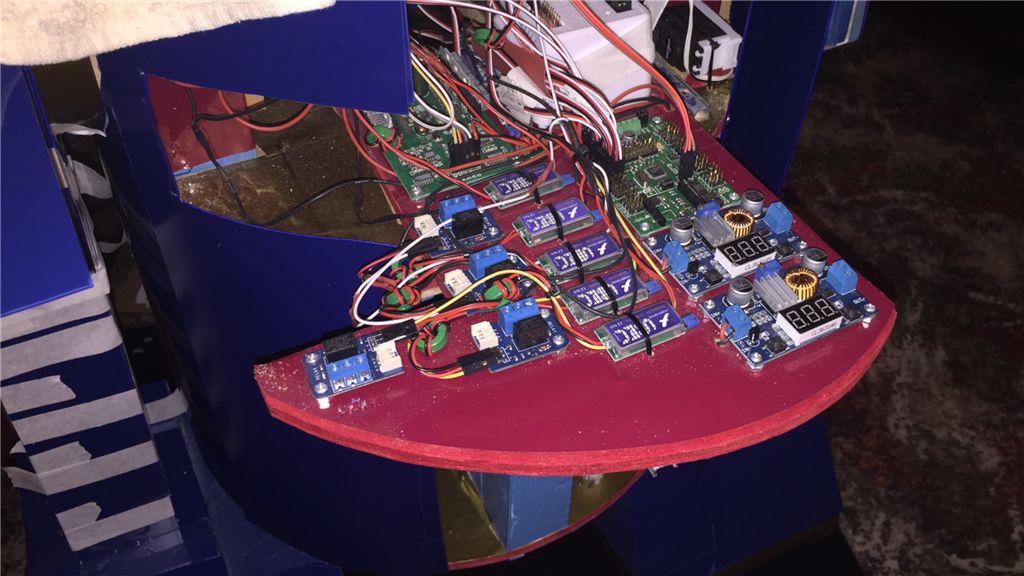
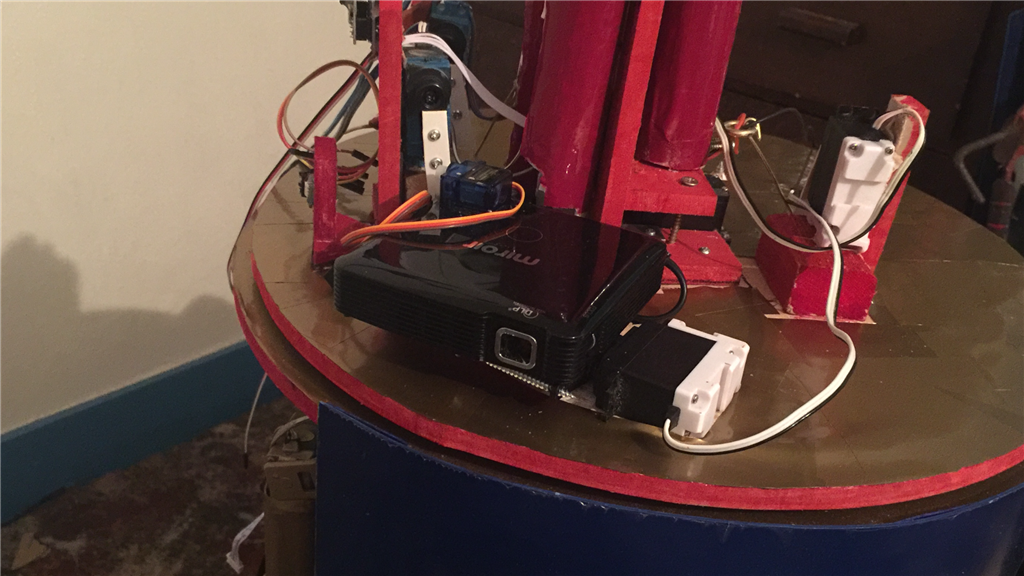
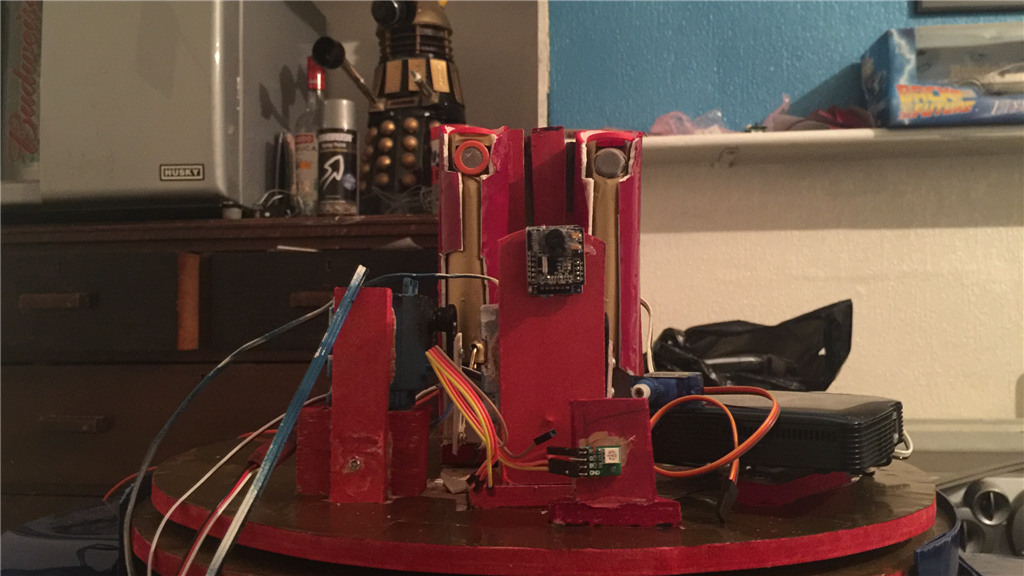
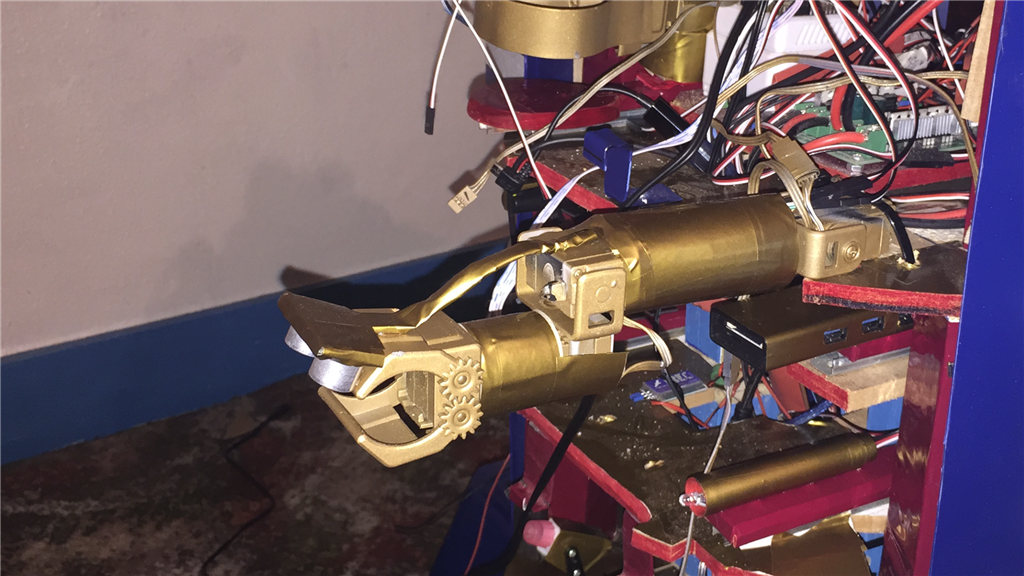
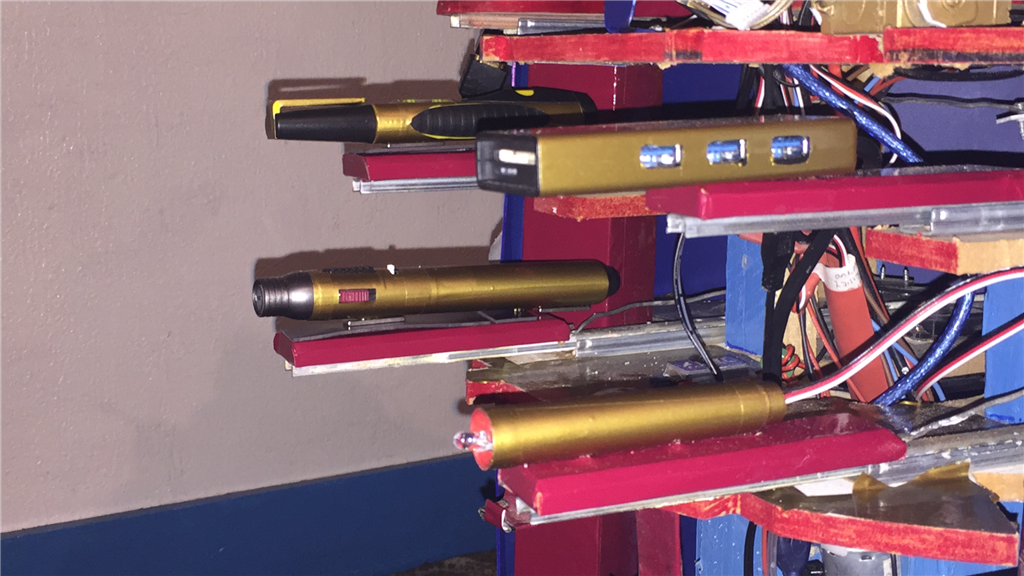
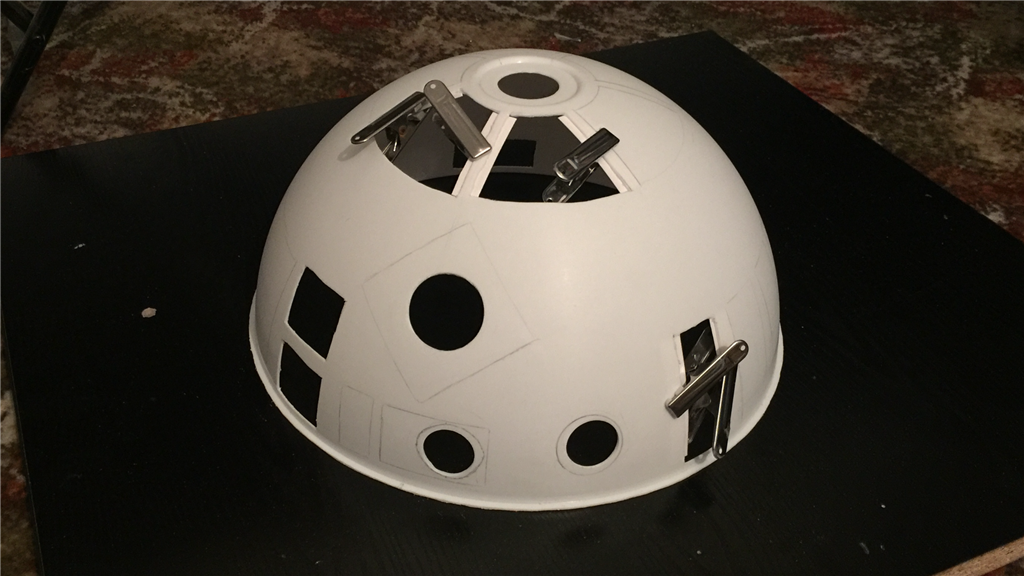
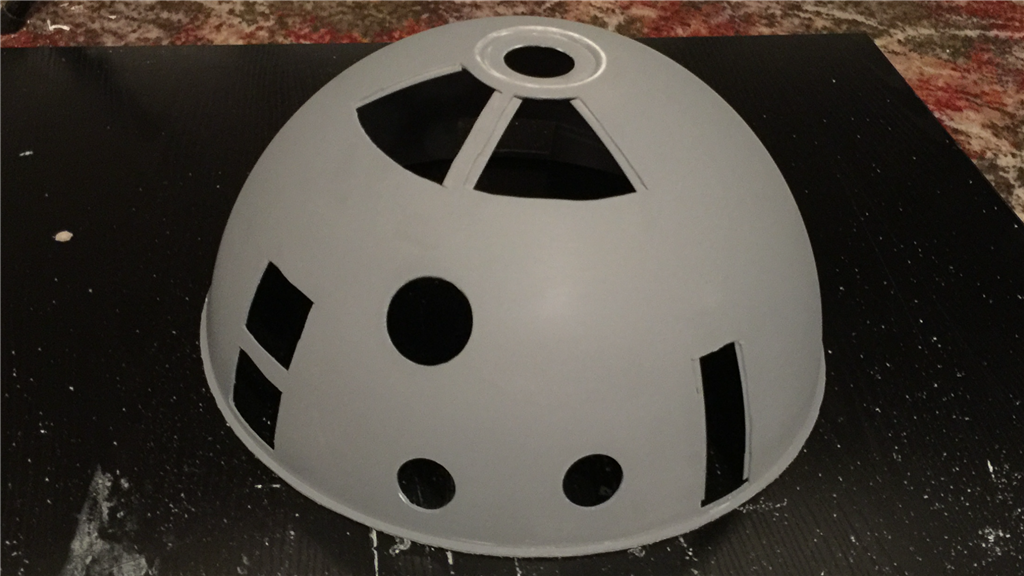
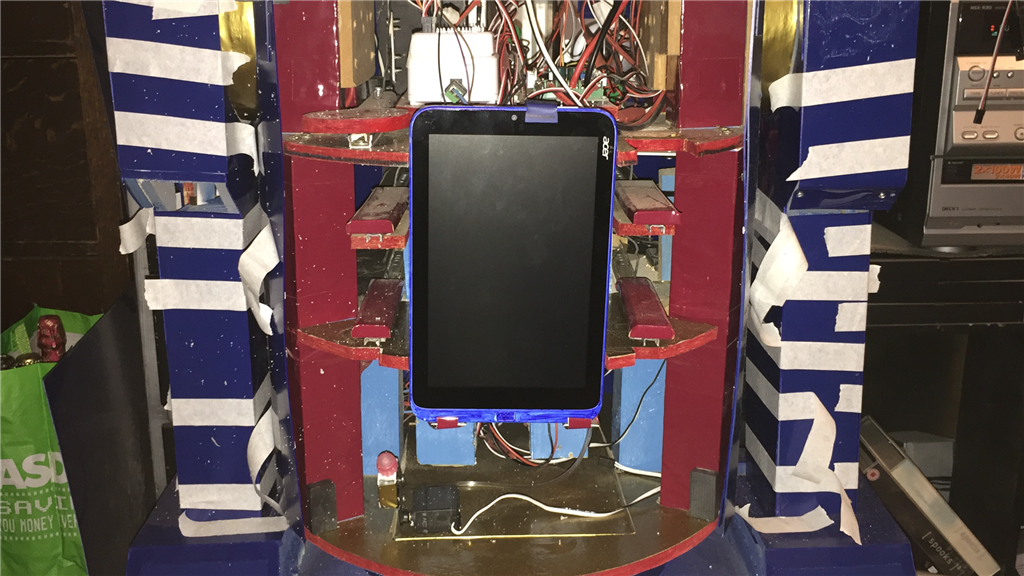
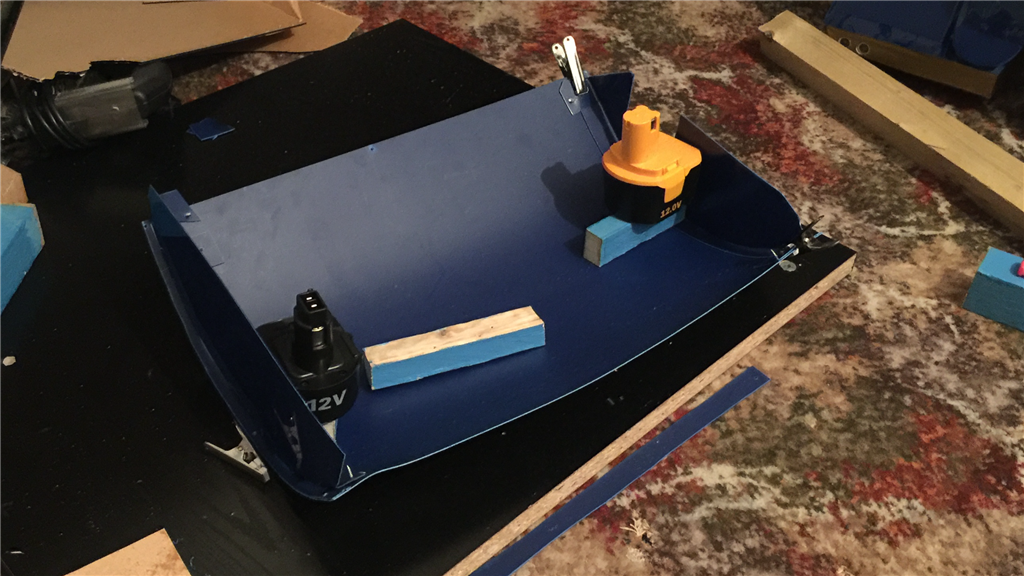
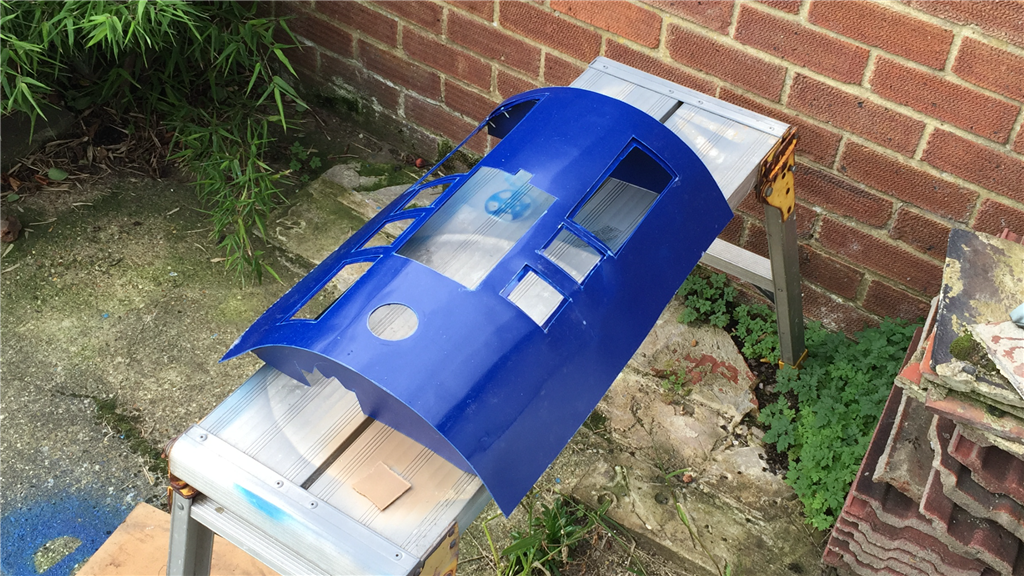
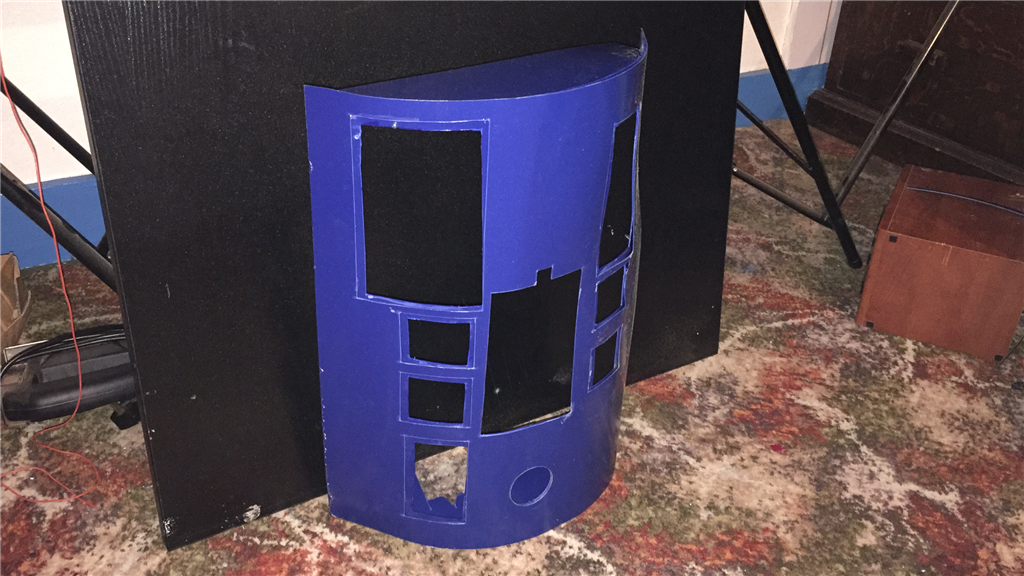
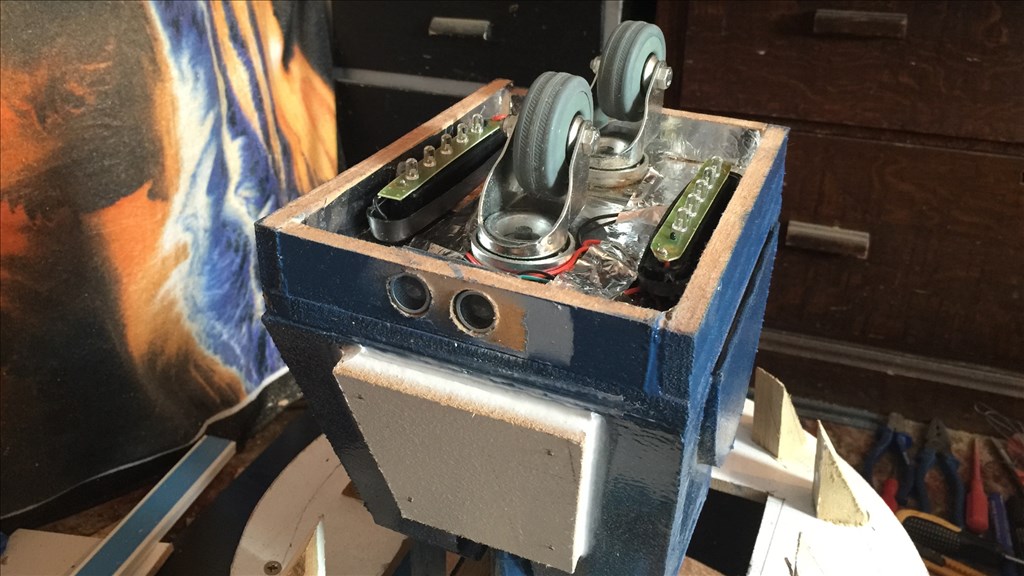
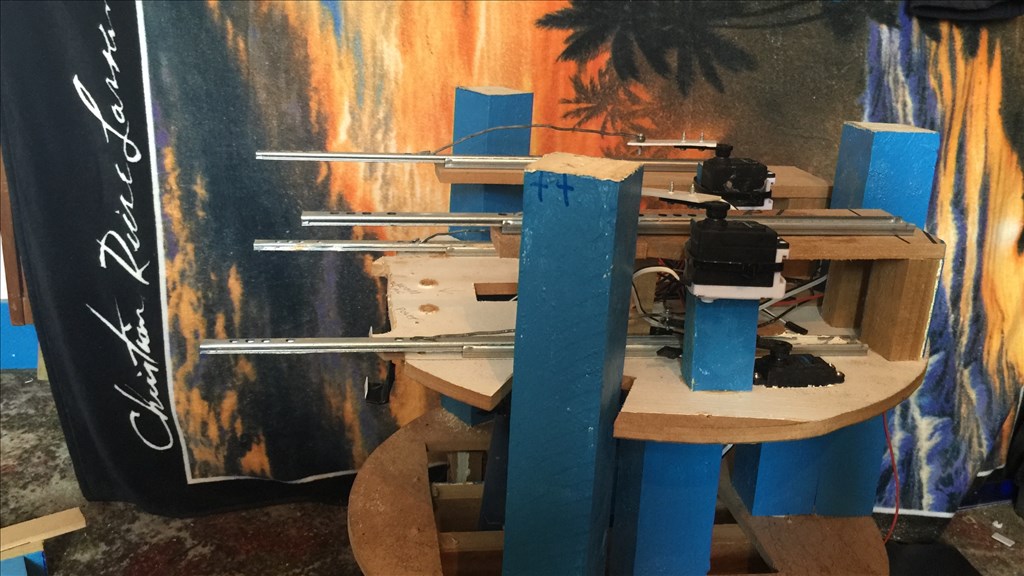
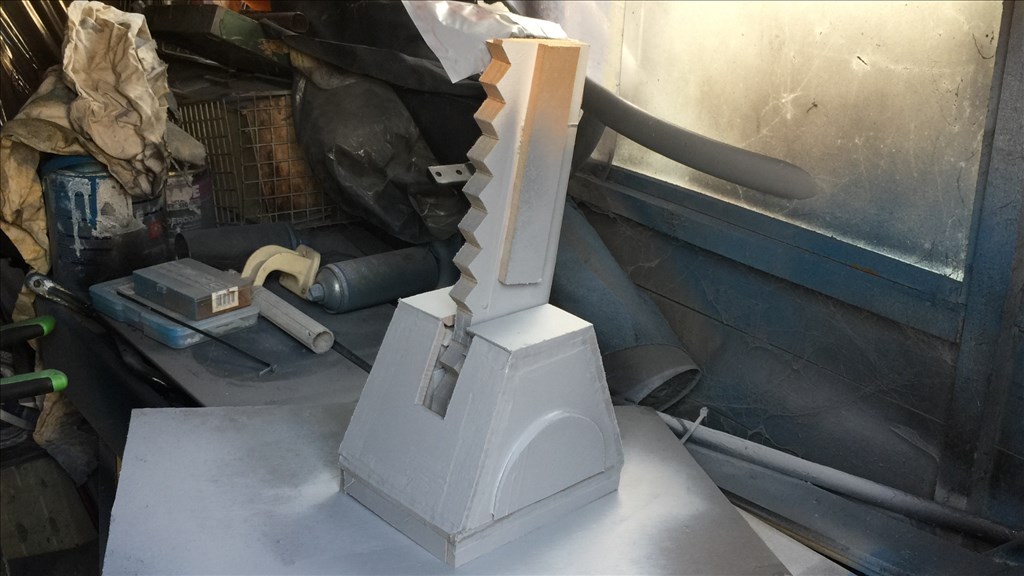
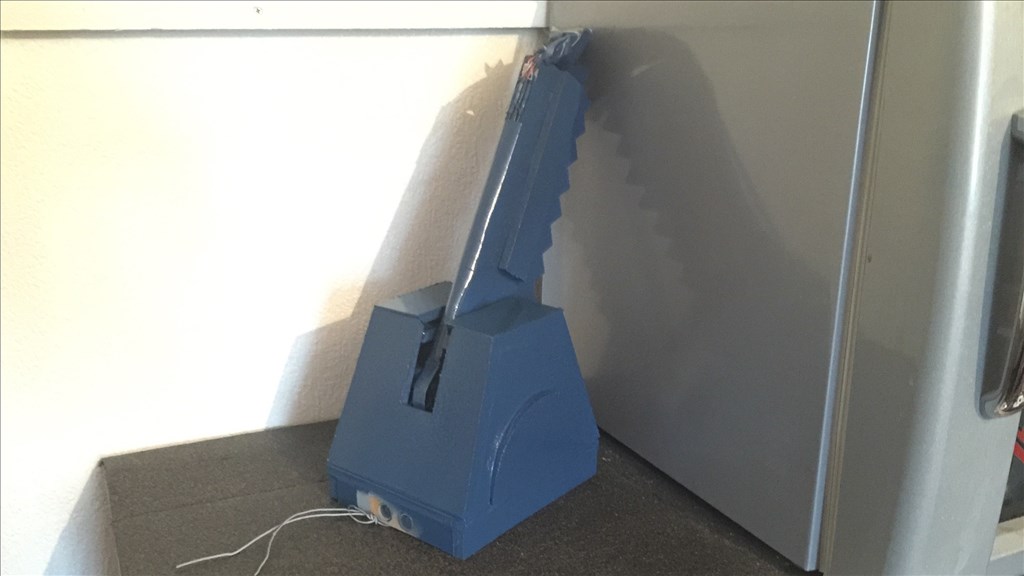
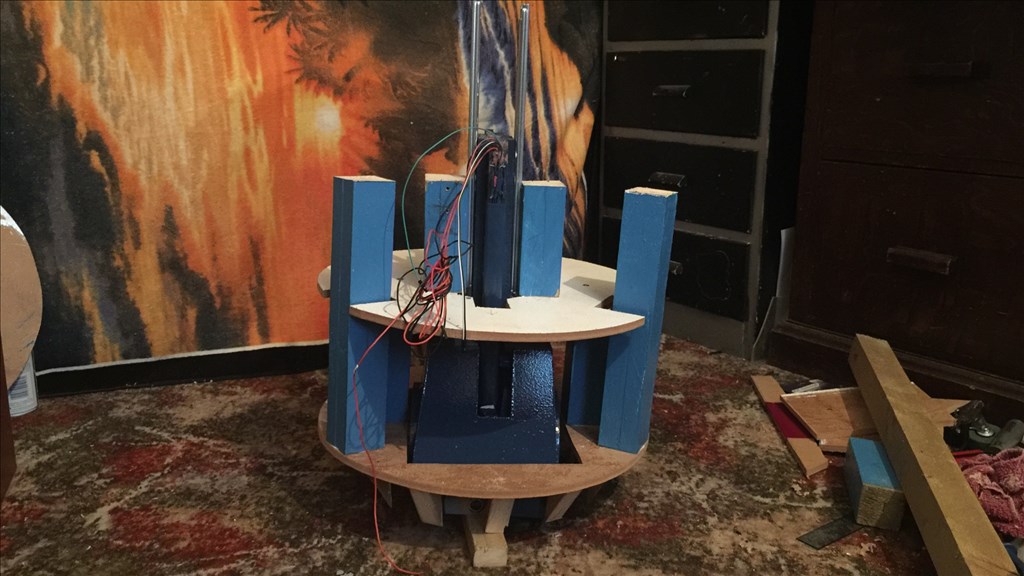
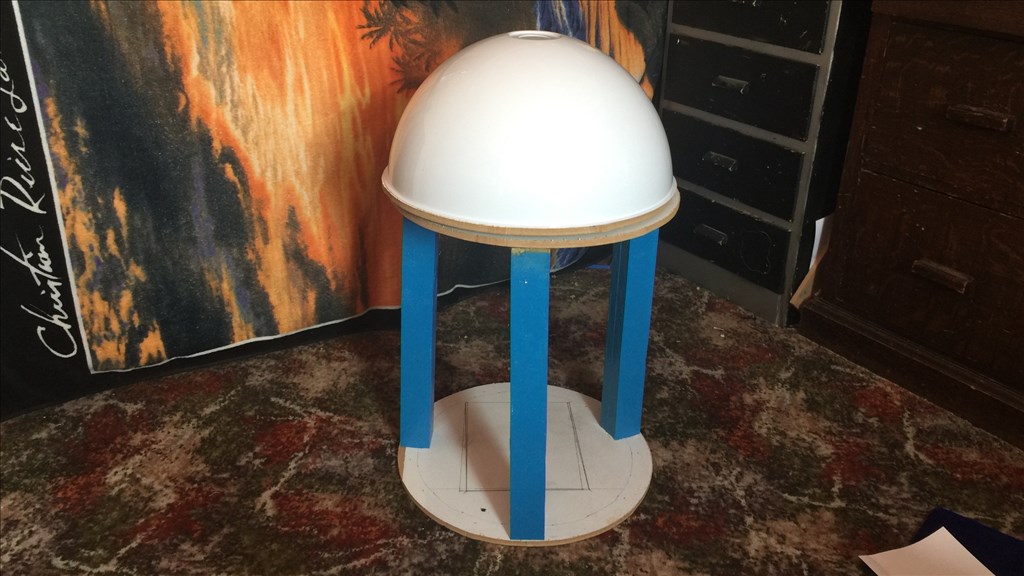
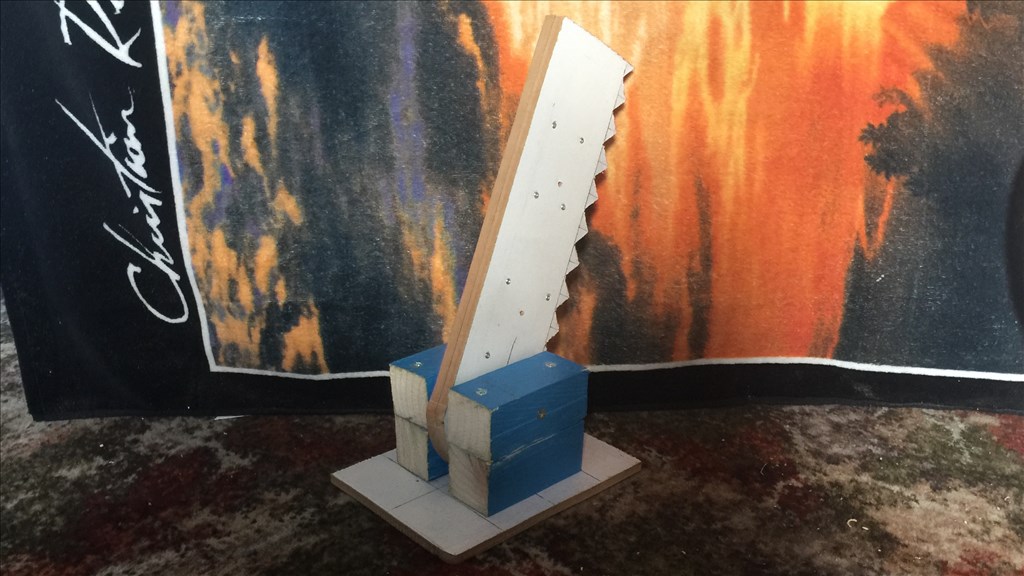
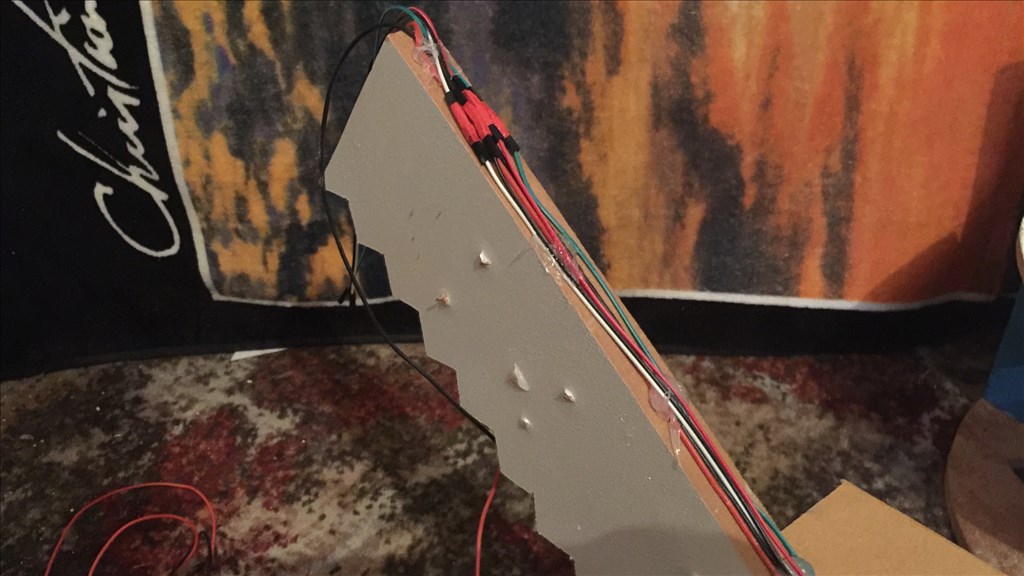
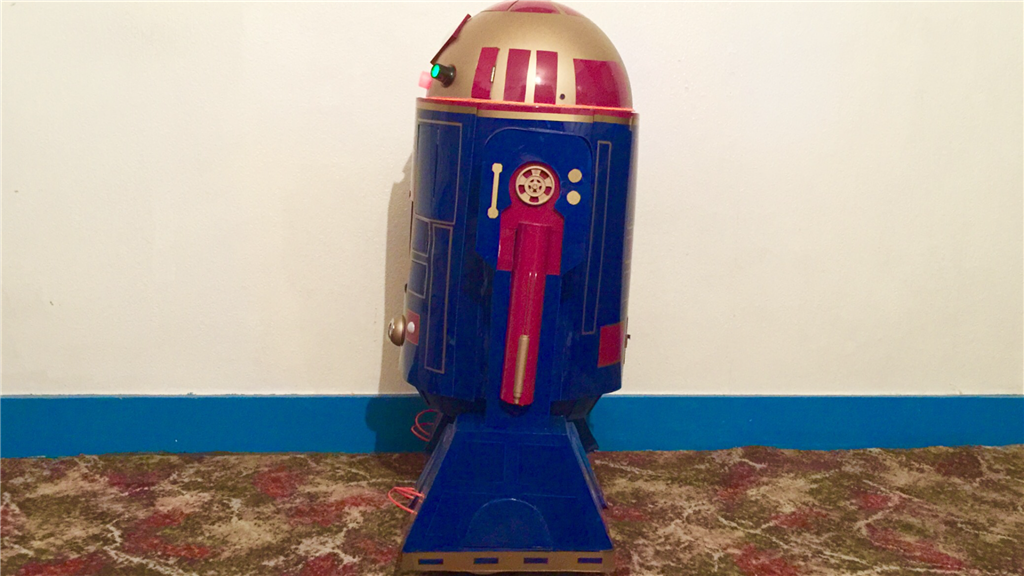
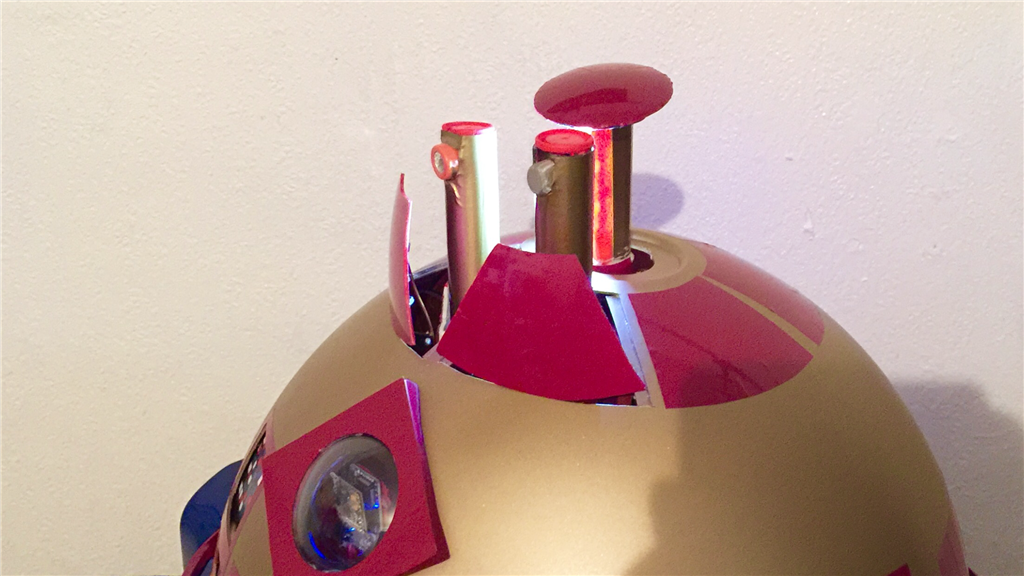
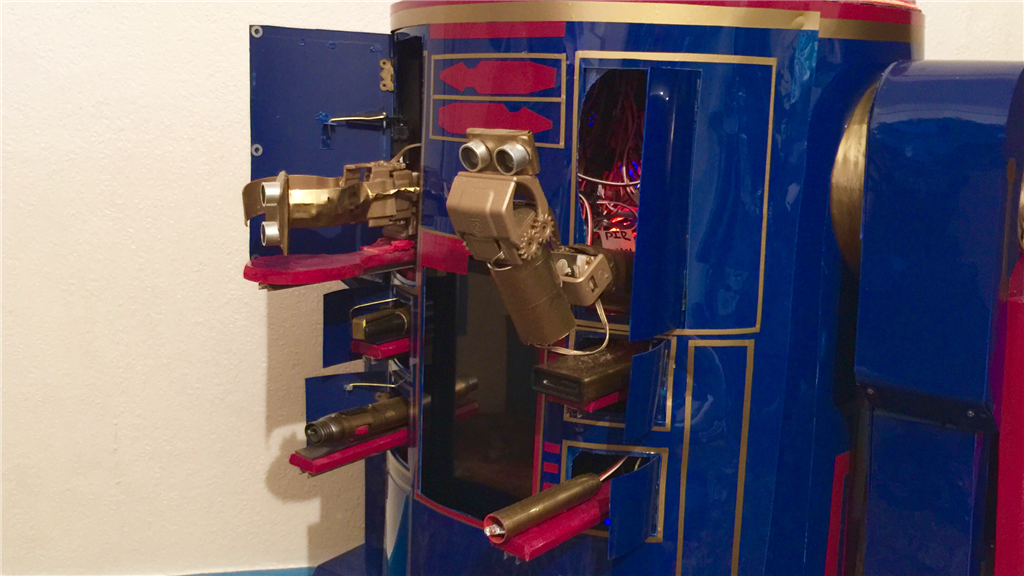
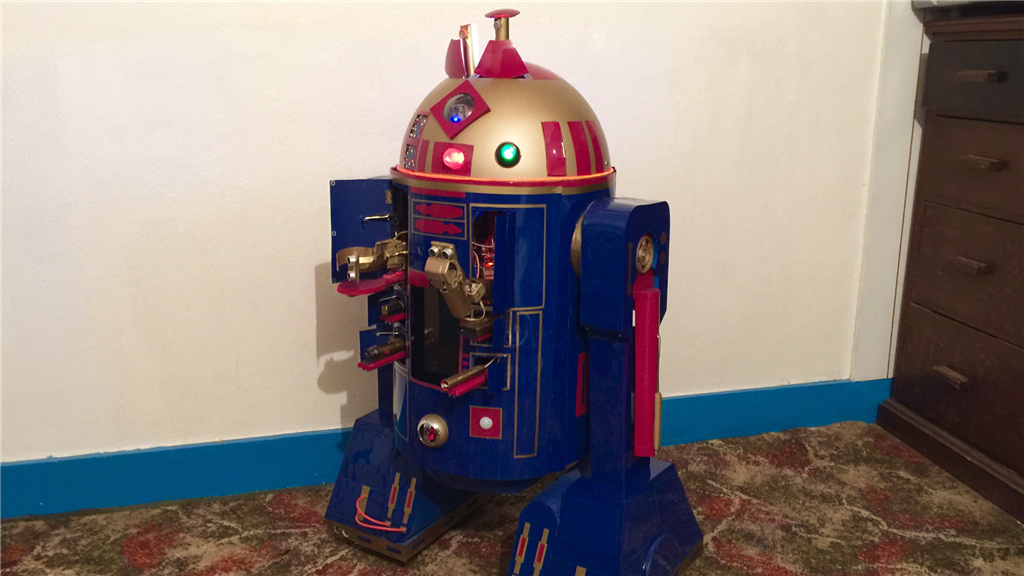
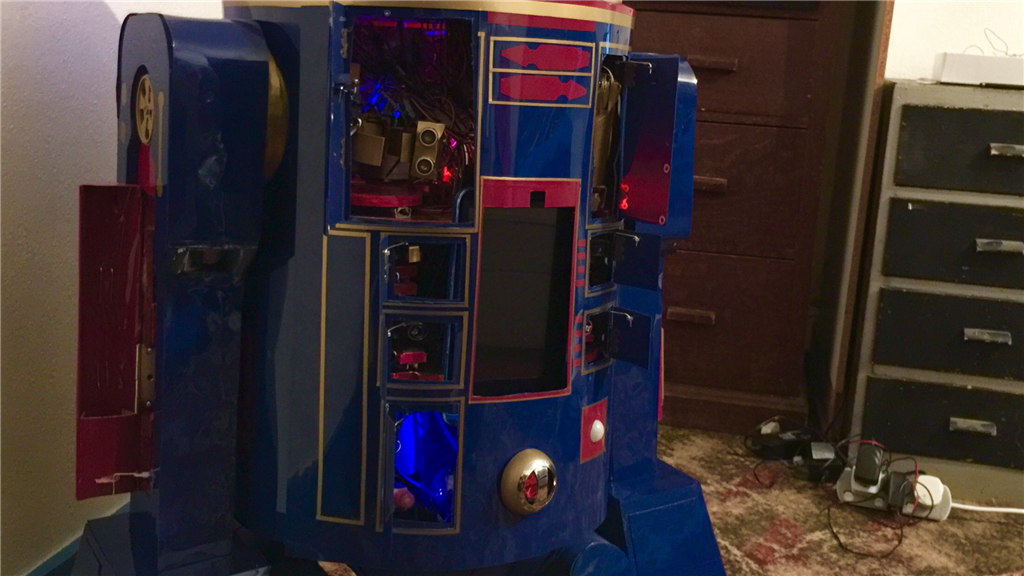
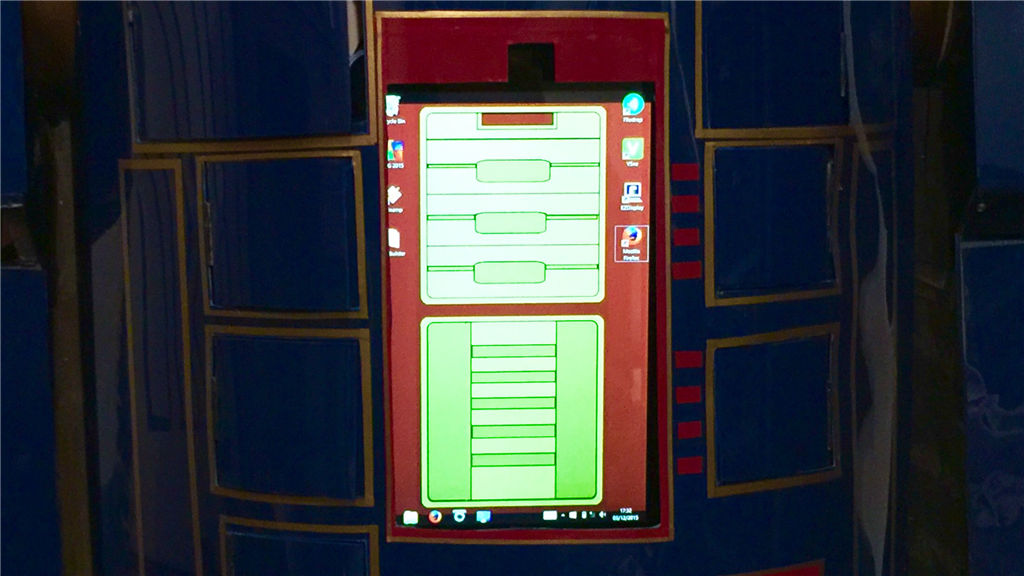
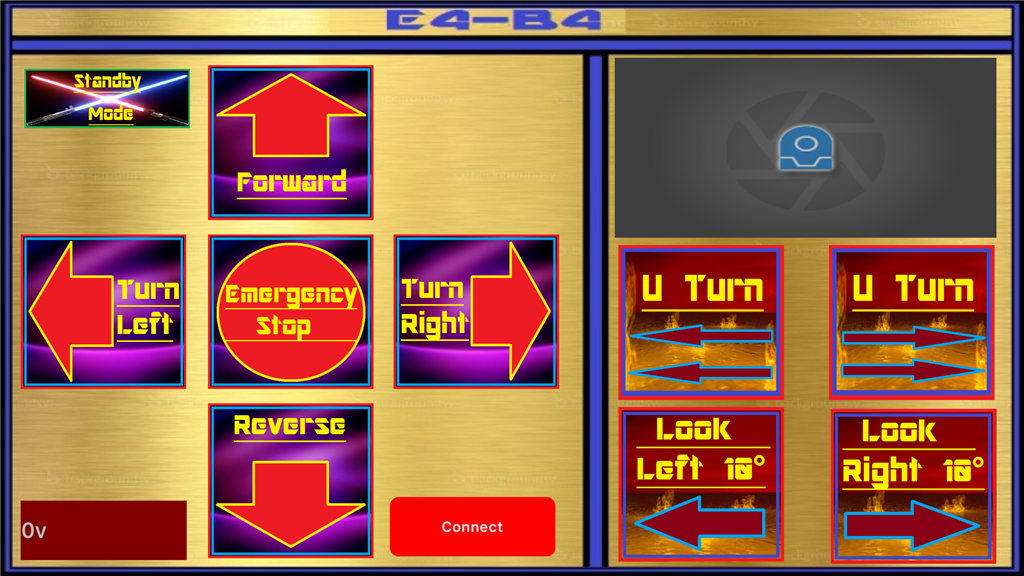
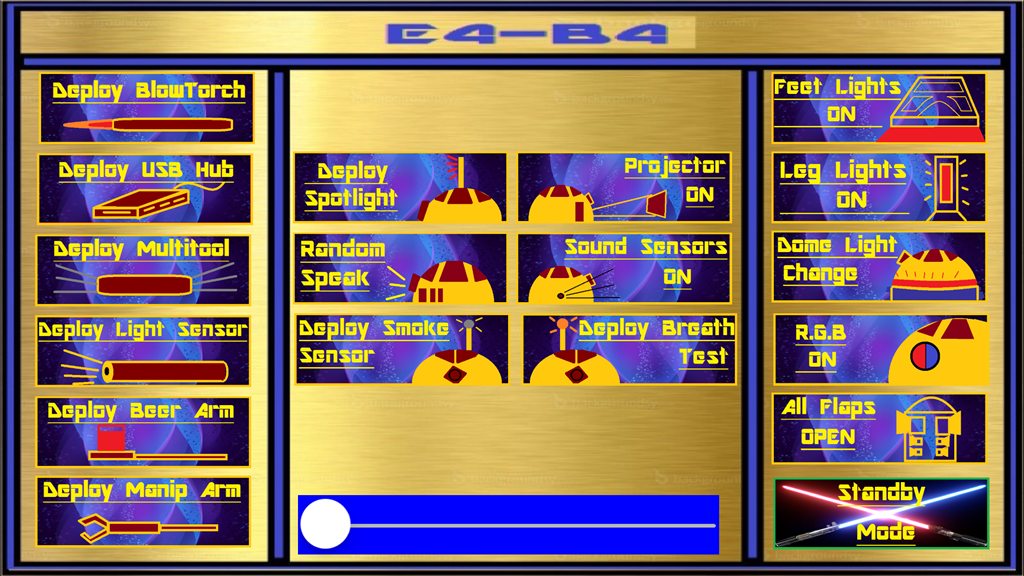
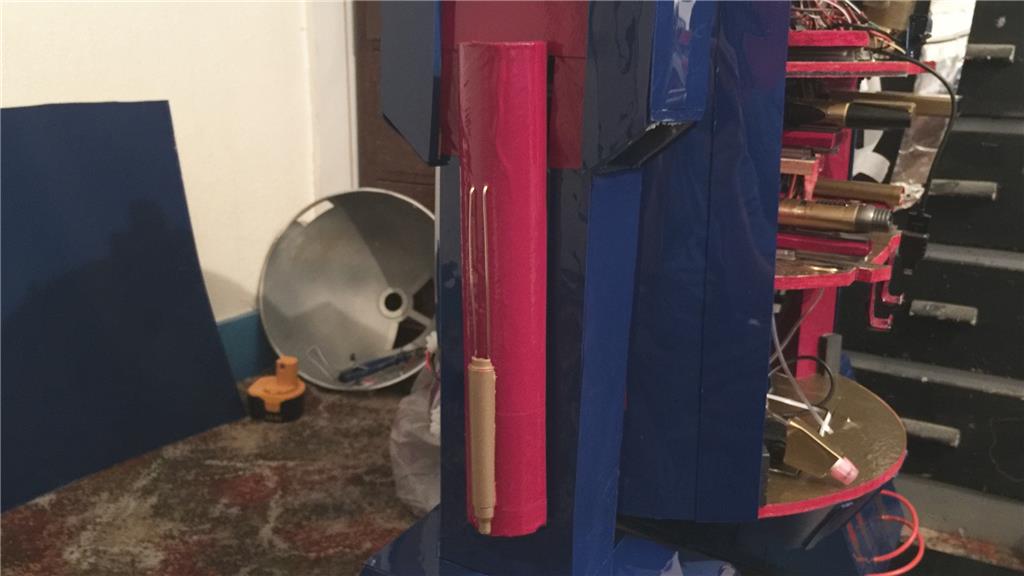
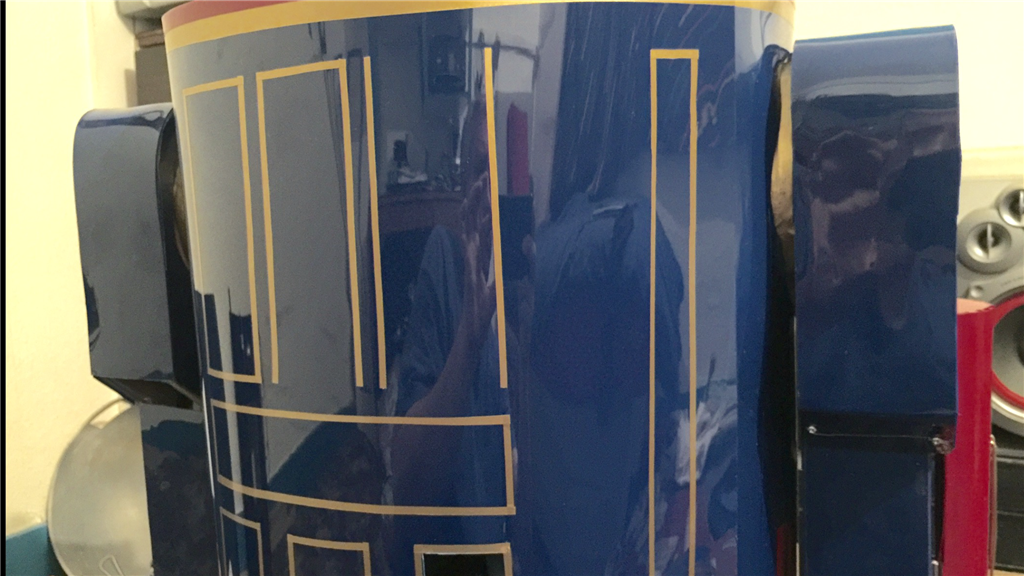
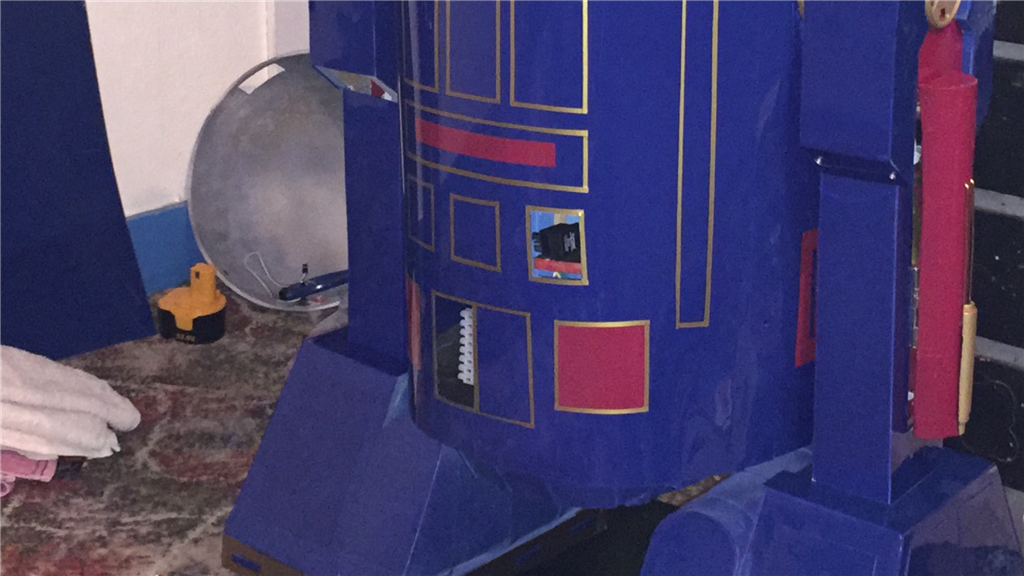
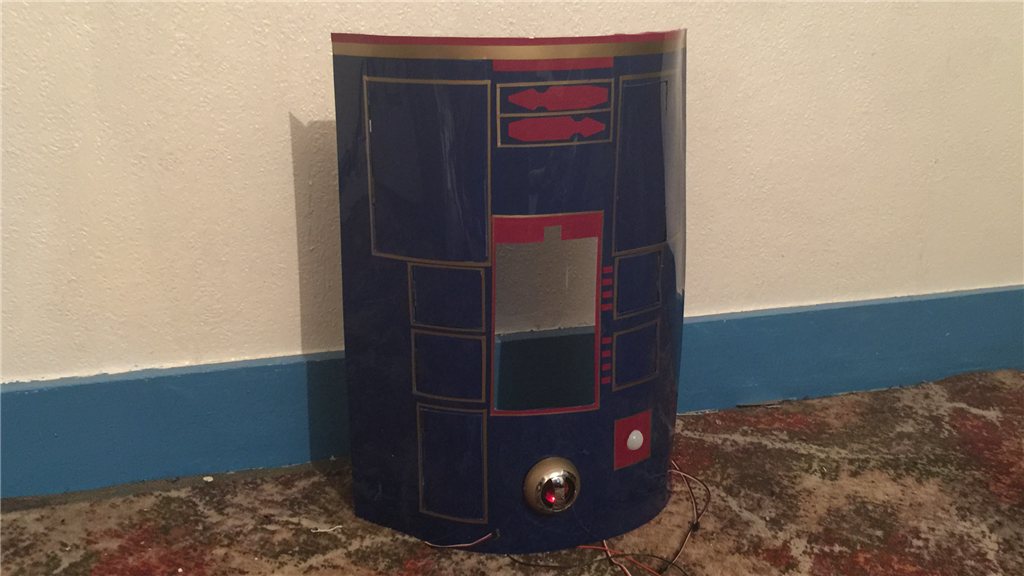
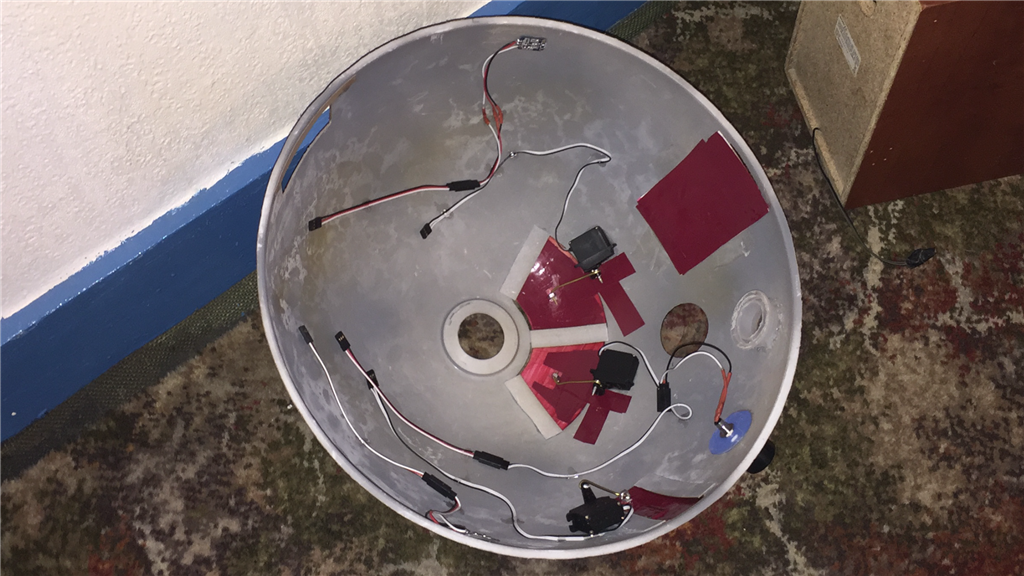
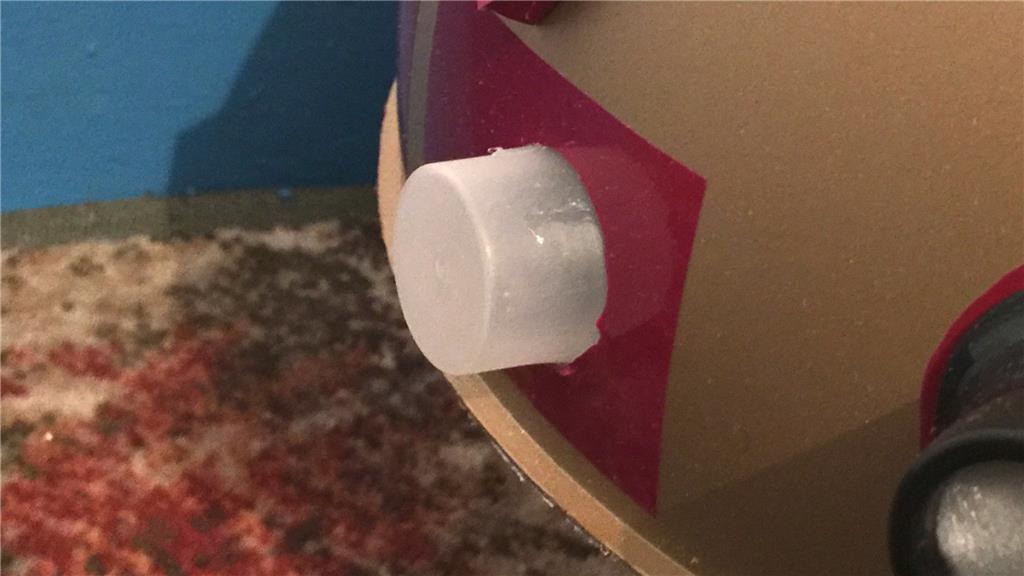
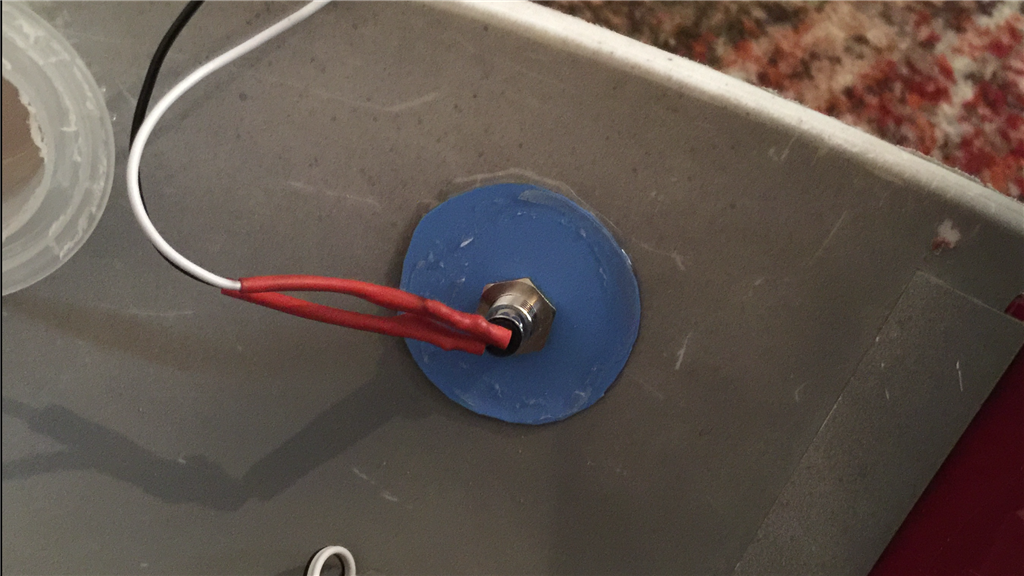
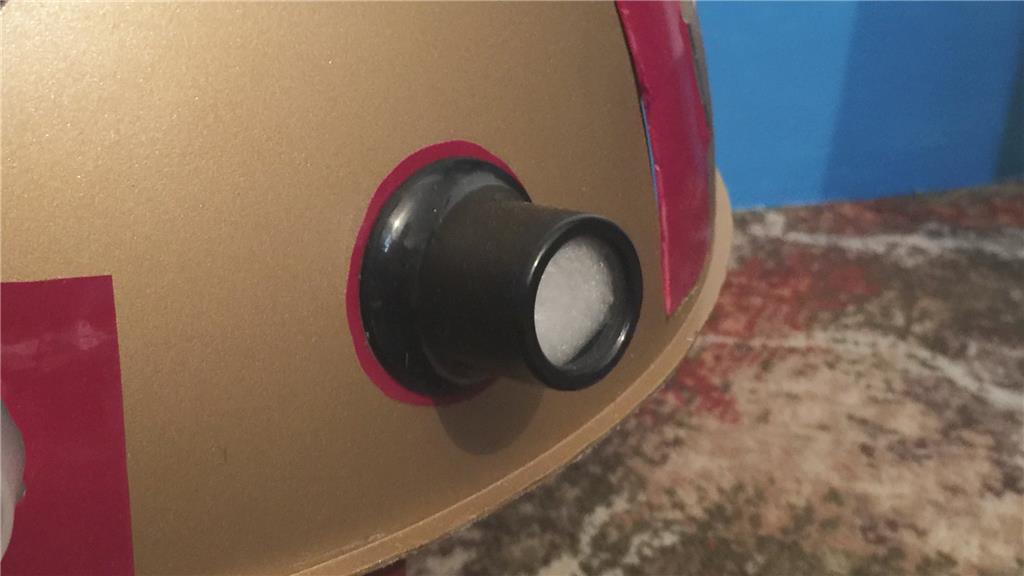
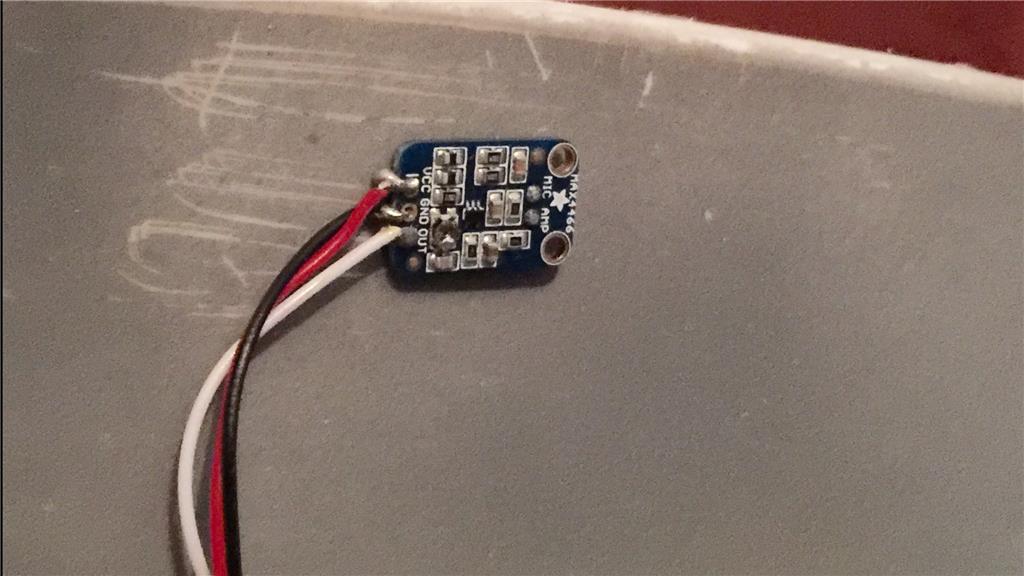
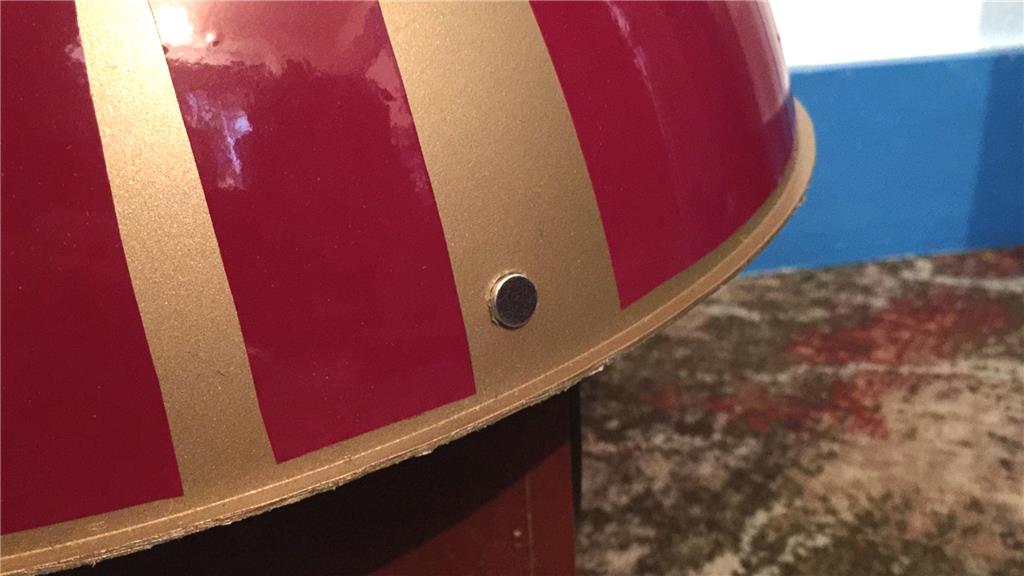
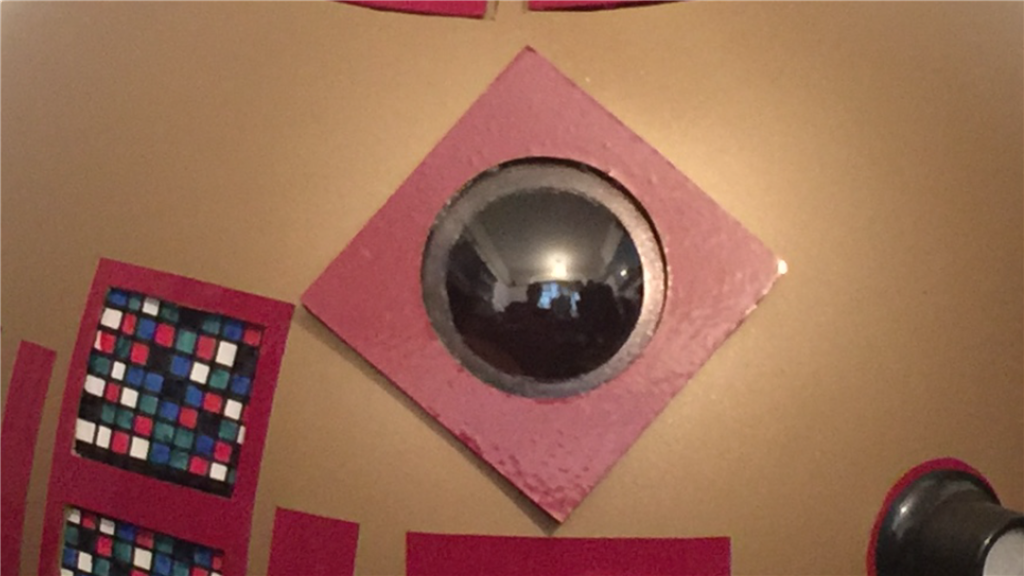
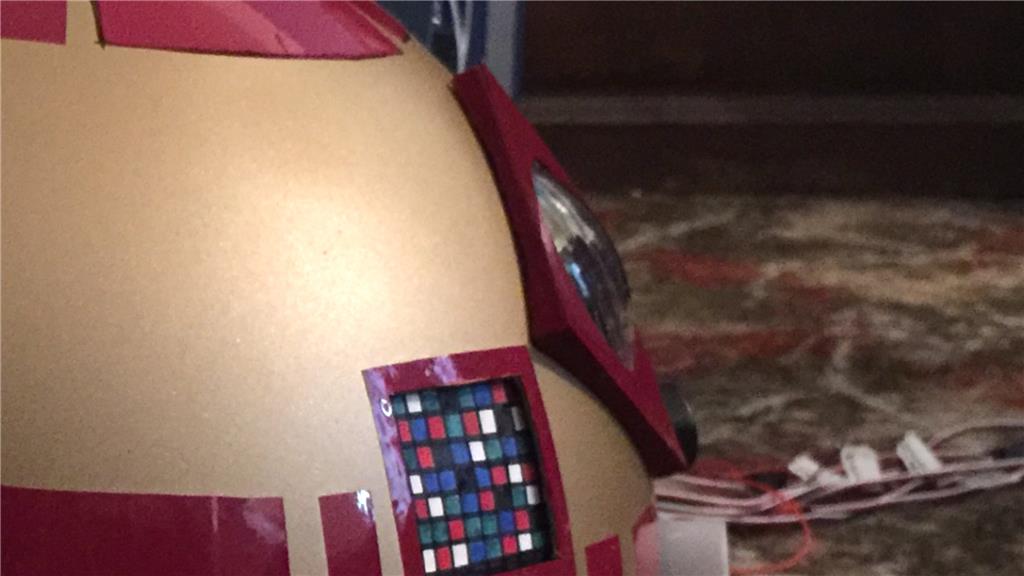
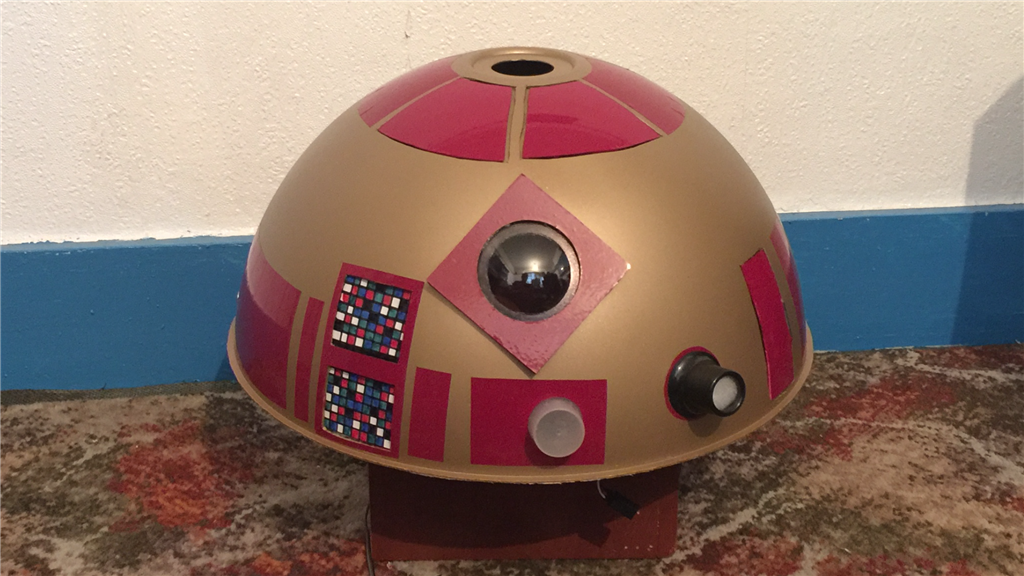
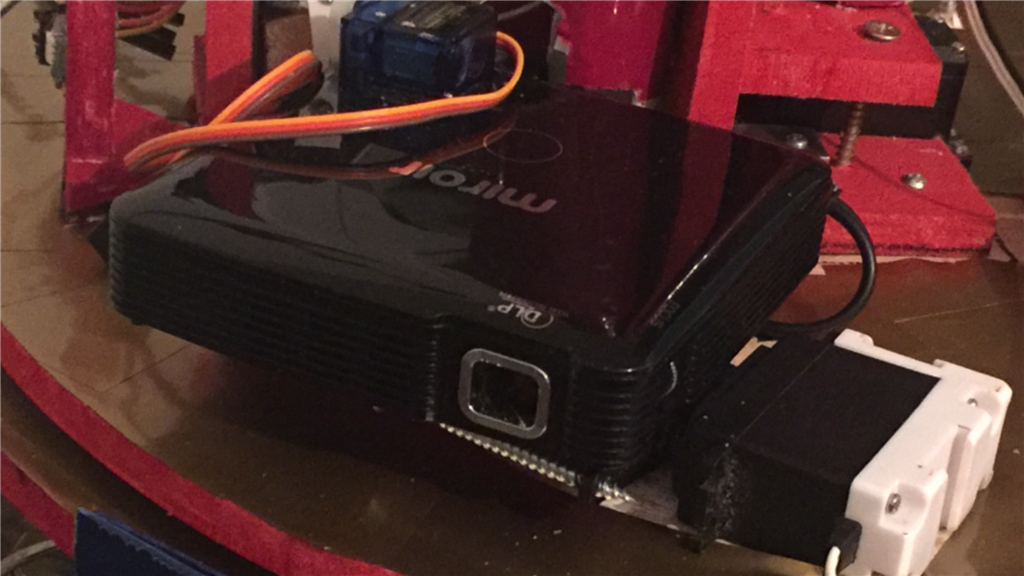
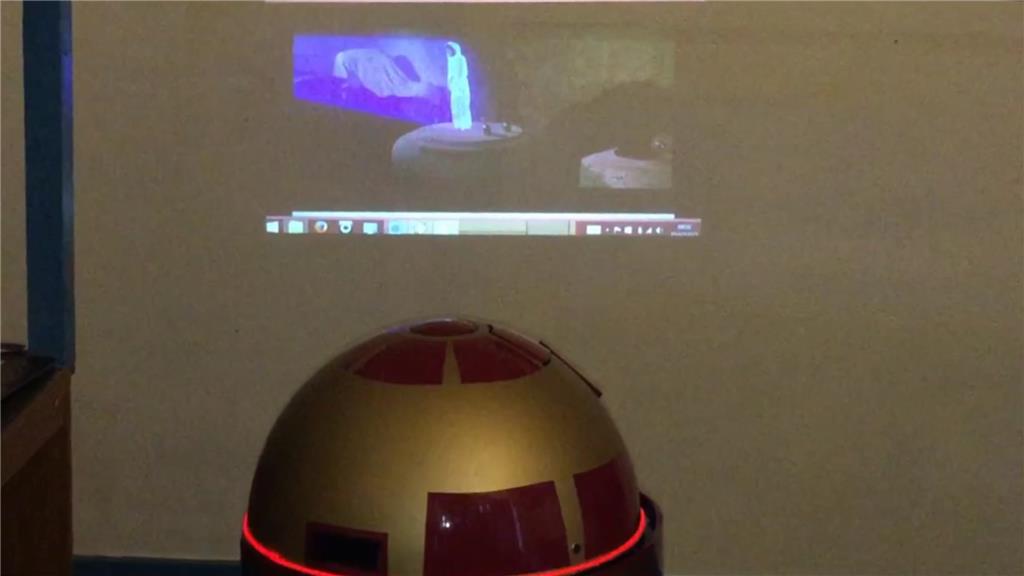
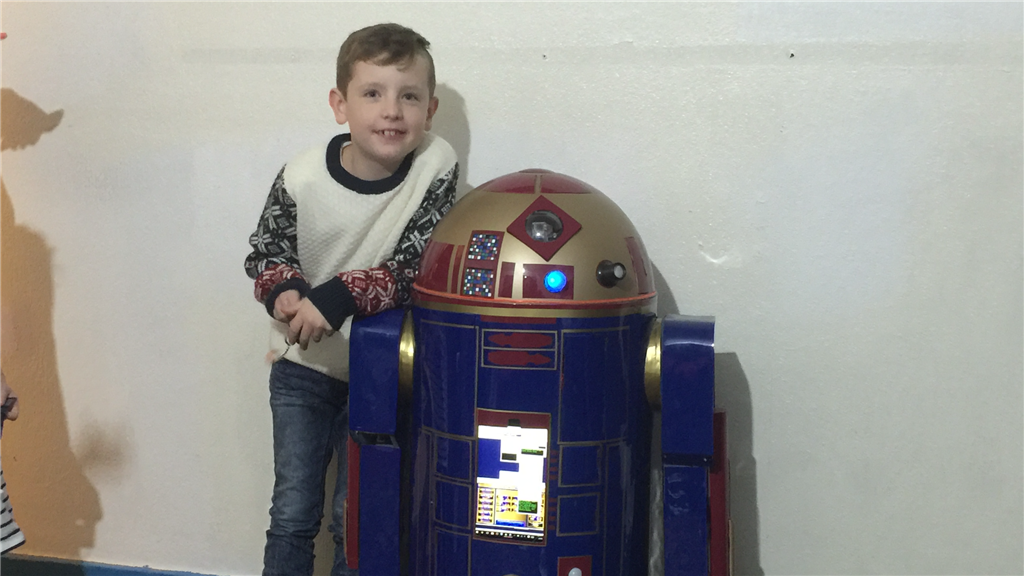
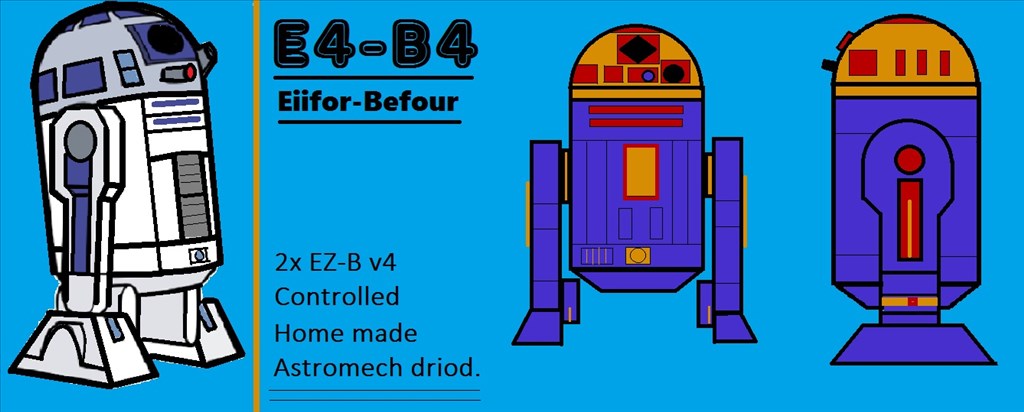
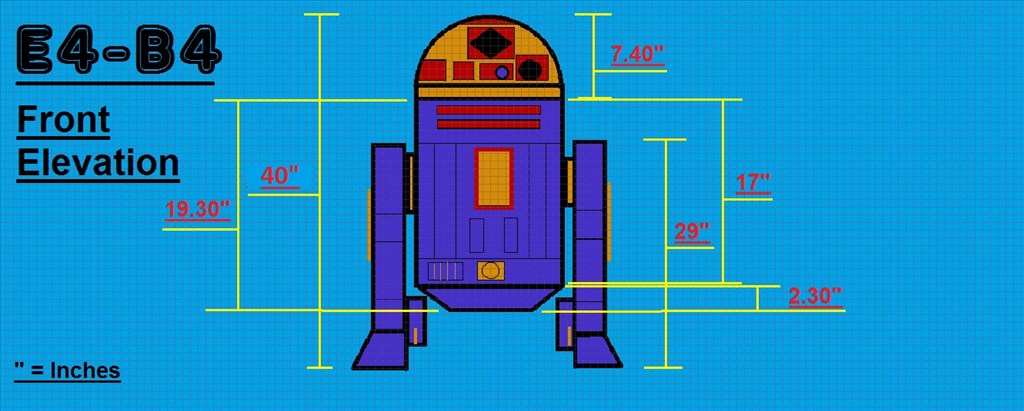
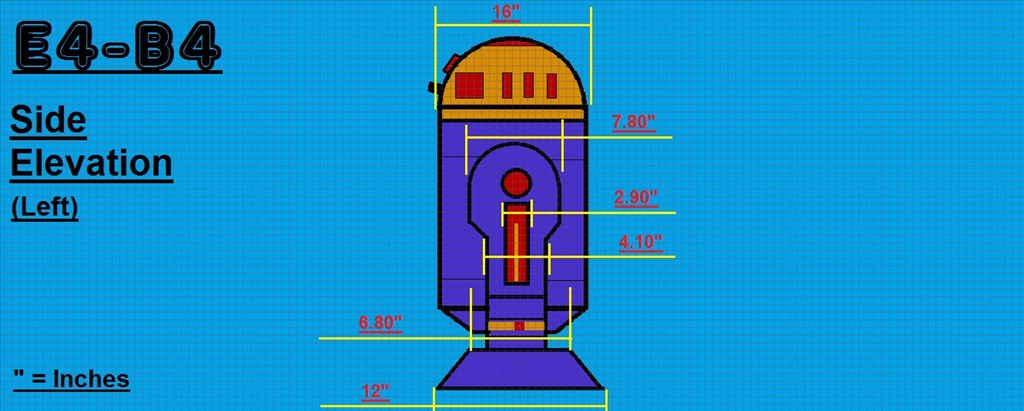
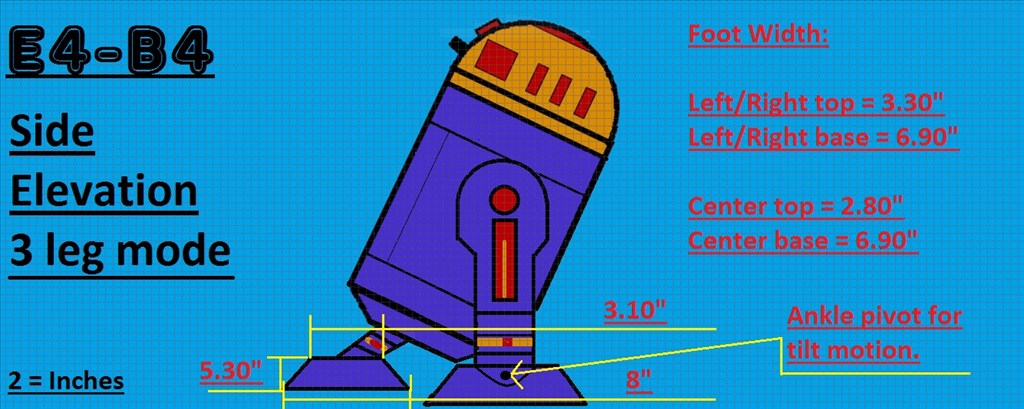
So what's with the name E4-B4 (Eiifor-Befour)? Well its kinda based on the EZ-B 4, of which this little'ish guy will have two of them. One master v4 to control motor controllers, ping sensors, v4 soundboard, camera and sensors, while the 2nd slave v4 will be used for all of the servos used as well as additional sensors. E4 will be mainly built using MDF with a plastic covering, and movement will be powered by 12v 30 watt gearbox/motors for the drive system. The "burtt acoustic signaller" and system ventilation vents on R2-D2's chest area (the two silver square'ish panels) will be replaced on E4 with a tablet PC, and the Optical Holographic Projector in R2's head will be something similar to what E4 will have, using a portable projector like the Aiptek or the Pico Genie, so no holograms... yet.
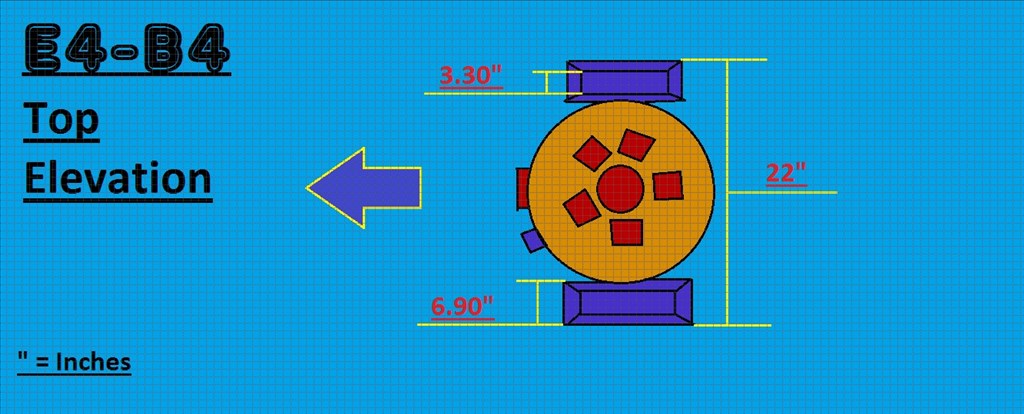
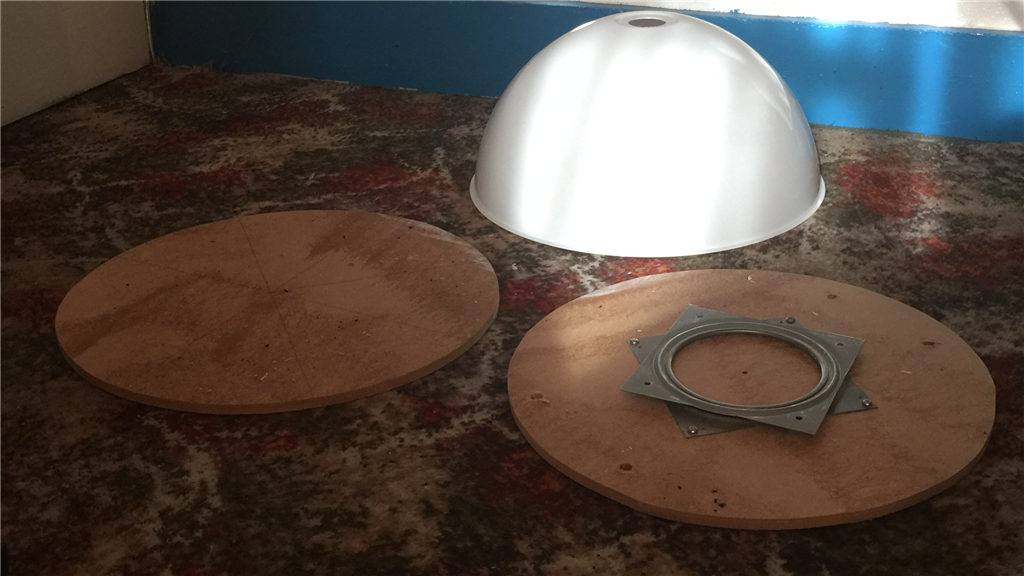
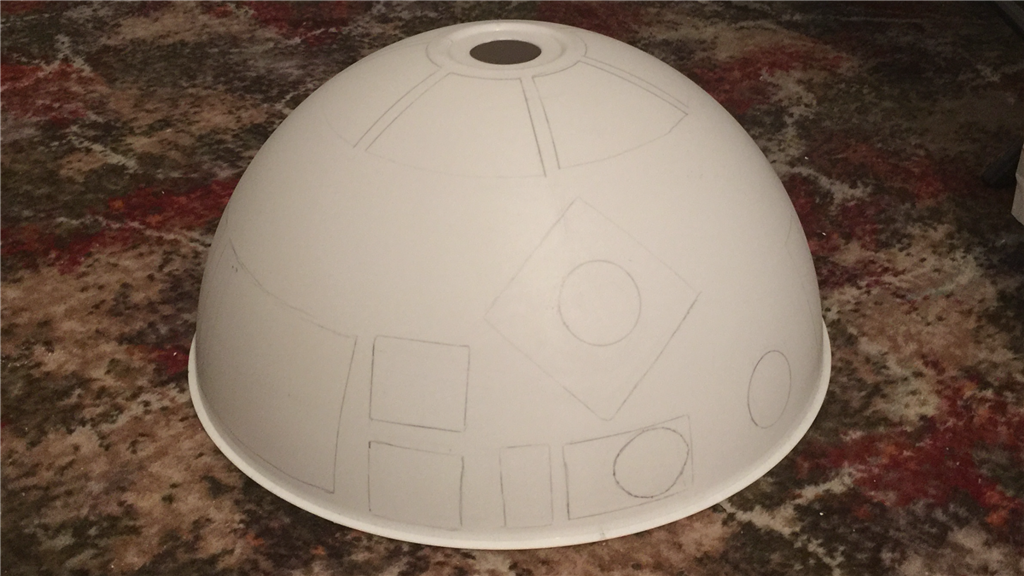
The dimensions will be slightly smaller than the original prob, but not by much so E4 will be plenty big enough. I'm intending to fit a few useful tools that he will be able to deploy, and of course have the fully rotating head which will have all kinds of bells and whistles. I have some of the MDF sheets and 2x4 wood lengths for the frame already, and the motors and head dome (lampshade) should be with me sometime this week, so it will be power tools at the ready. I'm in no rush to finish this project, but I am aiming to have E4-B4 pretty much finished by this December.
I will posting lots of photos and few videos throughout the build process, so I hope anyone reading will find this build dairy interesting and enjoyable. And as always, I'd love to hear your thoughts and suggestions (especially on the colour scheme). Anyway thanks for reading, and let the build begin...
Steve.
Discover more robots
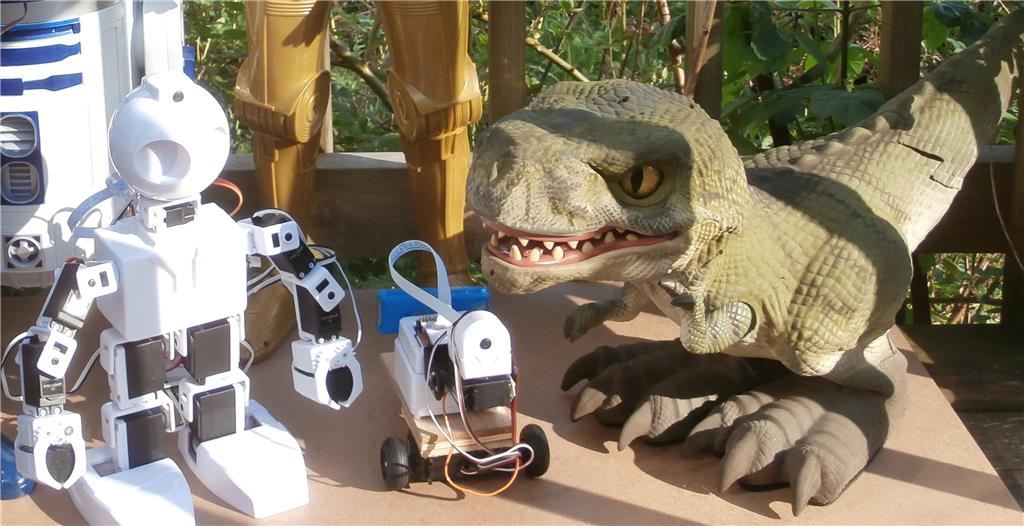
David's Ai Dino Robot

DJ's Ips (Indoor Positioning System)

wow your build is looking incredible! Im sorry about the third leg but the astromech will still turn out great. I often find myself rethinking and having to change the design on the go... Its a hard thing to do but I think in the long run you will be happy knowing you did what you wanted
@Robot56.
Thanks buddy. Yeah I think you're right about the decision. I'd rather be happy and have something reliable than have to keep adjusting and worrying about if things are going to work correctly. Anyway, the extra space will give me room to add a few goddies, so it'll be worth it.
Starting on the outer legs tomorrow, so that'll keep me busy for a while.
Day 42 (14th September 2015)
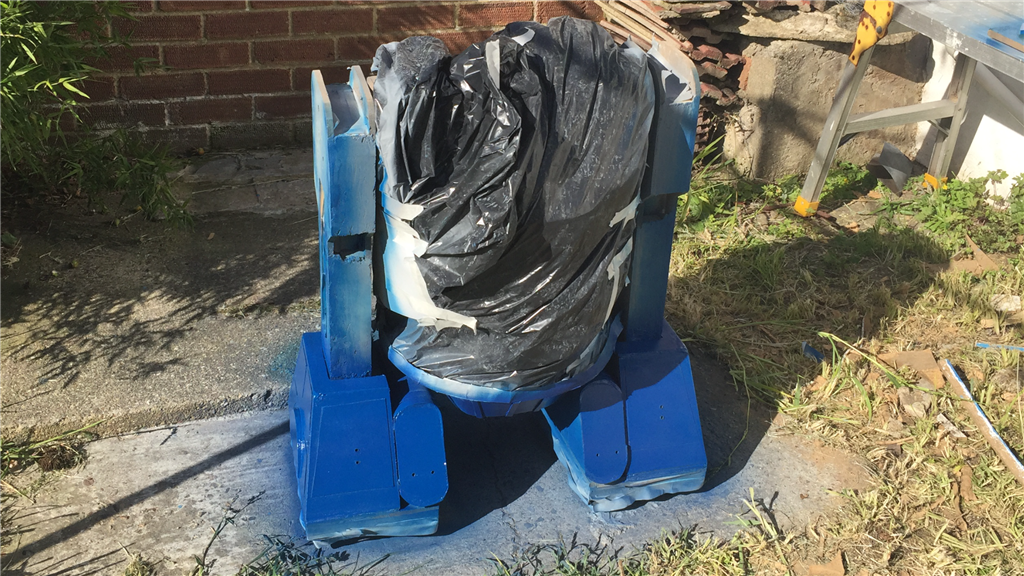
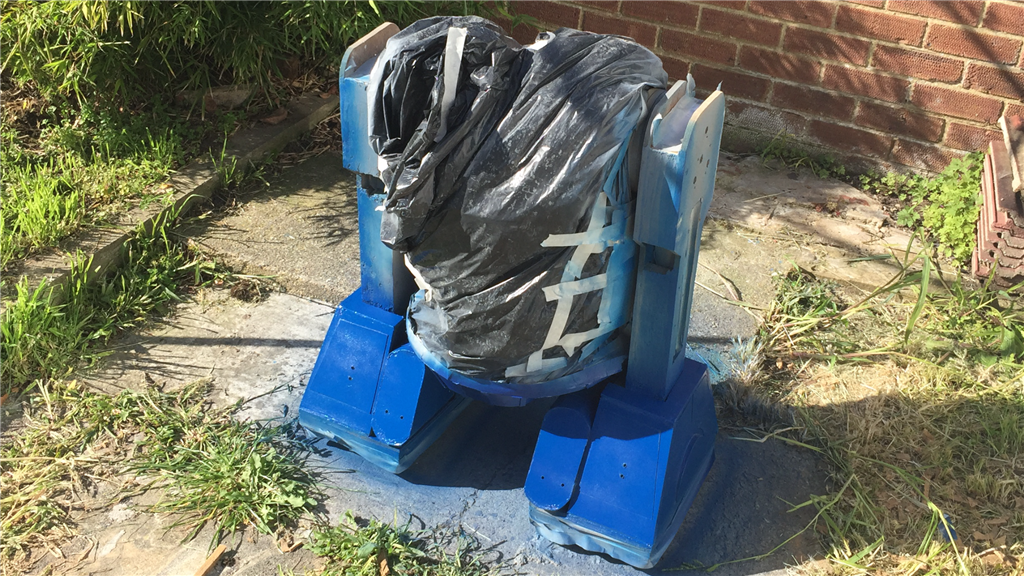
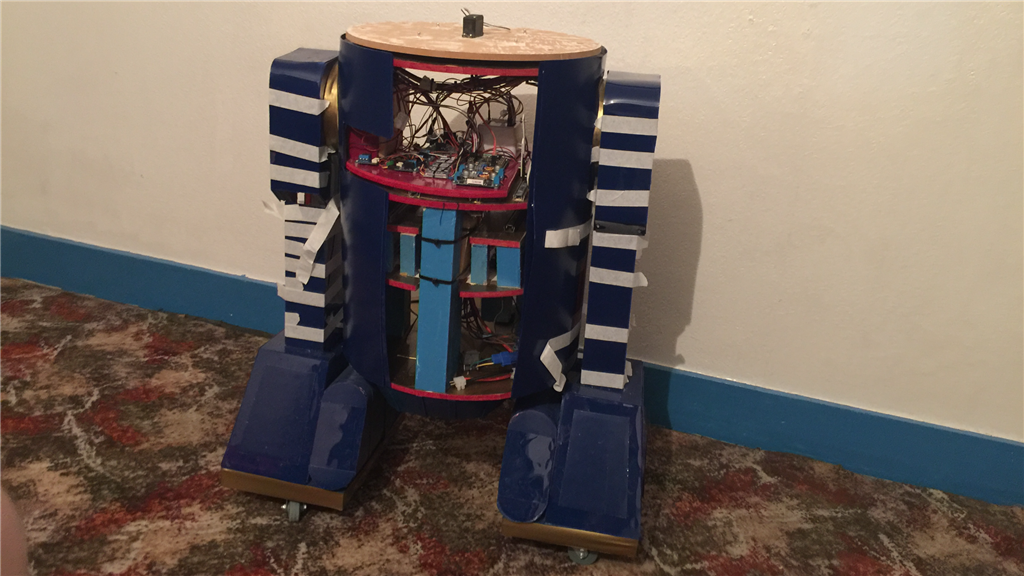
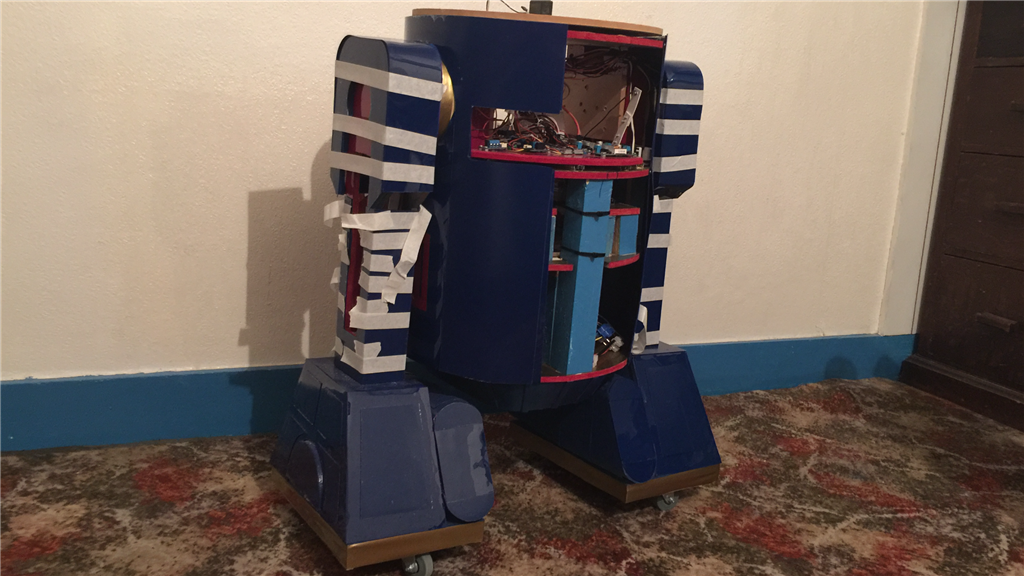
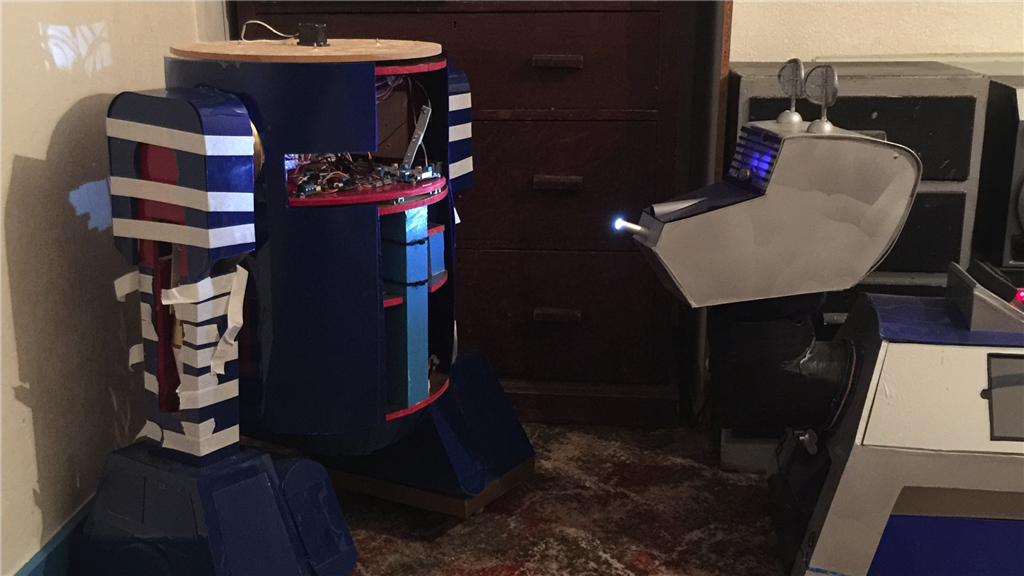
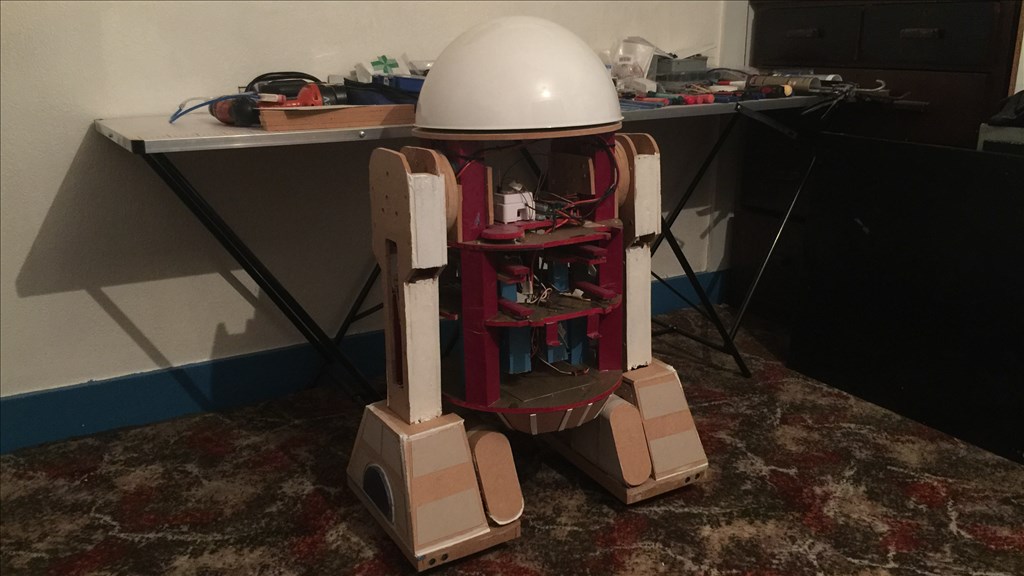
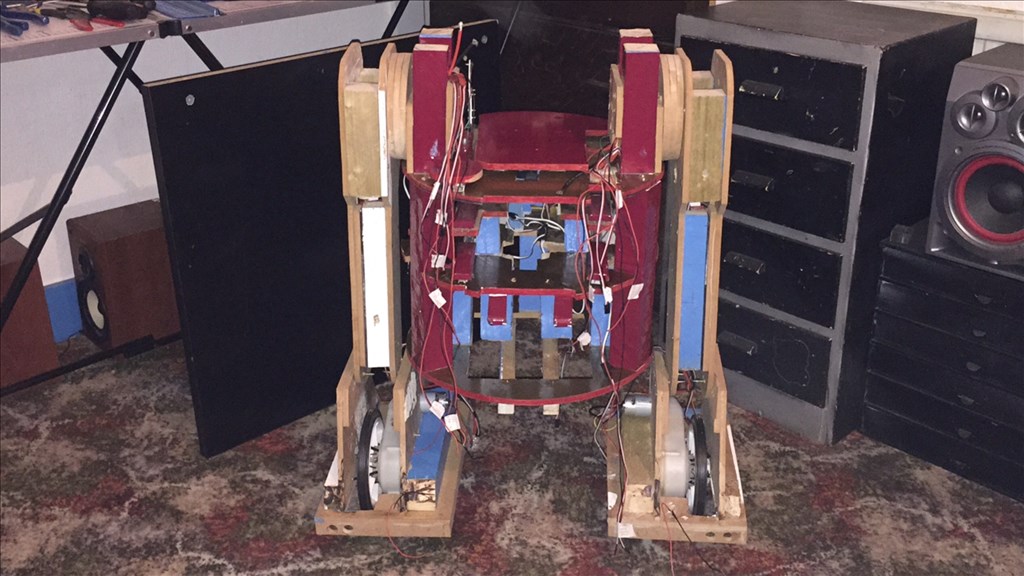
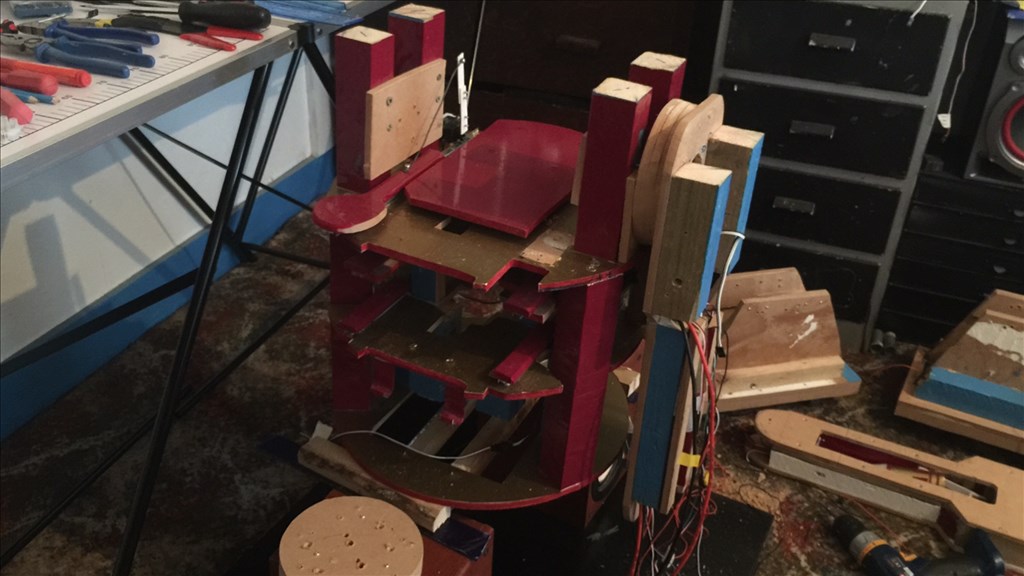
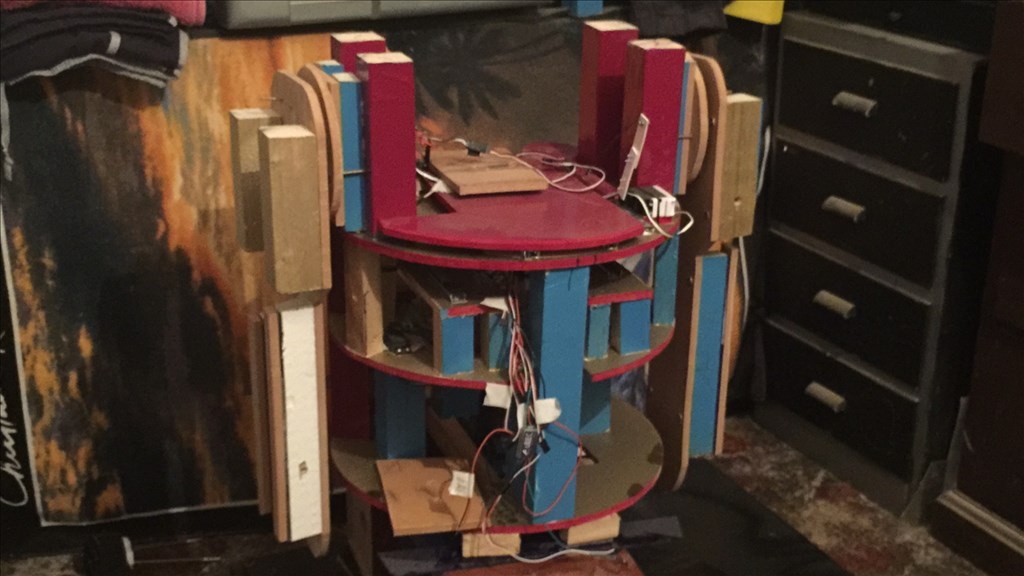
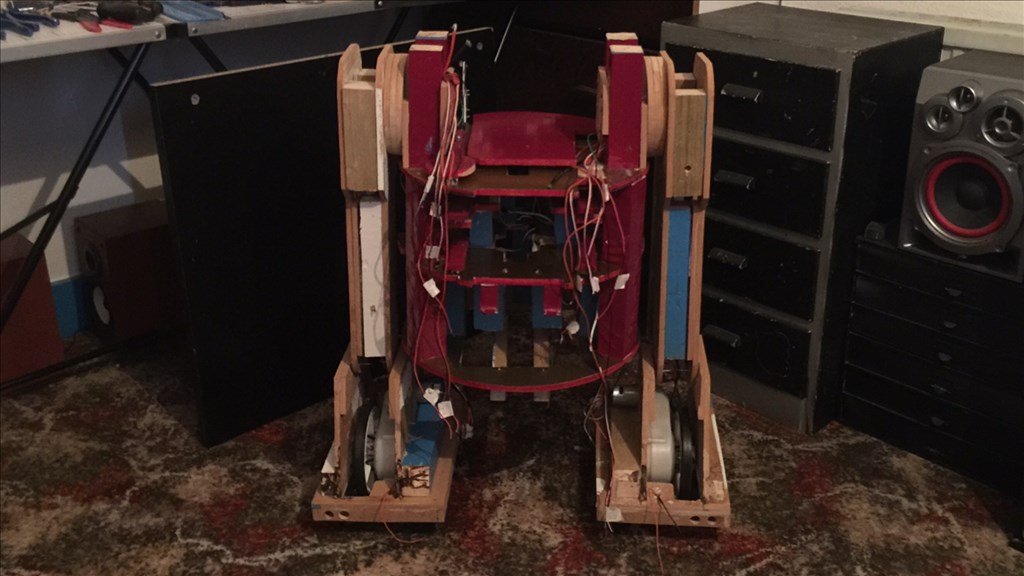
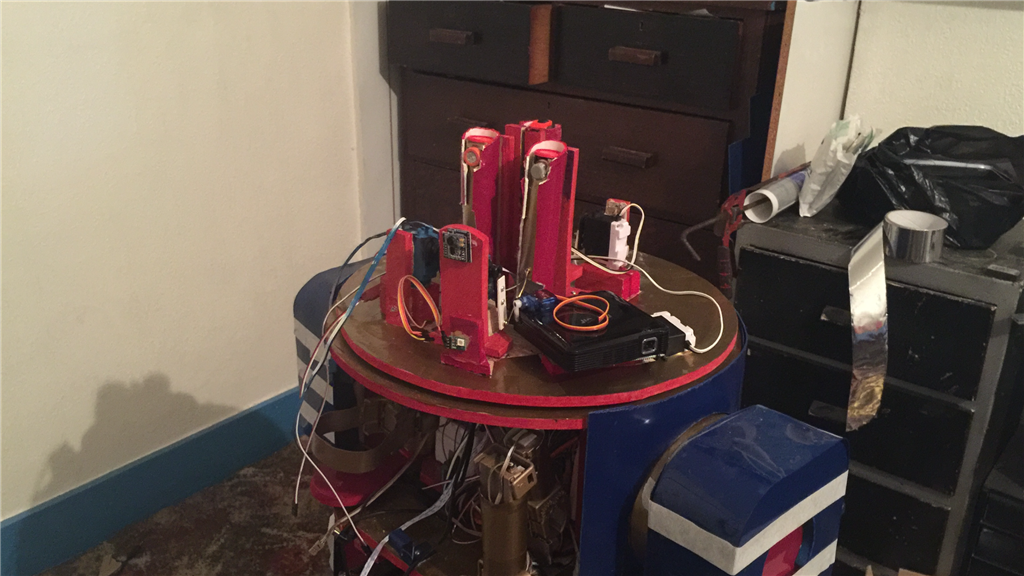
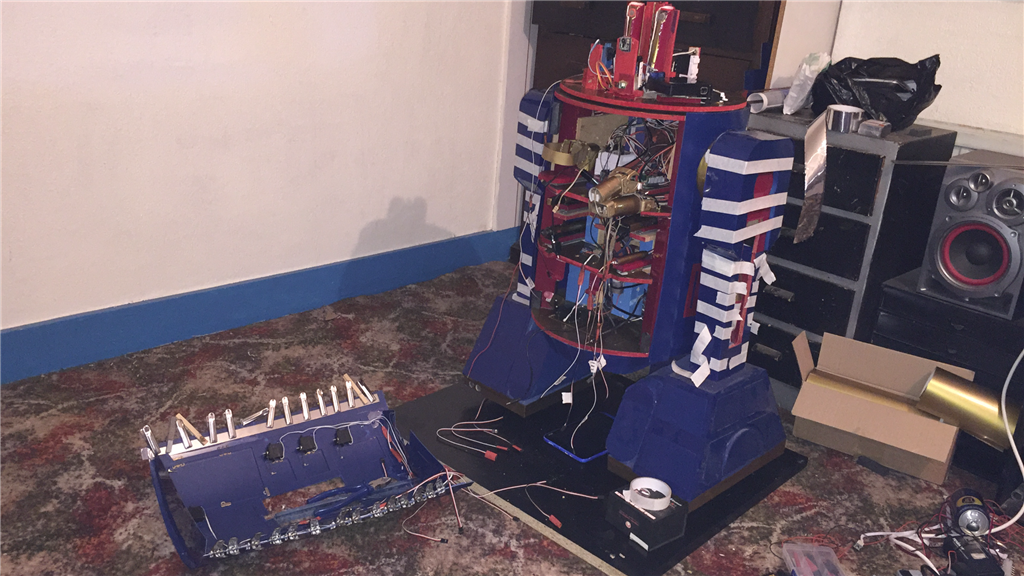
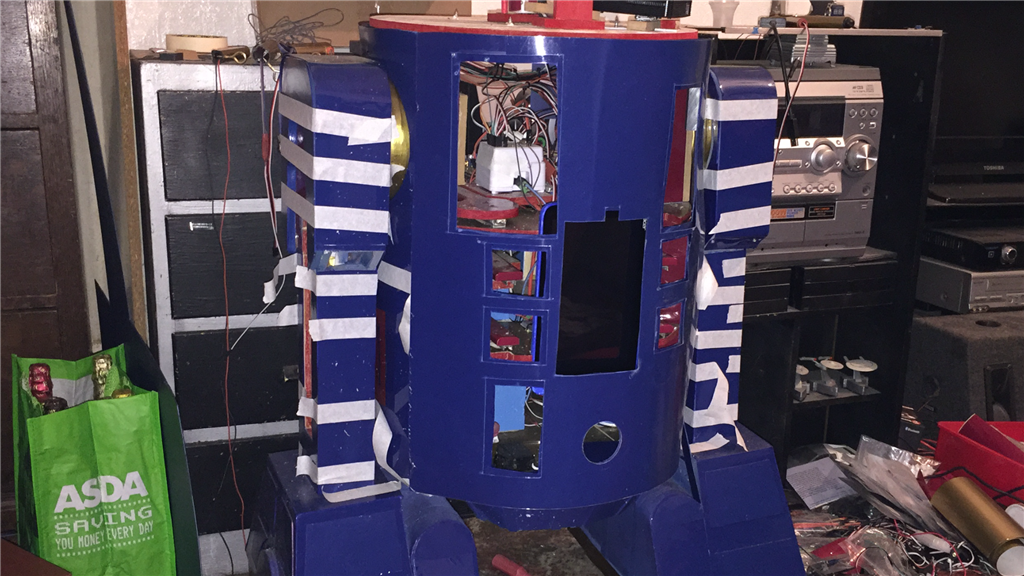
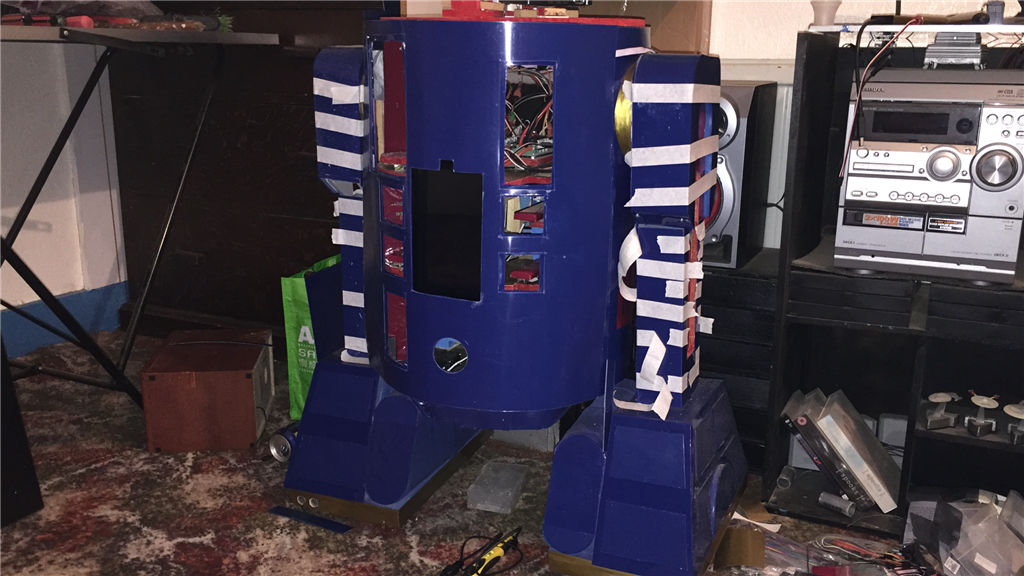
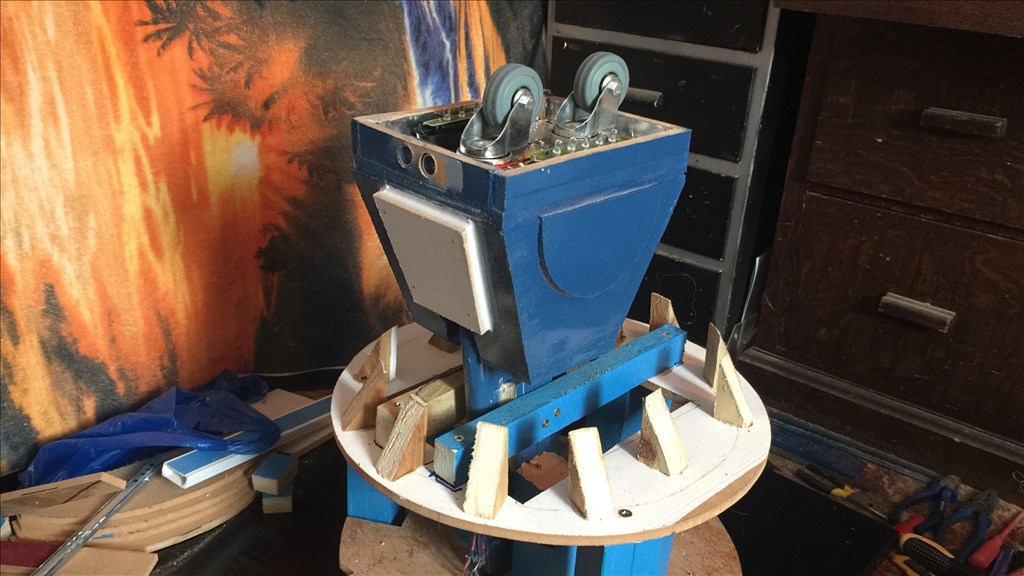
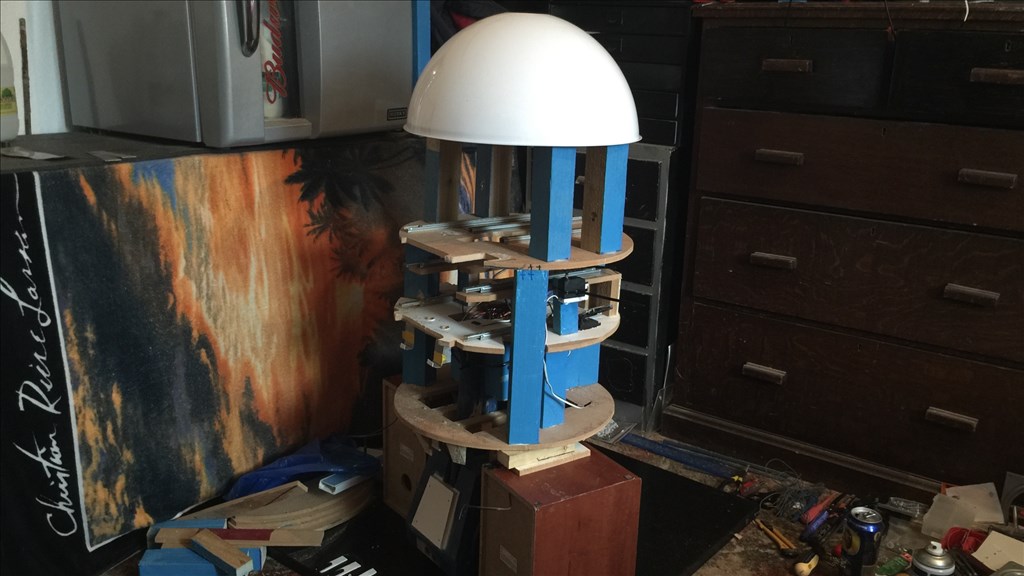
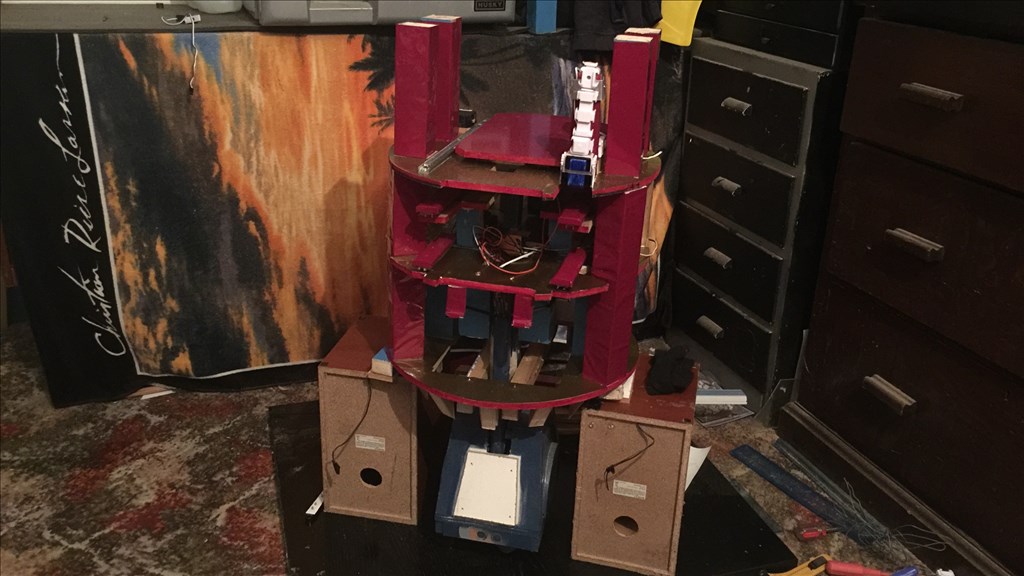
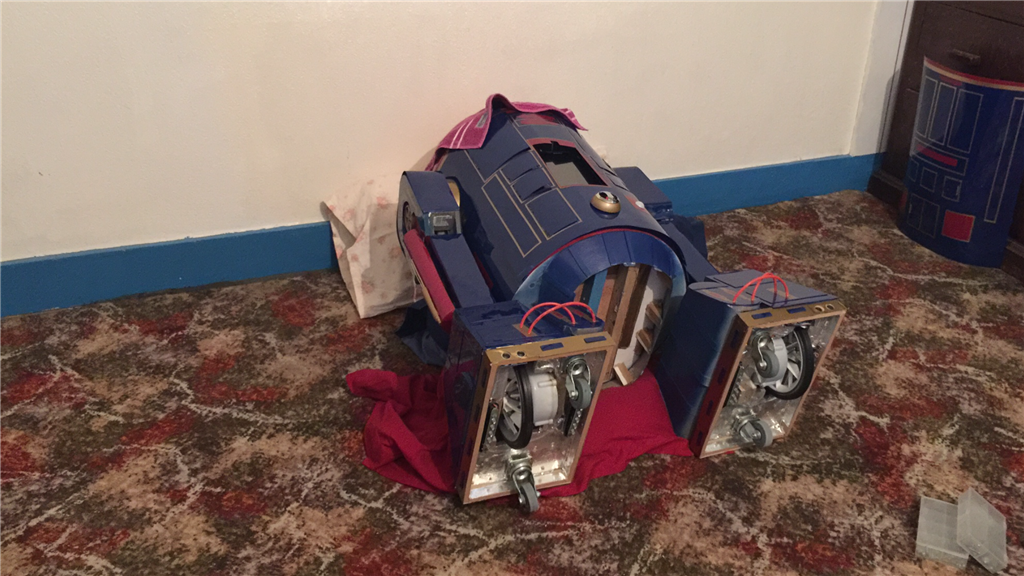
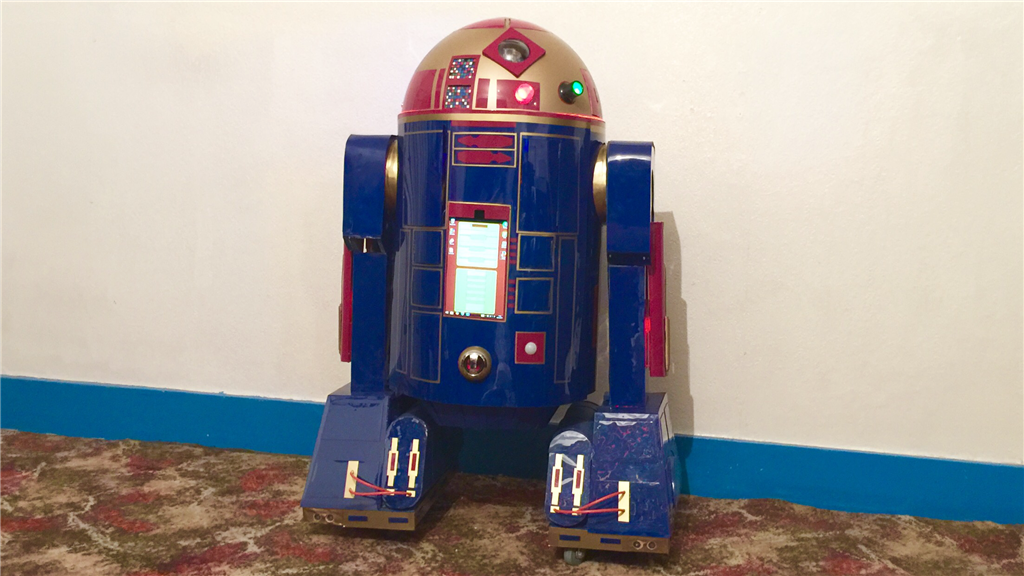
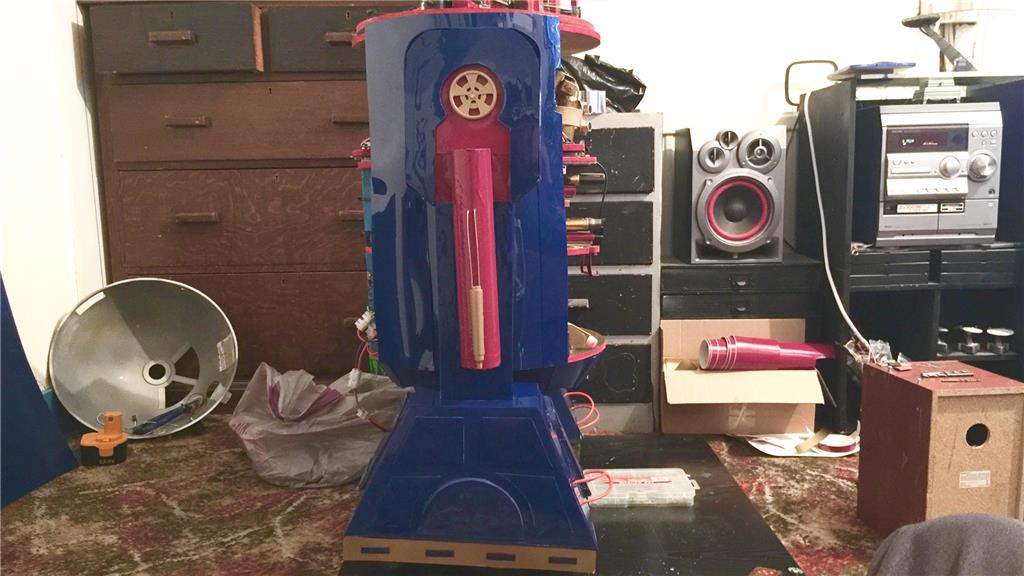
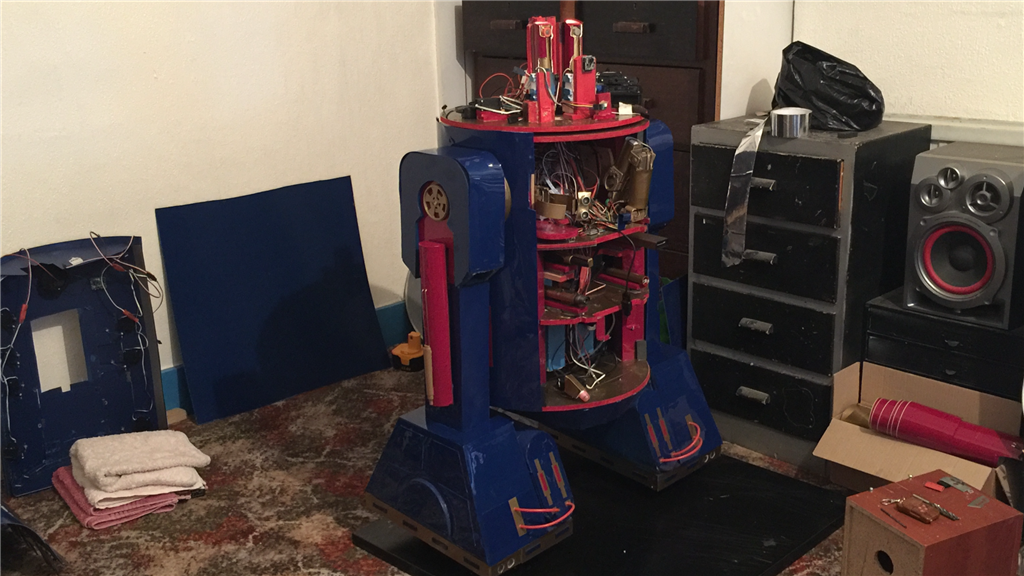
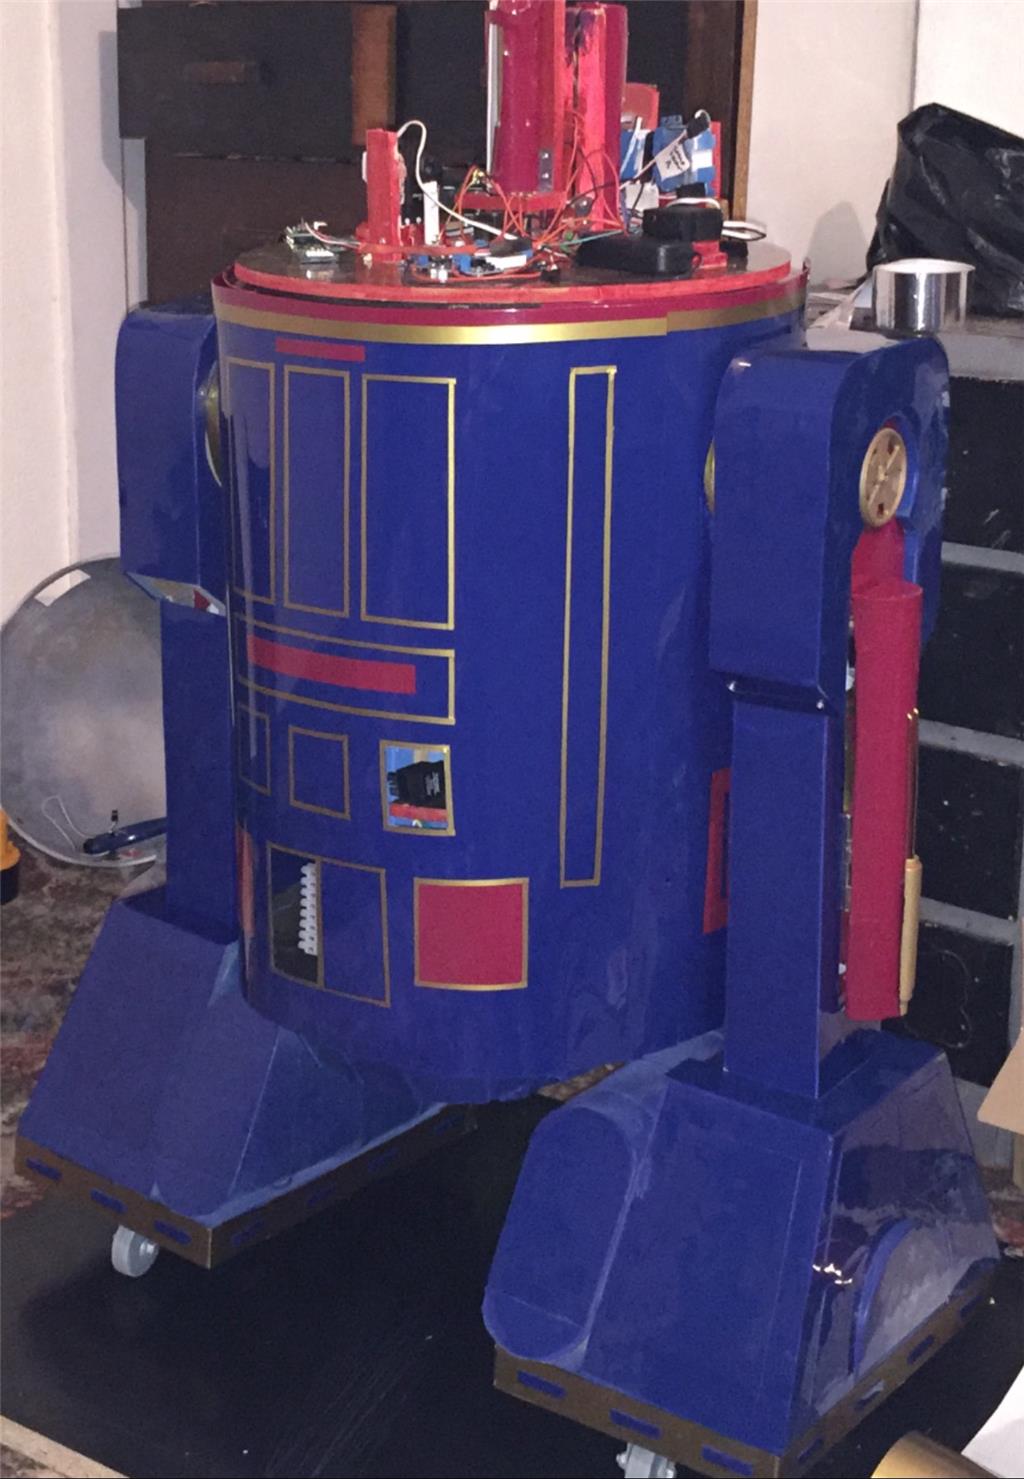
E4-B4 is now standing in his own two feet...
E4-B4's status has been changed (or rather, been demoted) from Project to [i]Prototype[/]. Someone said to me "it will be a rewarding but challenging build", and boy they weren't kidding when they said challenging, lol.
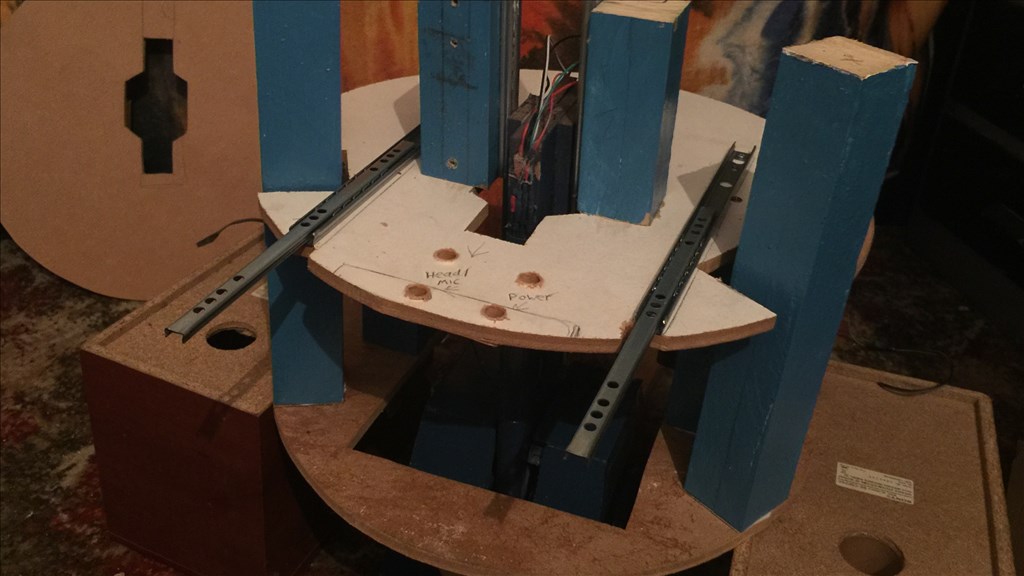
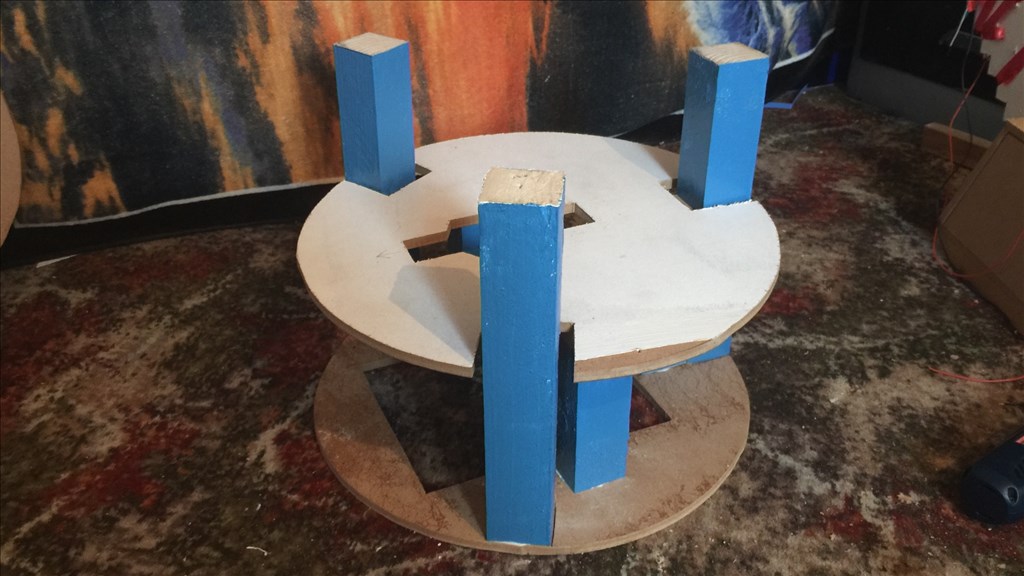
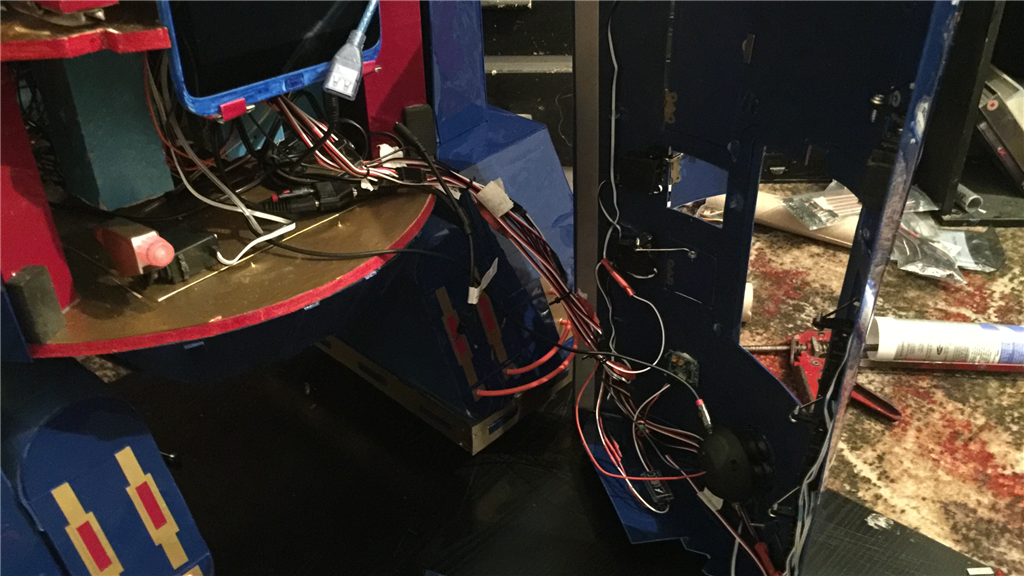
As I mentioned previously, I had to leave out the retractable centre leg for a couple of reasons, and after a lot of trial and error, I'm now leaving out the motorised shoulders for when he lays back in three leg mode. This was because the overall weight of the wooden body was just to heavy for the (quite powerful) motors/gearbox to reliably work. So I have now removed the centre leg completely, and removed the shoulder motors and fixed the outer legs in place. This I was not happy about as I have now lost two main features, so I will continue the build as a prototype as he is already partially built and use him for script testing and experimenting, then sometime next year I will use strong but much lighter materials to do the build I originally wanted to with all of the movements I wanted him to have.
So, on with the update.
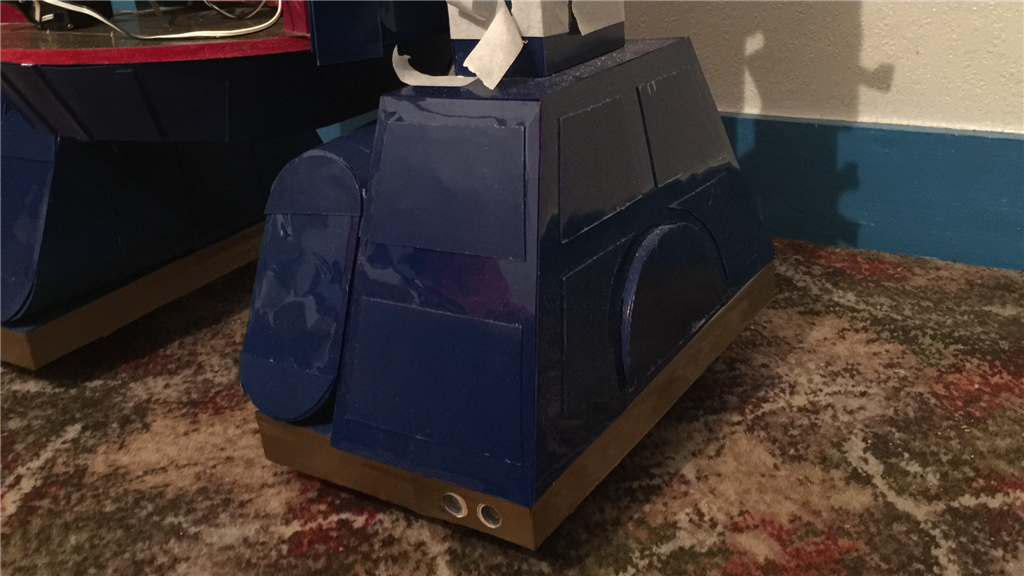
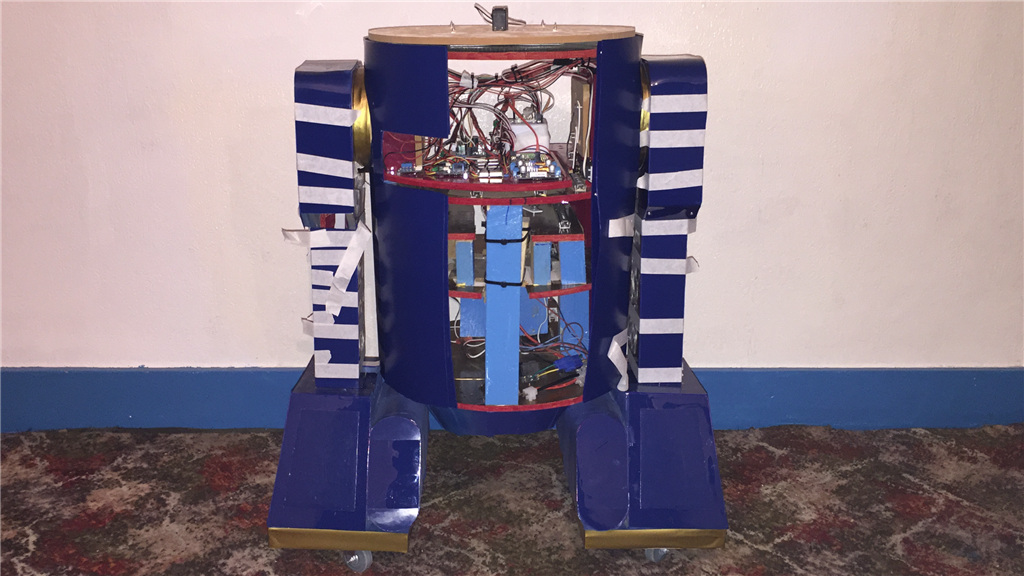
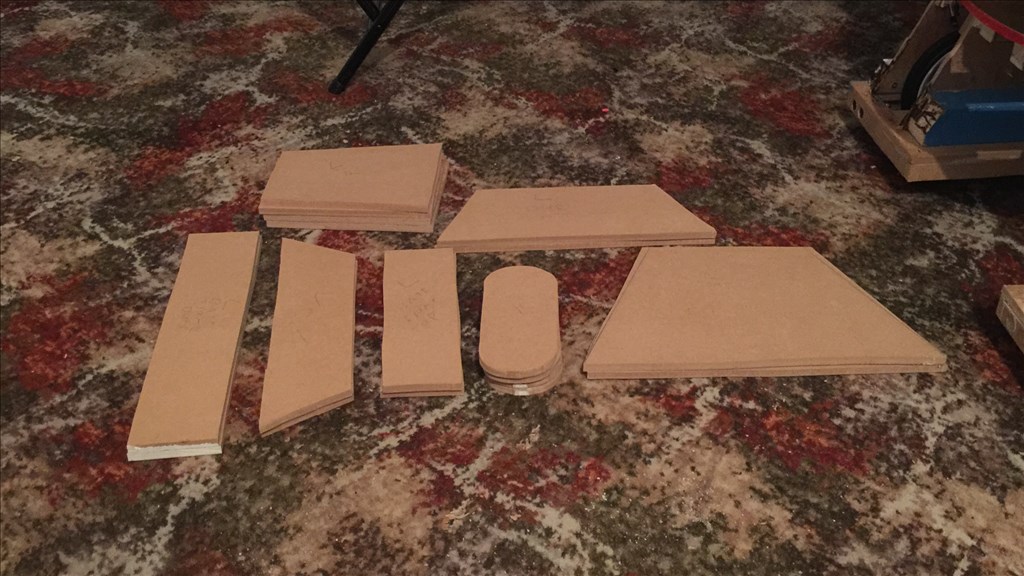
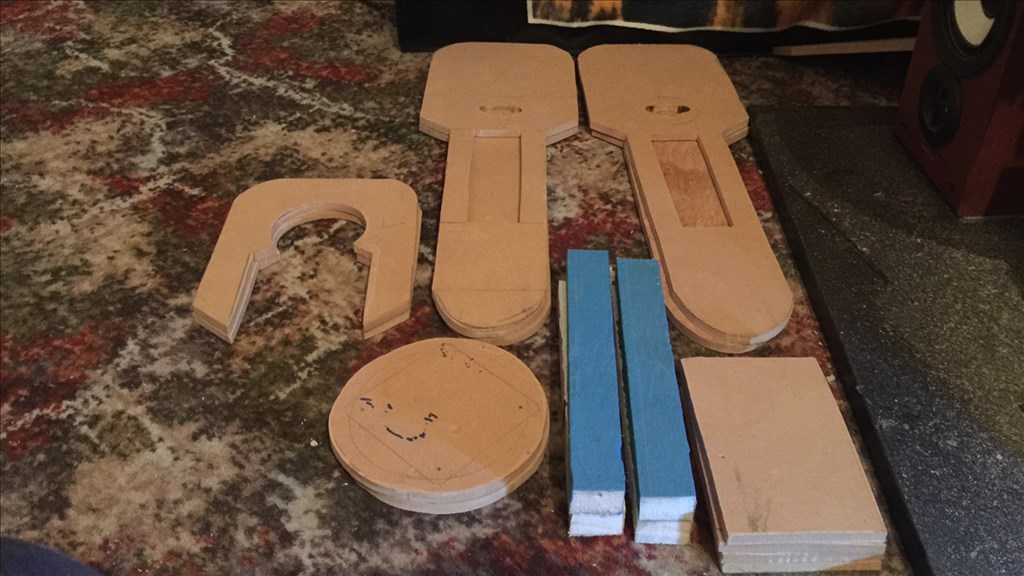
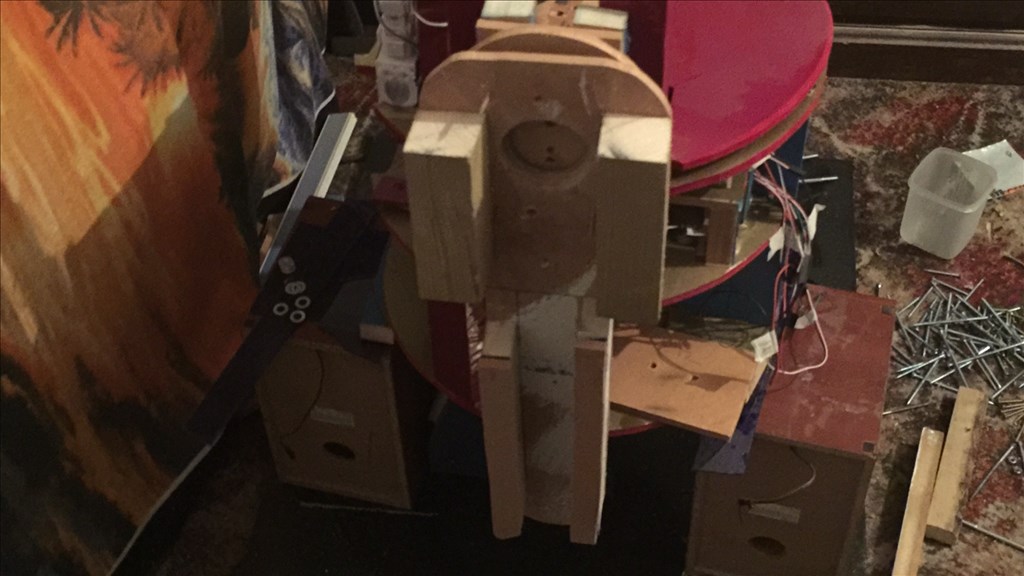
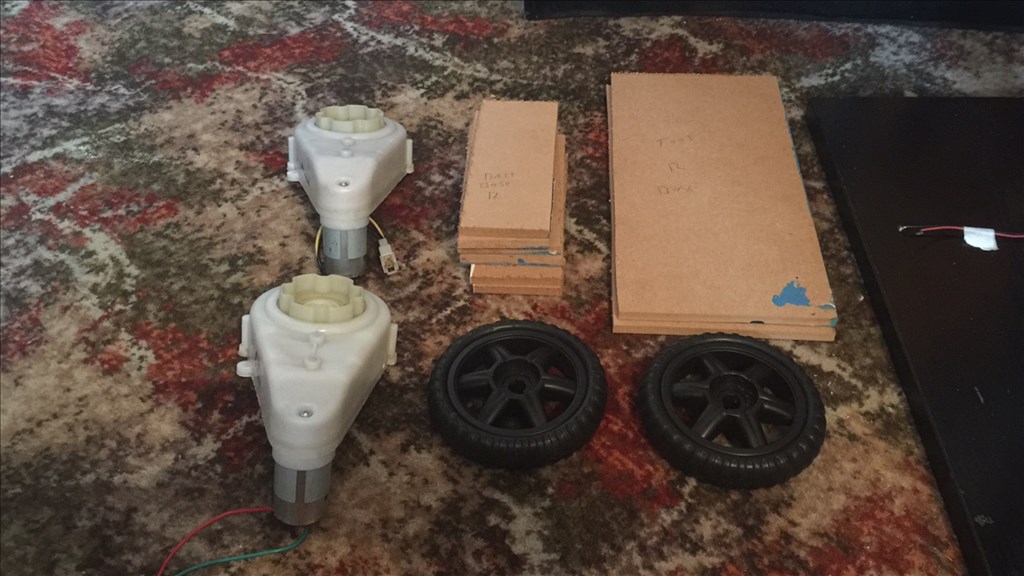
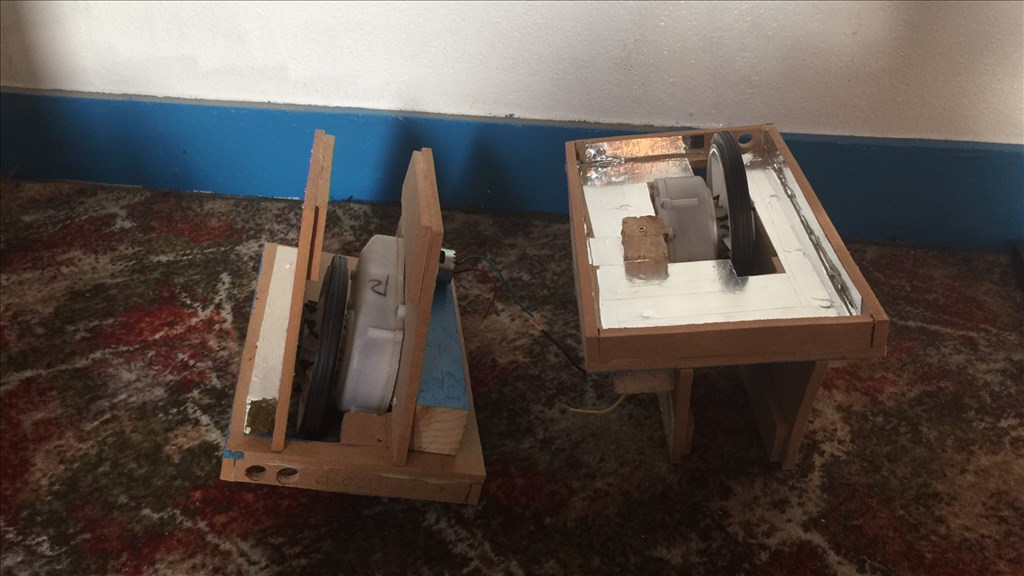
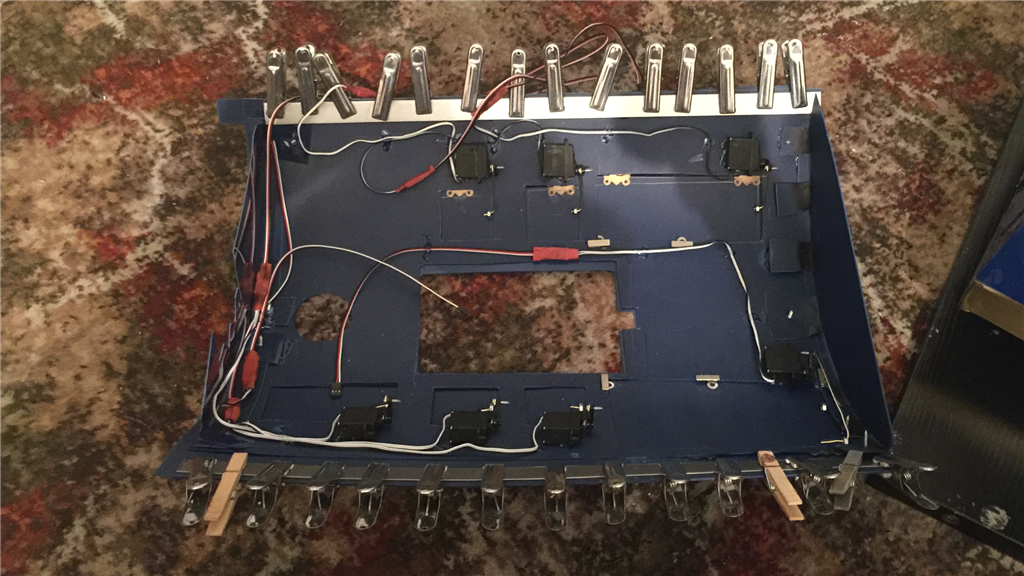
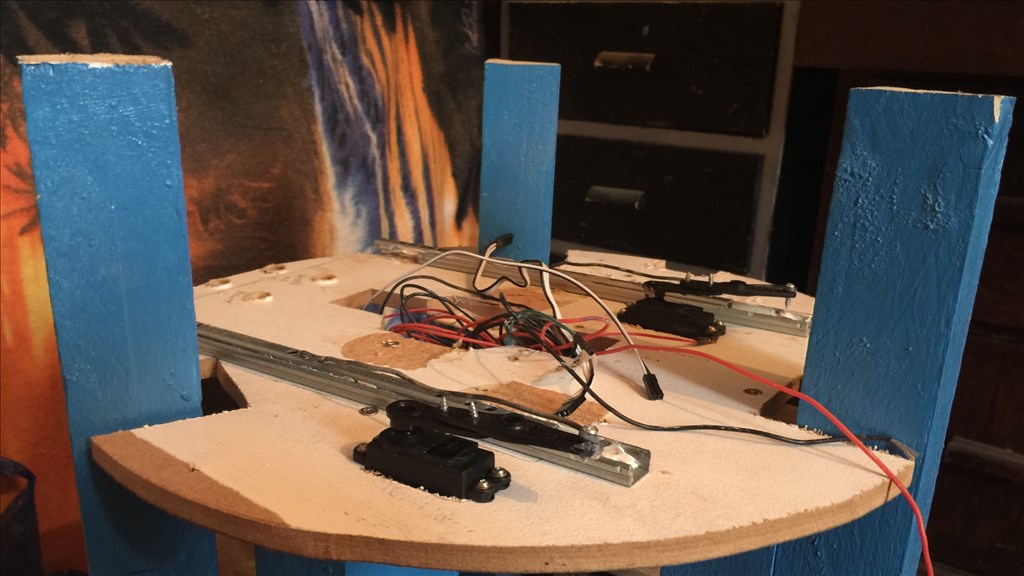
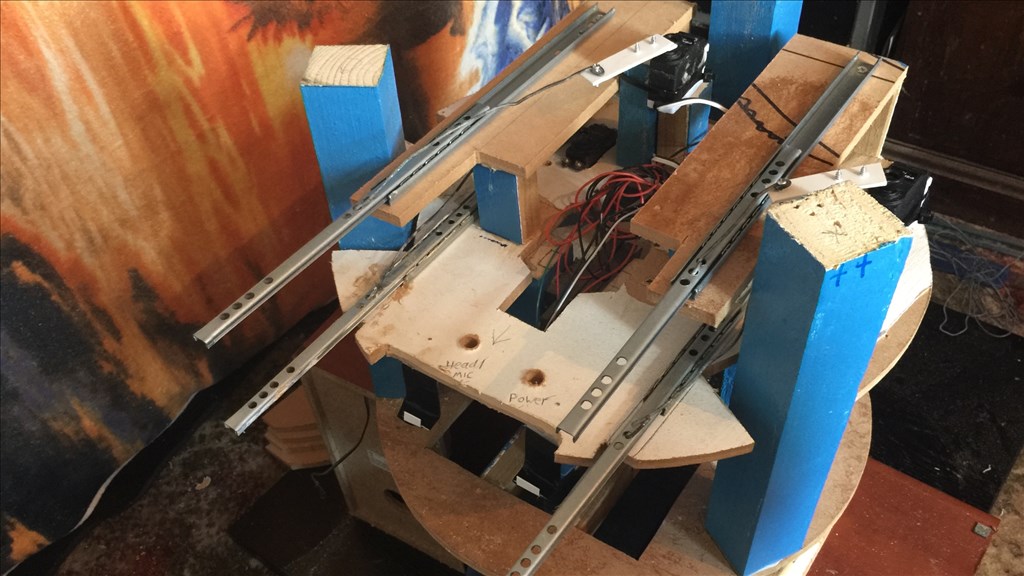
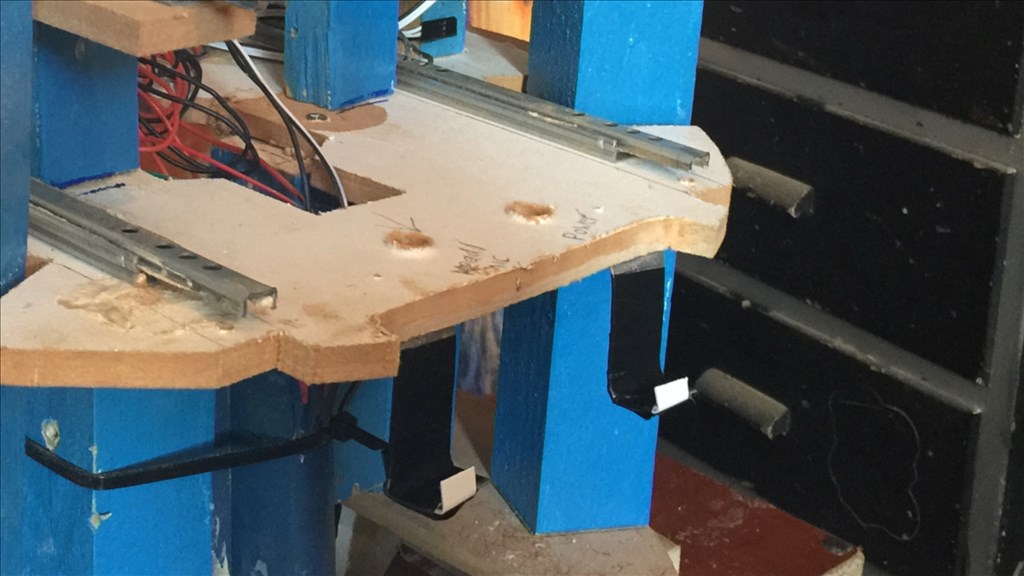
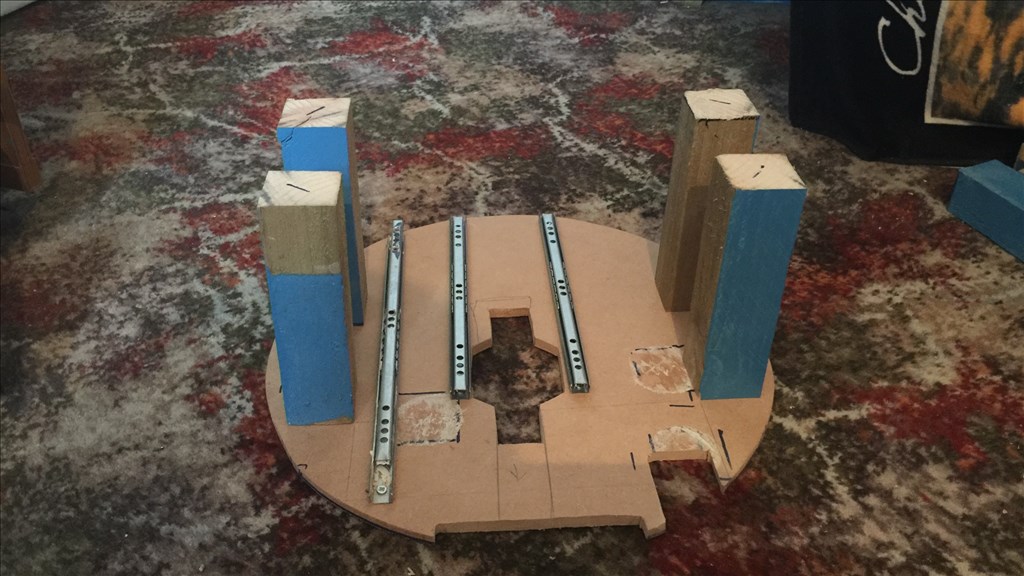
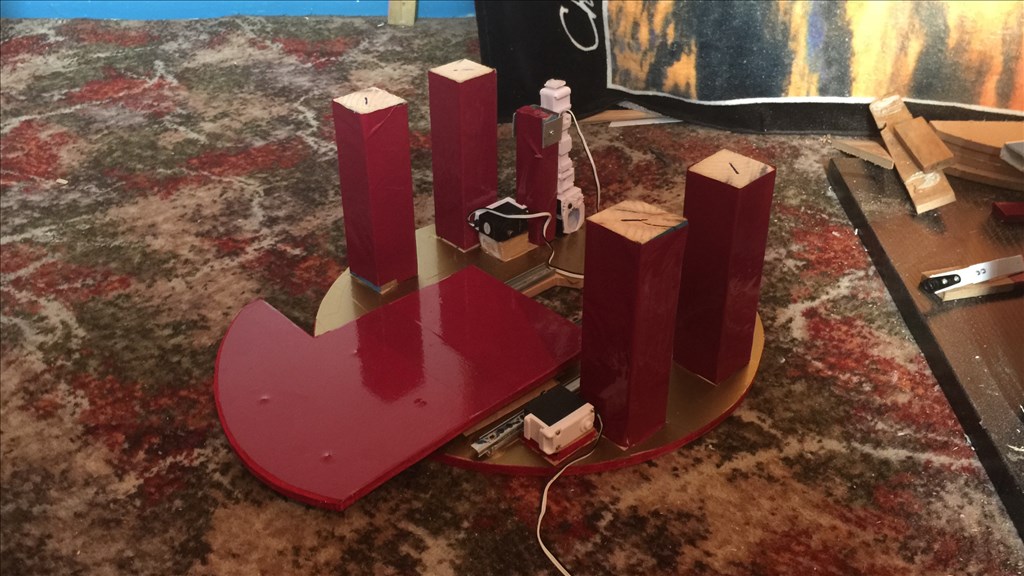
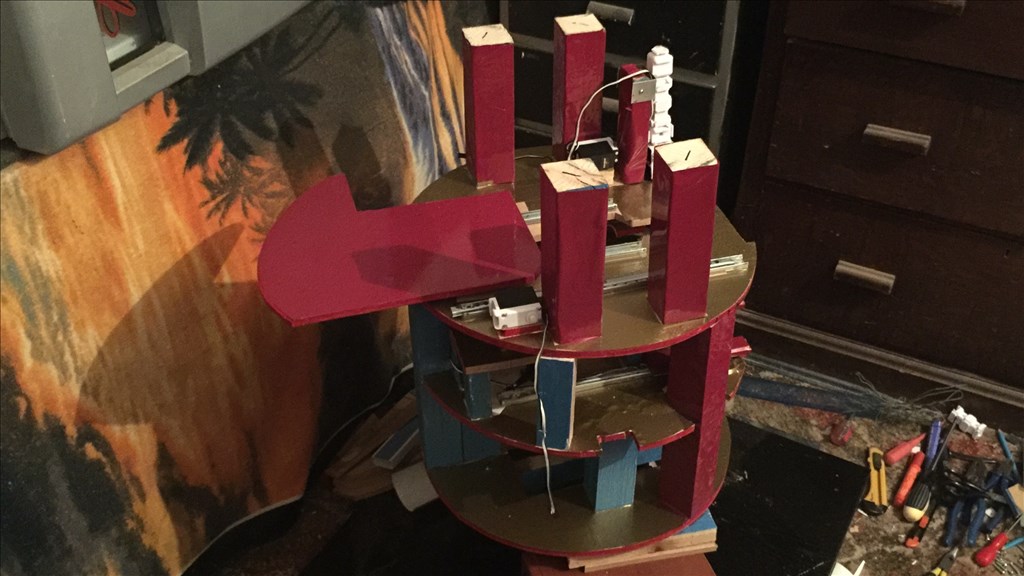
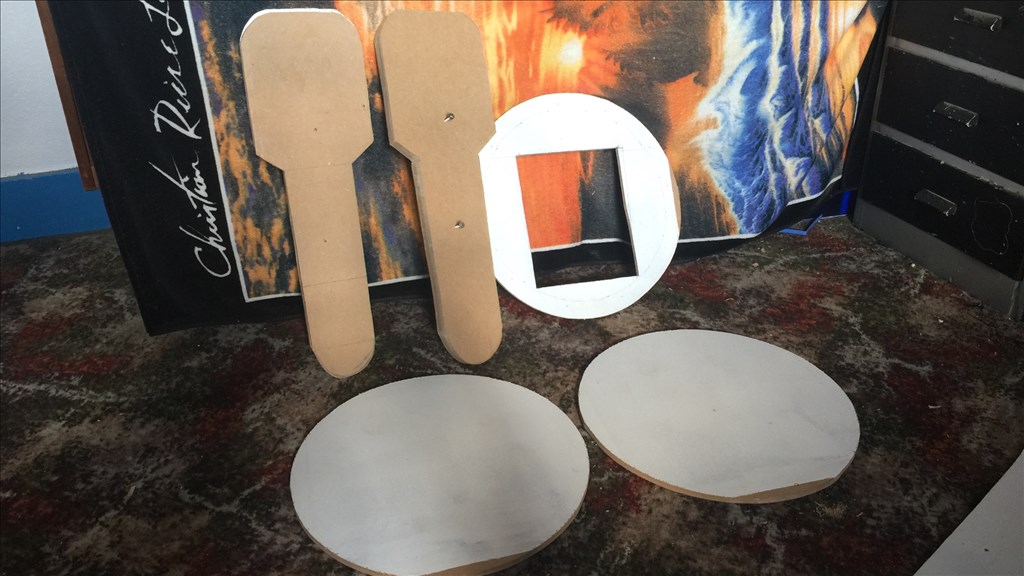
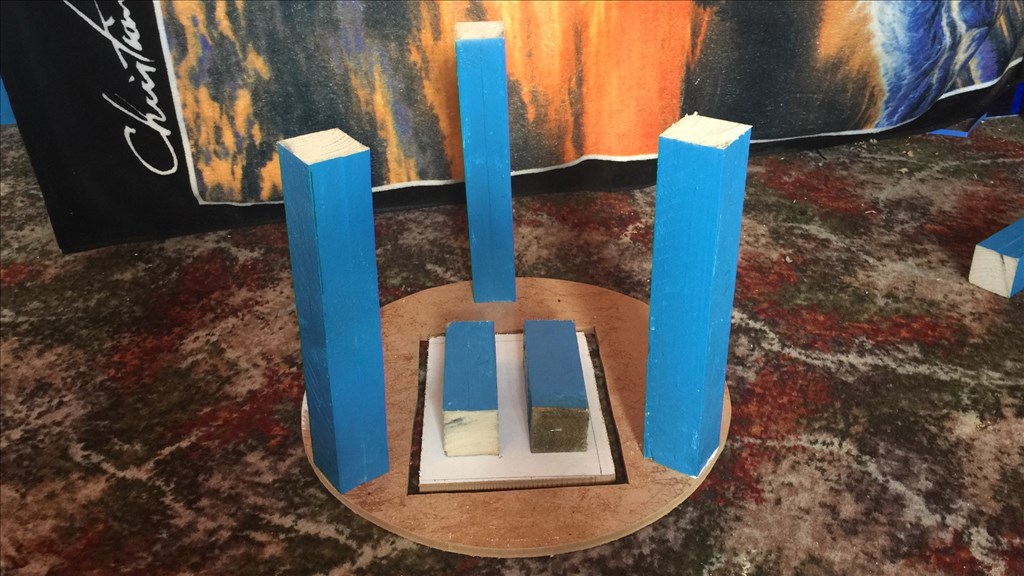
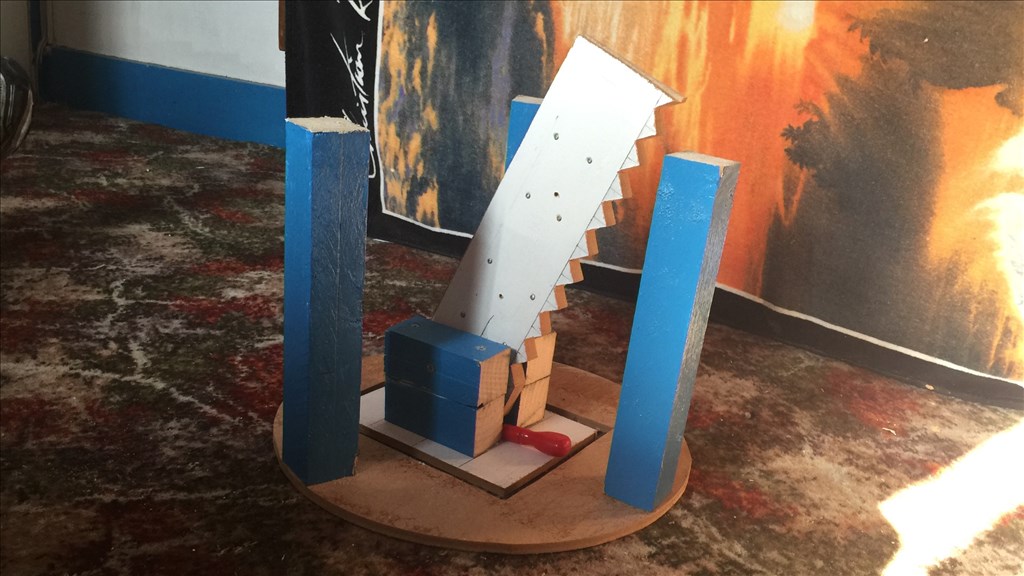
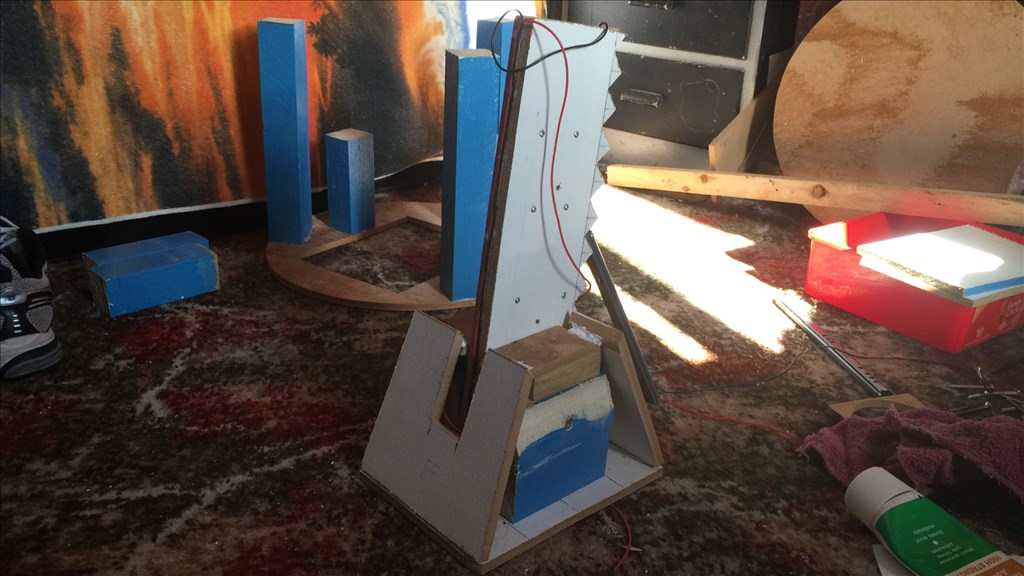
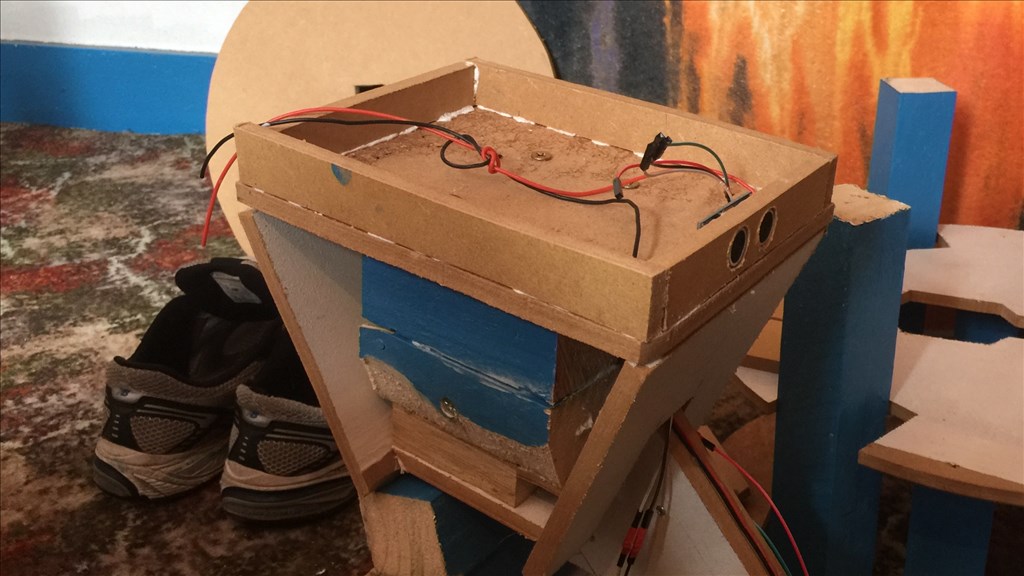
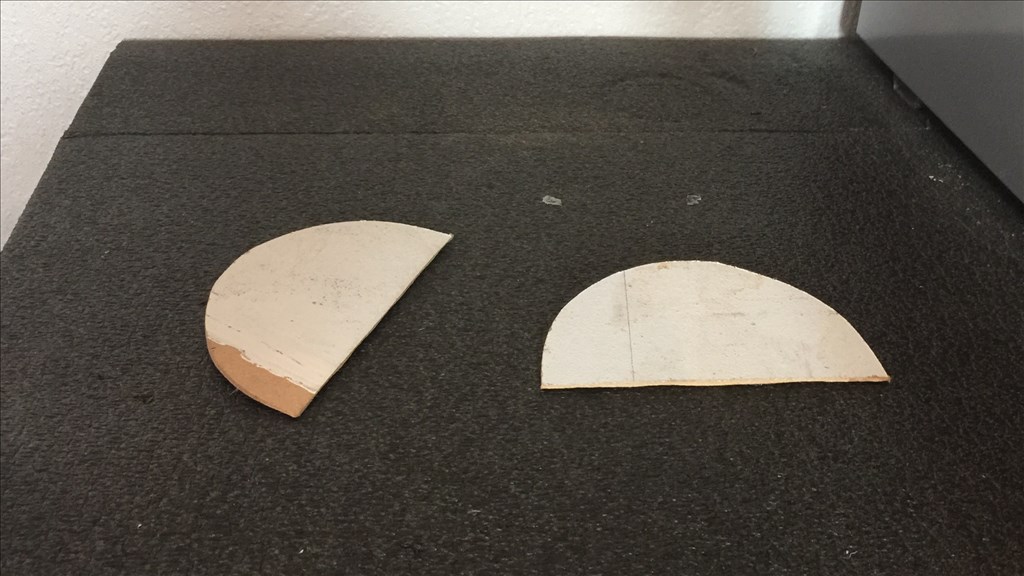
Using some MDF sheet and a mix of 2x2 and 2x1 batons, I measured and cut the necessary lengths and shapes for the outer legs.
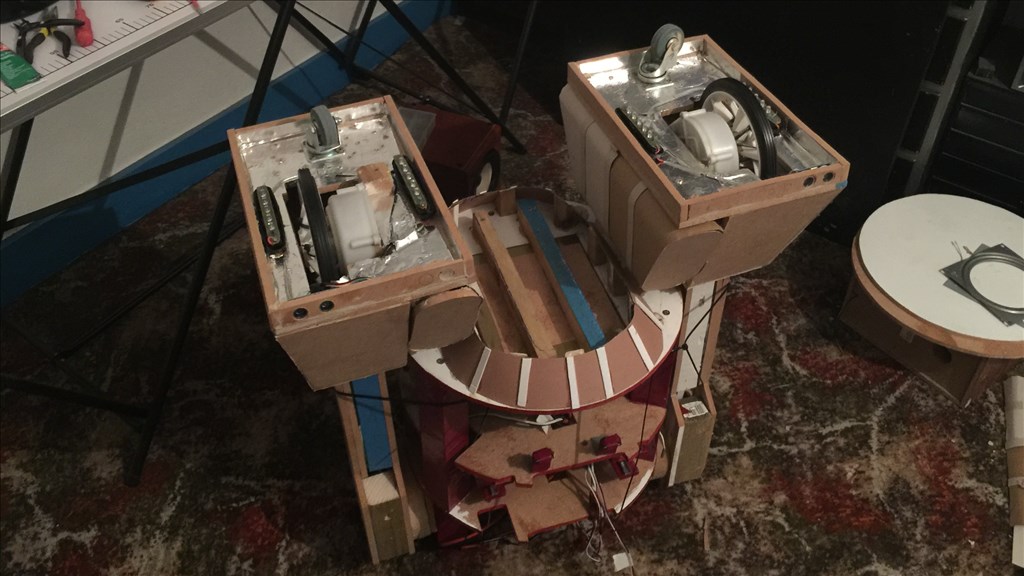
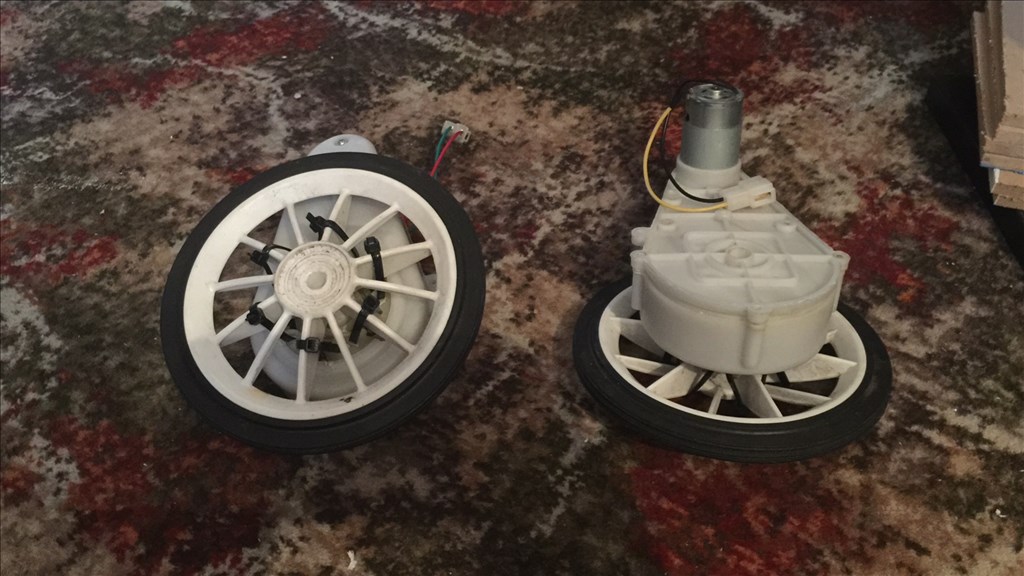
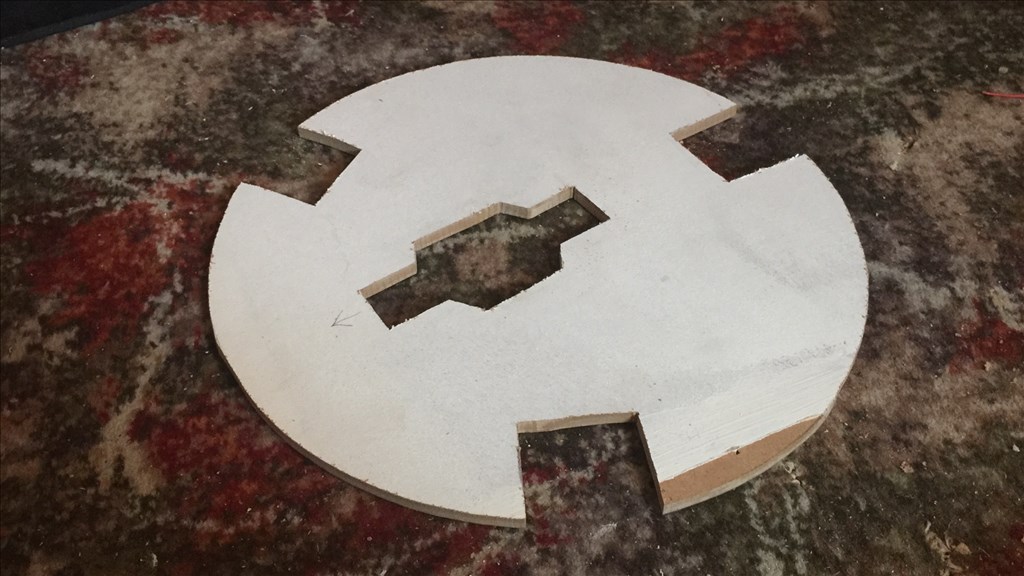
Originally, I had fitted two motors and bearings which I attached to the body.
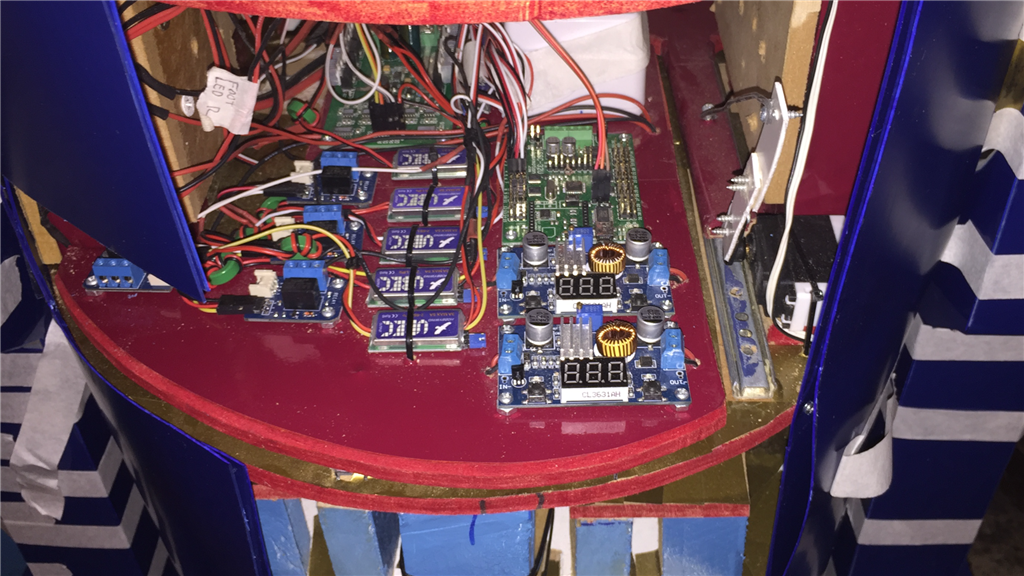
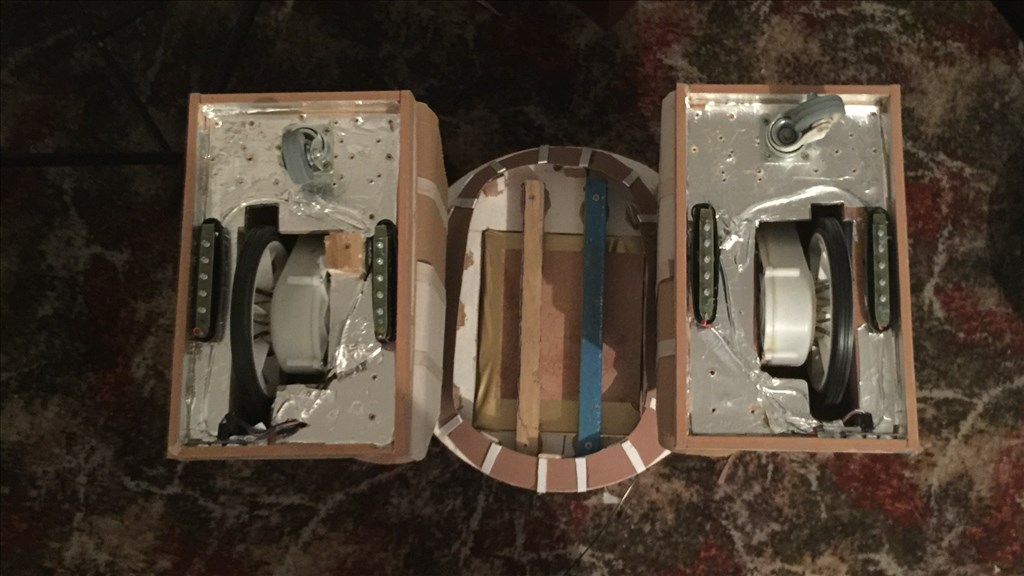
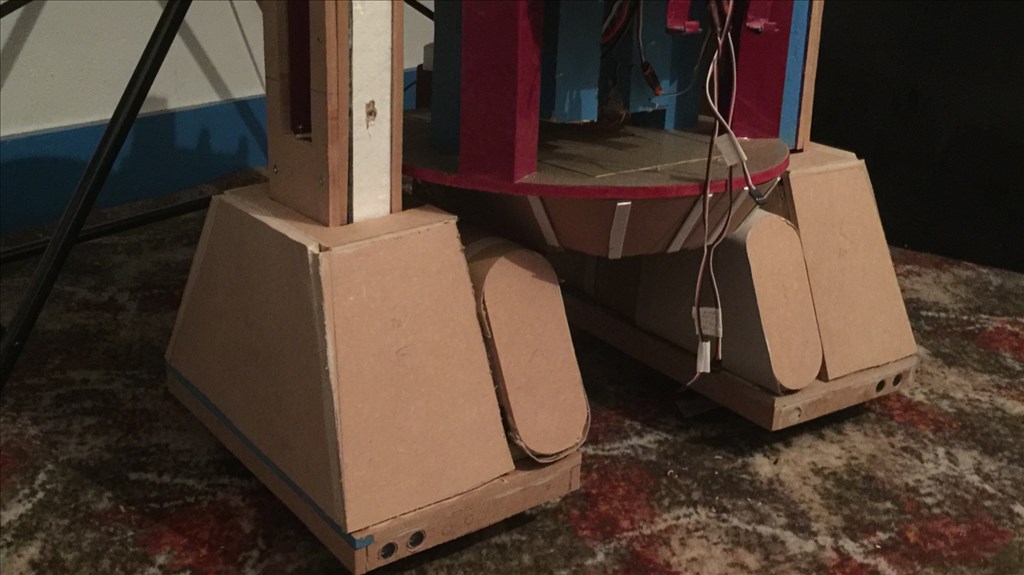
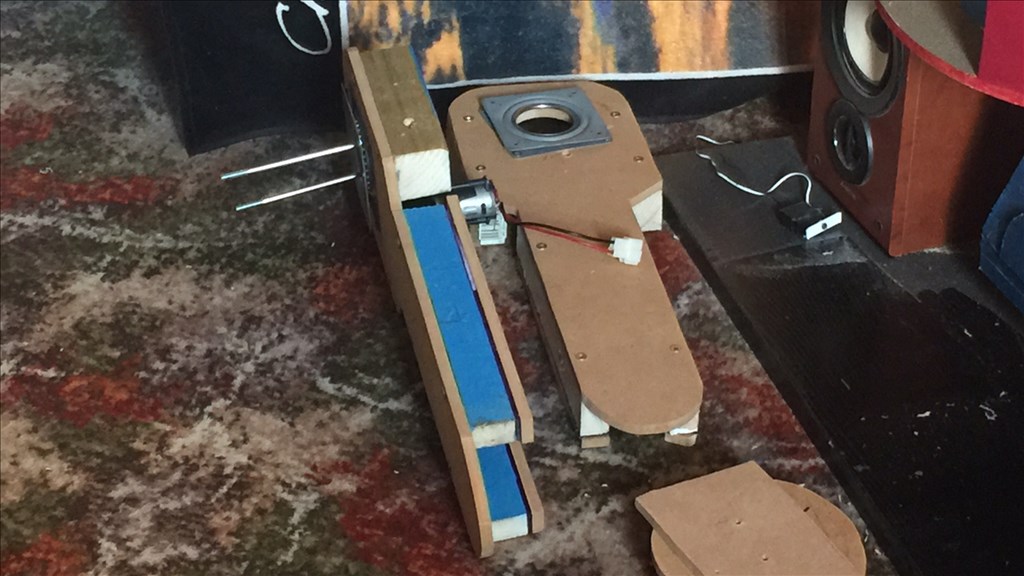
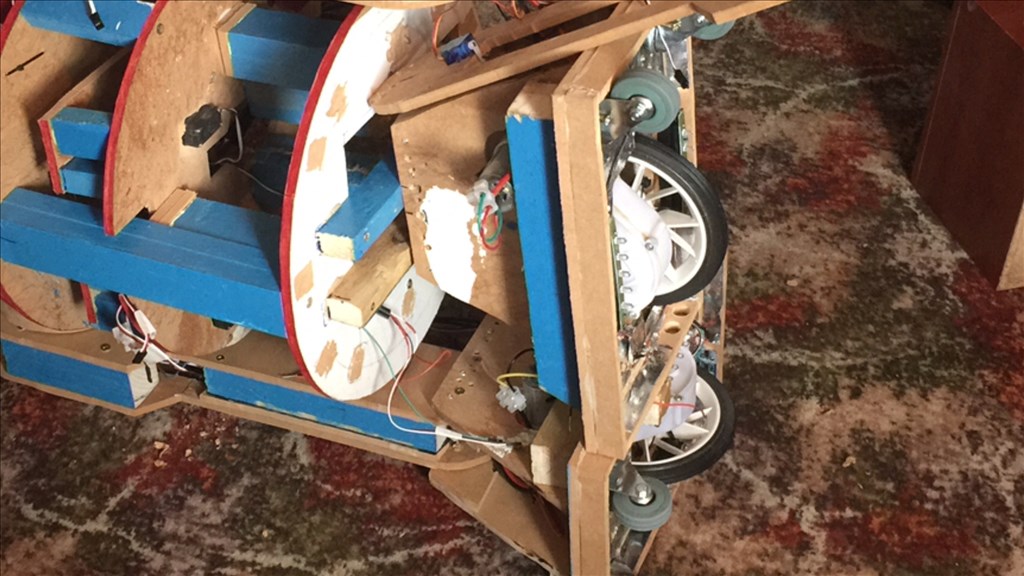
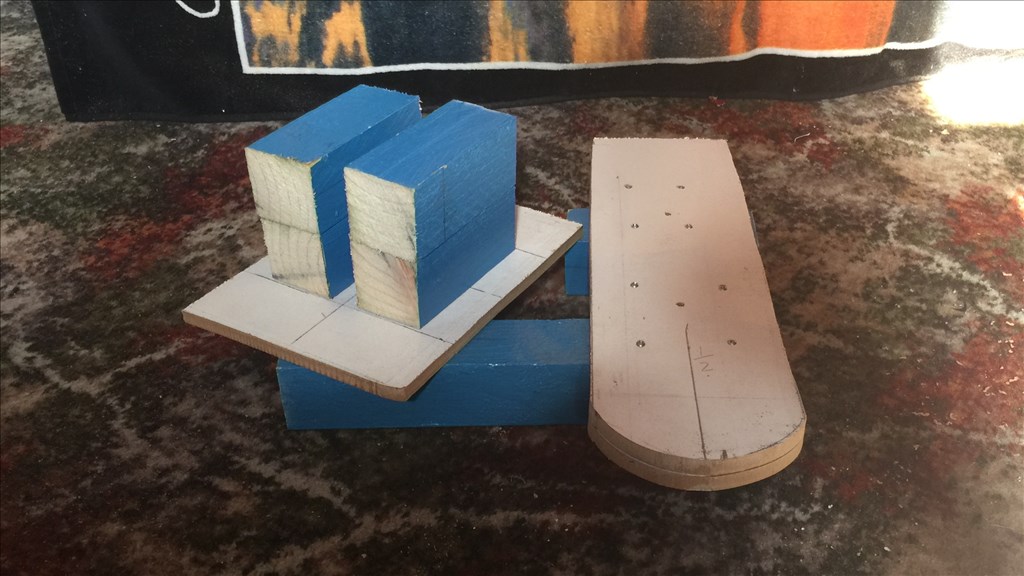
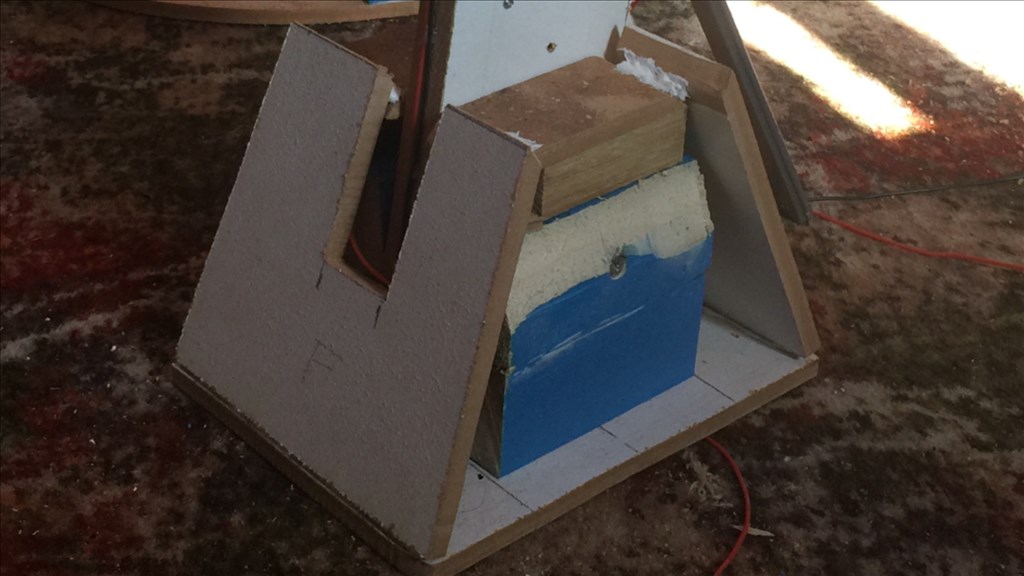
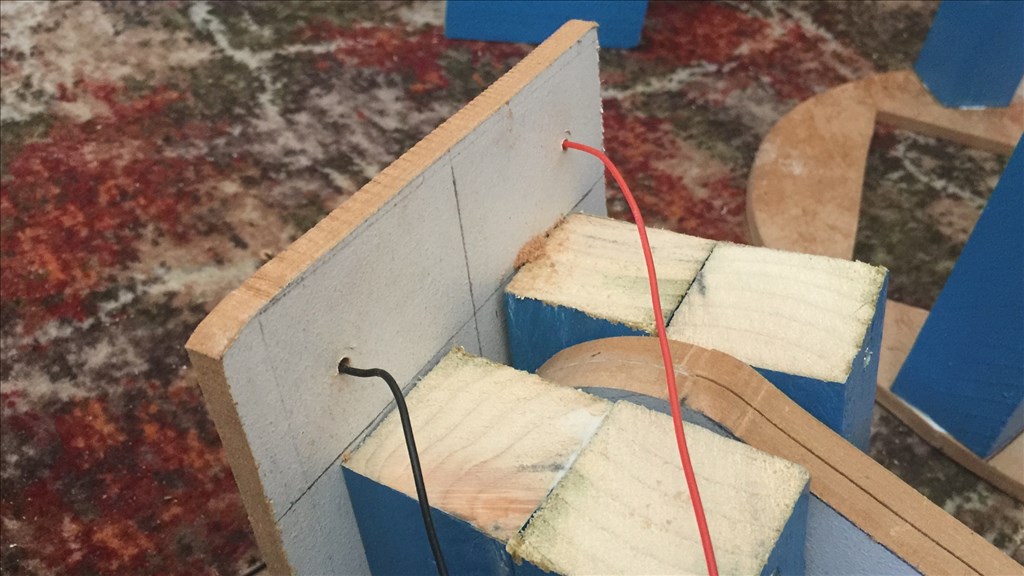
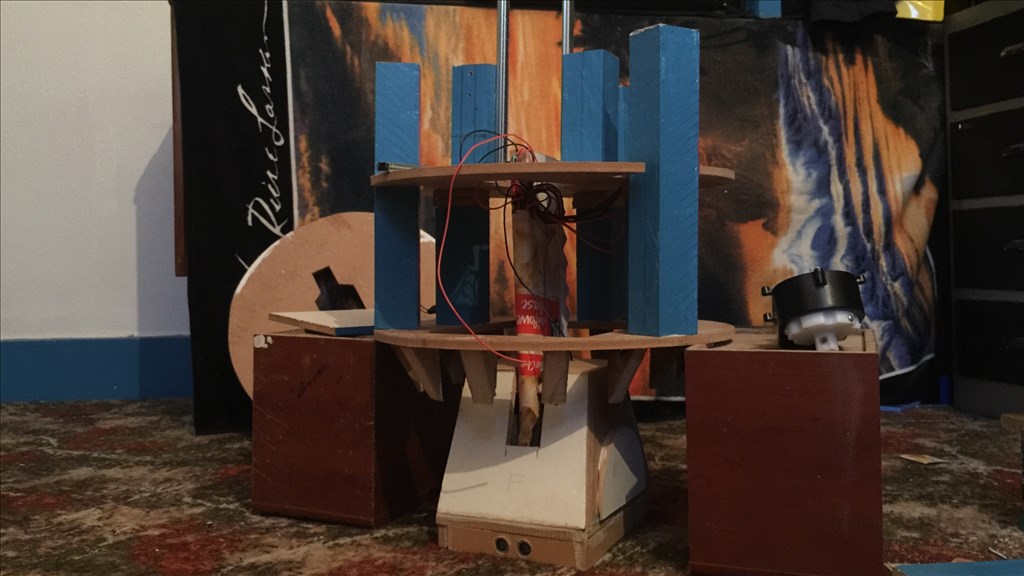
But with the decision made to have the legs static, I removed the bearings and motors, cut some new round spacers and attached the legs to the body. I then traced all of the necessary wiring for servos, drive motors, lighting, and ping sensors.
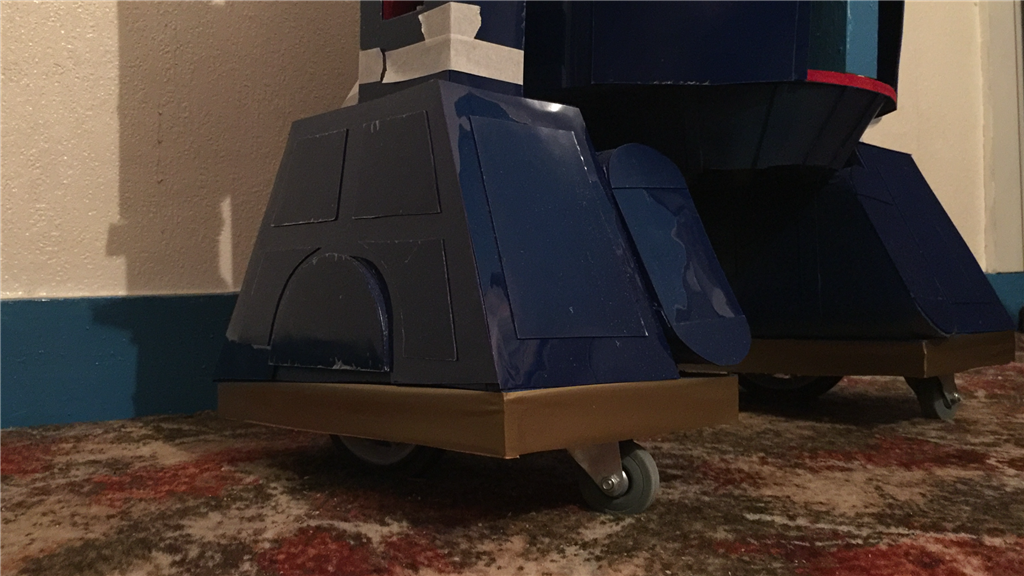
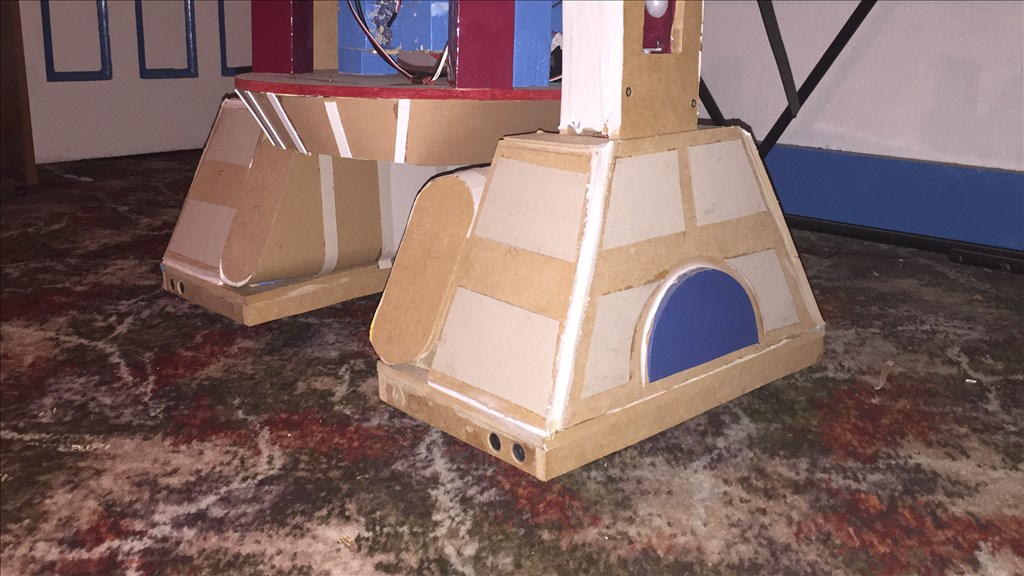
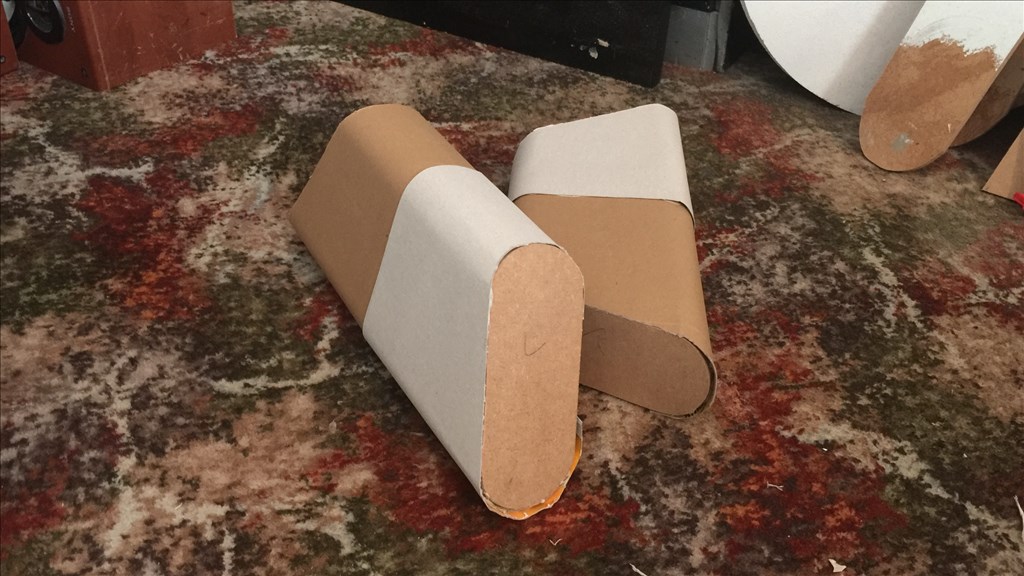
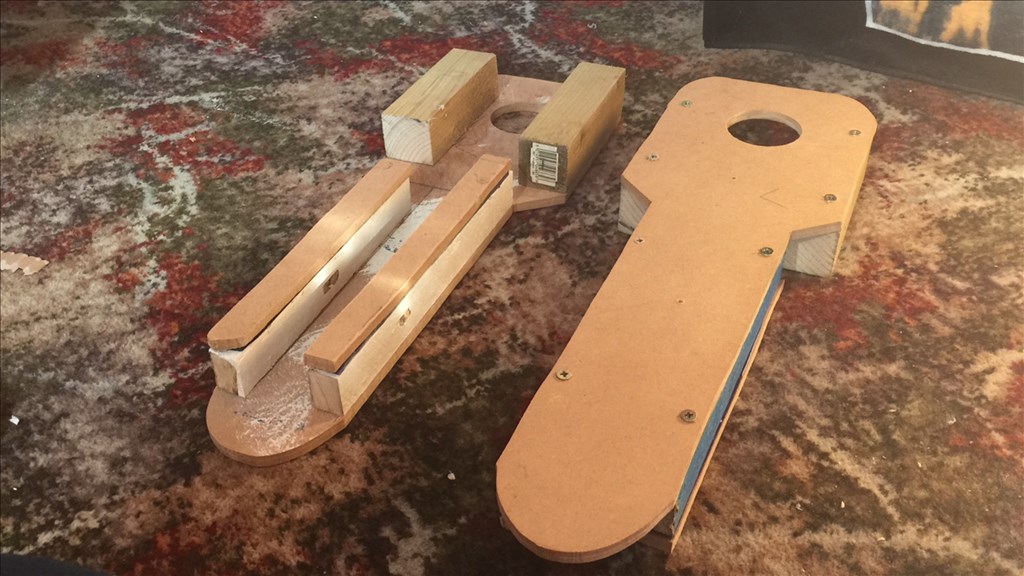
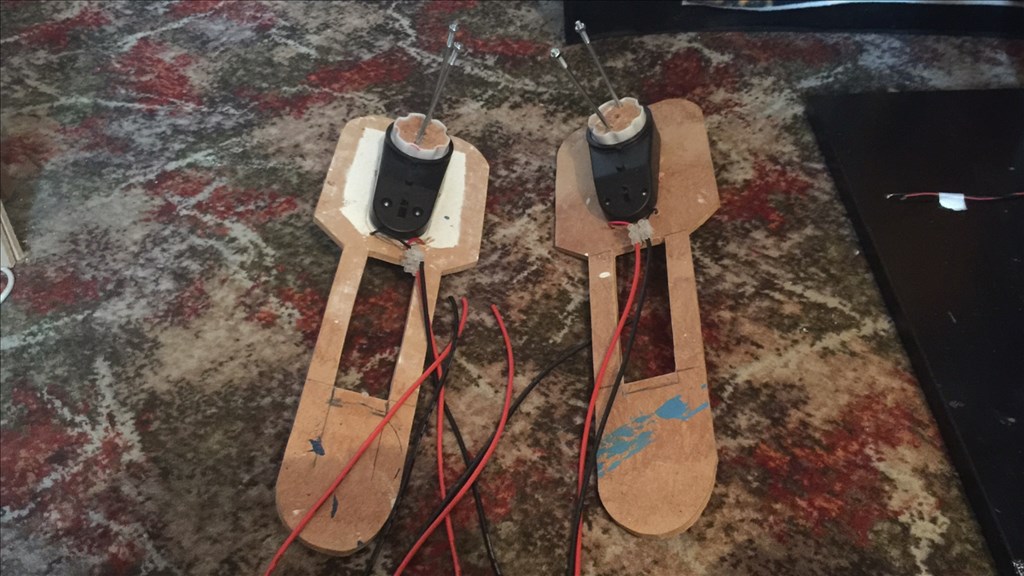
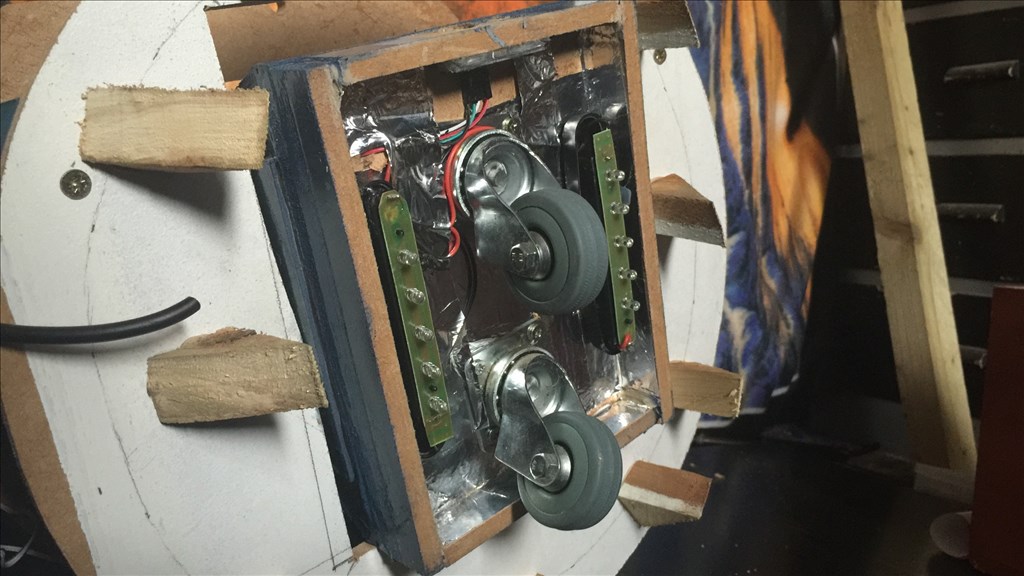
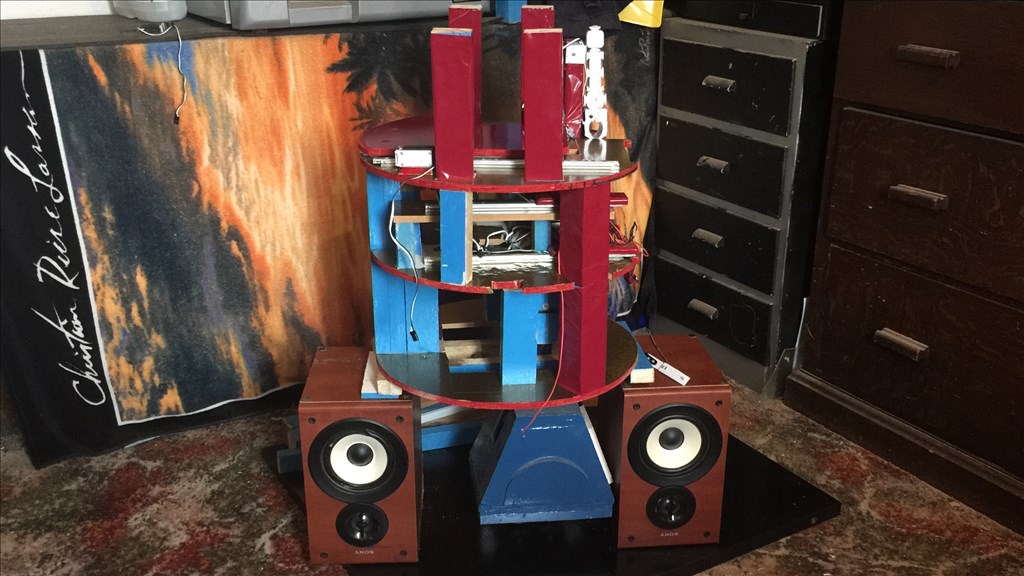
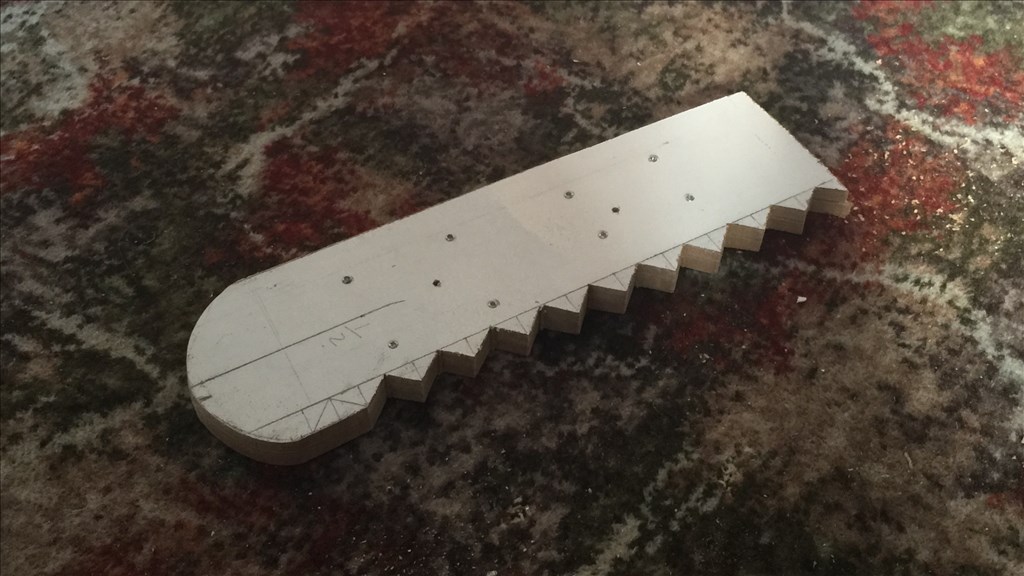
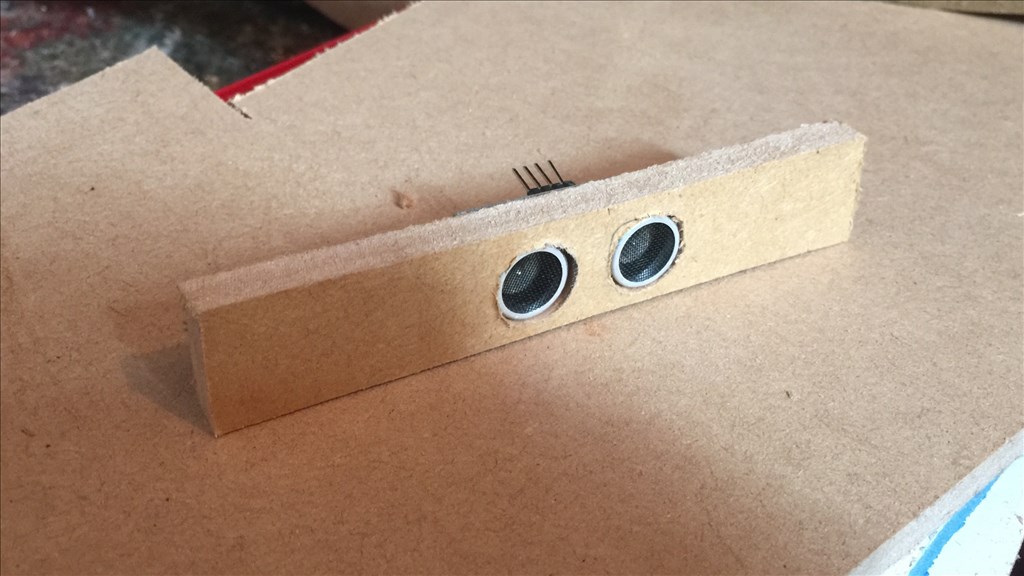
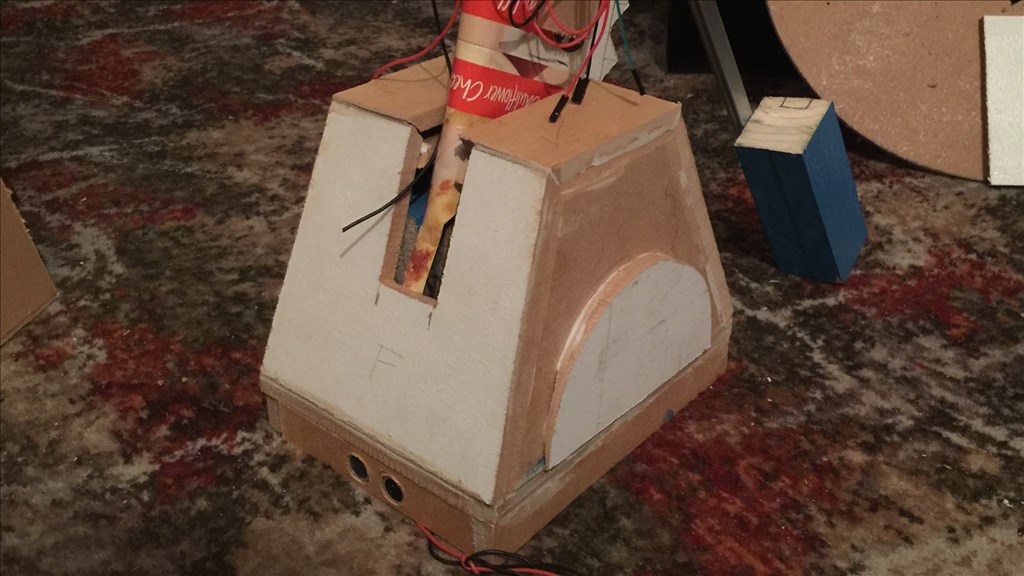
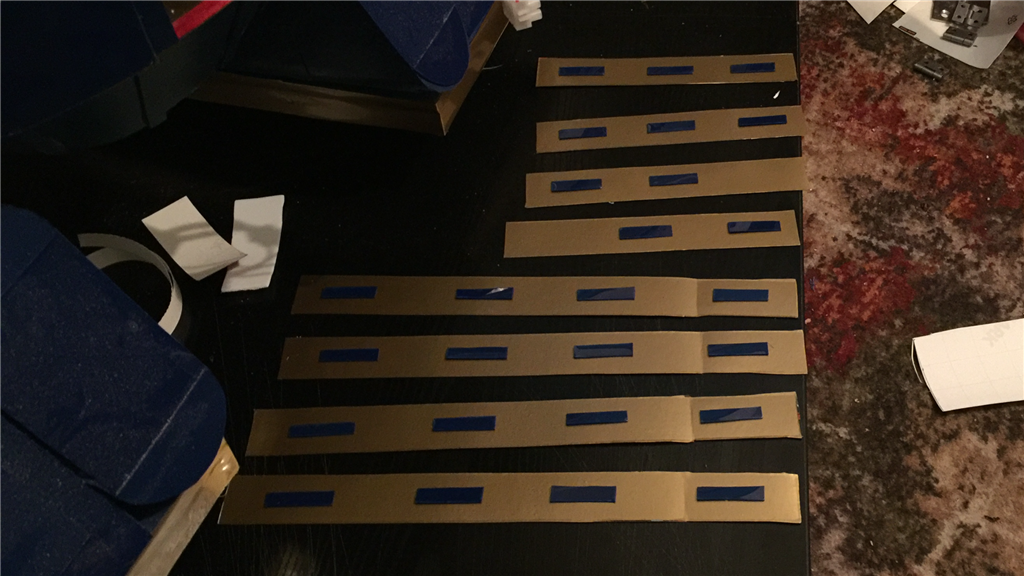
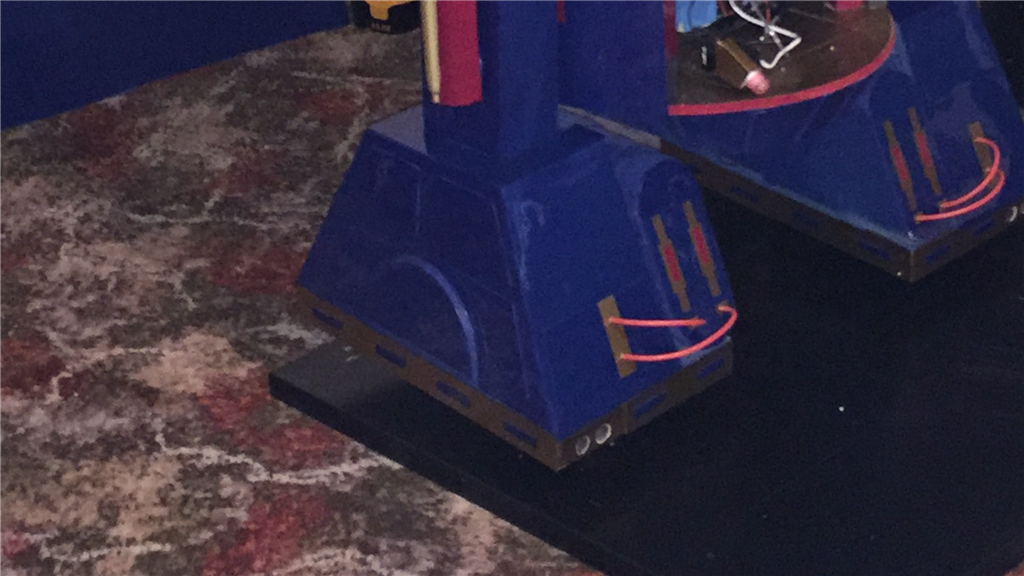
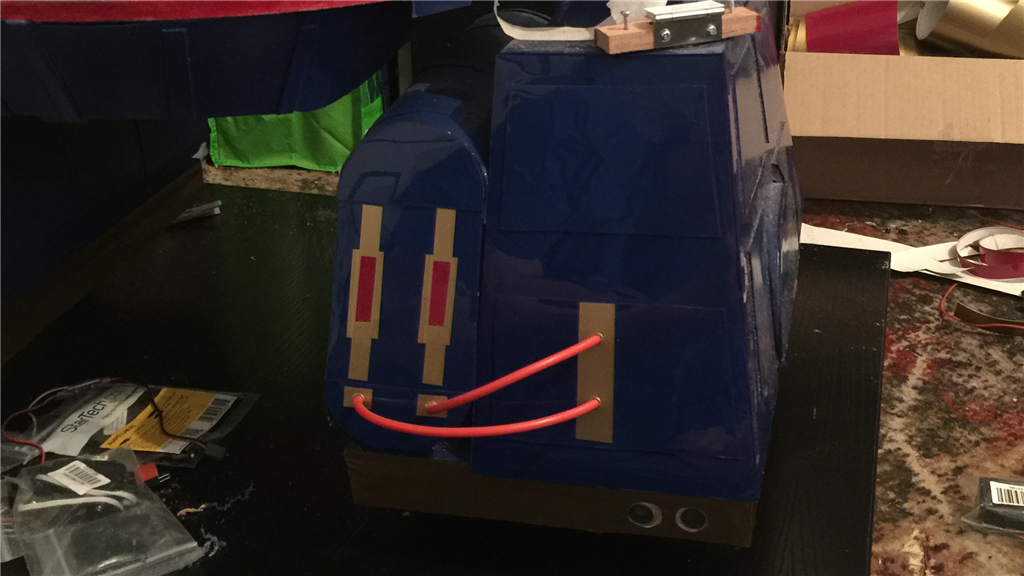
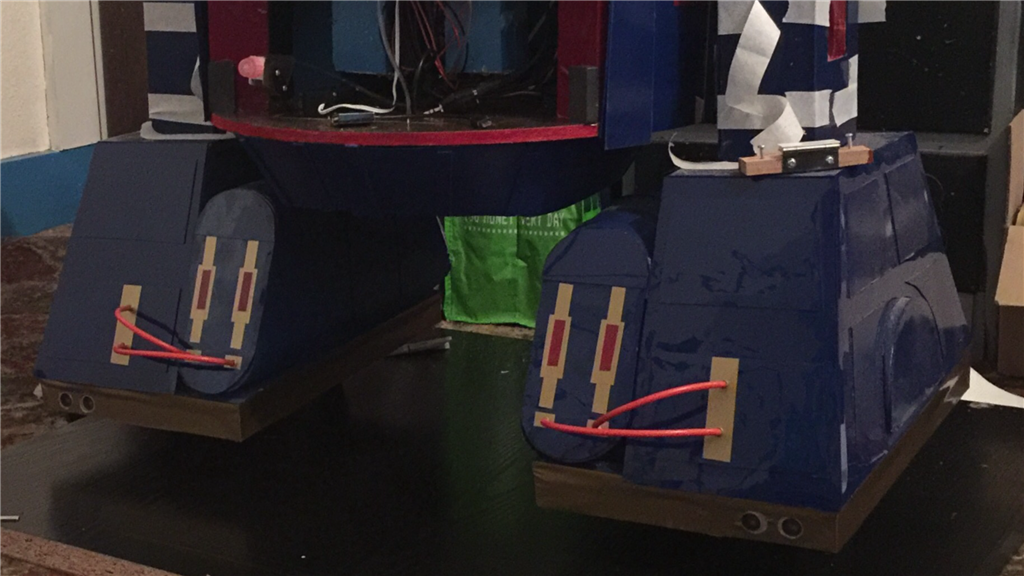
The next step was the two feet. Again , the frame work for the feet were cut from MDF and 2x2 batons. The motor/gearbox assembly were fitted along with rotating caster wheels. Some holes were drilled in the foot skirts to house ping sensors, and under foot lighting was added.
I had an absolute nightmare getting this guy to drive in a straight line. Measurements on a robot build, any robot build, is important as many of you will attest to, but on a build like this, they really do have to be spot on. But even with pretty much spot on measurements, with the main drive wheels in his feet, I tried adding and removing caster wheels, adjusting the caster heights, raising and lowering the overall height of the legs, and tried in different floor surfaces, and he either pulled to the right or to the left (mostly to the left)
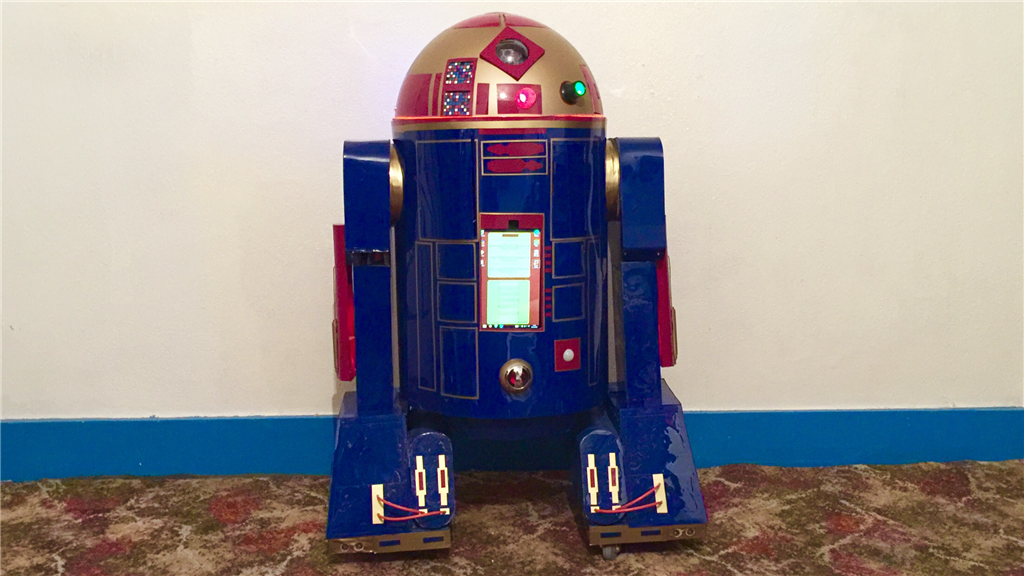
But after two full days of adjusting, trial and error, and dialling in, I'm pleased to say that I've got E4 pretty much tracking straight and true. Nothing special, but here's a short video demo of his first successful drive test...
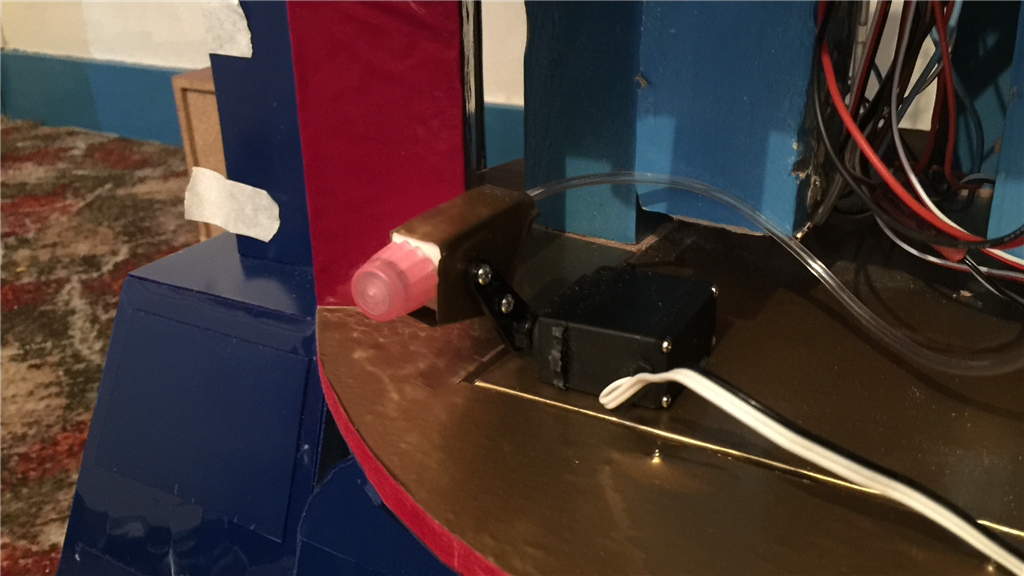
Each foot now has the drive wheel and one rotating caster fitted to the back of the foot. What I will do for his movement will be to add ramping scripts the forward, reverse, and turning for more elegant movements and to reduce the risk of tipping over, and add turning scripts for the U turn style movement that R2-D2 does in the movies.
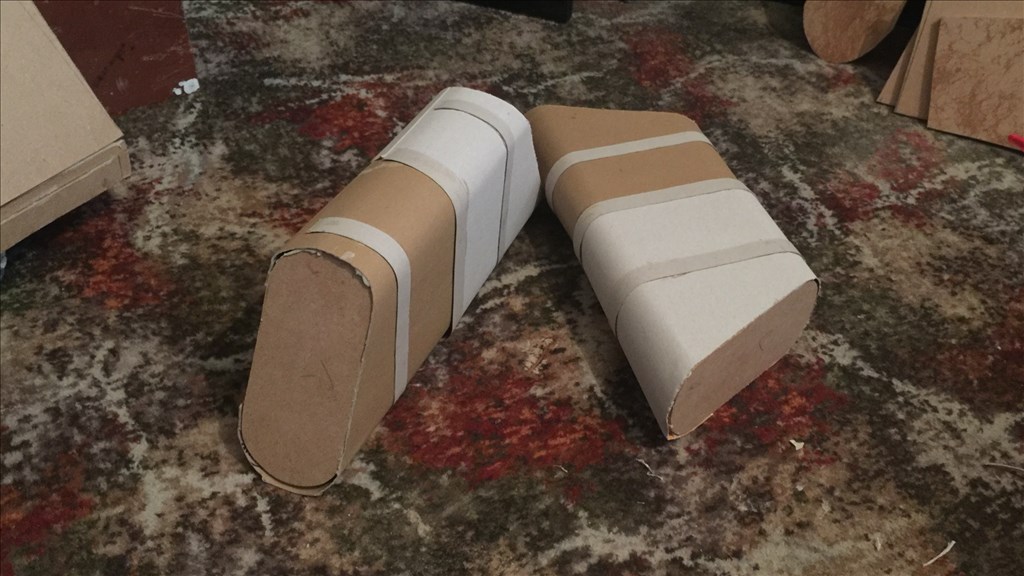
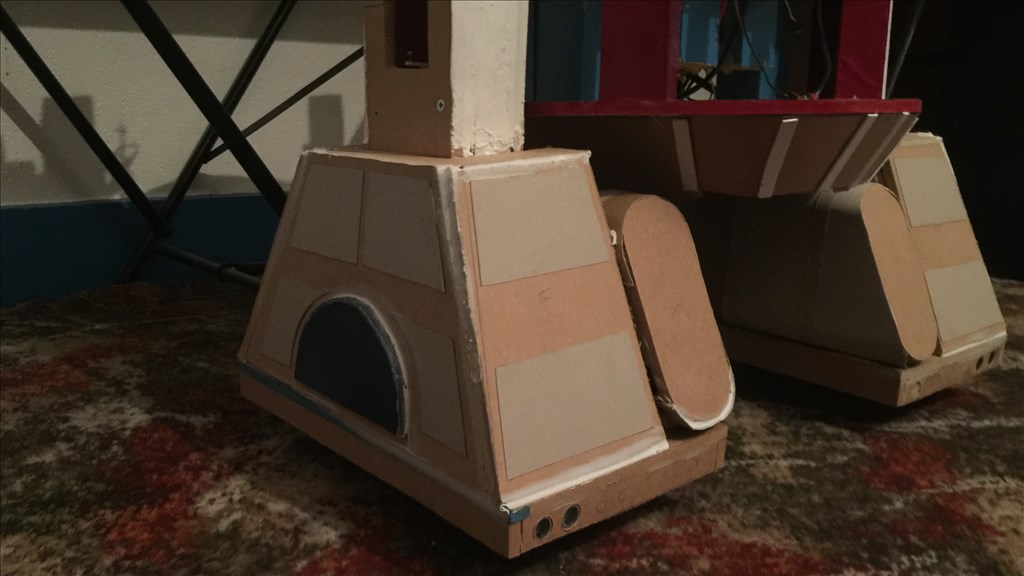
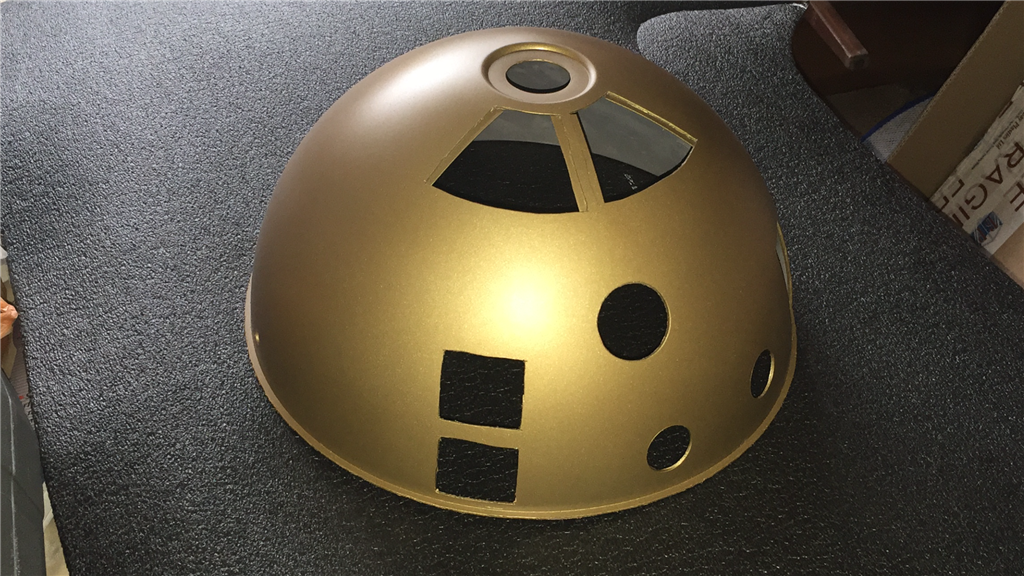
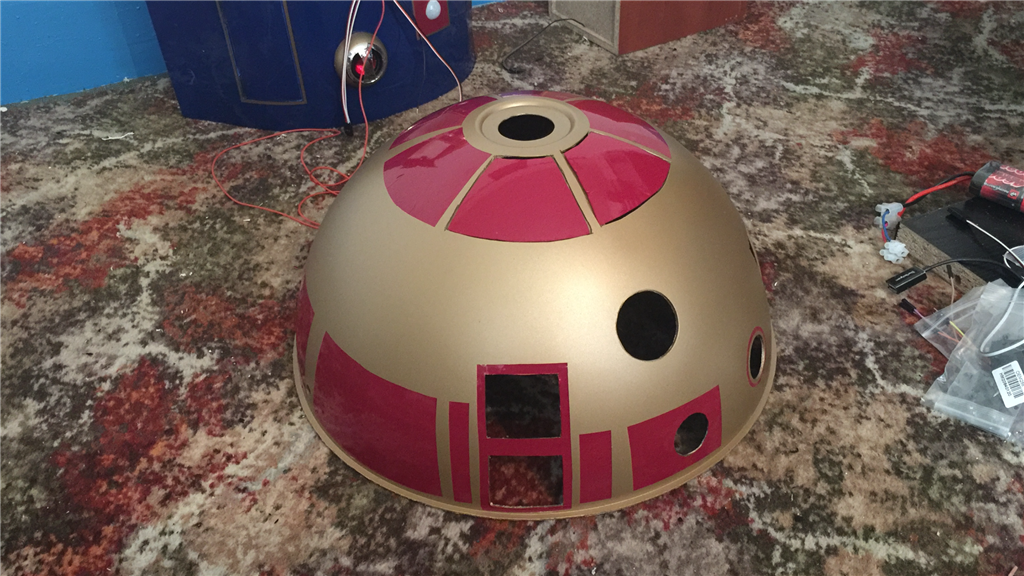
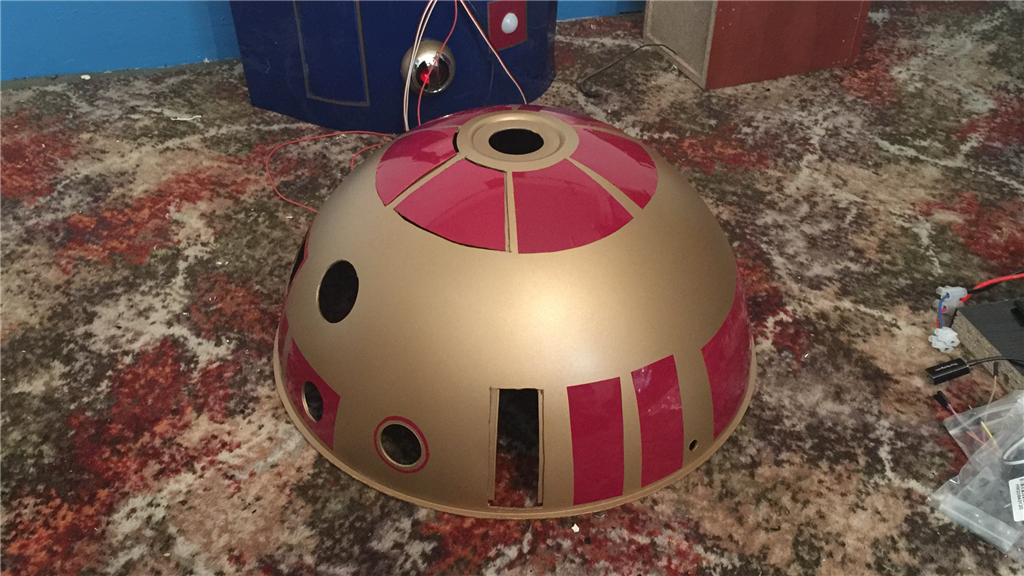
But in regards to the build, the next thing I will do will be to give him some new shoes (basically covering them up) and add the battery boxes. Then it's on to... the head, and that takes me over half way of the build process.
Fun Query:
After now losing the two main features I wanted, I watched Star Wars ep4 to give me some motivation to carry on. So, with all of the military hardware the Empire has, a humongous heavily armoured battle station, massive star destroyers, artificiality intelligent robots, powerful weapons, the power of the dark side of the force, and rely heavily on troops, you would think that the empire would splash out a little bit more on better armoured suits for the storm troopers. I mean, one shot from a laser blaster... and they're toast, lol!
You may have given up some options that you liked but what you presently have is REALLY GREAT !
Thanks Doc. That's very nice of you to say. It's words like that which will push me through my disappointment of leaving options out for now, and carry on making him the best I can.
Great work! You must be thrilled to see it moving around.
Thanks Dave. My friend, you have no idea how pleased I was to see it move, and in a straight line . Looking forward to getting on with the rest of the build now.
Steve, Great job. I really like what you have done so far. I also loved that it moved in a straight line. That is more difficult than most people know. I assume you are using encoders in the motors.