


Day 1 (4th August 2015)
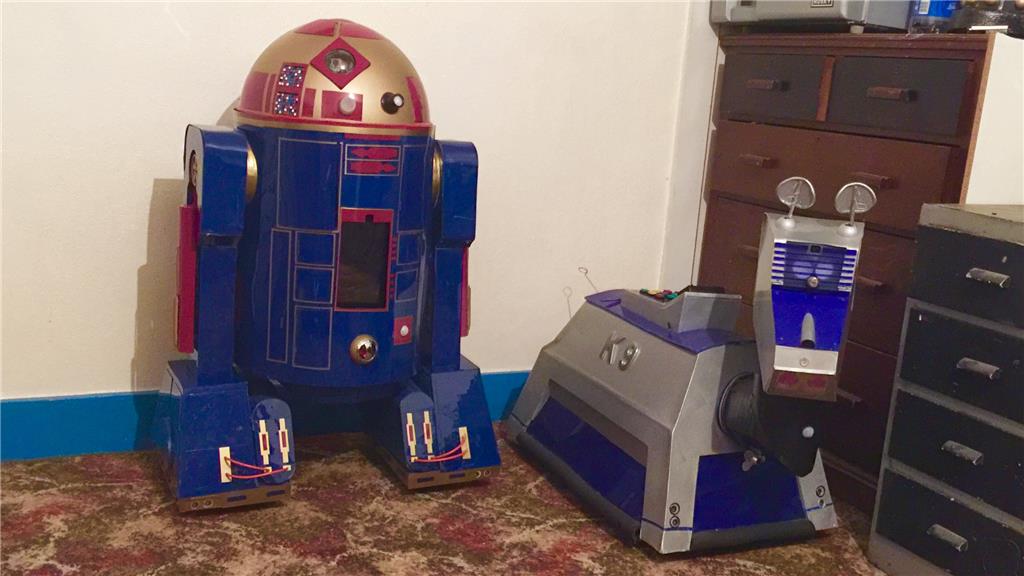
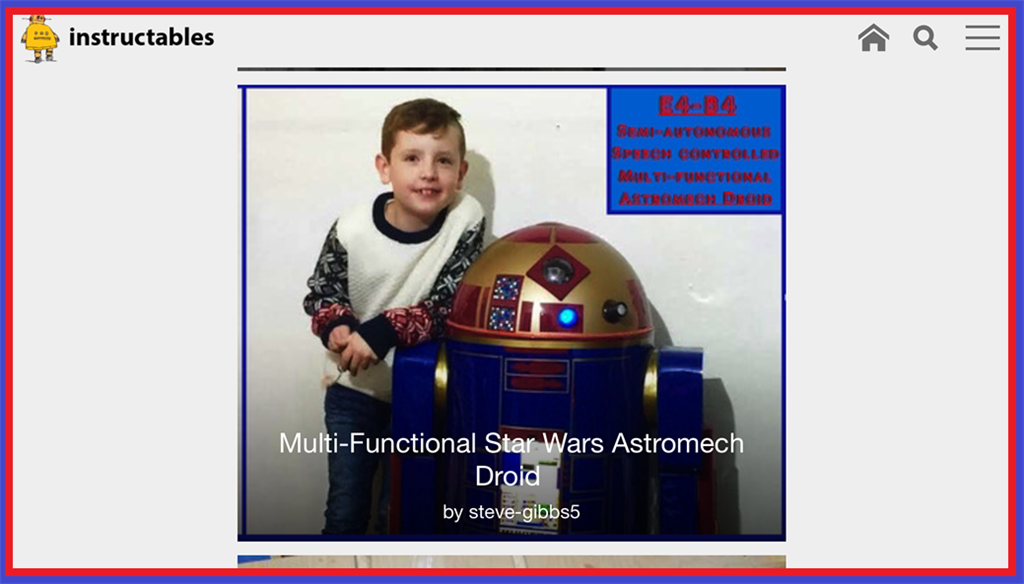
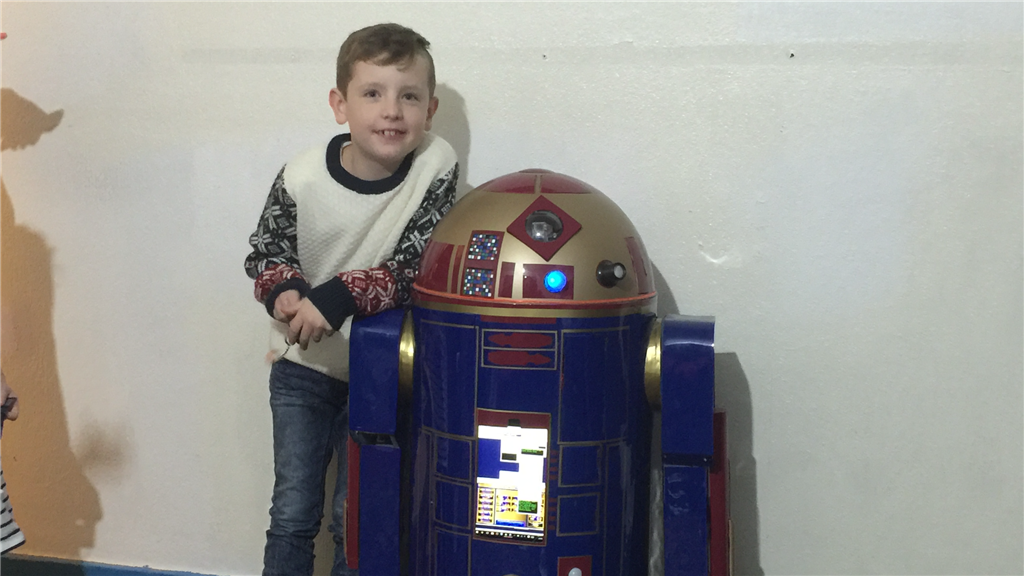
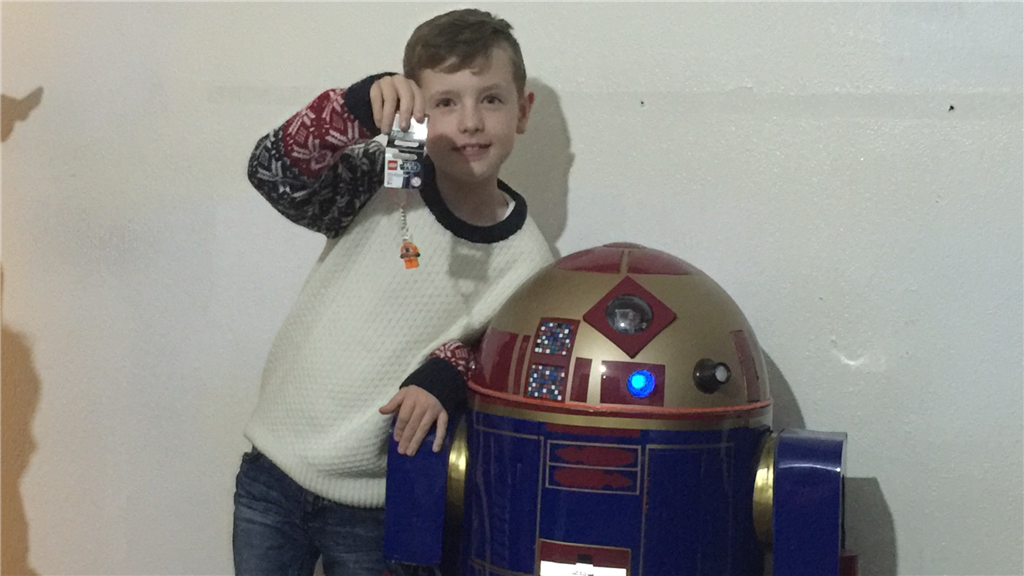
So after throwing around a few ideas for a new project to sink my teeth in to, I decided to go ahead and do my own version of an Astromech Droid, rather an Astromech "Smartdroid". With K-9 being one of my all time favourite on-screen robots, R2-D2 was (and still is) just as much of an all time favourite of mine so building one of my own droids is a logical step for me. As my other robot showcases where posted when the majority of the work was done, this will be a build diary of sorts, with updates throughout the build.
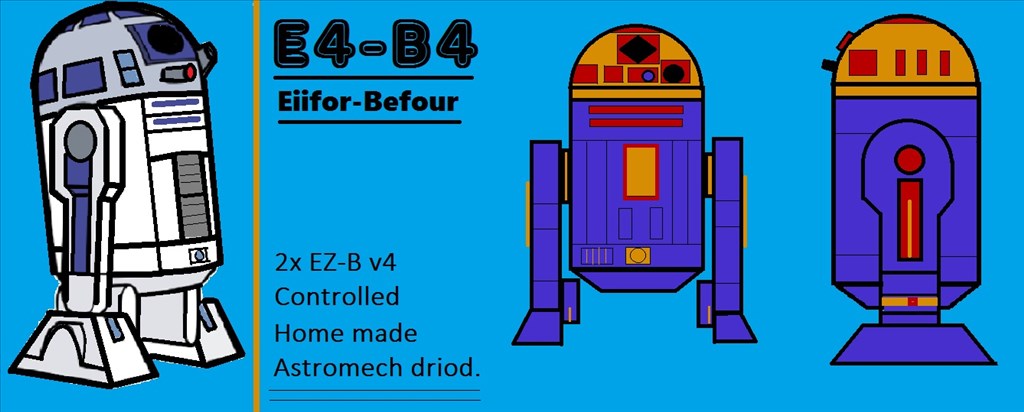
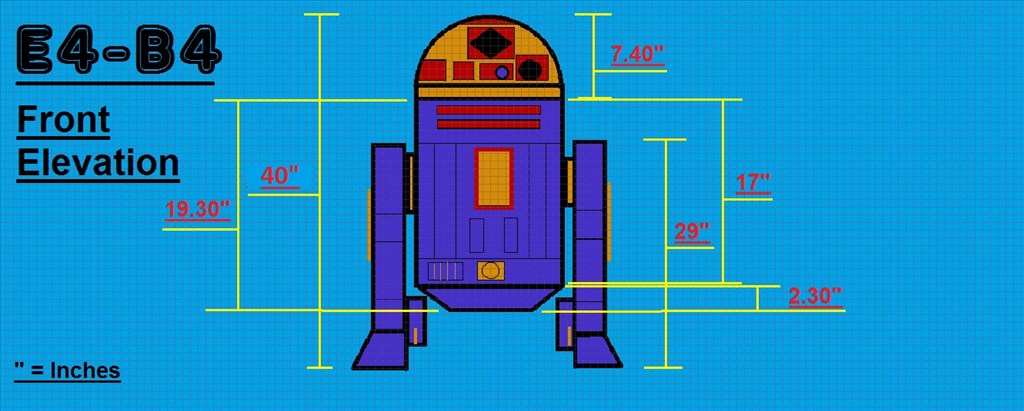
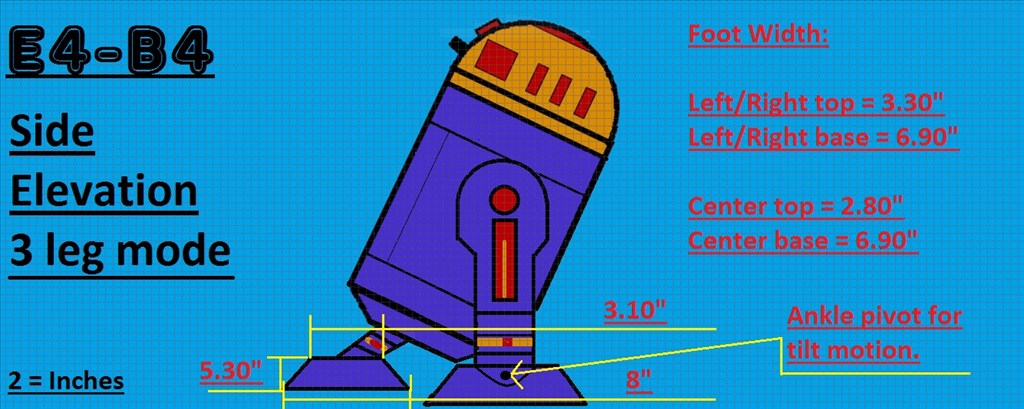
So wanting to get back to building, I had a few ideas floating around for my next BIG project and the thought about doing an R2 style robot came up a few times in the past (the blueprints I drew up that I've posted are 3 years old and was for an R/C version), and after encountering a few design issues for a large custom robot (which I will get back to one day), it was @Robot56's fantastic Astromech Droid project that was the final push for me to decide what direction I should go. There are so many great scale replica Astromech builds around that people have done, but much like my K-9 2.0 build, I want to stay away from doing an exact prop replica build and do a custom build with custom paint job (as seen in the blueprints) while still keeping with the overall original design.
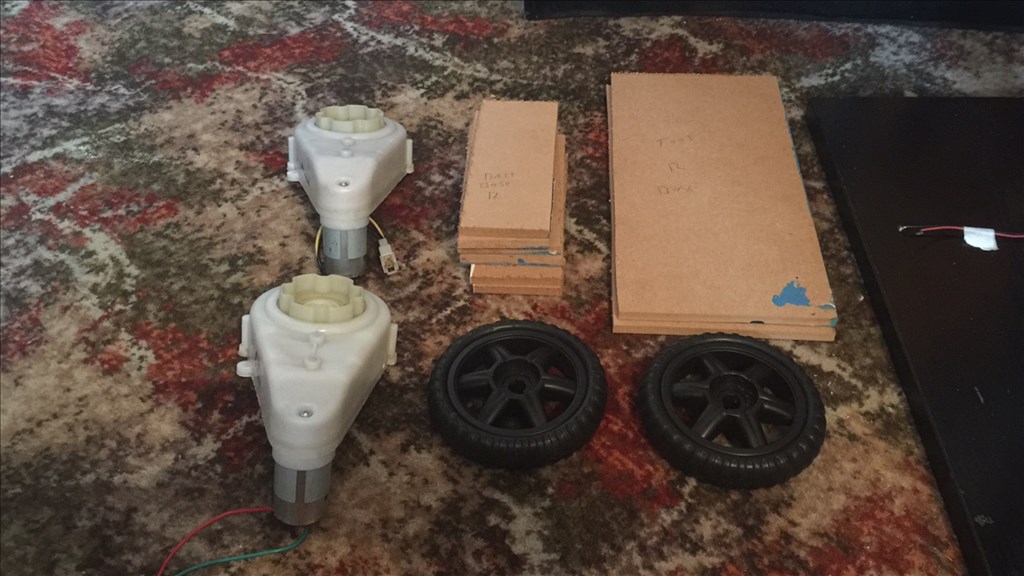
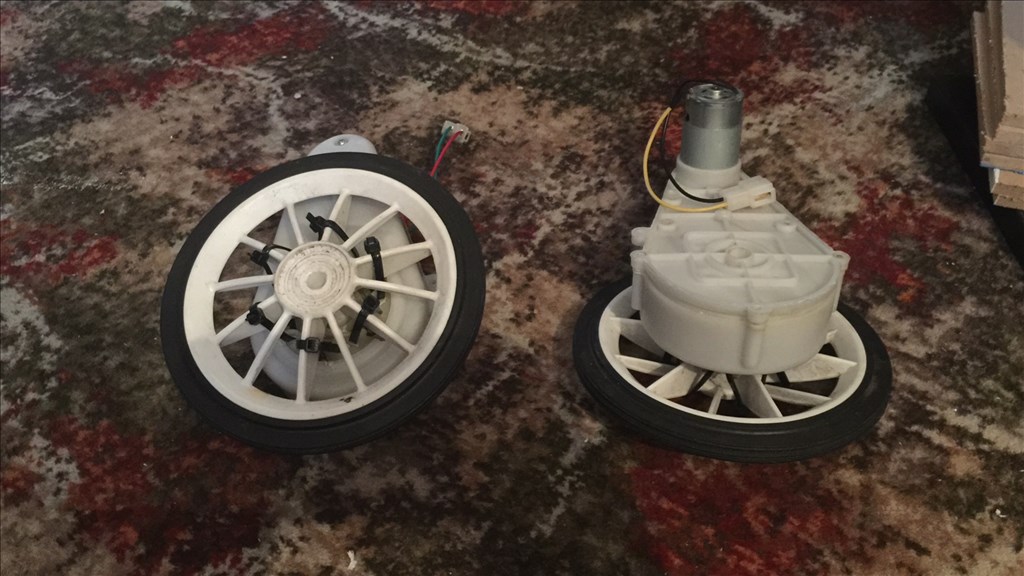
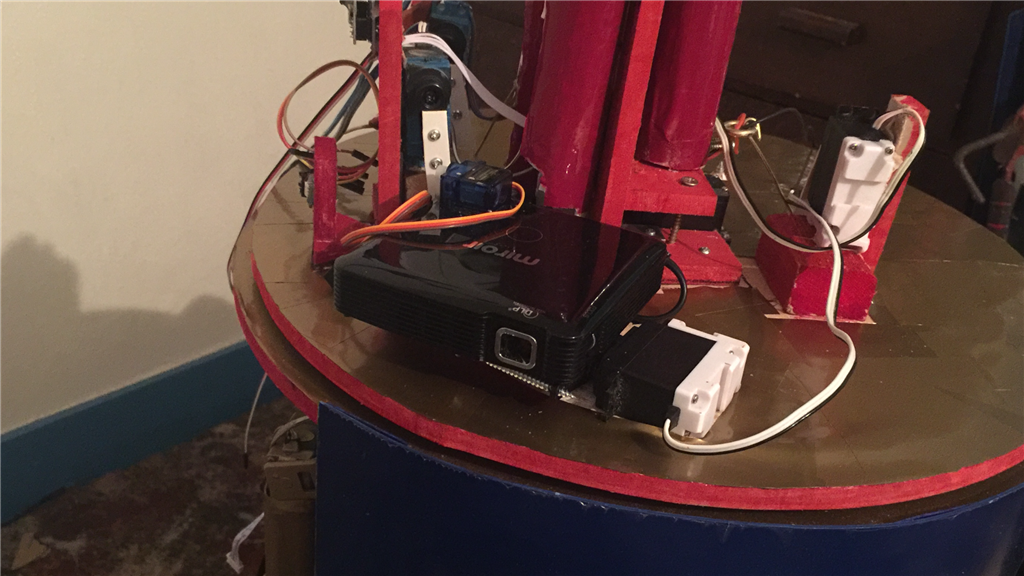
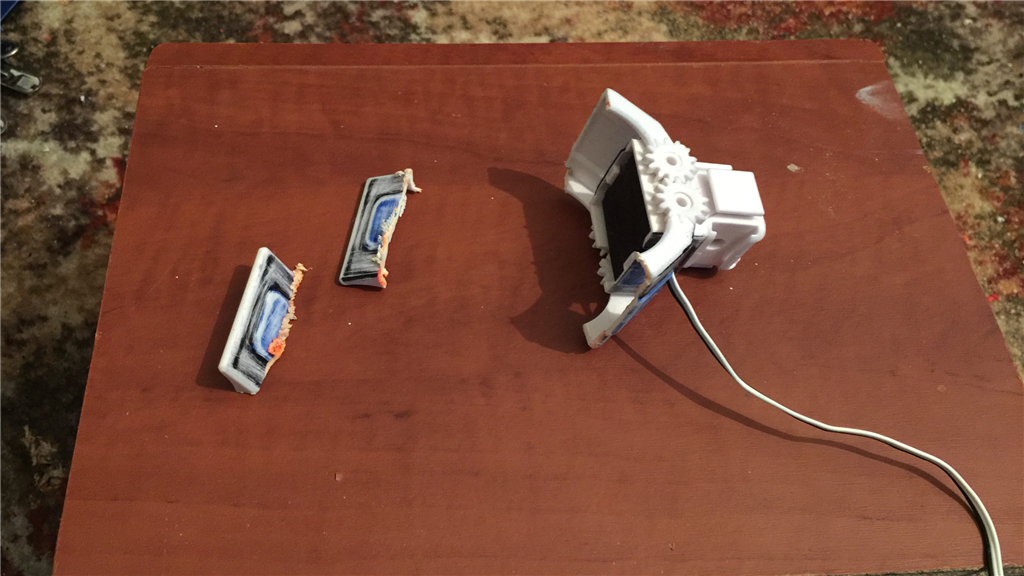
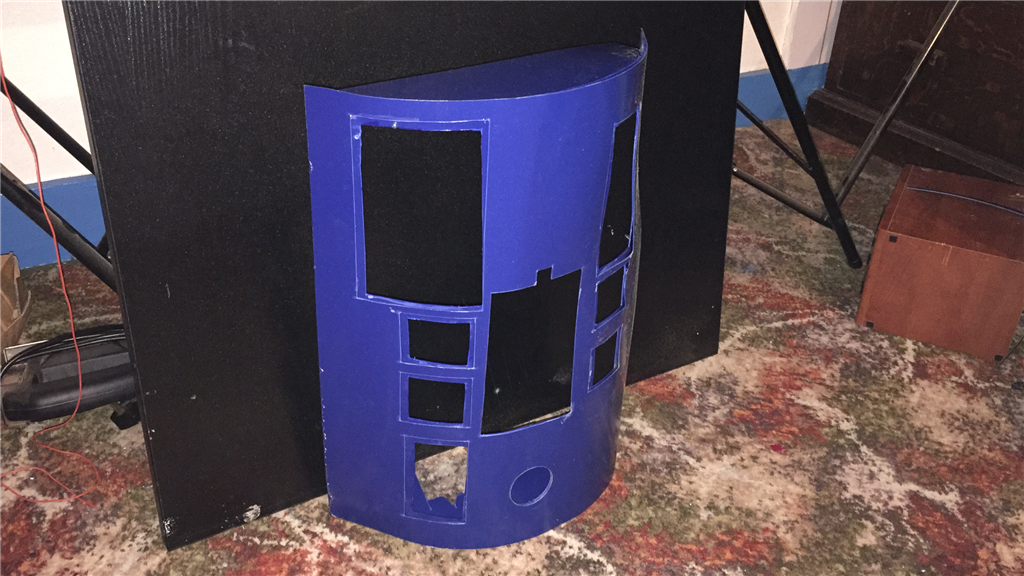
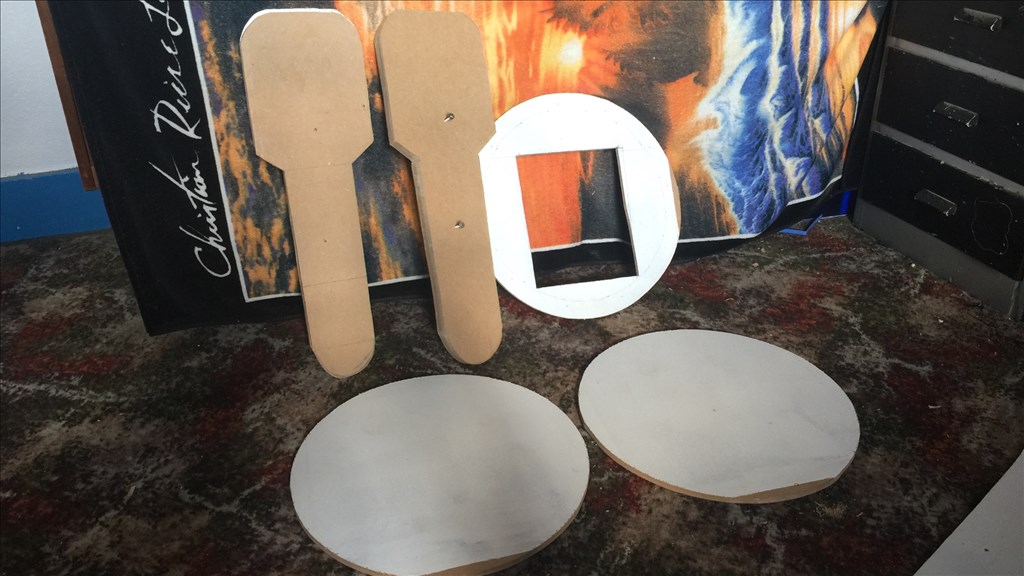
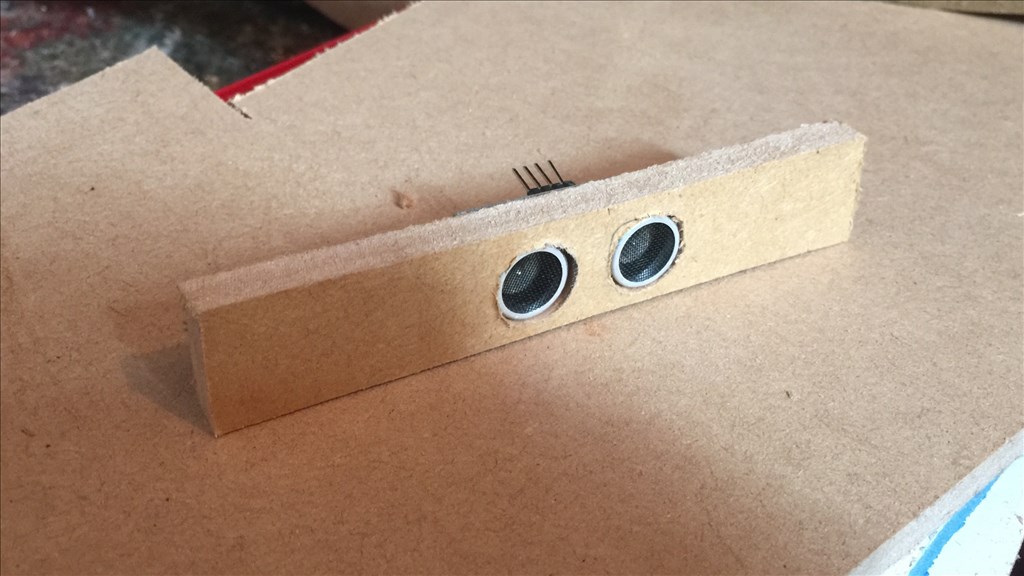
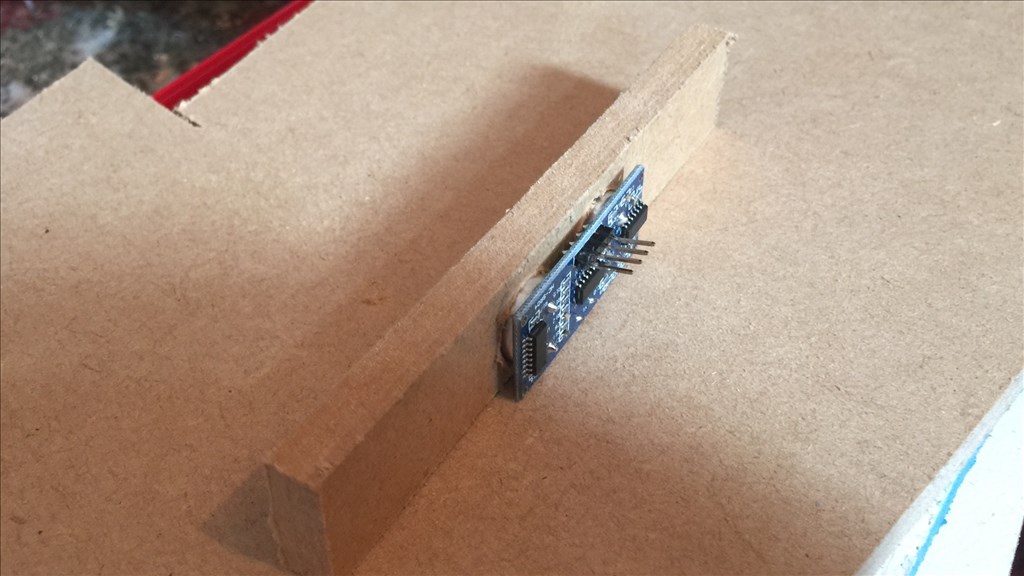
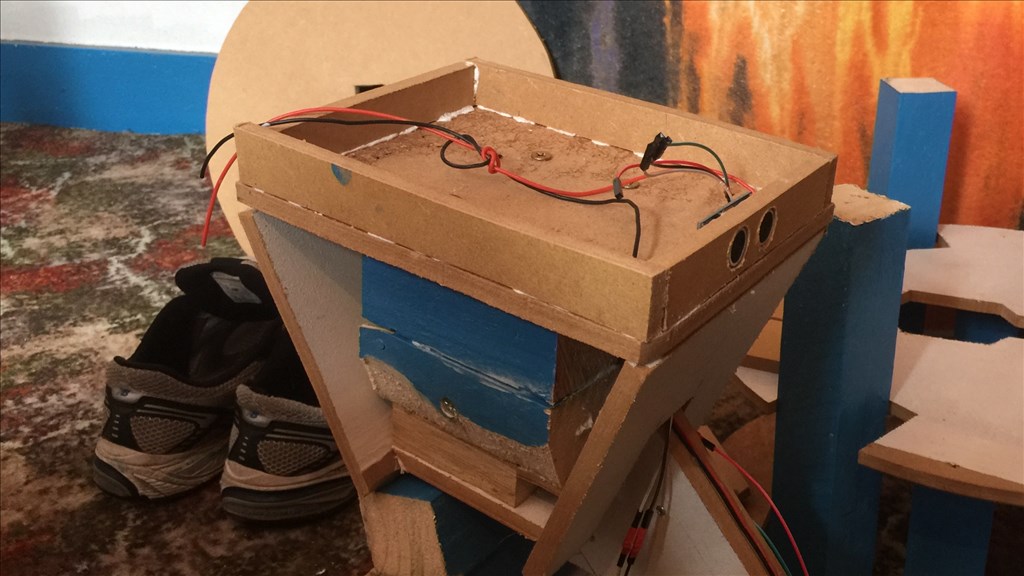
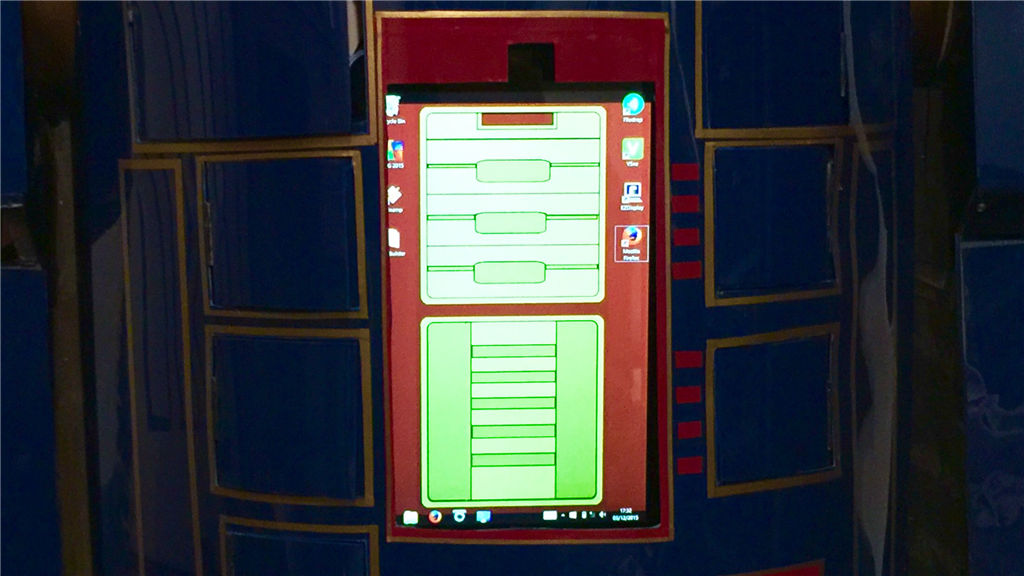
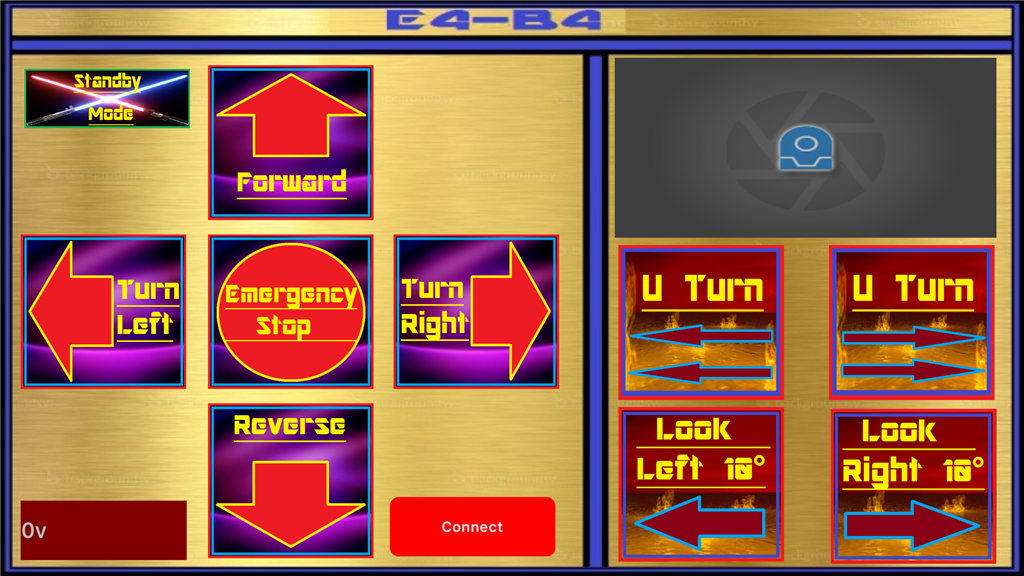
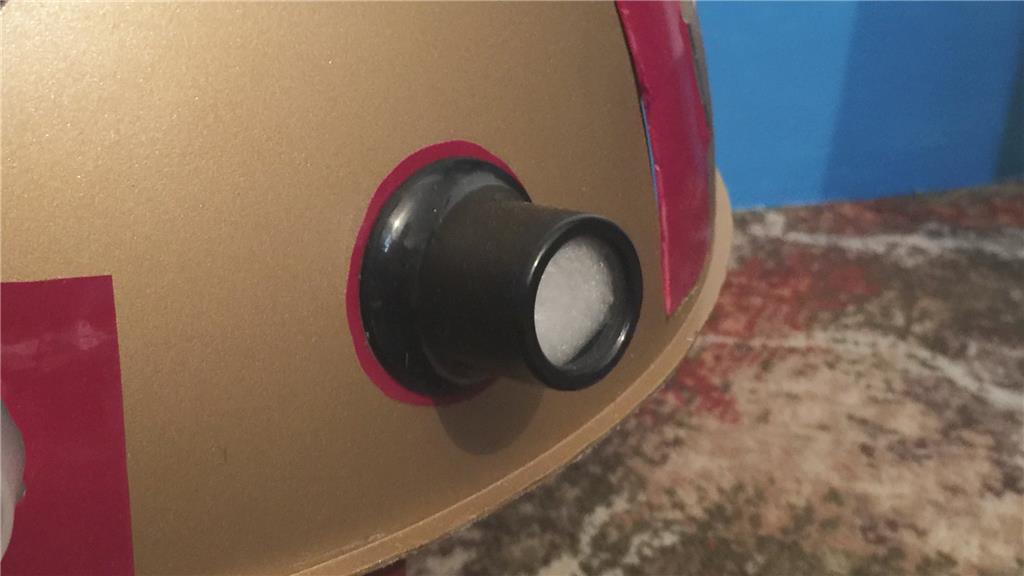
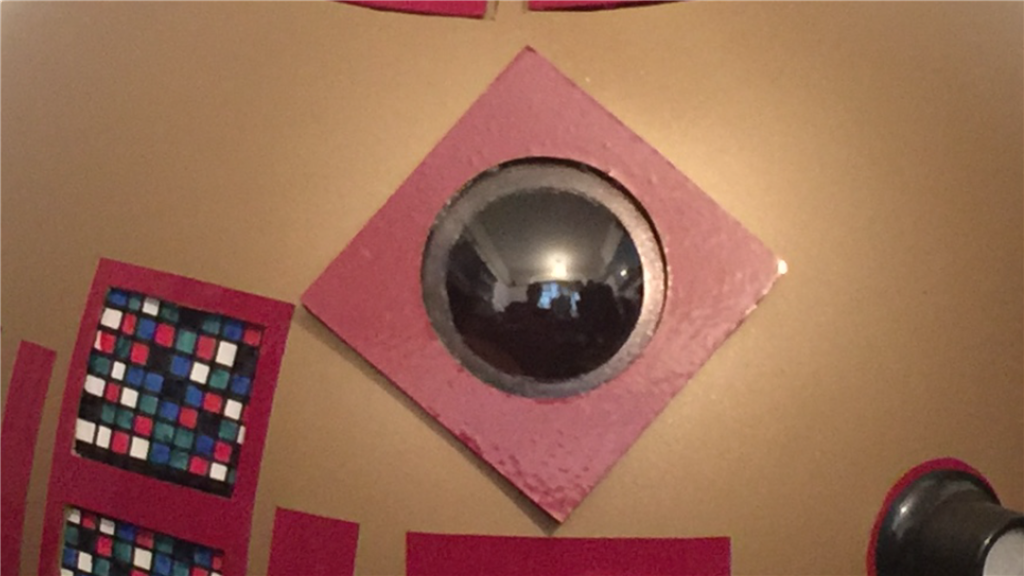
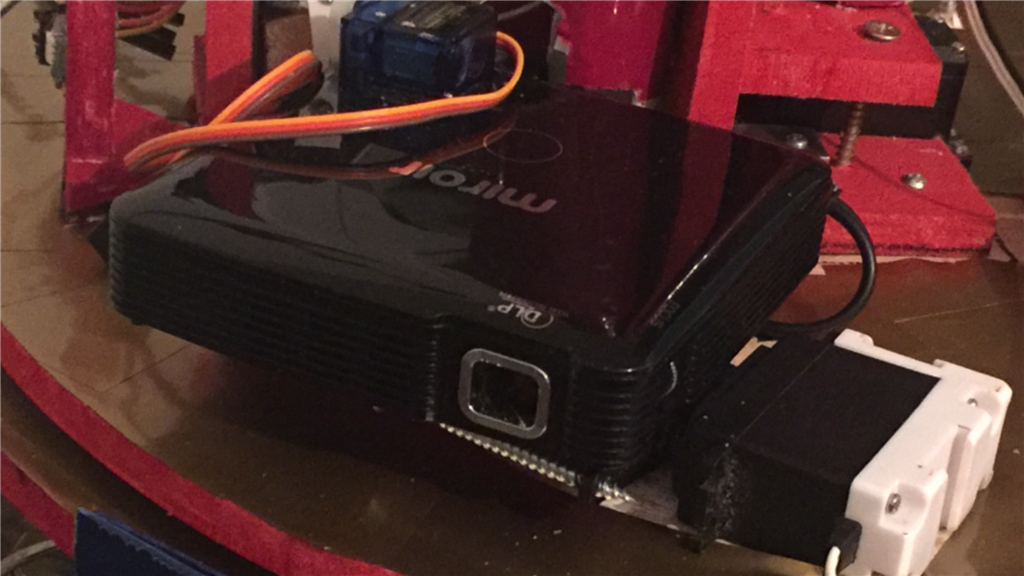
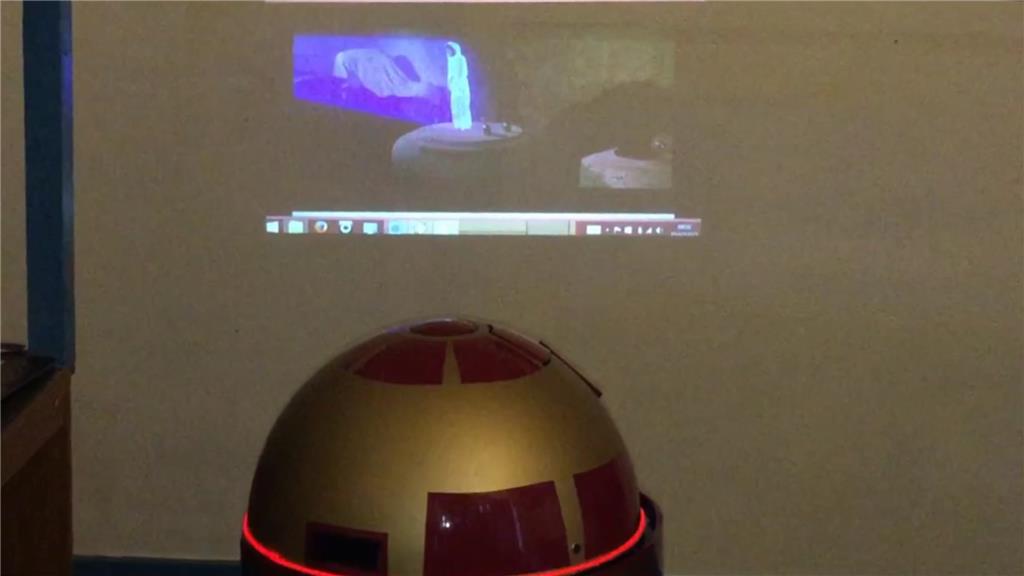
So what's with the name E4-B4 (Eiifor-Befour)? Well its kinda based on the EZ-B 4, of which this little'ish guy will have two of them. One master v4 to control motor controllers, ping sensors, v4 soundboard, camera and sensors, while the 2nd slave v4 will be used for all of the servos used as well as additional sensors. E4 will be mainly built using MDF with a plastic covering, and movement will be powered by 12v 30 watt gearbox/motors for the drive system. The "burtt acoustic signaller" and system ventilation vents on R2-D2's chest area (the two silver square'ish panels) will be replaced on E4 with a tablet PC, and the Optical Holographic Projector in R2's head will be something similar to what E4 will have, using a portable projector like the Aiptek or the Pico Genie, so no holograms... yet.
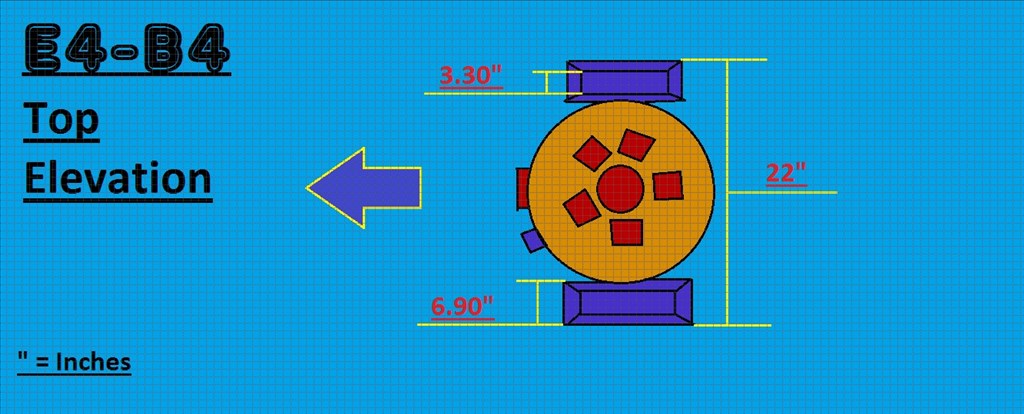
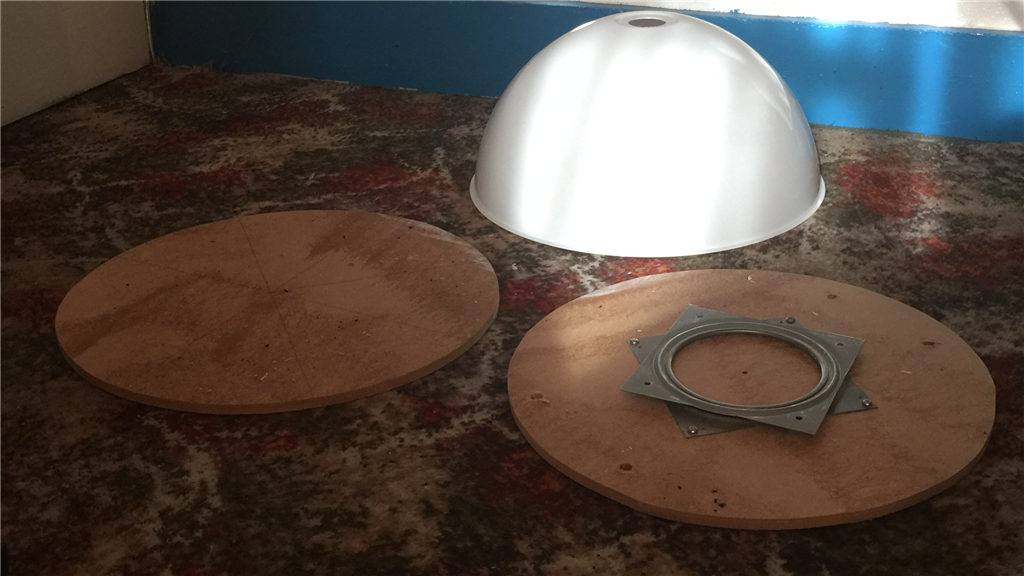
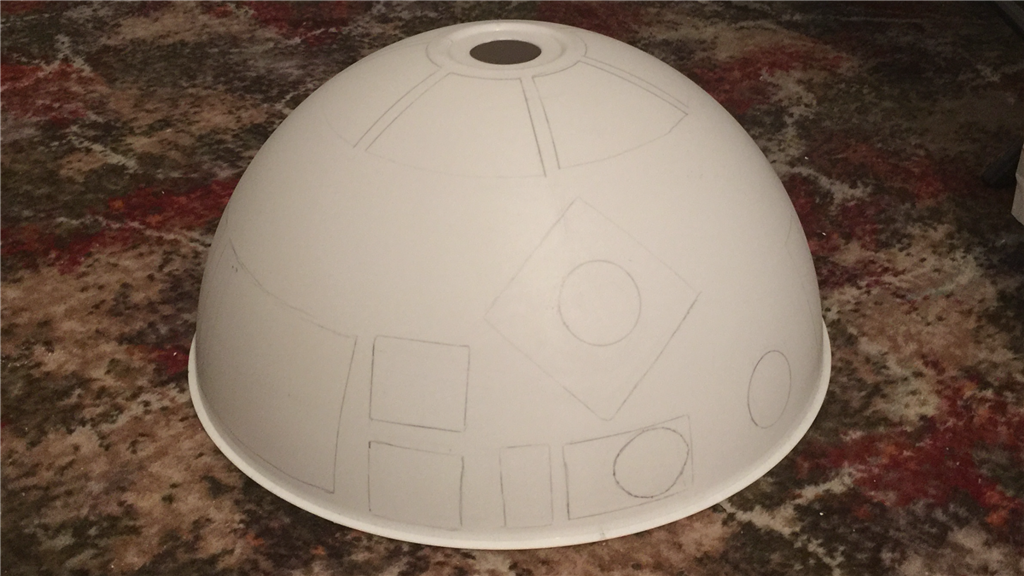
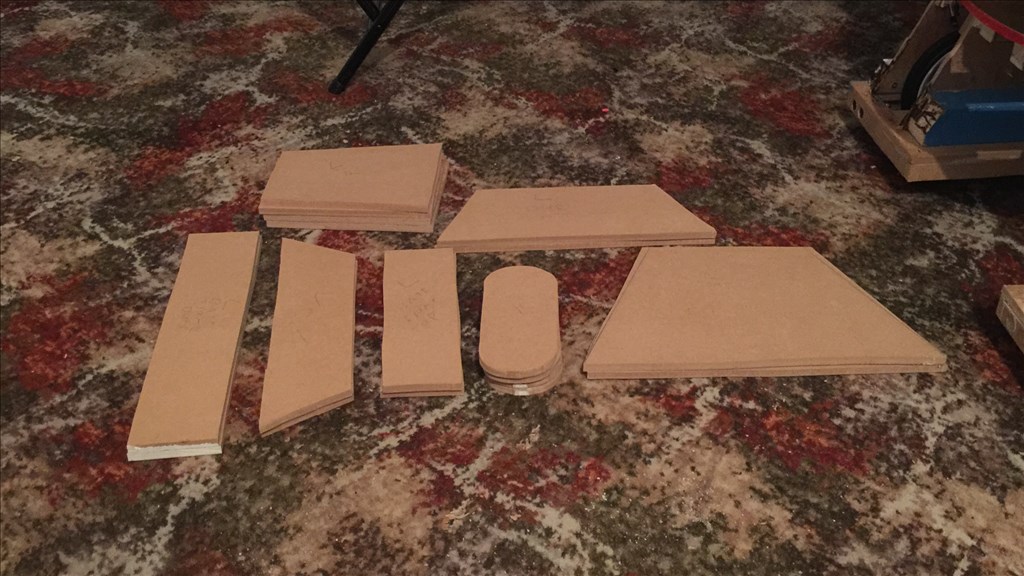
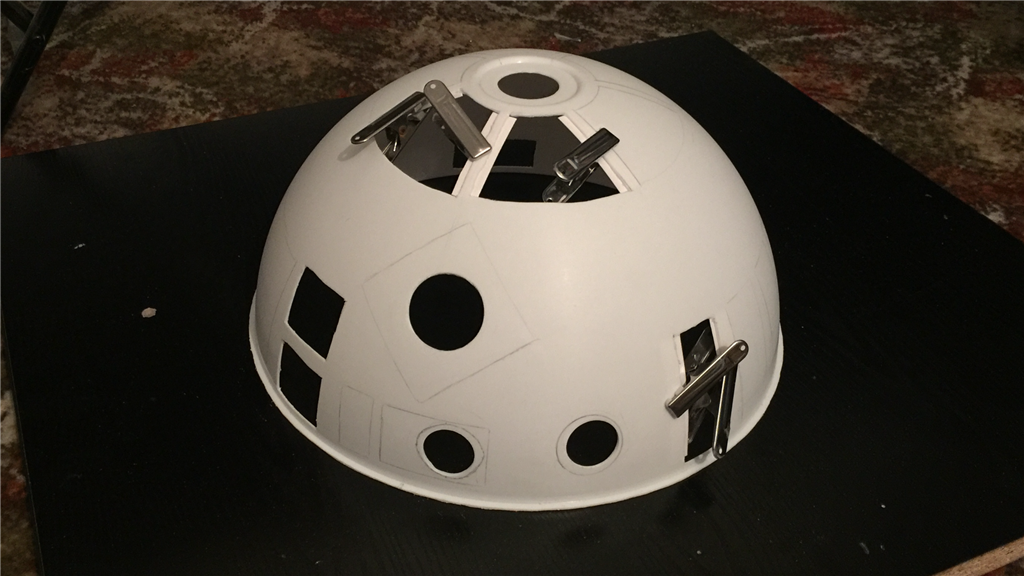
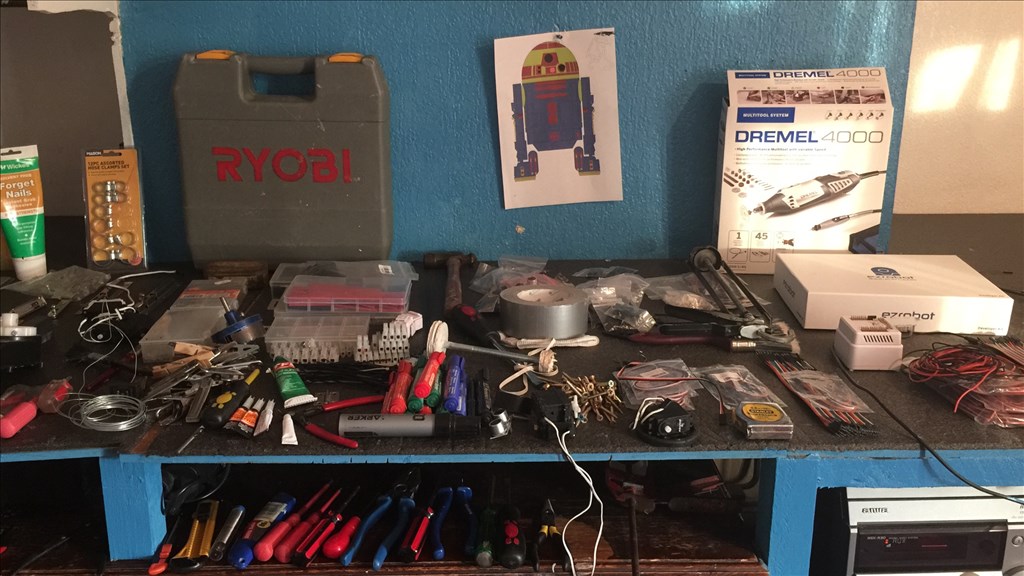
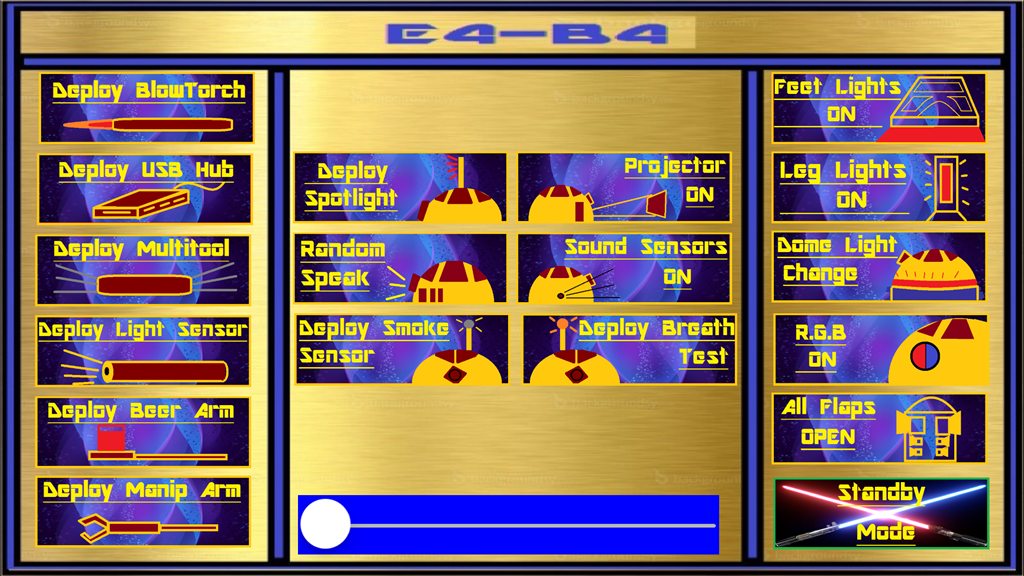
The dimensions will be slightly smaller than the original prob, but not by much so E4 will be plenty big enough. I'm intending to fit a few useful tools that he will be able to deploy, and of course have the fully rotating head which will have all kinds of bells and whistles. I have some of the MDF sheets and 2x4 wood lengths for the frame already, and the motors and head dome (lampshade) should be with me sometime this week, so it will be power tools at the ready. I'm in no rush to finish this project, but I am aiming to have E4-B4 pretty much finished by this December.
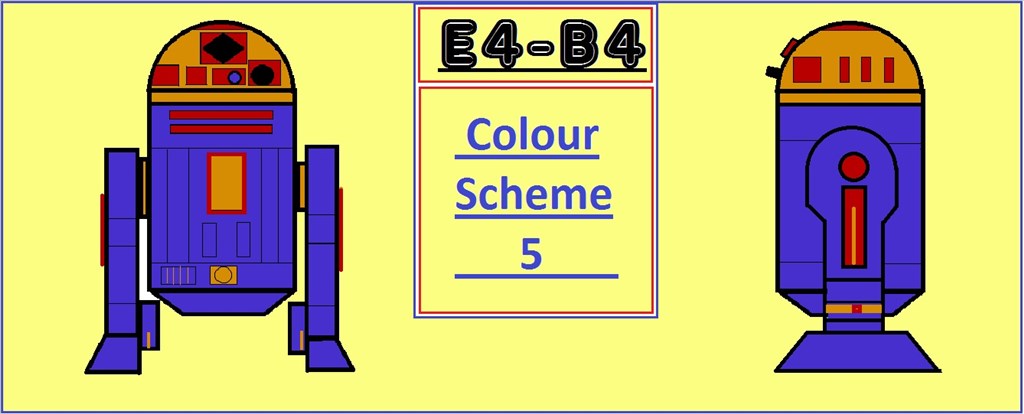
I will posting lots of photos and few videos throughout the build process, so I hope anyone reading will find this build dairy interesting and enjoyable. And as always, I'd love to hear your thoughts and suggestions (especially on the colour scheme). Anyway thanks for reading, and let the build begin...
Steve.
Discover more robots
Brw's New Robot And A Bluetooth Question
Ezang's Simple Bot Car Robot


Day 9 (13th August 2015)
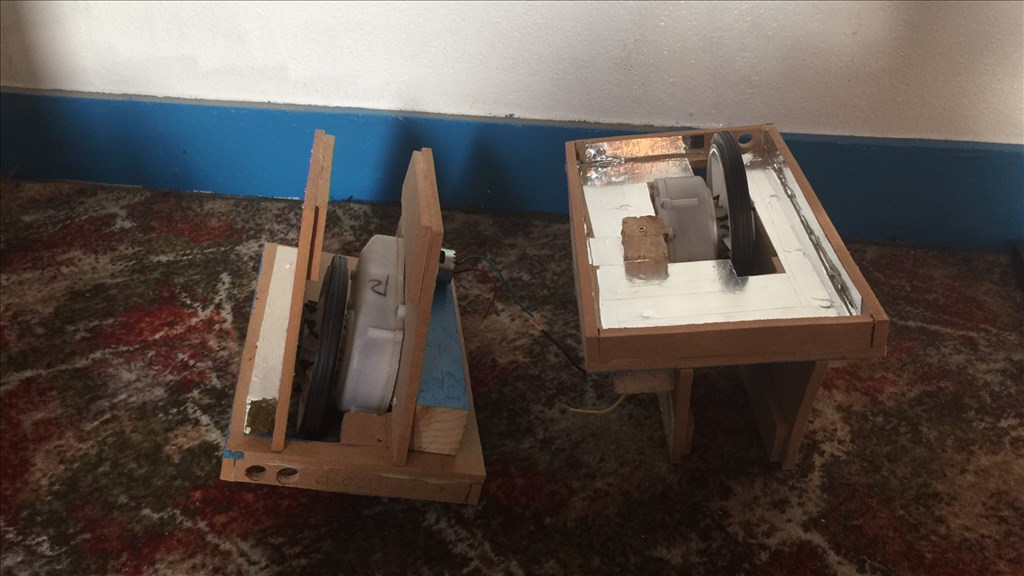
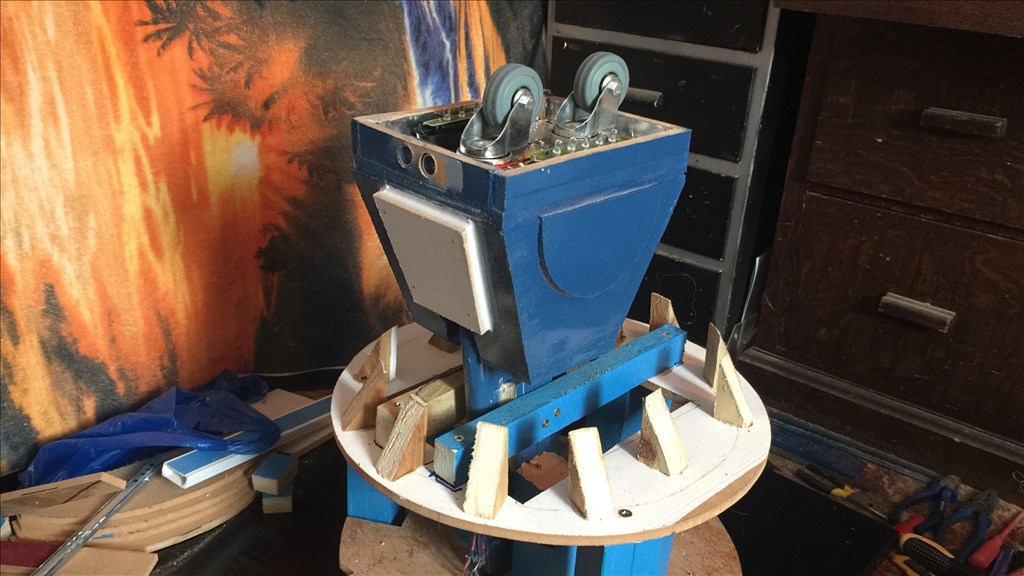
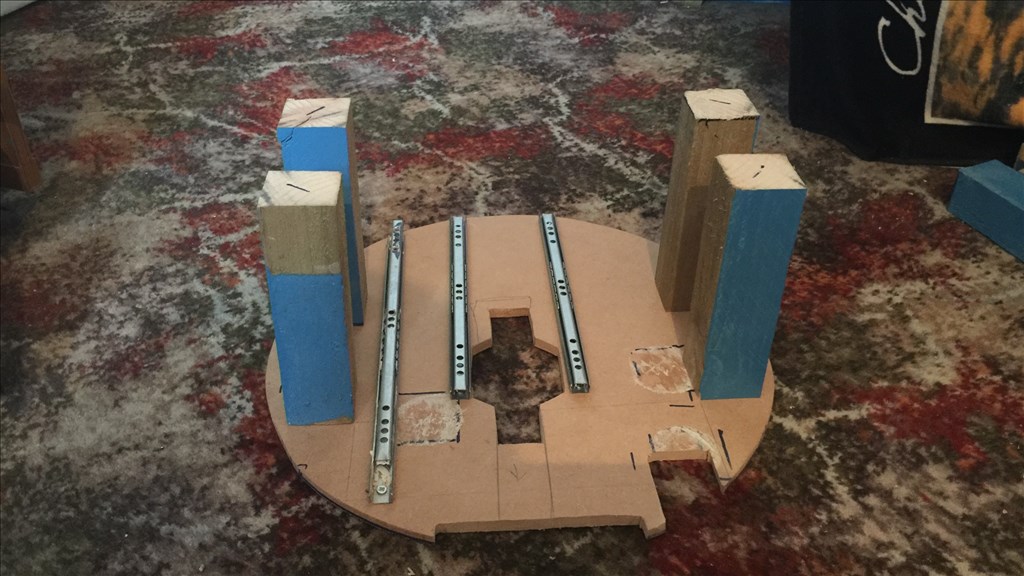
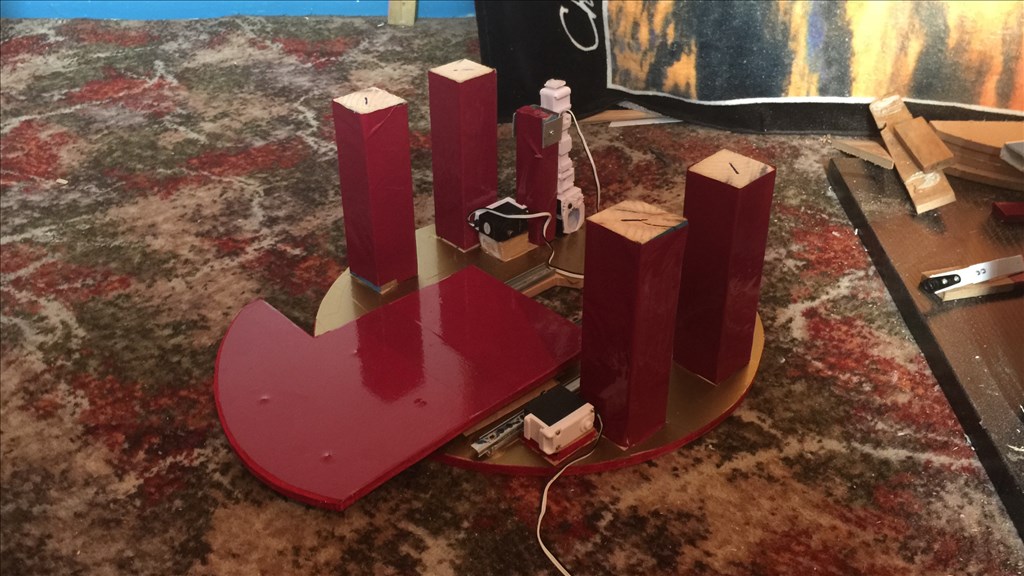
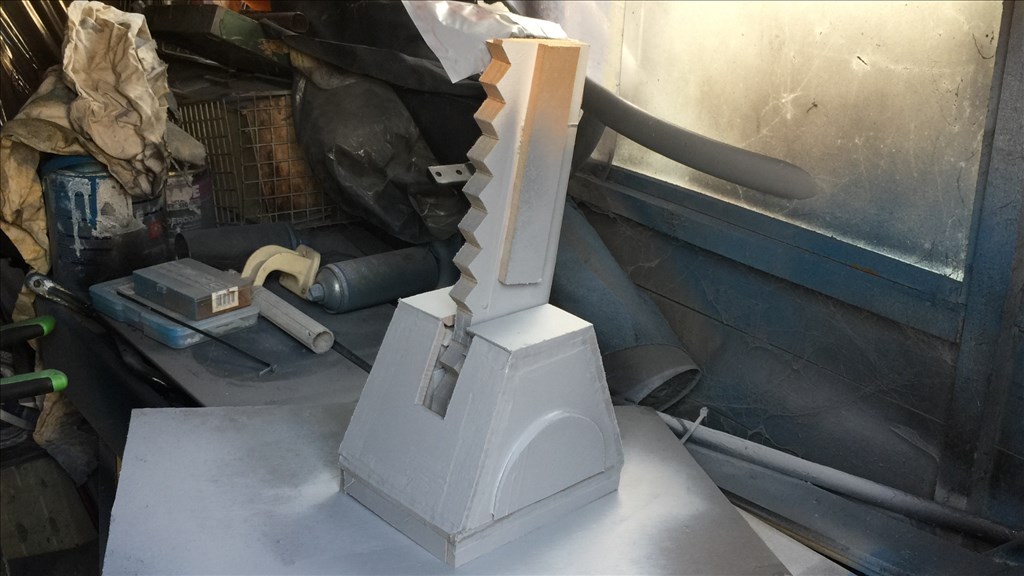
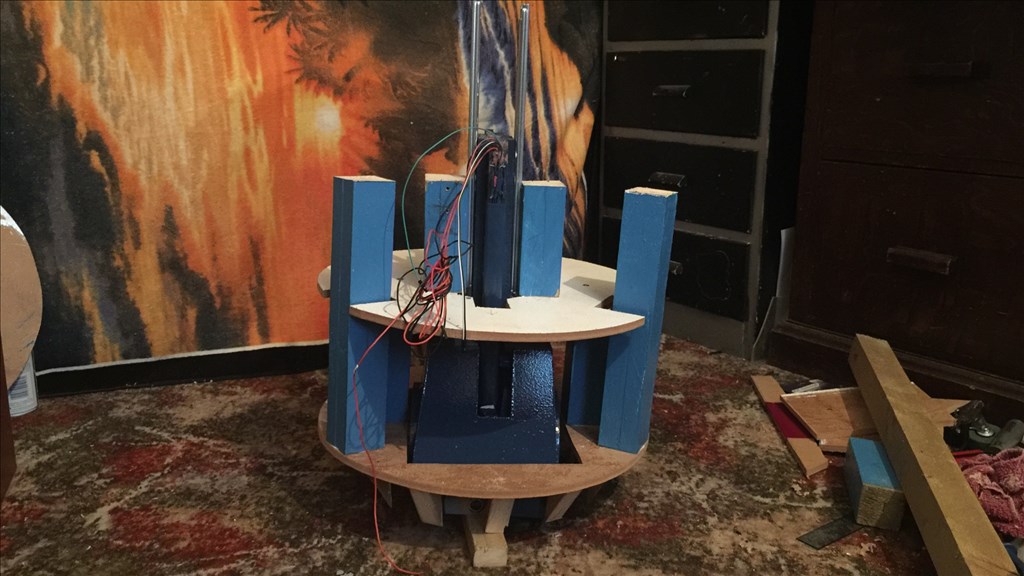
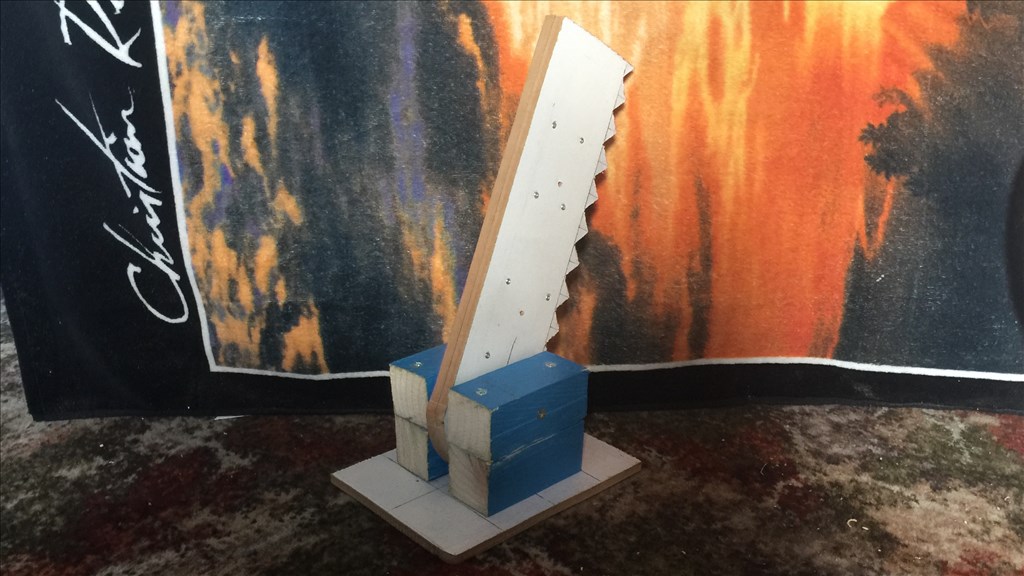
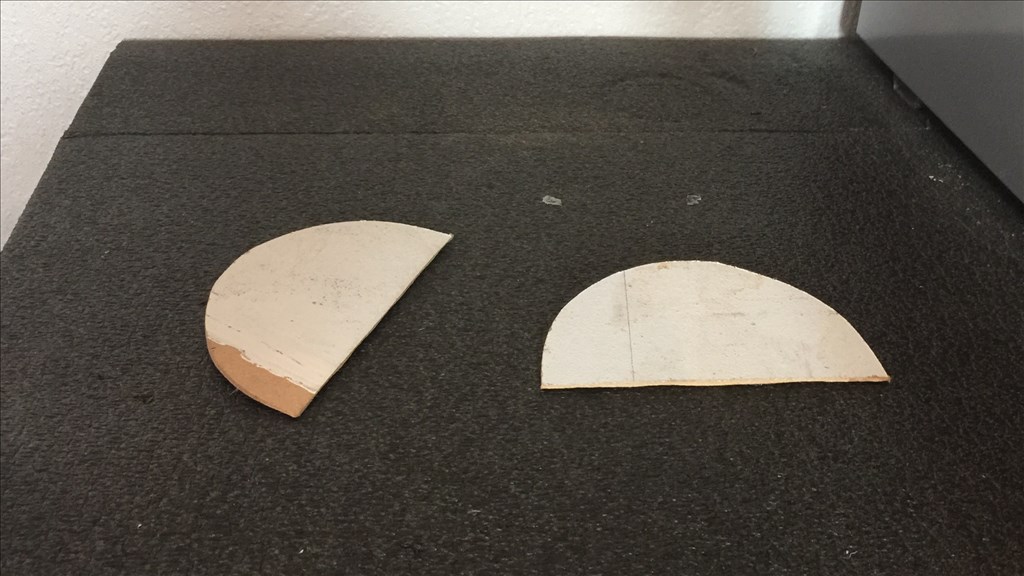
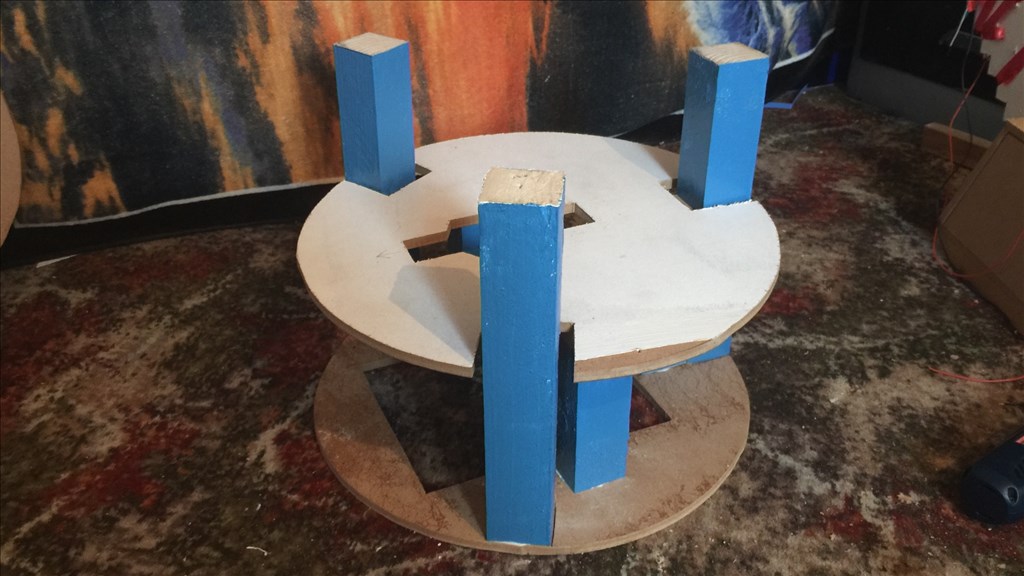
So it's time to get this centre foot fitted and move on to the next stage of the build. I've been delayed a bit waiting for the motors to turn up which seems to be taking an age to get here, but I'm a little step further along (no pun intended).
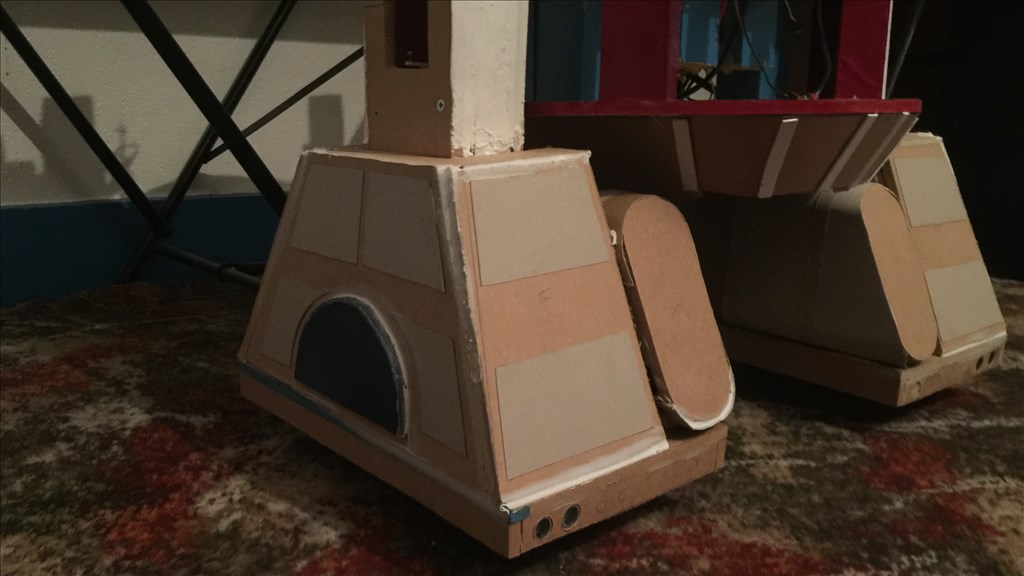
So with the centre foot pretty much finished, it was time to get some primer and some paint on to it.
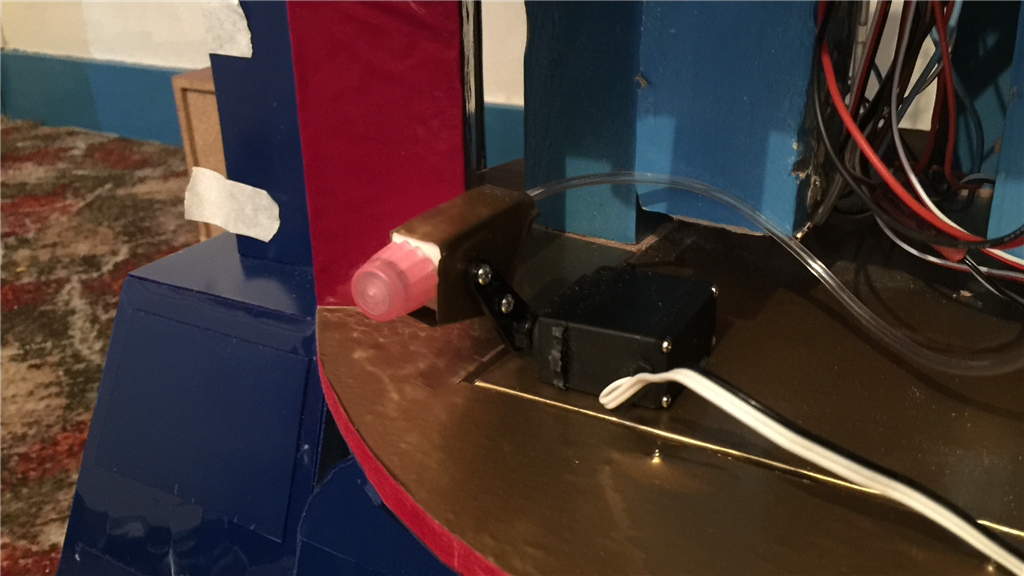
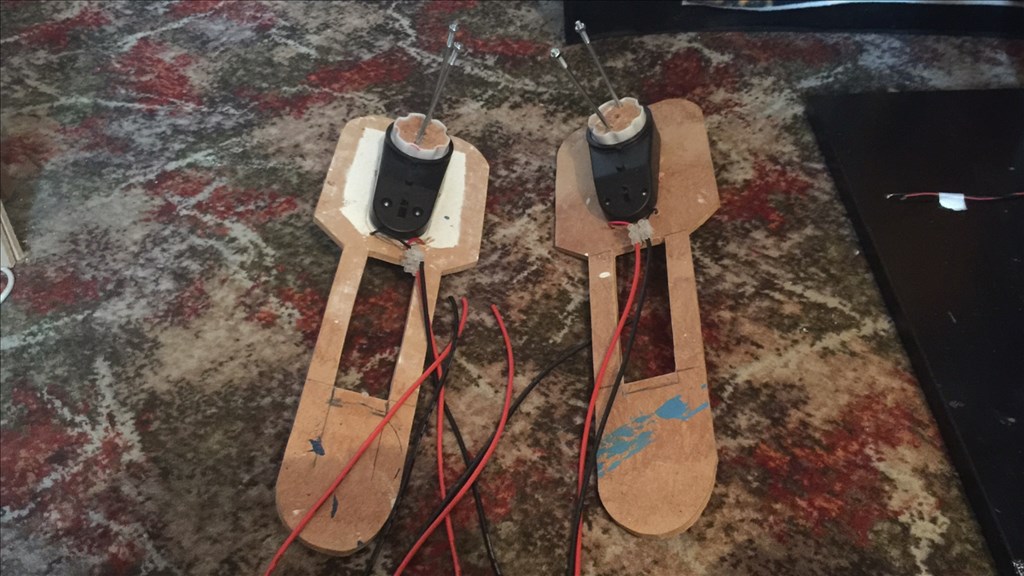
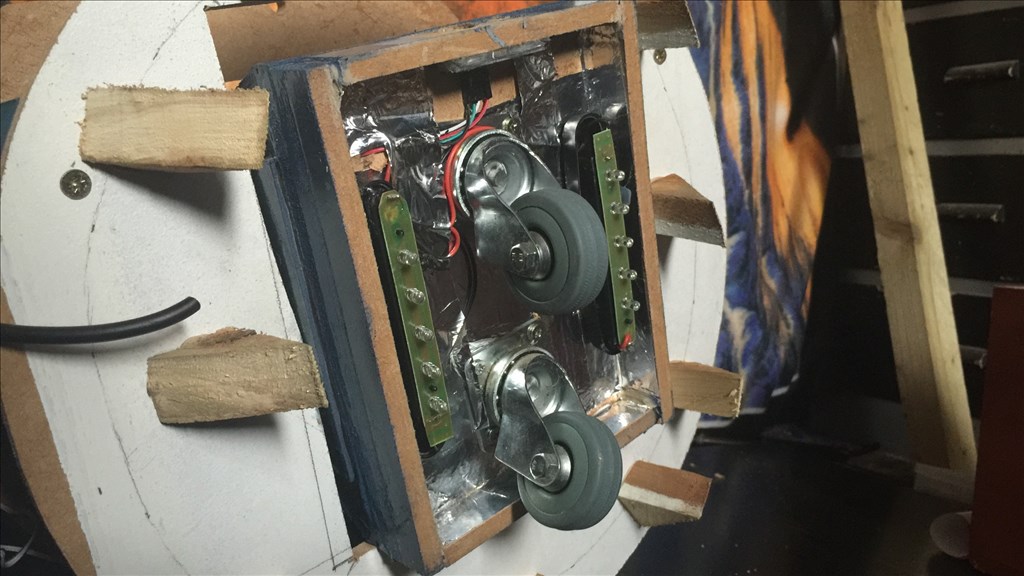
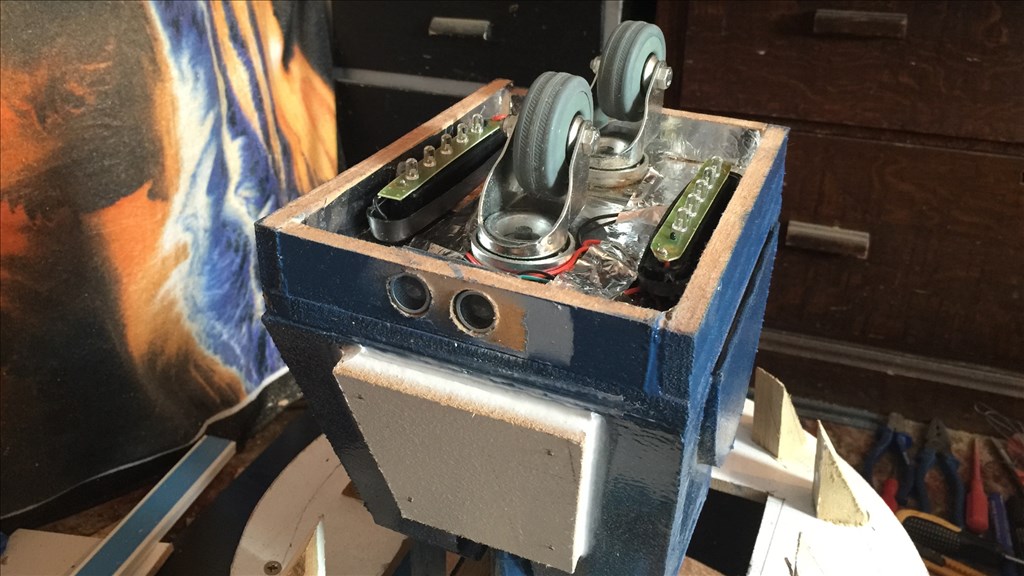
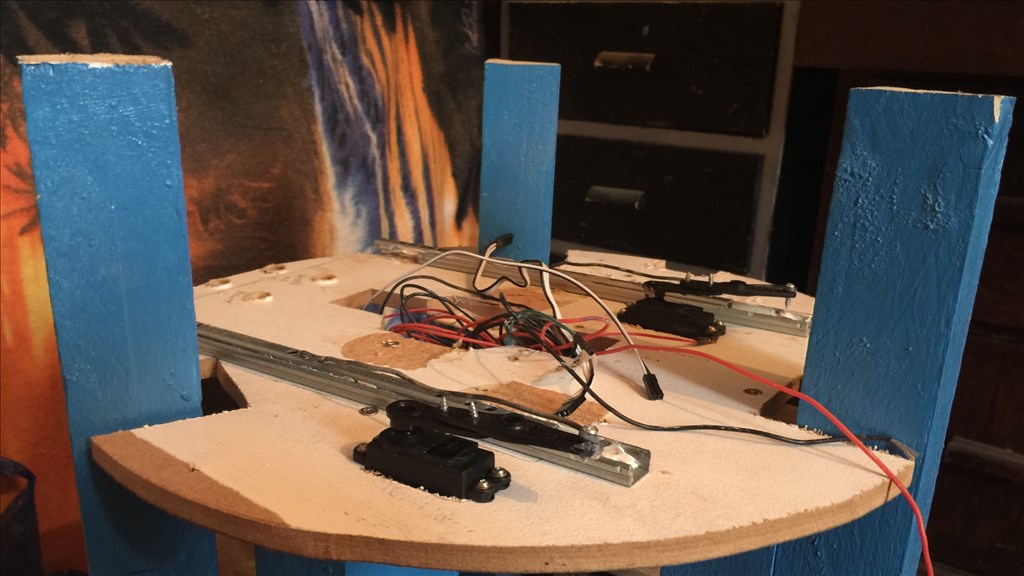
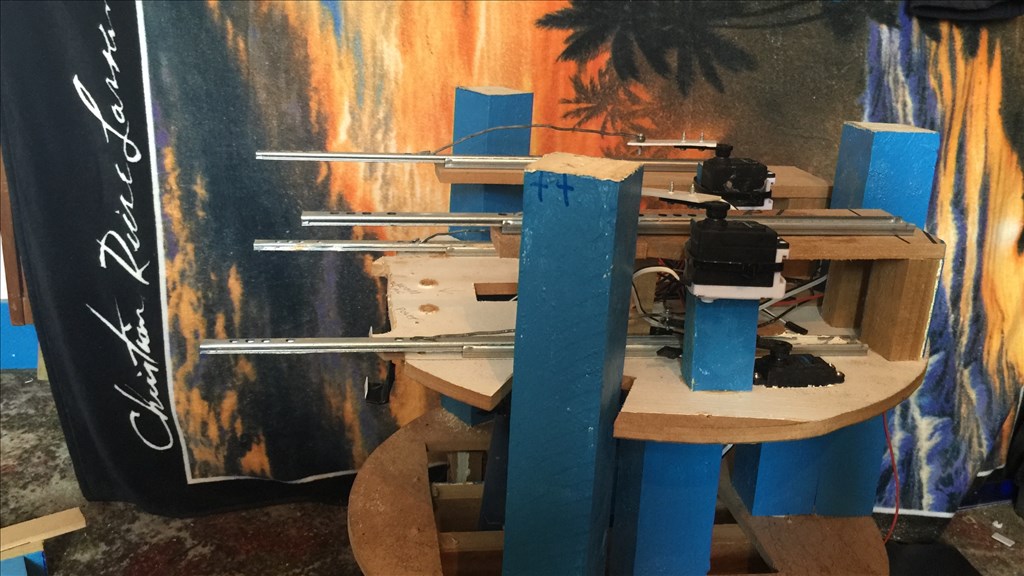
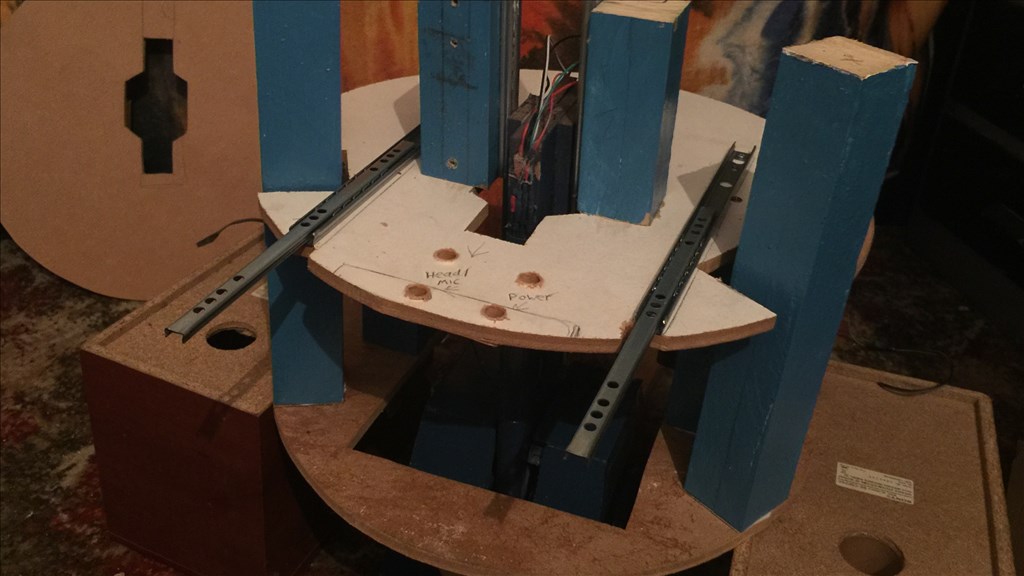
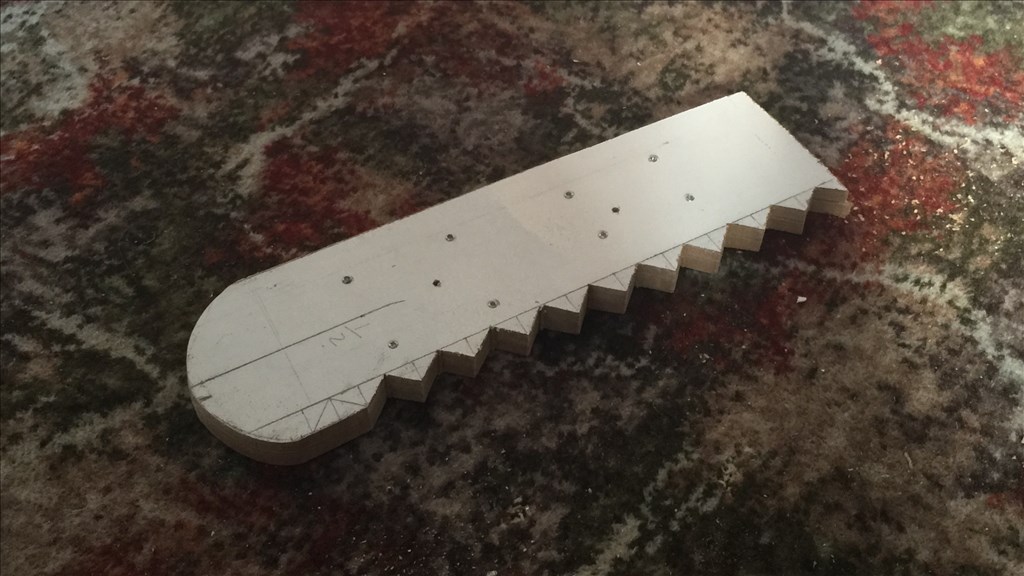
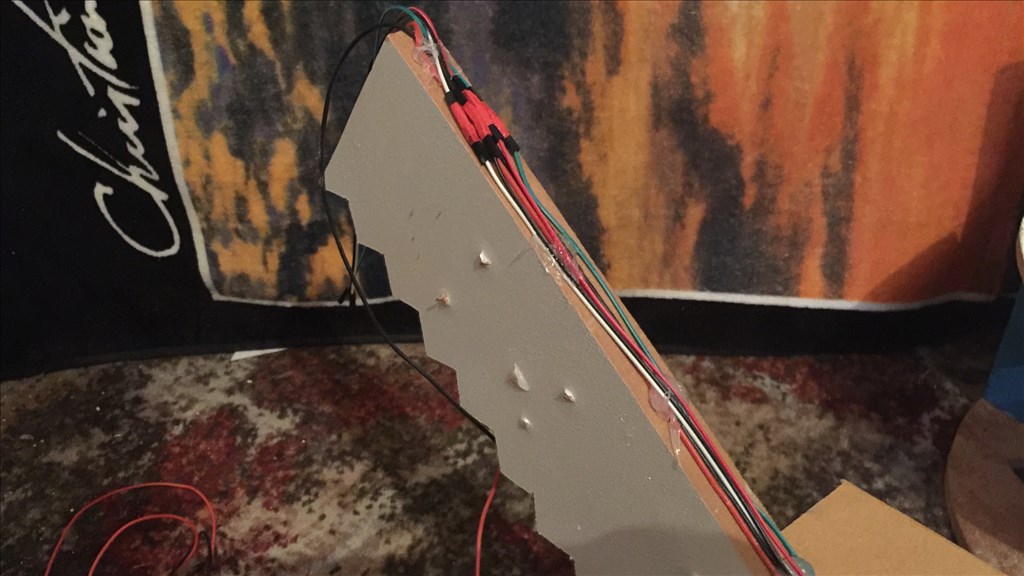
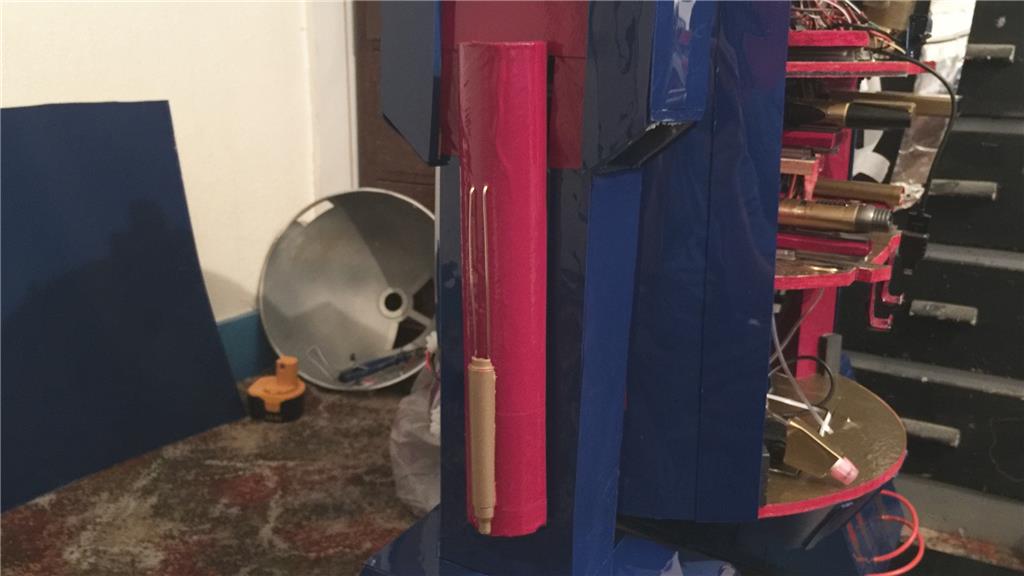
While the paint was drying, I fitted the runners, which are cupboard draw runners, which will guide the foot when it lowers and raises.
I attached the runners to the leg and gave it a "drop and raise" test, and all was well, with plenty of space all around the recess when retracted, and all that needs doing now is to fit the motor.
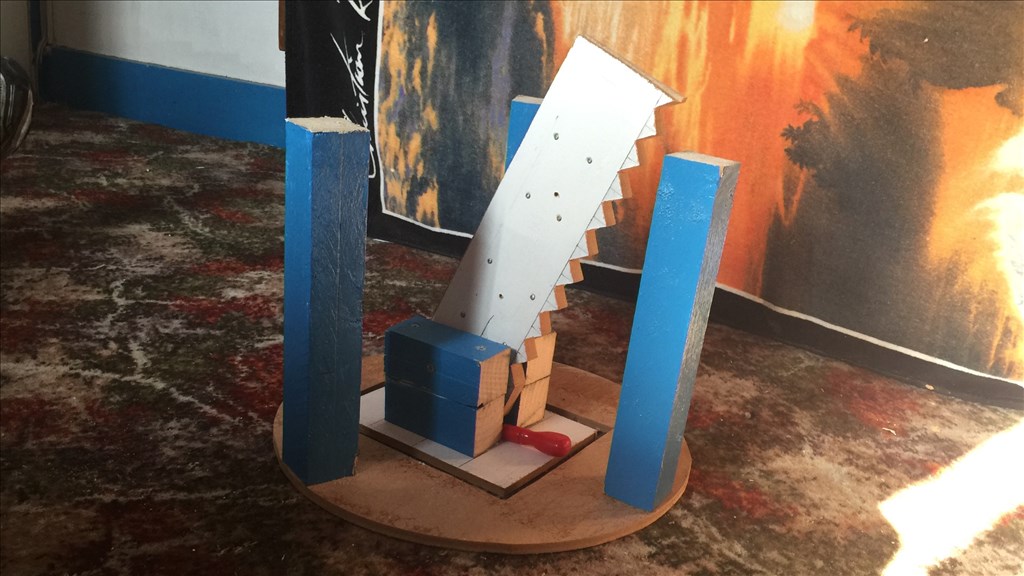
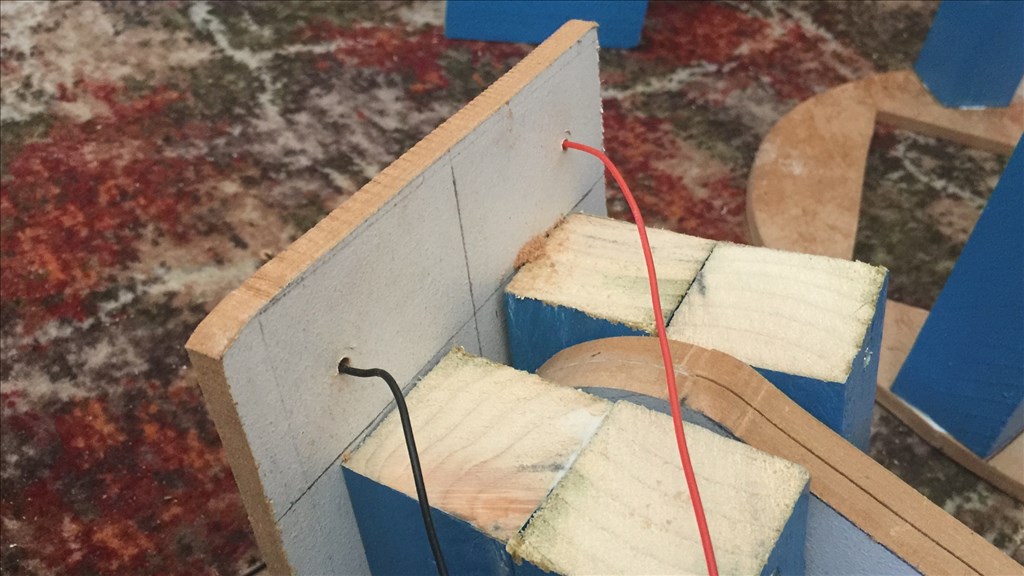
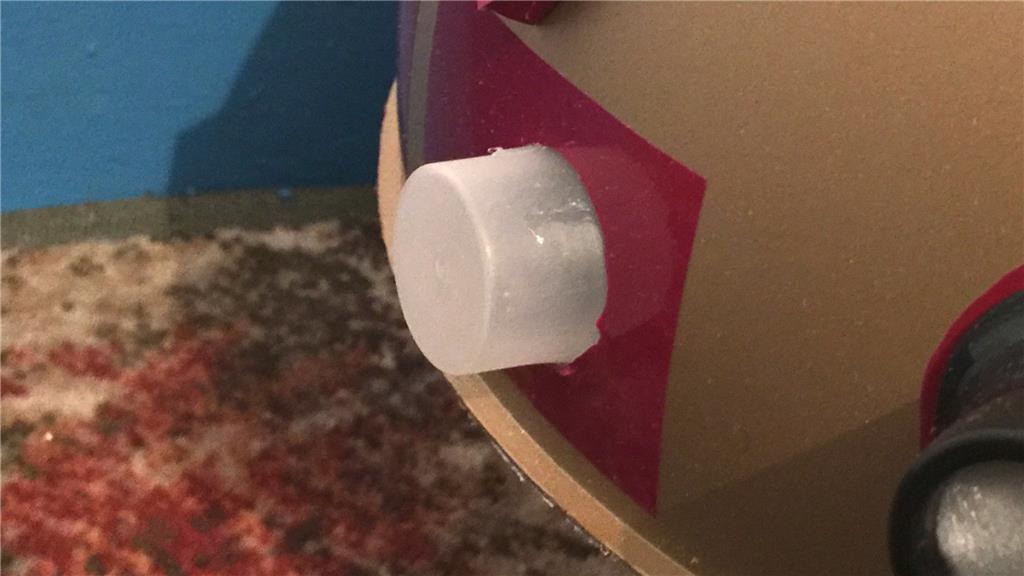
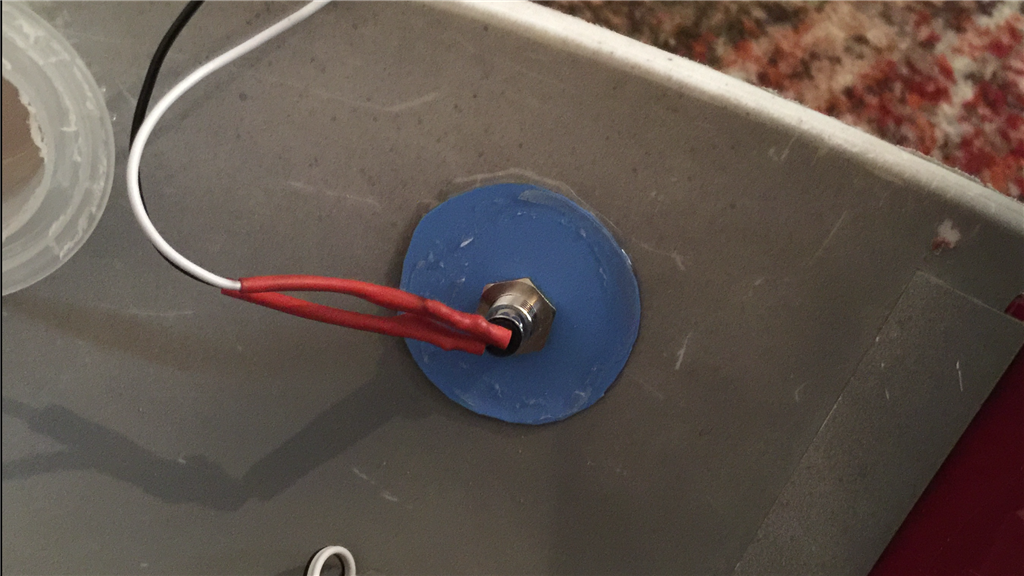
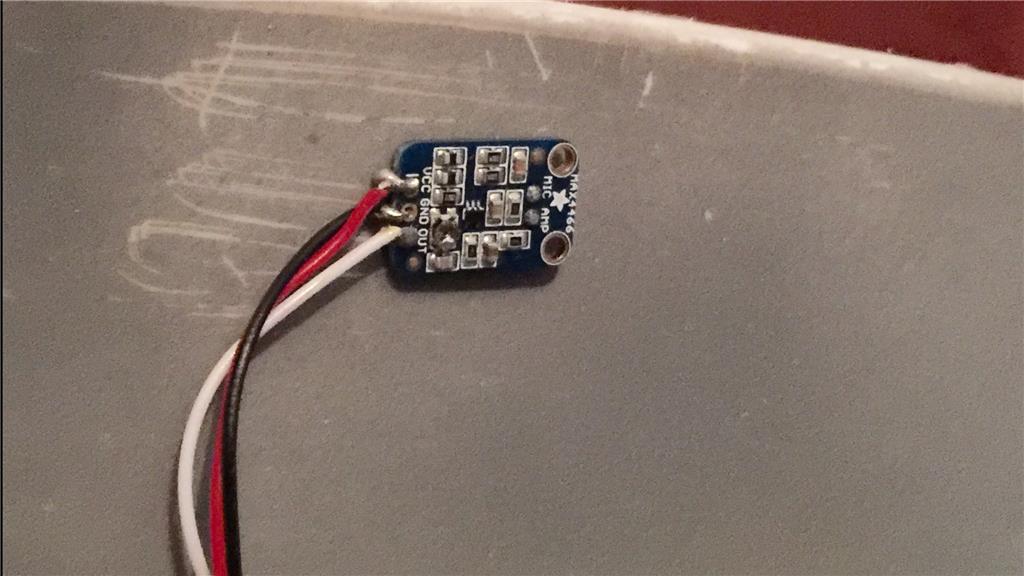
Last job I did was to fit 2 further draw runners that will deploy and retract some utilities to be fitted later. I've also drilled some holes to feed some head/microphone and charging cables through for the Acer tablet.
All that is left to do on the centre foot is to add some final detailing and caster wheel which will be done towards the end of the build. When the motors and 15 amp motor controllers turn up, I will make a start on the outer legs and feet. Well, it's starting to take shape (sort of), and I'm looking forward to getting them outer legs fitted.
Until next time.
Day 19 (23rd August 2015)
An update with a bit of a difference where a design decision had to be made. More on that in a bit. First off, a BIG thanks to @Zap Brannigan and to @Robot56 for their advice and answers given in Robot56's thread, which were a great help.
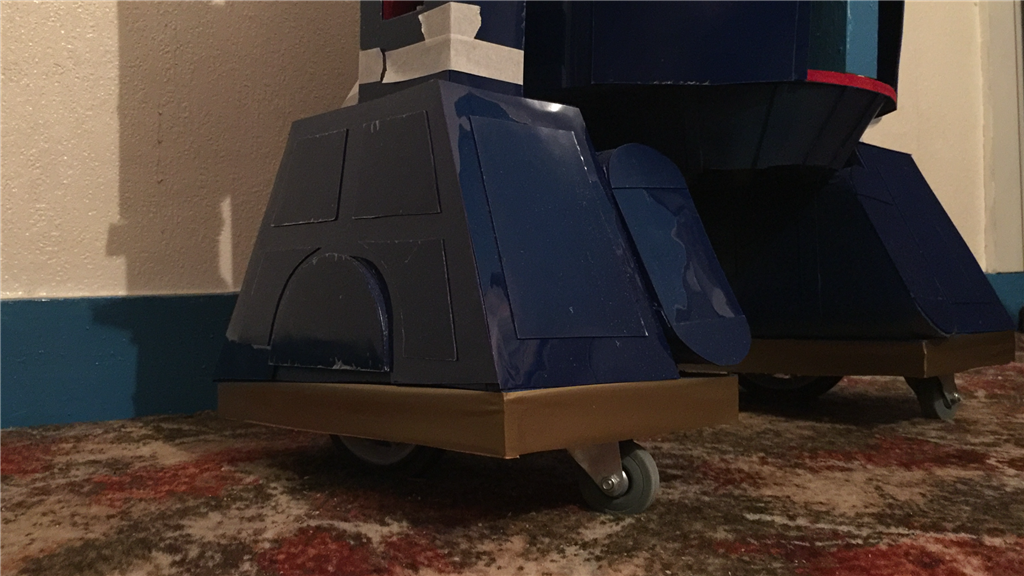
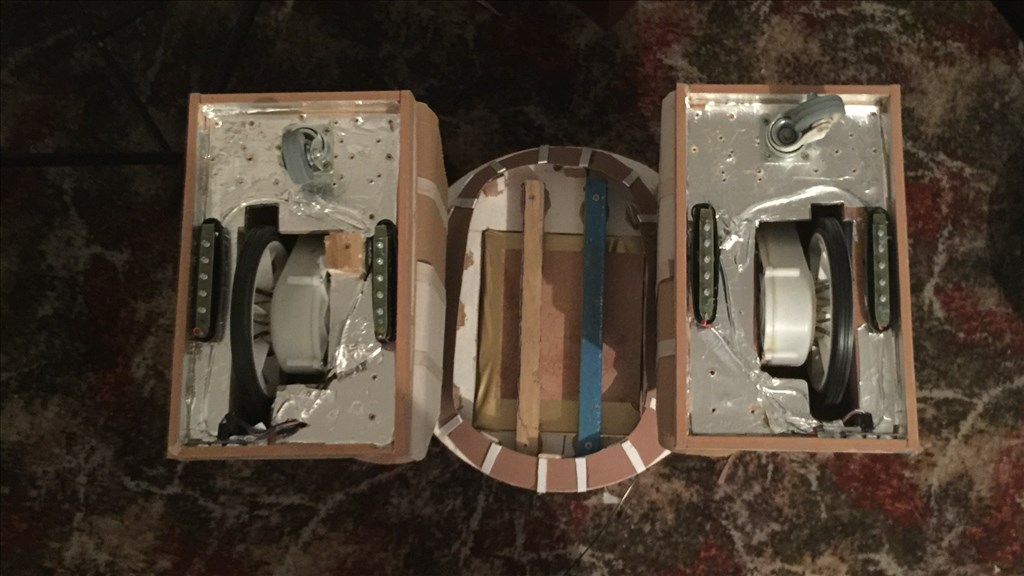
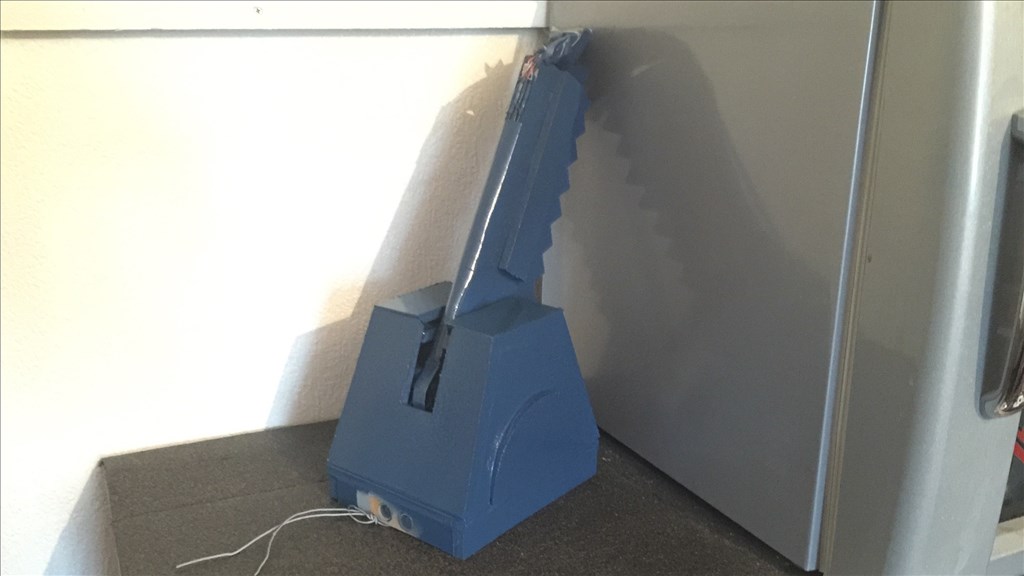
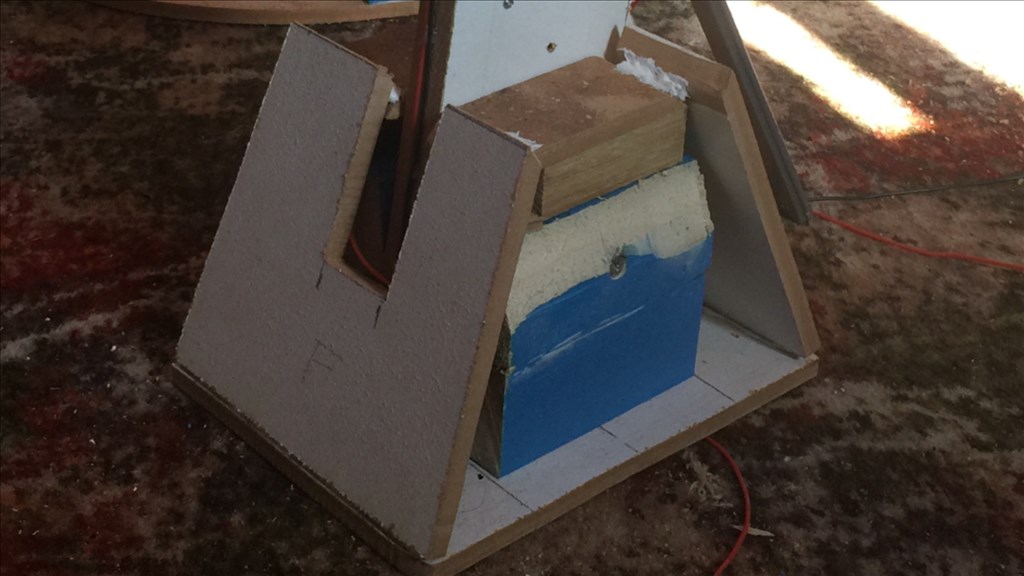
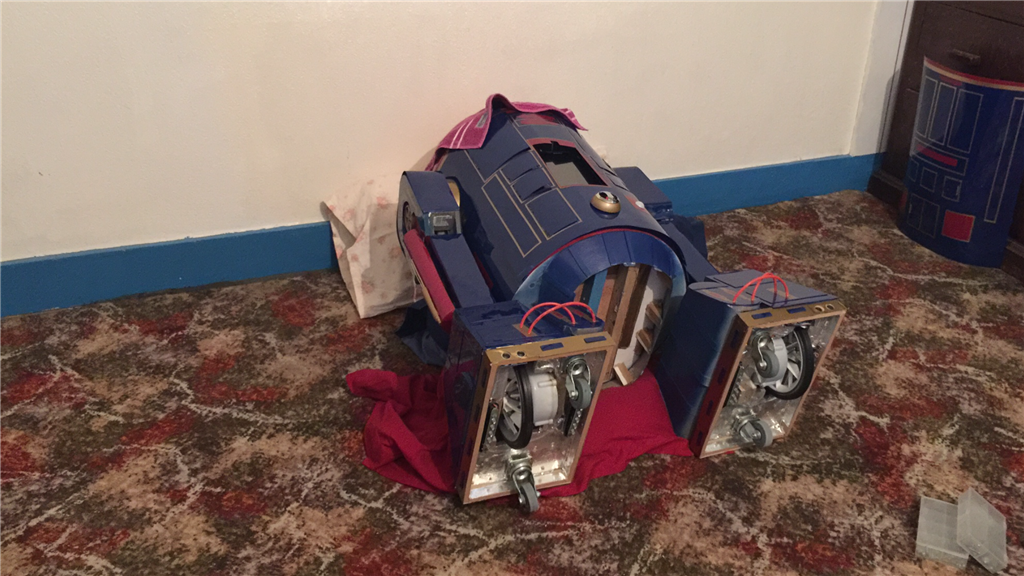
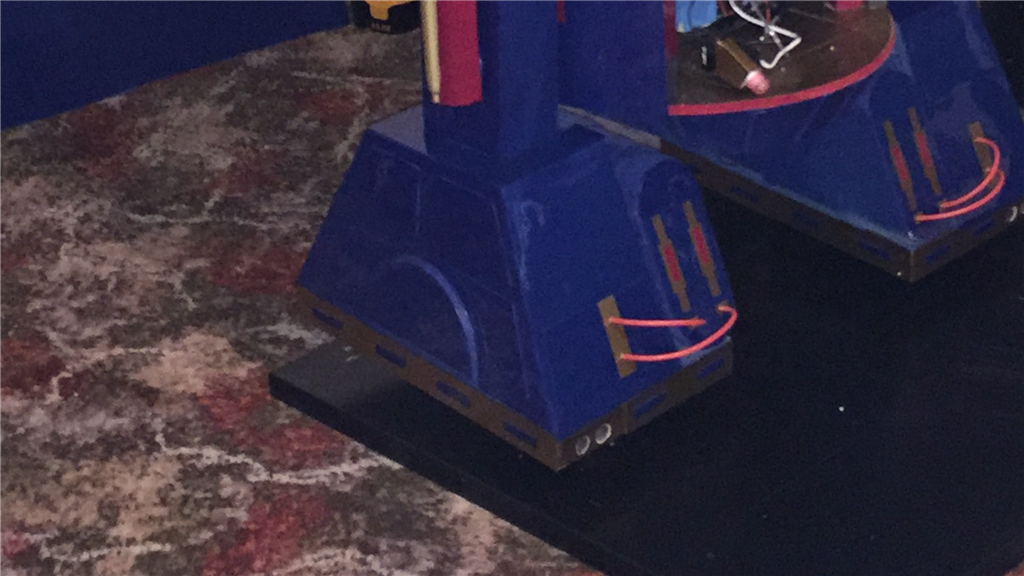
So, I had a couple of extra jobs to do on the centre foot which was to fit two free steering casters, and two LED strips for some under foot lighting. I added some aluminium tape to the underside of the foot to reflect and disperse the light.
So, the big decision I mentioned was in regards to the build design of E4 while I was finishing off the centre leg/foot assembly. I temporarily fitted a motor to the leg to try the mechanism out, and it did work but I just didn't fully trust the set up to work flawlessly every time. So I sat back, had a beer or five, and went through the pros and cons of having a retractable centre foot, or having it fixed.
The pros for having it retractable were...
1.) Not many Astromech droid builds have a retractable third leg, so having one would be something different.
2.) It would quite simply be a cool thing to have.
The pros for having it fixed down were...
1.) The mechanism was taking up a lot of room (almost half the build), so without it gives me more room for other things I wanted to add.
2.) Loosing the assembly would make the whole thing a lot lighter.
3.) It would give greater stability when driving around in upright mode (two leg mode although this would technically be three legs).
4.) It will still have the ability to lean back in to tripod mode.
5.) No chance of retractable leg interlock failure, which could potentially end up having E4 fall flat on his face... Ouch.
6.) One less motor and motor controller to use which is better for power management (better run times).
7.) Less structural strain on the outer legs and body frame when in two leg mode, again due to excess weight.
And 8.) I just was not confident enough about the interlock and the amount of weight the motor had to lift. Too much could go wrong which could have led to bad things happening.
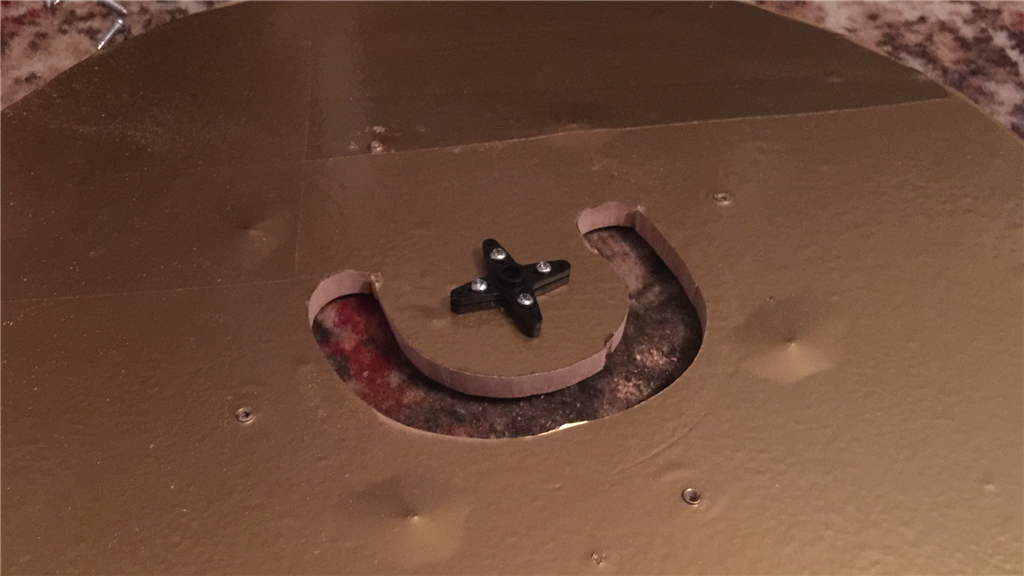
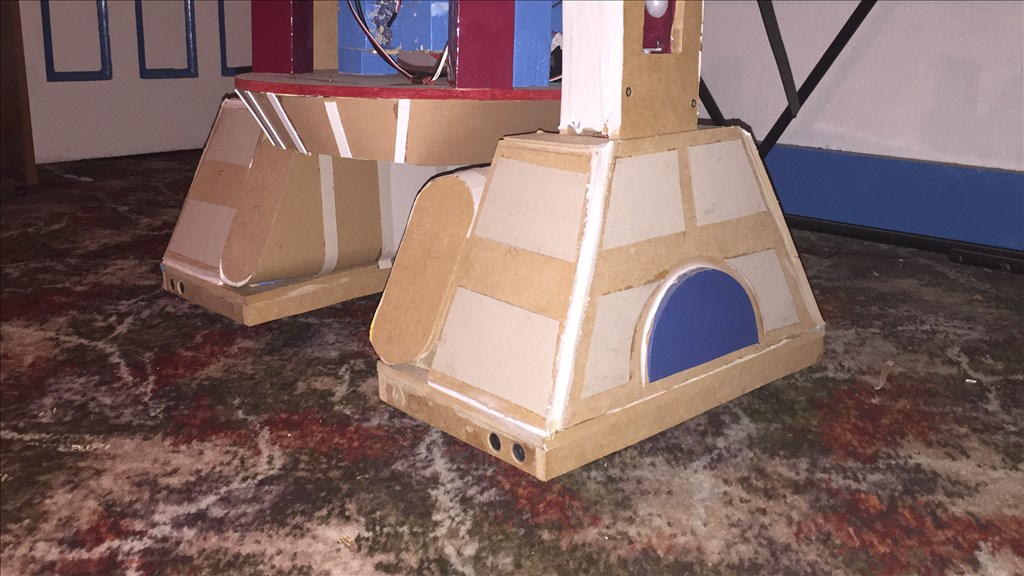
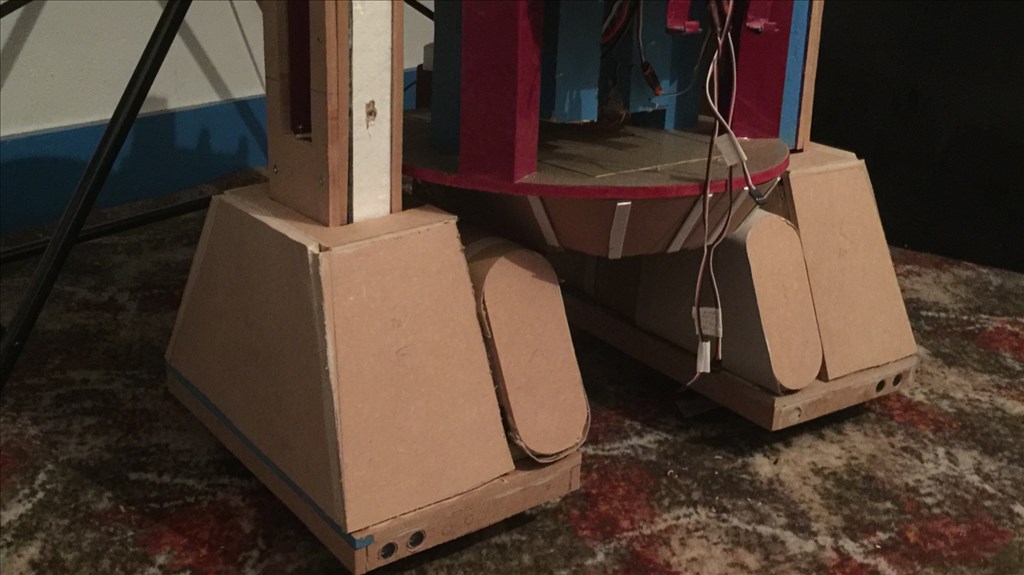
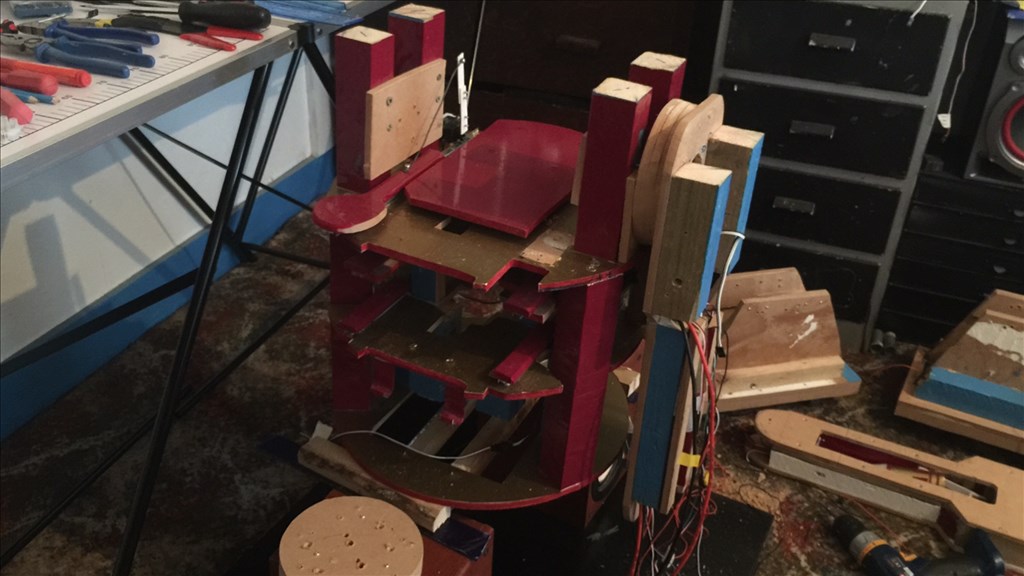
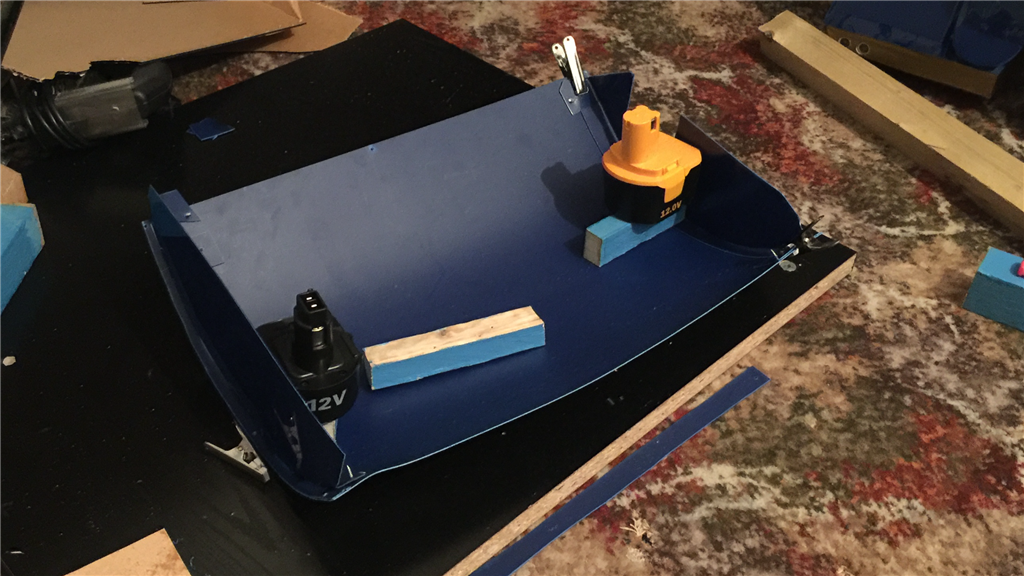
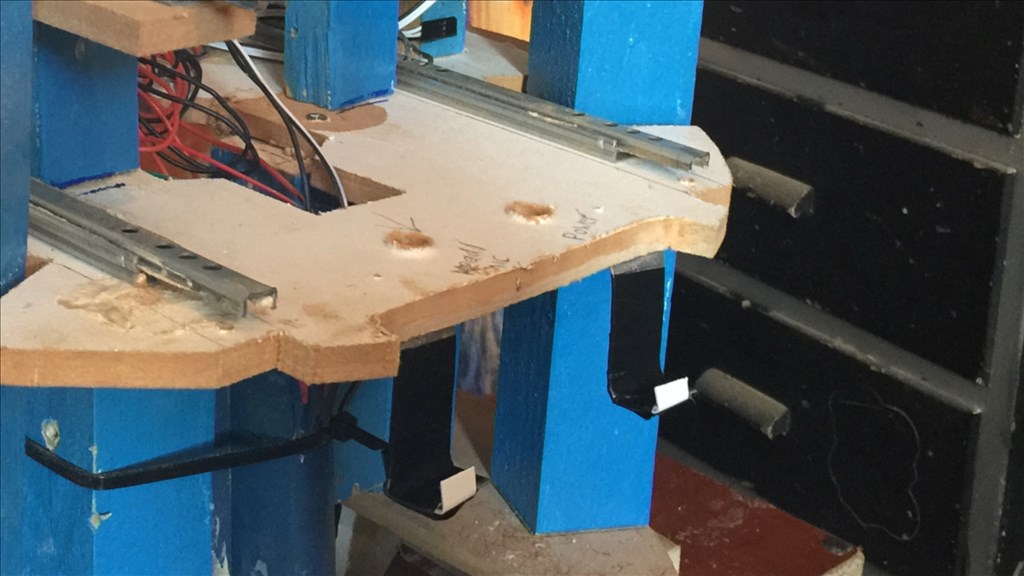
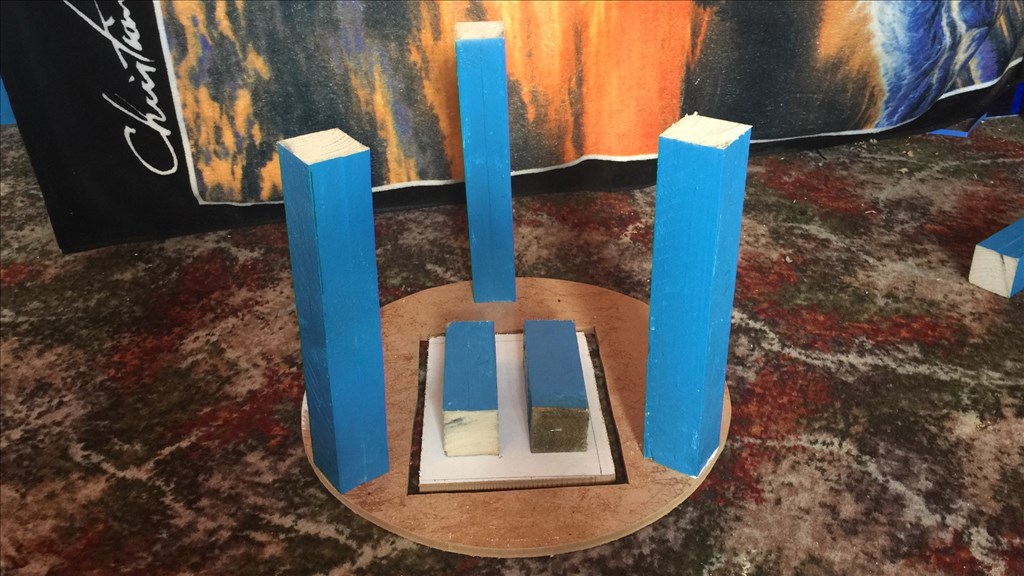
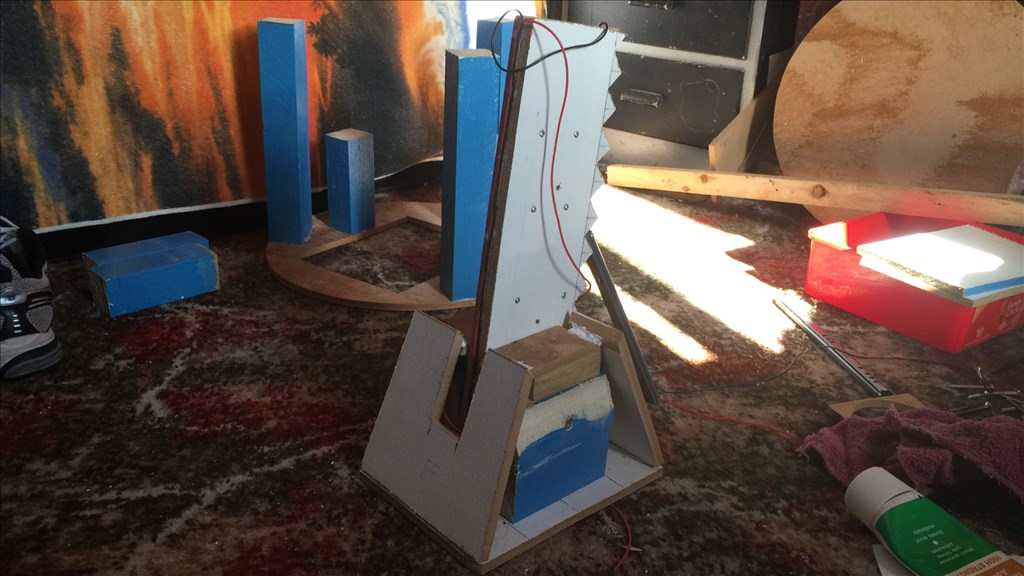
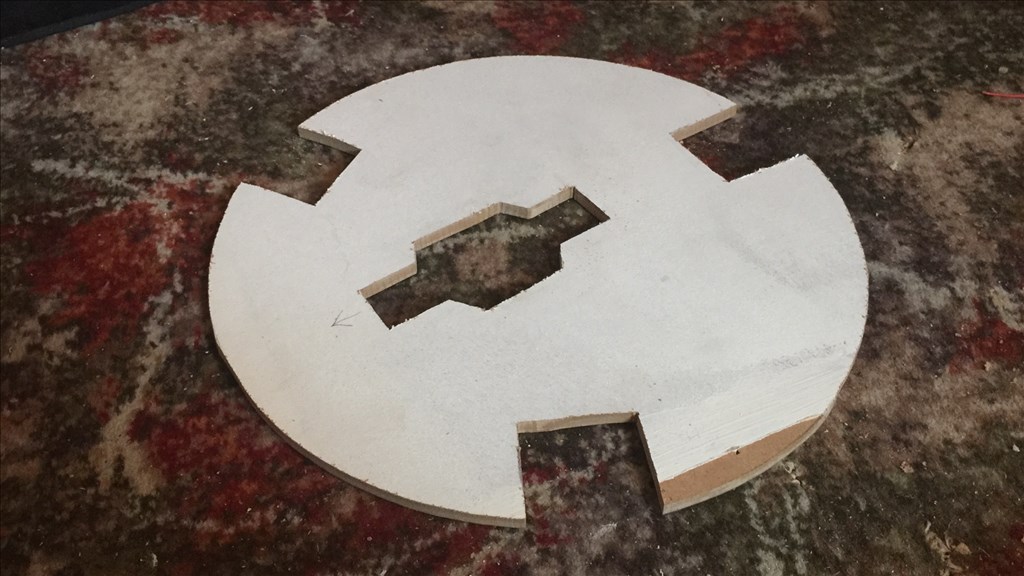
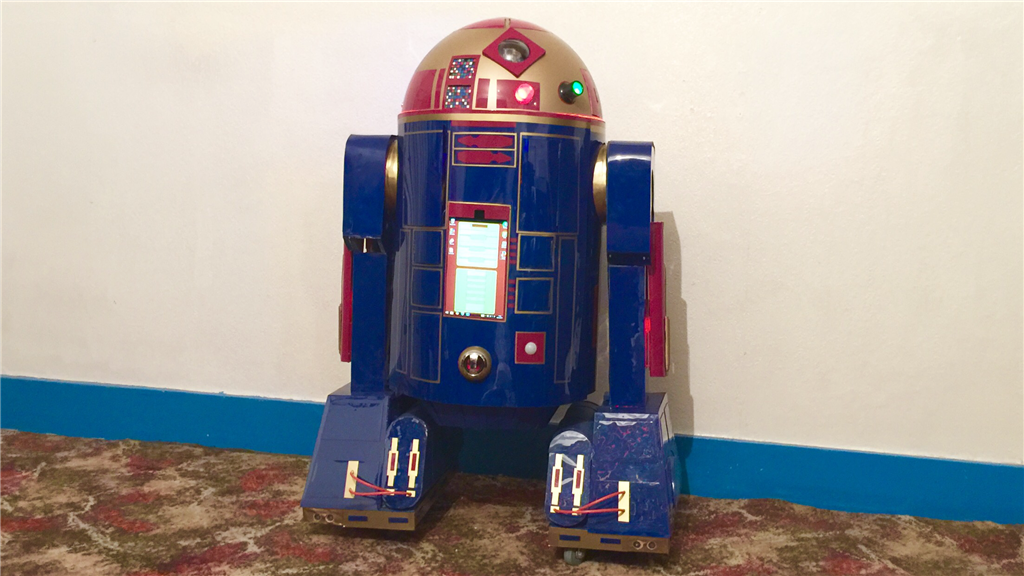
So the decision has been made, and E4-B4 now has his centre leg permanently fixed in the down position. I may revisit this one day, but for now I have fitted two cross sections to the underneath of the body, and two supports on the lower tier section where the leg is now permanent fixed.
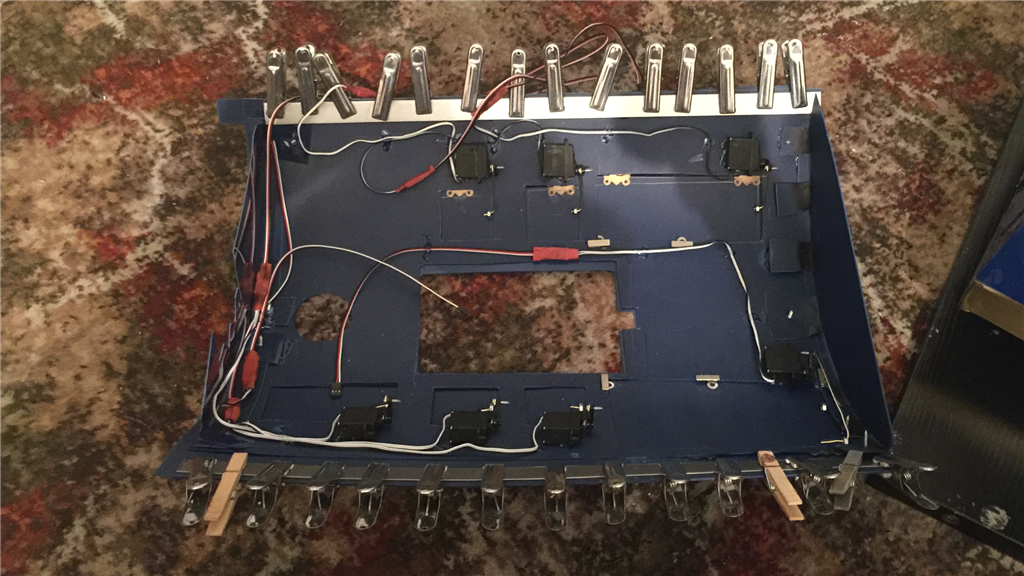
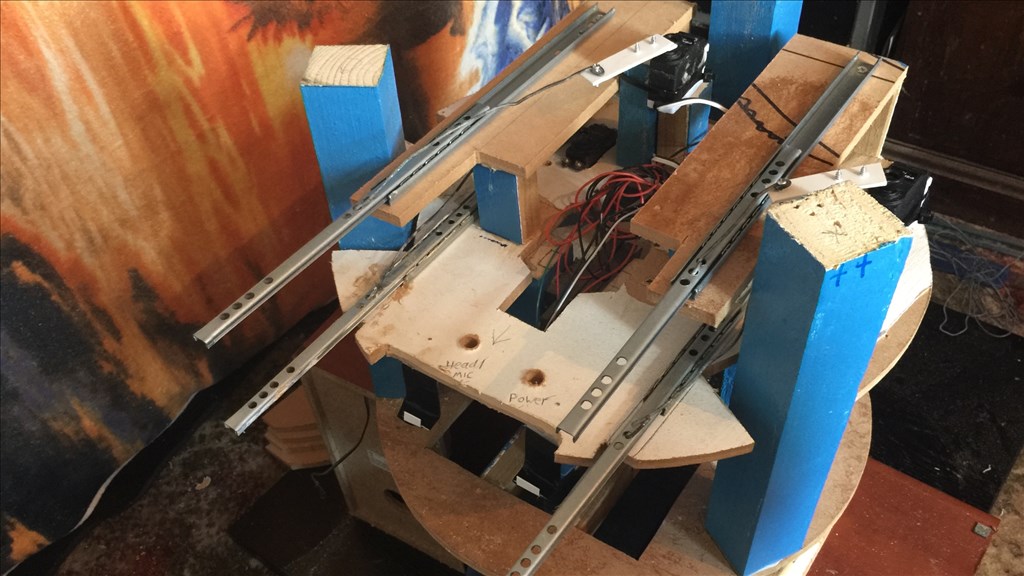
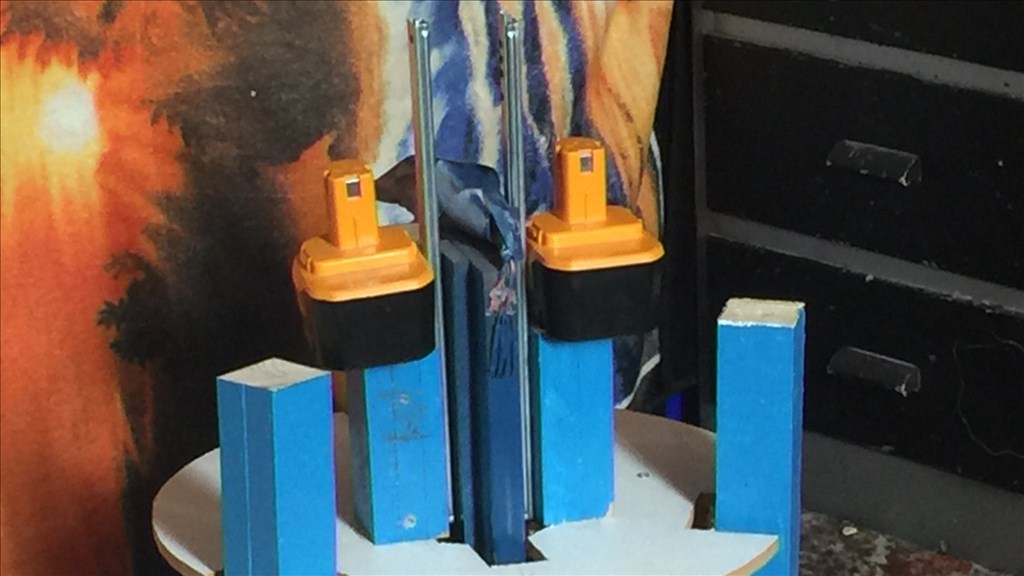
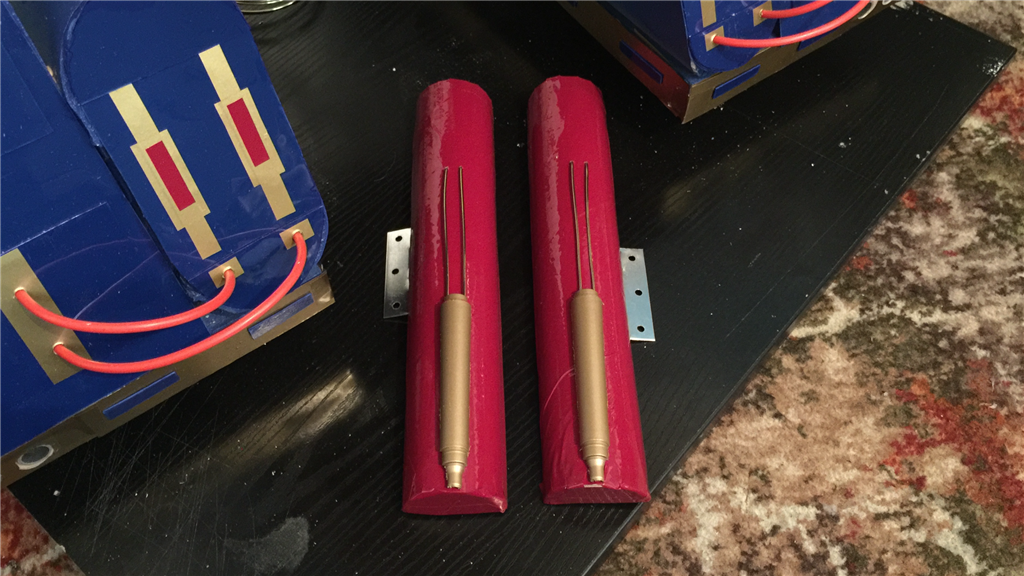
As mentioned in point 1 for having the leg fixed, this has now given me more room to work with, so I have slightly relocated the existing utility runners that I fitted on the lower tier, and added two further runners above them. The servos are securely fitted, and linkages I made are connected to all four runners.
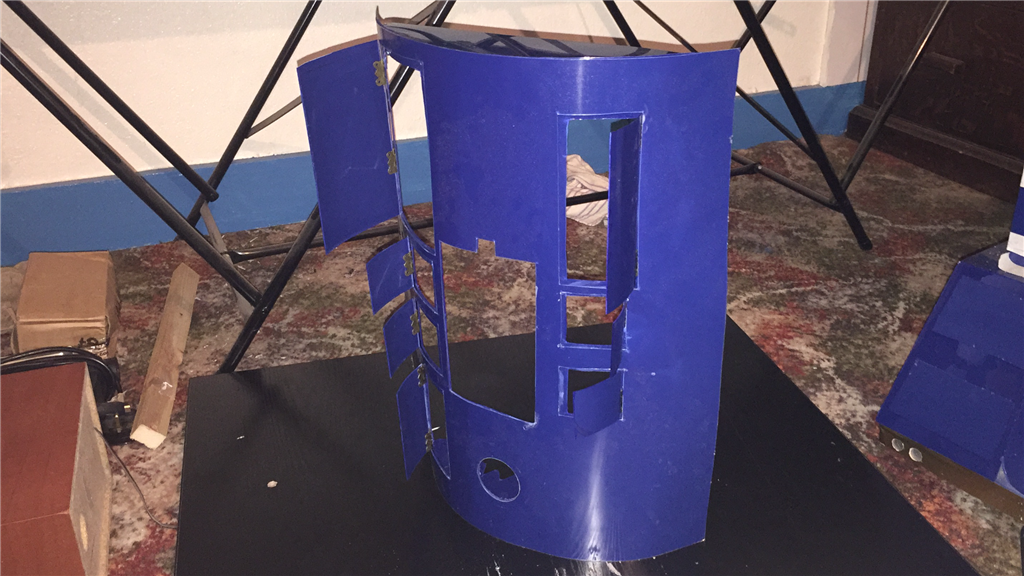
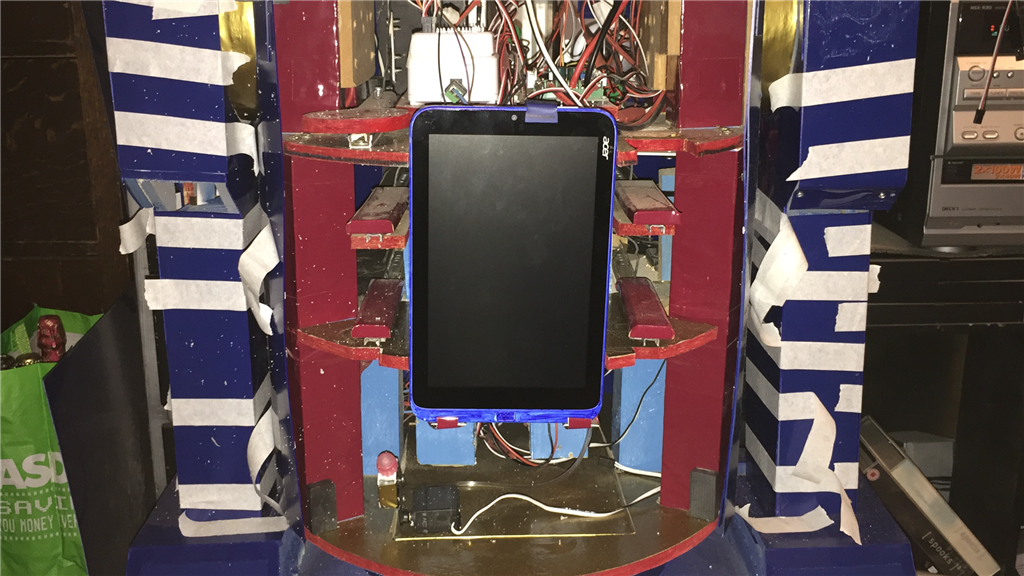
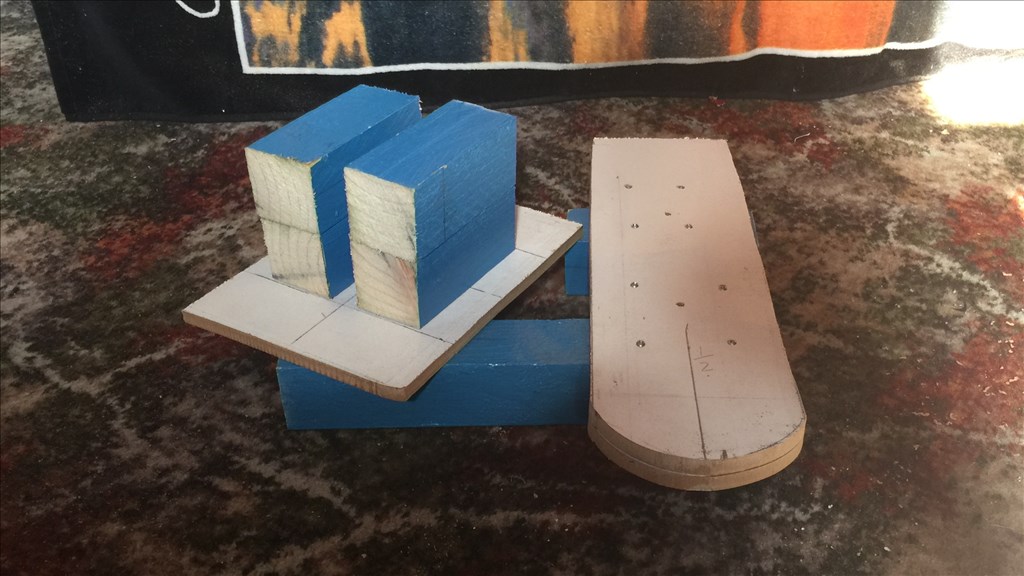
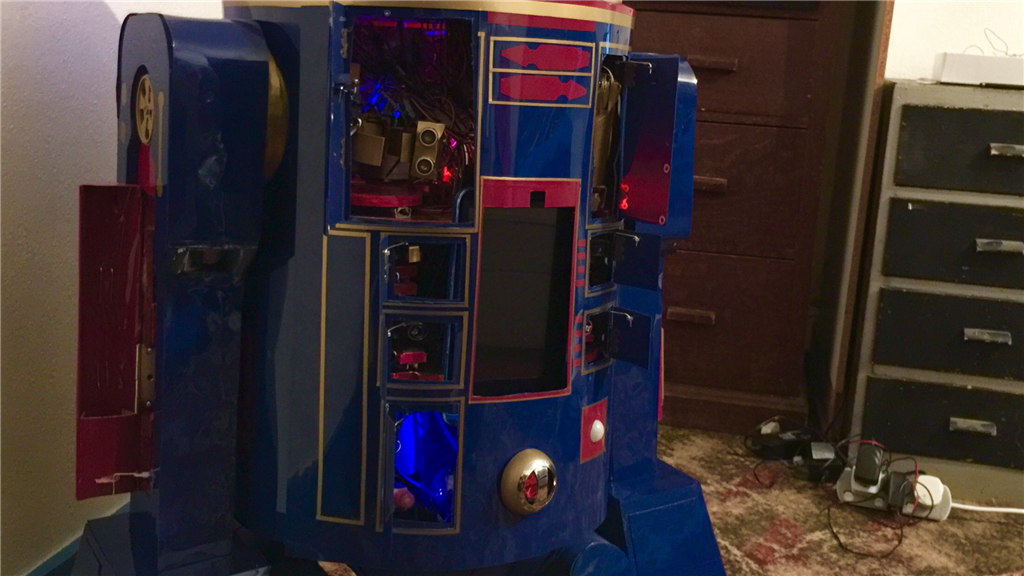
I have also cut out some recesses on the lower and upper tiers where the tablet will be housed, with some brackets to hold it in place.
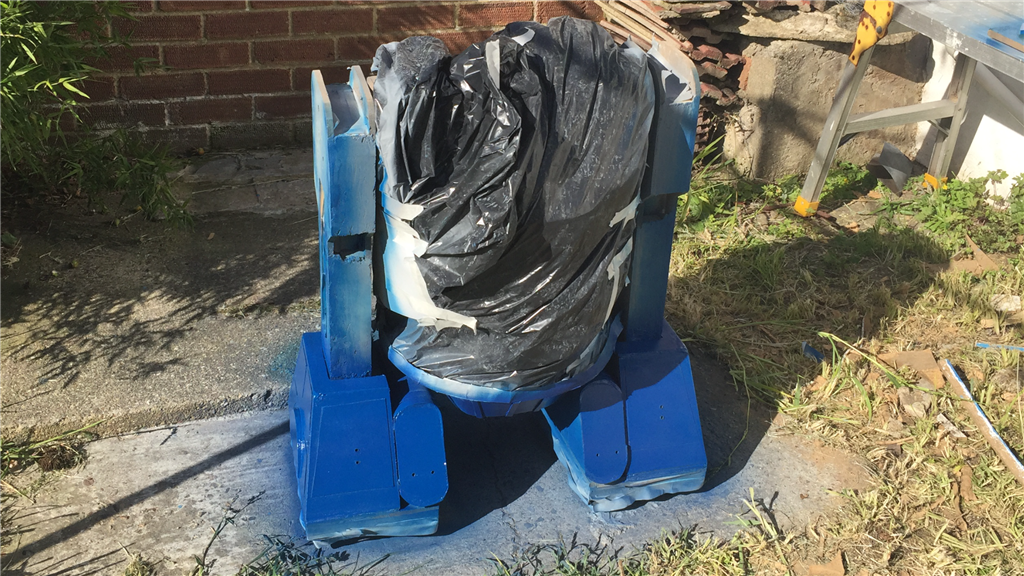
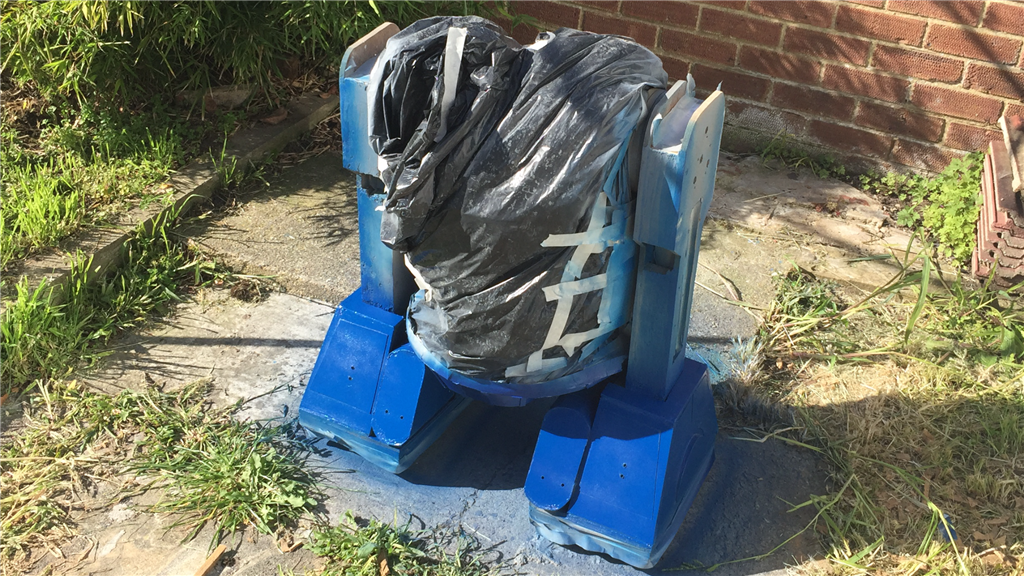
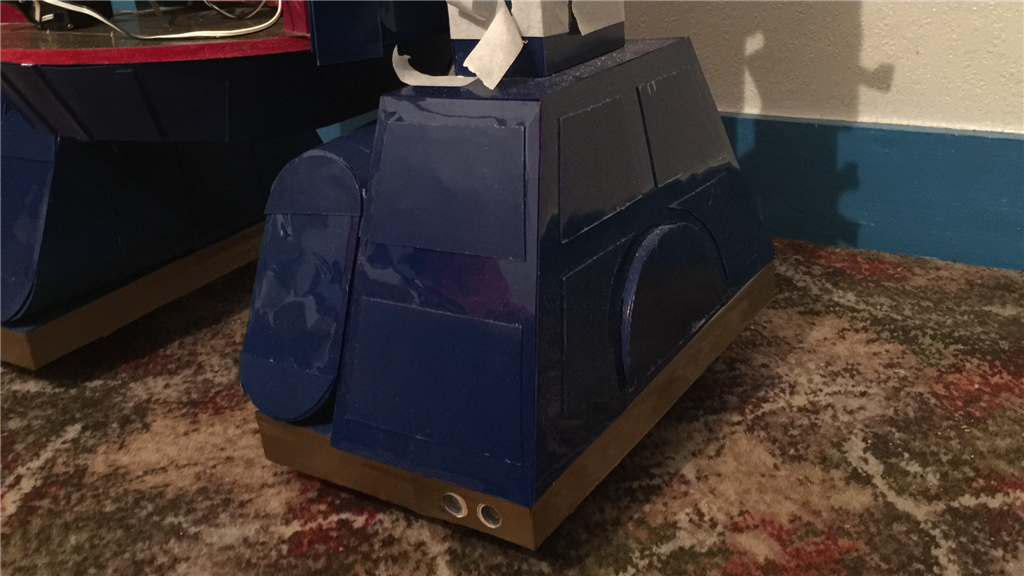
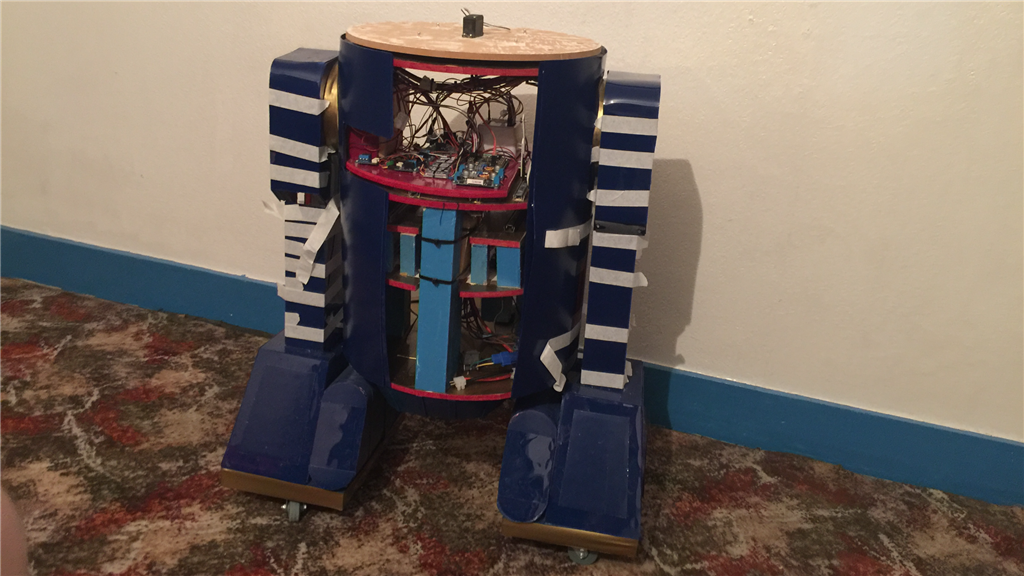
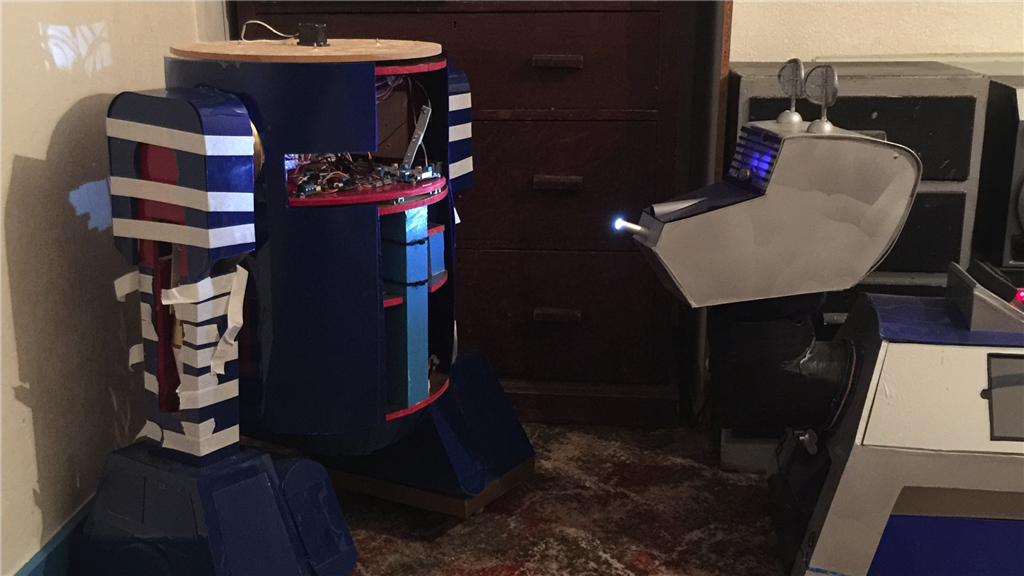
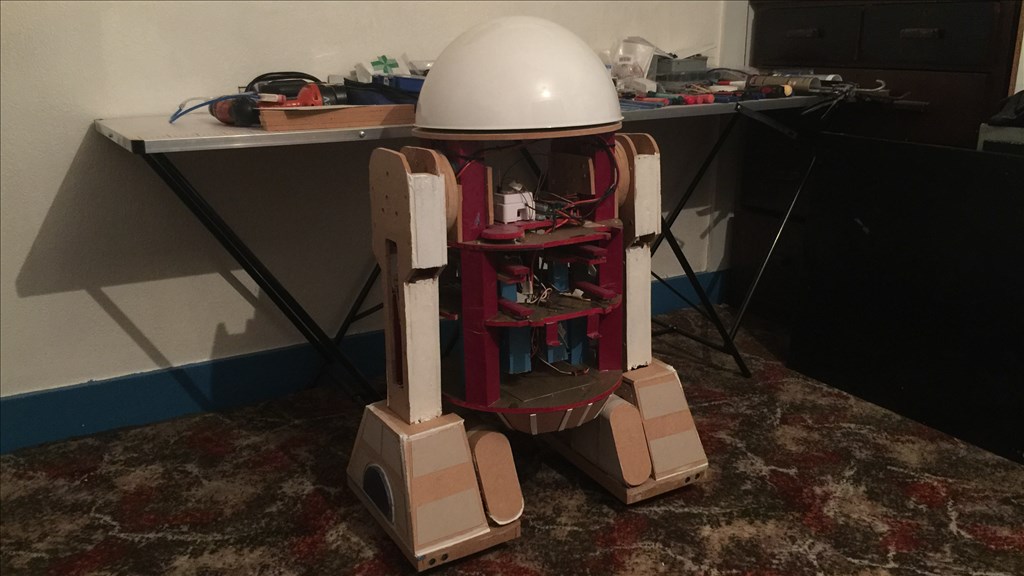
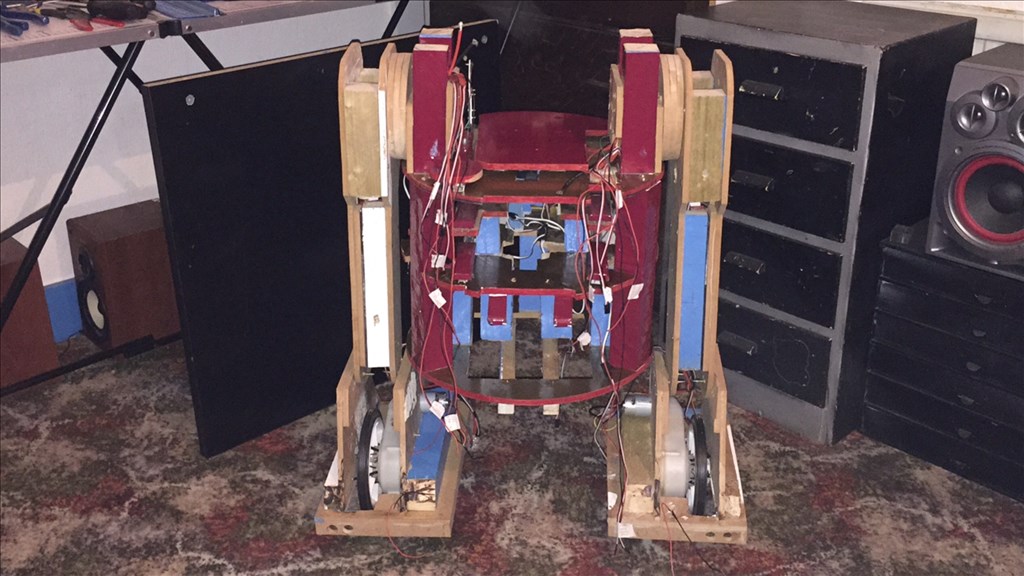
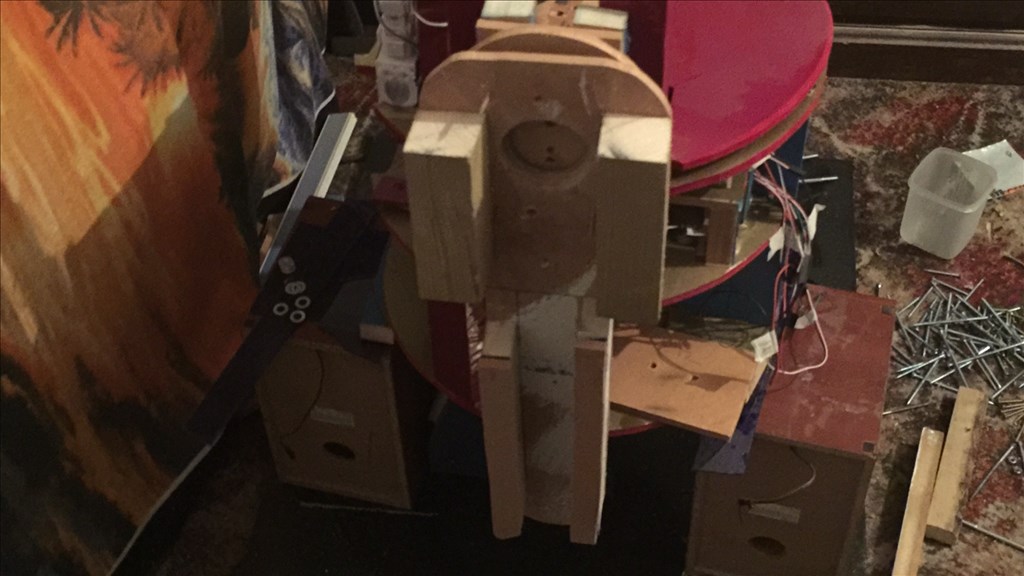
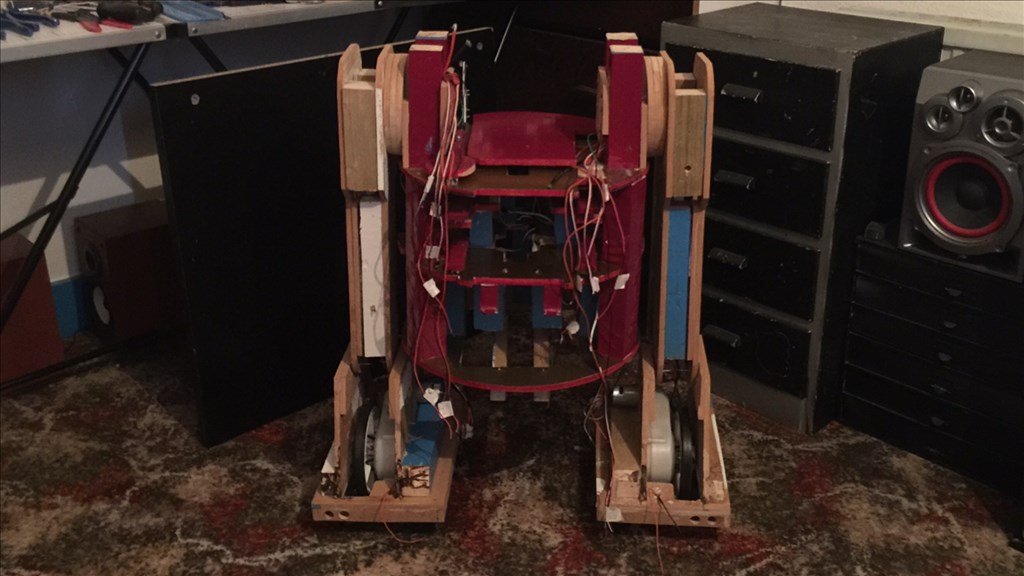
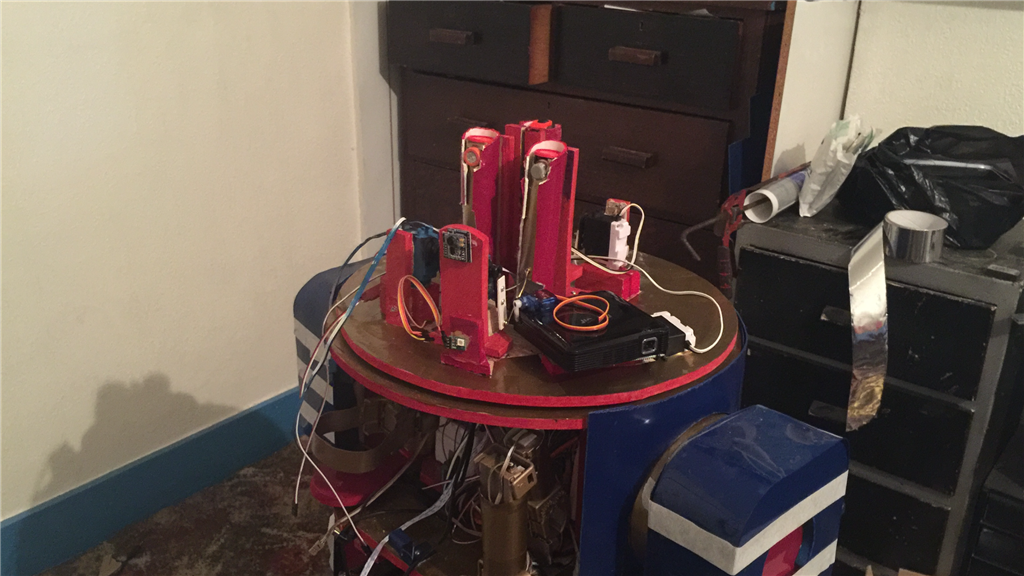
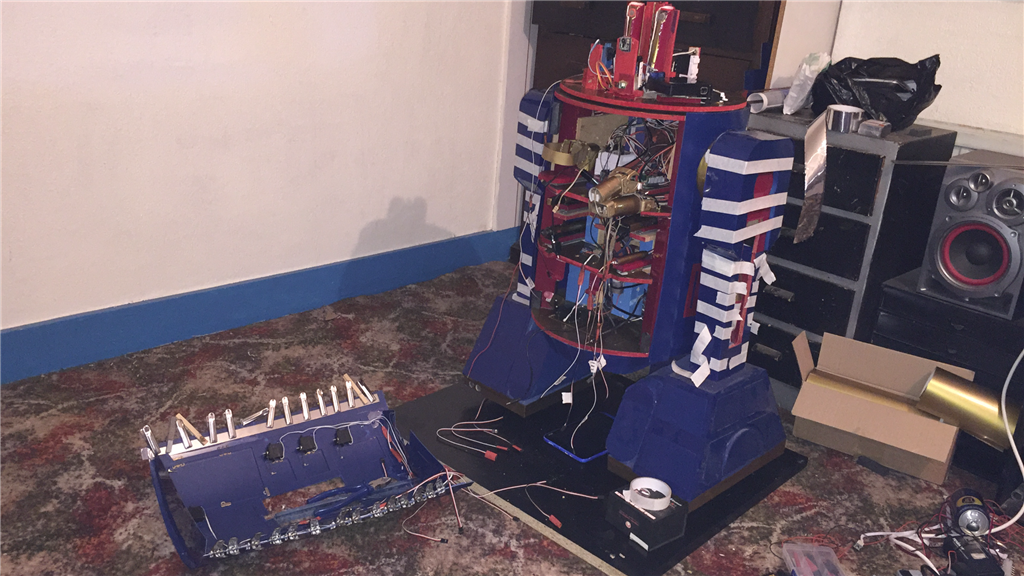
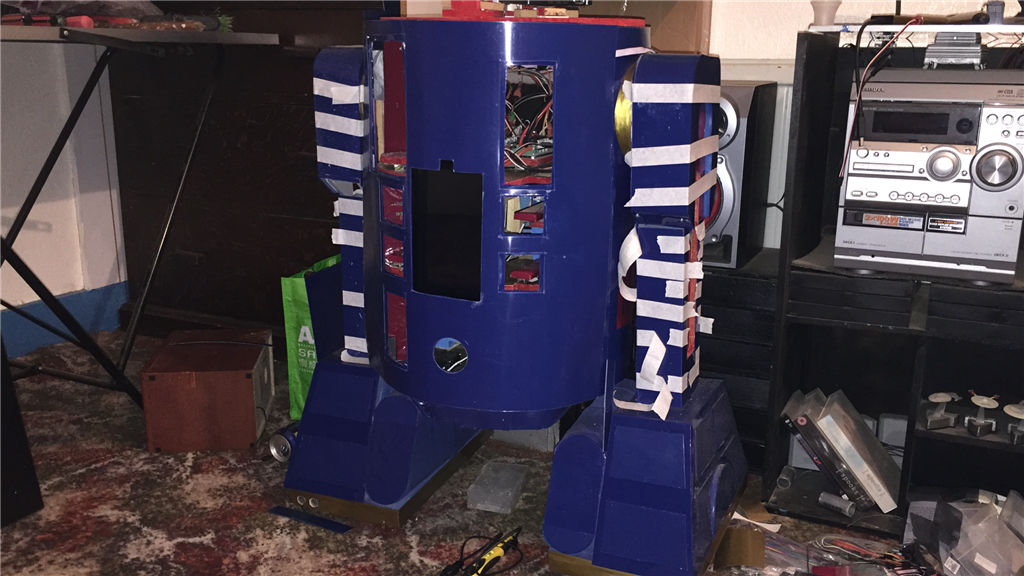
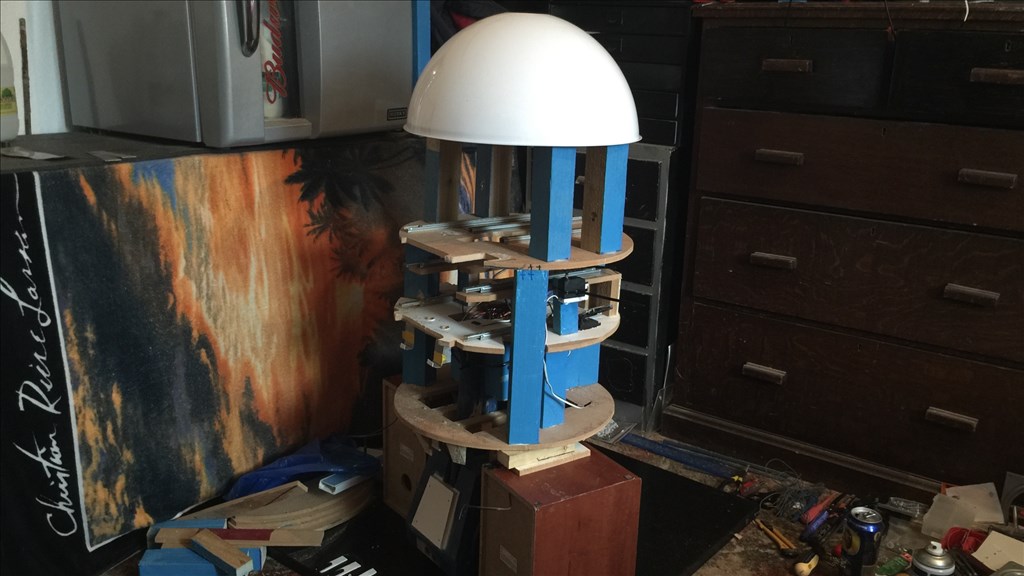
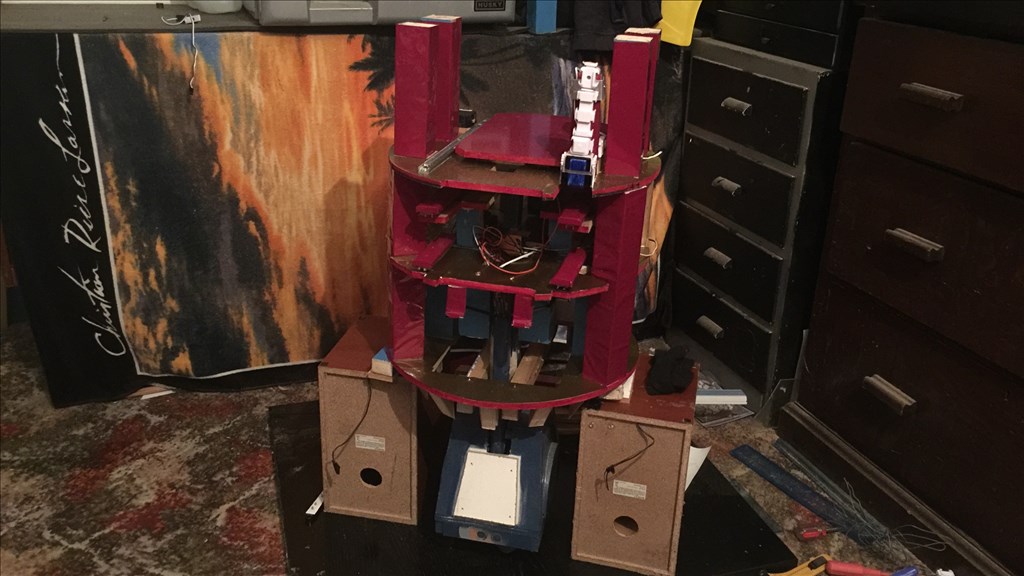
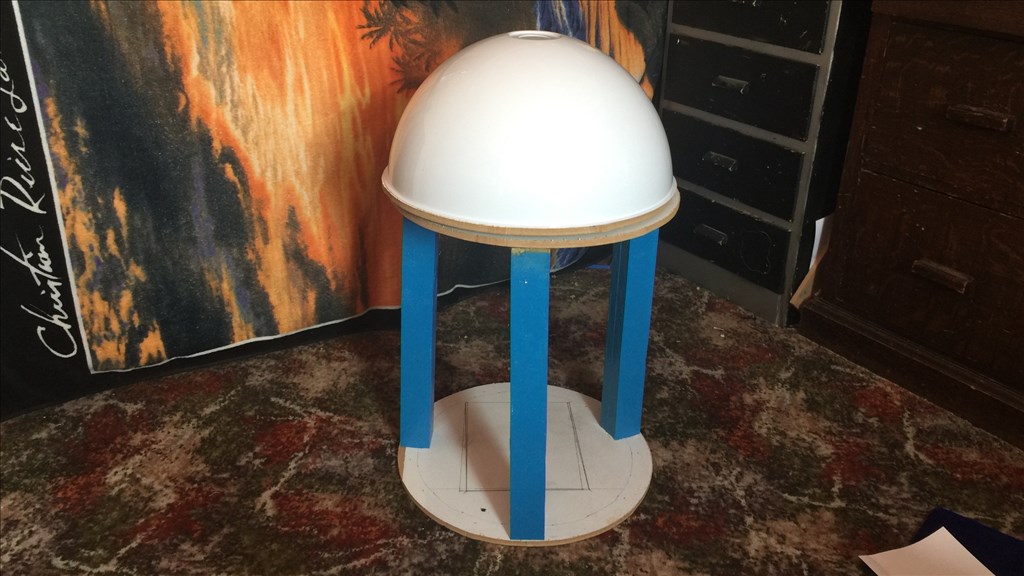
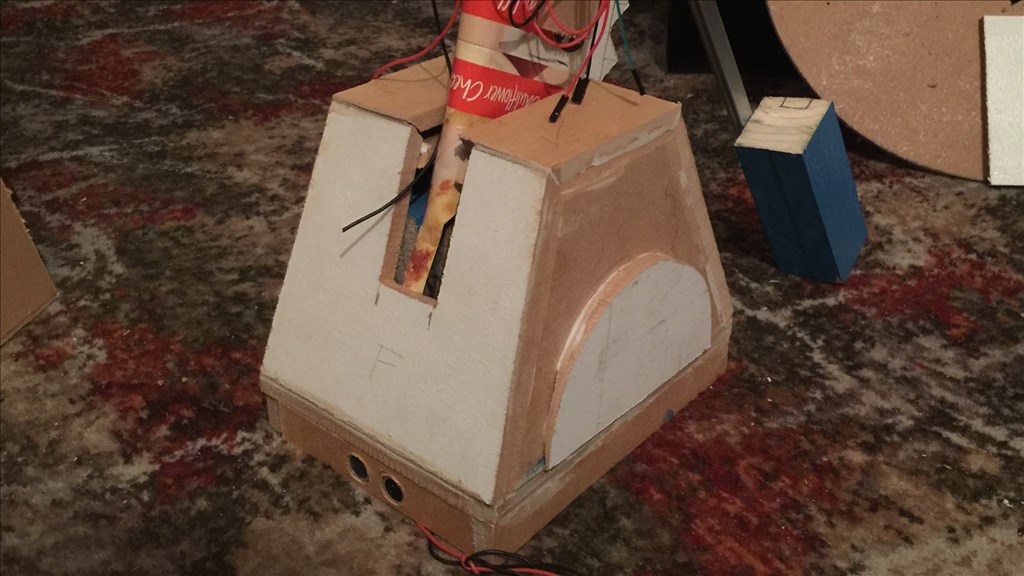
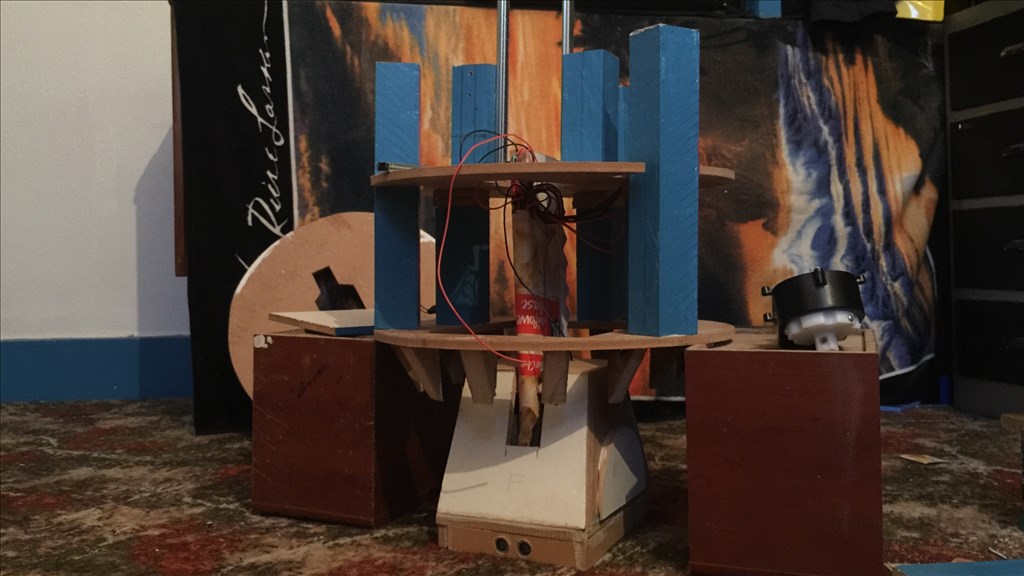
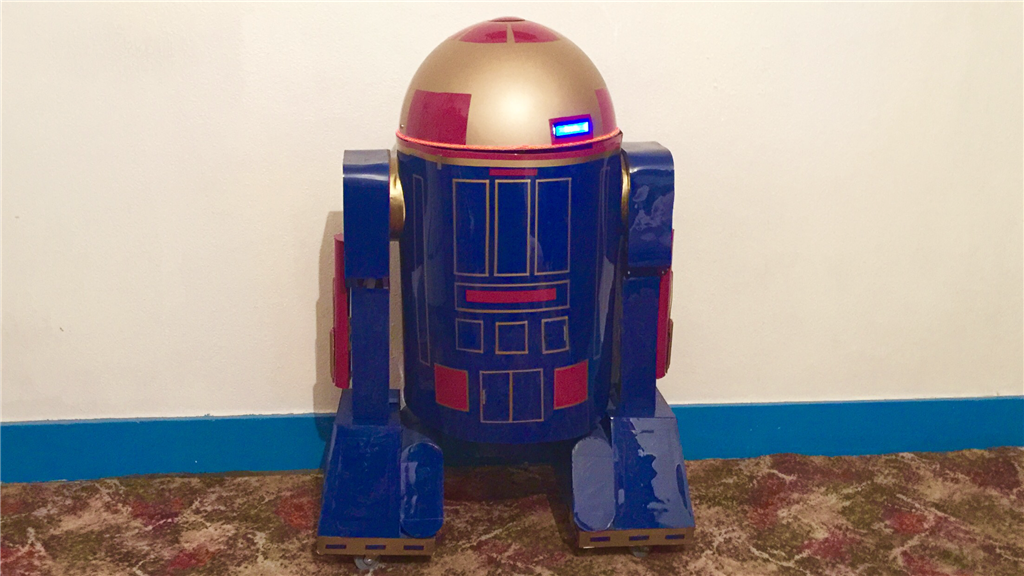
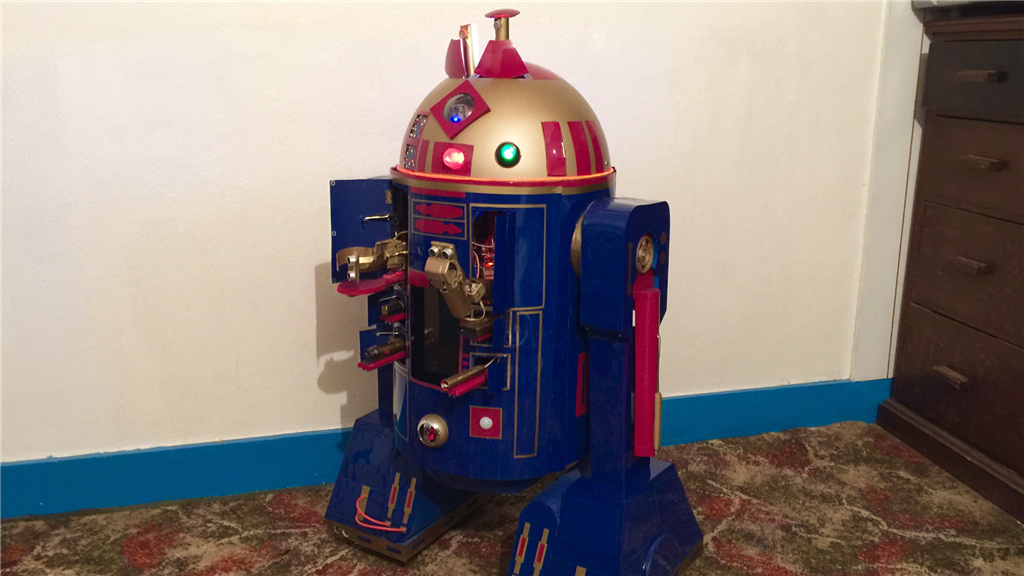
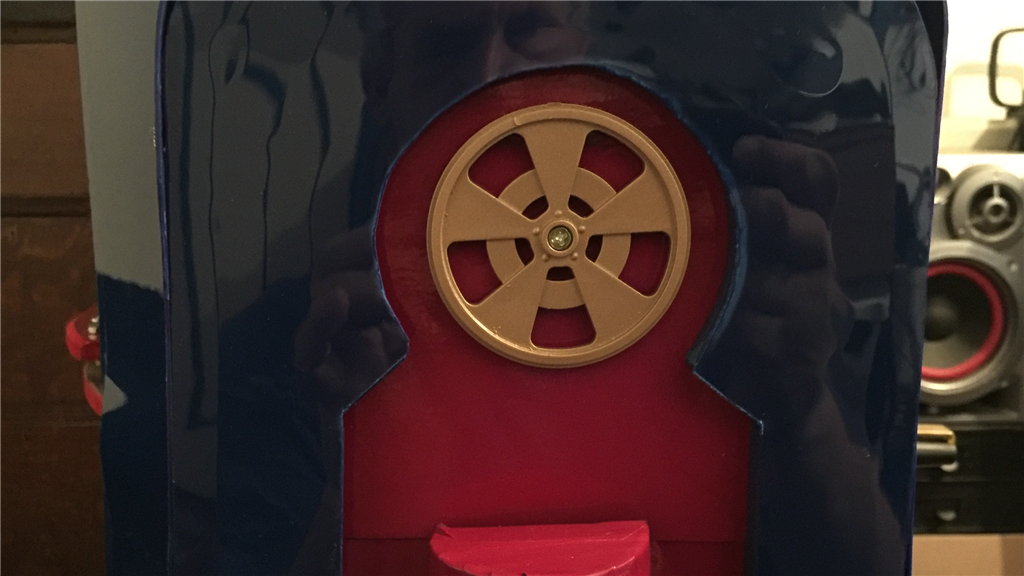
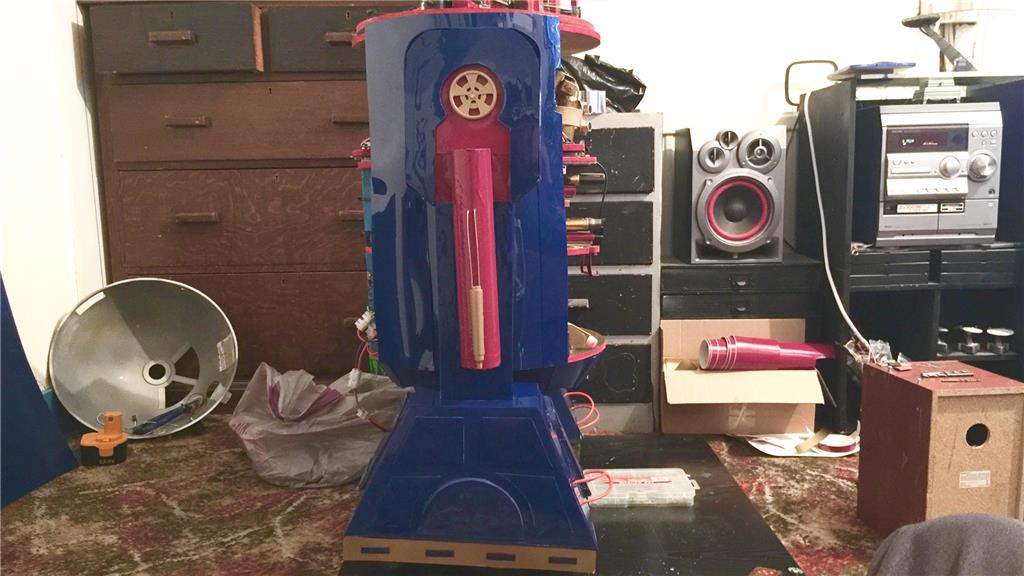
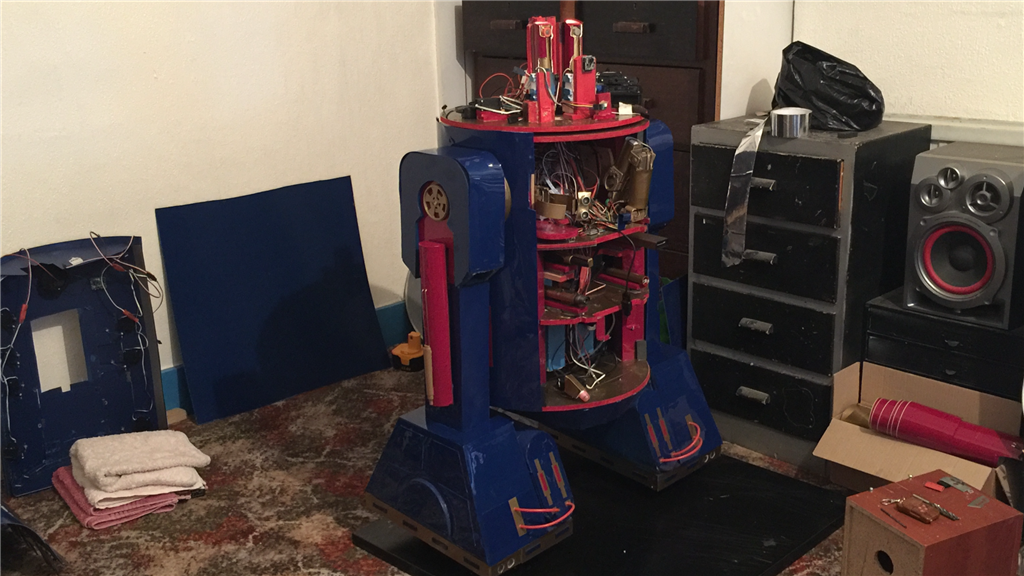
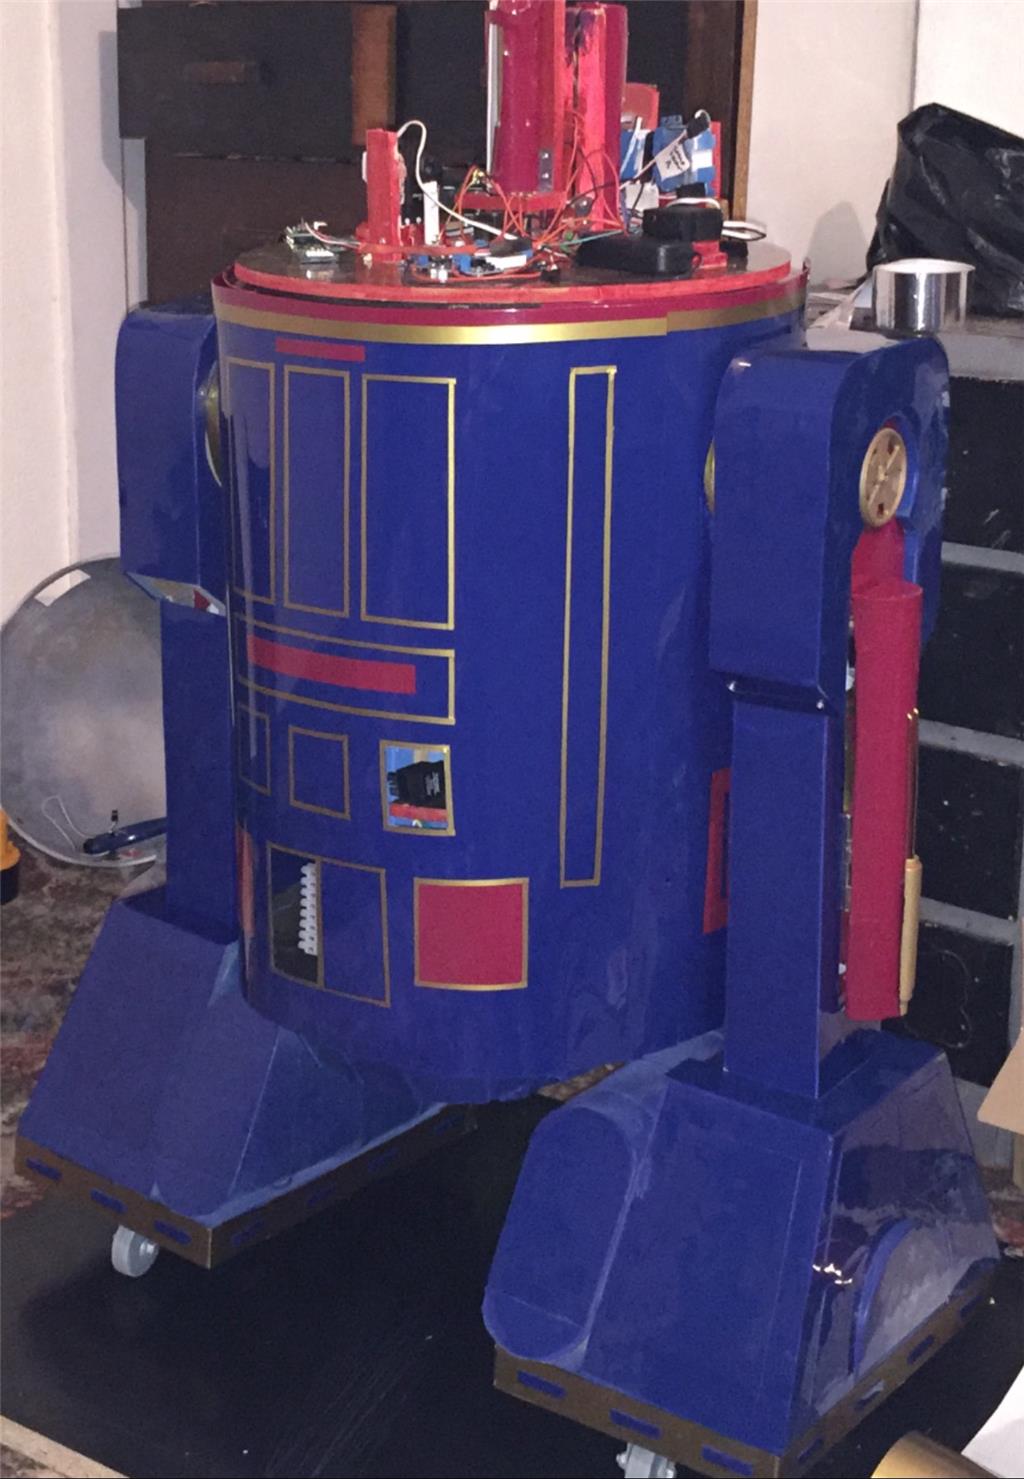
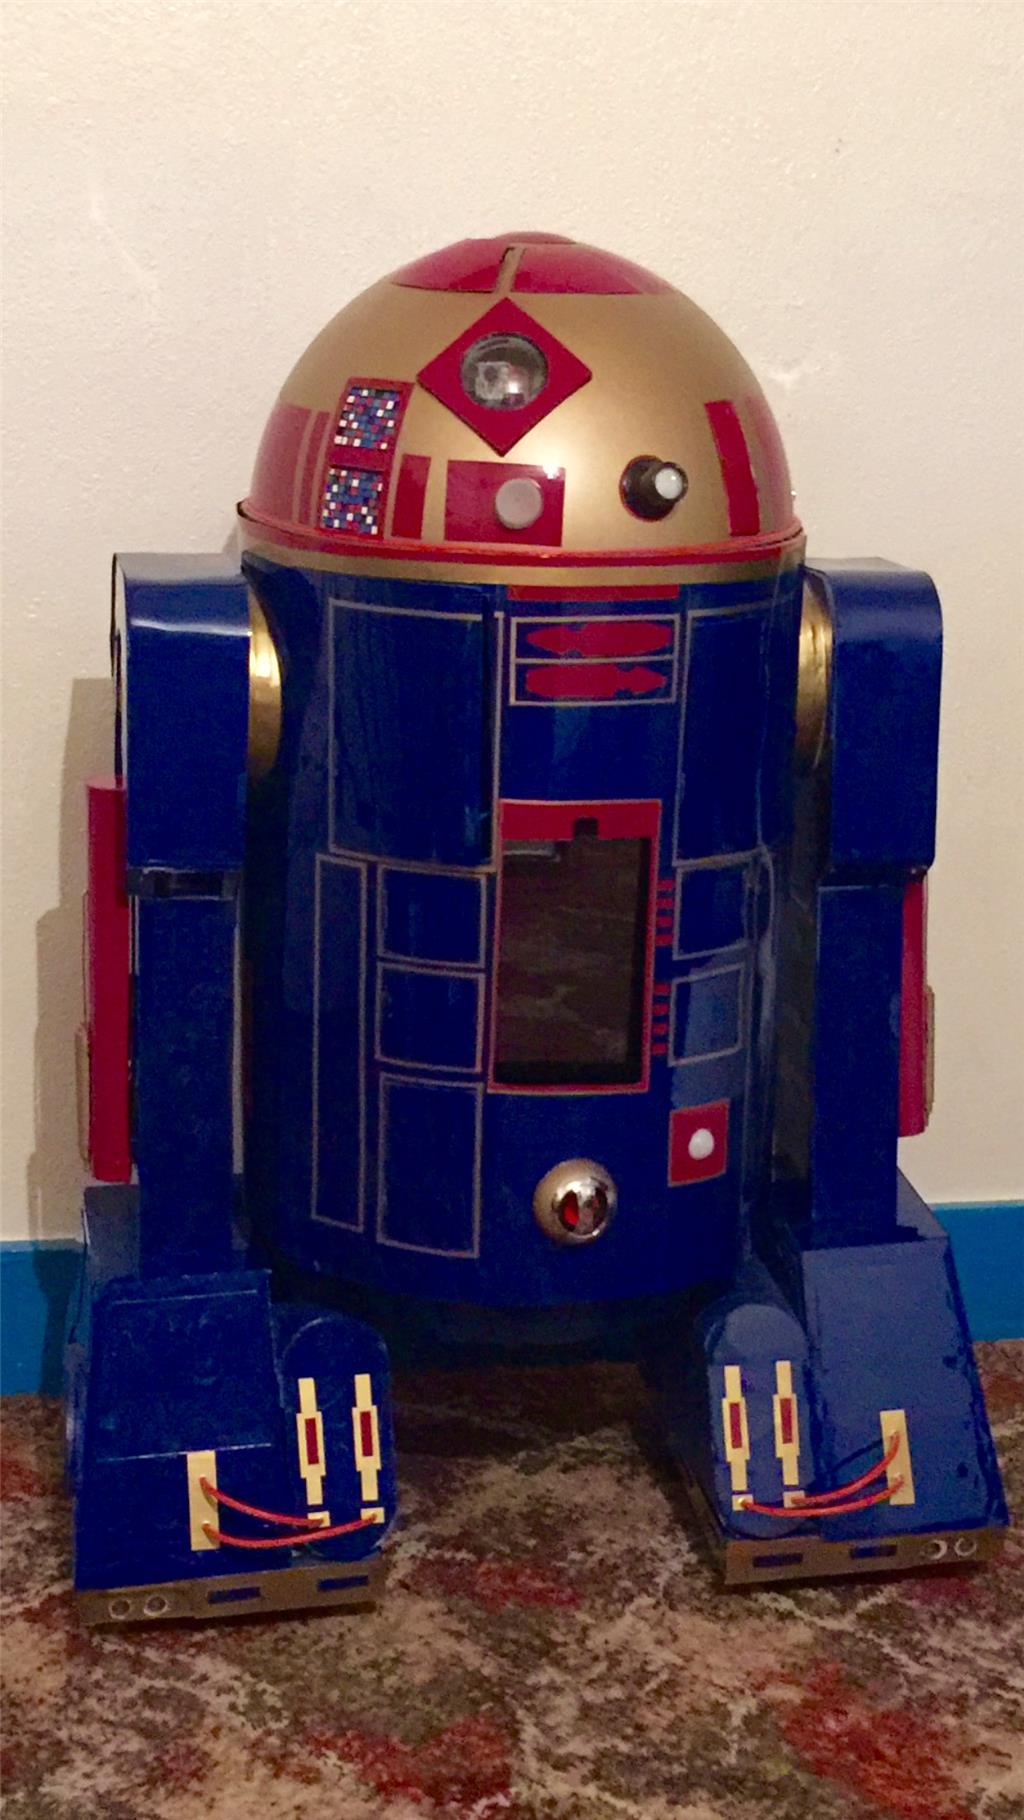
I though I'd have a laugh at this point, and placed the dome on to the body frame.
Looks nothing like an Astromech droid, lol, and looks a long way off from doing so. But at least it has a bit more of a structure now, and at this point, I'm probably about half way through the build (excluding electronics). He also looks a bit taller than I thought he would be, but the measurements are correct, so it's all good.
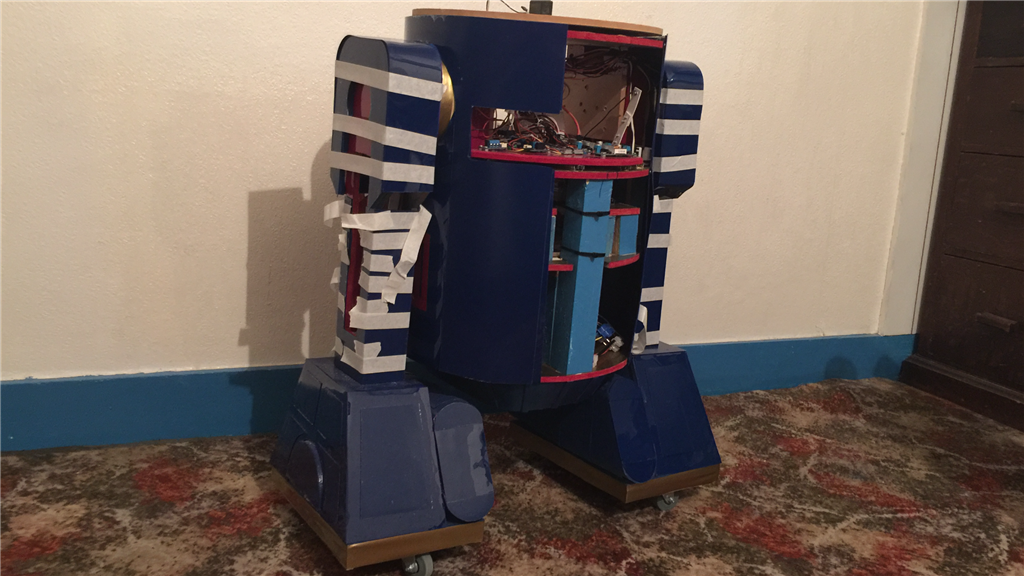
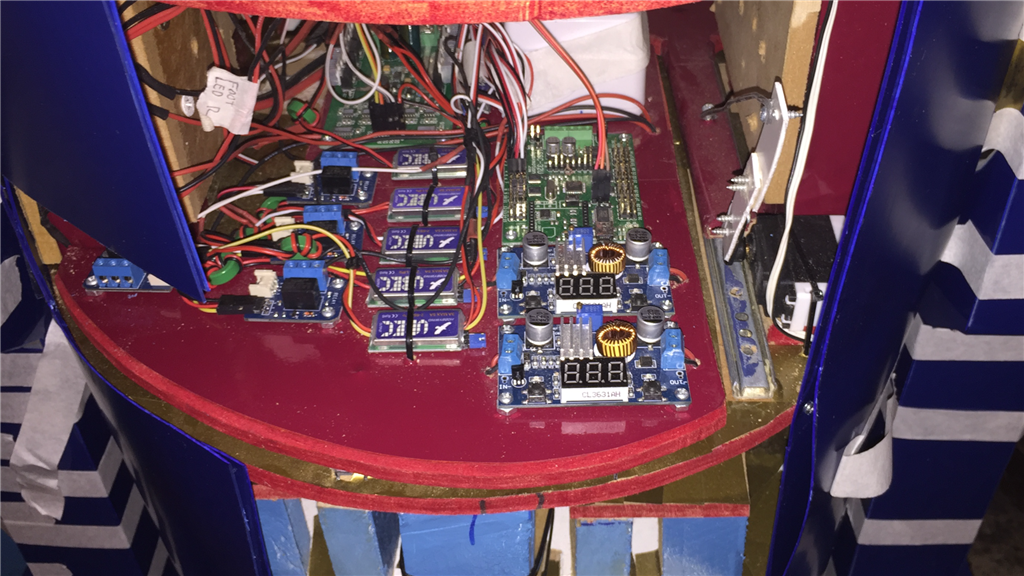
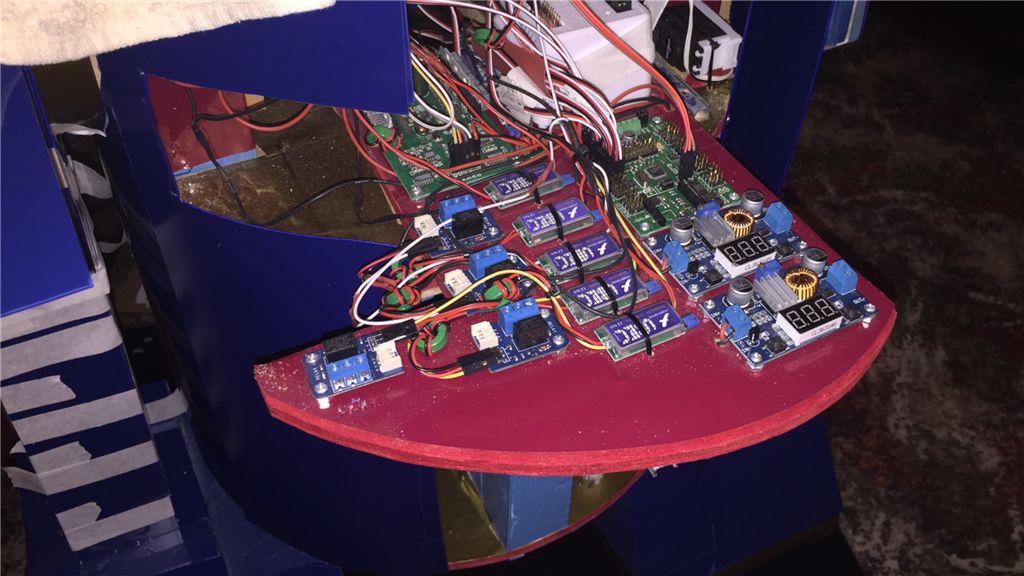
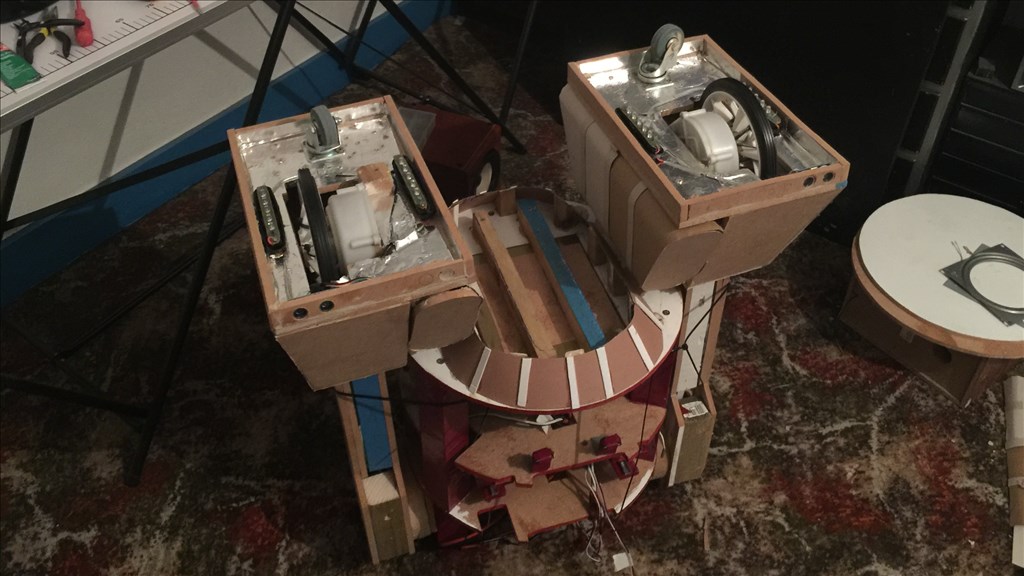
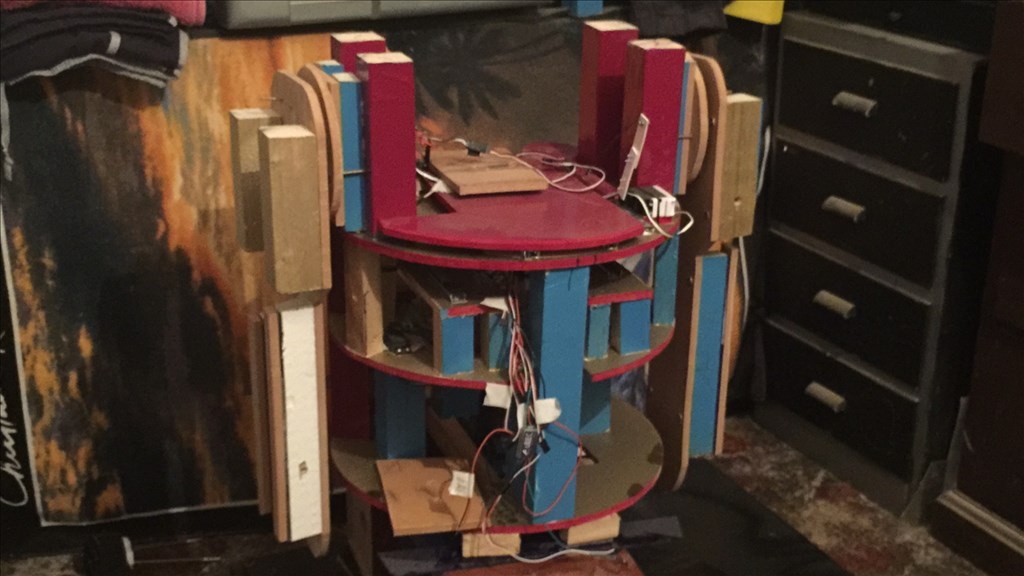
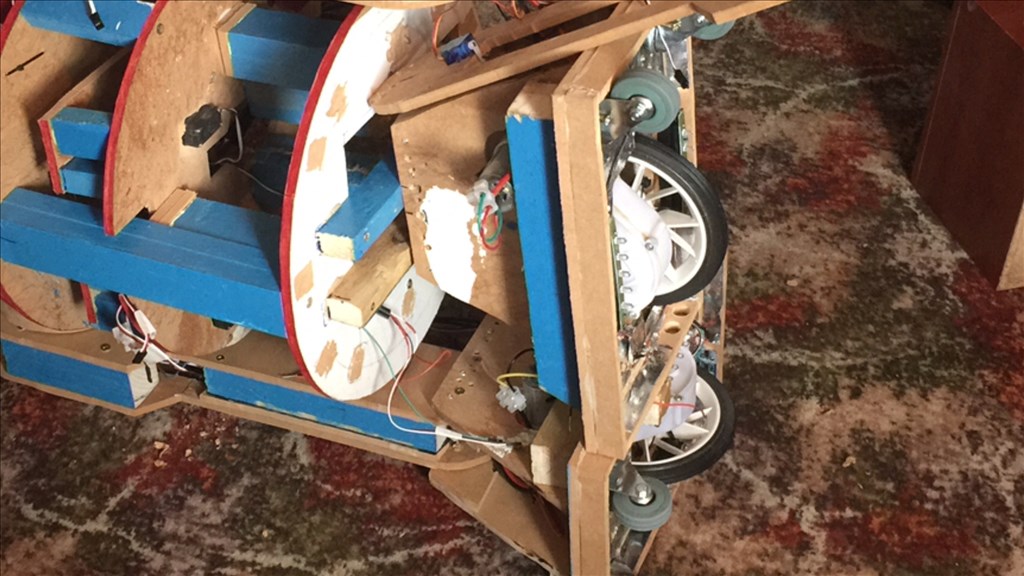
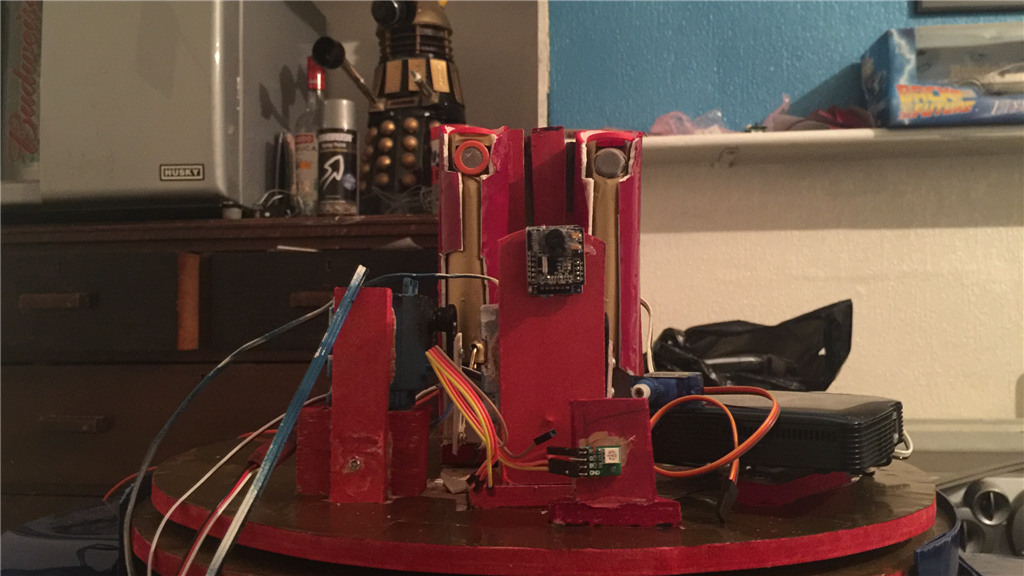
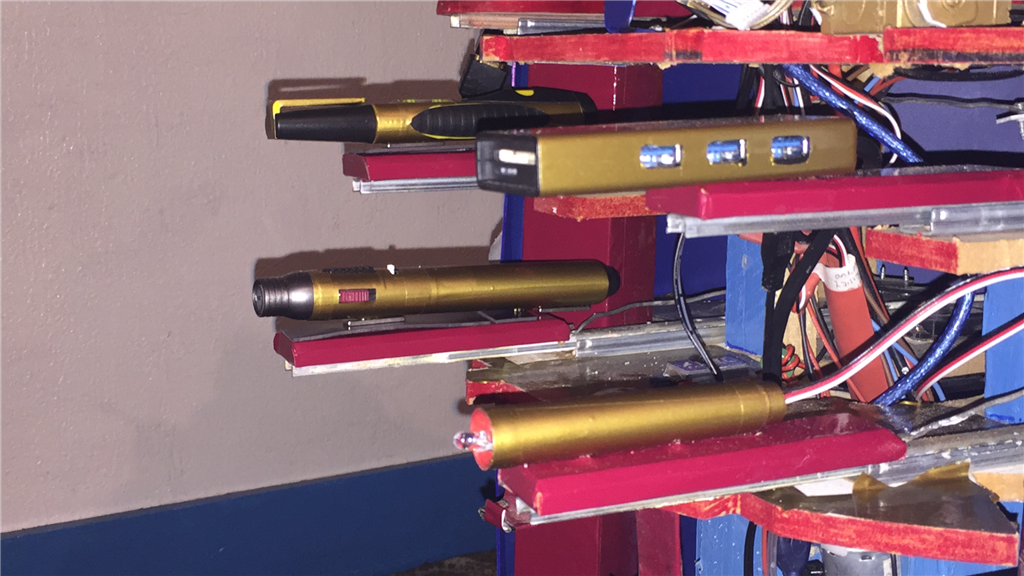
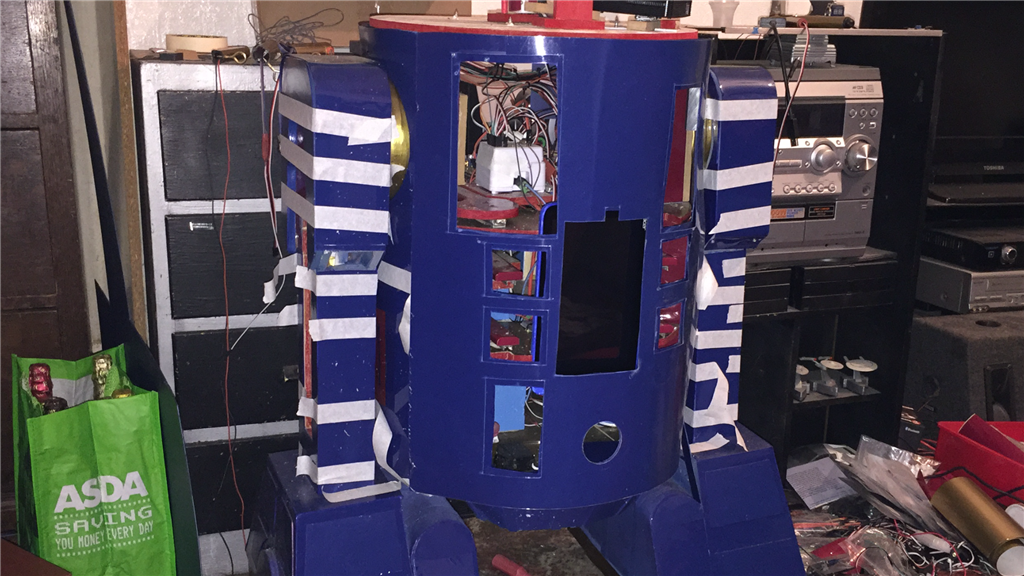
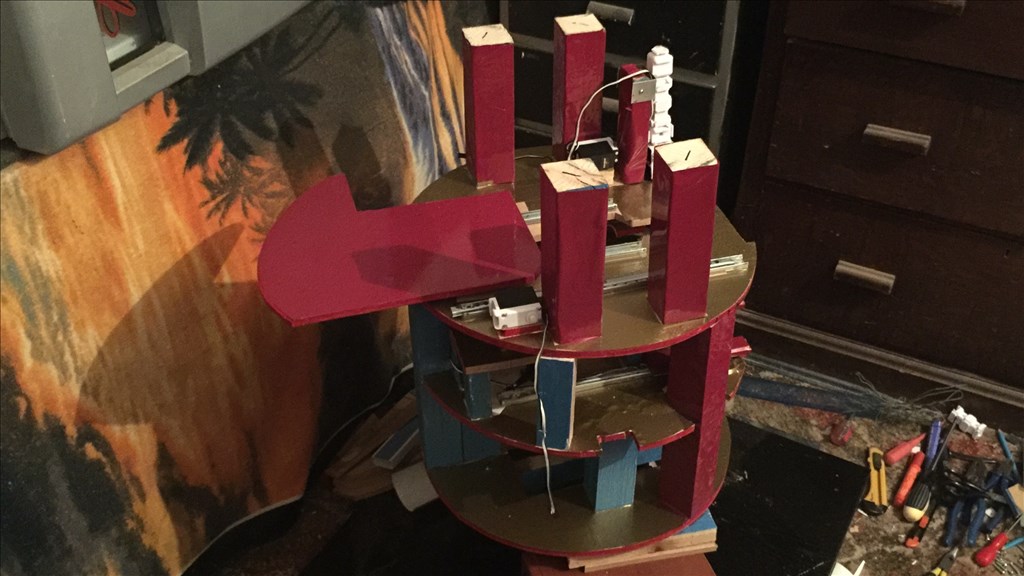
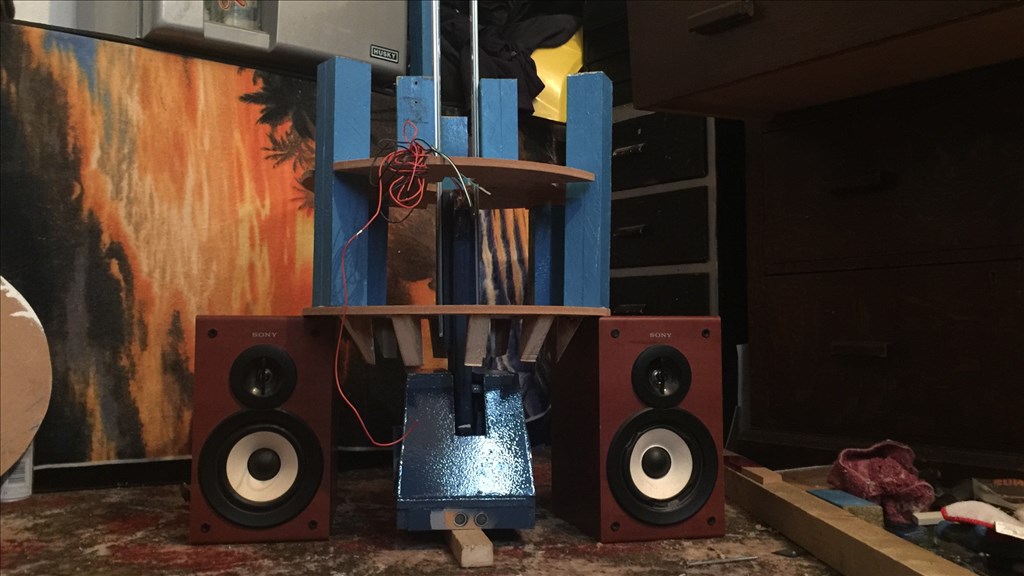
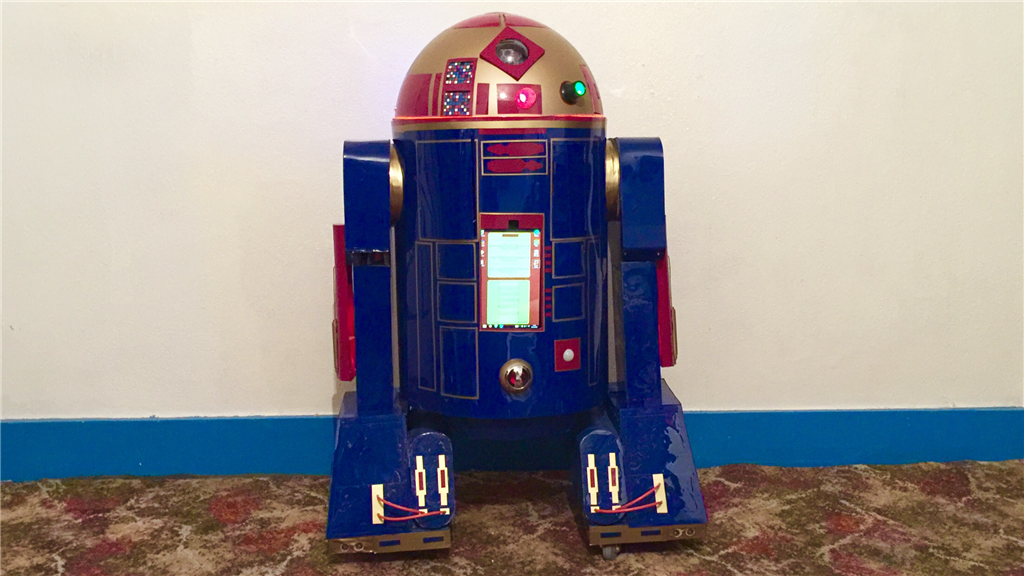
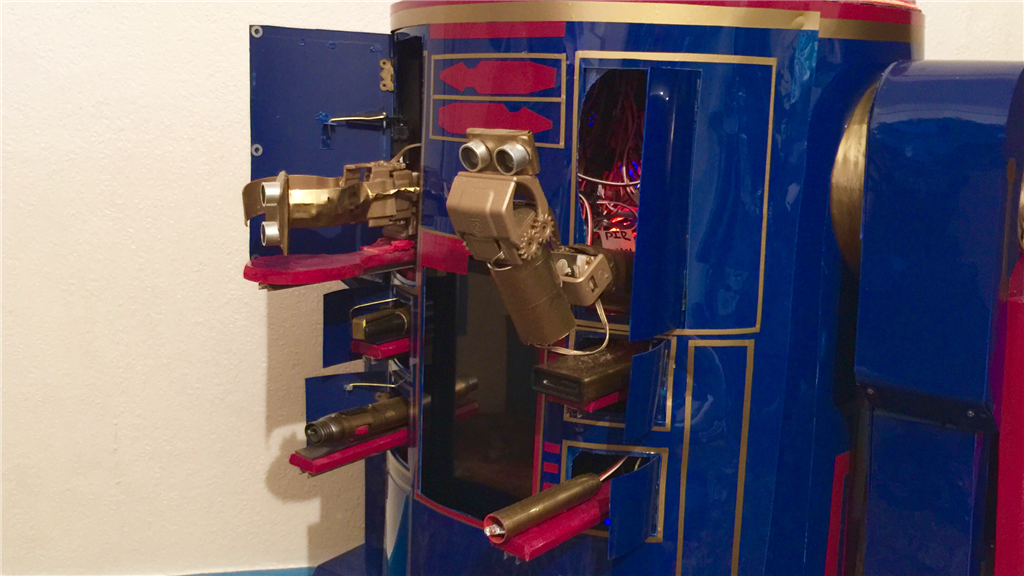
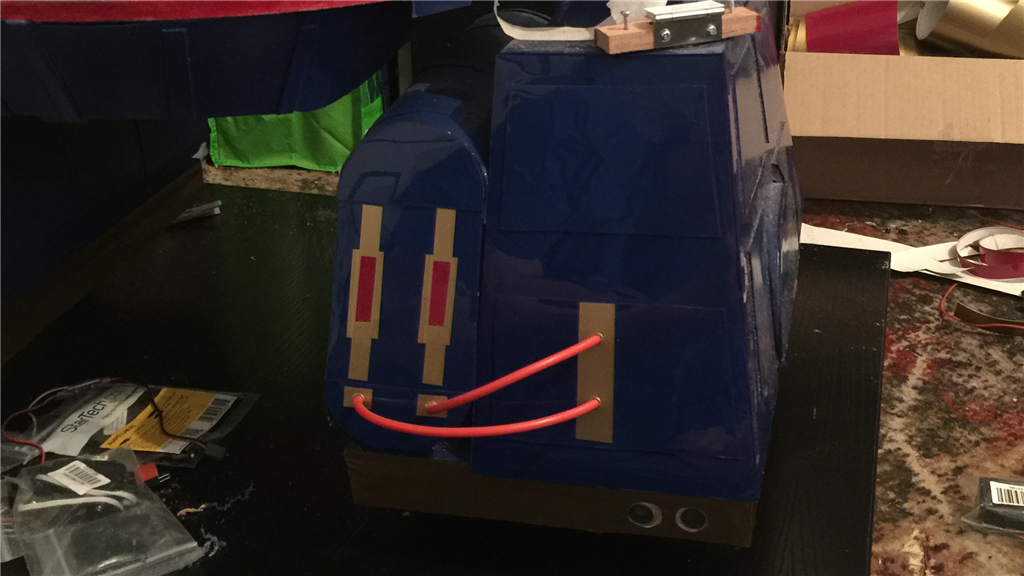
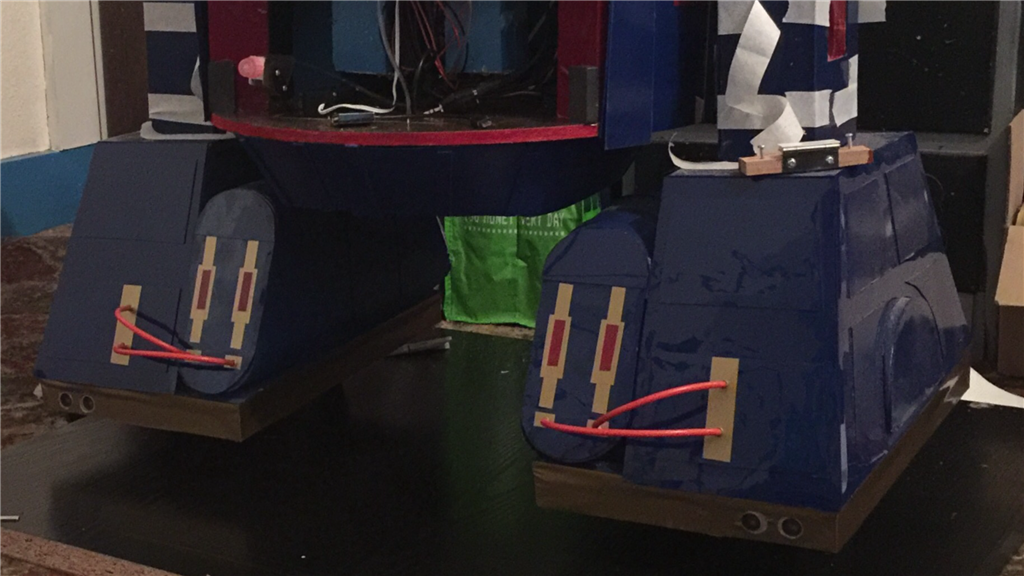
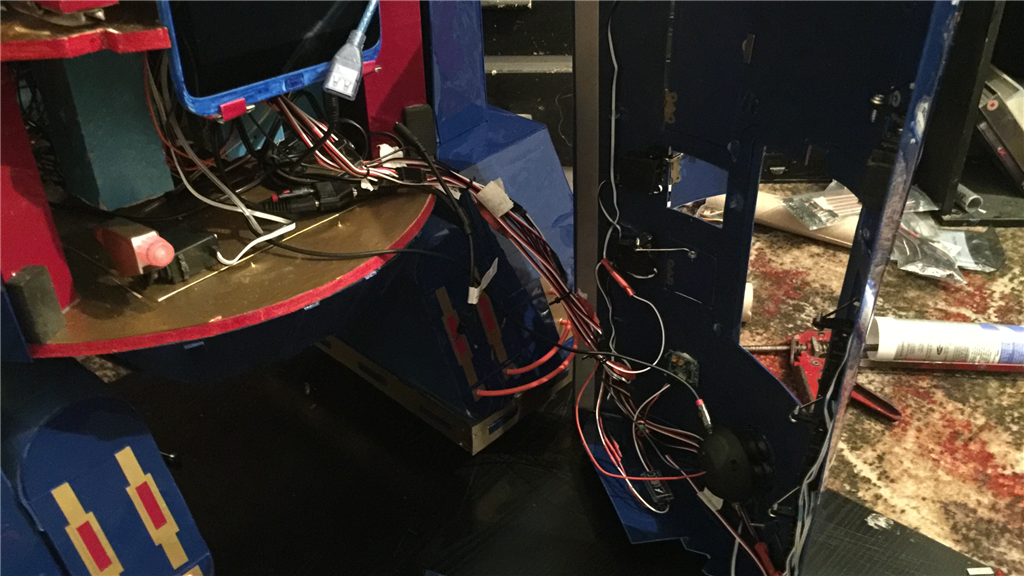
I then started Work on the upper tier where I cut and fitted four 2x2 supports for the outer leg brackets, which I will be working on next. I also added a long utility runner with a servo, two further non servo powered runners towards the centre of the platform, and a lever mechanism for a manipulator arm. The two non servo powered runners now supports a retractable electronics platform, which I will be able to manually slide in and out for easy maintenance. I added a little bit of colour to upper tier which is now fixed to the frame and waiting for the outer legs to be made and fitted.
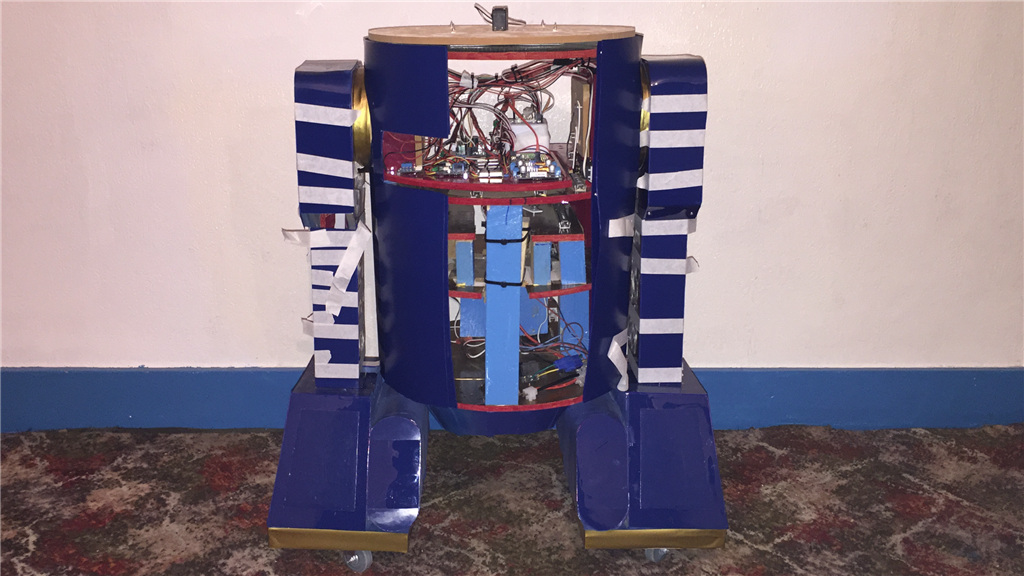
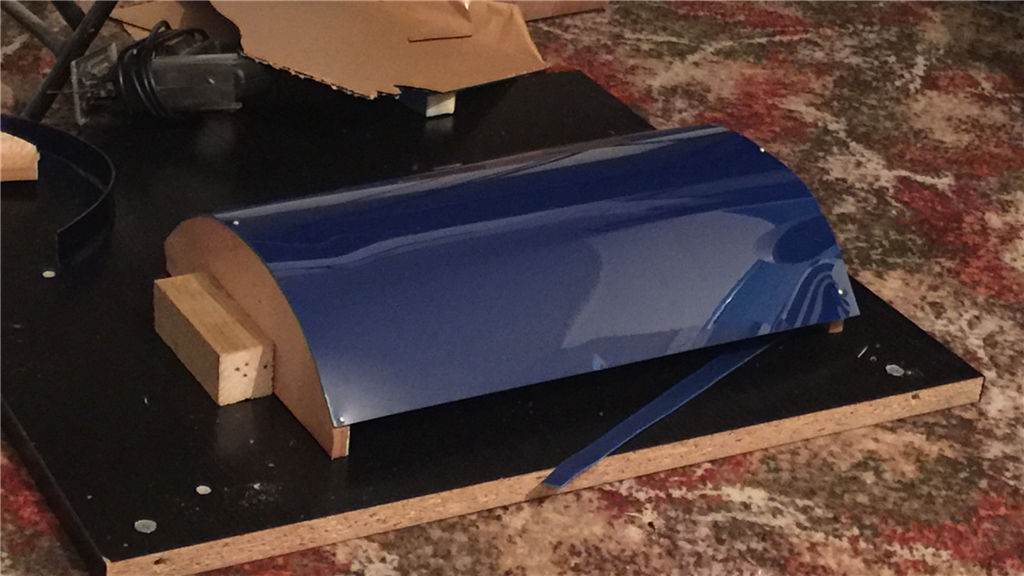
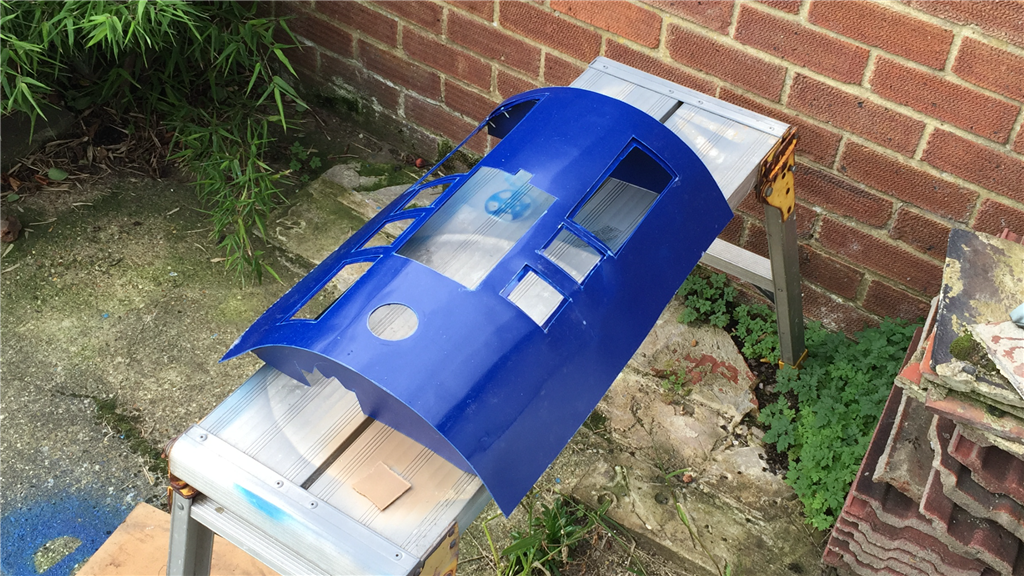
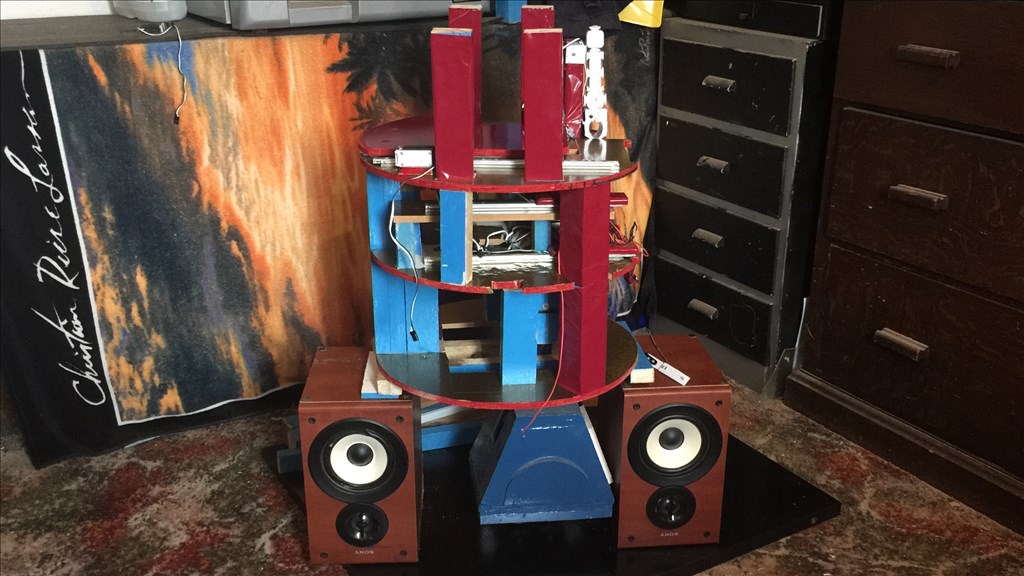
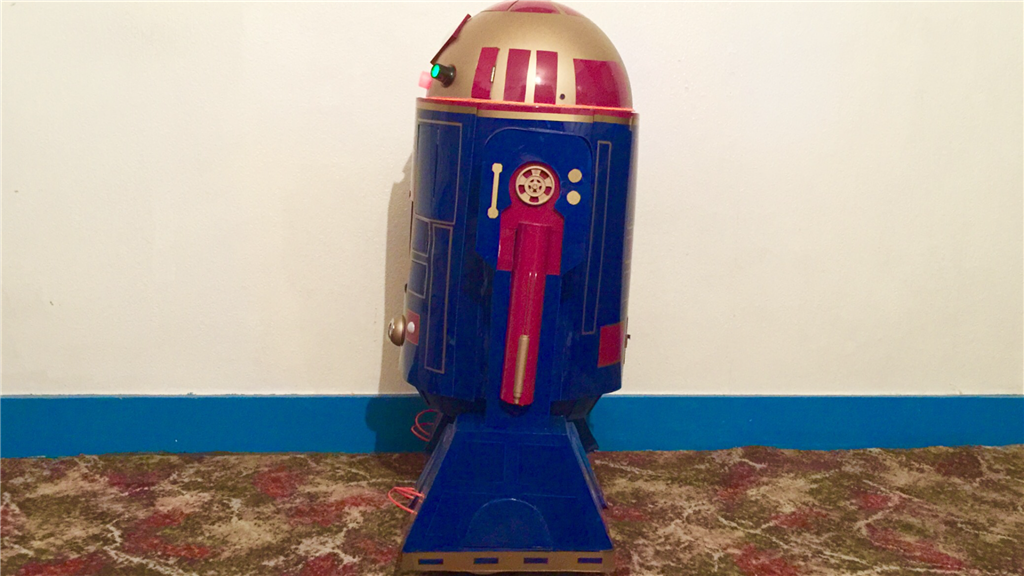
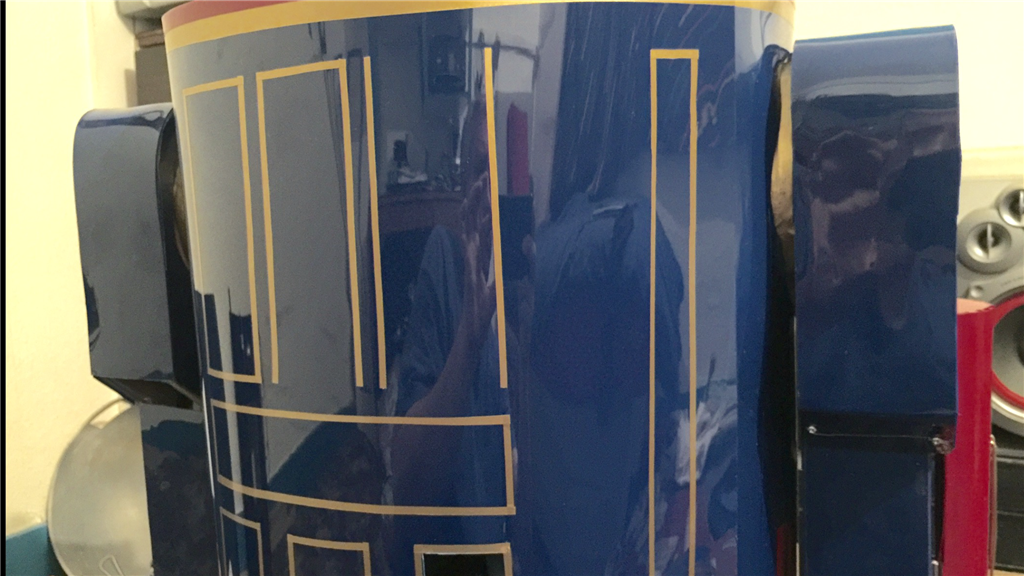
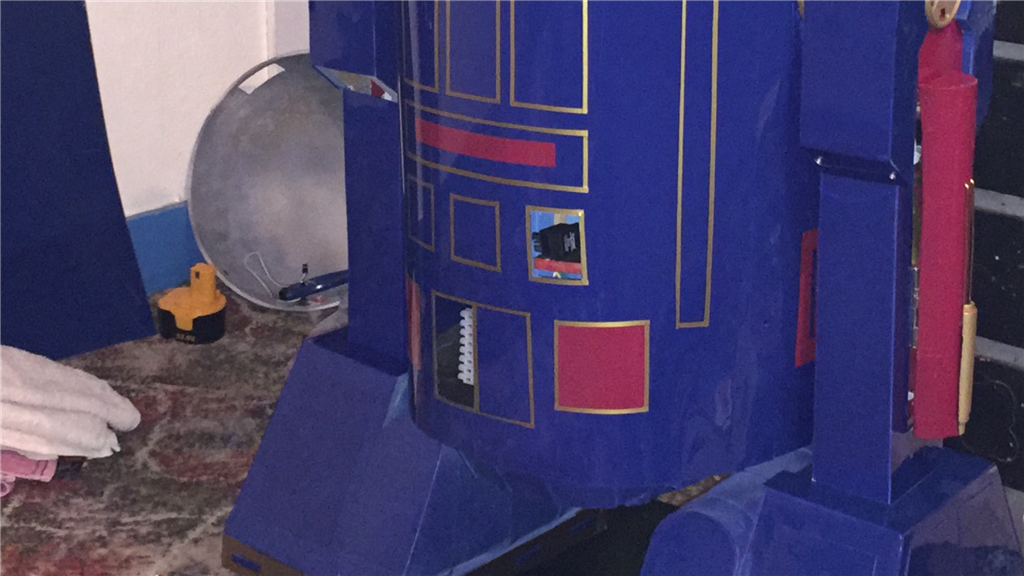
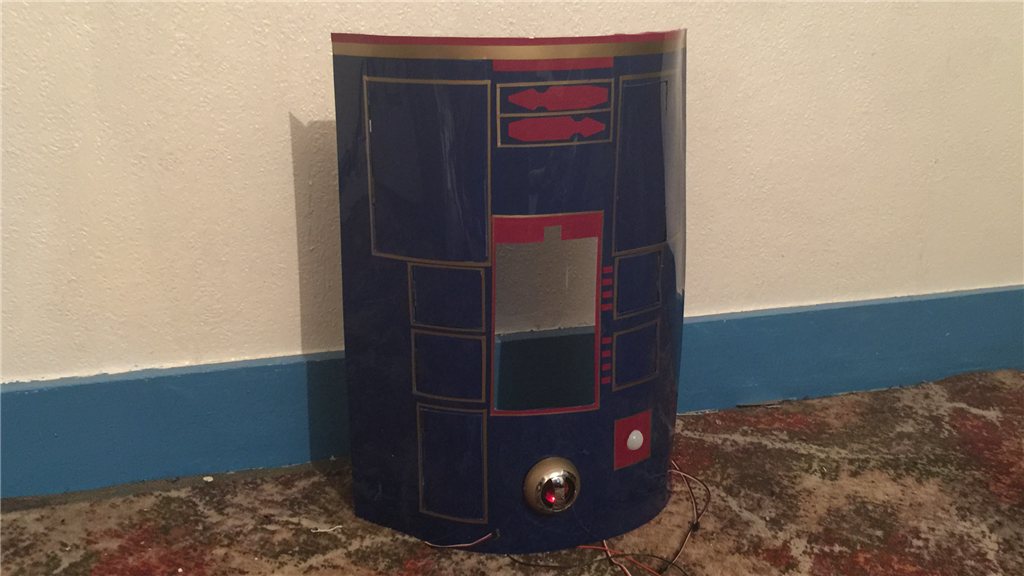
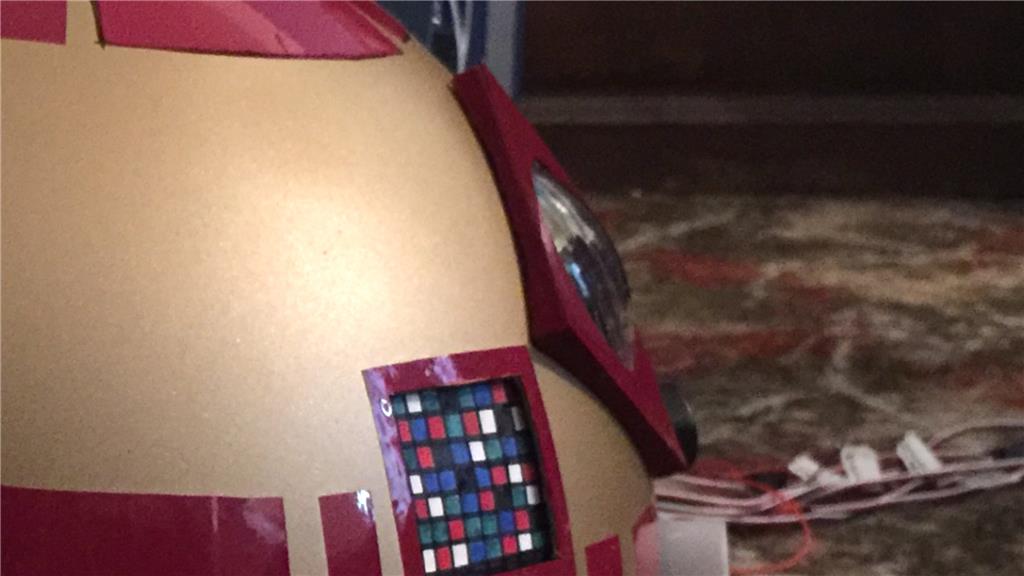
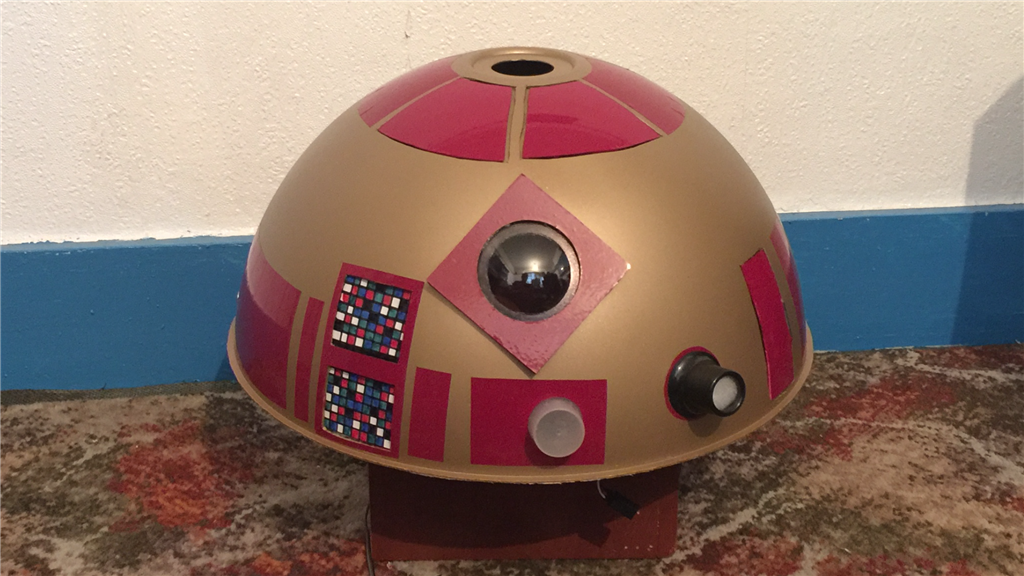
Finally, I added some more gold and burgundy colouring to the rest of the body which makes the whole thing look a bit tidier (kind of has an IronMan look about it, which was unintentional, but kinda cool). Now it's starting to look like something other than a load of pieces wood fitted together. I still have a few more supports to cover and I'm going to respray the foot and leg with a darker, glossier blue which will better match the HIPS sheet skins.
In the next update, the outer legs should be done, and that's a point I'm excited about because that will take me over half way through the building phase, and should start to look more like a droid, hopefully.
(I think I will have to find some smaller speakers for him though eyeroll)
More soon.
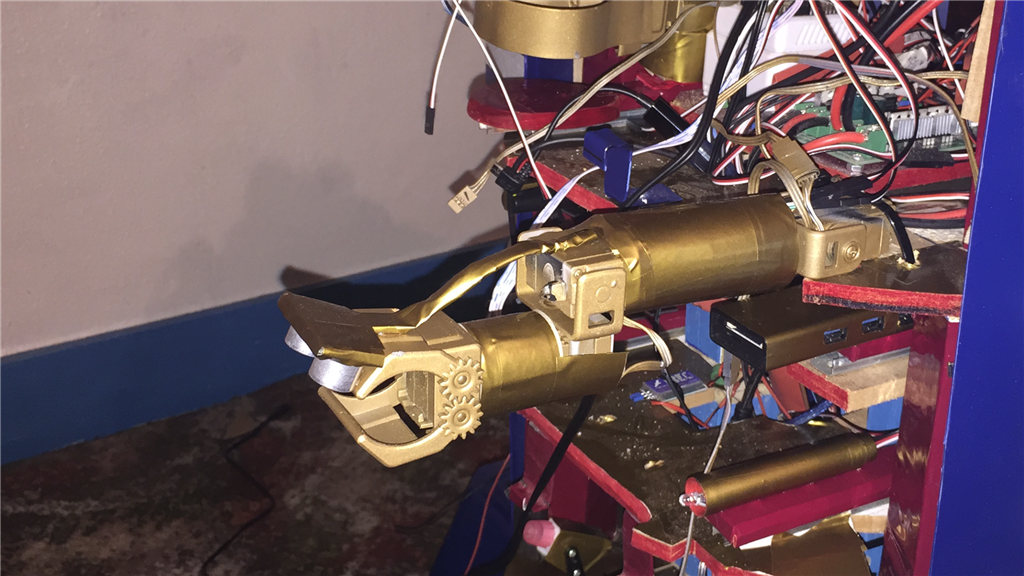
@SteveG Thanks big time for sharing the build with us. It is fun to sit back and have a Beer or 6 and watch someone else's project come together. I really looks great. I have to laugh, you use the EZ Bits to get things done easily, like I do.. (Gripper etc.)
I look forward to seeing your future posts.
Ron R
@Ron.
Your more than welcome with me sharing this build, and I'm pleased you're enjoying the build diary. Yes, beer and building robots don't mix, but it sure does help... sometimes, lol. Thanks for the kind words. I'm pleased how it's coming along, but a little disappointed I had to leave the retractable leg out this time.
Oh and BTW, you gotta love them EZ-bits, don't you? I had these grippers knocking around for a while so I thought I'd put them to good use.
Are you using plans from the astromech builders club? I got all the plans and half scaled them for a mini build I was going to do. I believe I started a project showcase on it, but I can't be sure.
@Technopro.
I'm not really using plans as such, as I figured I'd challenge myself and do the build with little reference. I do check some photos from time to time, and the measurements I found online, although I'm not sure what the source was.
By the way, it's good to see you on the forum again. I haven't seen you around much. I hope you're keeping well.
Nice progress Steve. It's coming together nicely. It's amazing what a little paint and some hardware will do to help being the build forward.
I was sad when you decided to ditch the retractable leg. It would have been so cool but I understand why it had to go. Somethings just don't fit and work the way the brain invasions it. The way my mind works is after I had made up that list you came up with and saw all the negatives and only two positives I would have spent a year working to overcome the downfalls. Then after all that I'd end up scrapping it anyway because I found a better mousetrap. tired I'm actually at that point with my B9 build. I'm considering scrapping a big part of my sound system to make room for a better power plant. So my hat's off to you my friend for being able to make the hard decision when it needed to be made.
Ya, I agree. You'll need smaller speakers.
@Dave.
Yeah I don't need to make legs. Just throw some motors in the speaker boxes, lol.
Seriously though, I say I had a few beers and had a good think about the retractable leg, but the truth of the matter was I put the build on hold for nearly three days to decide which way I should go. Better materials, better planning, and a much better bank ballance, and I would have persevered with it as I really would like to have done it. stress stress
Wow, that's a big change fo B9. That's quite a sound system you have there, but again, the pros and cons for a better power system... I would probably do the same if it's any consolation.
Anyway thanks for everything you said. It was very nice to read.