


Day 1 (4th August 2015)
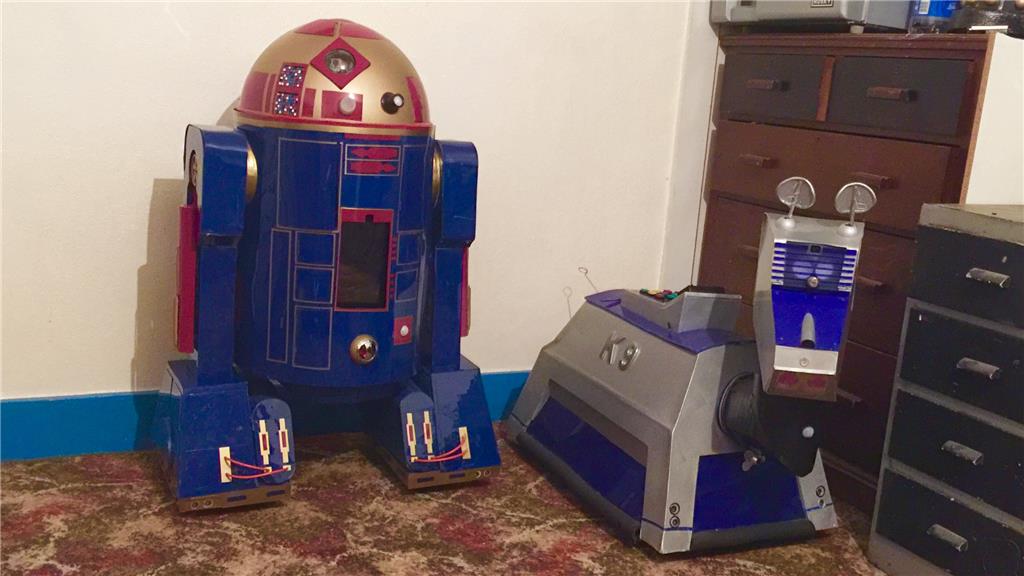
So after throwing around a few ideas for a new project to sink my teeth in to, I decided to go ahead and do my own version of an Astromech Droid, rather an Astromech "Smartdroid". With K-9 being one of my all time favourite on-screen robots, R2-D2 was (and still is) just as much of an all time favourite of mine so building one of my own droids is a logical step for me. As my other robot showcases where posted when the majority of the work was done, this will be a build diary of sorts, with updates throughout the build.
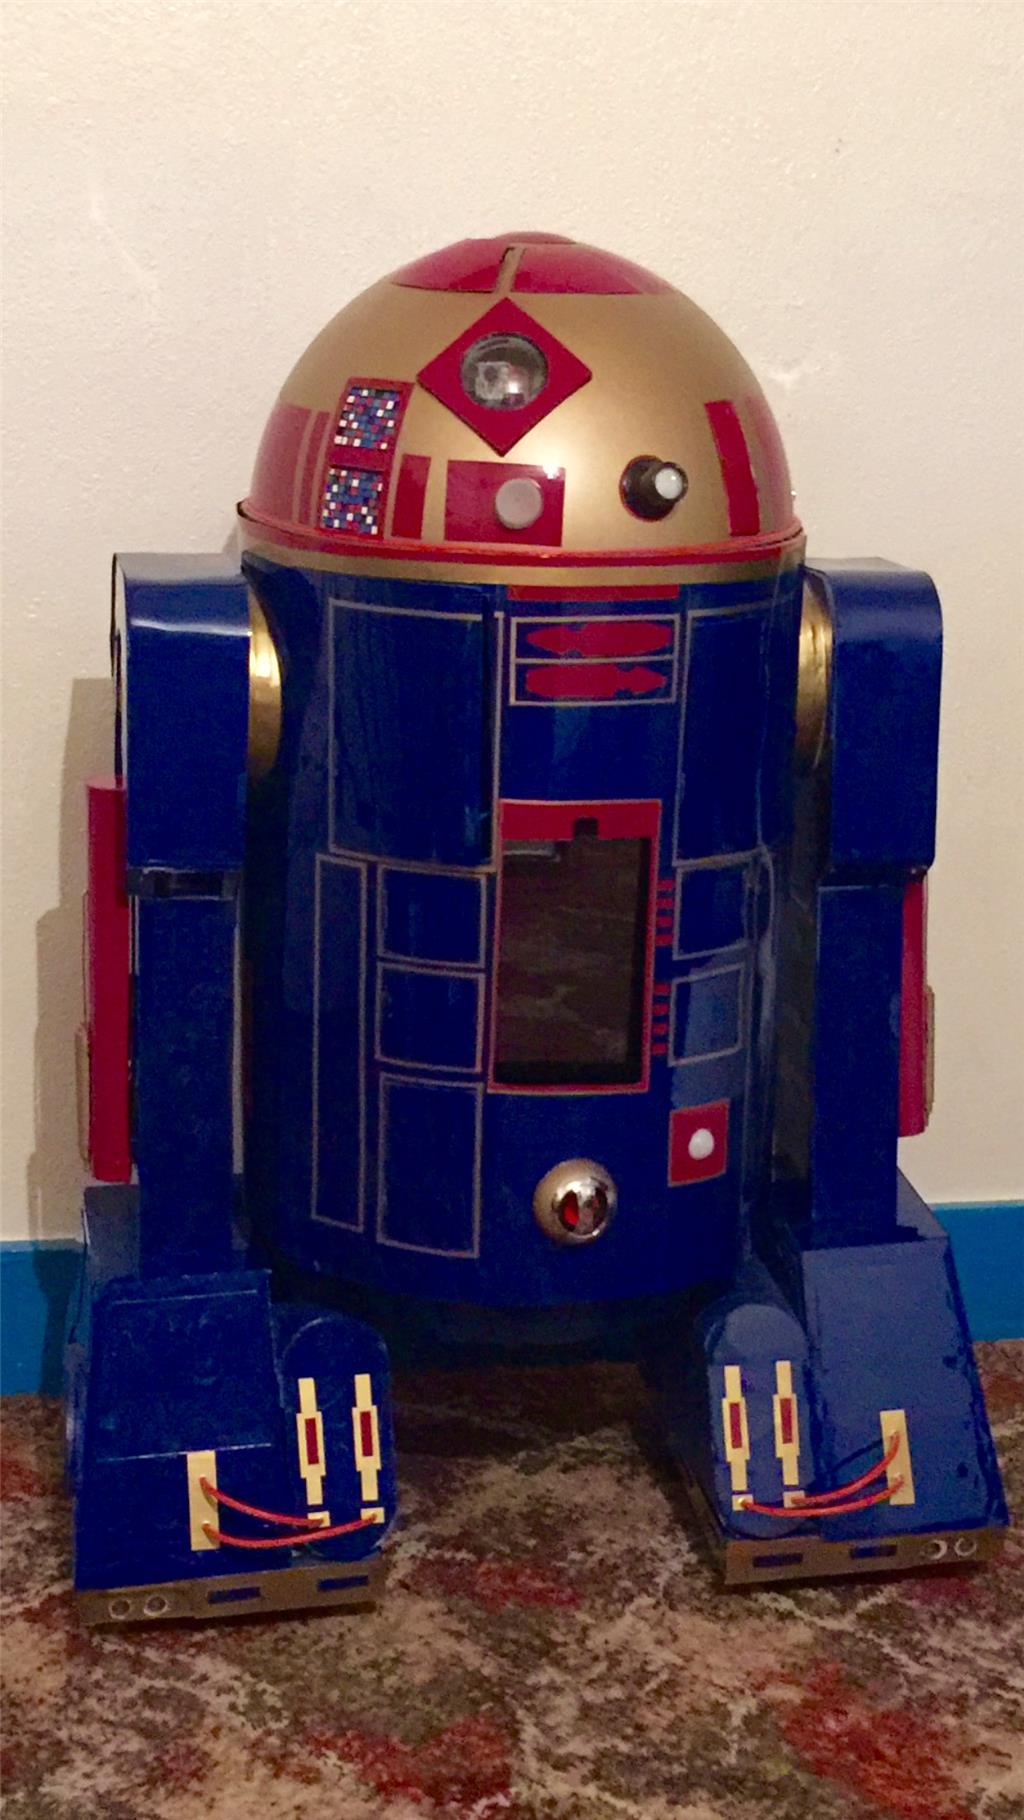
So wanting to get back to building, I had a few ideas floating around for my next BIG project and the thought about doing an R2 style robot came up a few times in the past (the blueprints I drew up that I've posted are 3 years old and was for an R/C version), and after encountering a few design issues for a large custom robot (which I will get back to one day), it was @Robot56's fantastic Astromech Droid project that was the final push for me to decide what direction I should go. There are so many great scale replica Astromech builds around that people have done, but much like my K-9 2.0 build, I want to stay away from doing an exact prop replica build and do a custom build with custom paint job (as seen in the blueprints) while still keeping with the overall original design.
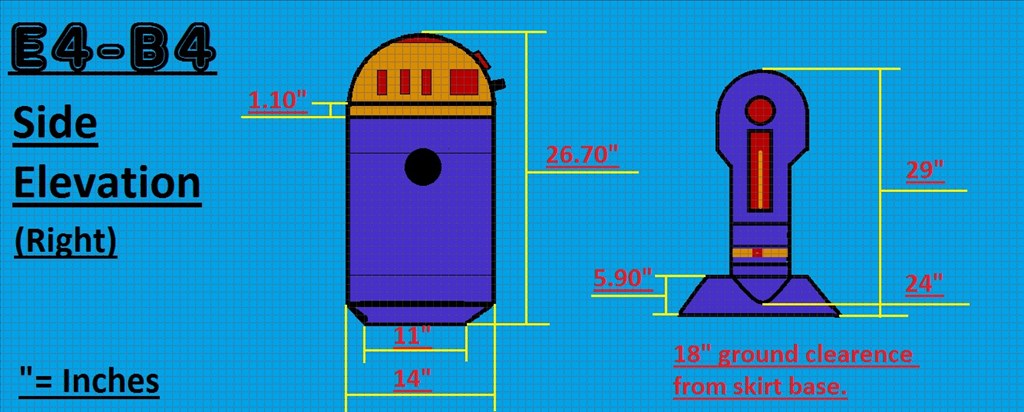
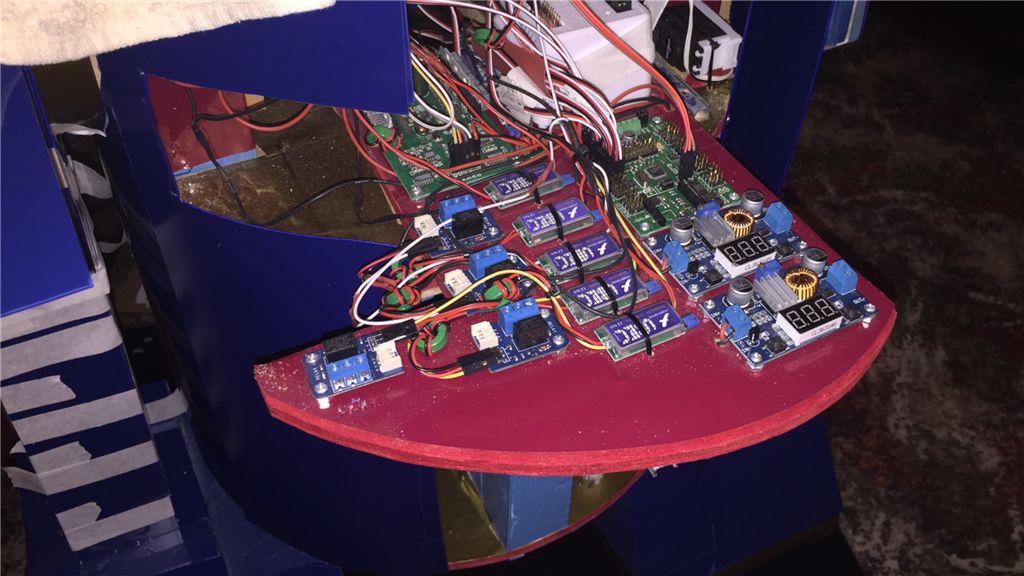
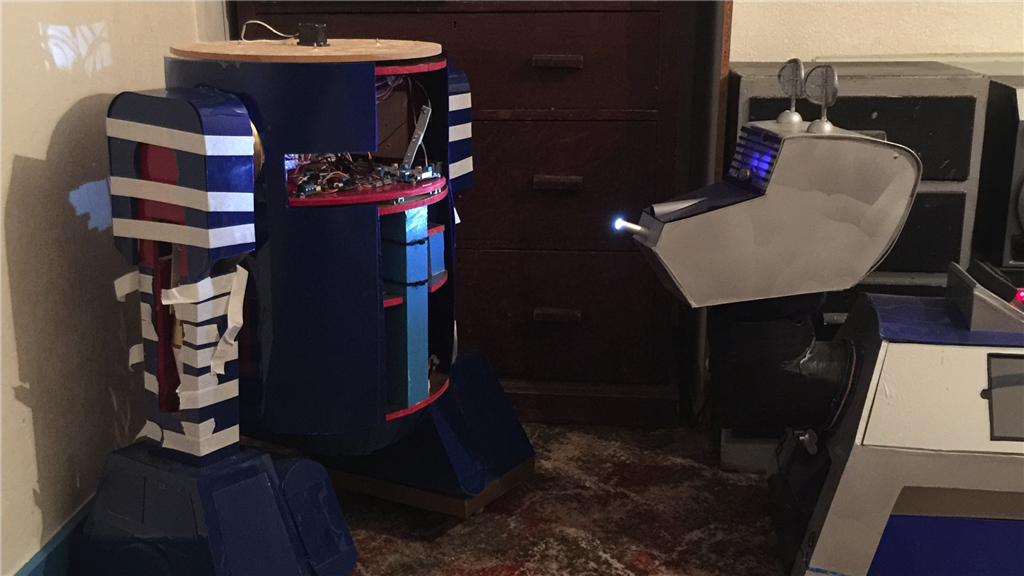
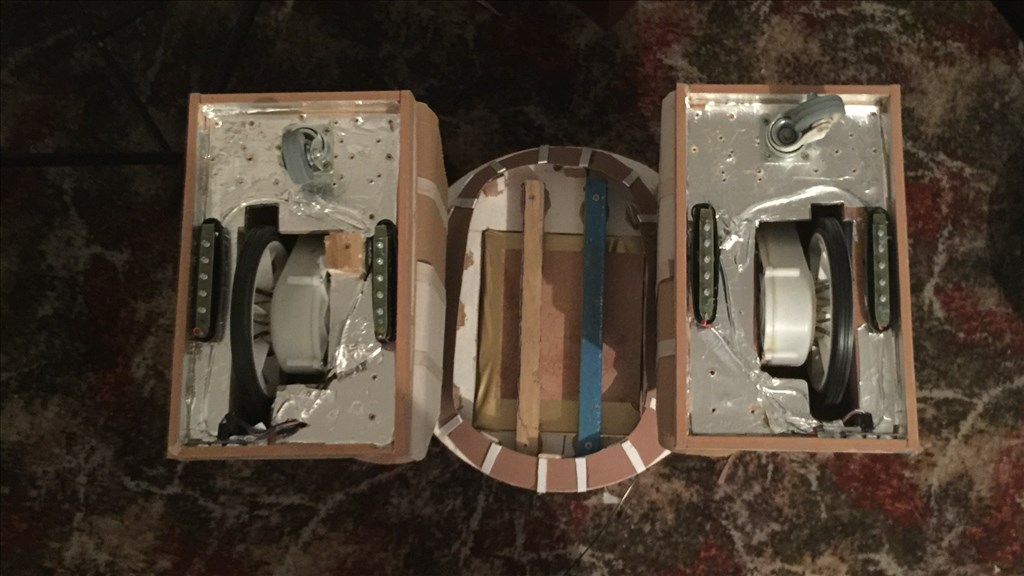
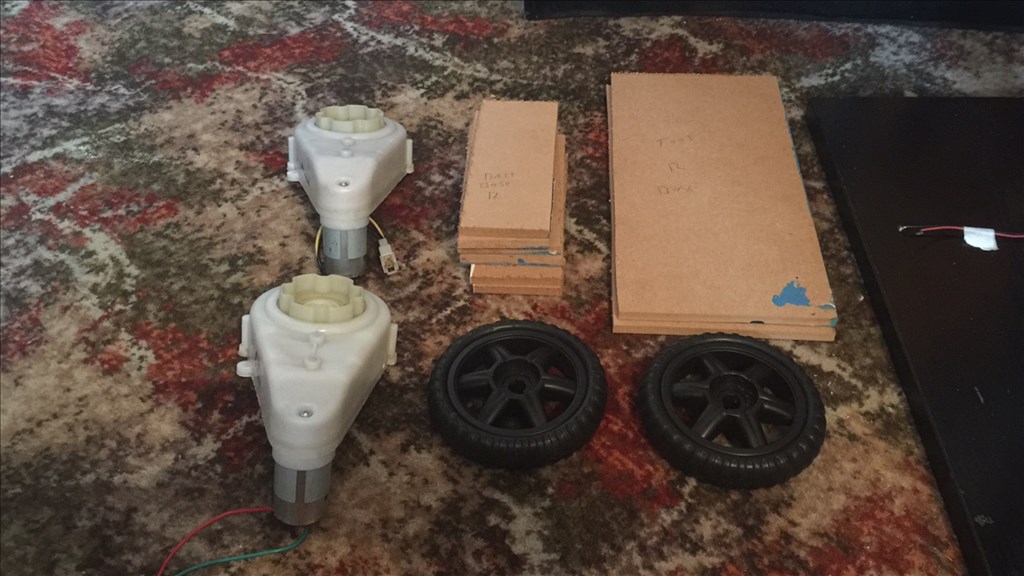
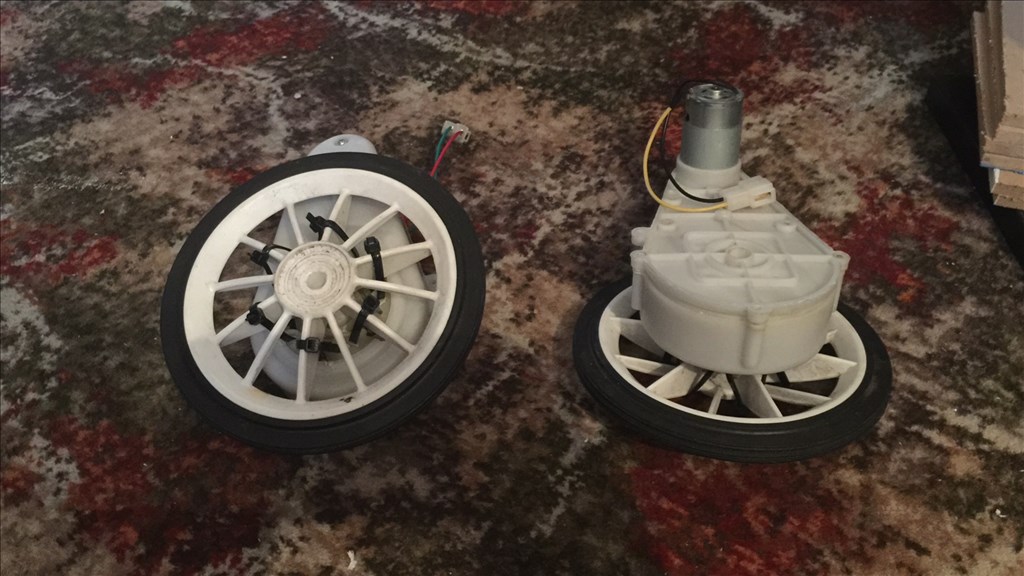
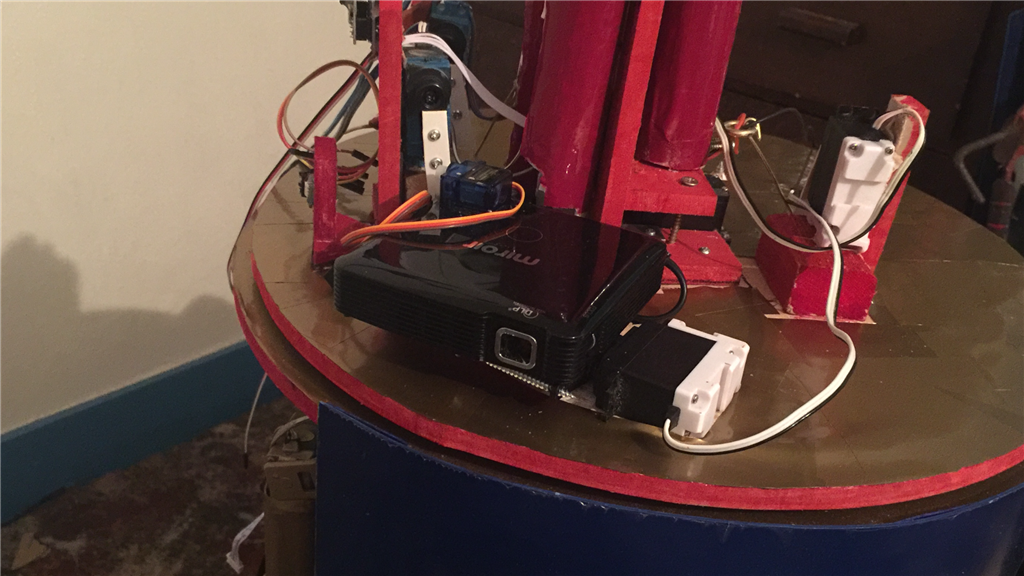
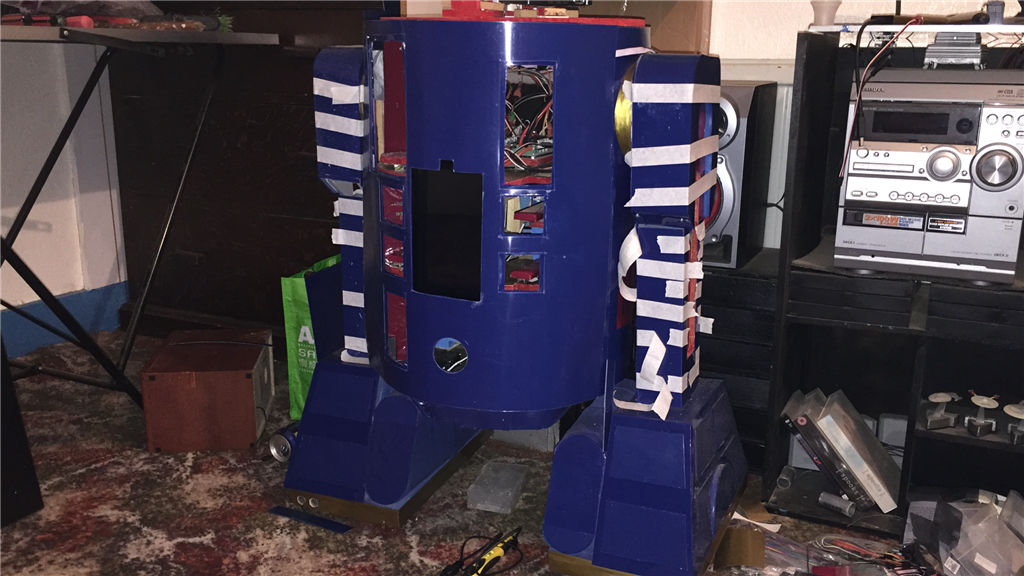
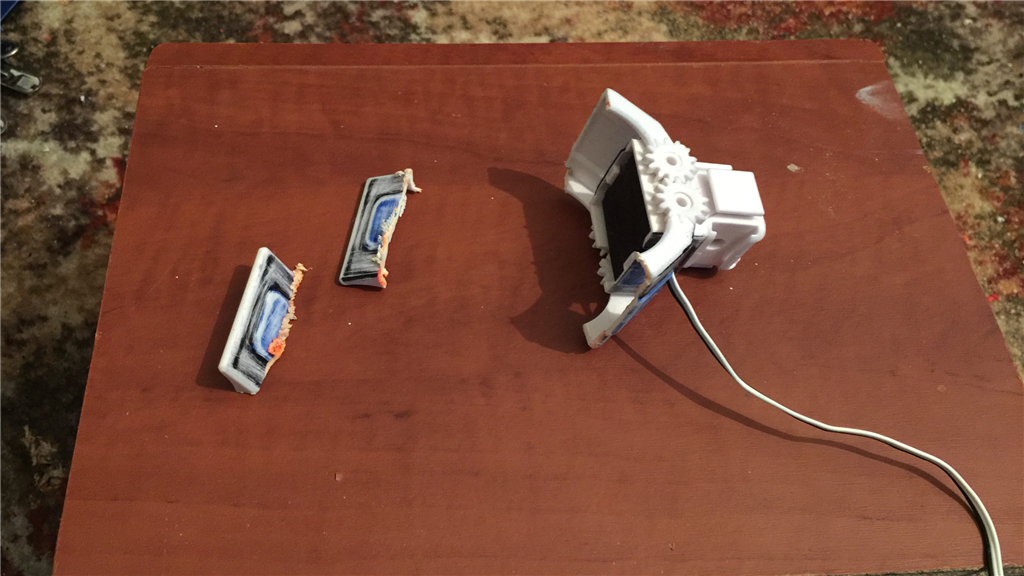
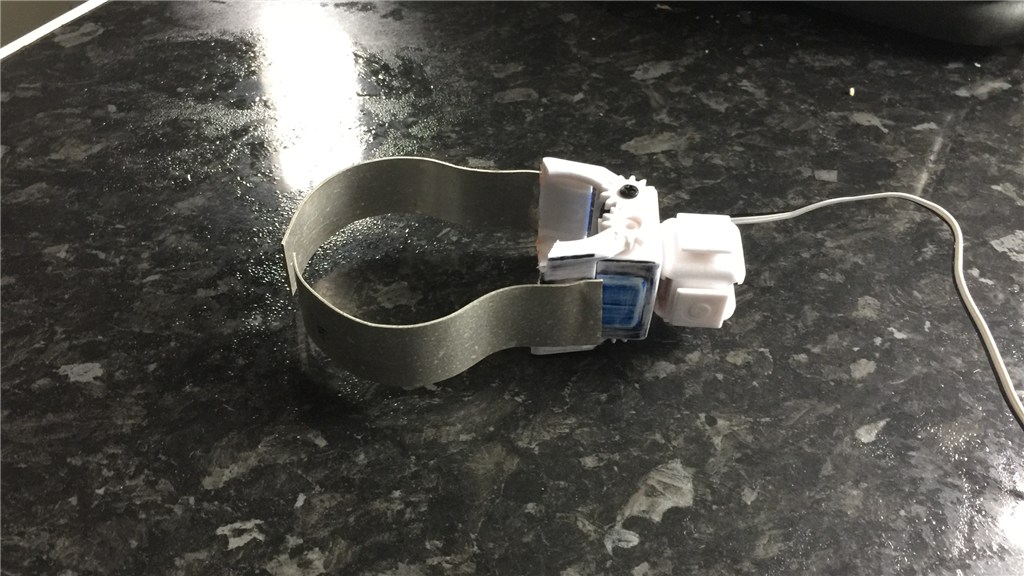
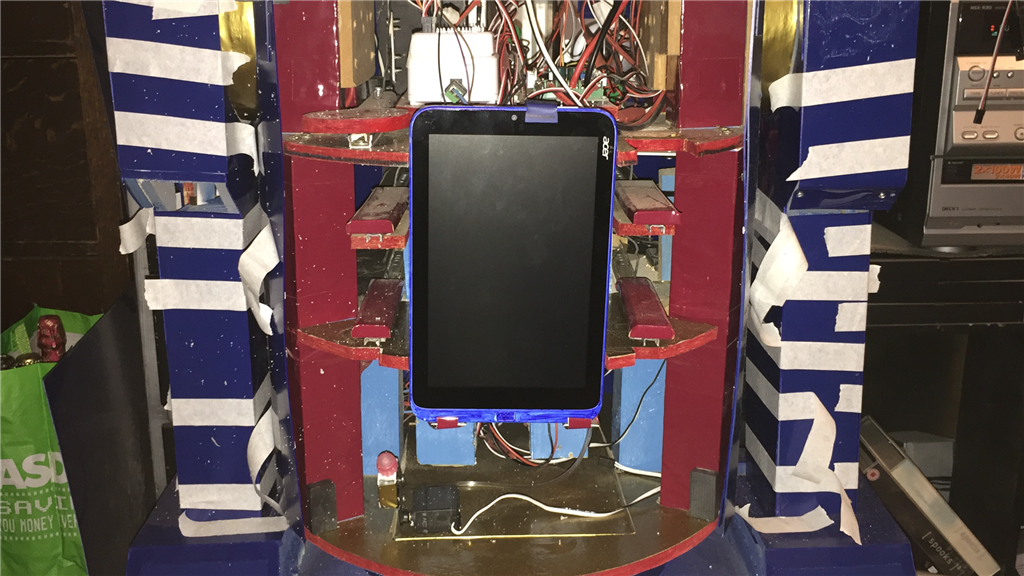
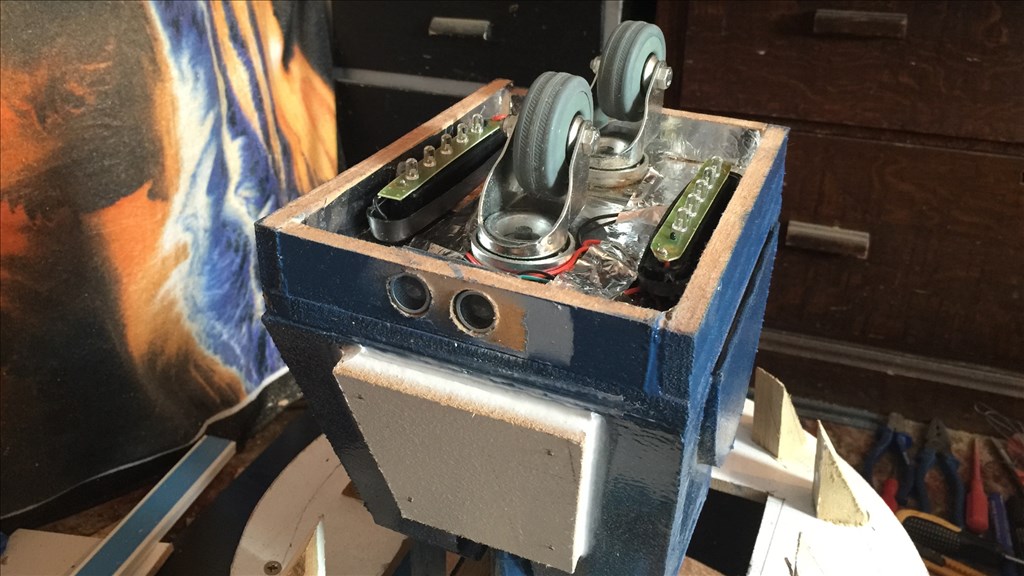
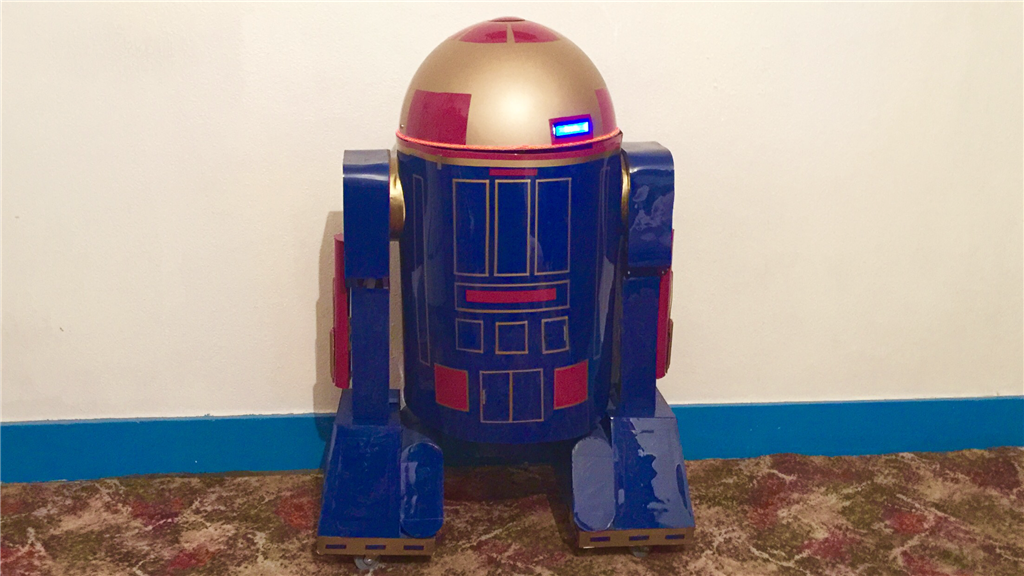
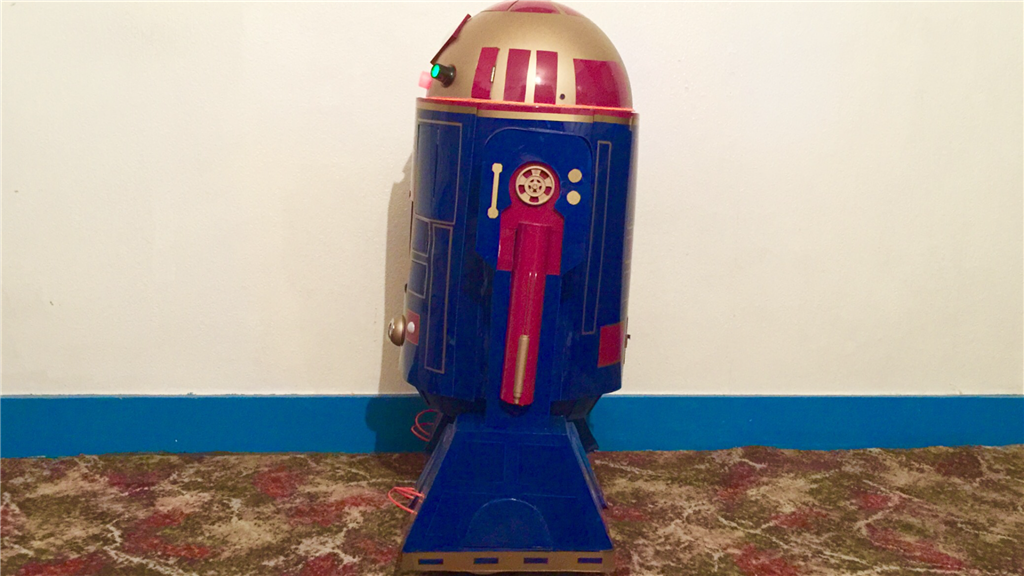
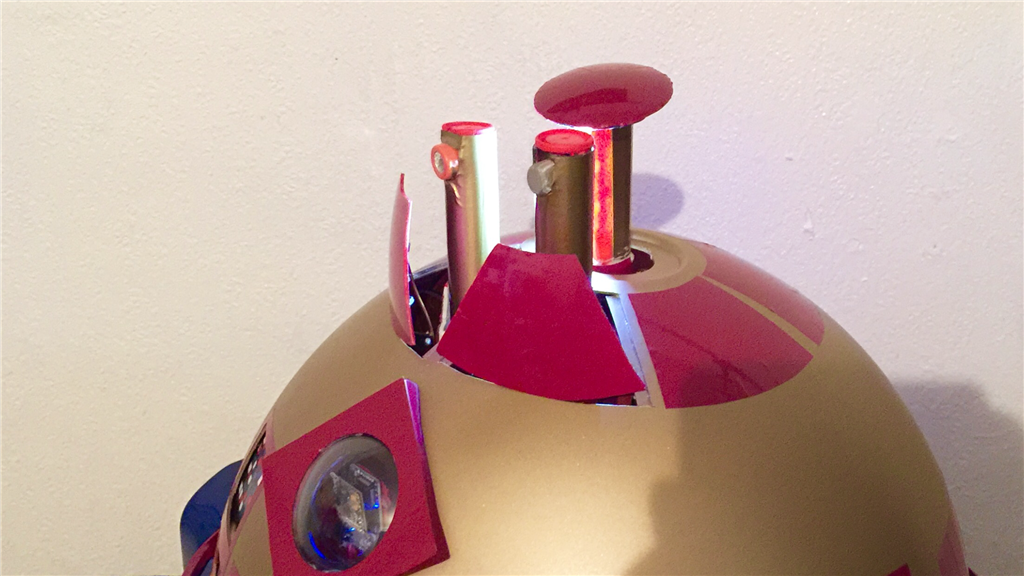
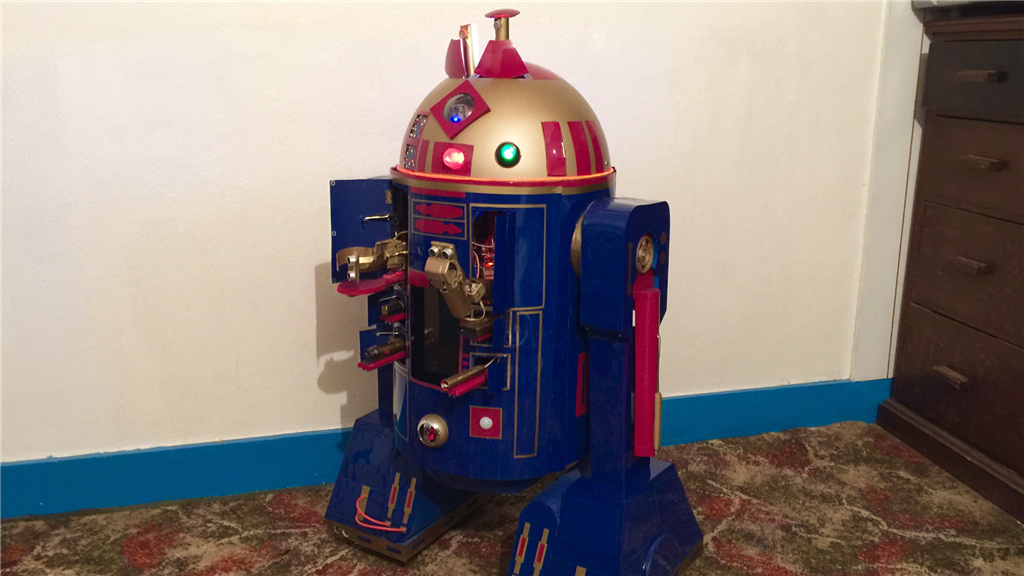
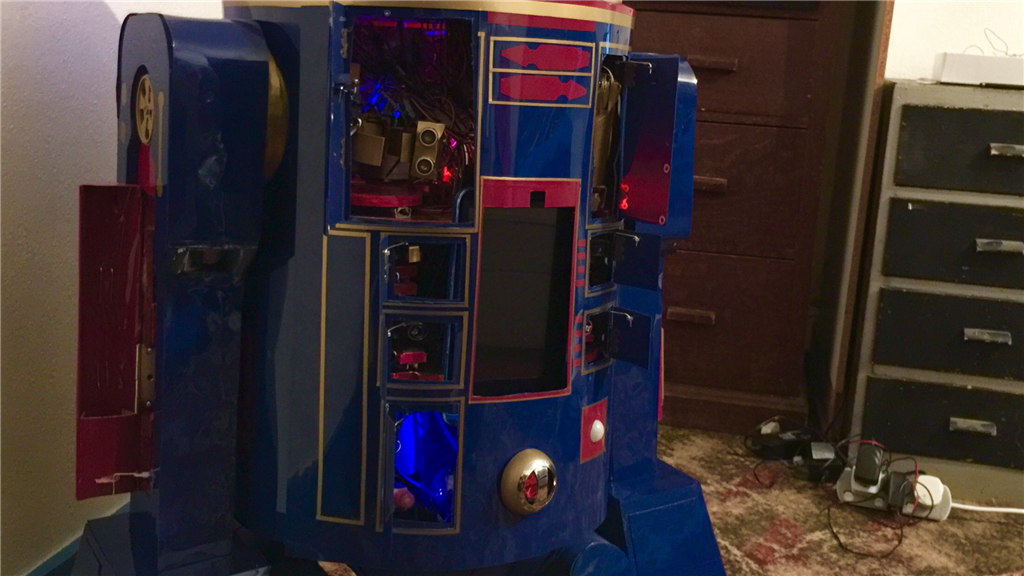
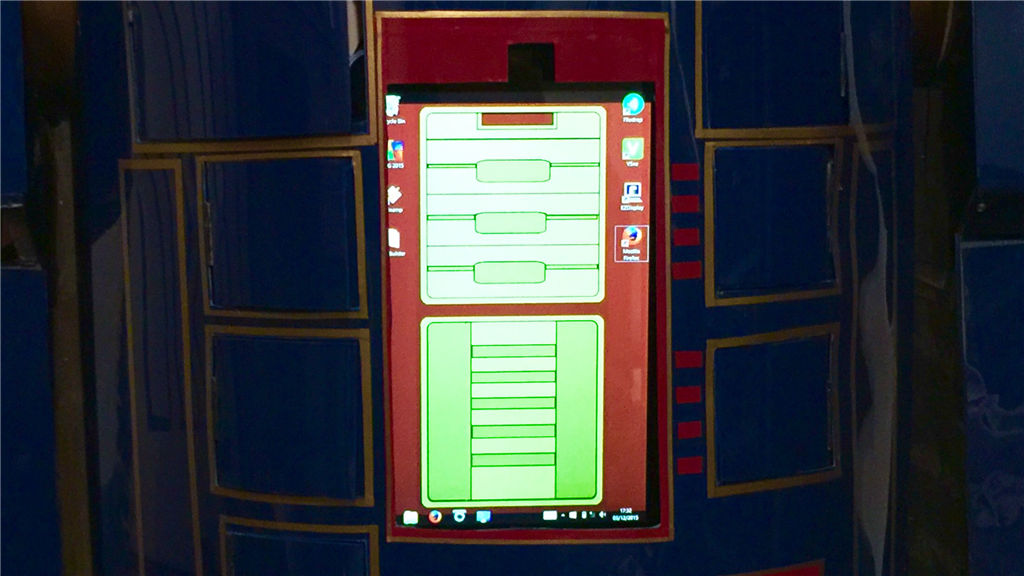
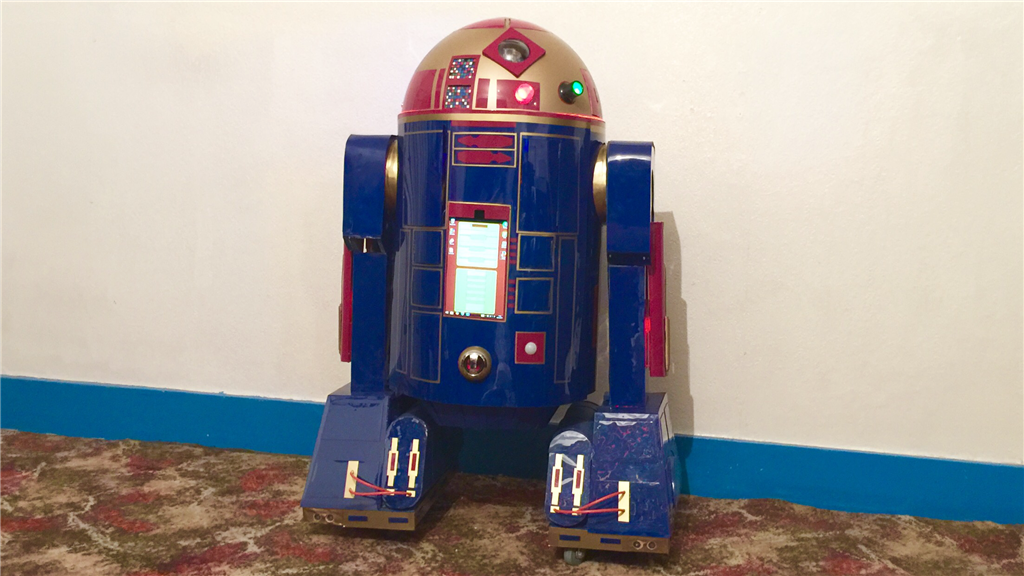
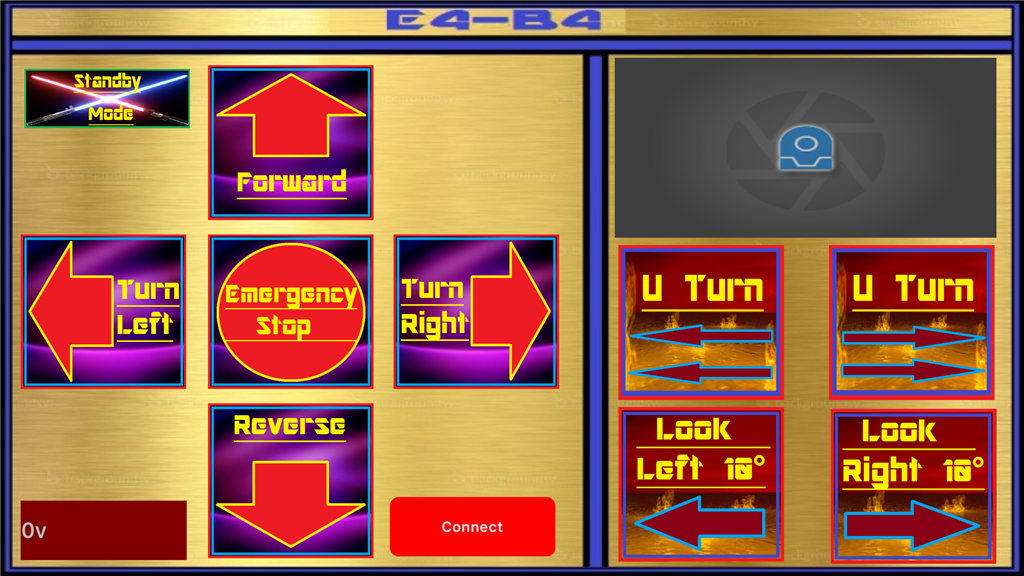
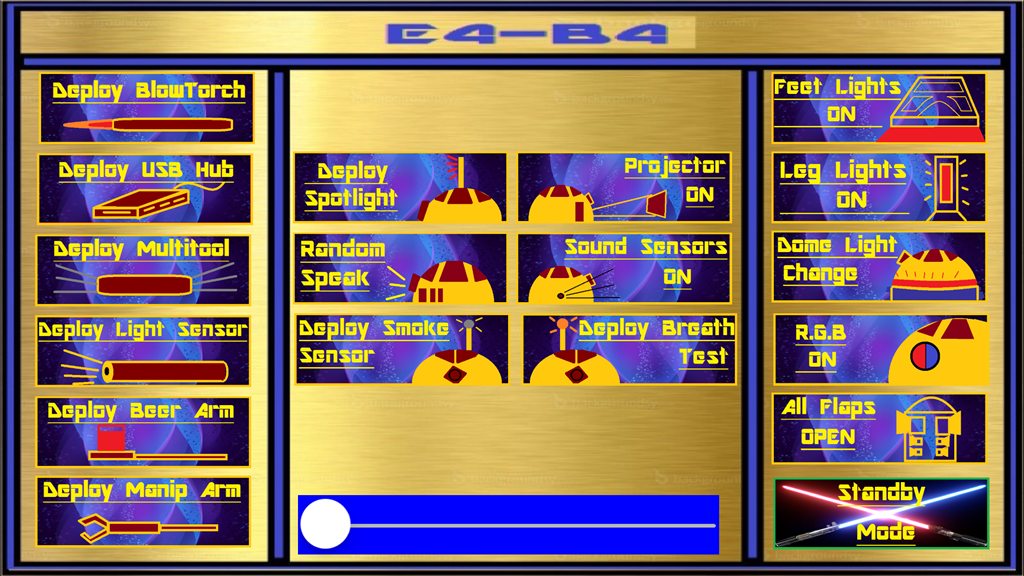
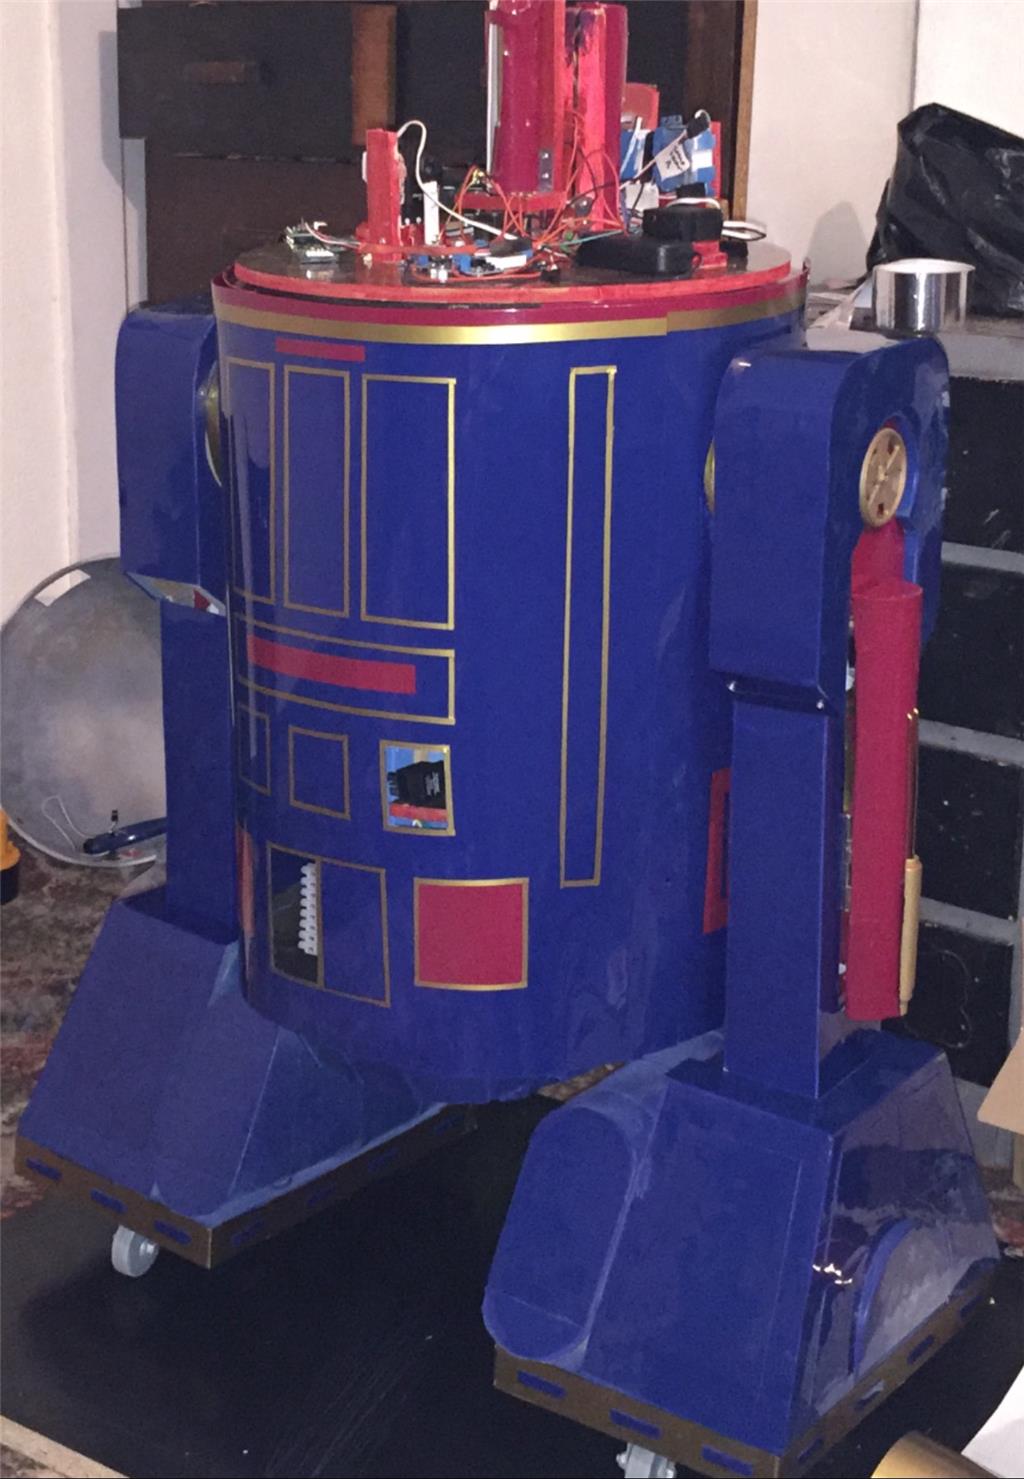
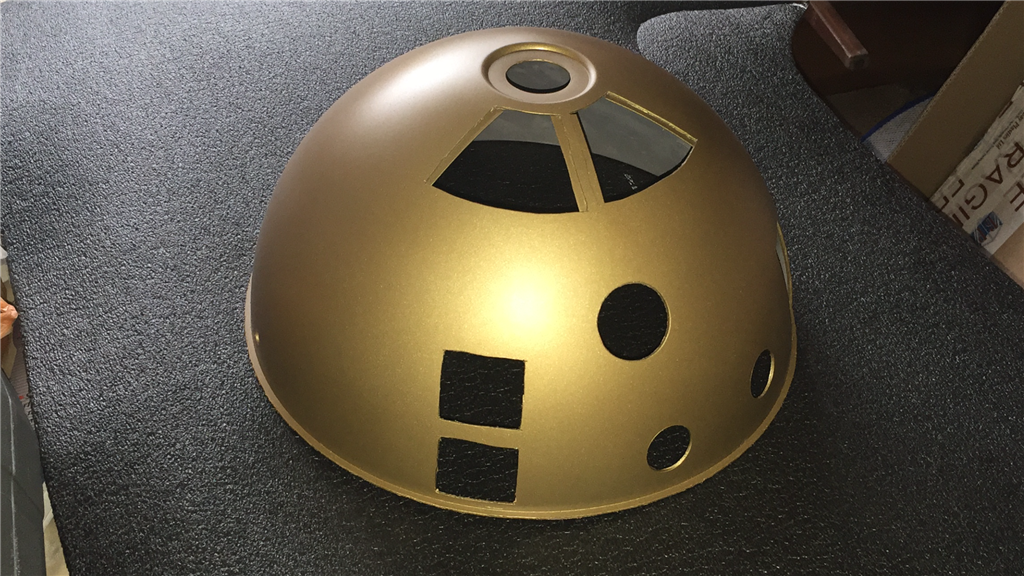
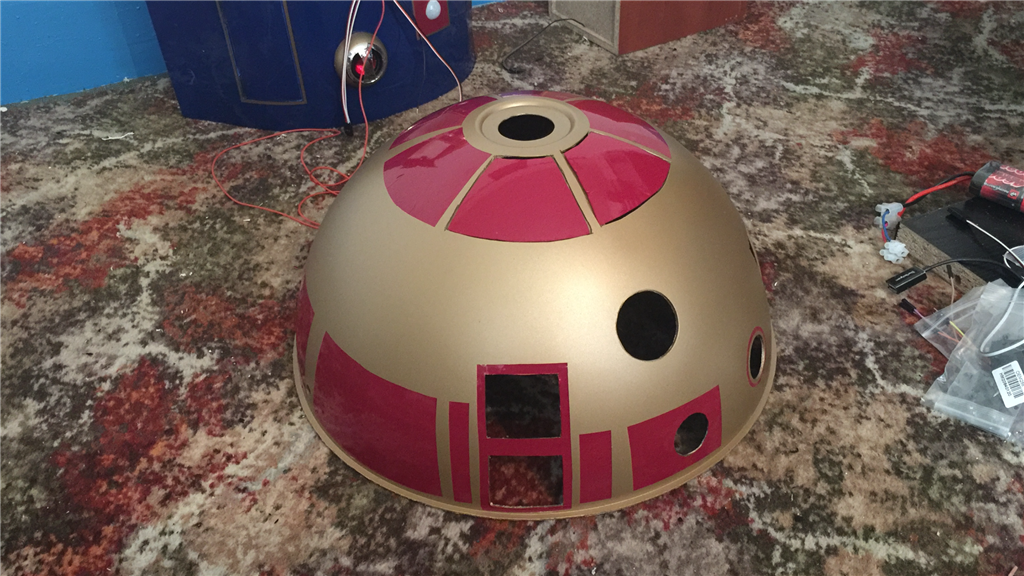
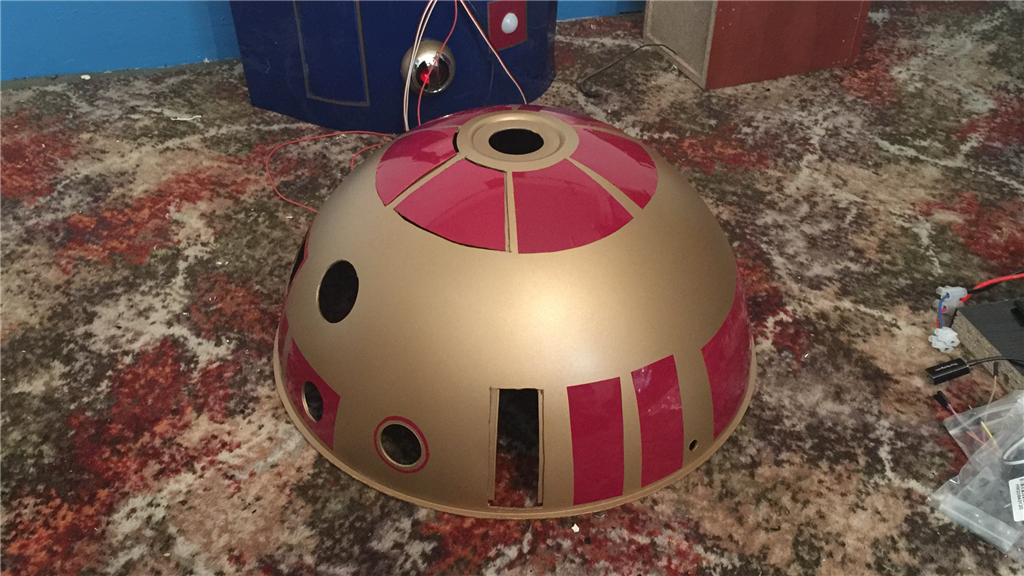
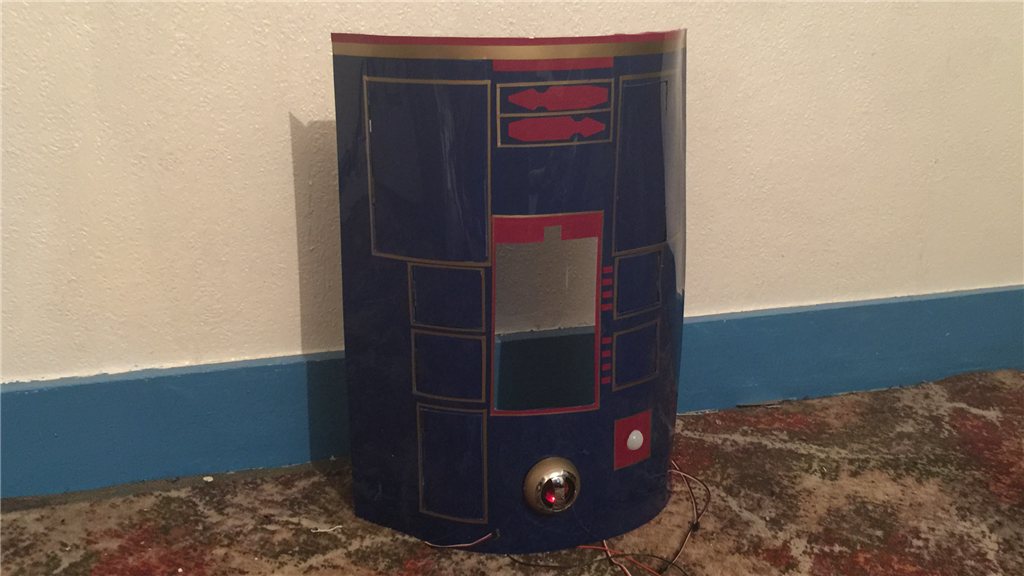
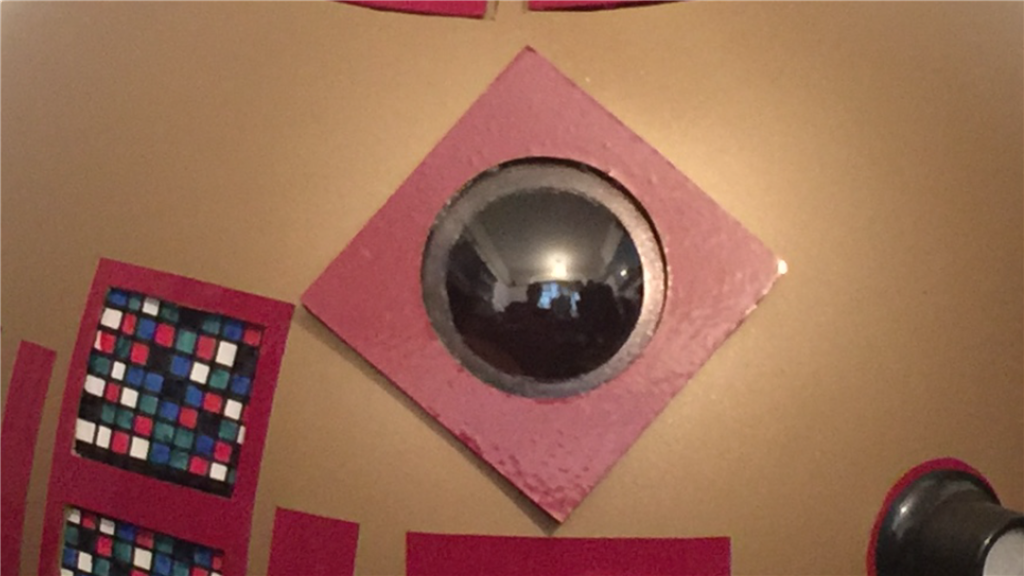
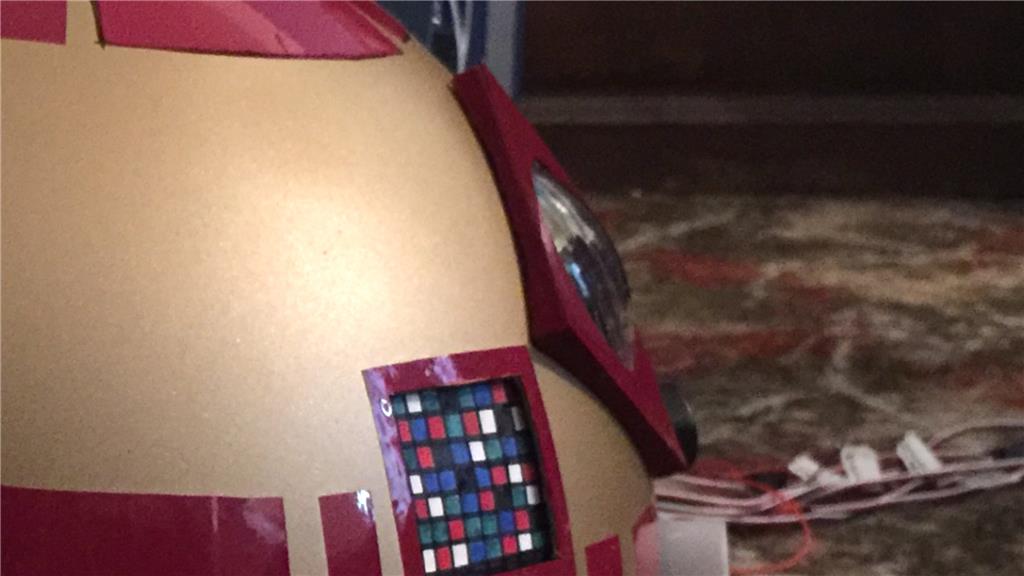
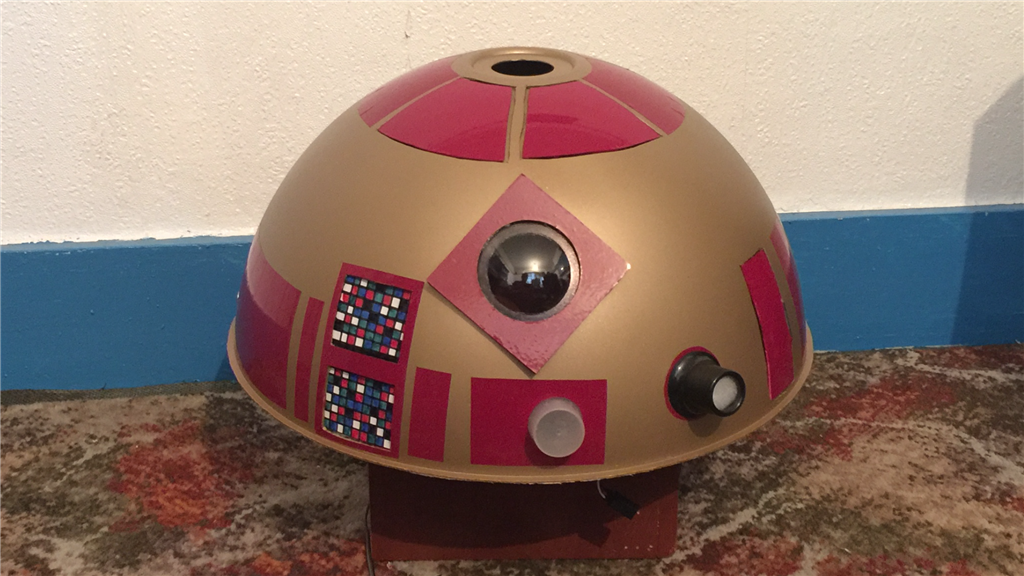
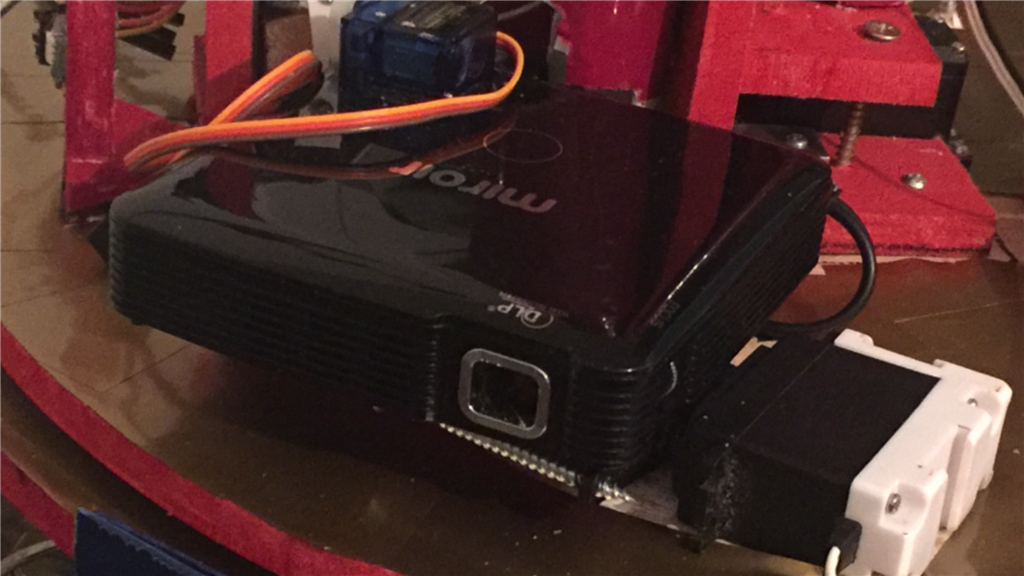
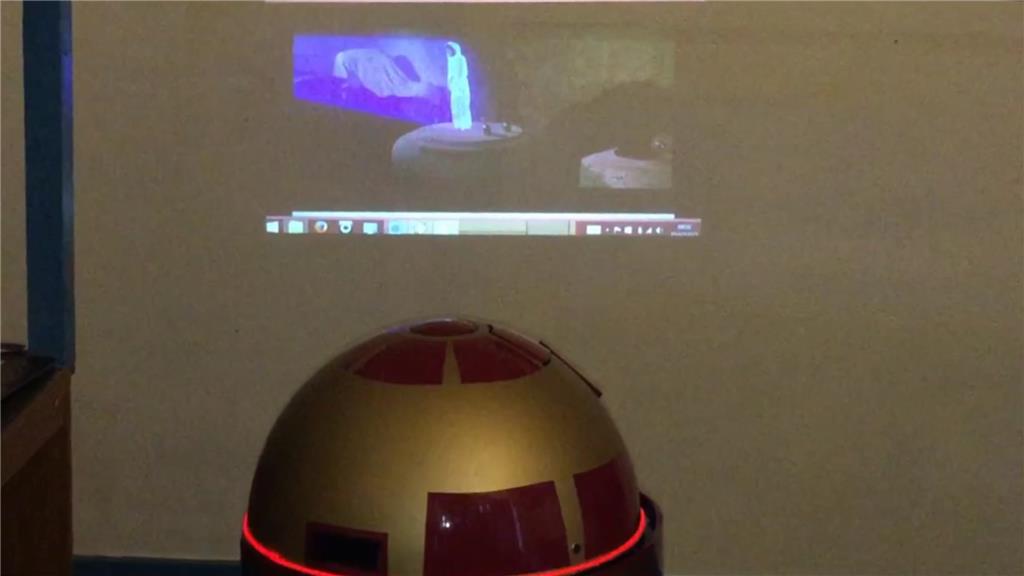
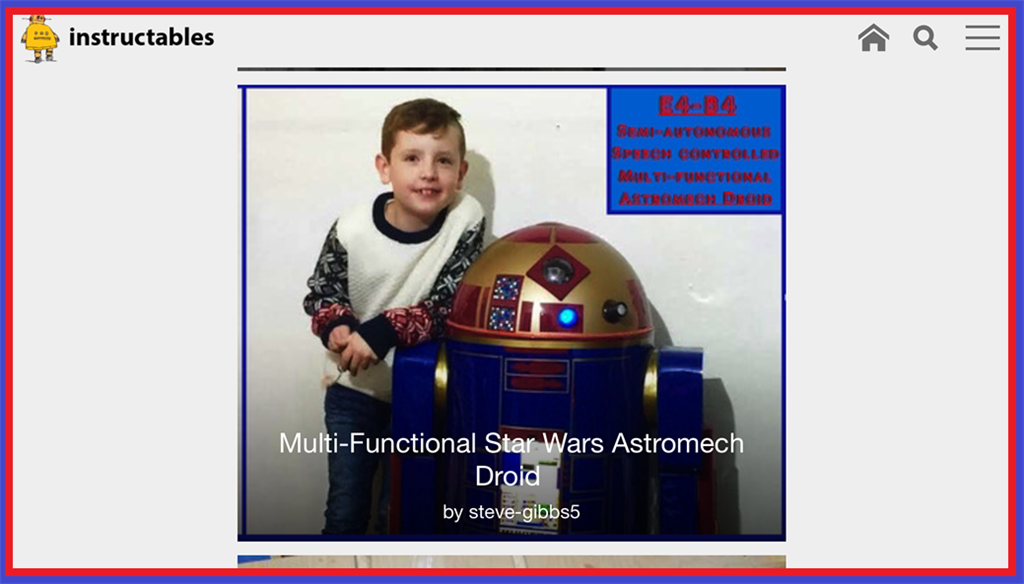
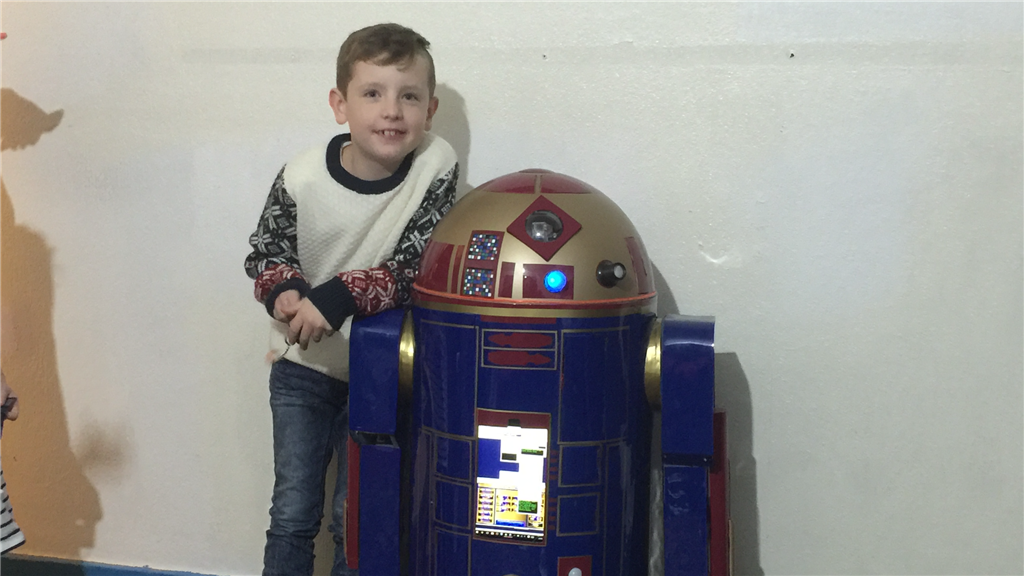
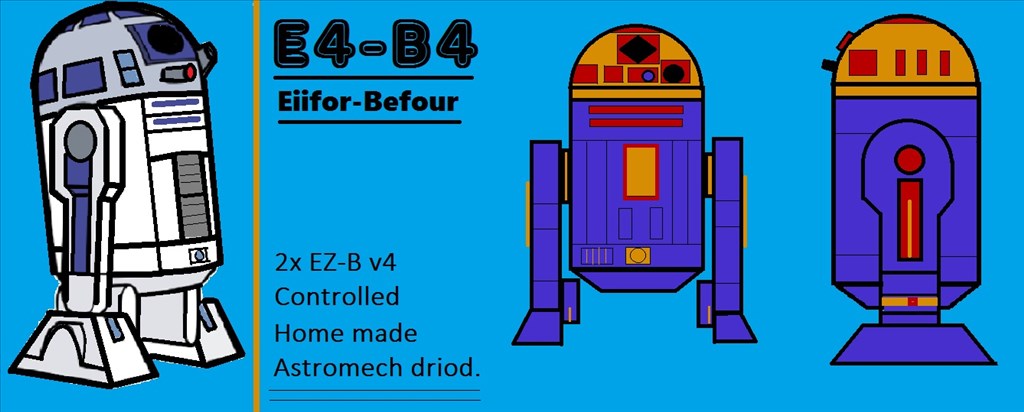
So what's with the name E4-B4 (Eiifor-Befour)? Well its kinda based on the EZ-B 4, of which this little'ish guy will have two of them. One master v4 to control motor controllers, ping sensors, v4 soundboard, camera and sensors, while the 2nd slave v4 will be used for all of the servos used as well as additional sensors. E4 will be mainly built using MDF with a plastic covering, and movement will be powered by 12v 30 watt gearbox/motors for the drive system. The "burtt acoustic signaller" and system ventilation vents on R2-D2's chest area (the two silver square'ish panels) will be replaced on E4 with a tablet PC, and the Optical Holographic Projector in R2's head will be something similar to what E4 will have, using a portable projector like the Aiptek or the Pico Genie, so no holograms... yet.
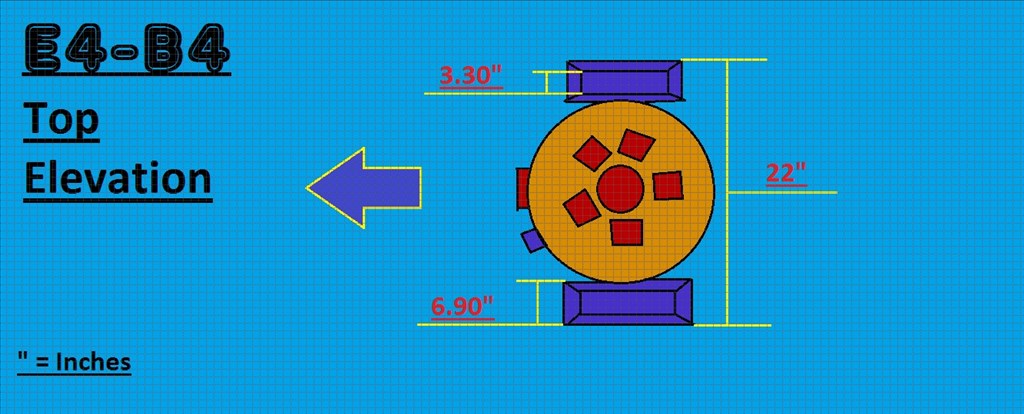
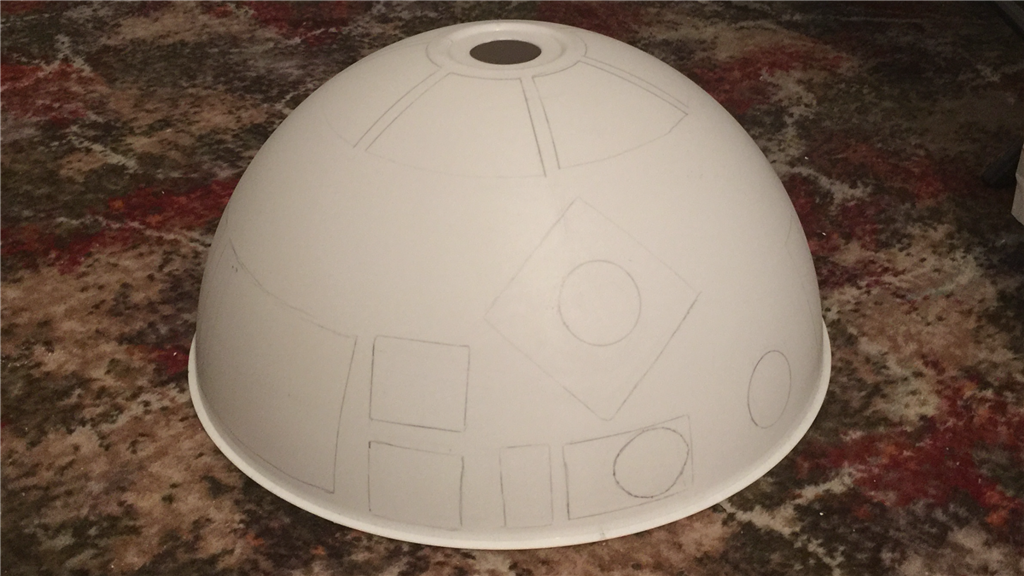
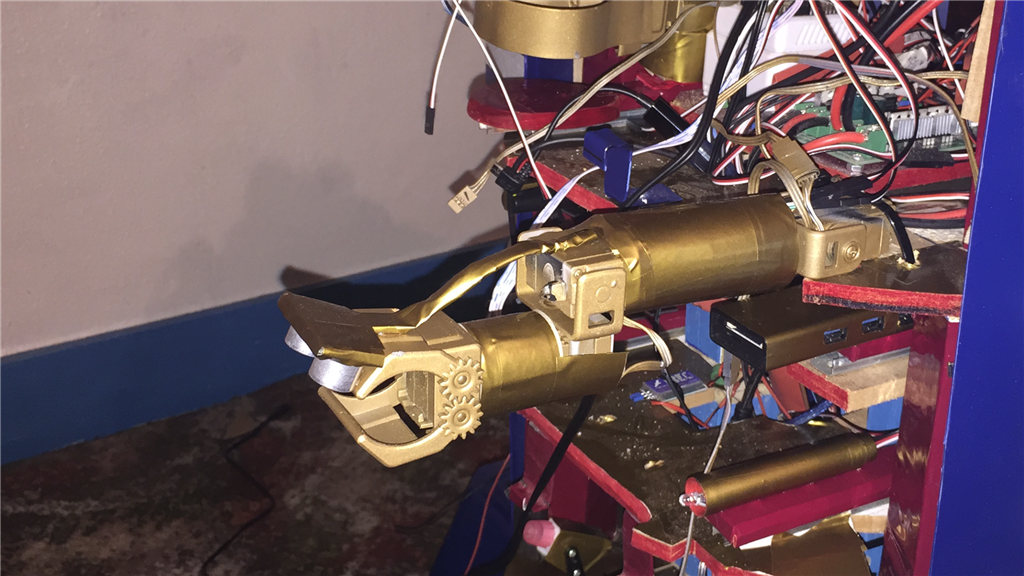
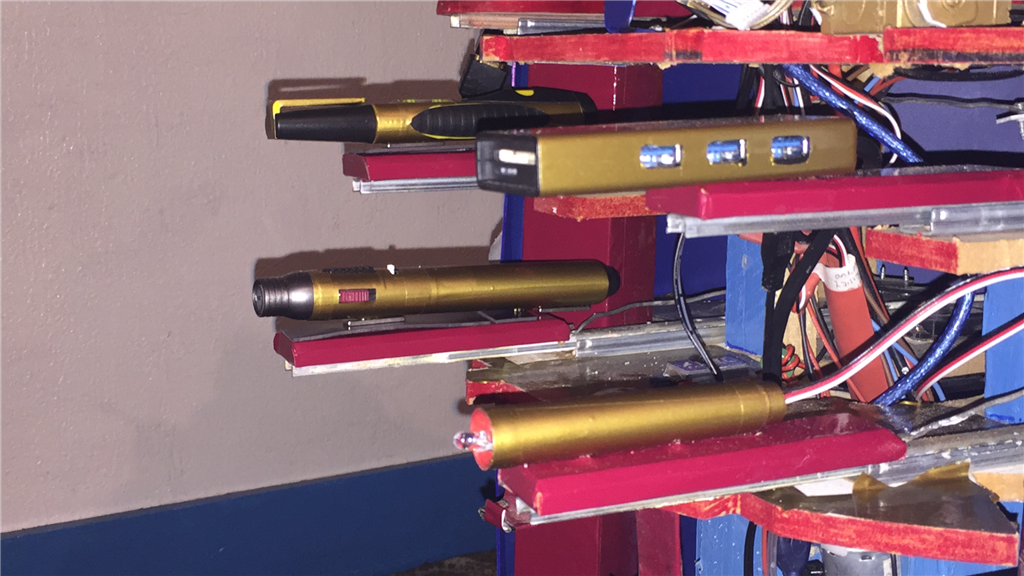
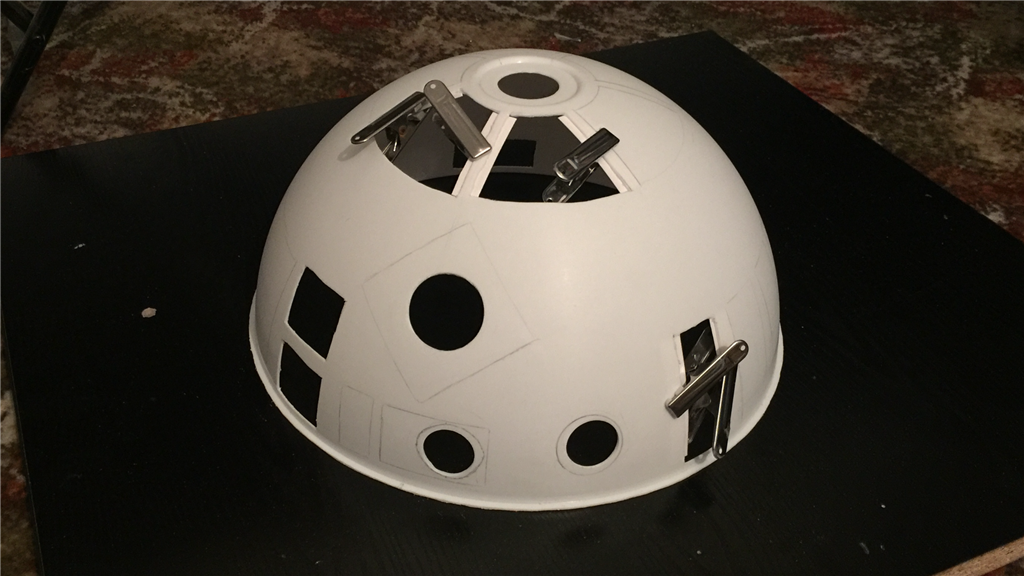
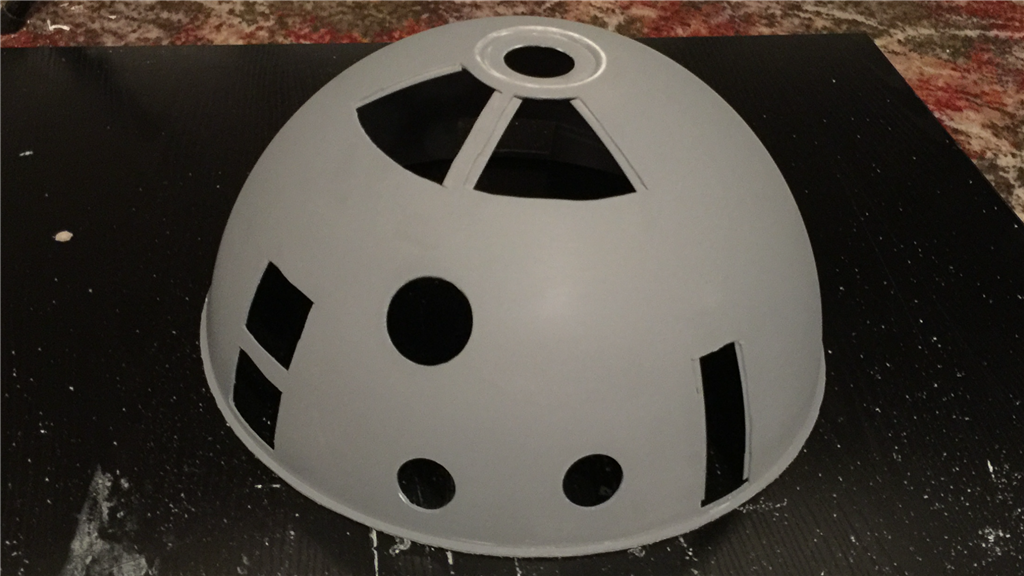
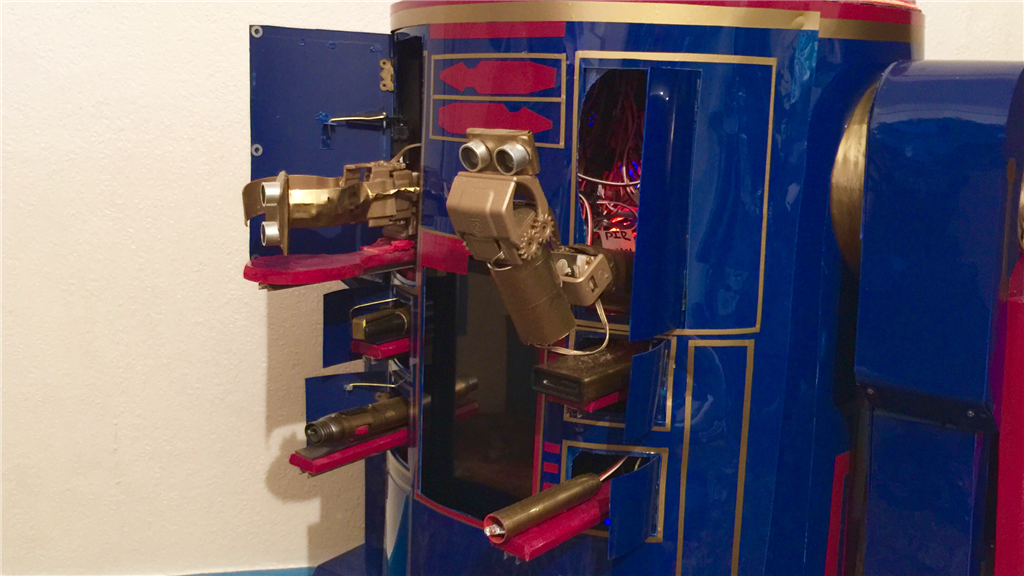
The dimensions will be slightly smaller than the original prob, but not by much so E4 will be plenty big enough. I'm intending to fit a few useful tools that he will be able to deploy, and of course have the fully rotating head which will have all kinds of bells and whistles. I have some of the MDF sheets and 2x4 wood lengths for the frame already, and the motors and head dome (lampshade) should be with me sometime this week, so it will be power tools at the ready. I'm in no rush to finish this project, but I am aiming to have E4-B4 pretty much finished by this December.
I will posting lots of photos and few videos throughout the build process, so I hope anyone reading will find this build dairy interesting and enjoyable. And as always, I'd love to hear your thoughts and suggestions (especially on the colour scheme). Anyway thanks for reading, and let the build begin...
Steve.
Discover more robots
Louis's The Real Wall-E By Louis T
Tymtravler's Starting On Jac

that is so cool! you should look at the scale of chopper from star wars rebels.. he's quite a bit smaller than the standard sized astromech.
Also im not sure if you have seen this program but it will let you change the colors on a droid to see what you like
R2 Style Builder
@robot56.
Thanks dude. I thought about doing a different type droid, but it's all about R2. He is the best looking one of the lot . Thanks for the link, that was very useful indeed and a great tool. The link didn't actually work for some reason, but I found it easy enough and had a good play around with different colours. So some of my materials should be arriving in the next day of two, then the fun (and the spilling of blood, swearing sessions and head scratching) really begins
 .
.
Wont be long before R7 has an overseas cousin.
When I said R2 was the best looking droid, I should have said one of the best, lol.
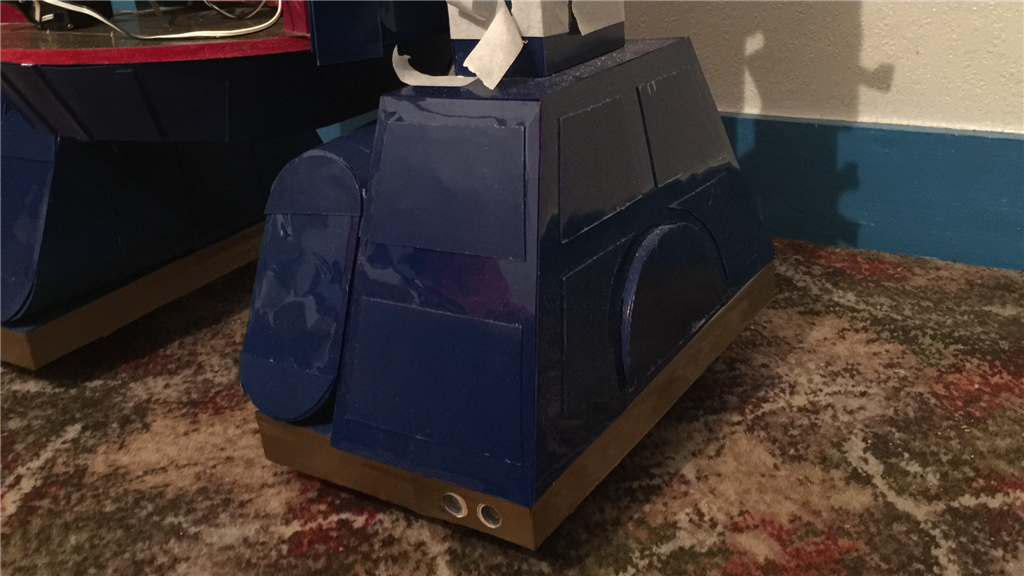
Day 4 (8th August 2015)
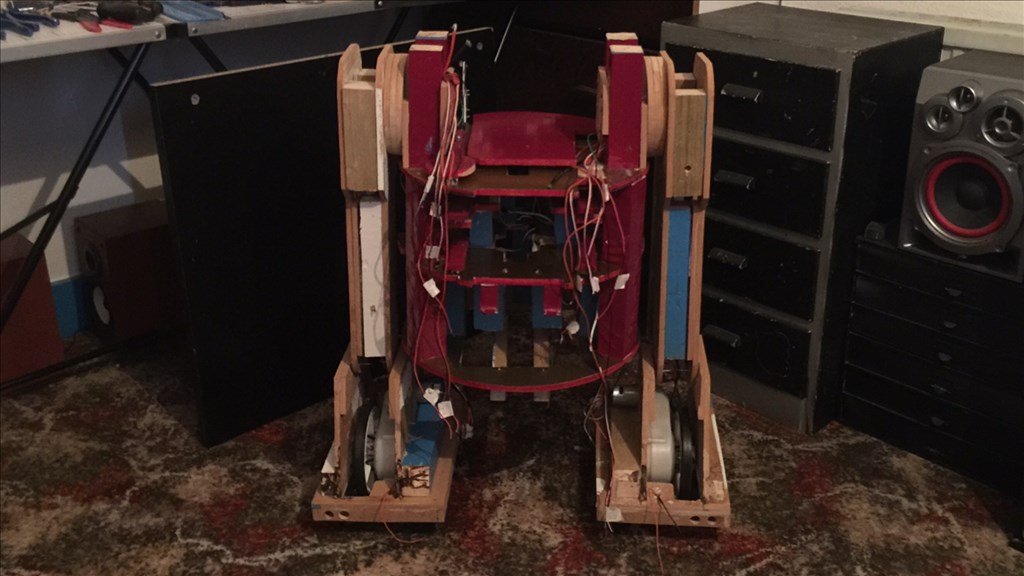
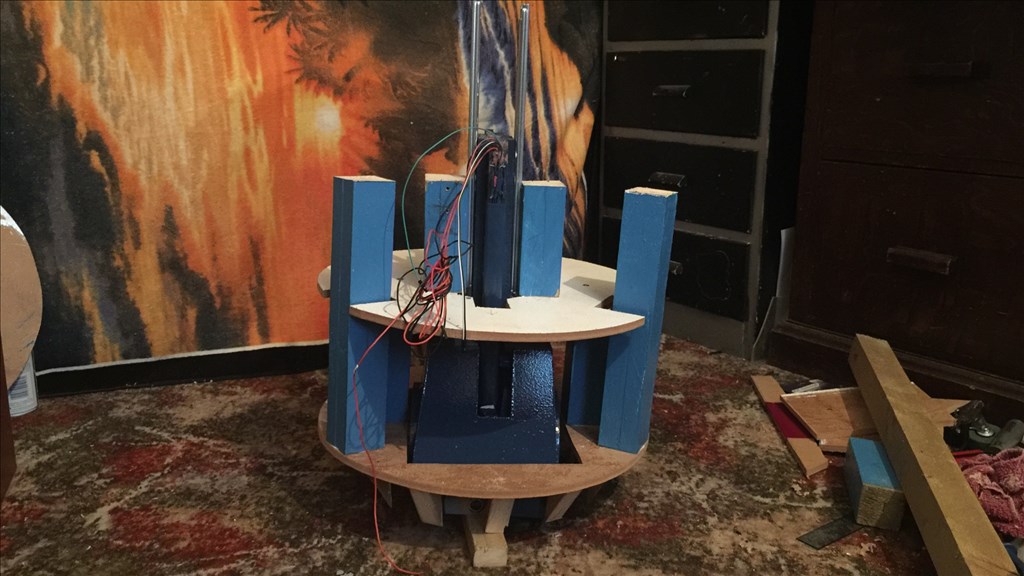
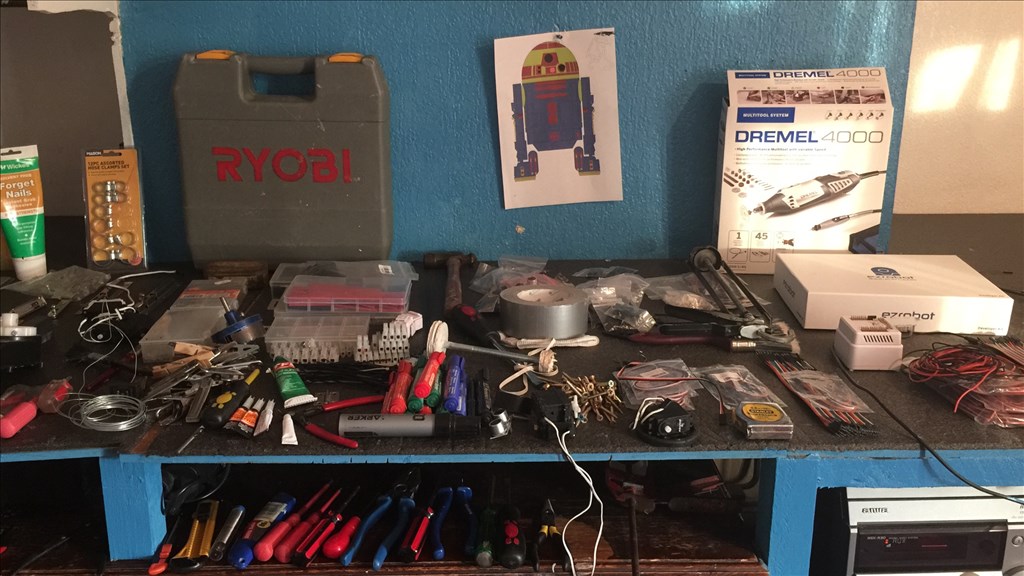
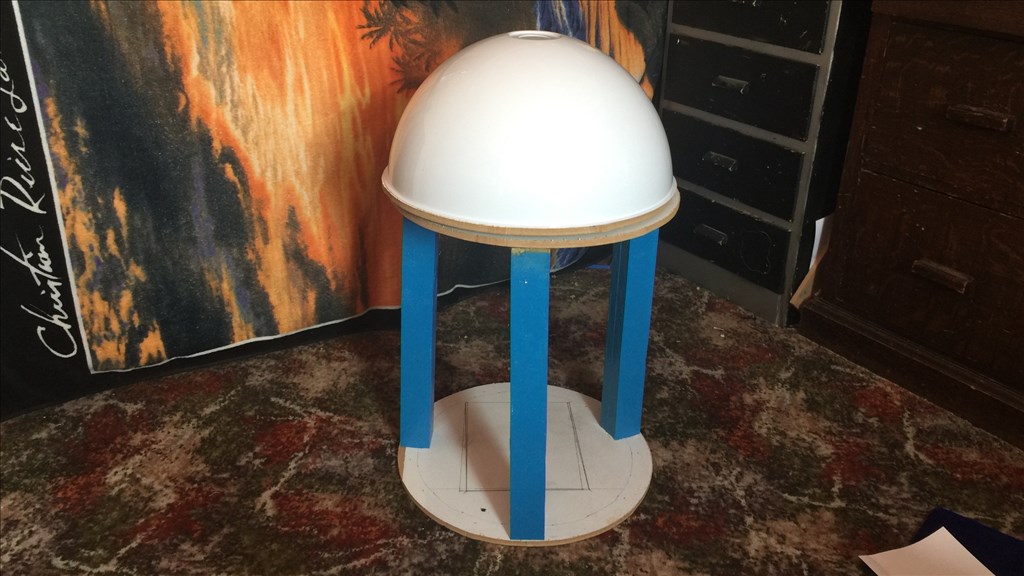
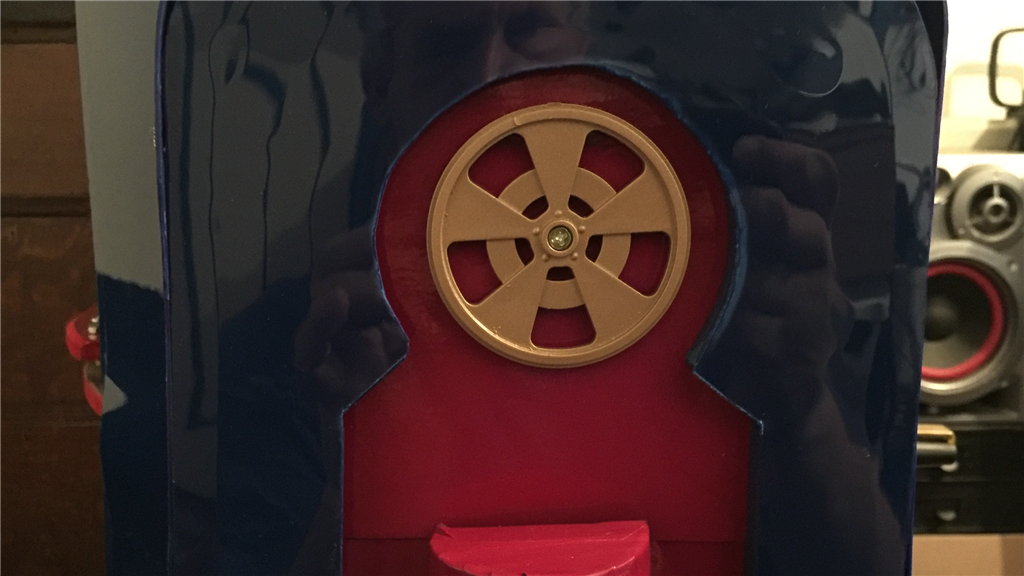
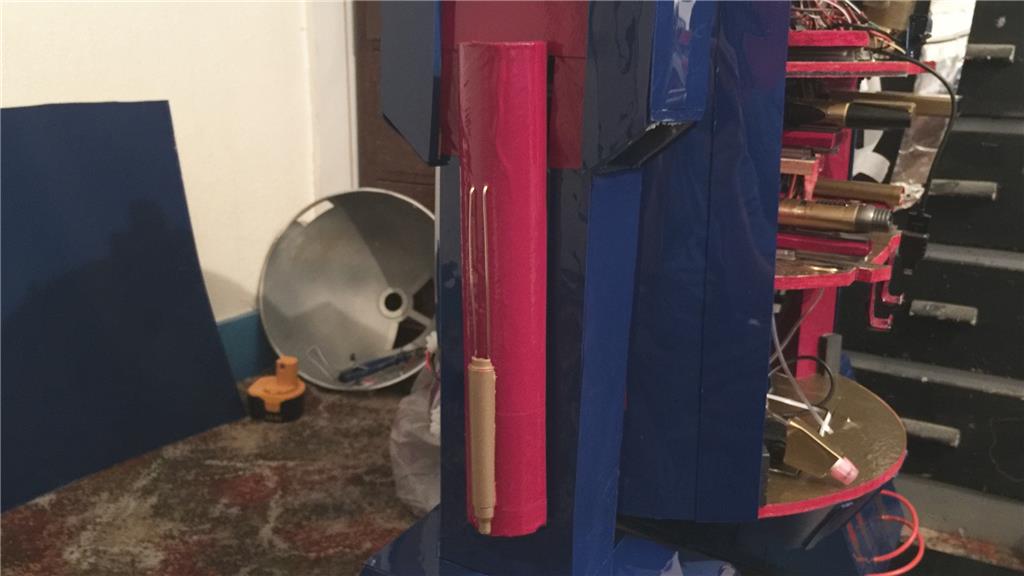
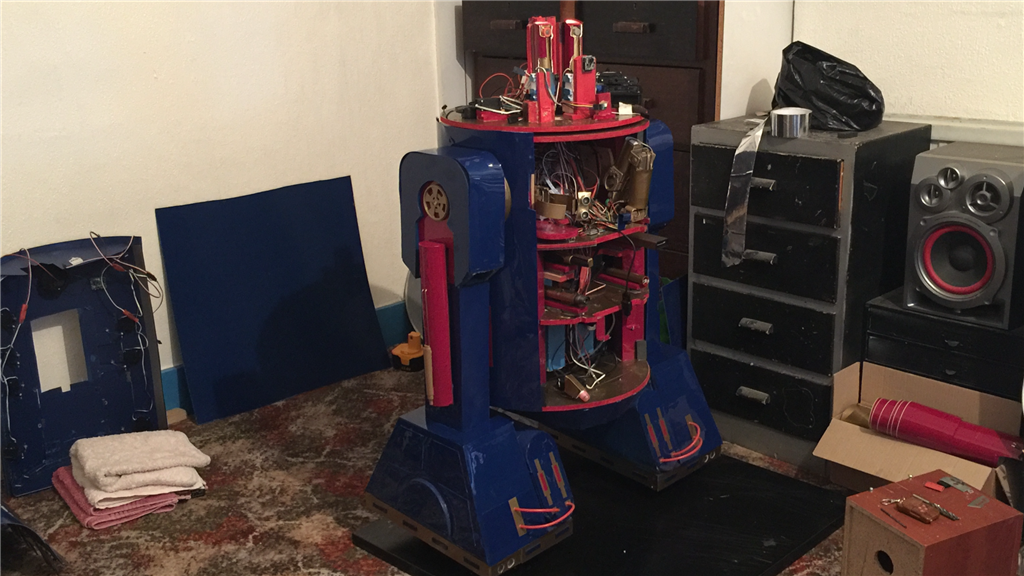
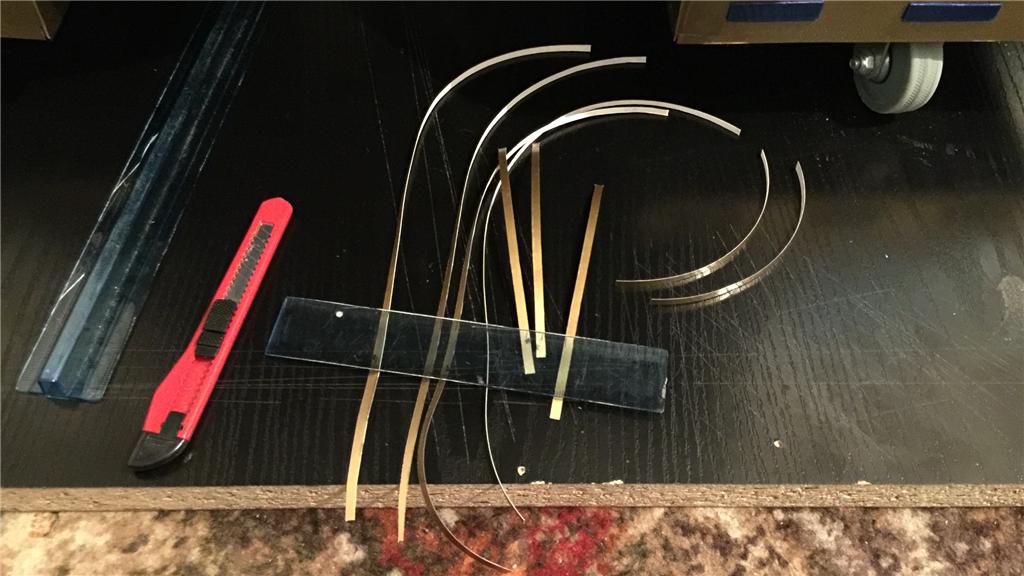
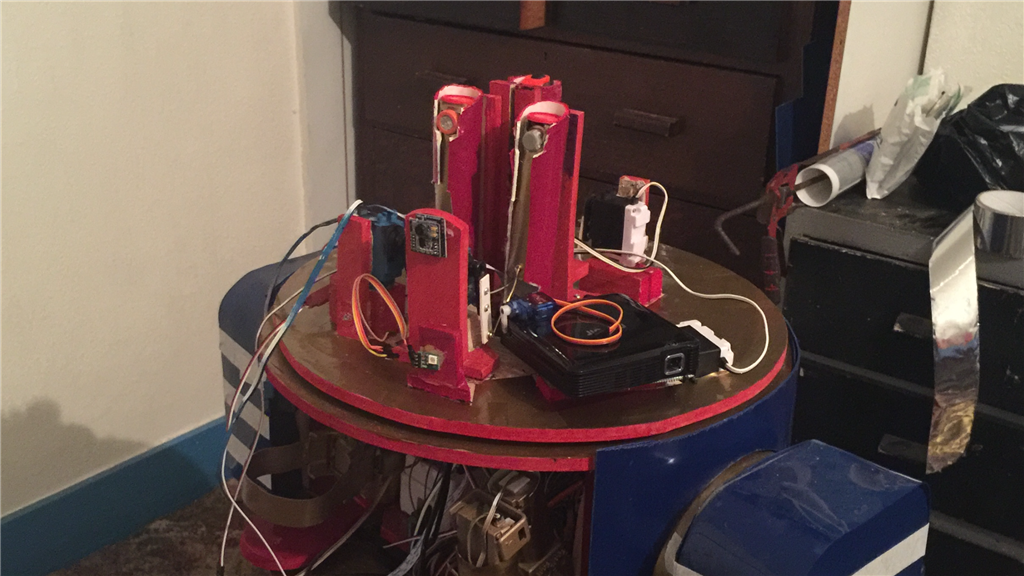
Well here's the first update on E4's build. There's not much to look at right now as I've been waiting on materials that were delayed, but some did arrive on time so I did manage to make some headway. So after I got all of my tools and some of my materials together, it was time to begin the actual build. At this point, I was getting quite excited and looking forward to getting stuck in.
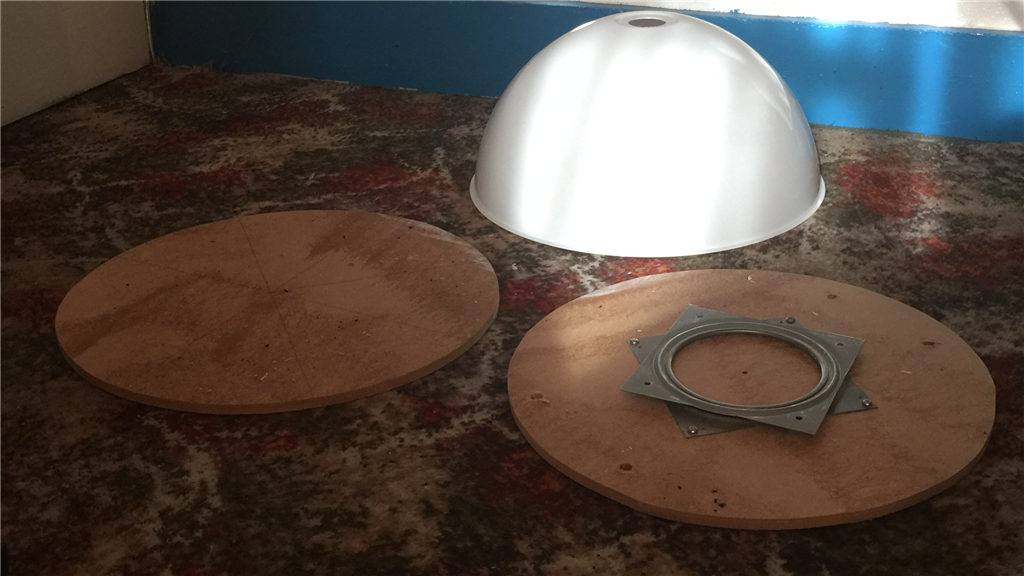
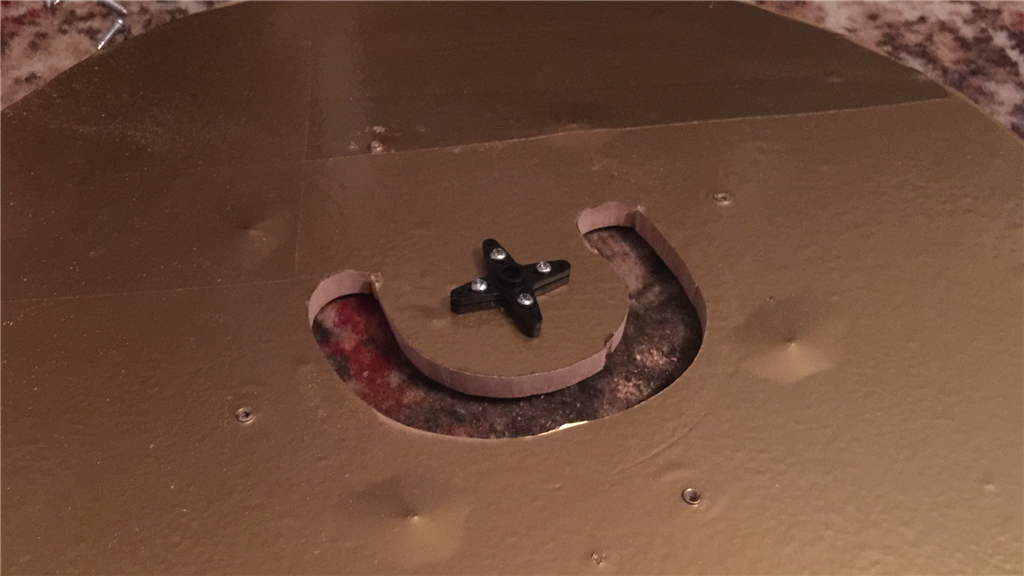
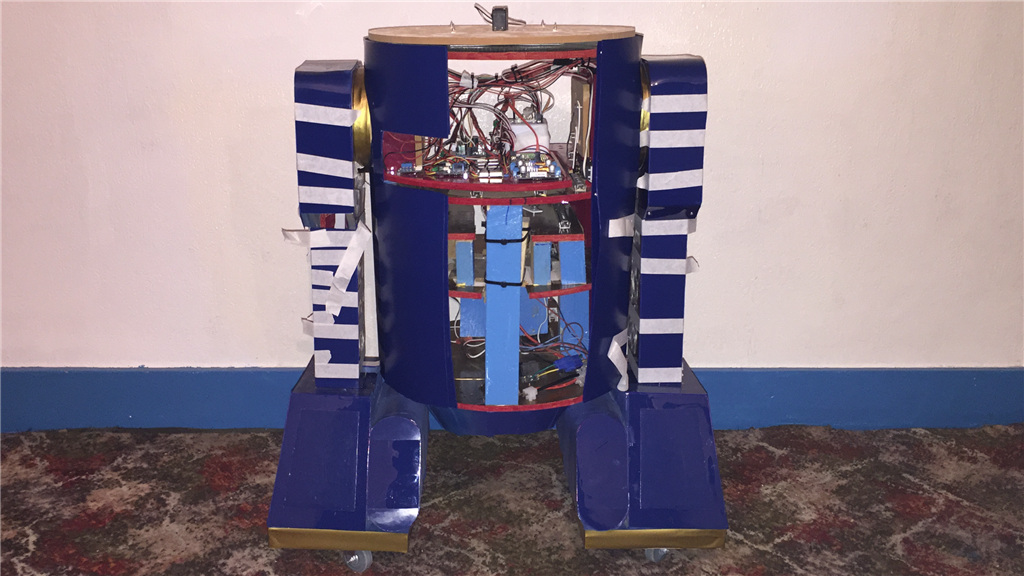
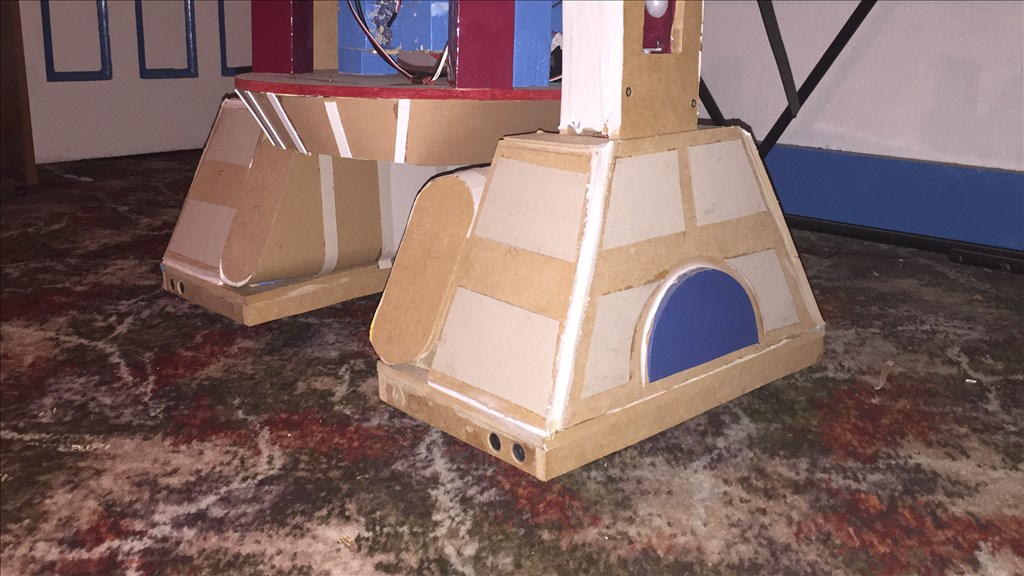
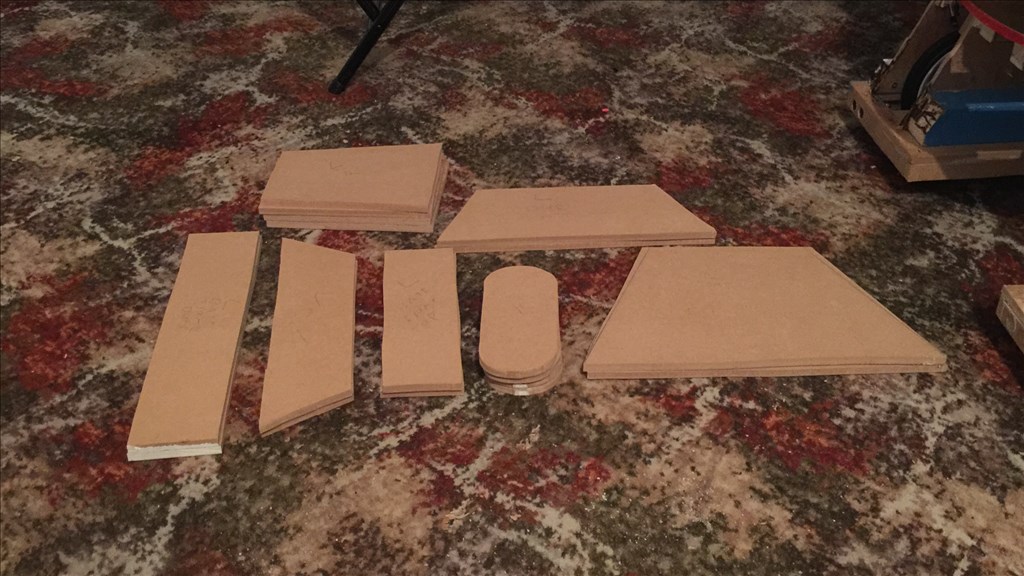
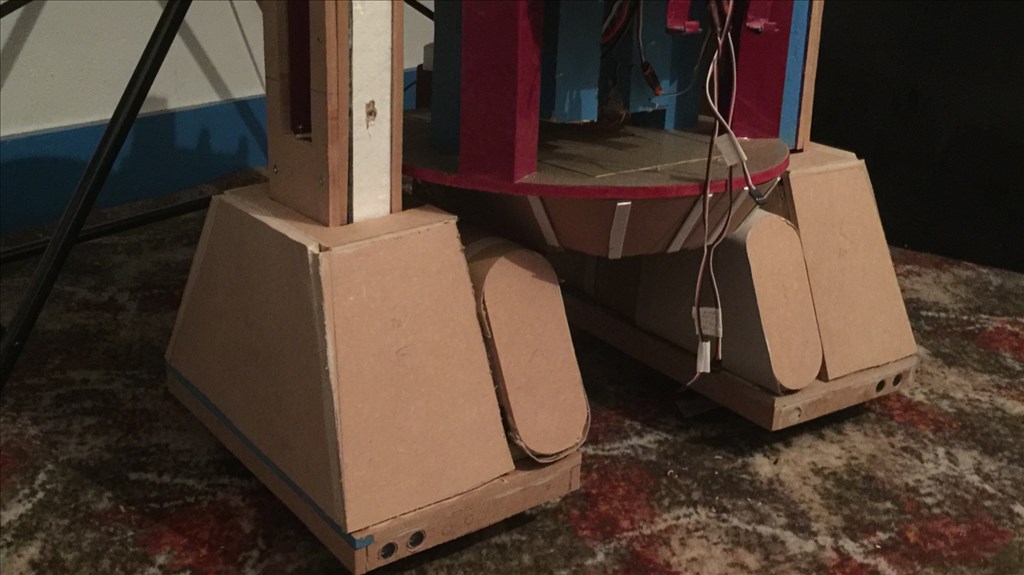
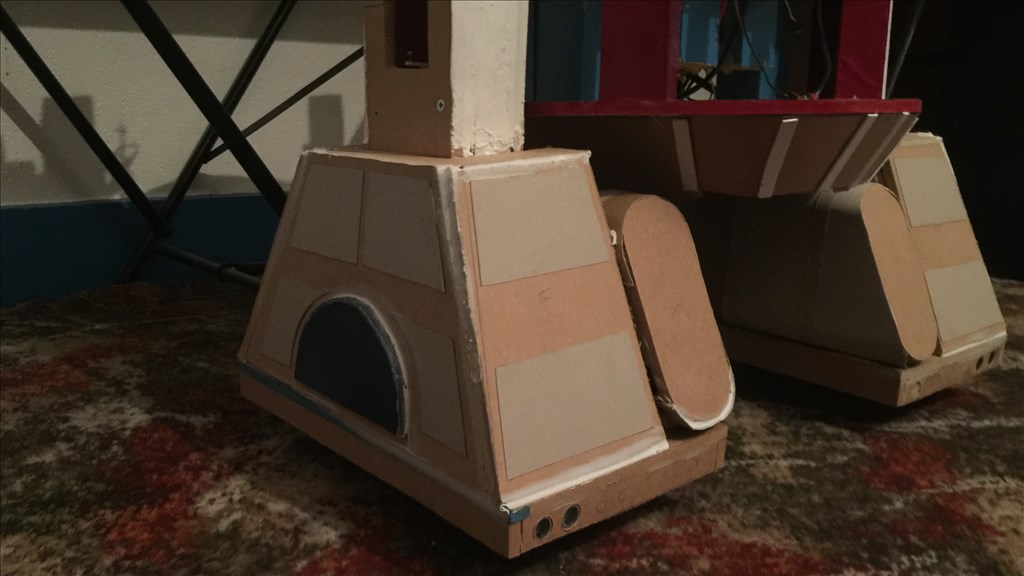
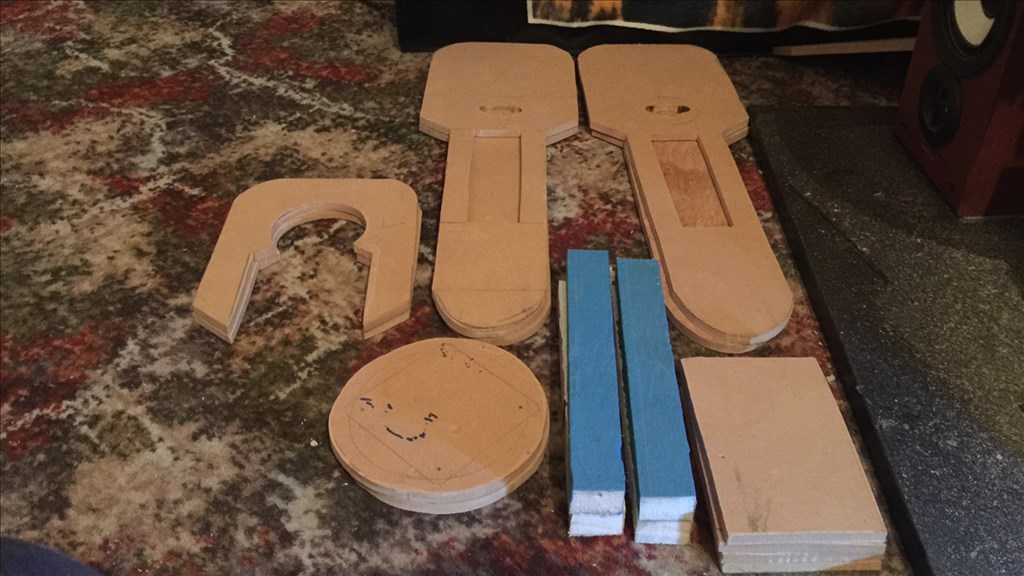
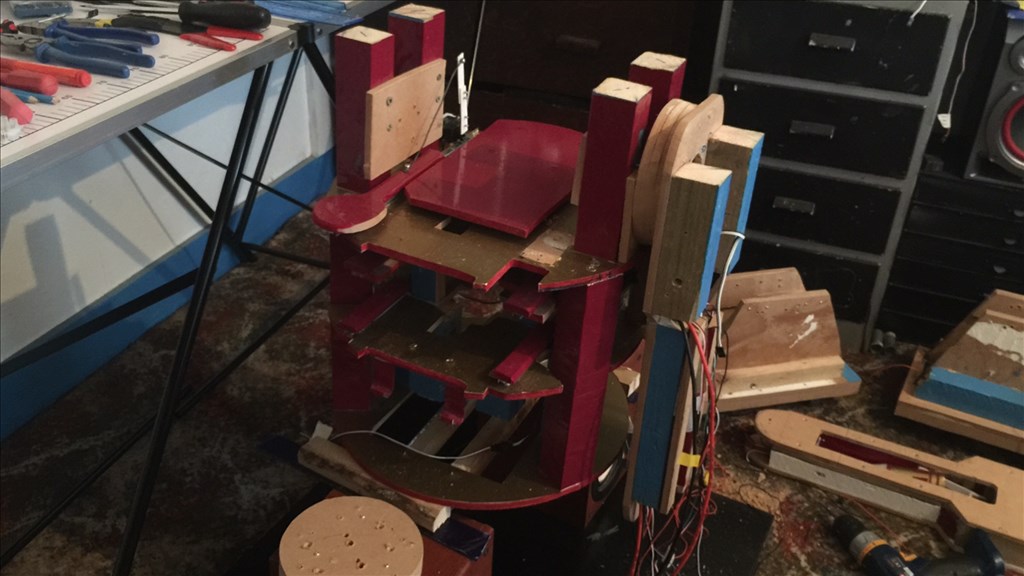
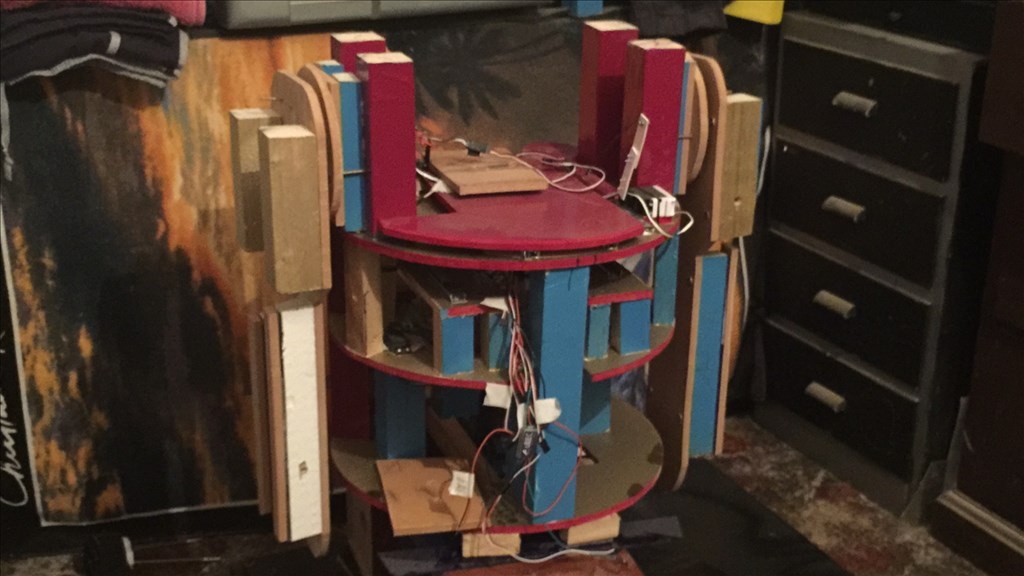
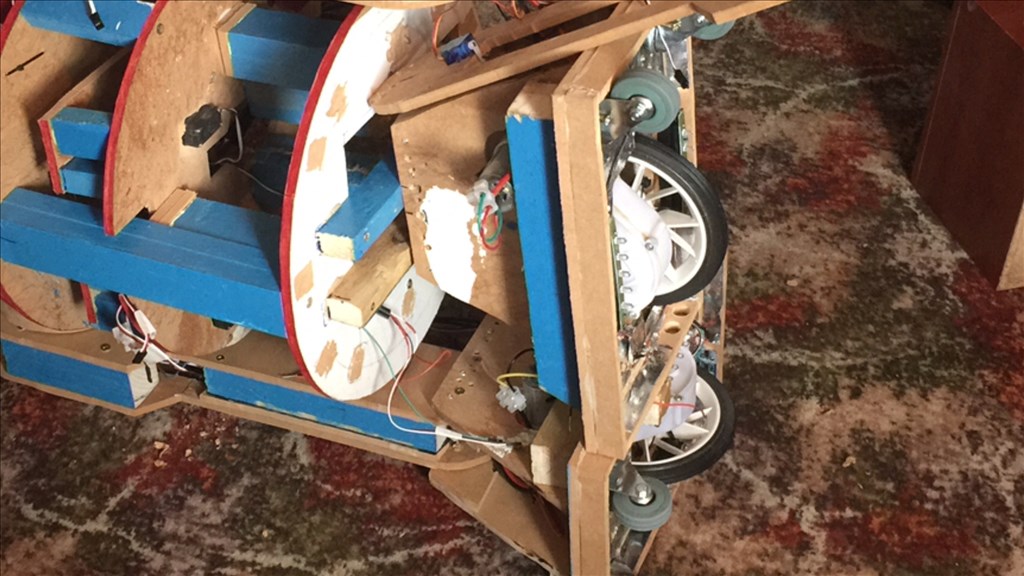
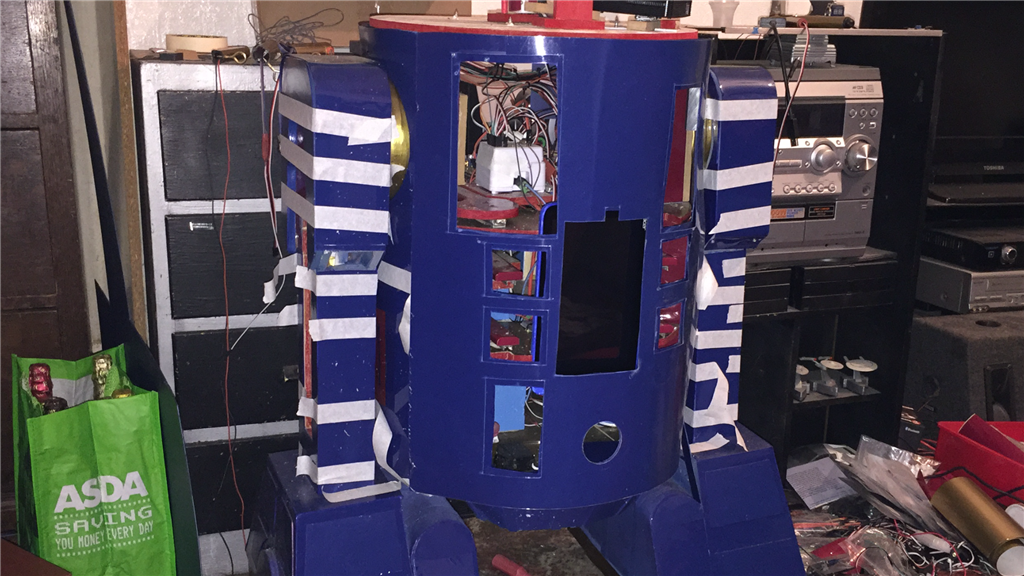
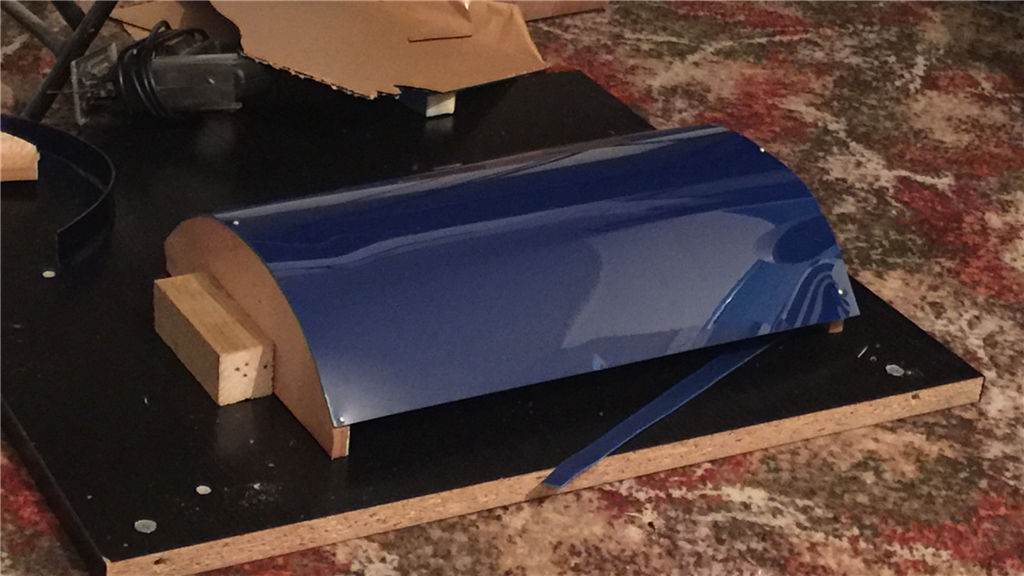
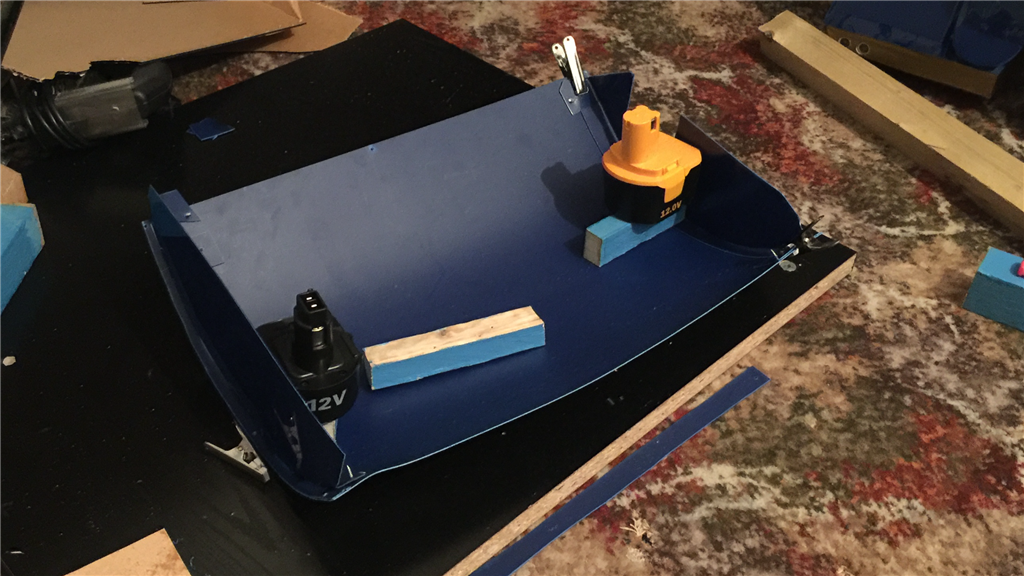
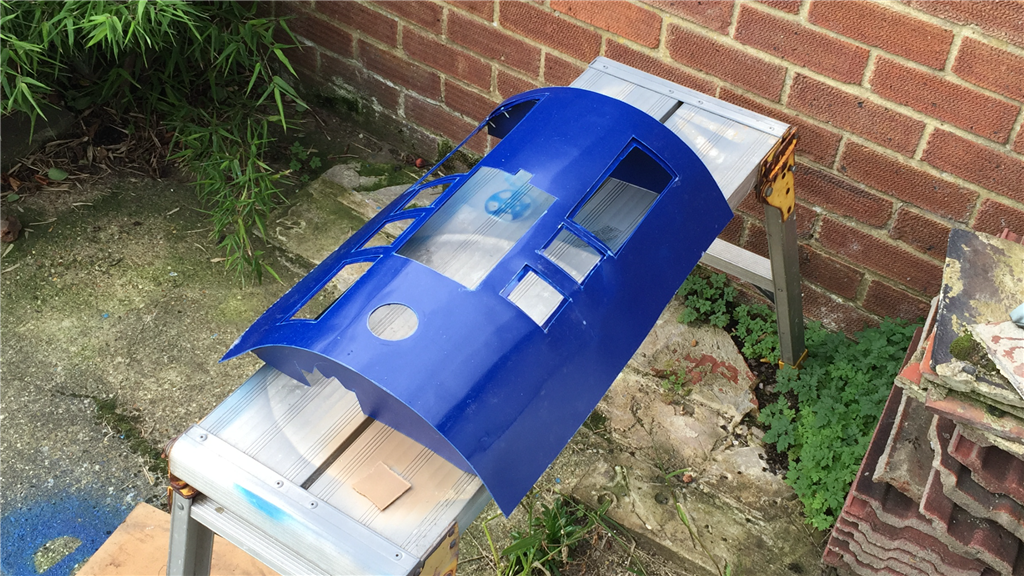
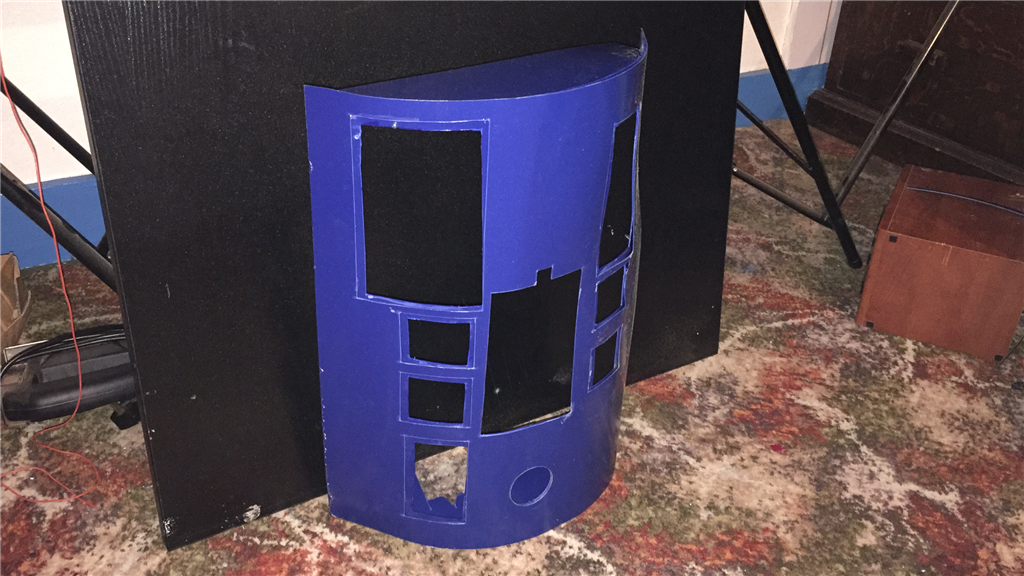
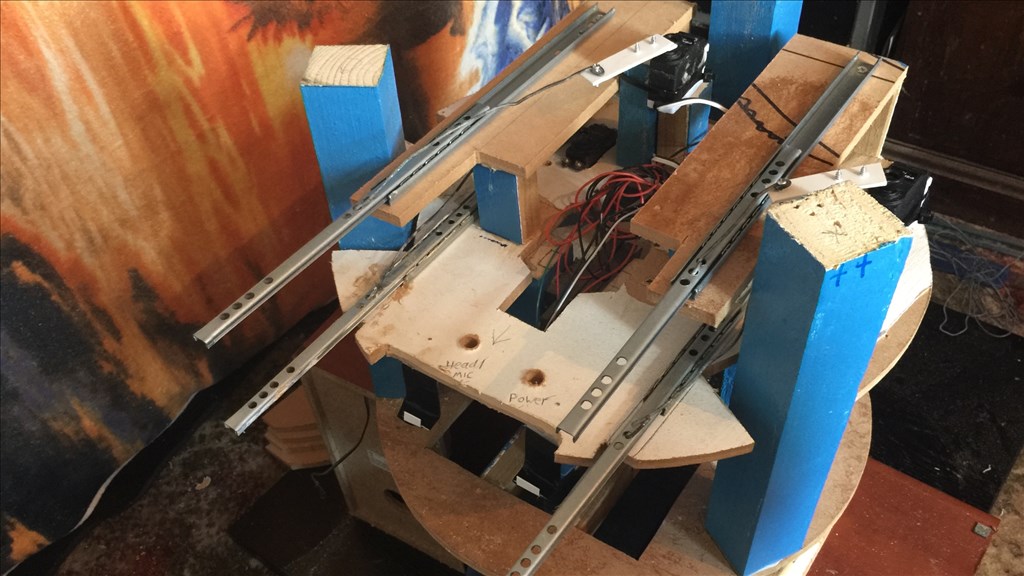
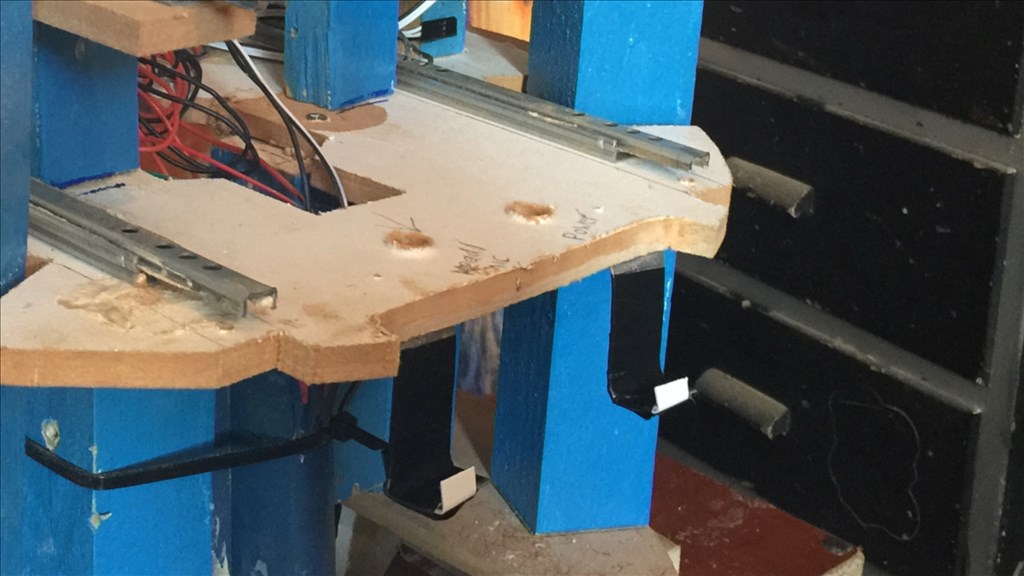
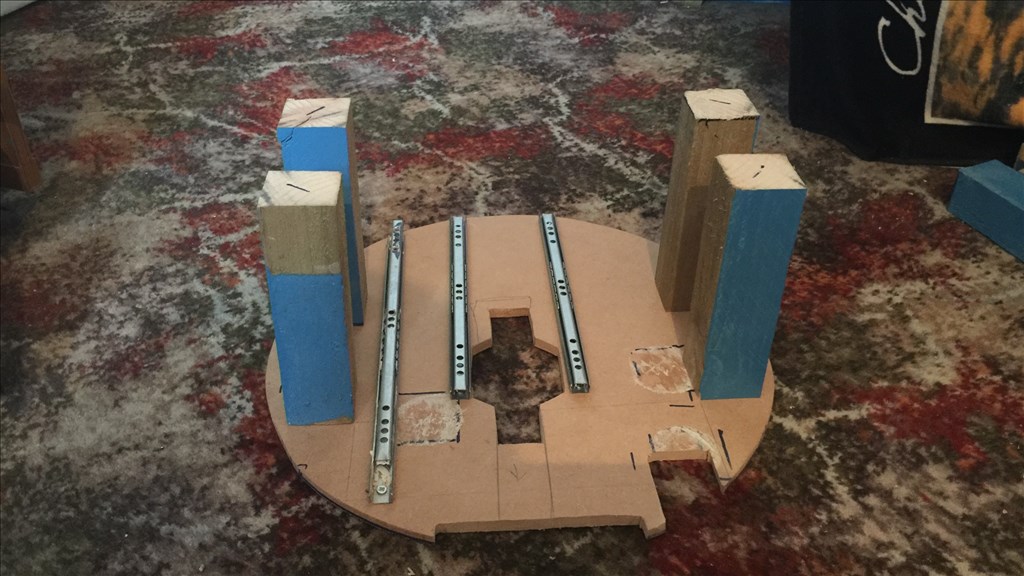
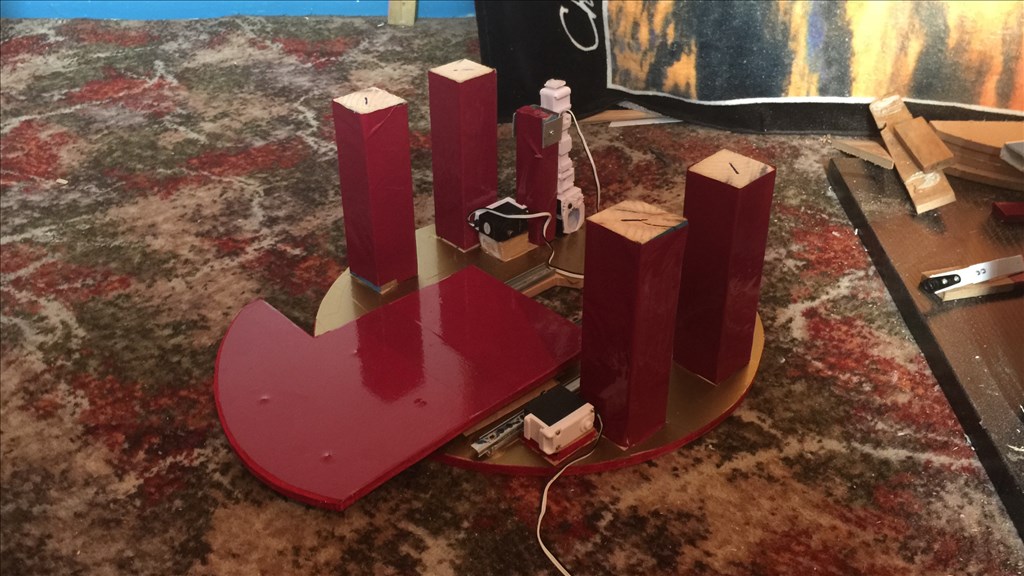
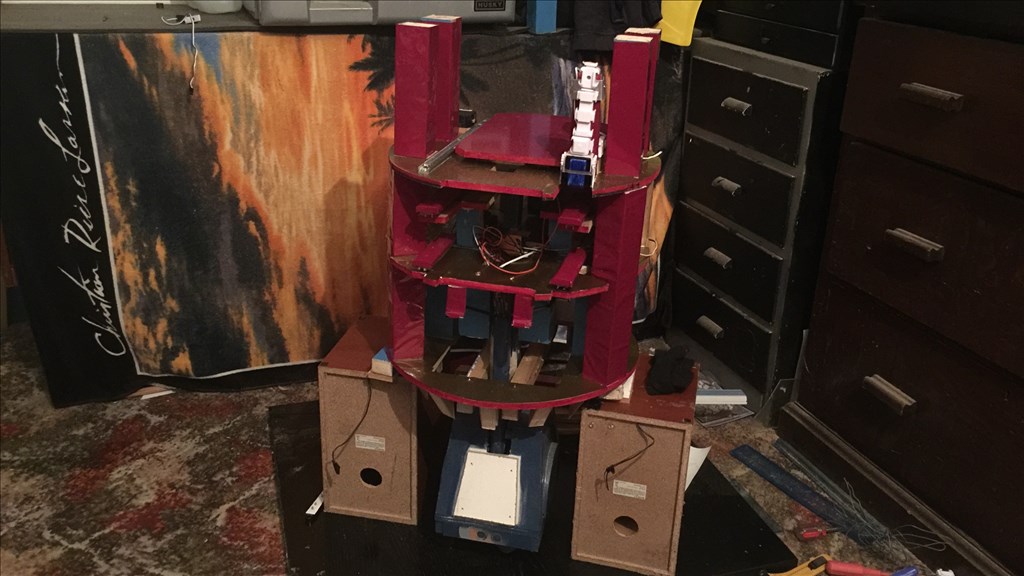
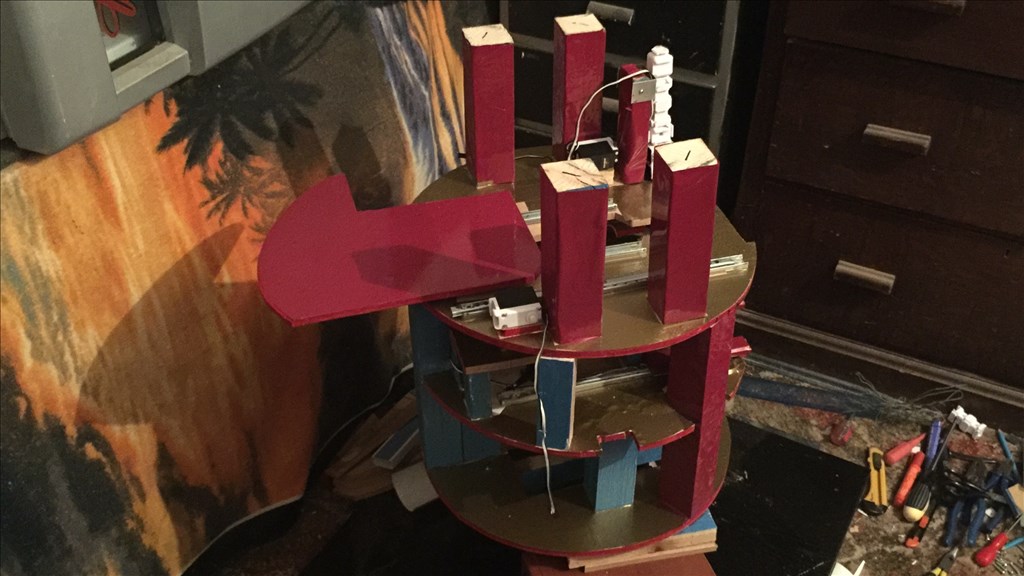
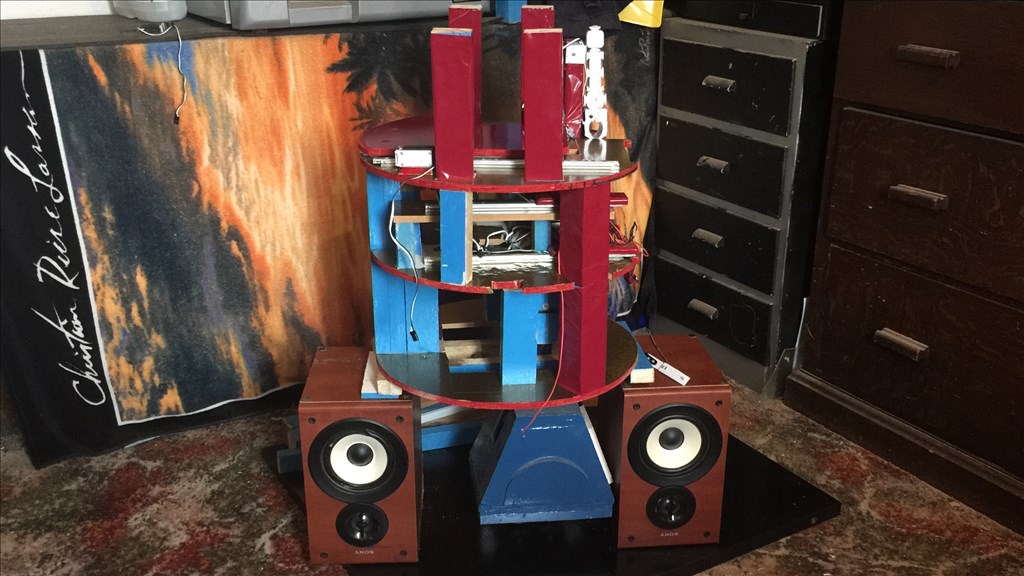
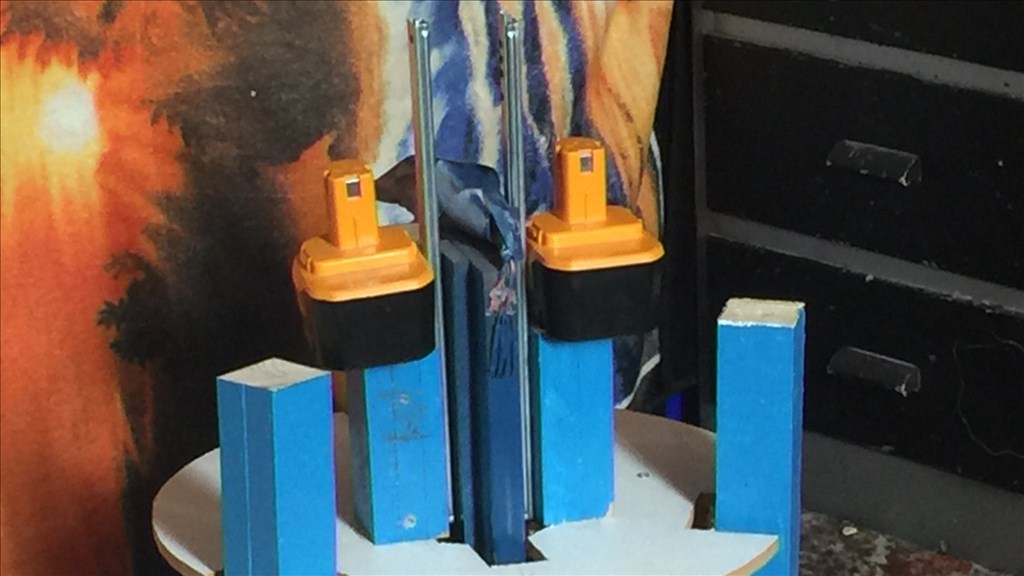
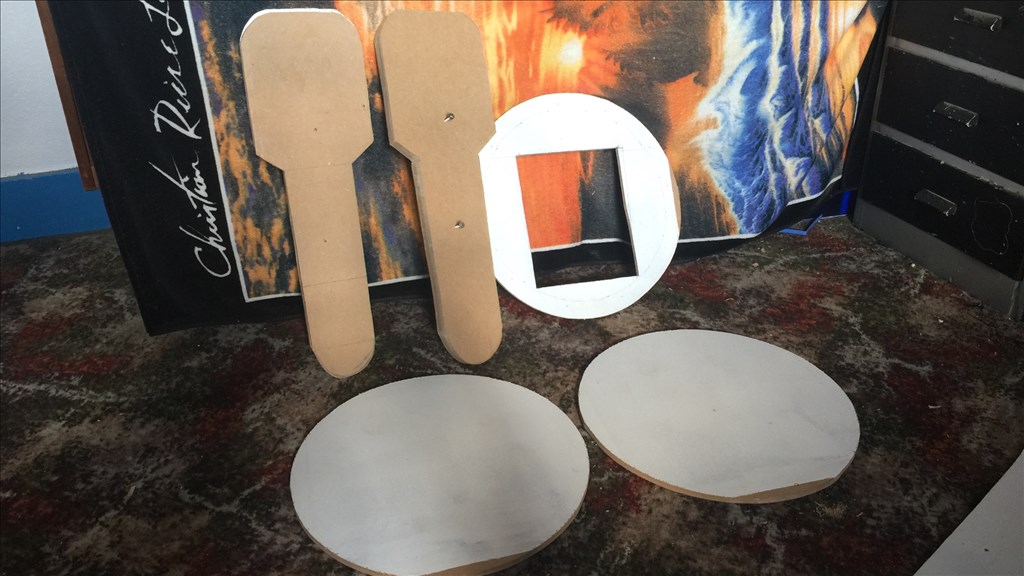
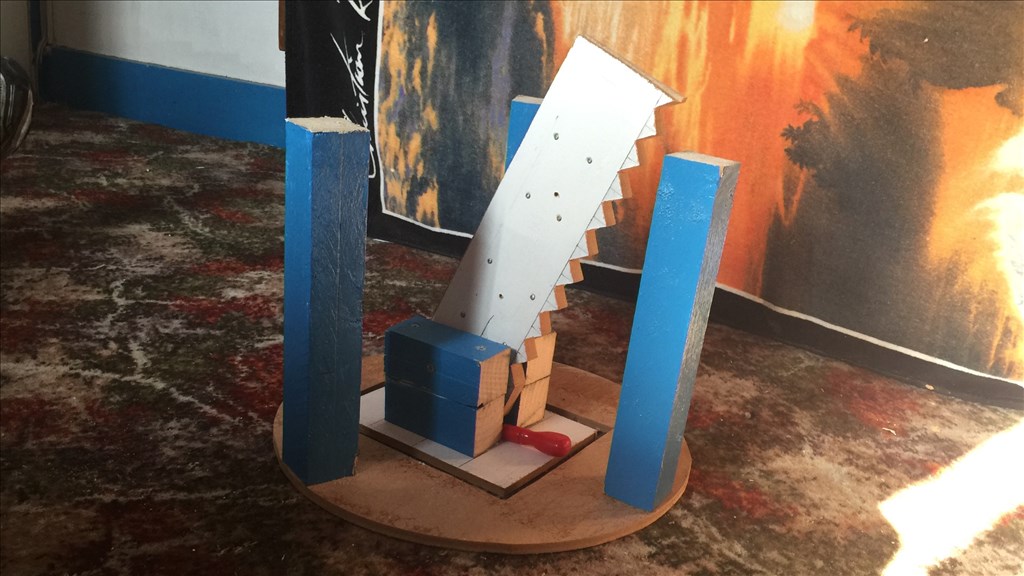
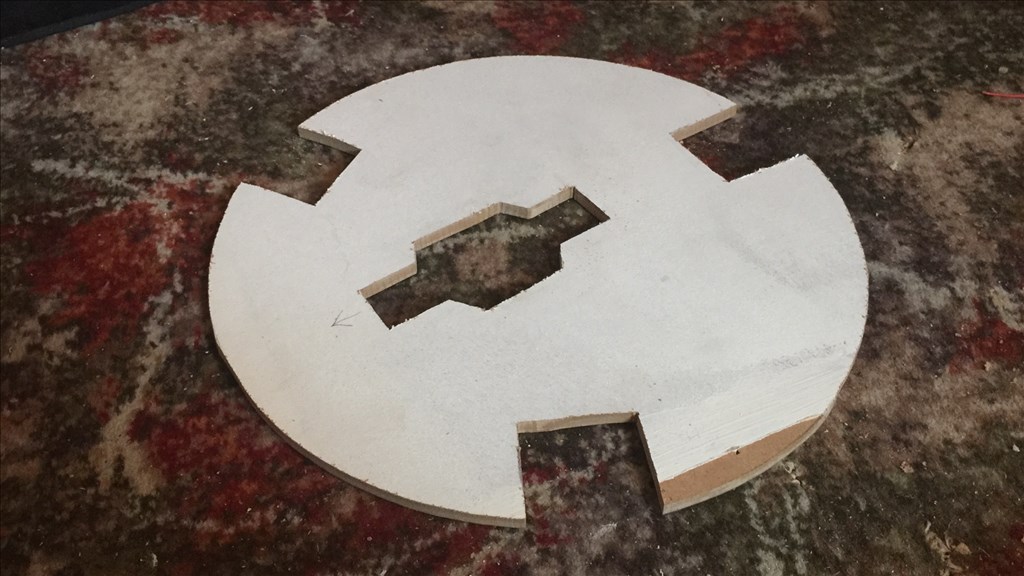
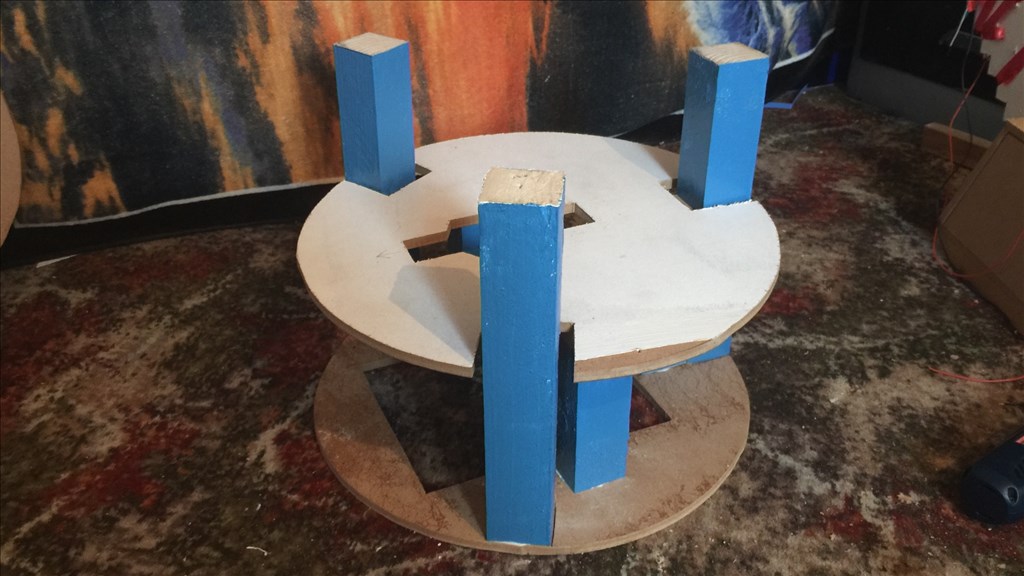
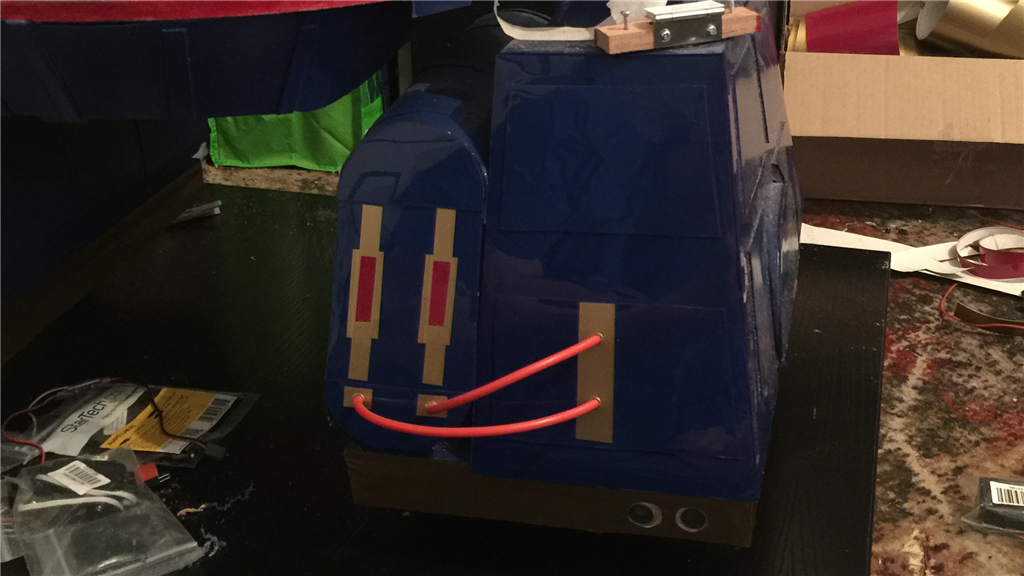
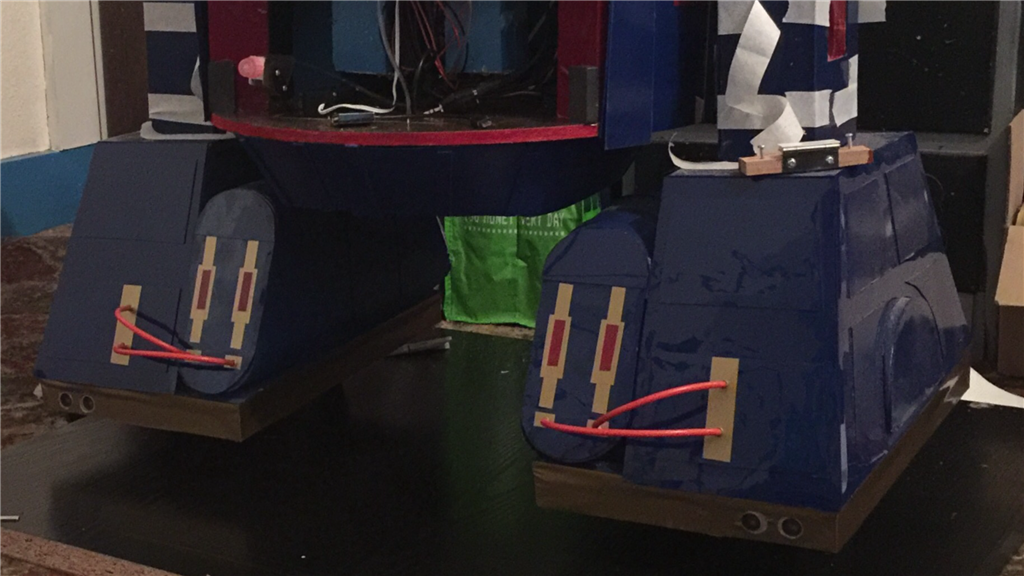
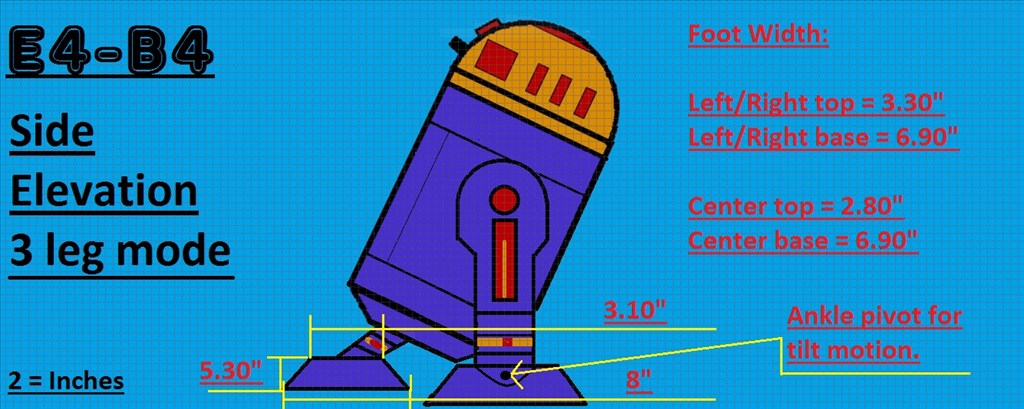
I started off by cutting four 18" discs from MDF for the base plate, electronics platform, top plate, and base plate for the head. Then I cut 6 MDF pieces for the outer legs, top half 7.9" and lower half 4.1" wide and standing 26.0" high. I will work on these more, later on. I cut out a panel in the base plate 9.0" by 7.5" for the centre foot/leg assembly to fit through, then trimmed of the cut out panel by 1cm all around for the base of the centre foot.
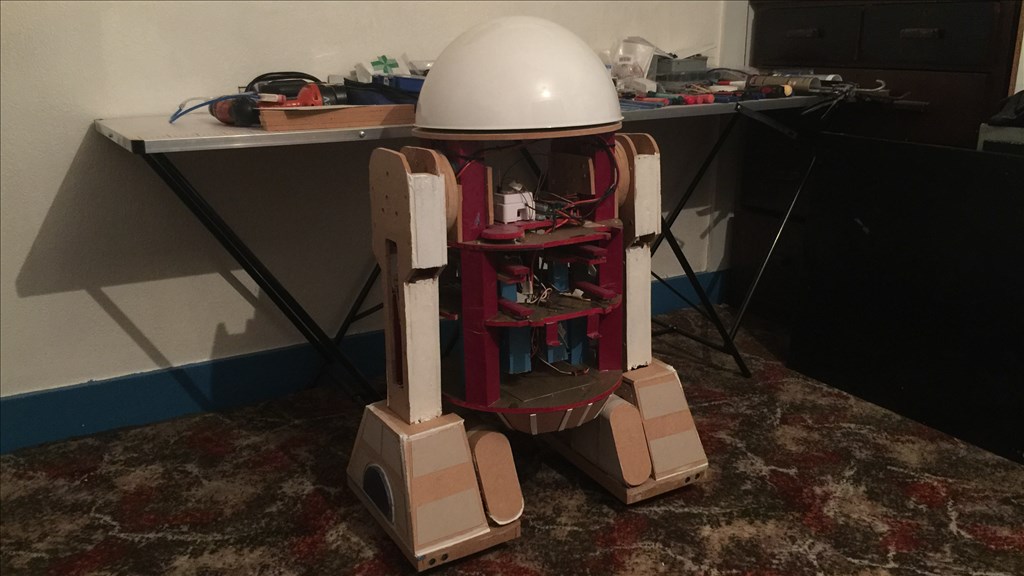
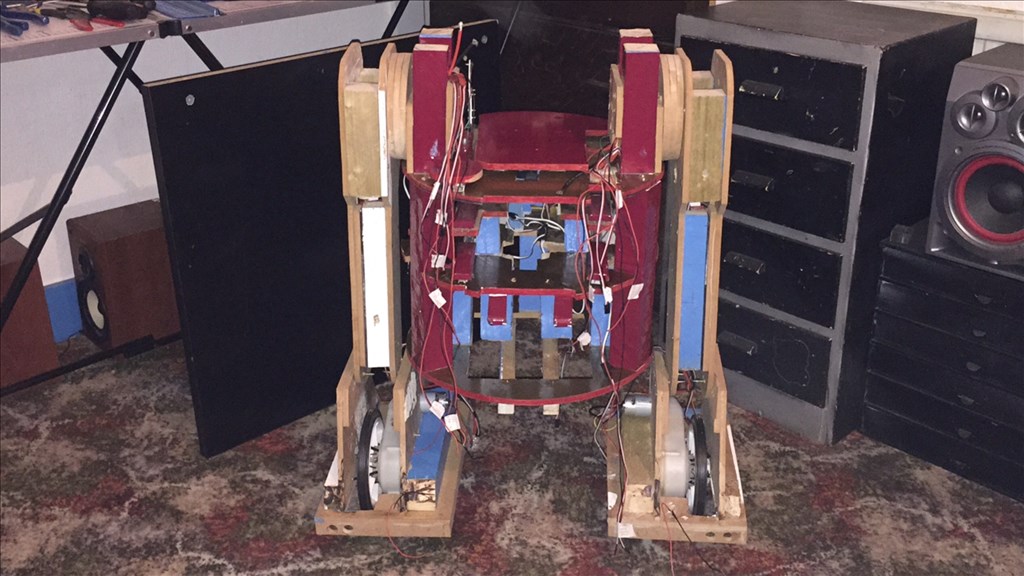
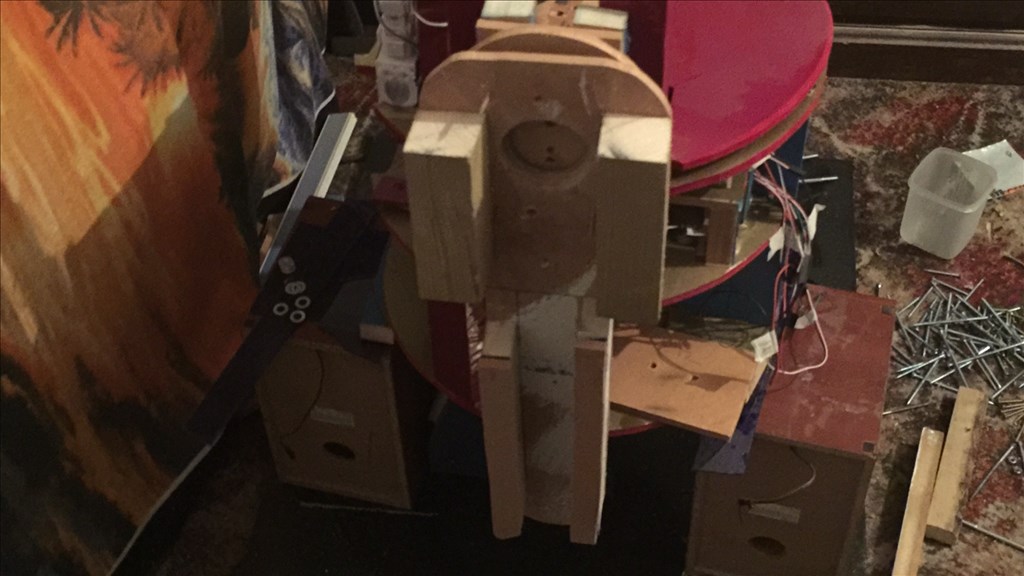
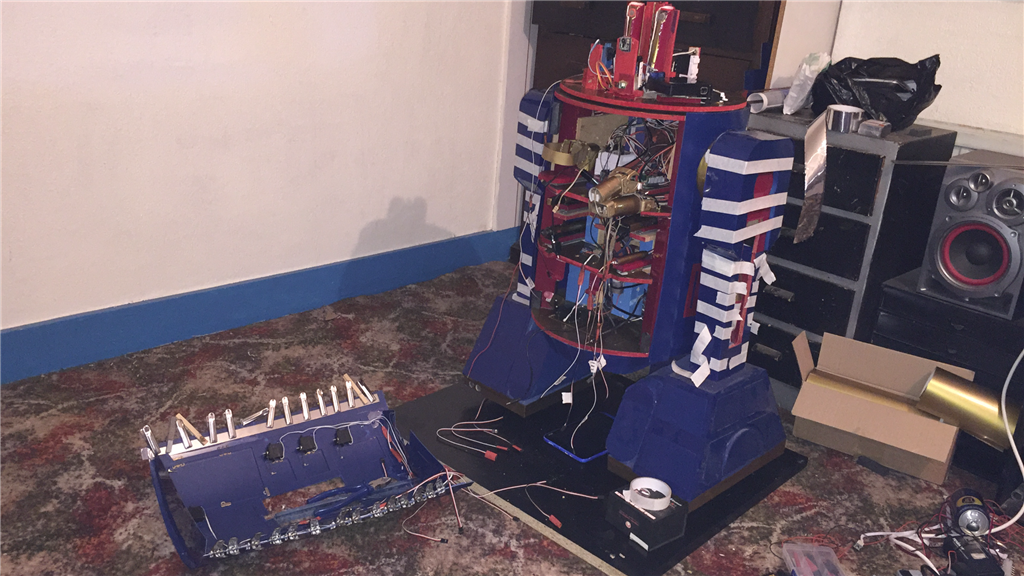
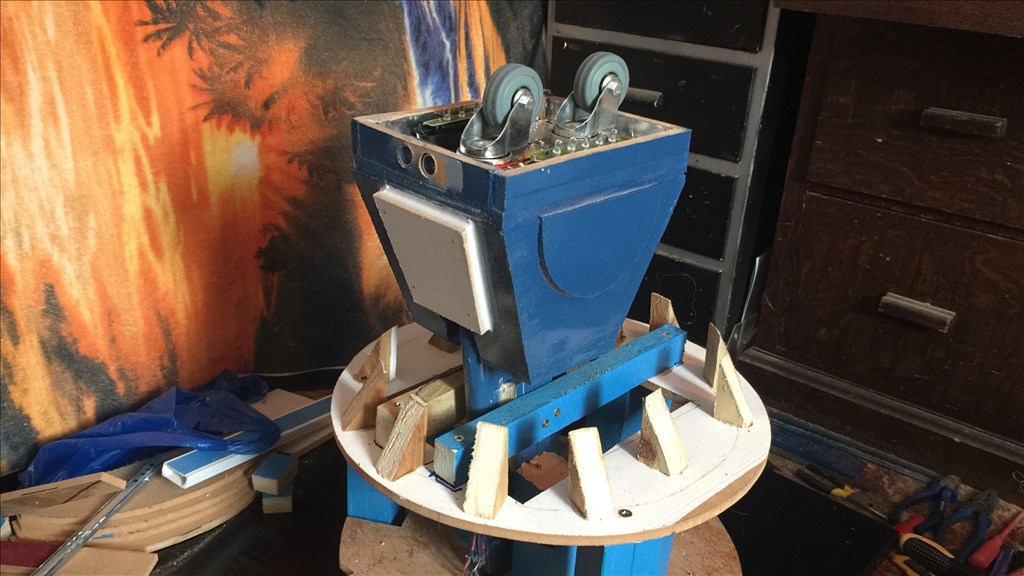
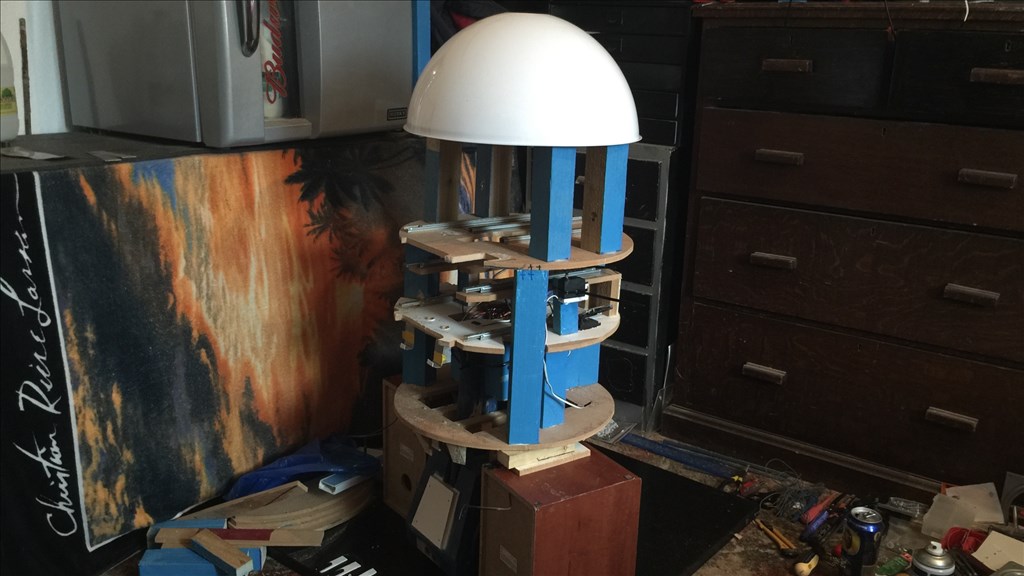
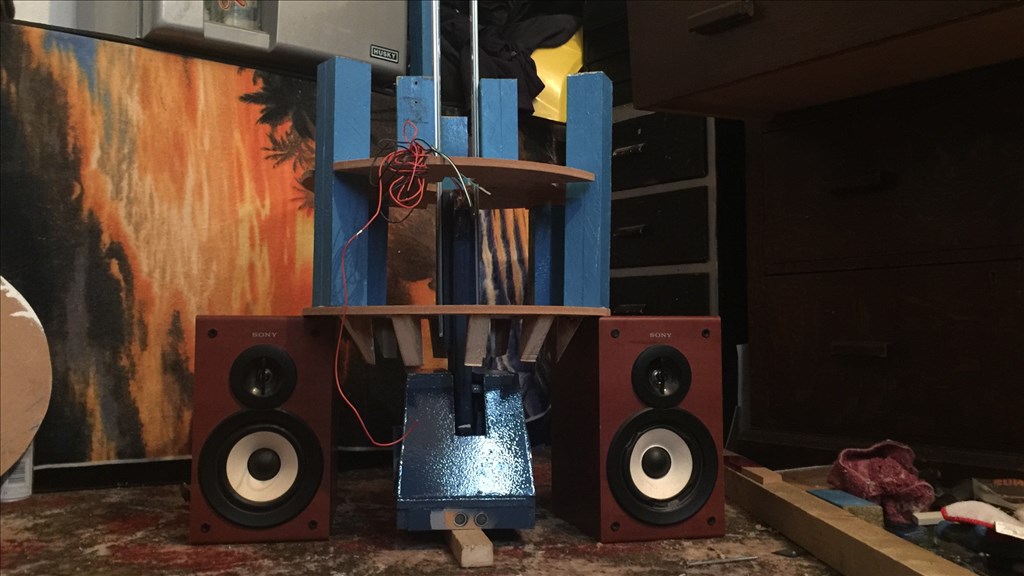
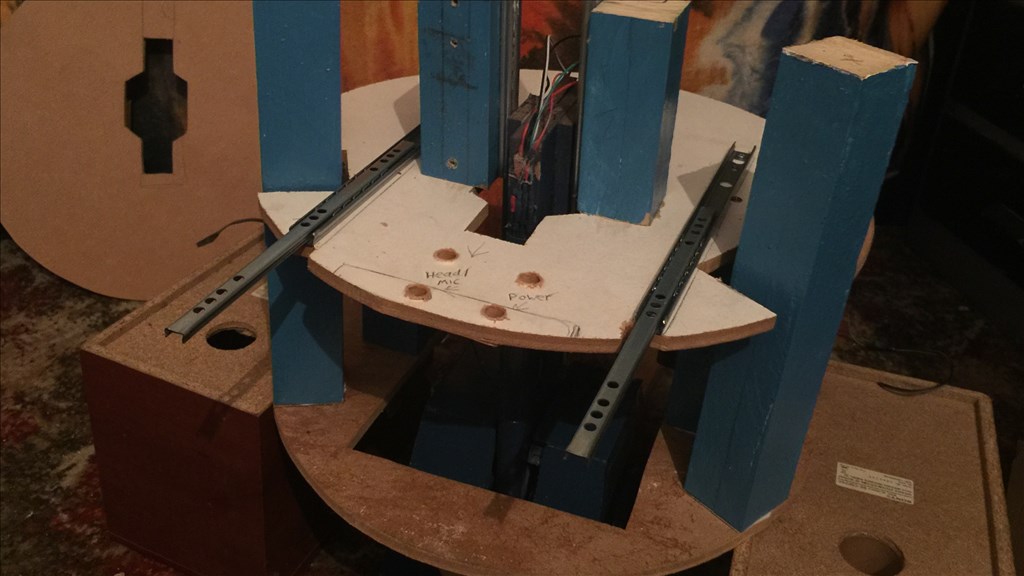
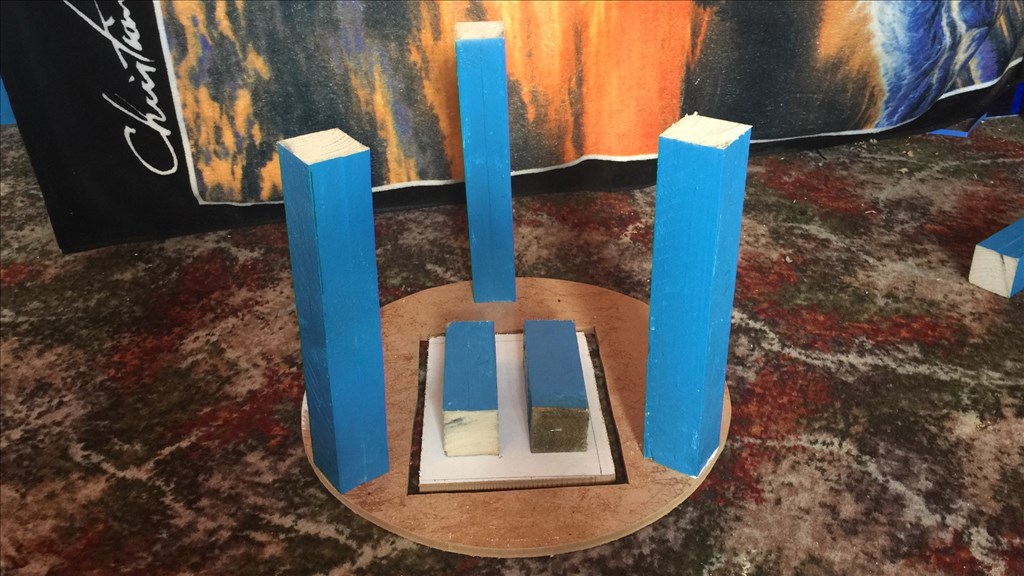
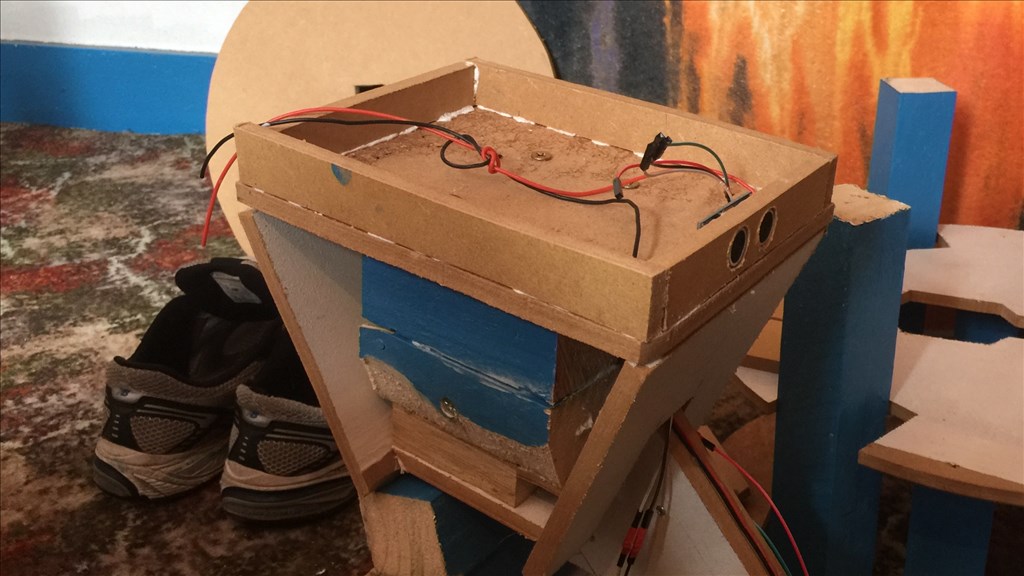
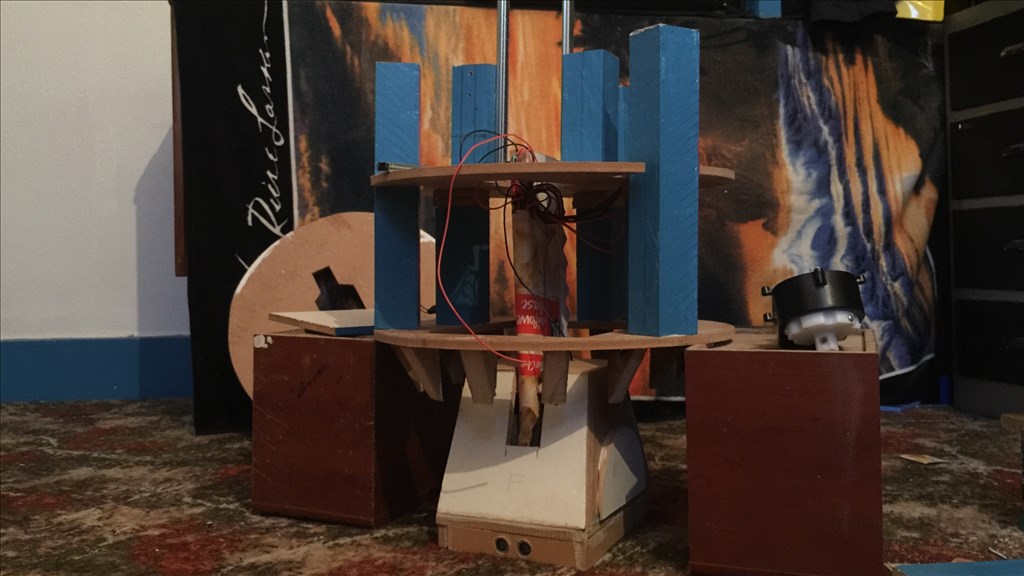
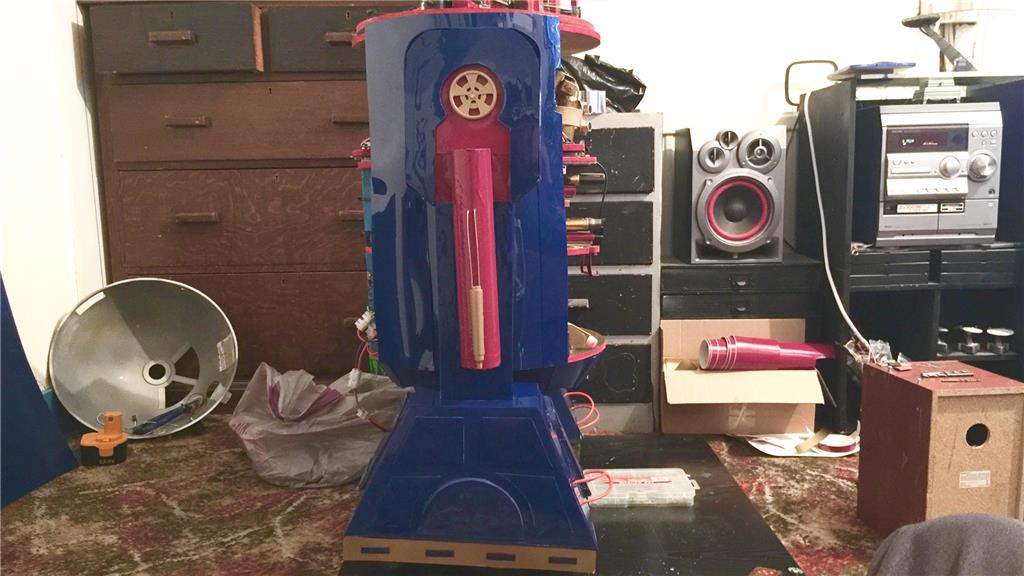
I cut three 2x2 batons 17.0" long for the three body supports. I then stacked the body pieces together along with the head to get an idea of overall size.
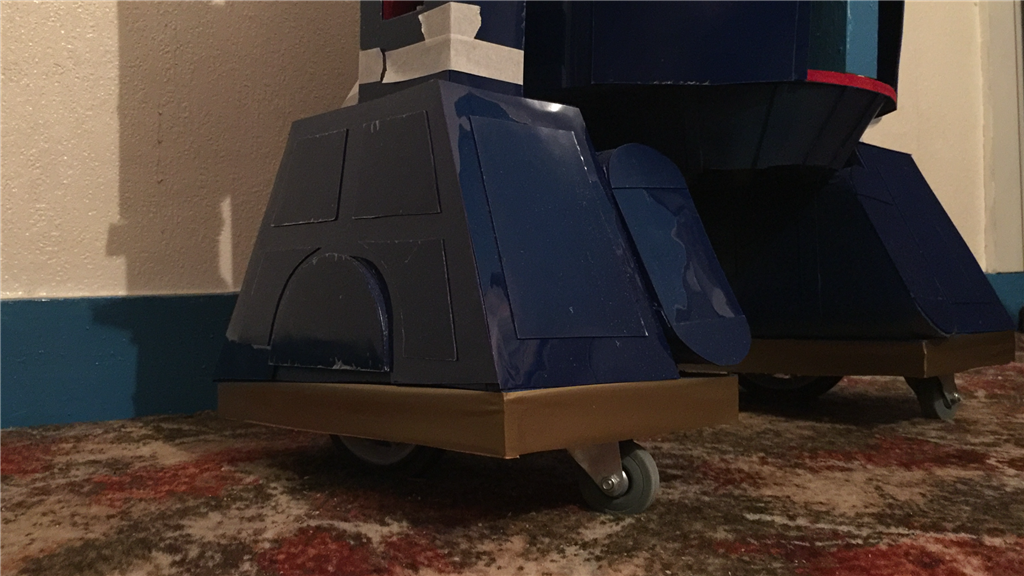
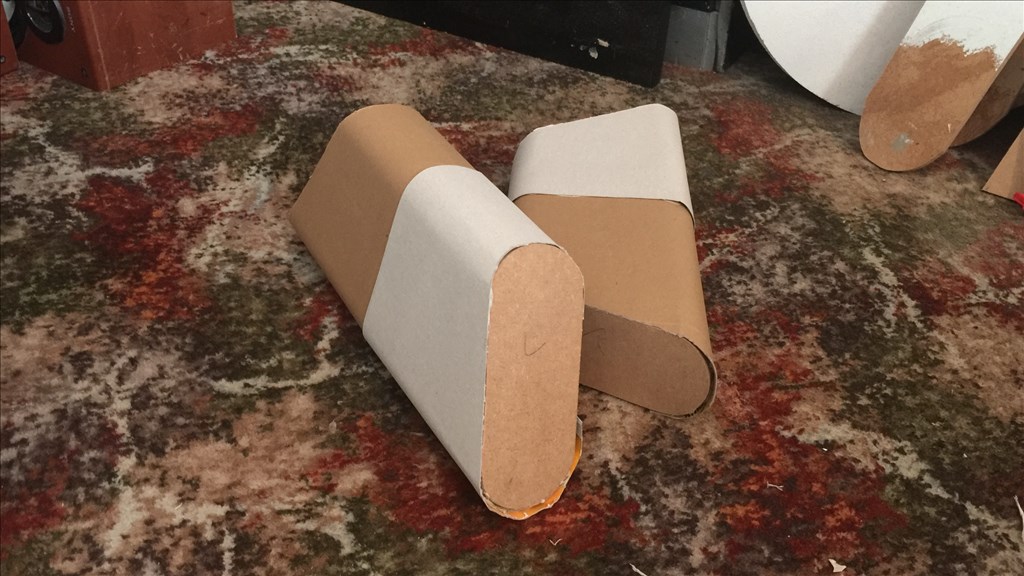
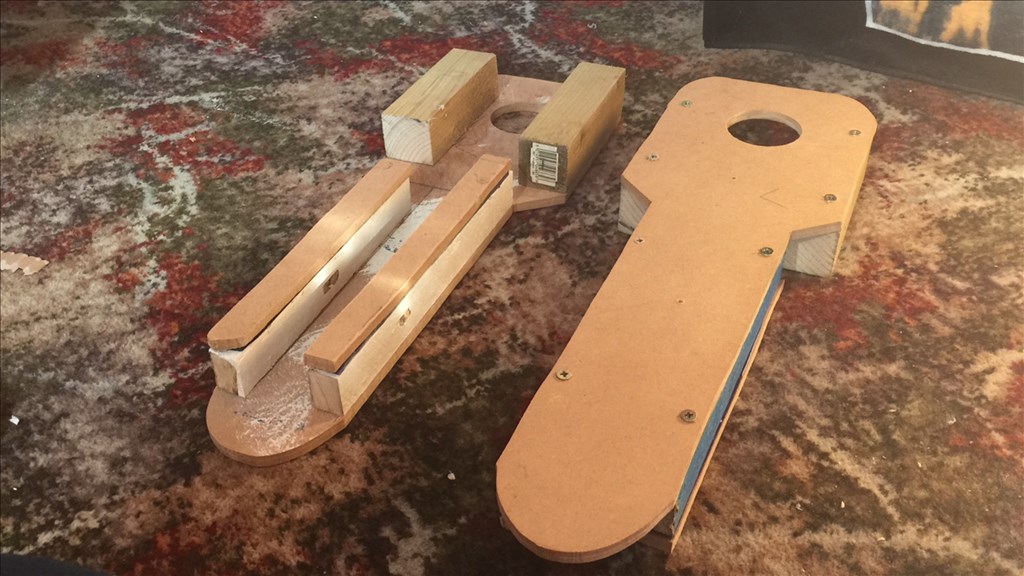
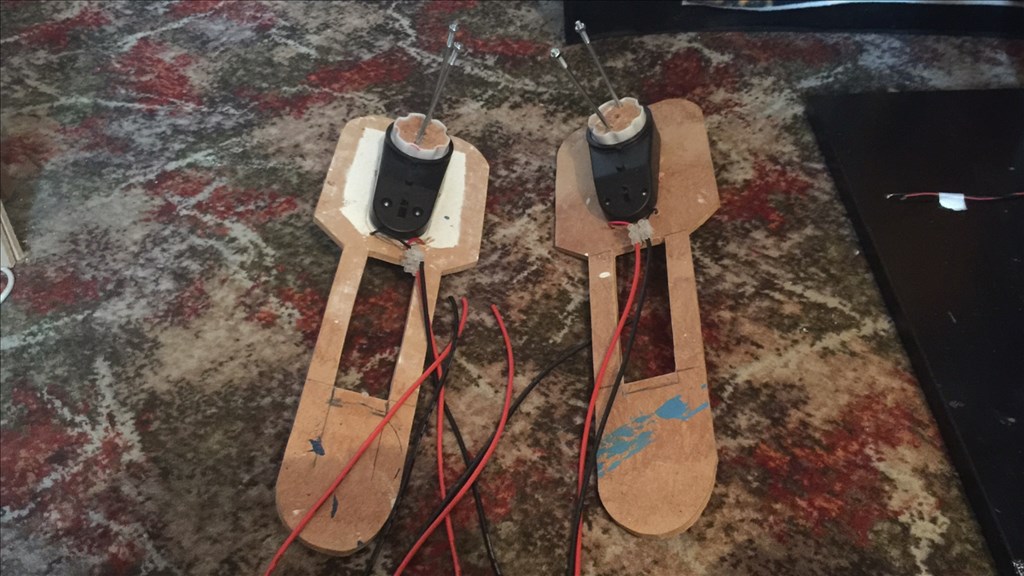
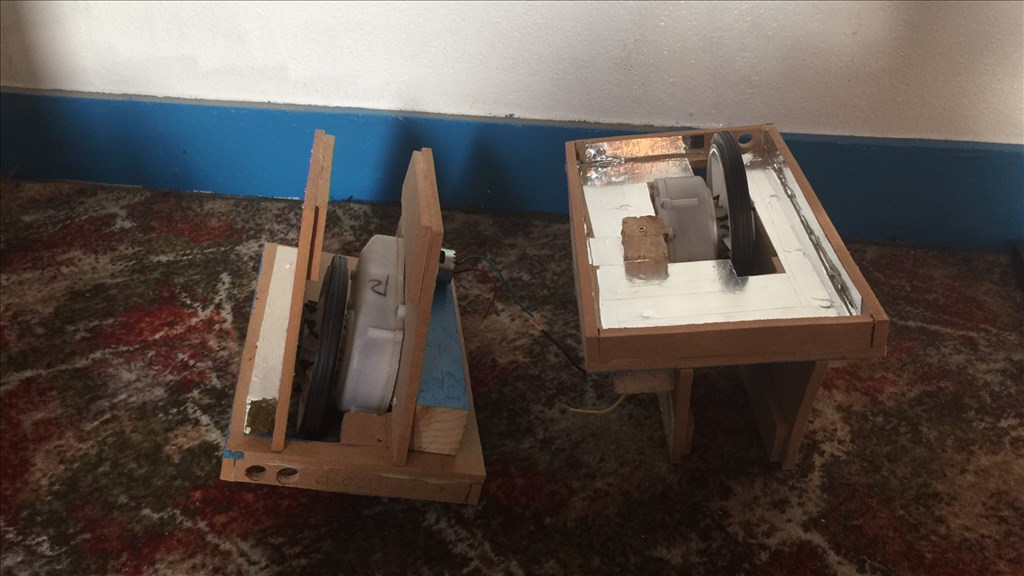
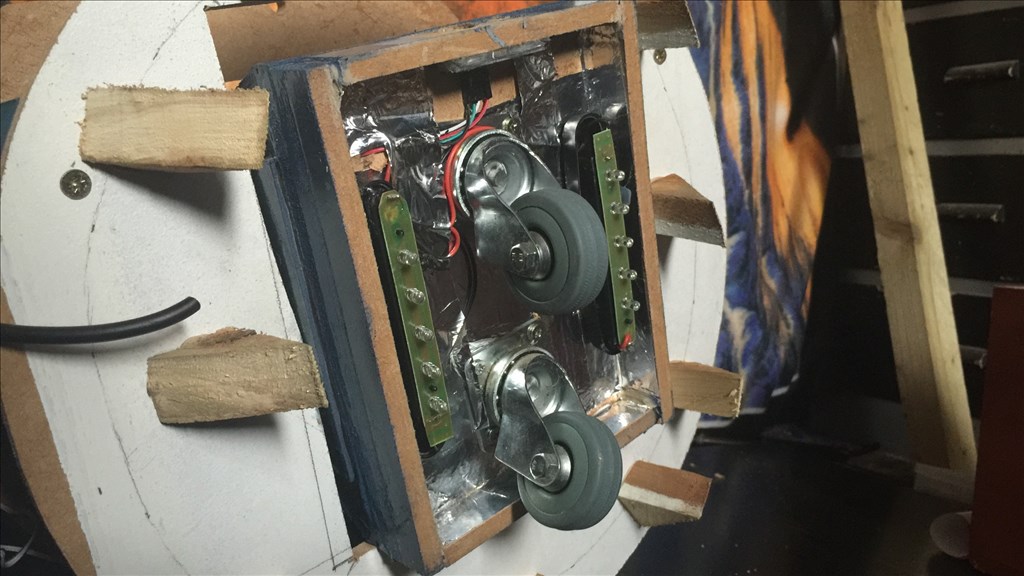
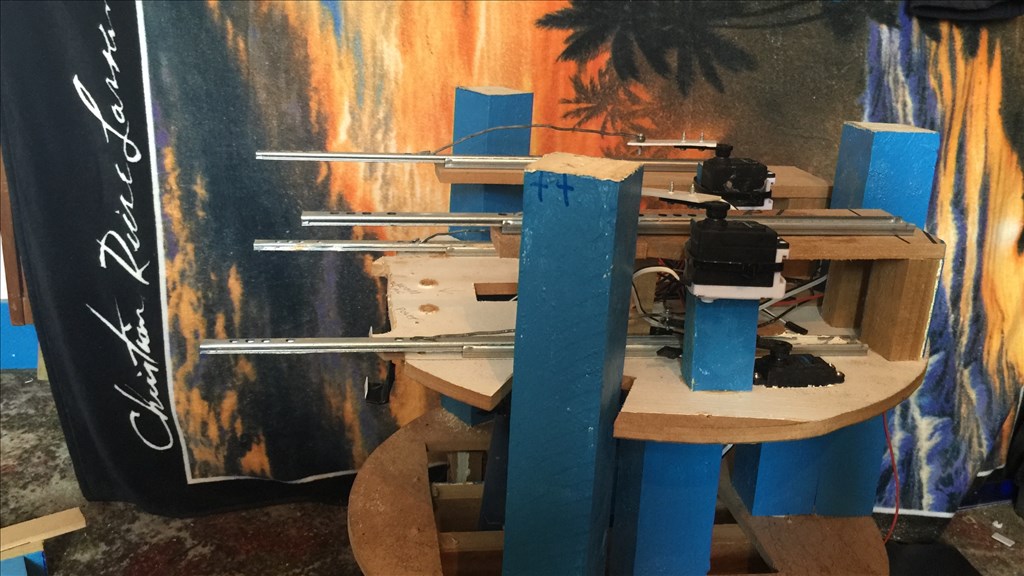
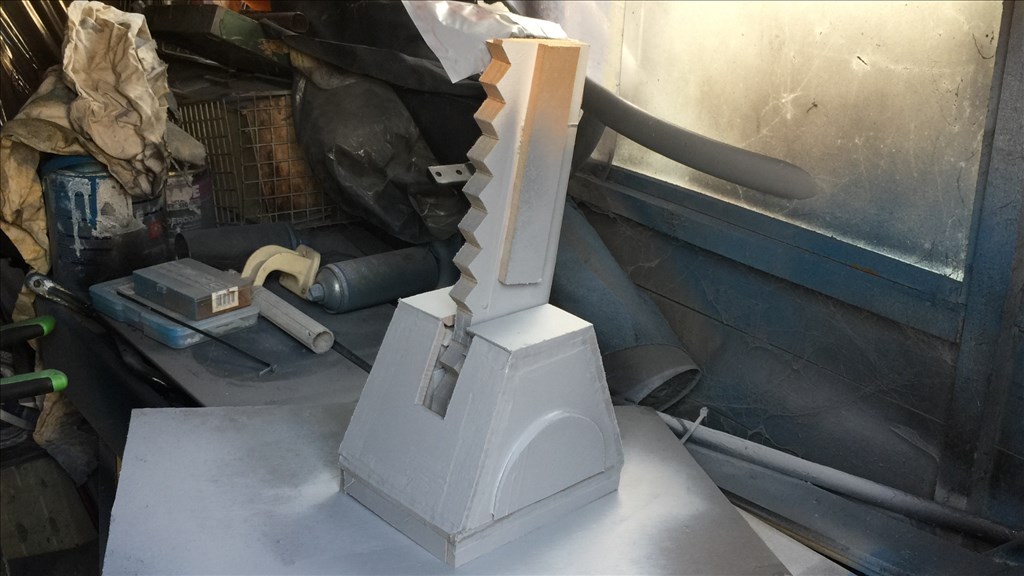
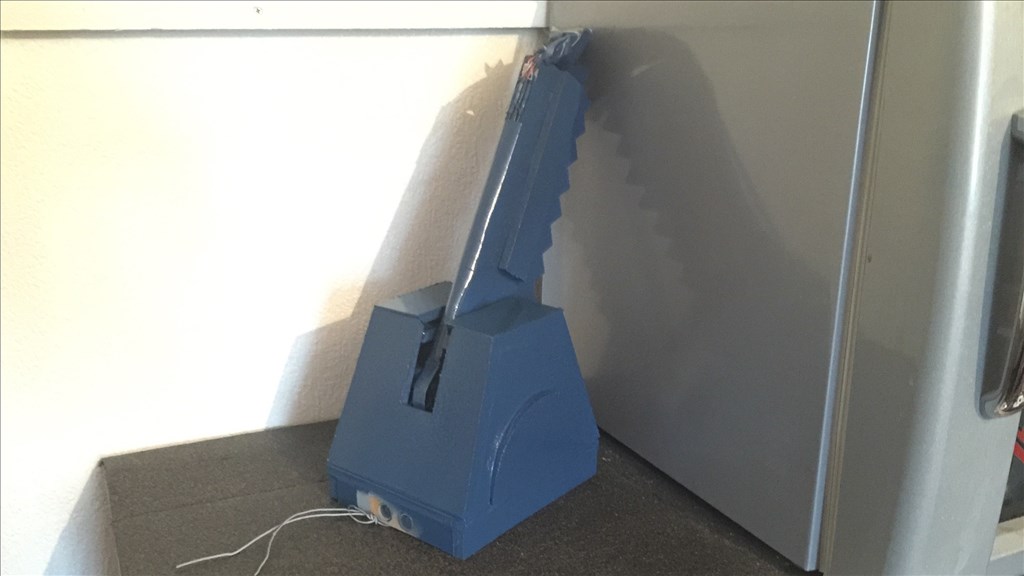
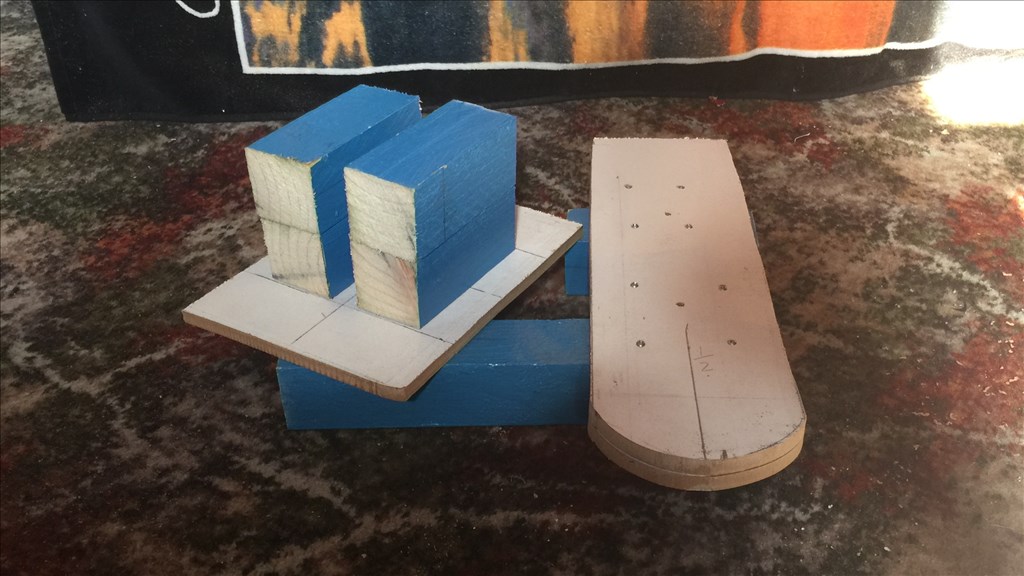
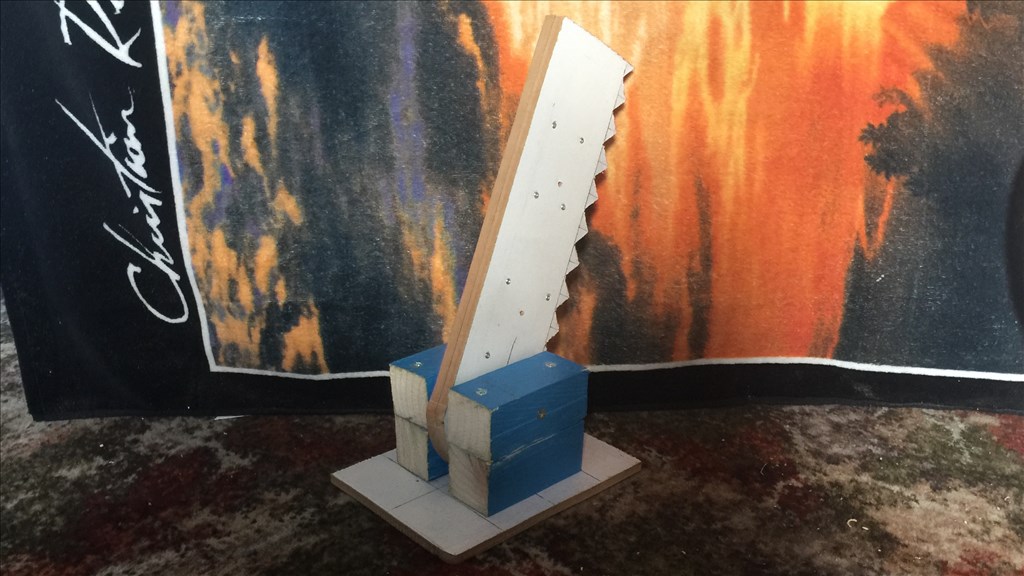
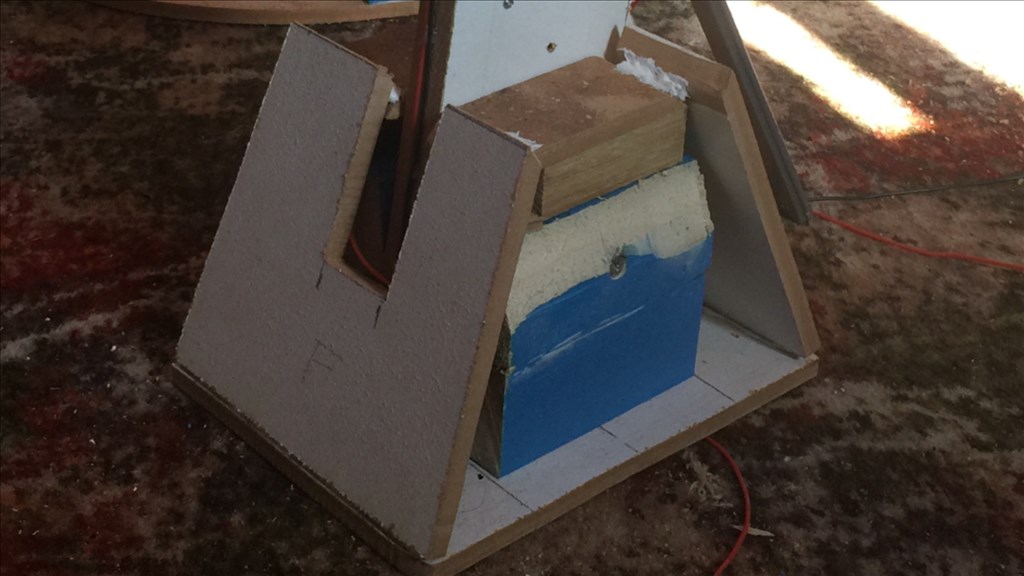
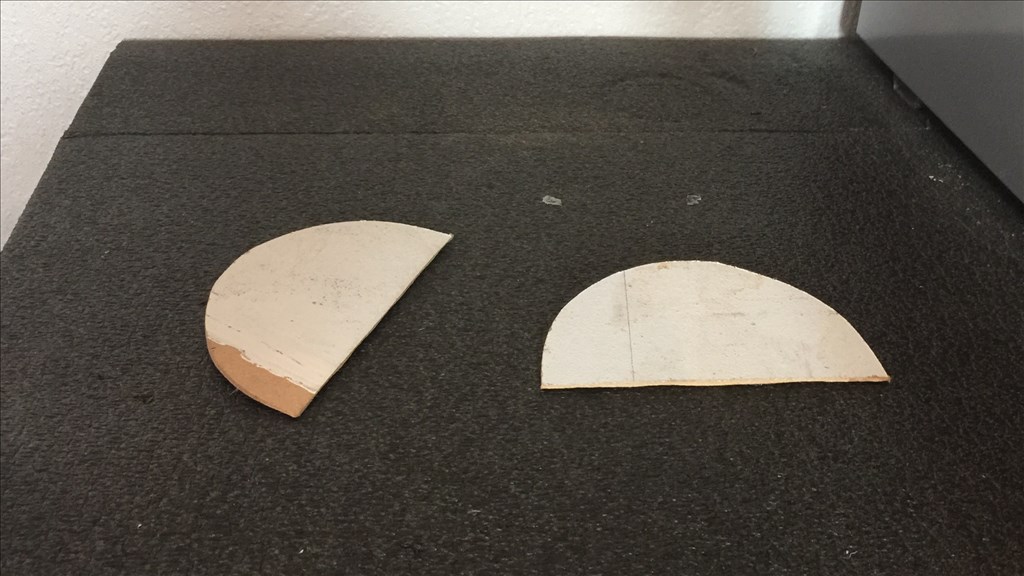
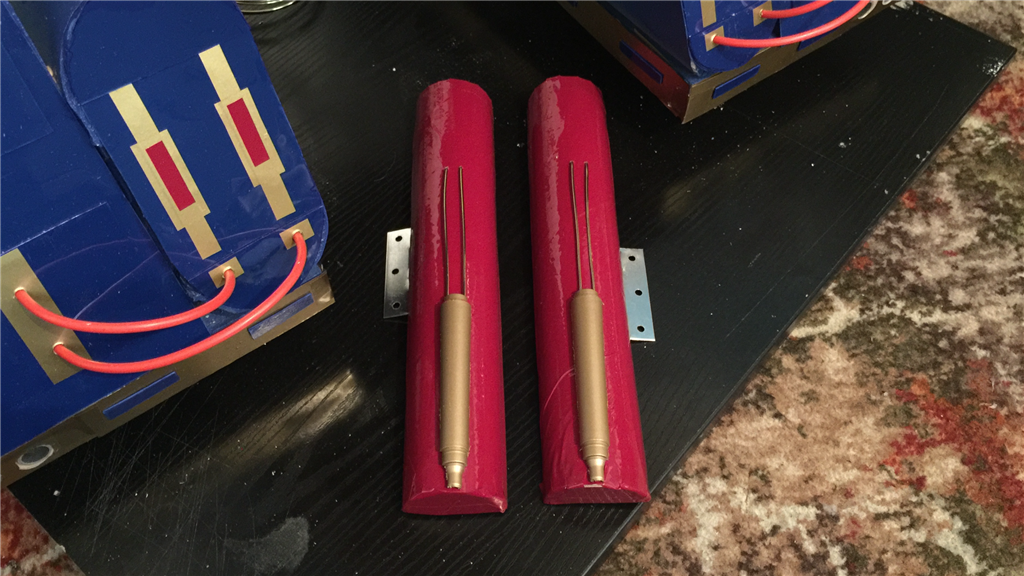
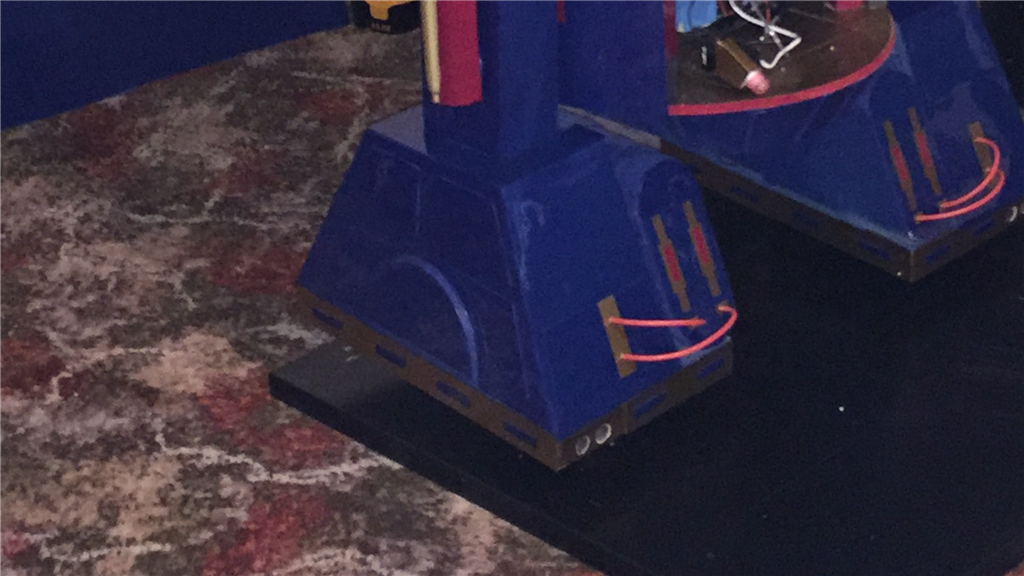
I cut the body supports so they were 11.5" long for the lower body, and 5.5" for the upper body. I then cut two MDF pieces for the centre leg and sandwiched them together and attached to ankle supports to the centre foot.
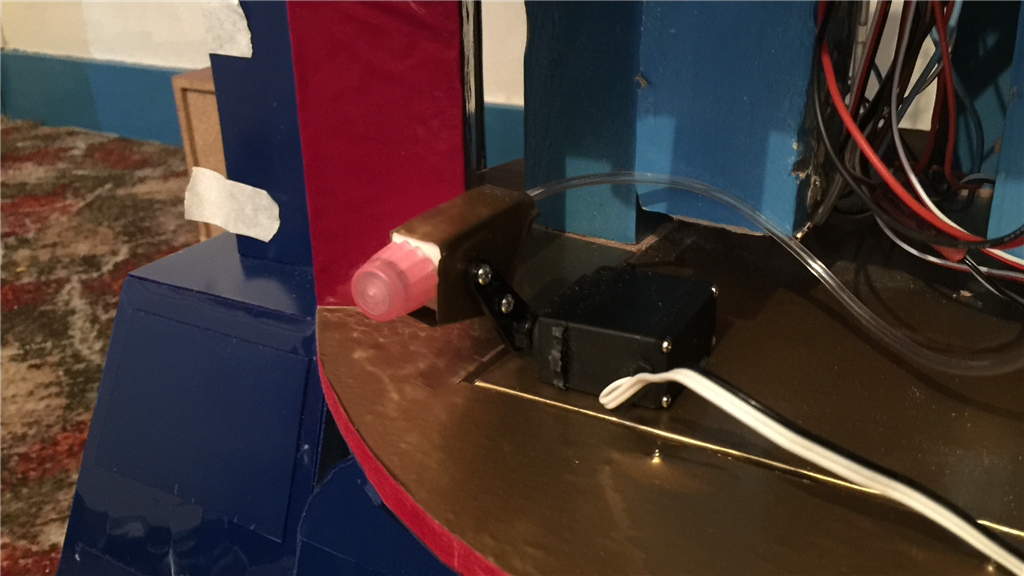
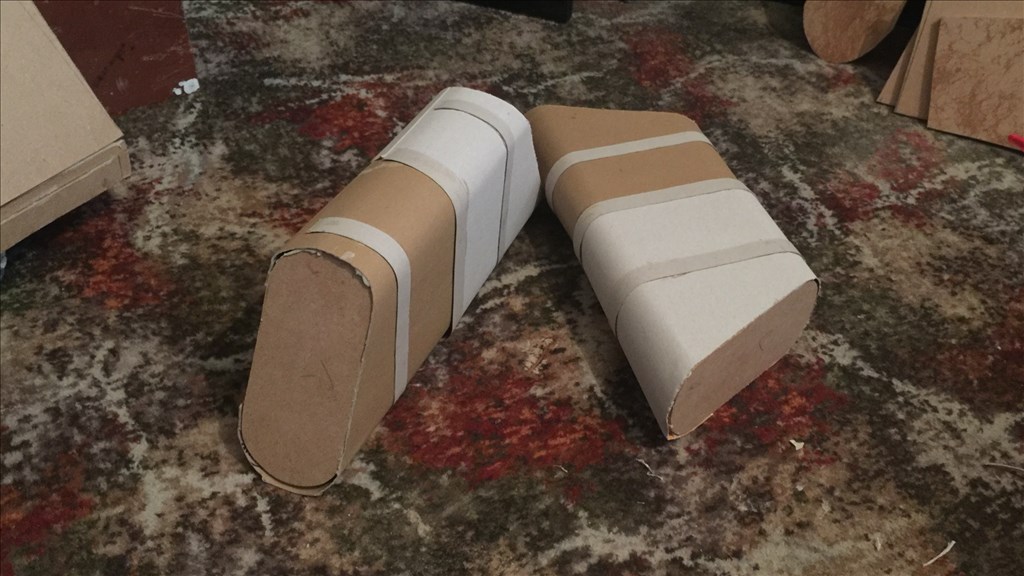
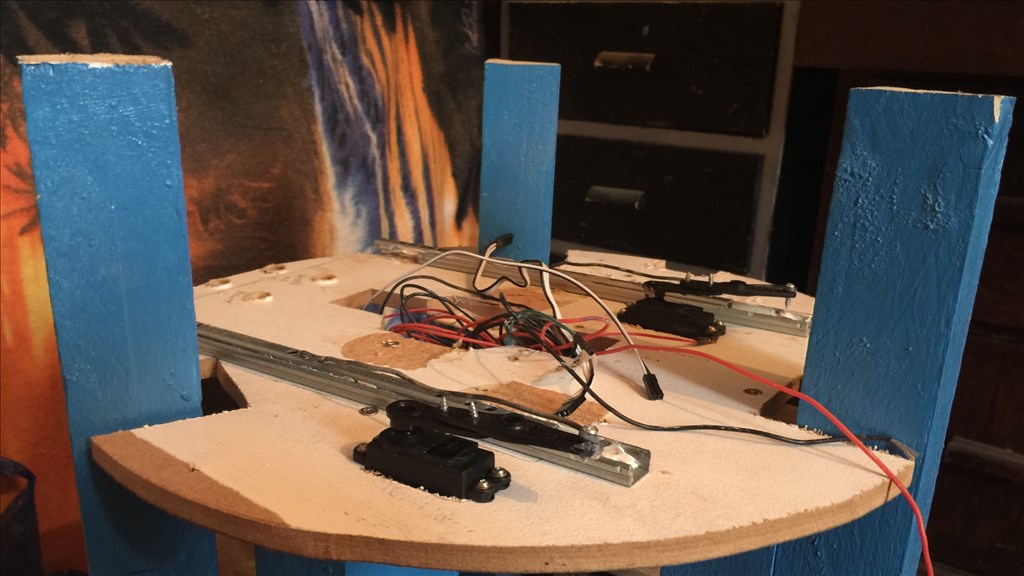
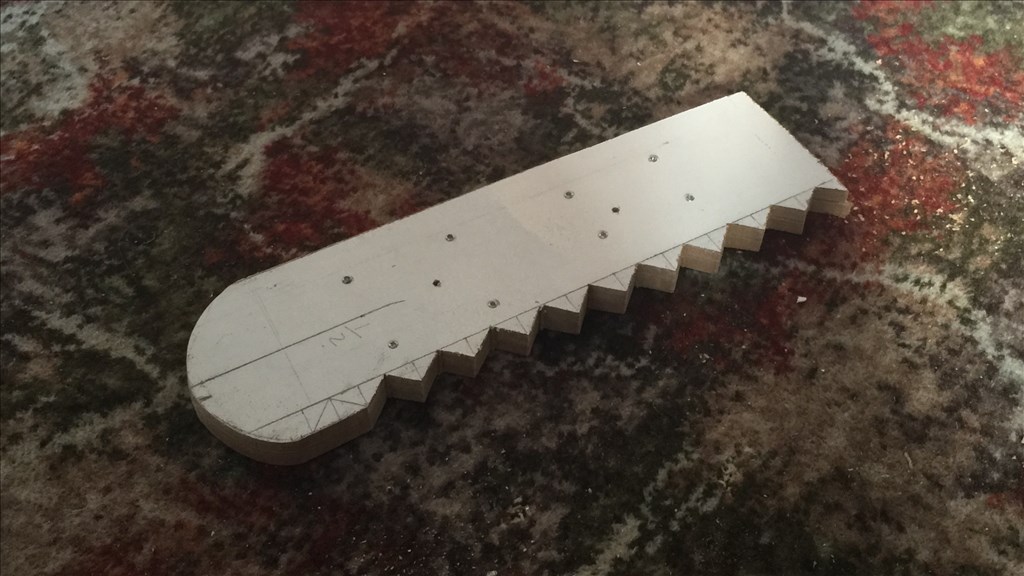
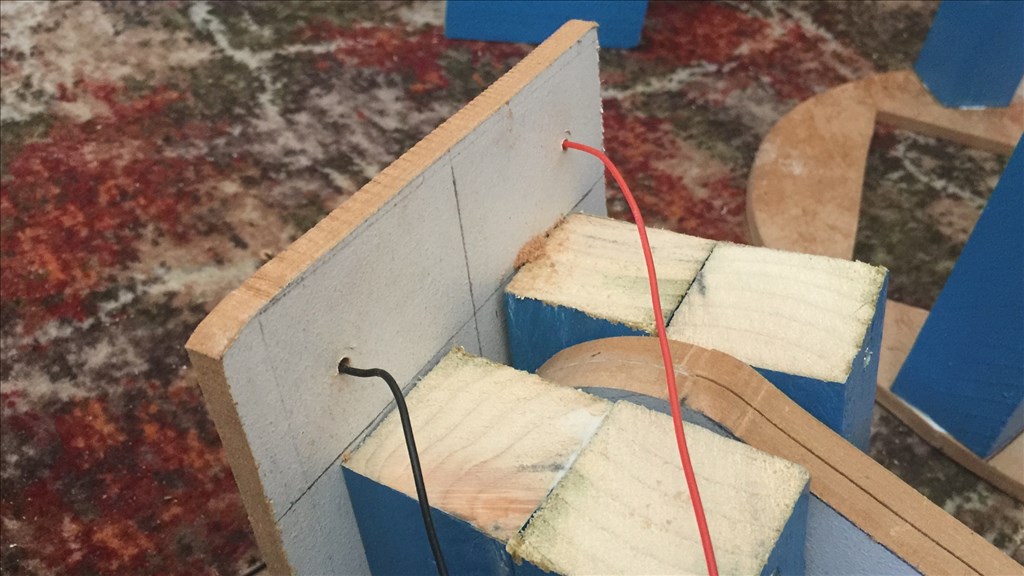
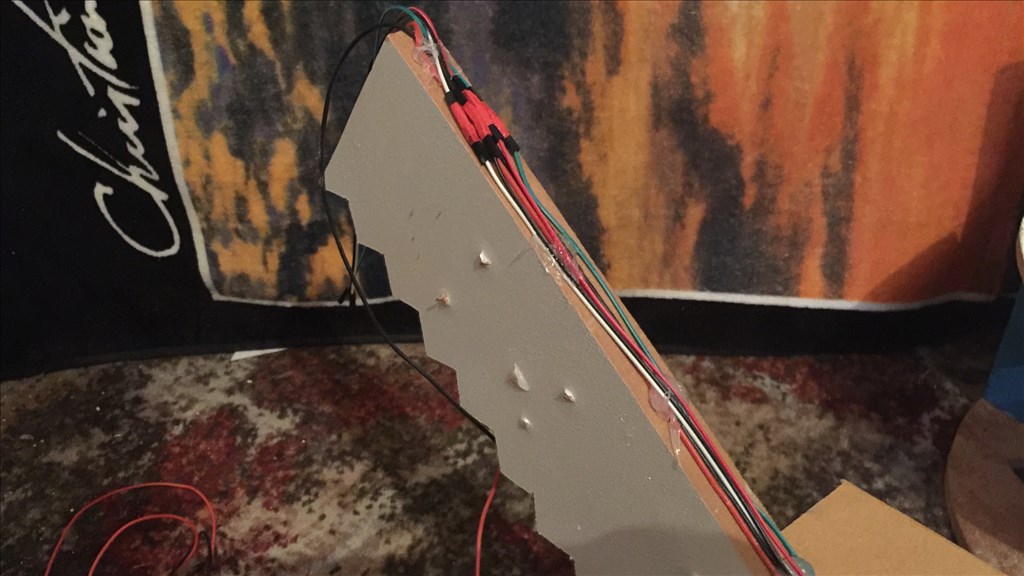
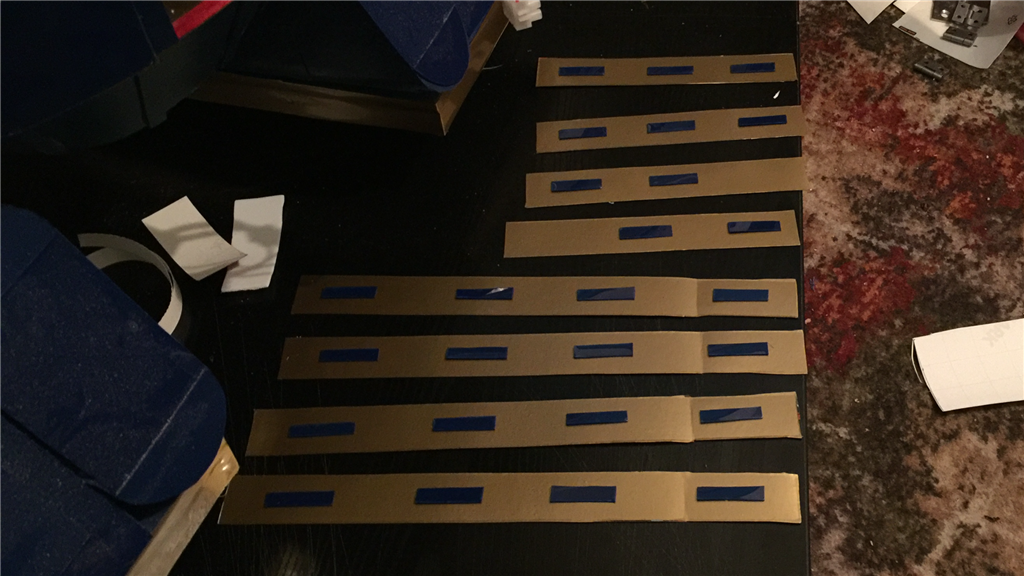
I marked out 1.5cm squares on one side of the leg for the gear mechanism to deploy and retract the foot/leg assembly.
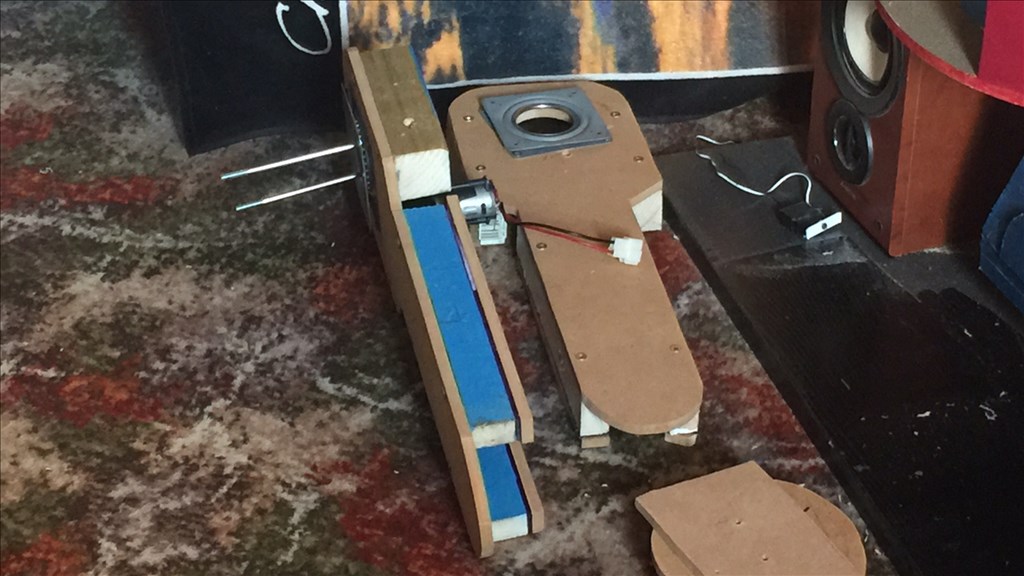
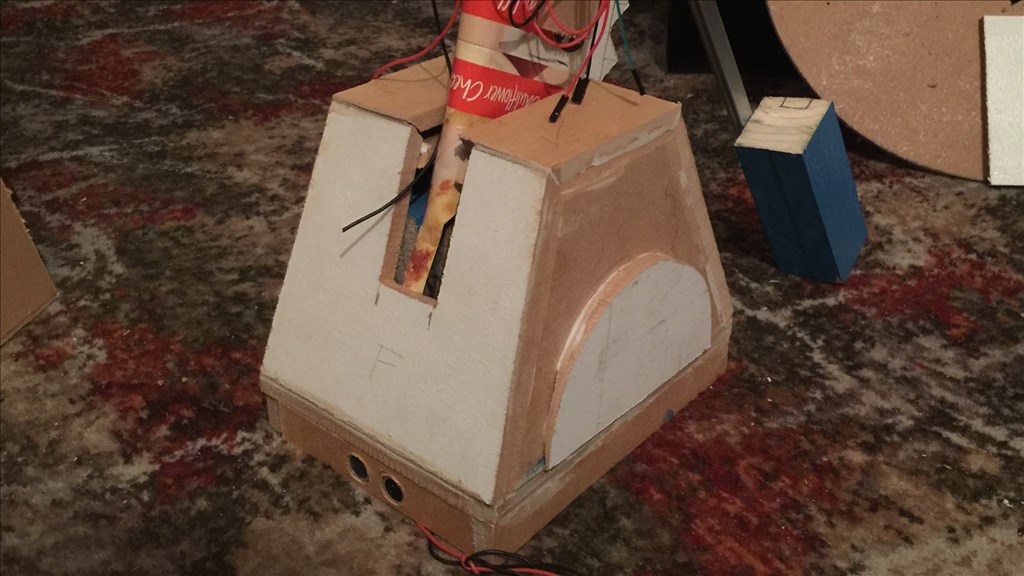
Finally I drilled holes in the ankle supports and lower leg for the ankle pivot and attached them together to check the foot balance.
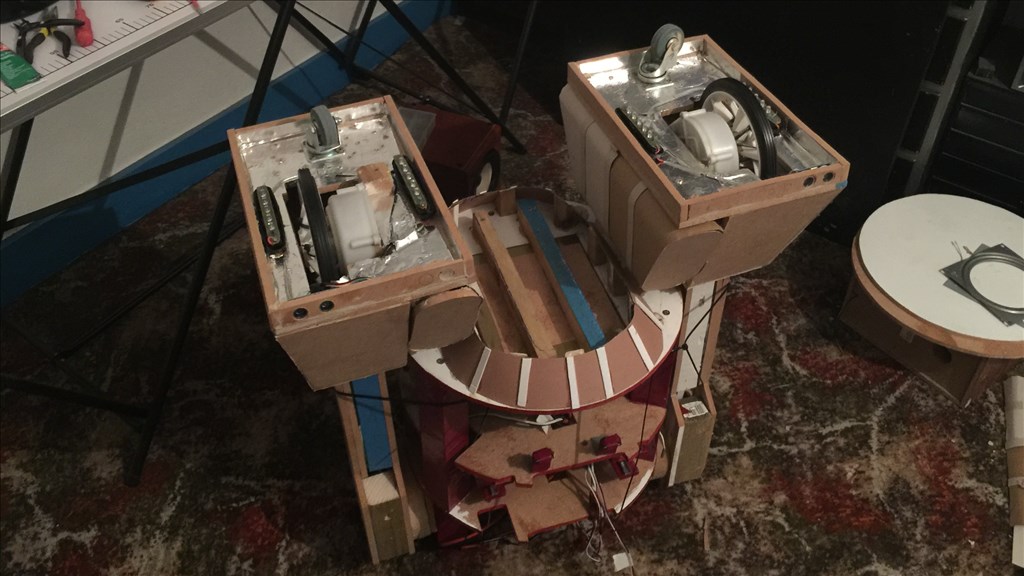
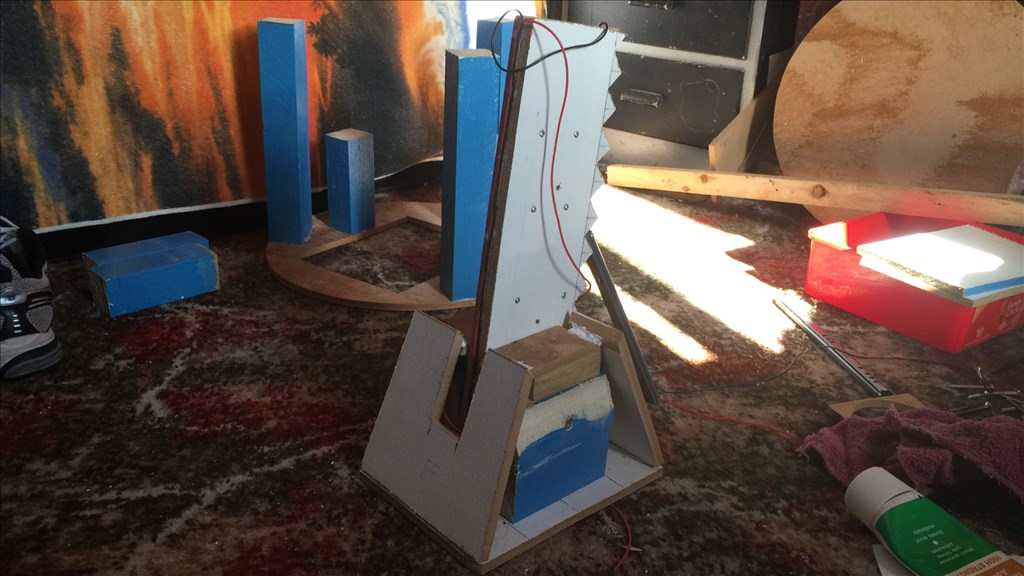
So that's where I'm at so far. The next steps will be to finish off the centre foot and leg, fit the motor and gear assembly to deploy and retract the foot, then start on the upper body section and outer legs.
So far, so good.
nice presentation.
@nomad.
Thanks buddy. I thought I'd try something a little different to what I have done before. Hopefully it will get better the further in to the build I go. Anyway, I hope you are keeping well.
i am.
wow youre making quick work of the frame and legs! keep it up looks great