This isn't a new robot but rather a remix of an old idea I had. It's based off of a robot that I built for a 555 timer design contest I entered years ago, I called it the Freedom555bot.
Fridgebot is a terrible name so I'm open to suggestions. I just named it that because I do most of my testing on the door of my fridge, lol. I've always liked the idea of a small robot that could cling to metal surfaces and I had it in mind when we were designing the IoTiny. I figured it would be the perfect solution to control such a small form factor robot. While mostly a novelty, I did have a few ideas on how this robot could be used practically:
- By adding a EZ-B camera the Fridgebot could climb up a lamp post and surveil urban environments from above, or take some nice pictures :)
- Place a brush on it and clean off magnetic white boards
- Clean ducting in your home
- Find an obstruction in a pipe
Materials I used to build the Fridgebot:
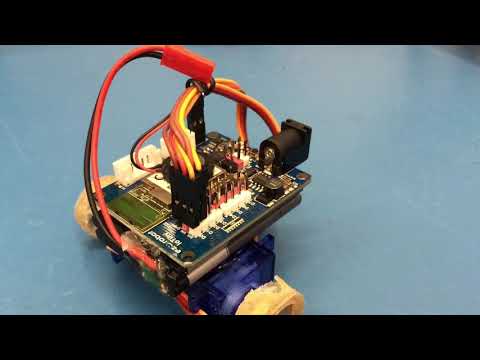
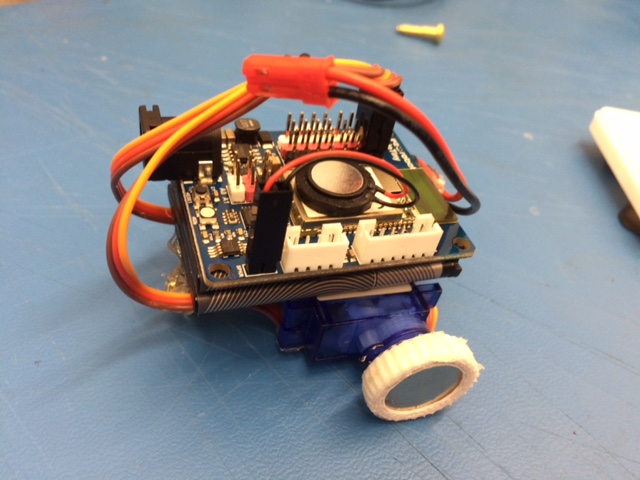
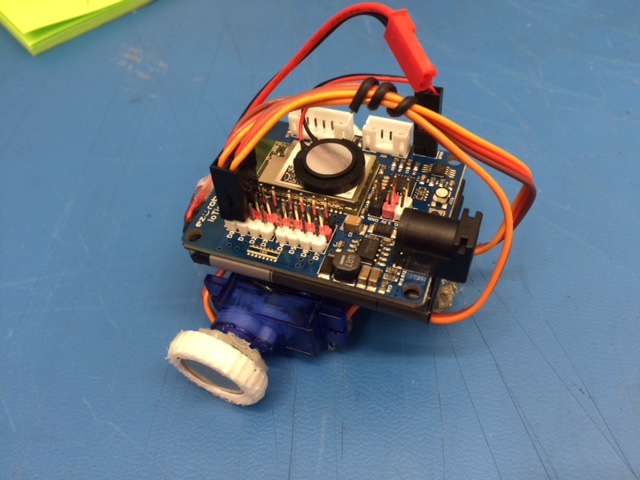
1 x IoTiny + Speaker 2 x 3.7V LiPo Cell phone batteries soldered in series (7.4V) 2 x 7.4V rated Feetech continuous rotation micro servos + servo horns 2 x 19mm Diameter Neodymium Magnets 1 x paper clip 1 x 8mm Diameter Neodymium Magnet as a caster Lots of Hot glue
Findings:
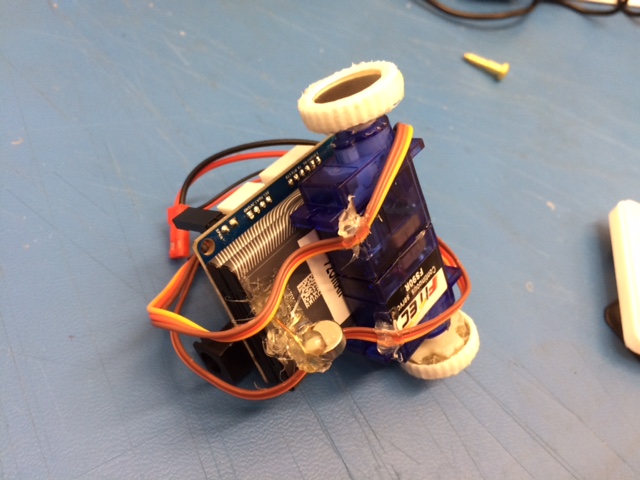
When traveling in a downward direction the magnet wheel cause the robot to tip all the way forward, which can cause it to fall off the ferrous surface it's traveling on, I found that using a magnetic caster kept the robot stuck to the surface at all times, no matter the direction
The magnet wheels need a thin grippy surface over them in order for the robot to climb upward on a ferrous surface. Otherwise the wheels just slip. The grippy surface also must not be too thick or the robot could lose magnetic adhesion
3D printing wheels with flexible filament works really well in terms of fit but unfortunately is too rigid to provide the grip needed. Making ridges in the wheel design doesn't work either. Spreading hot glue on the 3D printed wheels does work but it's difficult to spread evenly.The unevenness can cause the robot to suddenly lose magnetic adhesion
- When creating Hot glue wheels inside a 3D printed mold a 1mm opening isn't enough for the hot glue to push down into. A 2mm opening doesn't work so well either, it takes quite a bit of pressure to push hot glue into small openings
When using small elastics for grip on the magnets the elastics can twist off the wheels and they also get brittle over time (not a long term solution)
My next idea is to use 3D printed molds to cast some silicone wheels but I am open to other ideas
While making this remix design I did come across some new discoveries but it's definitely still a work in progress. I want to share it now so I could get some input from you guys/gals in the community. Thanks!
Other robots from Synthiam community
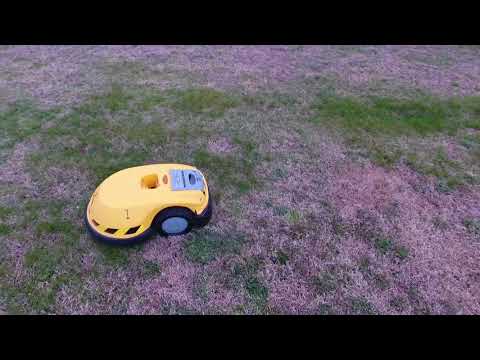
Mstephens's Drone Tracking Fun
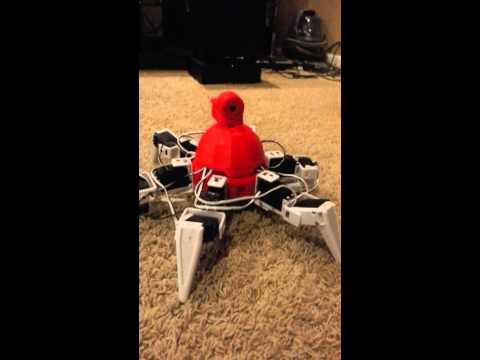
Morbeious's My Printer Revolution Six

Super cool, jer! Have a video of the IOTiny version? Incase we use it in a news letter, we’d need to see it working with ezrobot hardware.
Haha robots driving on walls - now that’s cool!
@DJ Once I have a good solution for the wheel grip, and possibly a new name, I'll definitely share a video ;)
Right now, it just kinda works.
Ha nice! This is exciting stuff - when ezrobot defies gravity!
maybe crawlerbot ?
That’s awsome!
"Spiderbot, Spiderbot...Does whatever a Spiderbot does...."
How about tires from a small R/C or HotWheels car? A lot of toy cars have rubber "tires" with an internal groove that holds them to the plastic hub. You could sand them down thinner if need be.
Cool bot! When (s)he was skittering on the door to the edge, I was reminded of a Palmetto bug :P
Magneto! I love it Jeremie!
Great name suggestions guys! Keep em’ coming, I’m really feeling like it should be something related to Anti-gravity. This robot will theoretically be able to drive upside down.
Any Star Trek Disco (Discovery) fans out there?....you could name the little guy "Spore Drive" or "Tardigrade"...or "Disco" :D
@JustinRatliff I like Tardigrade, as this robot is both small and insect-like :)
Update:
Well my first attempt at silicone tires didn't work out so well. I got impatient and removed the tire from the mold at 15 hrs (package says that it cures in 16 hrs). Looks like it's gonna take 24hrs or more because the silicone wasn't cured enough and I ripped the tire in half. Whoops!
Has anybody tried using magnets themselves as wheels. I know you could source magnets that have a hole in the middle. Maybe attaching similar sized wheels with thread to the side of each magnet wheel.
Hi @rb550f
Yep! That's exactly what this robot is doing Except you do need a grippy layer over the magnet or the magnets will just spin in place.
I've researched magnets with holes in the center in the past but I couldn't find the perfect one for my application. I should look again as maybe some good progress has been made since then.
Let me know if you need any help sourcing silicones.. I know alot about them There are silicones that cure in just a few minutes and can be demolded shortly there after.
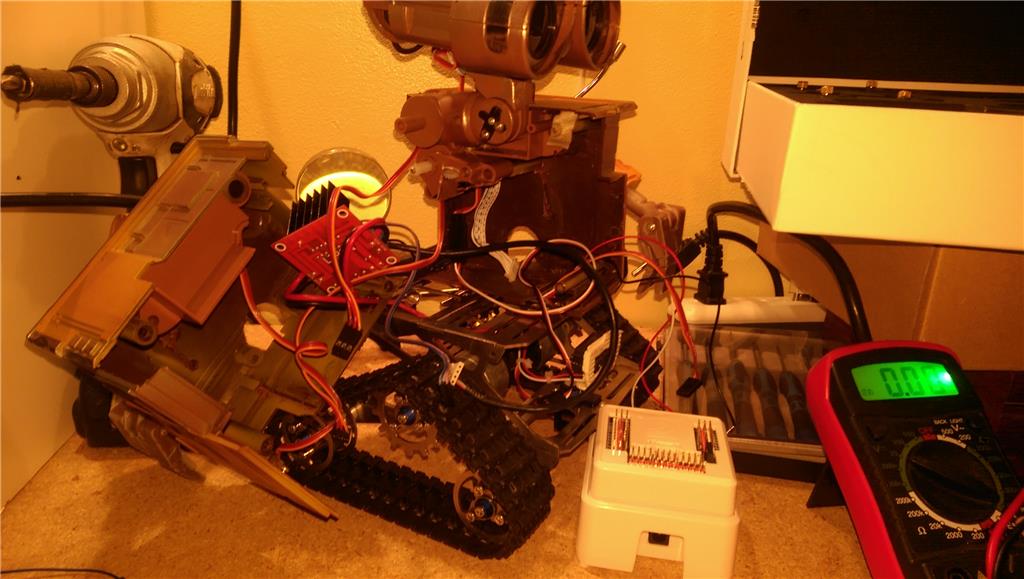
Some of my Lost in Space Robot parts....silicone..
There are silicones that cure in just a few minutes and can be demolded shortly there after.
Some of my Lost in Space Robot parts....silicone..
Will, I’ll take any advice you can give me! I’m a newb when it comes to casting. I need a silicone that can dry fast but is strong (flexible) and soft.
How about magnetic tape used a wheel tread with small grooves for traction.
OK I'll gather some options for you and post tomorrow!
@rb550f I like the tape idea! I just need to find a tape that is rubbery on one side and sticky on the other. I found that a grooved surface only works if the material is pretty grippy. I tried flexible filament with grooves but the wheels still slipped.
@fxrtst I look forward to your reply!
OK i did some digging and I think the best silicone for your use is called Mold Star 20T. Made by Smoothon. Its easy to use. and you can get it from BC. Its a bit pricey and may be outta budget for this project, but the trial kit has a total of 2 pints, so you could do alot of other projects. Its about $50 for the 2 pint kit. It sets in 30 min and demold in a few hours. Its translucent.
http://www.fibertek.ca/smoothon_plat_cure_silicone.htm
Excellent! Thanks for the info Will!
You bet!
Alright guys! I still haven't decided on a name....it's so difficult! Once I have a name I can release the quick video I made. Can the robot can traverse inverted ferrous surfaces....we'll see :D
Let's have some fun and put it to a vote! Here are the name suggestions:
Spiderbot Antbot Magnant Crawlerbot Magneto Spore Drive Tardigrade Dinglebot Magnetic space beetle Ferrodrive Magnedrive Mangnebit Ferrotron Ferrobug Magnebug Mangnetron Gravitydrive EvelKnweevil Magnegrip Clutch Adhereance Wallcrawler Scaler Explorebug Adventurebug
If you're bold, suggest a new name! :)
I want to have a name for this robot by lunch time tomorrow!
MAGNETRON
MAGNETRON 3000! But no I like Magneto. Looking forward for that video!
So hard to choose! I like AdventureBug or MagneDrive. I think the capitals are crucial. :P
:P
MagnoBot or MagBot or Magn'Bot. looking forward to the video too!
Matrixbot :D
Gripper
Magnedrive
hmm, these are some great names. I like the ones that reference the magnetic qualities. How about "Ferrous Wheels"
OOOooooo...at first glance I didn't think there was a single name with 2 votes yet, but upon further review there is!
MagneDrive is in the lead!
Thanks to you all for your votes and name suggestions!
Anyone else care to add their vote before the 12pm MDT cut off?
O common, no ones voting for dinglebot? :P
MagnoBot gets my (real) vote - good suggestion @3dPrinterGuy
This is getting exciting! Well.....for me...at least :D
With 30 mins left the names:
Magnobot Magnedrive
Are tied with 2 votes each!
Probably too late to submit but I thought of another name:
Magnegrav
:D
My vote is for Magnedrive!
Thanks Dylan! You put the vote in favour of:
MagneDrive
I put the capital back in there for Professor E :)
Thanks for your help co-workers and community!
Video coming shortly!
@DylanB "Ferrous Wheels" is an amazing suggestion.
@Jeremie Definitely need that capital. :P
I like Magnedrive. Lionel Trains used magnetic wheels and axles, and called it Magnetraction.
It gets better - I filmed Jeremie with MagneDrive in action!
I Love dinglebot. Too late? :(
I like GECCO but maybe I am also to late. Geccos walk walls
Thanks for your suggestions guys!
Sorry but the community has spoken and the name with the highest votes was MagneDrive :)
@Dave, DJ will be proud that you picked that name! lol
@Nallycat, Yeah I thought something relating to geckos would be fitting too.
@Jeremie, I love MagneDrive!
It's a Magn-ificent robot! With a Magne-tic personality! :)
Thanks Justin! Lol
Whoops! I forgot to update you guys on the Wheels. As it turns out I was able to create some silicone tires with some mold making silicone my wife had left over. I would have purchased the silicone Will had suggested but I couldn't justify the cost for only 2 tires.
I learned a few things while making these tires that I wanted to share:
3D printed molds work! There just has to be enough room for the silicone to flow into. I chose a 2mm gap for the smallest dimension. 1mm gap was terrible and the silicone just ripped apart trying to get it out.
Wait longer than suggested for the silicone to cure. The longer I waited the better. I waited 24 hours to remove the tires from the mold, the silicone felt much stronger (better bond) than I'd felt before.
Mold release is probably a good idea I forgot to spray mold release before I put the silicone in. While I was still able to remove the wheels, it would have been much easier with mold release.
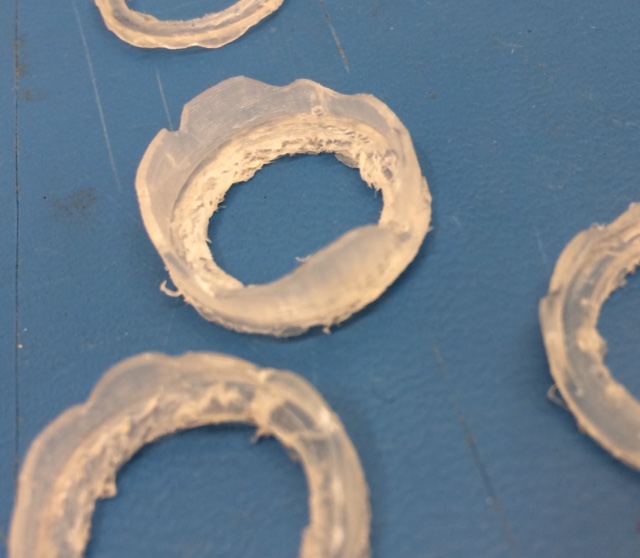
In order for the silicone to settle evenly into the mold you need to use vibration to get the air bubbles out. Heat works to remove some bubbles but not all of them. Next time I will have to make a vibration bed for this or do a lot of tapping with a screwdriver lol.
The silicone can set up pretty fast (5 mins) so you need to move quickly to get all the tires poured and settled.
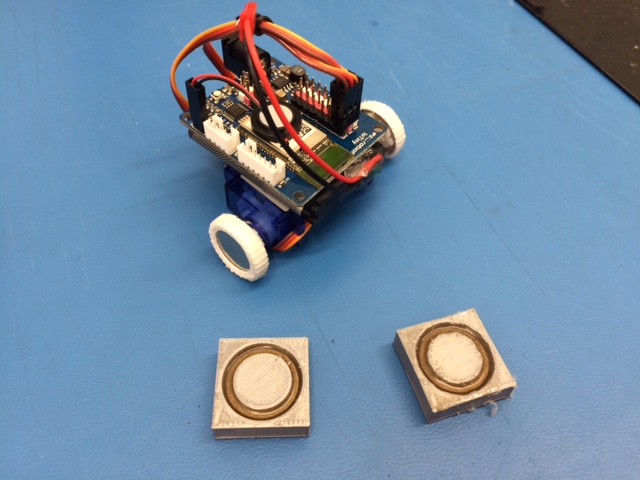
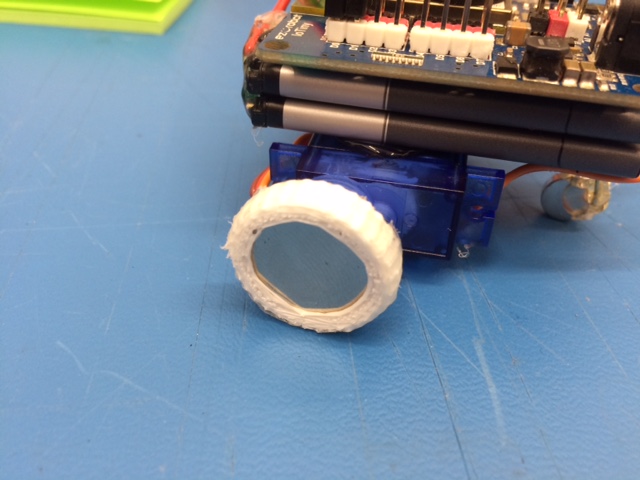
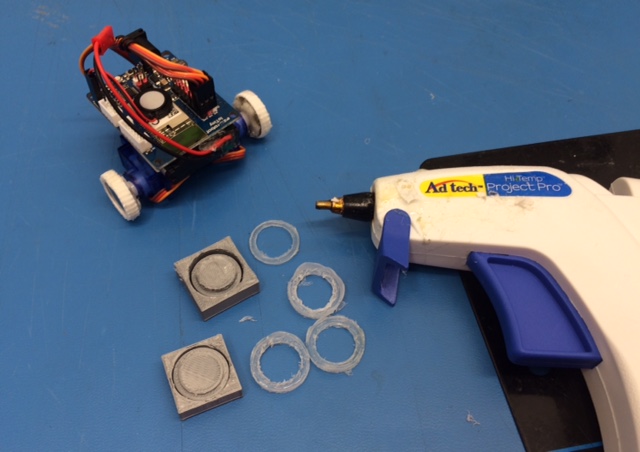
Even with the soft silicone of the tire, the magnet is smooth enough to slip inside the tire. I ended up super gluing the tires to the magnets.
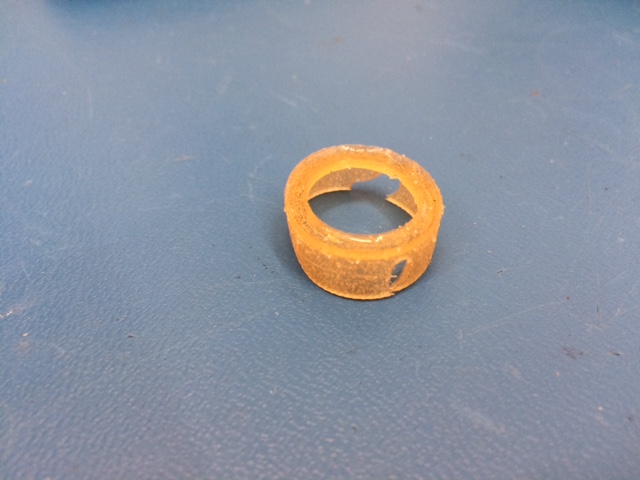
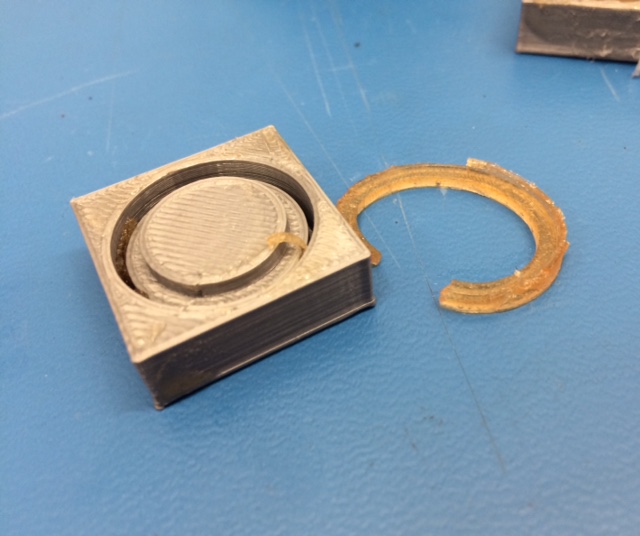
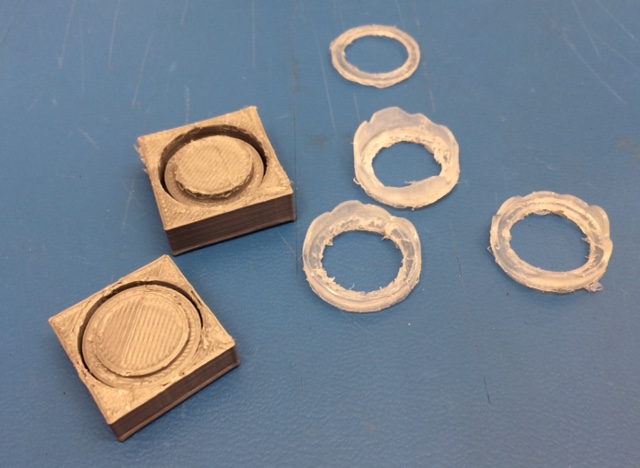
Here's a picture of the tire with bubbles still in the mold:
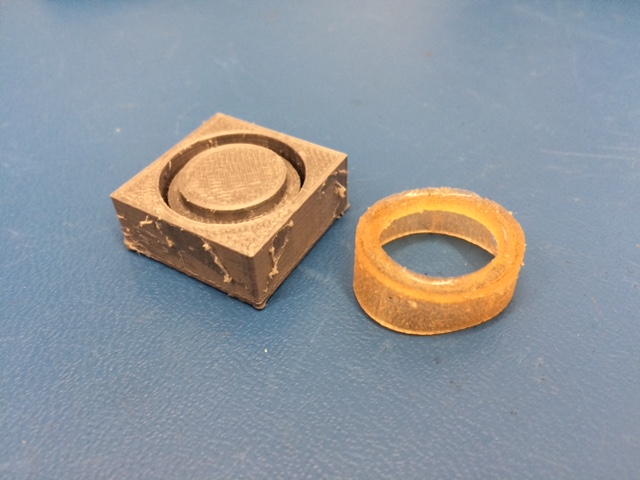
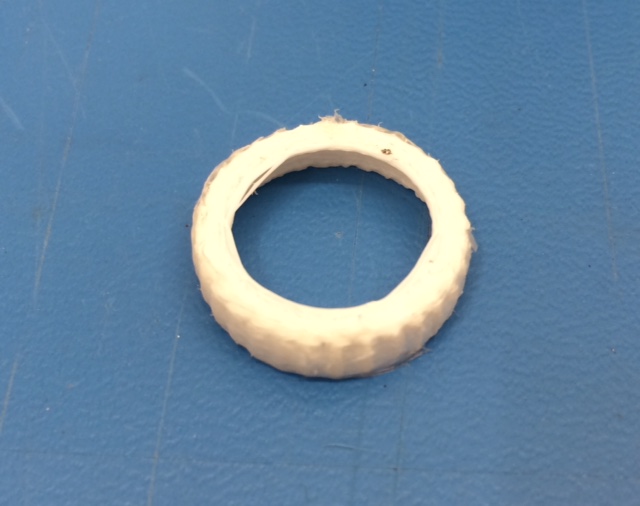
Picture of a tire next to the 3D printed mold:
Not only are you a Robot genius, you're a freaking mad scientist. eek
Lol, Thanks Dave!
I'm just a maker and life long learner like the rest of you guys. The only difference is that I work with @DJ Working closely with @DJ has pushed me to levels I never thought I'd reach. It has allowed to reach my personal goals and even dreams I've always had at an accelerated rate. @DJ has also given me countless new opportunities that have allowed me to grow and advance. If you think he is inspirational with his online presence try working next to the guy! :P
Awe now that’s an endorsement thanks jer
Thank you @DJ Thank you! :D