
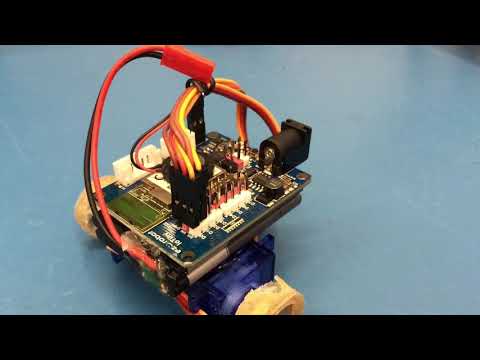
This isn't a new robot but rather a remix of an old idea I had. It's based off of a robot that I built for a 555 timer design contest I entered years ago, I called it the Freedom555bot.
Fridgebot is a terrible name so I'm open to suggestions. I just named it that because I do most of my testing on the door of my fridge, lol. I've always liked the idea of a small robot that could cling to metal surfaces and I had it in mind when we were designing the IoTiny. I figured it would be the perfect solution to control such a small form factor robot. While mostly a novelty, I did have a few ideas on how this robot could be used practically:
- By adding a EZ-B camera the Fridgebot could climb up a lamp post and surveil urban environments from above, or take some nice pictures

- Place a brush on it and clean off magnetic white boards
- Clean ducting in your home
- Find an obstruction in a pipe
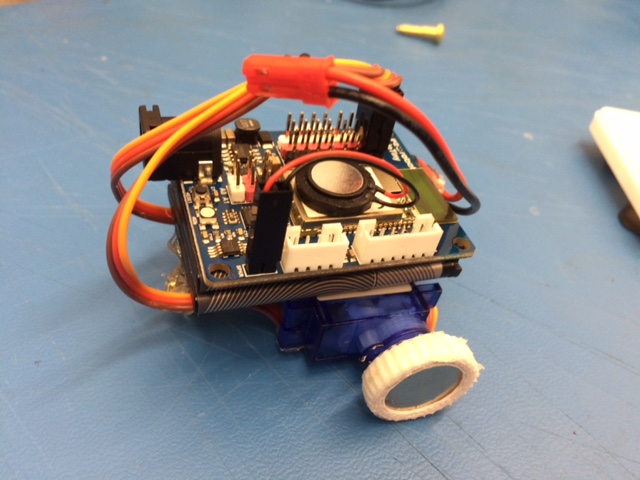
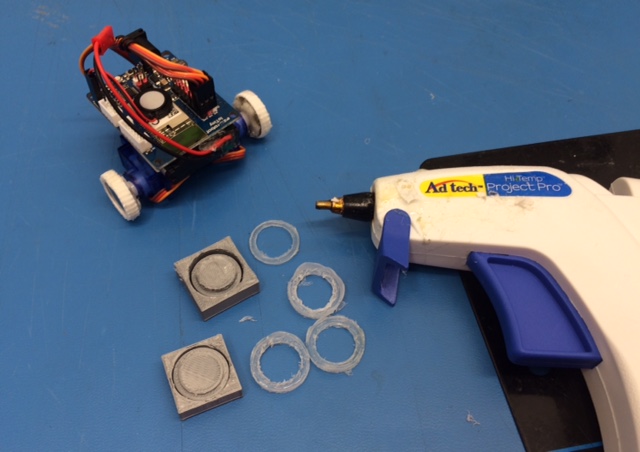
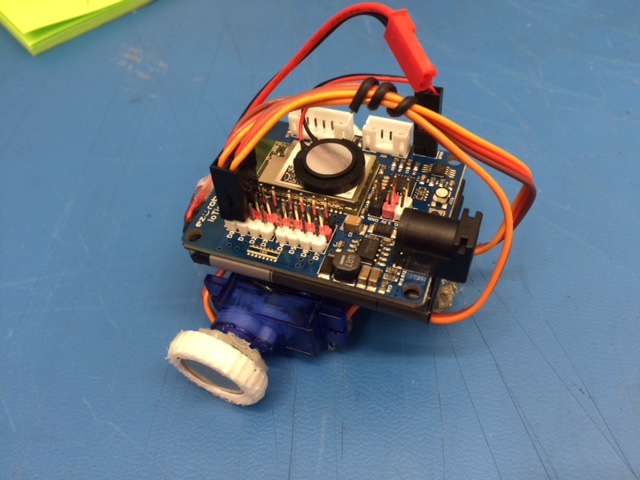
Materials I used to build the Fridgebot:
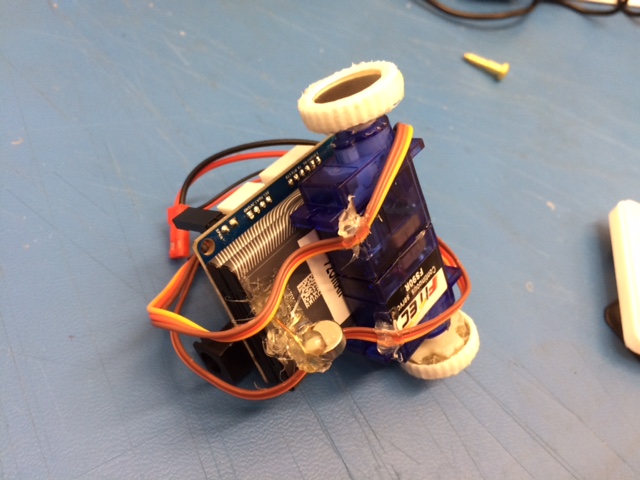
1 x IoTiny + Speaker 2 x 3.7V LiPo Cell phone batteries soldered in series (7.4V) 2 x 7.4V rated Feetech continuous rotation micro servos + servo horns 2 x 19mm Diameter Neodymium Magnets 1 x paper clip 1 x 8mm Diameter Neodymium Magnet as a caster Lots of Hot glue
Findings:
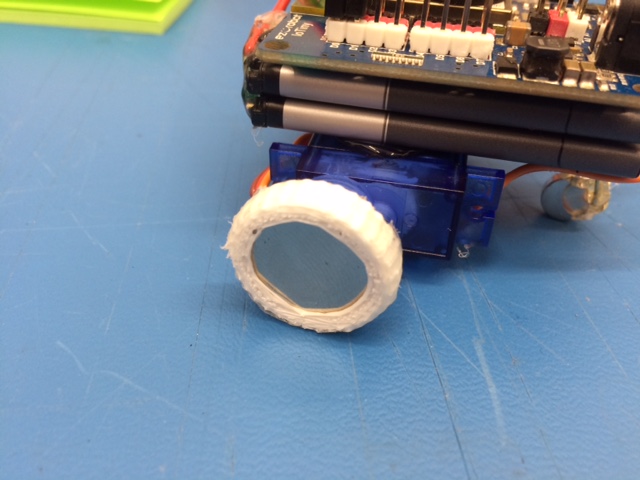
When traveling in a downward direction the magnet wheel cause the robot to tip all the way forward, which can cause it to fall off the ferrous surface it's traveling on, I found that using a magnetic caster kept the robot stuck to the surface at all times, no matter the direction
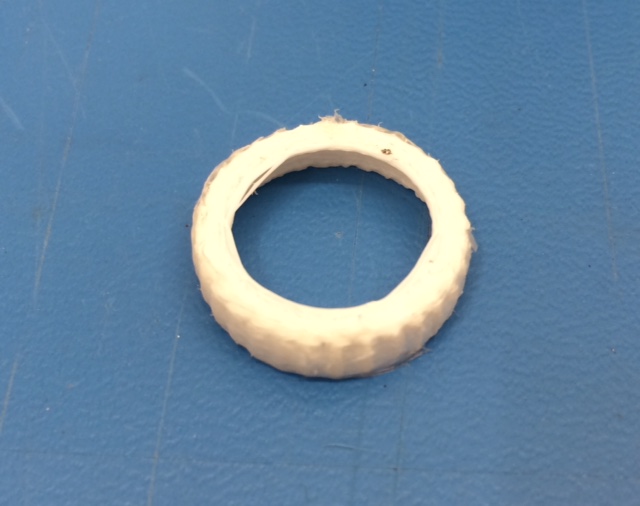
The magnet wheels need a thin grippy surface over them in order for the robot to climb upward on a ferrous surface. Otherwise the wheels just slip. The grippy surface also must not be too thick or the robot could lose magnetic adhesion
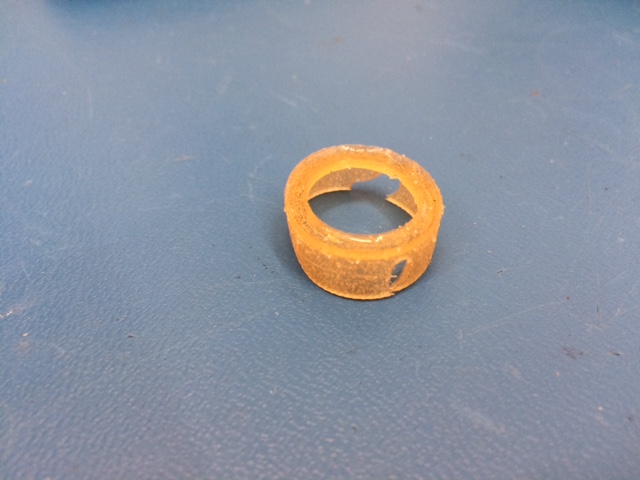
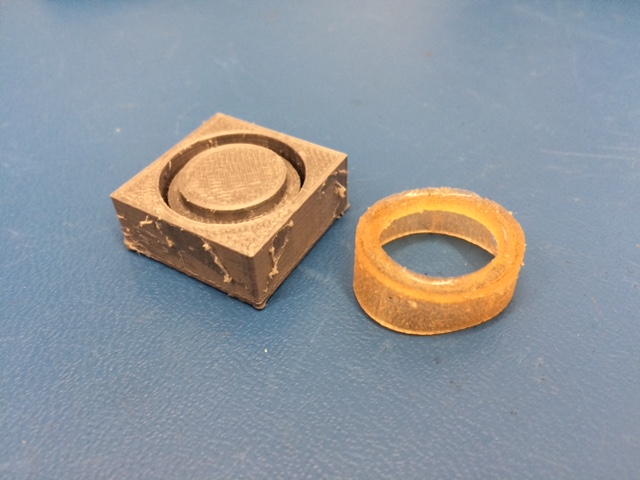
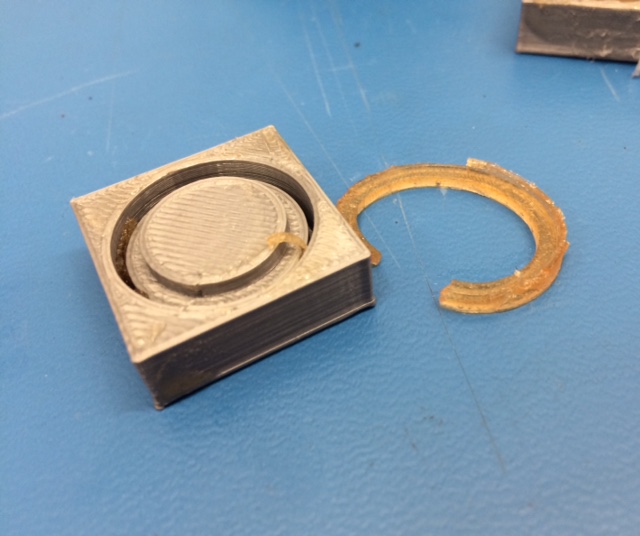
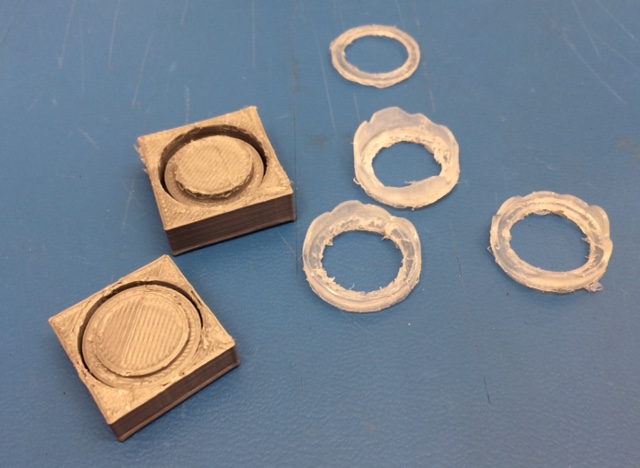
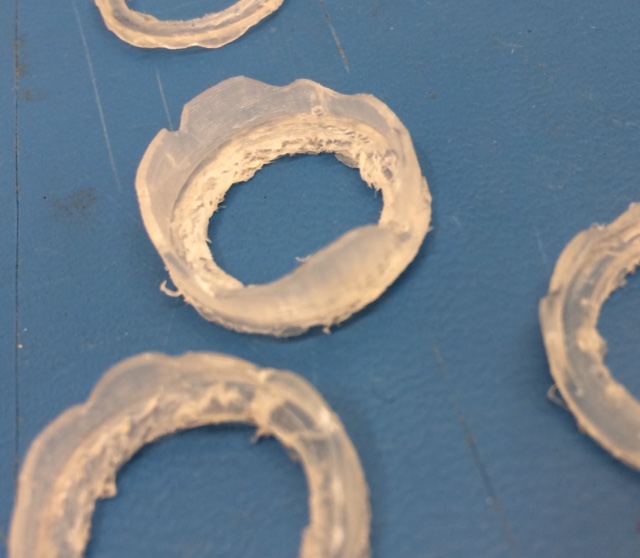
3D printing wheels with flexible filament works really well in terms of fit but unfortunately is too rigid to provide the grip needed. Making ridges in the wheel design doesn't work either. Spreading hot glue on the 3D printed wheels does work but it's difficult to spread evenly.The unevenness can cause the robot to suddenly lose magnetic adhesion
- When creating Hot glue wheels inside a 3D printed mold a 1mm opening isn't enough for the hot glue to push down into. A 2mm opening doesn't work so well either, it takes quite a bit of pressure to push hot glue into small openings
When using small elastics for grip on the magnets the elastics can twist off the wheels and they also get brittle over time (not a long term solution)
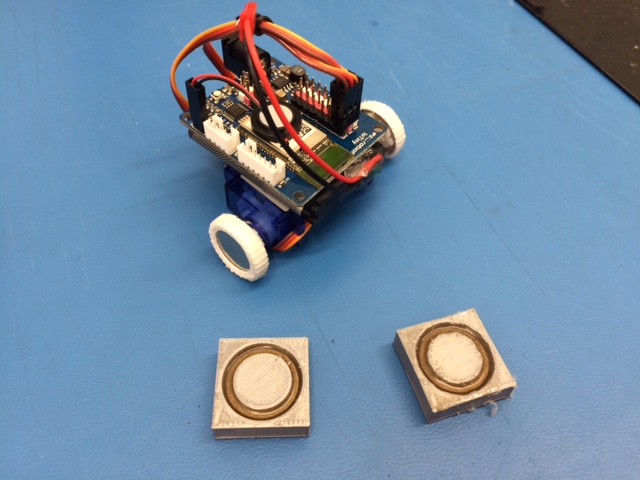
My next idea is to use 3D printed molds to cast some silicone wheels but I am open to other ideas
While making this remix design I did come across some new discoveries but it's definitely still a work in progress. I want to share it now so I could get some input from you guys/gals in the community. Thanks!
Discover more robots
David's Home Depot R2D2 To A Real R2D2 Robot

Tameion's Lawrence The Butler

Super cool, jer! Have a video of the IOTiny version? Incase we use it in a news letter, we’d need to see it working with ezrobot hardware.
Haha robots driving on walls - now that’s cool!
@DJ Once I have a good solution for the wheel grip, and possibly a new name, I'll definitely share a video
Right now, it just kinda works.
Ha nice! This is exciting stuff - when ezrobot defies gravity!
maybe crawlerbot ?
That’s awsome!
"Spiderbot, Spiderbot...Does whatever a Spiderbot does...."
How about tires from a small R/C or HotWheels car? A lot of toy cars have rubber "tires" with an internal groove that holds them to the plastic hub. You could sand them down thinner if need be.
Cool bot! When (s)he was skittering on the door to the edge, I was reminded of a Palmetto bug
"Magneto"! I love it Jeremie!
Great name suggestions guys! Keep em’ coming, I’m really feeling like it should be something related to Anti-gravity. This robot will theoretically be able to drive upside down.