


Day 1 (4th August 2015)
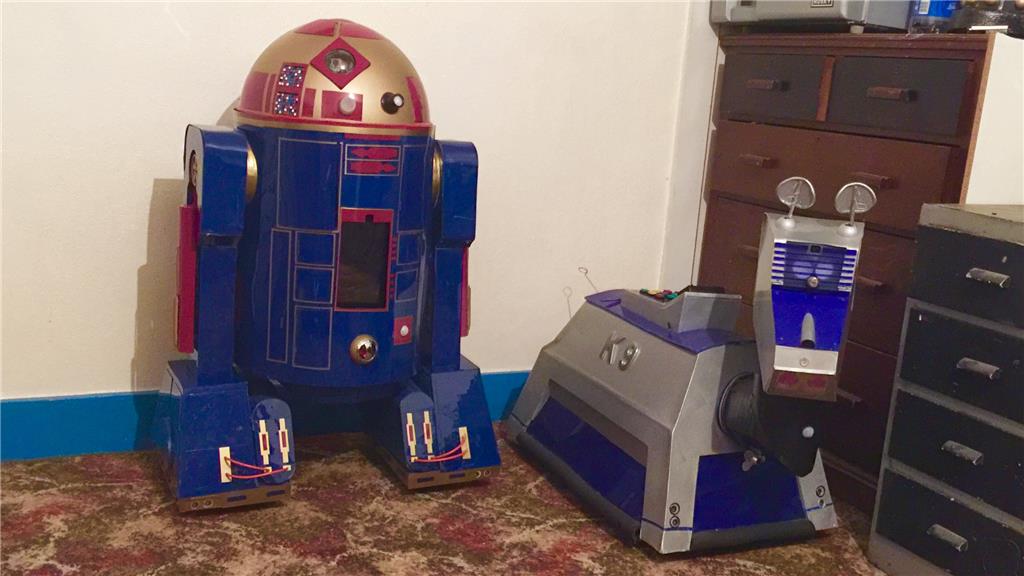
So after throwing around a few ideas for a new project to sink my teeth in to, I decided to go ahead and do my own version of an Astromech Droid, rather an Astromech "Smartdroid". With K-9 being one of my all time favourite on-screen robots, R2-D2 was (and still is) just as much of an all time favourite of mine so building one of my own droids is a logical step for me. As my other robot showcases where posted when the majority of the work was done, this will be a build diary of sorts, with updates throughout the build.
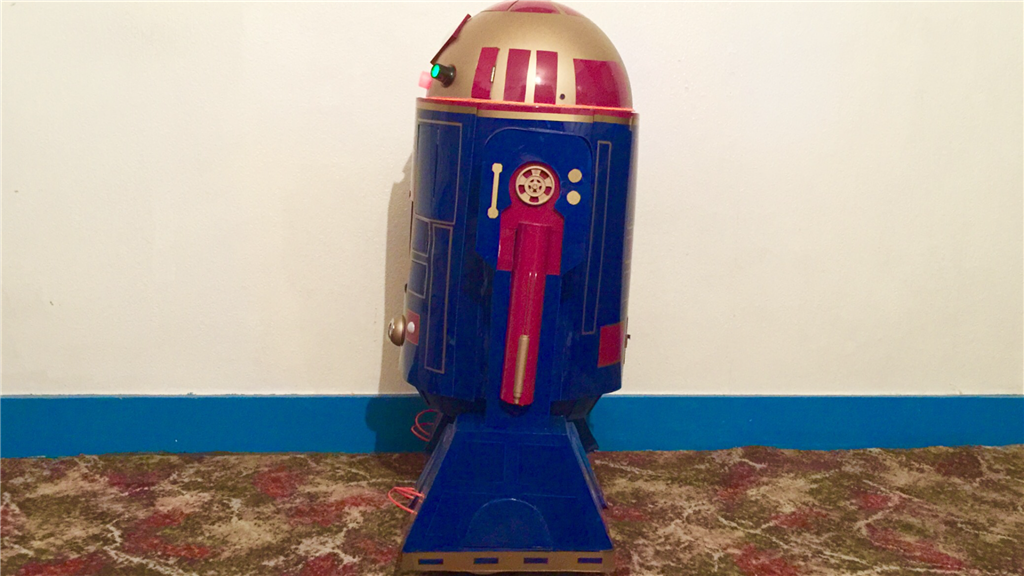
So wanting to get back to building, I had a few ideas floating around for my next BIG project and the thought about doing an R2 style robot came up a few times in the past (the blueprints I drew up that I've posted are 3 years old and was for an R/C version), and after encountering a few design issues for a large custom robot (which I will get back to one day), it was @Robot56's fantastic Astromech Droid project that was the final push for me to decide what direction I should go. There are so many great scale replica Astromech builds around that people have done, but much like my K-9 2.0 build, I want to stay away from doing an exact prop replica build and do a custom build with custom paint job (as seen in the blueprints) while still keeping with the overall original design.
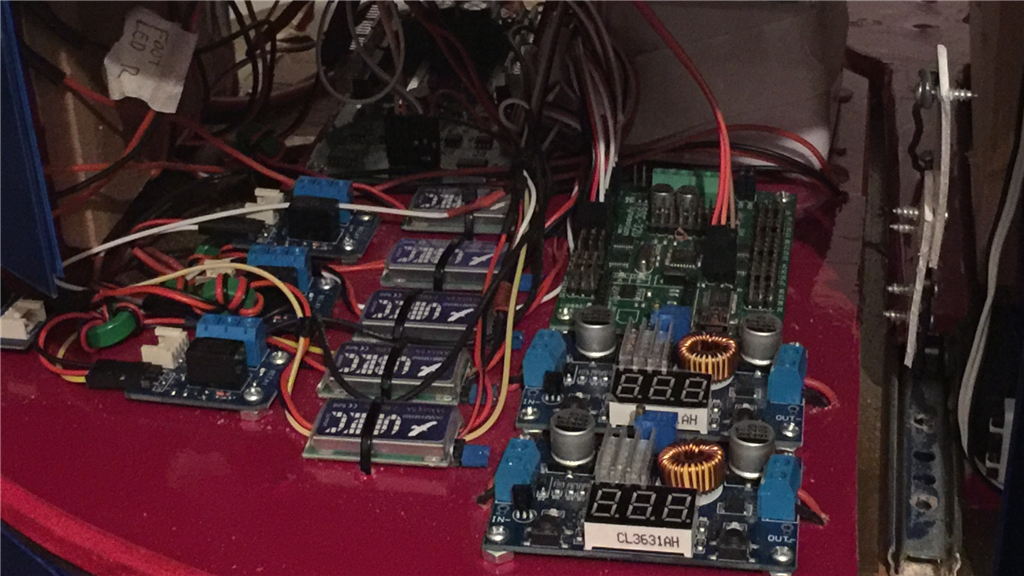
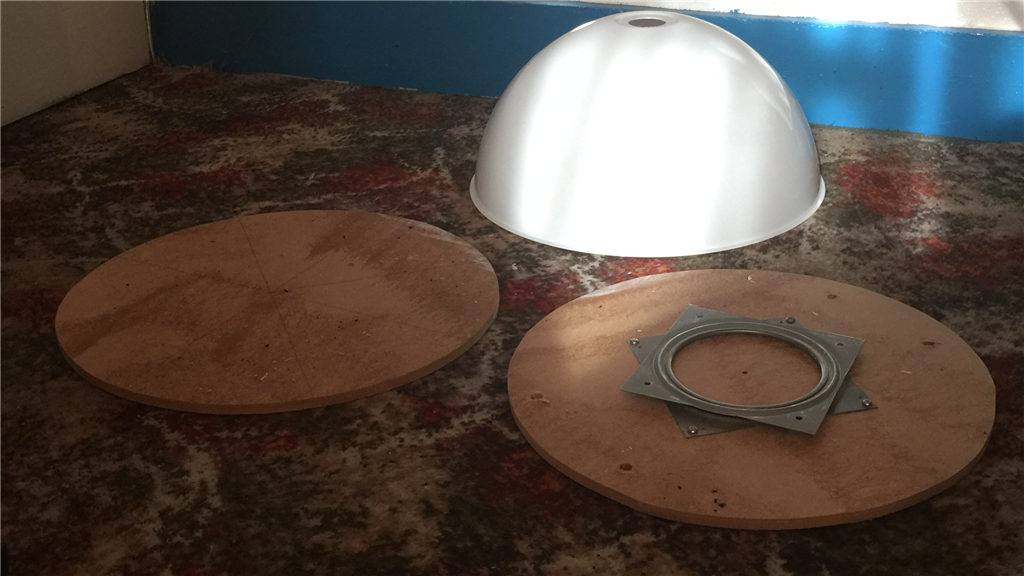
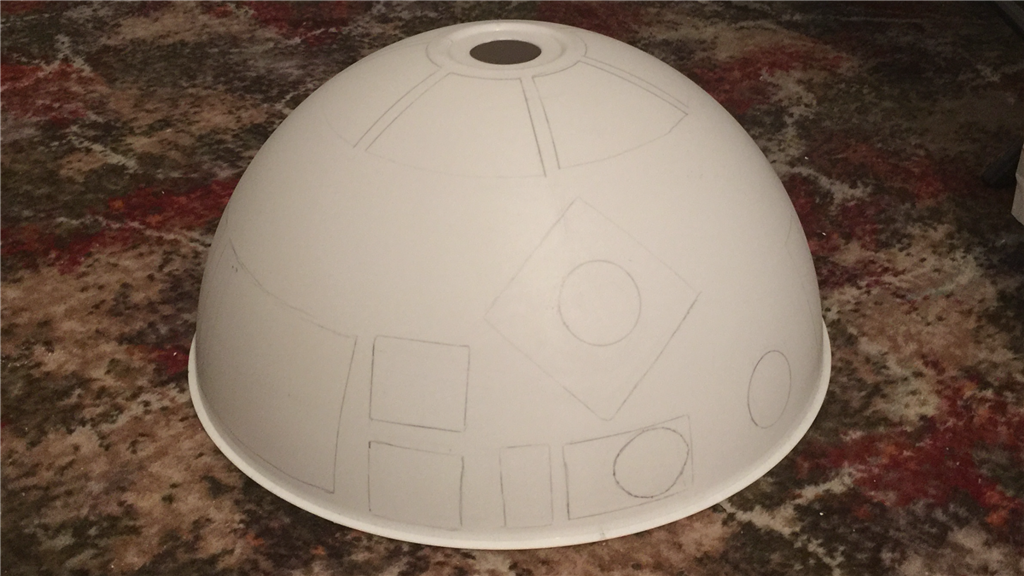
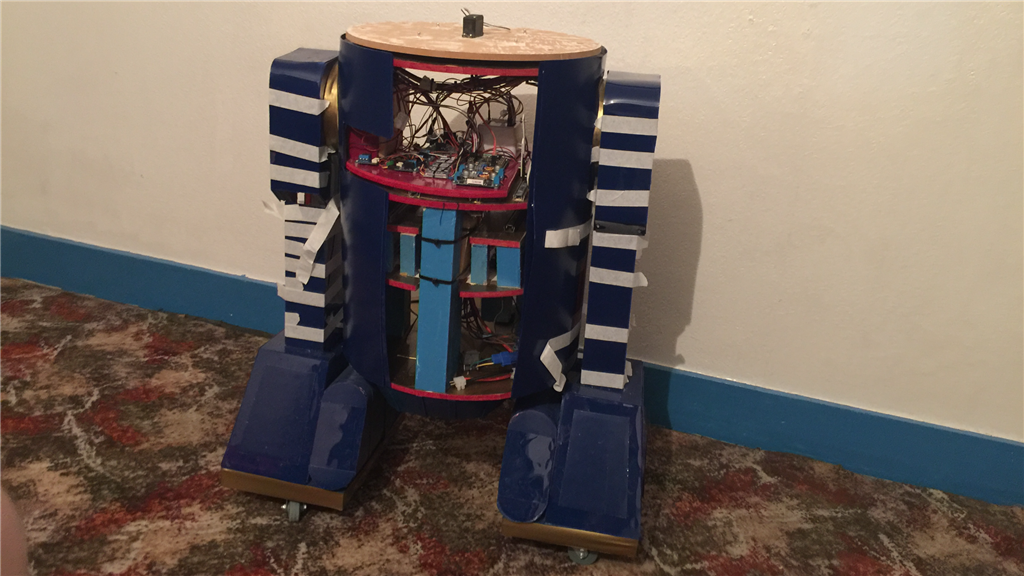
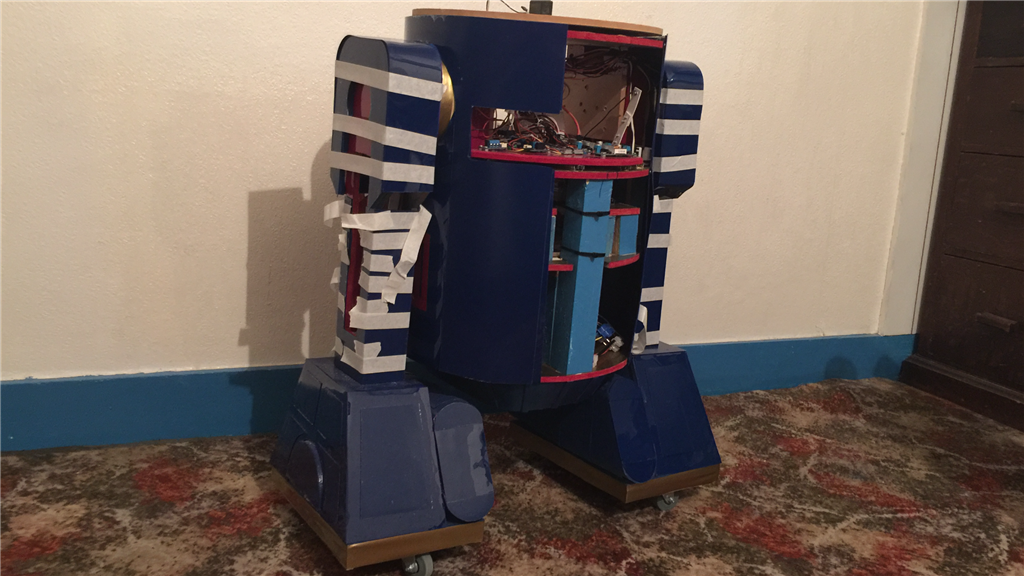
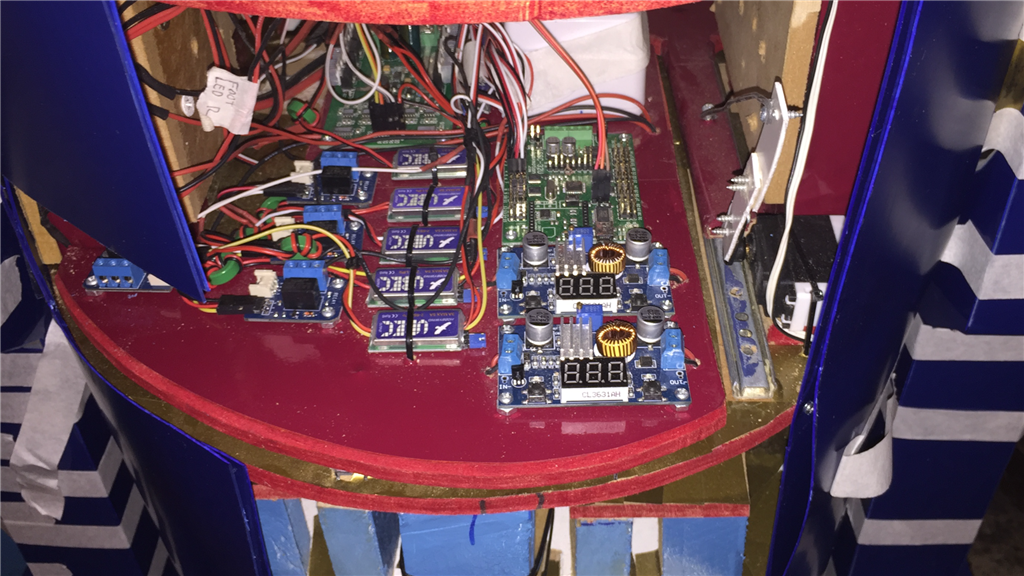
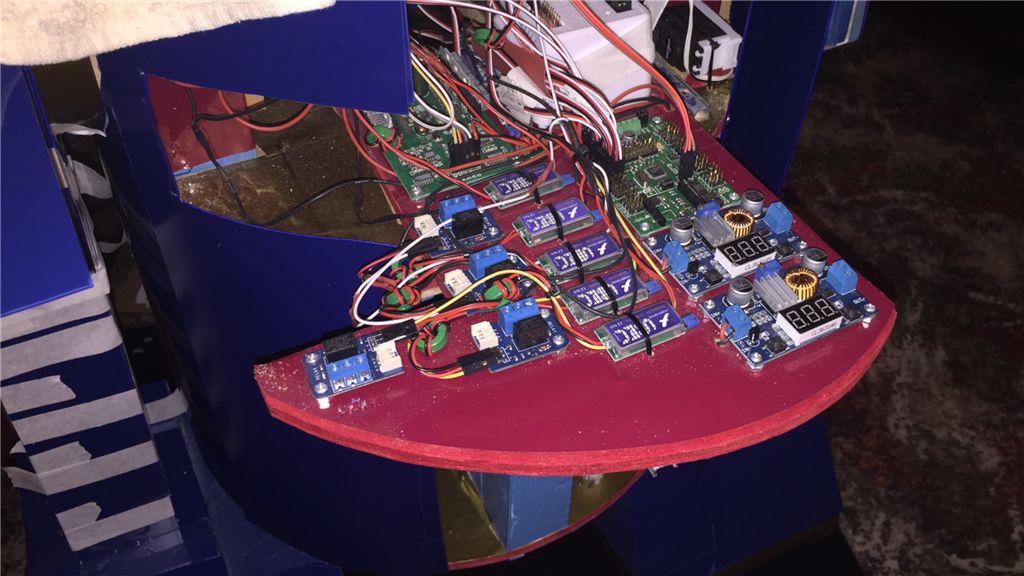
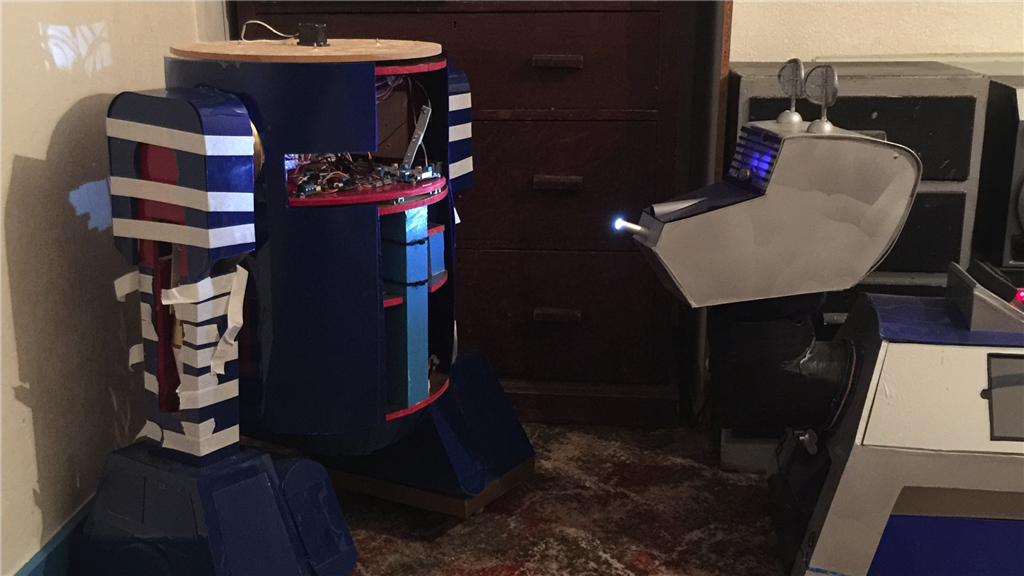
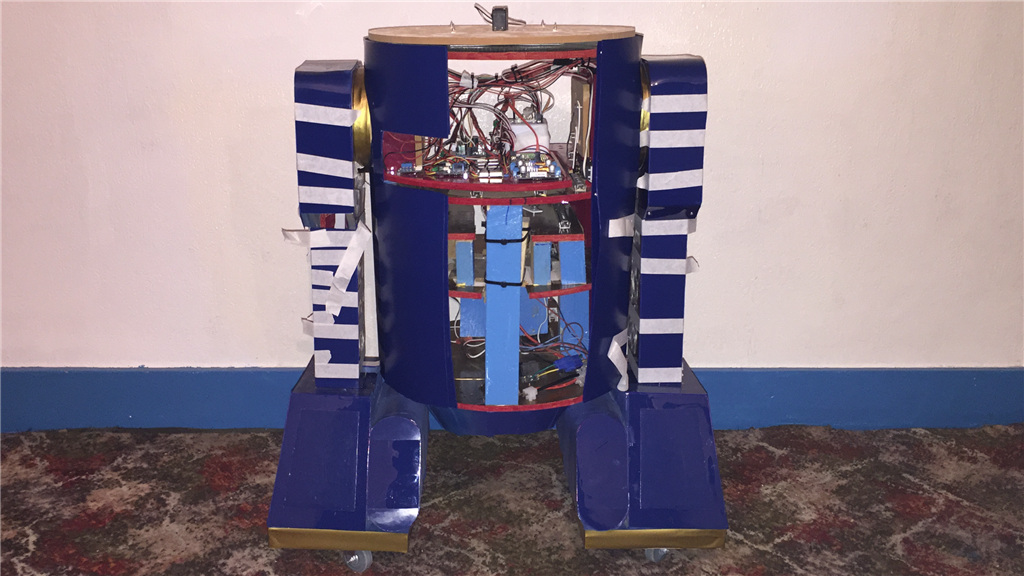
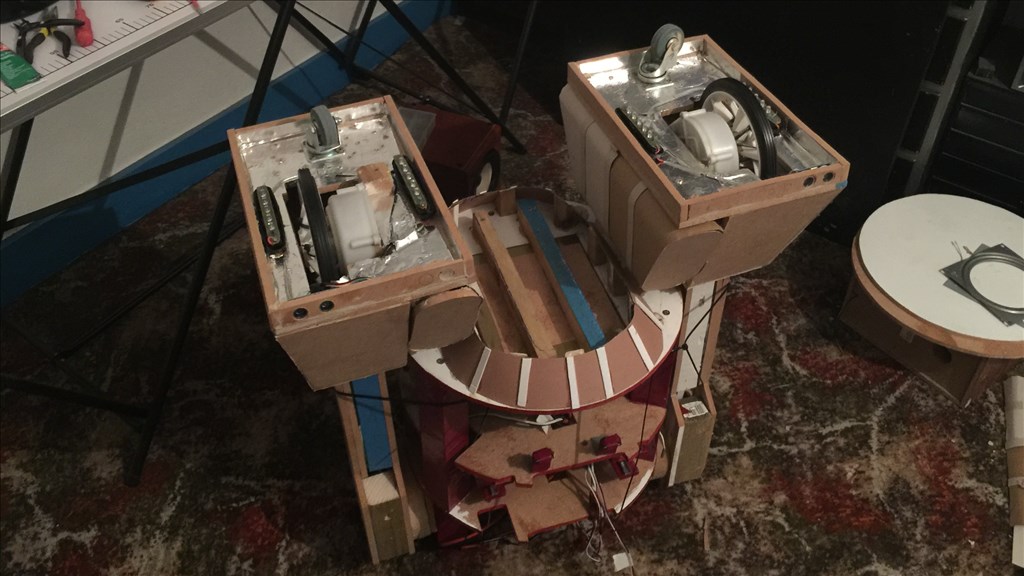
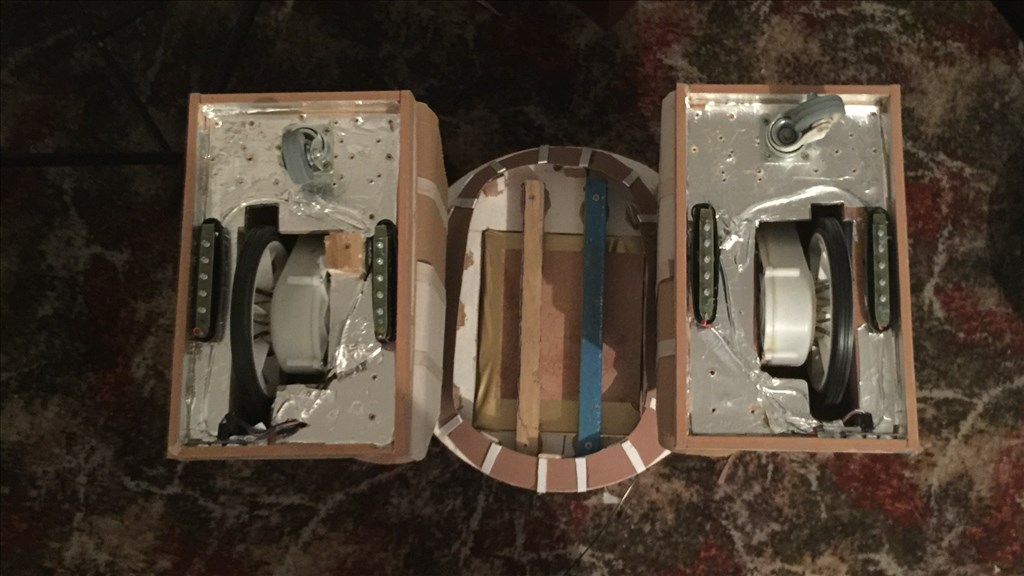
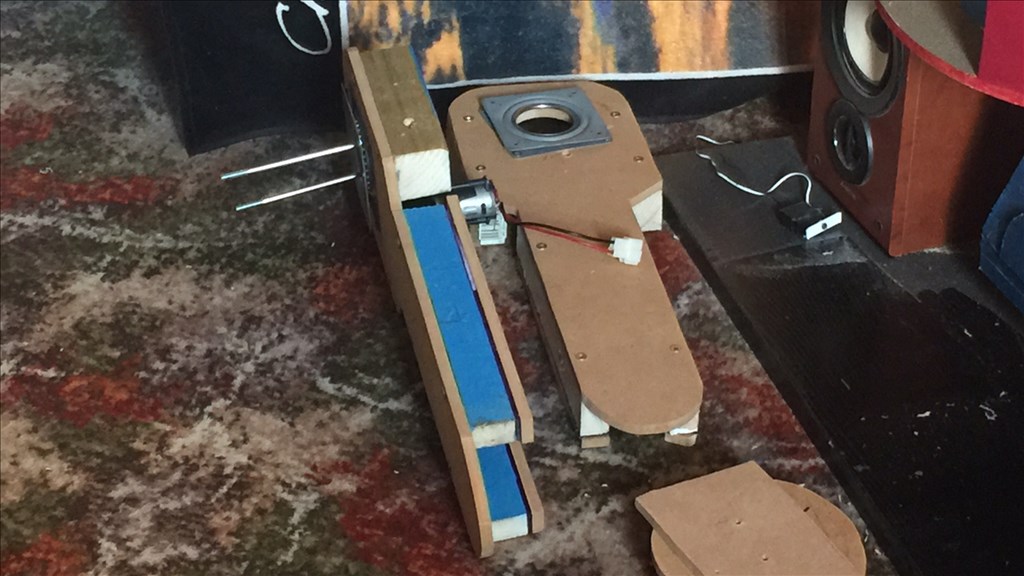
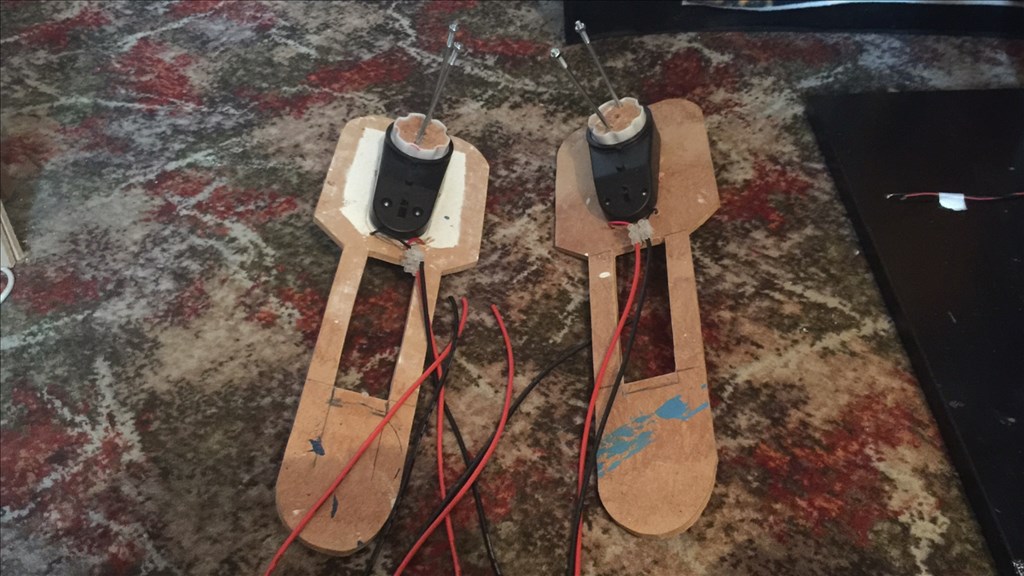
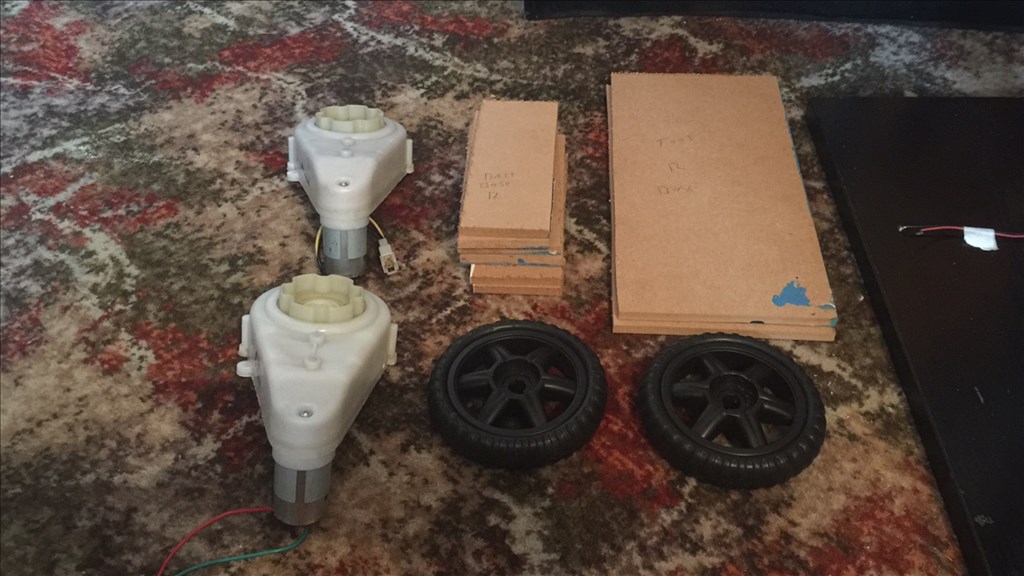
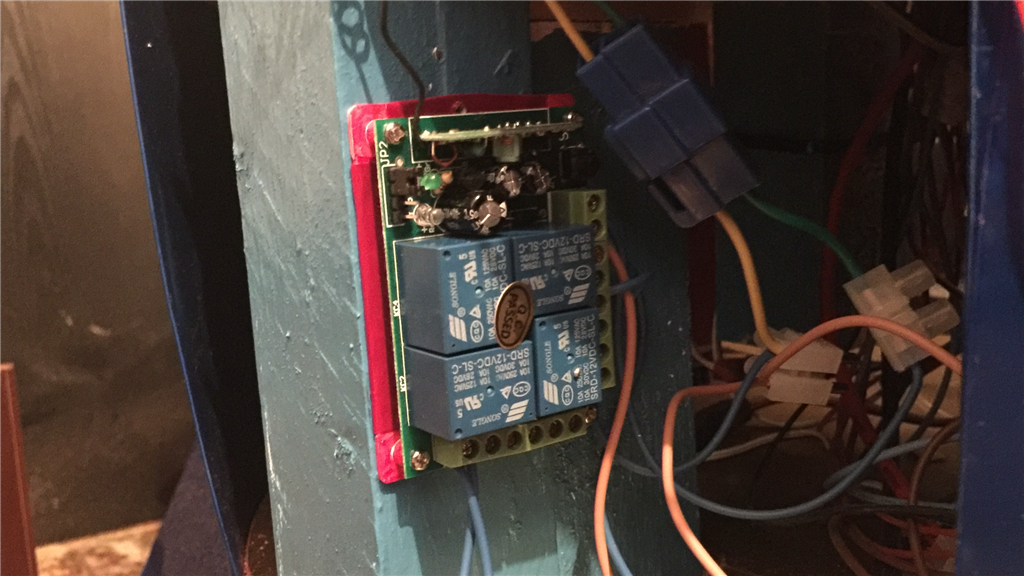
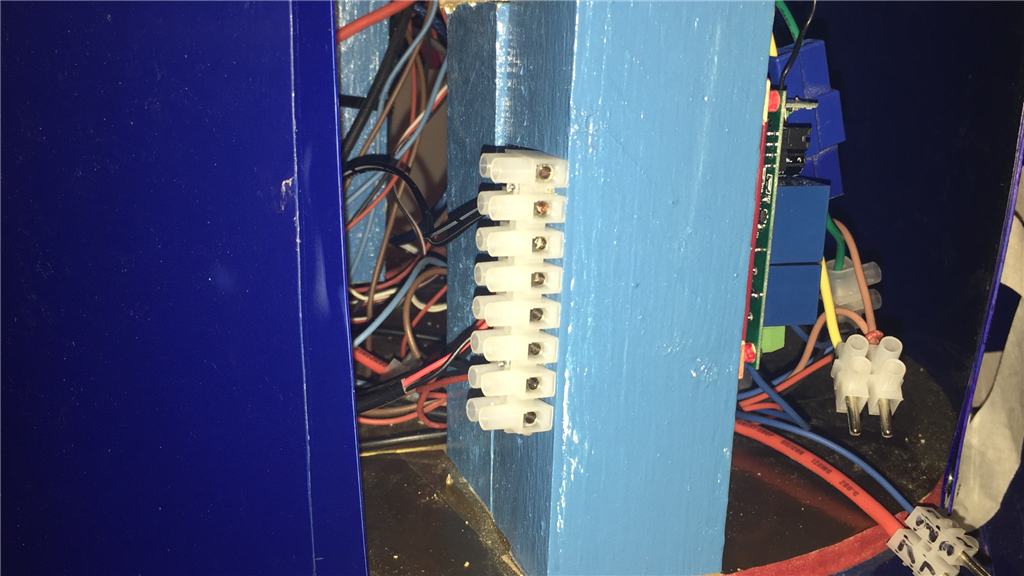
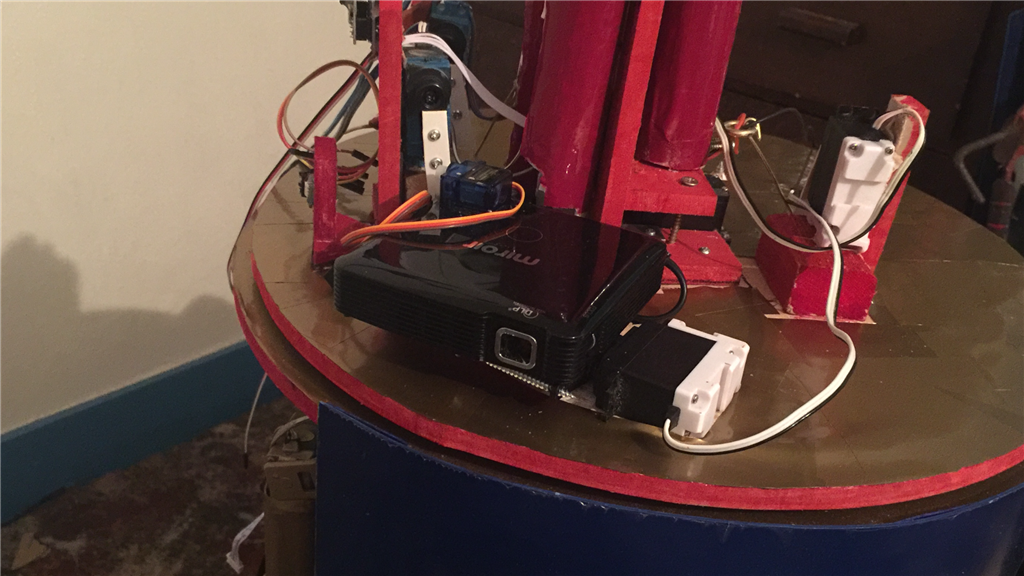
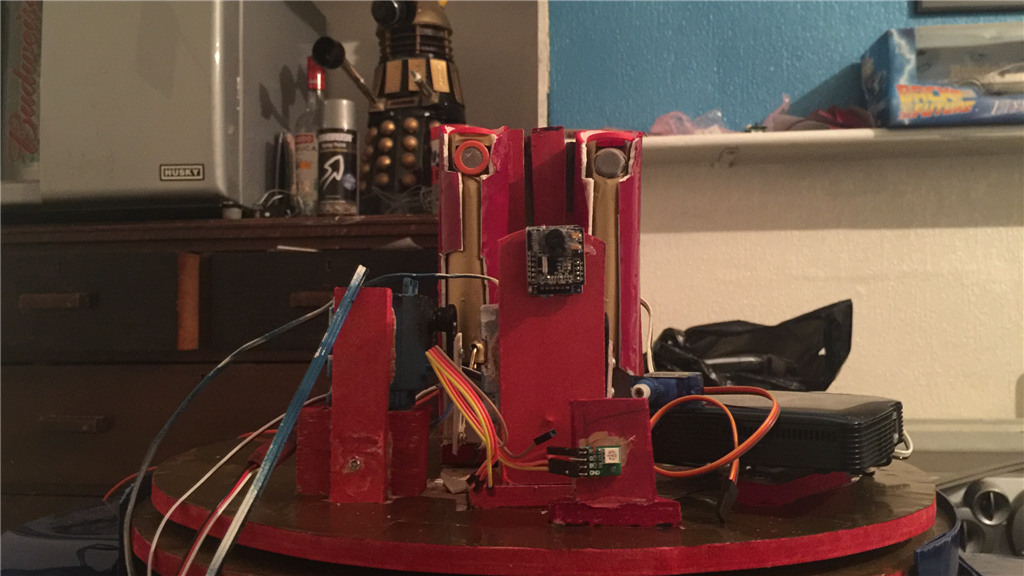
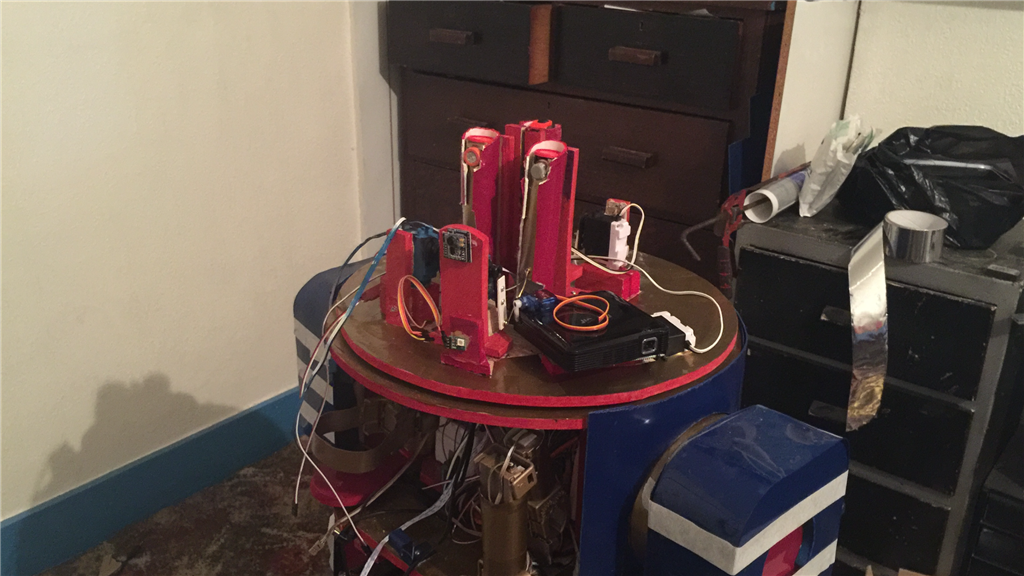
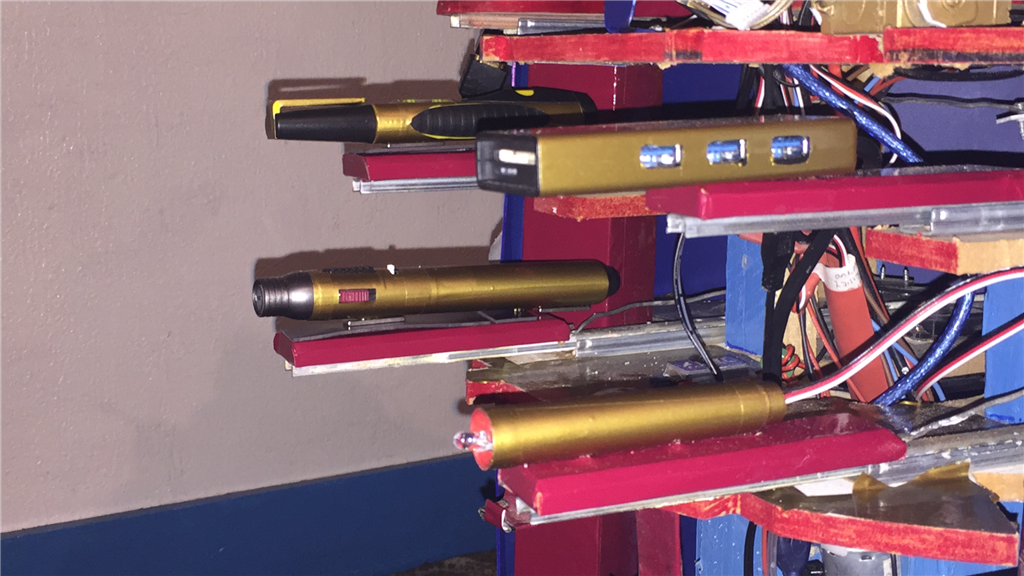
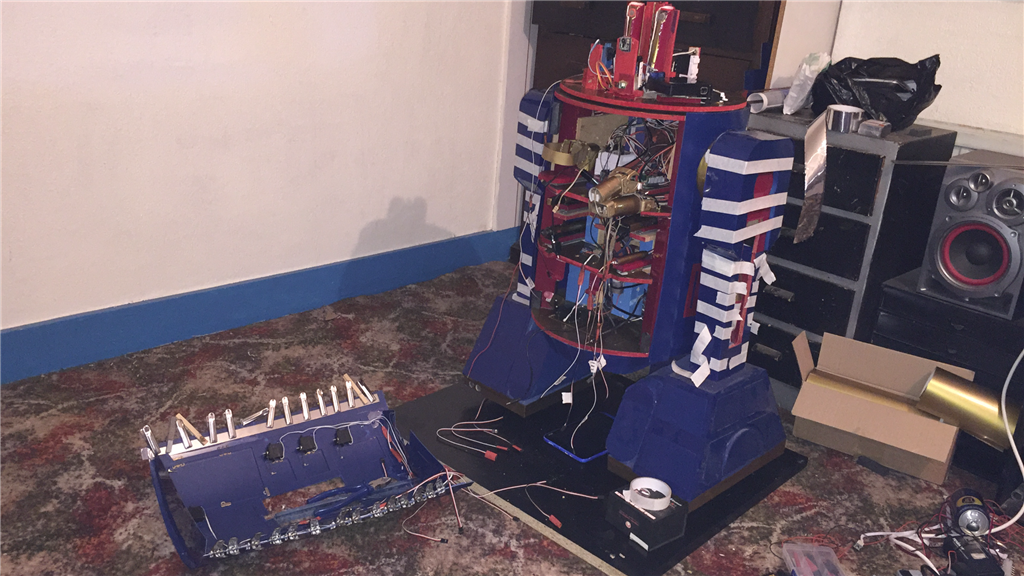
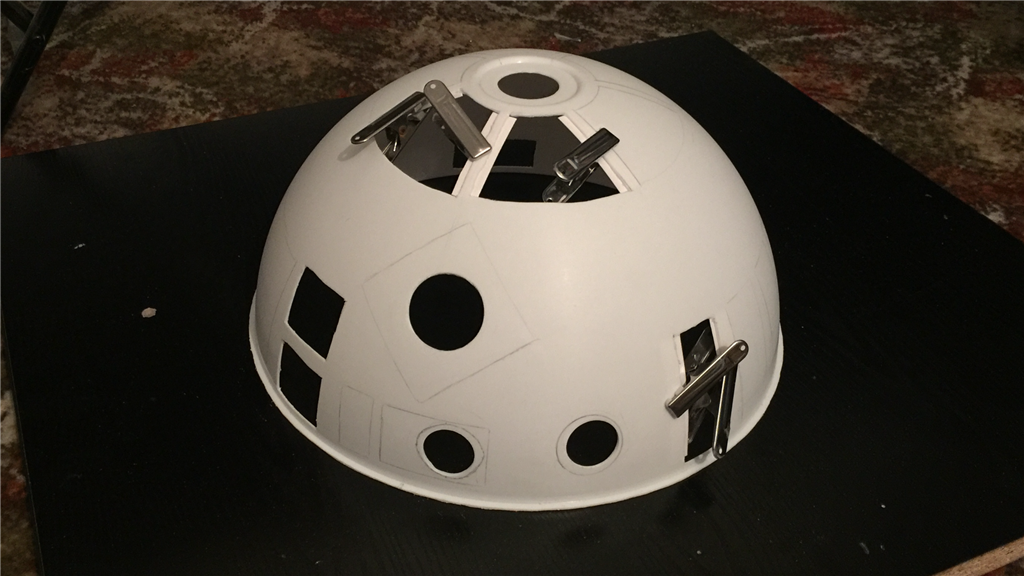
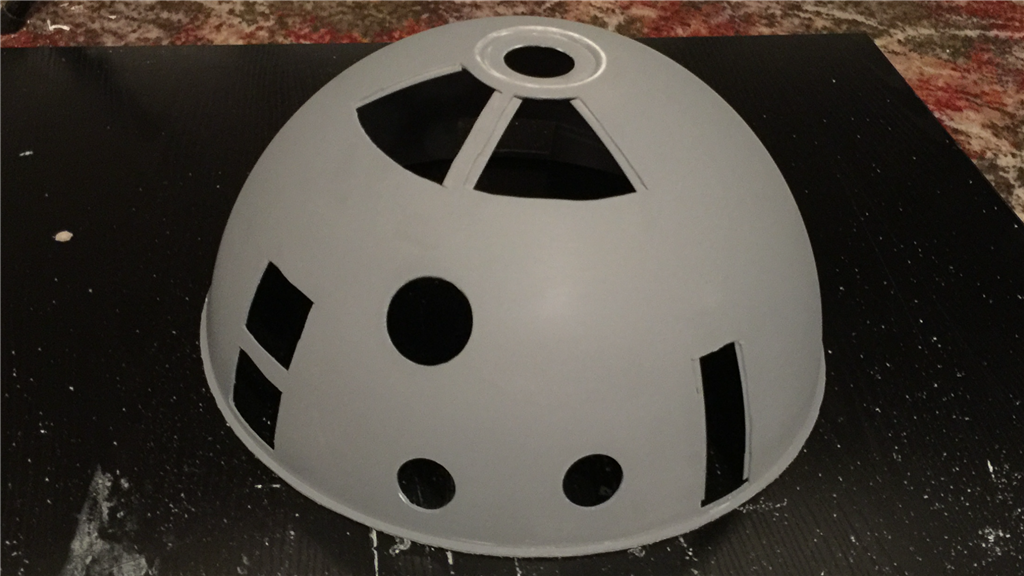
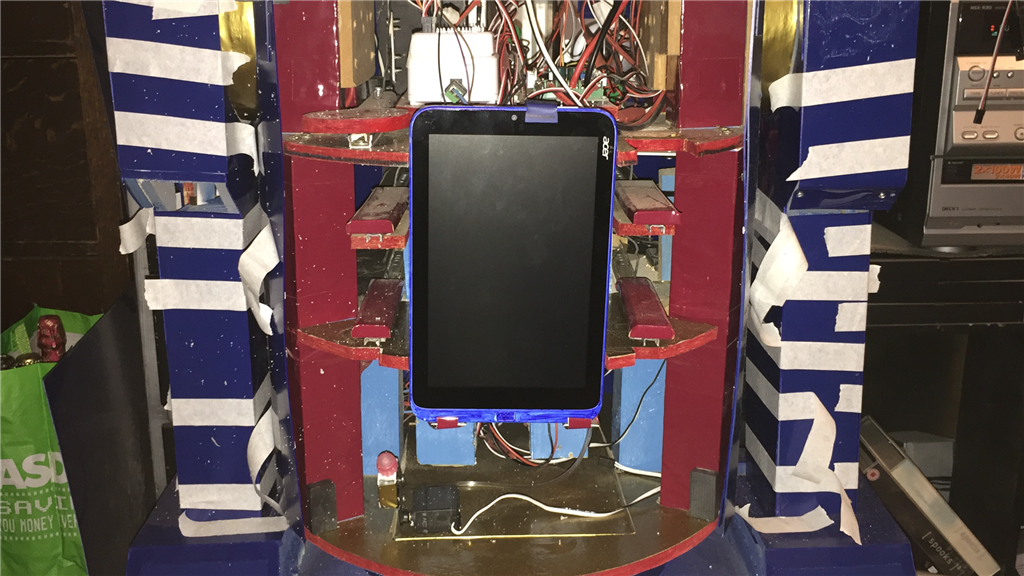
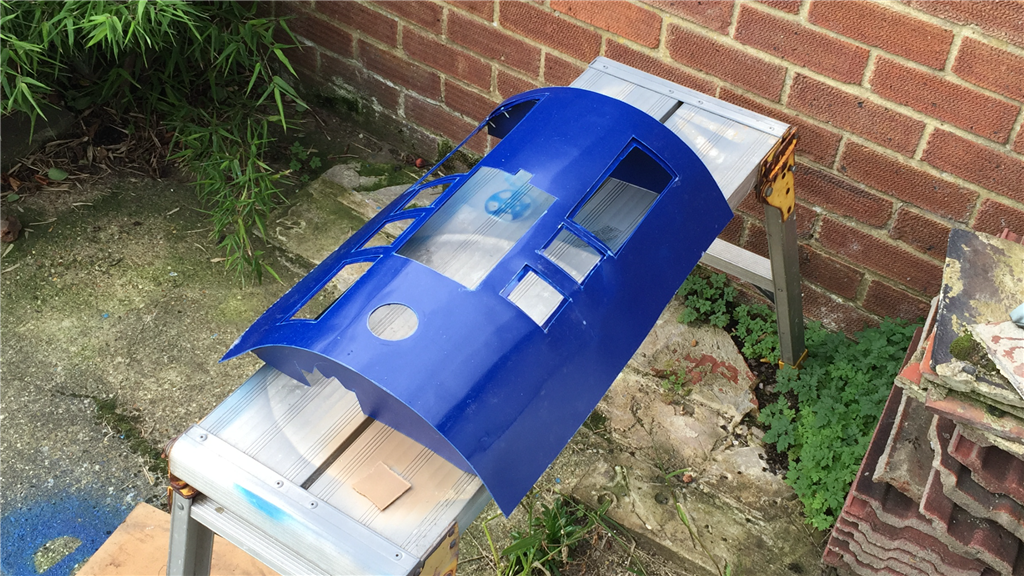
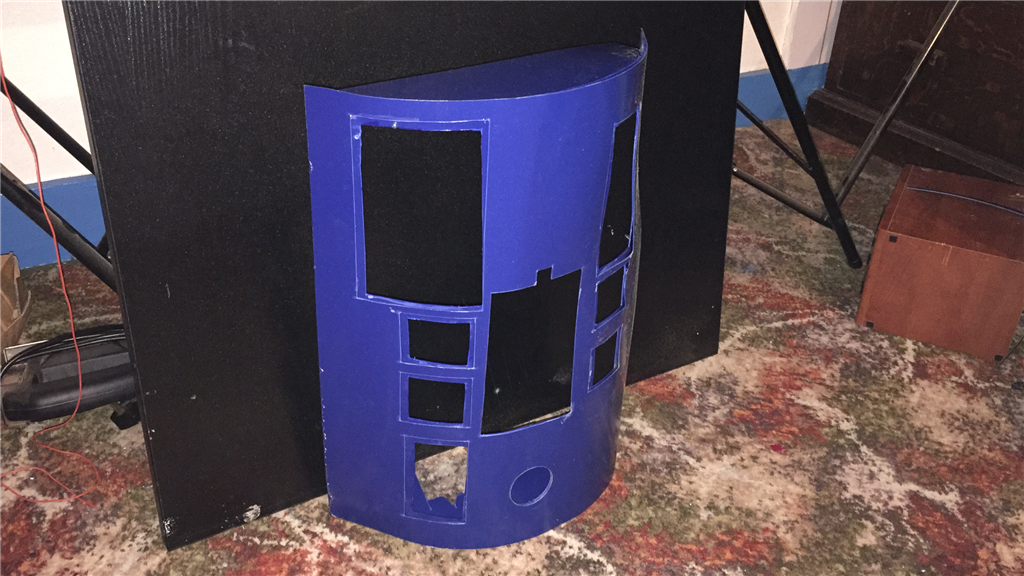
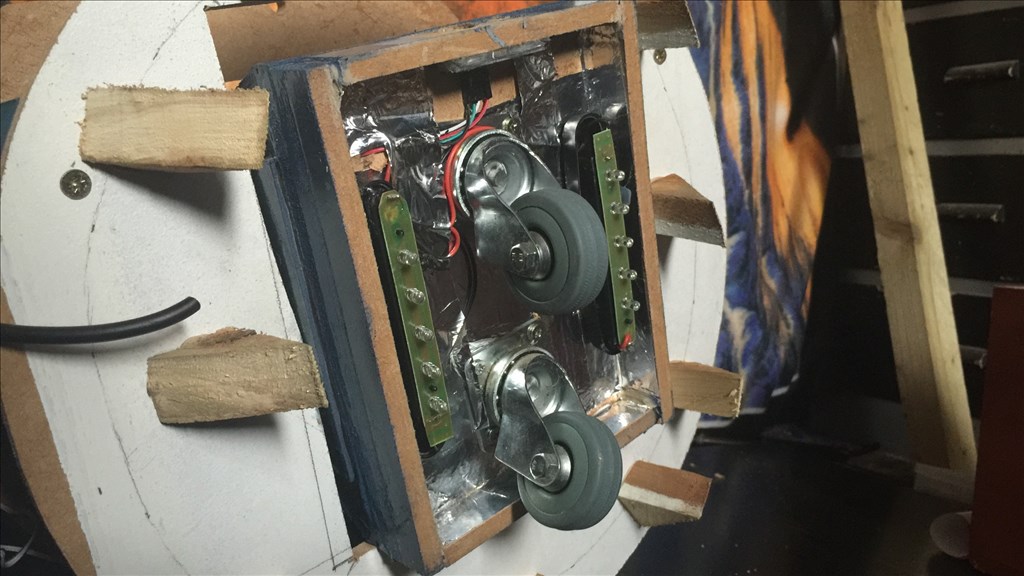
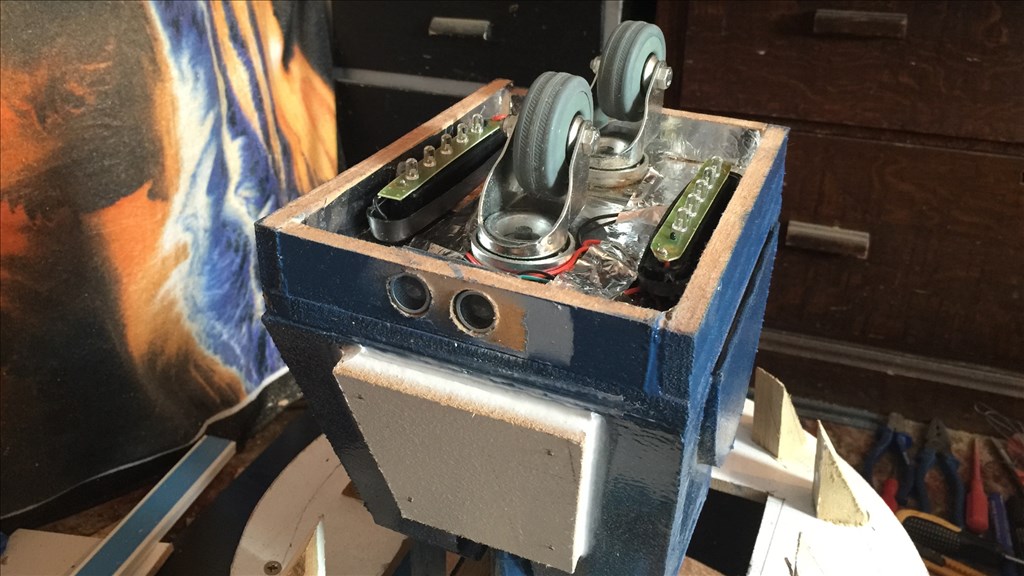
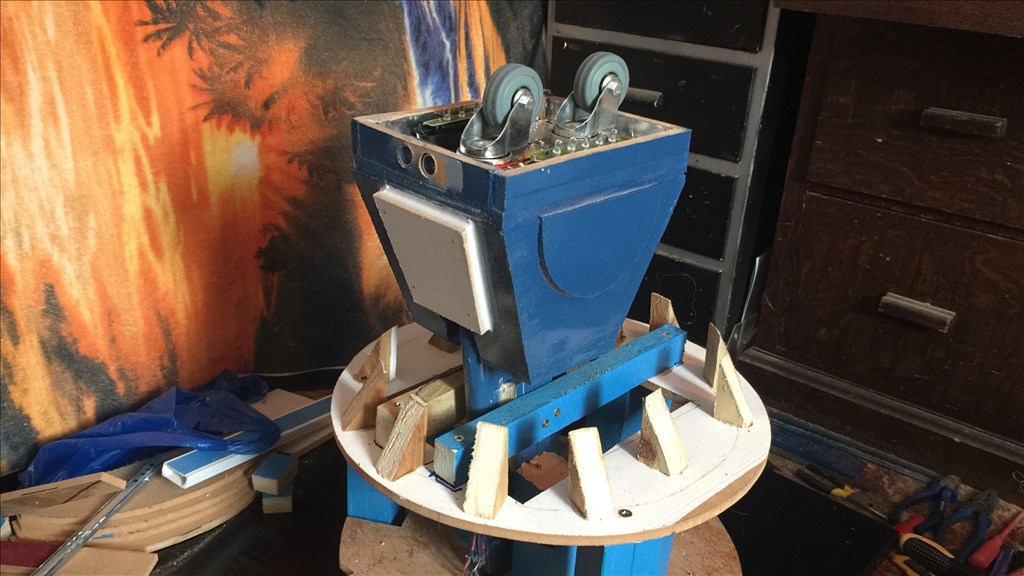
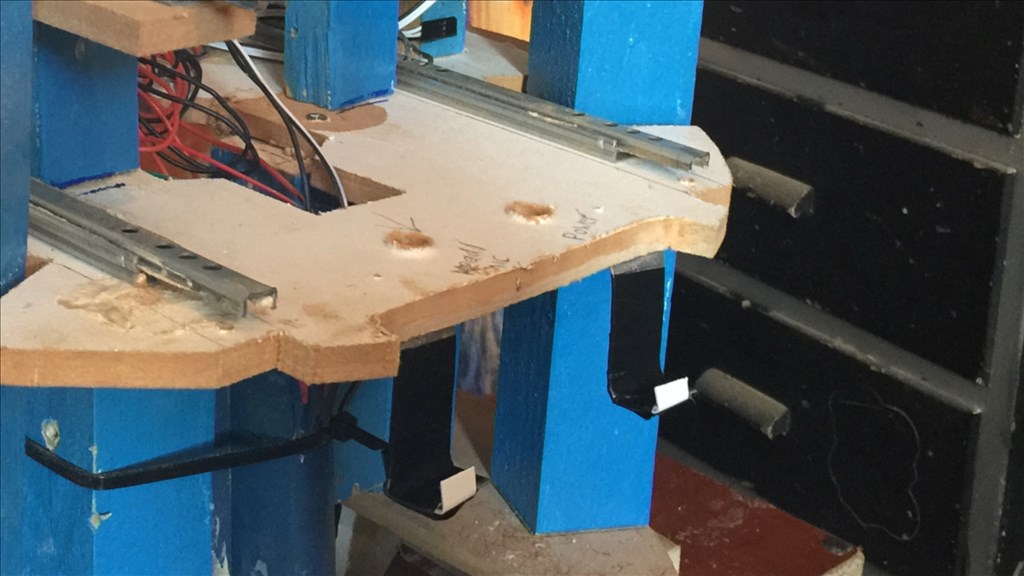
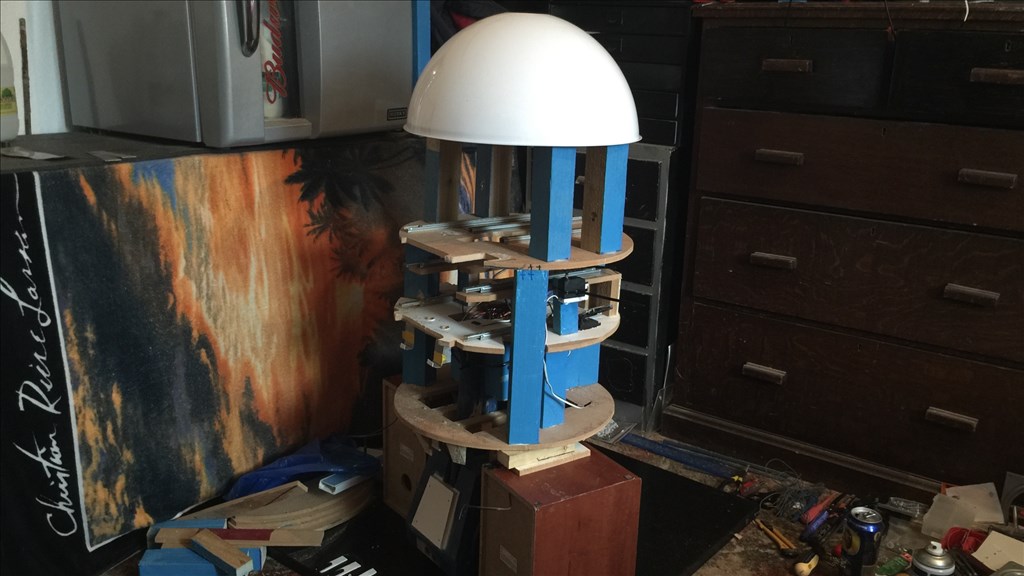
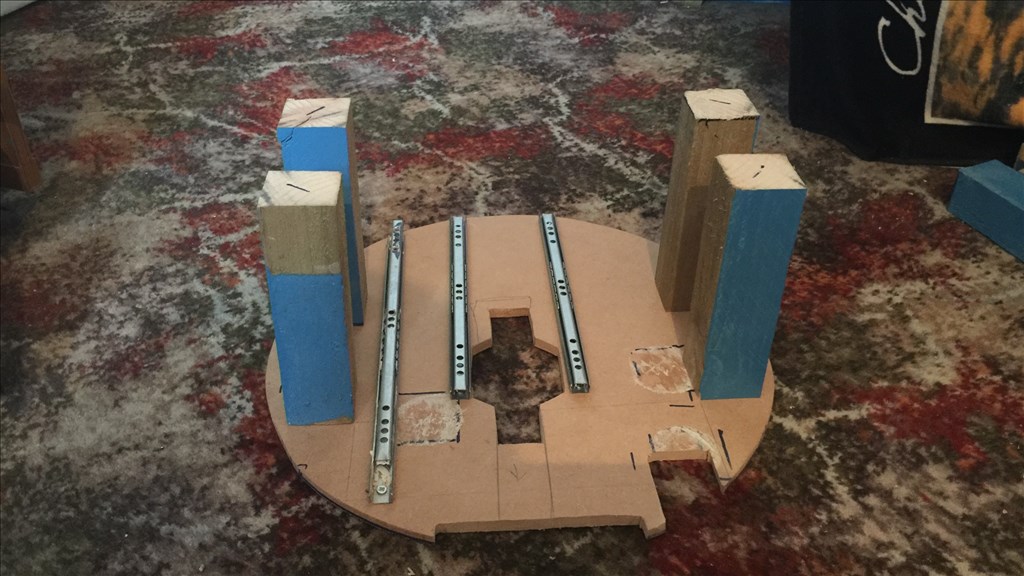
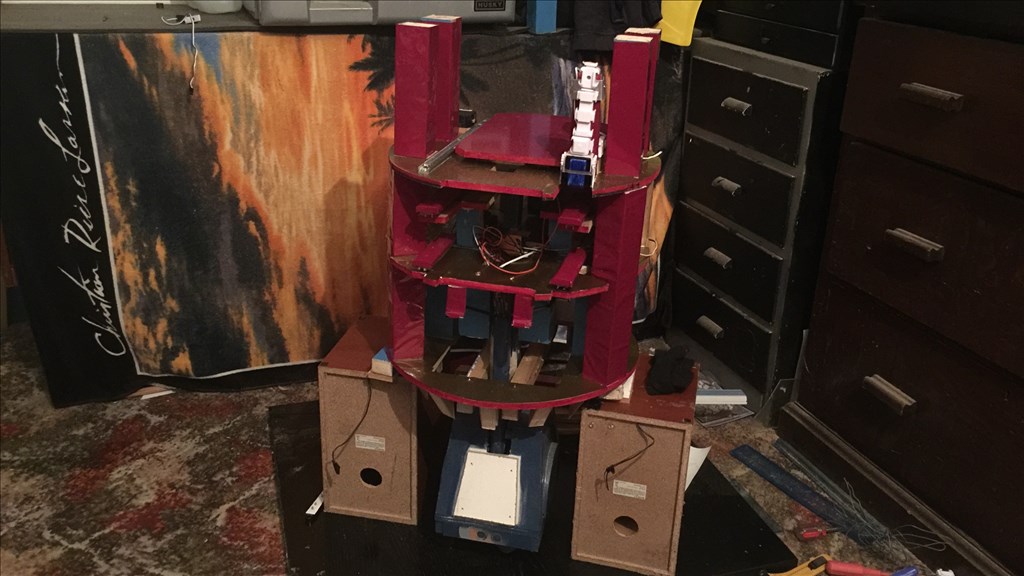
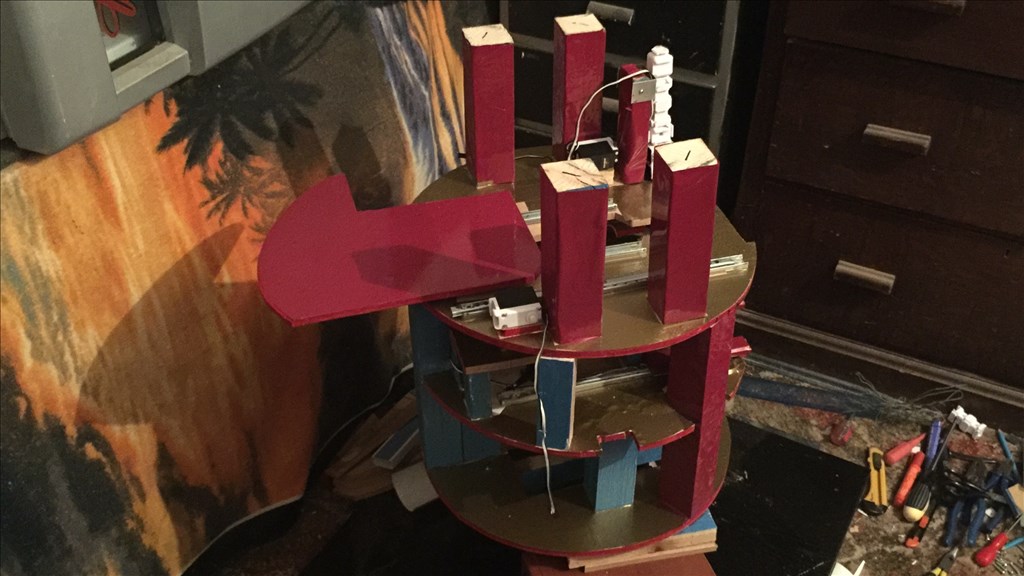
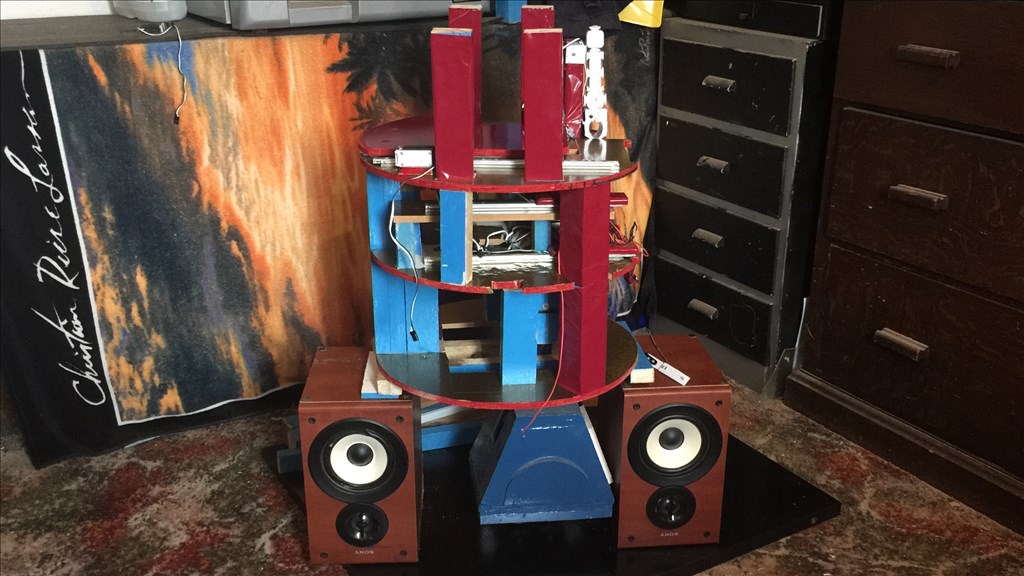
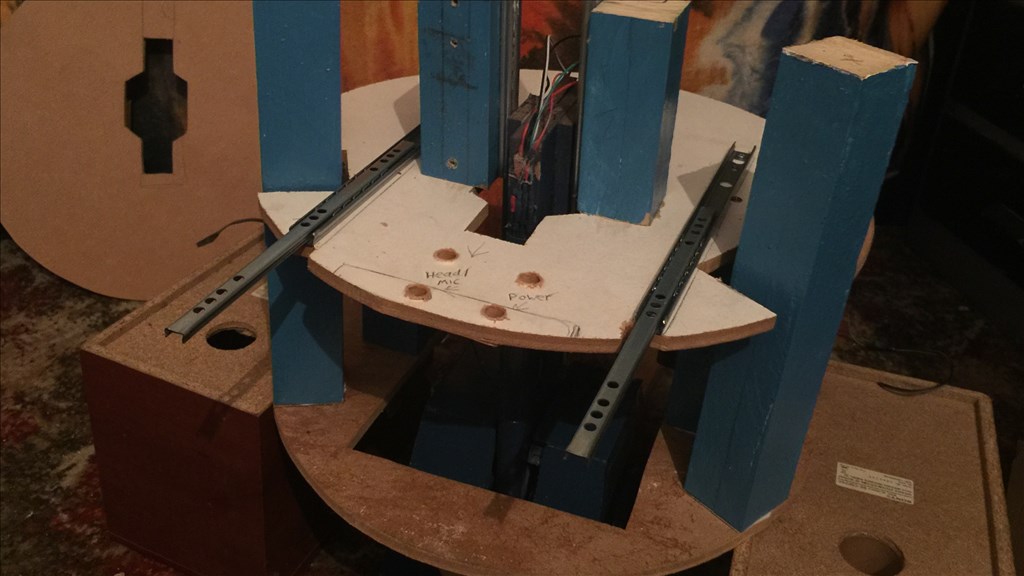
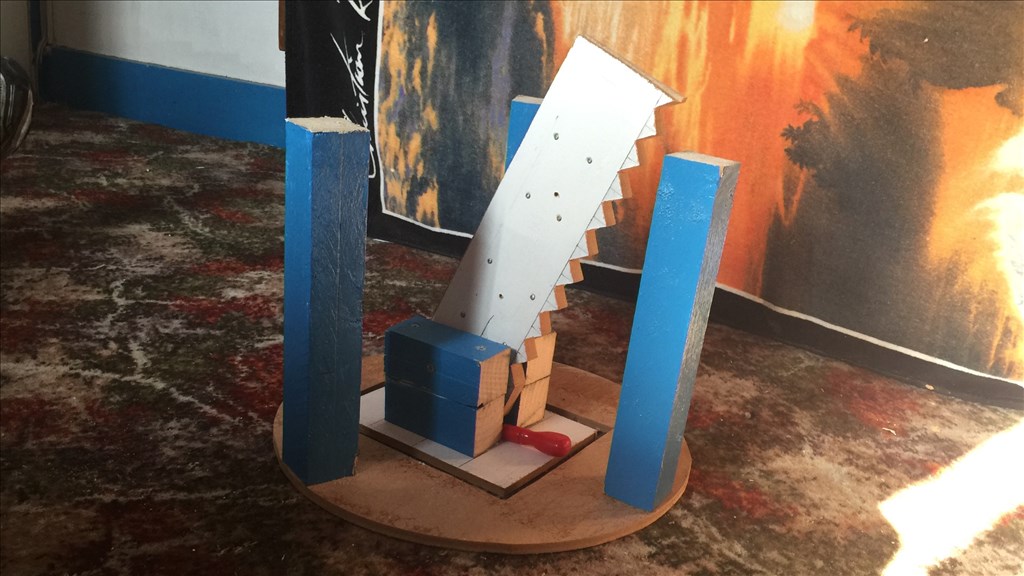
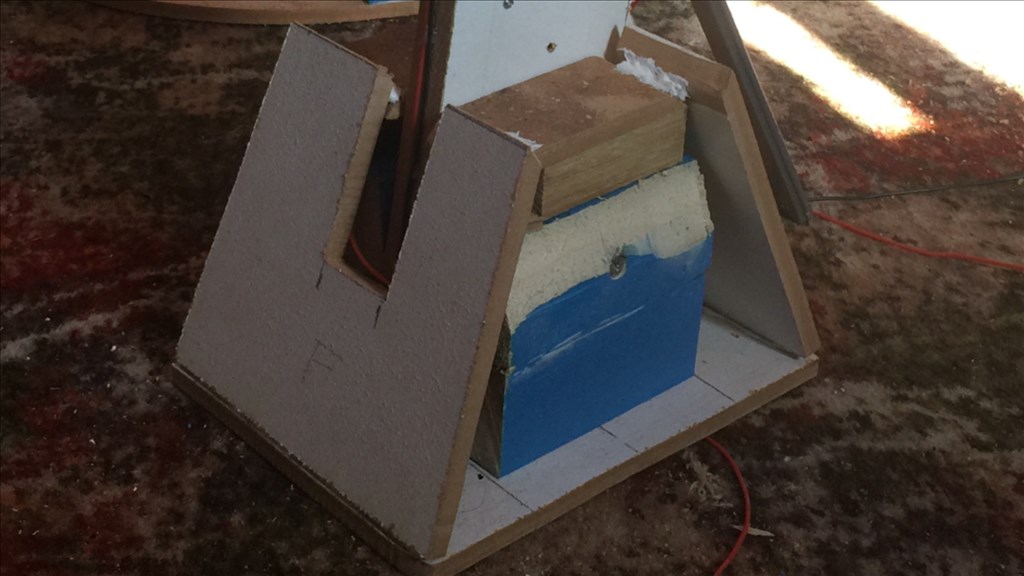
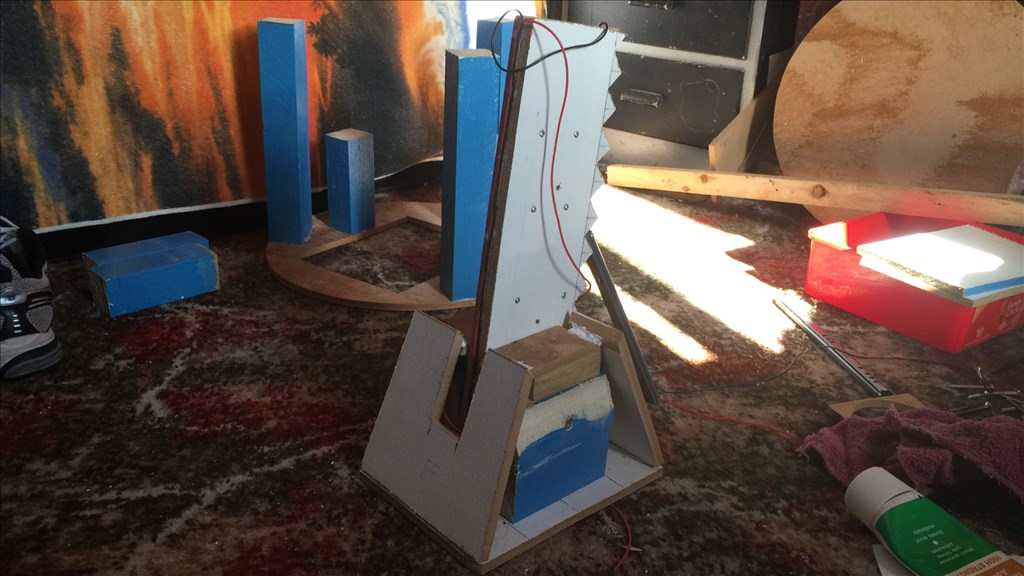
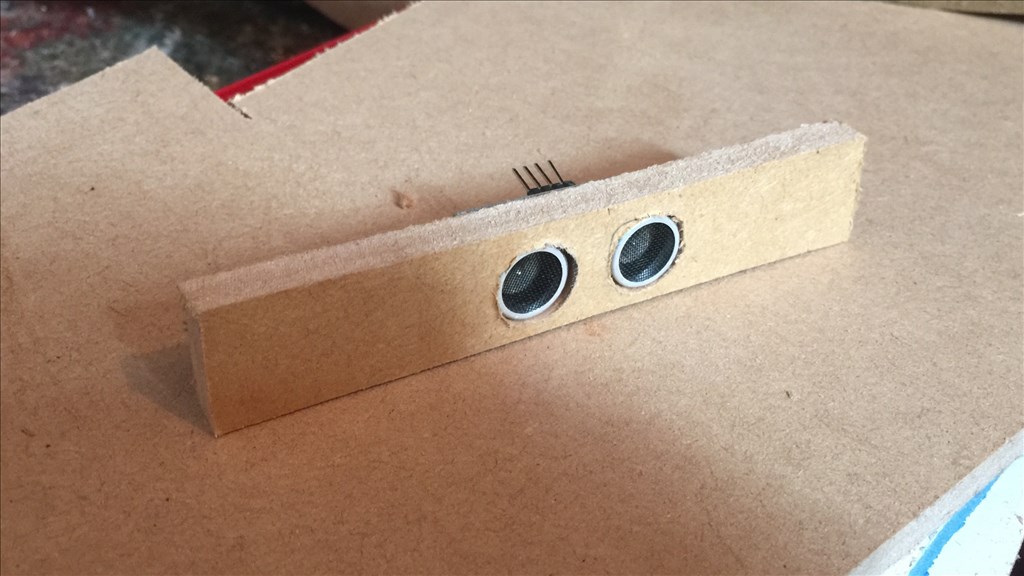
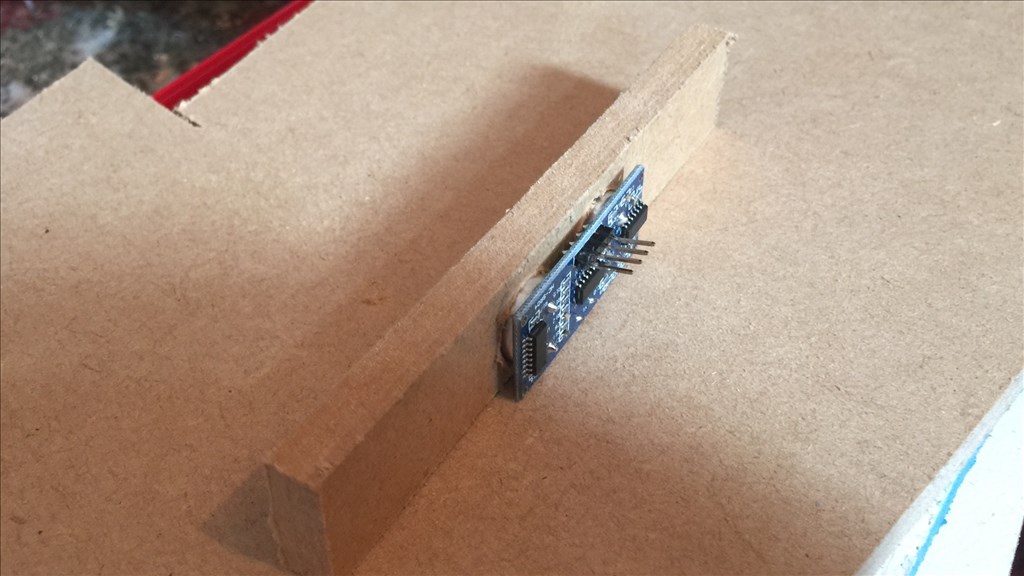
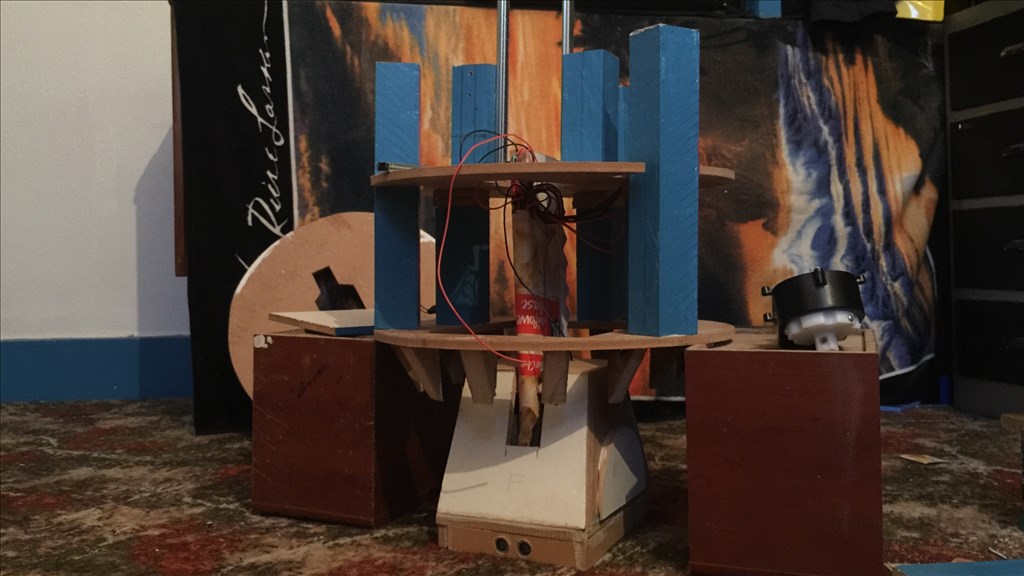
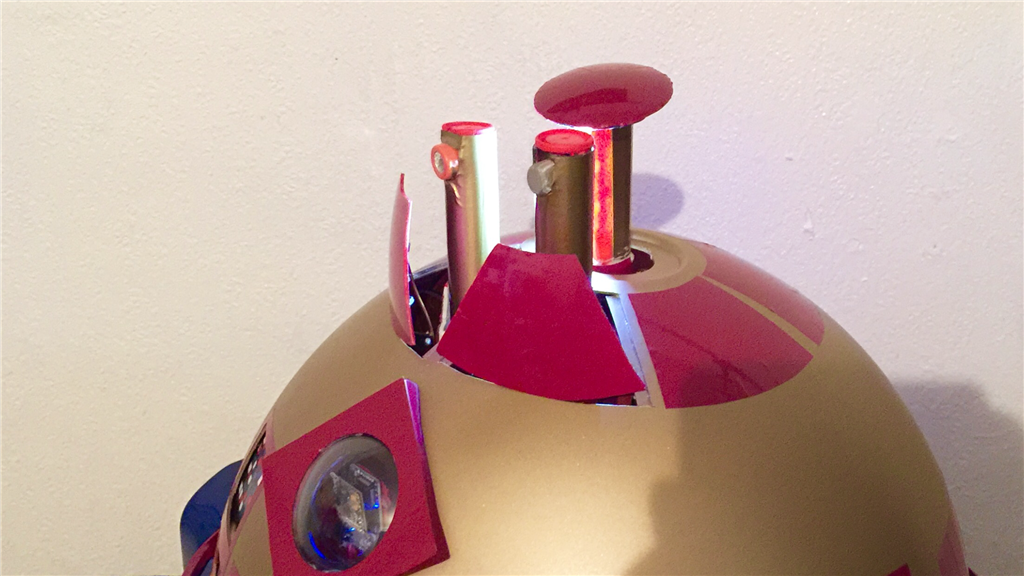
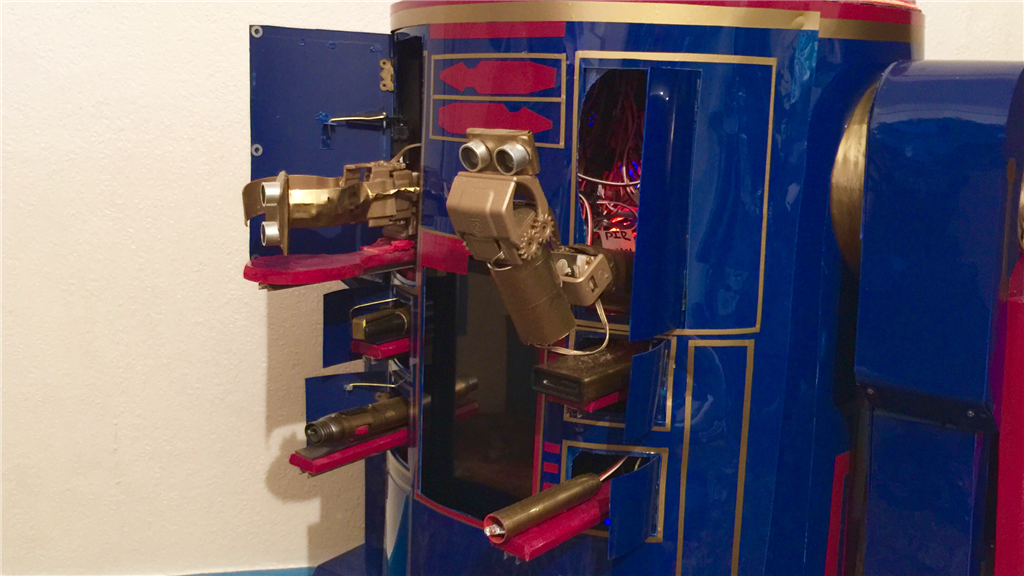
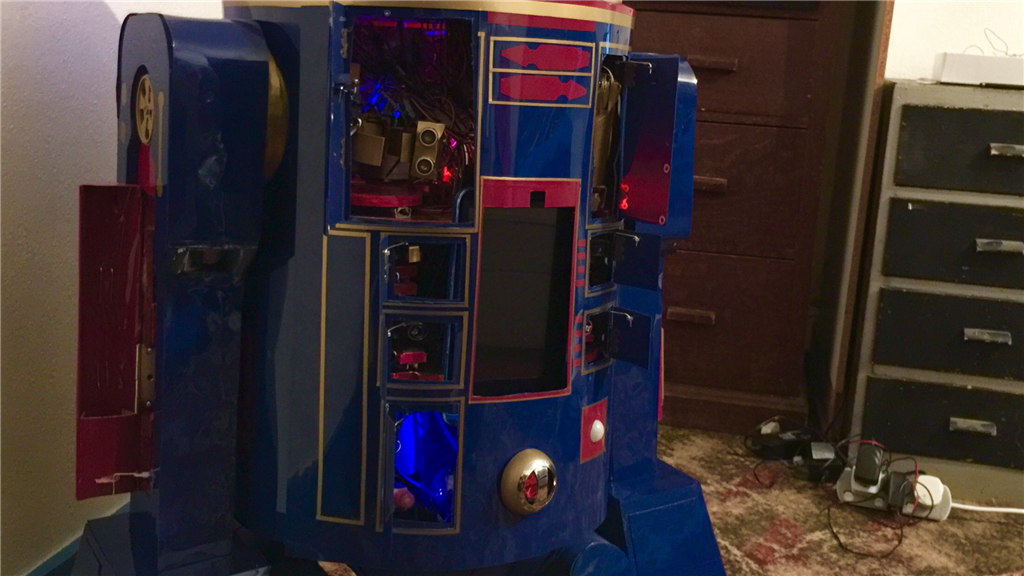
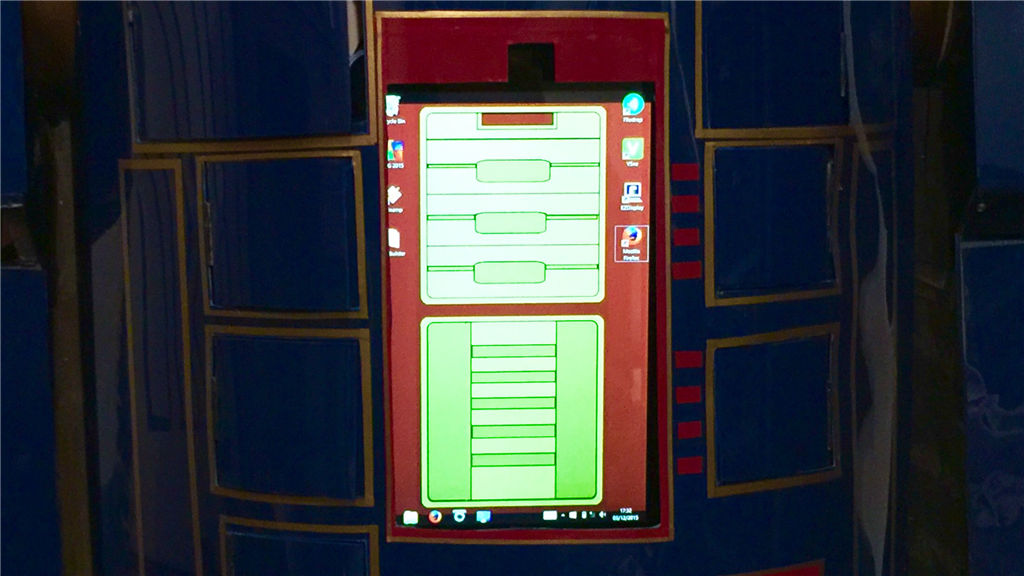
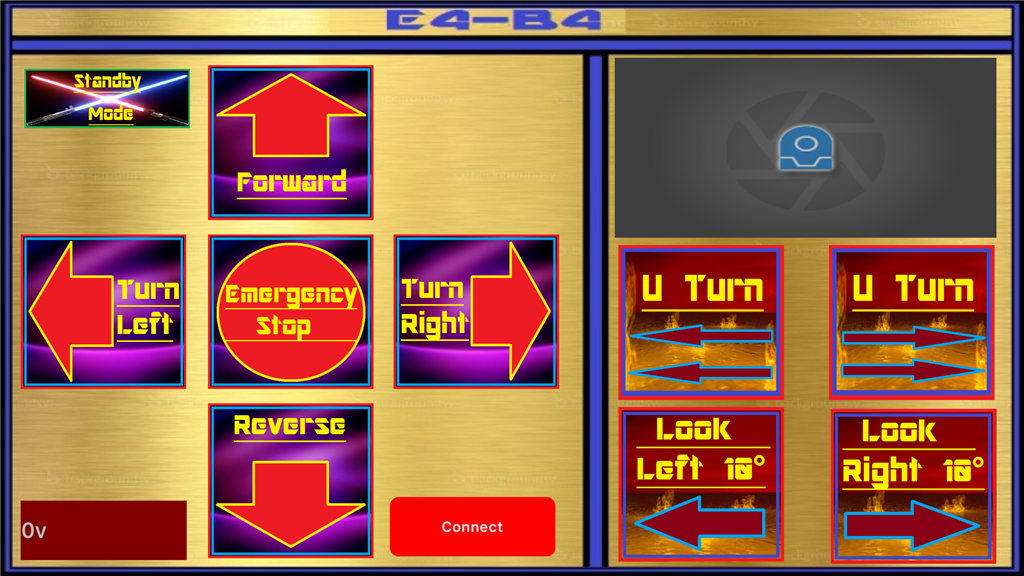
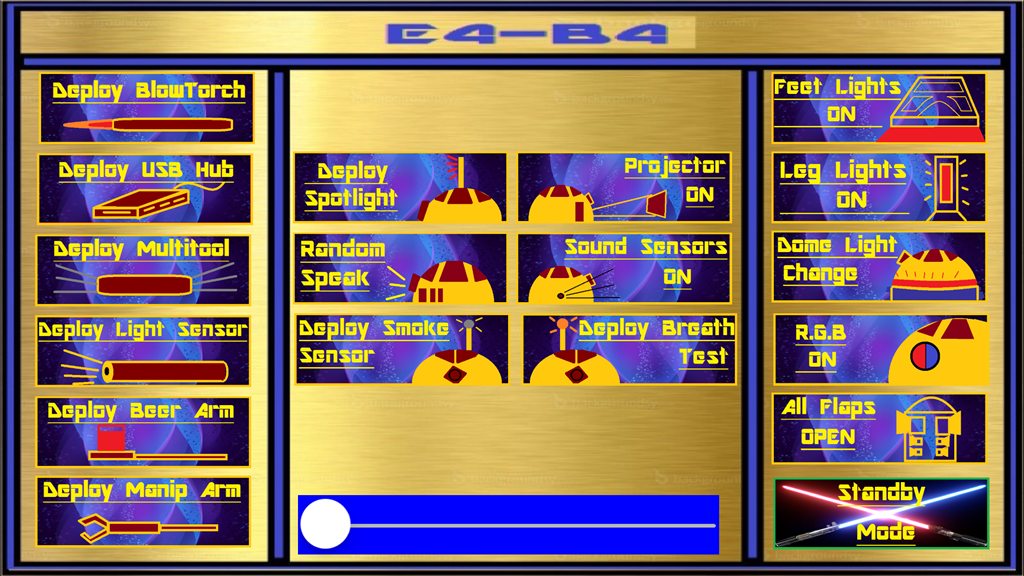
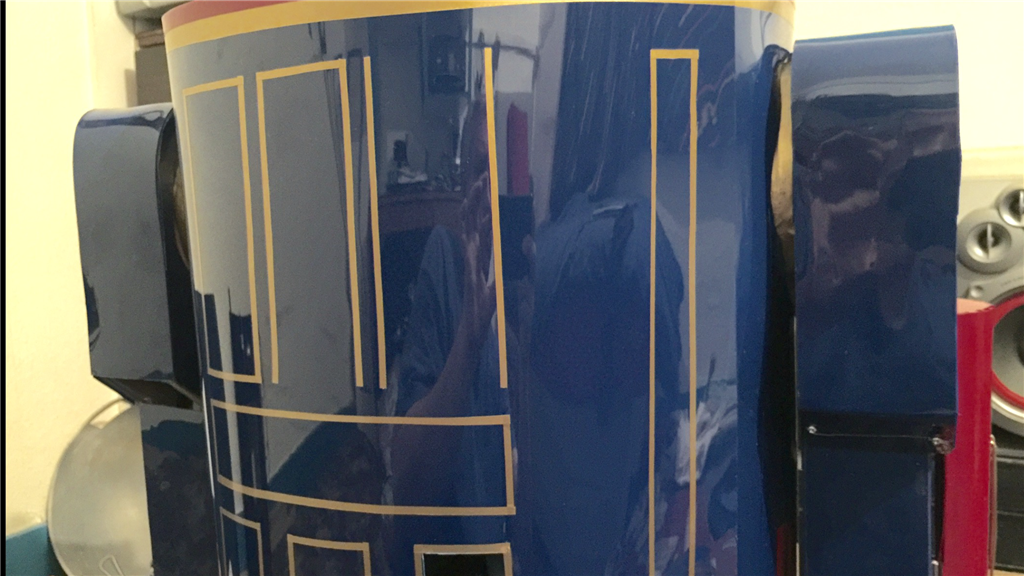
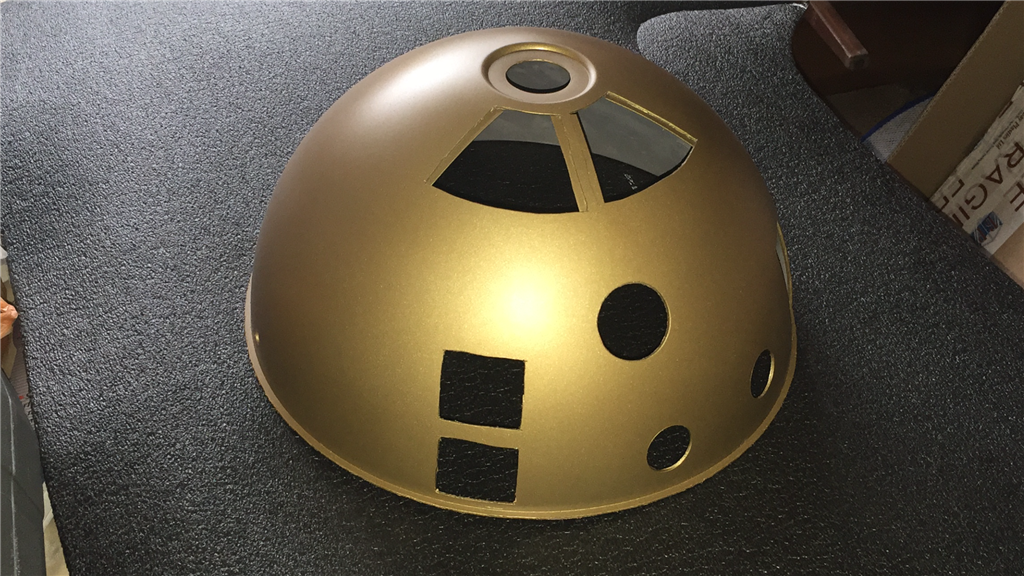
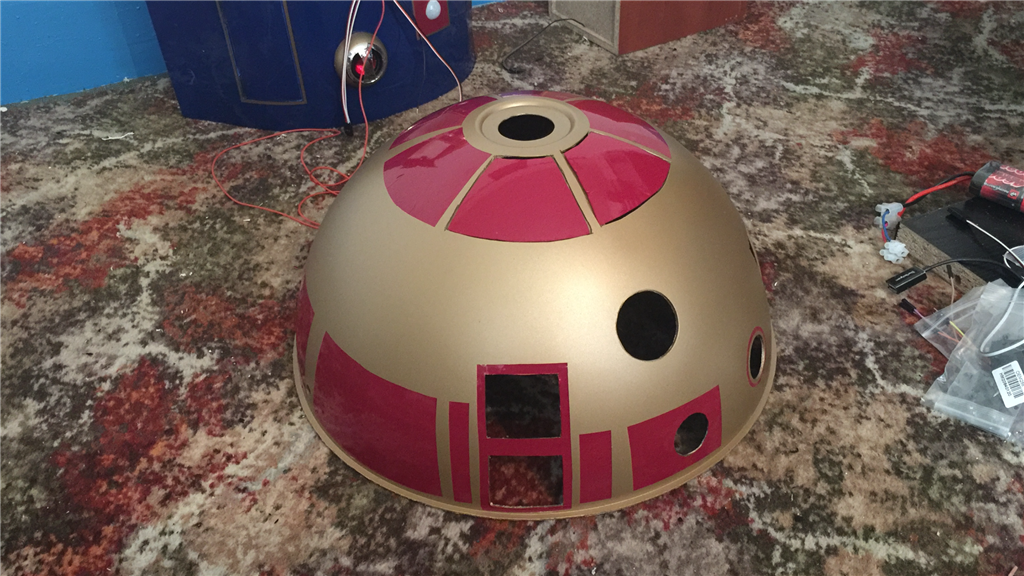
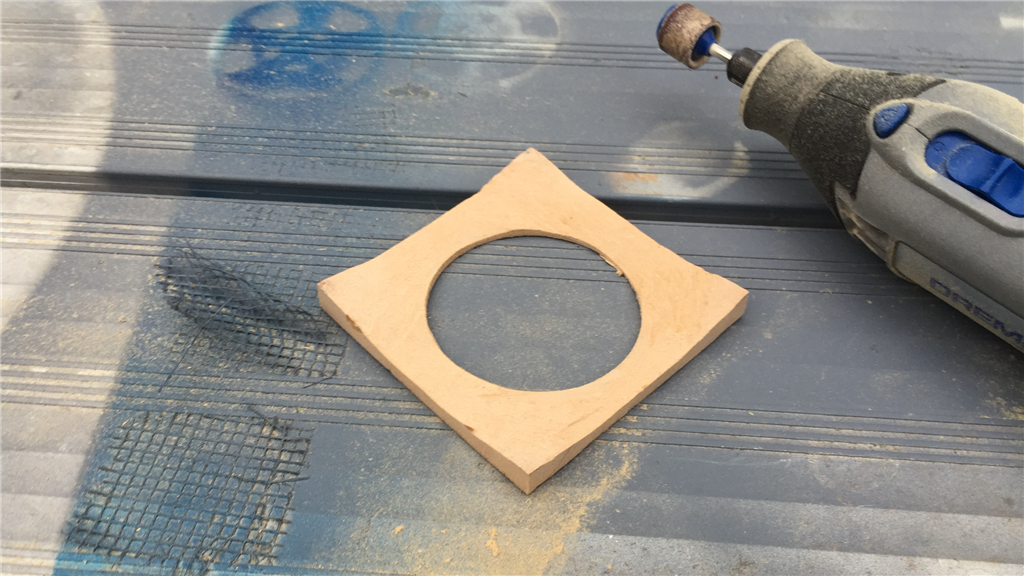
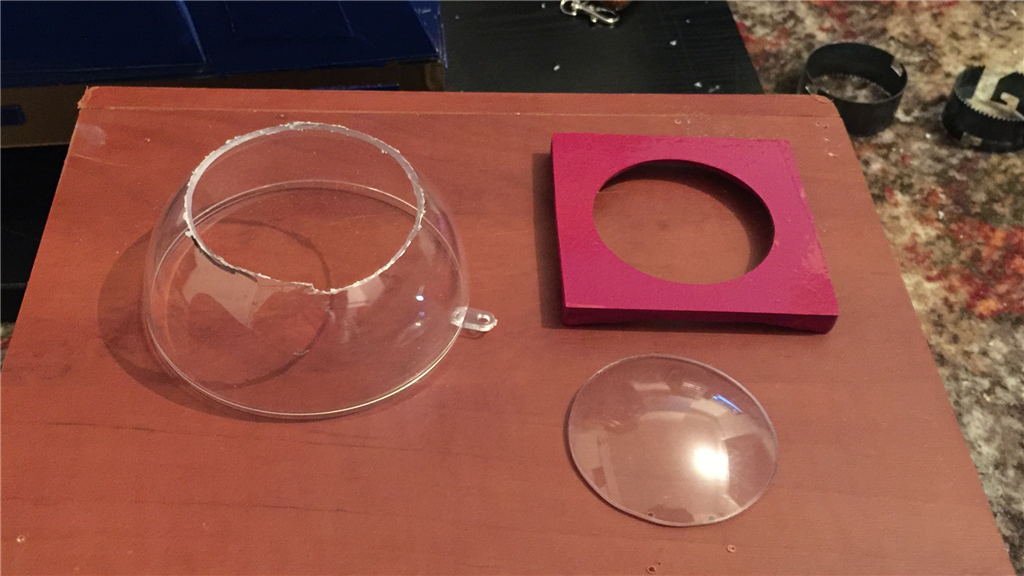
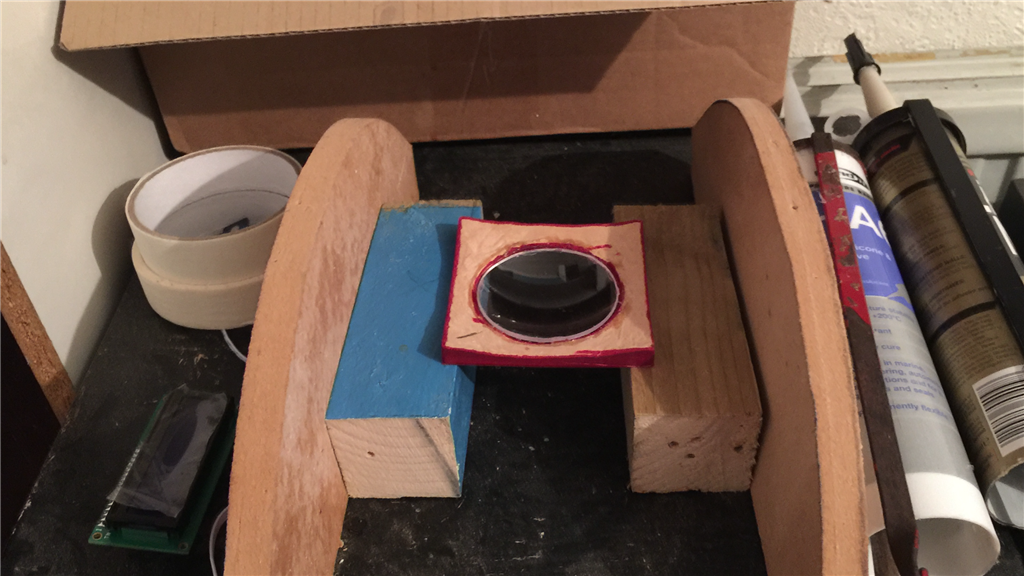
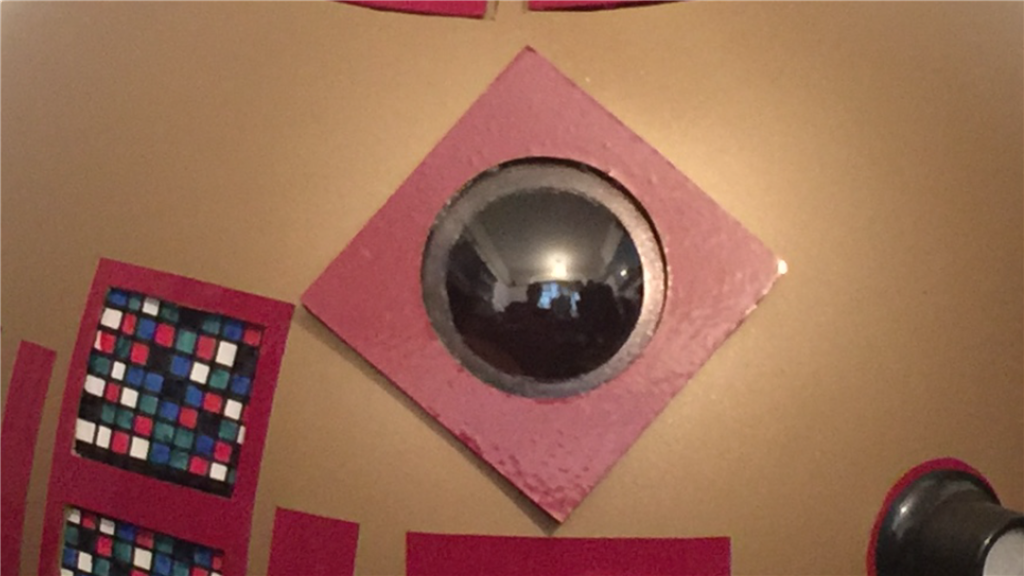
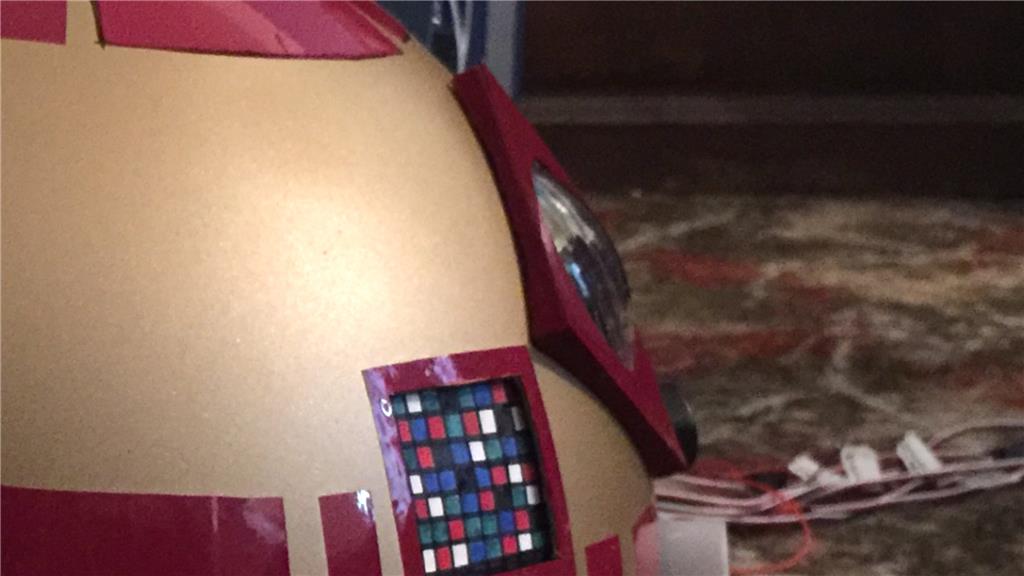
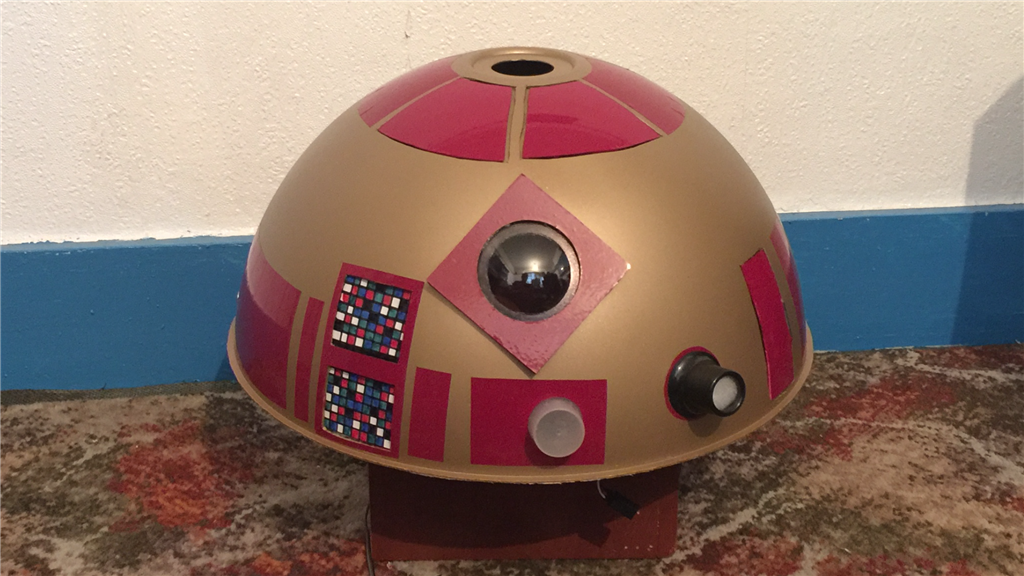
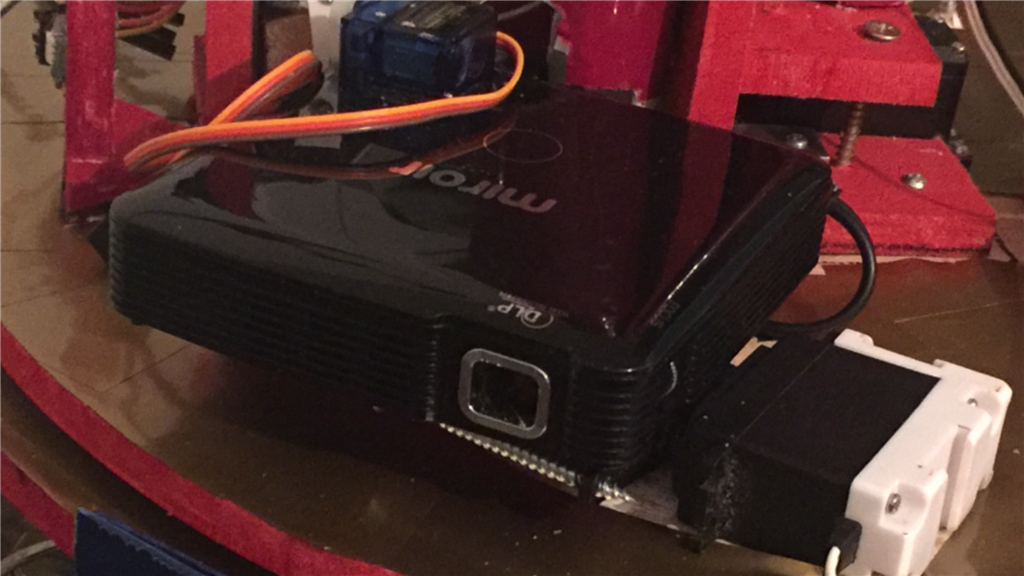
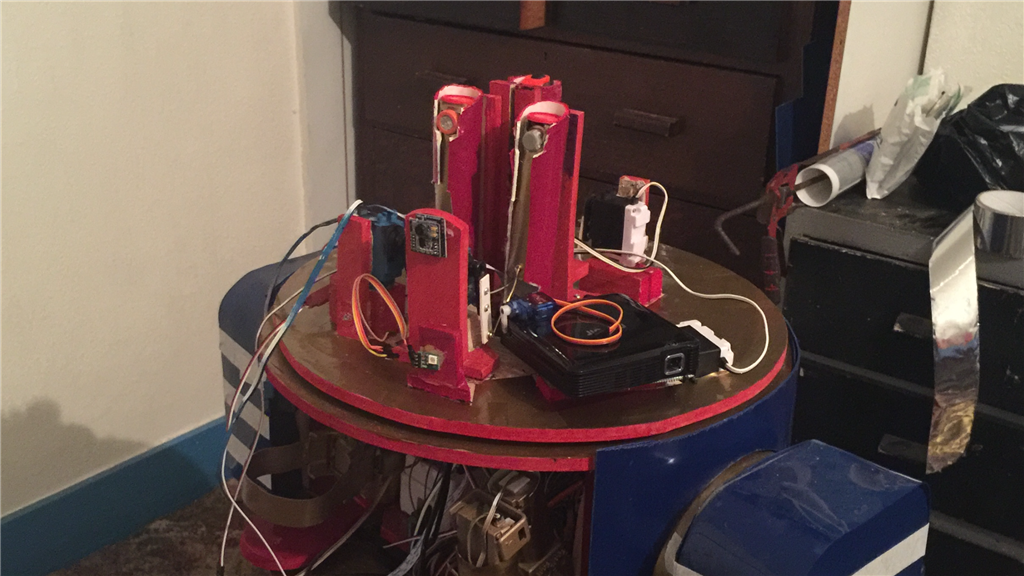
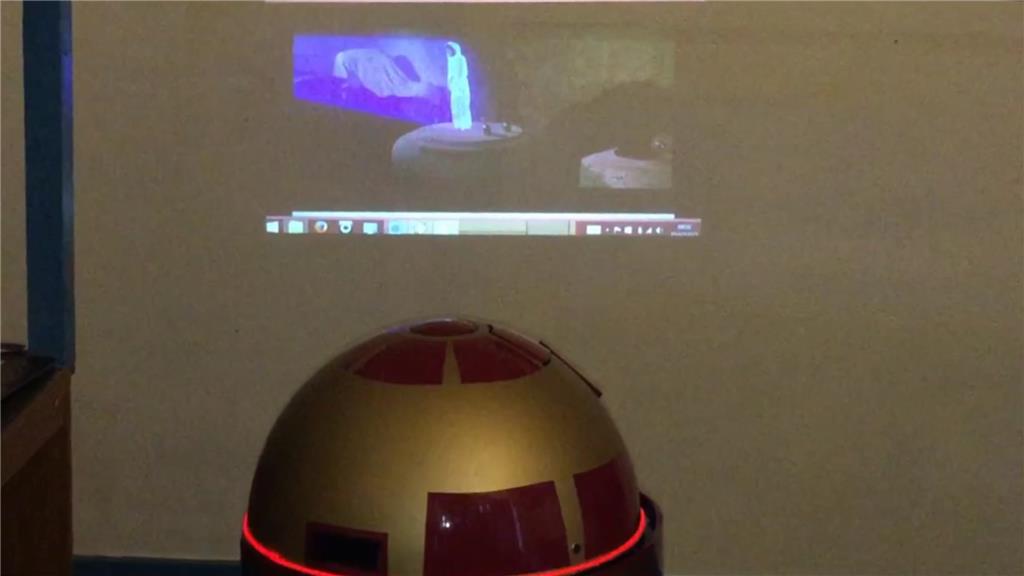
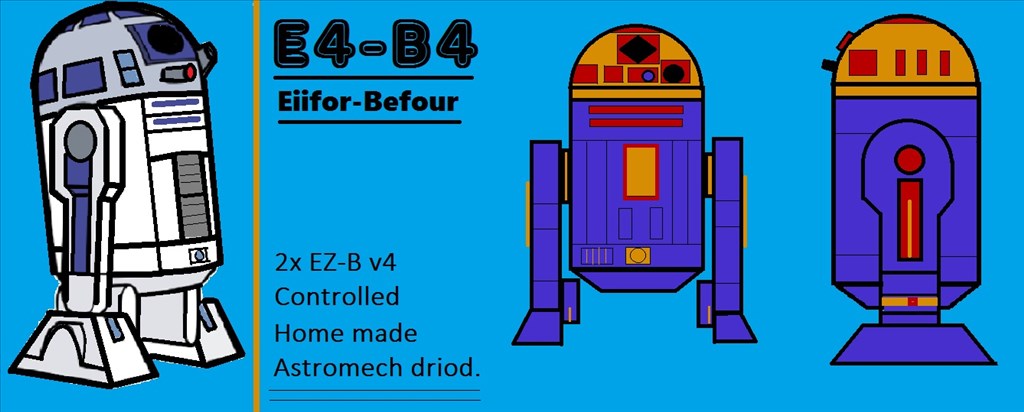
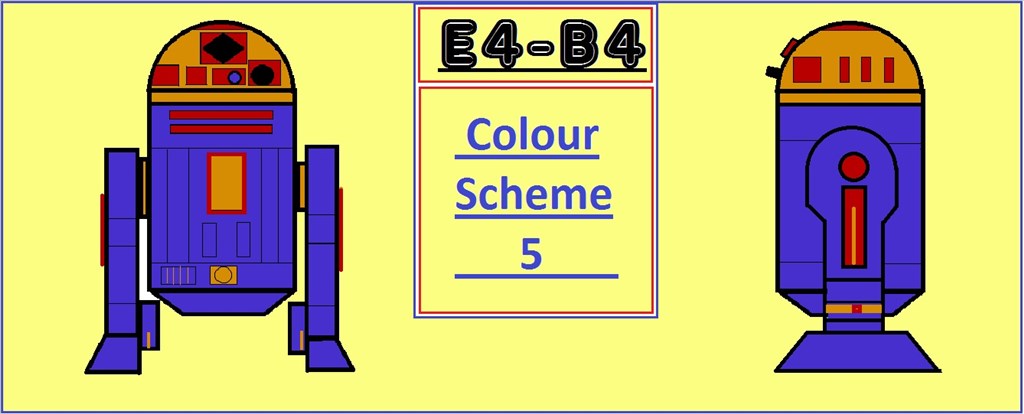
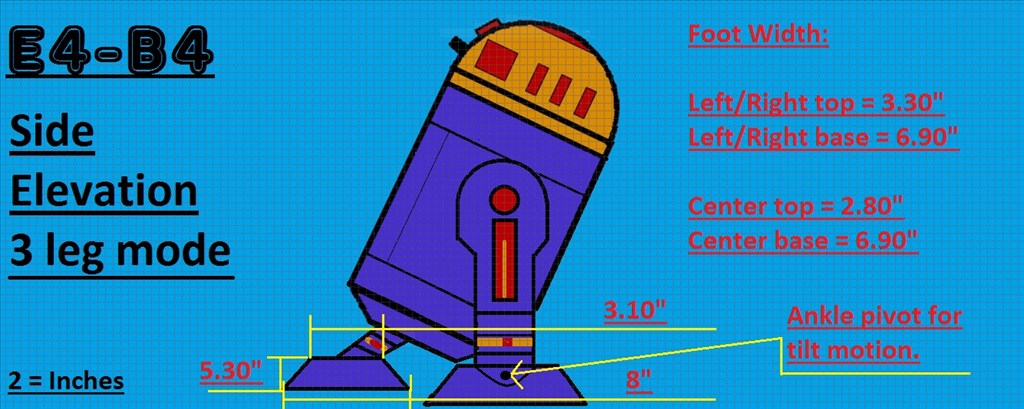
So what's with the name E4-B4 (Eiifor-Befour)? Well its kinda based on the EZ-B 4, of which this little'ish guy will have two of them. One master v4 to control motor controllers, ping sensors, v4 soundboard, camera and sensors, while the 2nd slave v4 will be used for all of the servos used as well as additional sensors. E4 will be mainly built using MDF with a plastic covering, and movement will be powered by 12v 30 watt gearbox/motors for the drive system. The "burtt acoustic signaller" and system ventilation vents on R2-D2's chest area (the two silver square'ish panels) will be replaced on E4 with a tablet PC, and the Optical Holographic Projector in R2's head will be something similar to what E4 will have, using a portable projector like the Aiptek or the Pico Genie, so no holograms... yet.
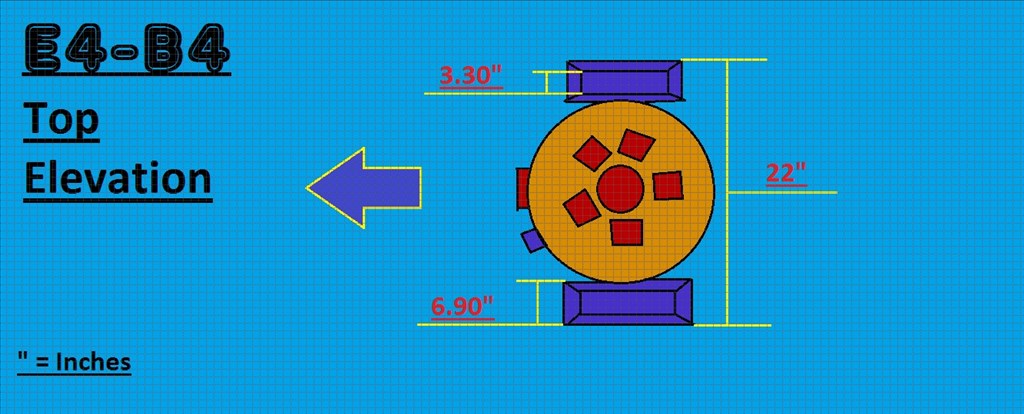
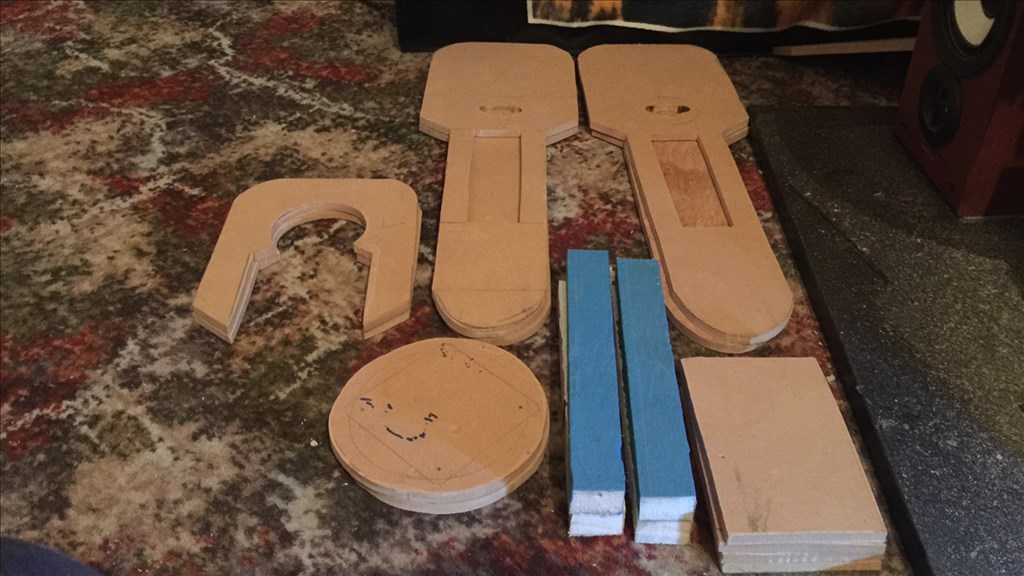
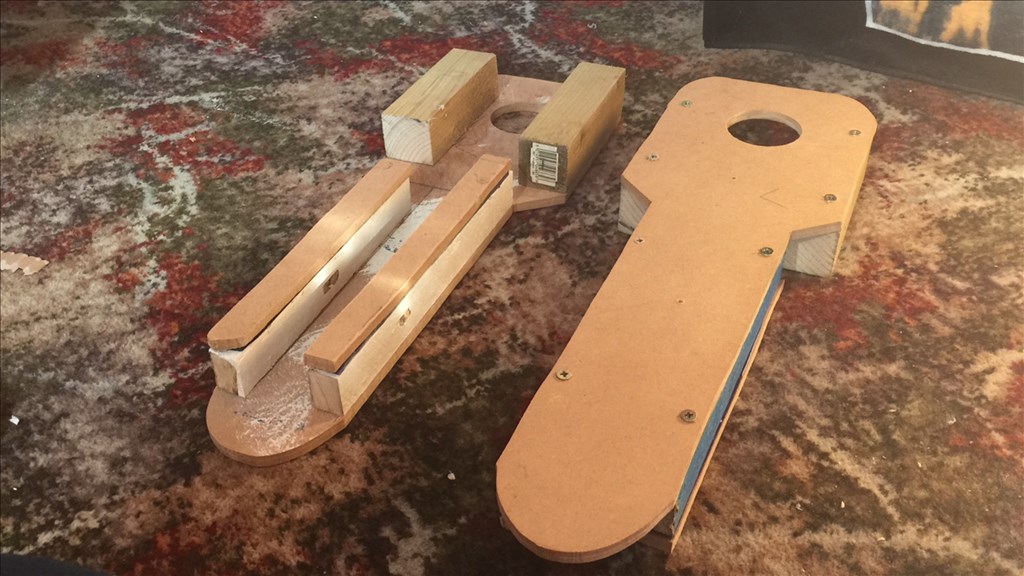
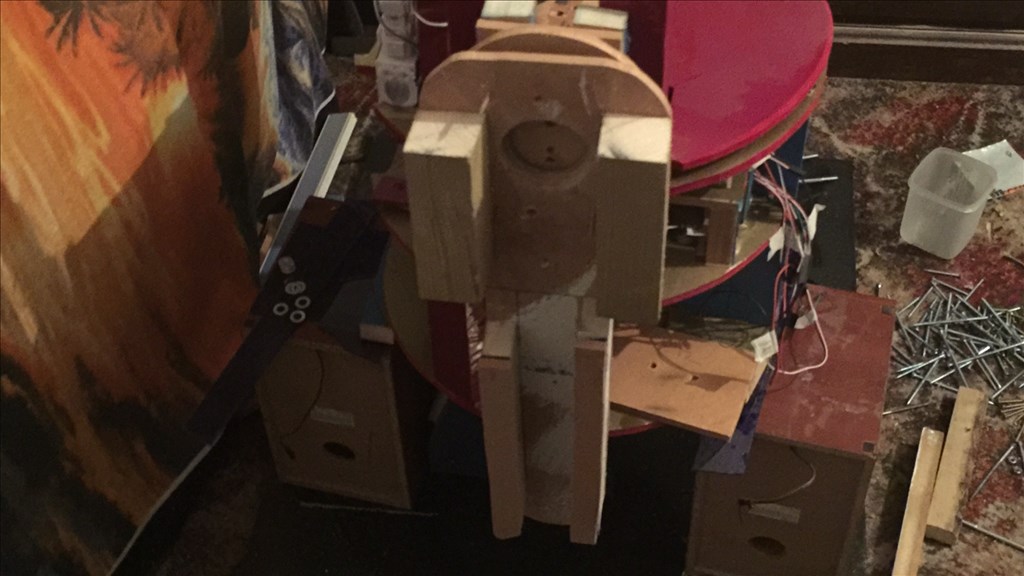
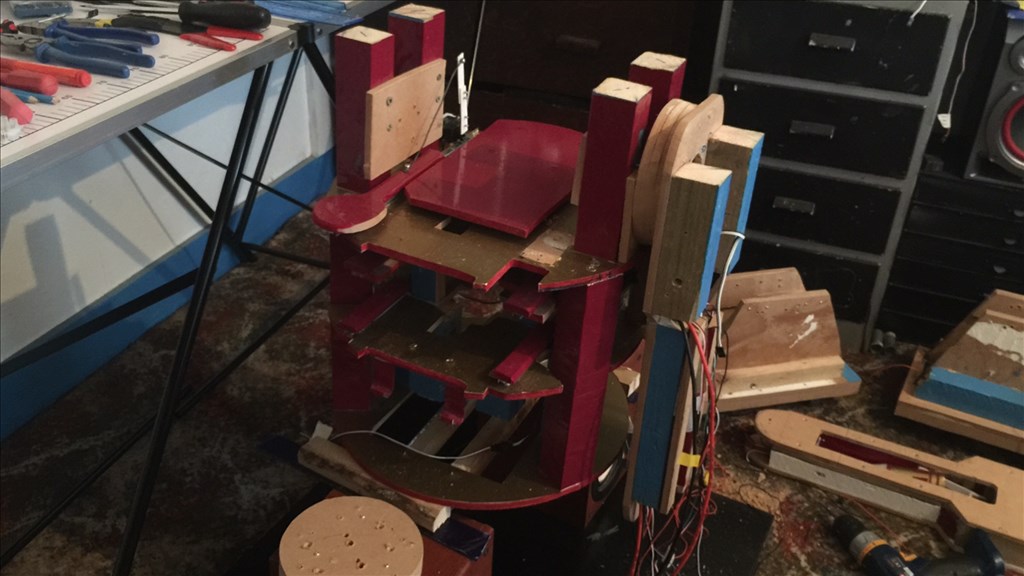
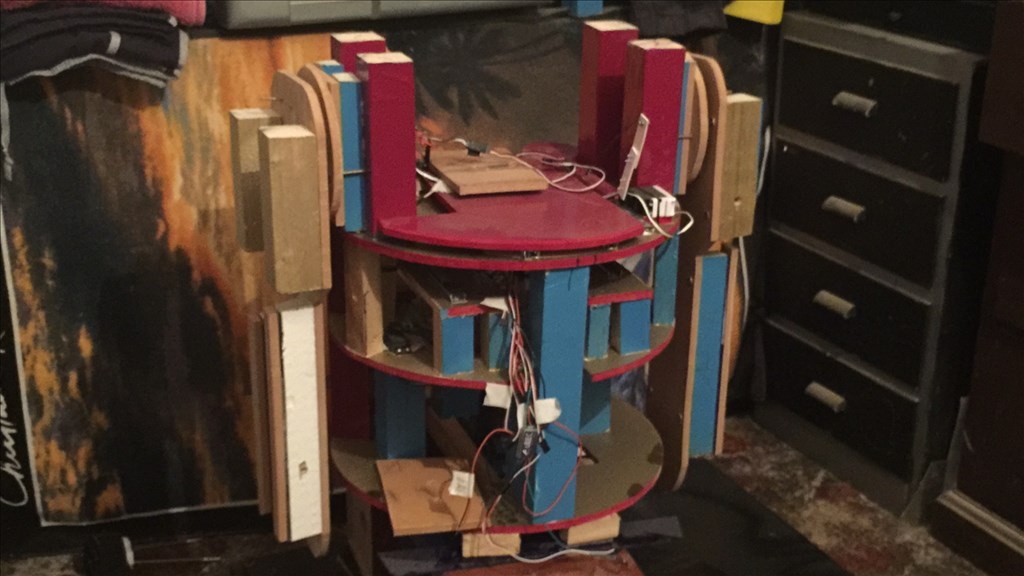
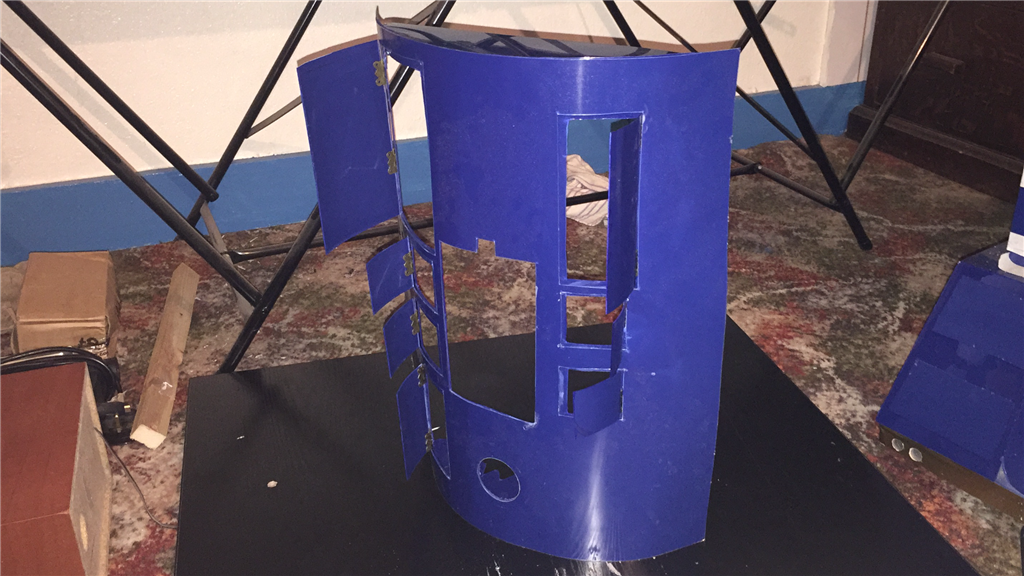
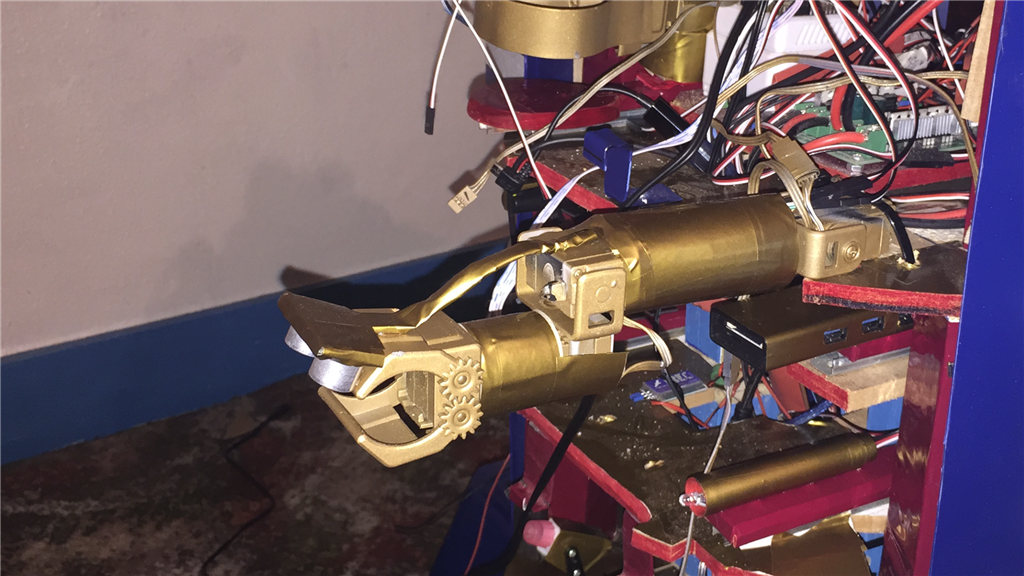
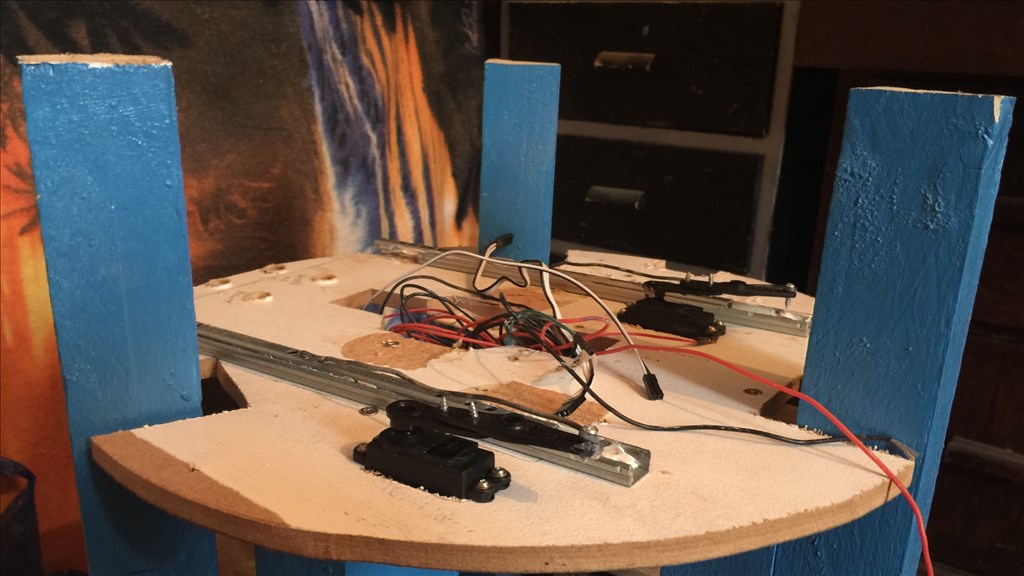
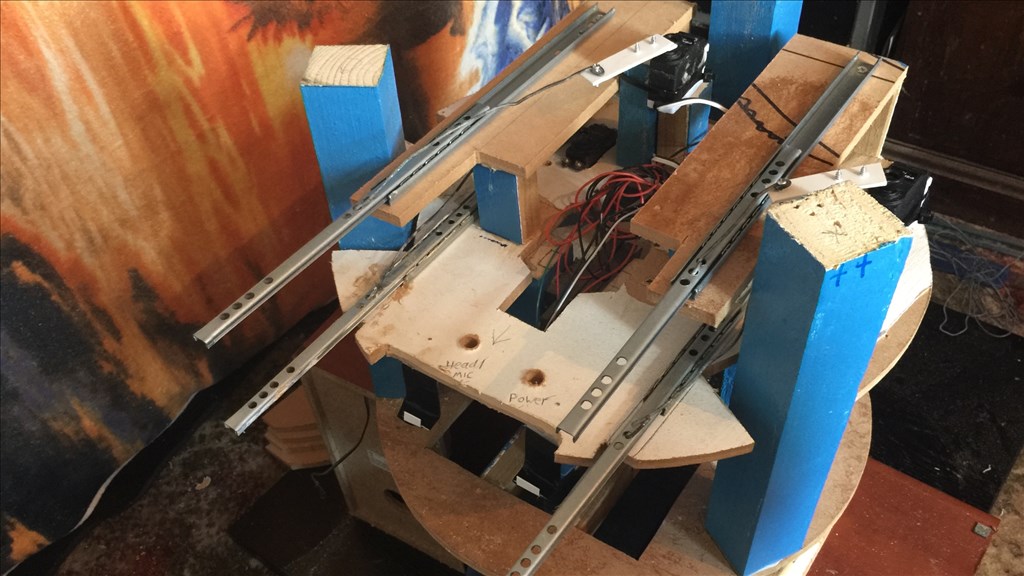
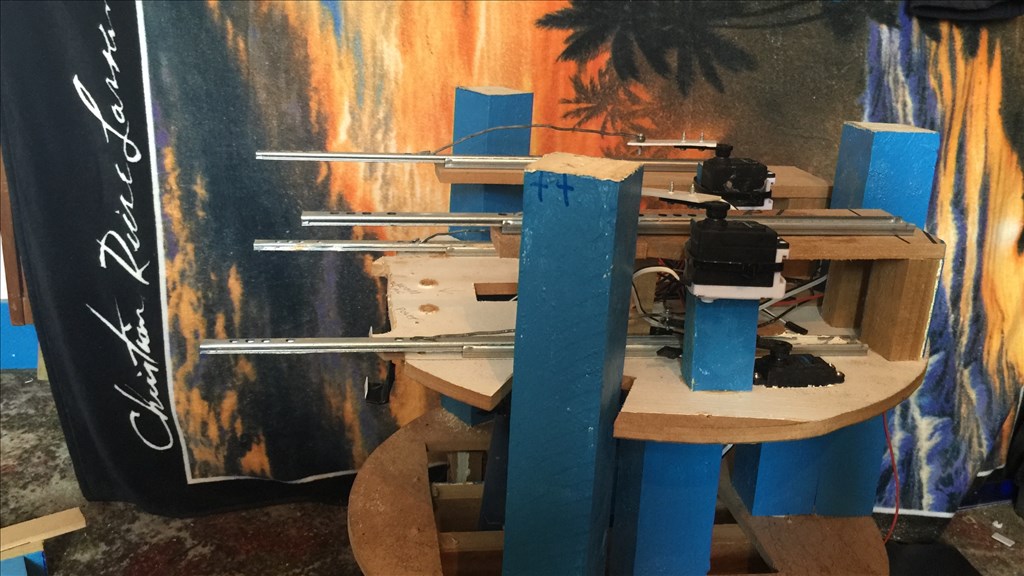
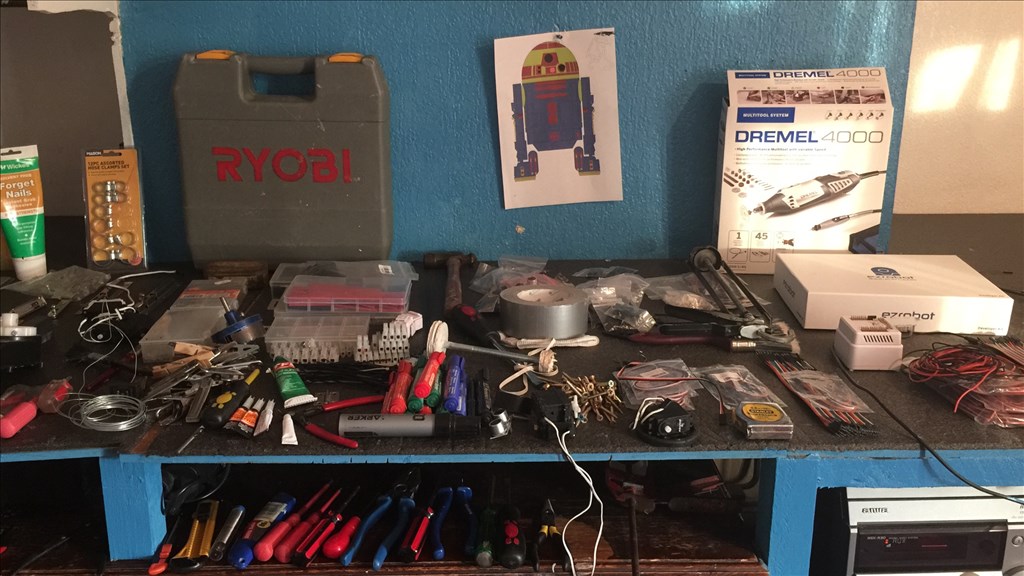
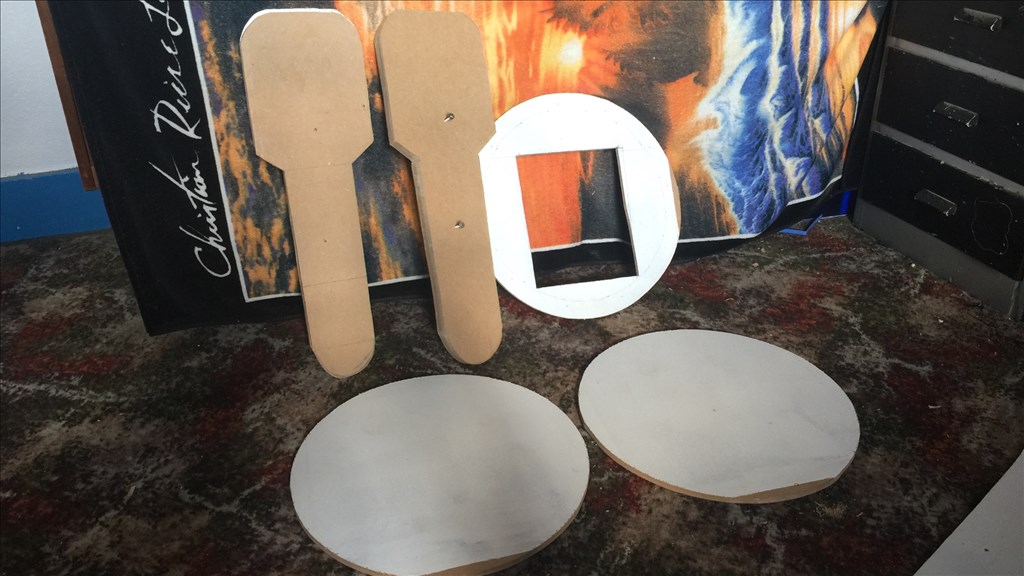
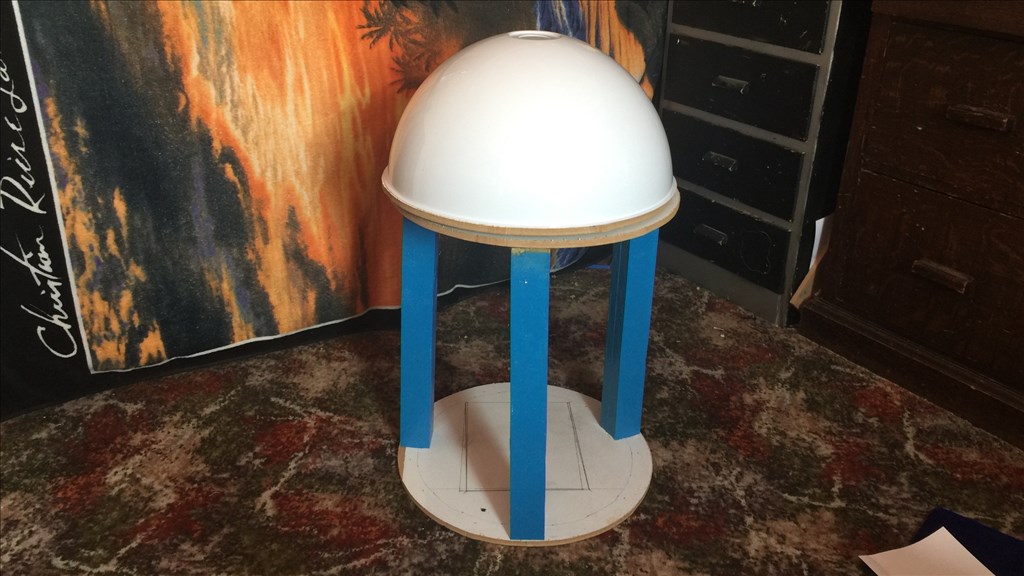
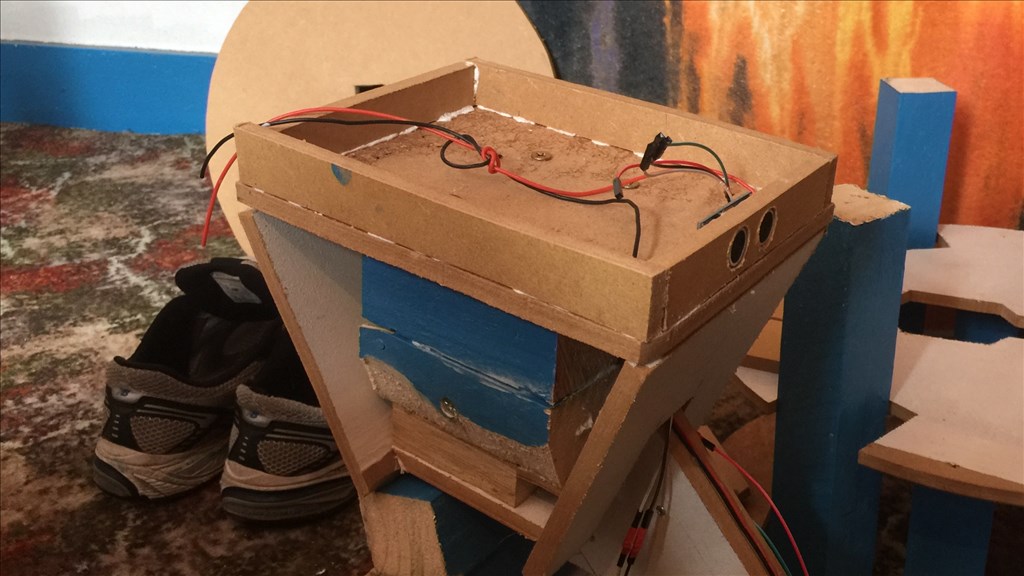
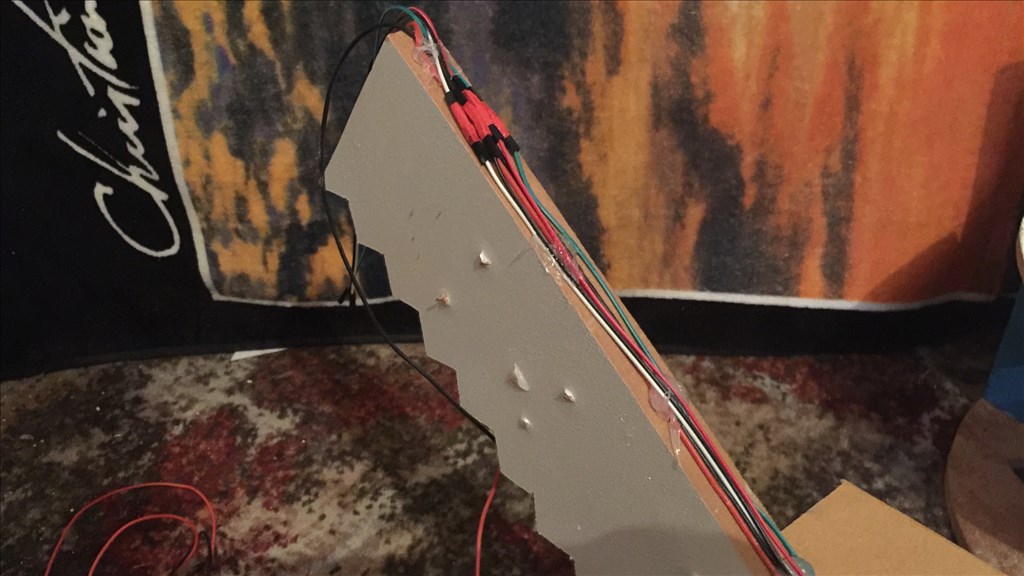
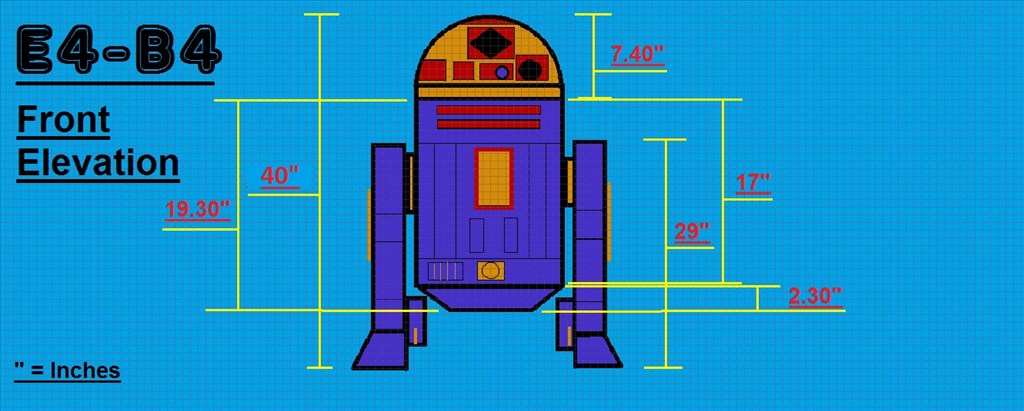
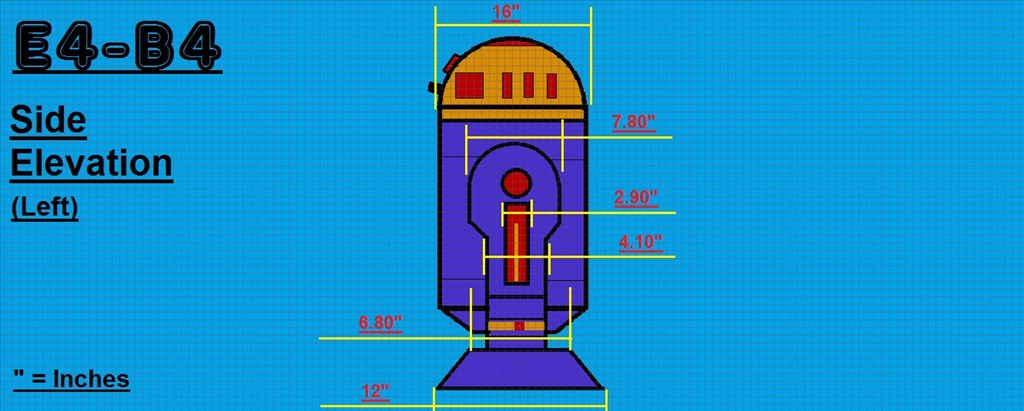
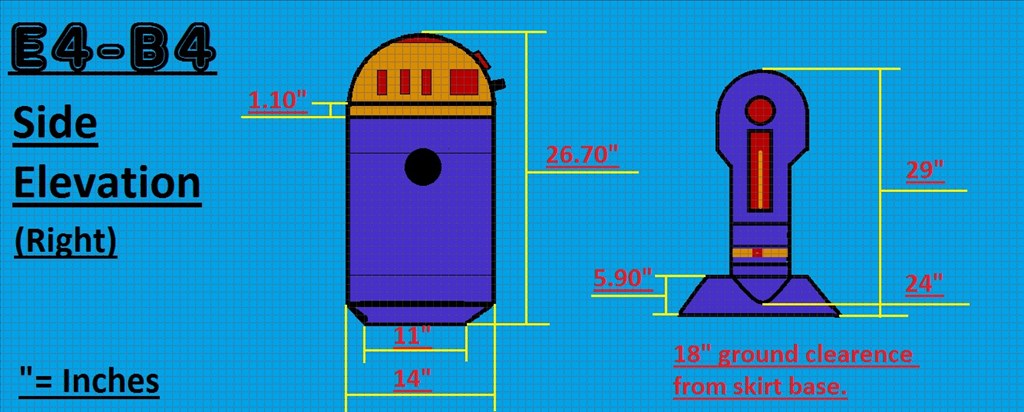
The dimensions will be slightly smaller than the original prob, but not by much so E4 will be plenty big enough. I'm intending to fit a few useful tools that he will be able to deploy, and of course have the fully rotating head which will have all kinds of bells and whistles. I have some of the MDF sheets and 2x4 wood lengths for the frame already, and the motors and head dome (lampshade) should be with me sometime this week, so it will be power tools at the ready. I'm in no rush to finish this project, but I am aiming to have E4-B4 pretty much finished by this December.
I will posting lots of photos and few videos throughout the build process, so I hope anyone reading will find this build dairy interesting and enjoyable. And as always, I'd love to hear your thoughts and suggestions (especially on the colour scheme). Anyway thanks for reading, and let the build begin...
Steve.
Discover more robots
69Developer's Anyone Interested In Seeing Some Pictures And...
Quantumsheep's Camera Robot Mk2

Great Job ! E4-B4 is looking good... The project is coming together nicely. I look forward to the next video.
Ron R
very cool,looks good and sounds good.
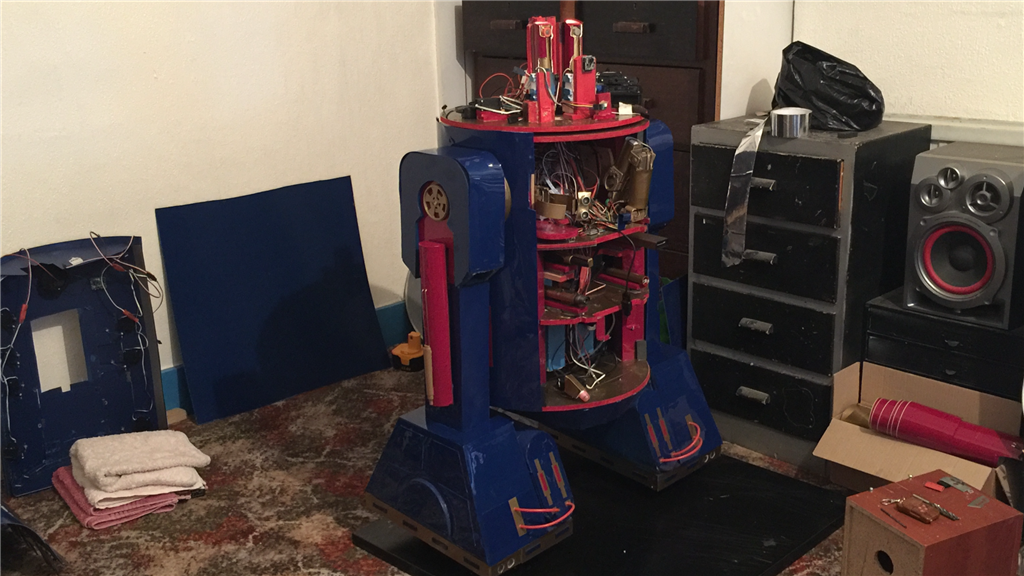
Thanks guys. I've got a few more videos planed... another demo, a "making of", and a couple of E4-B4 in action (ones he's finished). That list I made of final jobs to do is getting smaller which is great, although I keep finding little bits and pieces I keep adding to it. Not long now though.
It's looking better and better. Love the doors. I'm sure you'll get the top ones working smoother. Those little things are frustrating but part of robot building. You're good at overcoming these little things (and the big ones too).
Cheers Dave. Like you say, it's all part of the building fun, such as gluing a hinge together by accident, lol. What is it that Homer Simpson says... DOH.
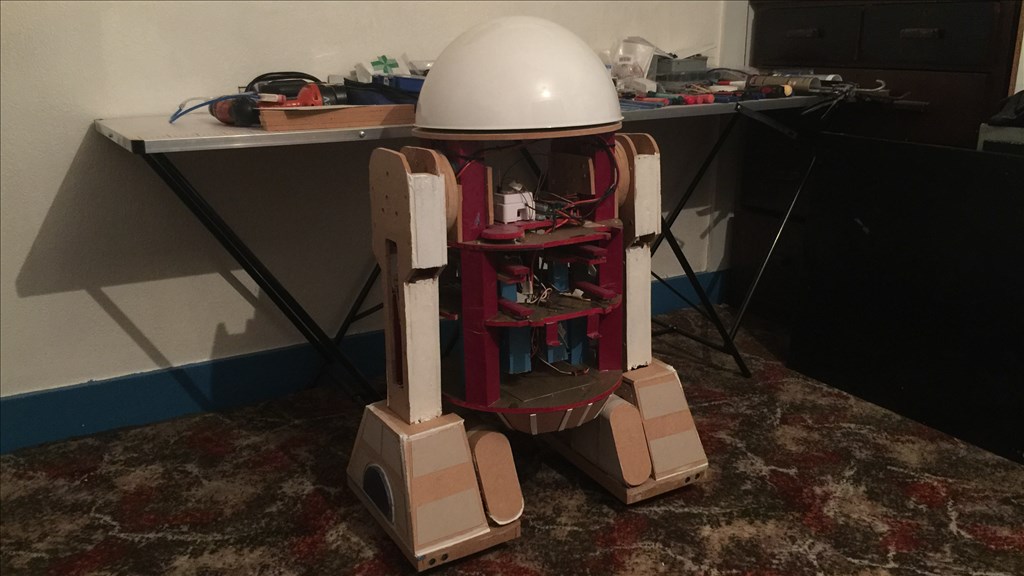
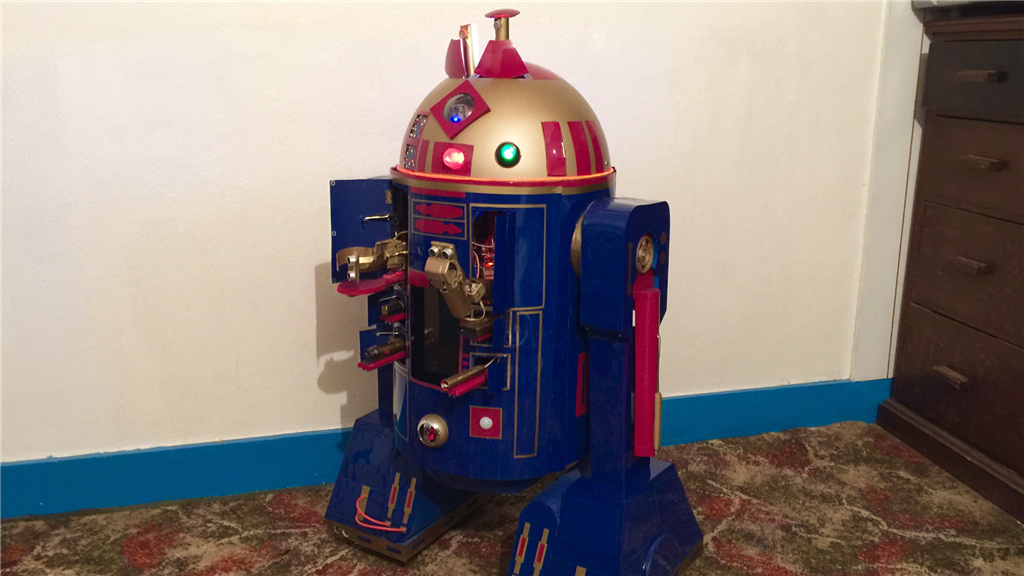
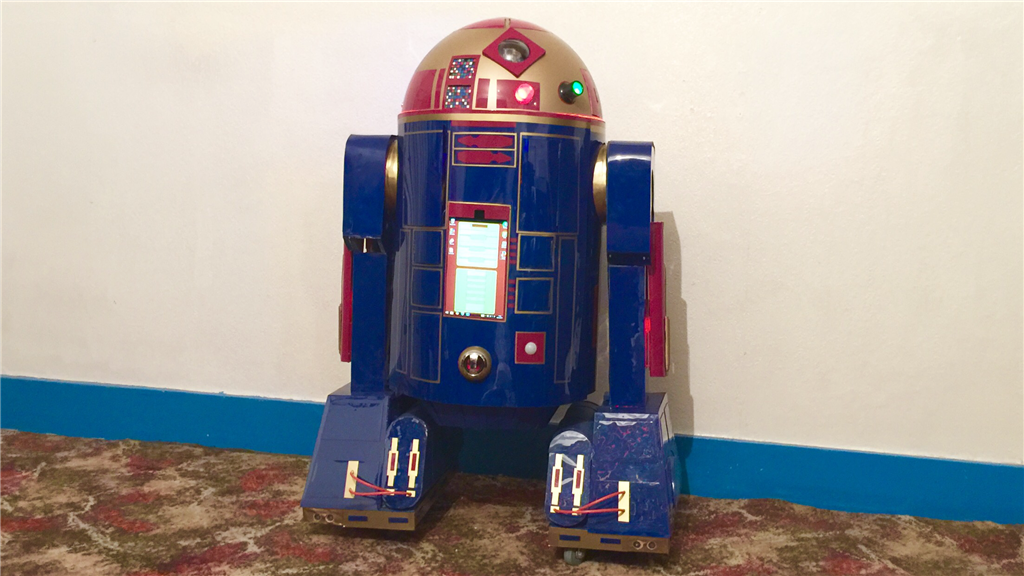
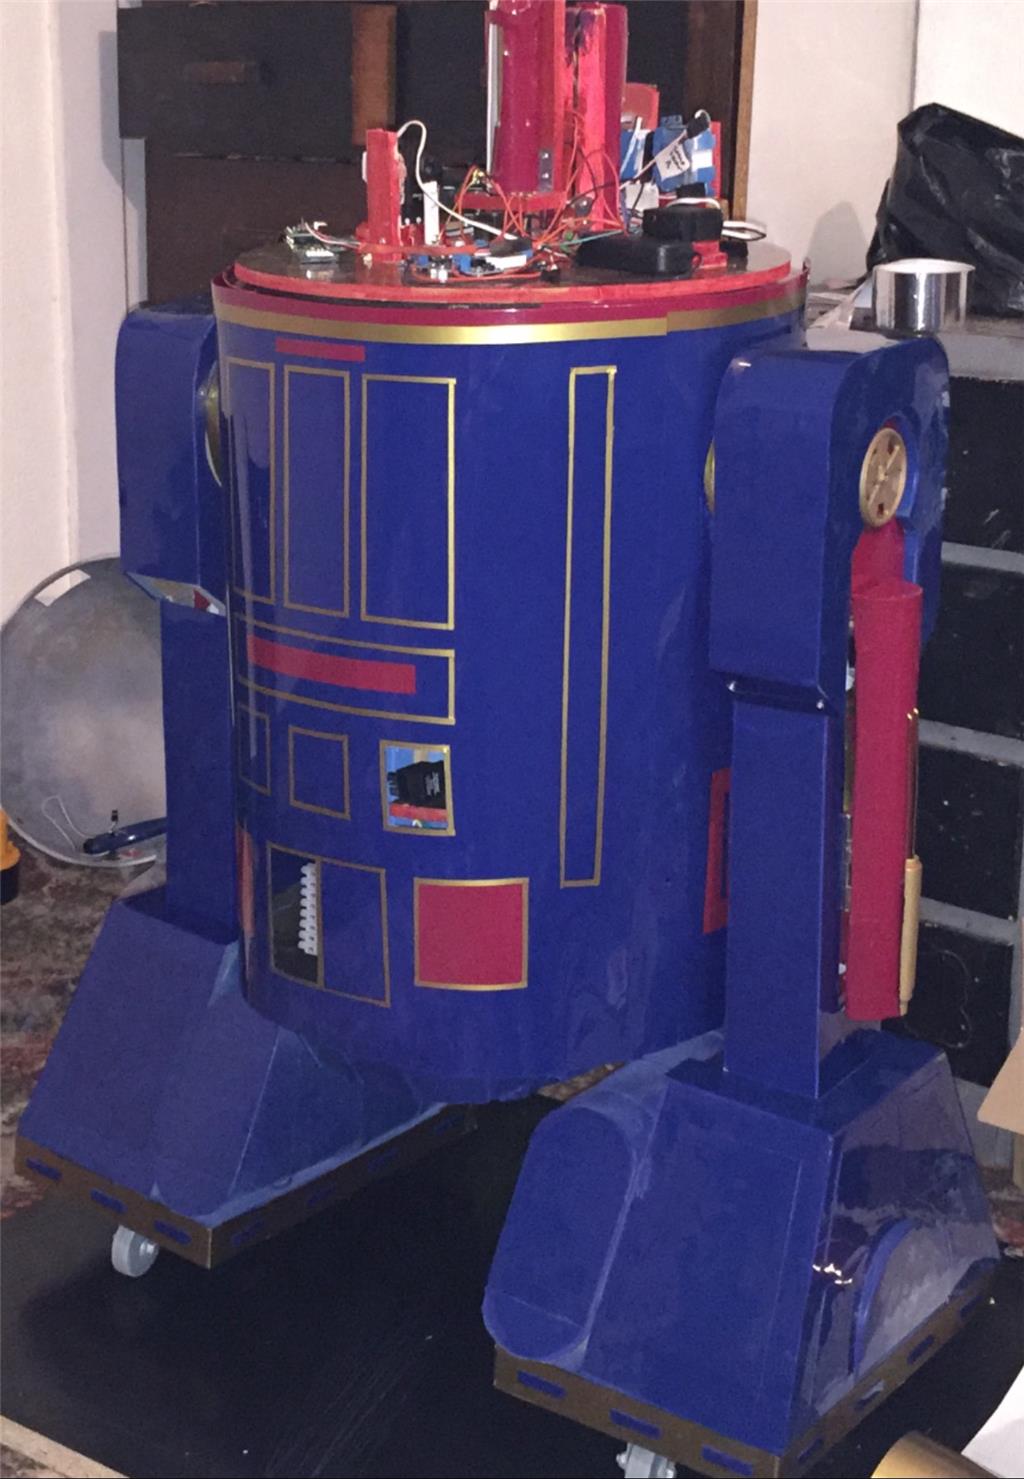
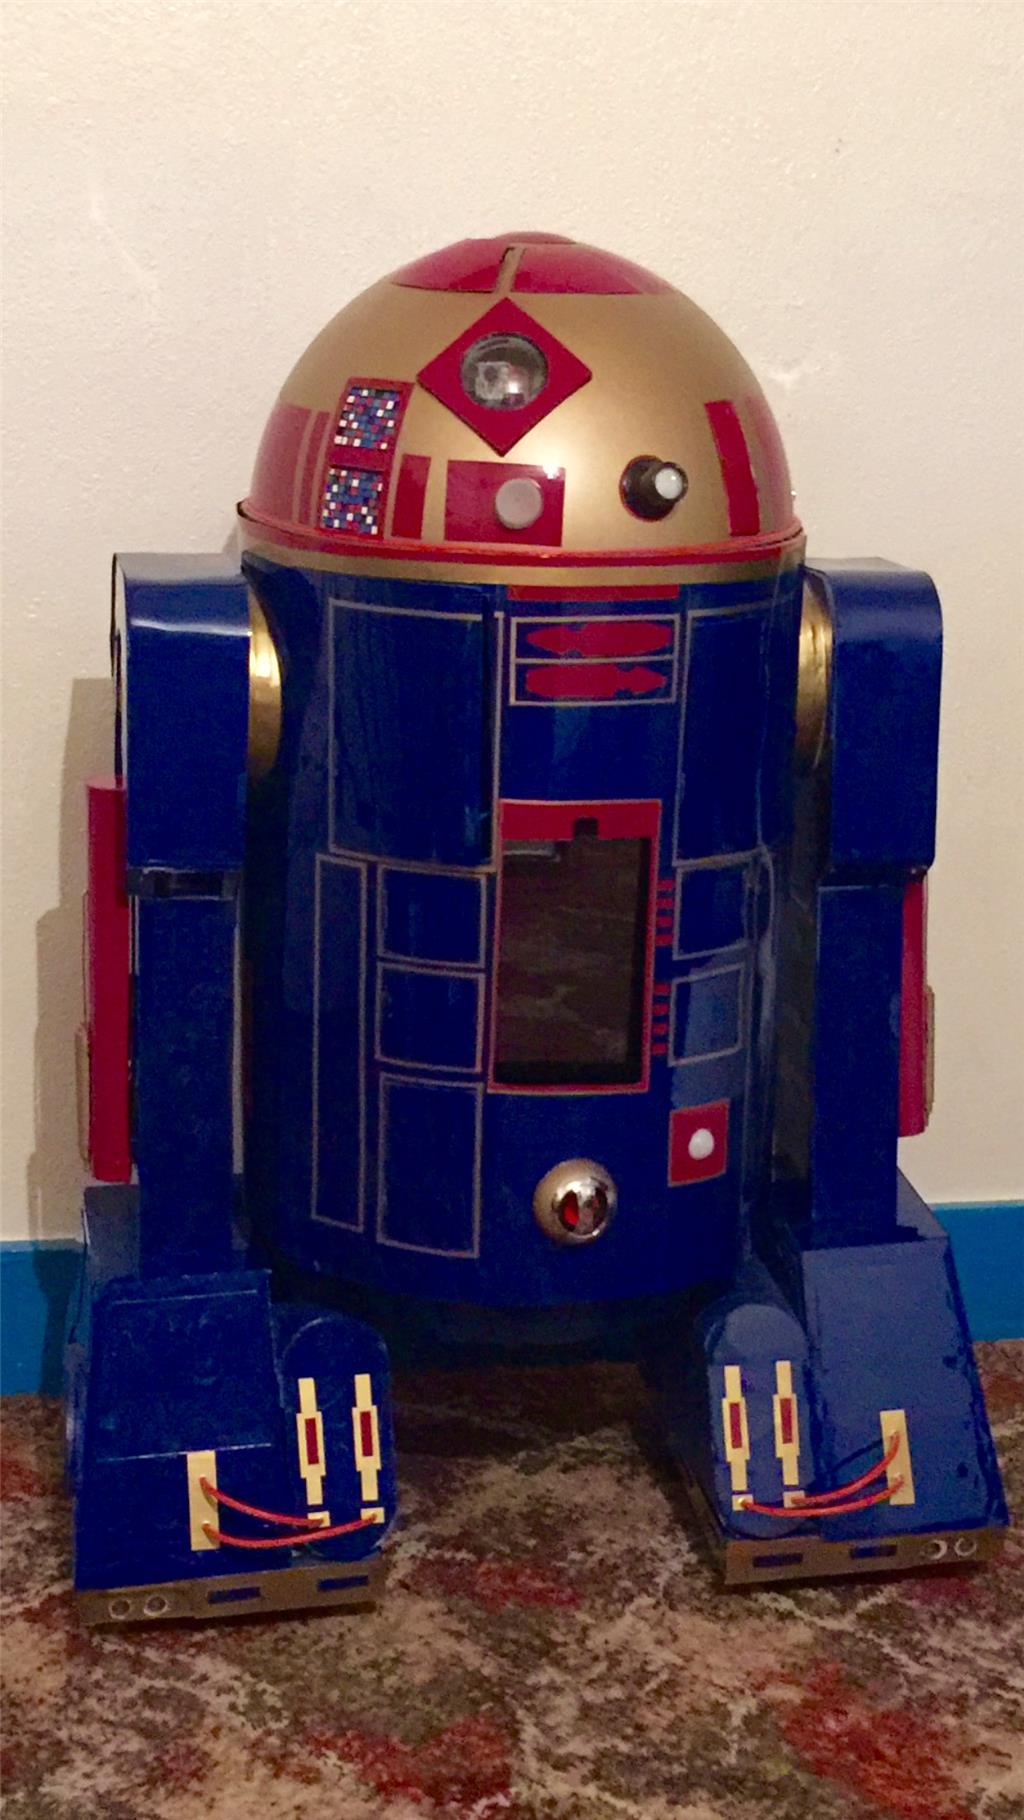
Day 114 25th November 2015.
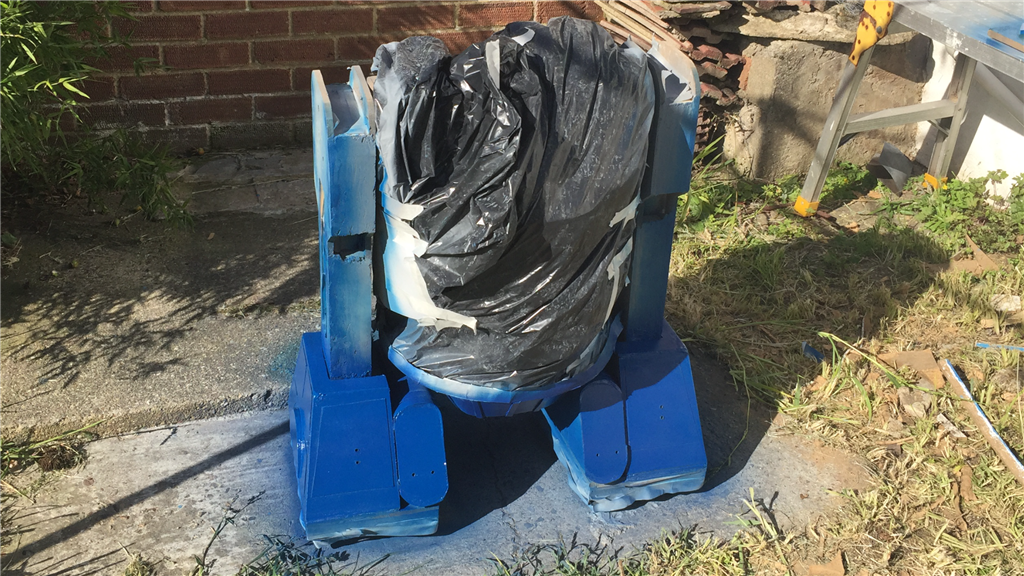
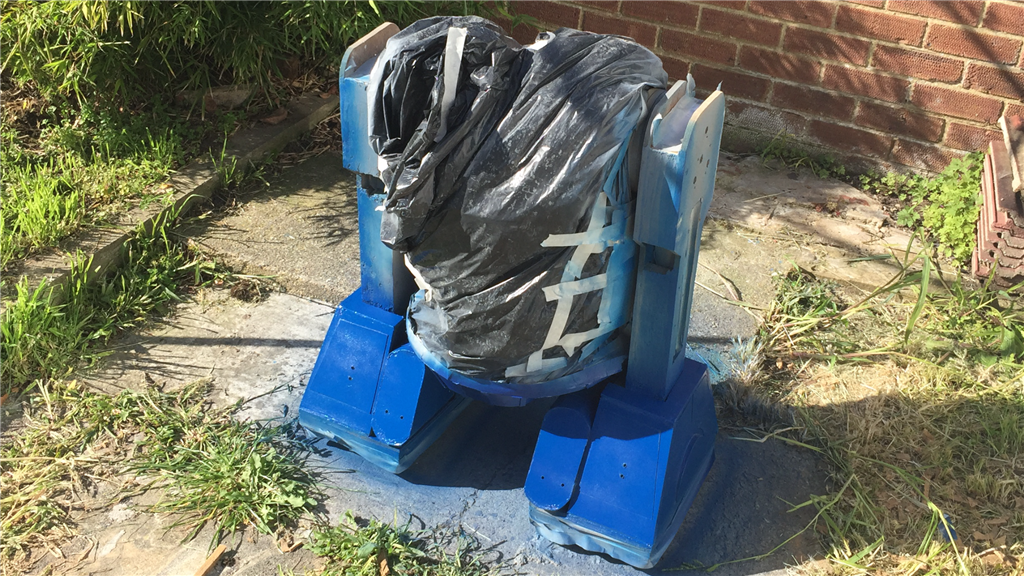
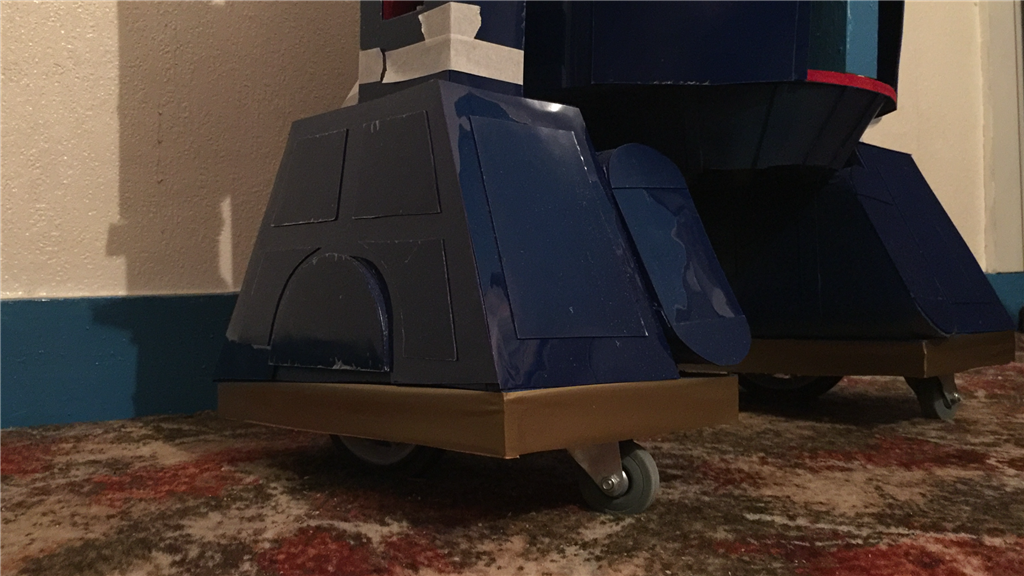
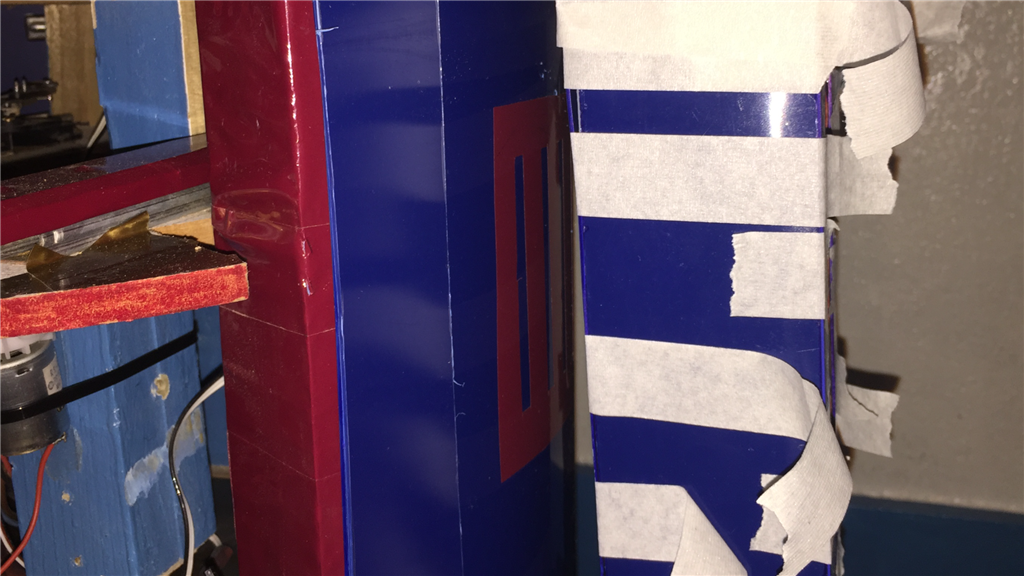
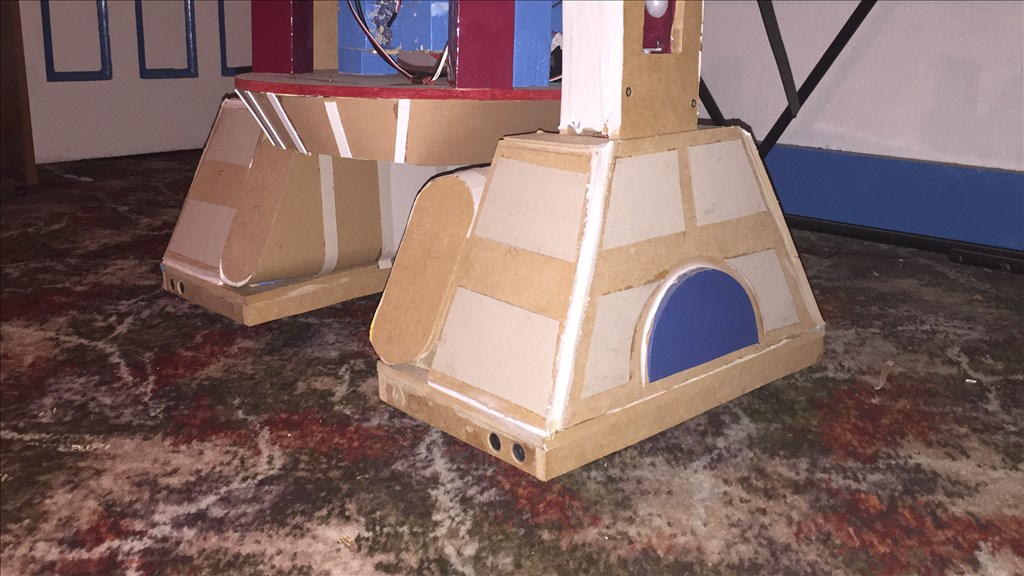
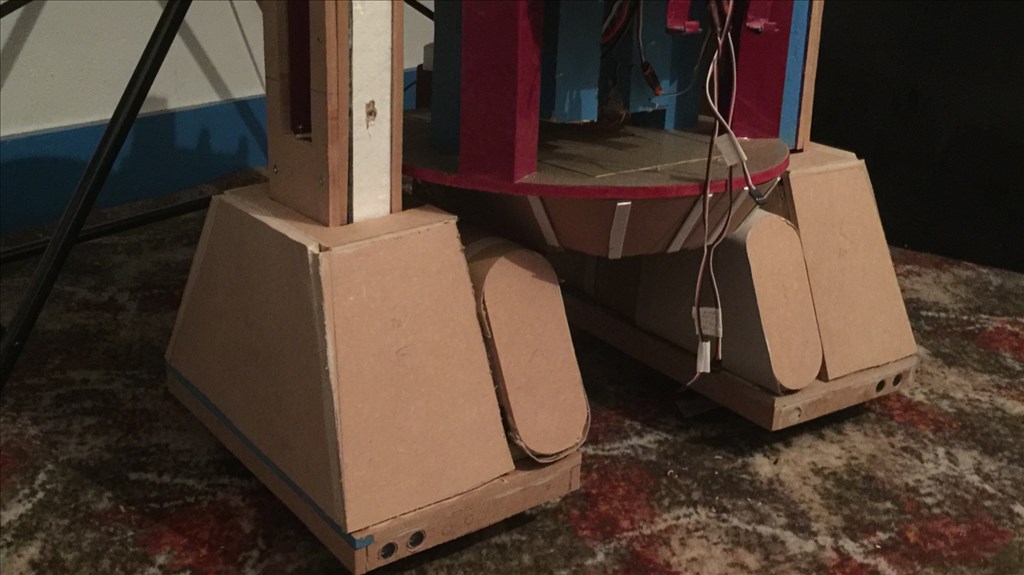
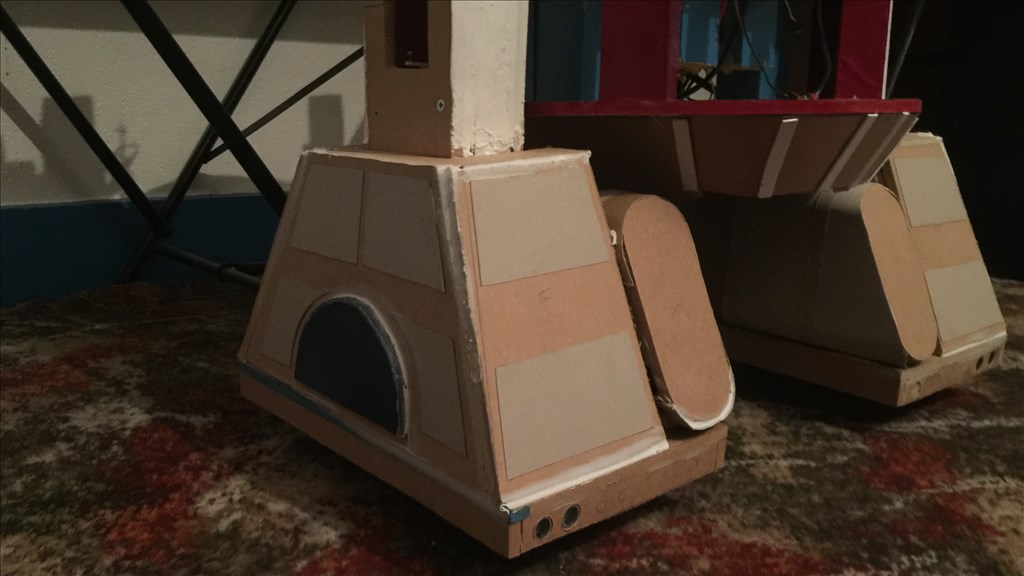
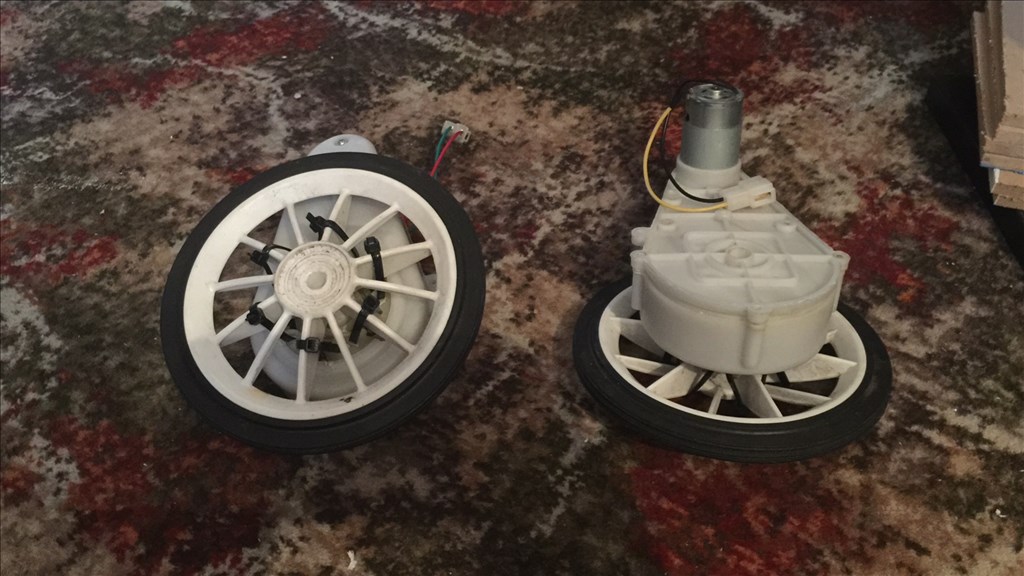
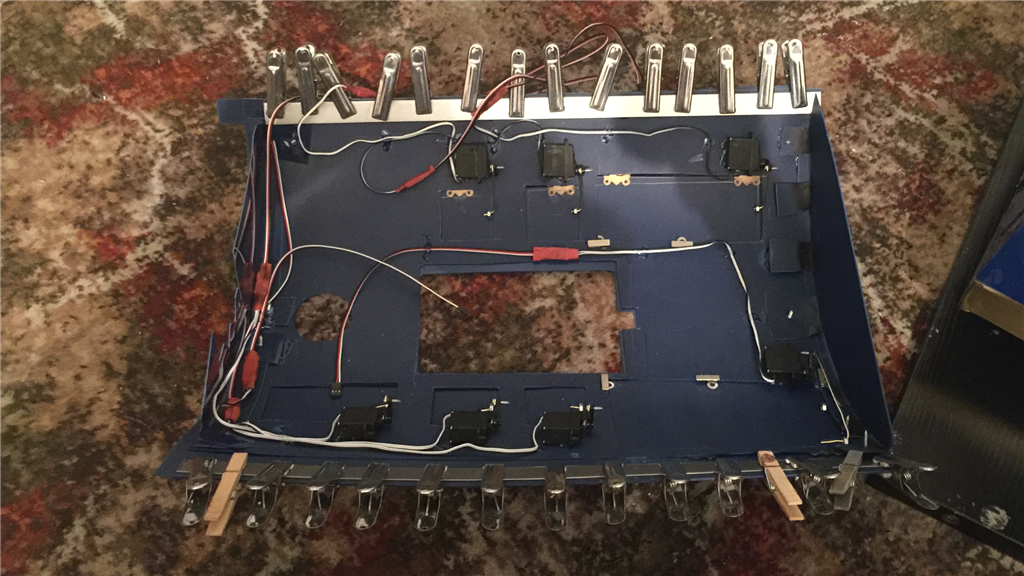
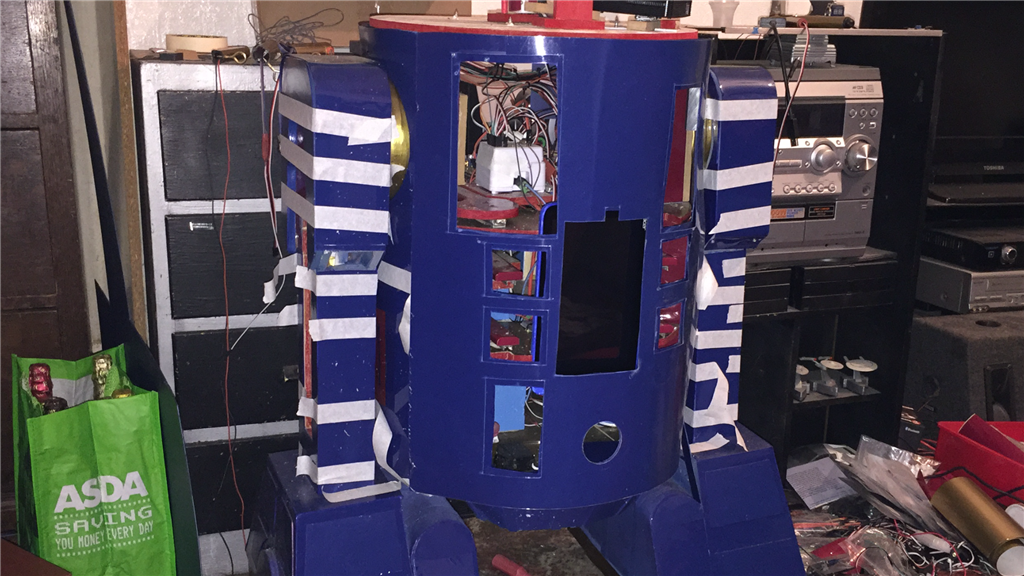
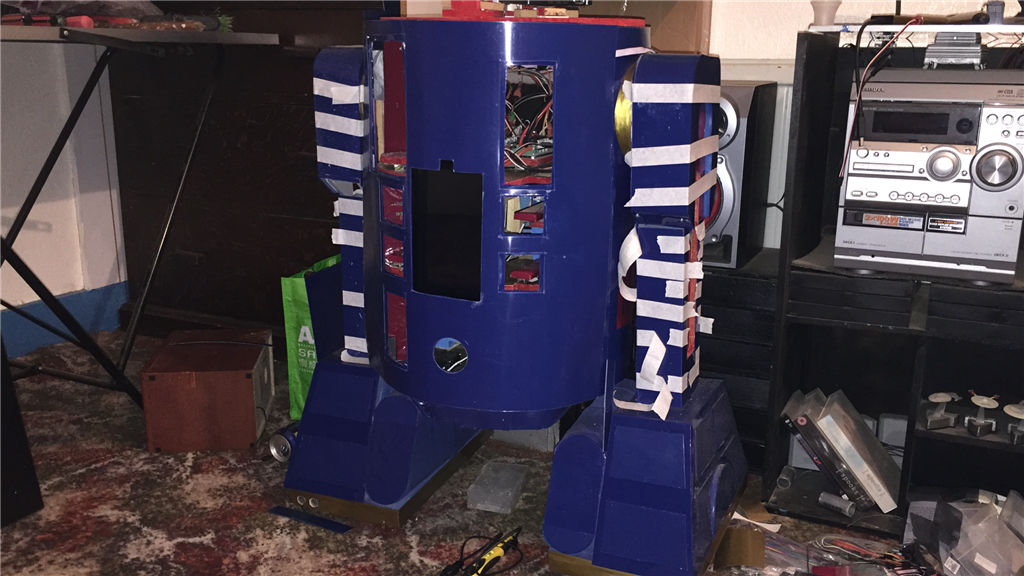
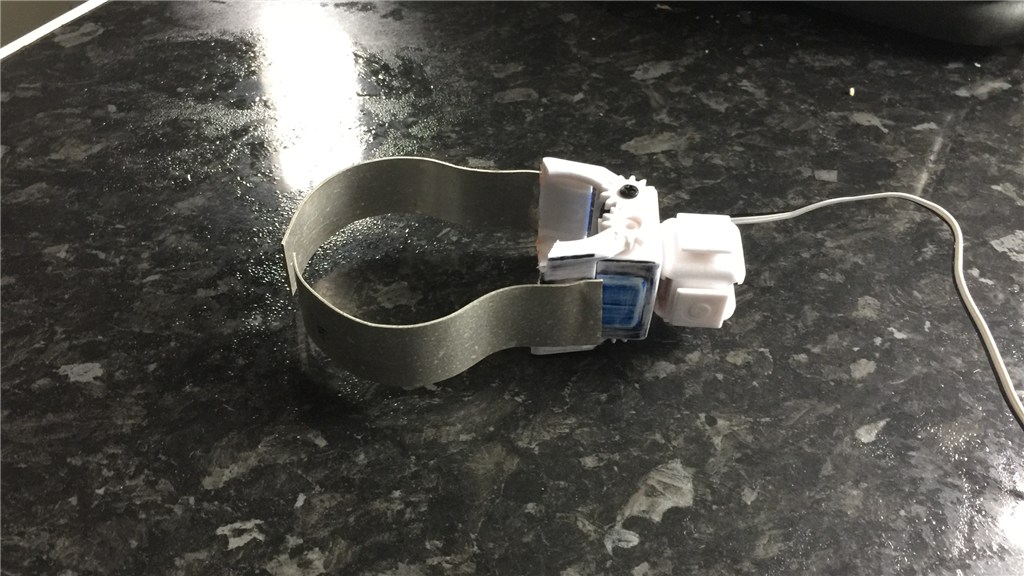
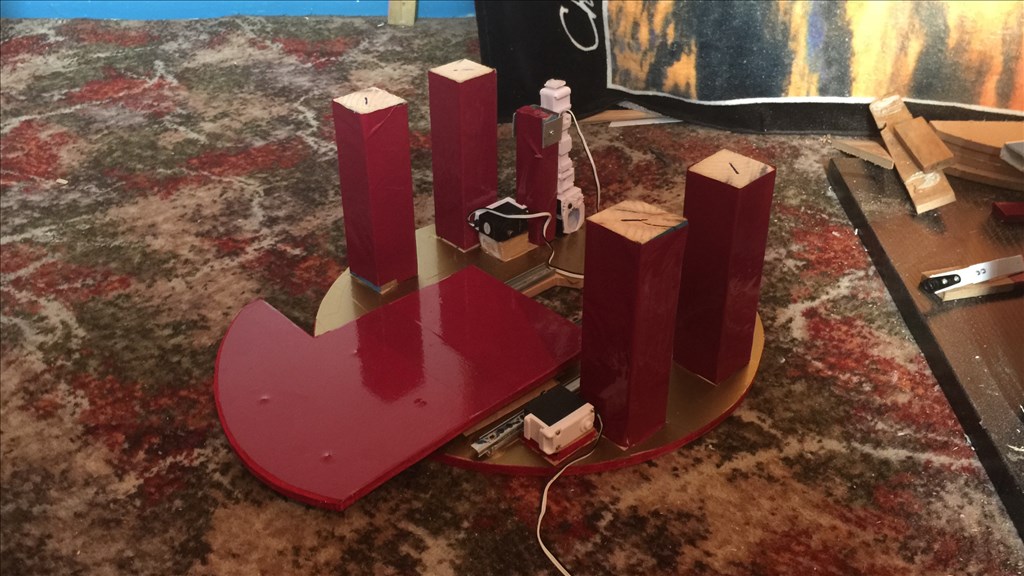
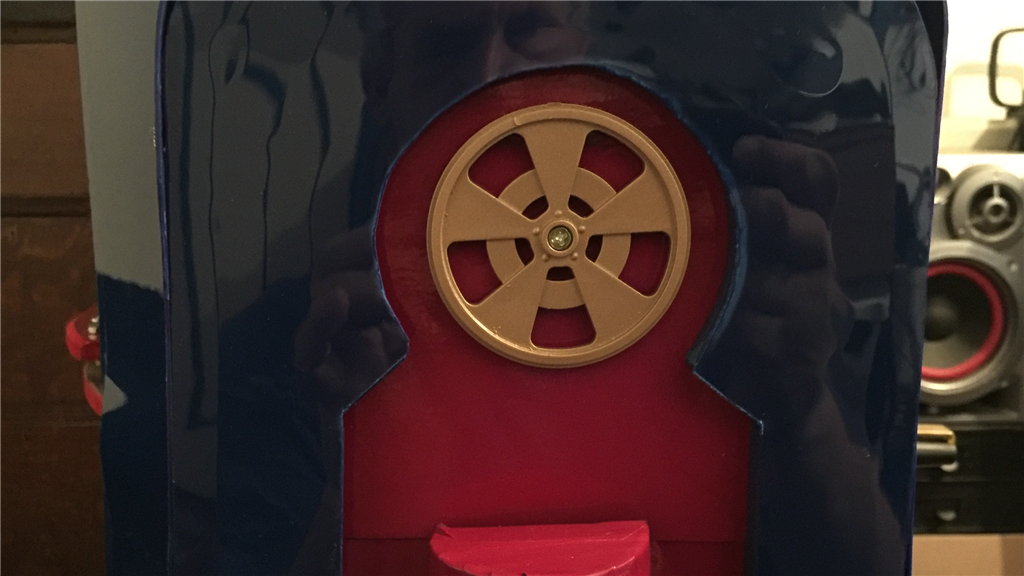
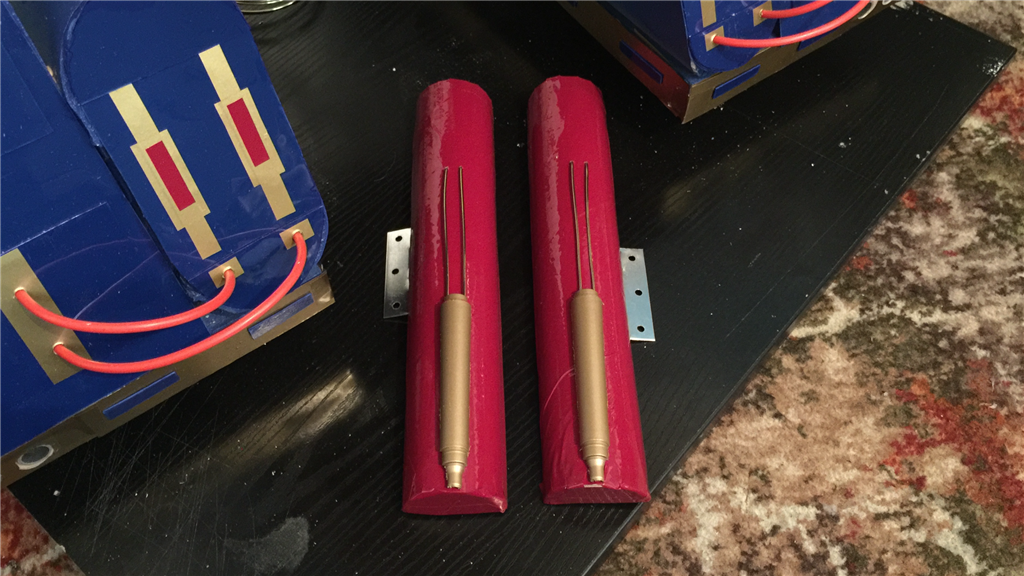
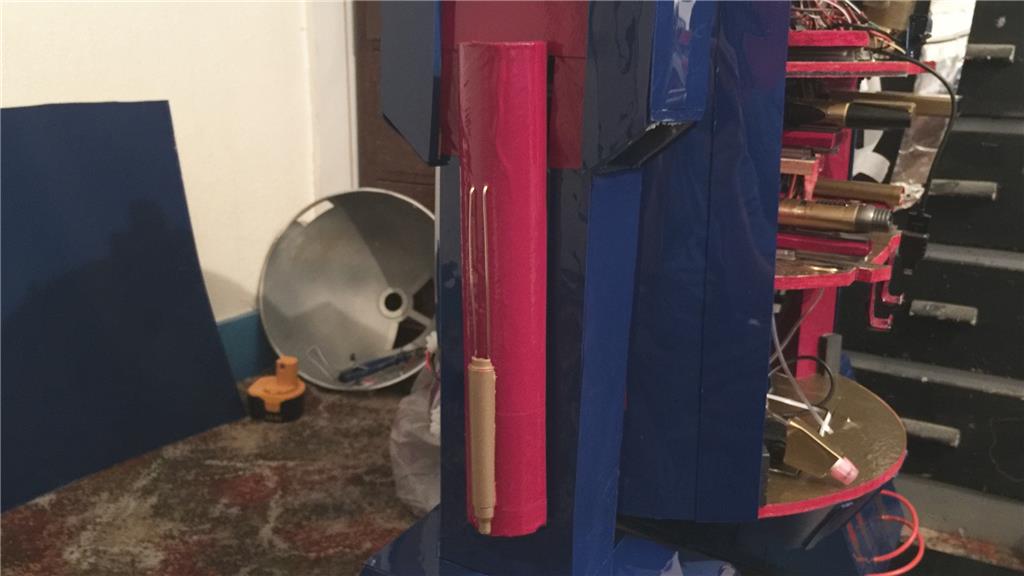
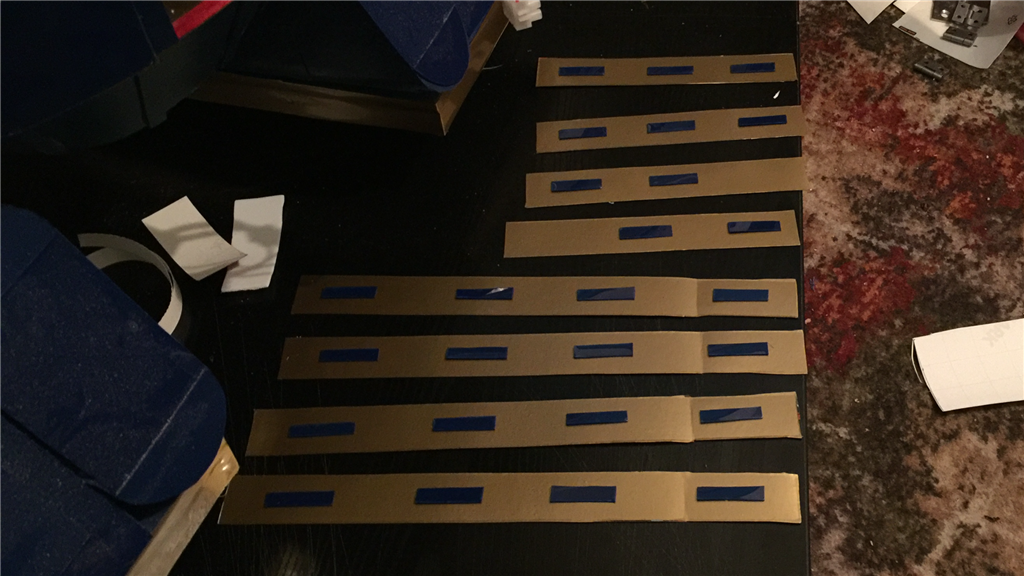
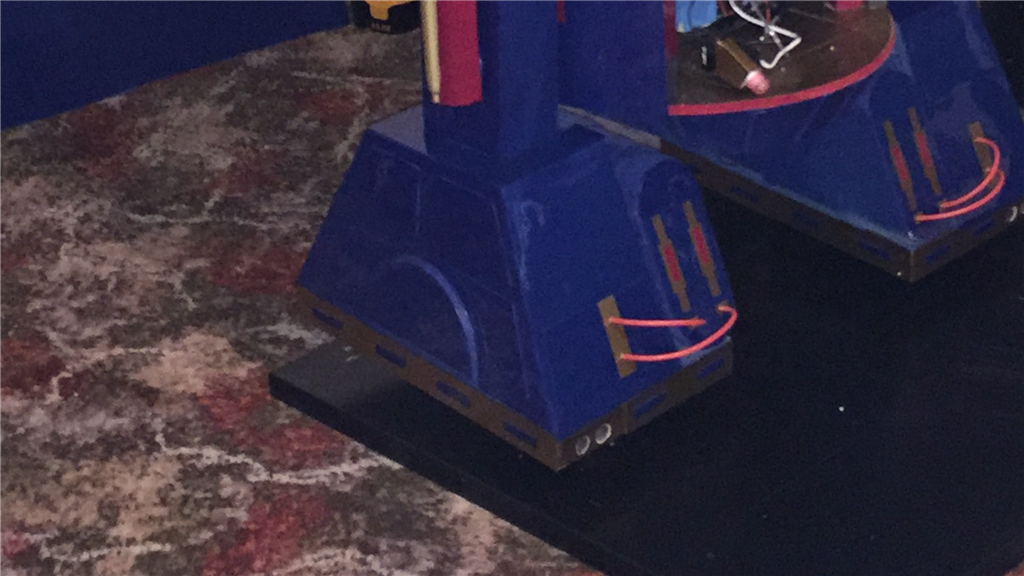
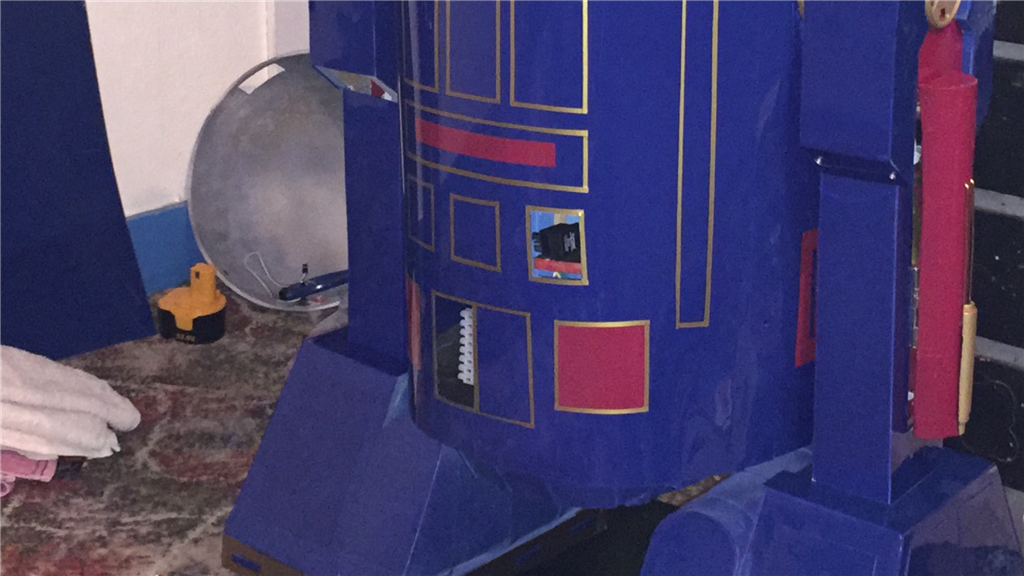
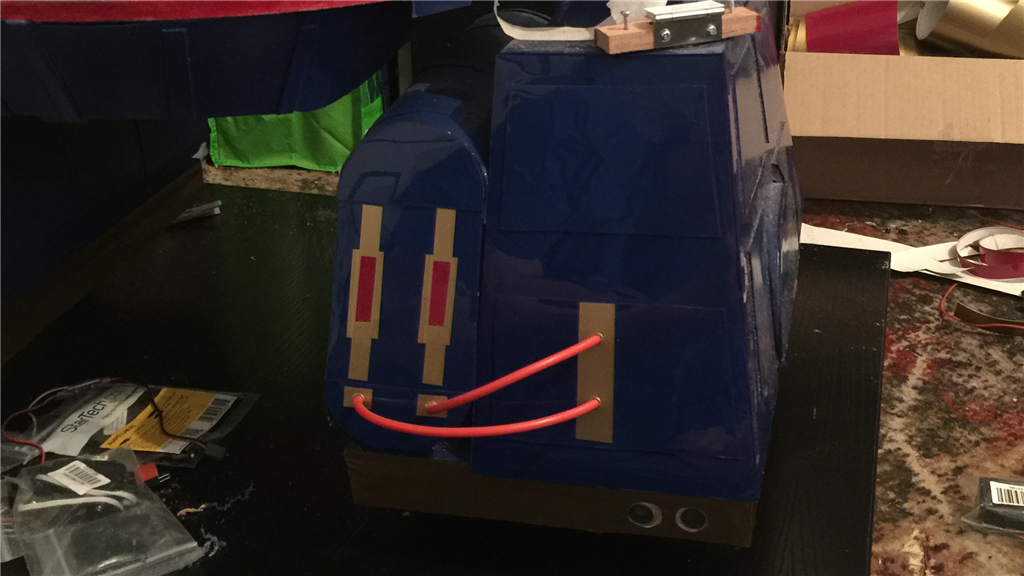
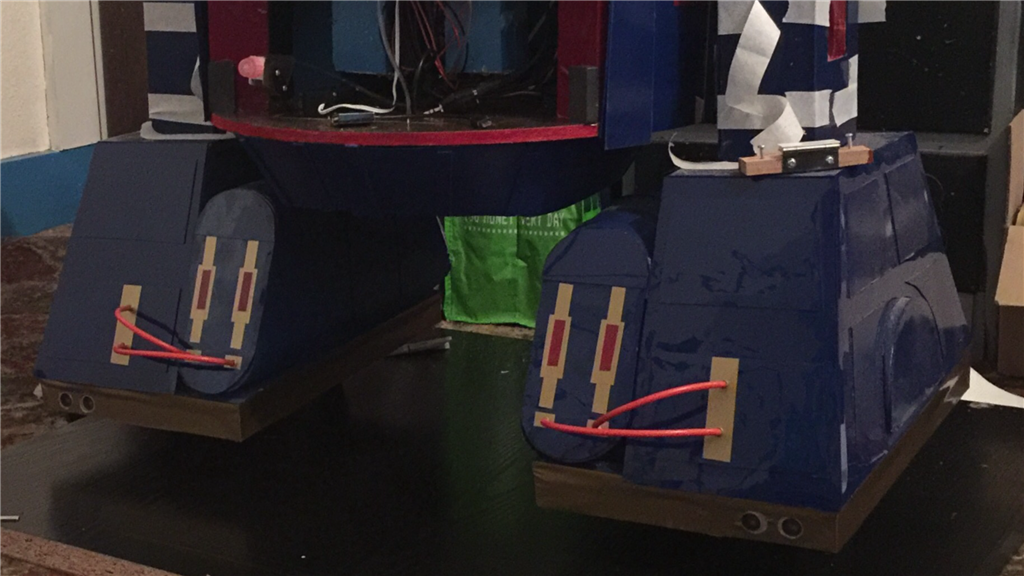
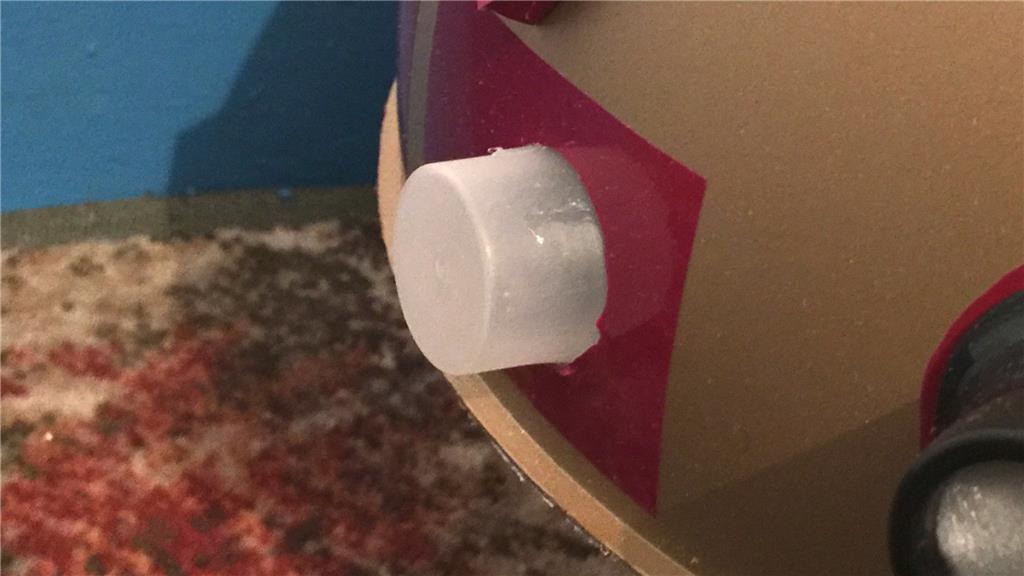
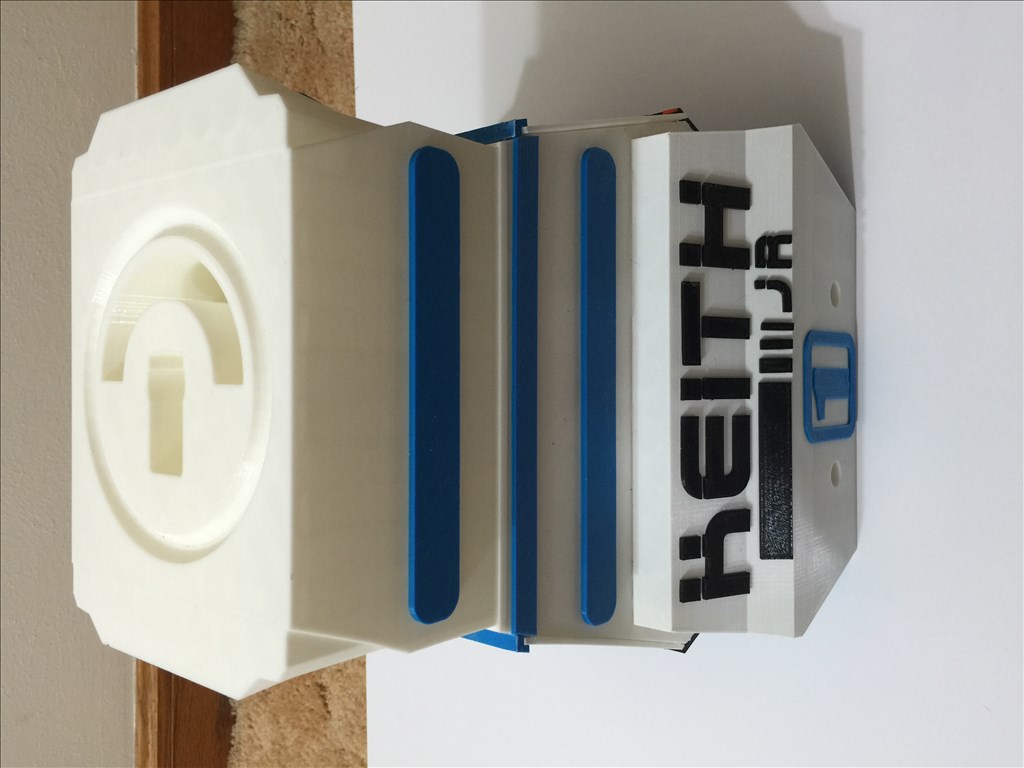
The "to do" list is very small now. I reckon the build will be fine by the end of the week. Anyway, I have removed all of the protective film and masking tape I put on and got some more of the detailing done over the past couple of days, mainly for the legs and feet. For the legs, I made up some leg covers using some PVC pipe, covered them with burgundy vinyl sheet, and have they have now been attached to the legs. I also added I little detail on the shoulder section. Can you tell what it is?
If you didn't get it, they are the wheels from an EZ-Robot dev kit. Nothing waisted here, and they were the perfect fit, and looked good. For the feet, I used some spare HIPS scraps which I had painted gold when I did the dome, and attached some HIPS cut offs I had left over from the rear skin. These were then glued to the feet skirts.
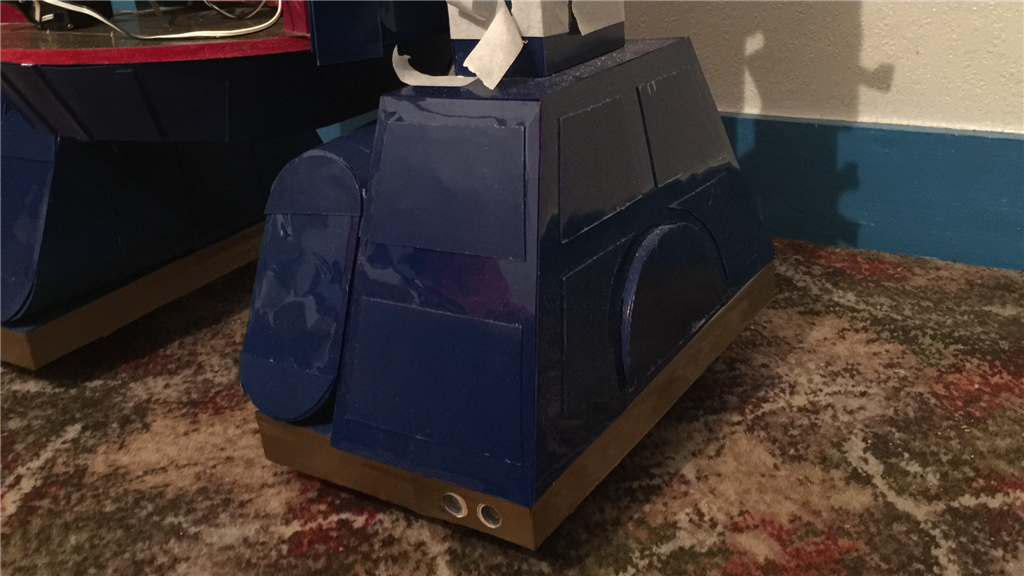
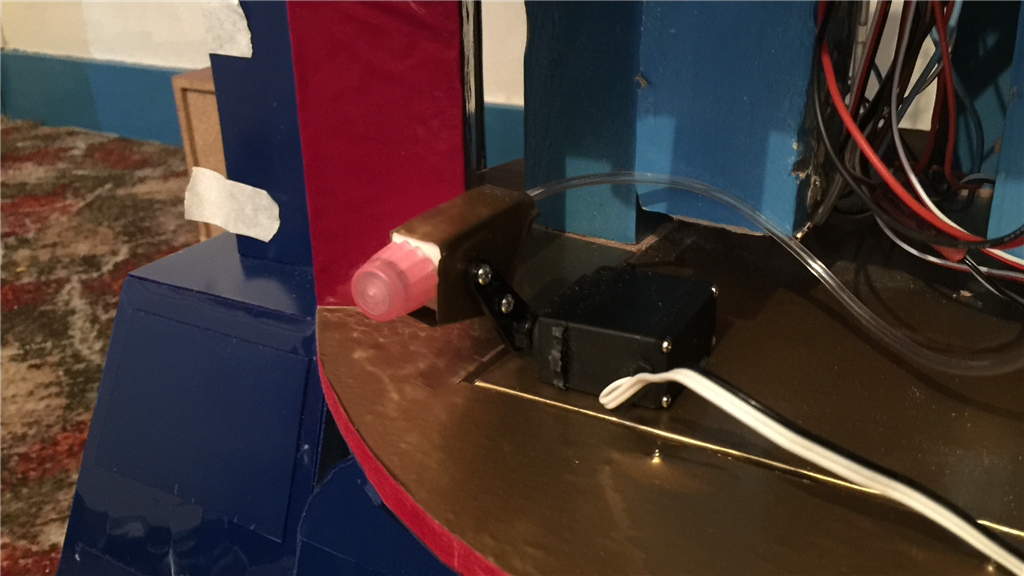
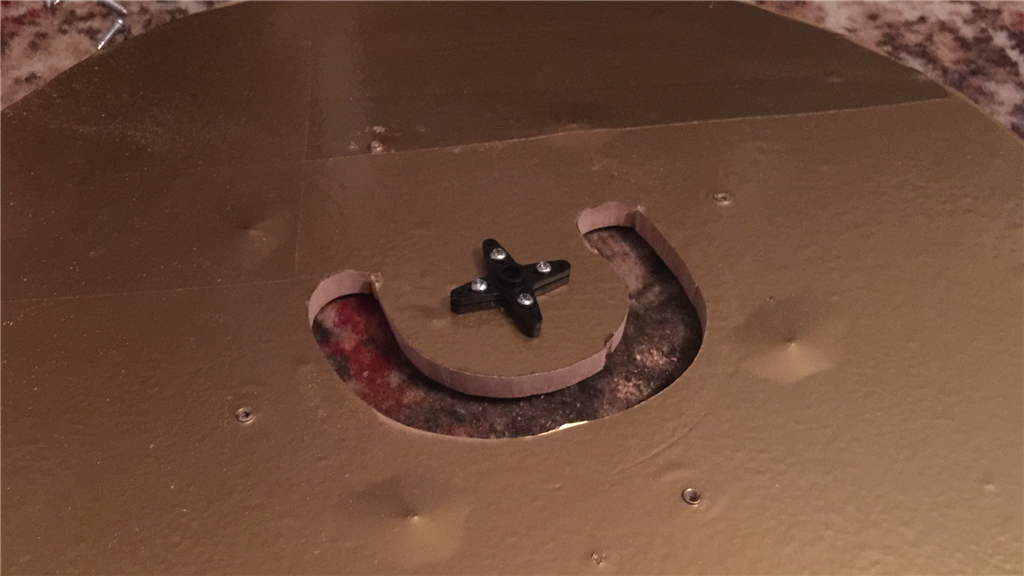
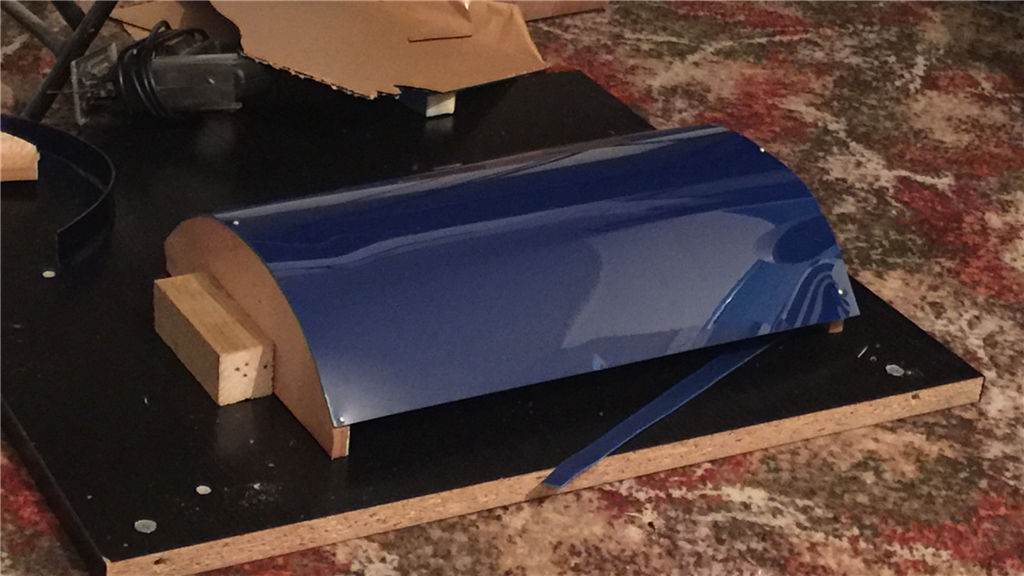
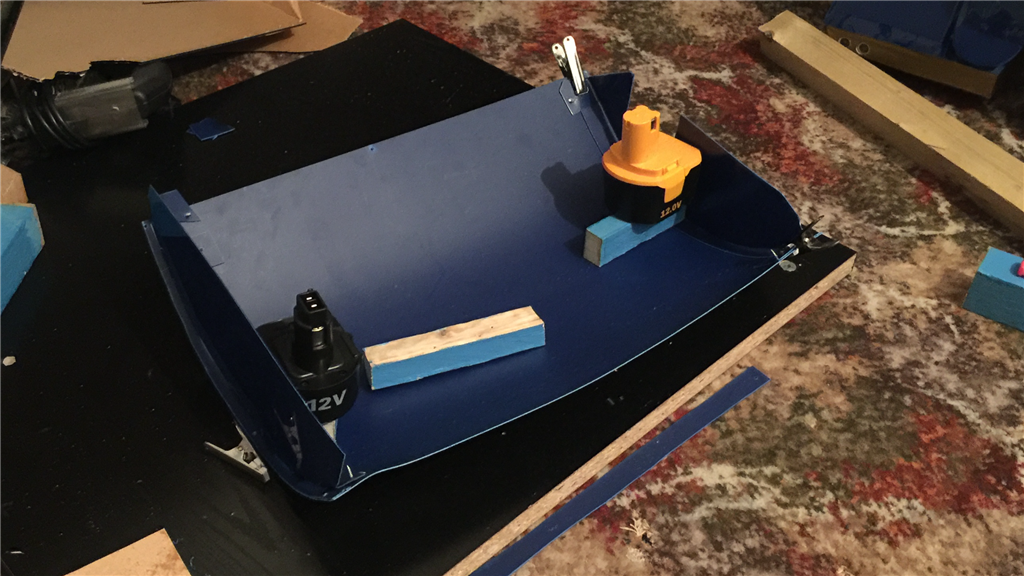
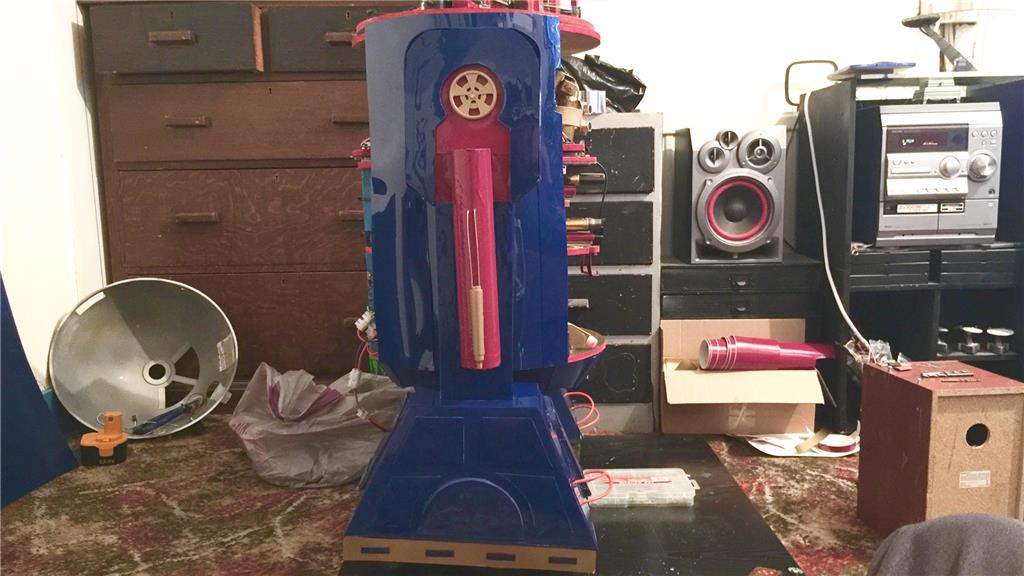
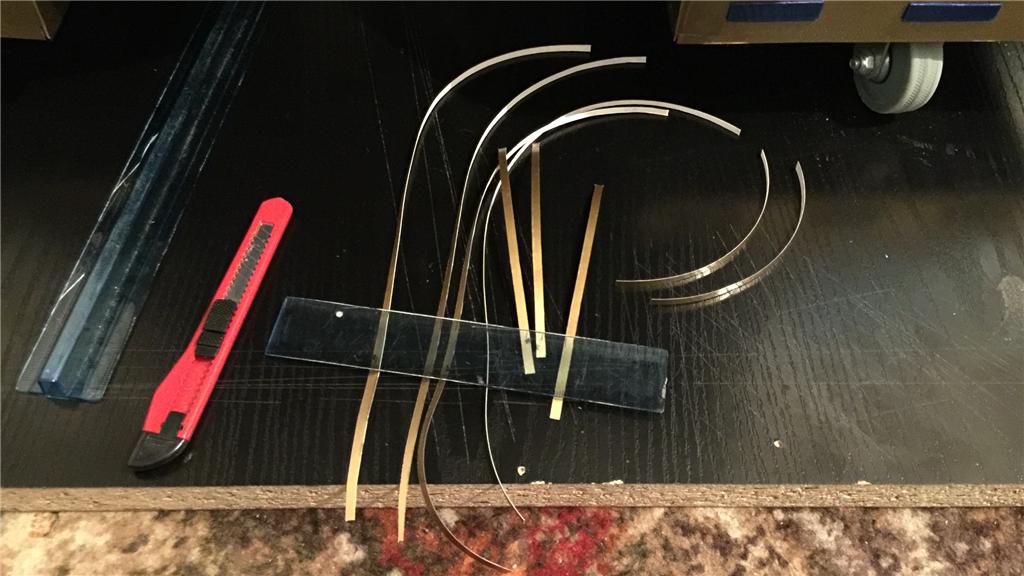
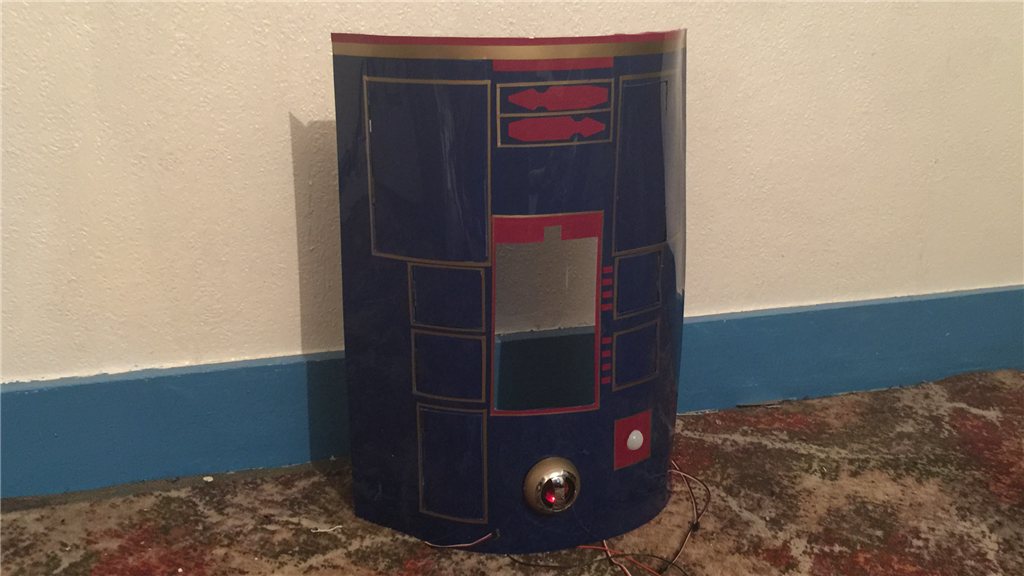
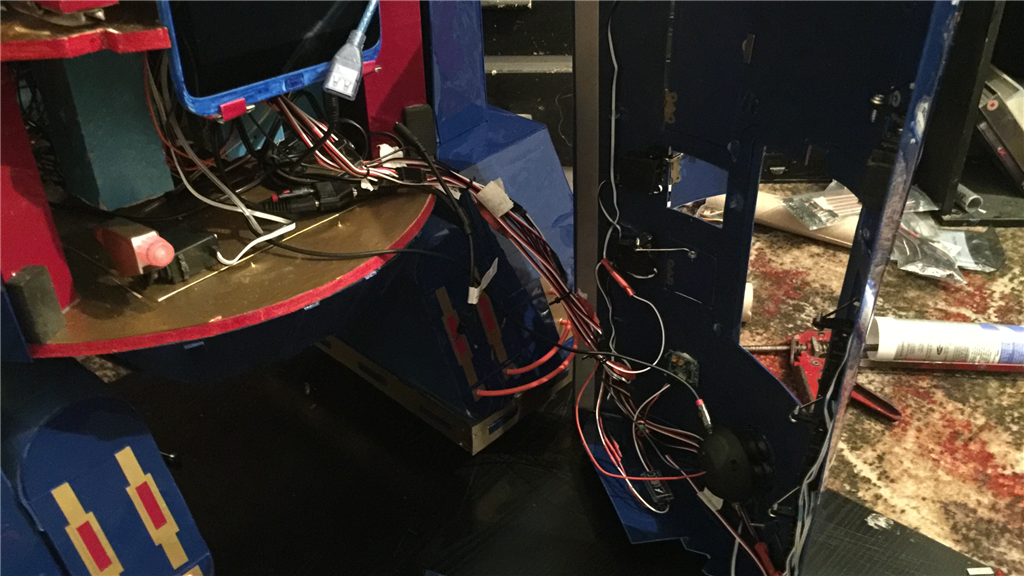
I dug out the rear skin I had shaped and painted a few weeks back, and added some edge detailing using gold vinyl adhesive sheet. Two steel strips were attached each side of the skin, and two cutouts made for access to the power override switch and charging port. These will have two flaps attached tomorrow which will be opened/closed manually when needed.
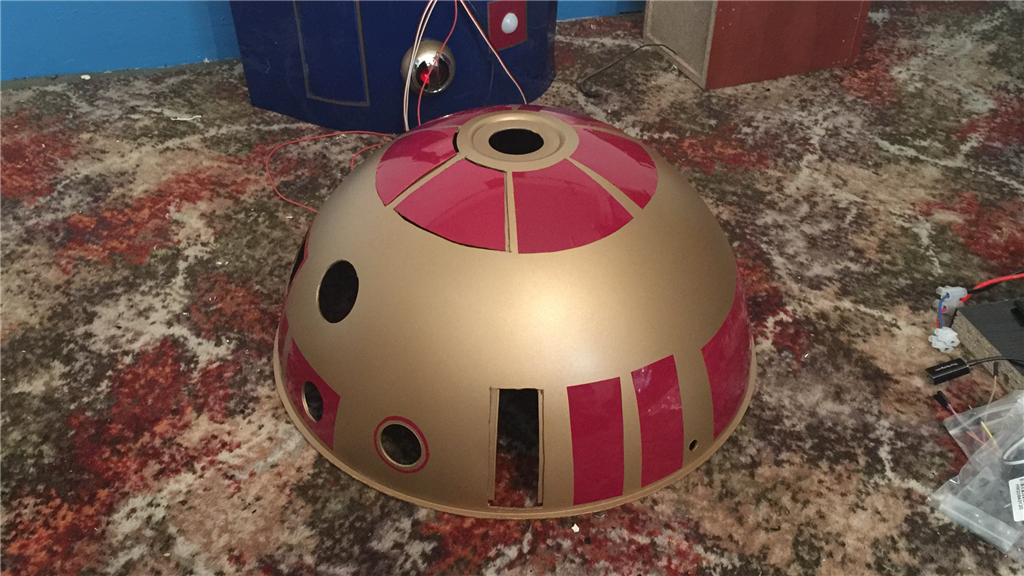
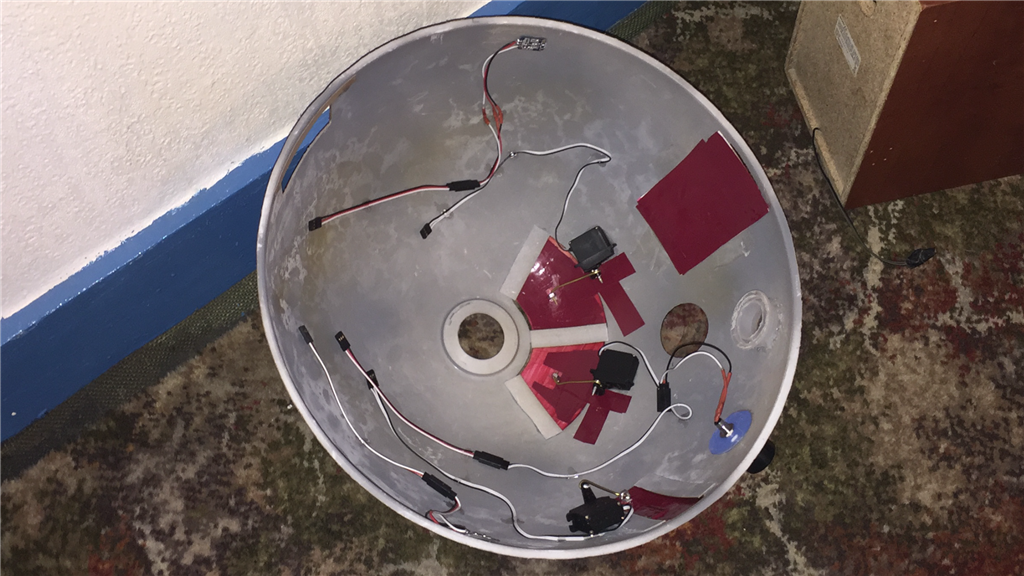
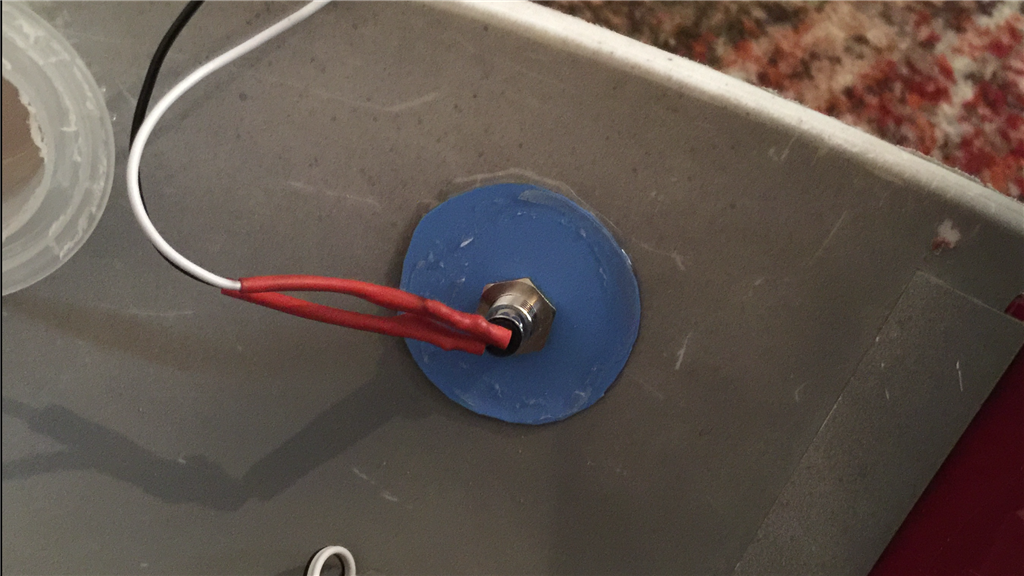
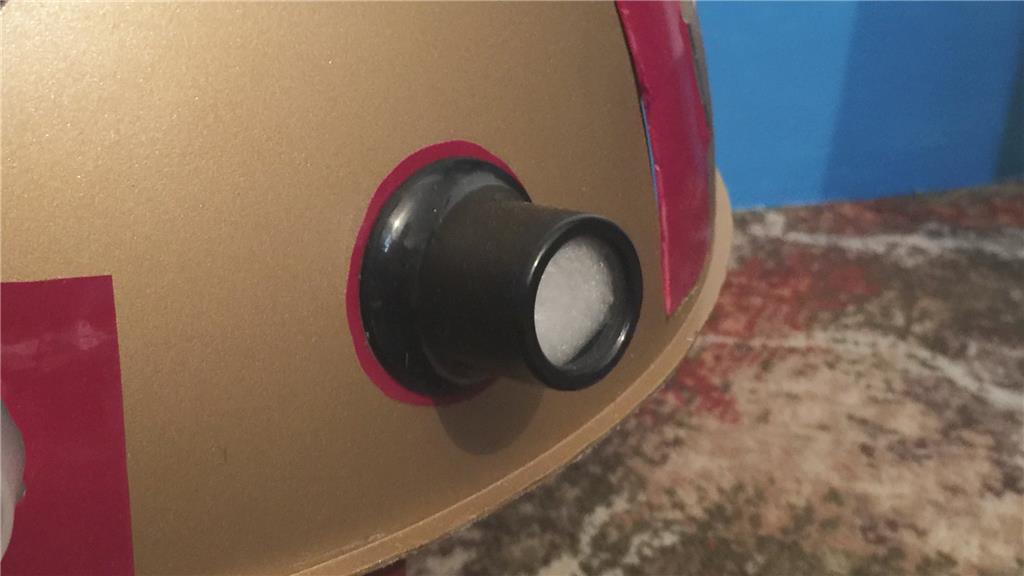
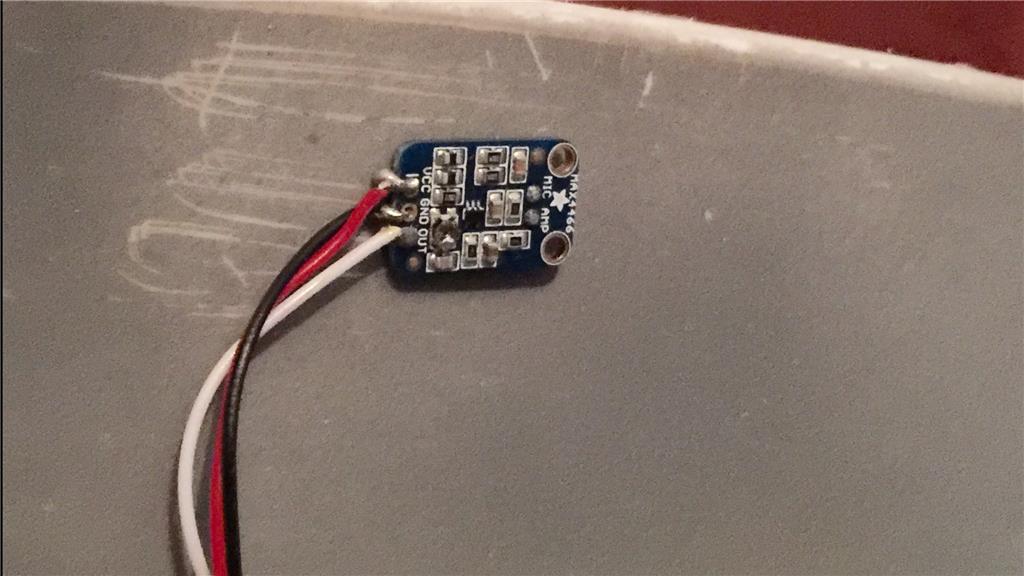
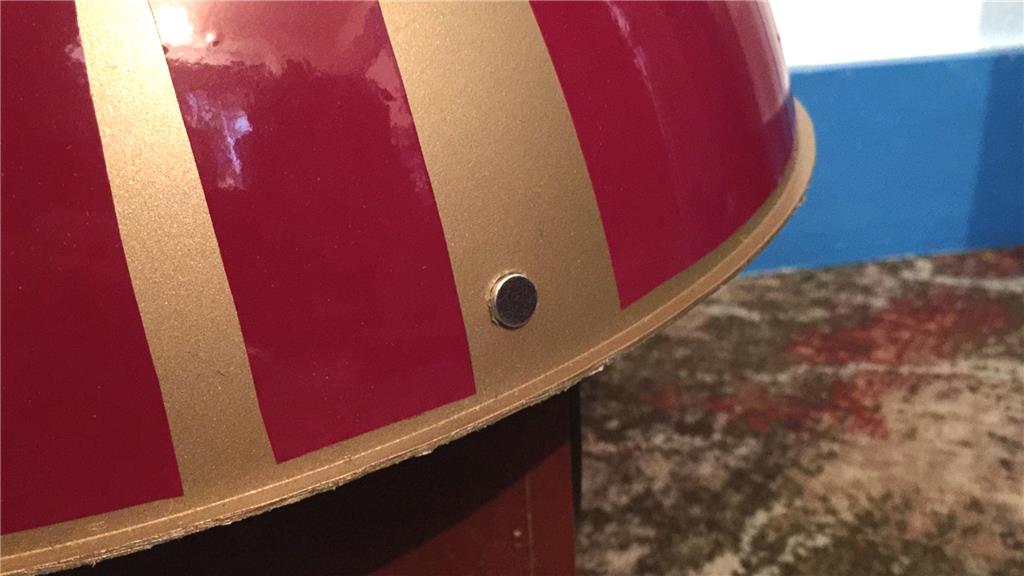
Next jobs are to finish the dome by adding a couple of servos and flaps (the projector flap is done already), attach the flaps to the rear skin, and hook up the front skin servos, speaker and PAR sensor. A couple more small jobs and its on to ARC.
Very nice. Love the lines! The shoulder looks cool. What's that round thing from?
You're having way too much fun here.
Cheers Dave. This just proves, recycling can be fun too. It will almost be a shame to finish the build as it has been fun doing a large build again.