
today i try to create mini Chappie with 3d Printed material, i start the project with head Part. this the first movement video with Ez-Board

By EricEZ
— Last update




Discover more robots
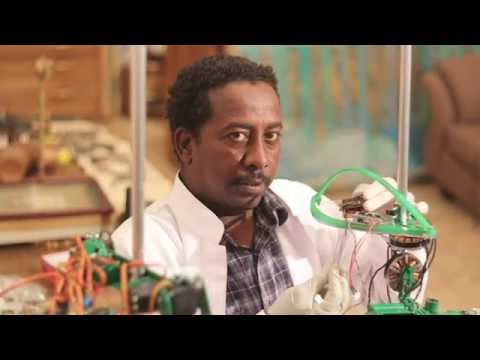
M's Haw To Make Ez-Bv4 Controller Communicating Via Usb...
Agricultural robot using EZ-Bv4 controller-migrate from Raspberry Pi to x64 Windows for on-board machine vision and...
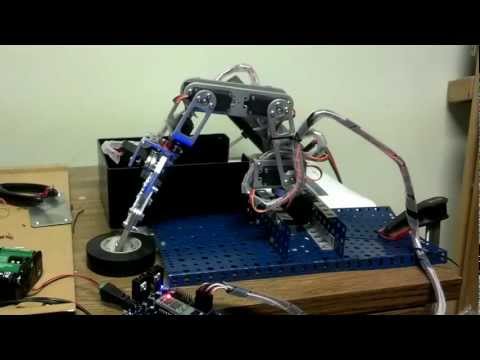
Jphillipsnj's 6 Servo Arm Using Vb.Net, Visual Studio 2010...
Control EZ-B servos with VB: set positions, speeds, timed sequences and releases for wrist, shoulder, elbow and jaw.
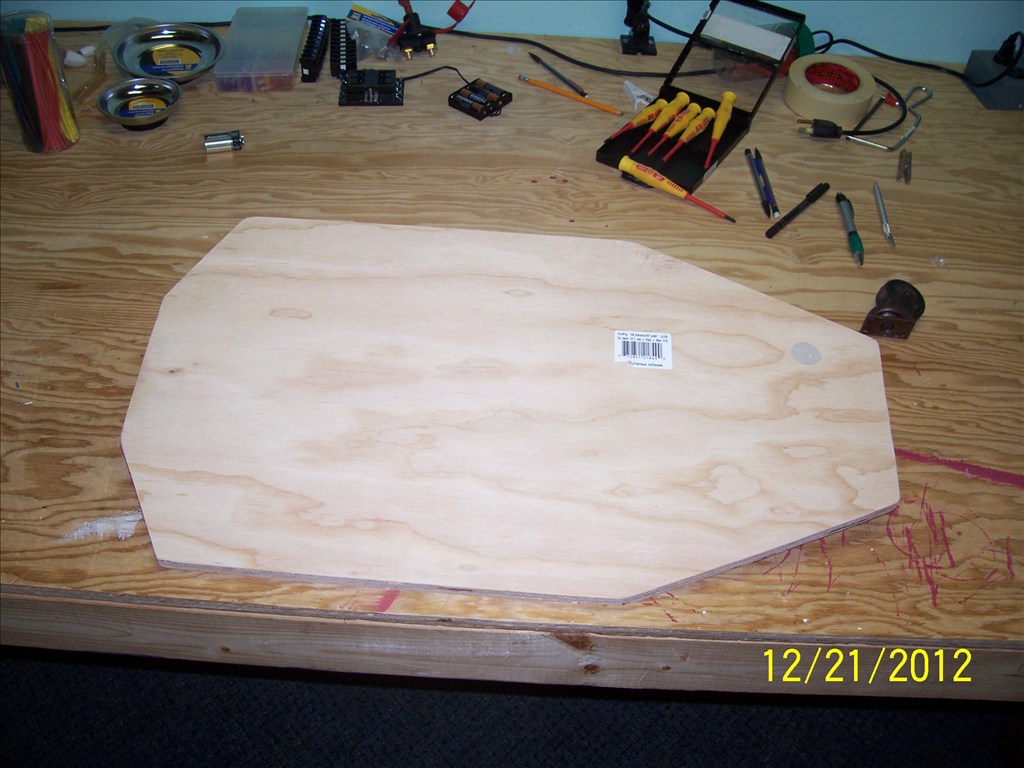
Rural's My Experiment 626
Scratch-built expandable robot platform for roaming guard, companion voice-controlled info, remote presence and...
That looks awesome! Which 3d files did you use? For the eyes did you use regular LED's or is that an EZ-Robot RGB array?
Great work @EricEZ The Mini Chappie head looks and works great!
hello @JustinRatliff @Jeremie @Anthony XLRobots.com sorry little buzy last day, the Head 3d file i take from Thinkiverse but i modified in 3ds Max , the eye is just a blue led behind the 3d print hole square , but i wan to try use oled display but i don't know how to used oled with Ez-Board
Anthony do you still offer 3d printed Chappie head .What are it's dimensions