

cE9s4PsOgeBQIORwjd5!~~60_1-634818020230156250.jpg)




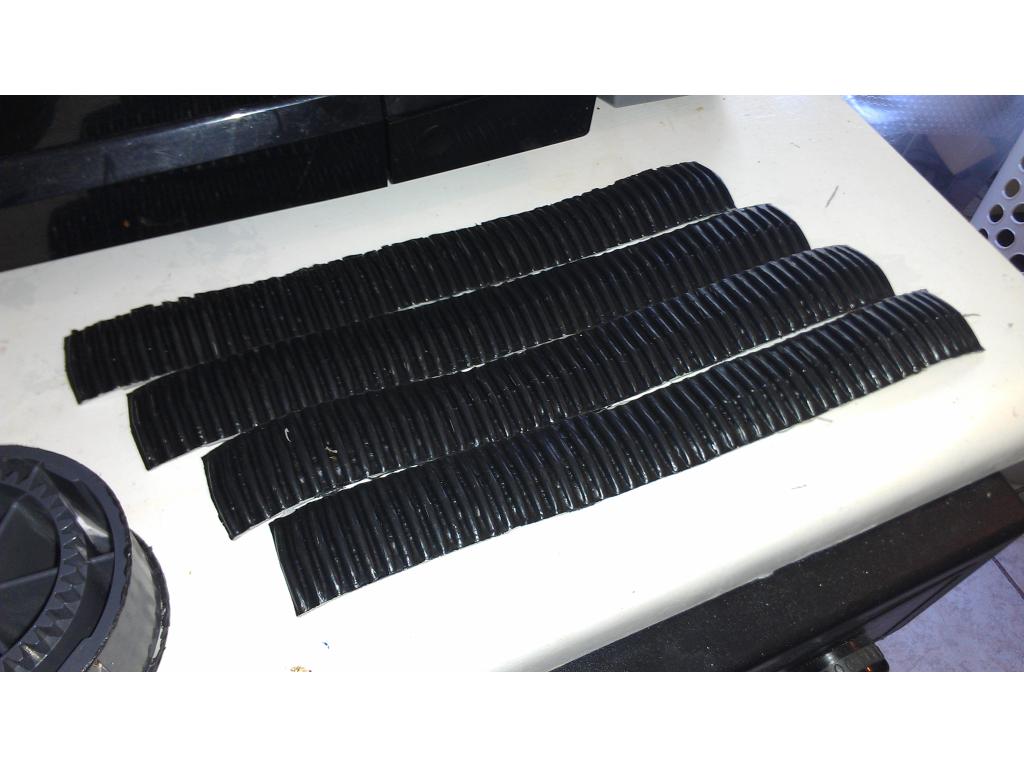
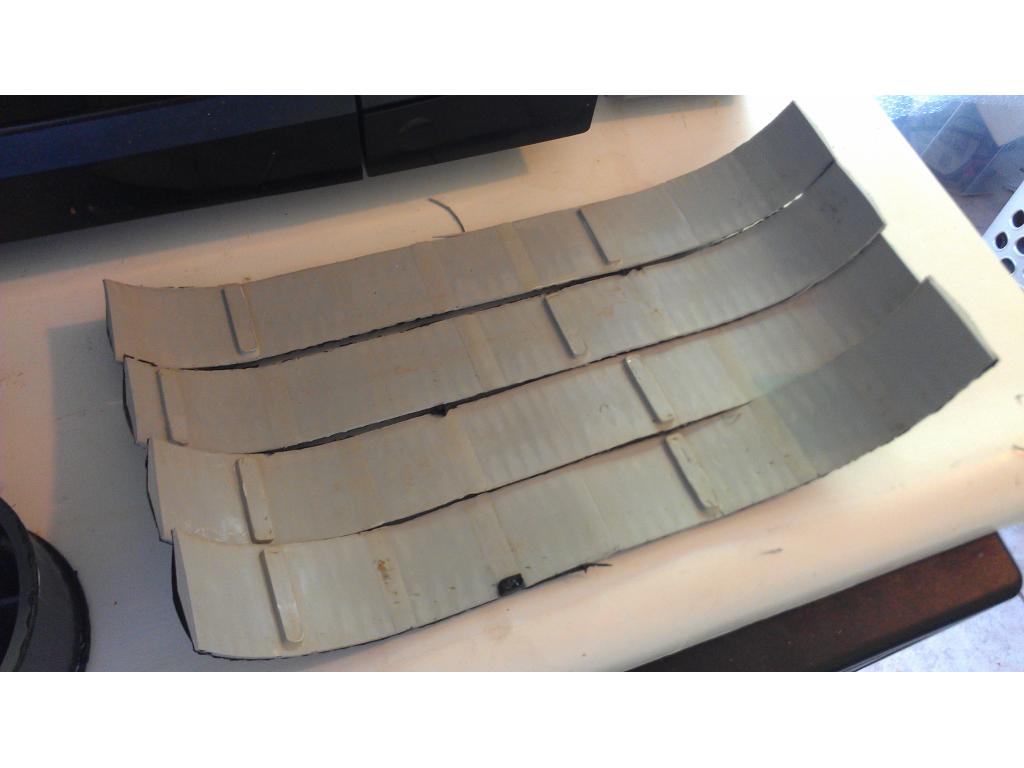


Lupuc4g~~60_35-634706297915000000.jpg)





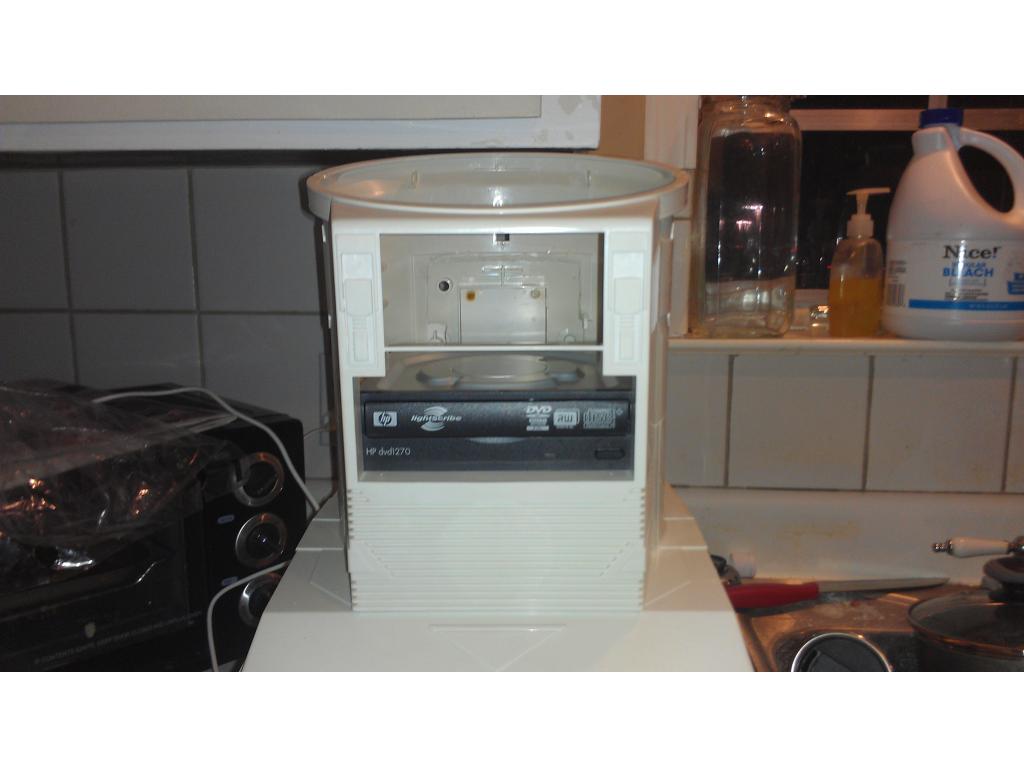



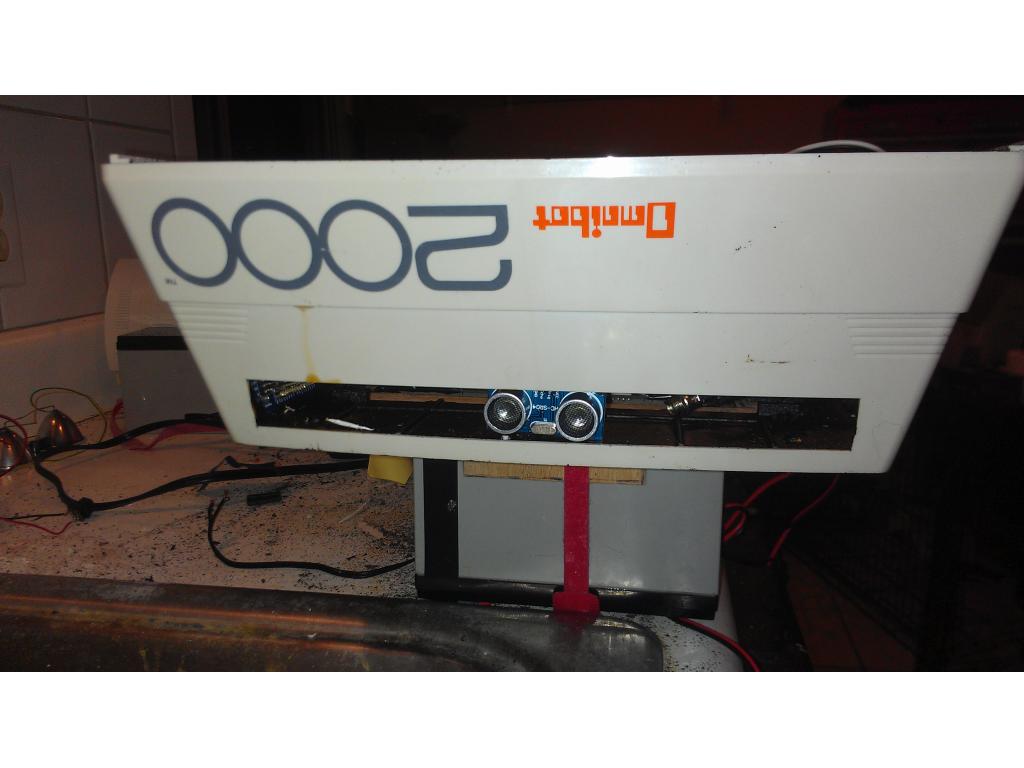
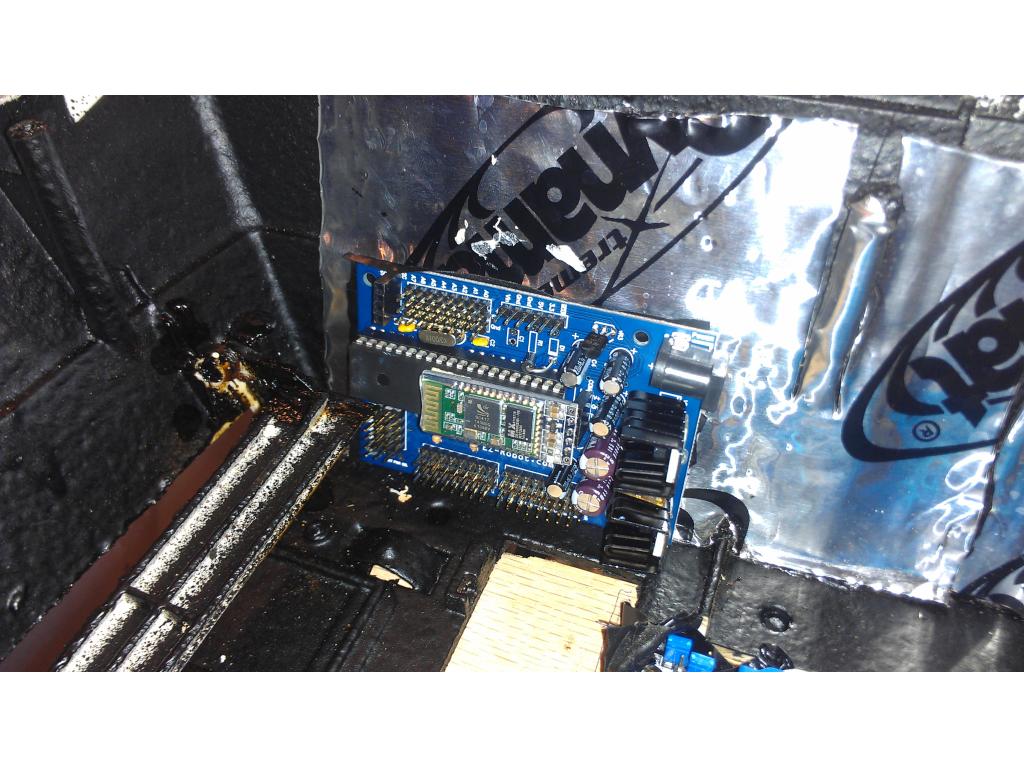
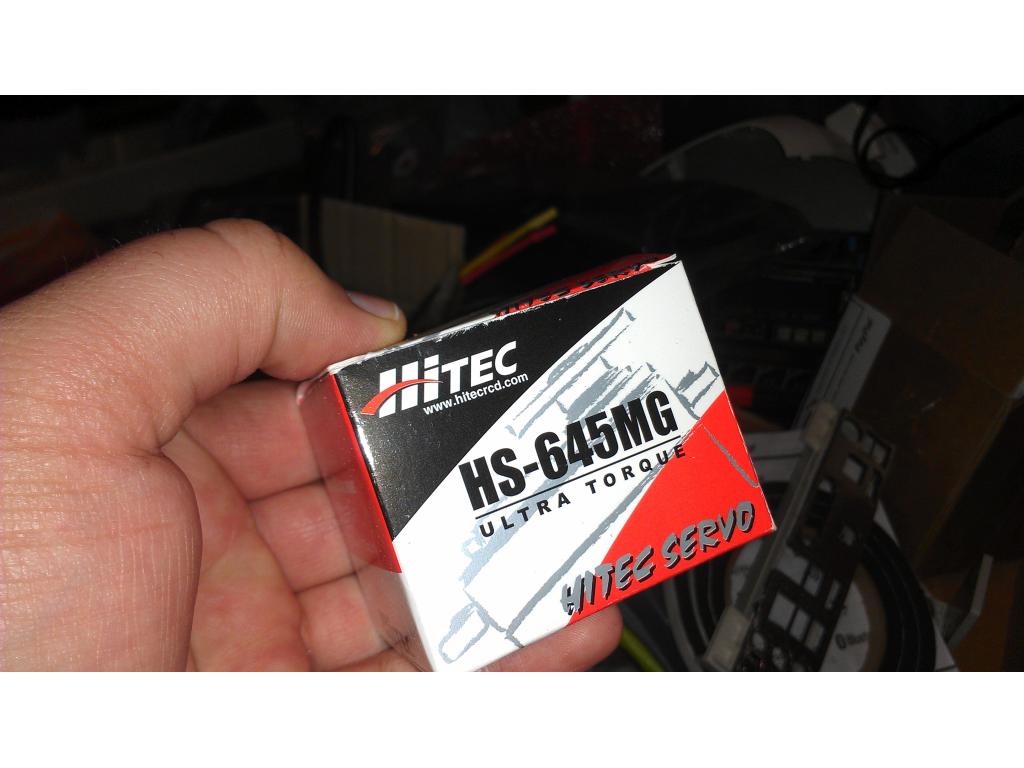
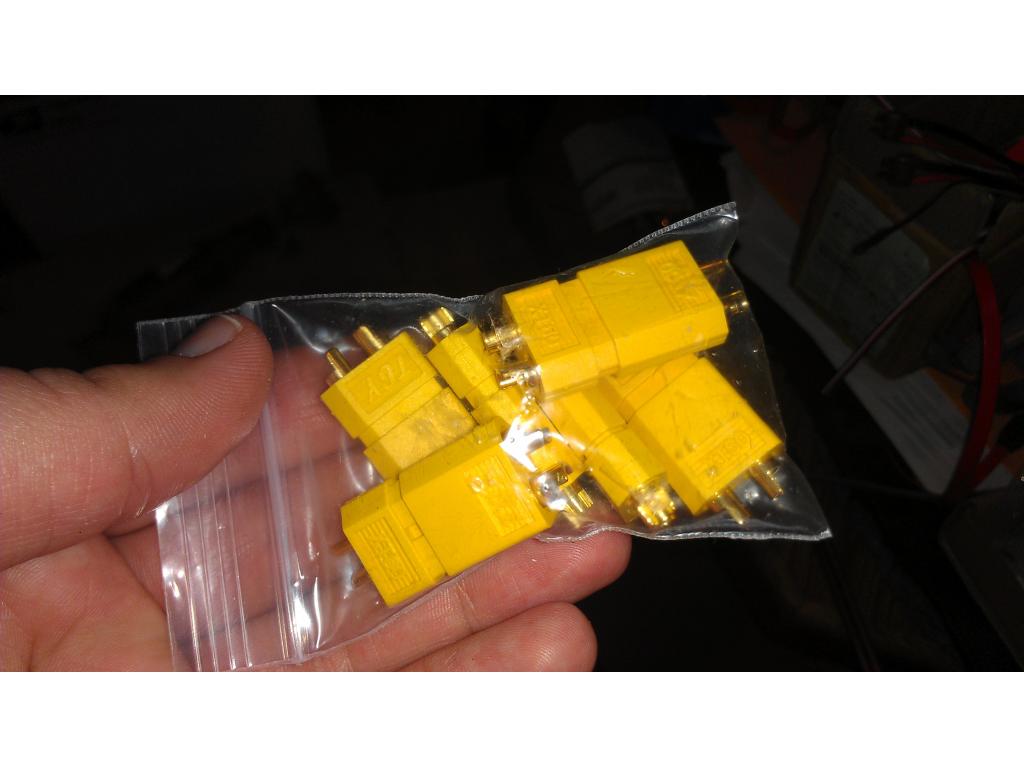
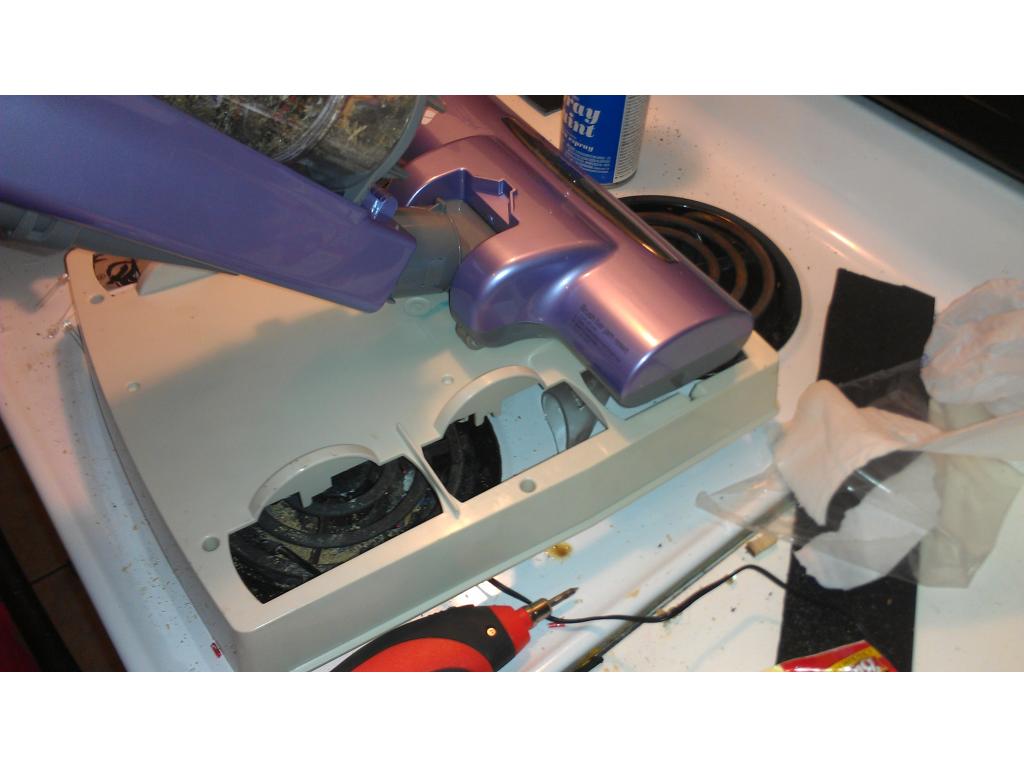

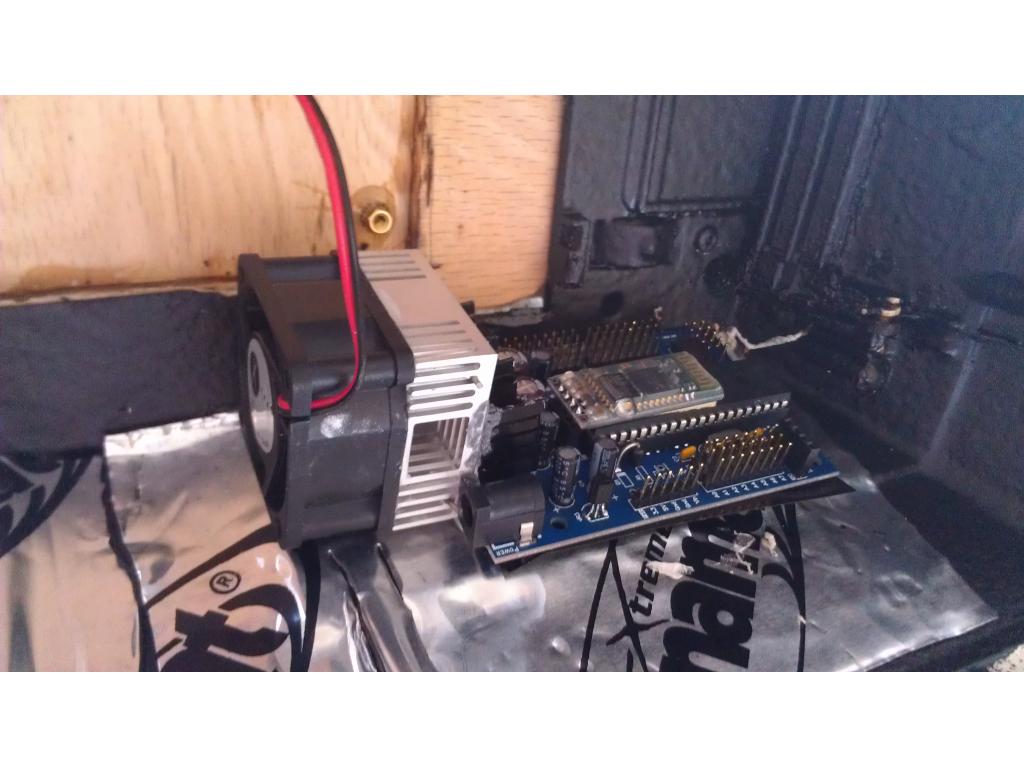
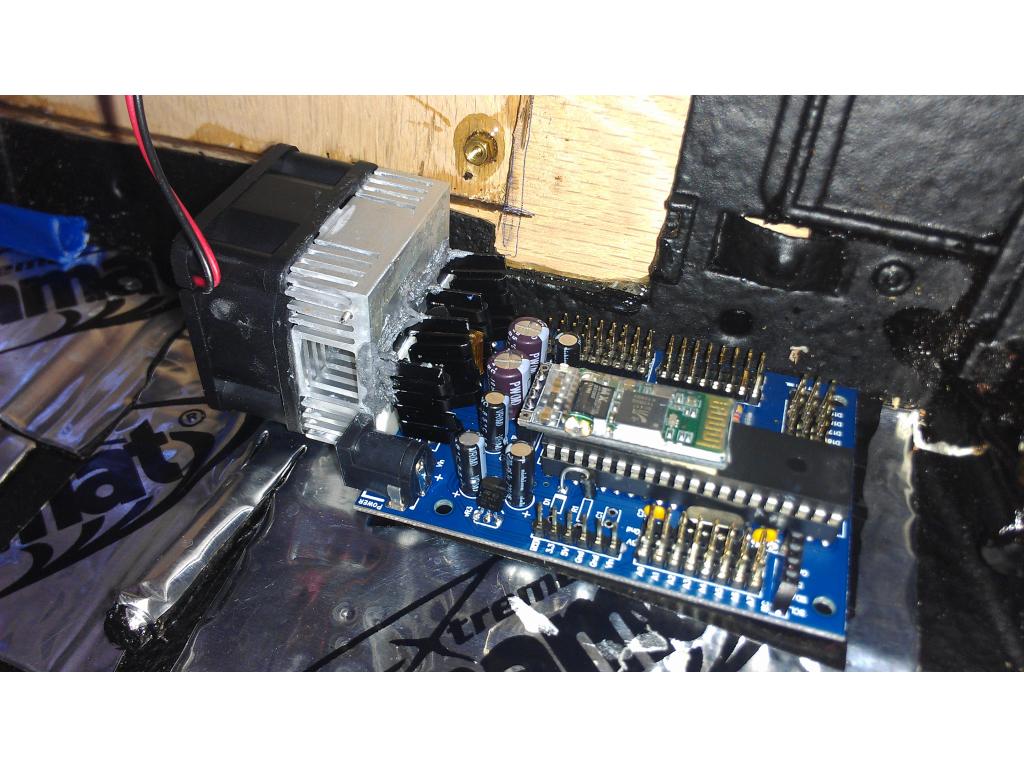
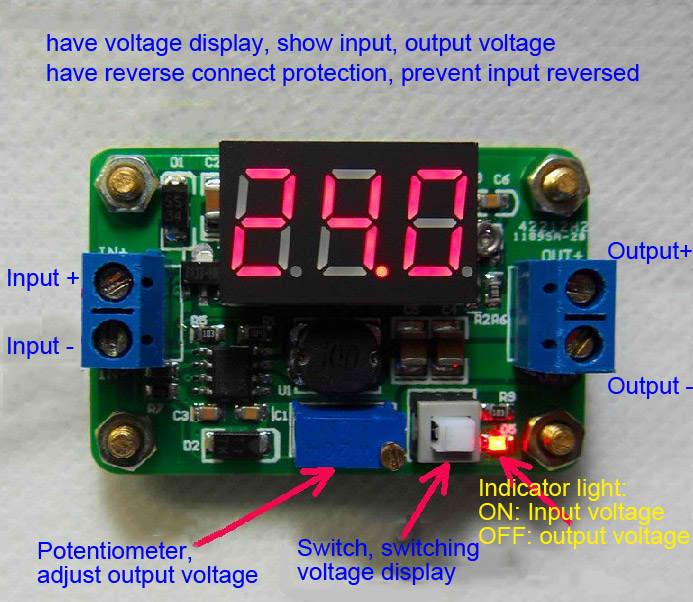


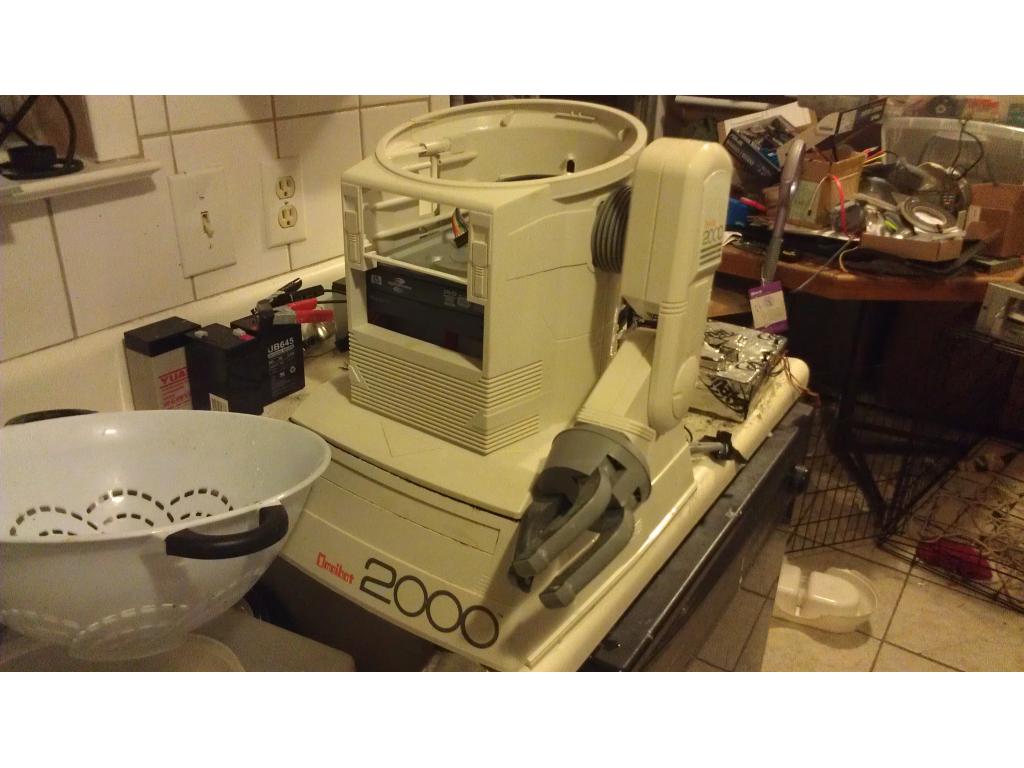
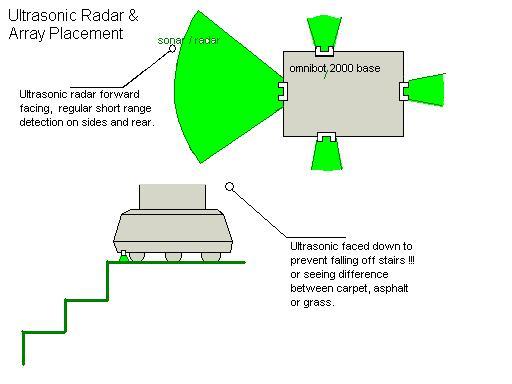
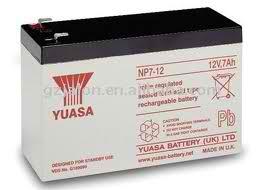
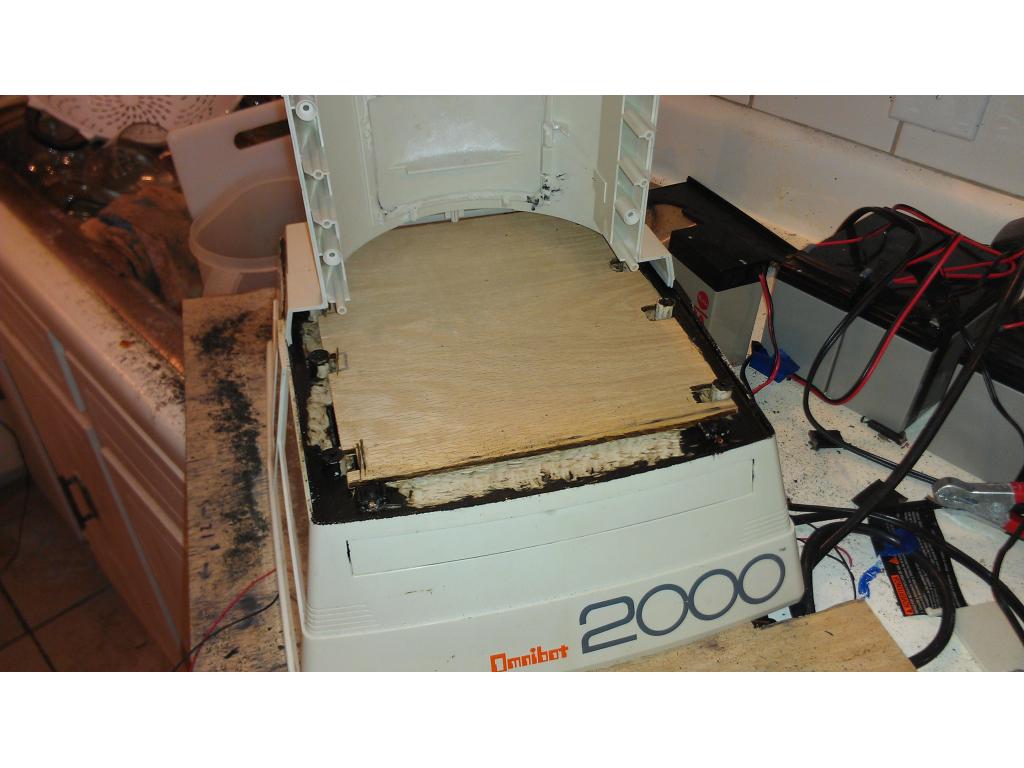
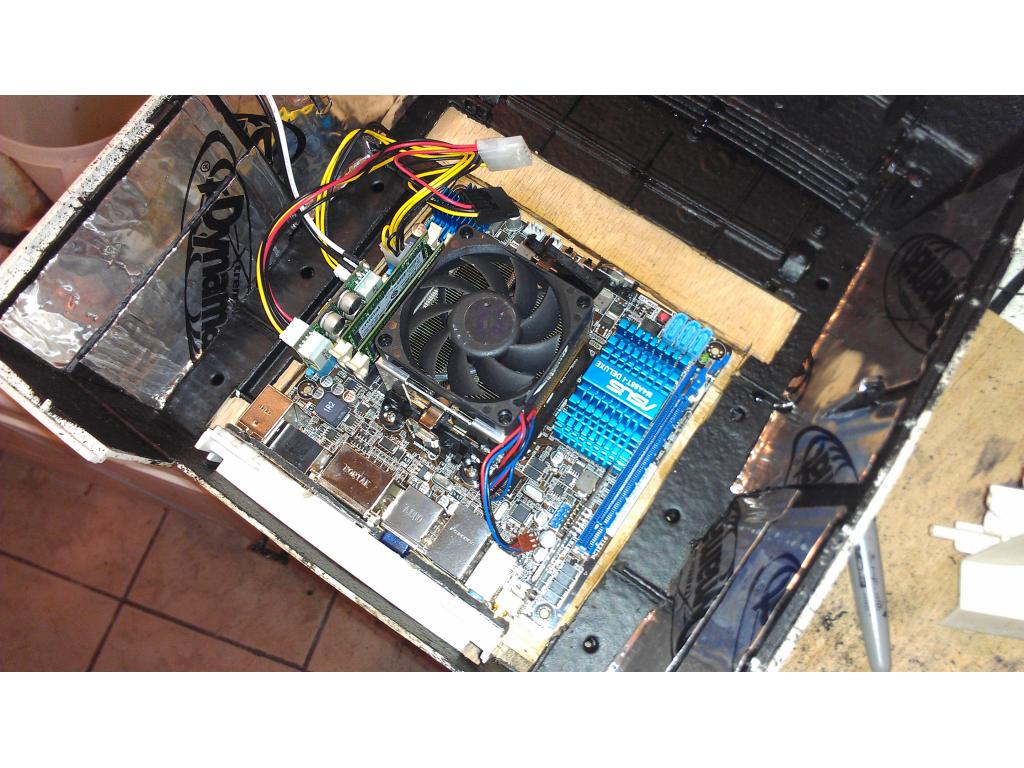
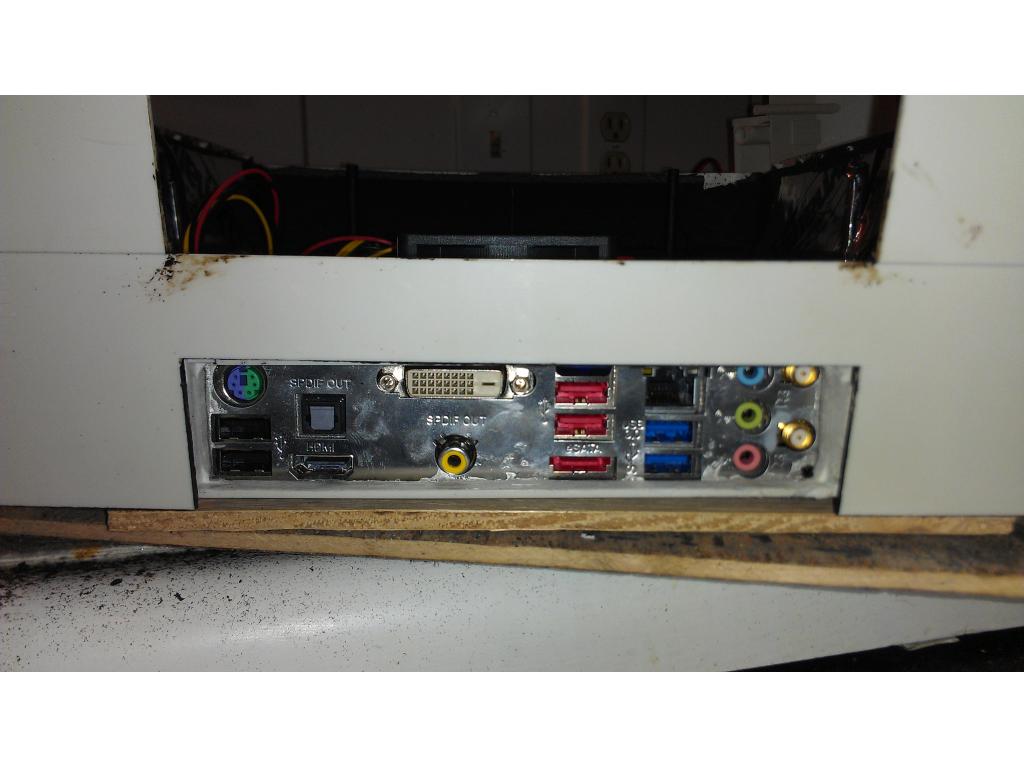
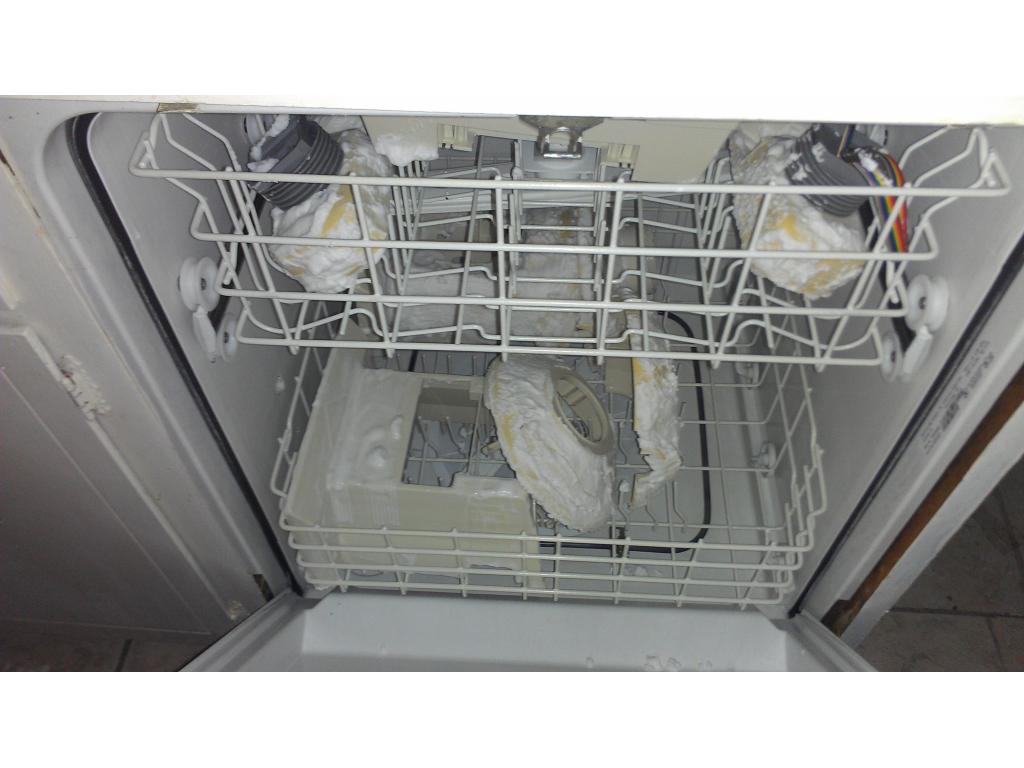
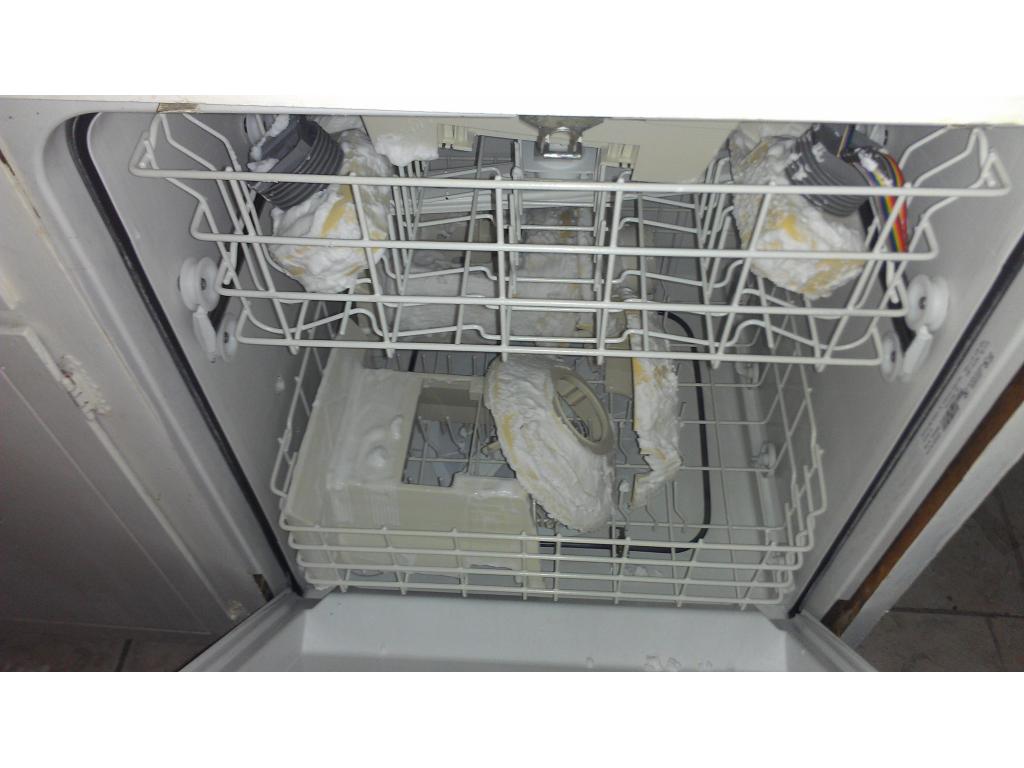
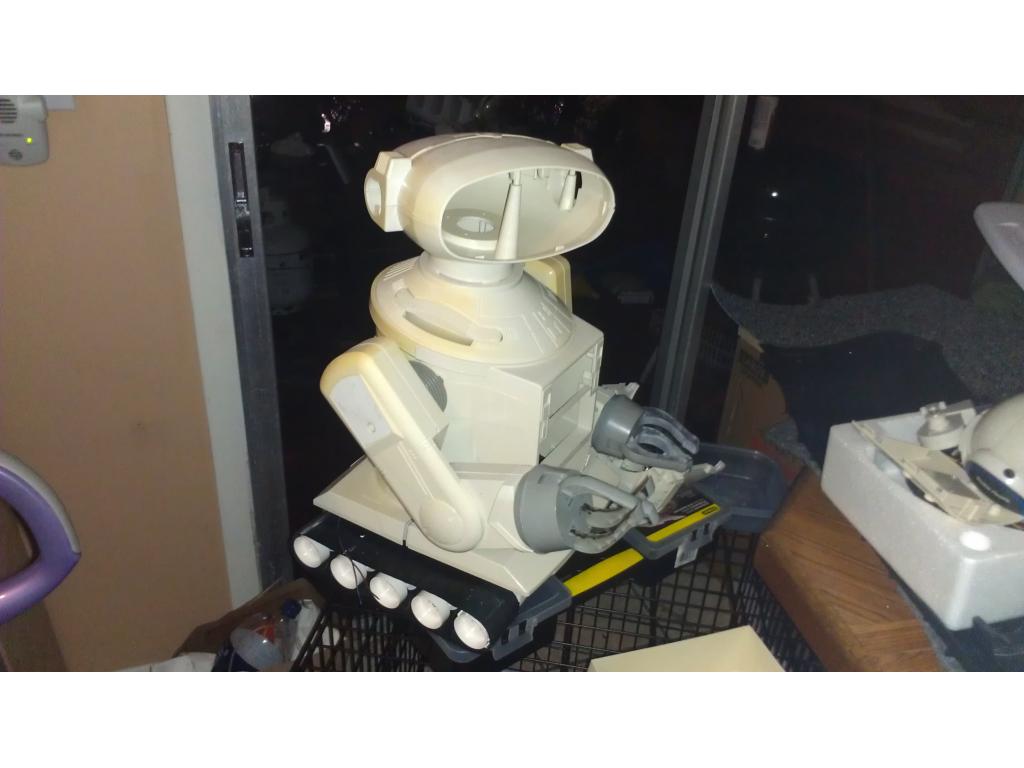
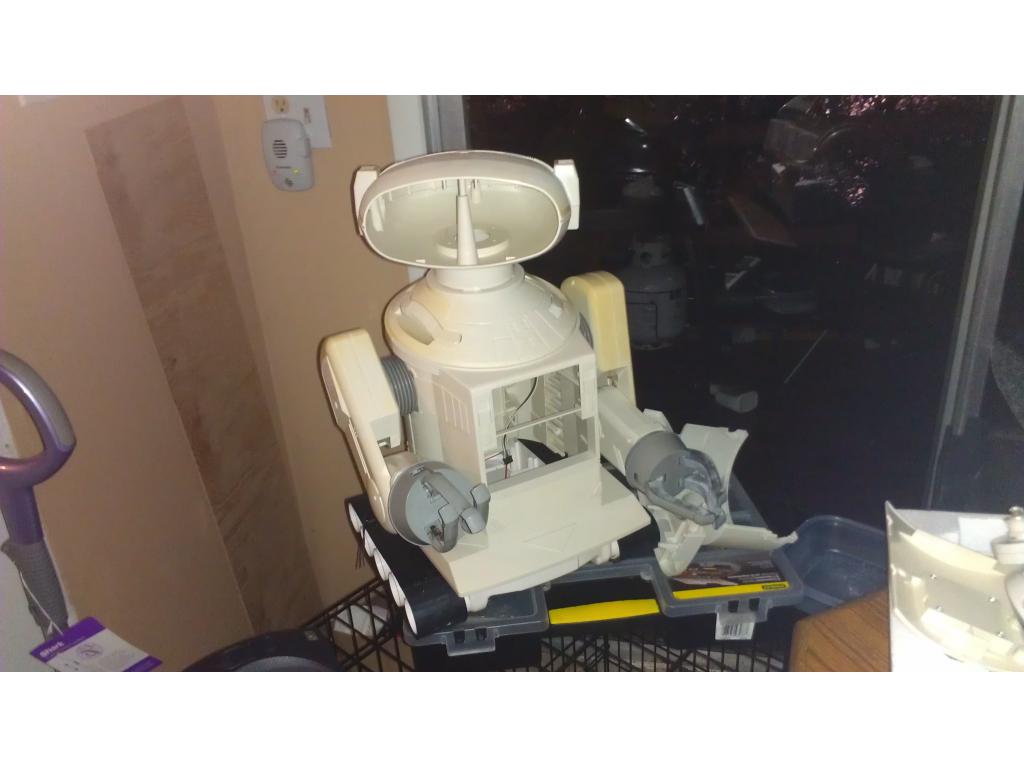
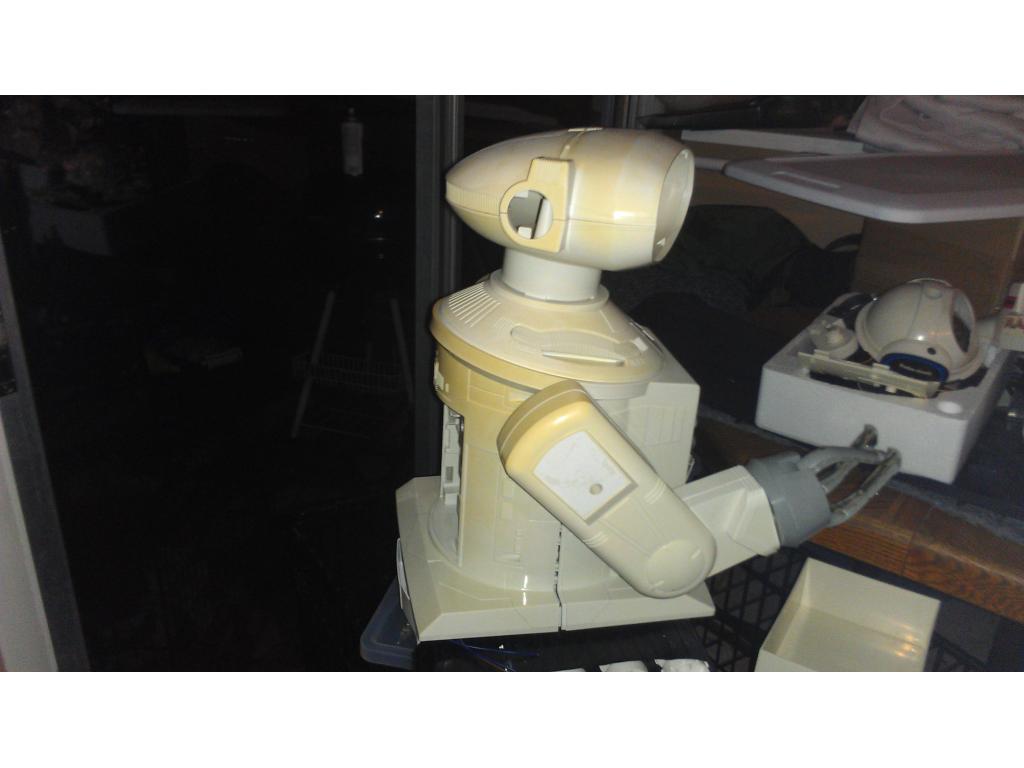
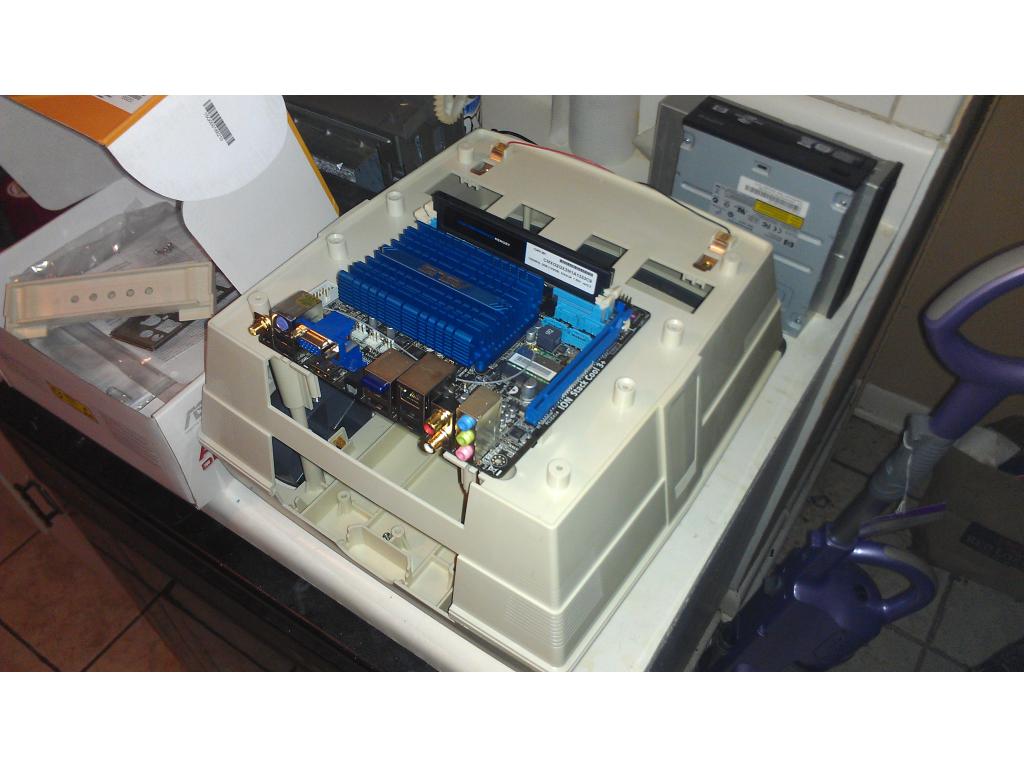
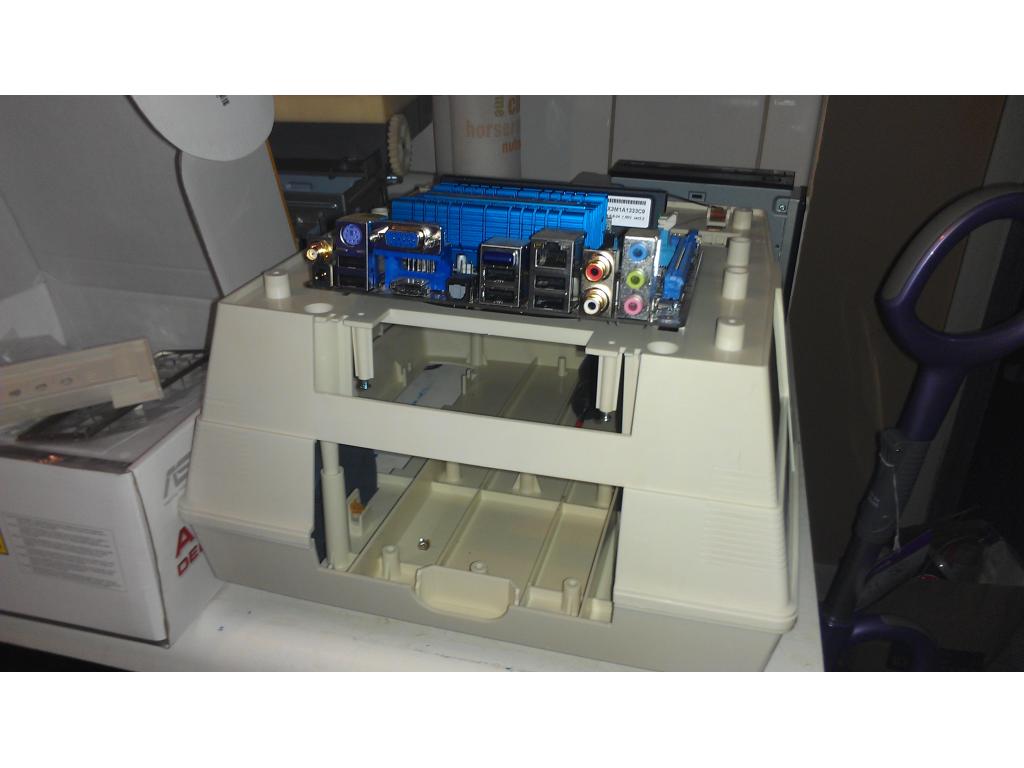
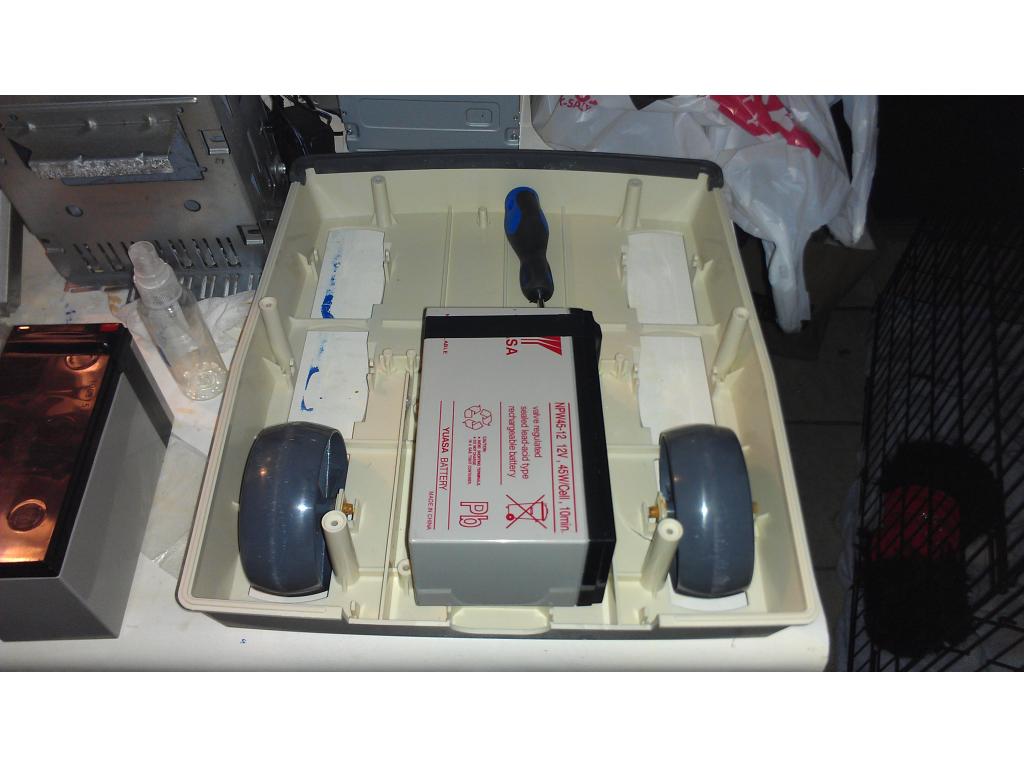
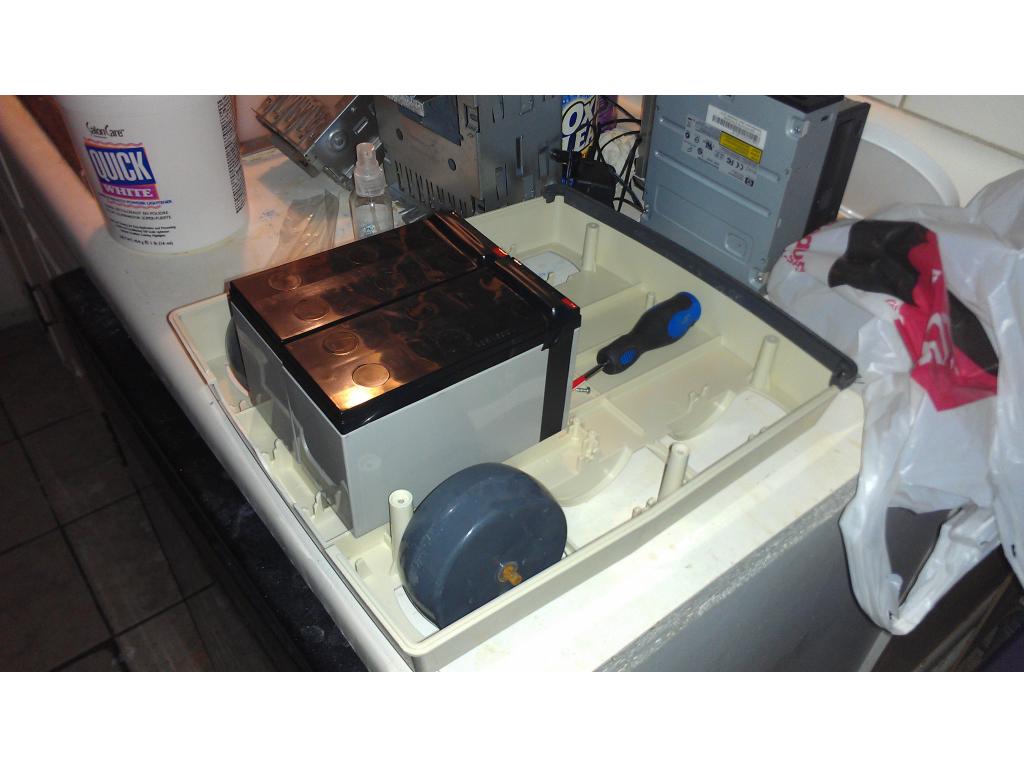
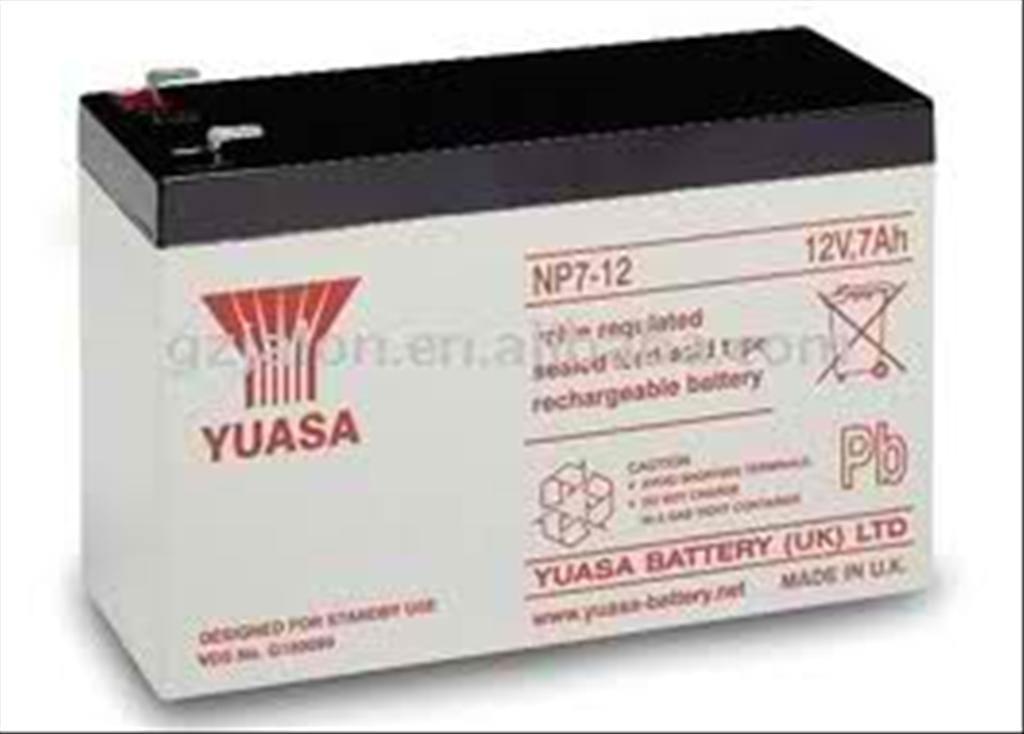
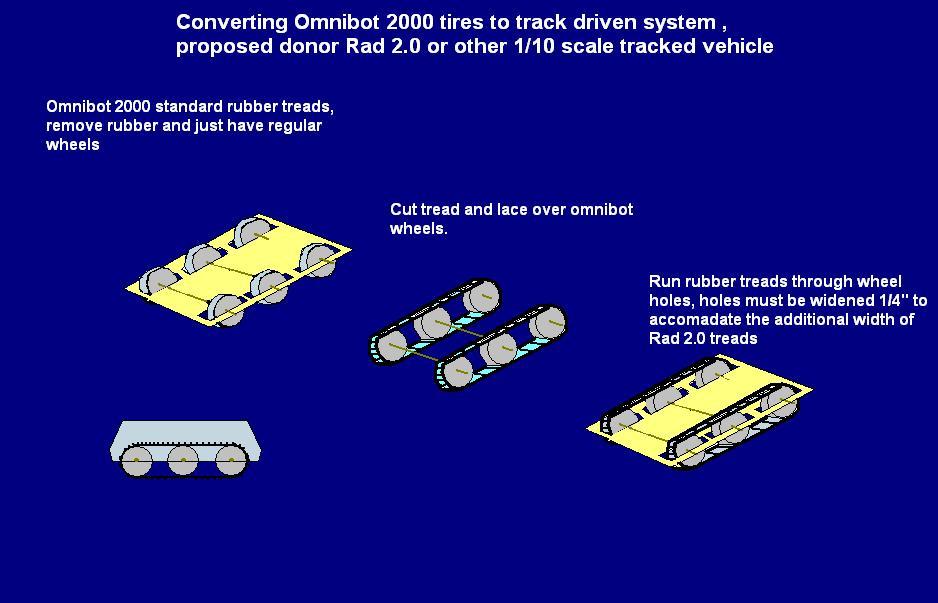




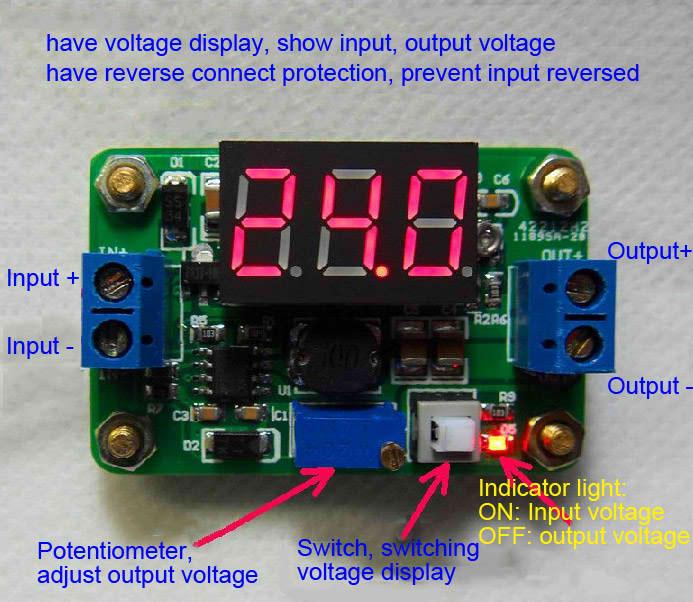
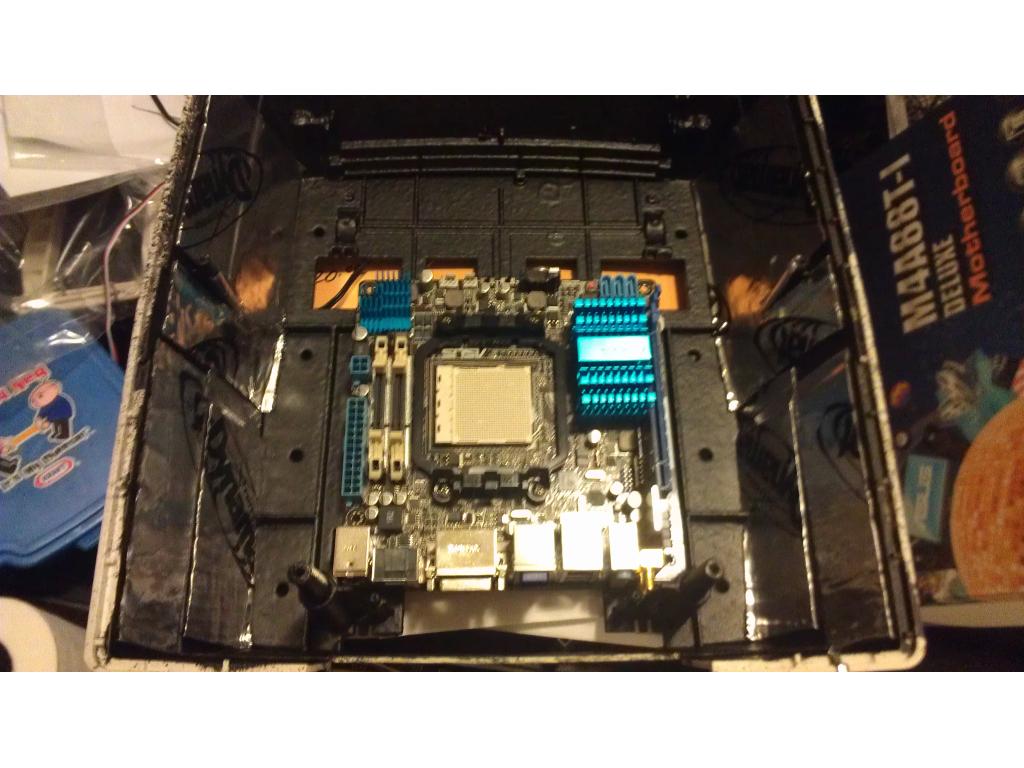
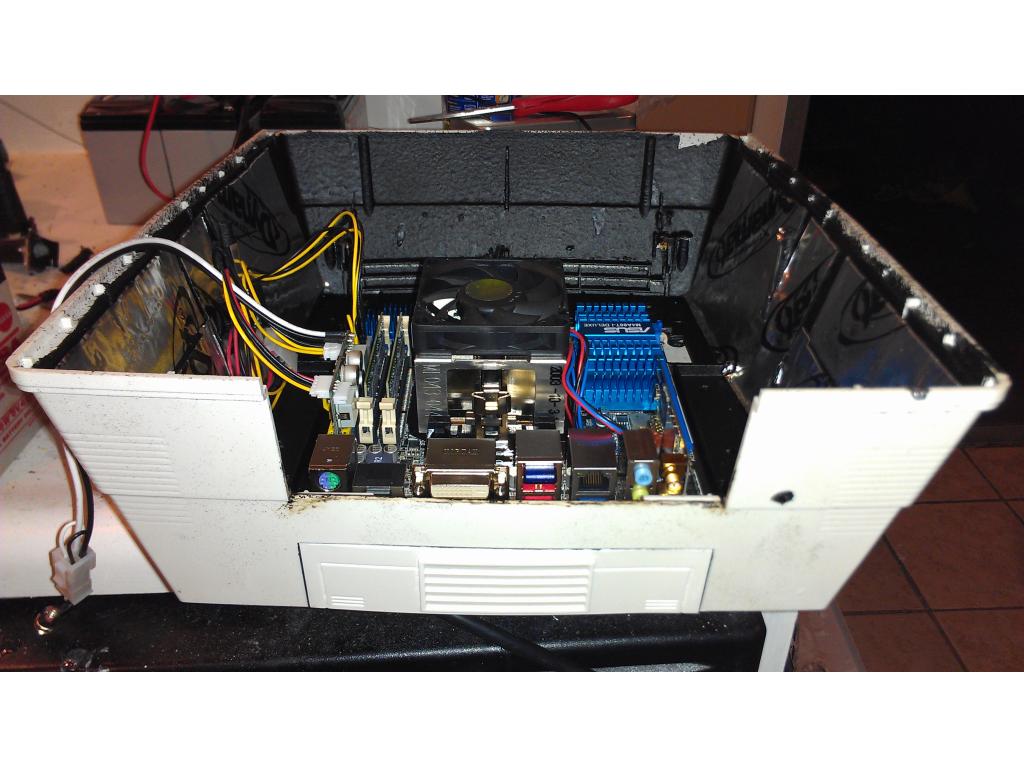
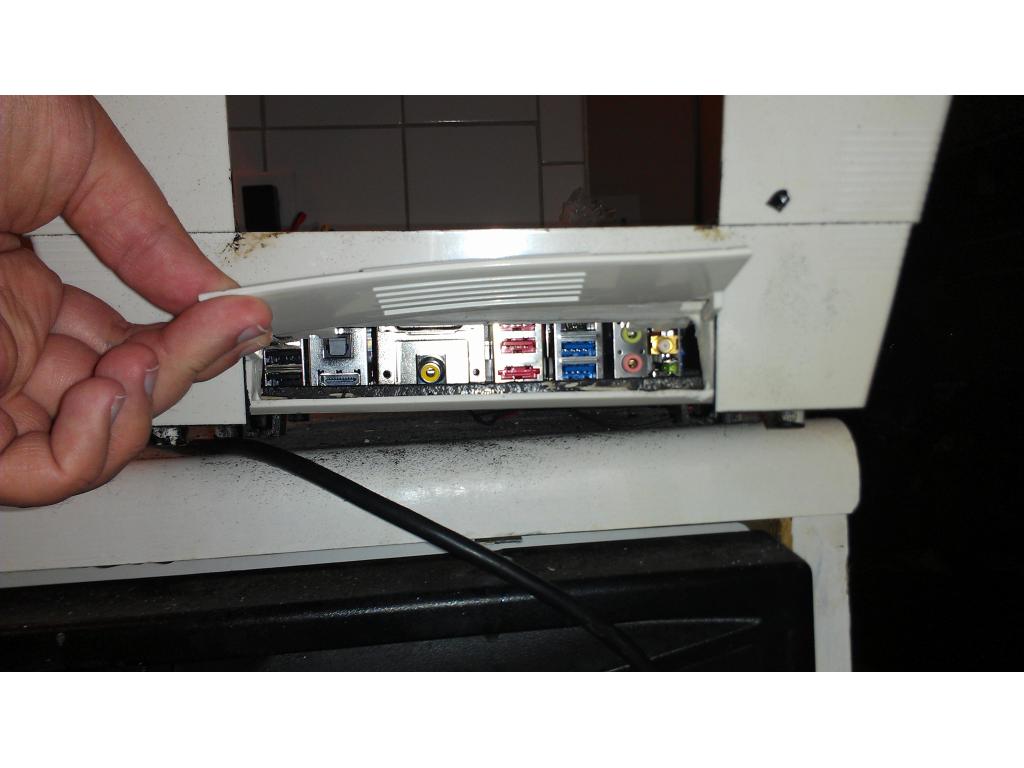
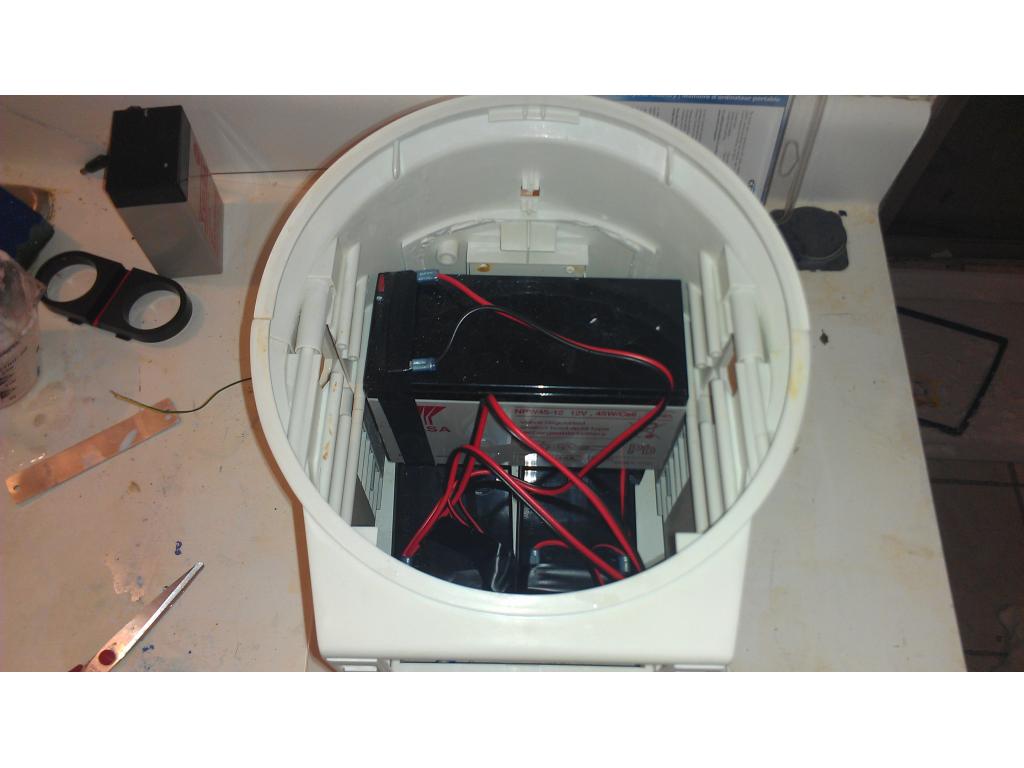
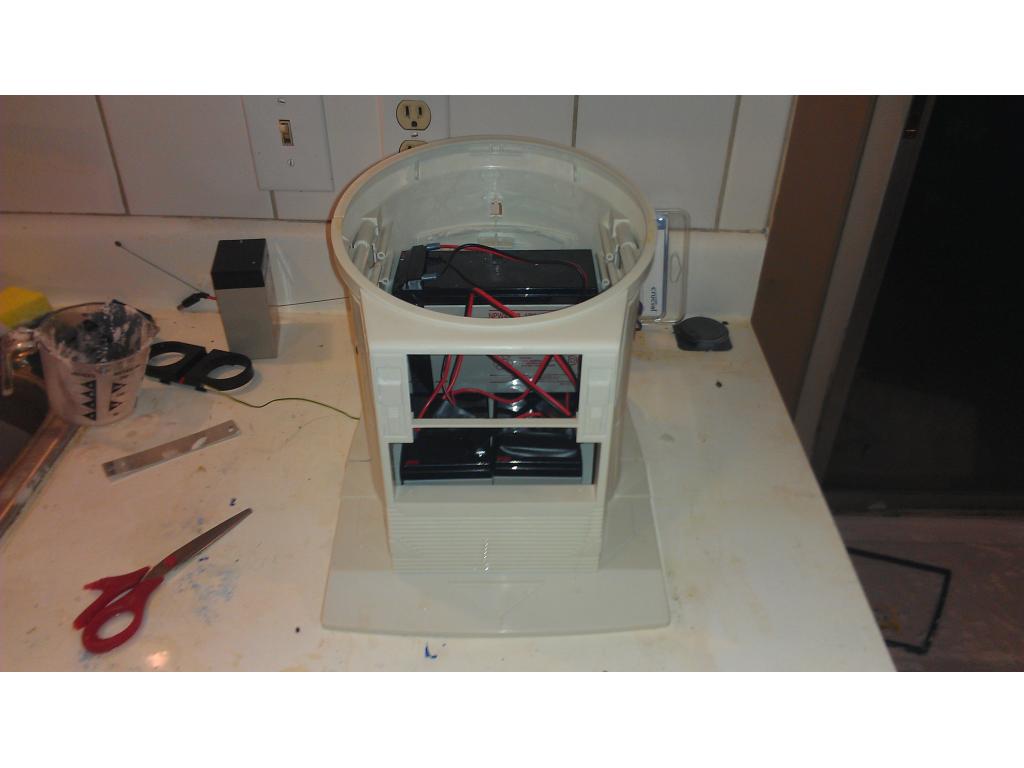
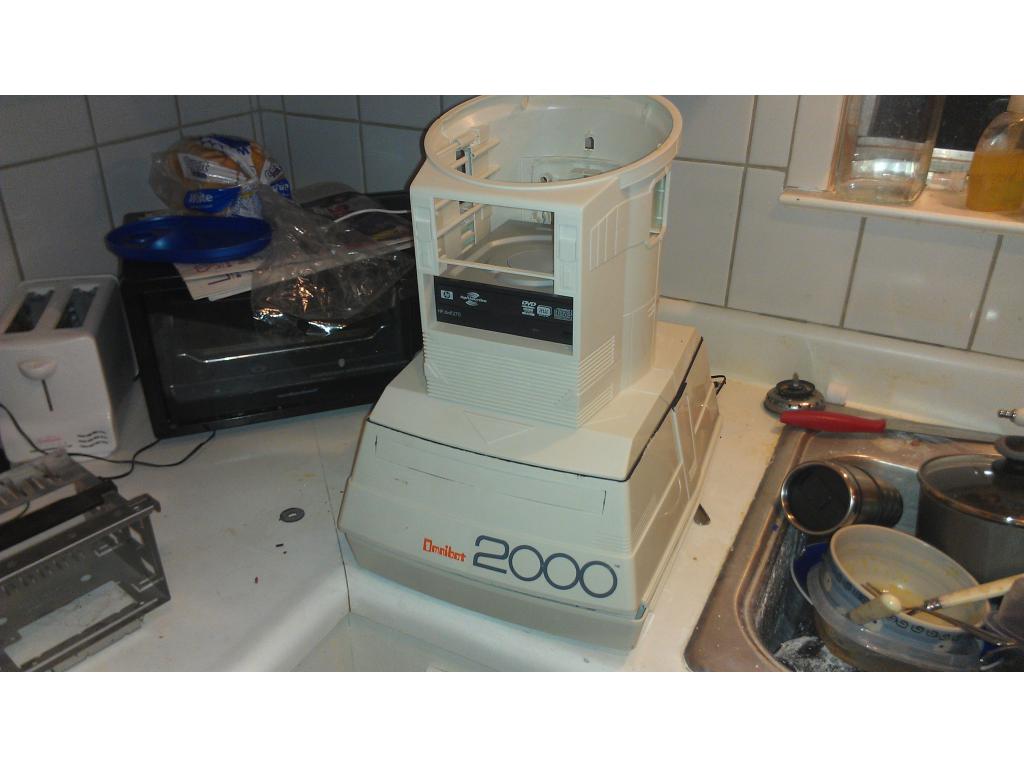
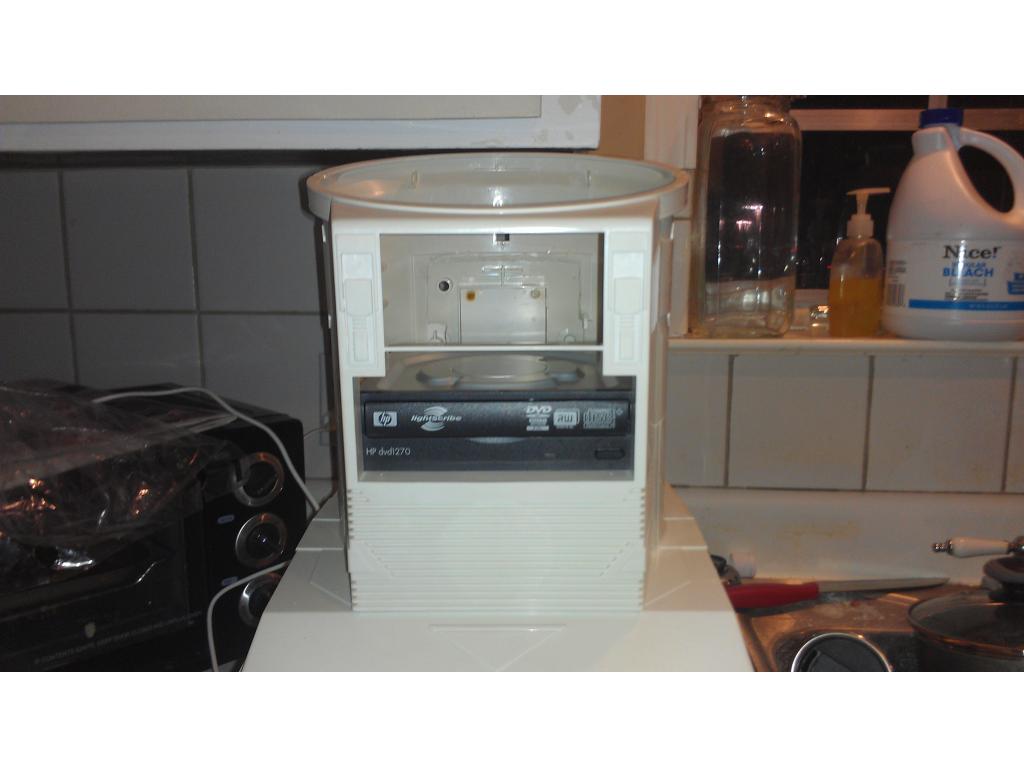
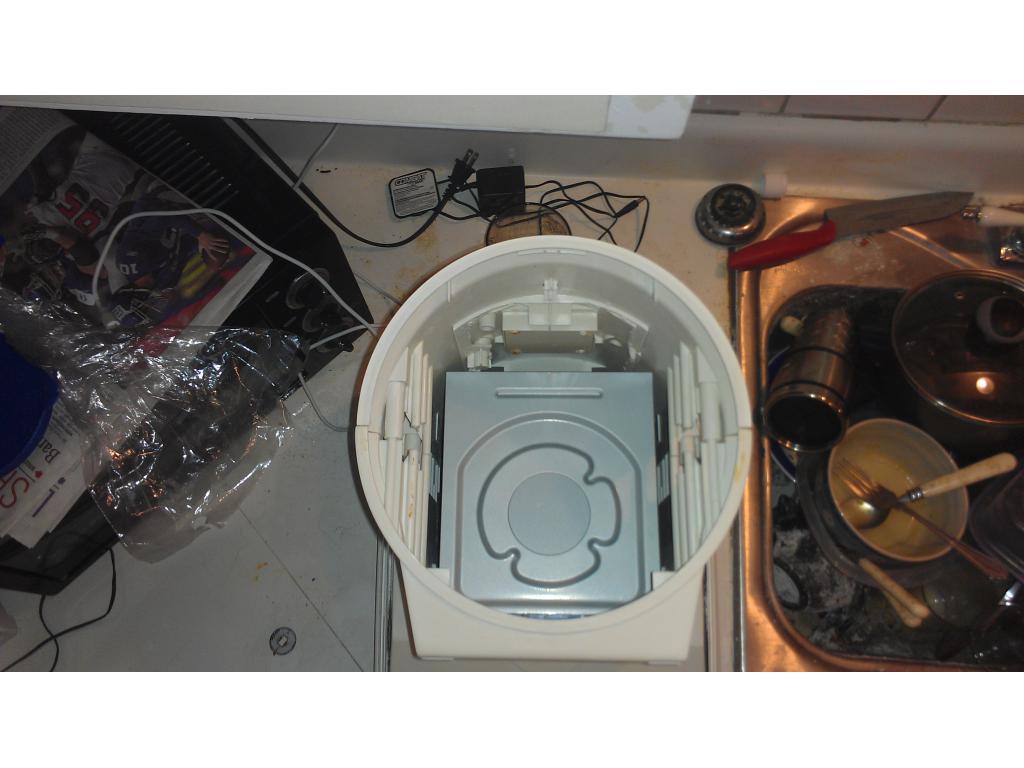

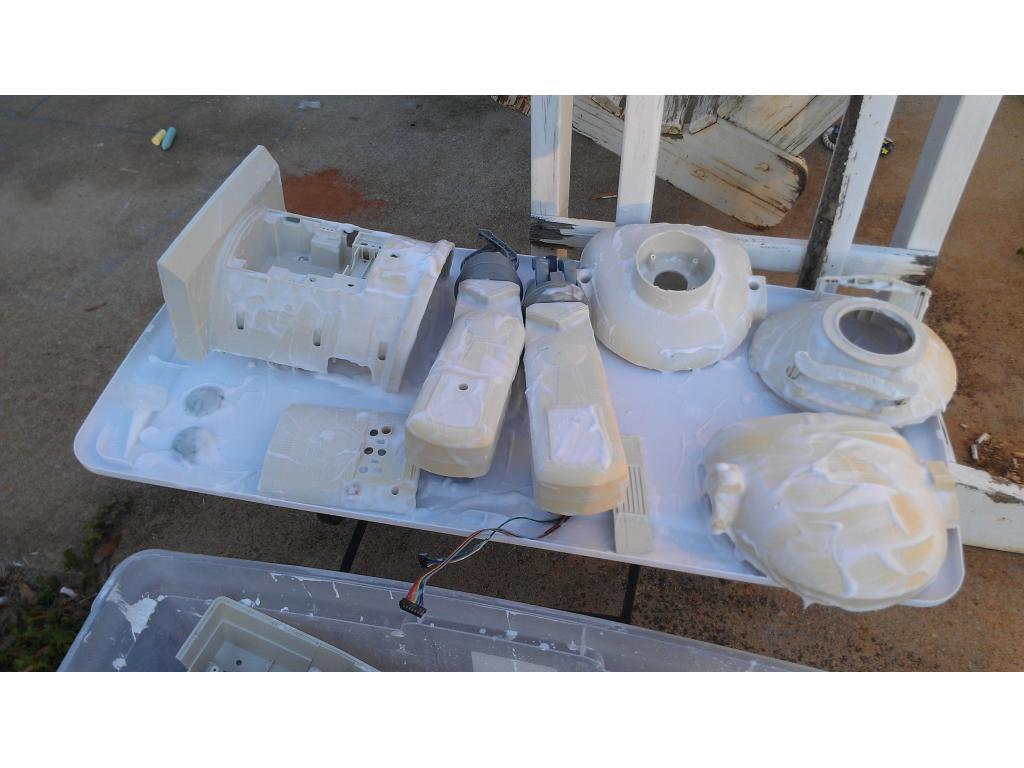
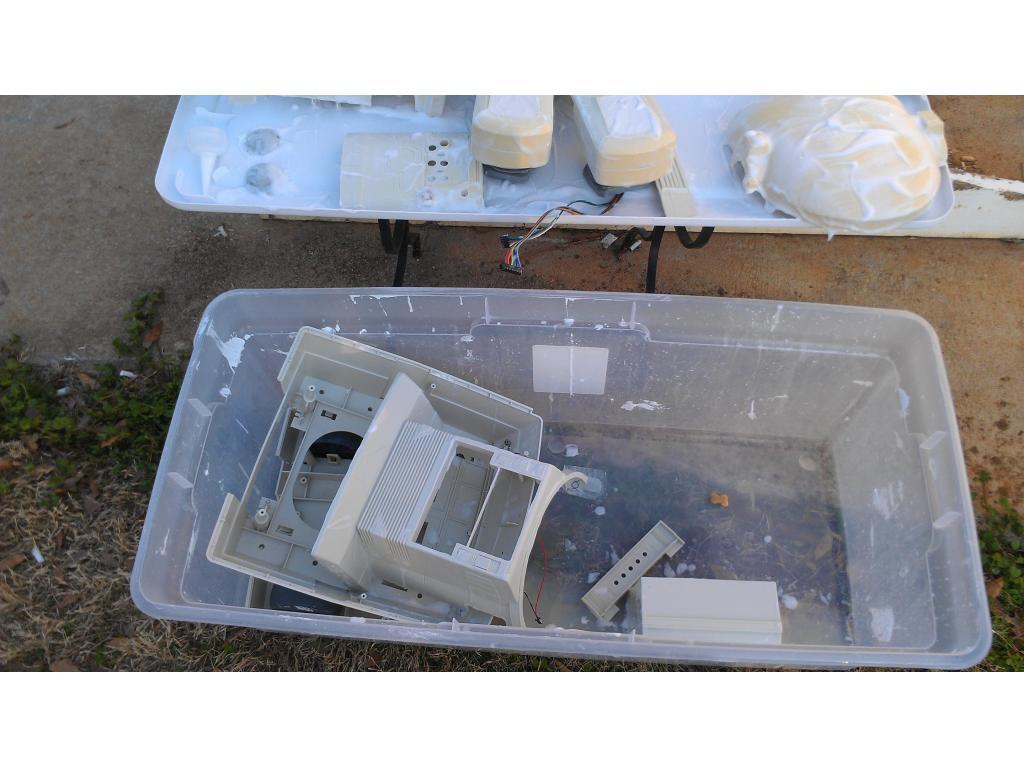
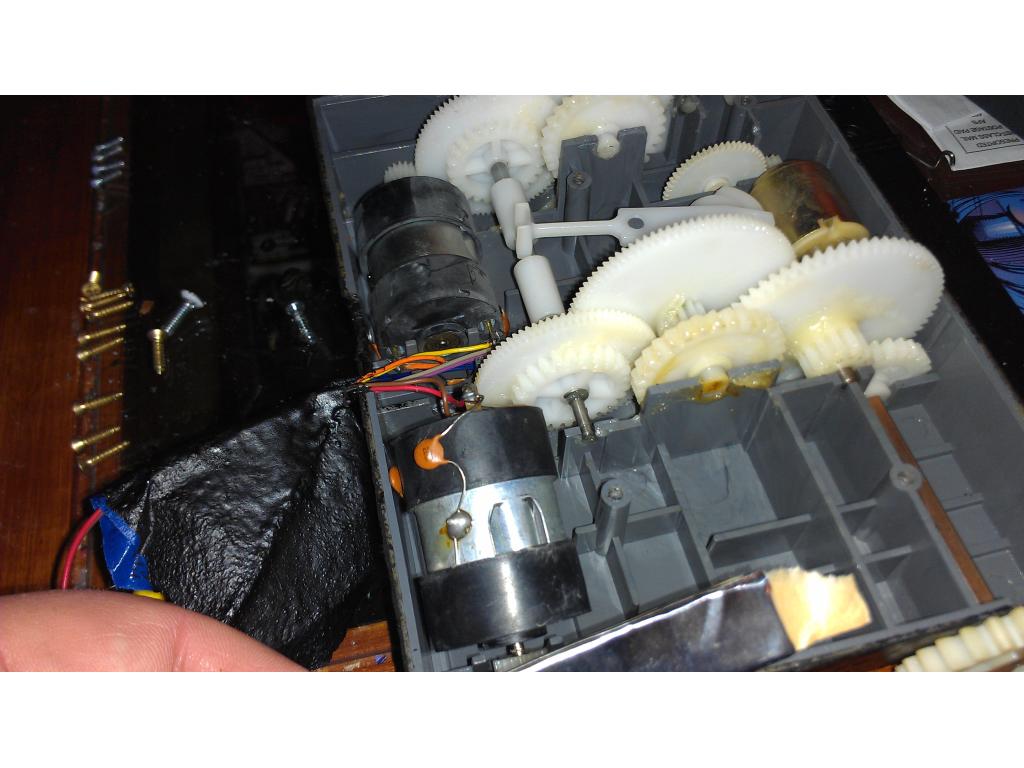
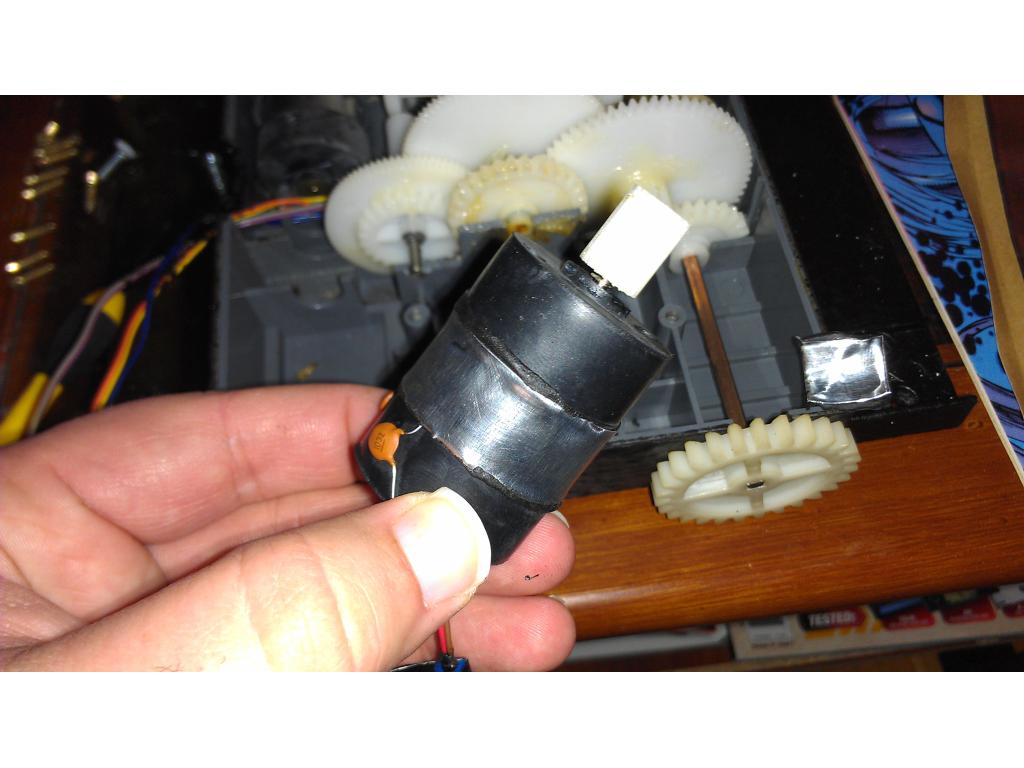
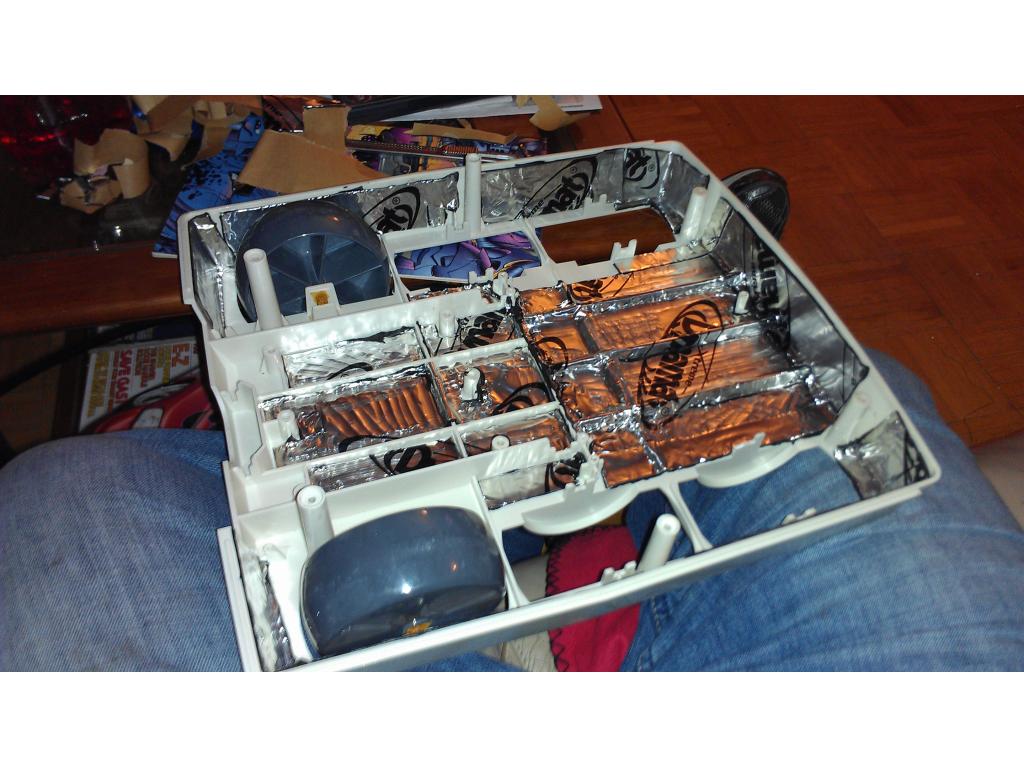
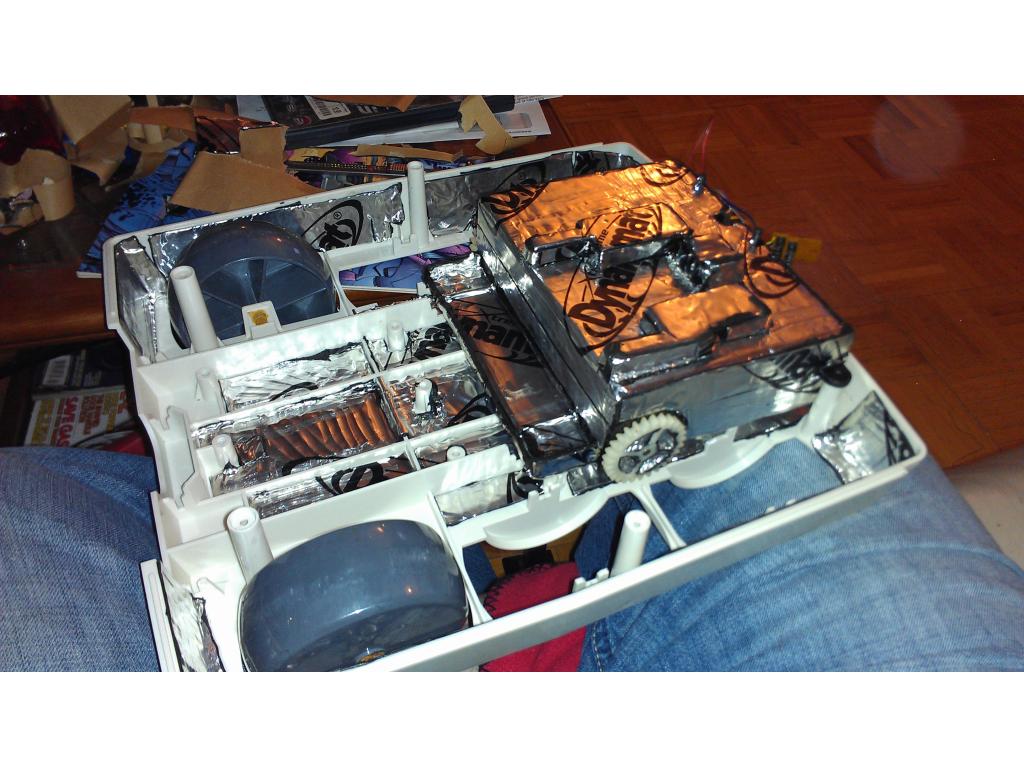
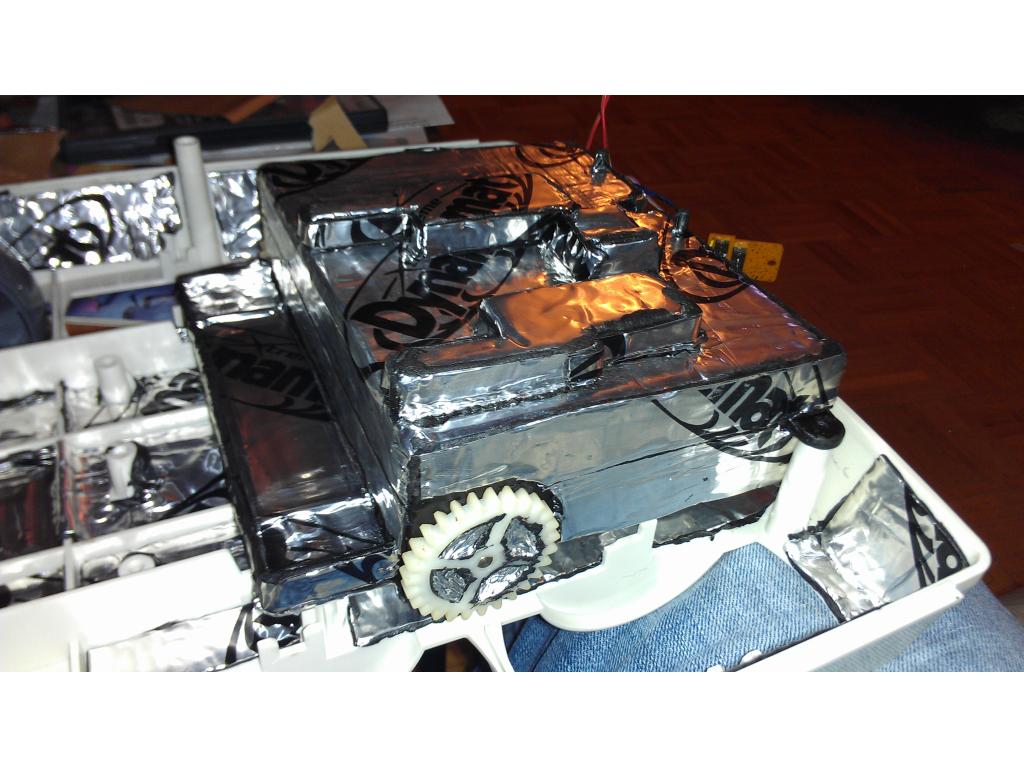

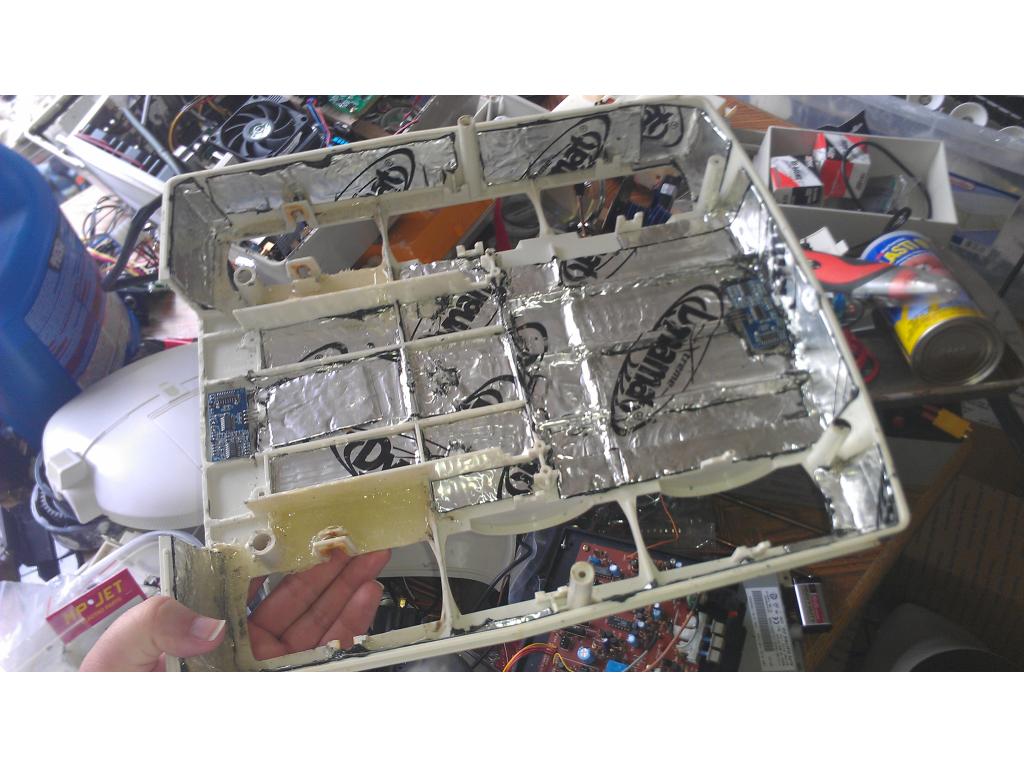
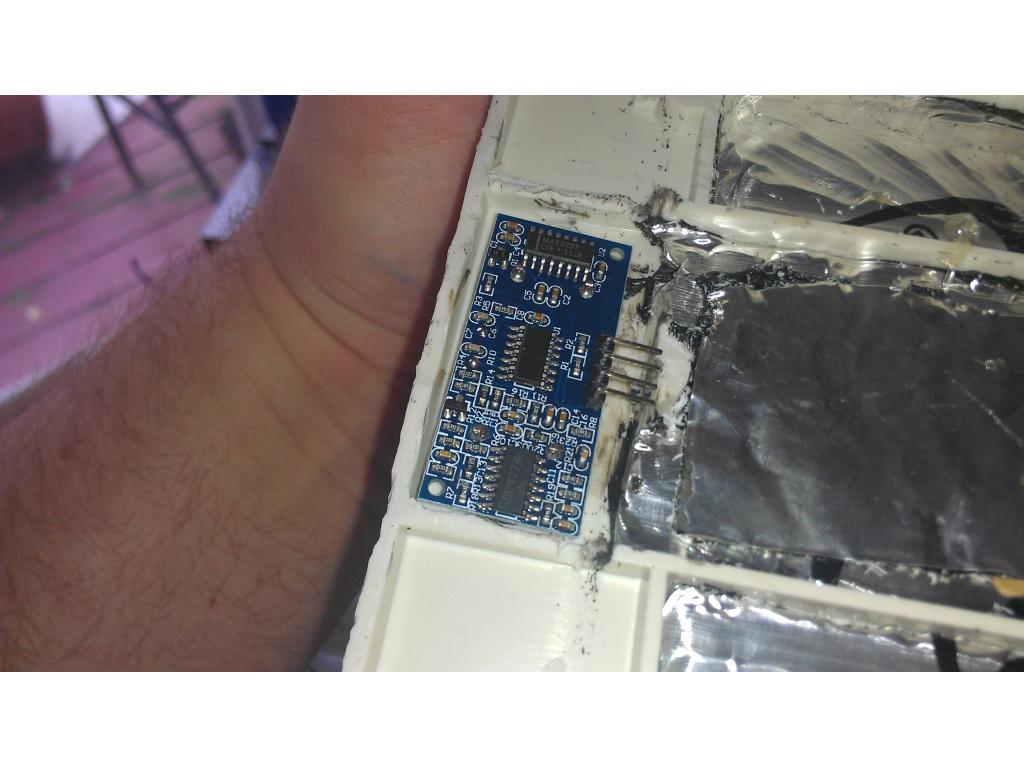
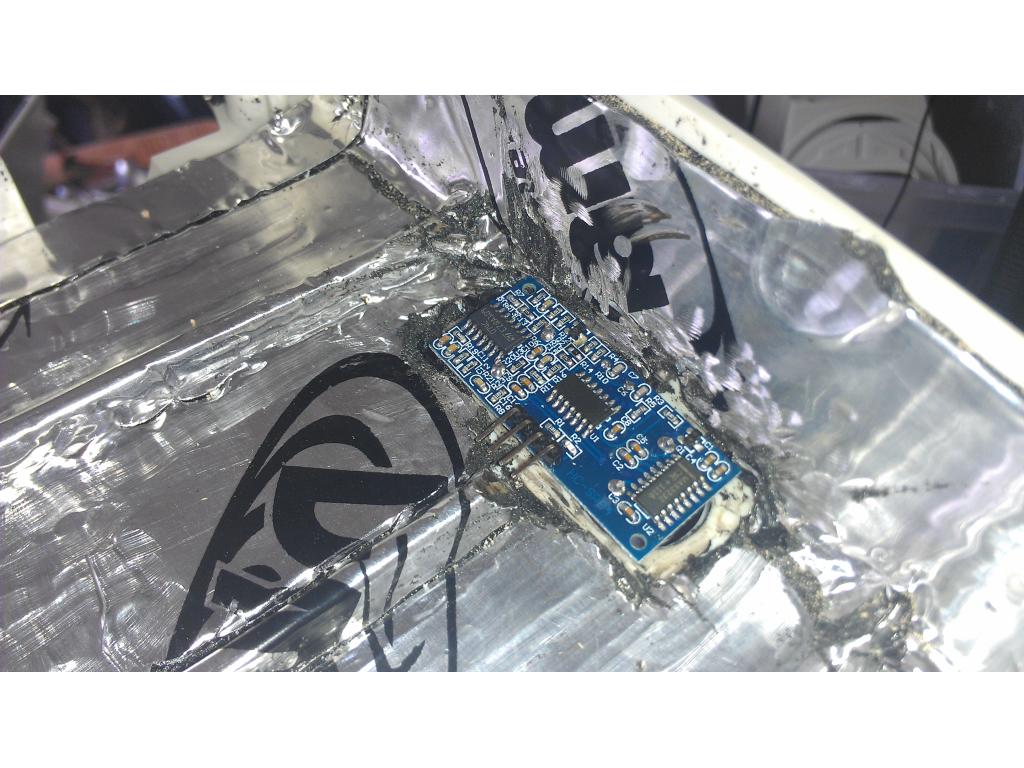
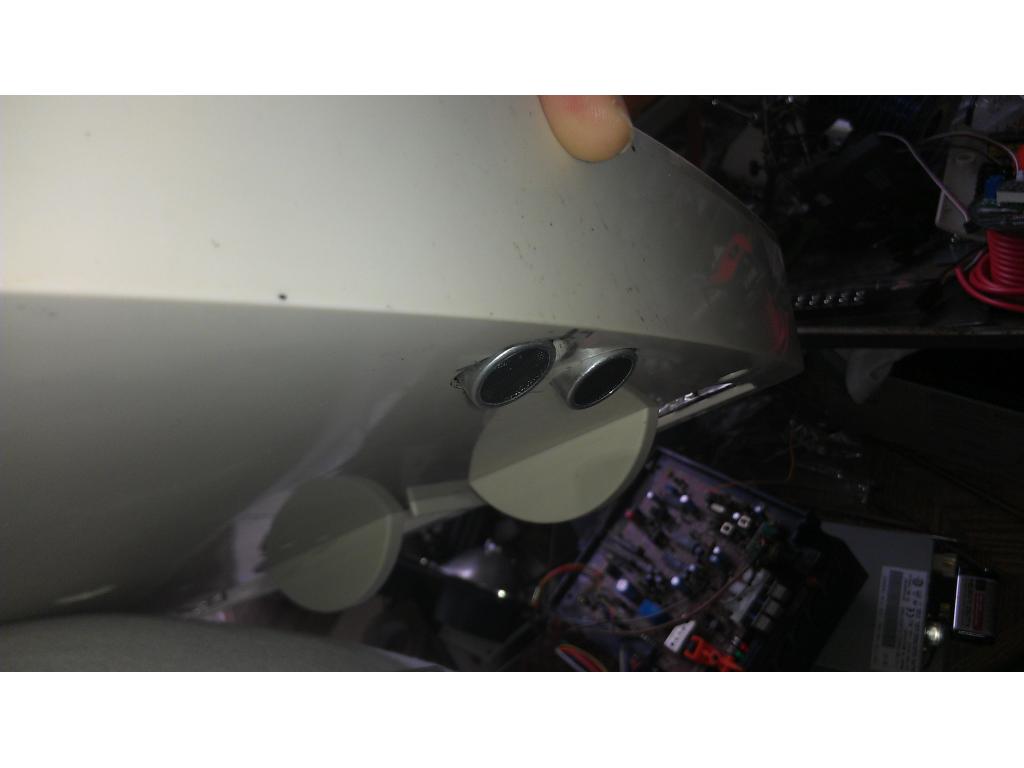

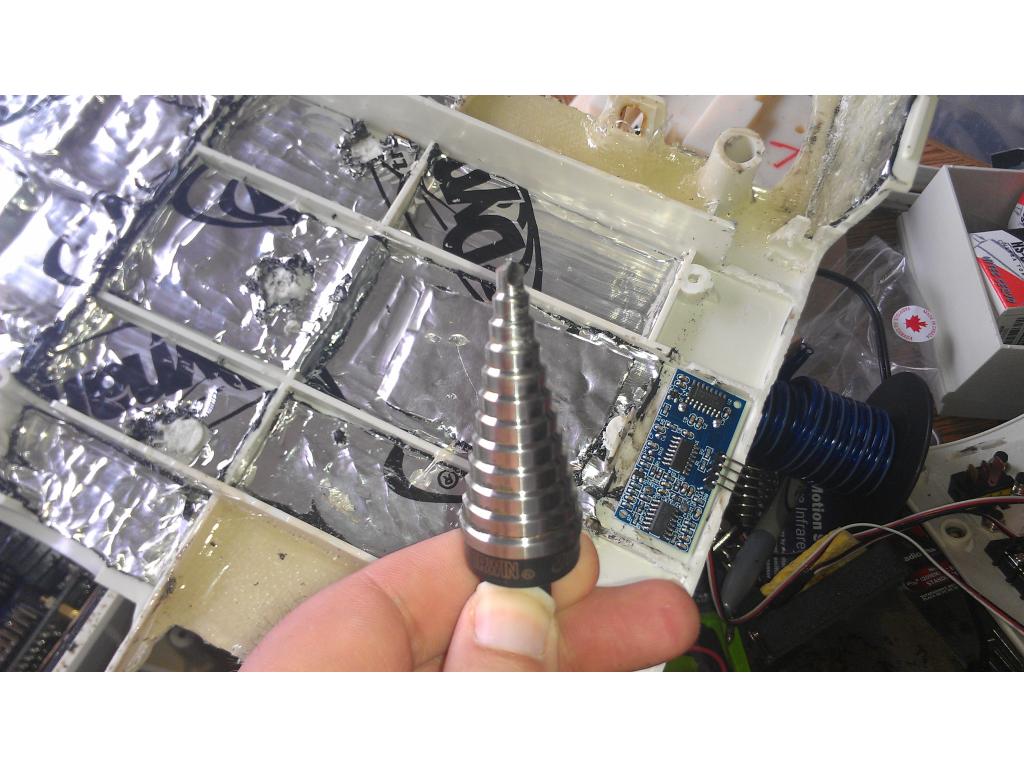
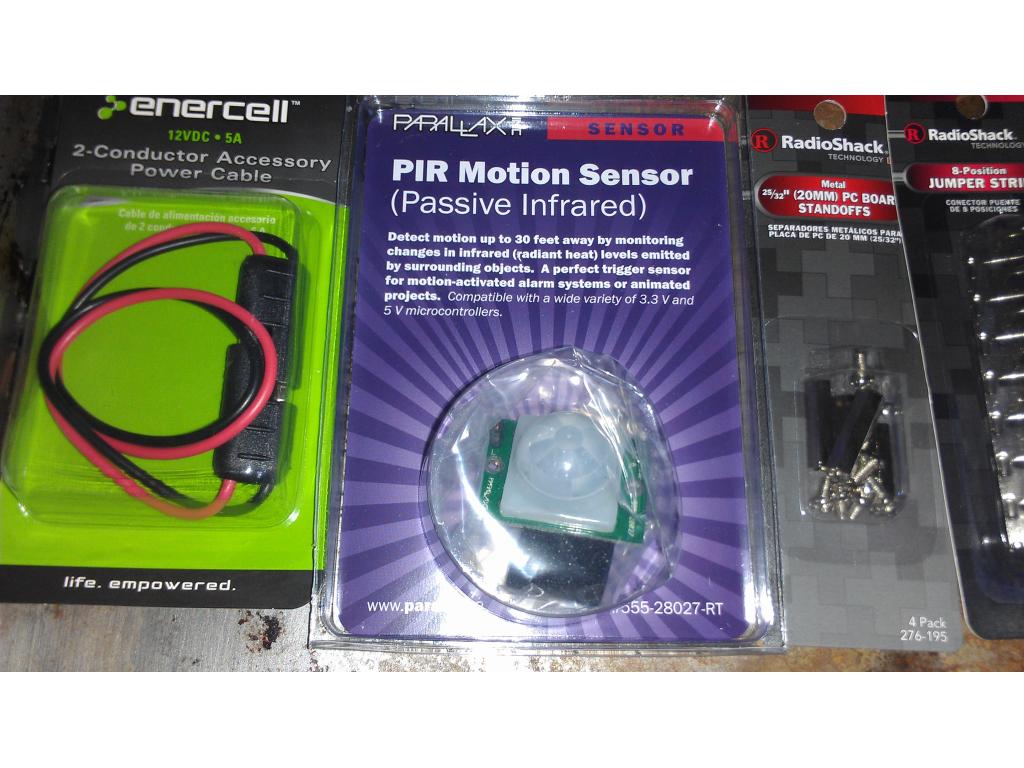
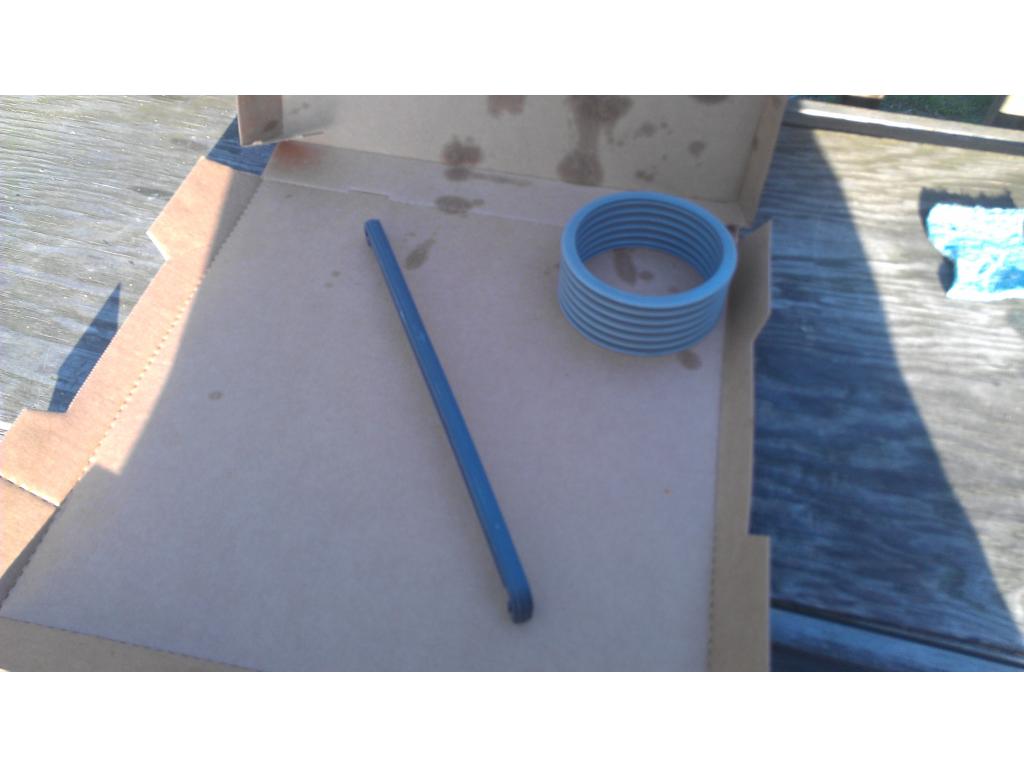
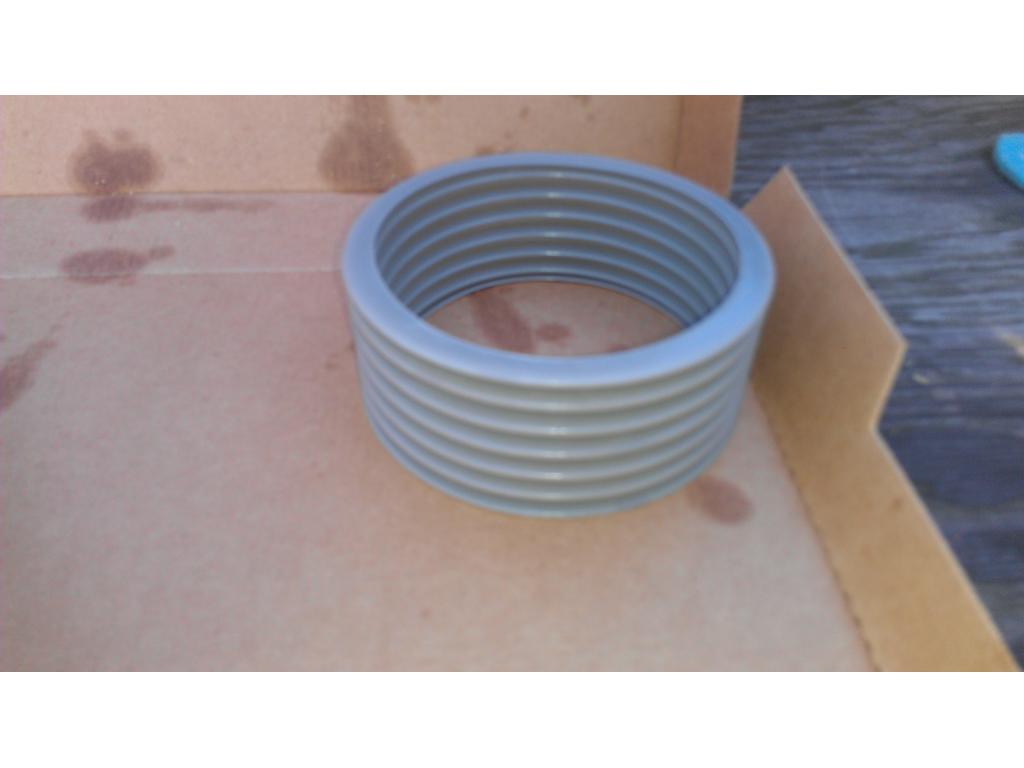
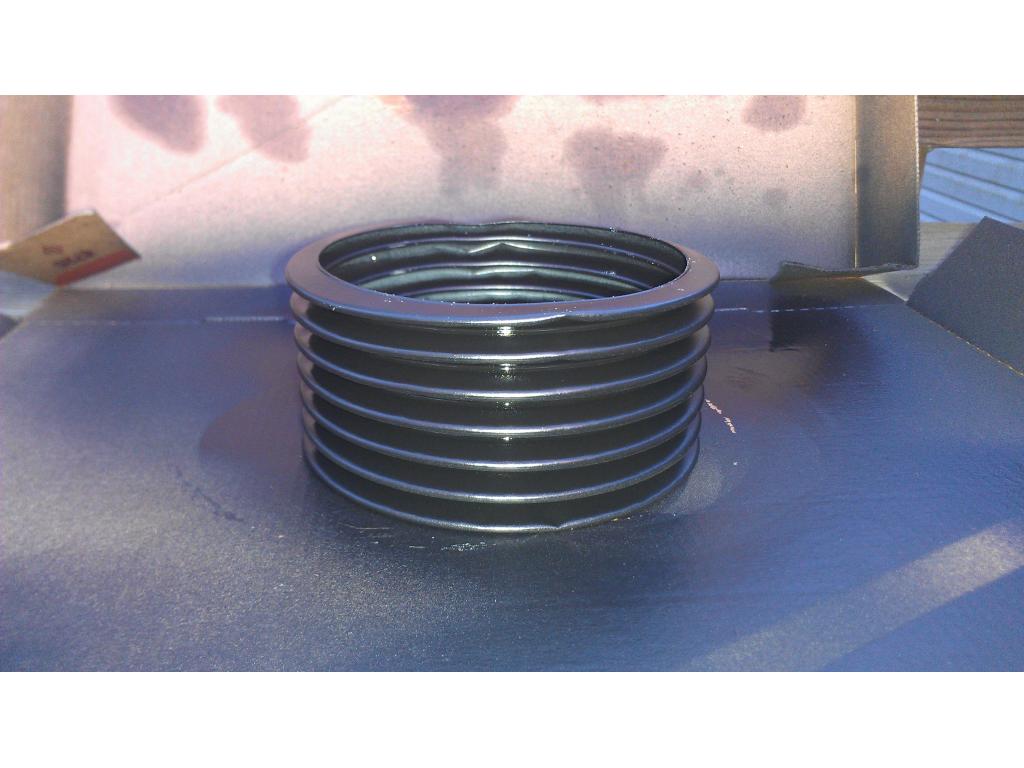
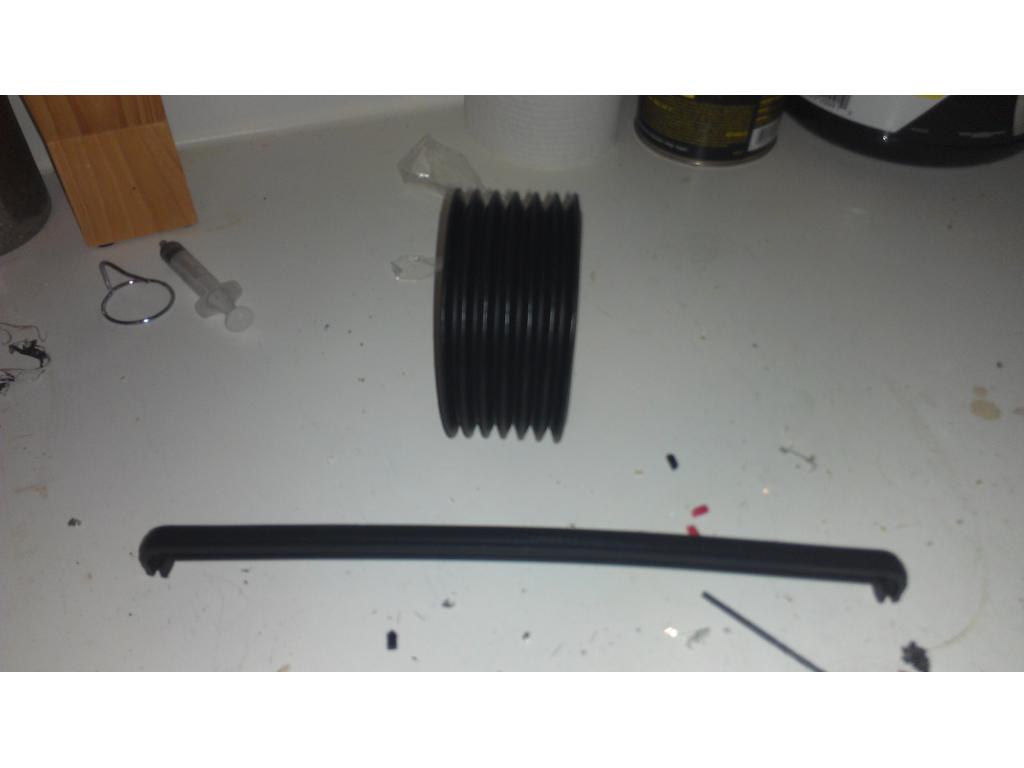
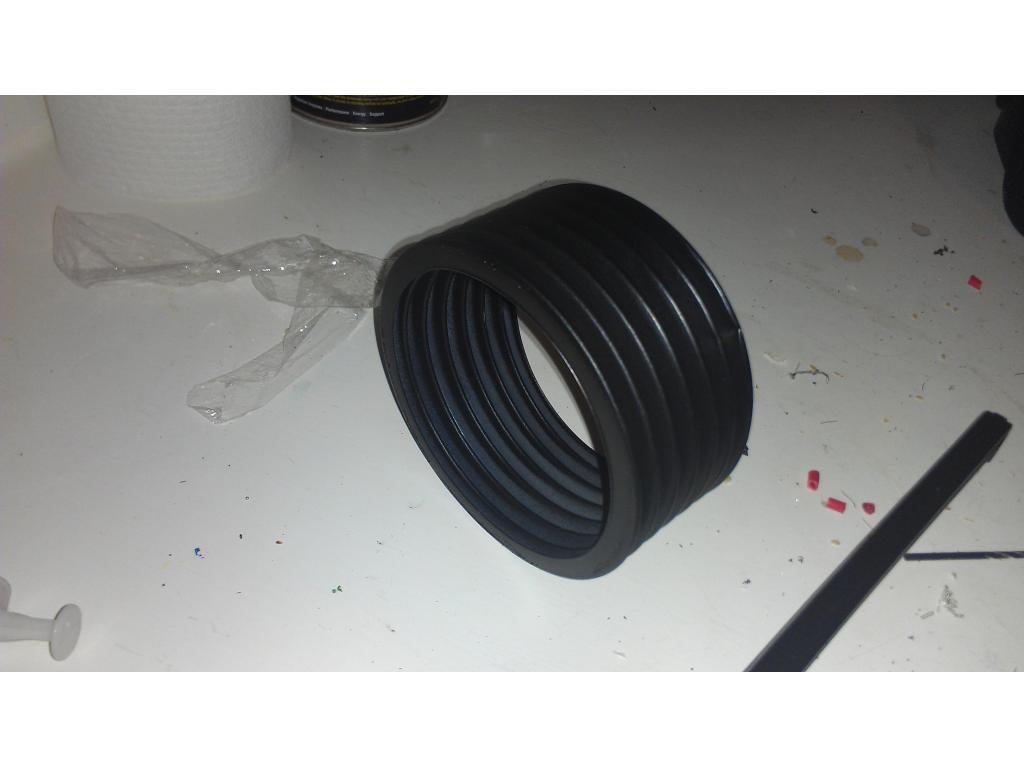
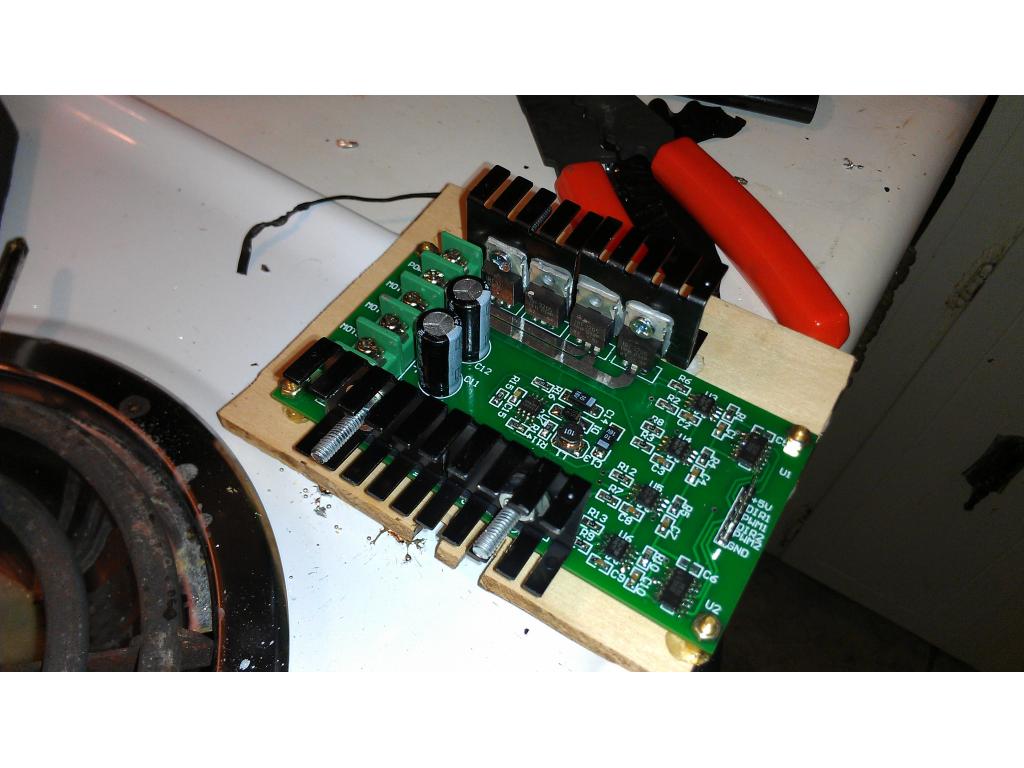
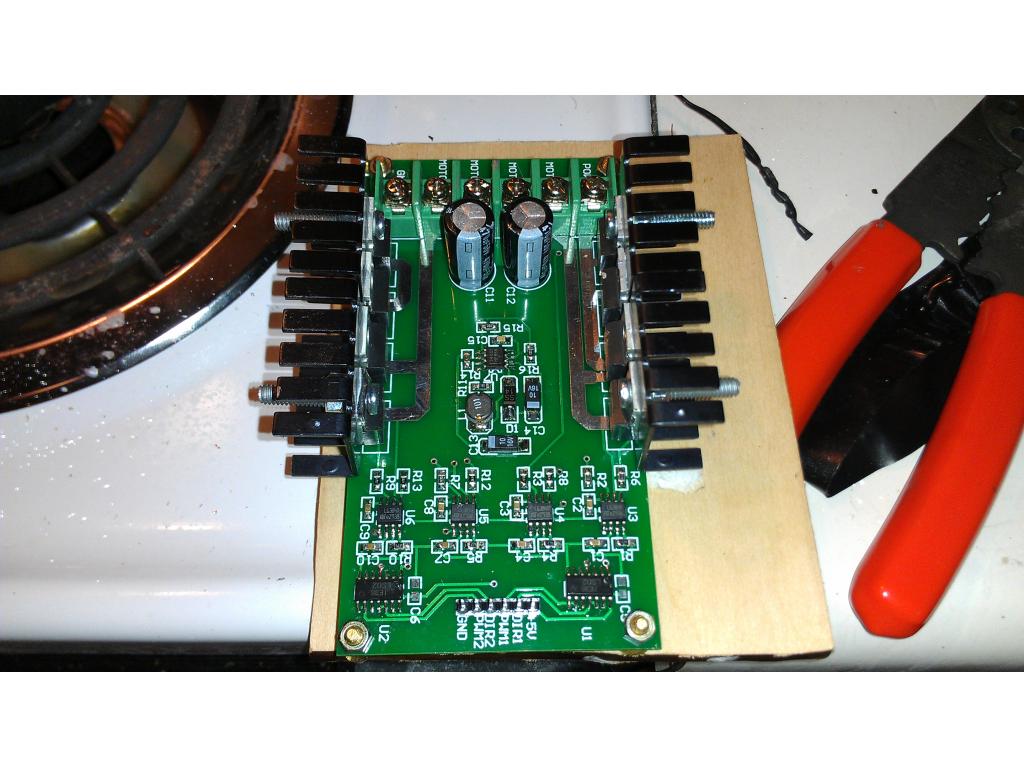

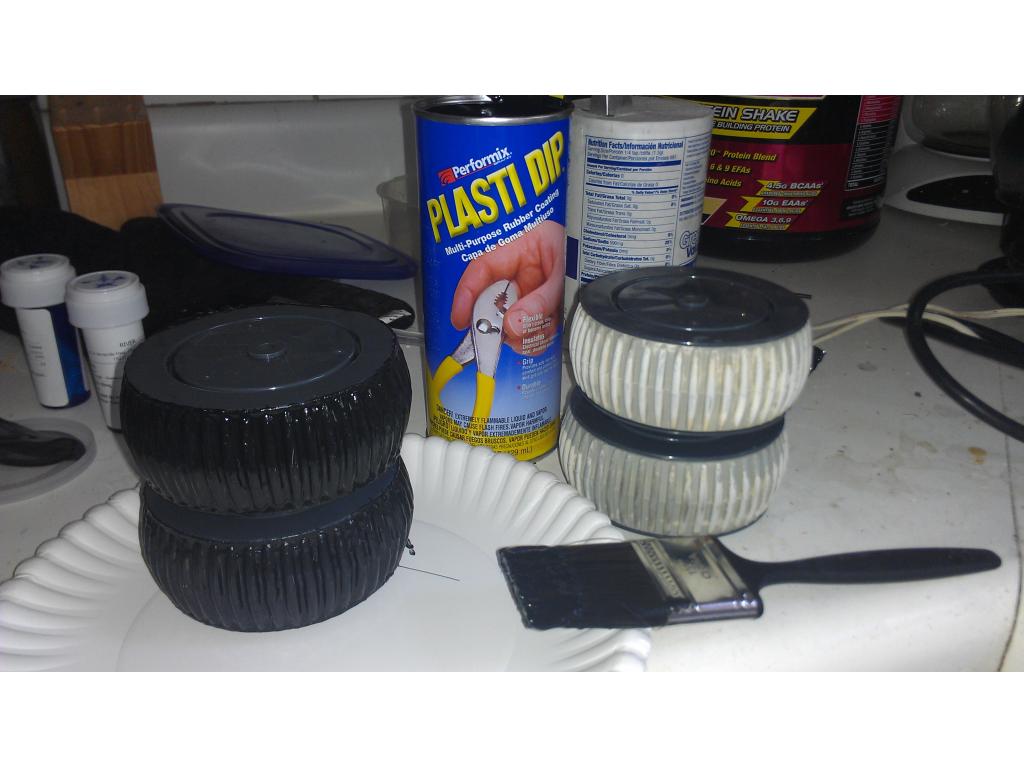
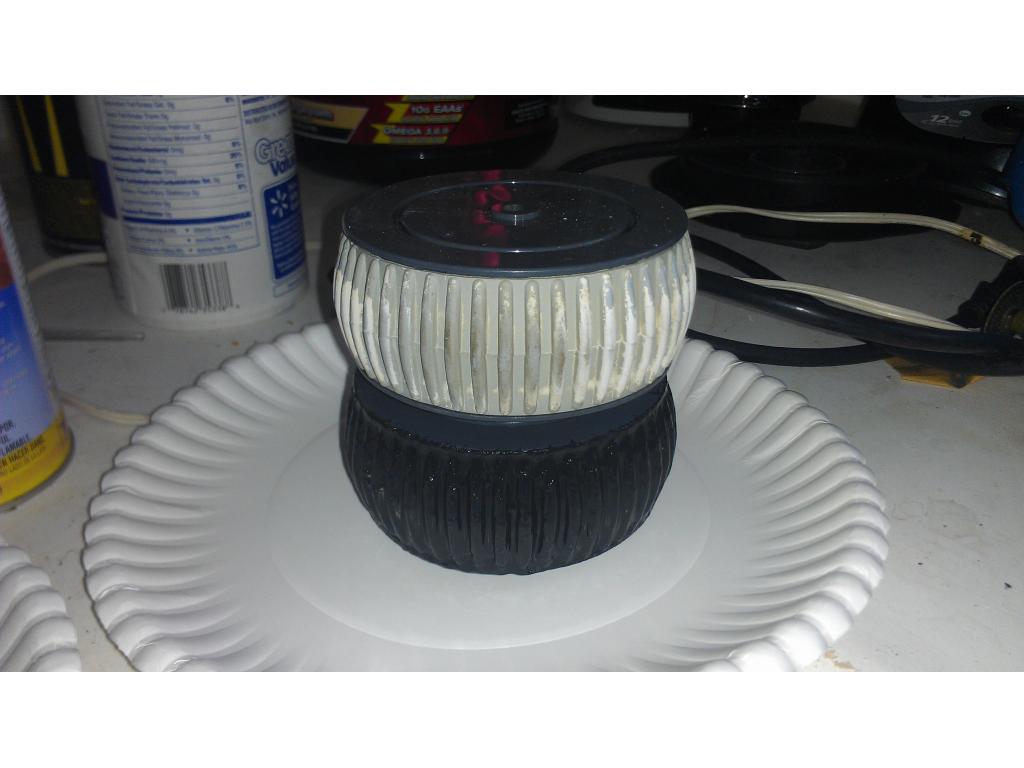
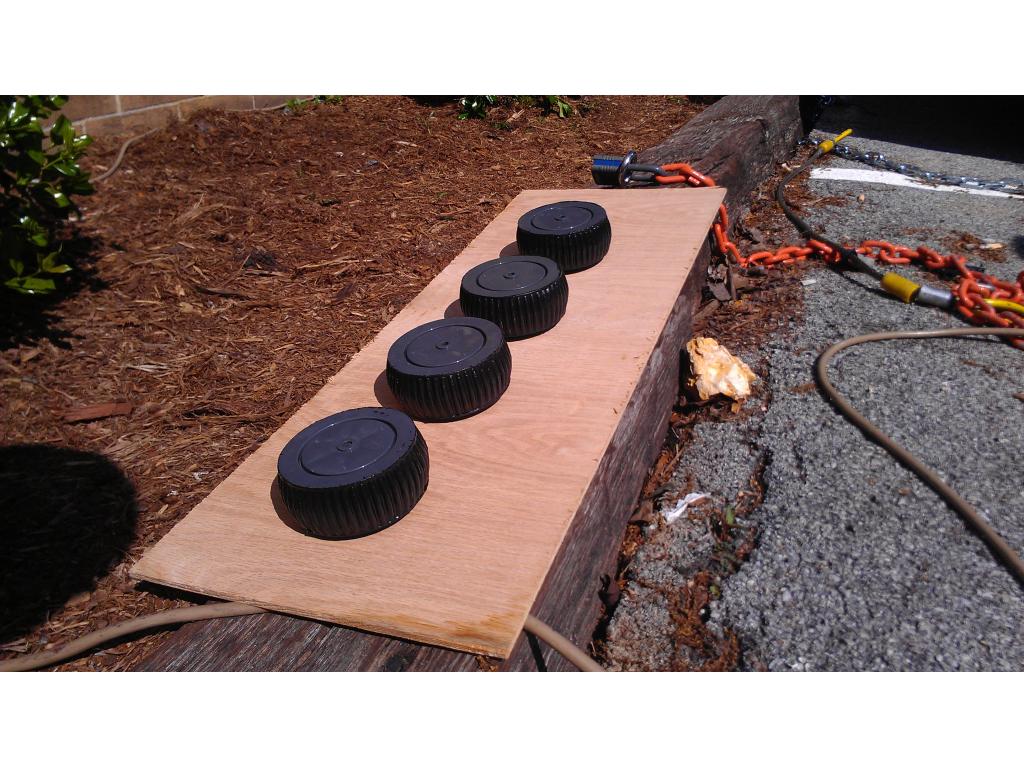
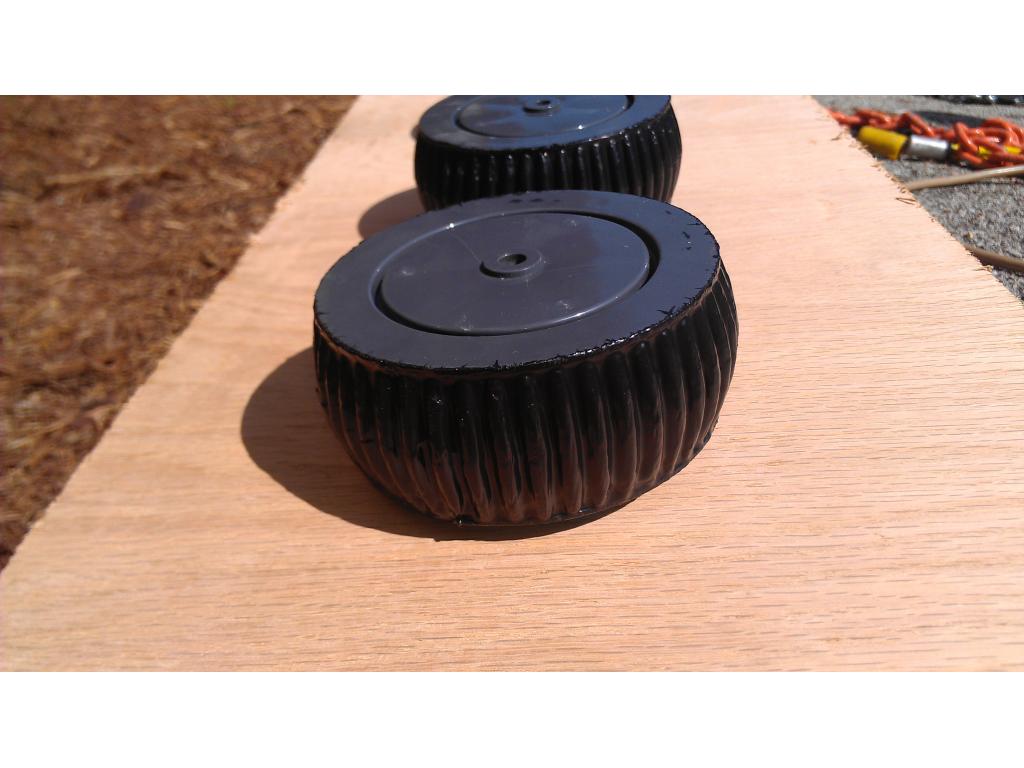
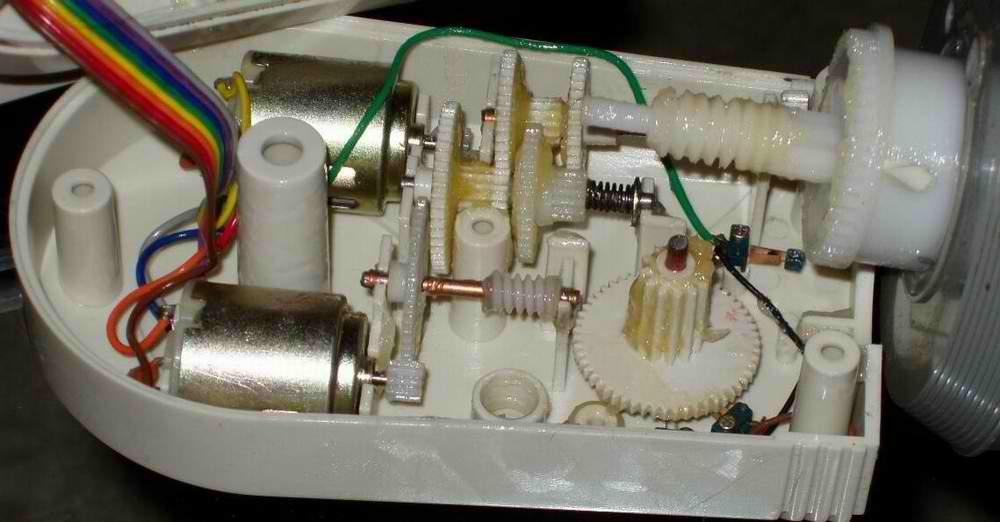
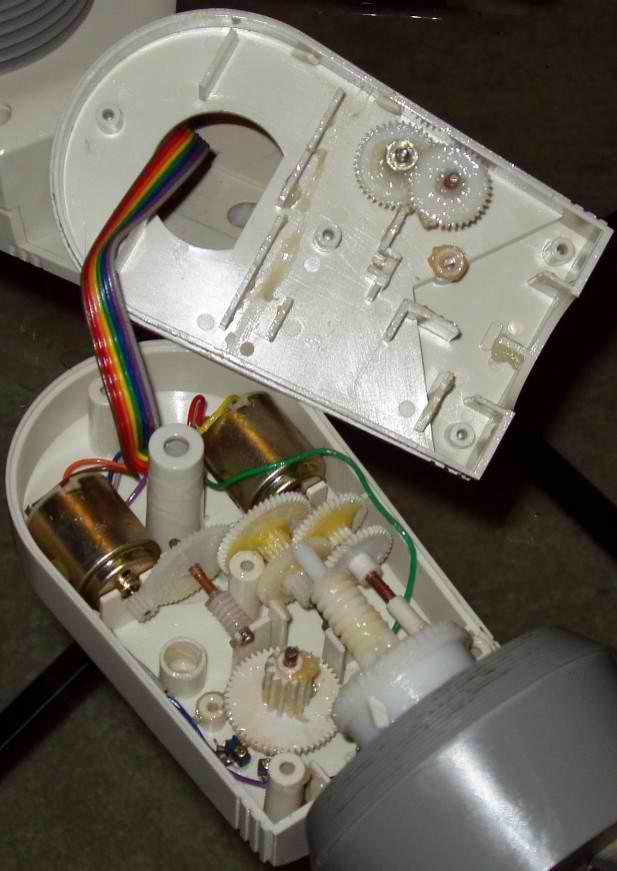
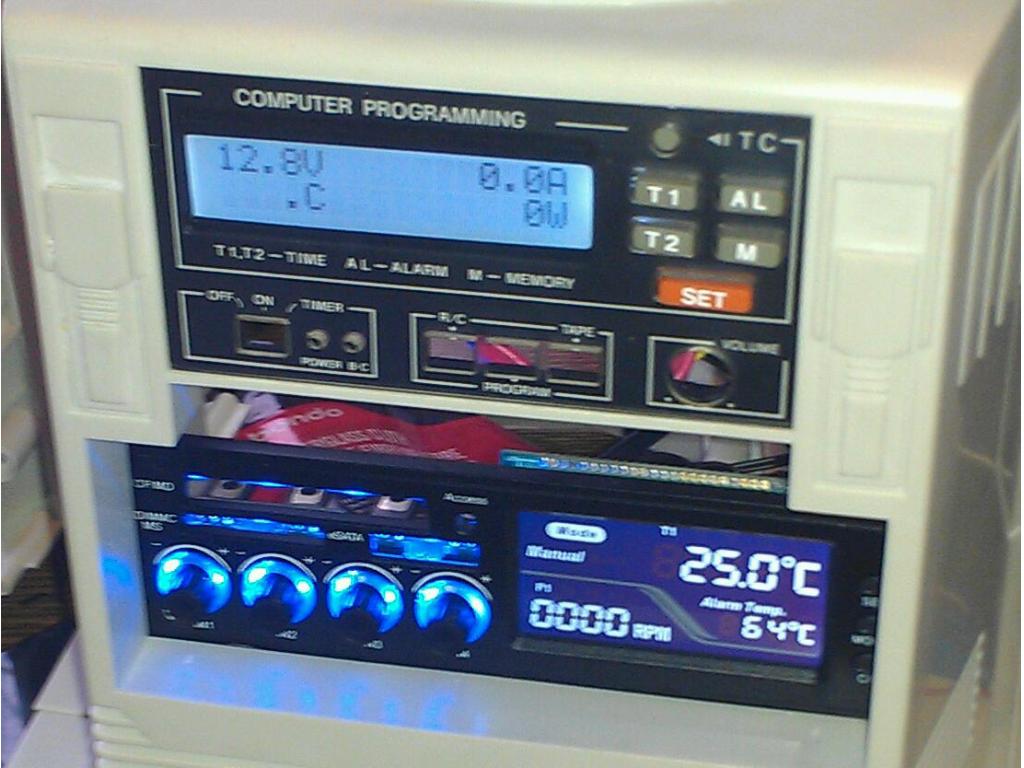
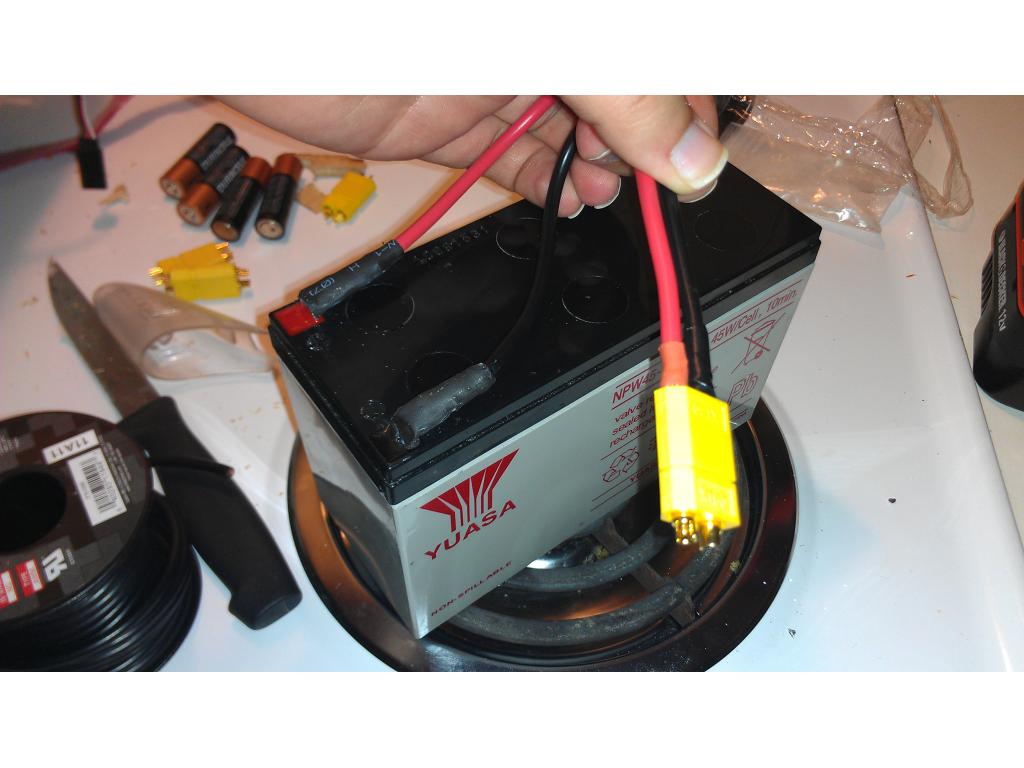
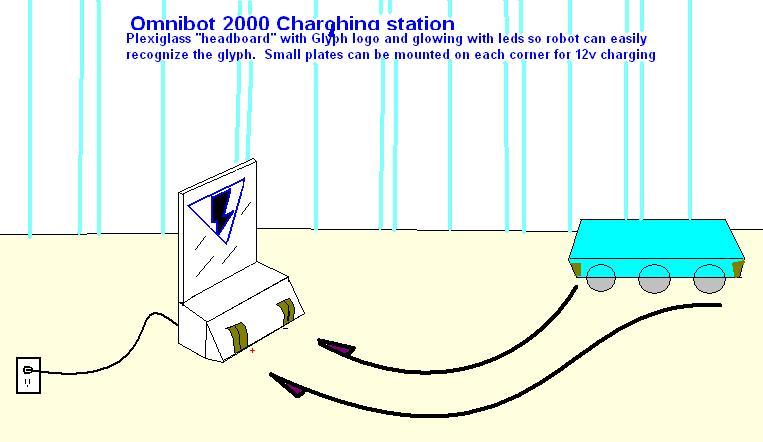
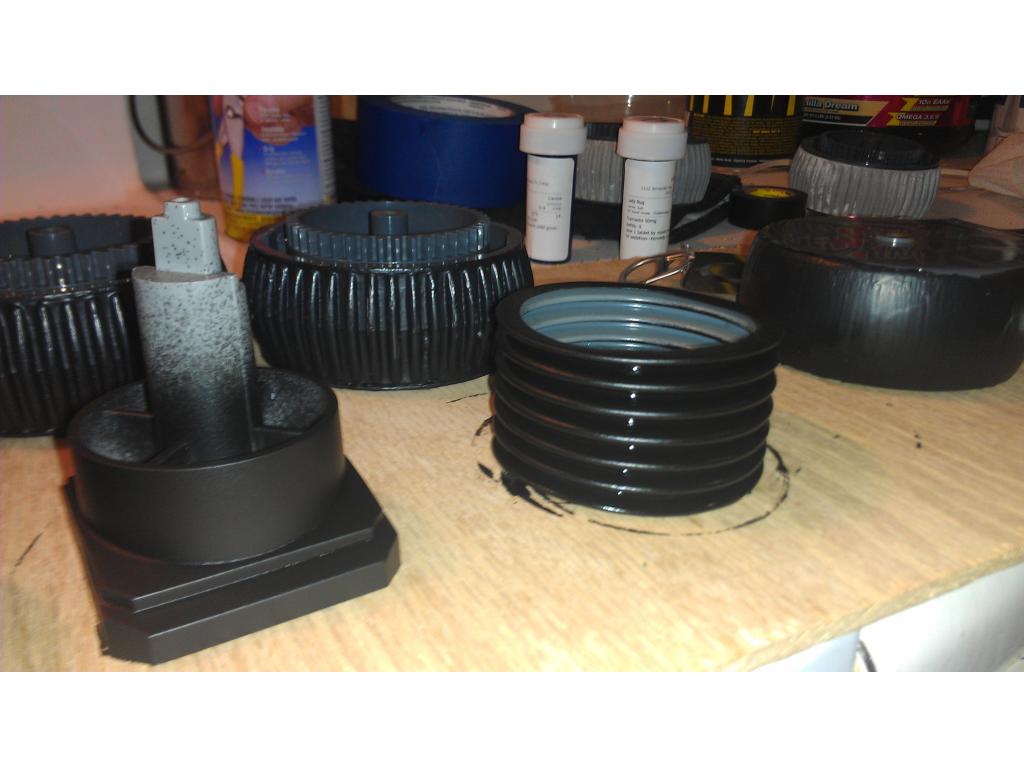
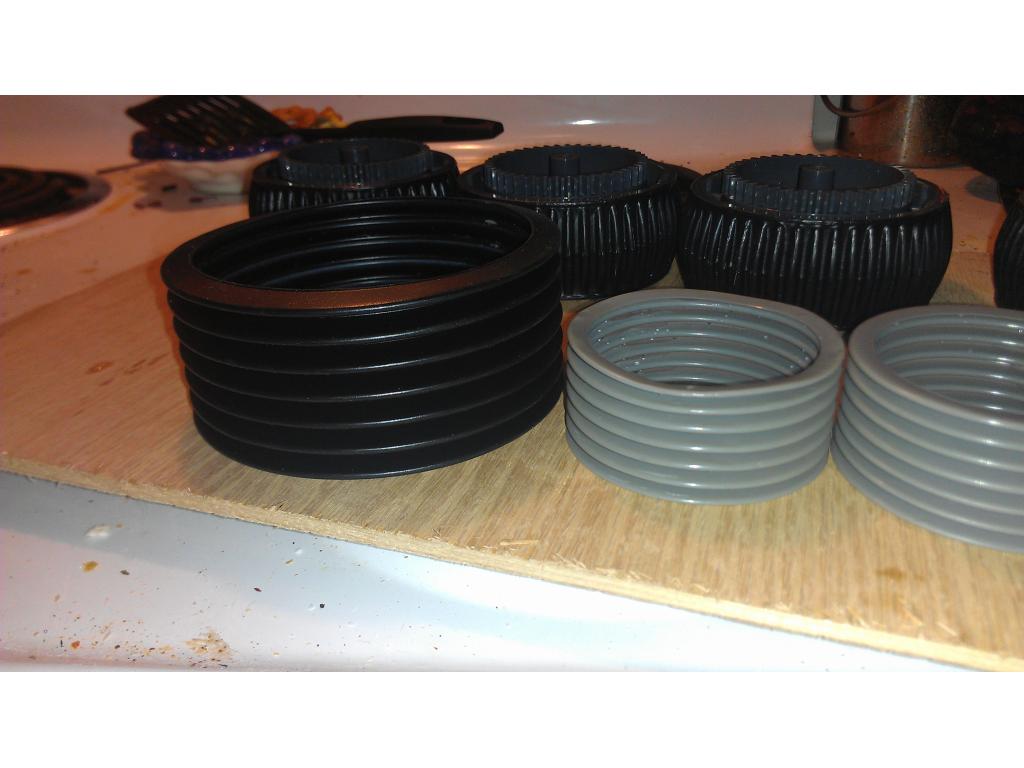
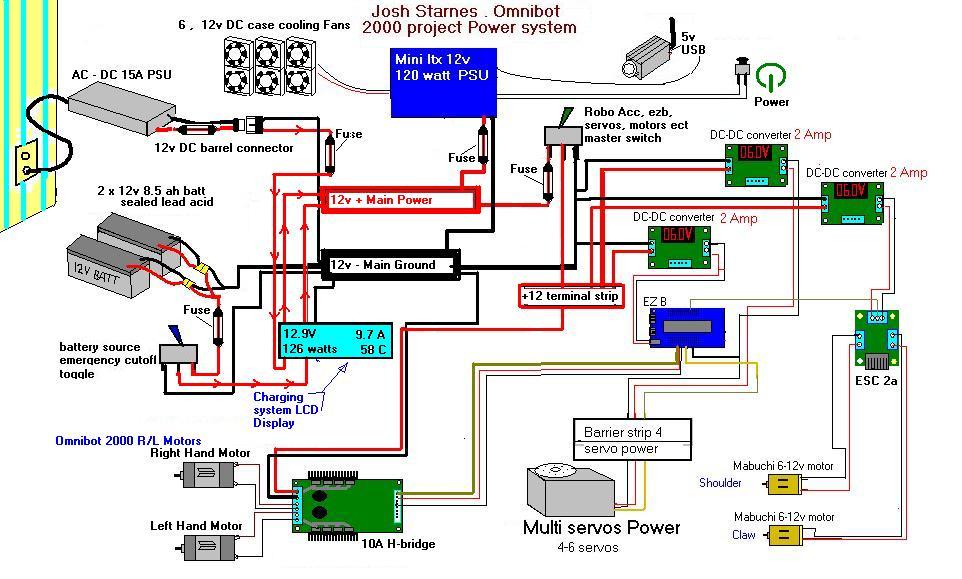
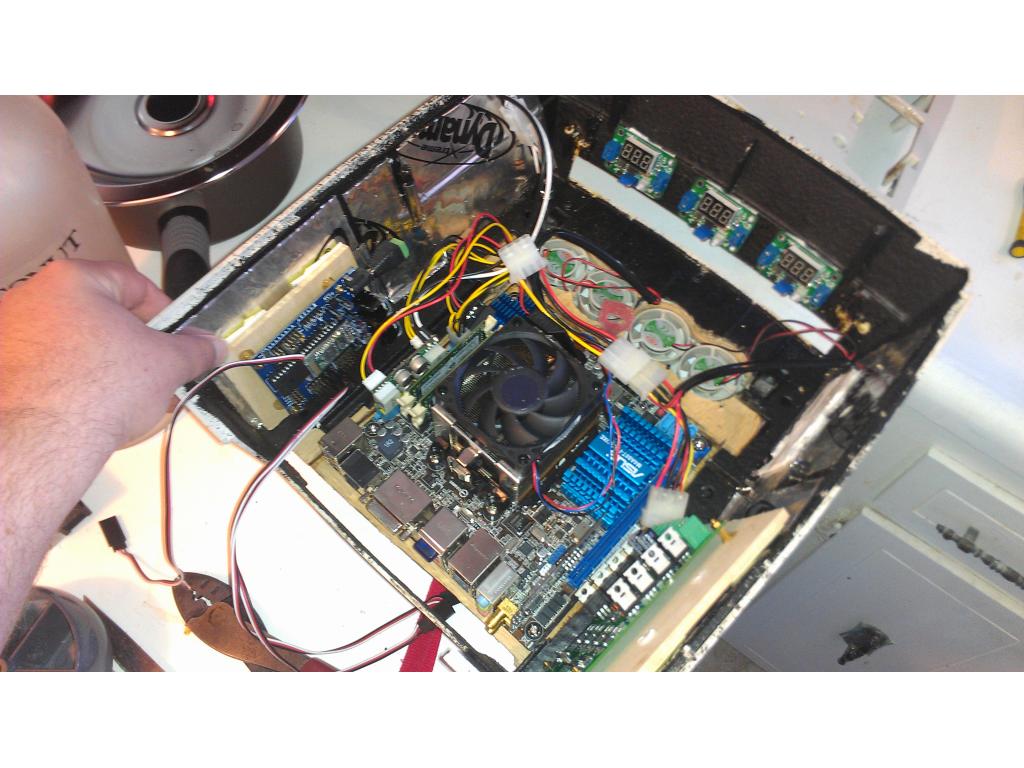
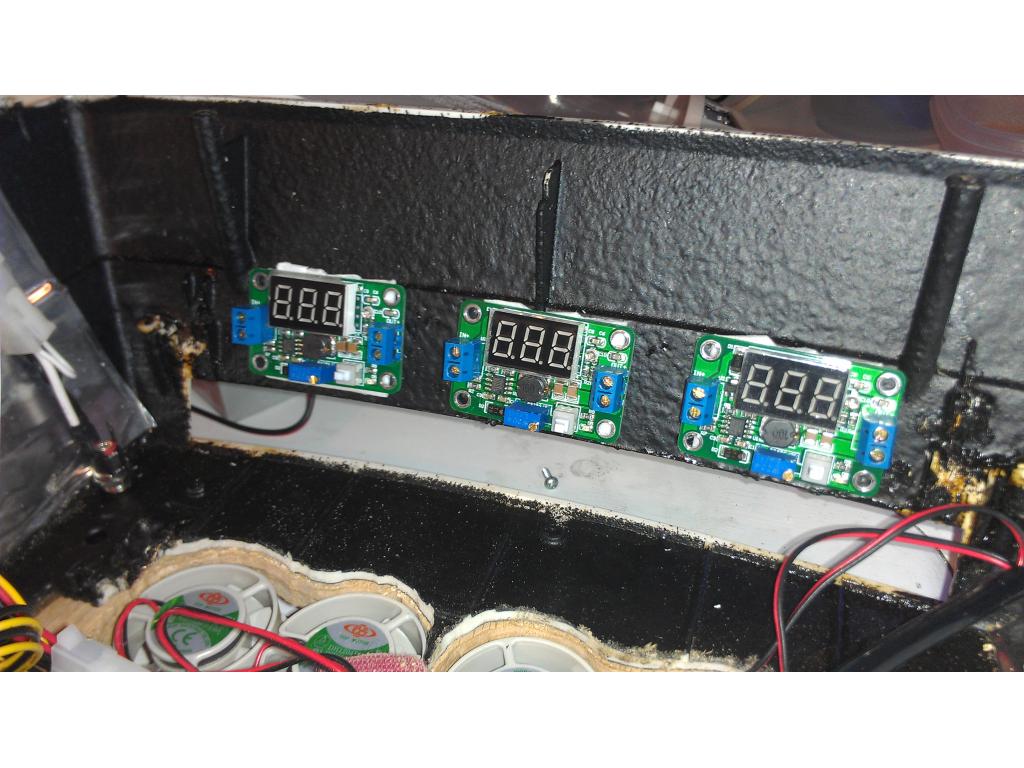
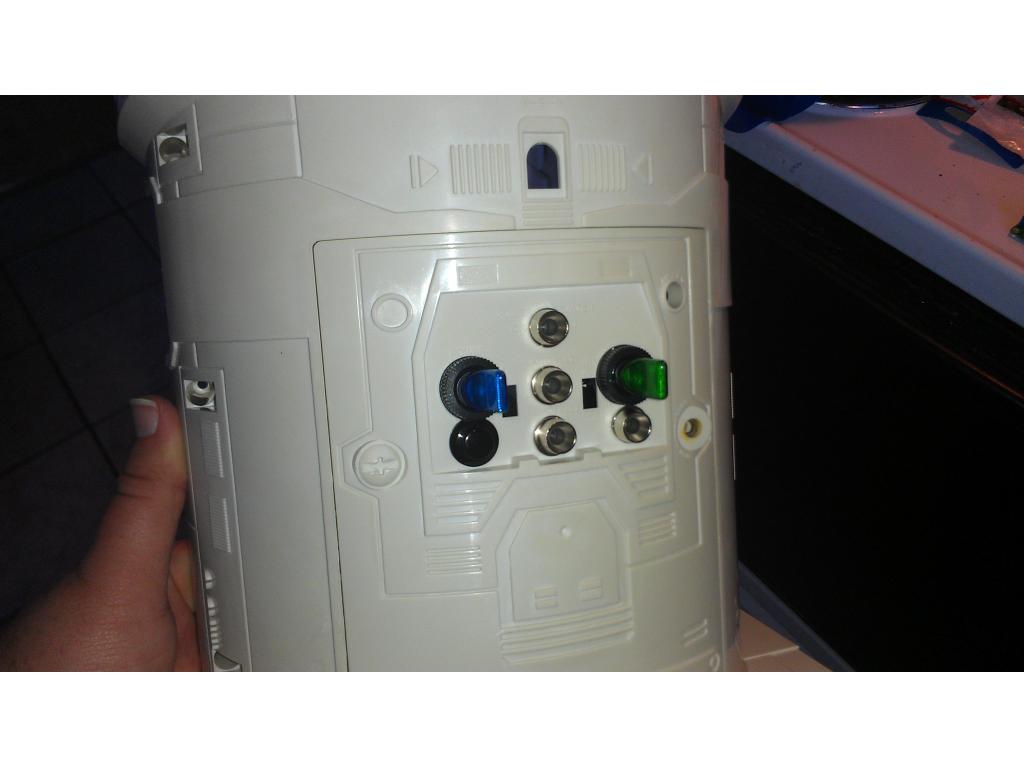
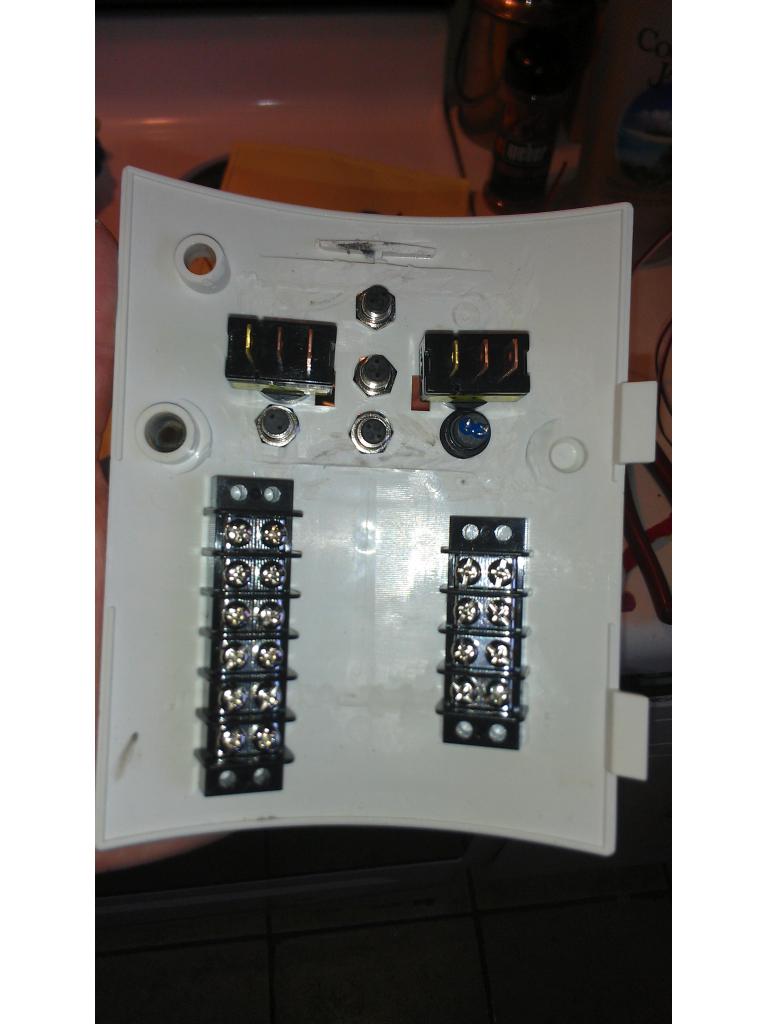
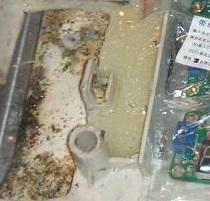
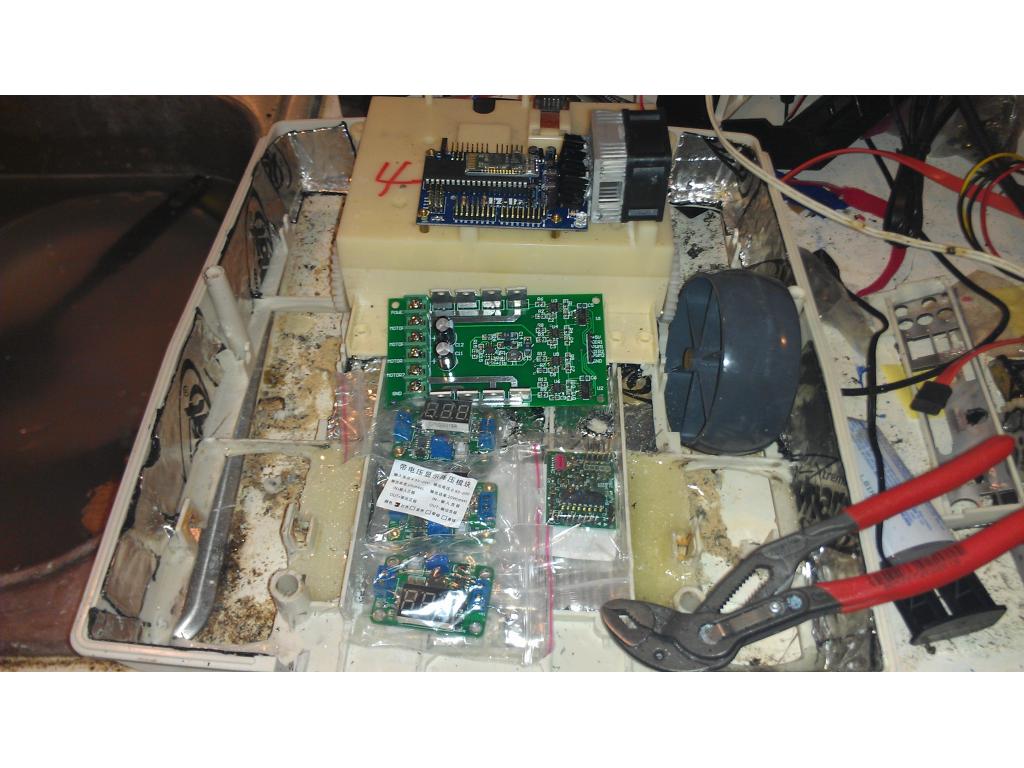
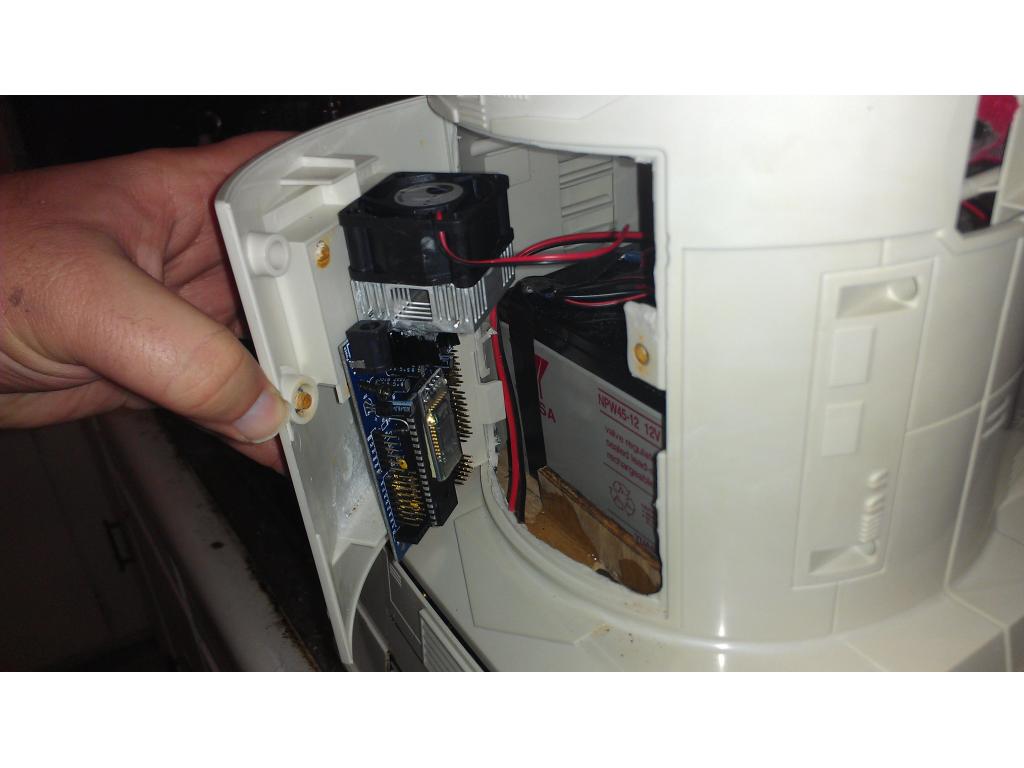
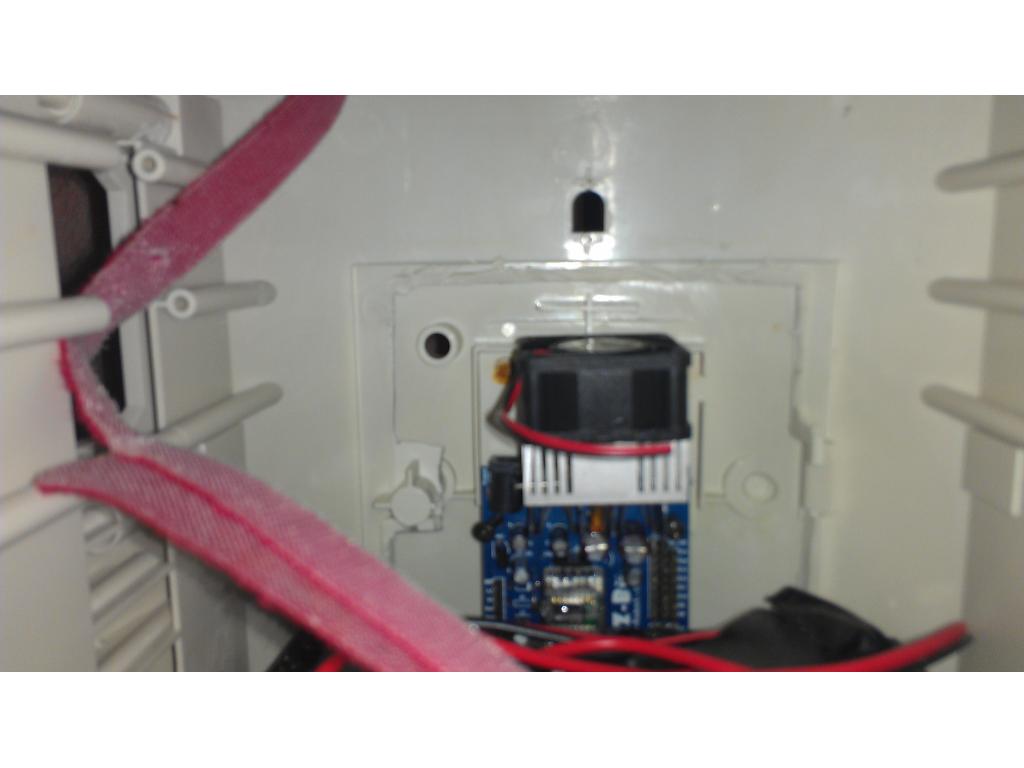
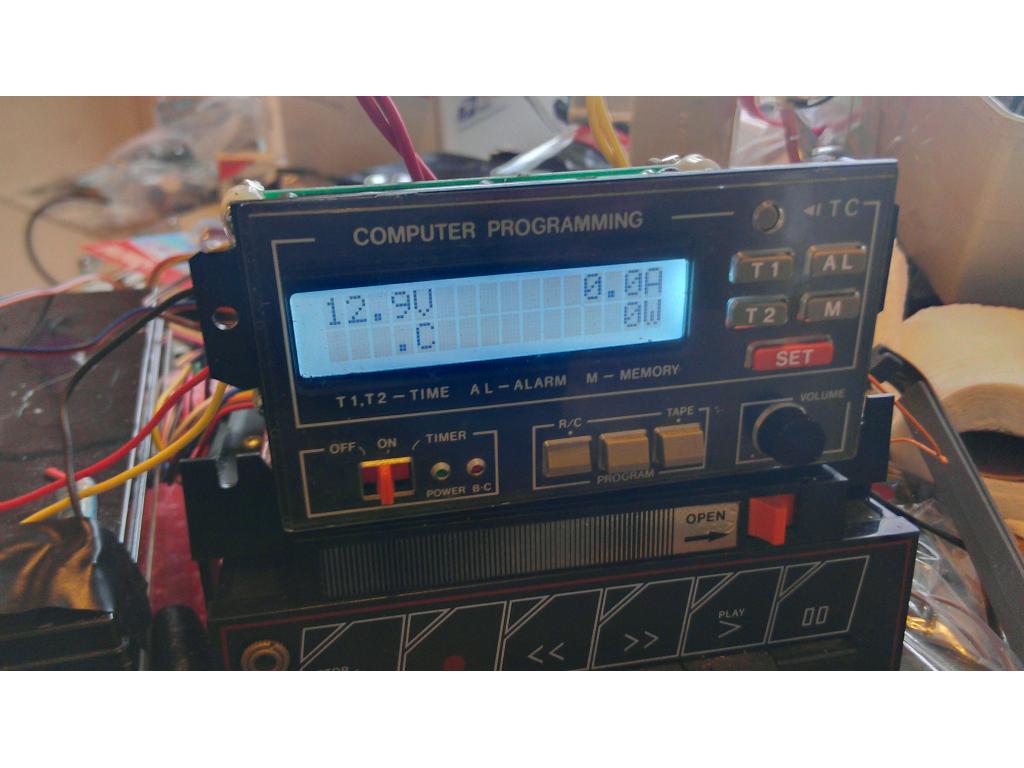
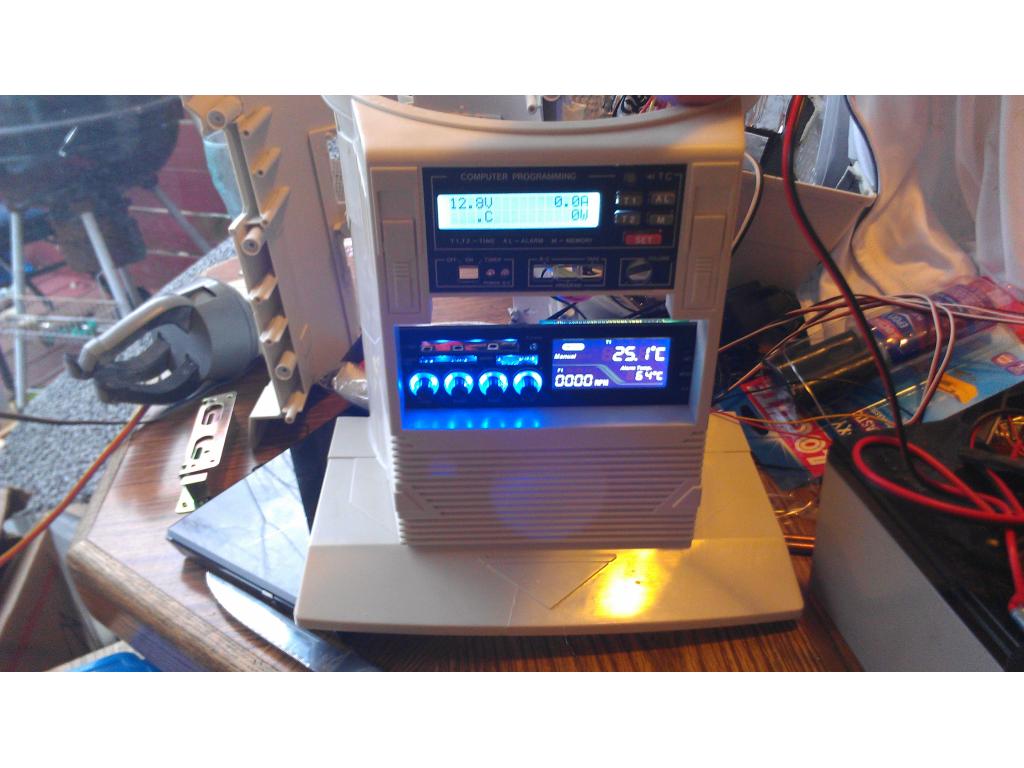
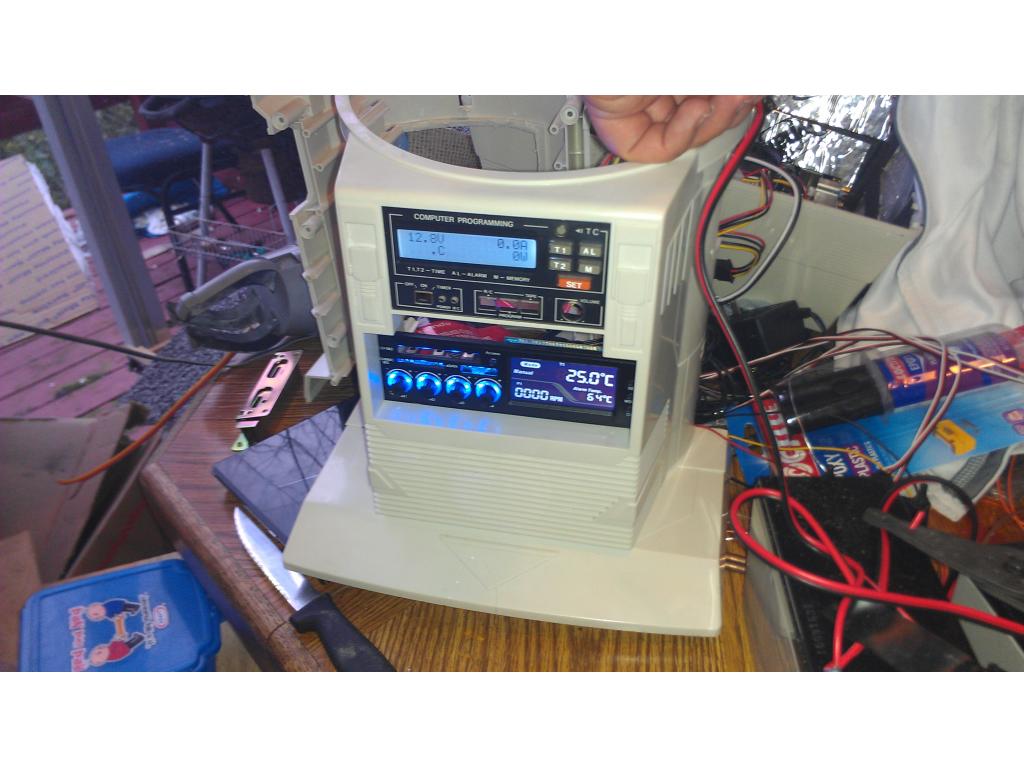
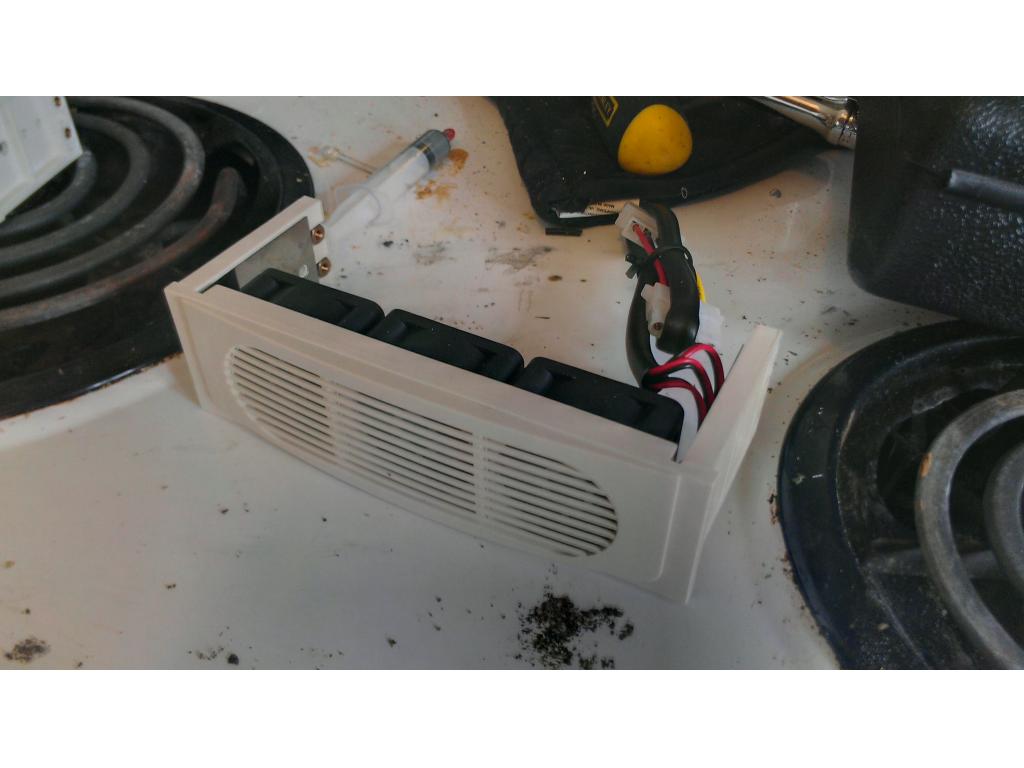
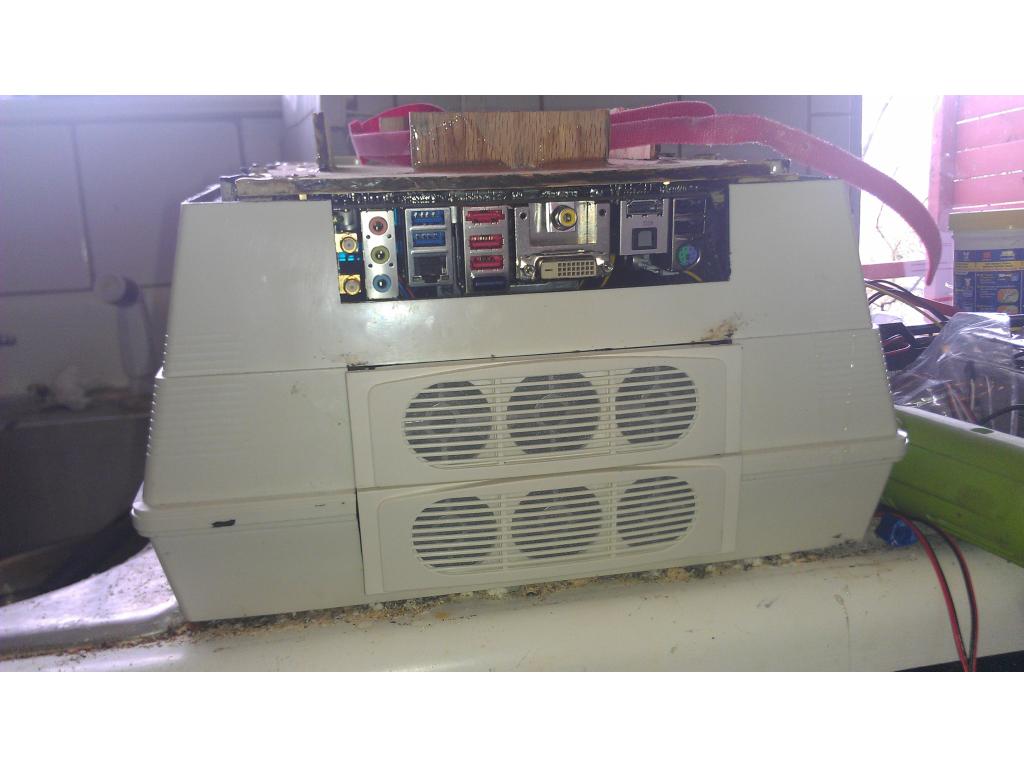
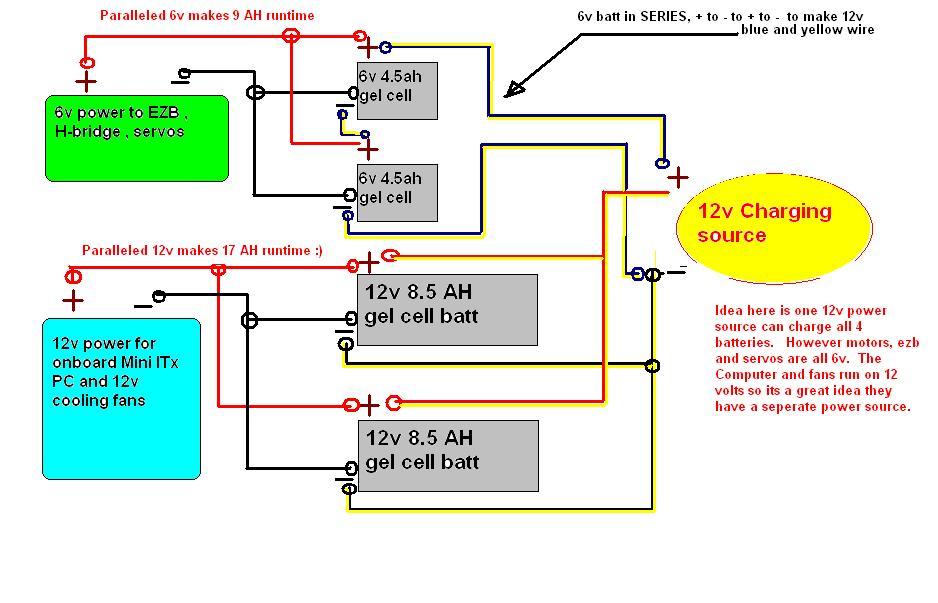
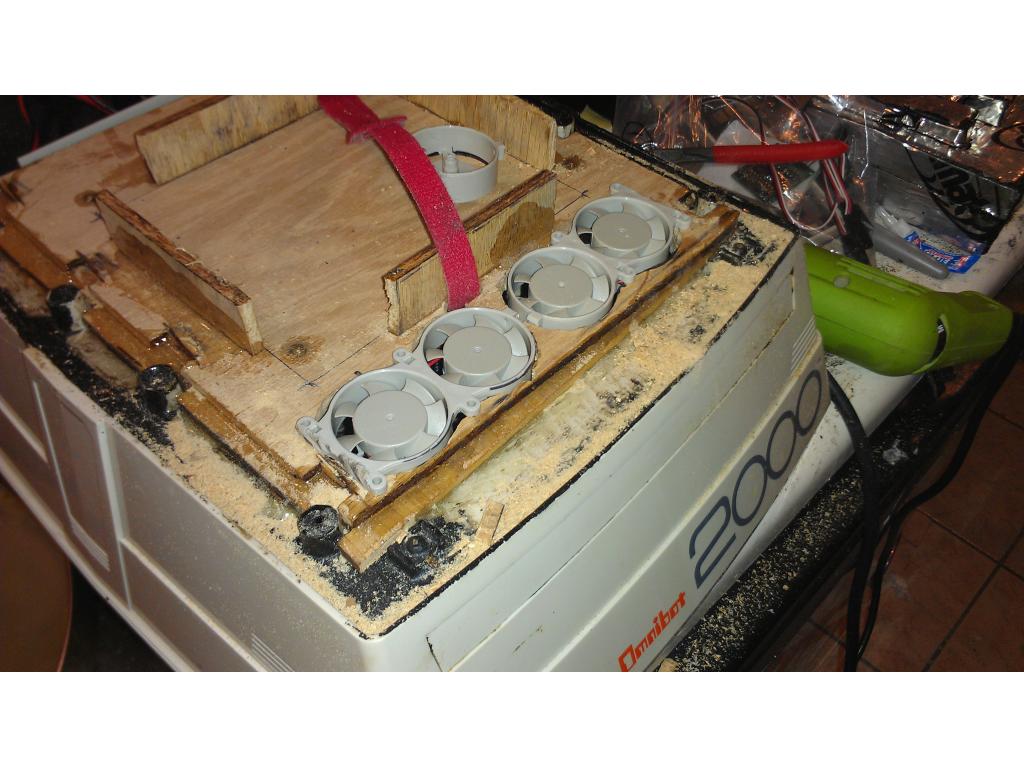
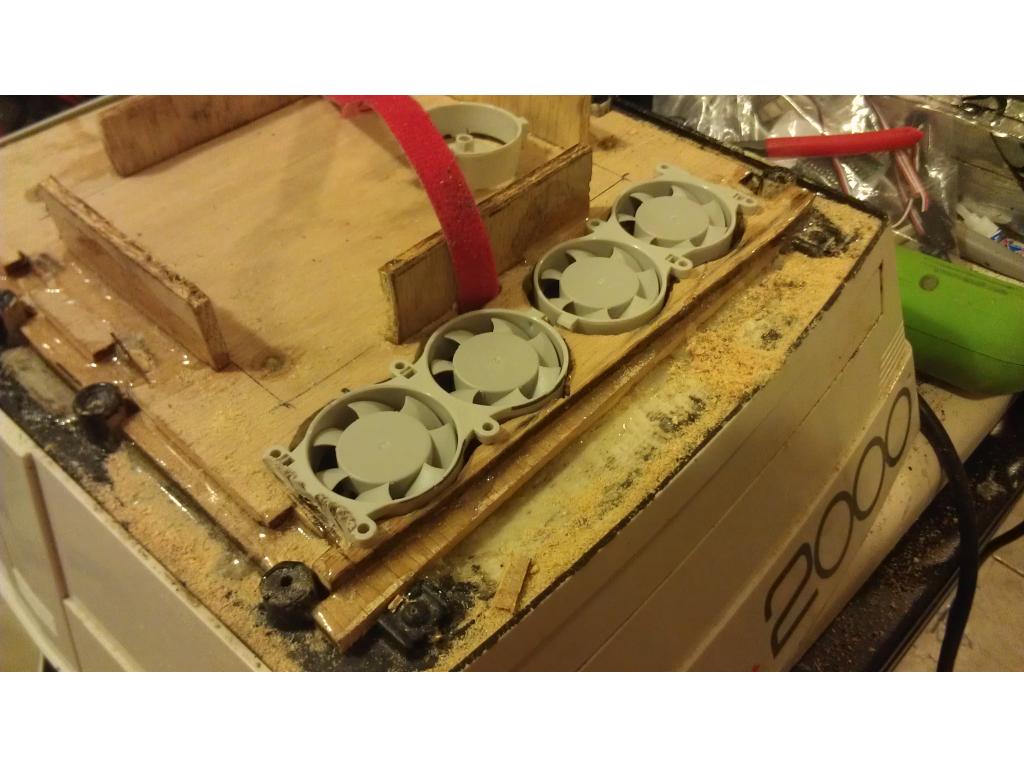
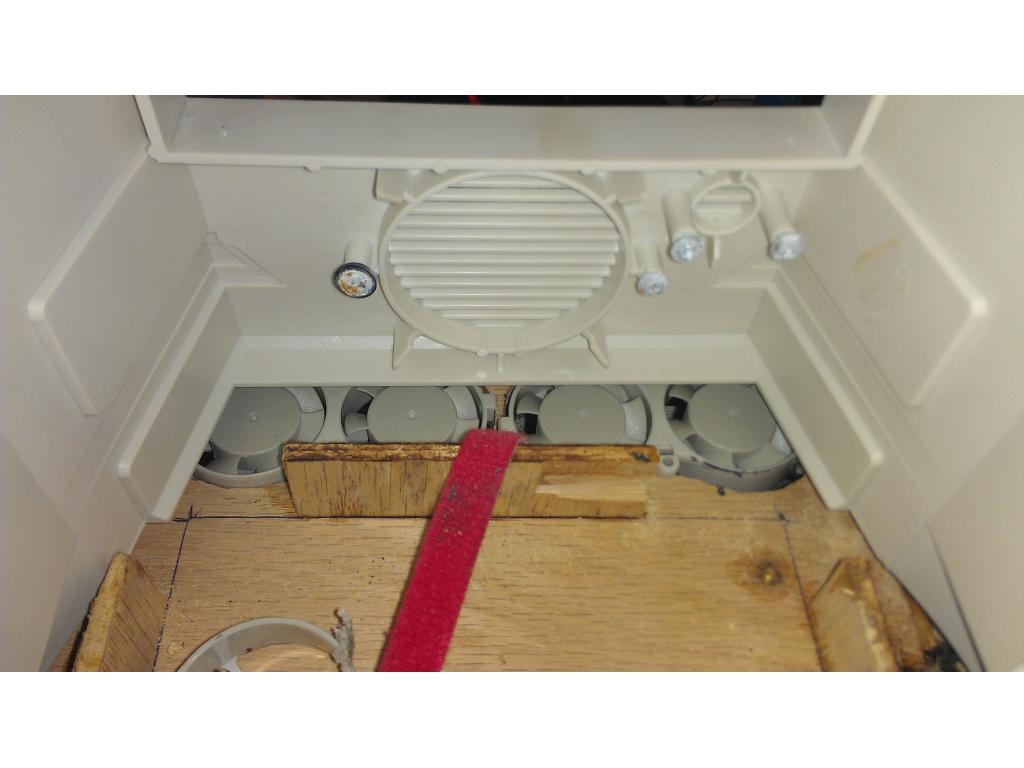
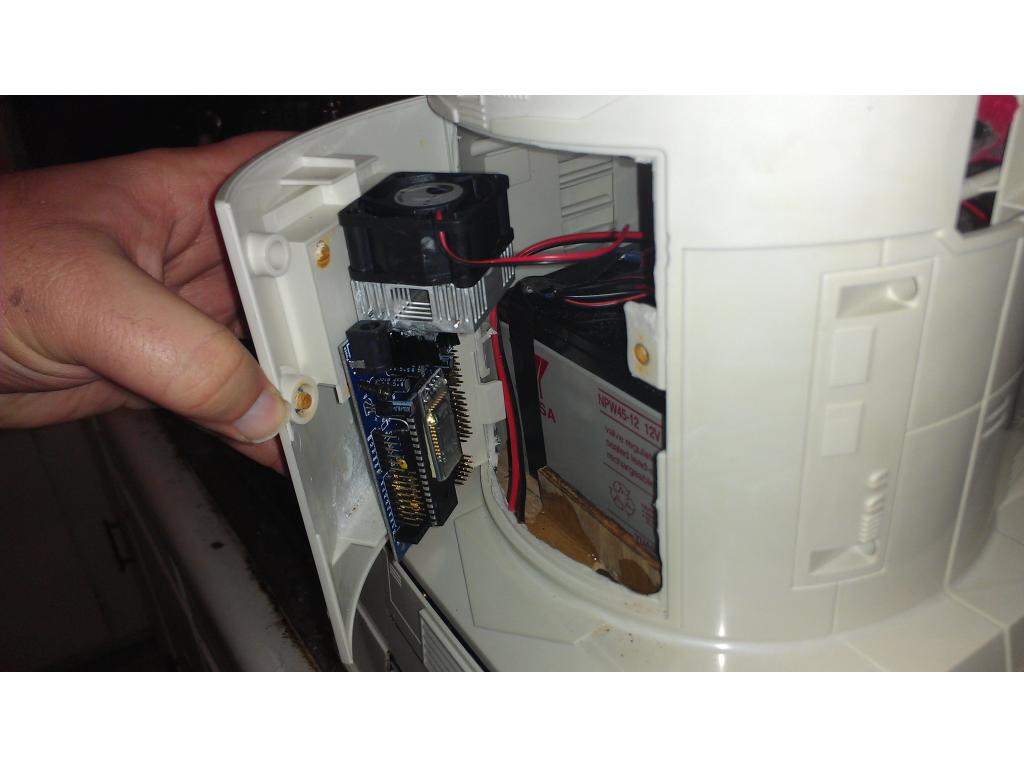
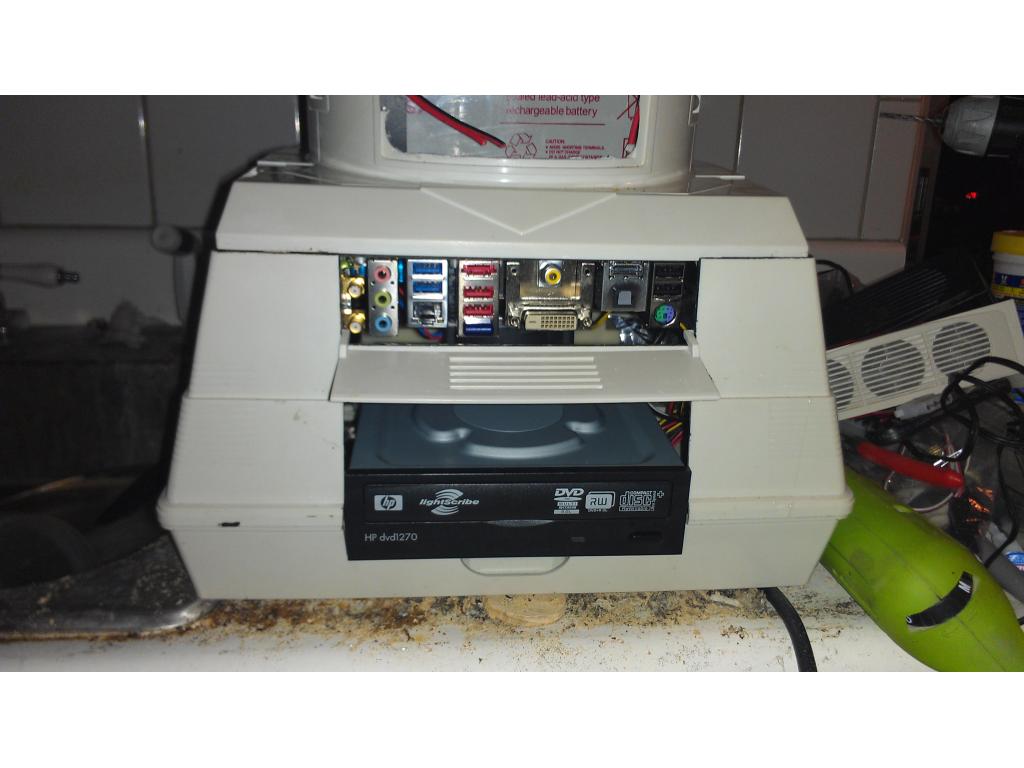
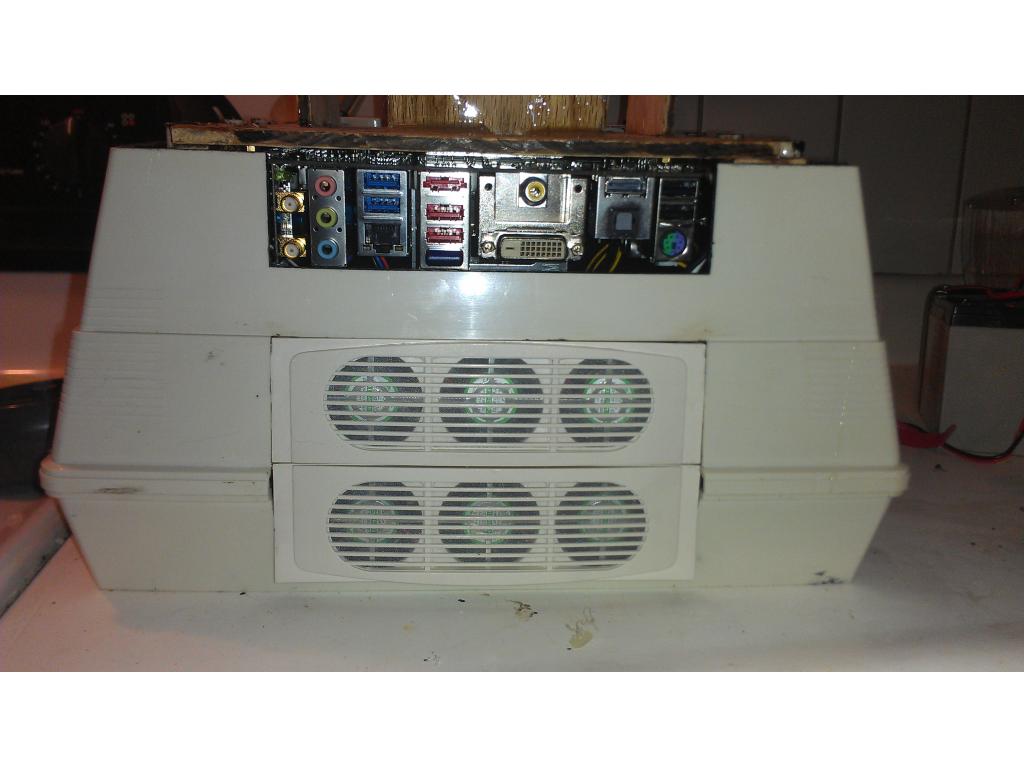
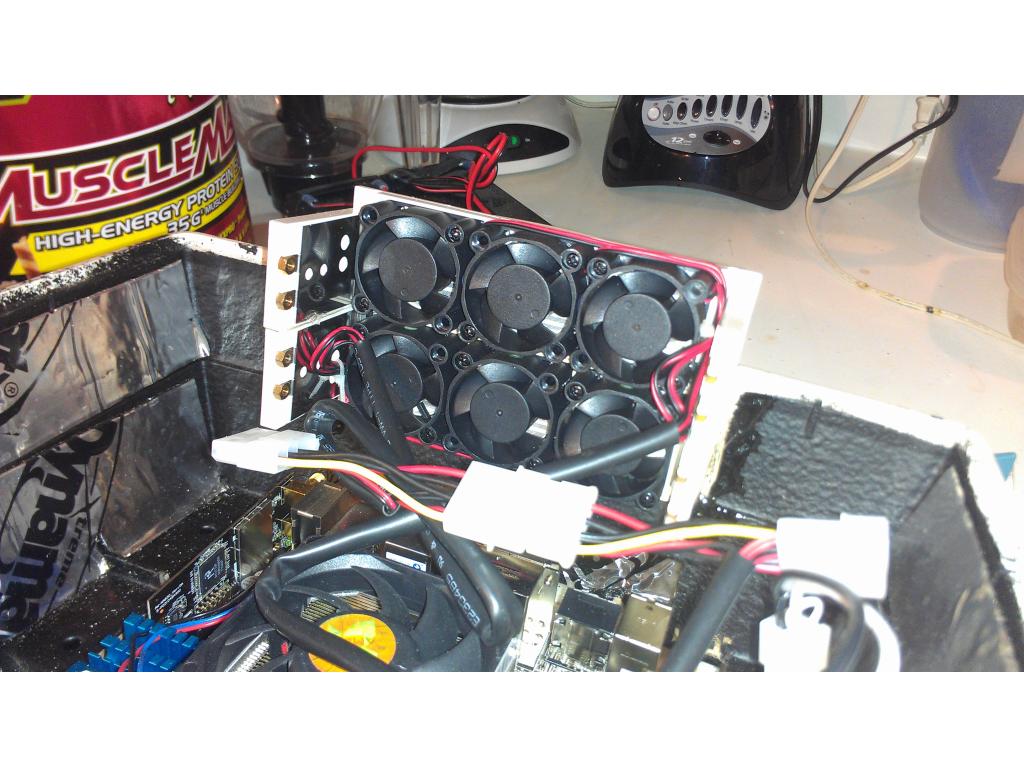


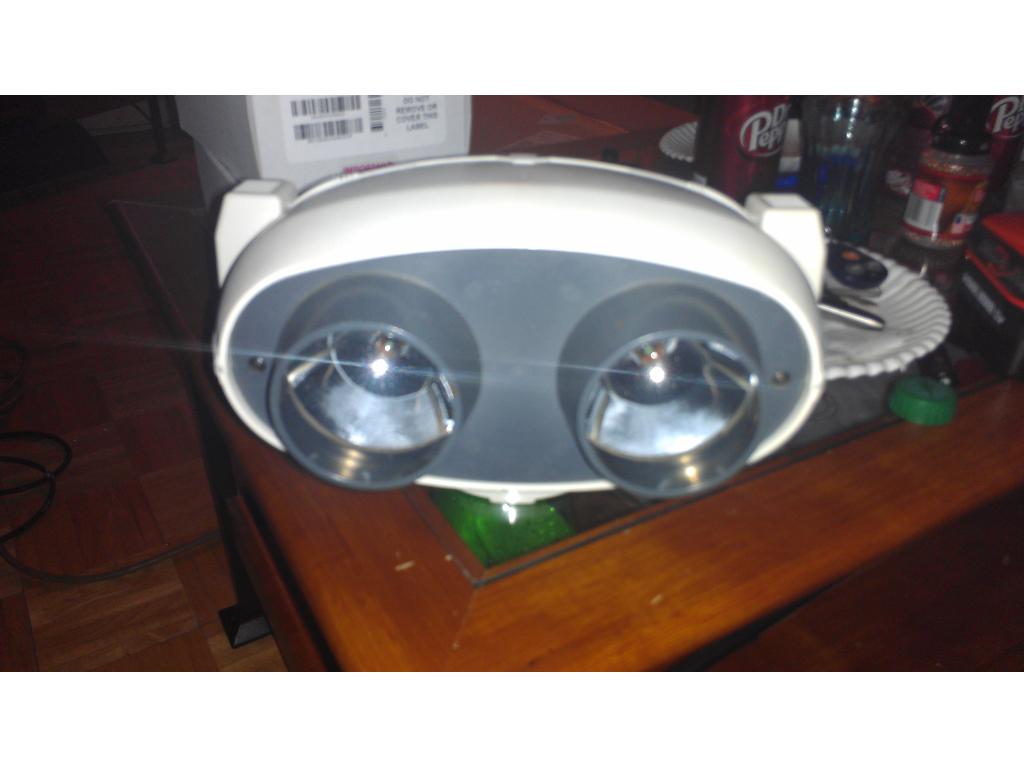
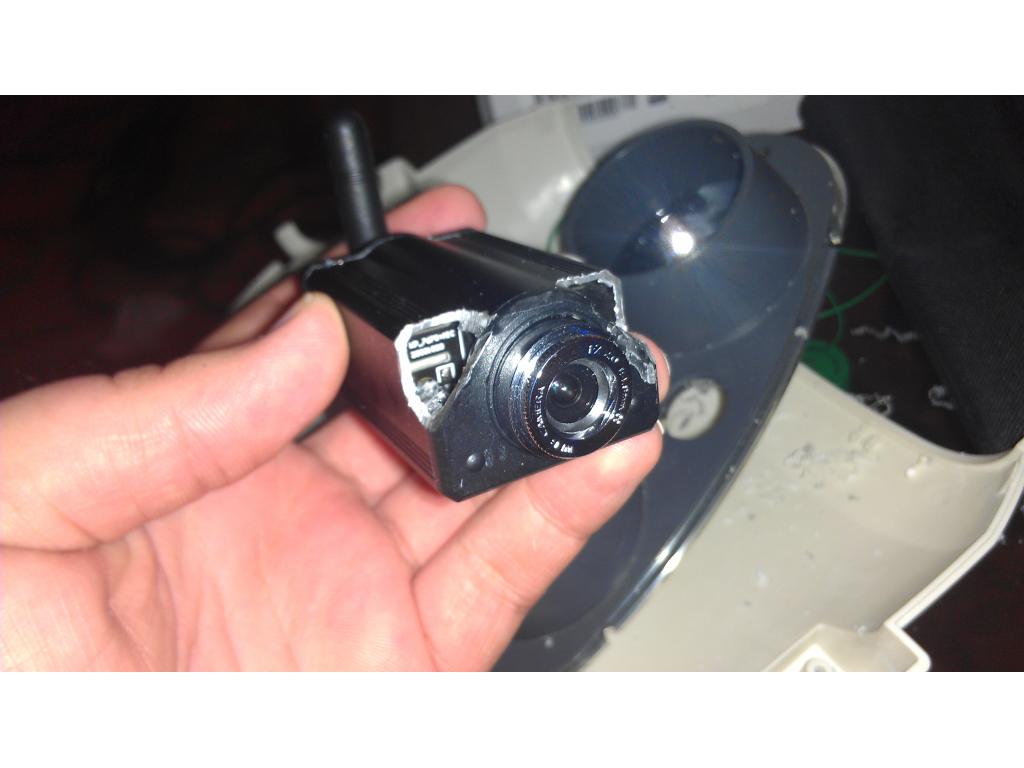
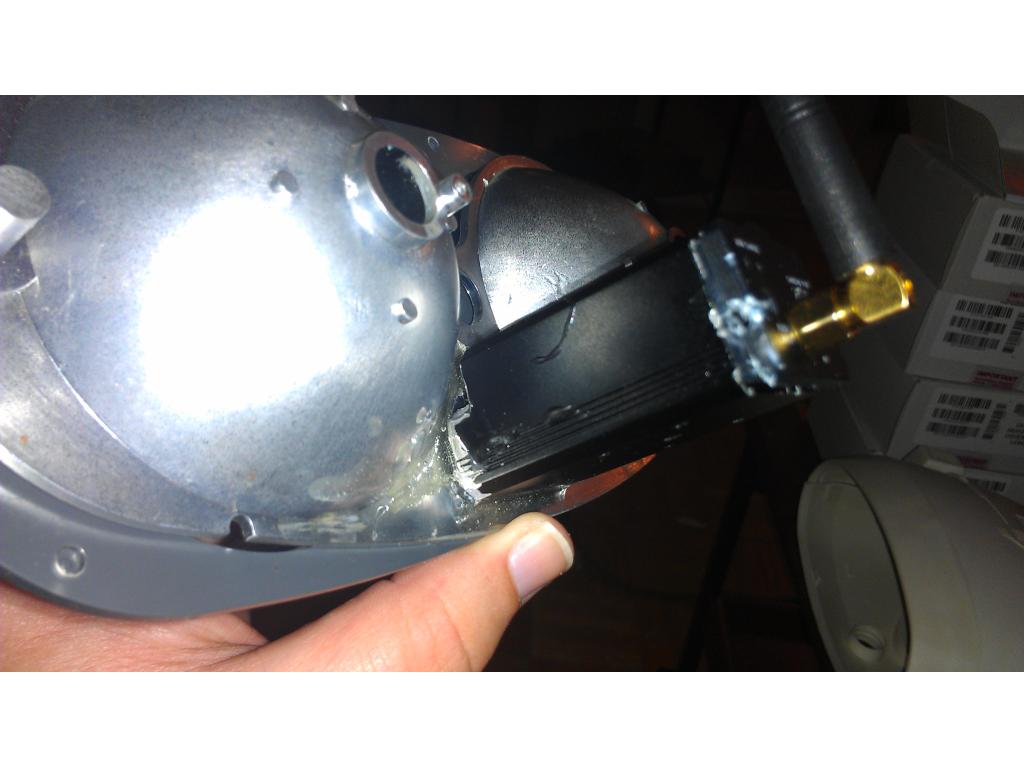
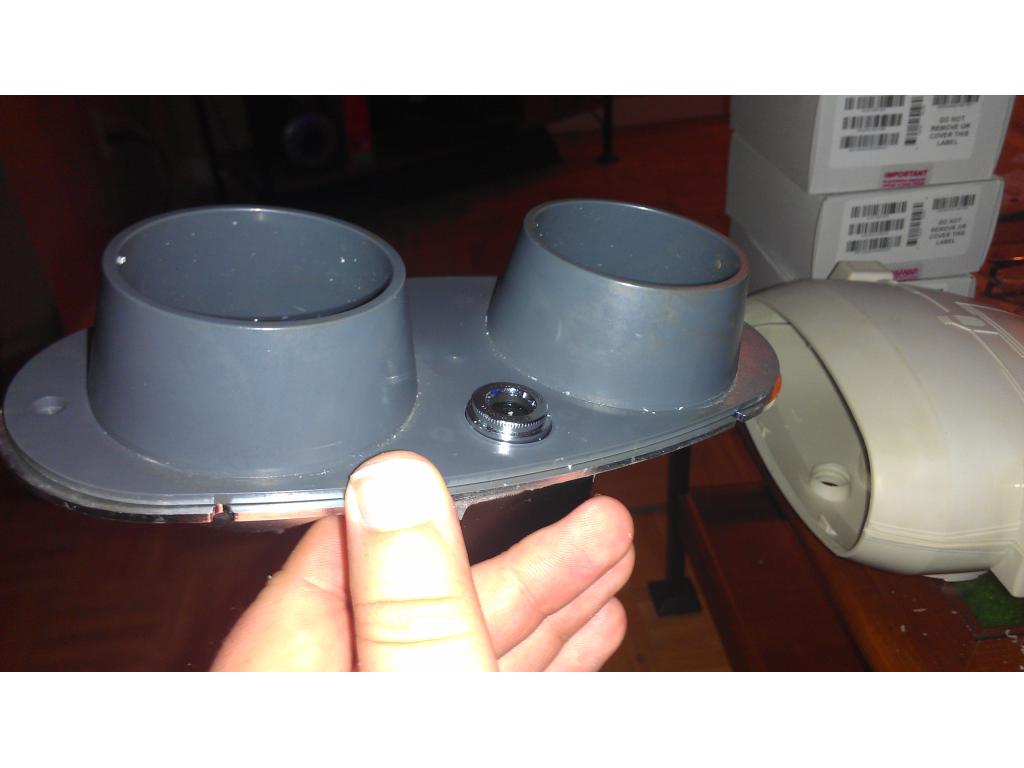
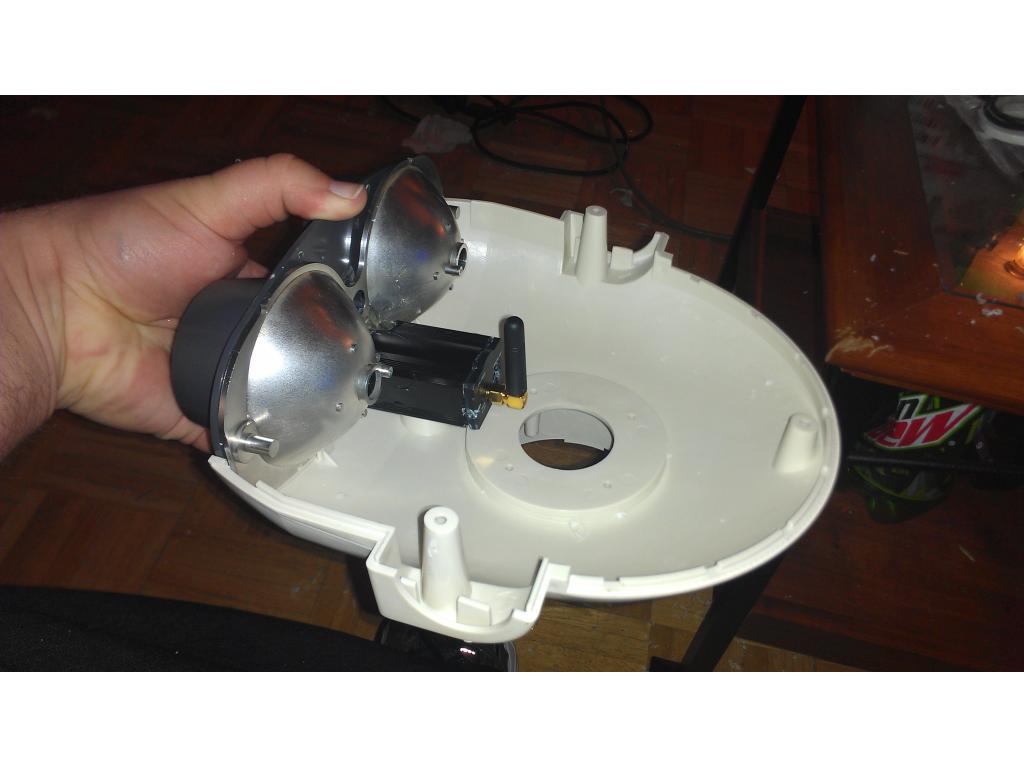
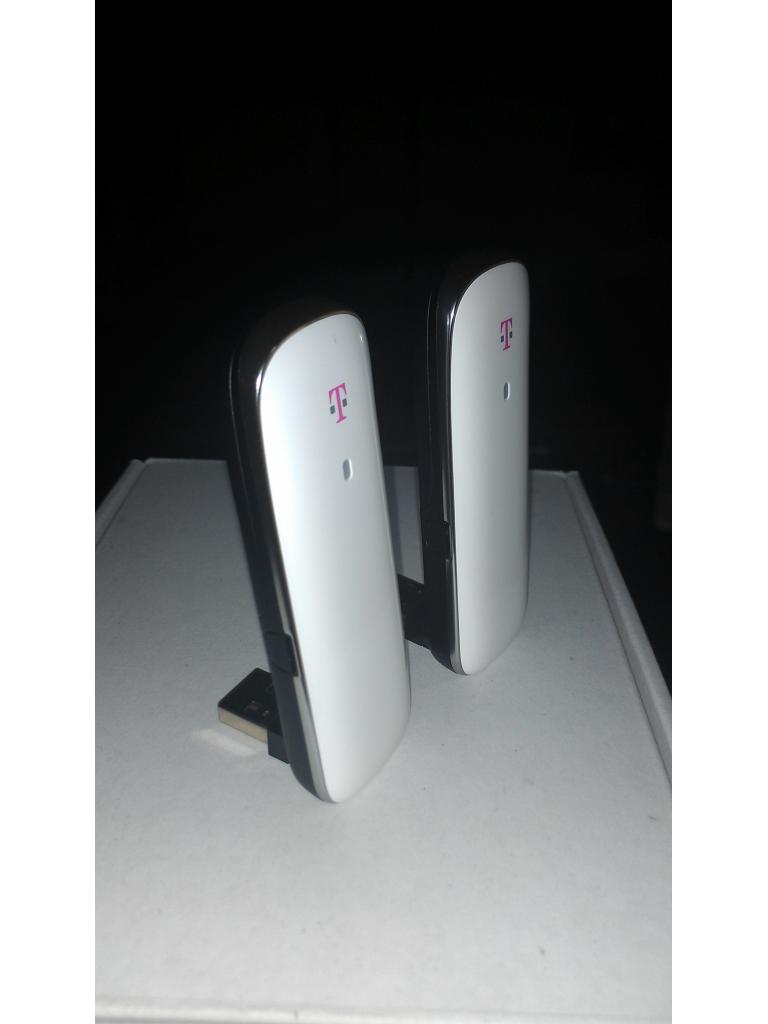
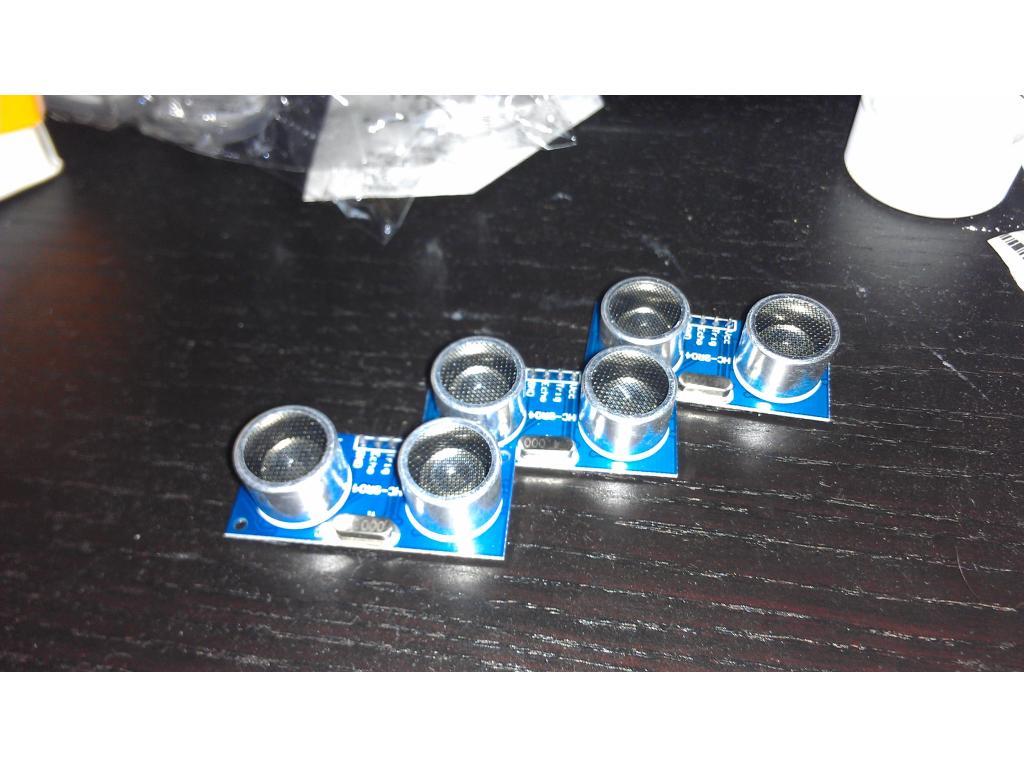
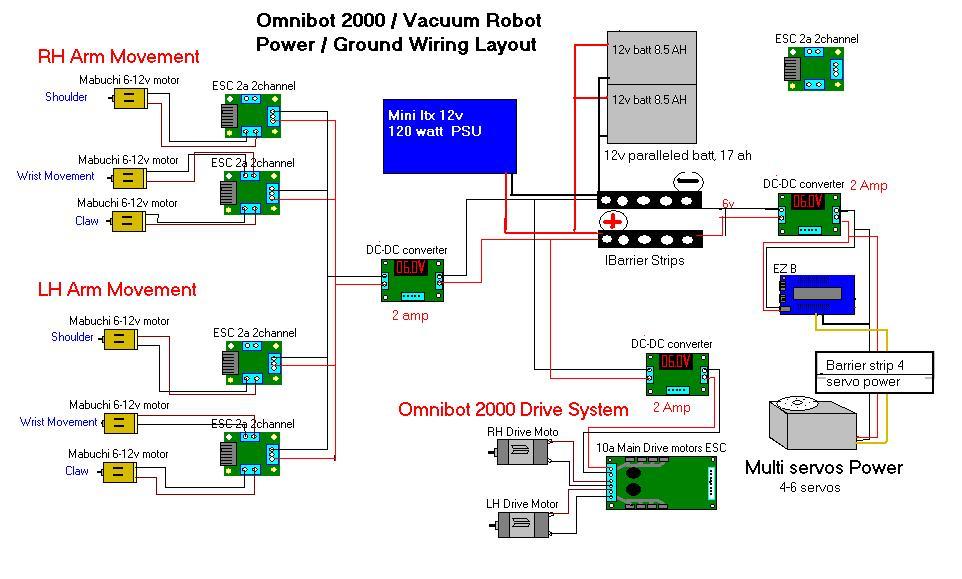
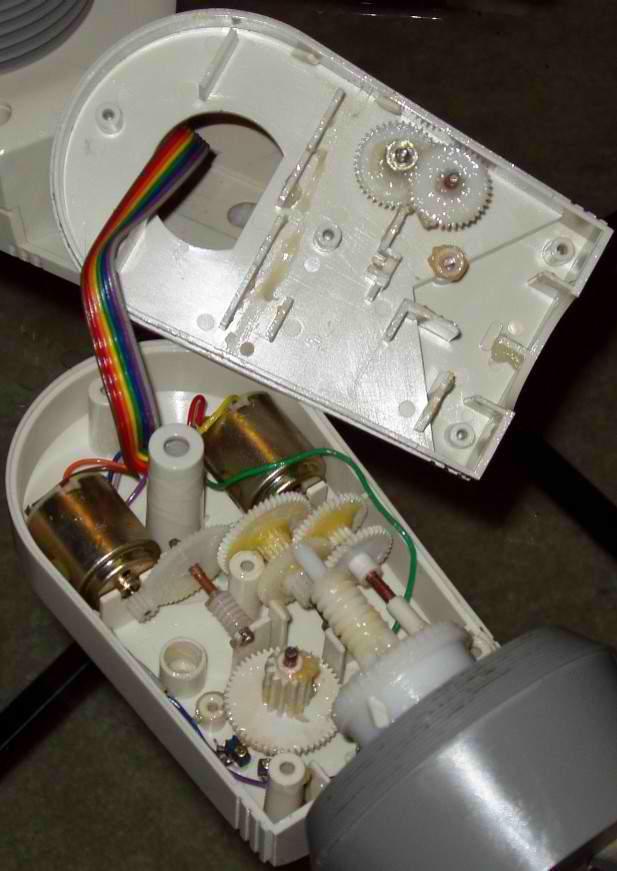
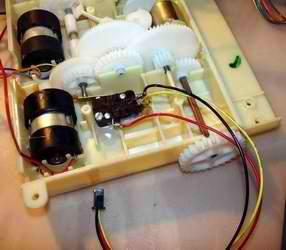
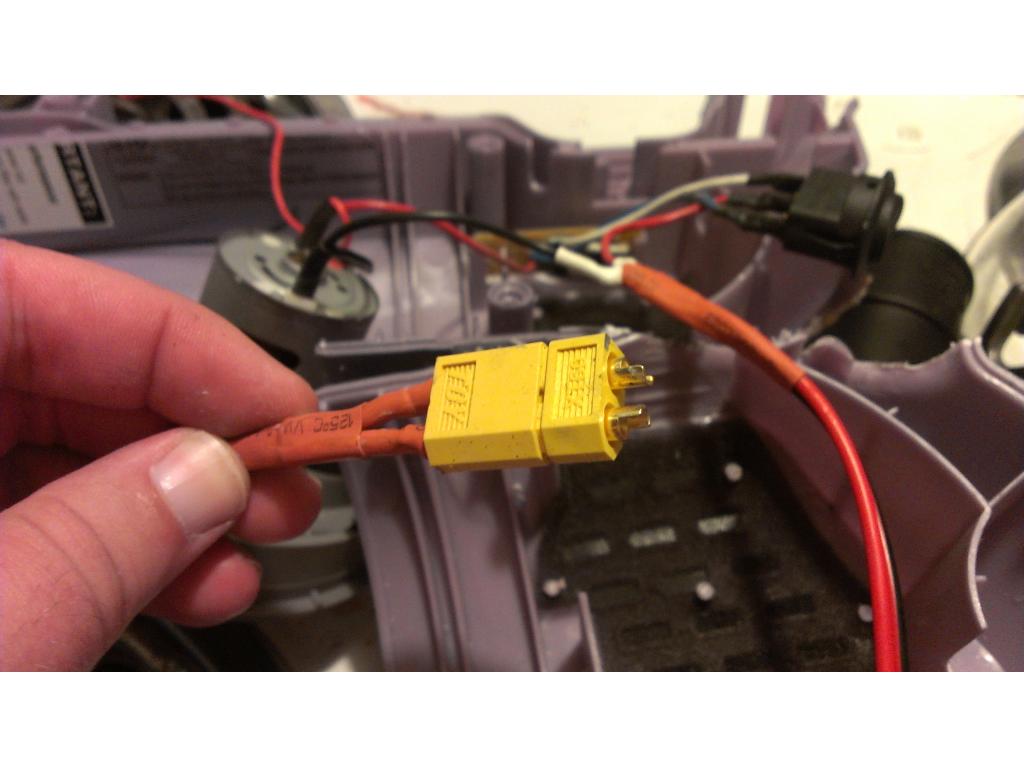
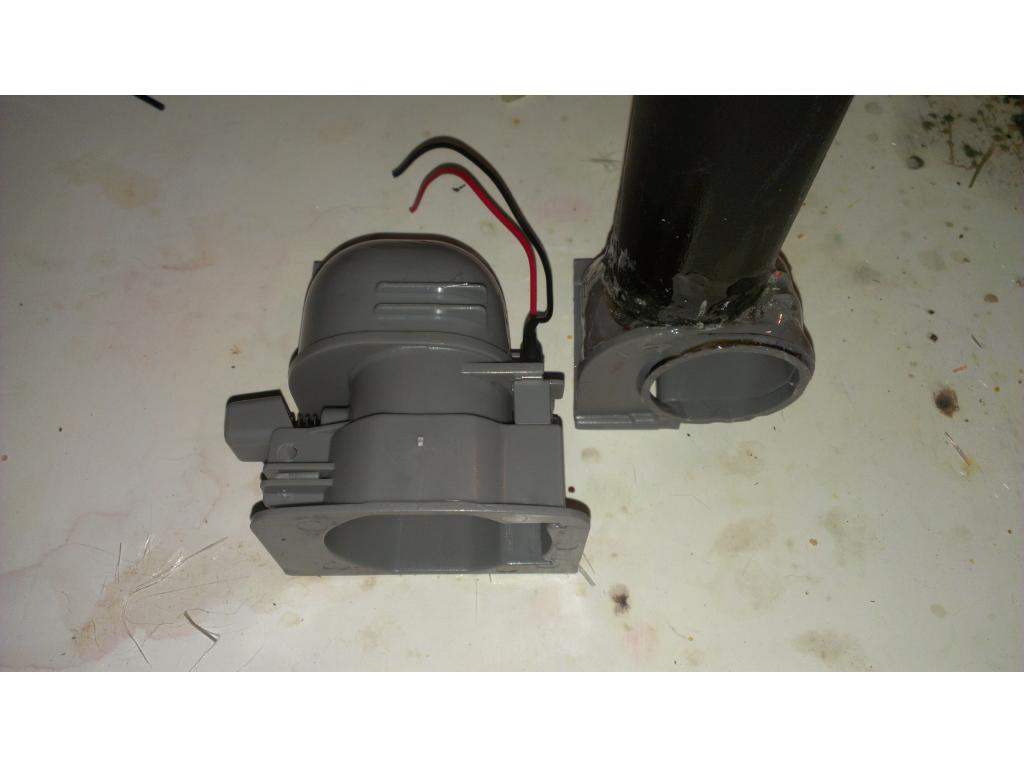
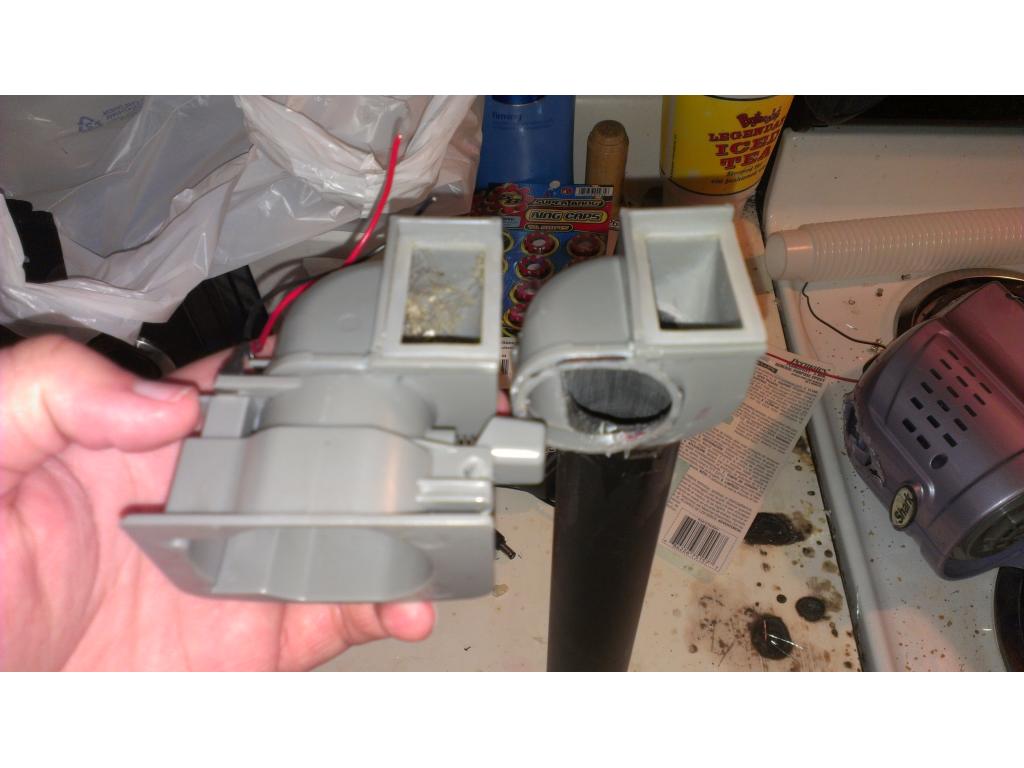
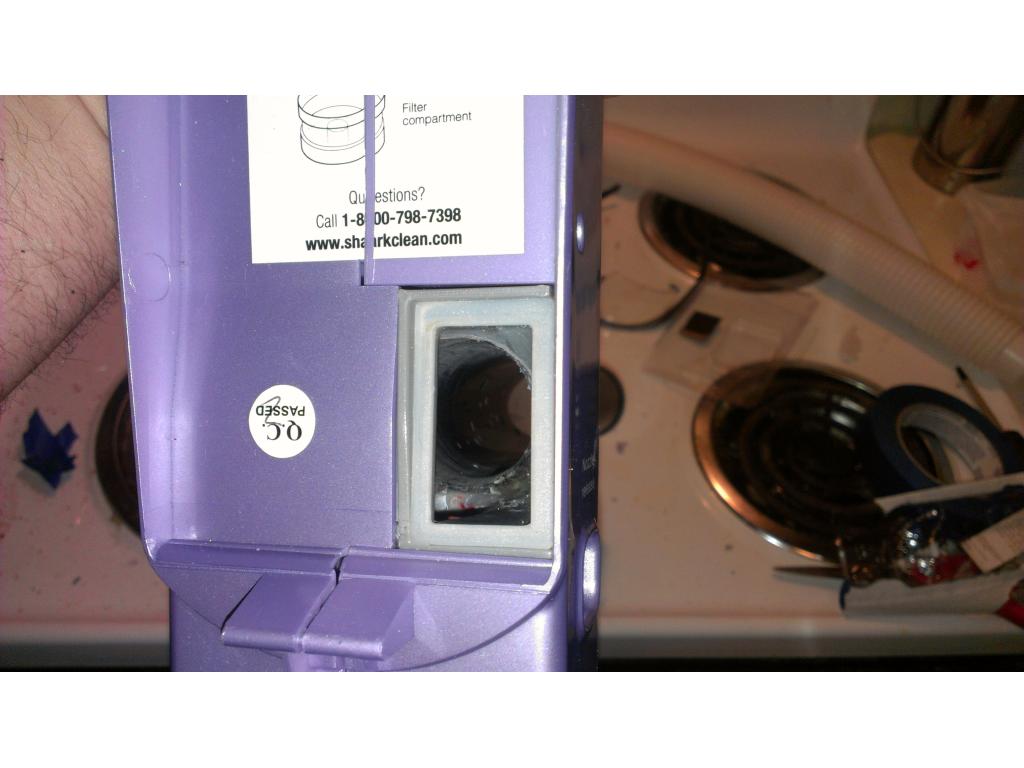
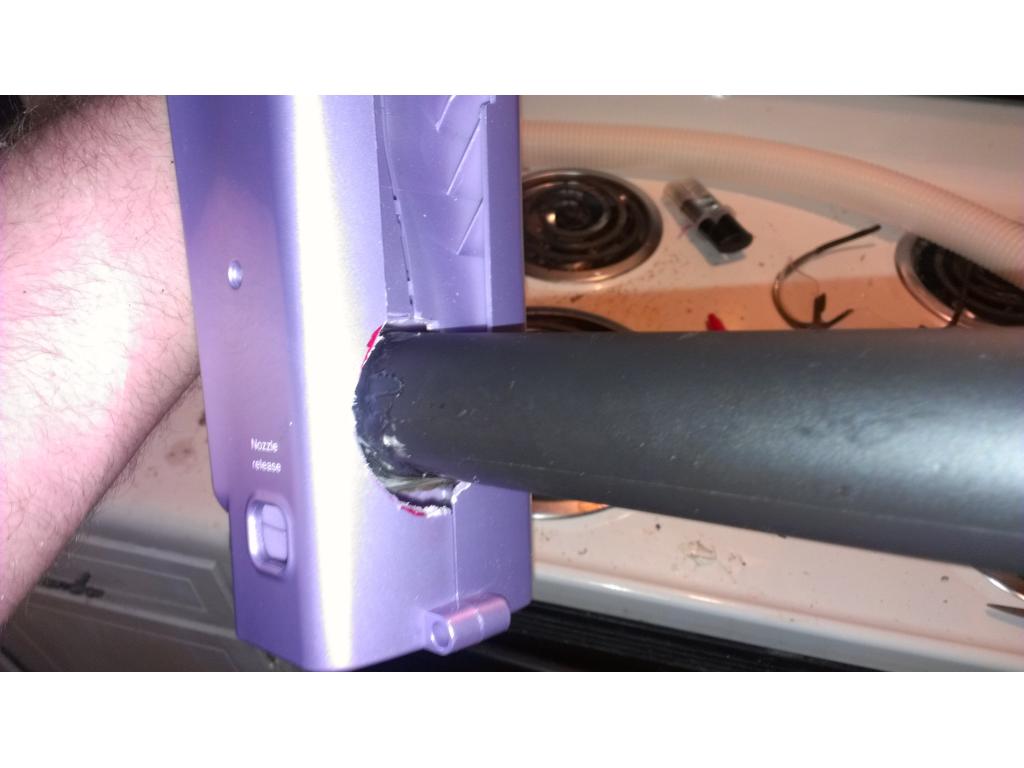
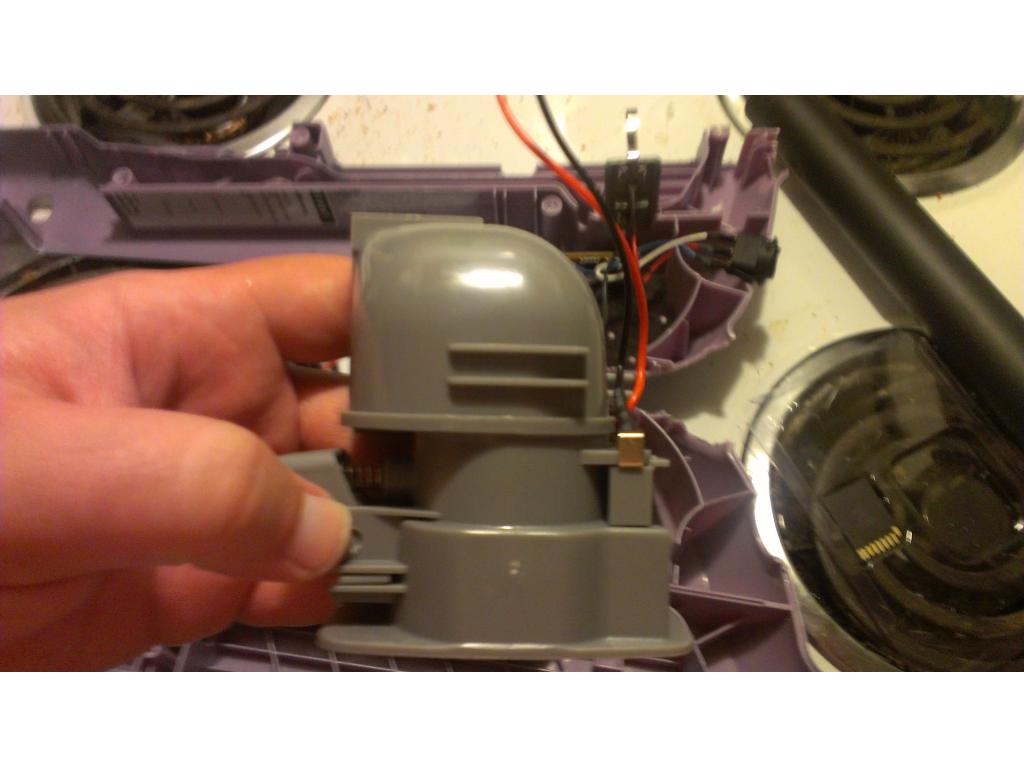
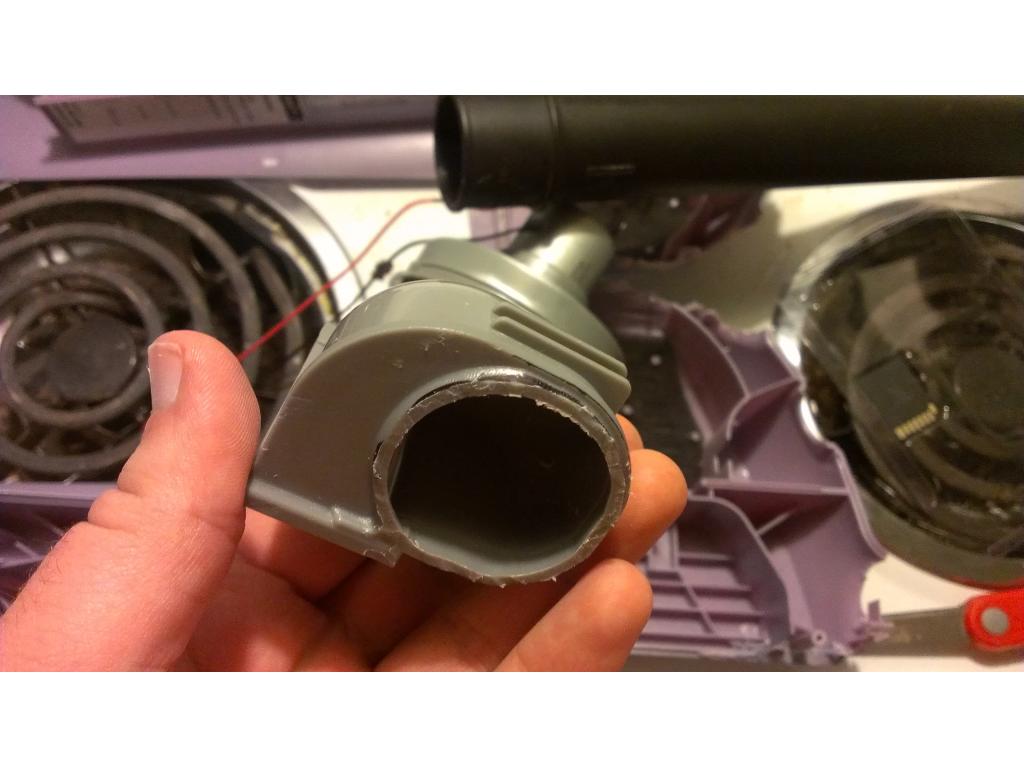
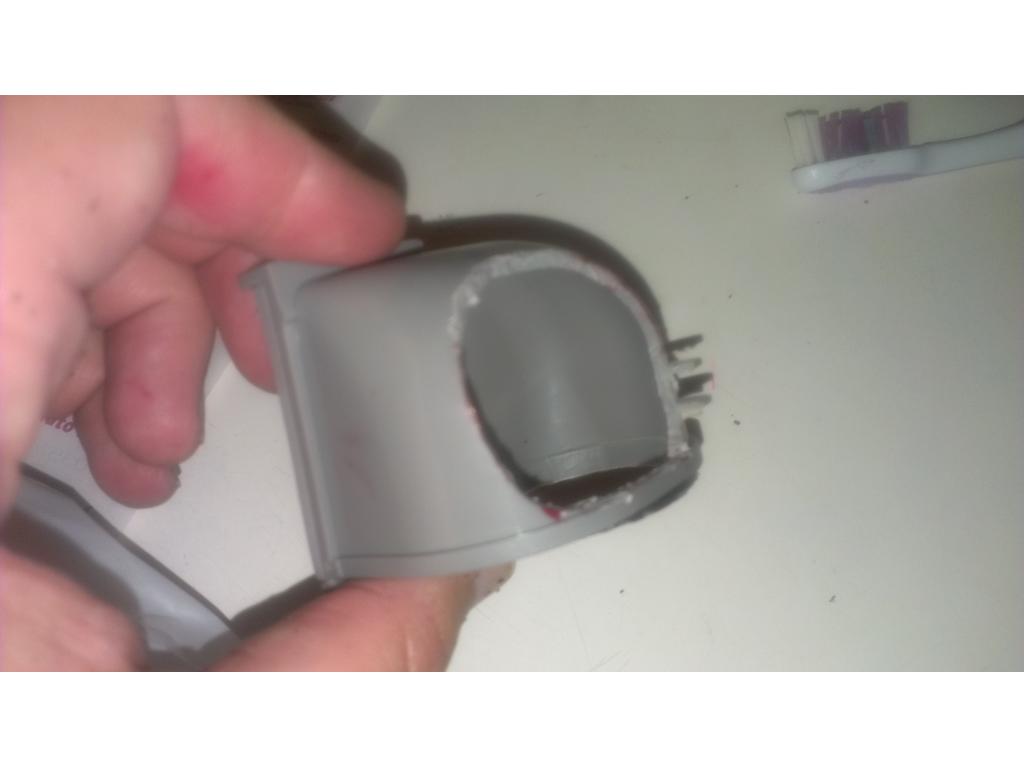
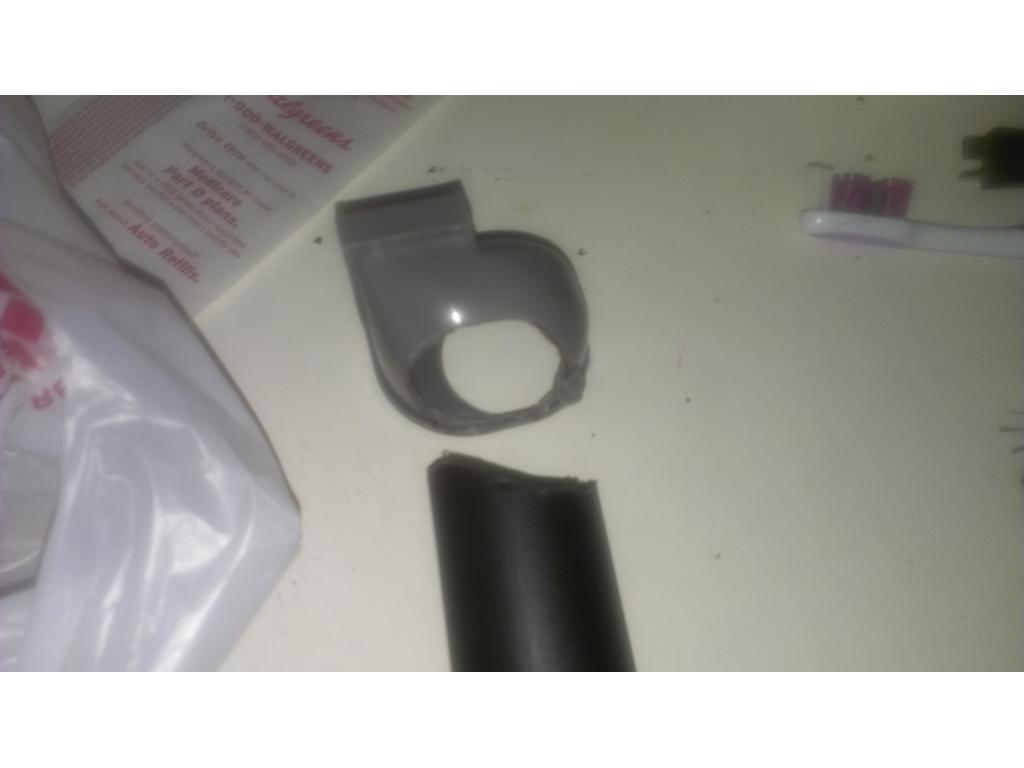
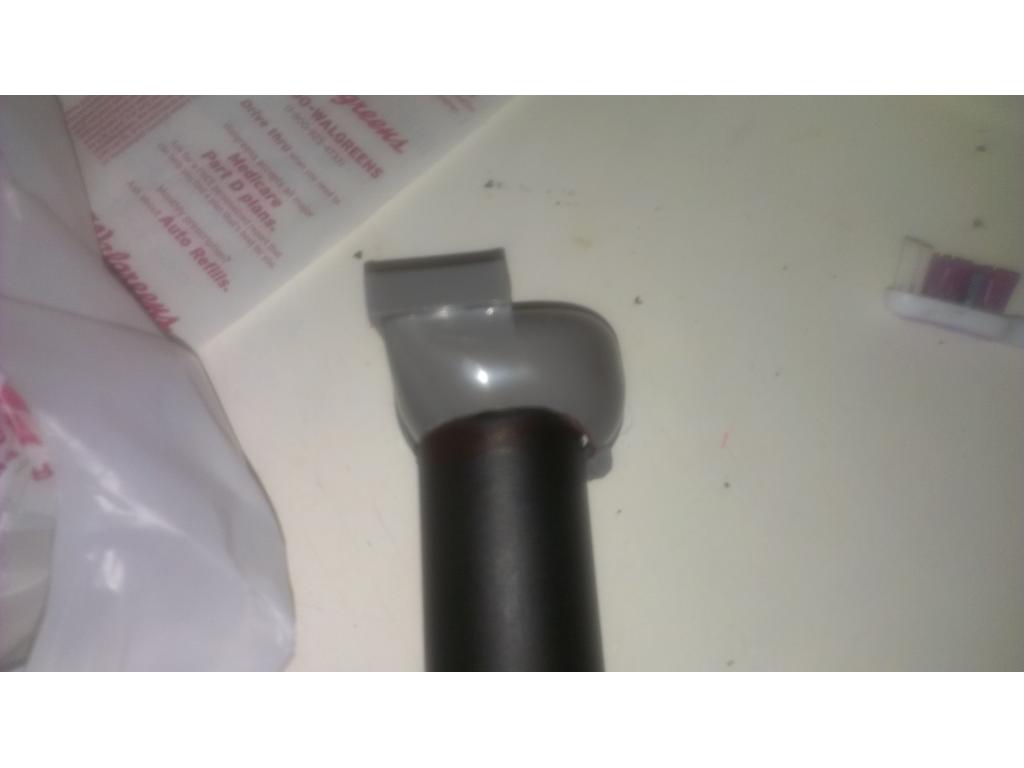
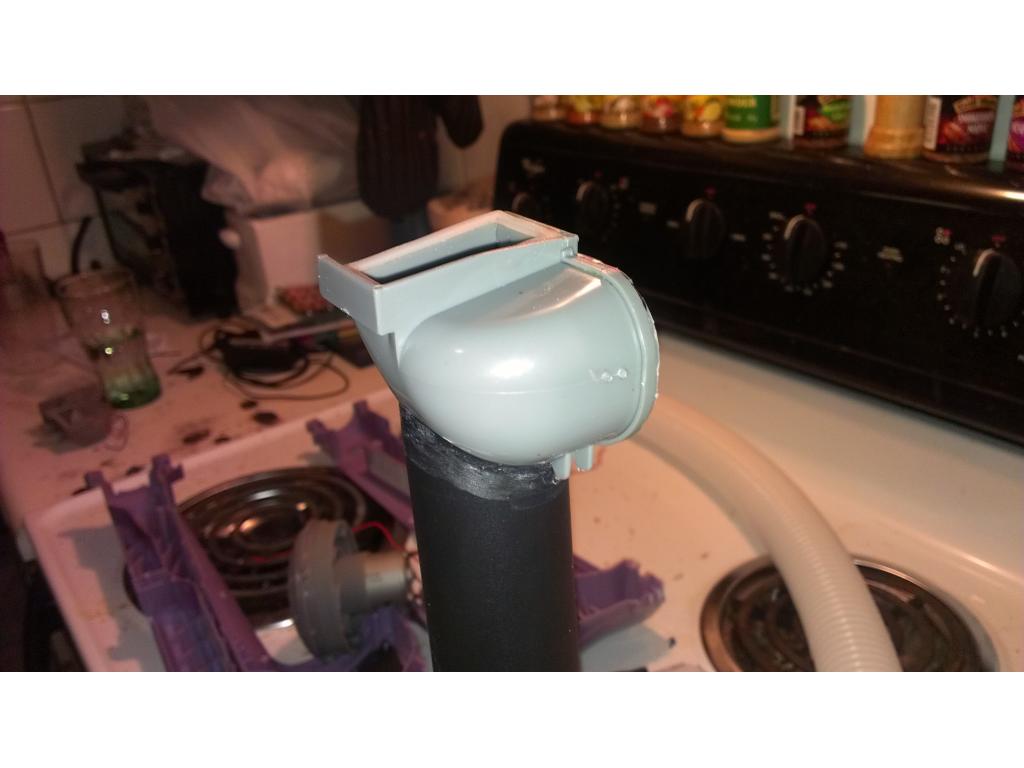
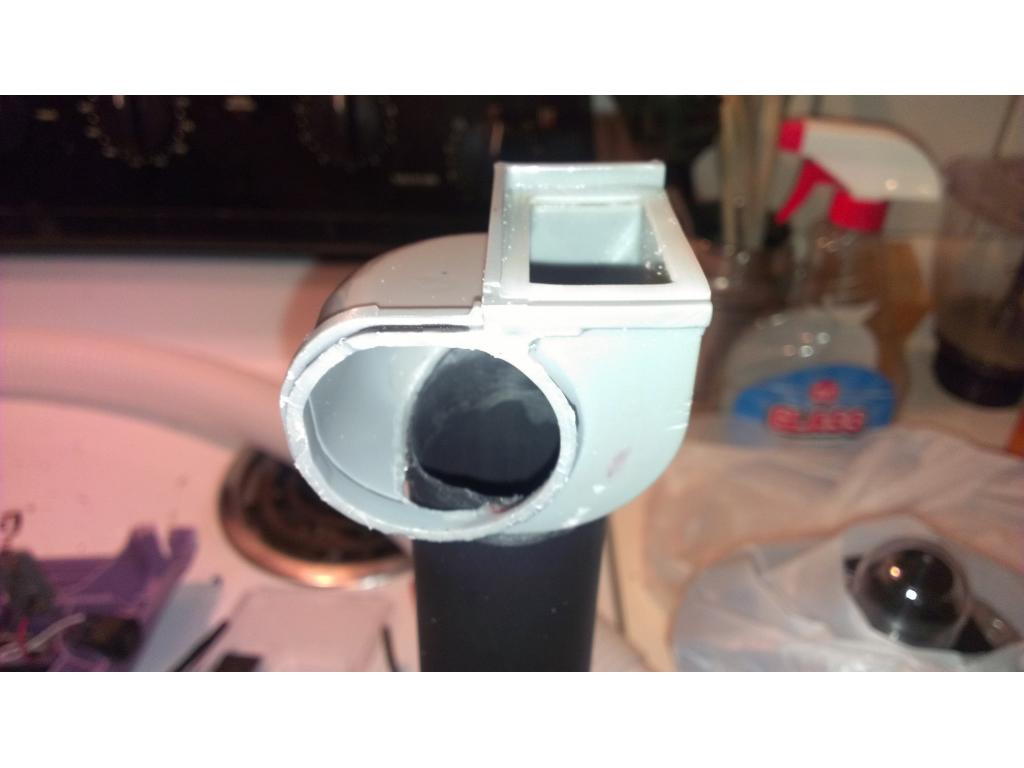
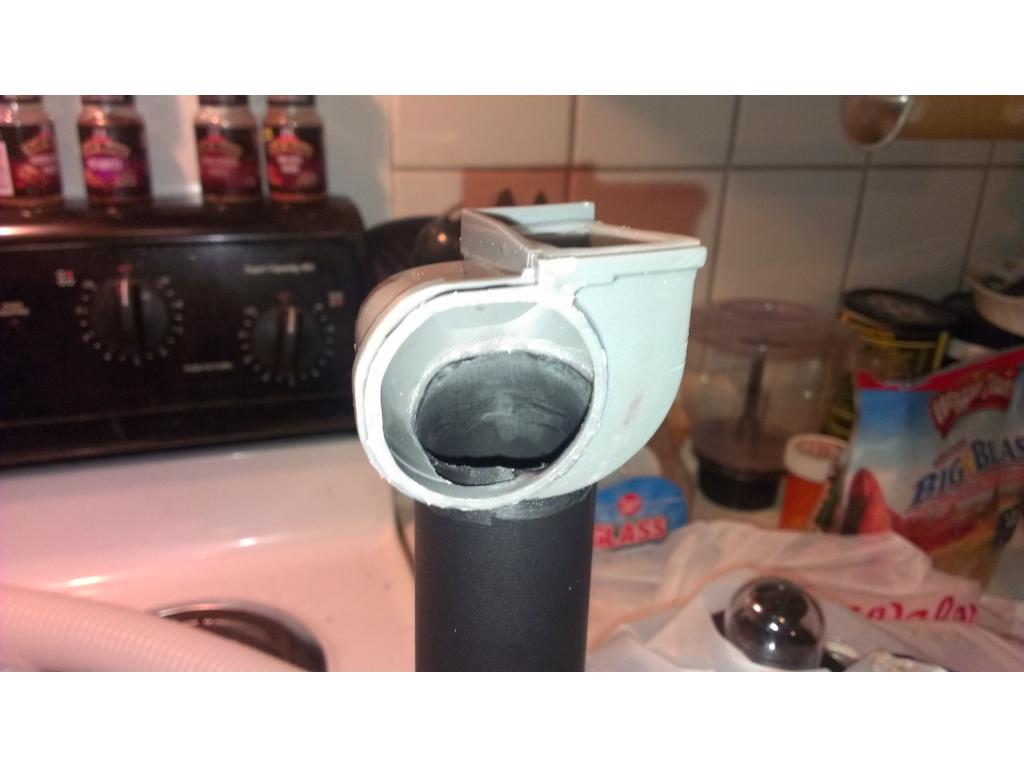
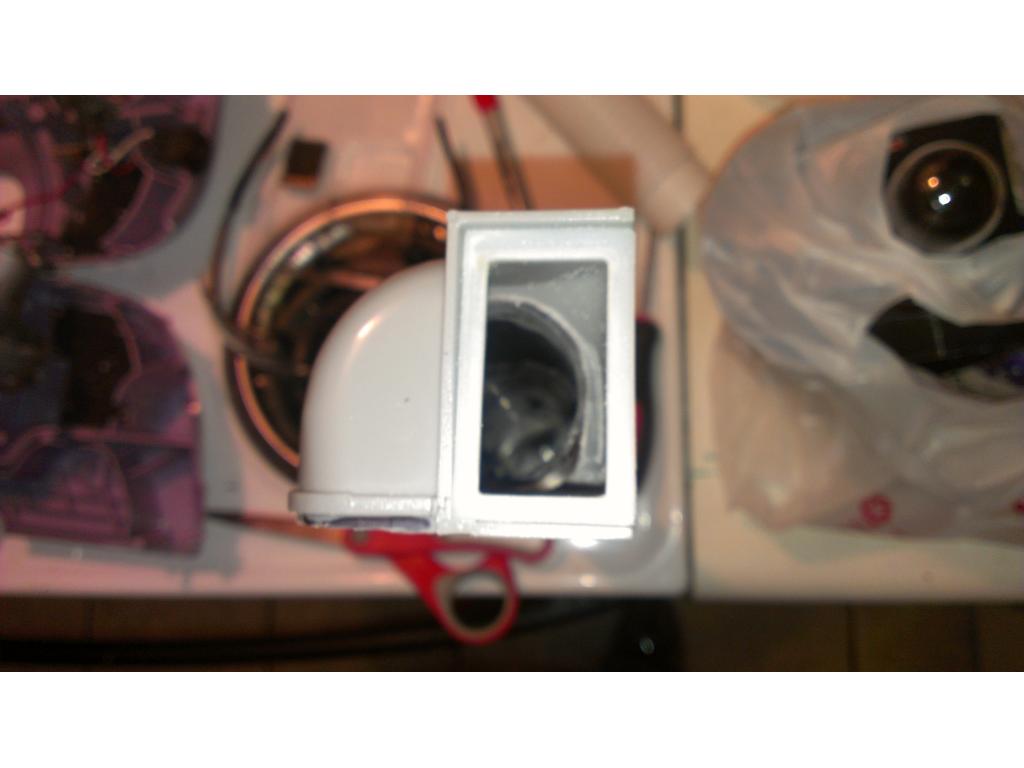
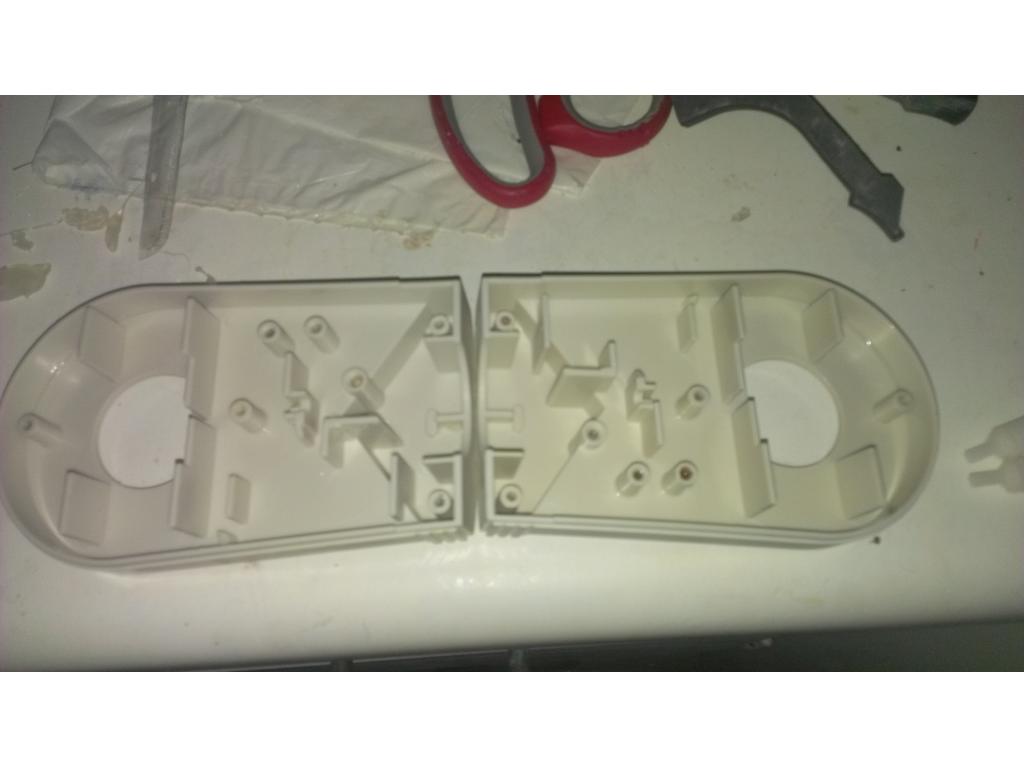
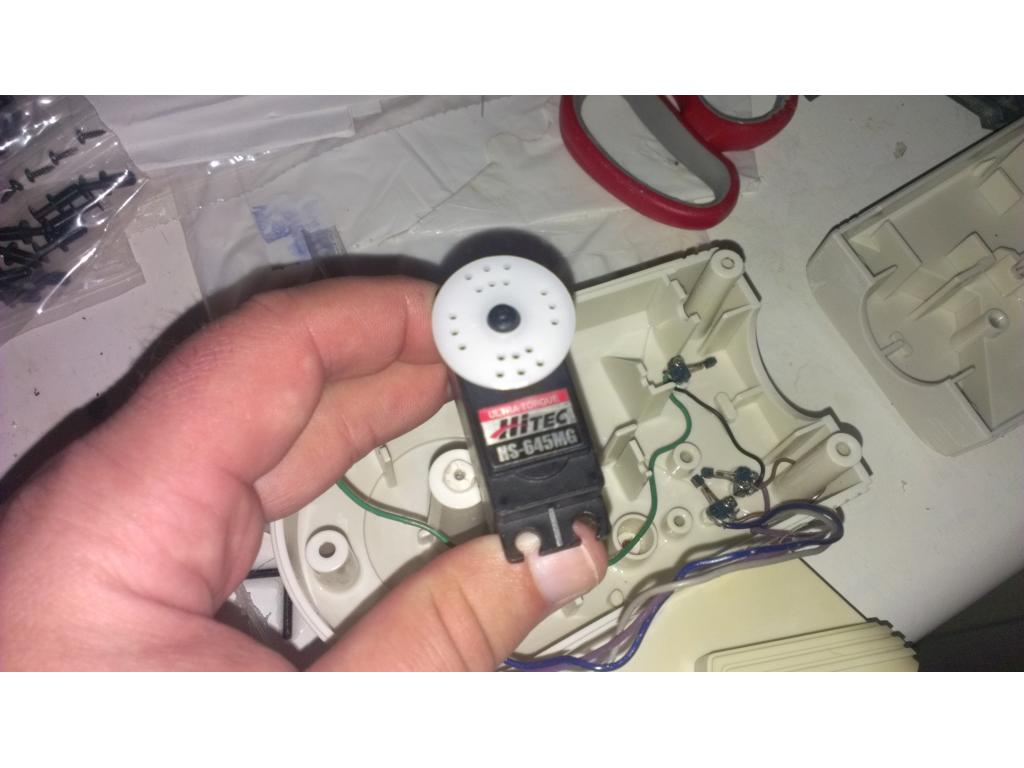
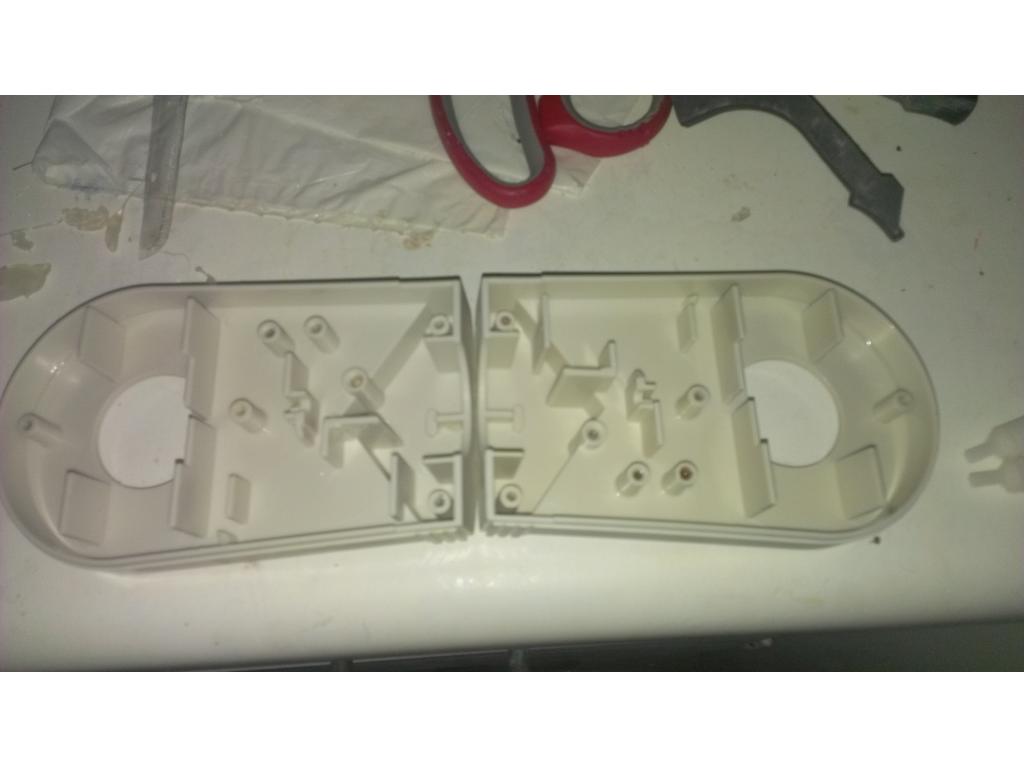
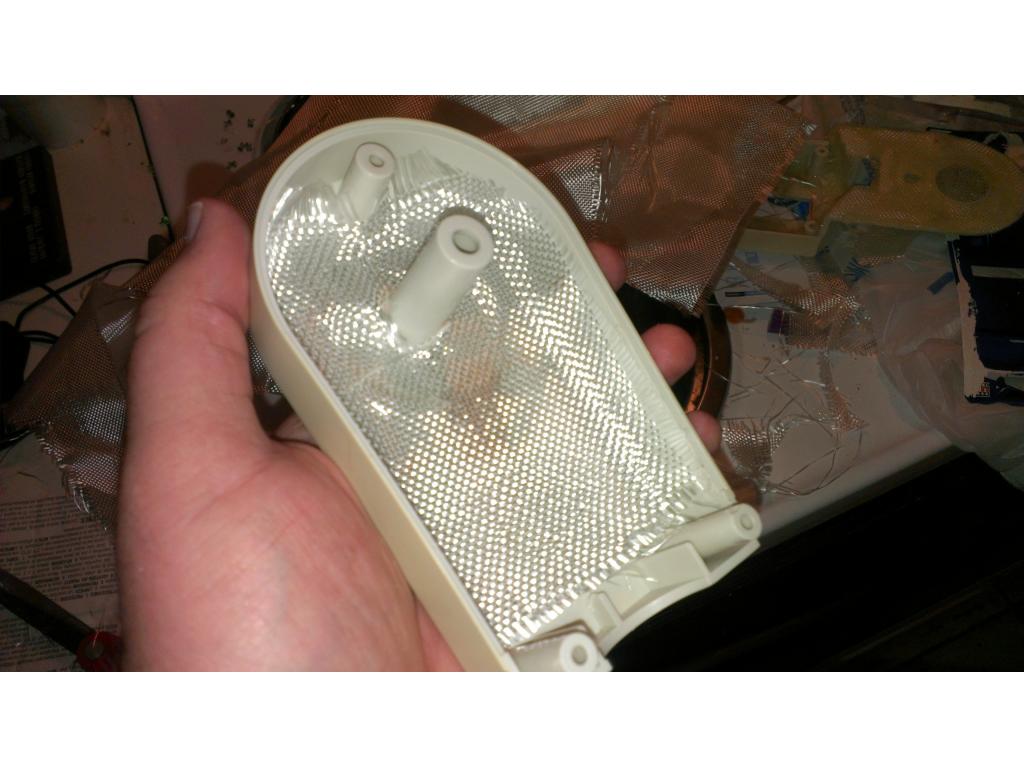
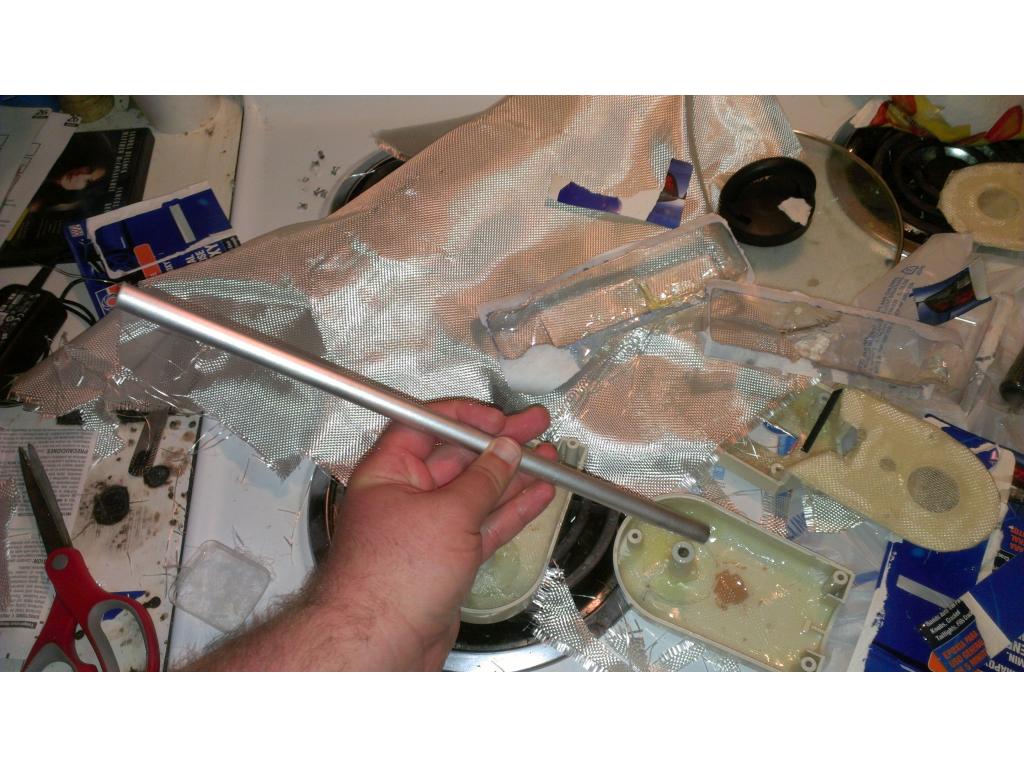
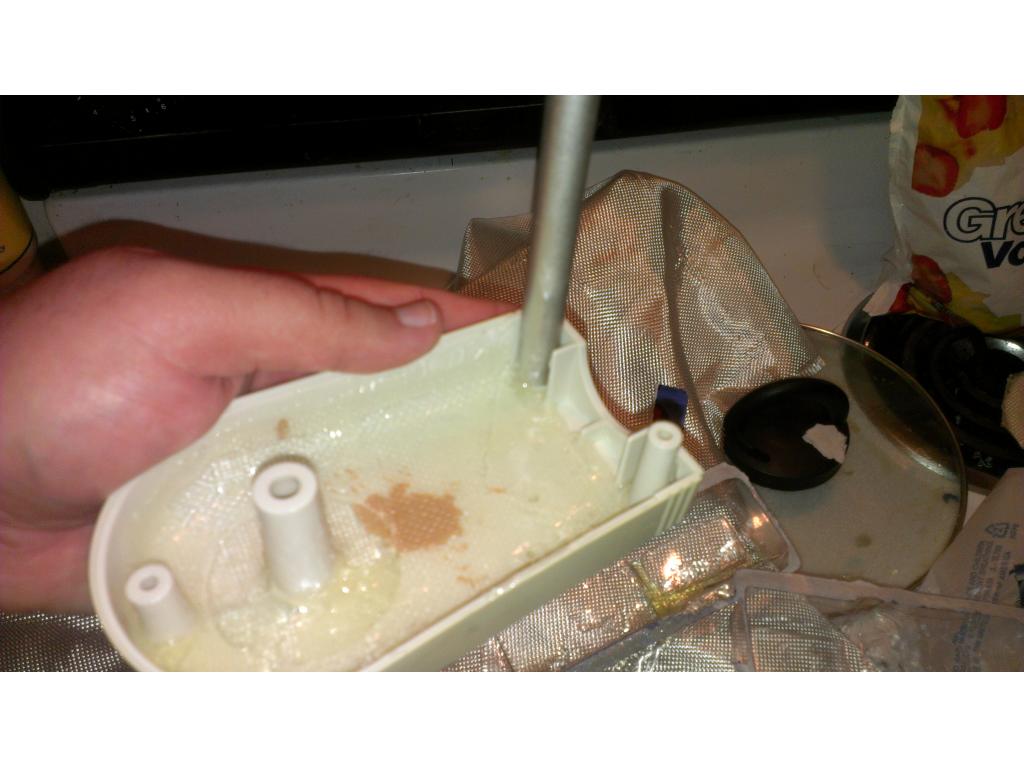
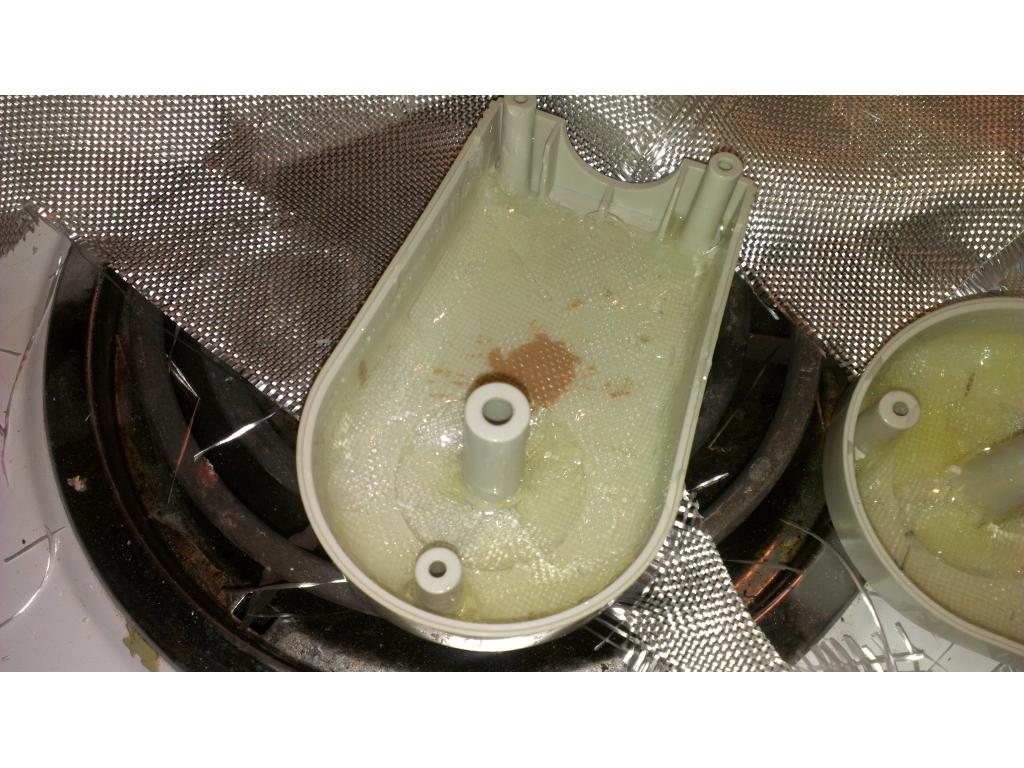
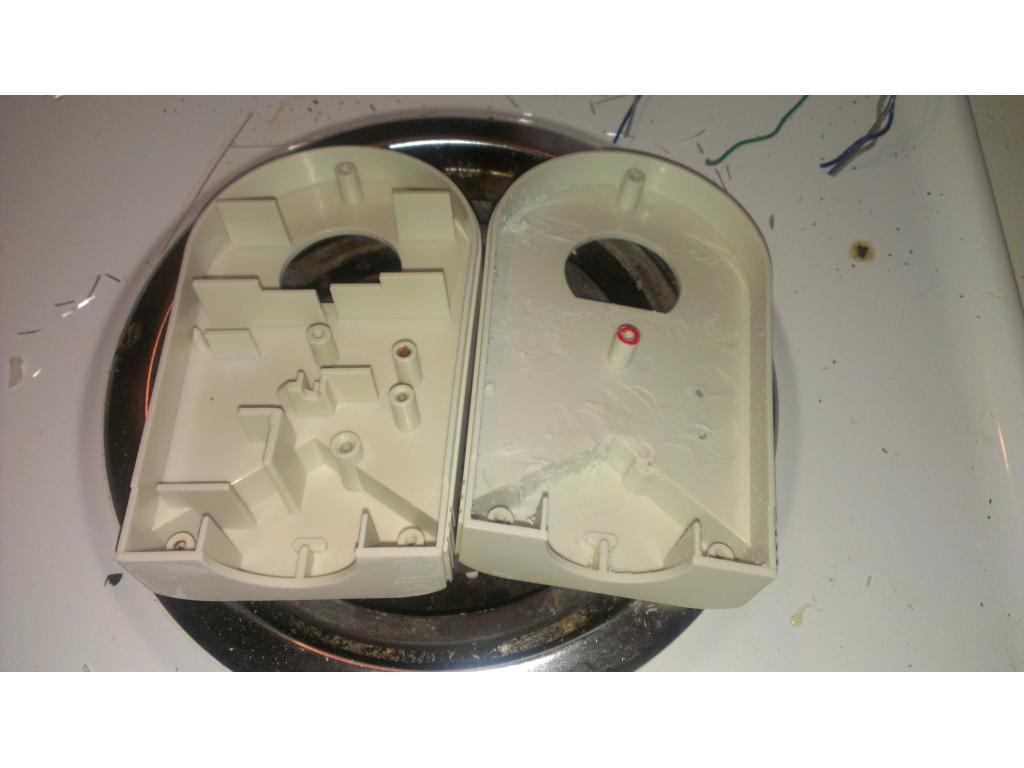
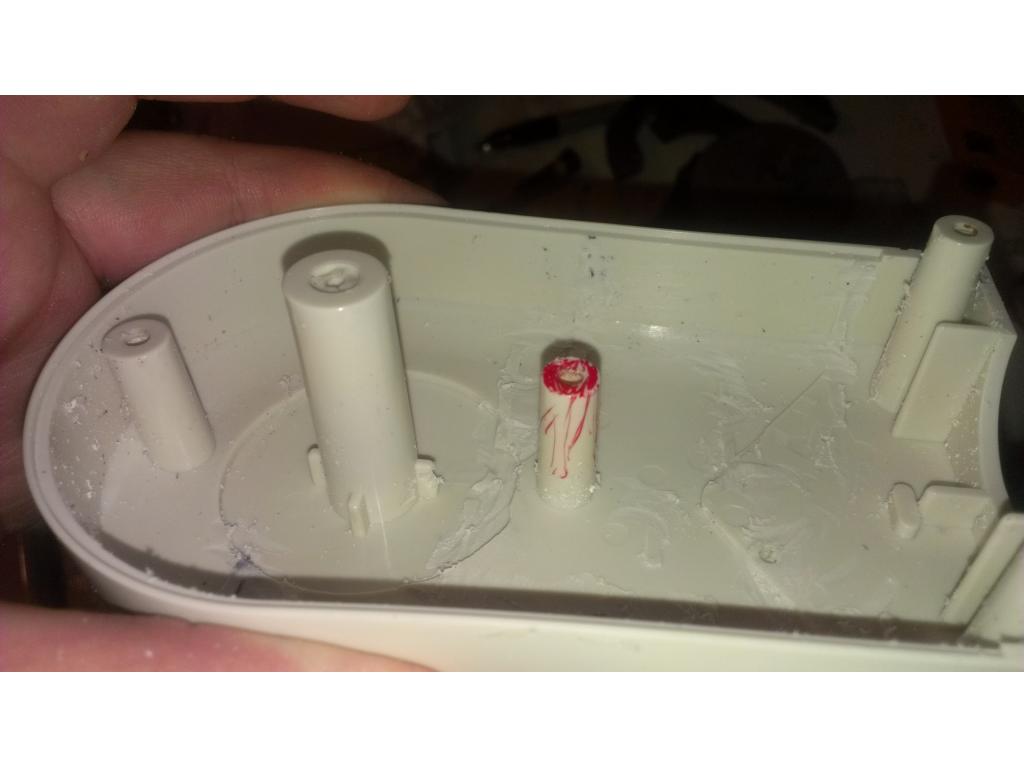
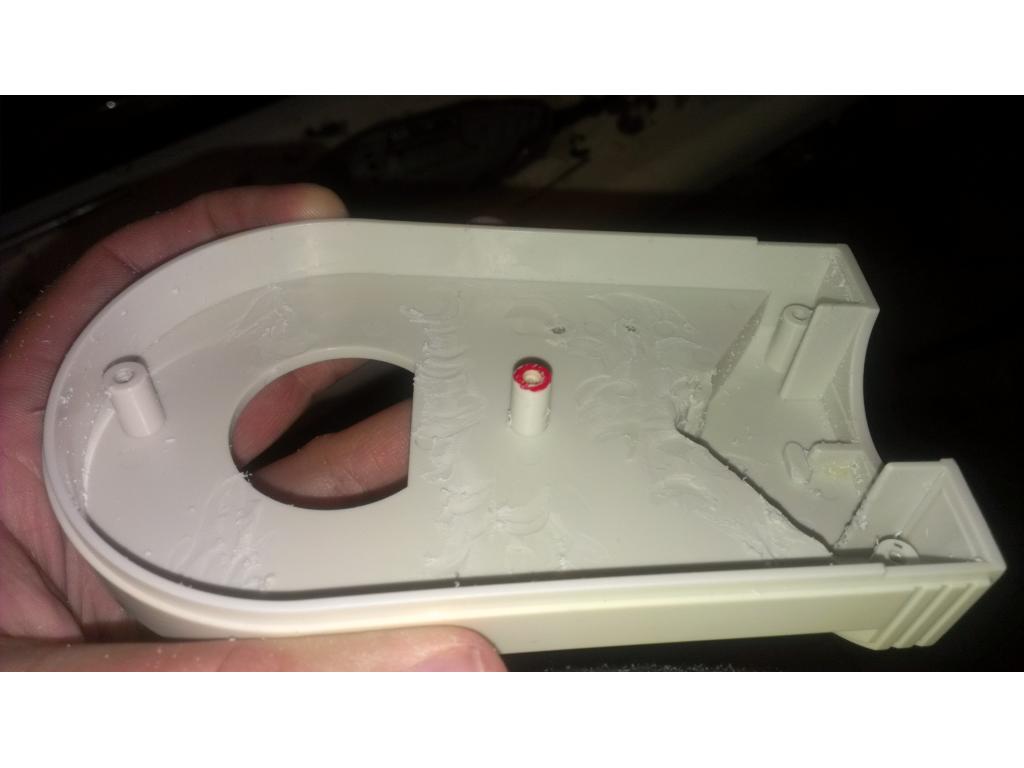
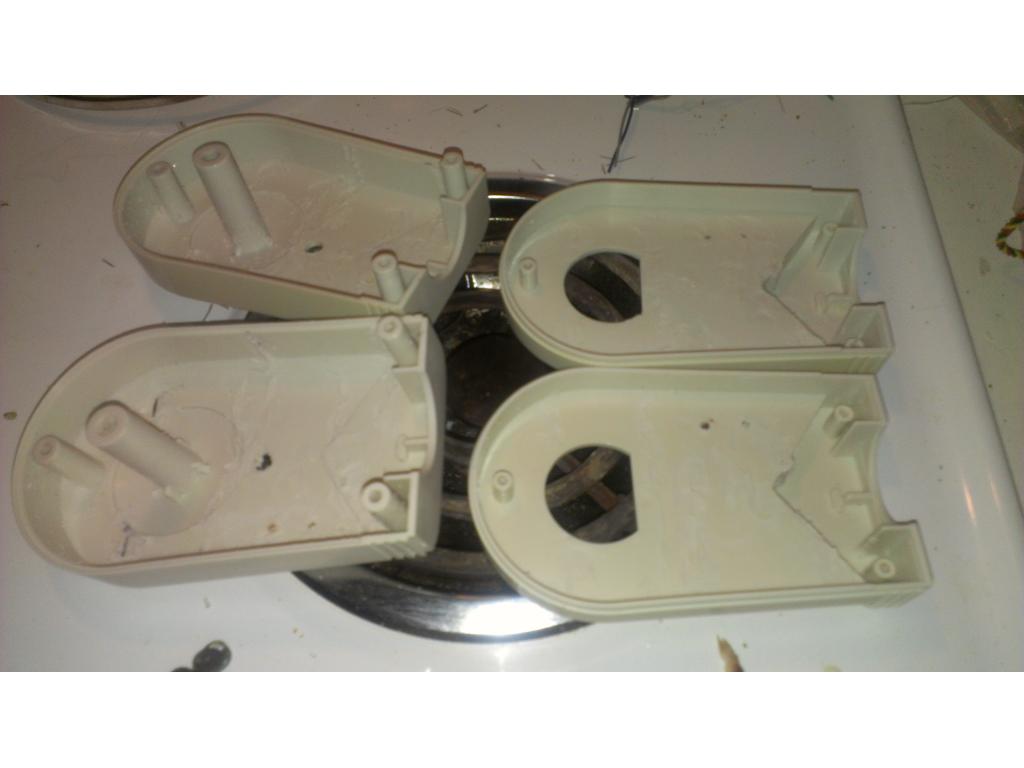
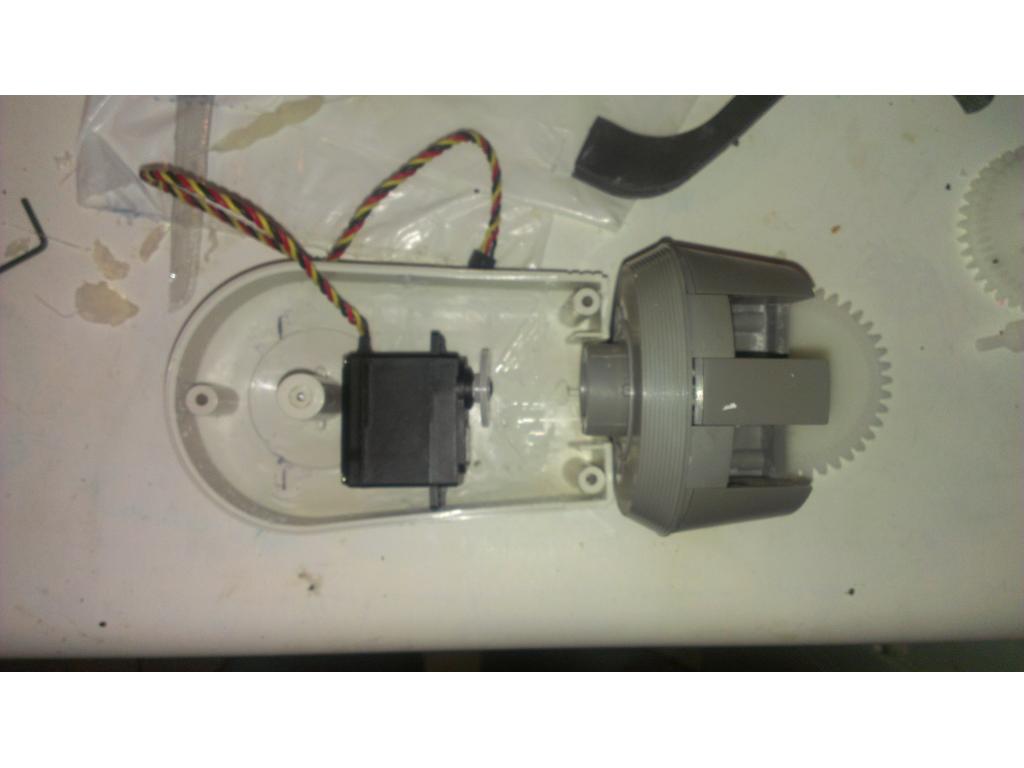
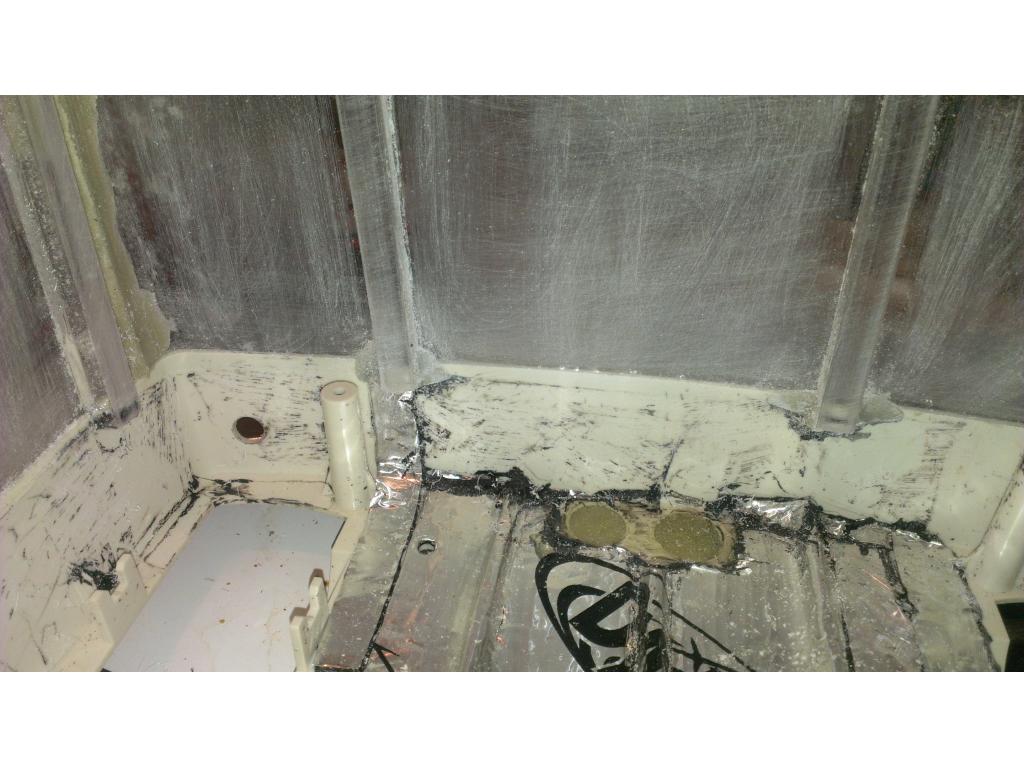
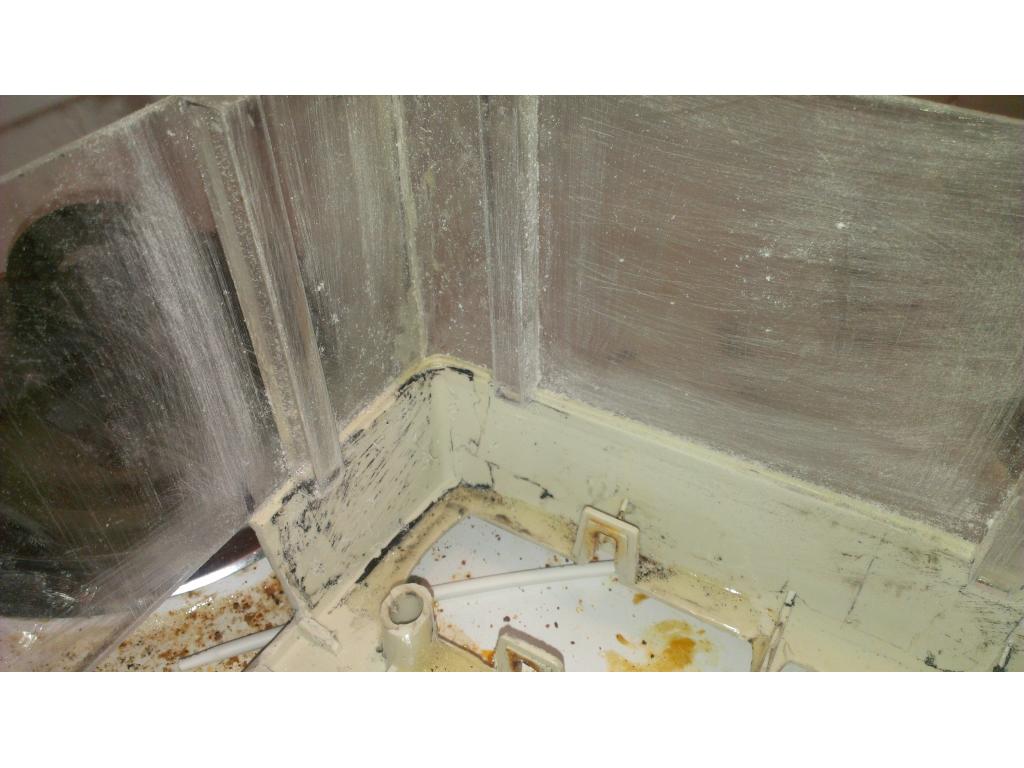
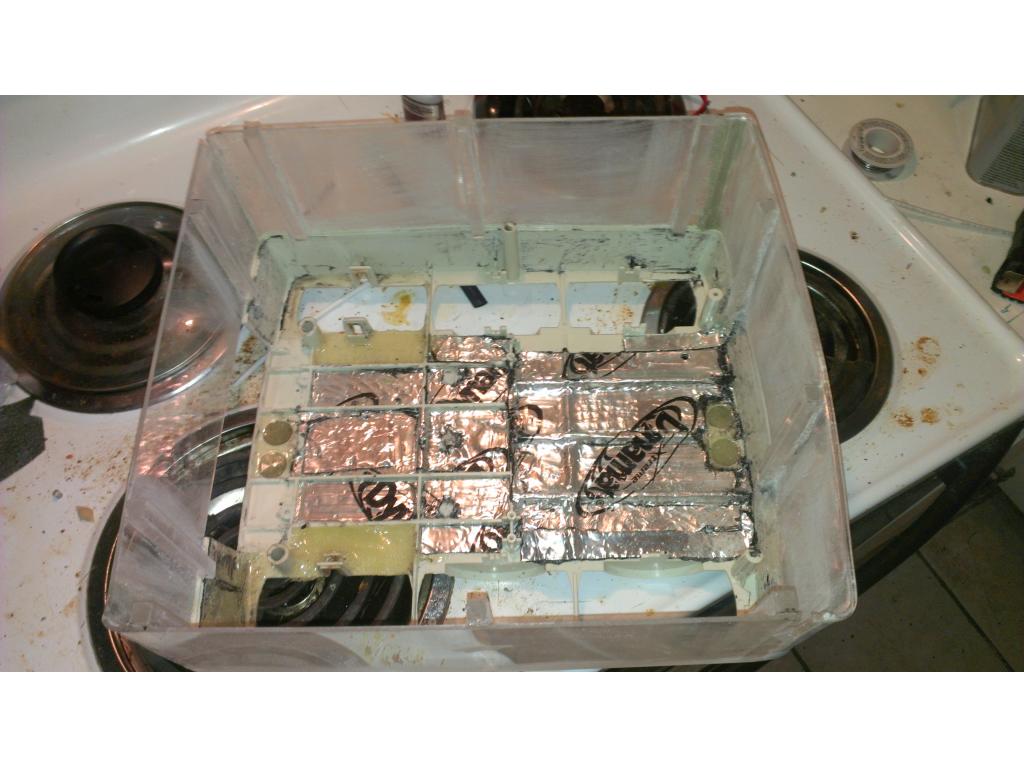

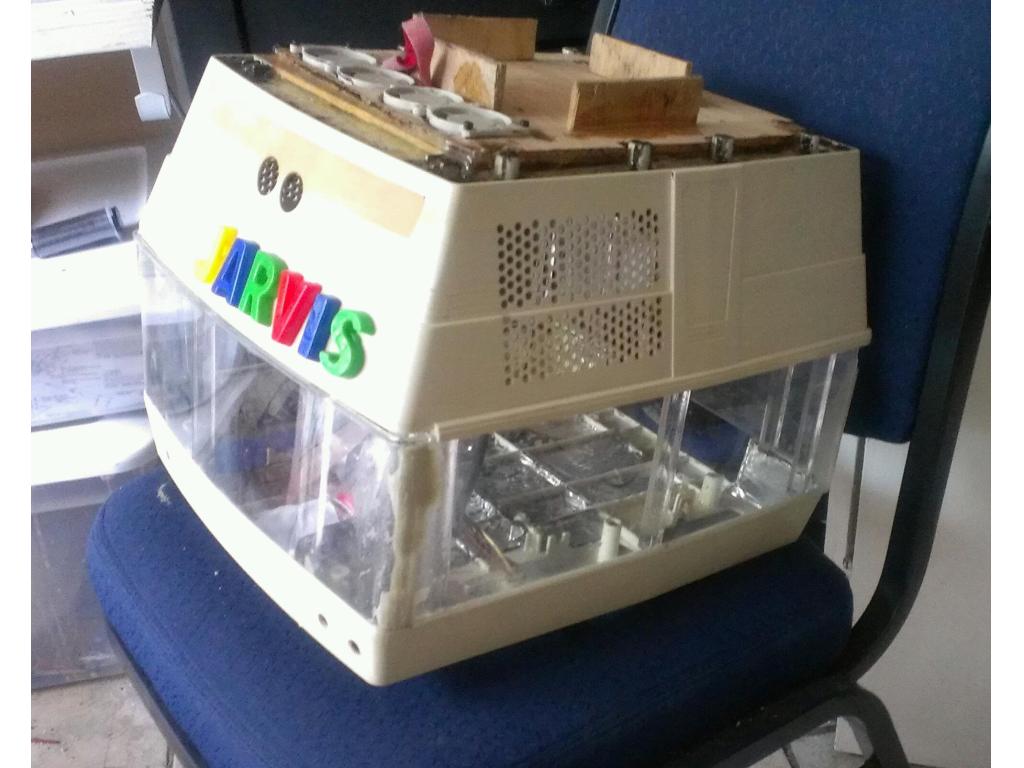
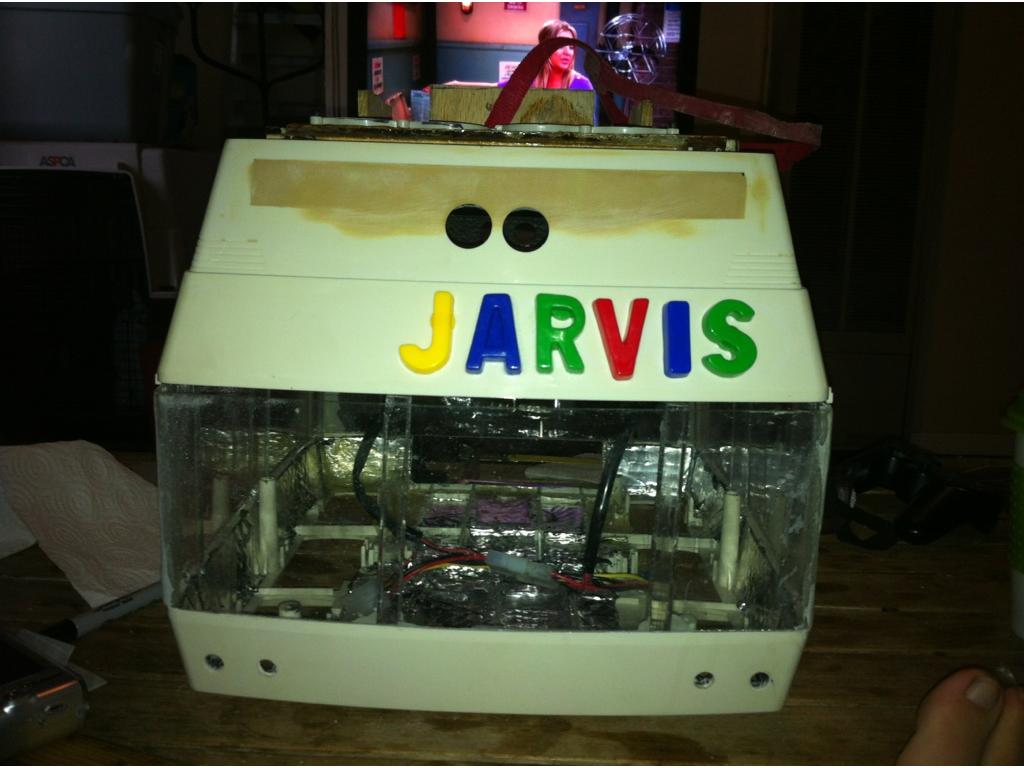
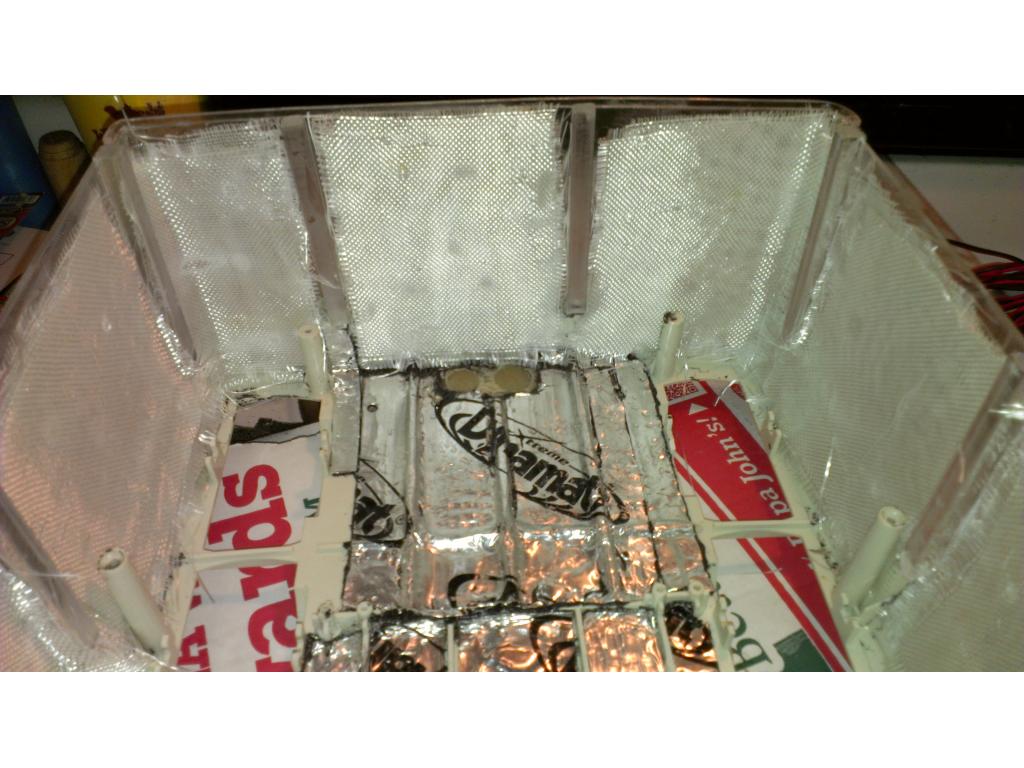
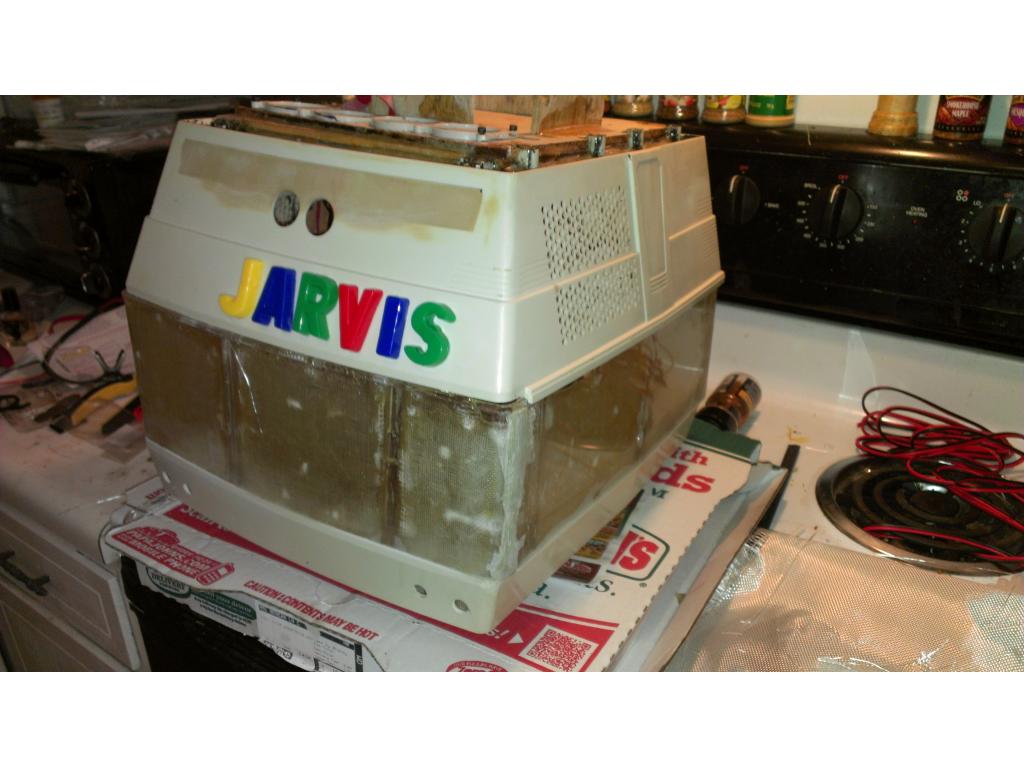
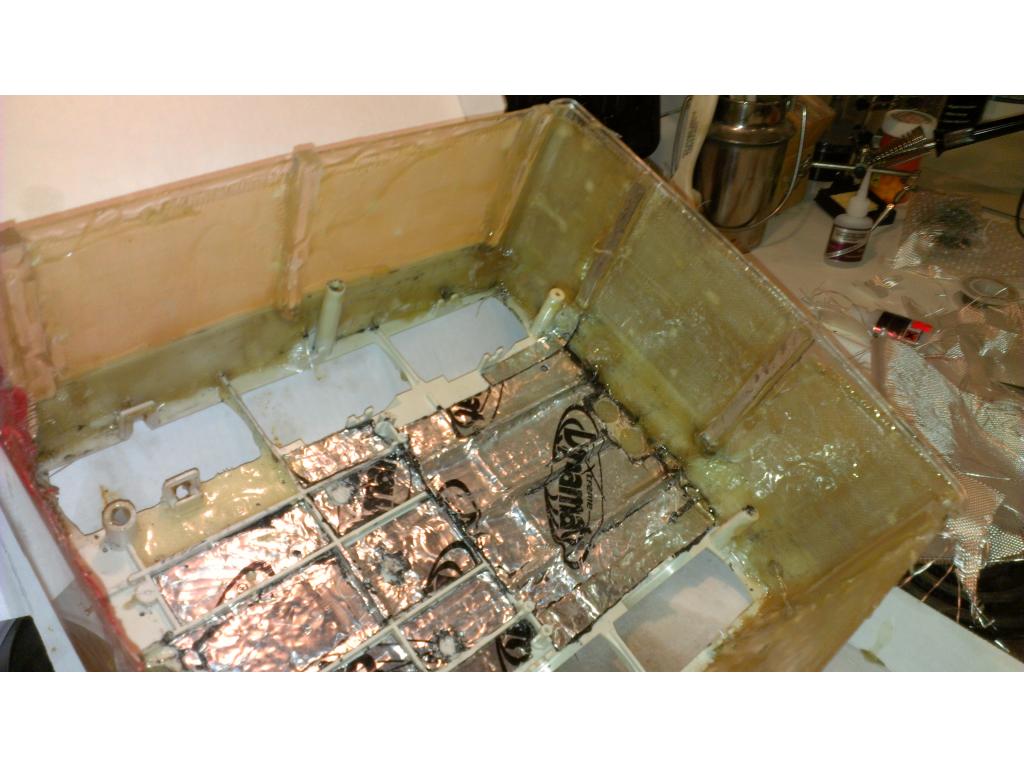
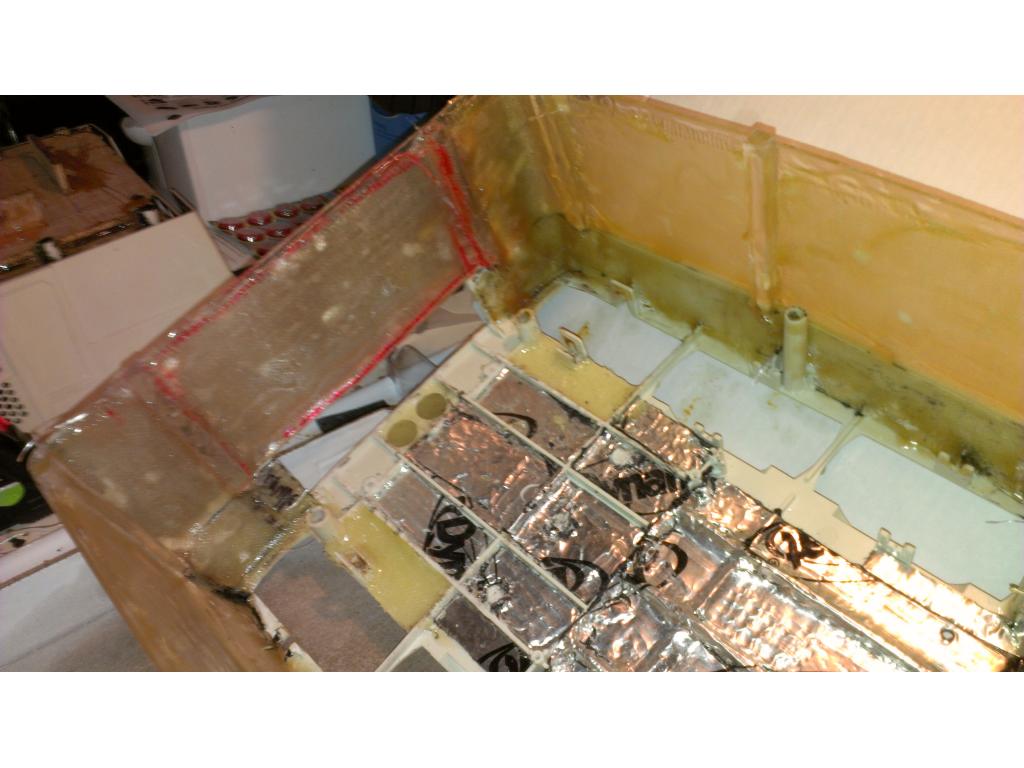
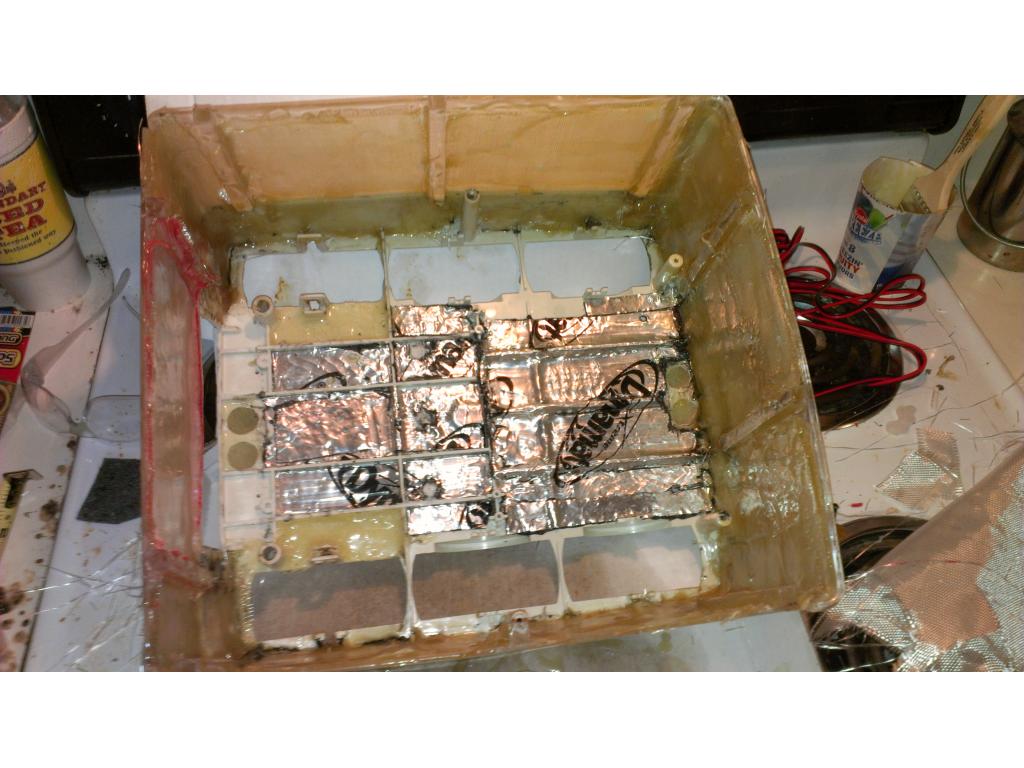
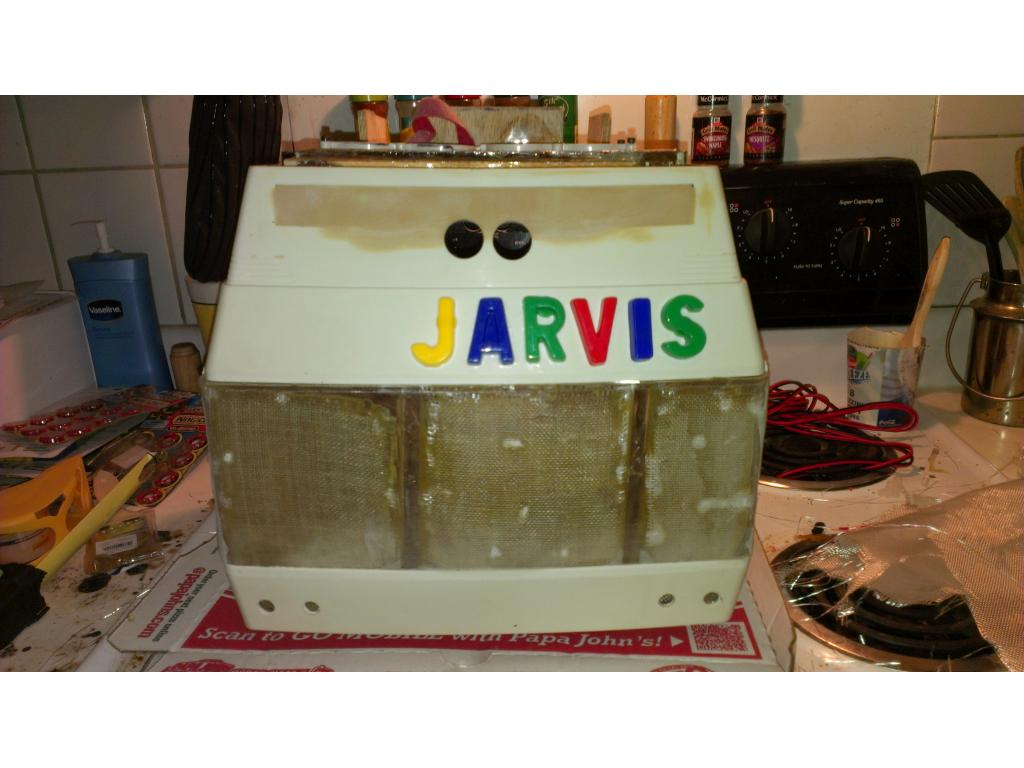

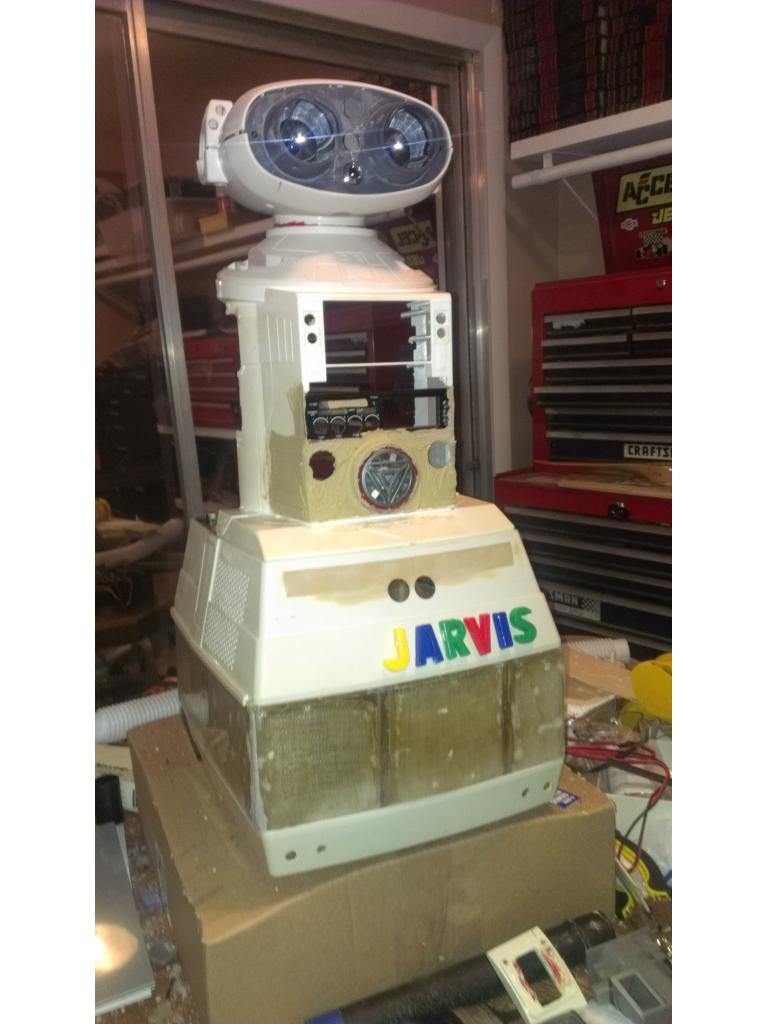
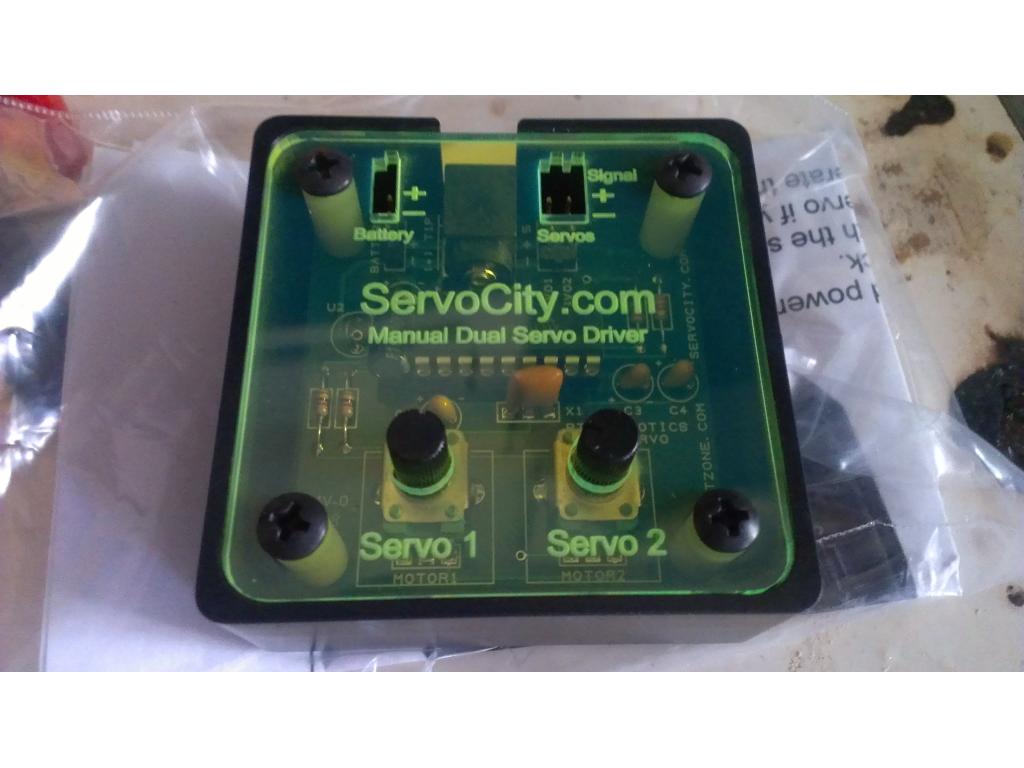
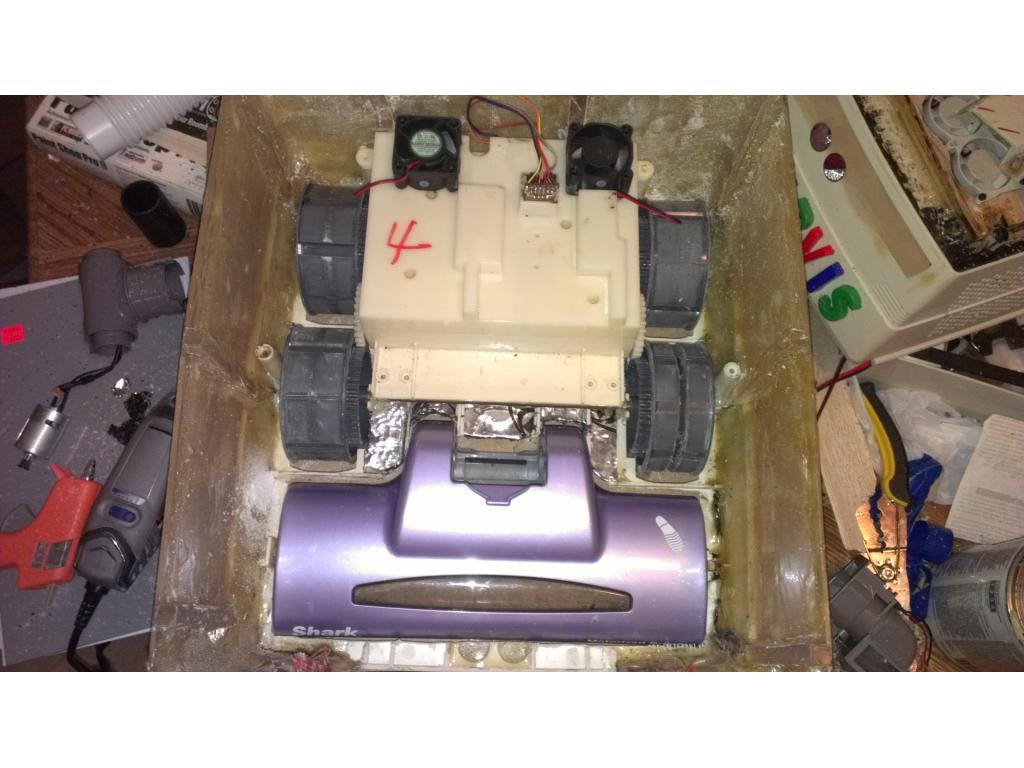
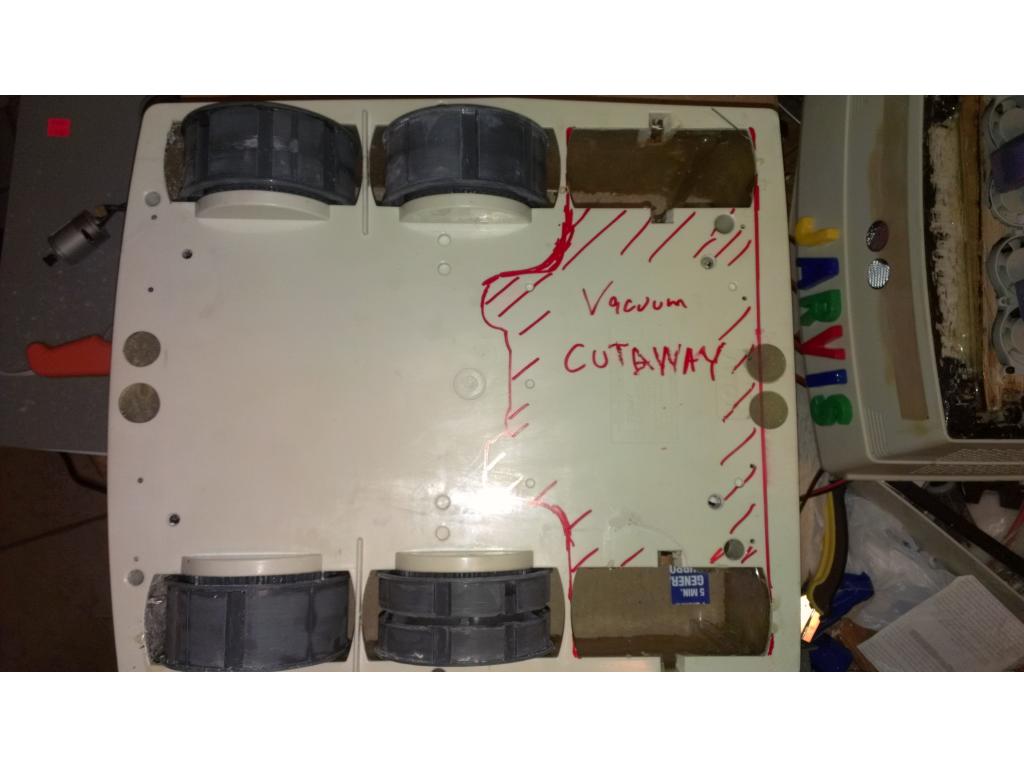
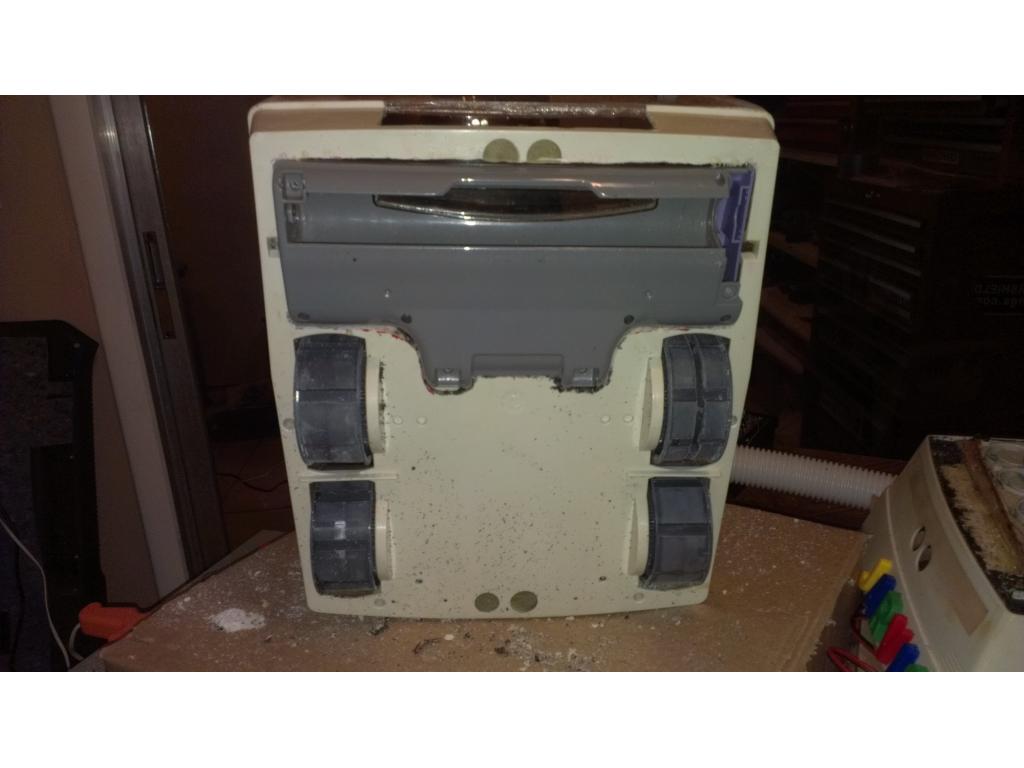
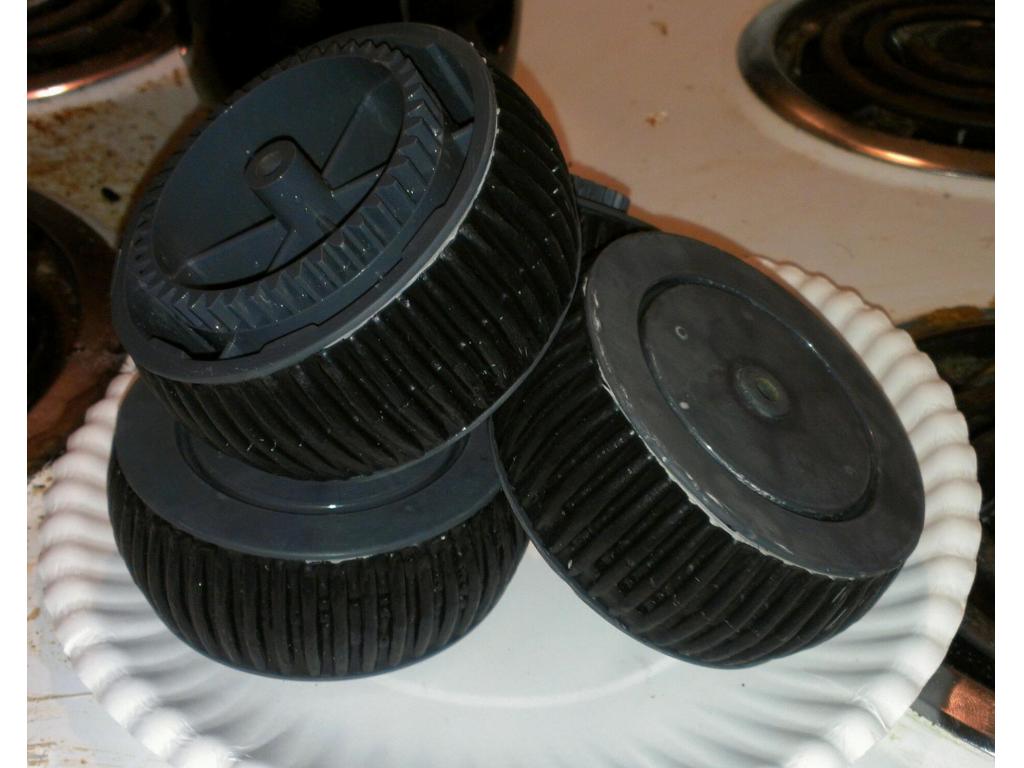
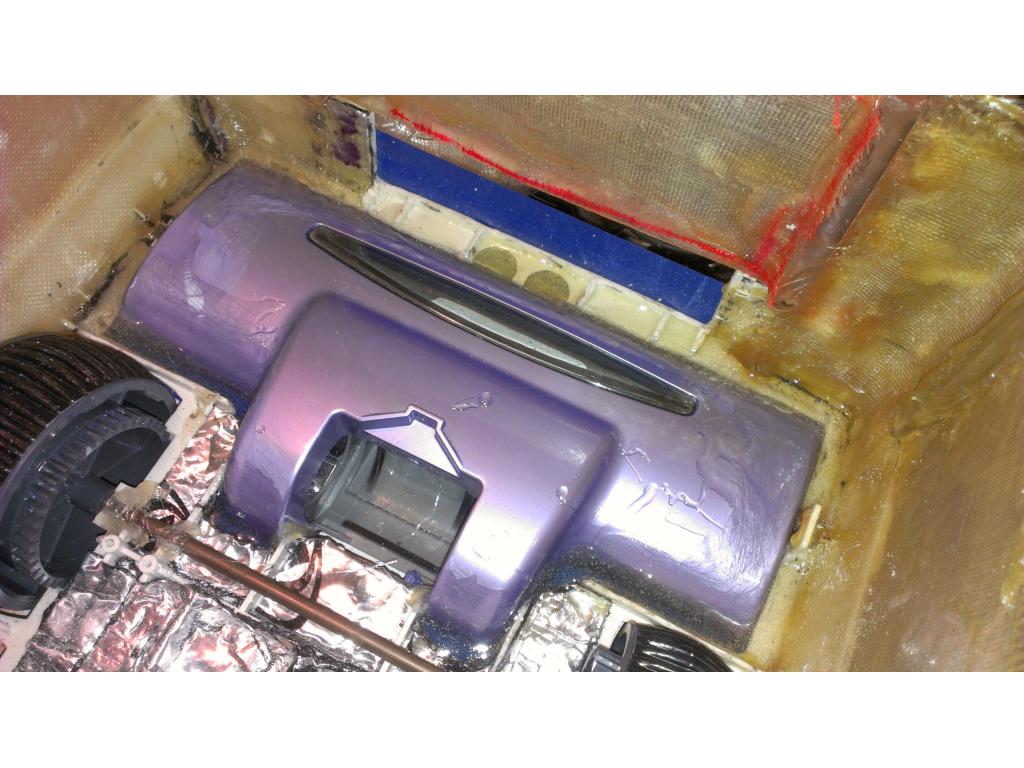
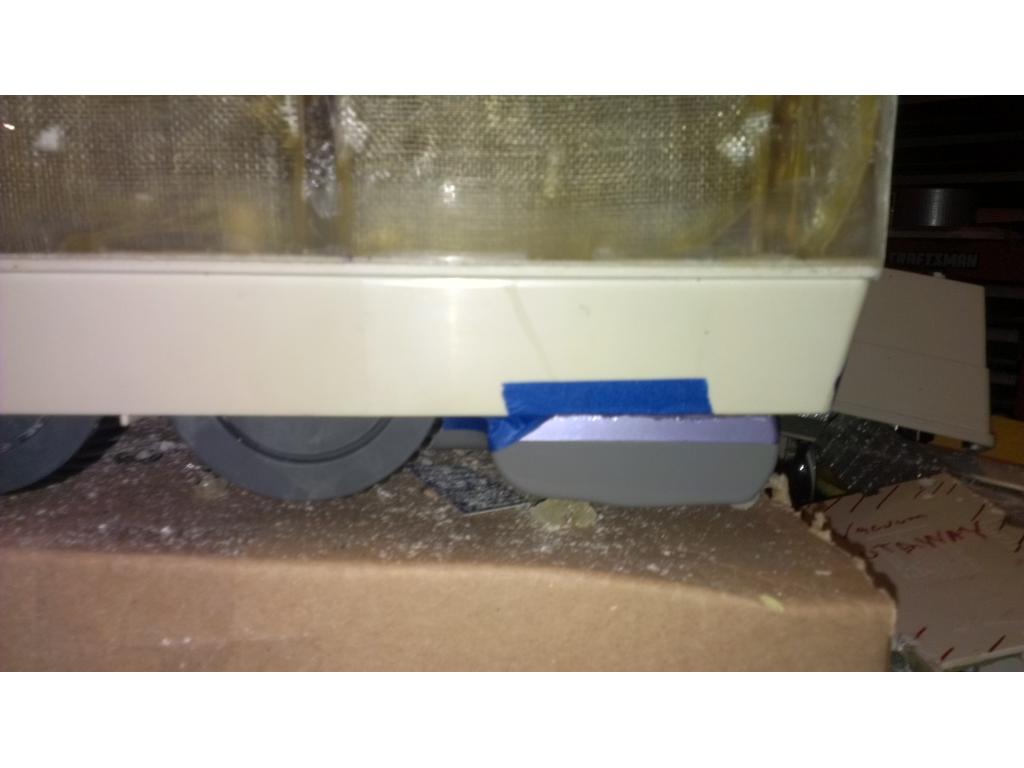
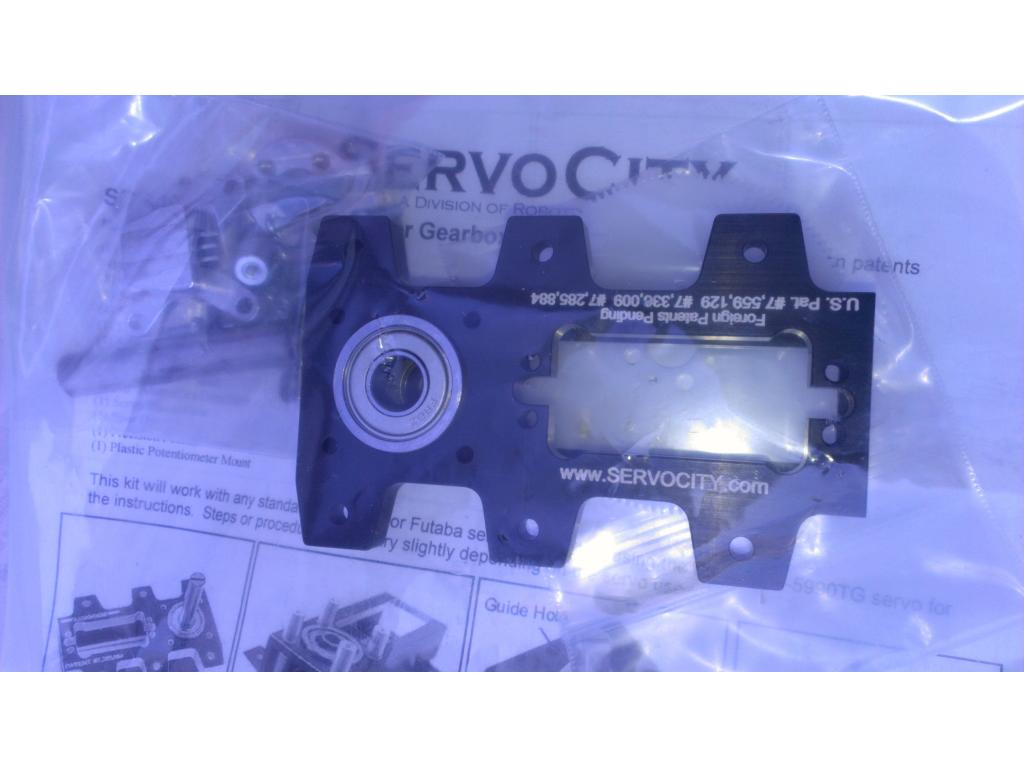
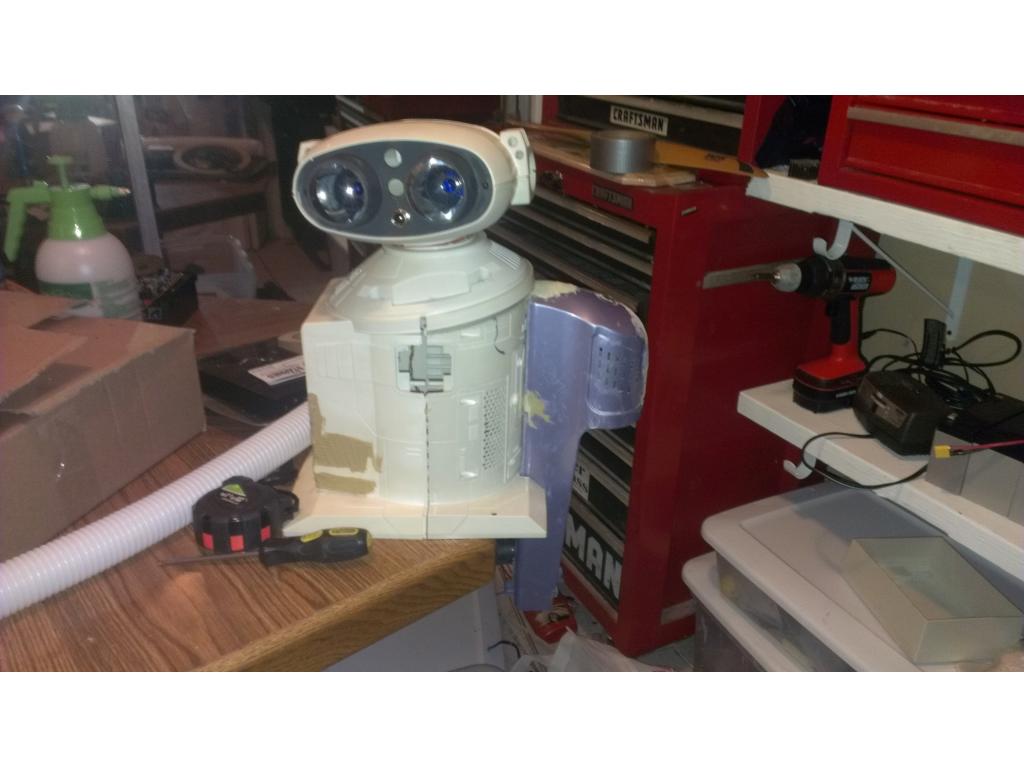
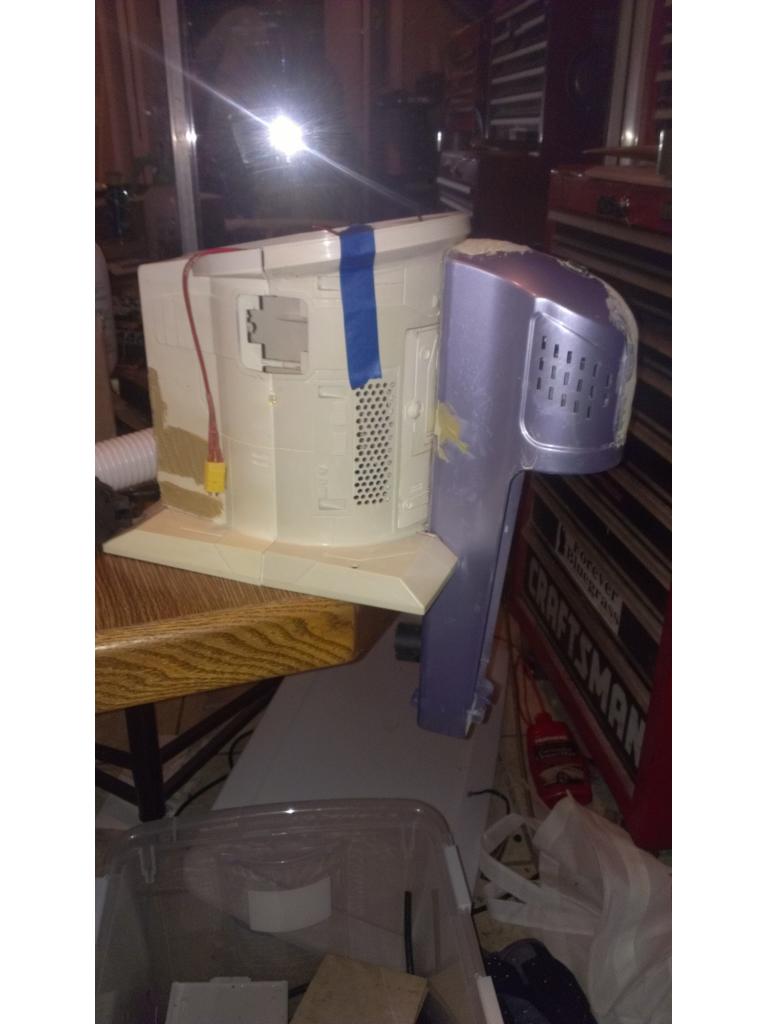

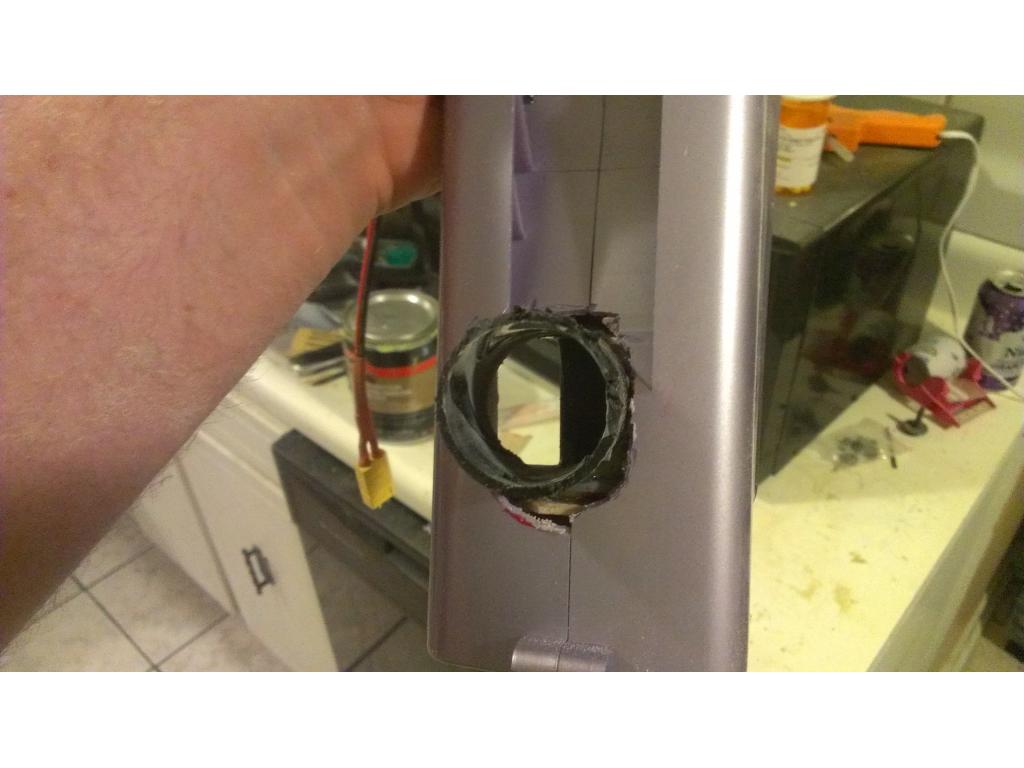
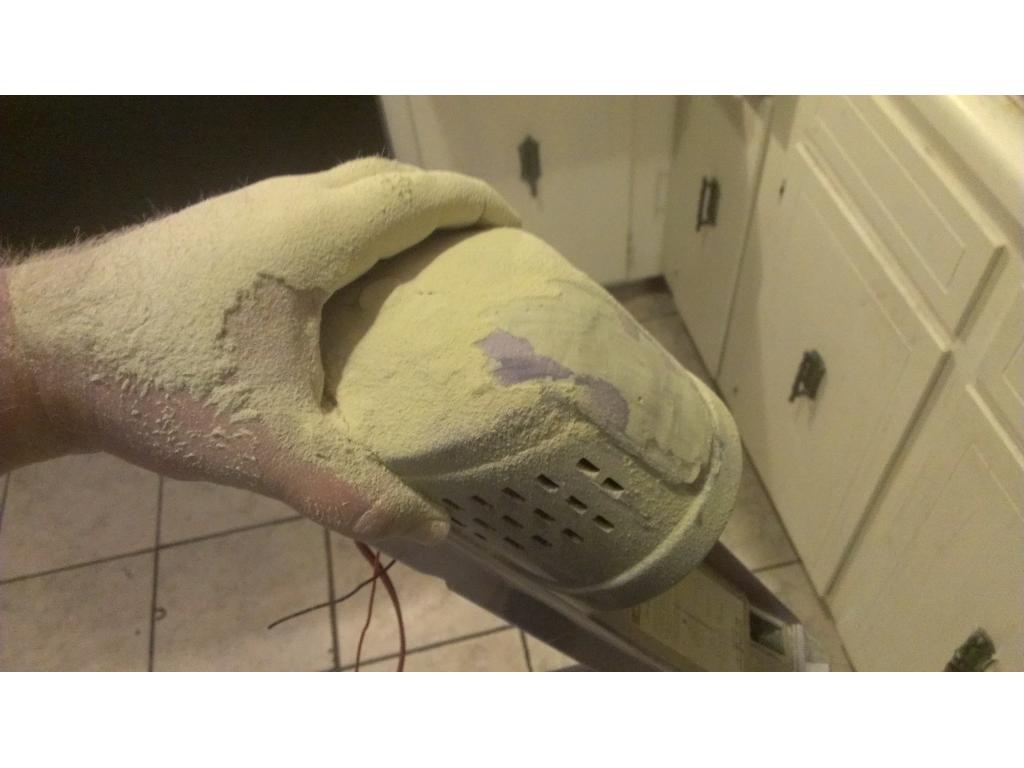
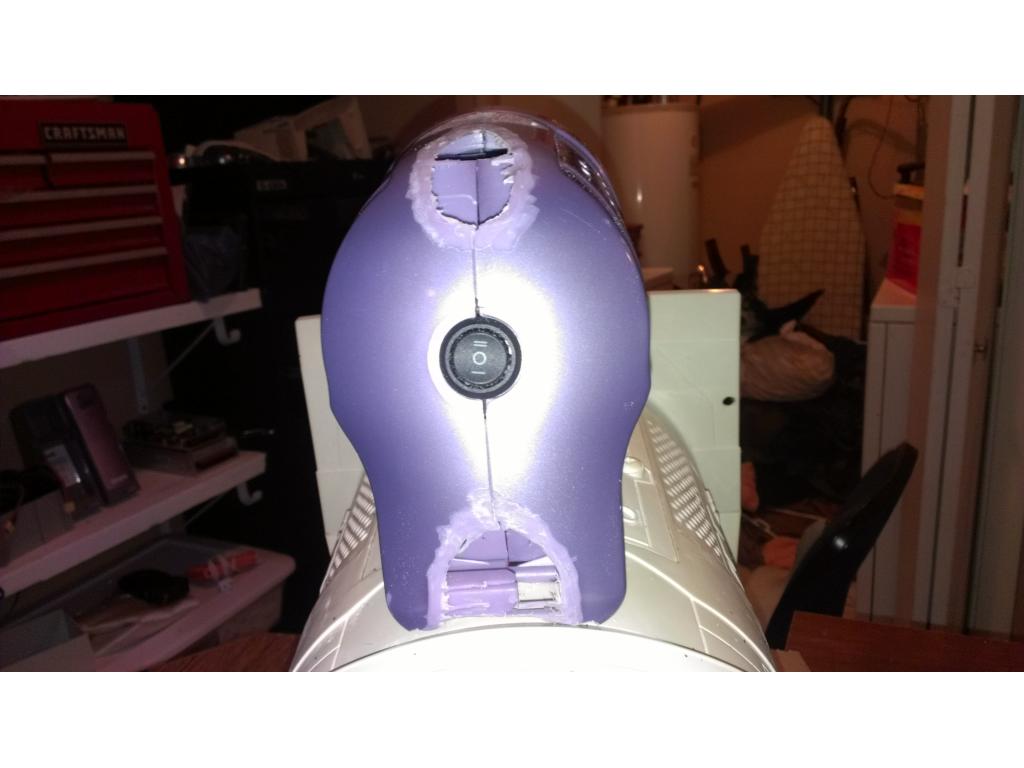
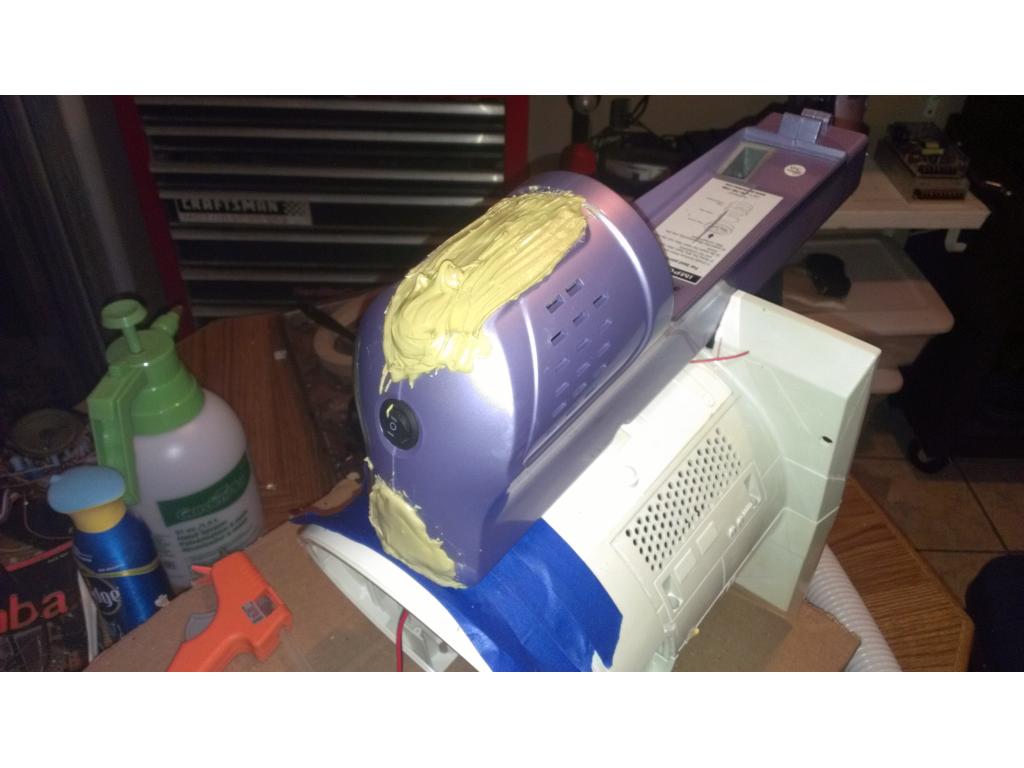
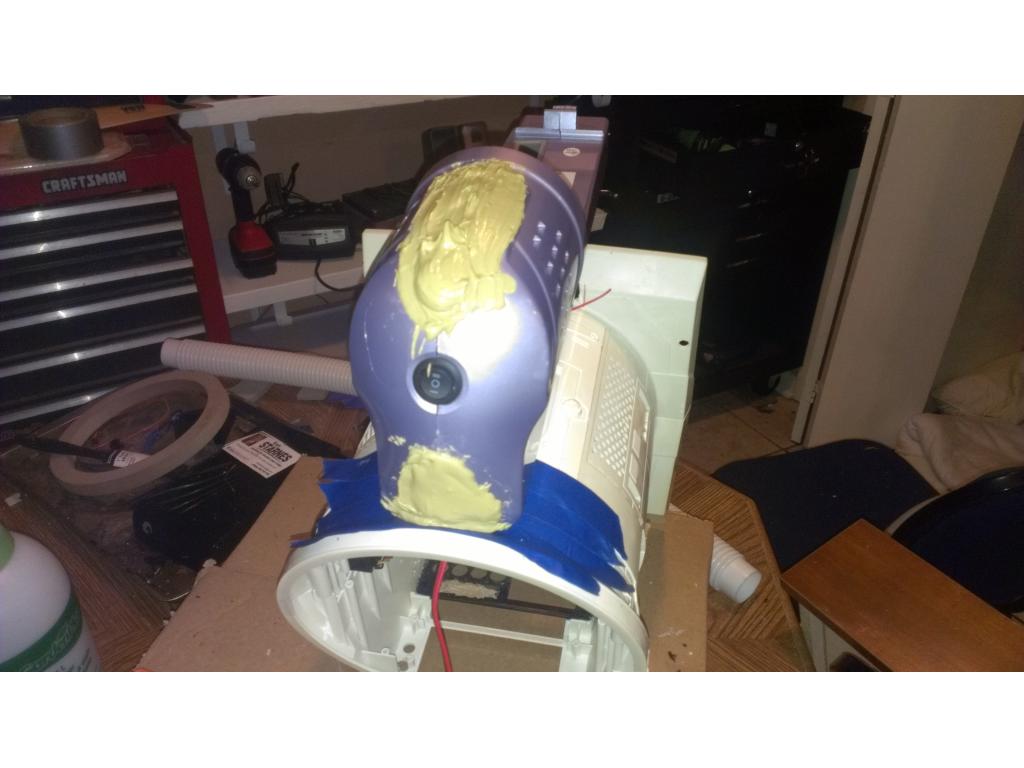
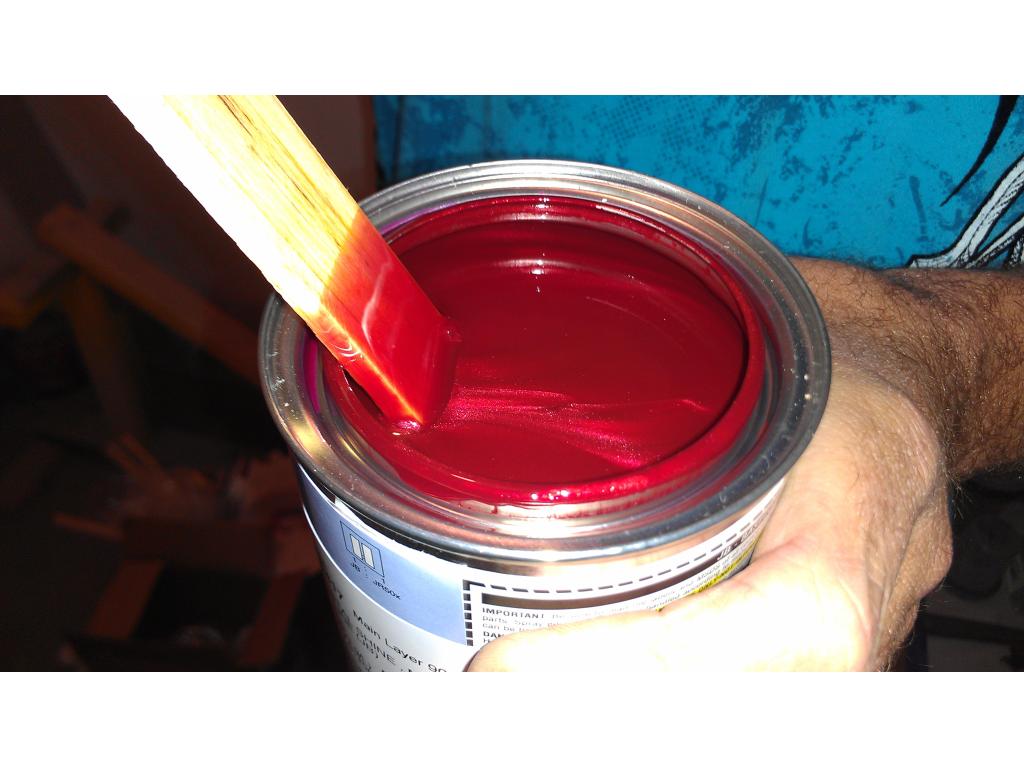
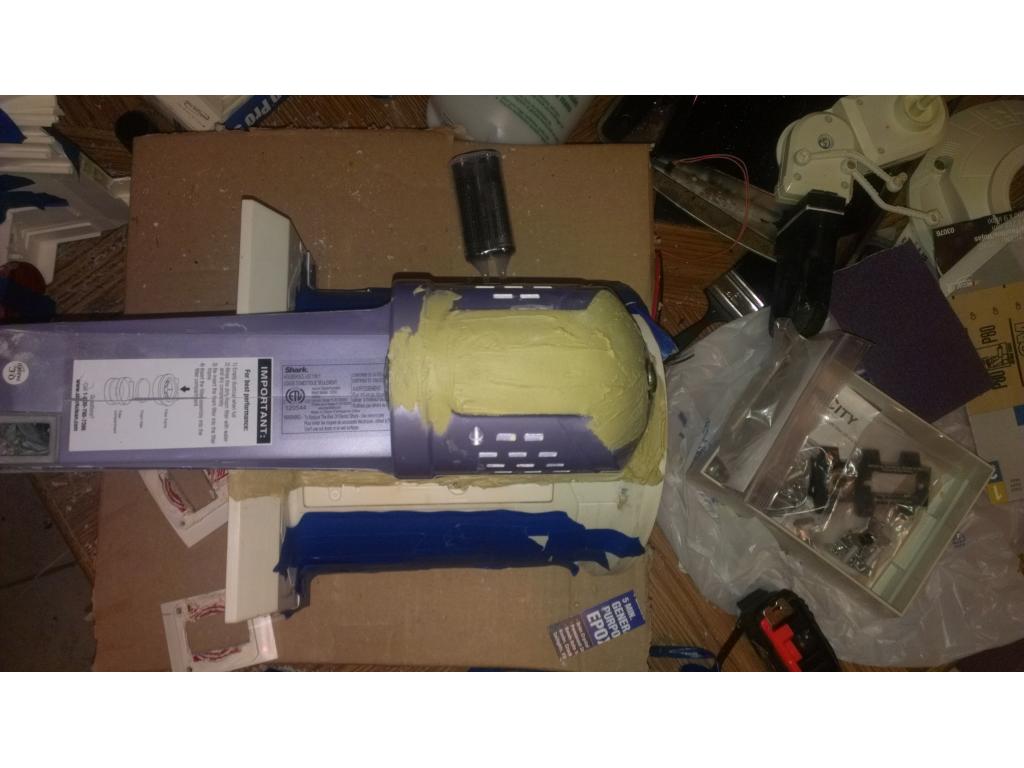
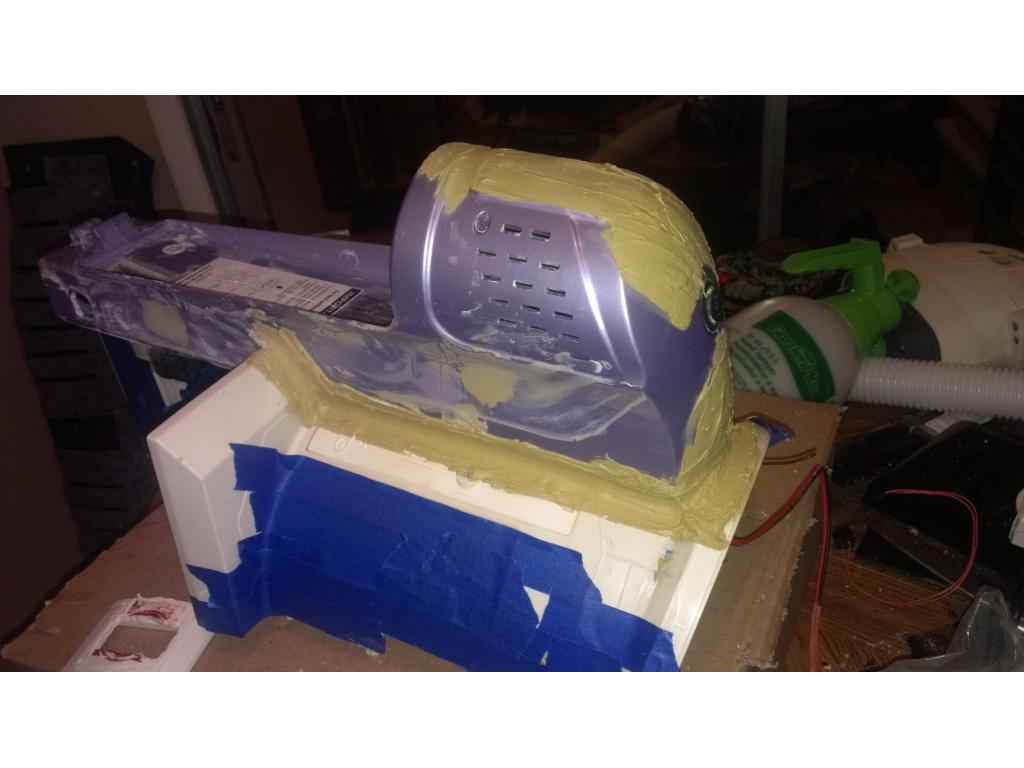
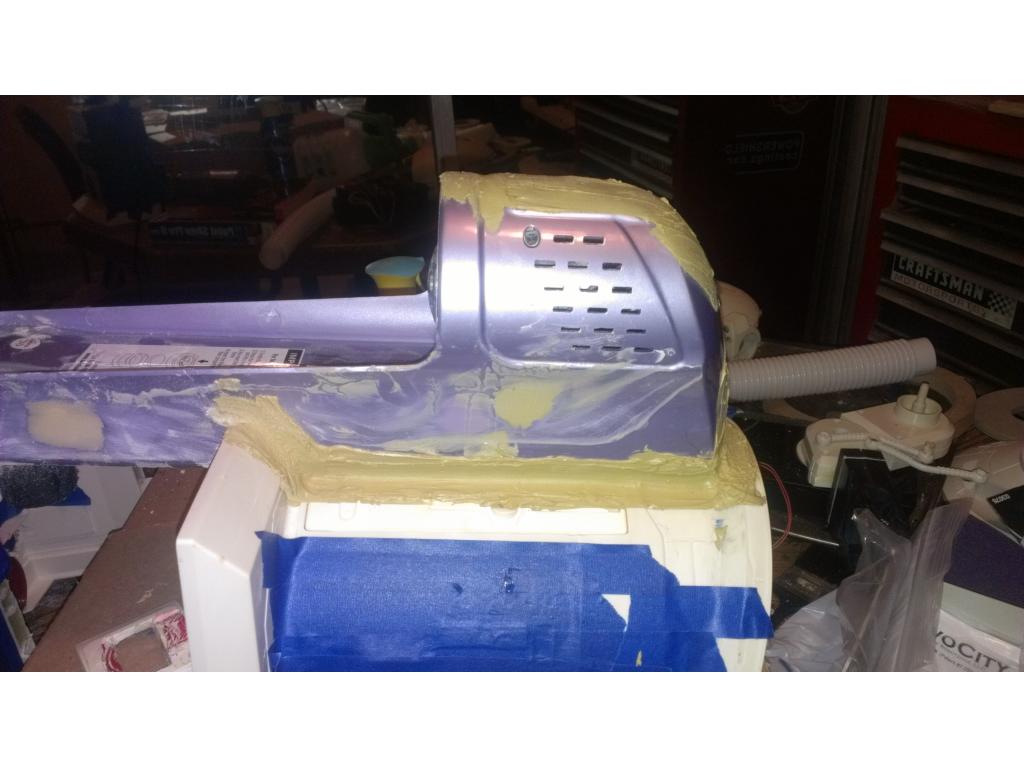
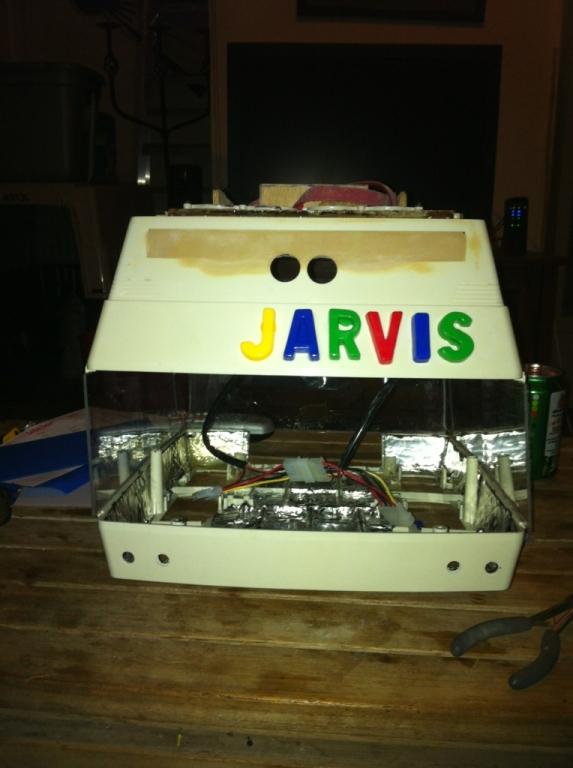
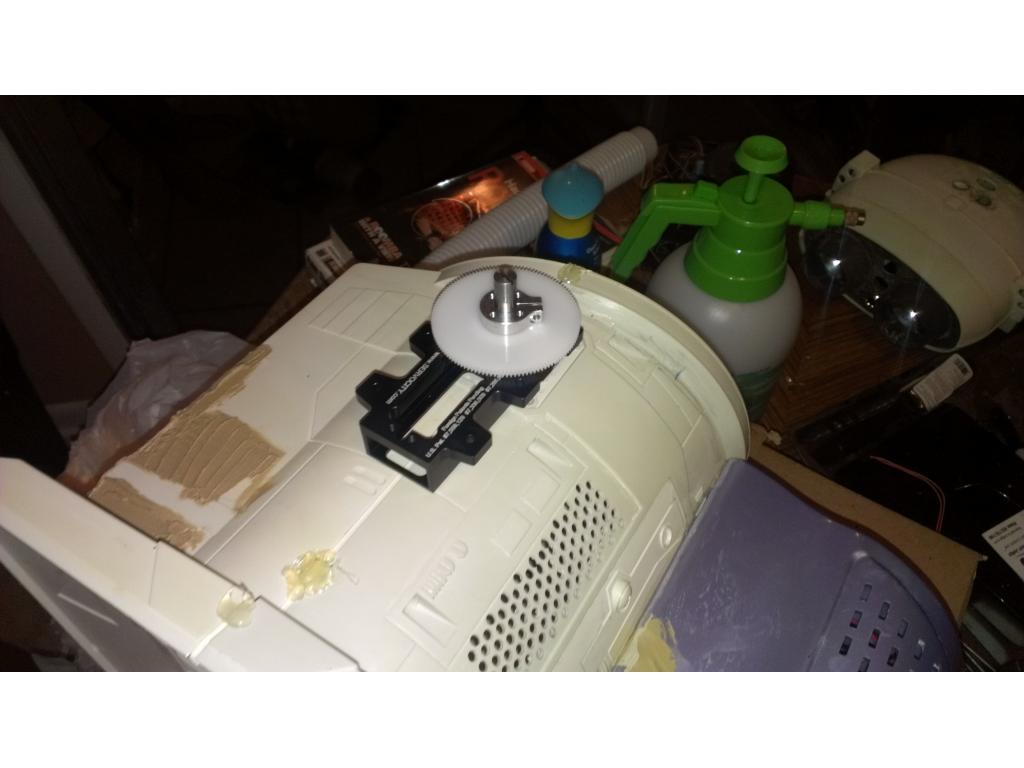
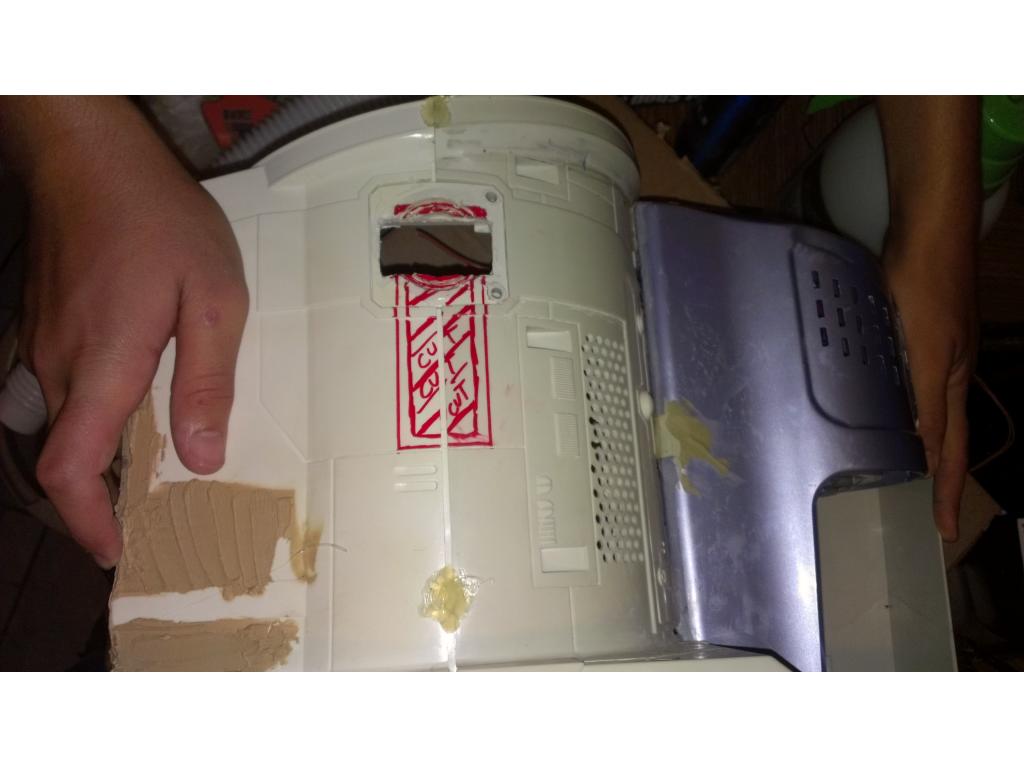
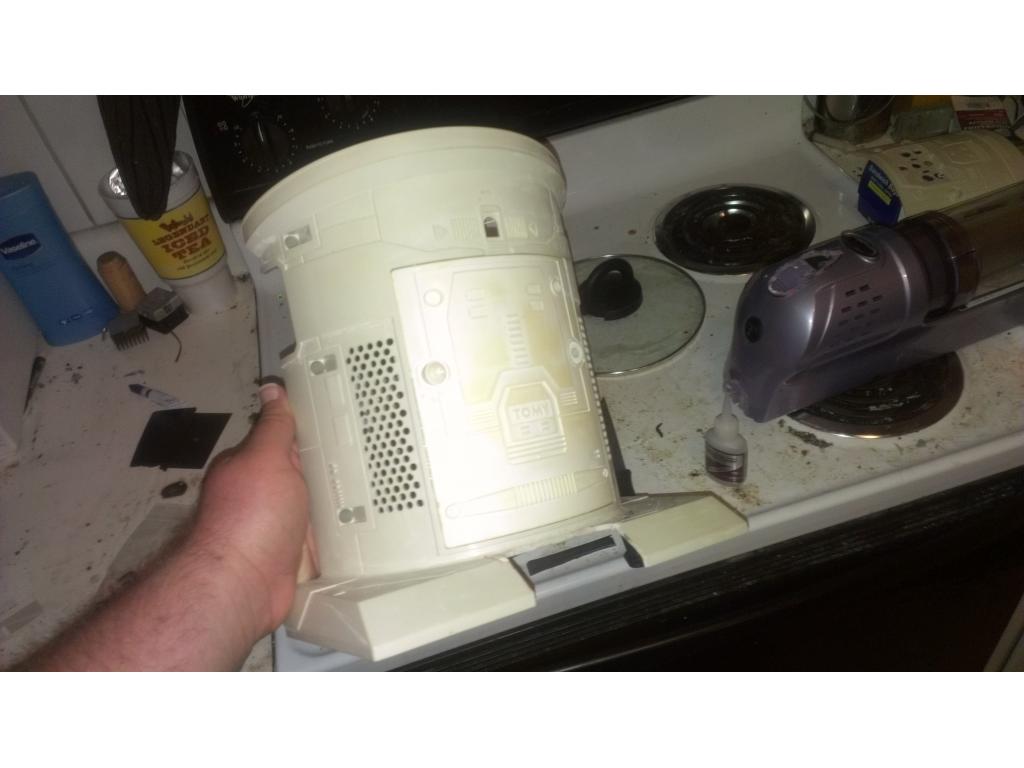
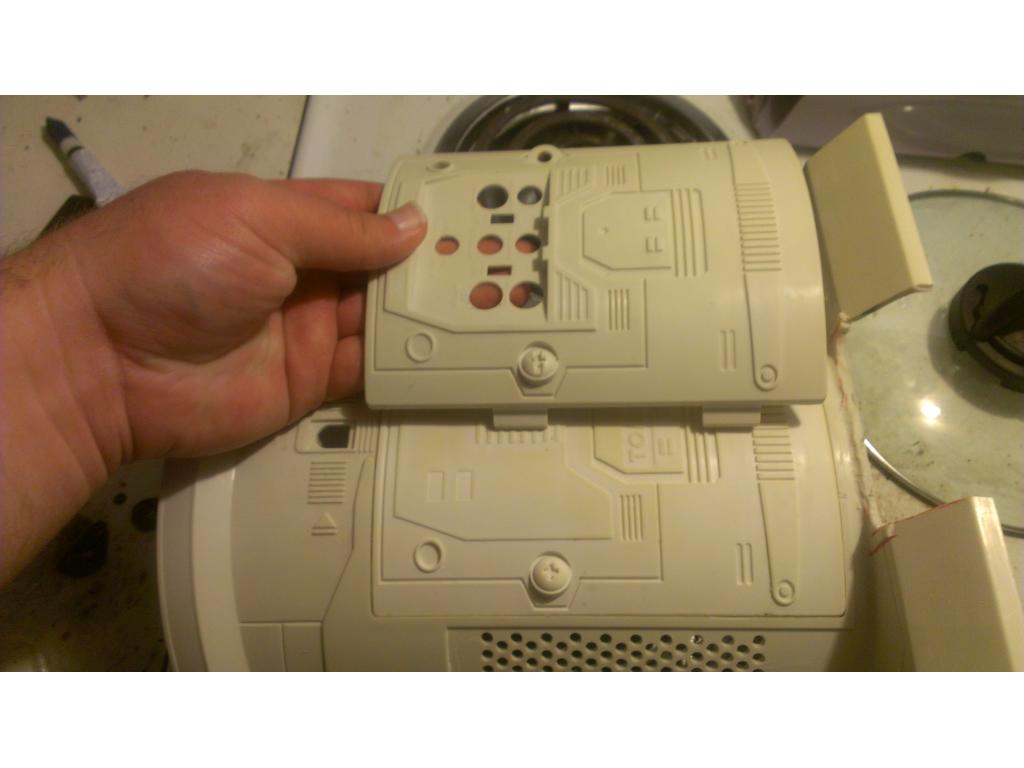
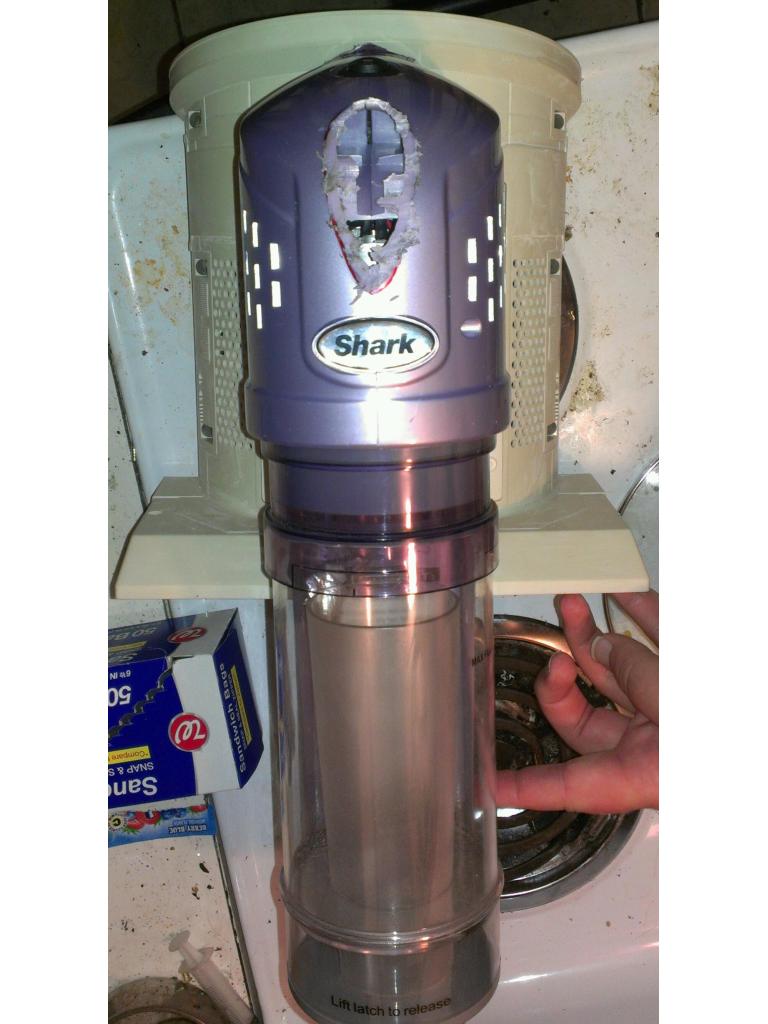
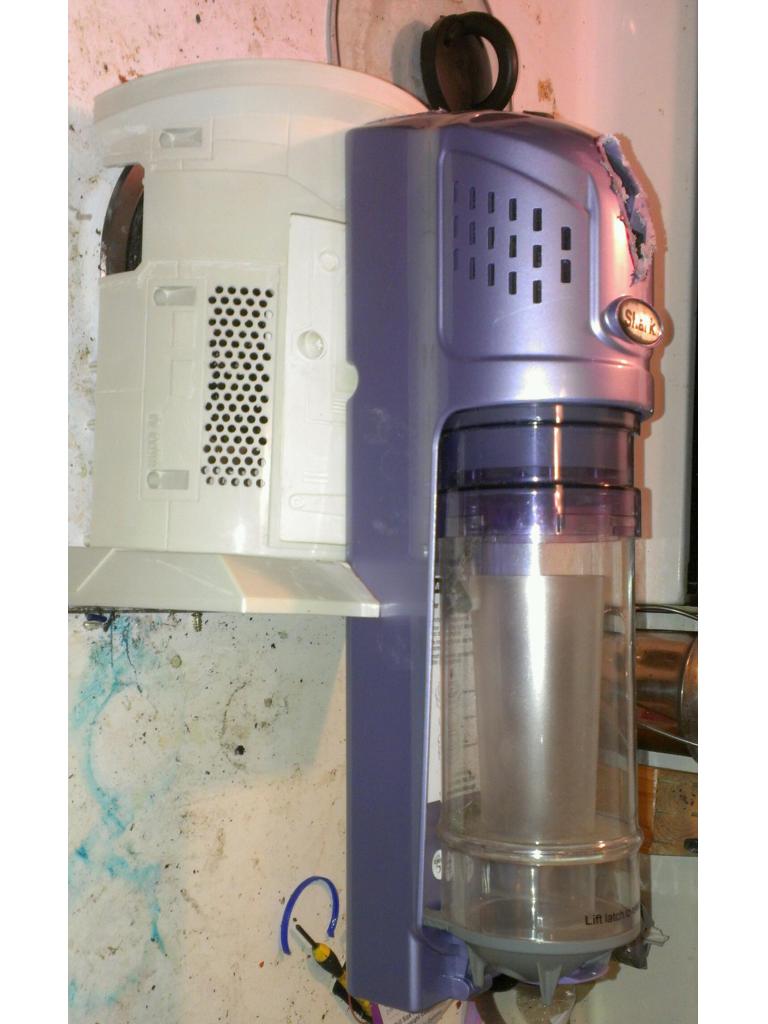
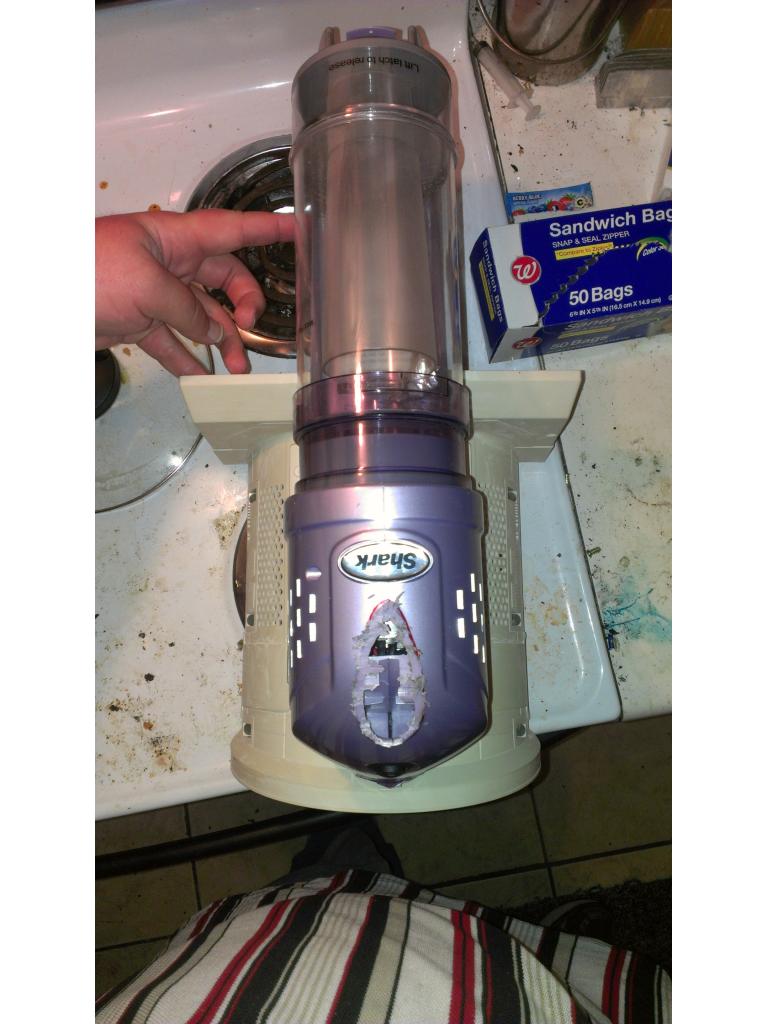
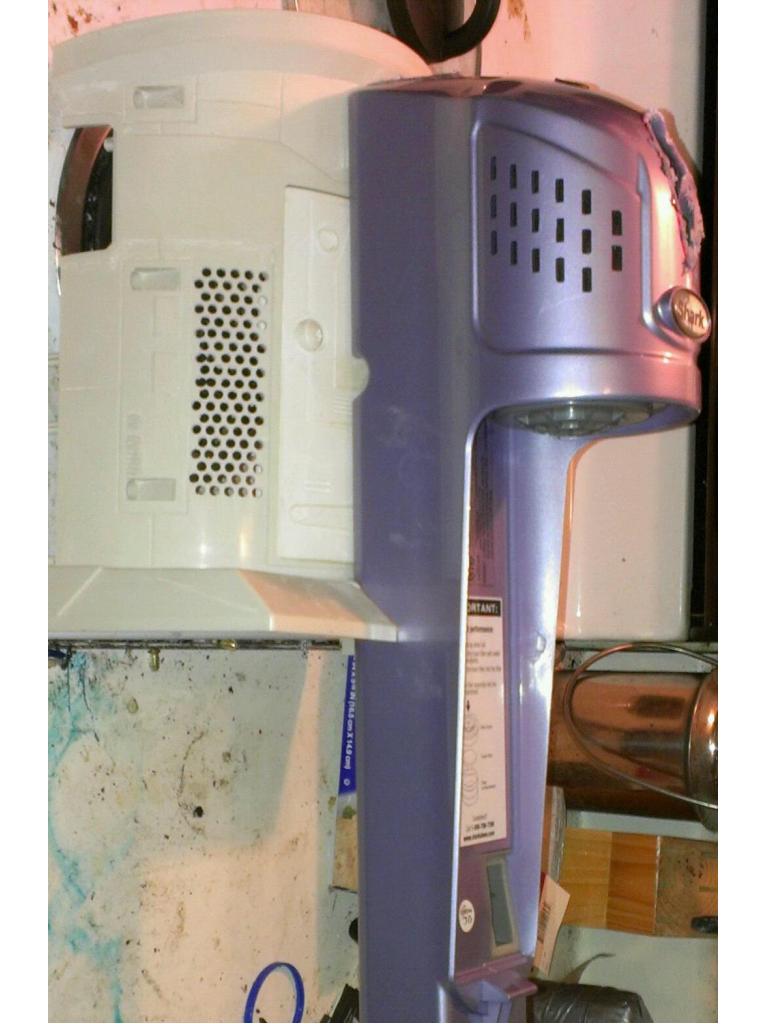
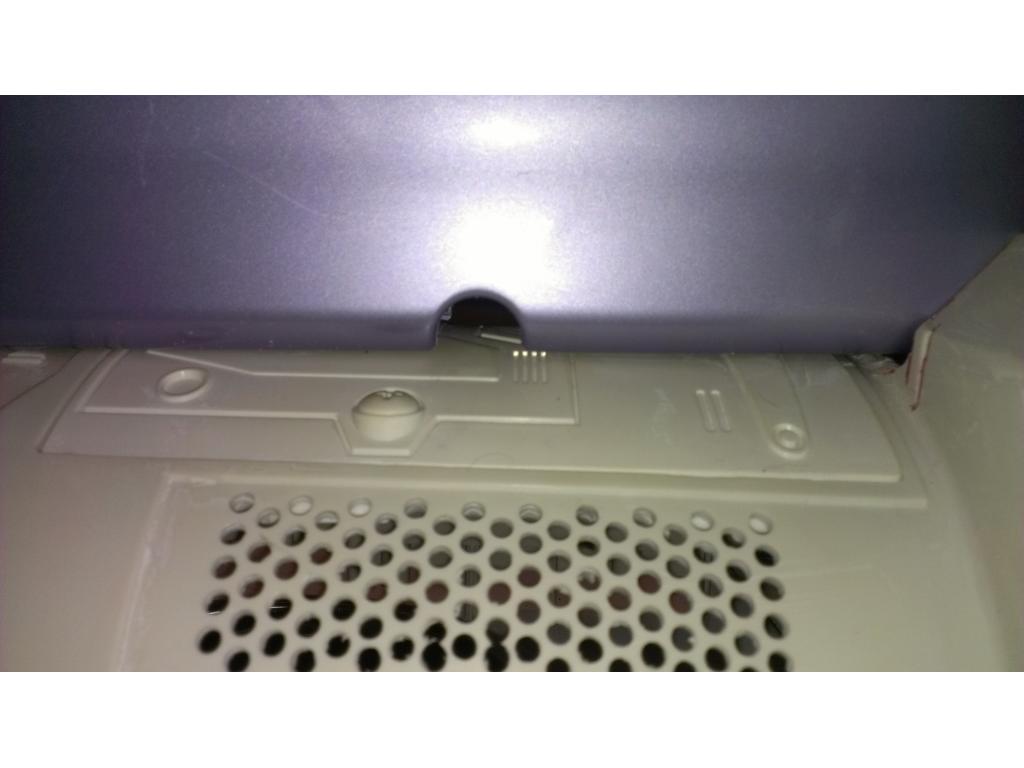
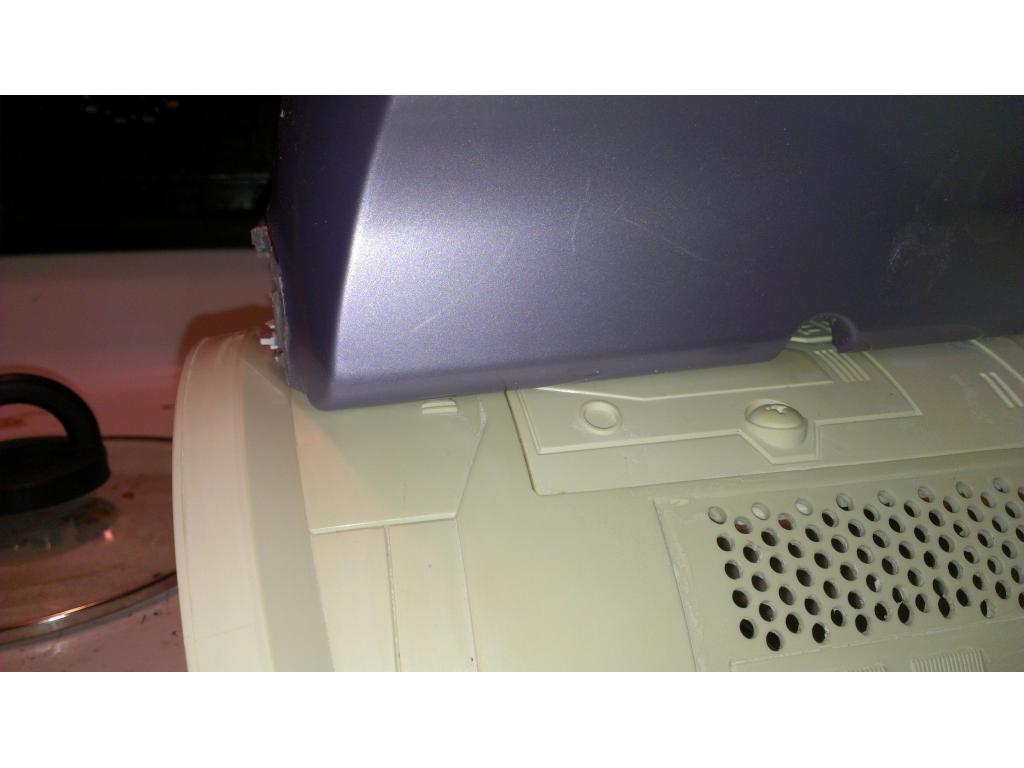
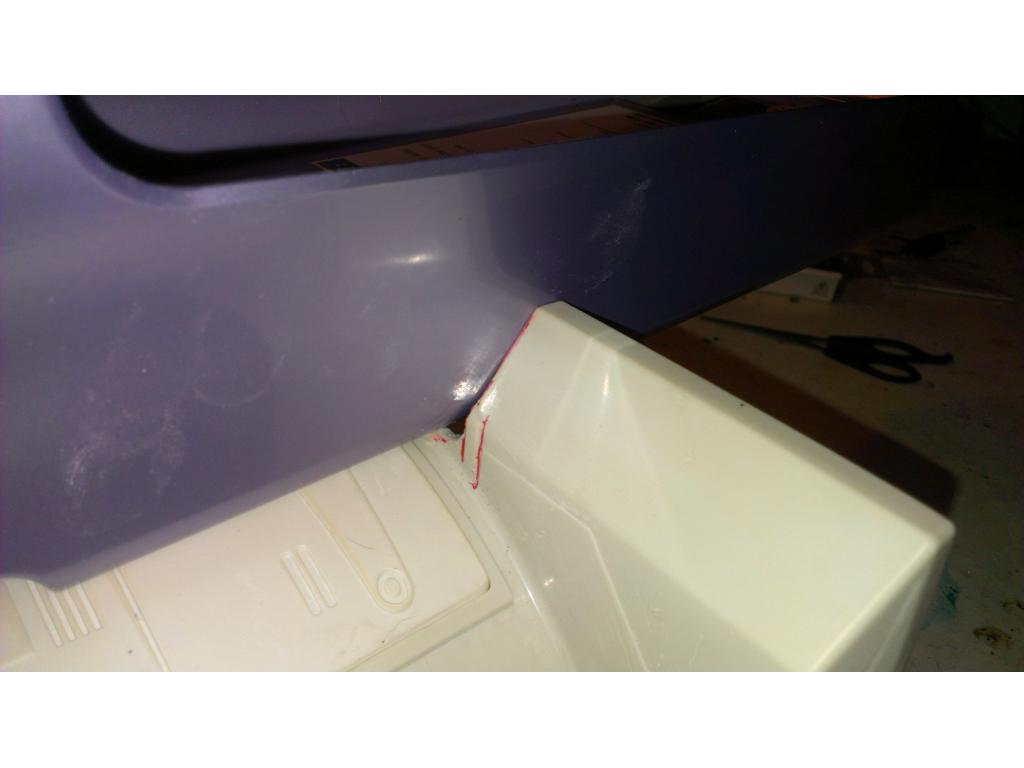
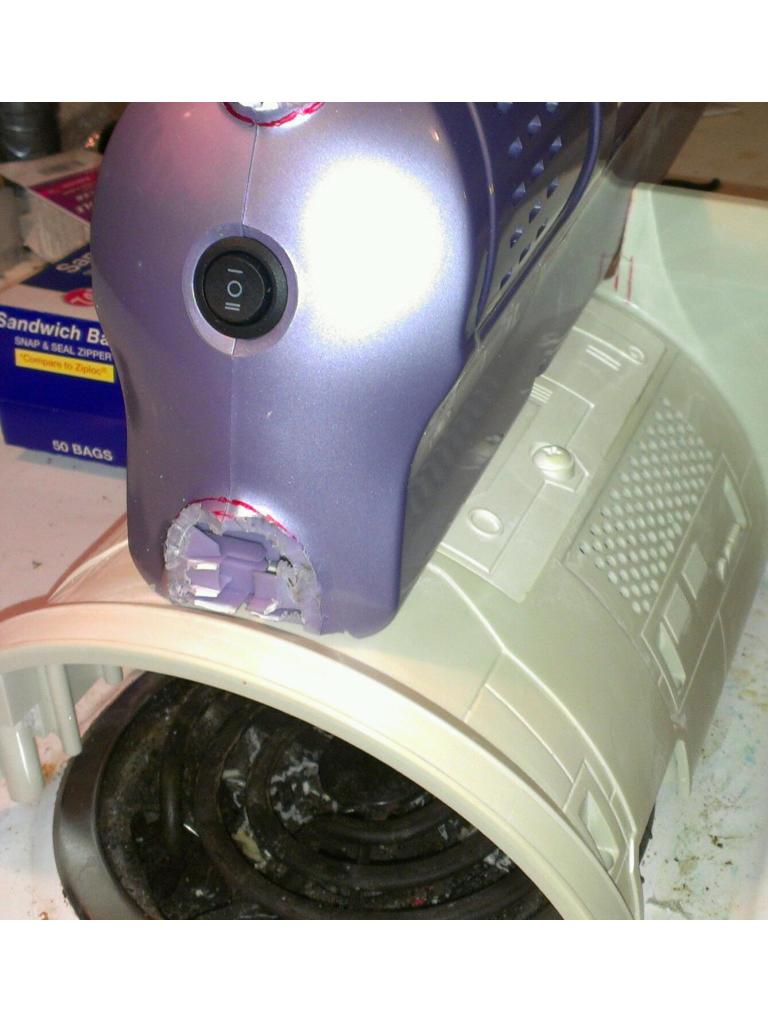
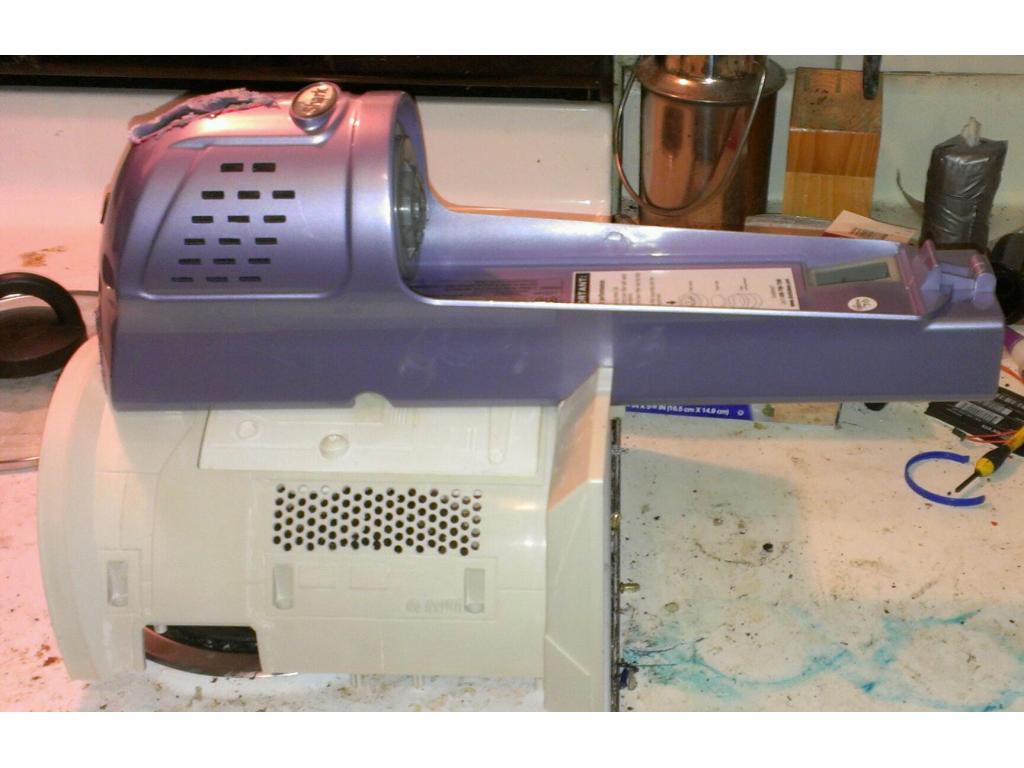

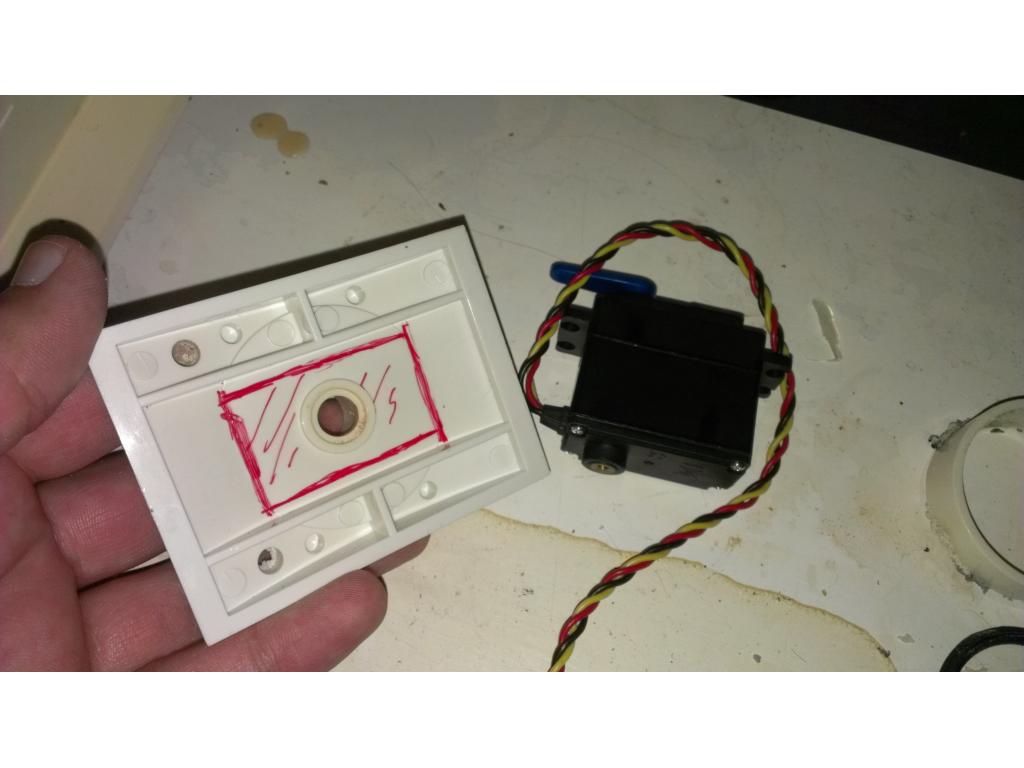
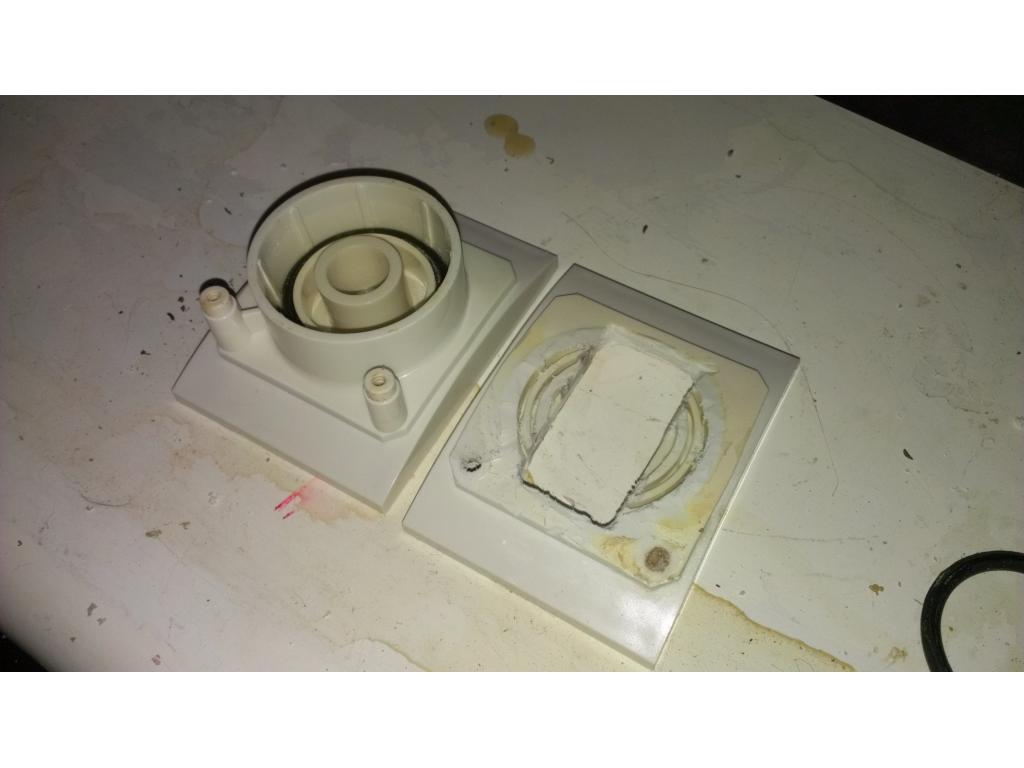
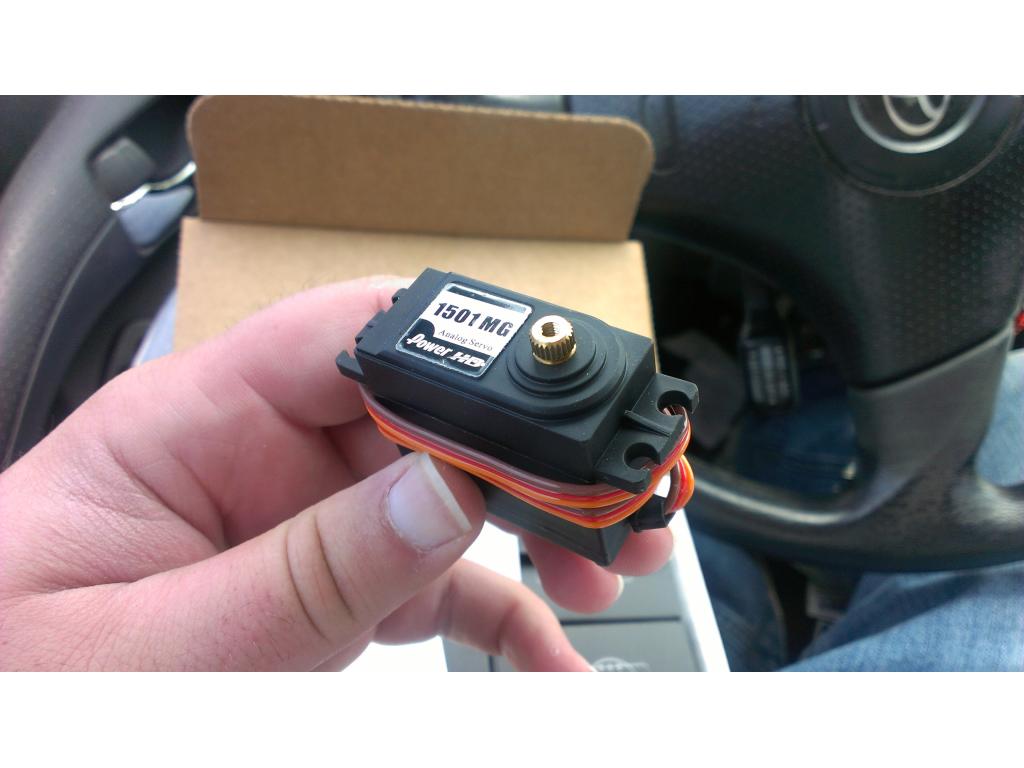
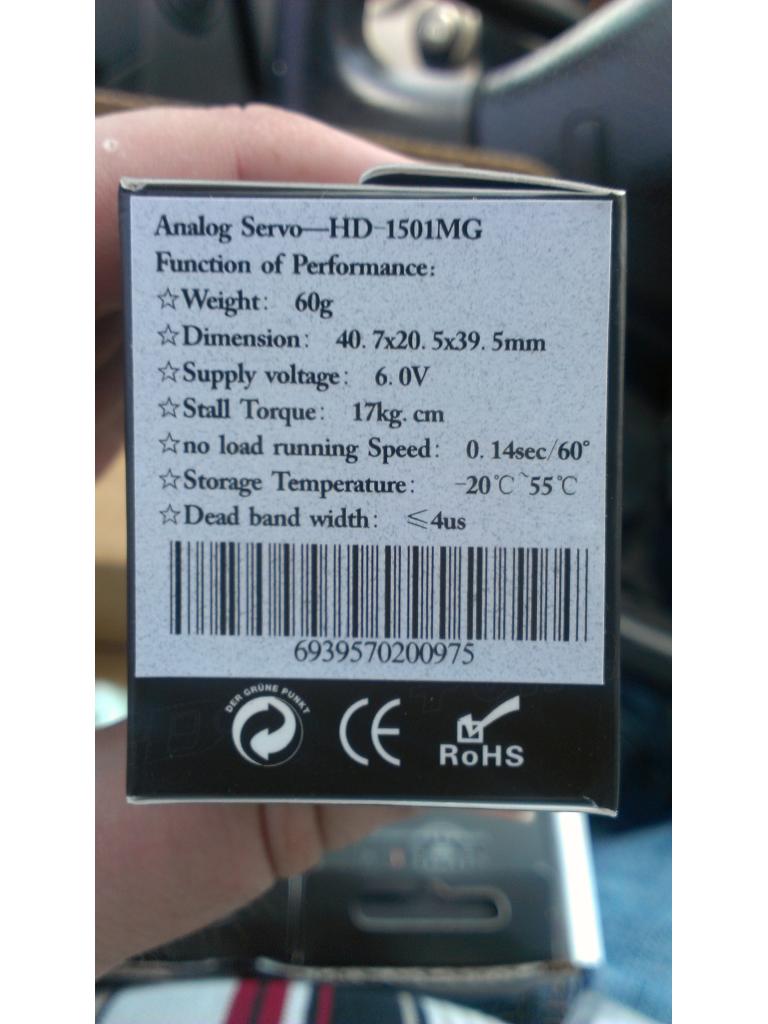
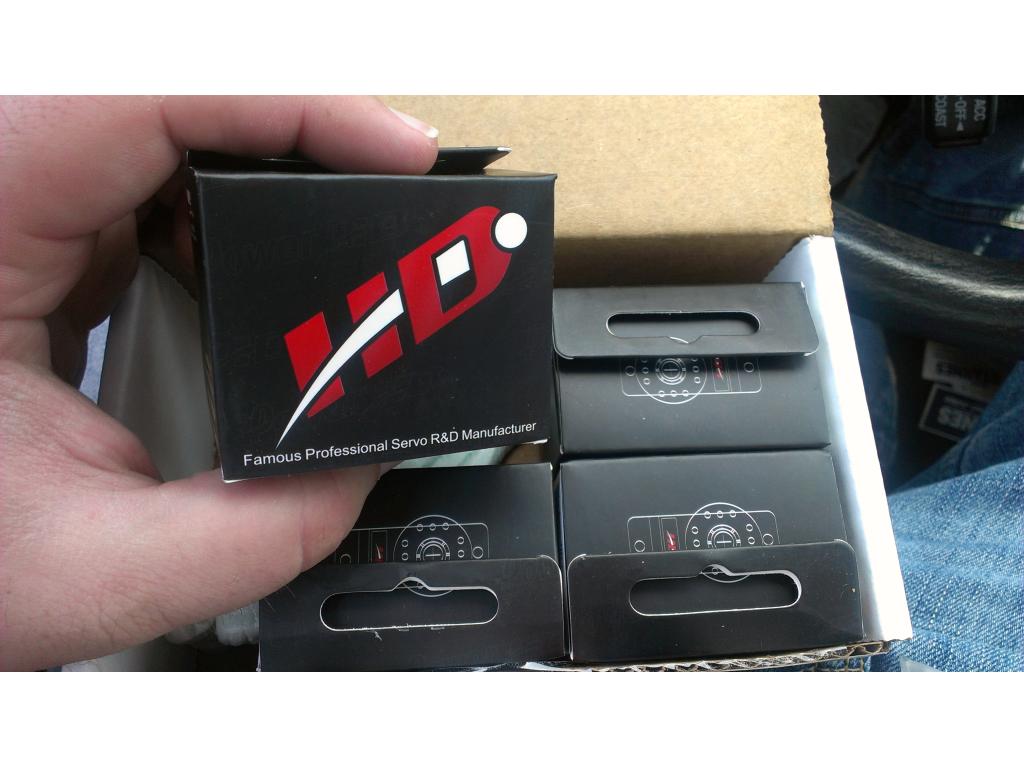
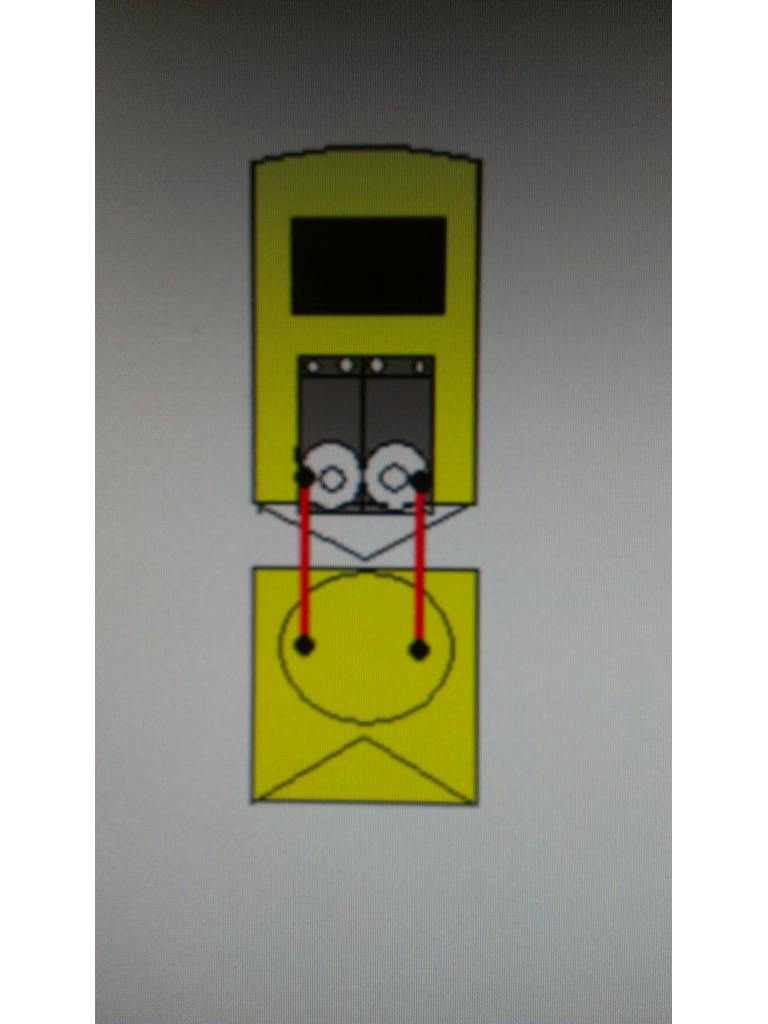
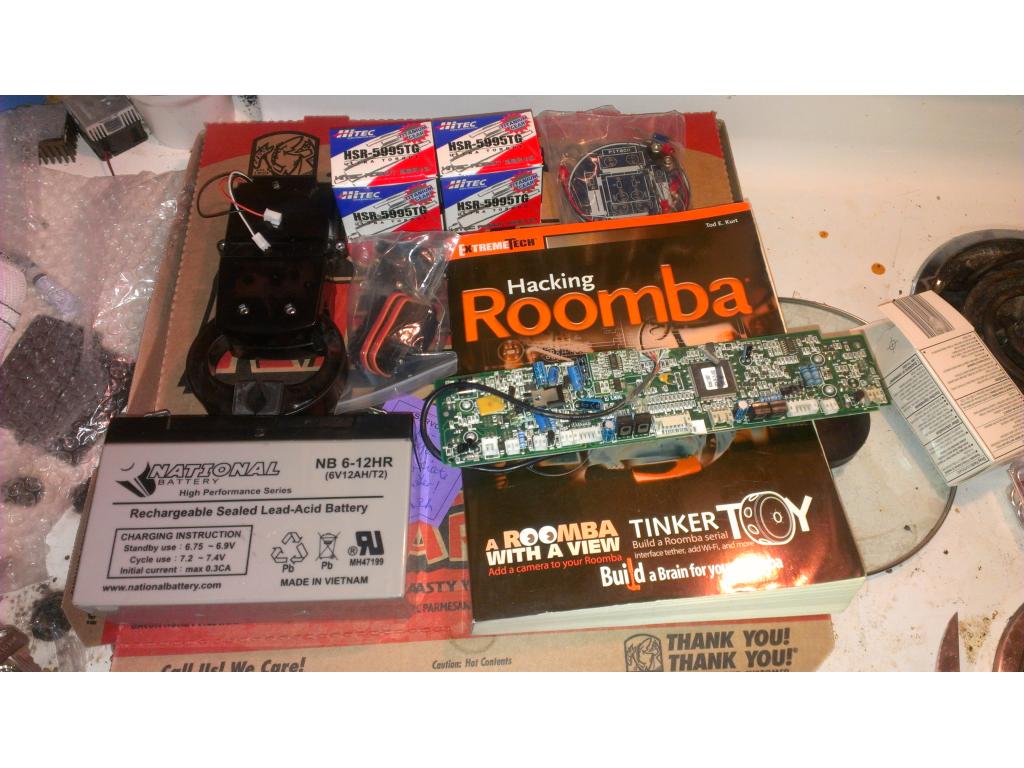
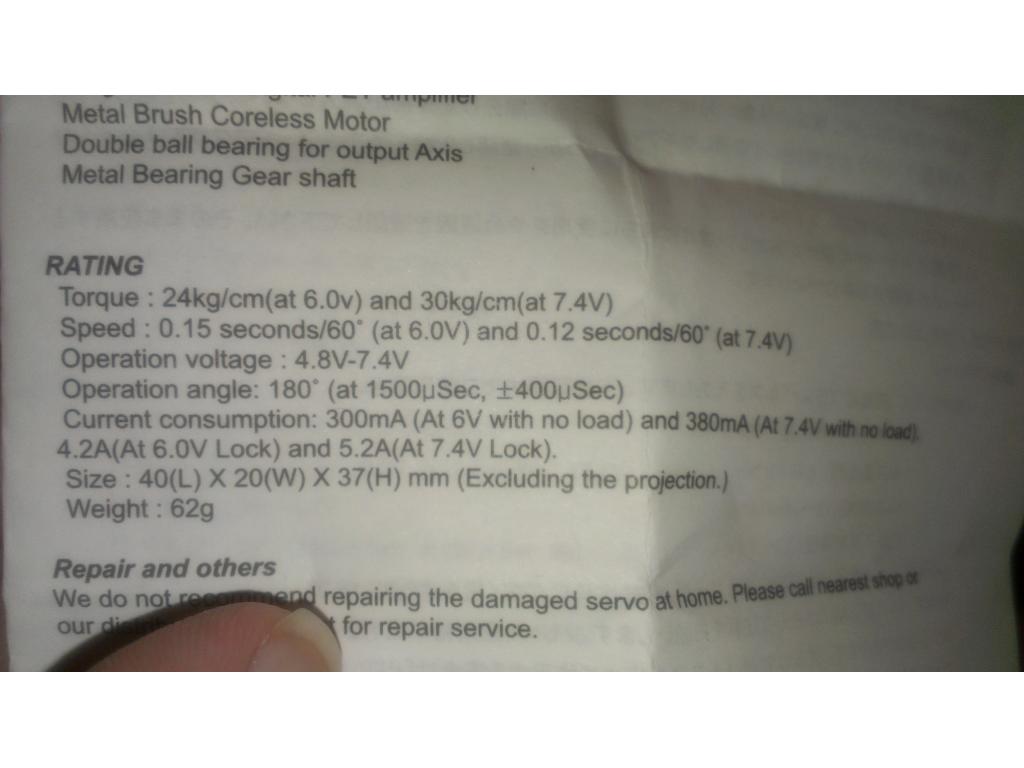
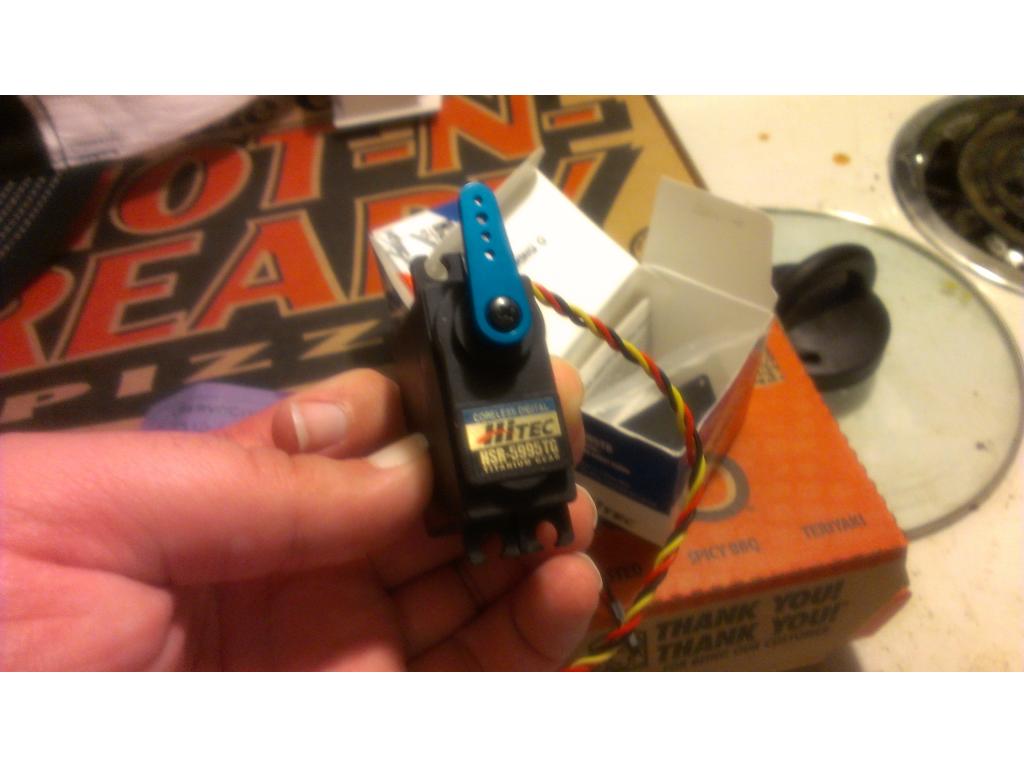
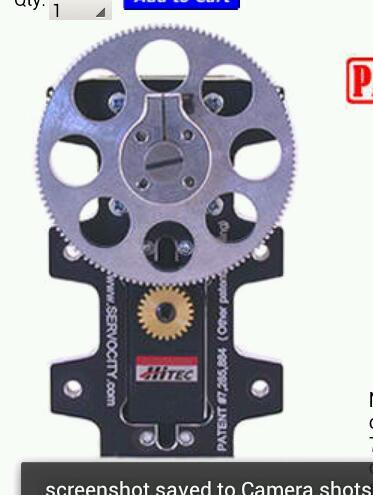
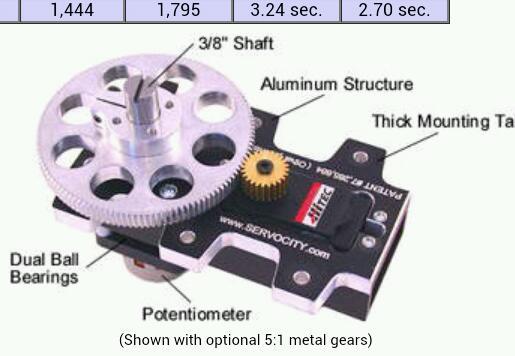
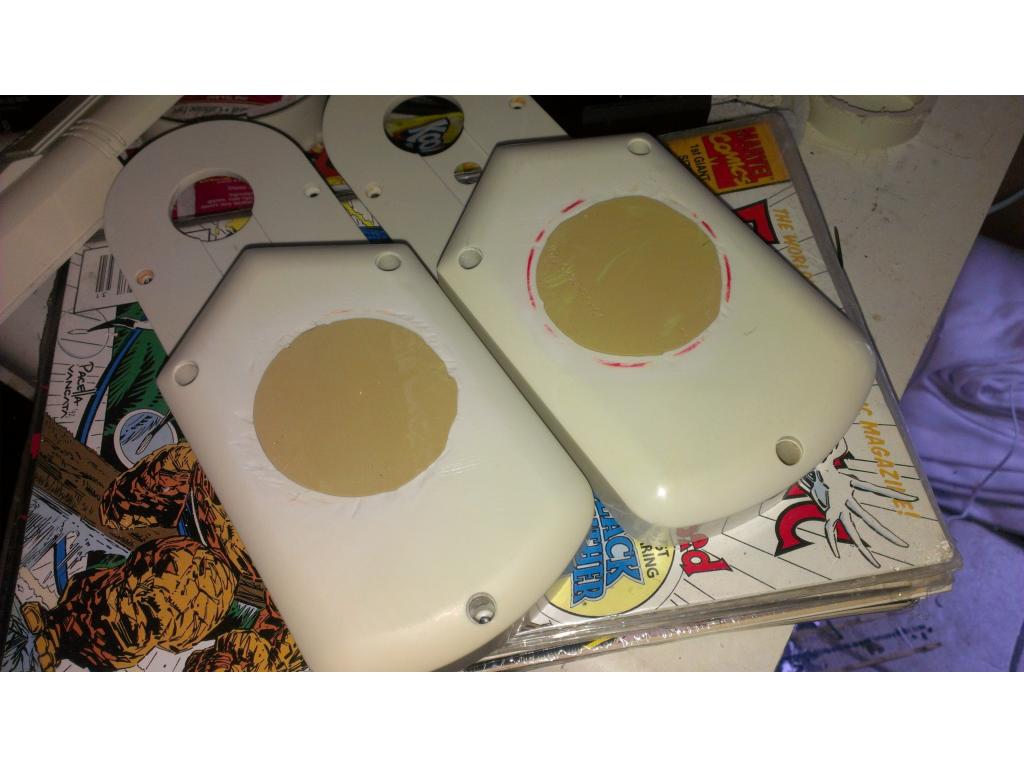
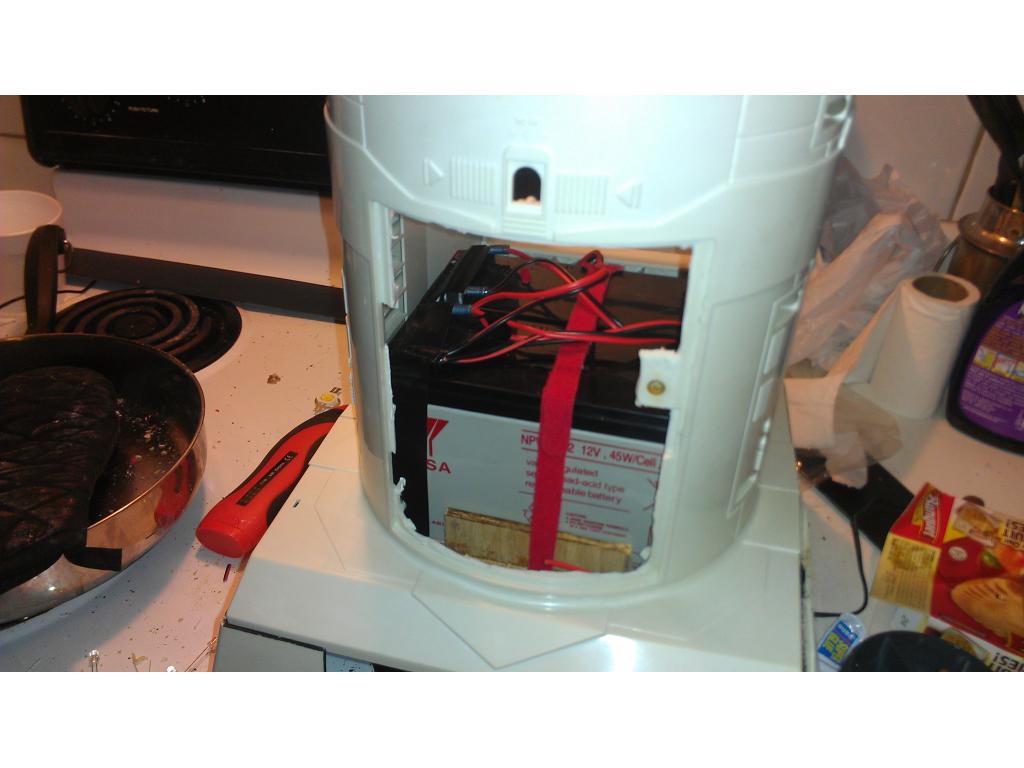
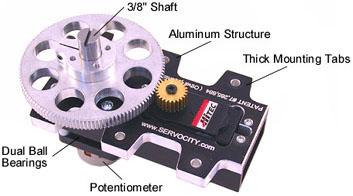
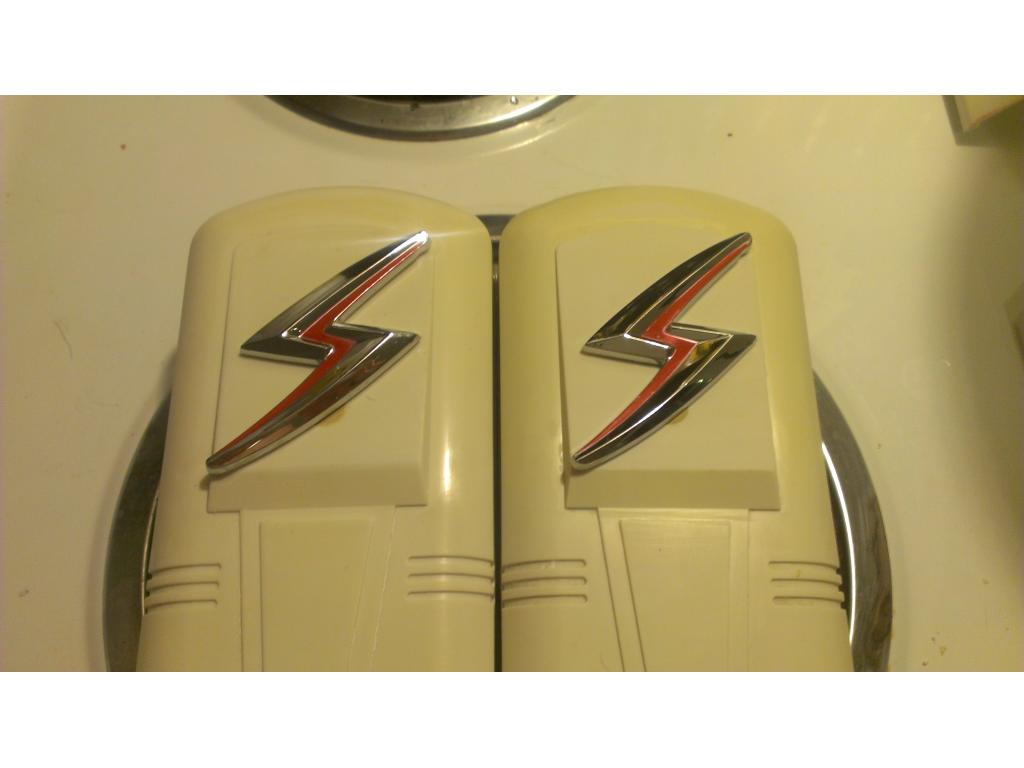
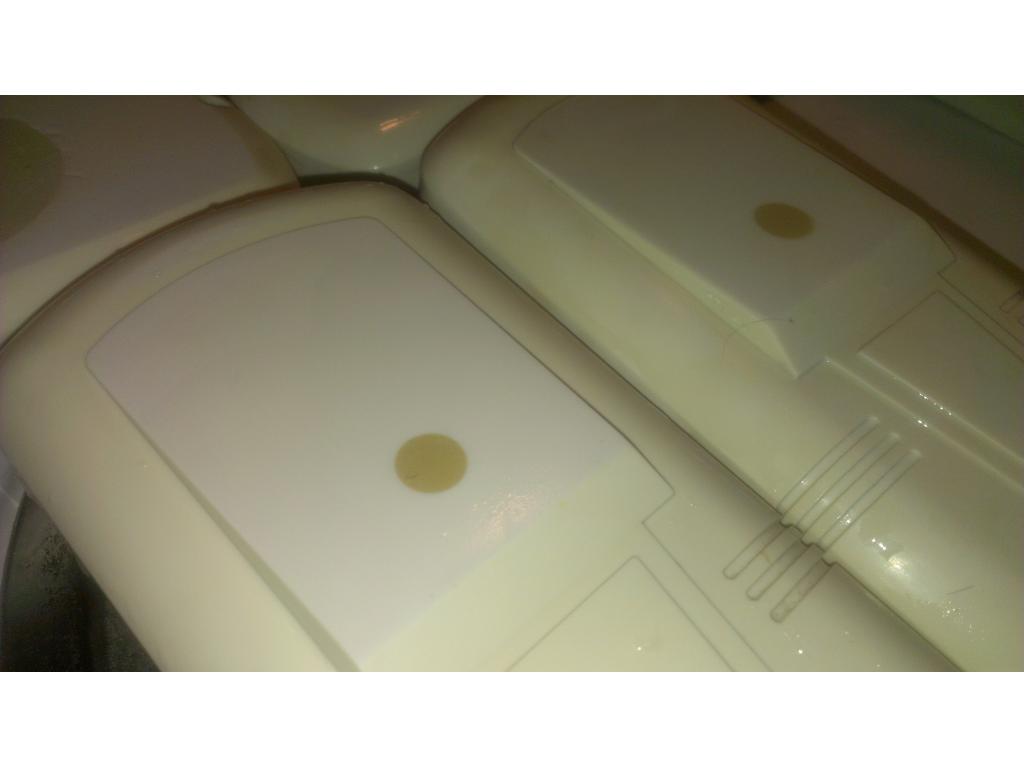
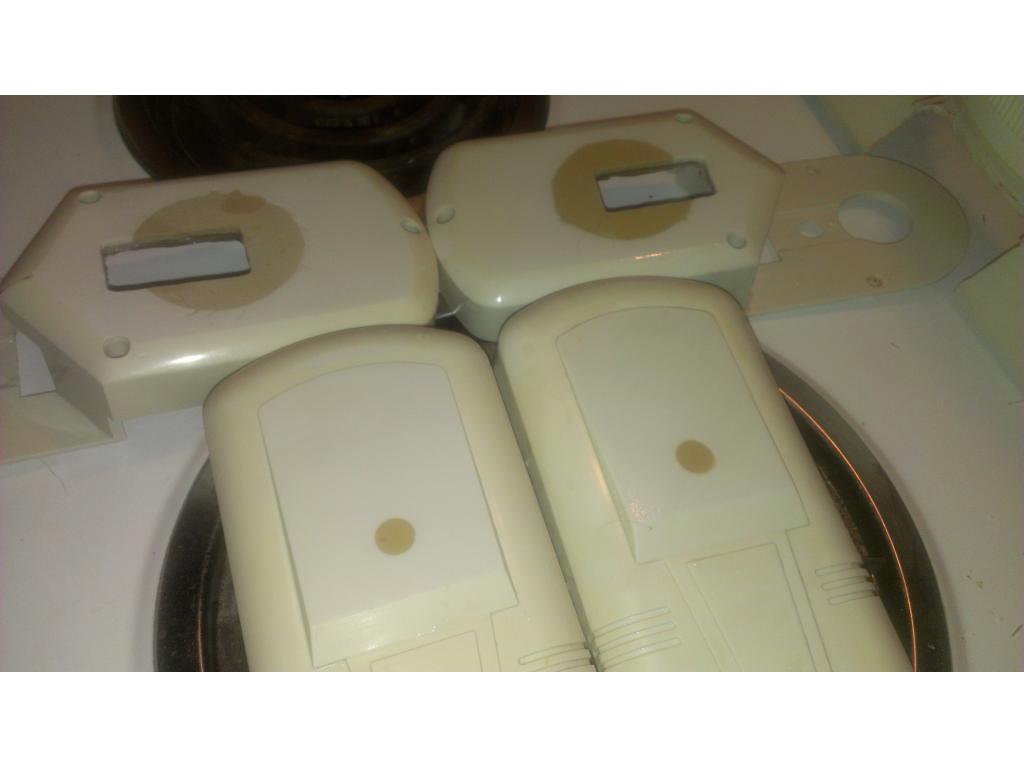
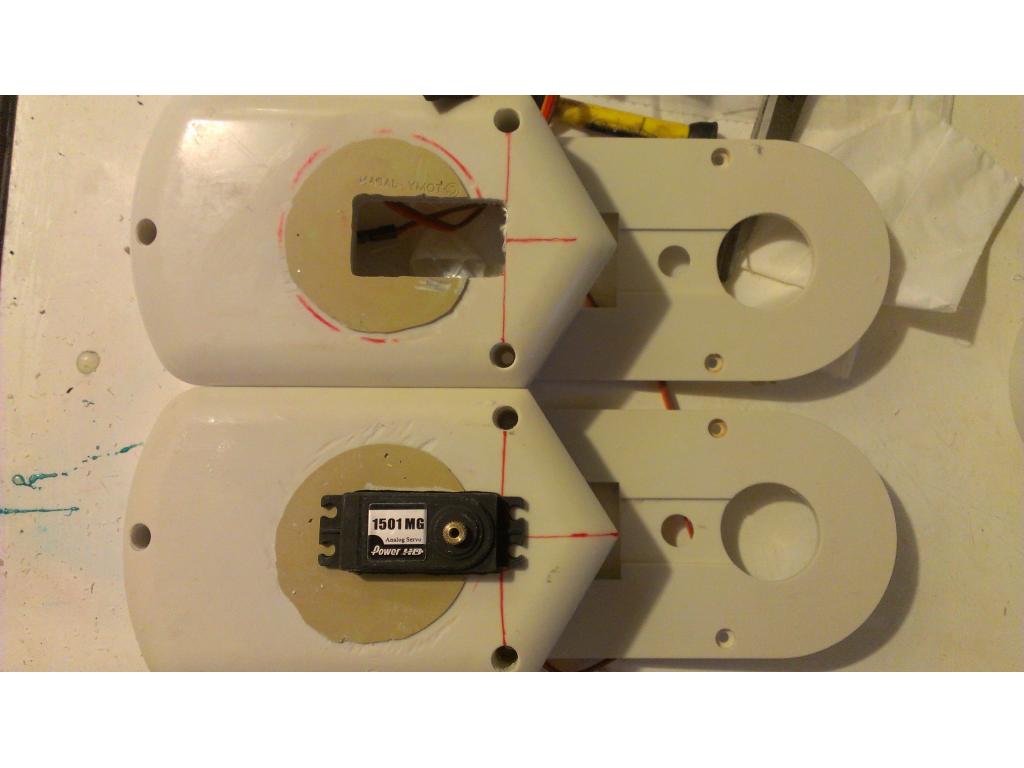
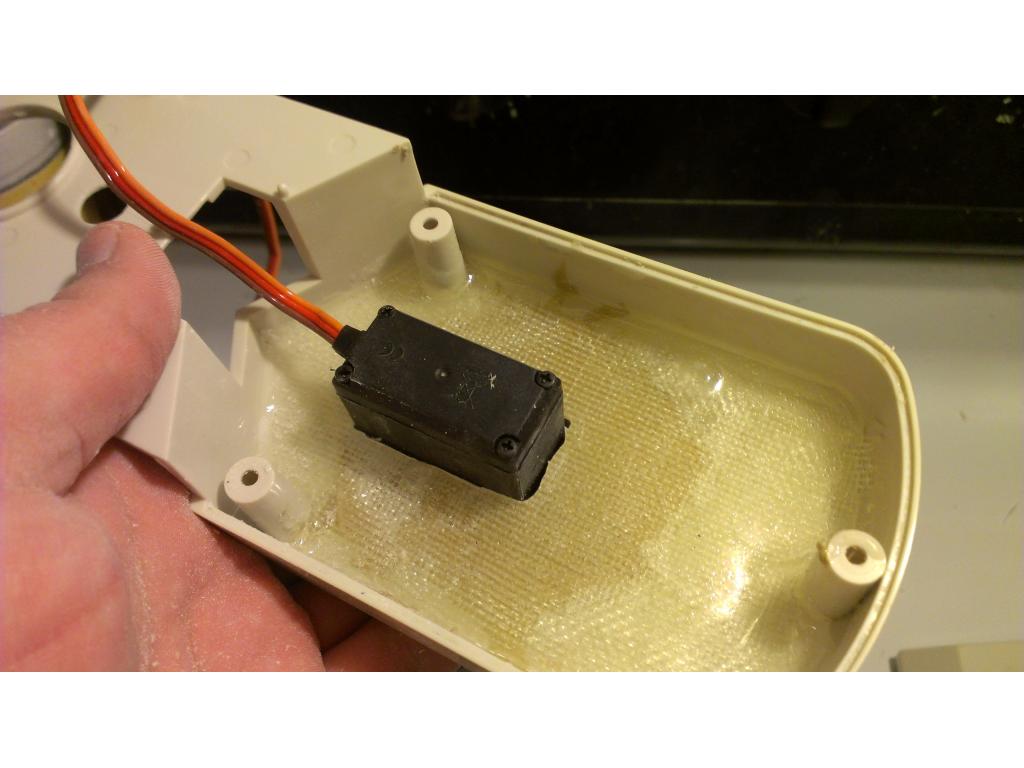
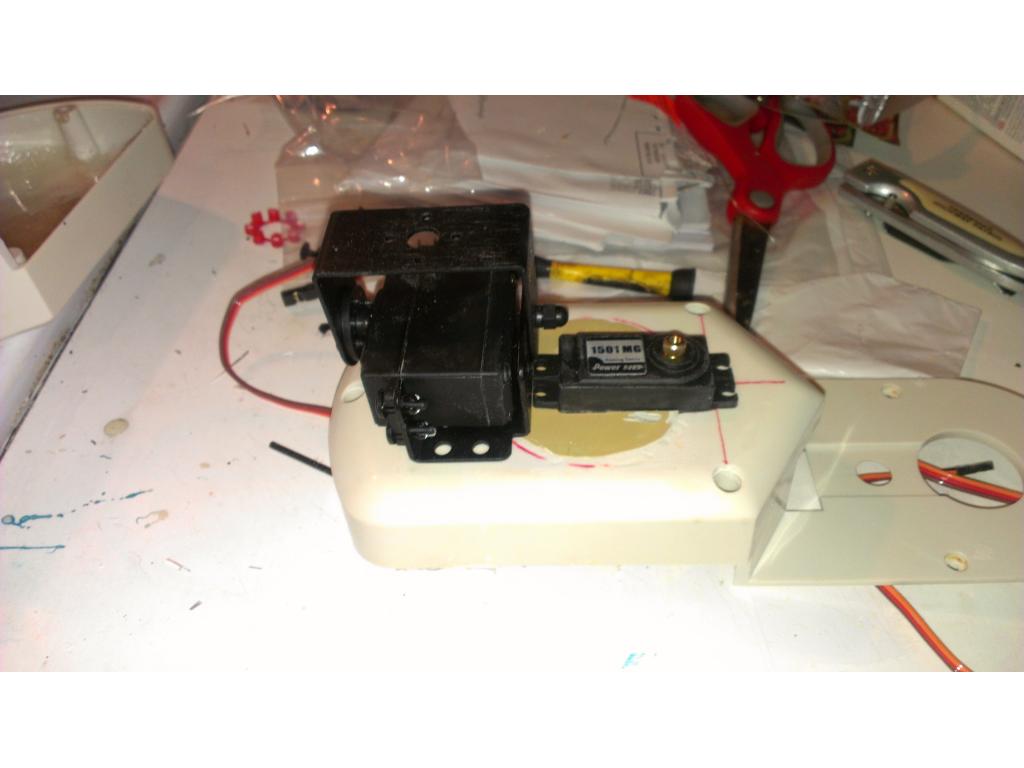
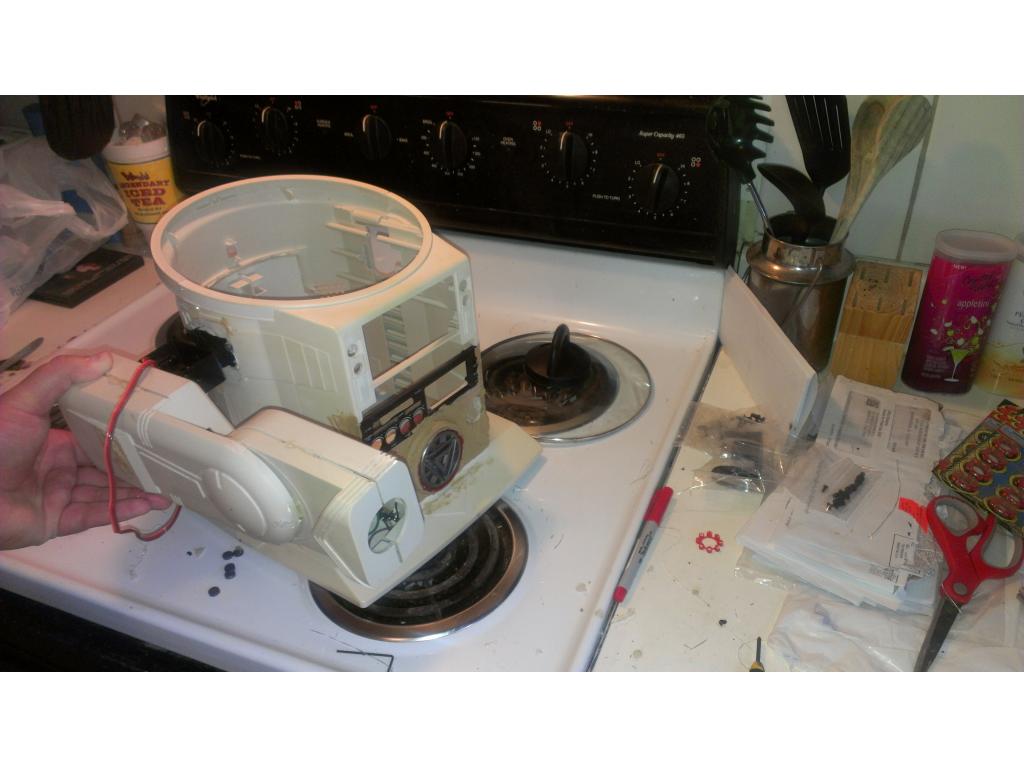
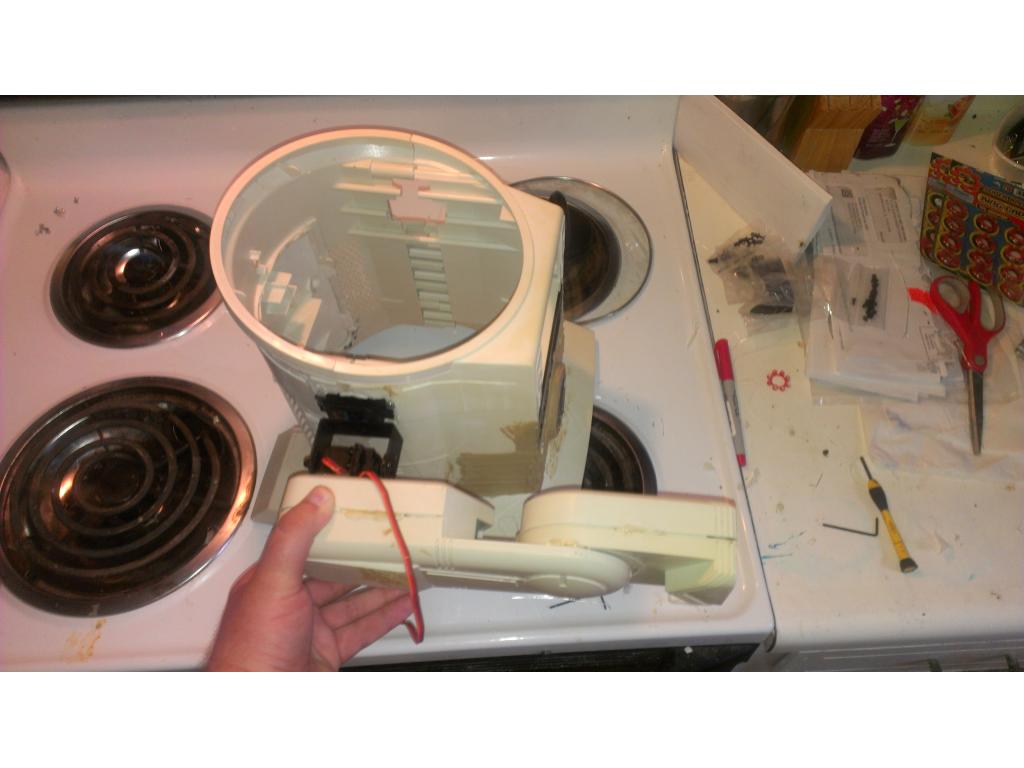
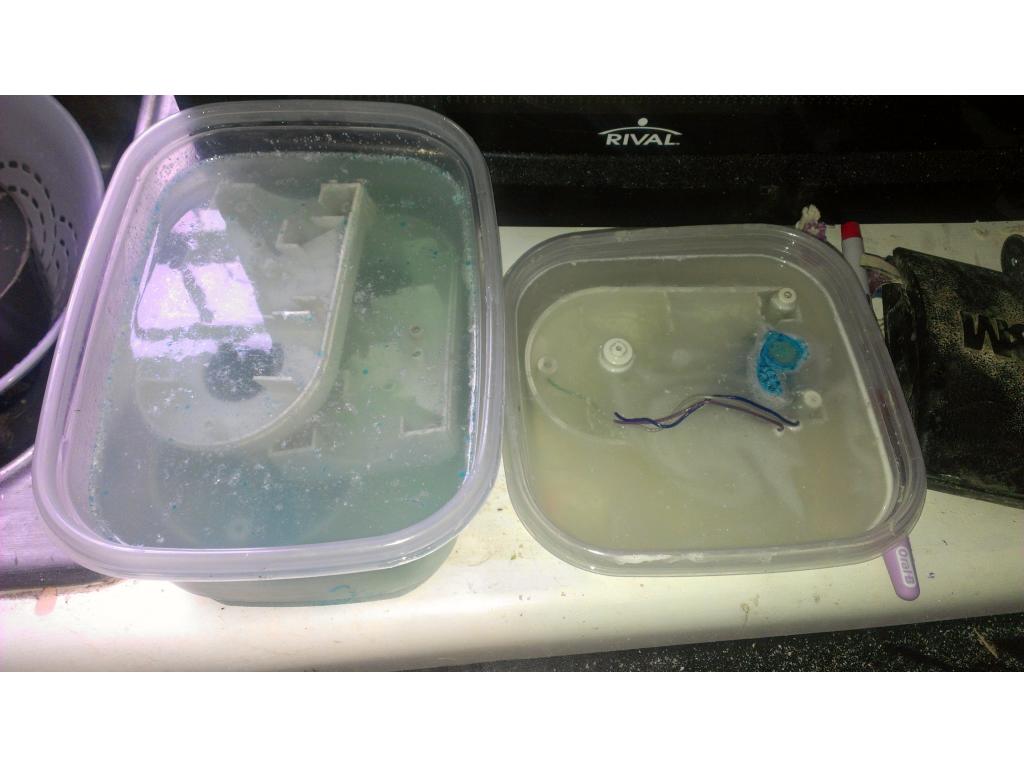

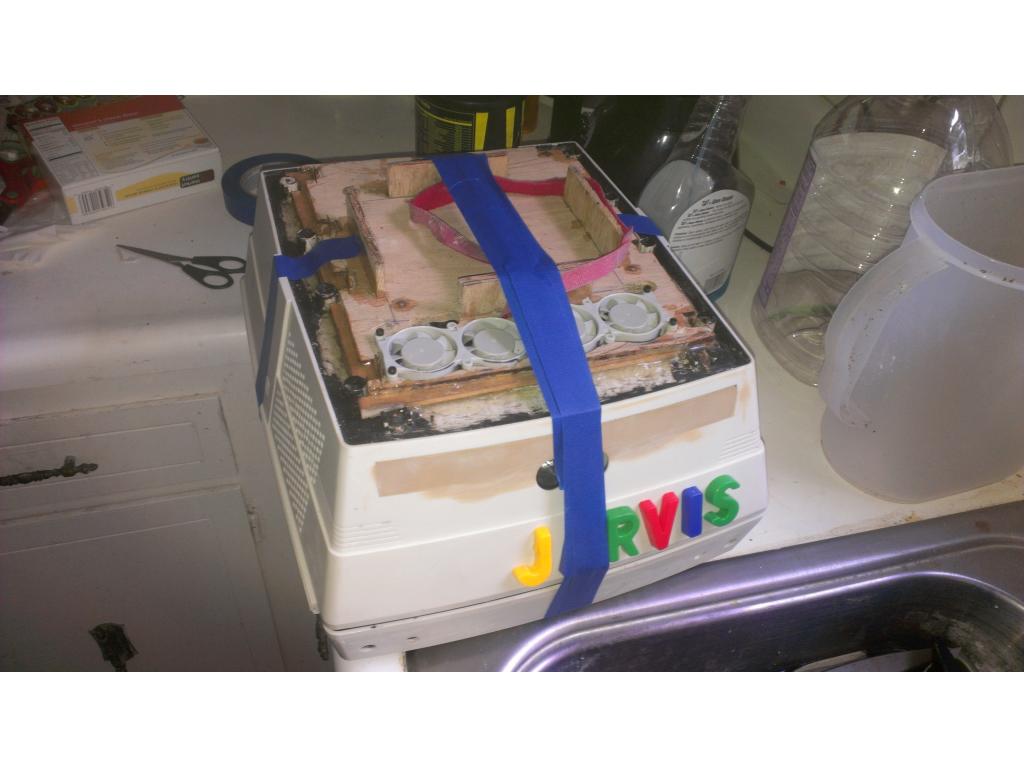
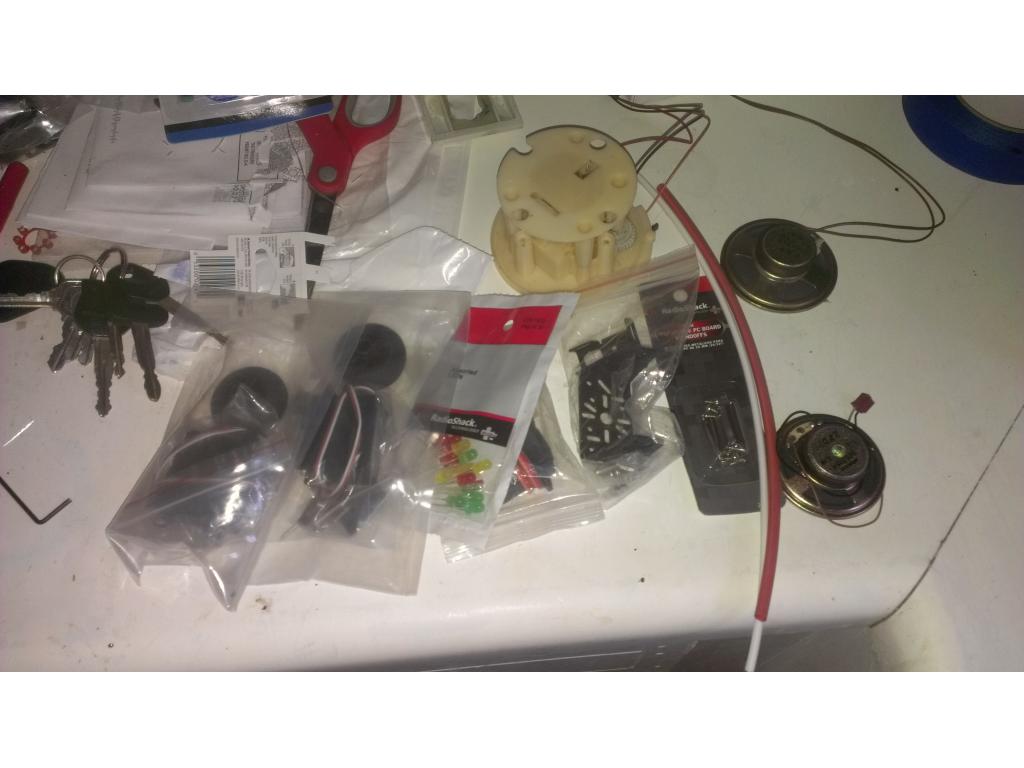
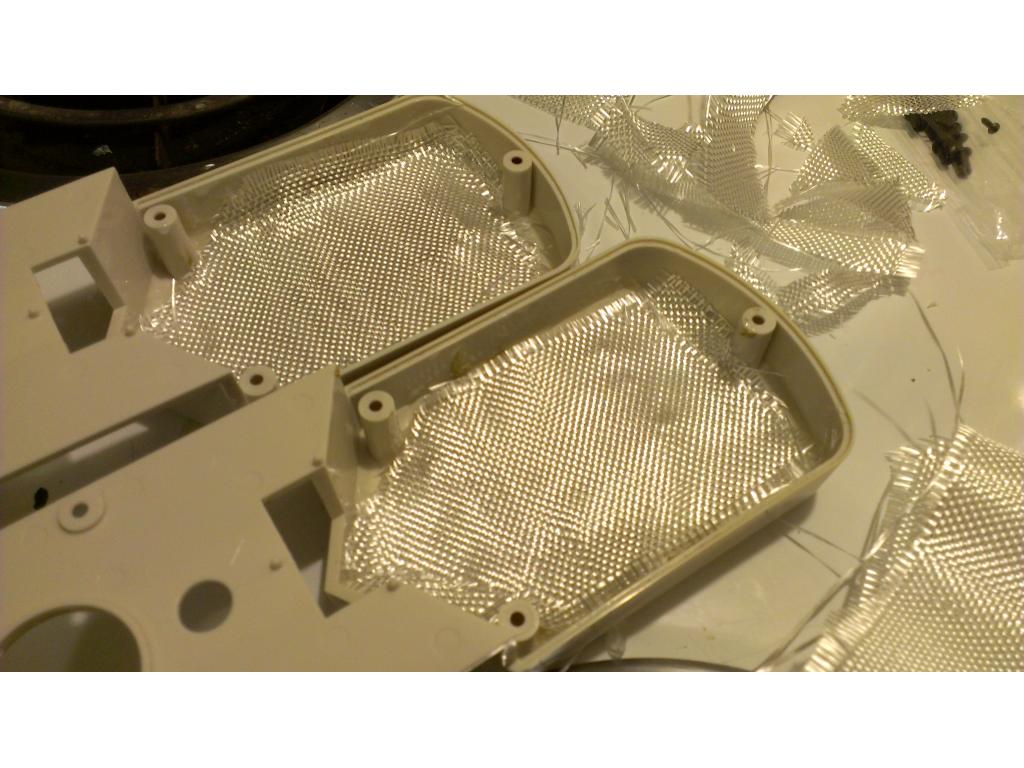
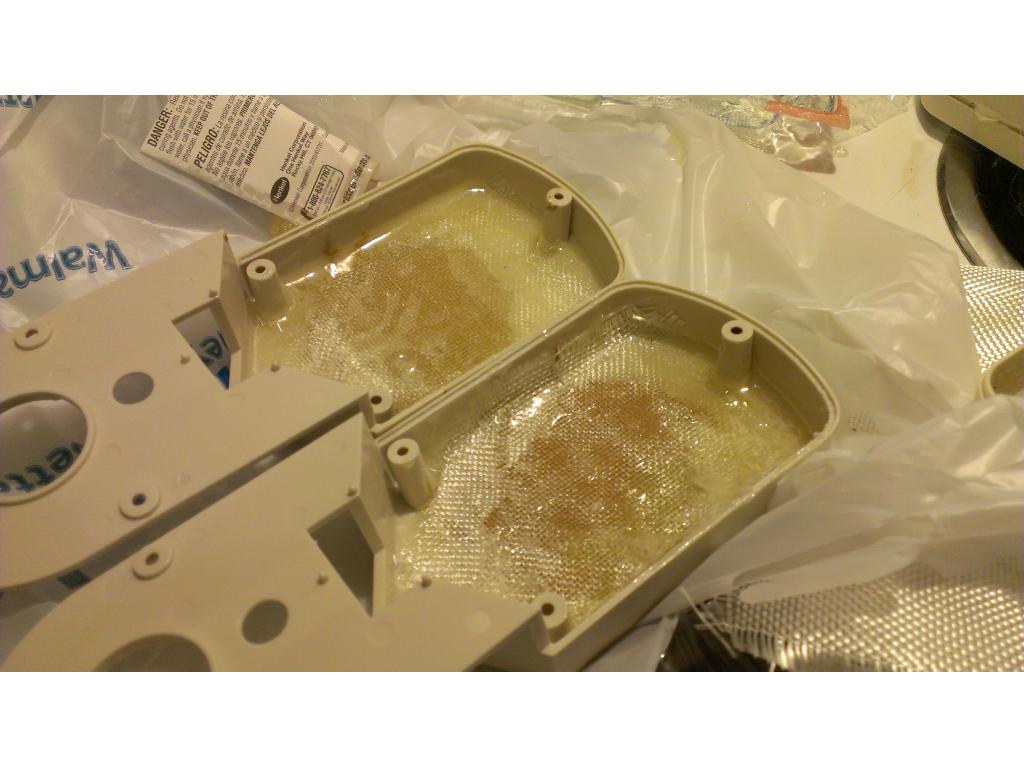
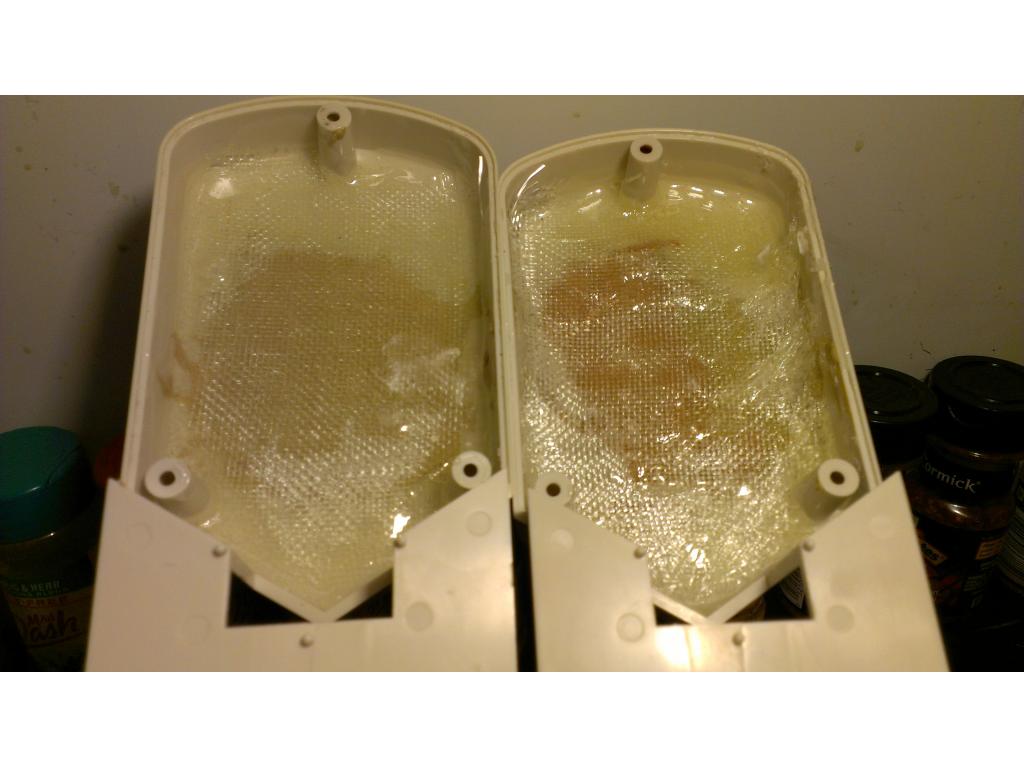
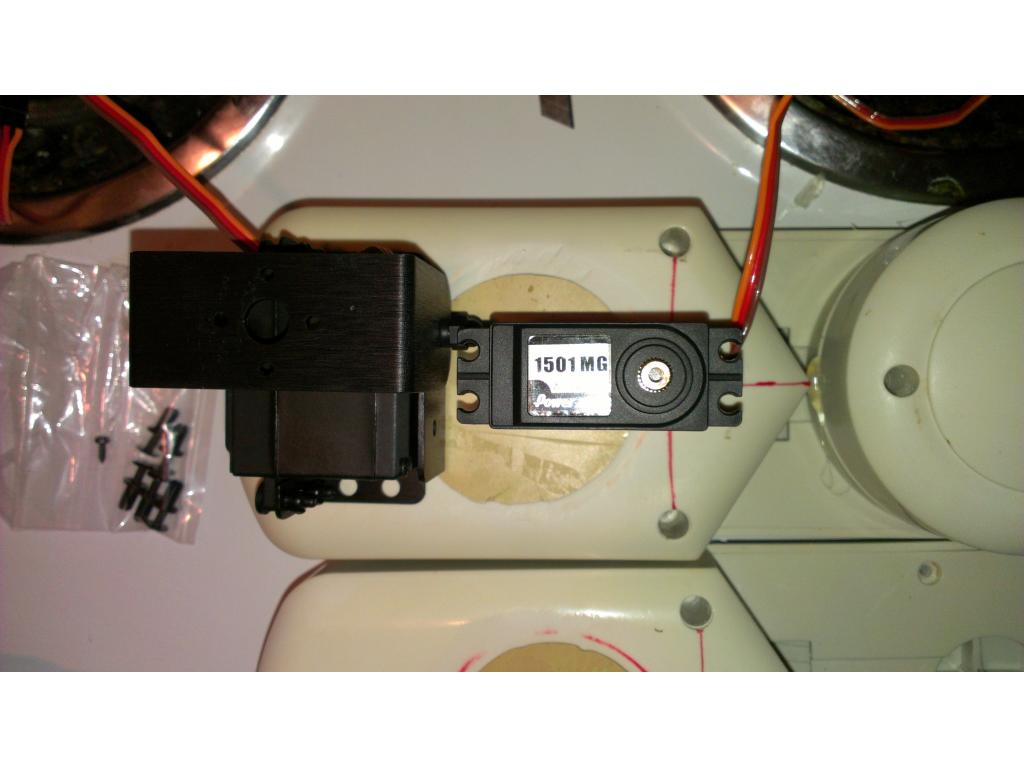
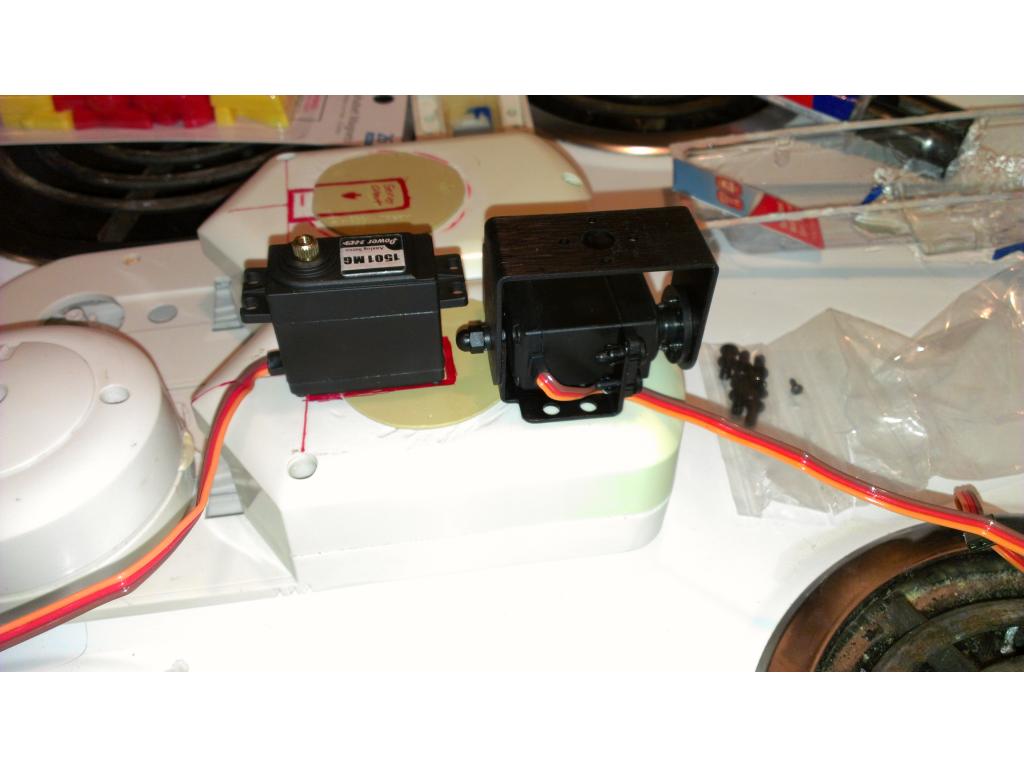
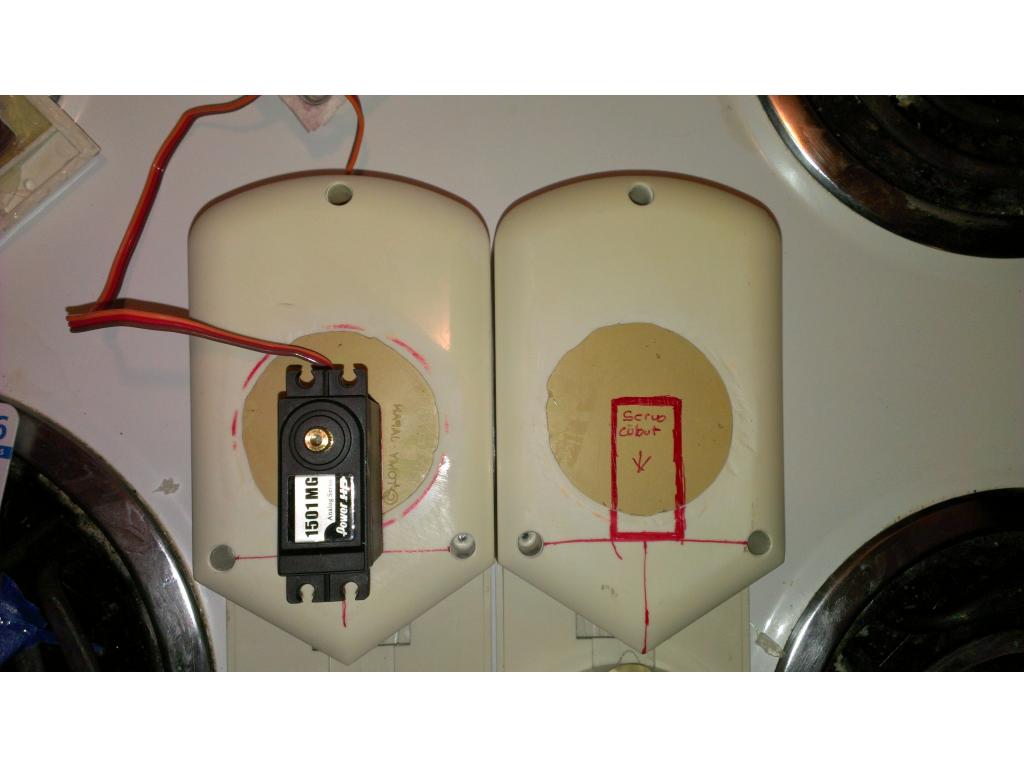
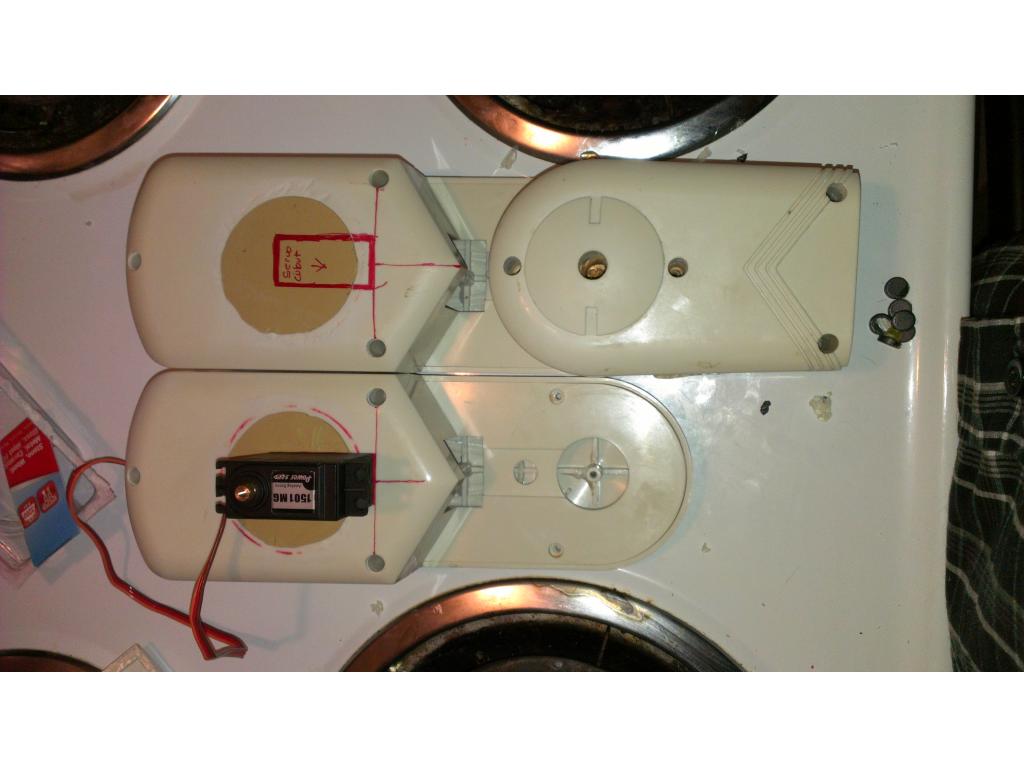
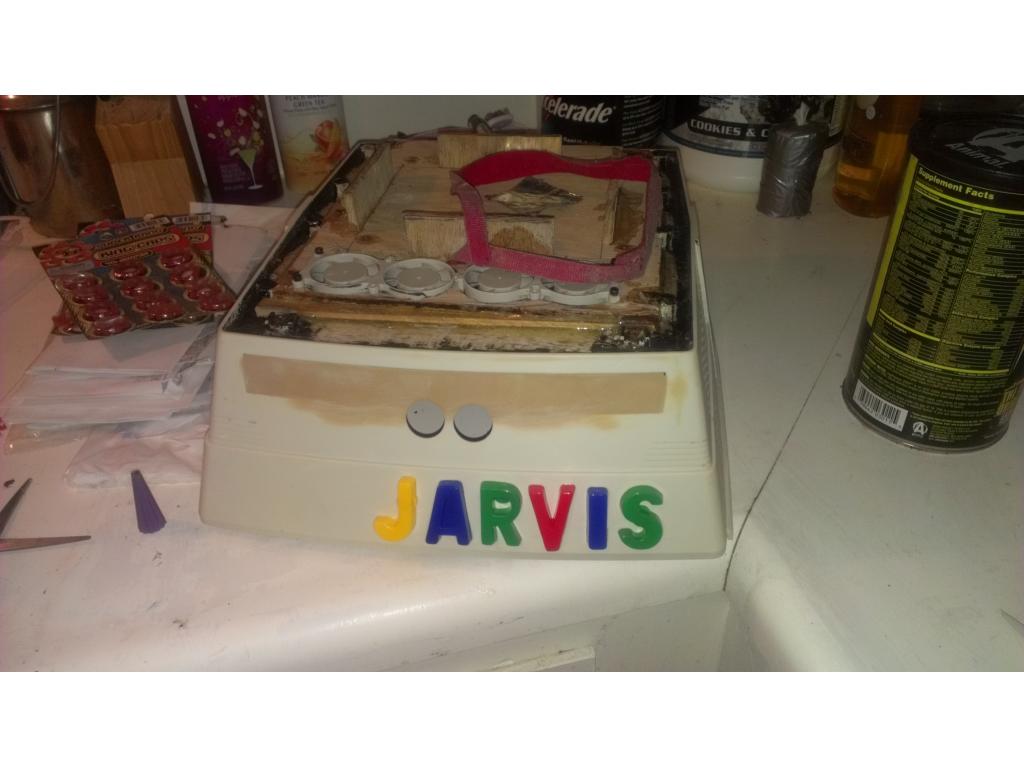
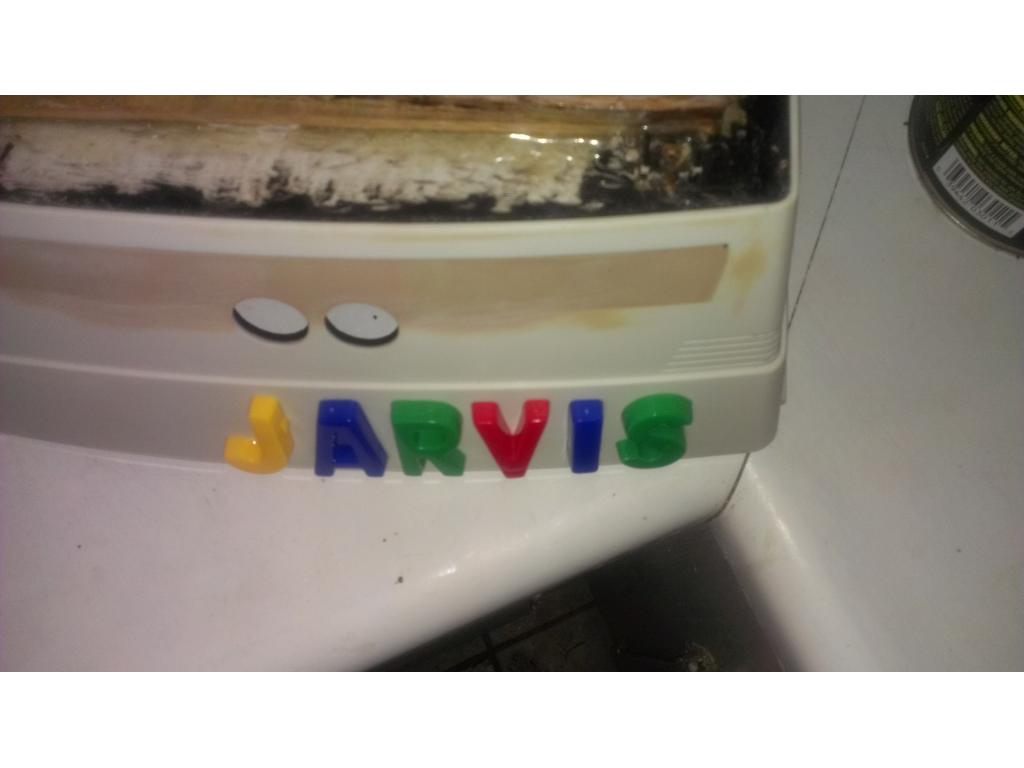
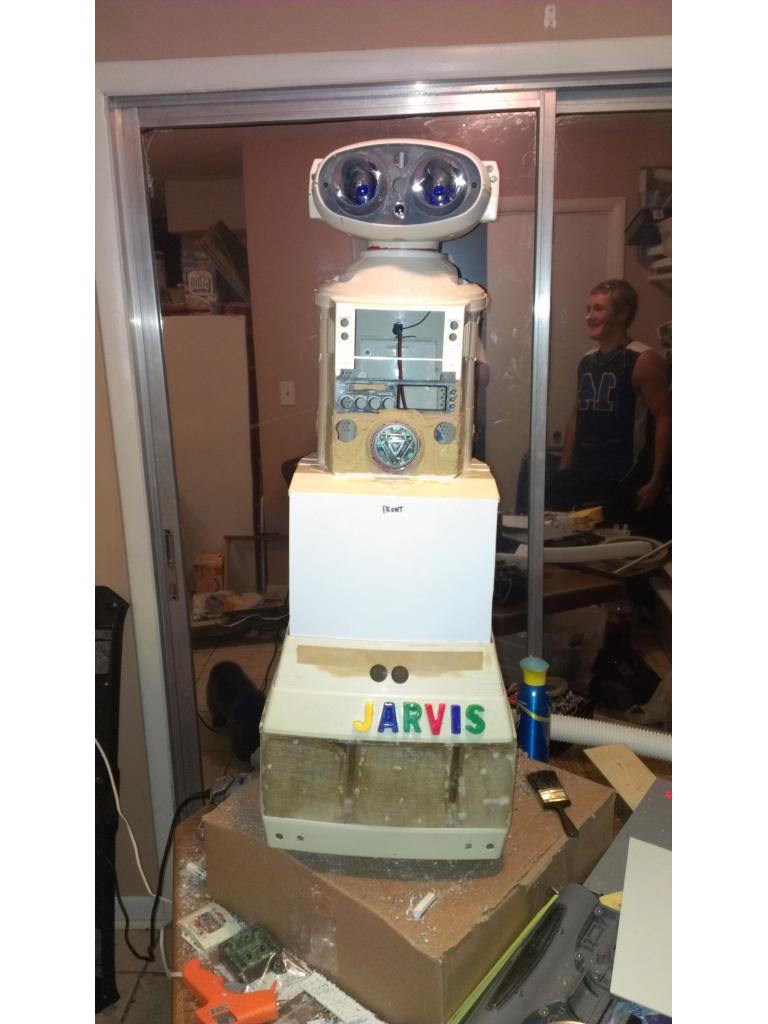

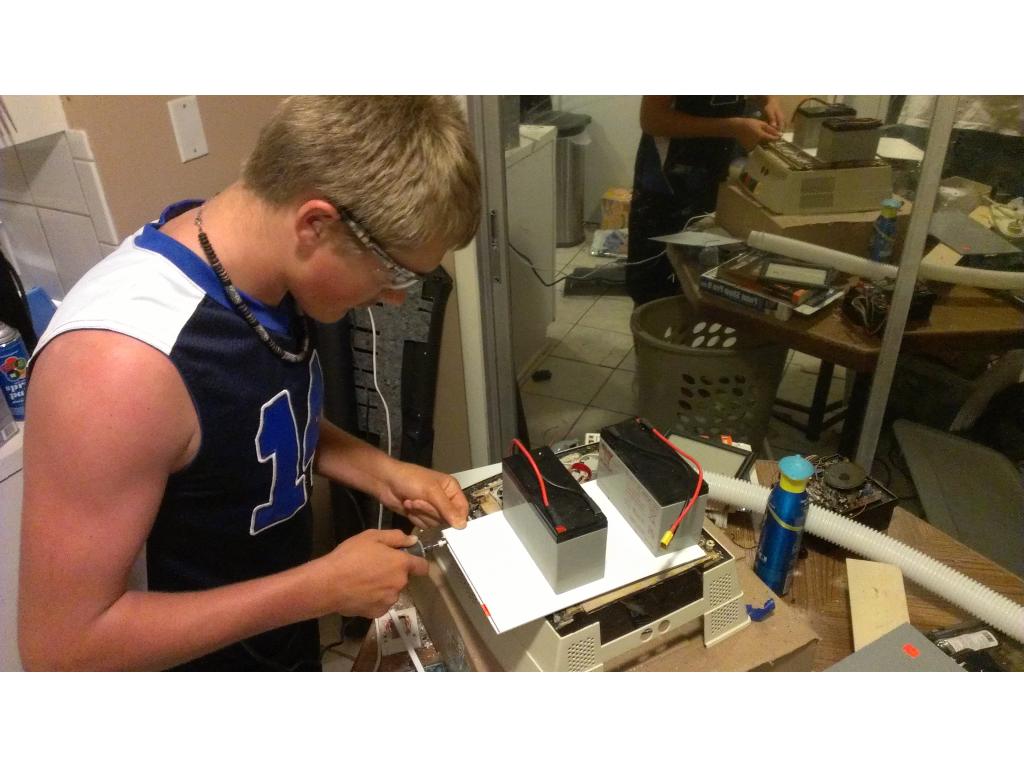
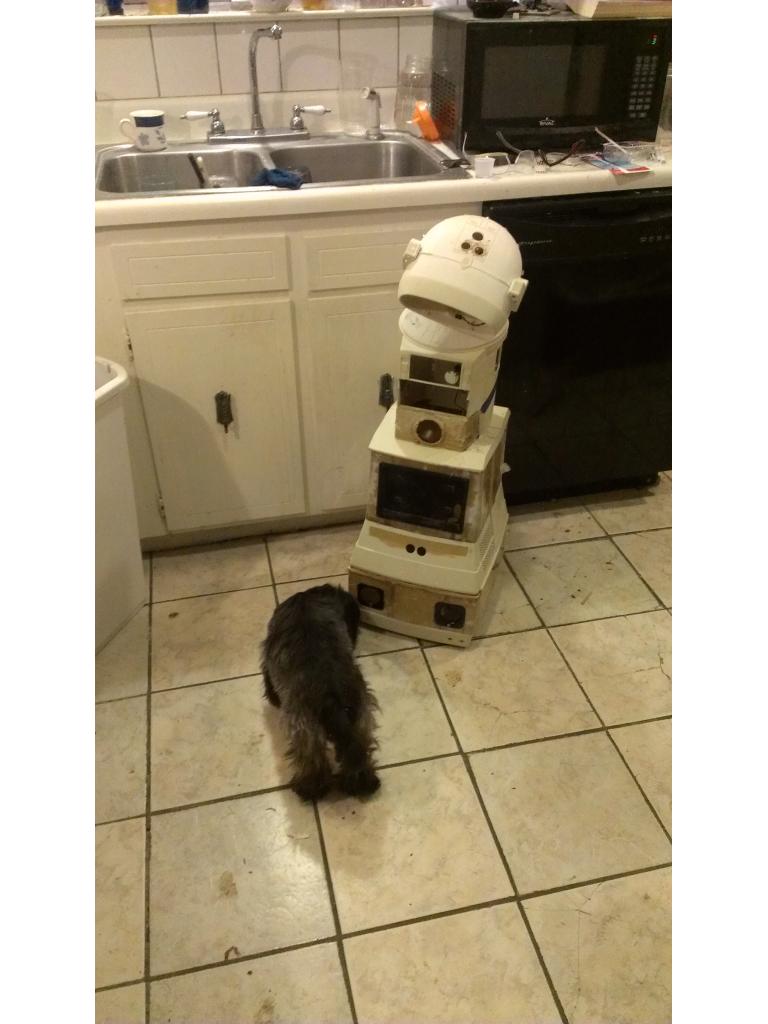
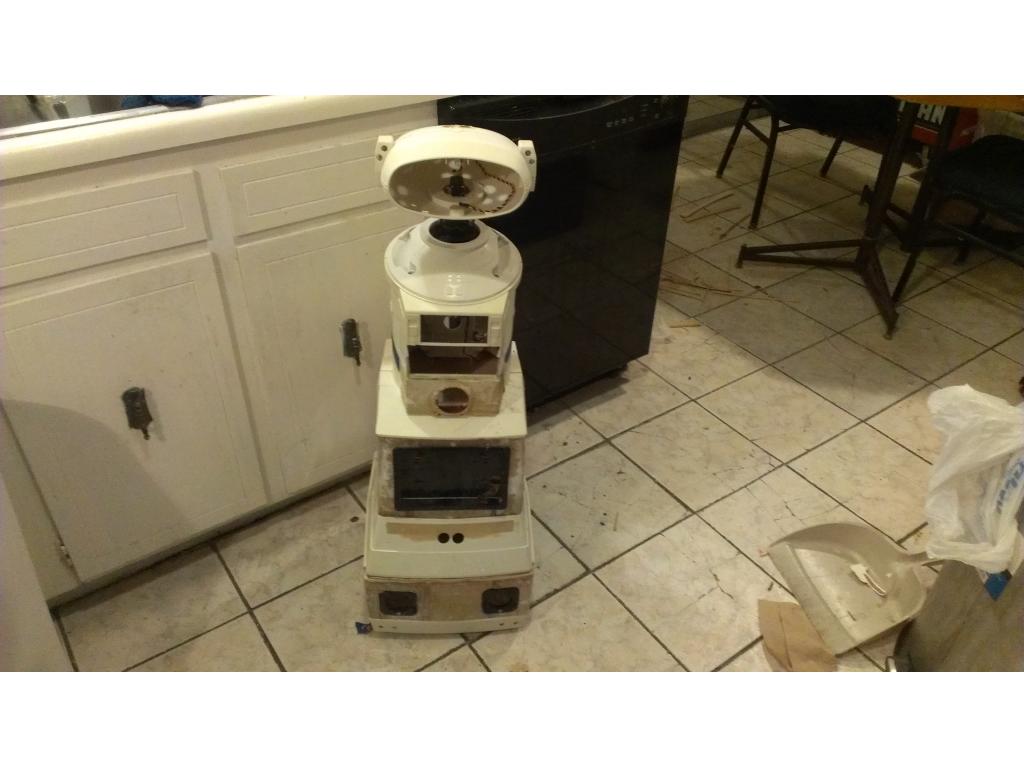
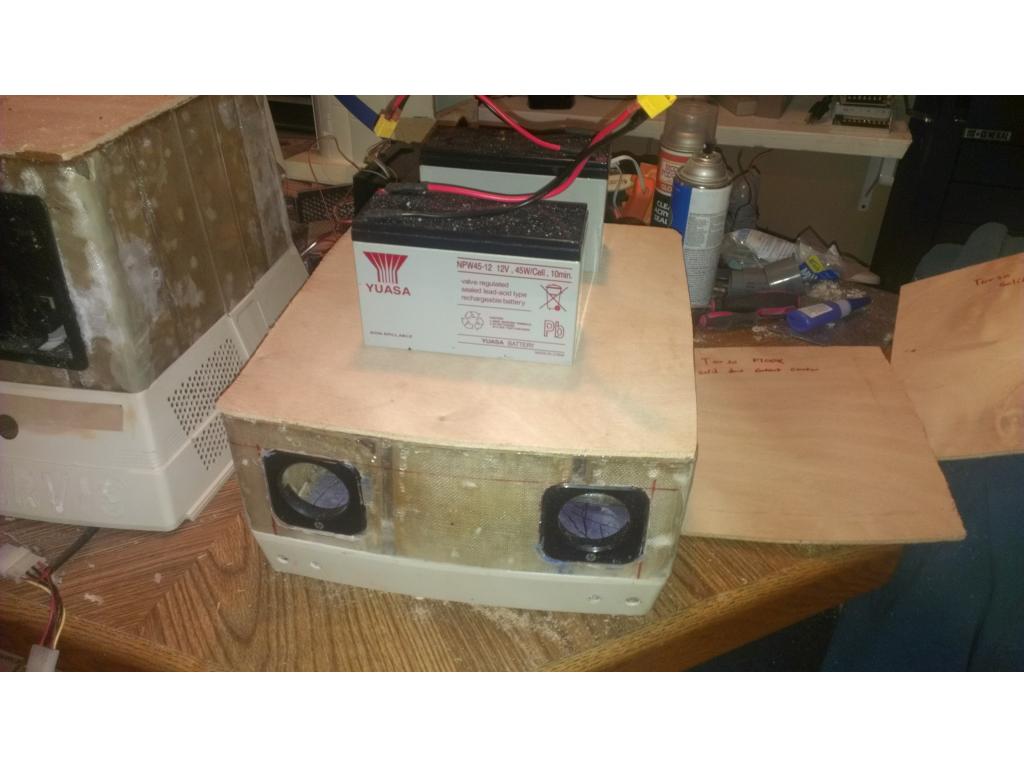

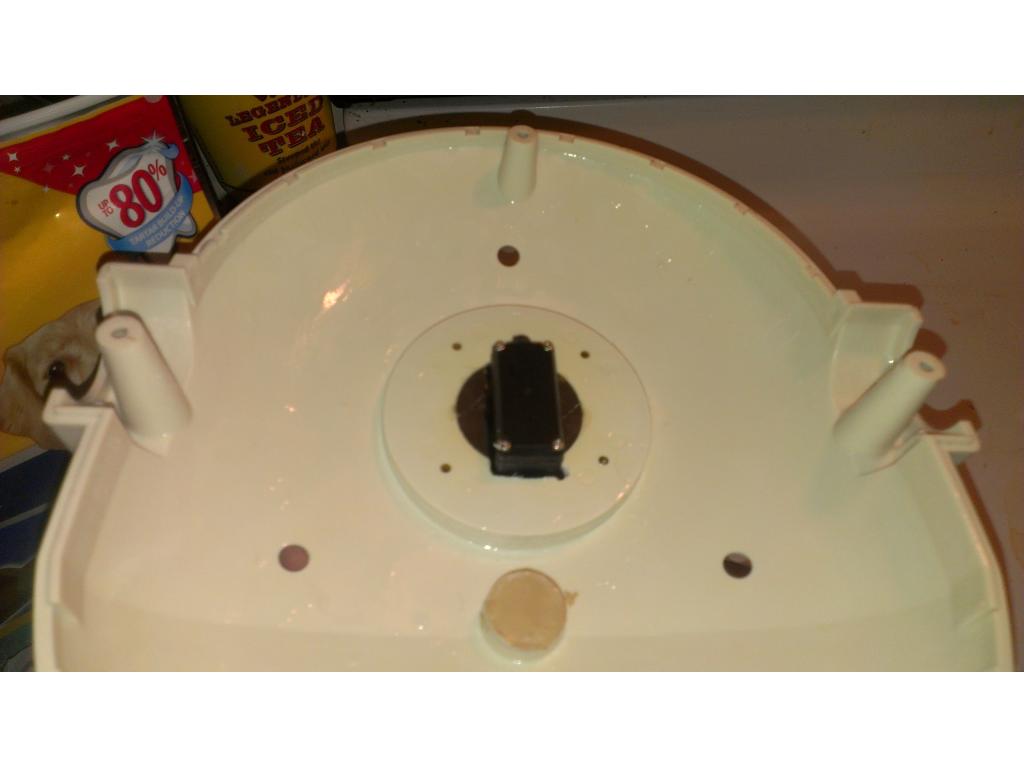
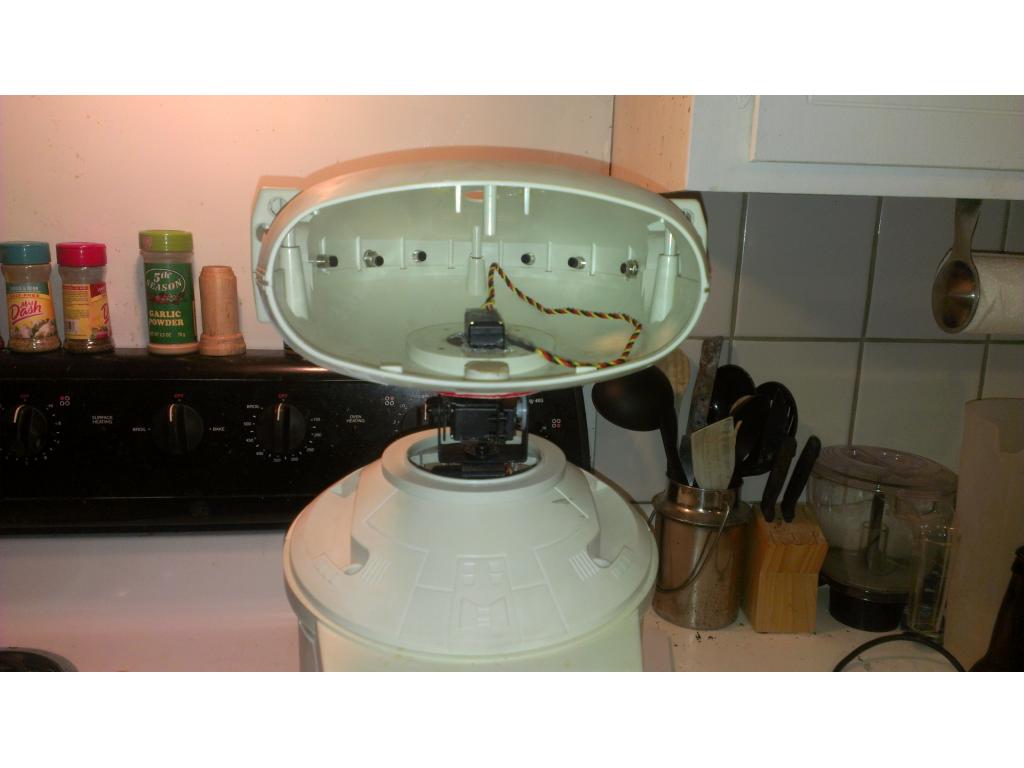
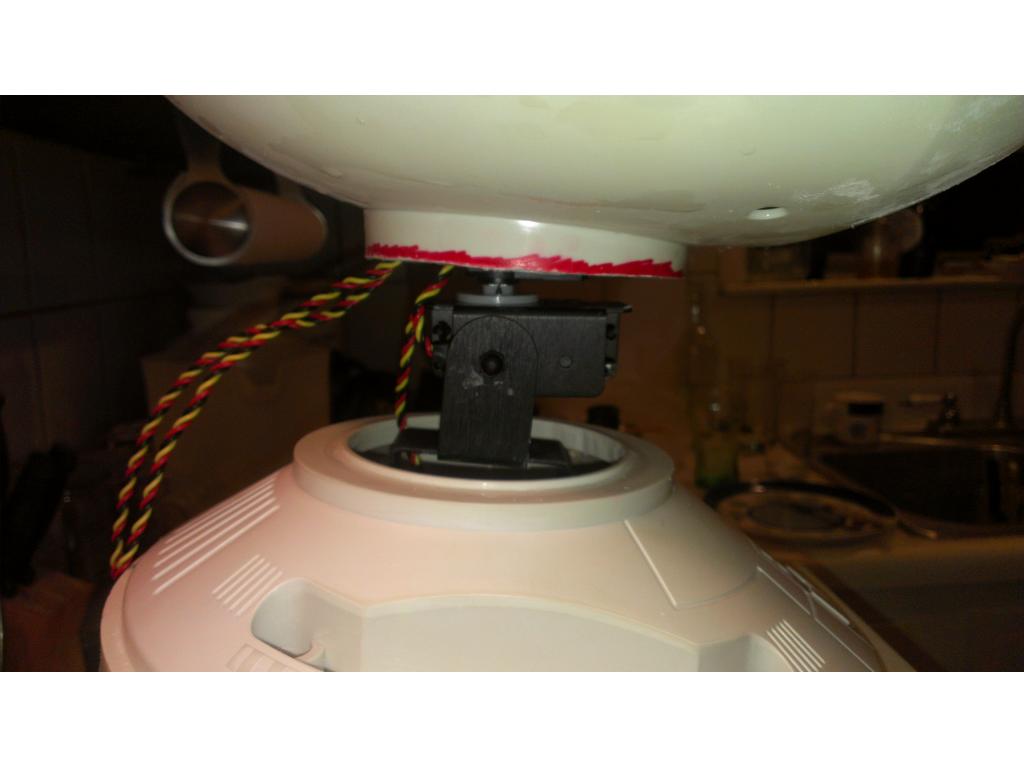
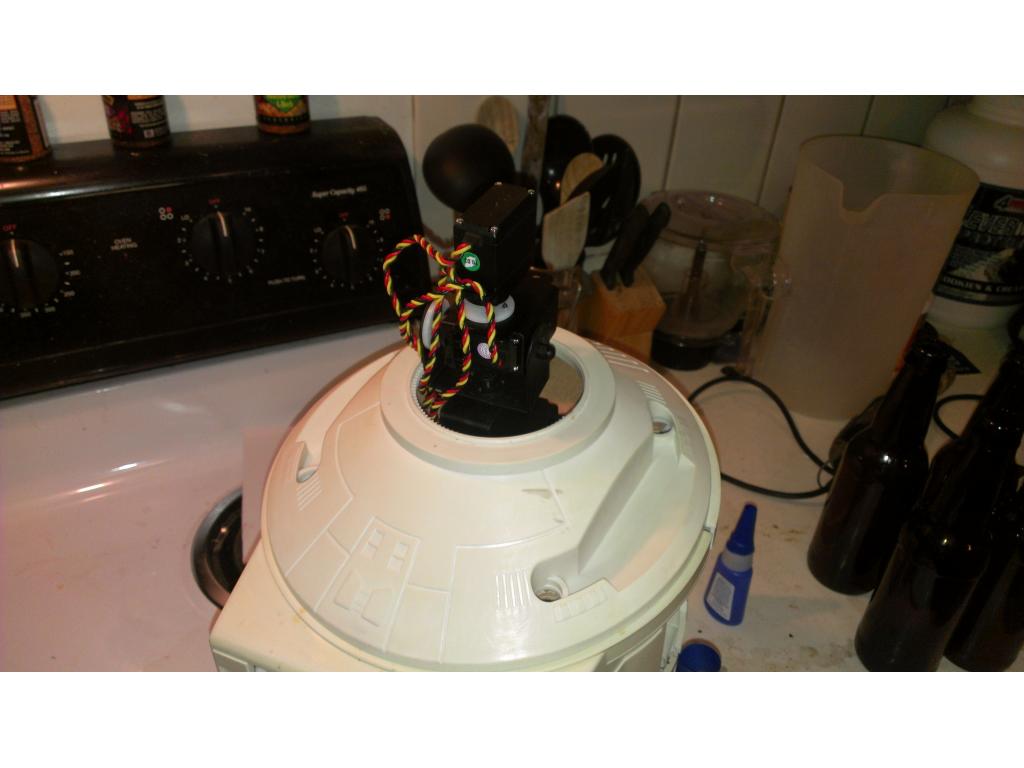
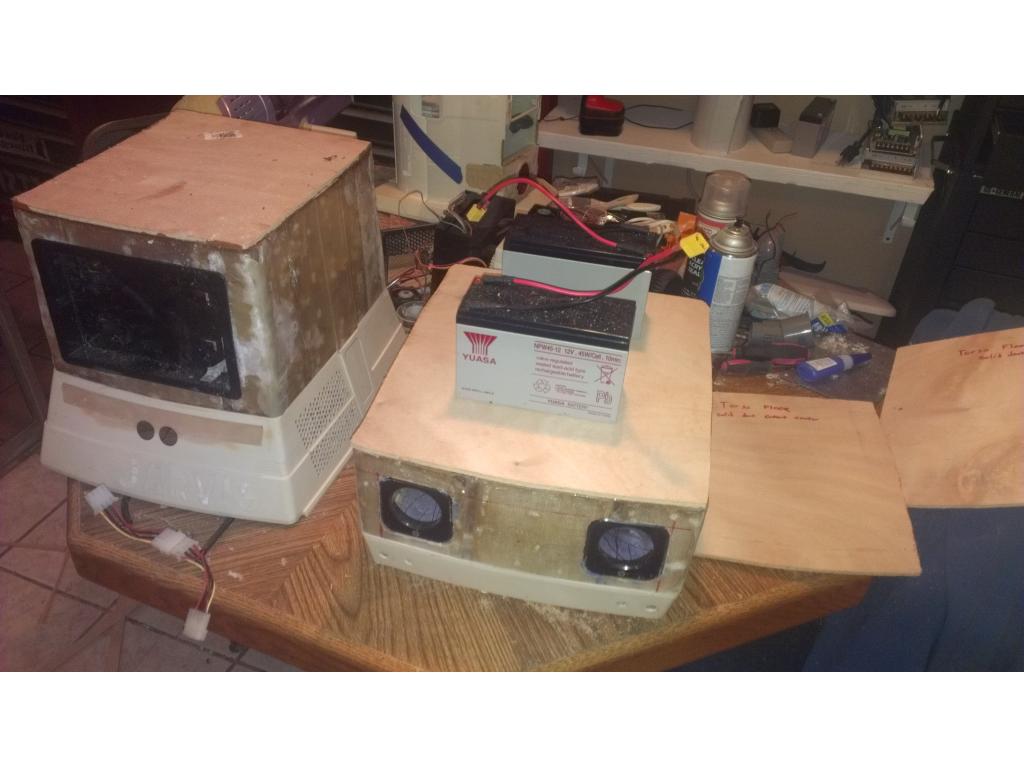
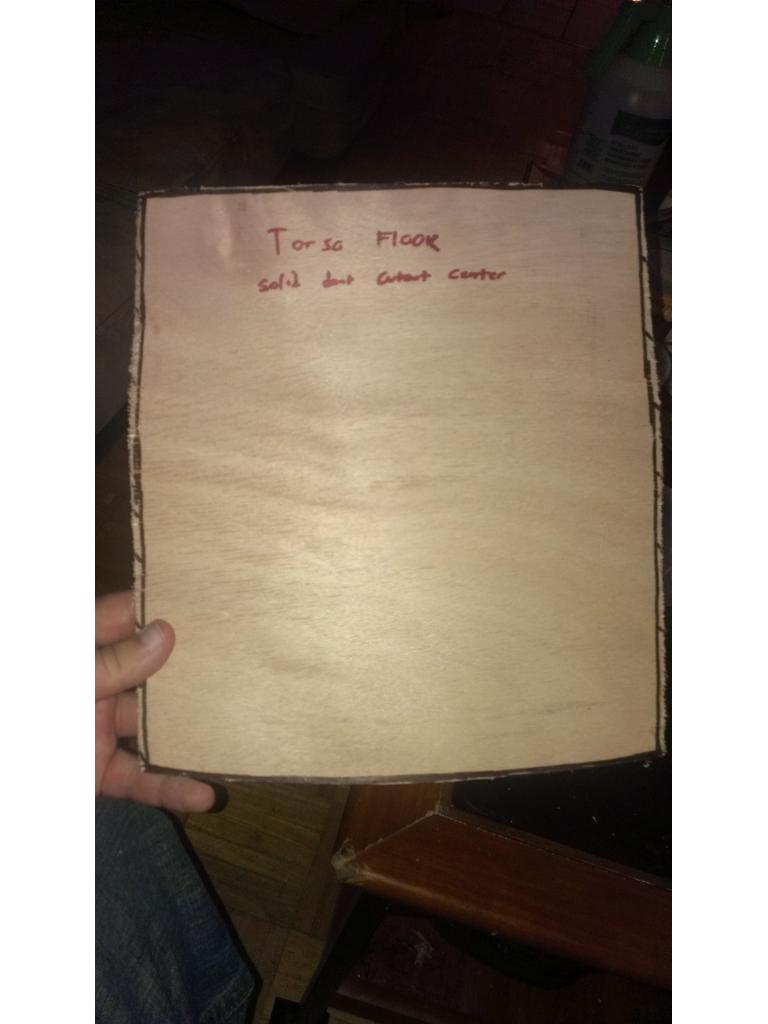
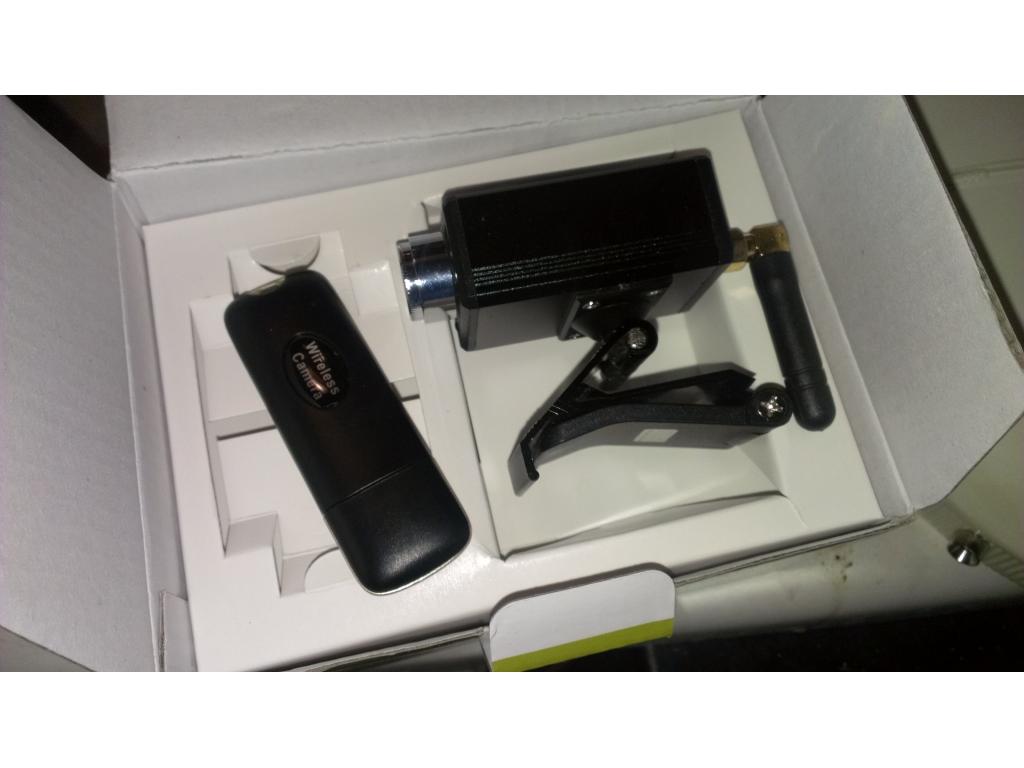
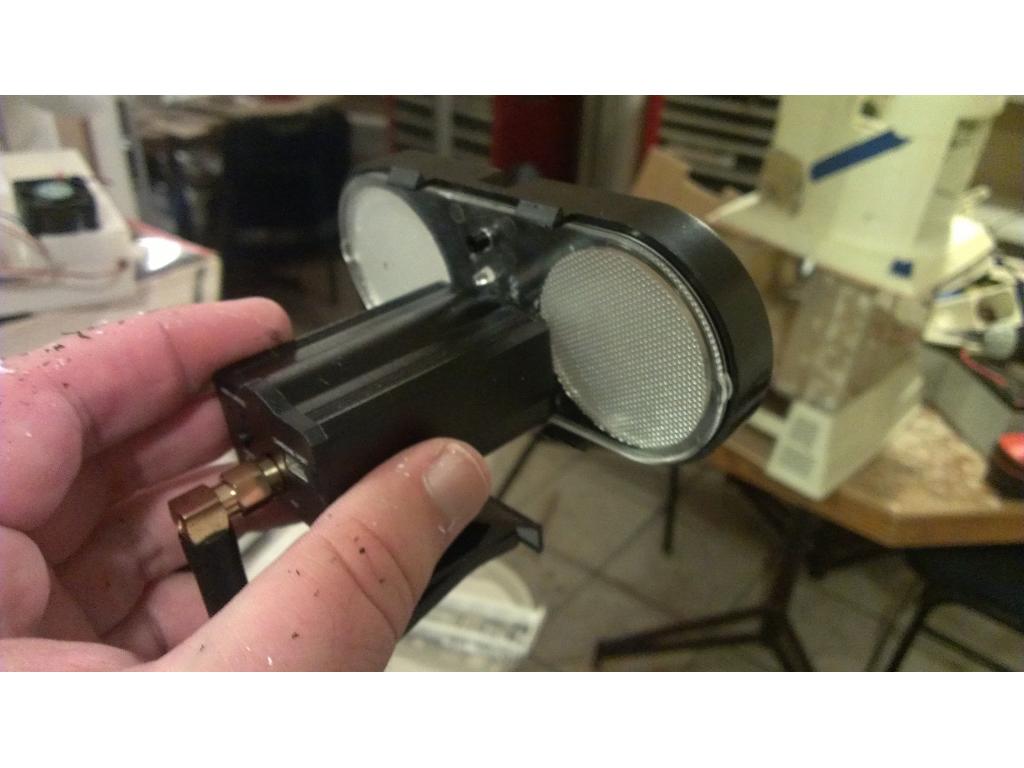
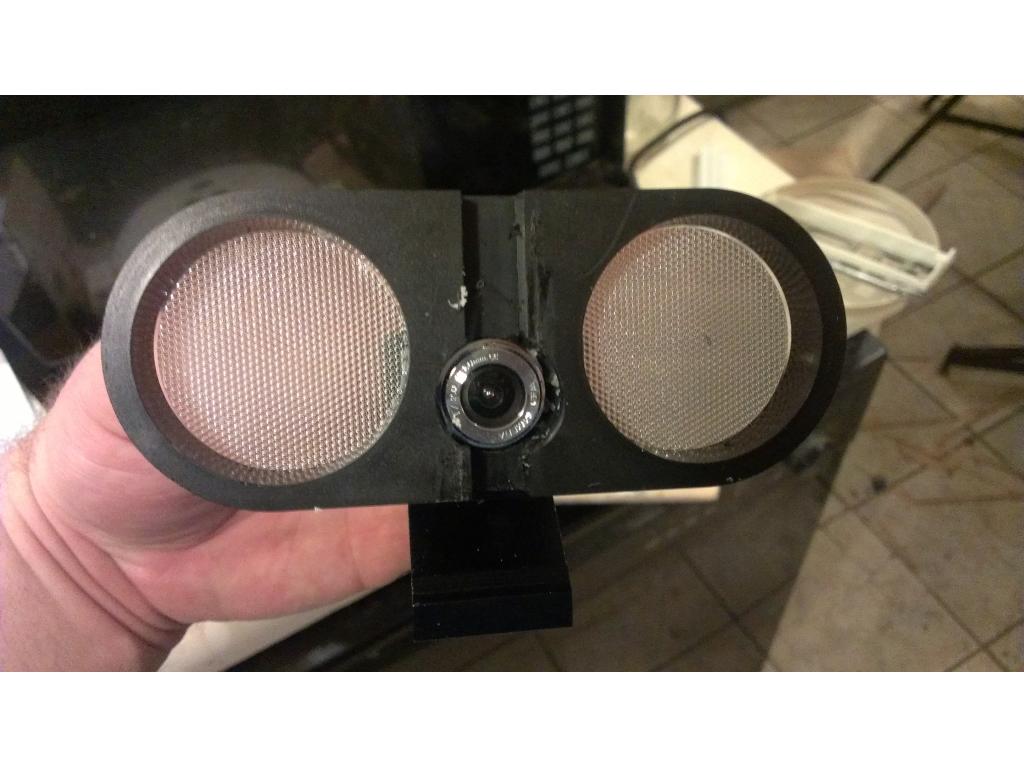
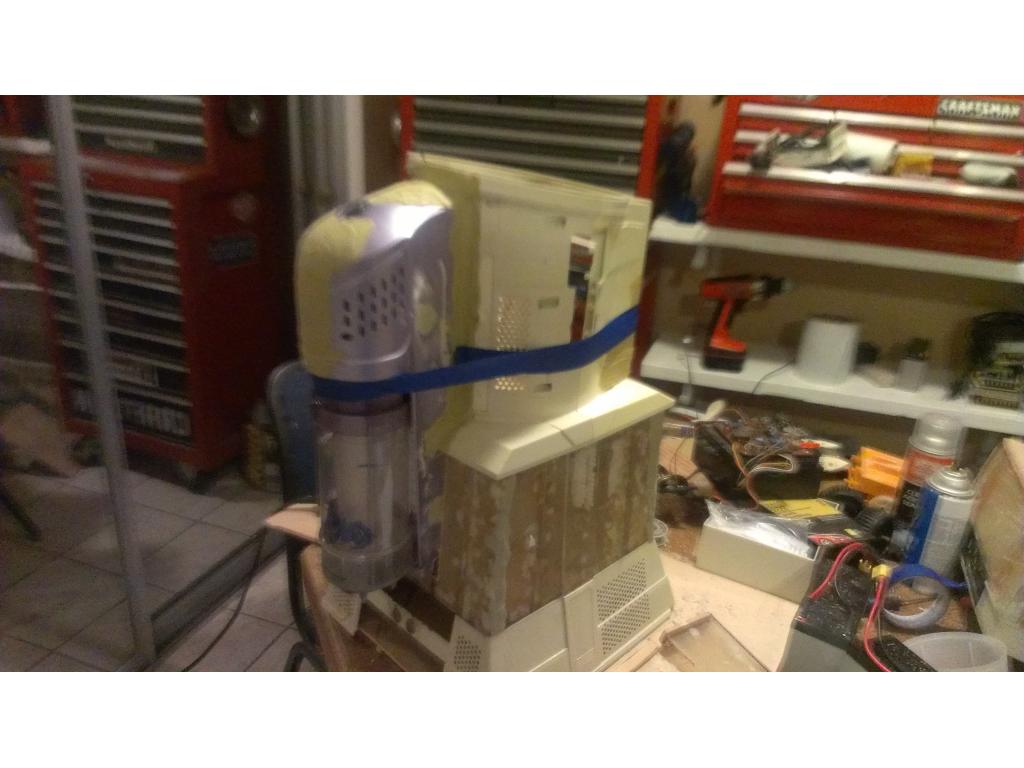
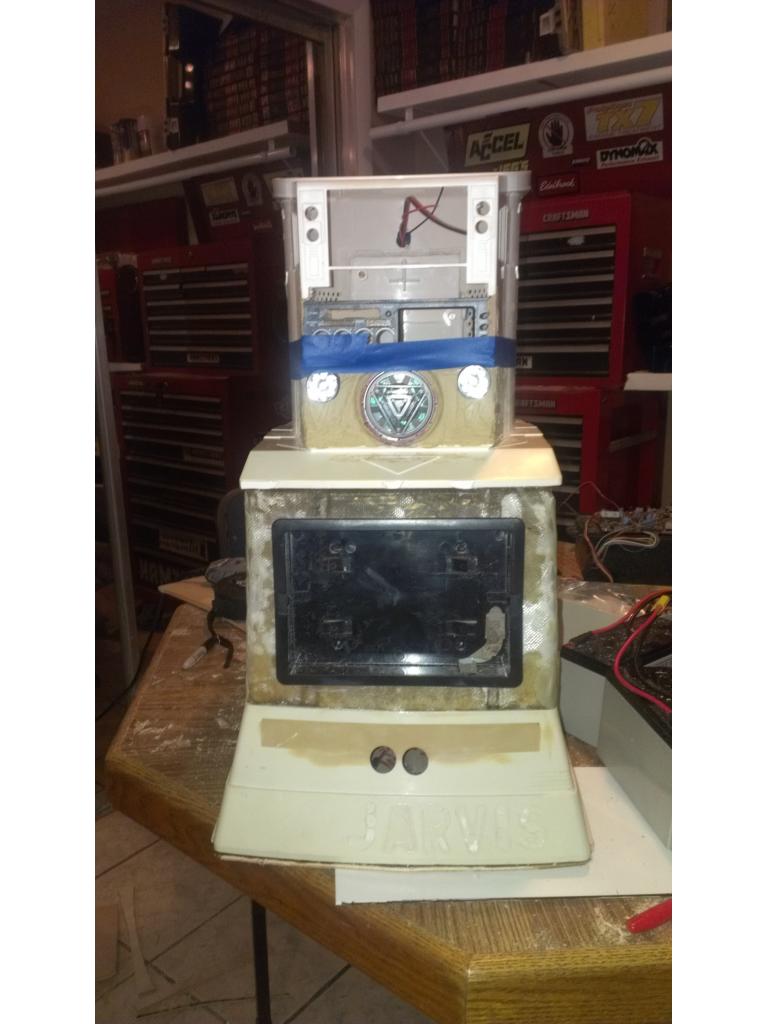
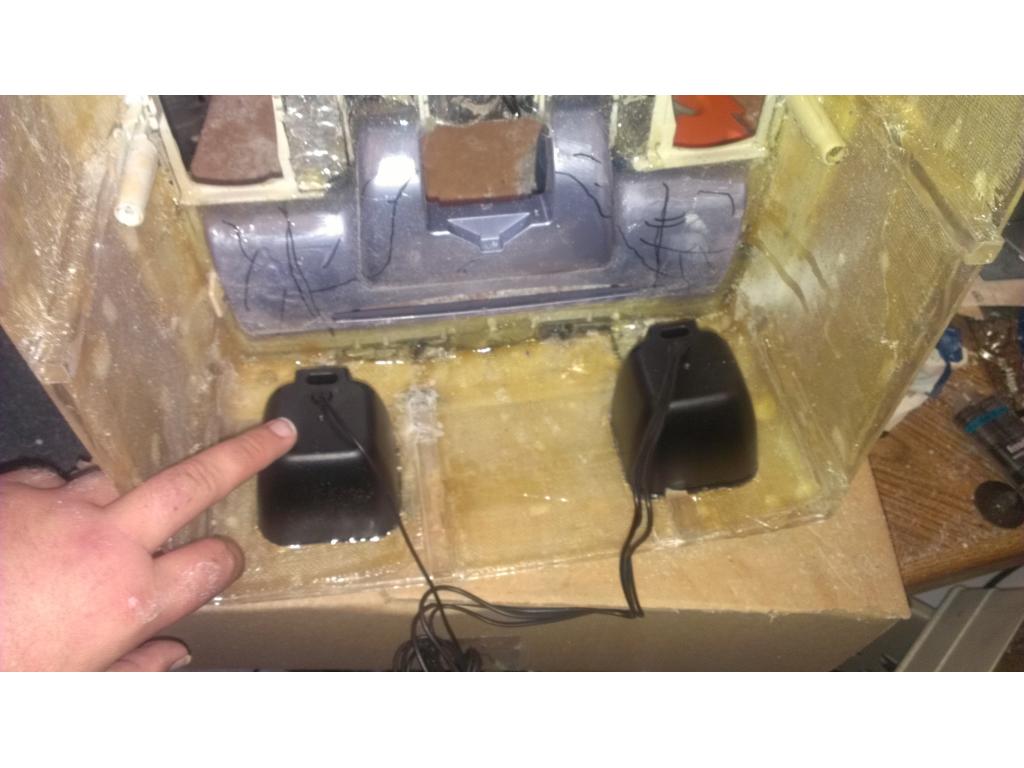
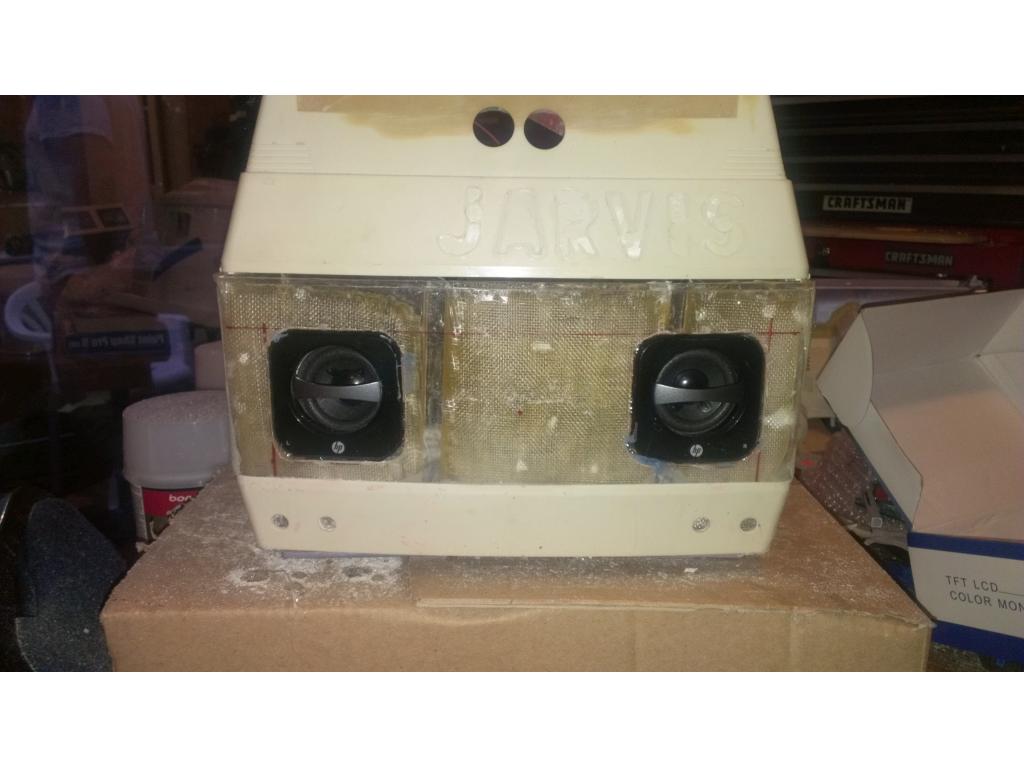
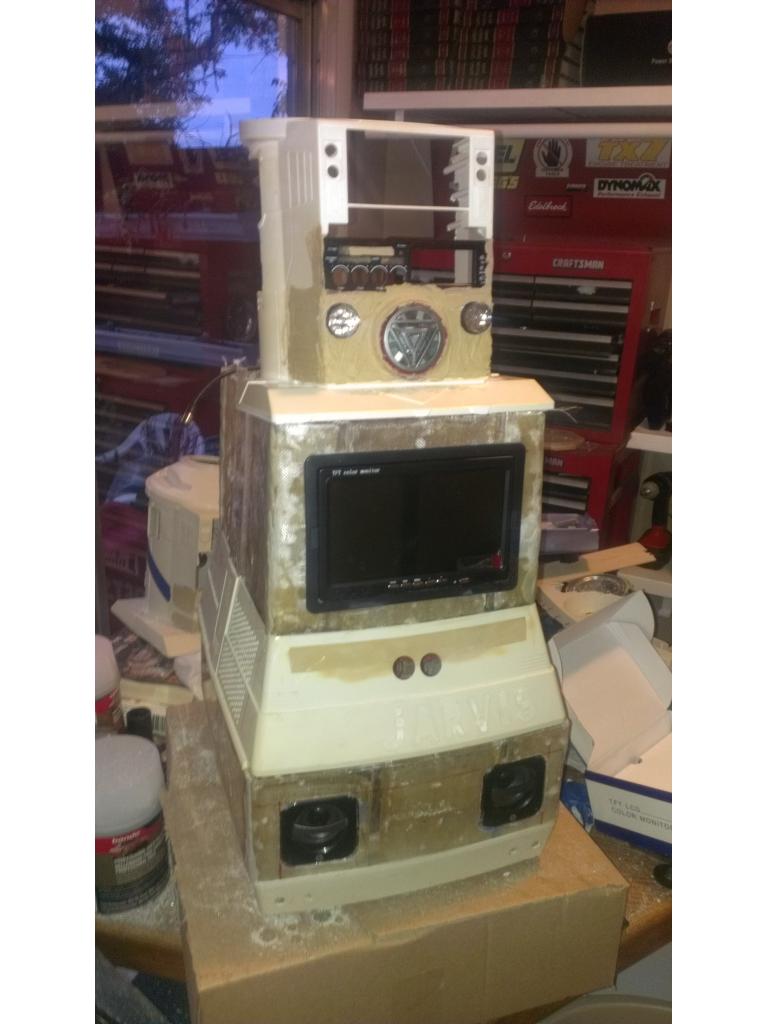
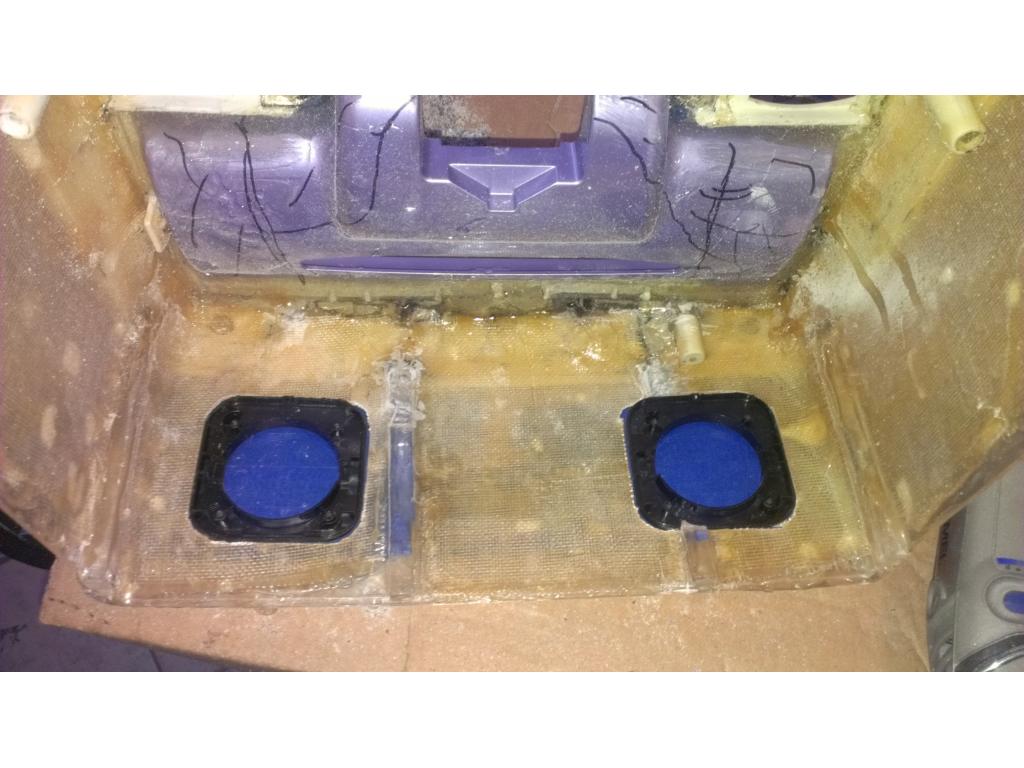
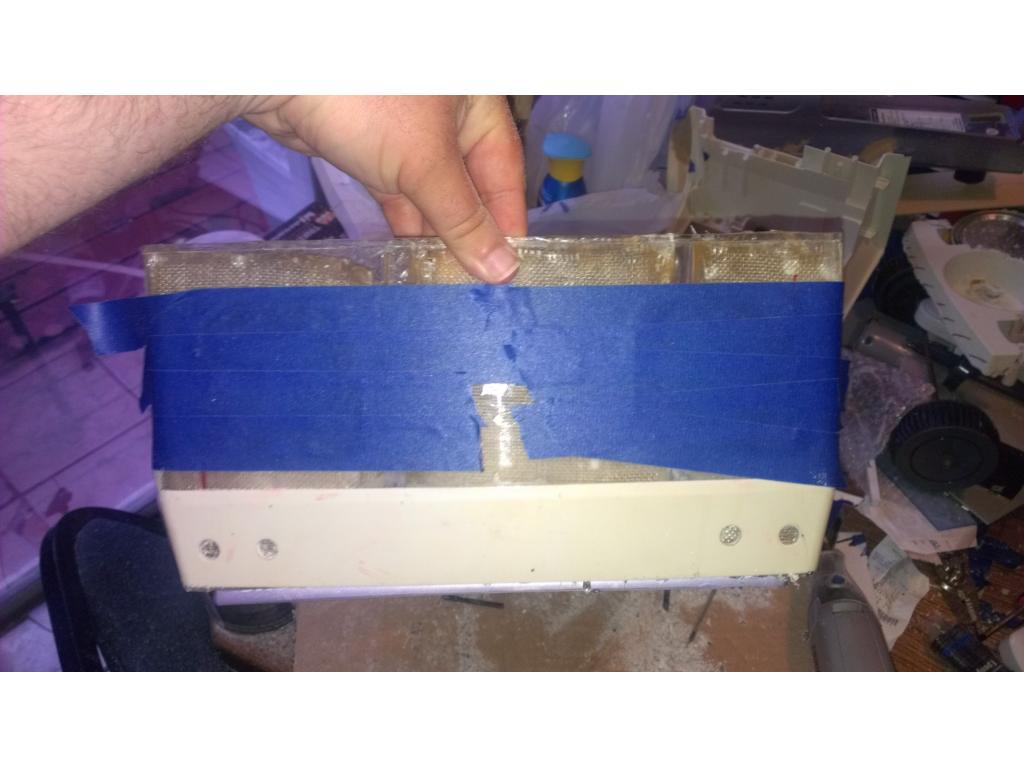

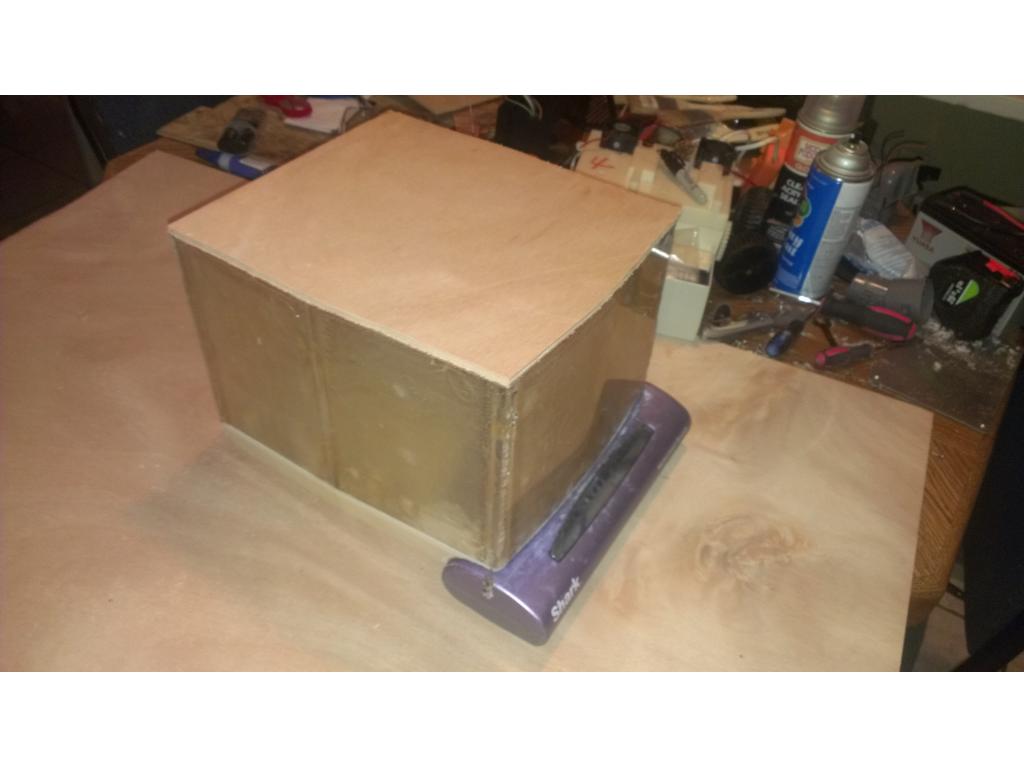
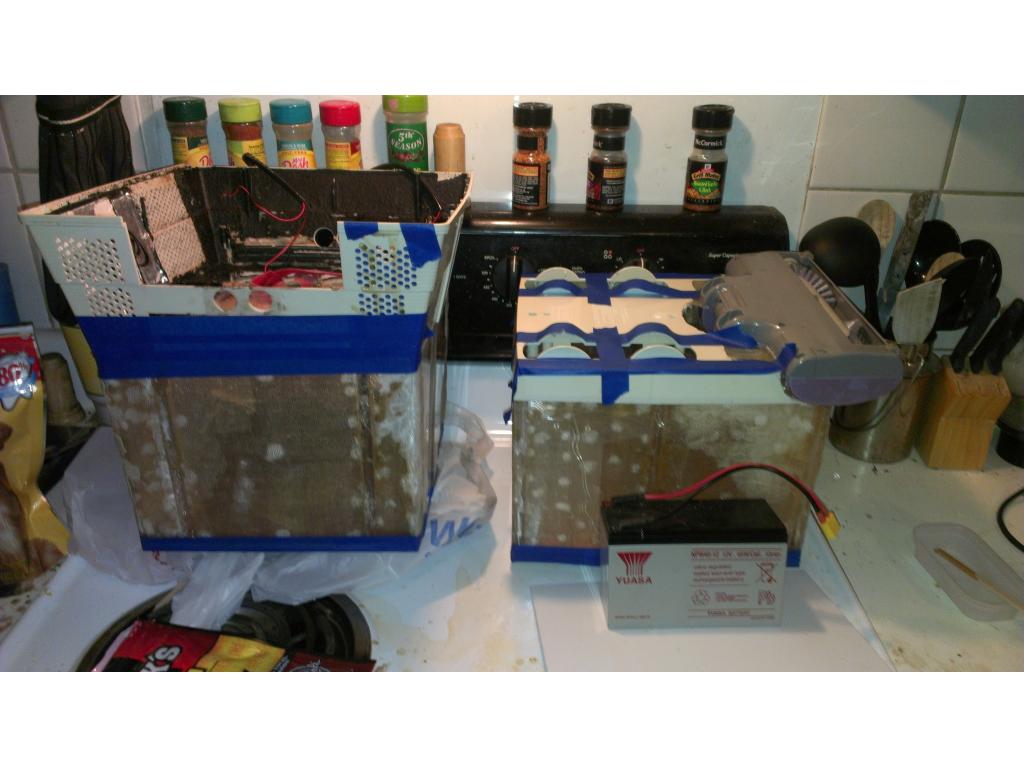

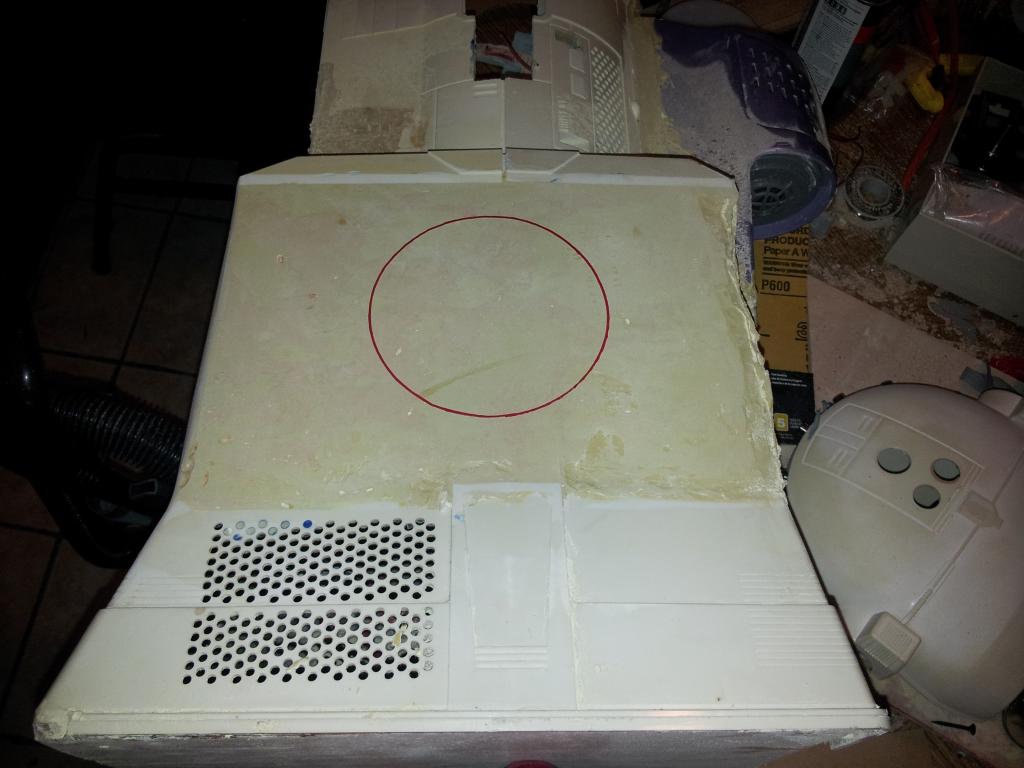
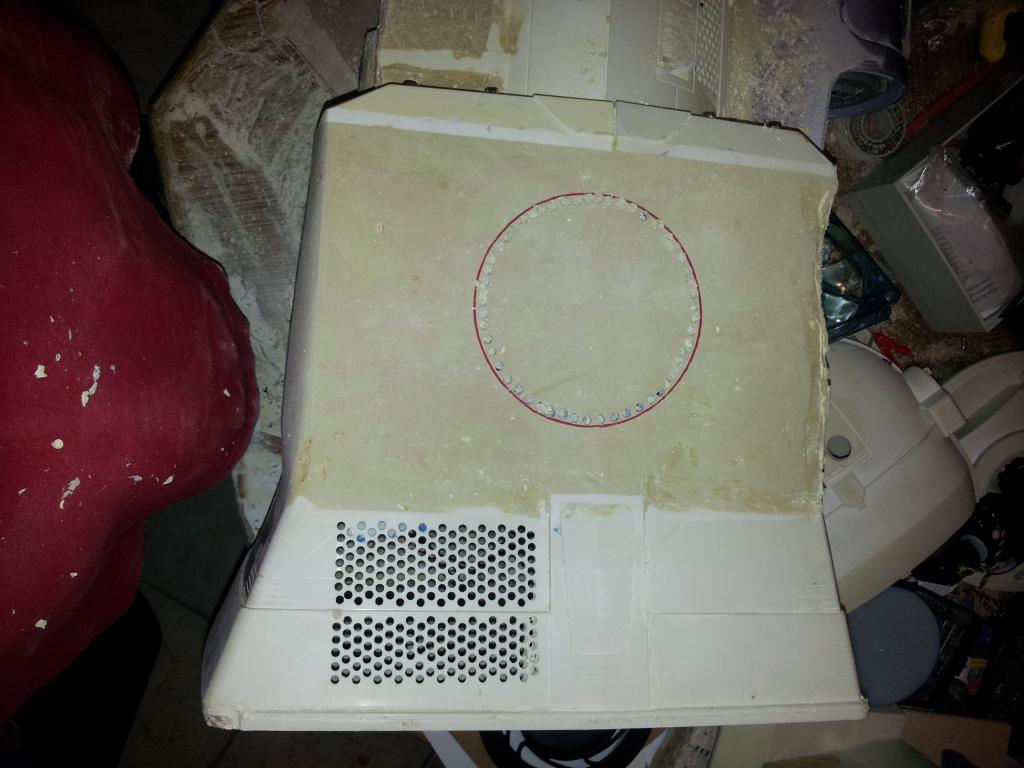
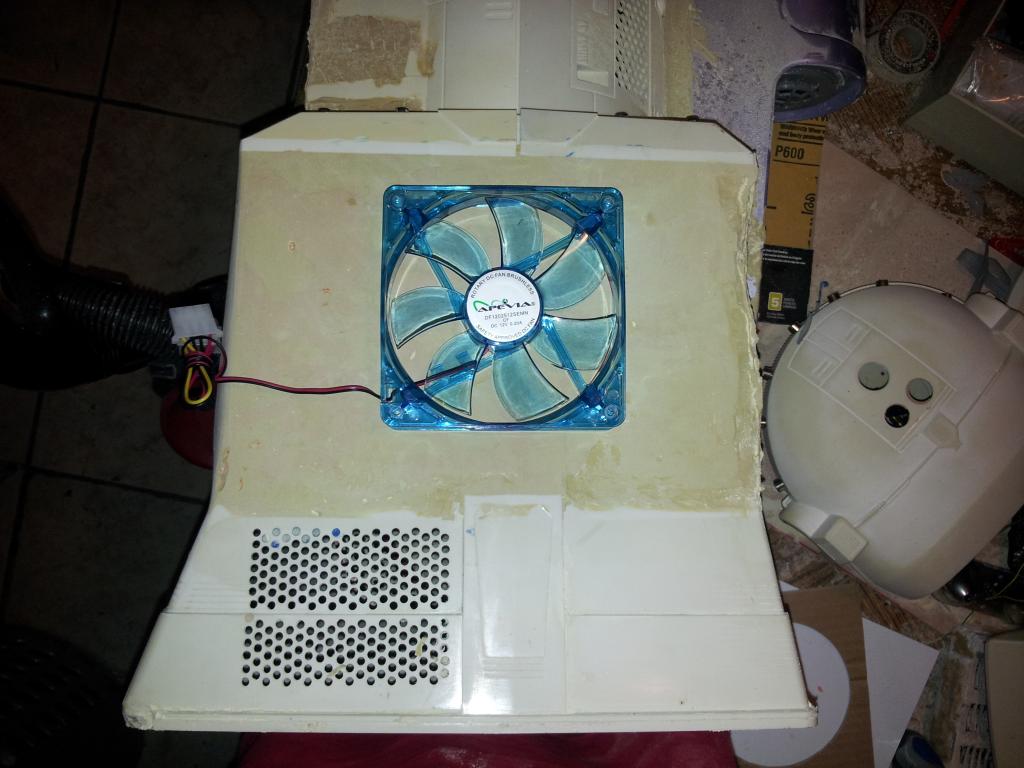
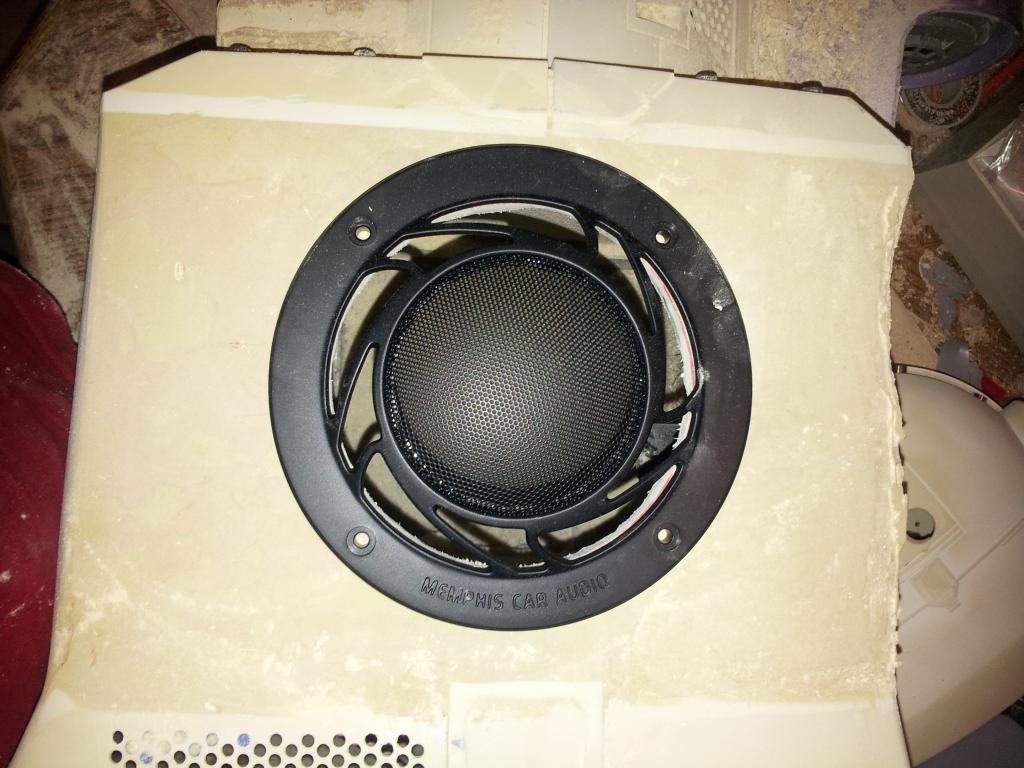
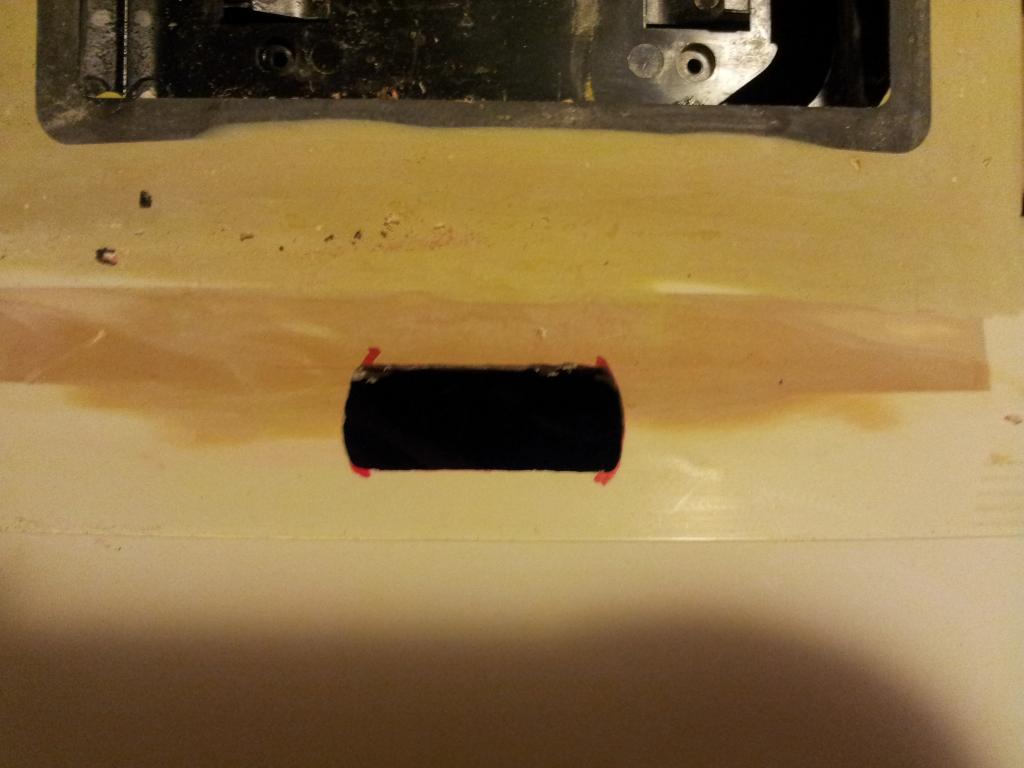
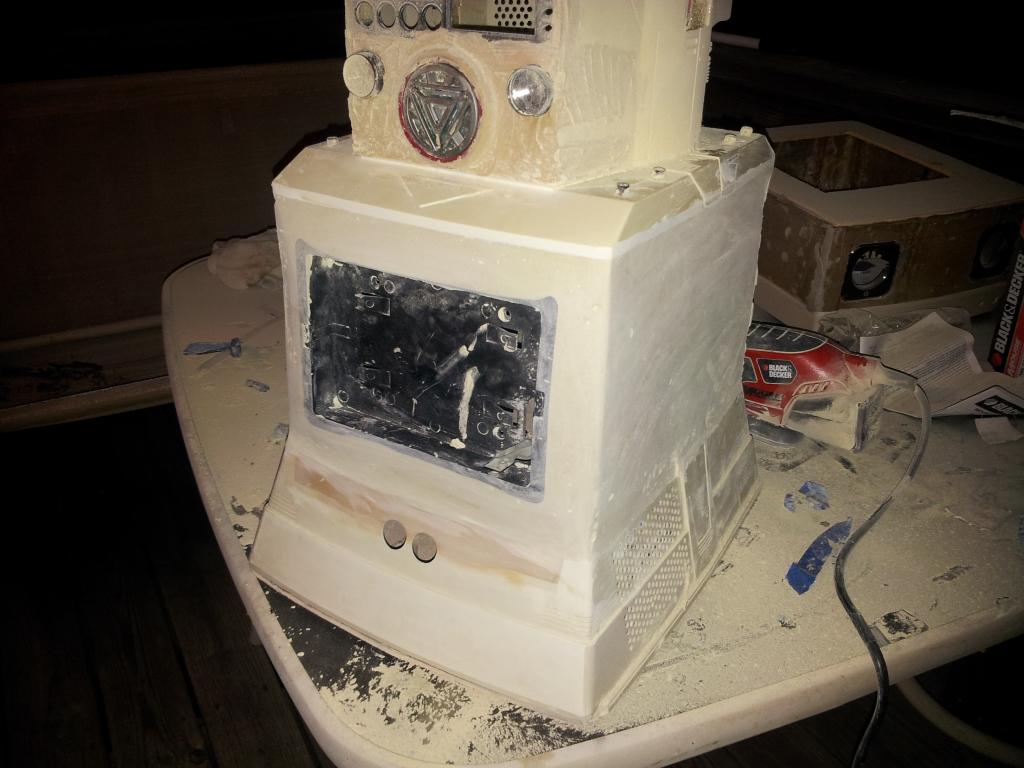
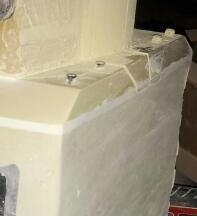
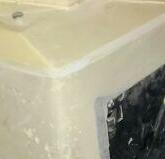
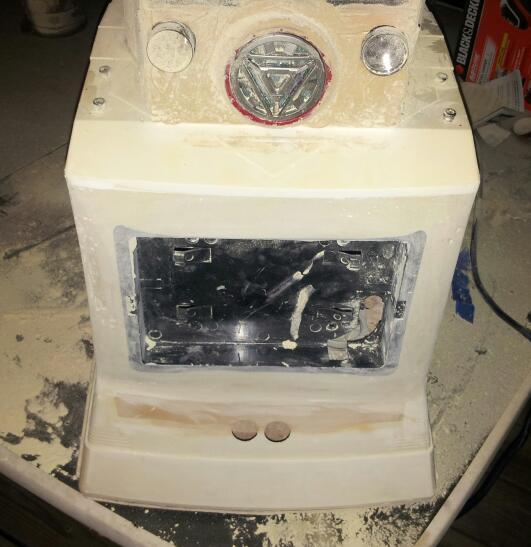
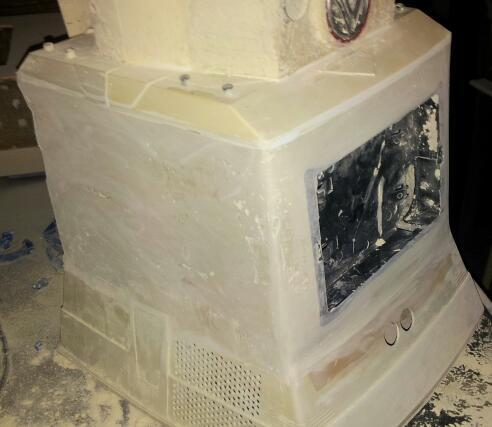
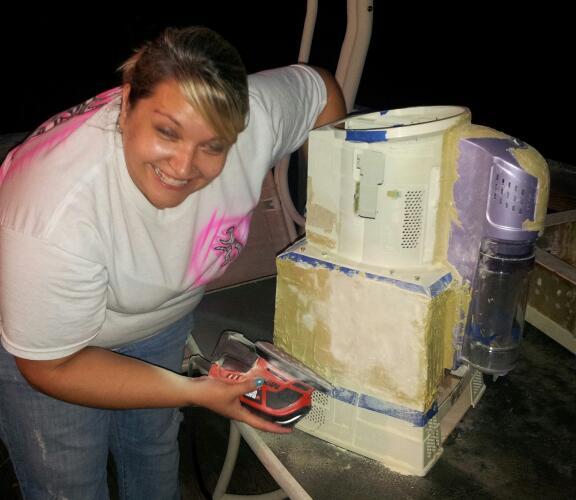
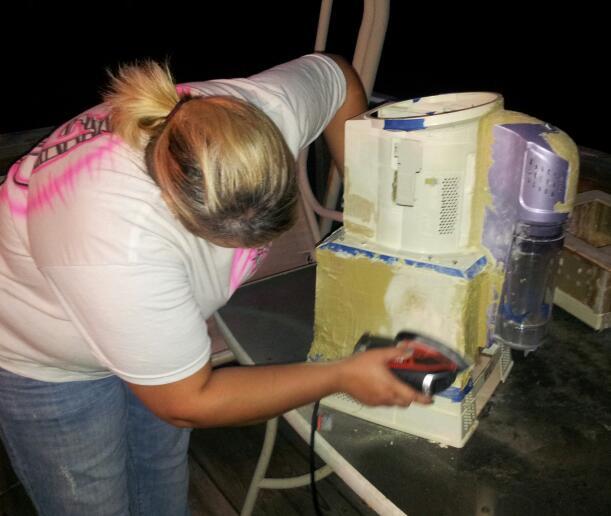
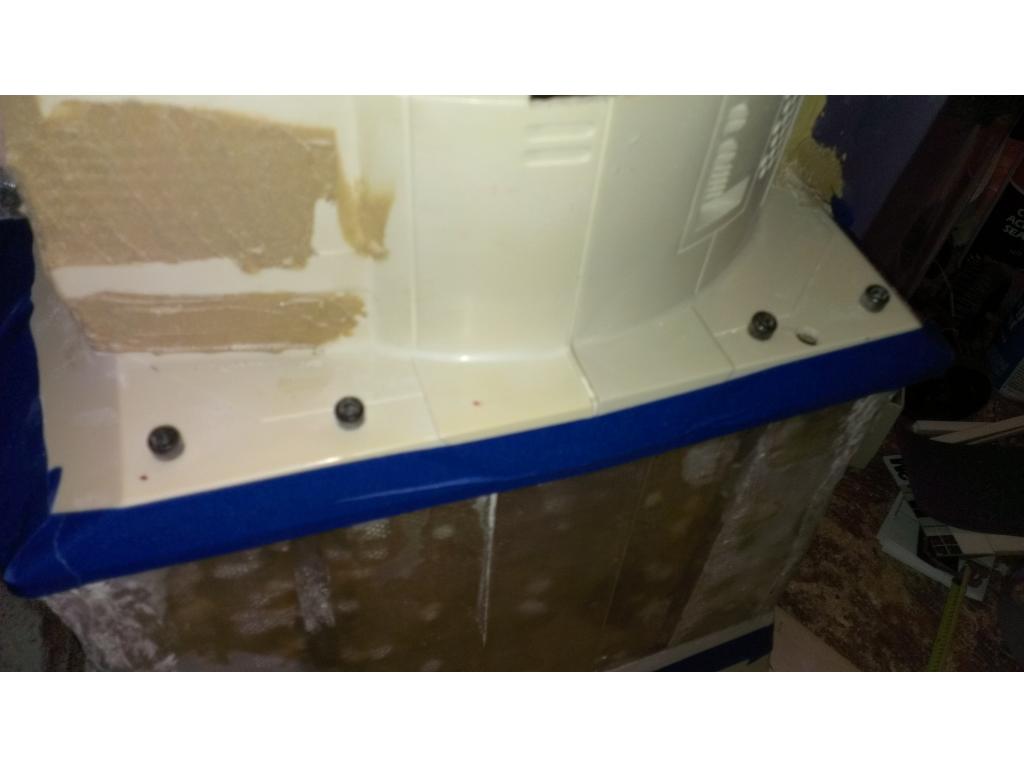
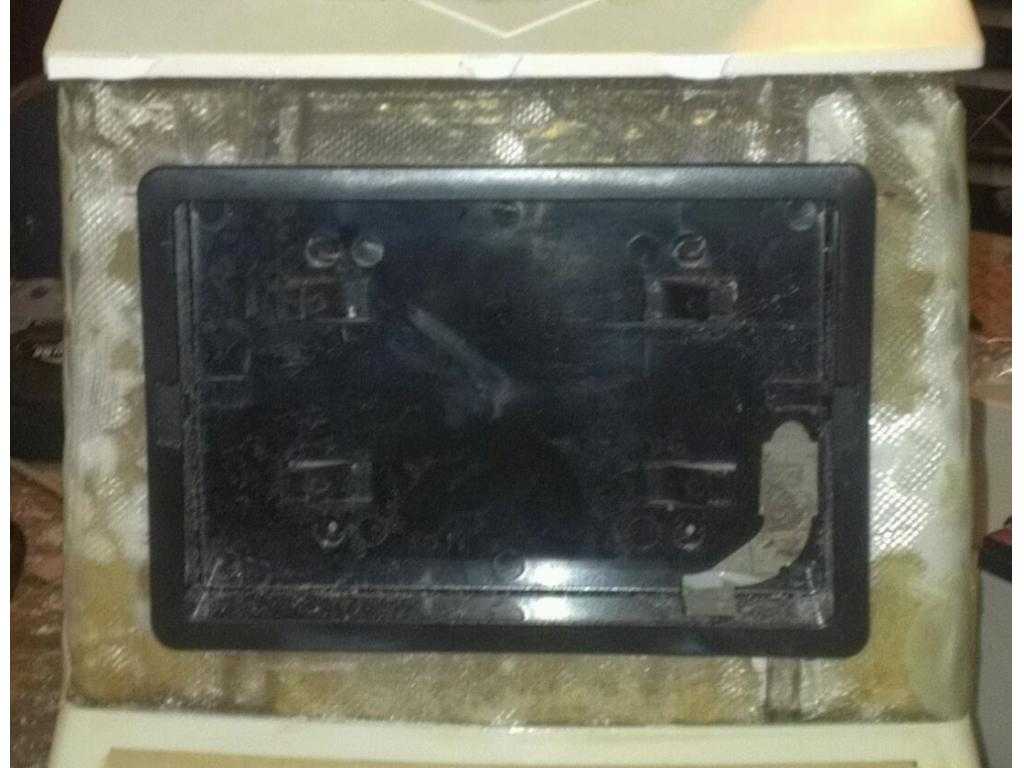
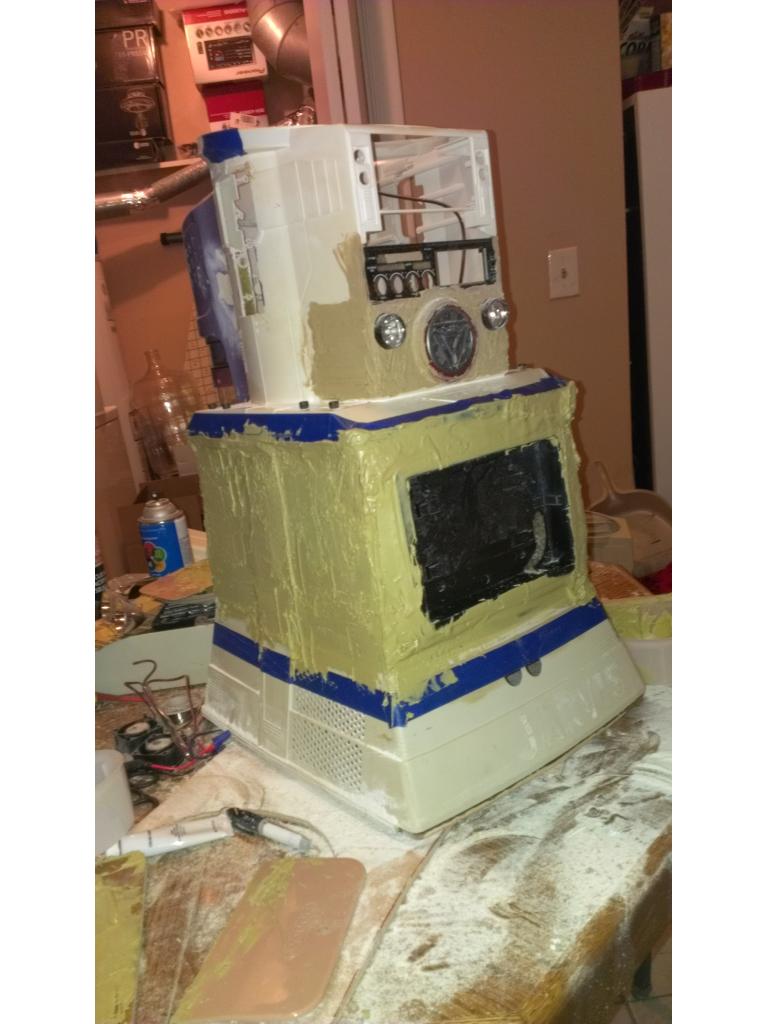
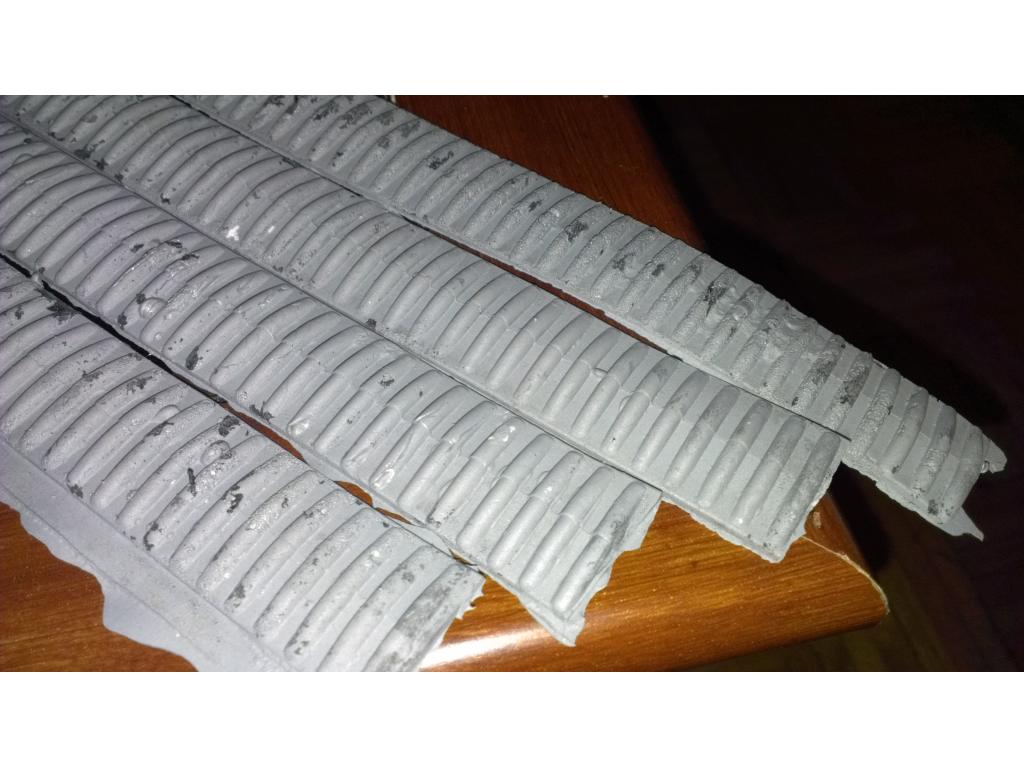
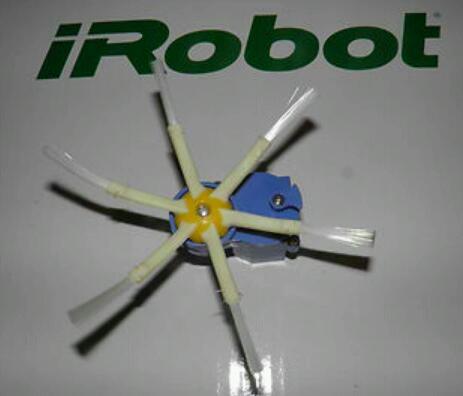
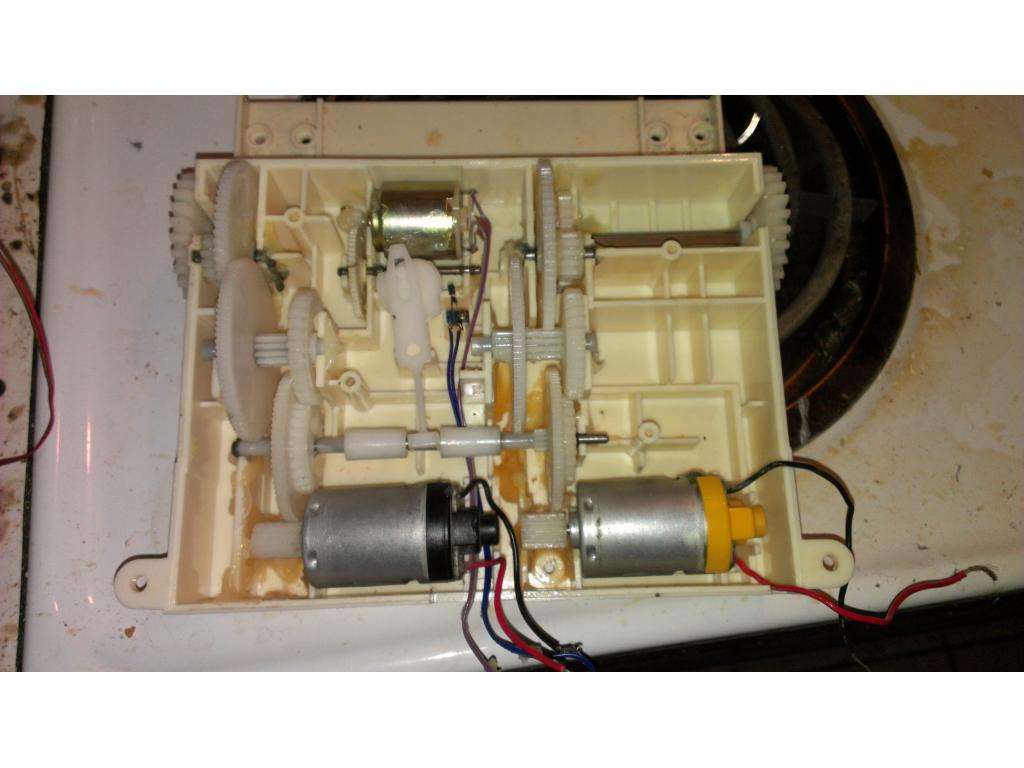
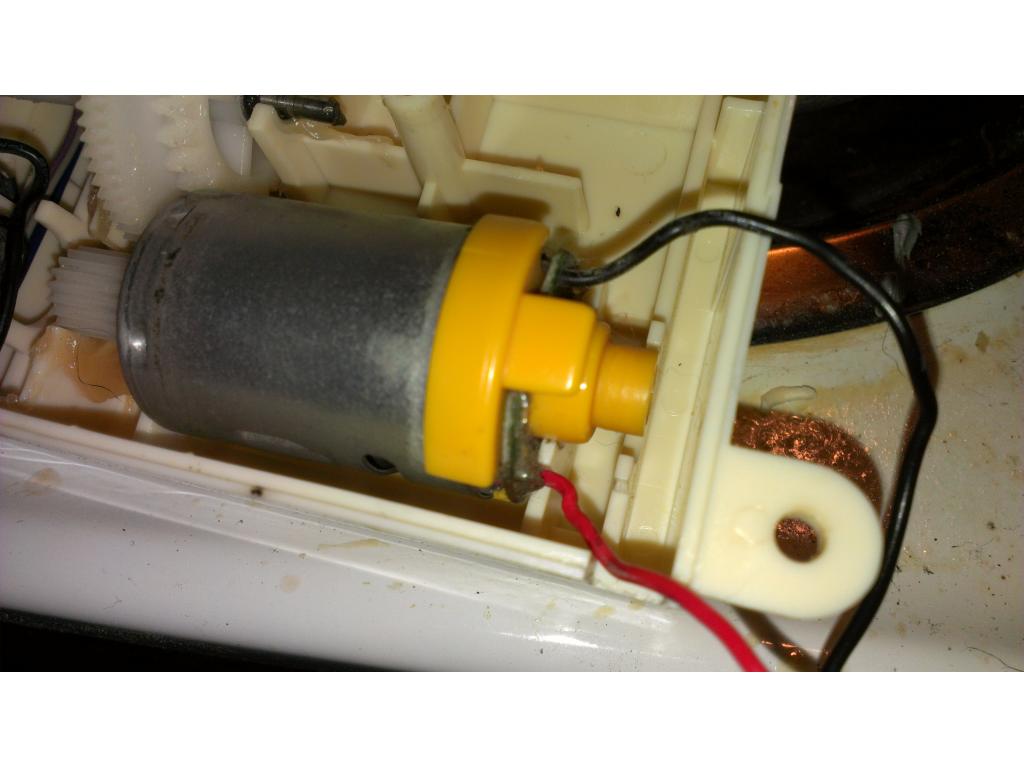
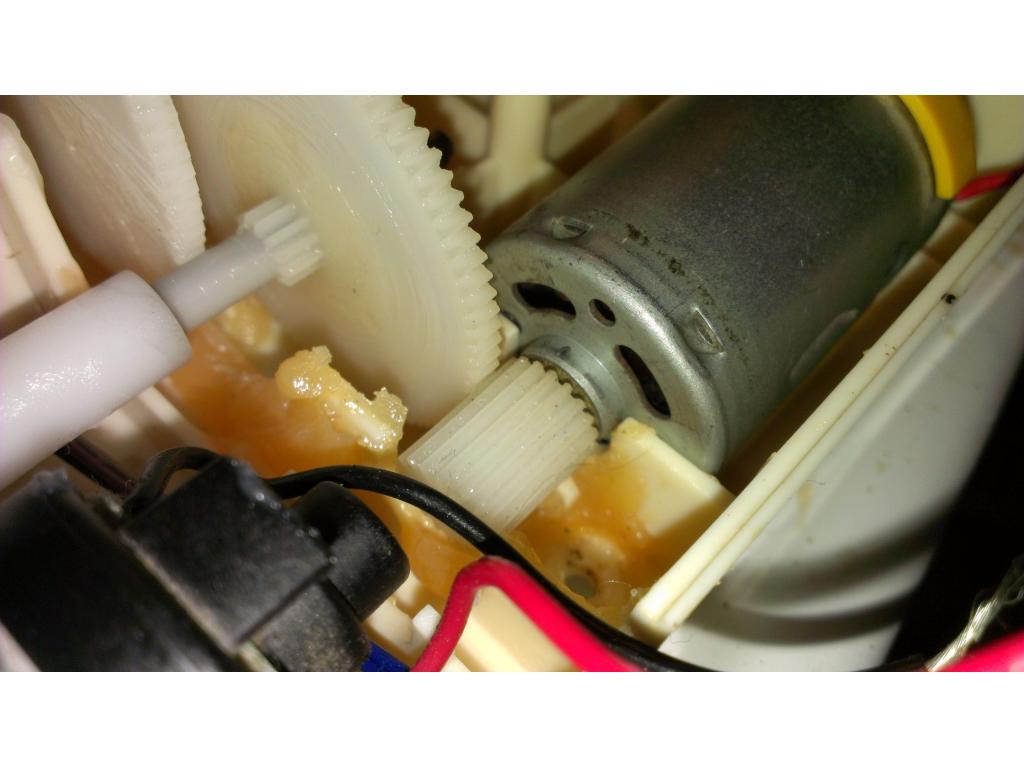
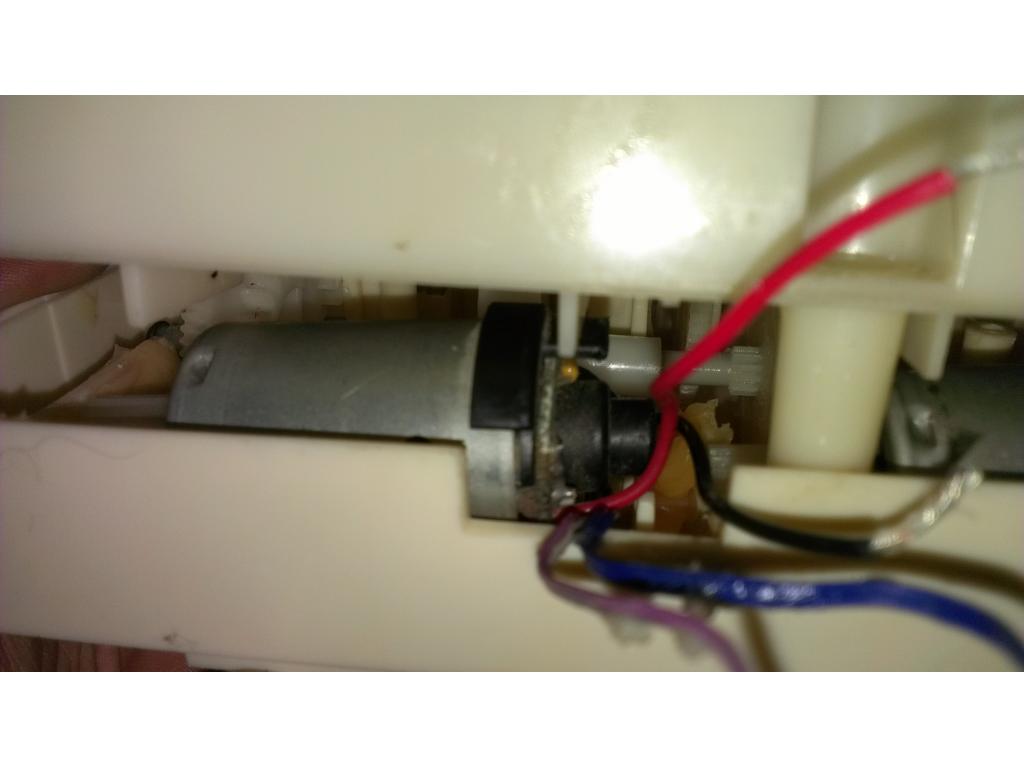
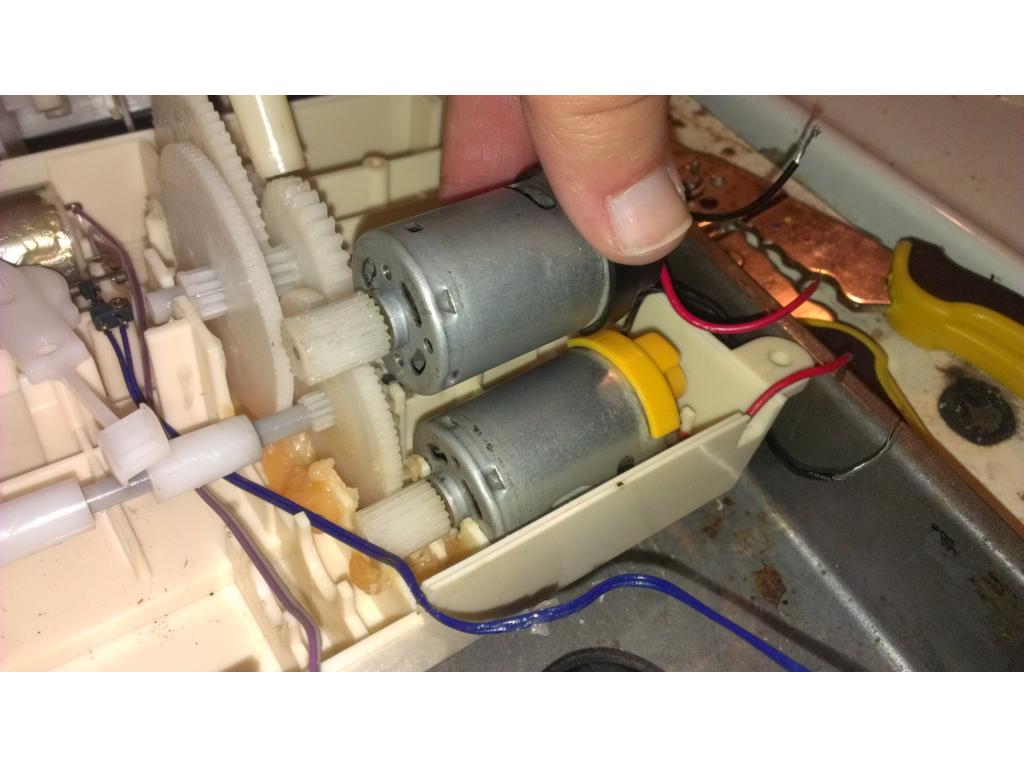
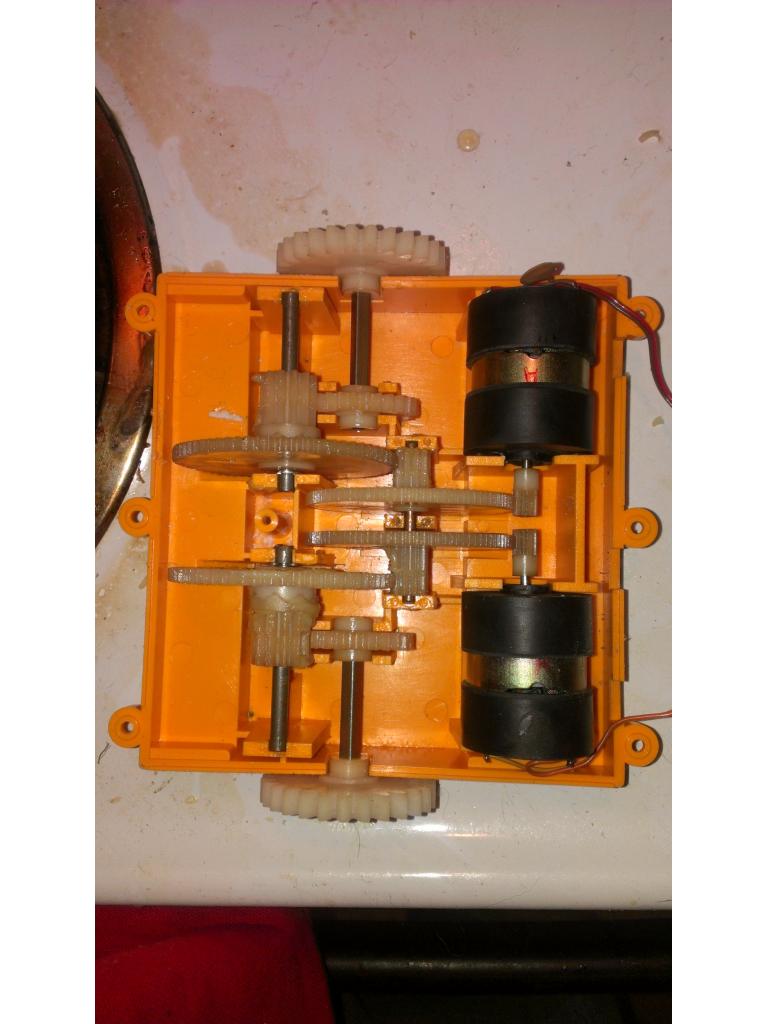
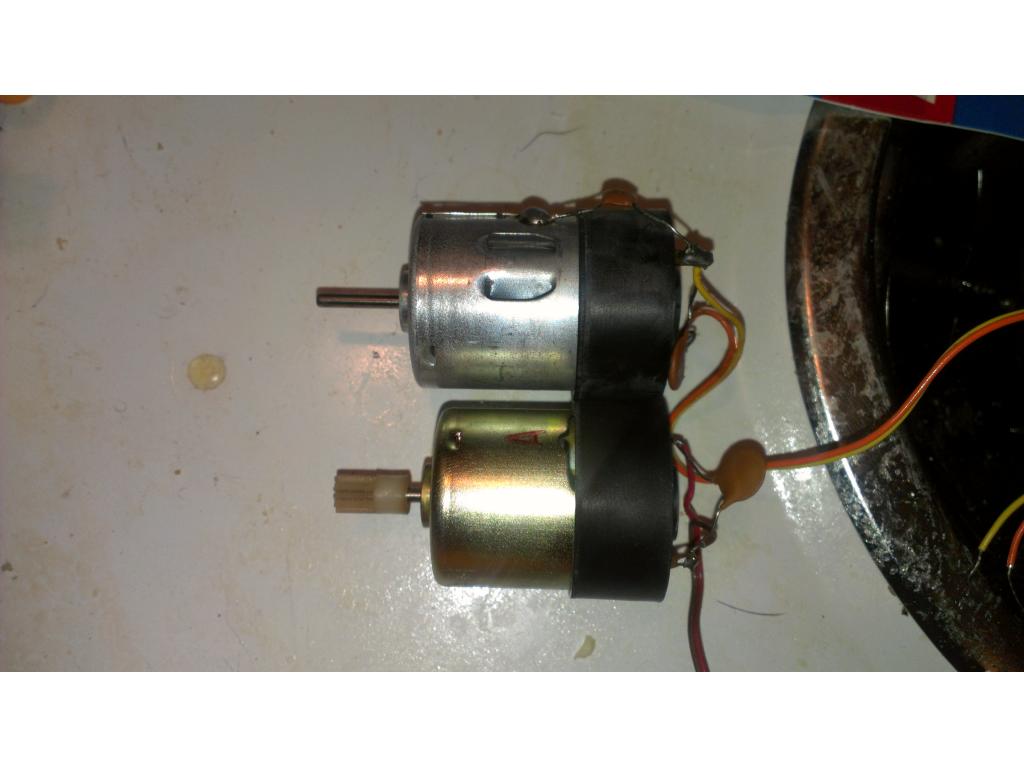
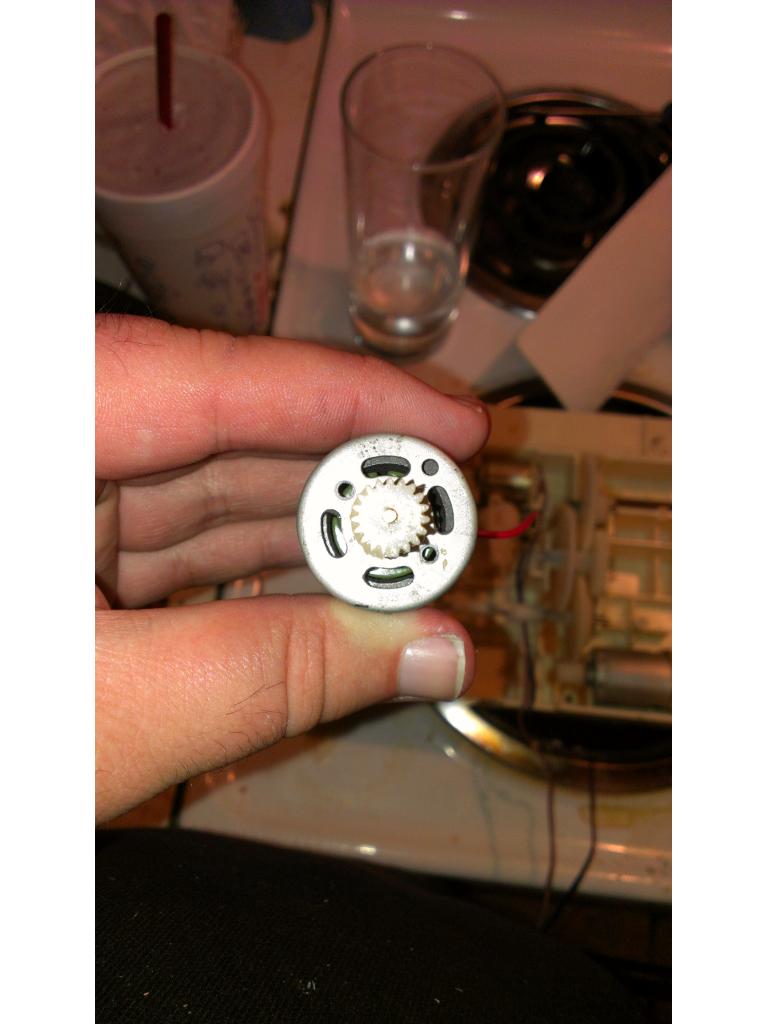
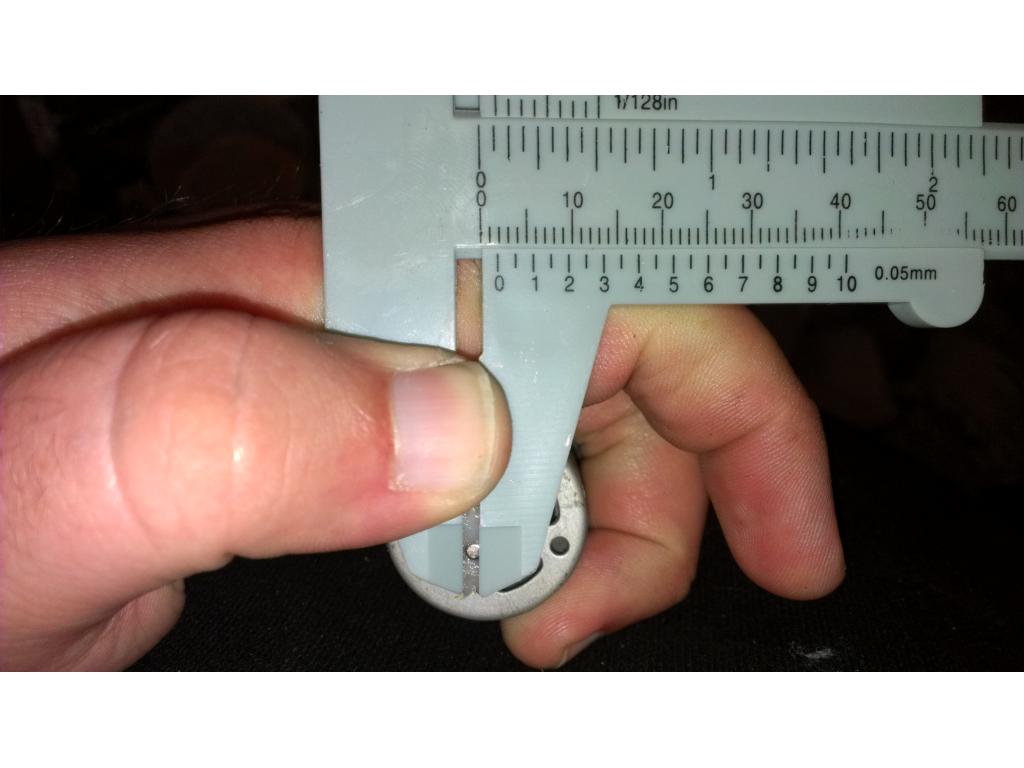
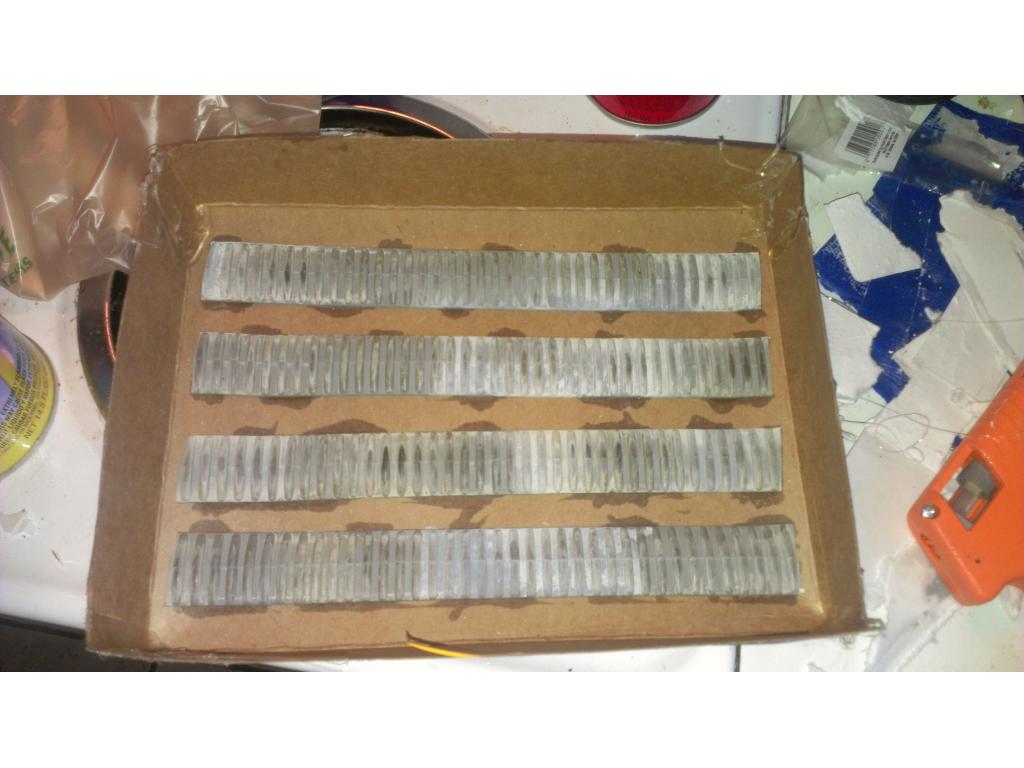
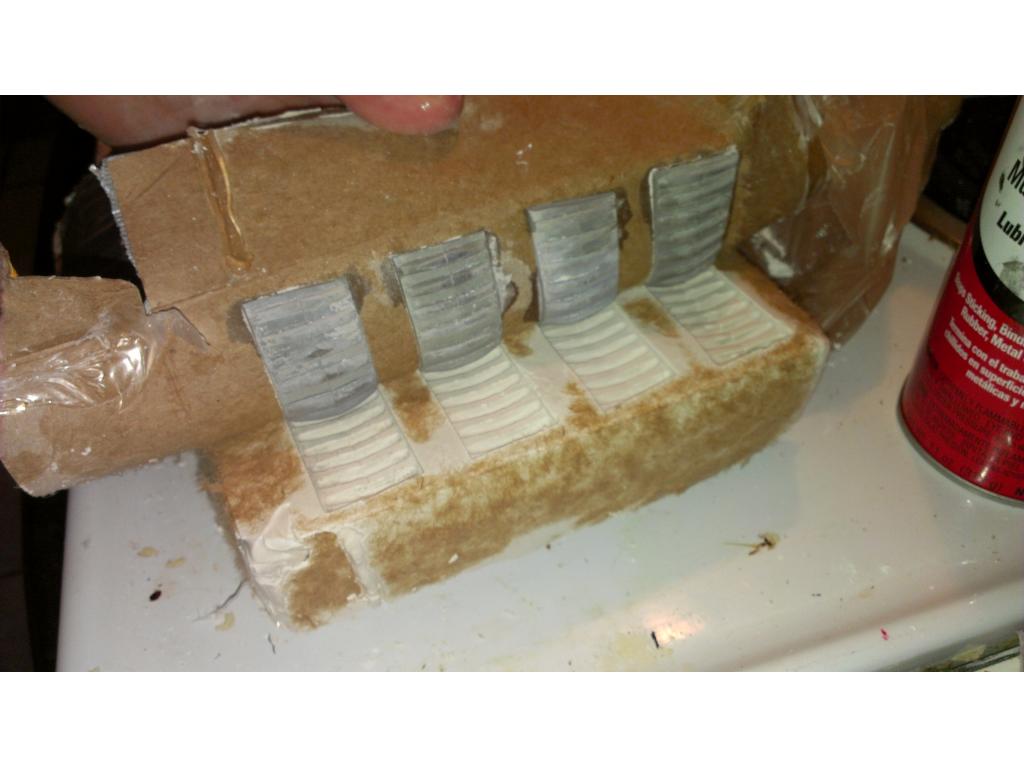
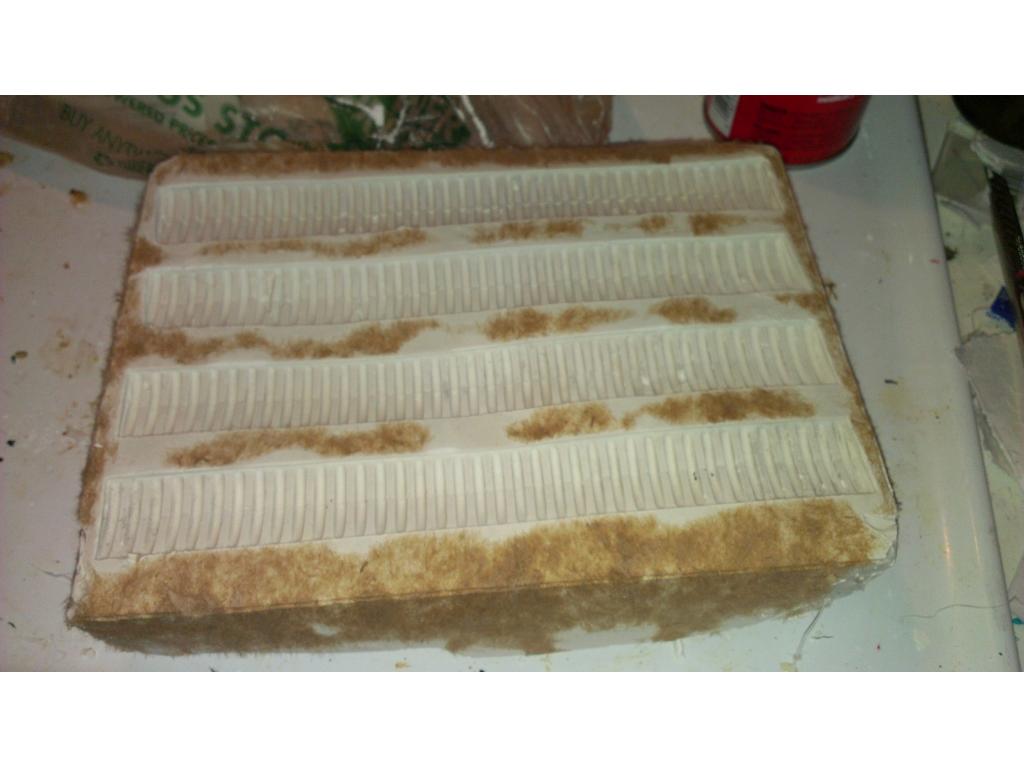
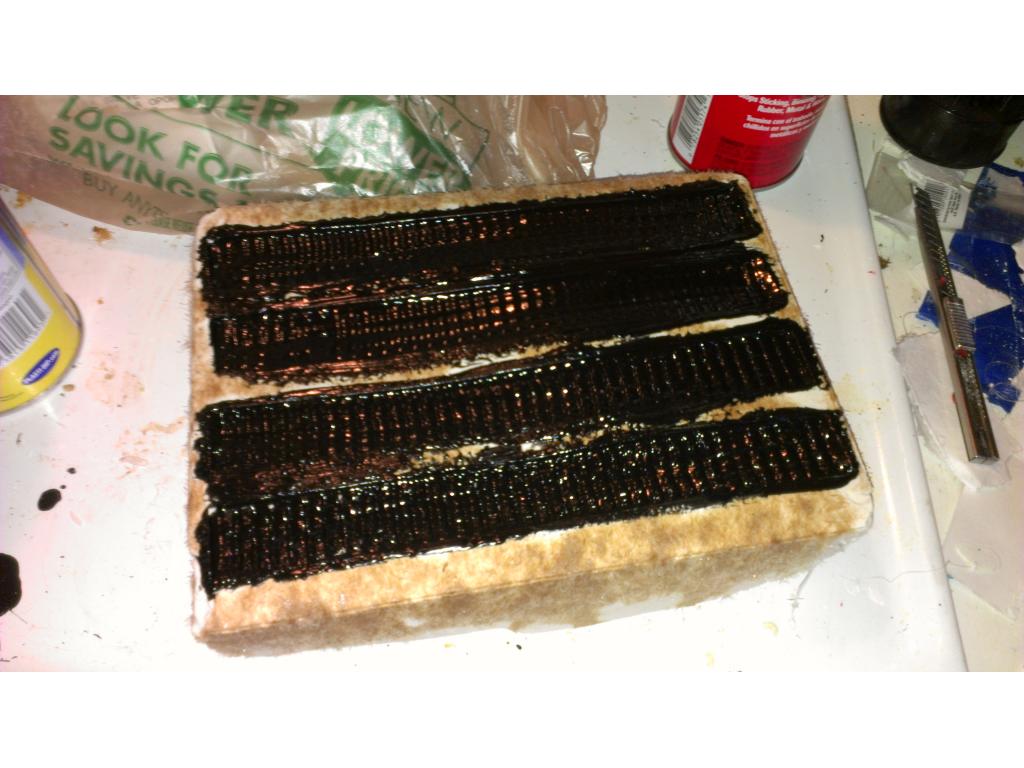
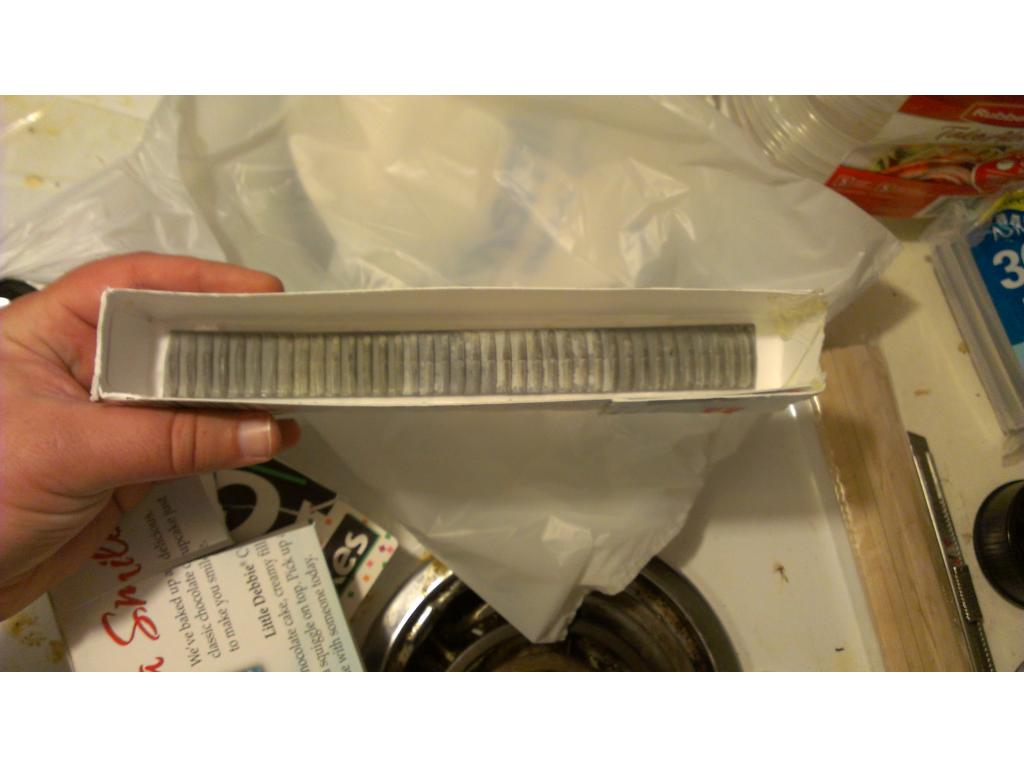

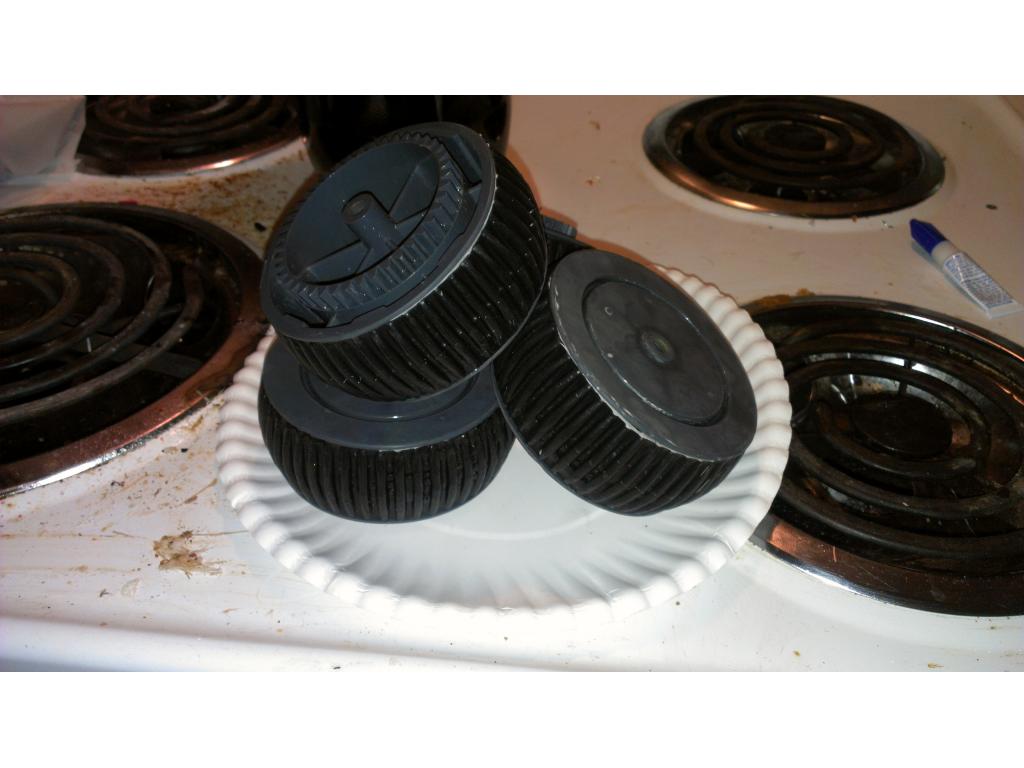
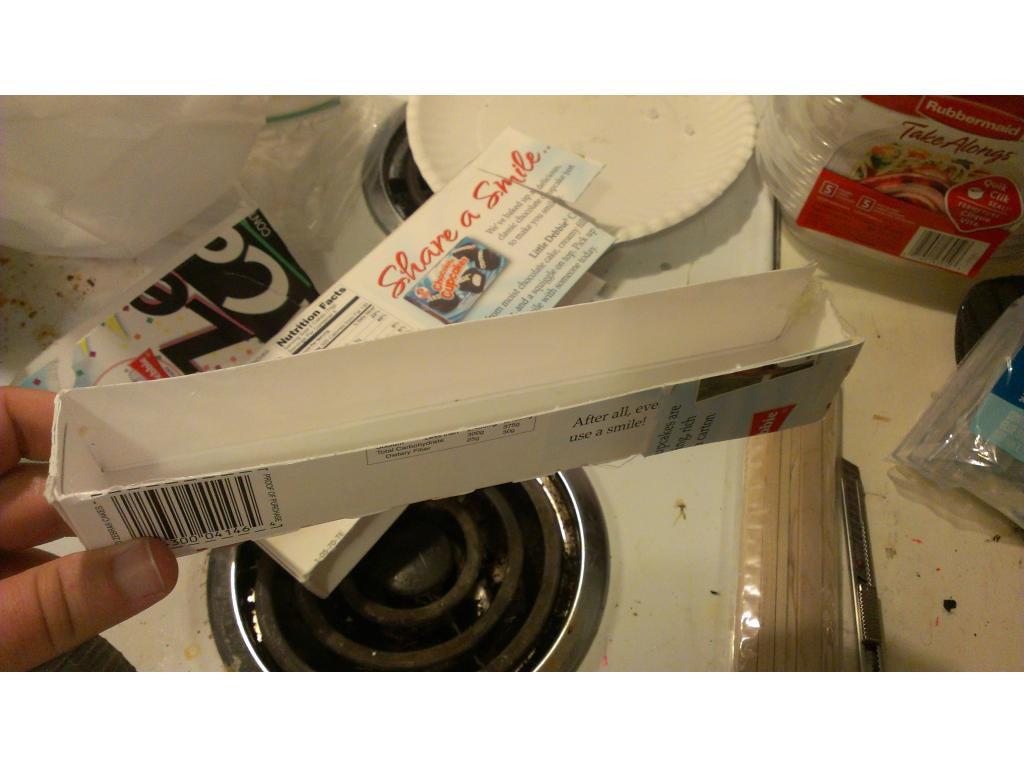
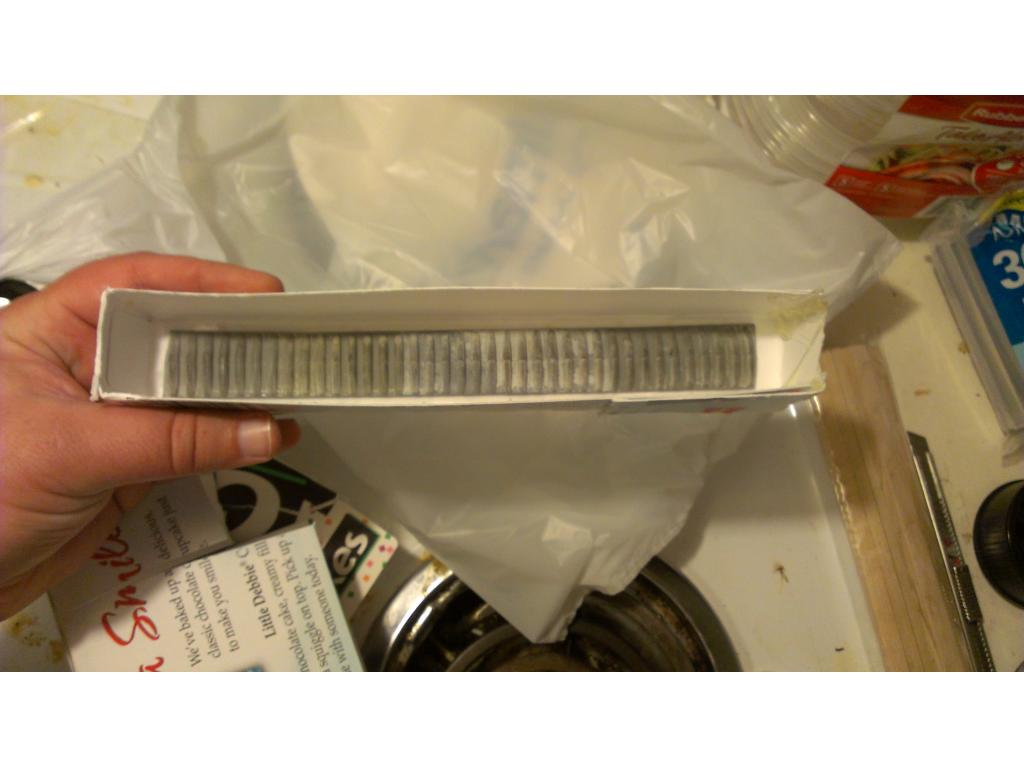
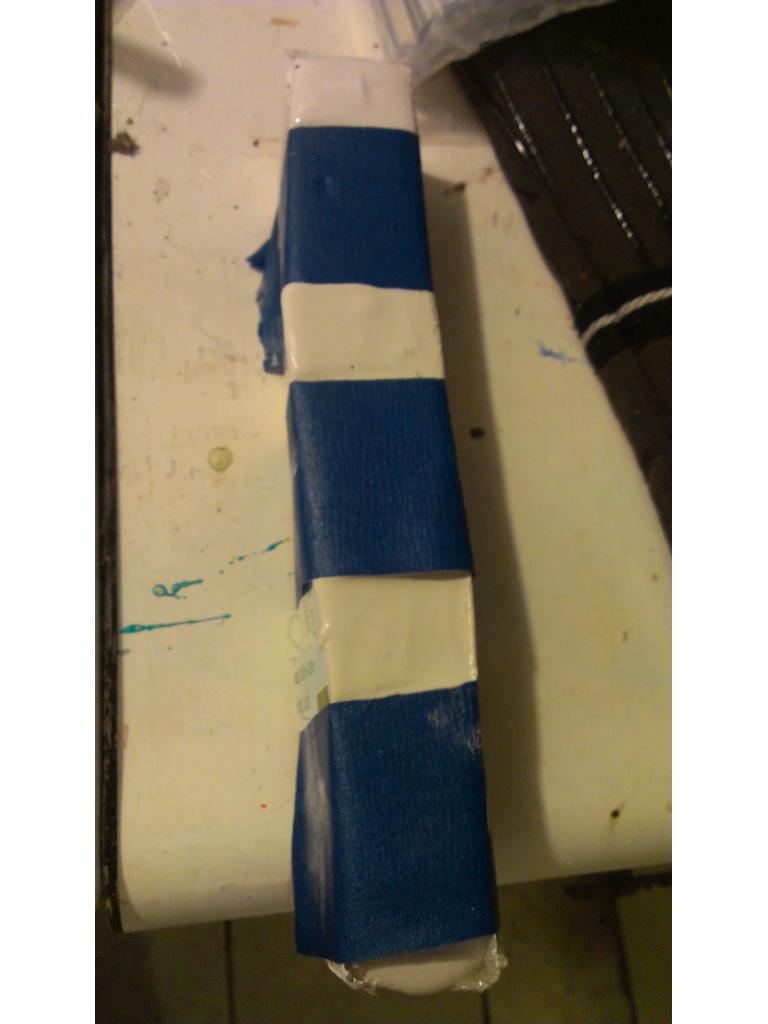
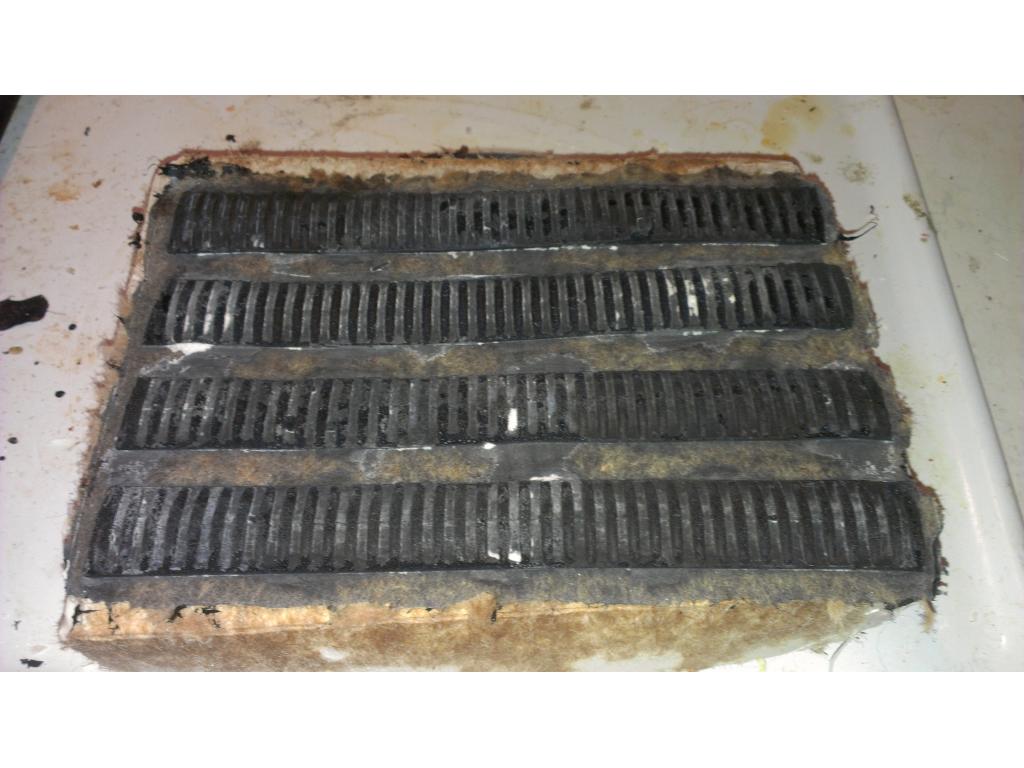
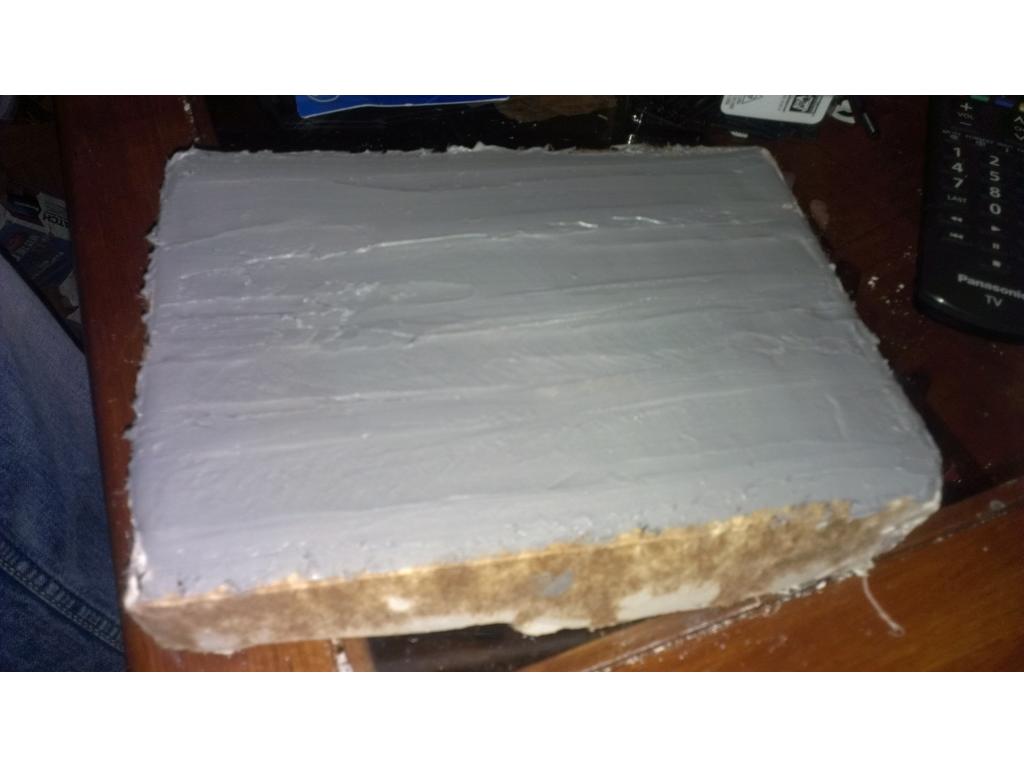
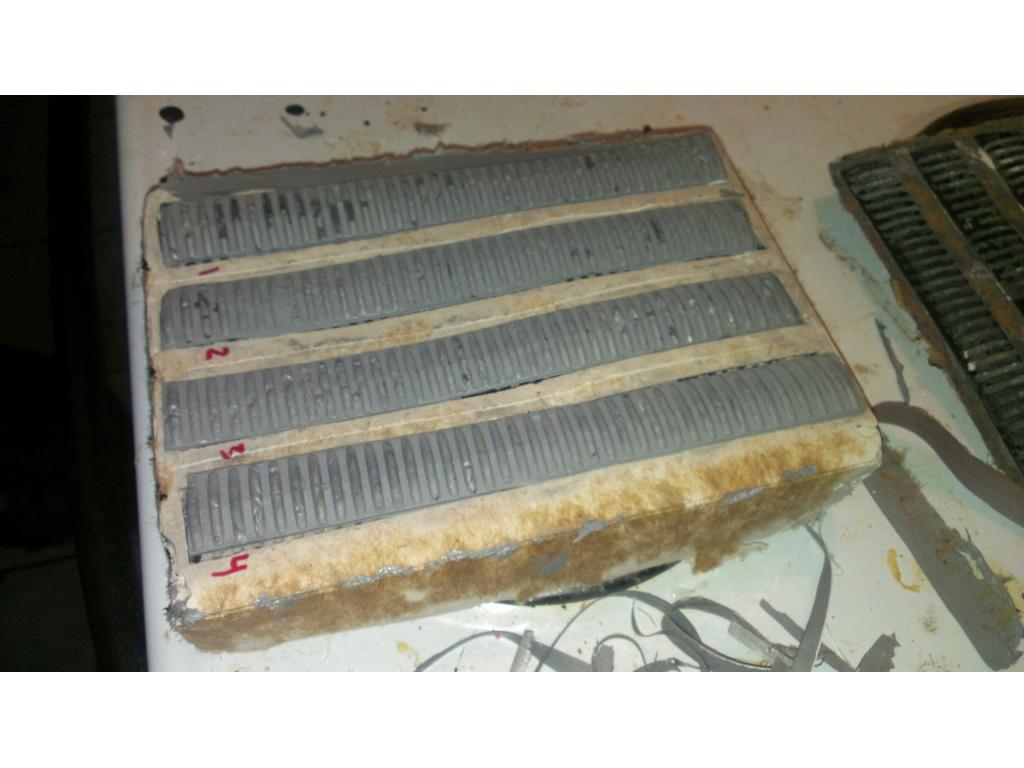
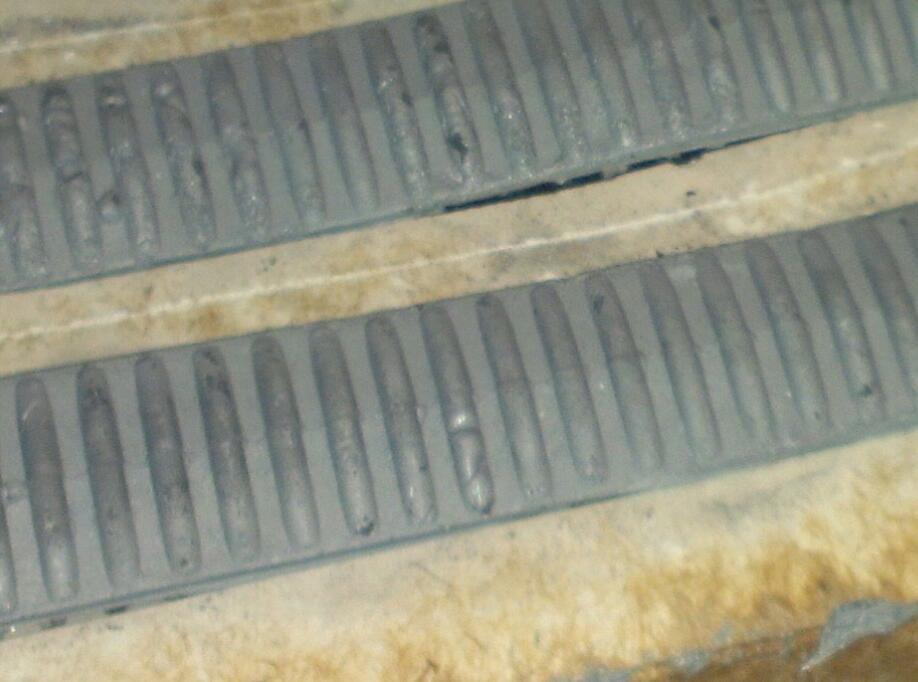
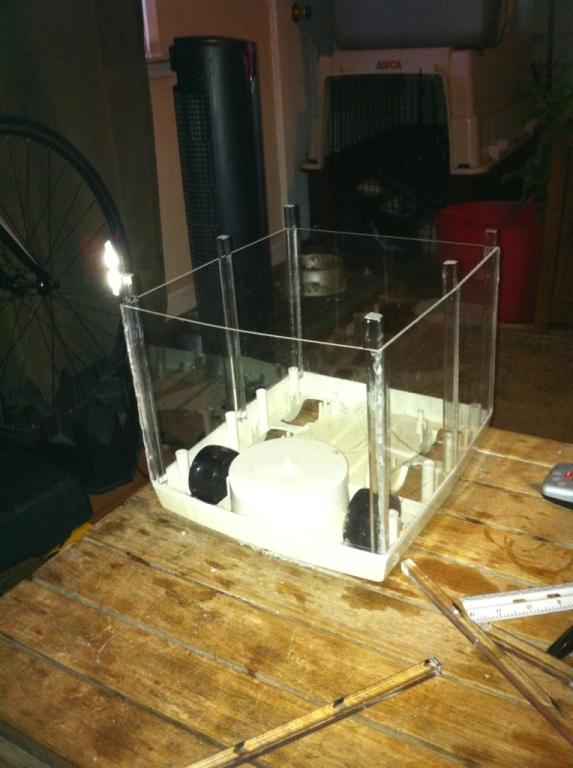
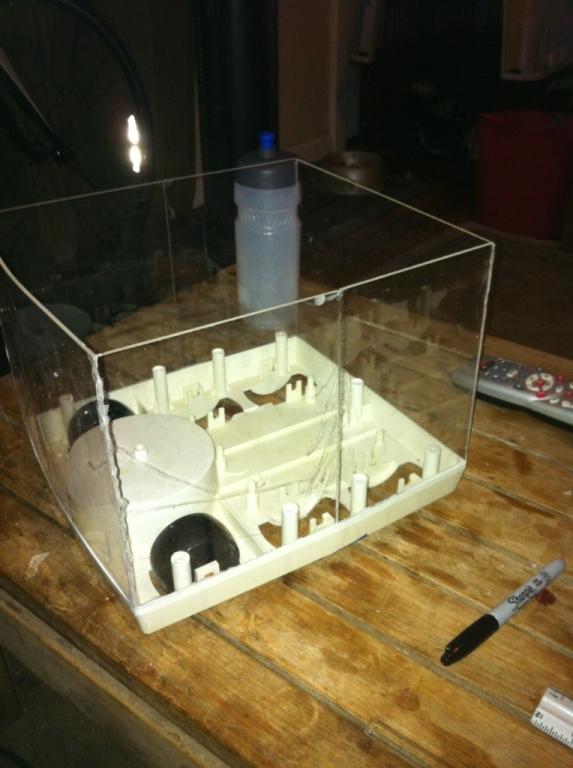
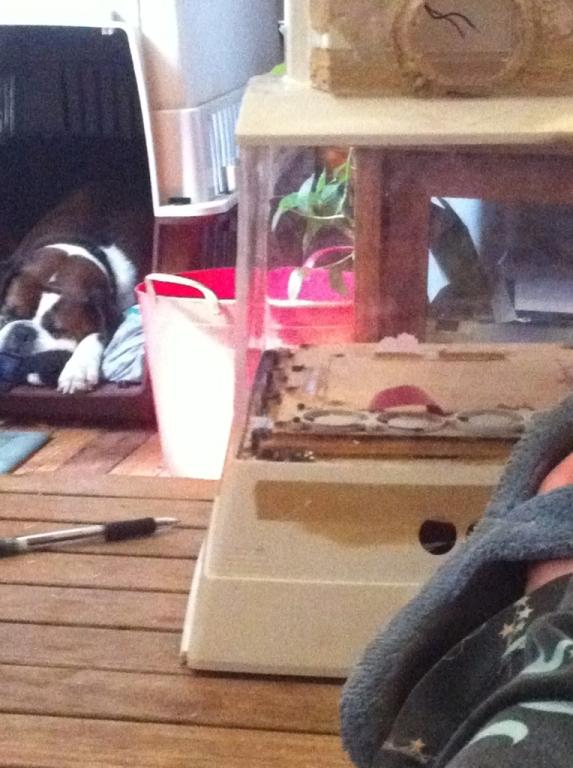

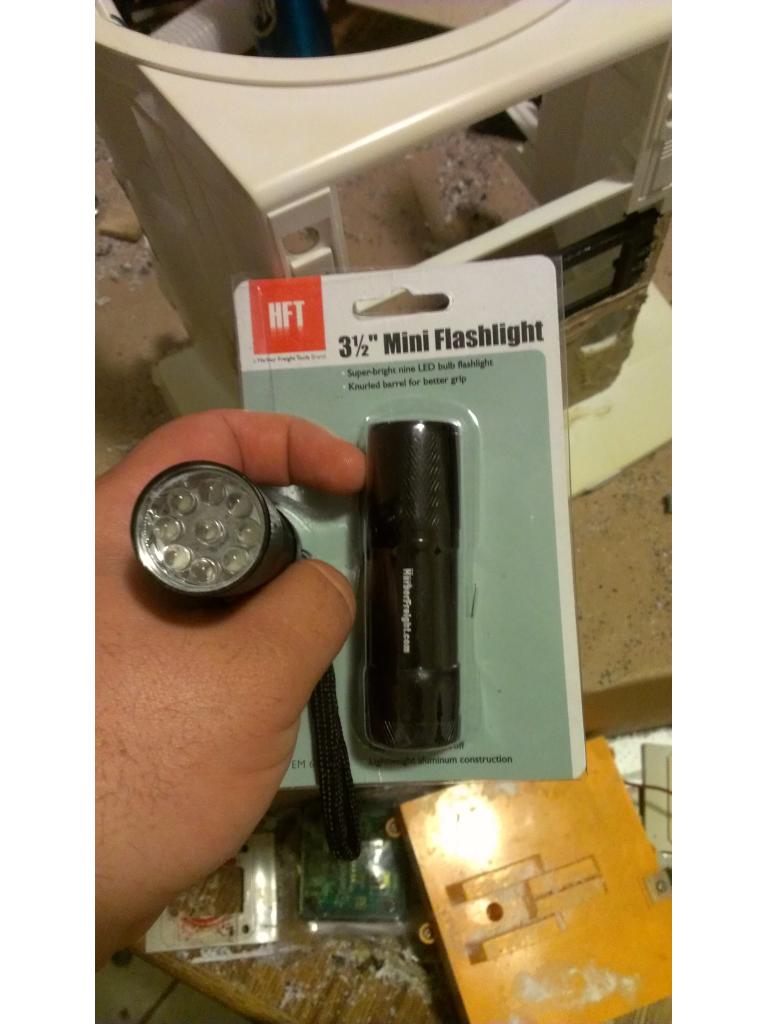
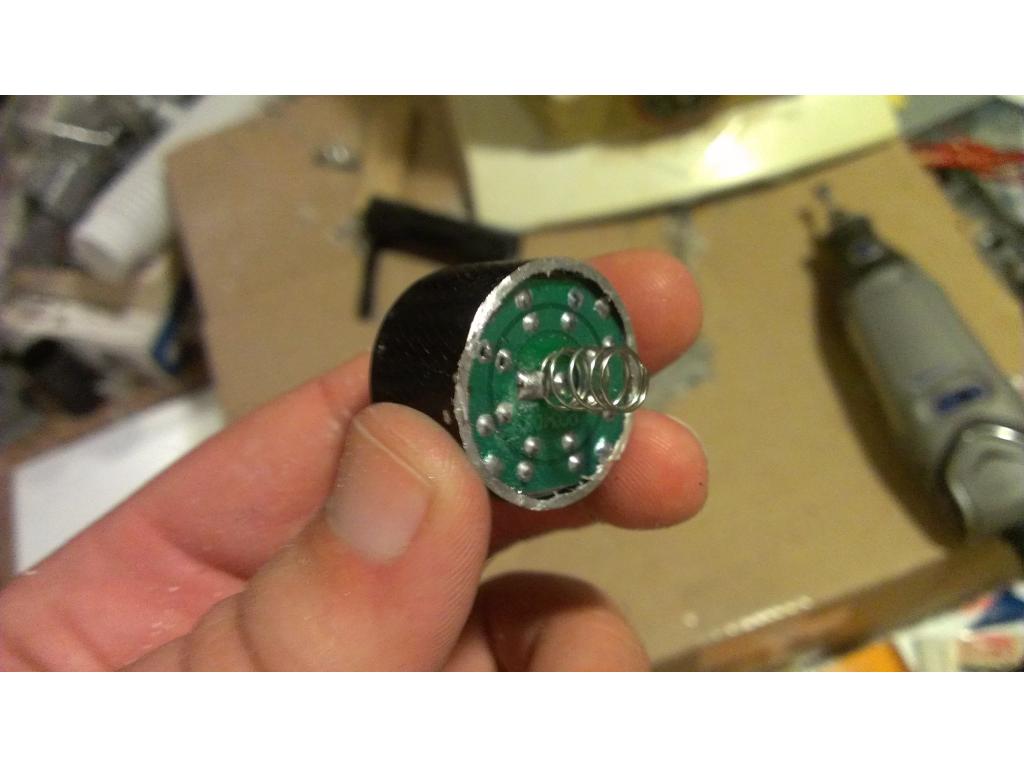
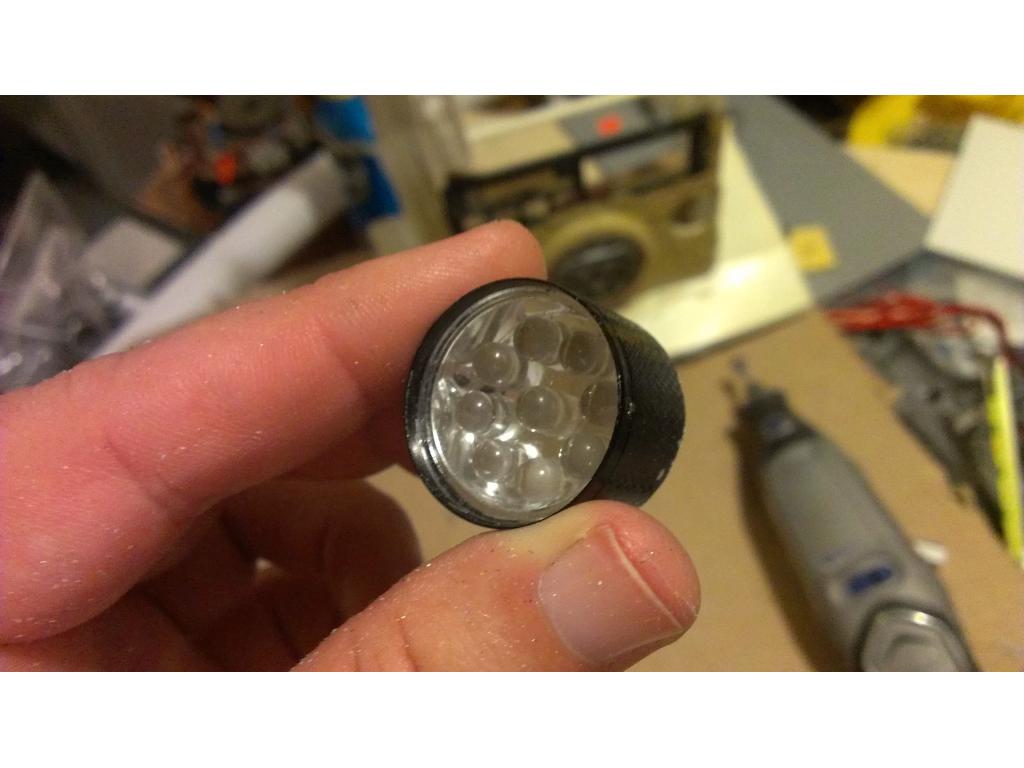

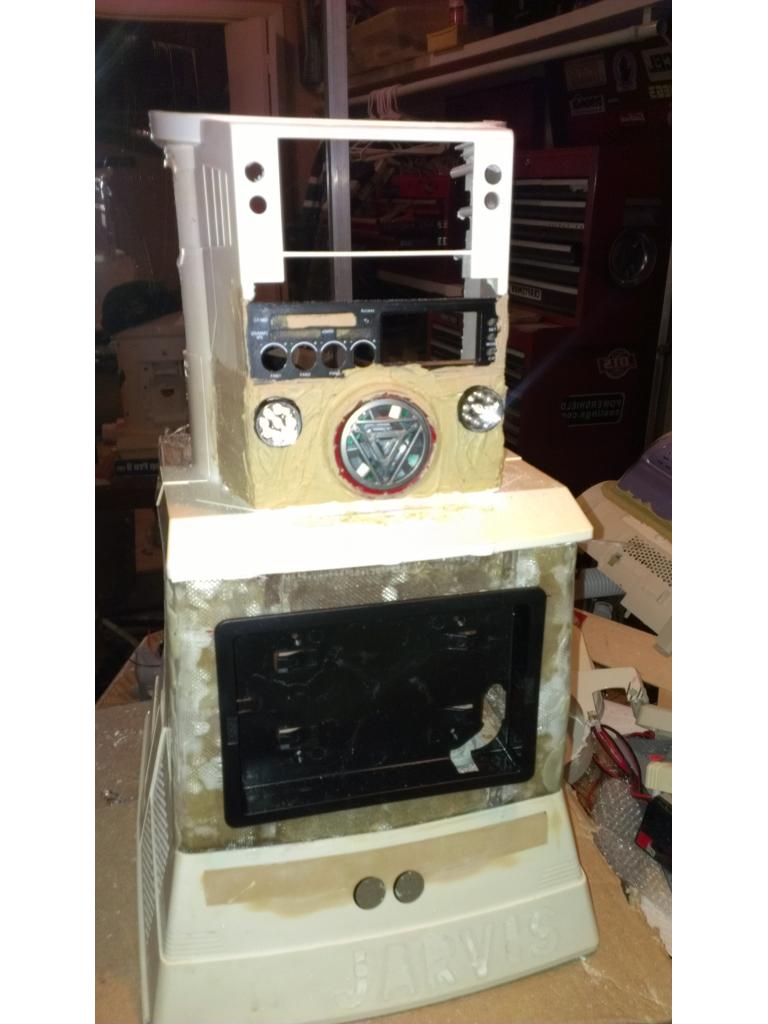

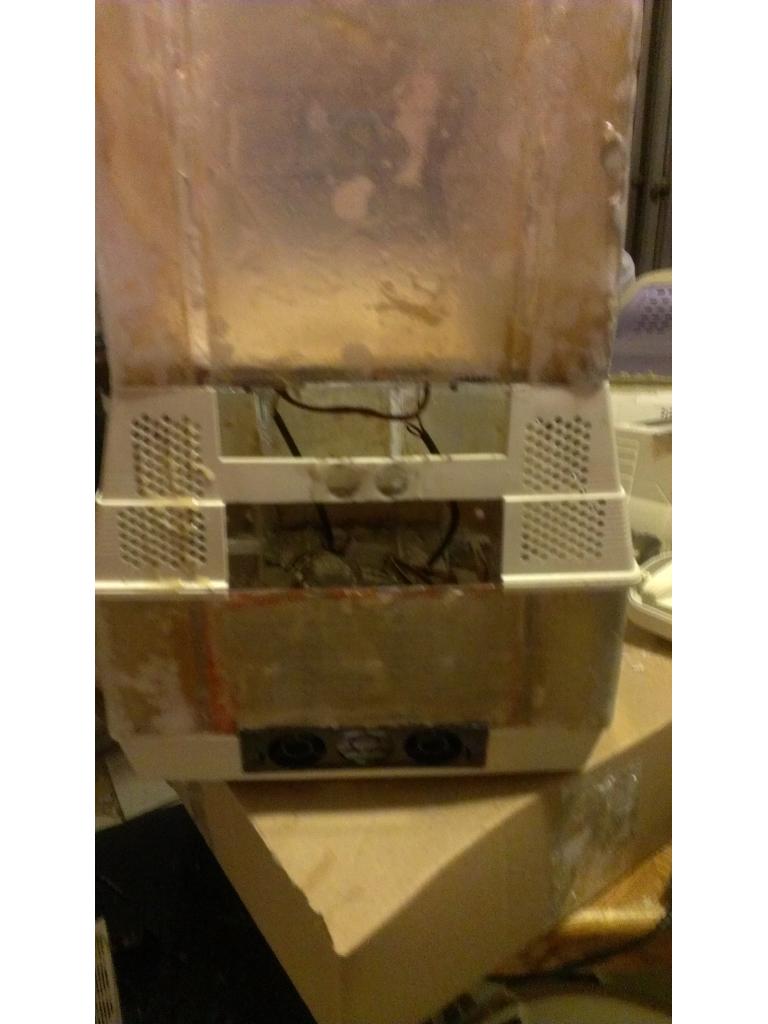
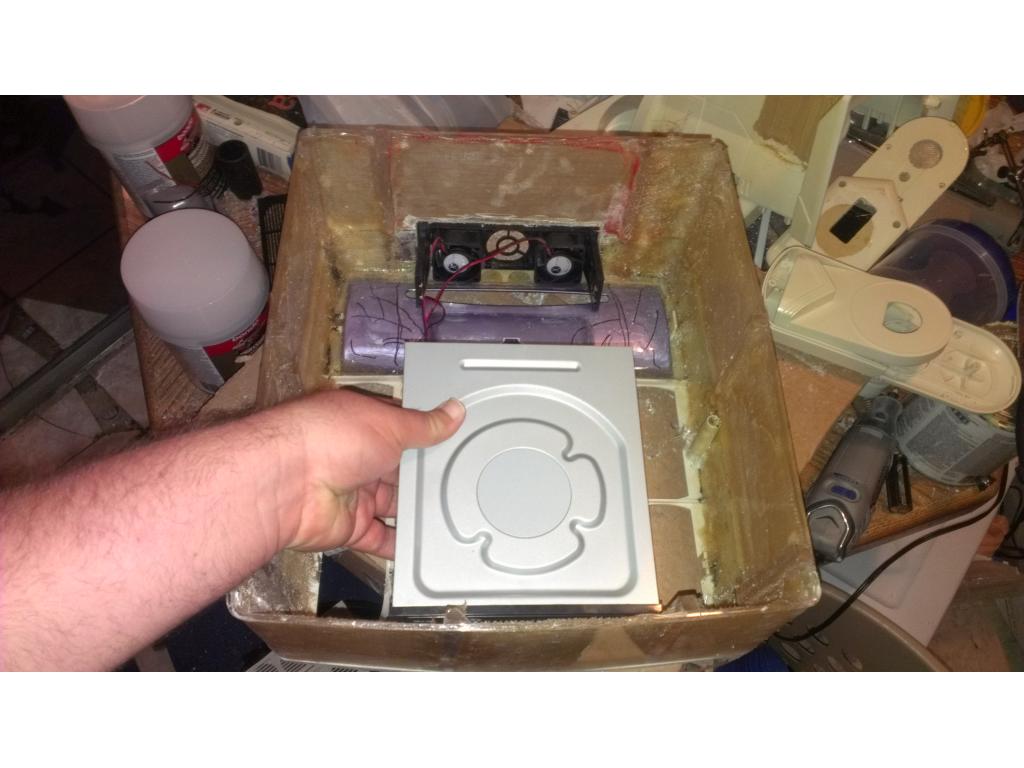
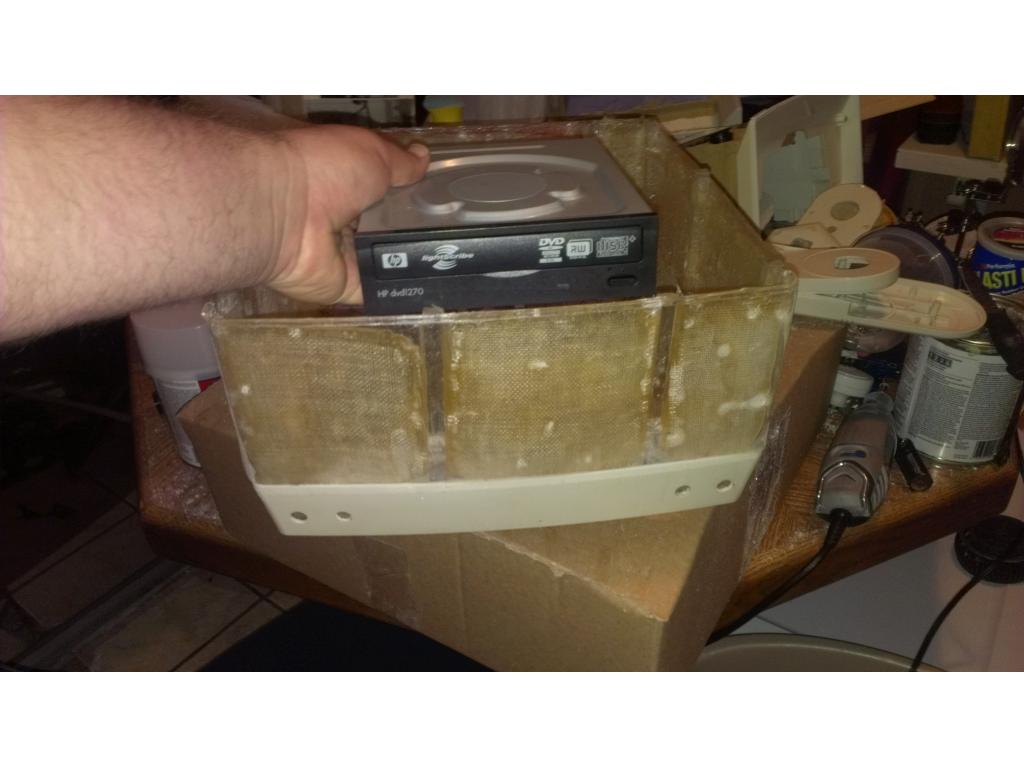
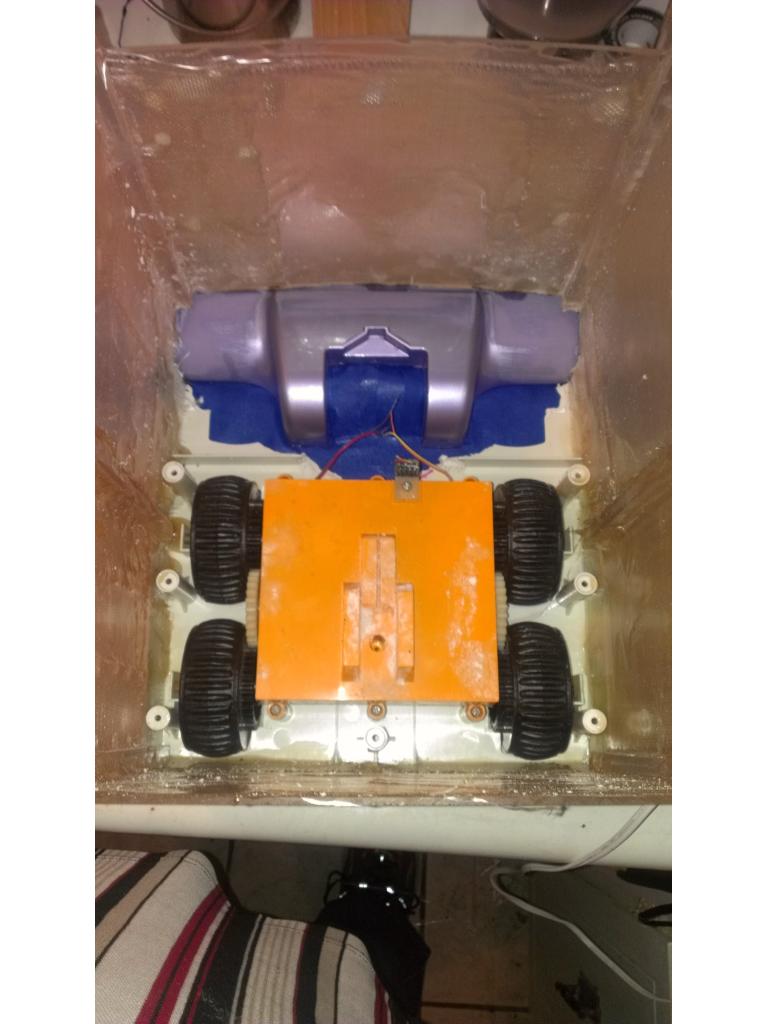
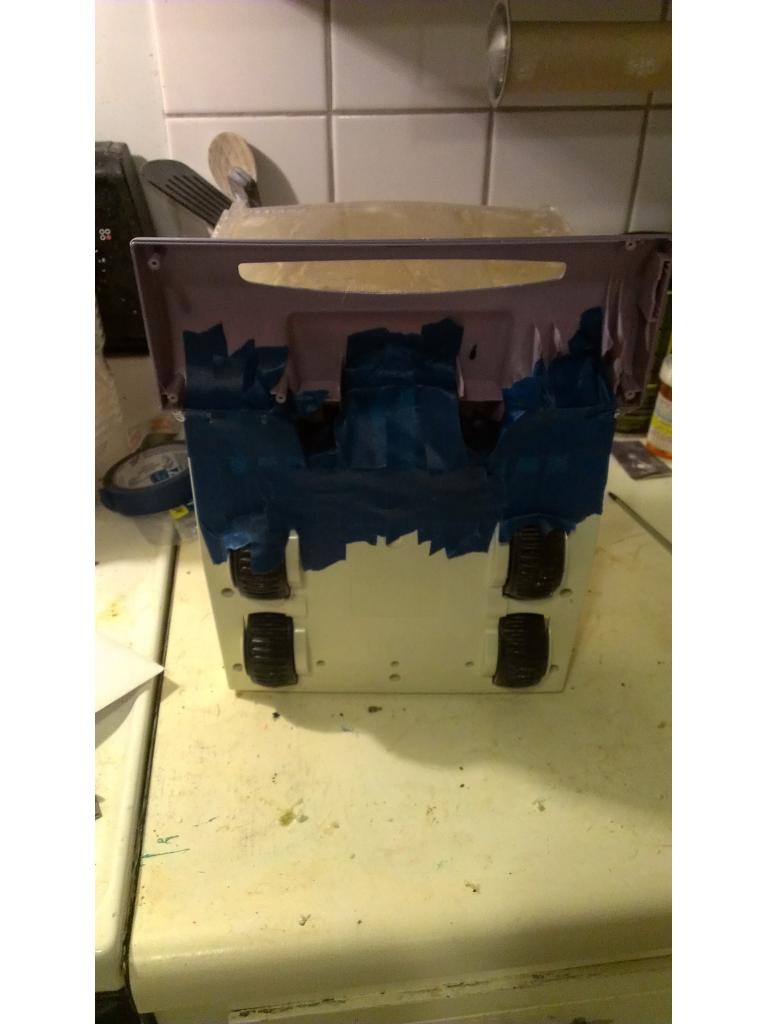
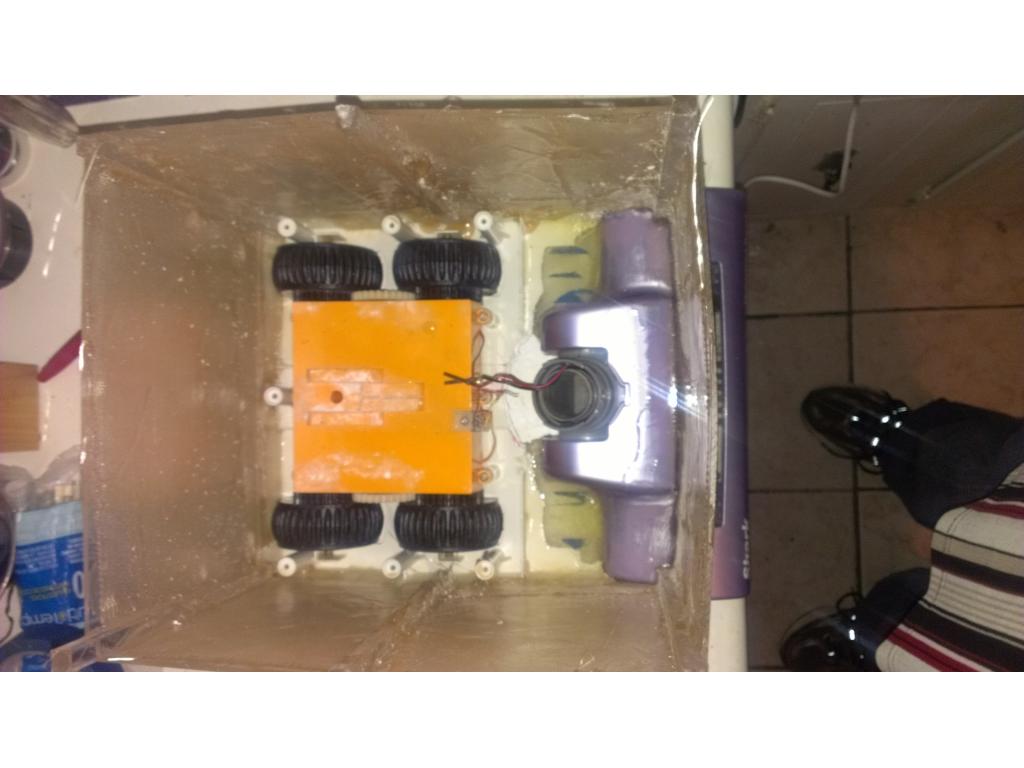
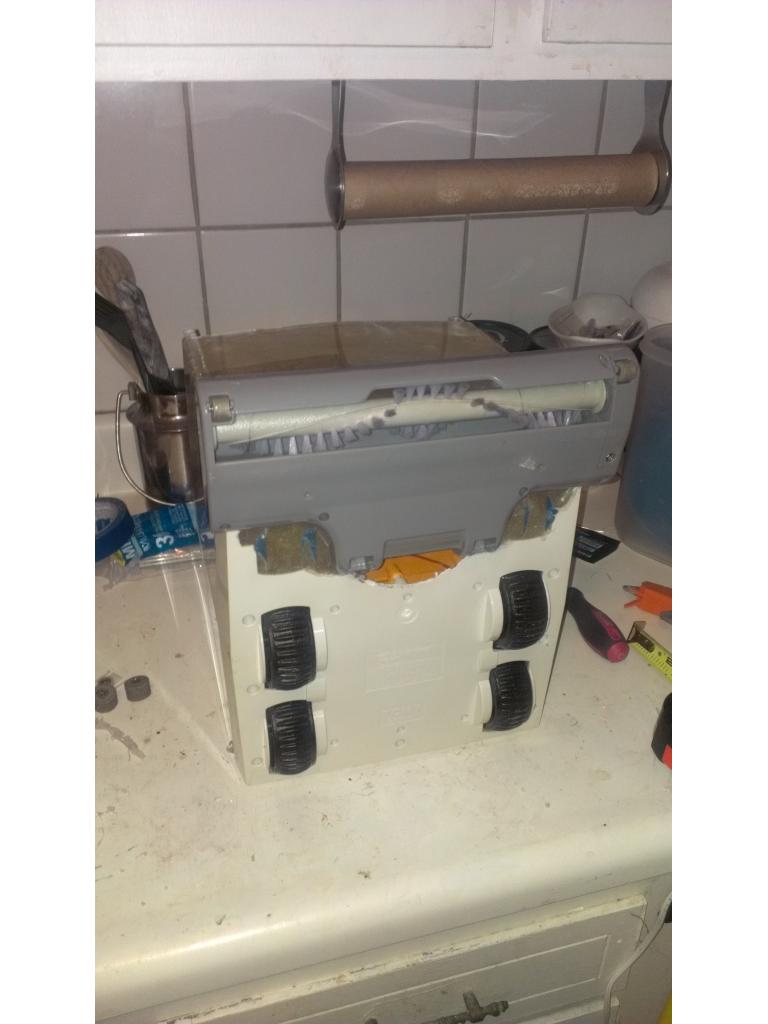
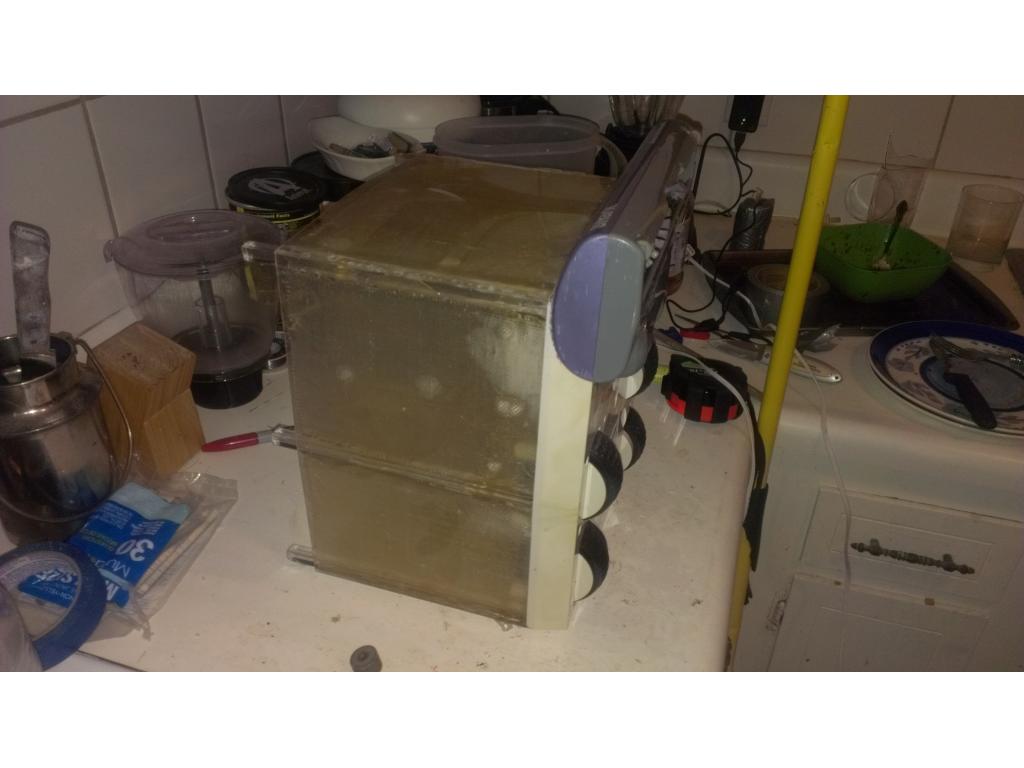
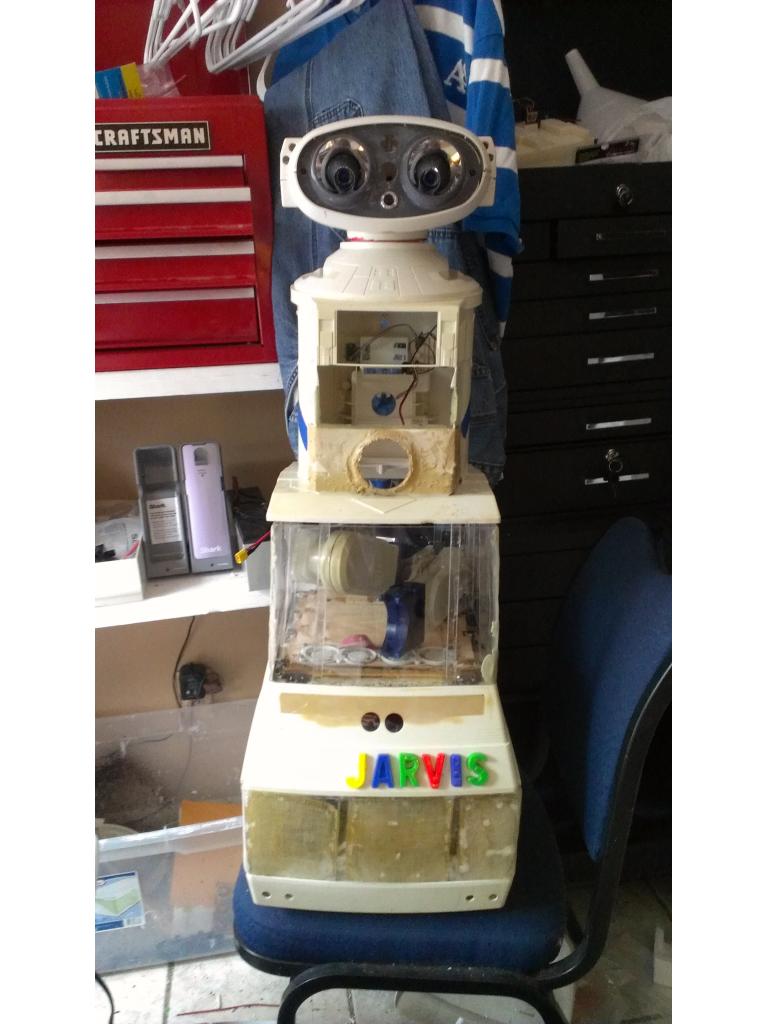
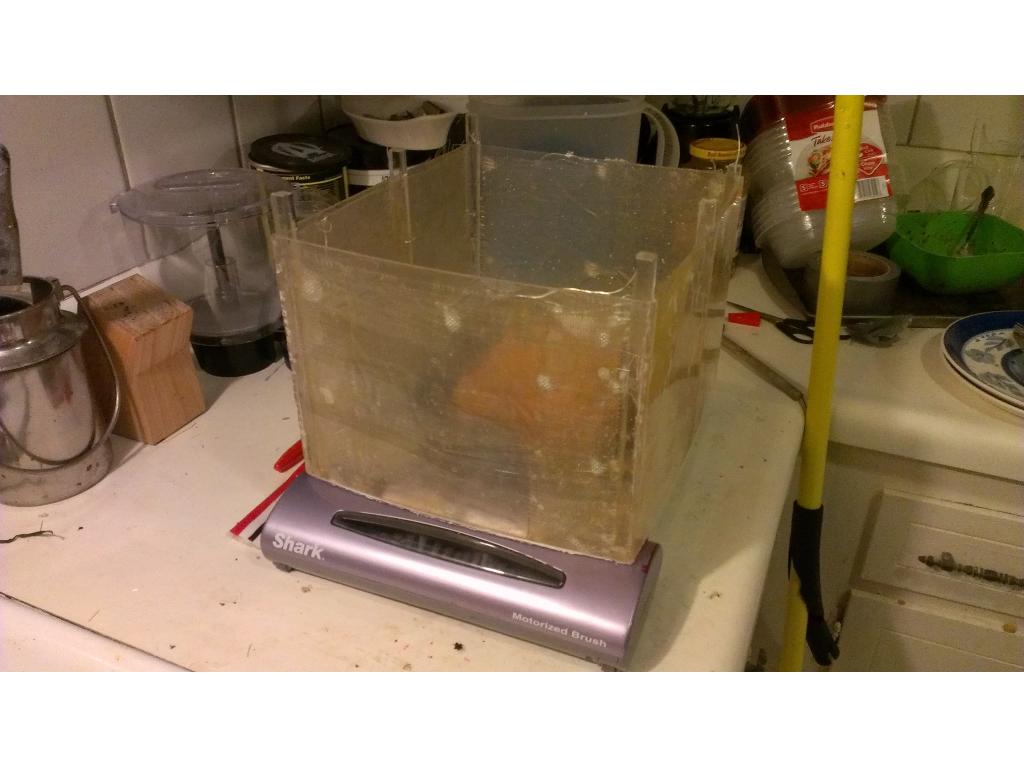
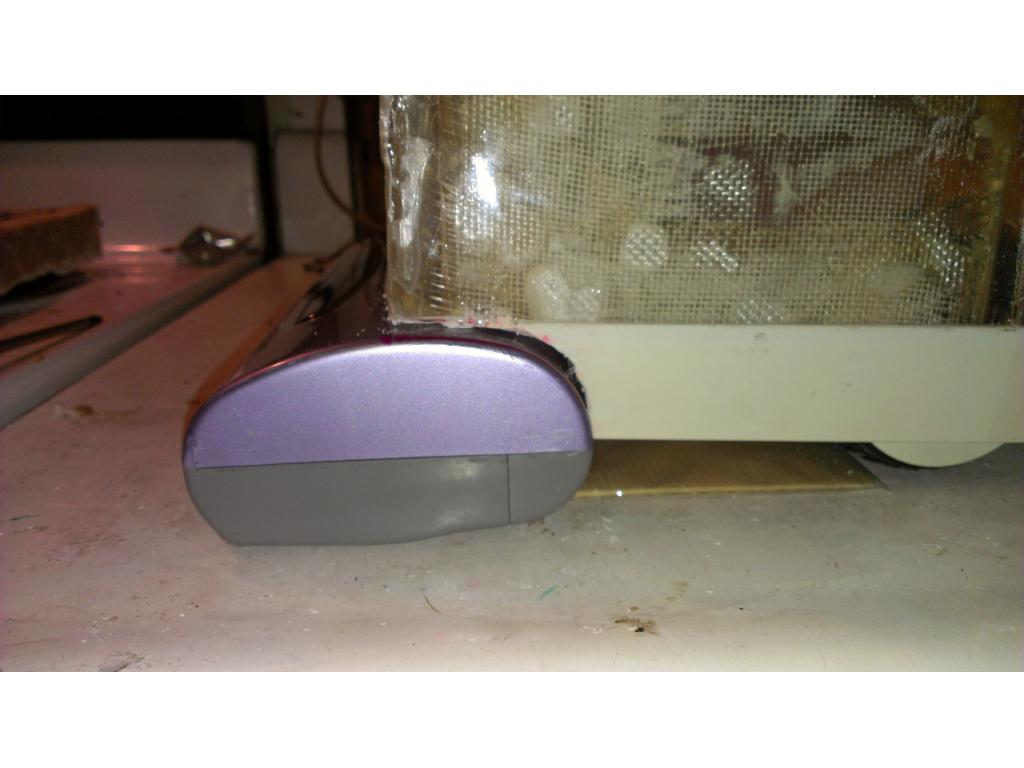
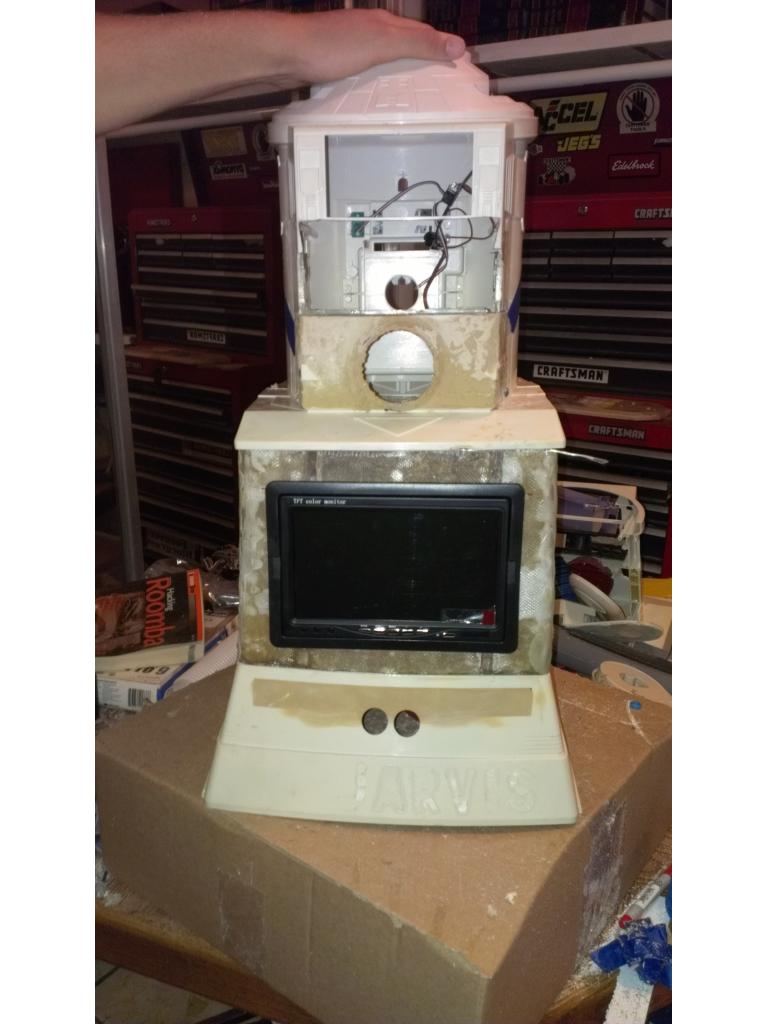
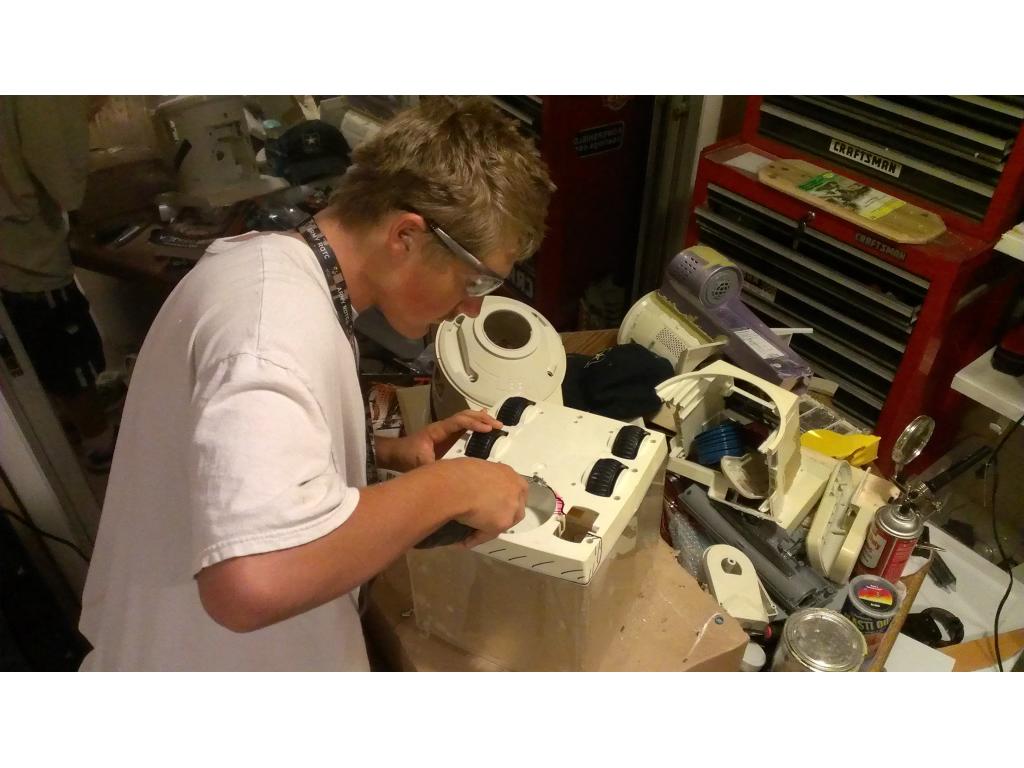
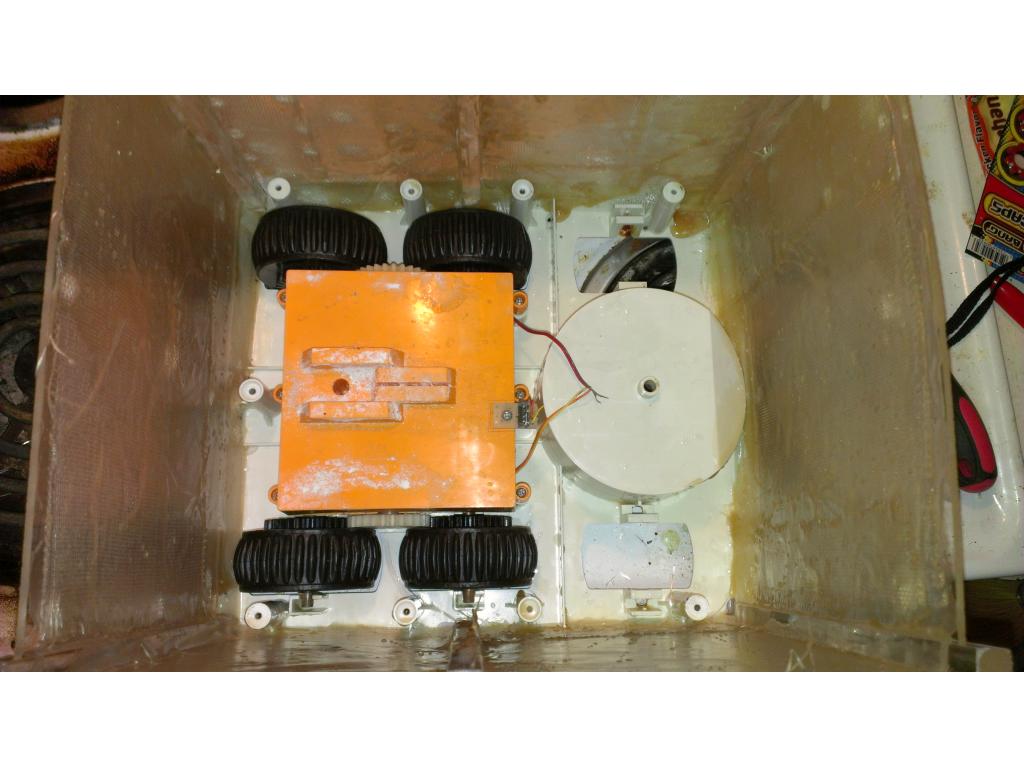
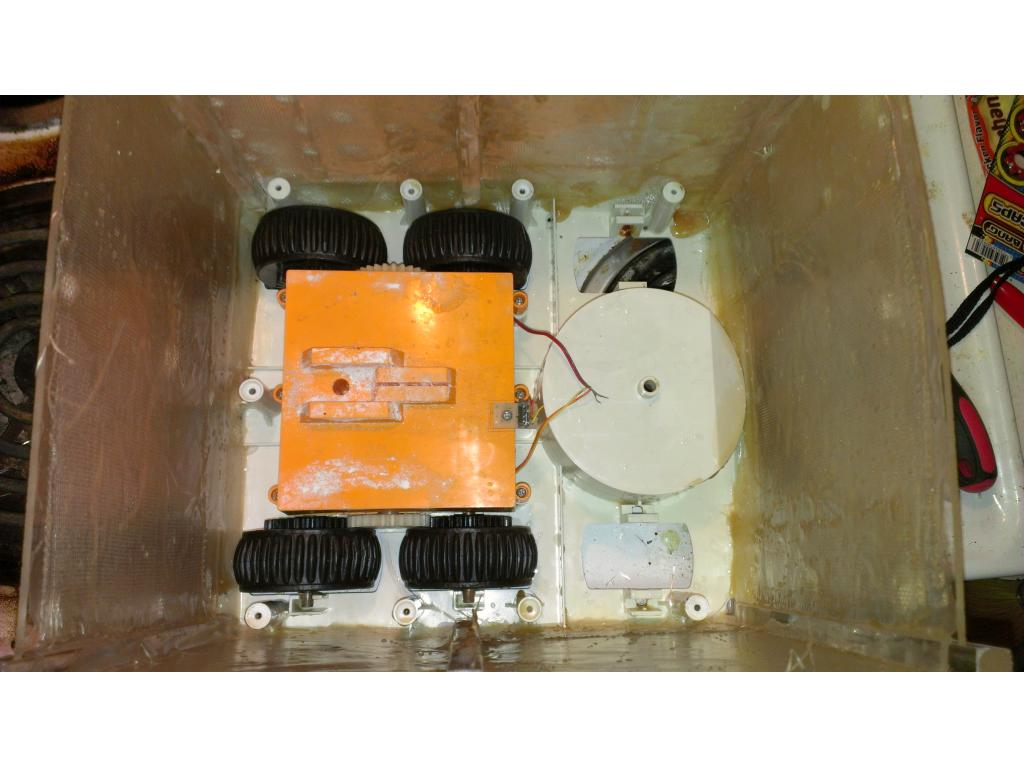
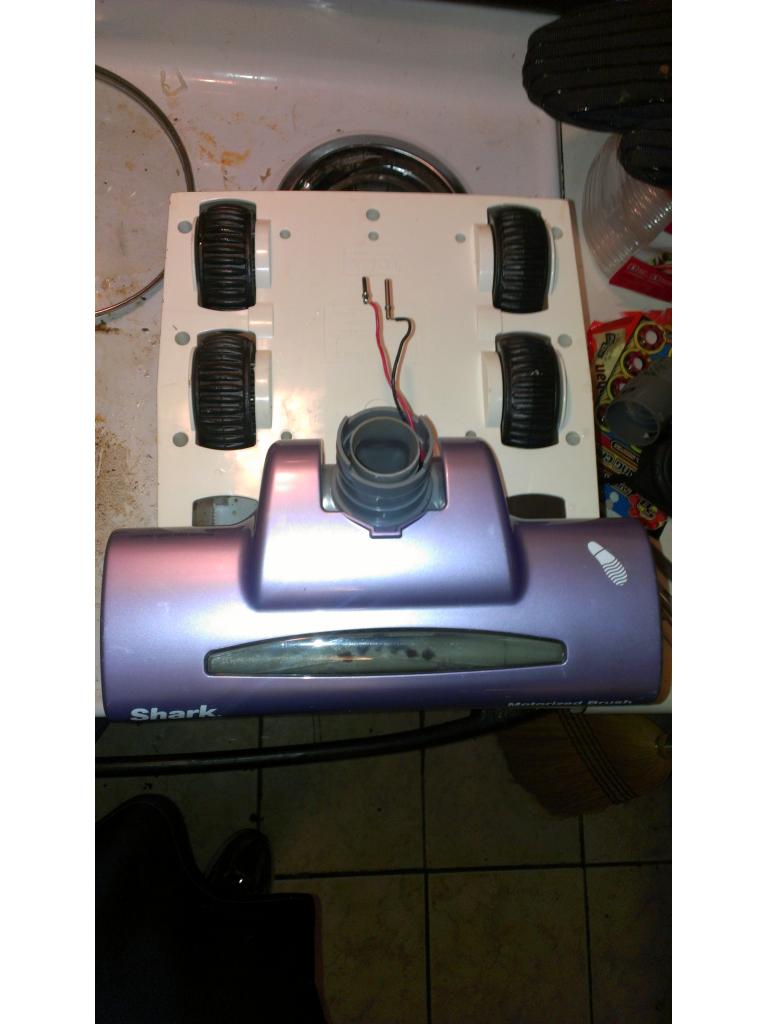
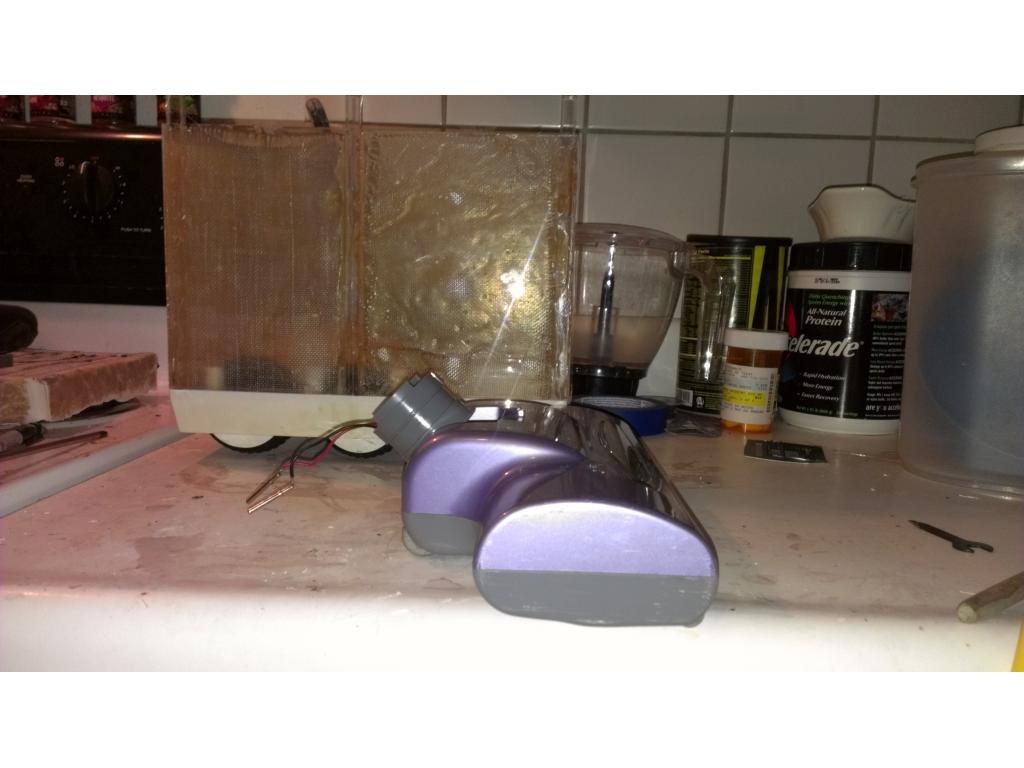
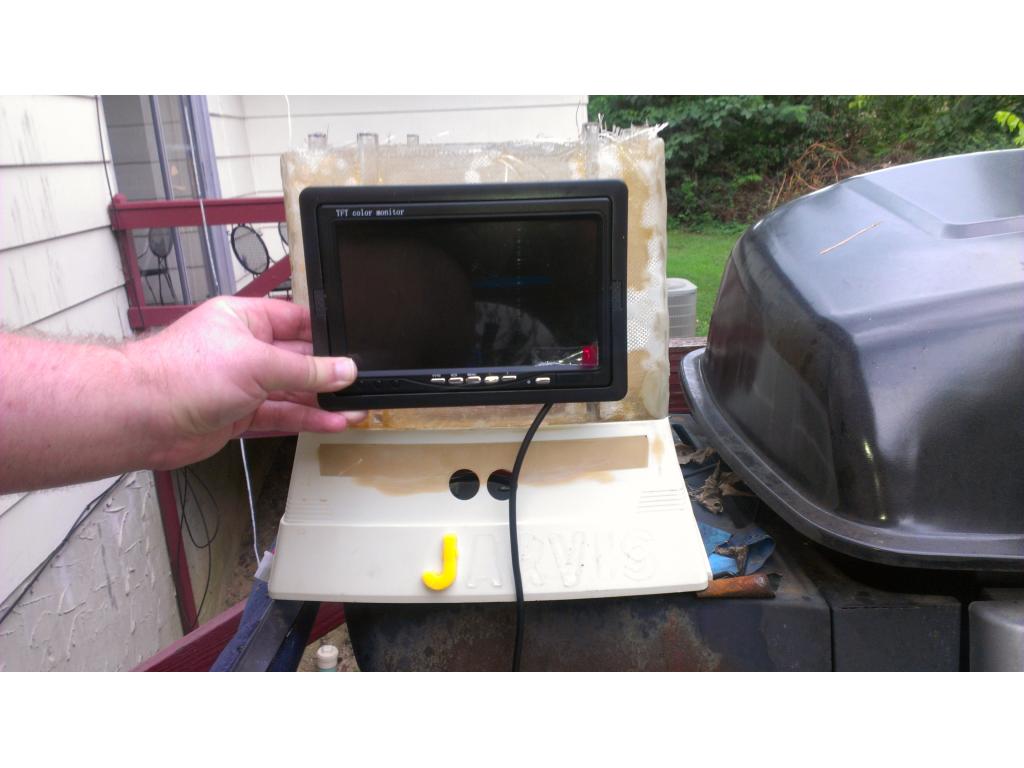
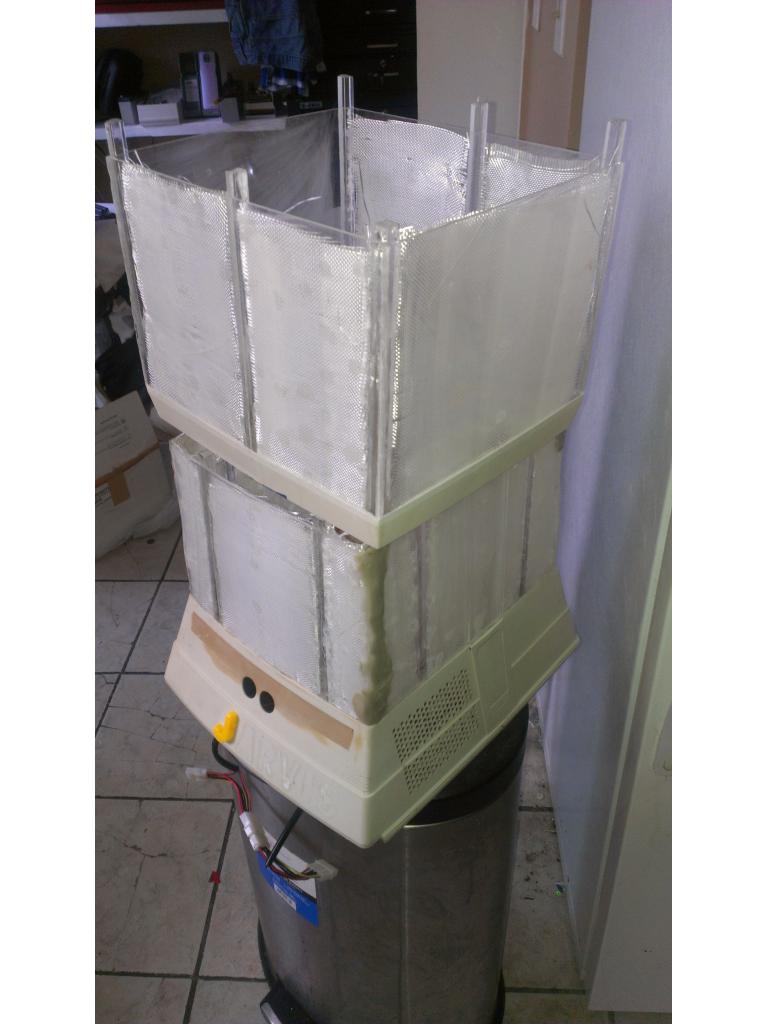
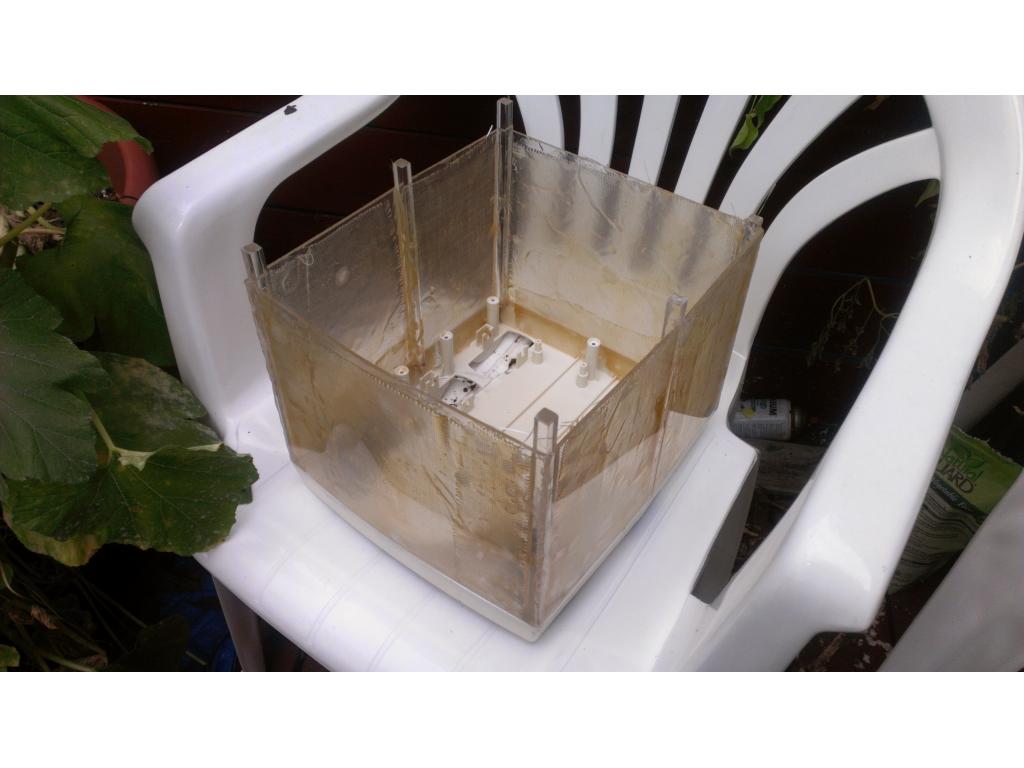
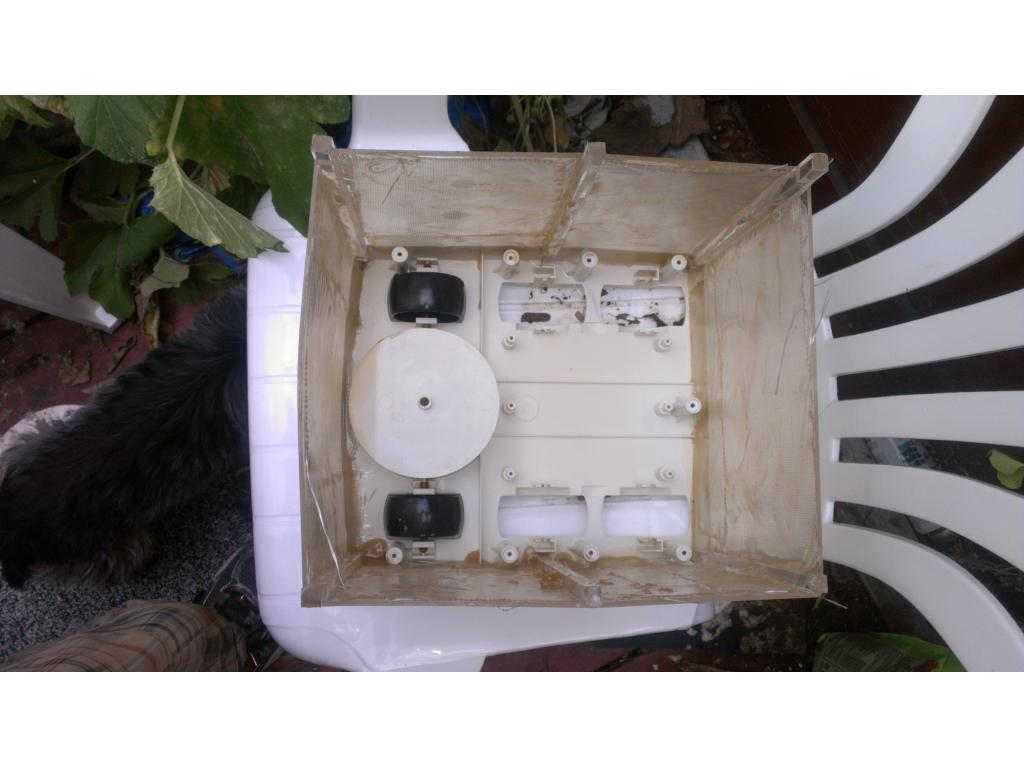
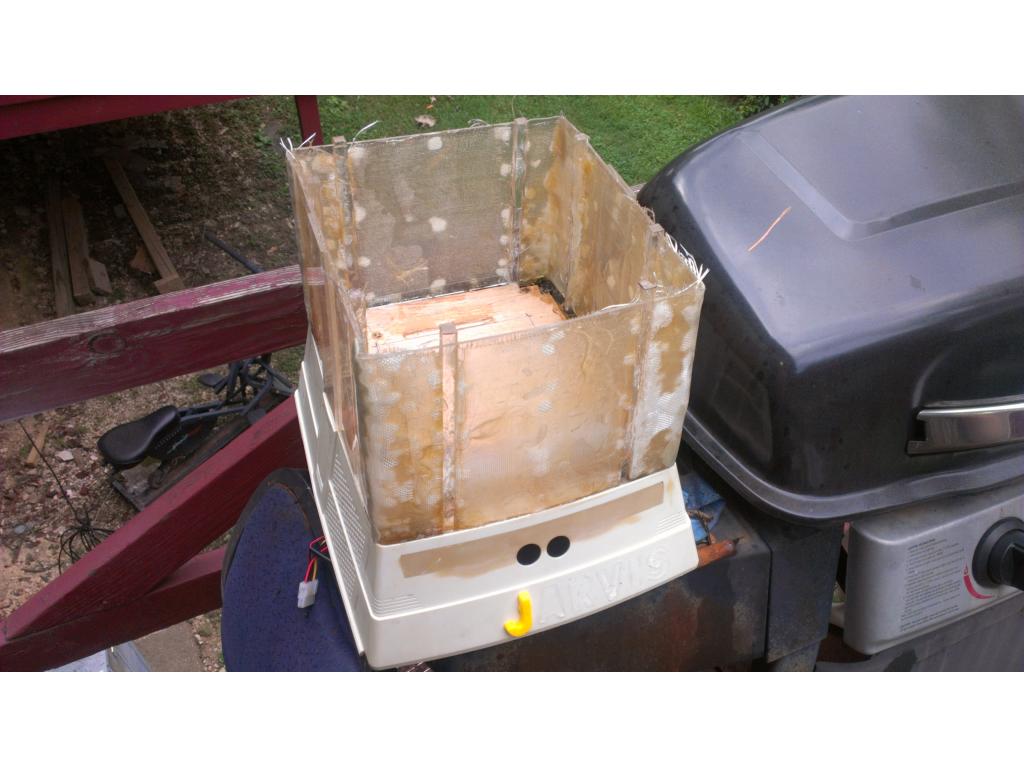
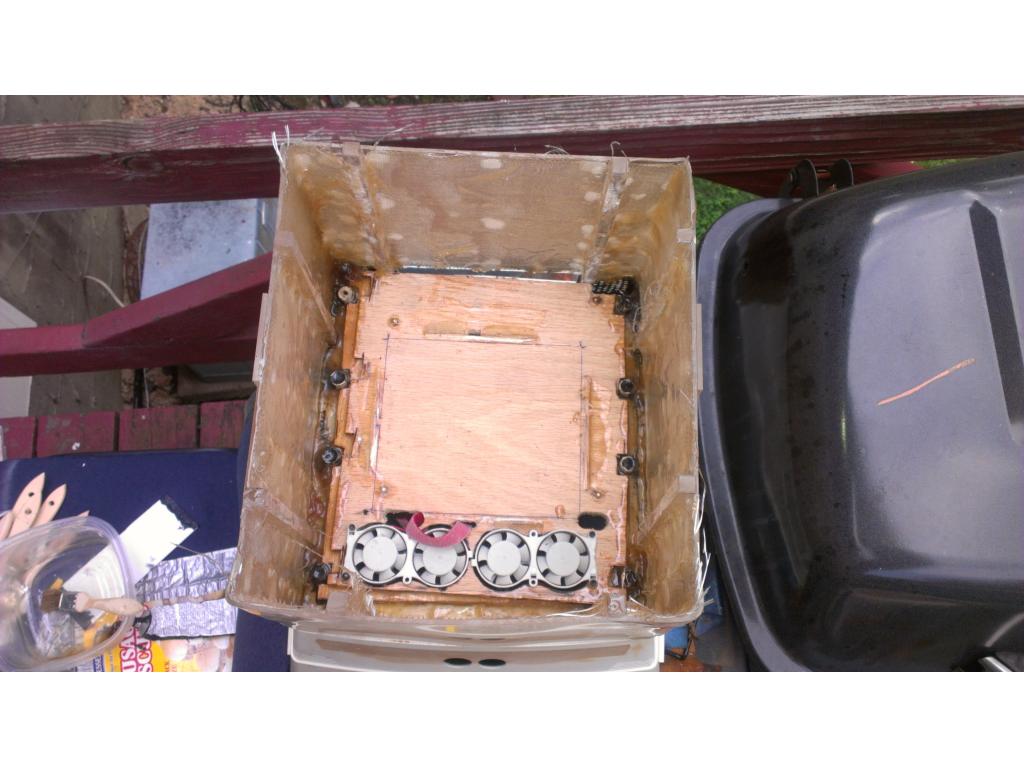
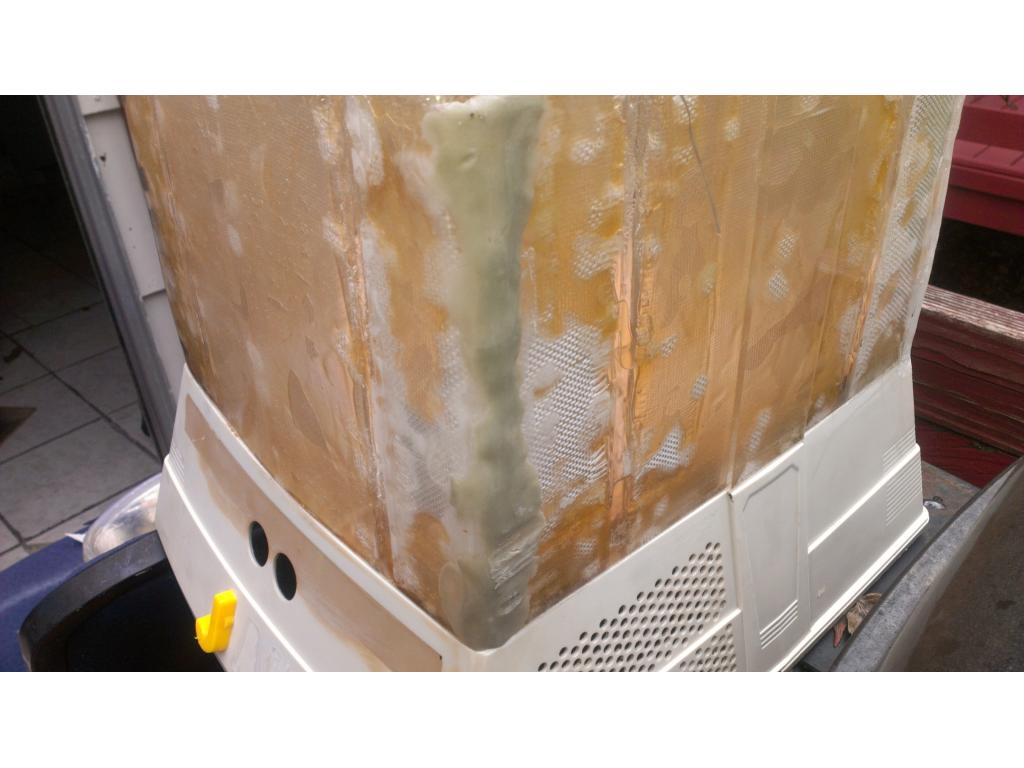
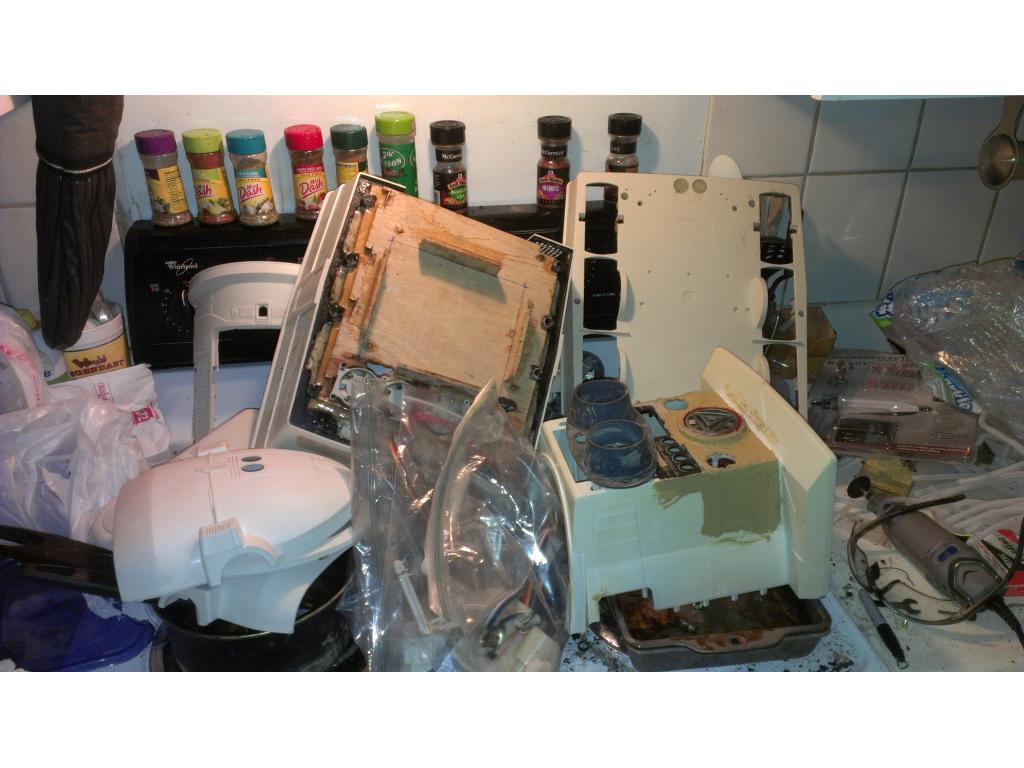

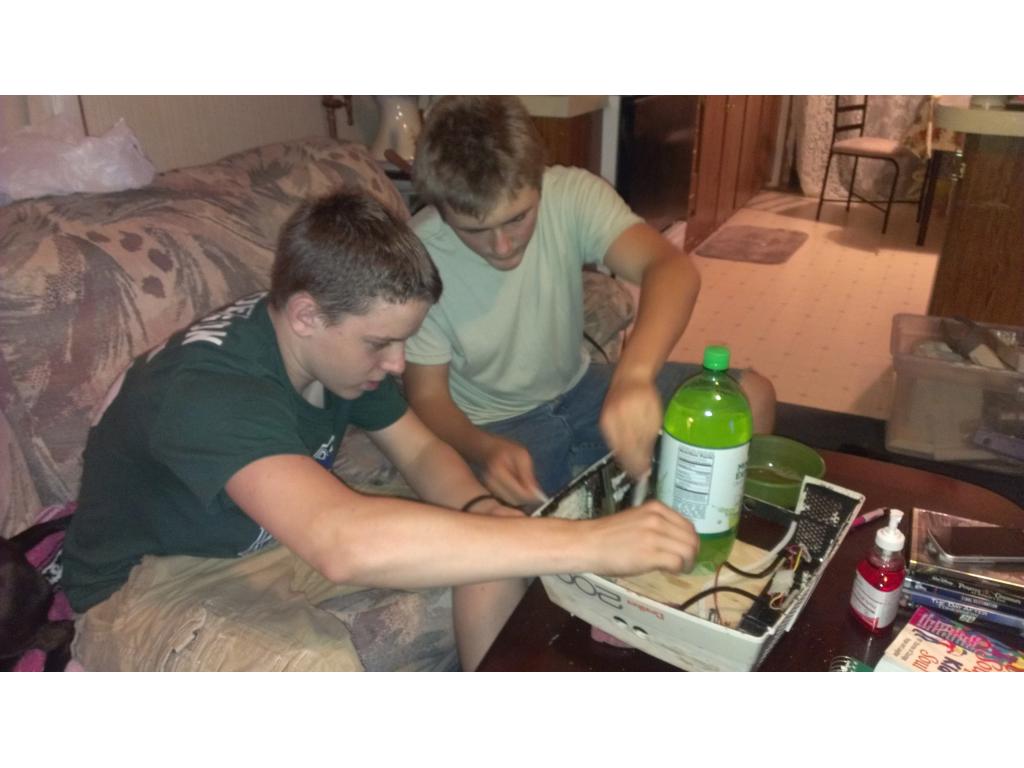

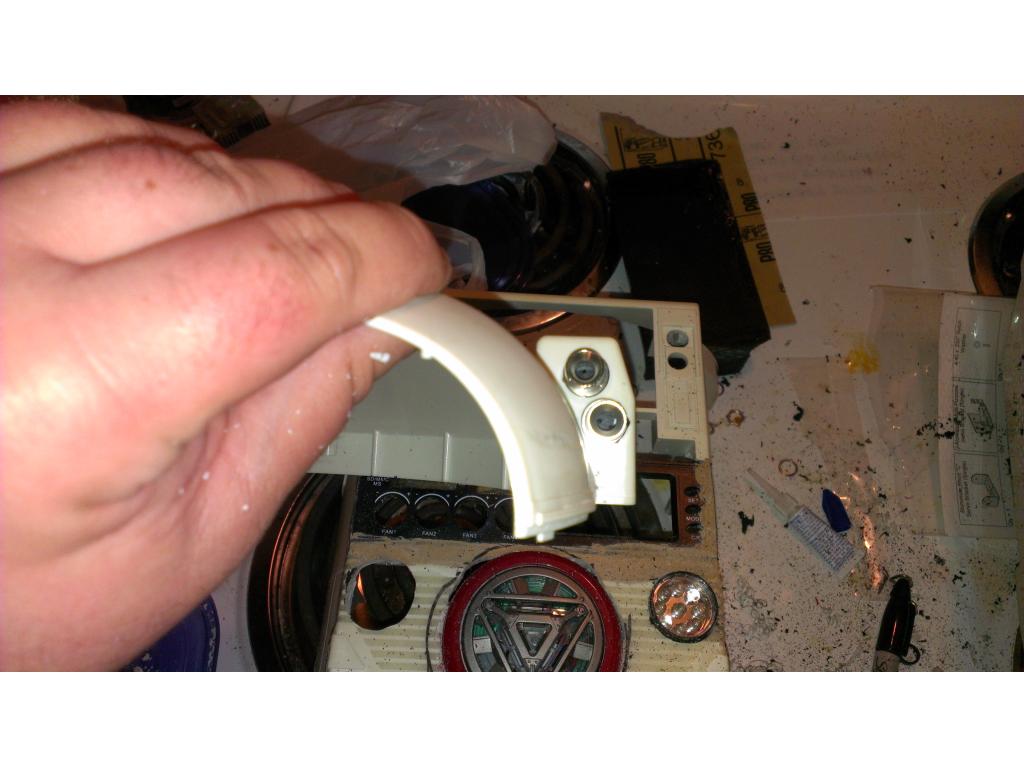
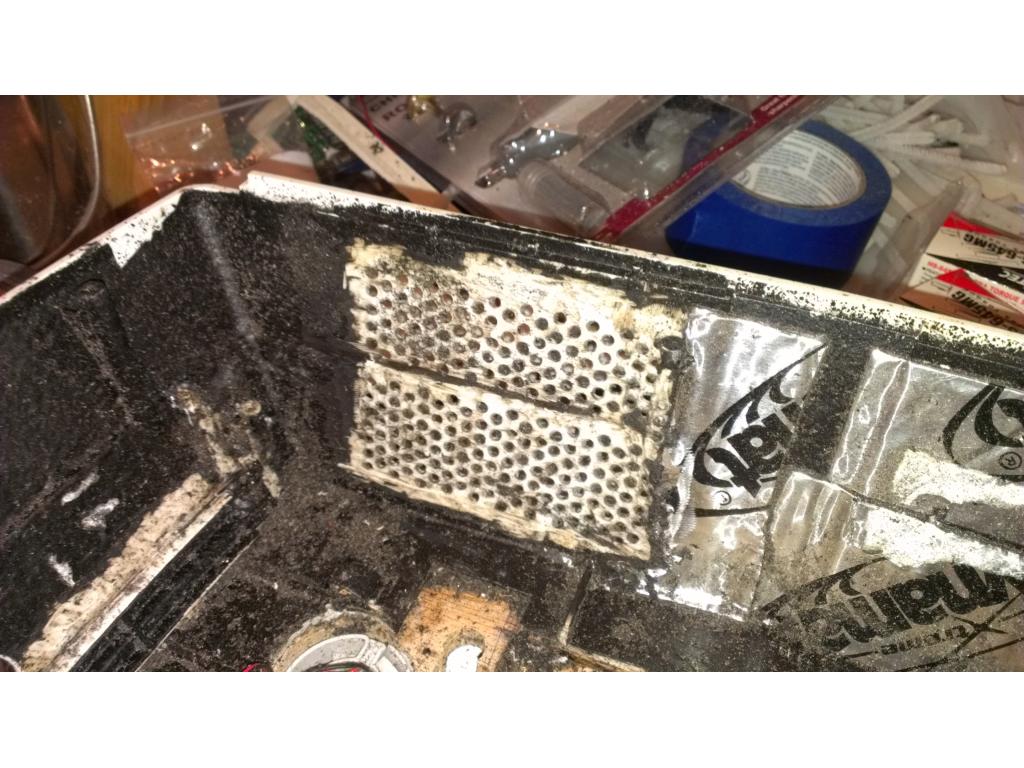

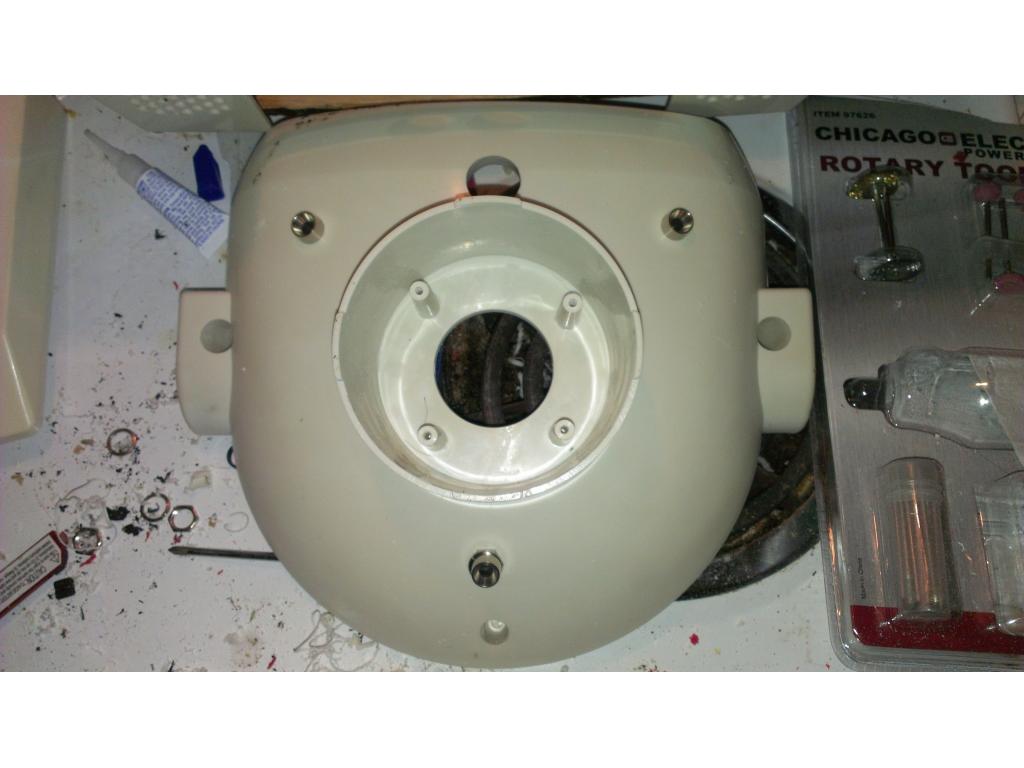
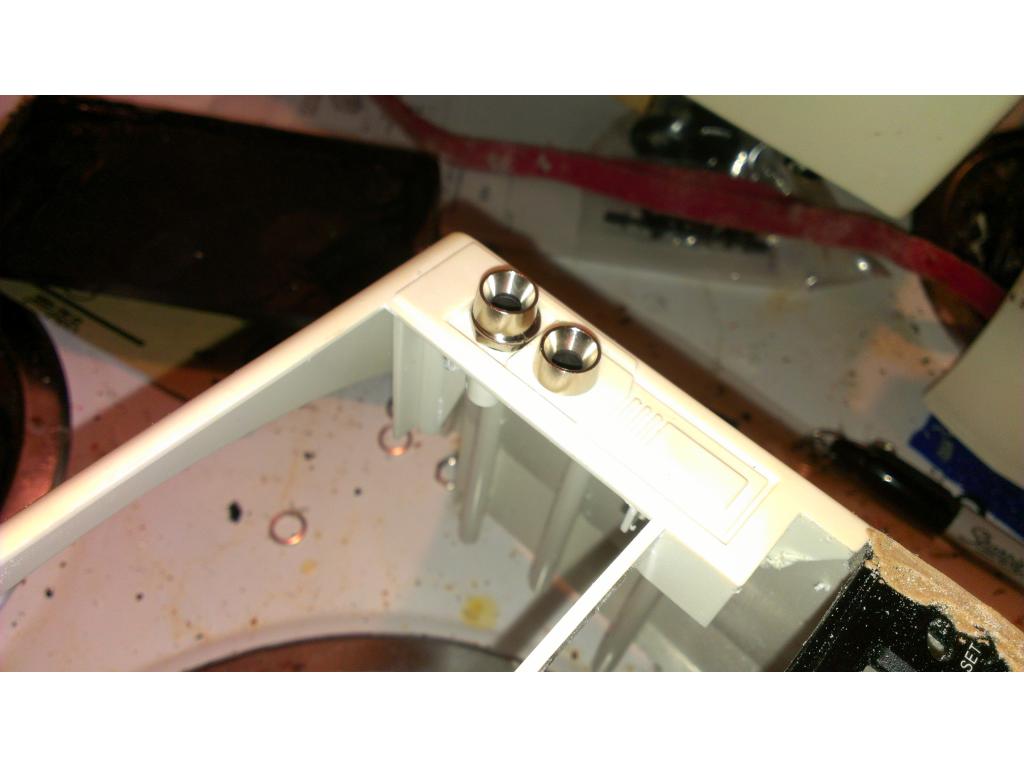
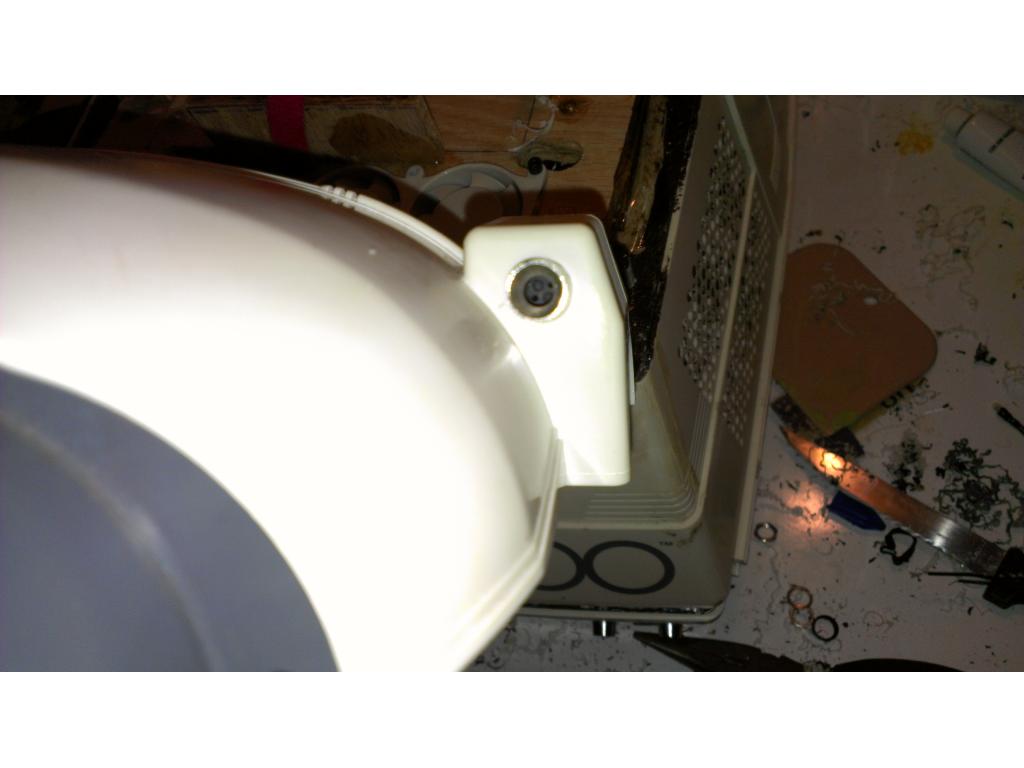
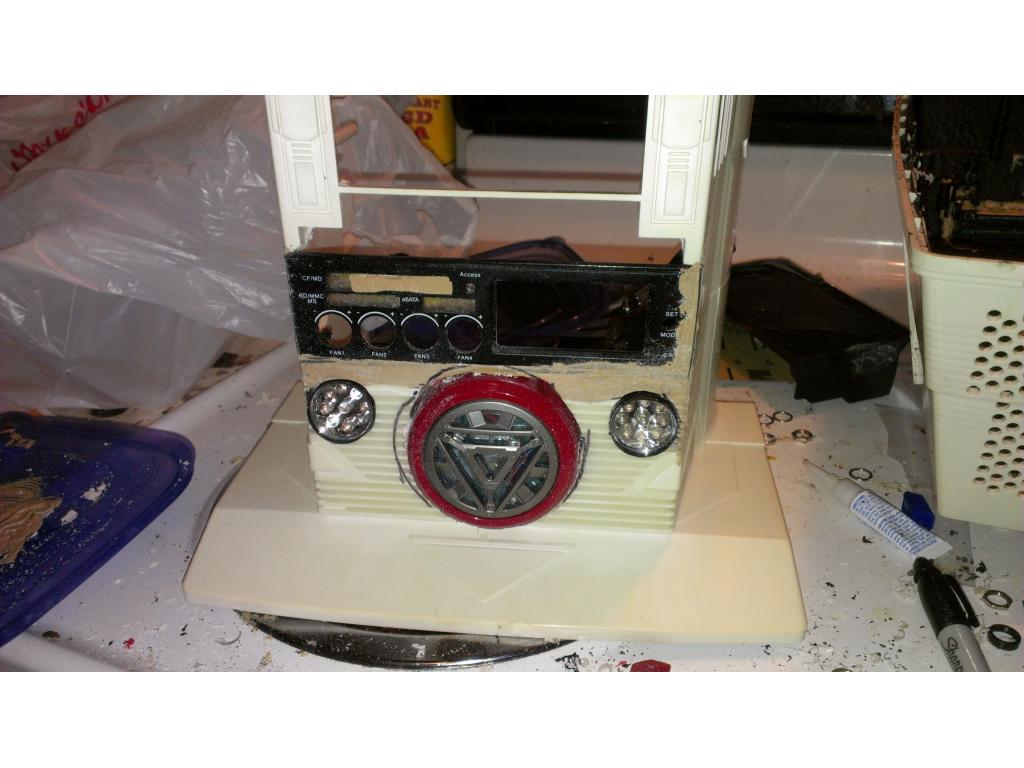
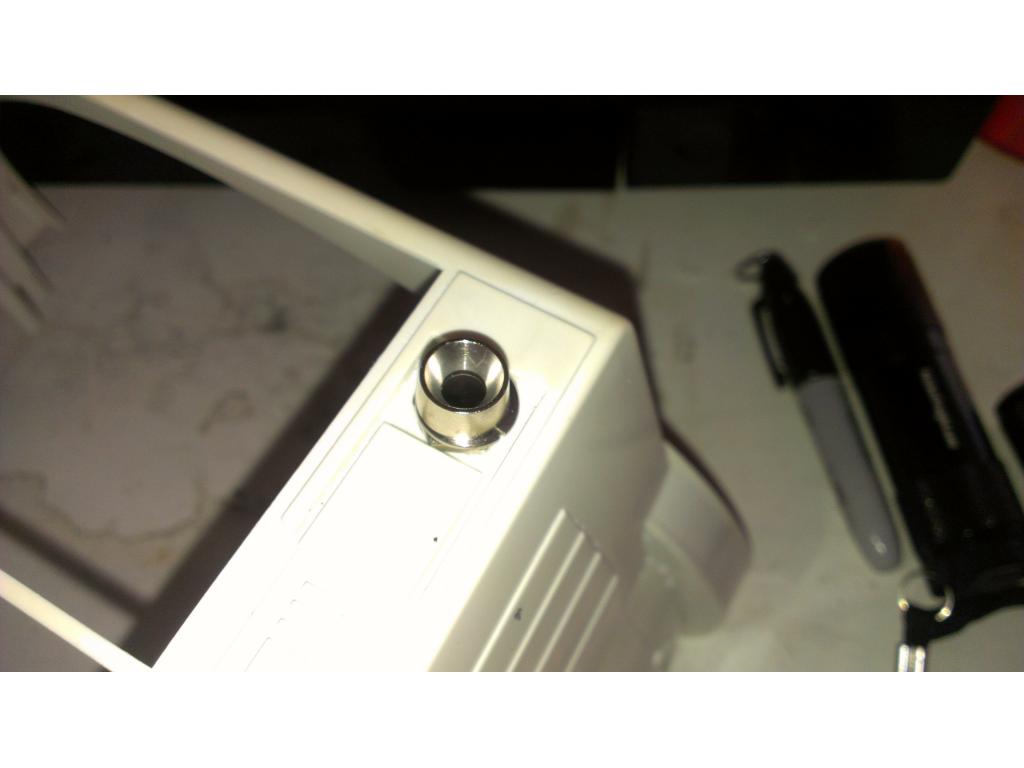
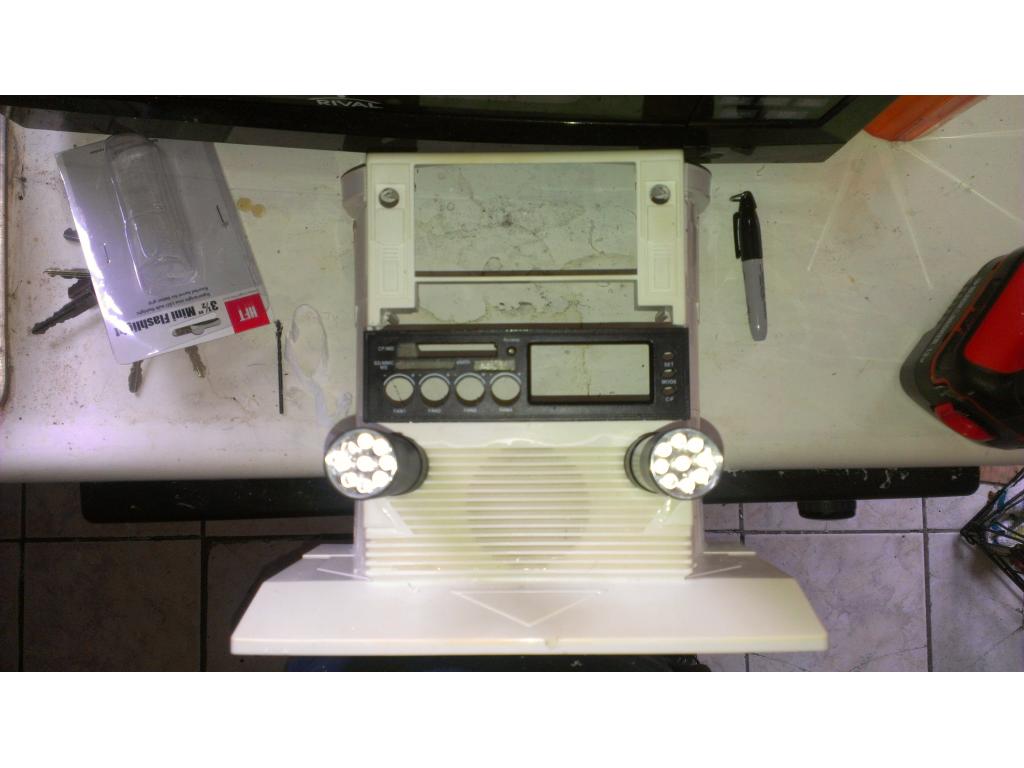
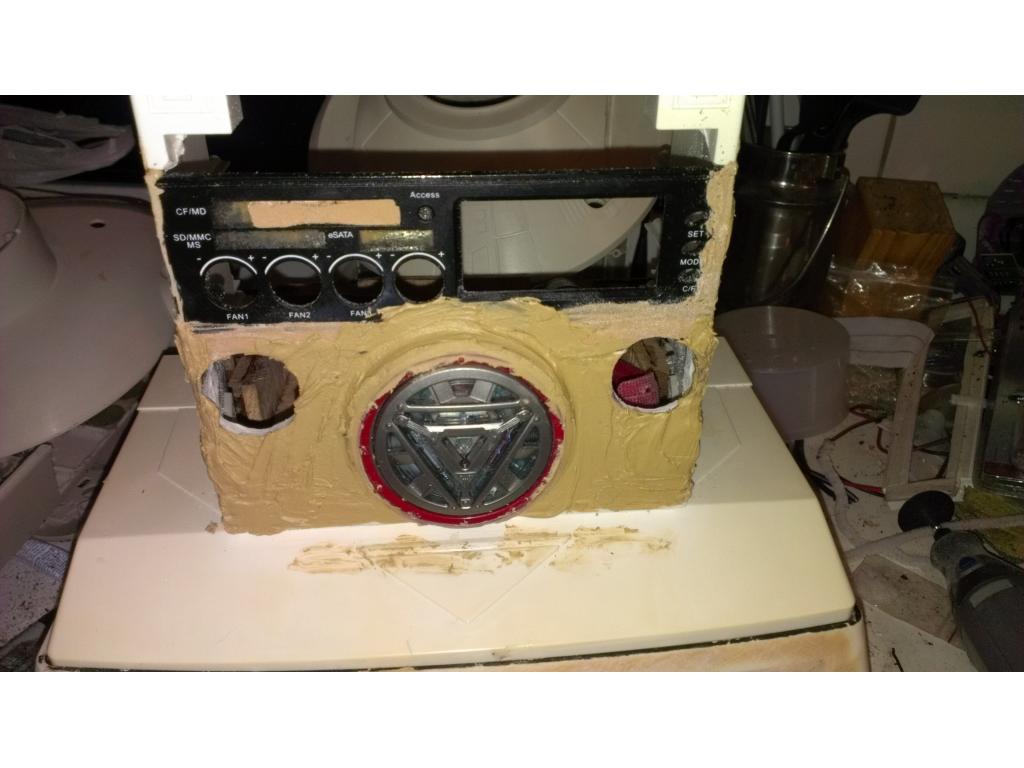
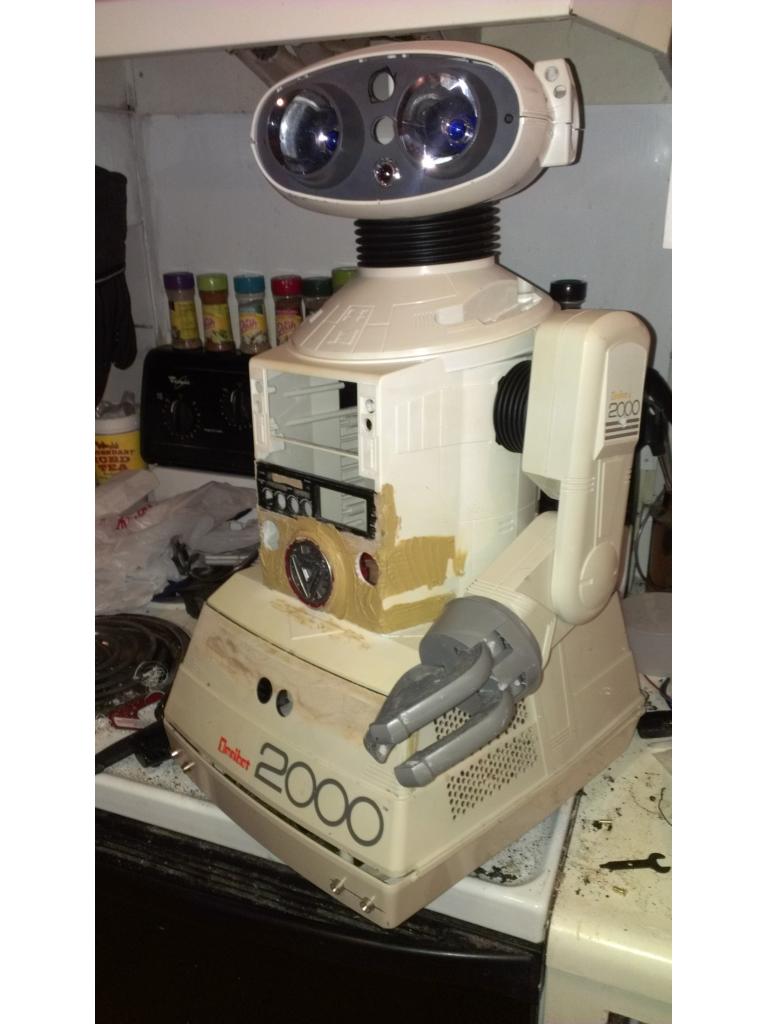
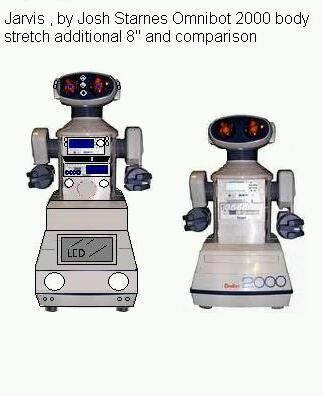
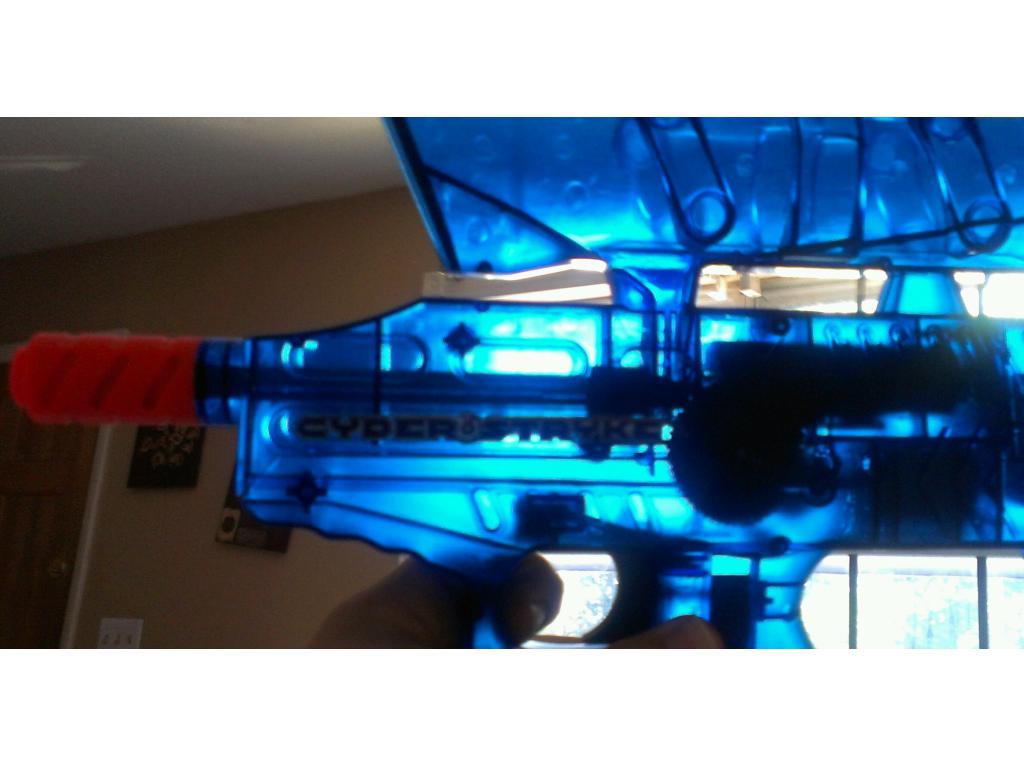
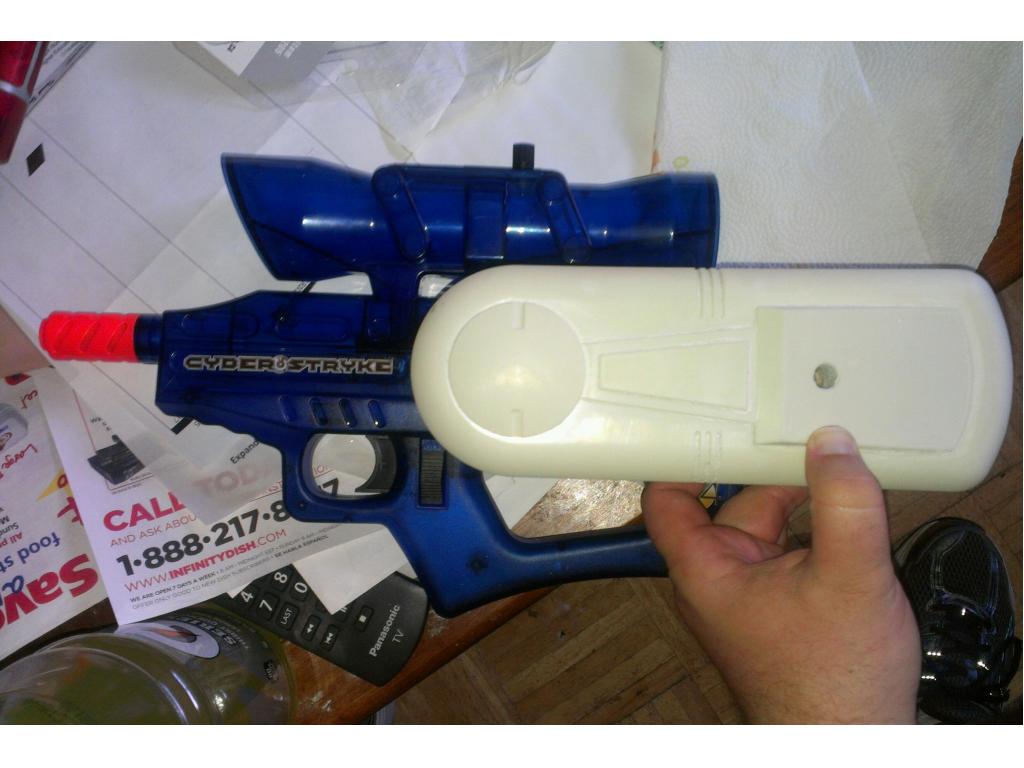
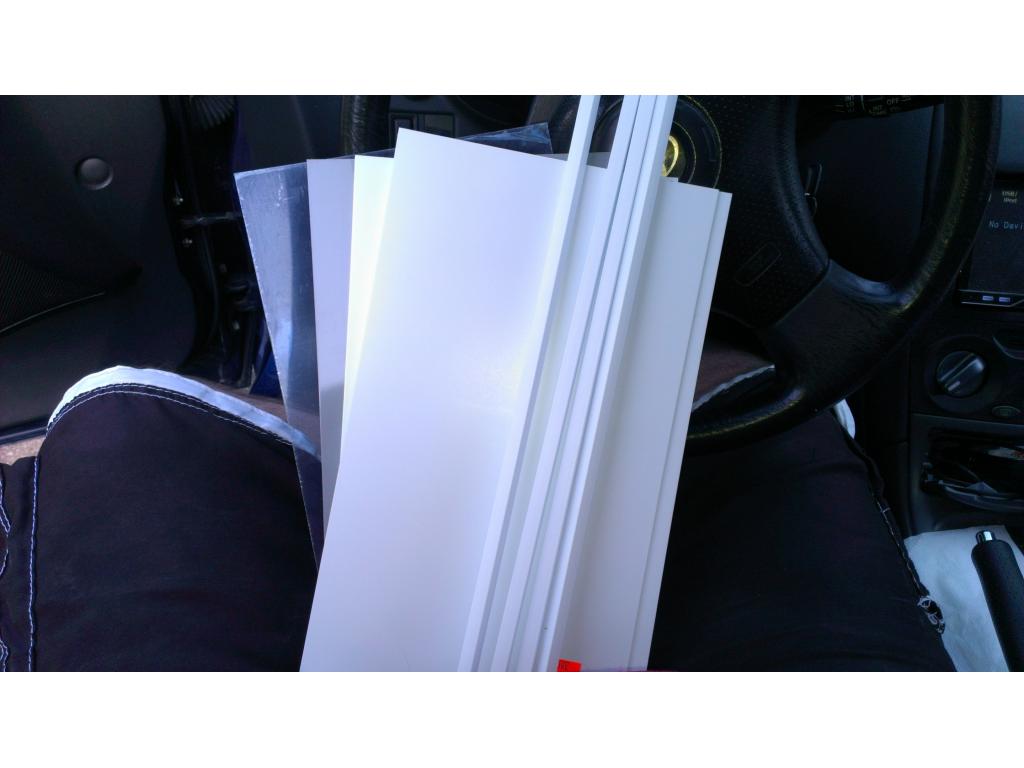
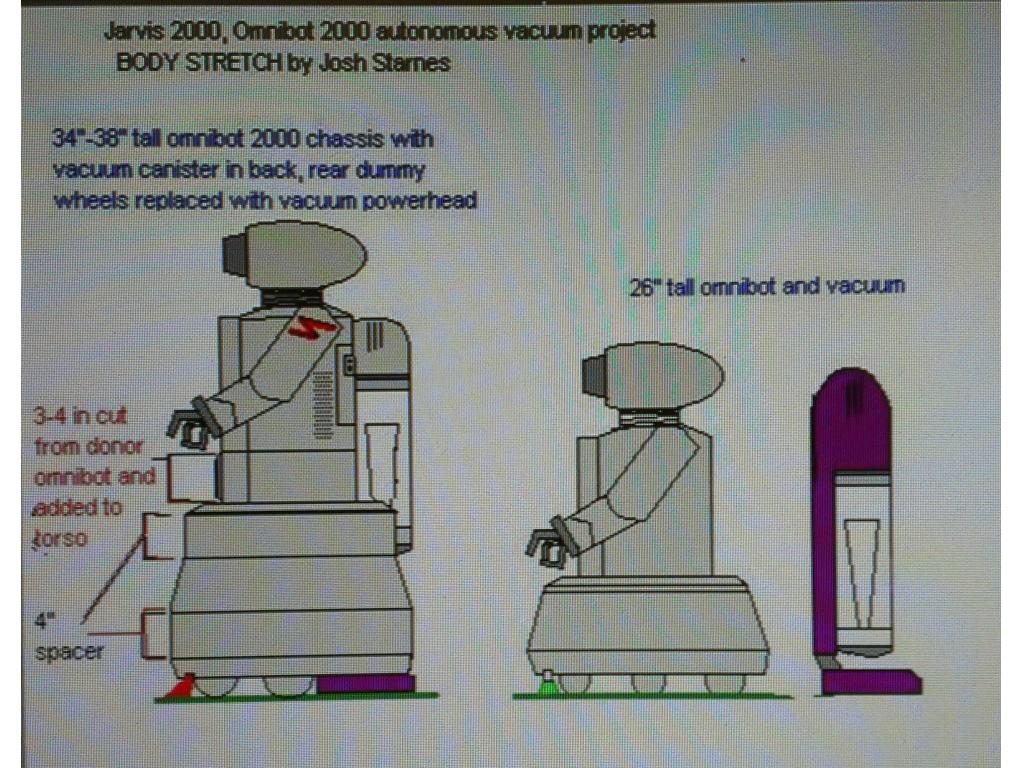
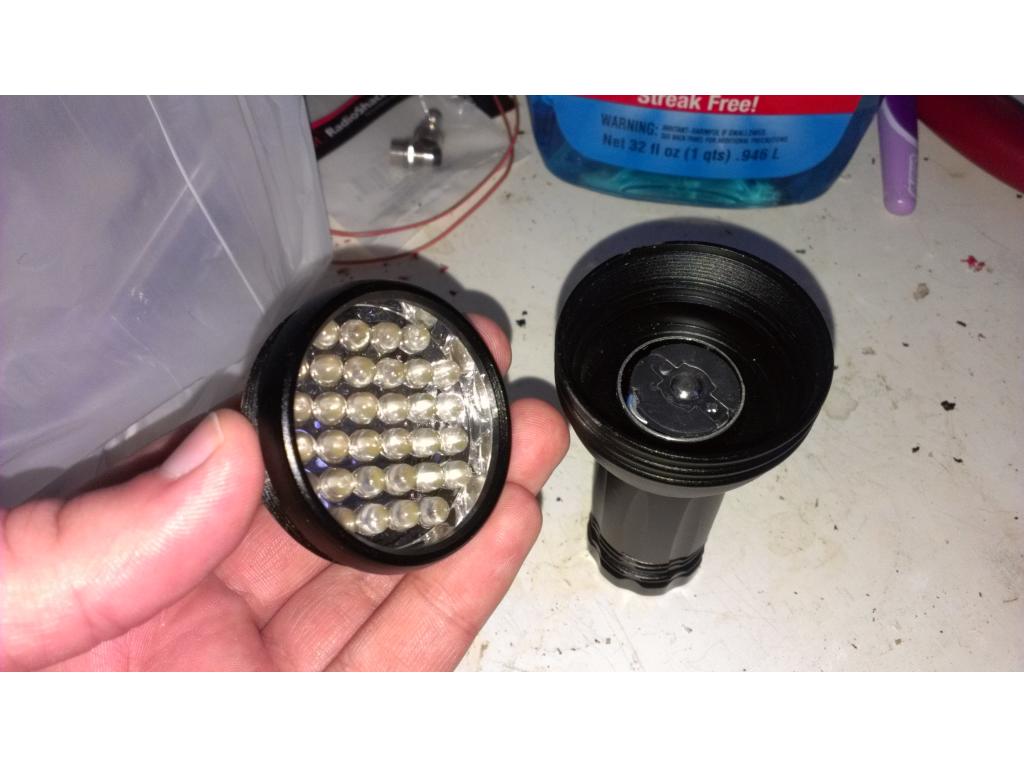
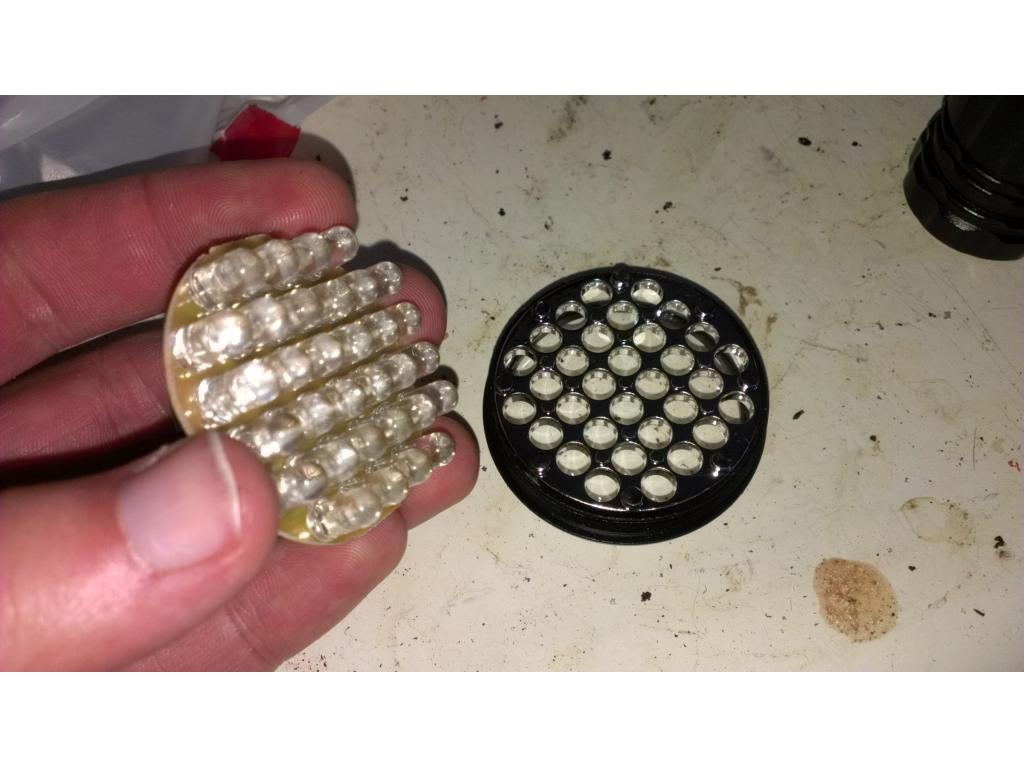
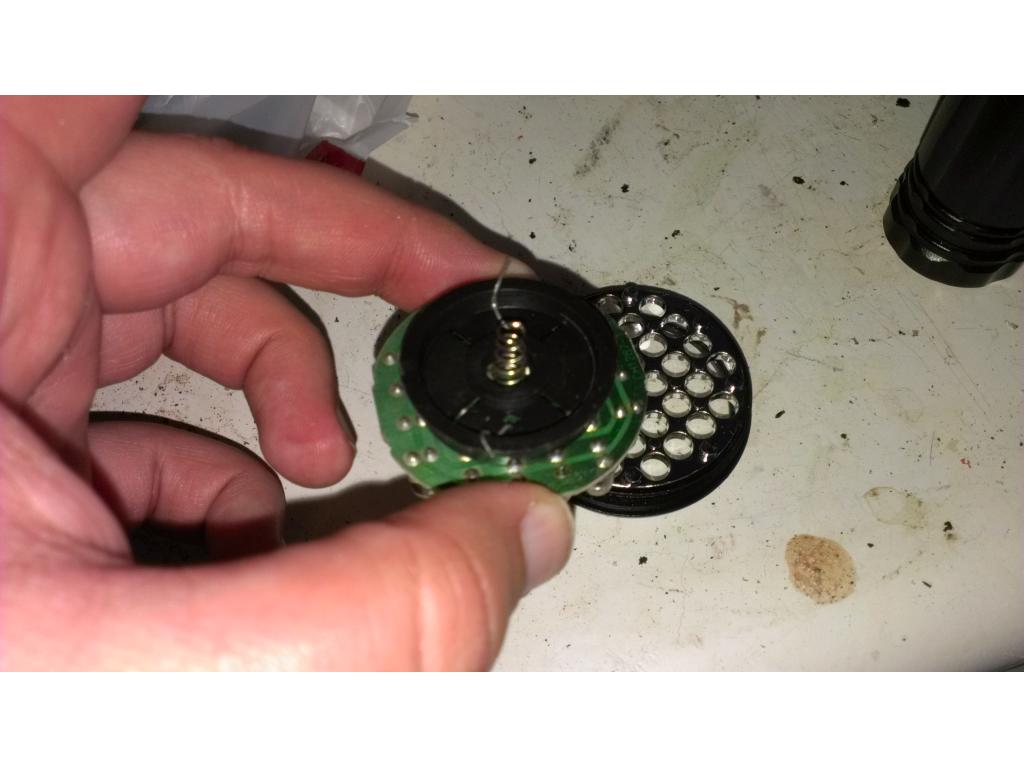
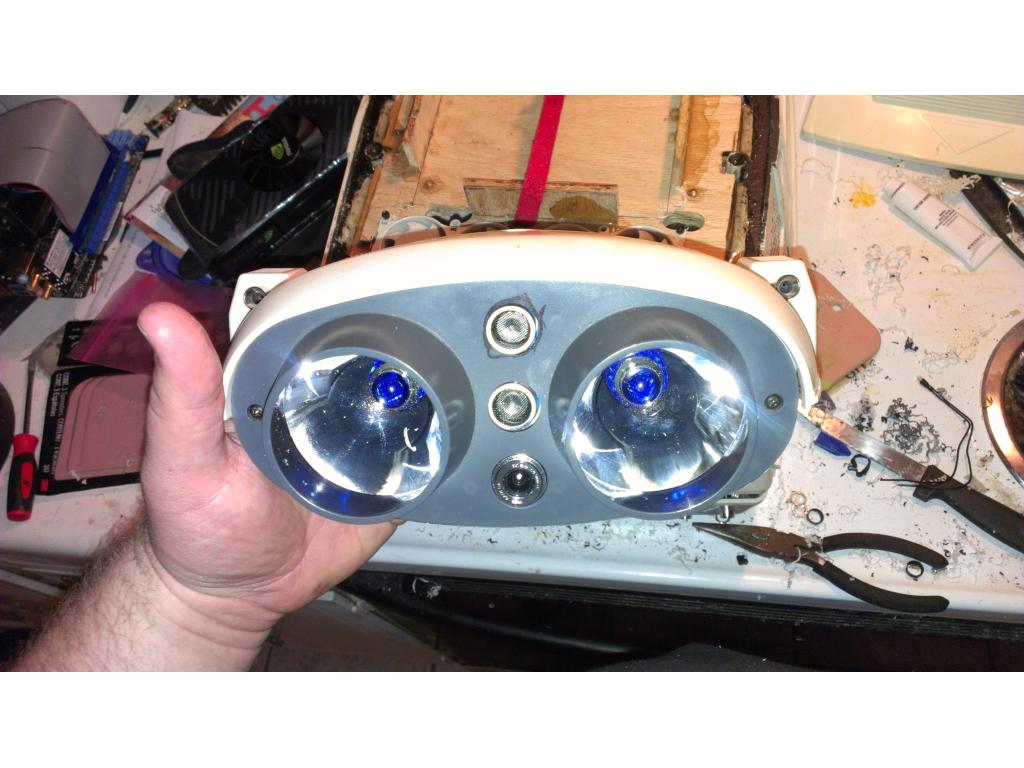
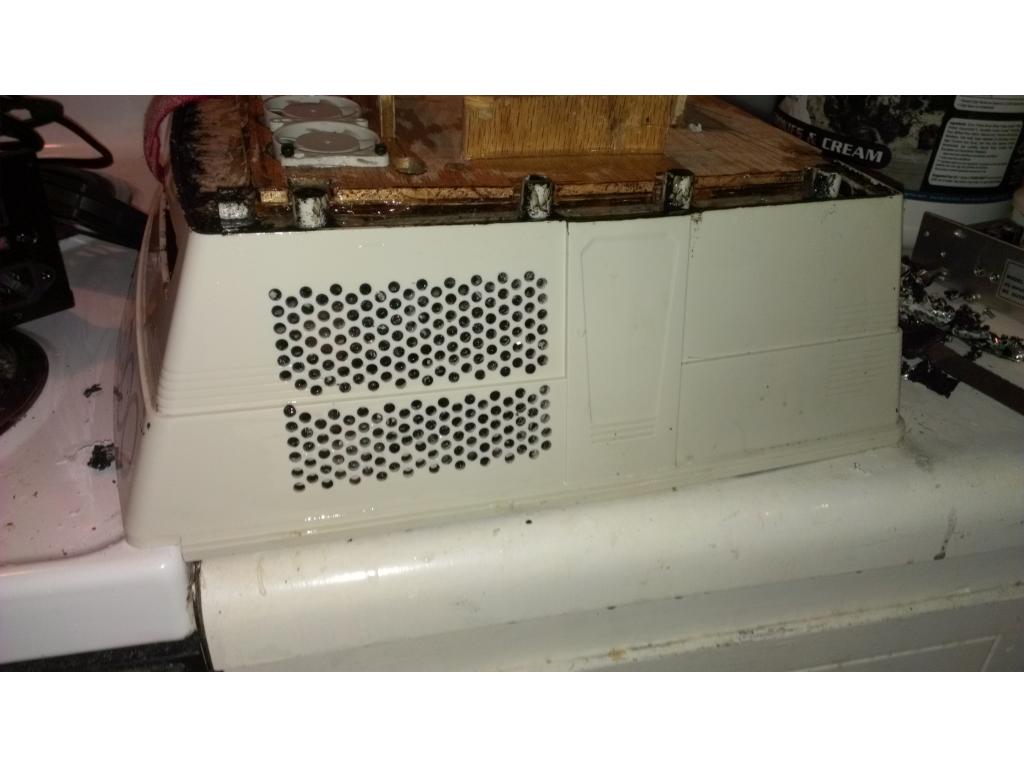
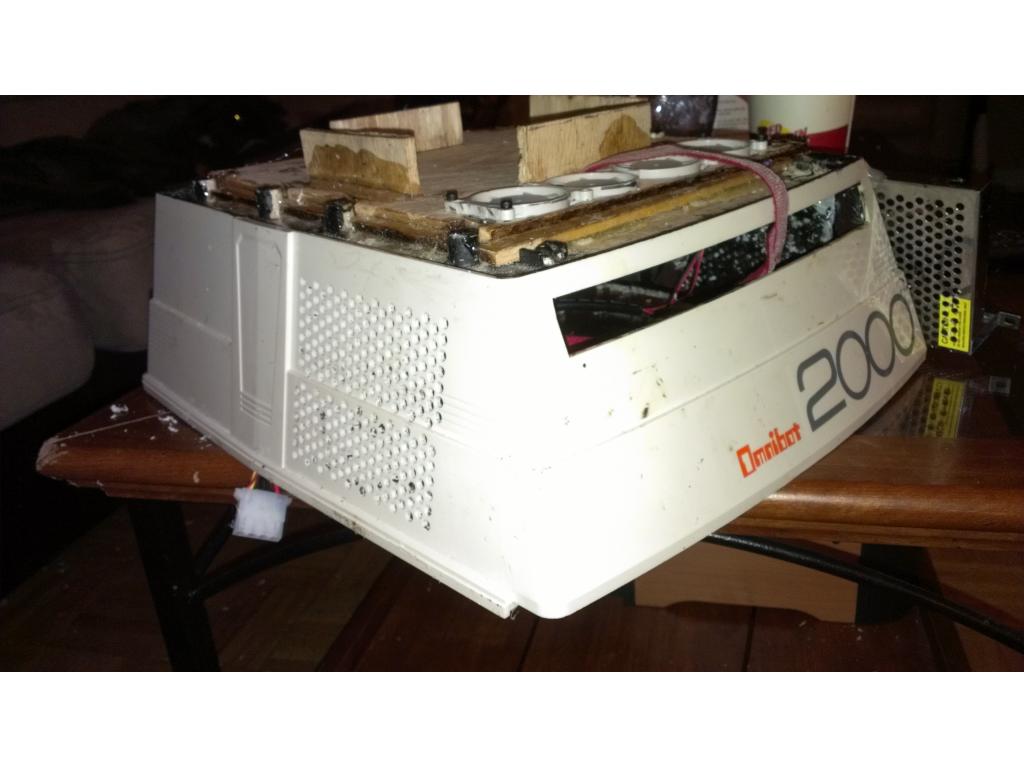
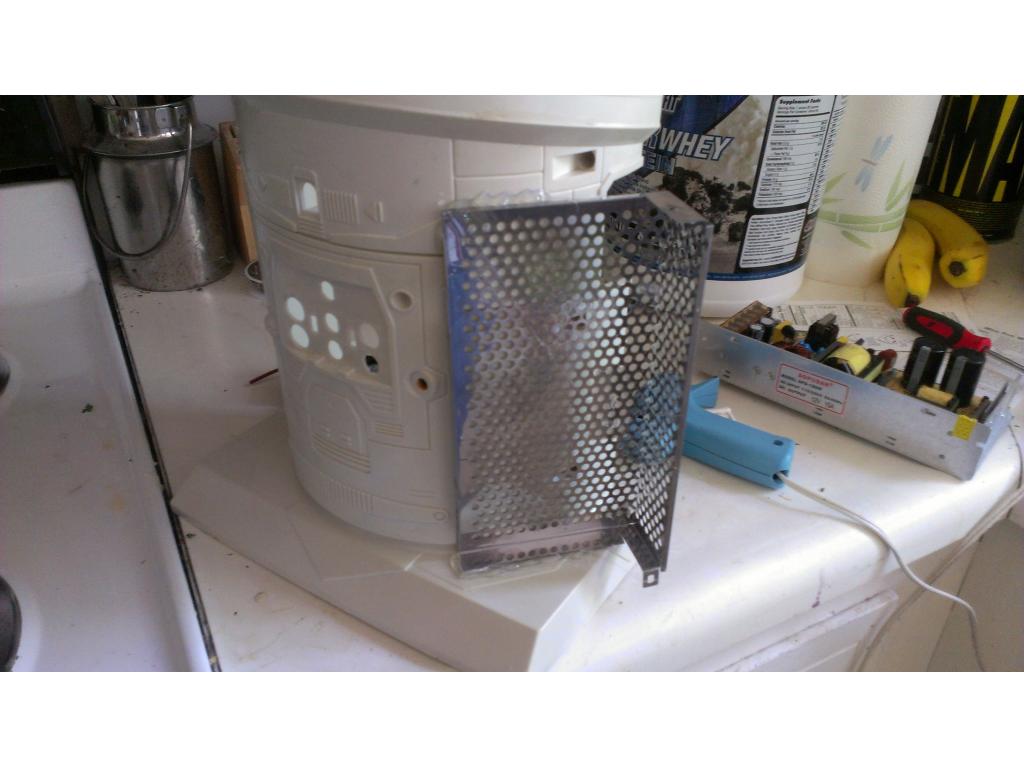
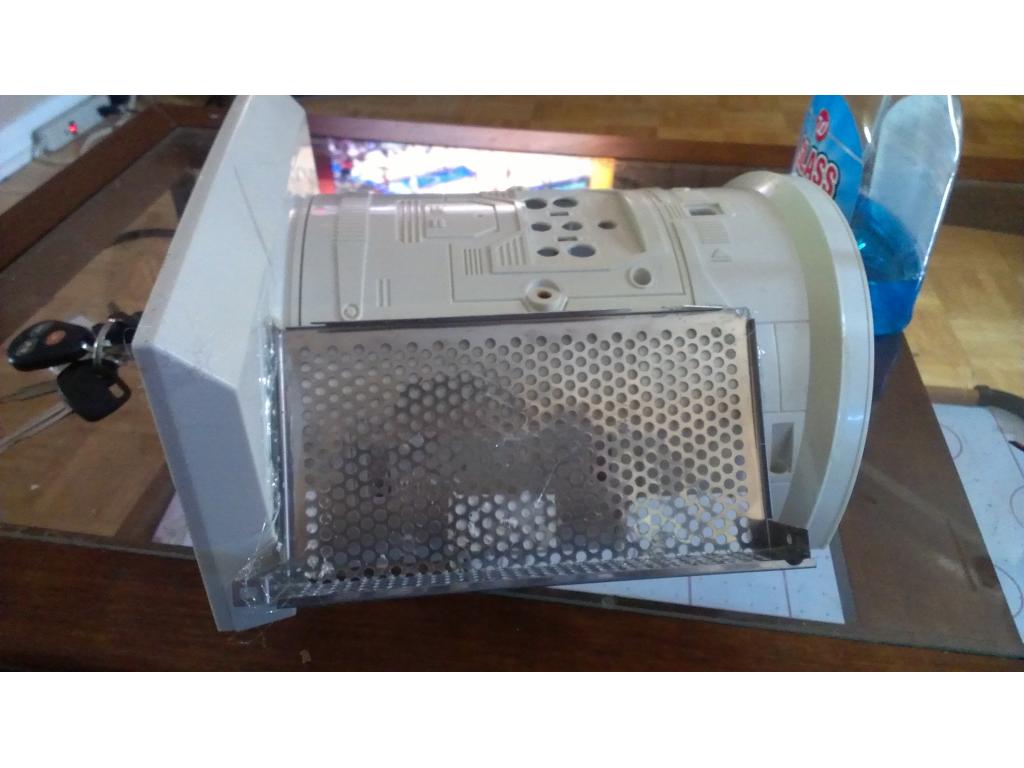
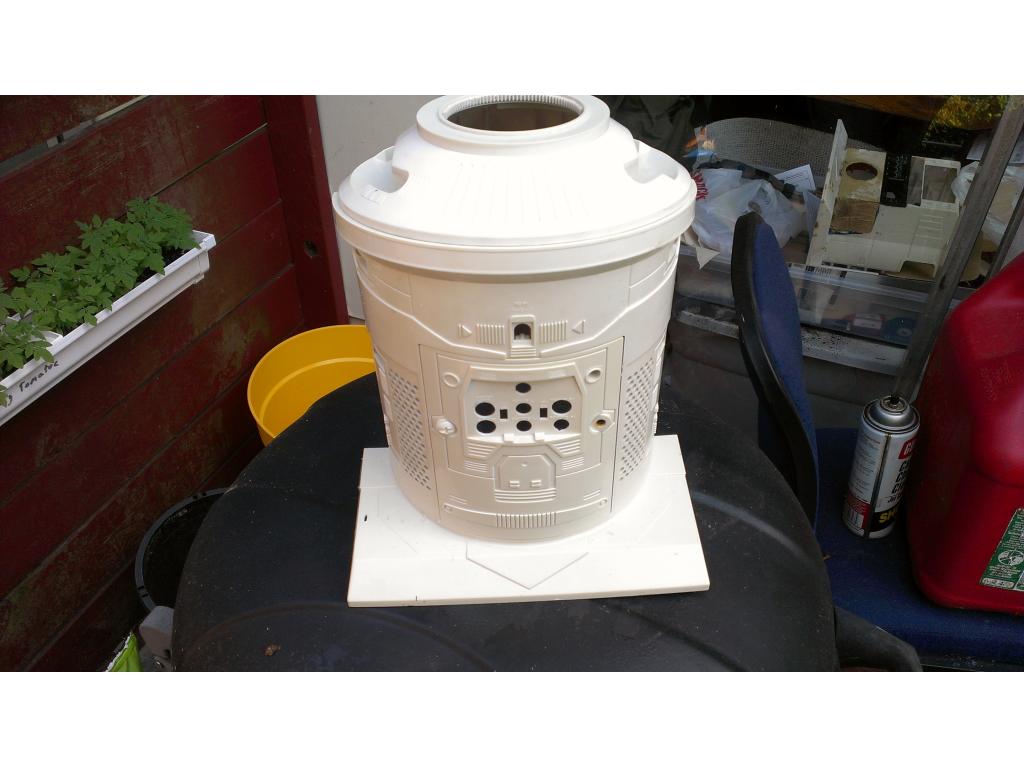
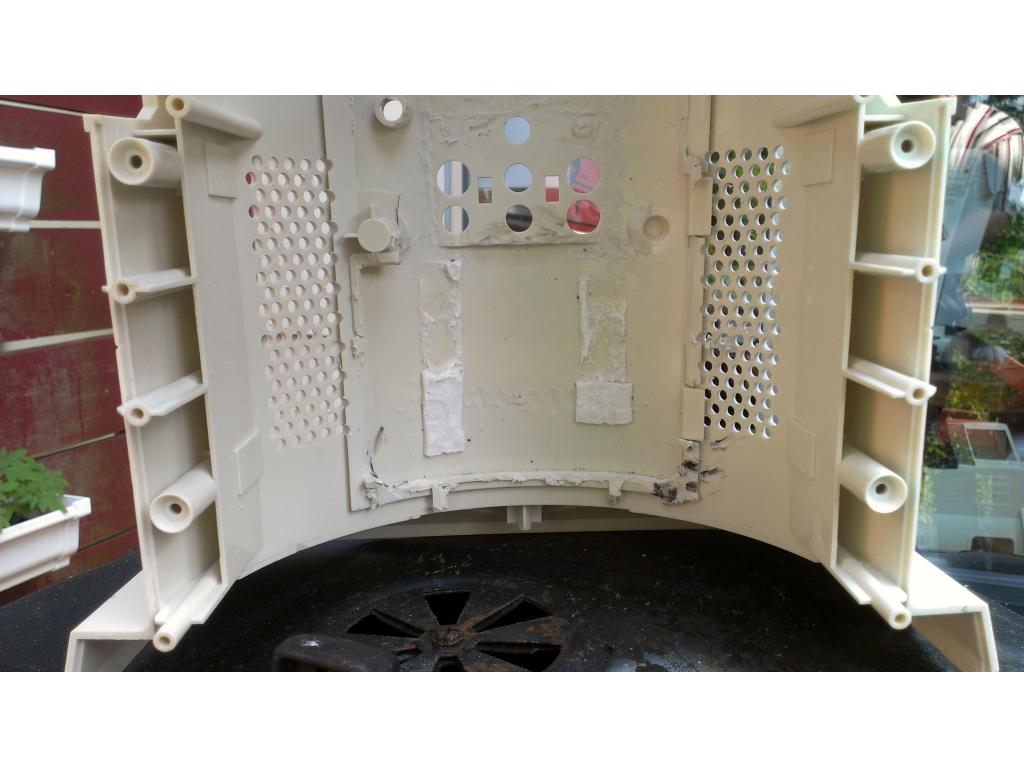
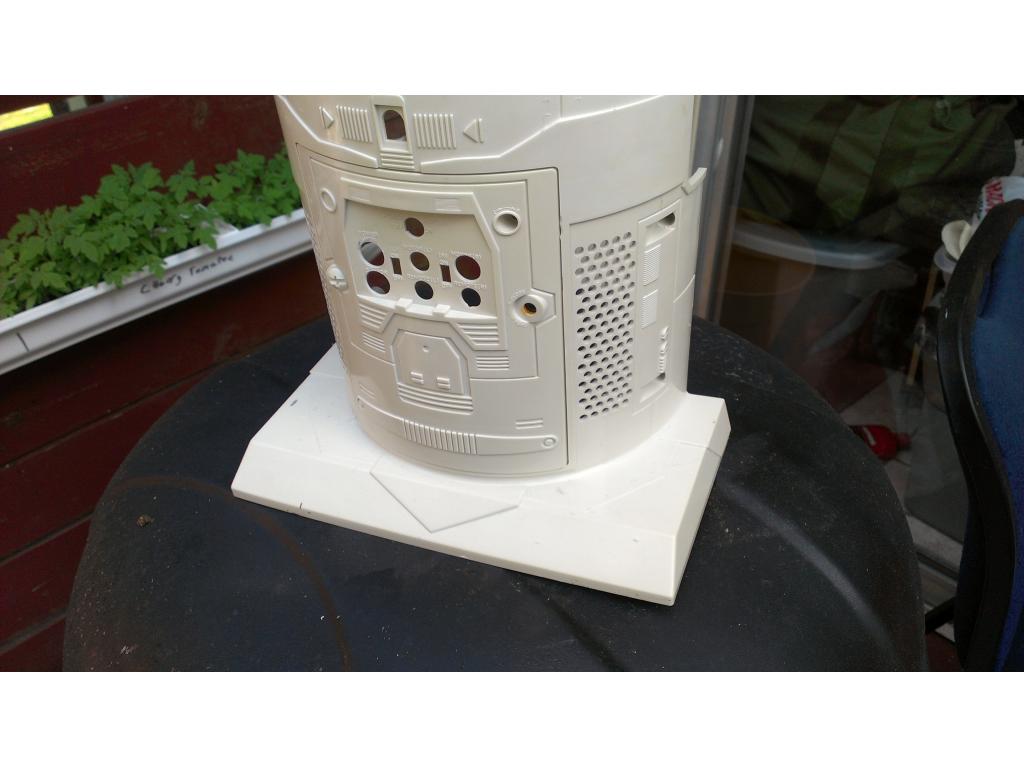
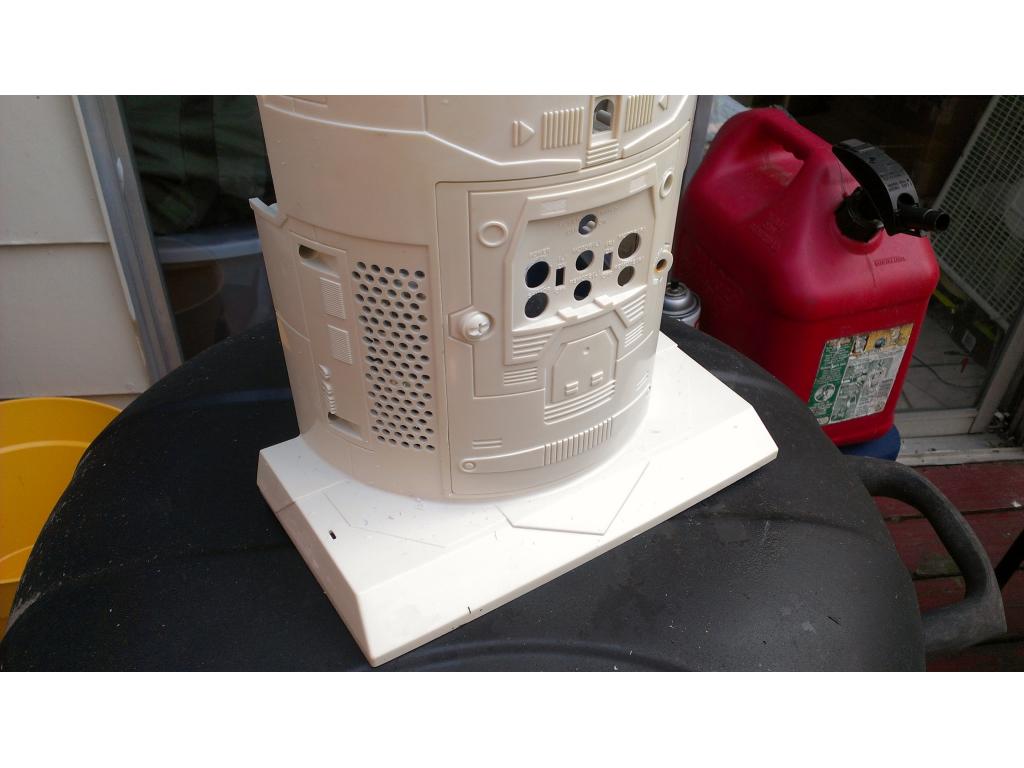
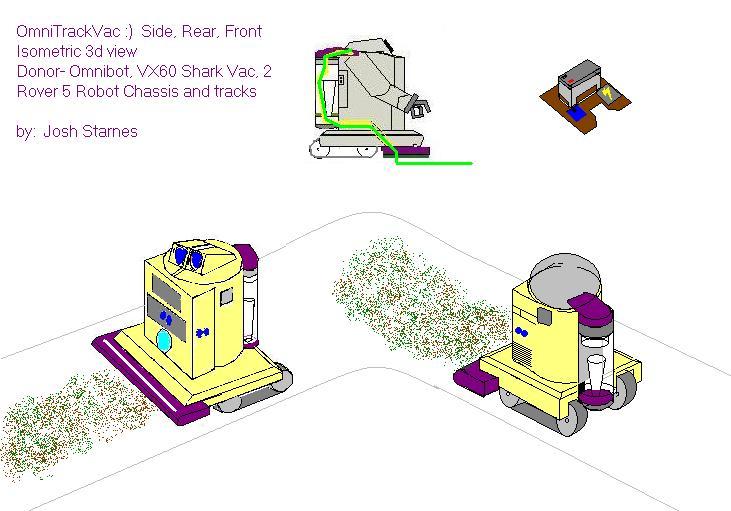
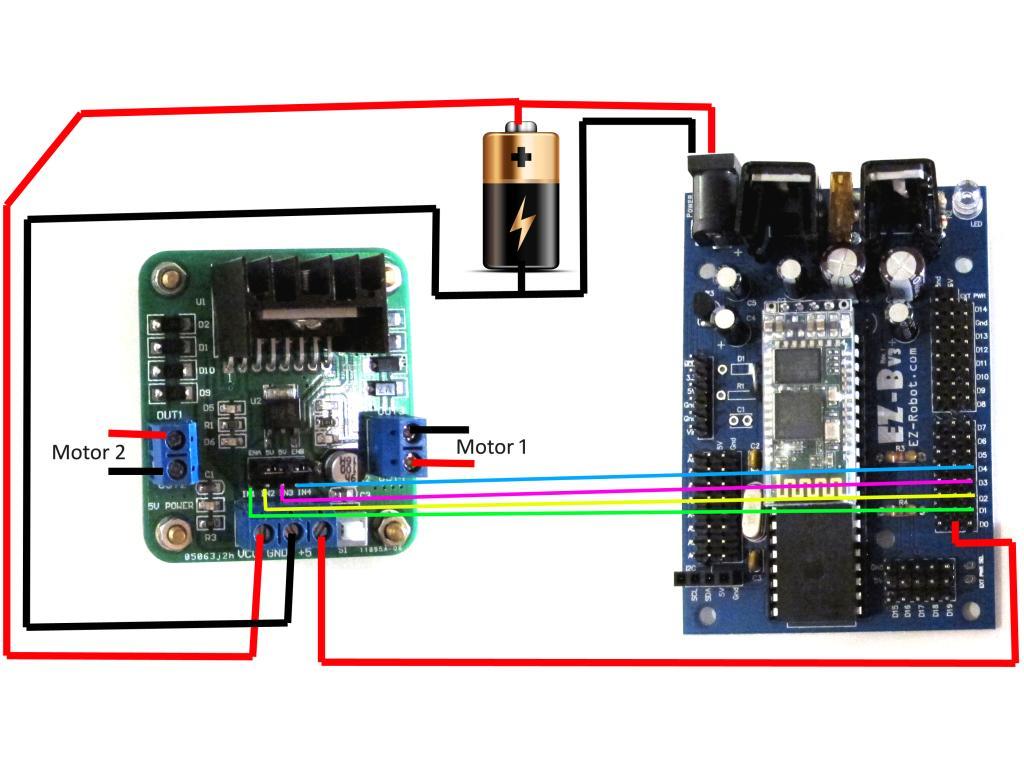
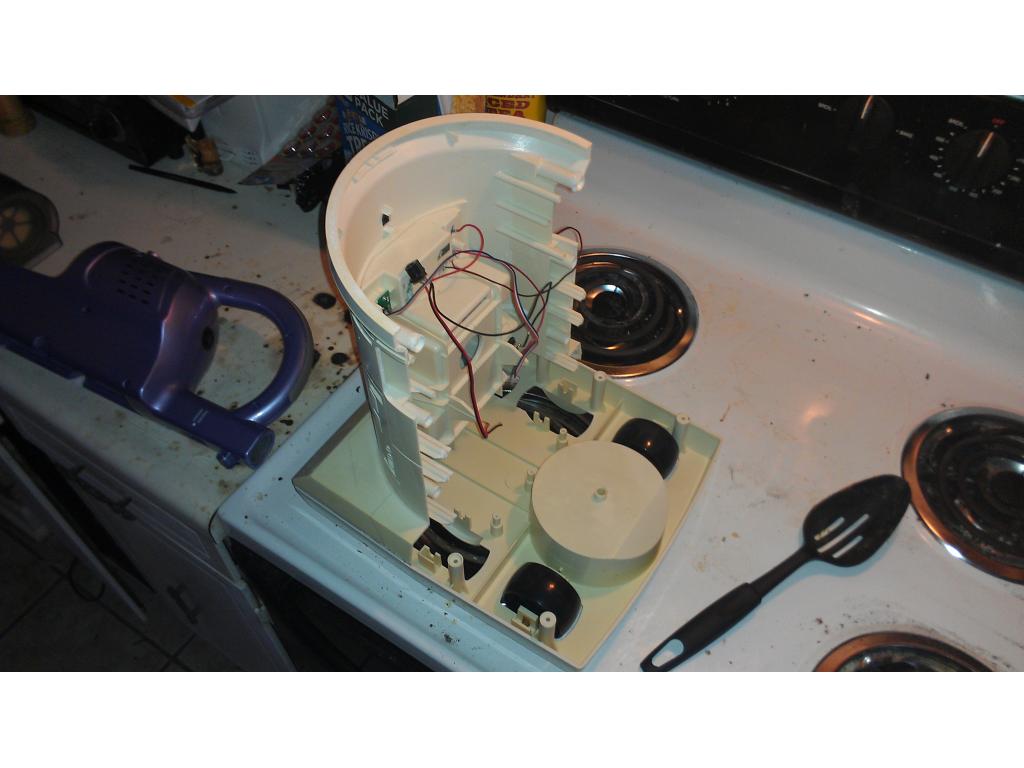
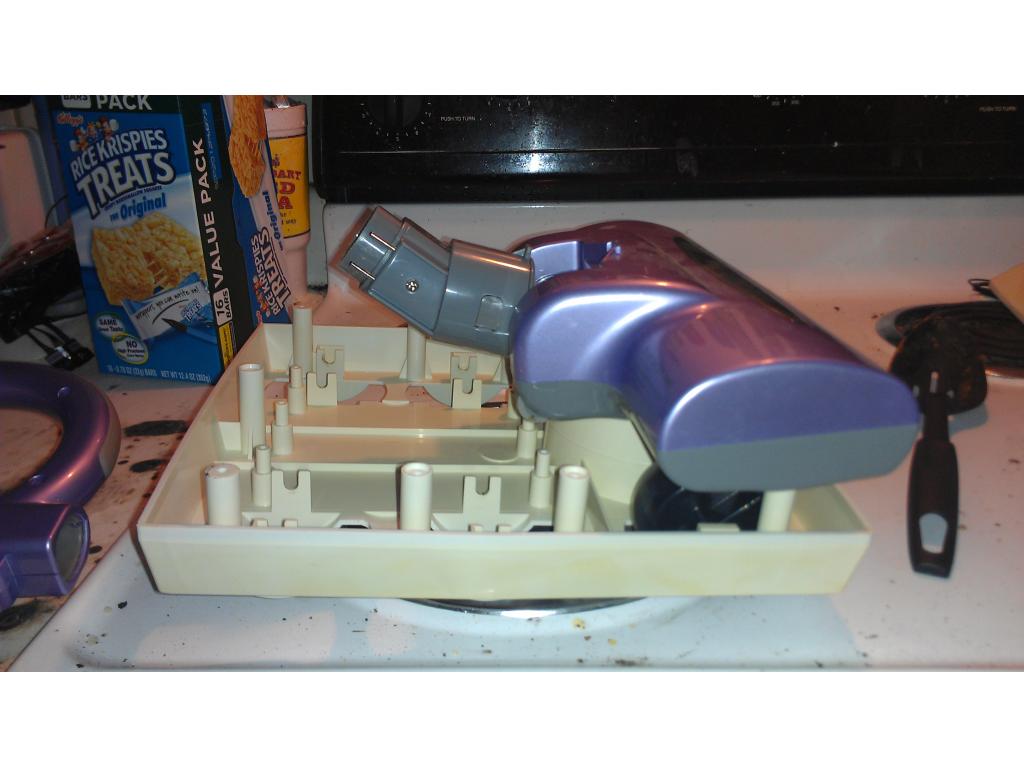
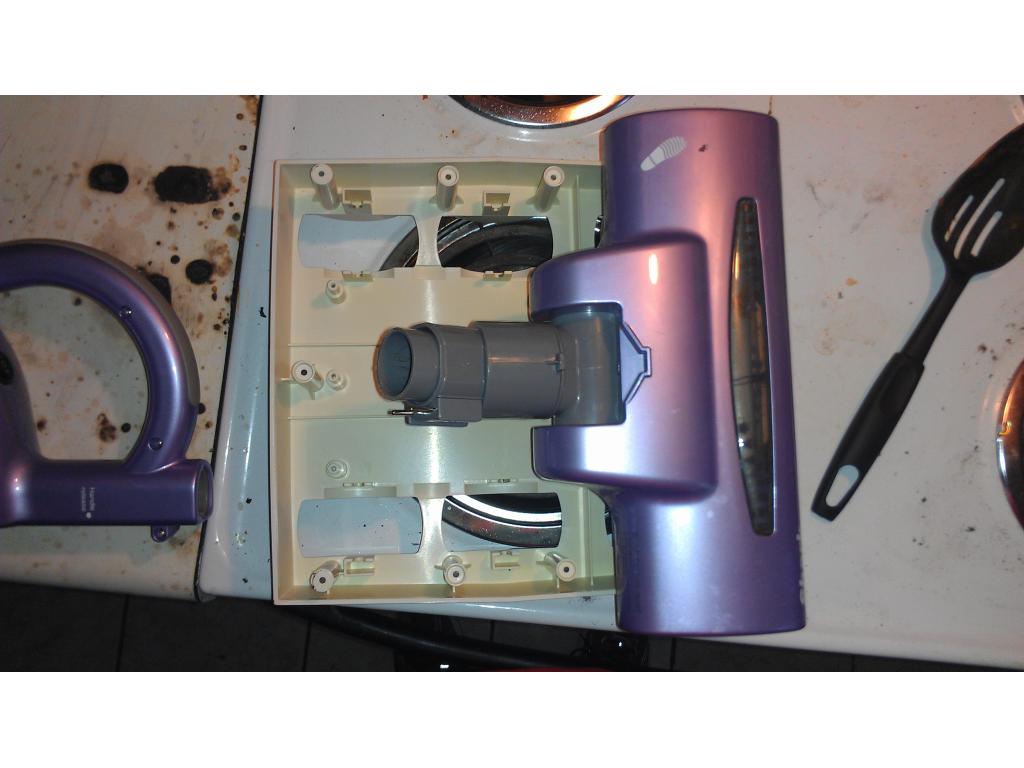
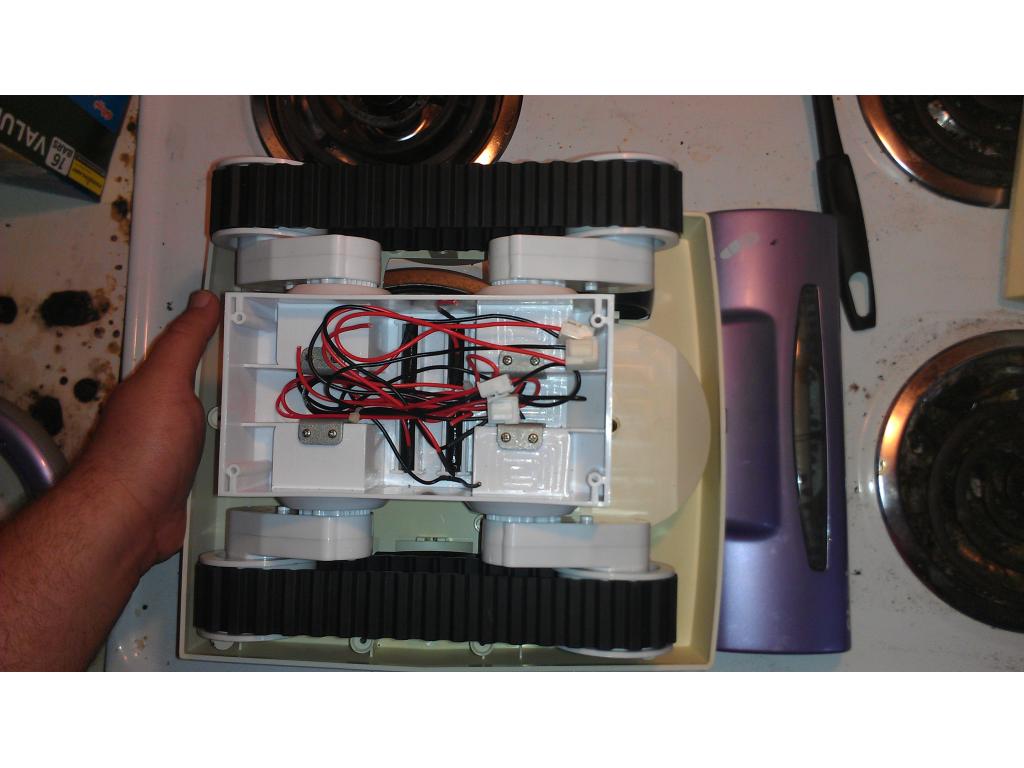
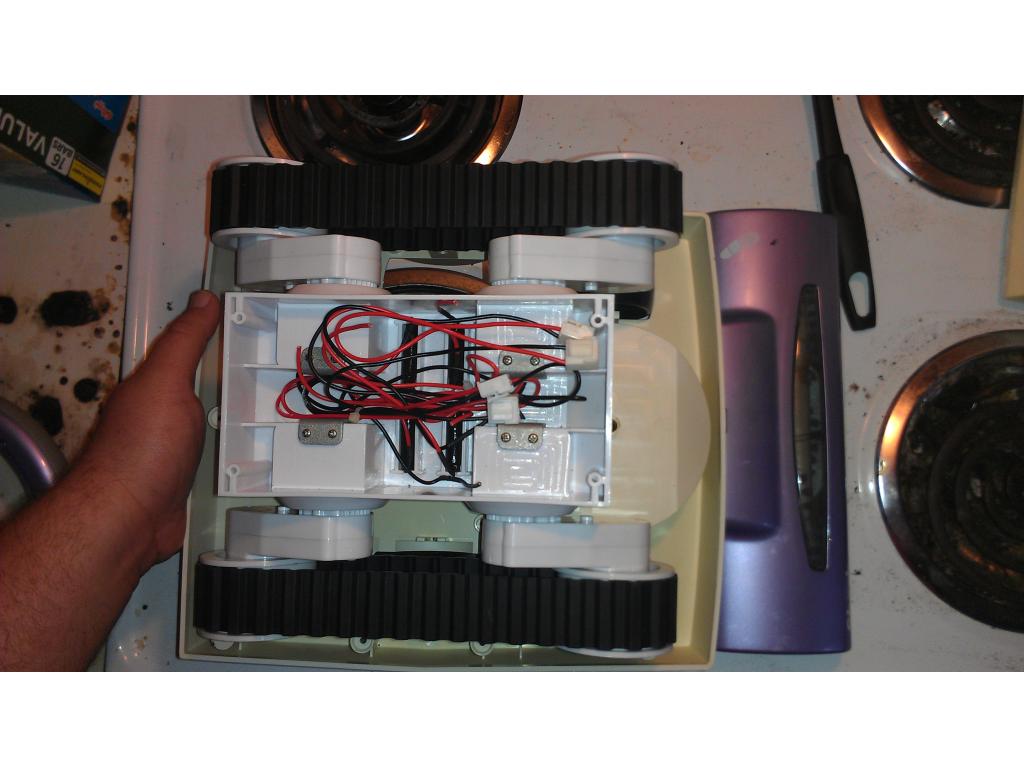
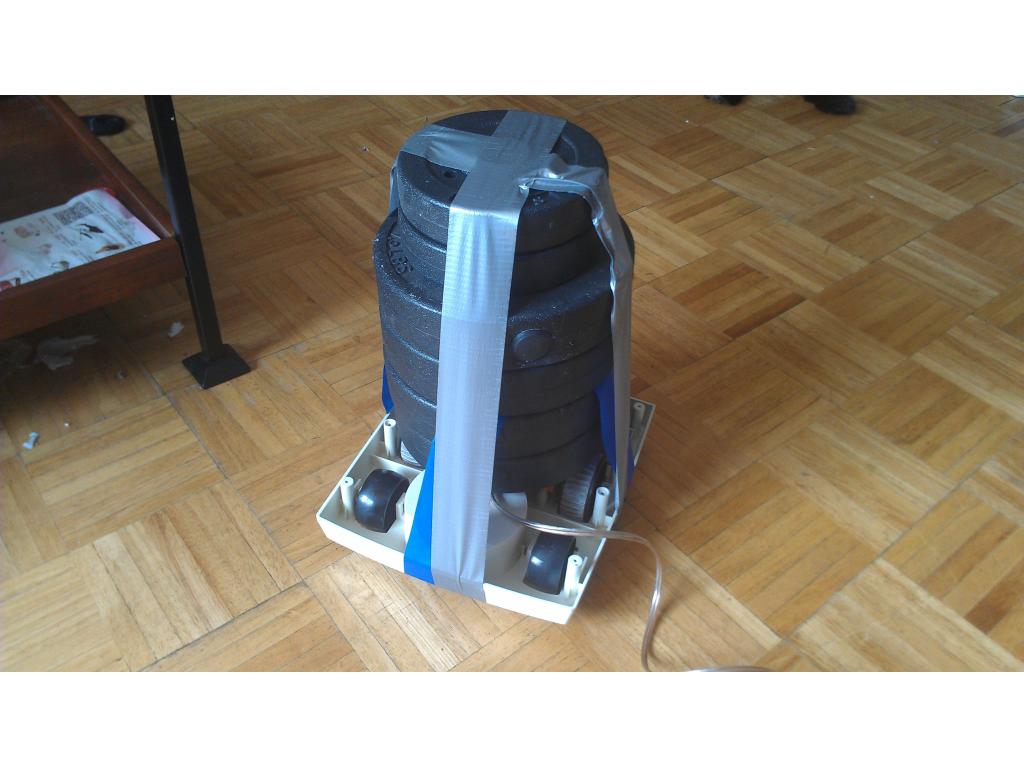
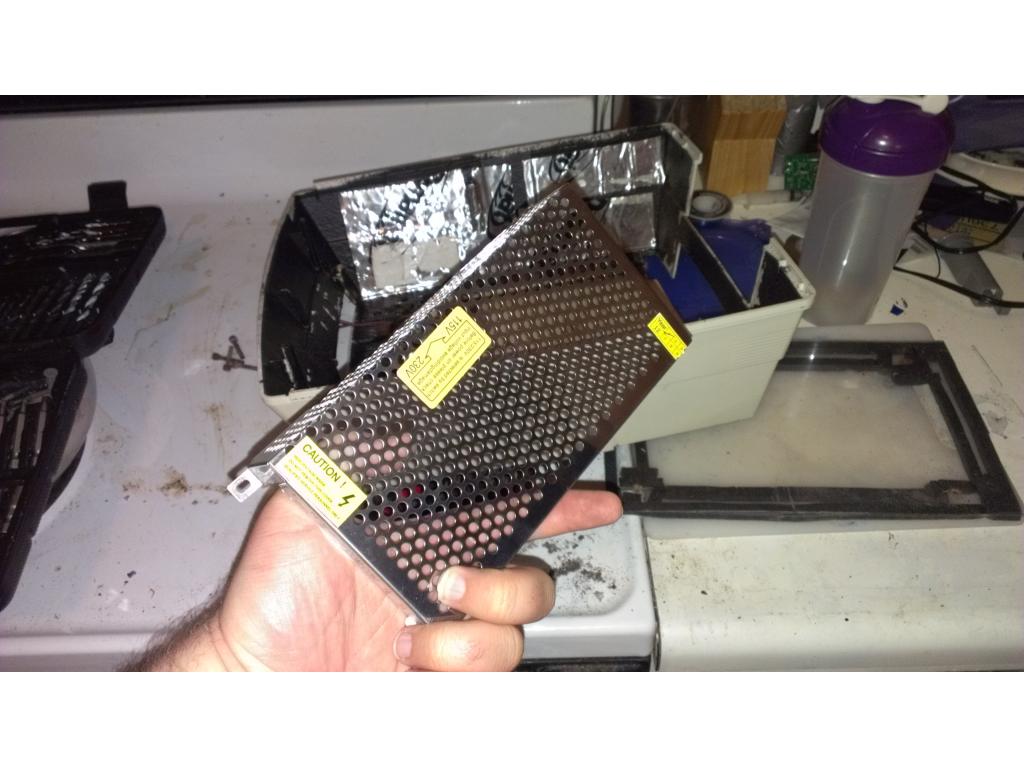
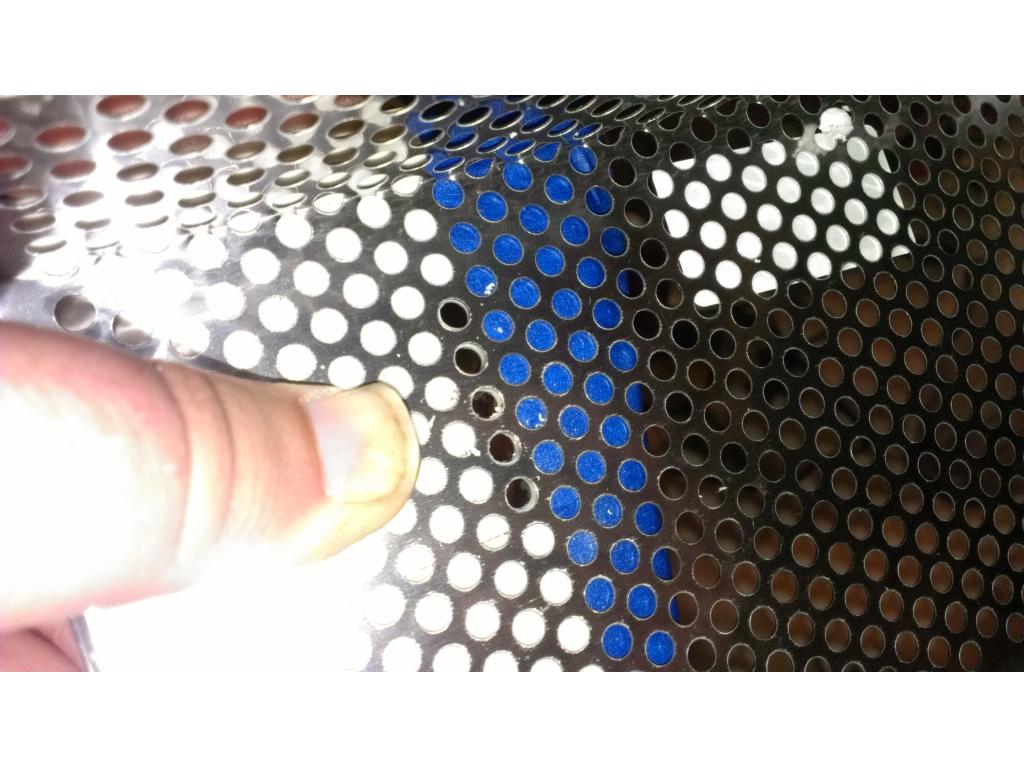
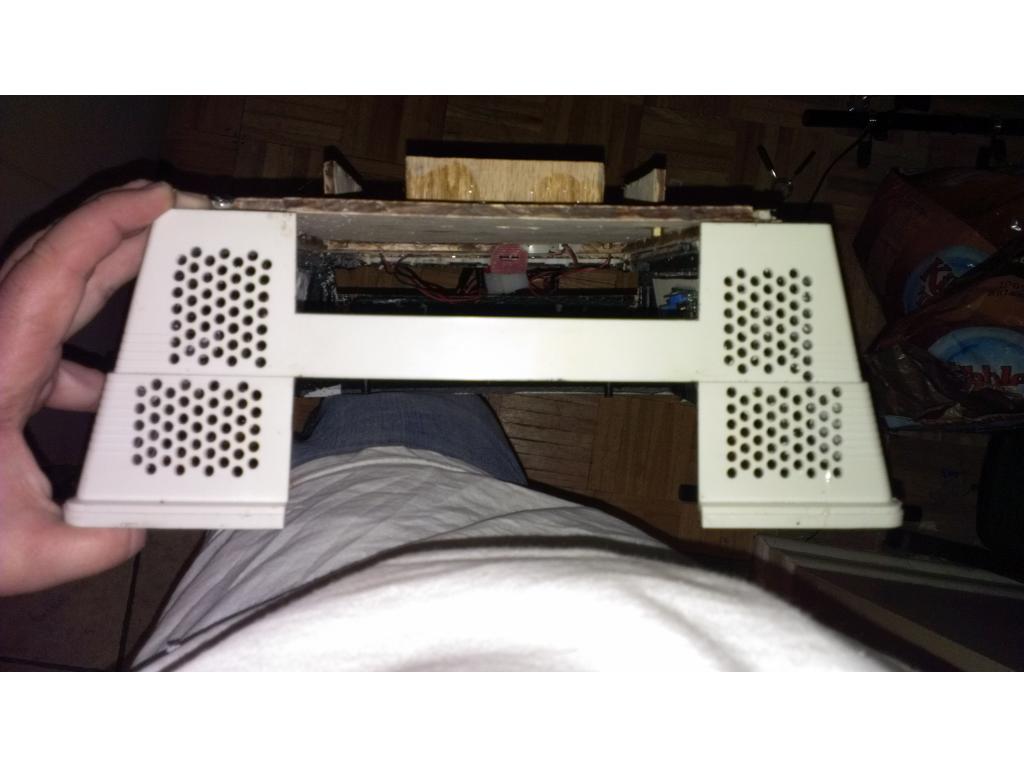
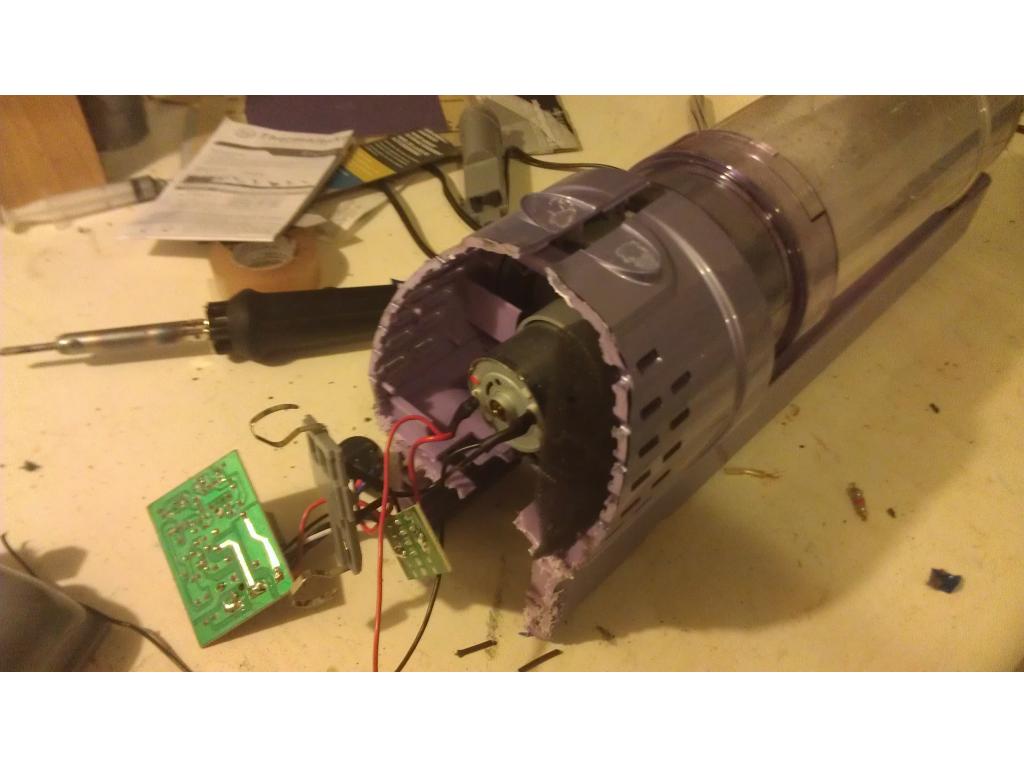
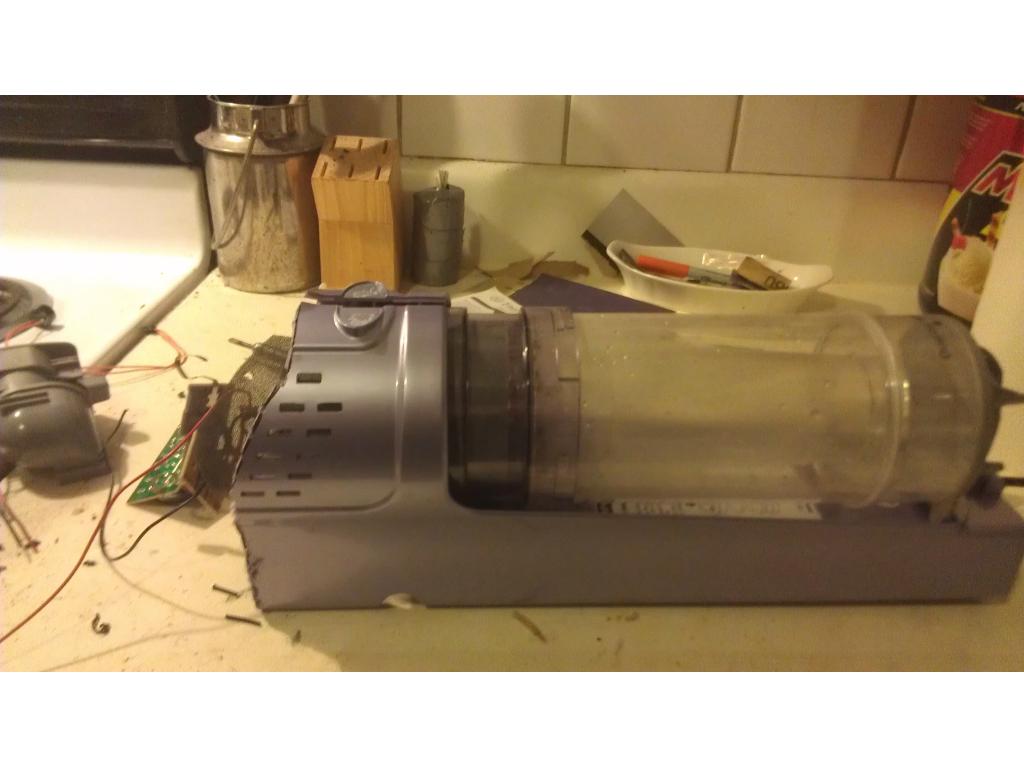
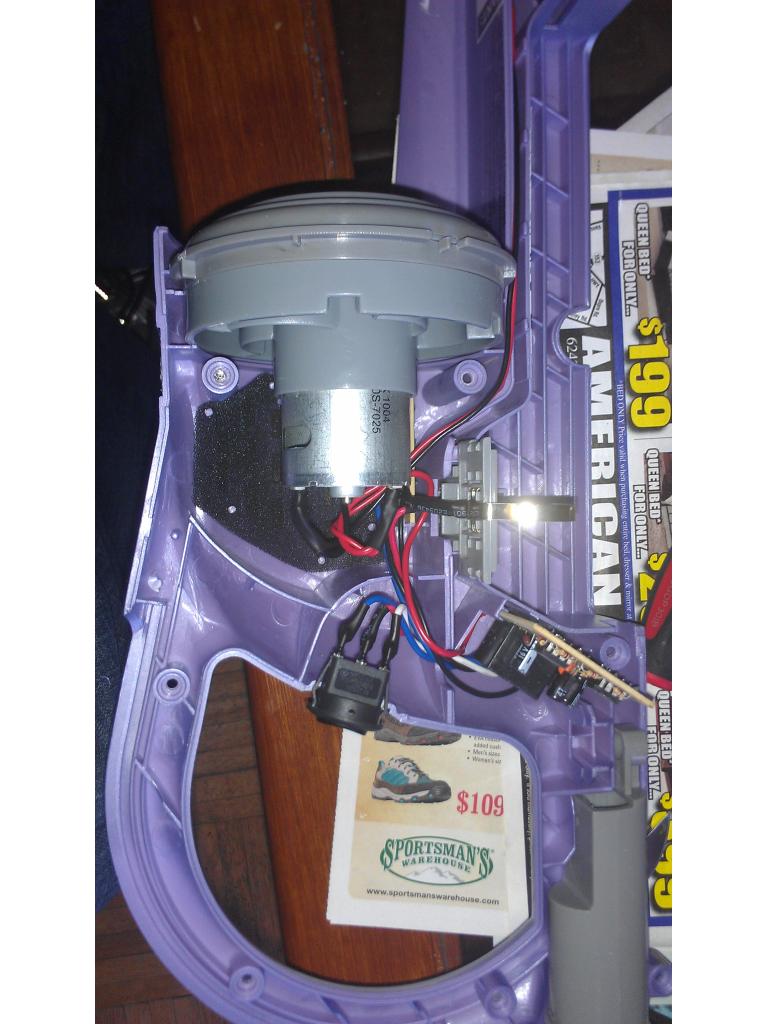
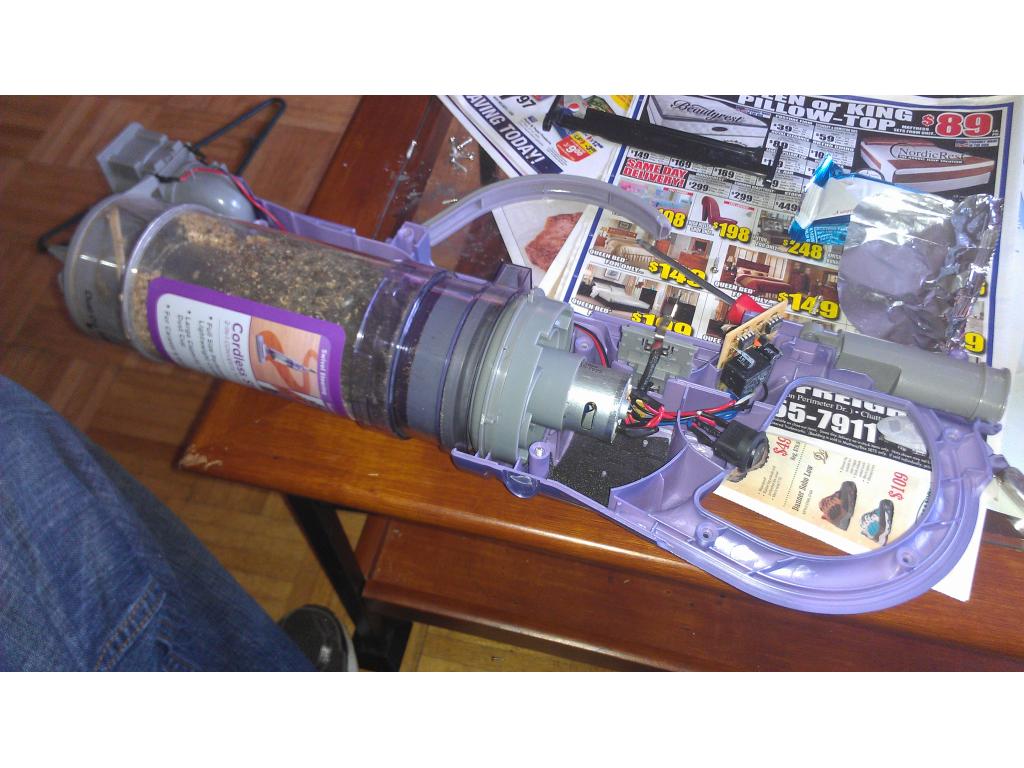
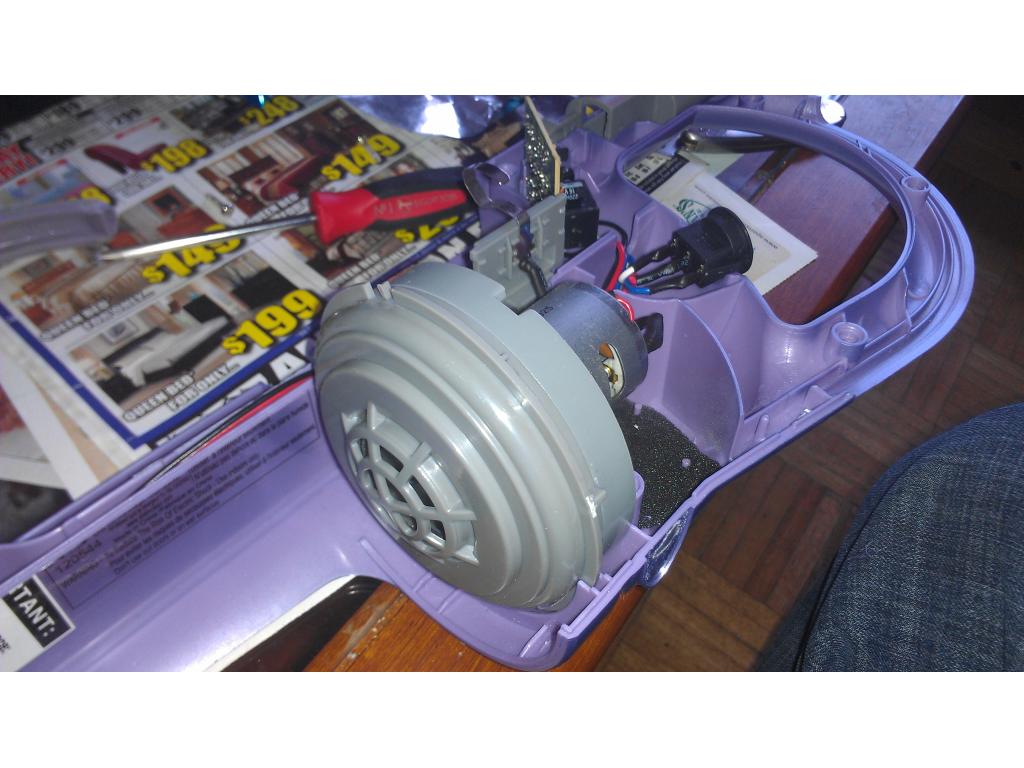
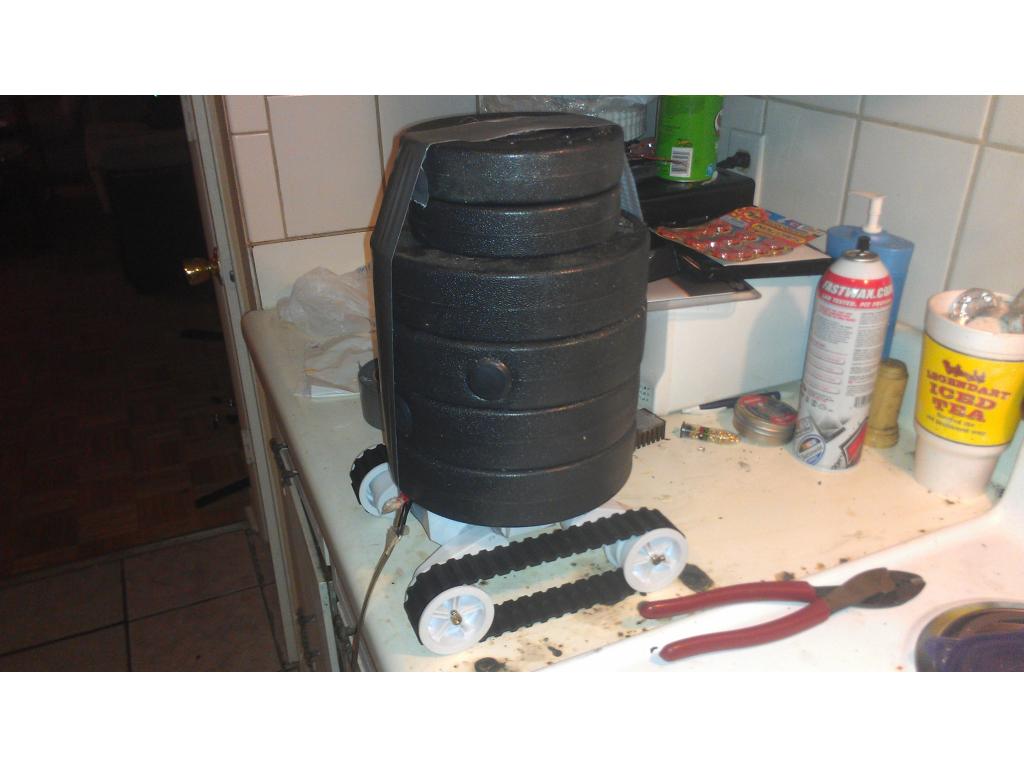
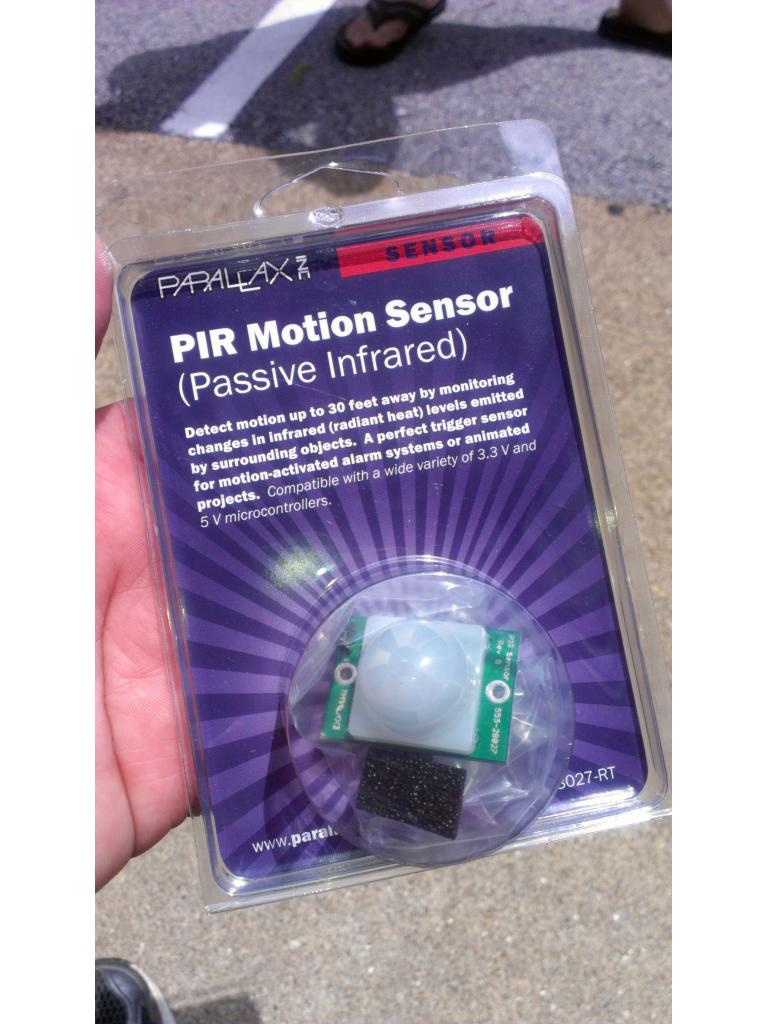
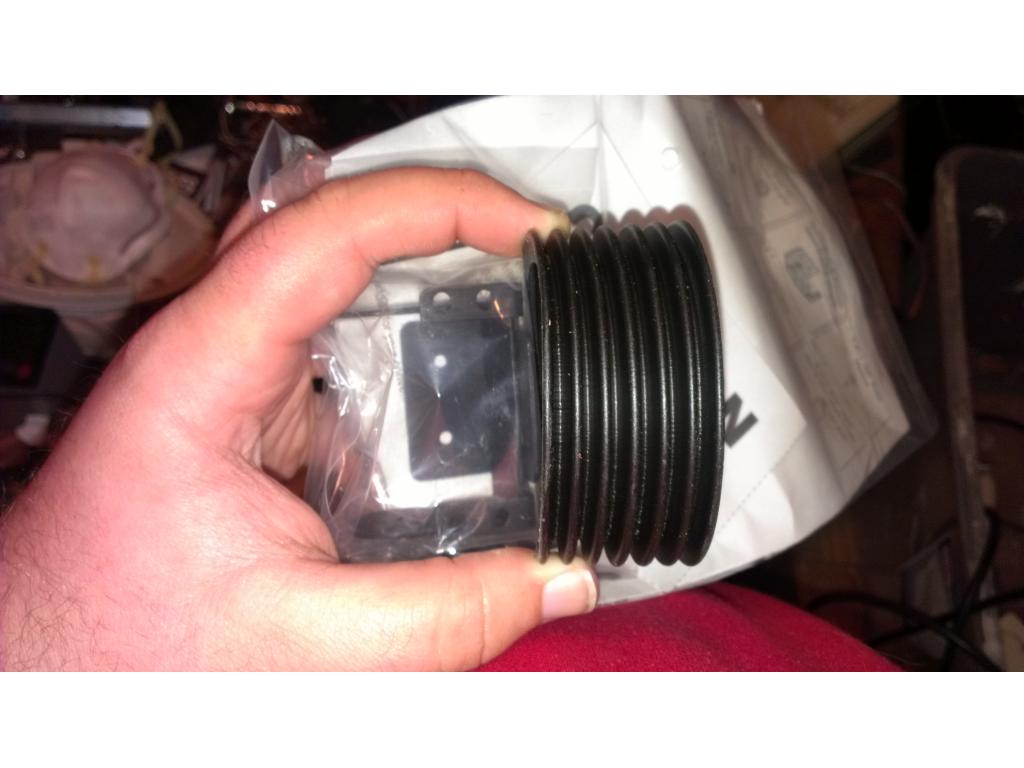
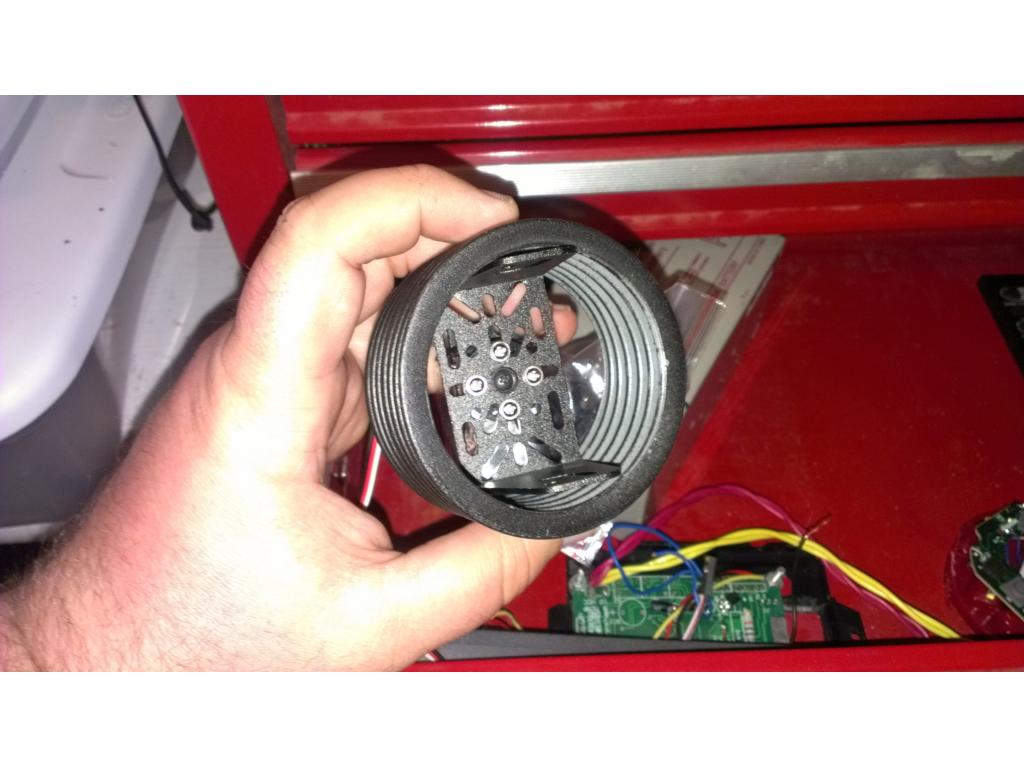
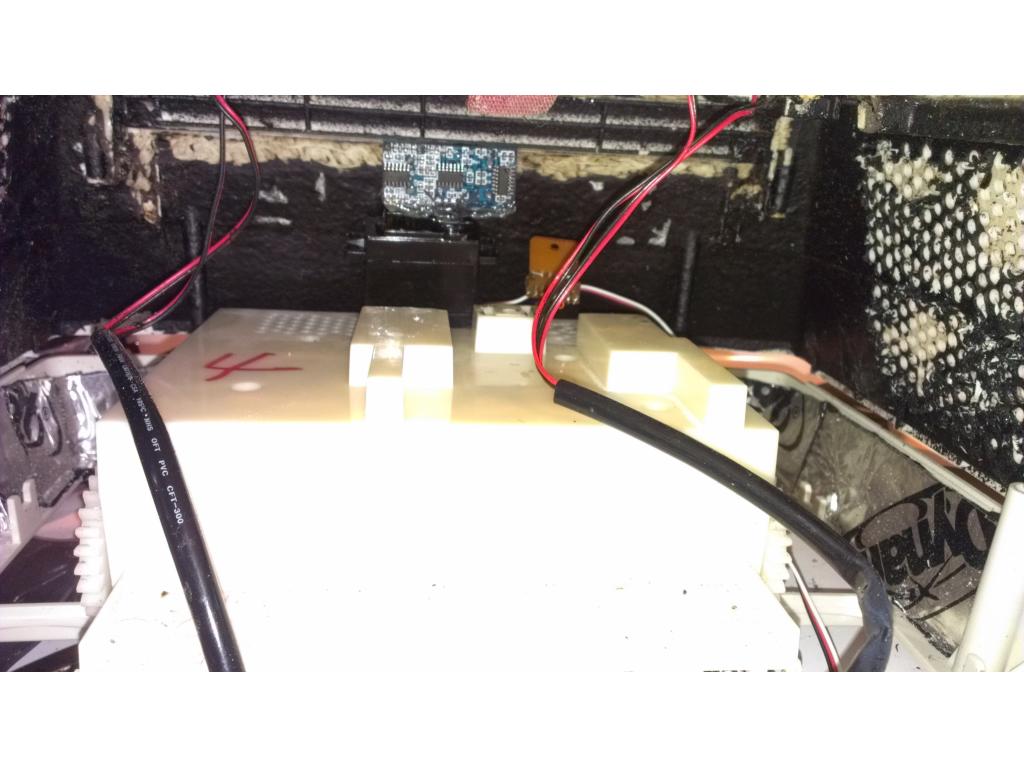
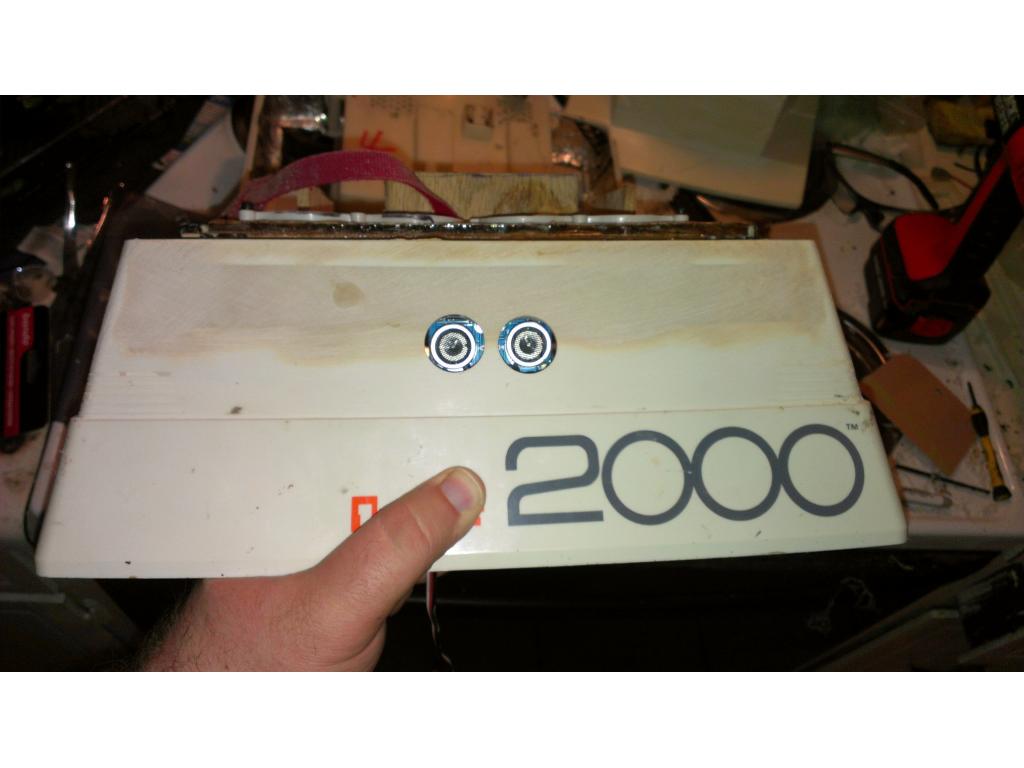
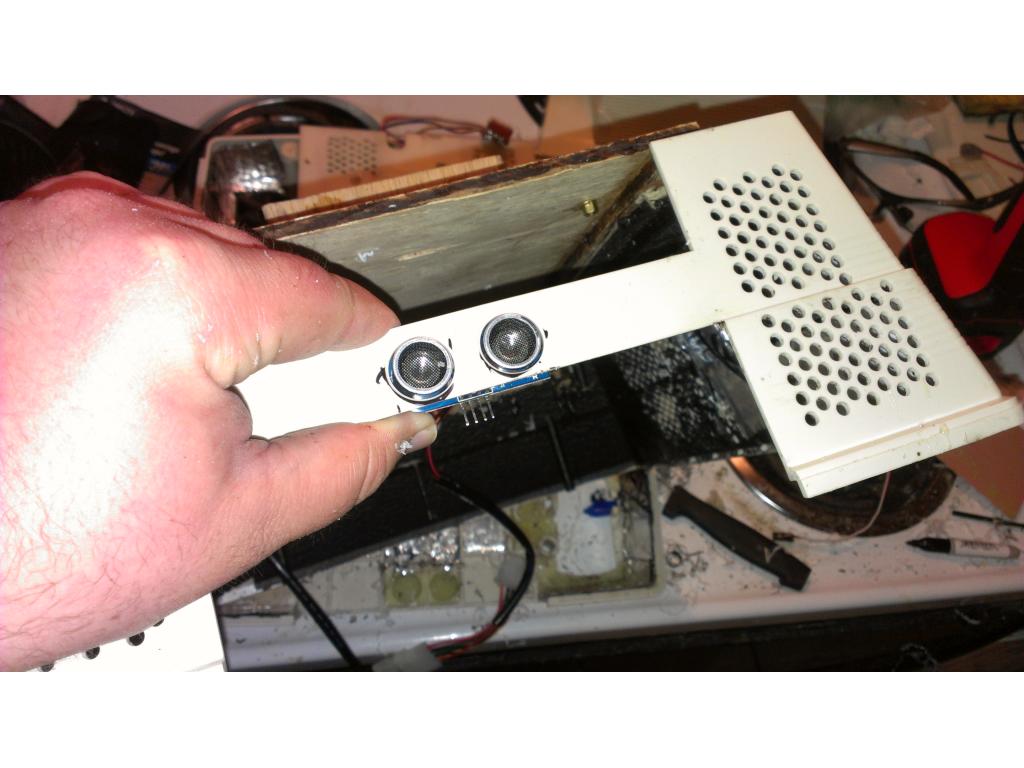
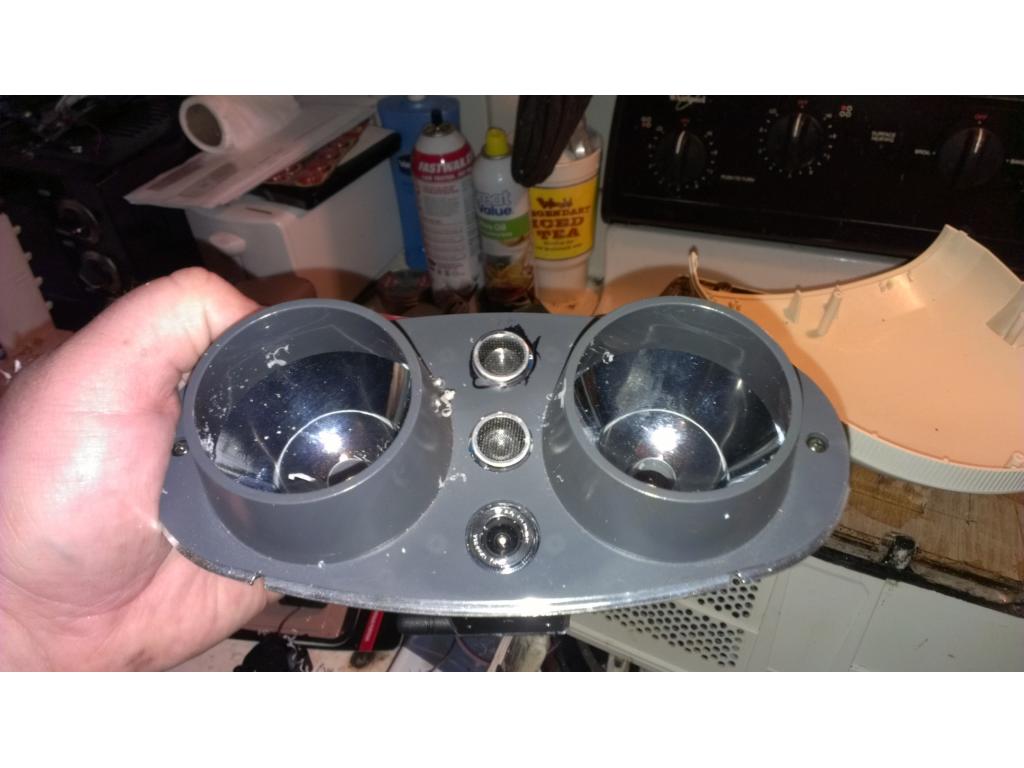
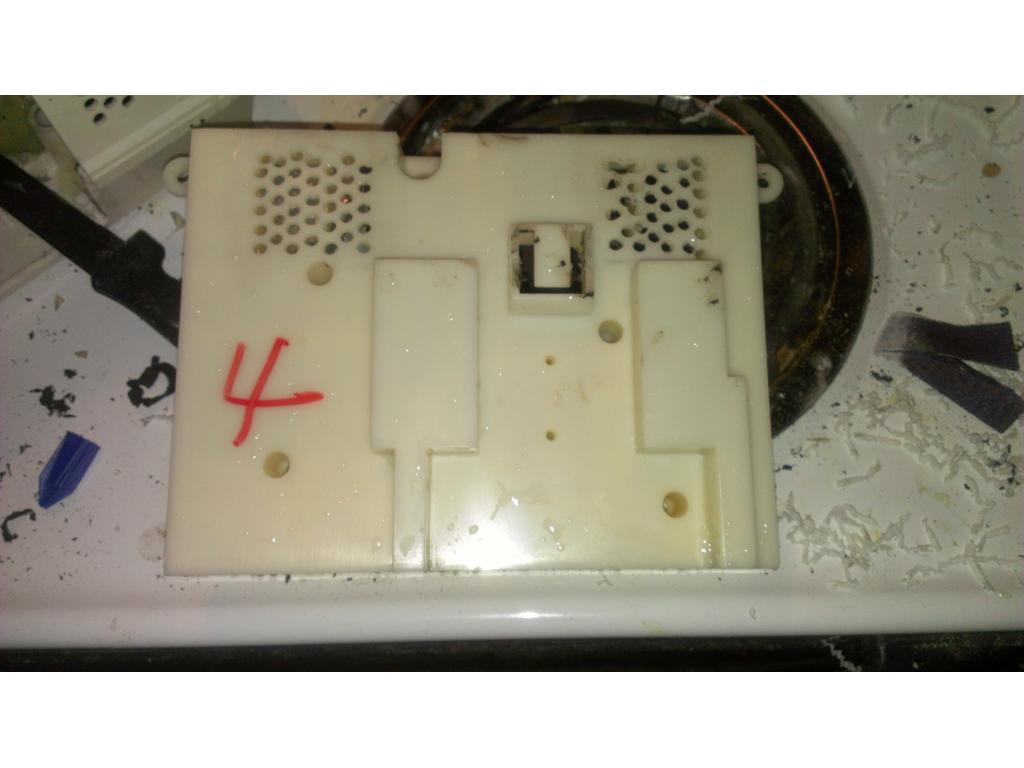
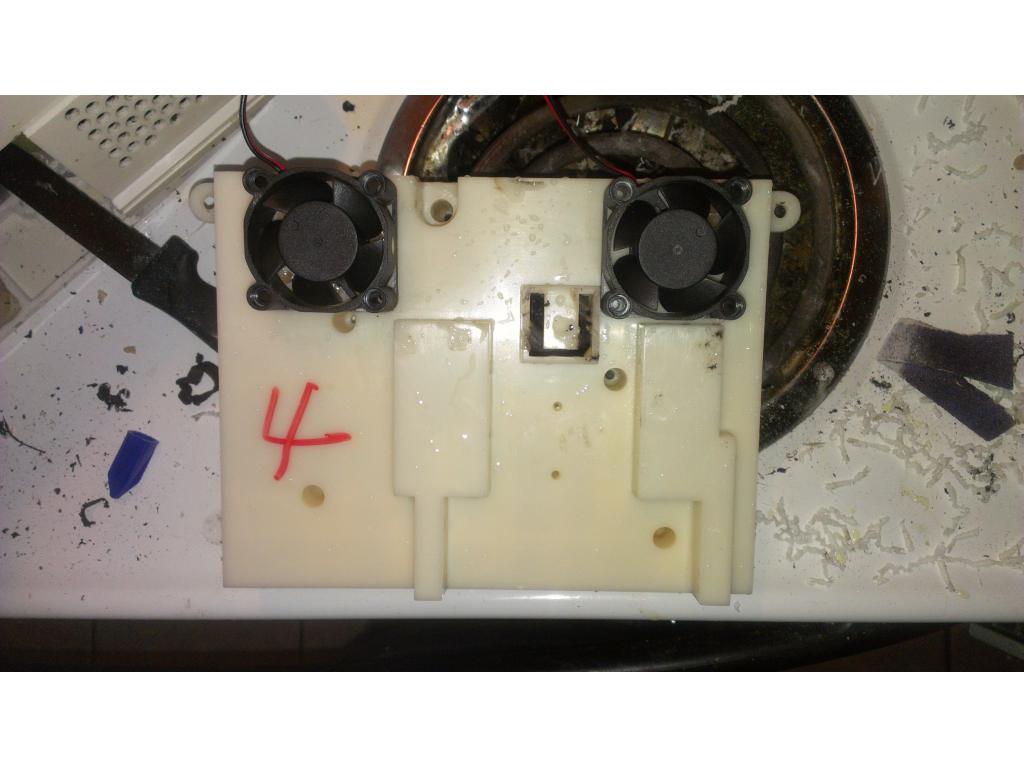
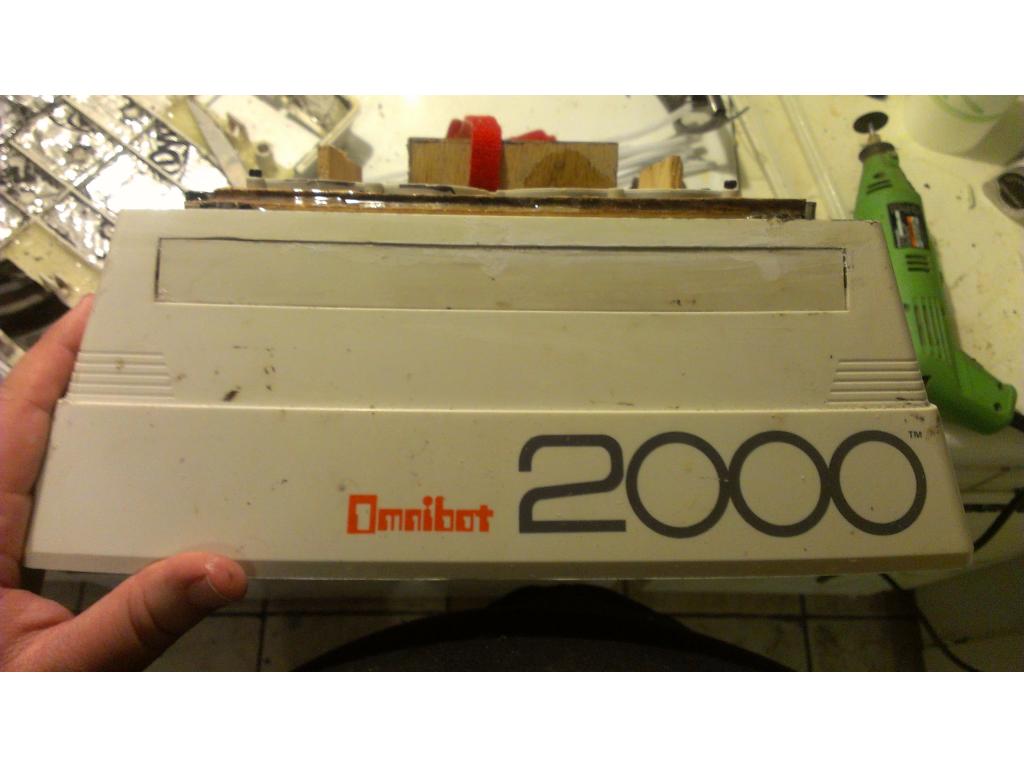
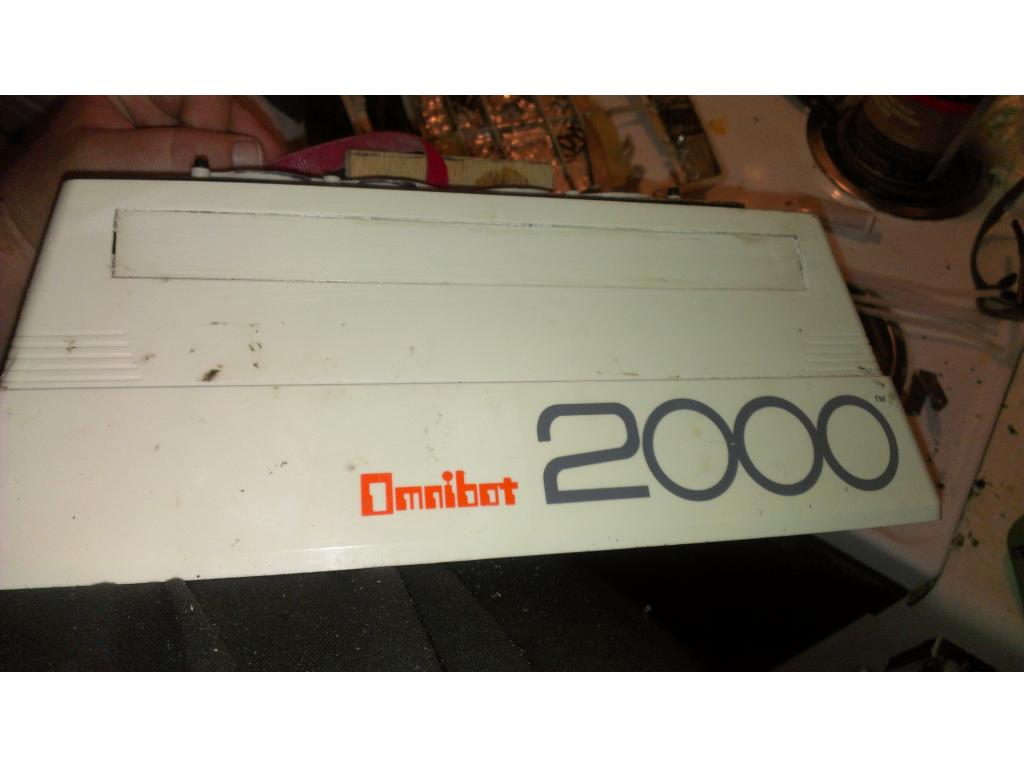
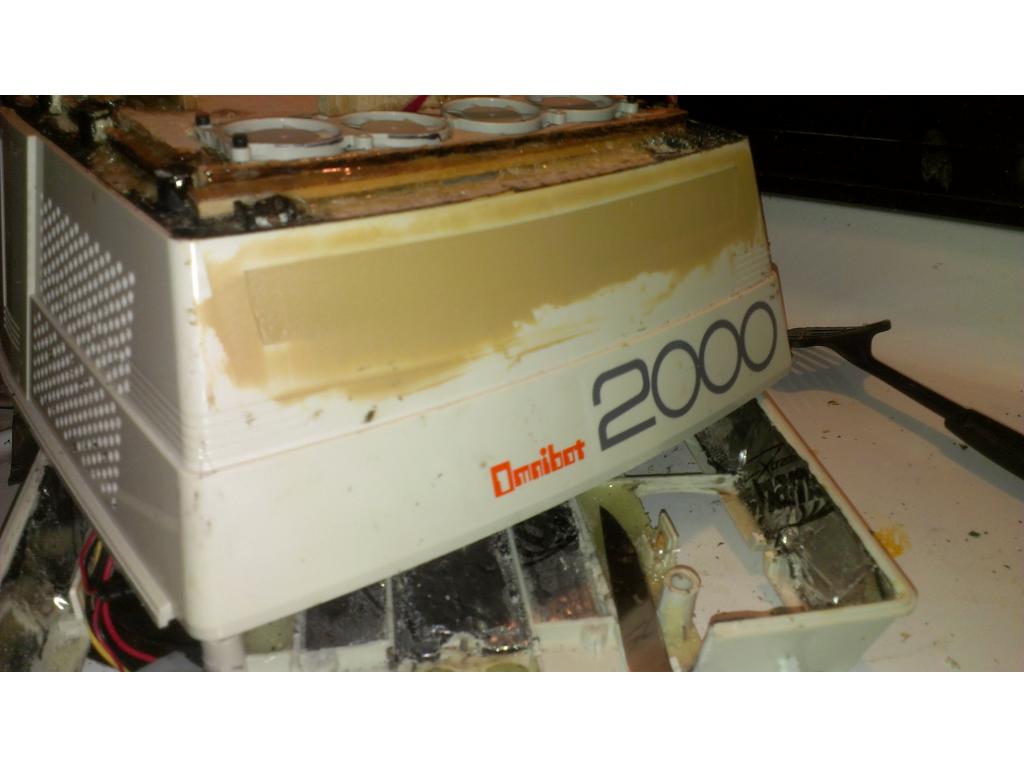
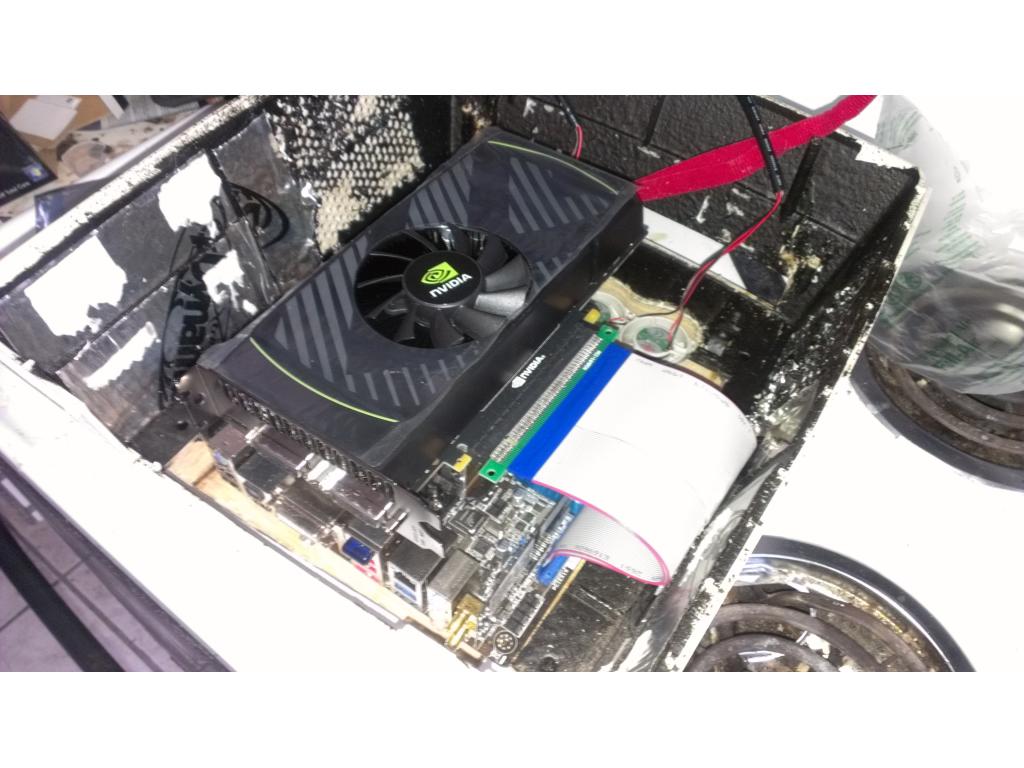
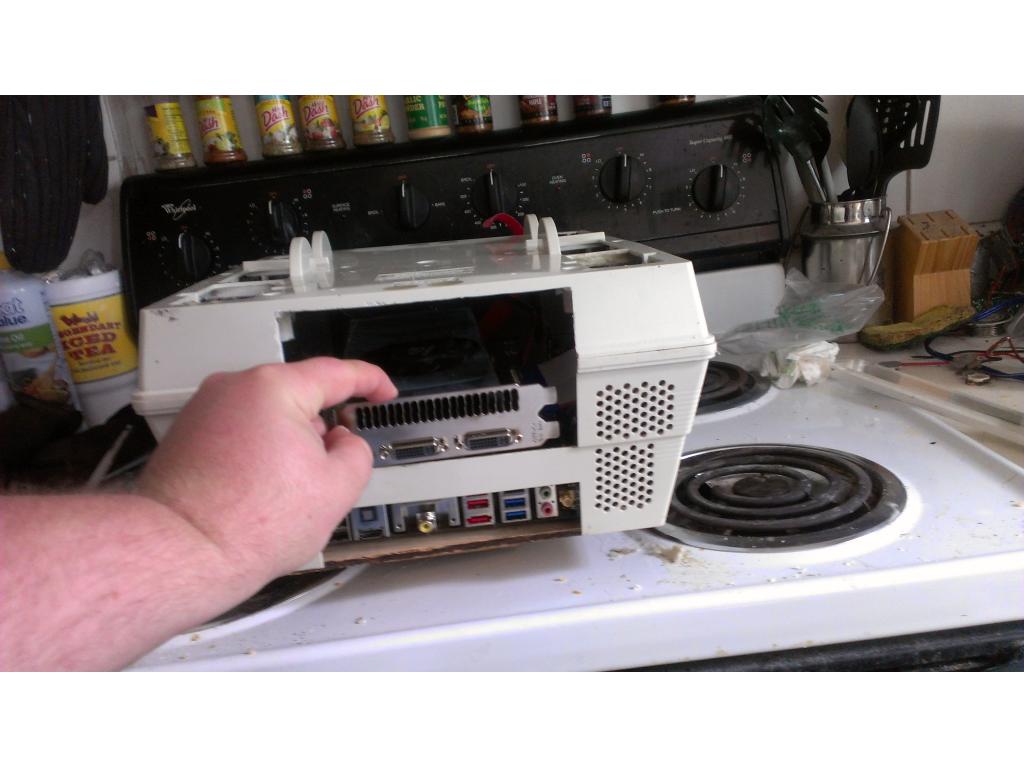
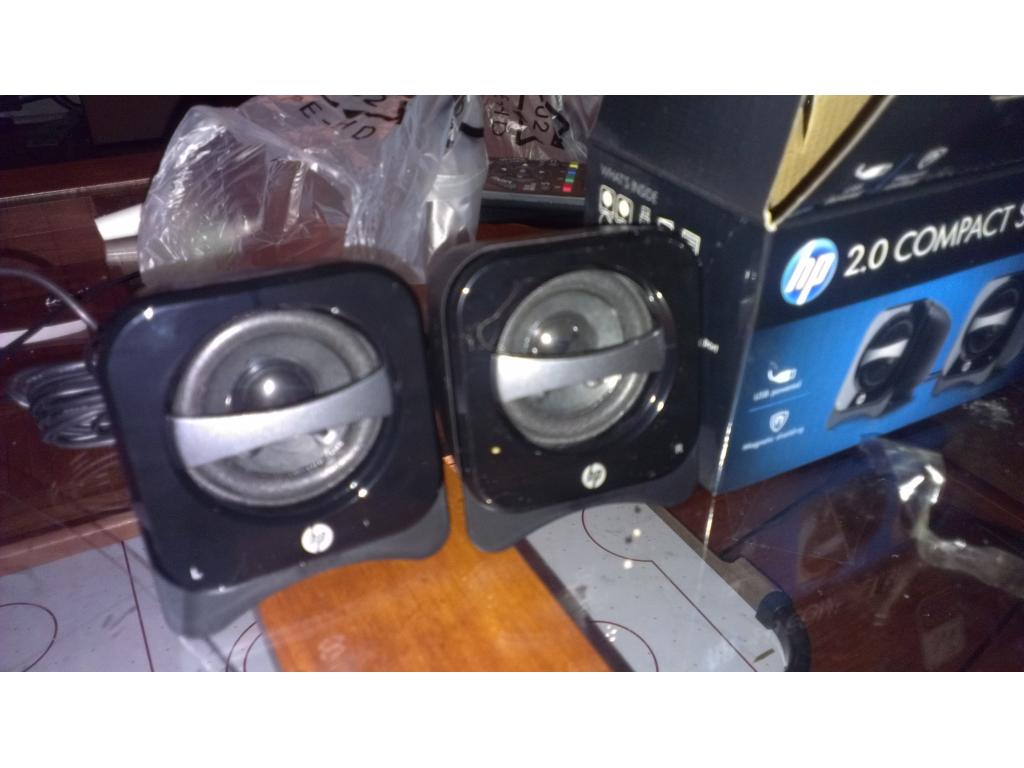
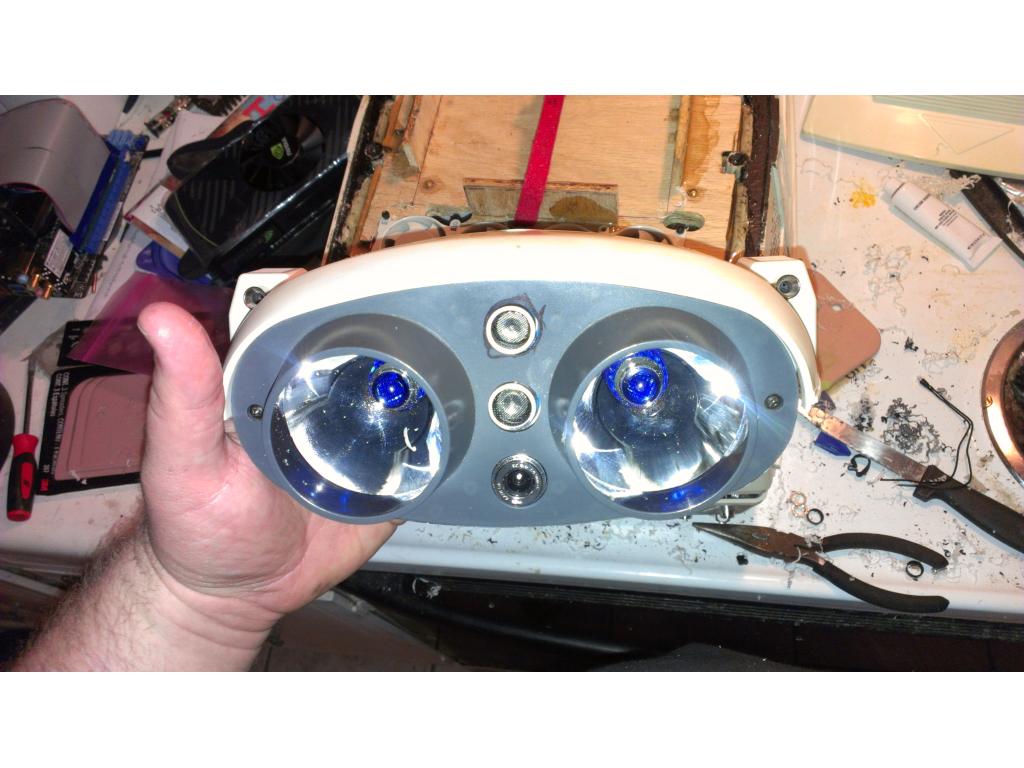
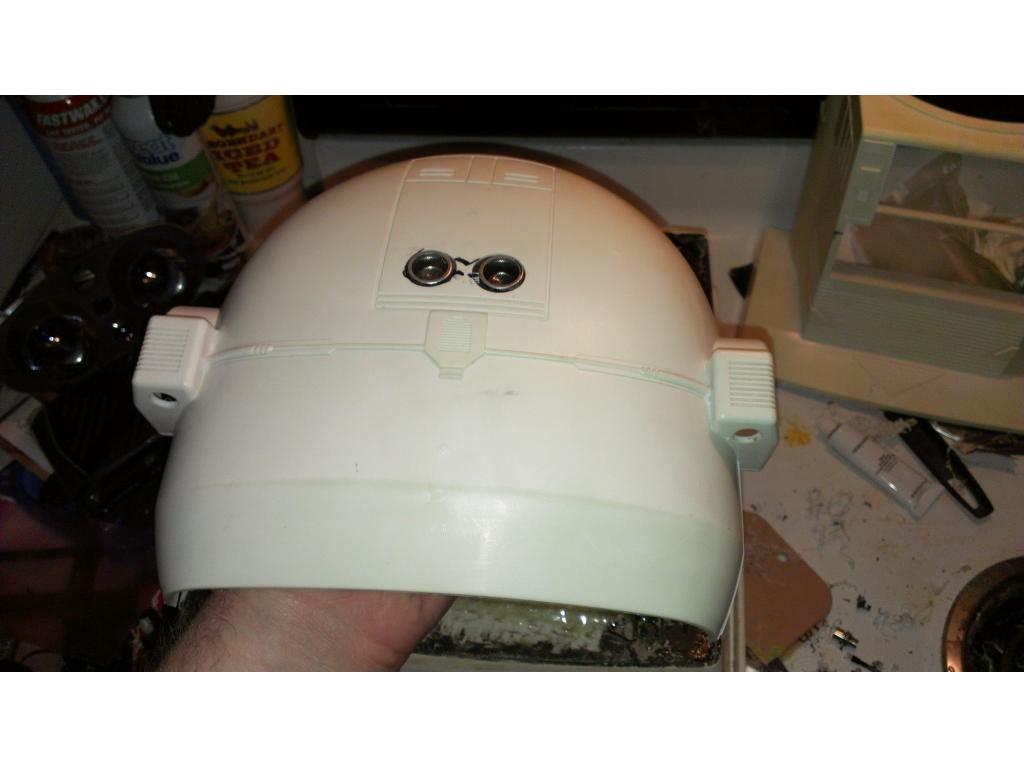
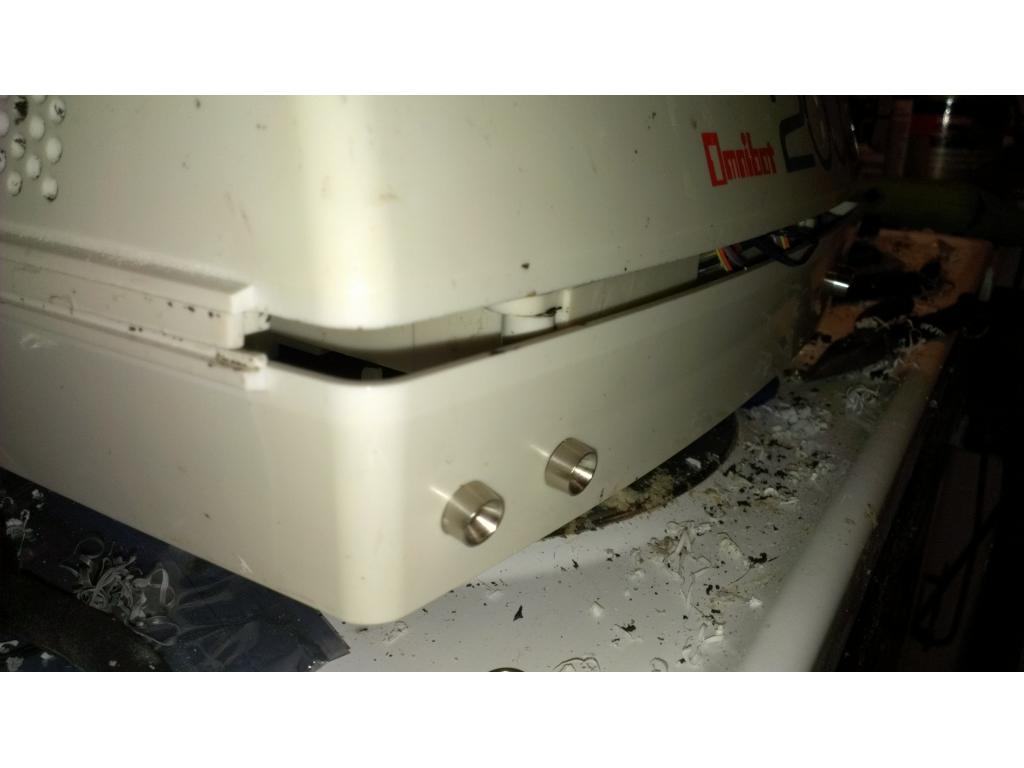
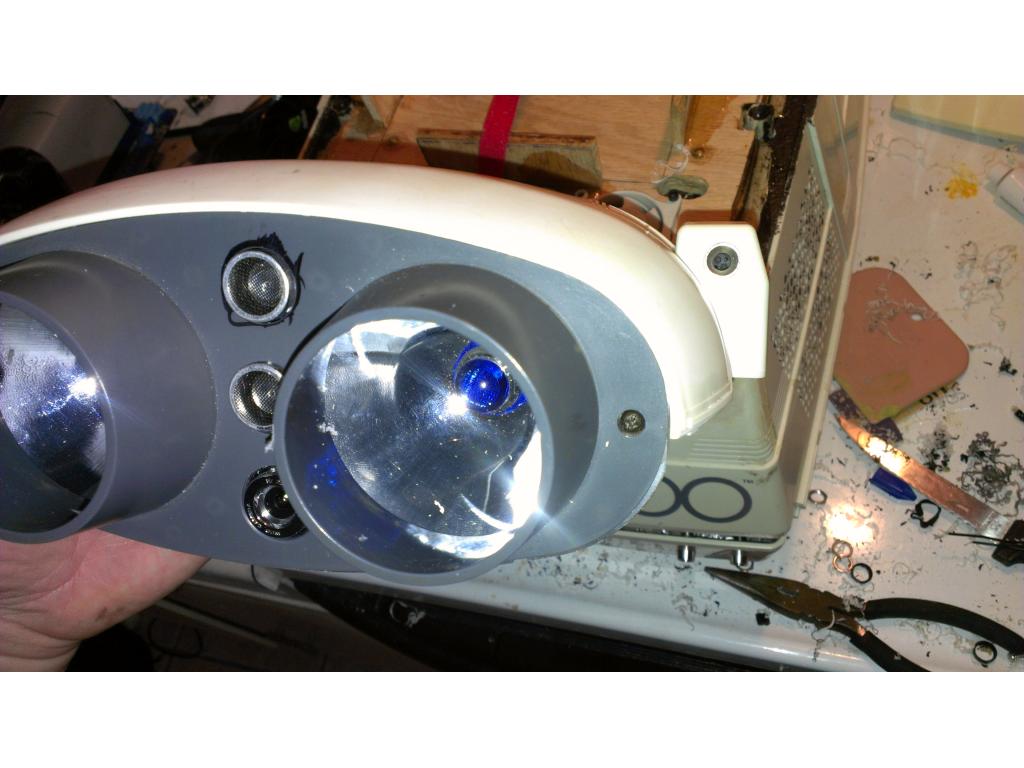
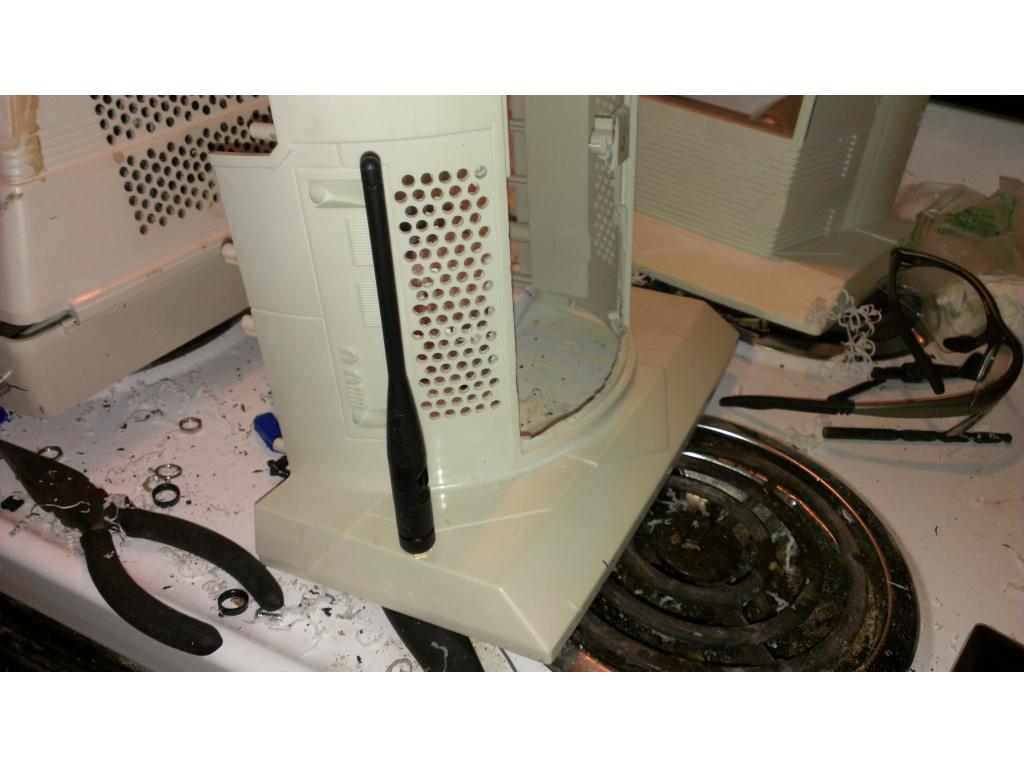
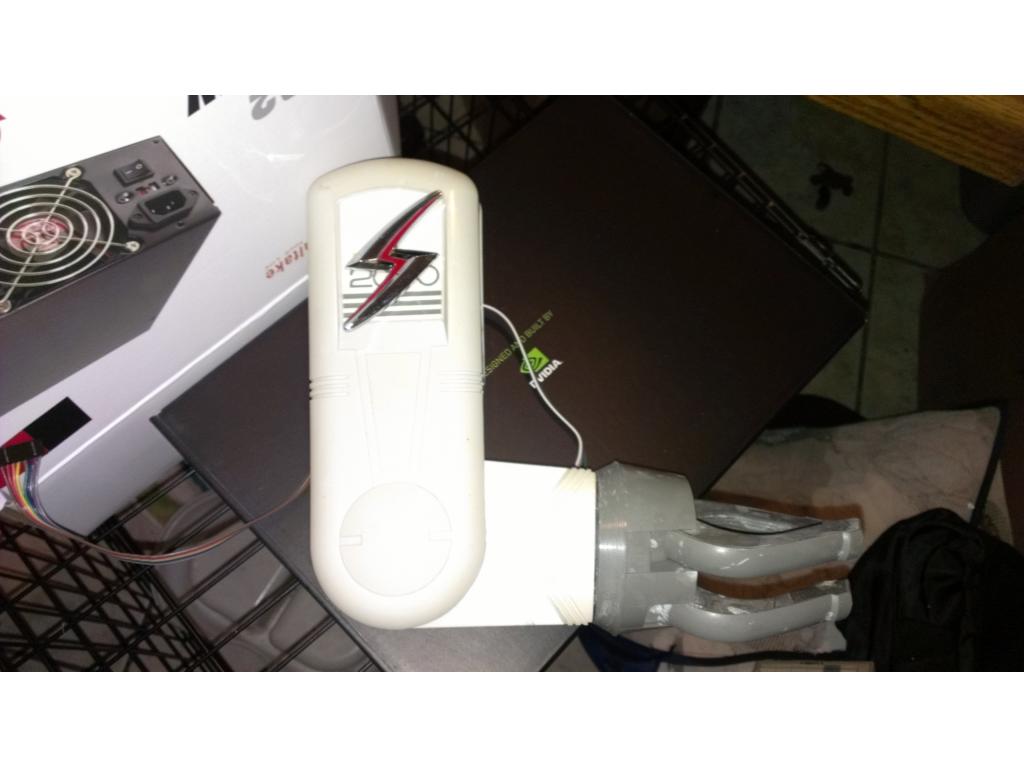
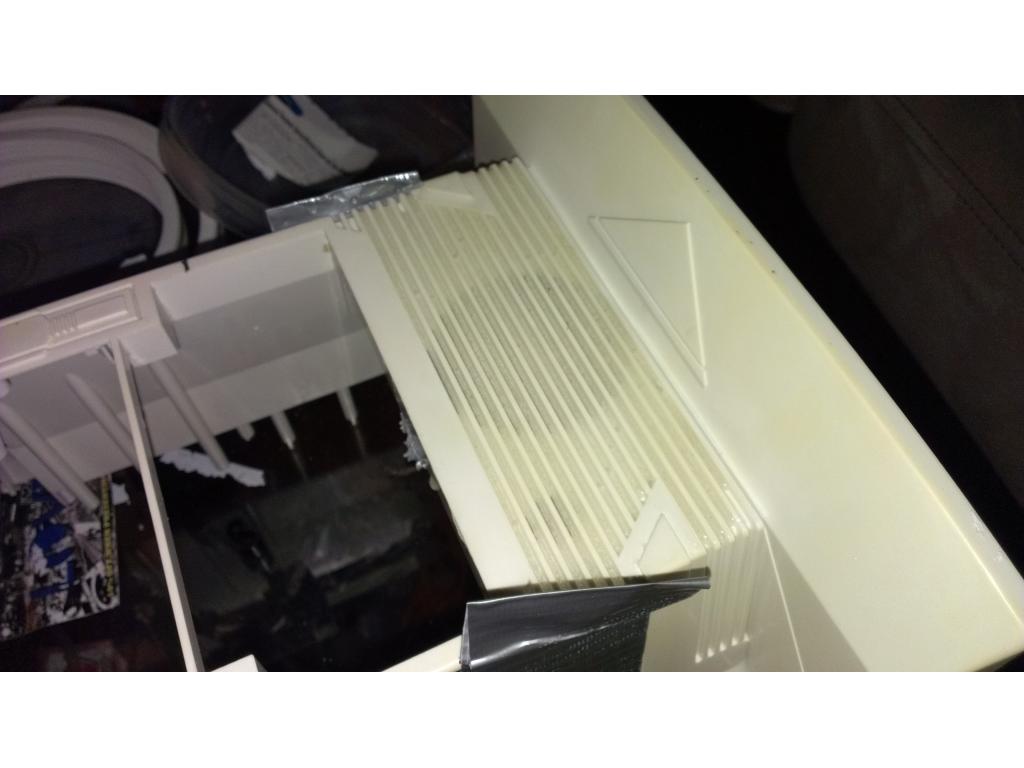
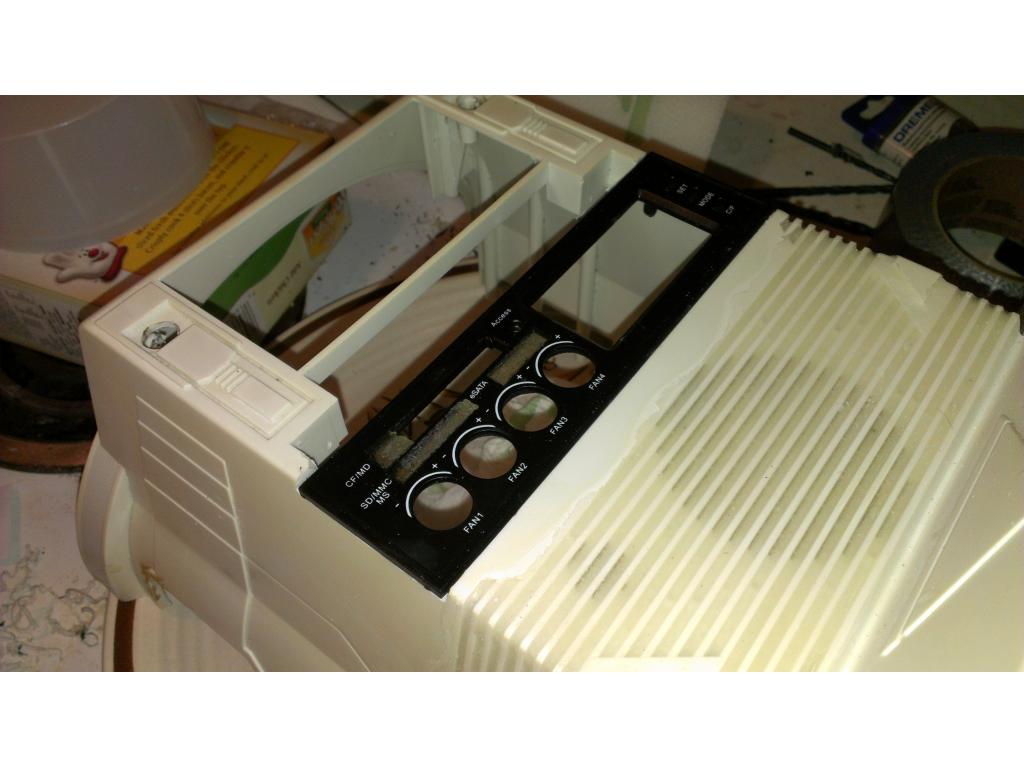
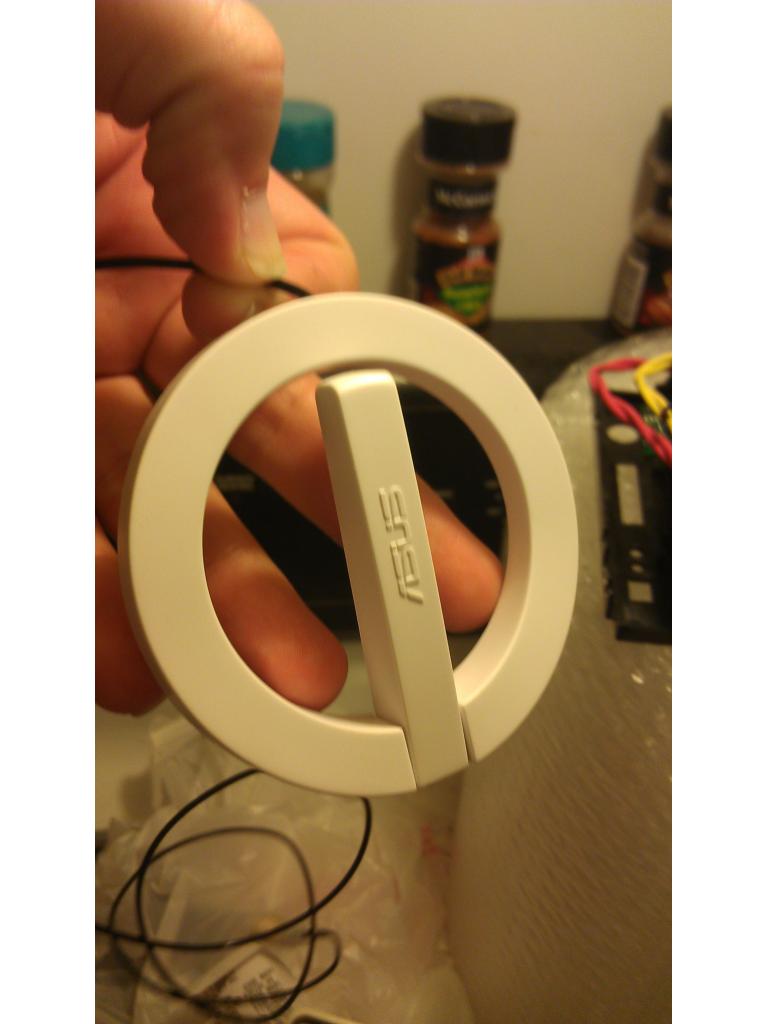
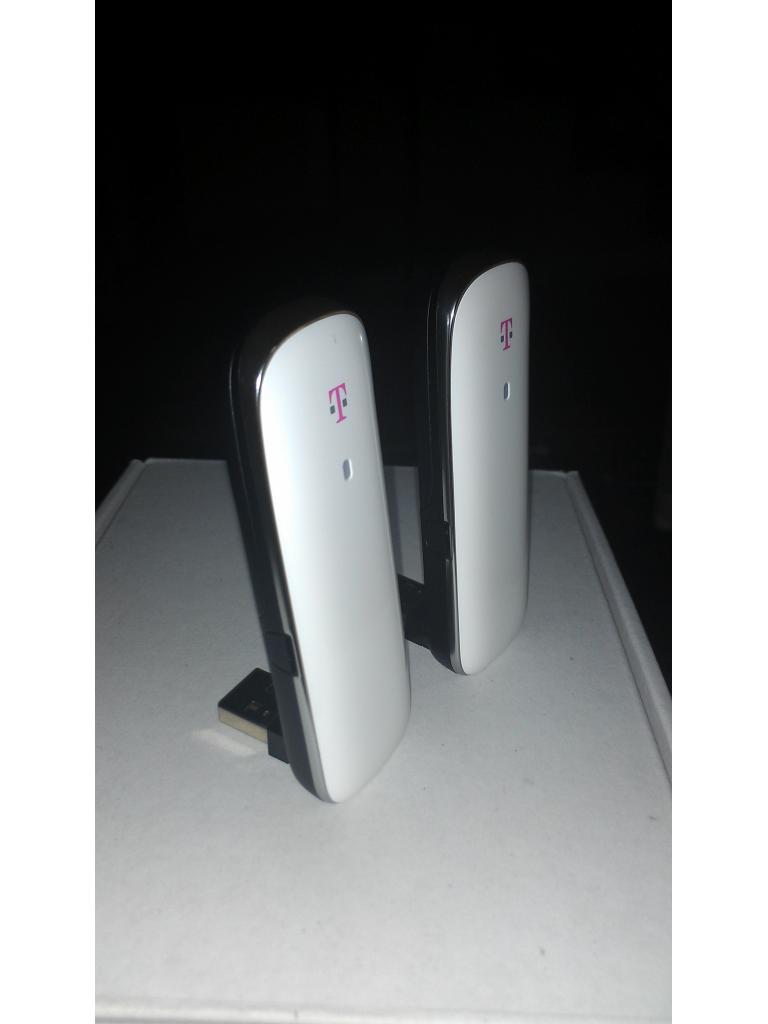
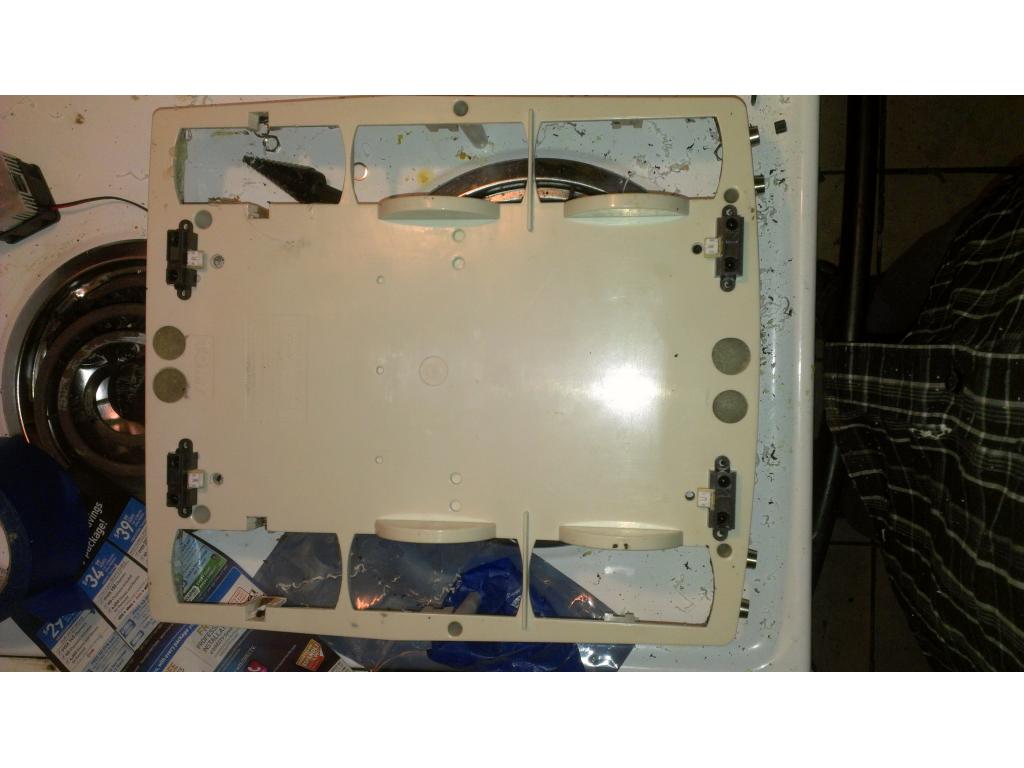
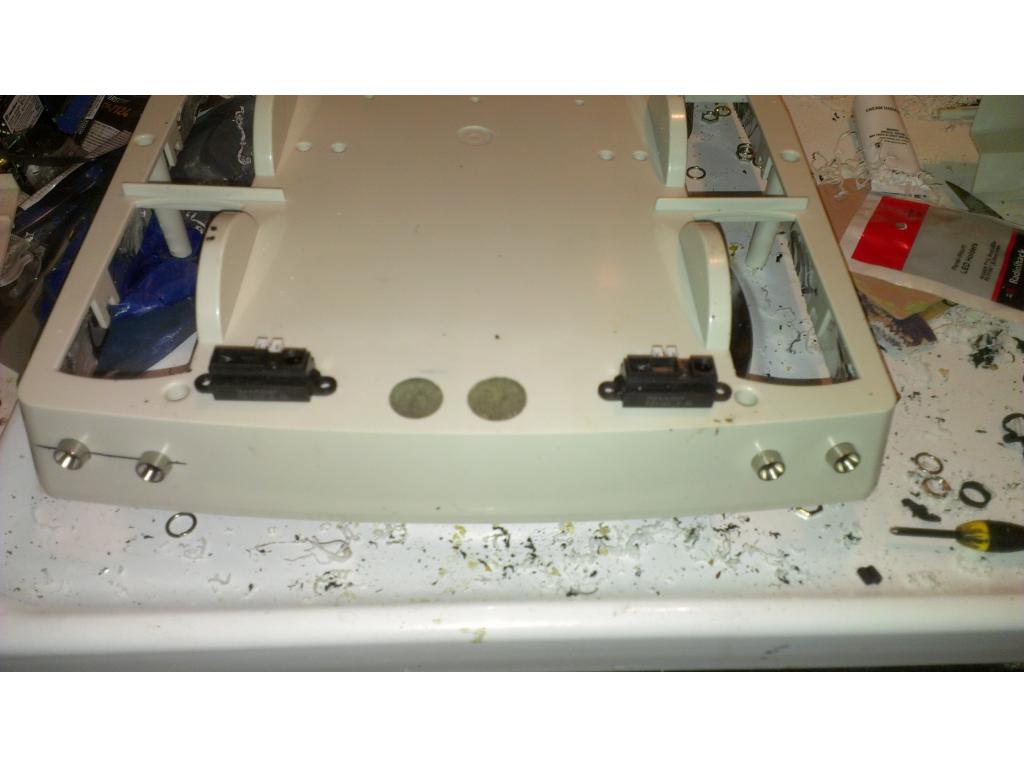
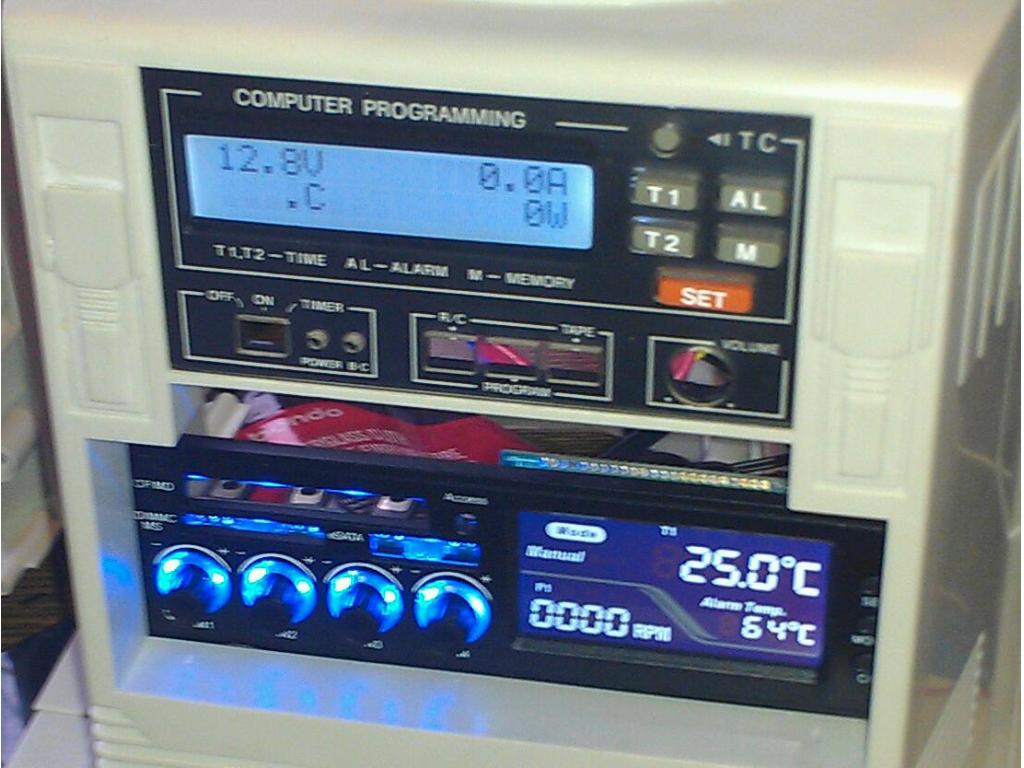
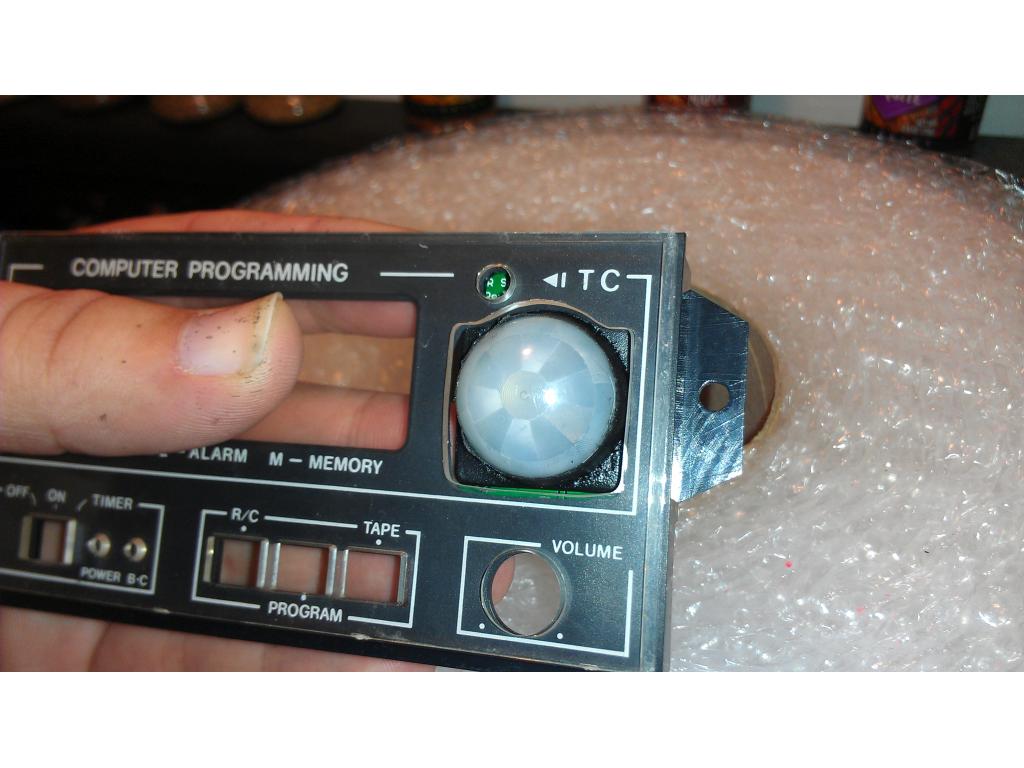
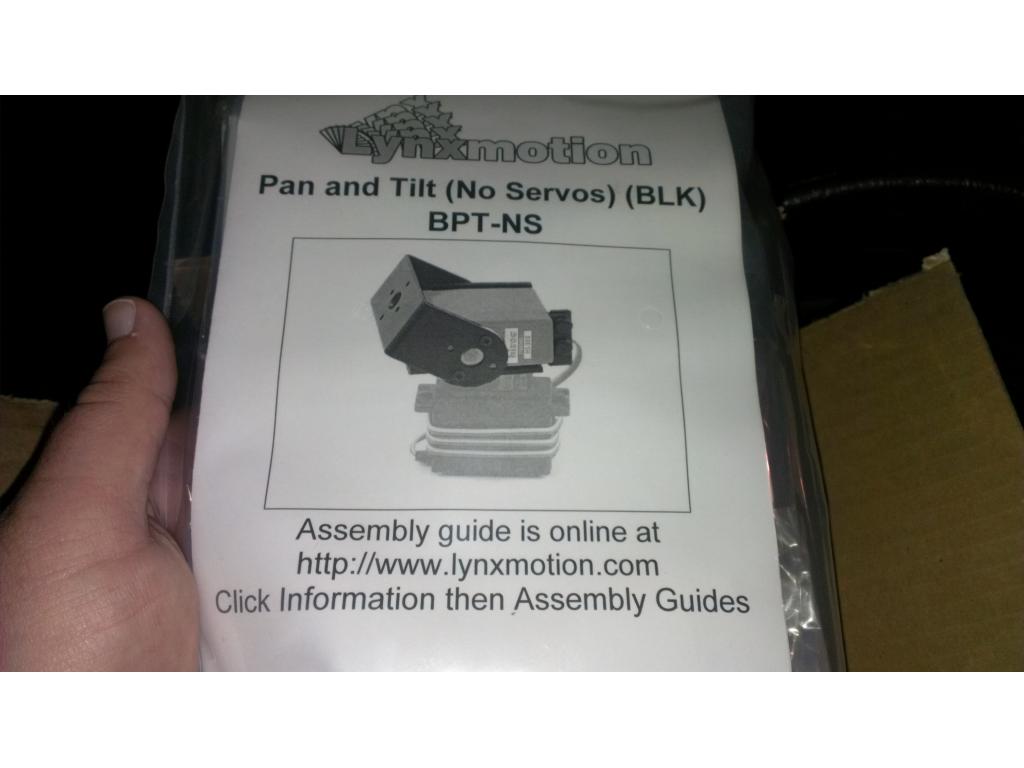
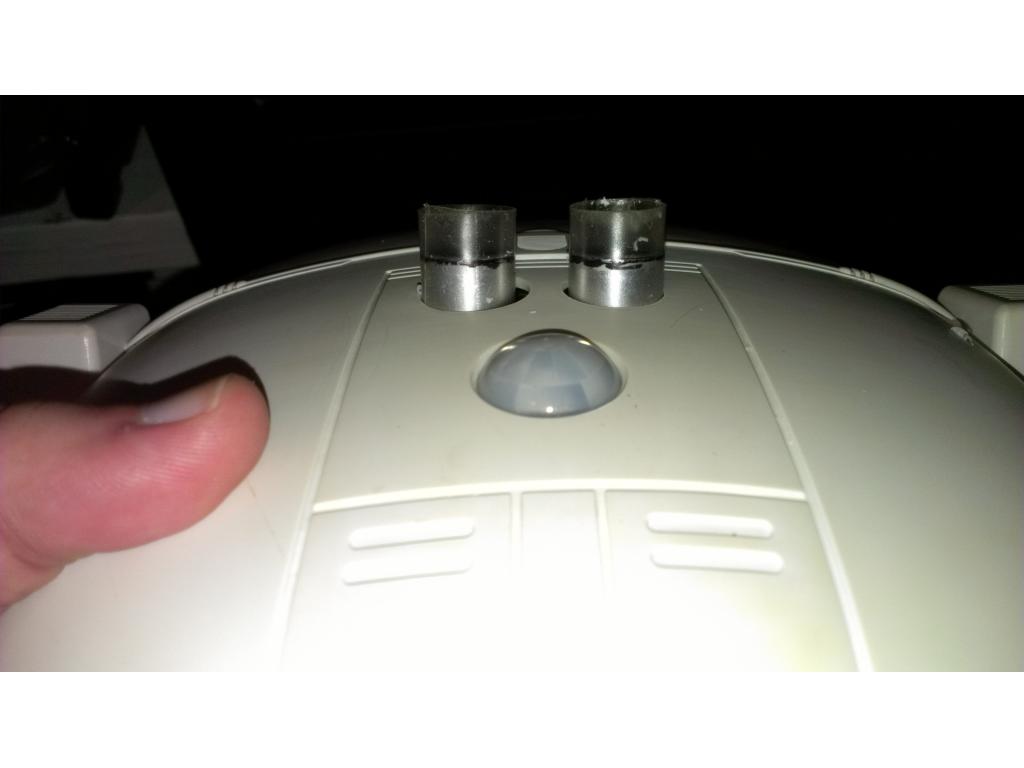
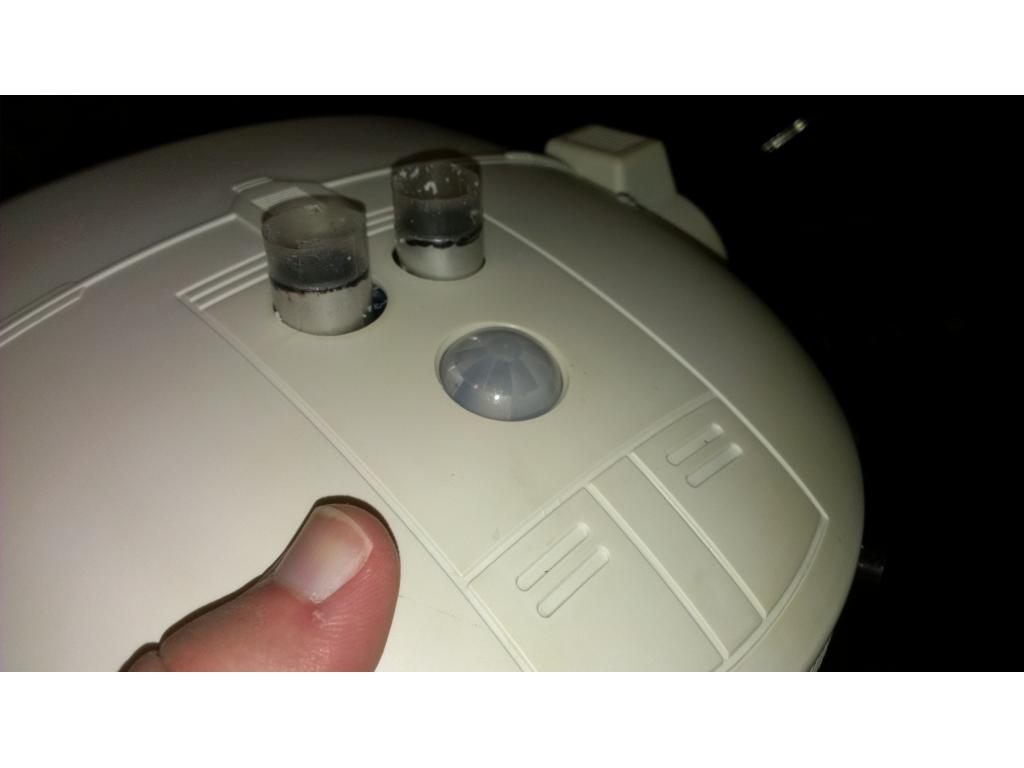
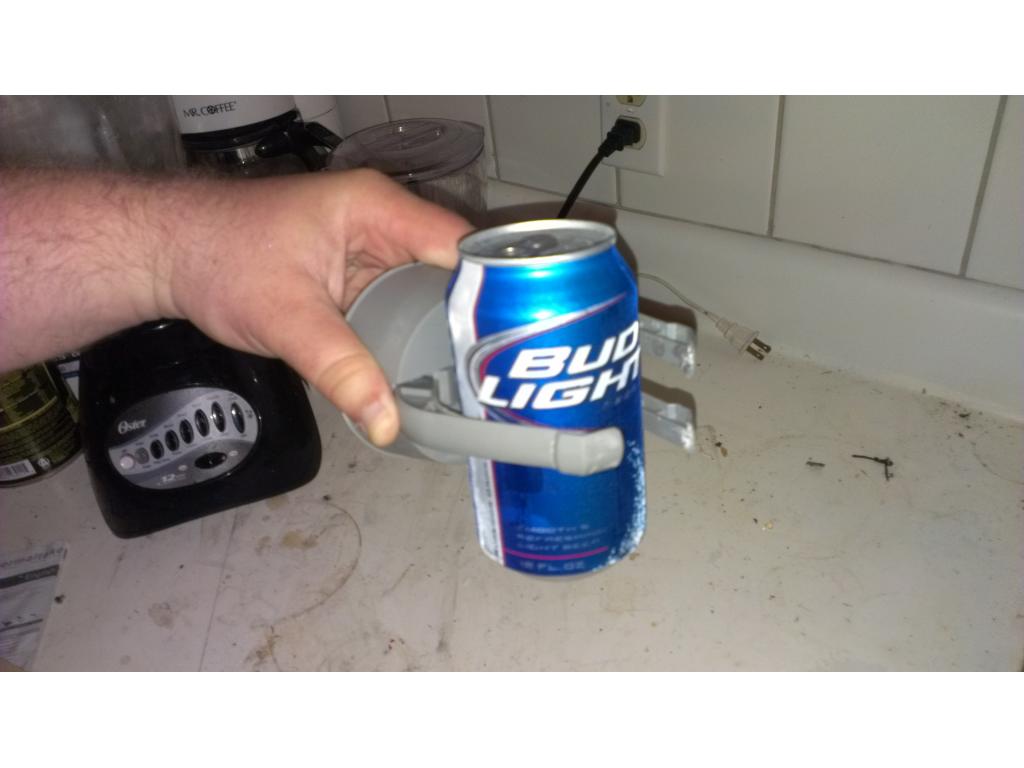
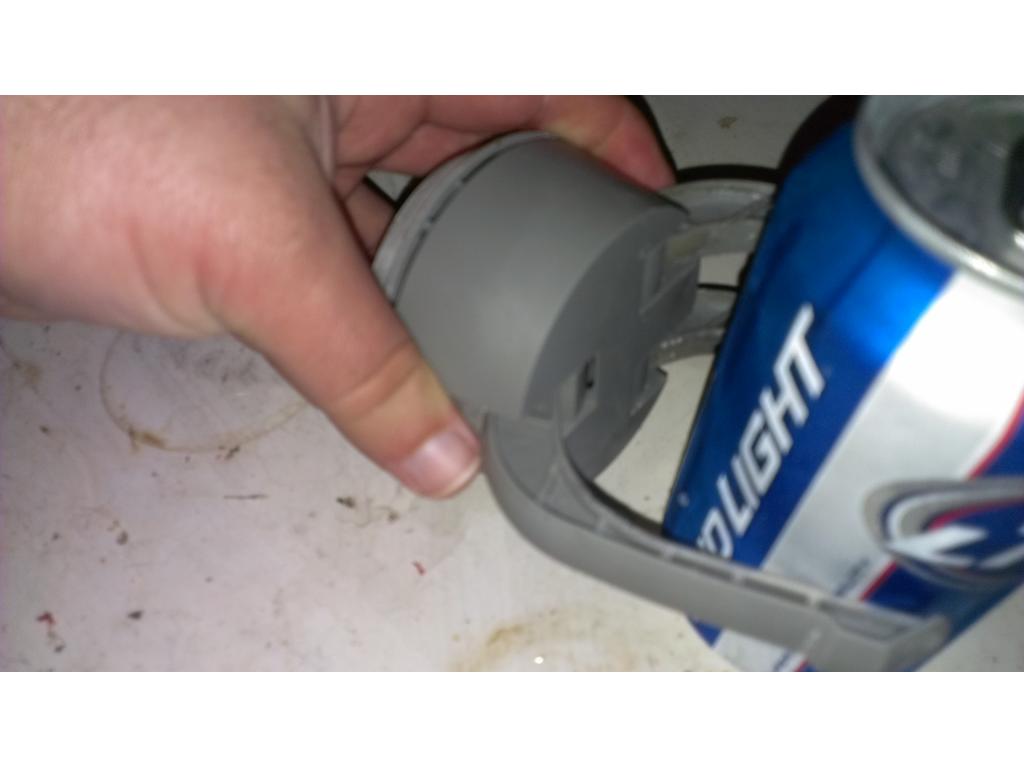
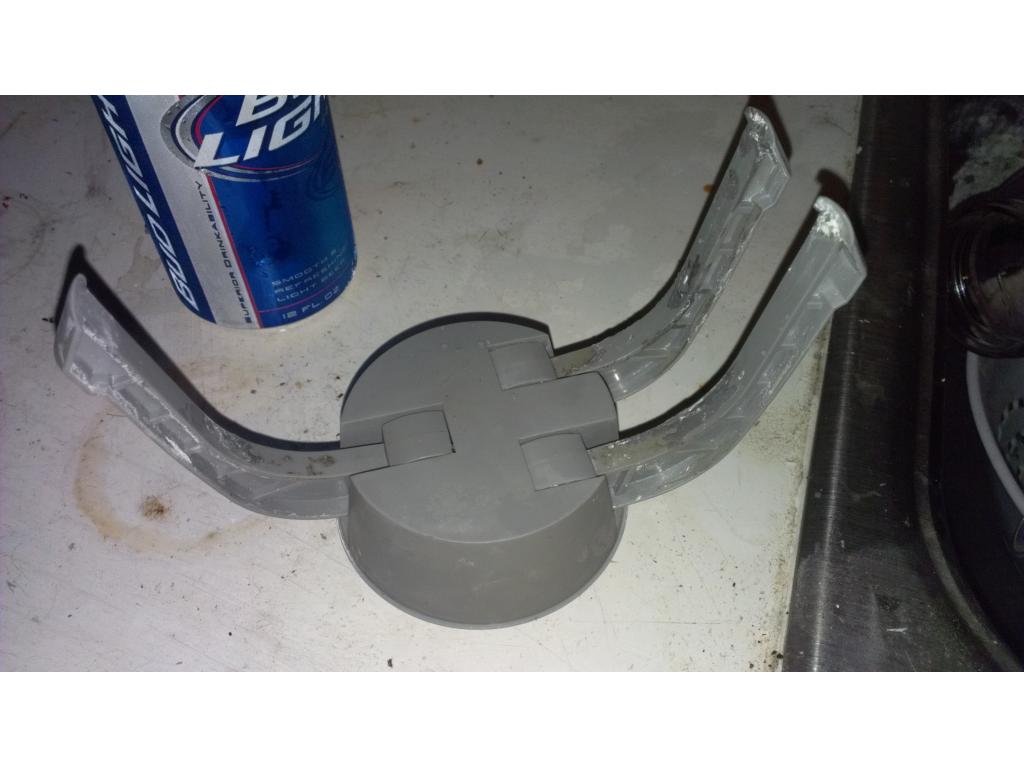
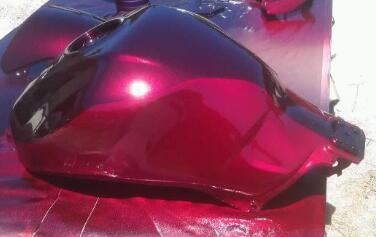
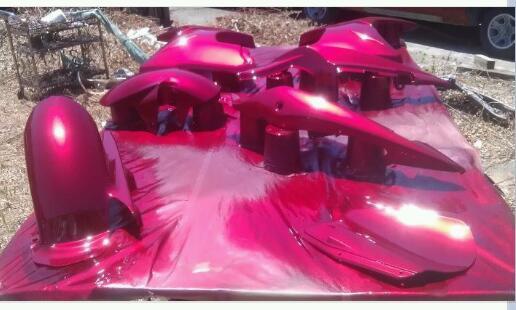
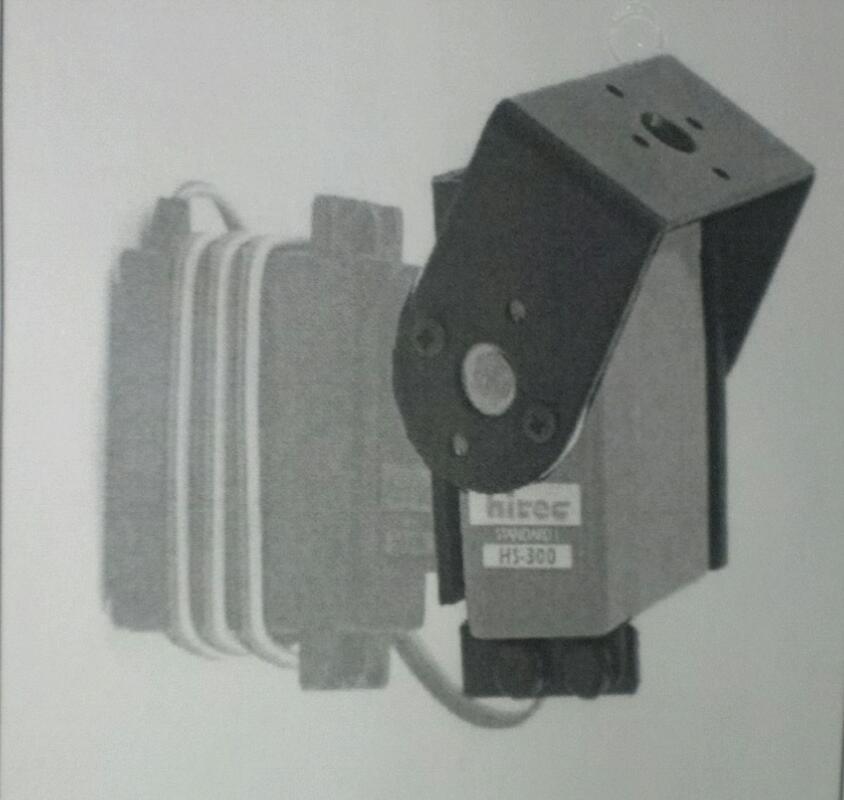
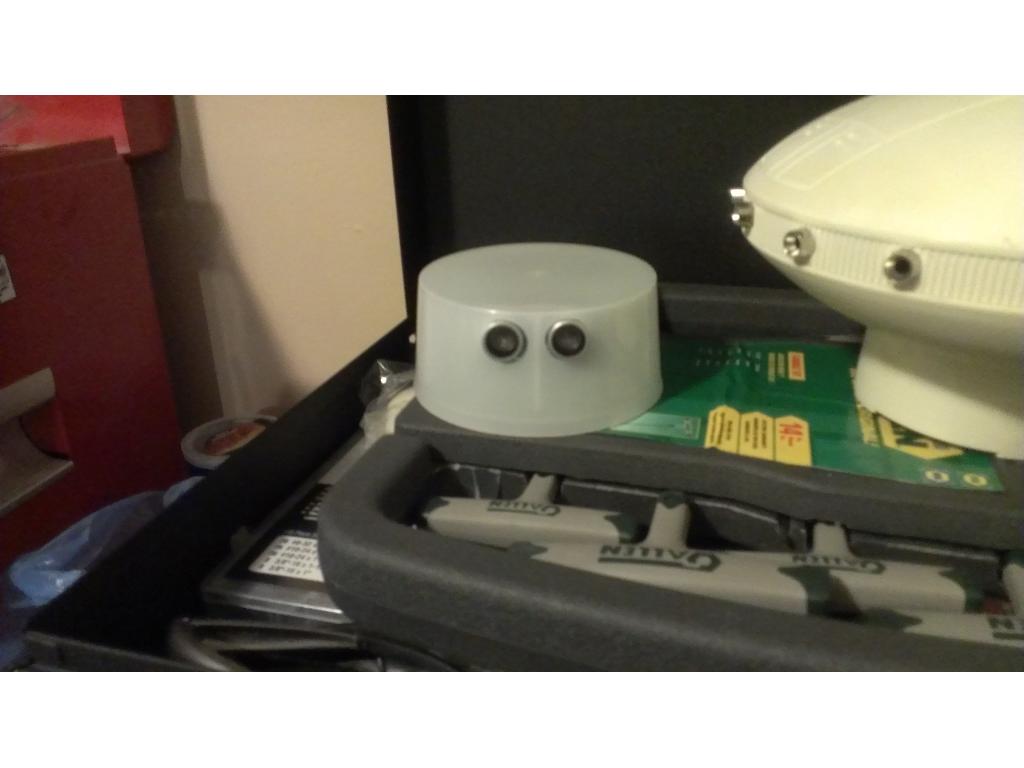
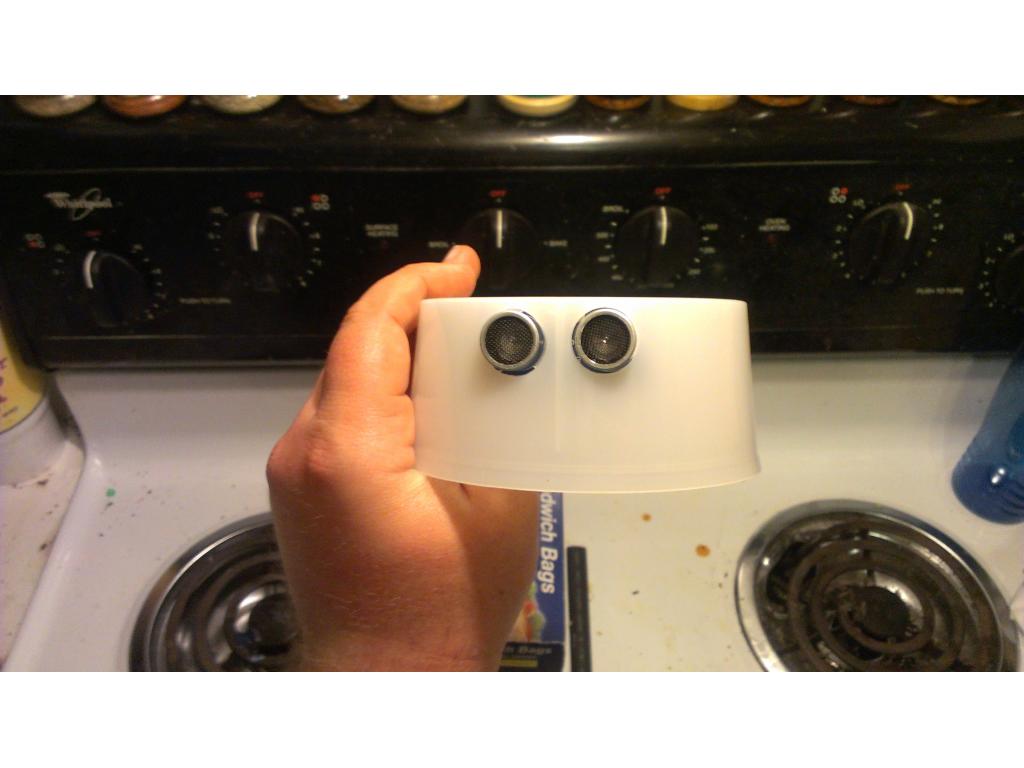
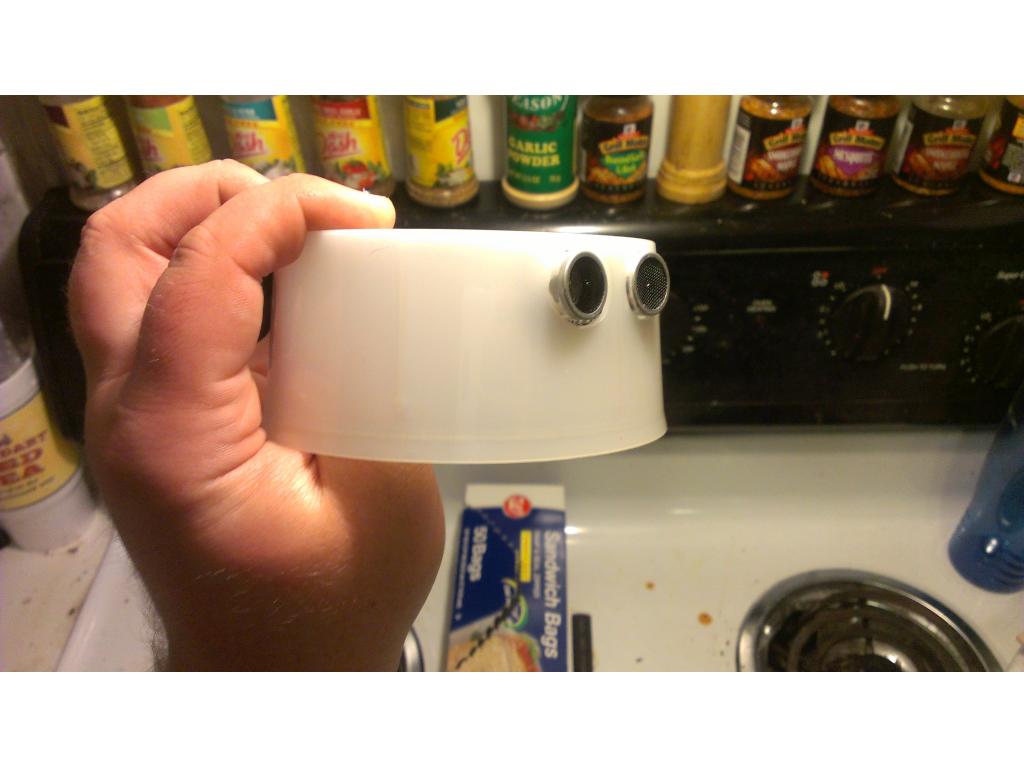
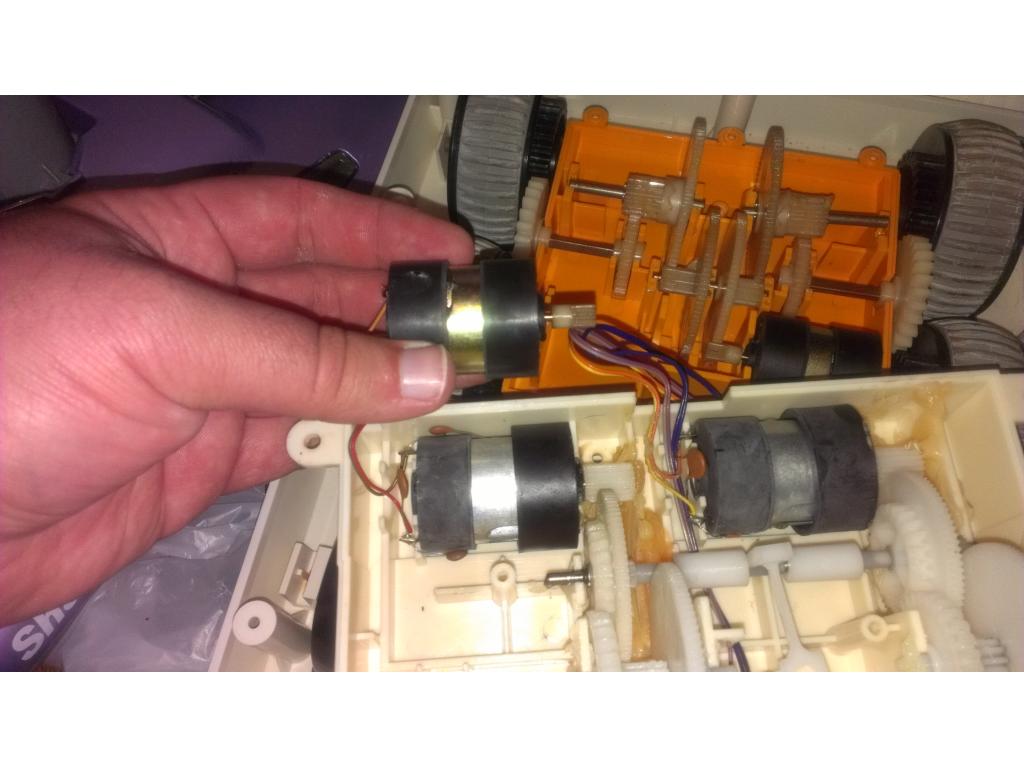
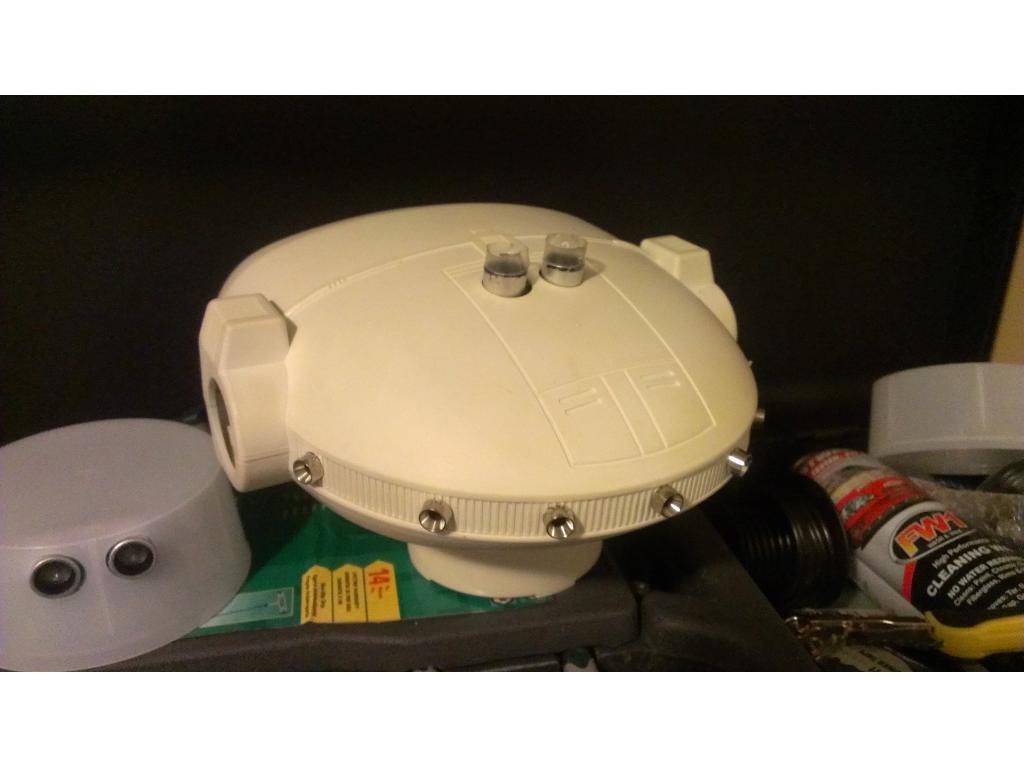
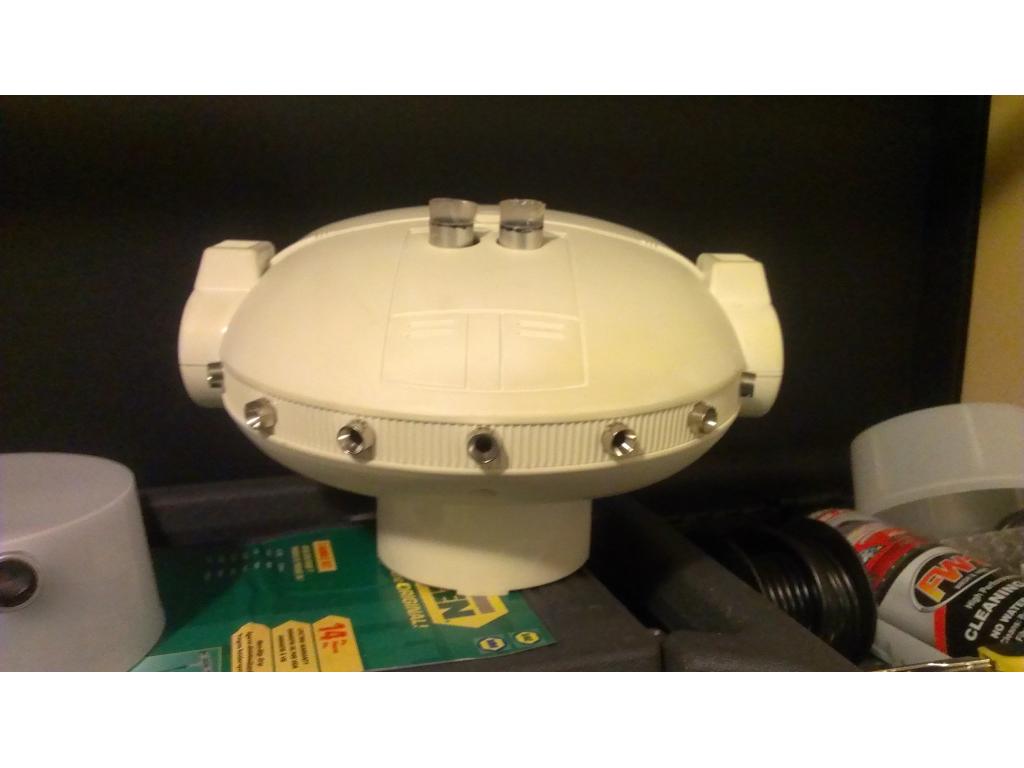
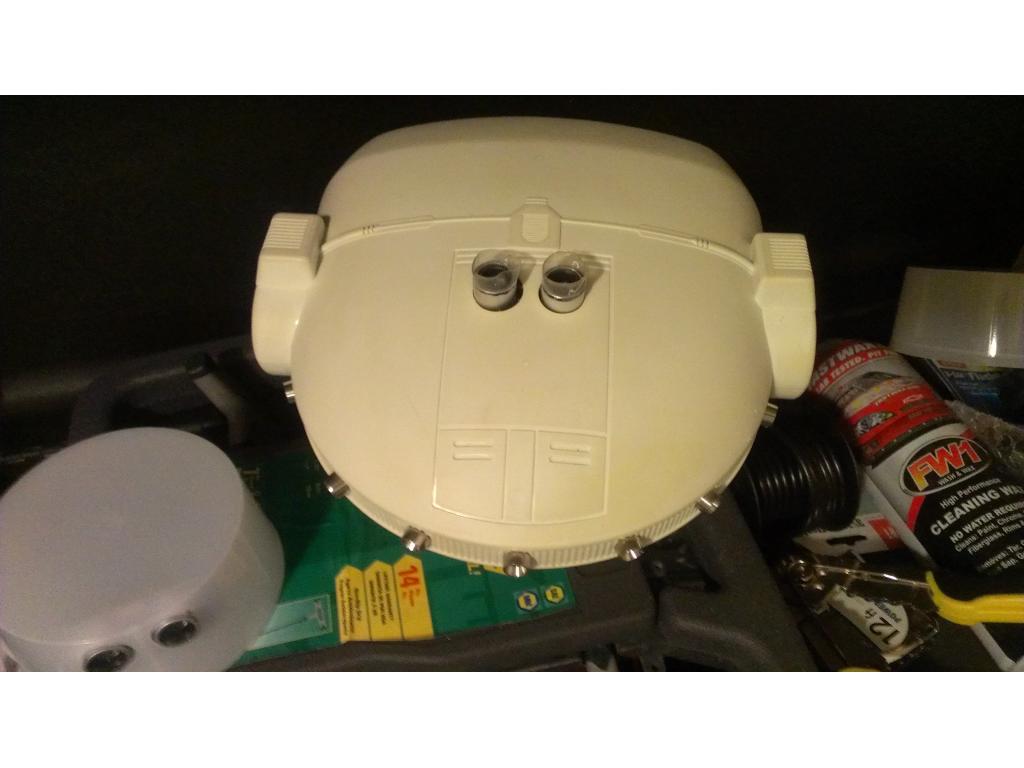
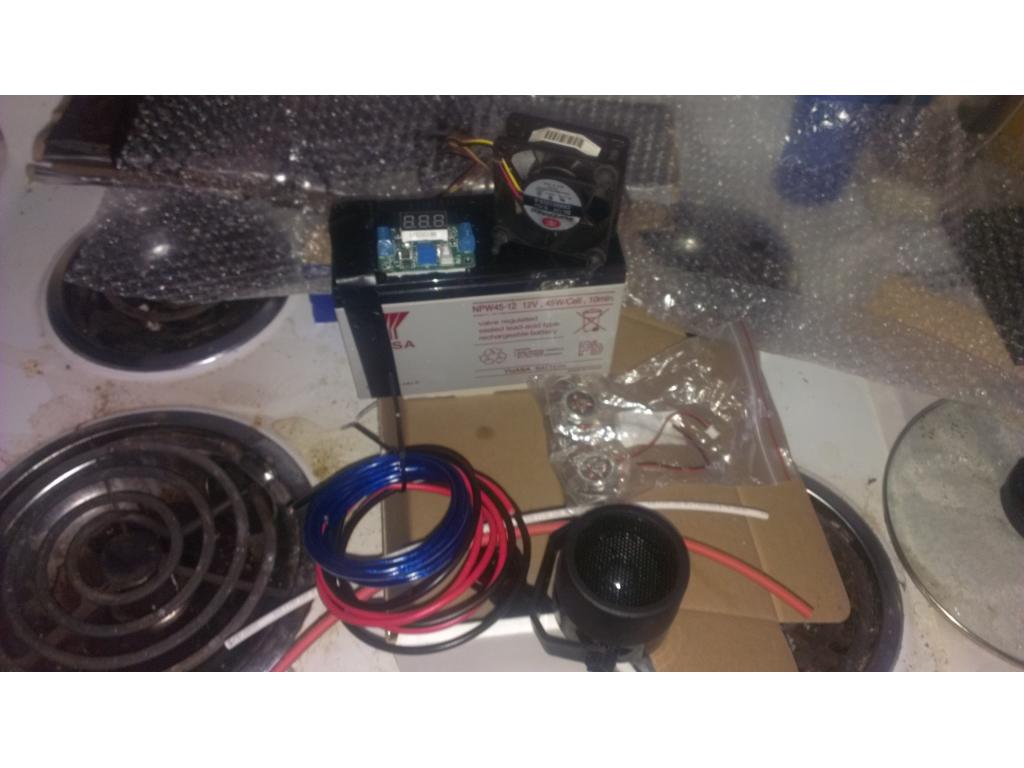
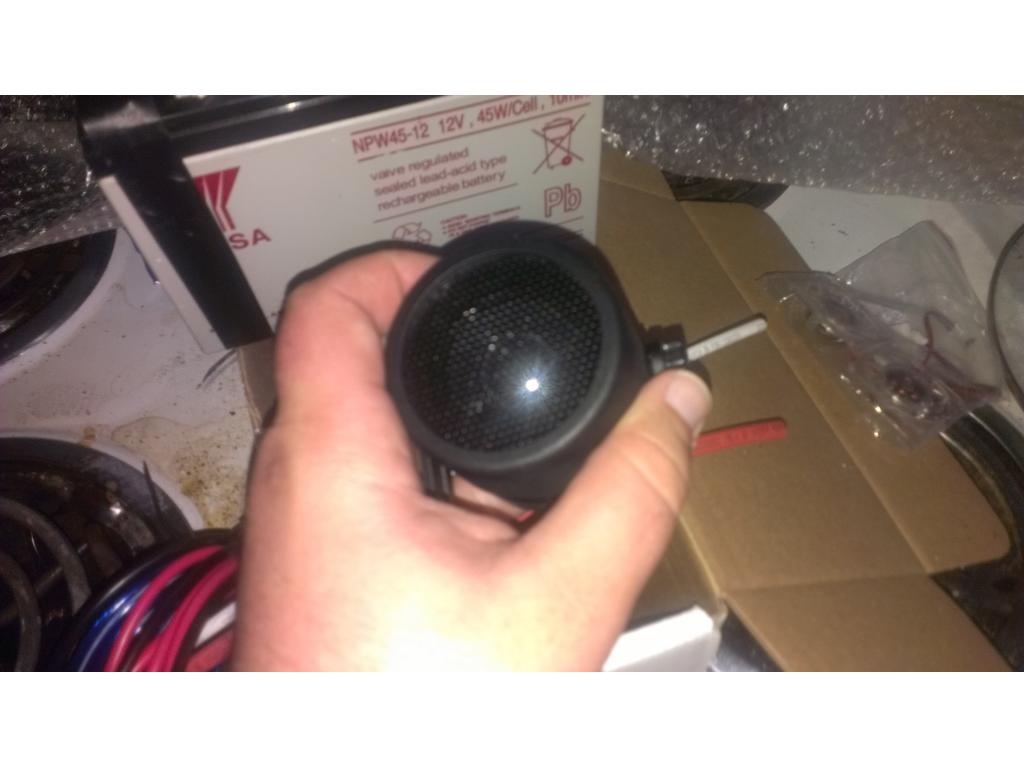
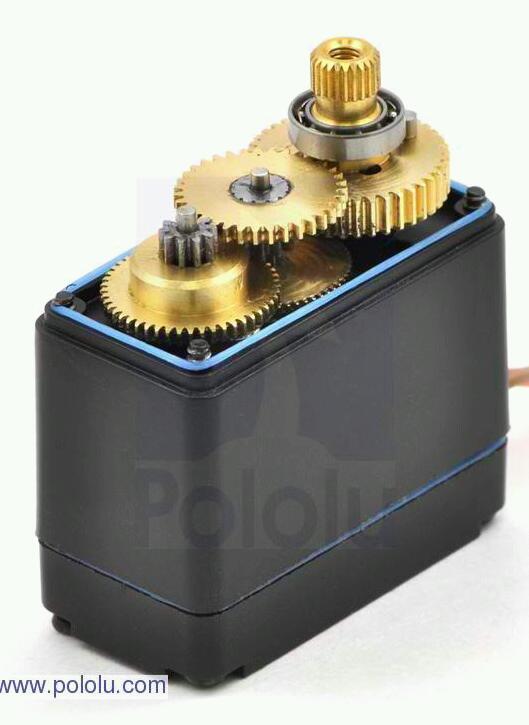
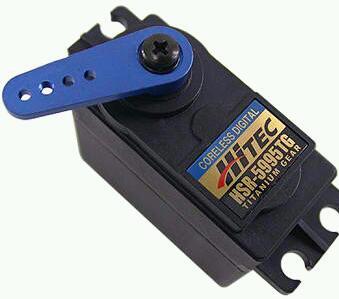
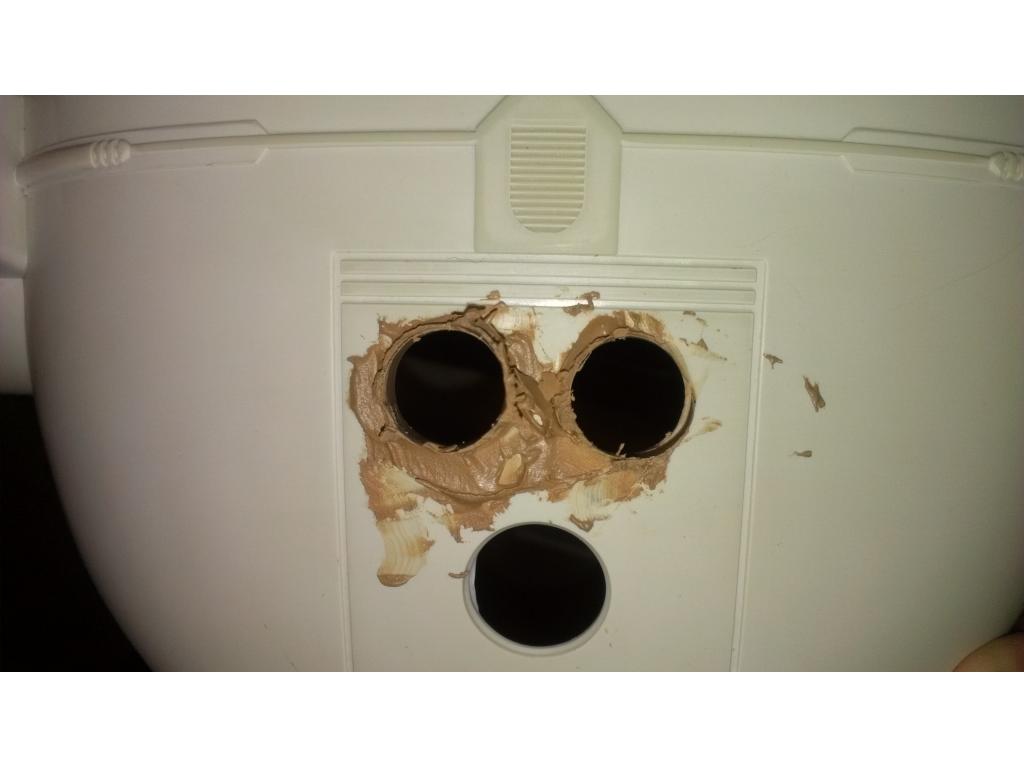
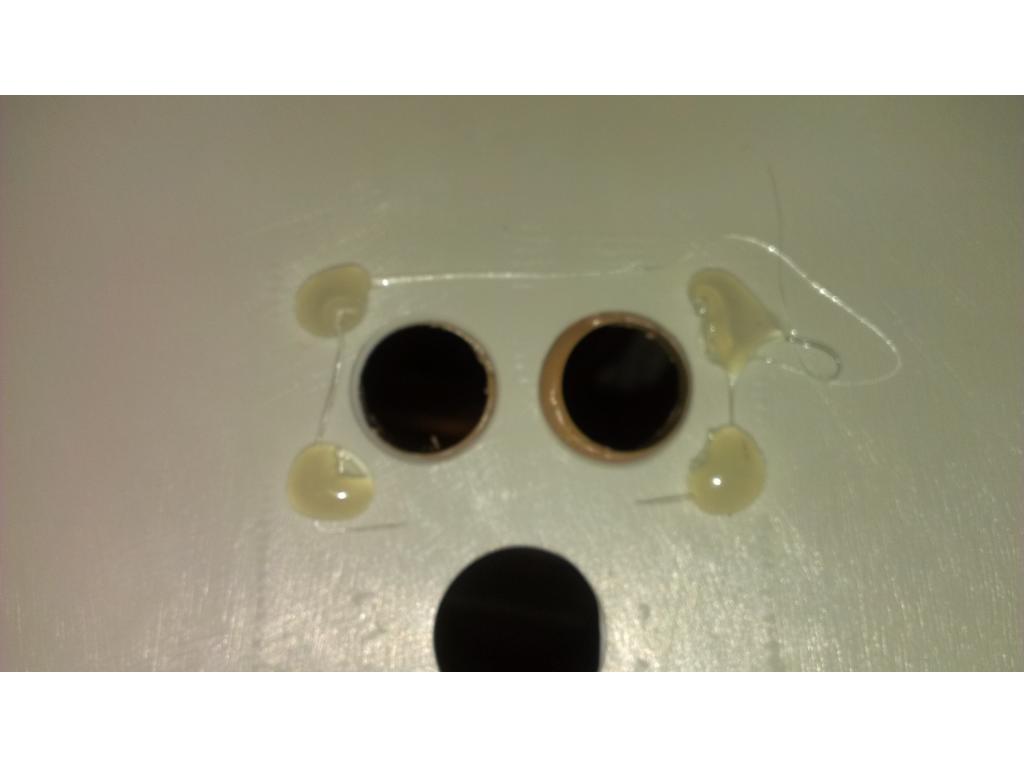
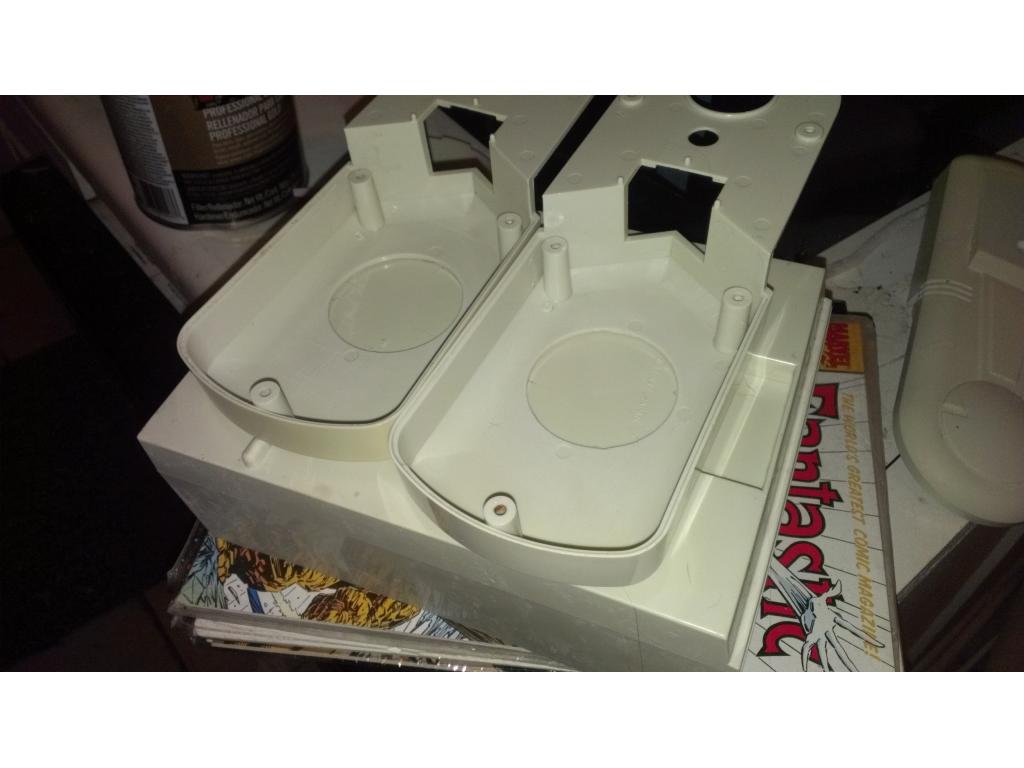
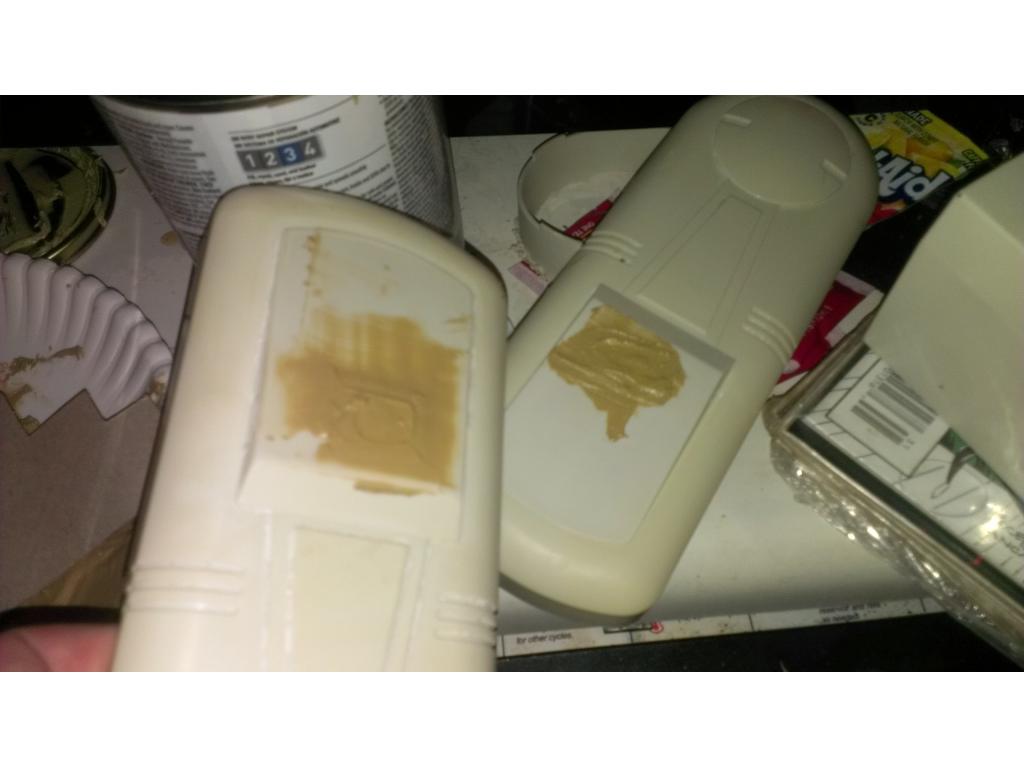
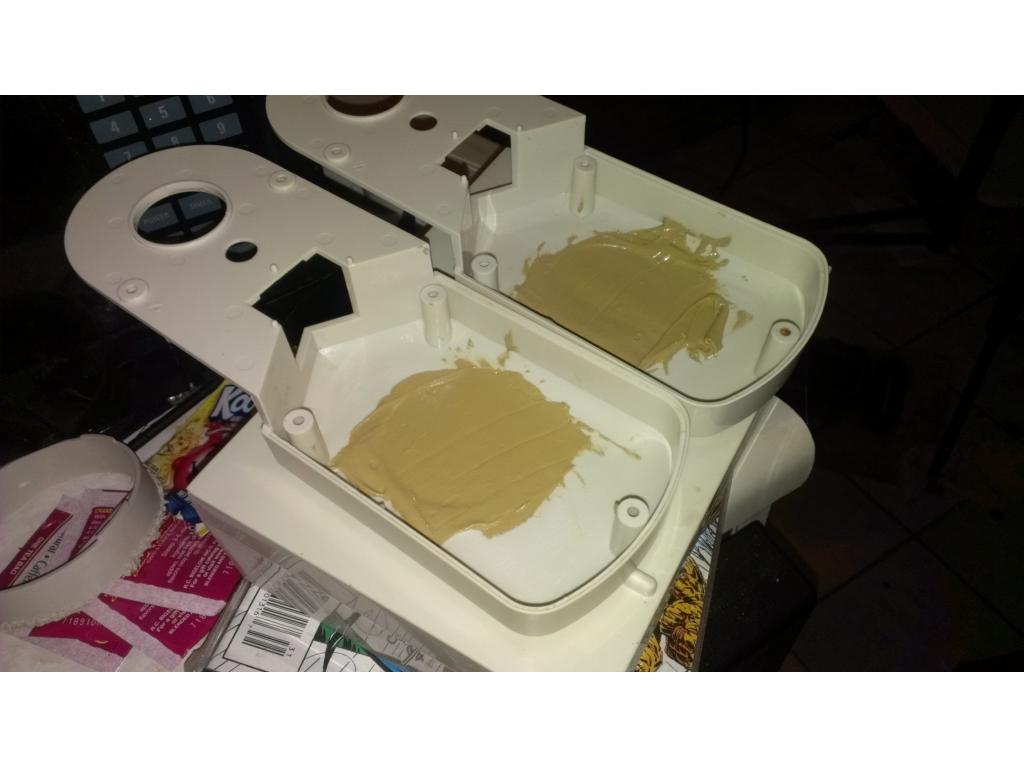
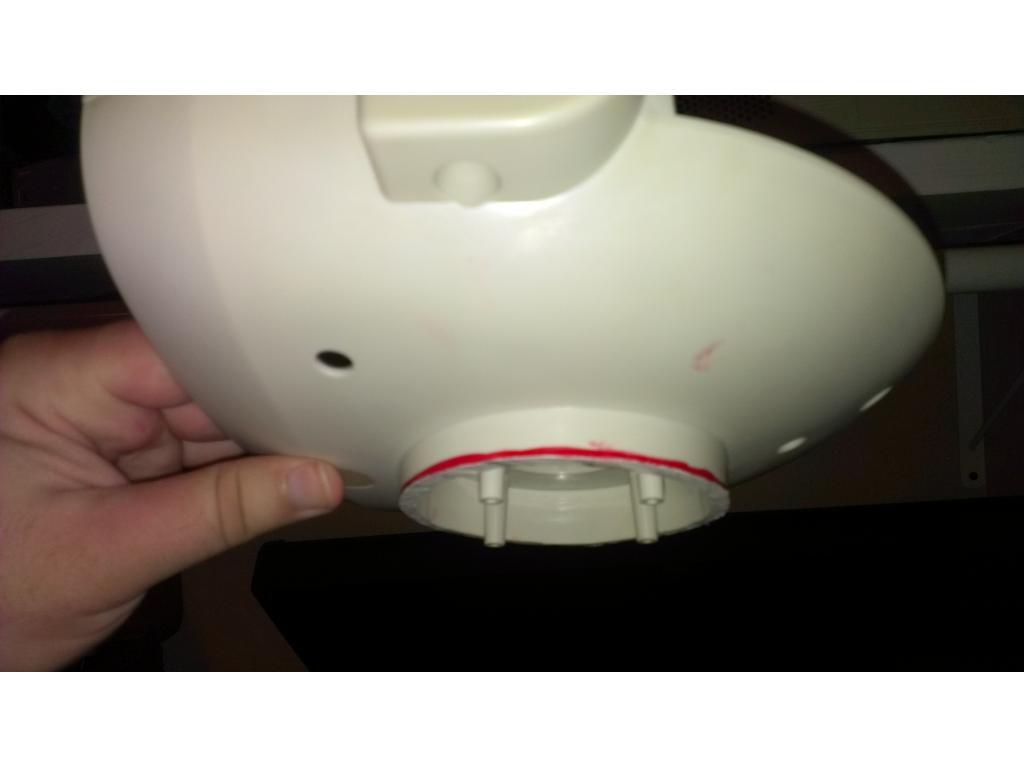
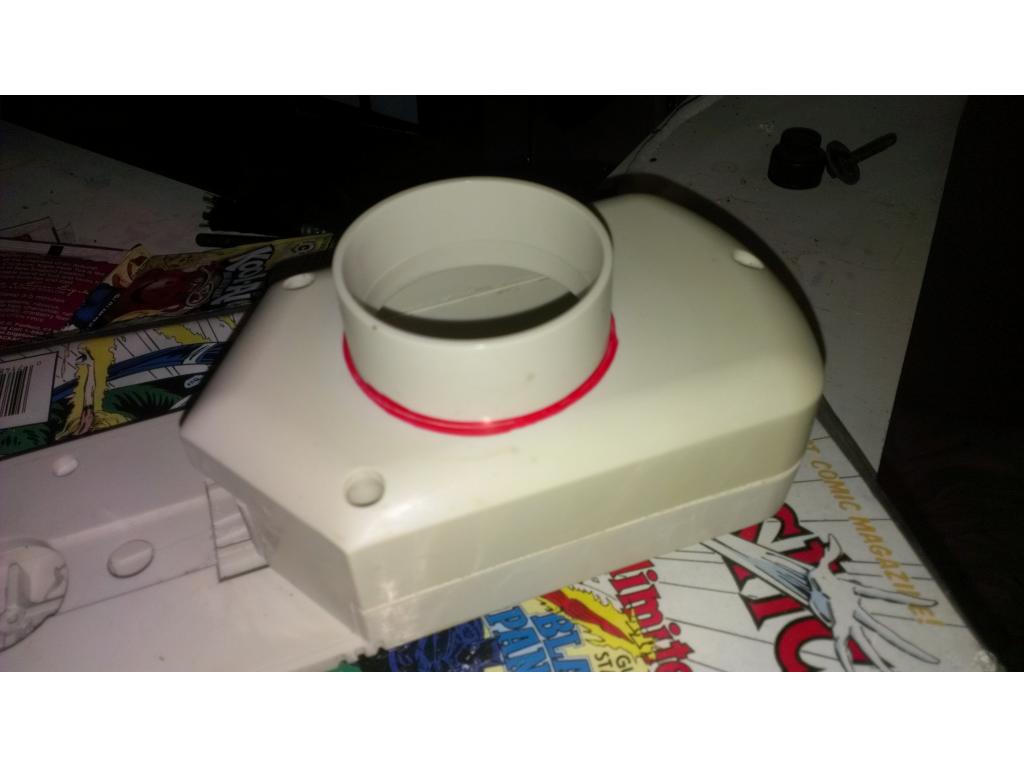
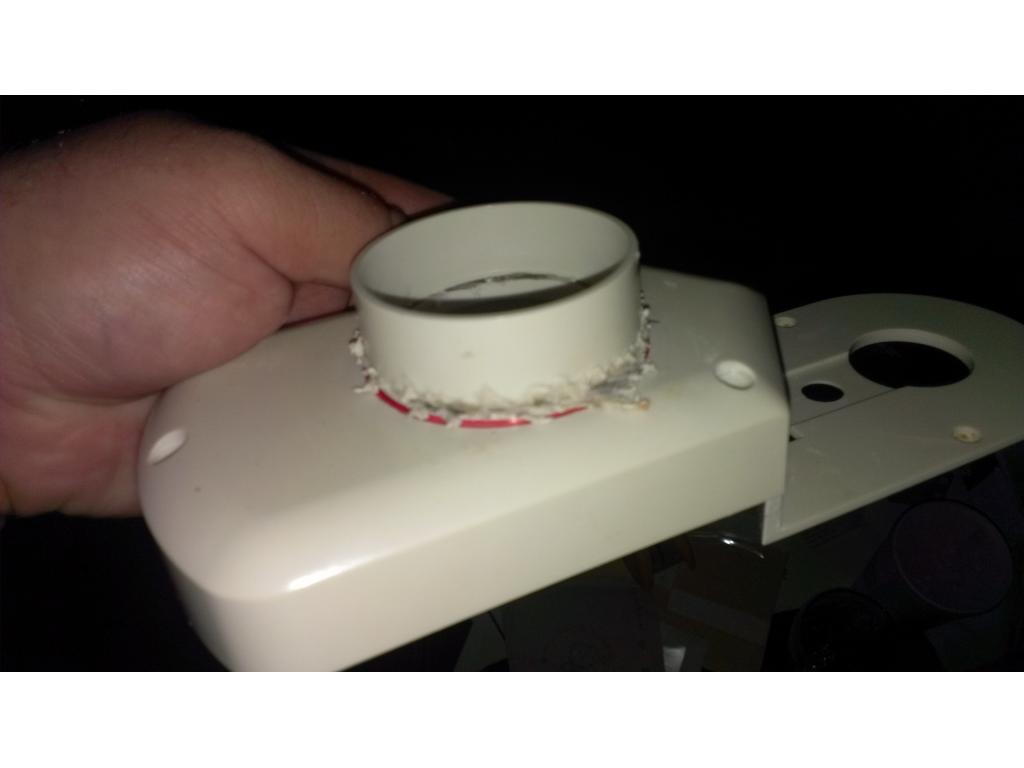
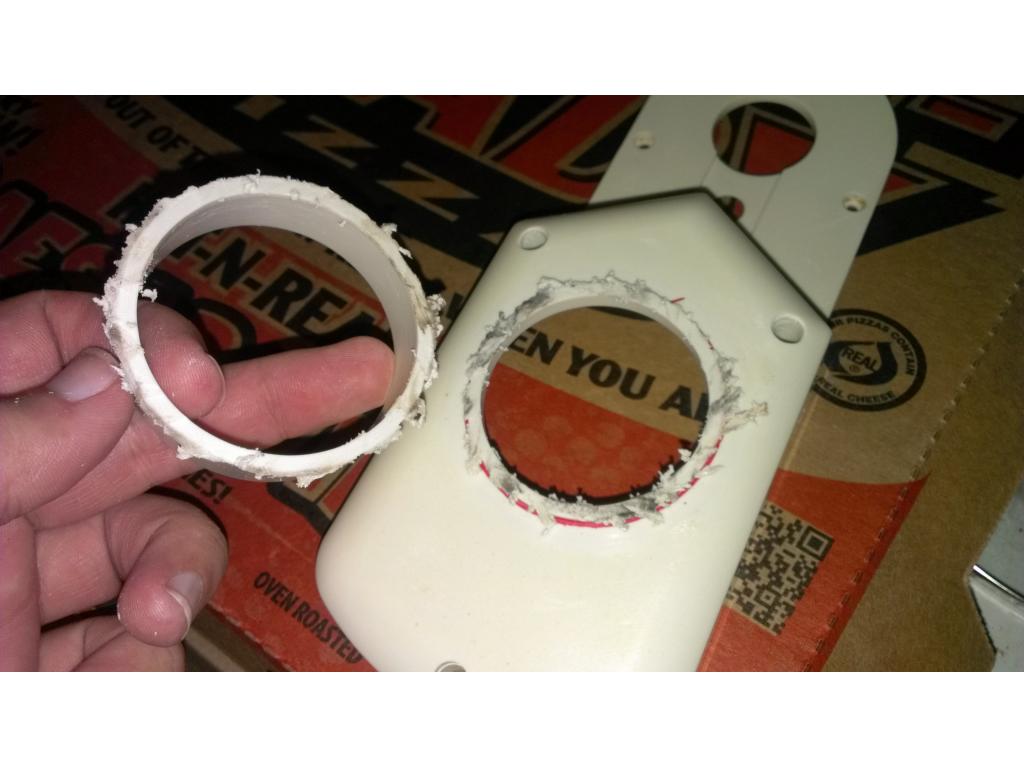
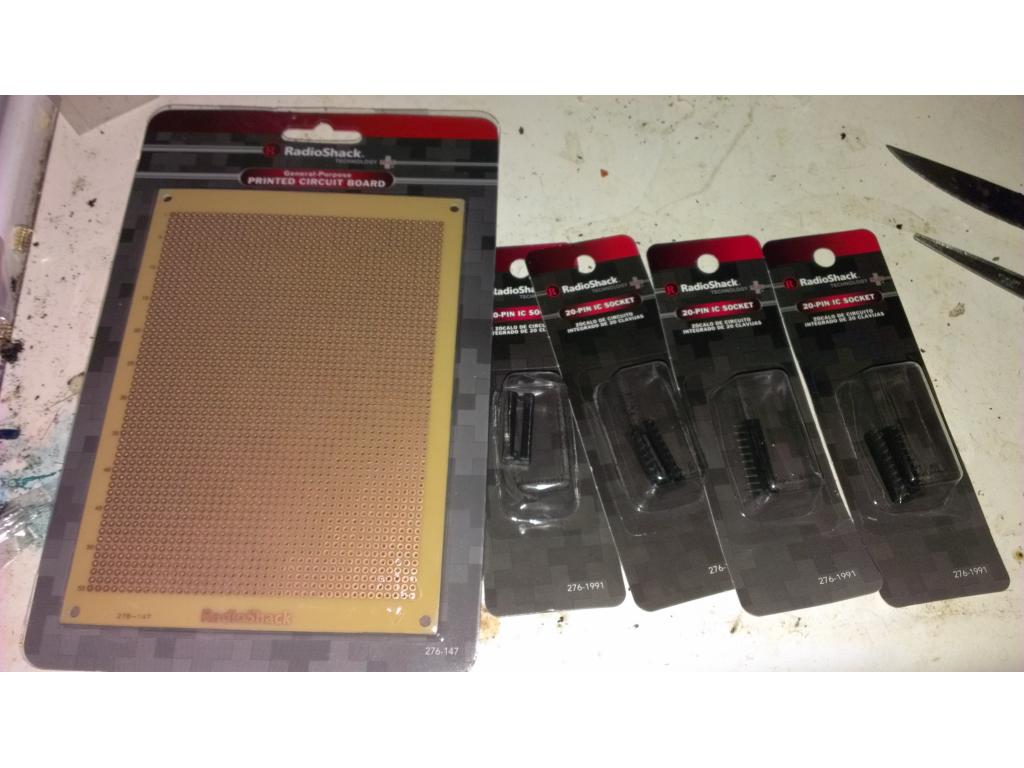
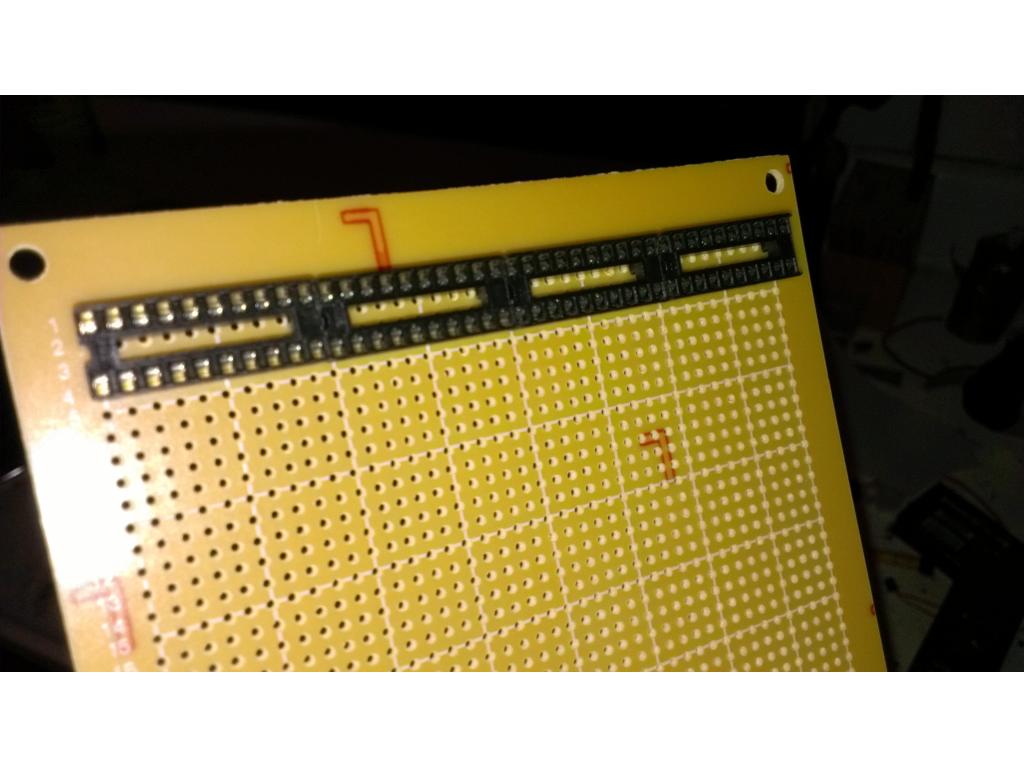
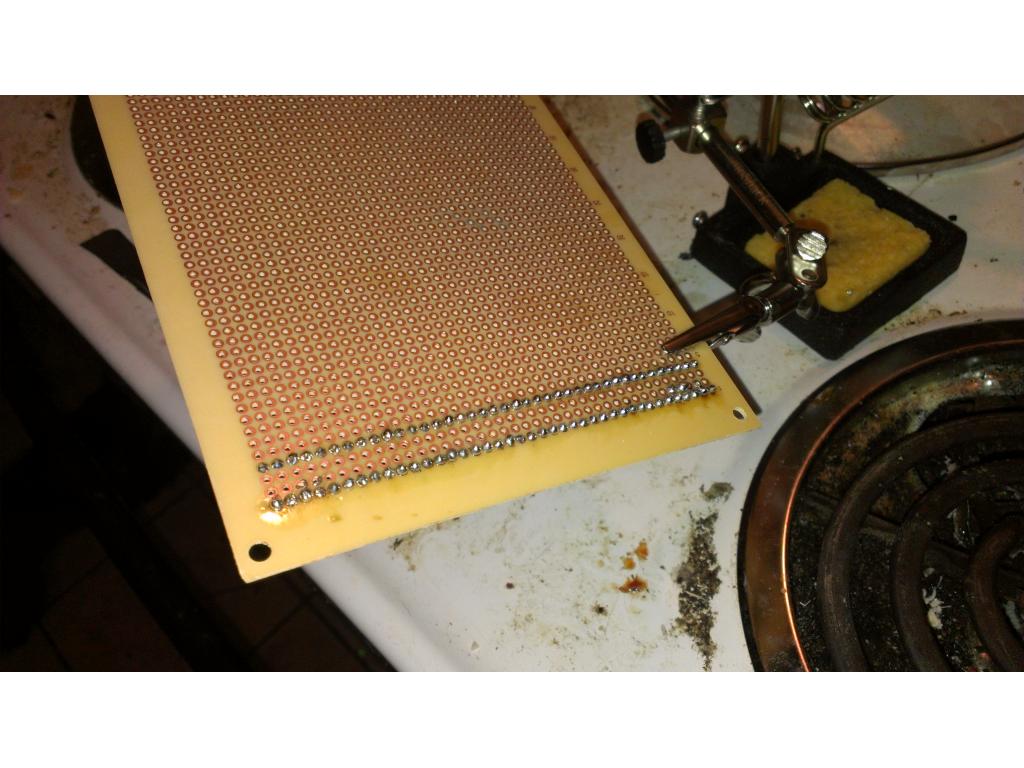
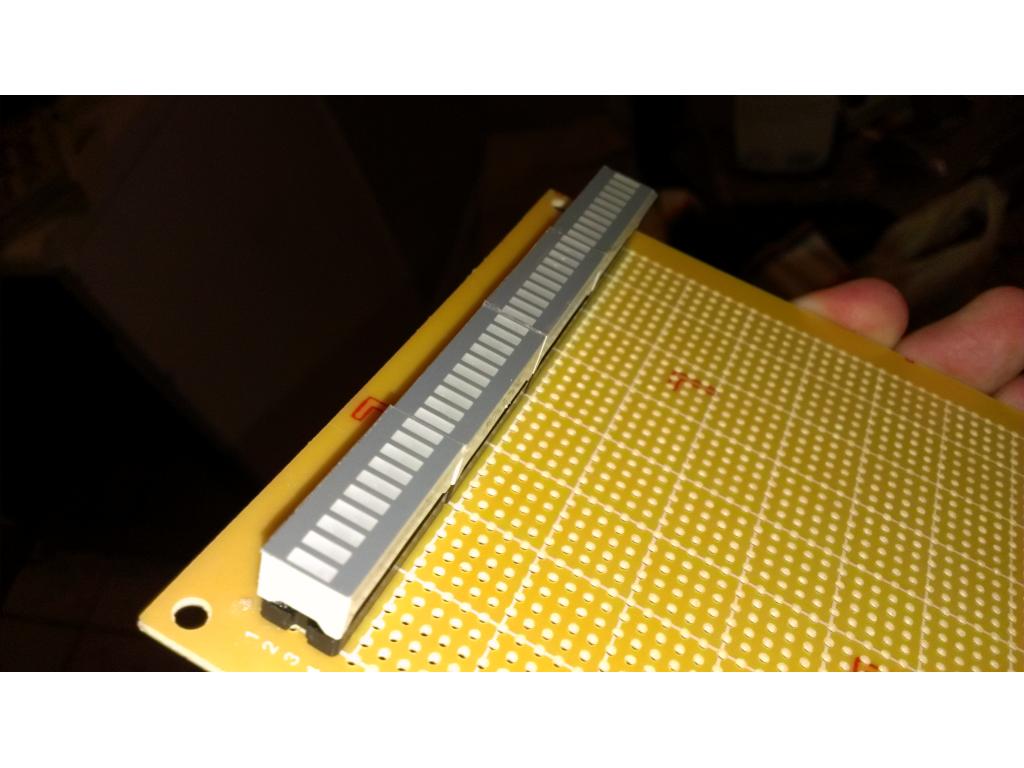
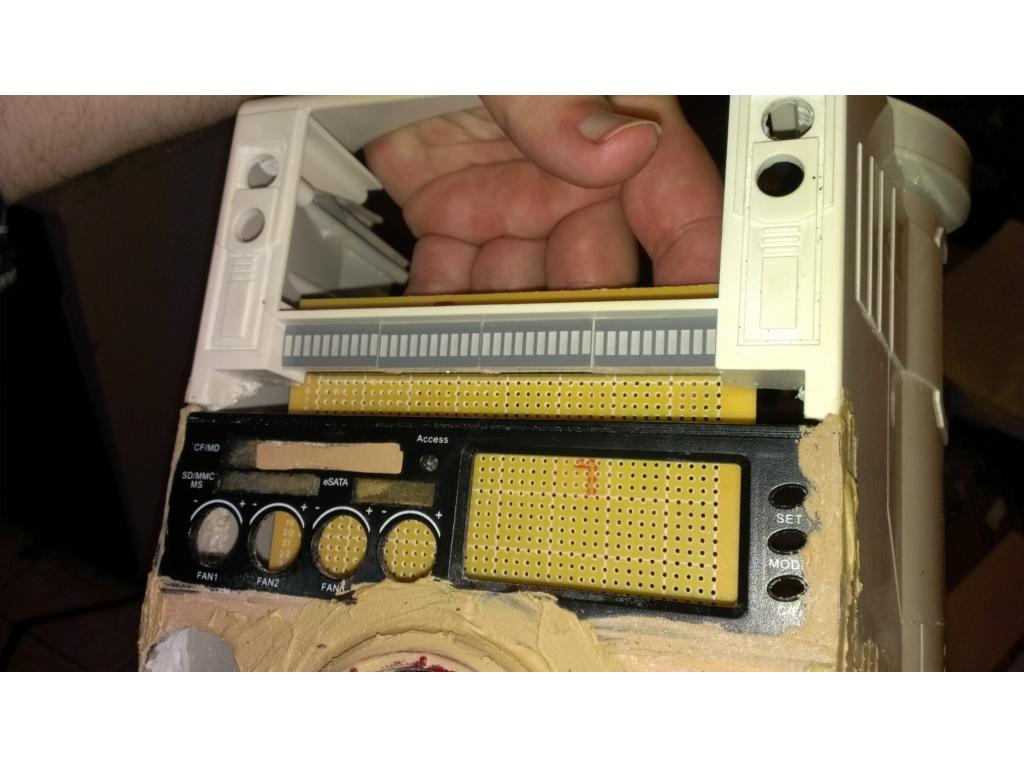
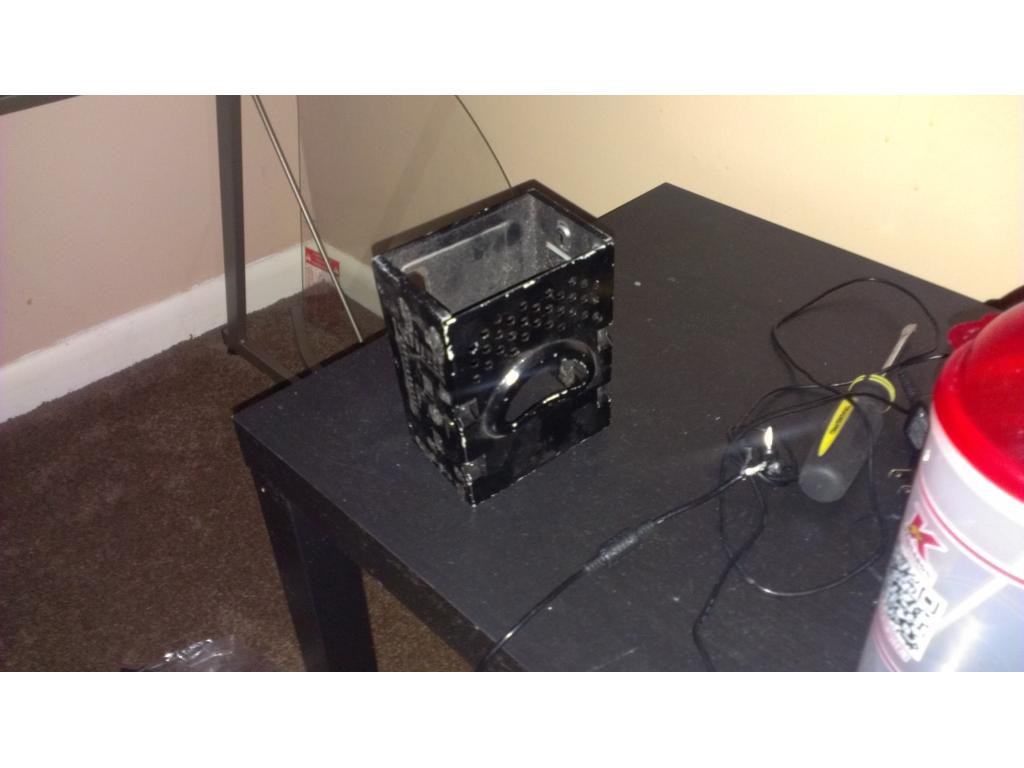
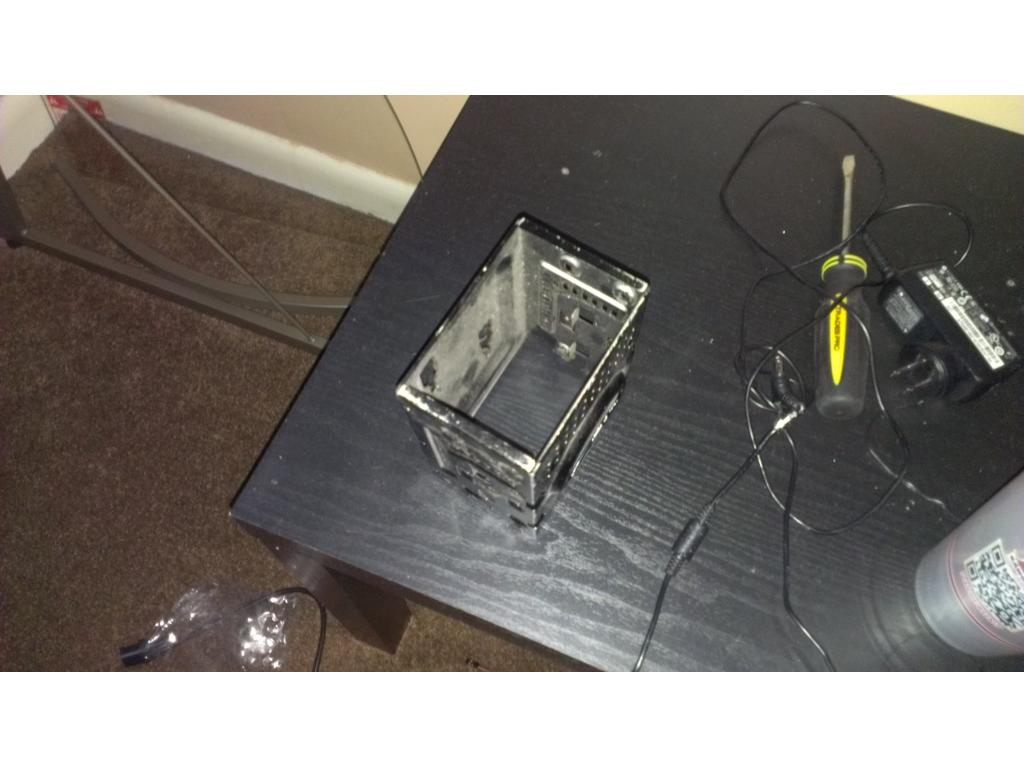
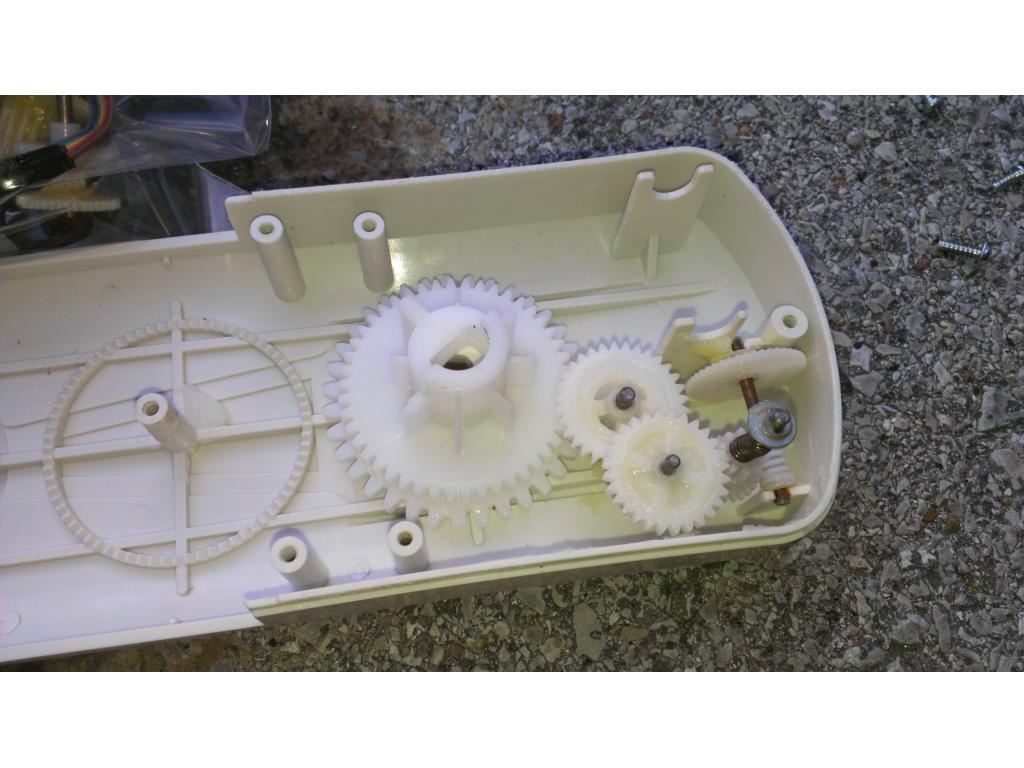
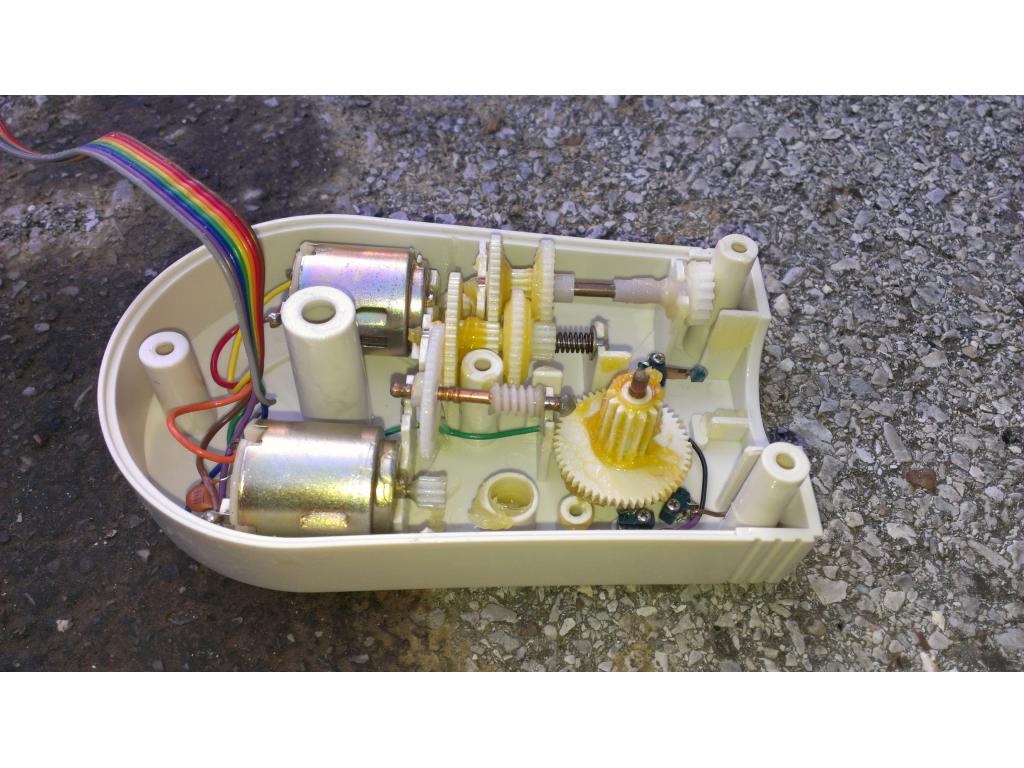
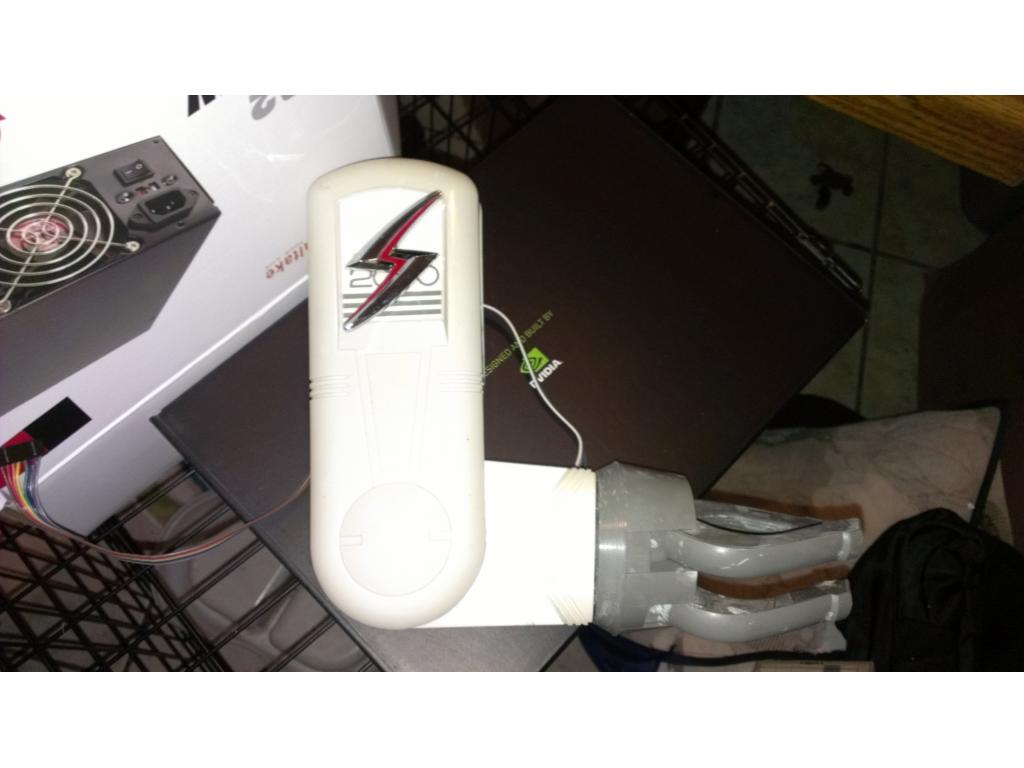

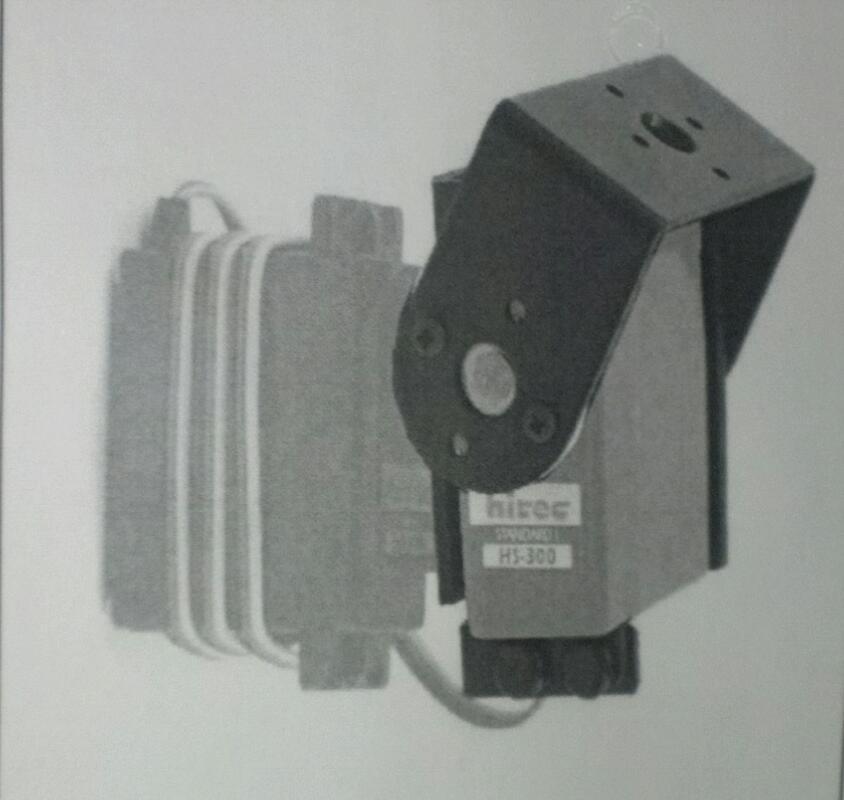
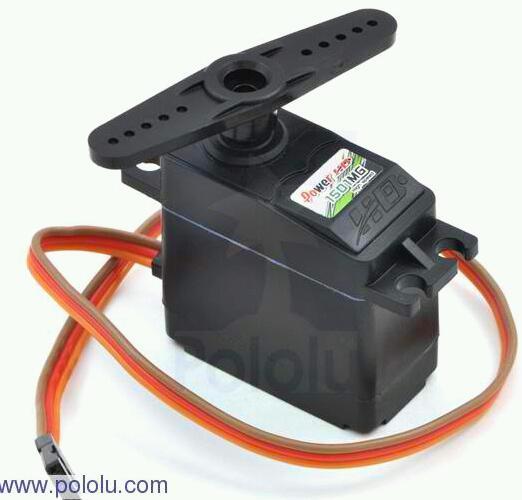
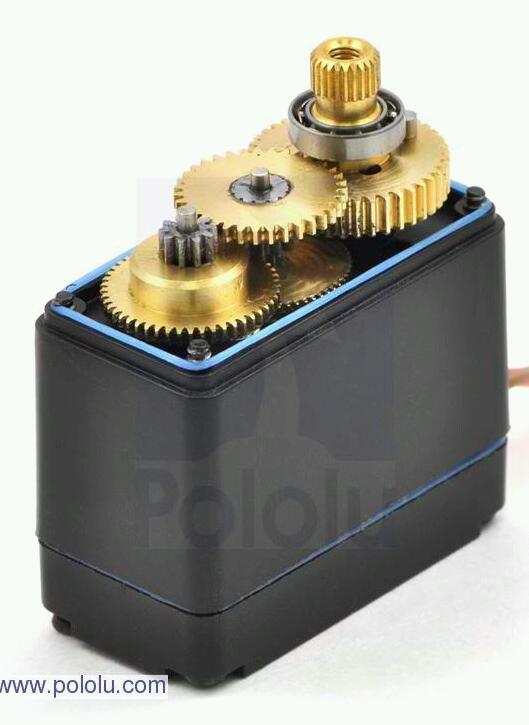
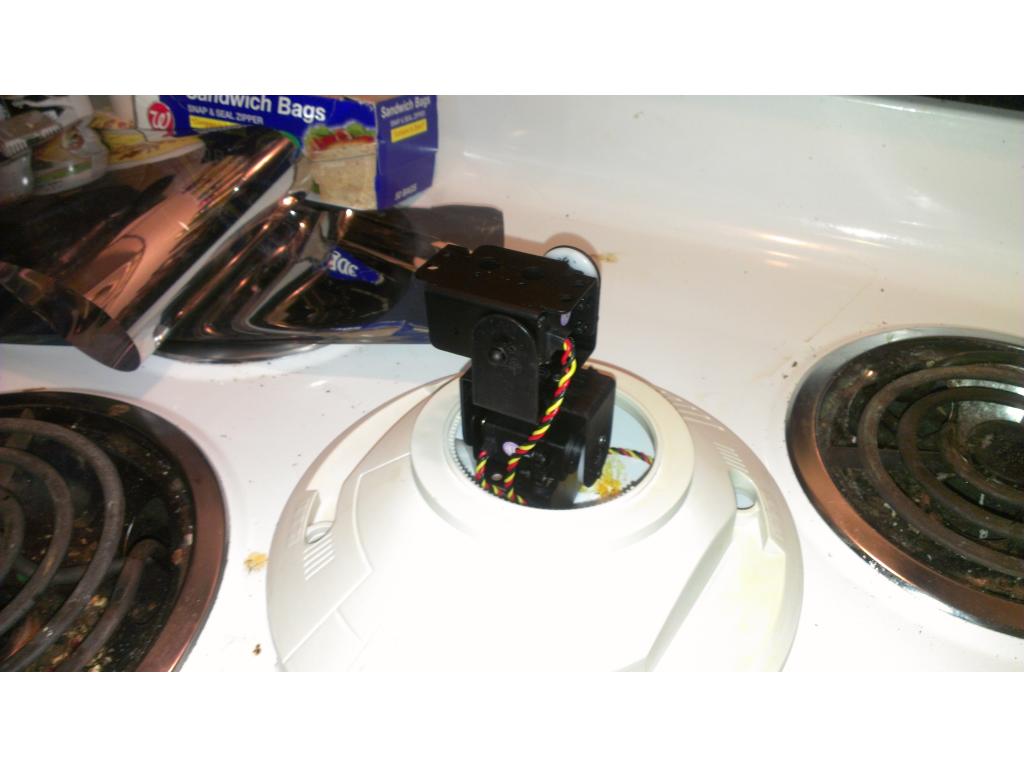
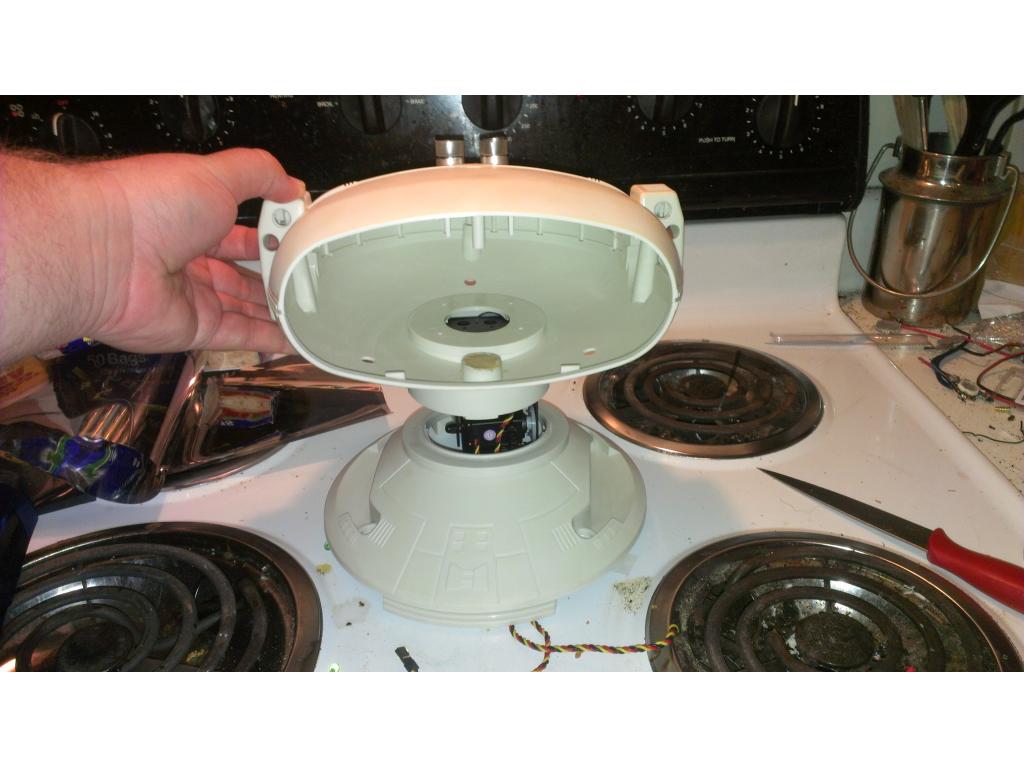
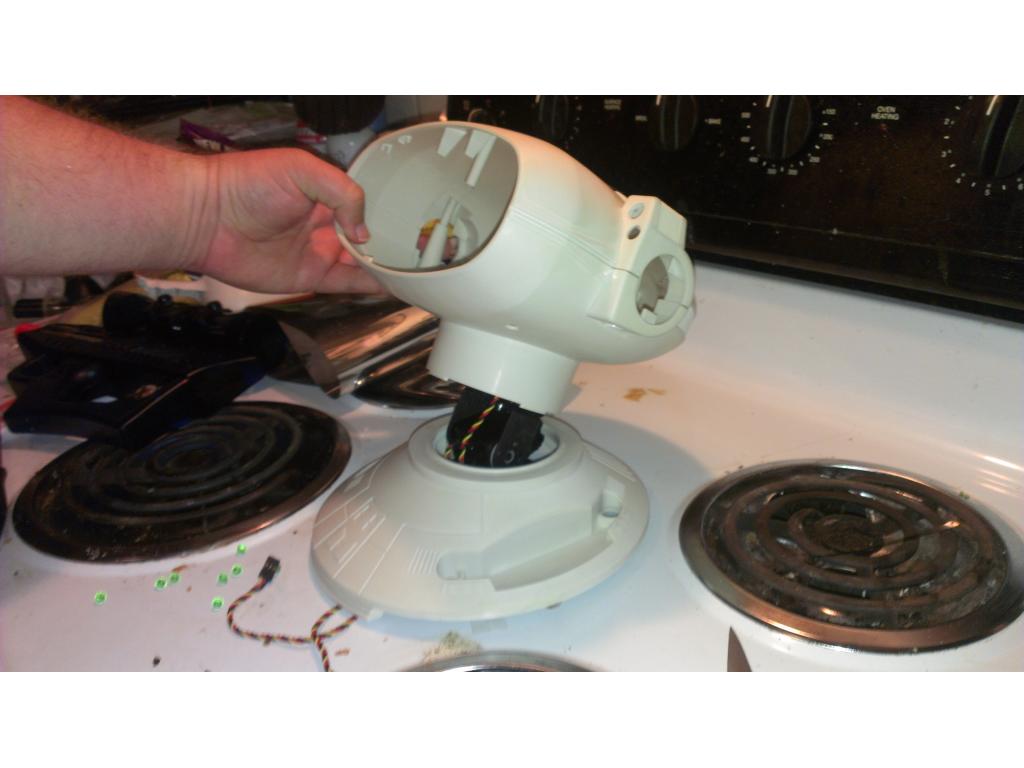
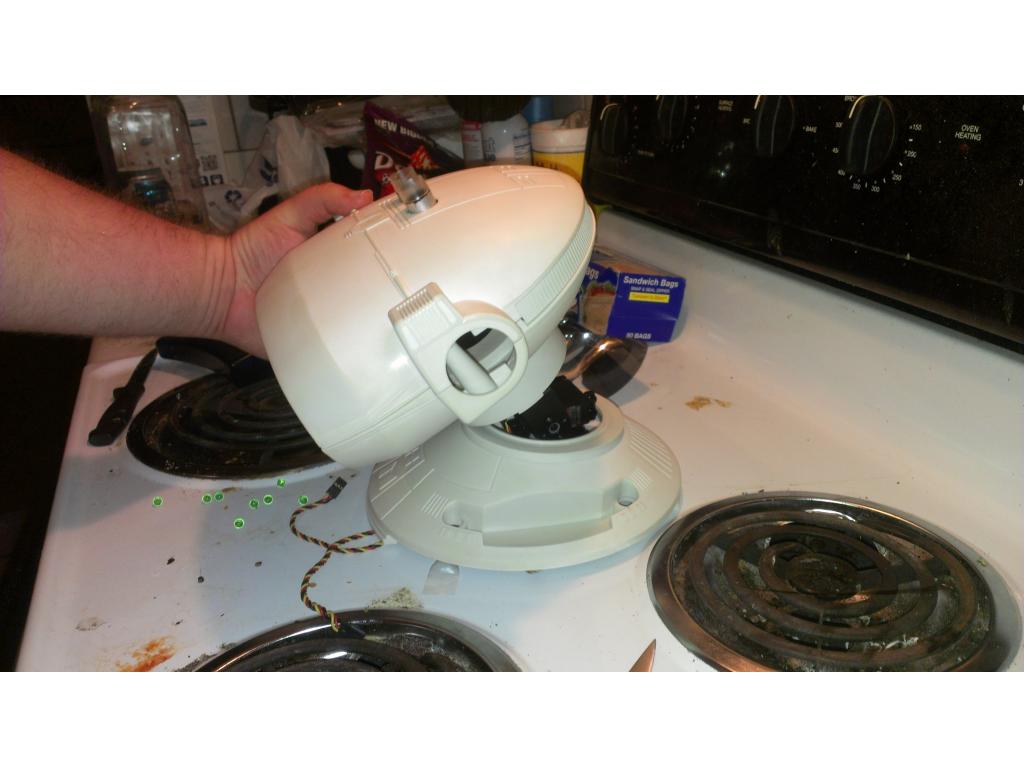
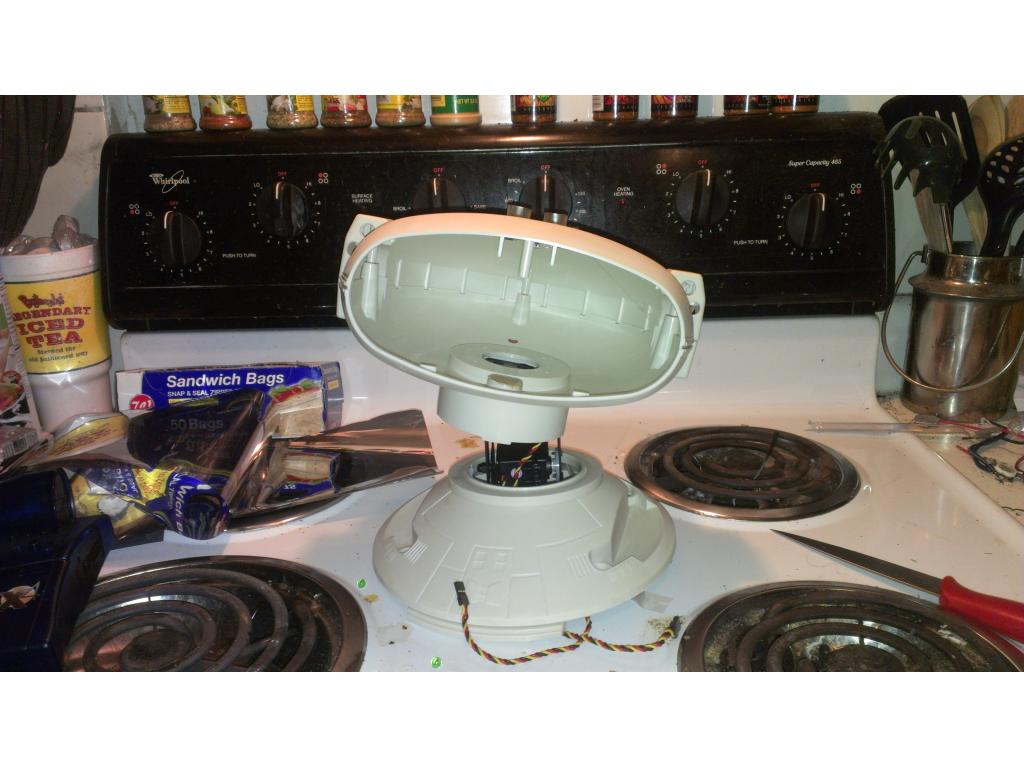
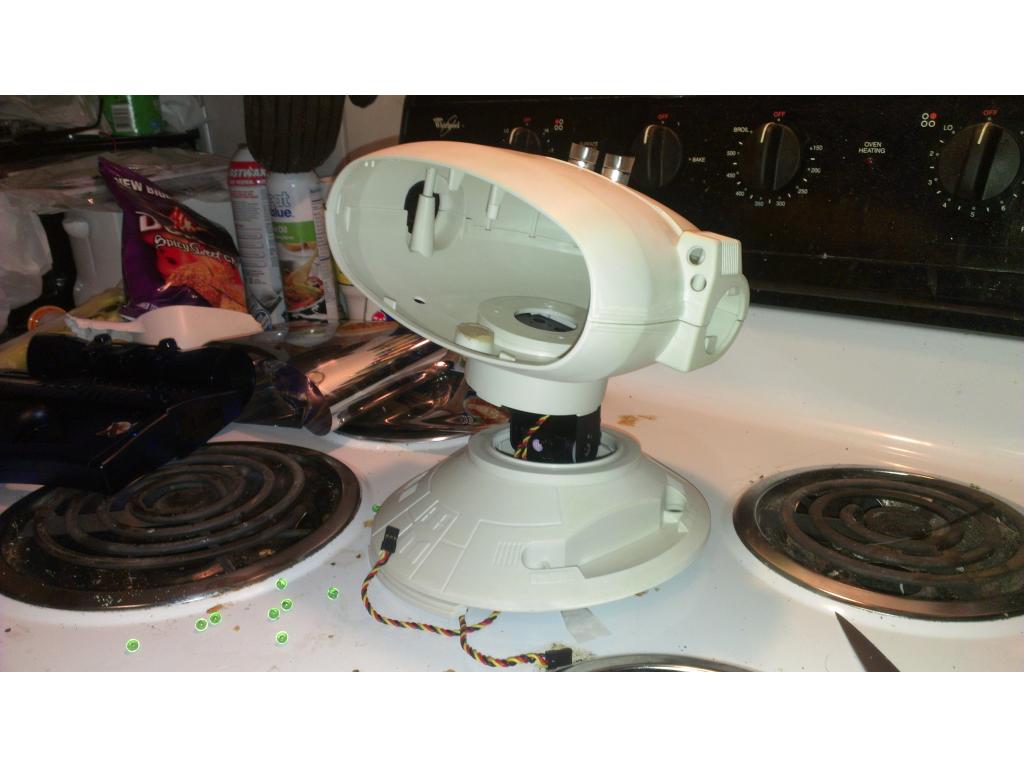
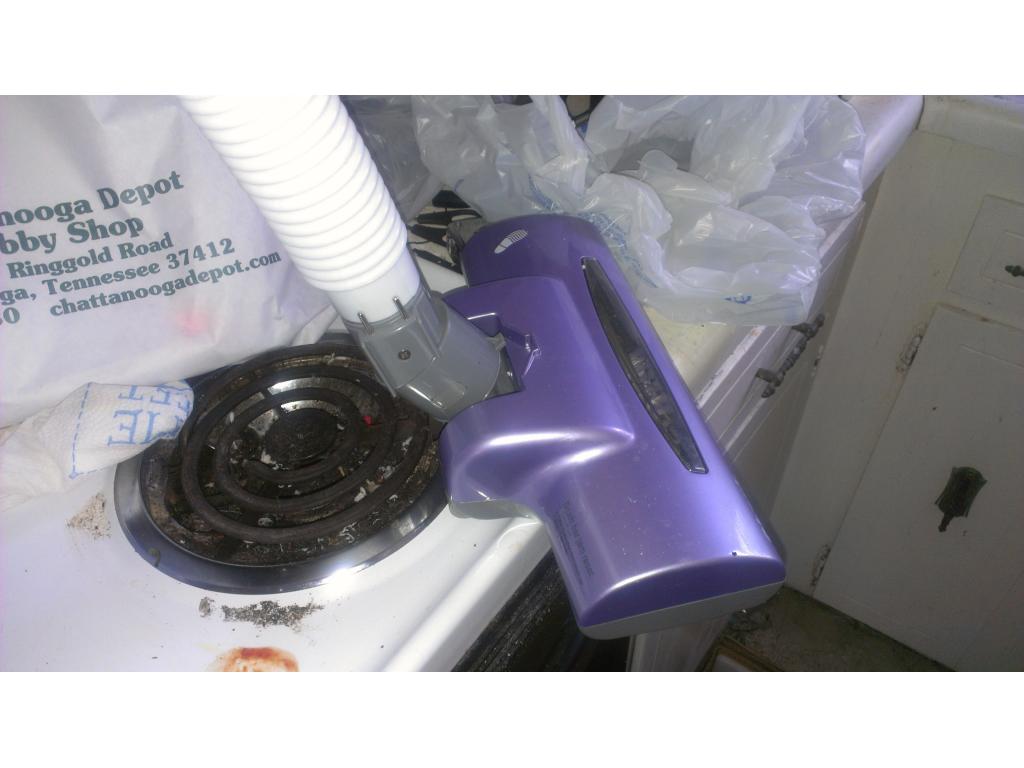
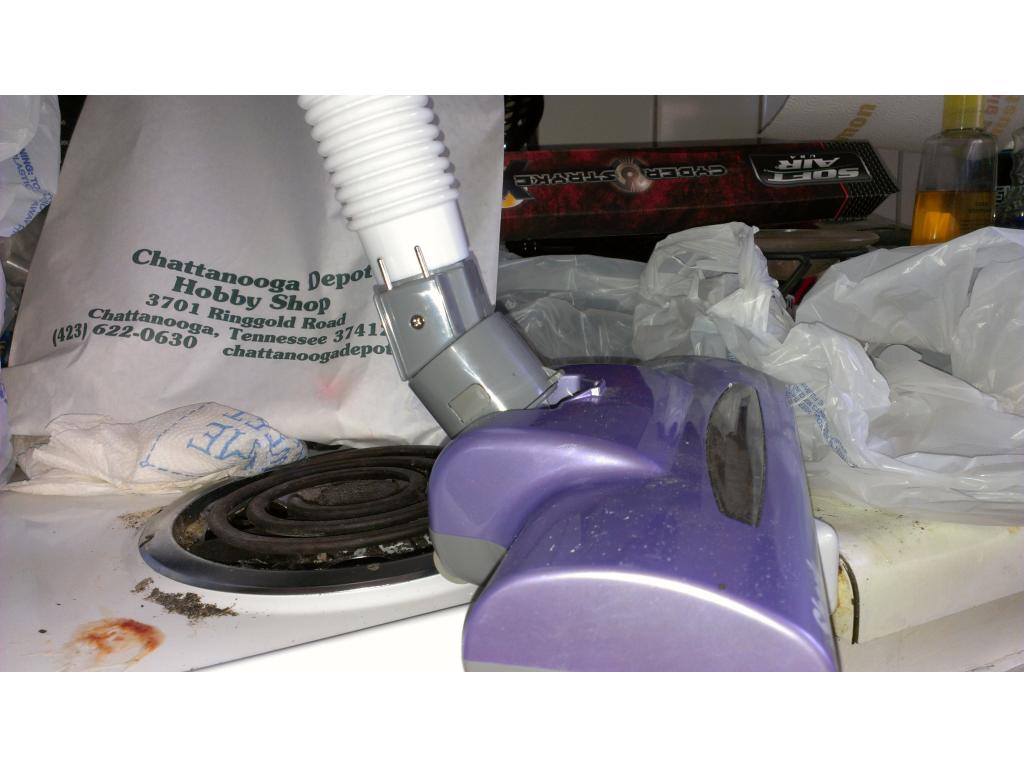
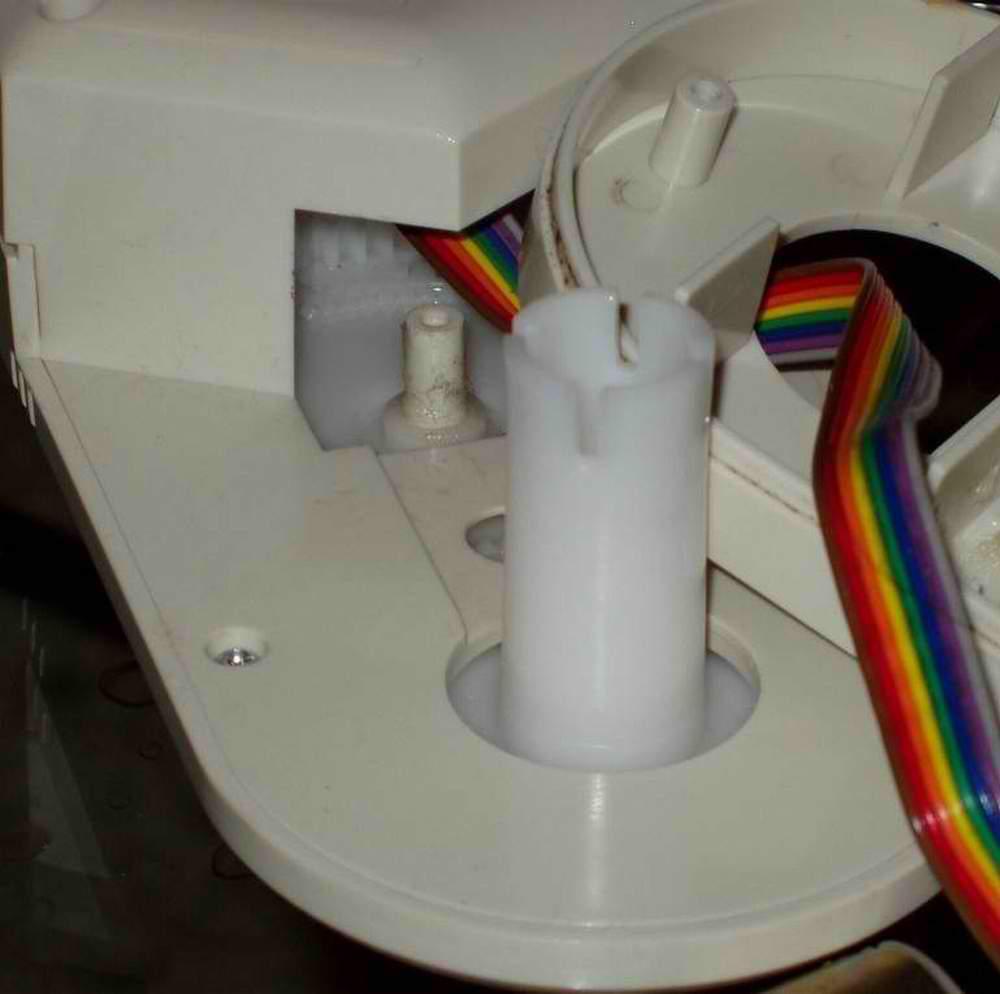
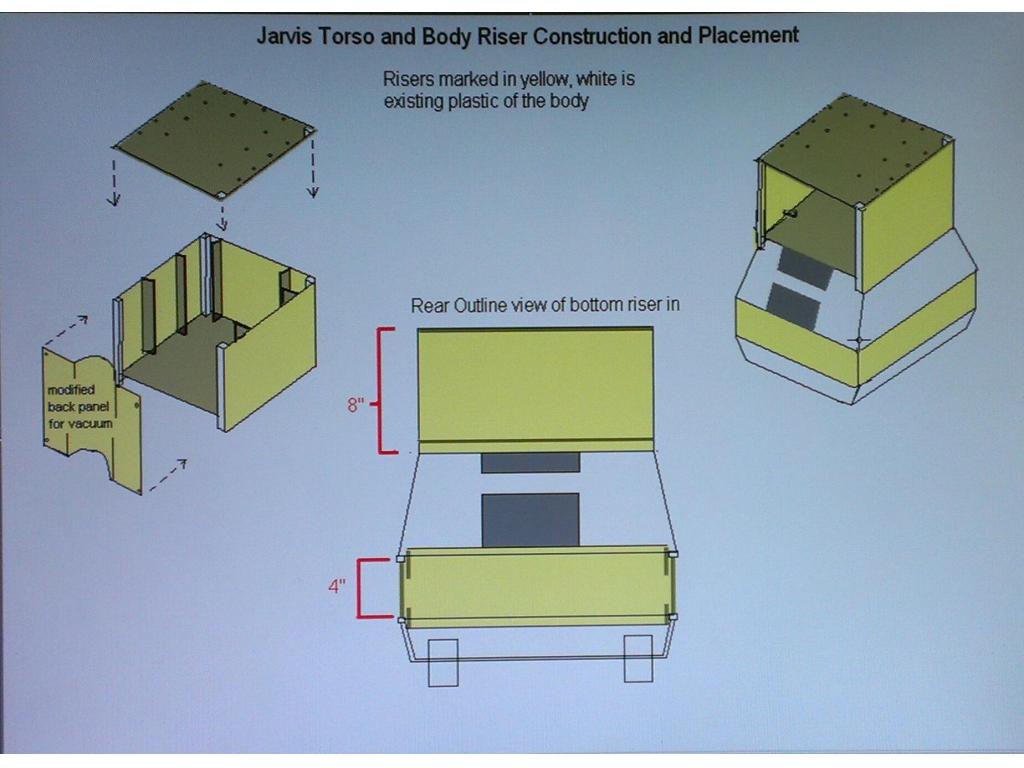
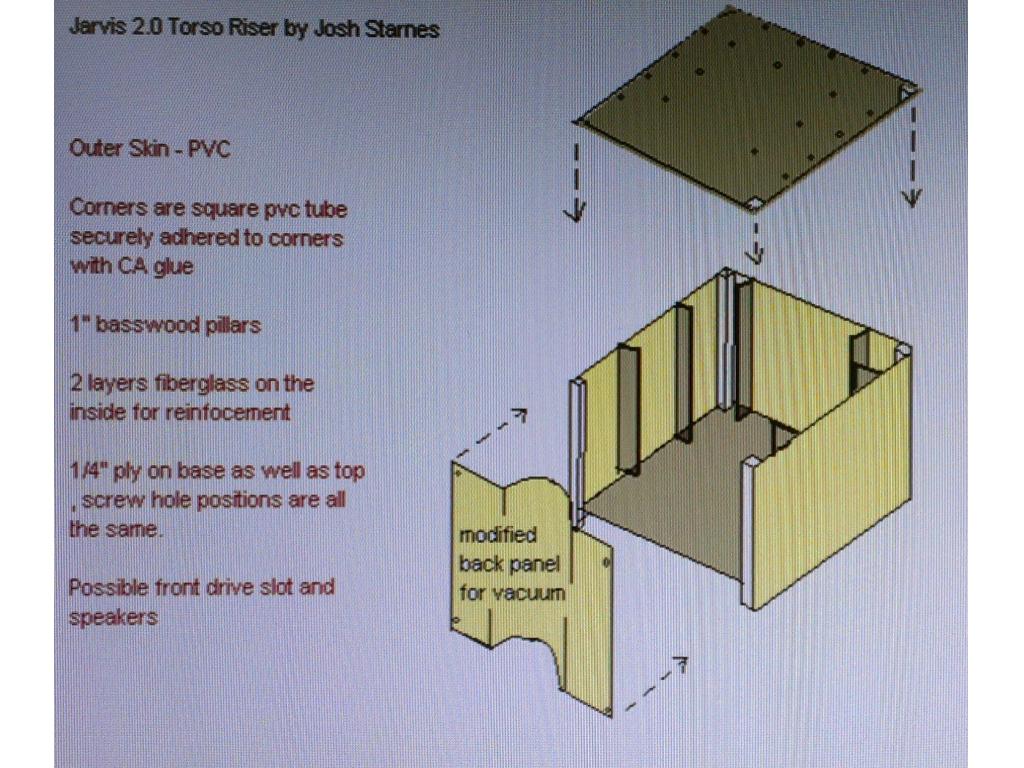
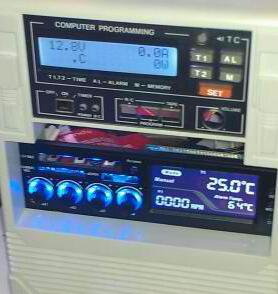
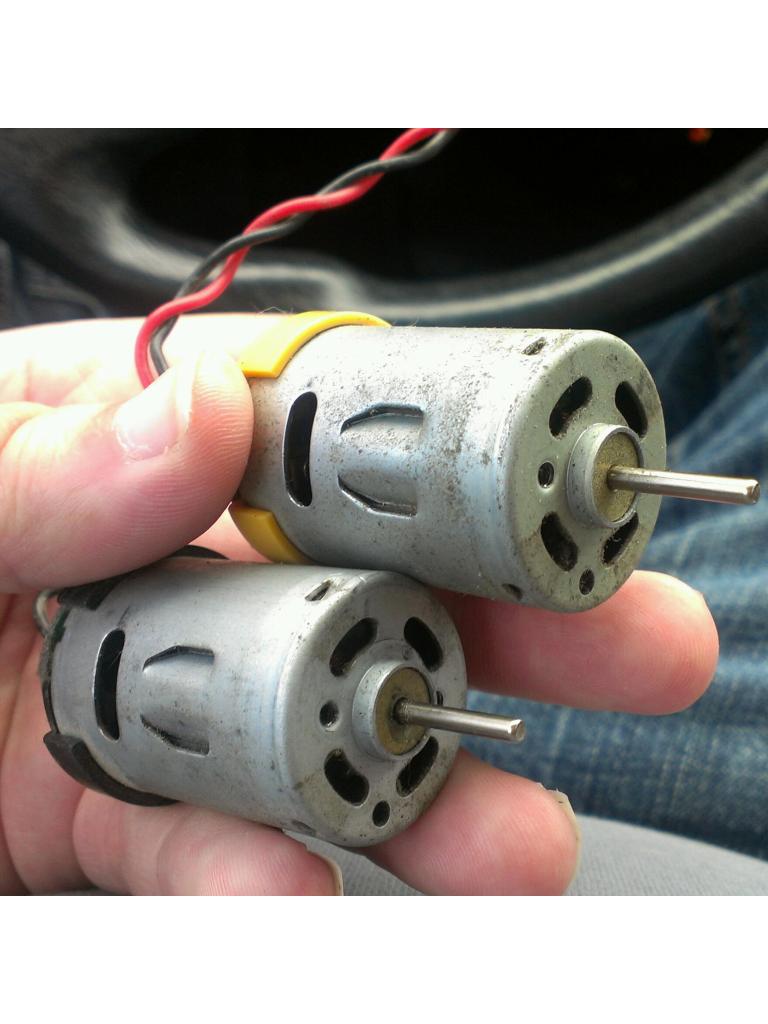
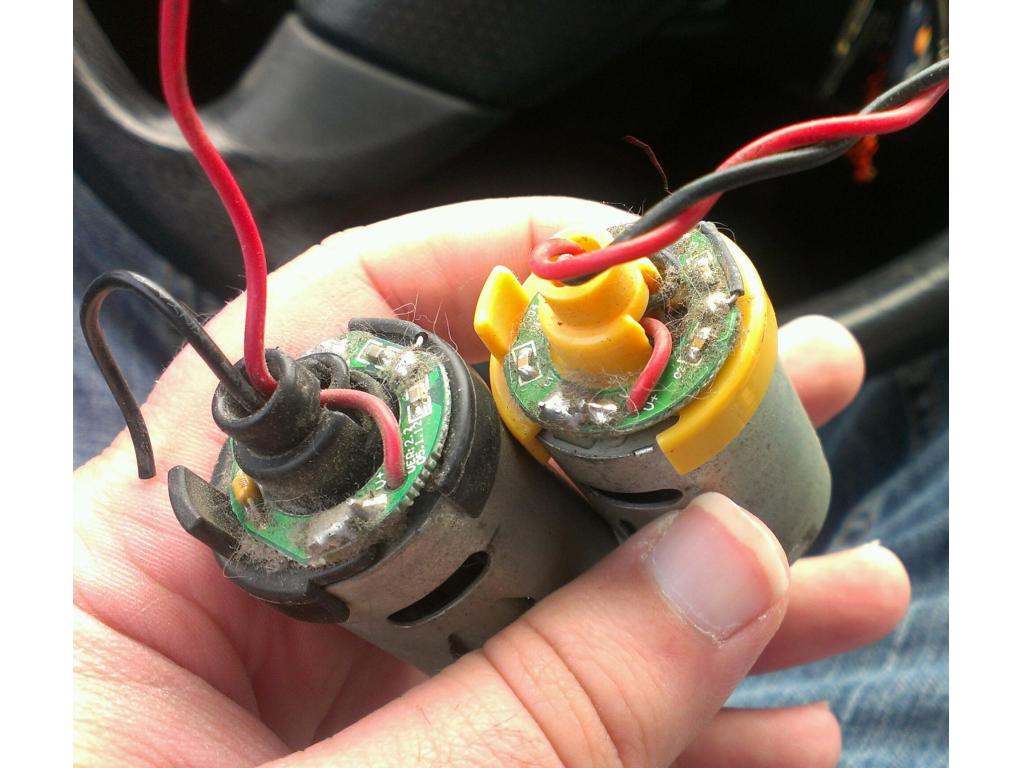
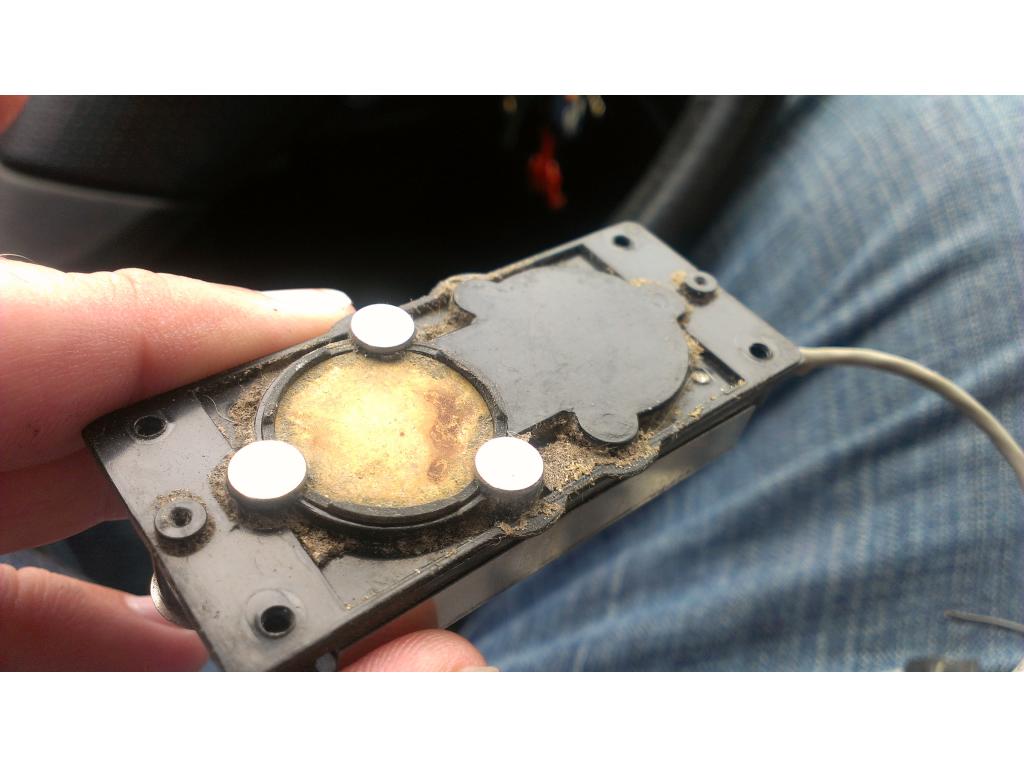
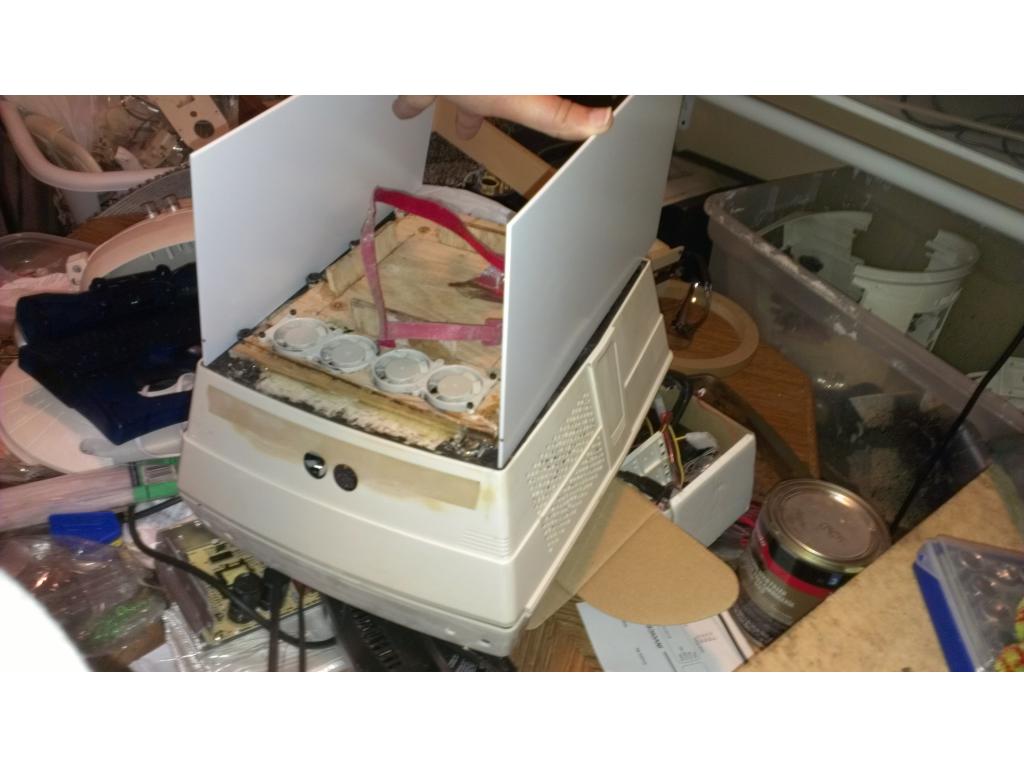
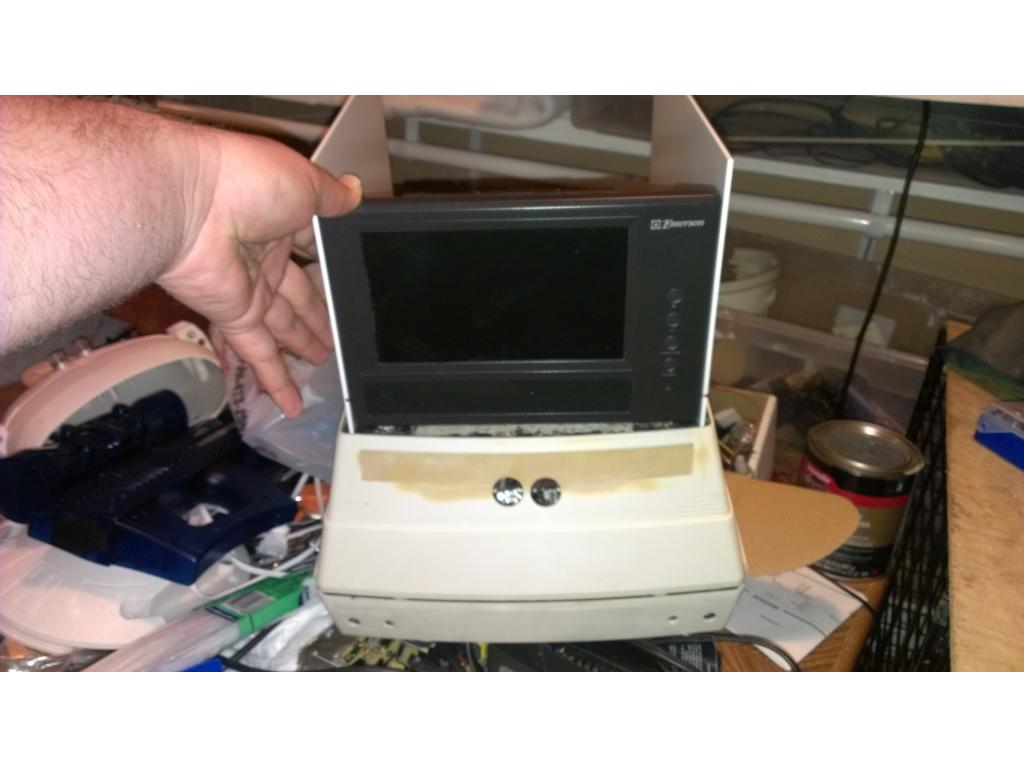
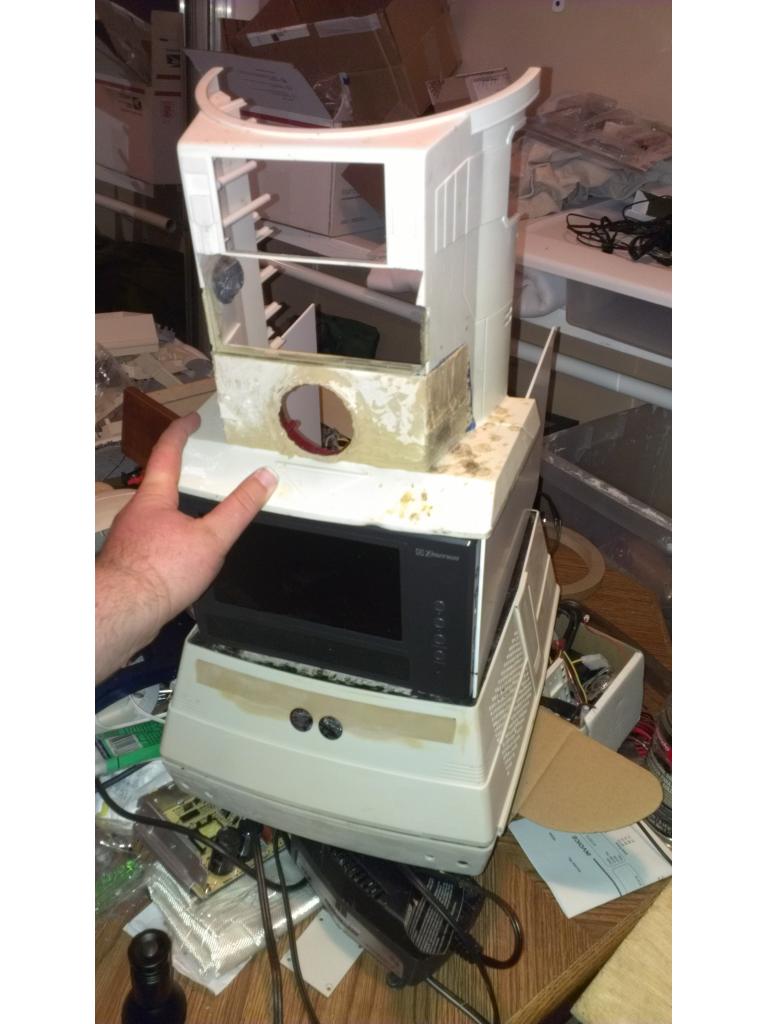
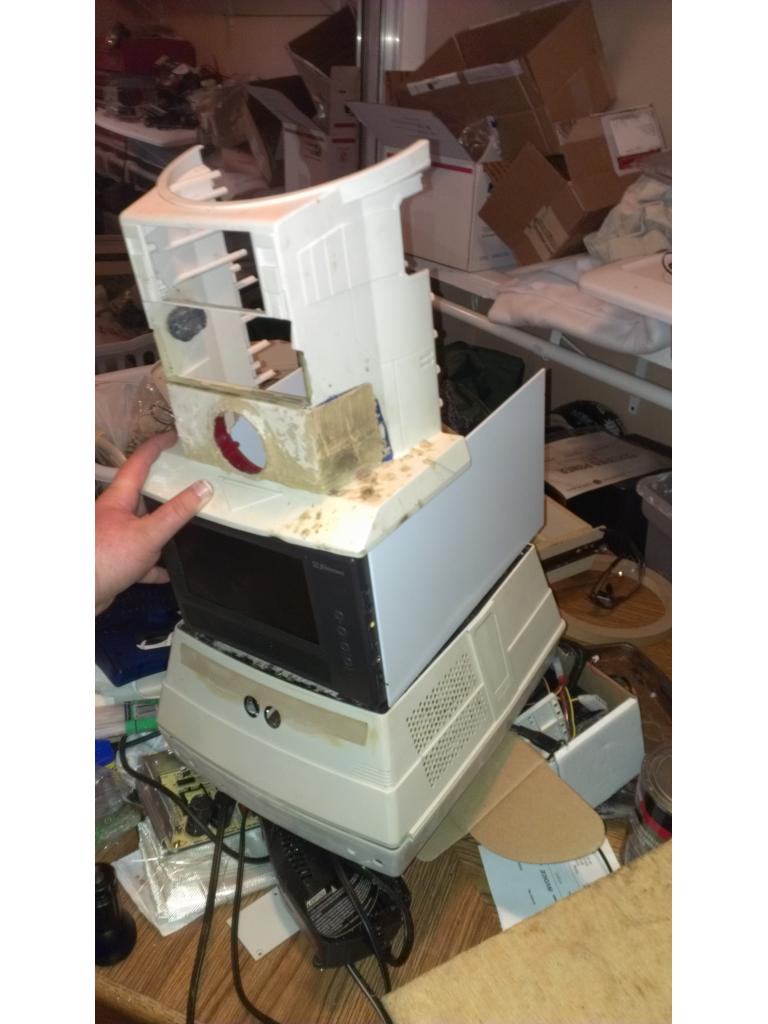
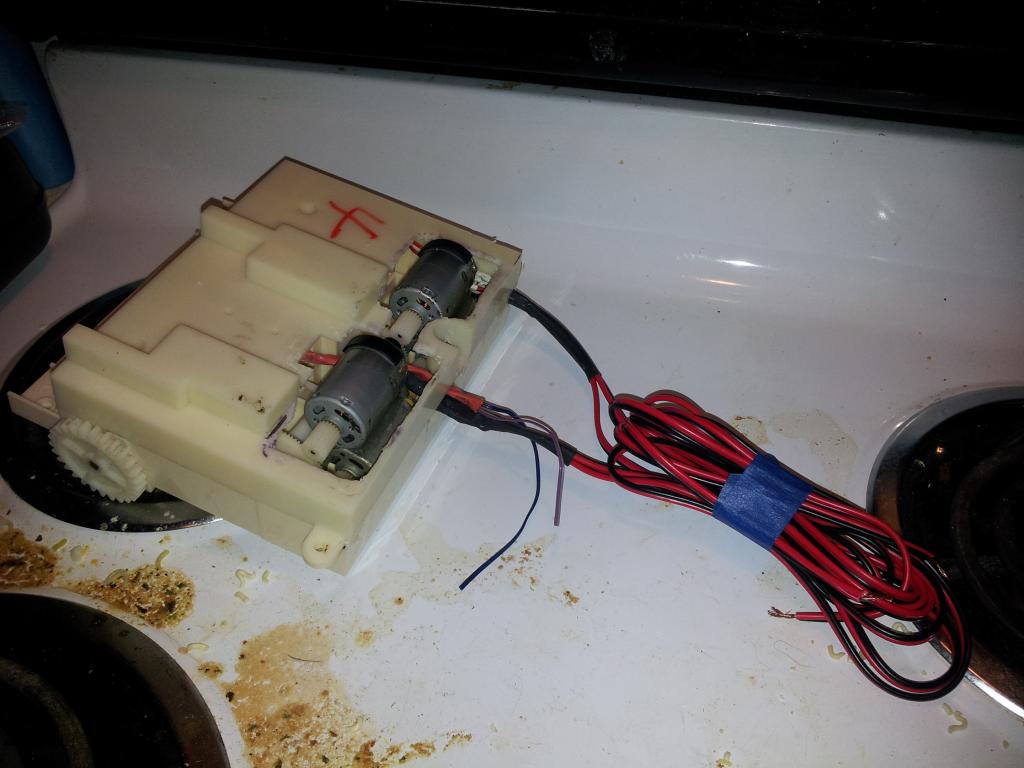
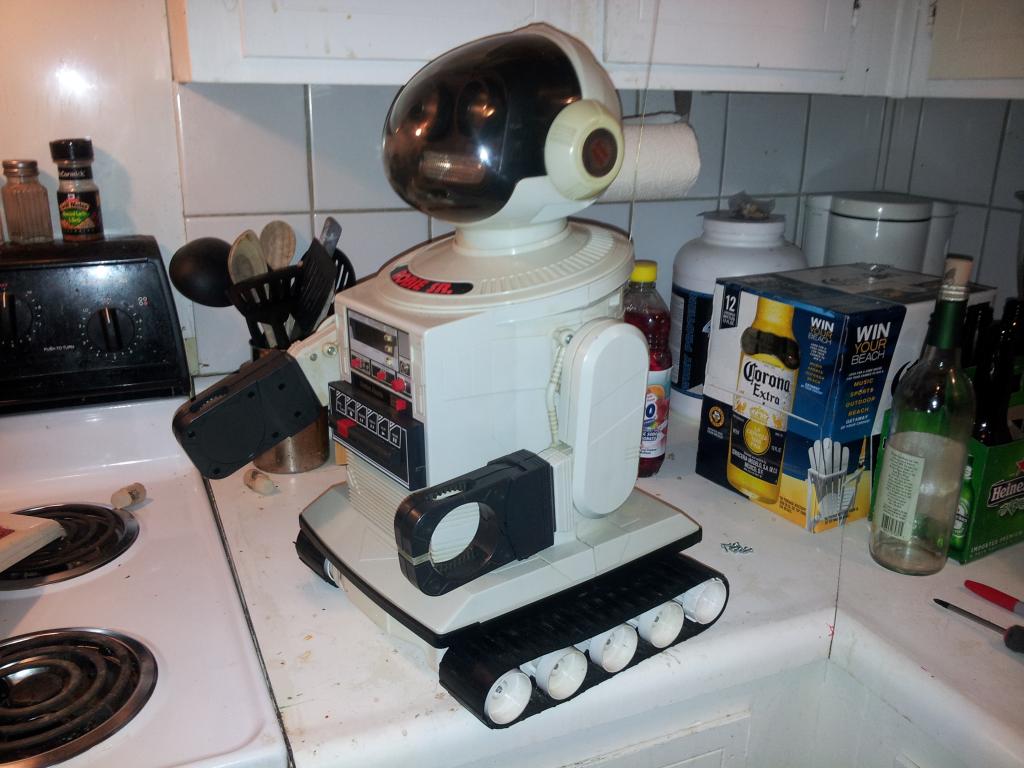
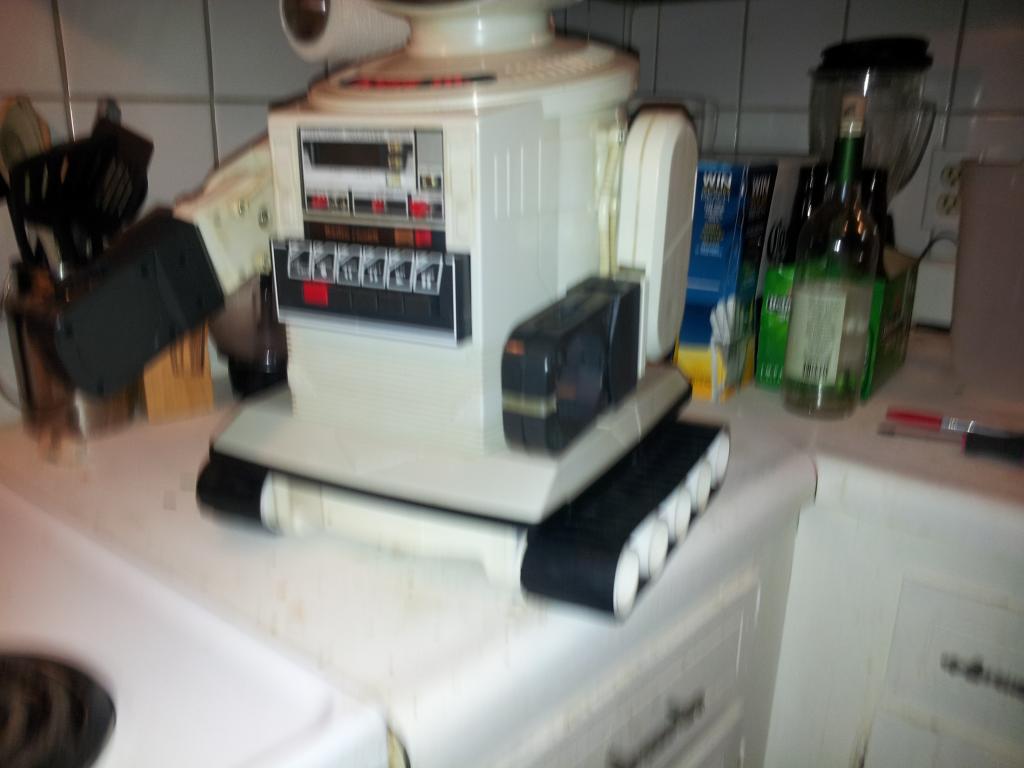
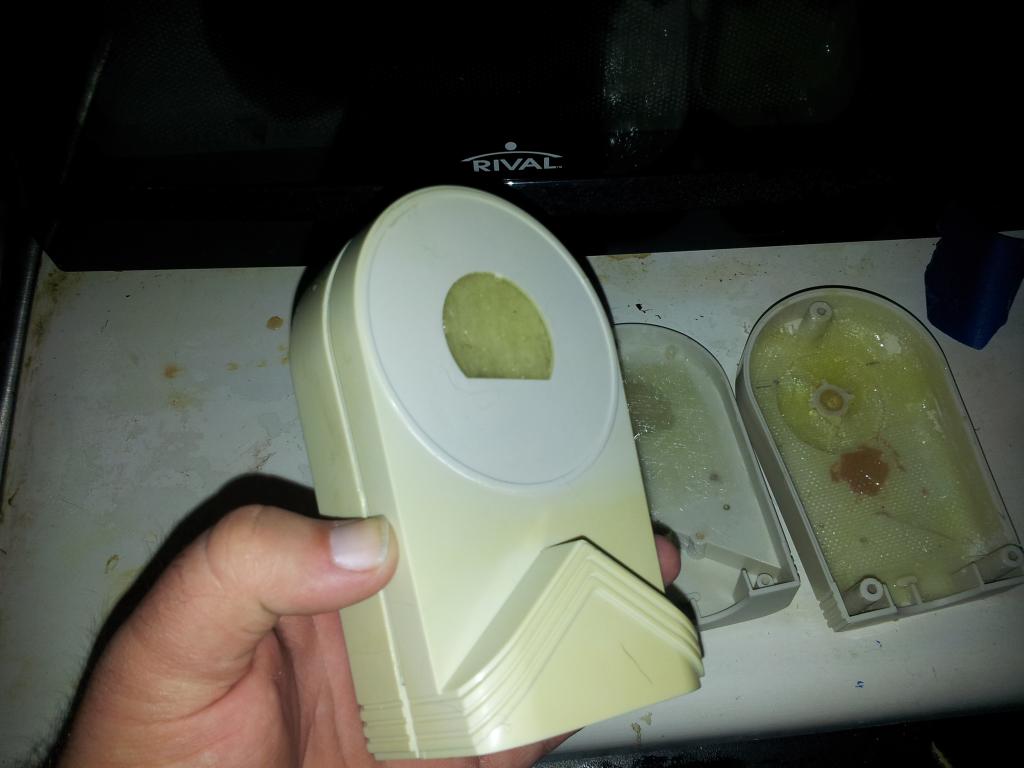
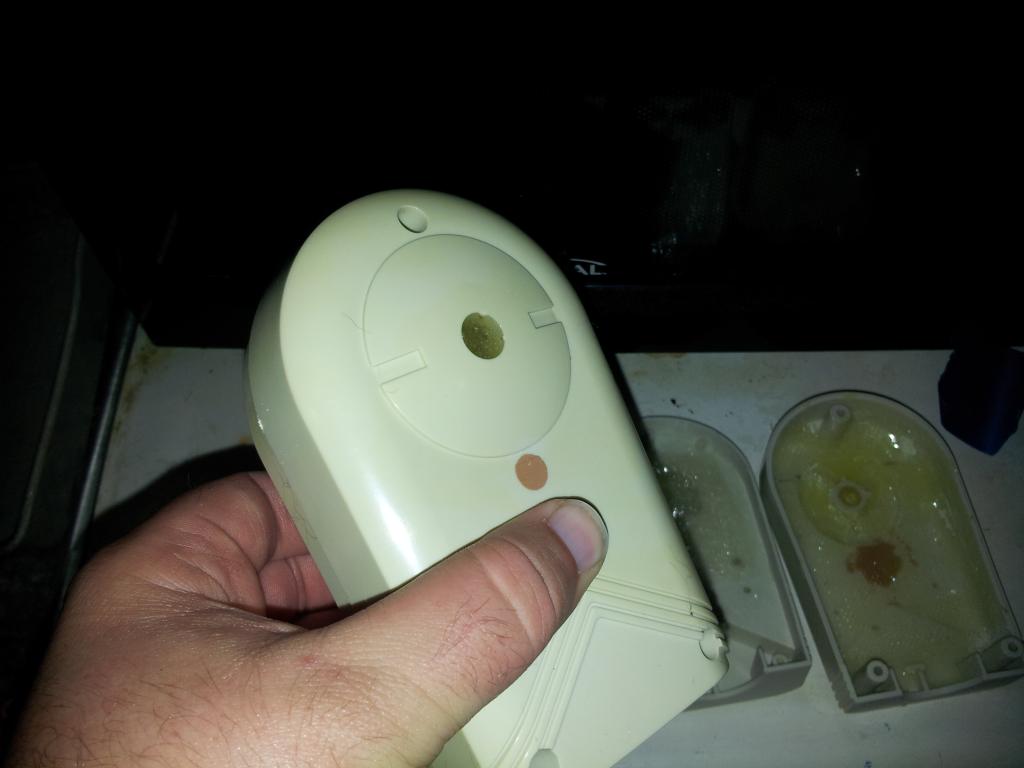
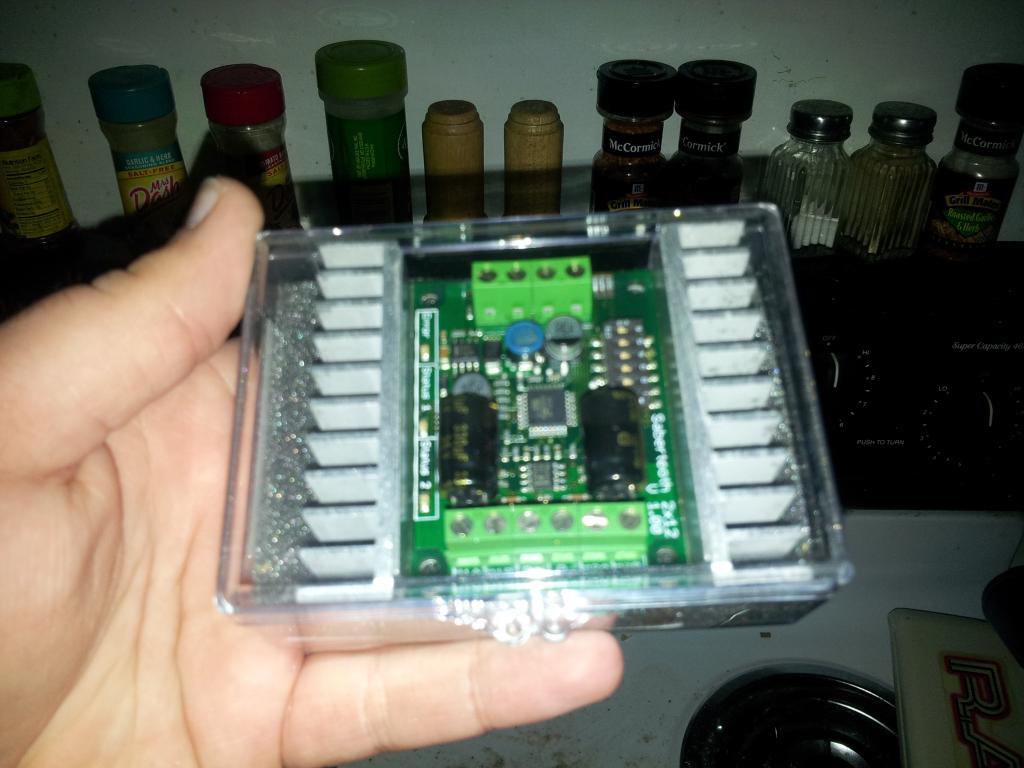
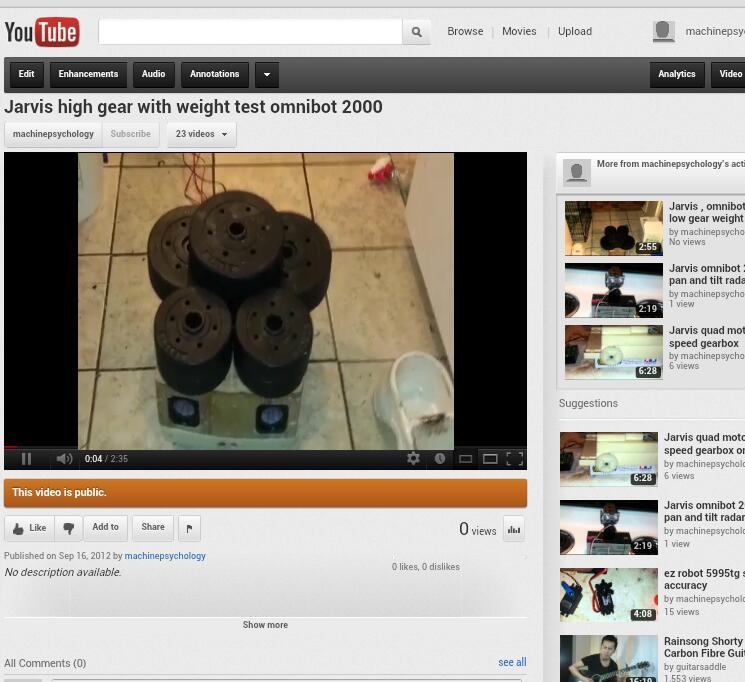
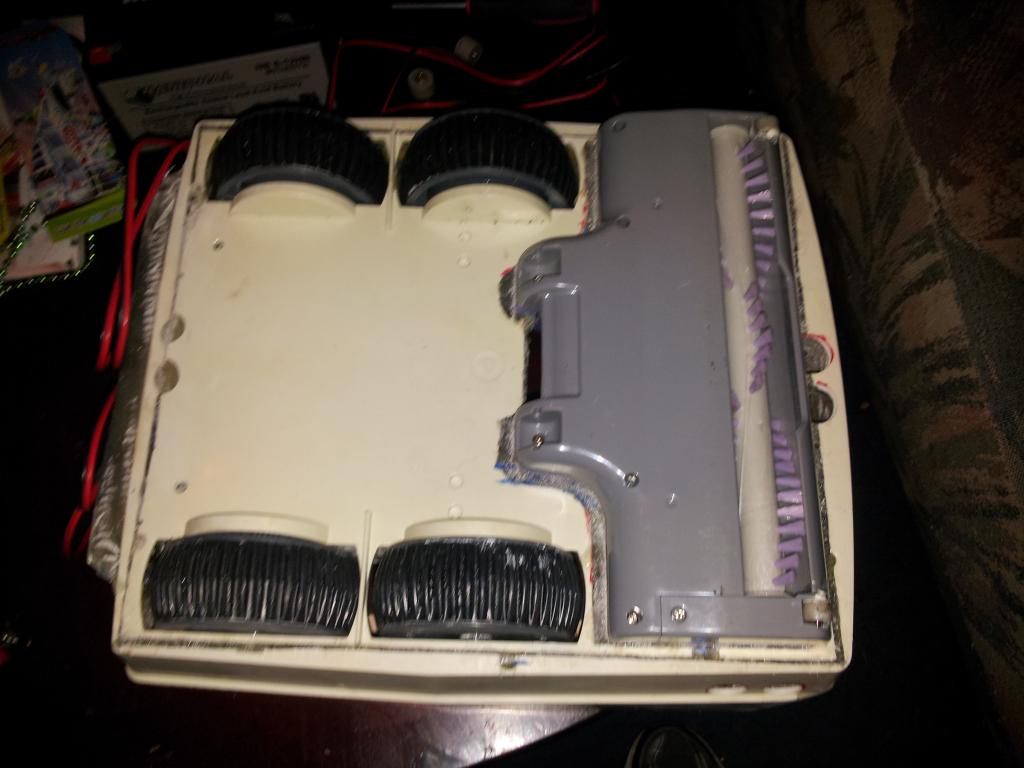
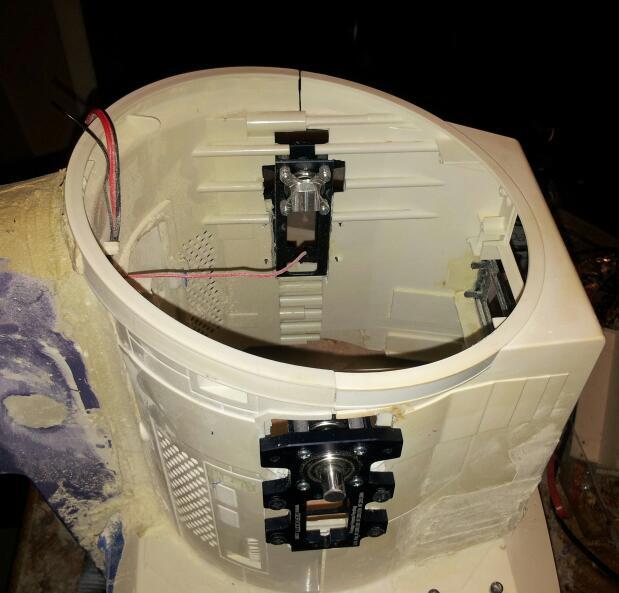
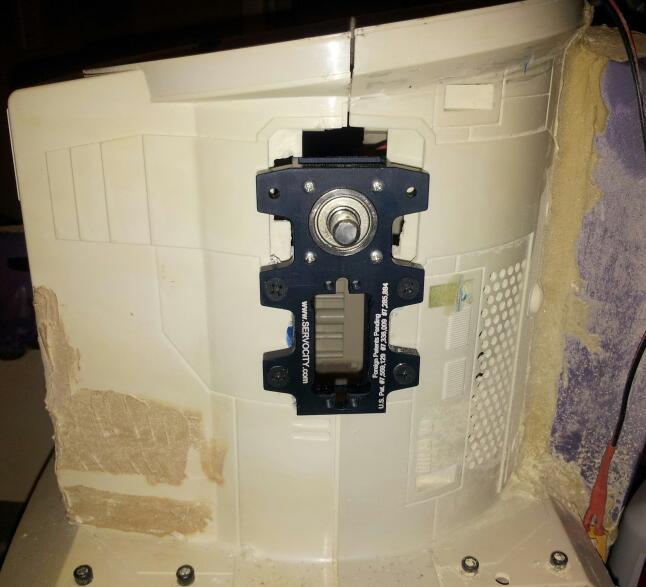
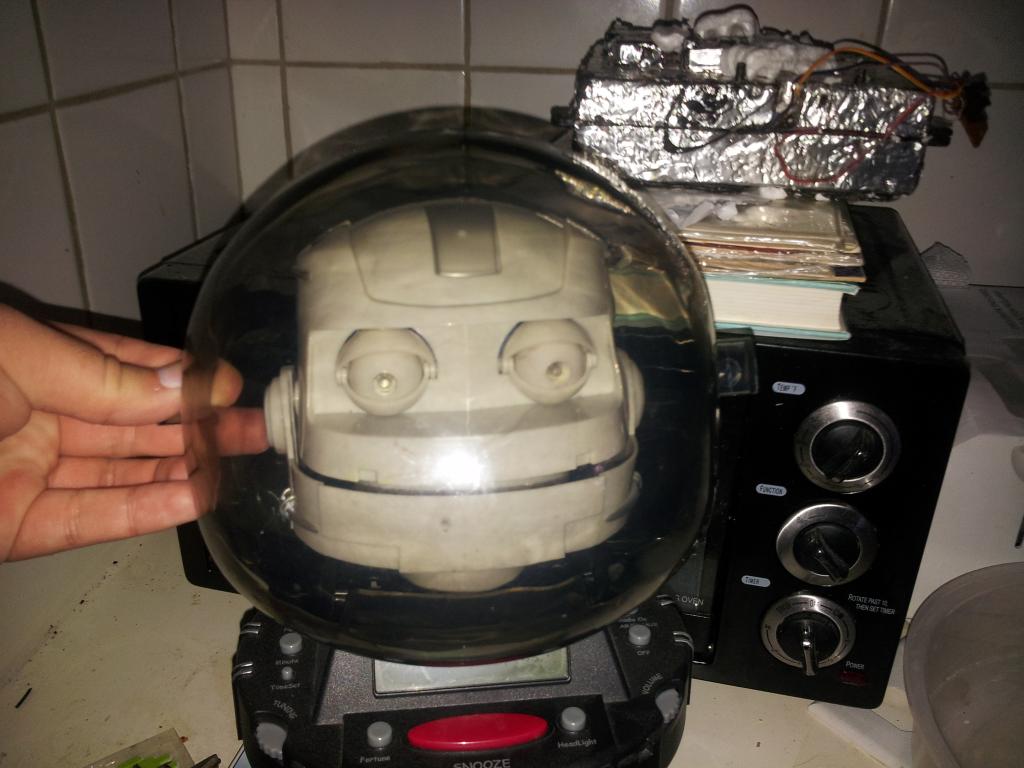
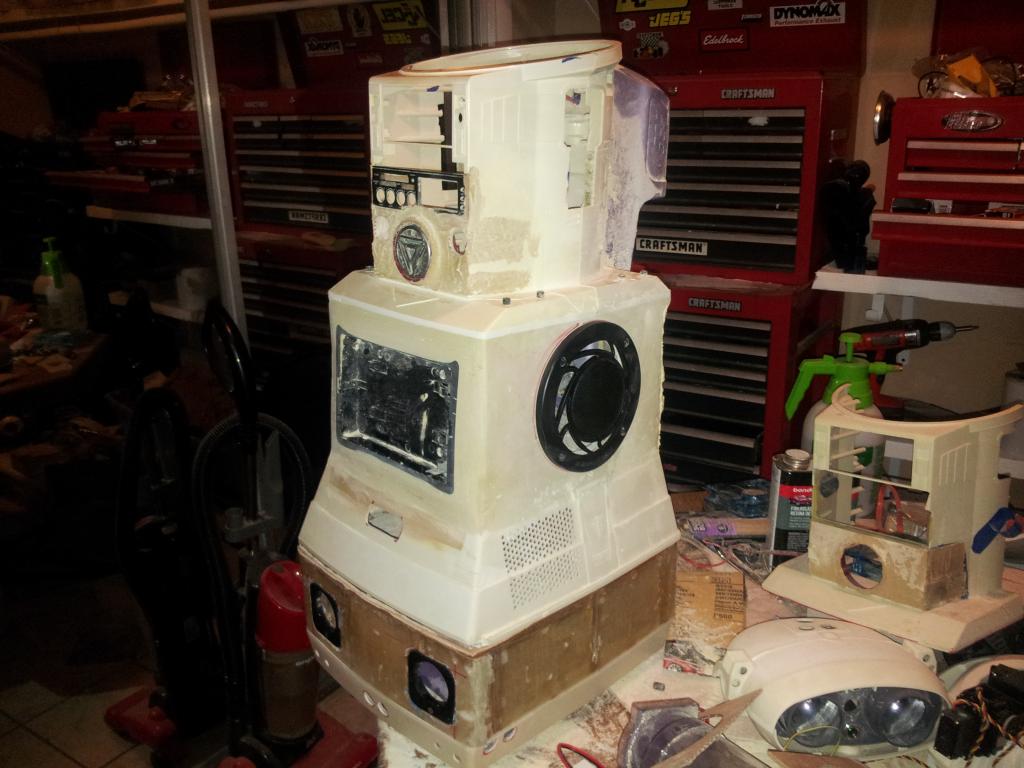
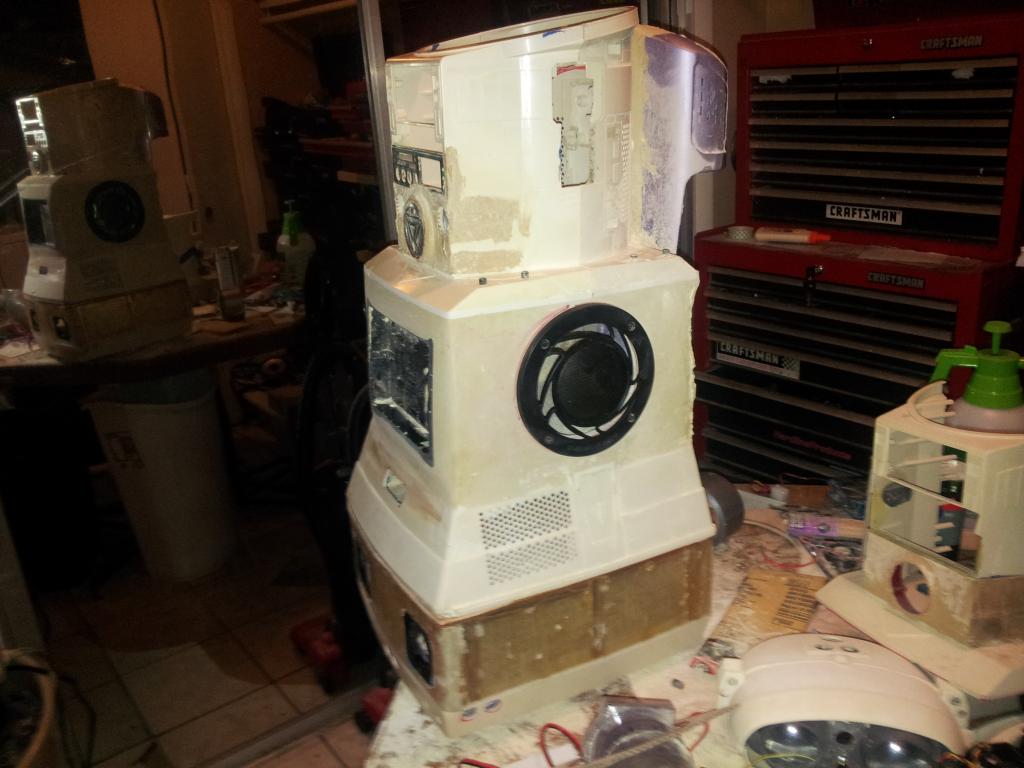
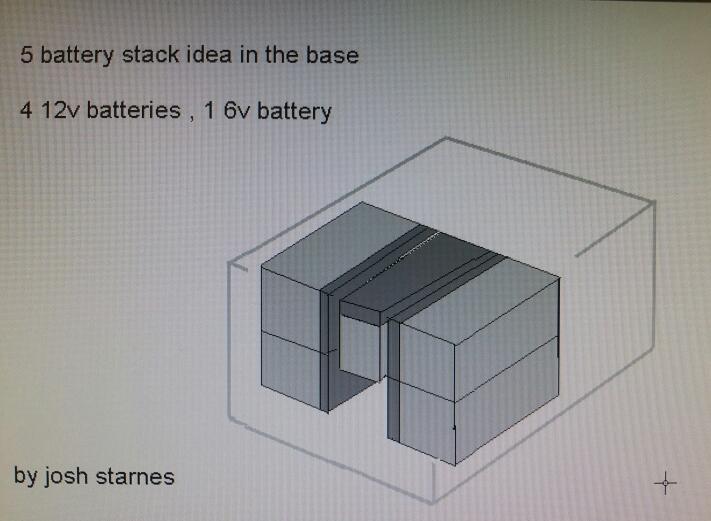
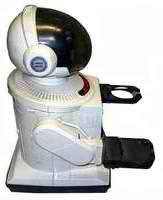
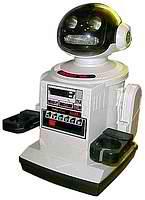
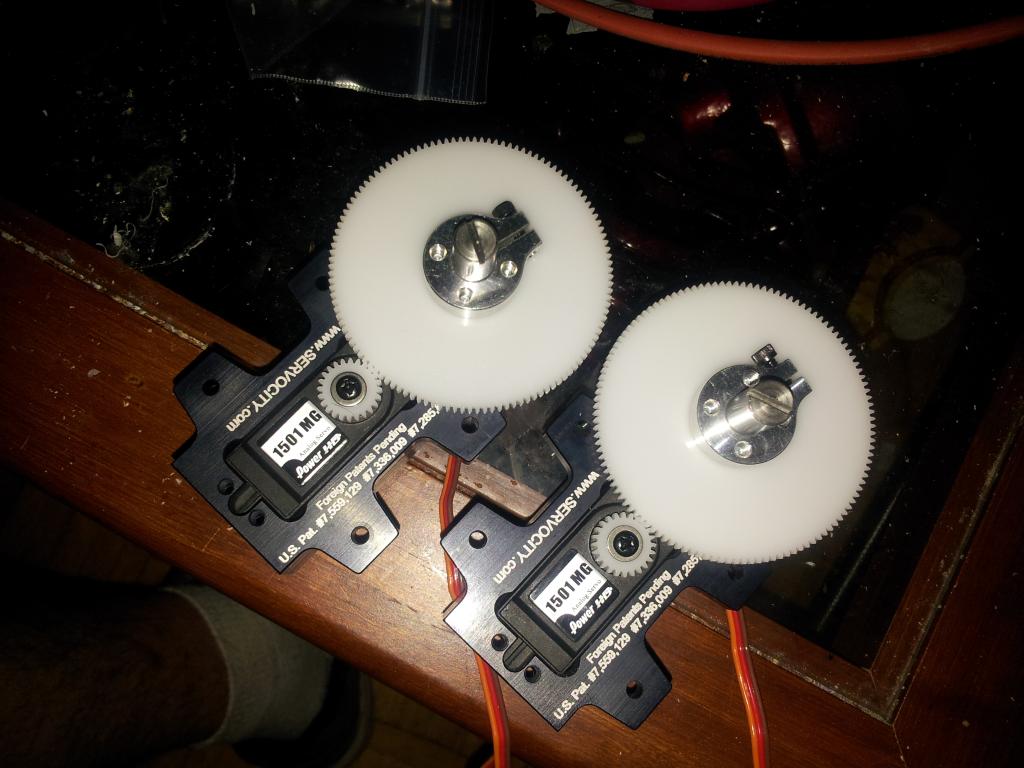
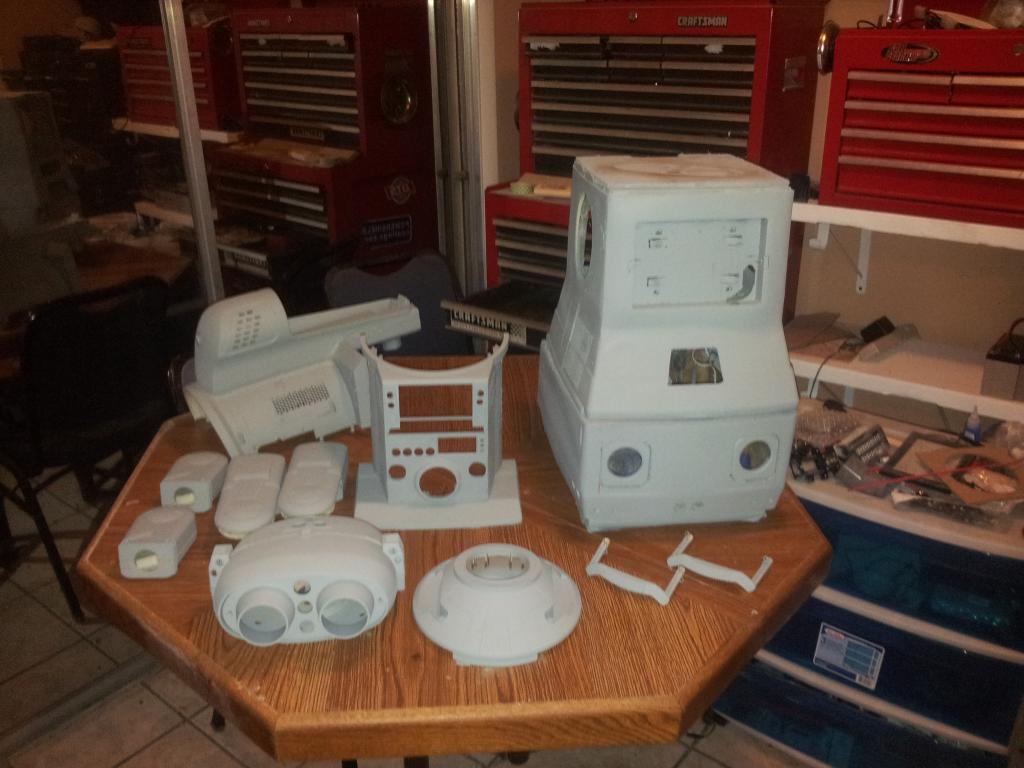
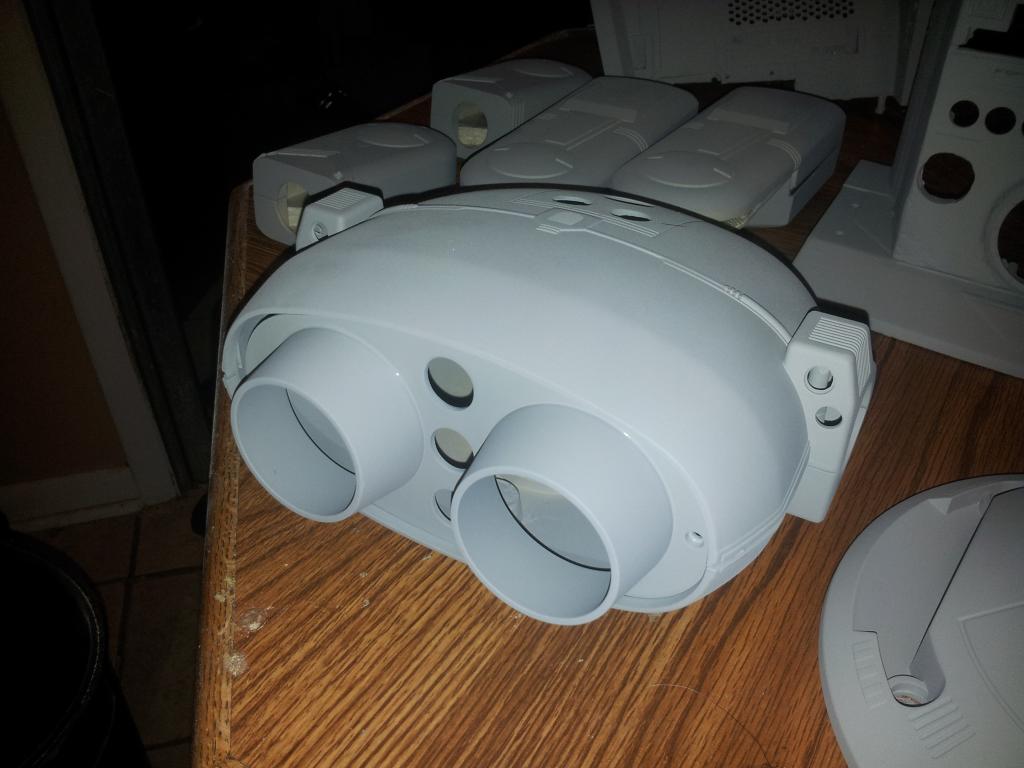
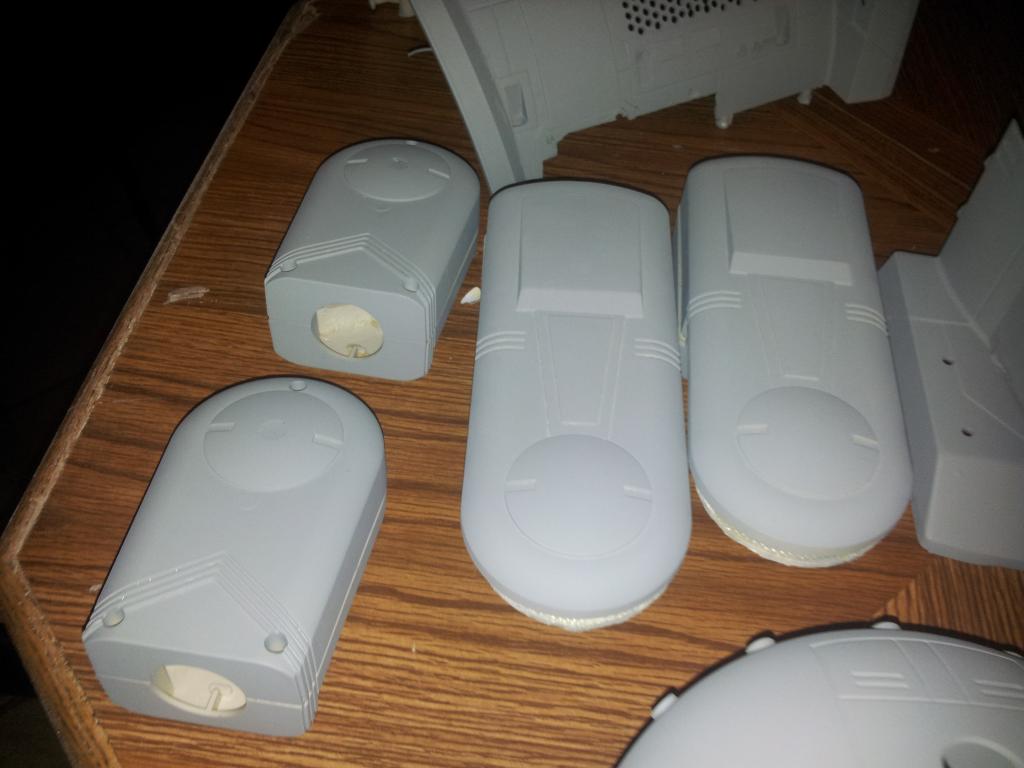
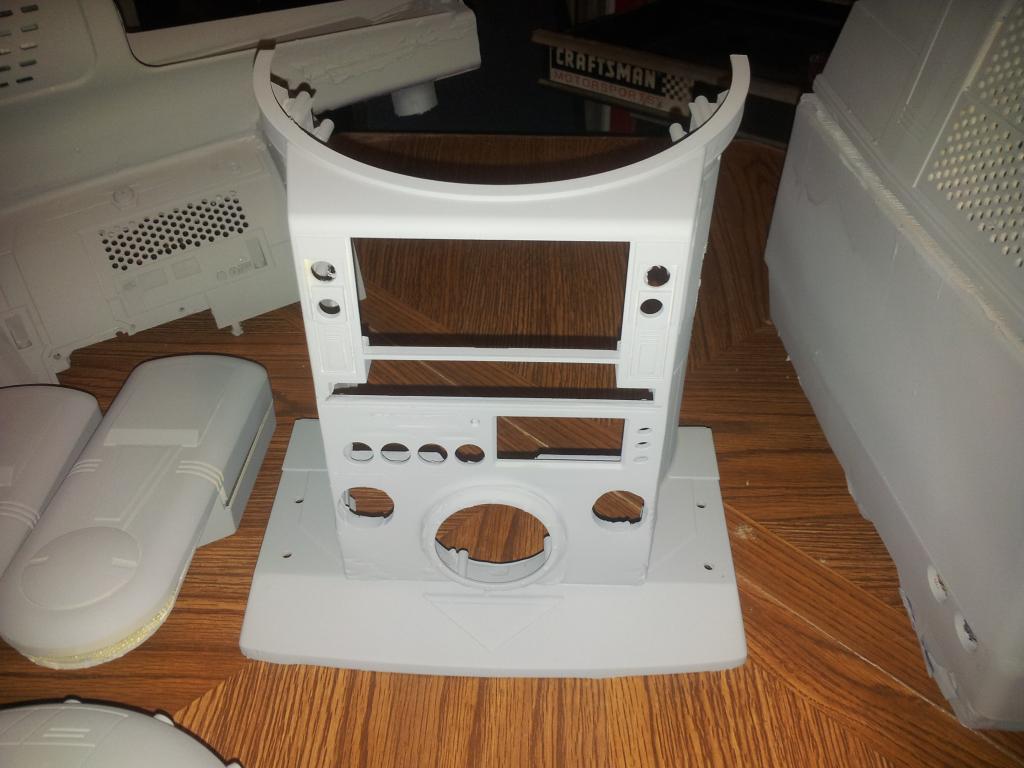
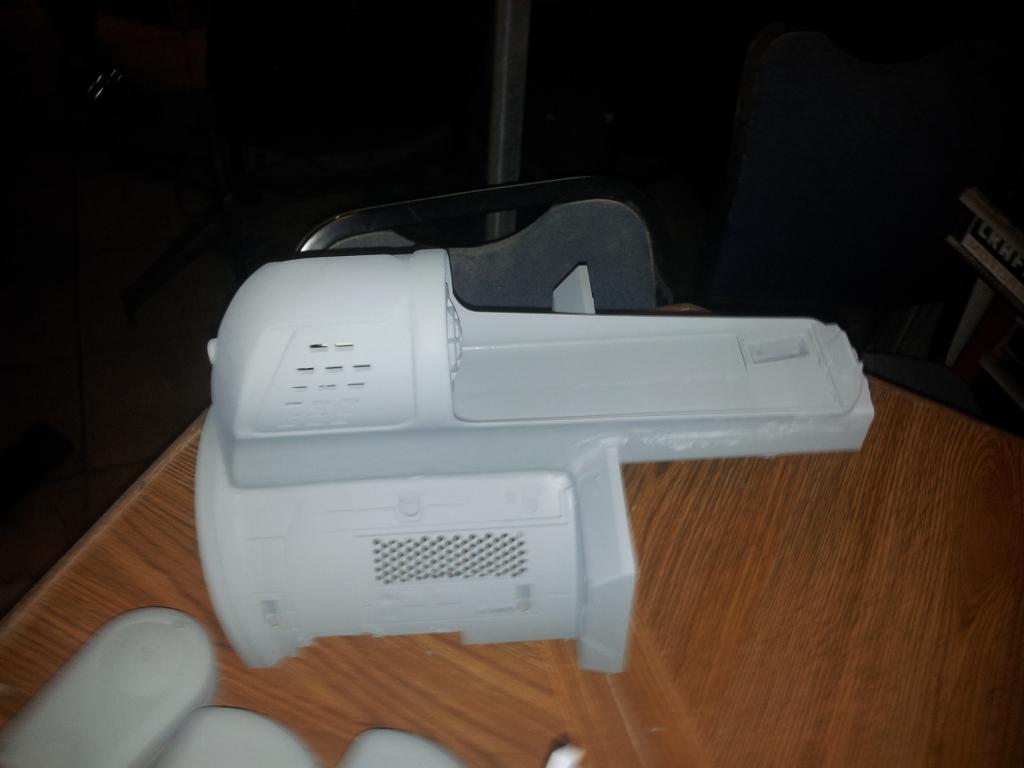
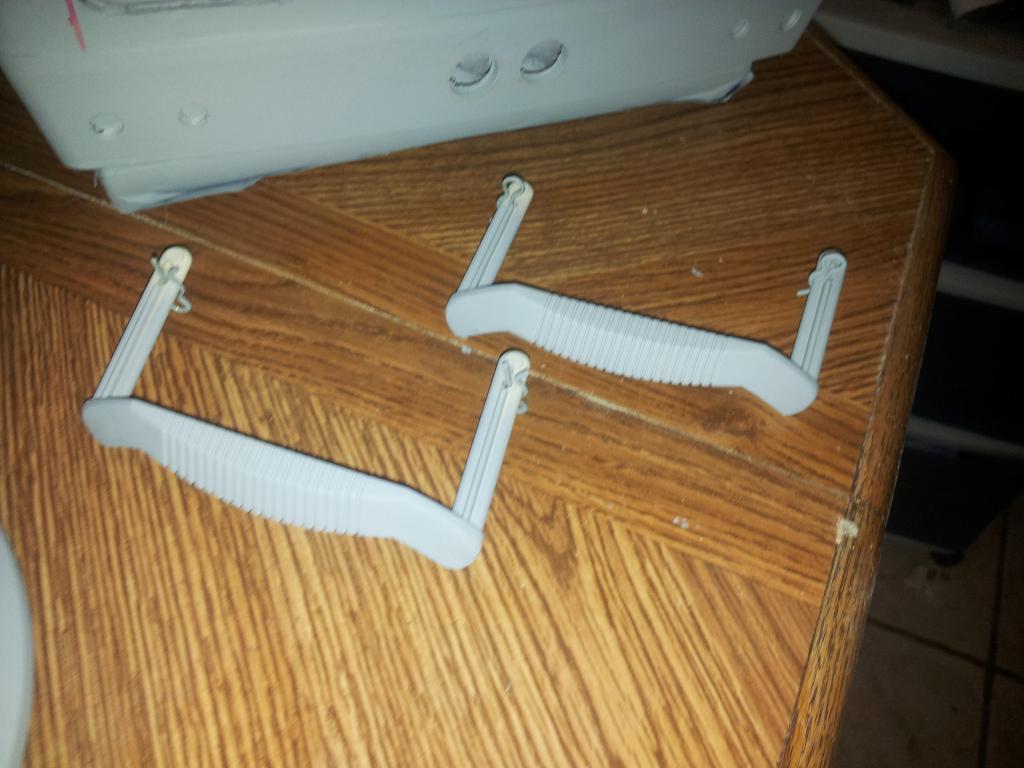
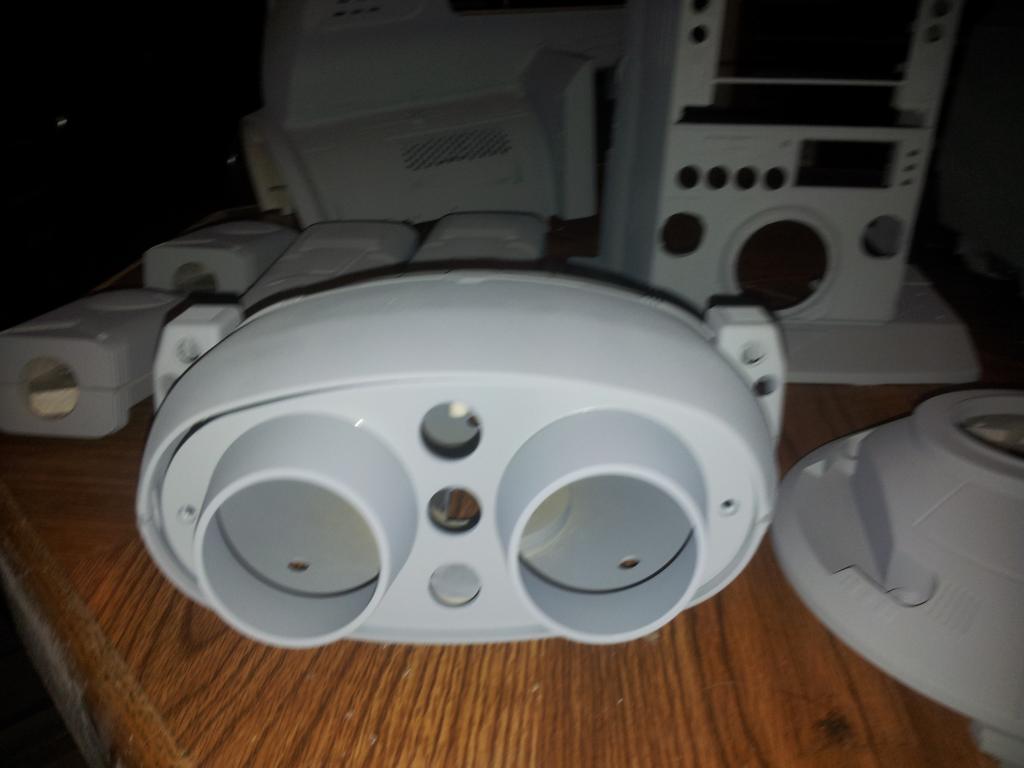
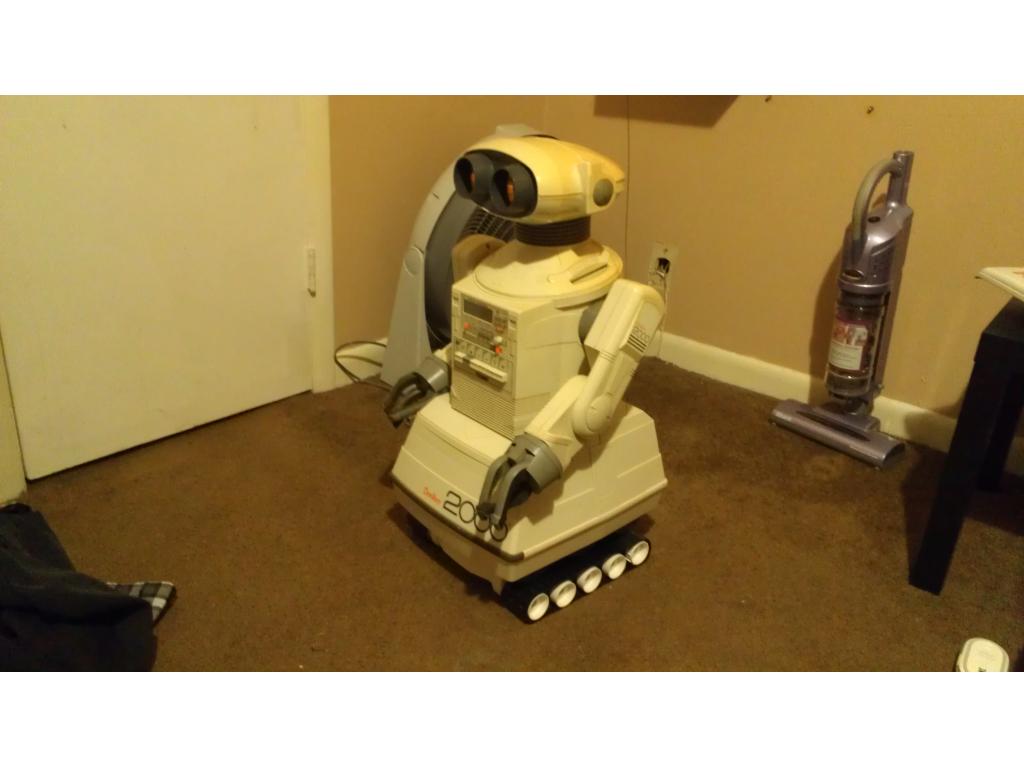
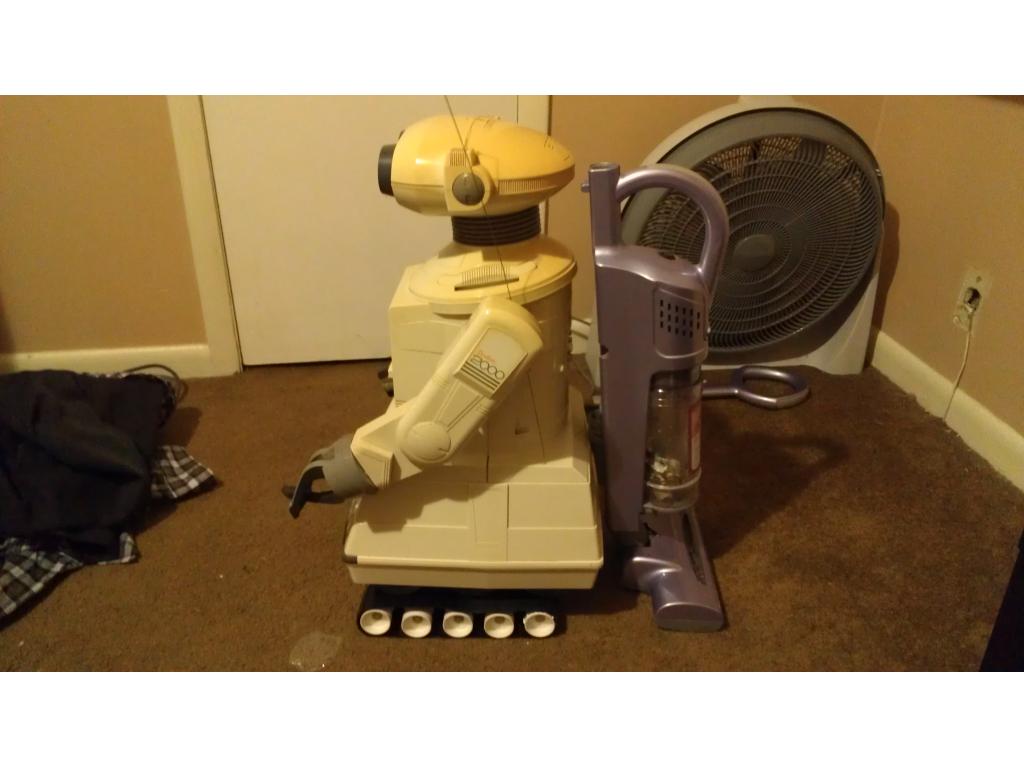
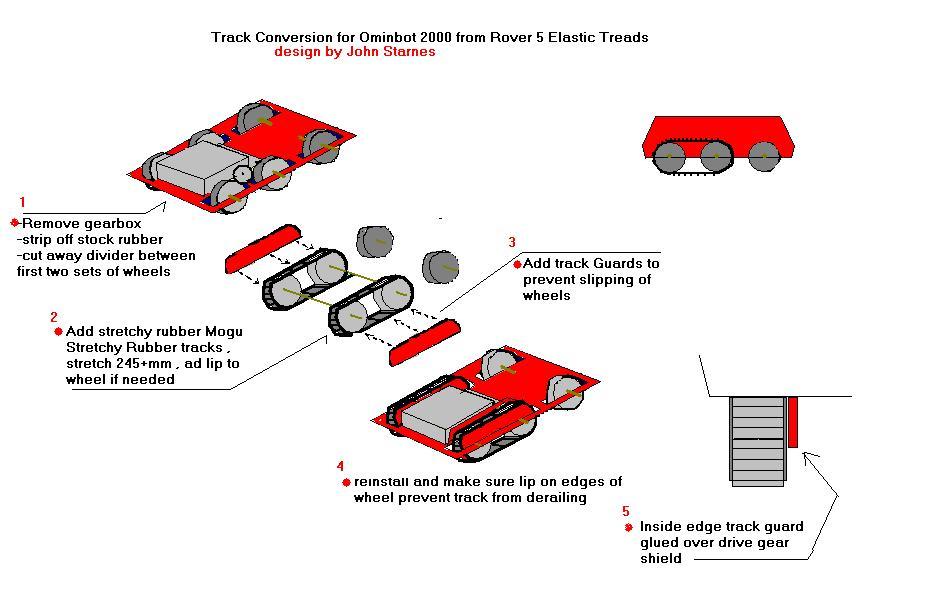
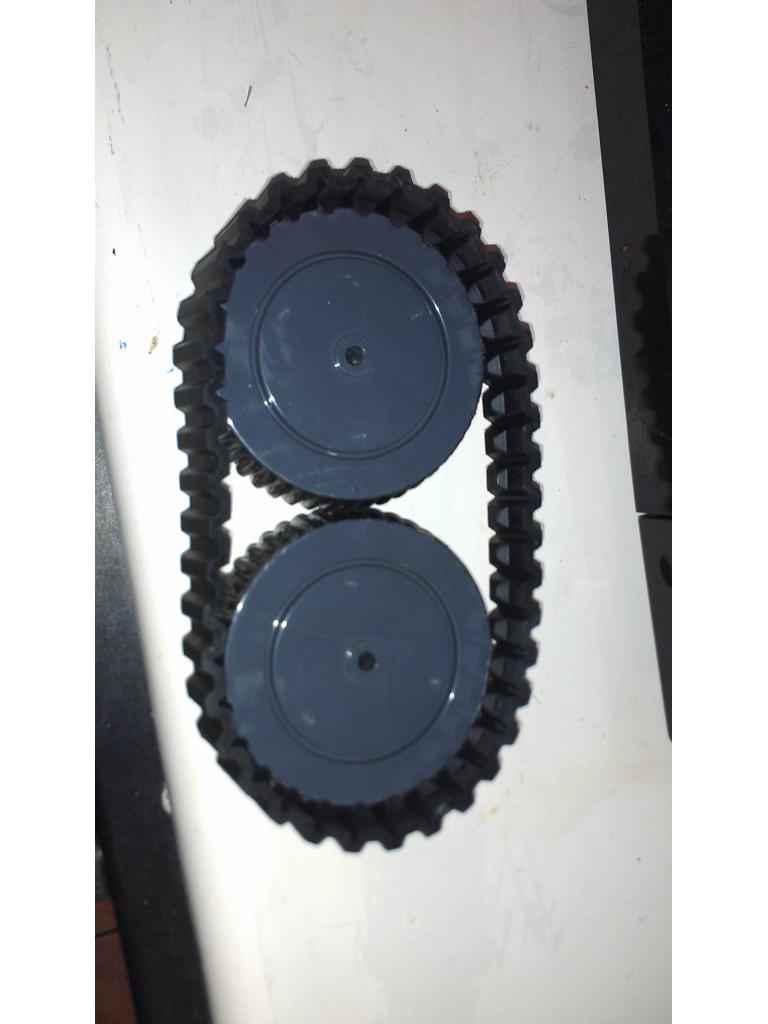
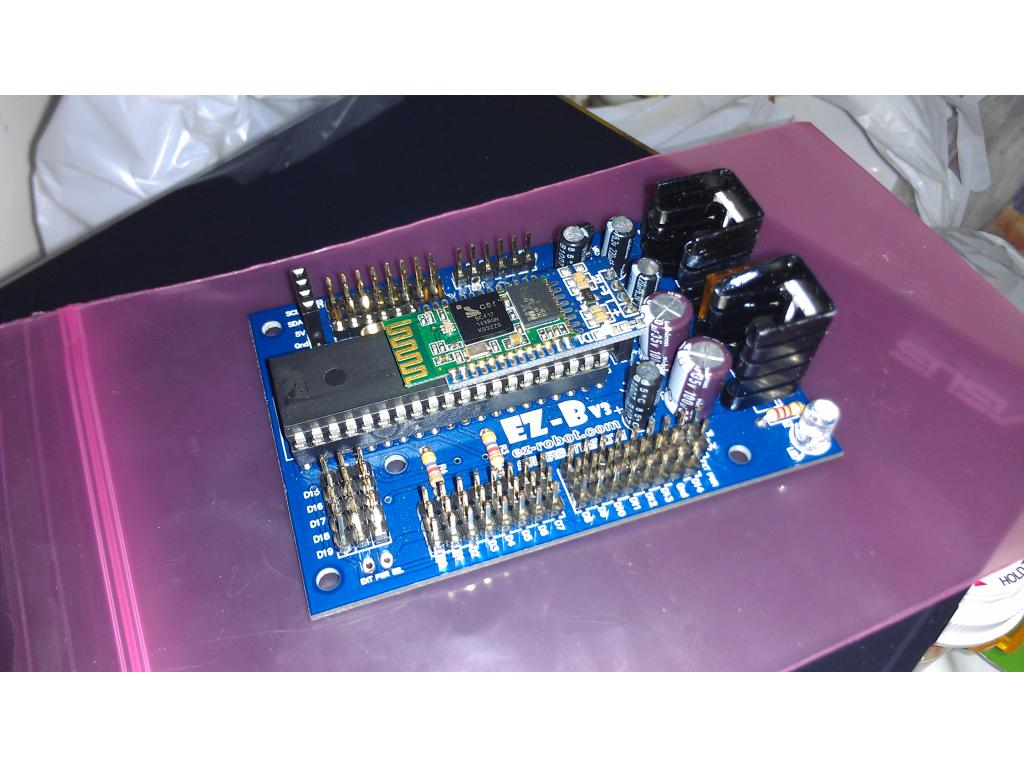
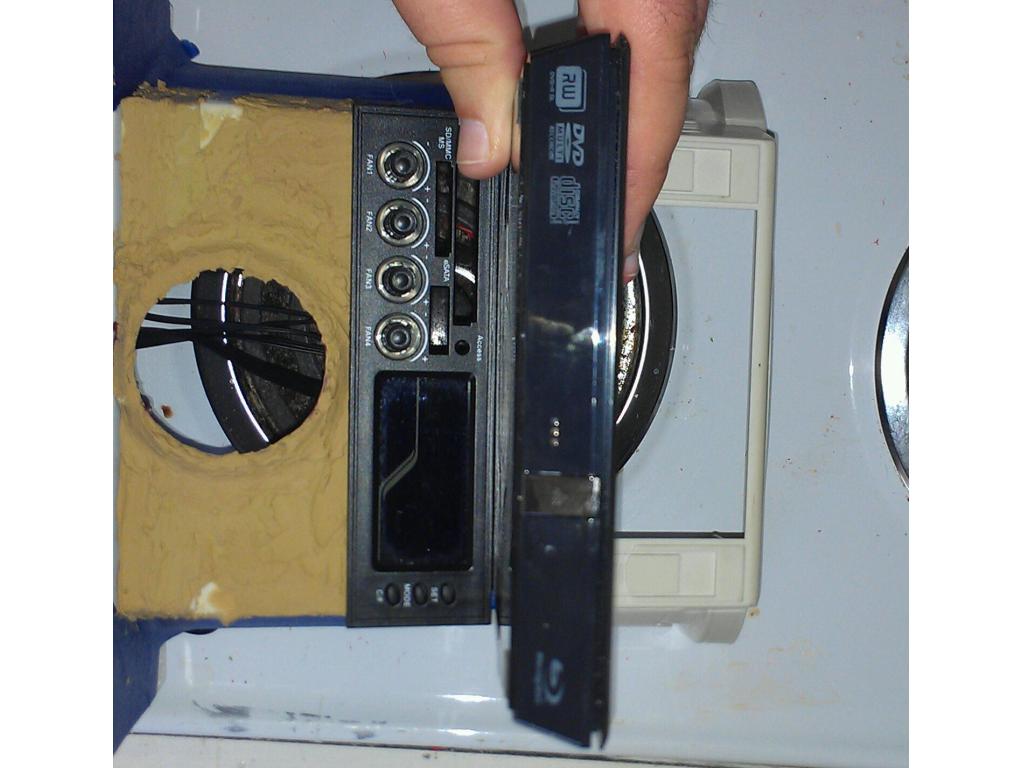
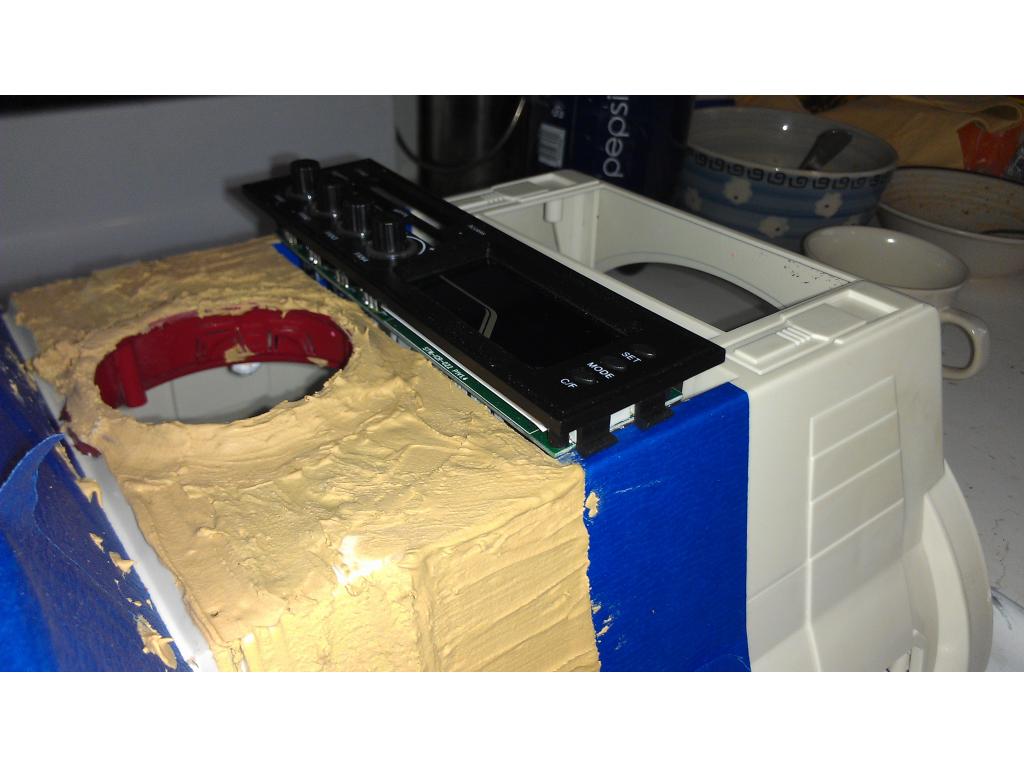
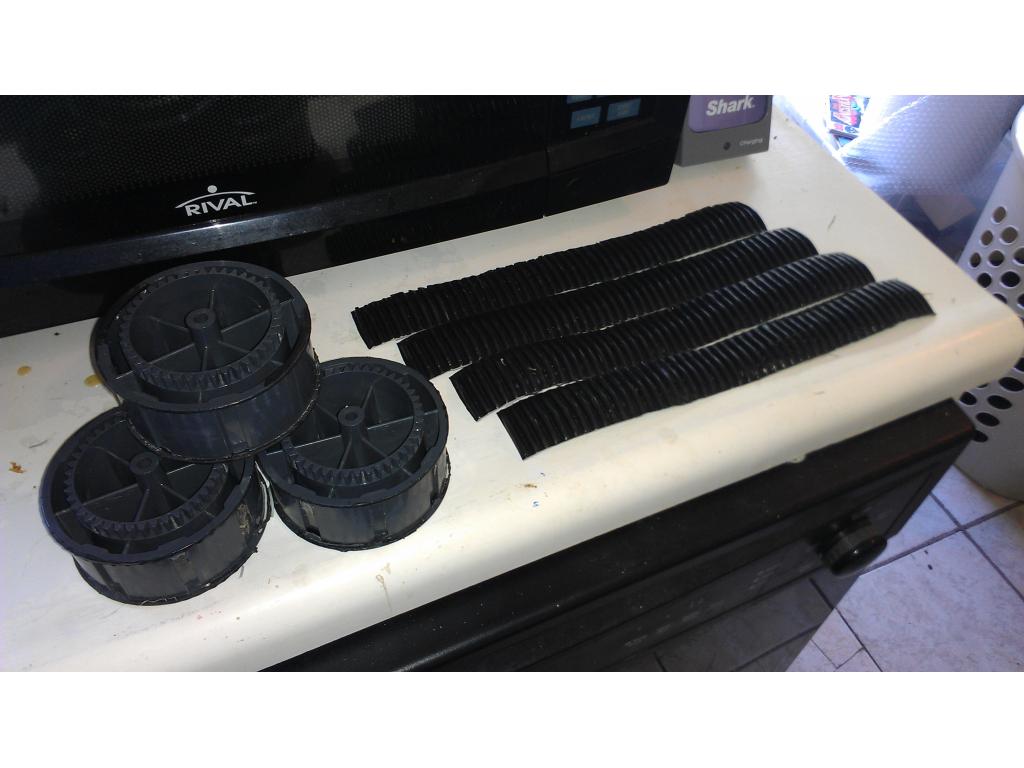
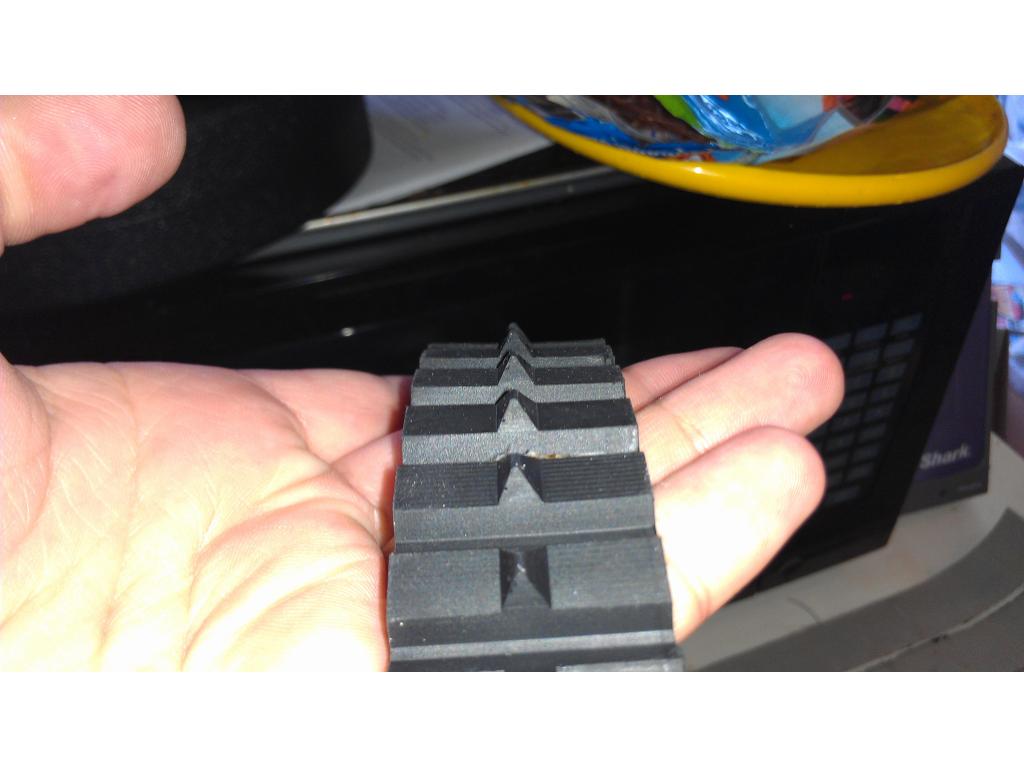
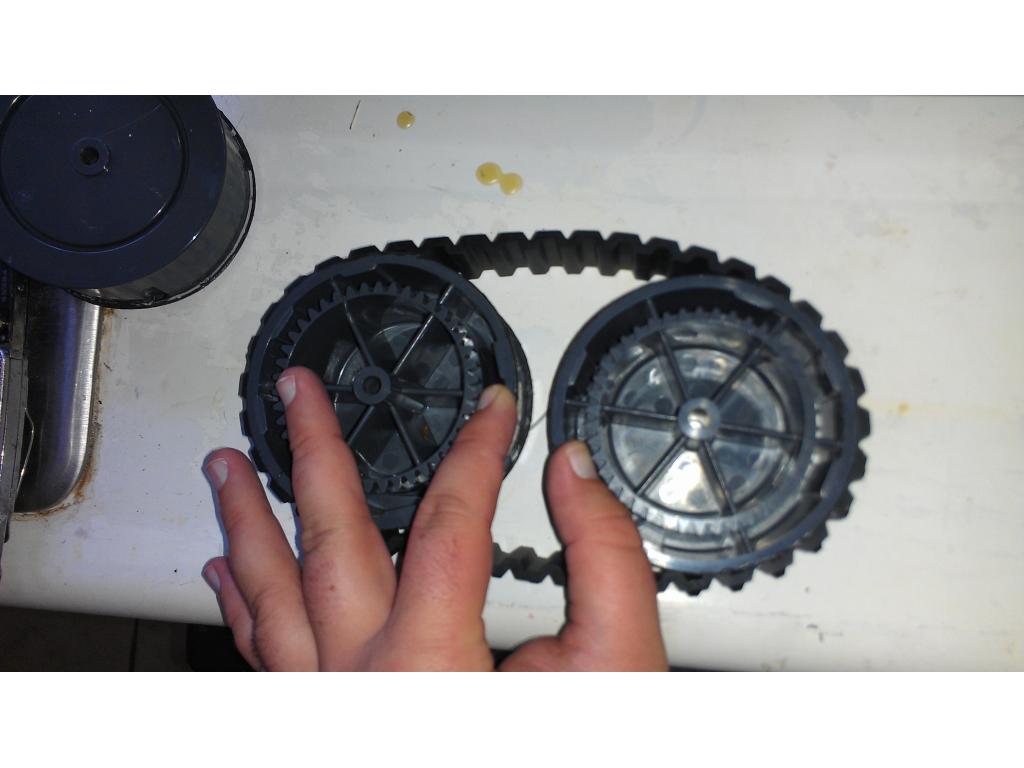
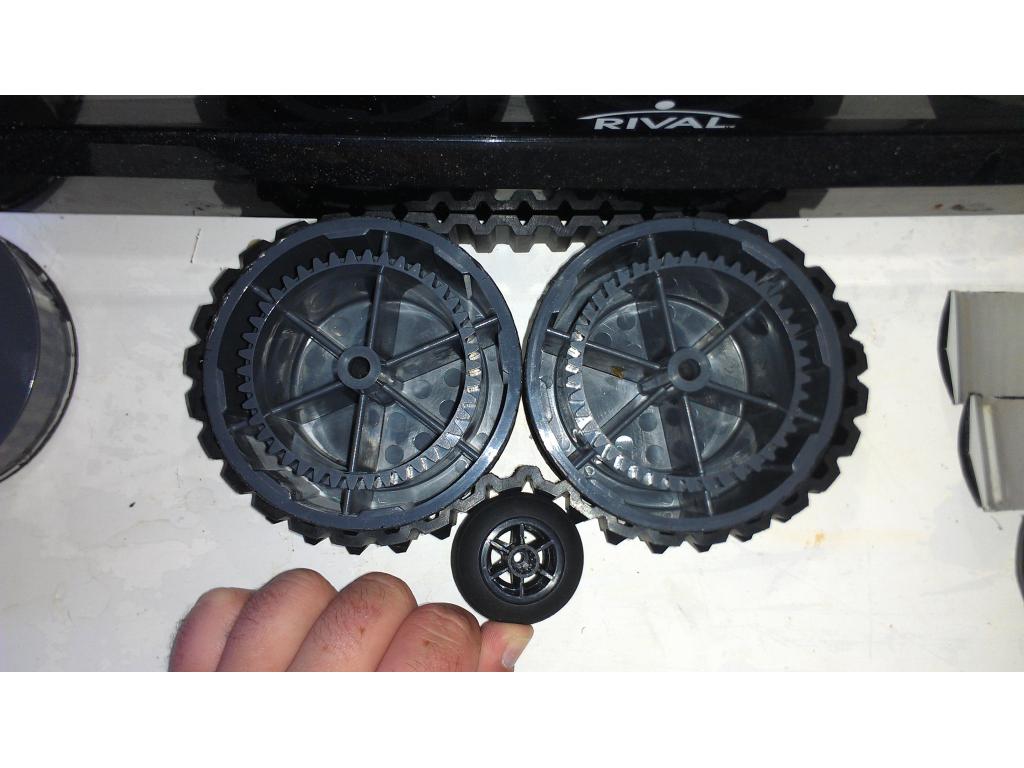
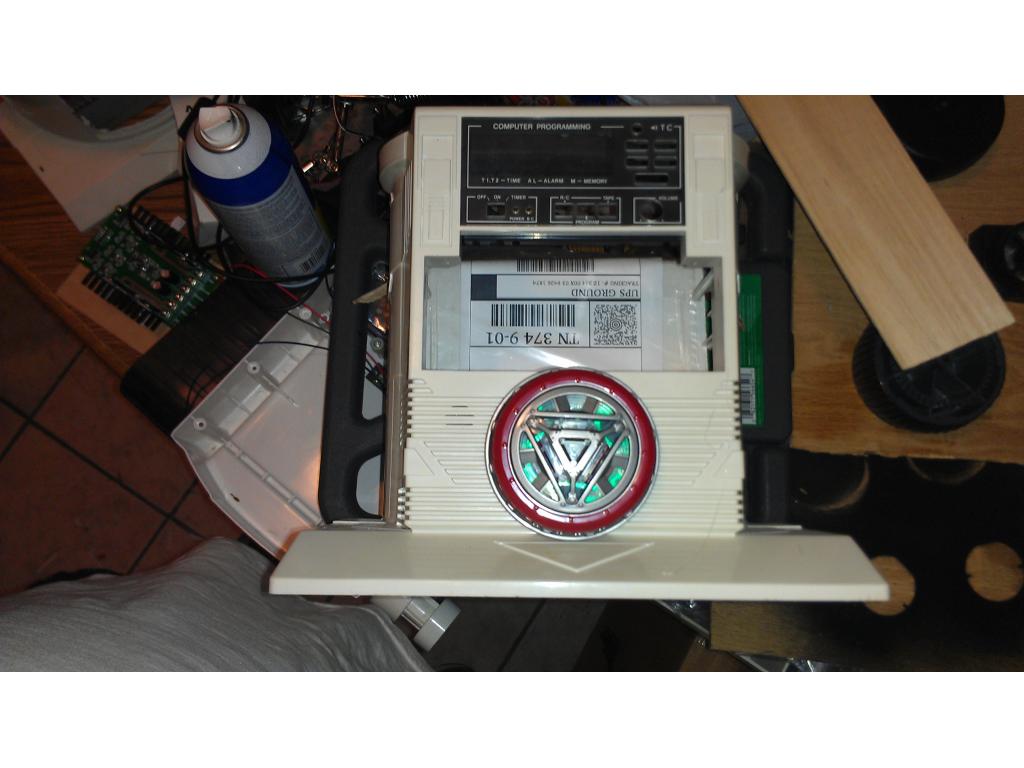
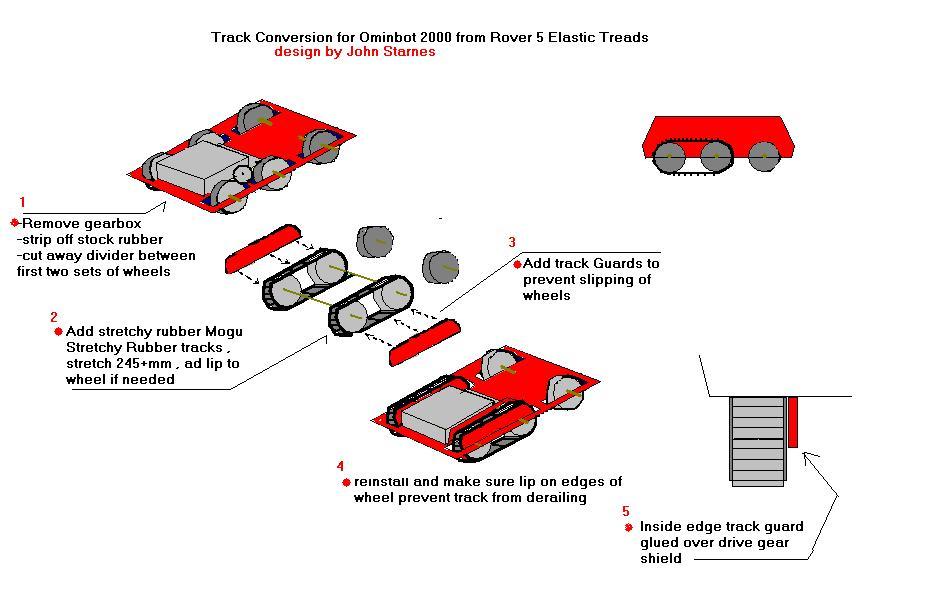
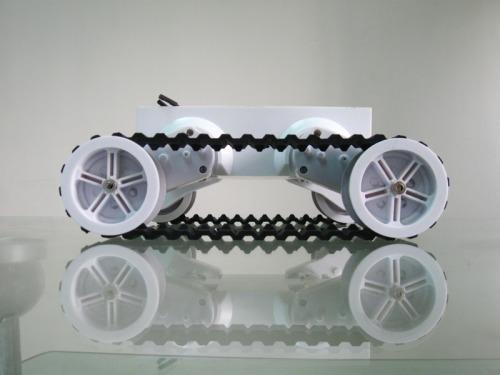
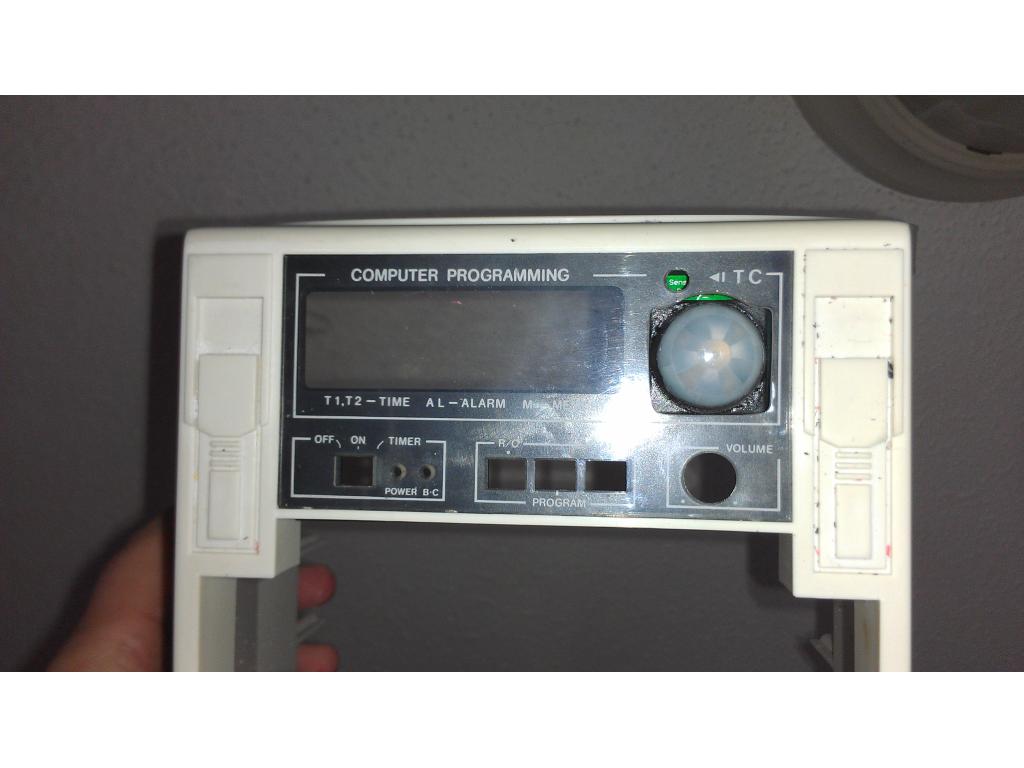
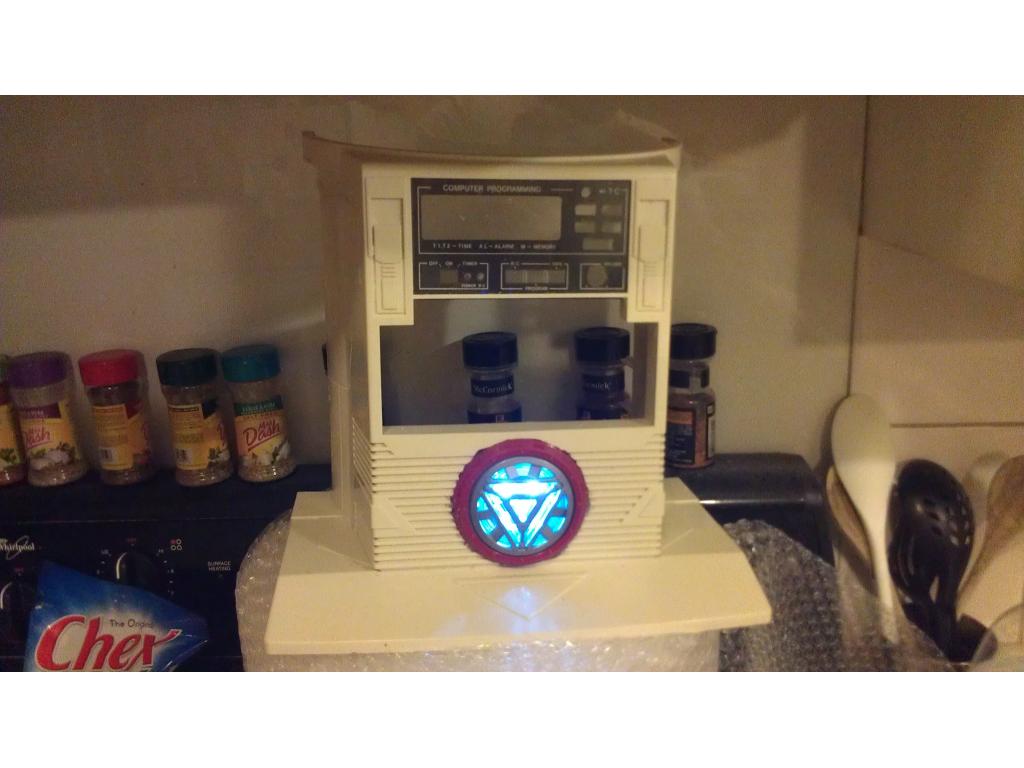
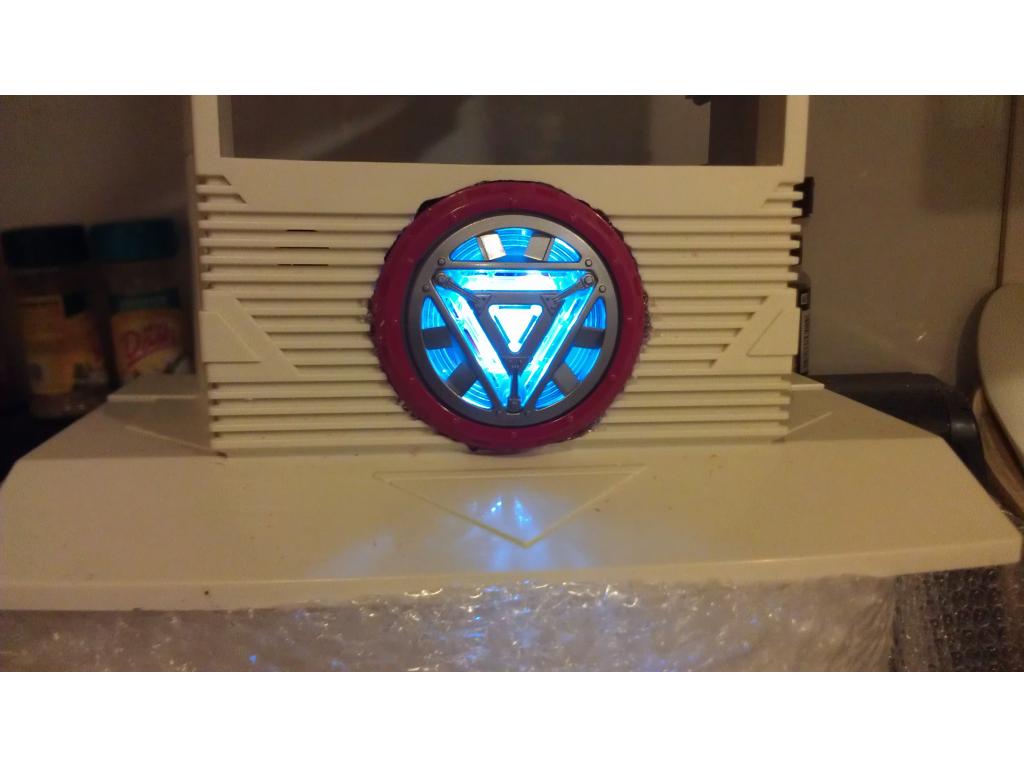
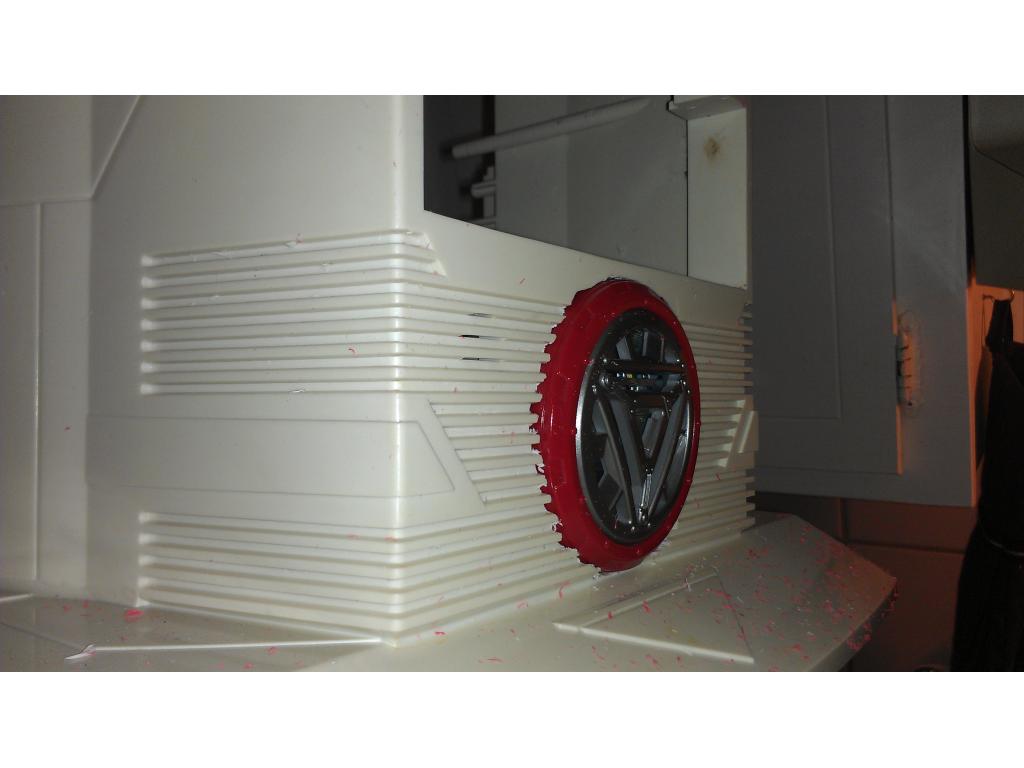
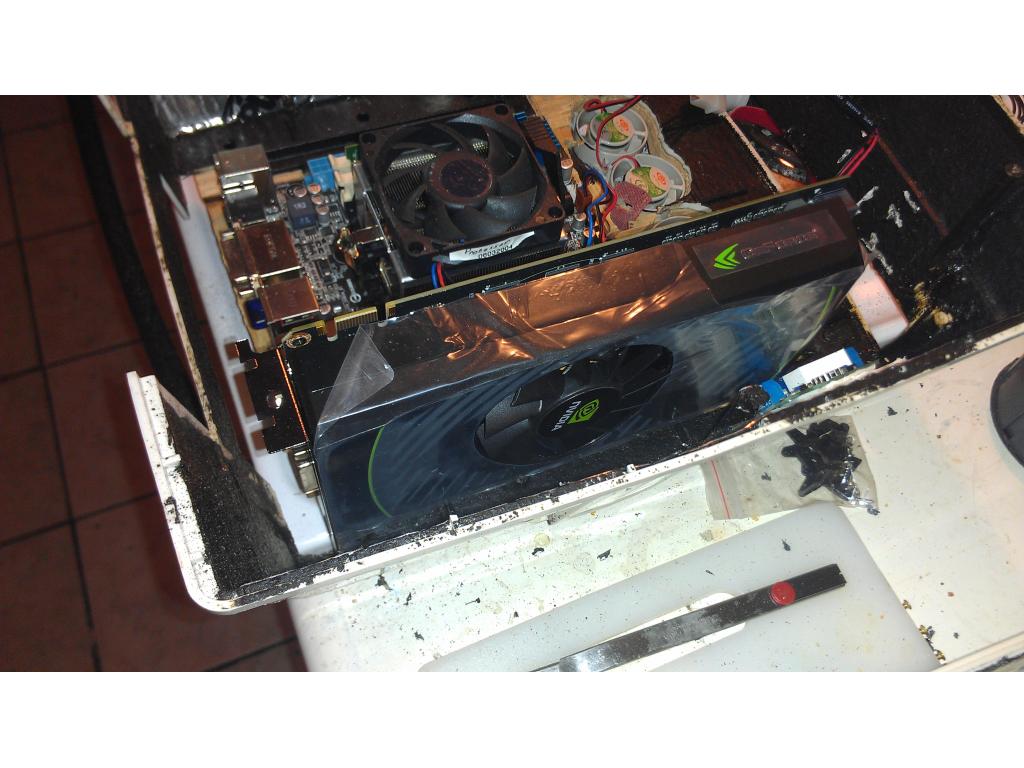
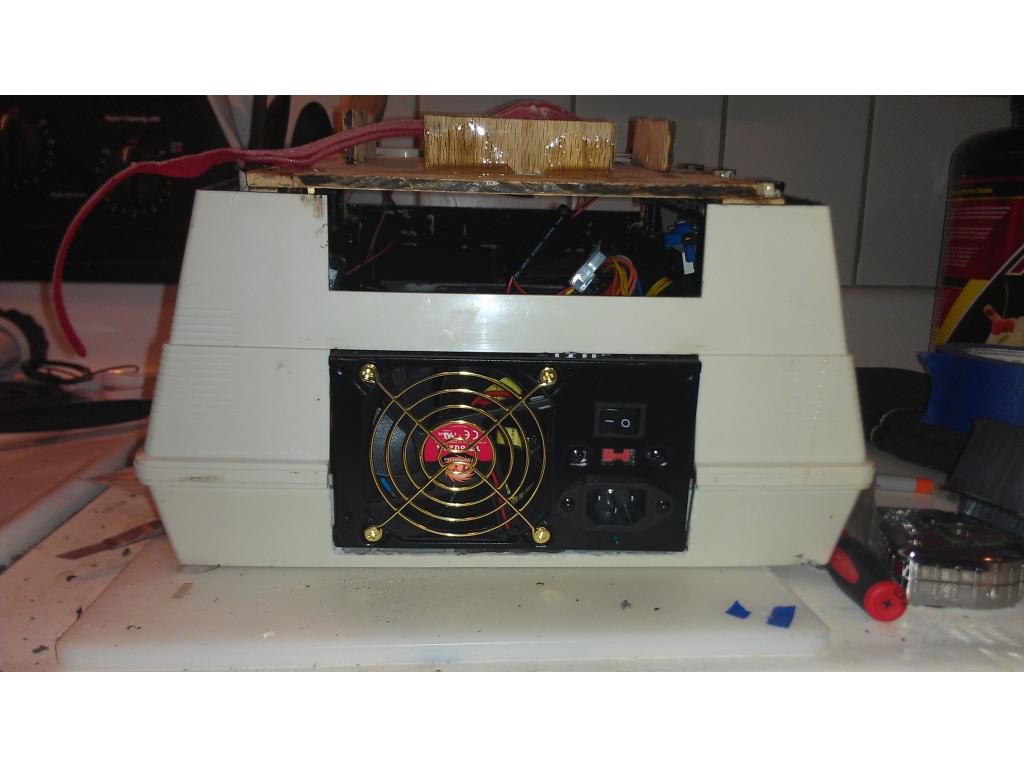
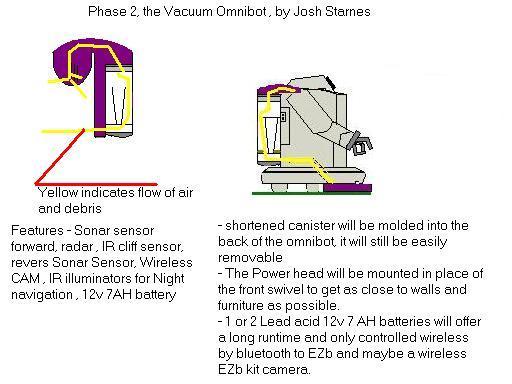
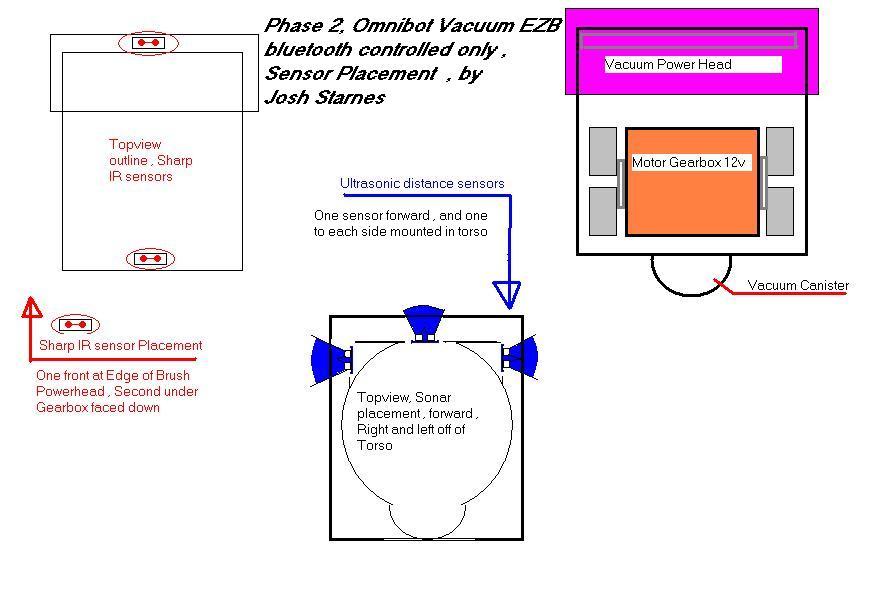
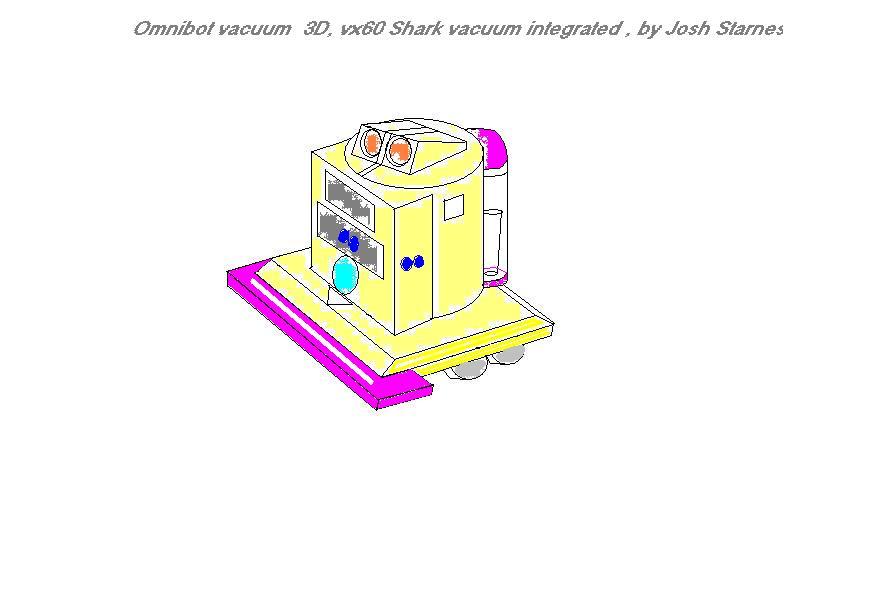
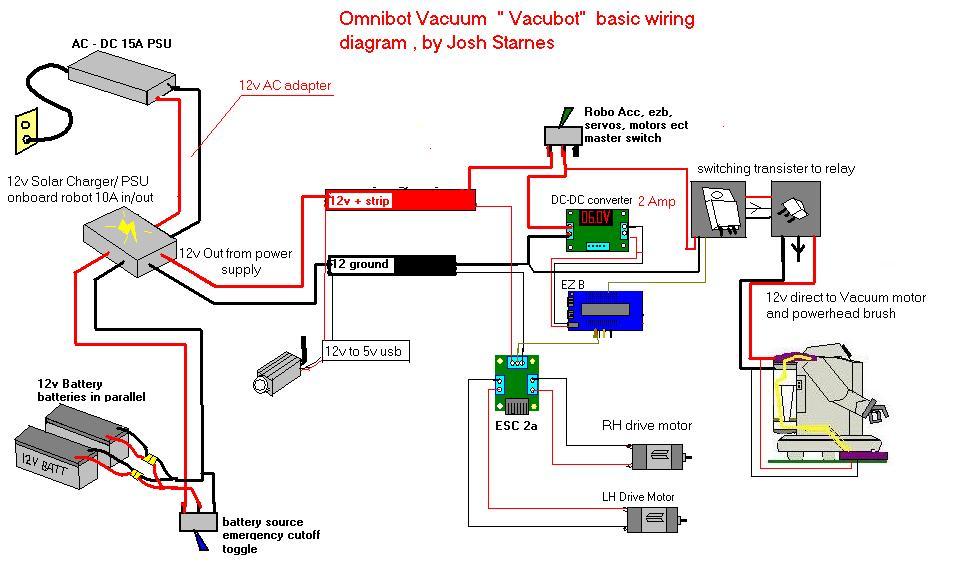
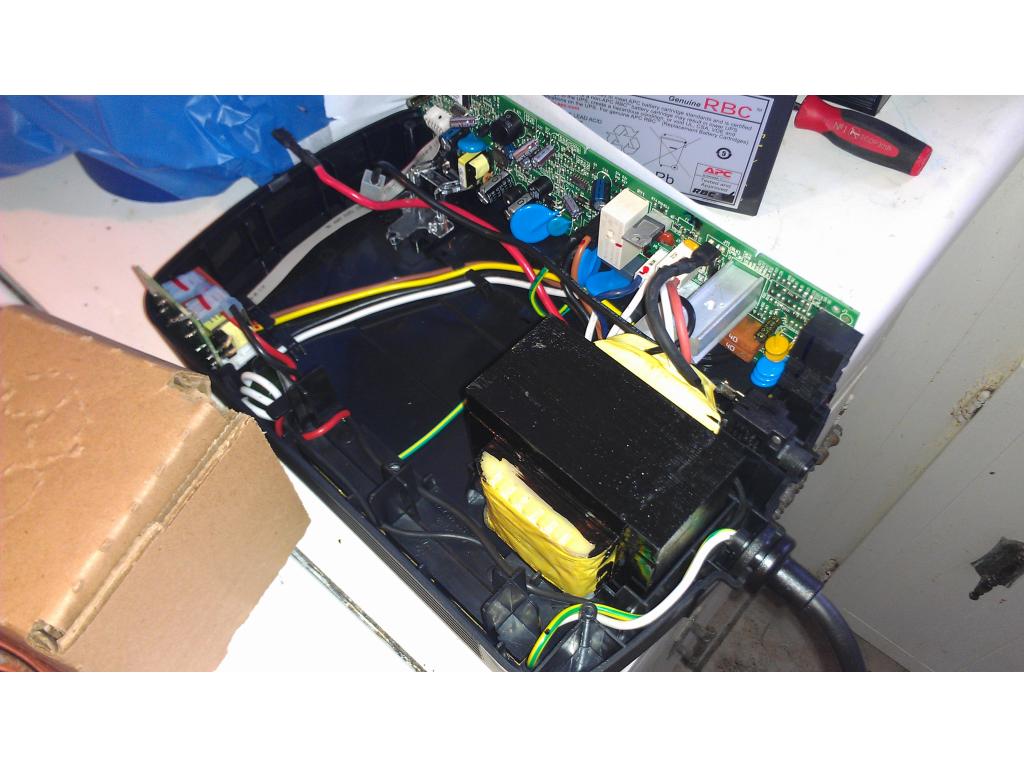
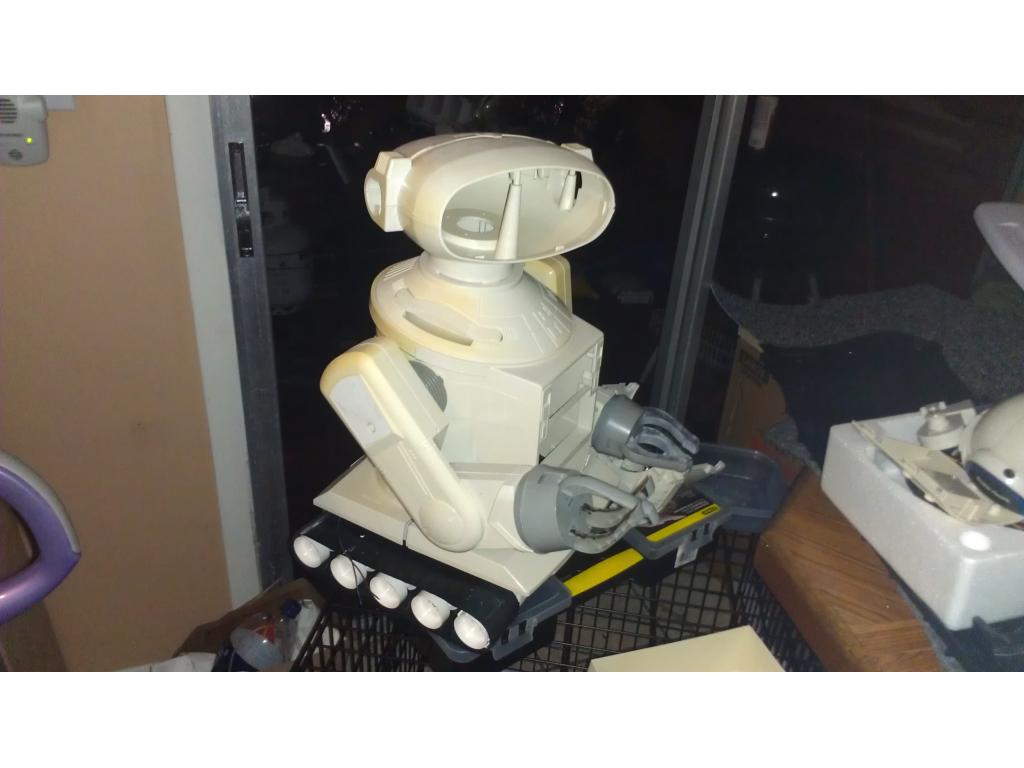
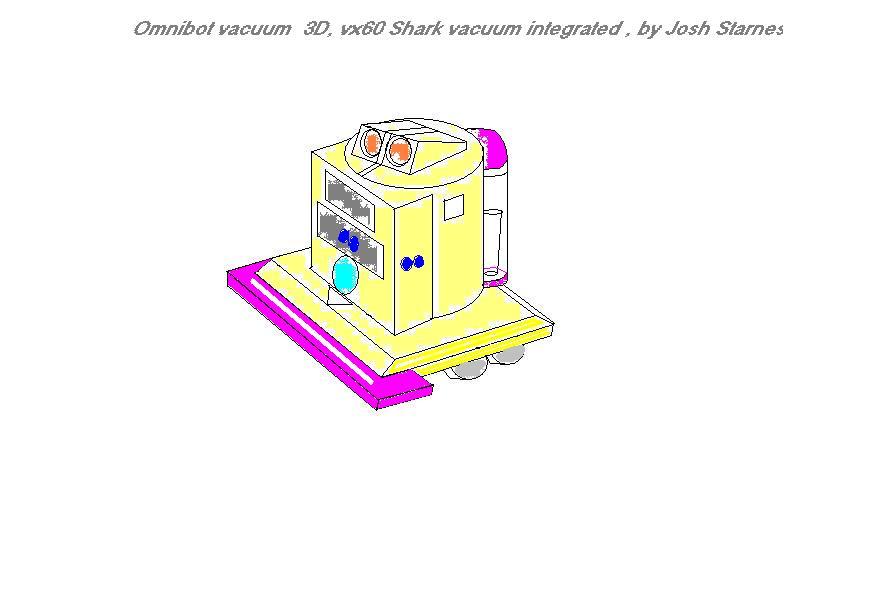
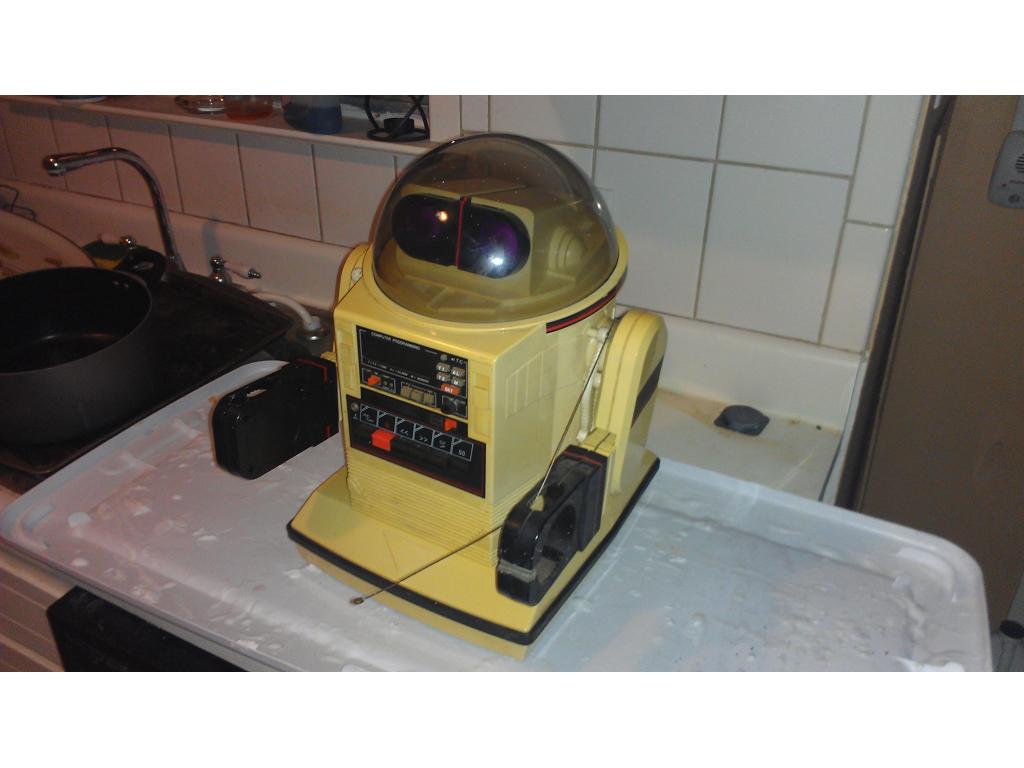
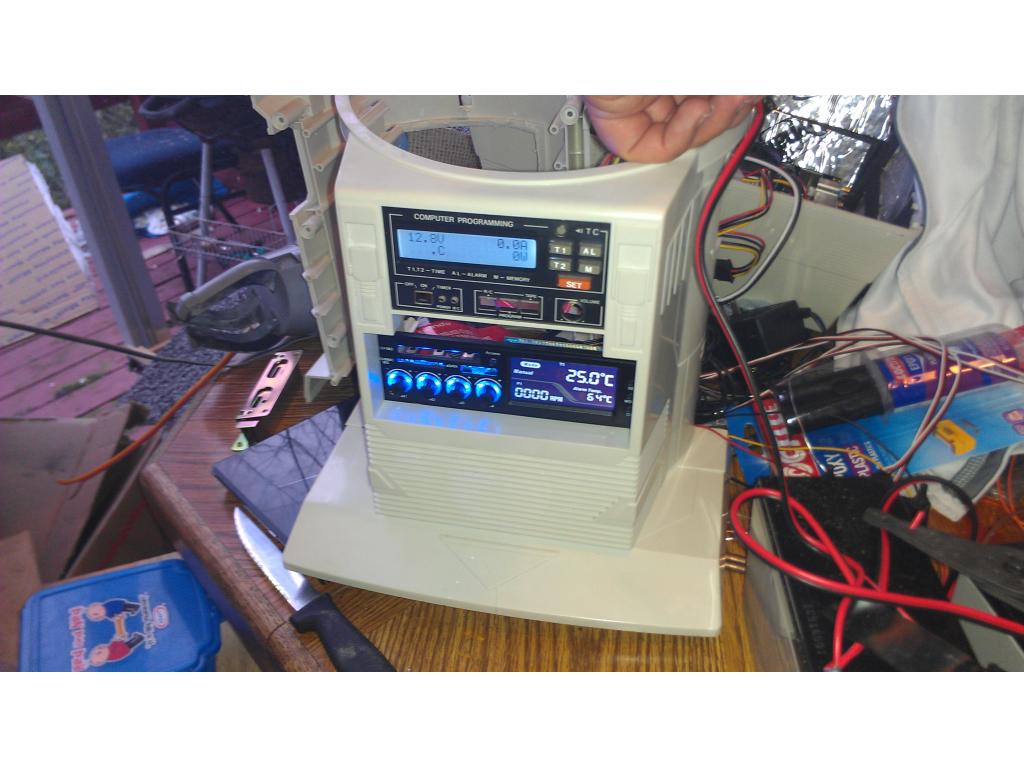
This project has evolved some , the basic rundown is I'm modding two Omnibots , one a regular the other a larger 2000 model. I will have two ezb kits , rad base idea was thrown out because of so much noise but could go back on the table if the omnibot drivetrain is too weak to pull it.
By jstarne1
— Last update

Discover more robots

DJ's Voice Recognition Robot
Cookie Monster robot showcases EZ-B voice recognition and speech synthesis with dynamic phrase-triggered commands and...
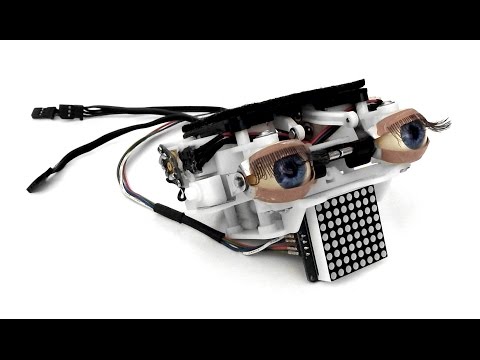
Smarty's Ez-Robot Kissmet
Kissmet humanoid robot with black Ez-Robot Backpack, puppet eyes, LED mouth and touch sensors, expressing varied...
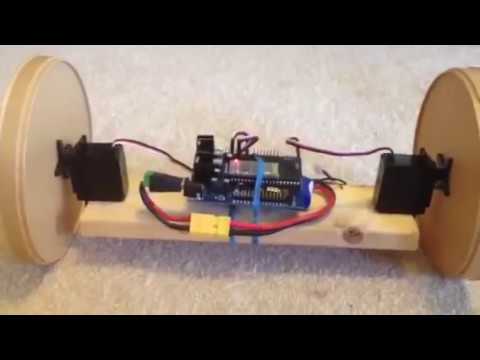
Steve's Rolling Bot Ez Robot Experiment
Build a rolling bot with EZ Robot EZB3 using coffee-lid wheels, continuous-rotation servos and LiPo-simple balance...

Wow Josh! This is looking super good! Are you going to make a hinged door so you can get at stuff without taking it totally apart?
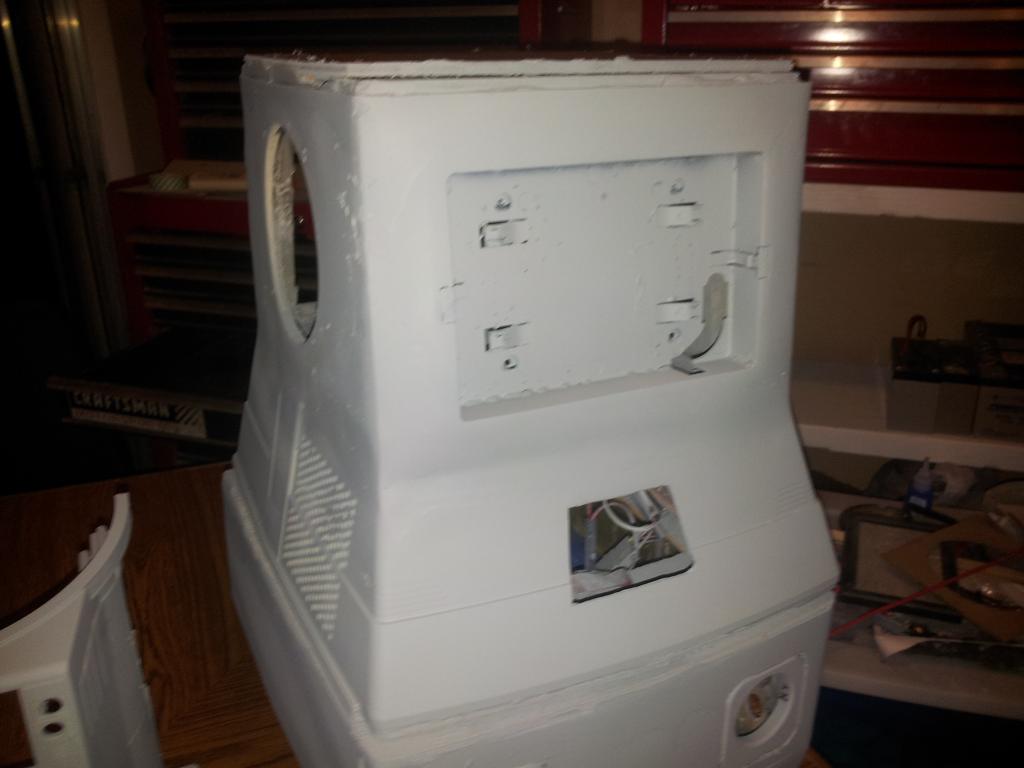
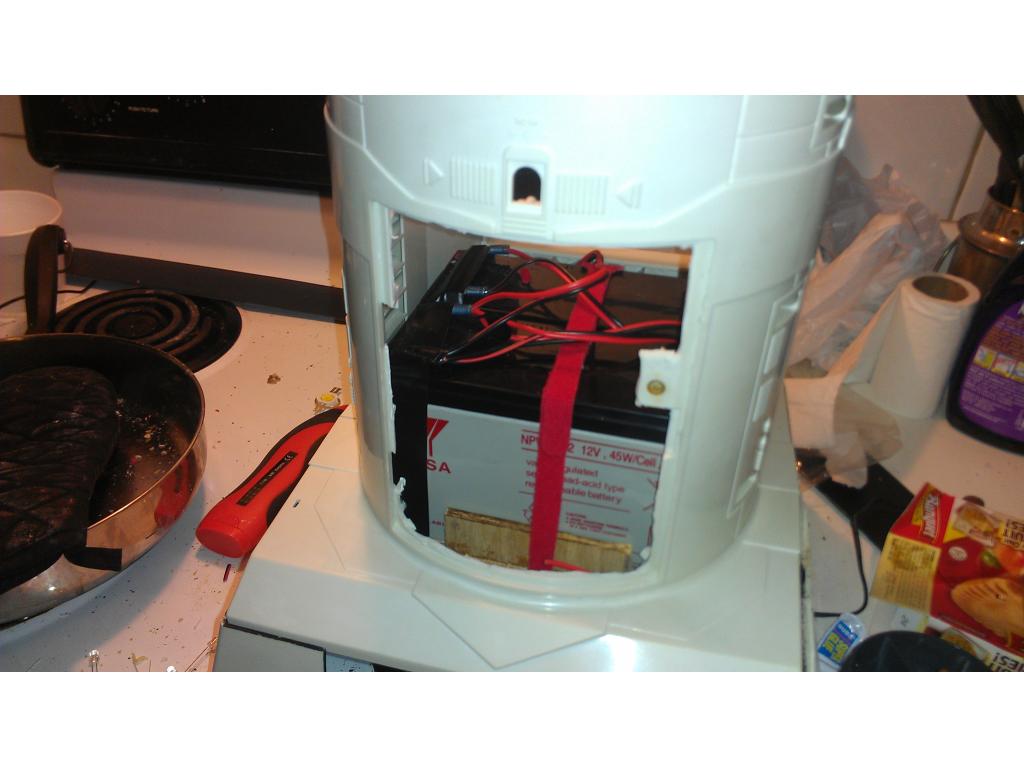
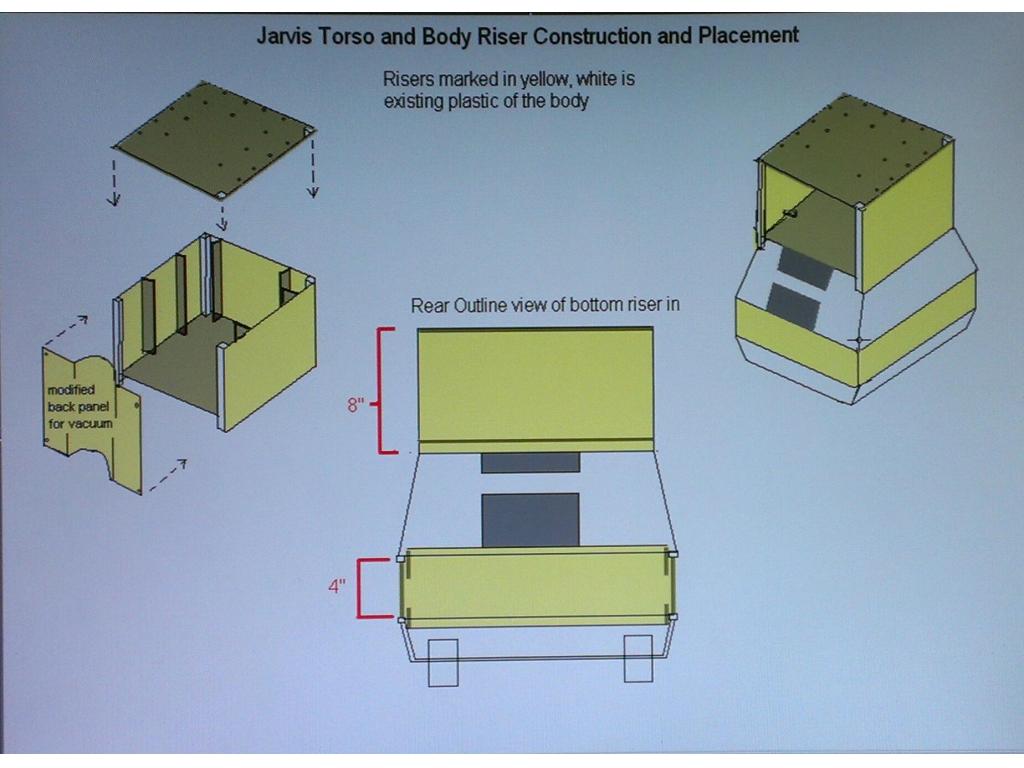
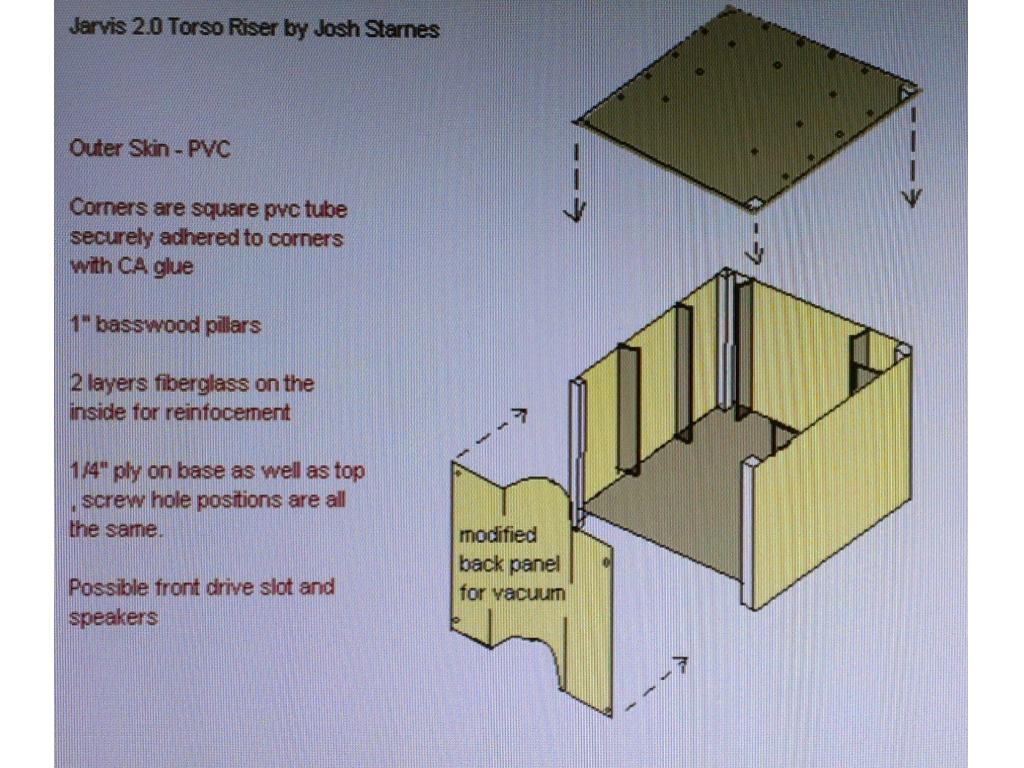
I plan on getting access through the back. Unscrewing the back of the torso would also open up thr back of the torso riser.
dont you have it fiberglass, and have a standoff in the center
Josh,
It look awesome....
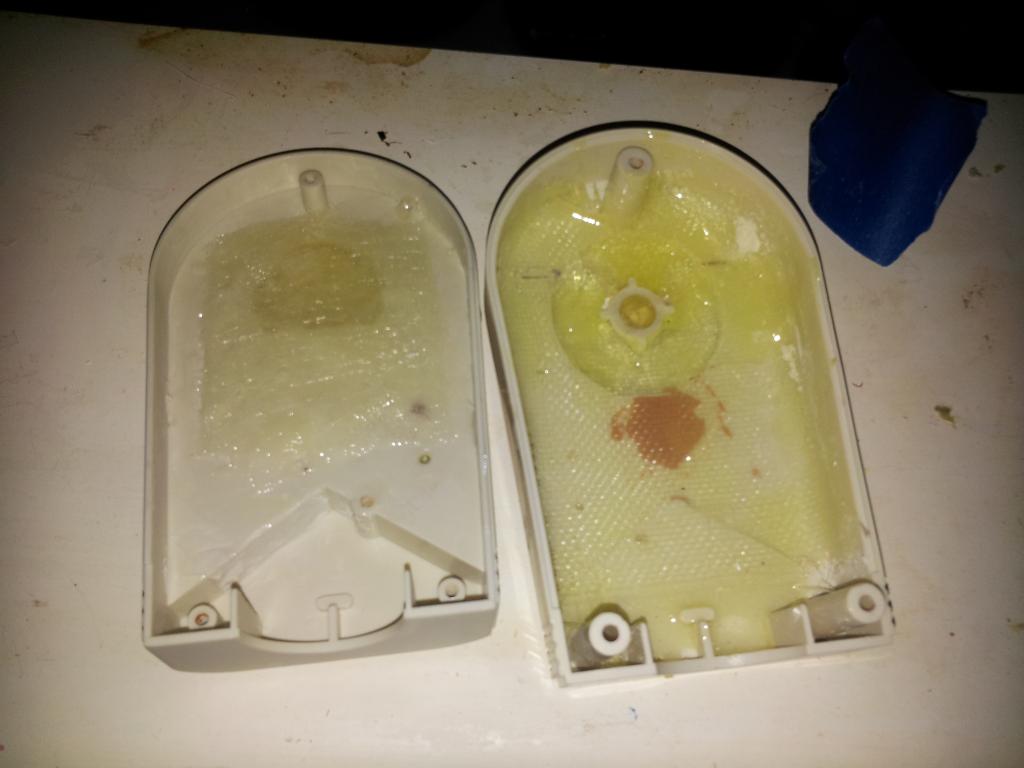
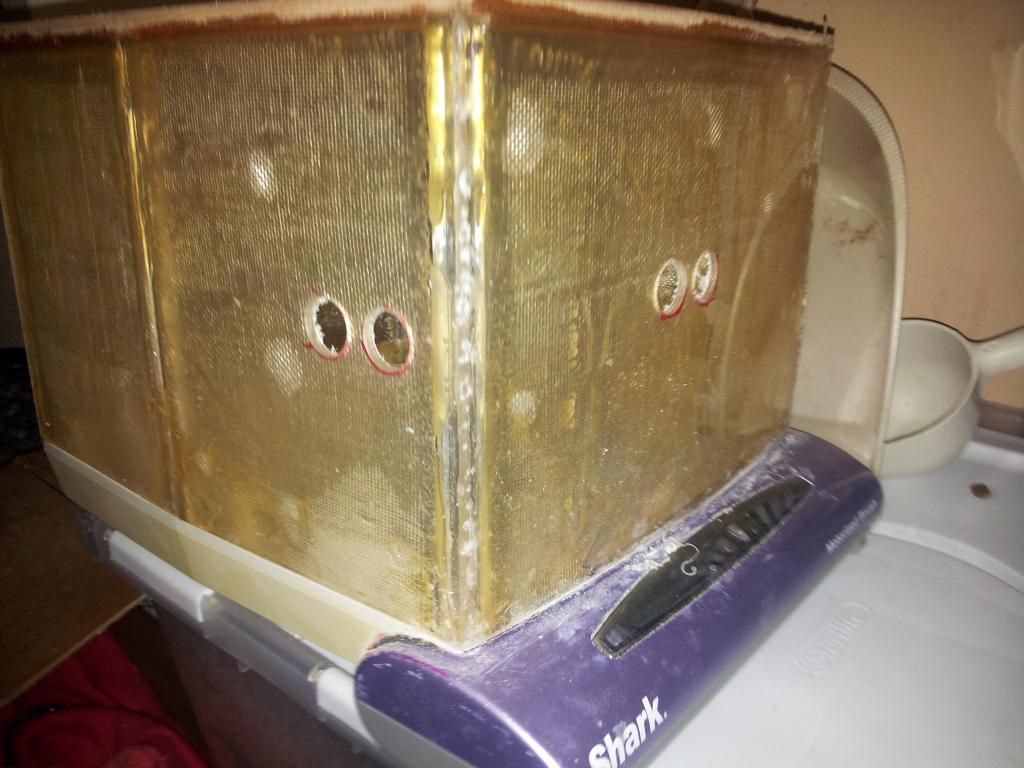
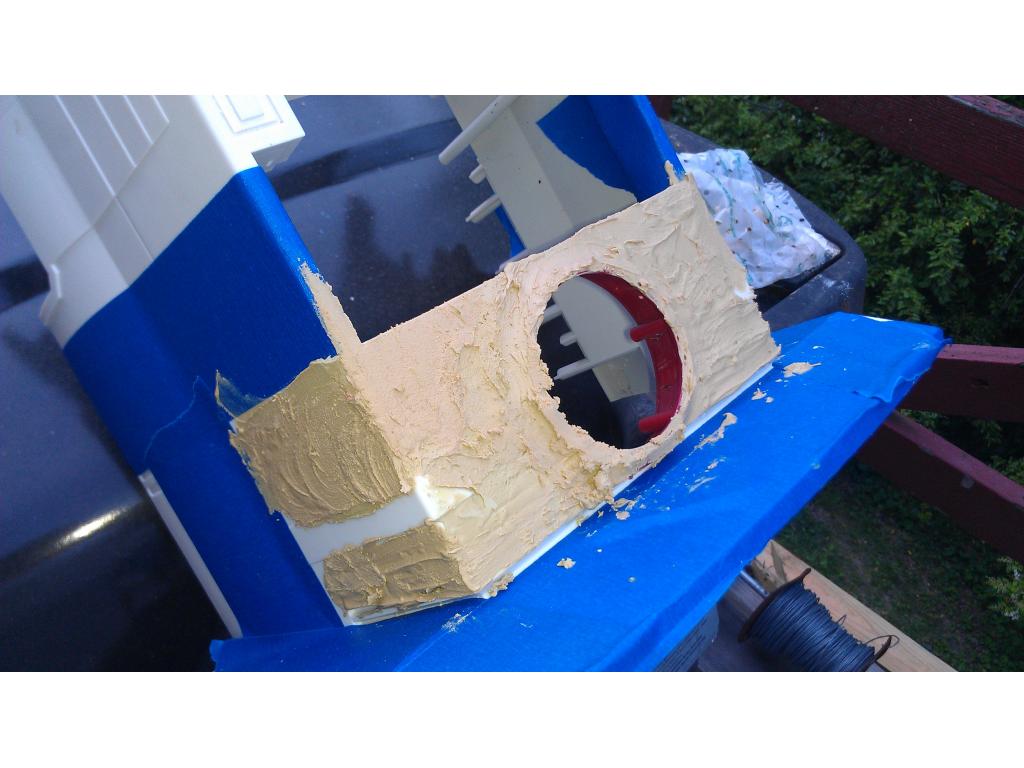
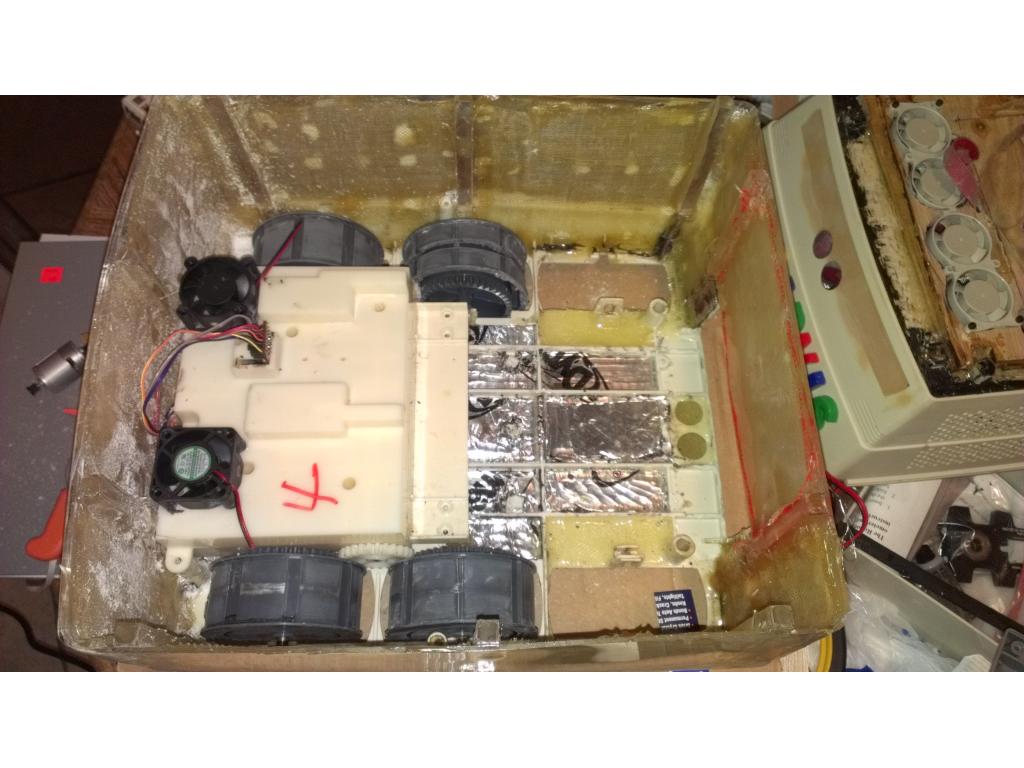
Yes it is fiberglassed , its difficult to explain but the back half of the torso will also be attatched to the back of the riser . I will be able to unscrew the back half and it comes off to expose everything. I planned on using all Allen screws. Anyways I will do some more work today.
thats mostly my favorate type of screws to use,about 90 % of my projects use them ,and it looks closer to a robot design ,then plain old flats or pan screws,my favorate tool ,besides my dremel is my complete set of tap and die
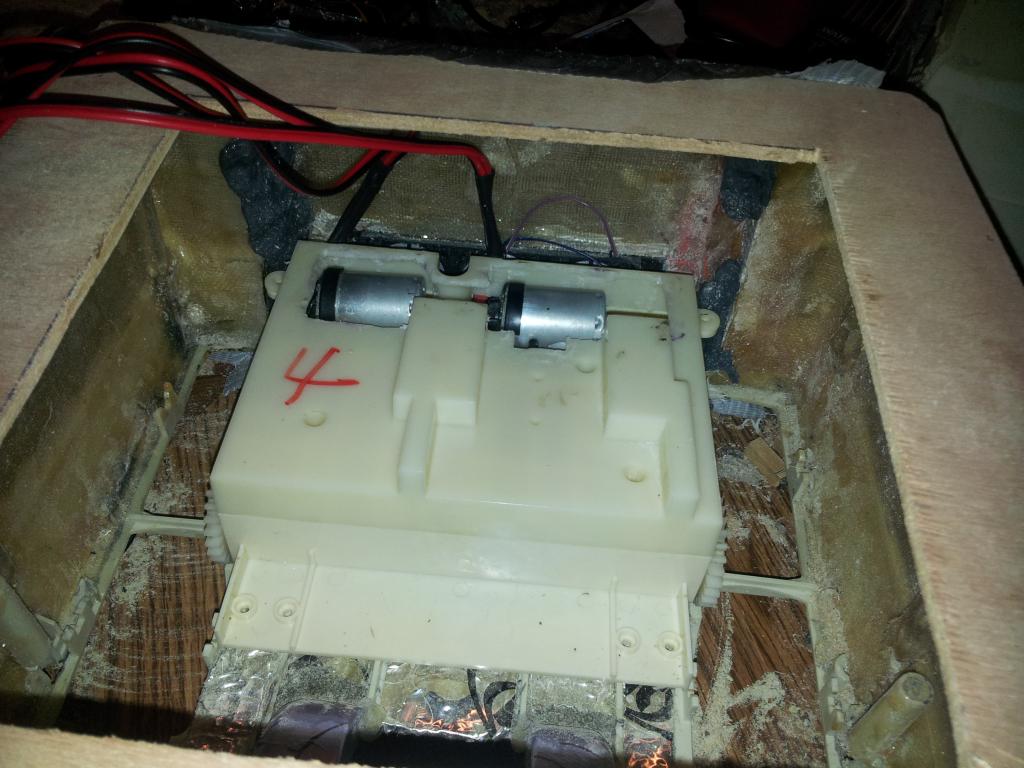
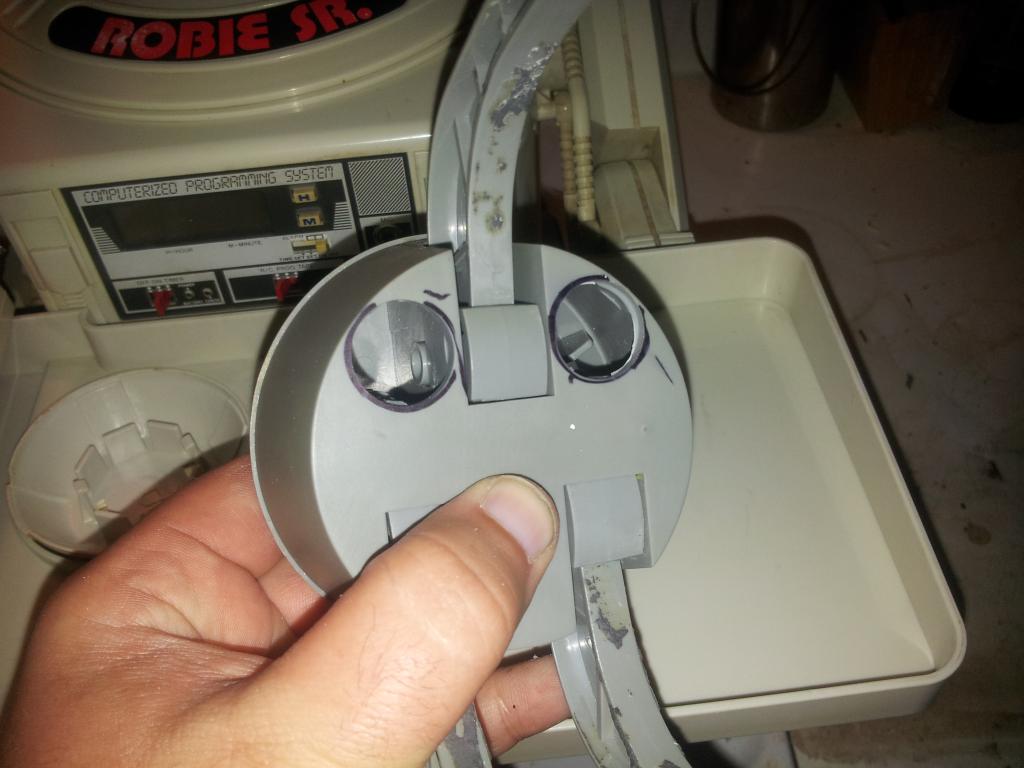
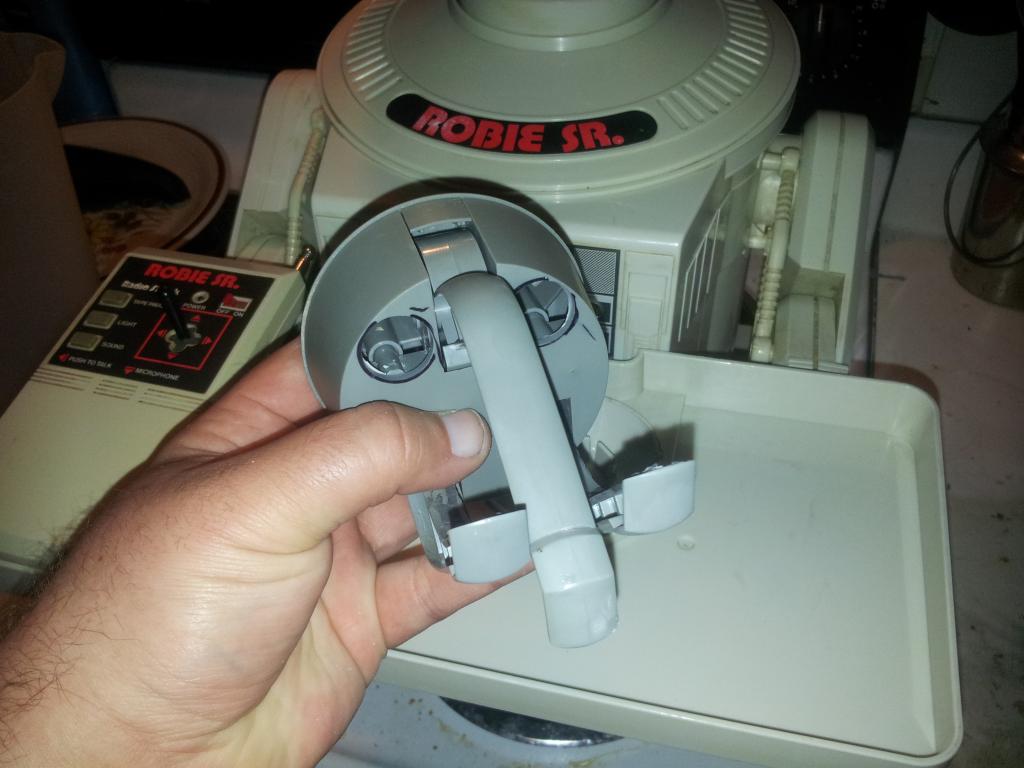
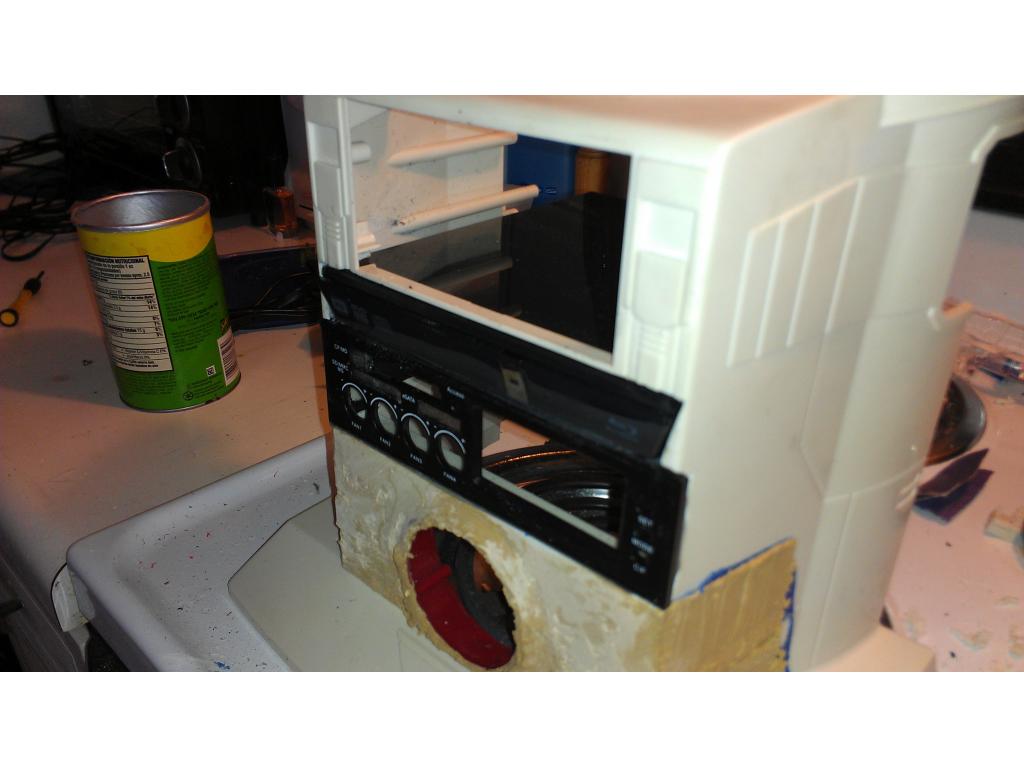
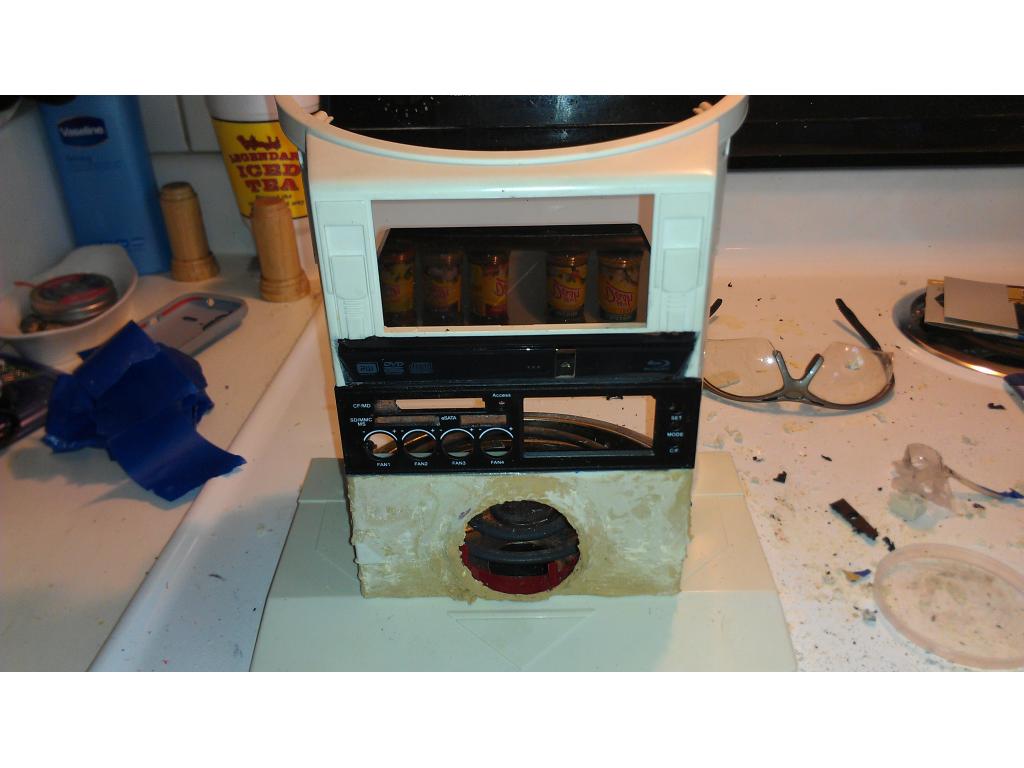
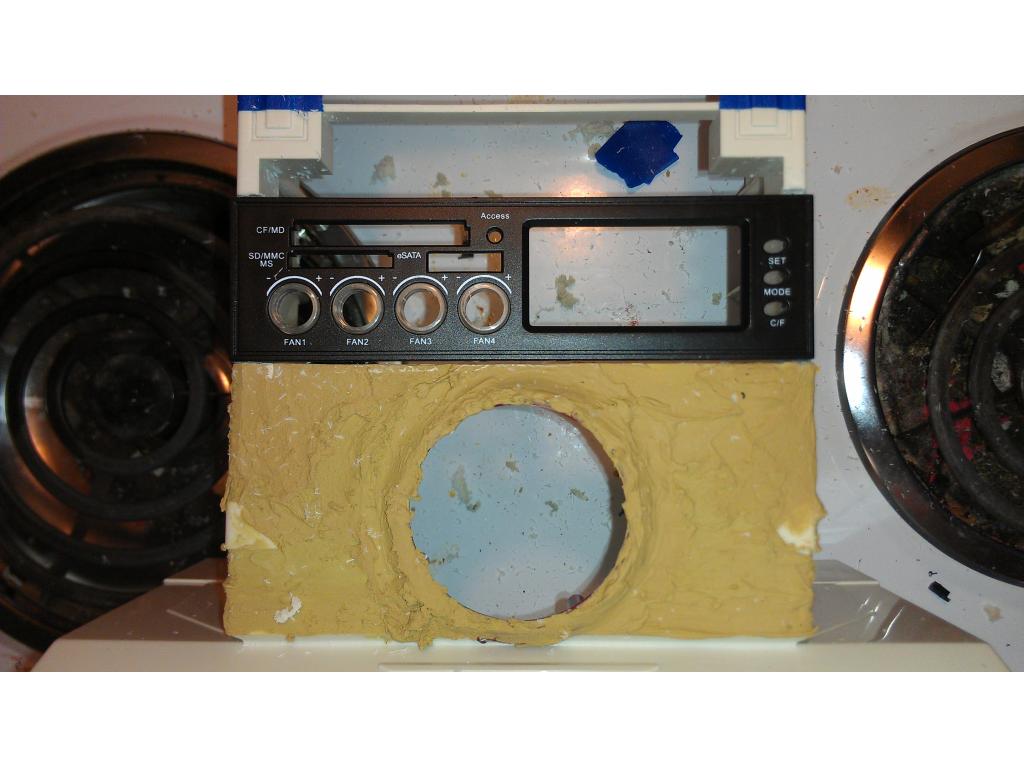
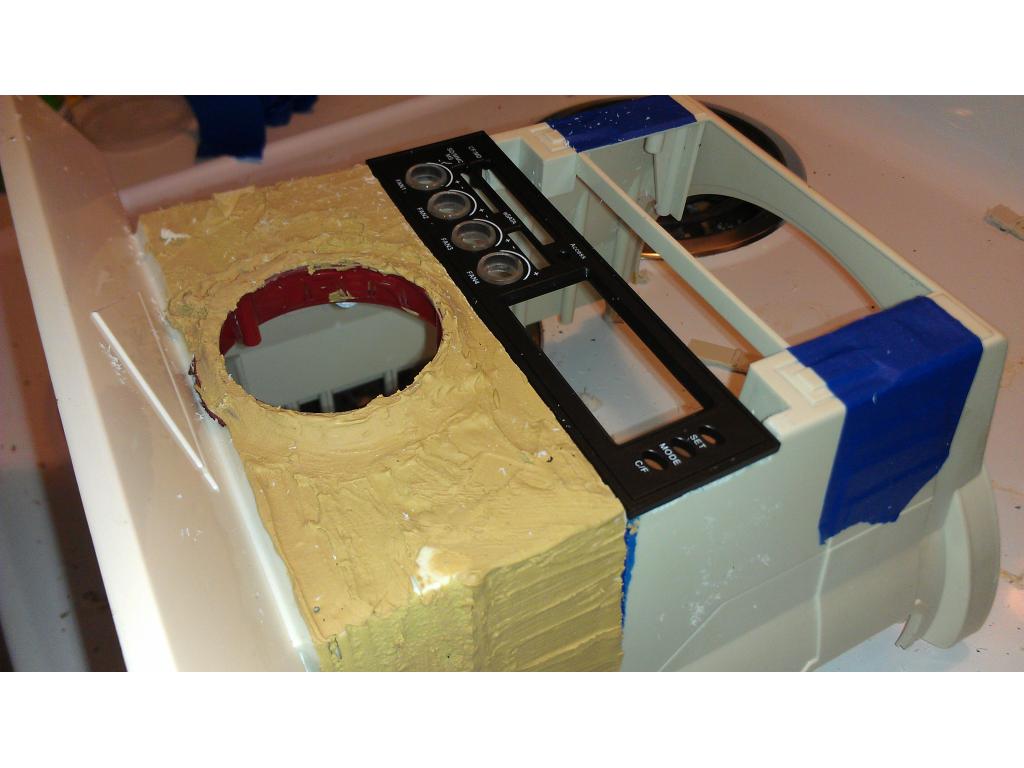
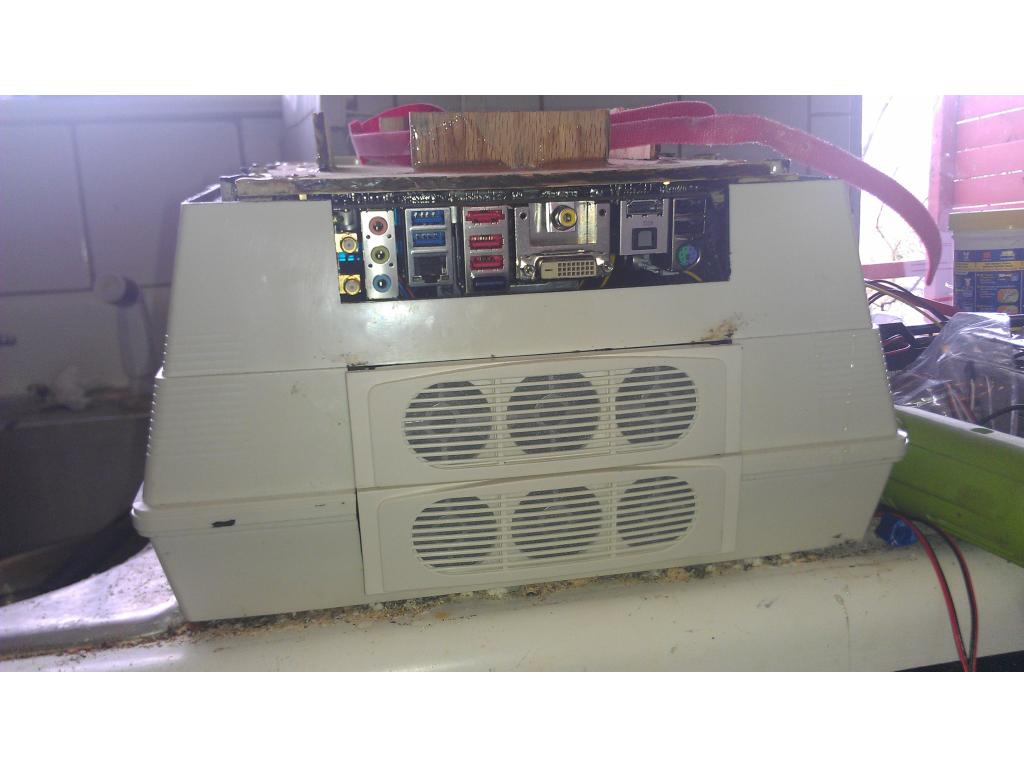
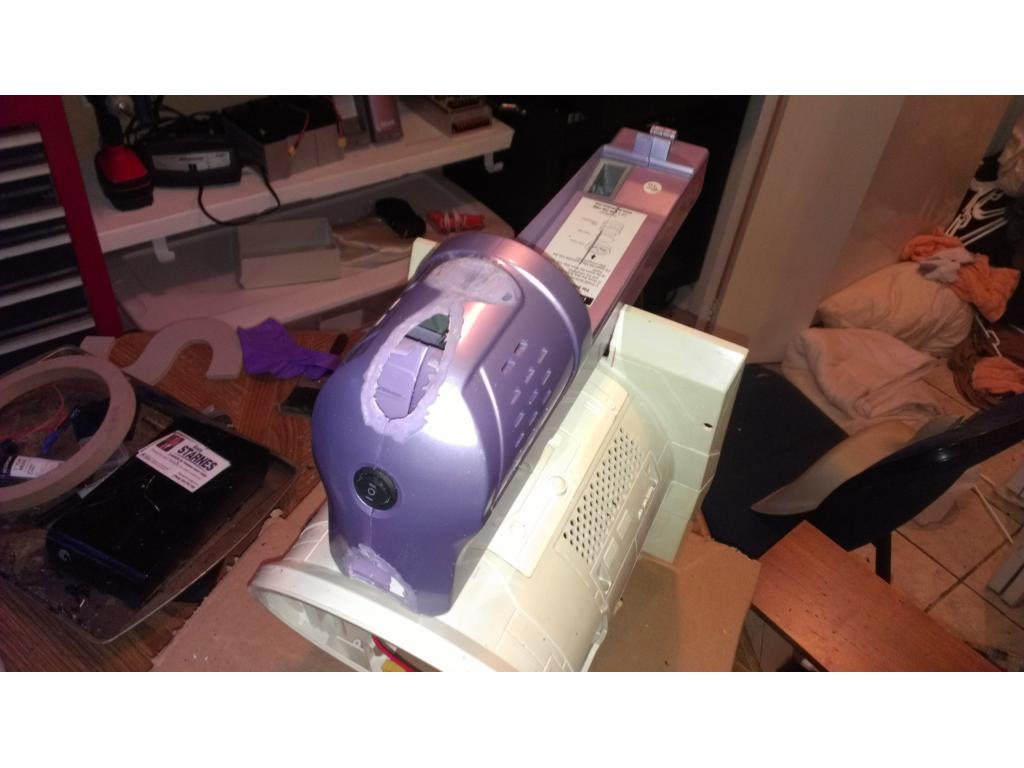
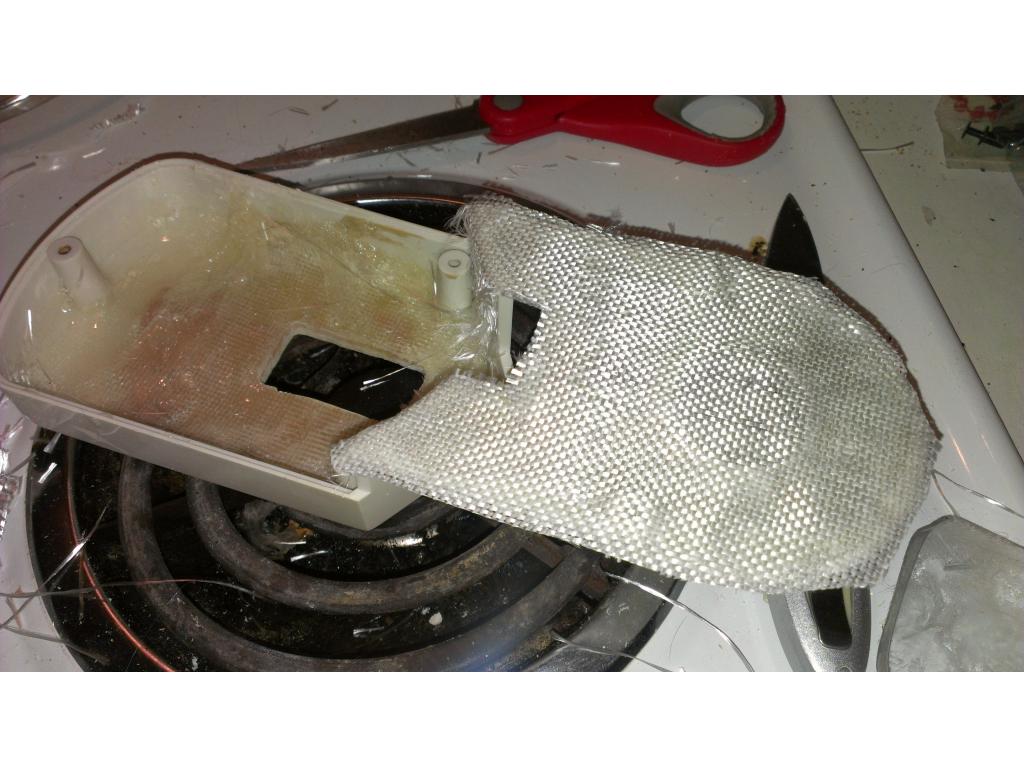
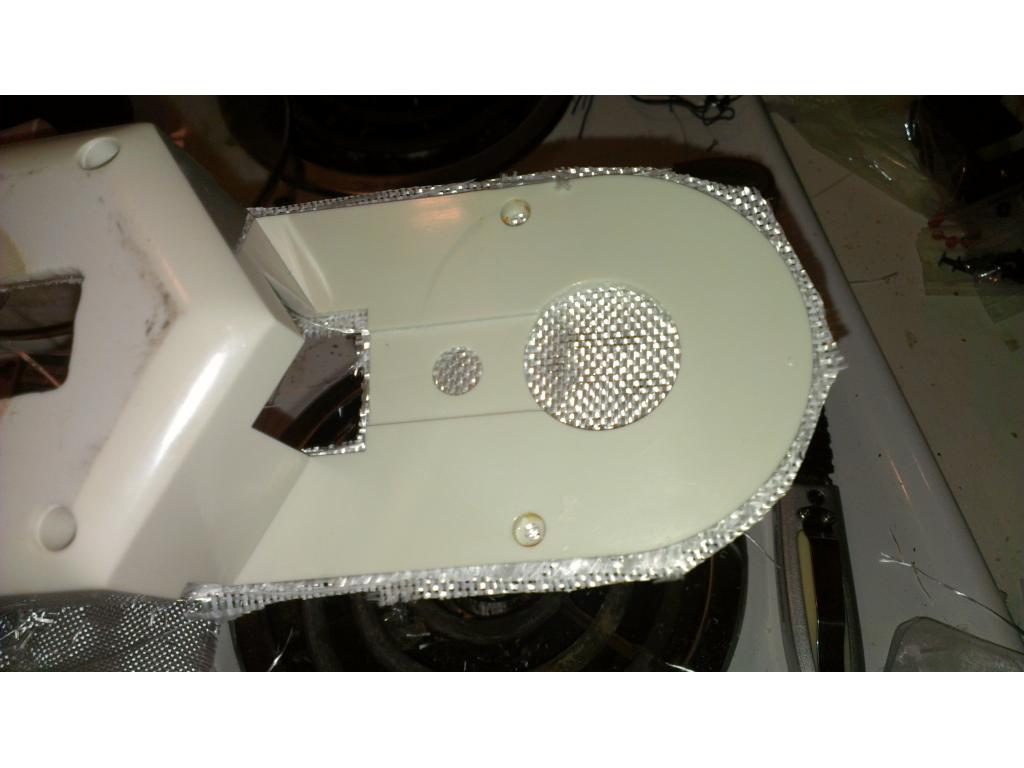
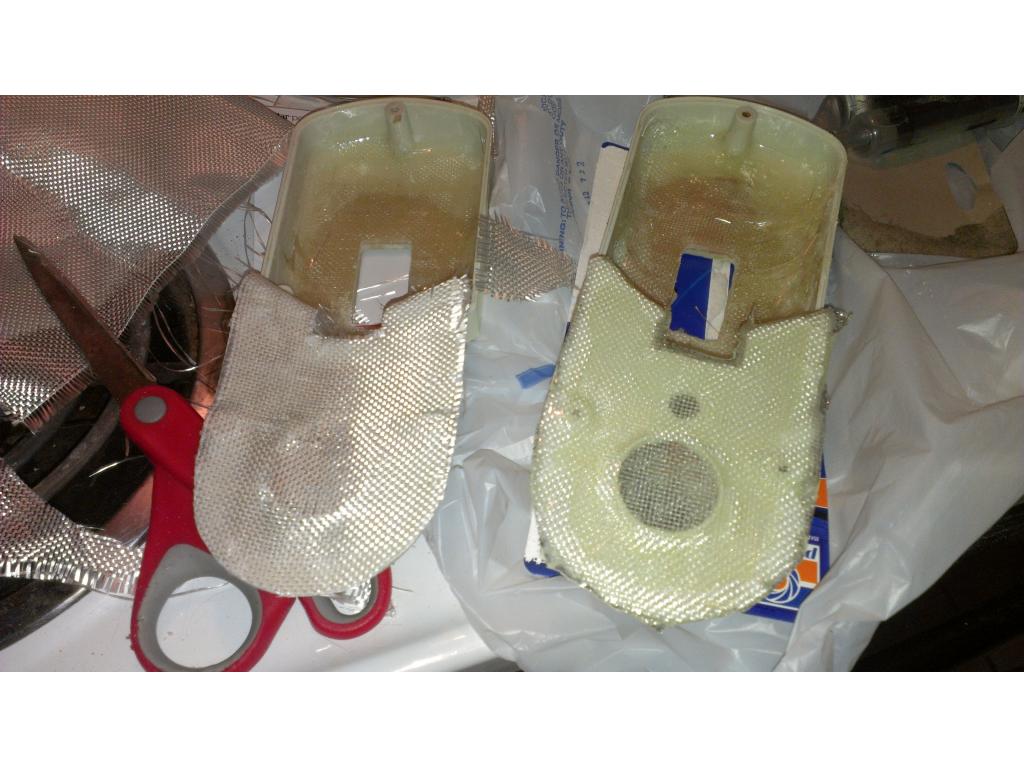
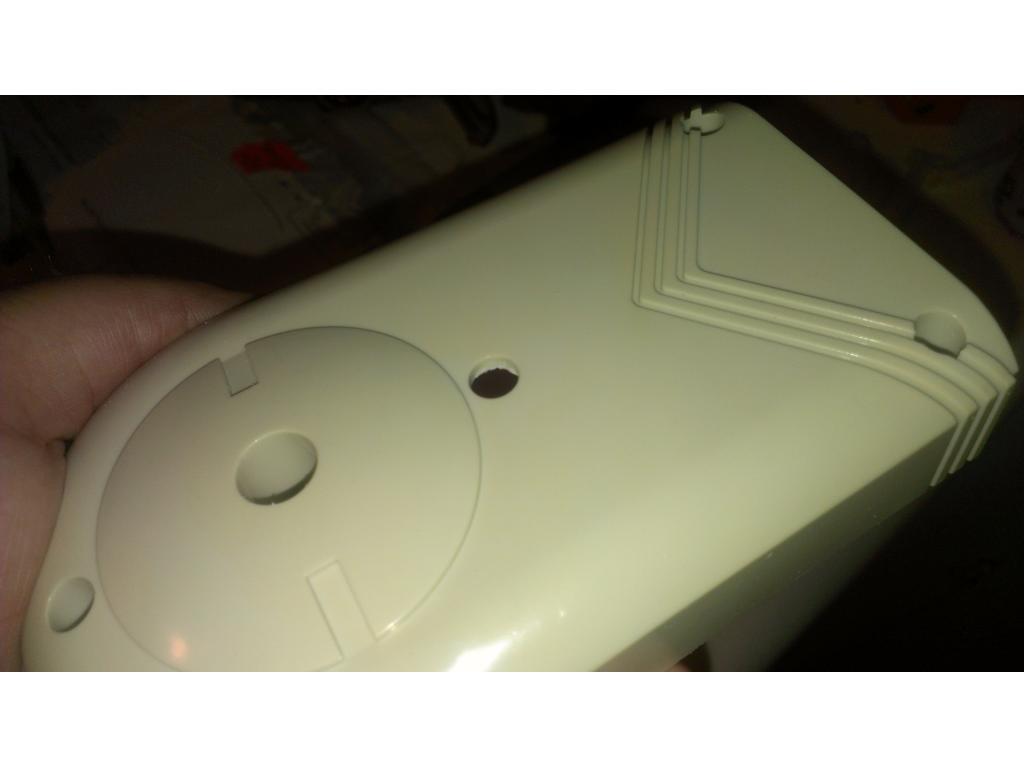
Ok continueing the riser connections...
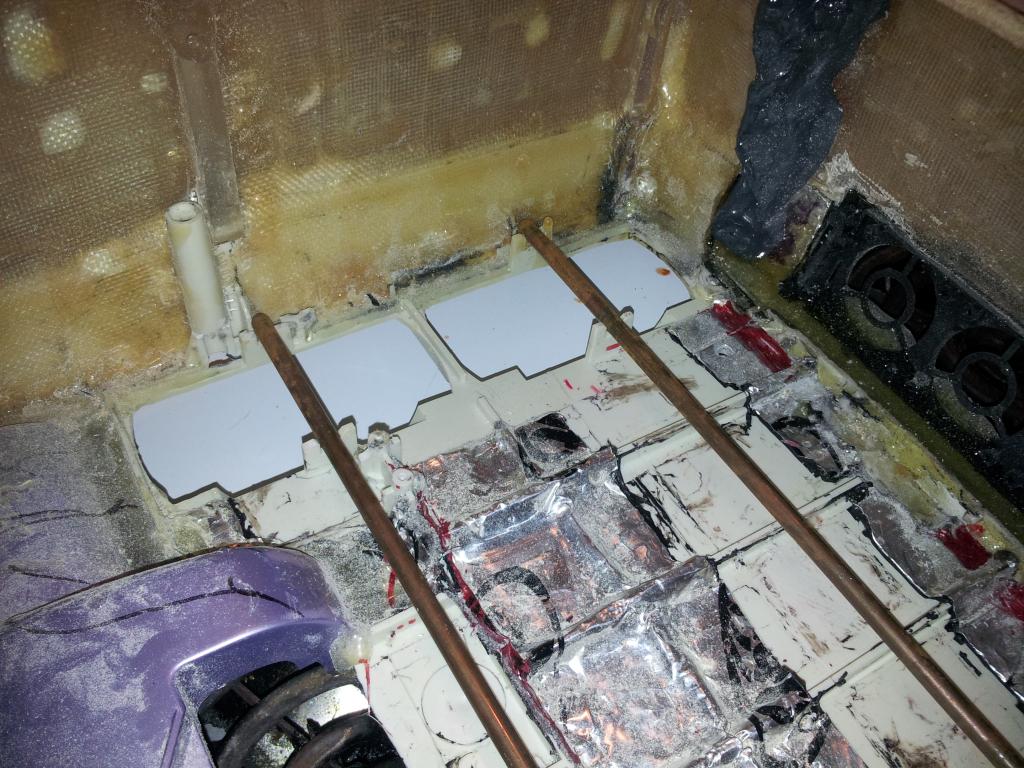
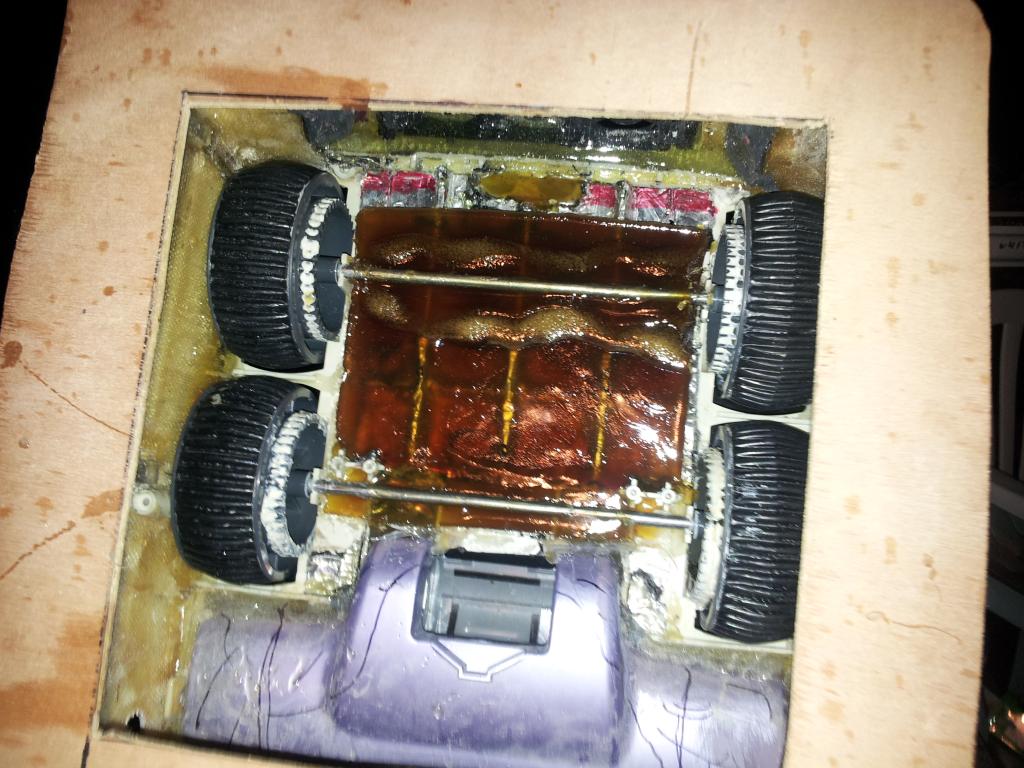
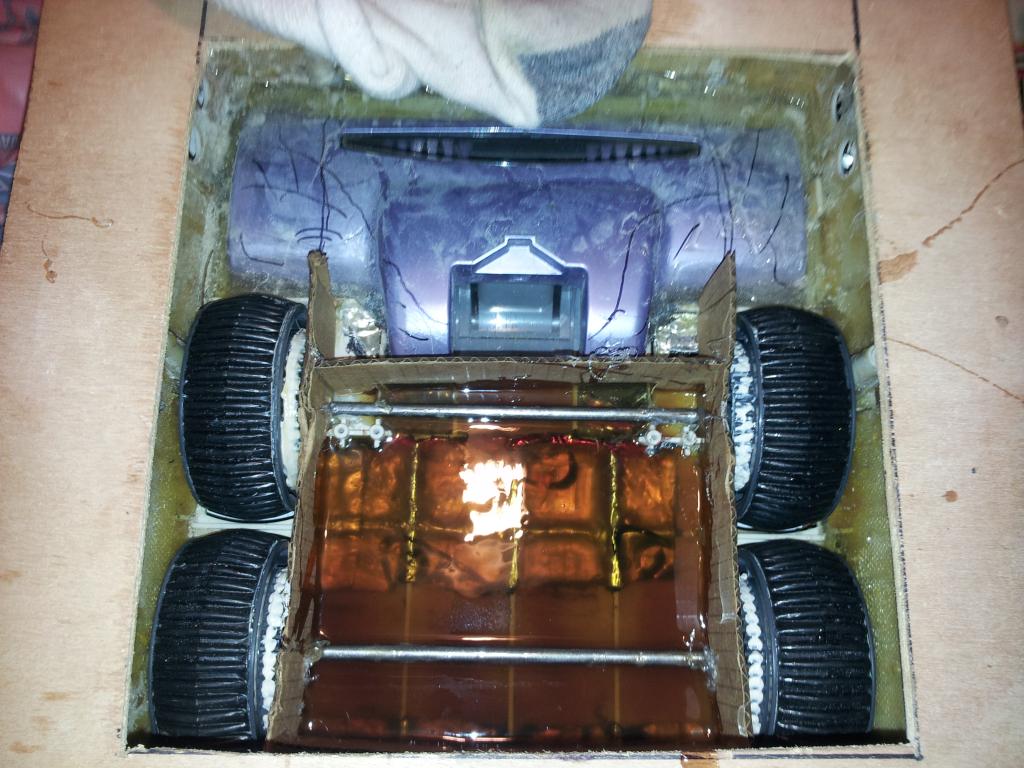
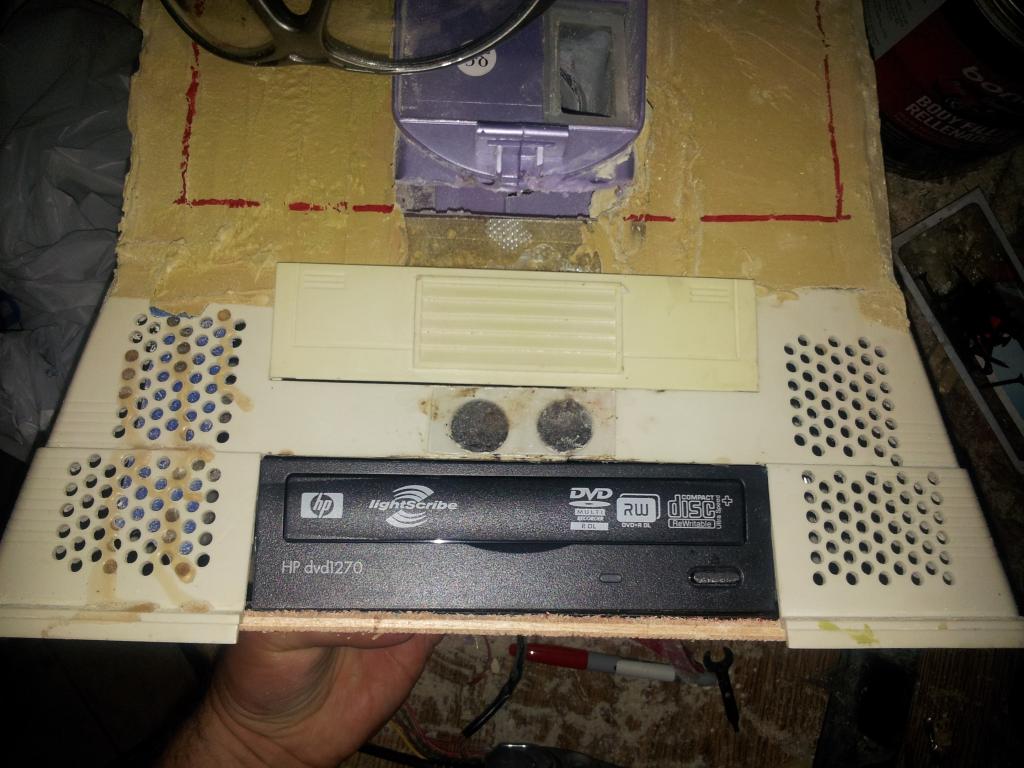
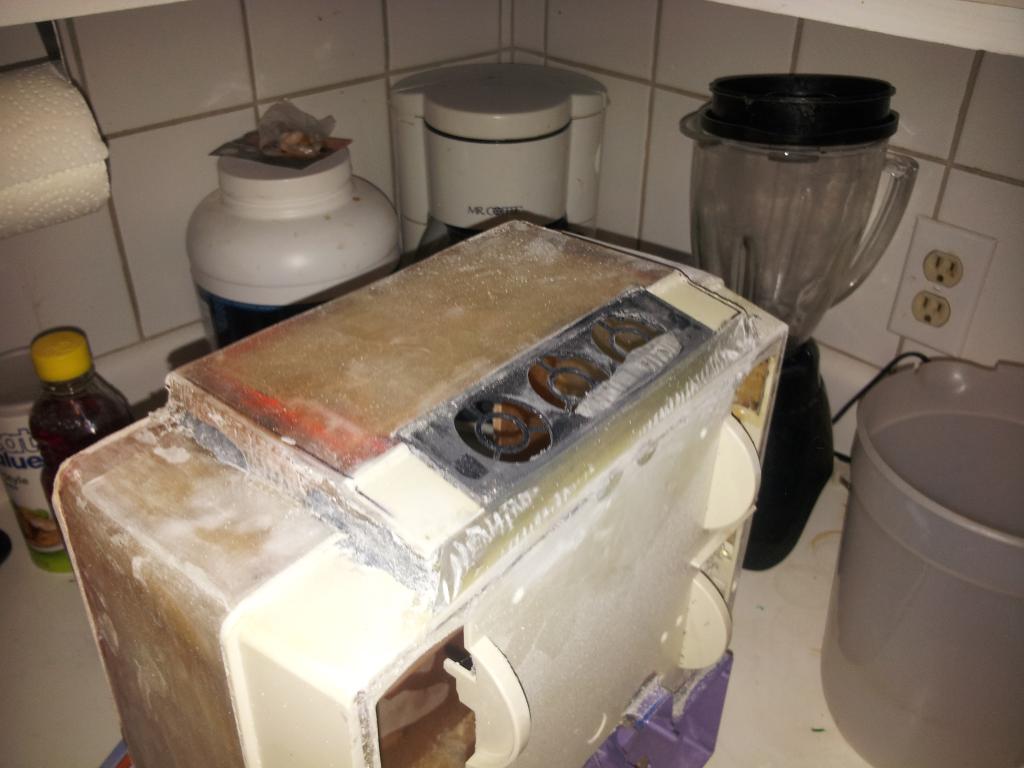
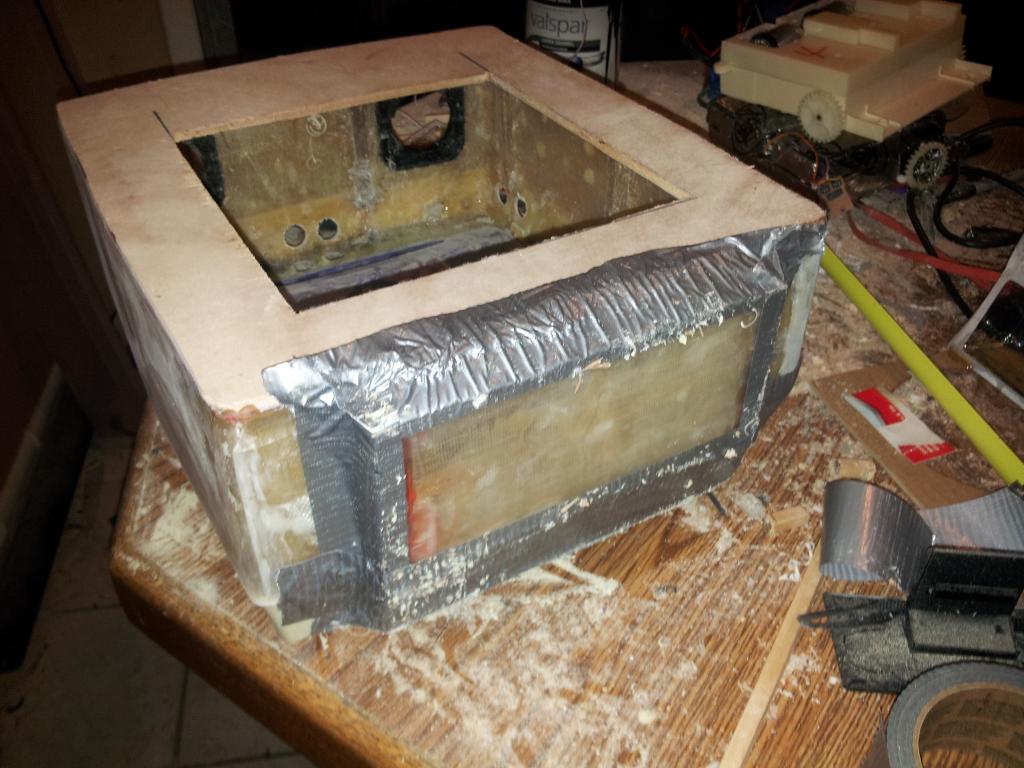
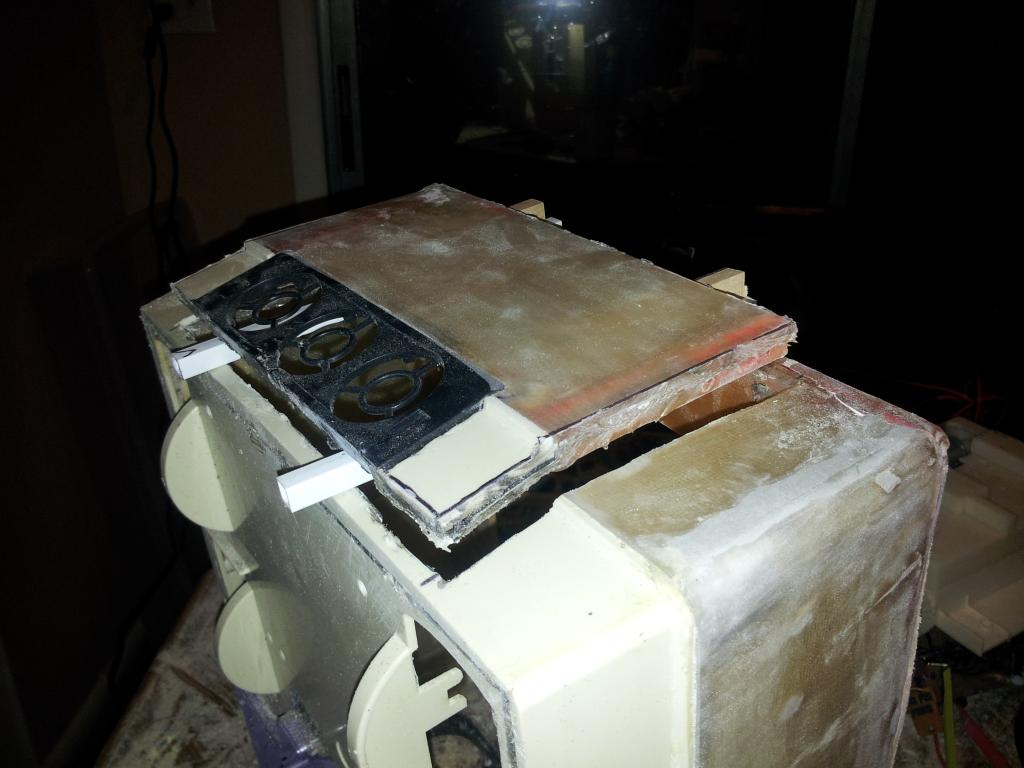
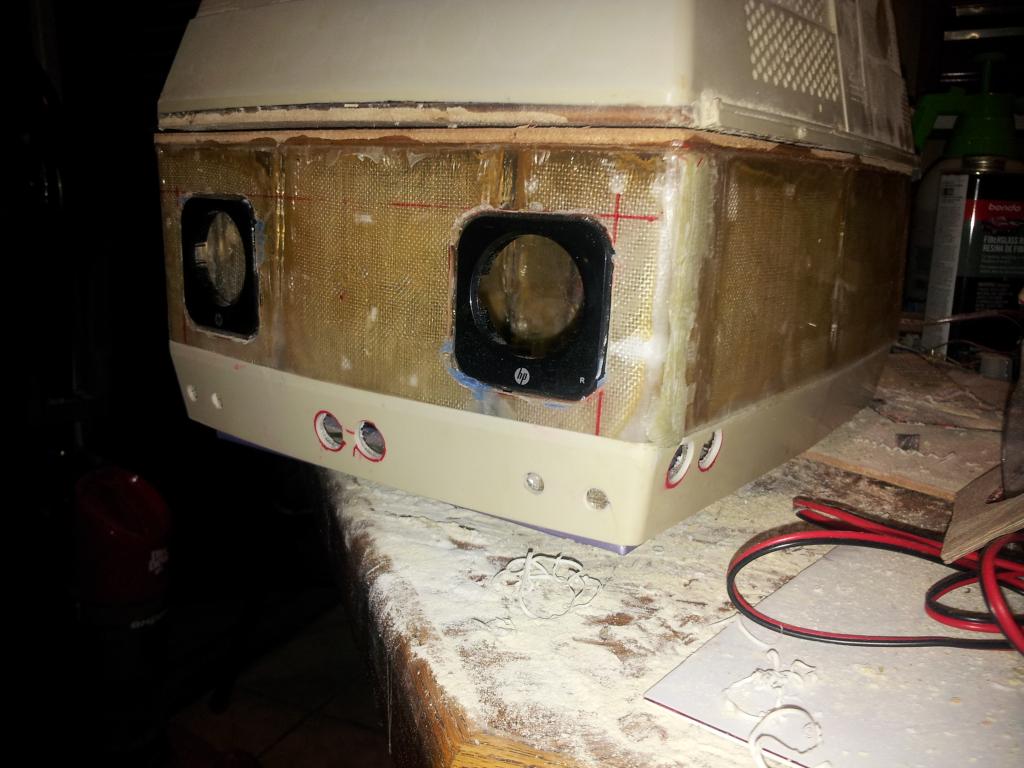
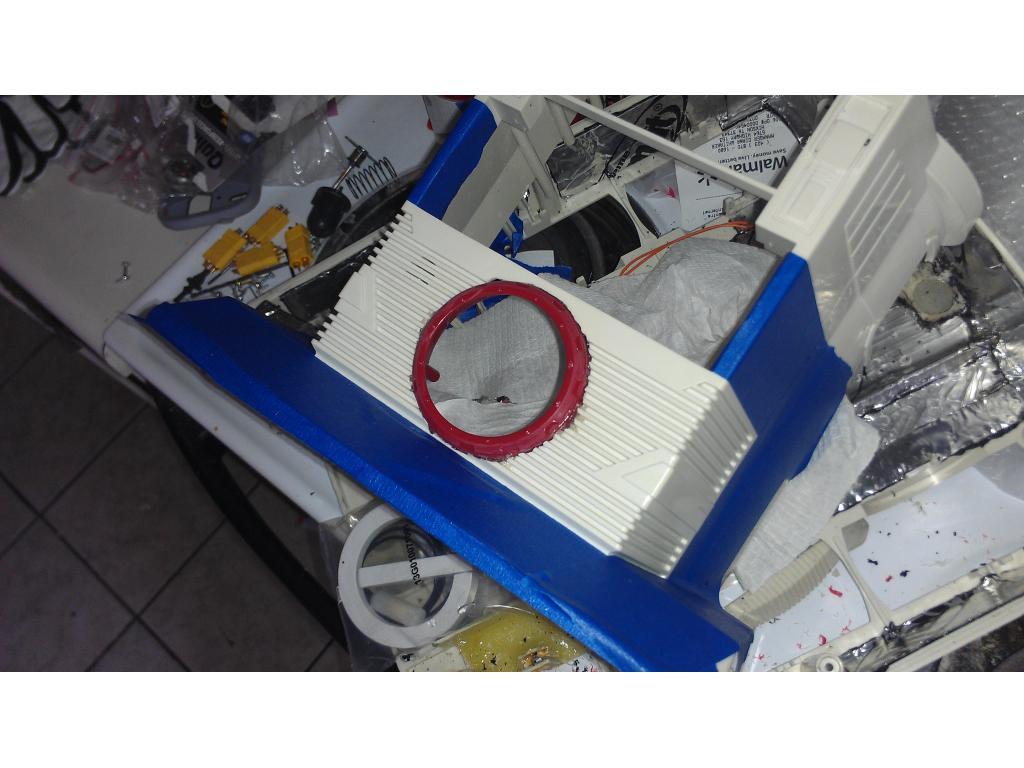
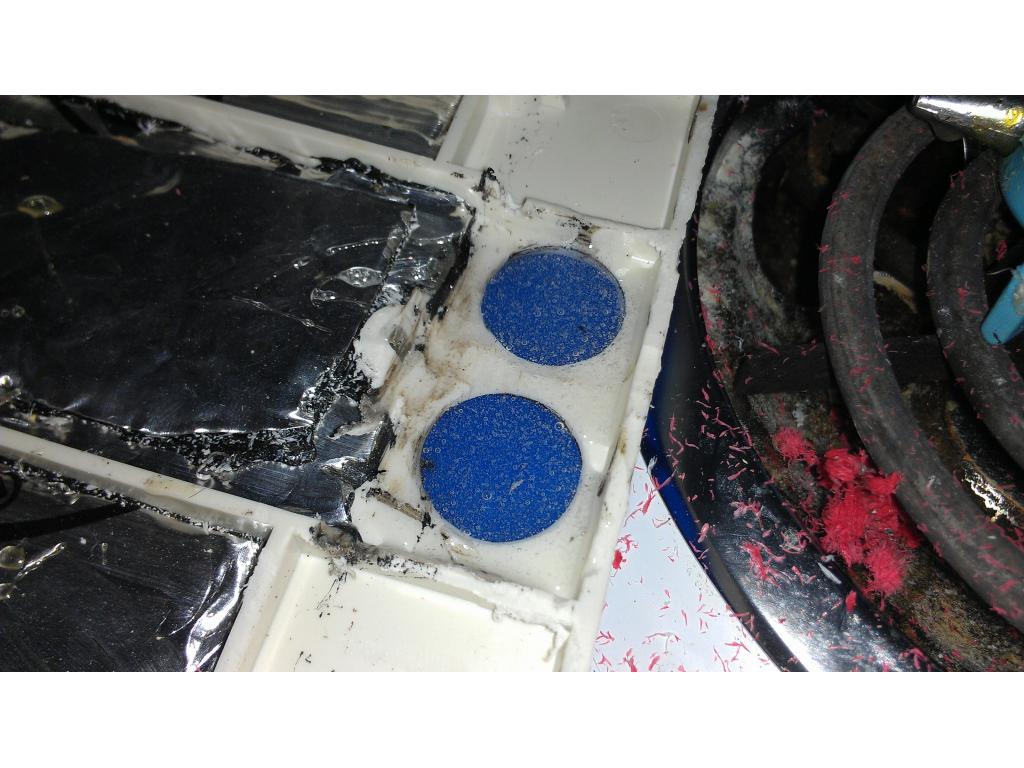
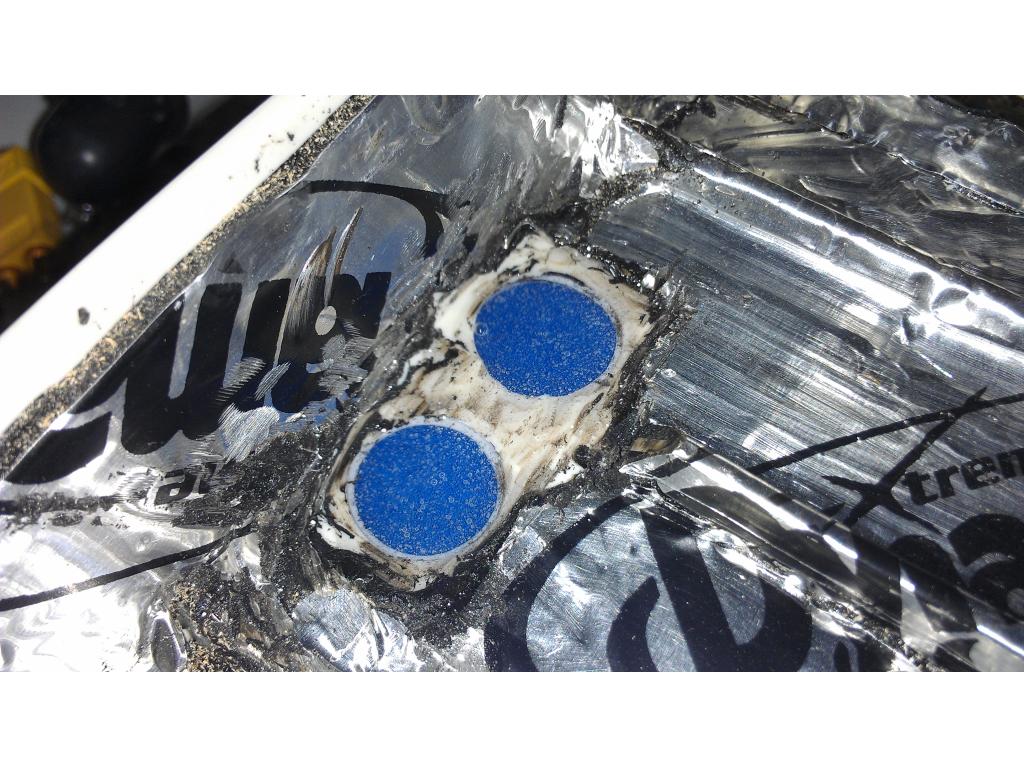
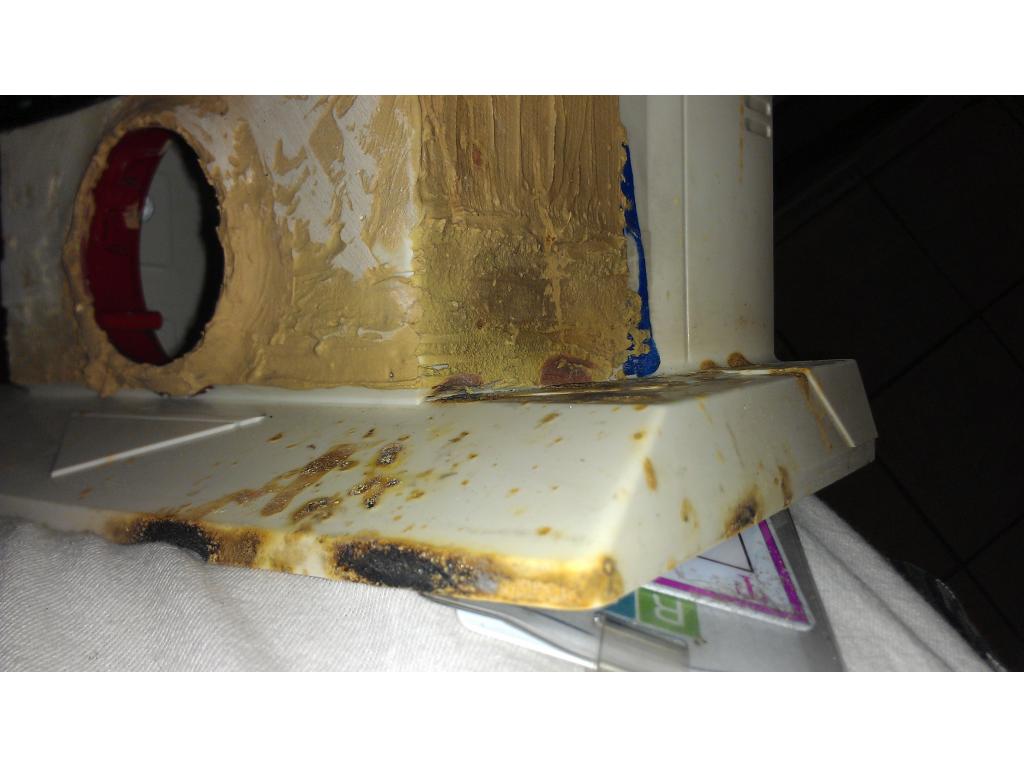
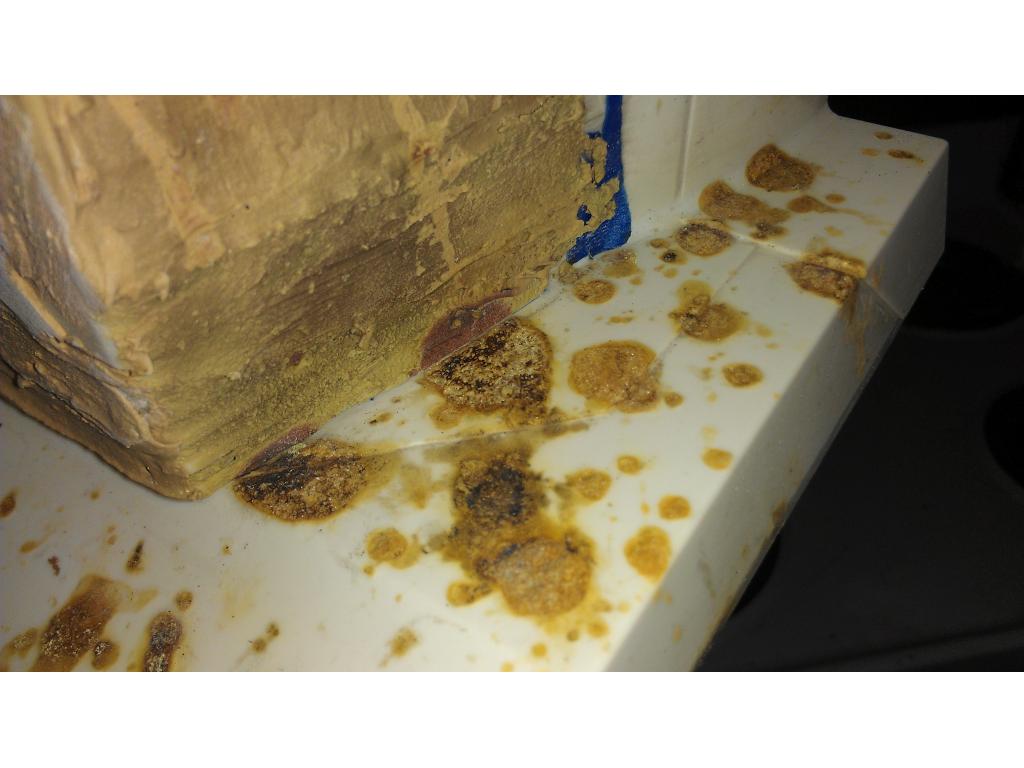
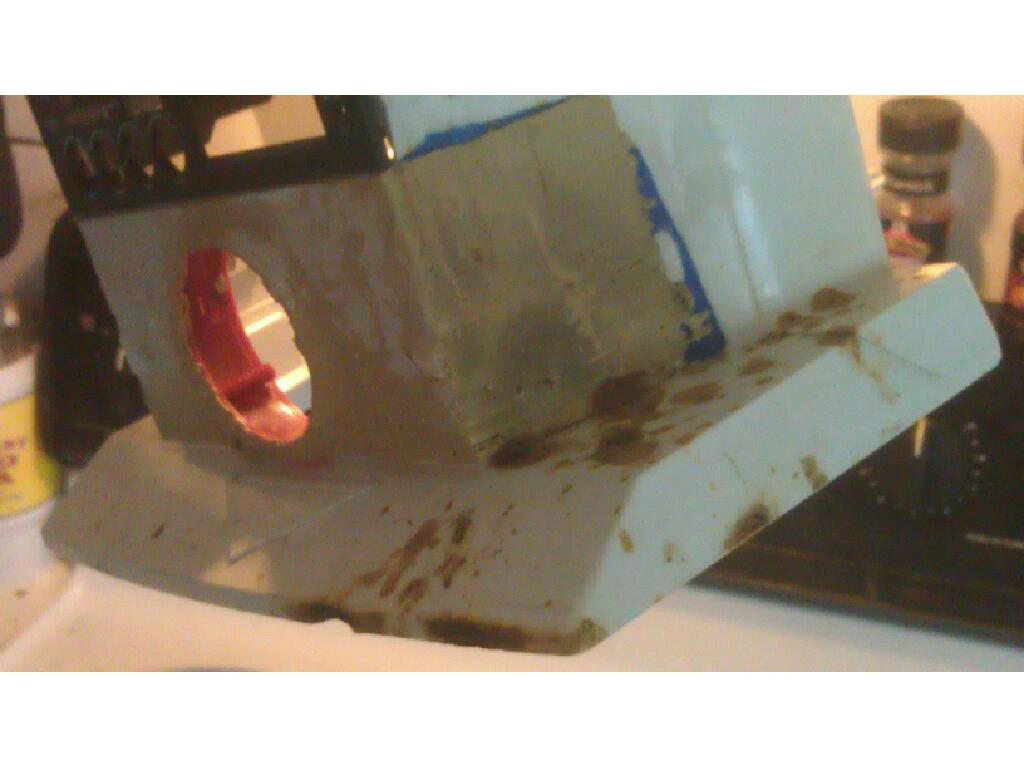
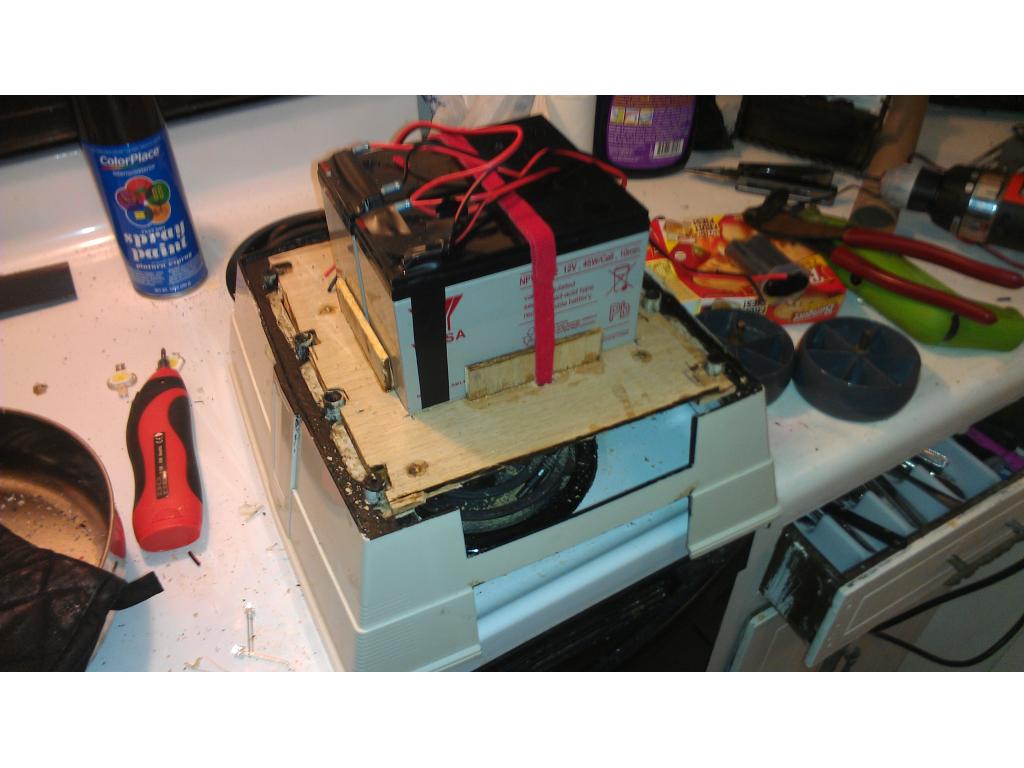
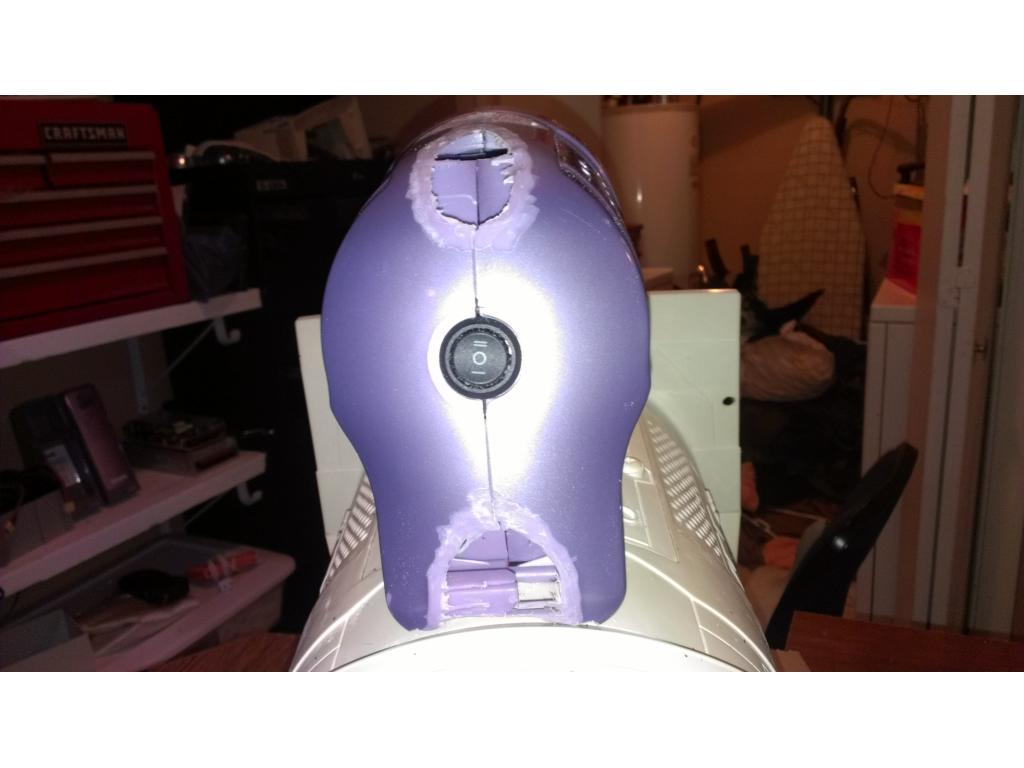
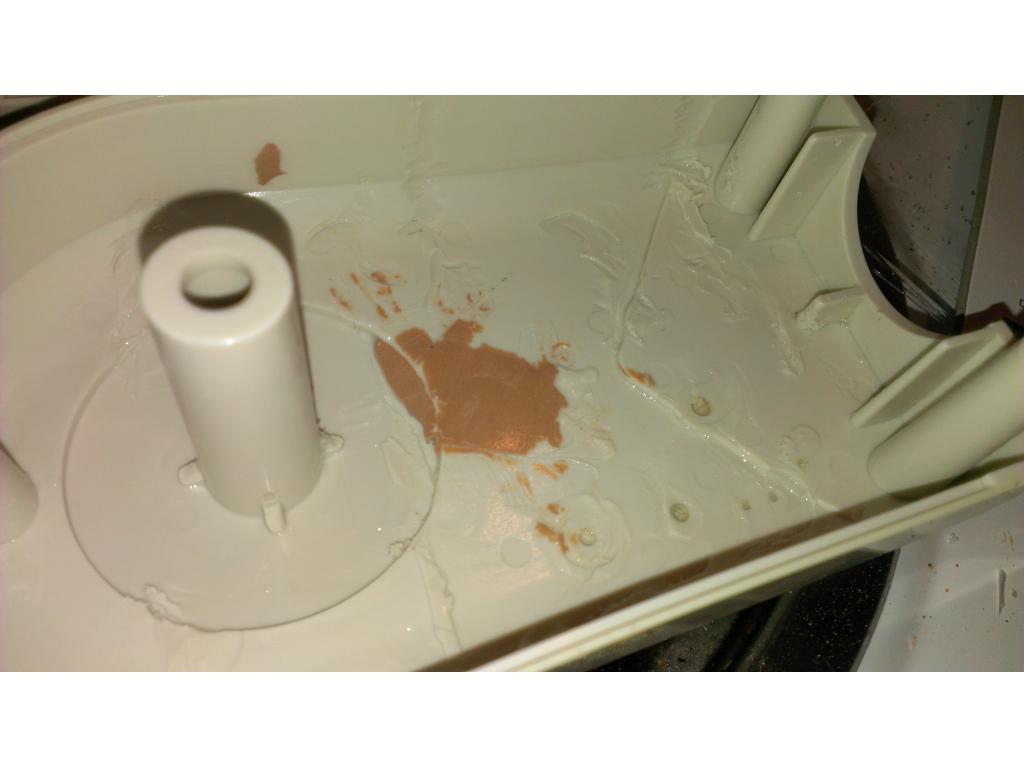
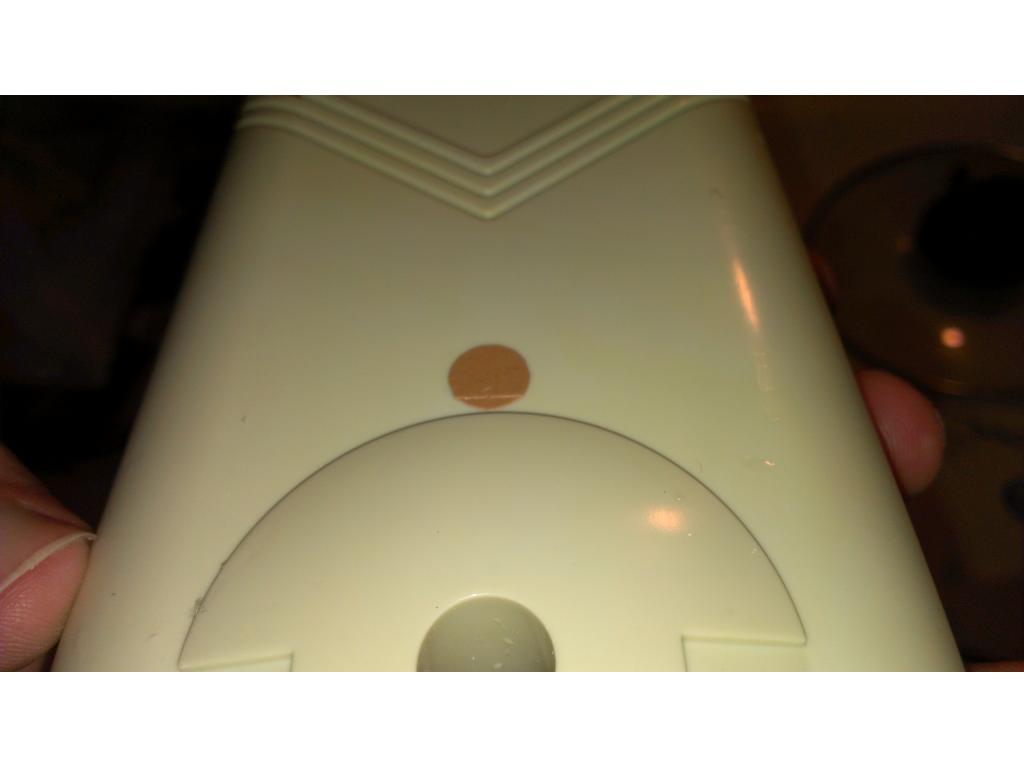
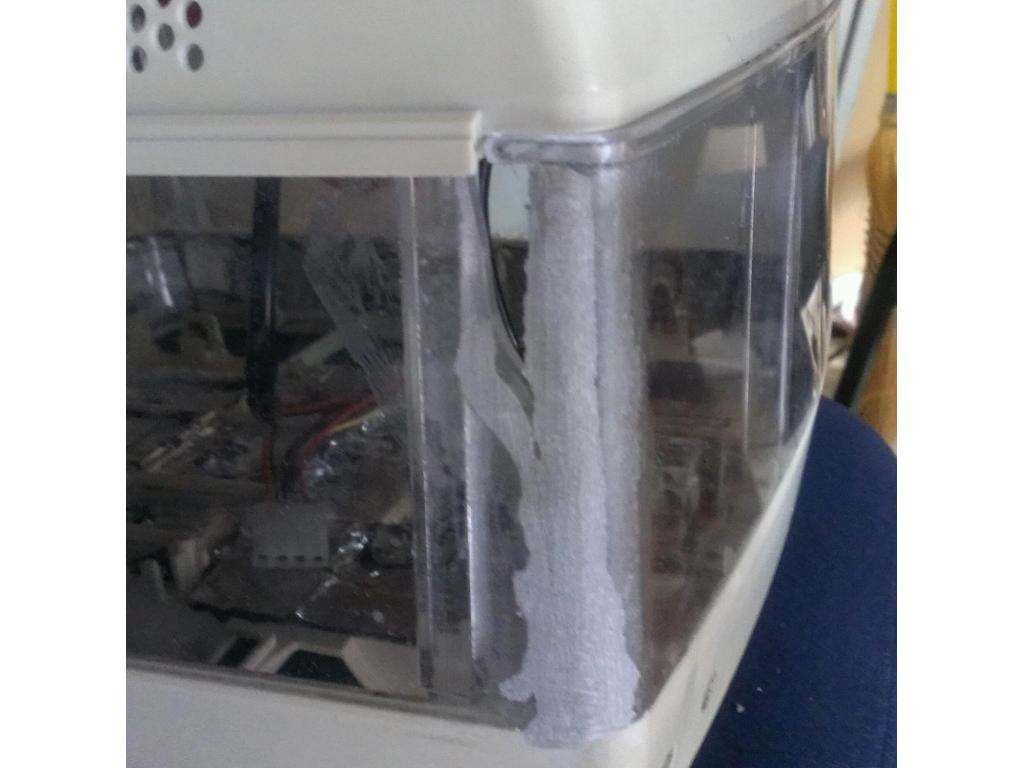
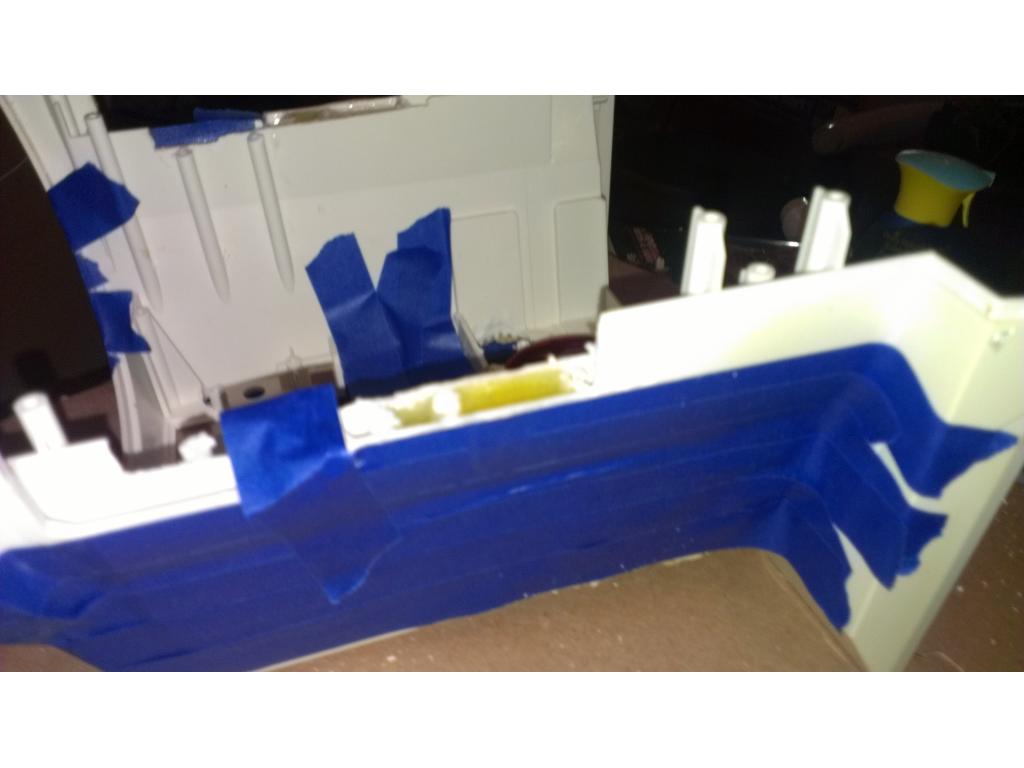
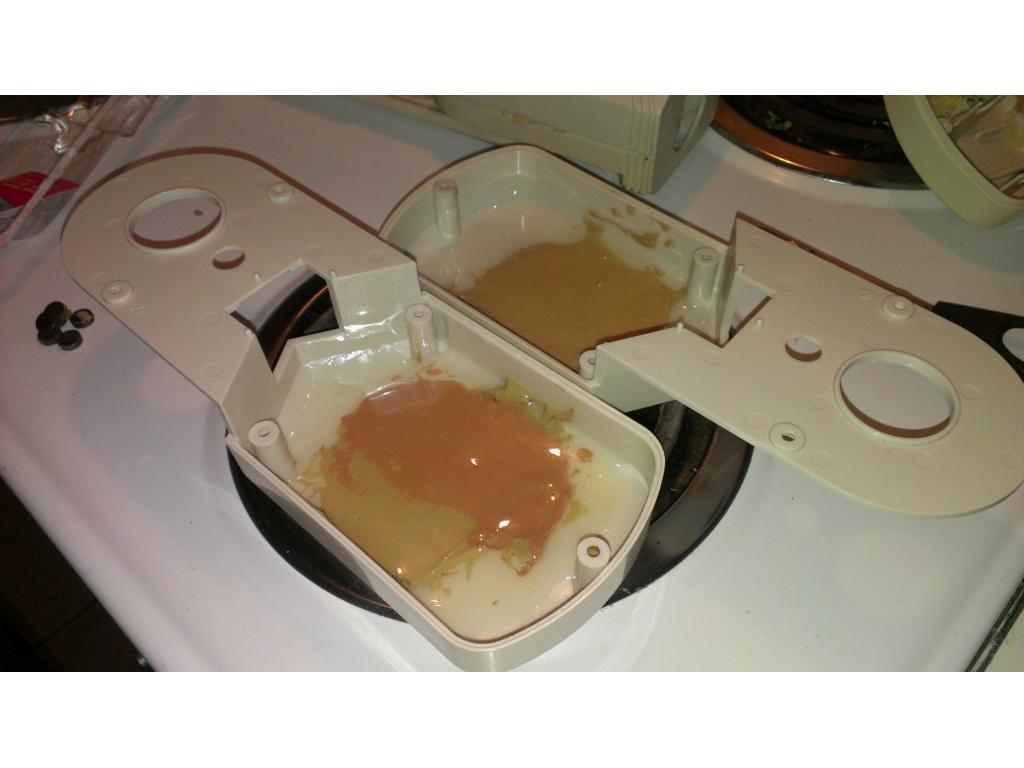
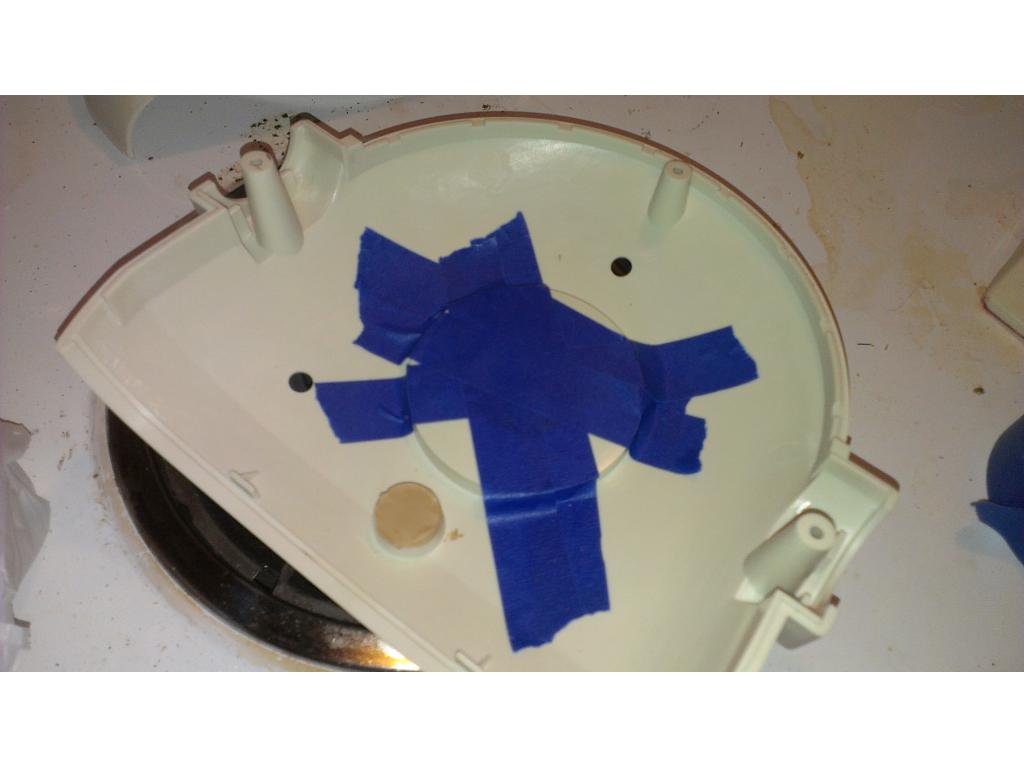
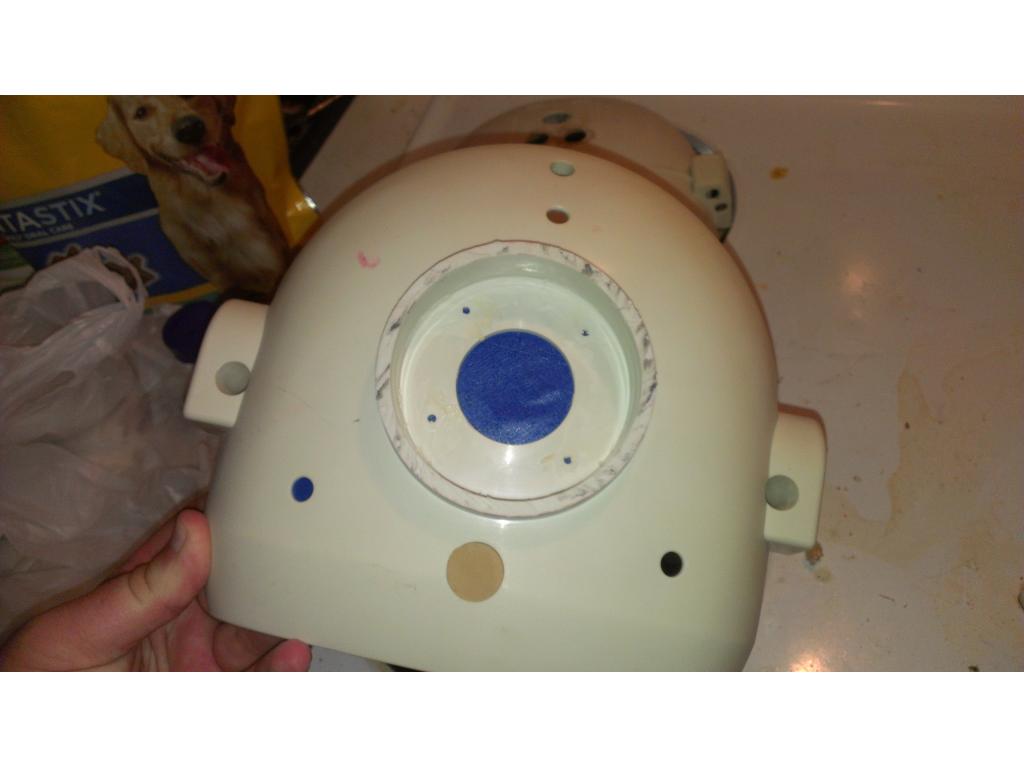
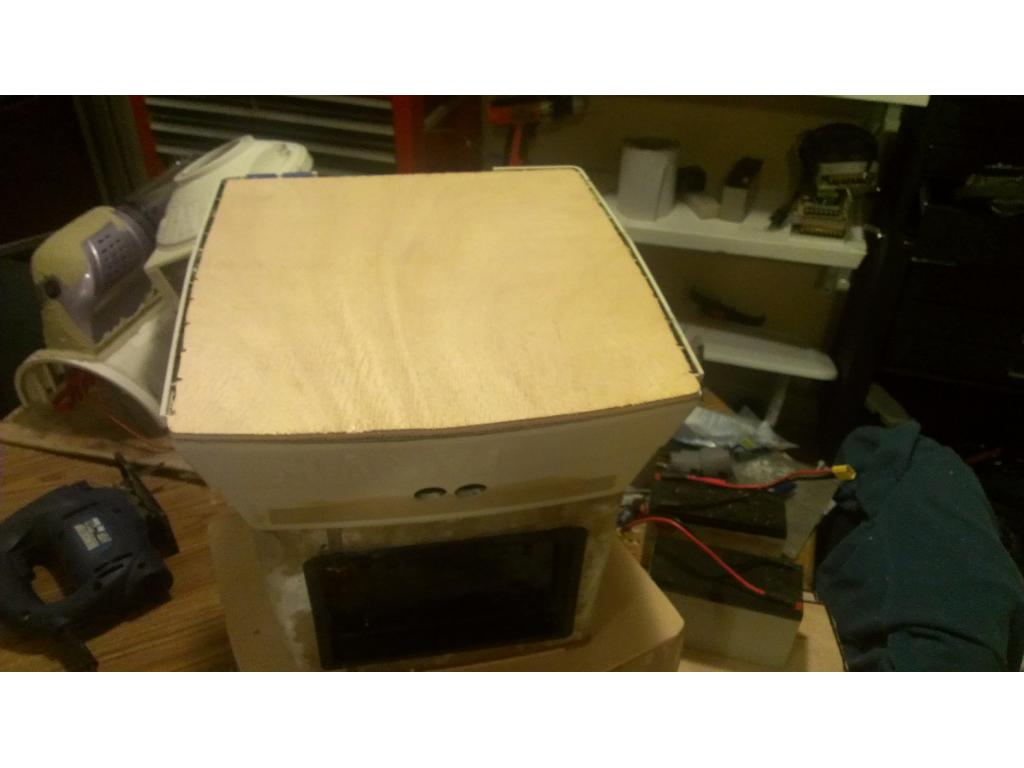
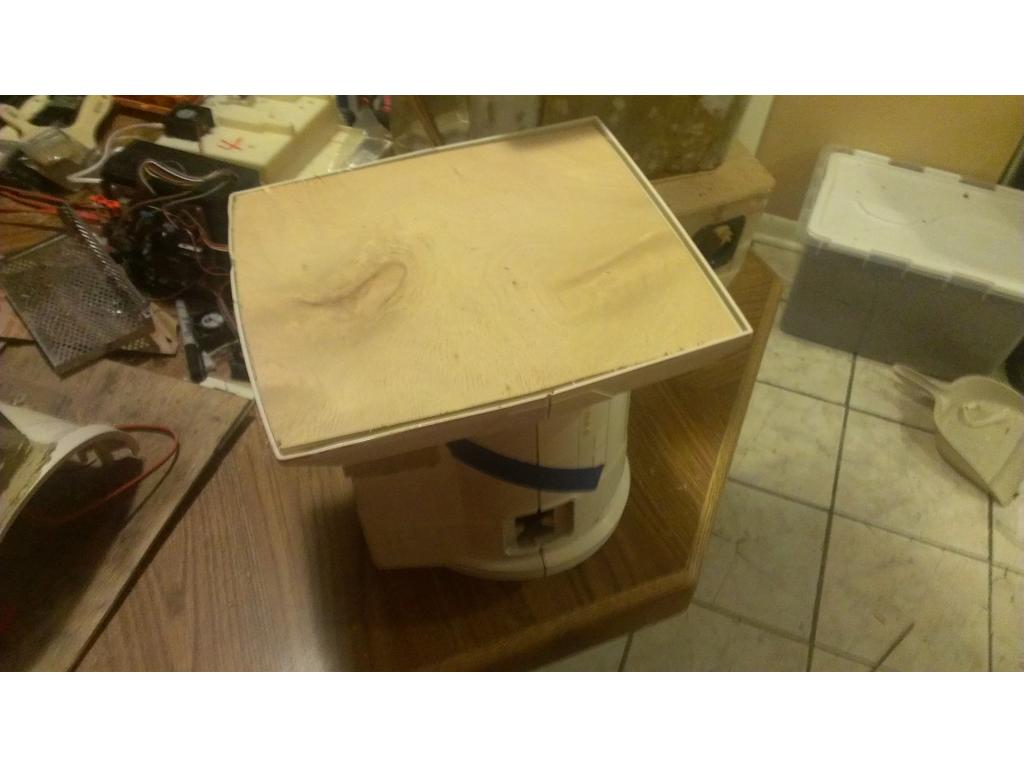
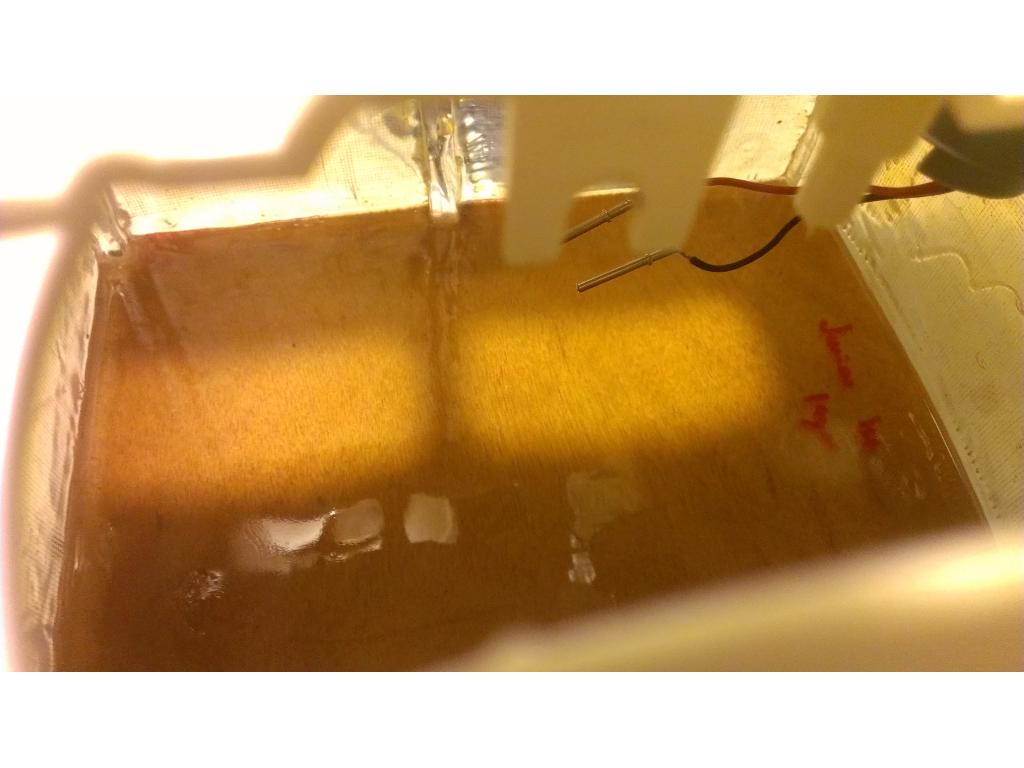
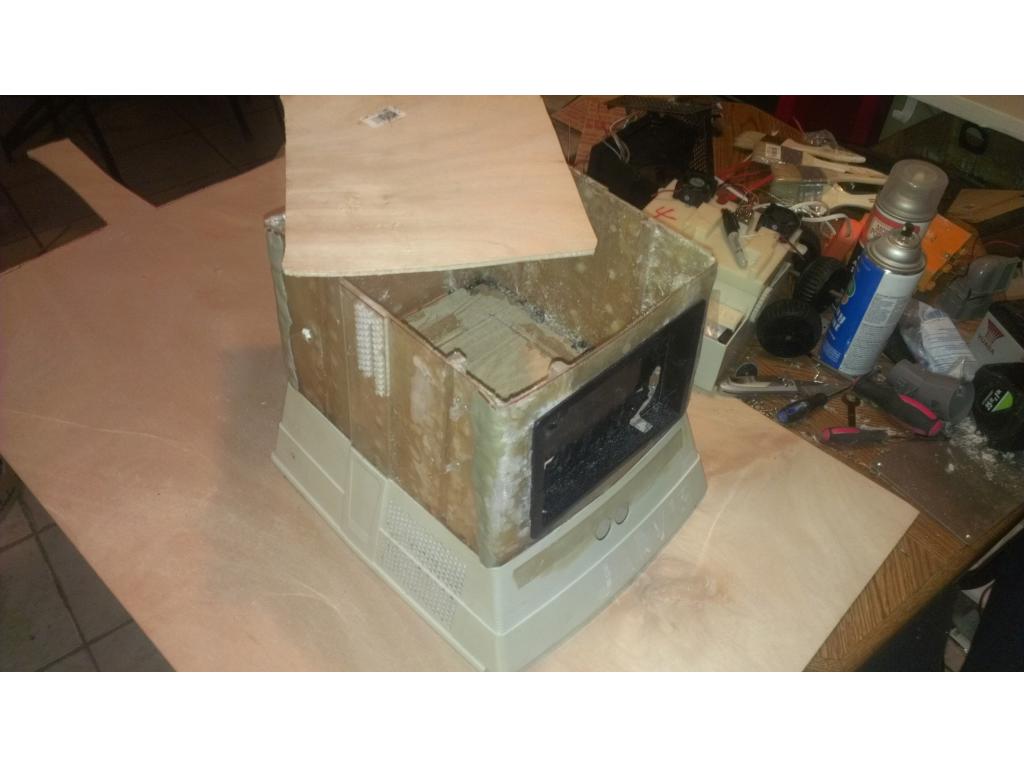
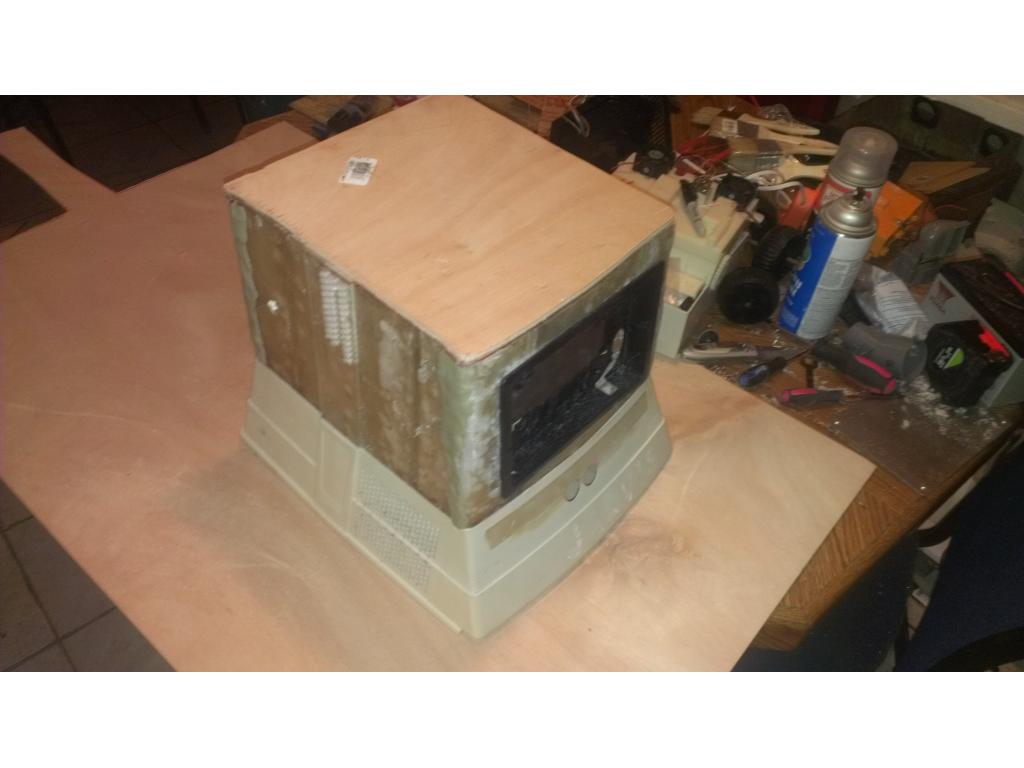
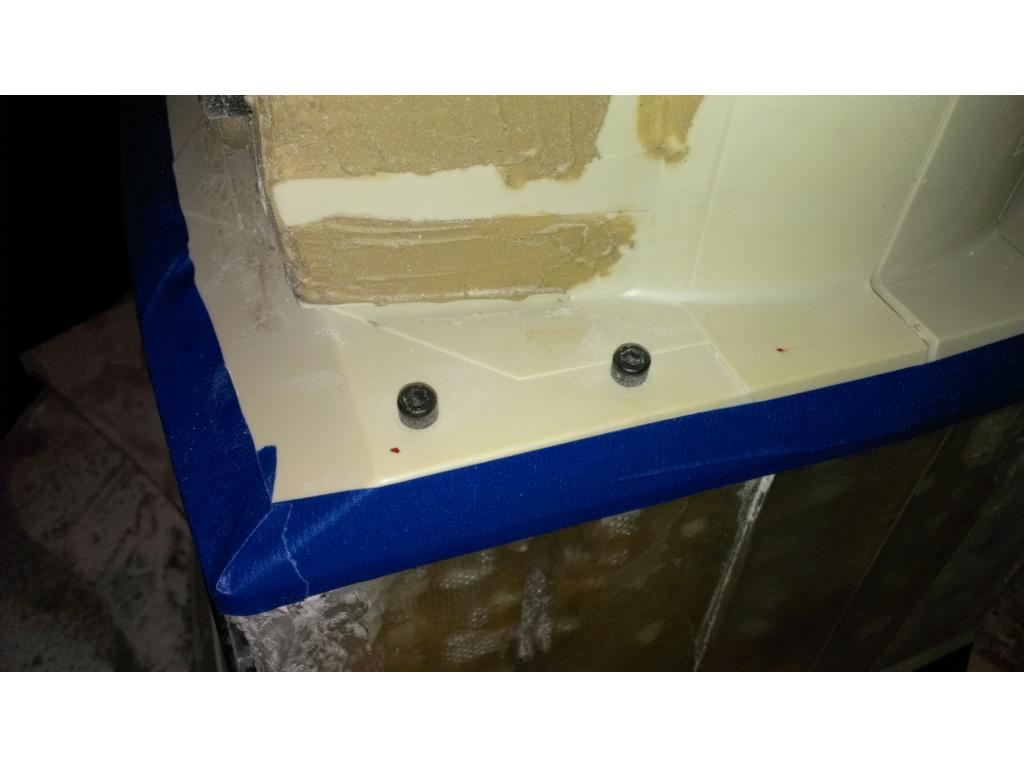
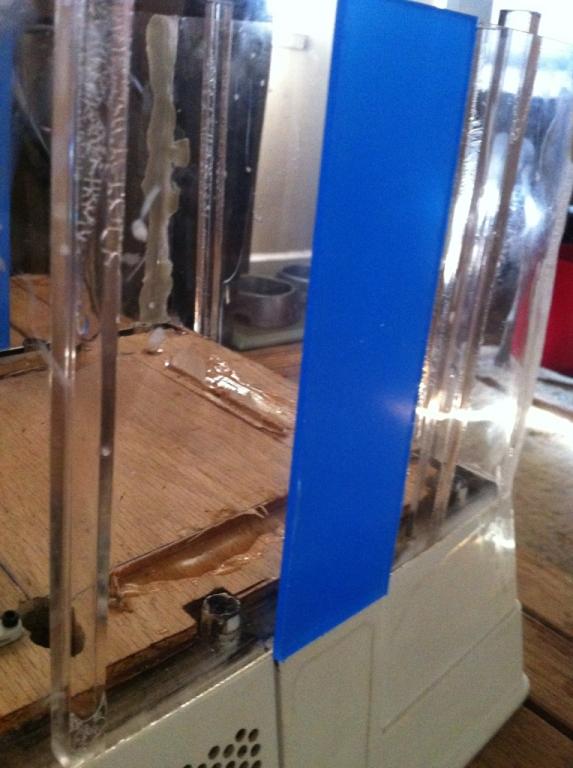
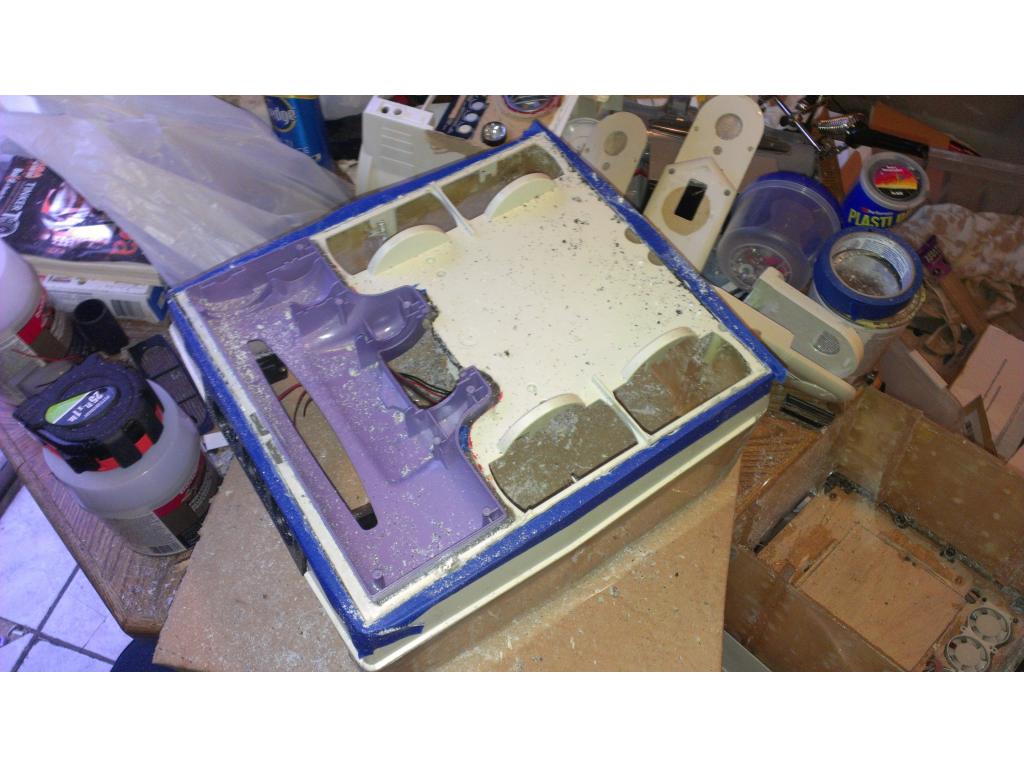
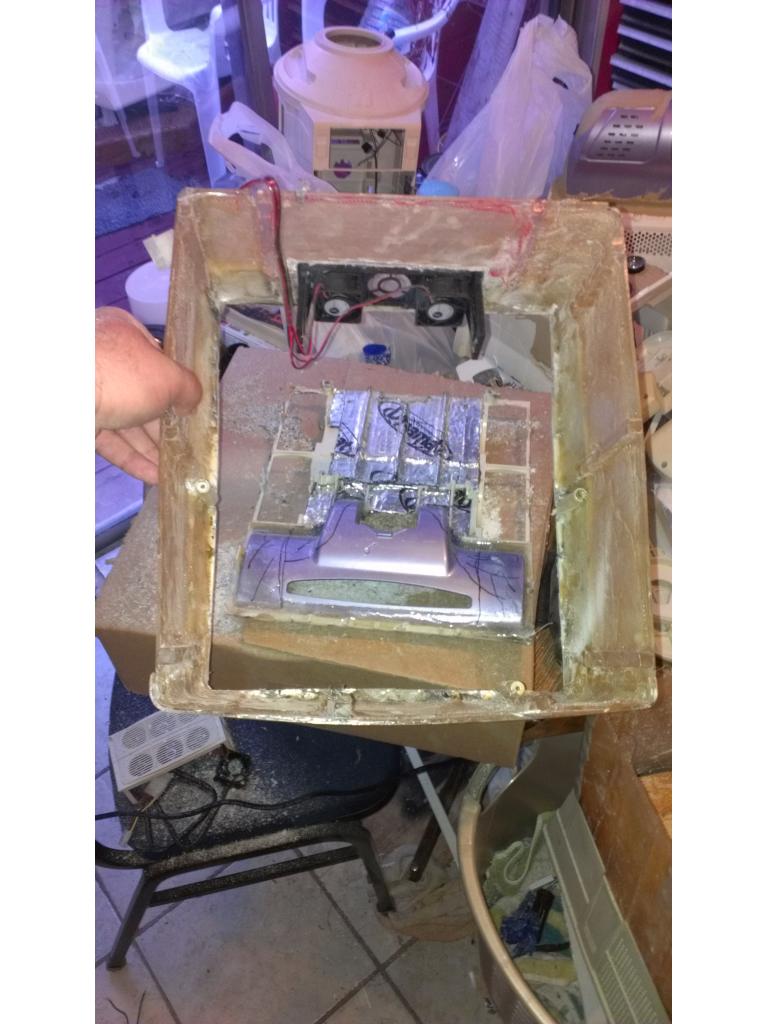
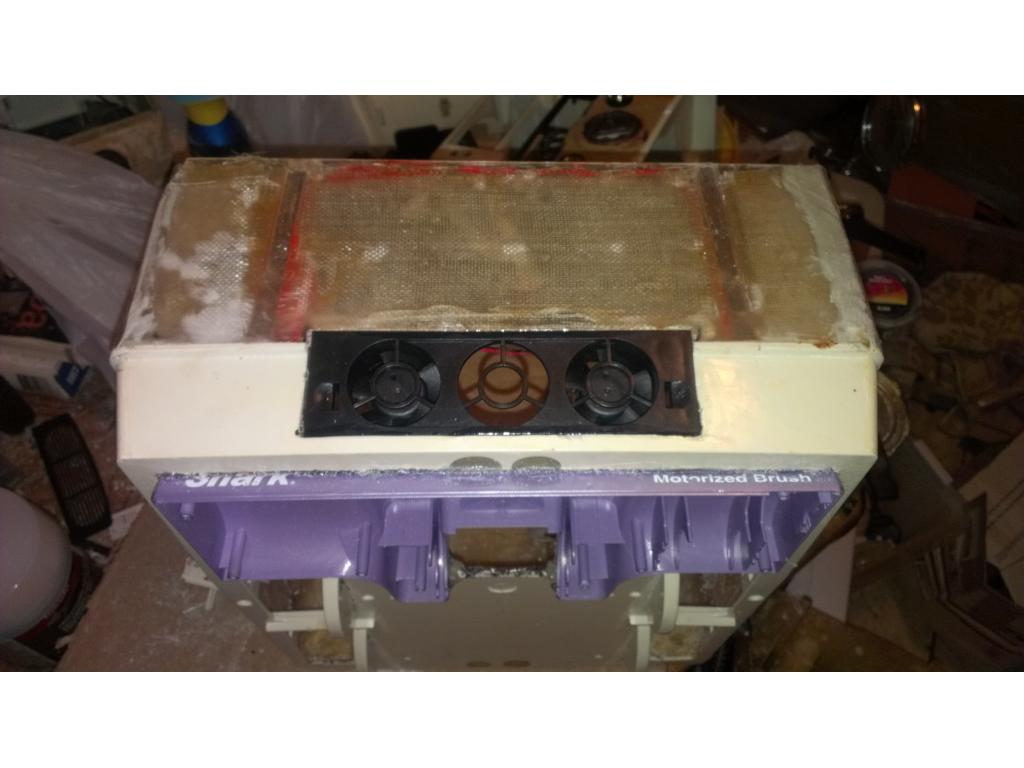
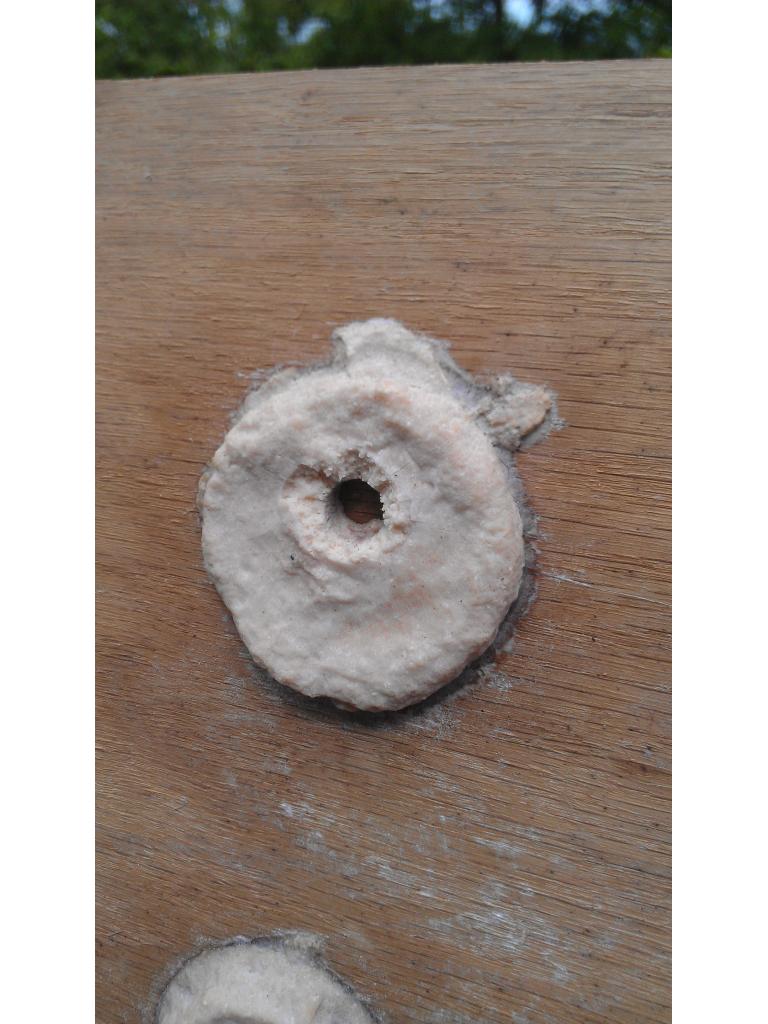
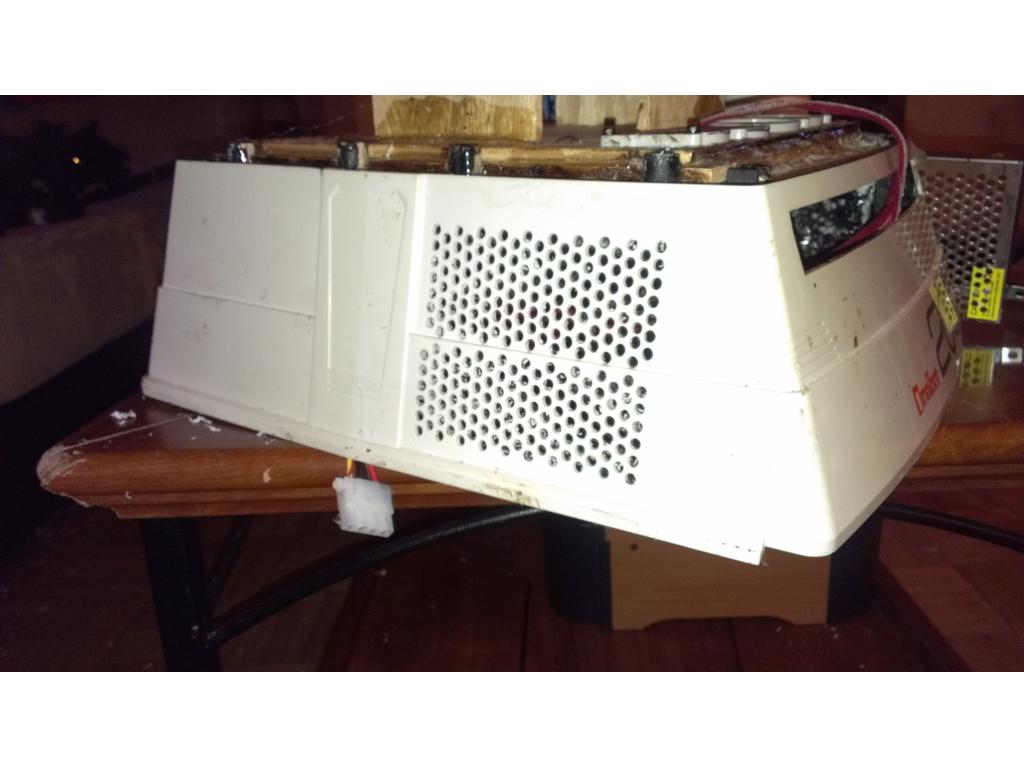
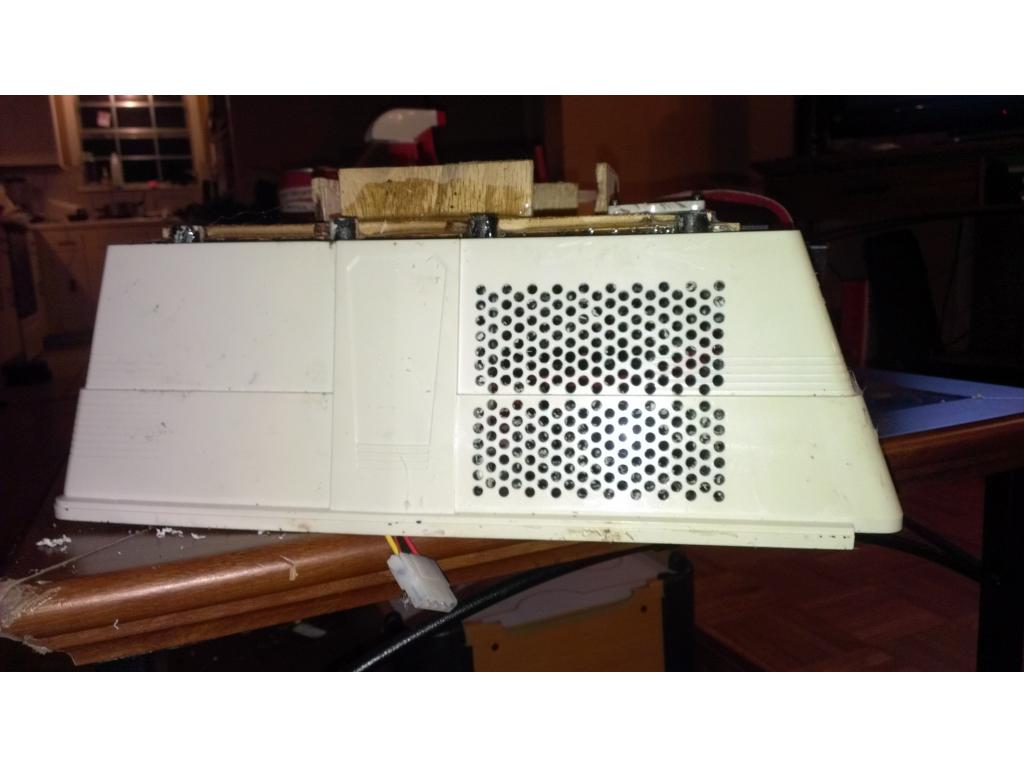
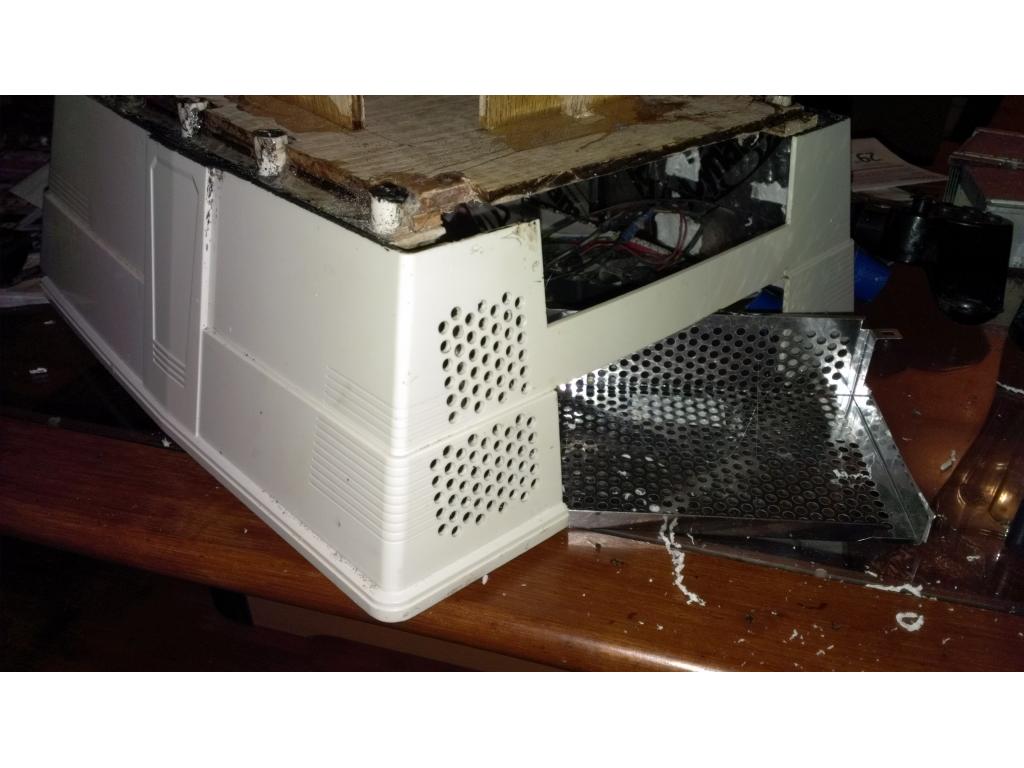
I spot epoxied the corners to hold the top in place. I'm letting it cure now but it usually takes about 30 minutes for this 5 minute epoxy lol.
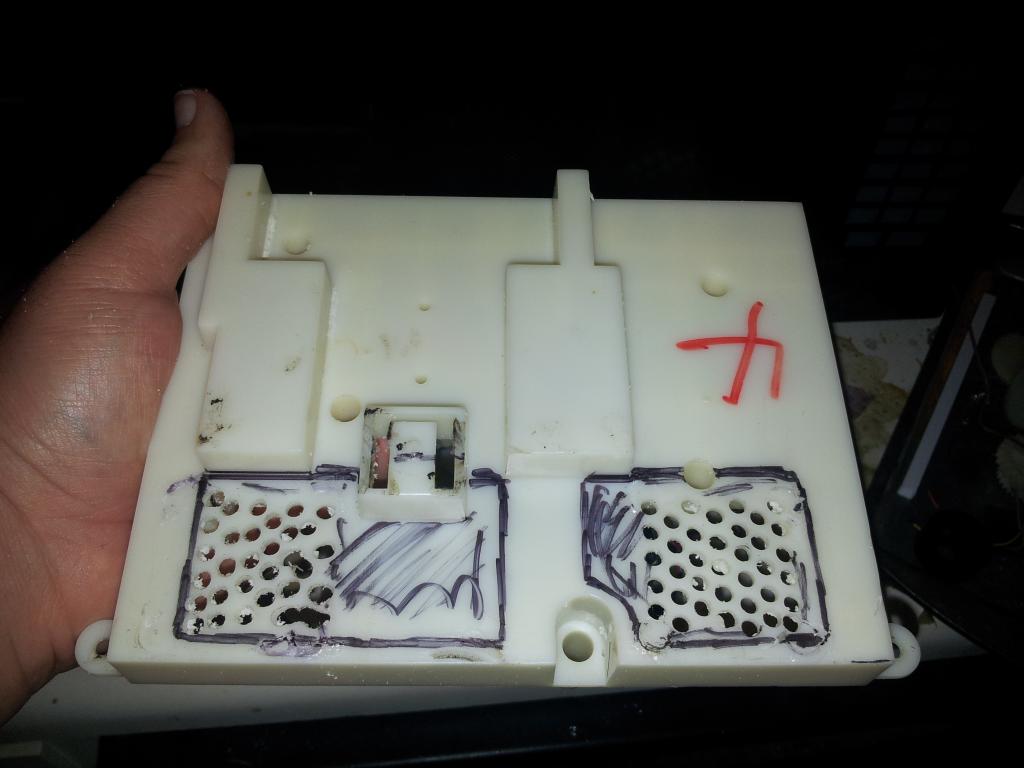
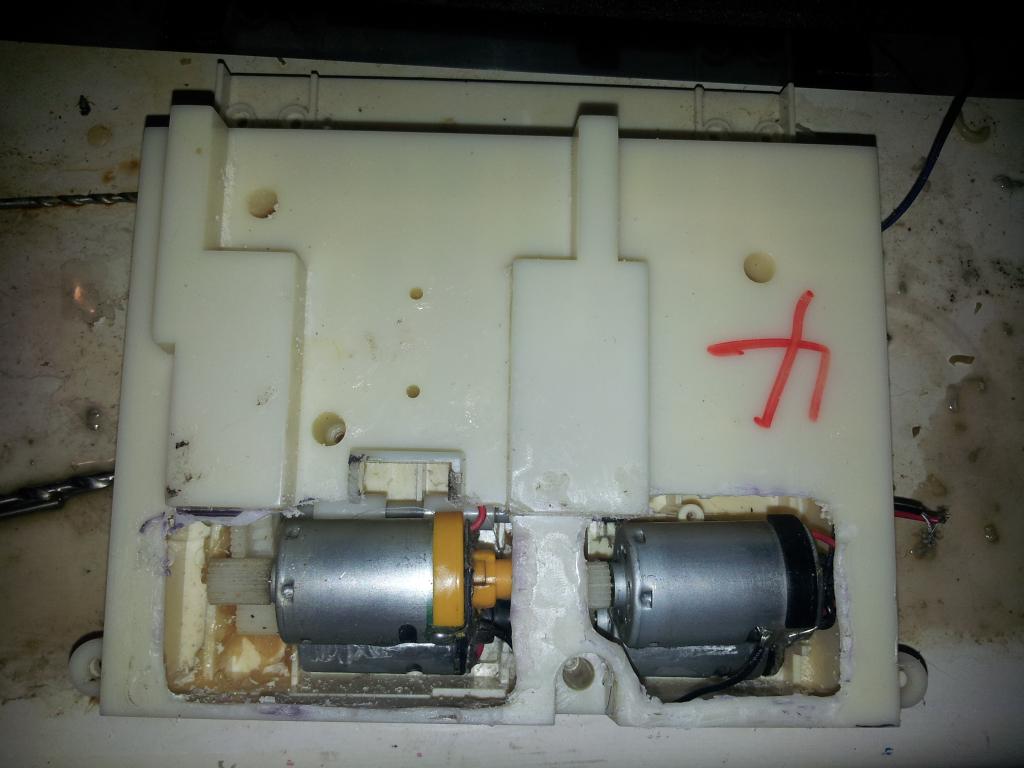
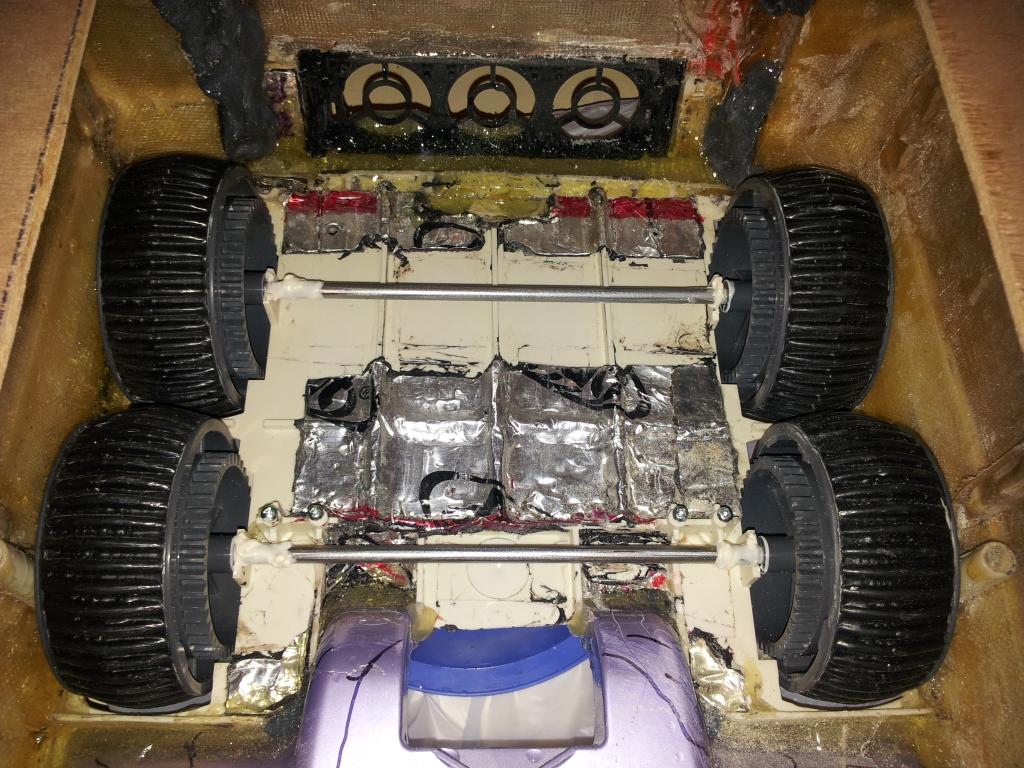
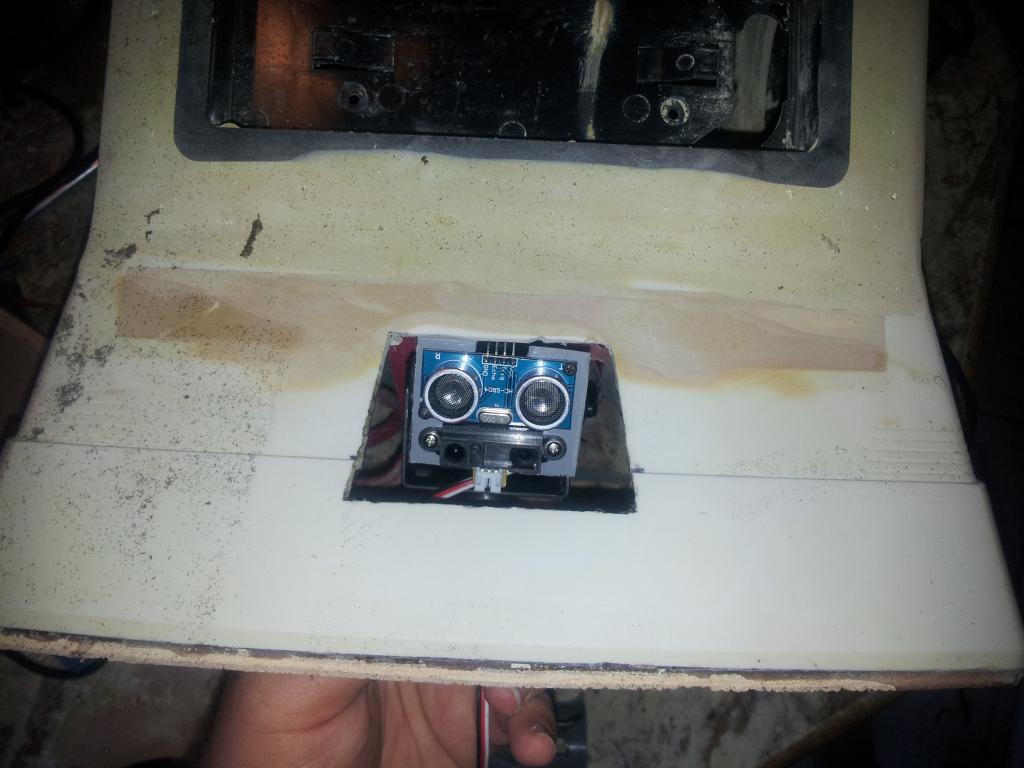
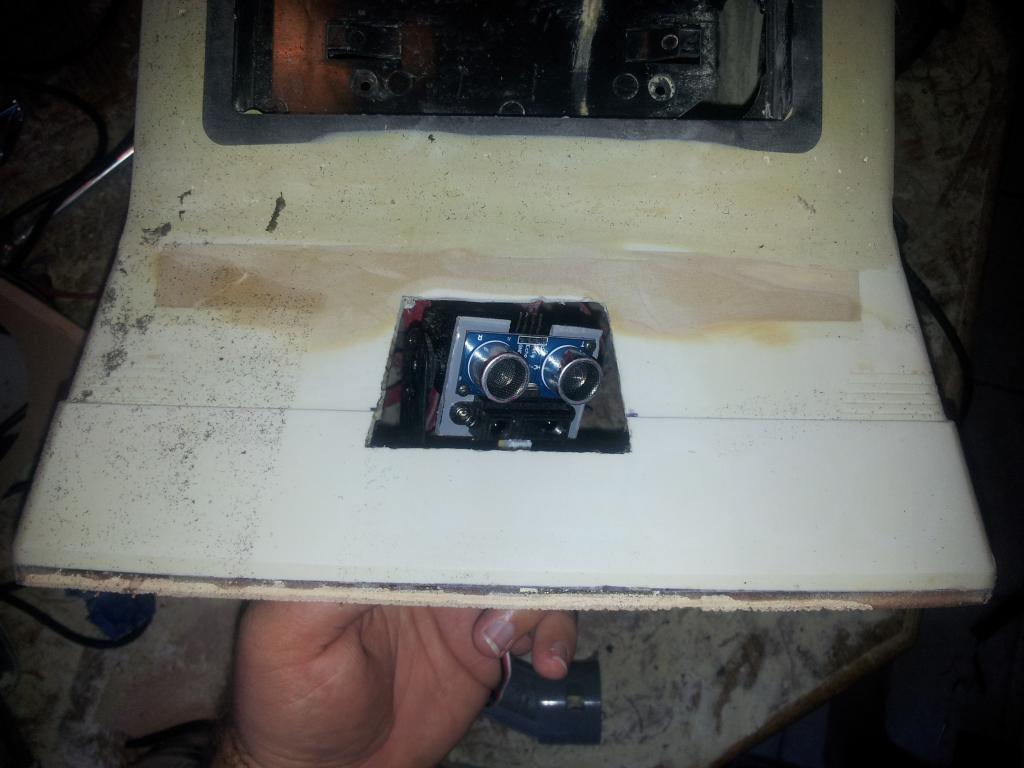
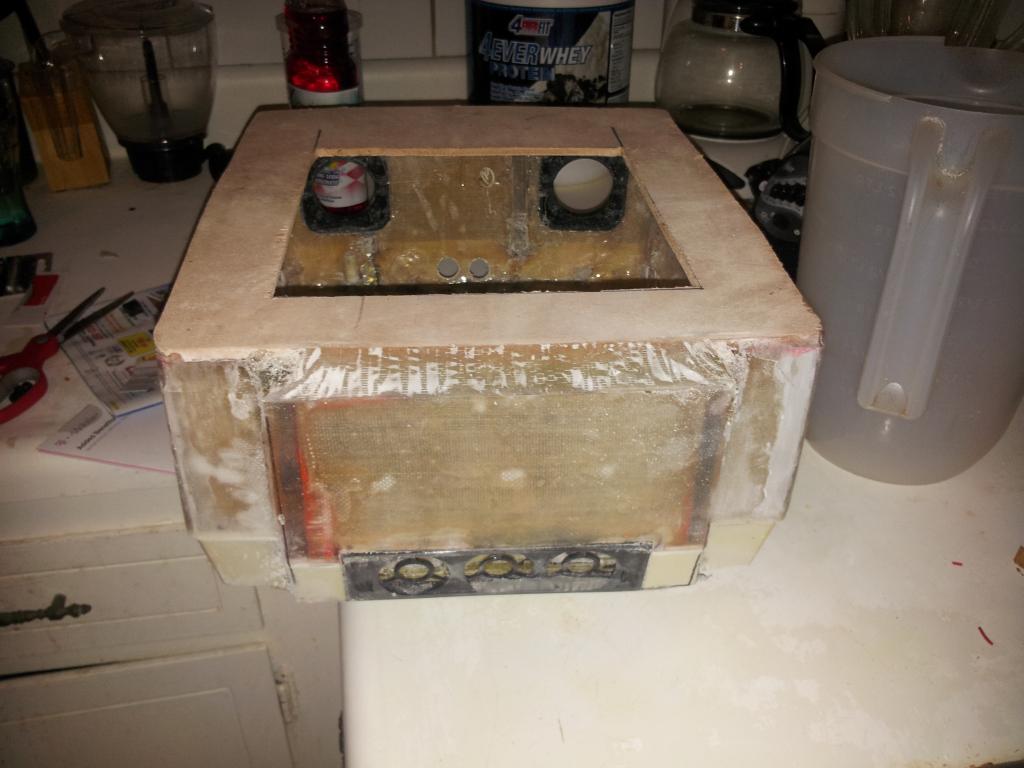
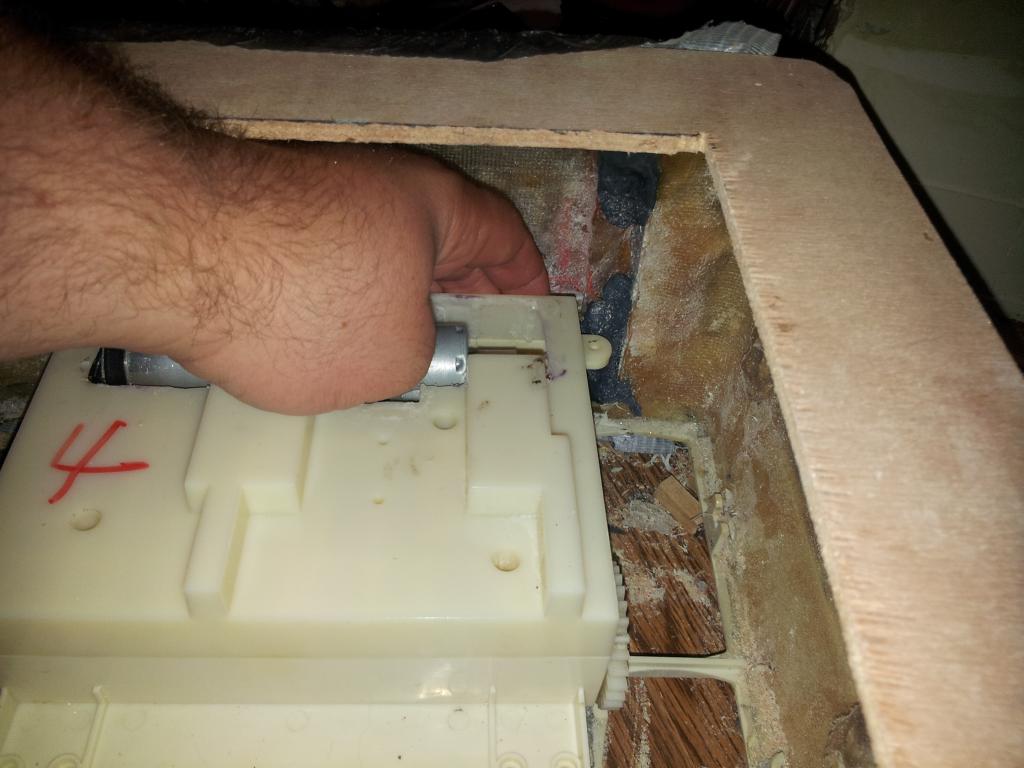
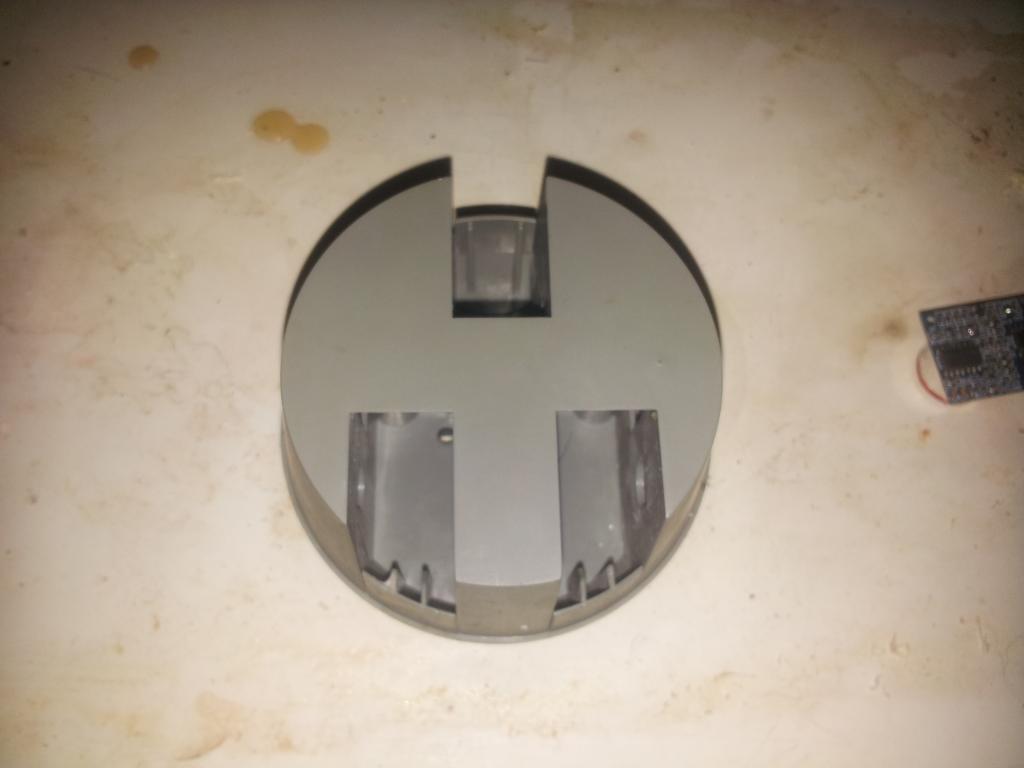
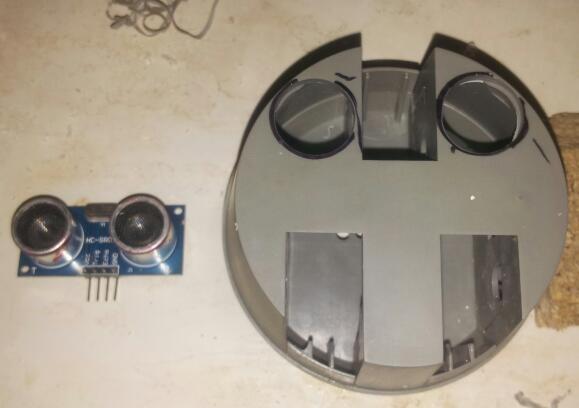
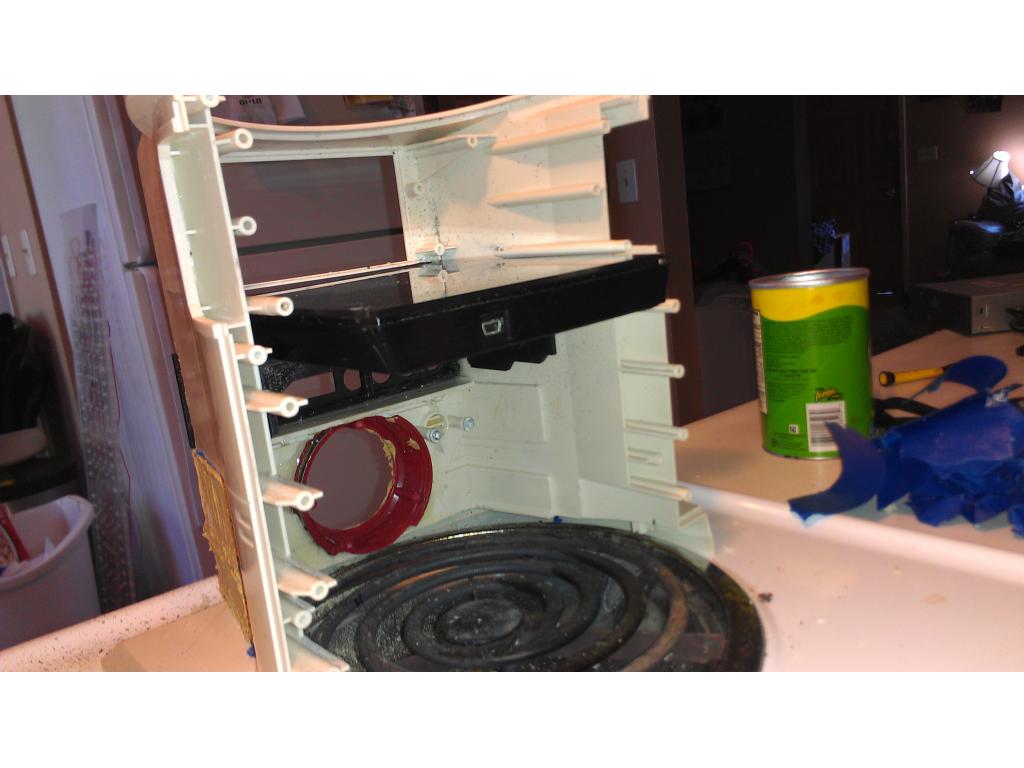
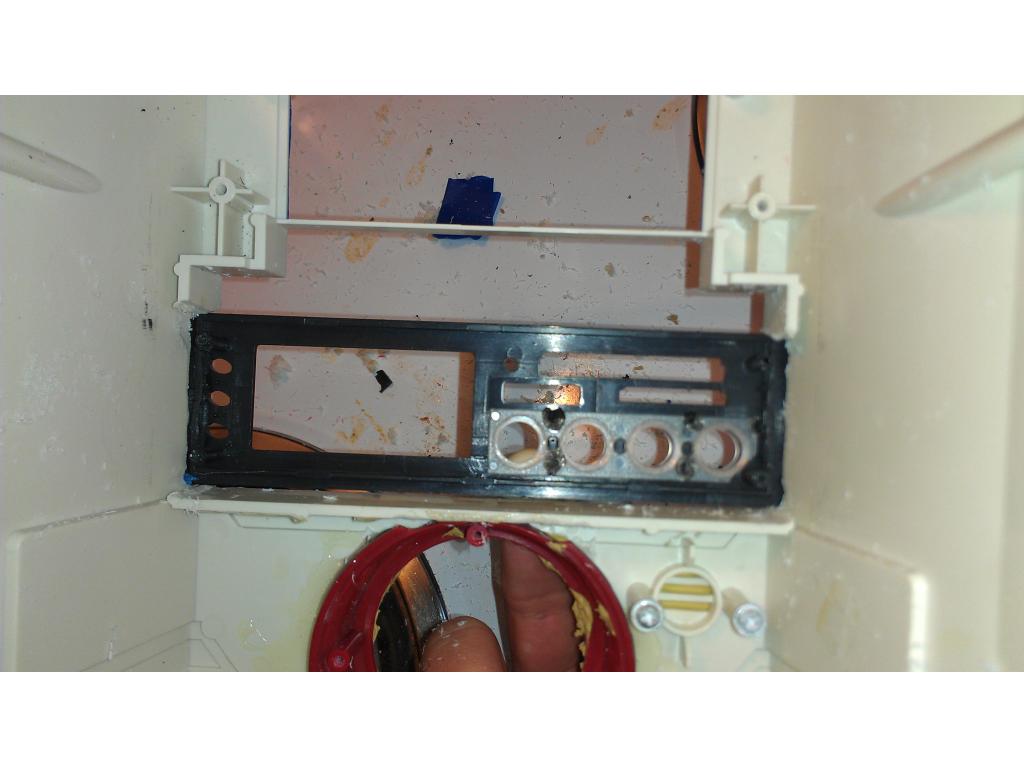
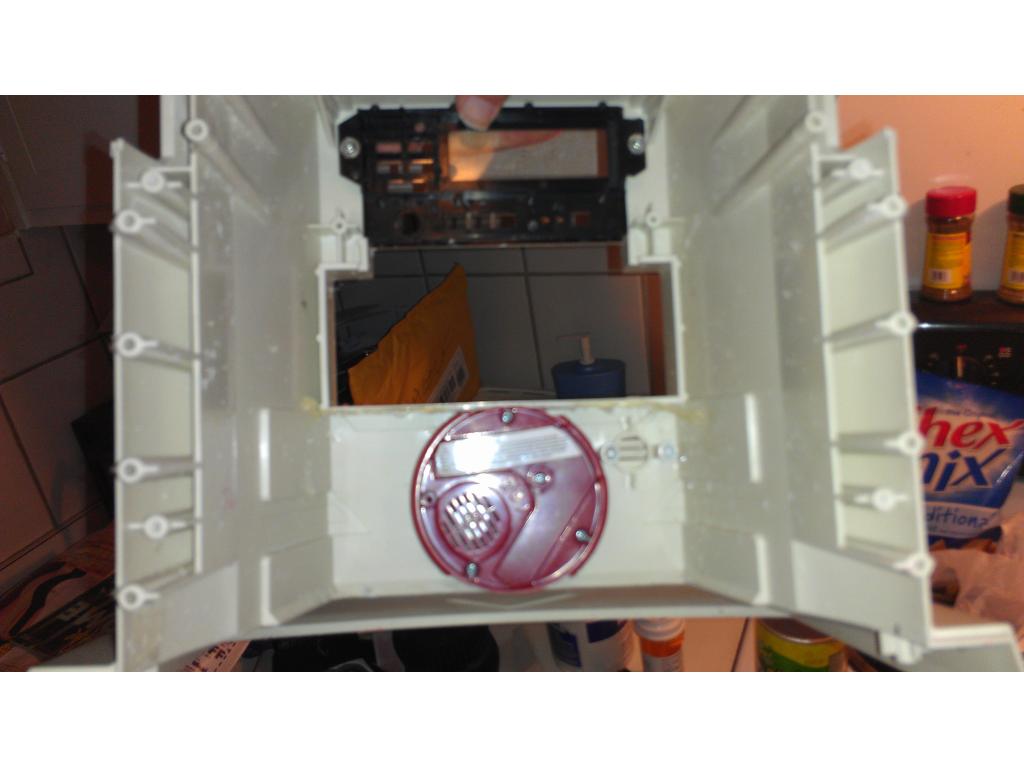
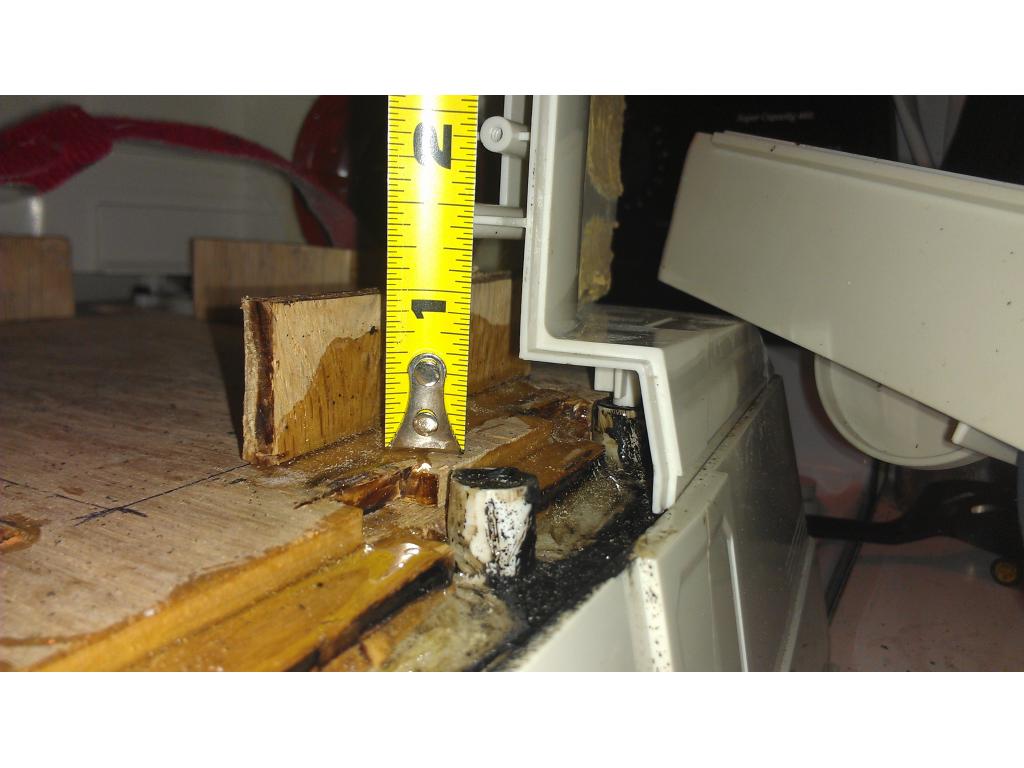
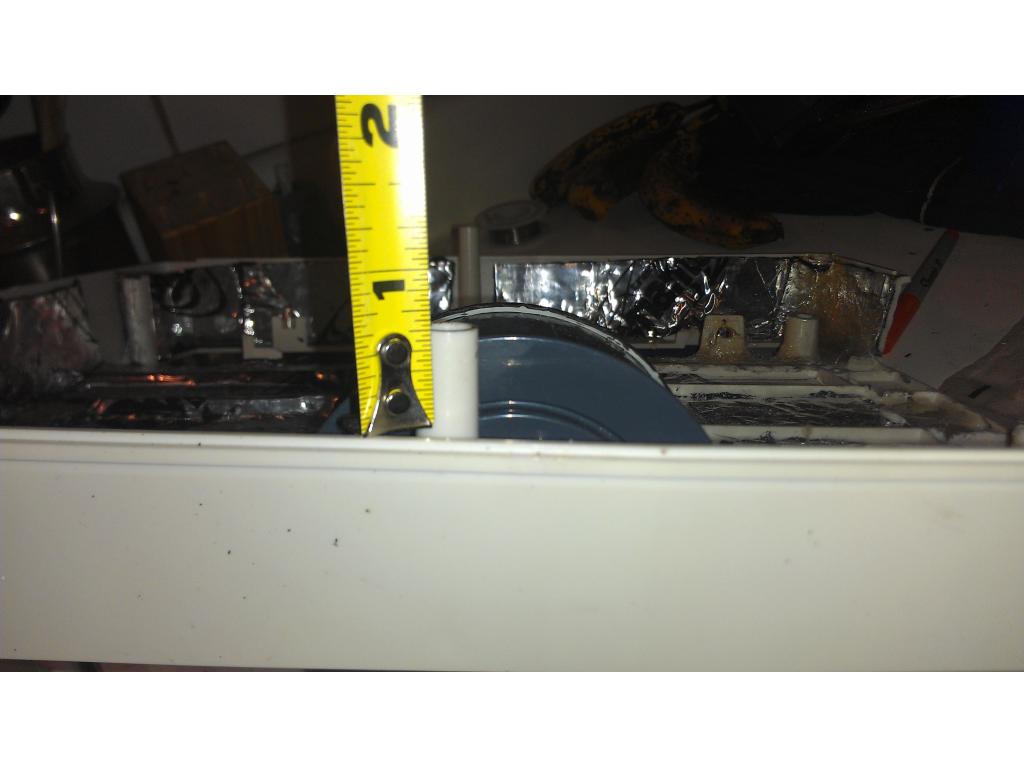
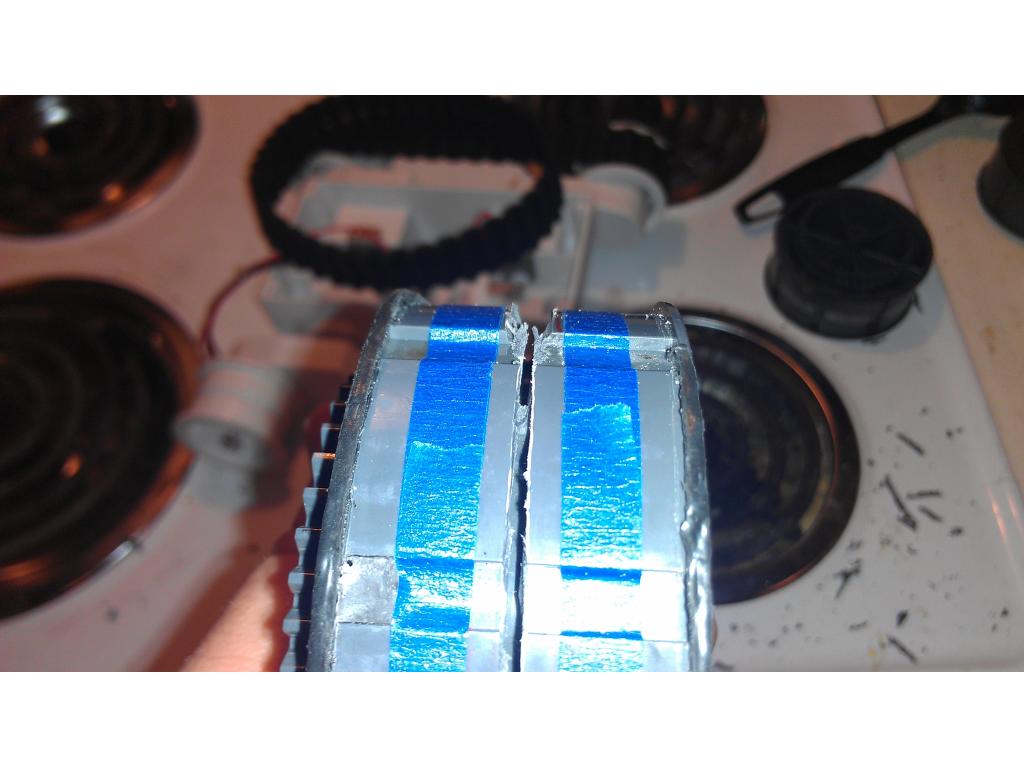
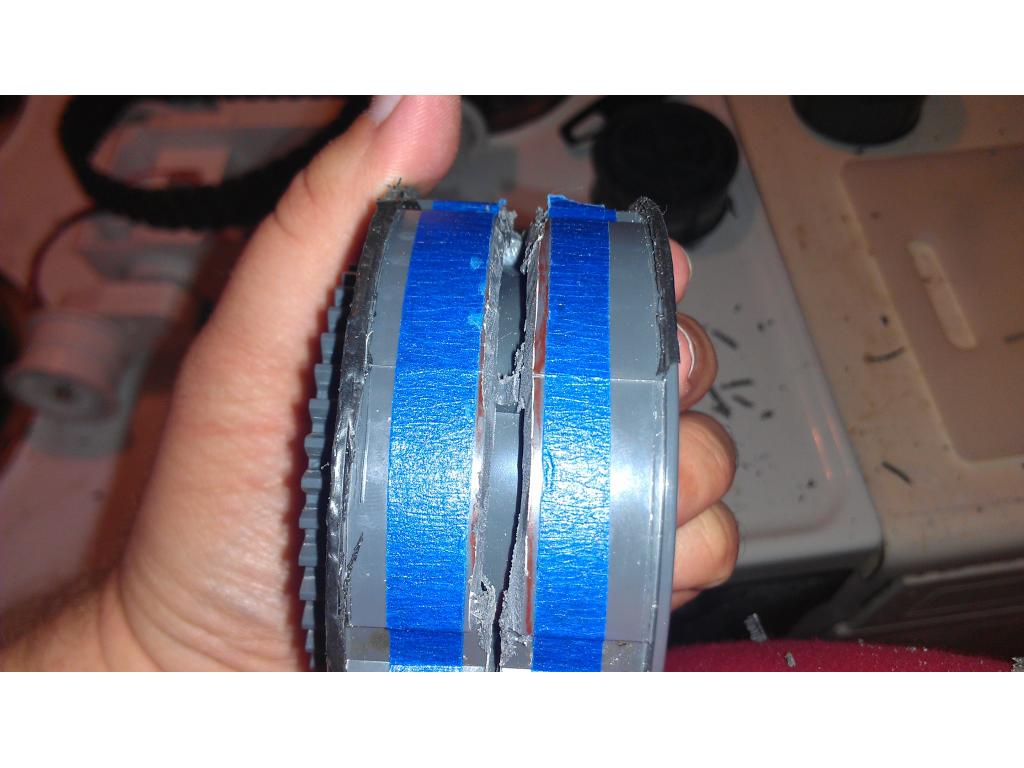
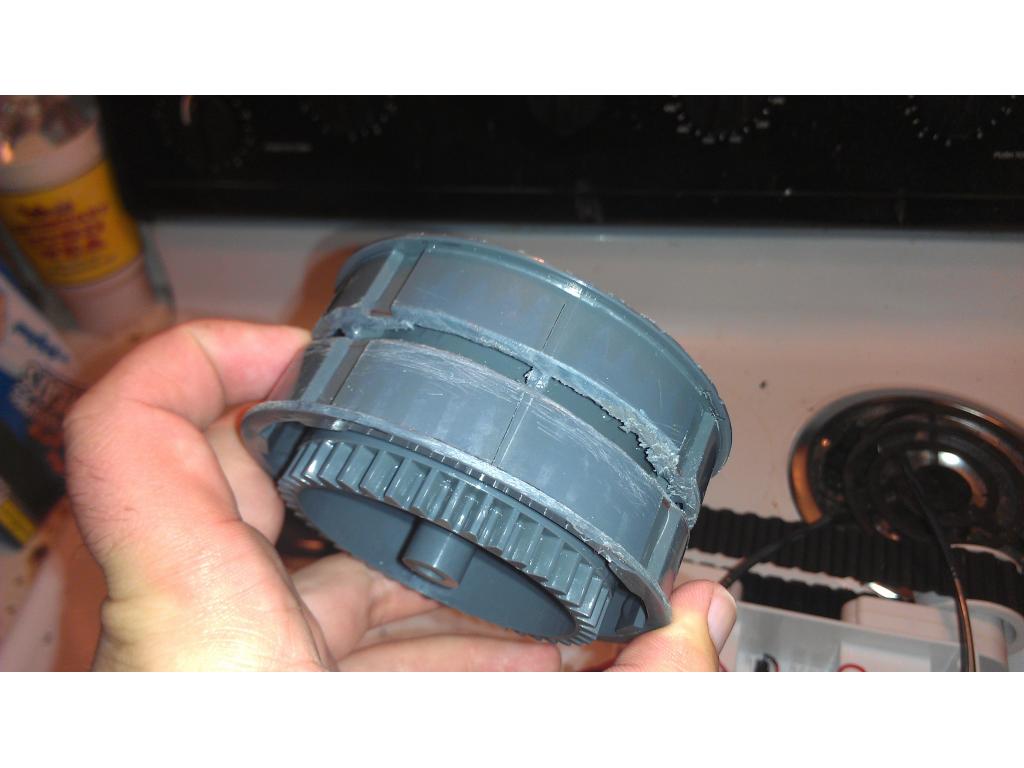
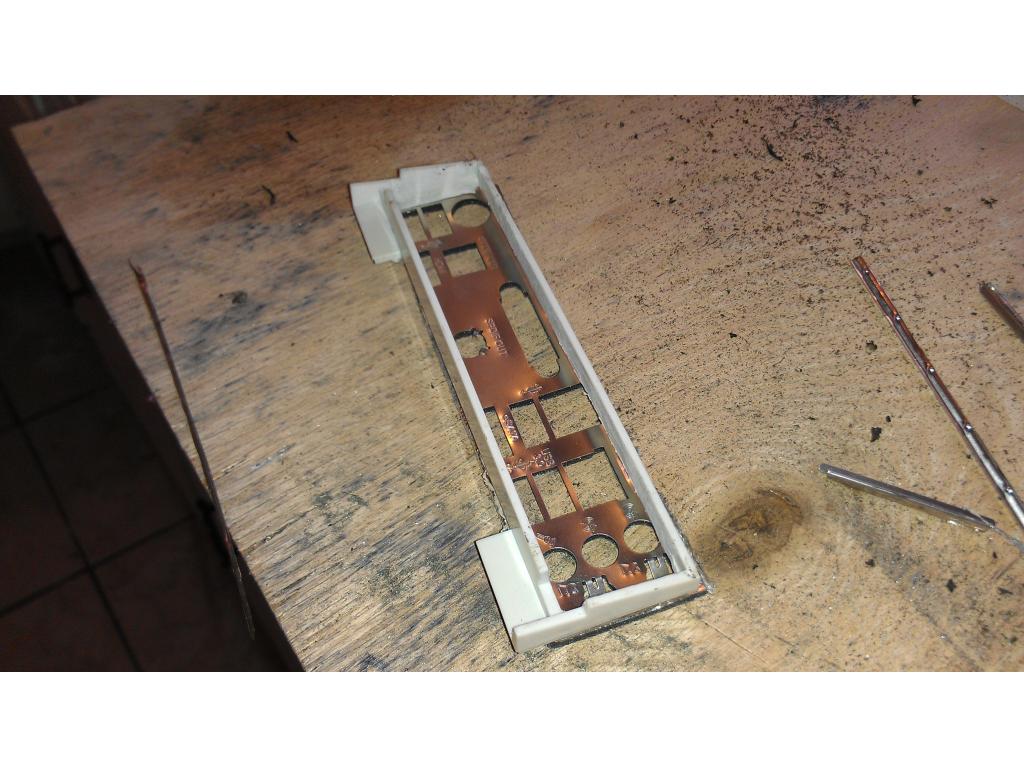
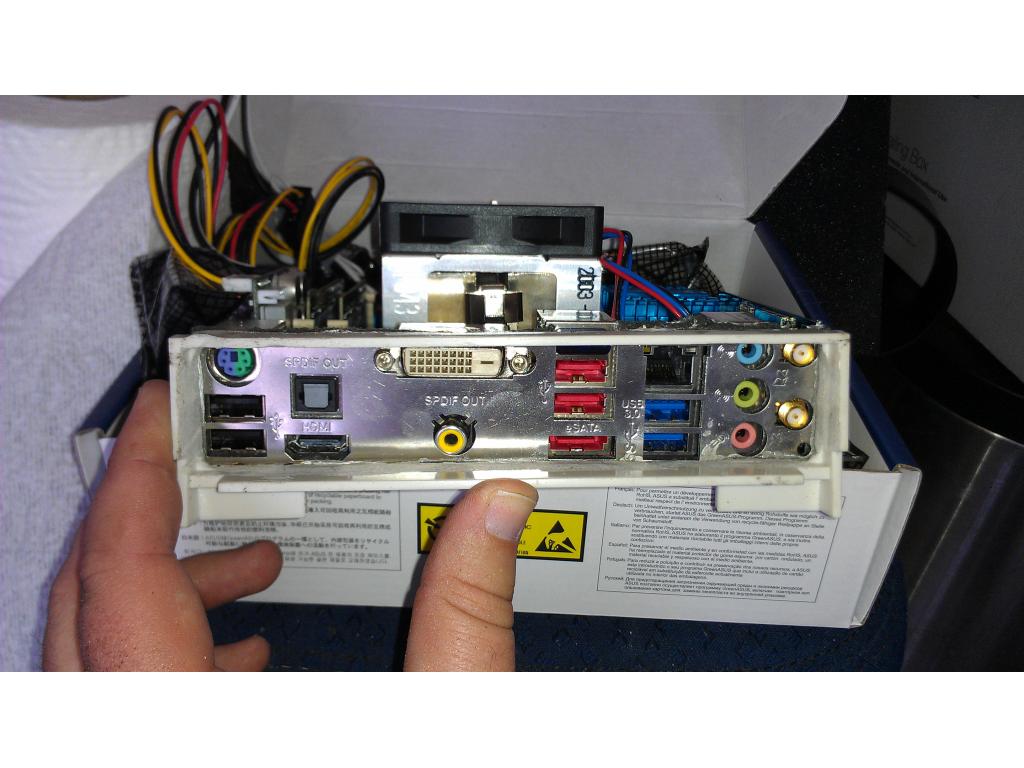
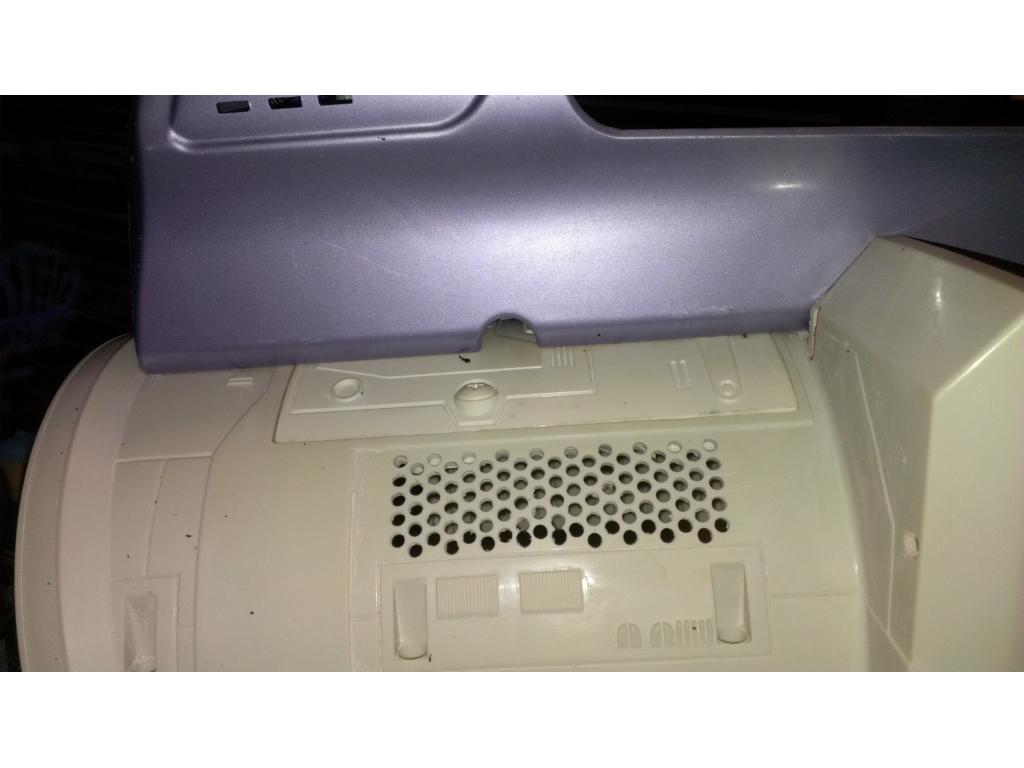
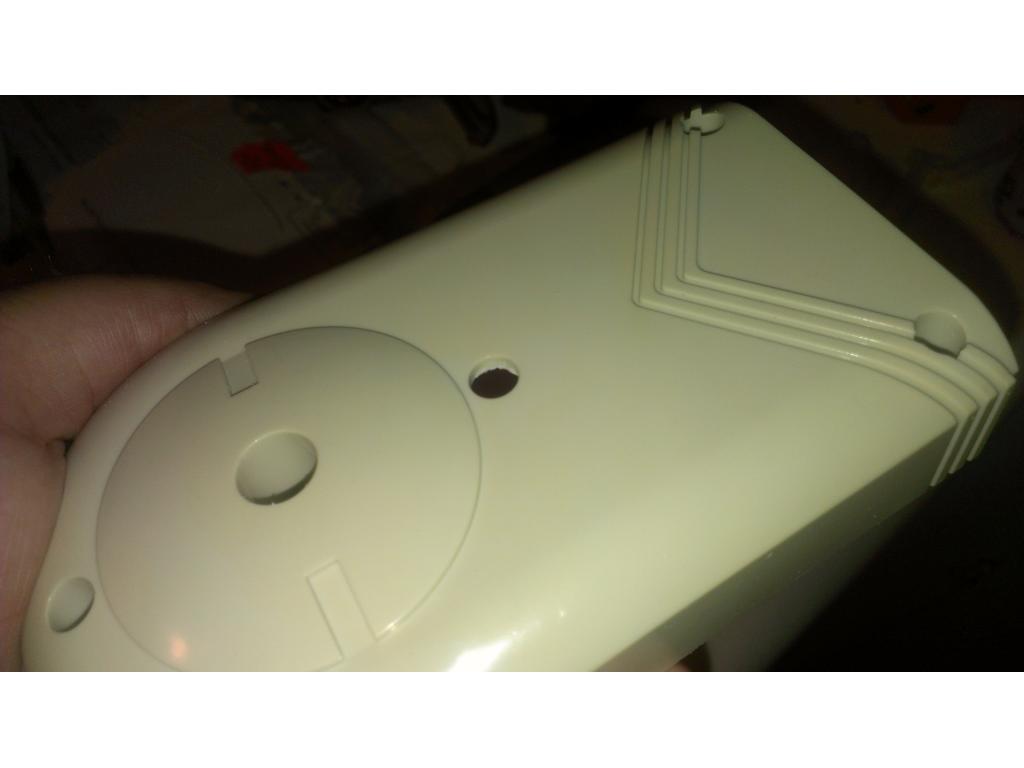
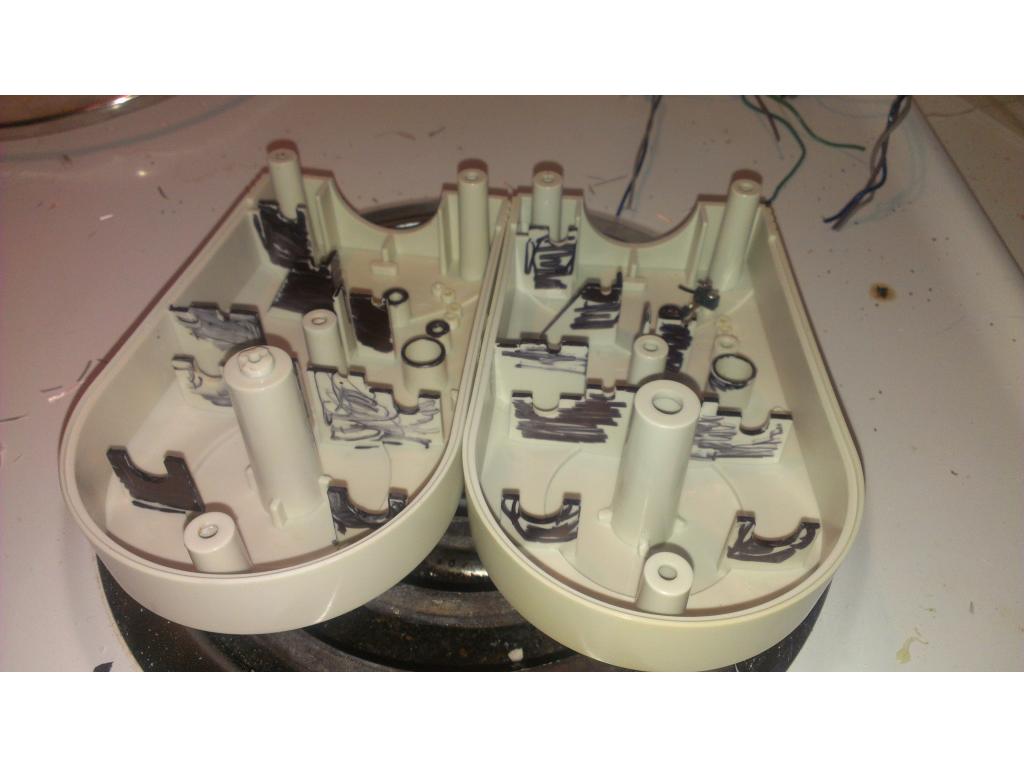
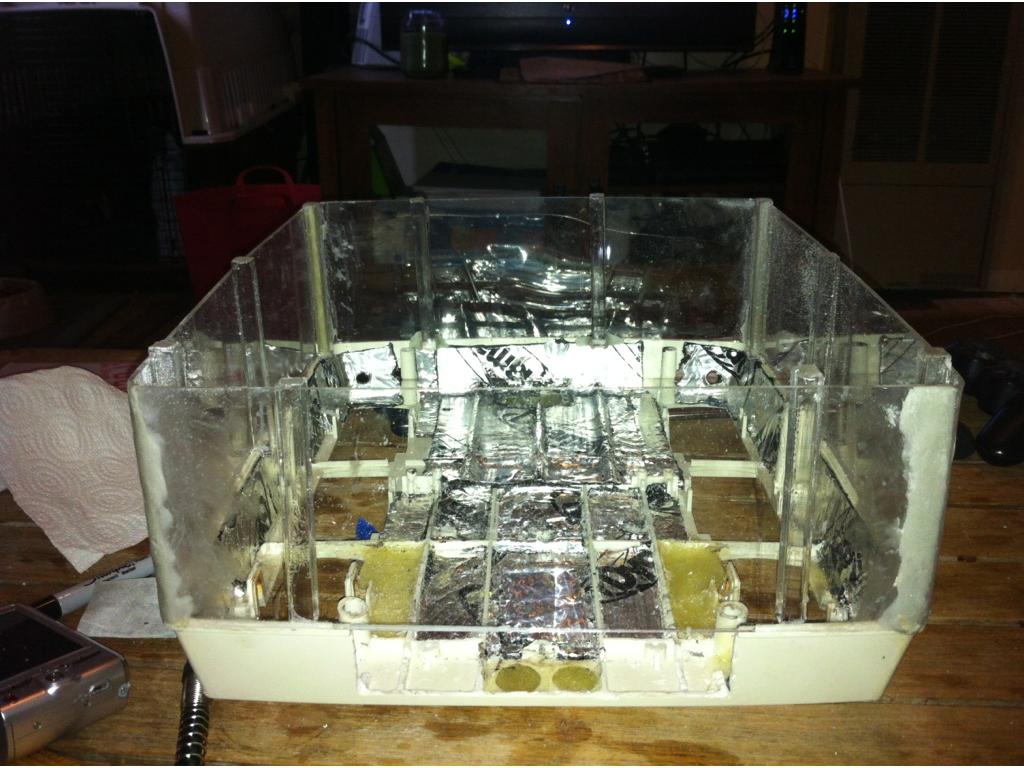
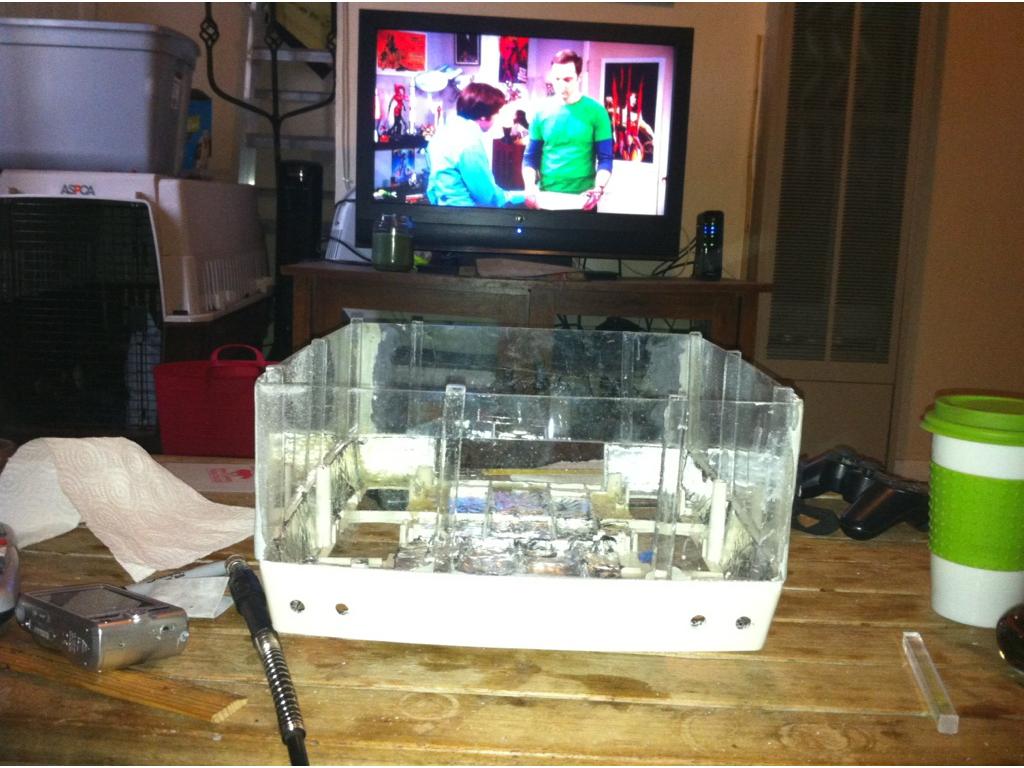
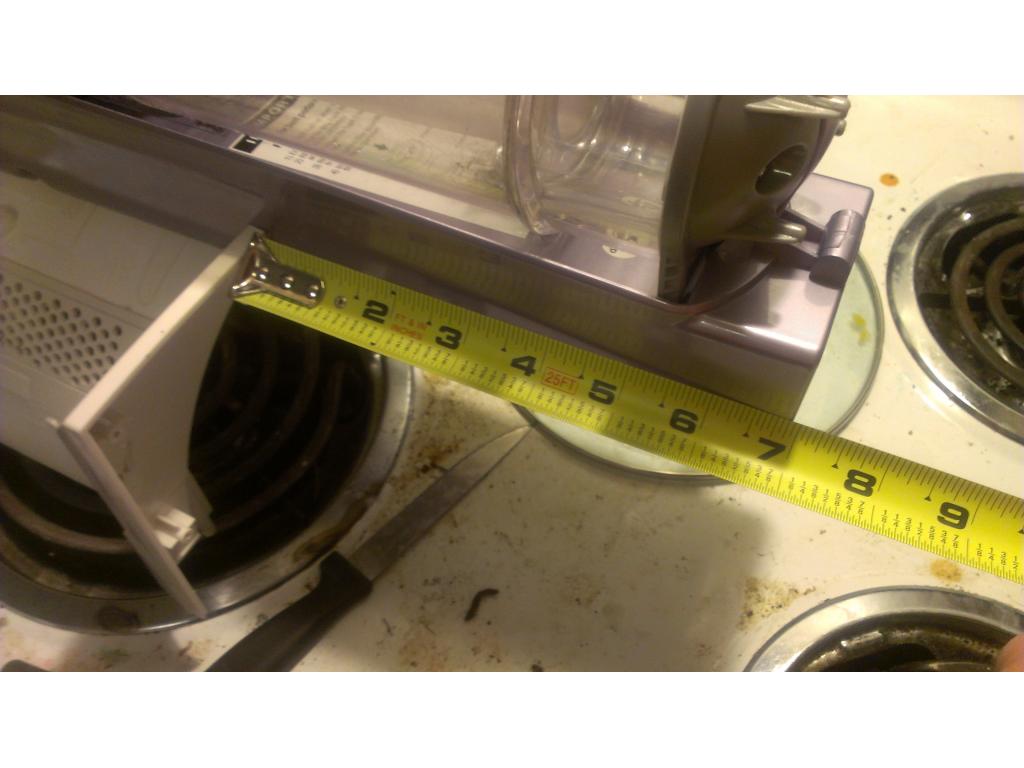
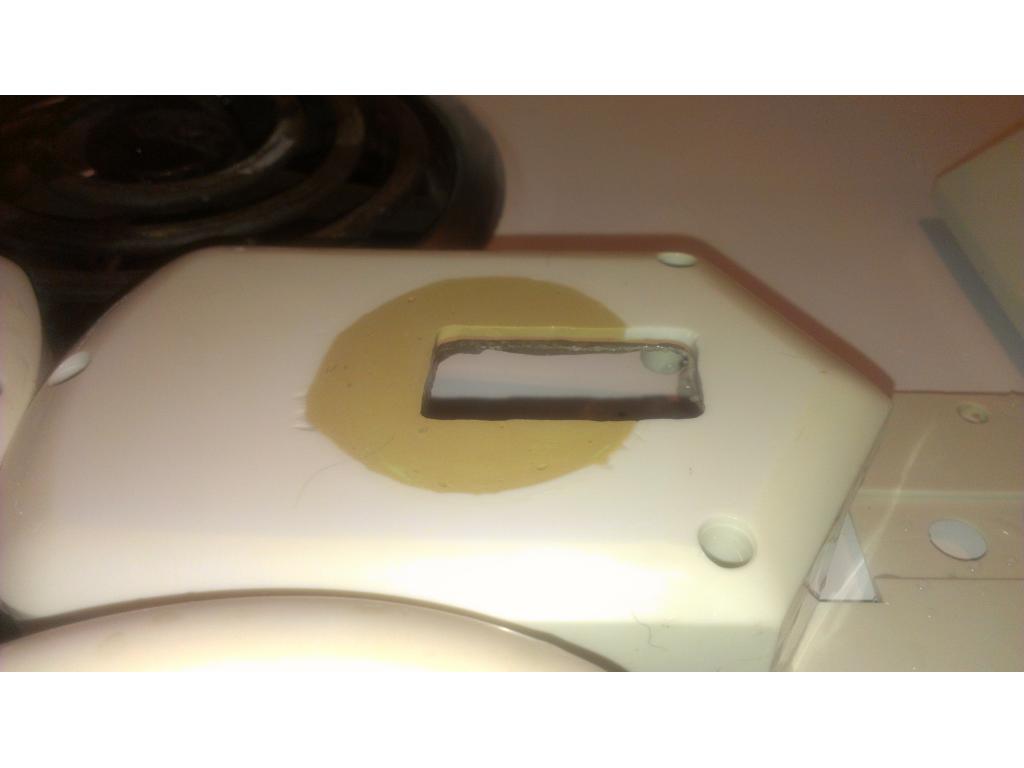
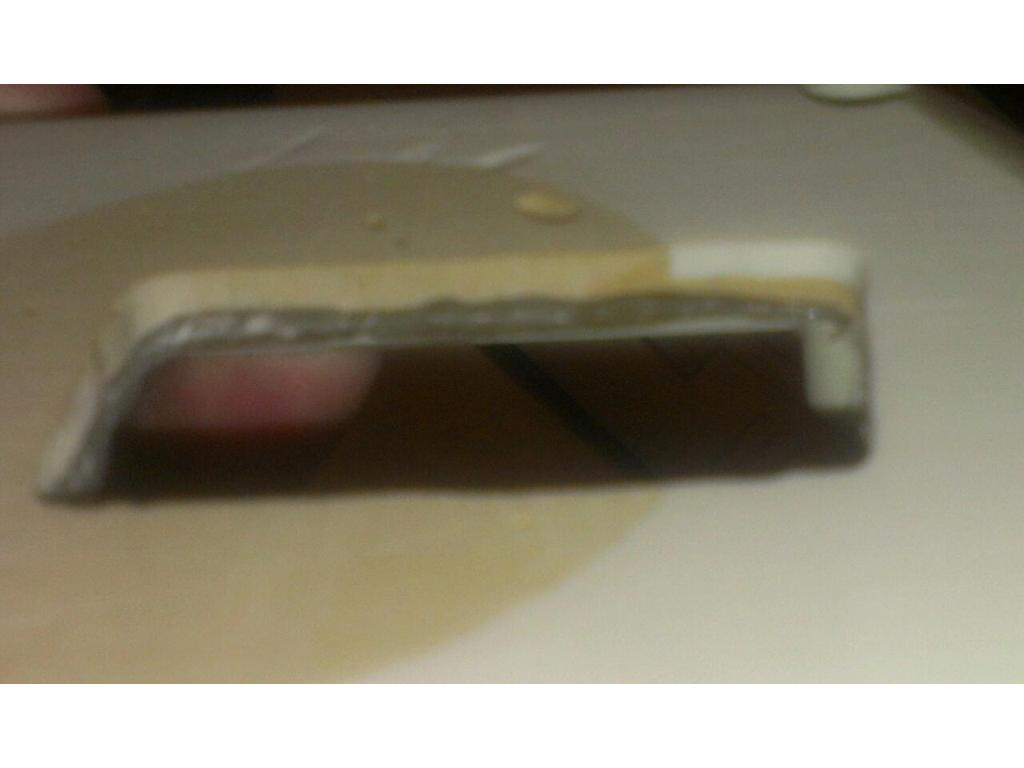
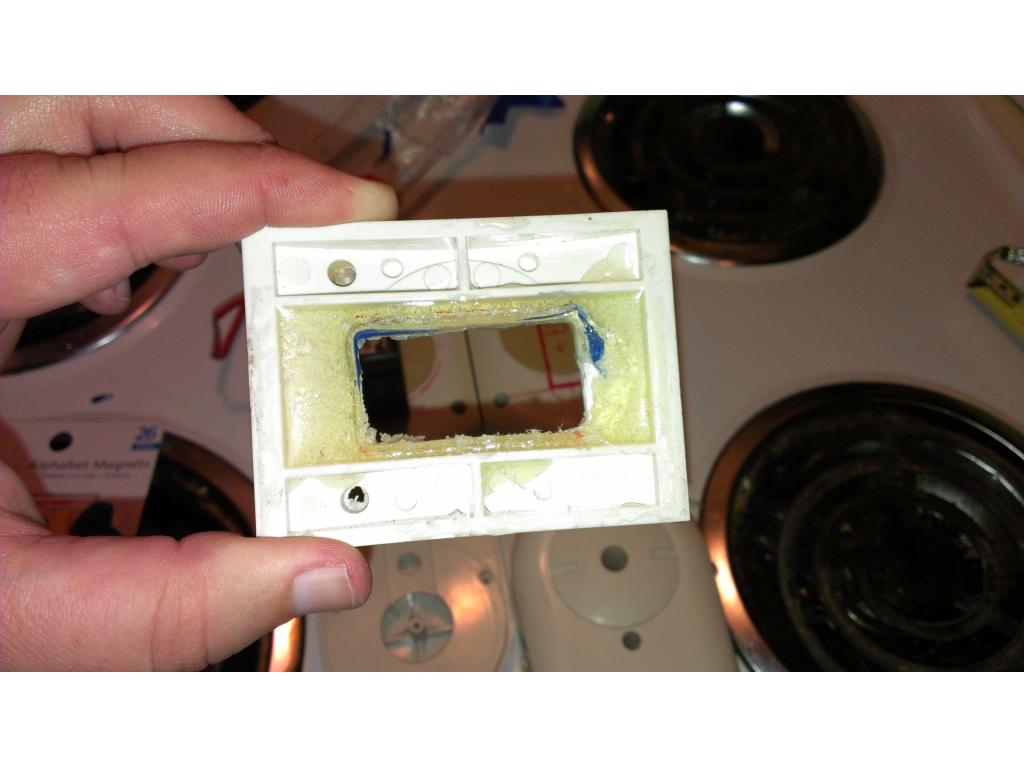
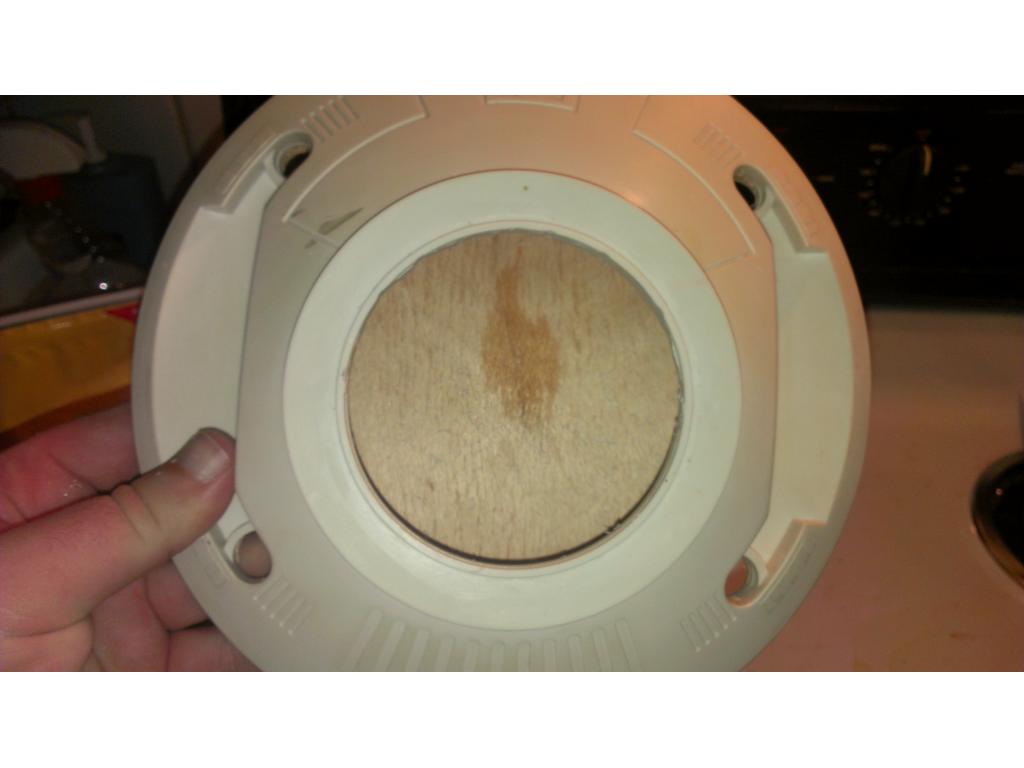
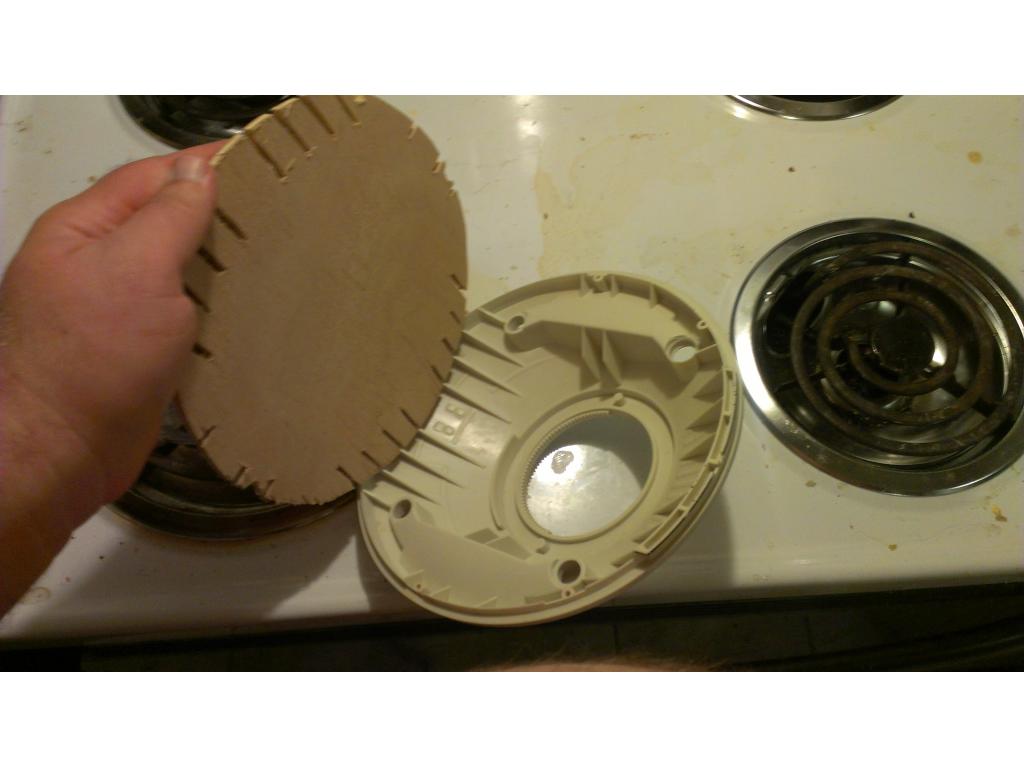
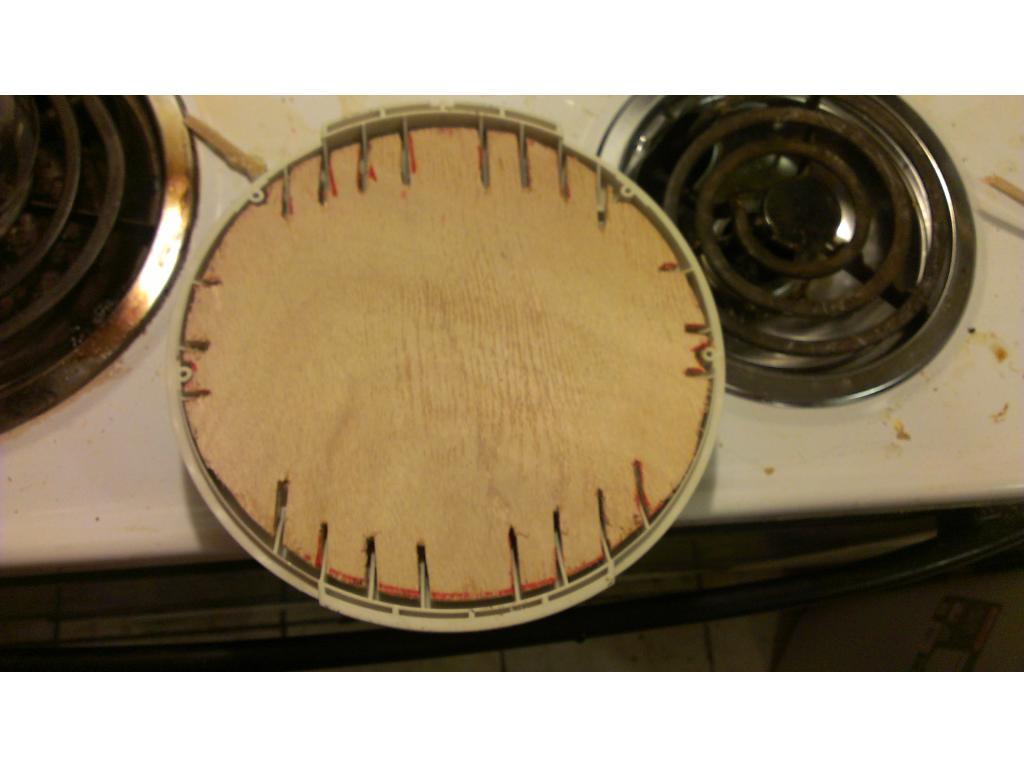
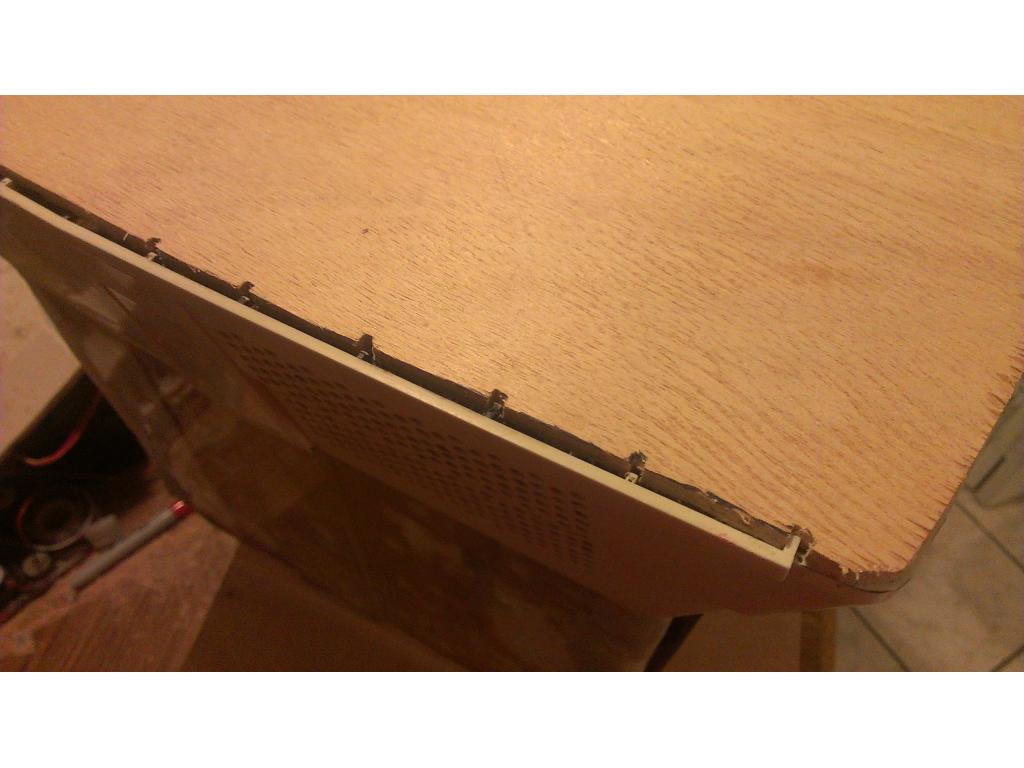
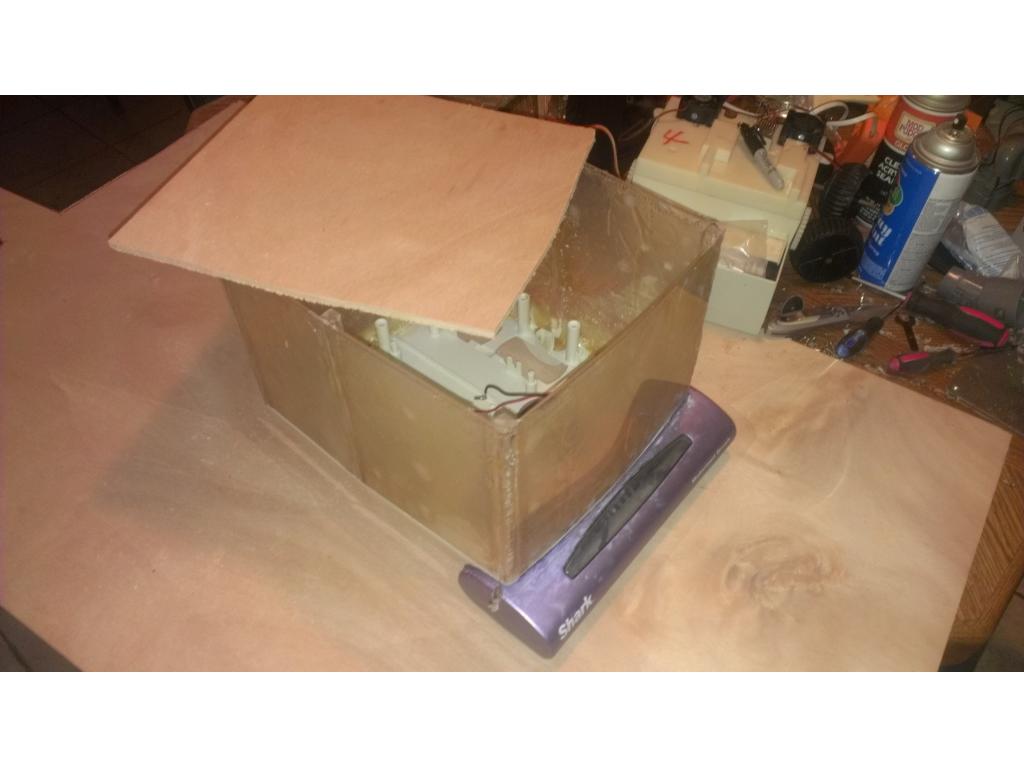
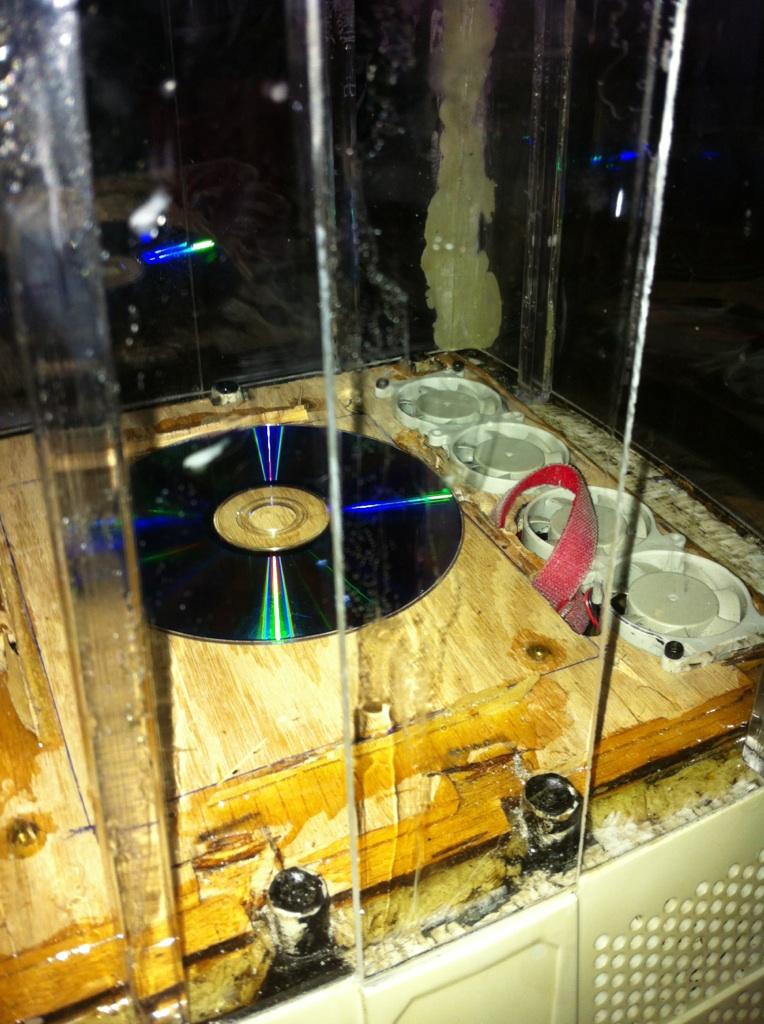
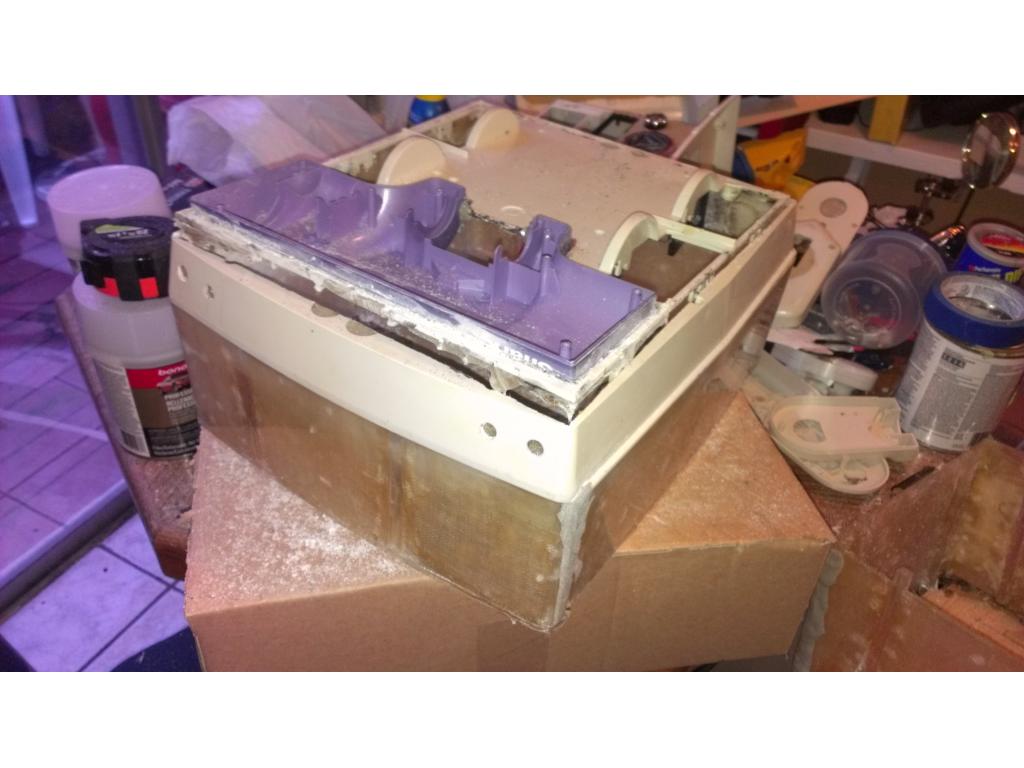
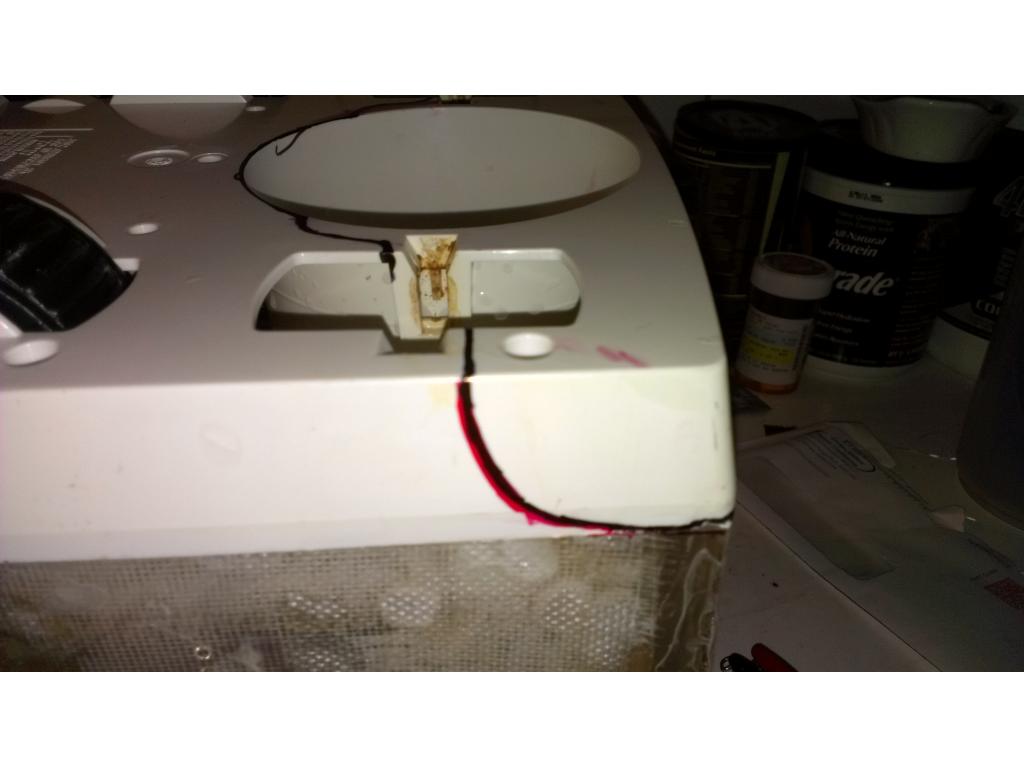
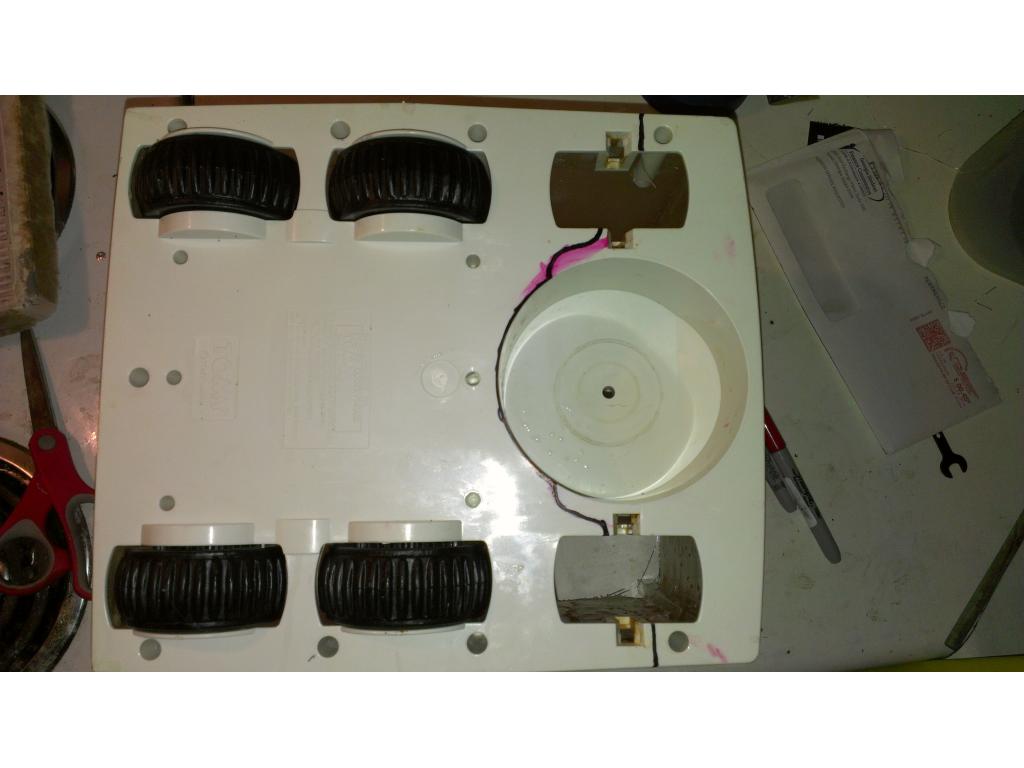
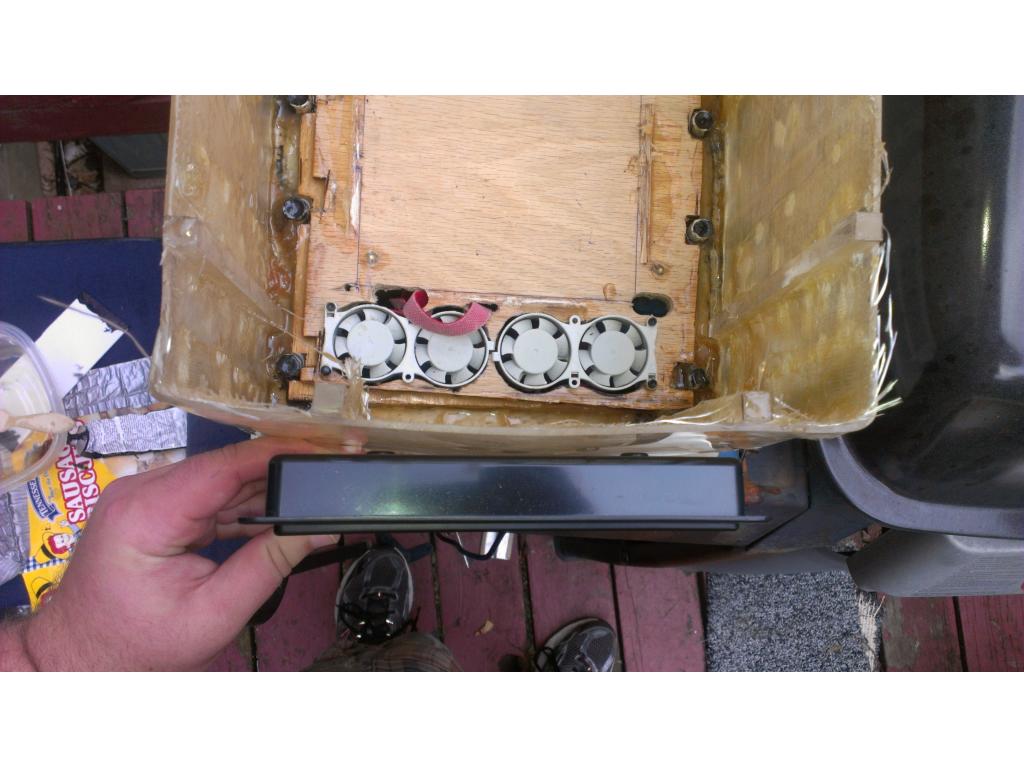
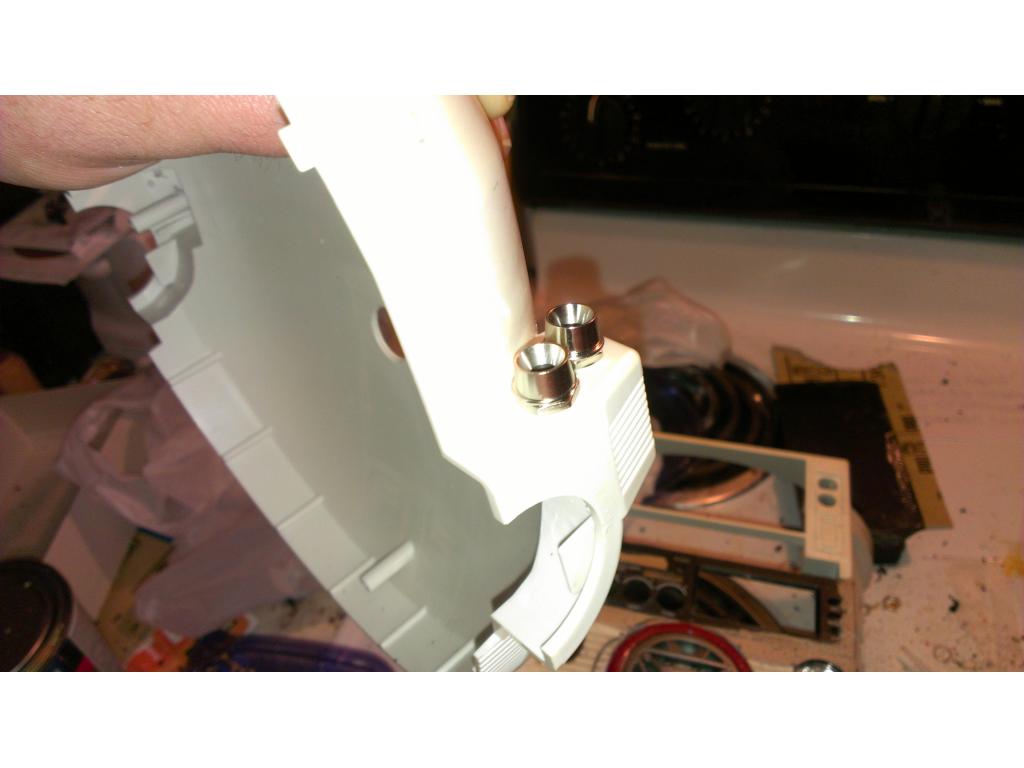
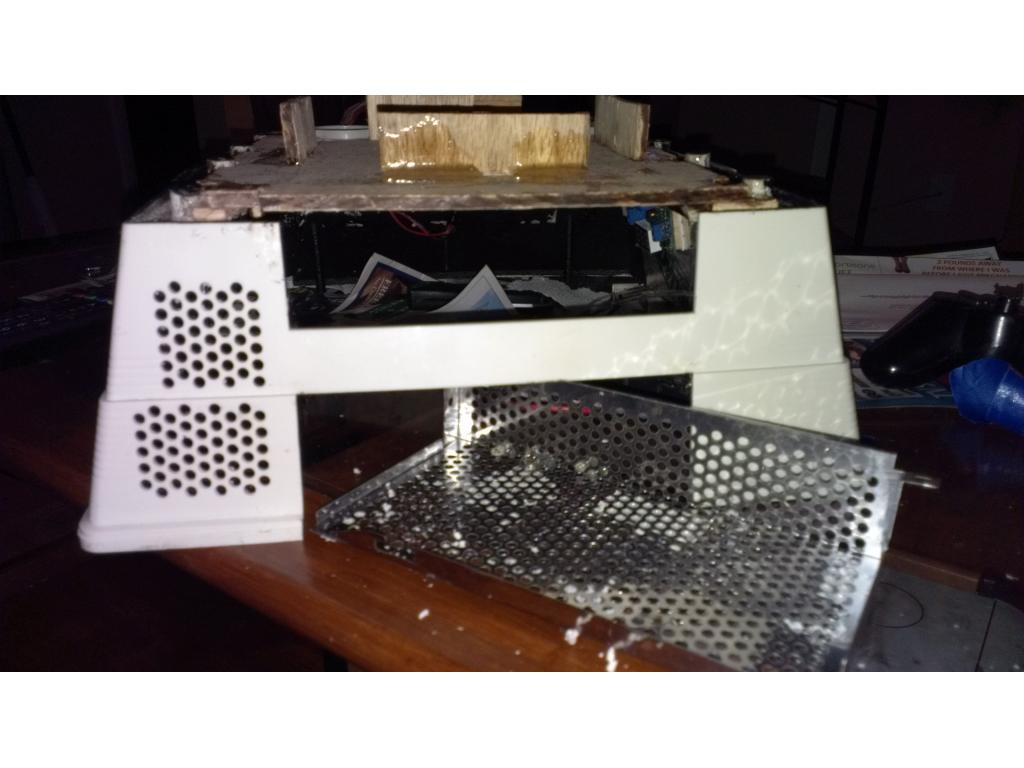
I want these pieces to sandwich together as flush as possible. To do this I cut knotches so the ply would recess into the plastic.

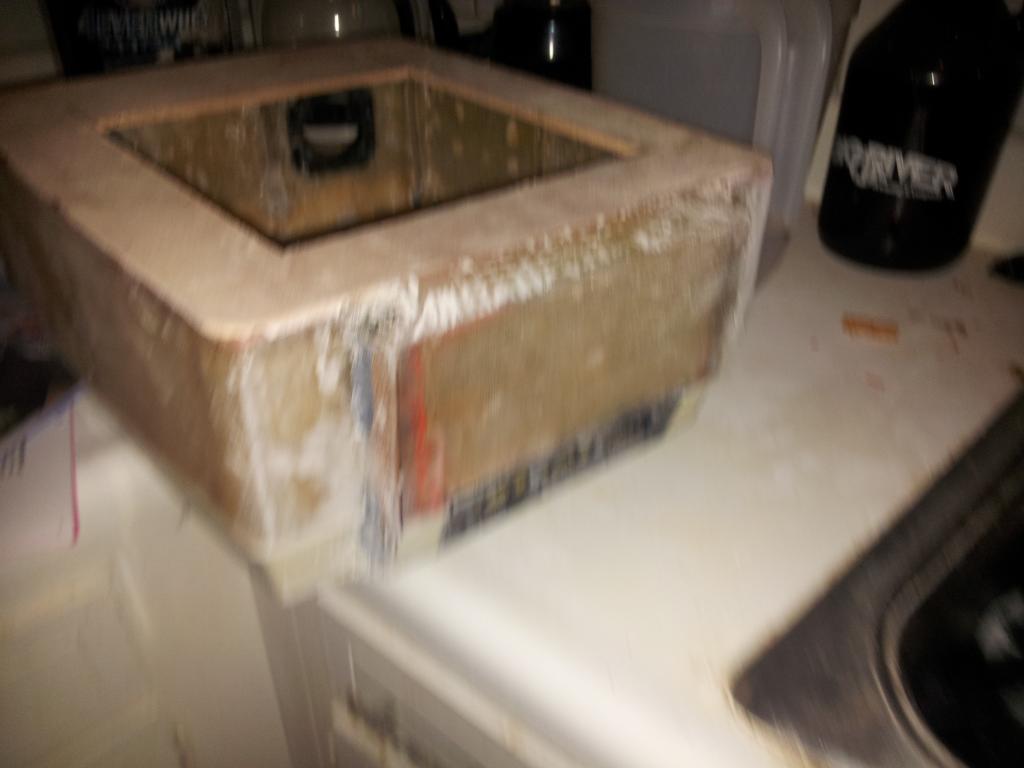
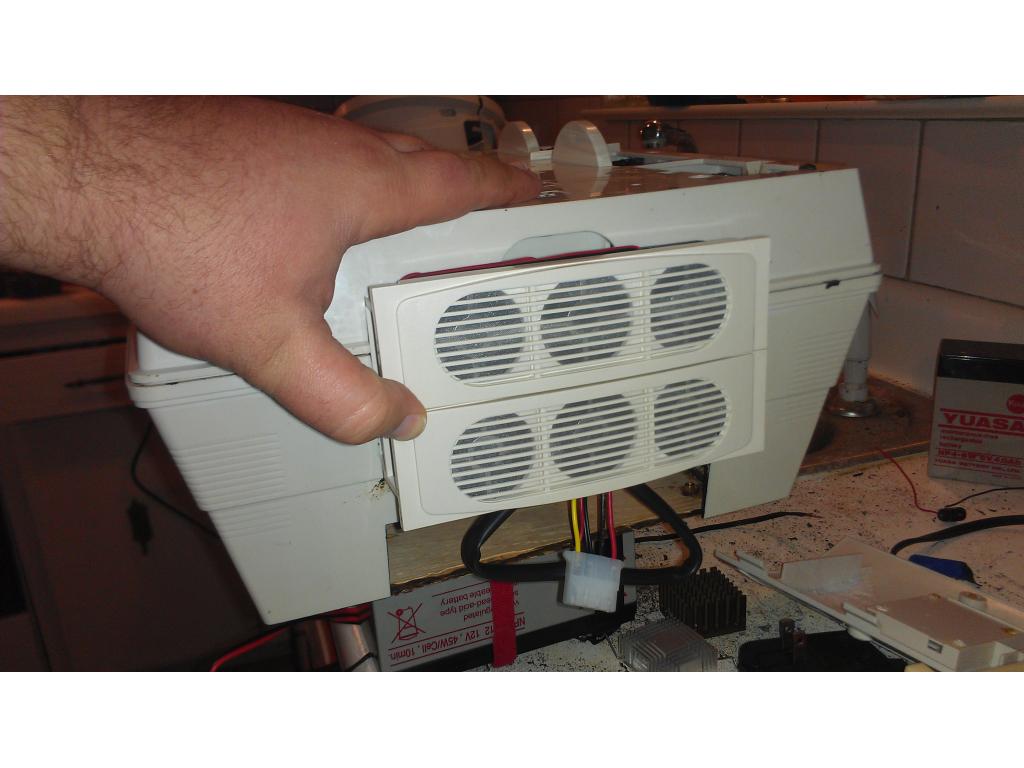
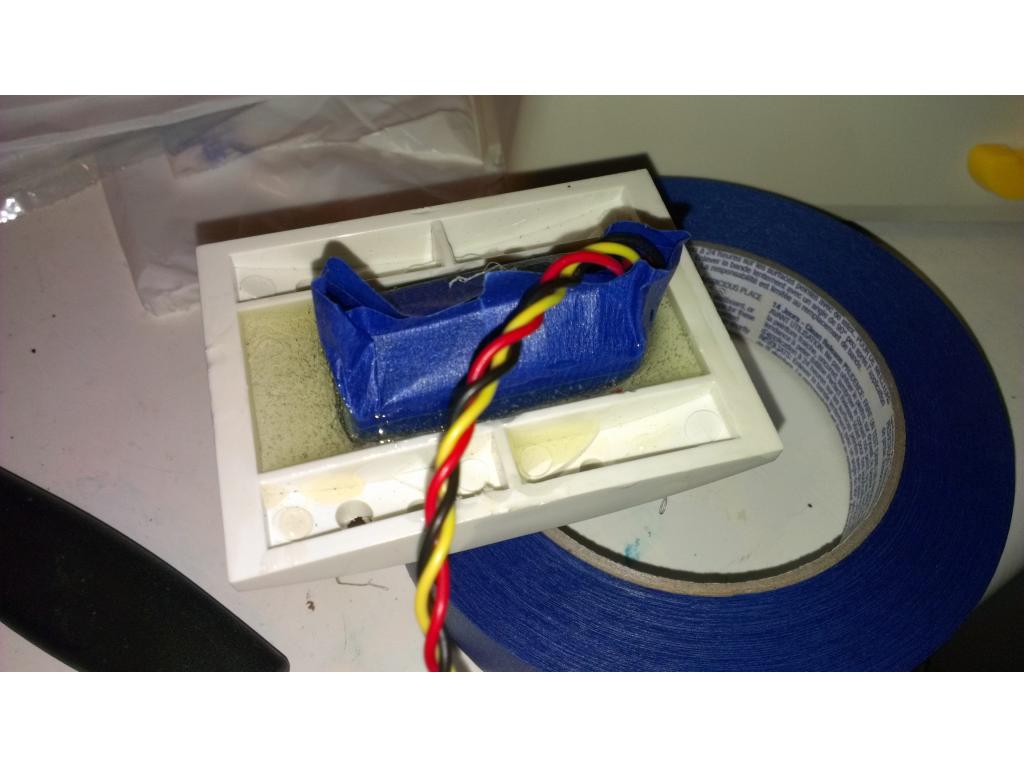
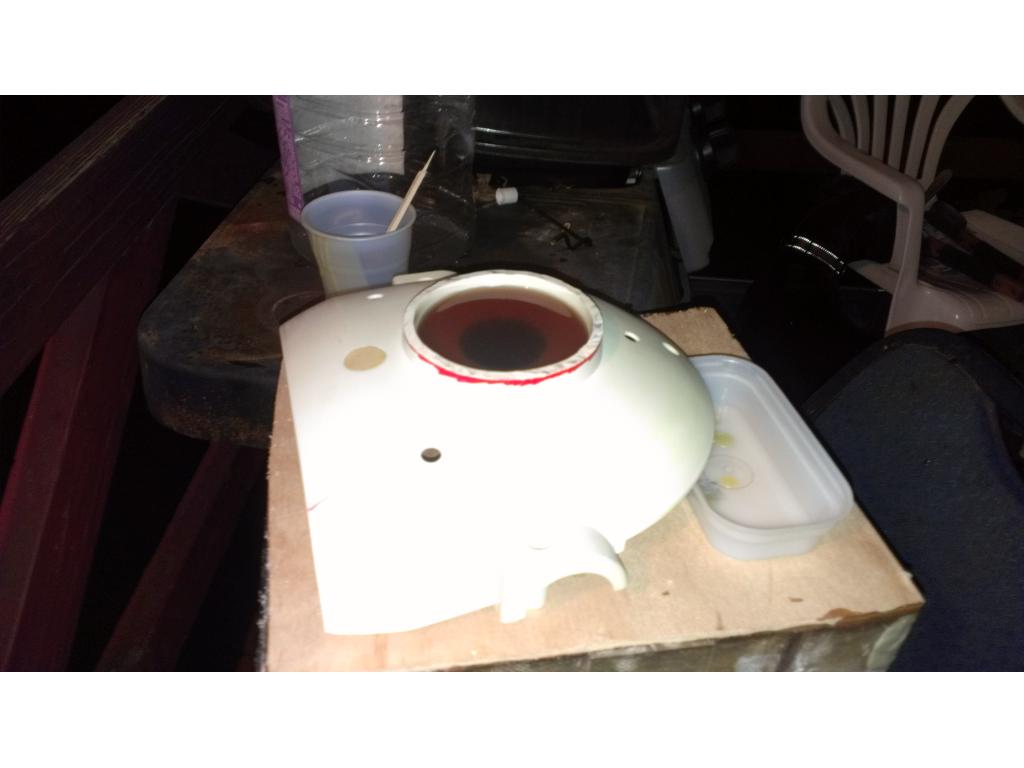
While the other piece is curing I trimmed the wood so that it flushes into the bottom of the base. In a few minutes I will tape off the edges and epoxy the edges from the inside.