


cE9s4PsOgeBQIORwjd5!~~60_1-634818020230156250.jpg)


BO)Lupuc4g~~60_35-634706297915000000.jpg)
LupbT6!~~60_35-634706298769375000.jpg)


C5j!~~60_35-634655044863125000.jpg)


C5j!~~60_35-634659603510781250.jpg)


C5j!~~60_35-634651704046230469.jpg)
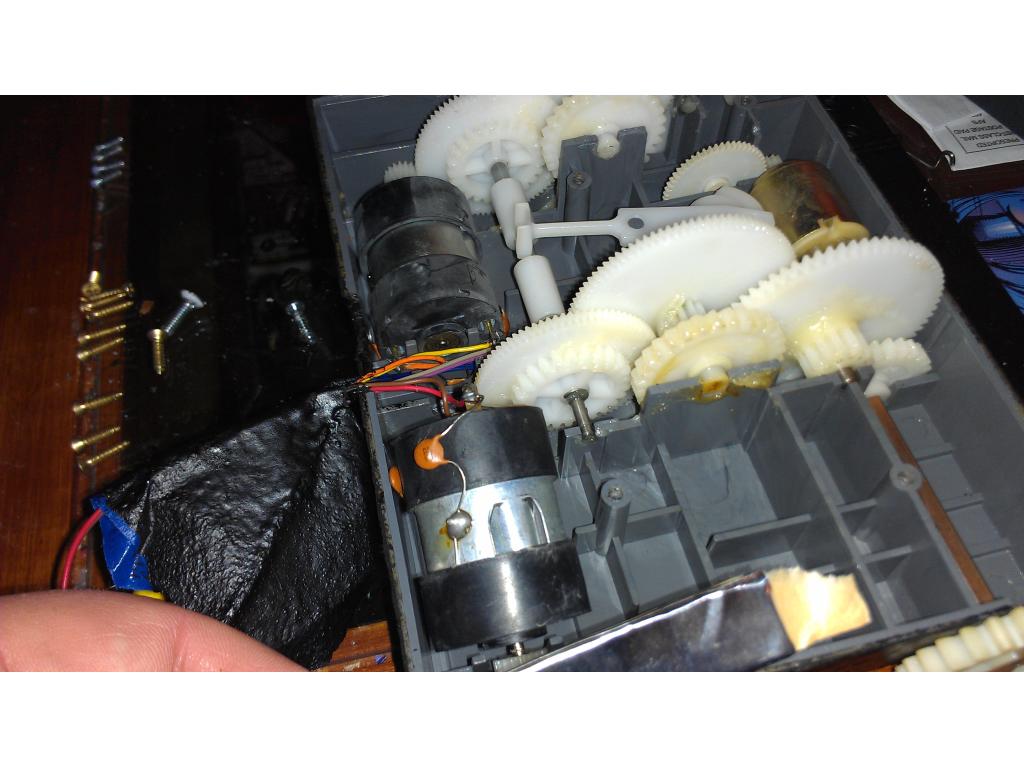
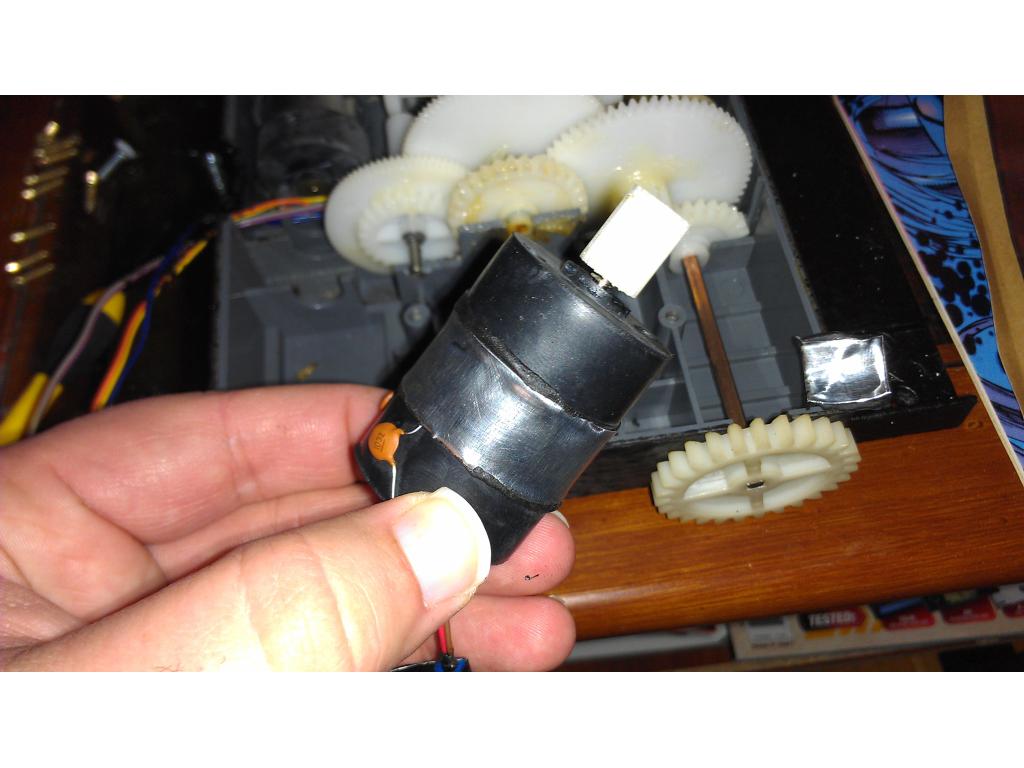
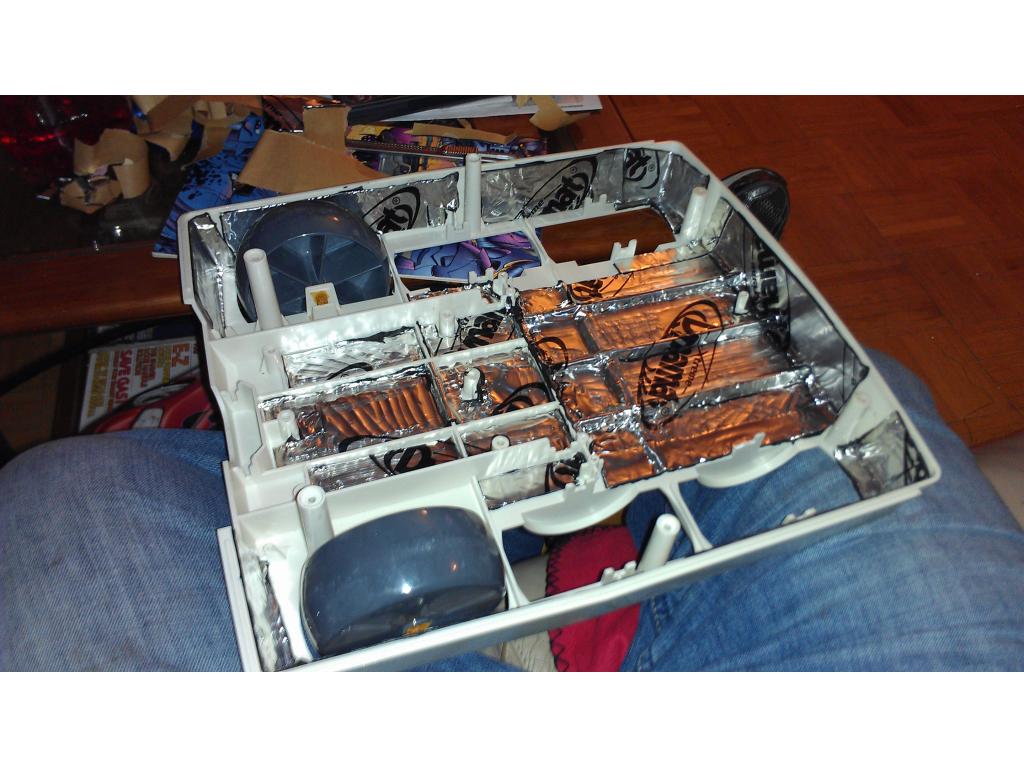
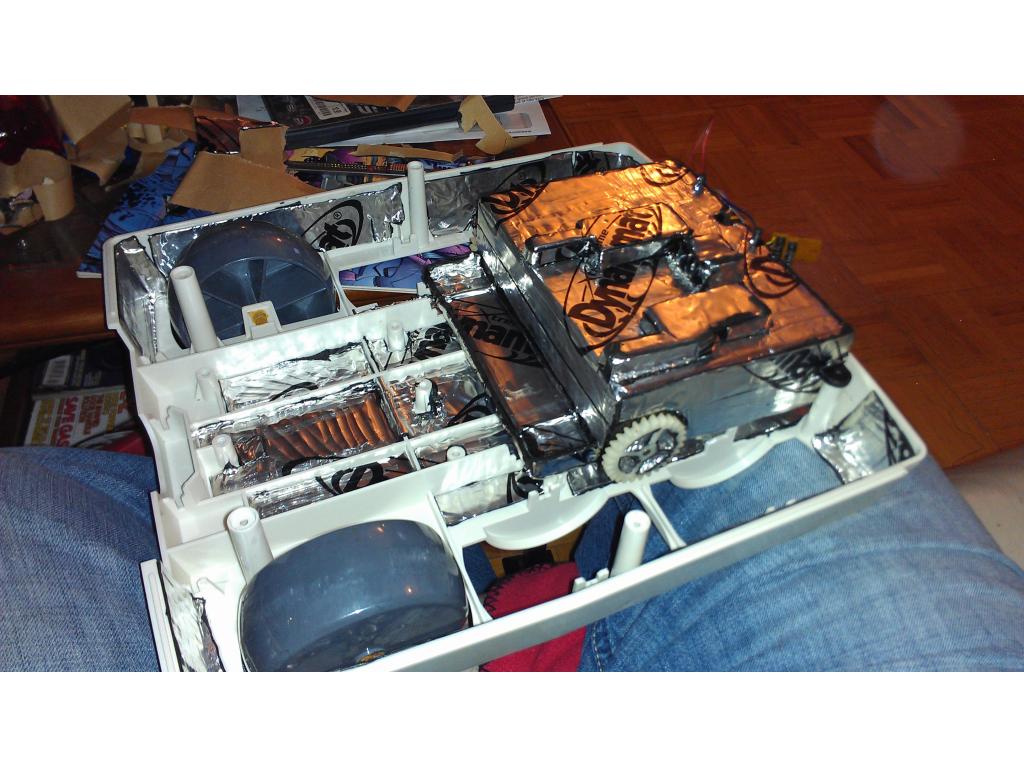
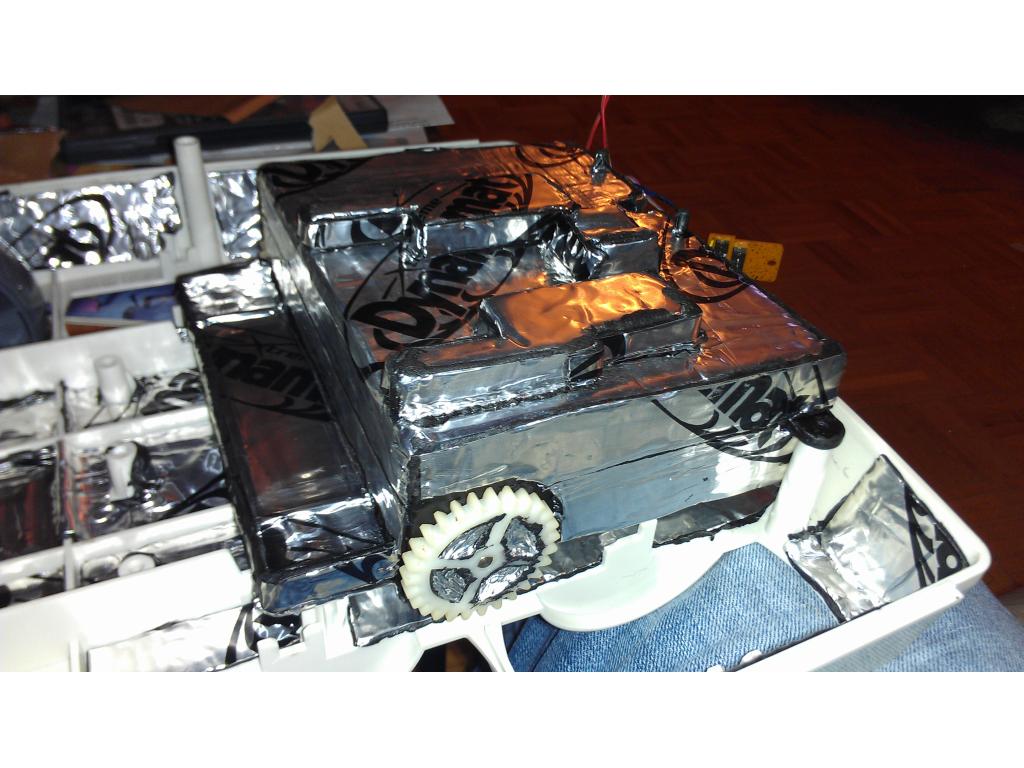


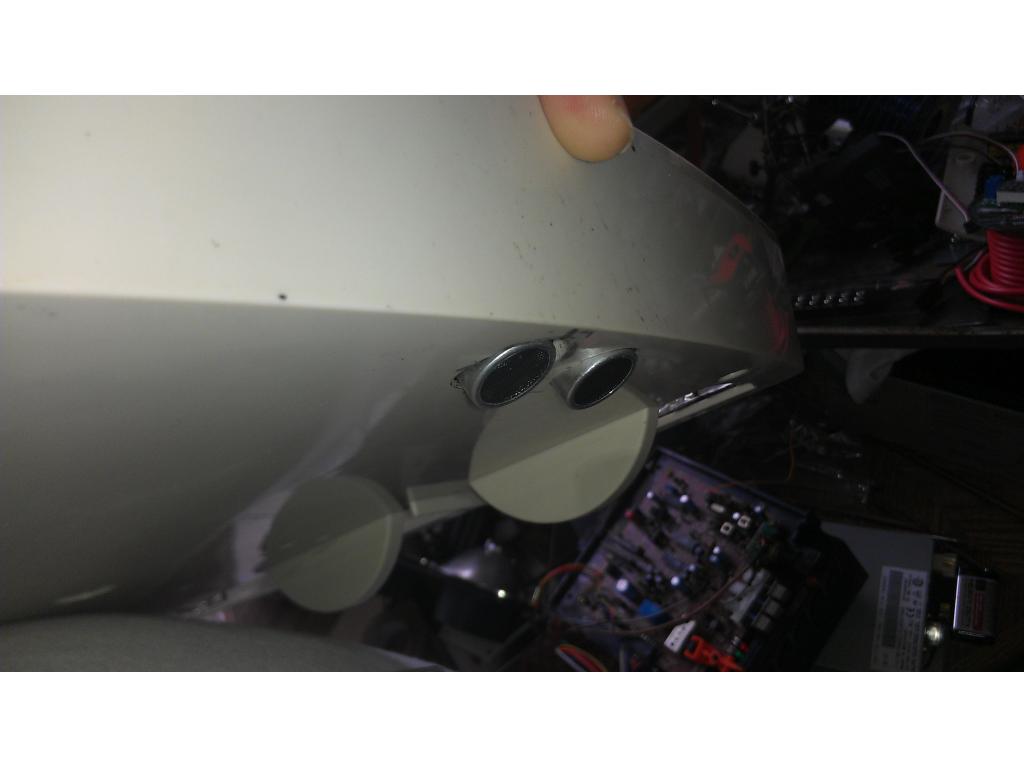

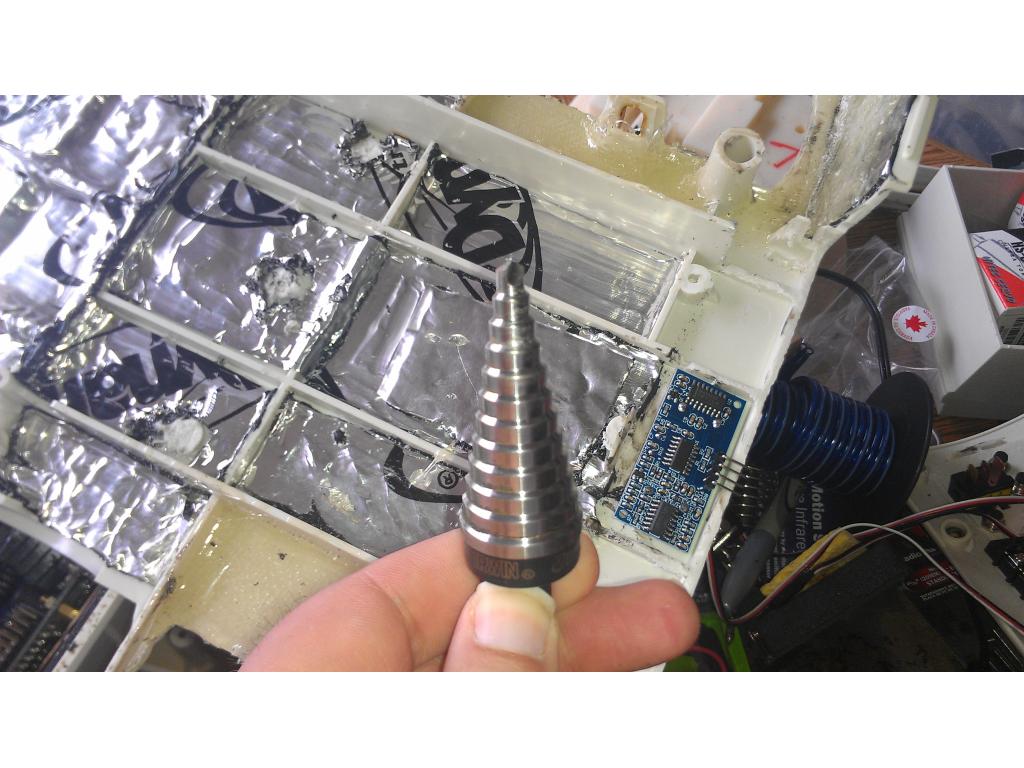

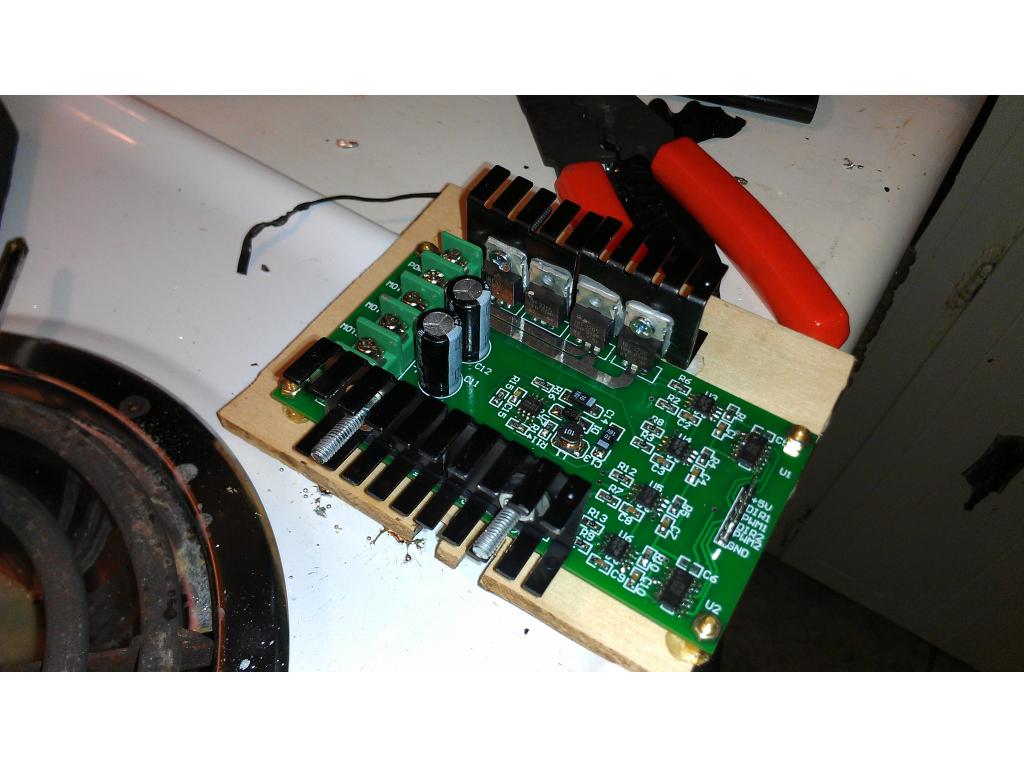
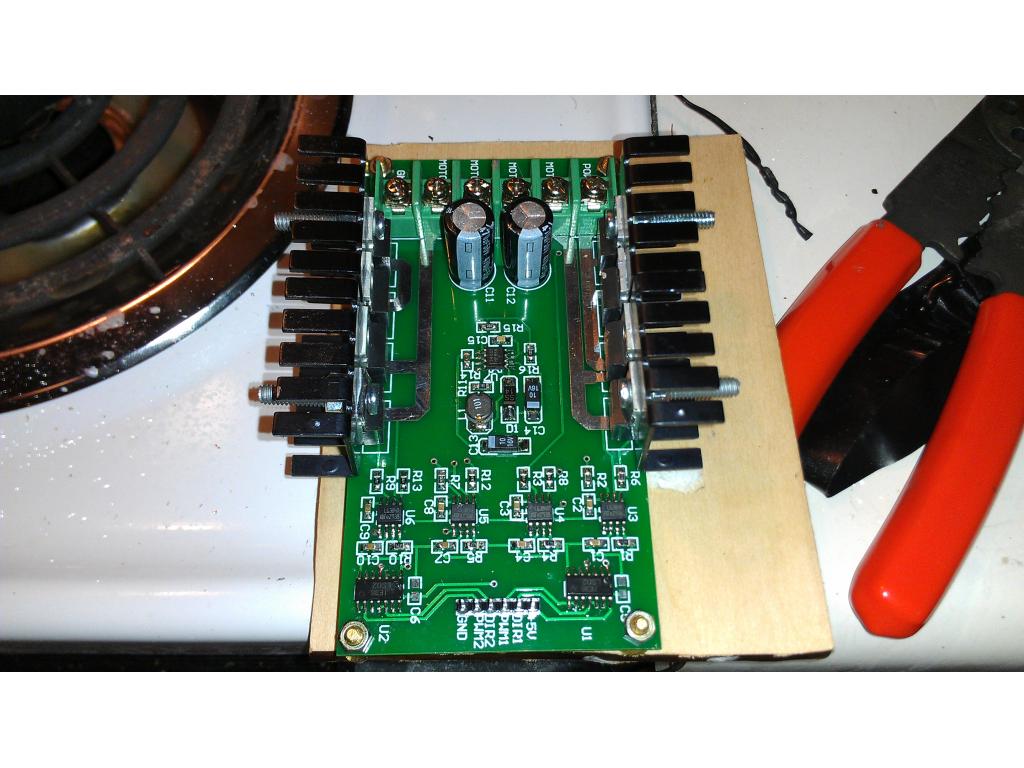


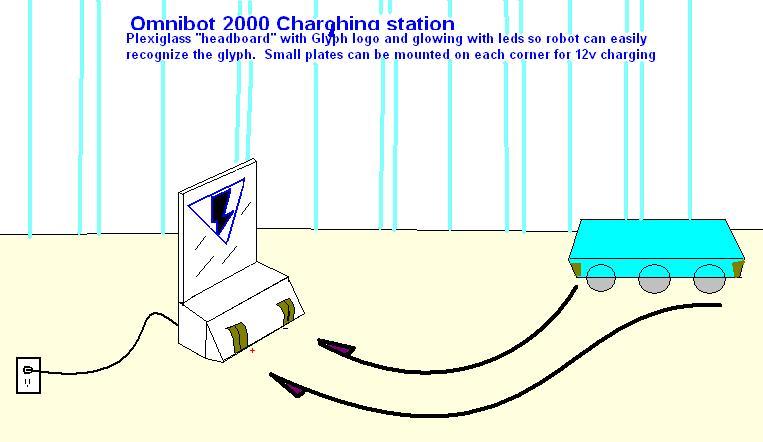
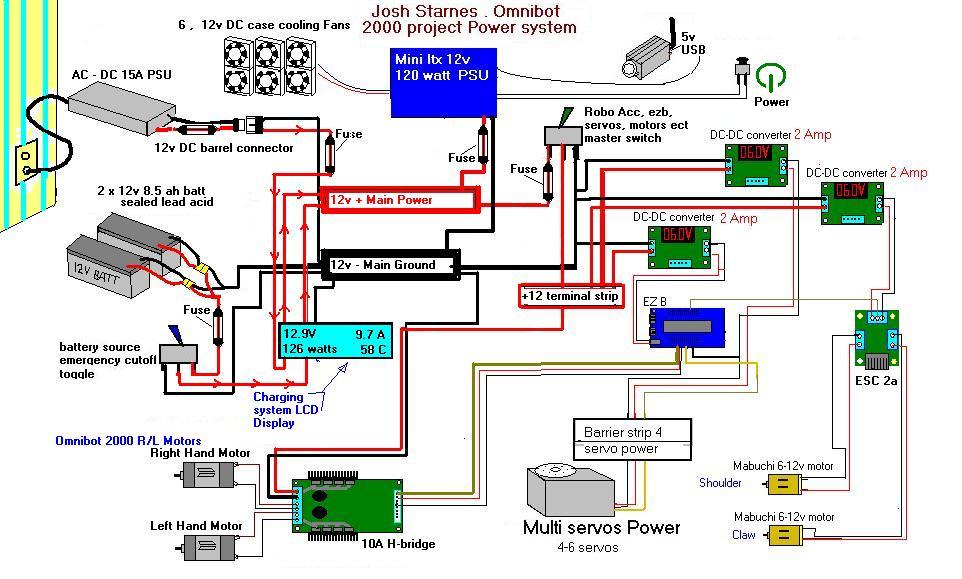
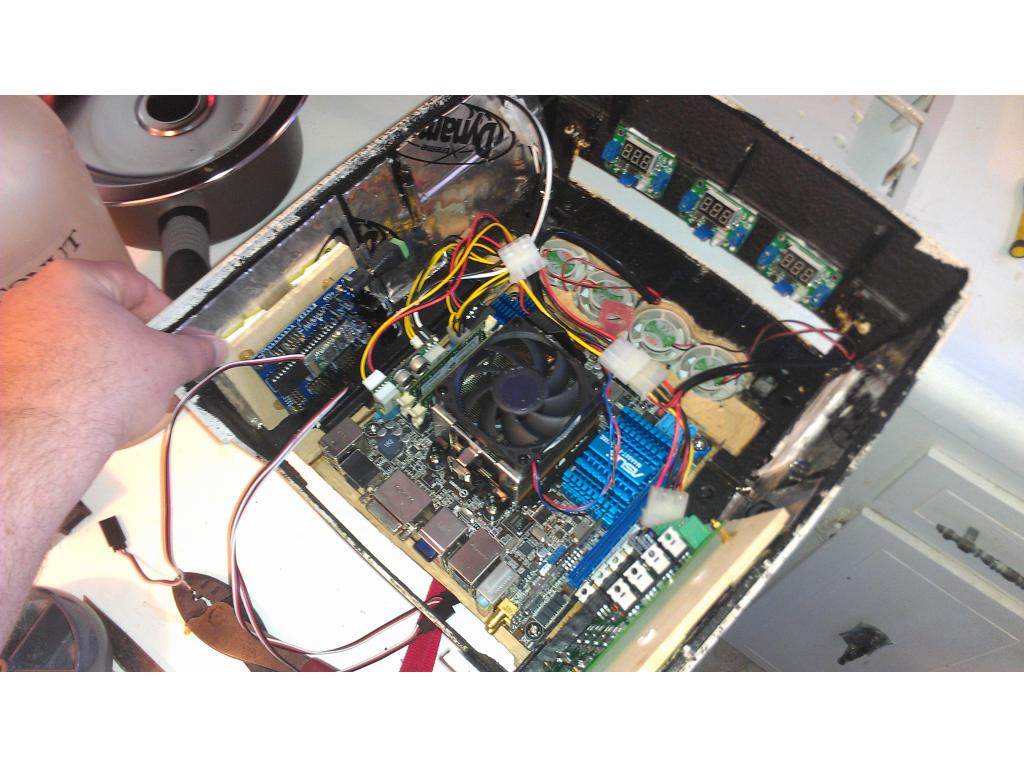
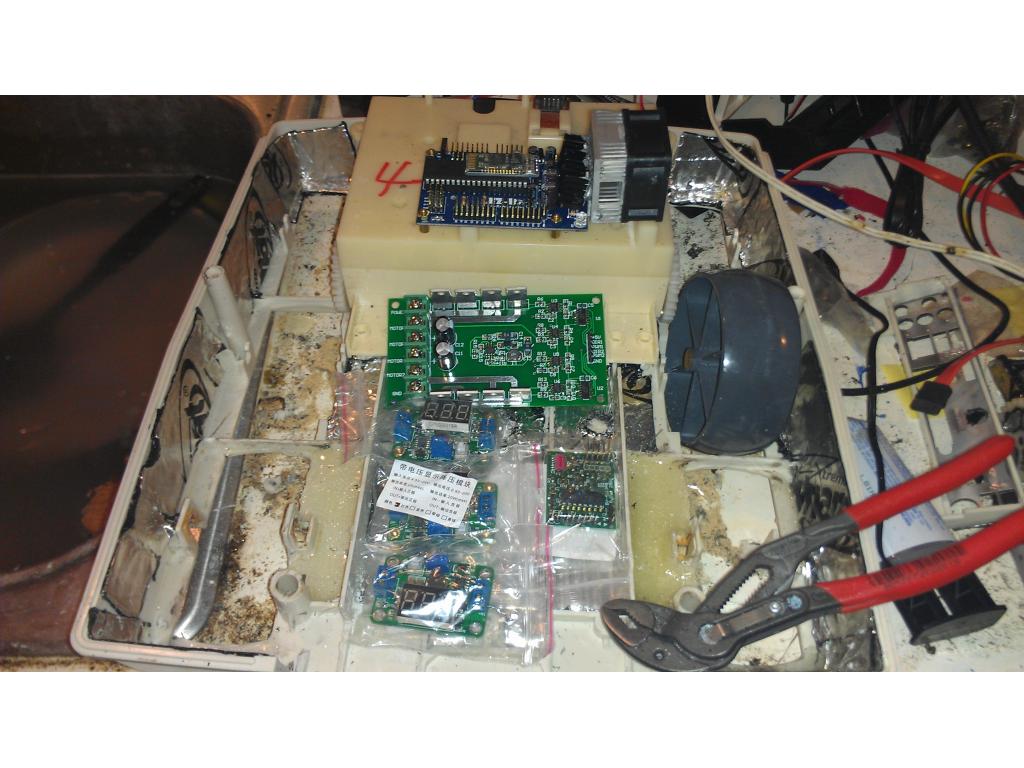
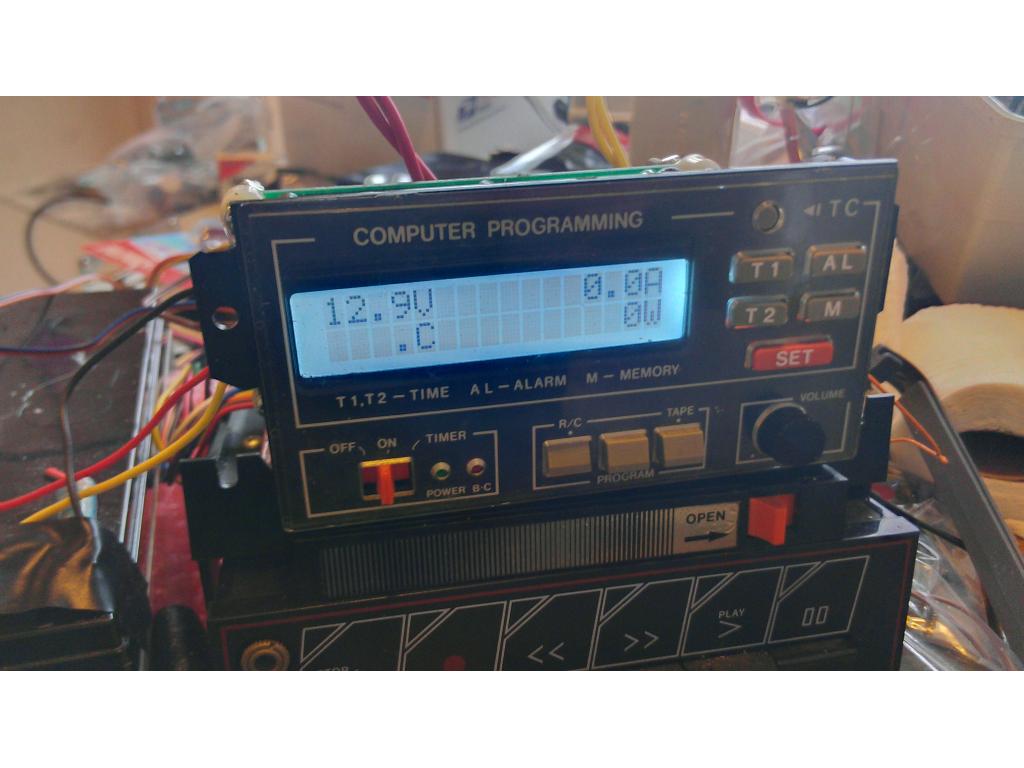
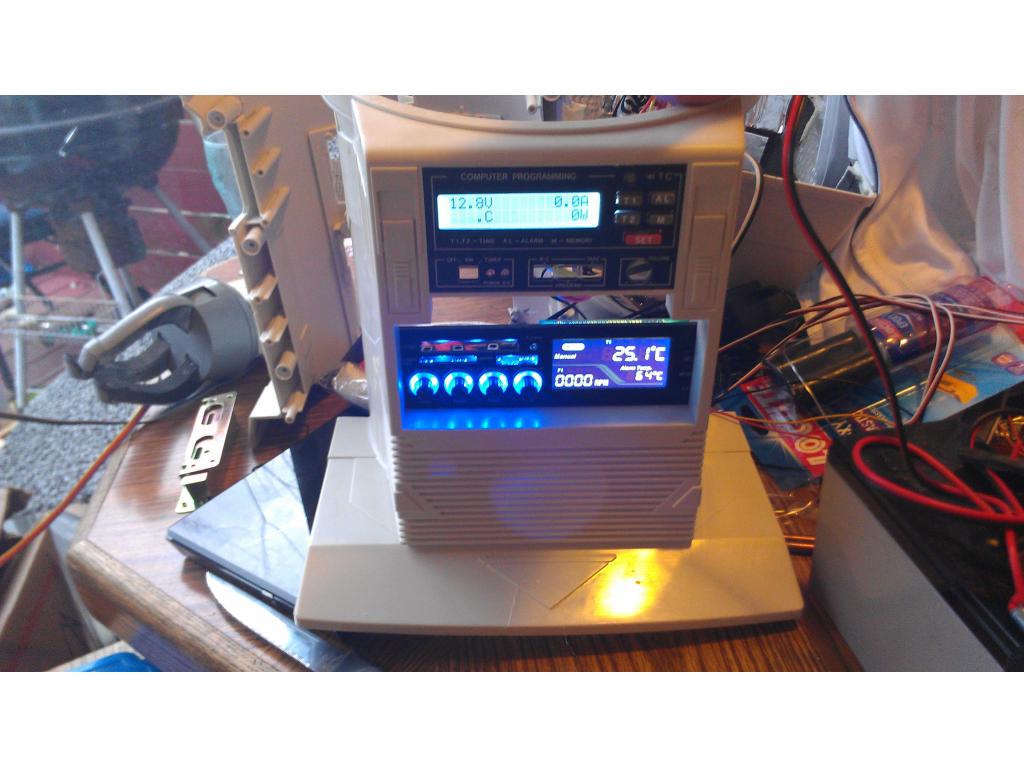

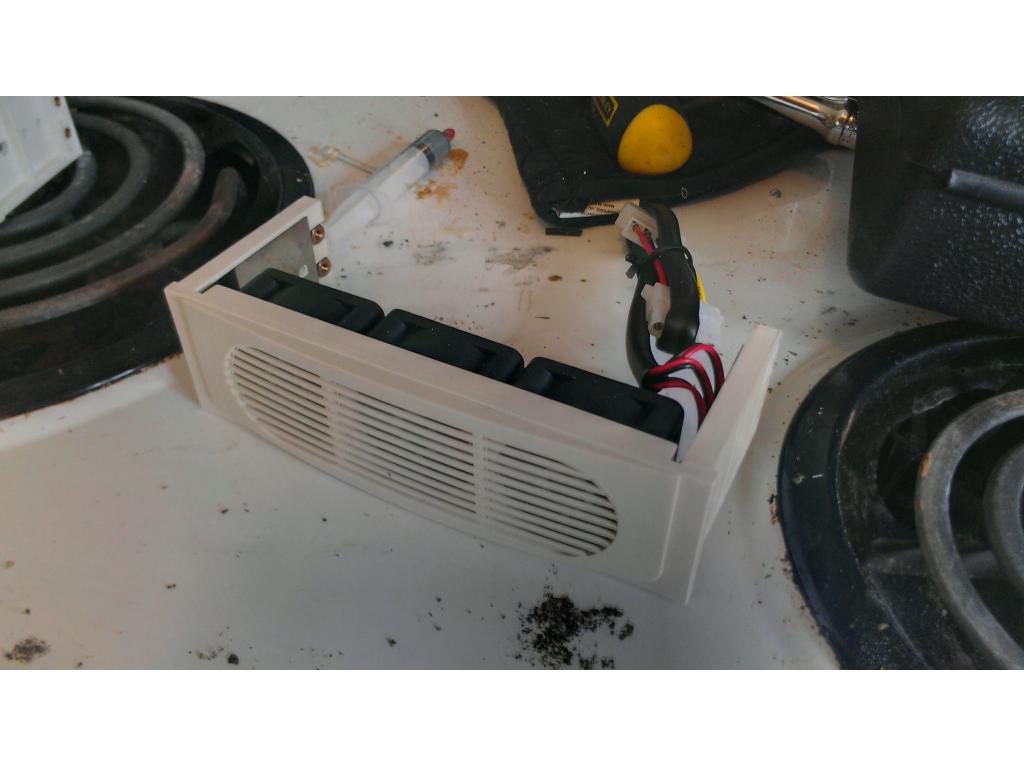


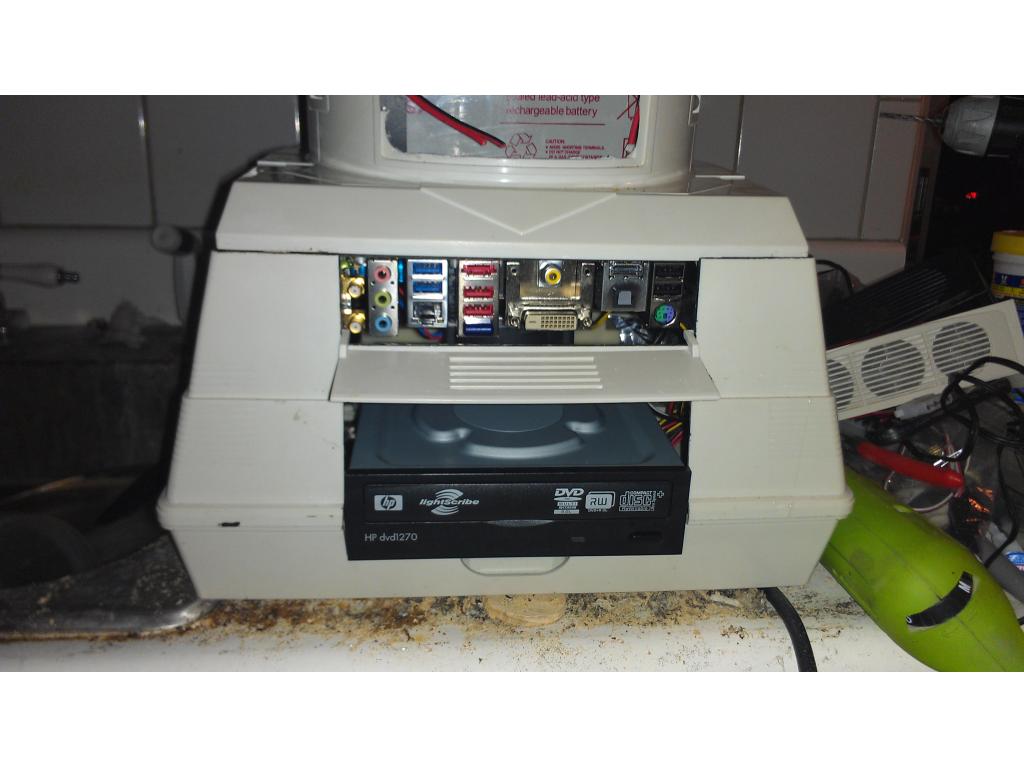


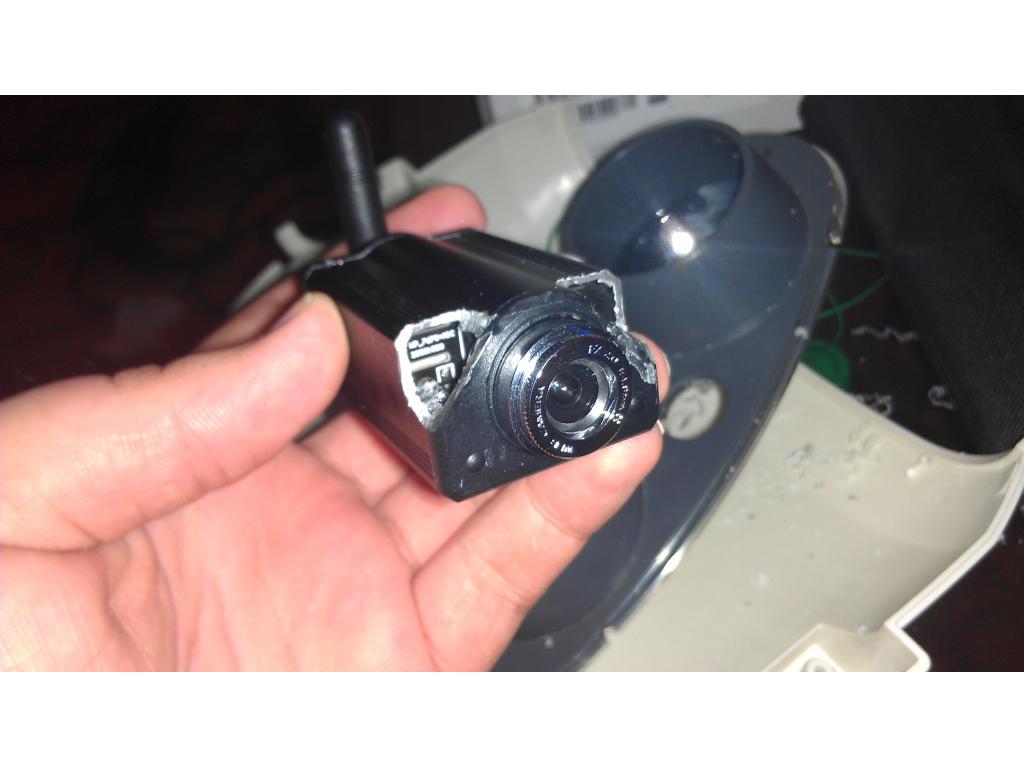
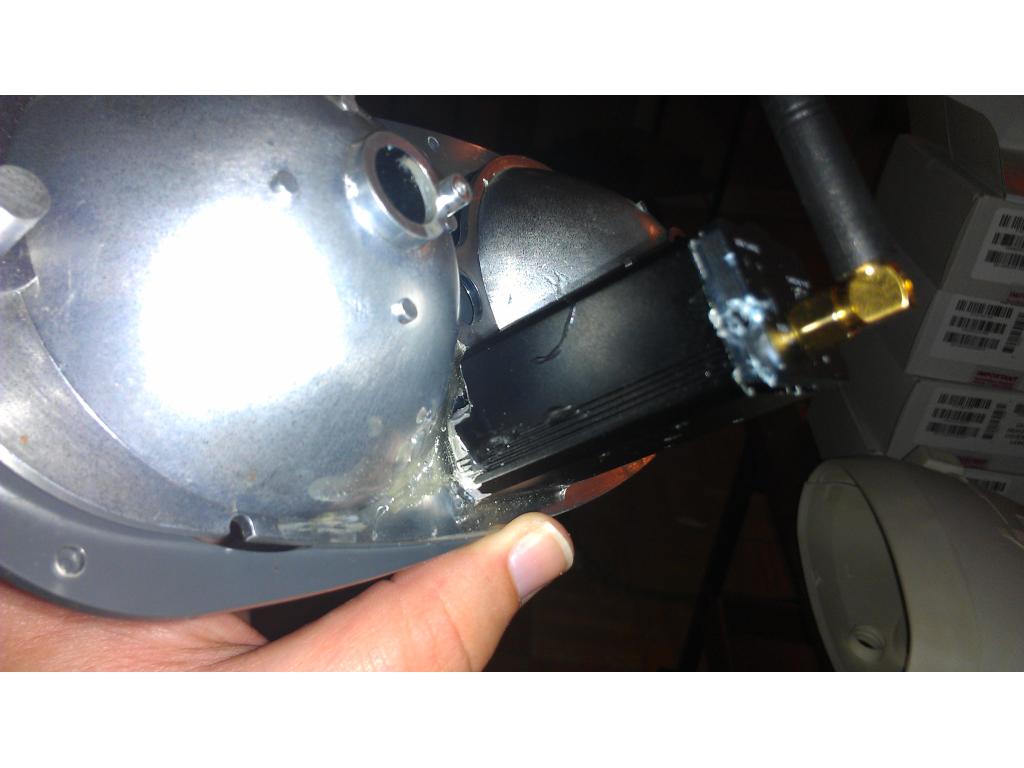
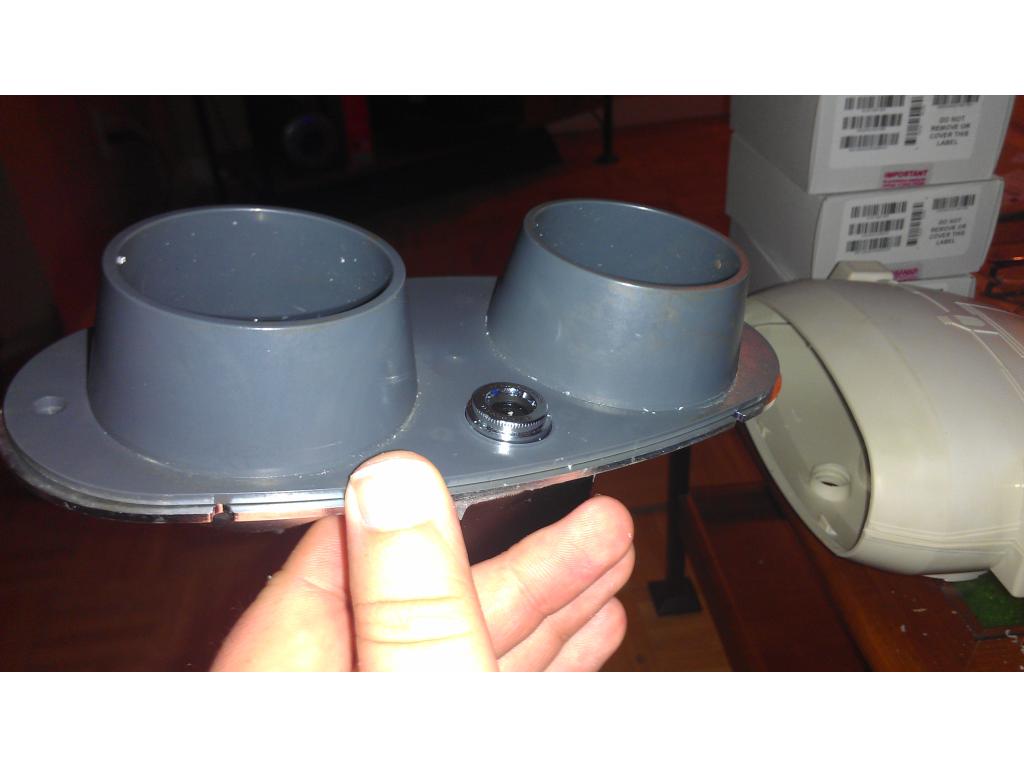
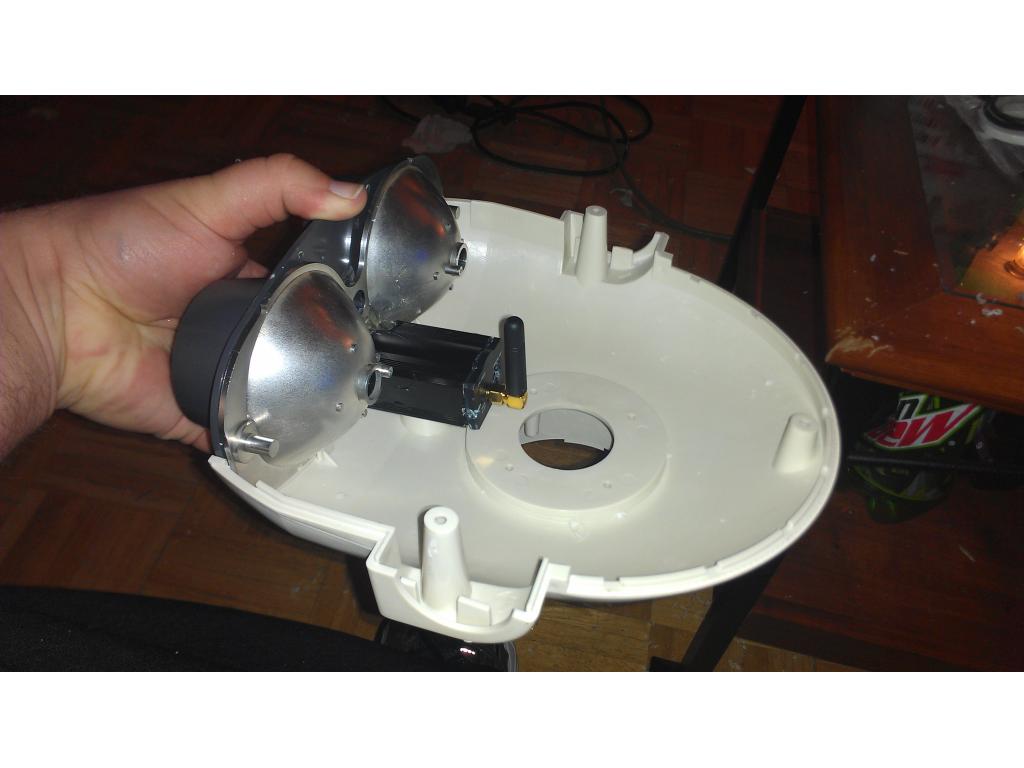

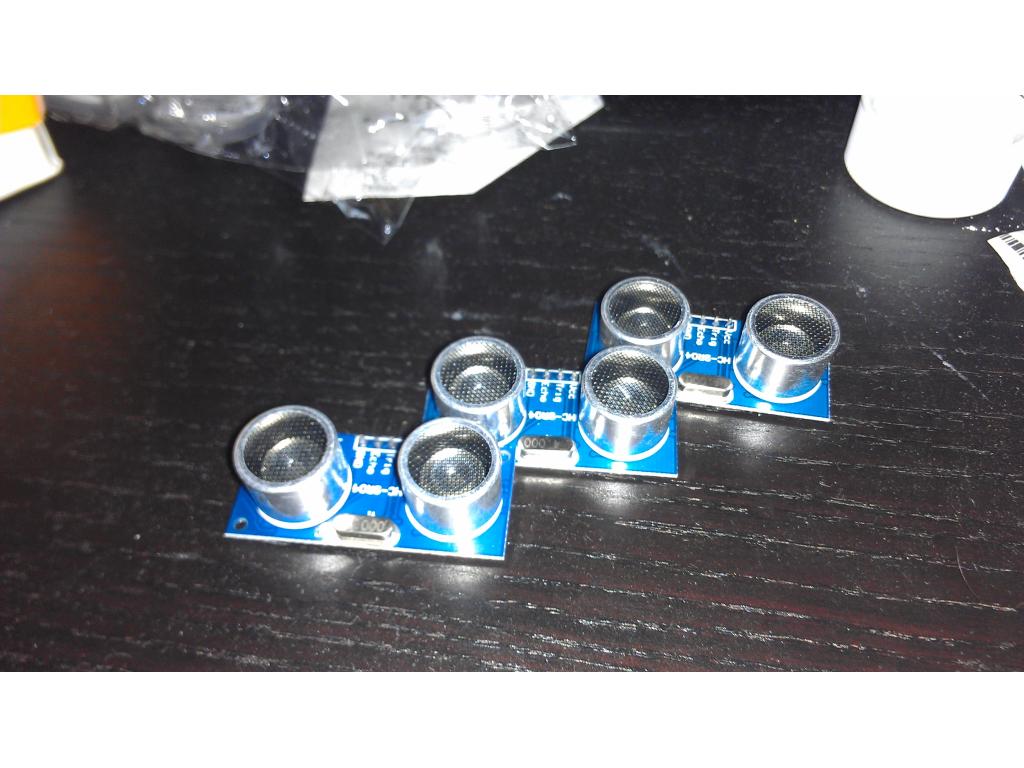
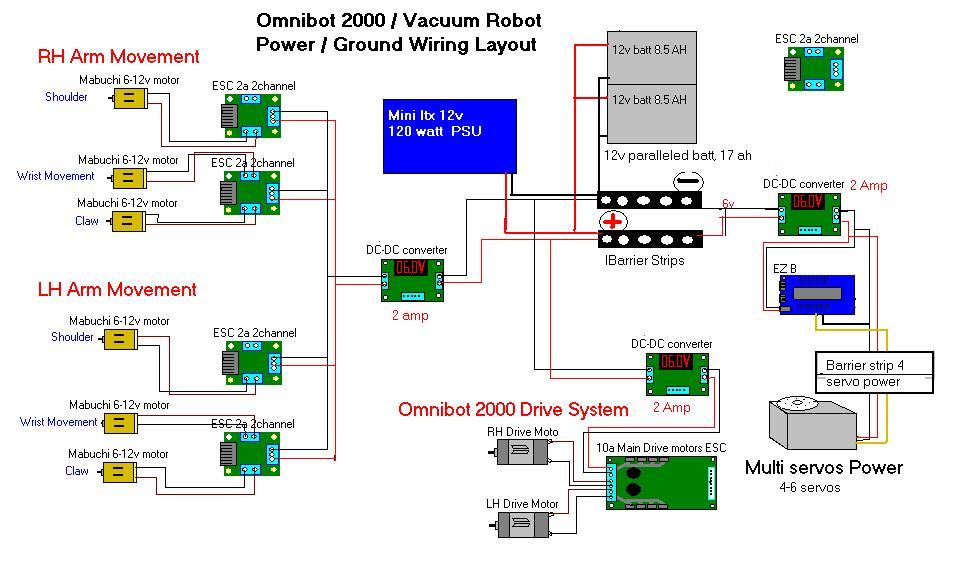

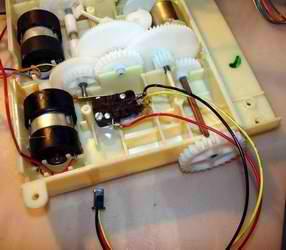
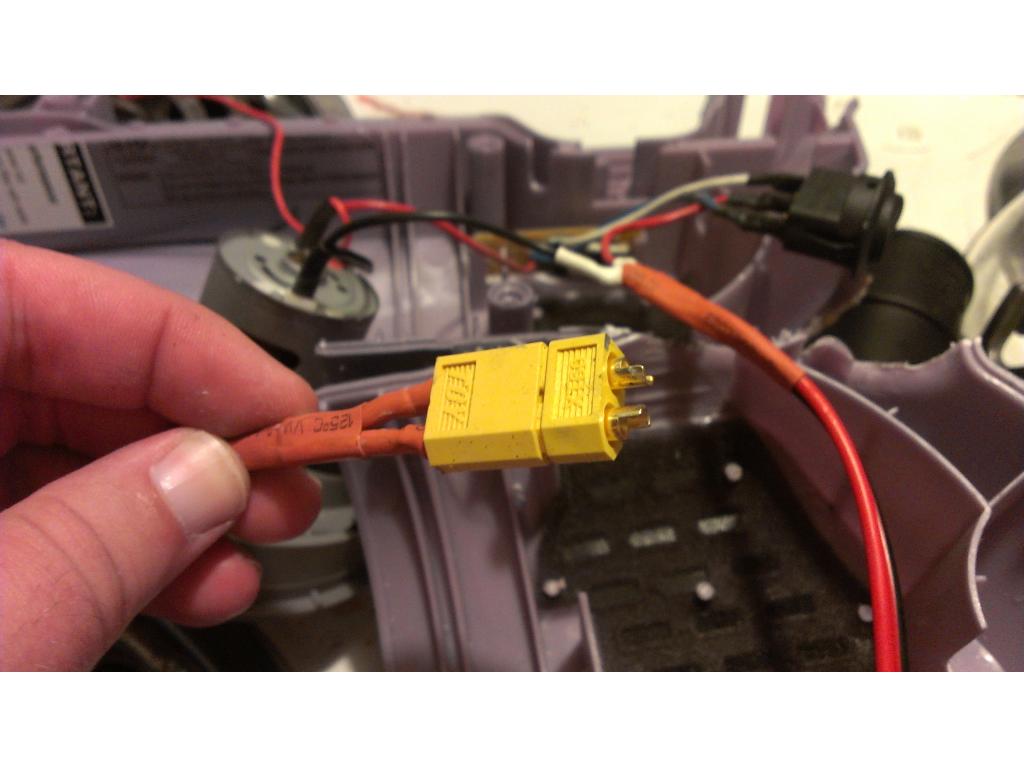
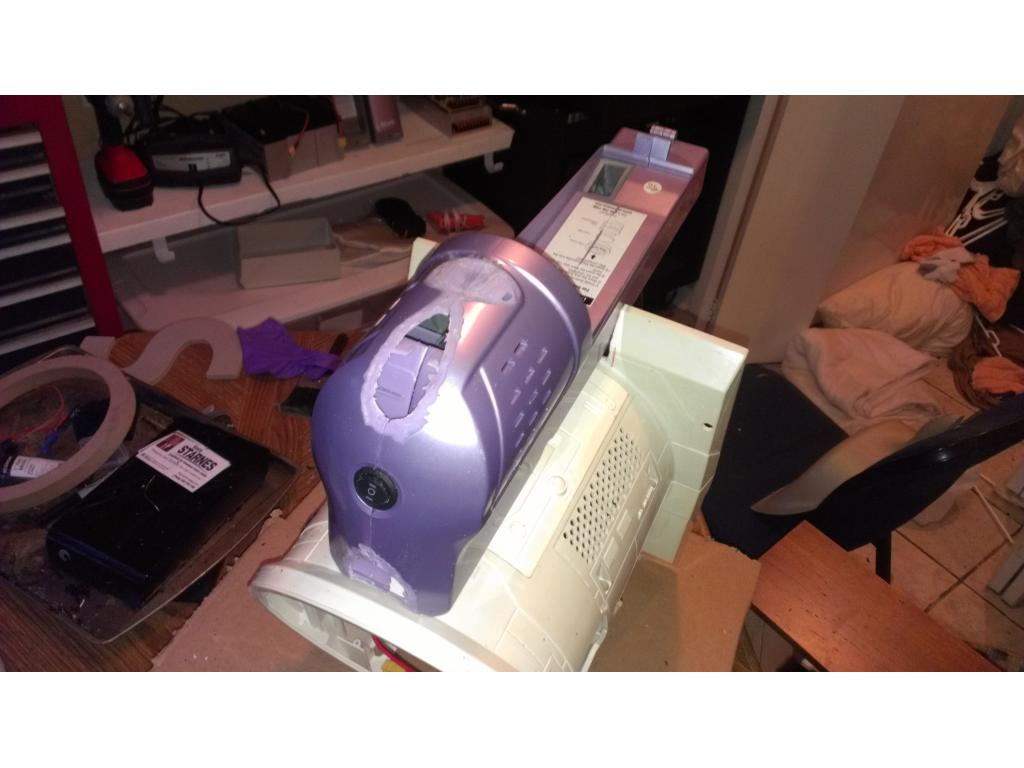
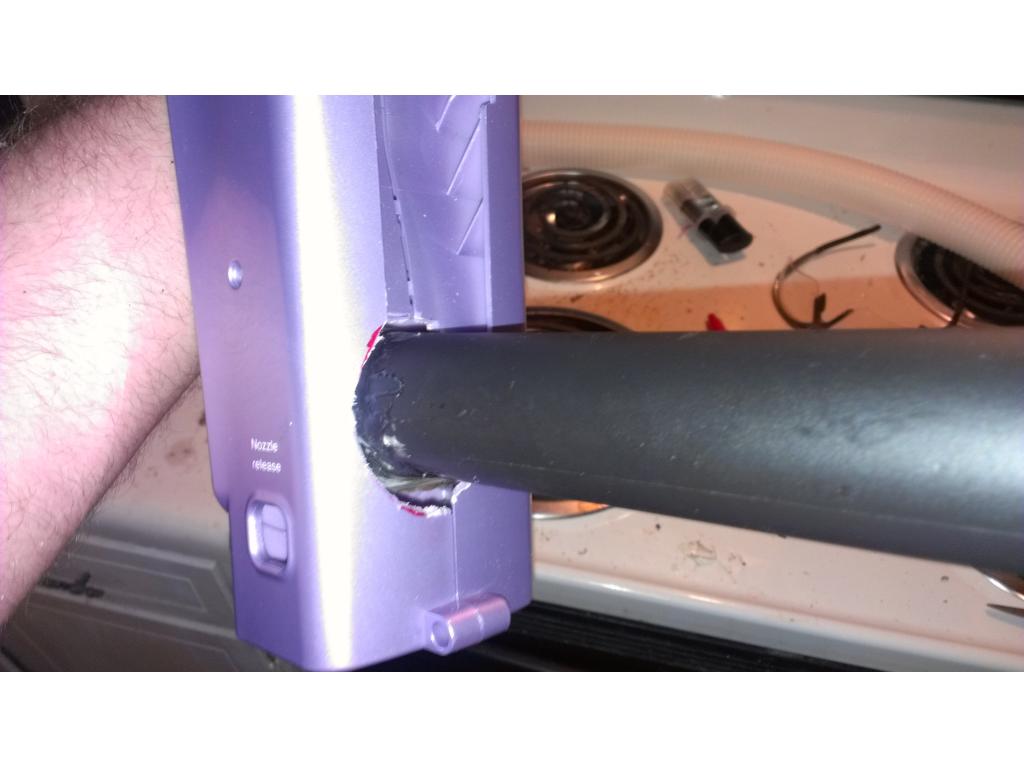

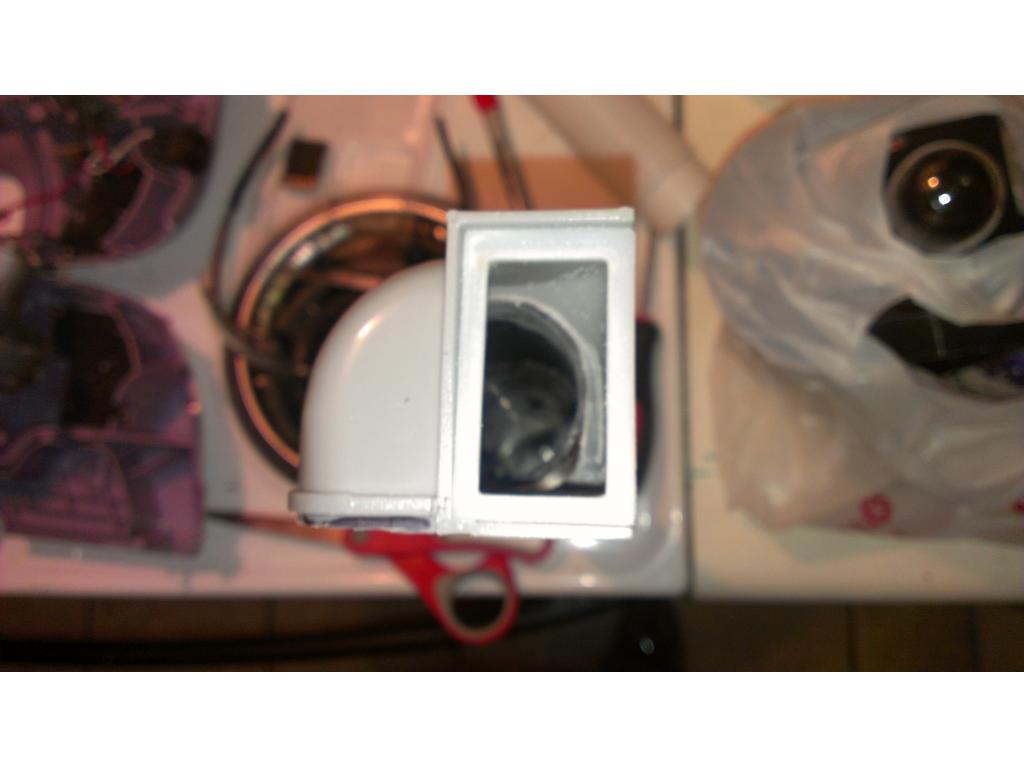
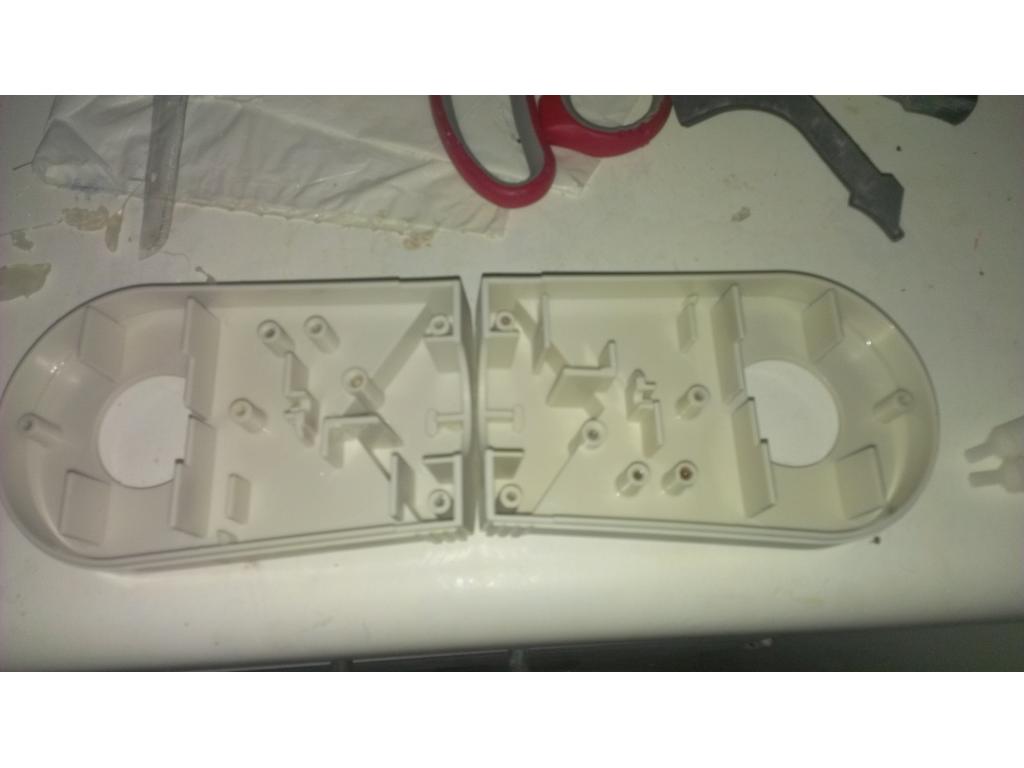
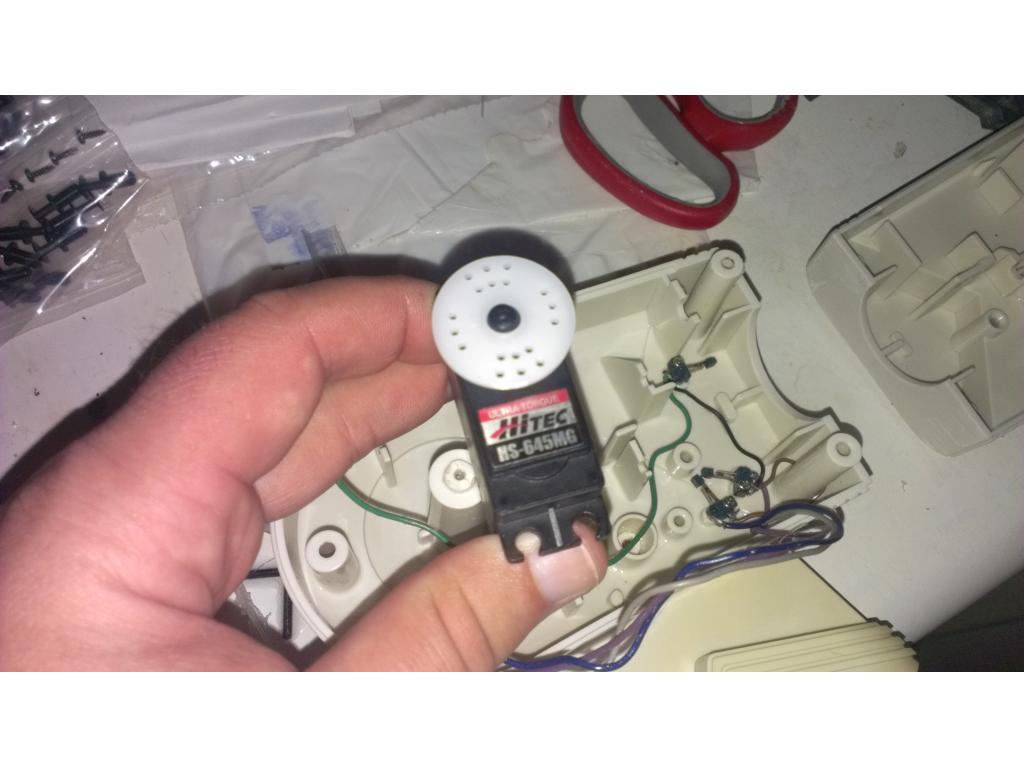

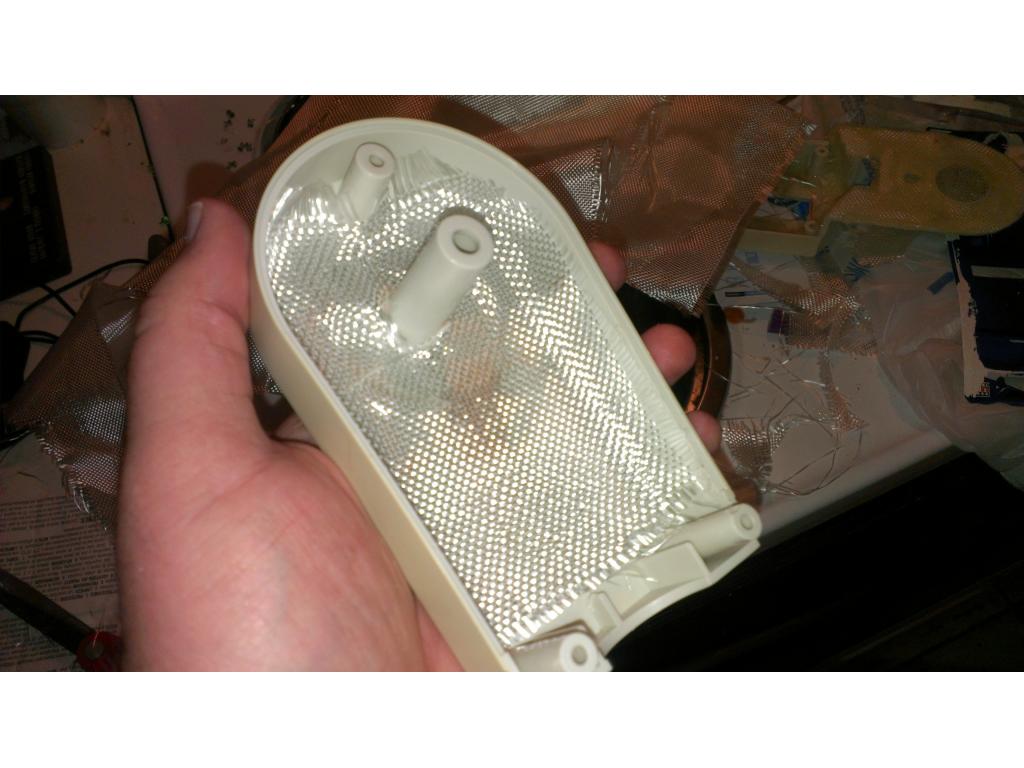

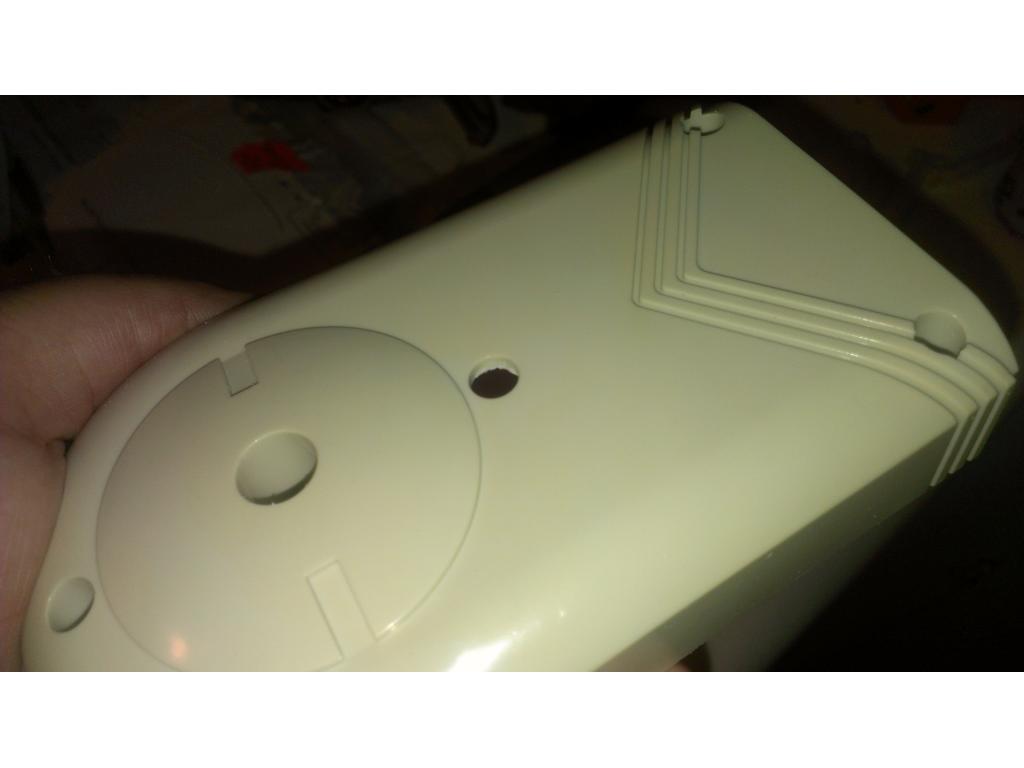
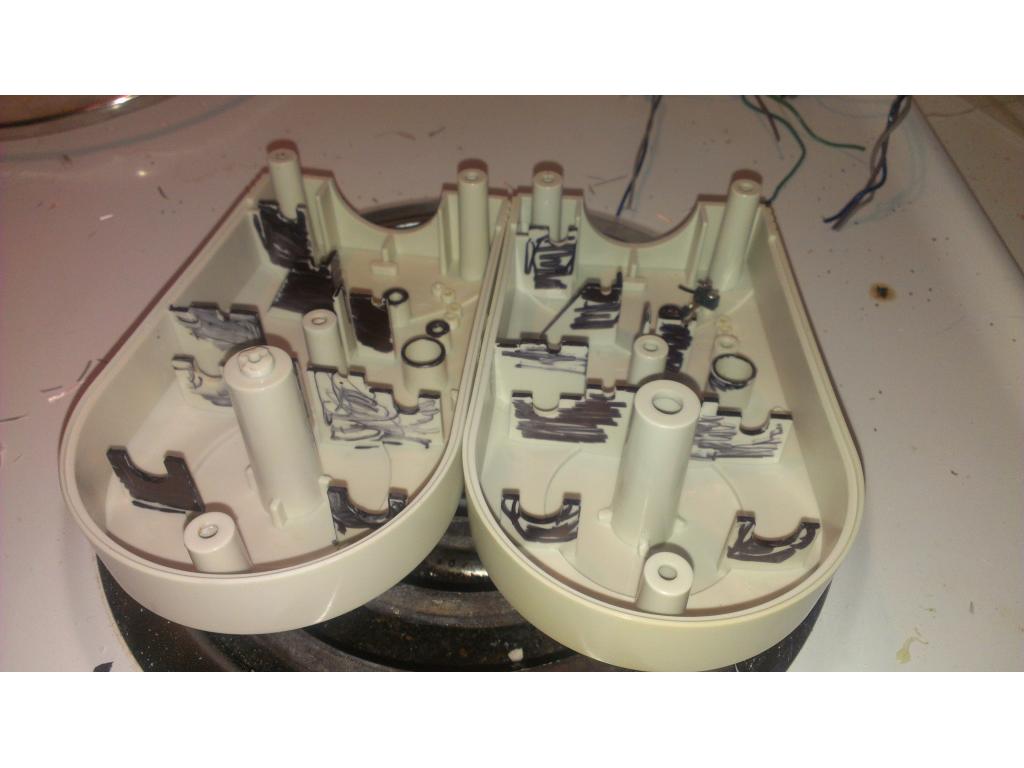
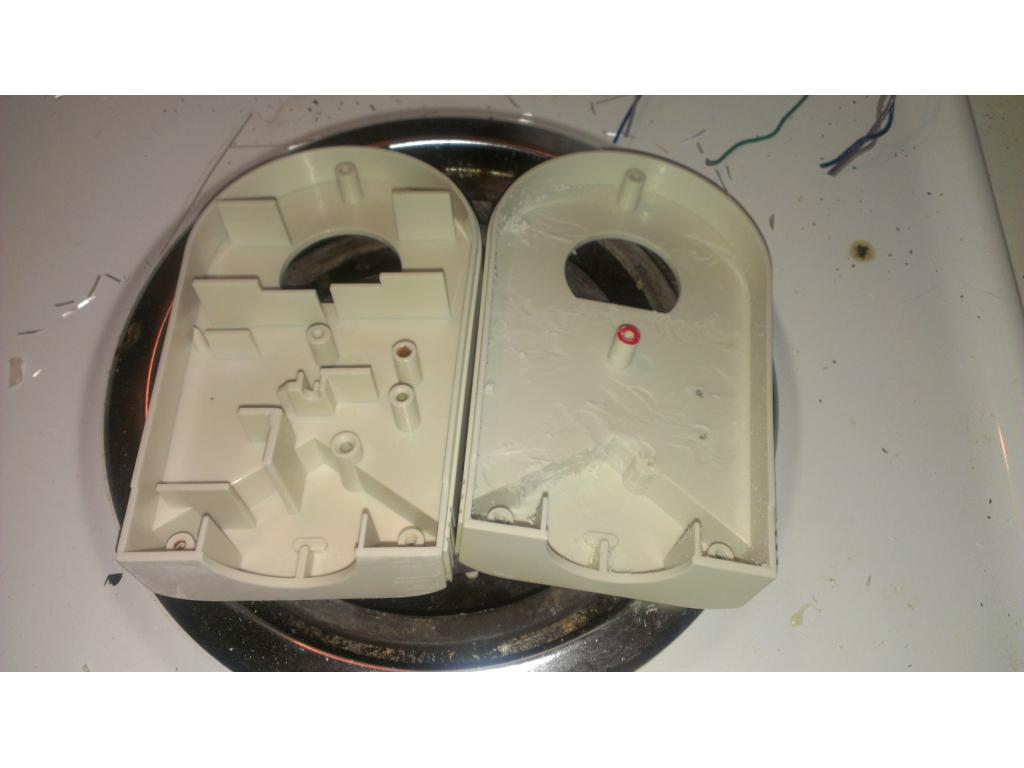
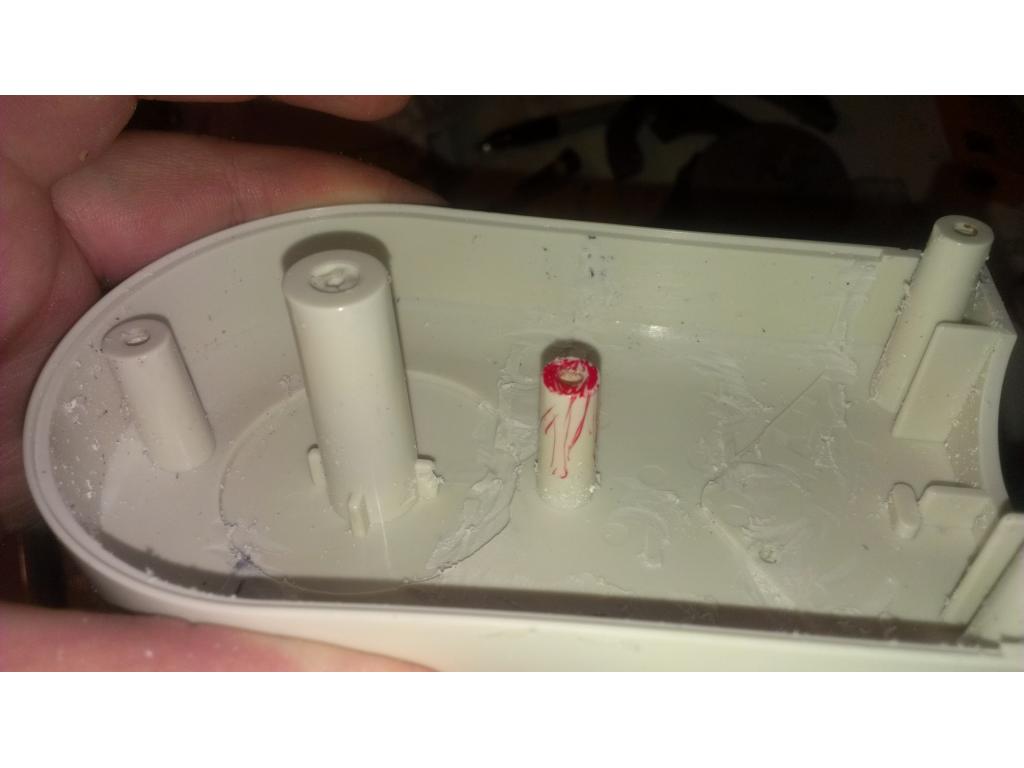

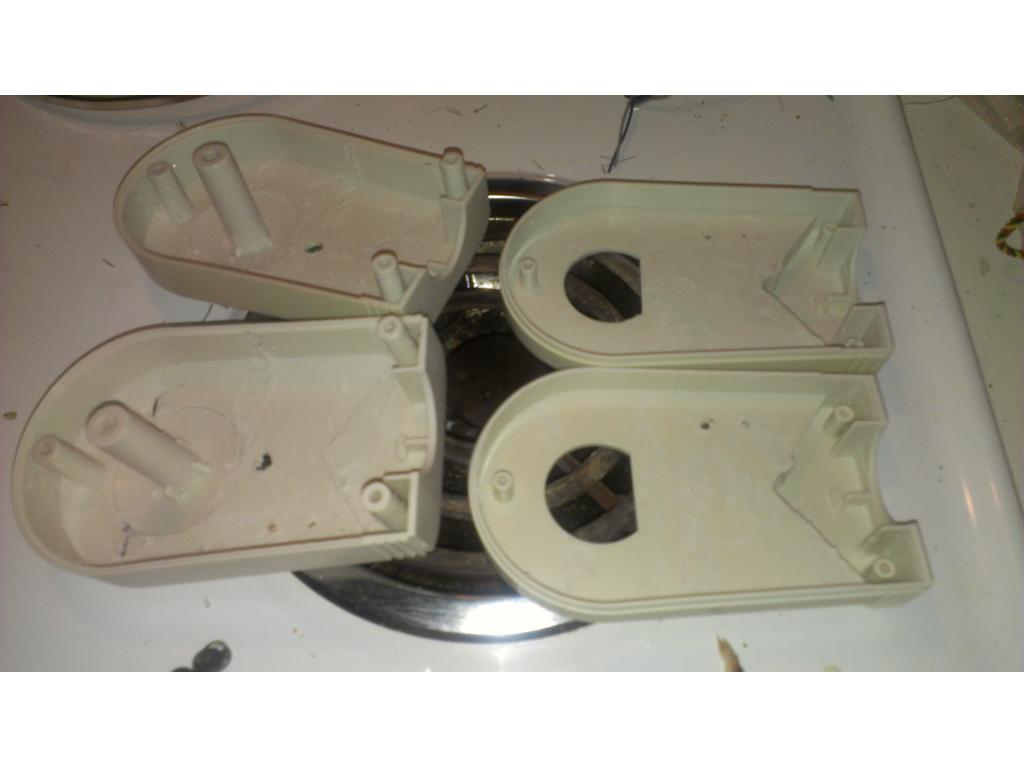
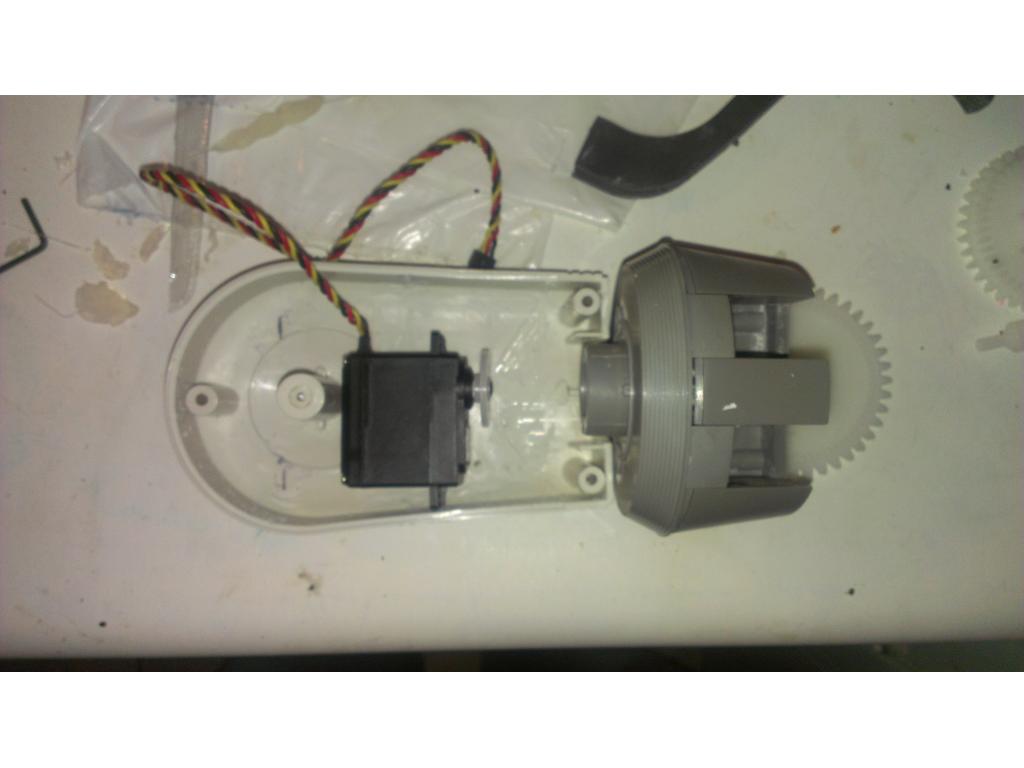


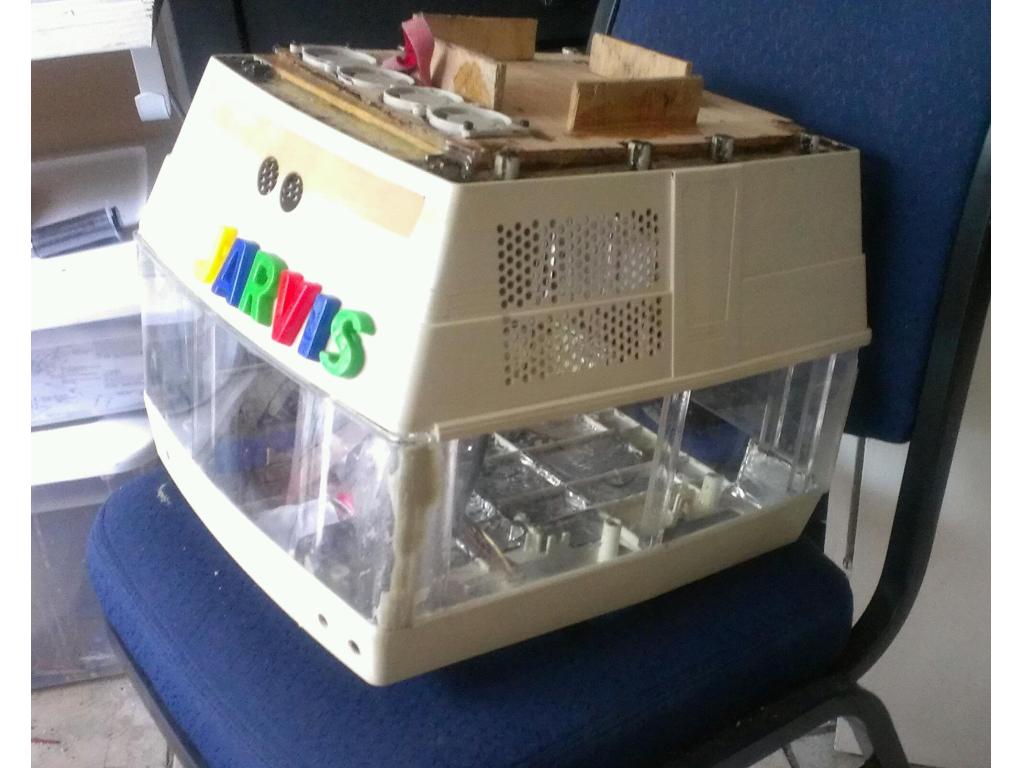
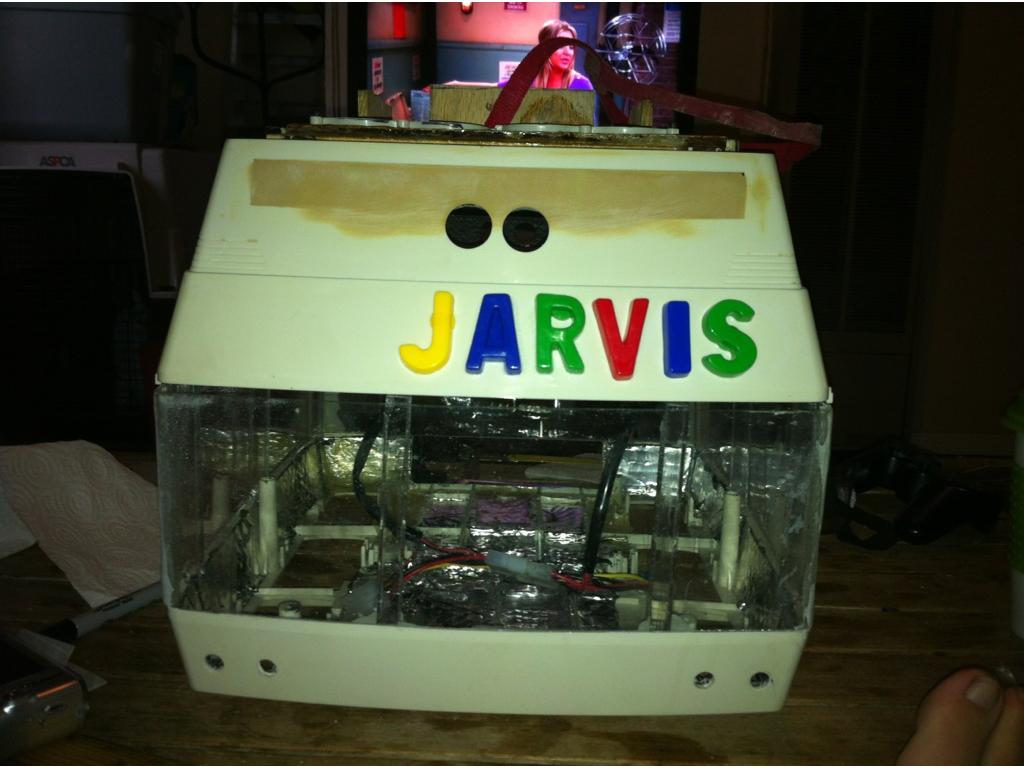
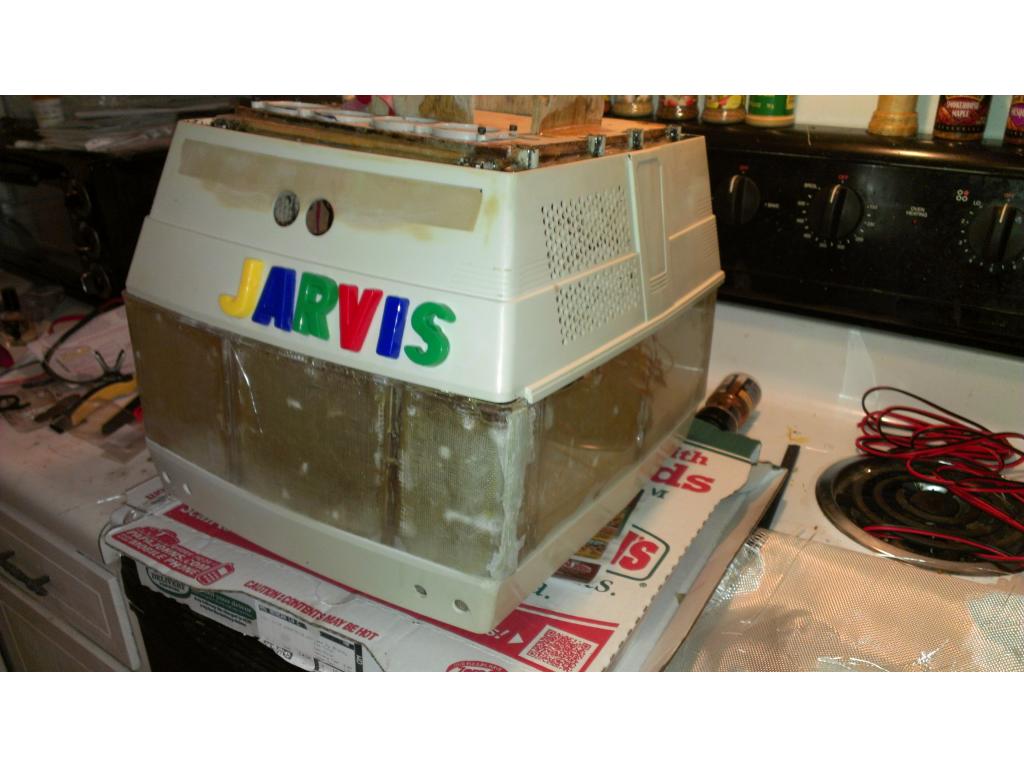


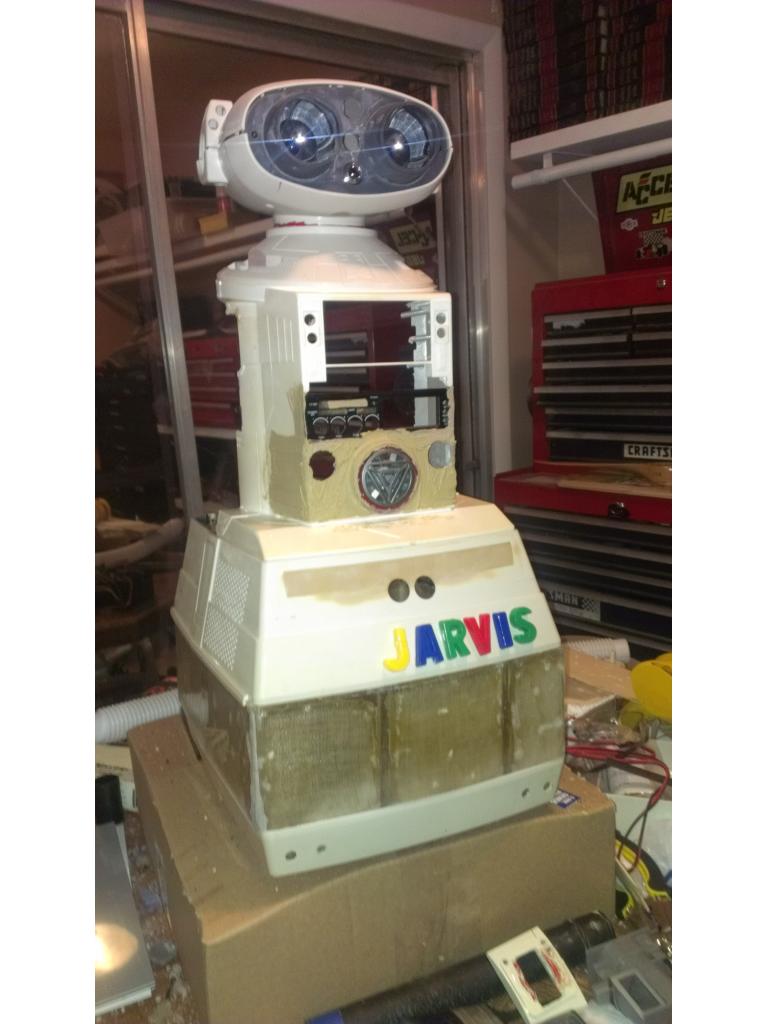
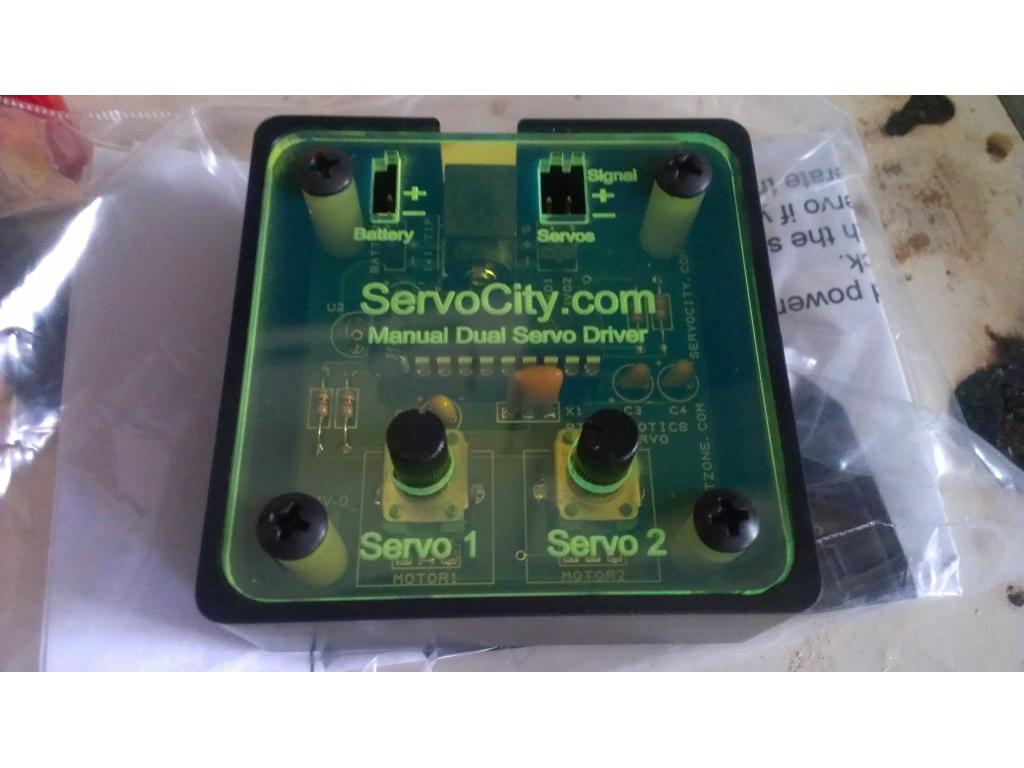
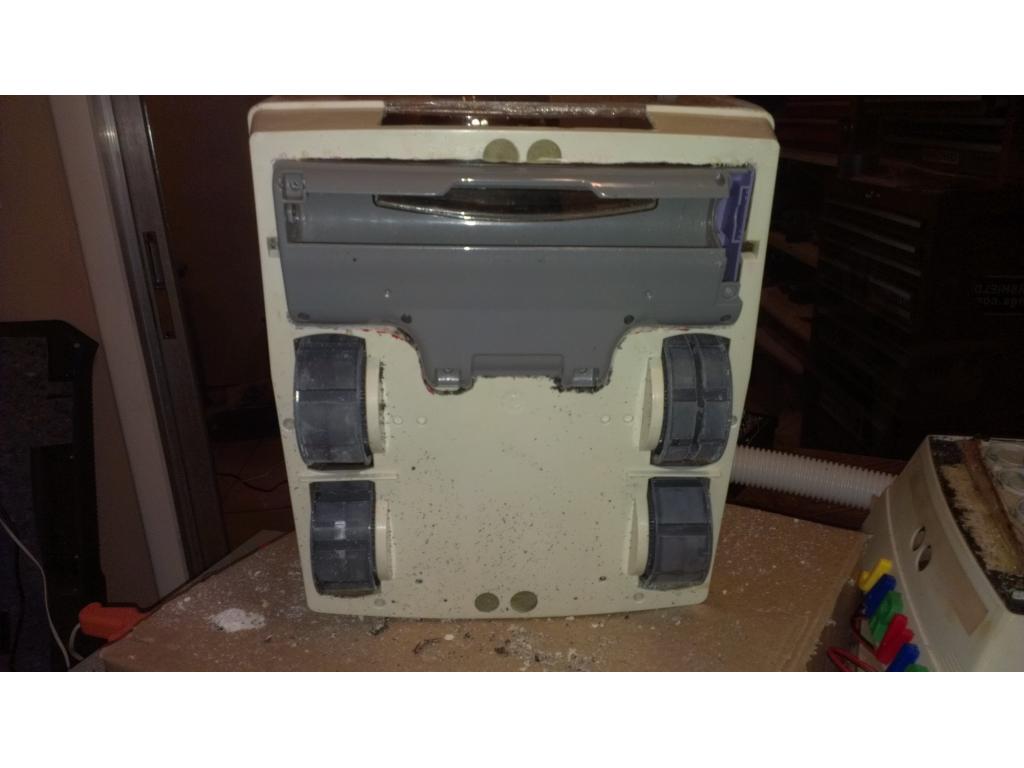
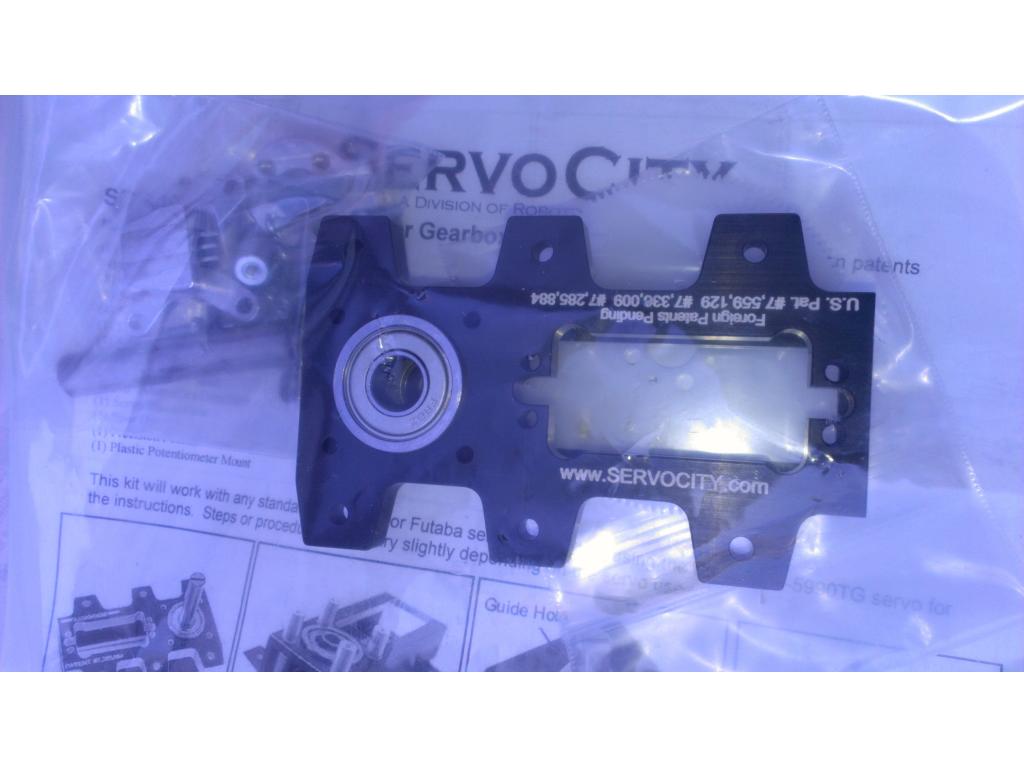
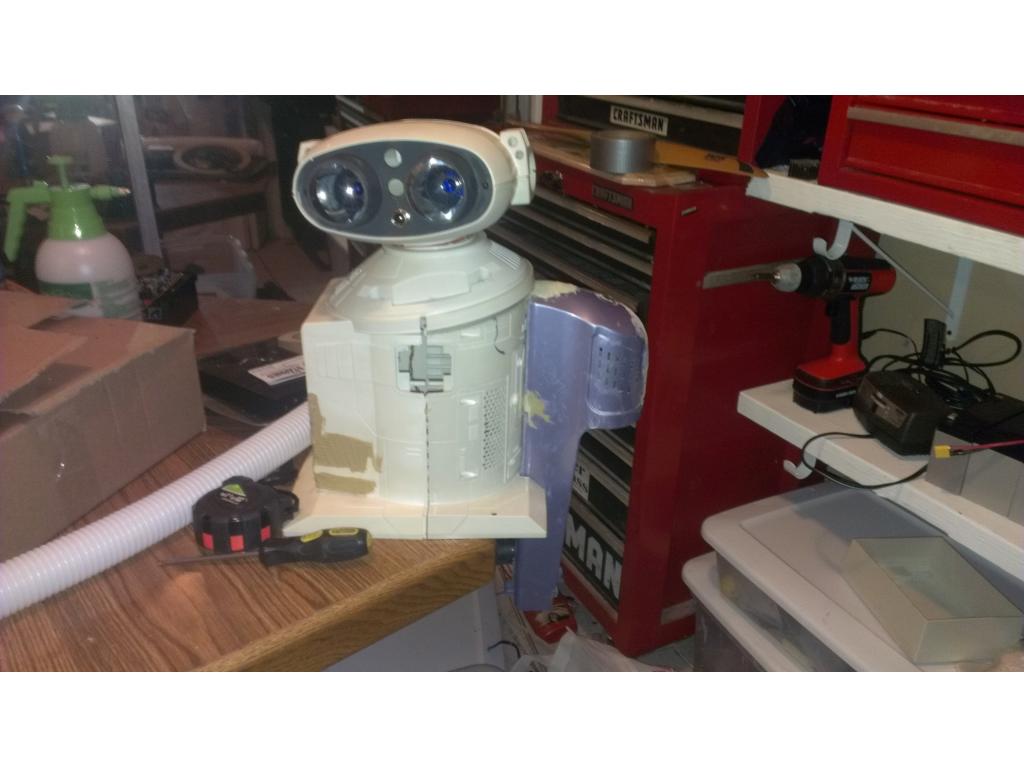


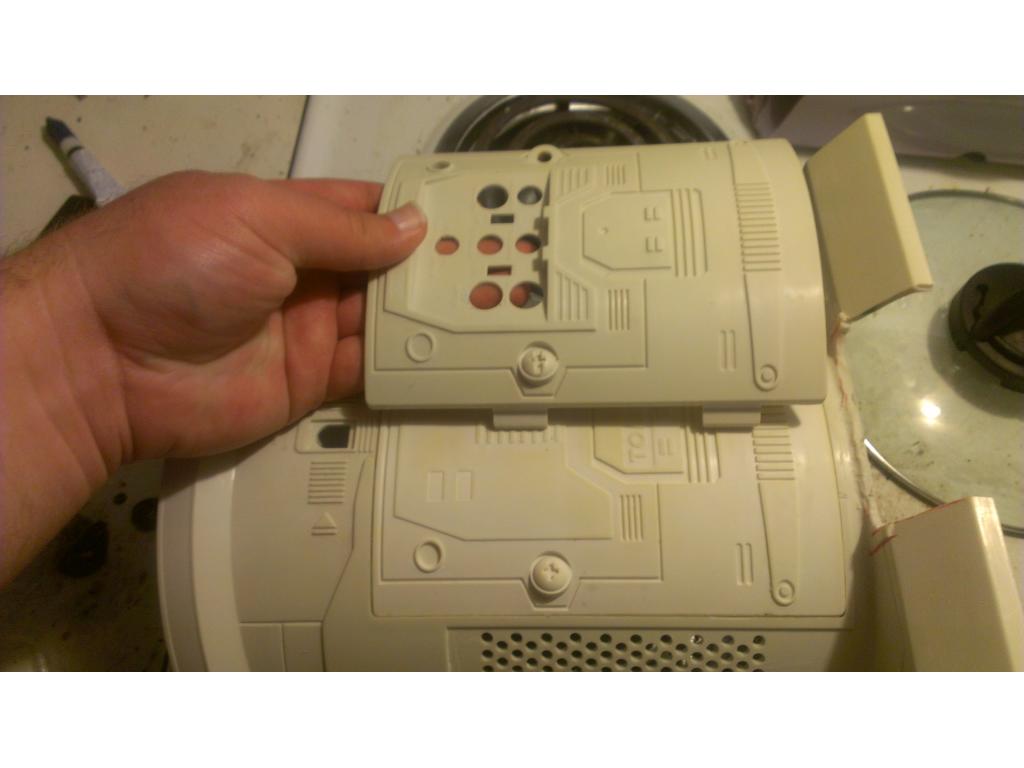

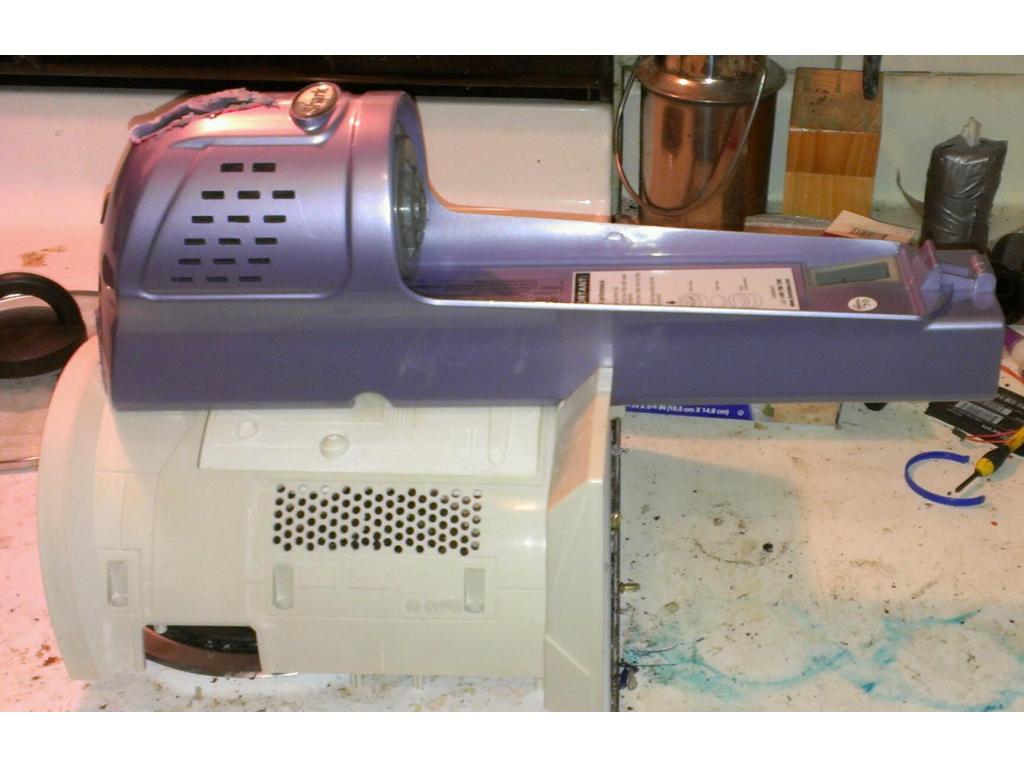


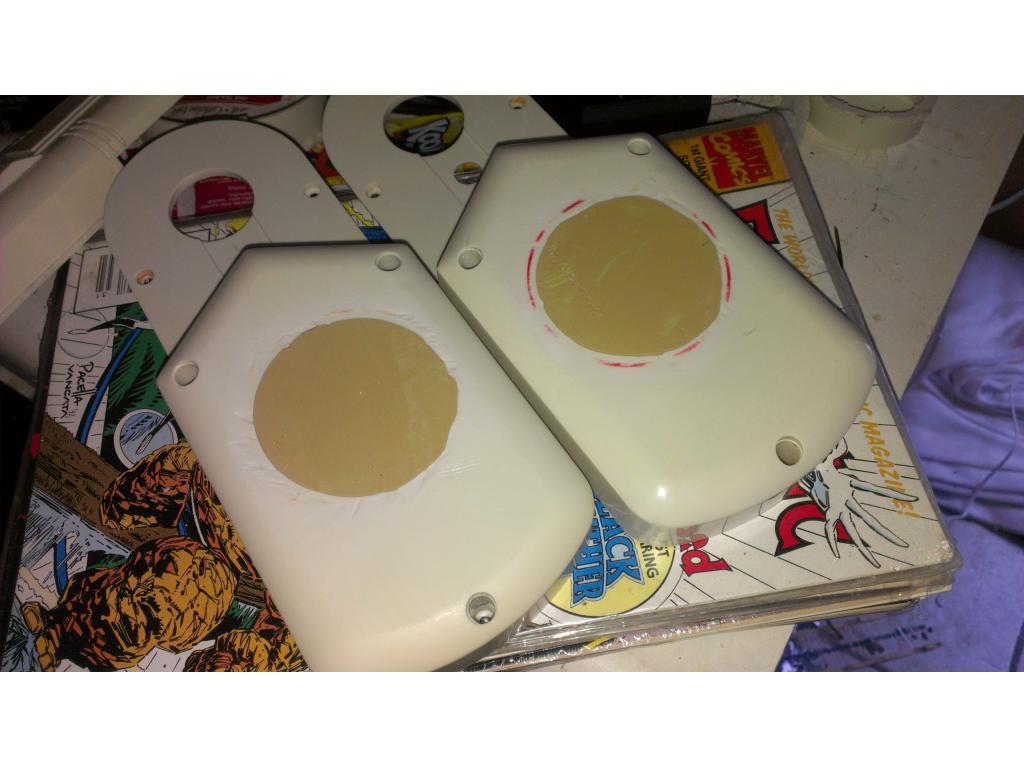

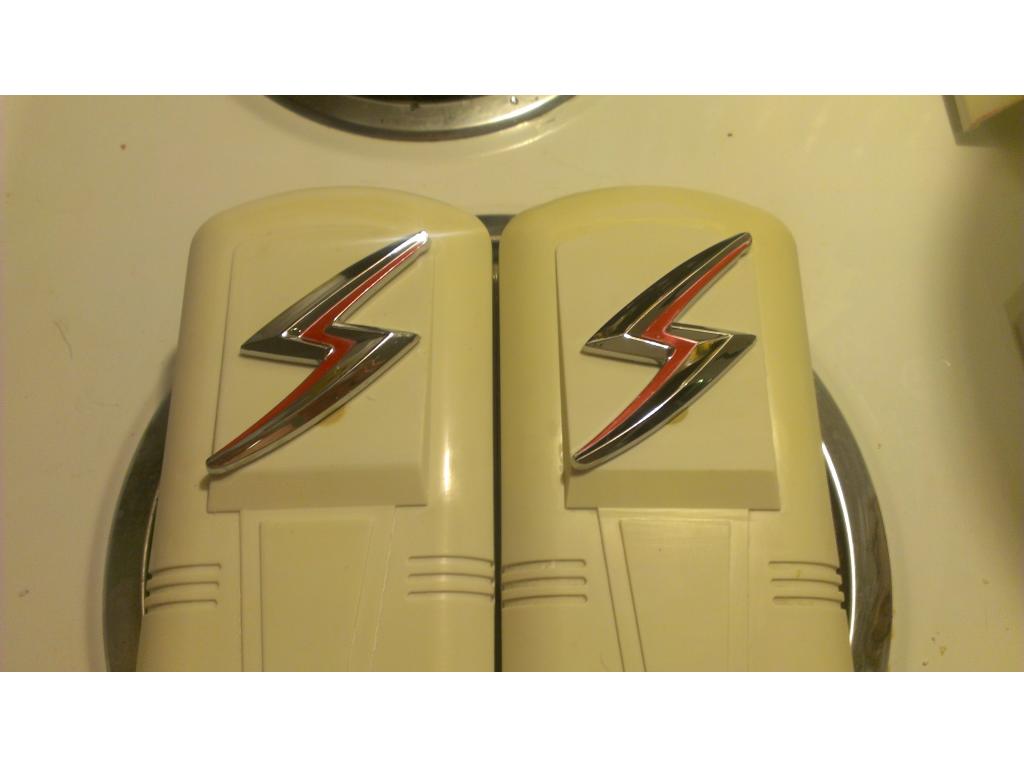

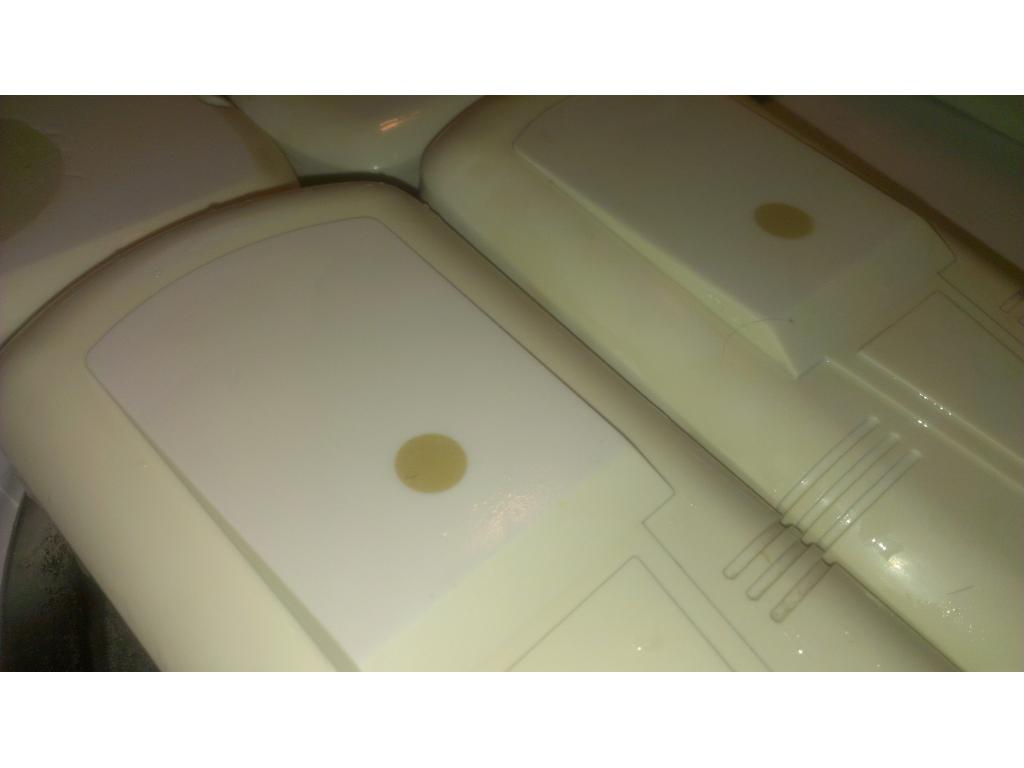

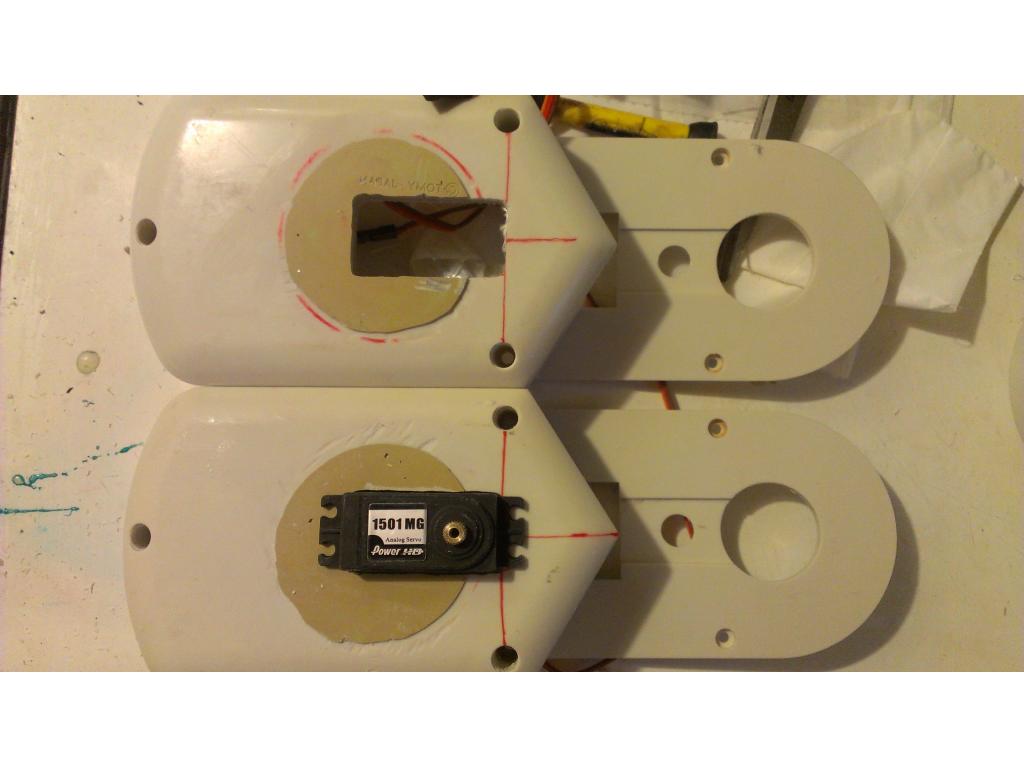
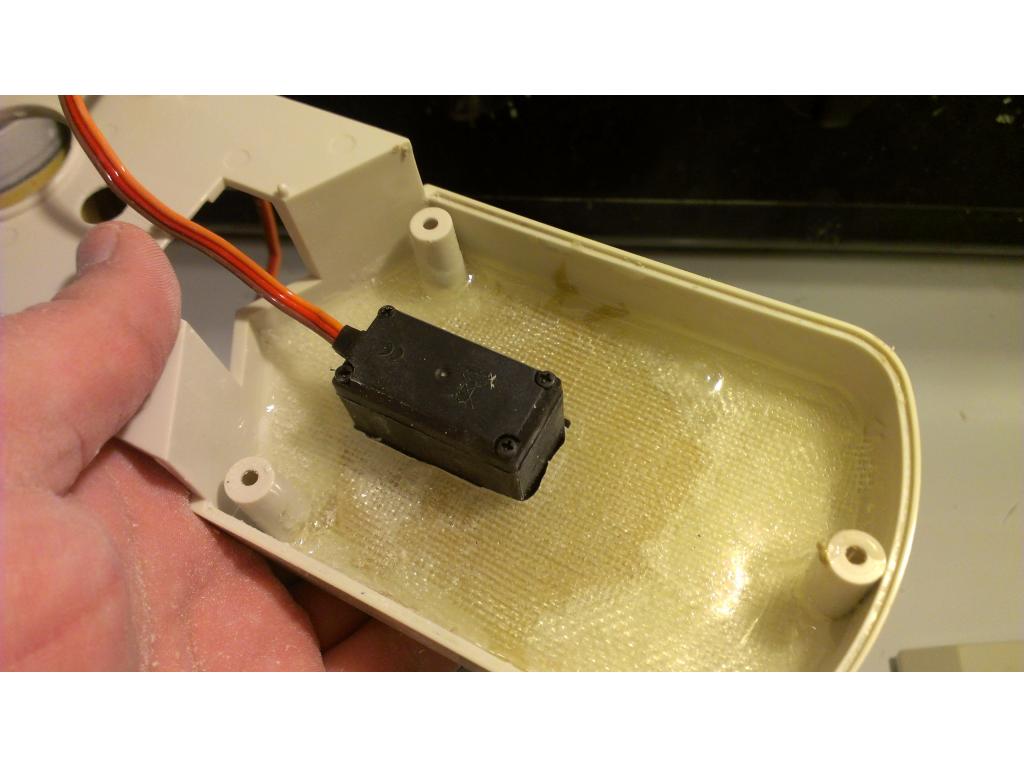
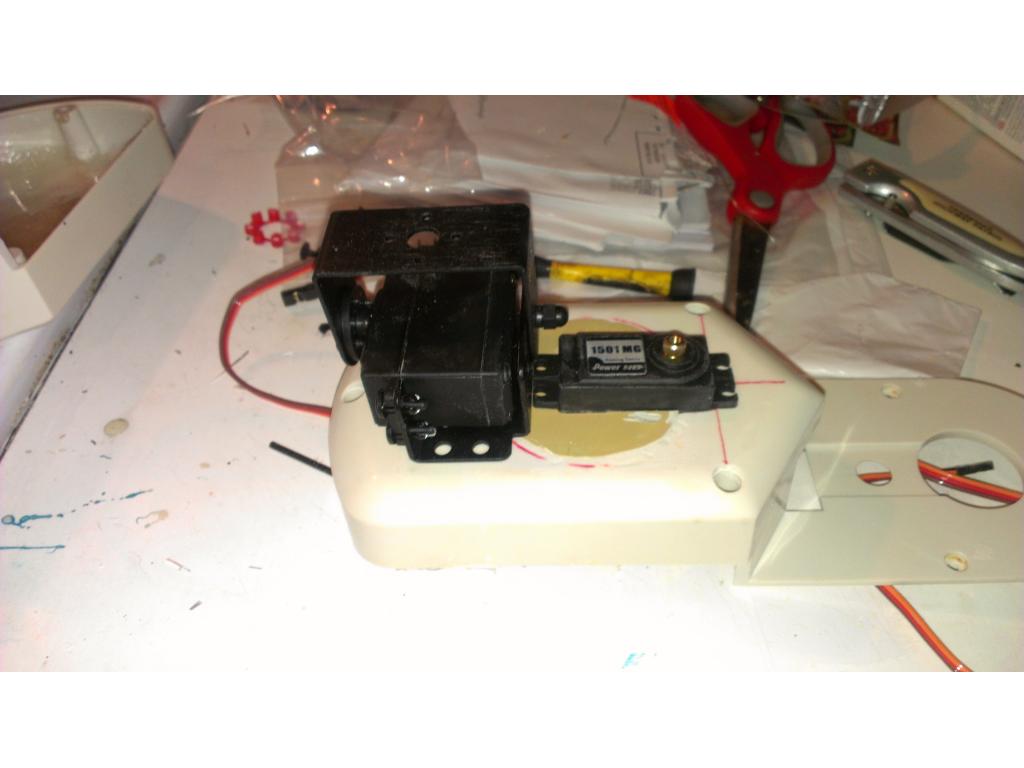
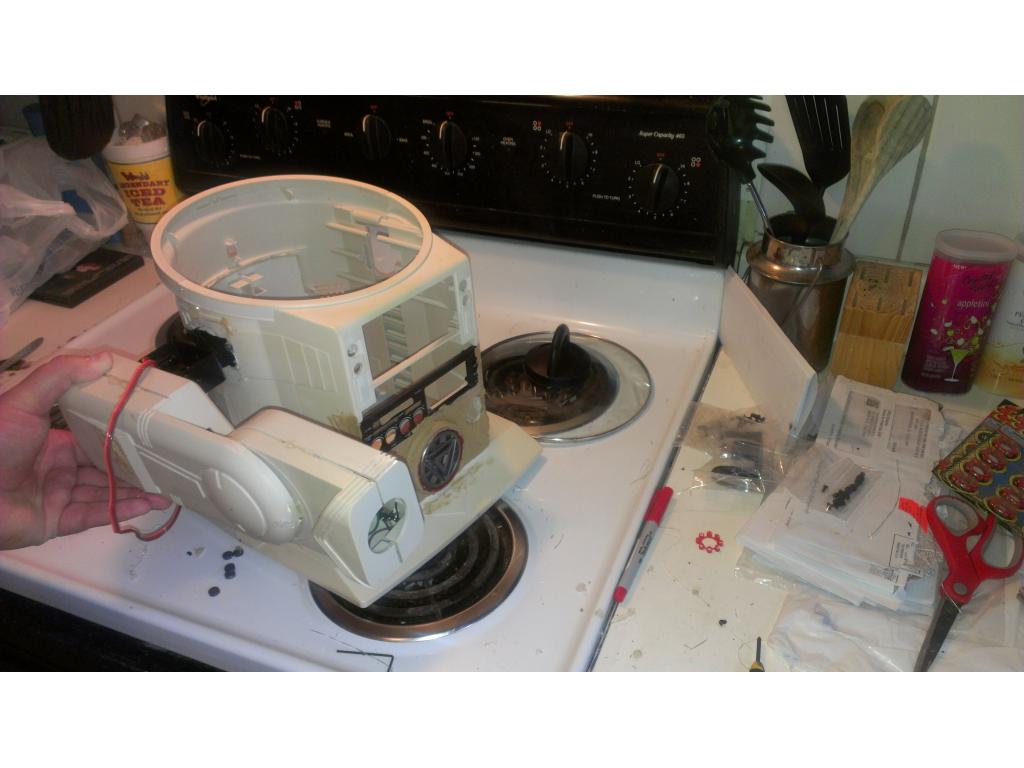
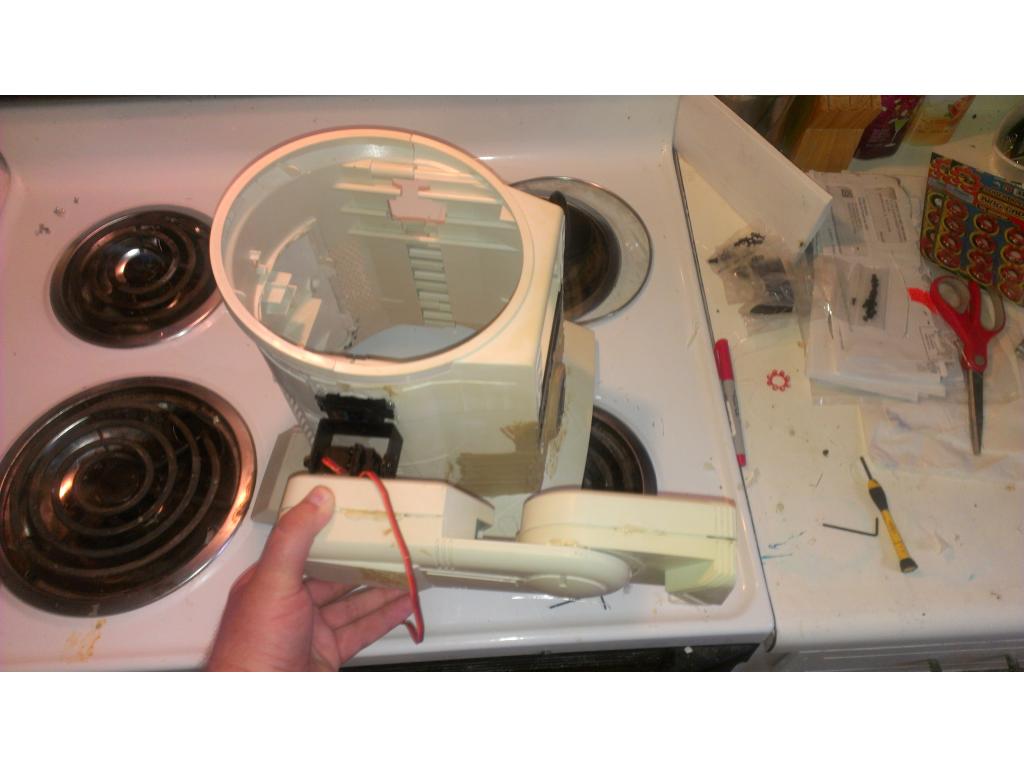

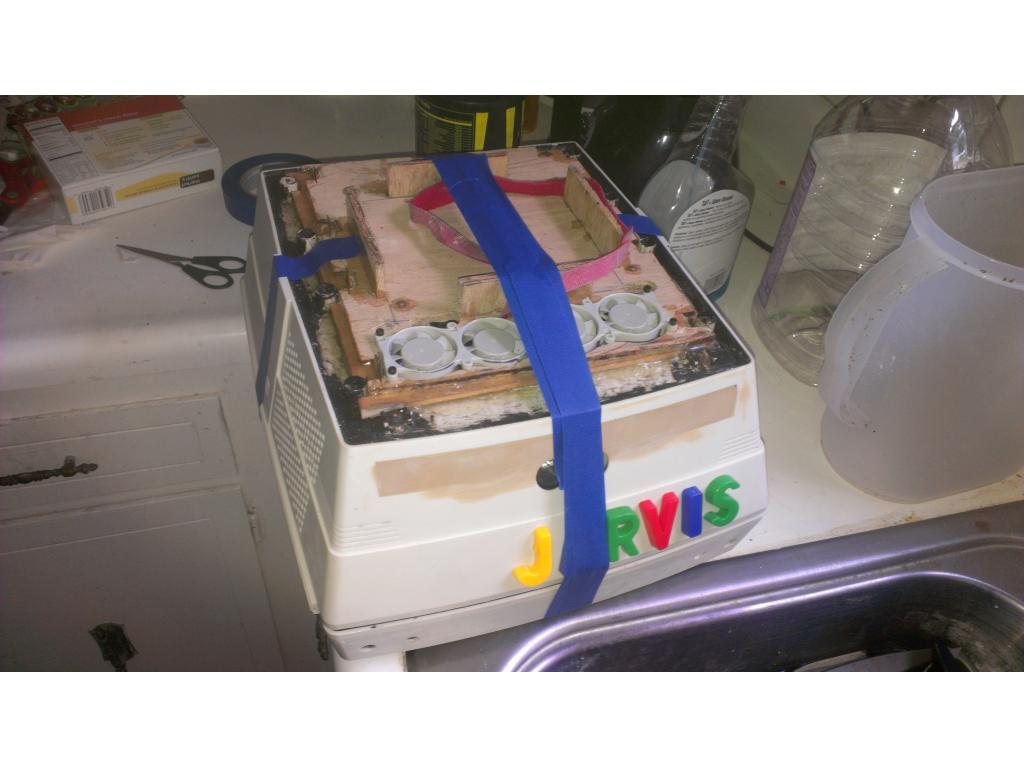
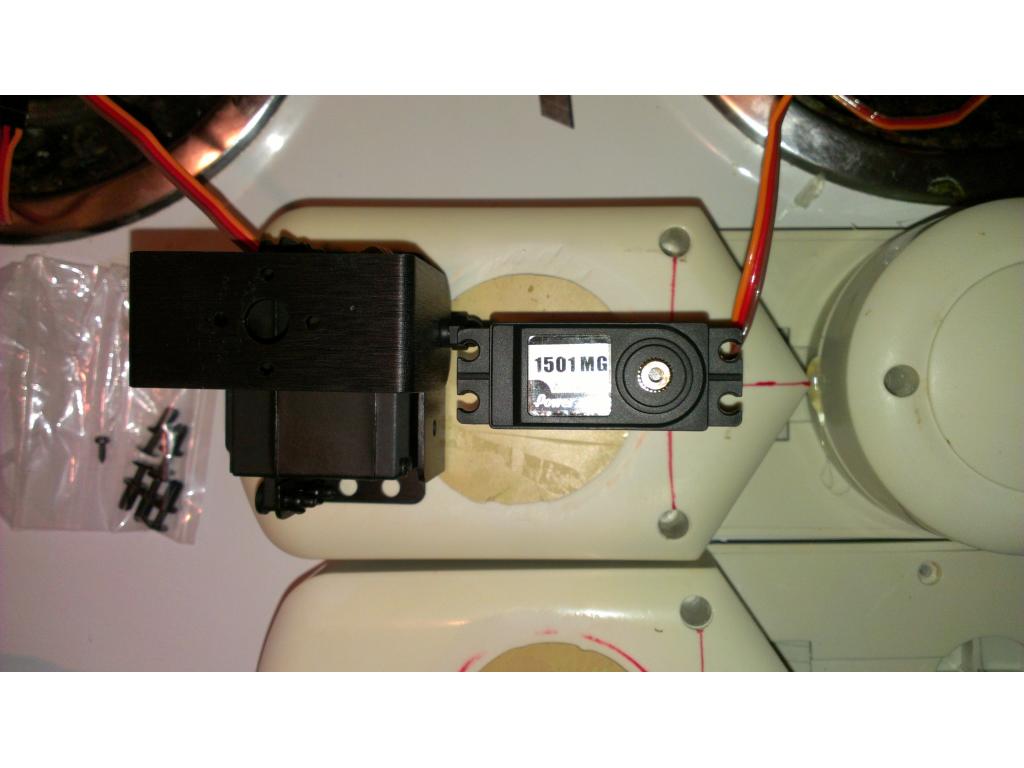
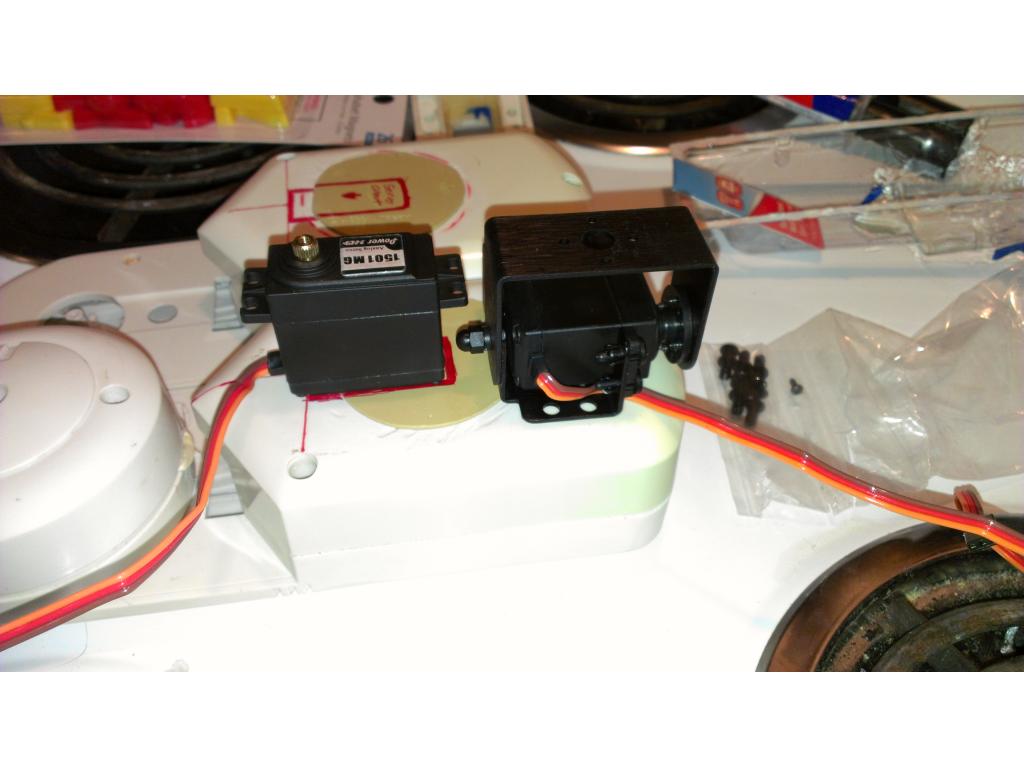
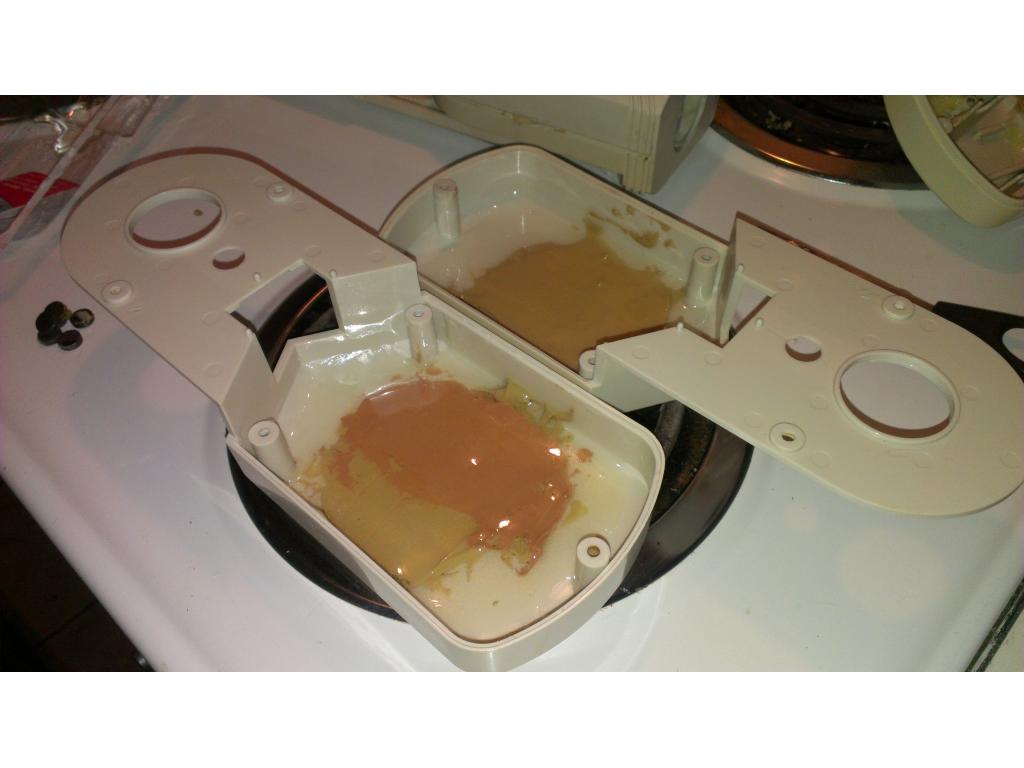
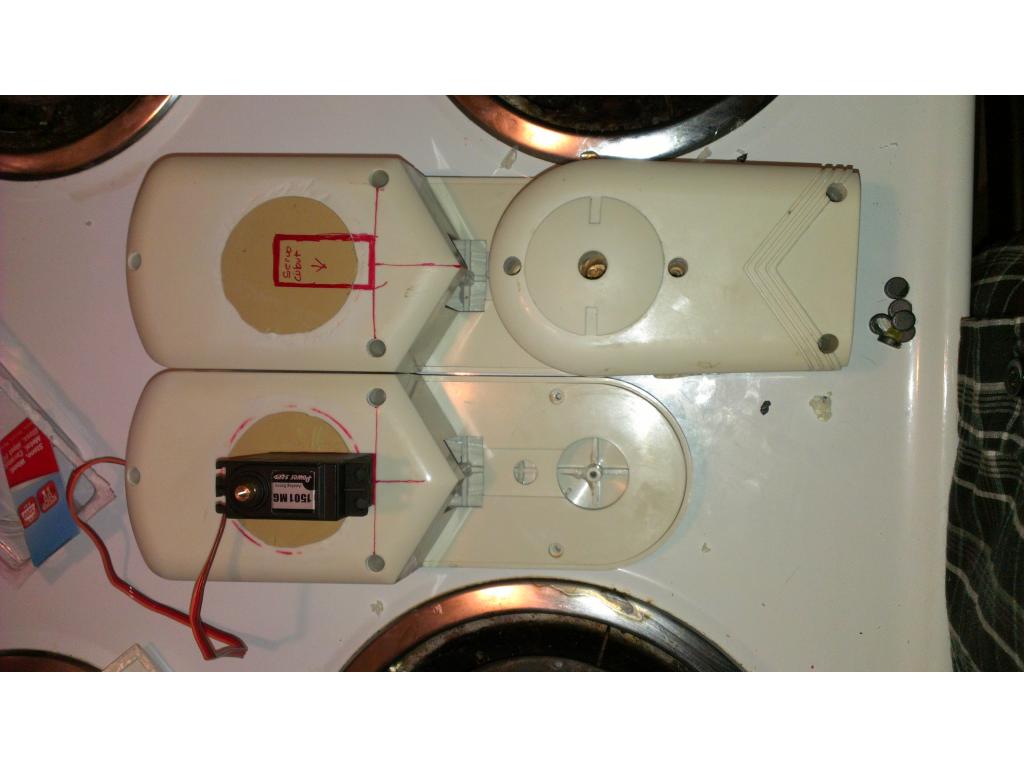


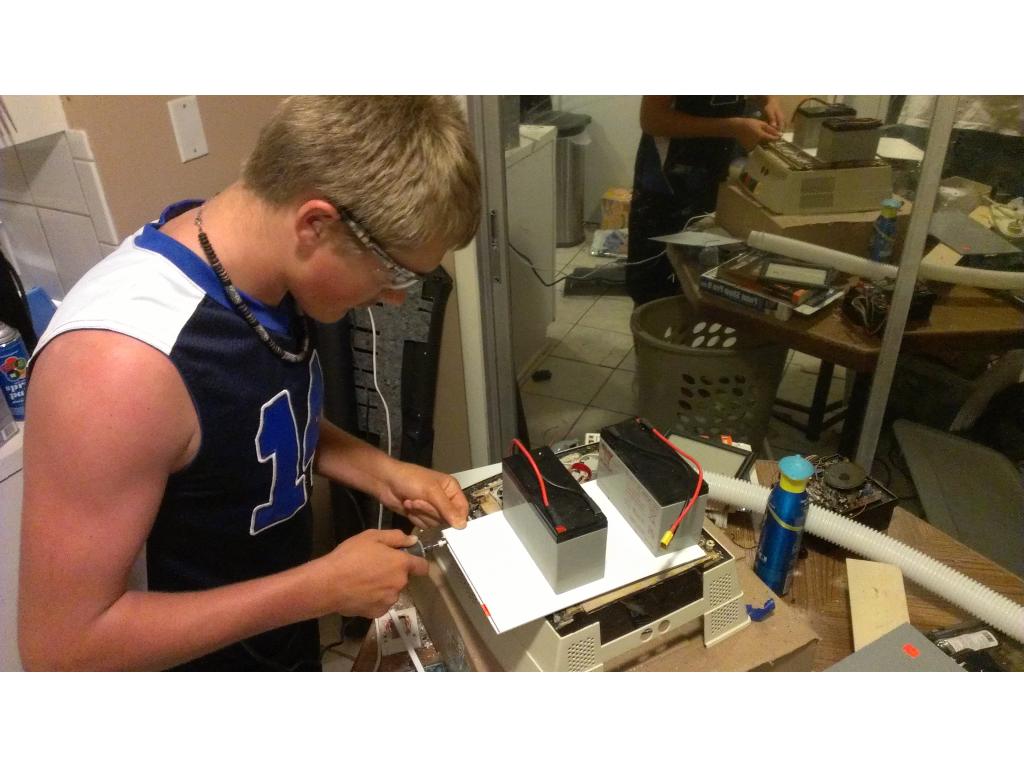
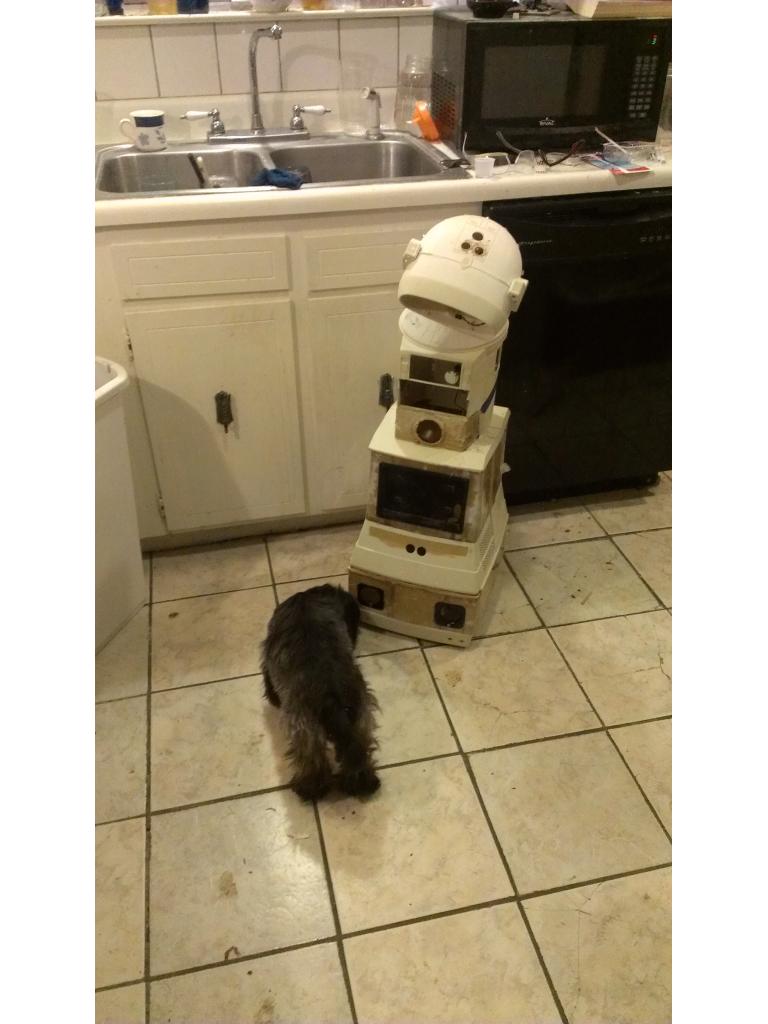
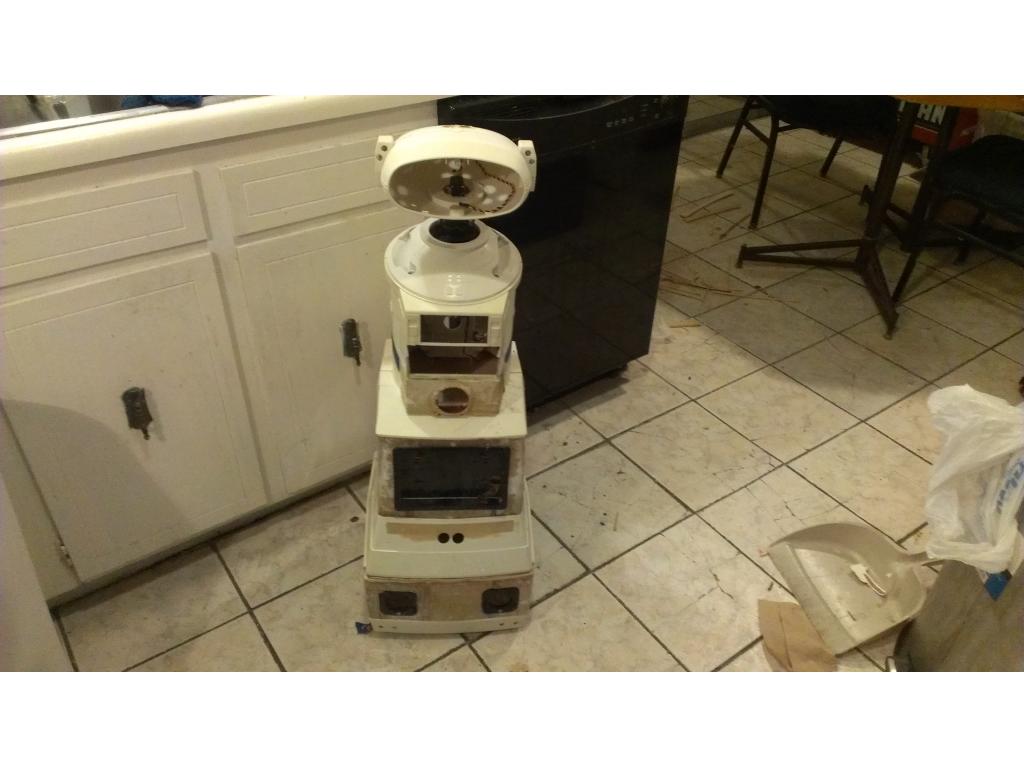

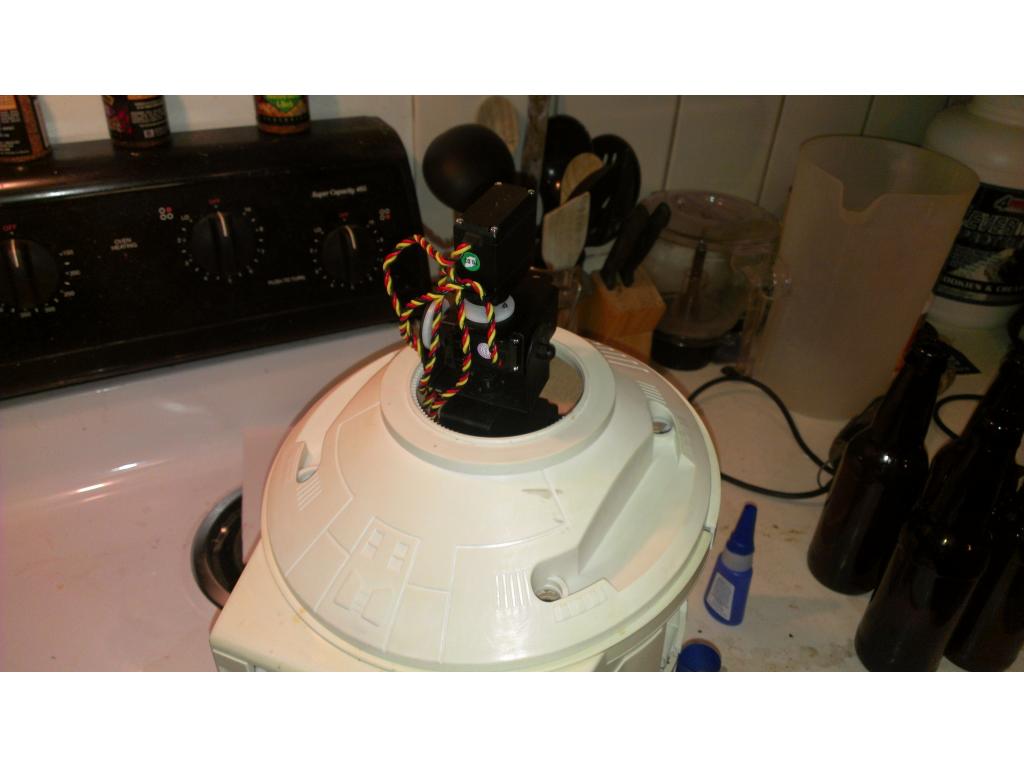


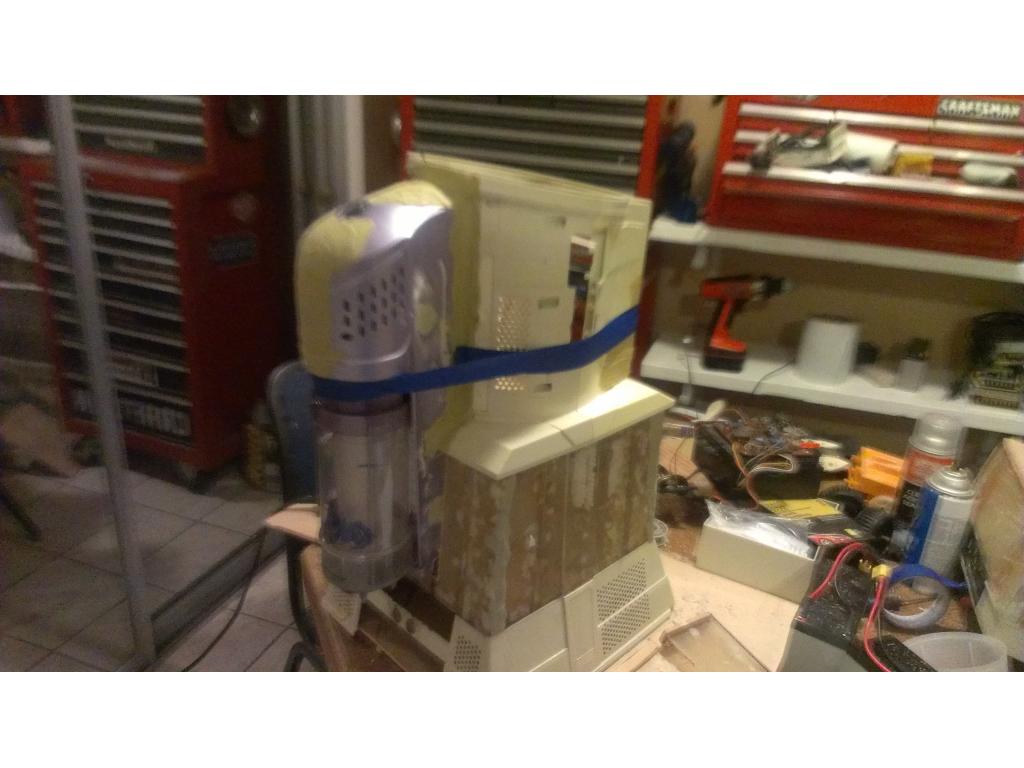
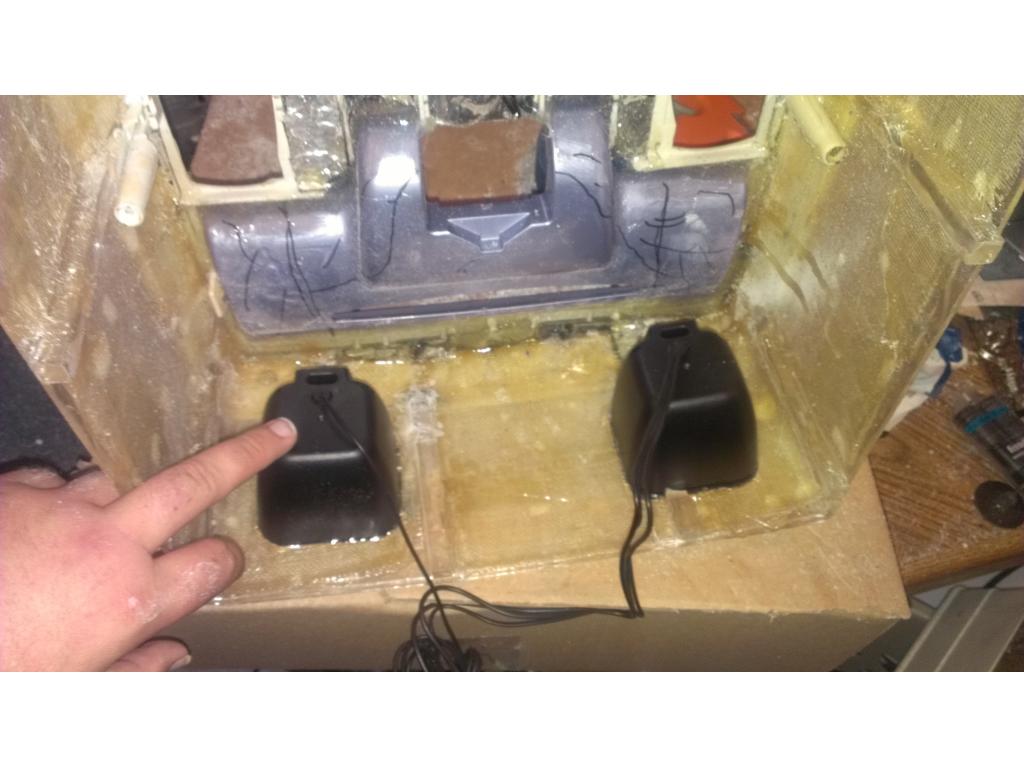
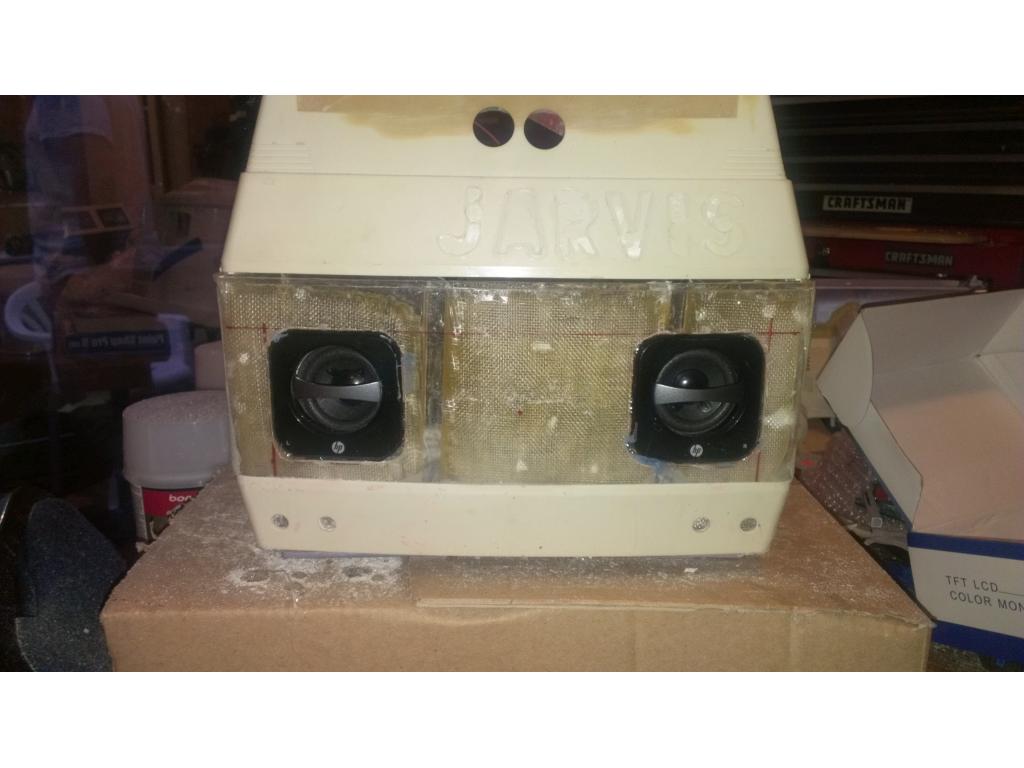
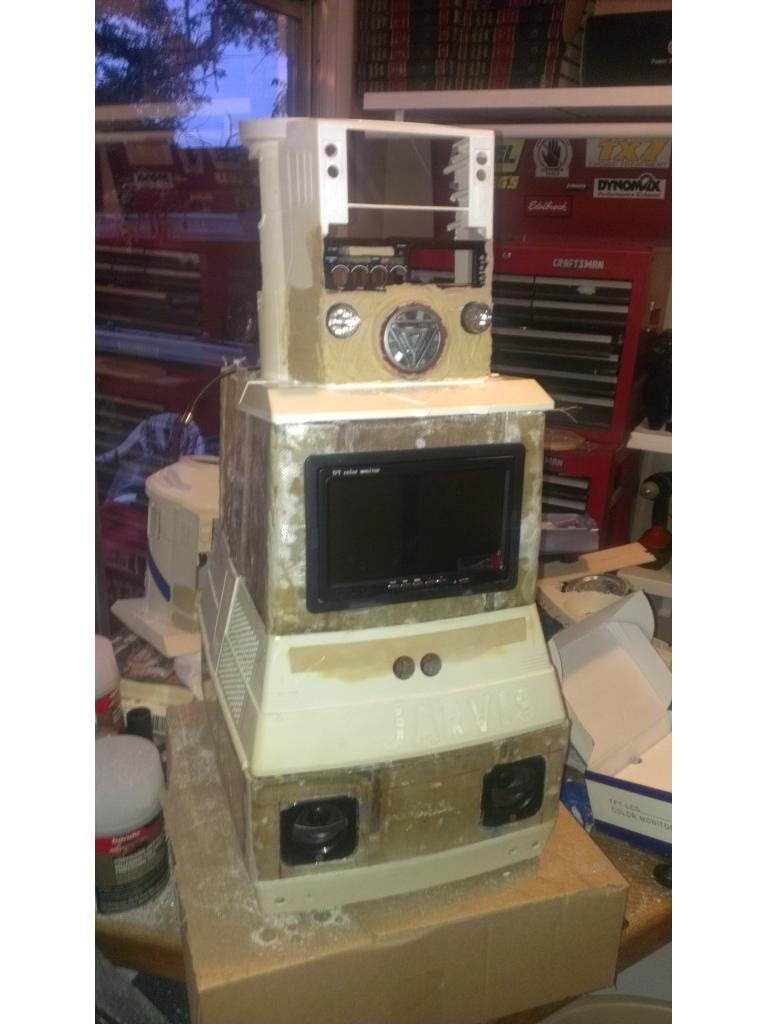

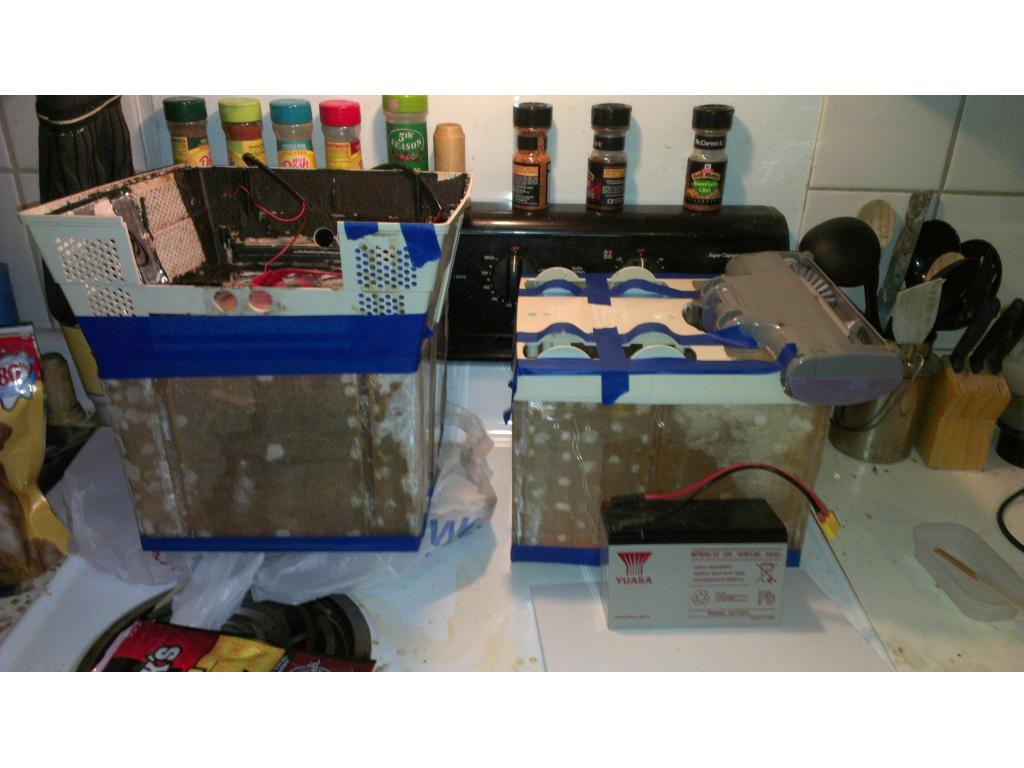
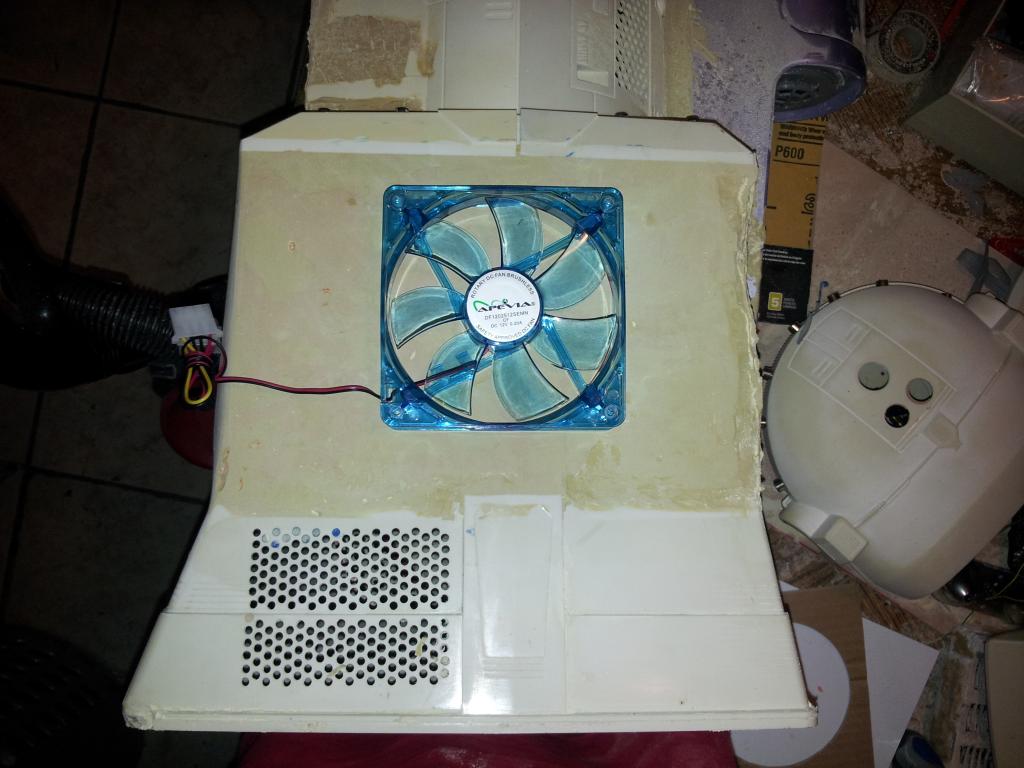

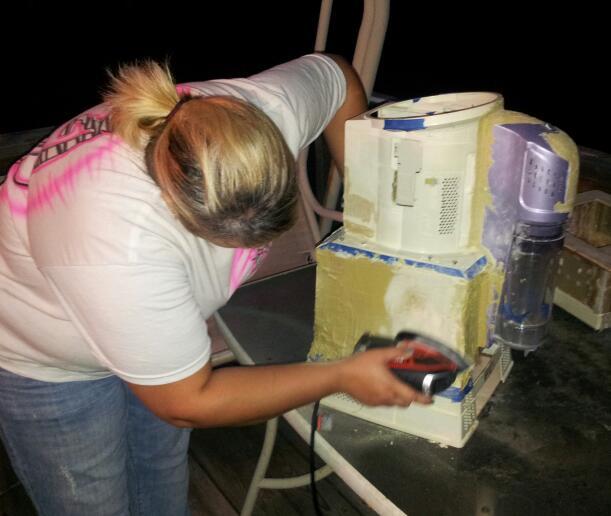
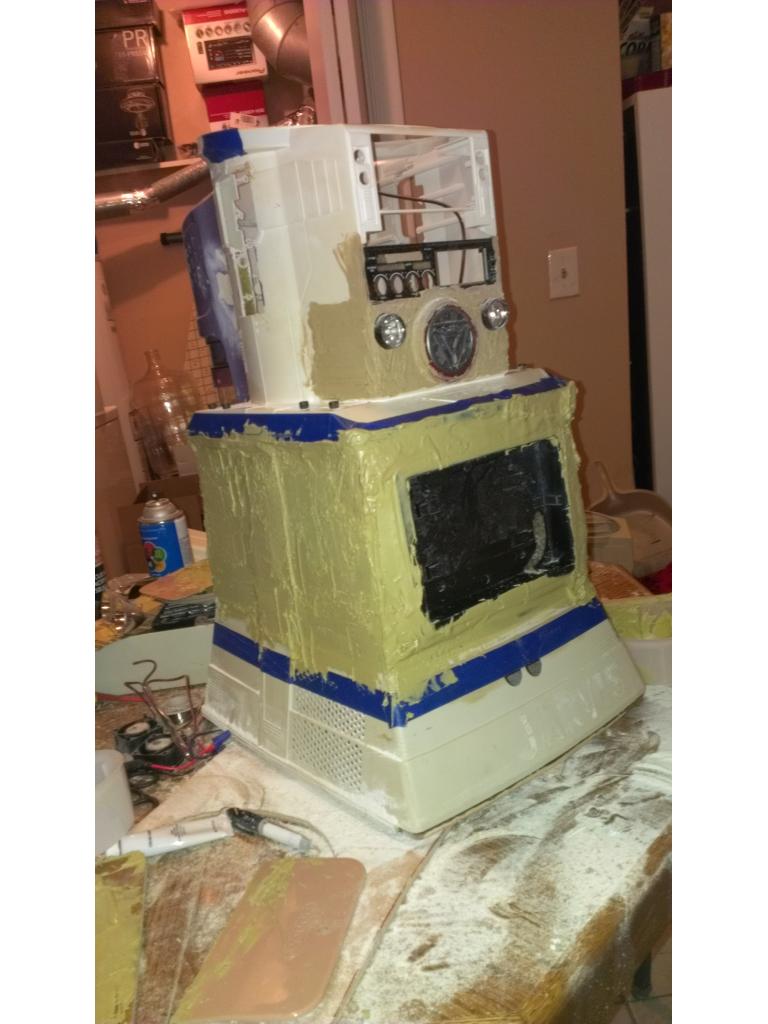
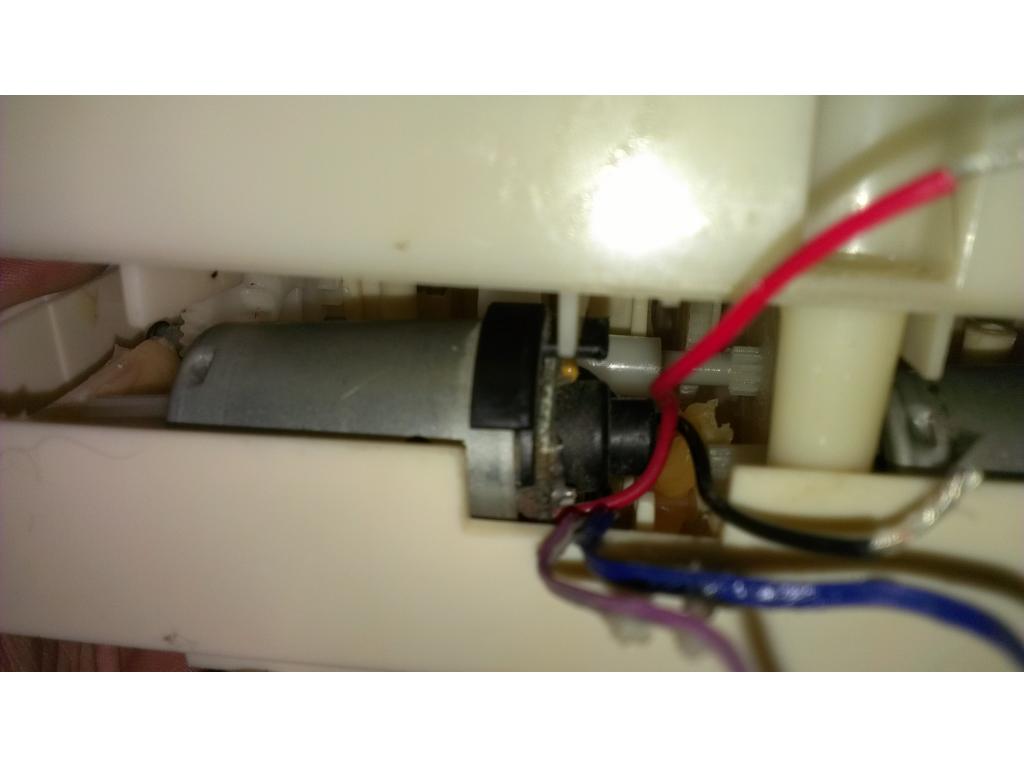
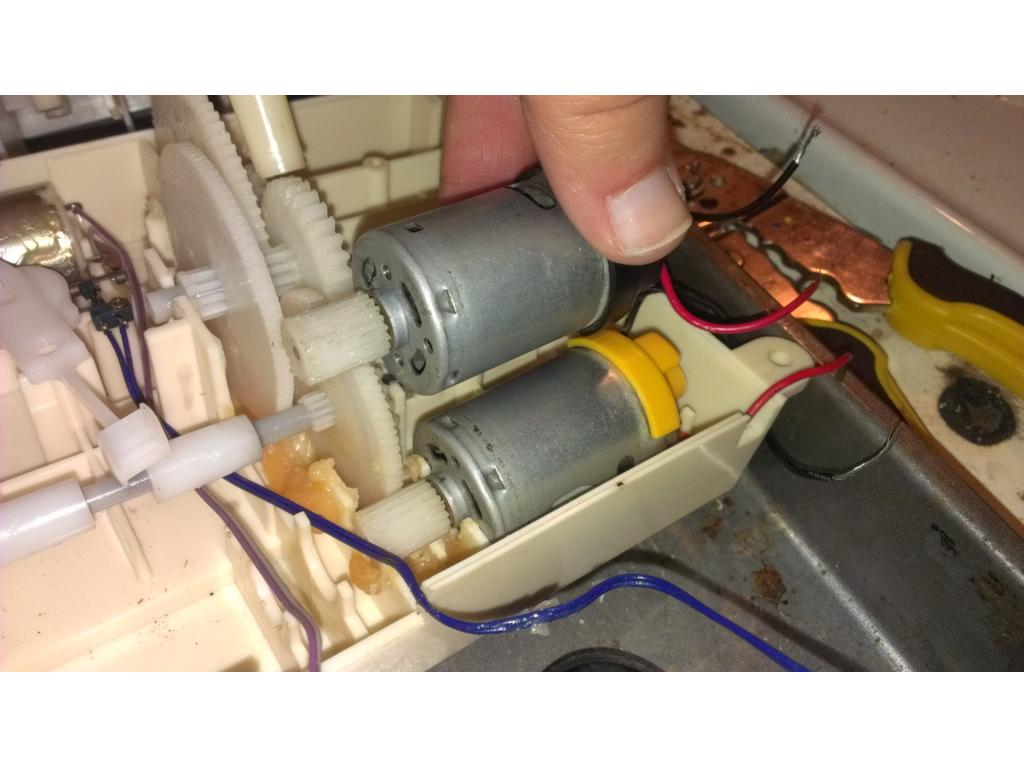
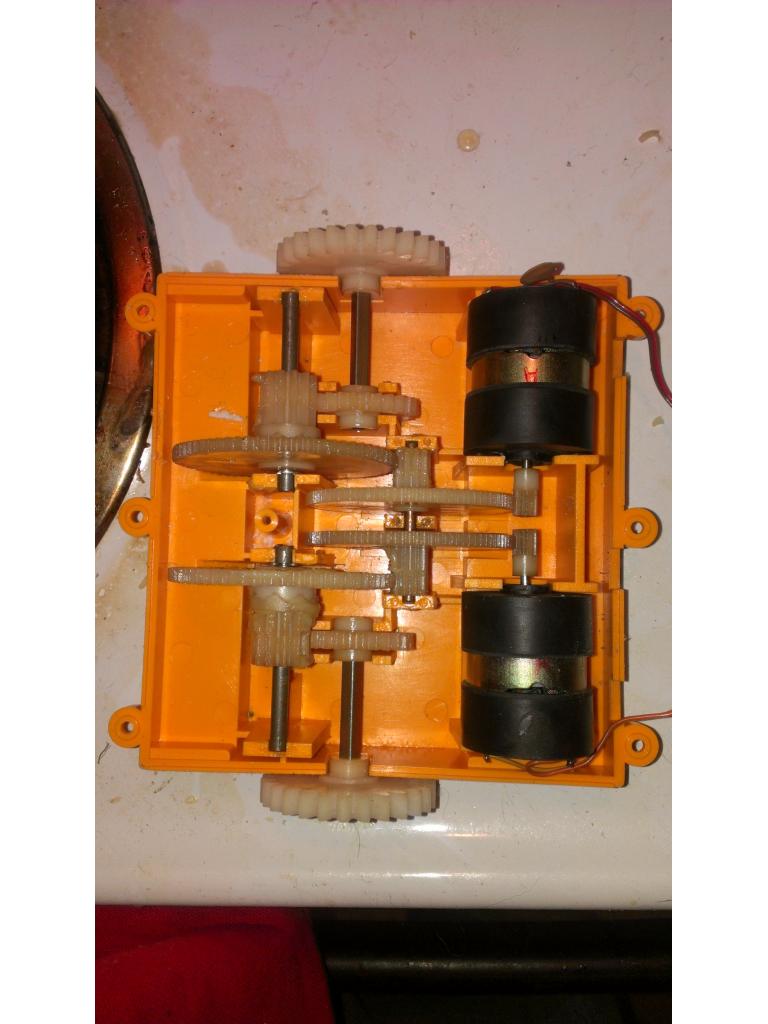
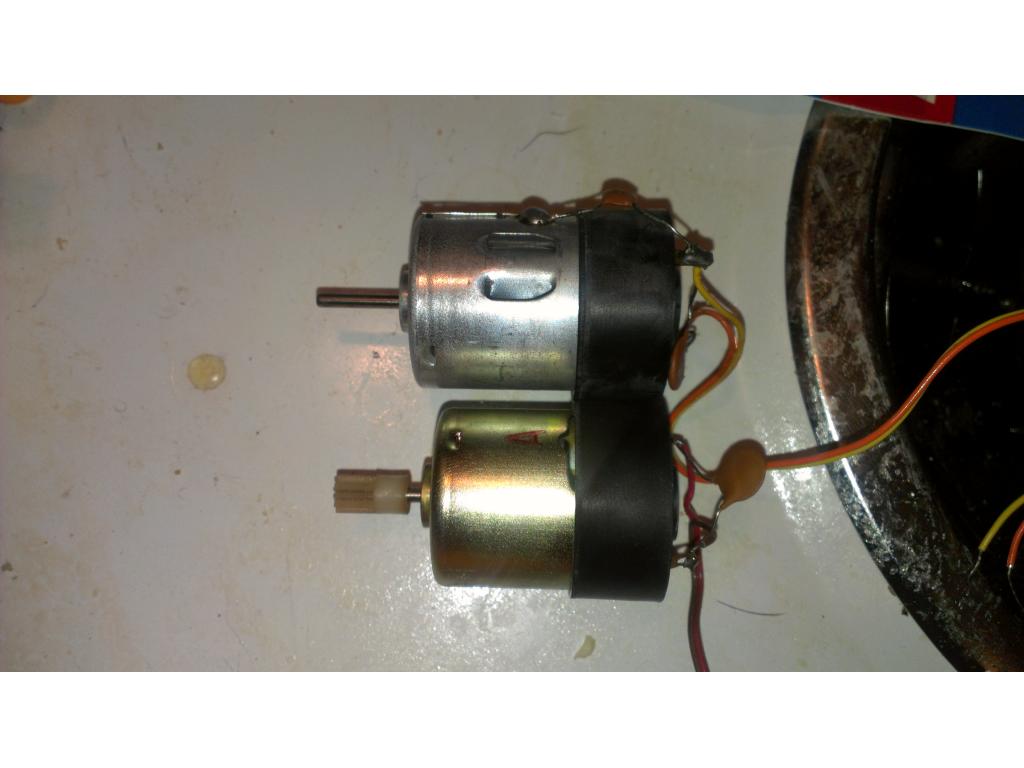
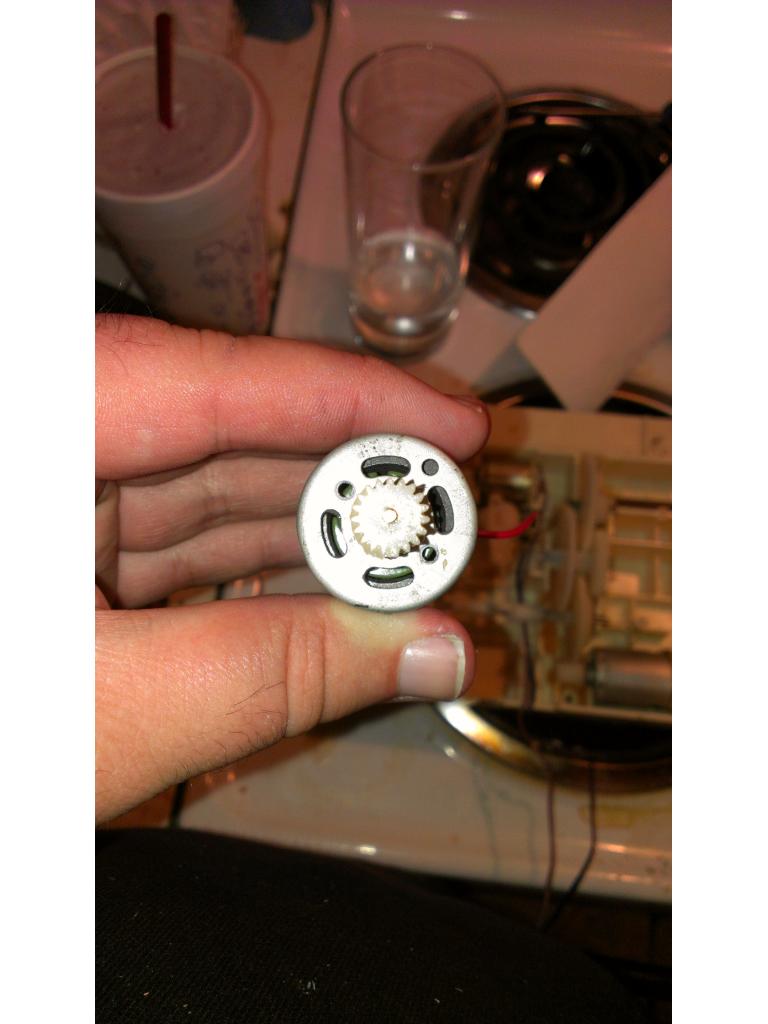
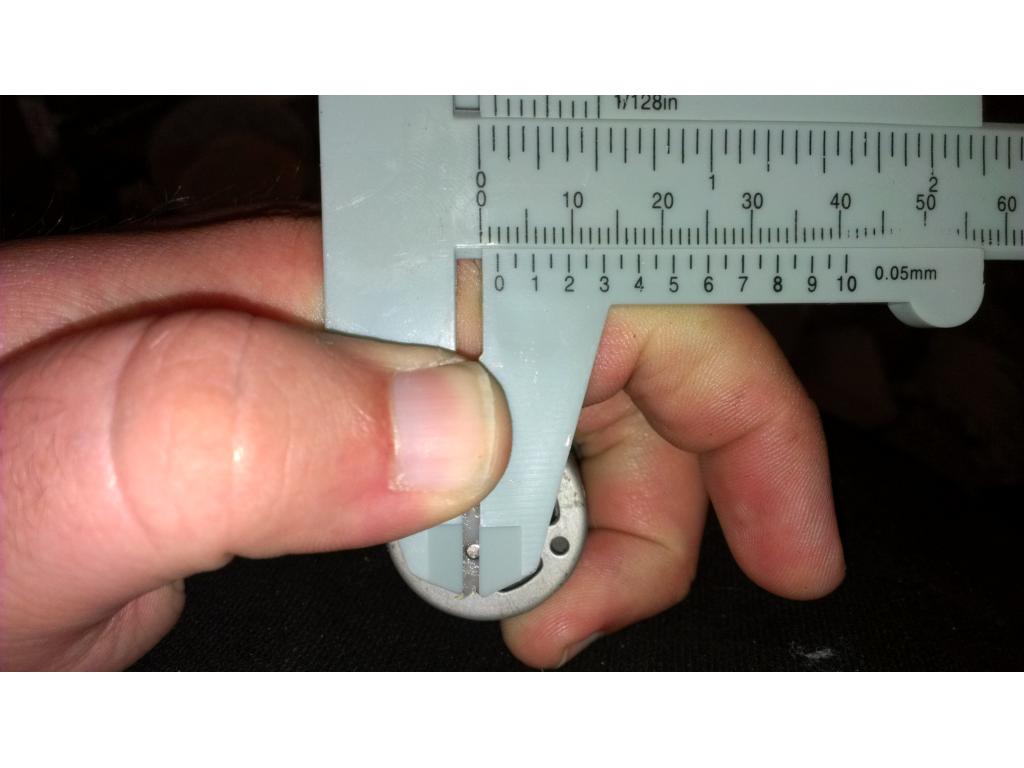


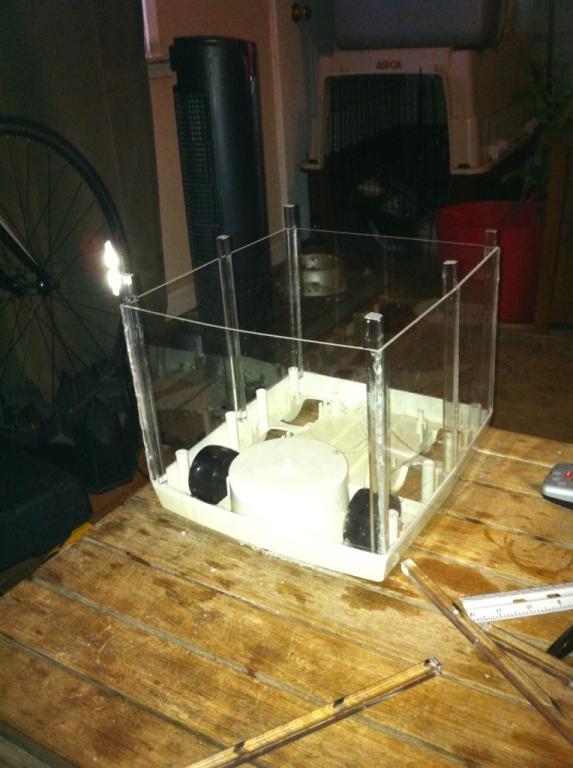
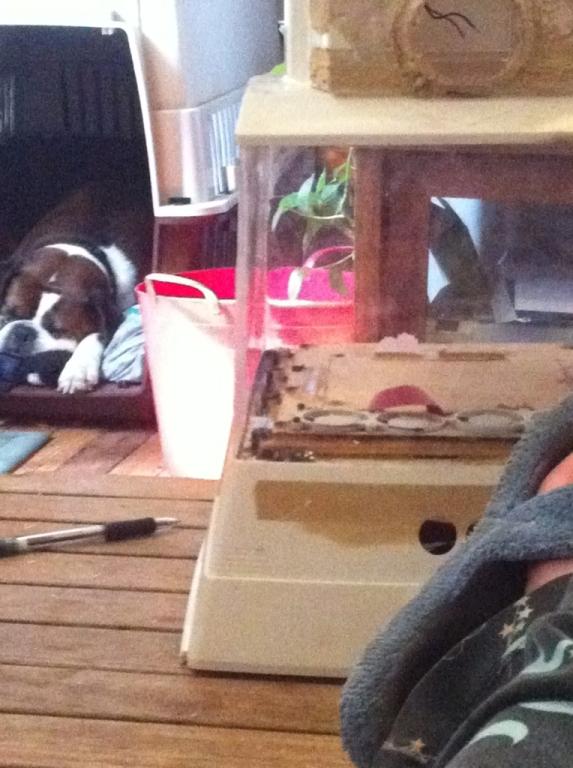


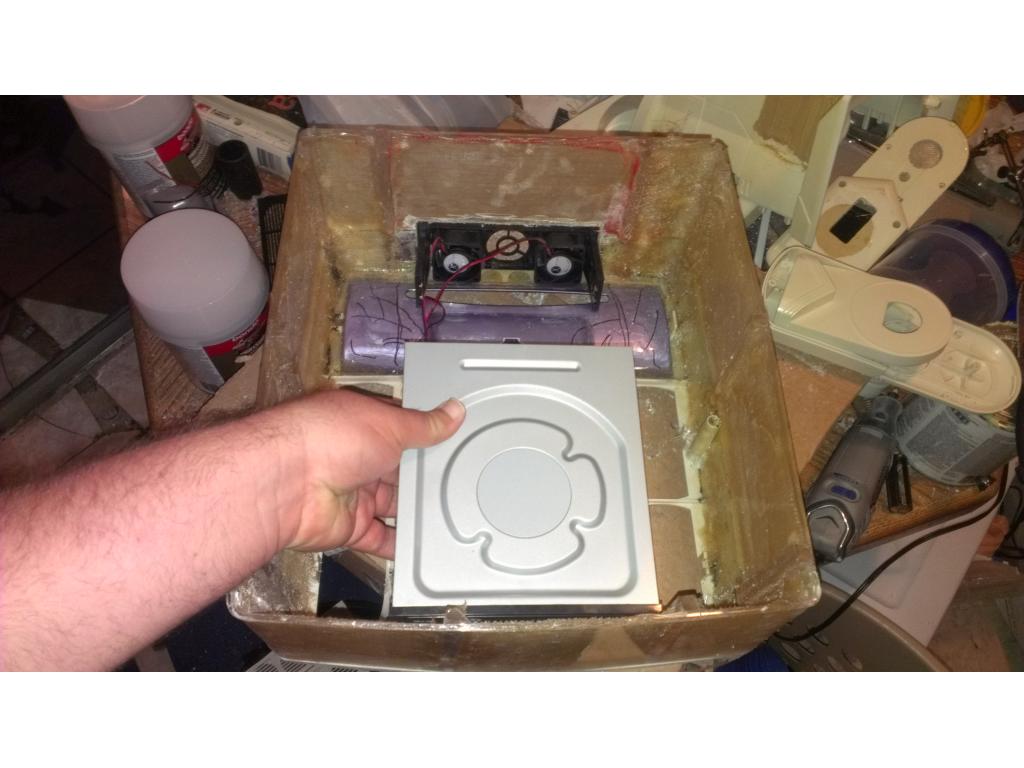


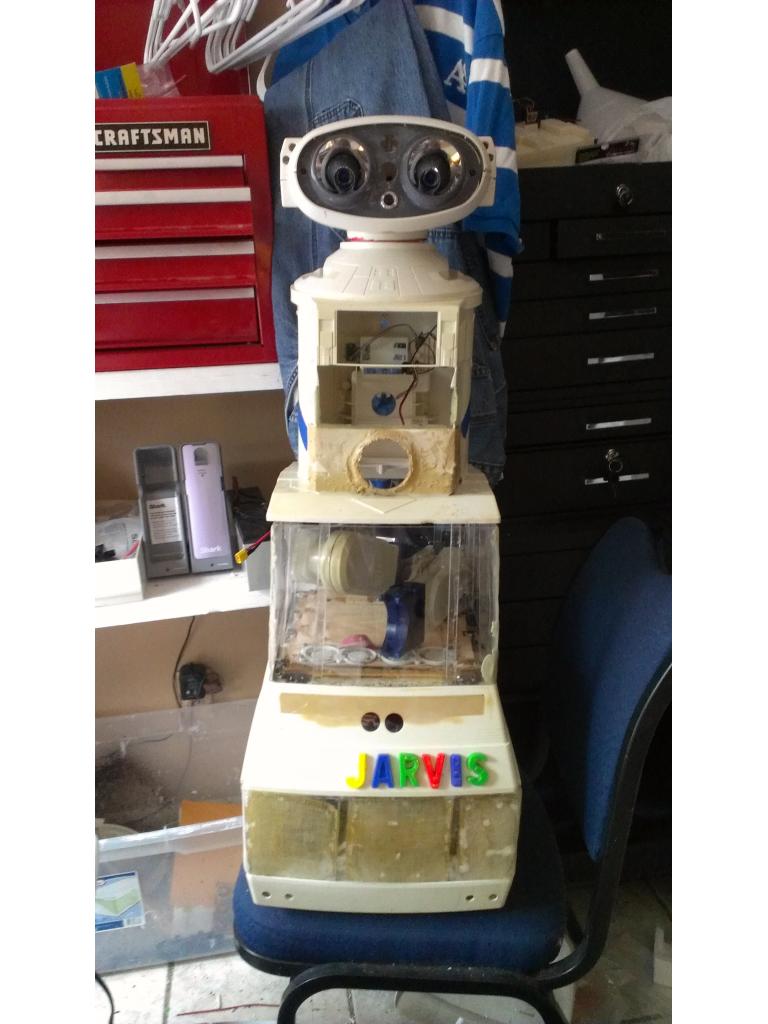
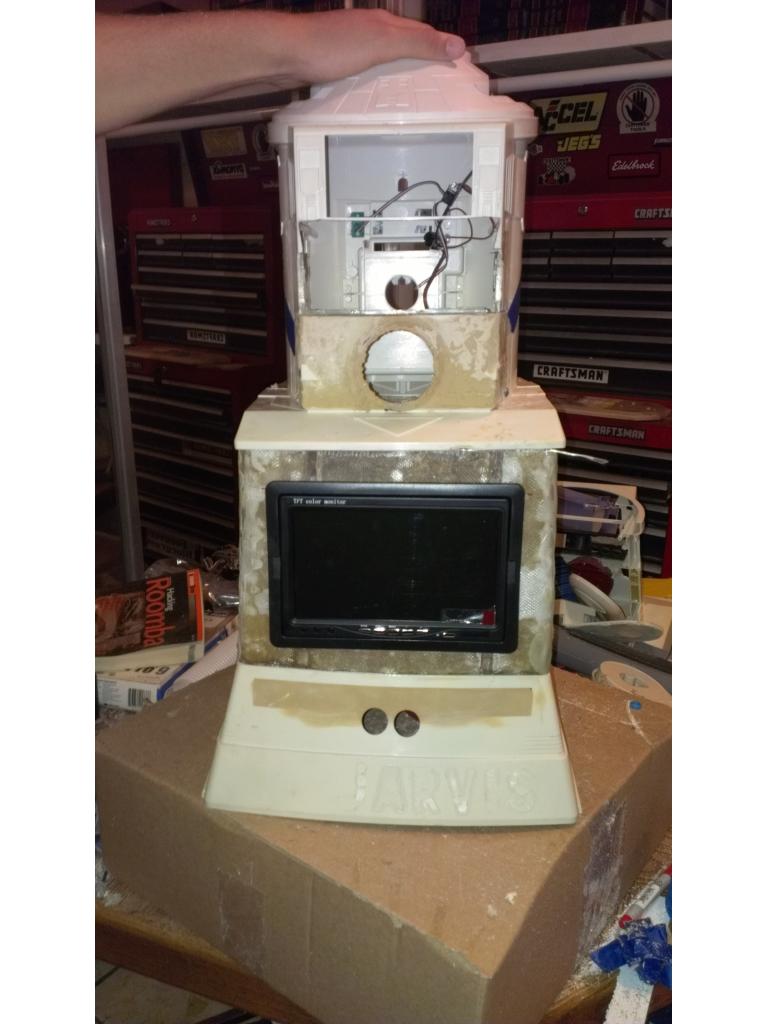
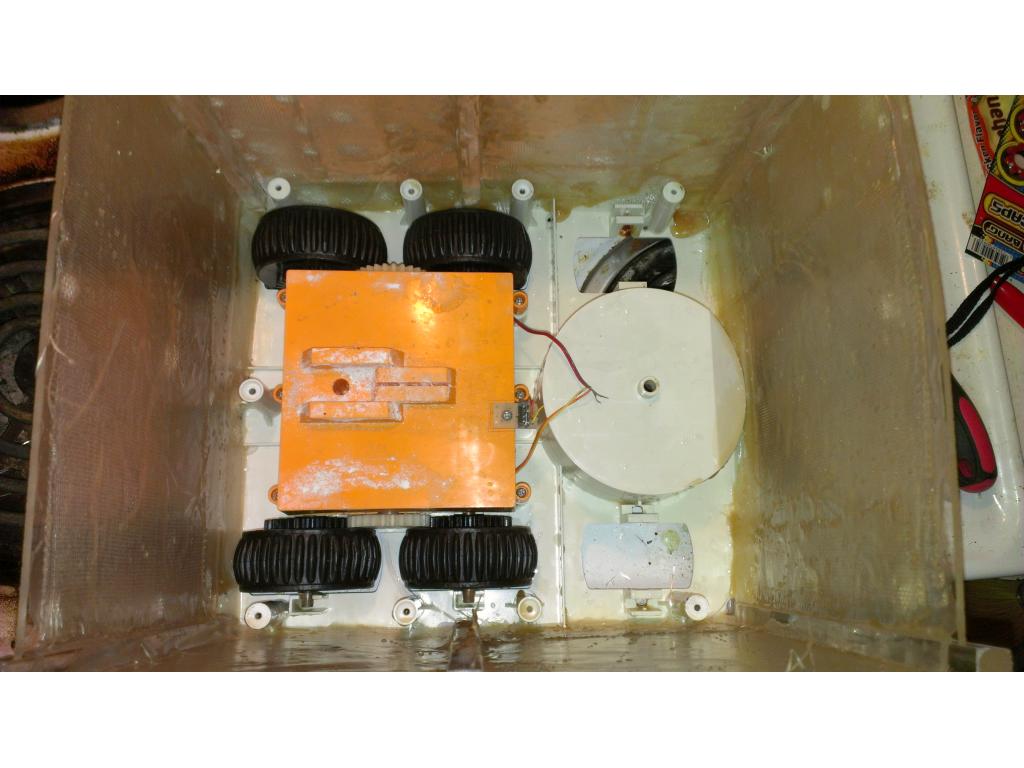

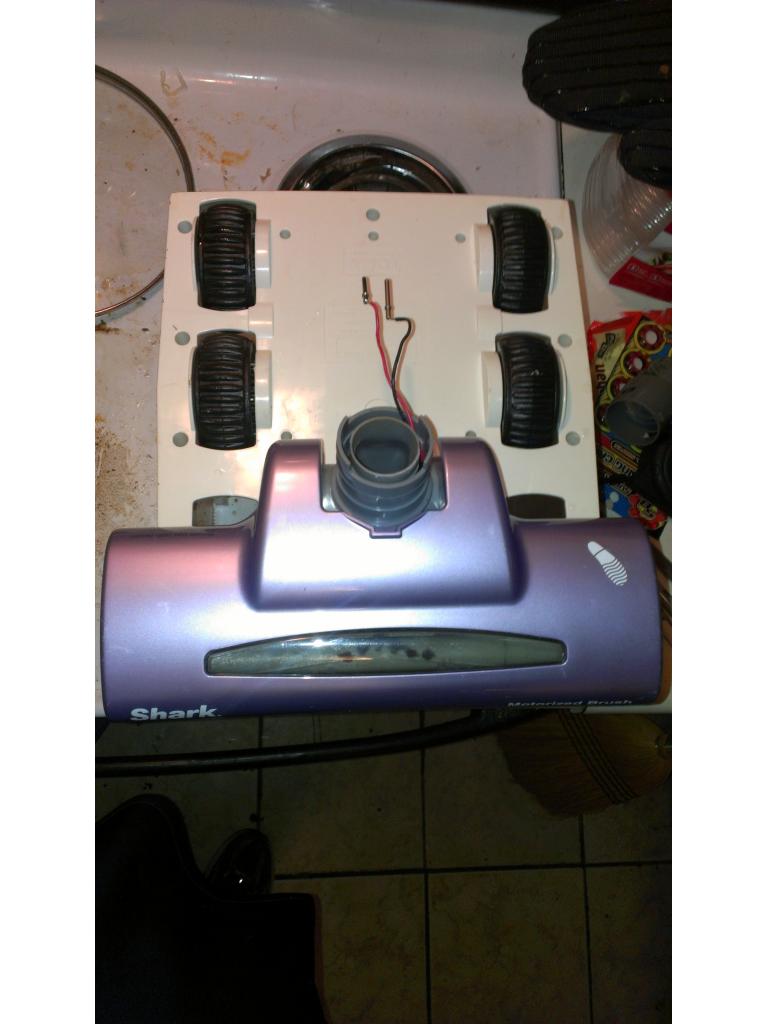
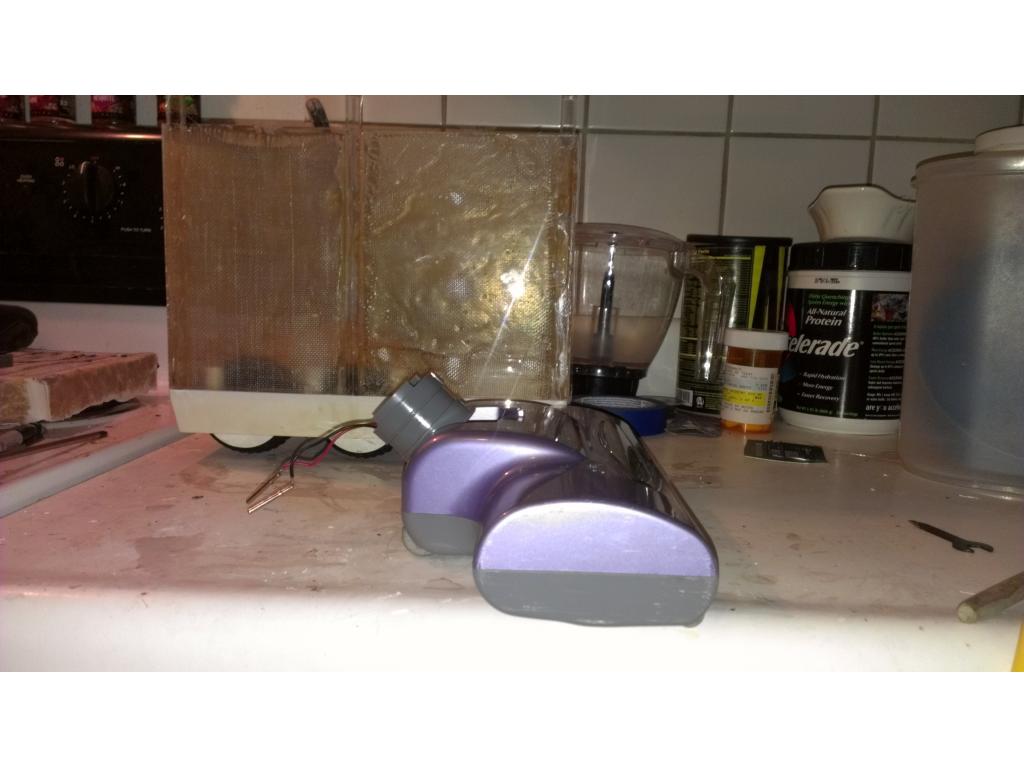
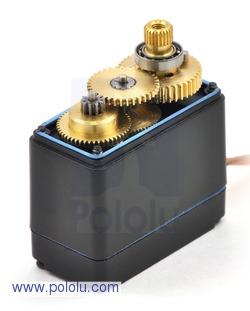


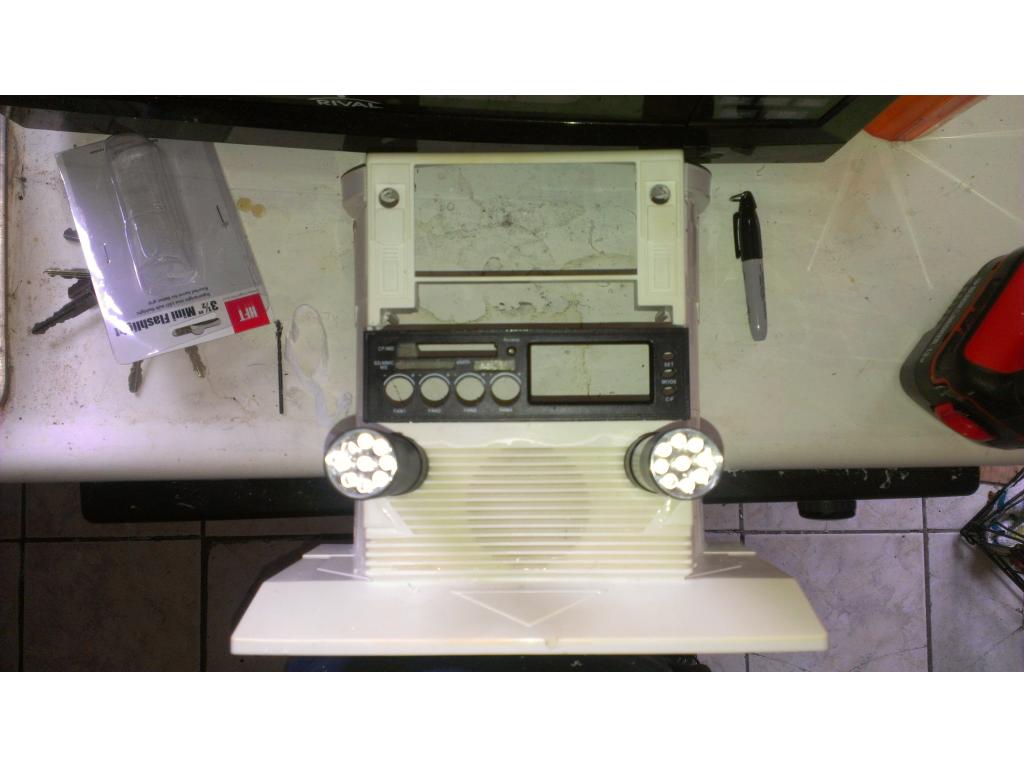
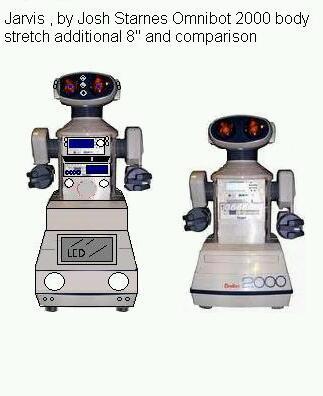


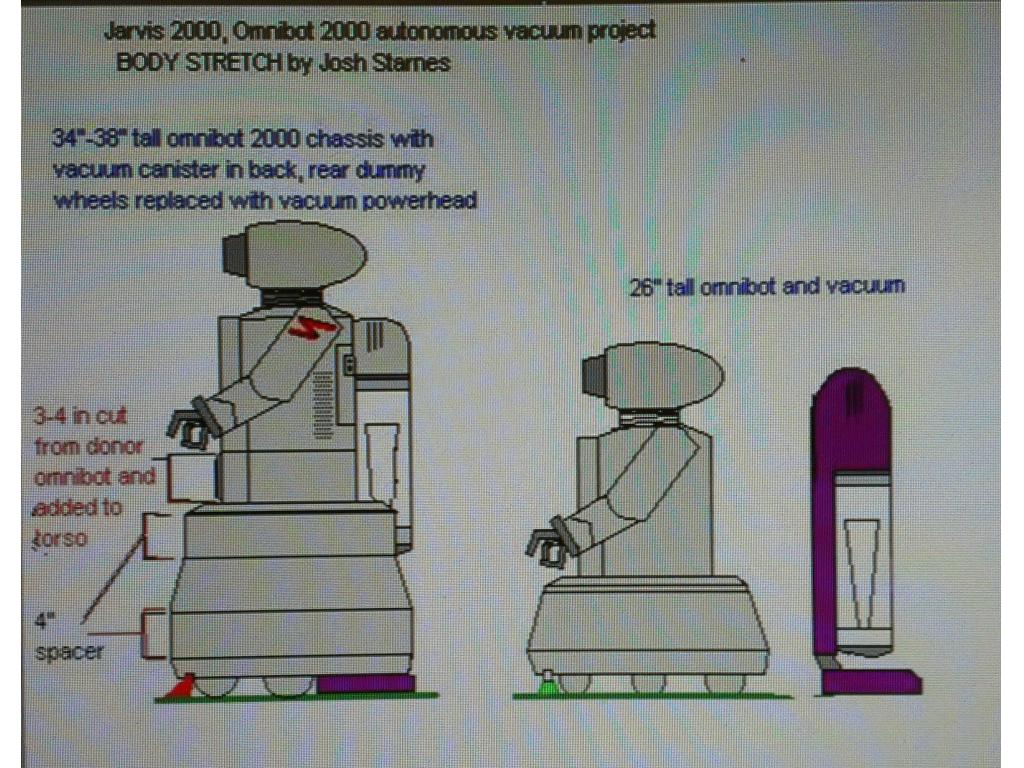


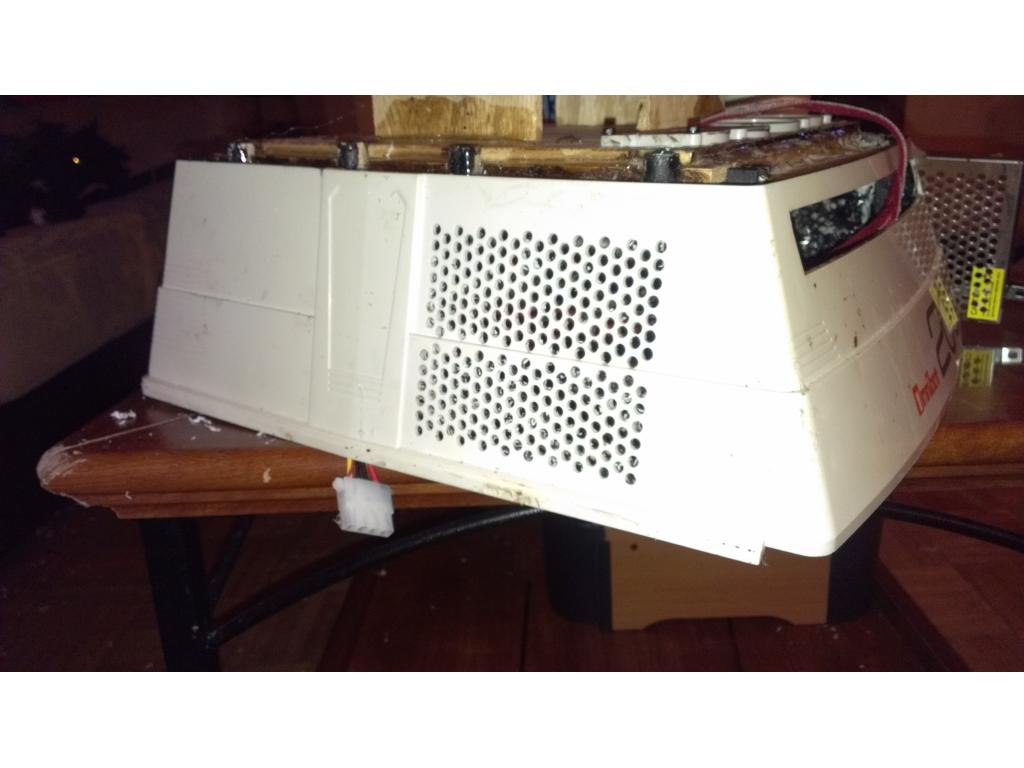
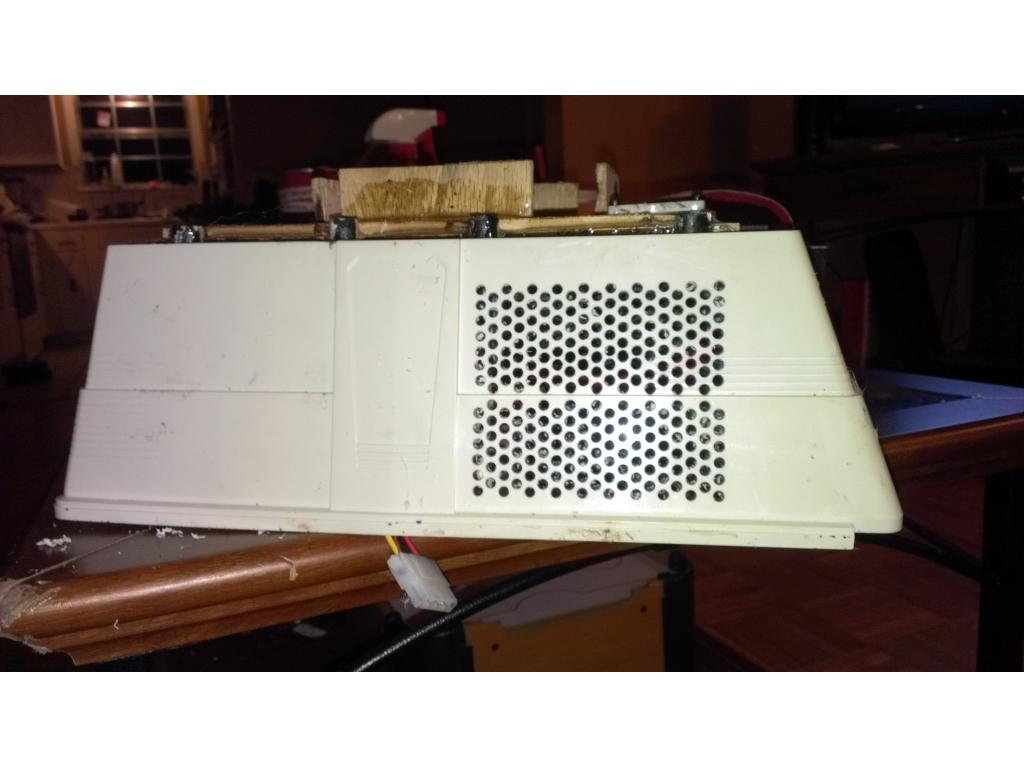


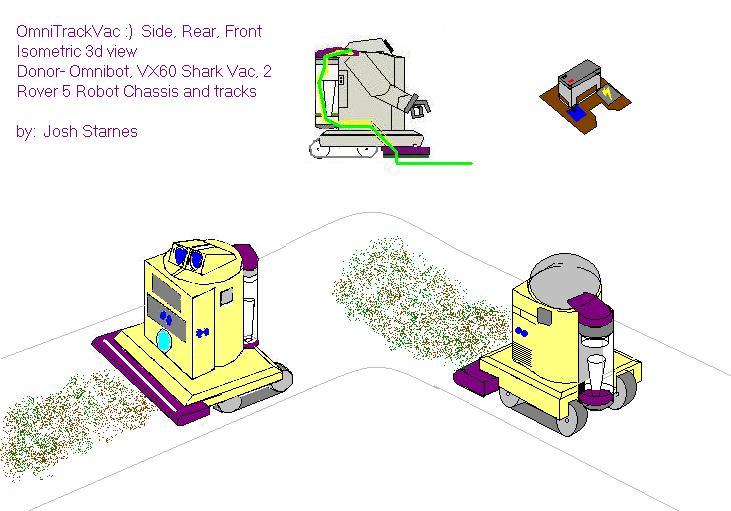
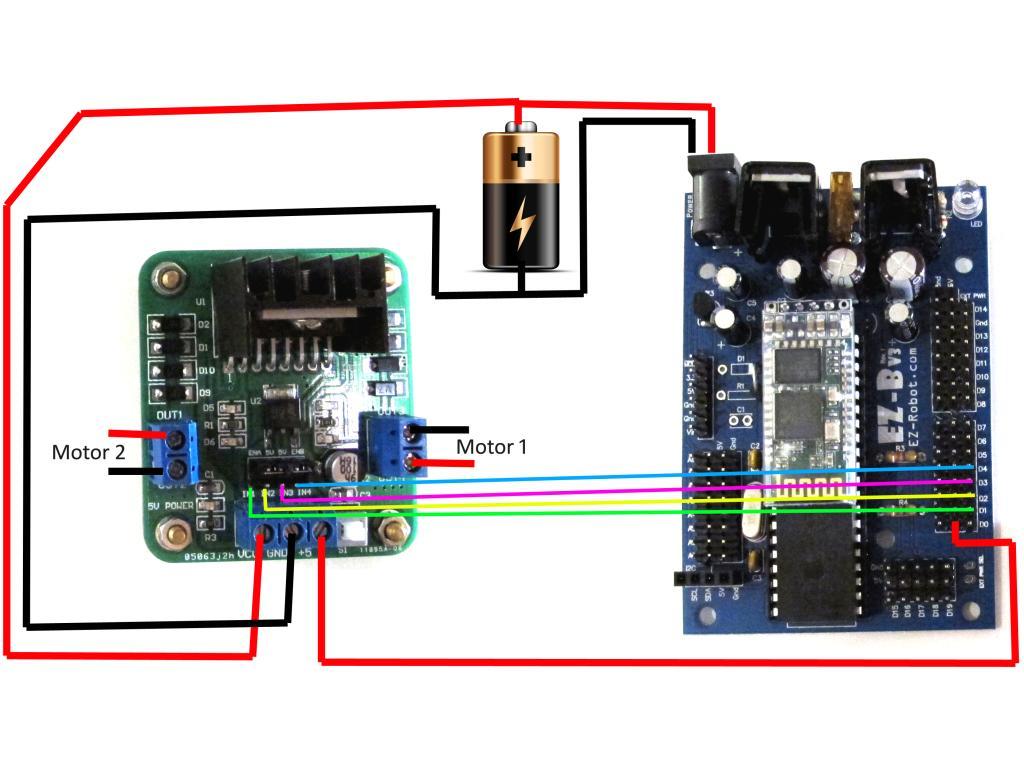
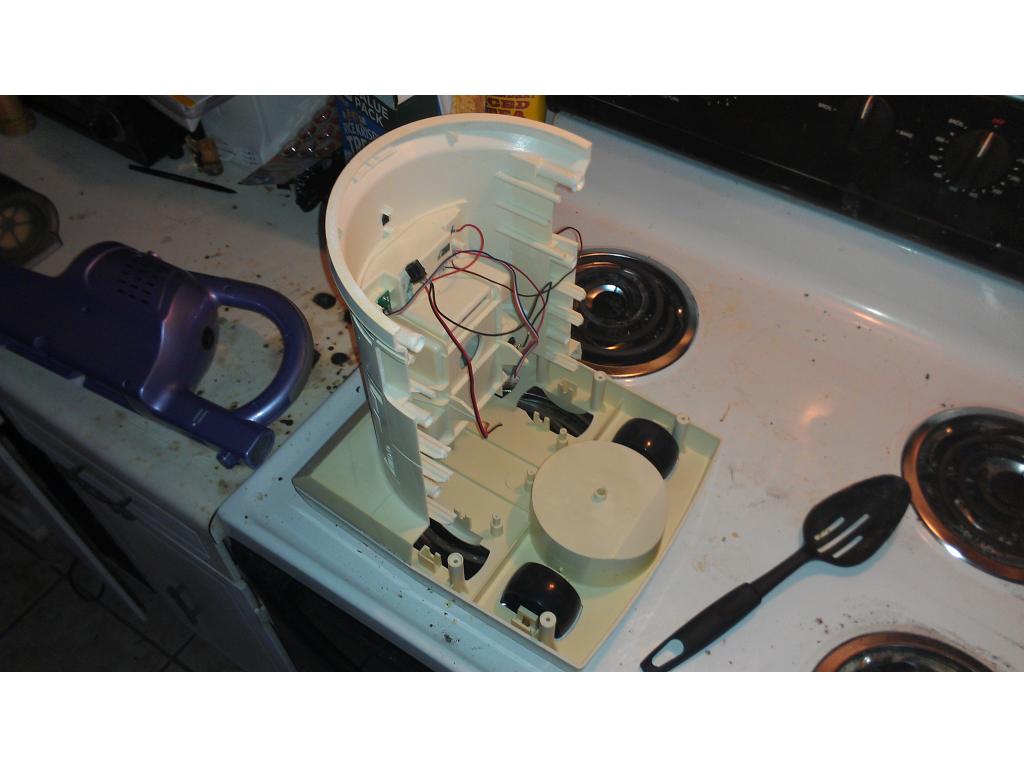
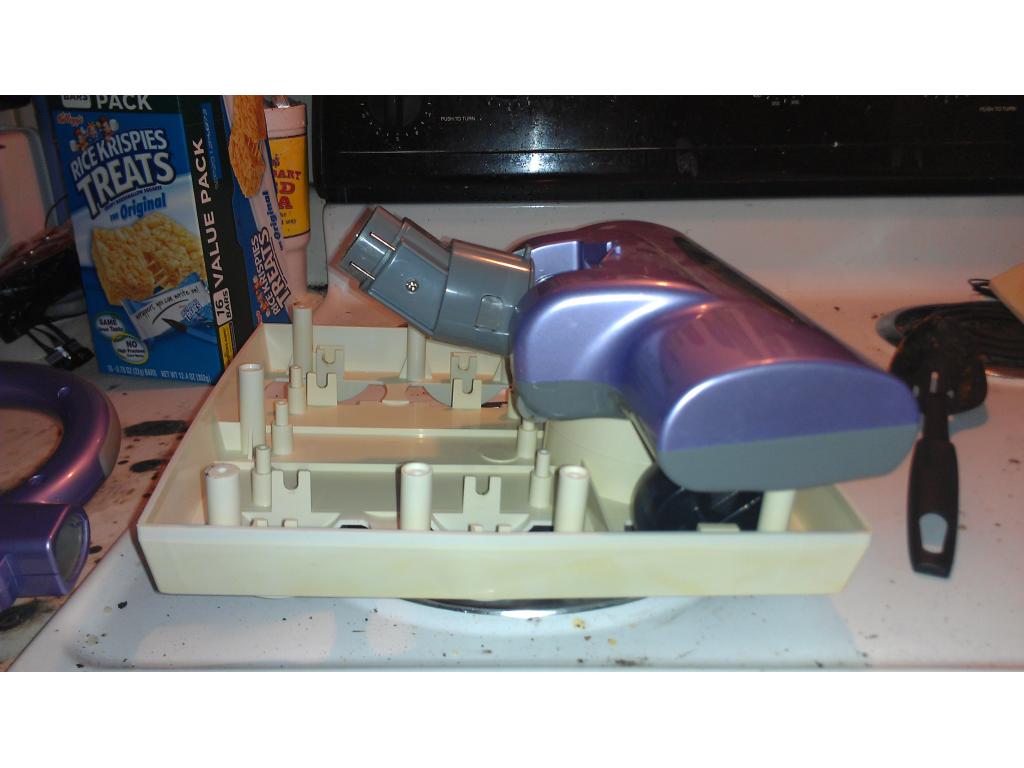
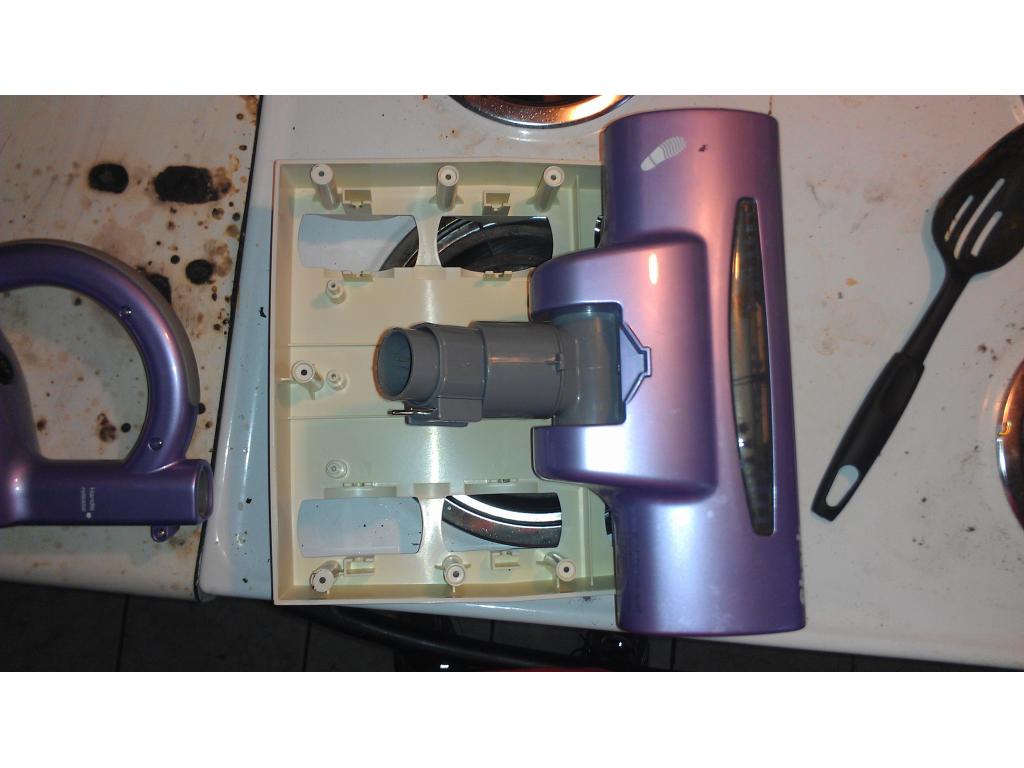

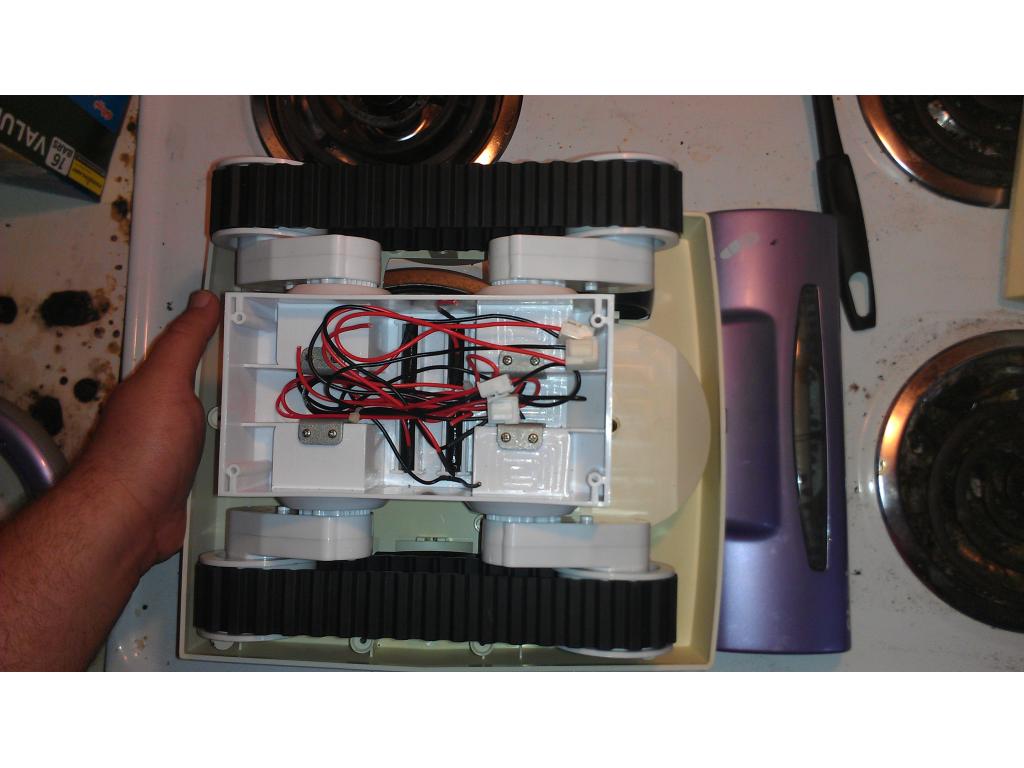
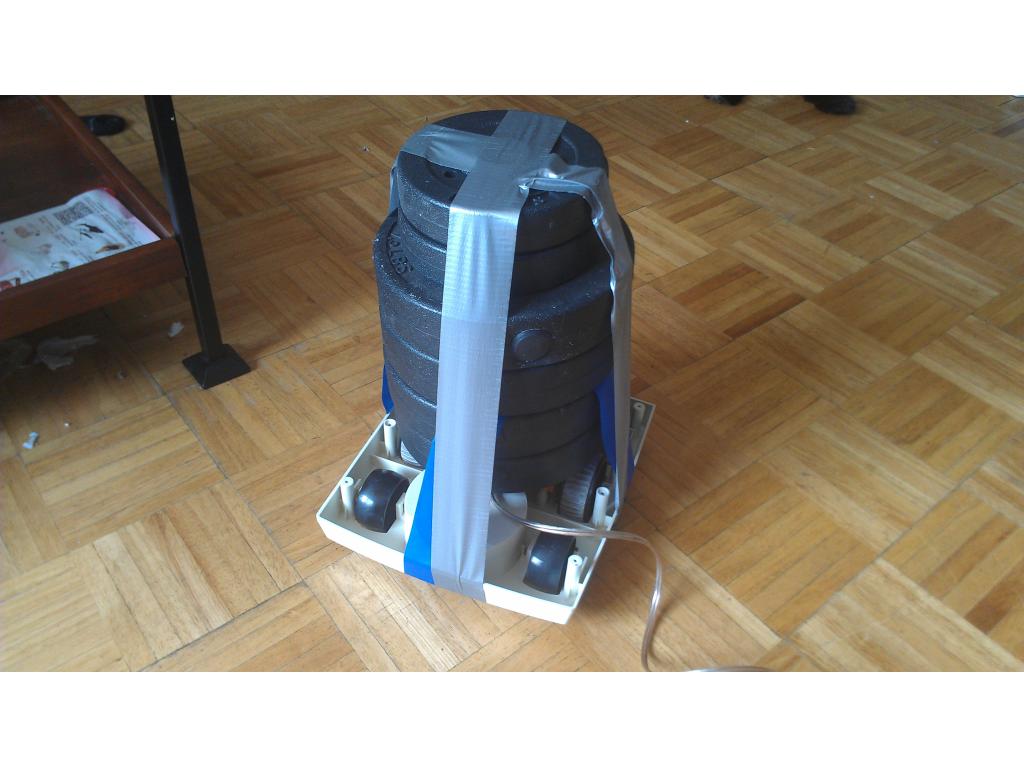
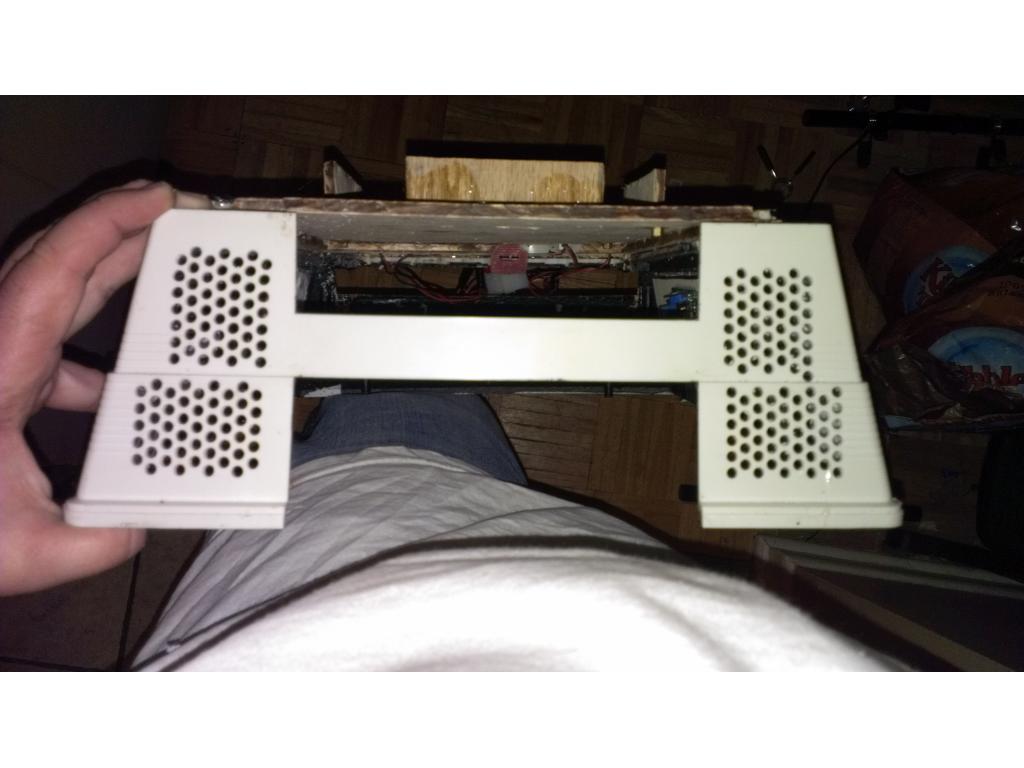
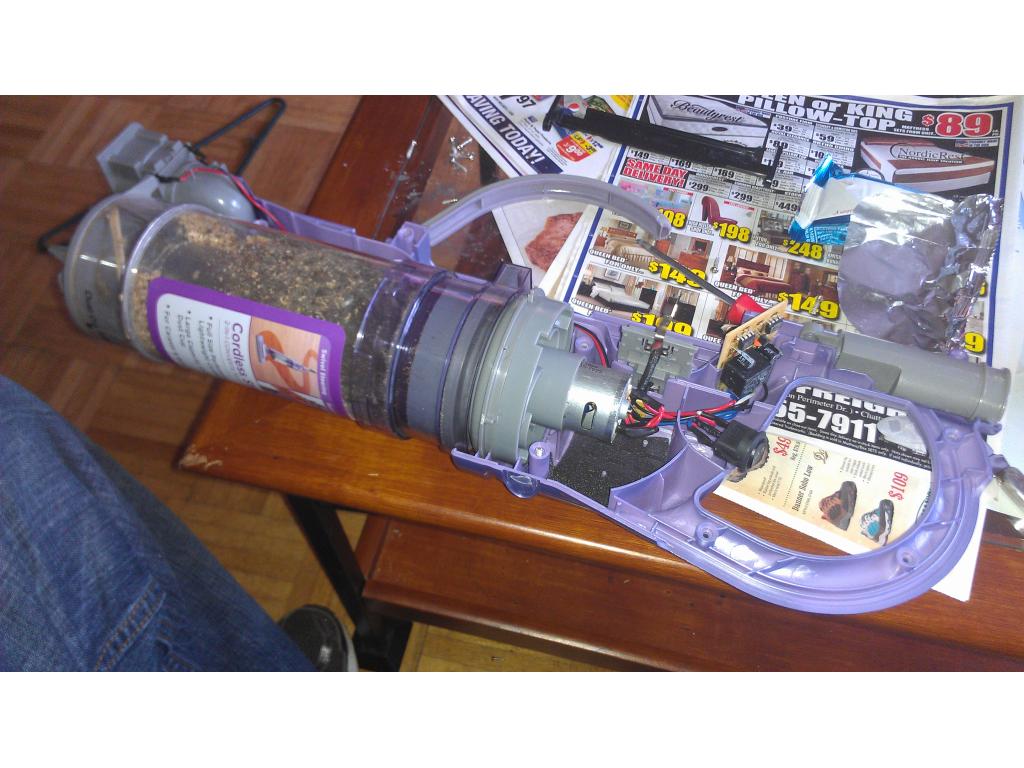
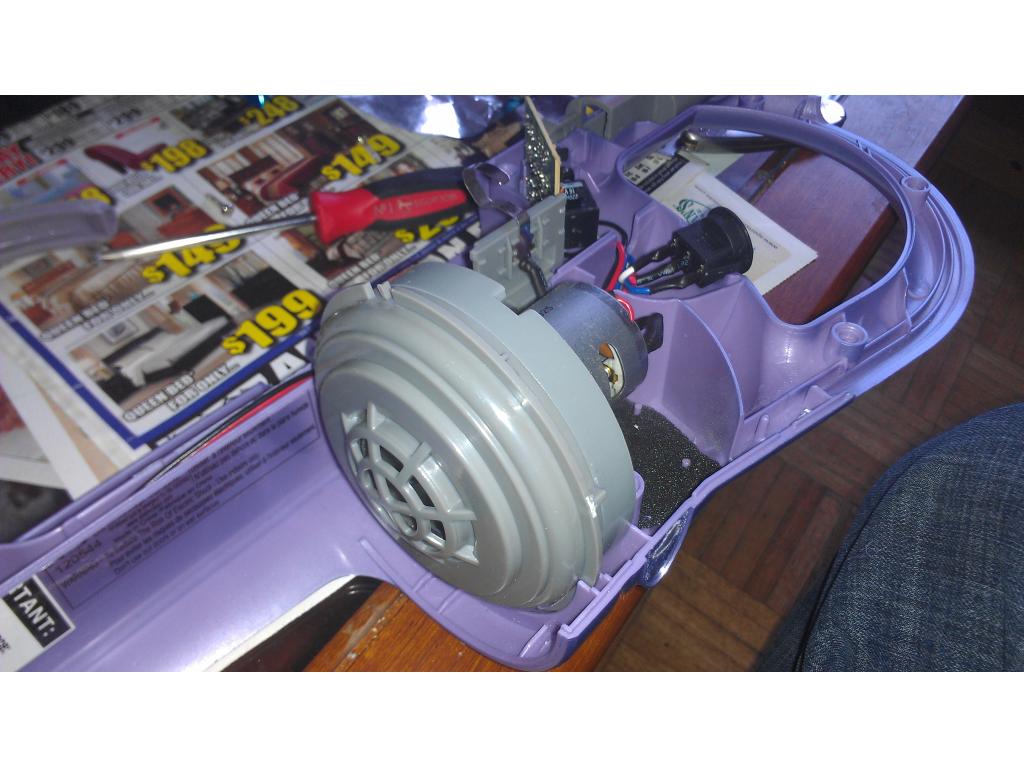
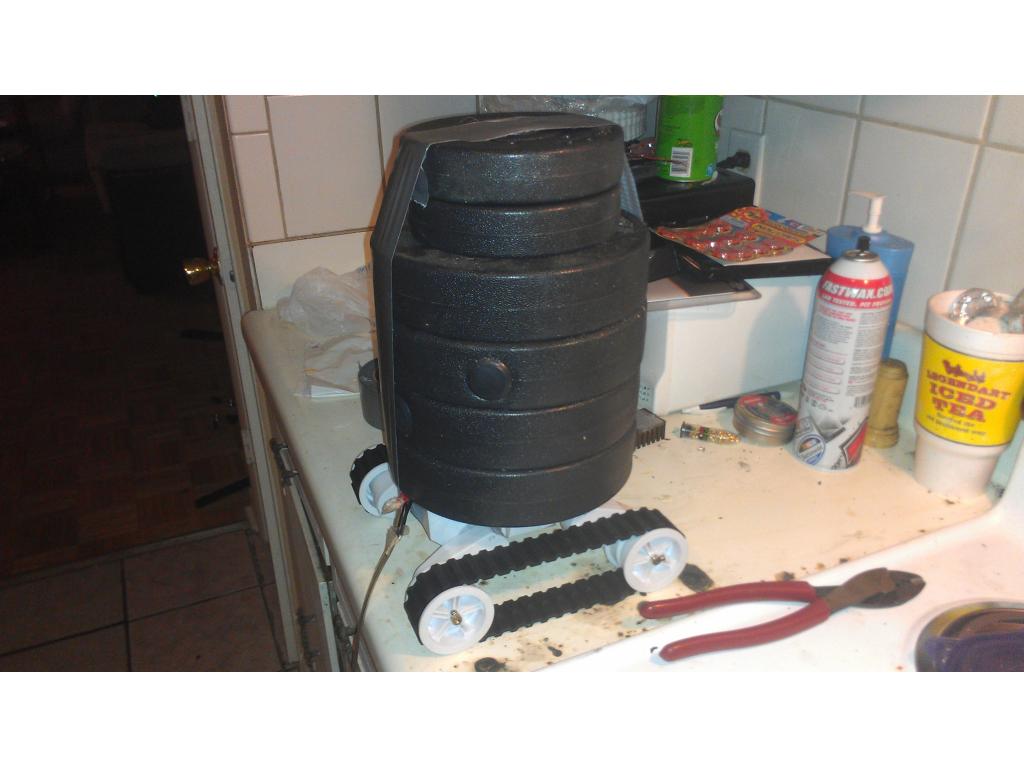
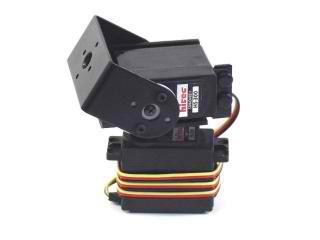

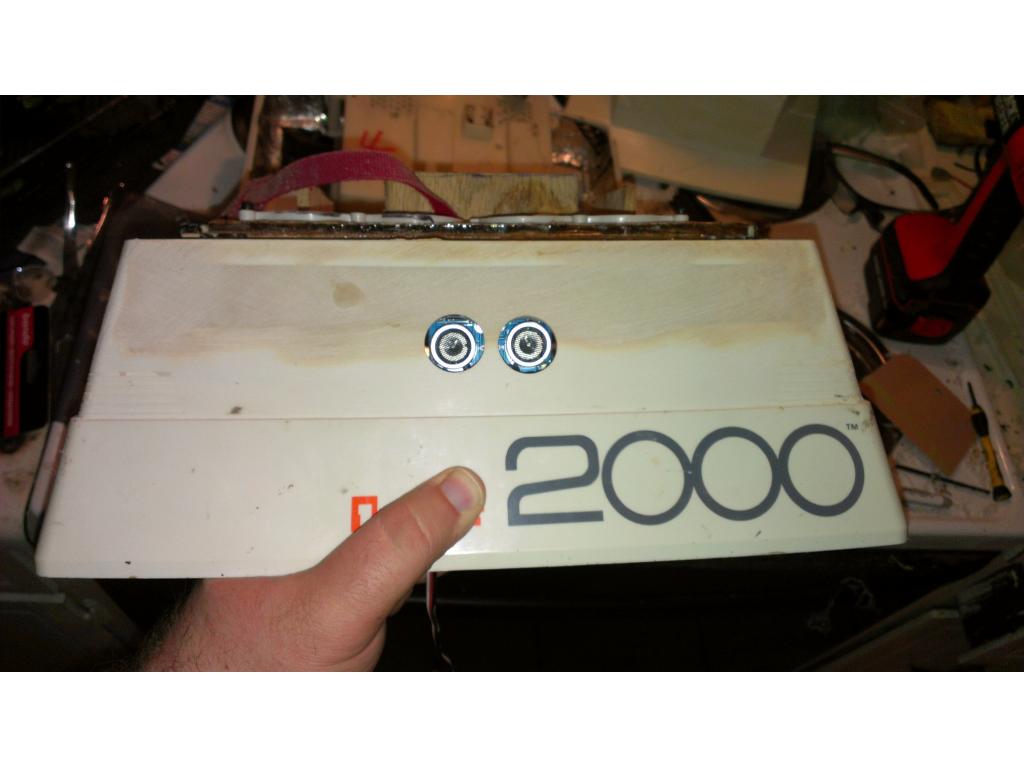
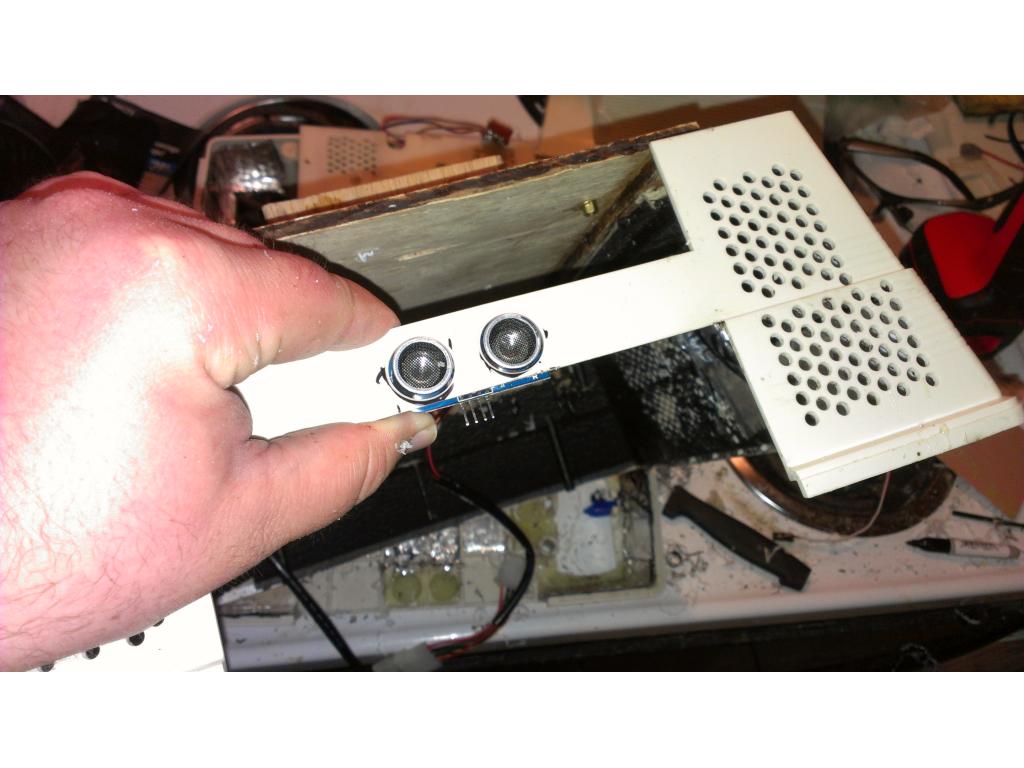
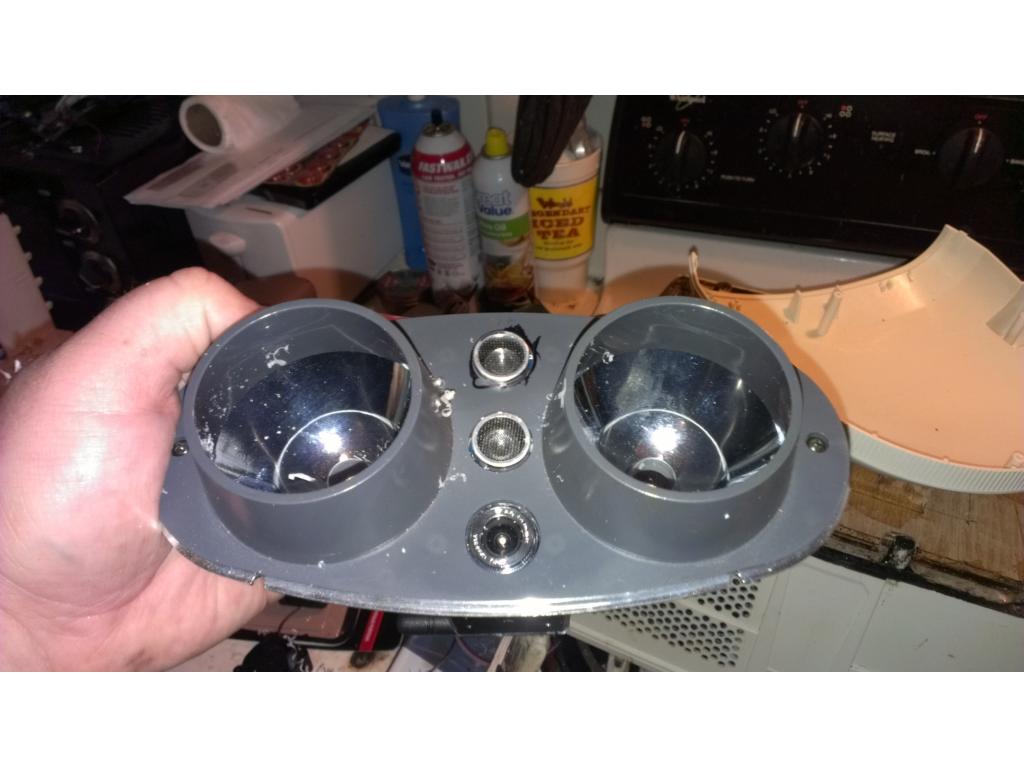
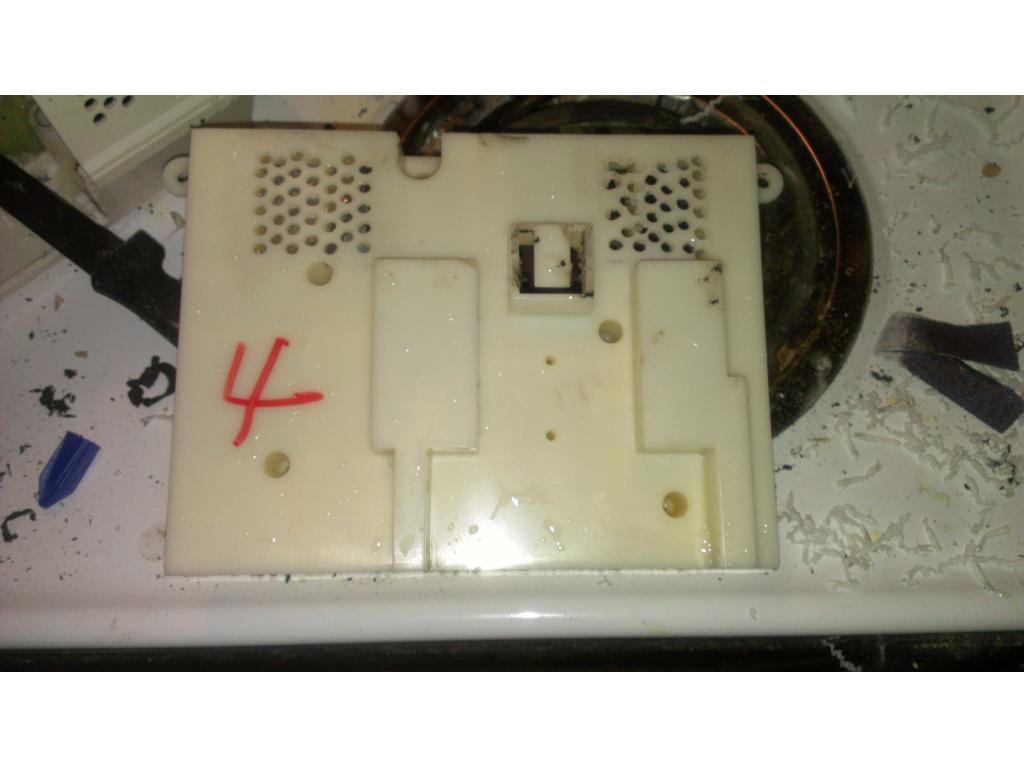
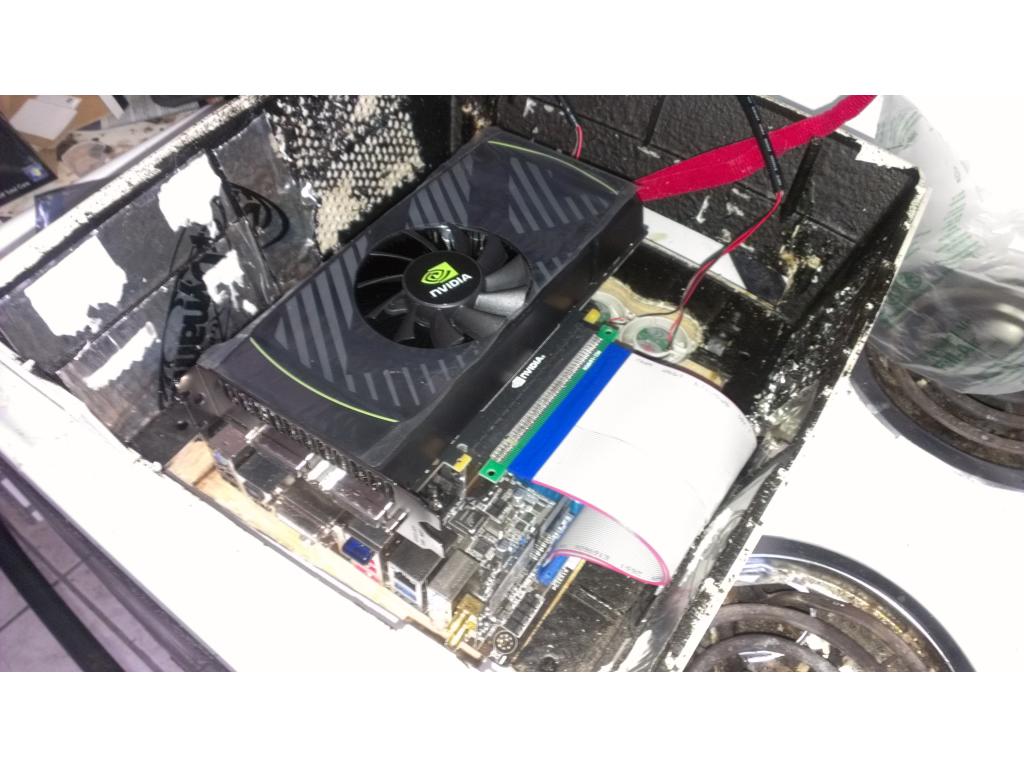
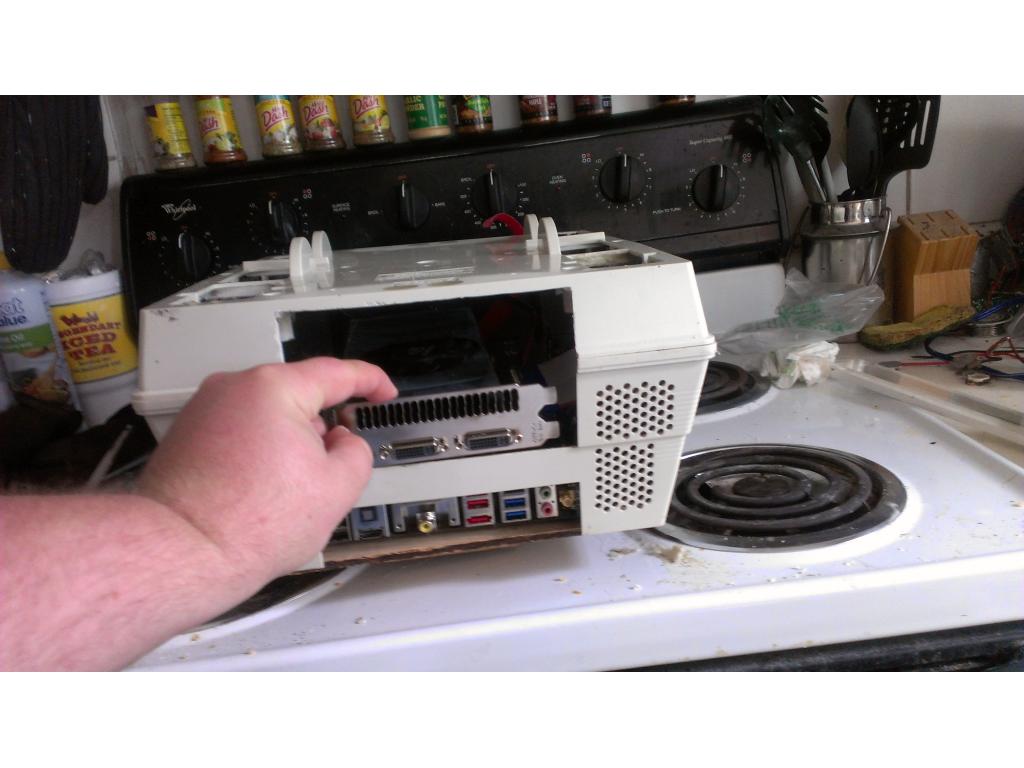


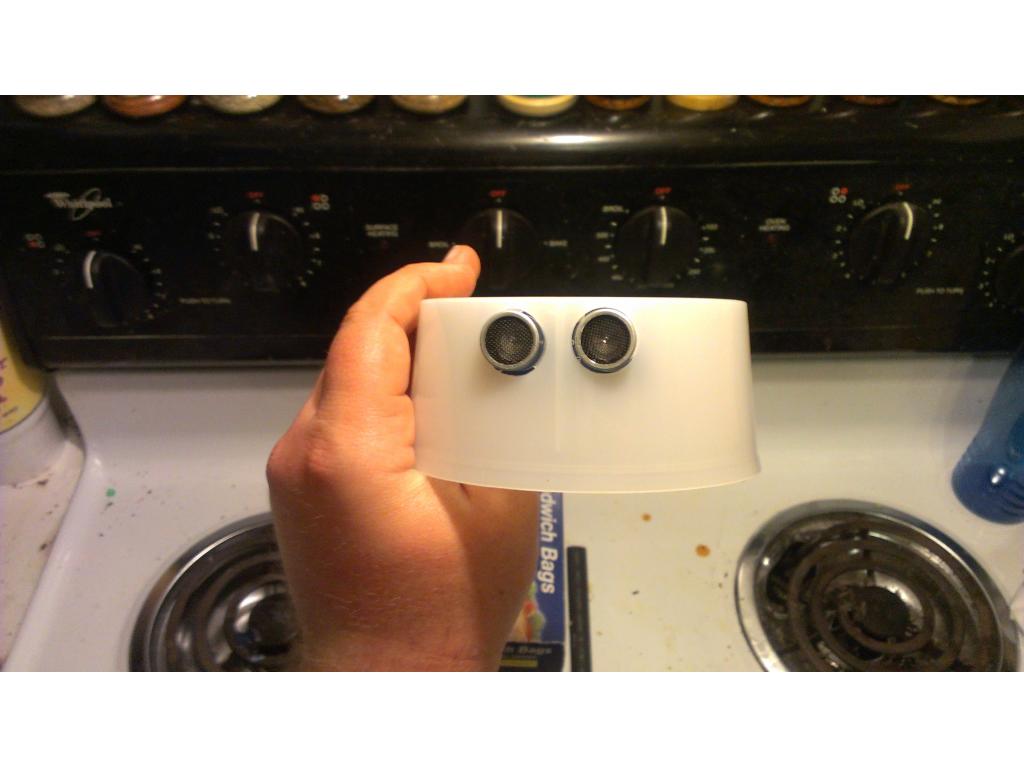
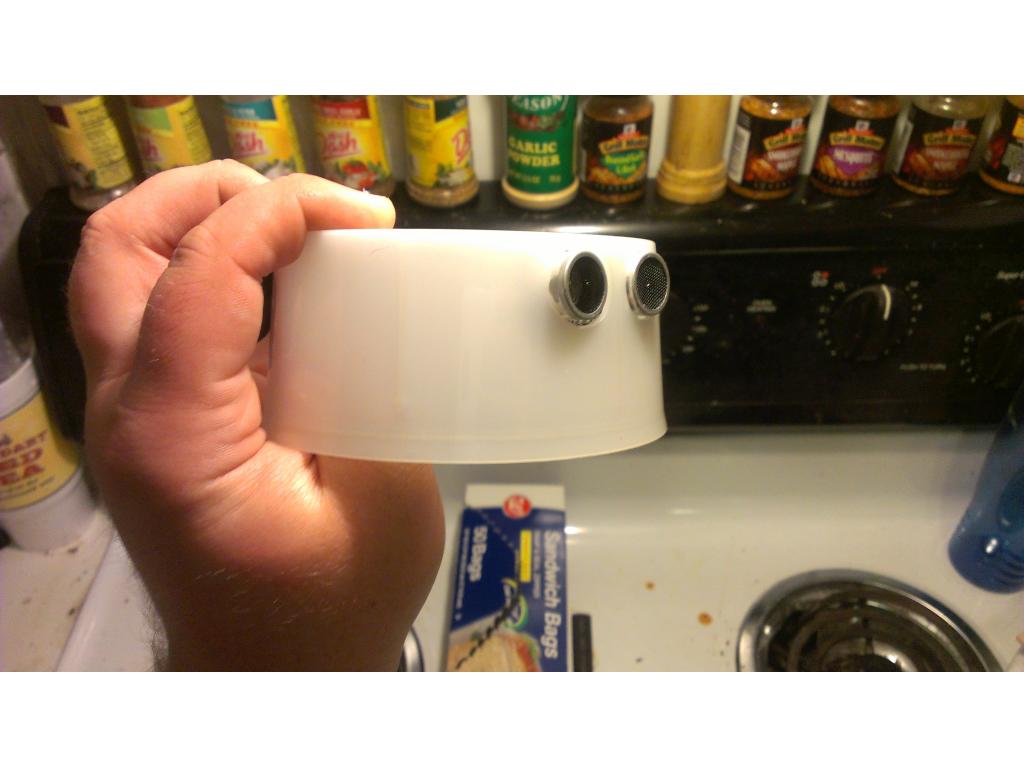
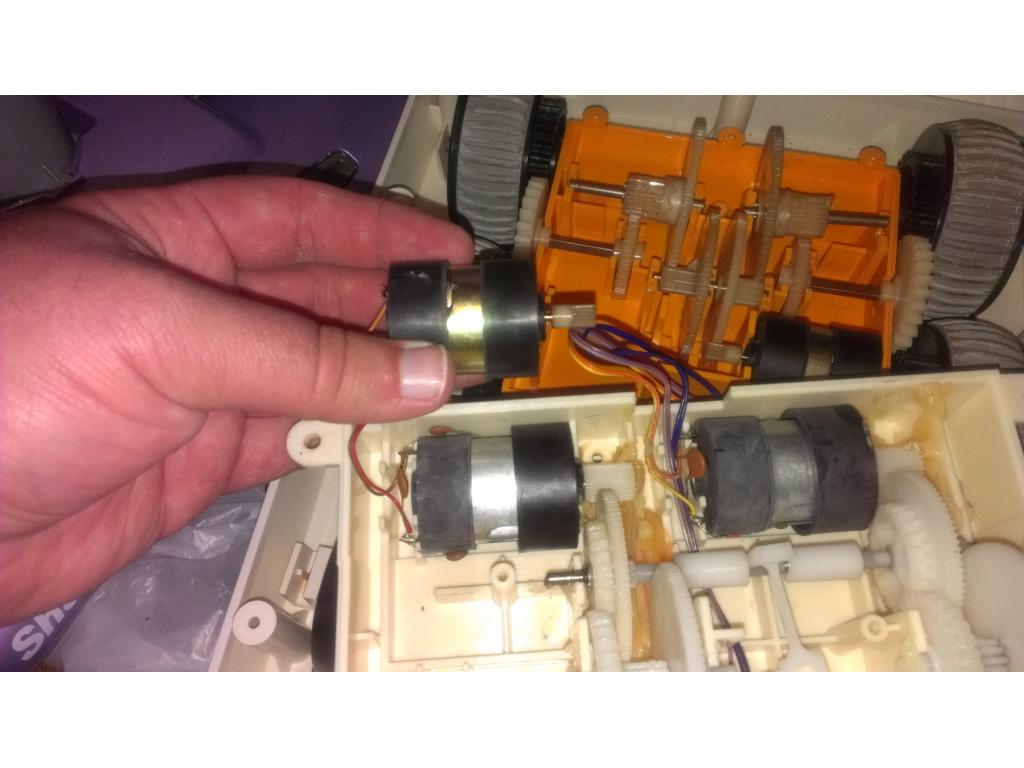


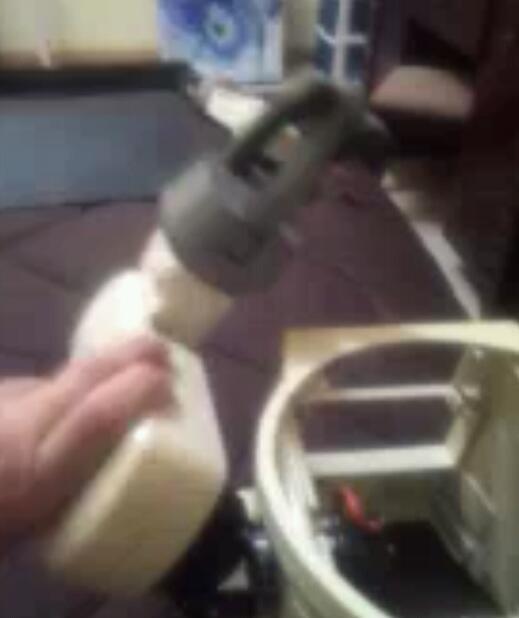
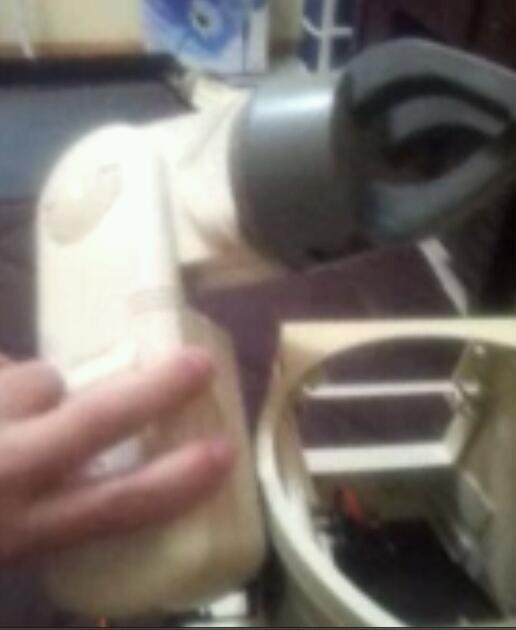

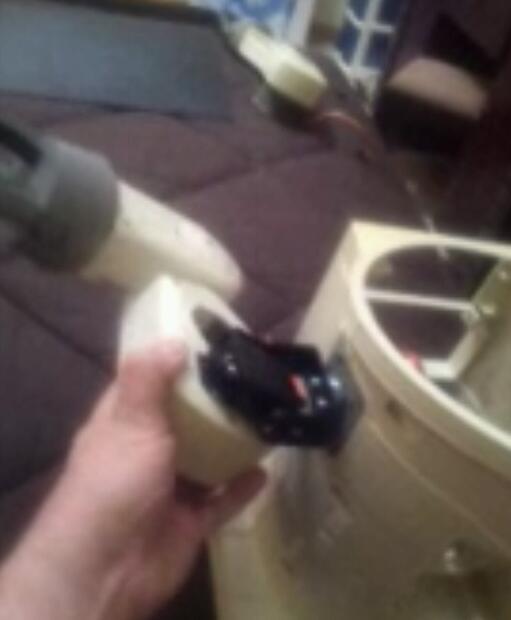


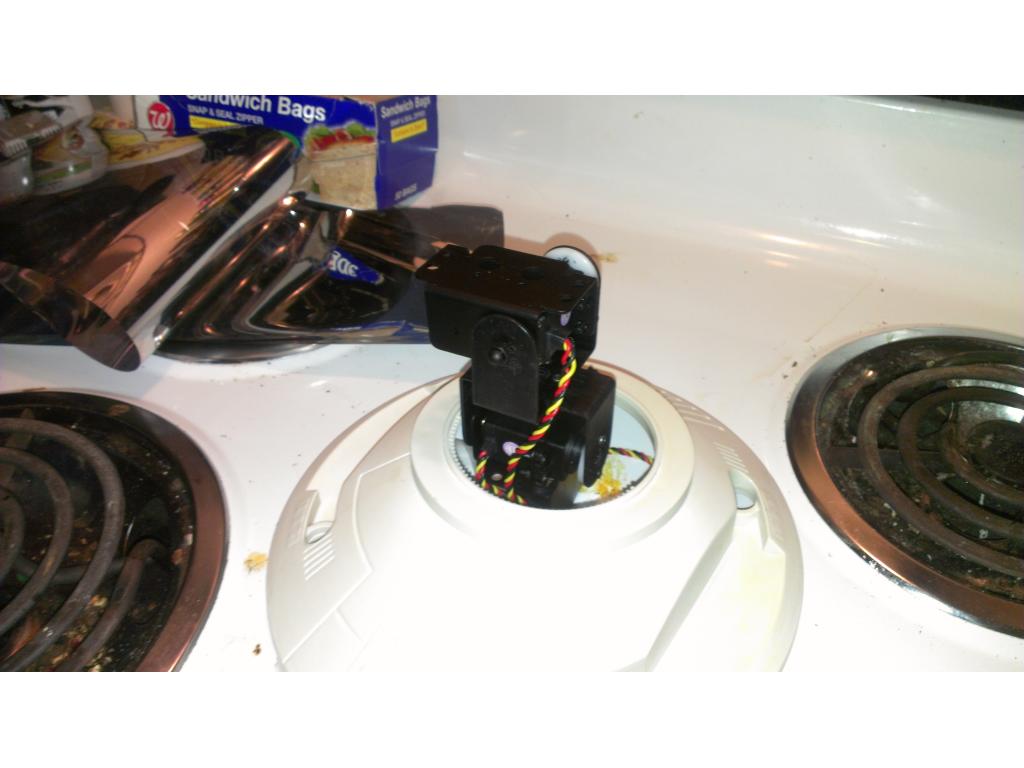
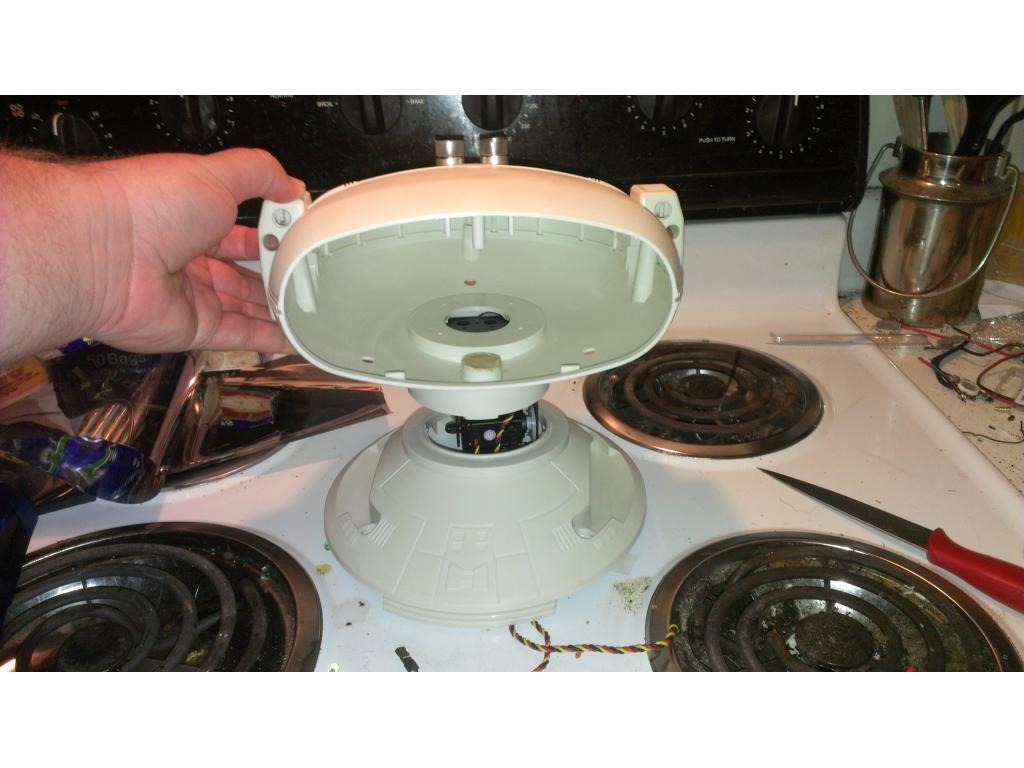
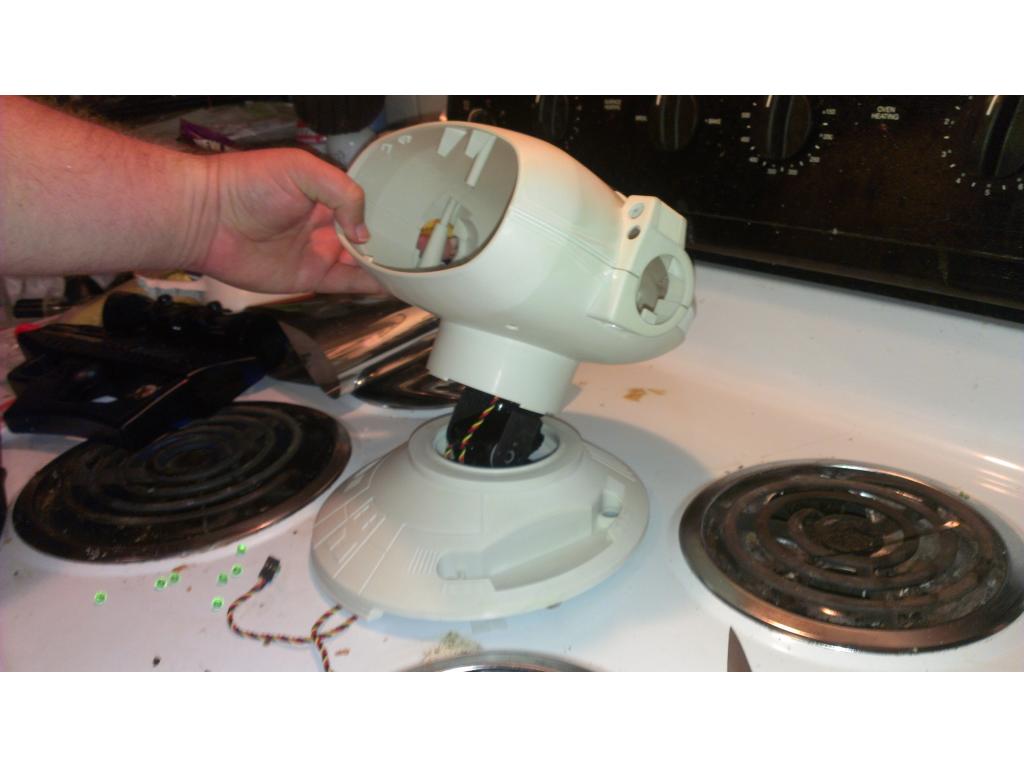
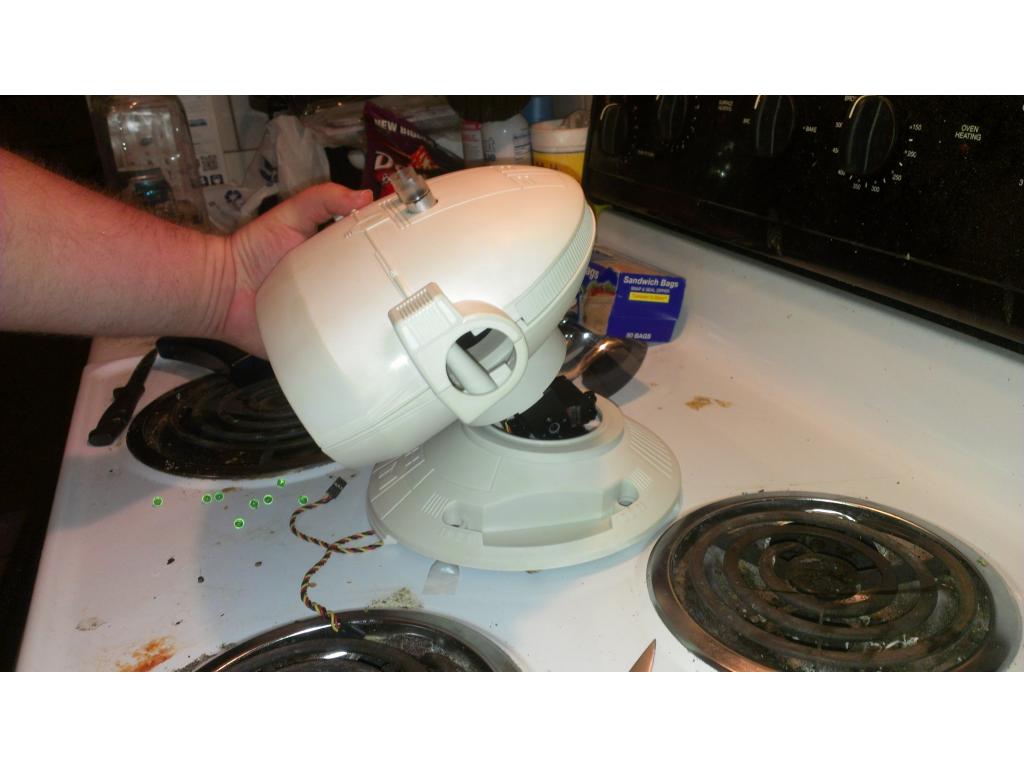
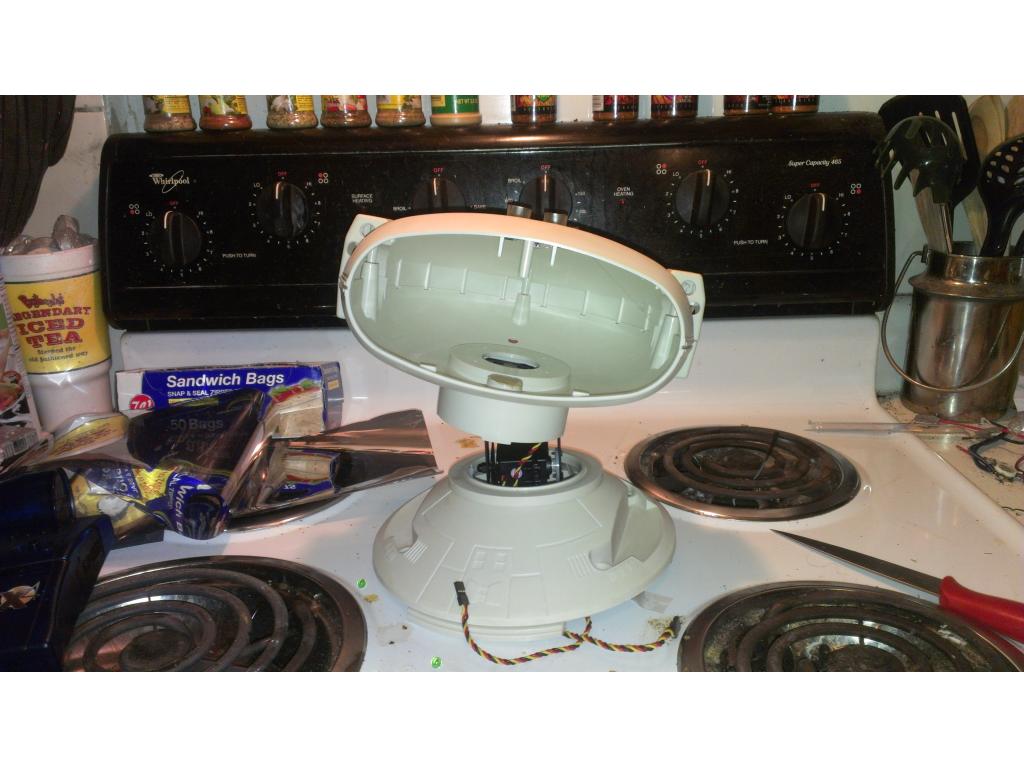
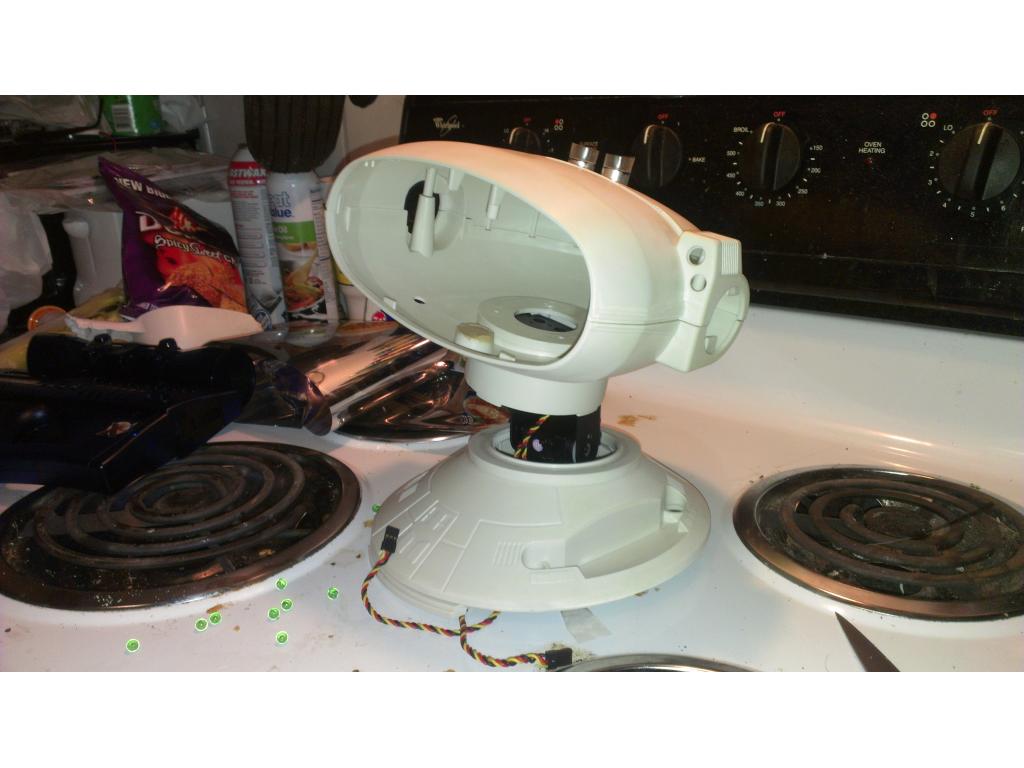

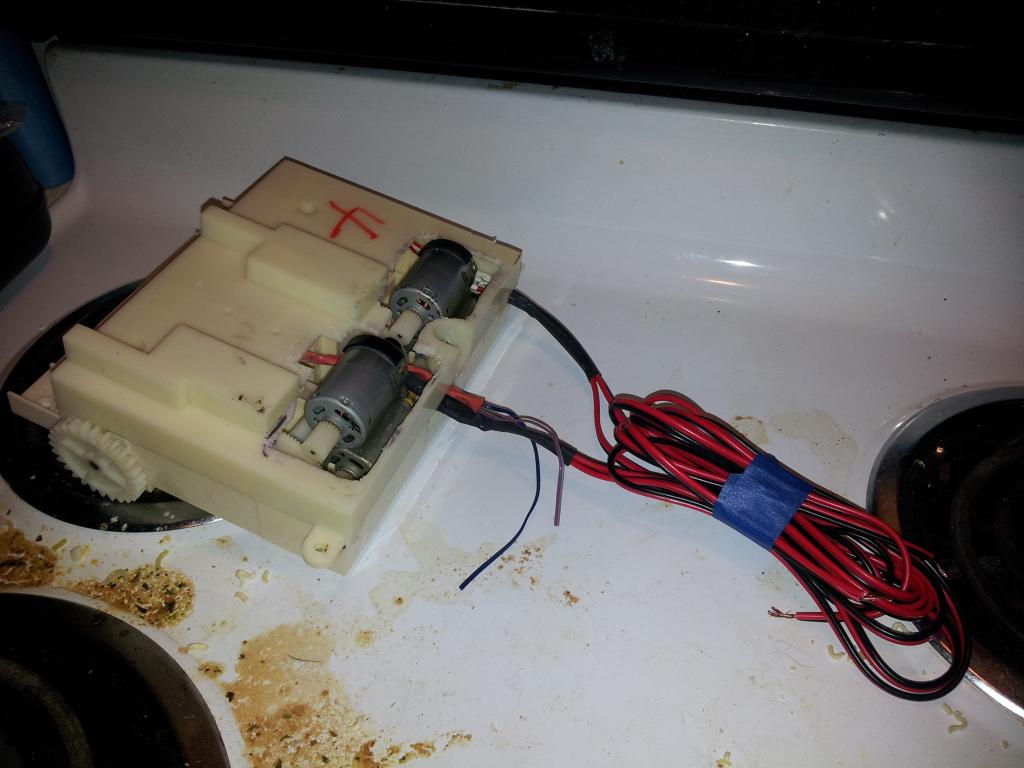
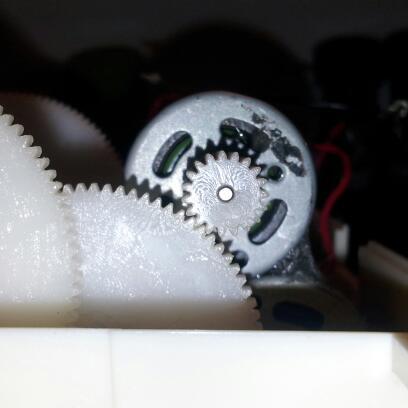
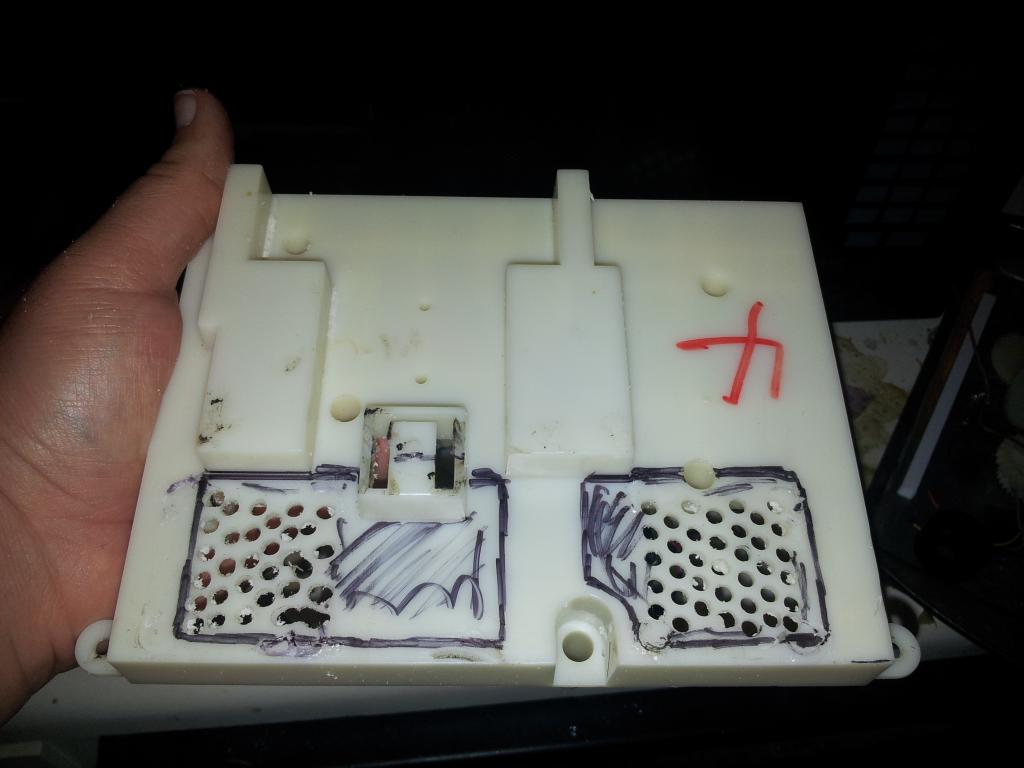
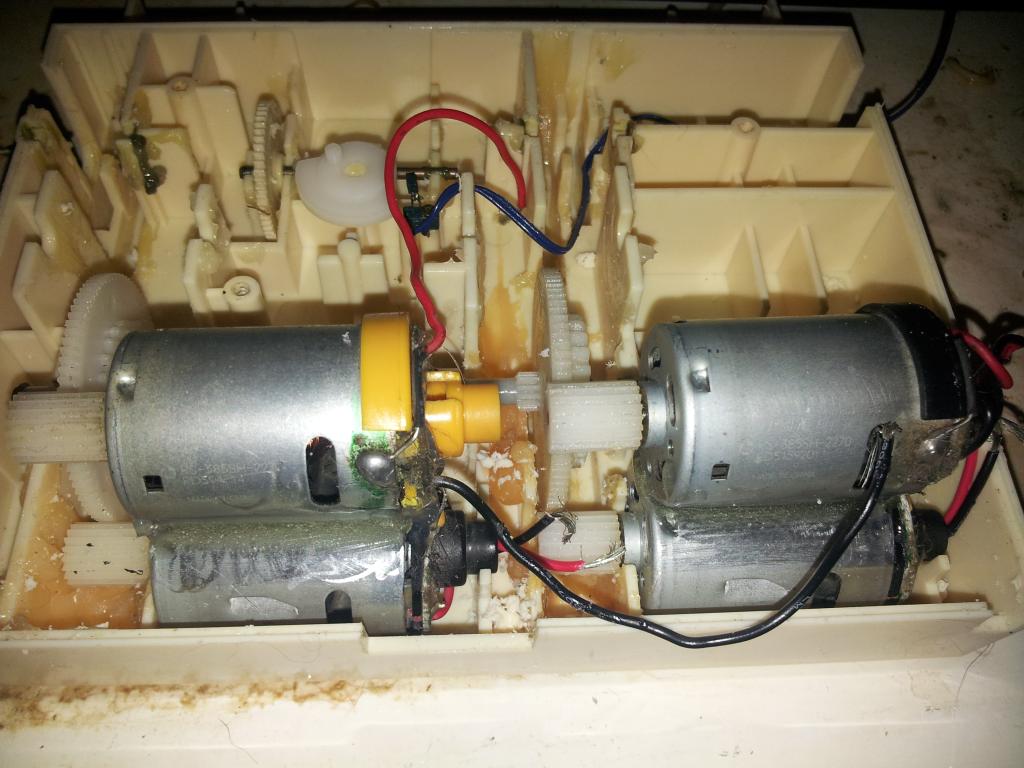
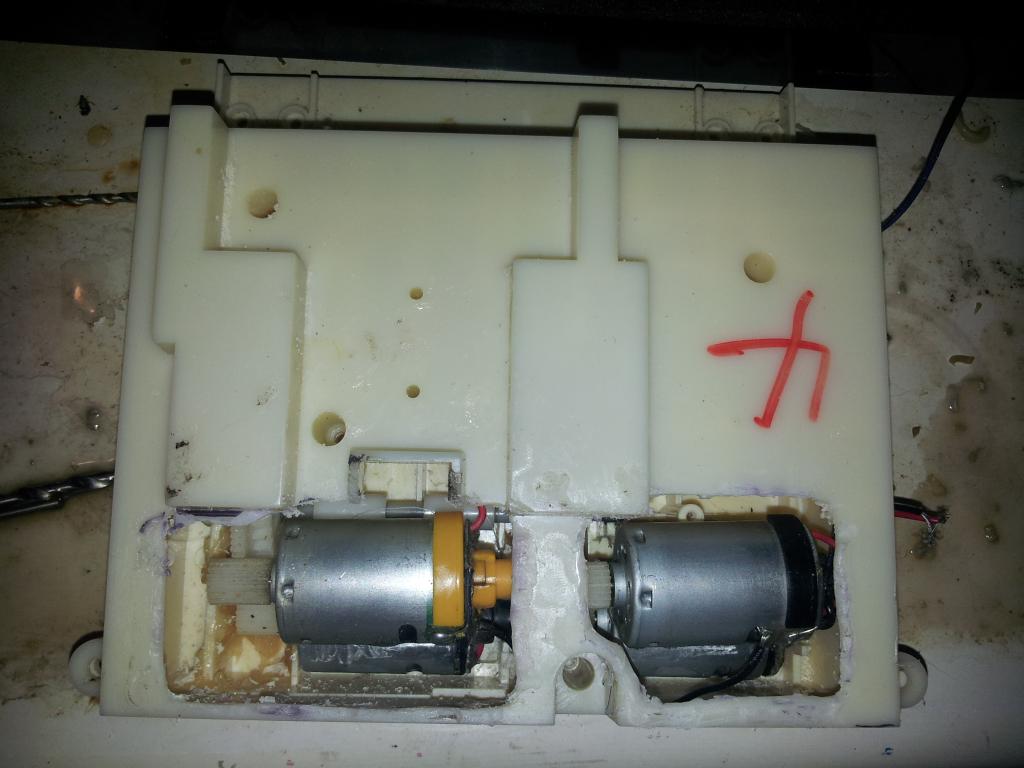
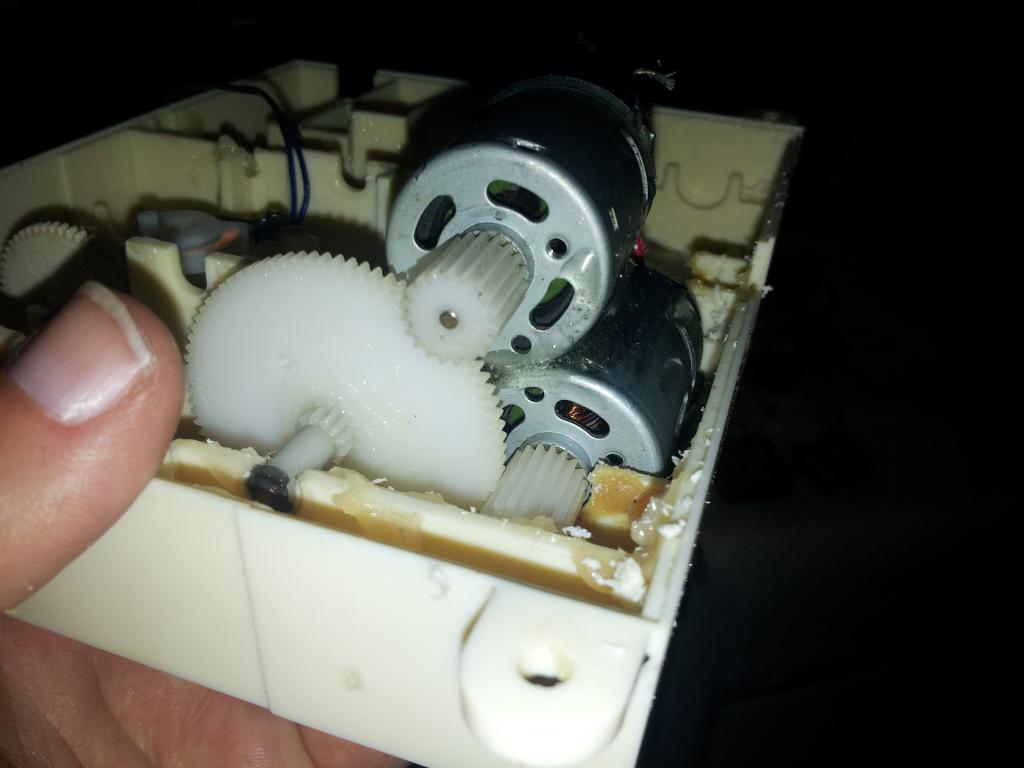
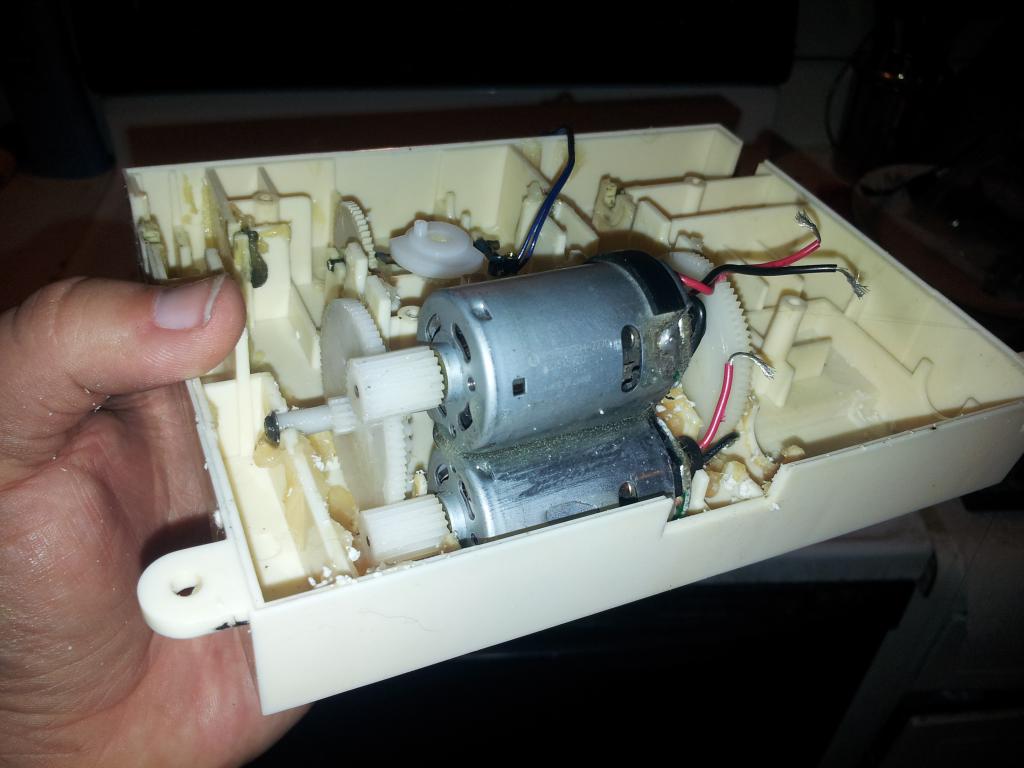
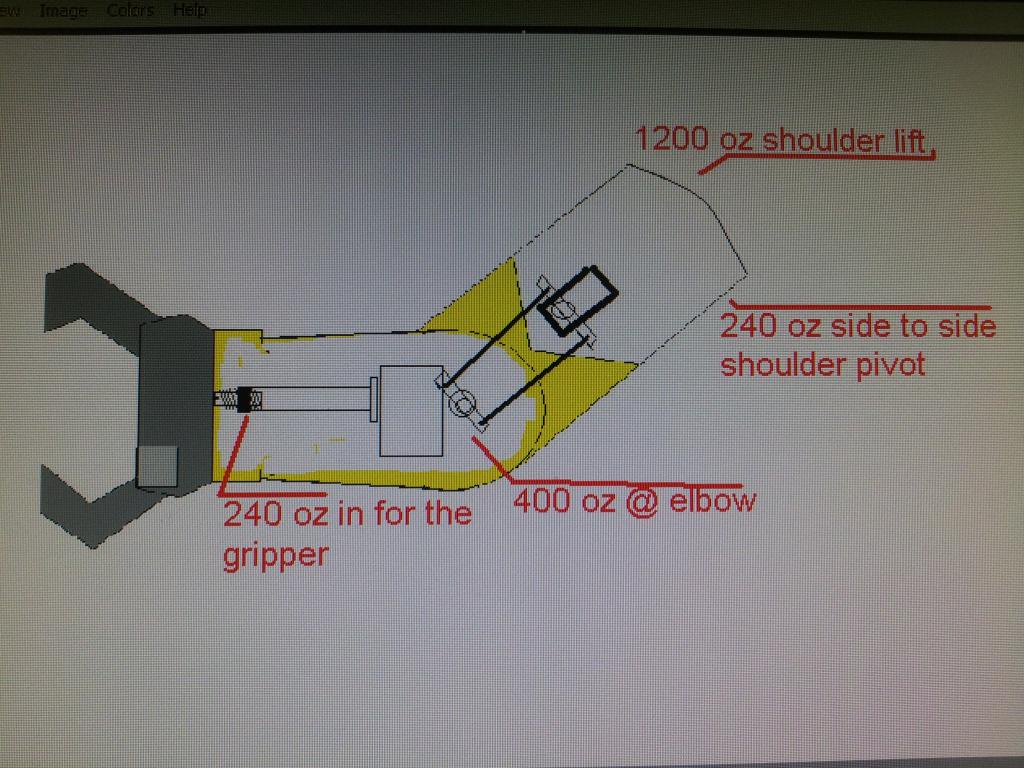
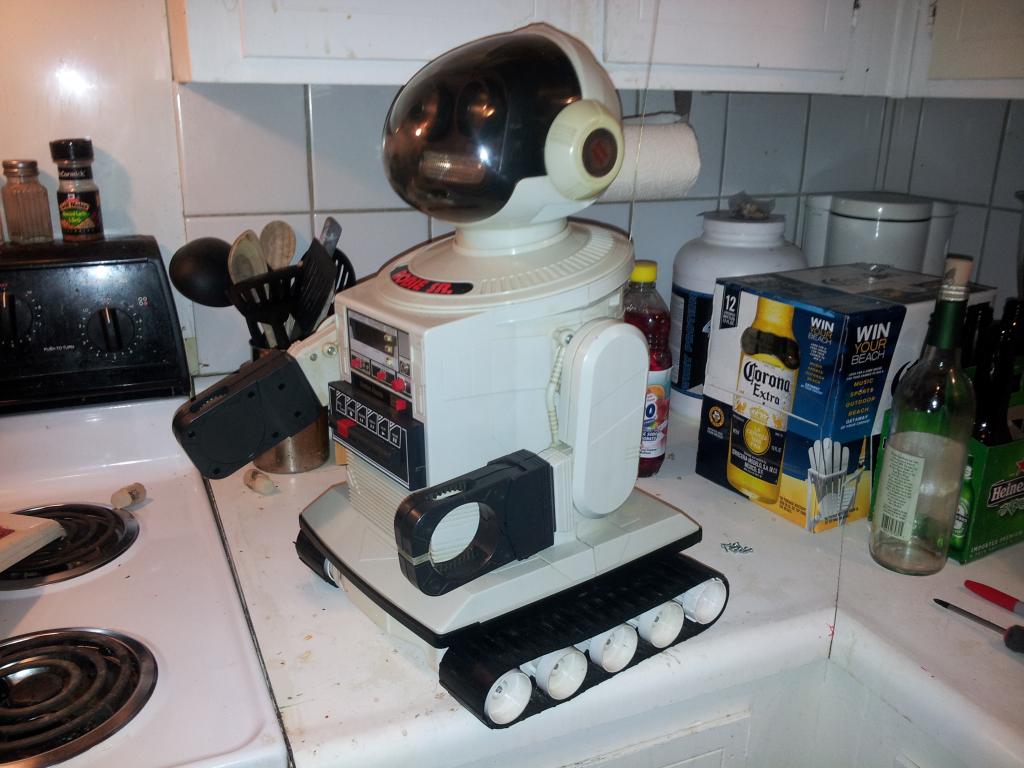
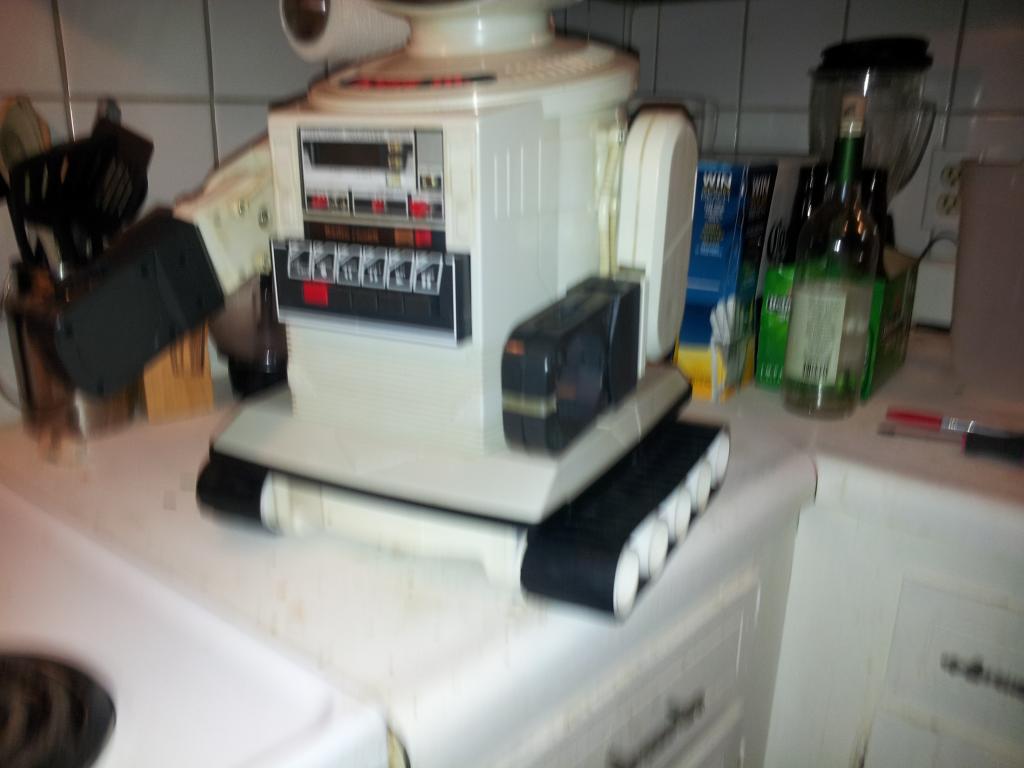
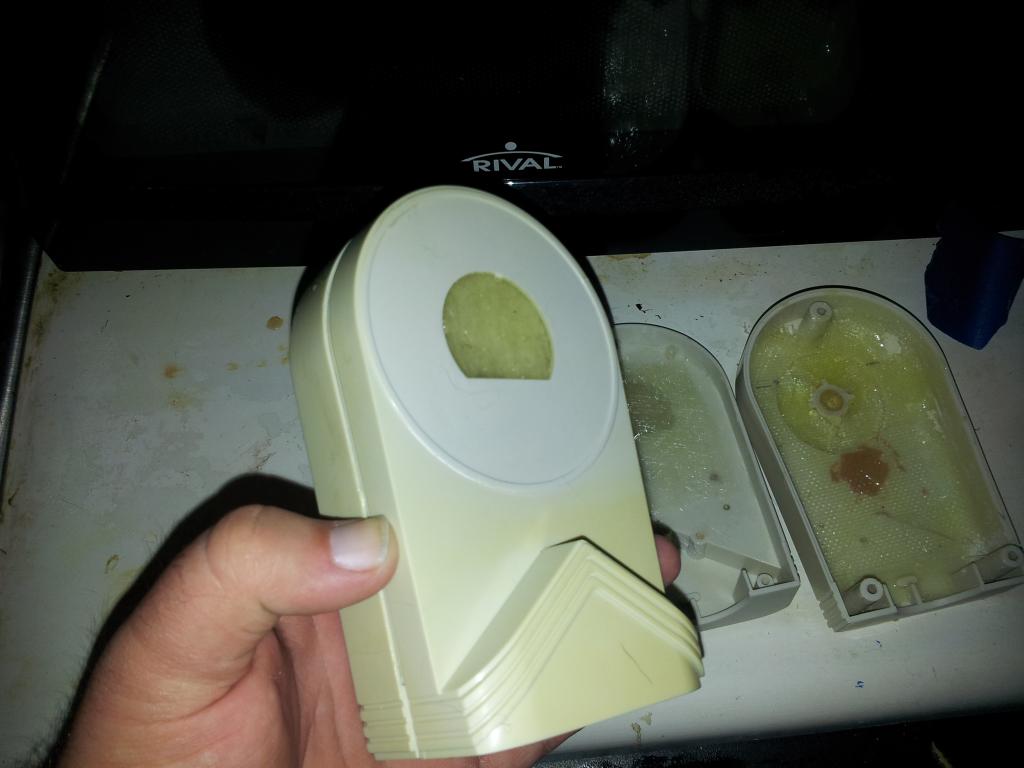
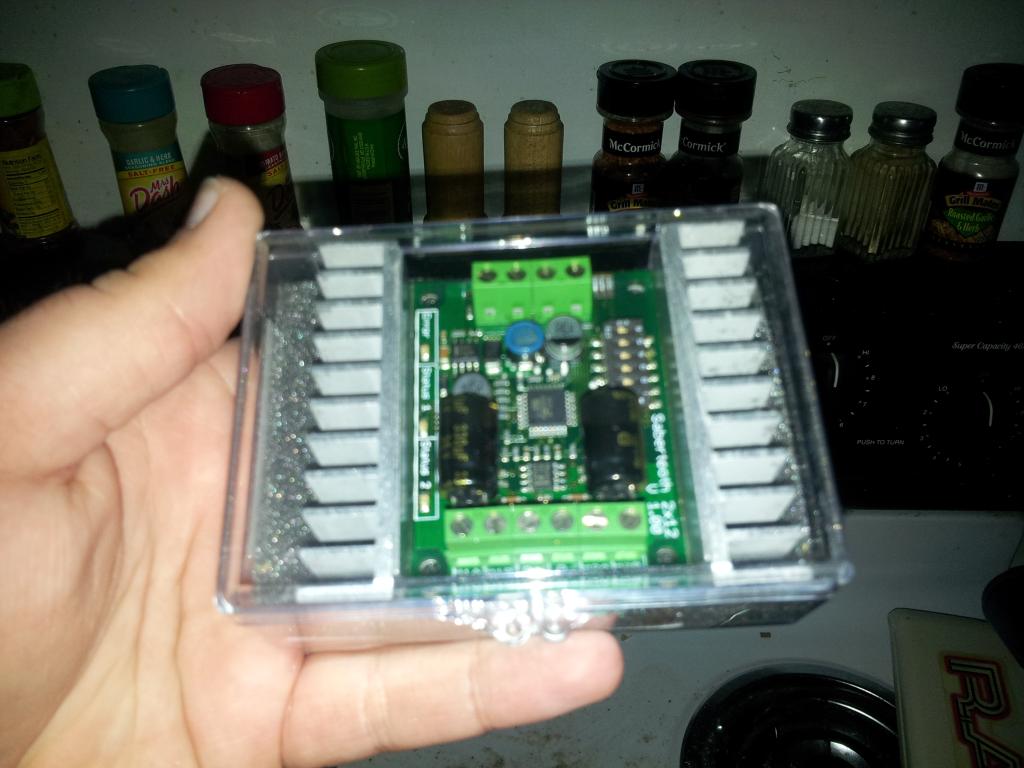
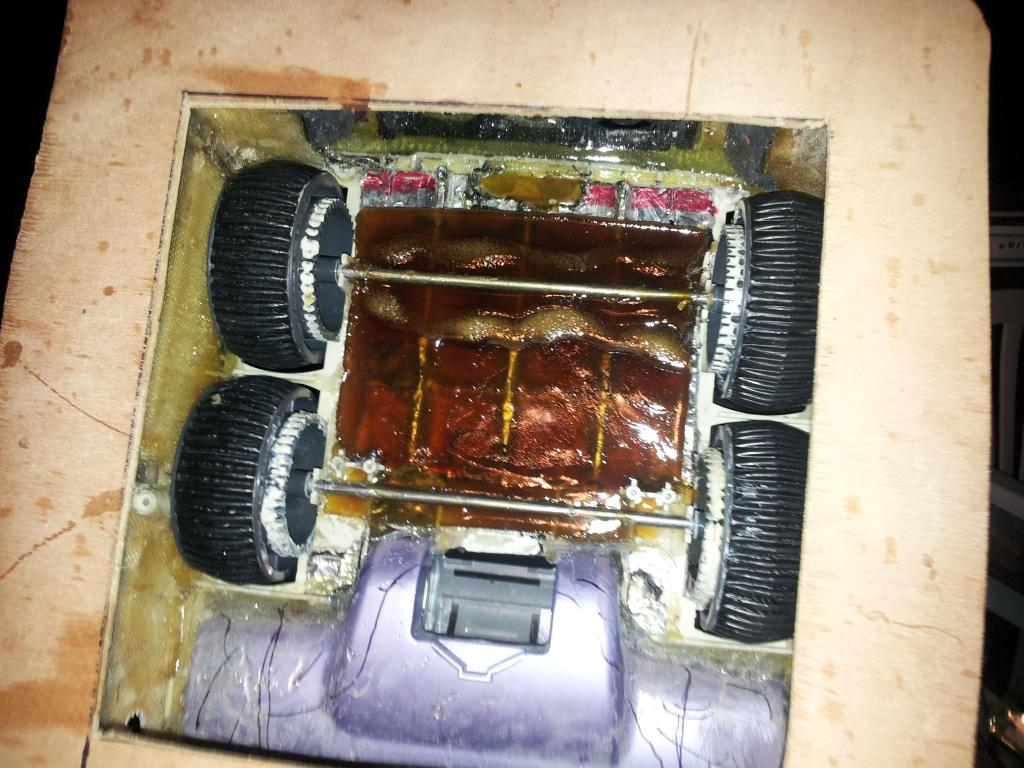
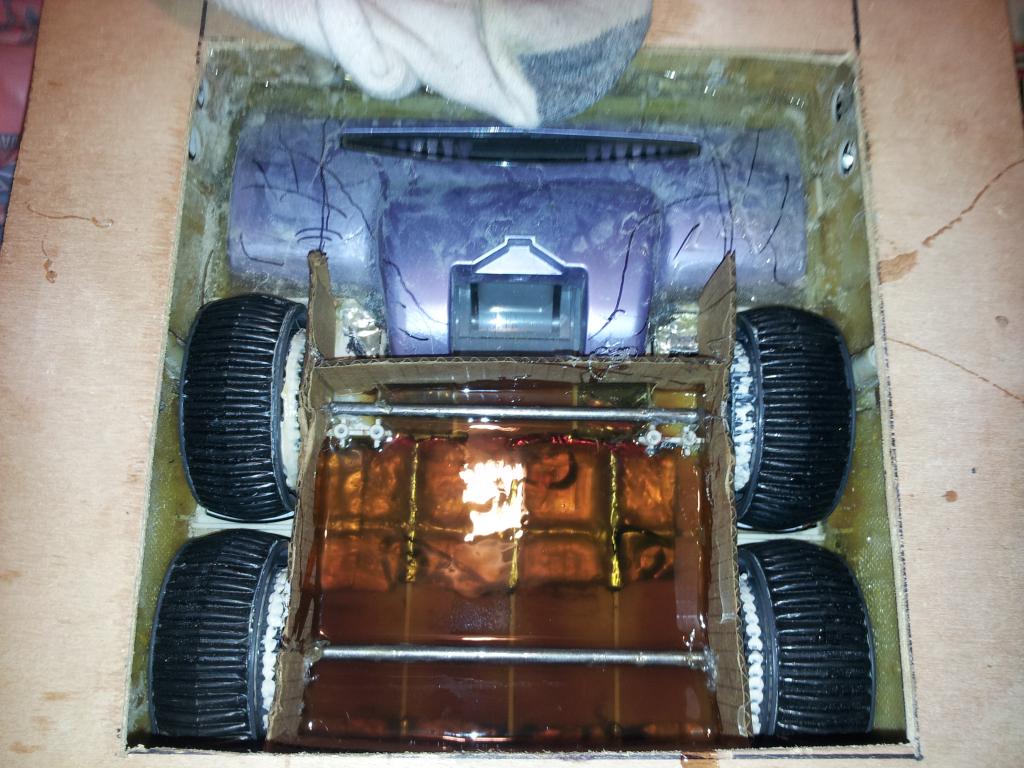
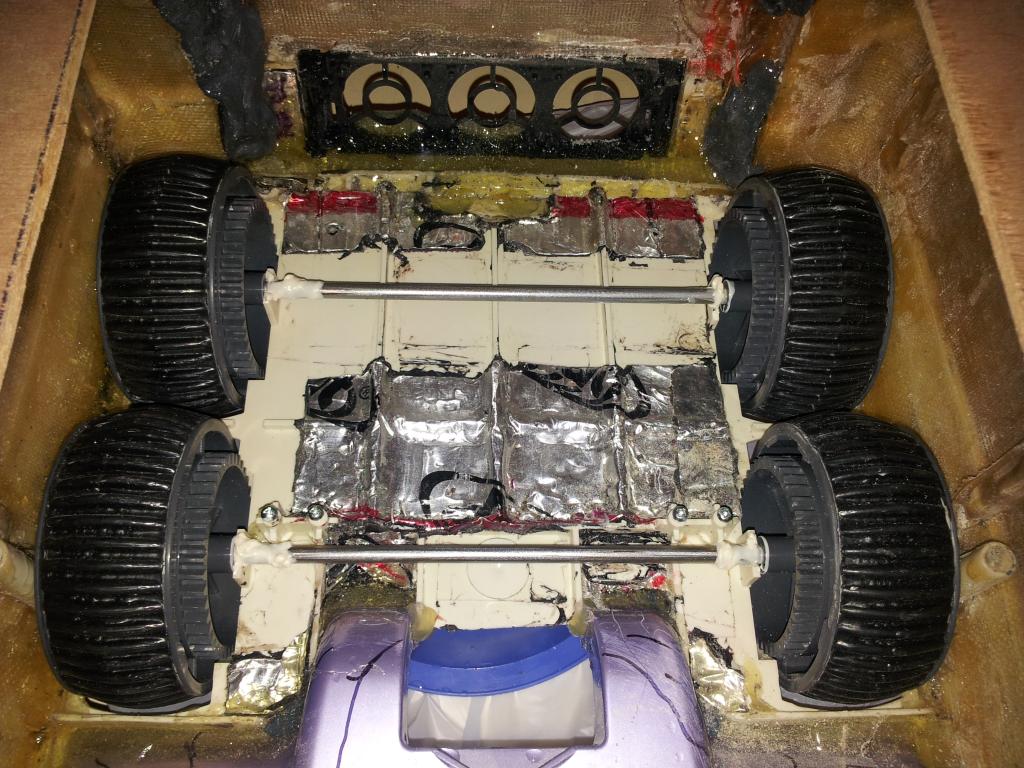
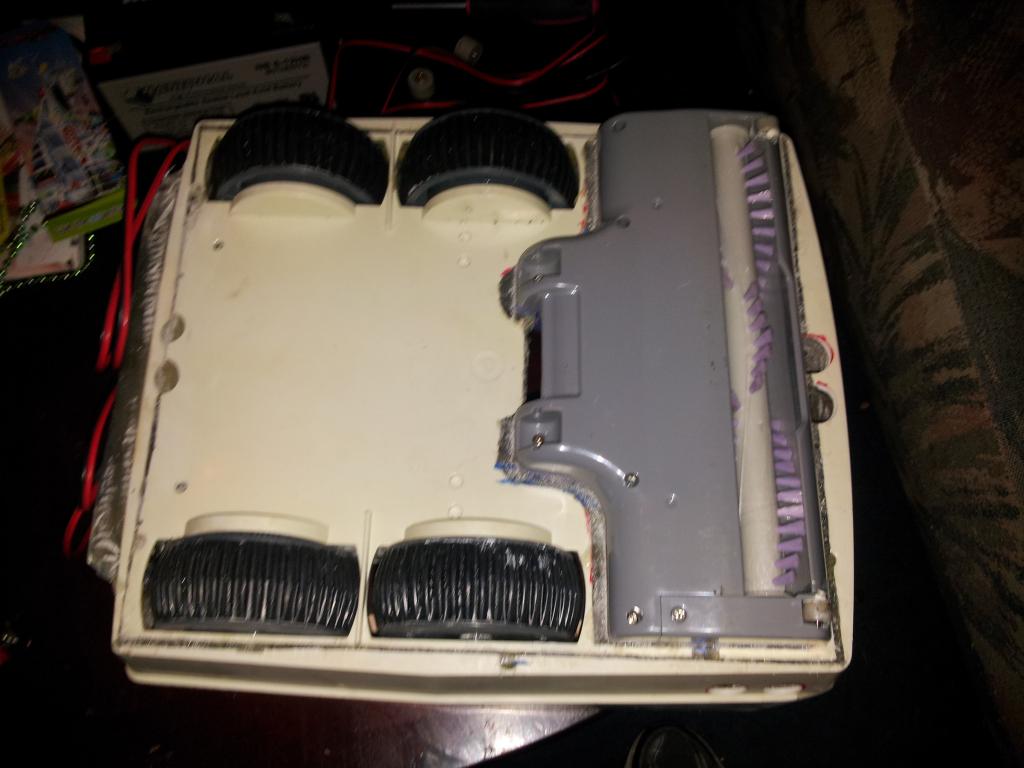
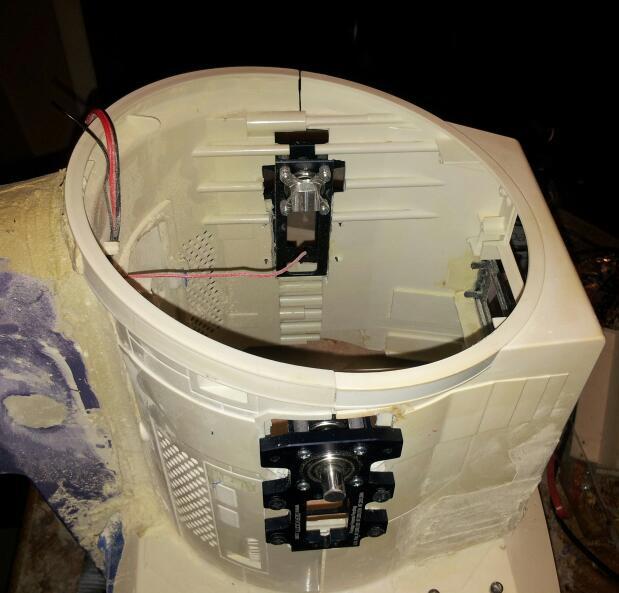
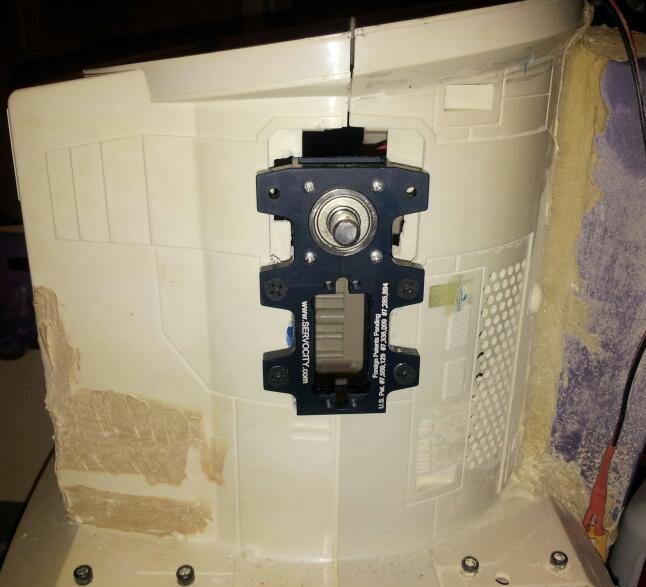
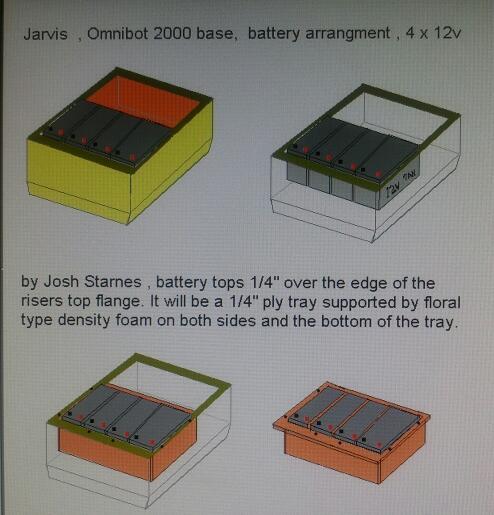
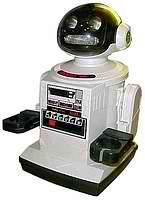
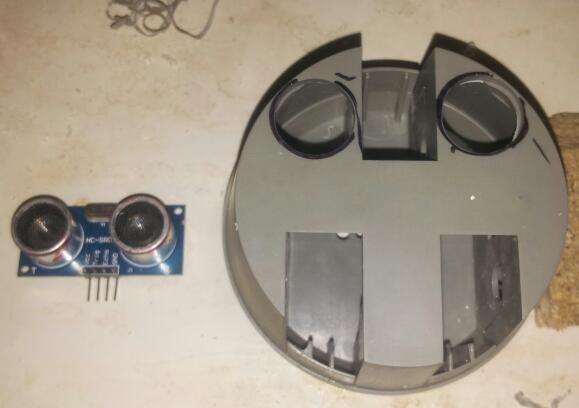
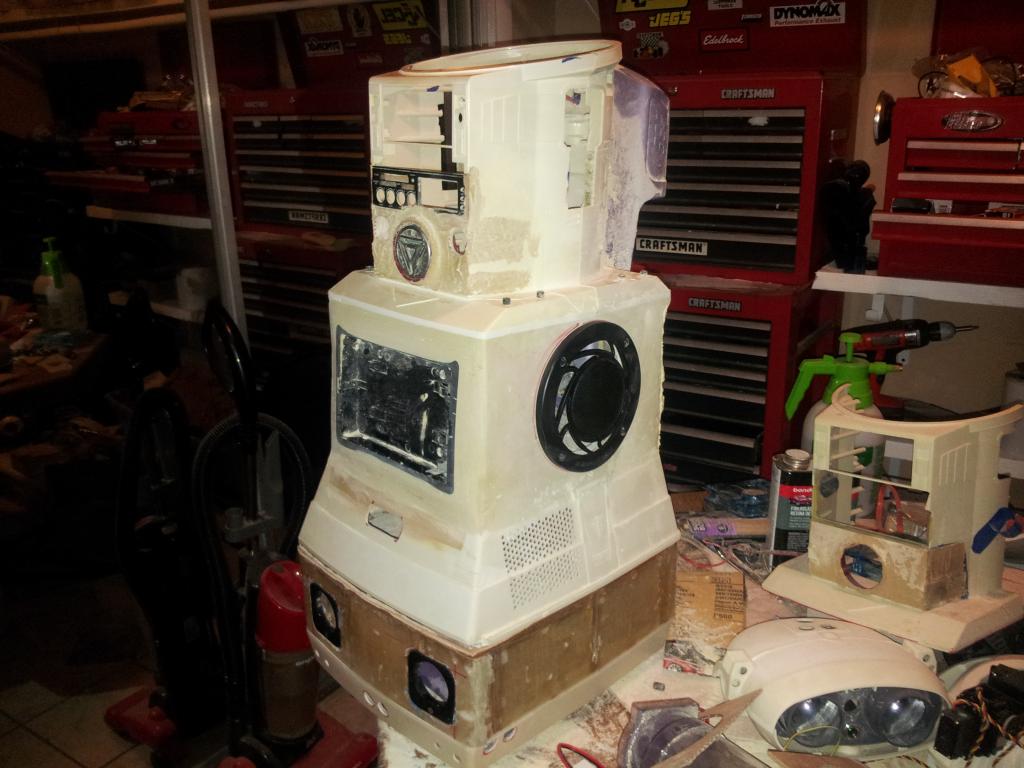
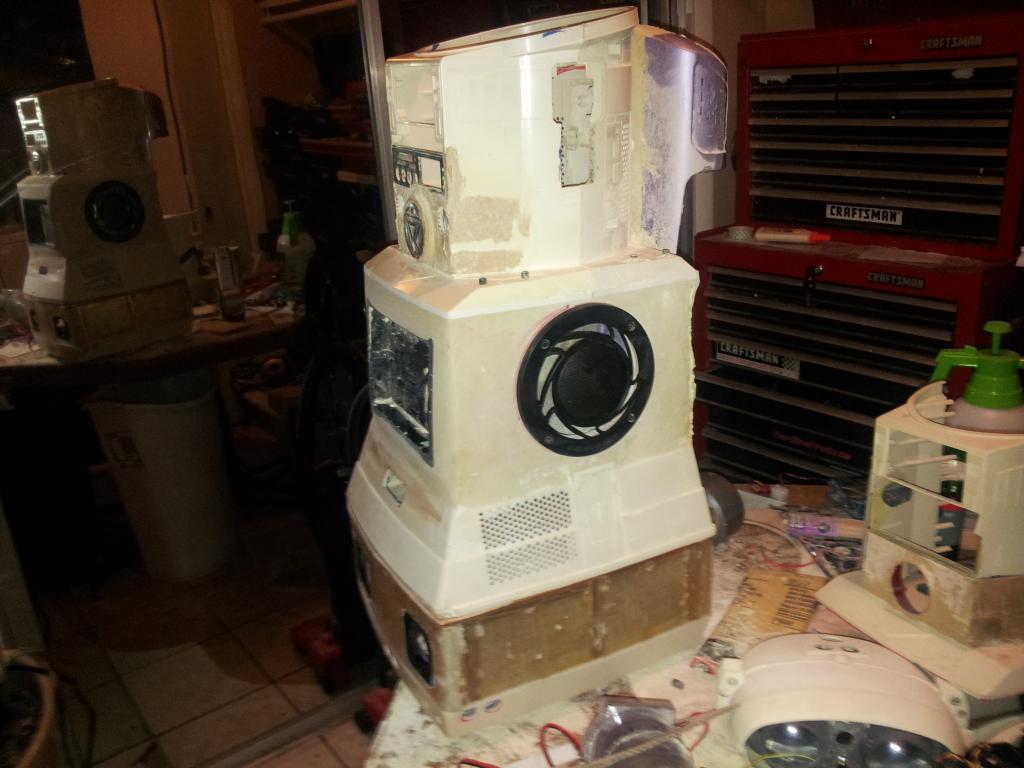
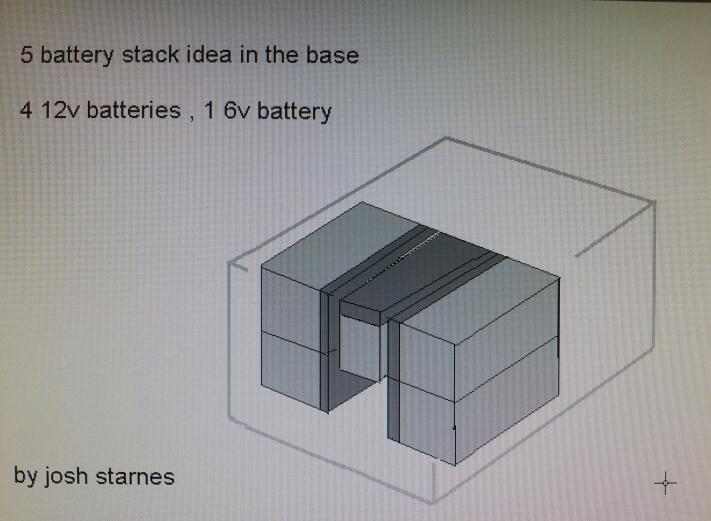
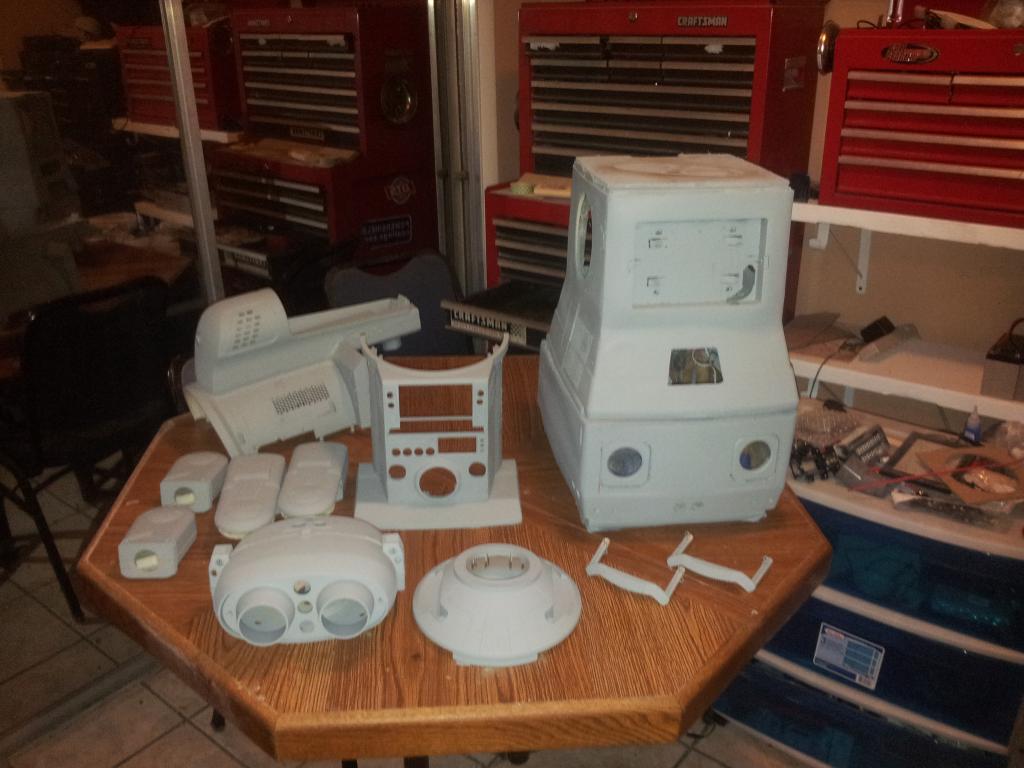
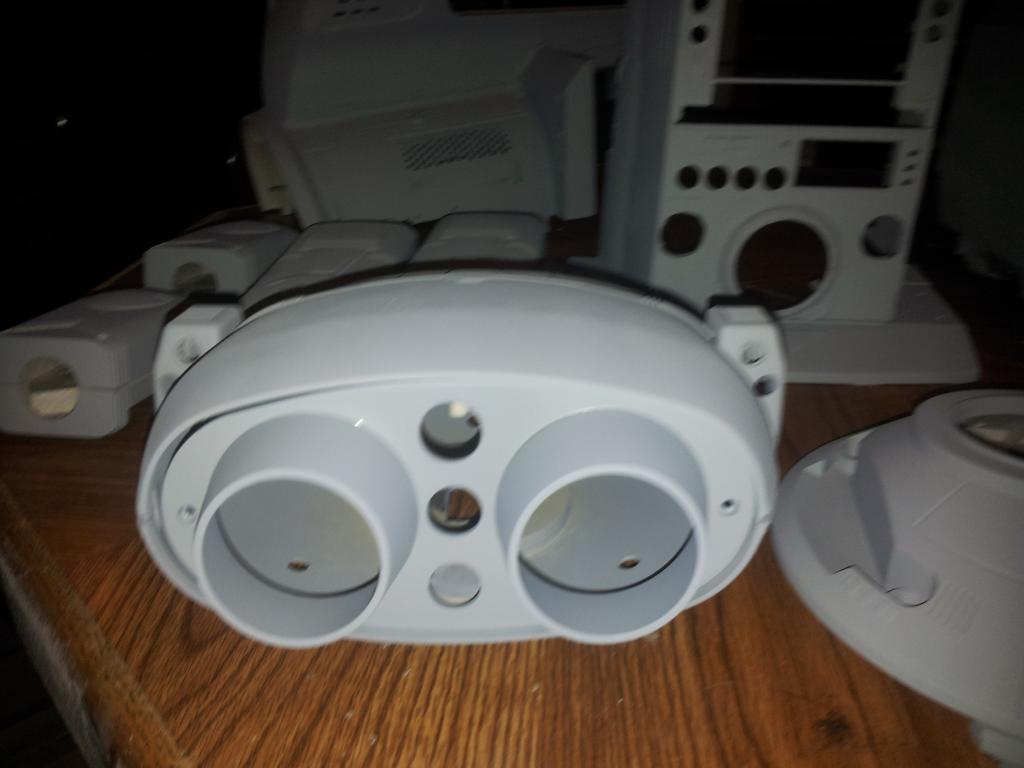
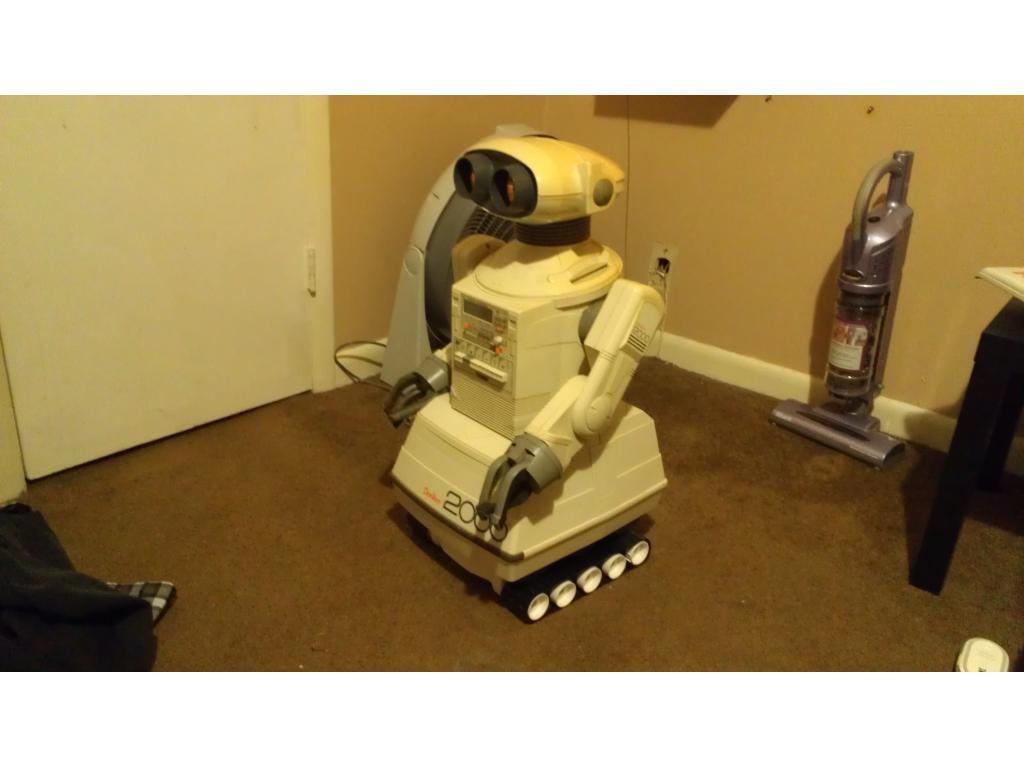
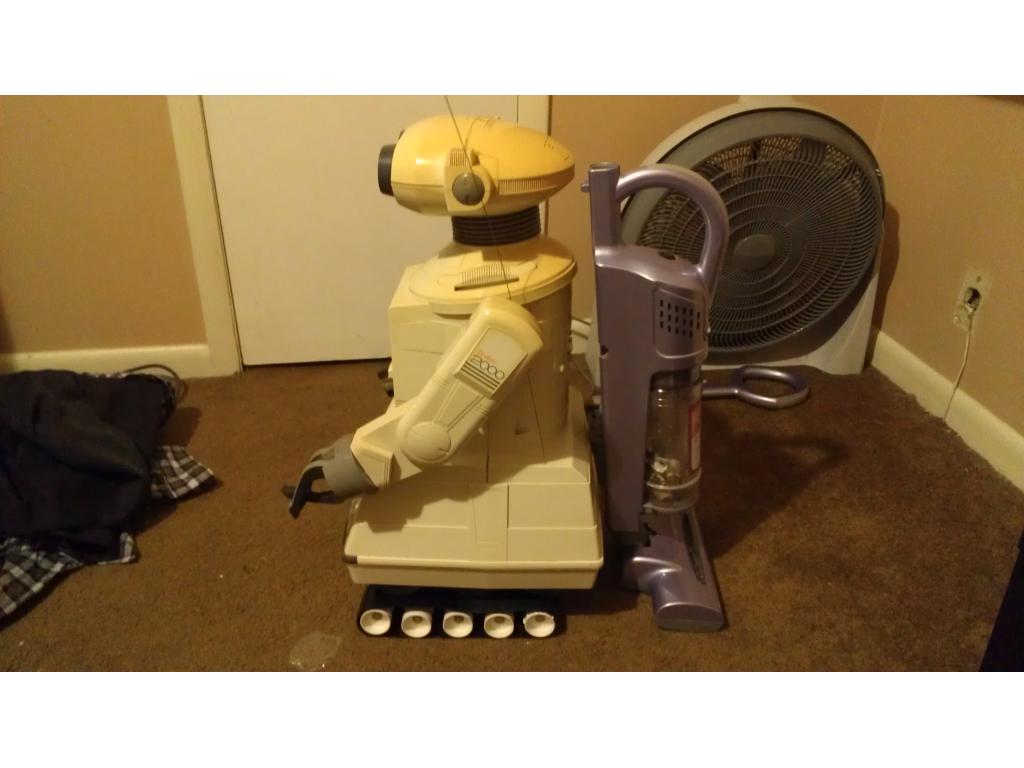
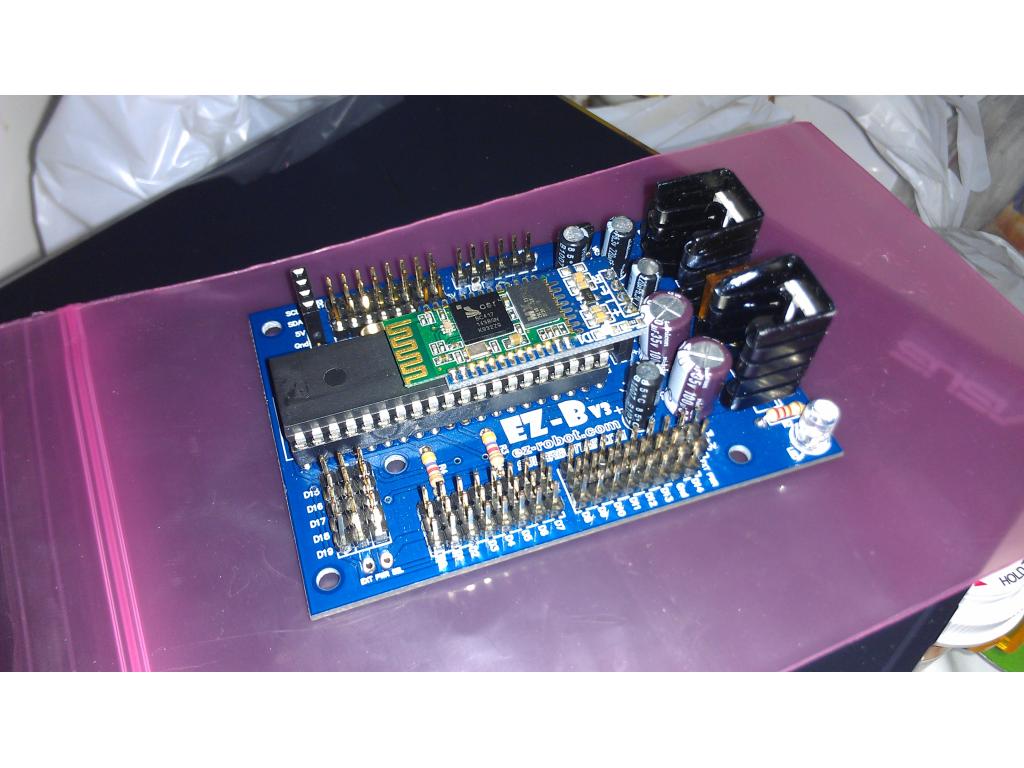
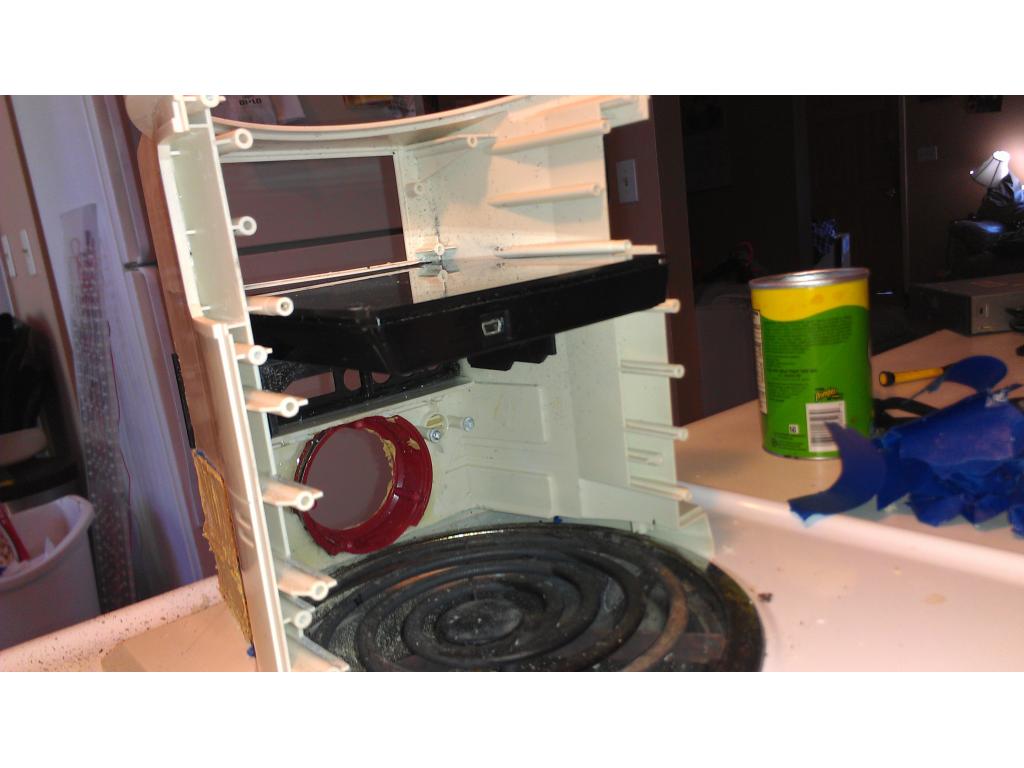
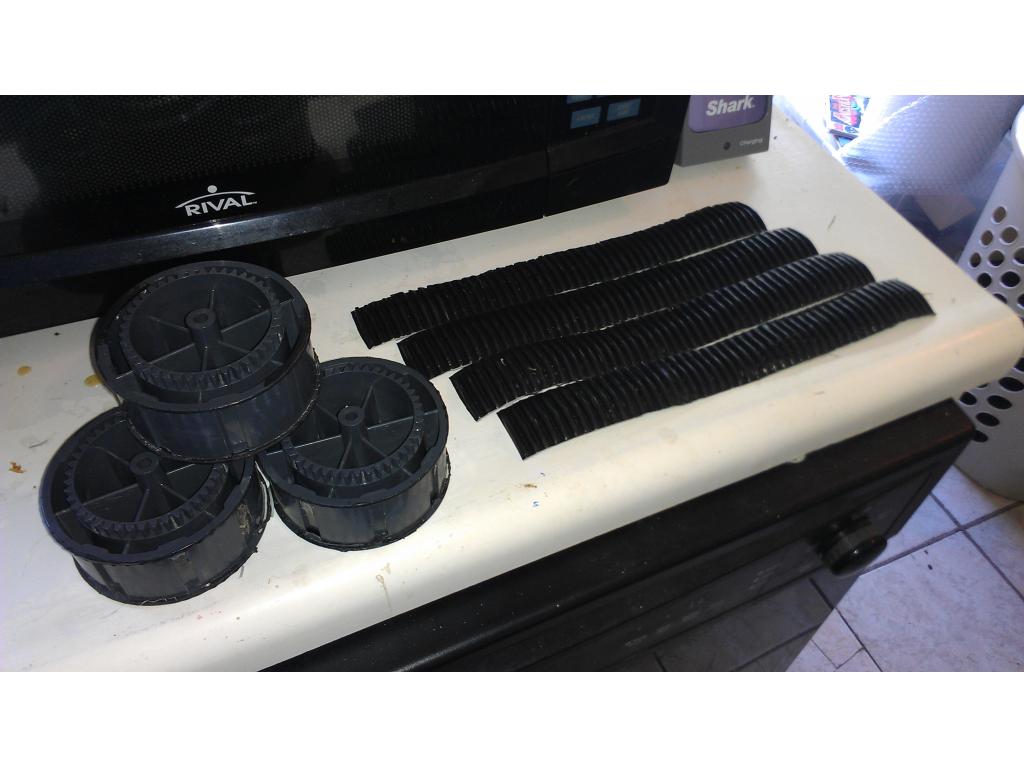
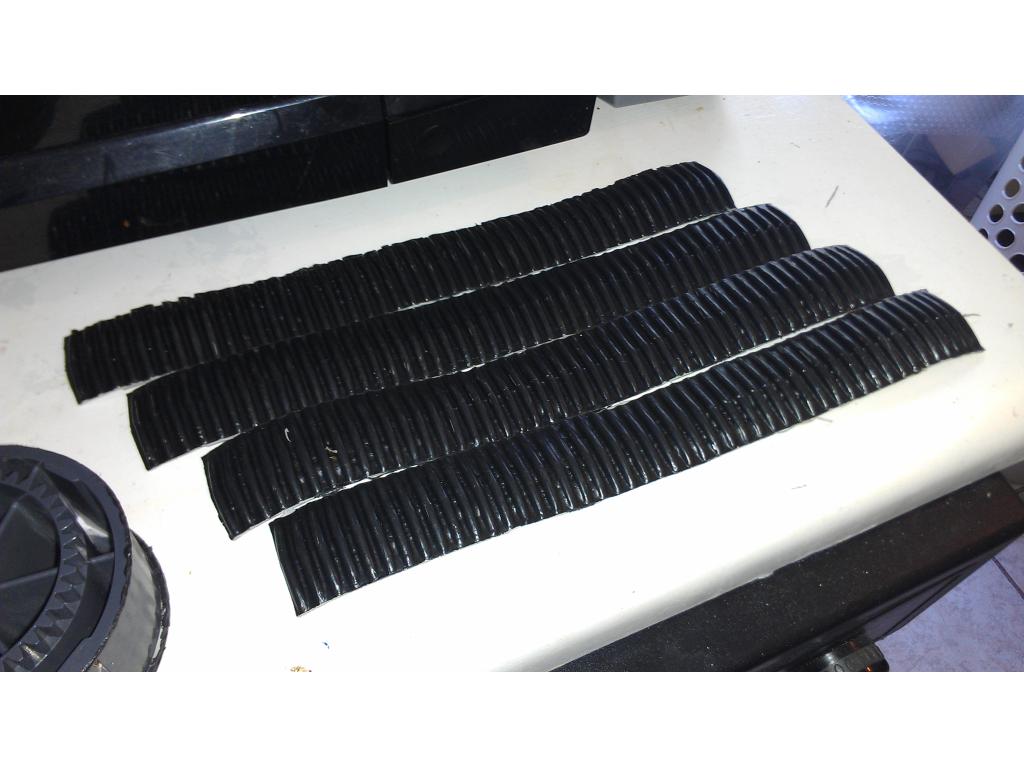
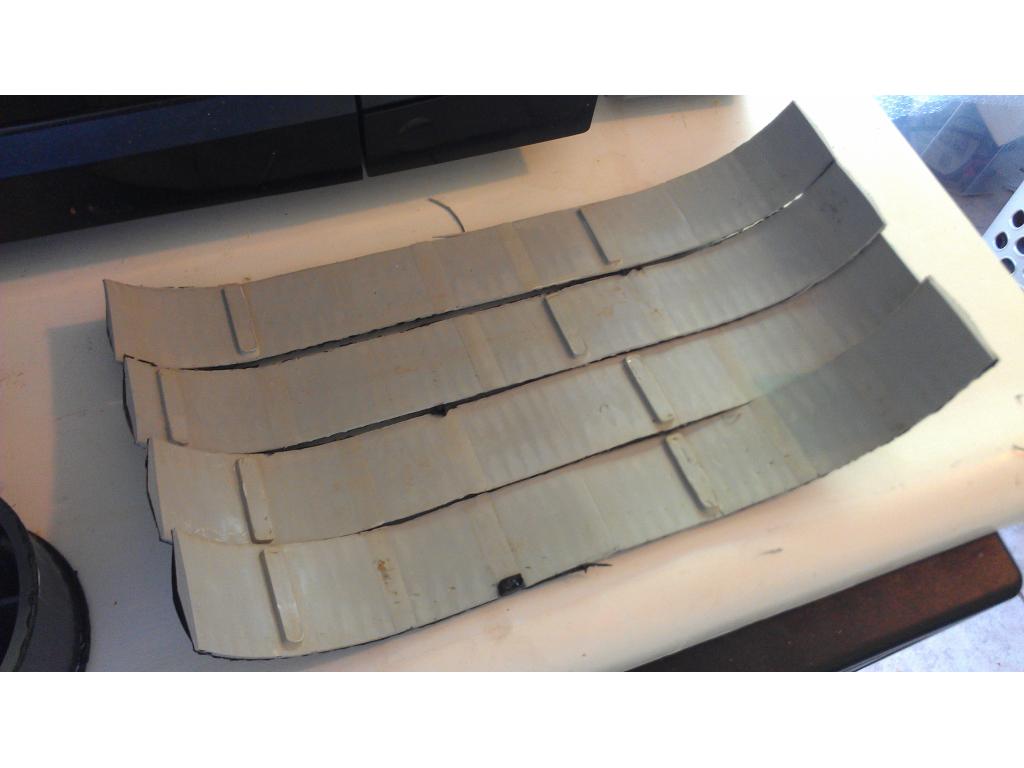
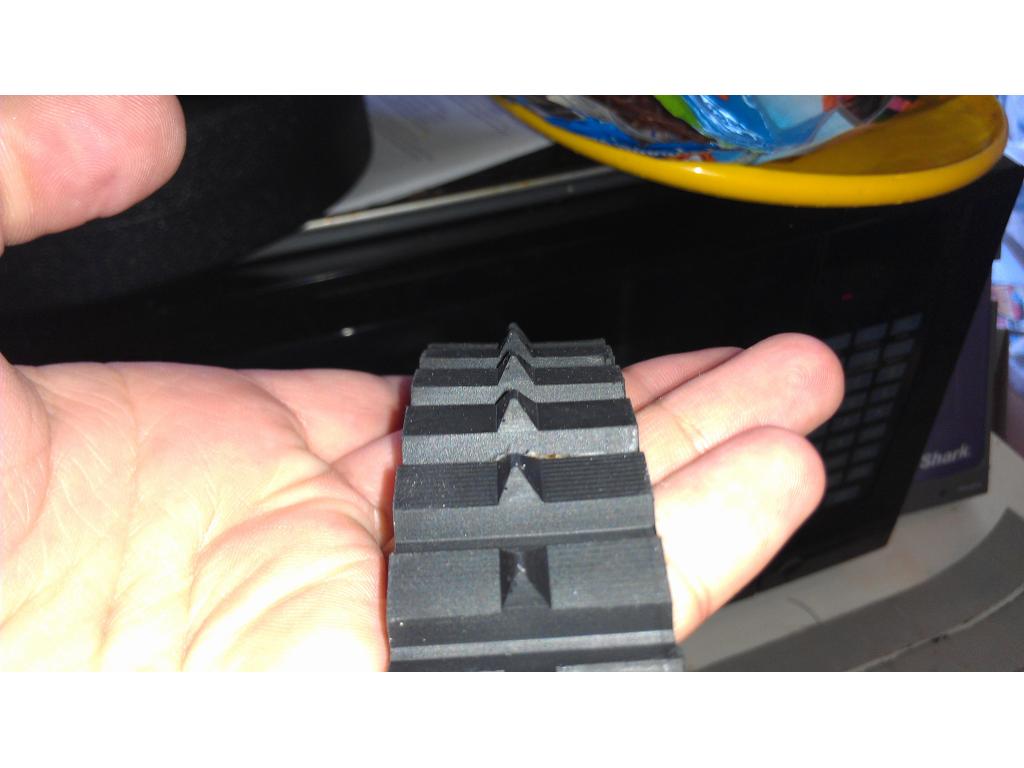
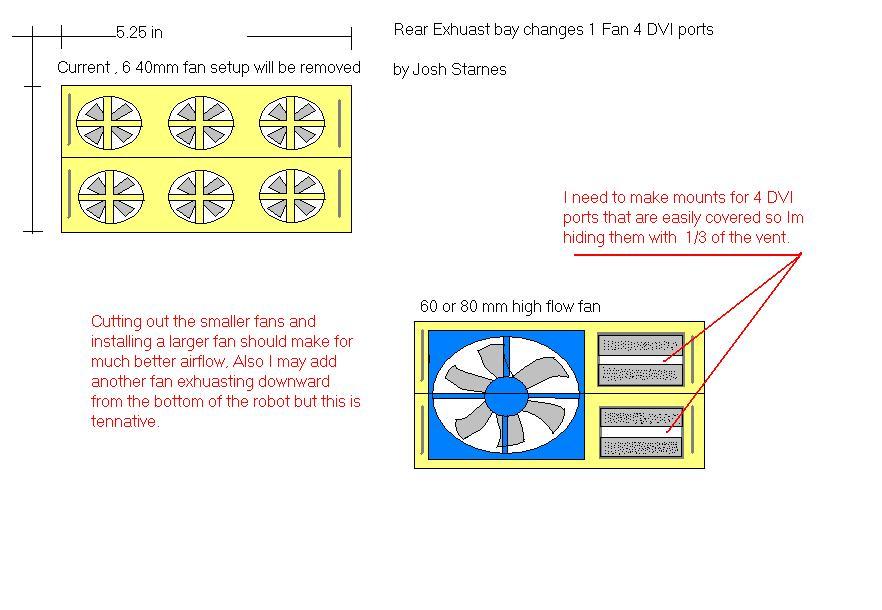
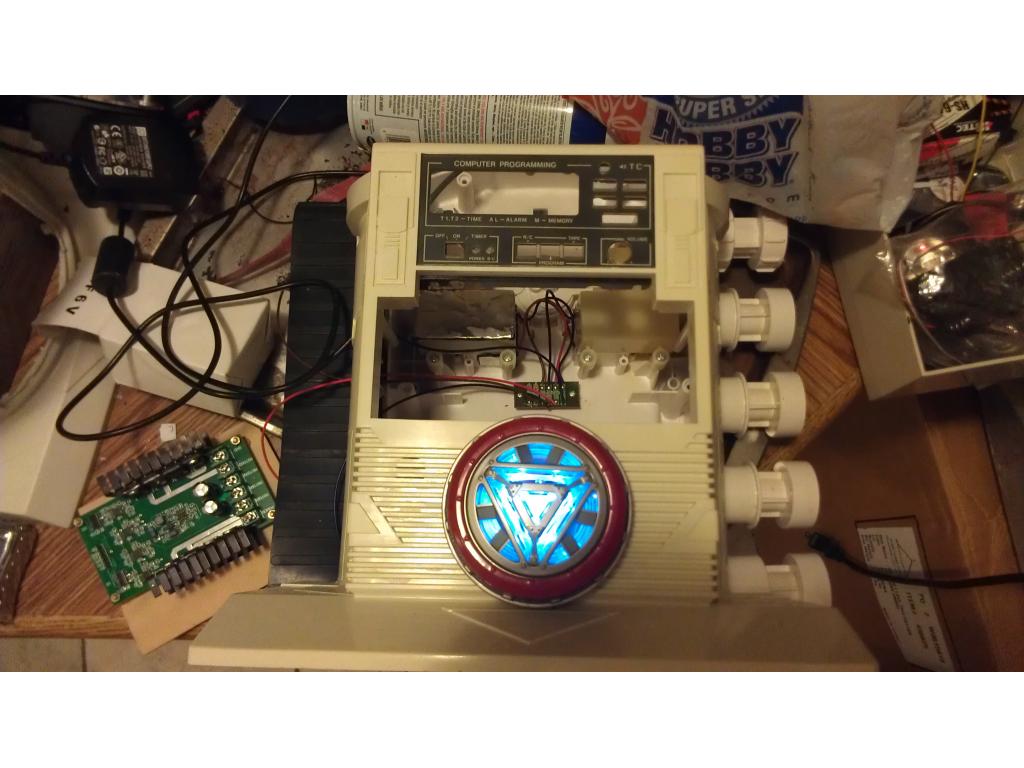
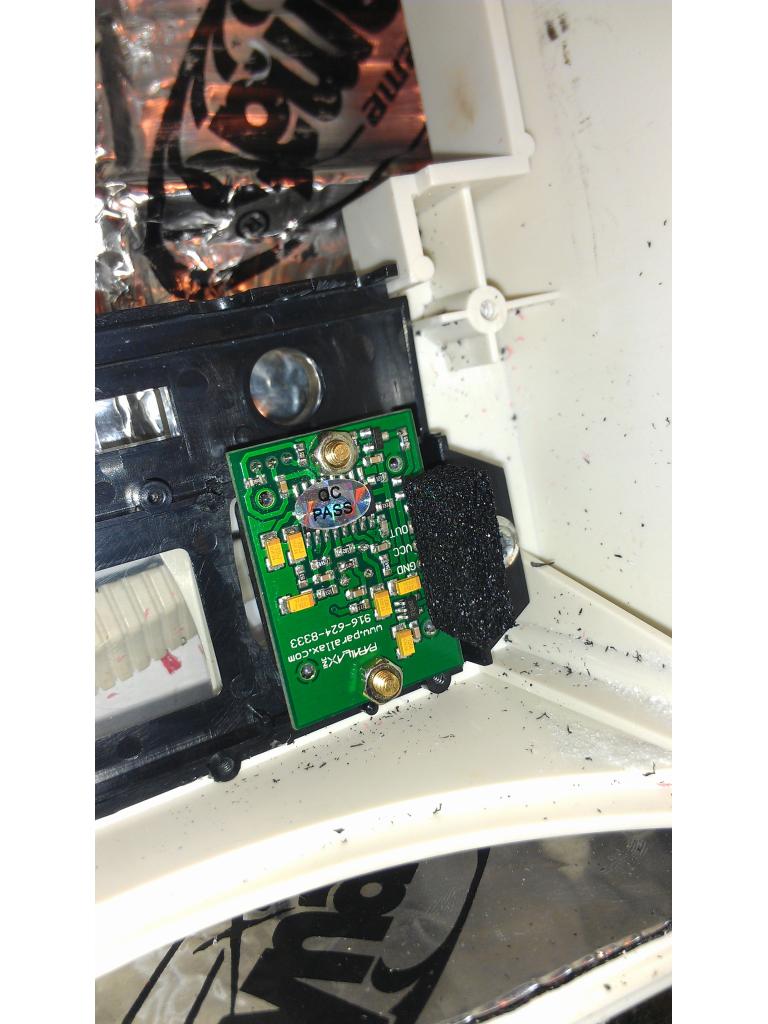
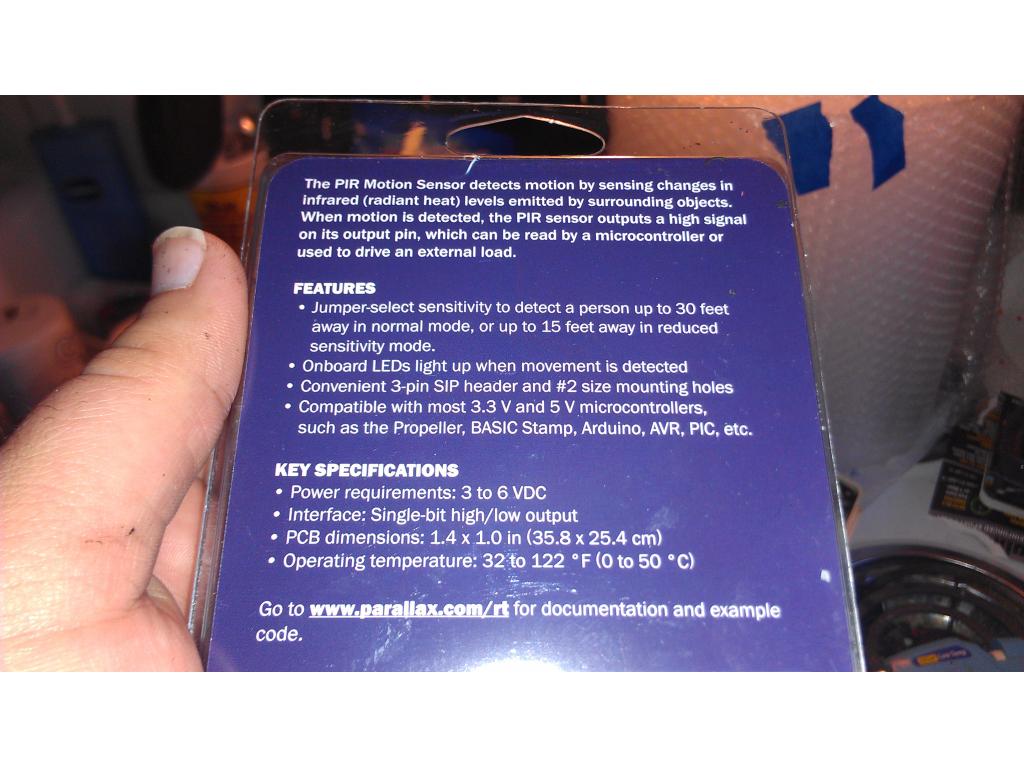
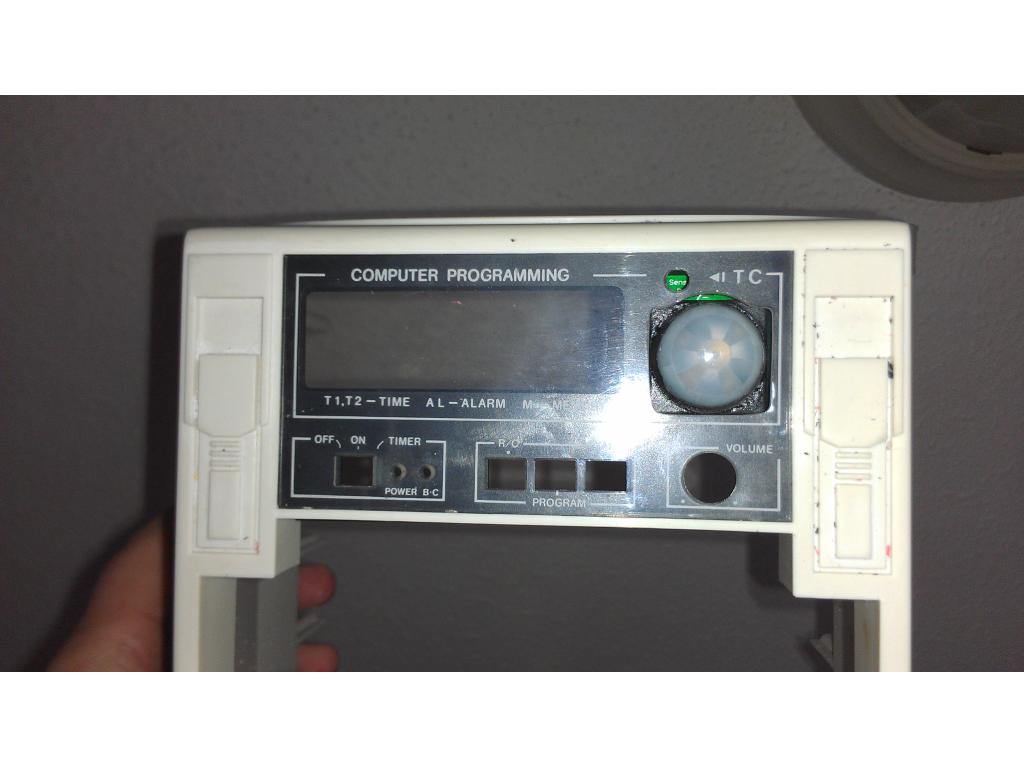
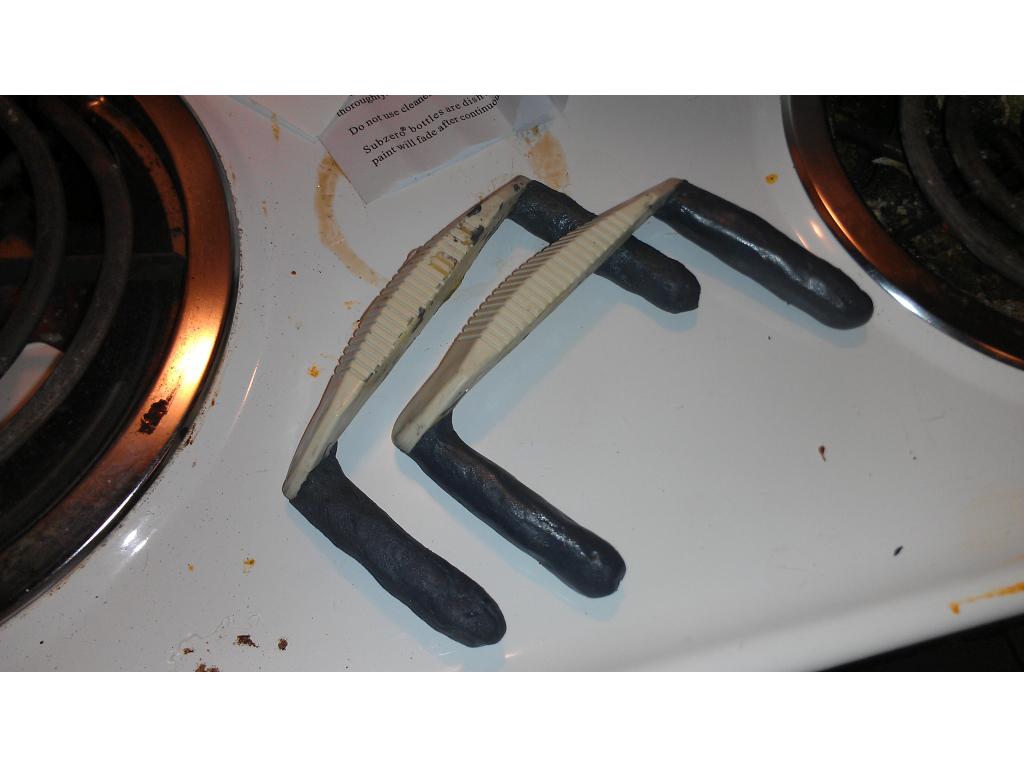
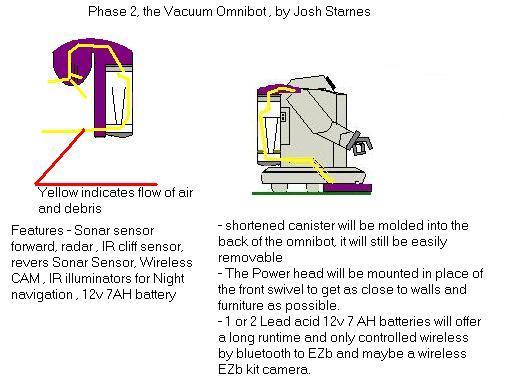
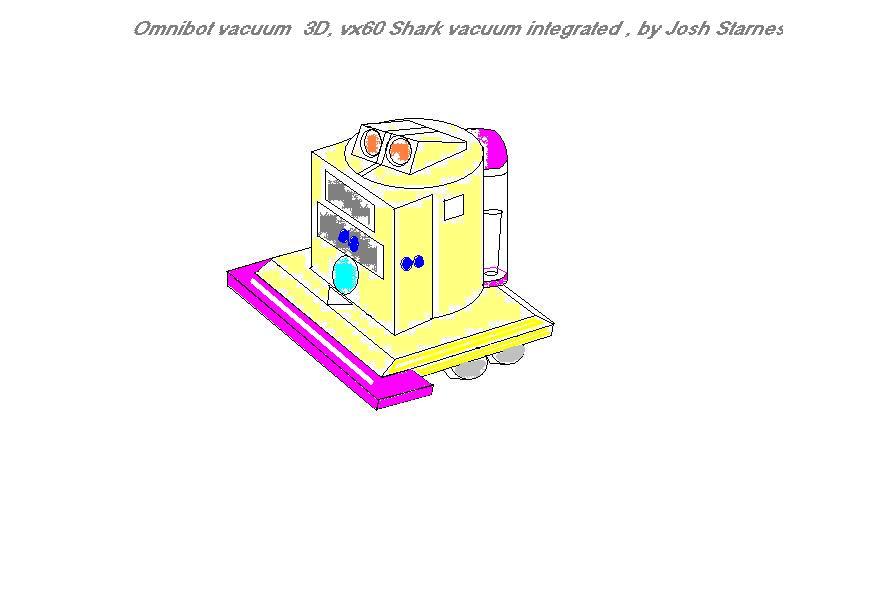
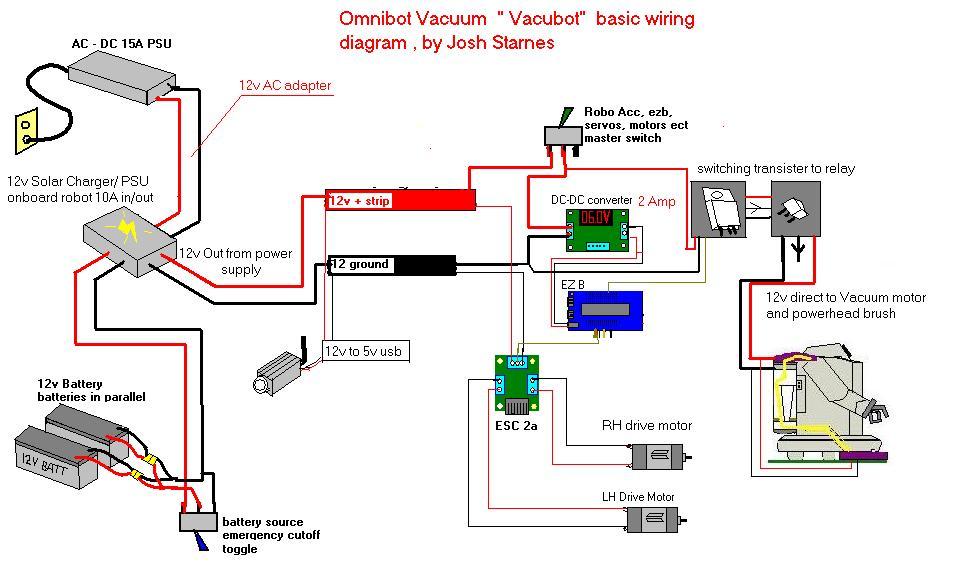
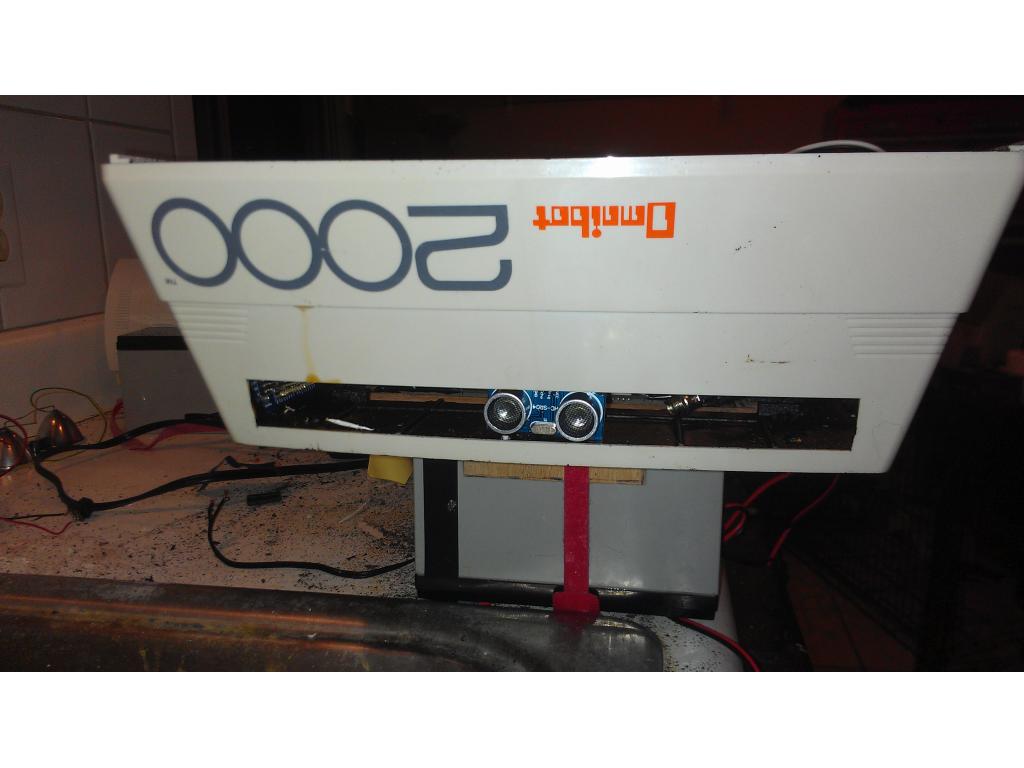
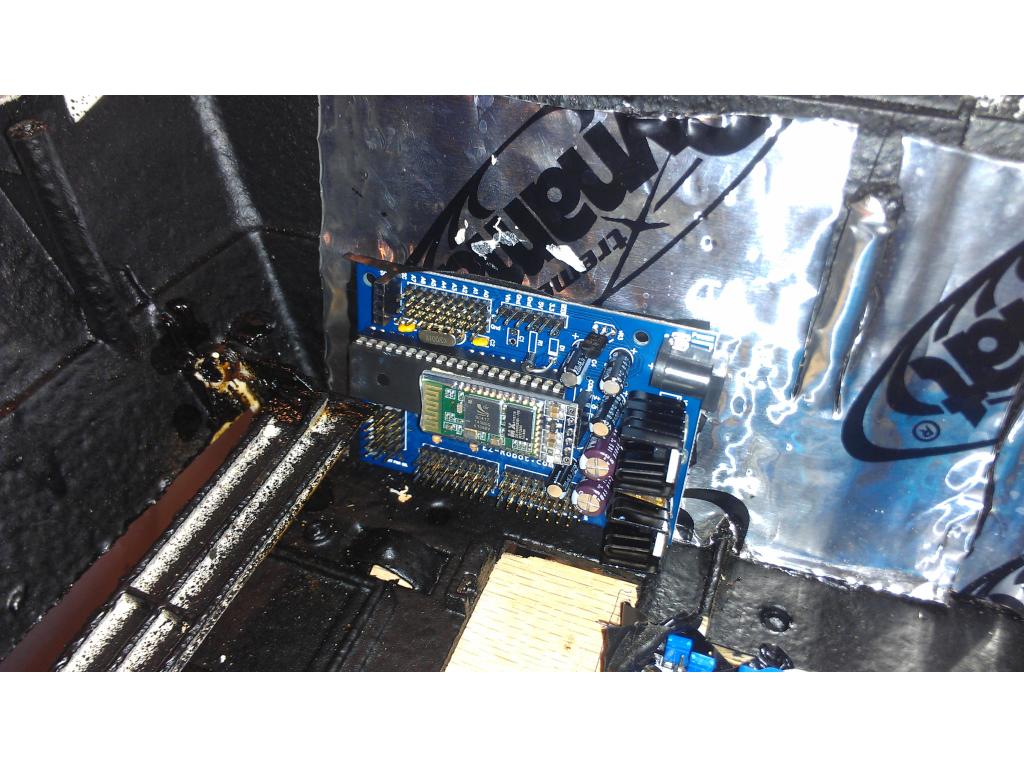
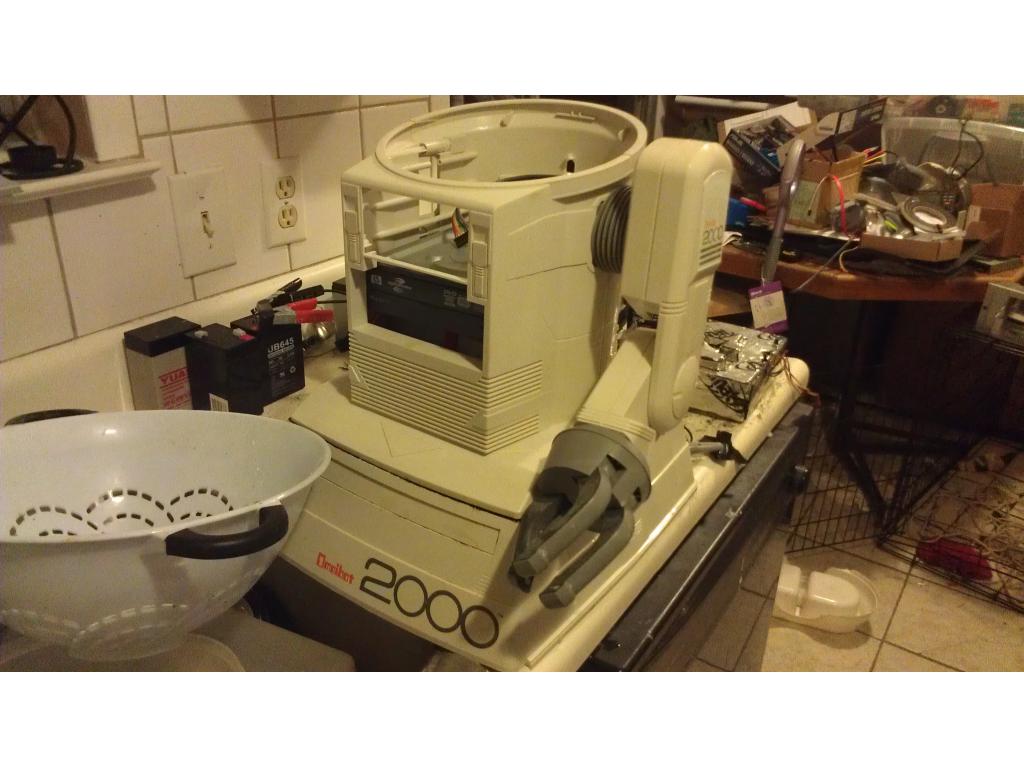
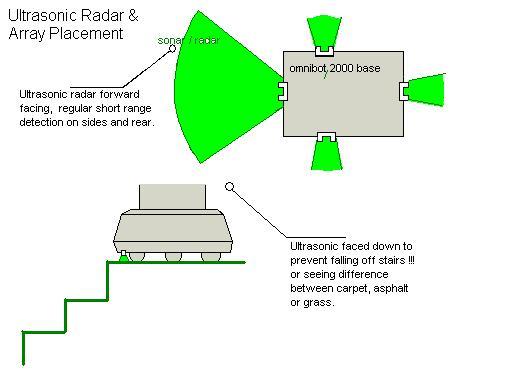
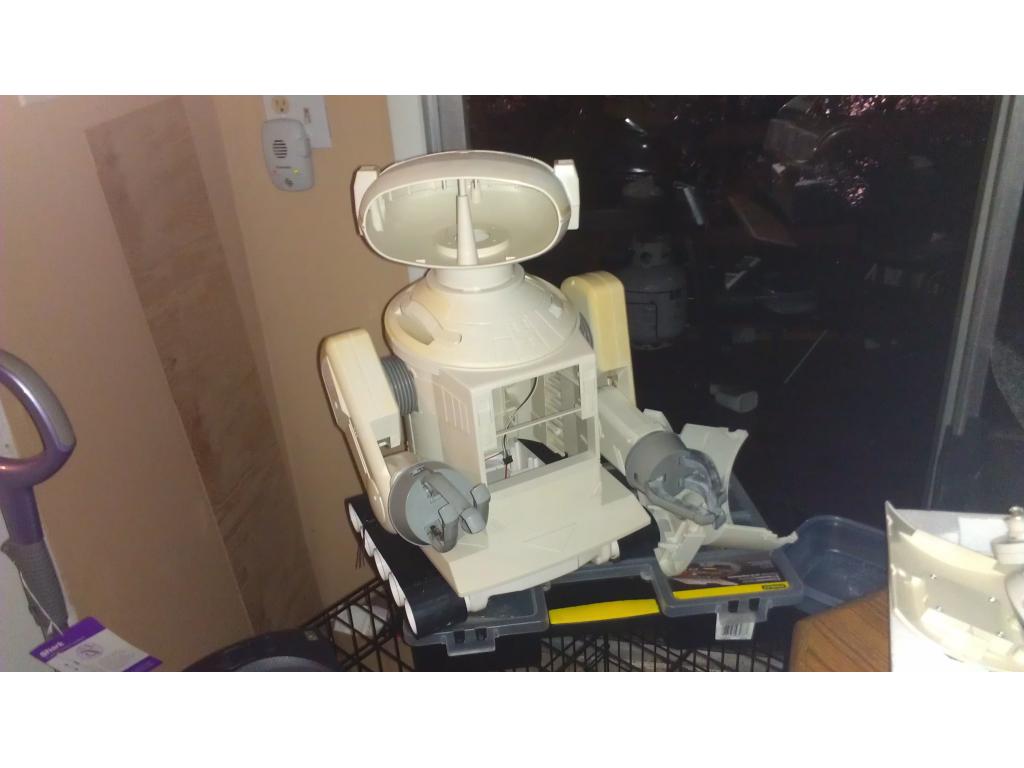
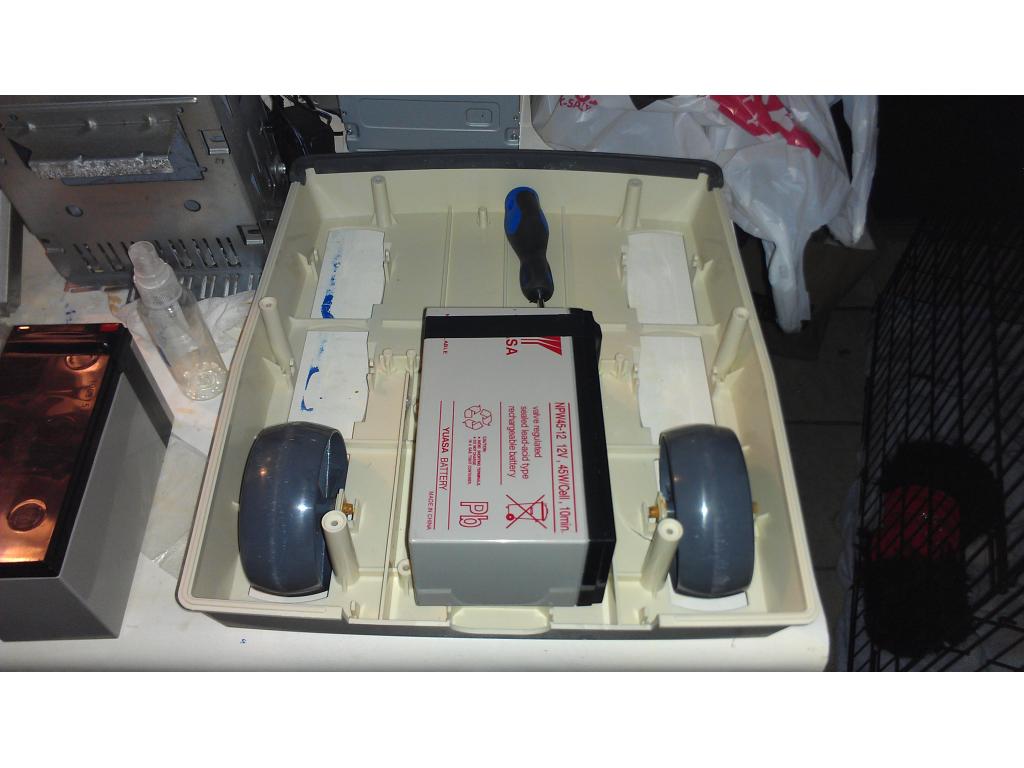
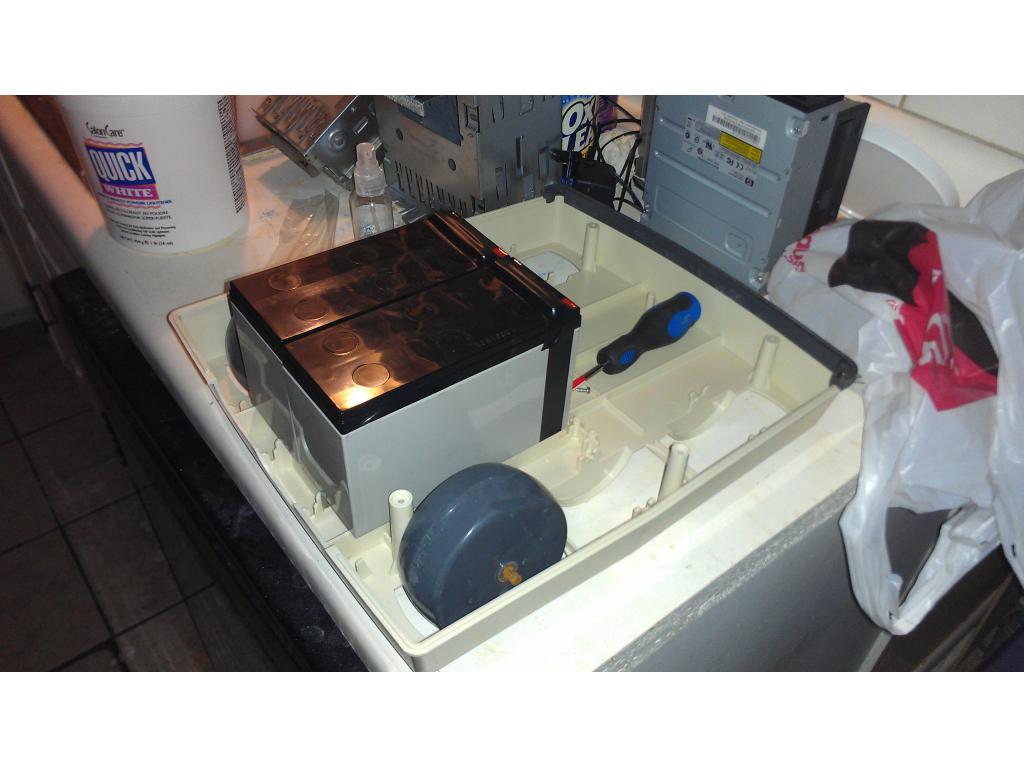
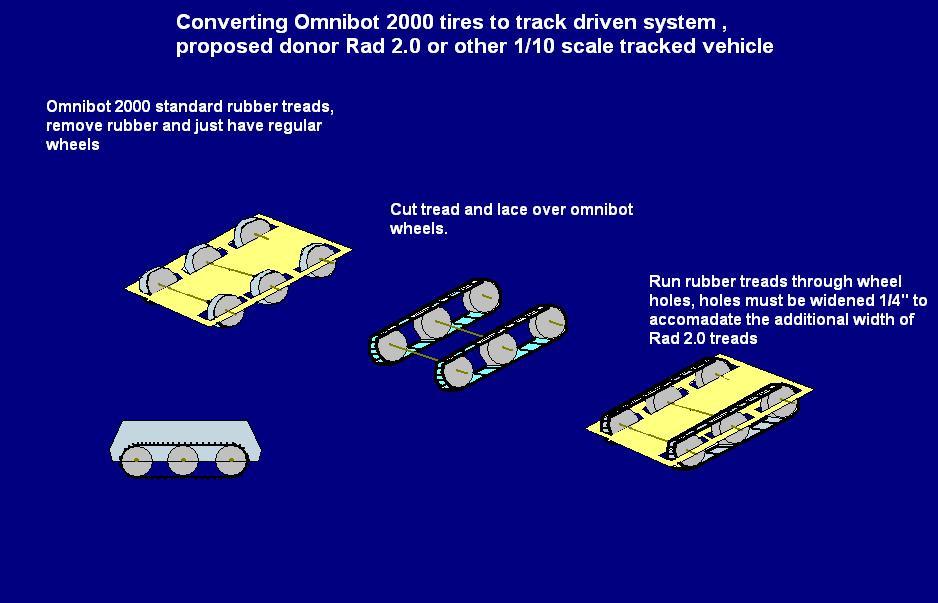
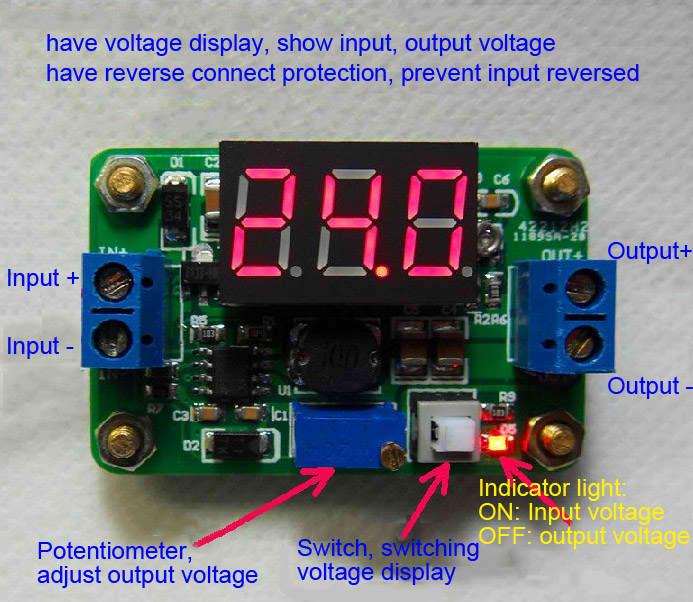
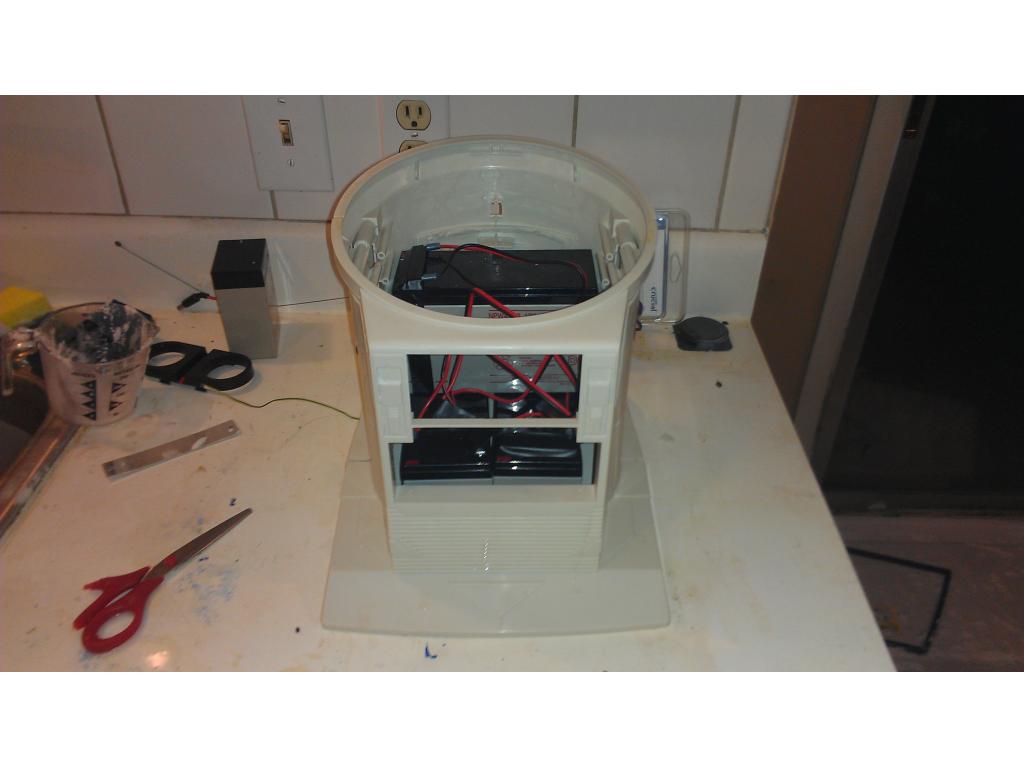
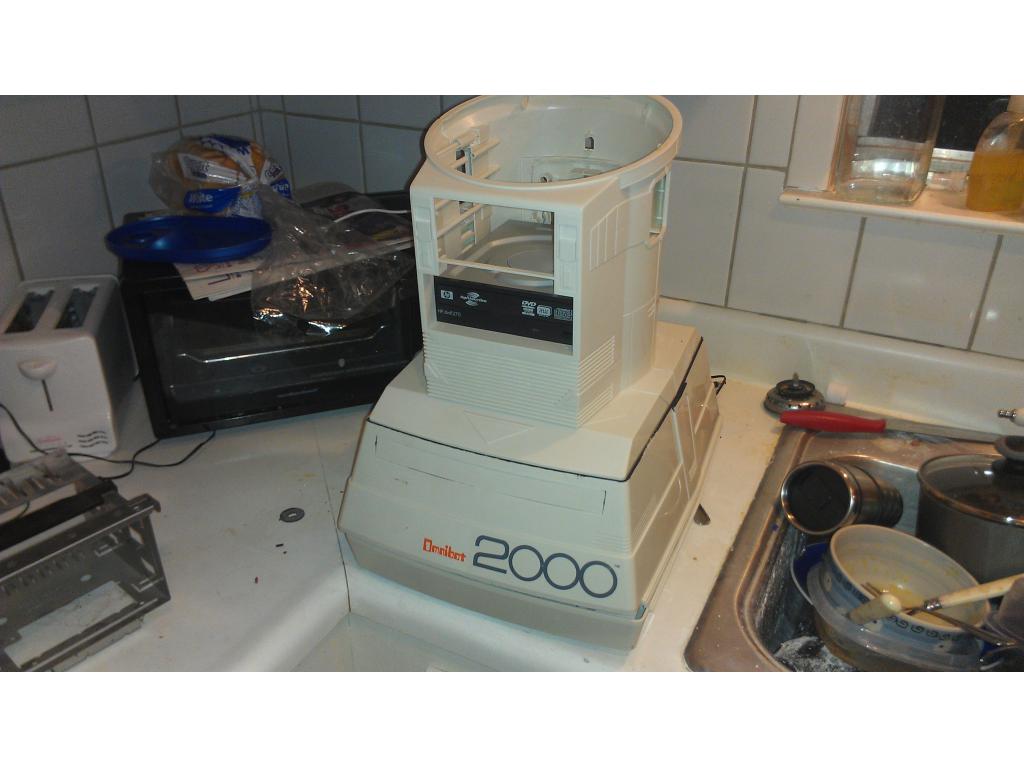
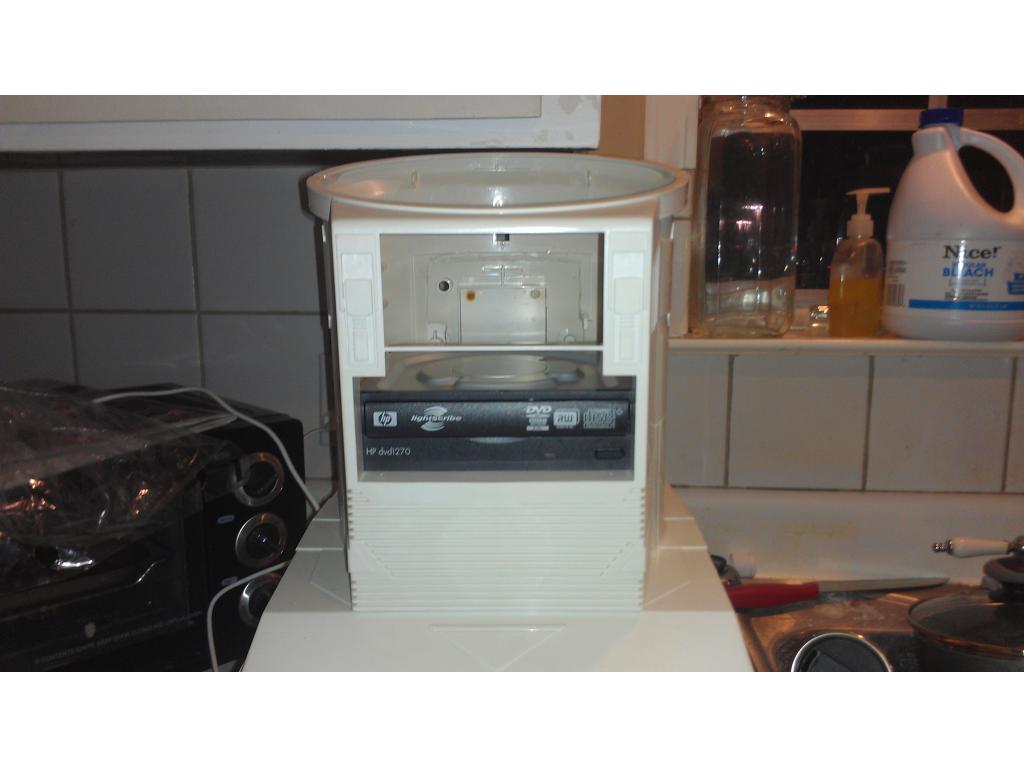
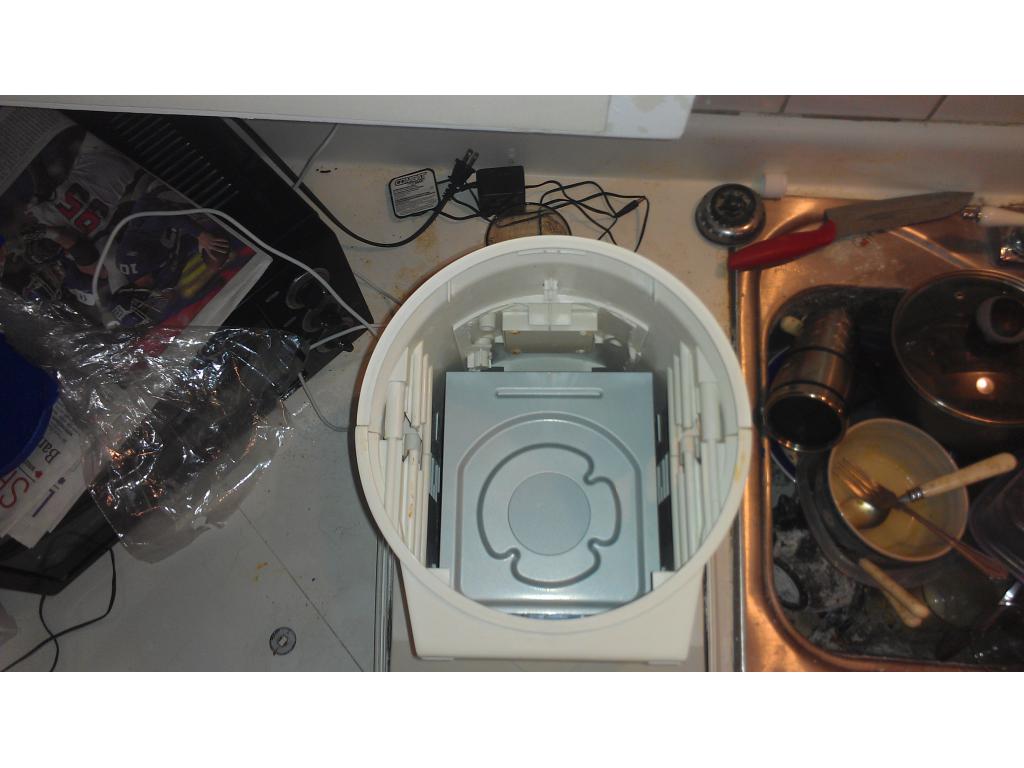
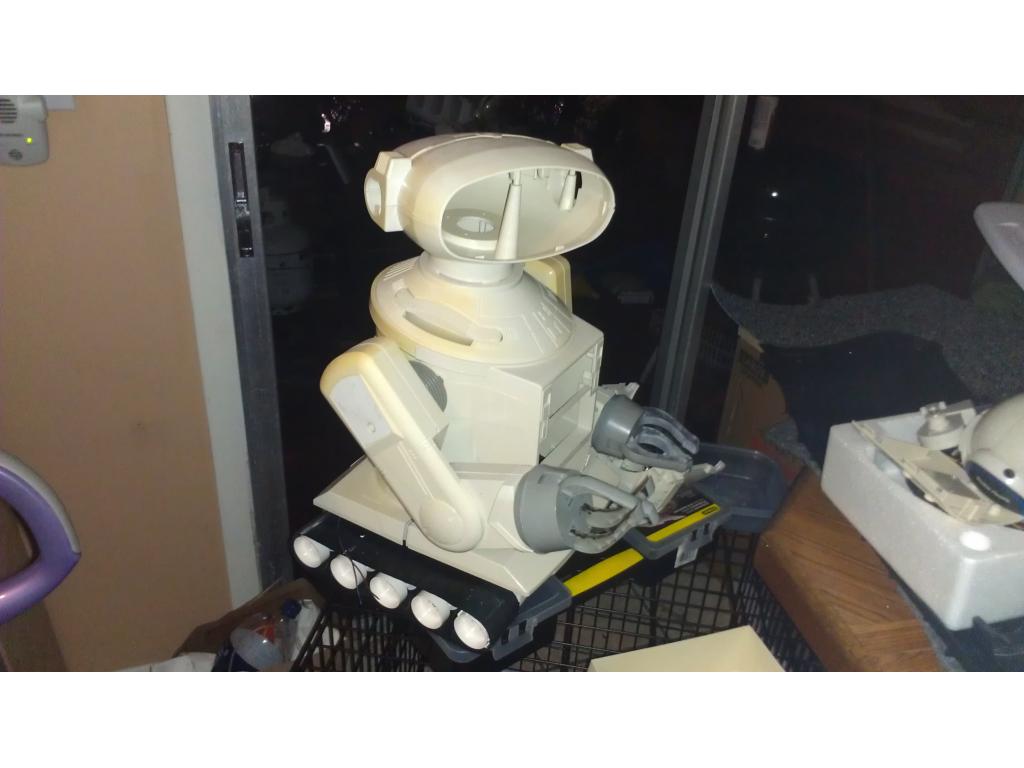
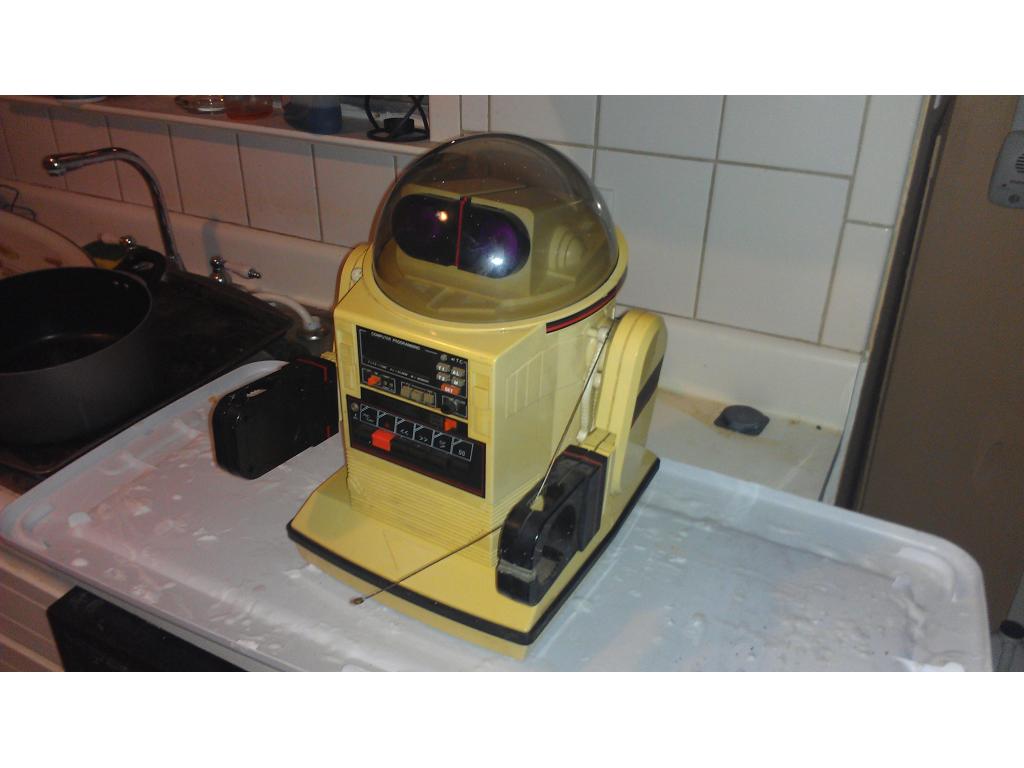
This project has evolved some , the basic rundown is I'm modding two Omnibots , one a regular the other a larger 2000 model. I will have two ezb kits , rad base idea was thrown out because of so much noise but could go back on the table if the omnibot drivetrain is too weak to pull it.


By jstarne1
— Last update
Discover more robots
Tezsmith's Giving A Meccano G15 Ks An Ez Makeover
EZ-Robotified G15 KS Jeeves: EZ-B v4 servo control, Sabertooth-powered drive, camera + HC-SR04 obstacle sensing, Emotiv...

Cardboardhacker's Emotions V1
EZ-Builder Emotion script: speech-activated happy/sad/angry/tired responses with Personality Generator and RGB Animator;...

Dave's Bimbo The Clown
EZ Robot revives classic amusement games with DJ's Bimbo The Clown-fun retro entertainment and creative community...

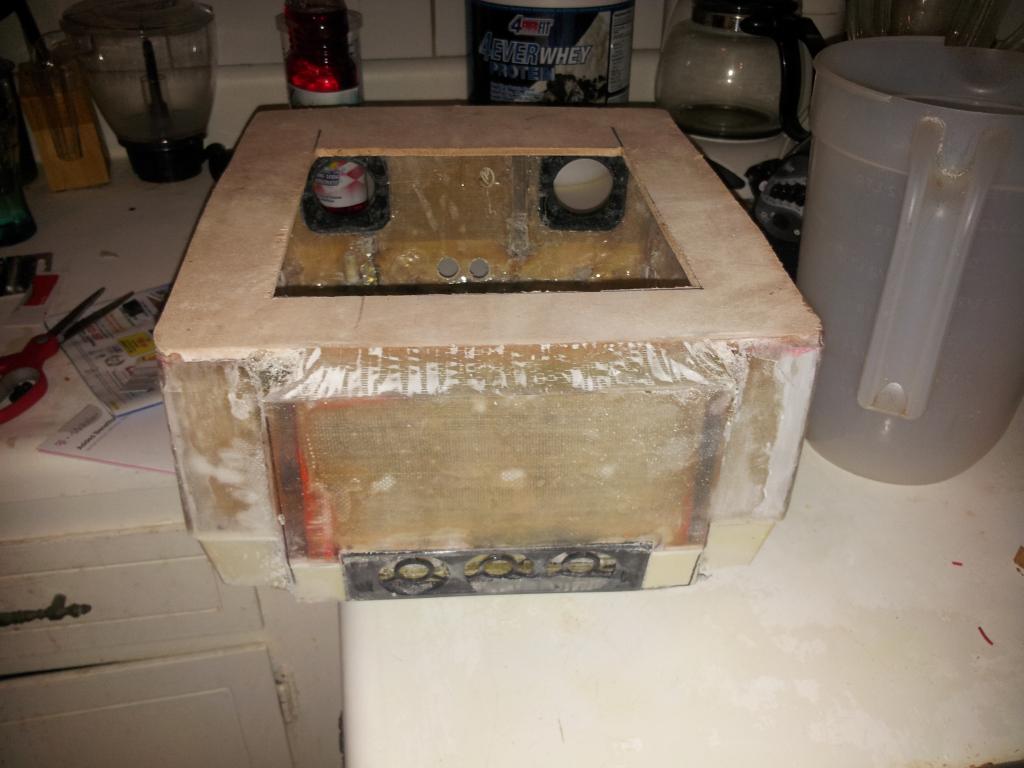
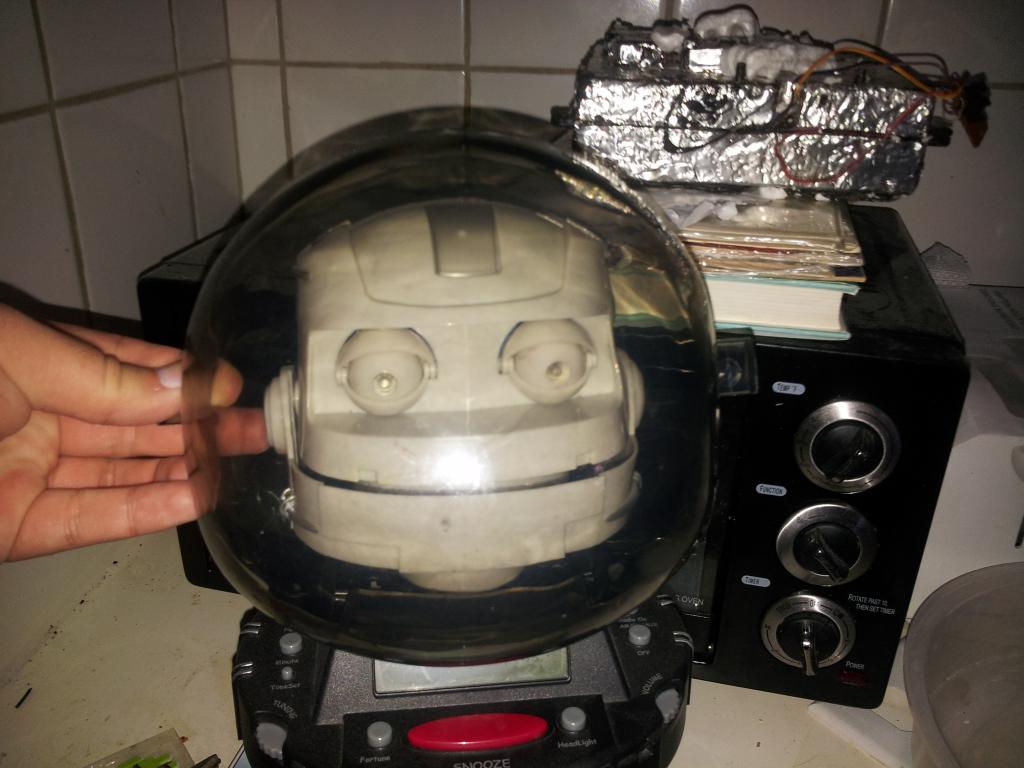
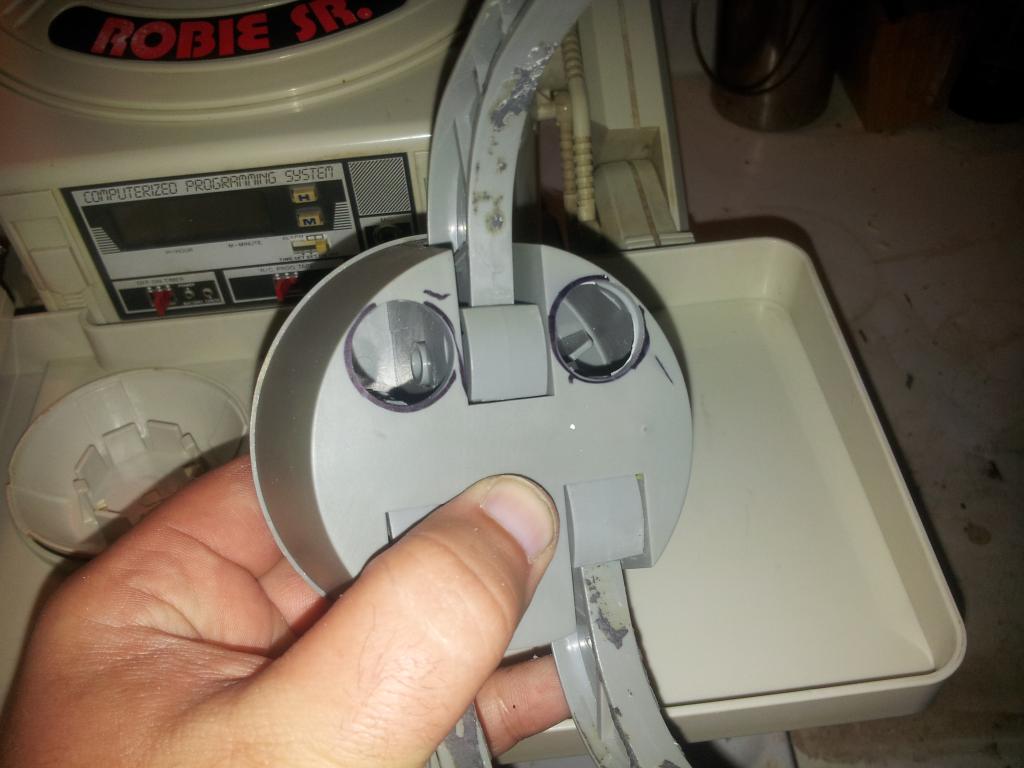
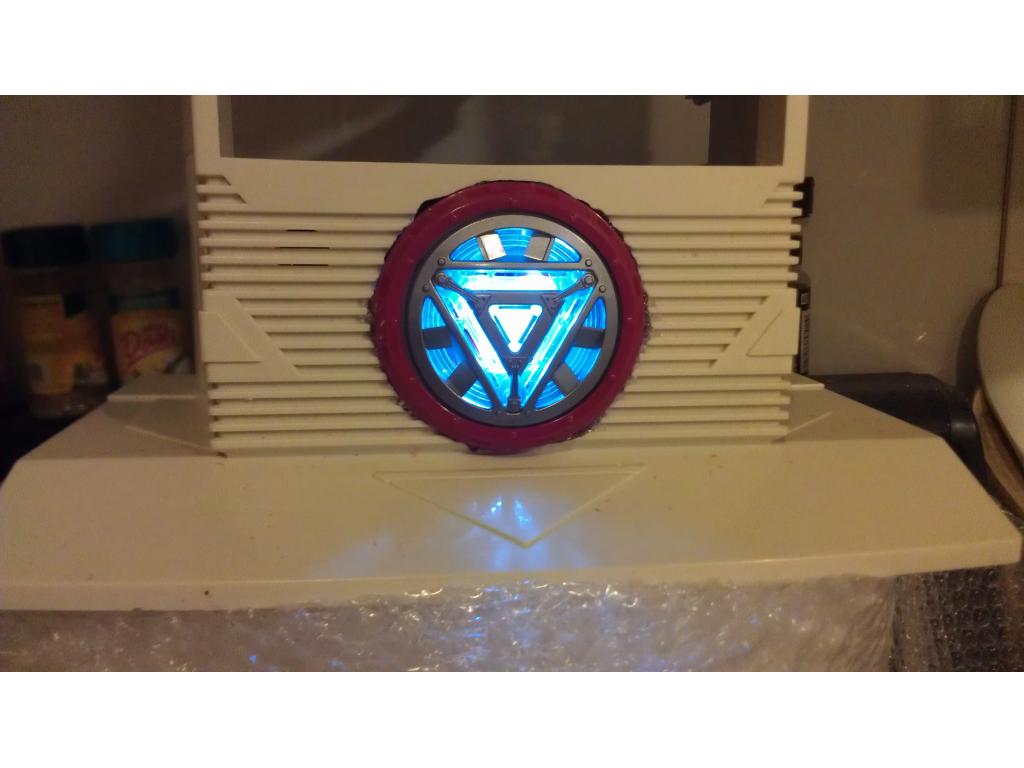
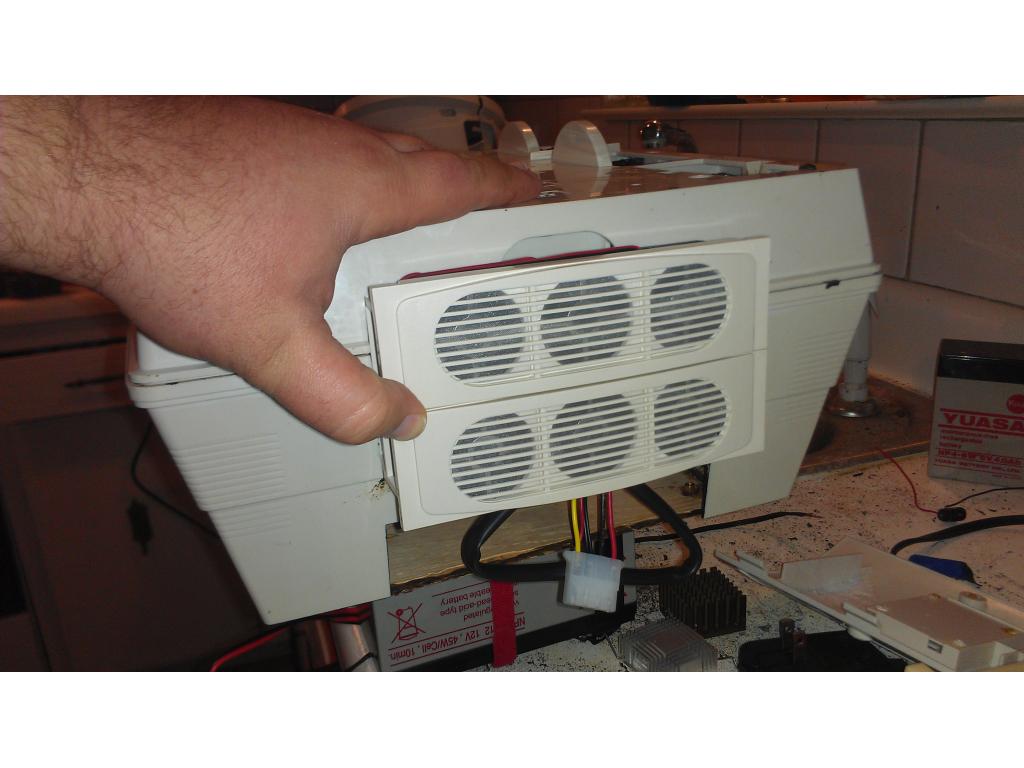
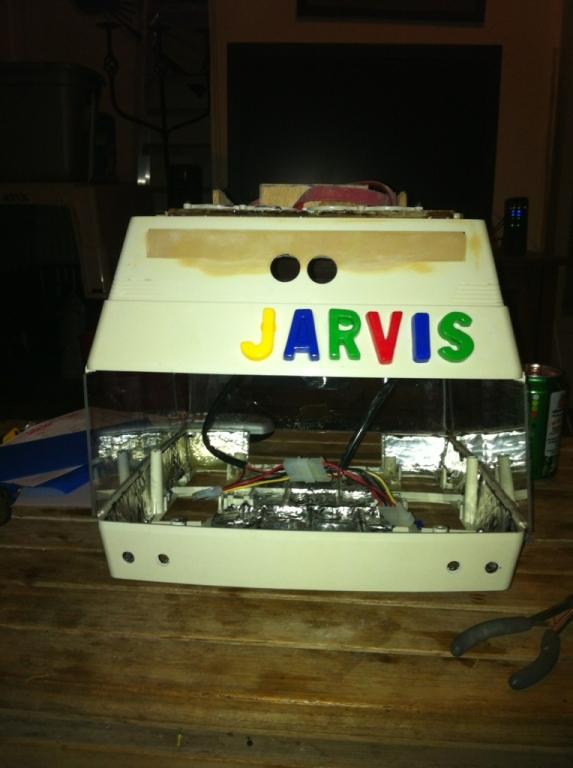
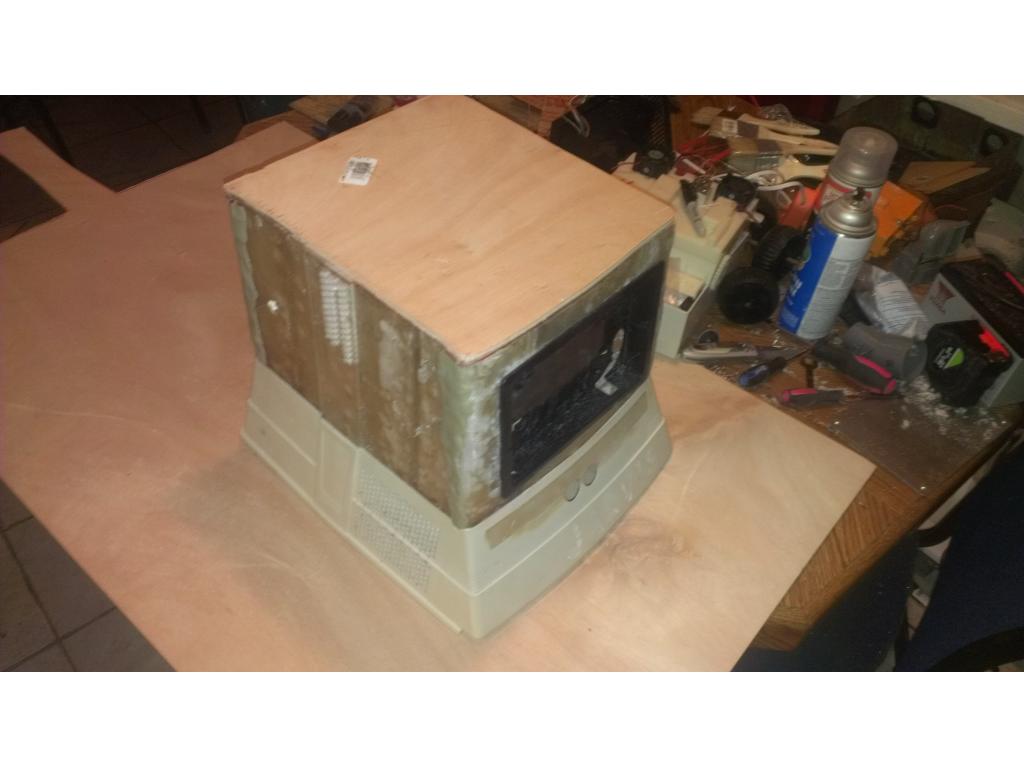
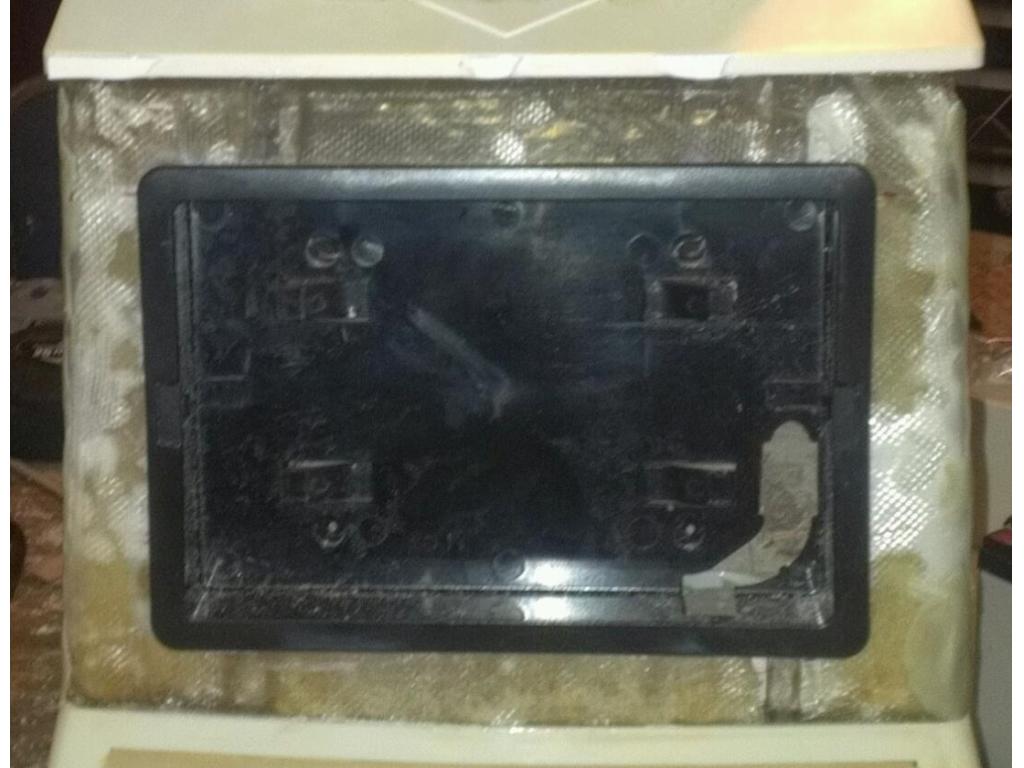
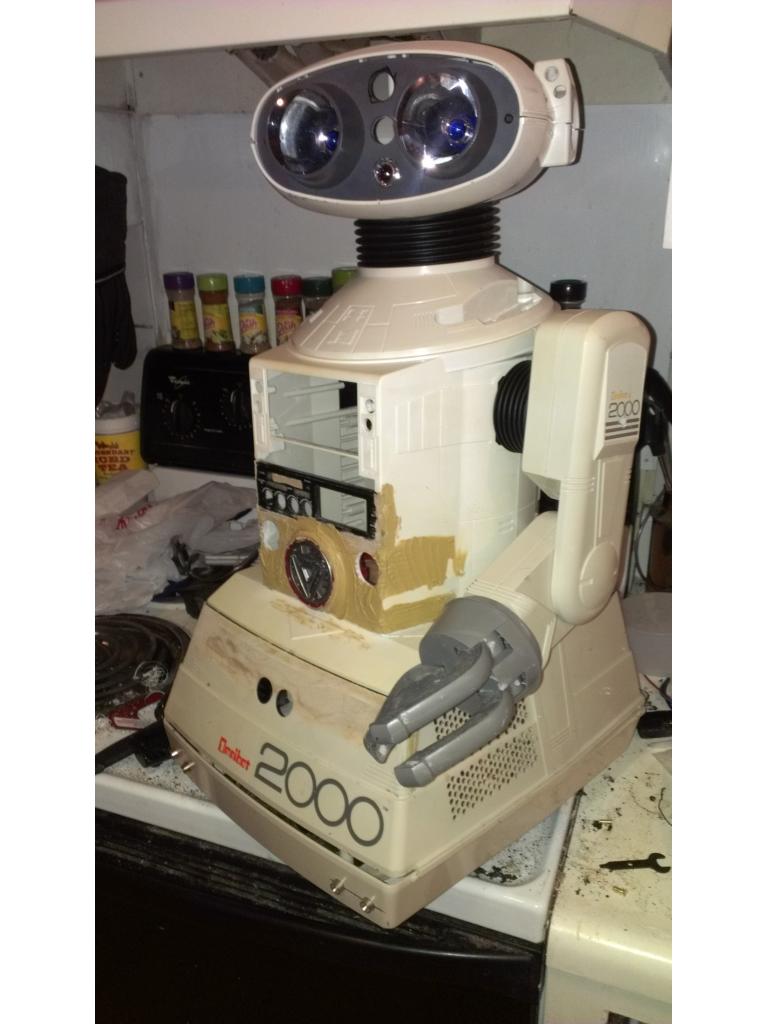
Wow Josh! This is looking super good! Are you going to make a hinged door so you can get at stuff without taking it totally apart?
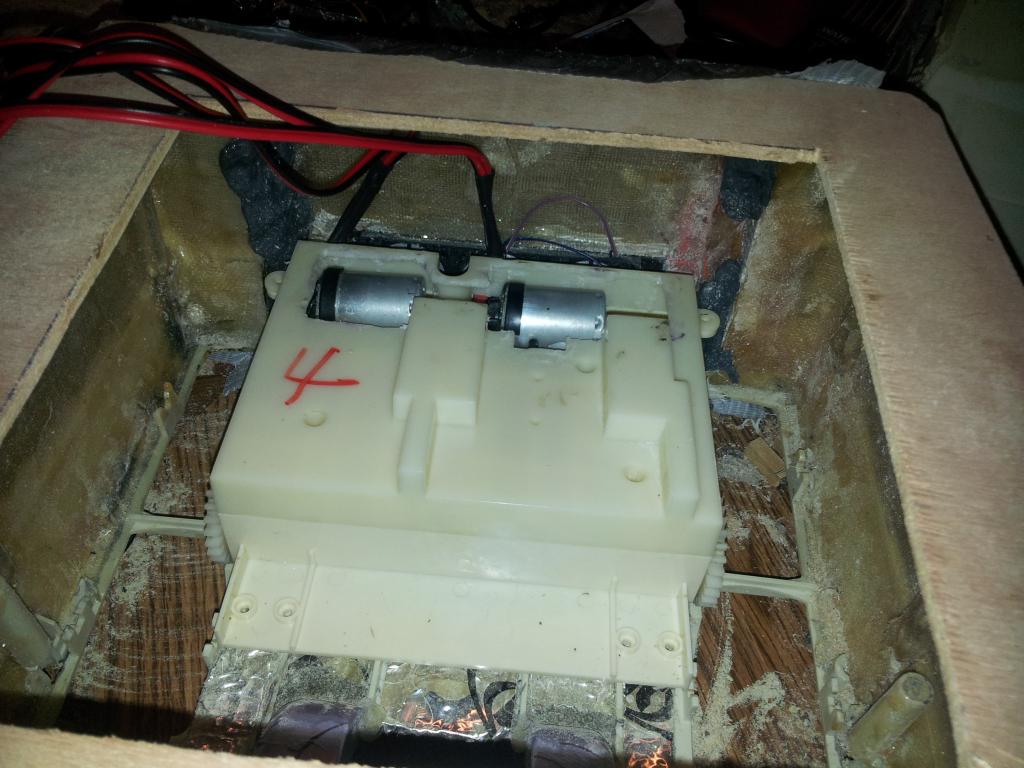
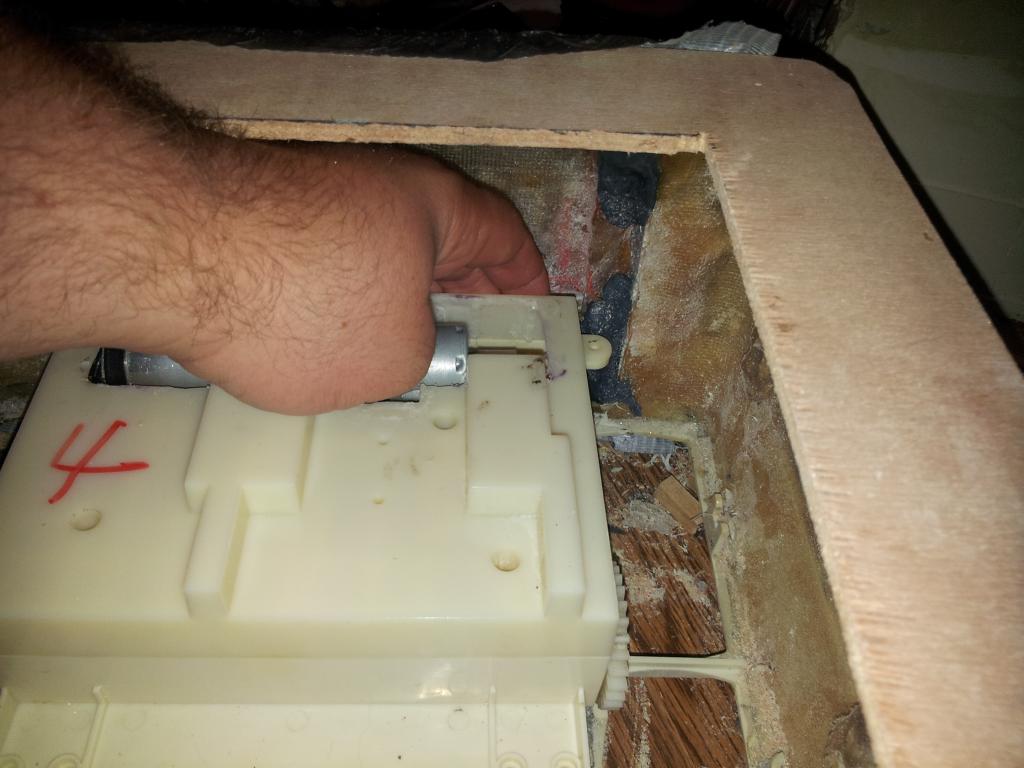
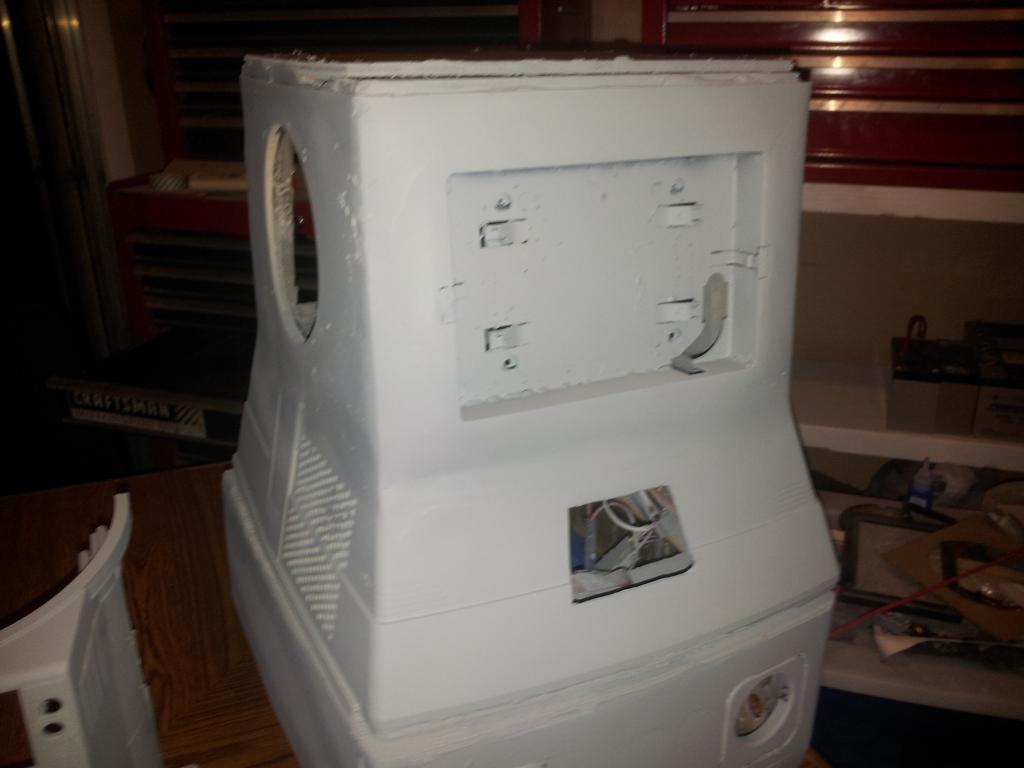
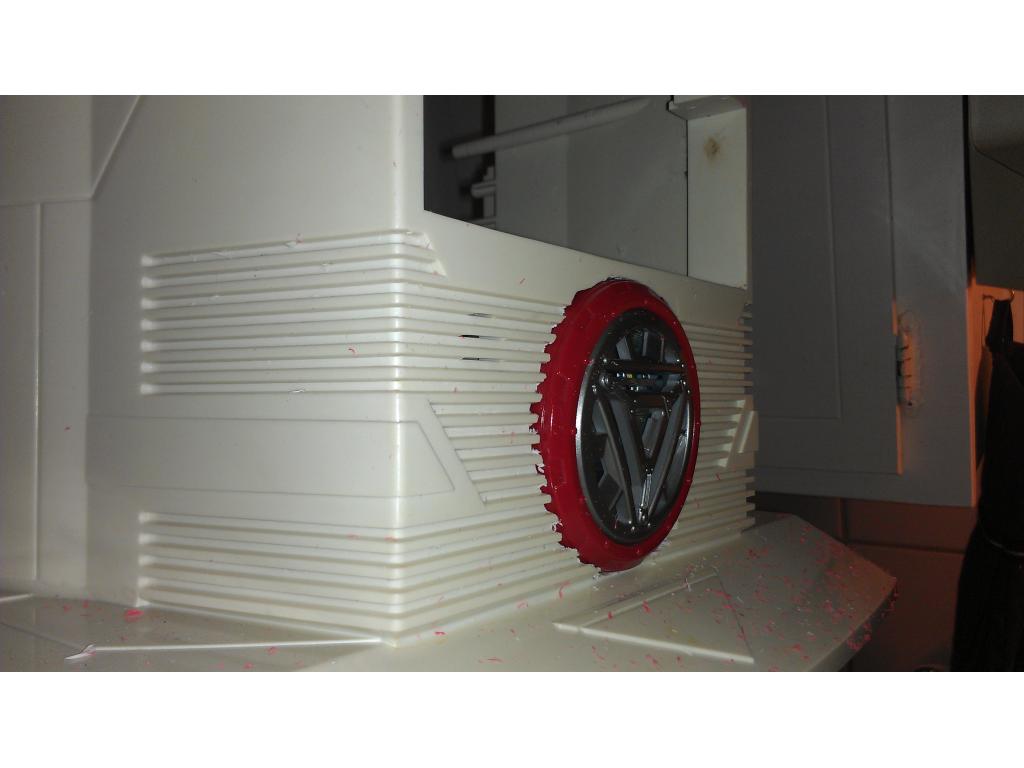
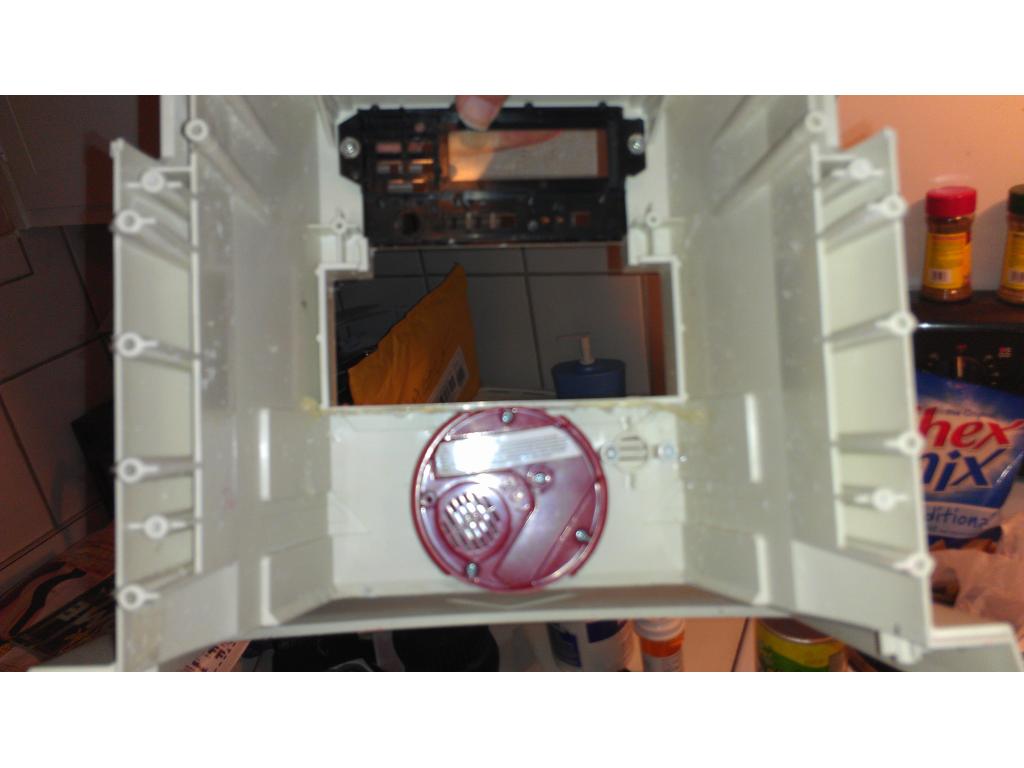
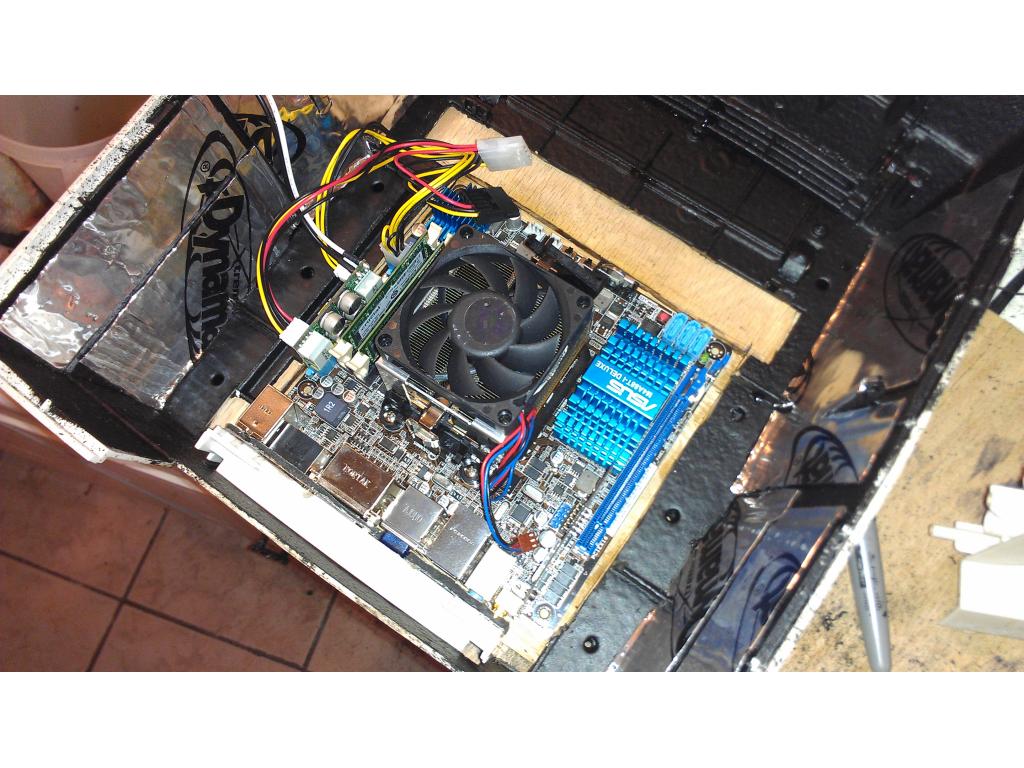
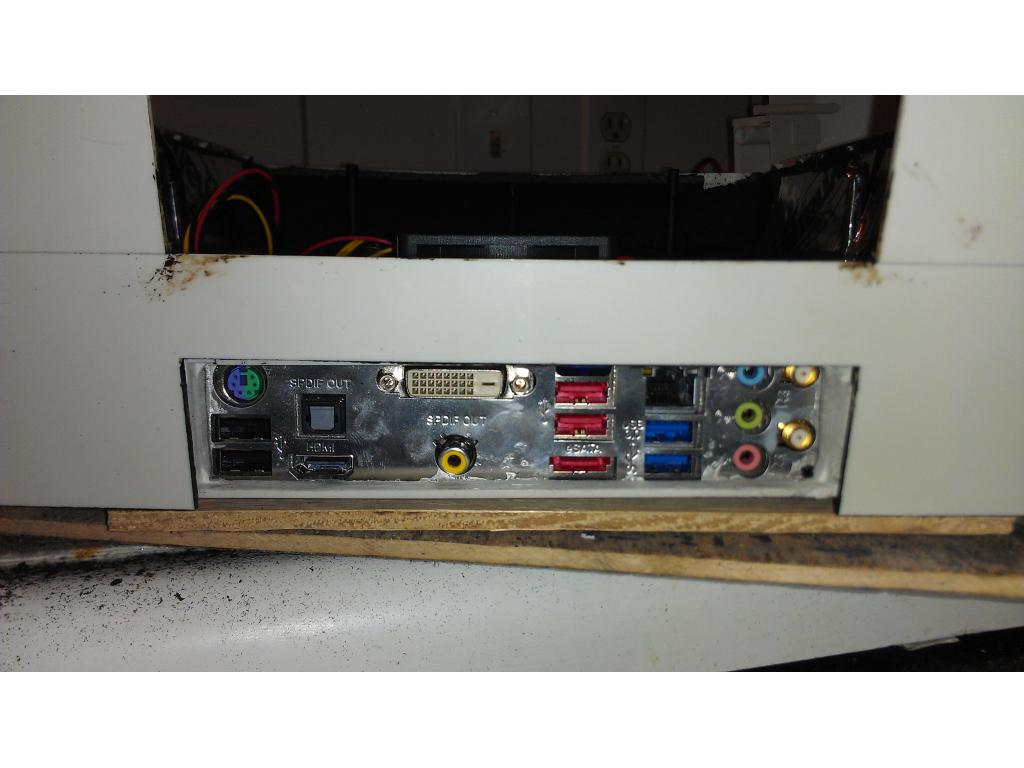
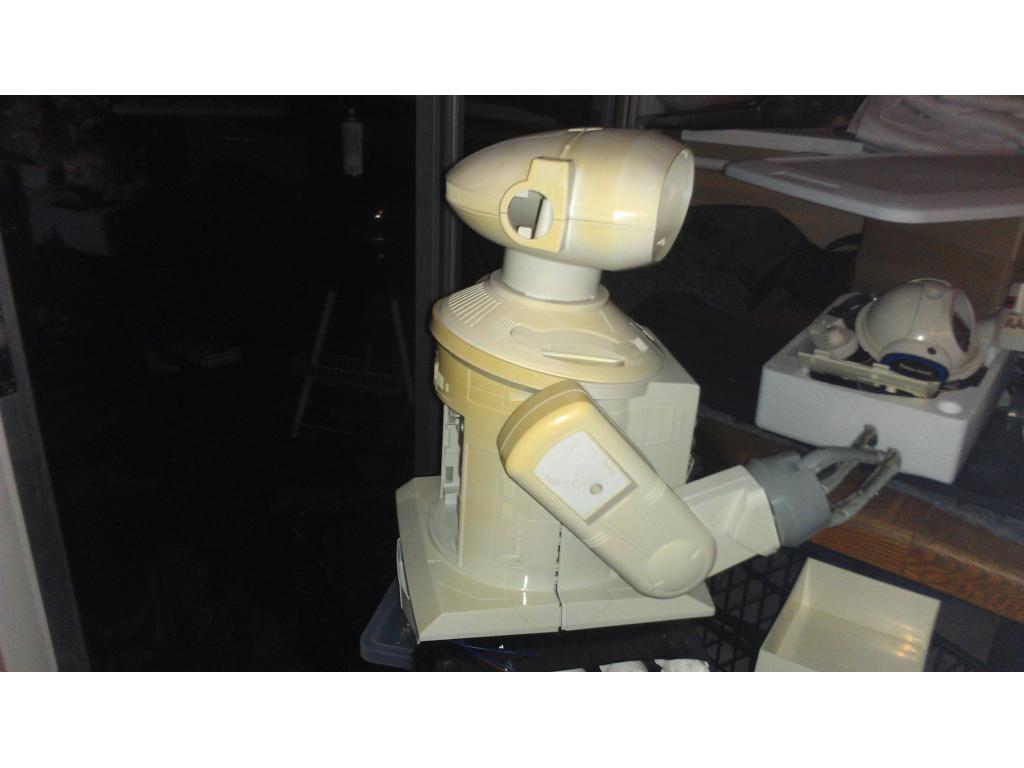
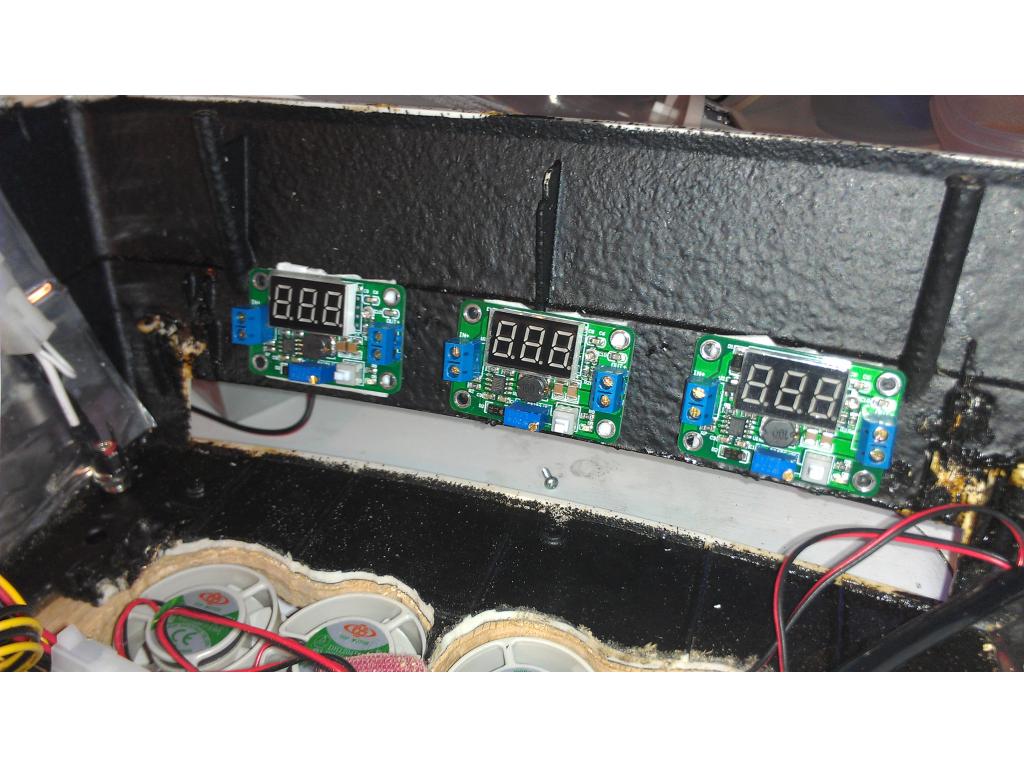
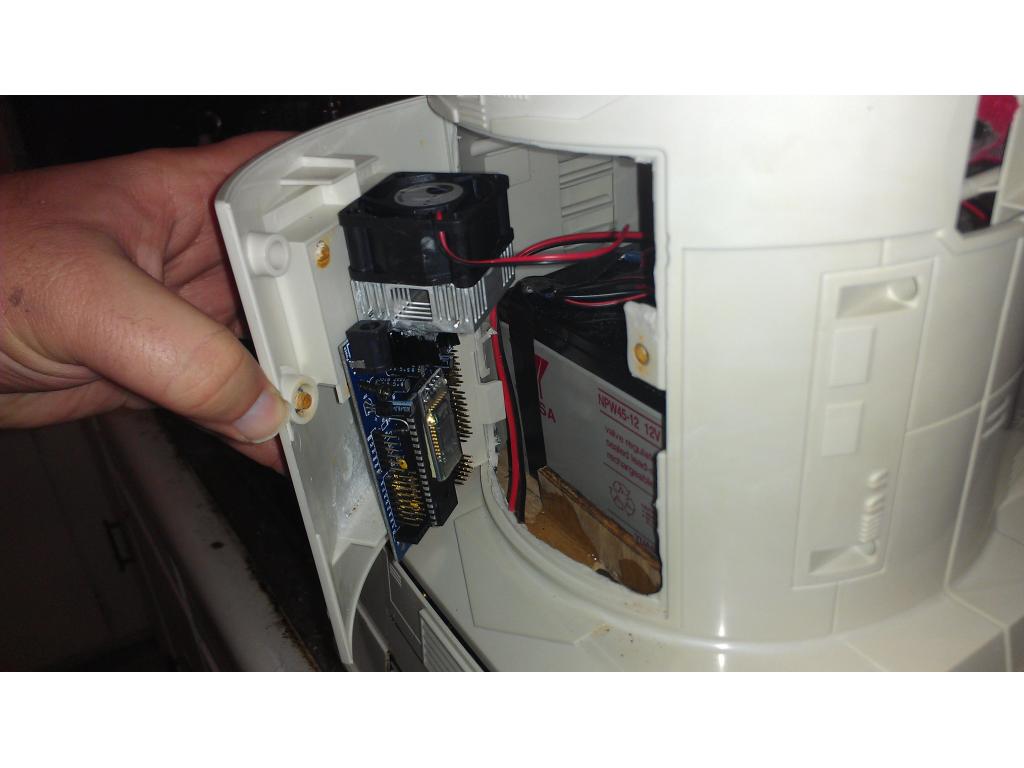
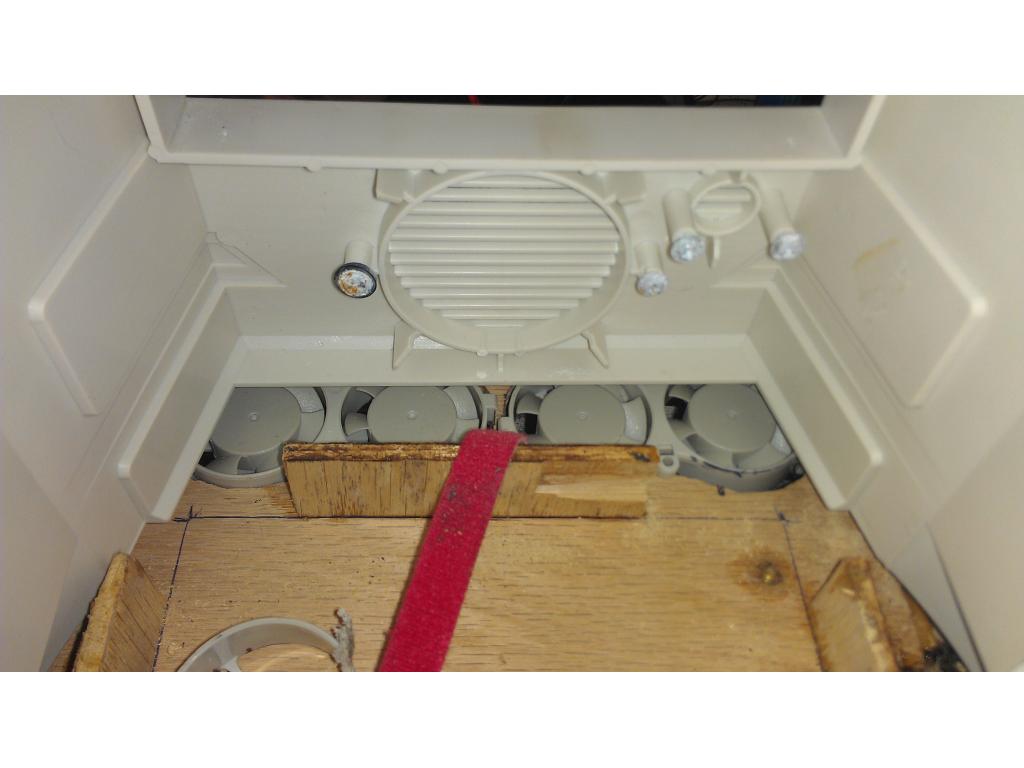
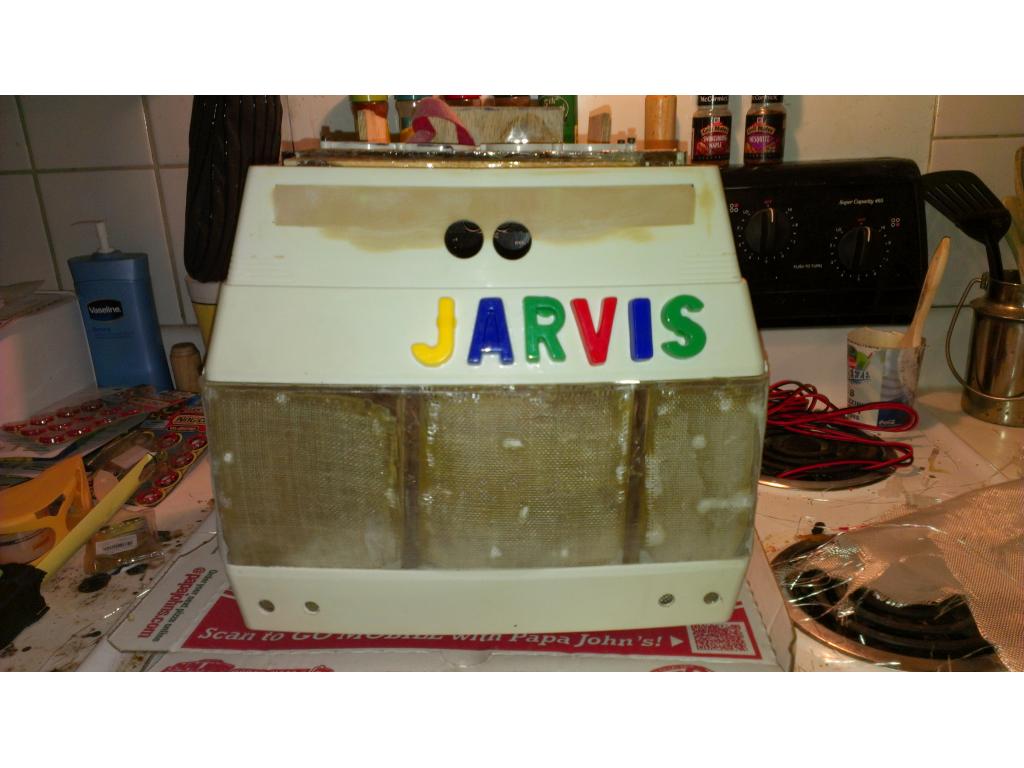
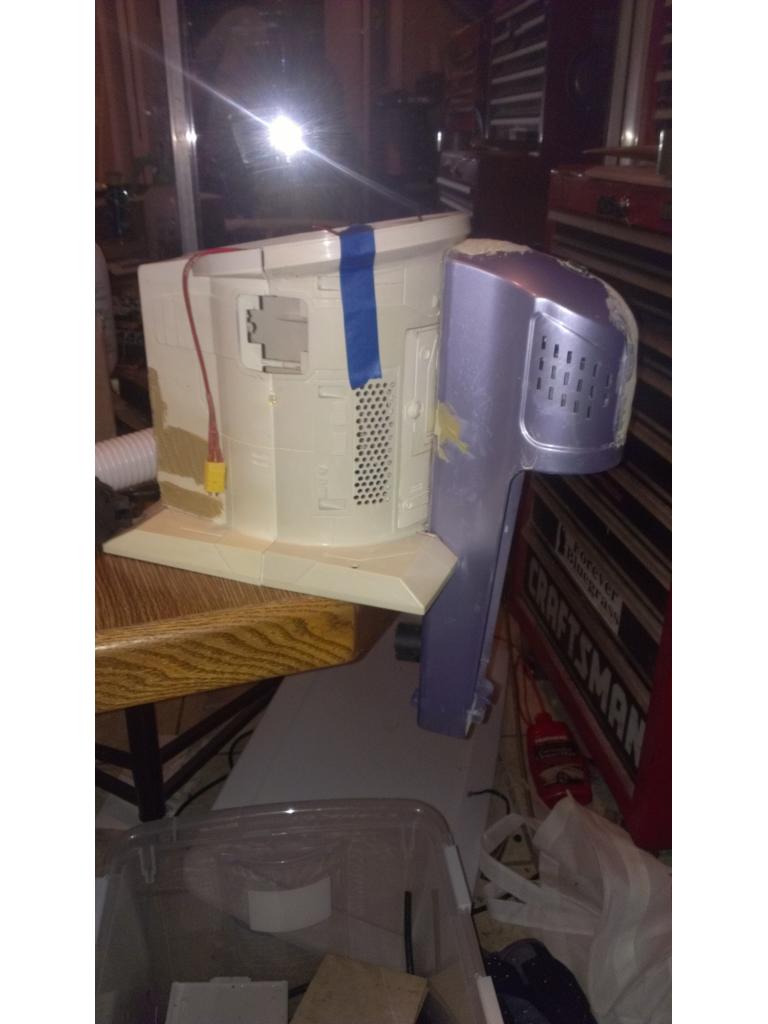
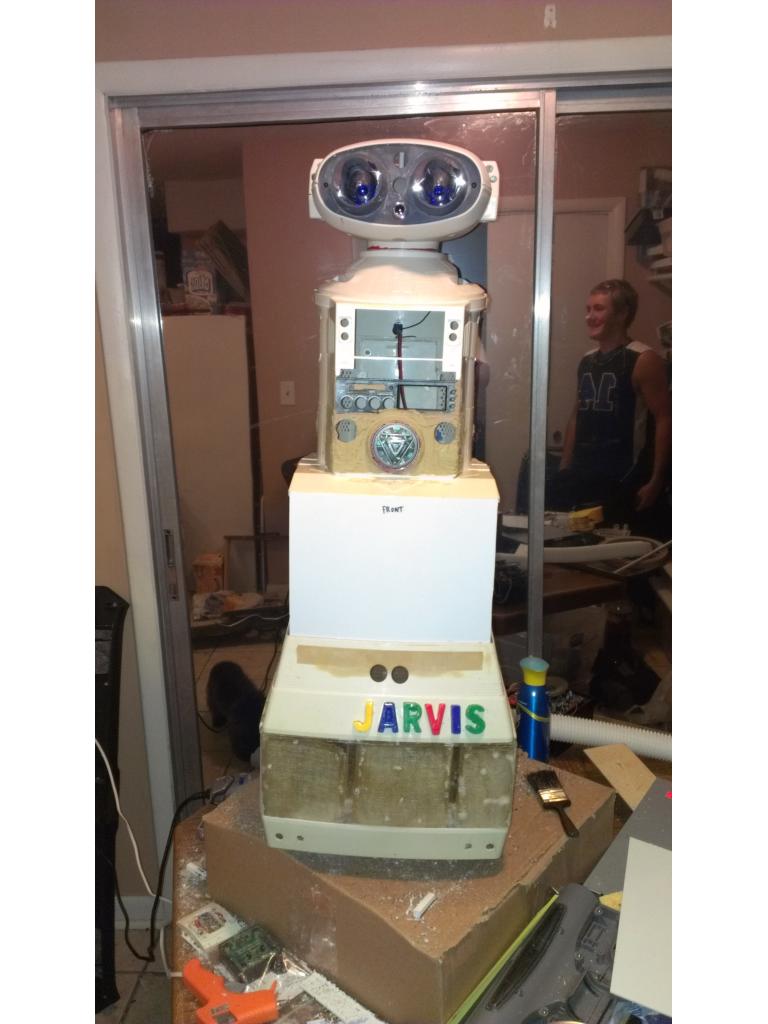
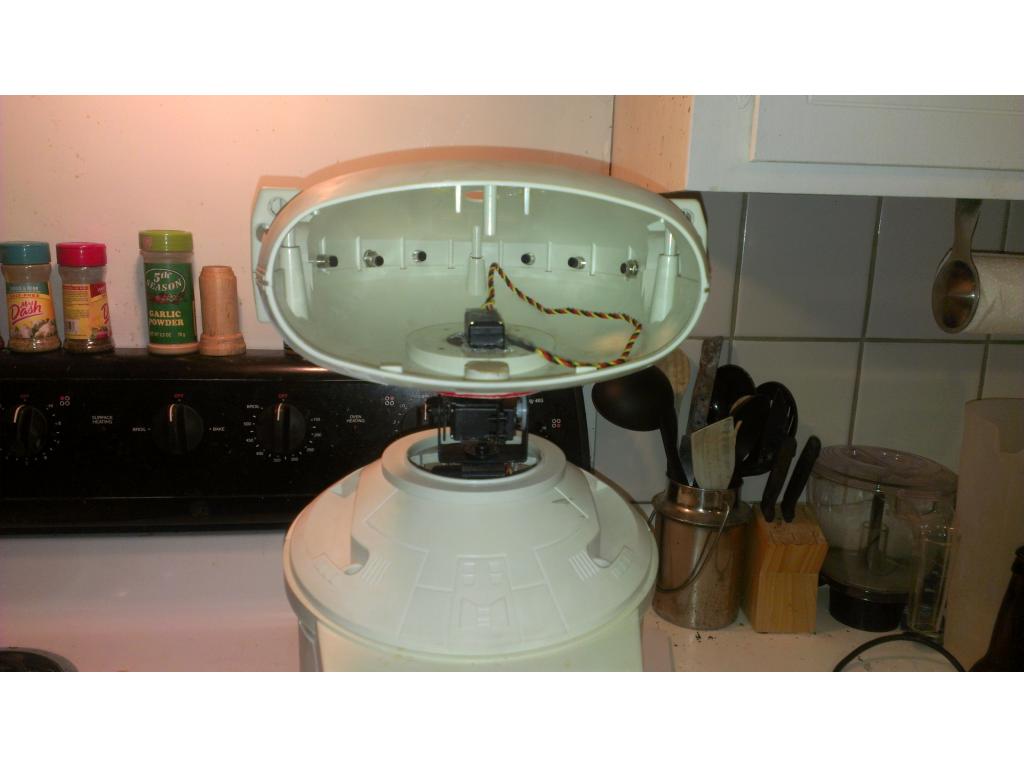
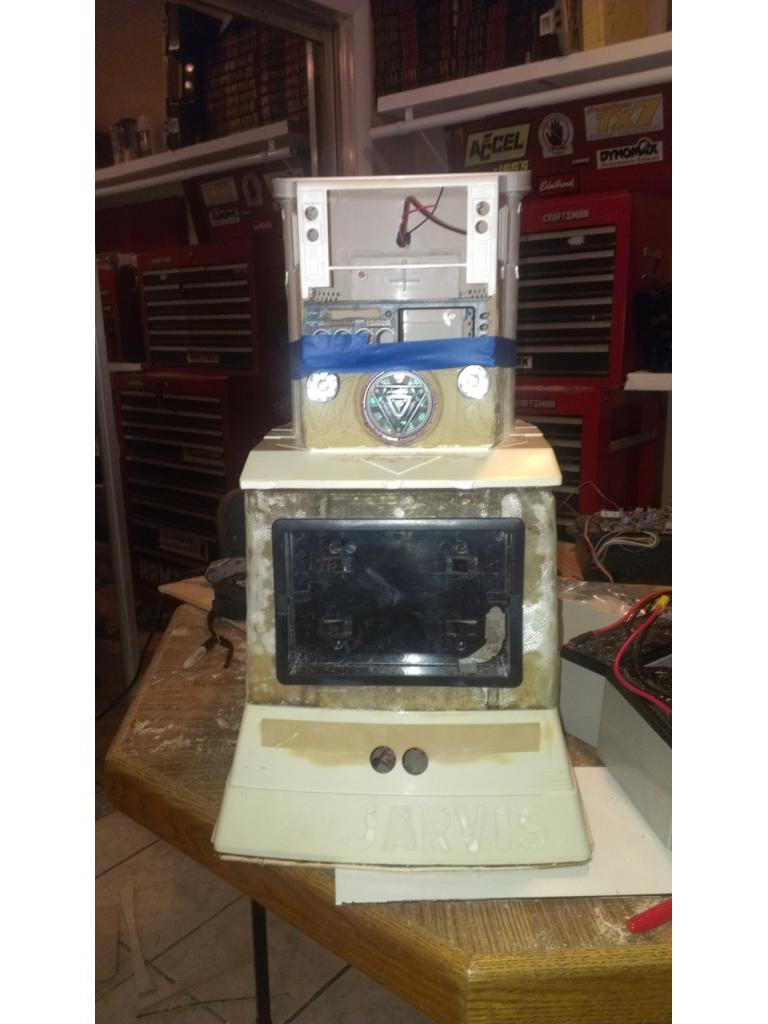
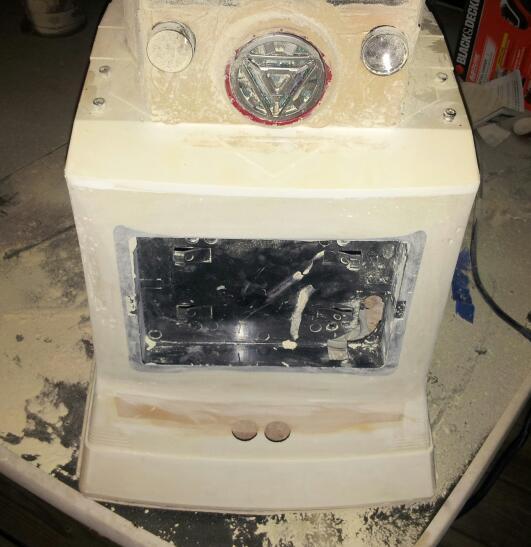
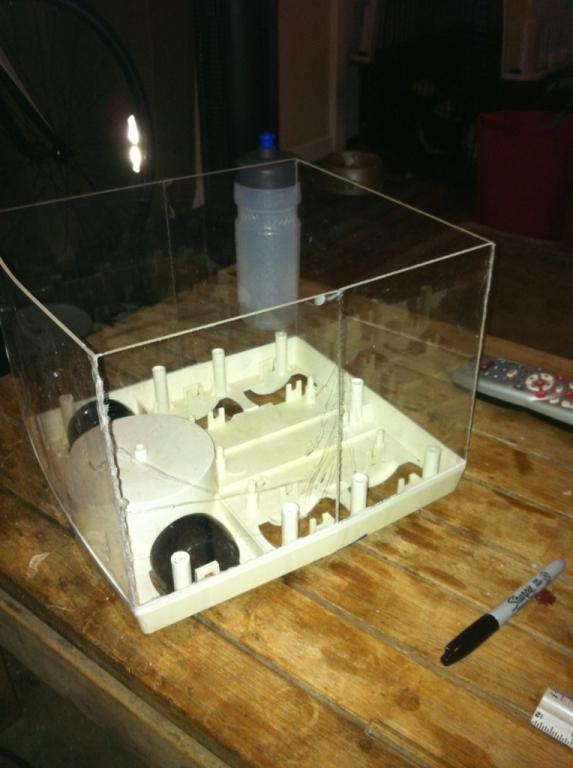
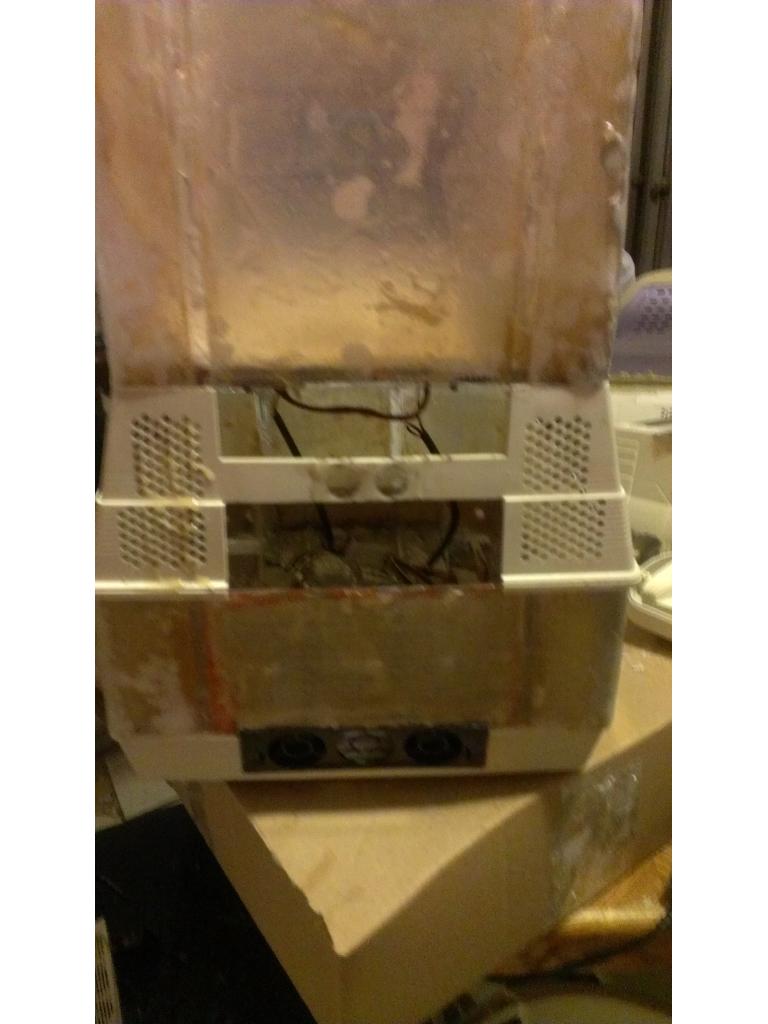
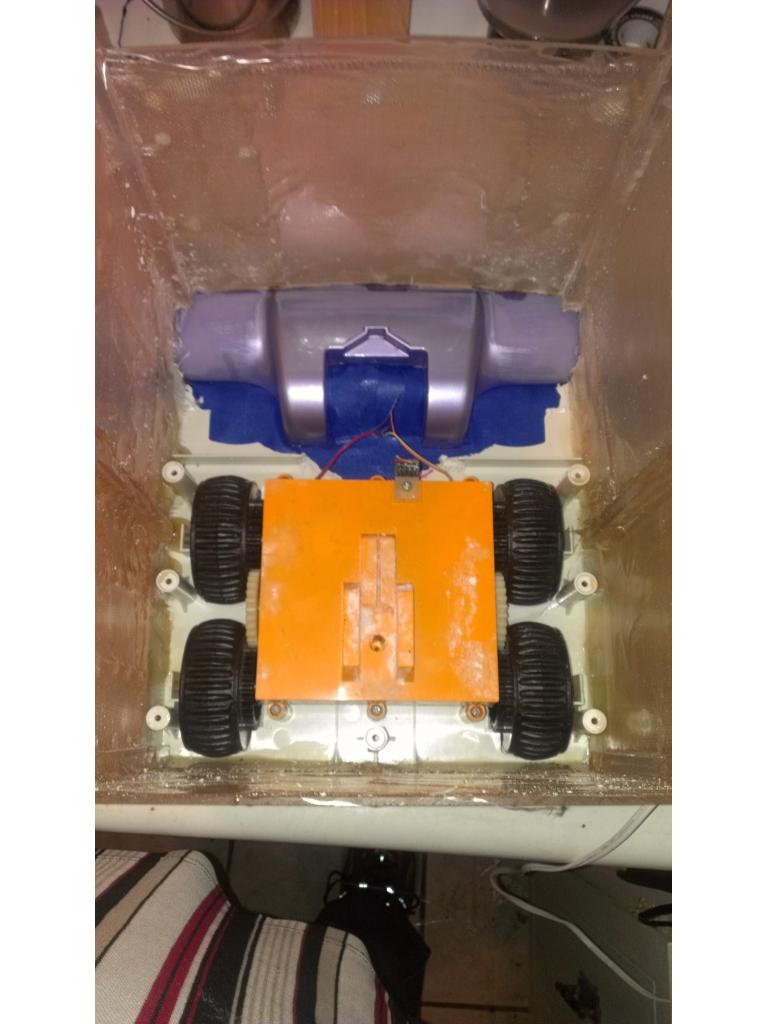
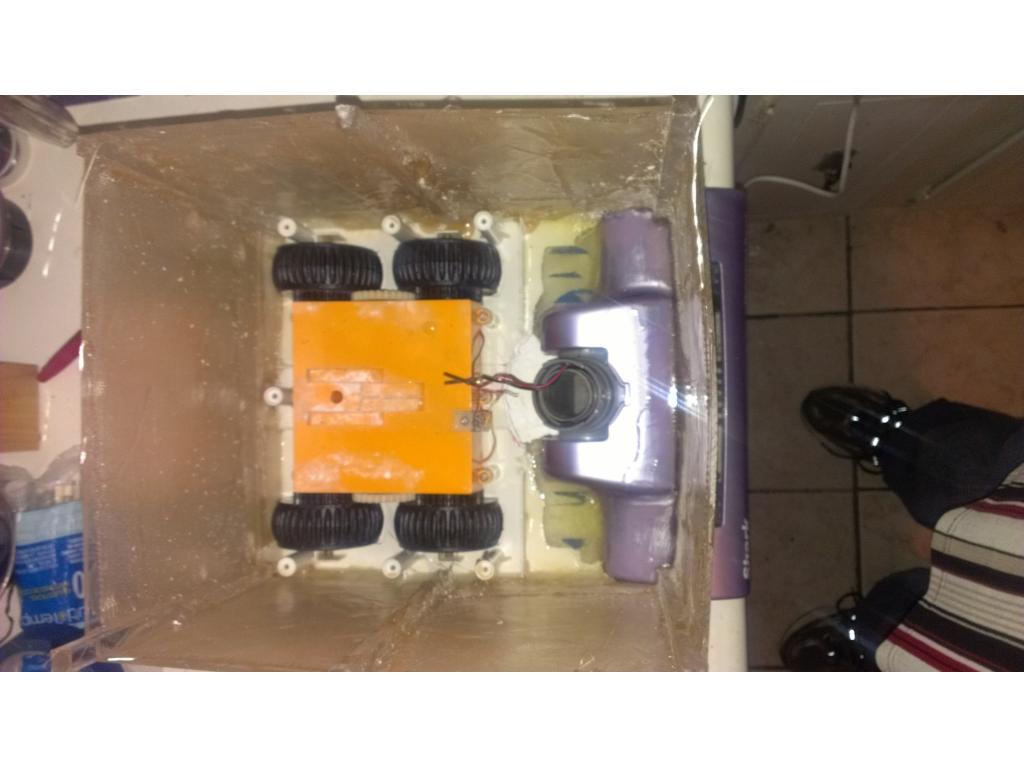
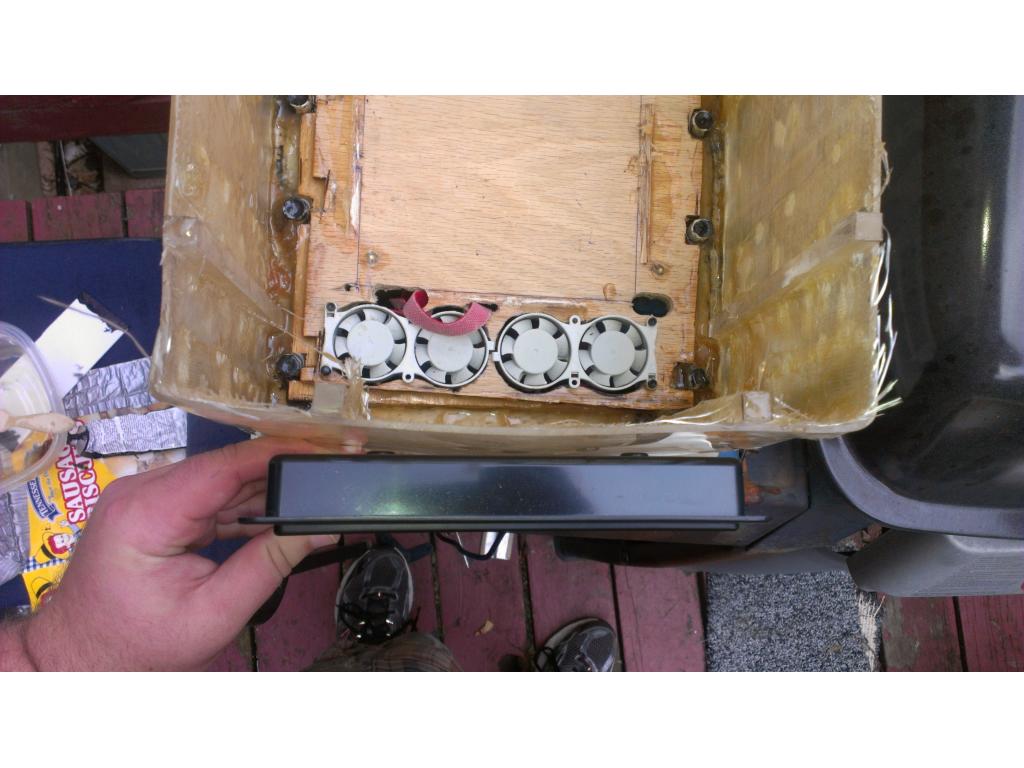
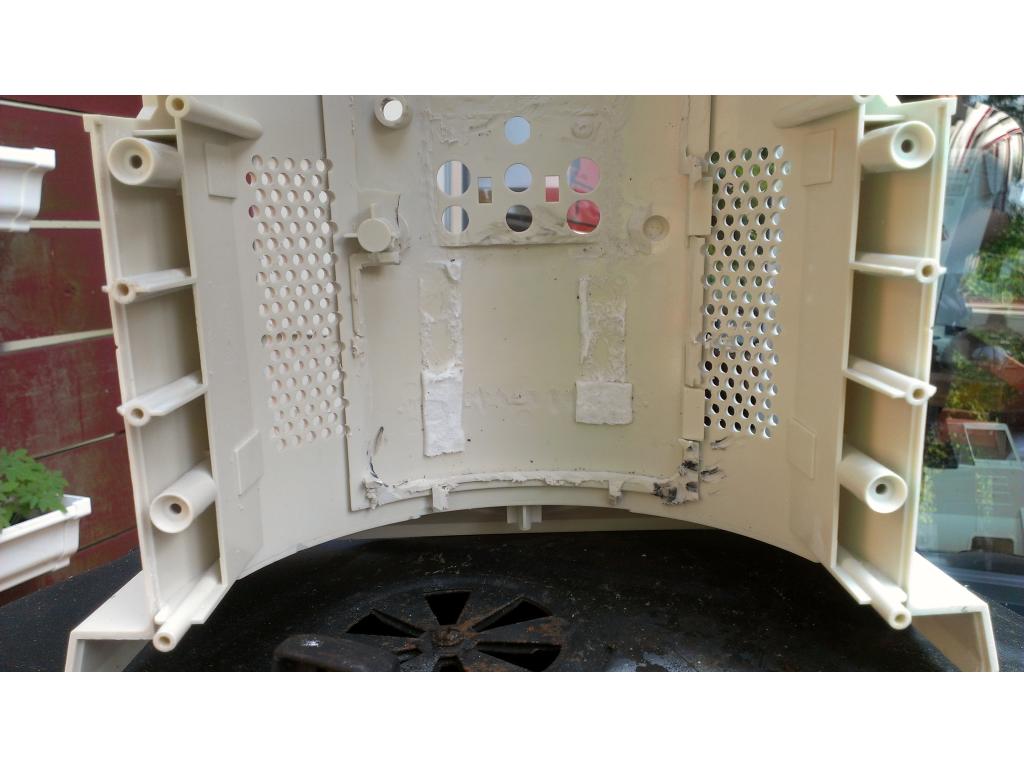
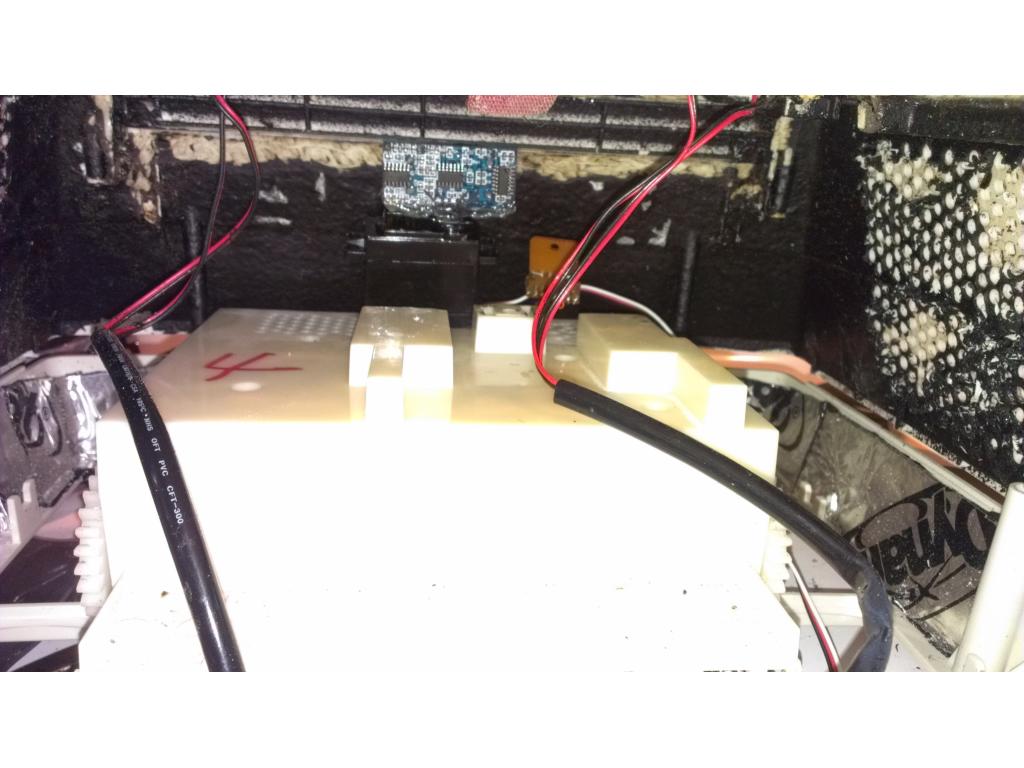
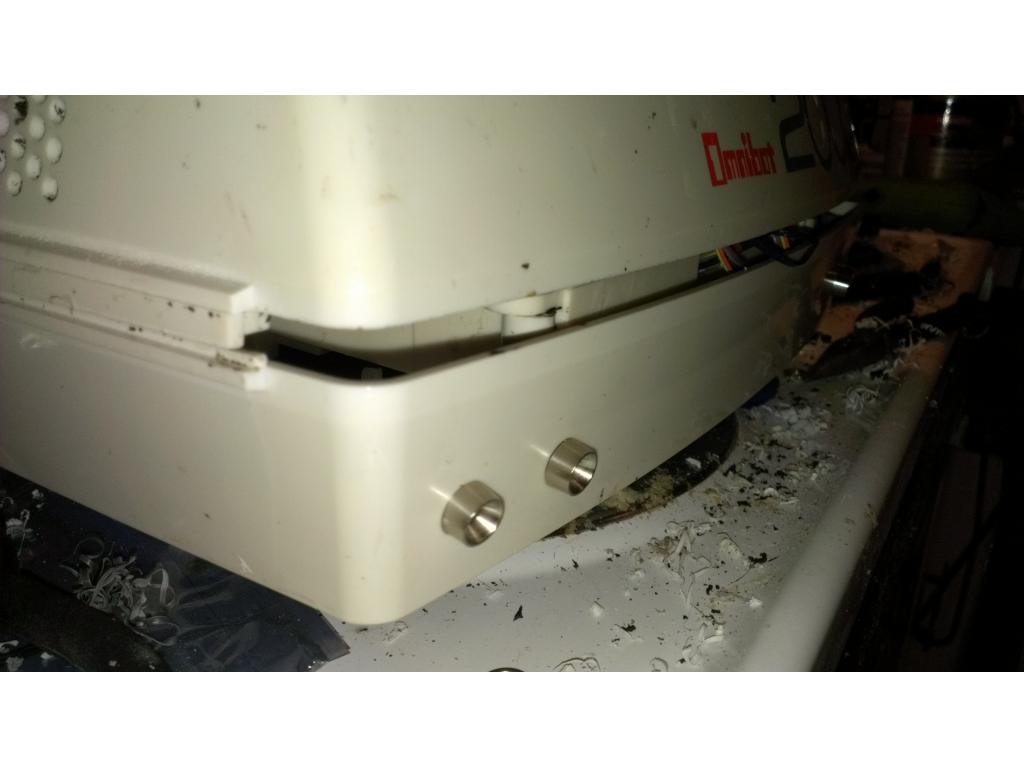
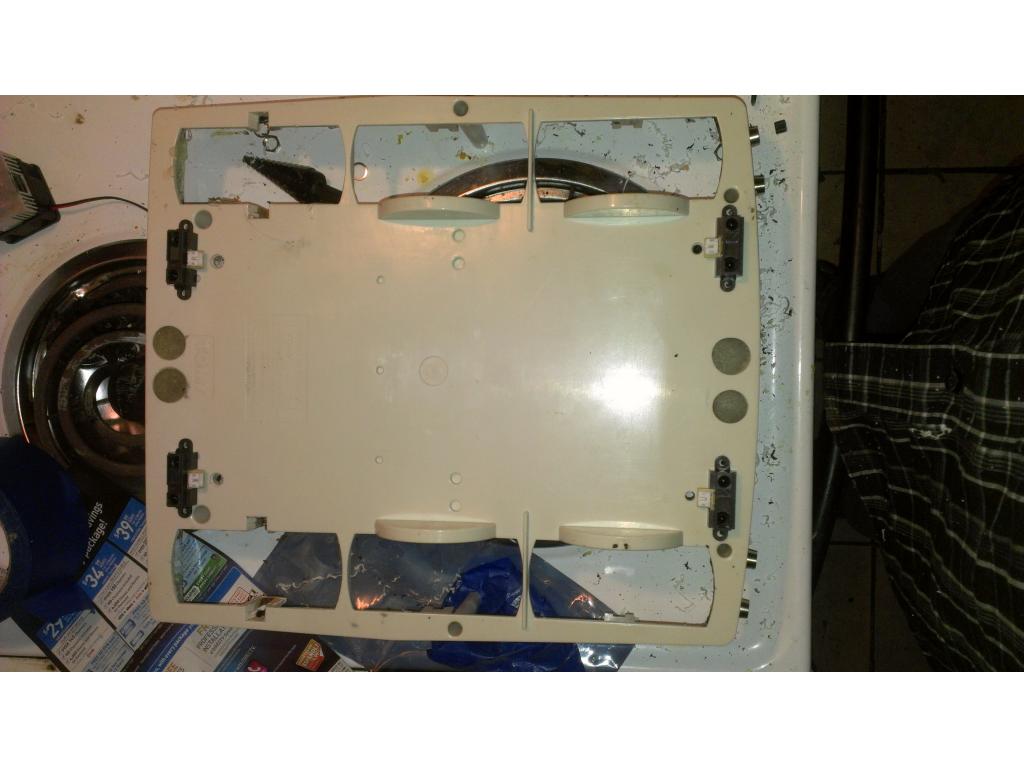
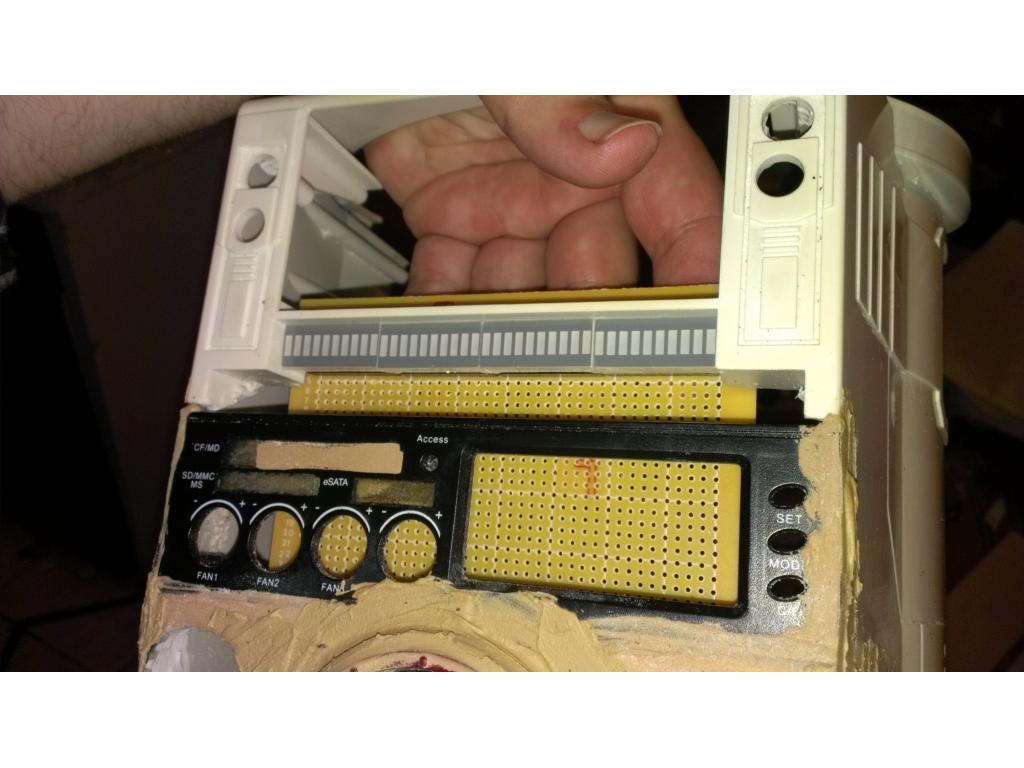
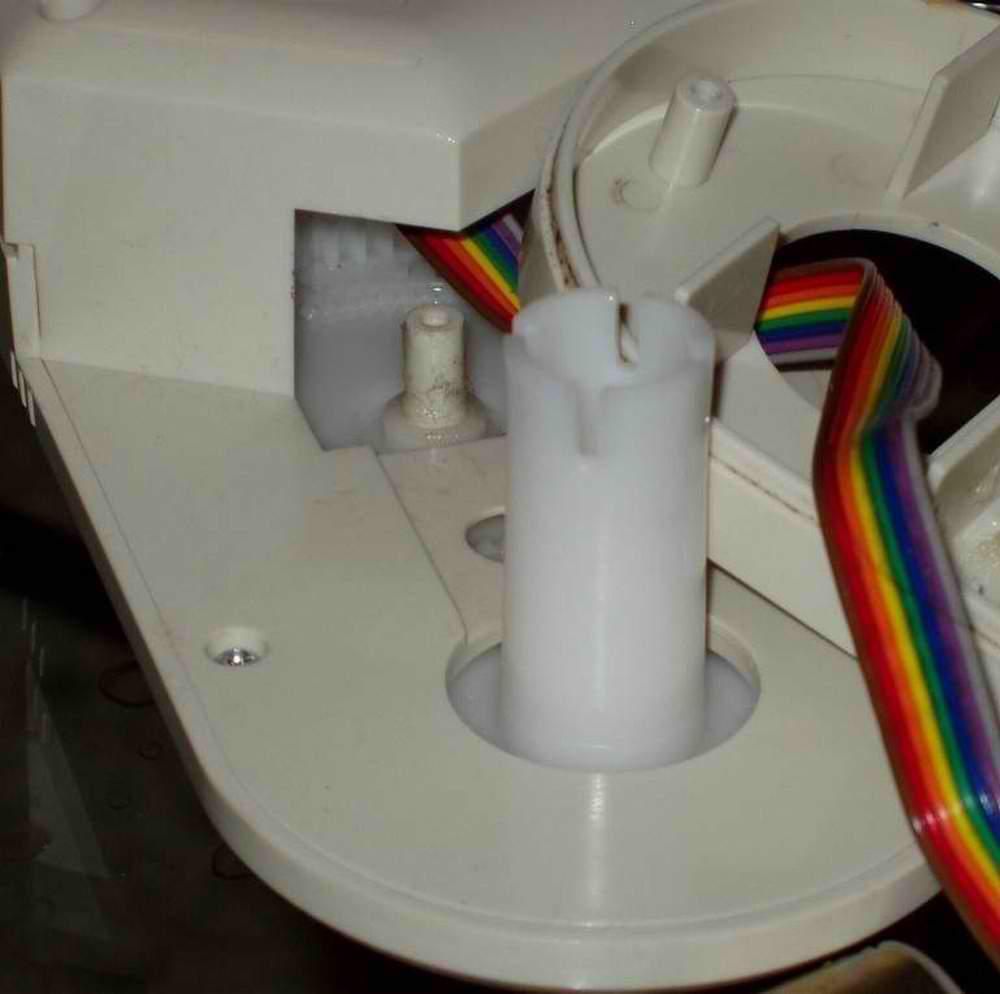
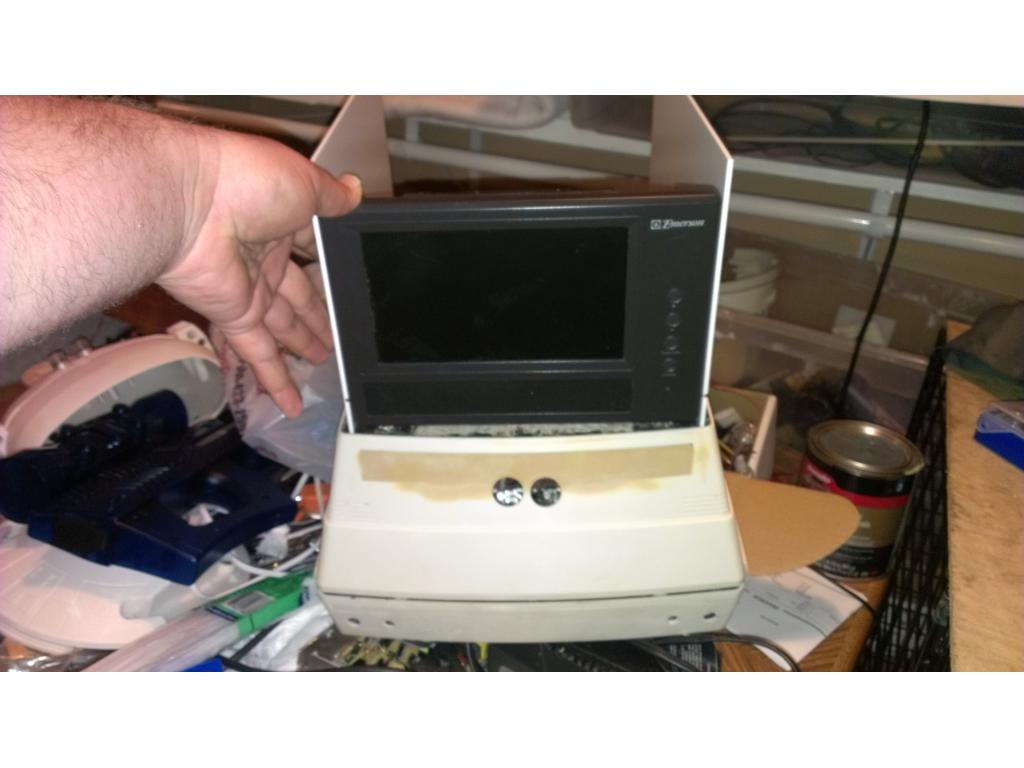
I plan on getting access through the back. Unscrewing the back of the torso would also open up thr back of the torso riser.
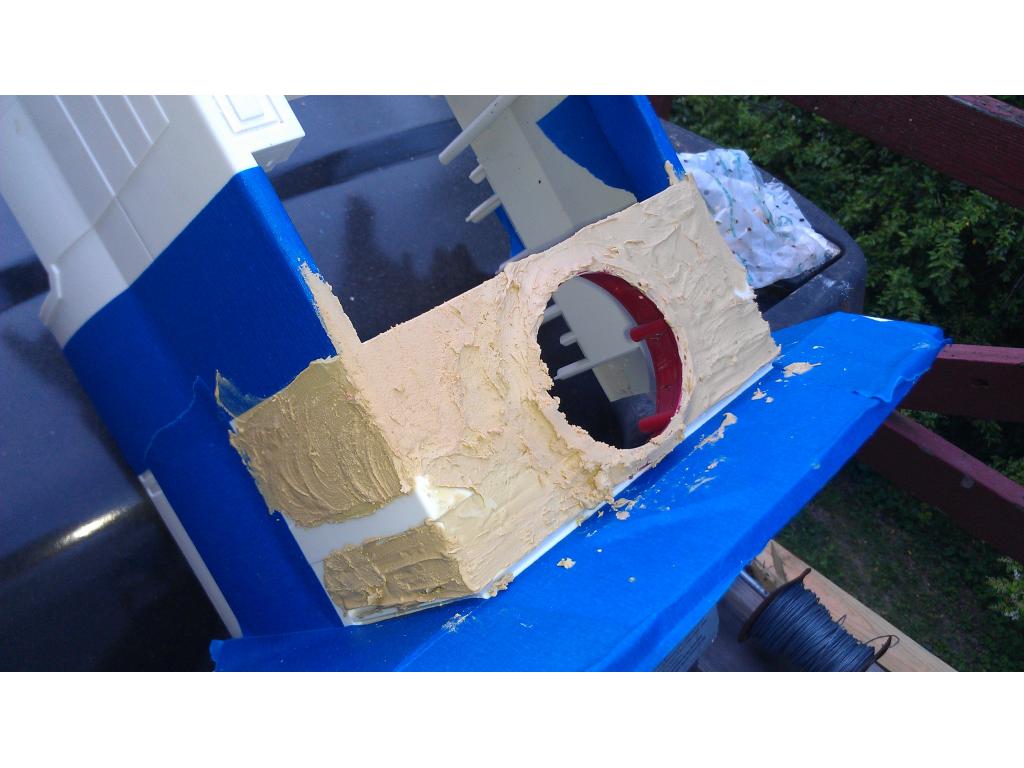
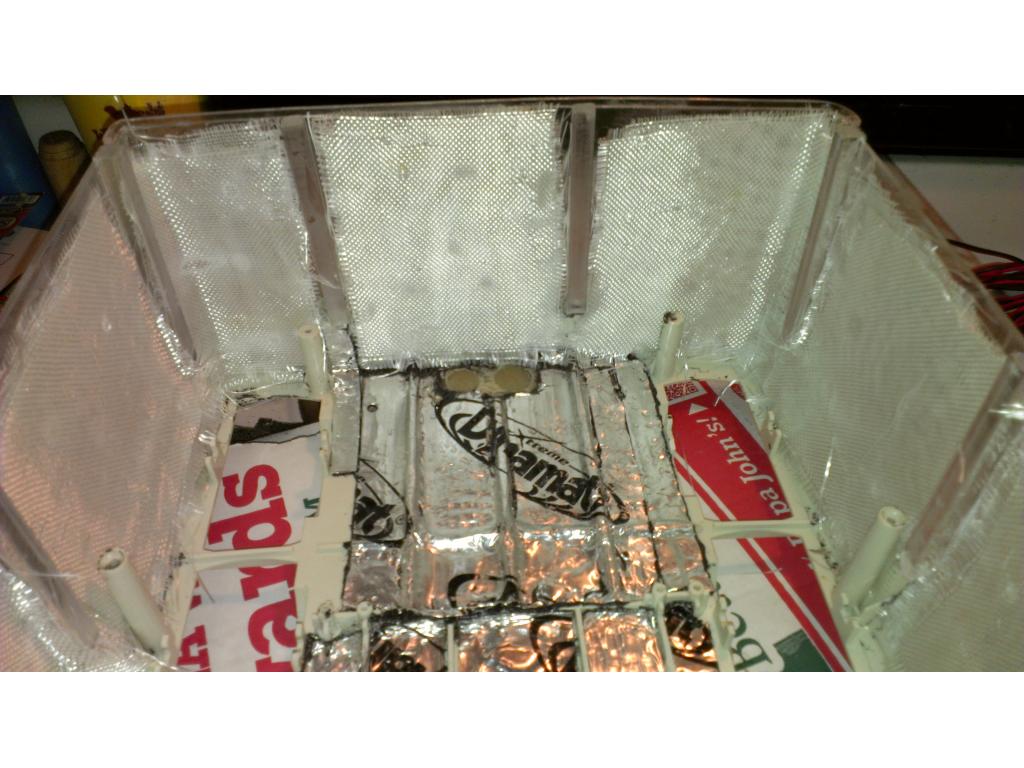
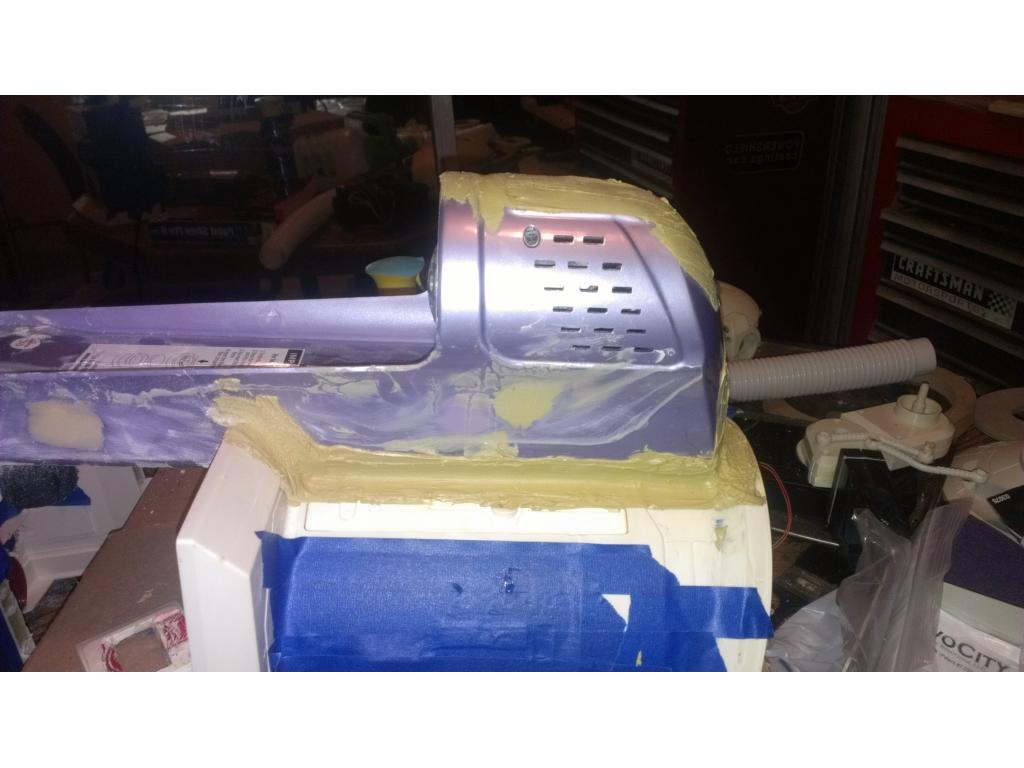
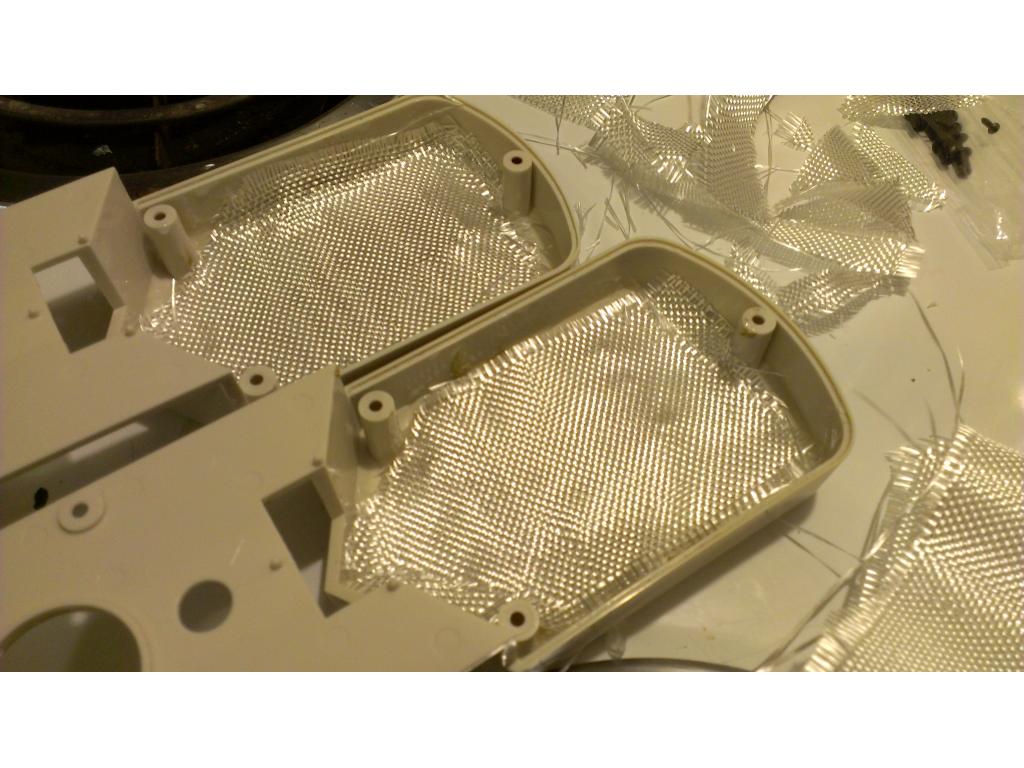
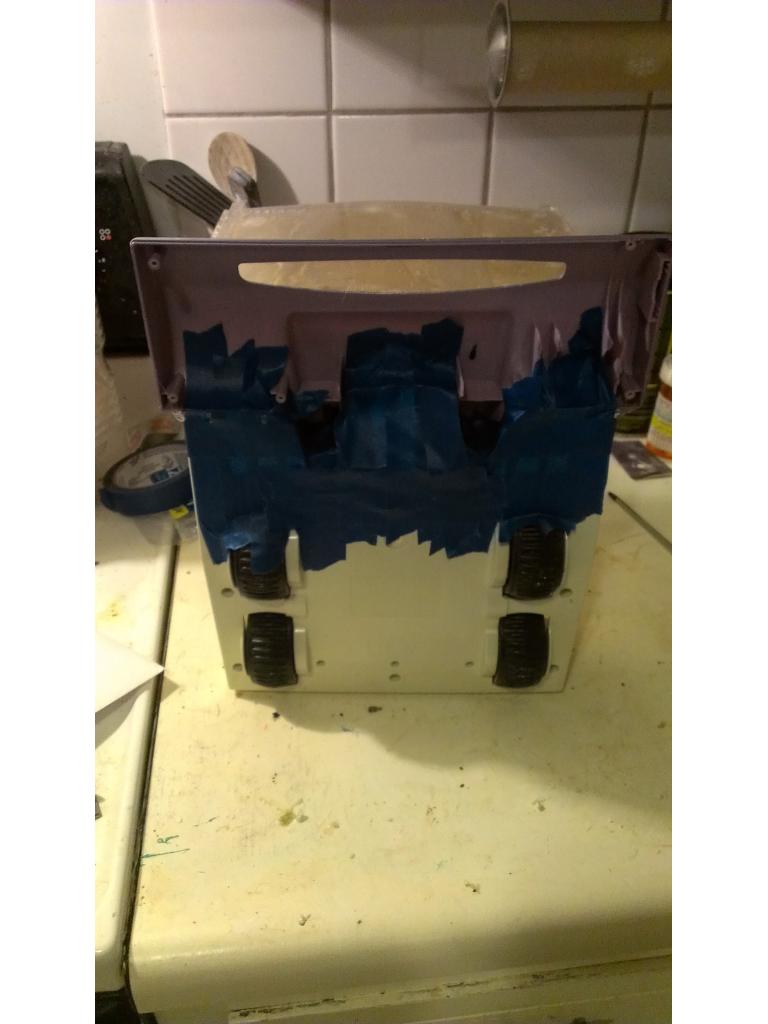
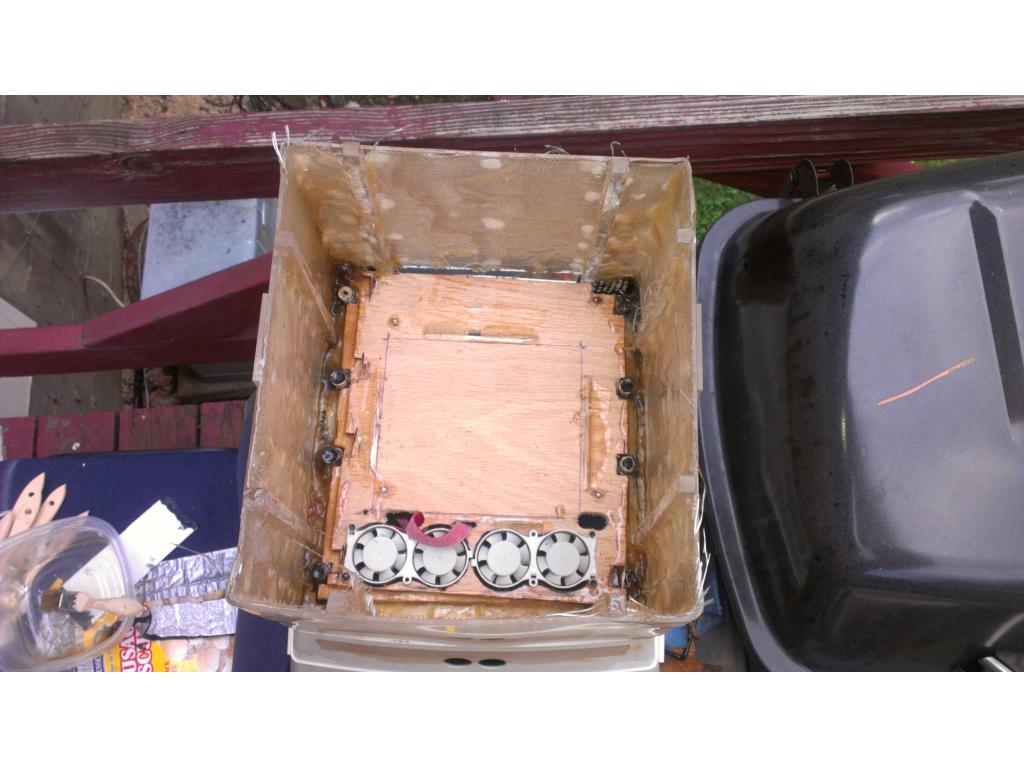
dont you have it fiberglass, and have a standoff in the center
Josh,
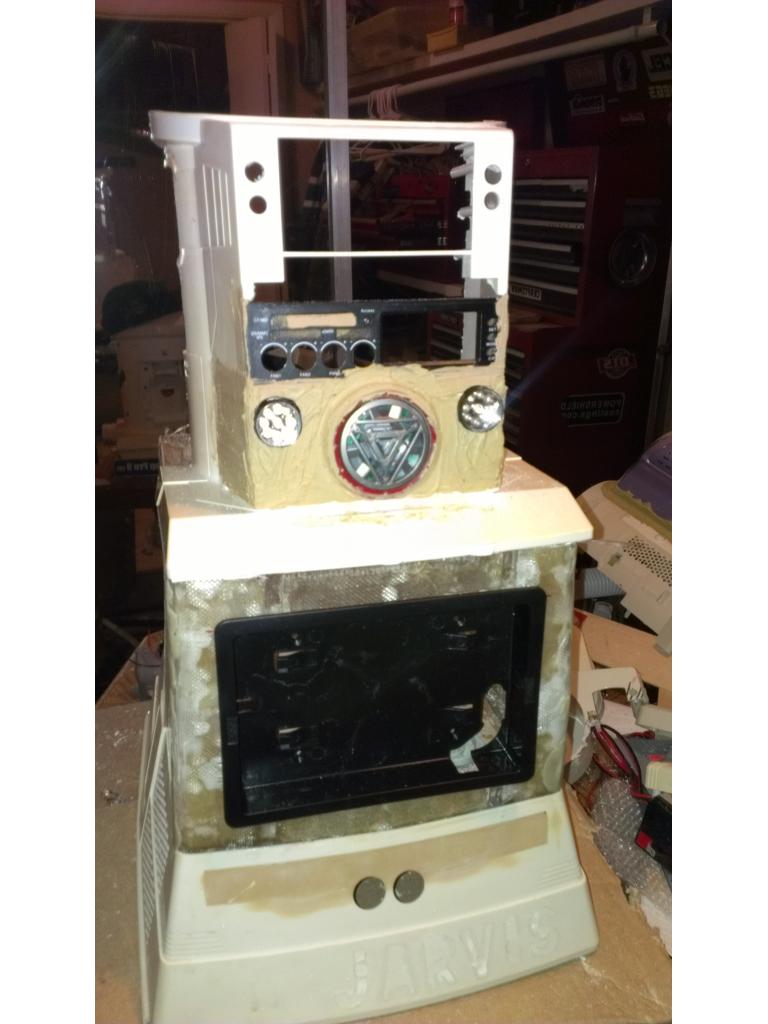
It look awesome....
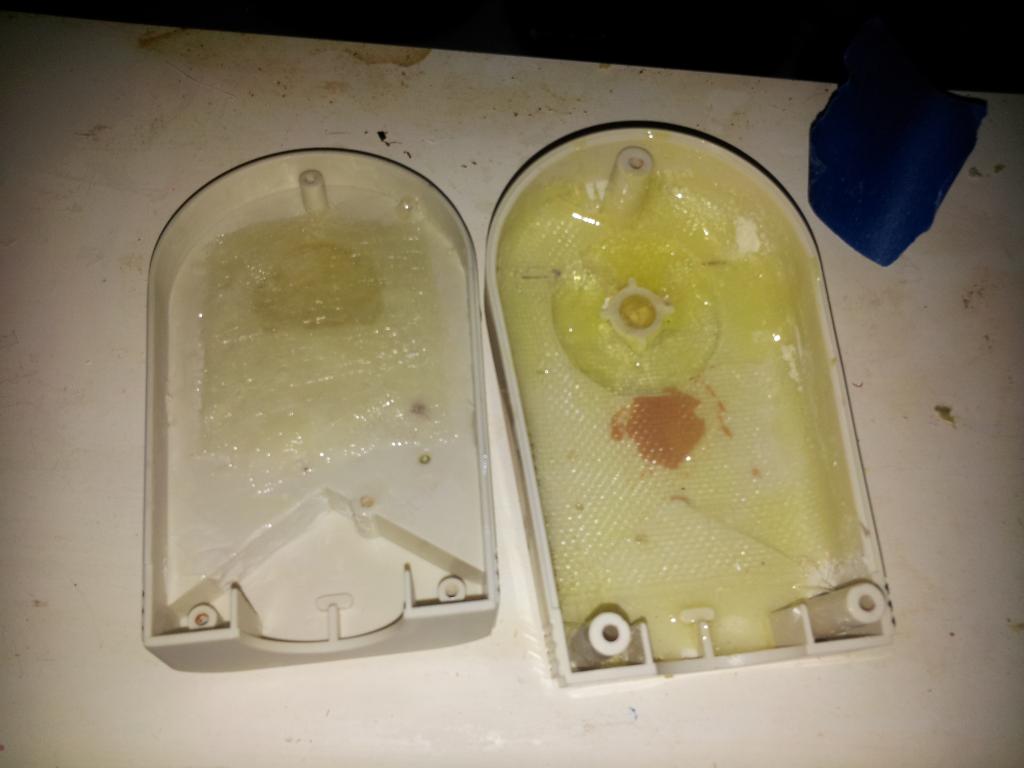
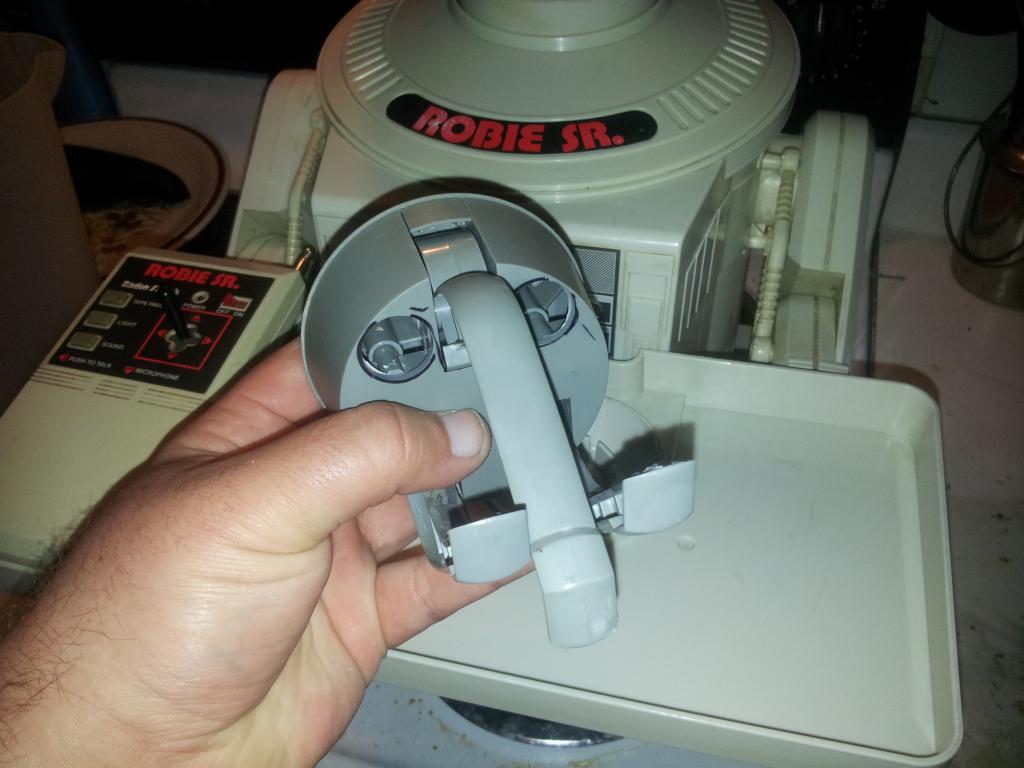
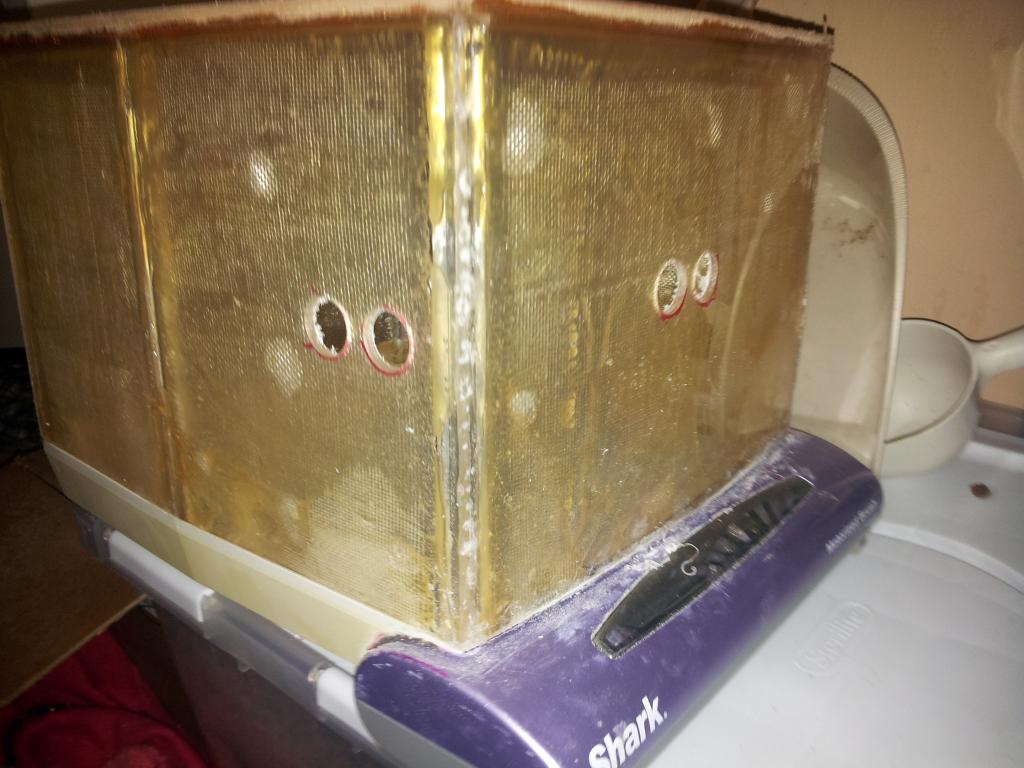
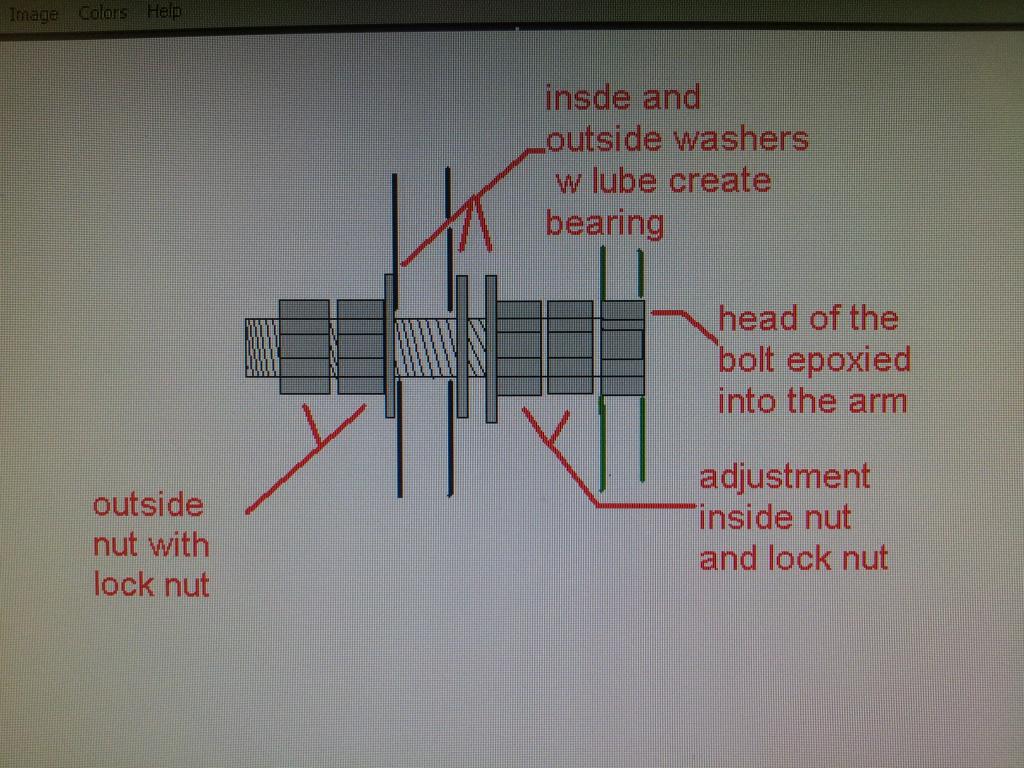
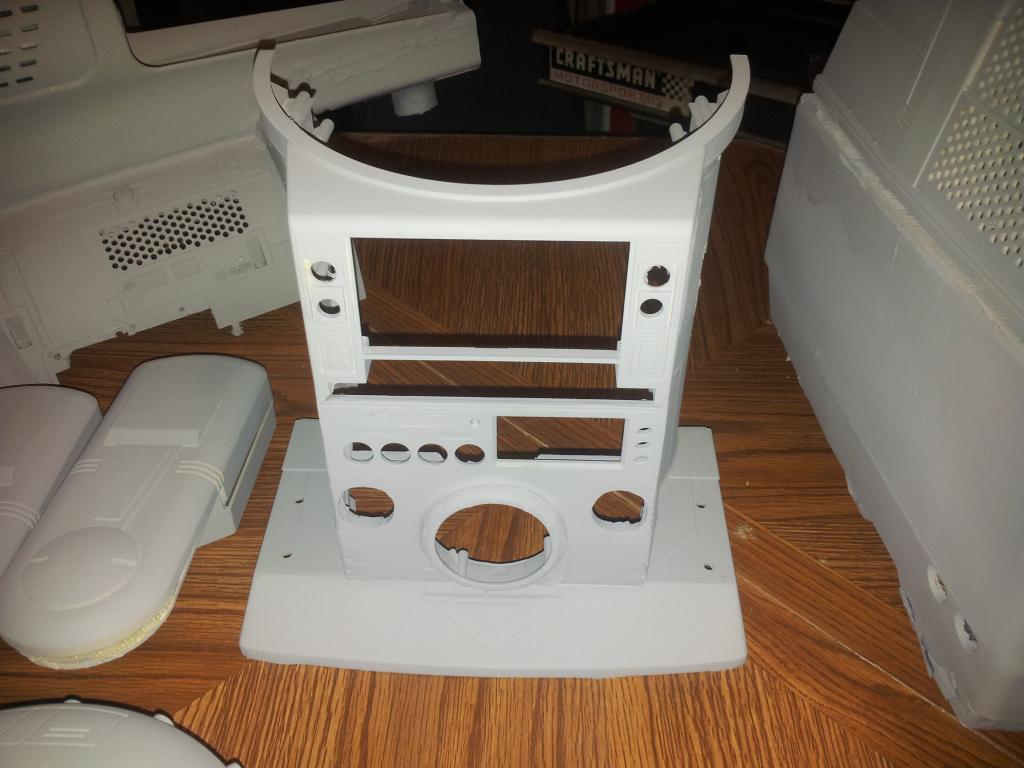
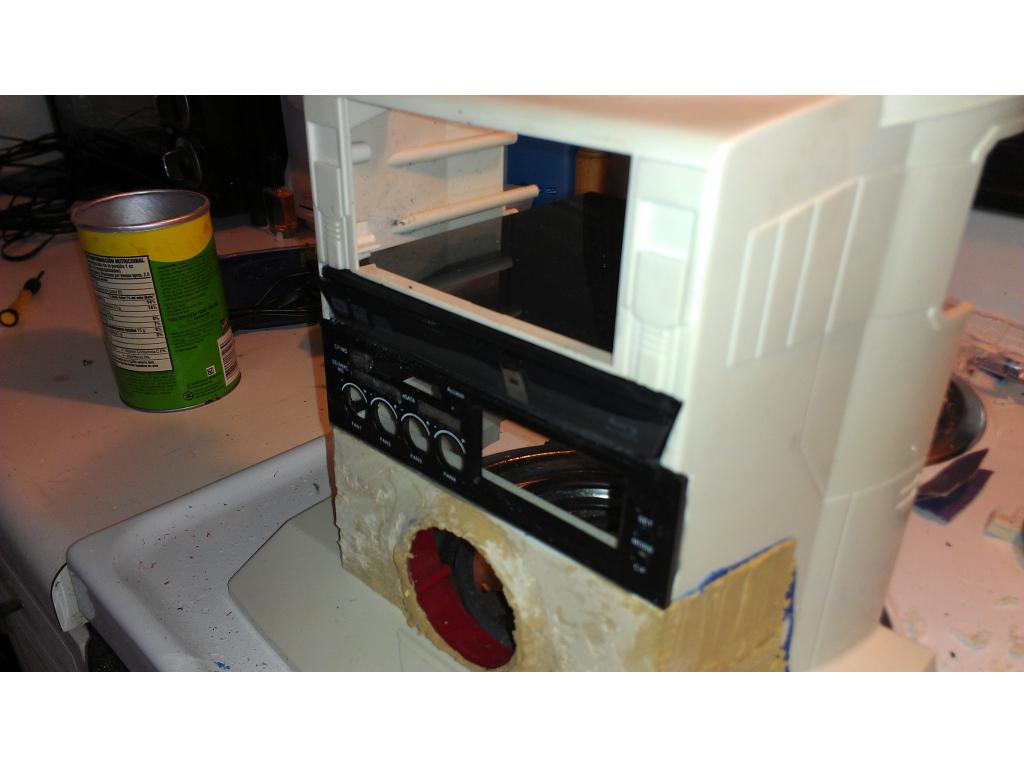
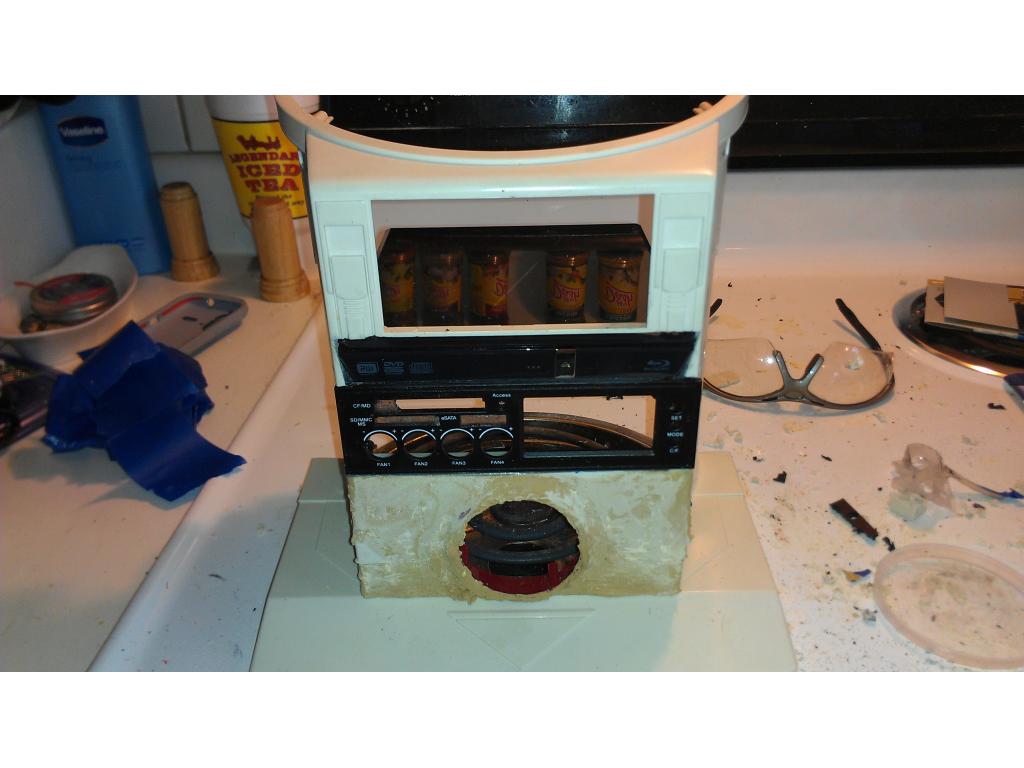
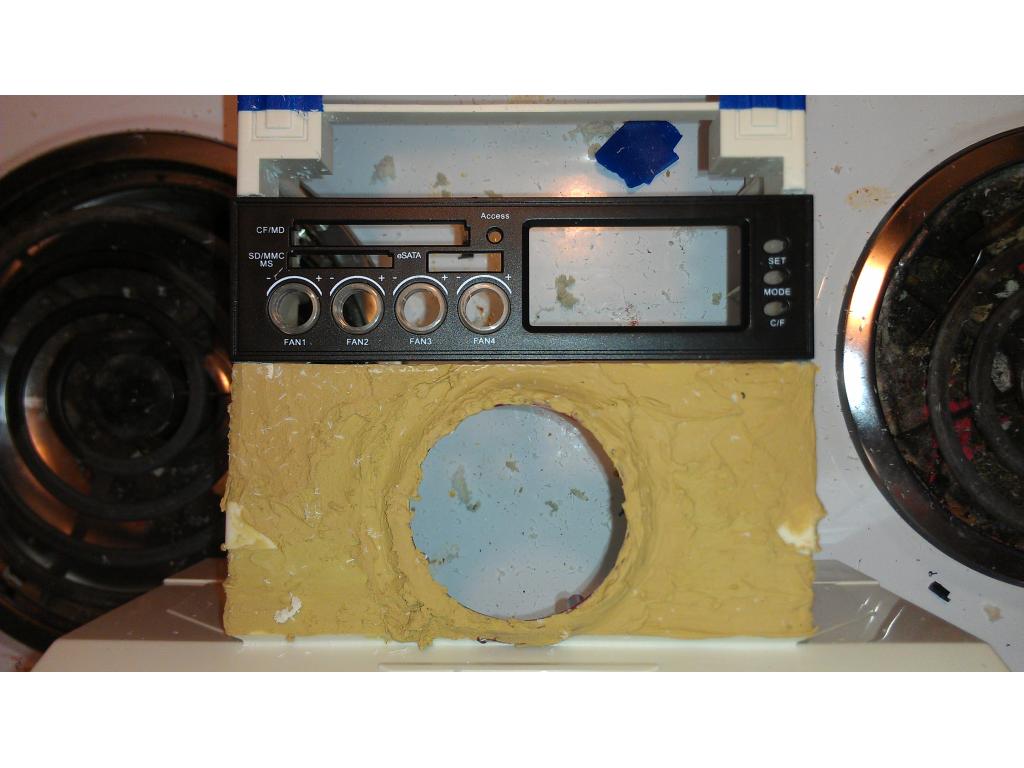
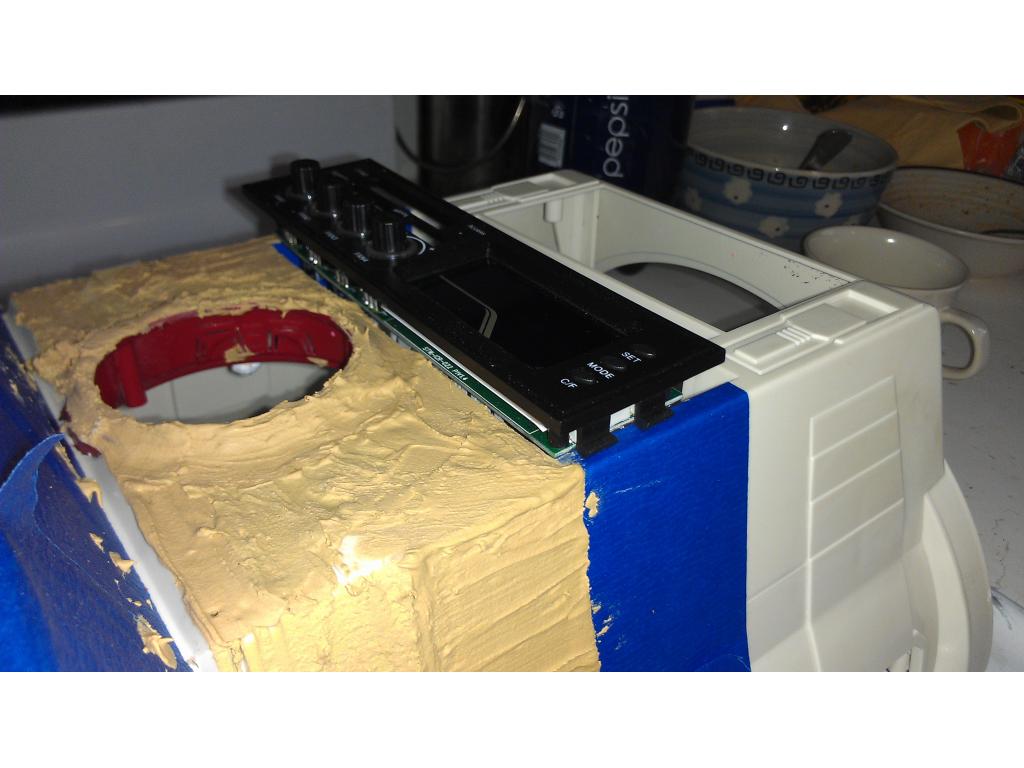
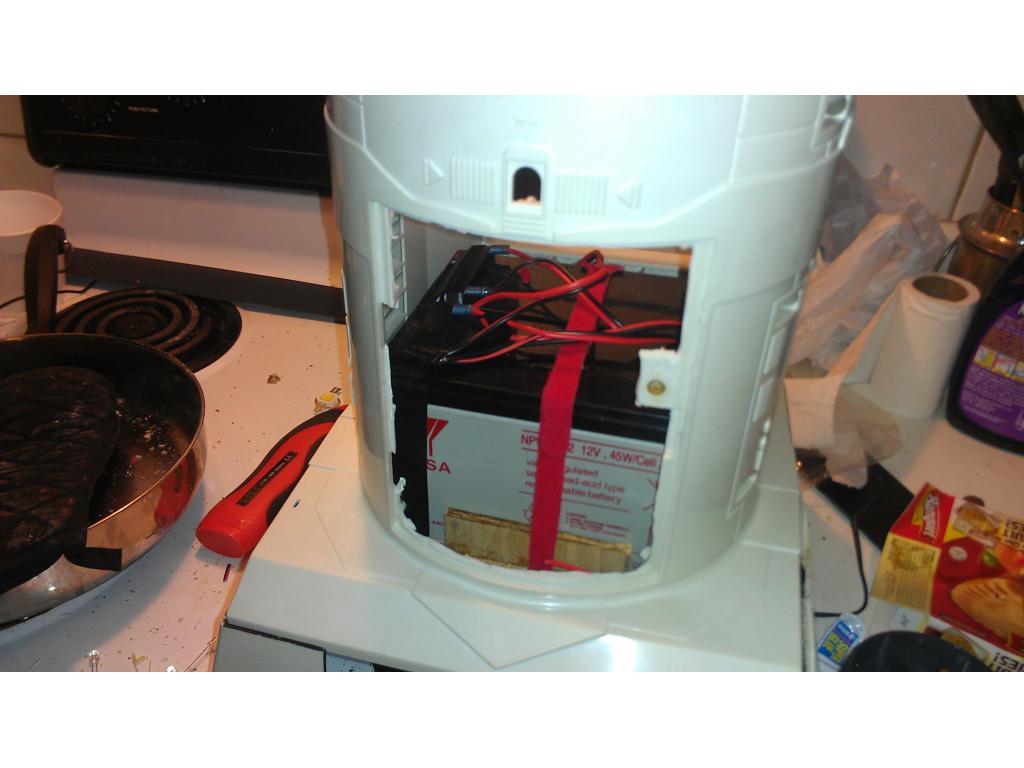
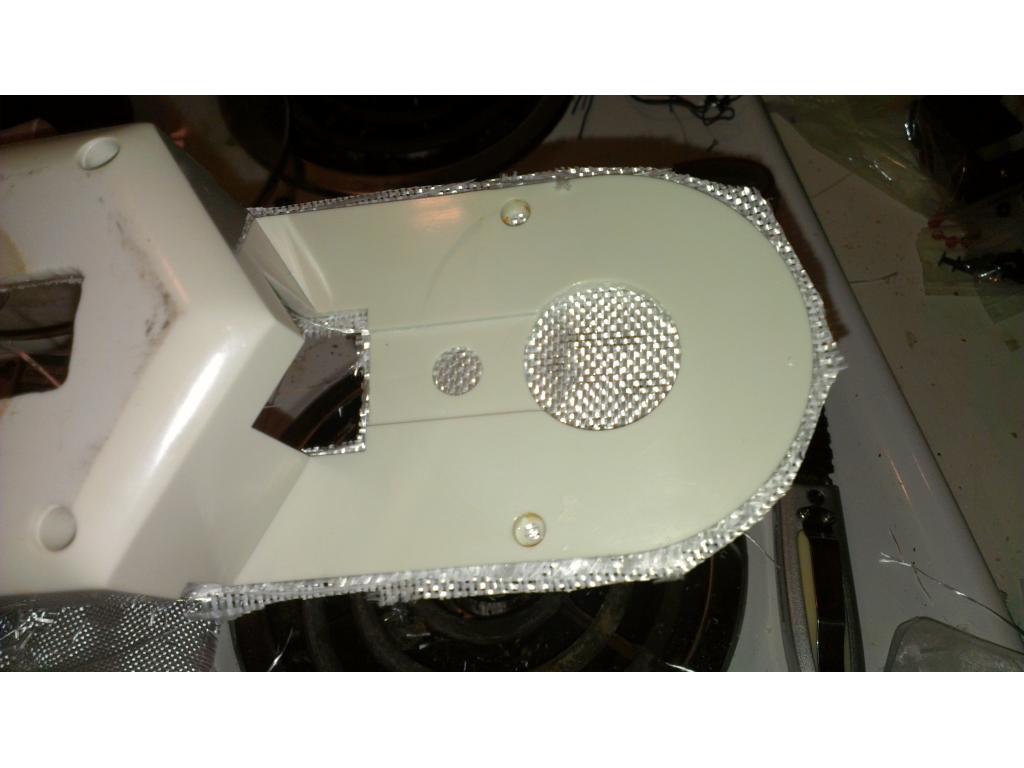
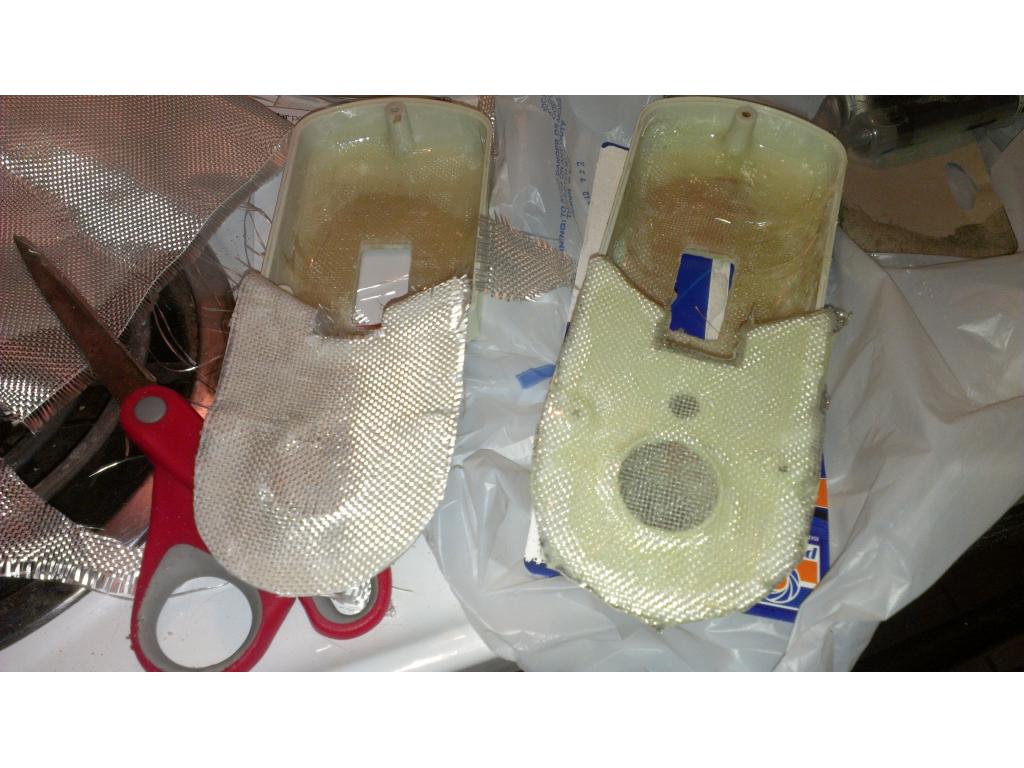
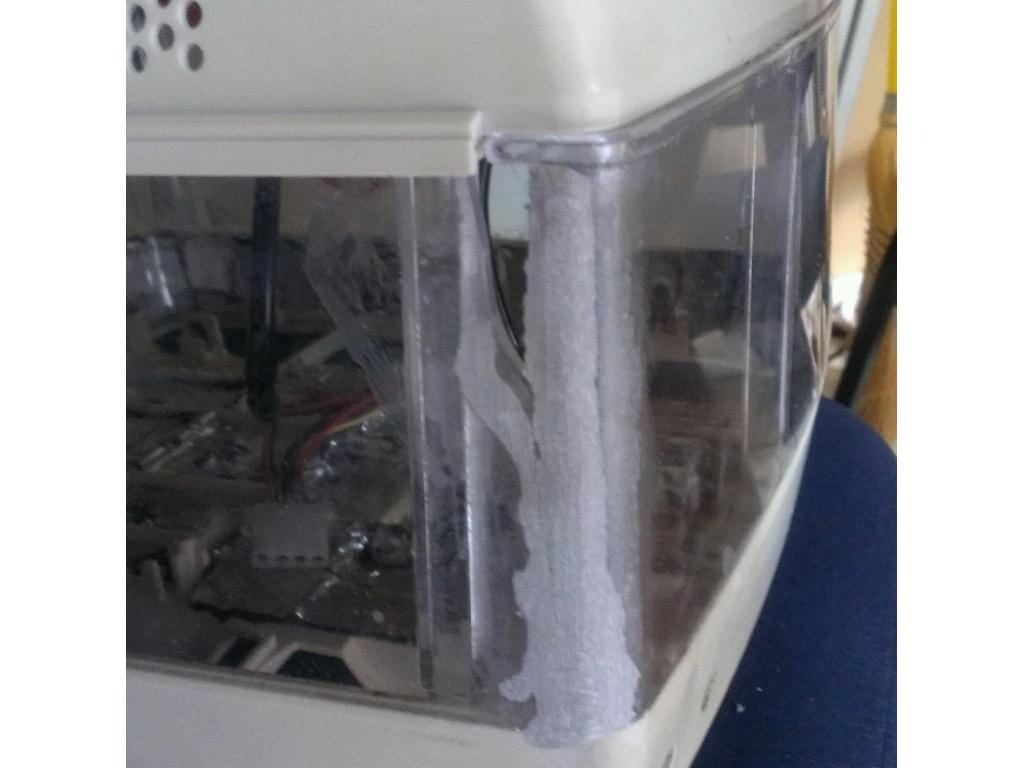
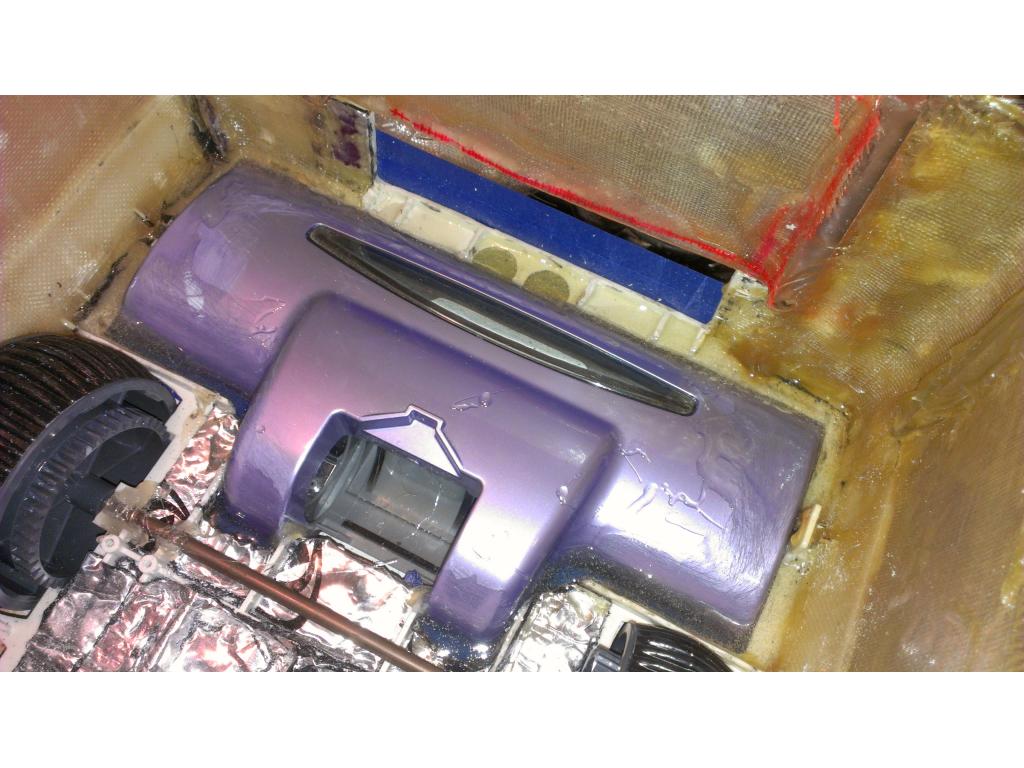
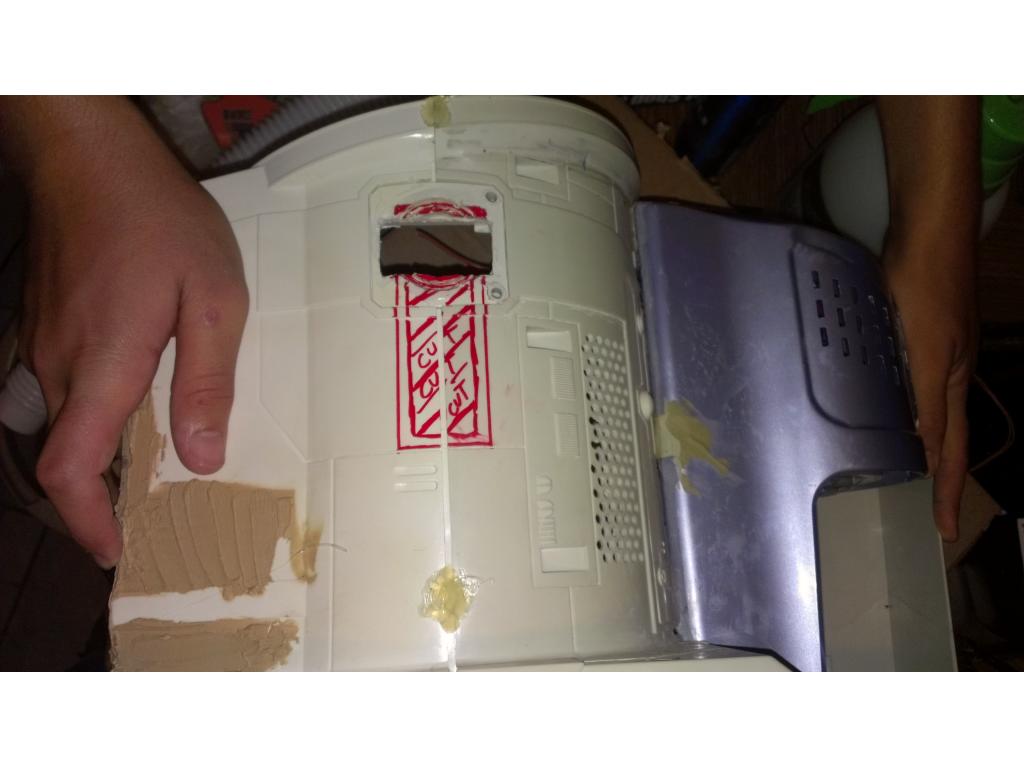
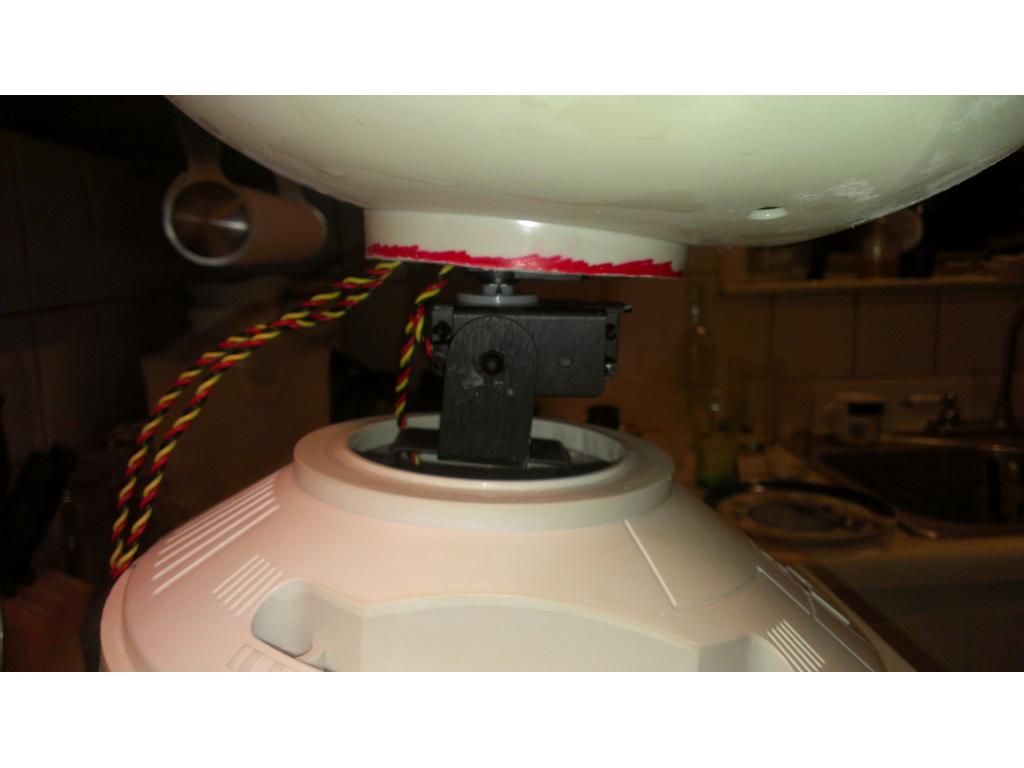
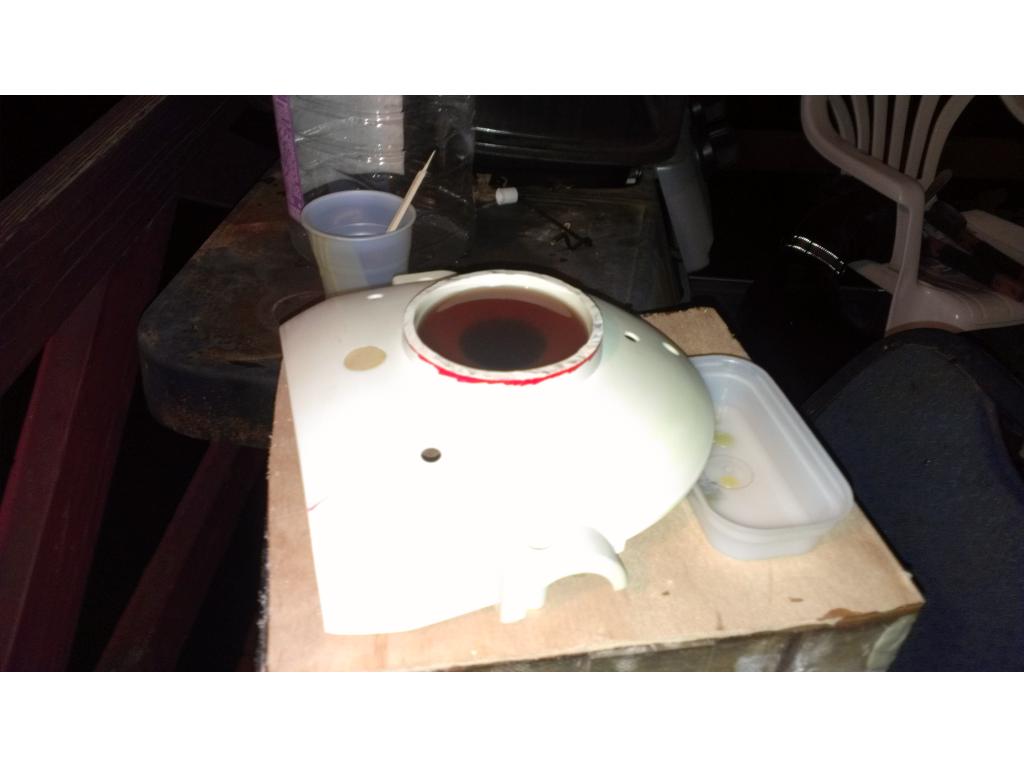
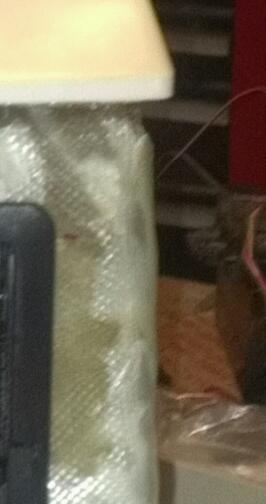
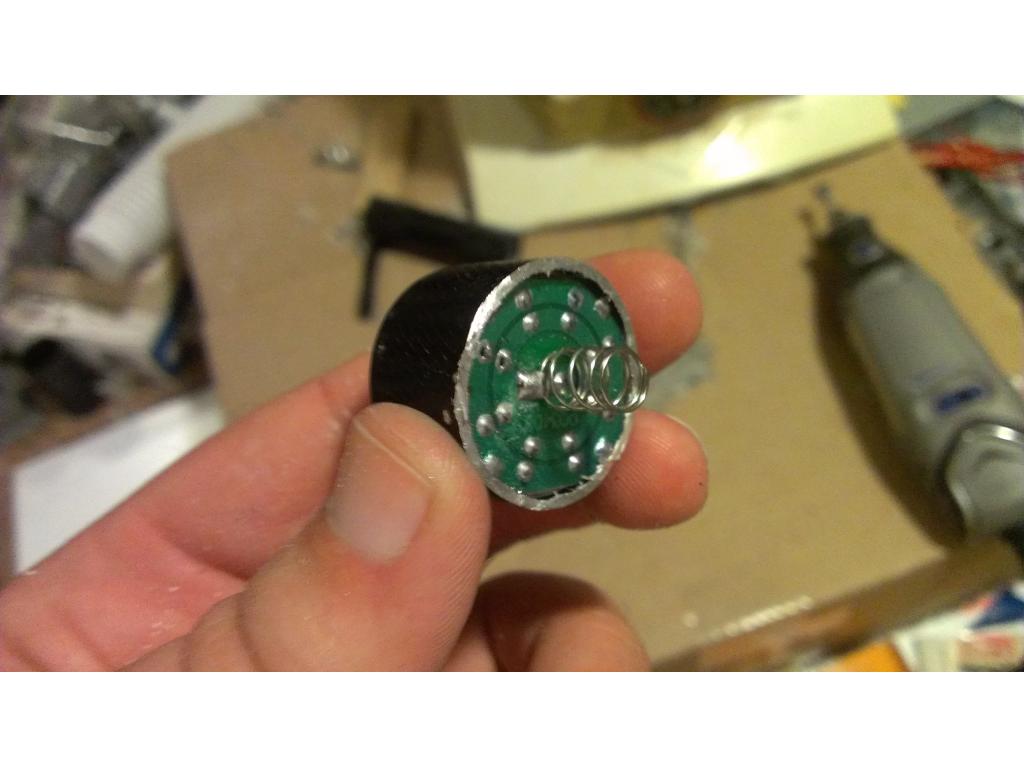
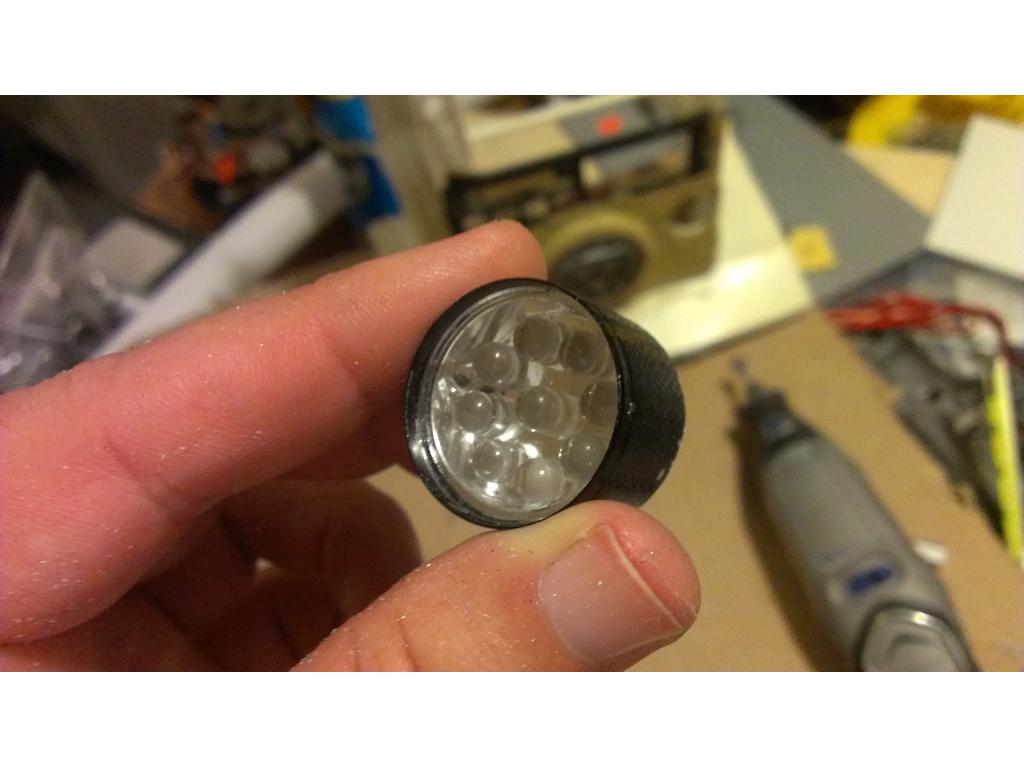
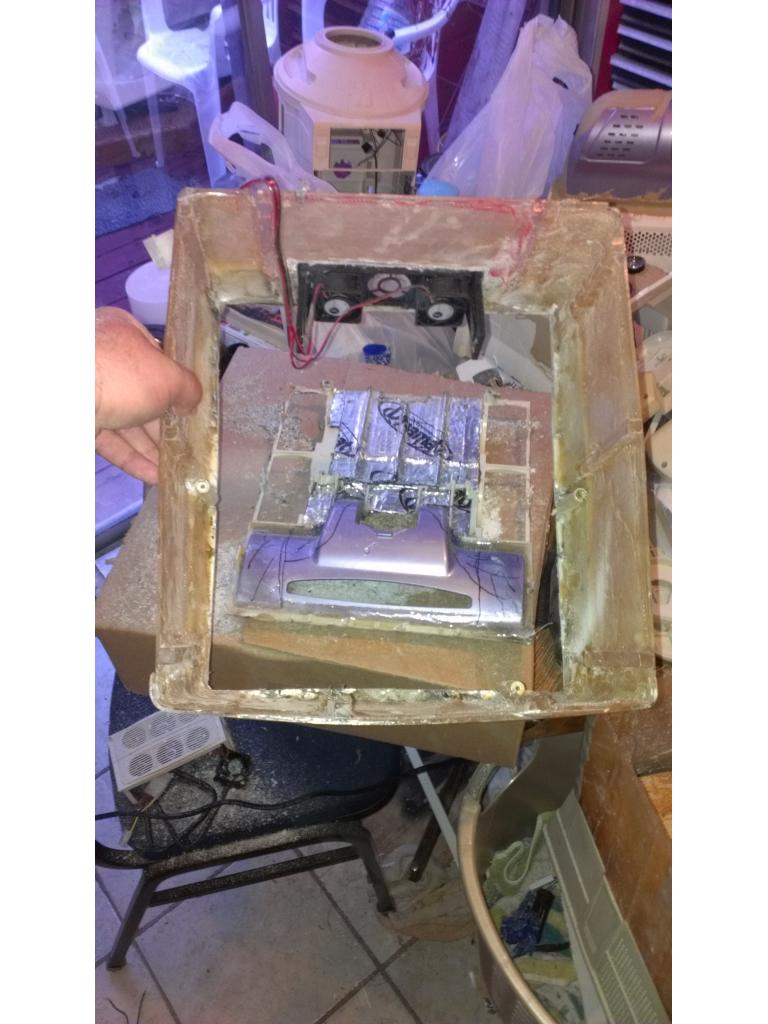
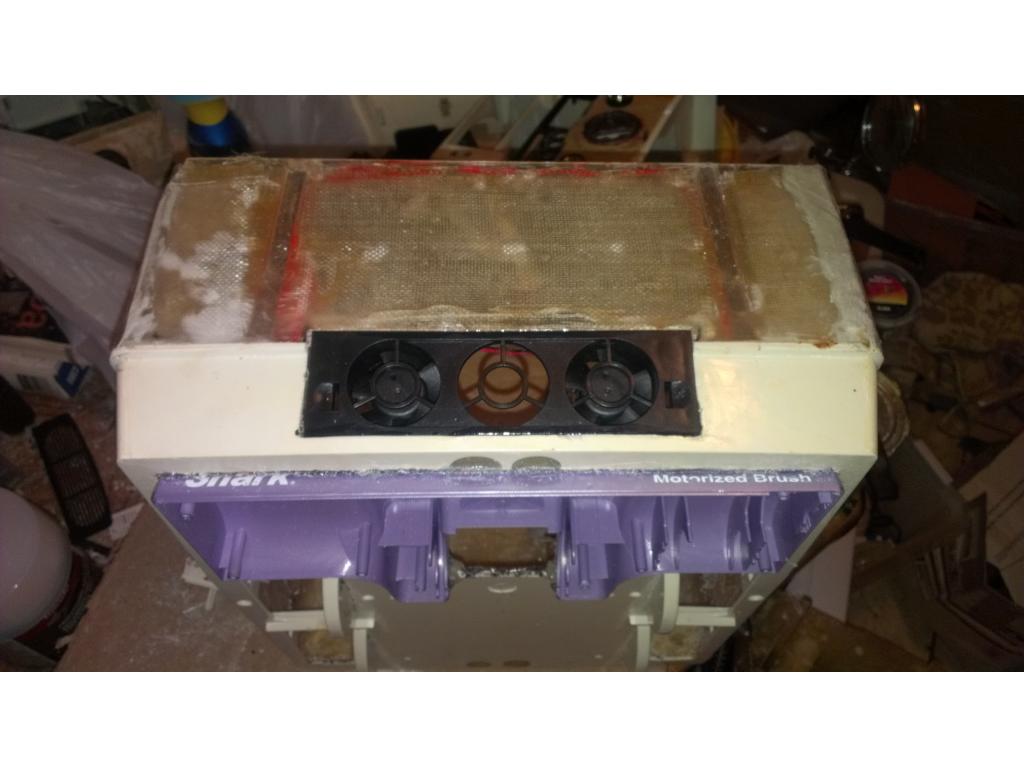
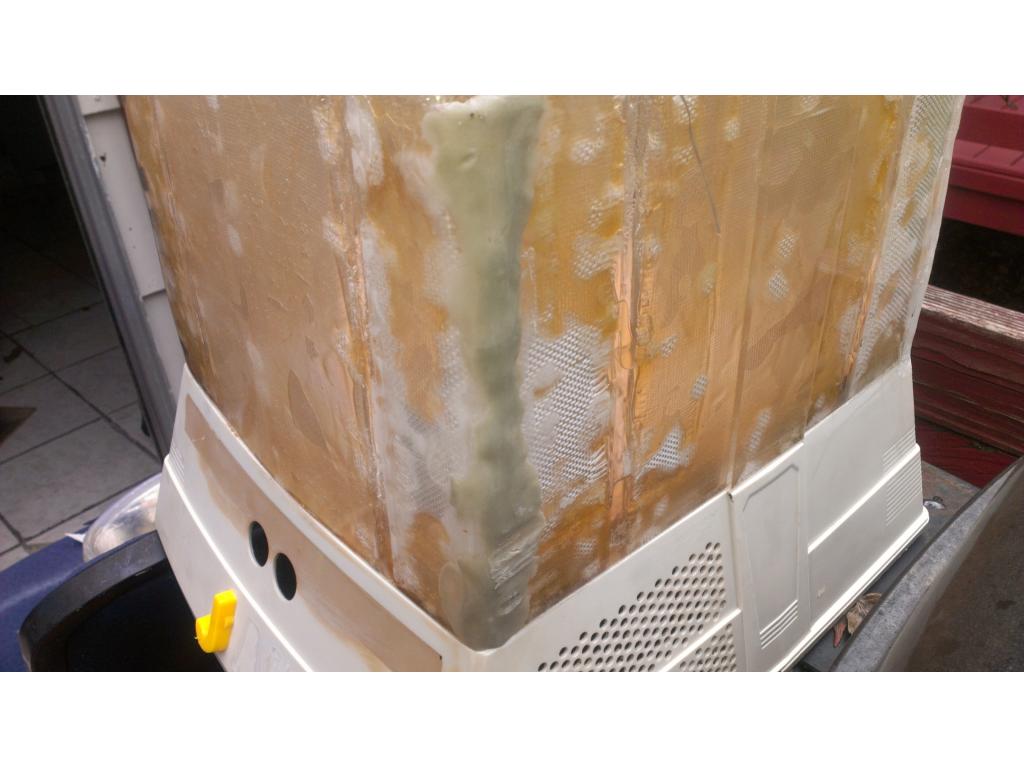
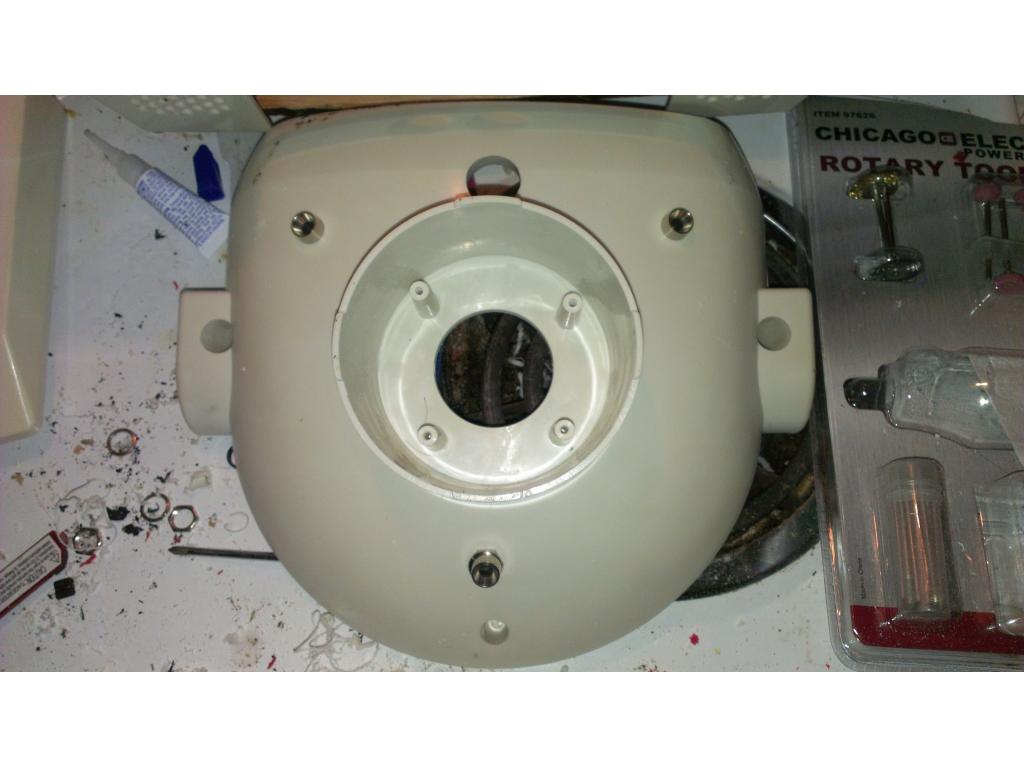
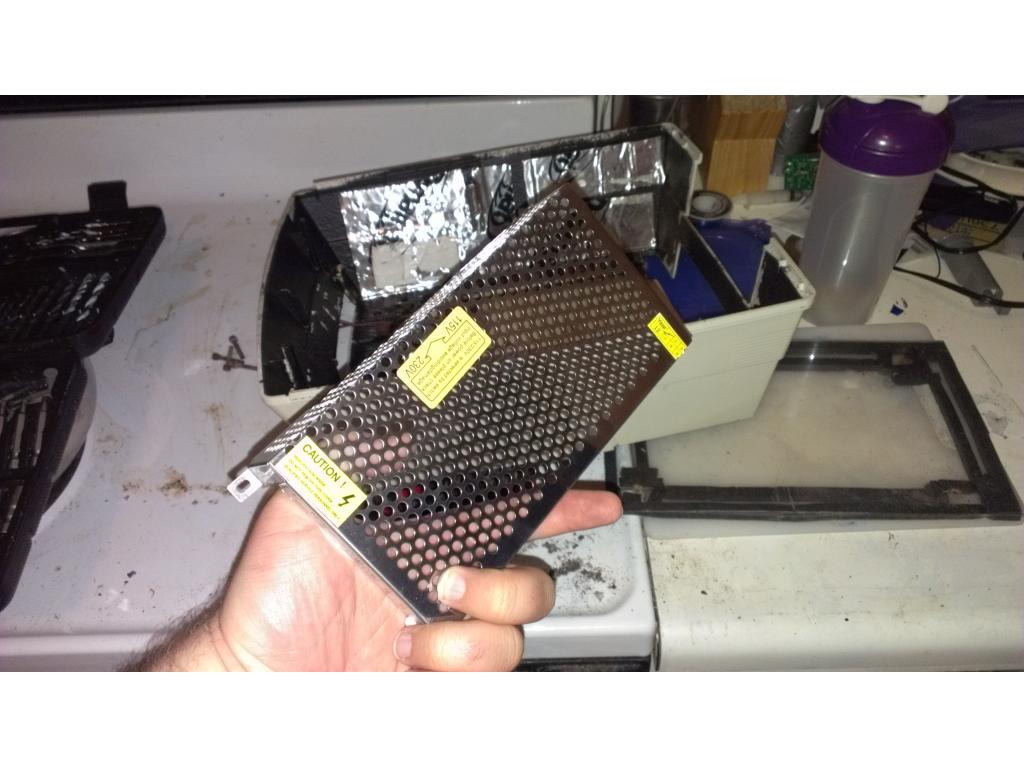
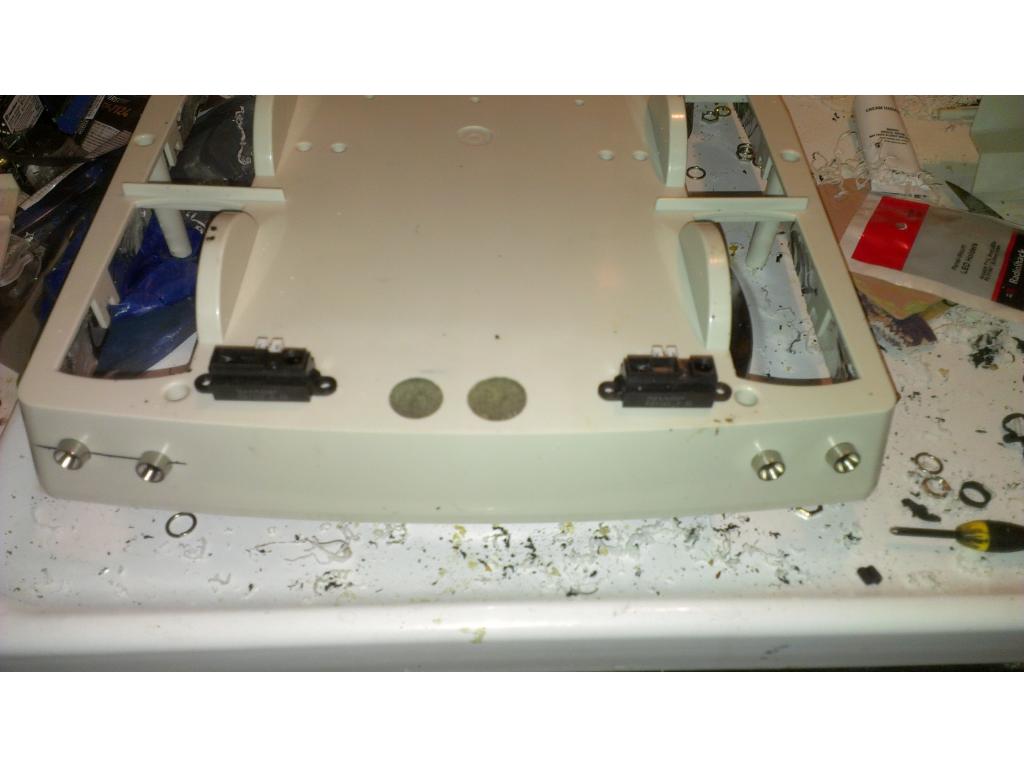
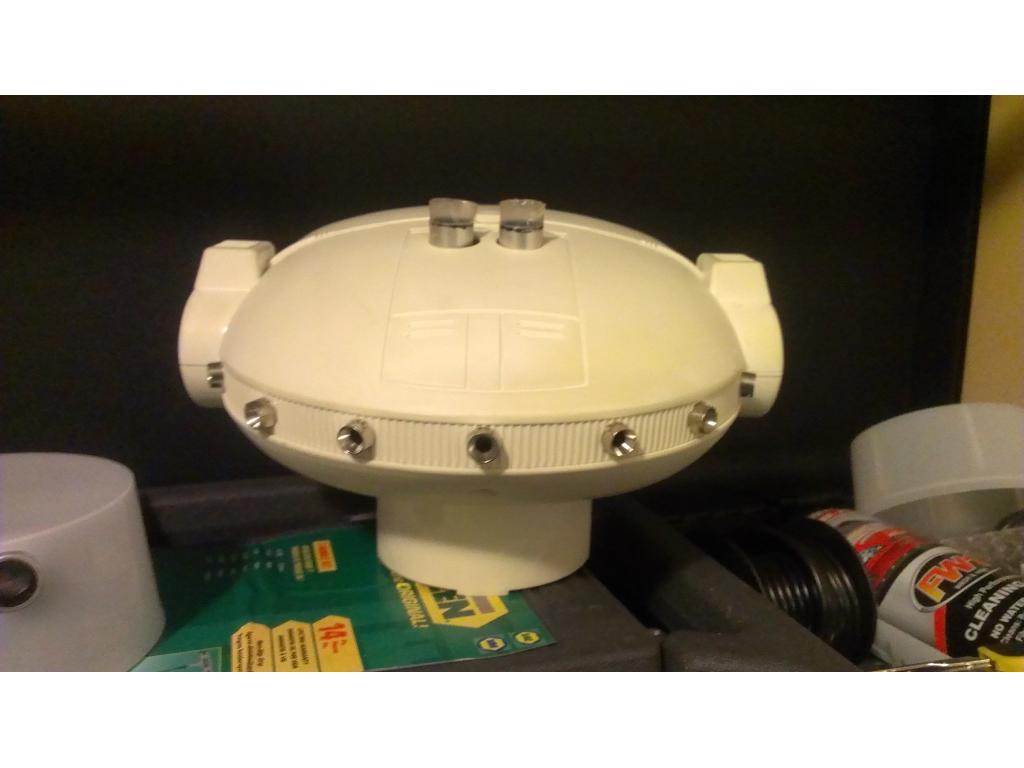
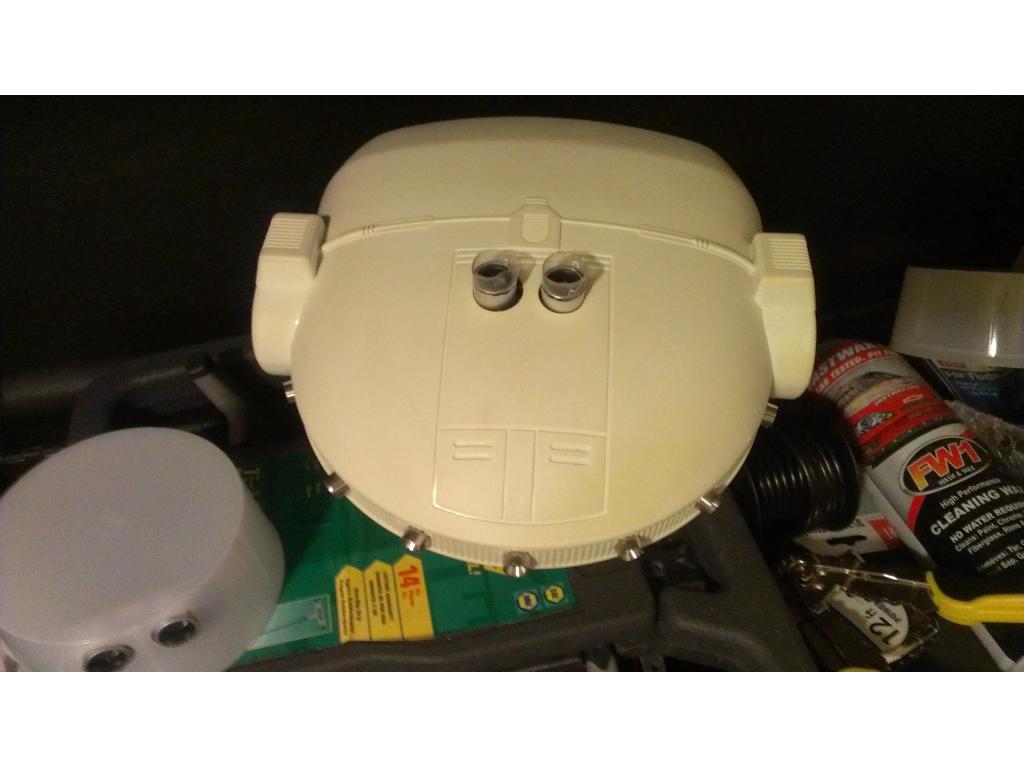
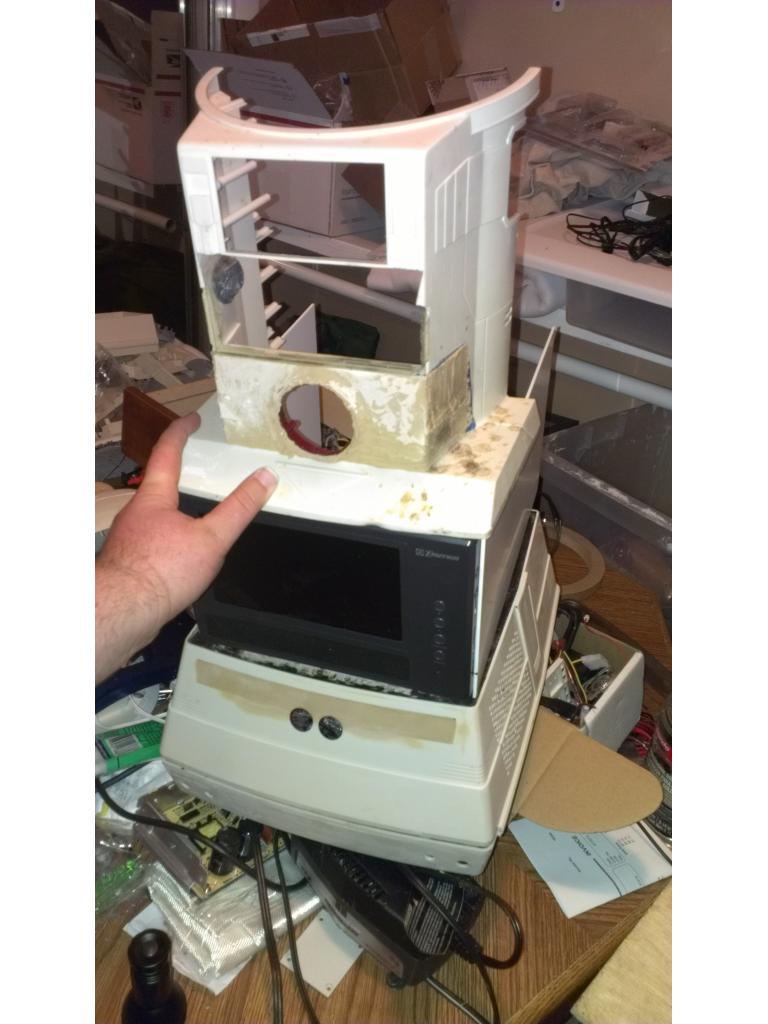
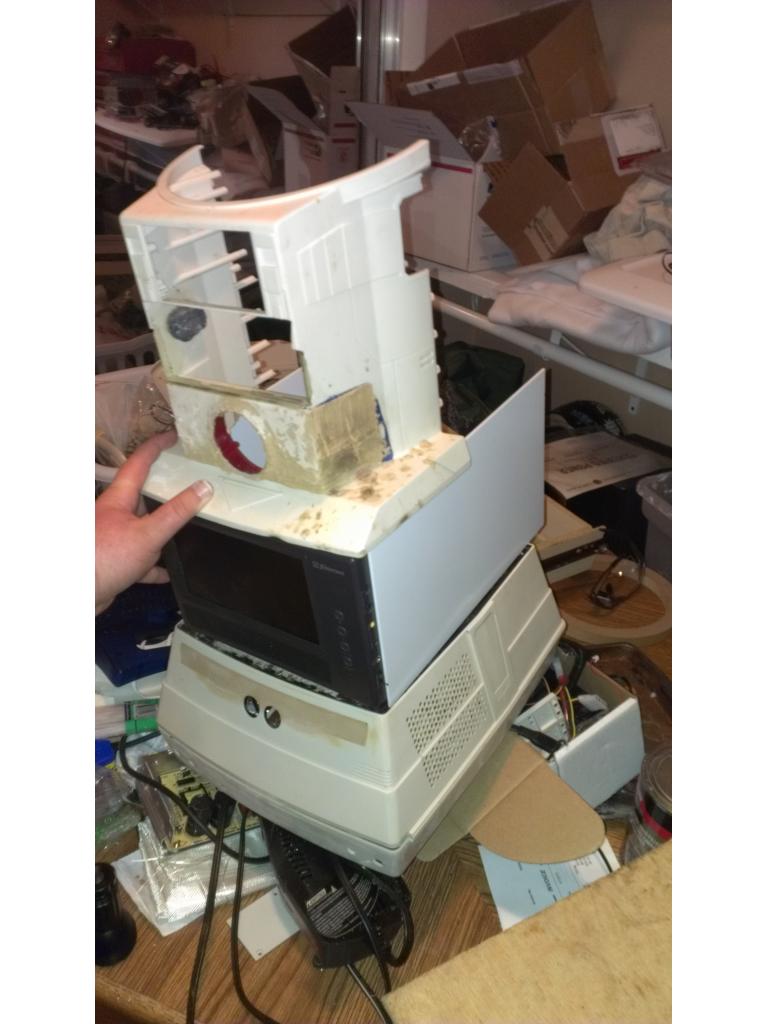
Yes it is fiberglassed , its difficult to explain but the back half of the torso will also be attatched to the back of the riser . I will be able to unscrew the back half and it comes off to expose everything. I planned on using all Allen screws. Anyways I will do some more work today.
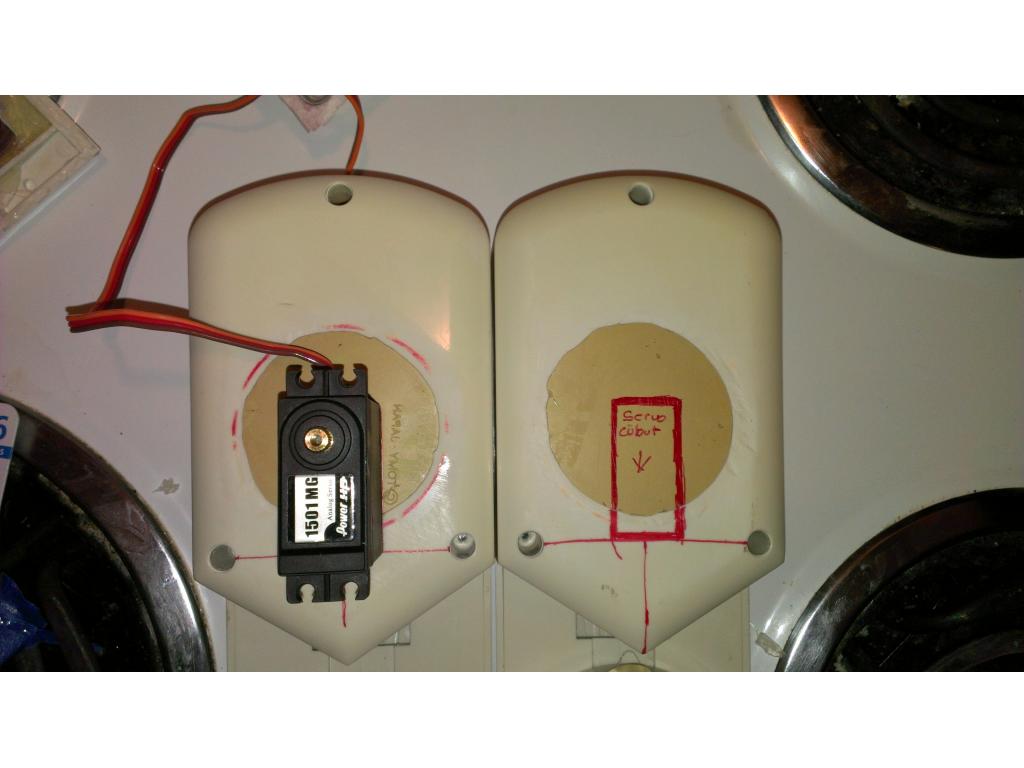
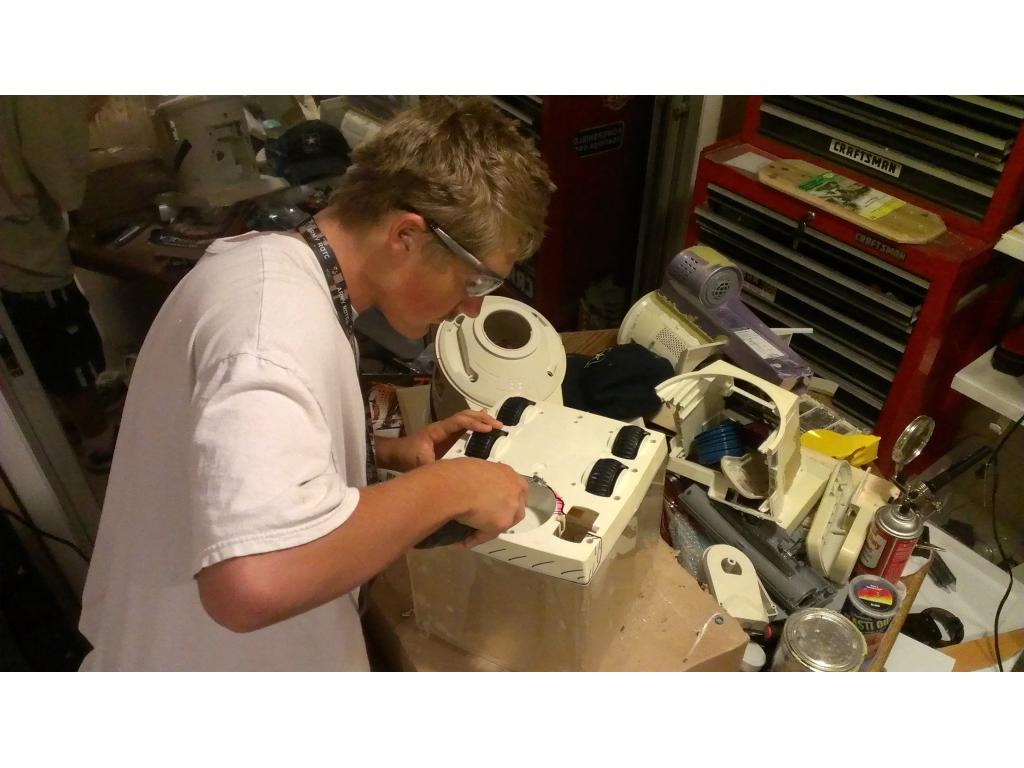
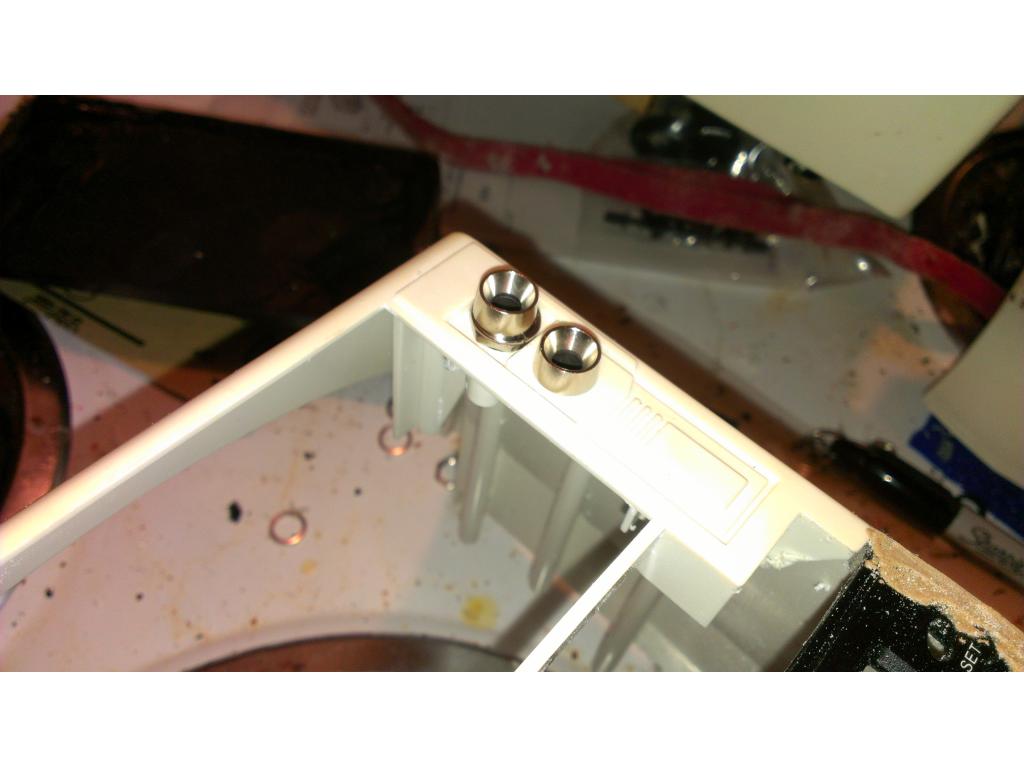
thats mostly my favorate type of screws to use,about 90 % of my projects use them ,and it looks closer to a robot design ,then plain old flats or pan screws,my favorate tool ,besides my dremel is my complete set of tap and die
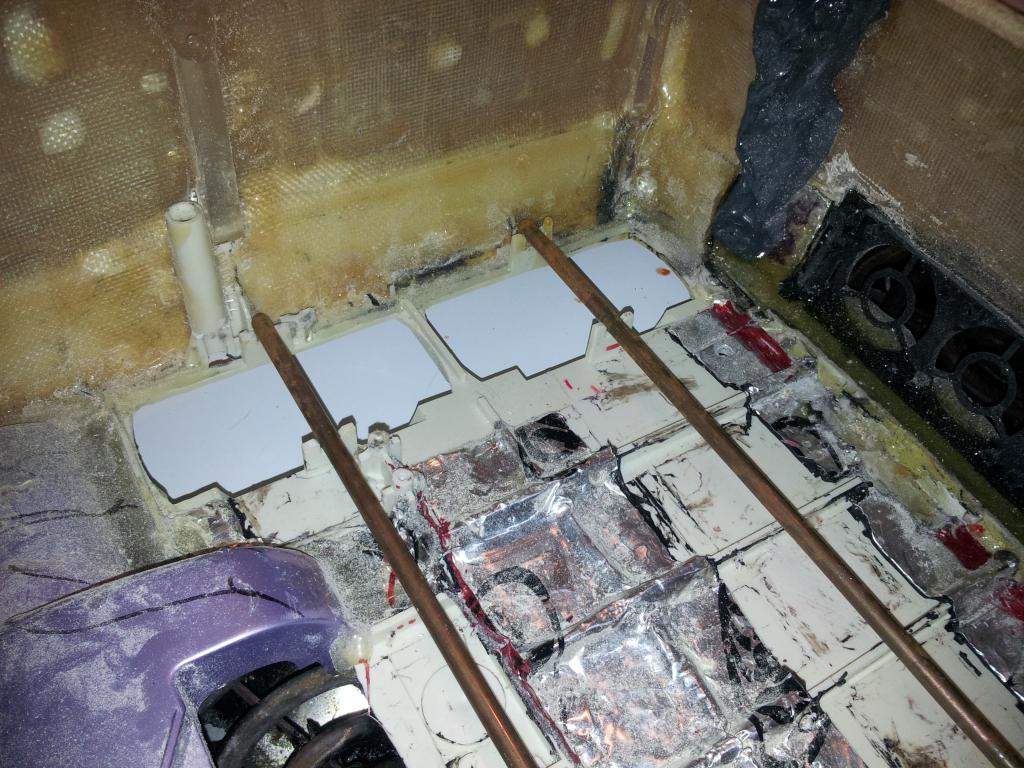
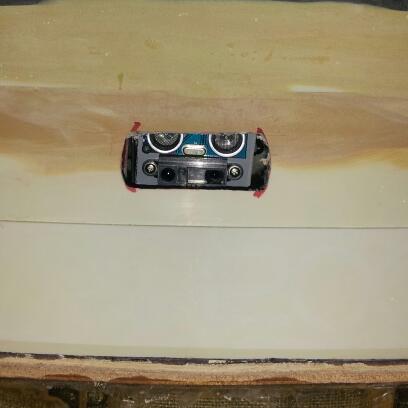
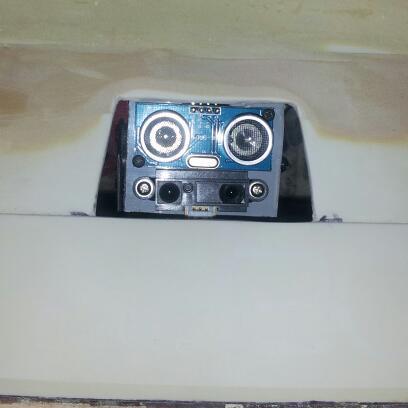
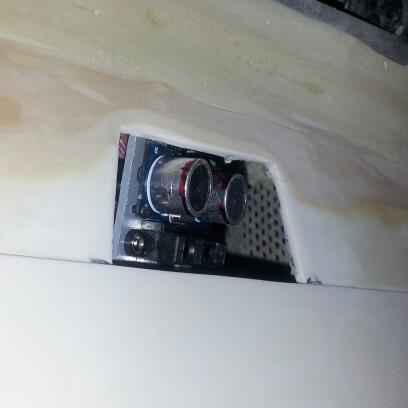
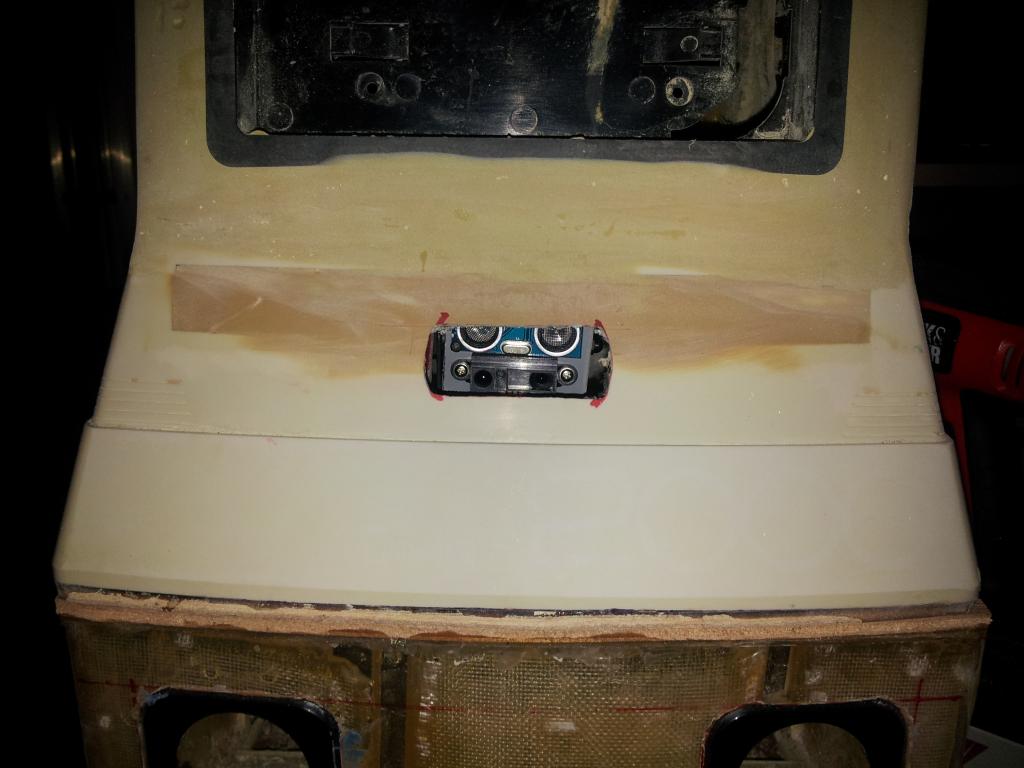
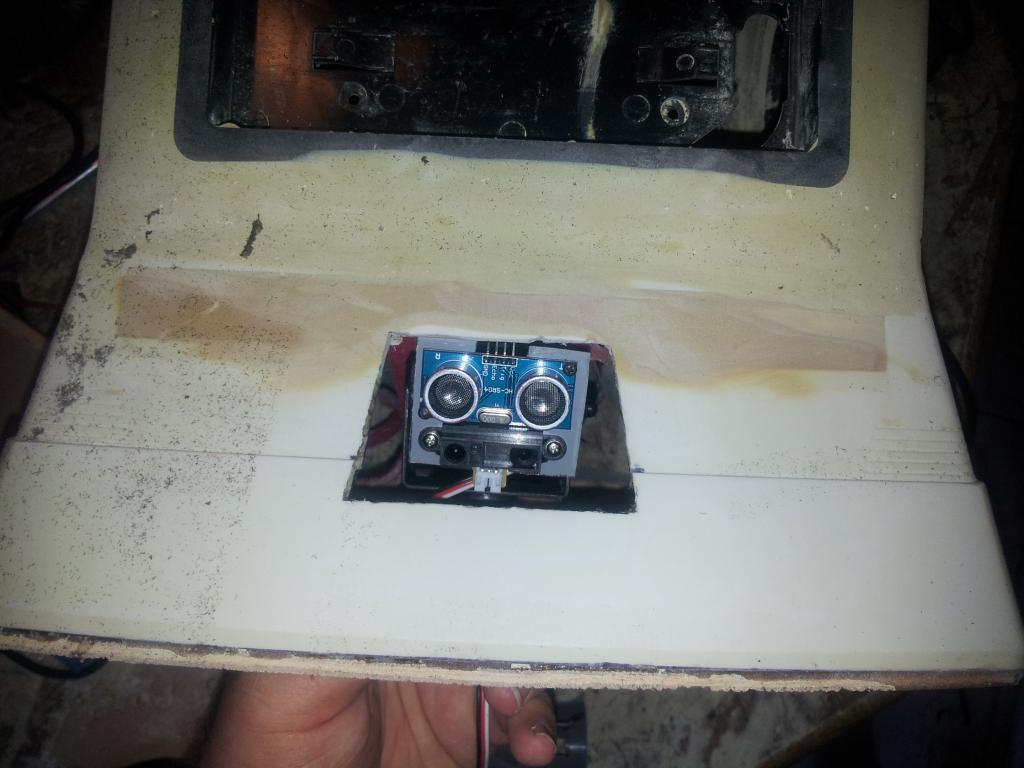
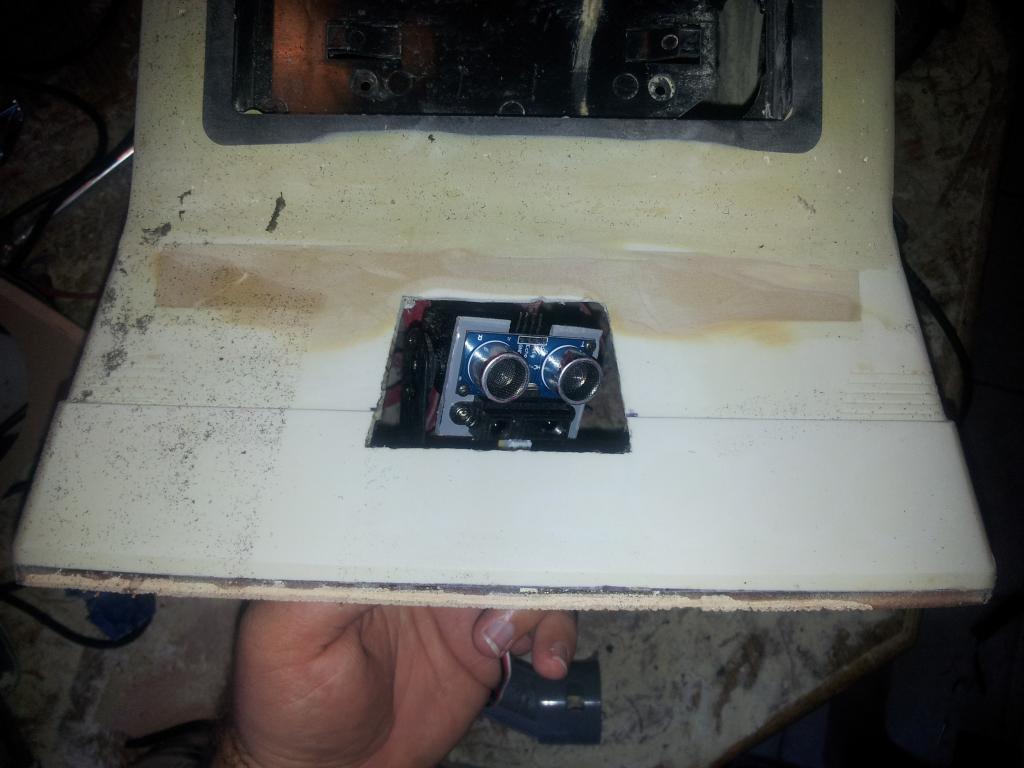
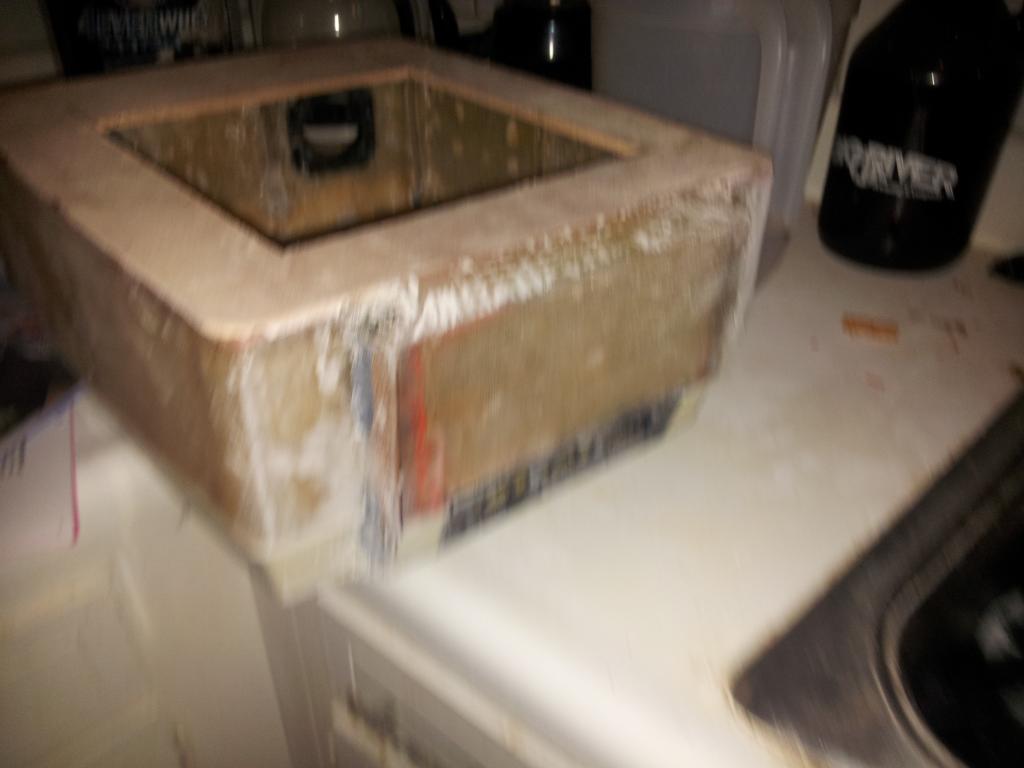
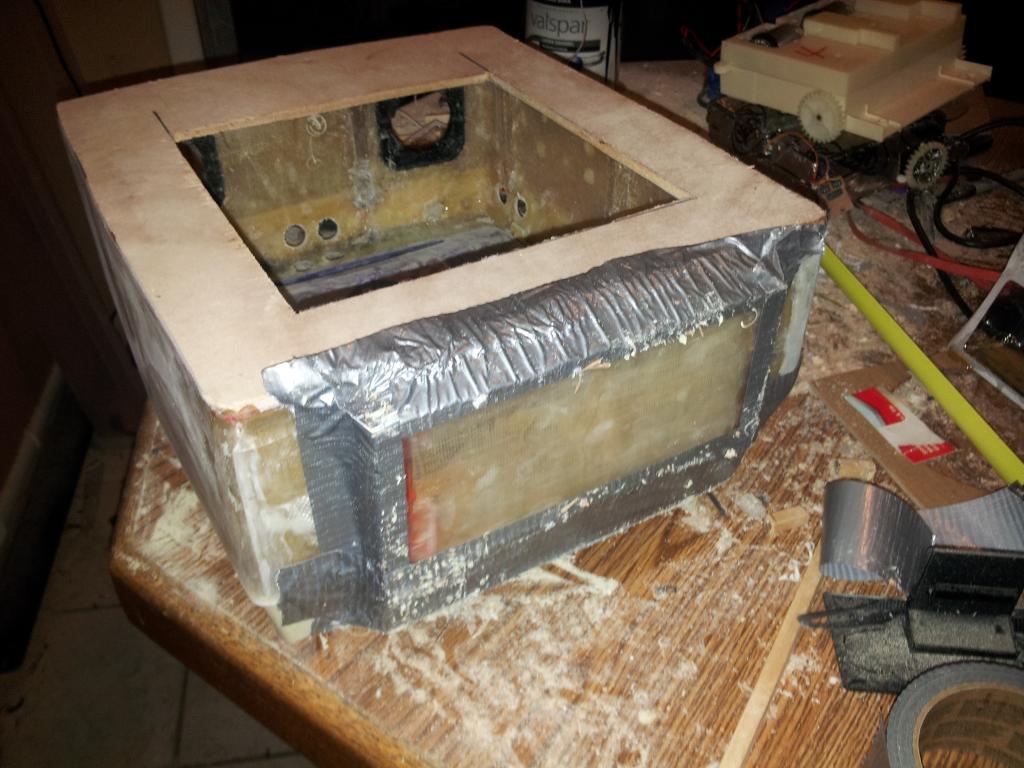
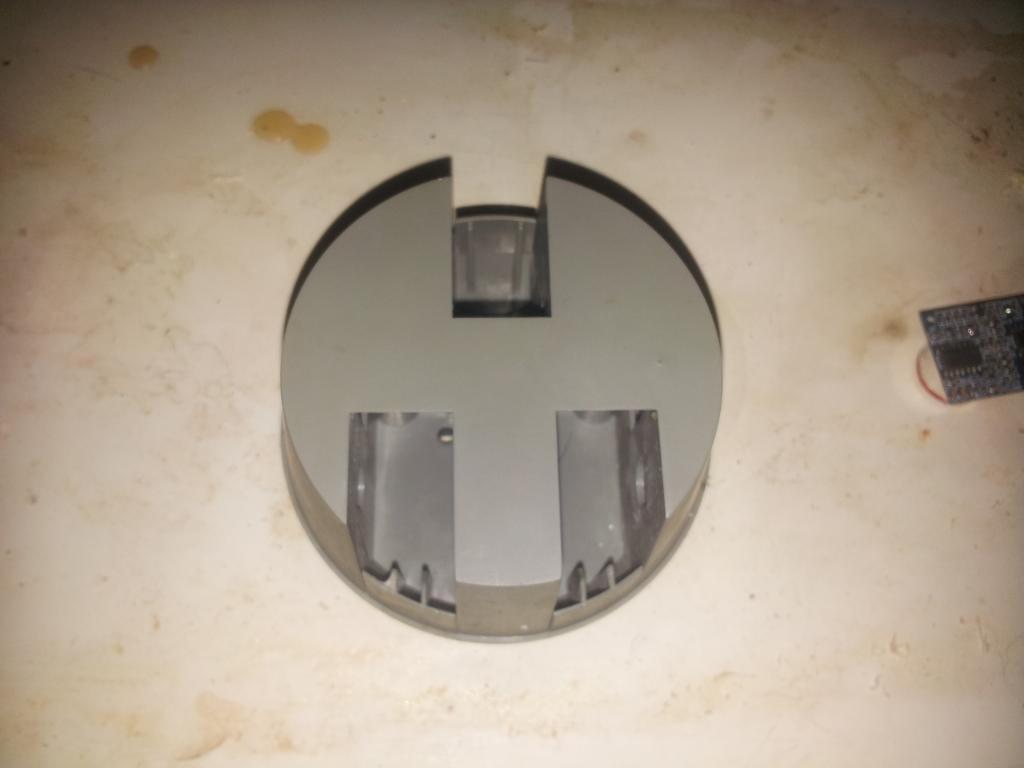
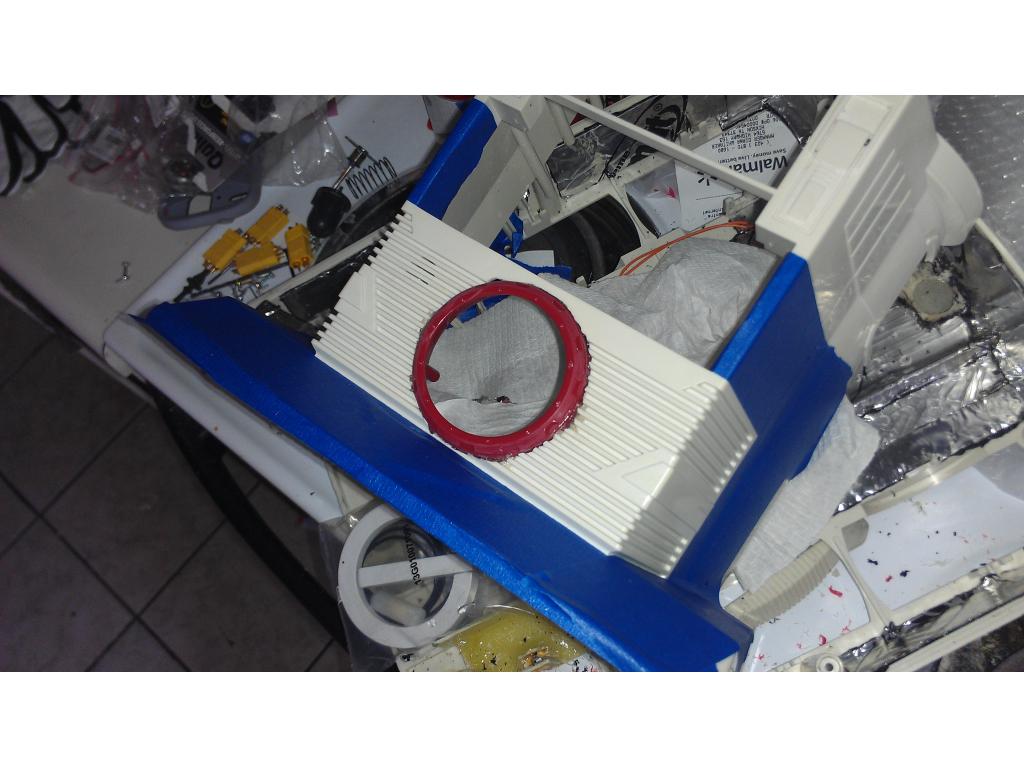
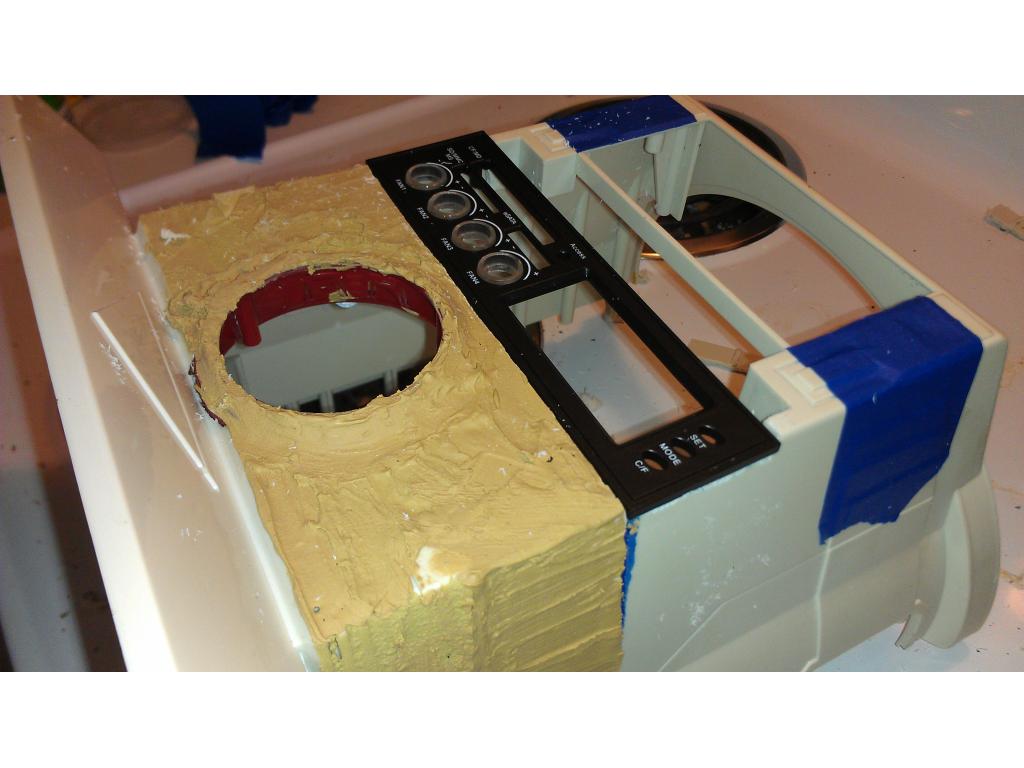
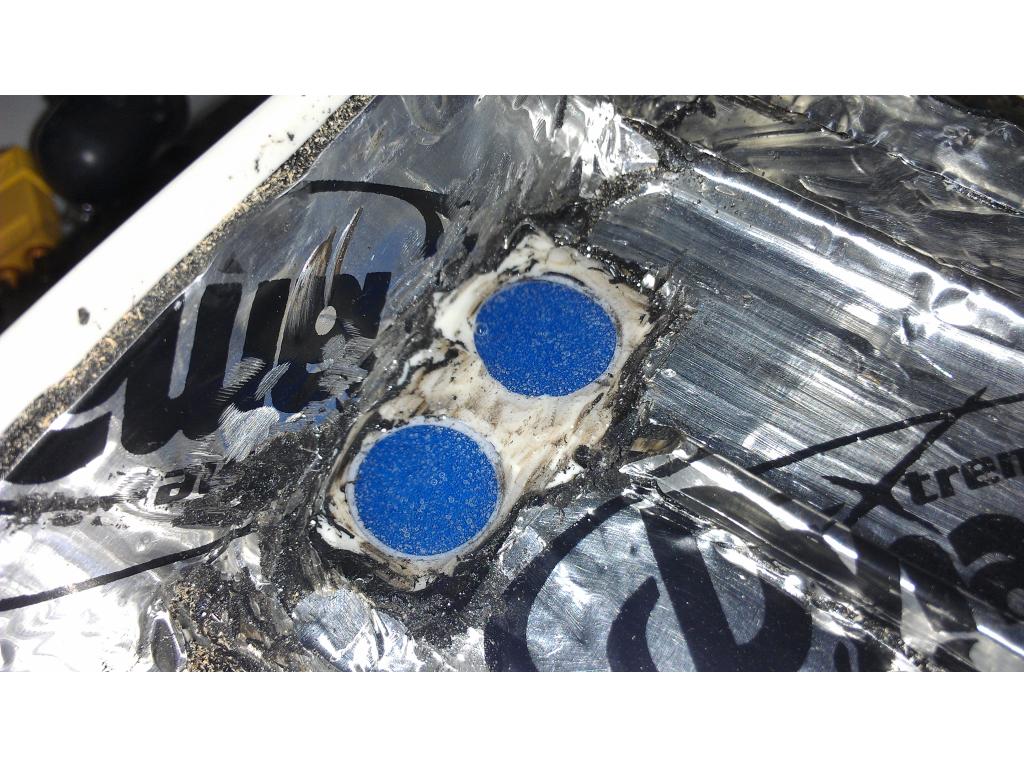
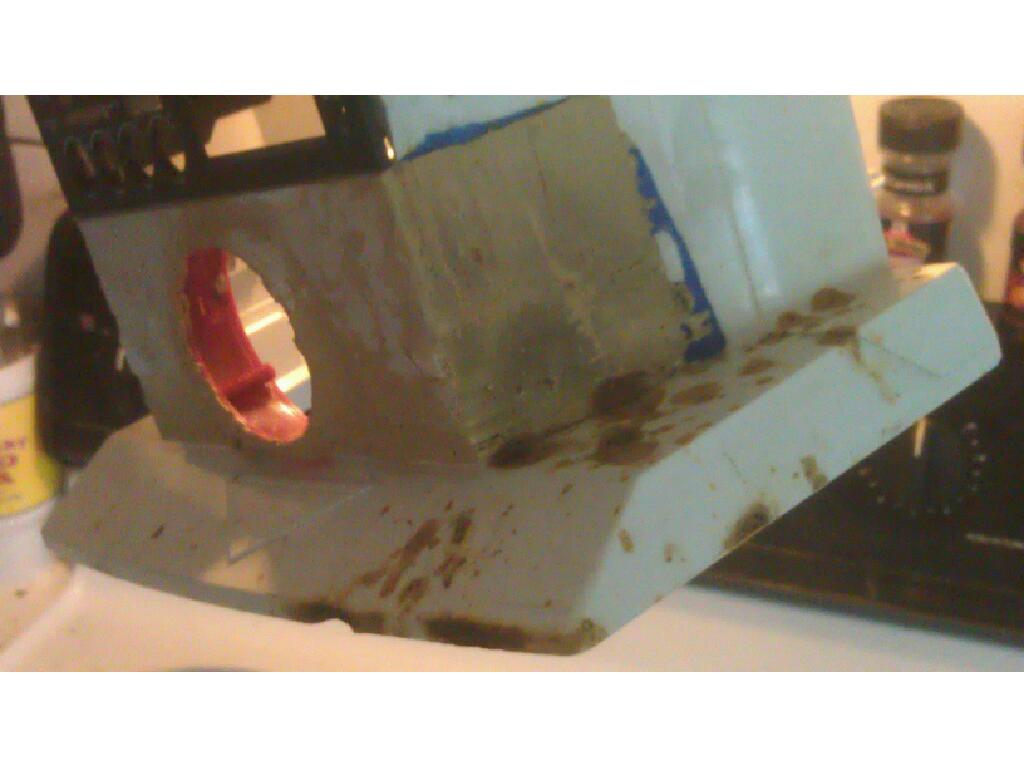
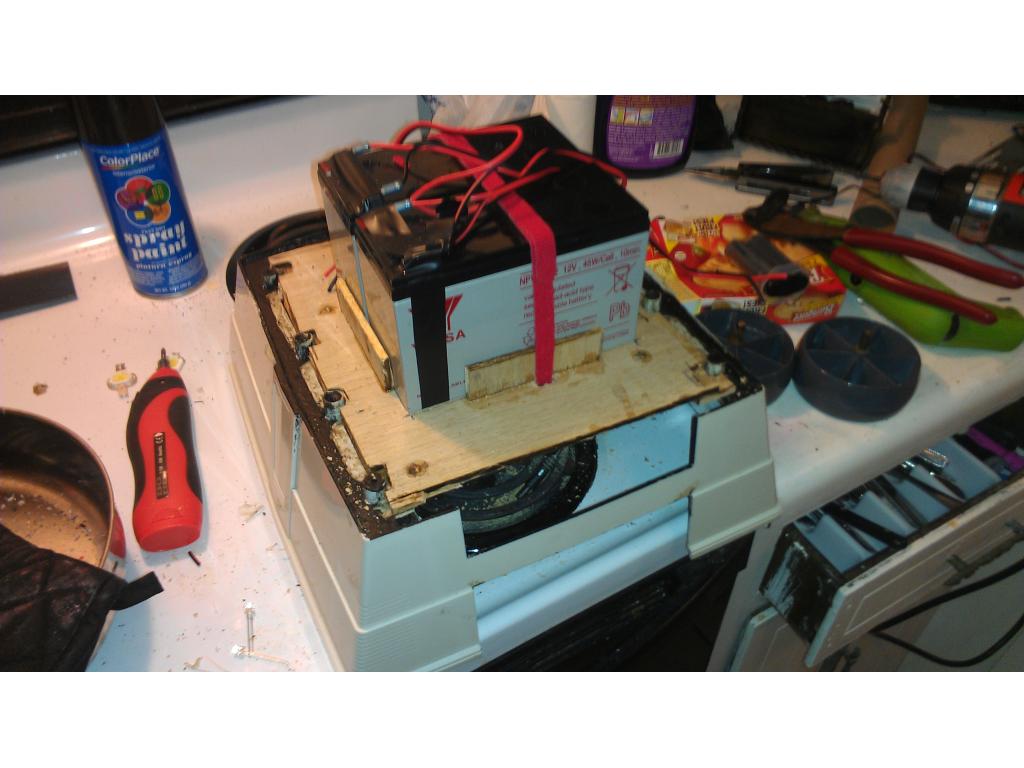
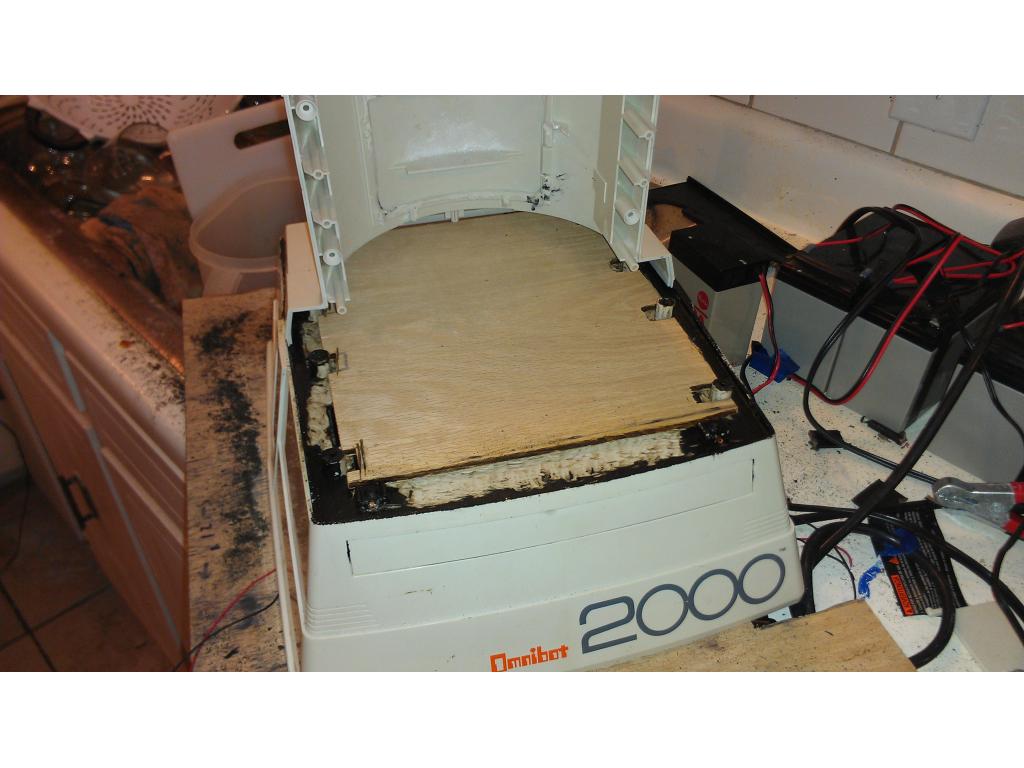
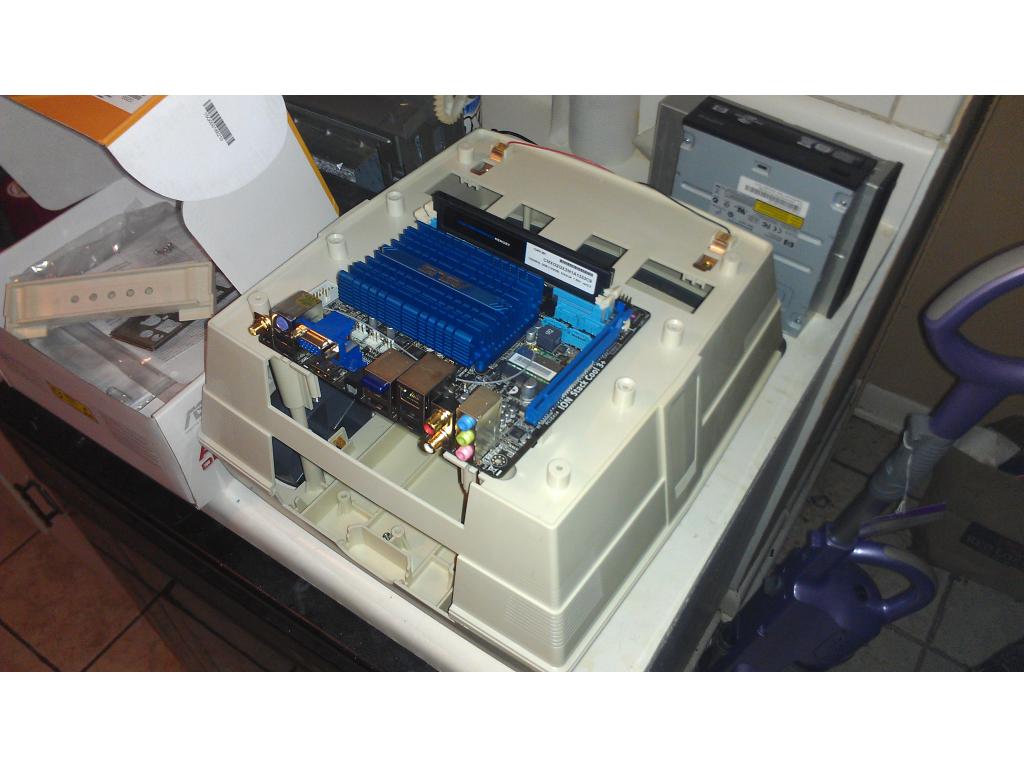
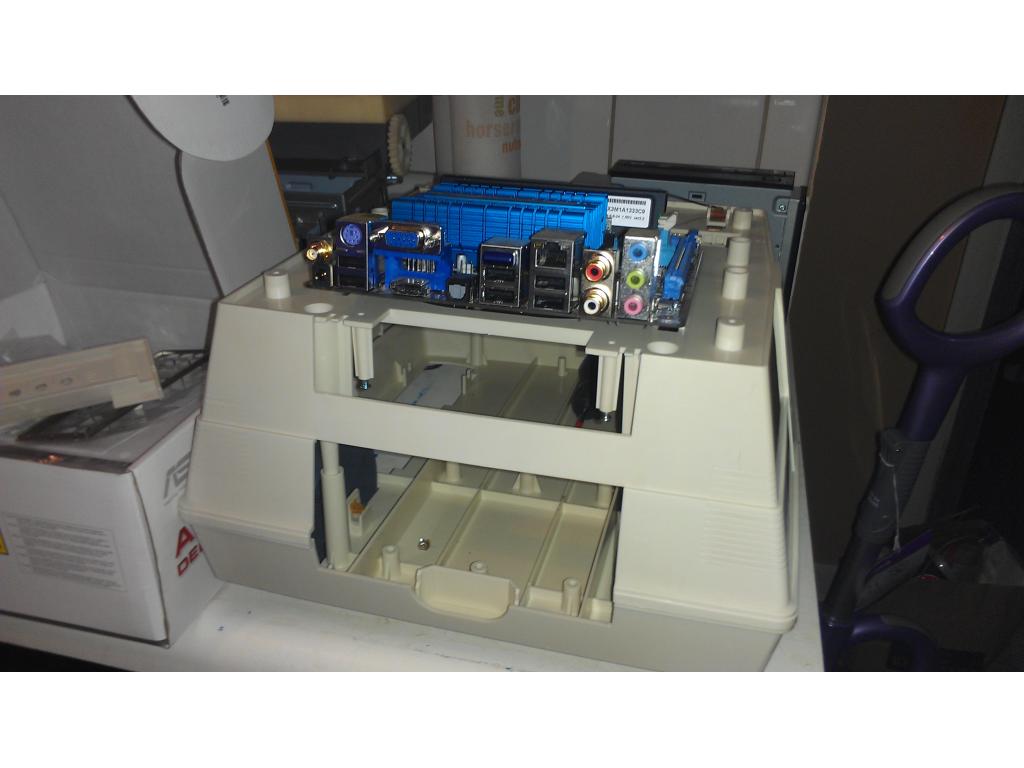
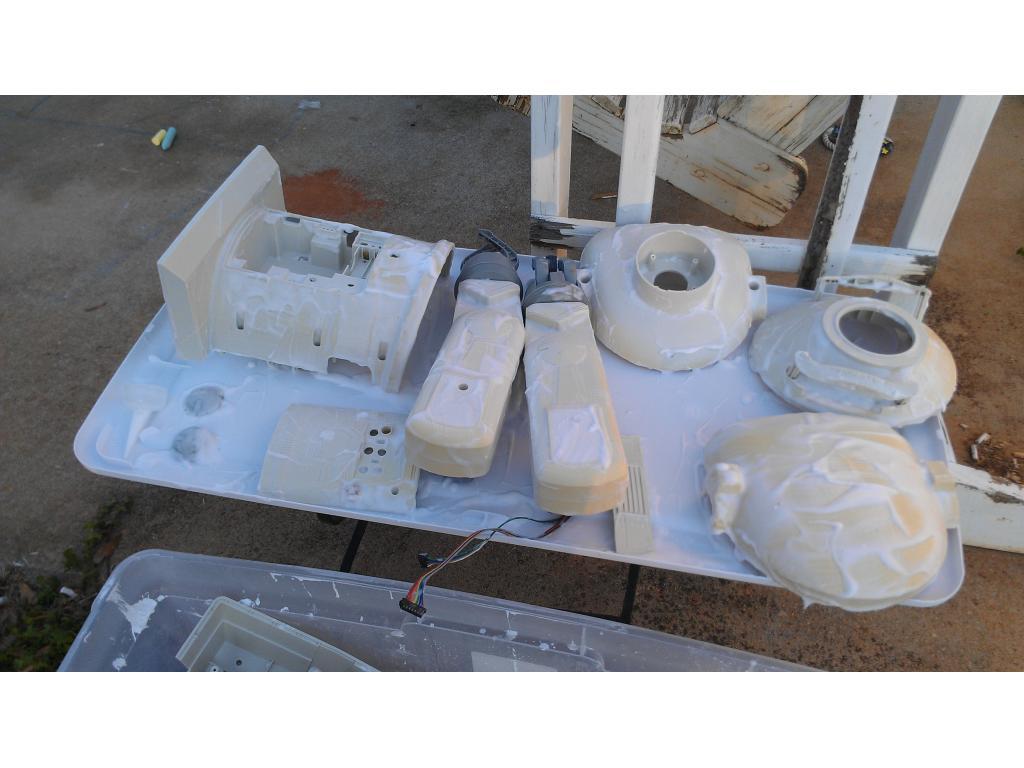
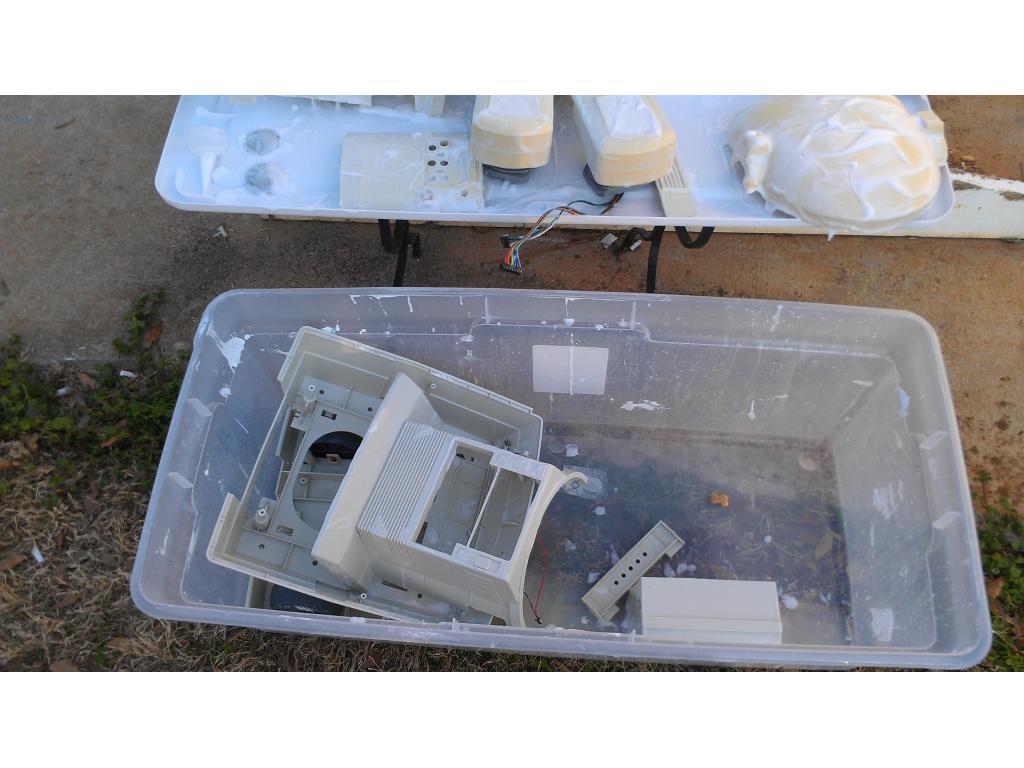
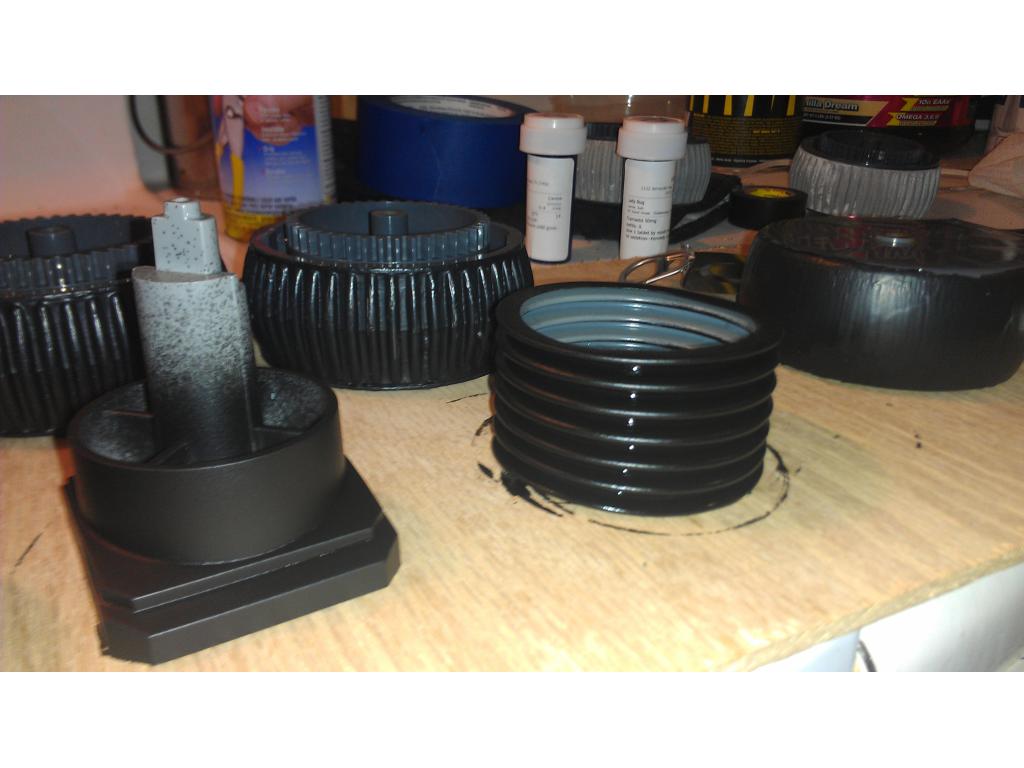
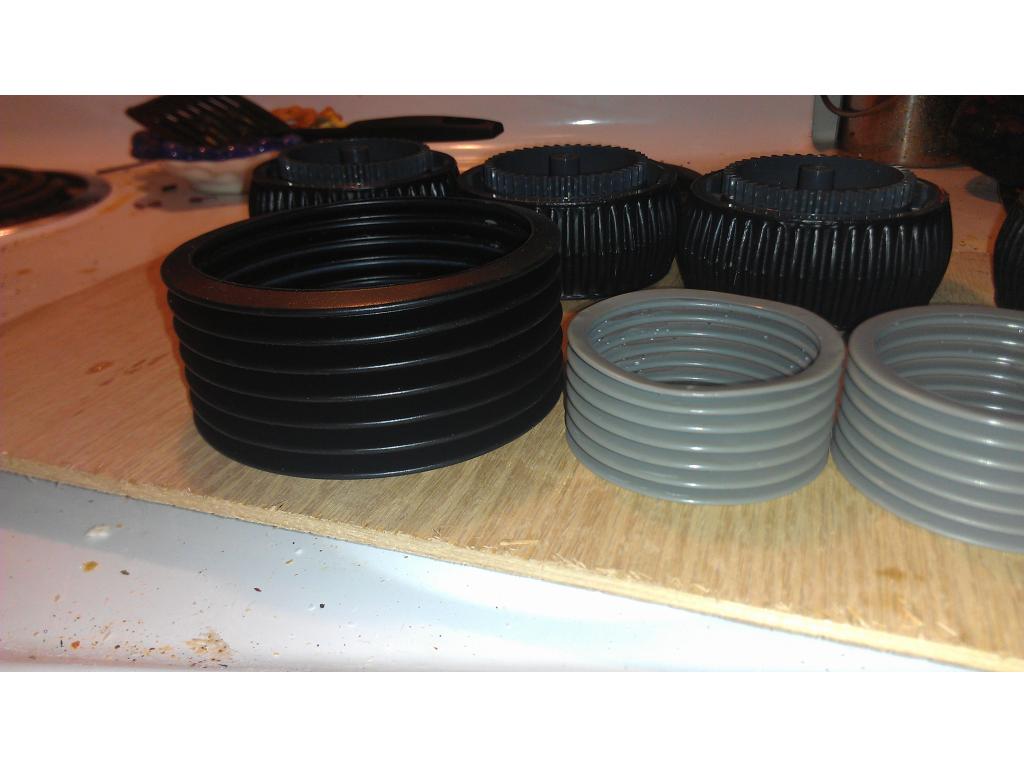
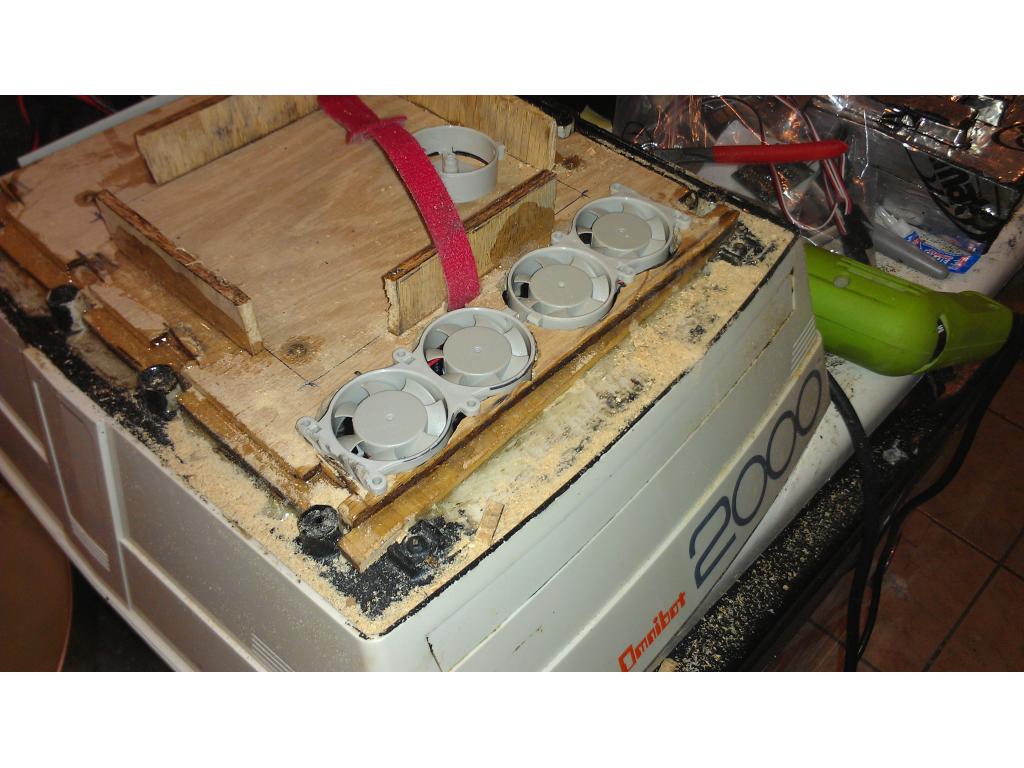
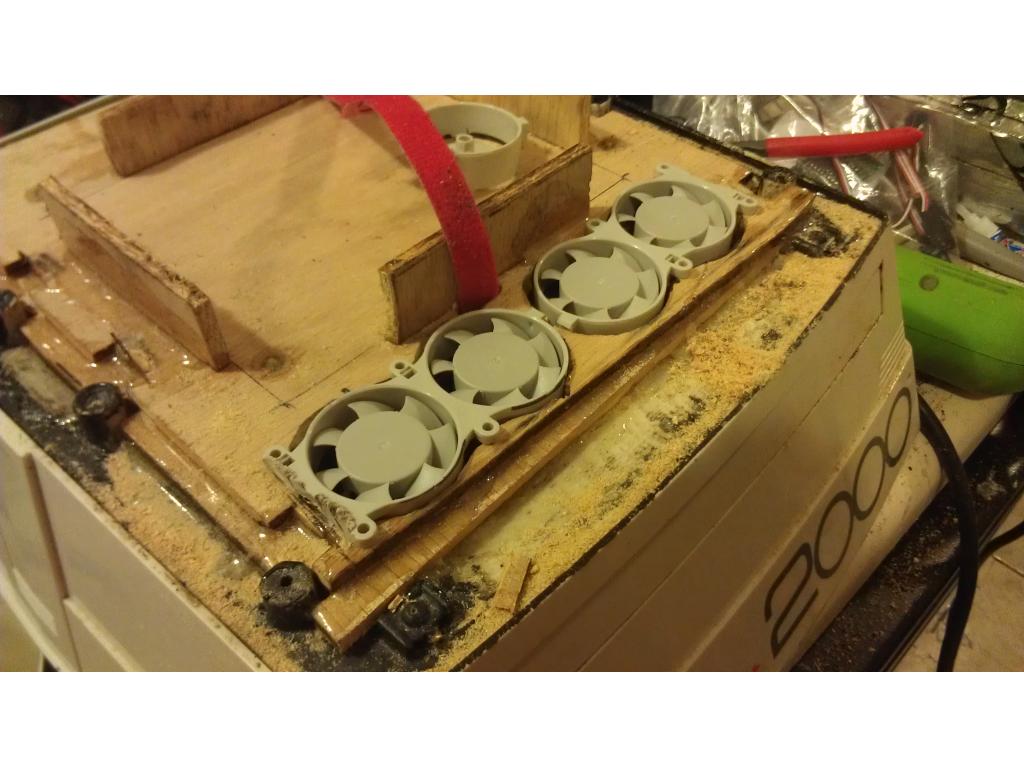
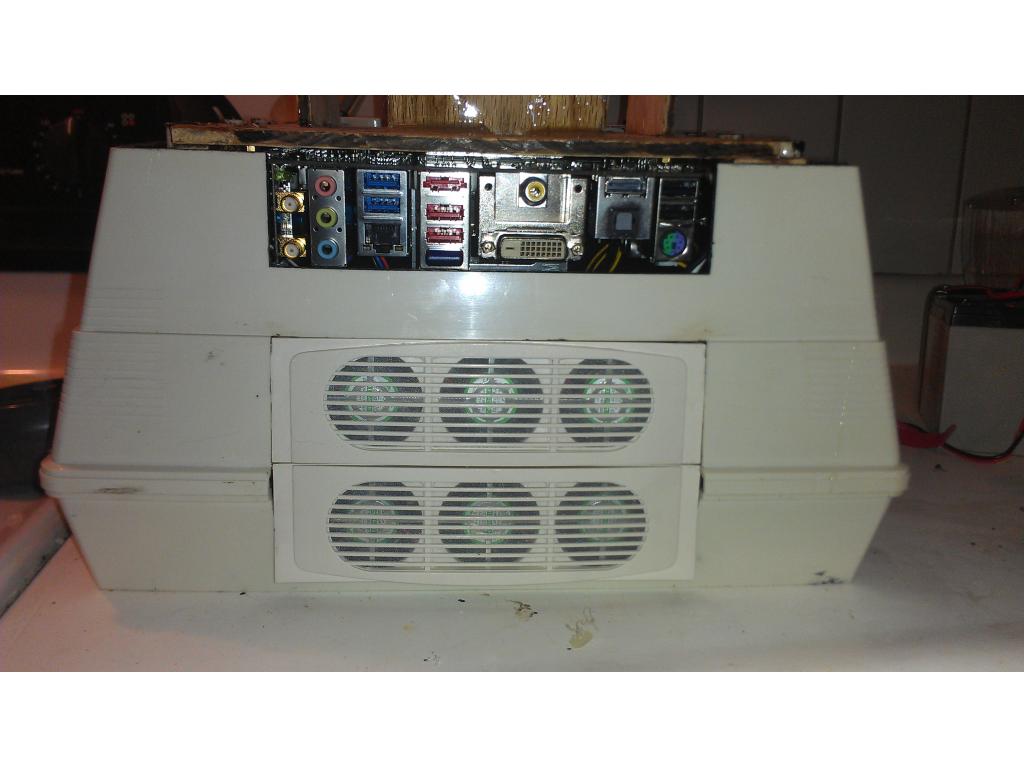
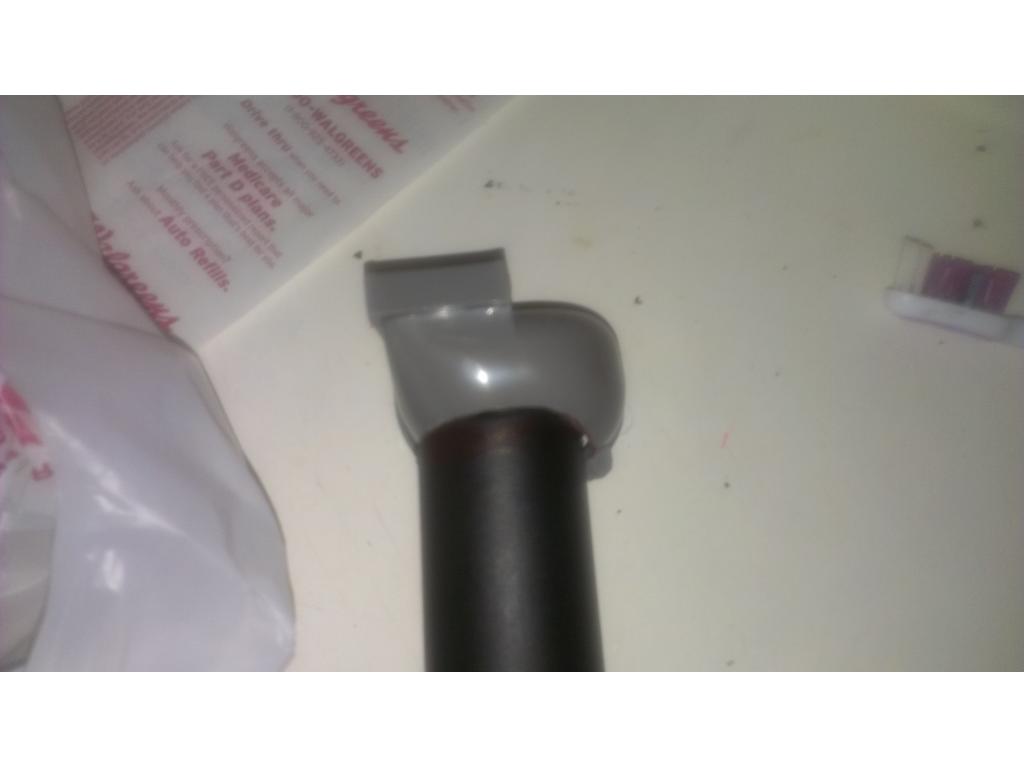
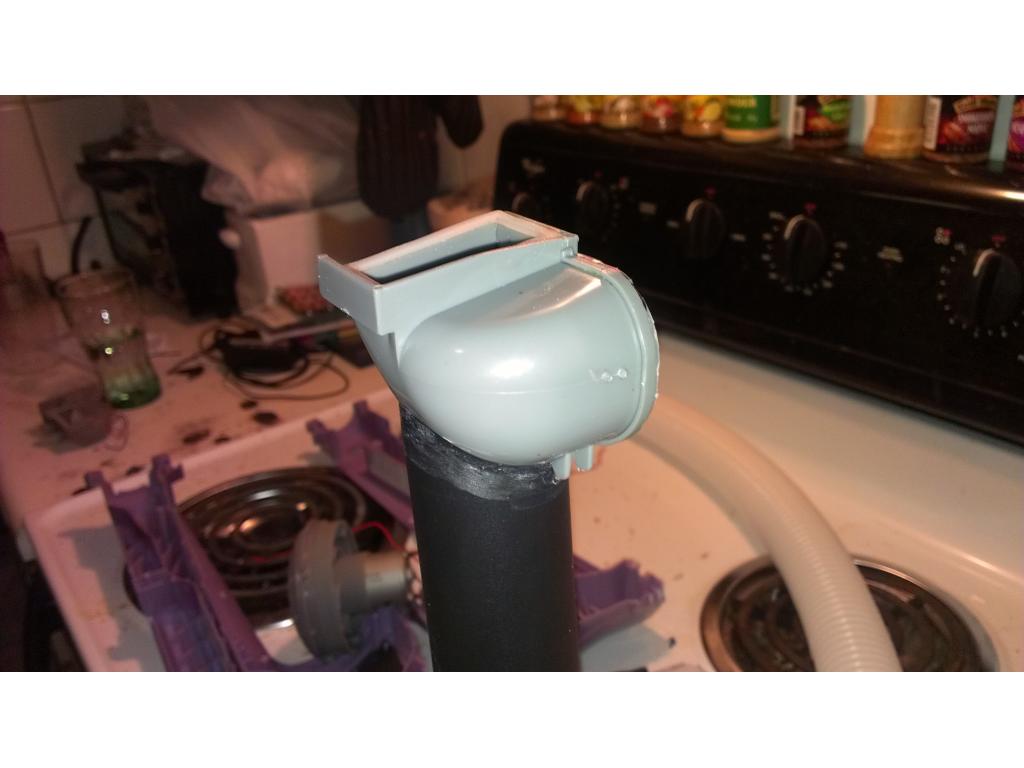
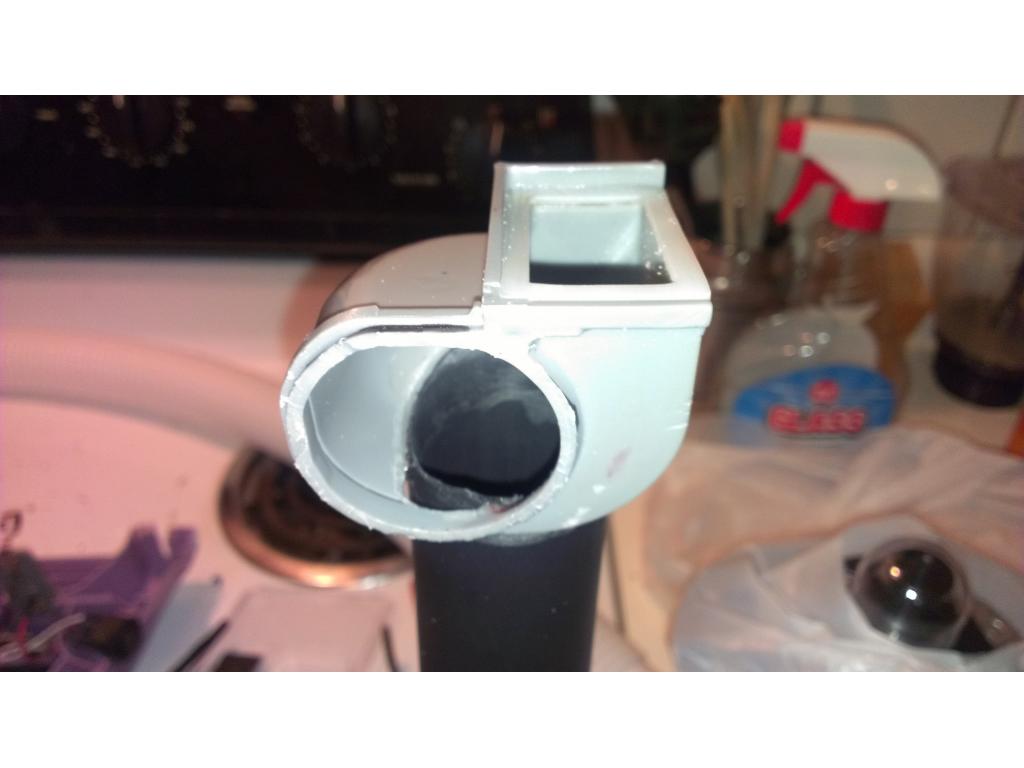
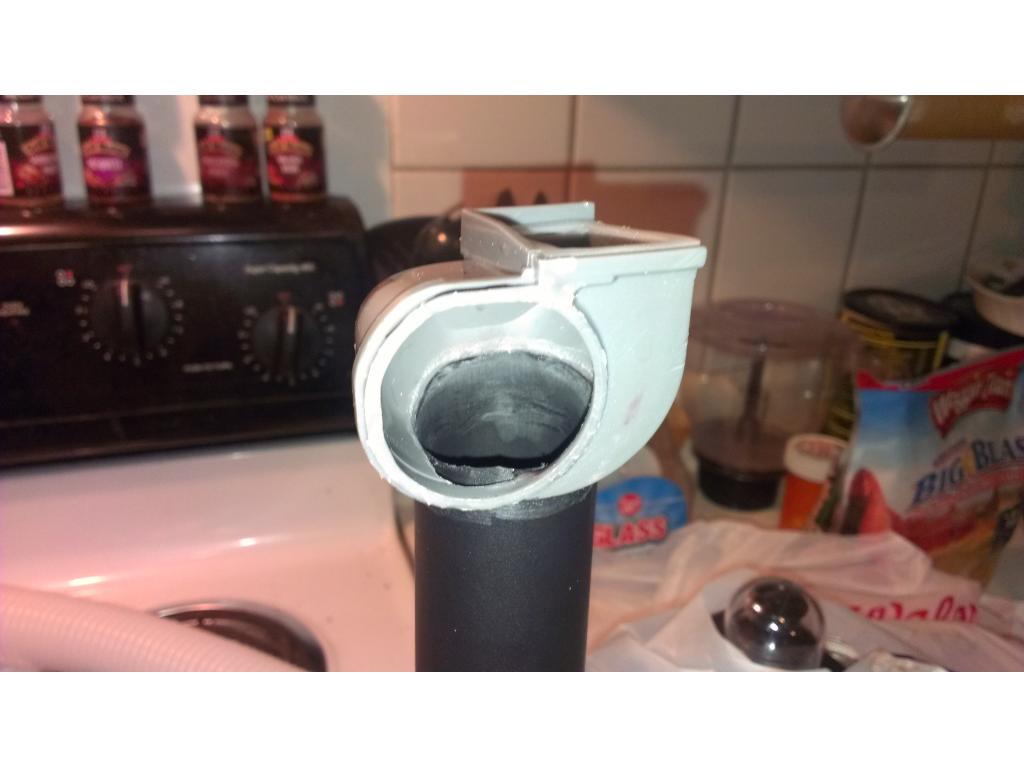
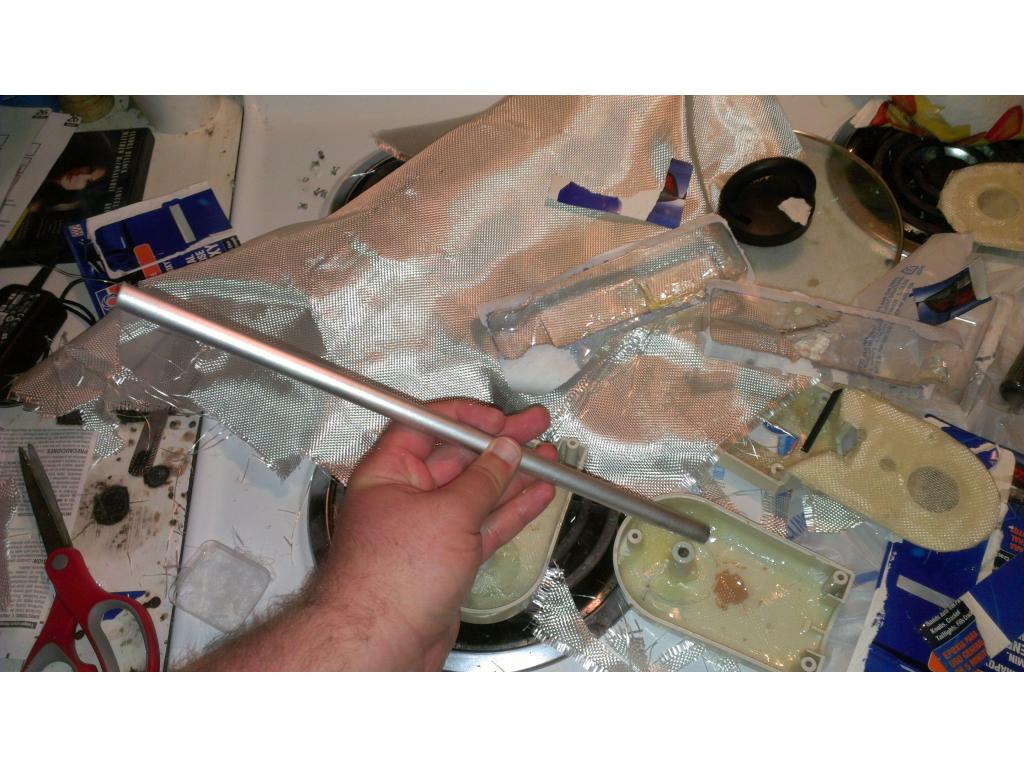
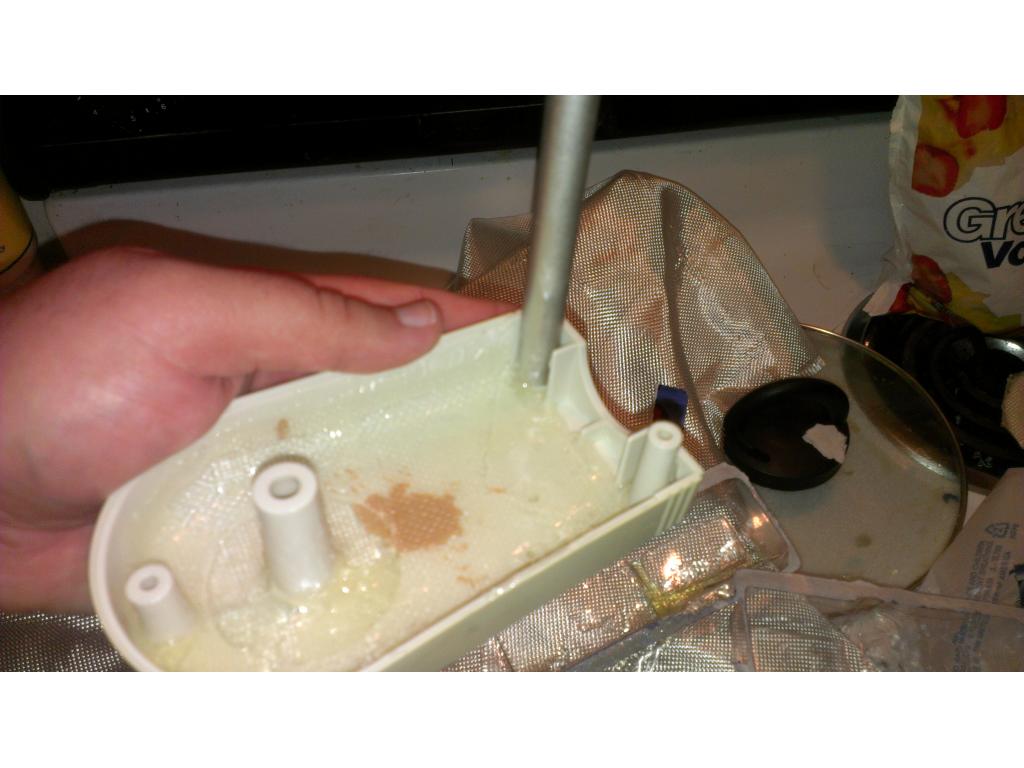
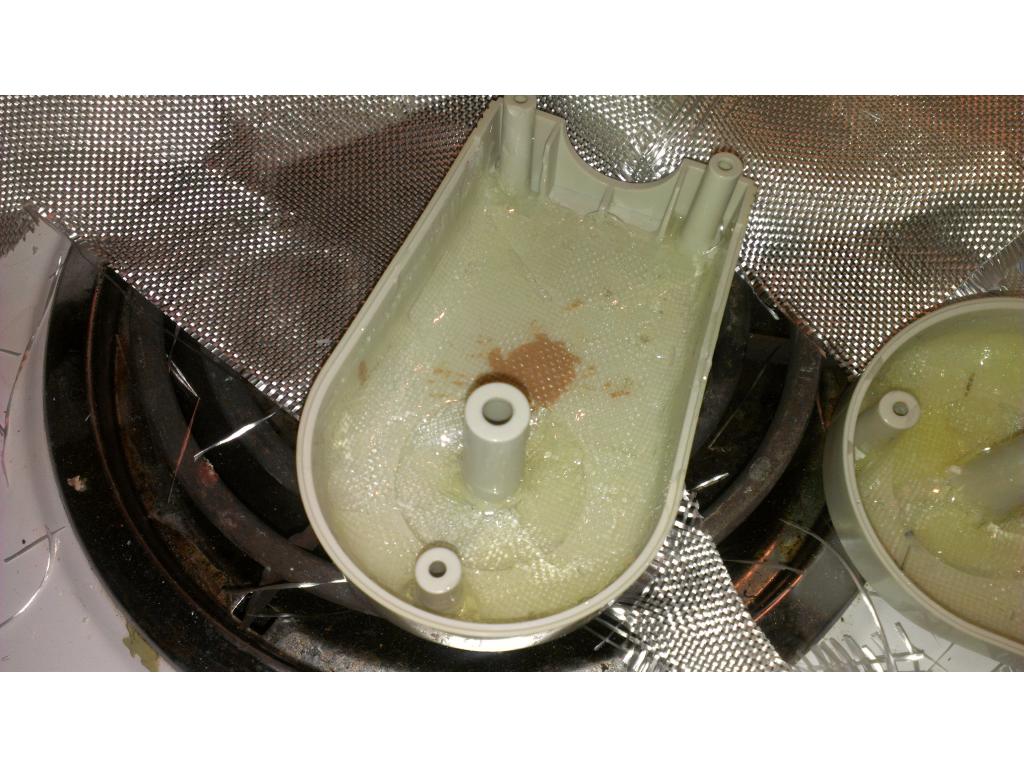
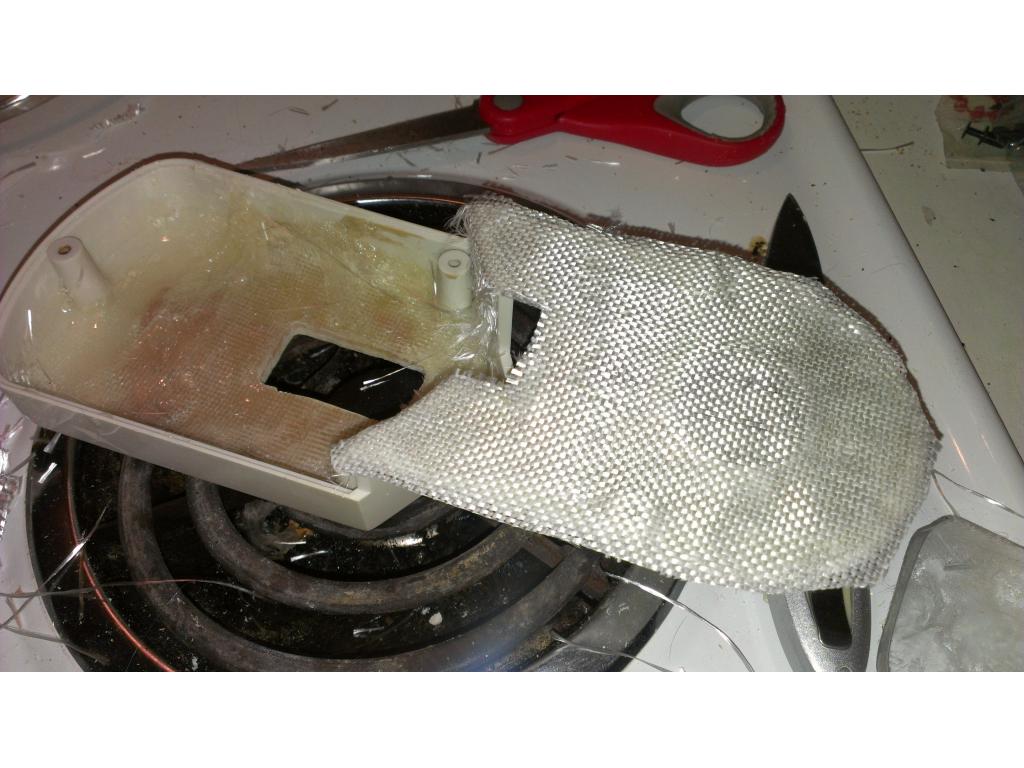
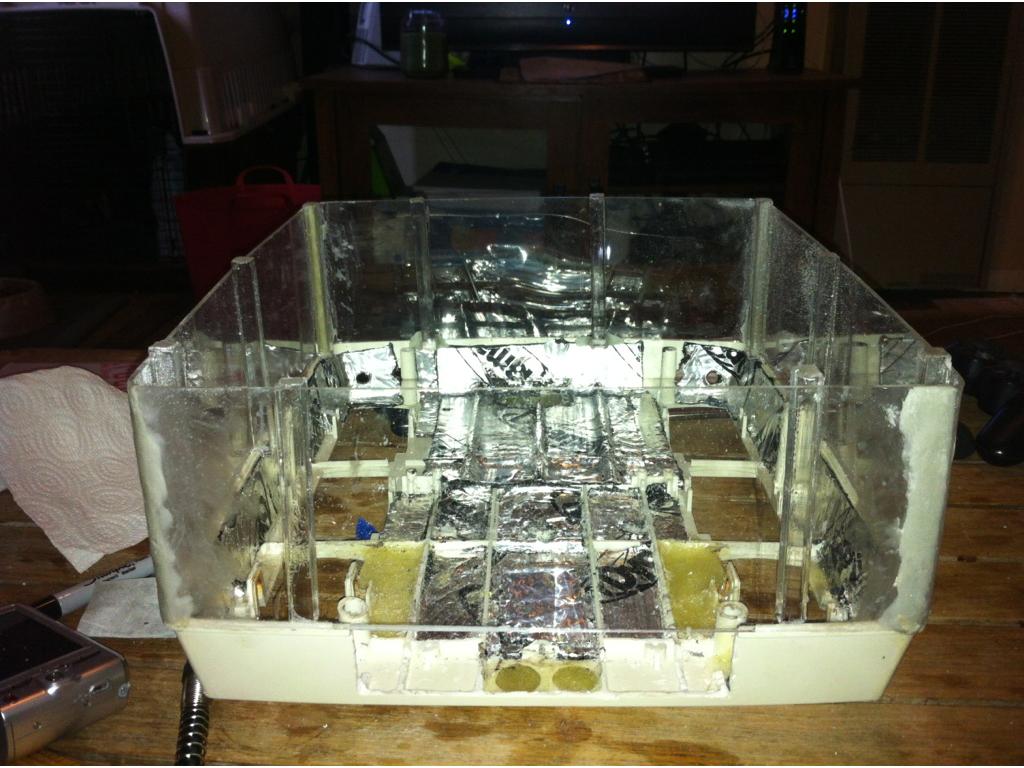
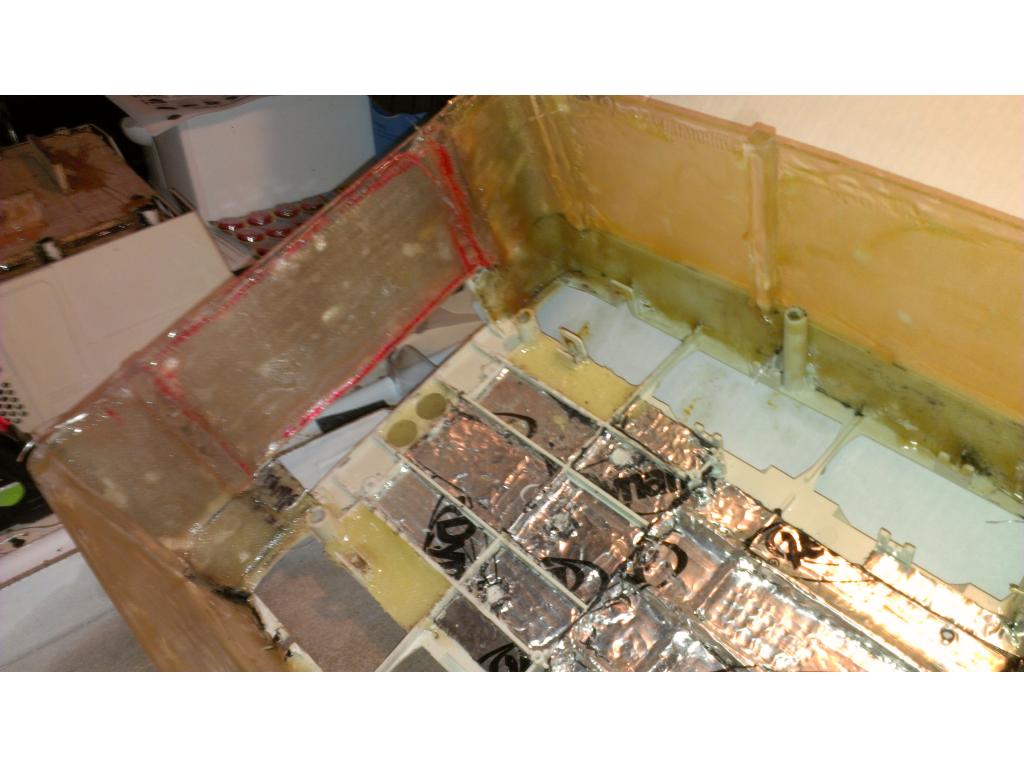
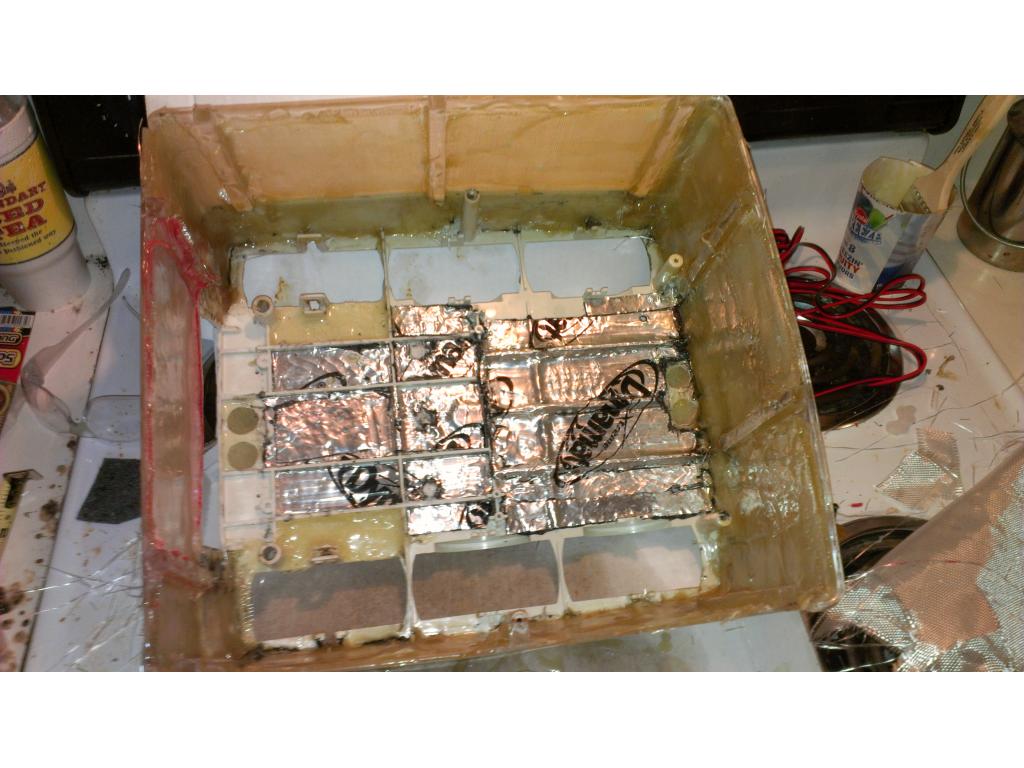
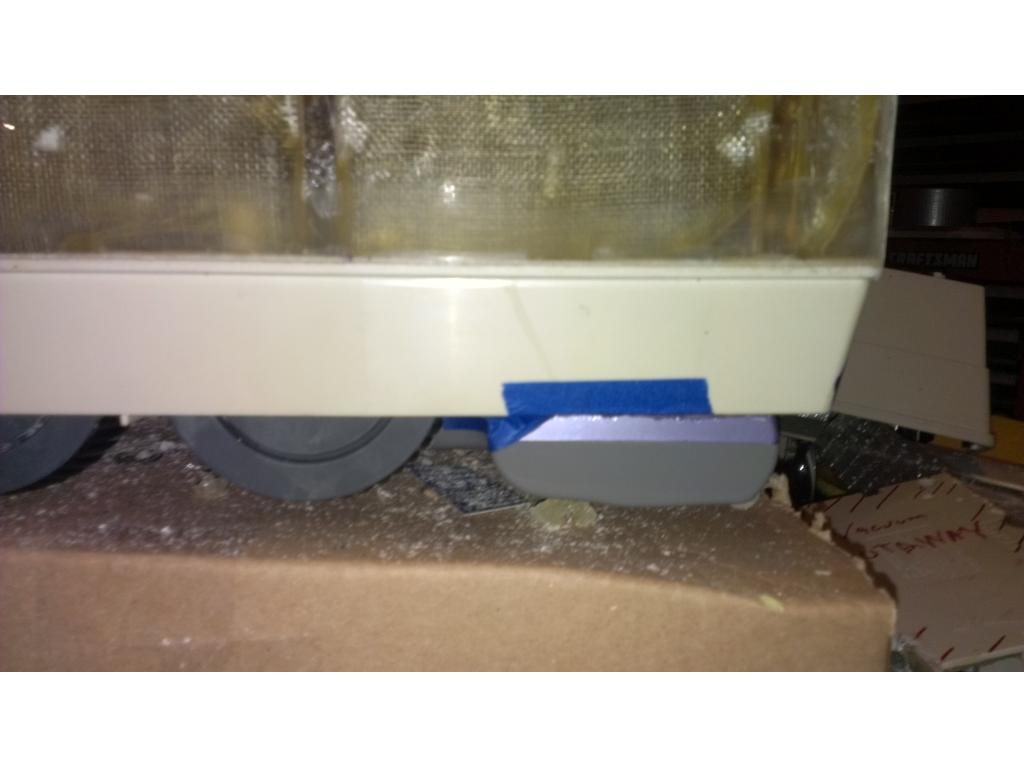
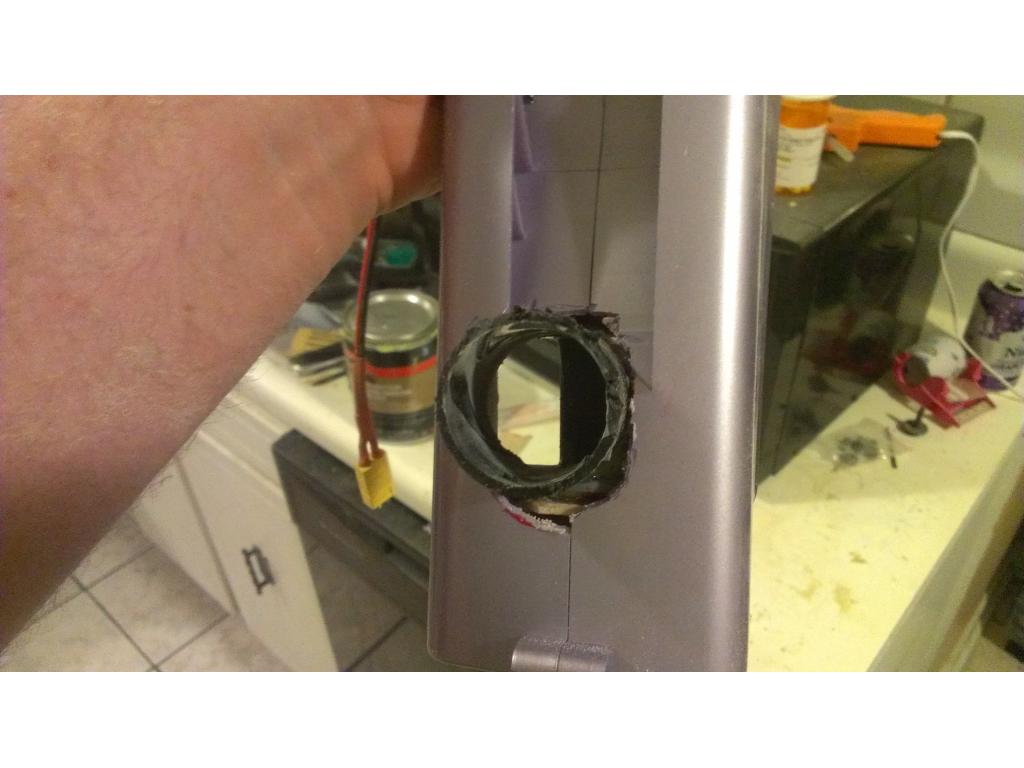
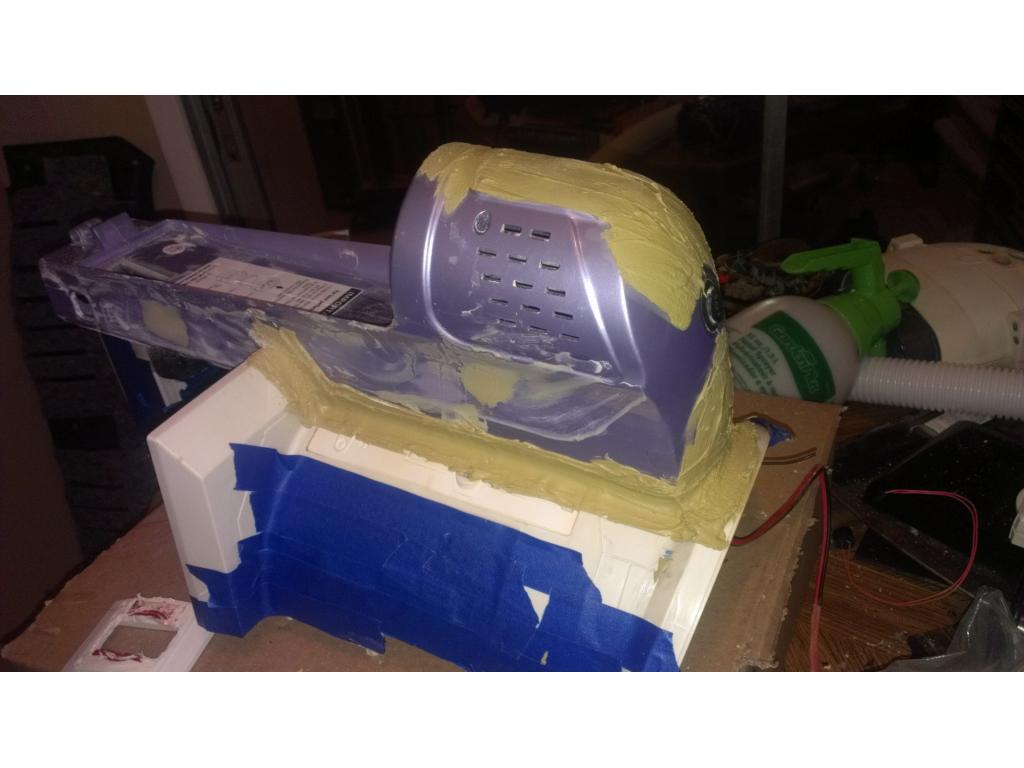
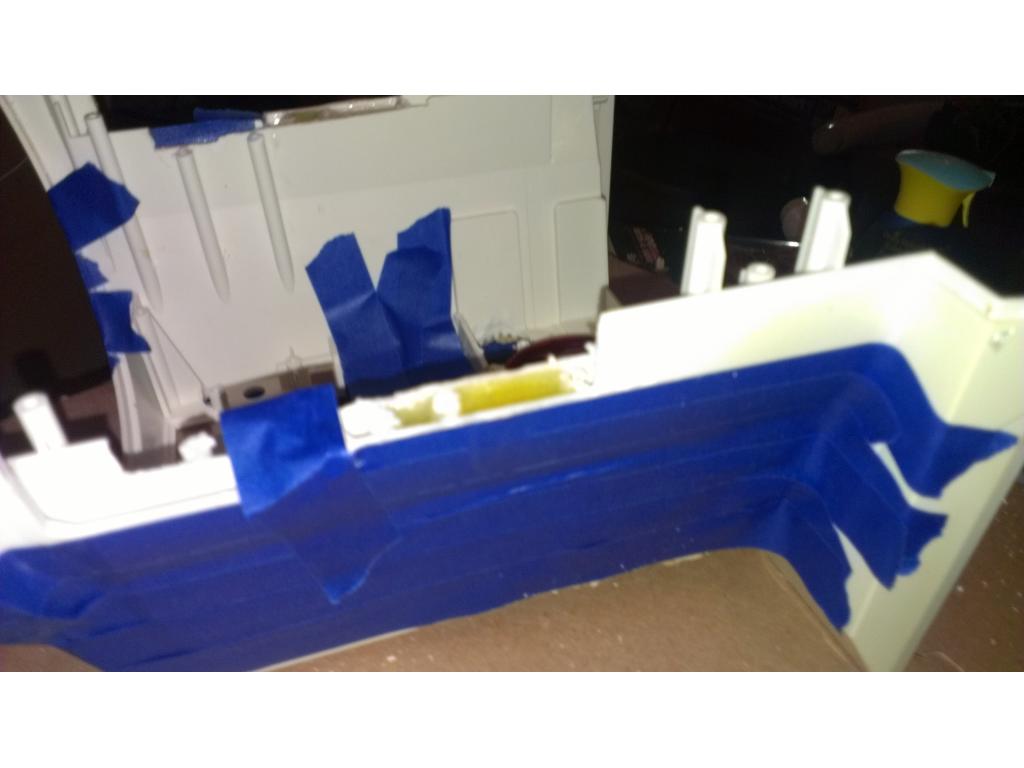
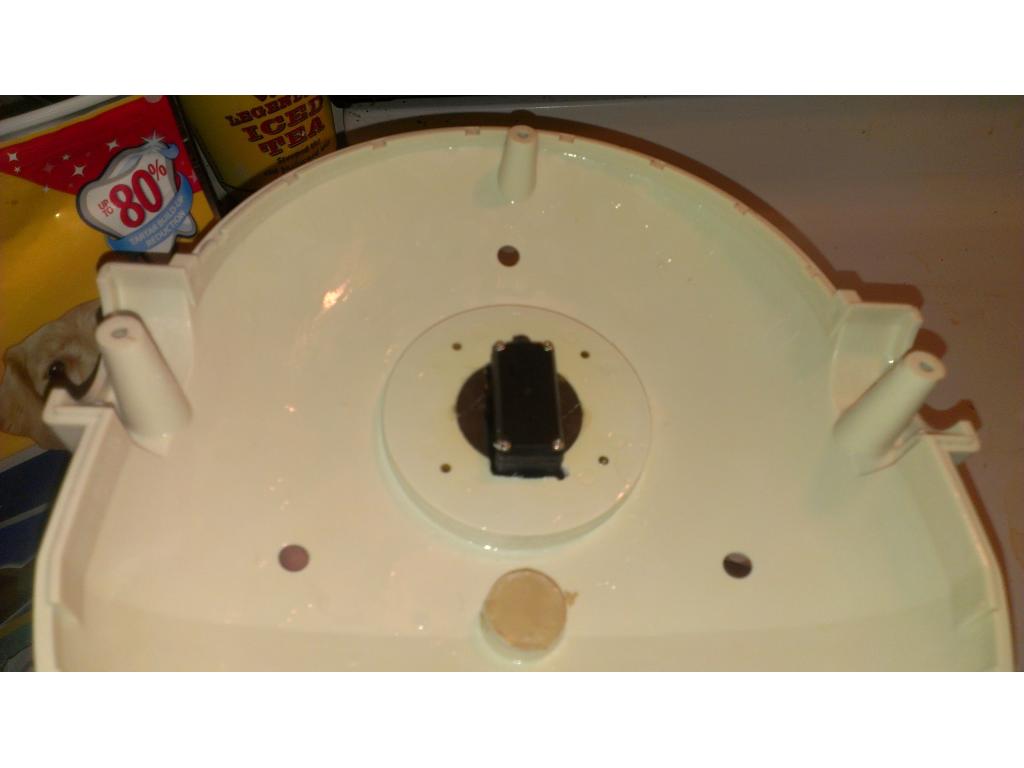
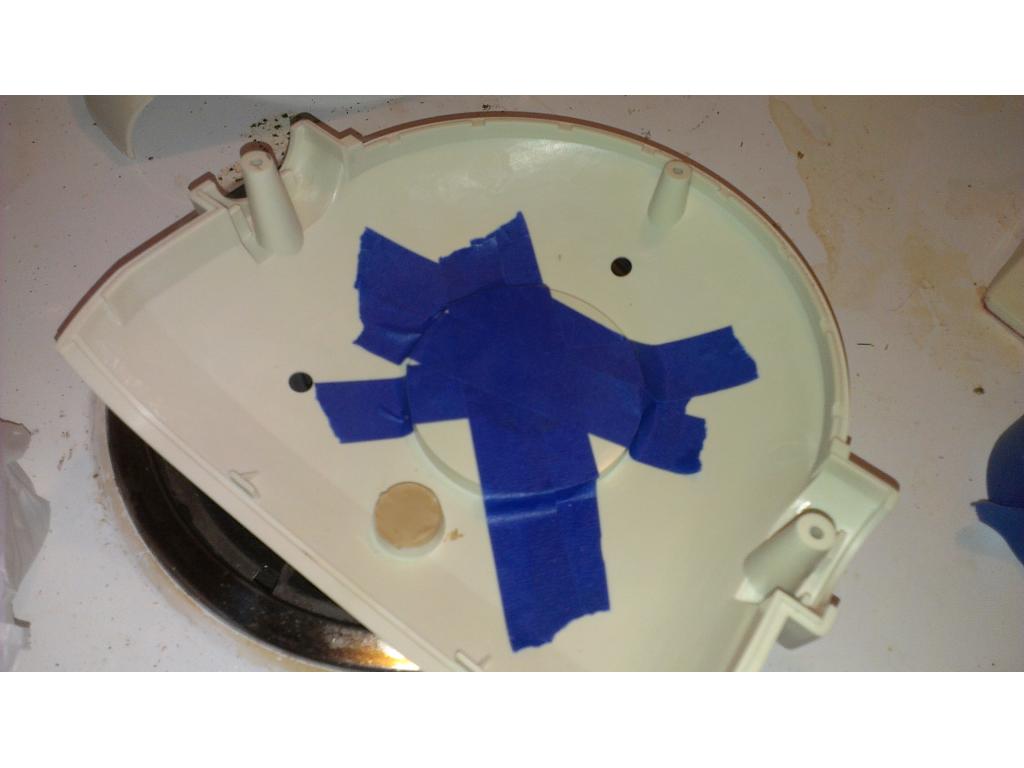
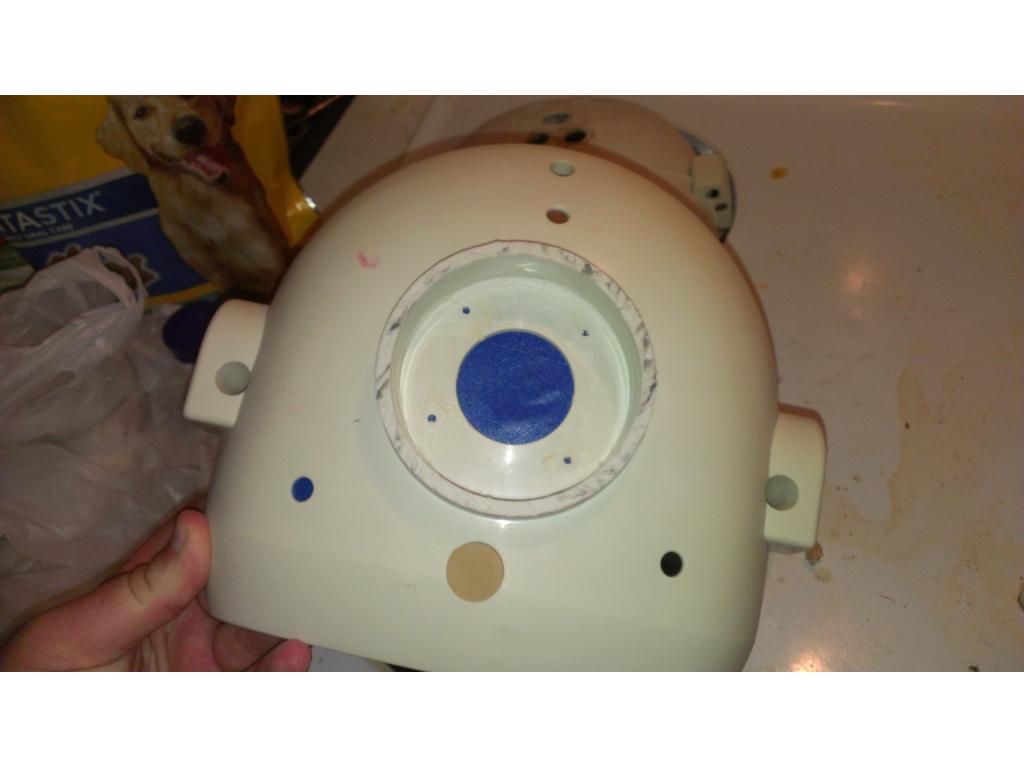
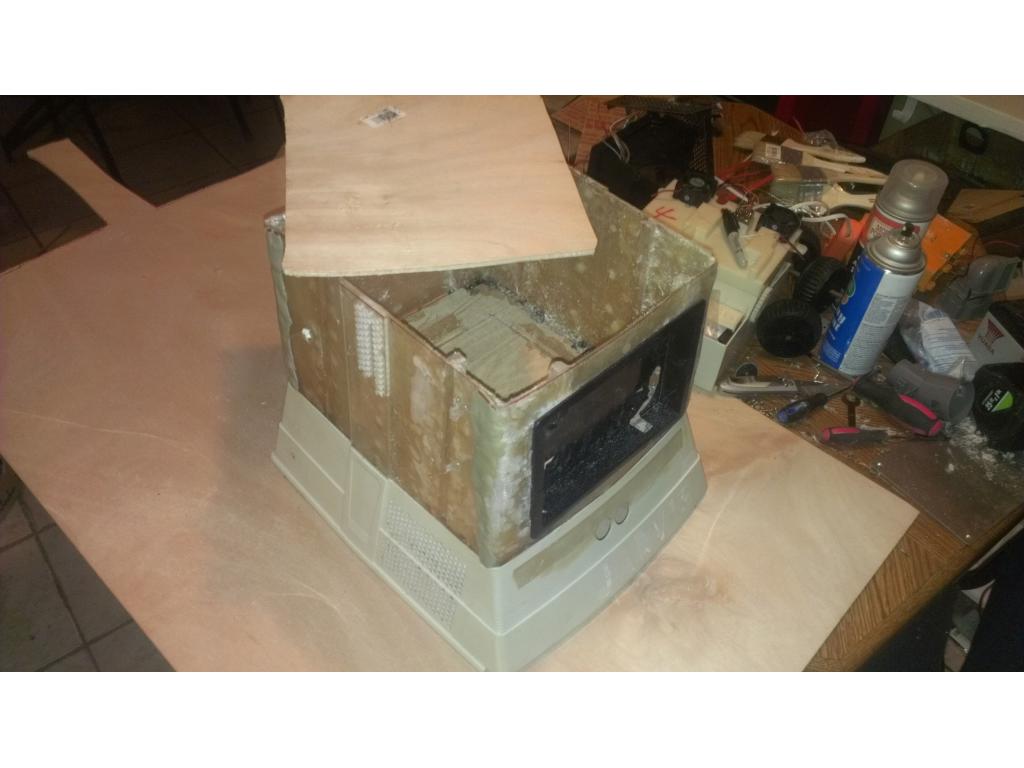
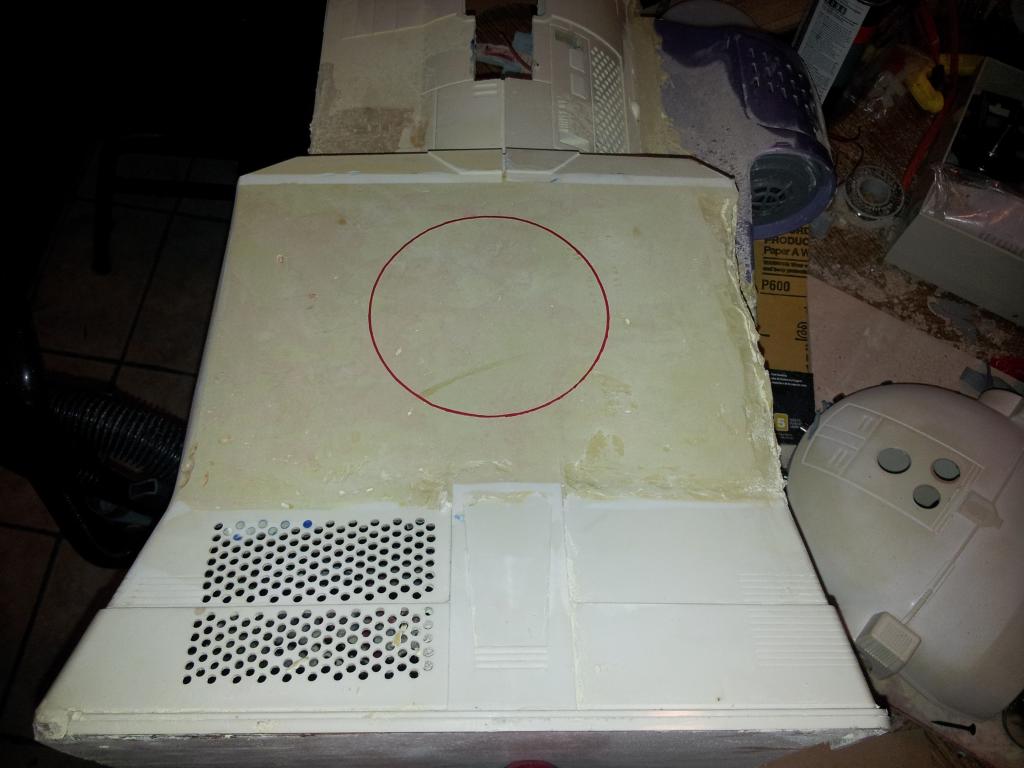
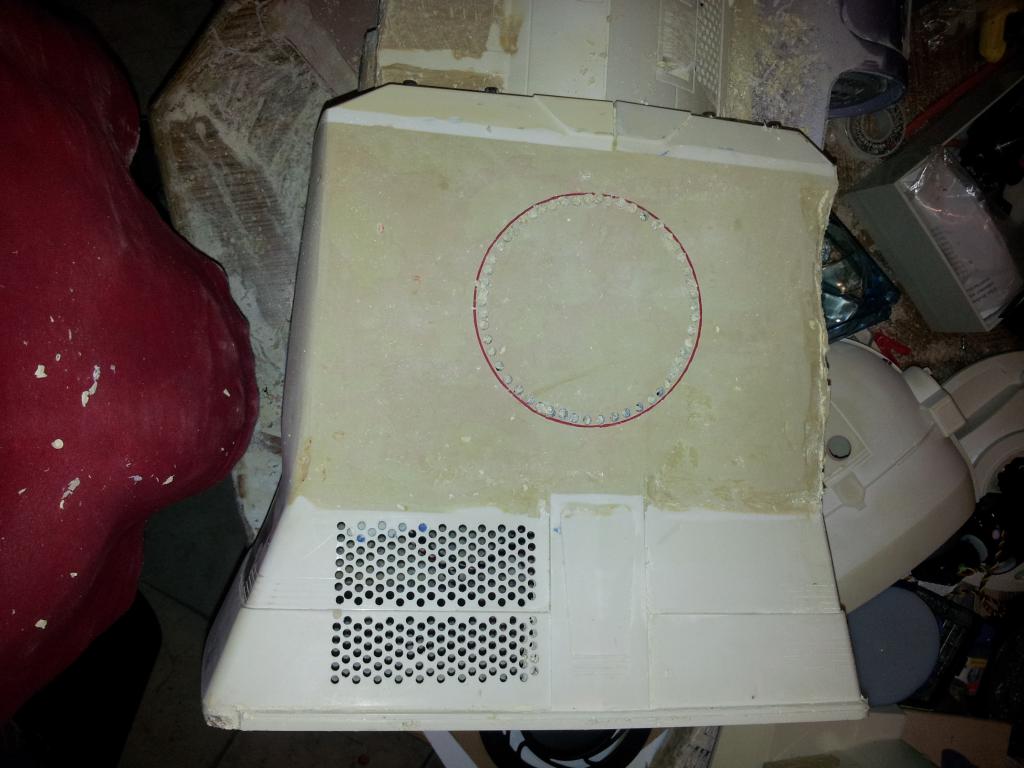
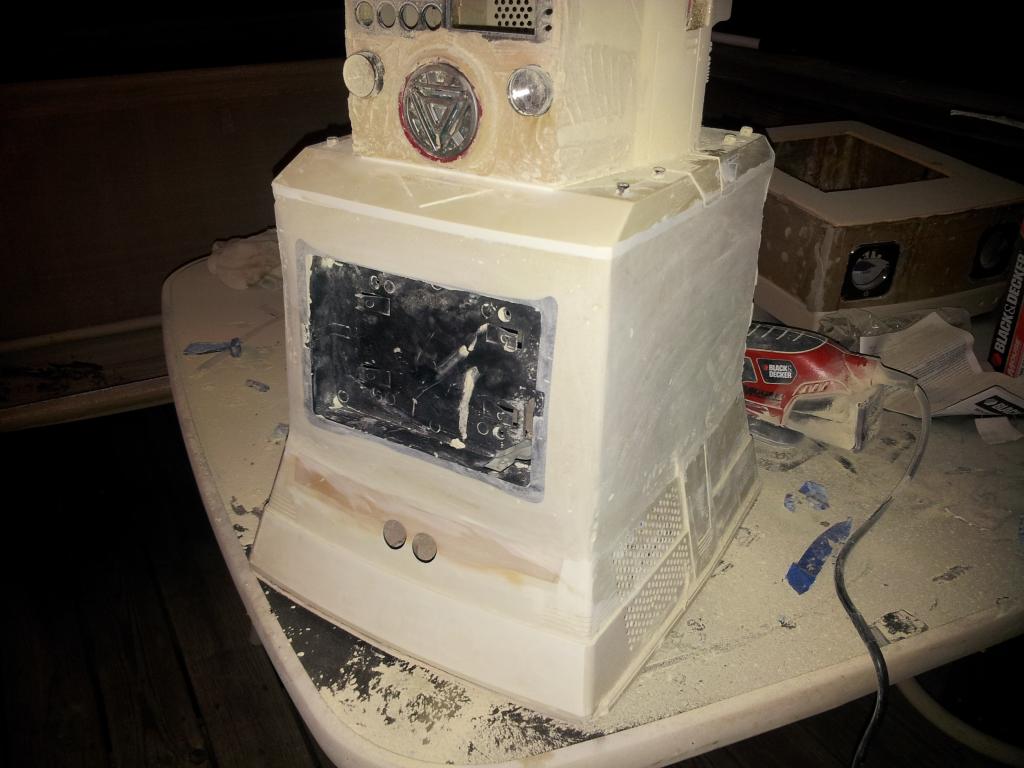
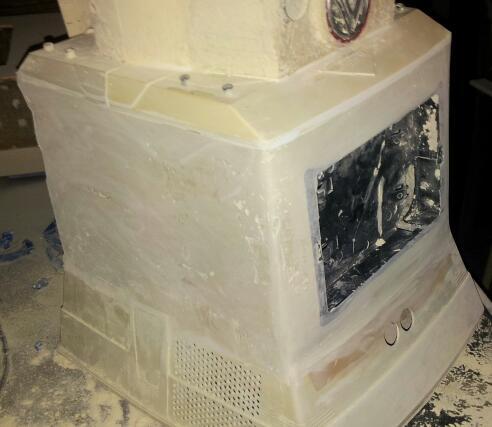
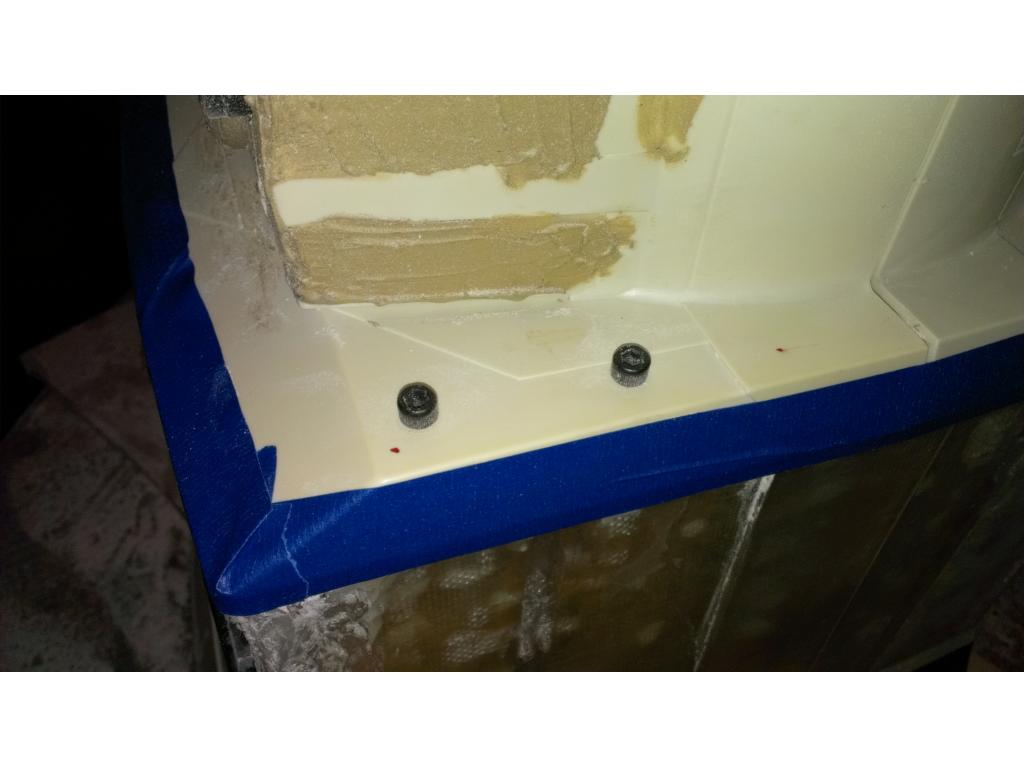
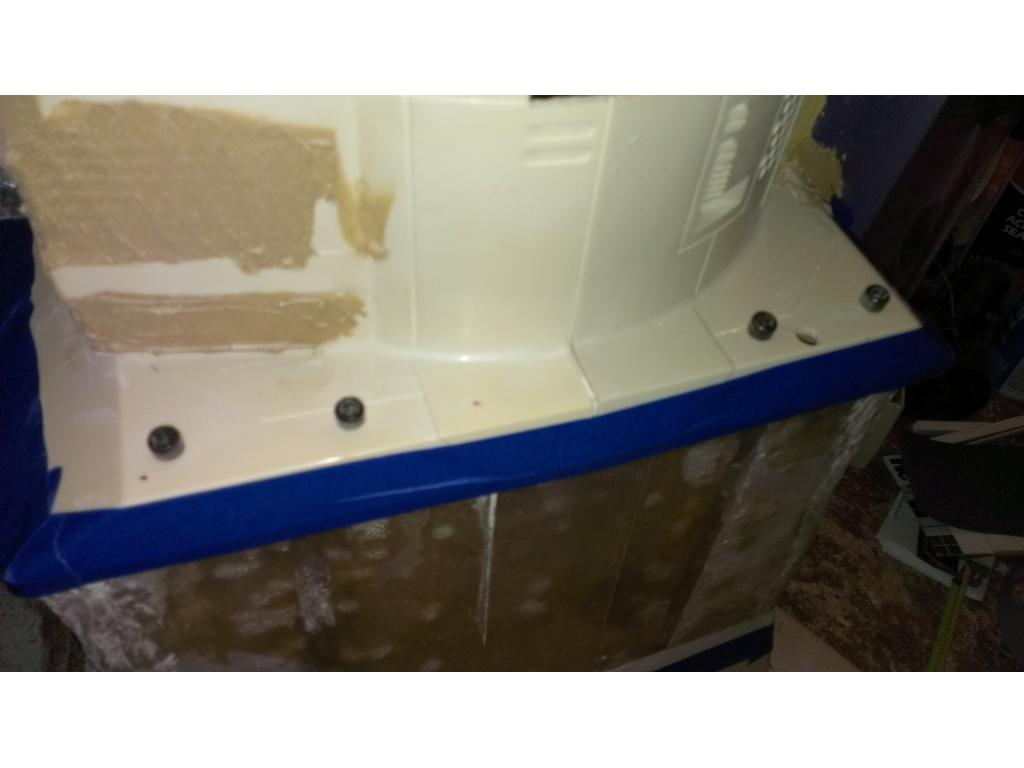
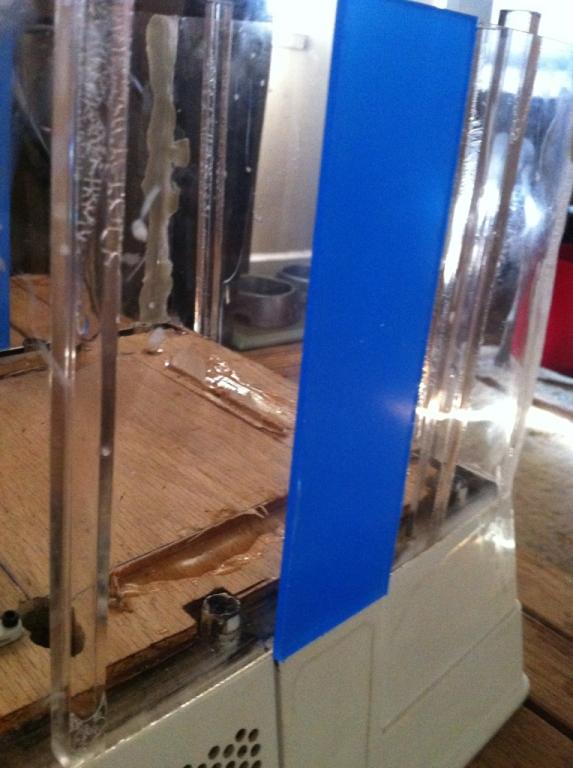
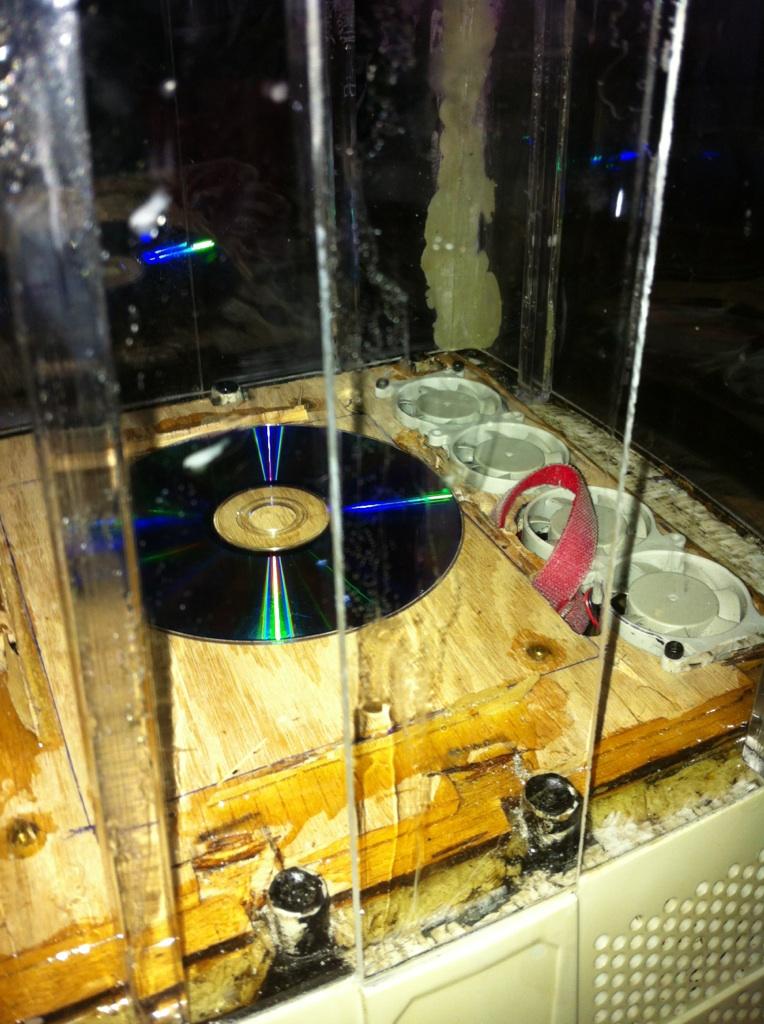
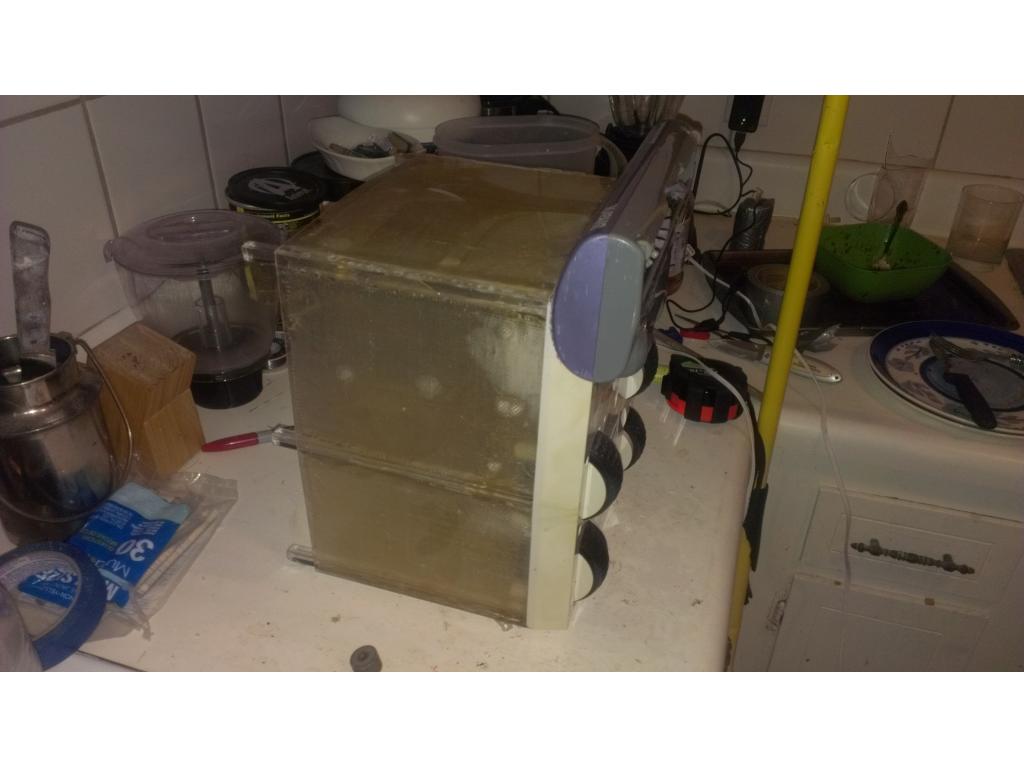
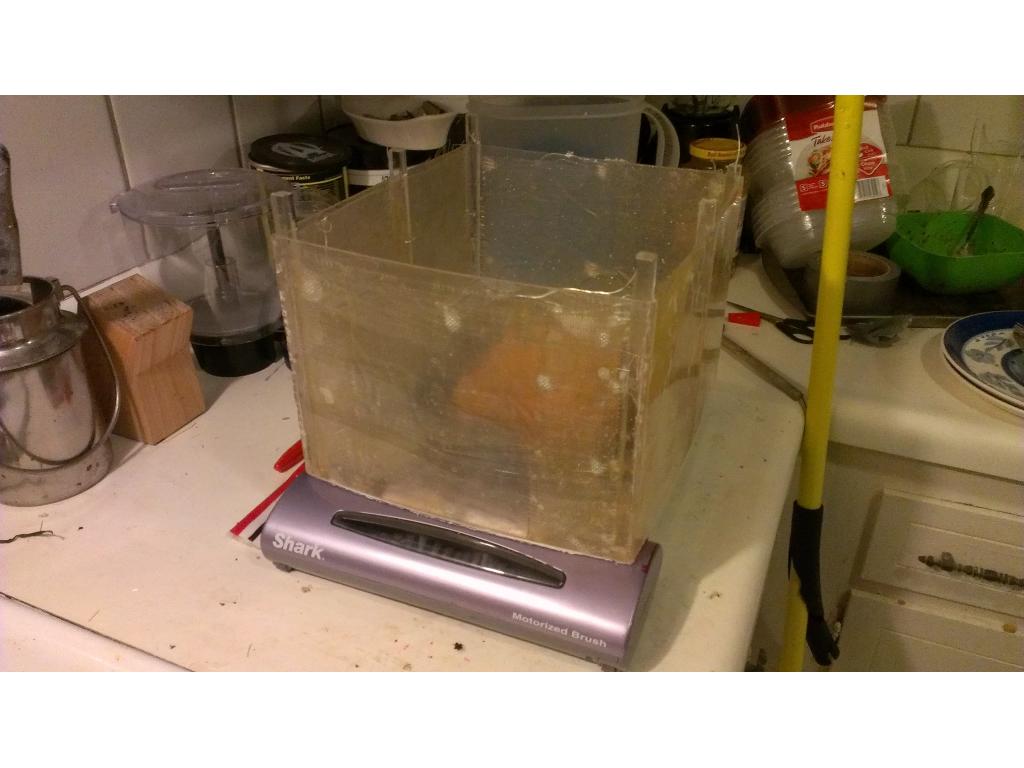
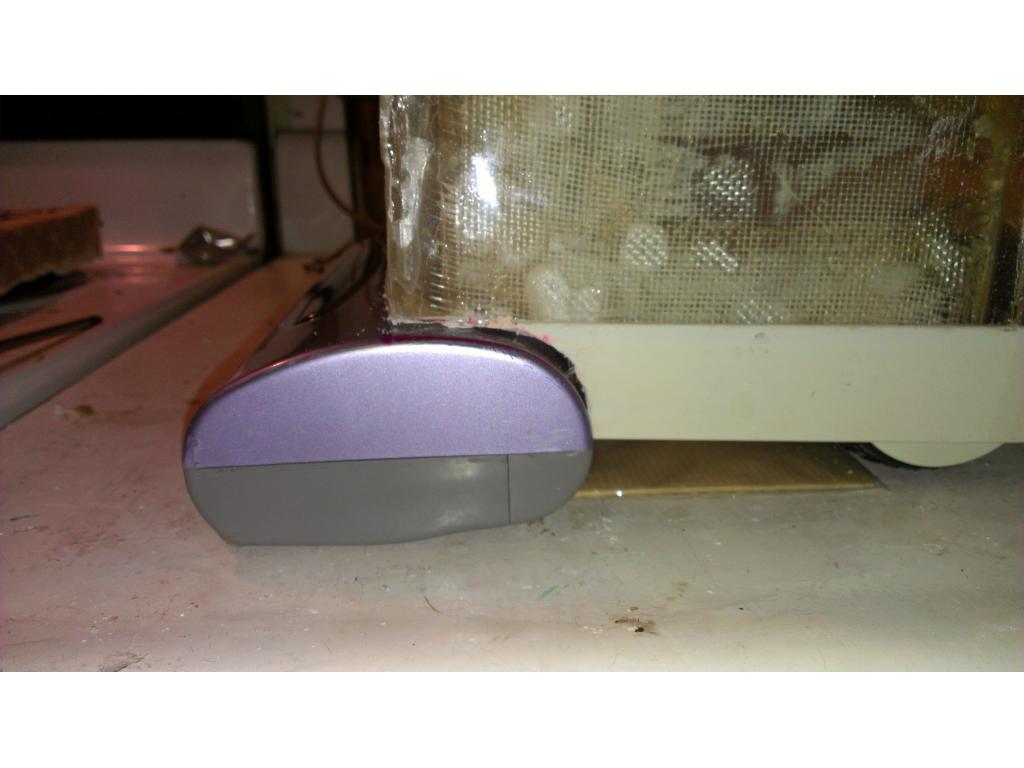
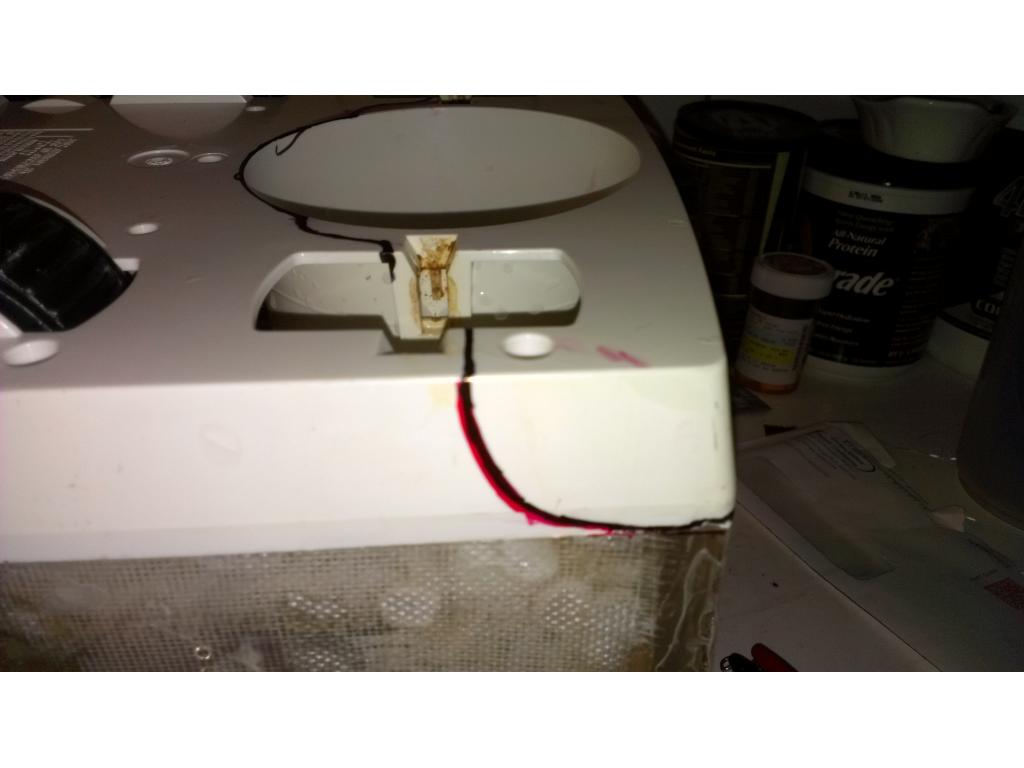
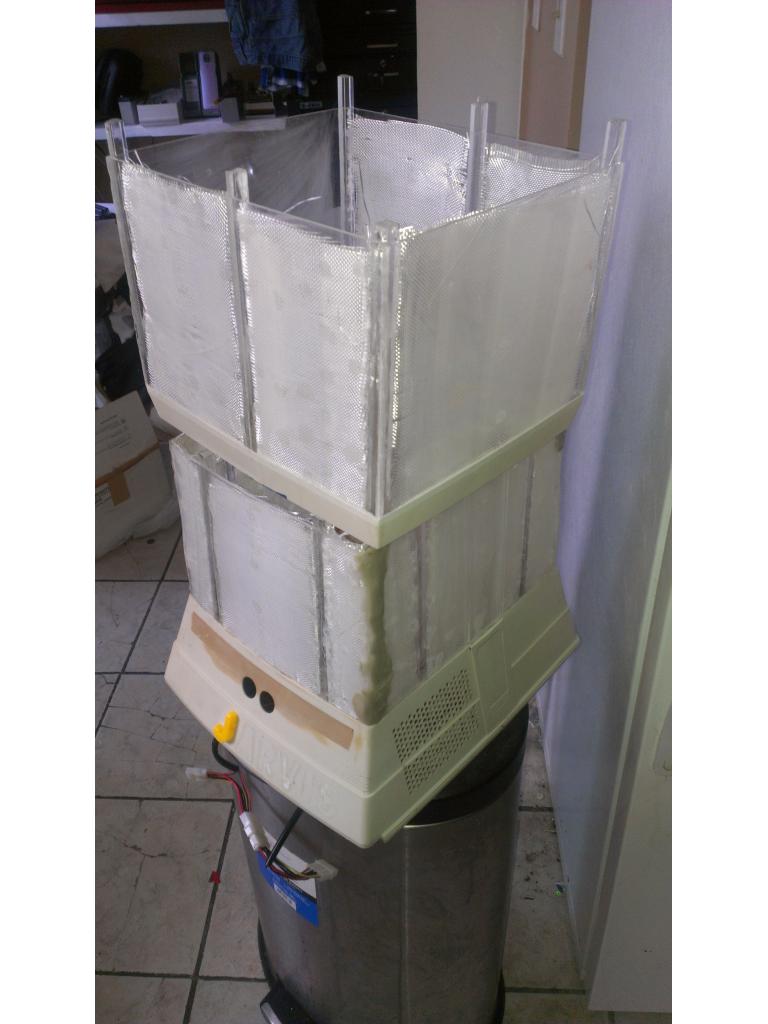
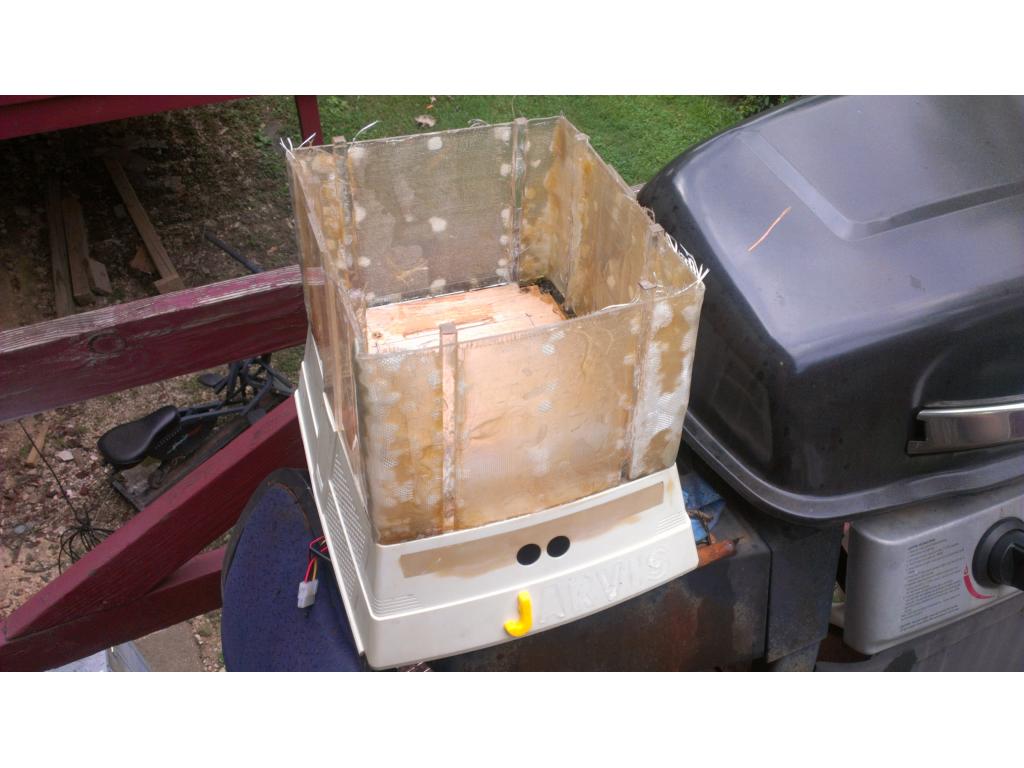
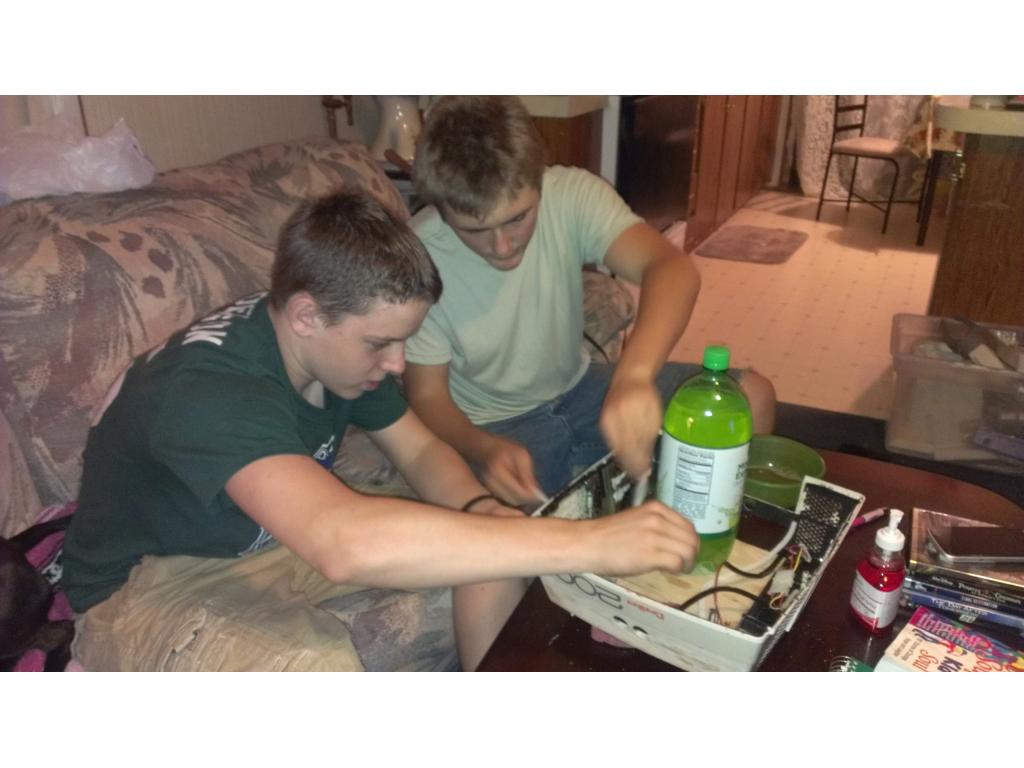
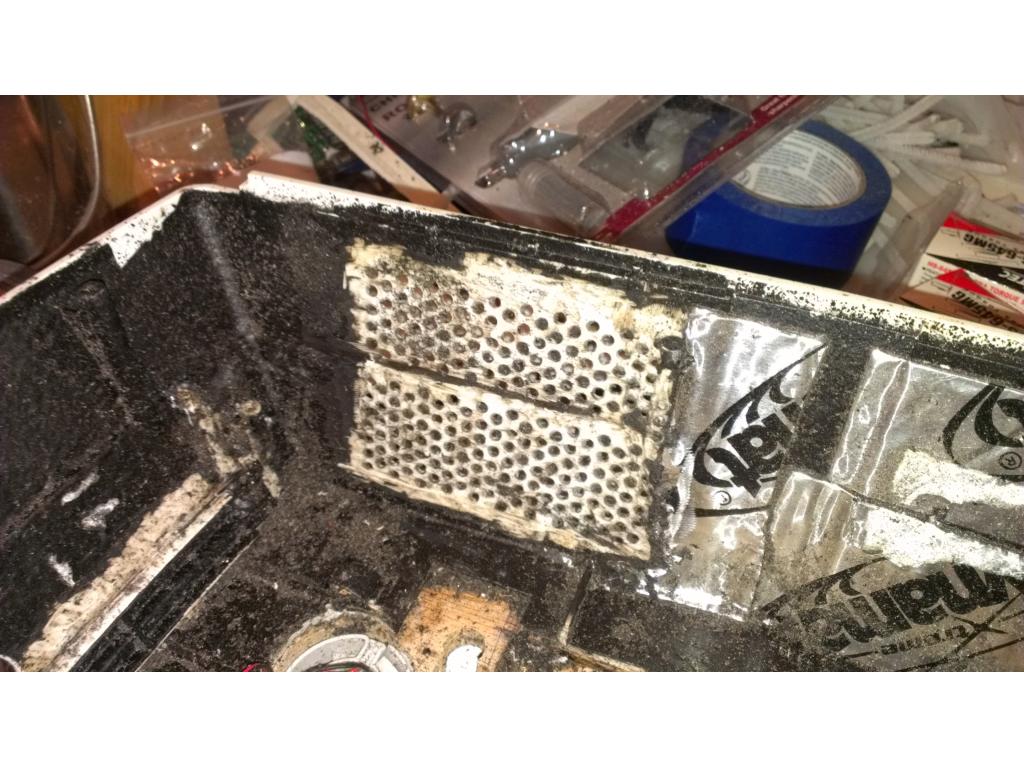
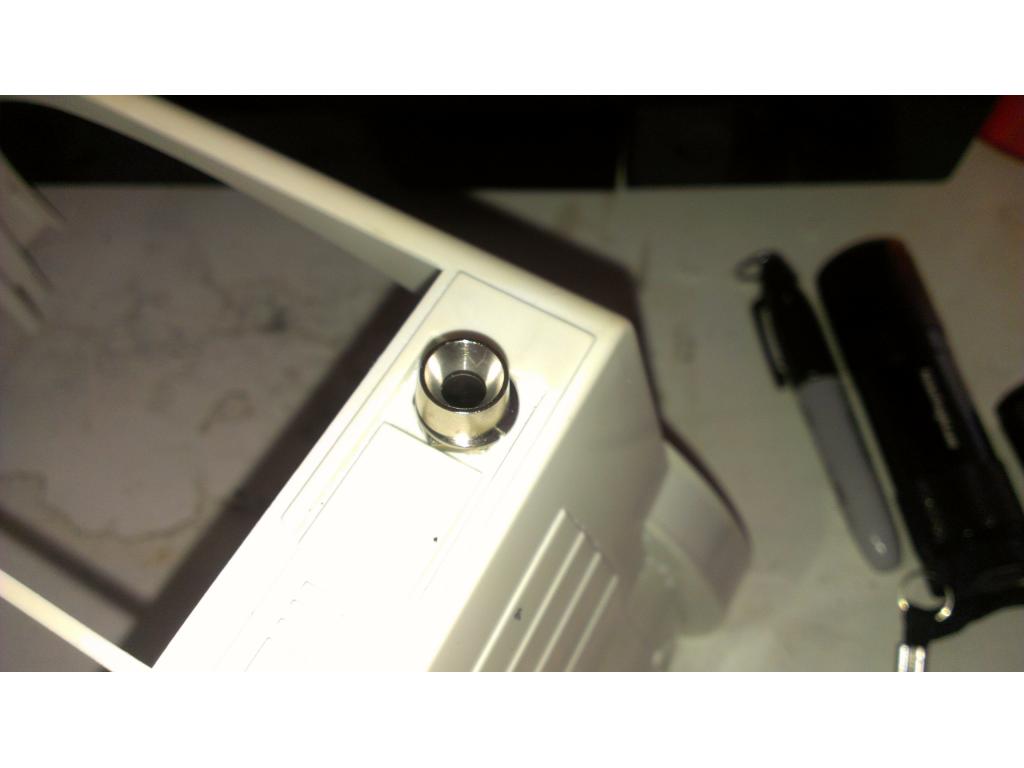
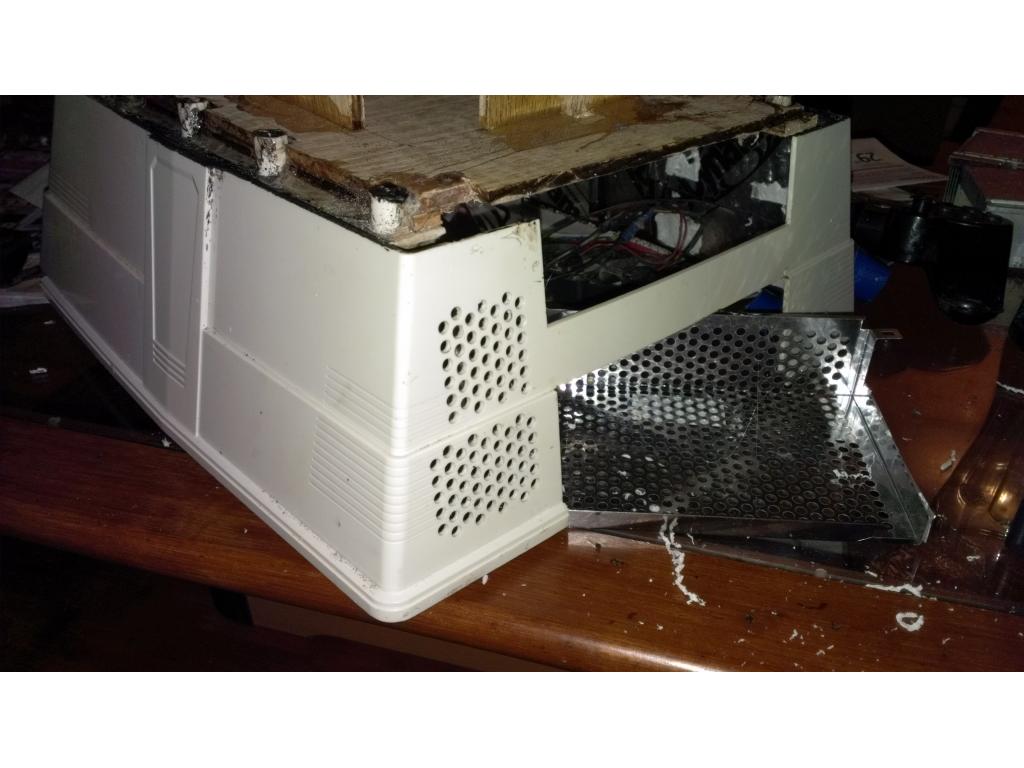
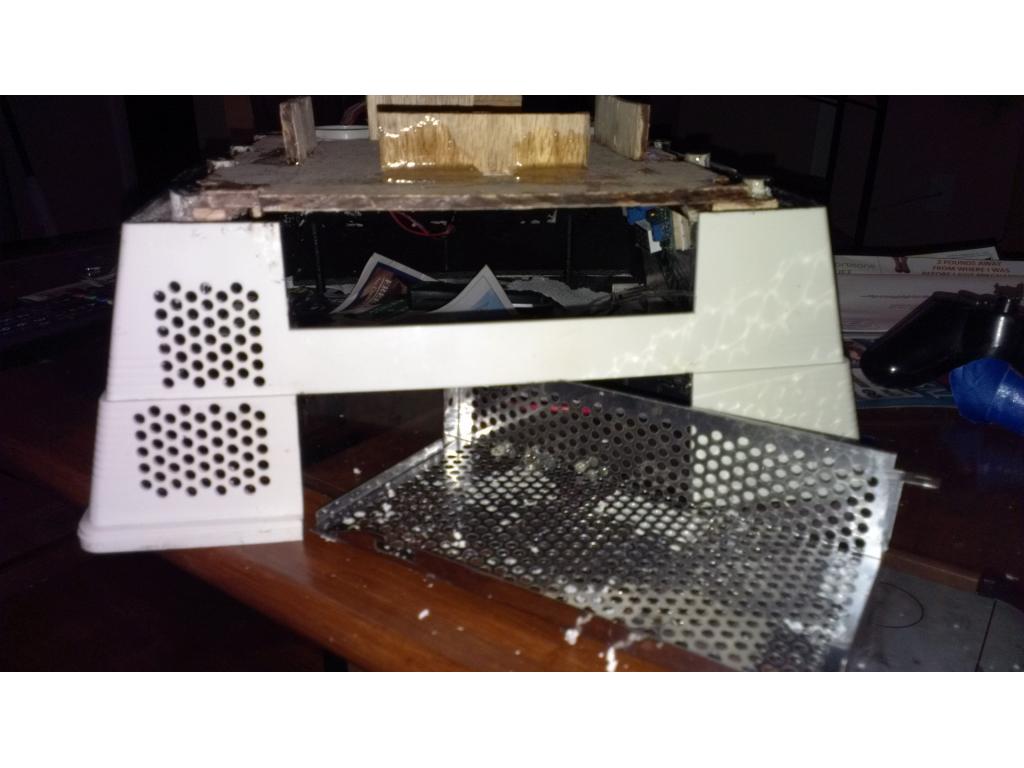
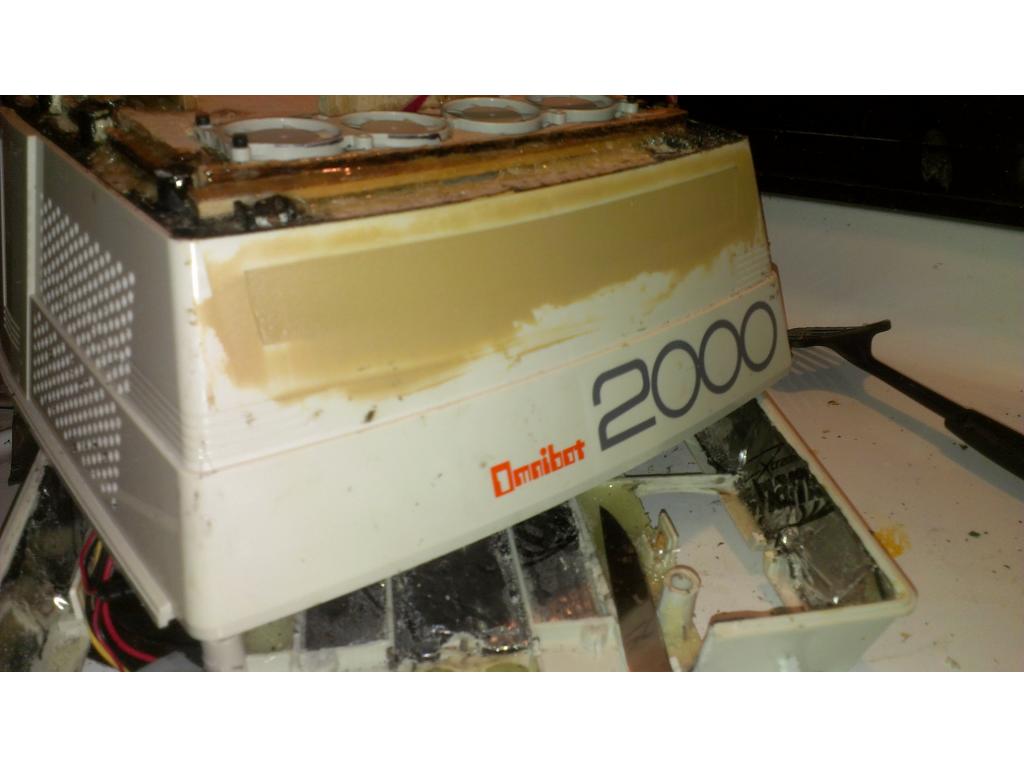
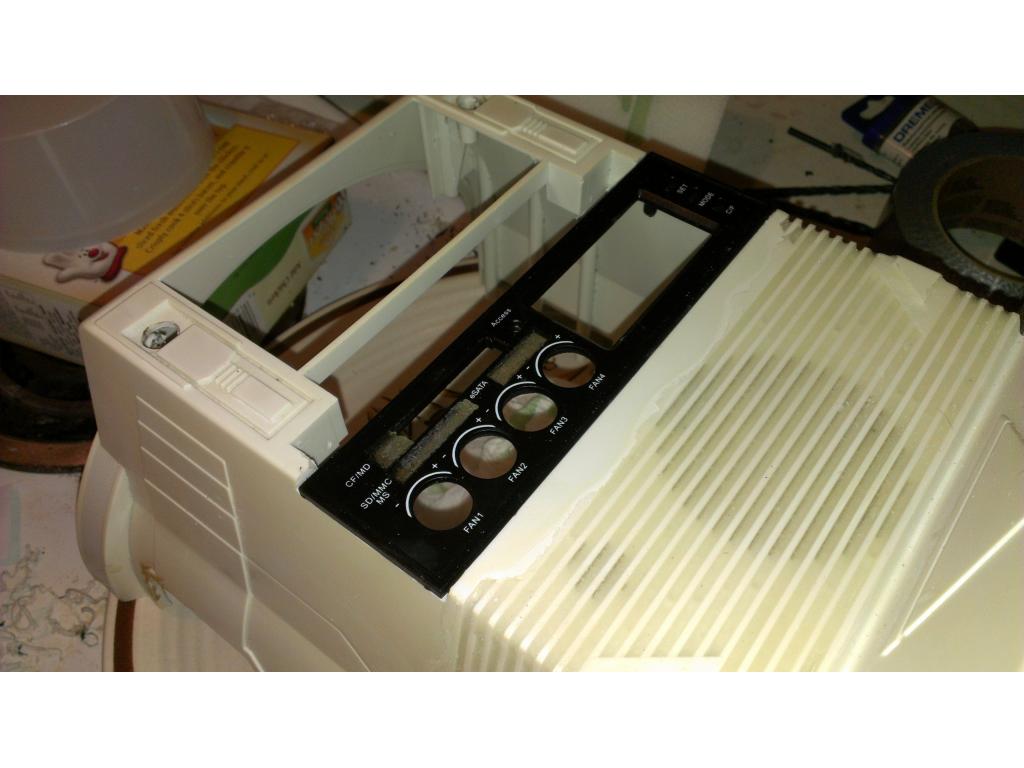
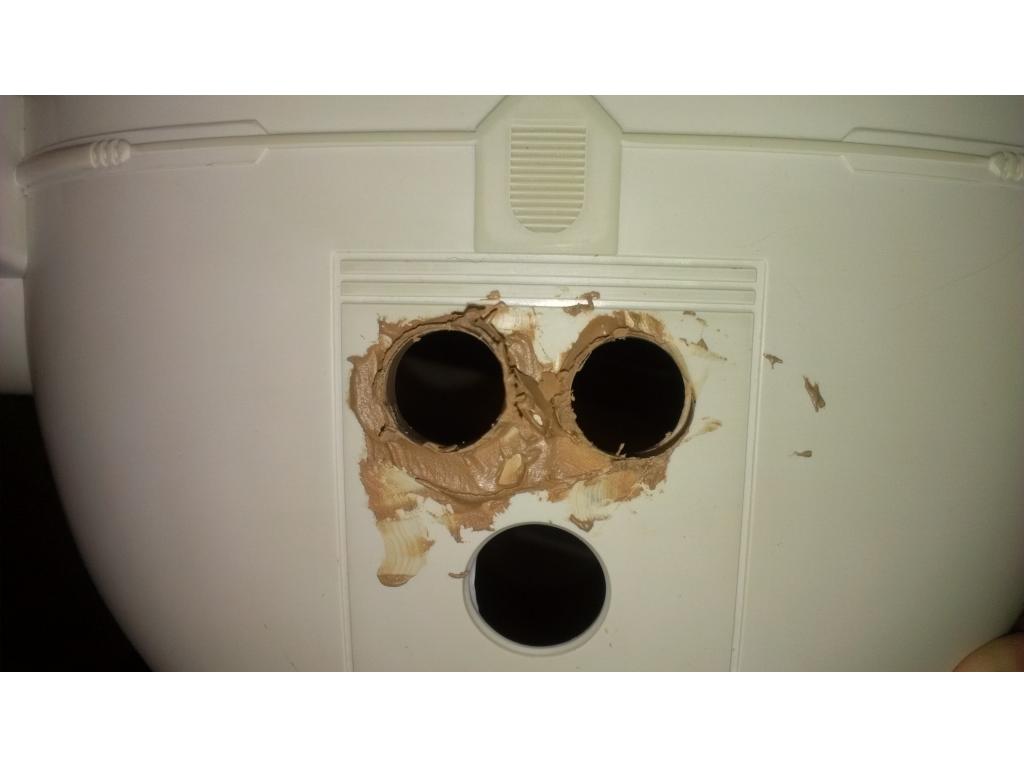
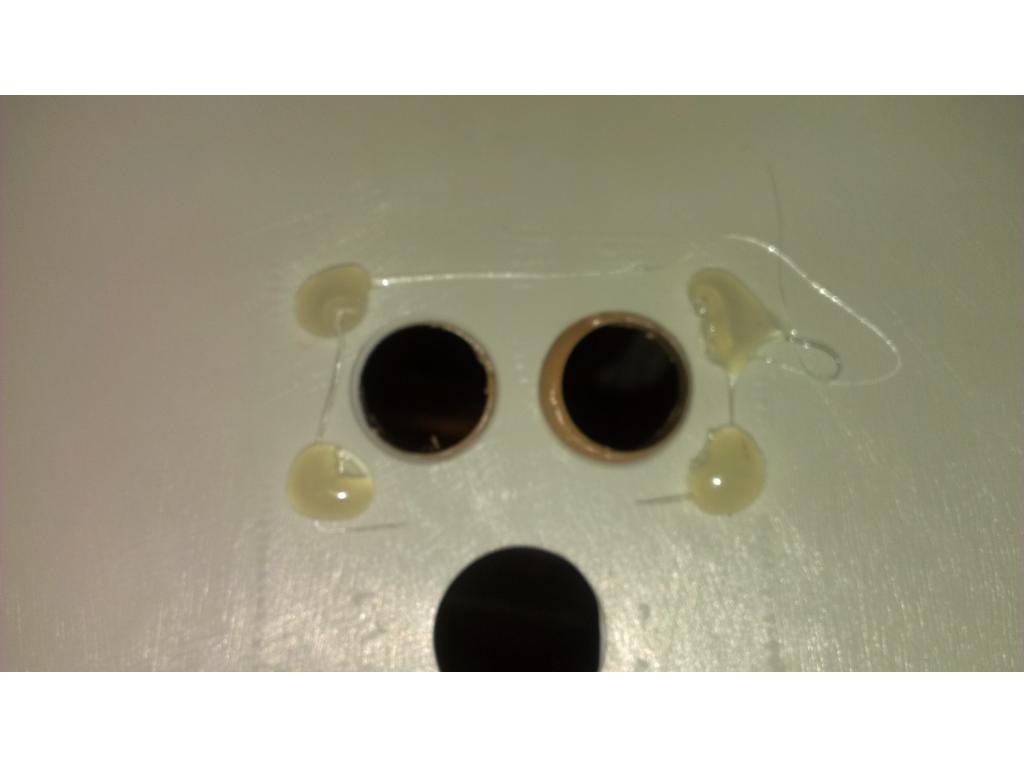
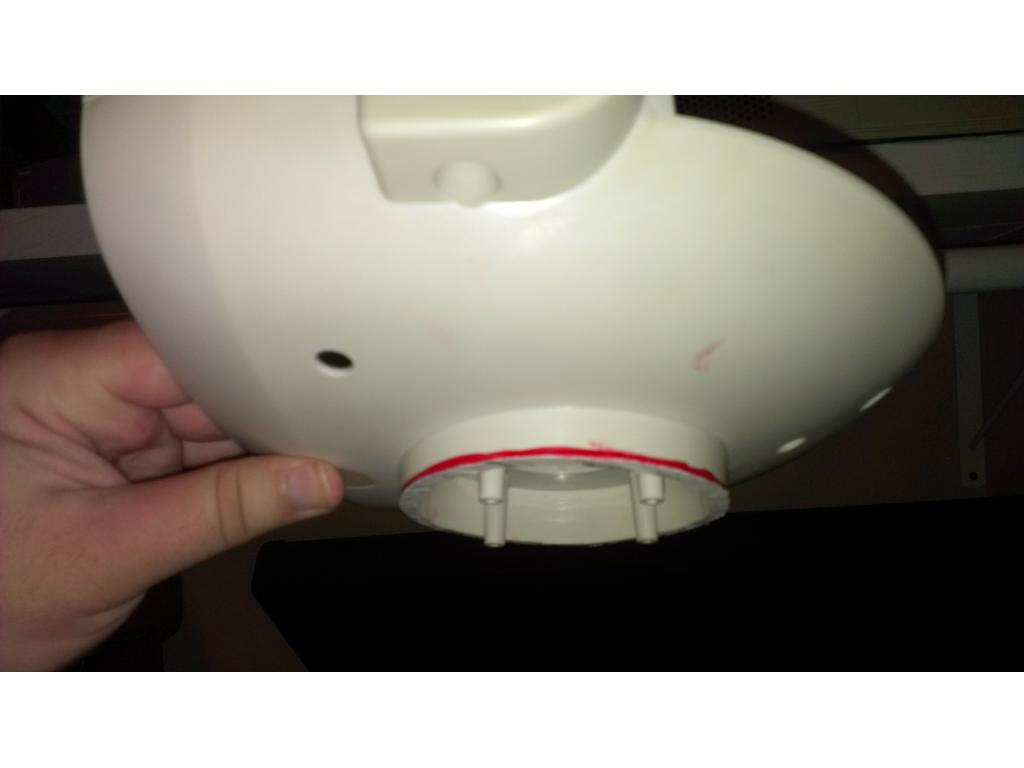
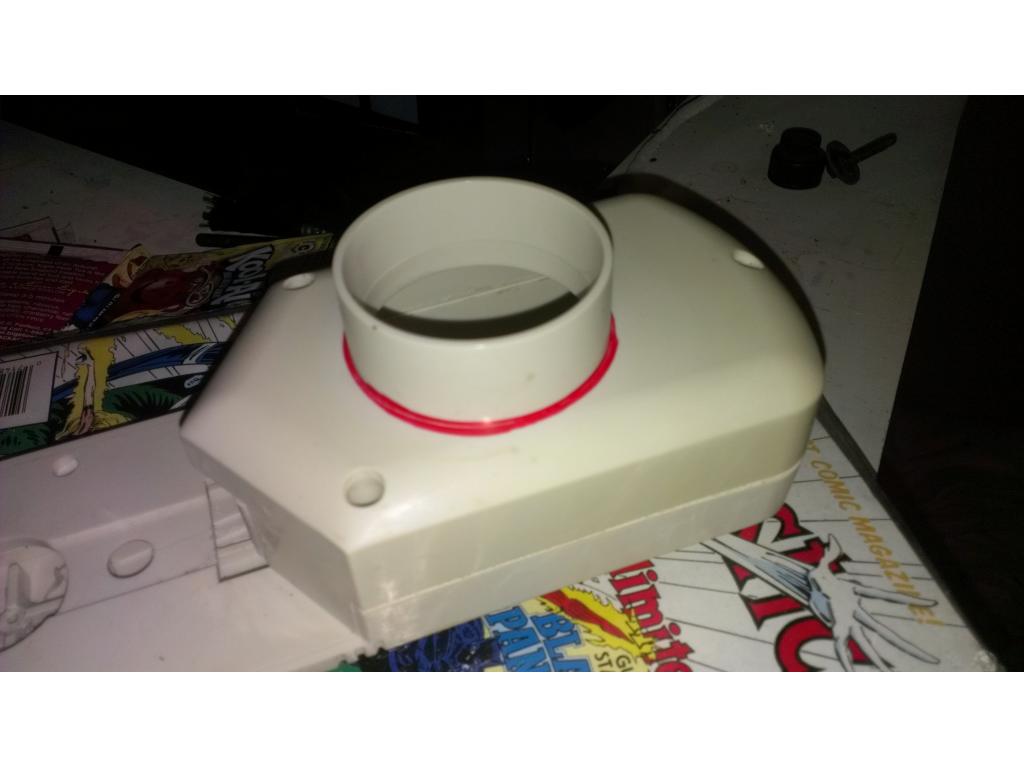
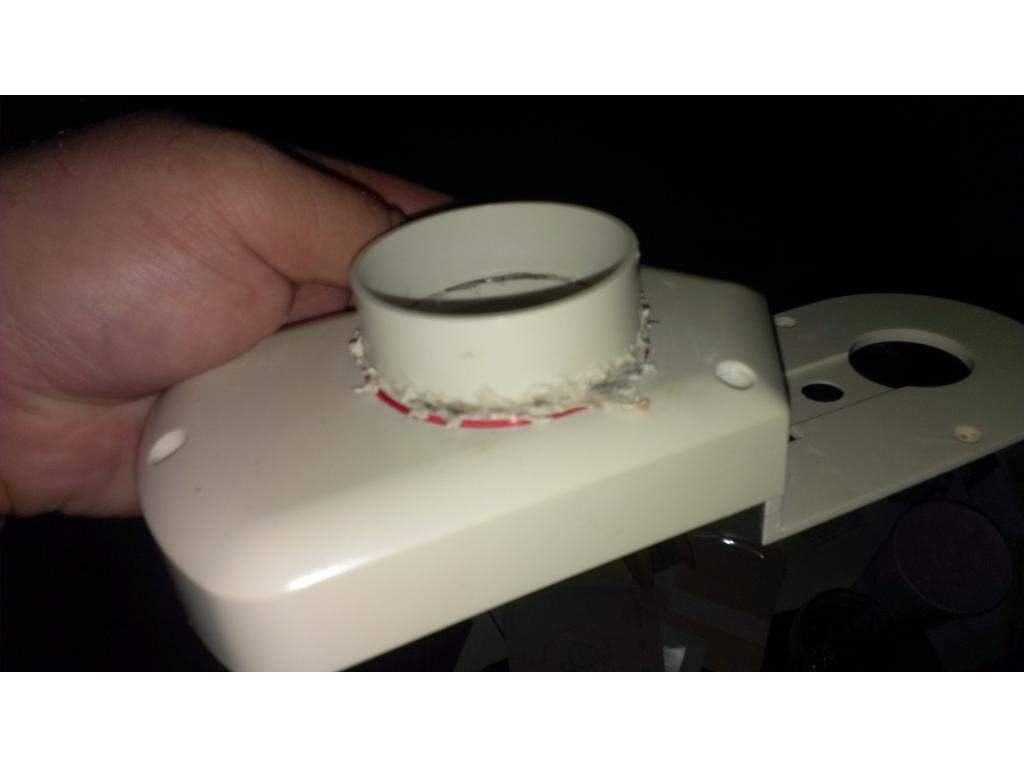
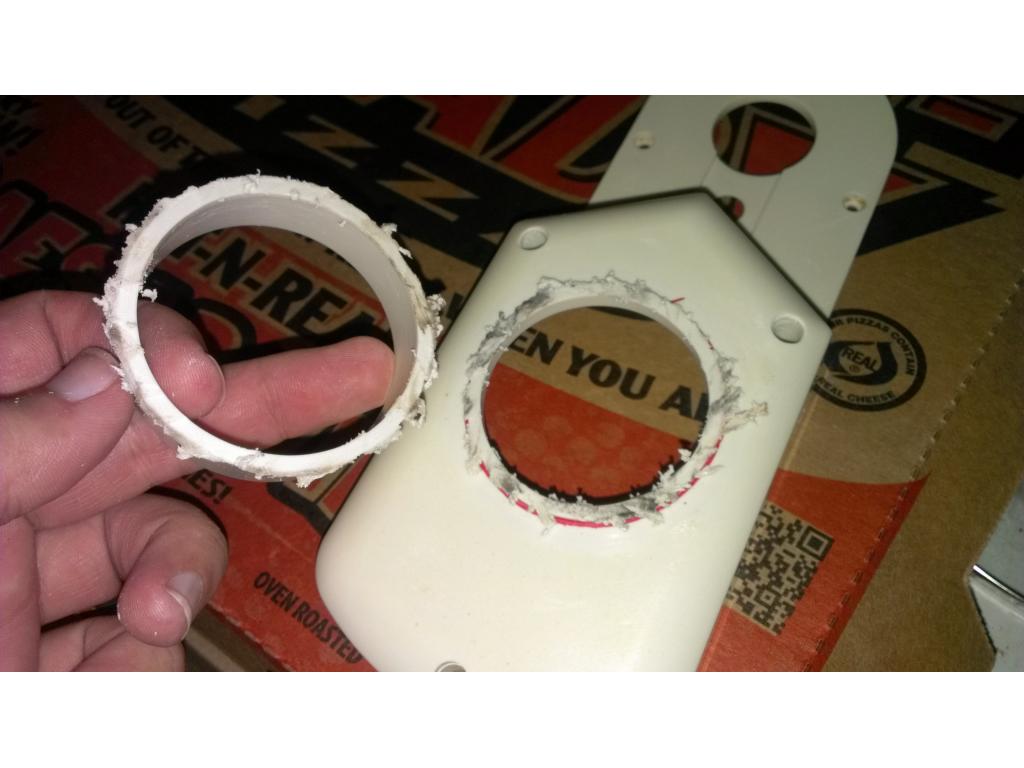
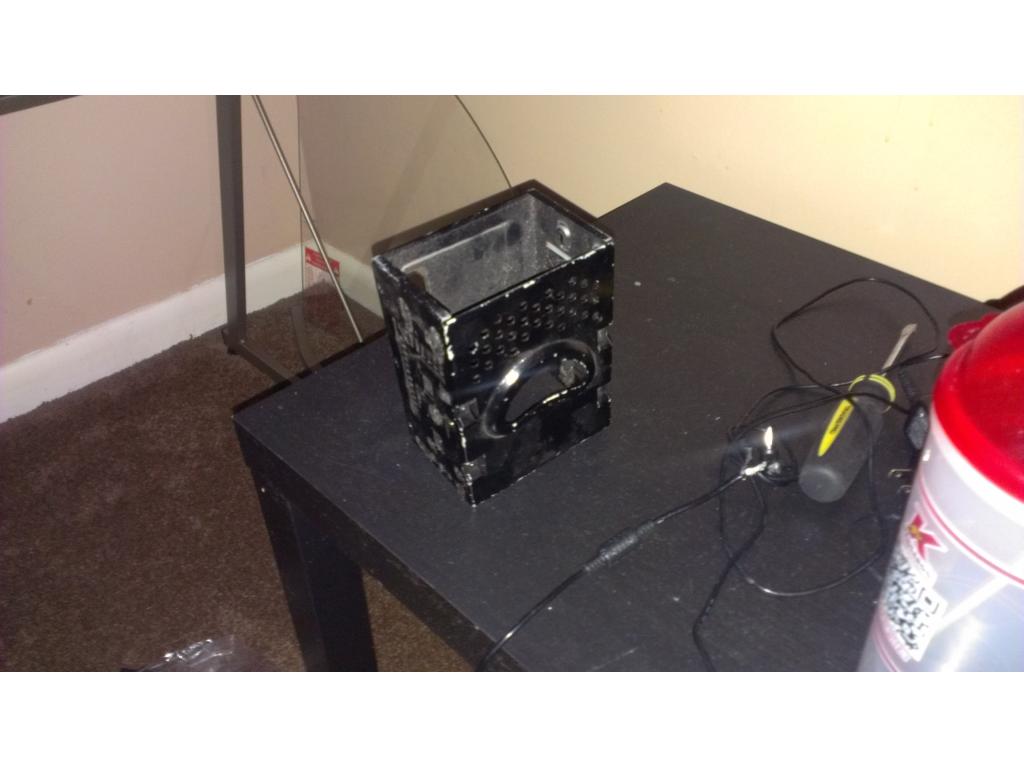
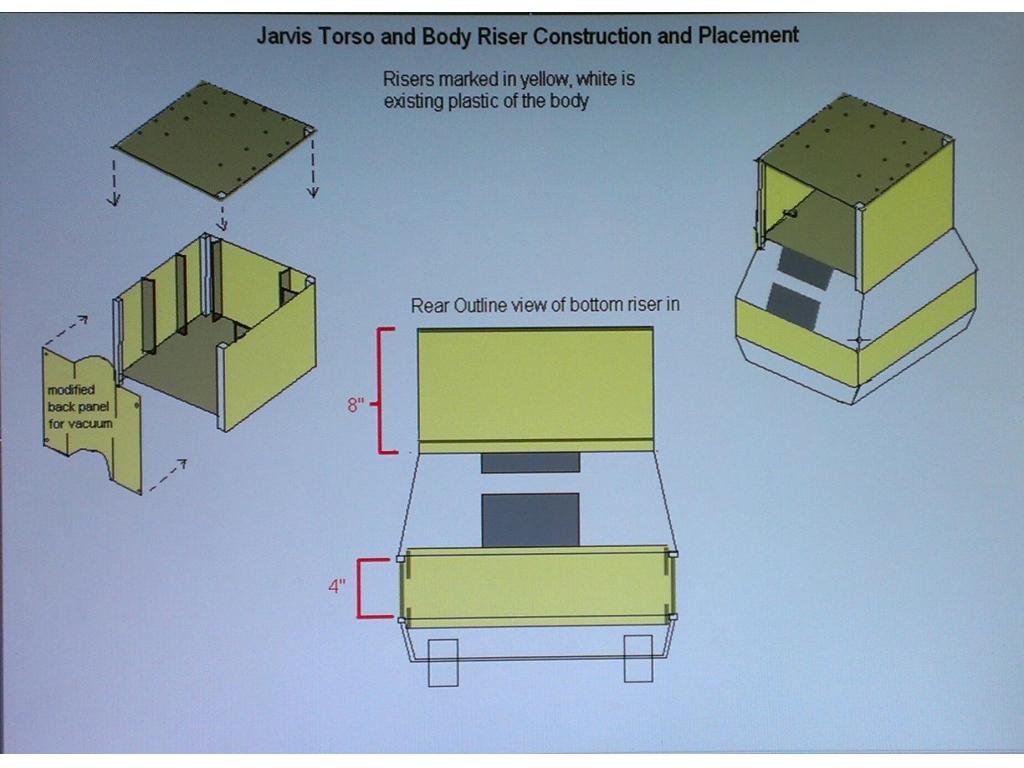
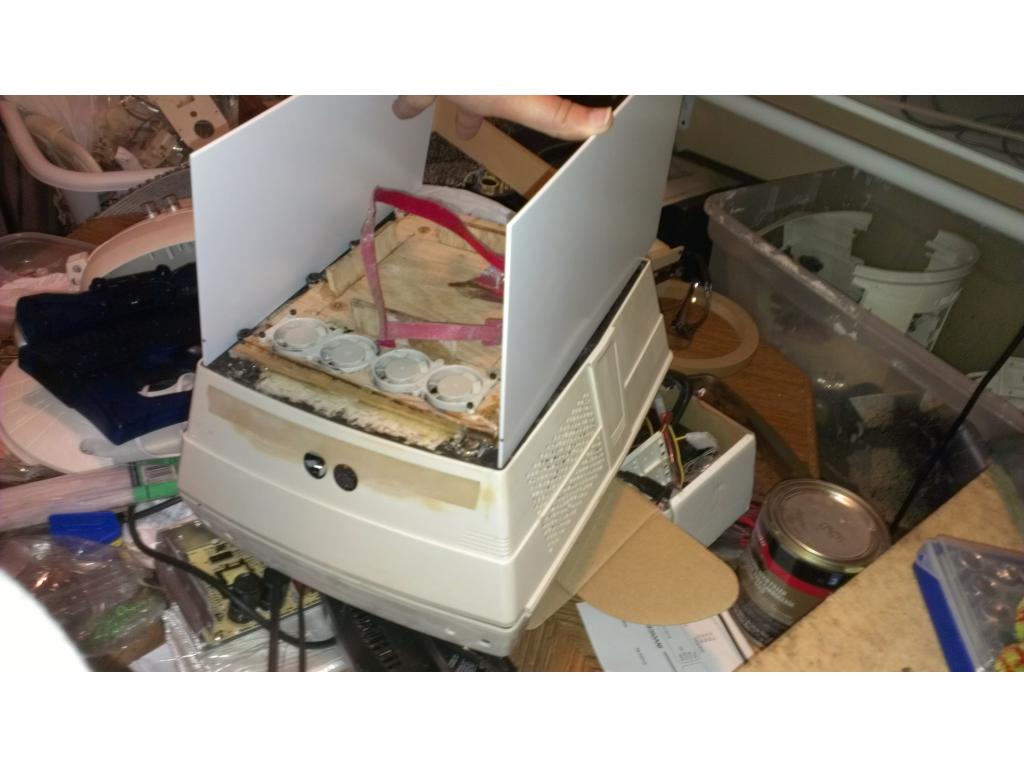
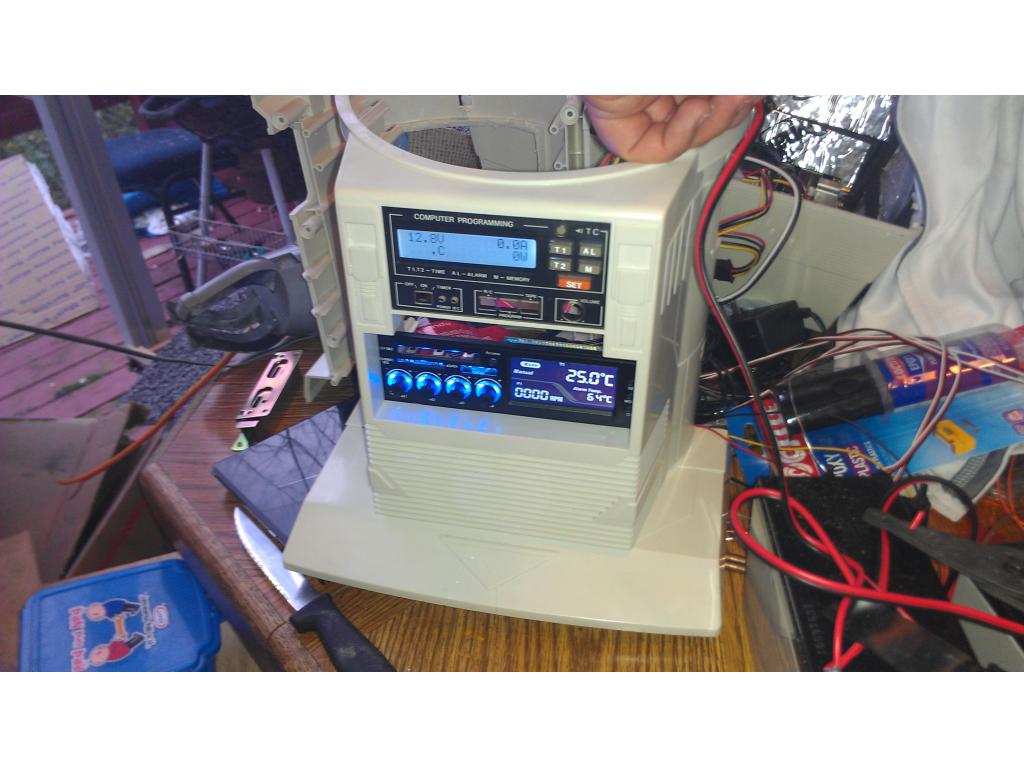
Ok continueing the riser connections...
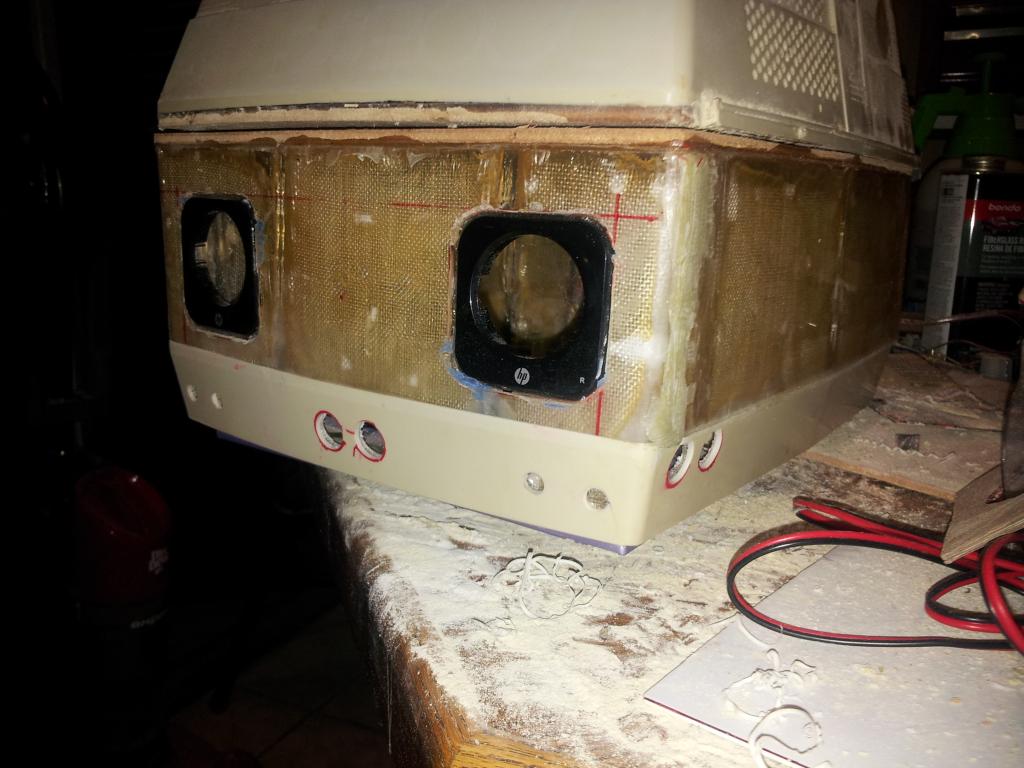
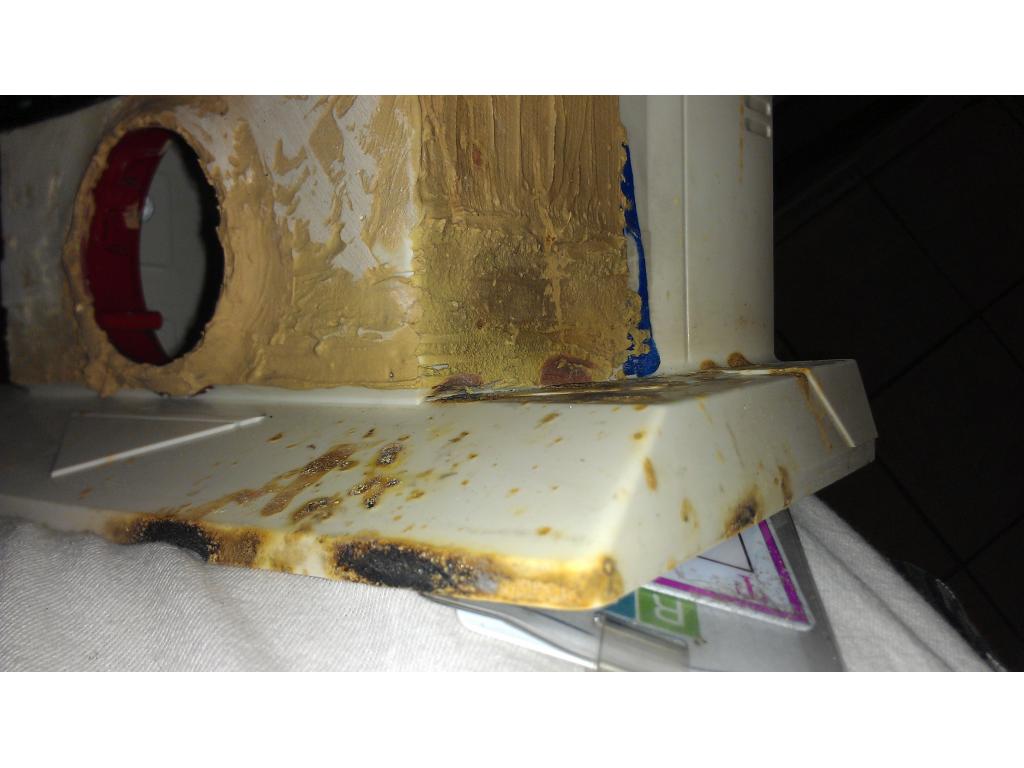
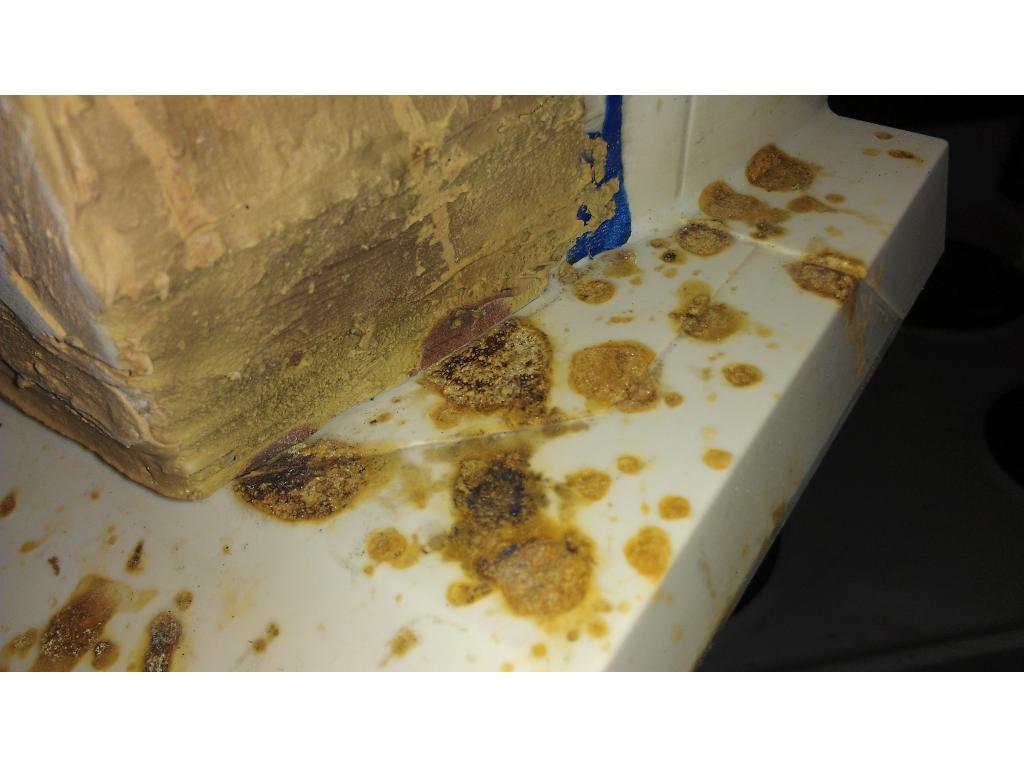
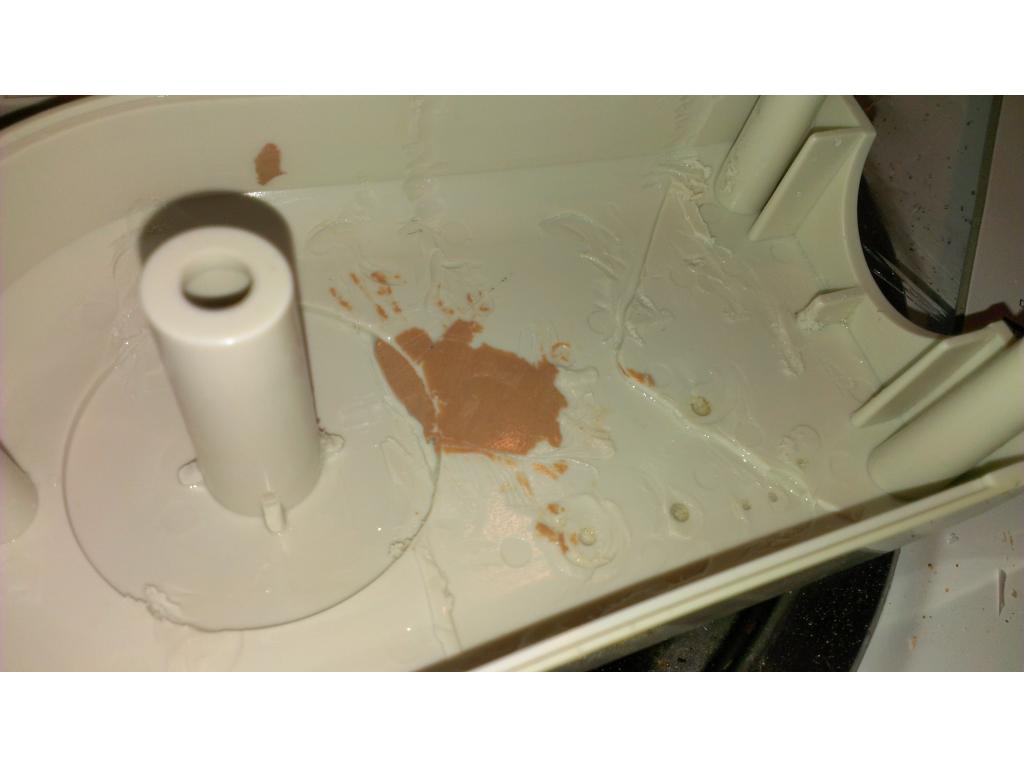
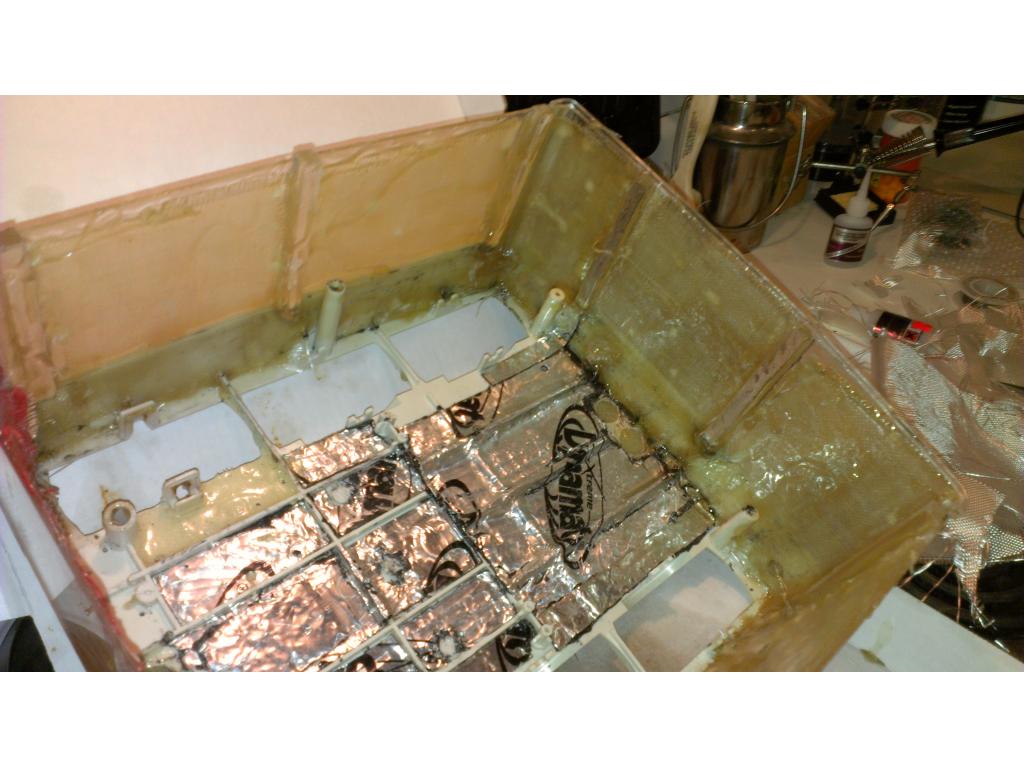
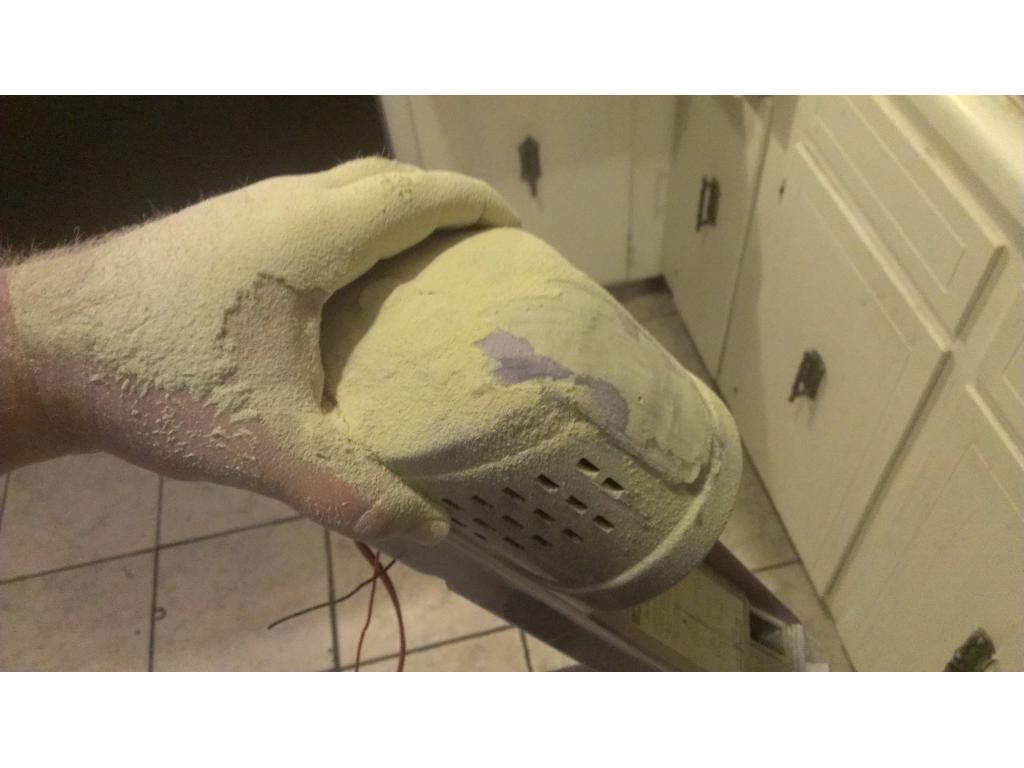
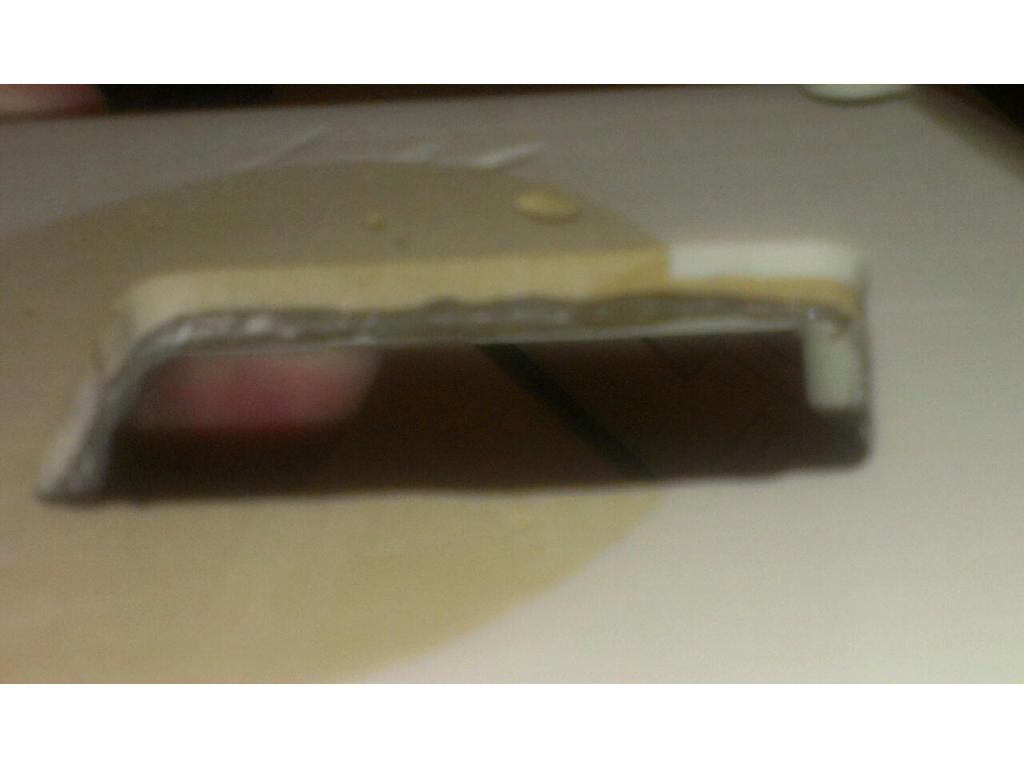
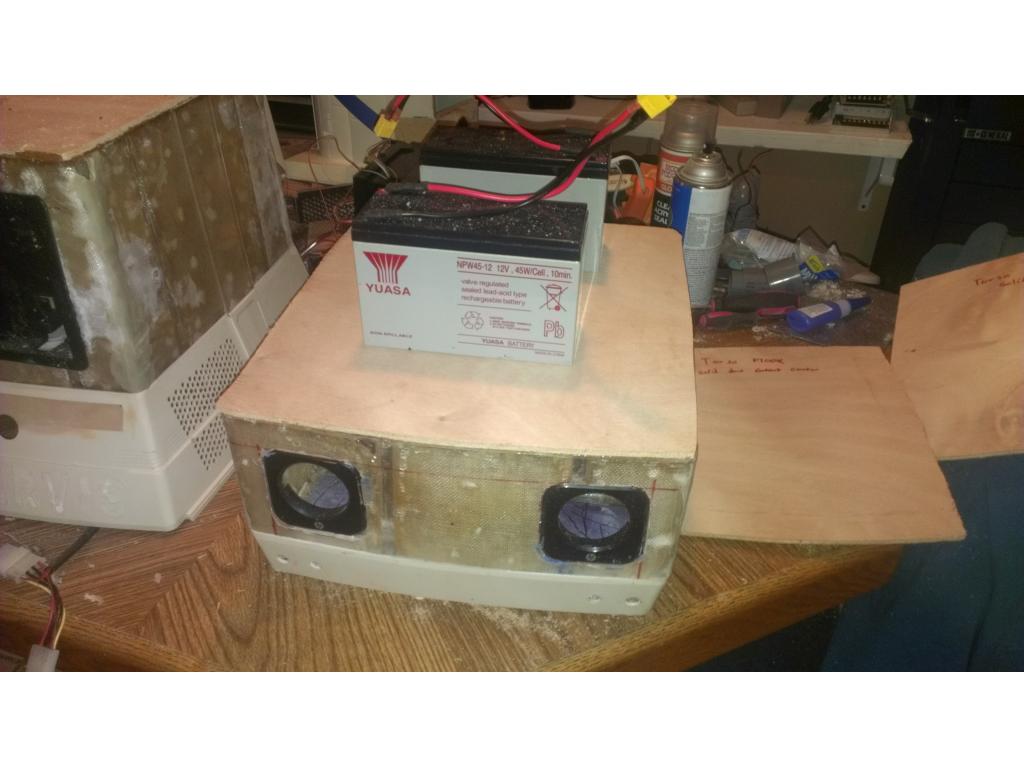
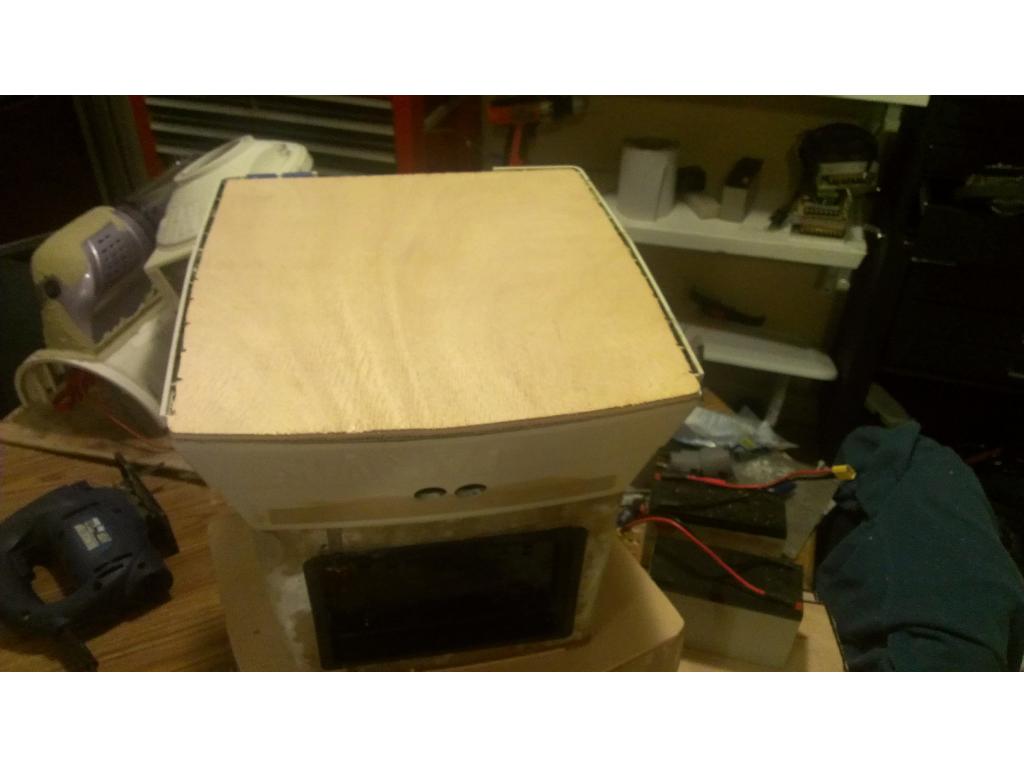
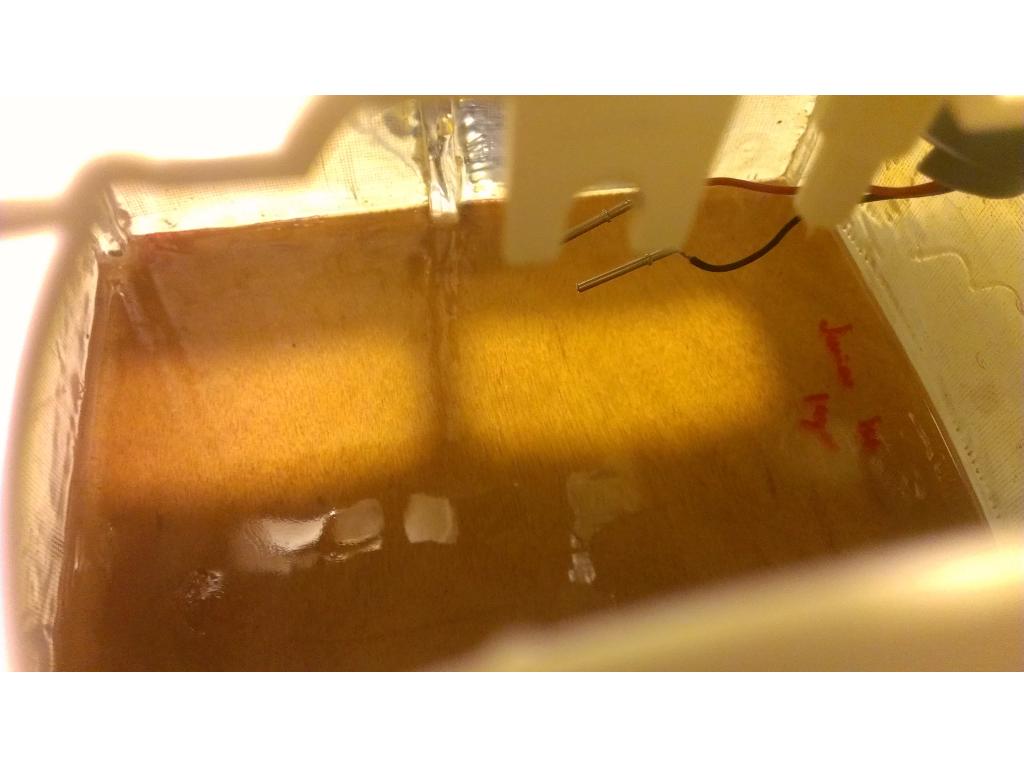
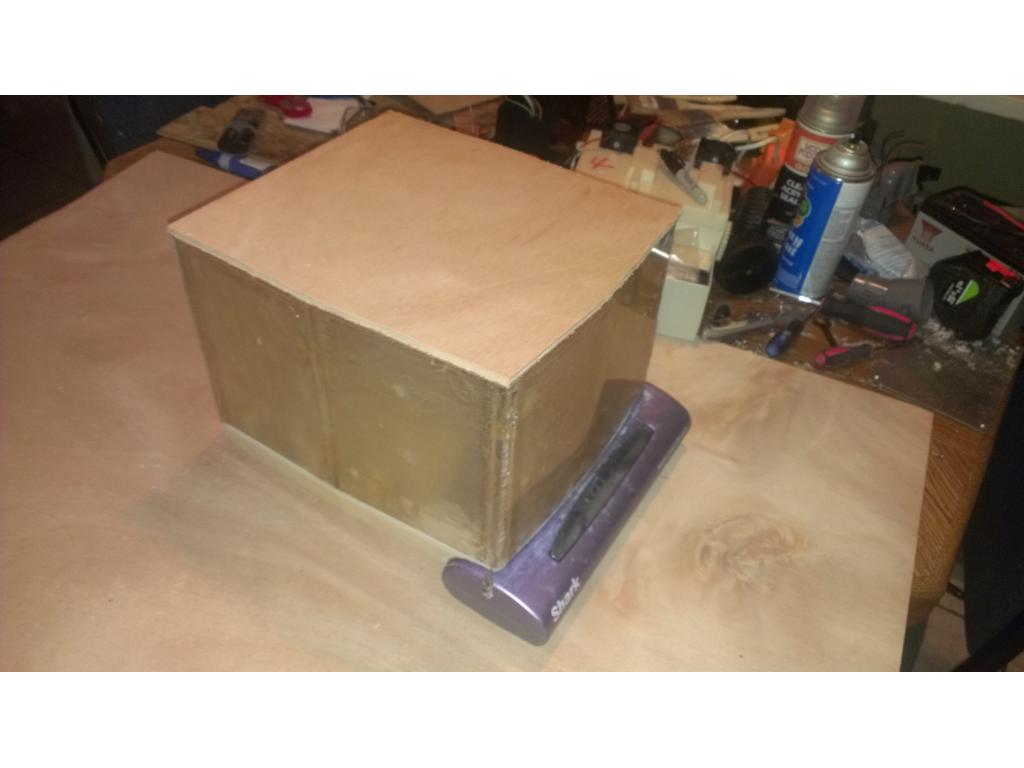
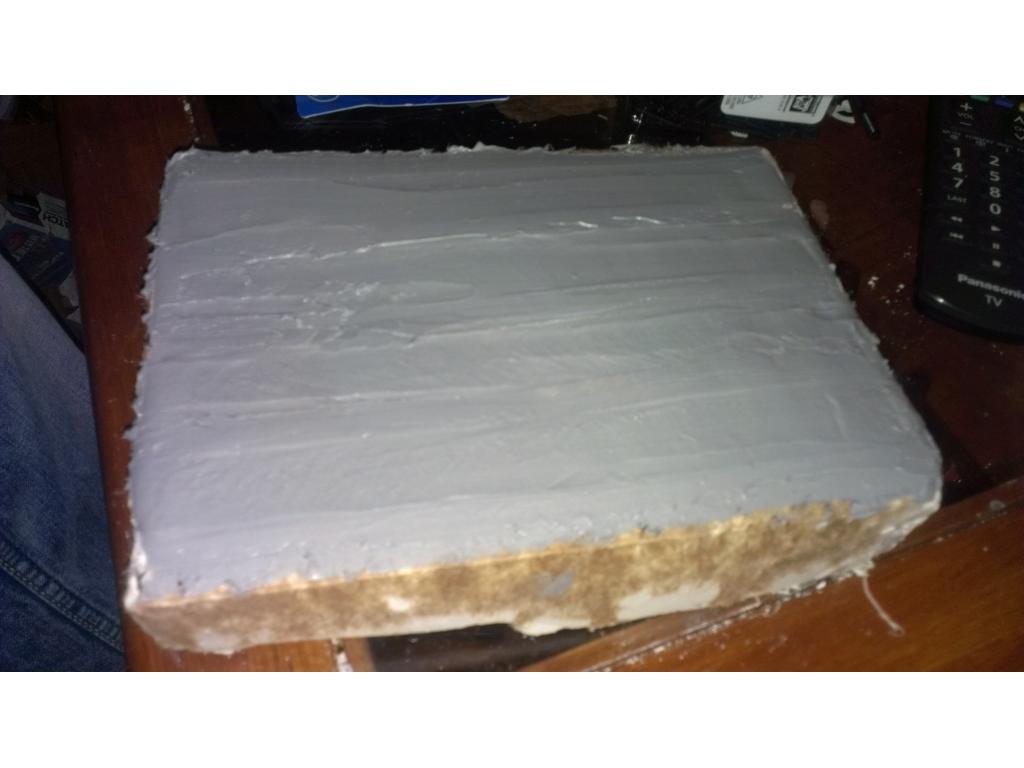
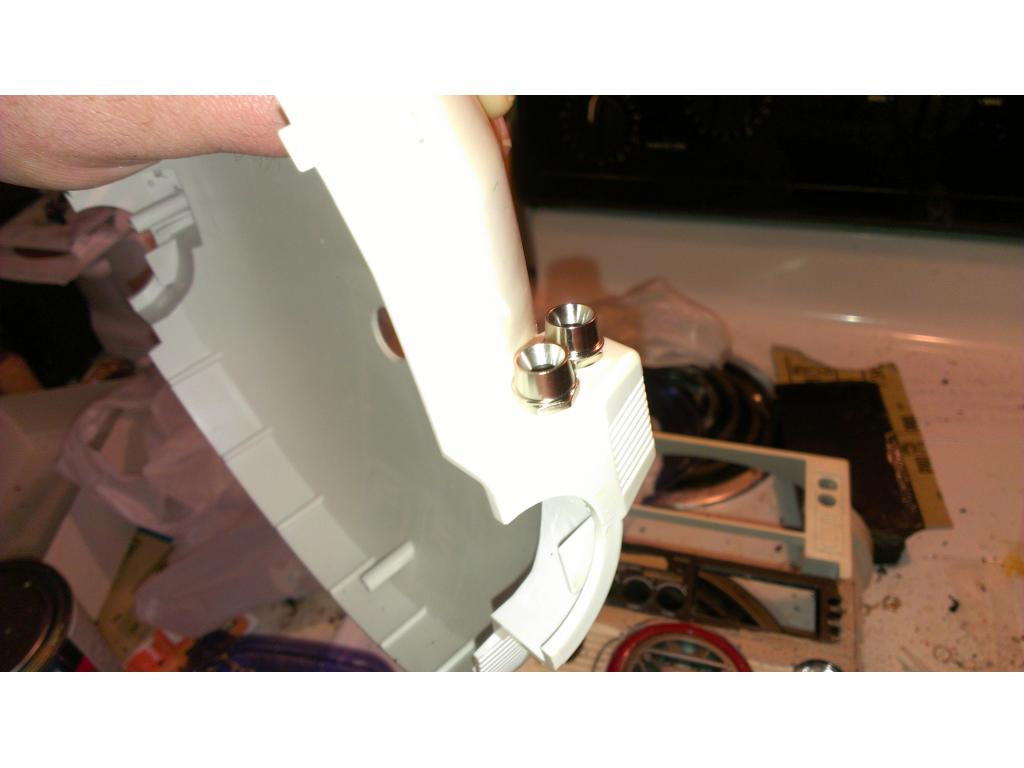
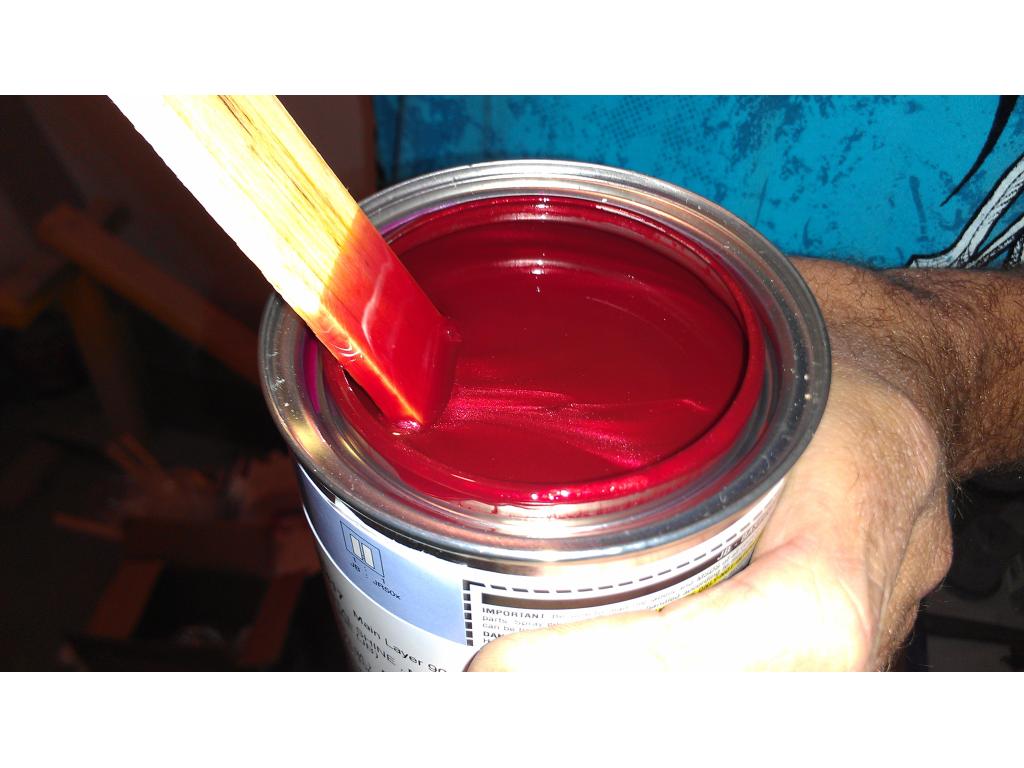
I spot epoxied the corners to hold the top in place. I'm letting it cure now but it usually takes about 30 minutes for this 5 minute epoxy lol.
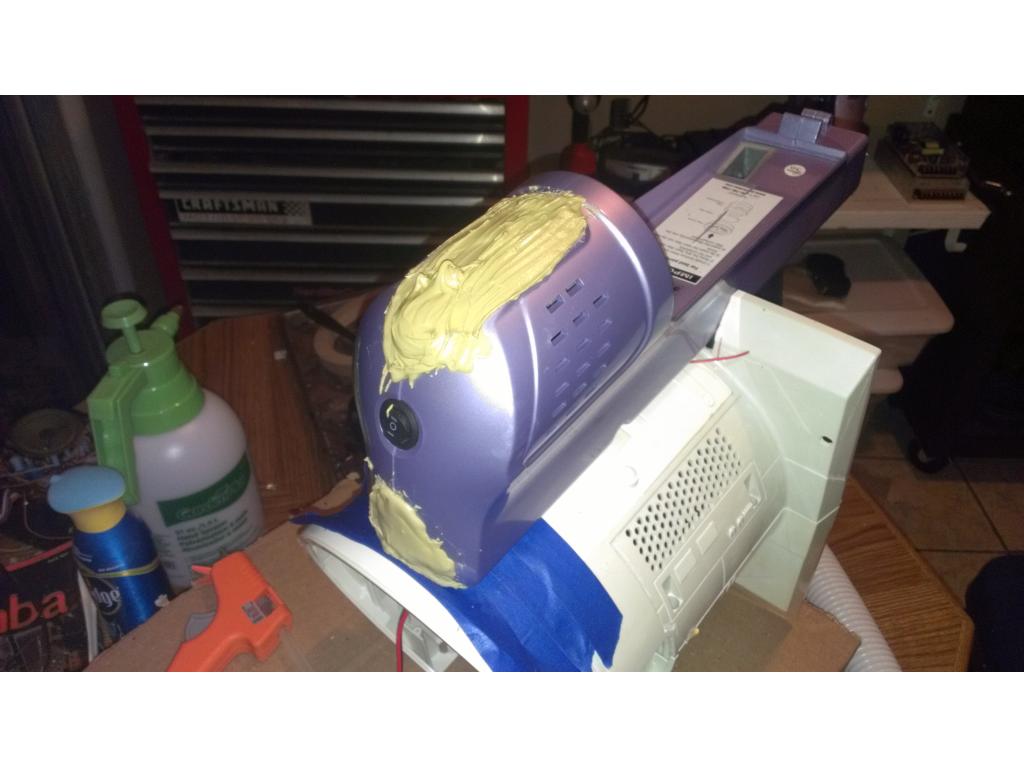
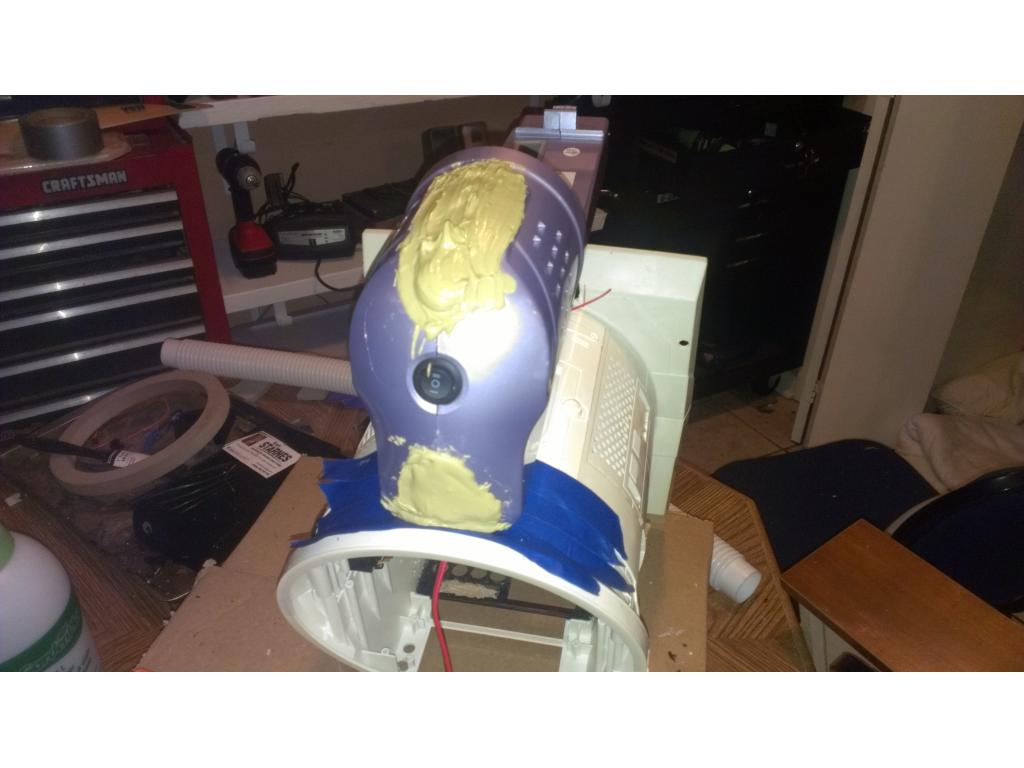
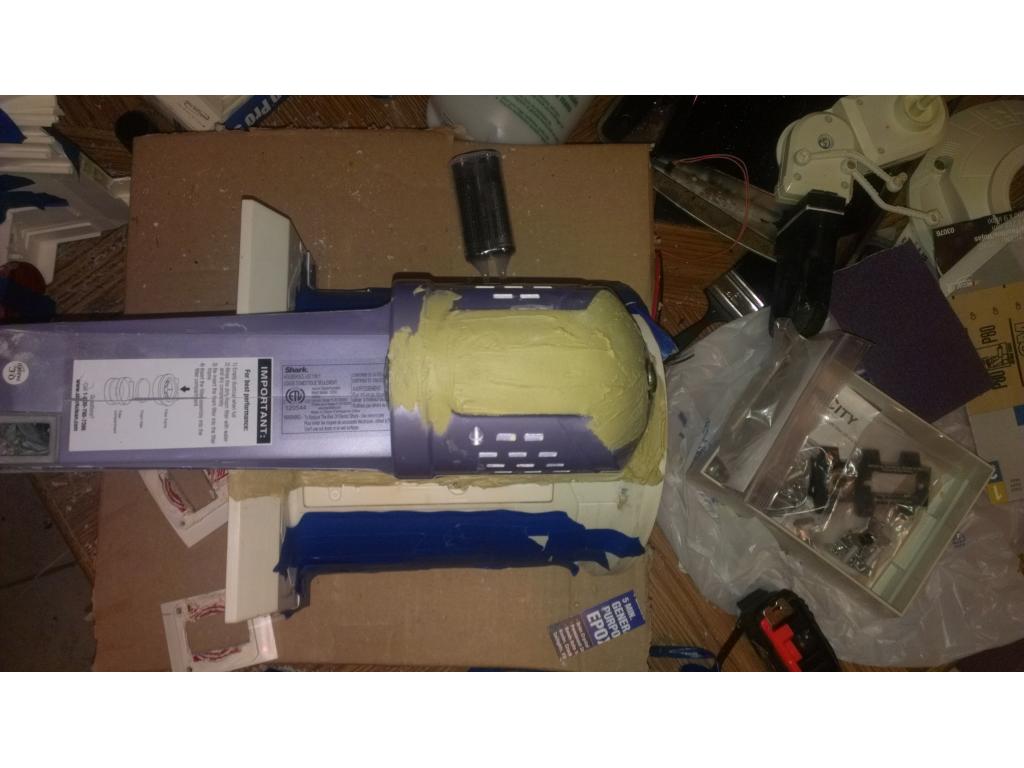
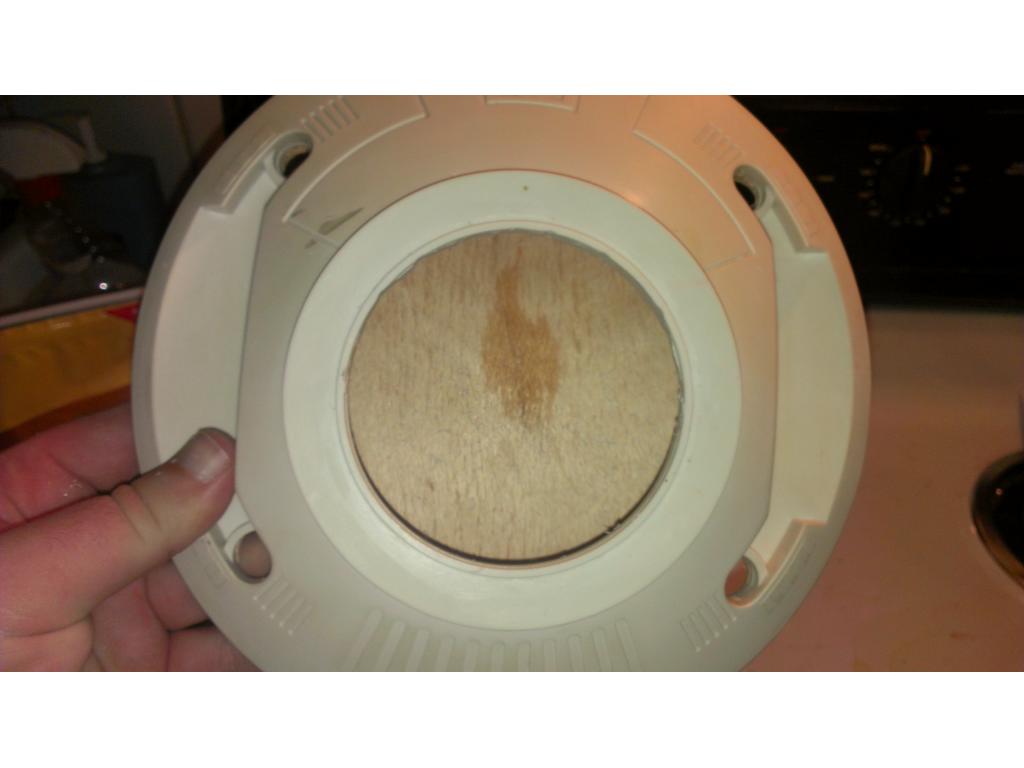
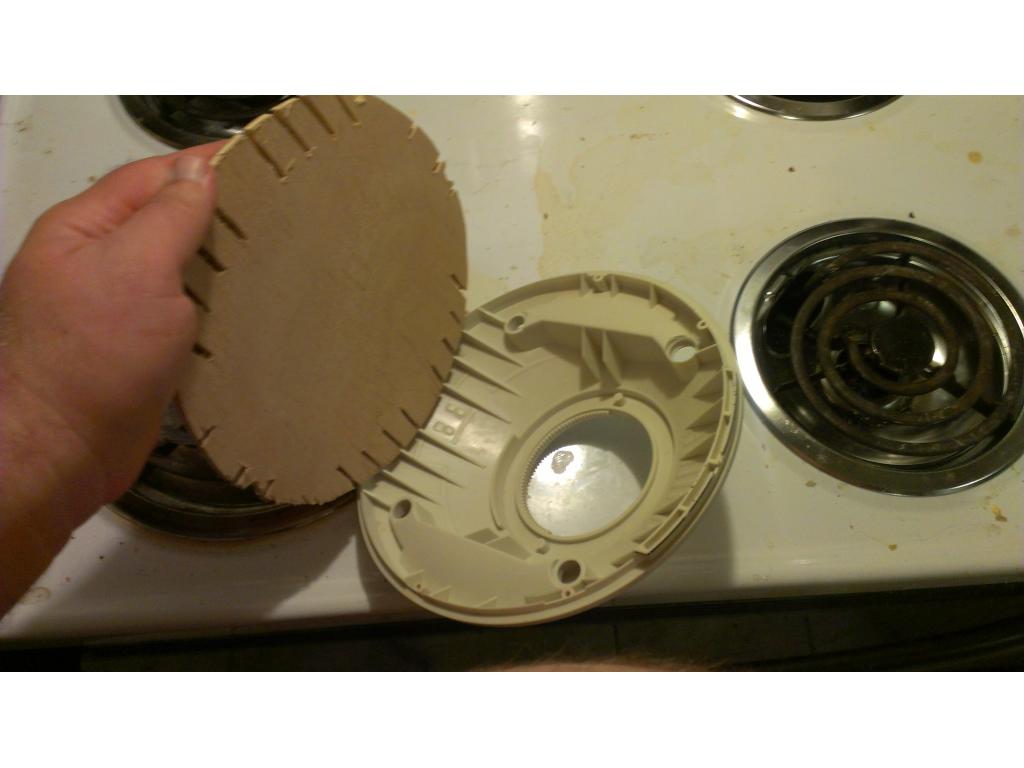
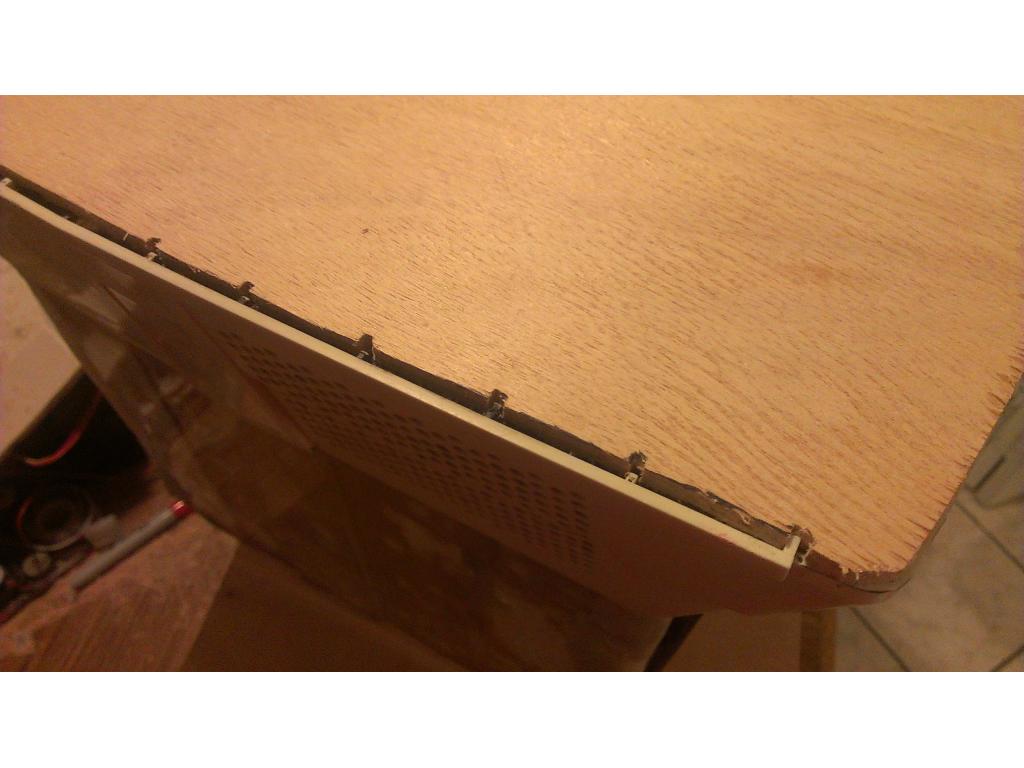
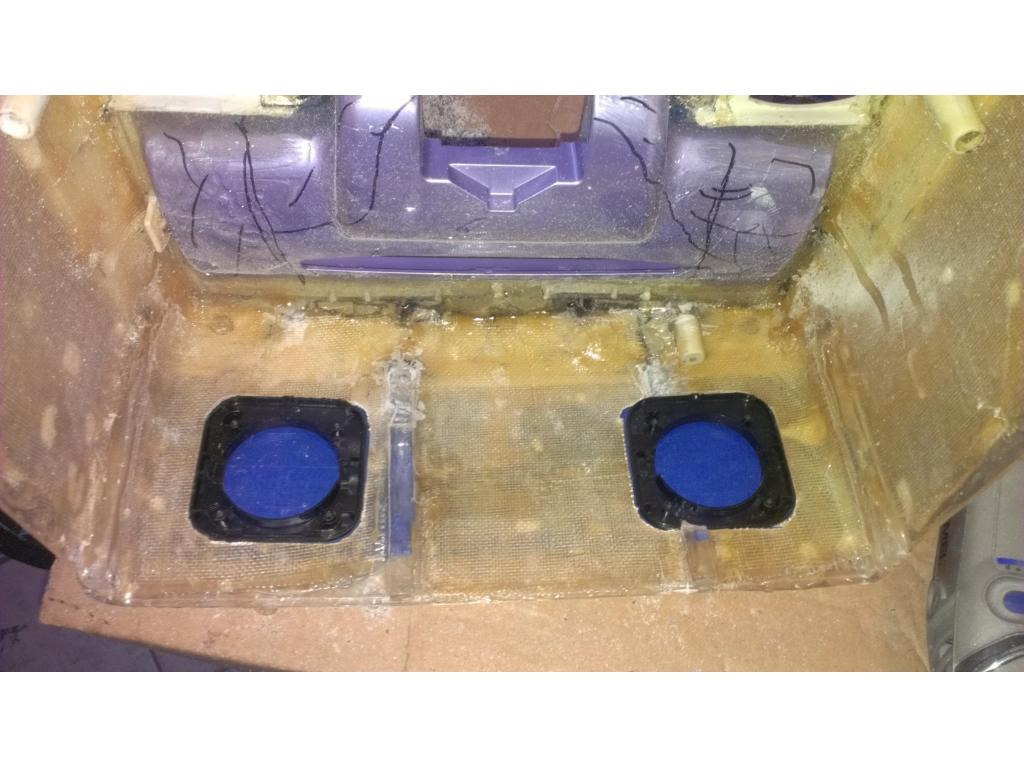
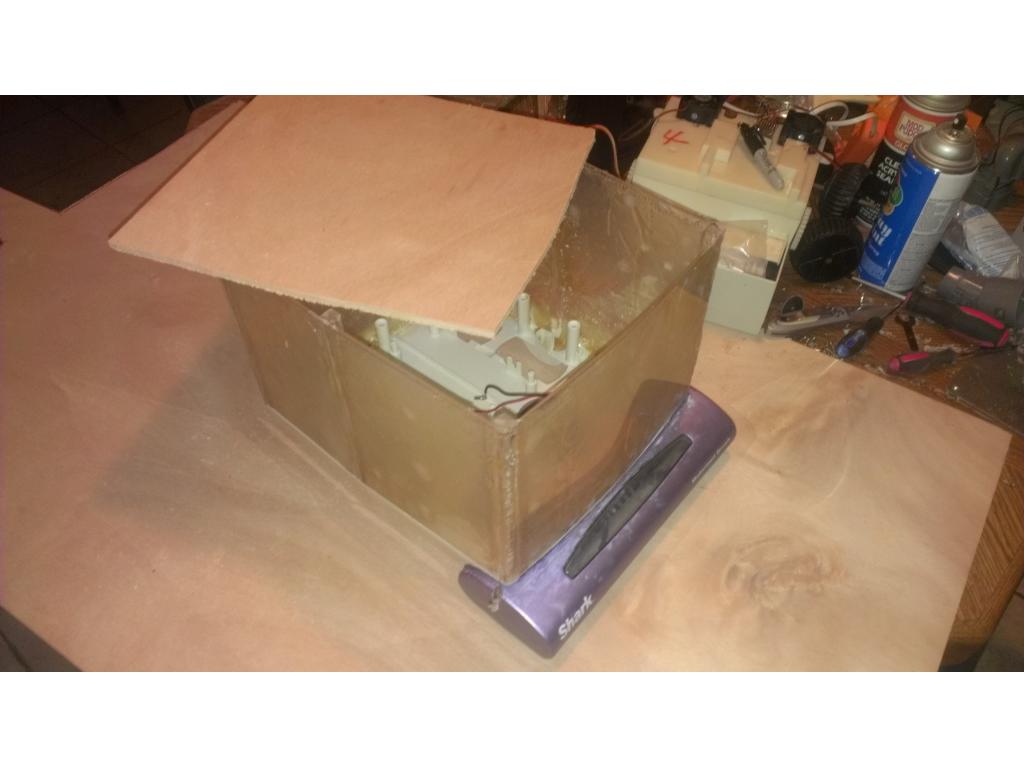
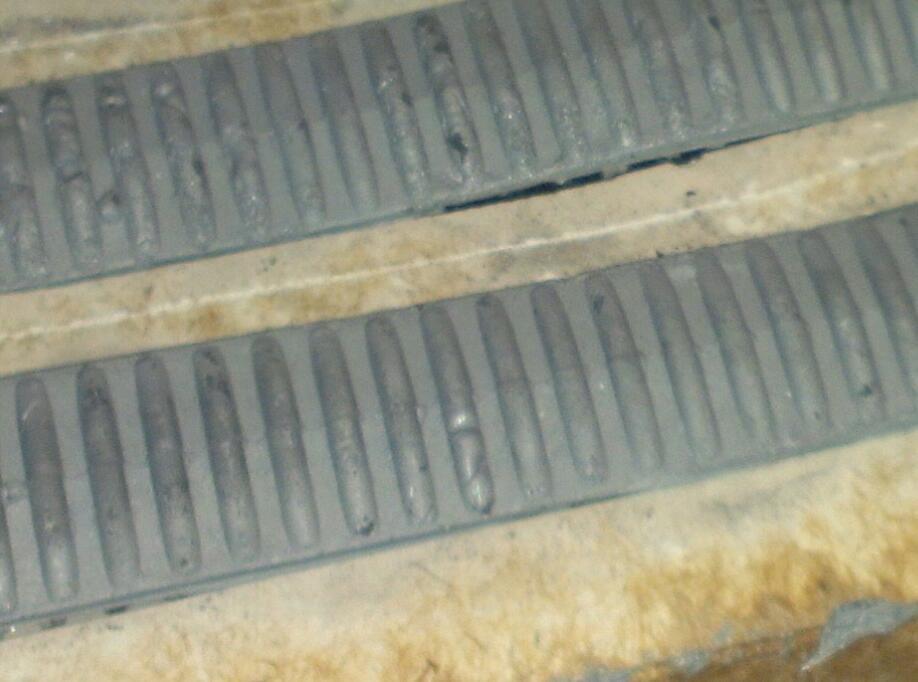
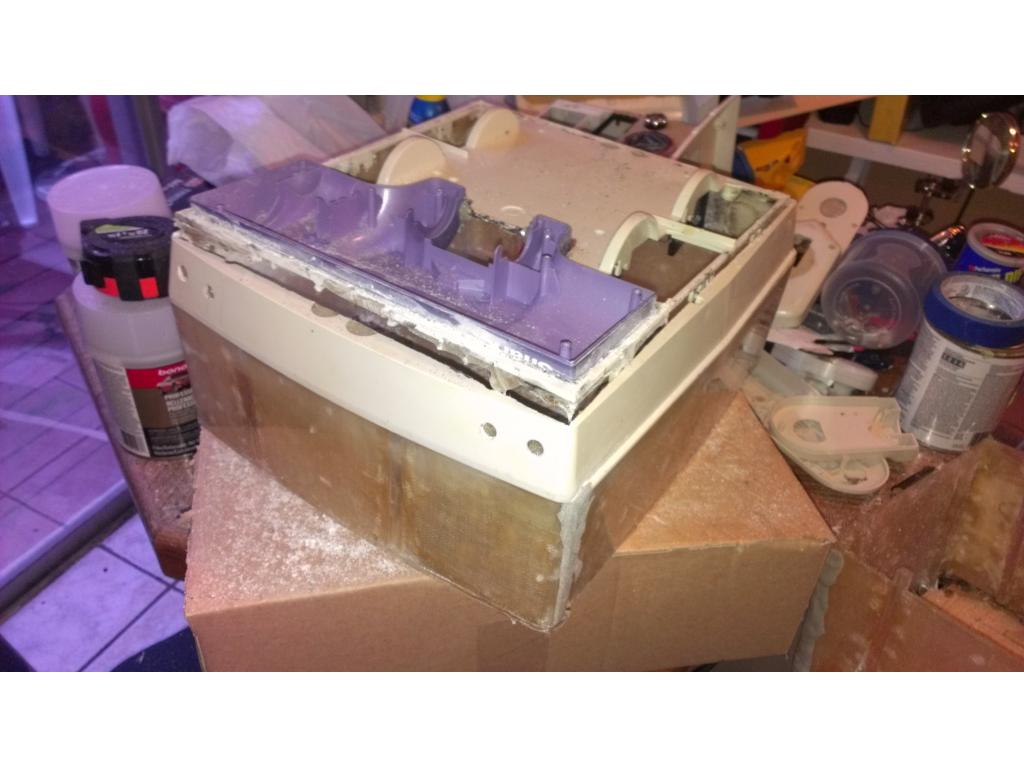
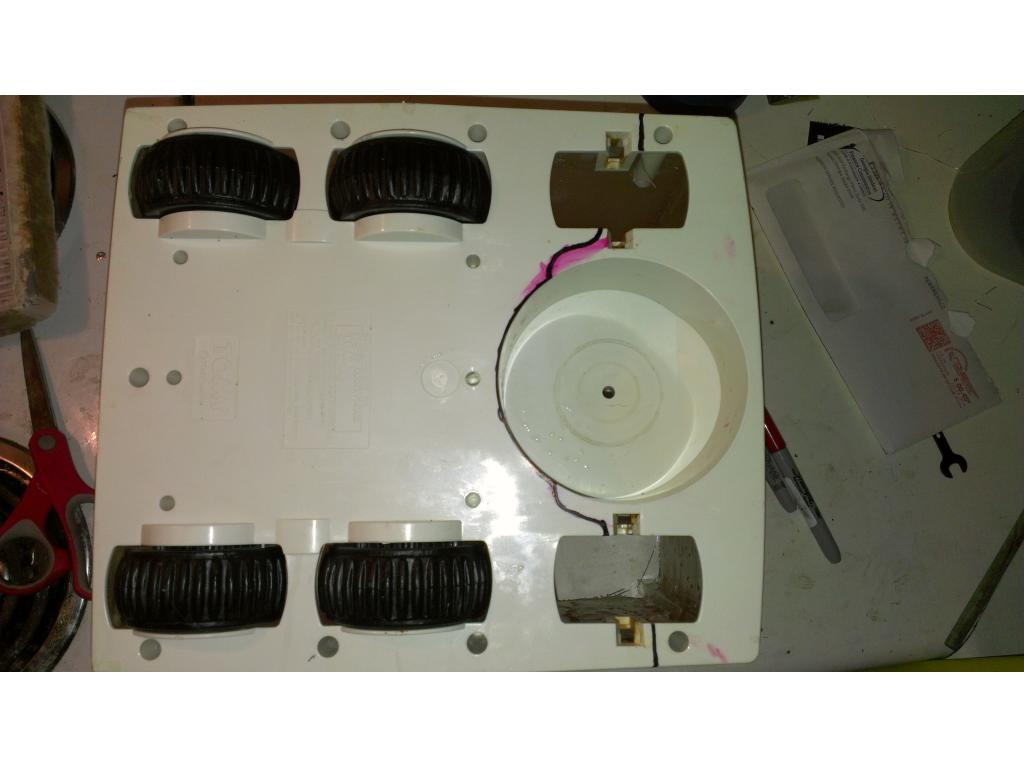
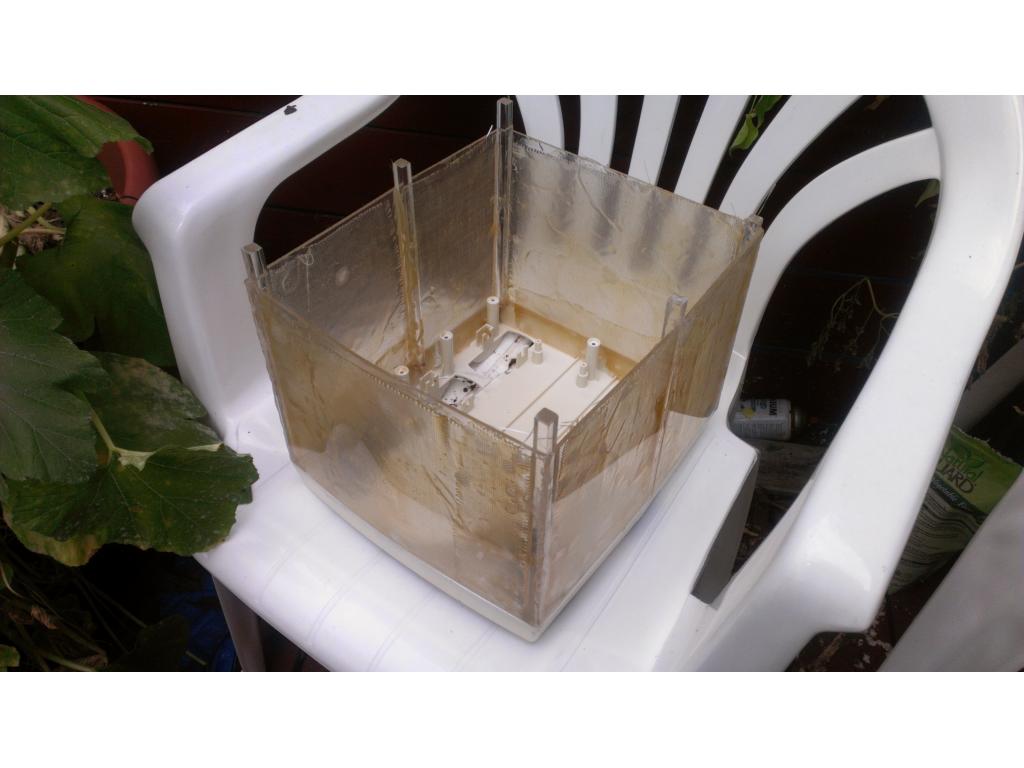
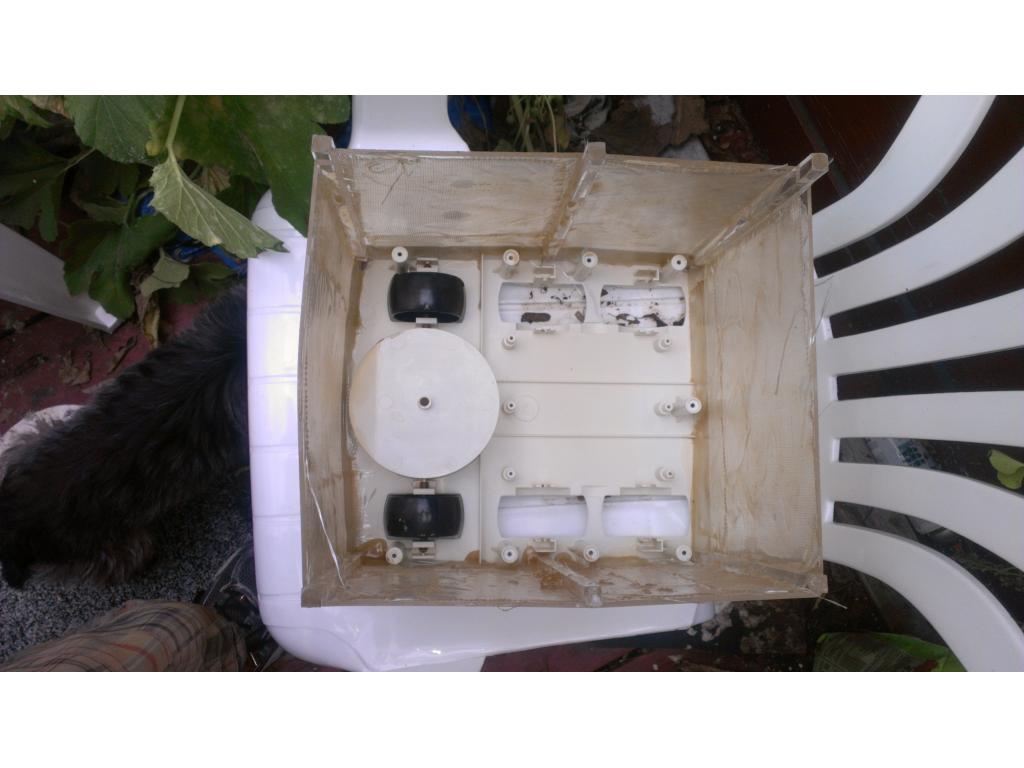
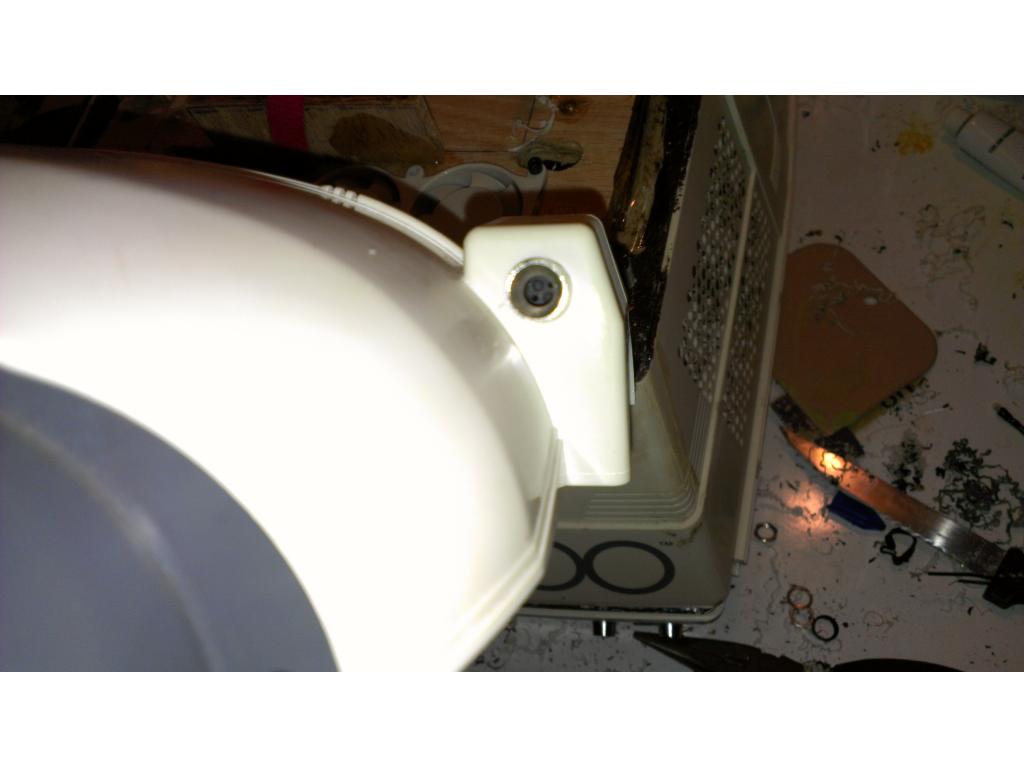
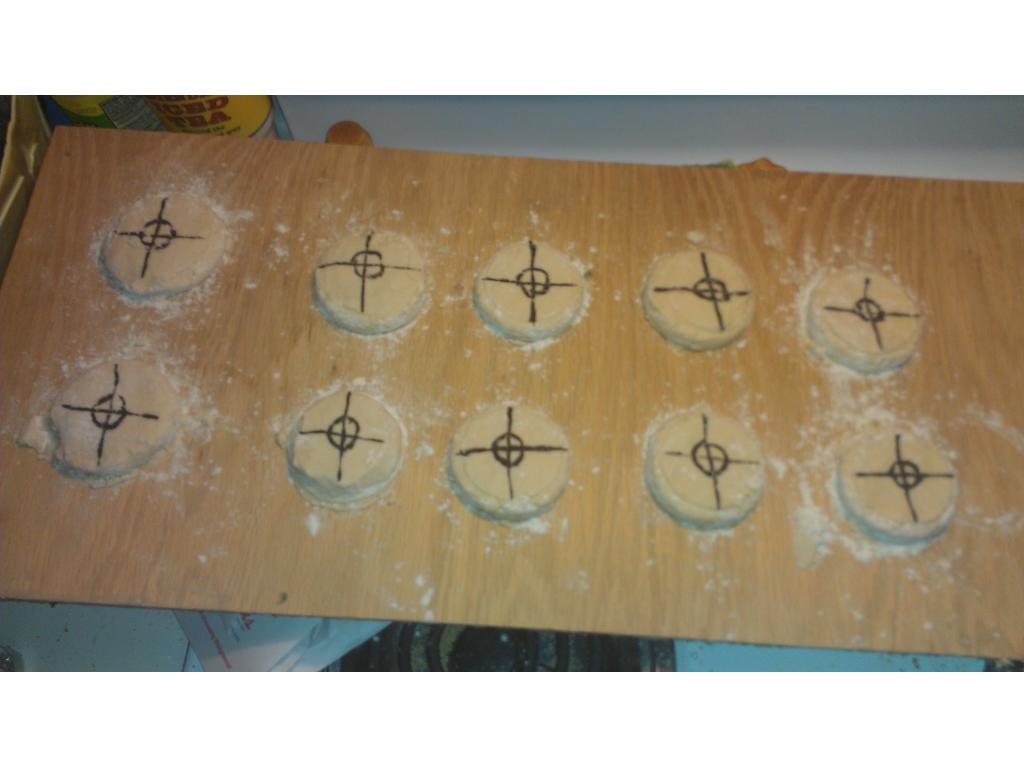
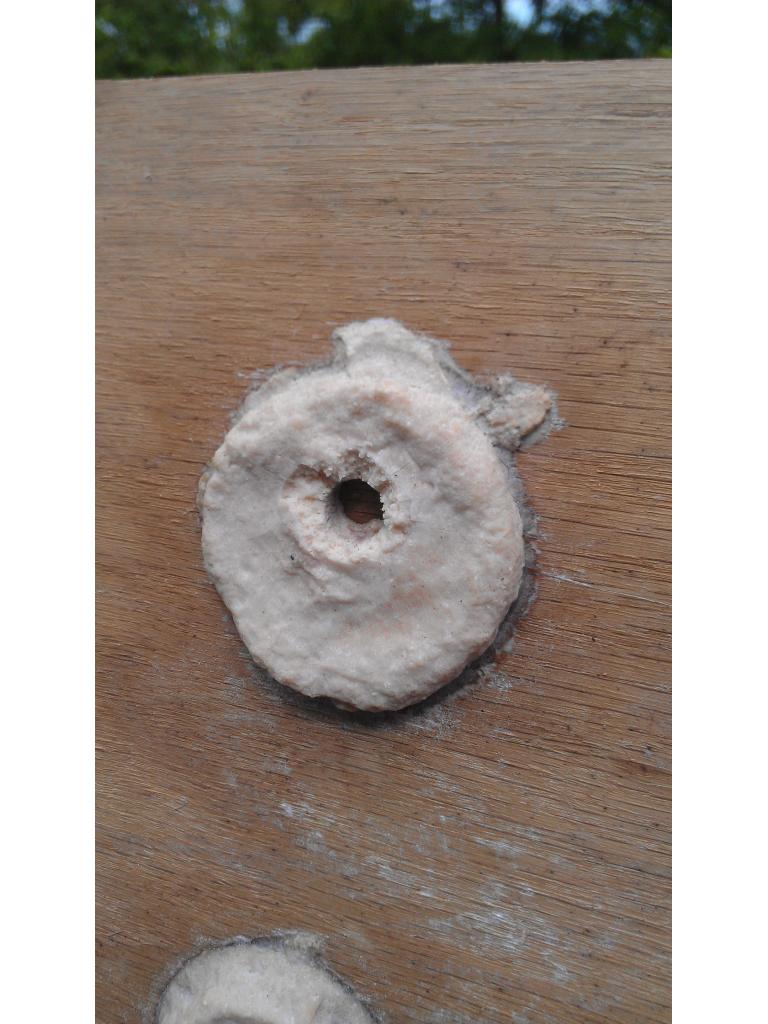
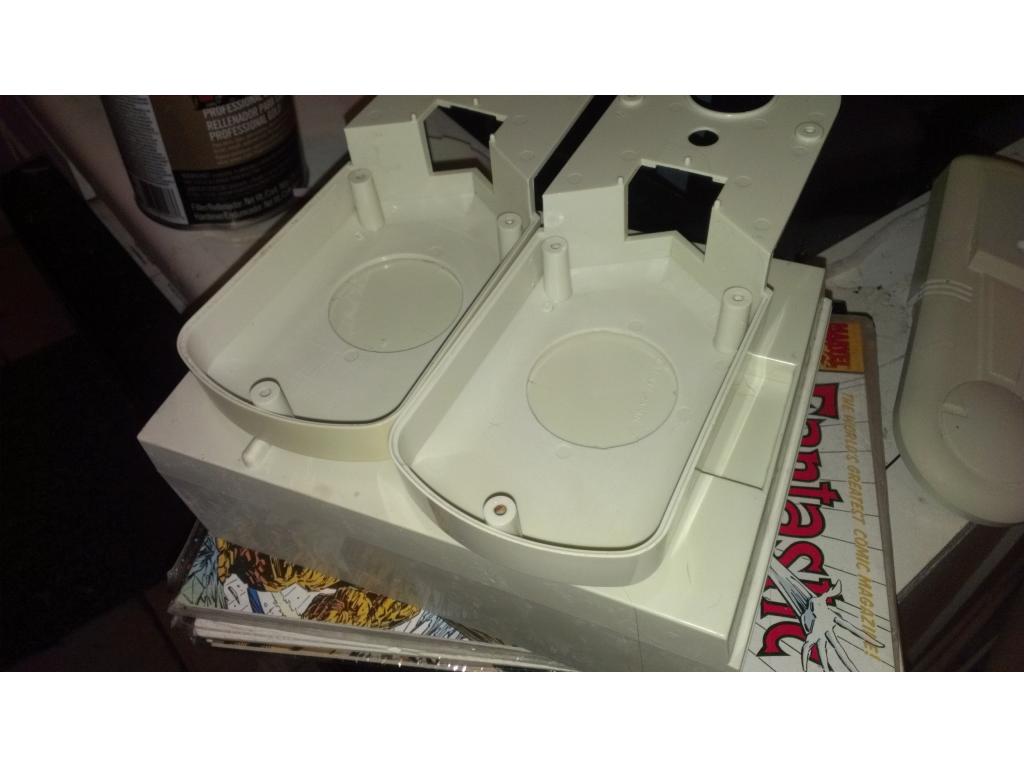
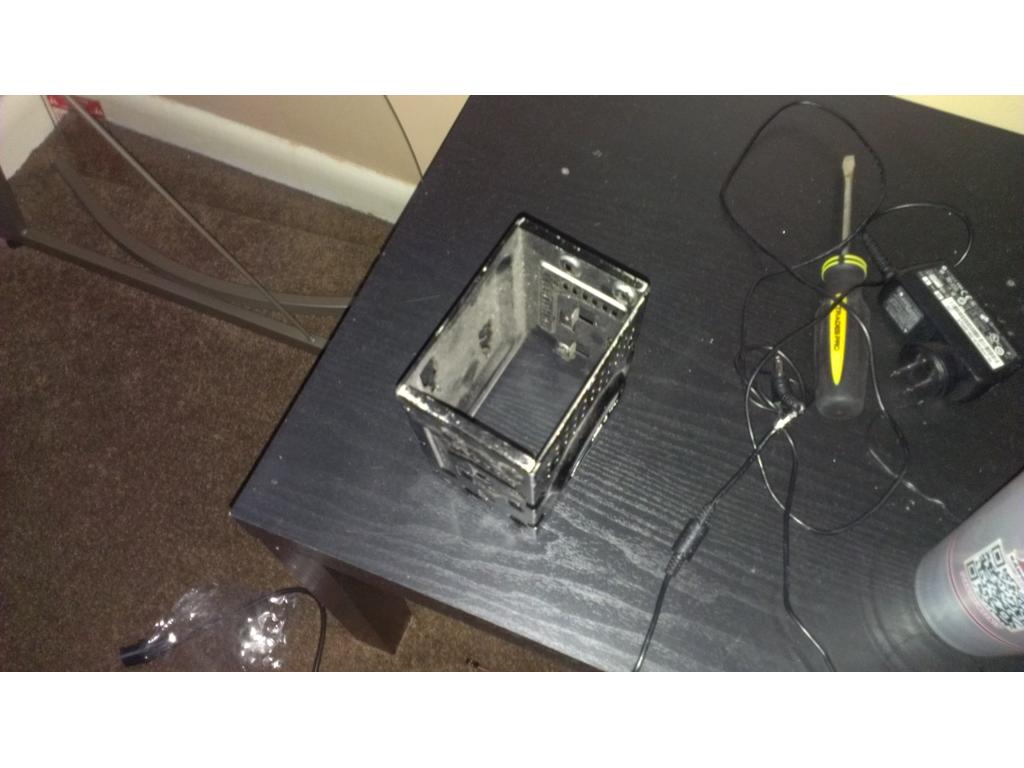
I want these pieces to sandwich together as flush as possible. To do this I cut knotches so the ply would recess into the plastic.

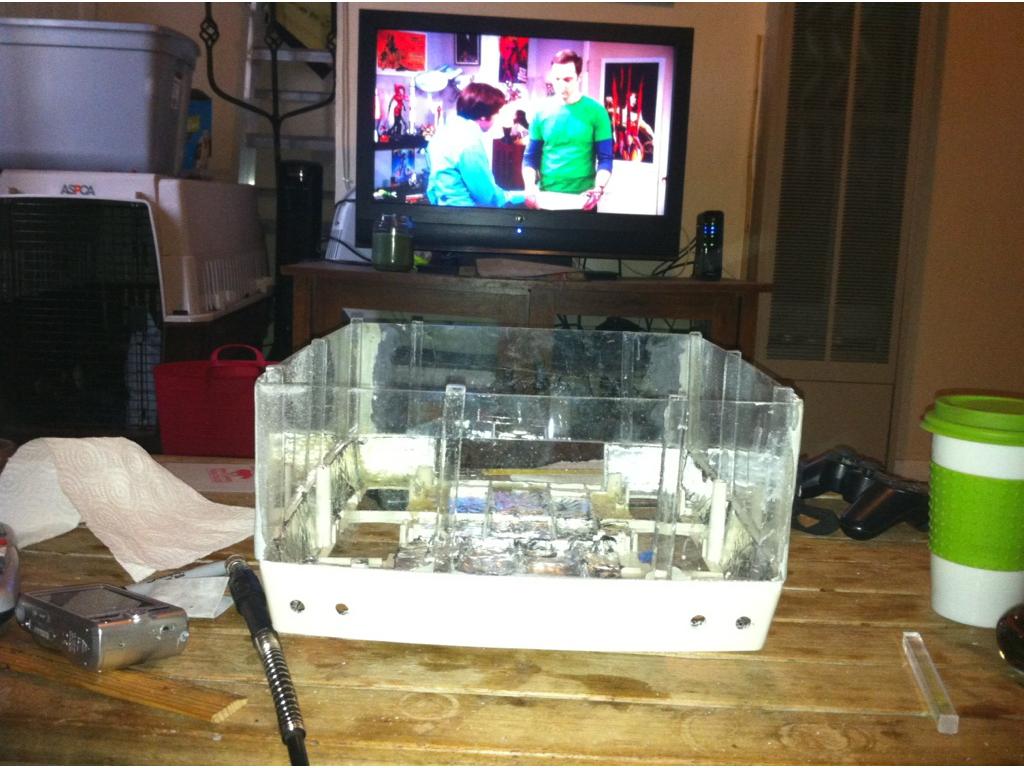
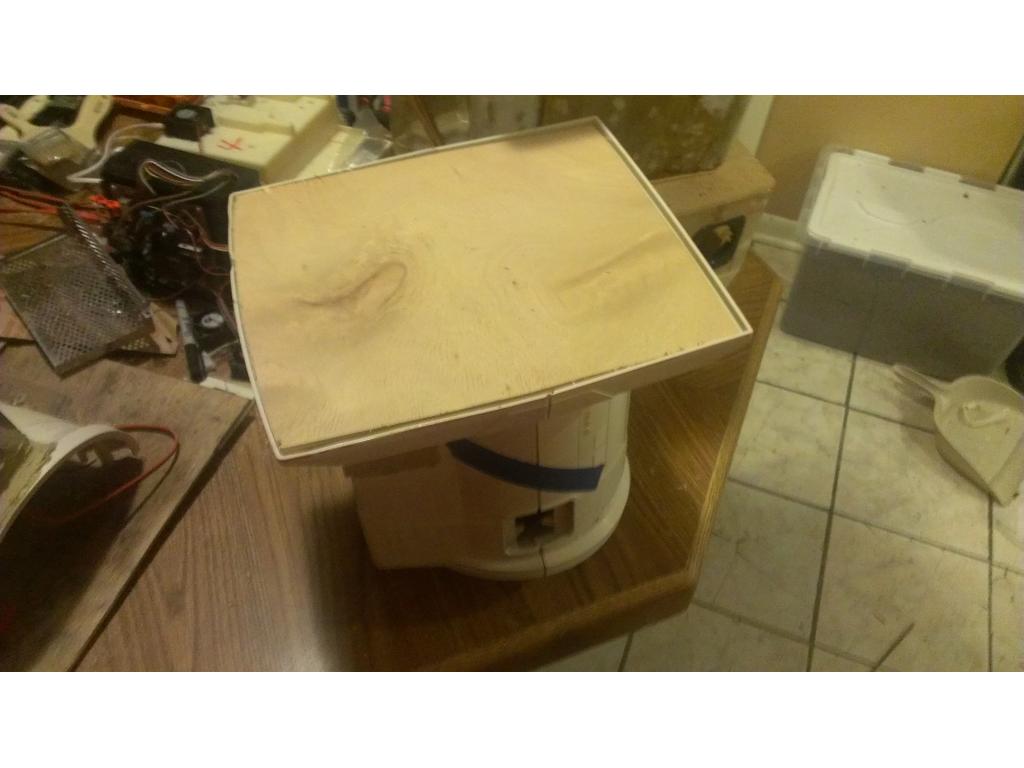
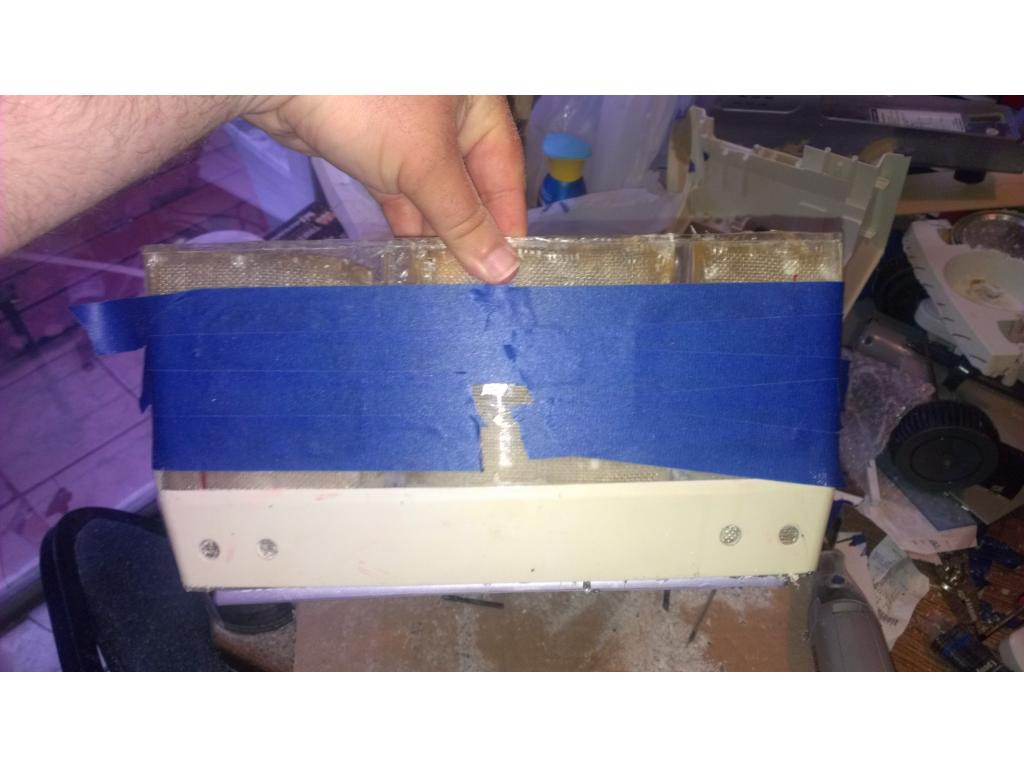
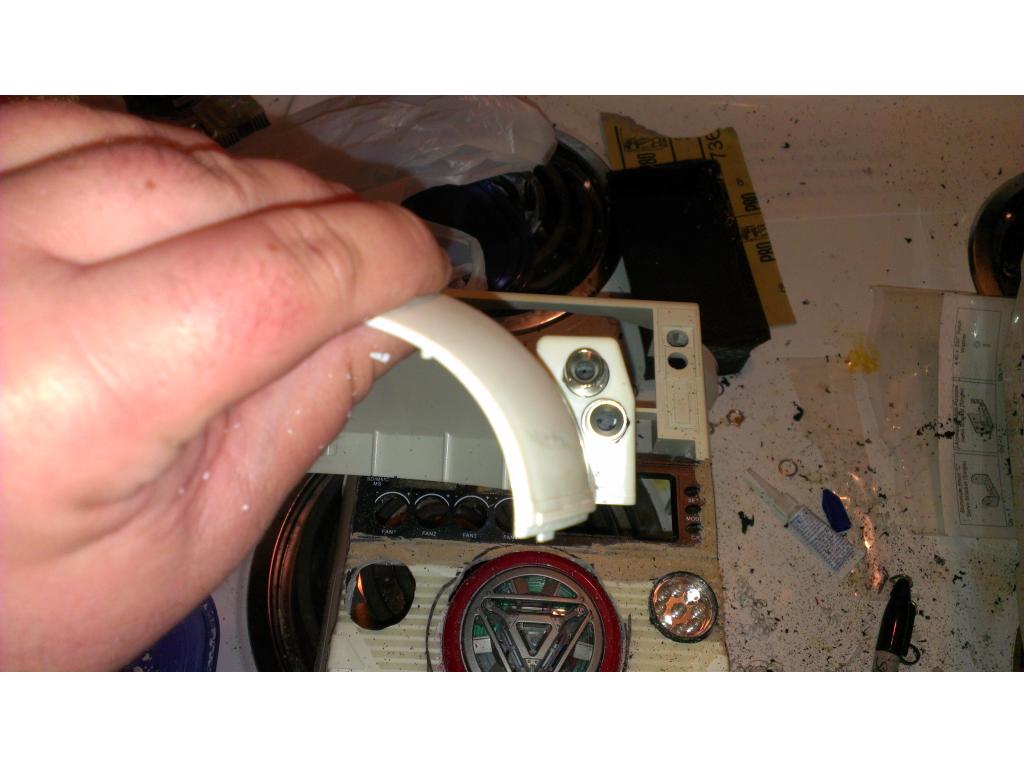
While the other piece is curing I trimmed the wood so that it flushes into the bottom of the base. In a few minutes I will tape off the edges and epoxy the edges from the inside.