


cE9s4PsOgeBQIORwjd5!~~60_1-634818020230156250.jpg)


BO)Lupuc4g~~60_35-634706297915000000.jpg)
LupbT6!~~60_35-634706298769375000.jpg)


C5j!~~60_35-634655044863125000.jpg)


C5j!~~60_35-634659603510781250.jpg)


C5j!~~60_35-634651704046230469.jpg)
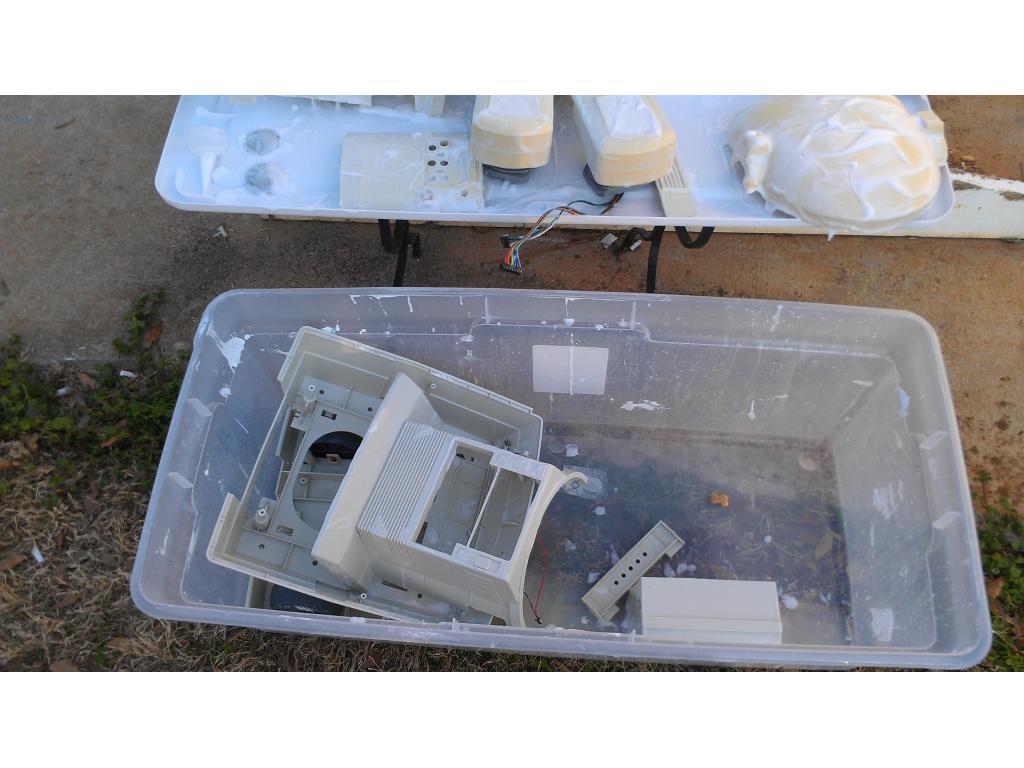
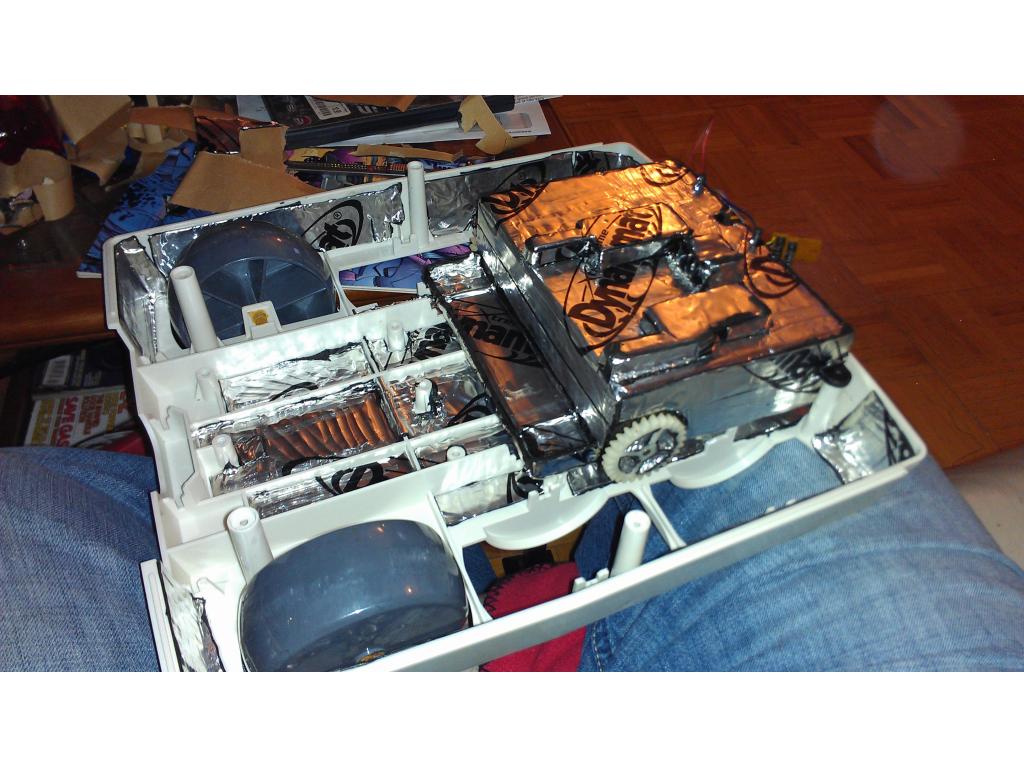
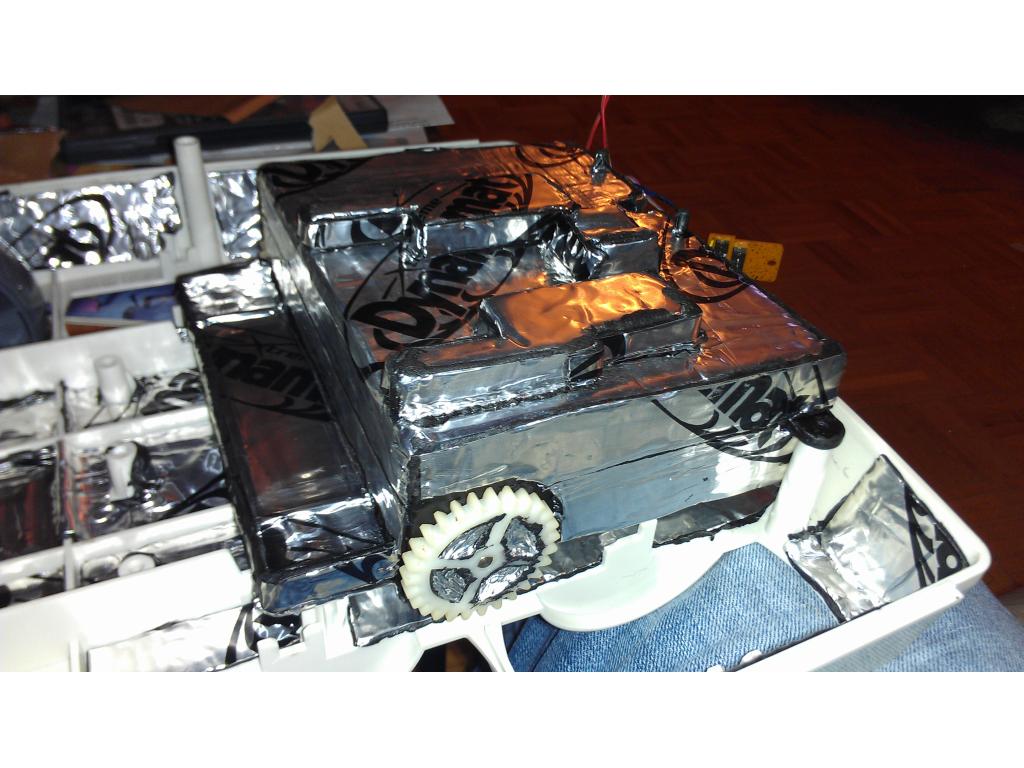


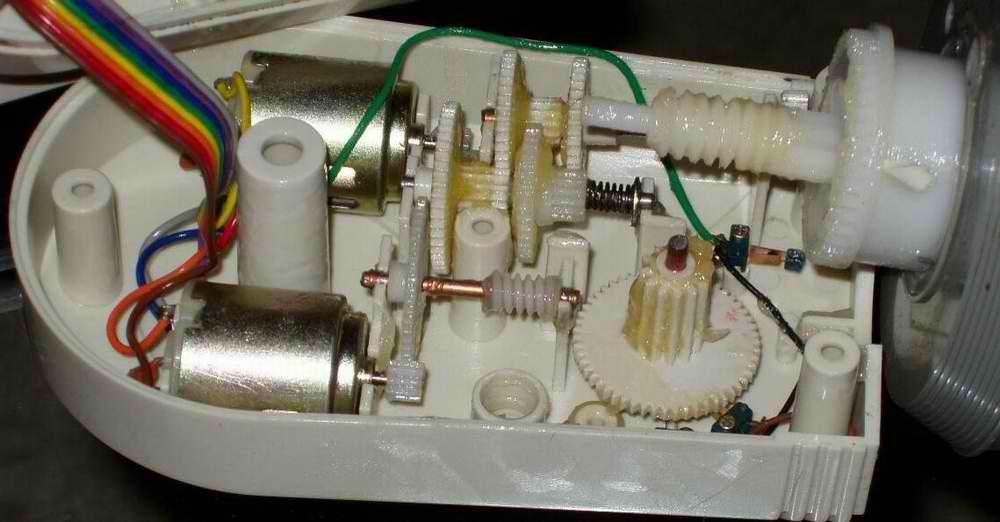
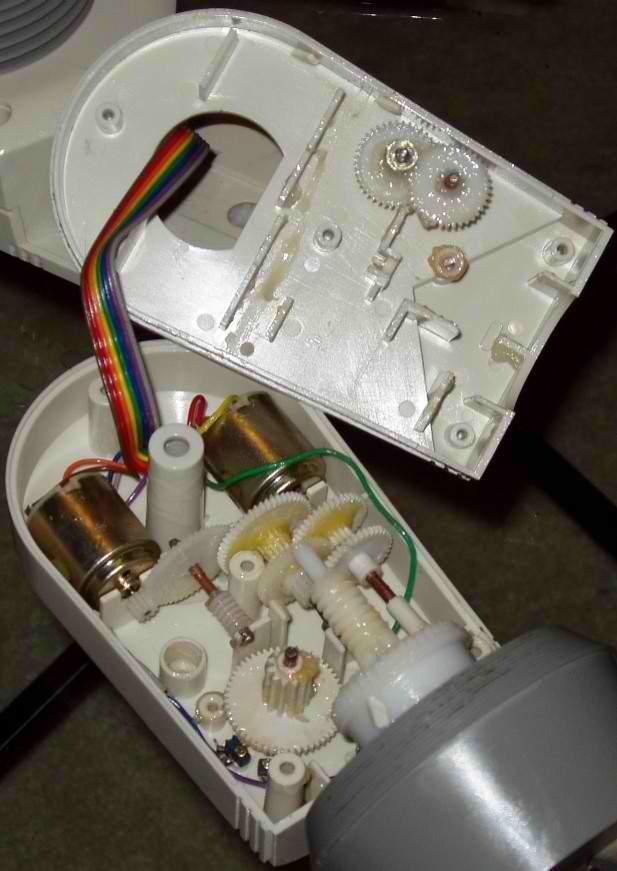

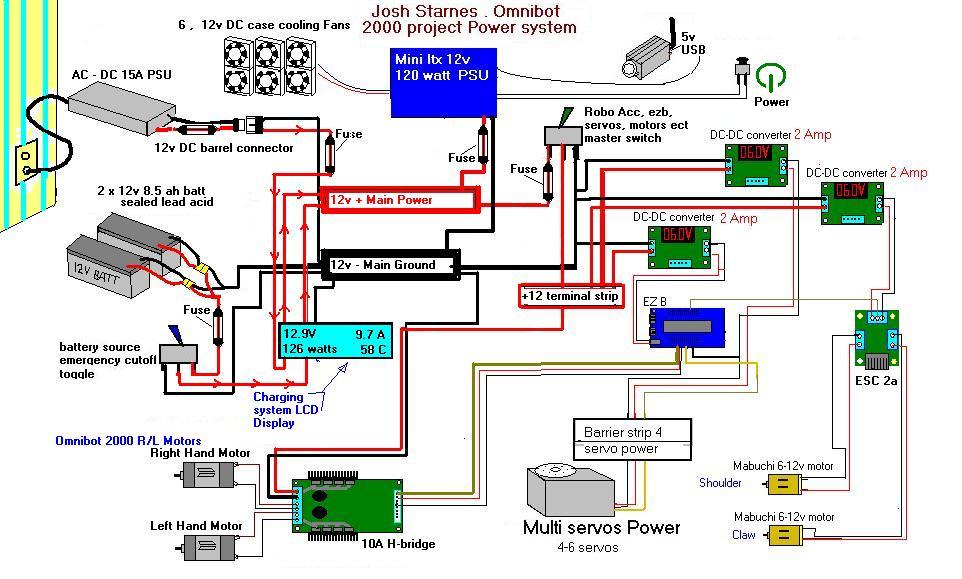
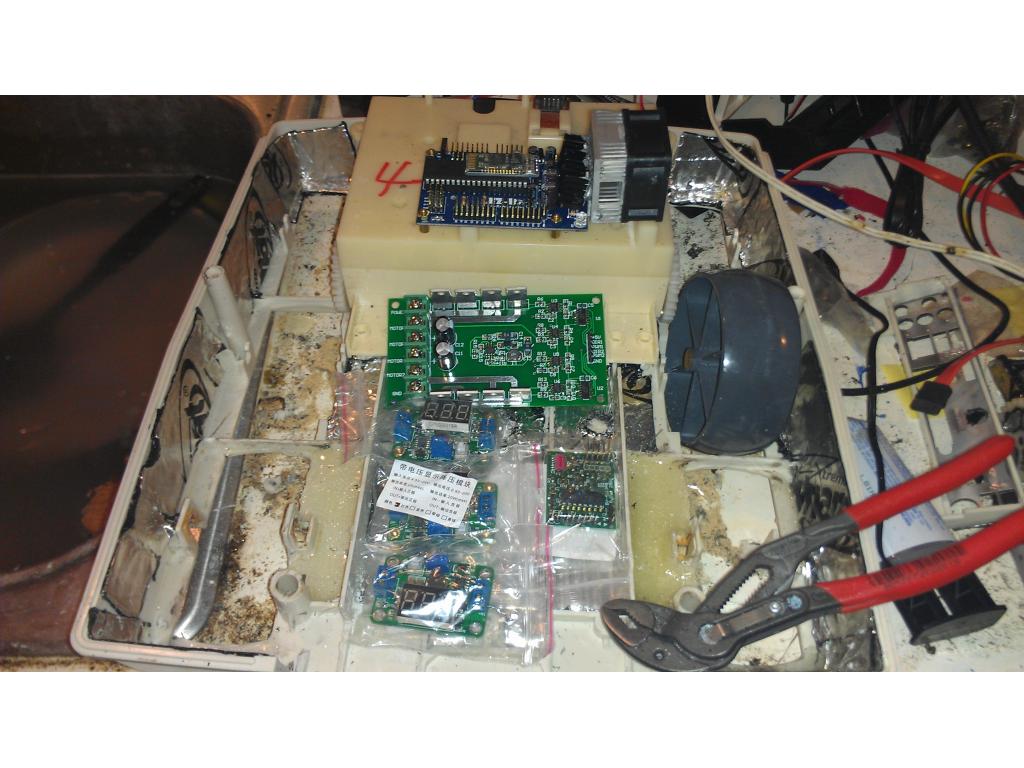
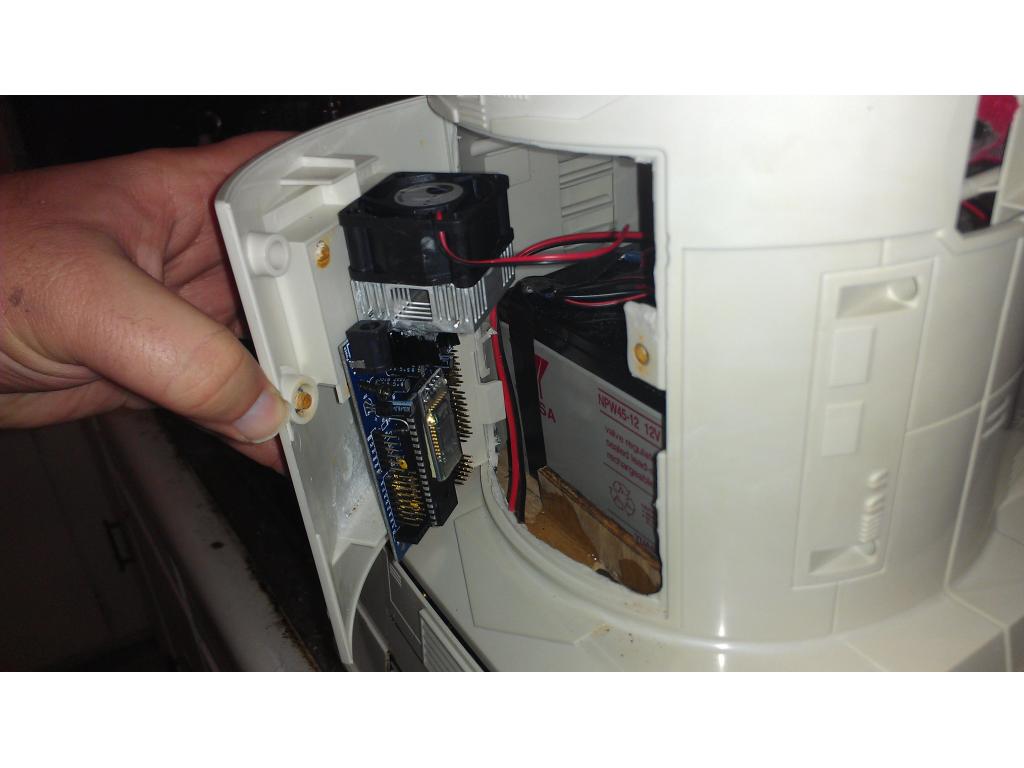
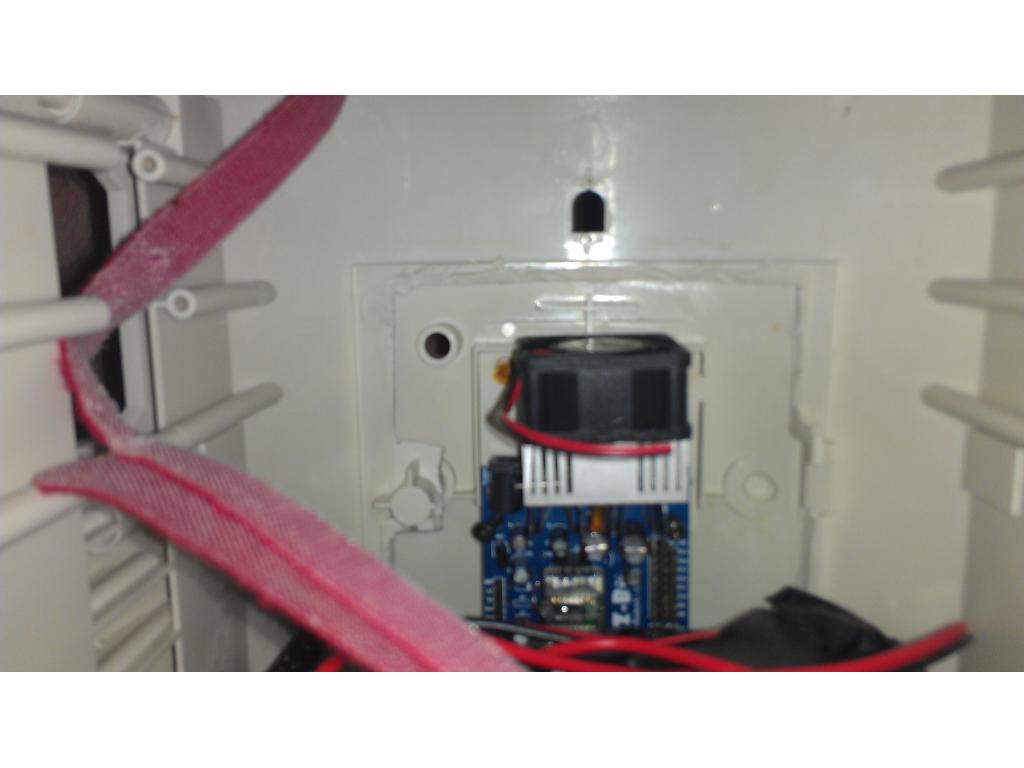
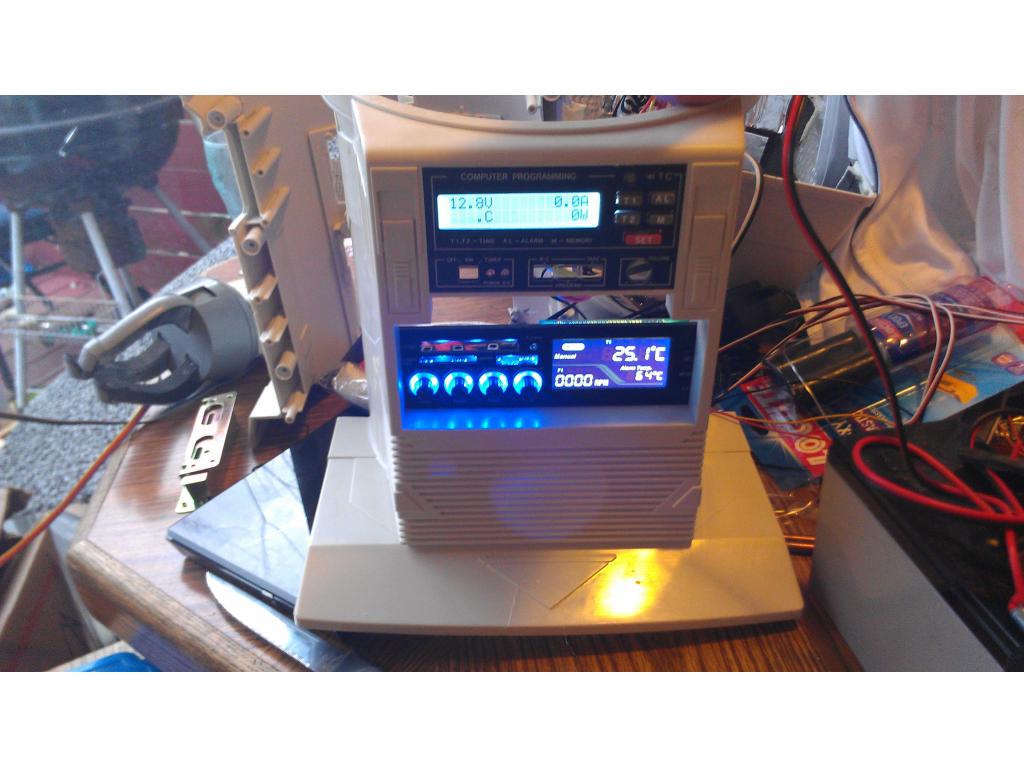


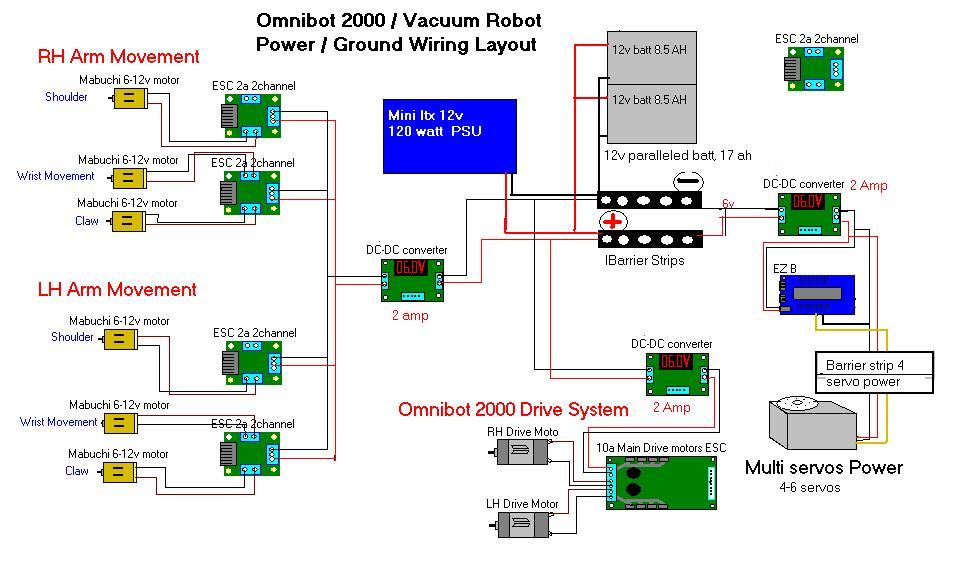


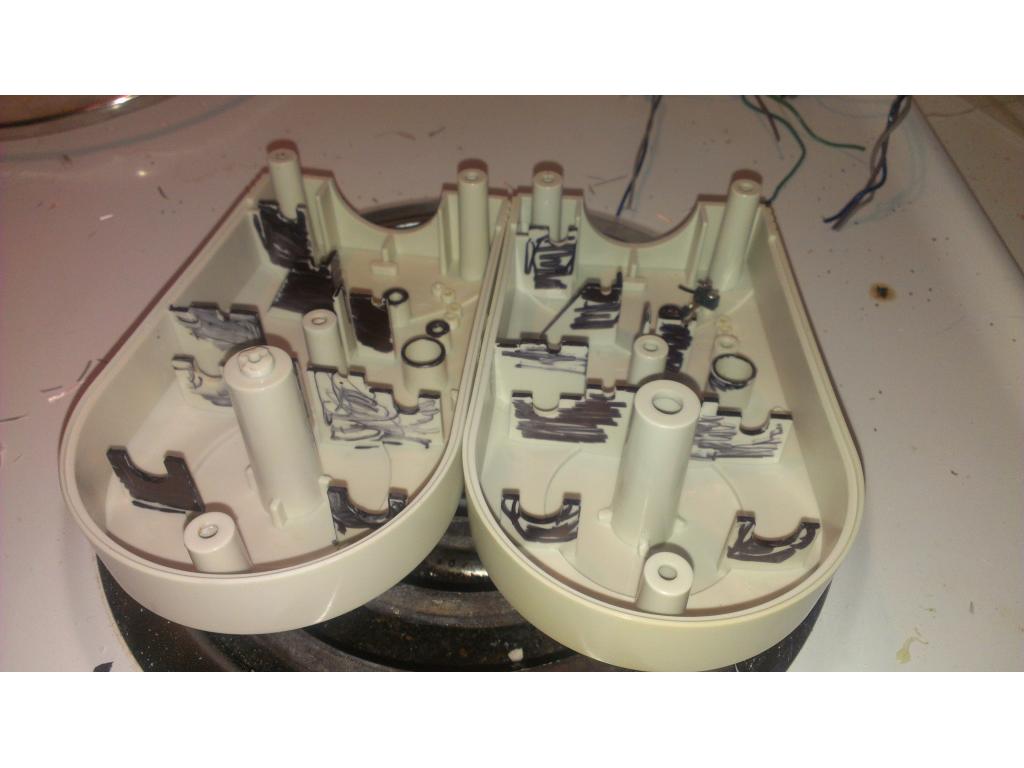

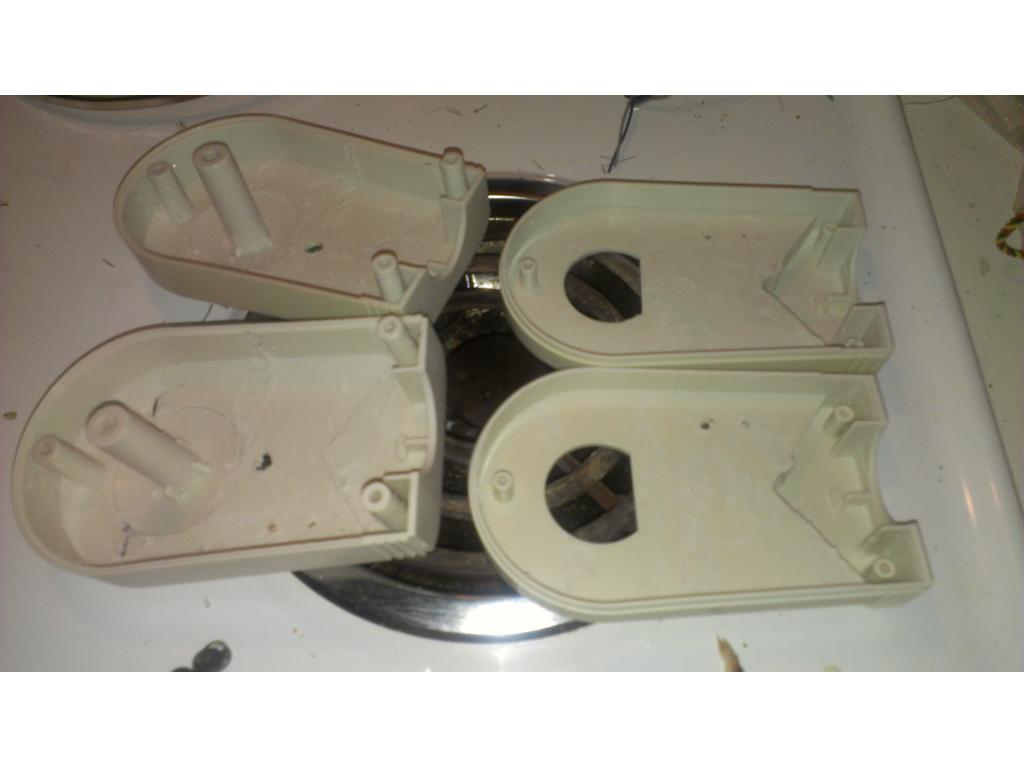


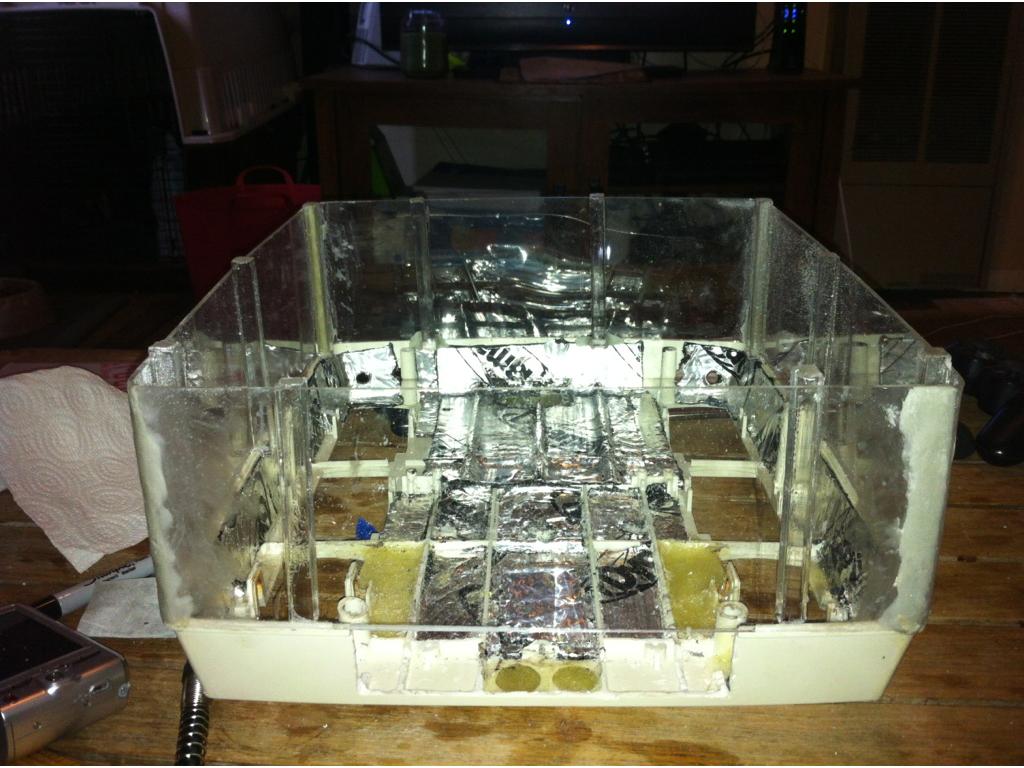
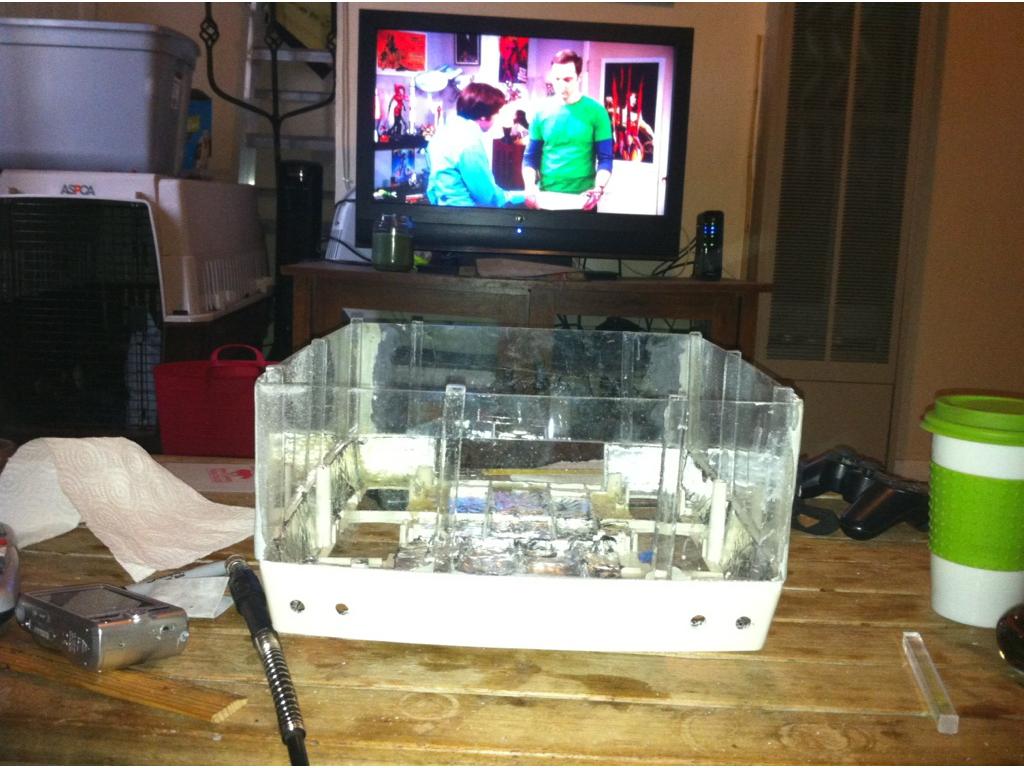


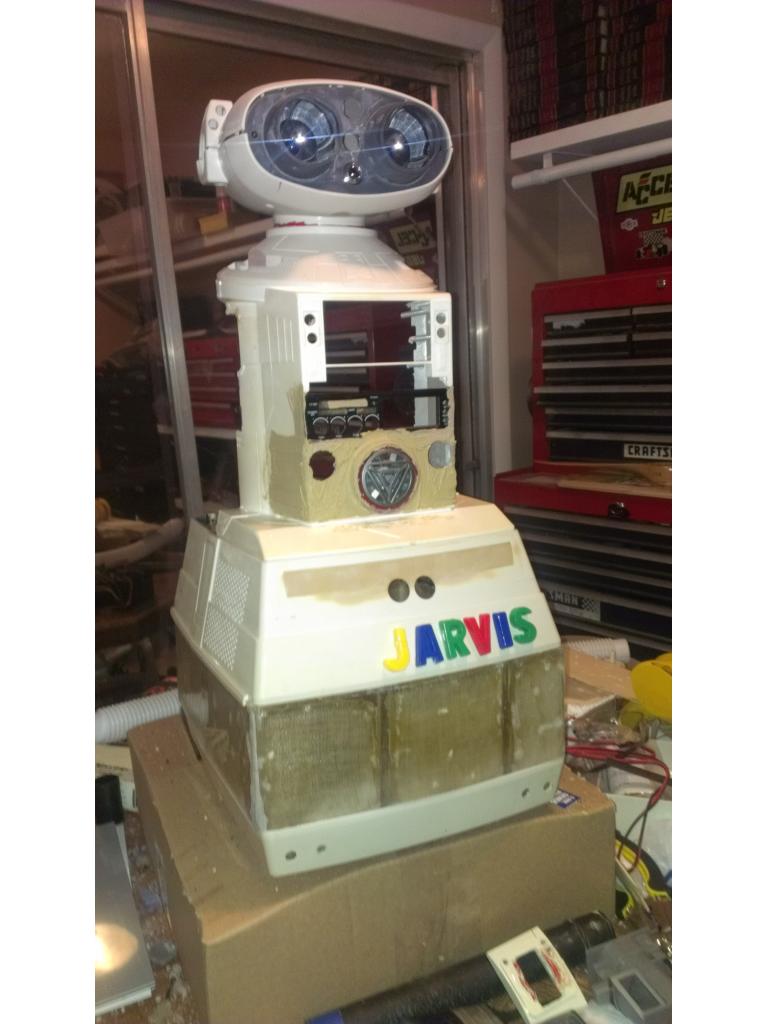
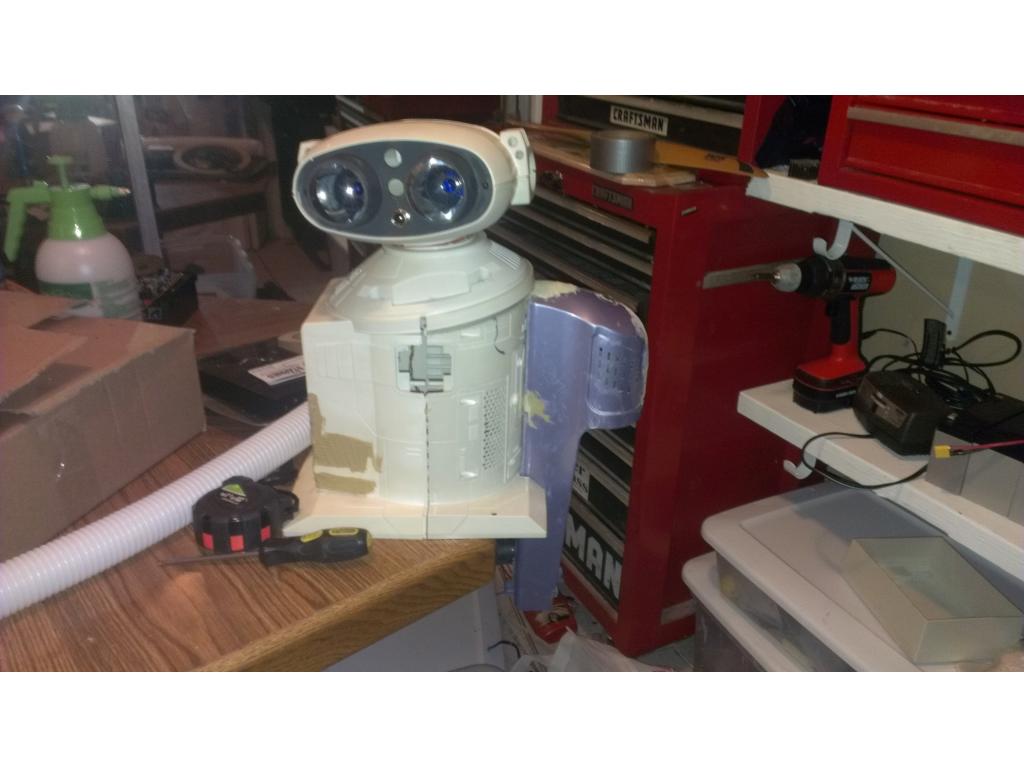


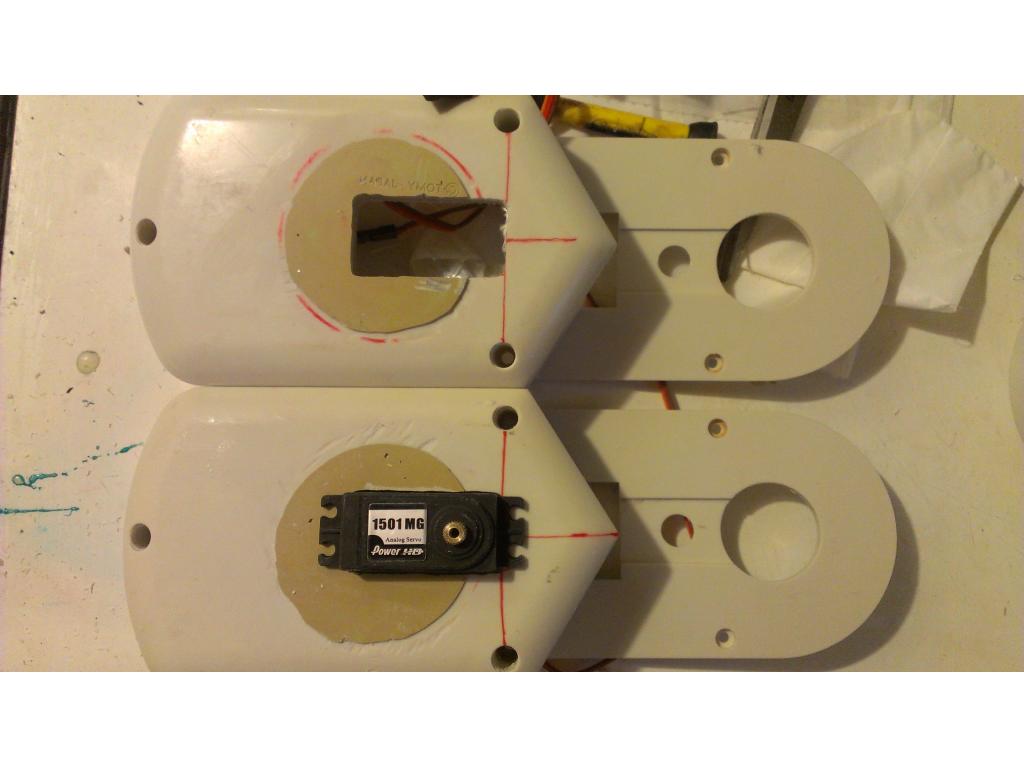
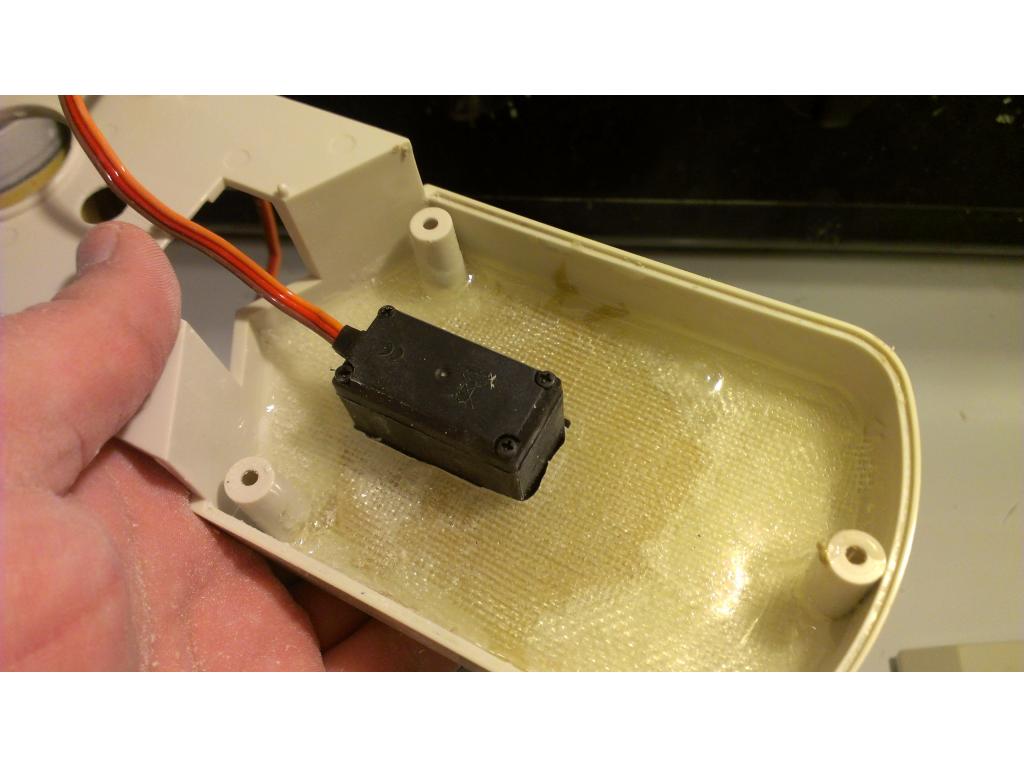
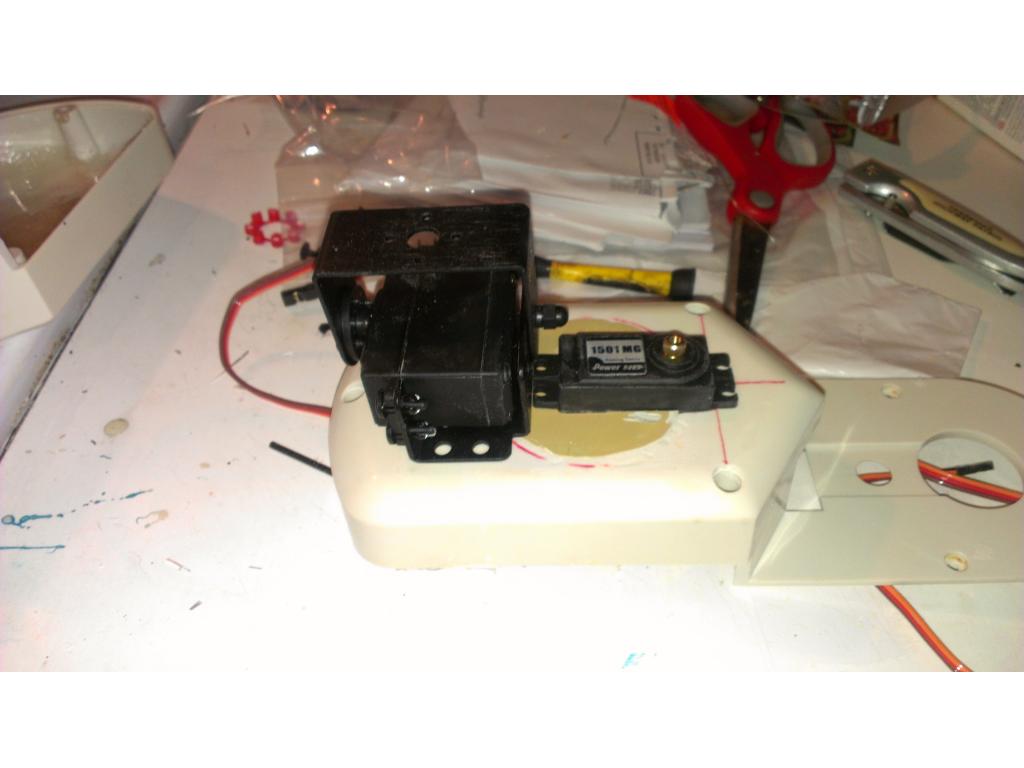
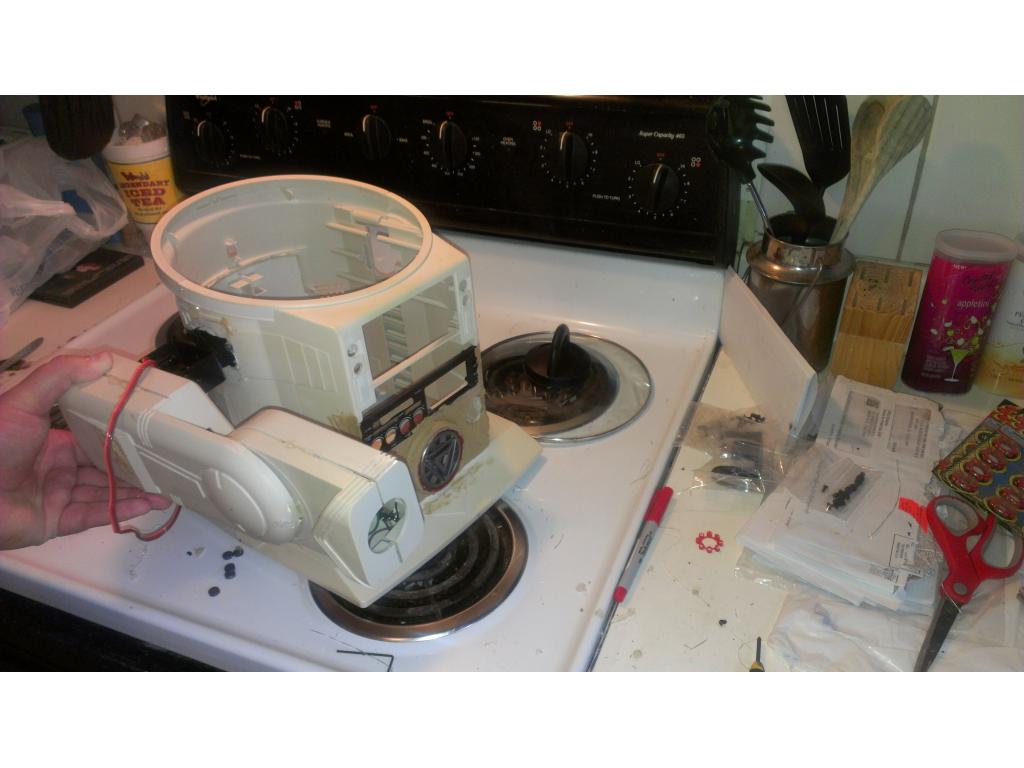
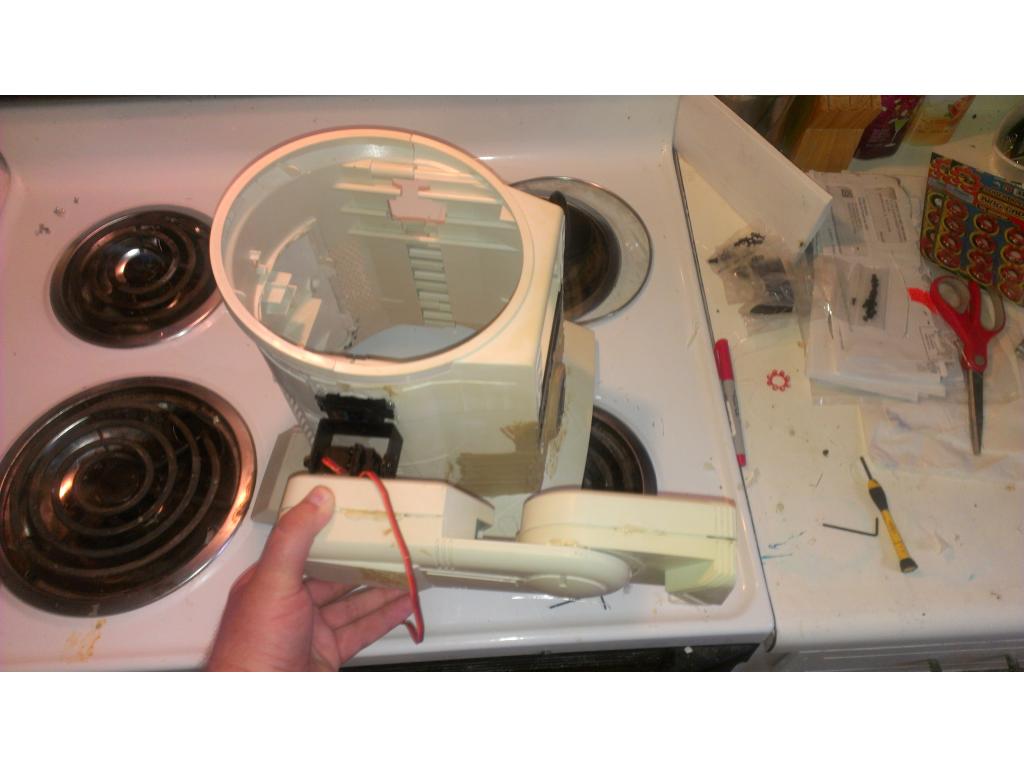

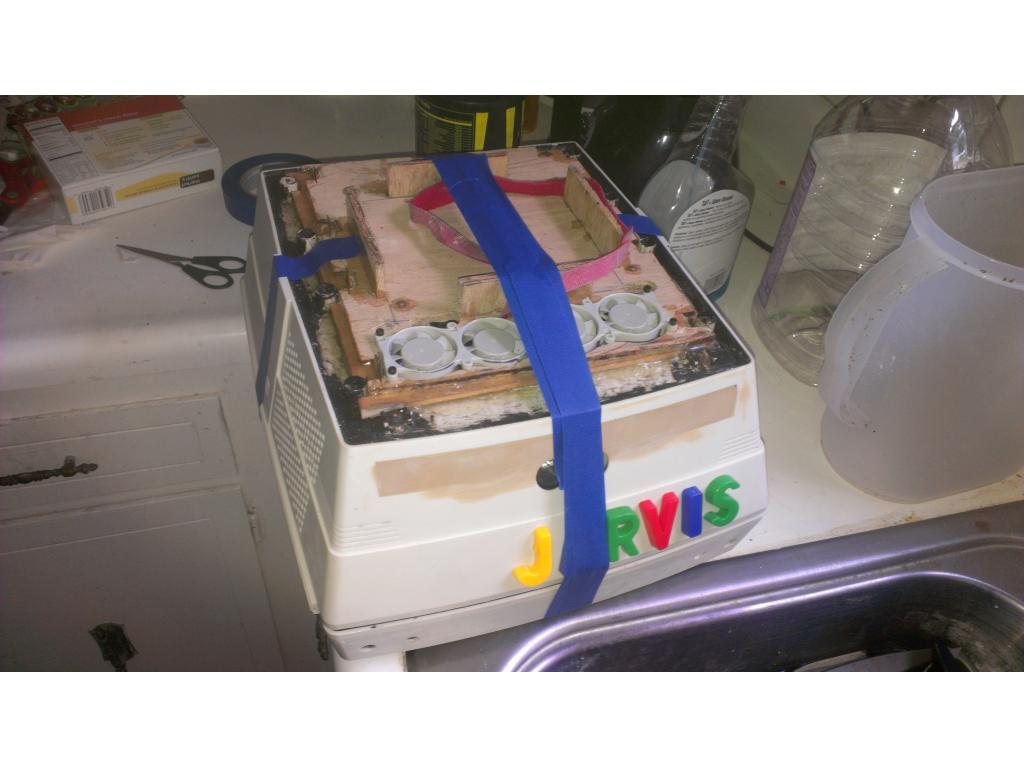

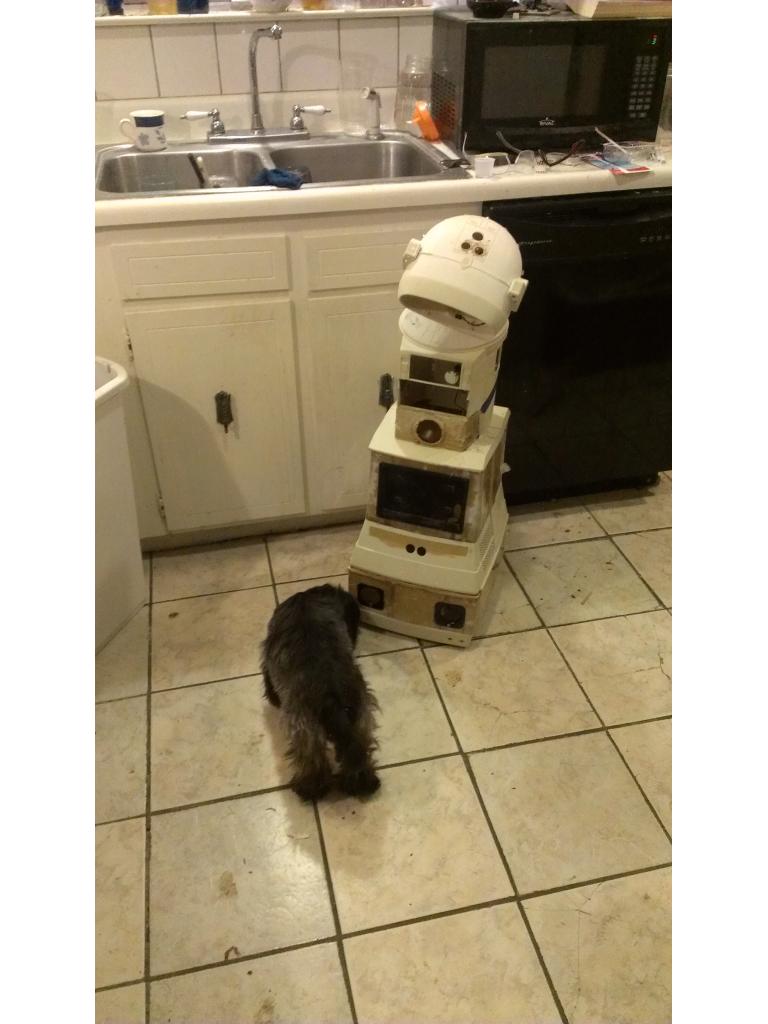


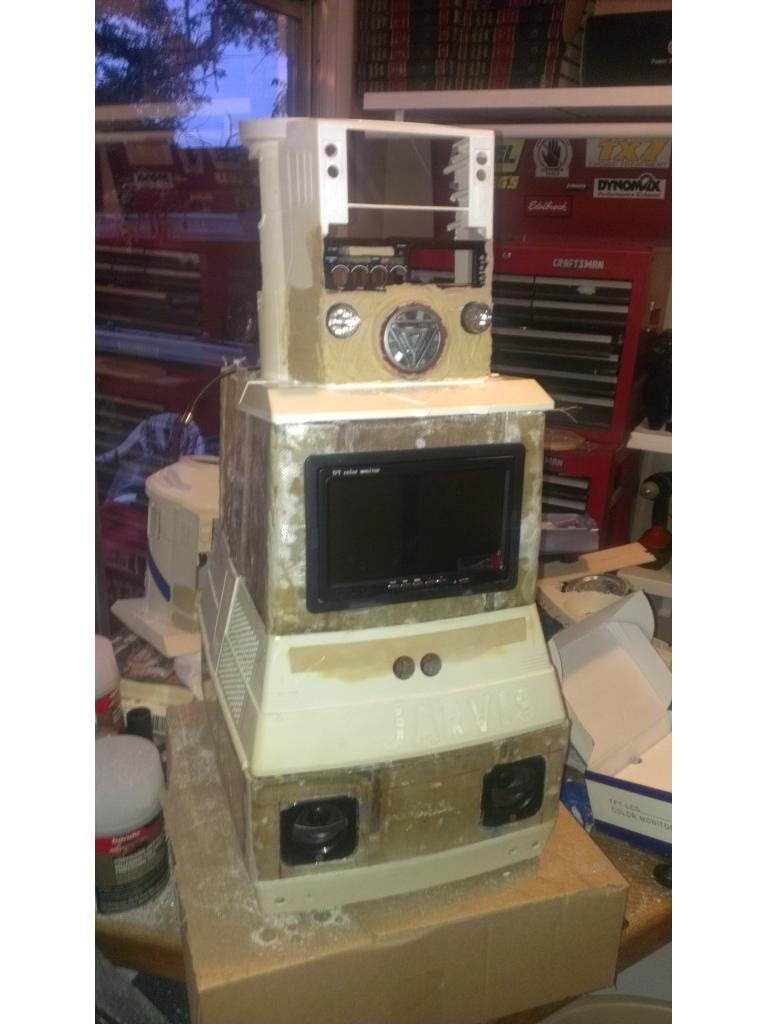


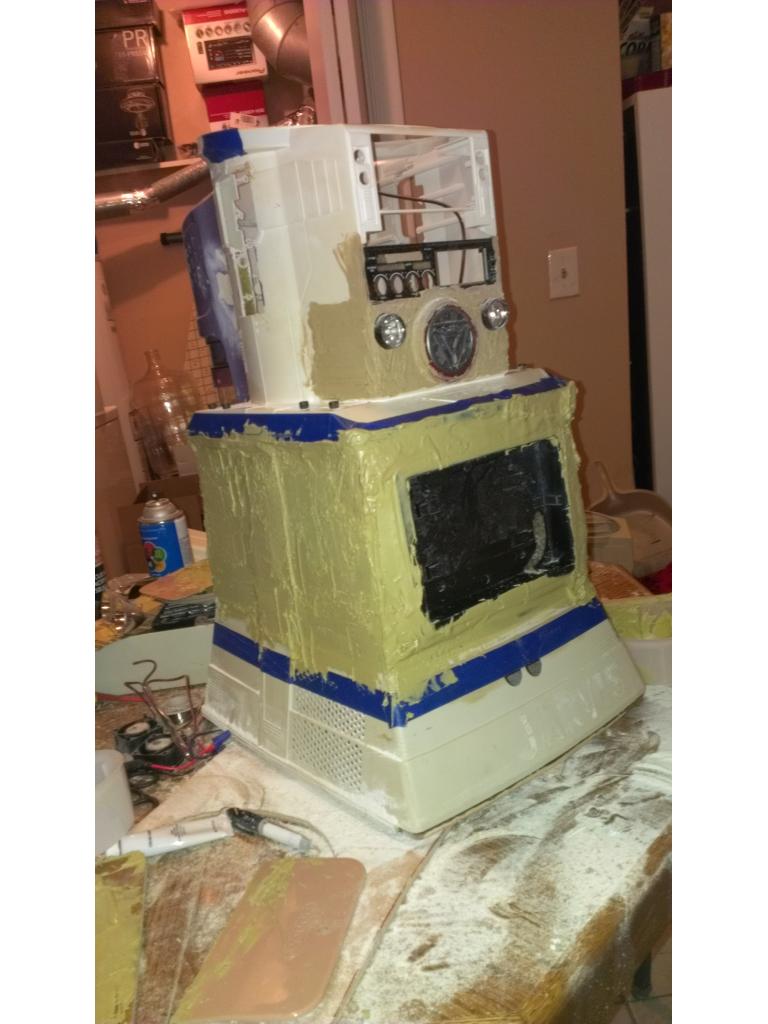
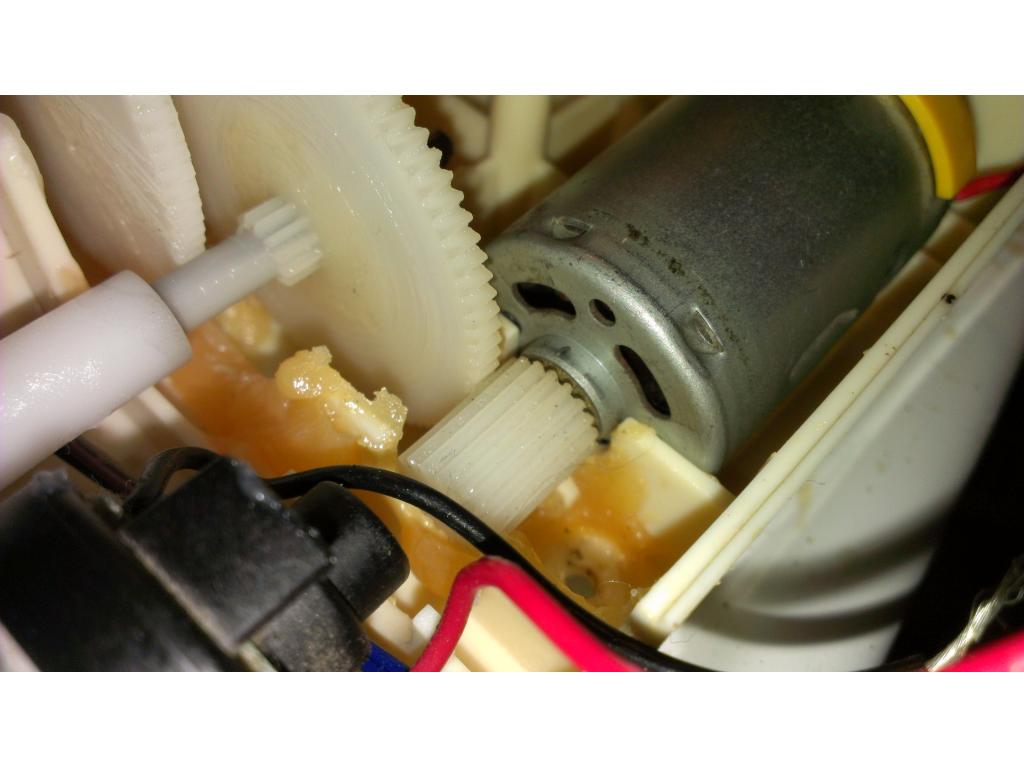
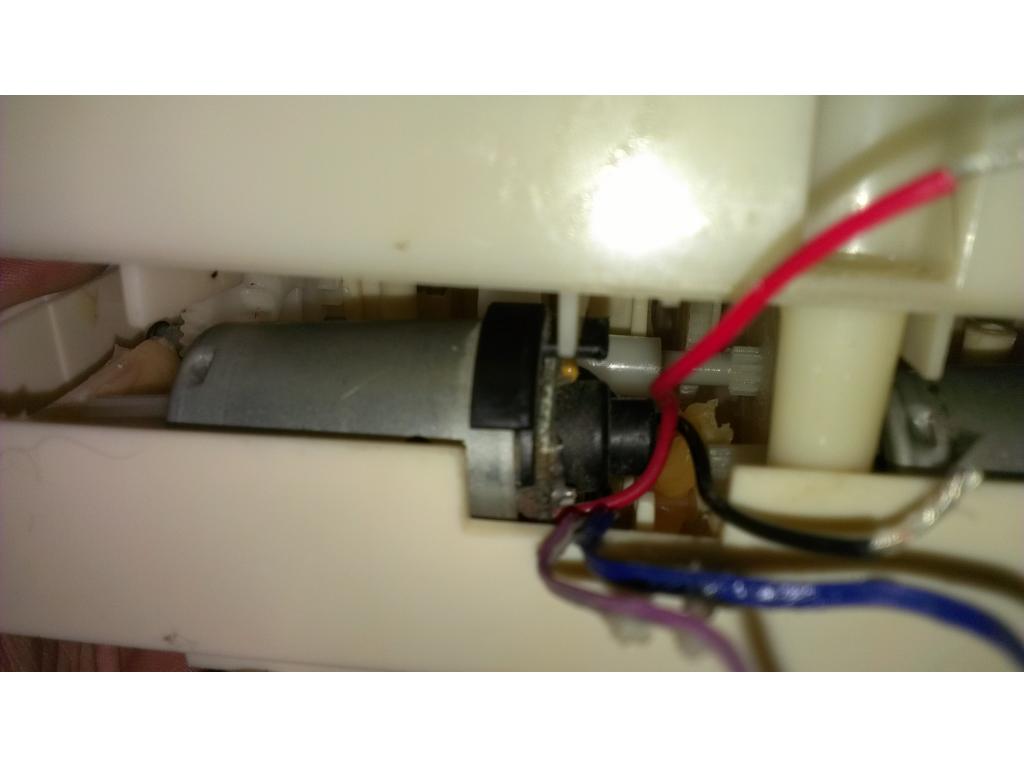
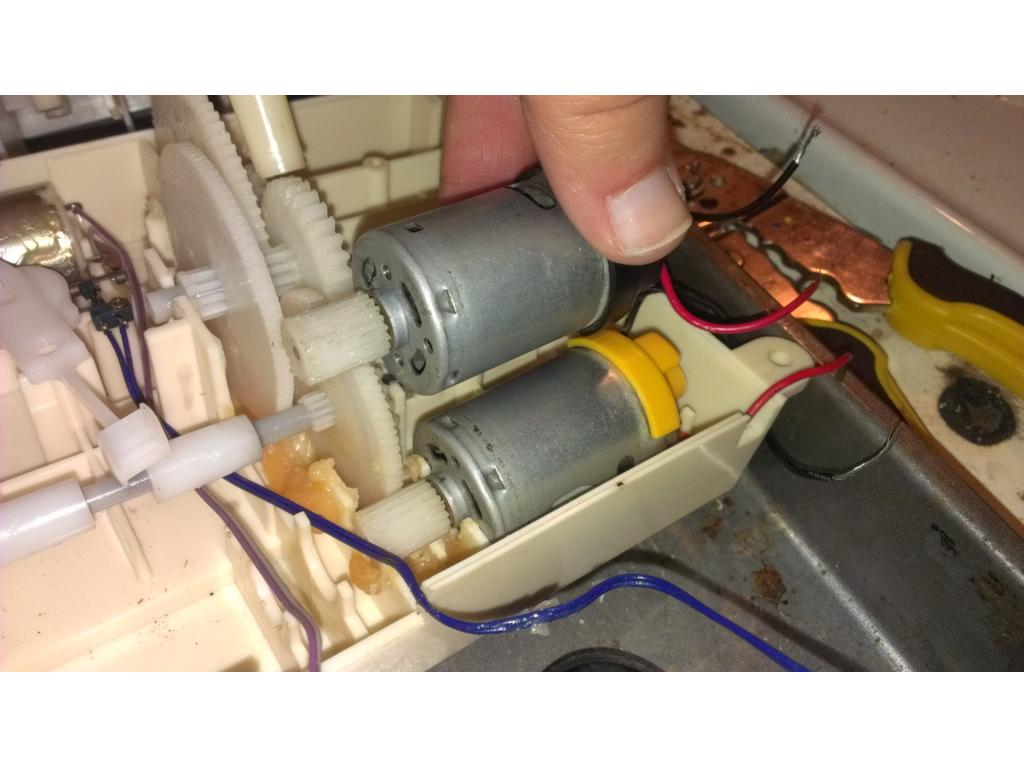
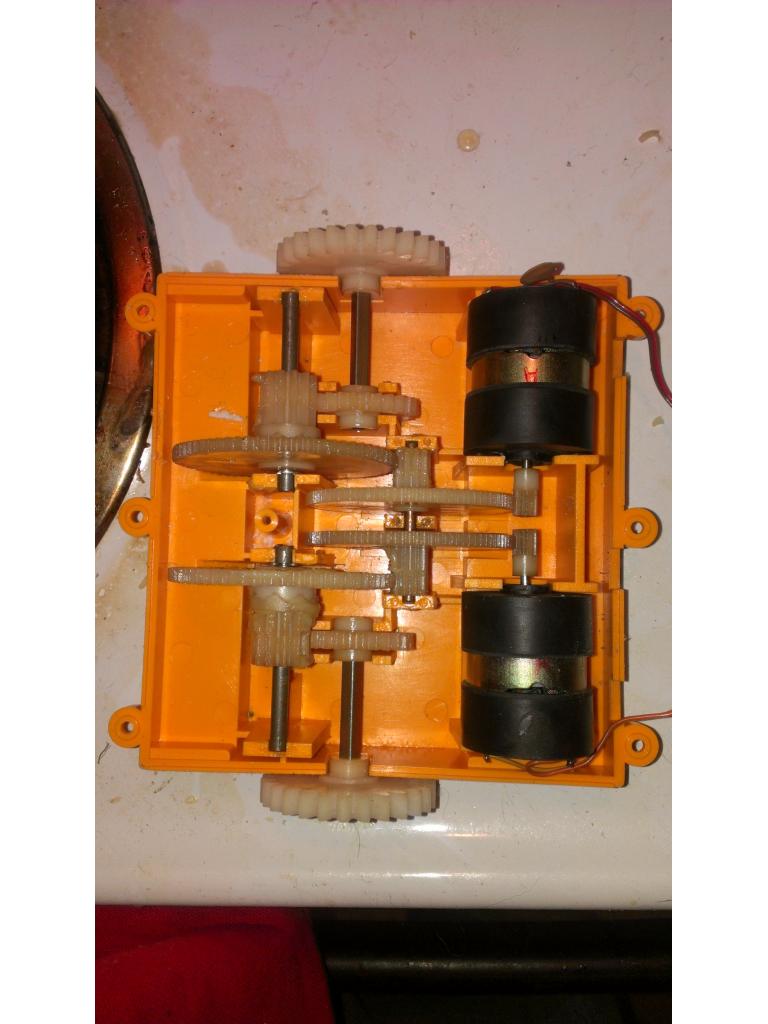
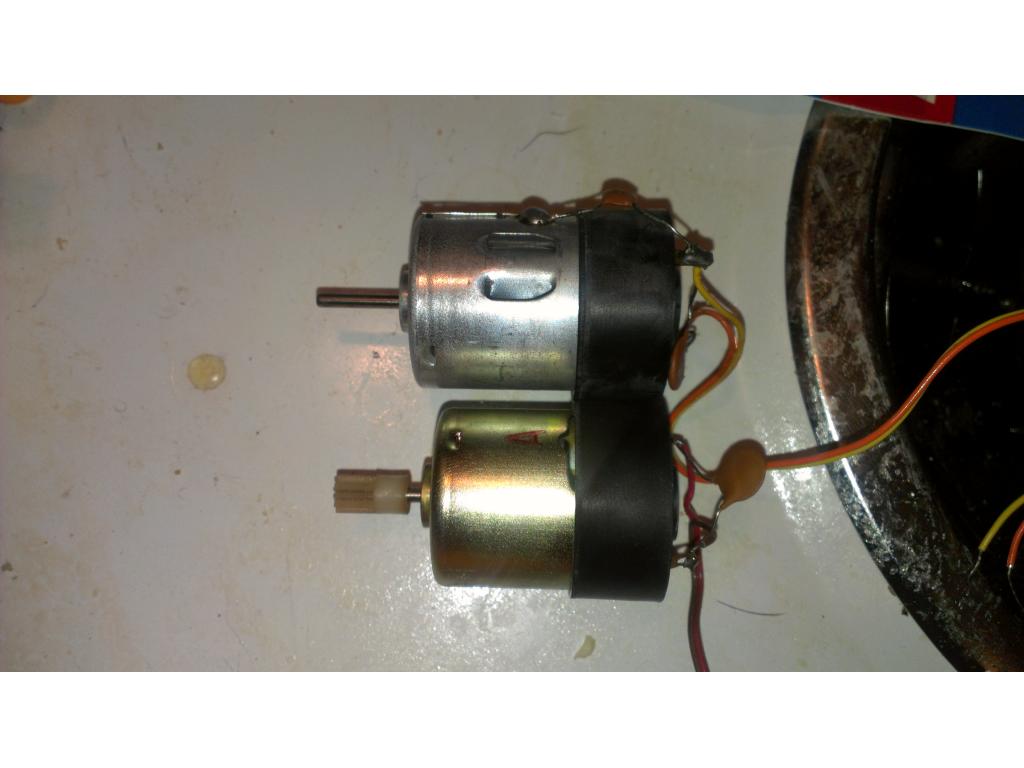


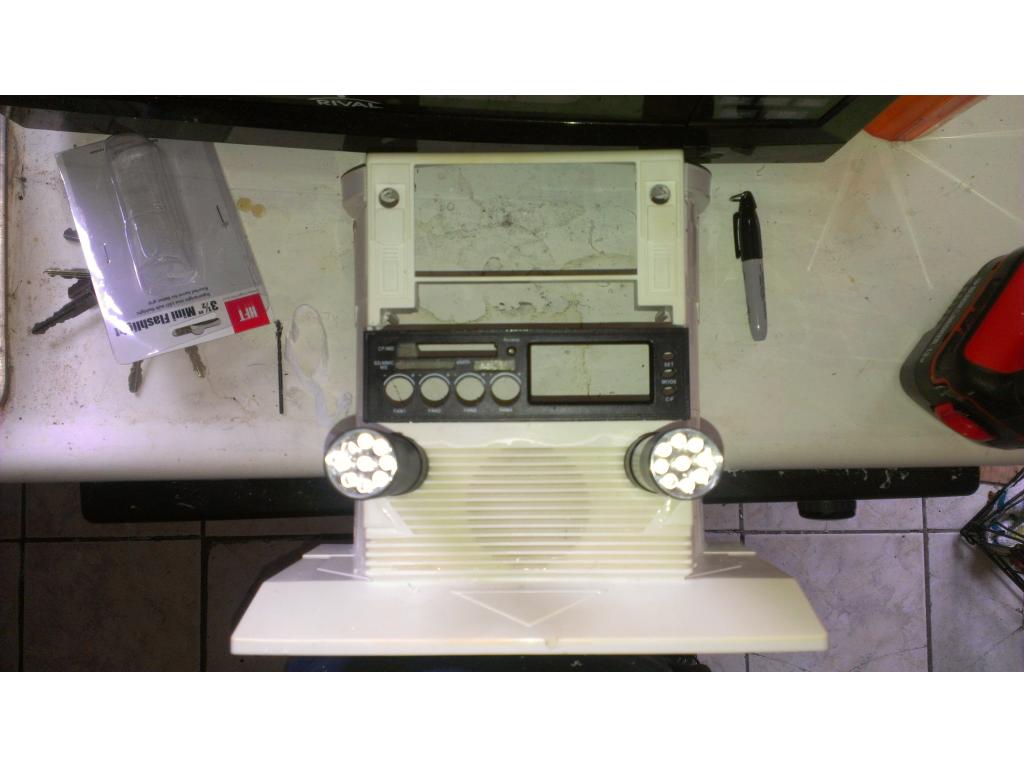
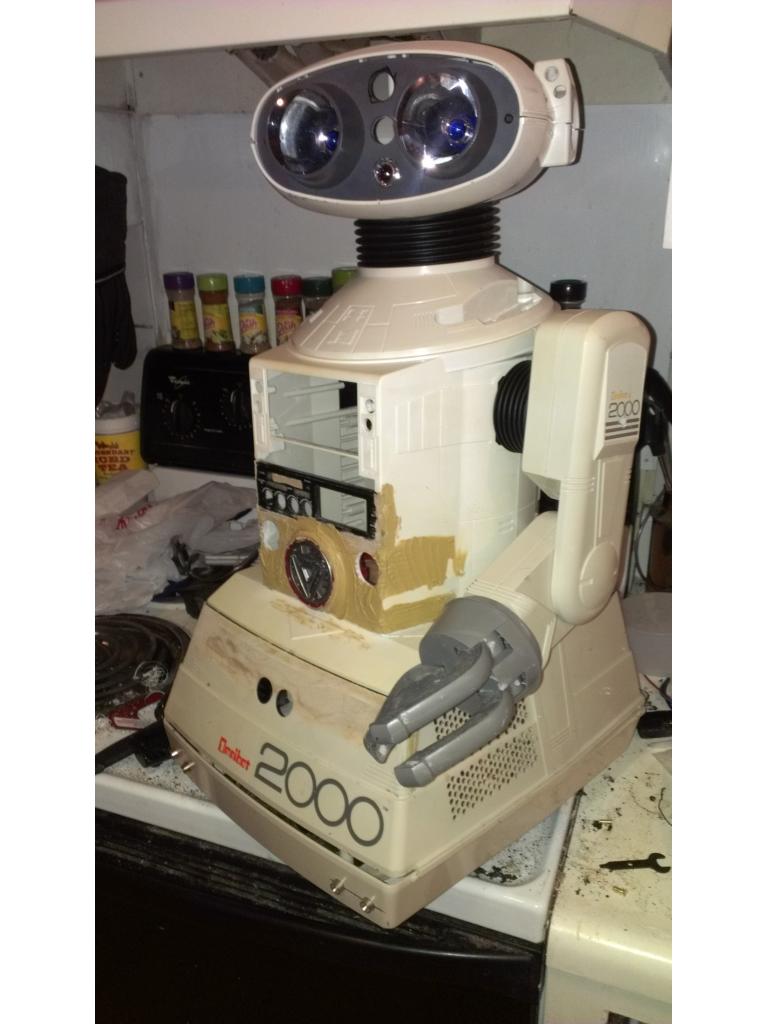
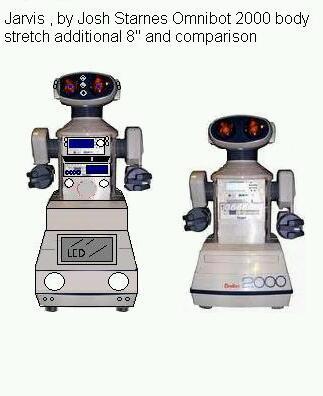

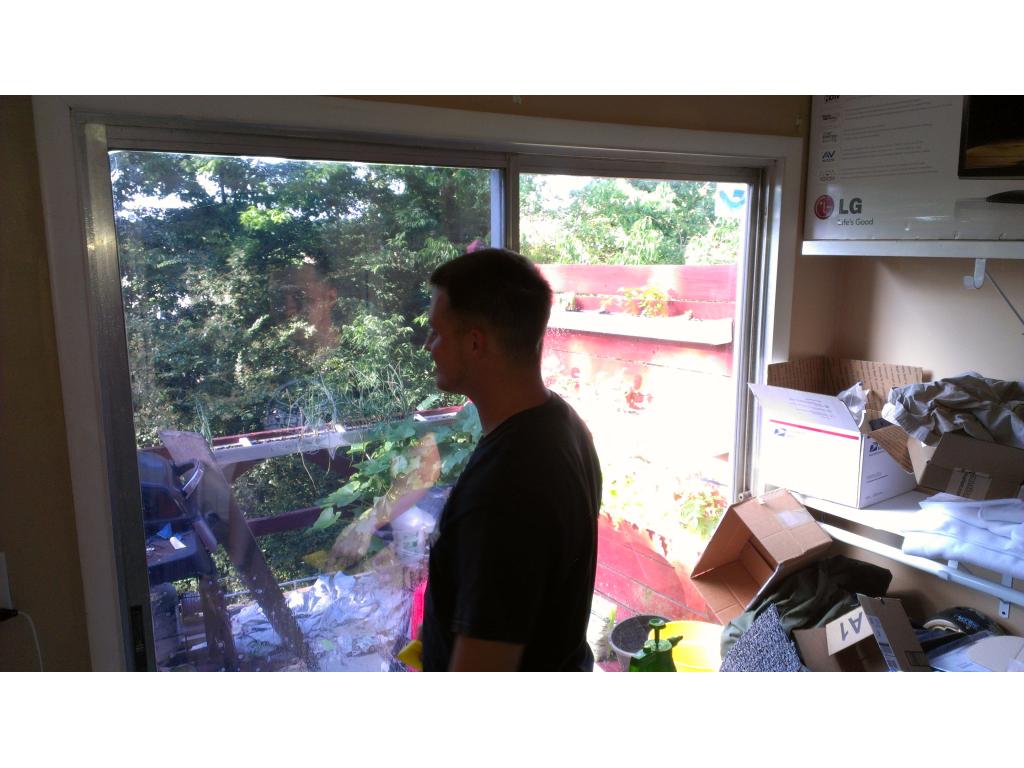
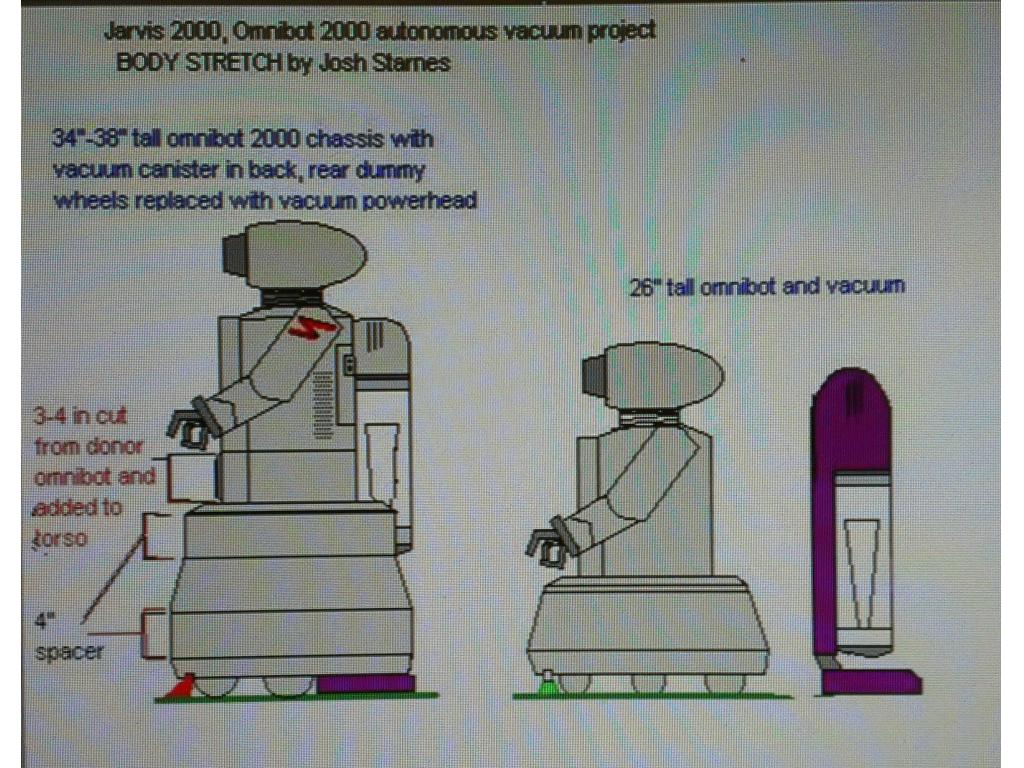


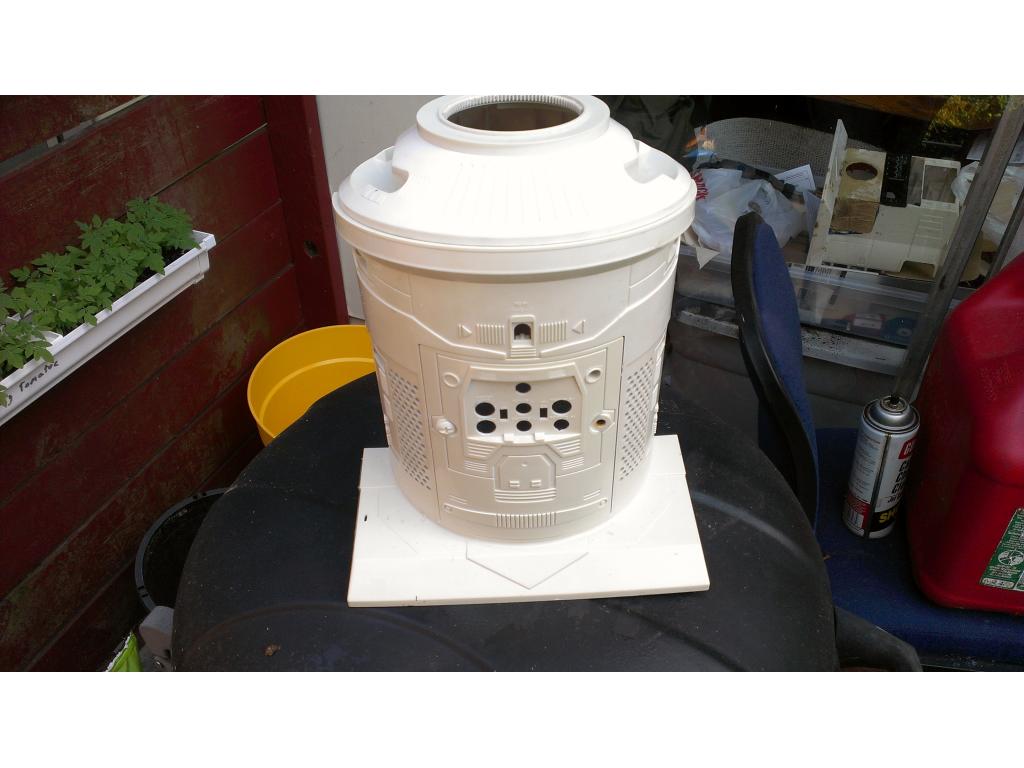
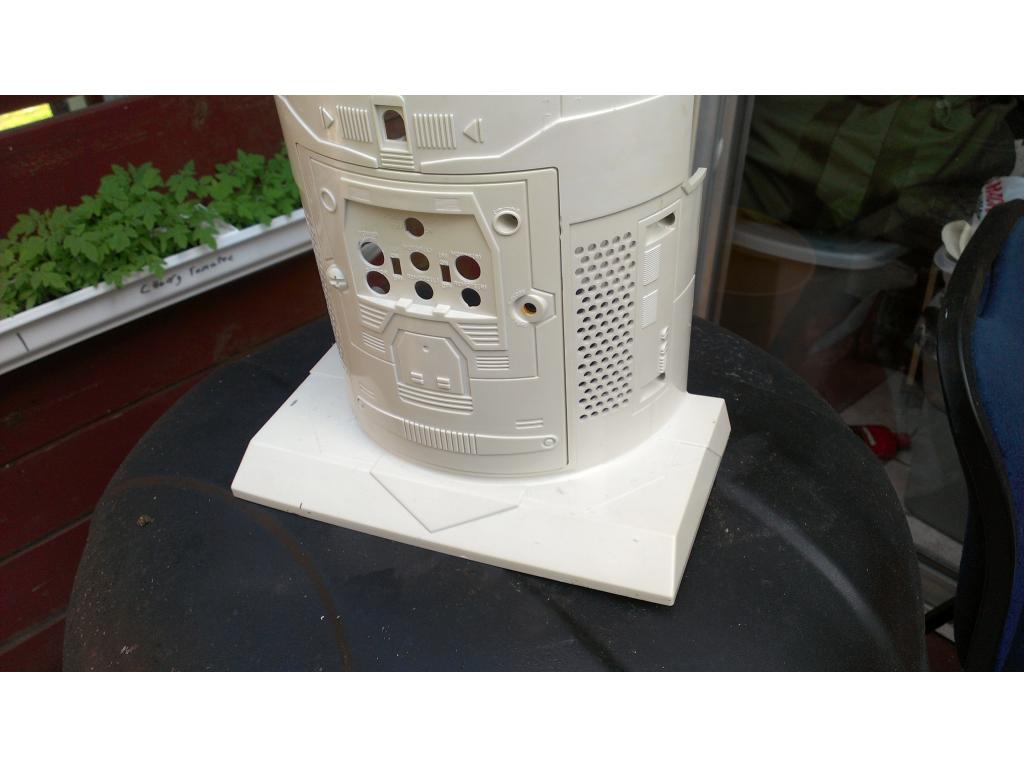
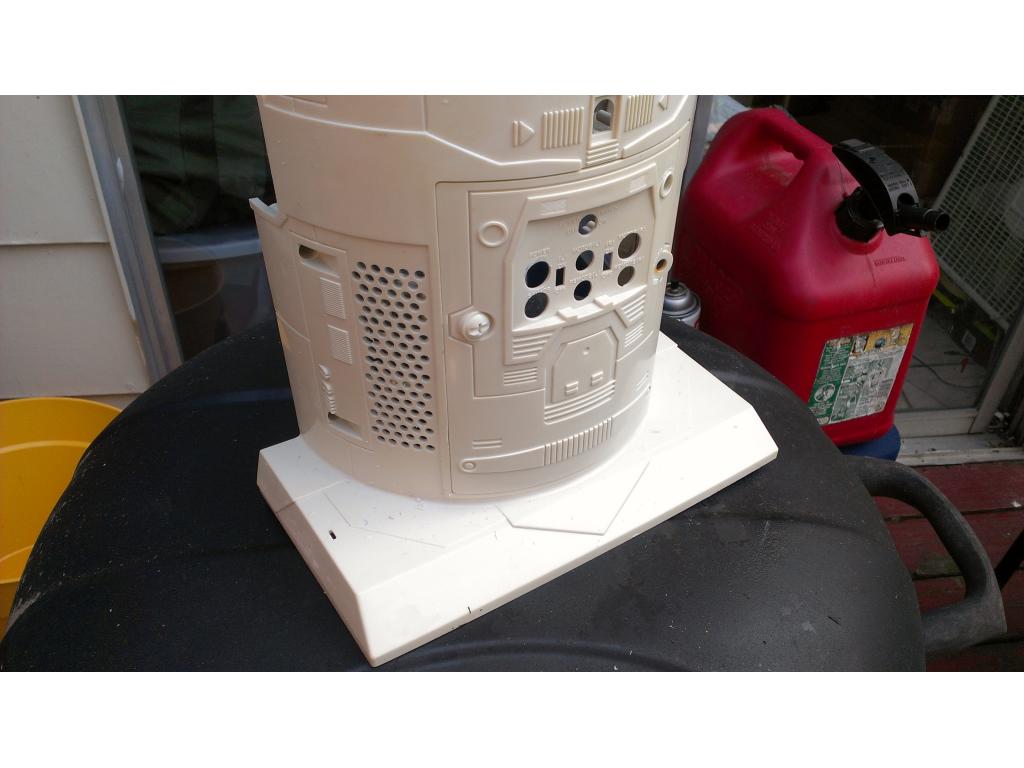


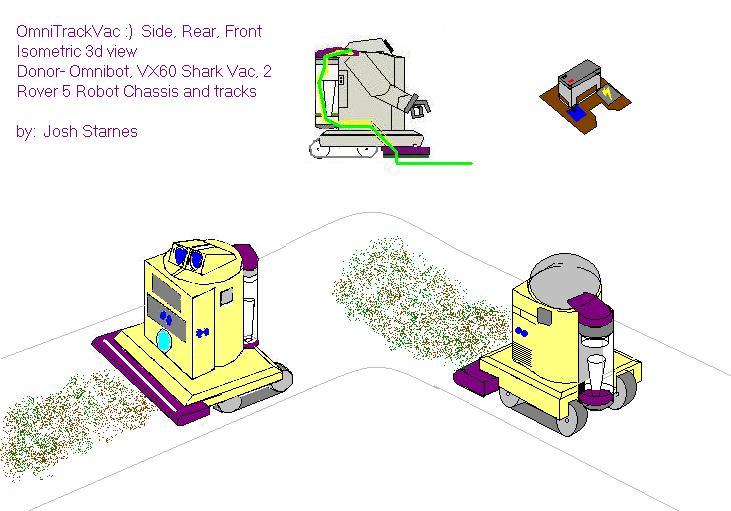
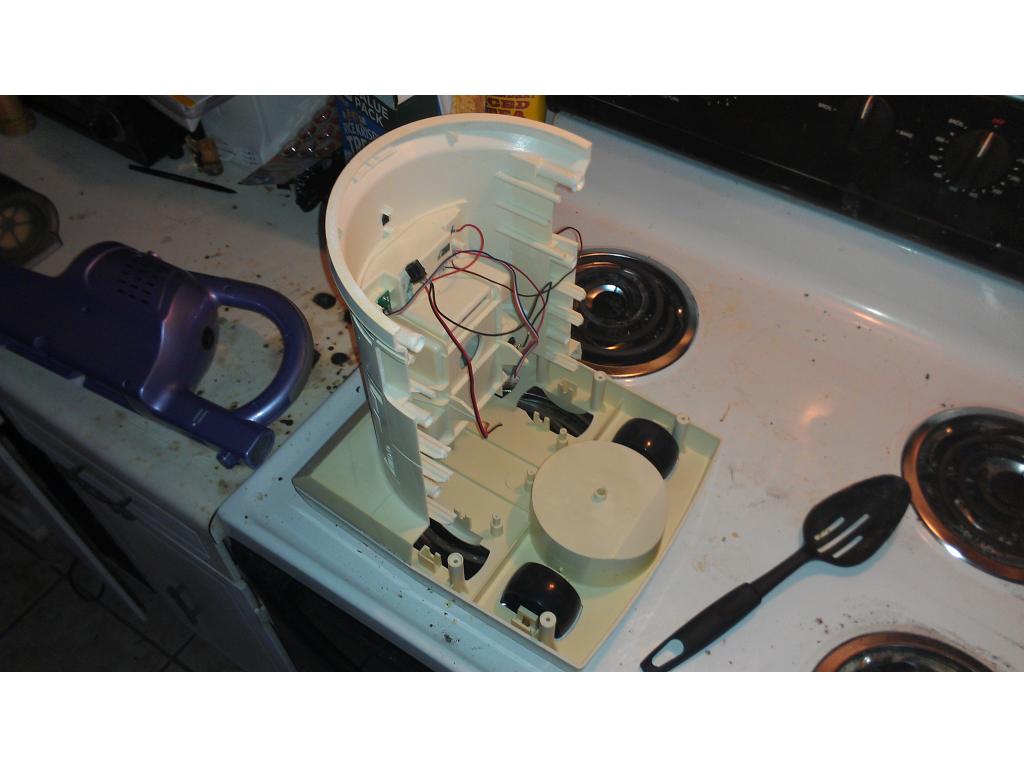
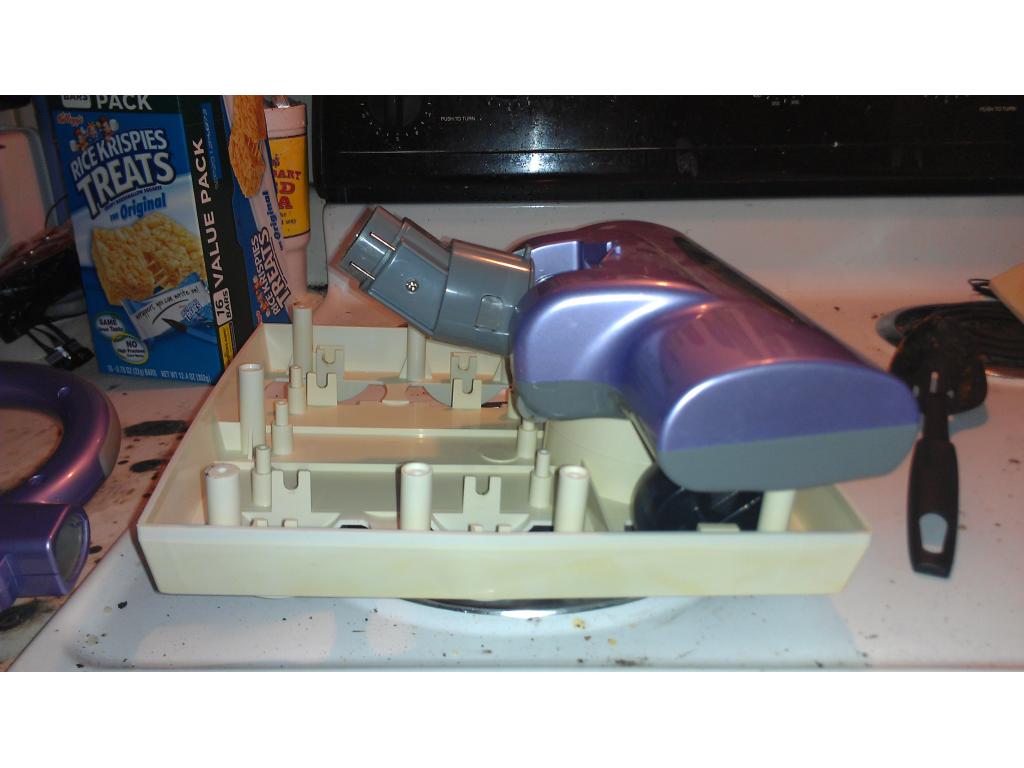
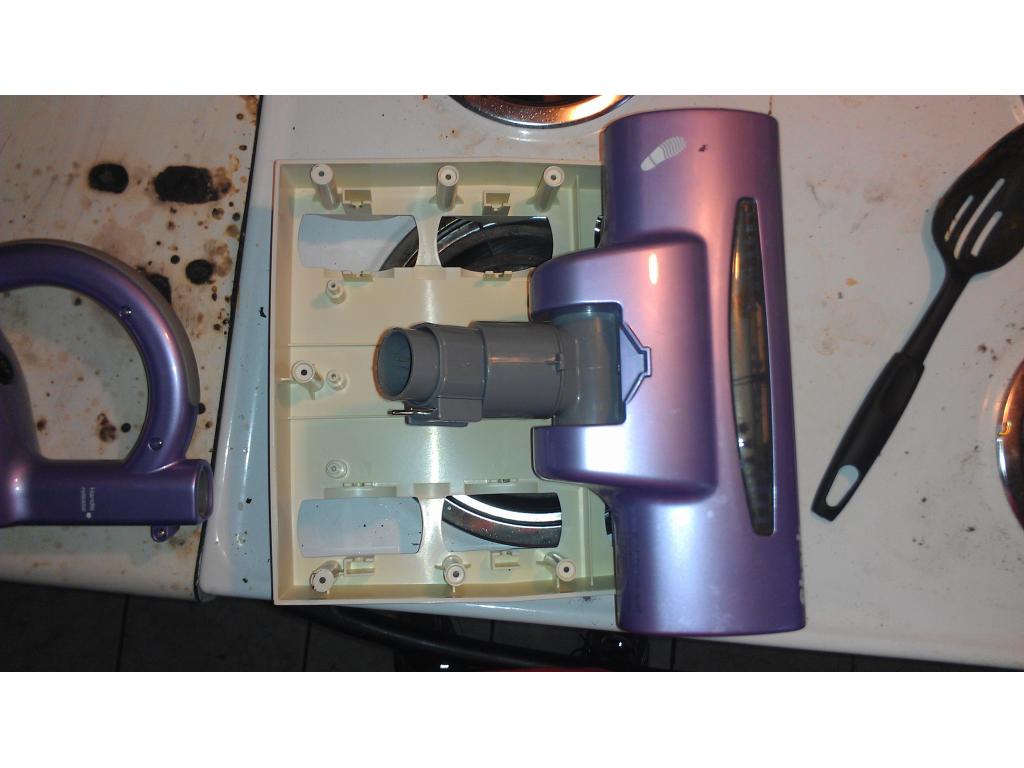

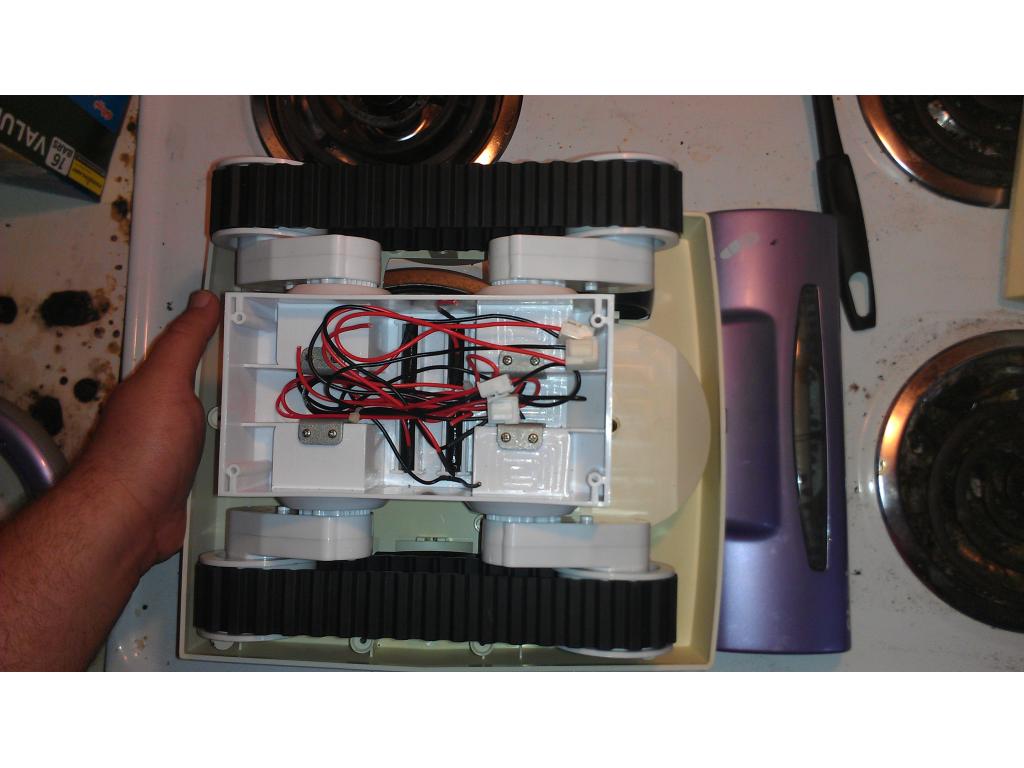

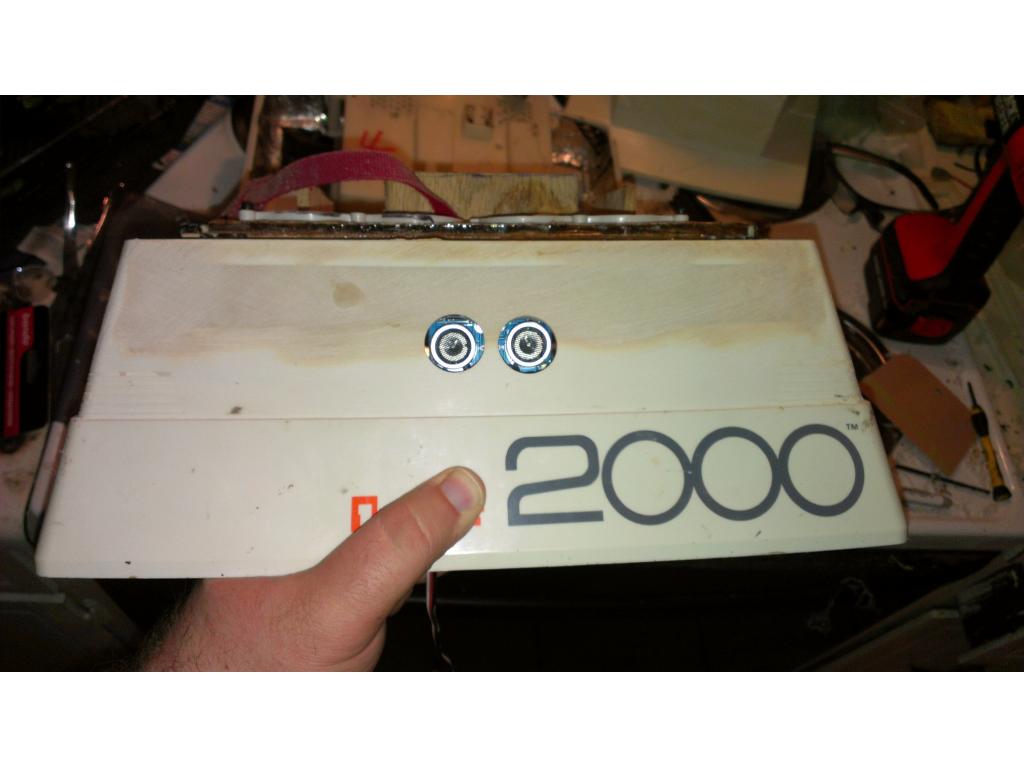
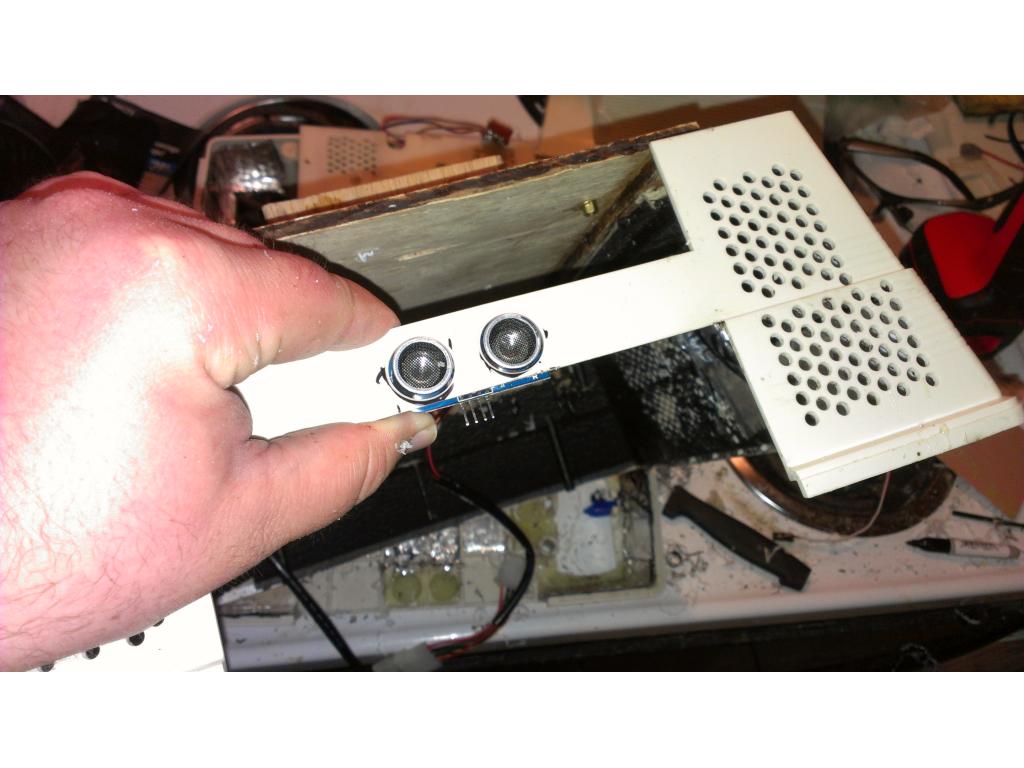
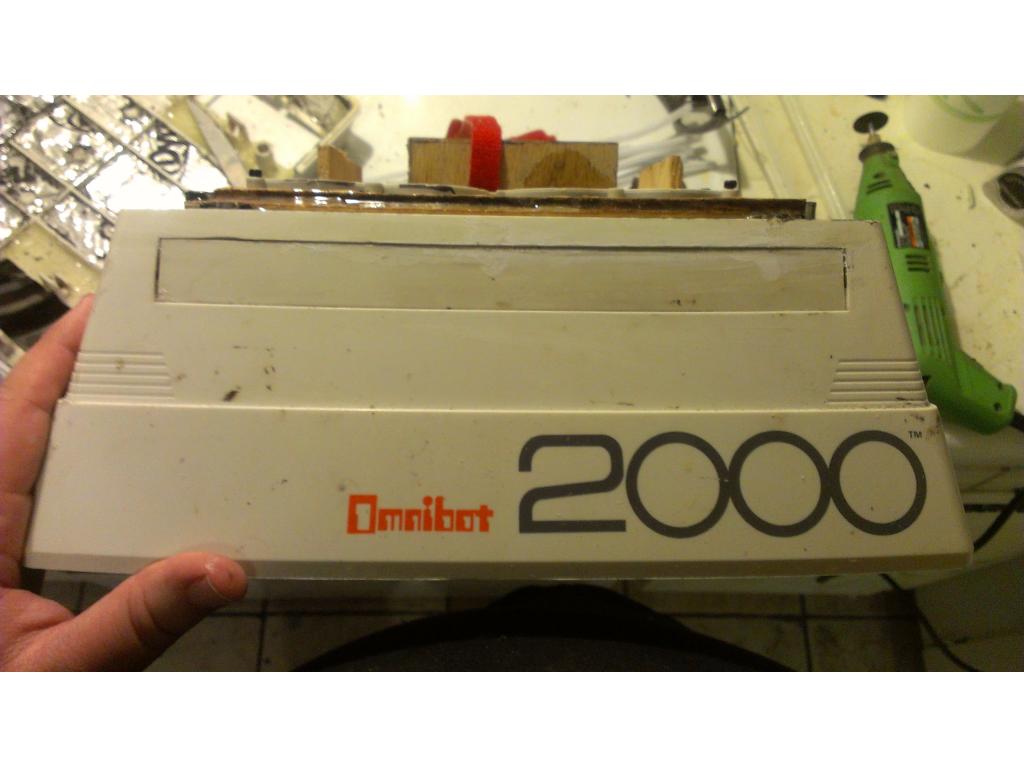
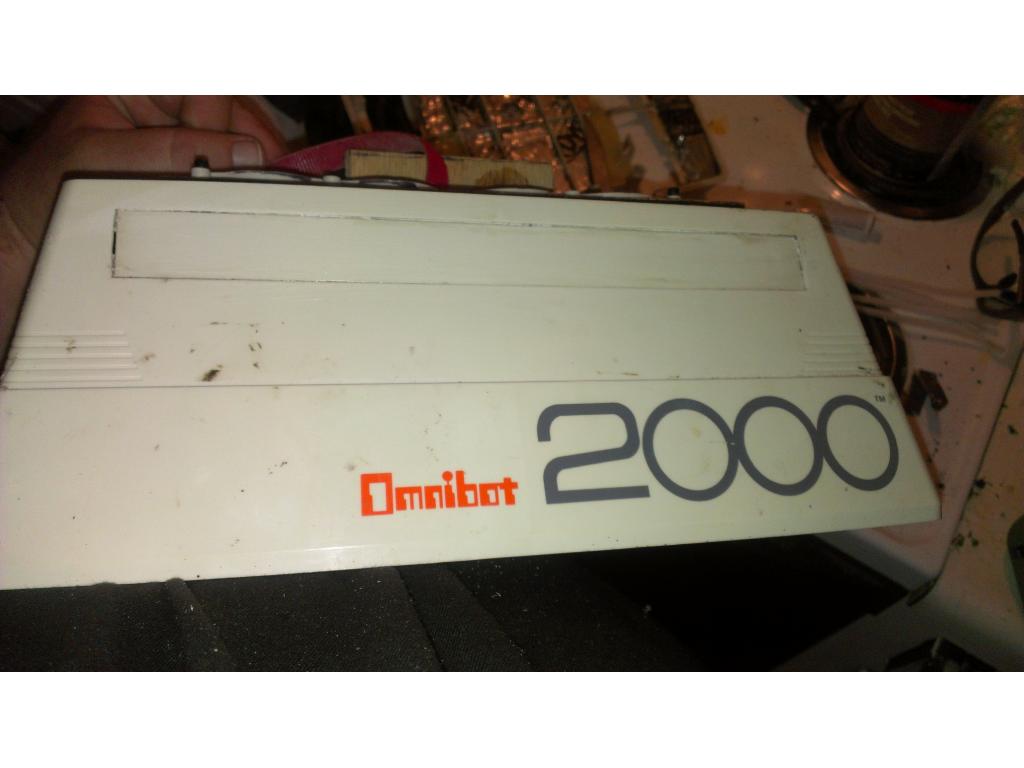
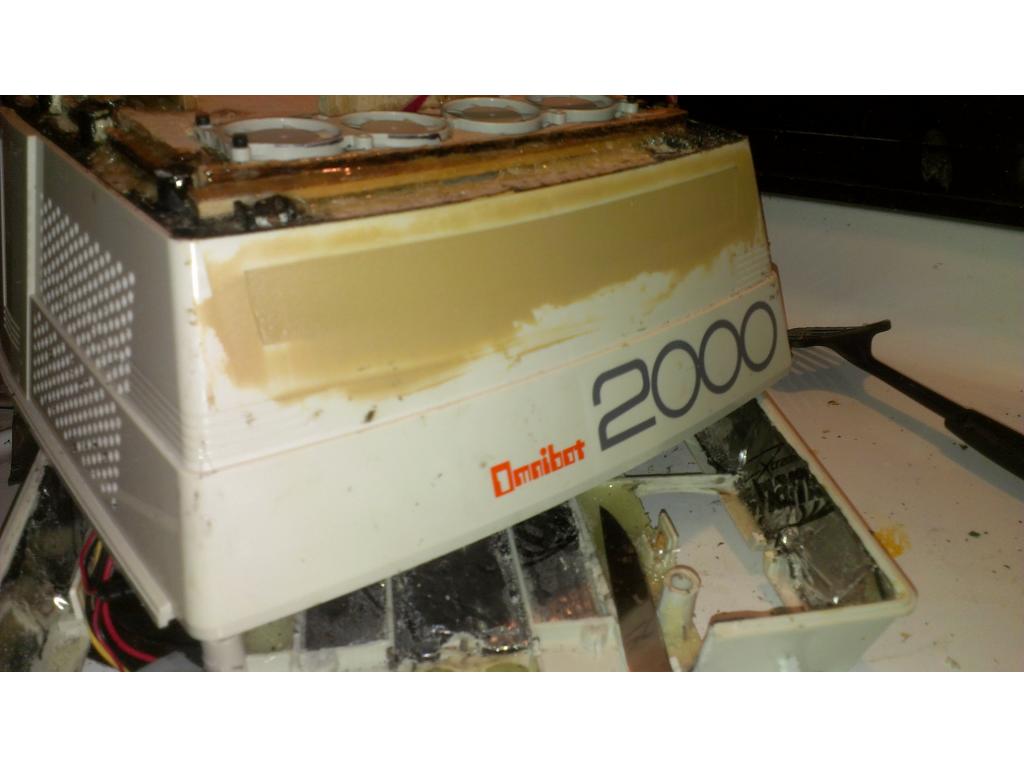

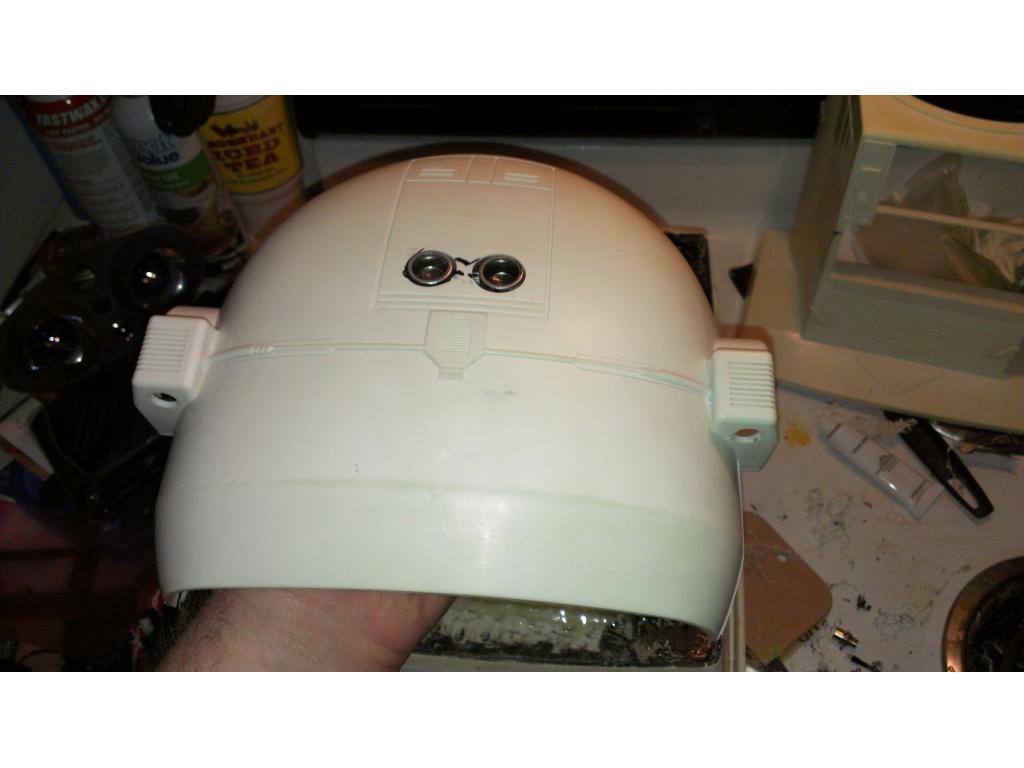
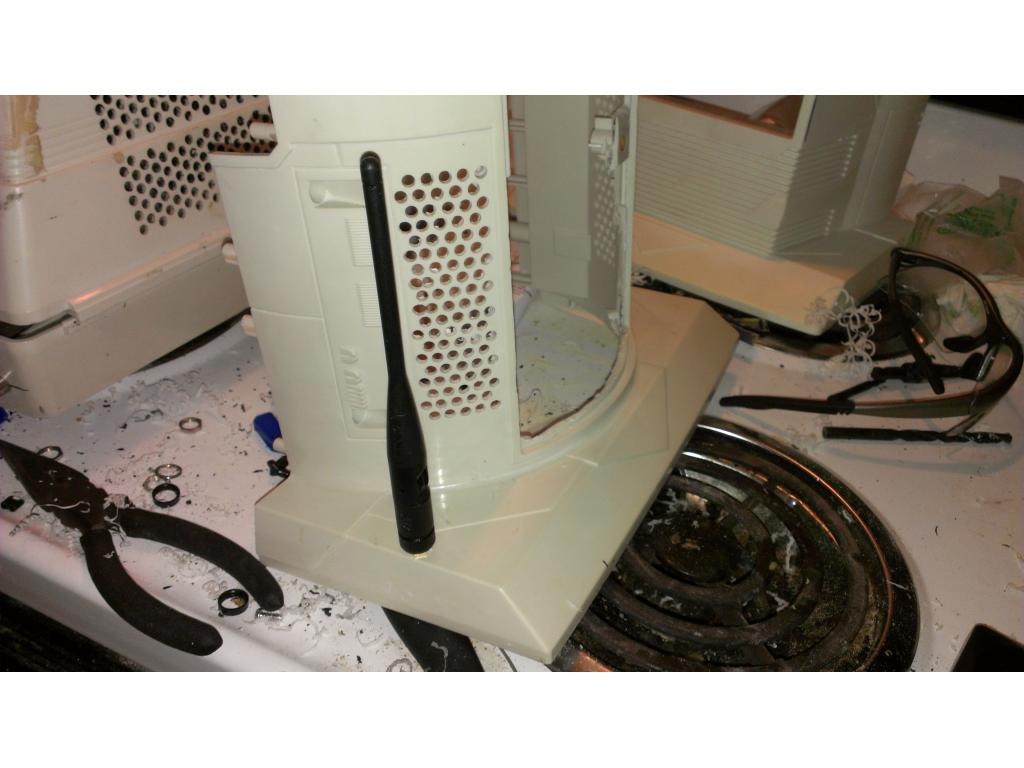

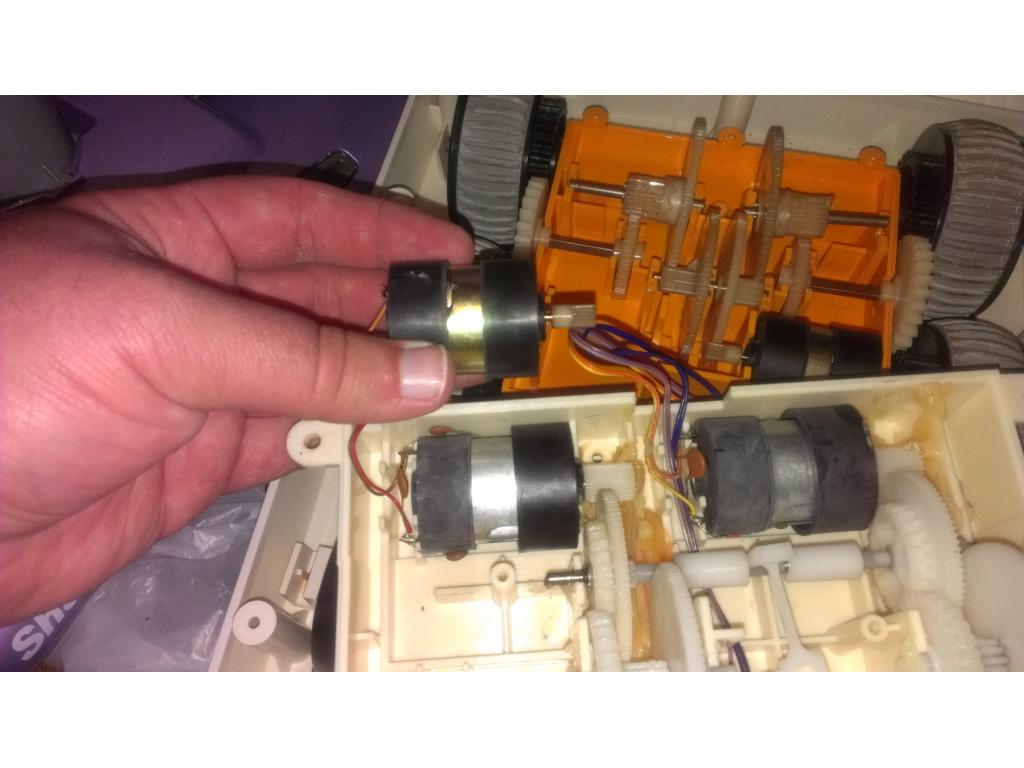


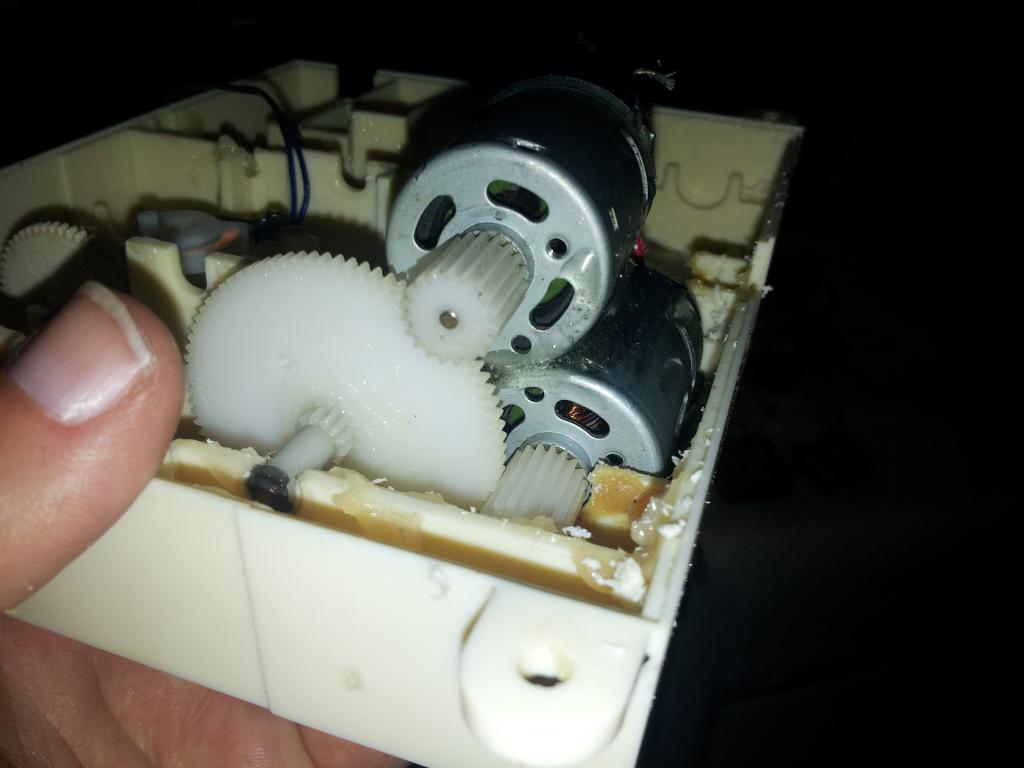
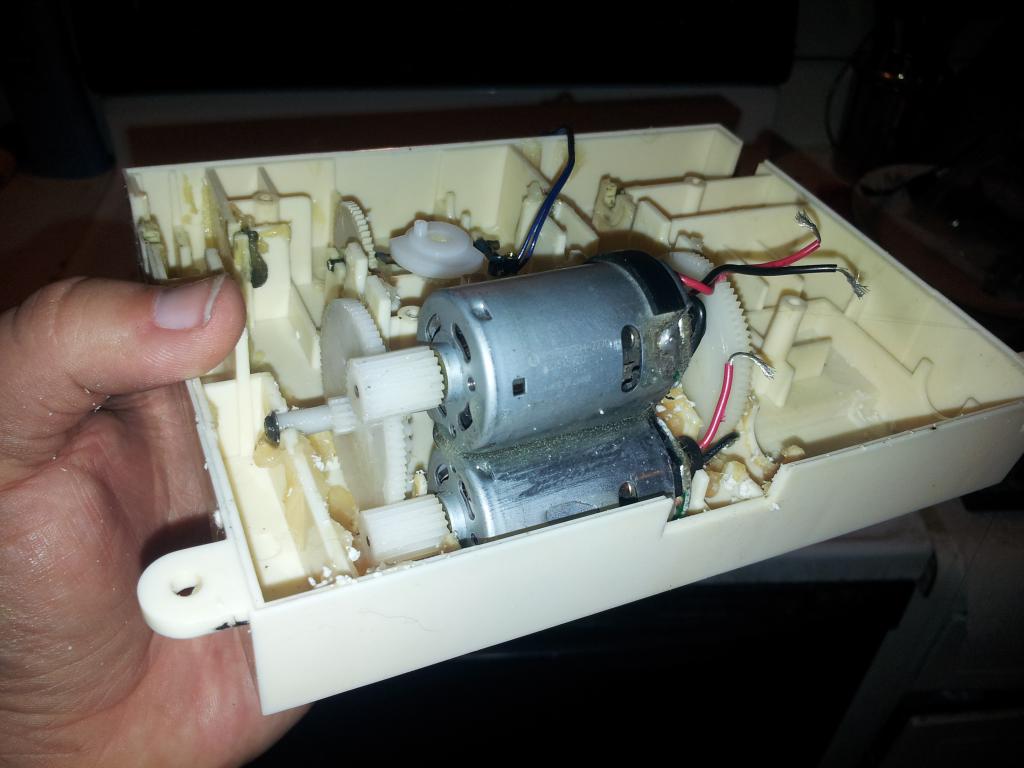
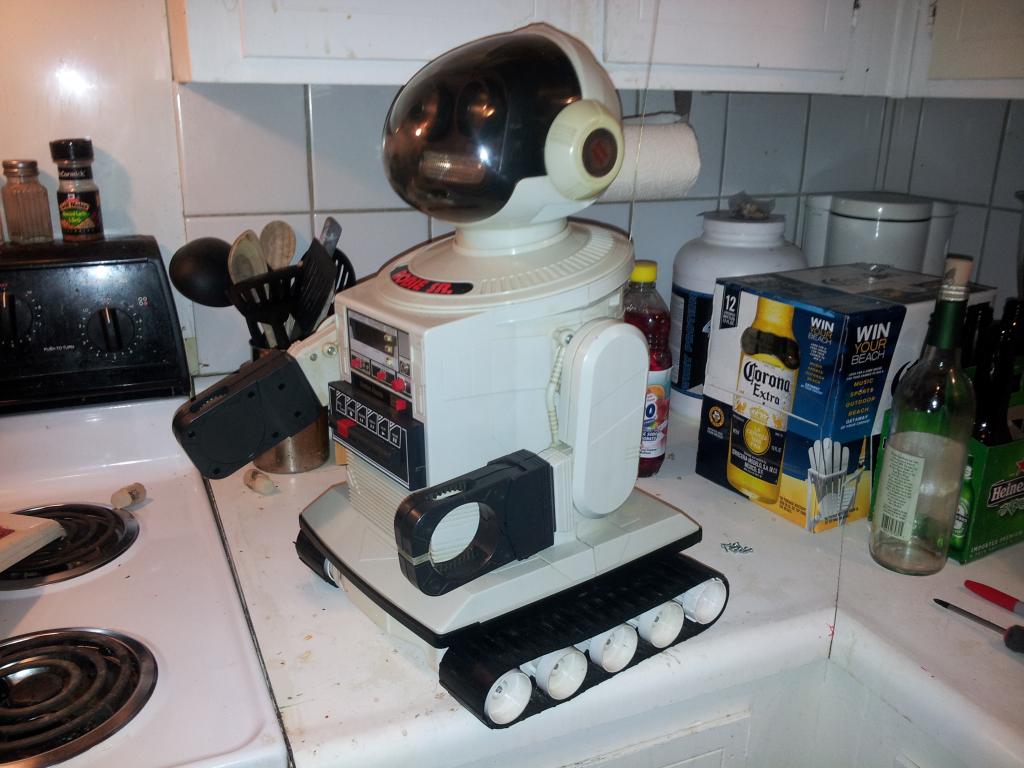
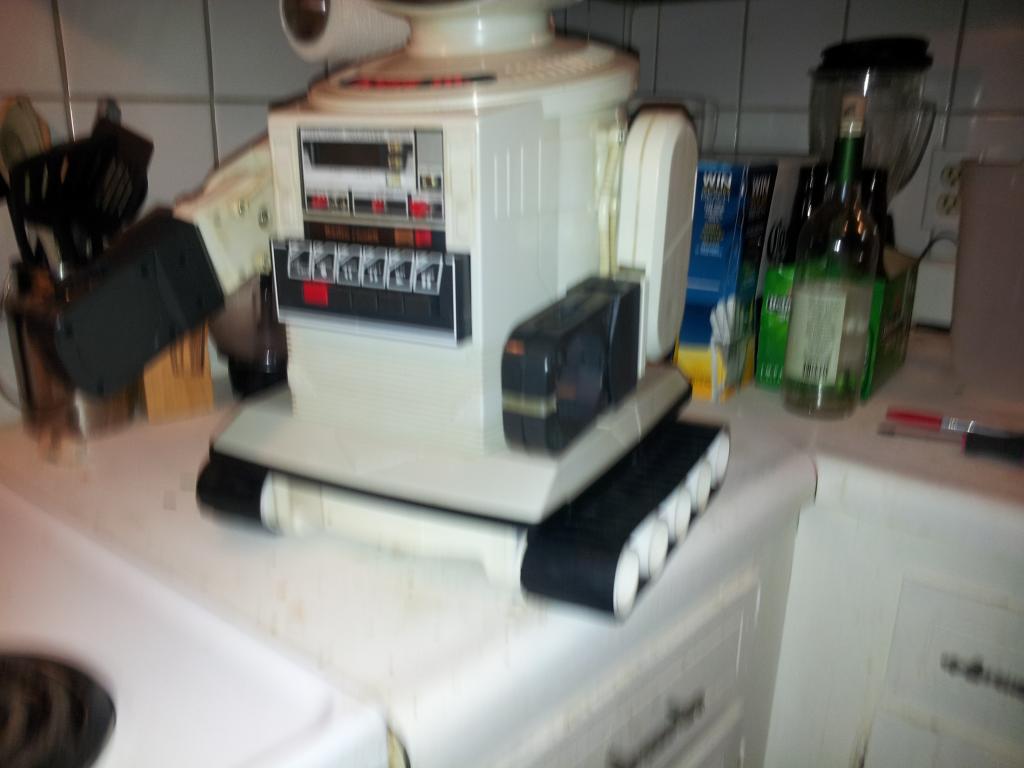
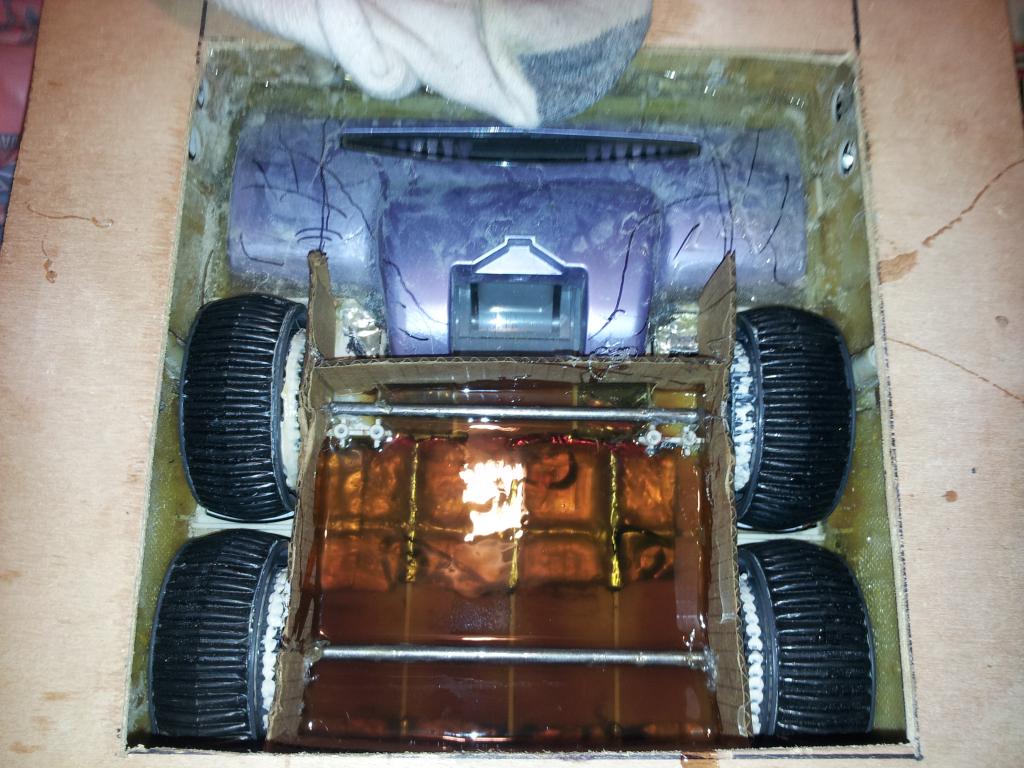
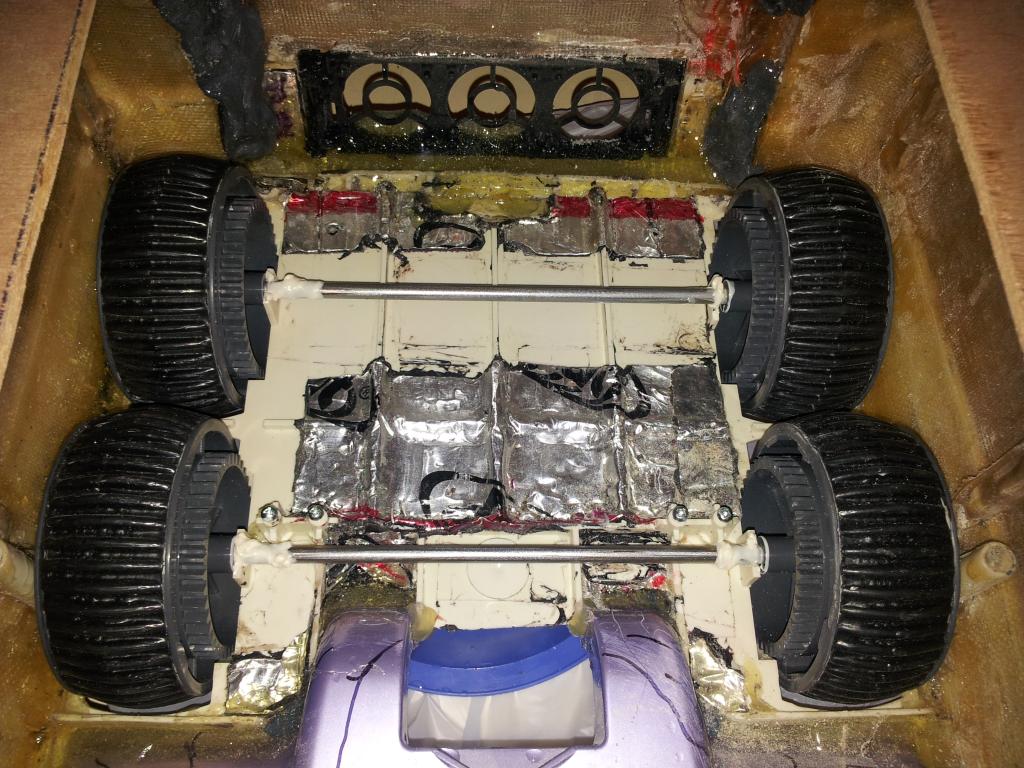
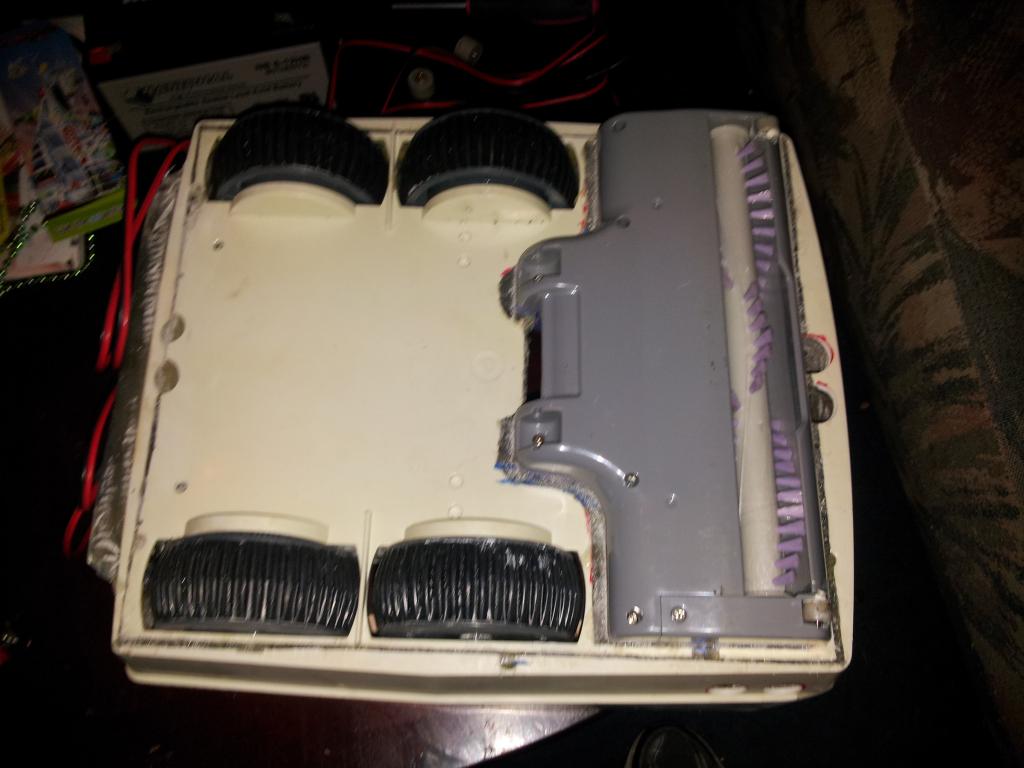
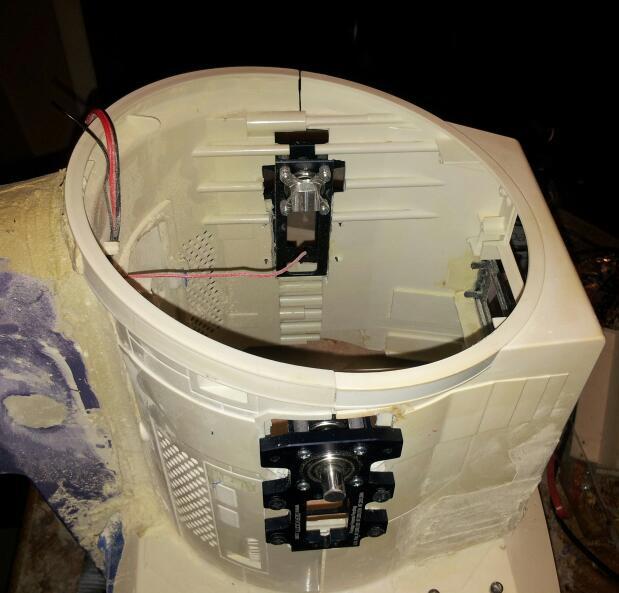
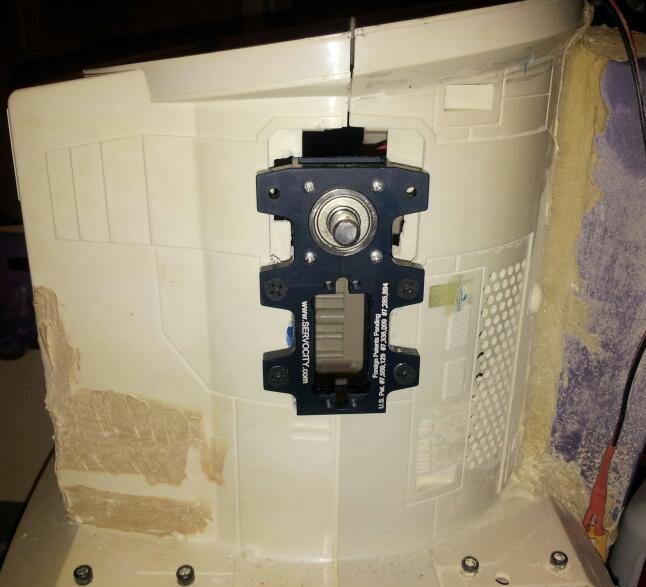
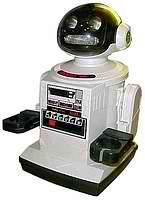
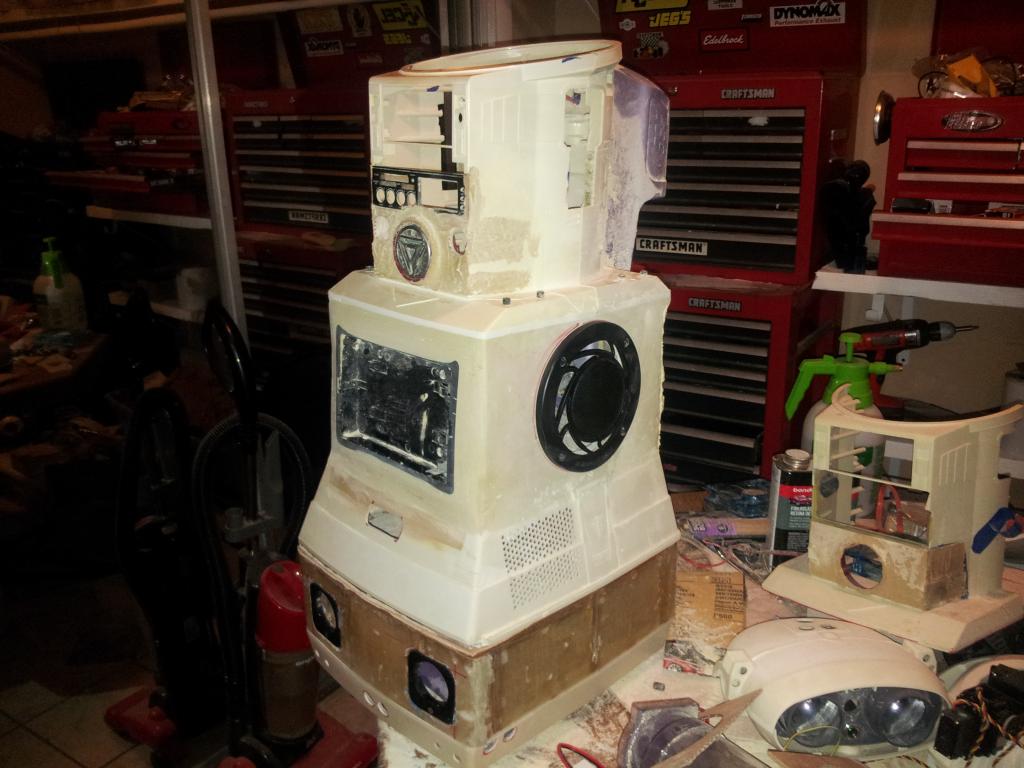
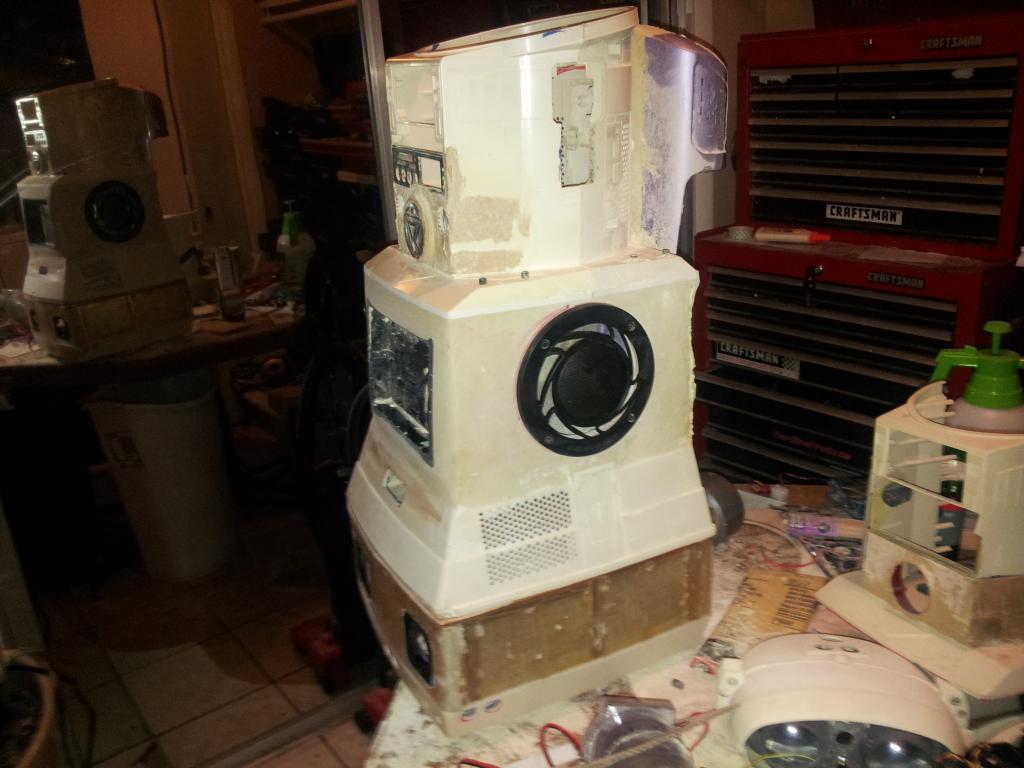
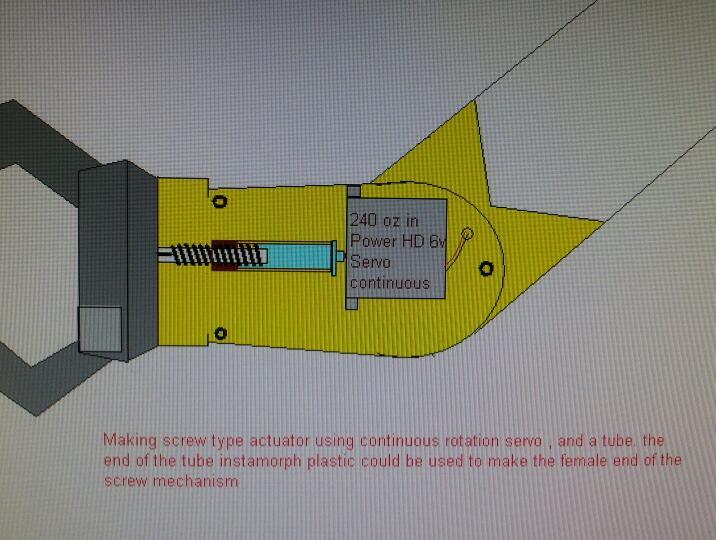
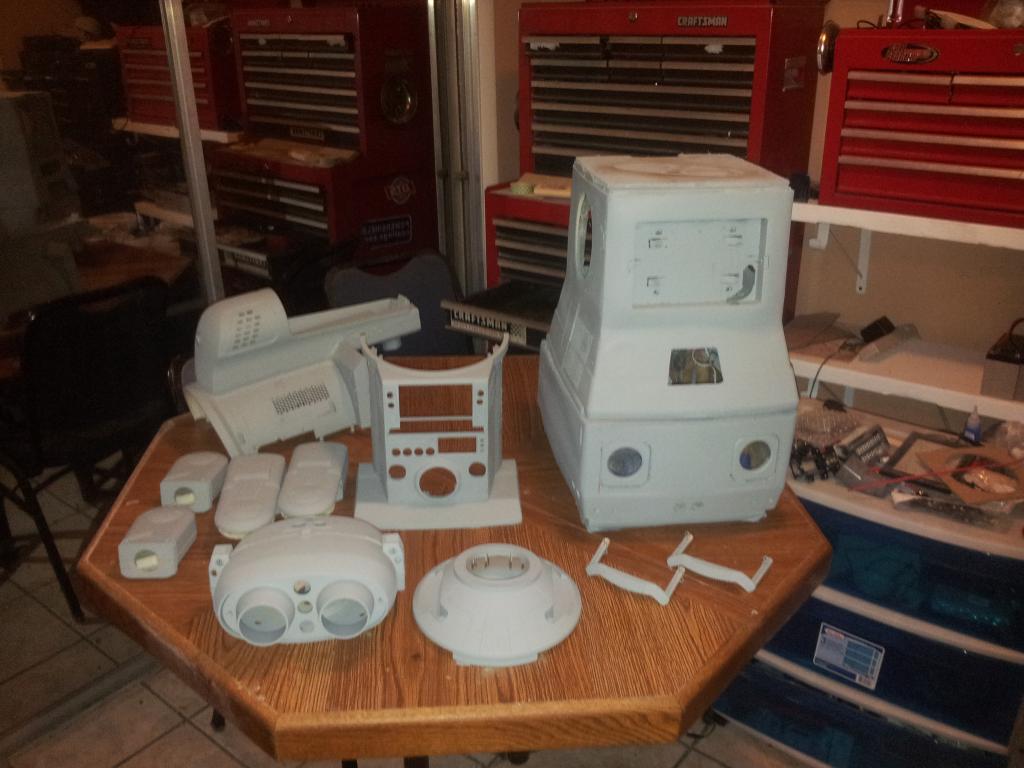
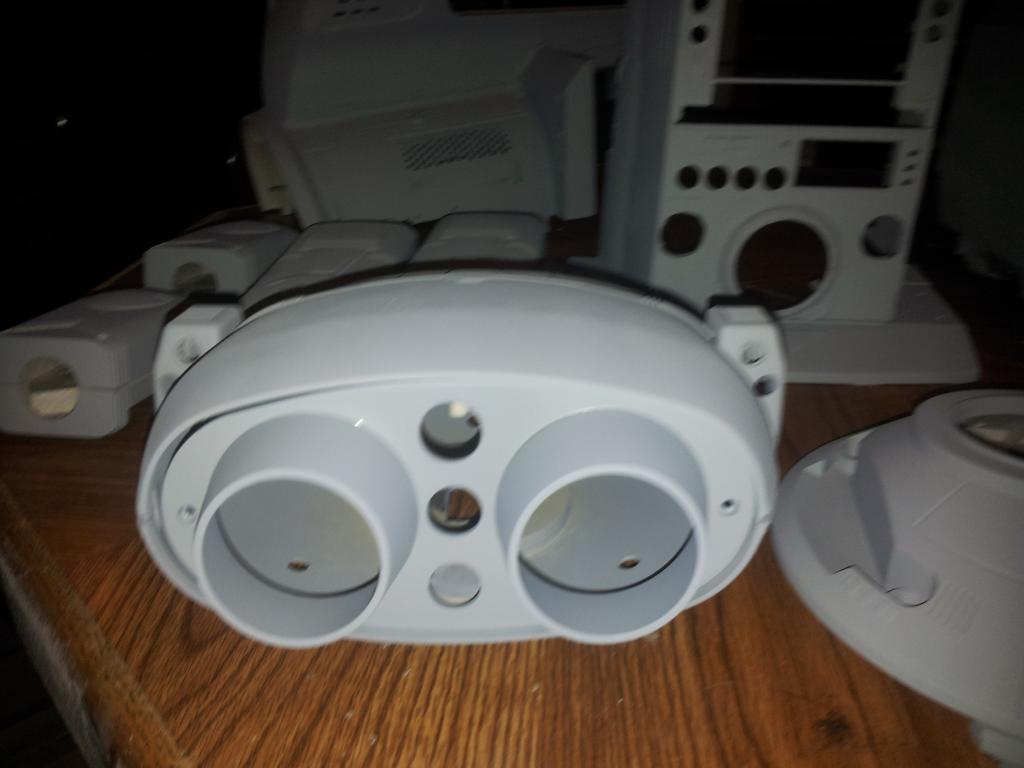
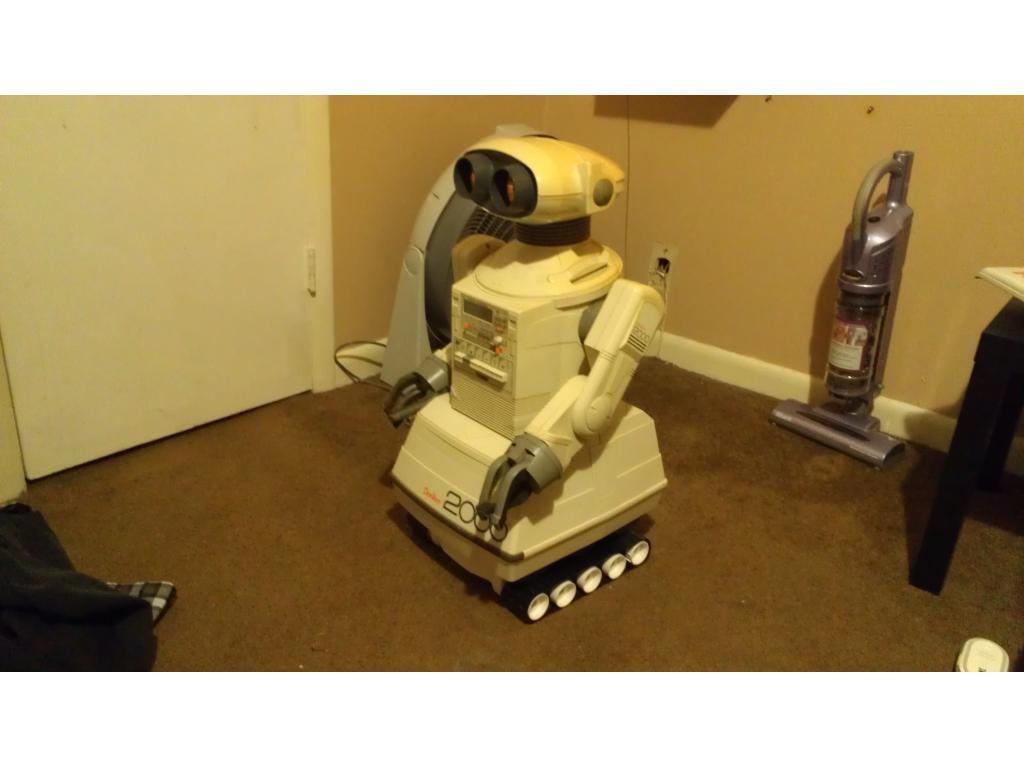
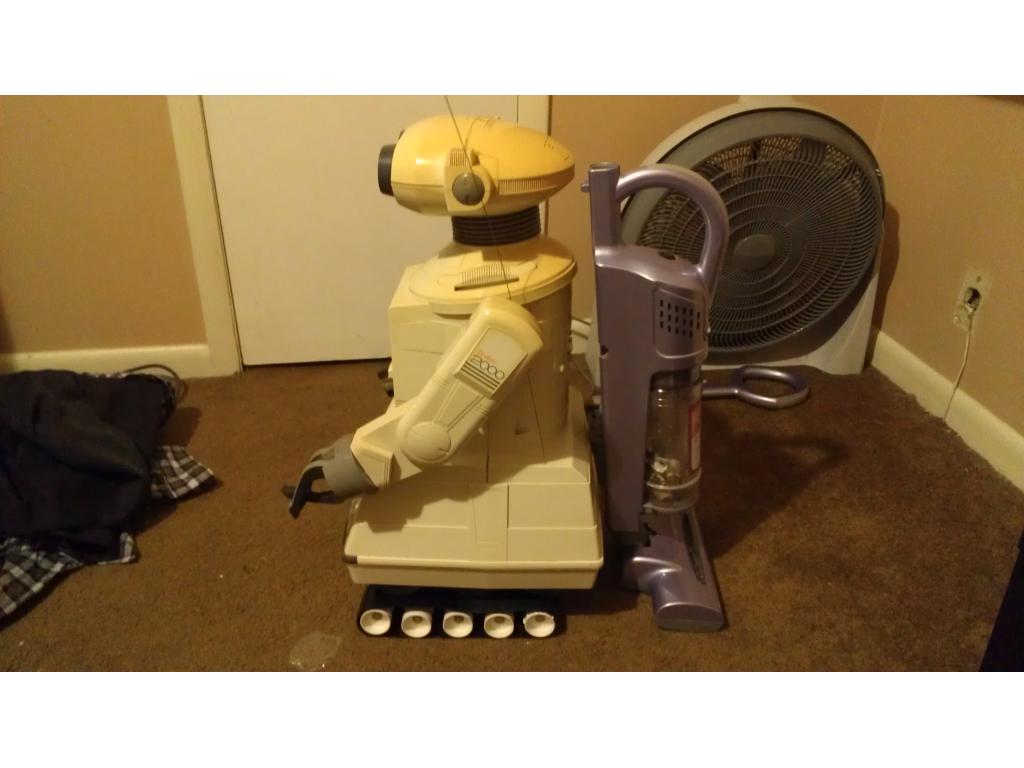
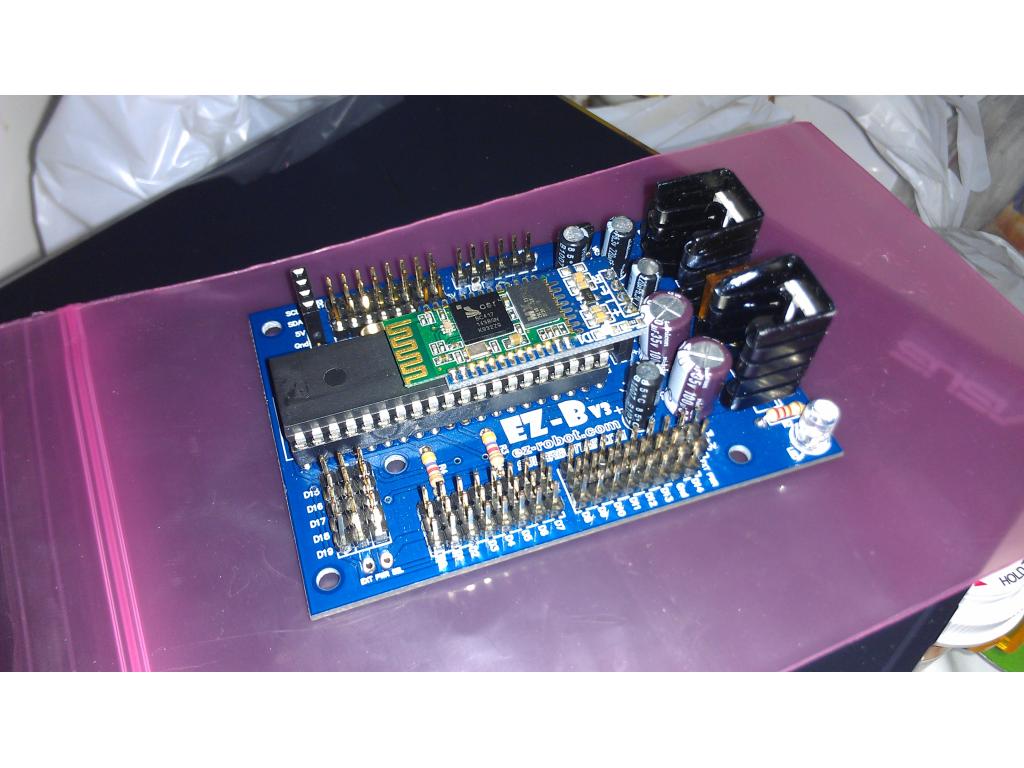
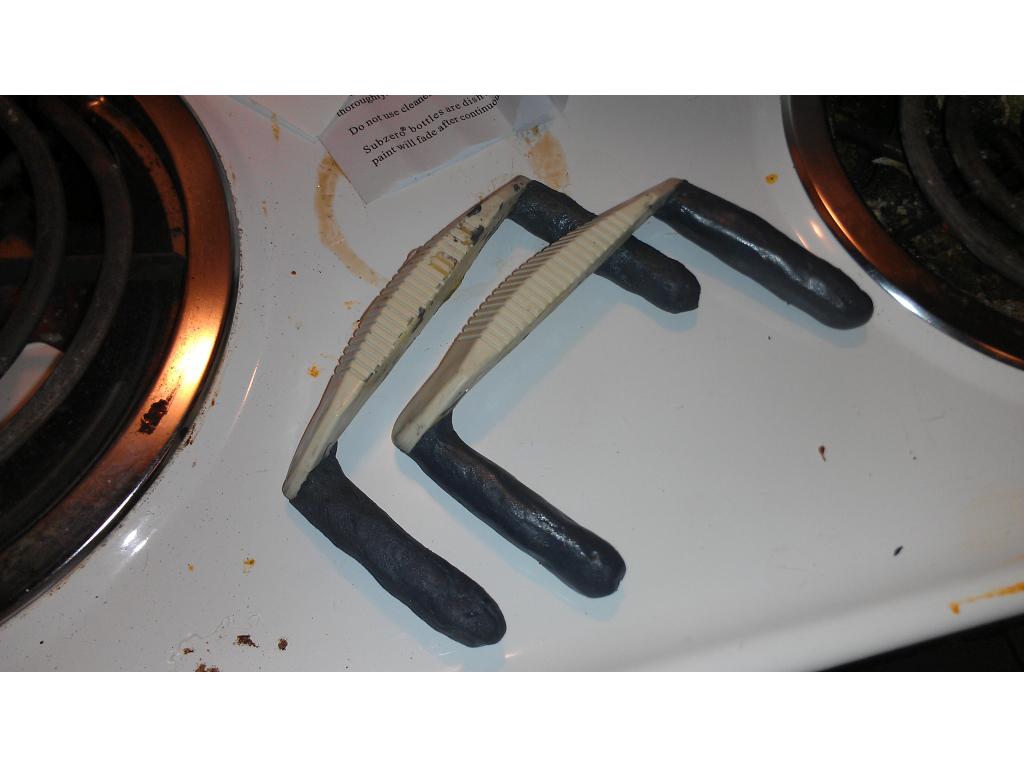
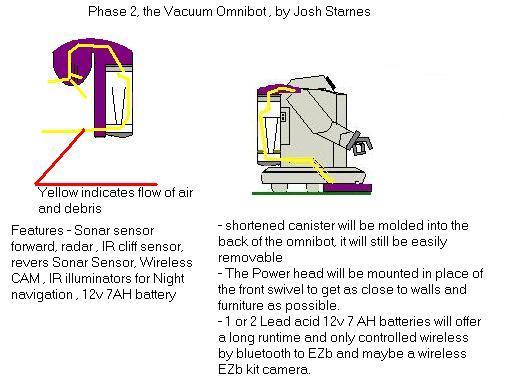
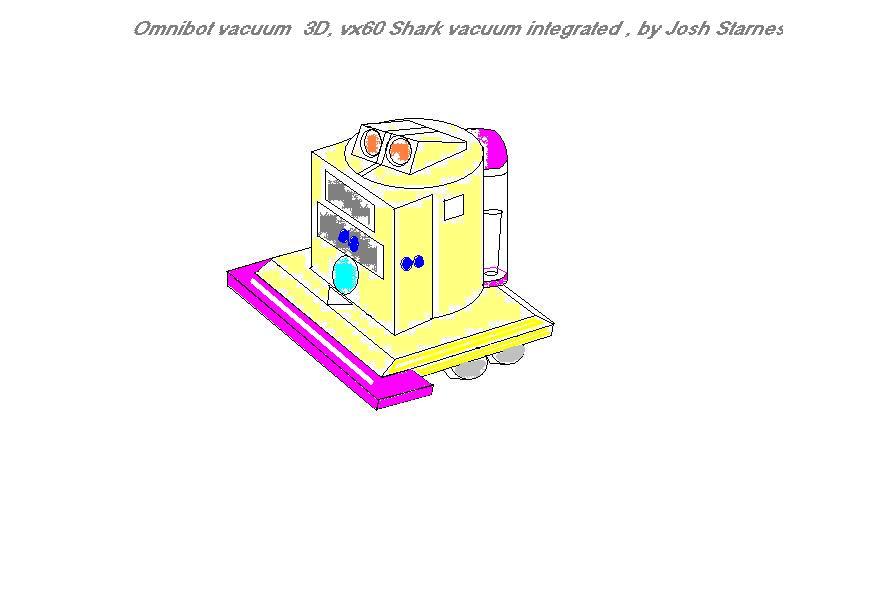
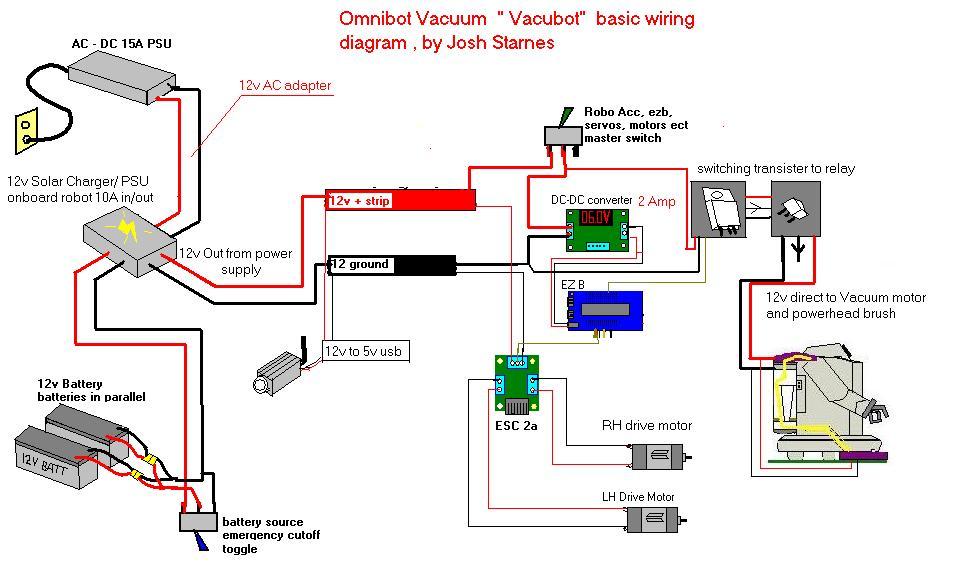
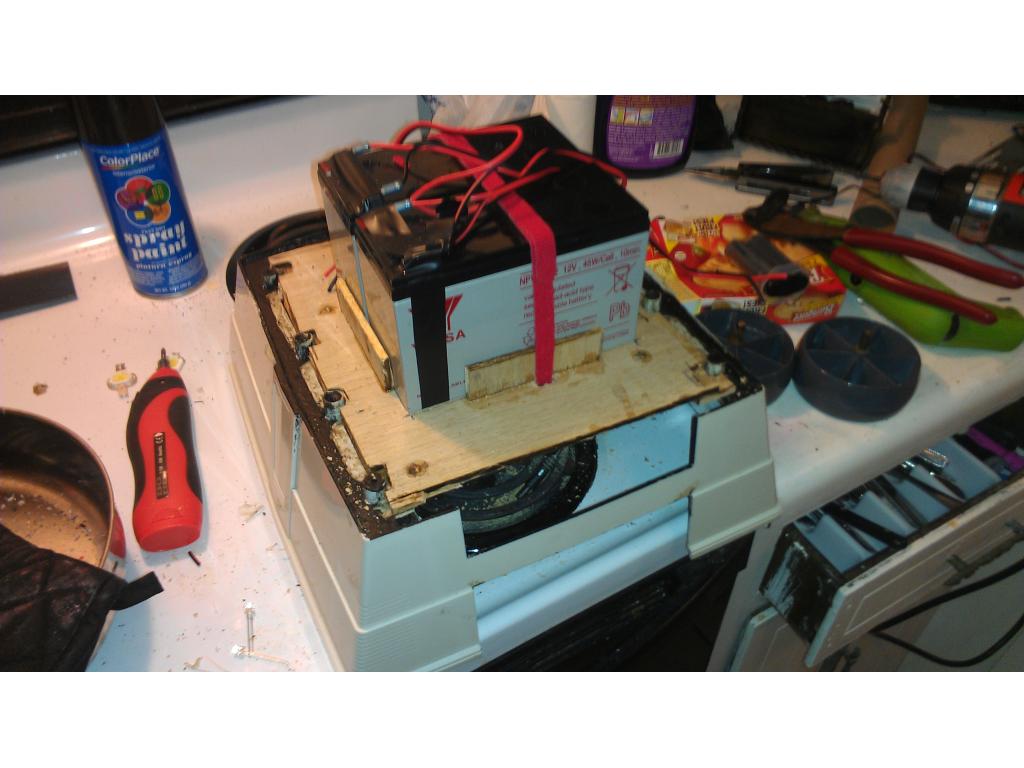
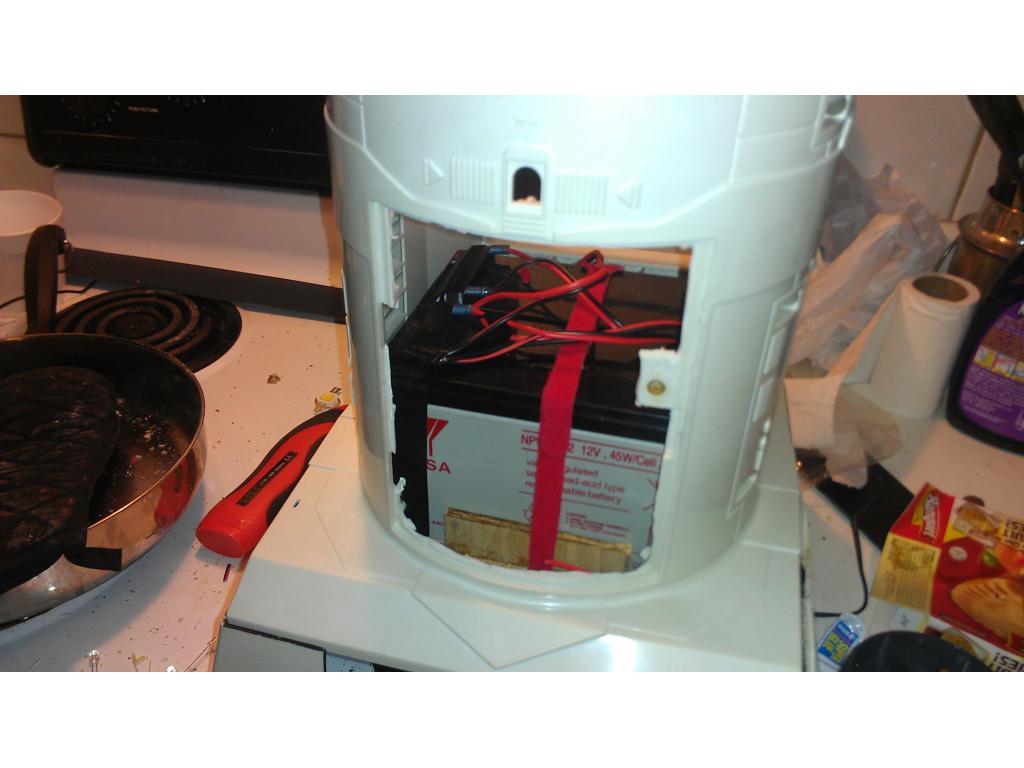
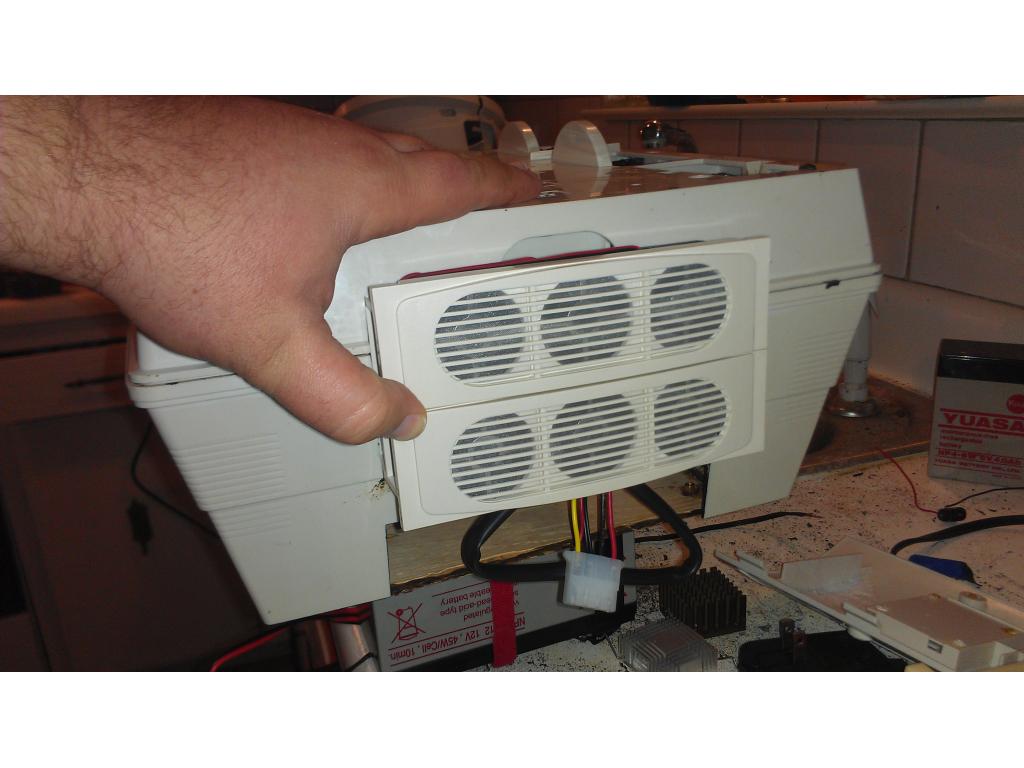
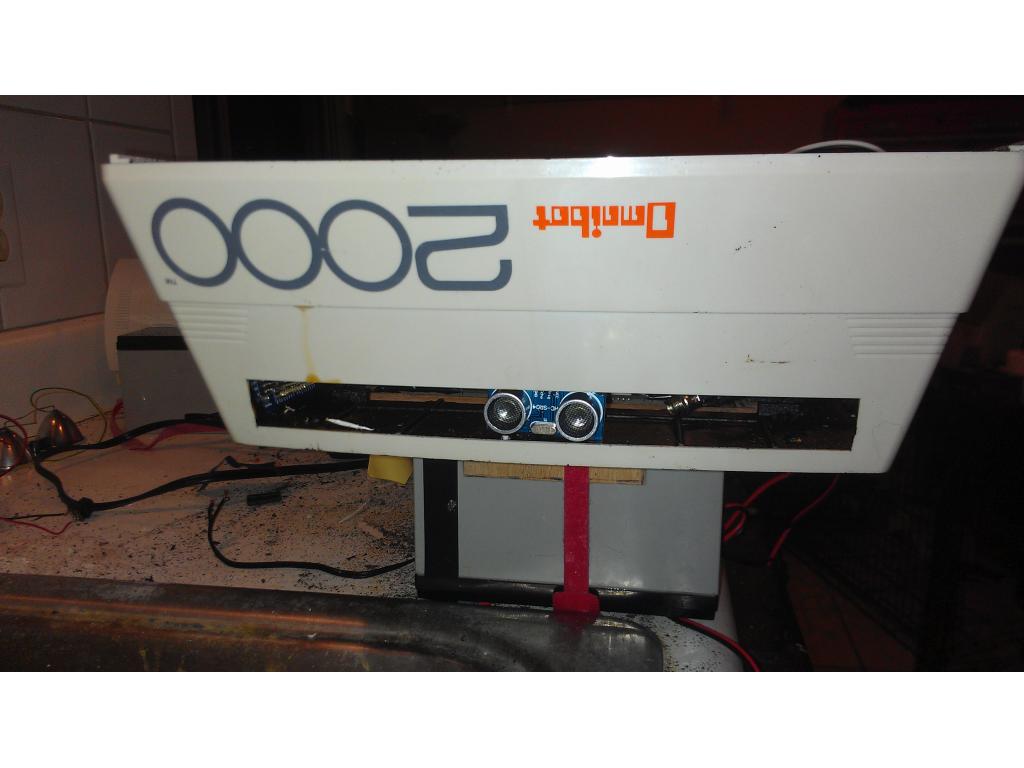
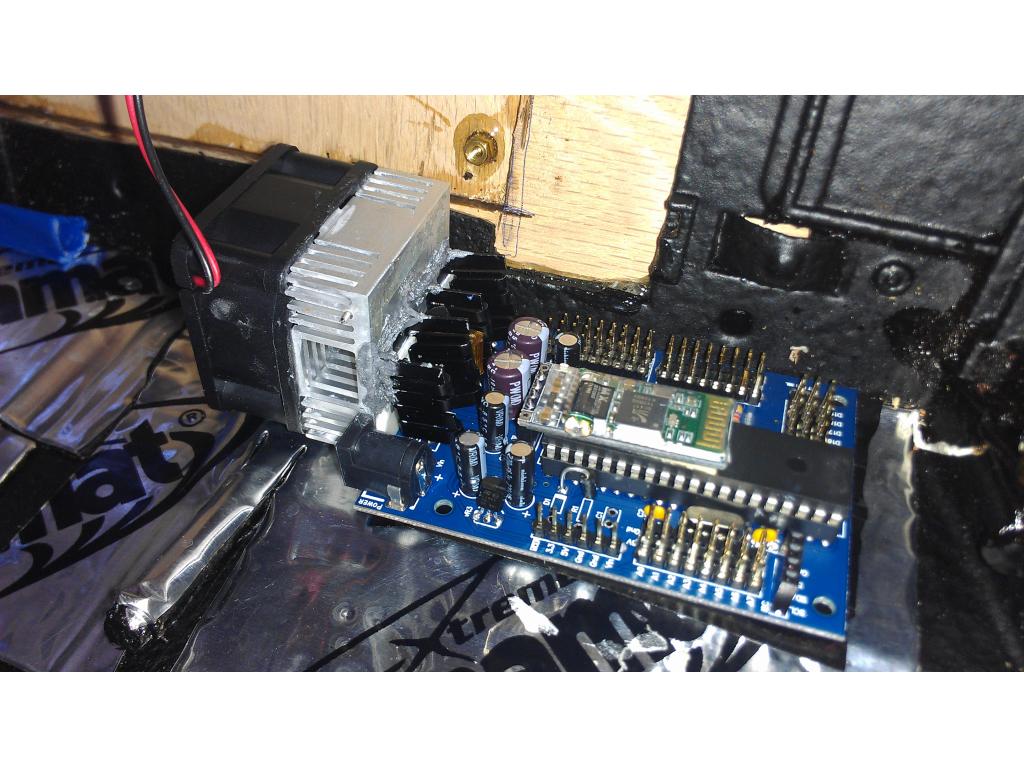
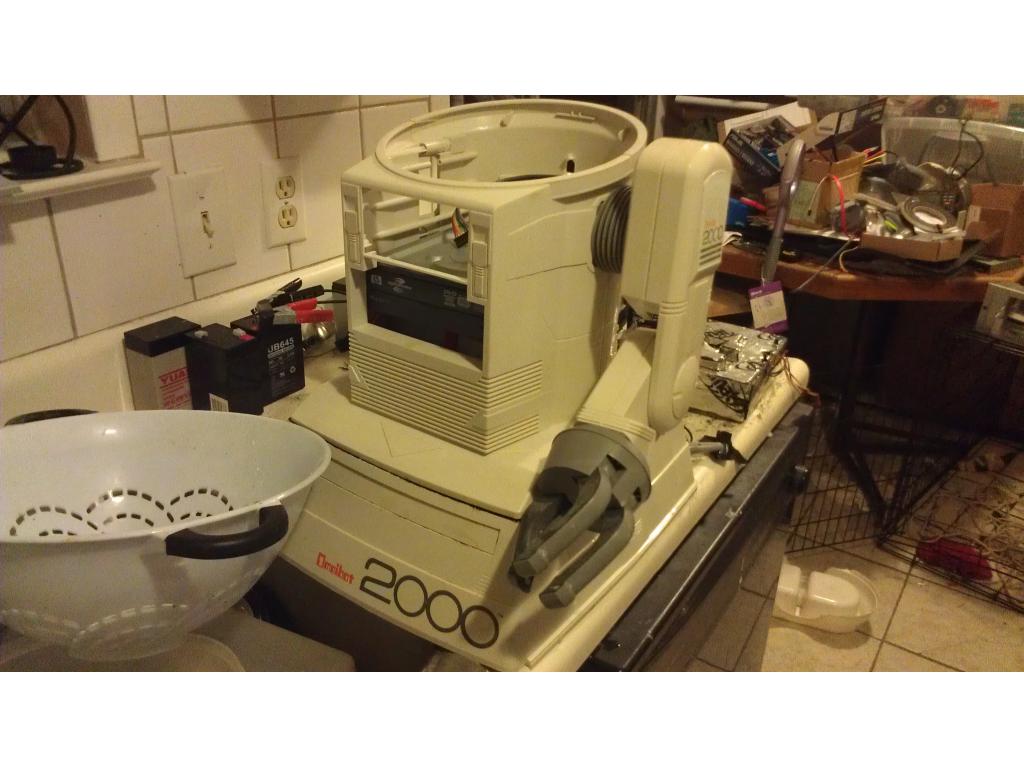
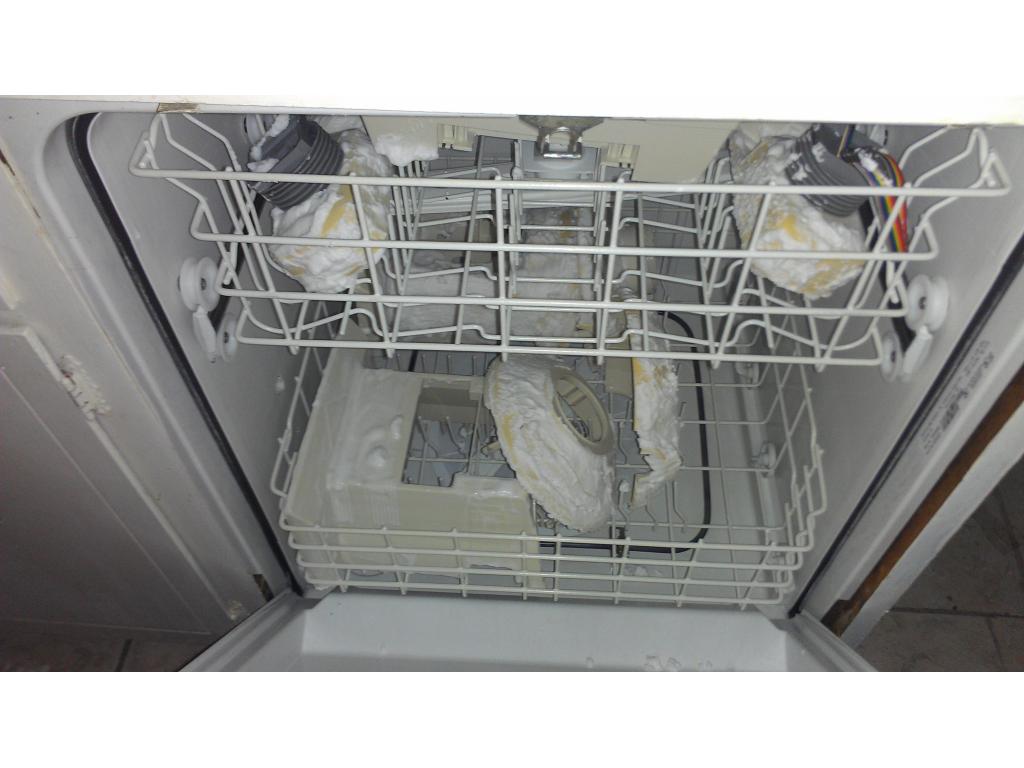
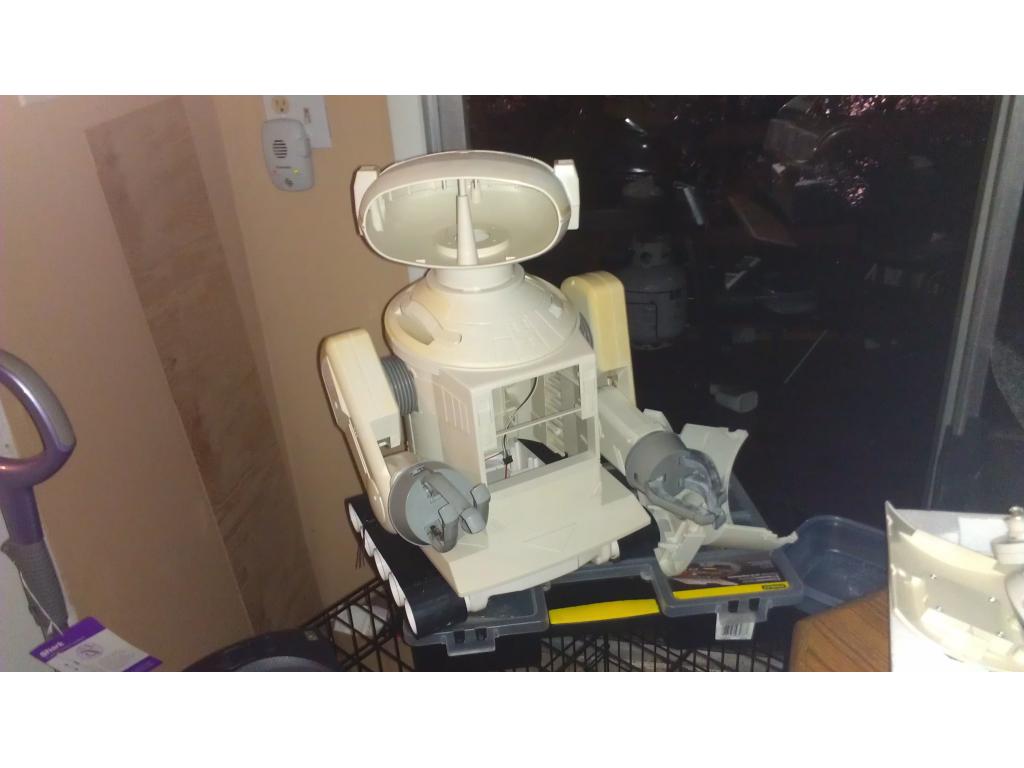
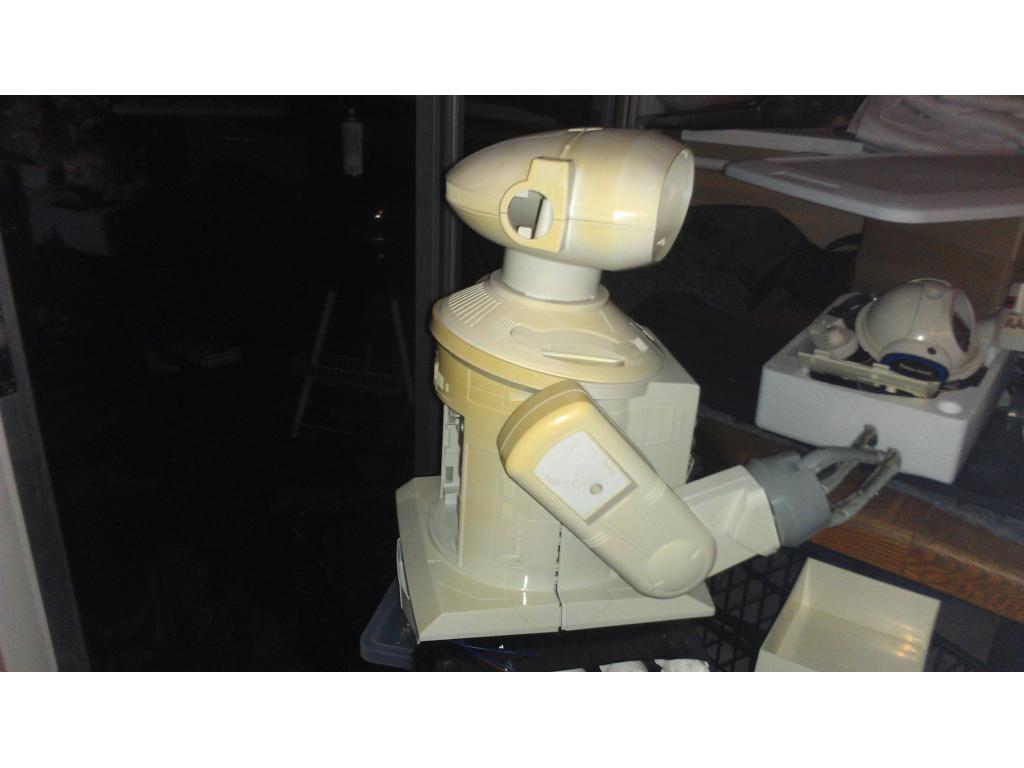
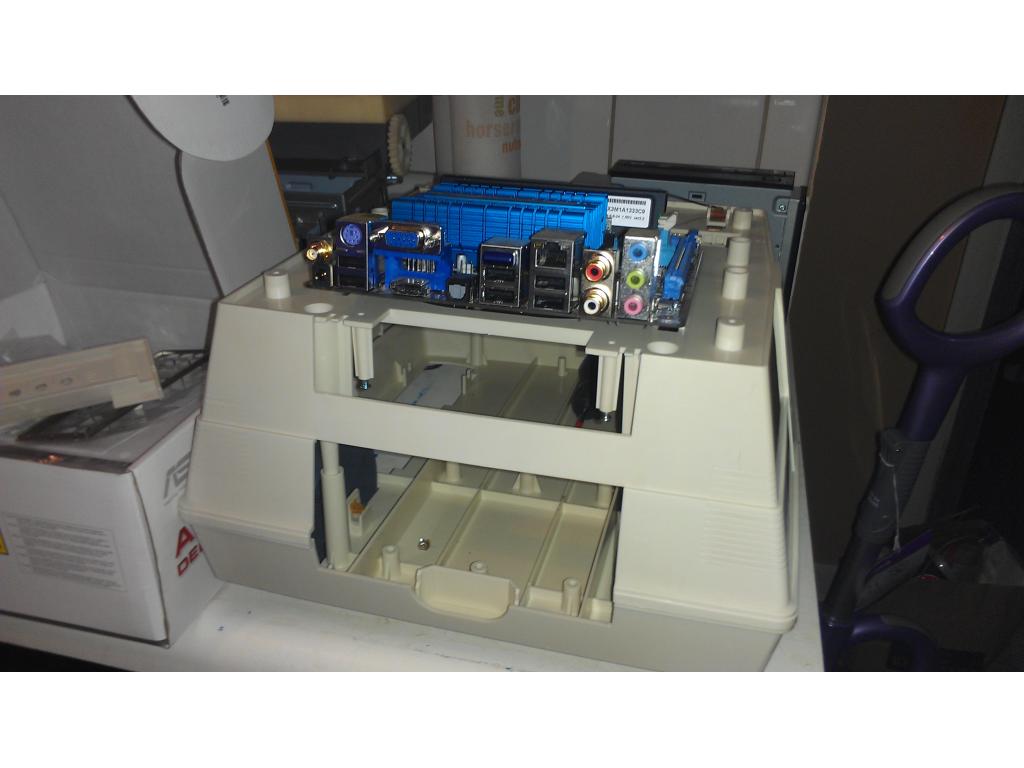
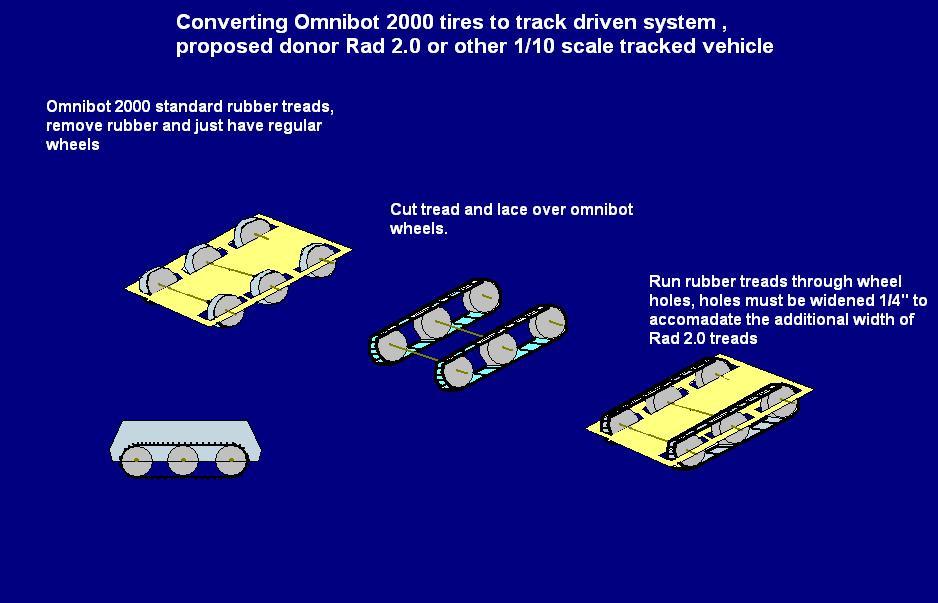
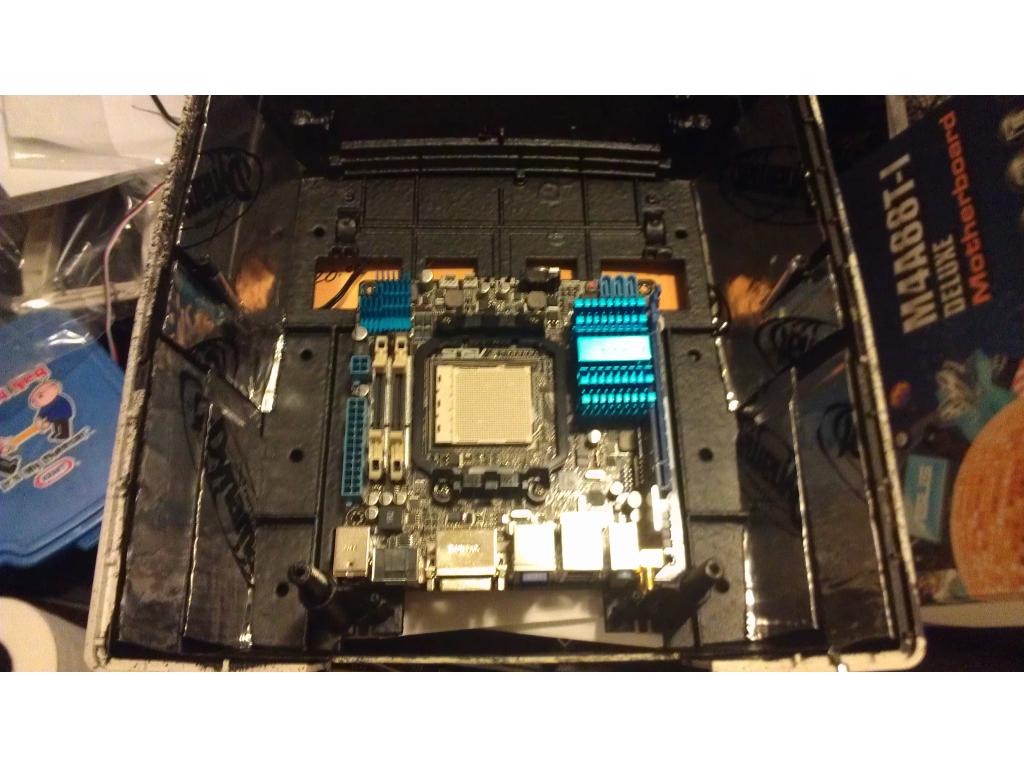
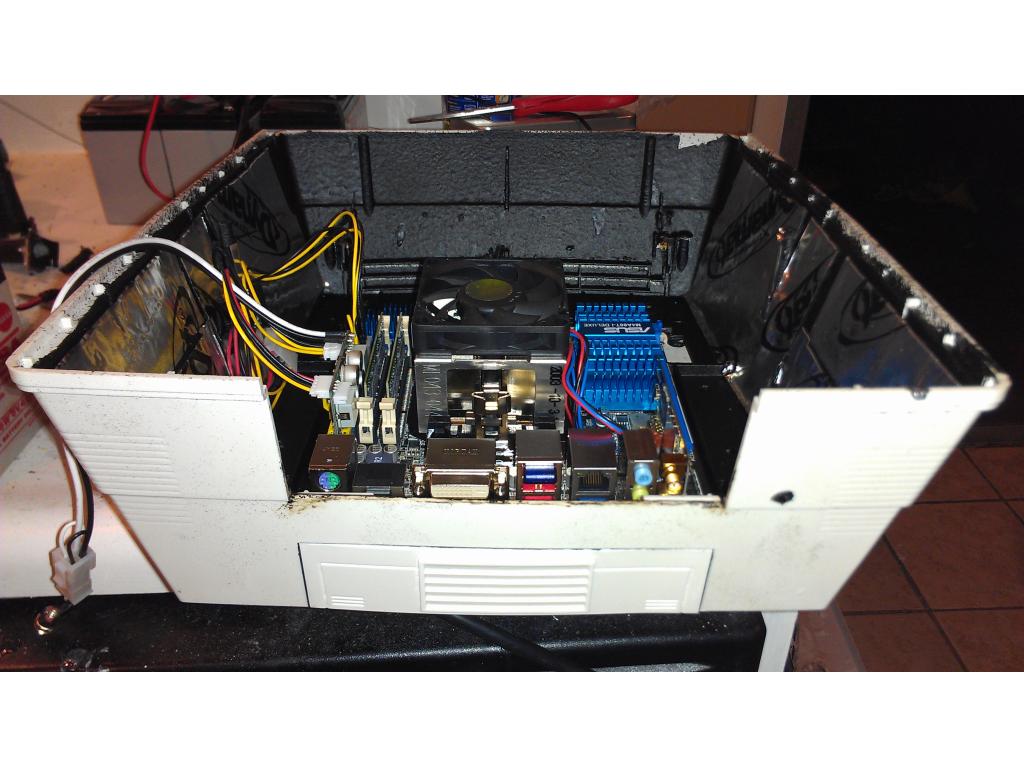
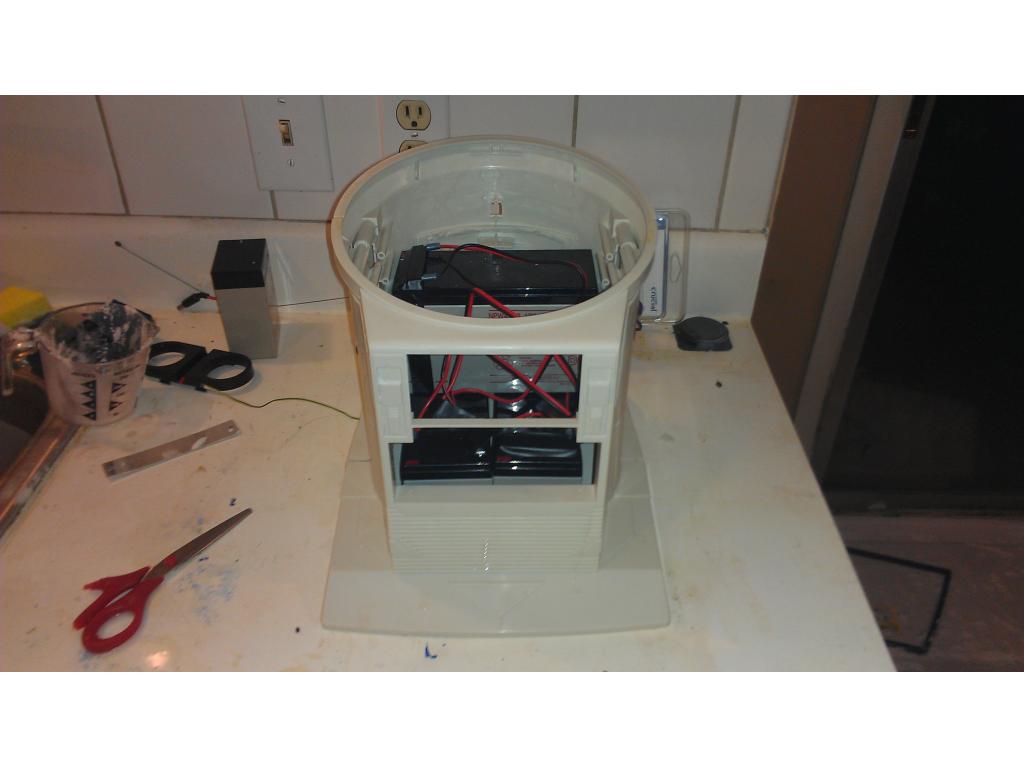
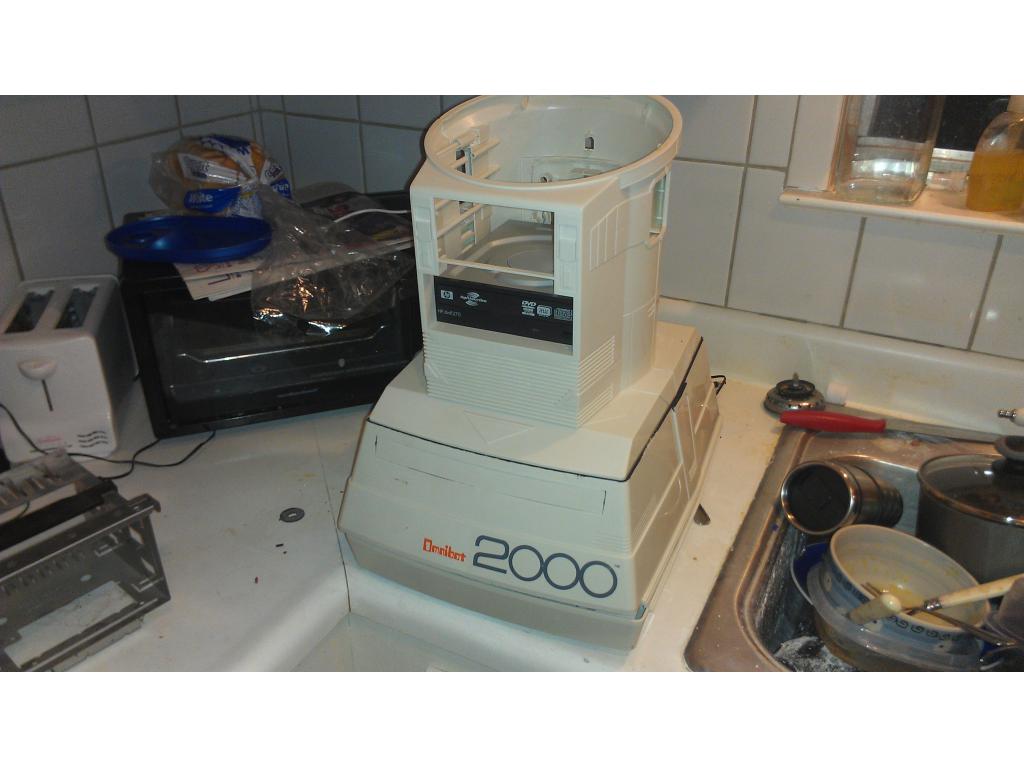
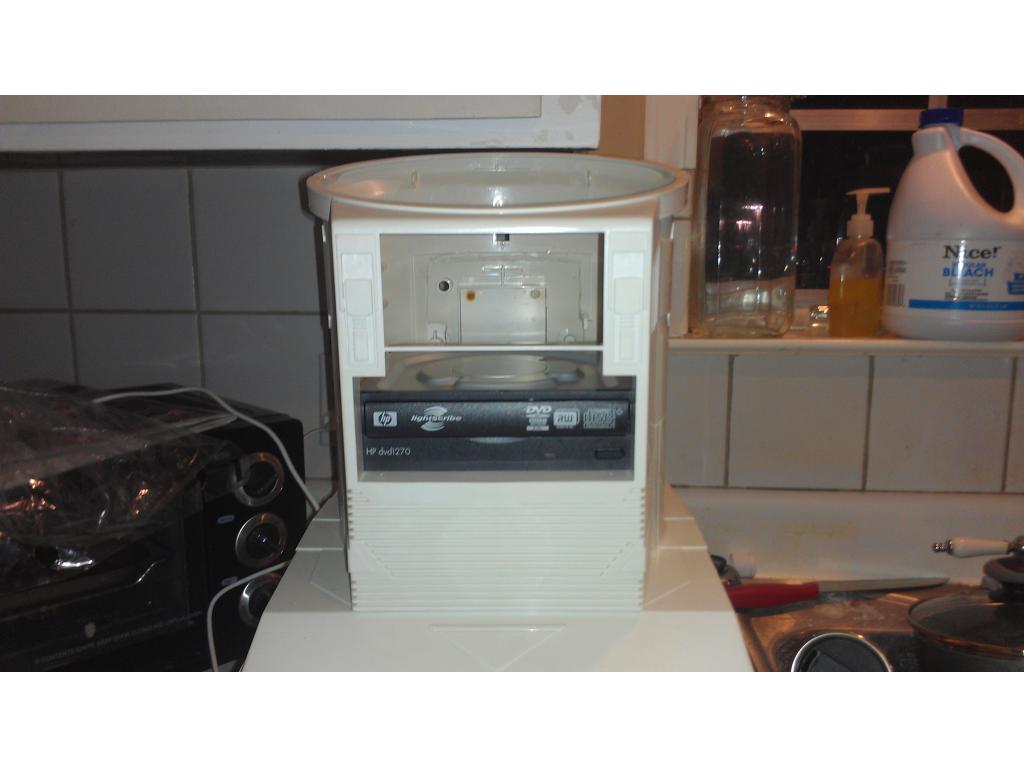
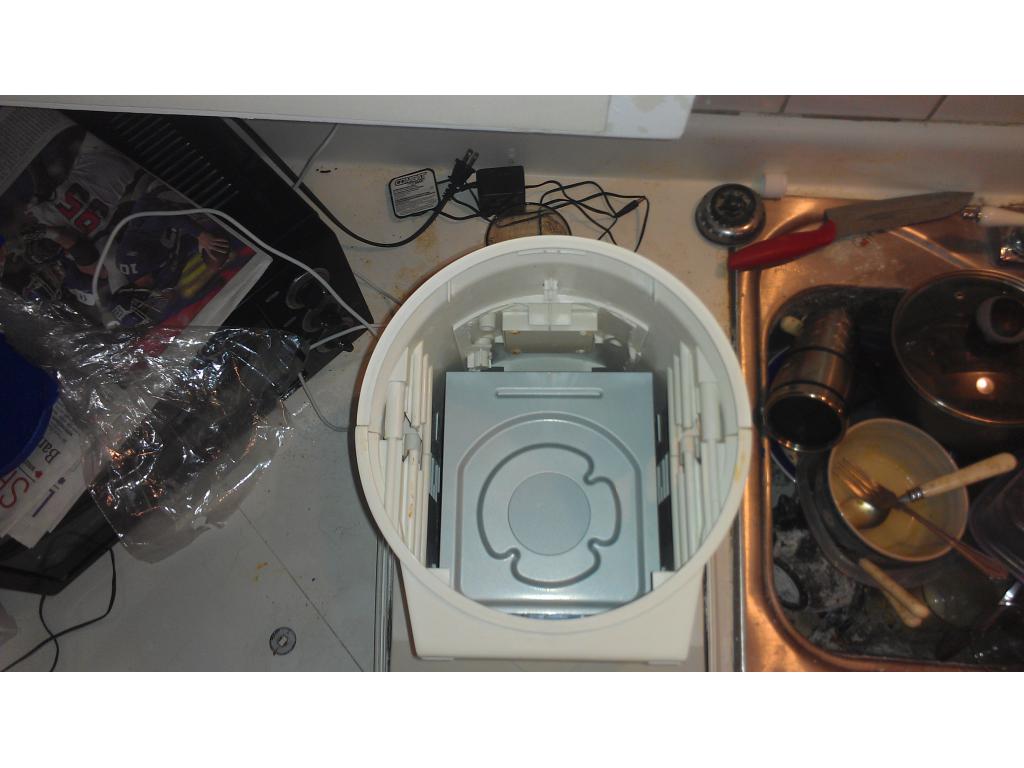
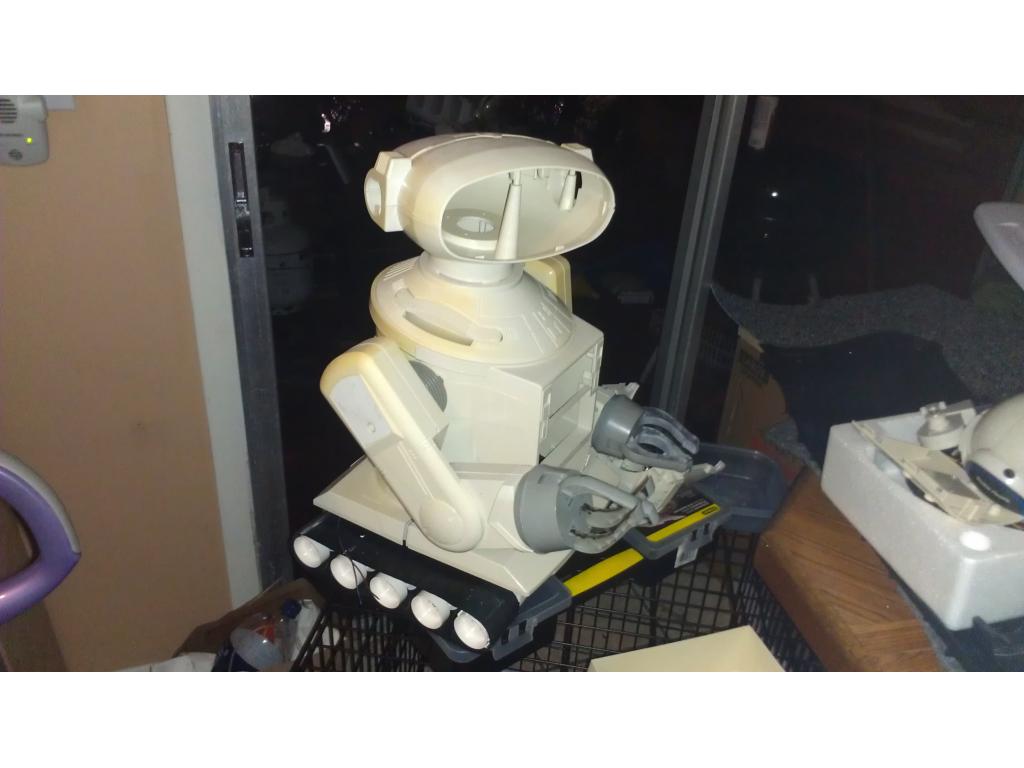
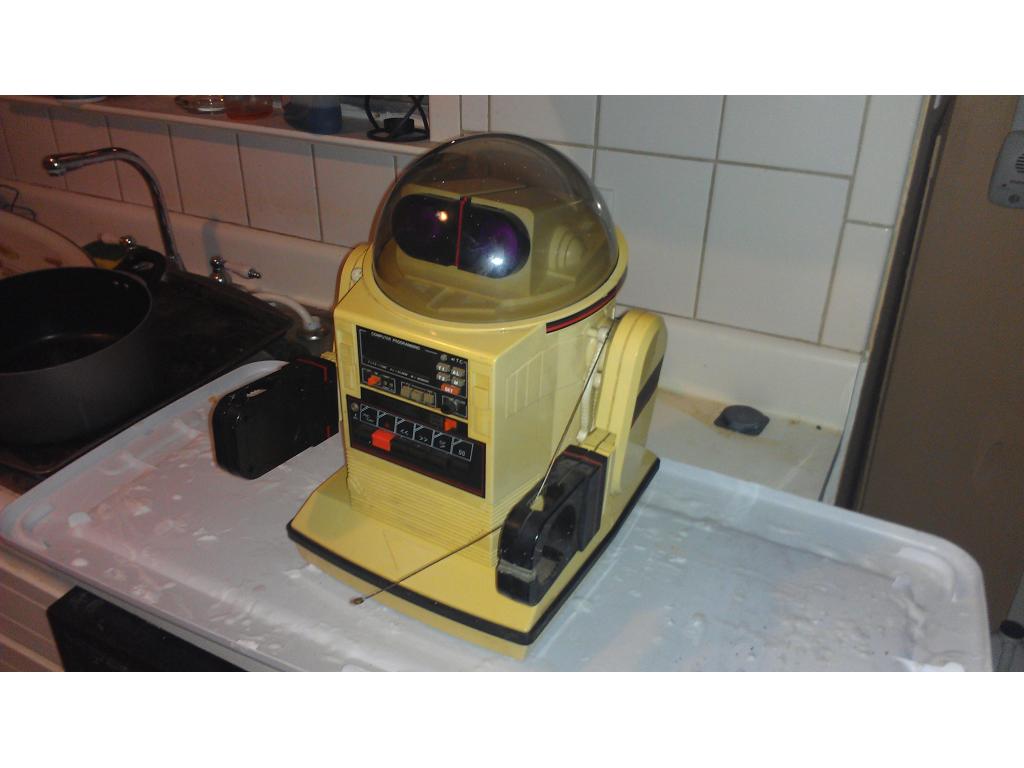
This project has evolved some , the basic rundown is I'm modding two Omnibots , one a regular the other a larger 2000 model. I will have two ezb kits , rad base idea was thrown out because of so much noise but could go back on the table if the omnibot drivetrain is too weak to pull it.


By jstarne1
— Last update
Discover more robots
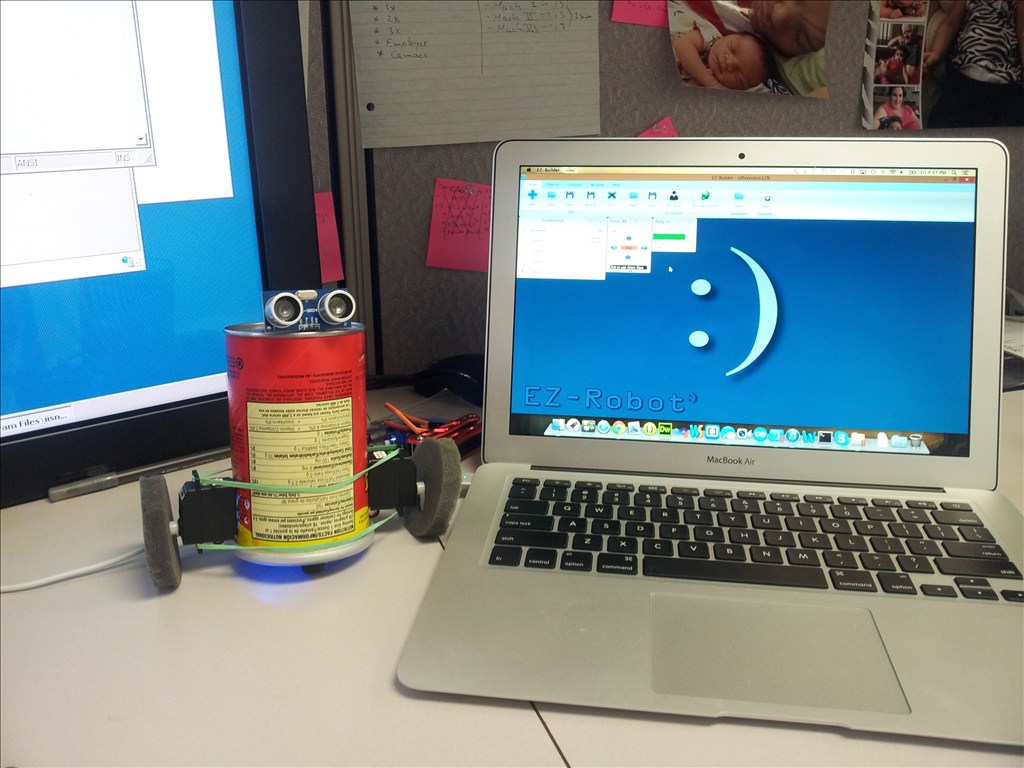
Pirumpi's Pringles Robot
EZ-B enables quick creation of a Pringle Robot during launch time, showcasing fast, easy robot building.
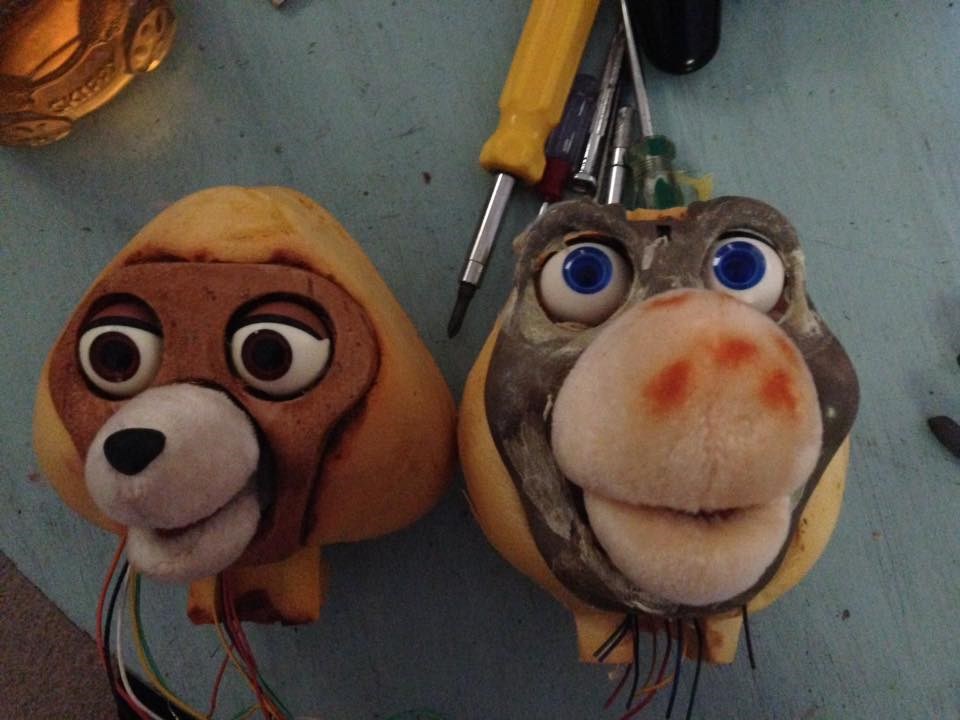
Sweetn8's Teddy Ruxpin And Grubby
Restore Teddy Ruxpin and Grubby with EZ-B v4: lip-sync speech, eye/mouth/head motion, mobile wheelchair/roller-skates,...
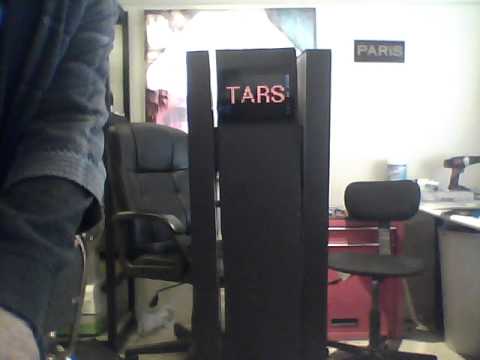
Rb550f's Tars Robot Concept
TARS-inspired 5ft foam-board robot simulates walking with a single servo, dual DC drive motors, lazy-susan leg pivots...

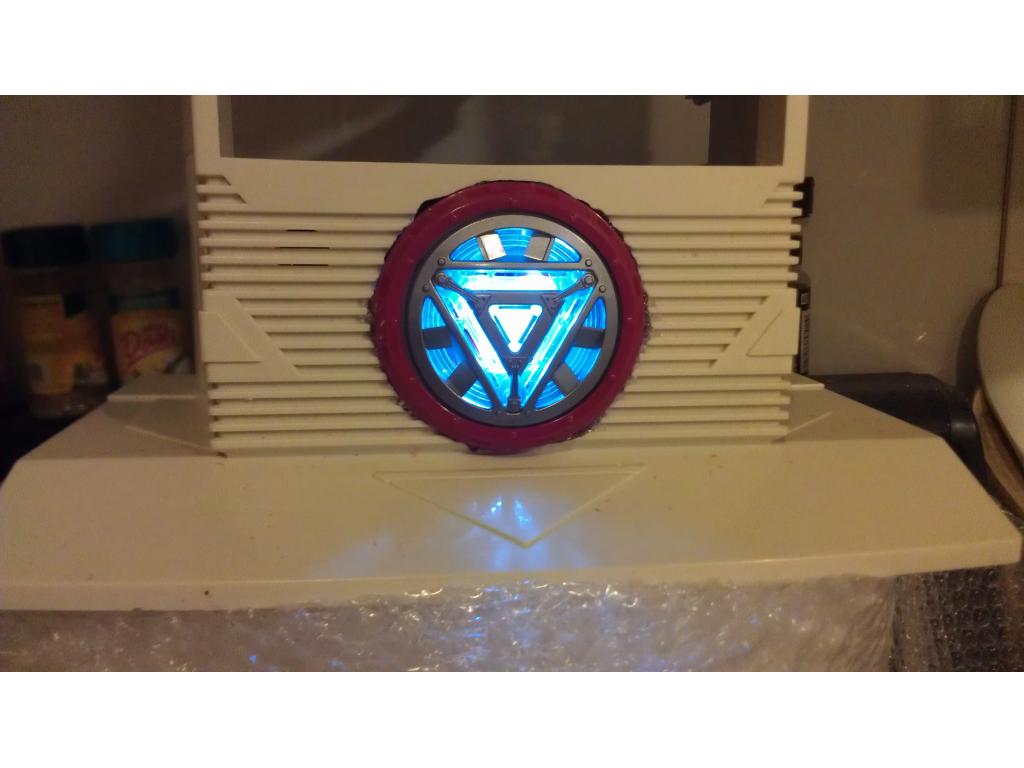
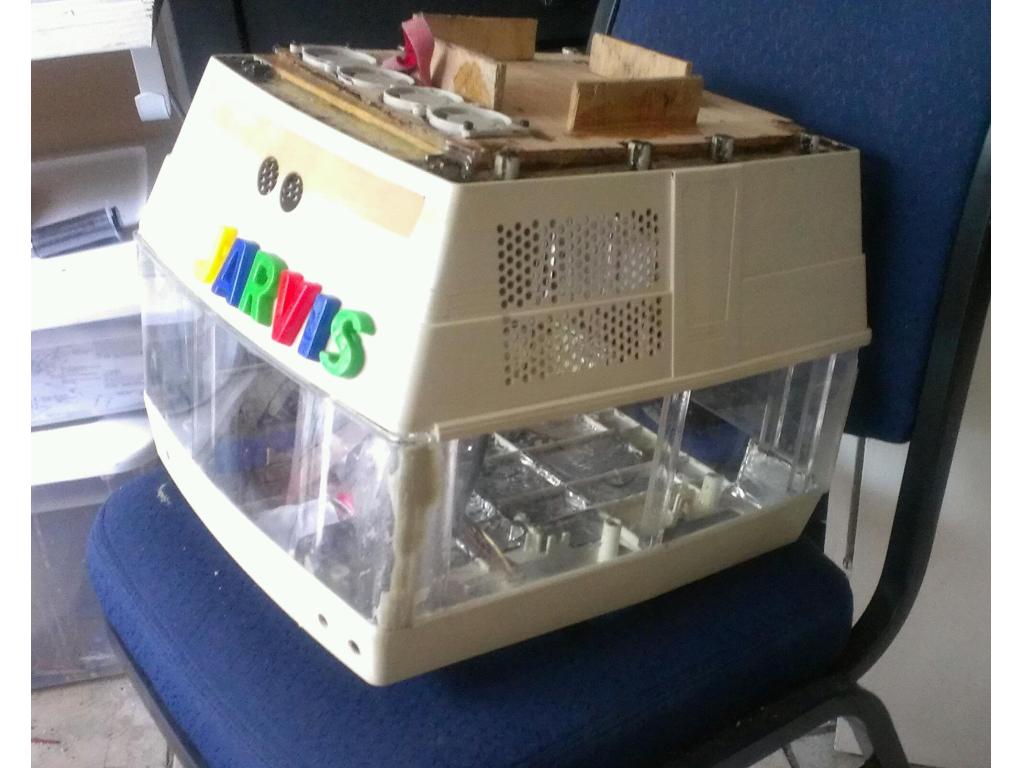
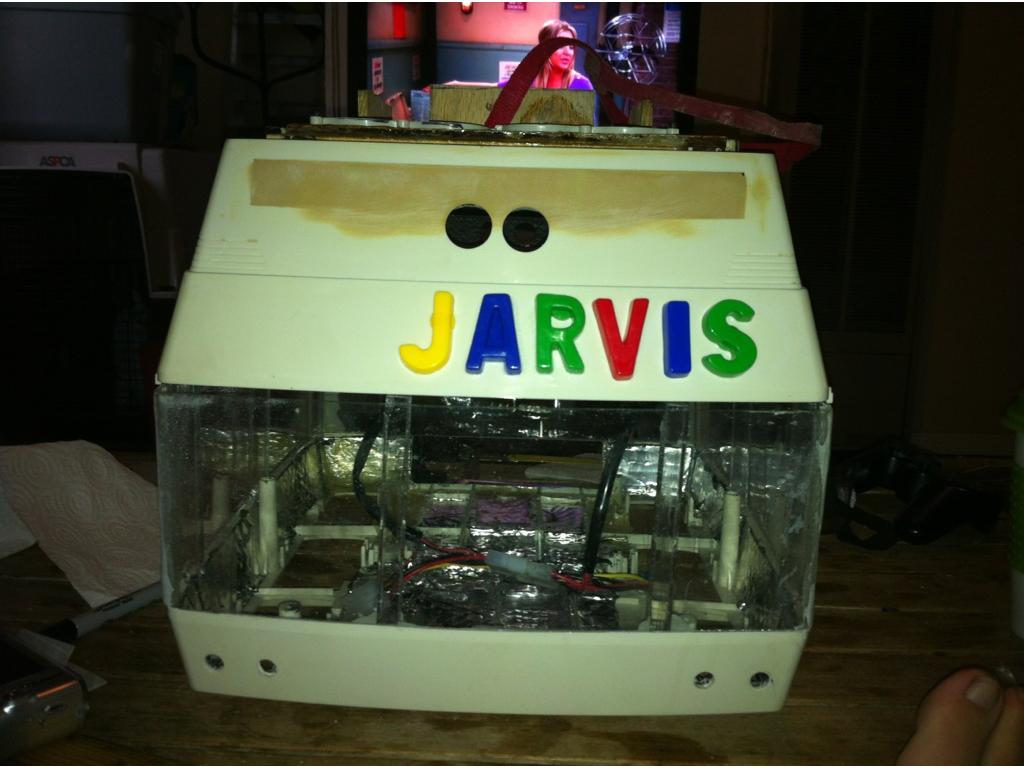
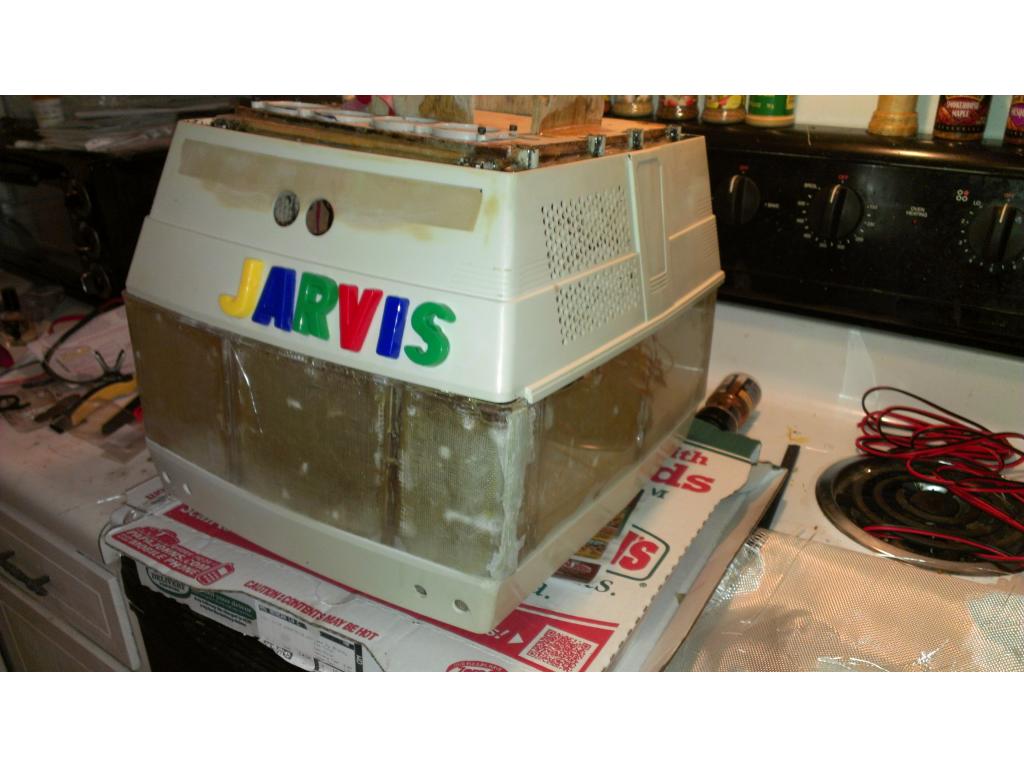
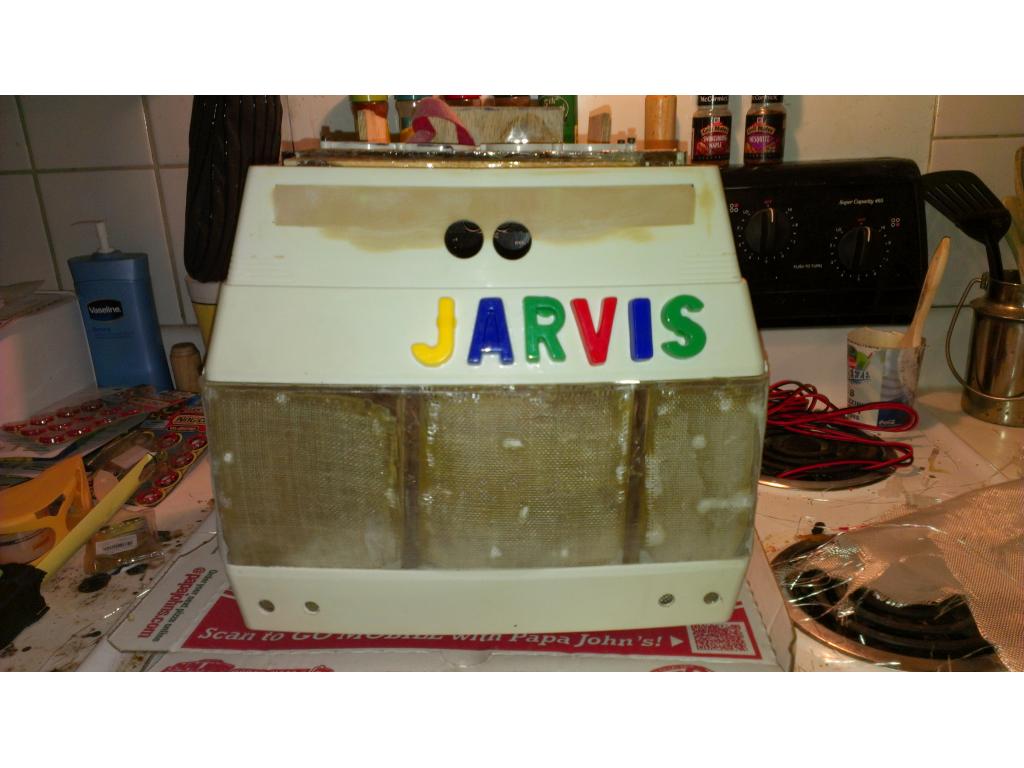
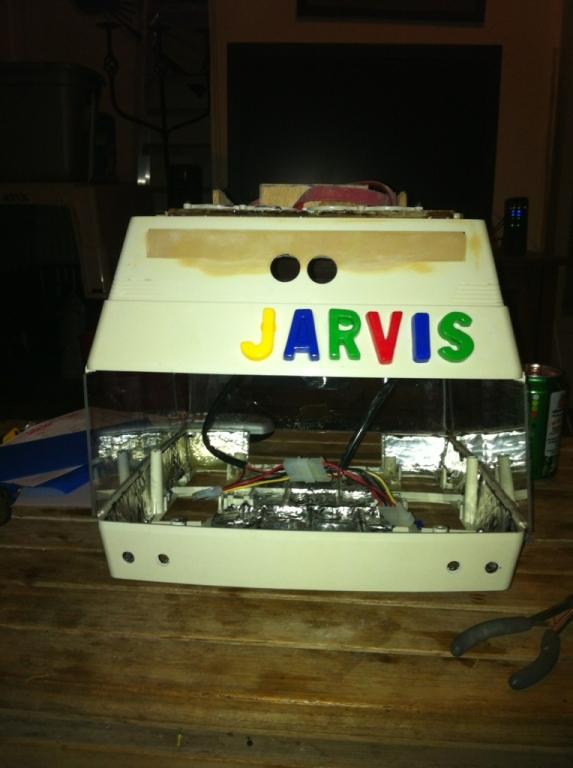
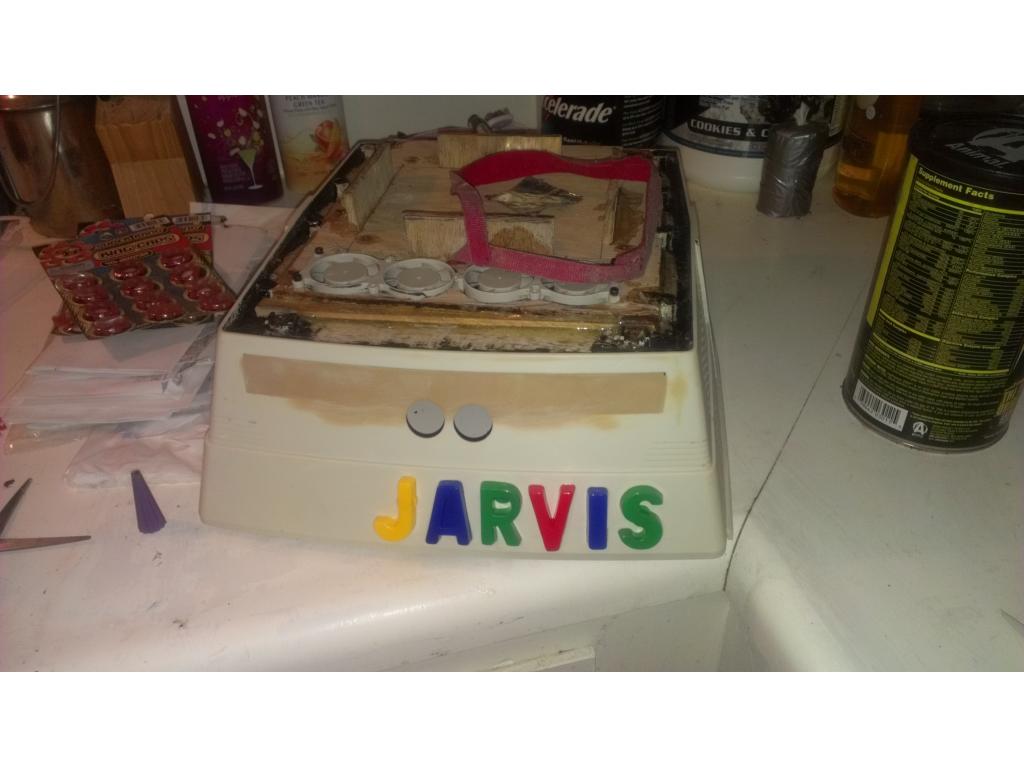
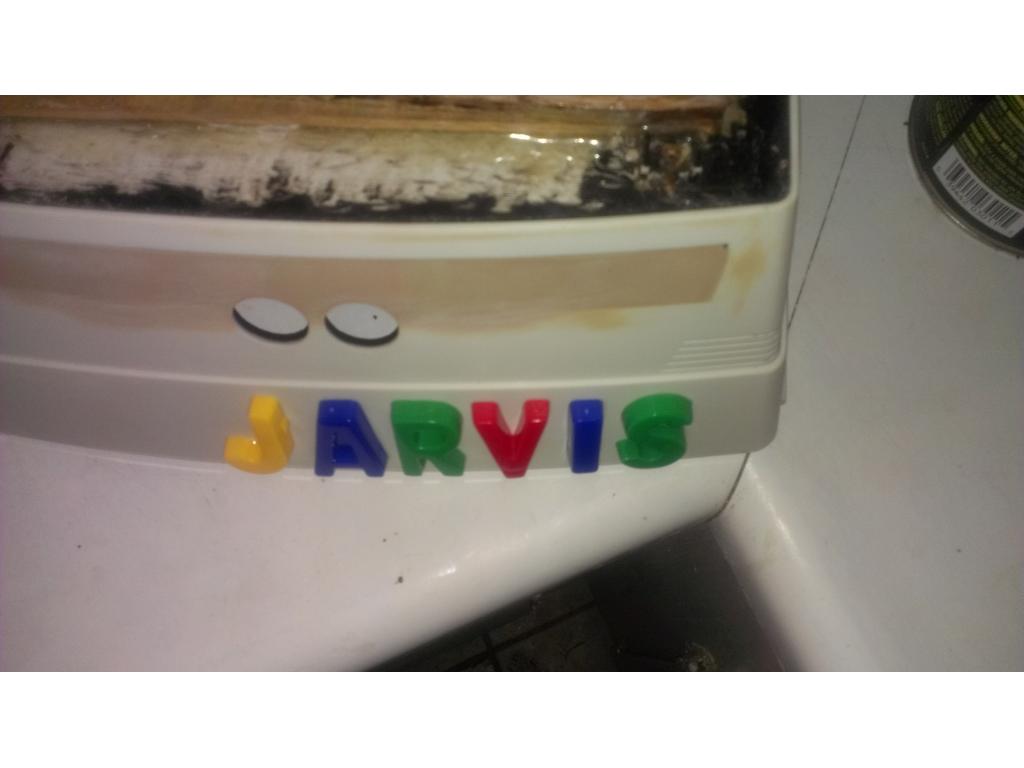
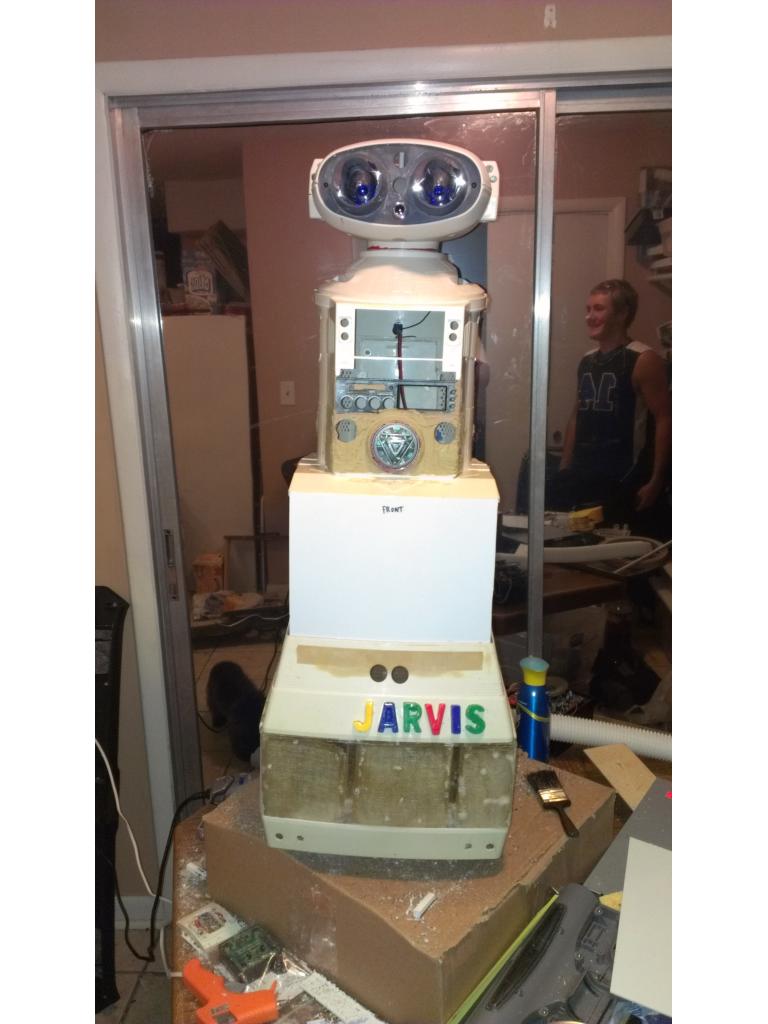
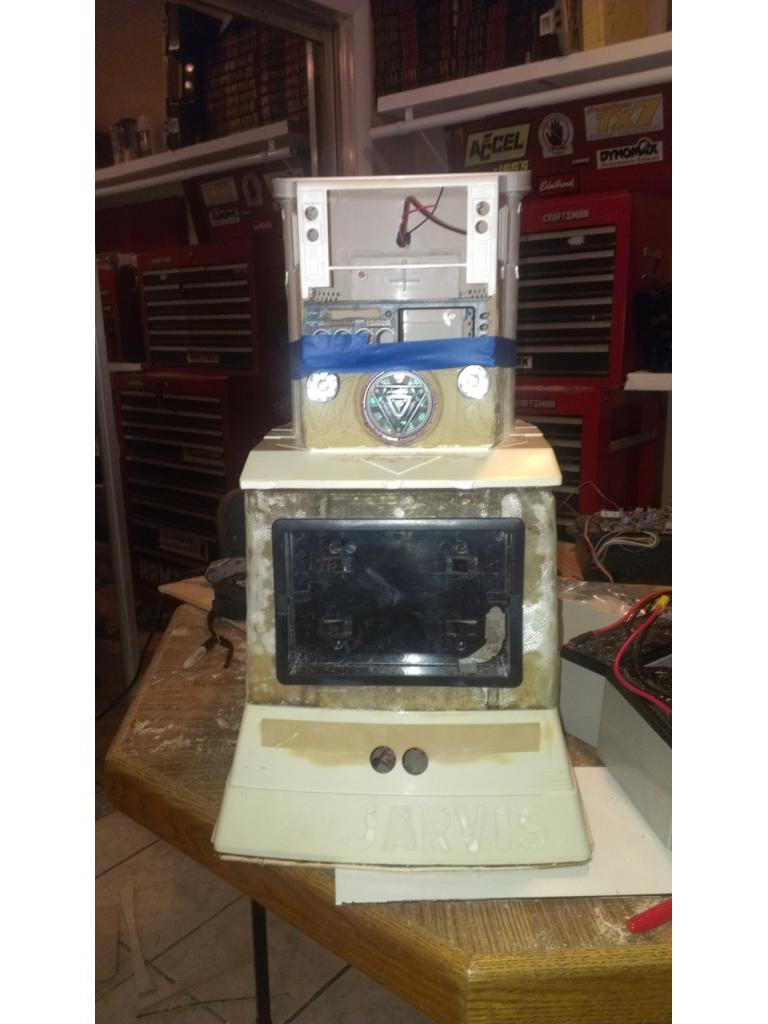
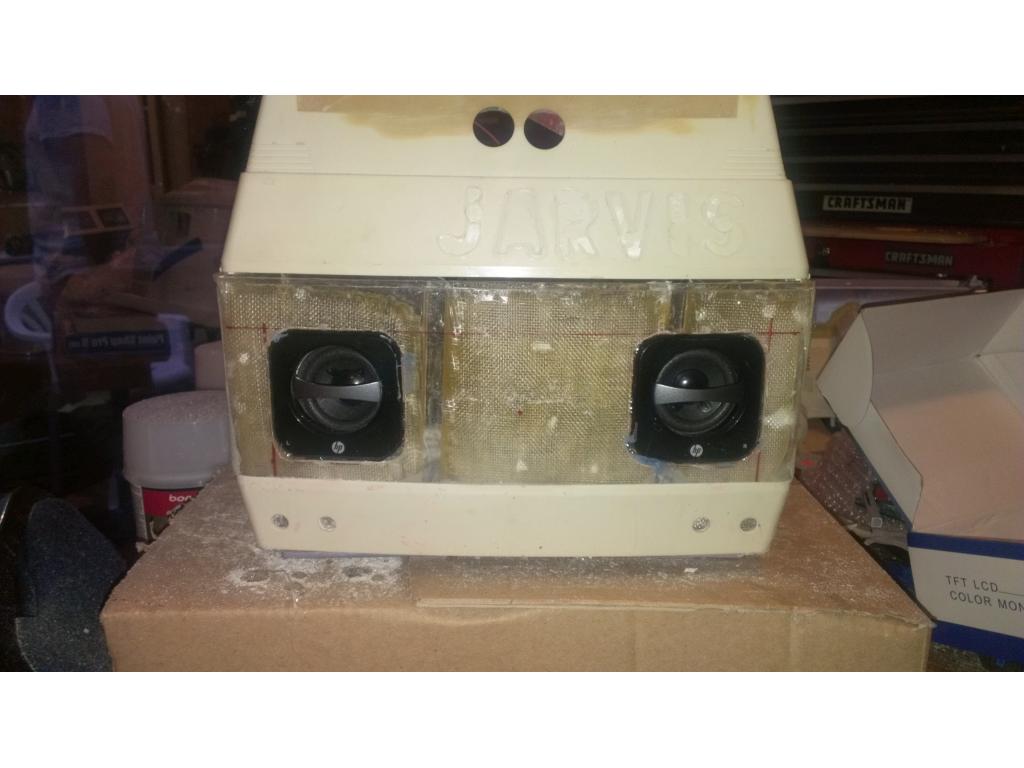
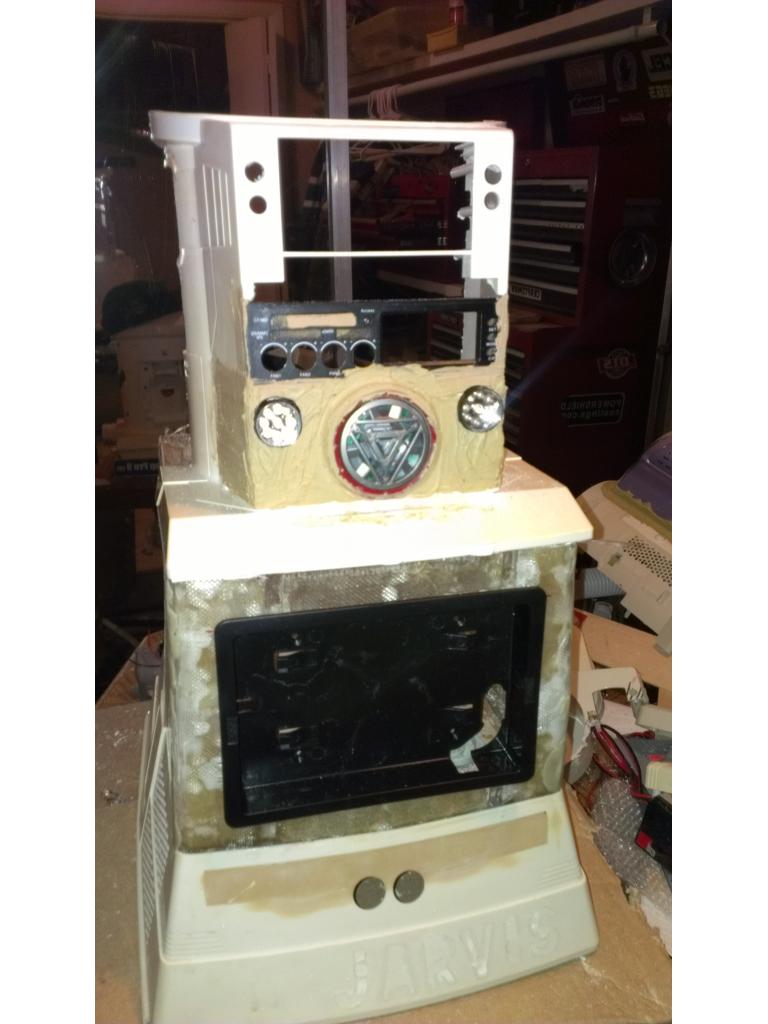
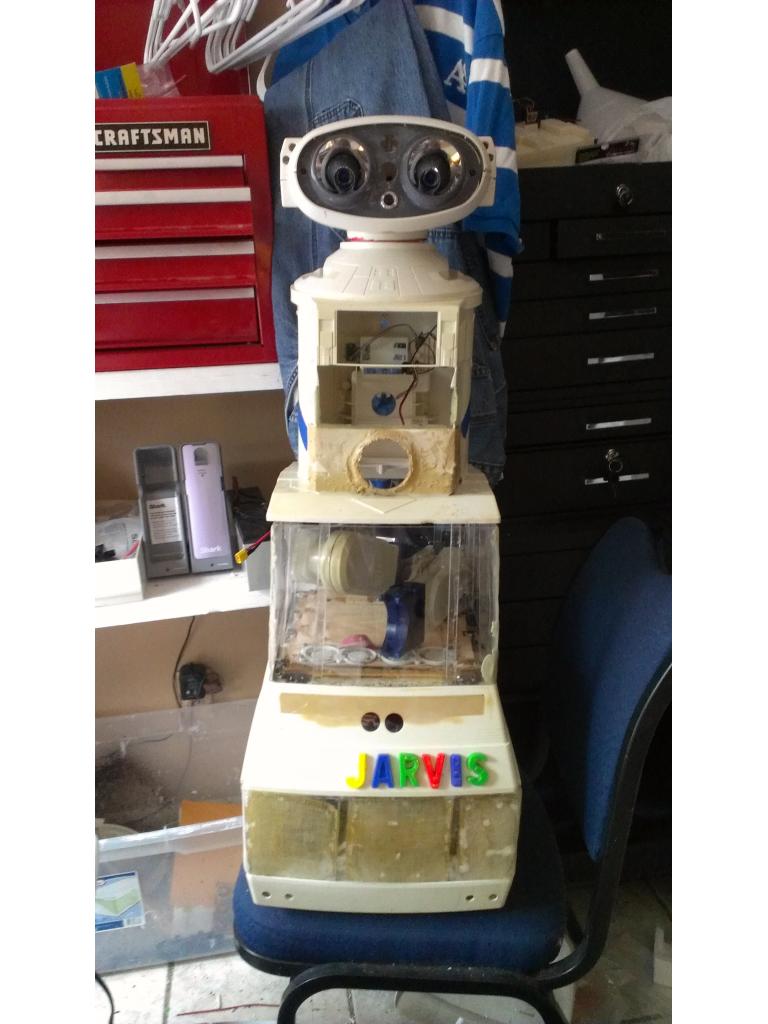
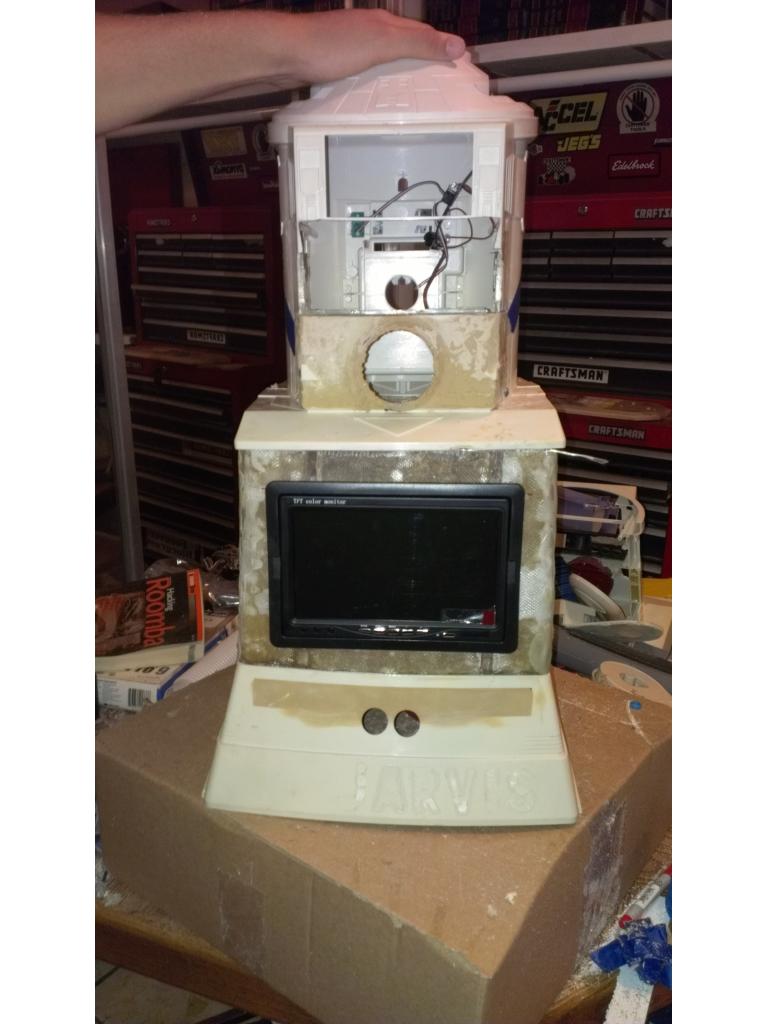
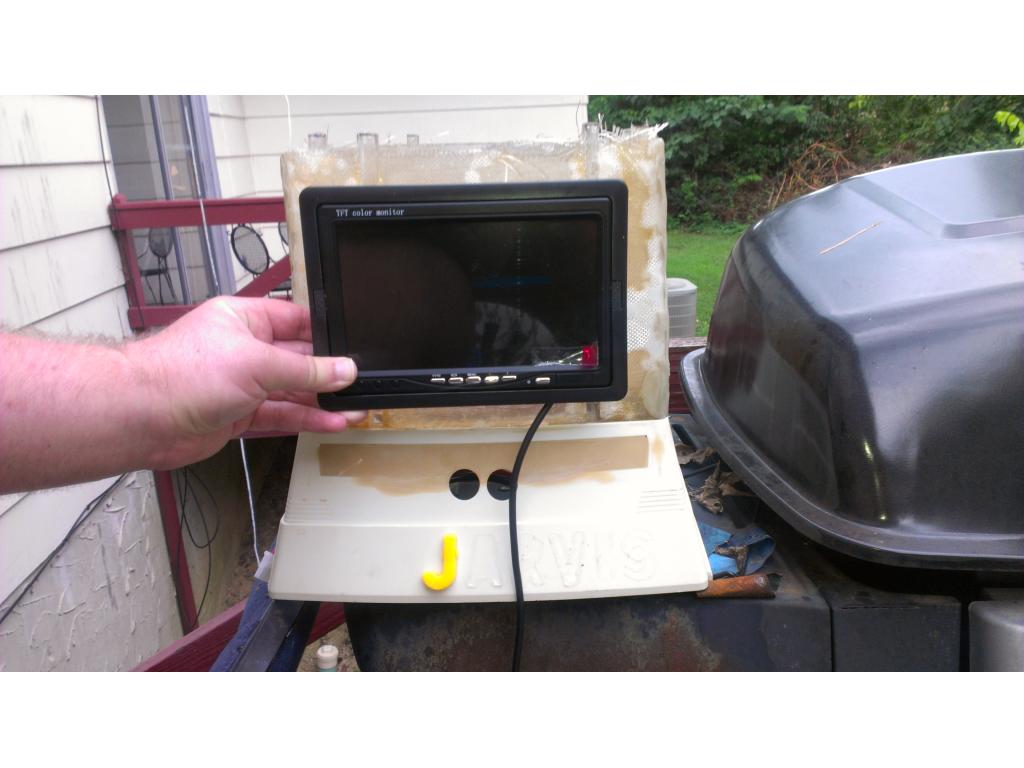
jarvis voice, I have not descided but it would be awesome to get a similar voice to the movie, I know its not just a download because the movie was a guy talking not a real robot lol. It would be very cool though.
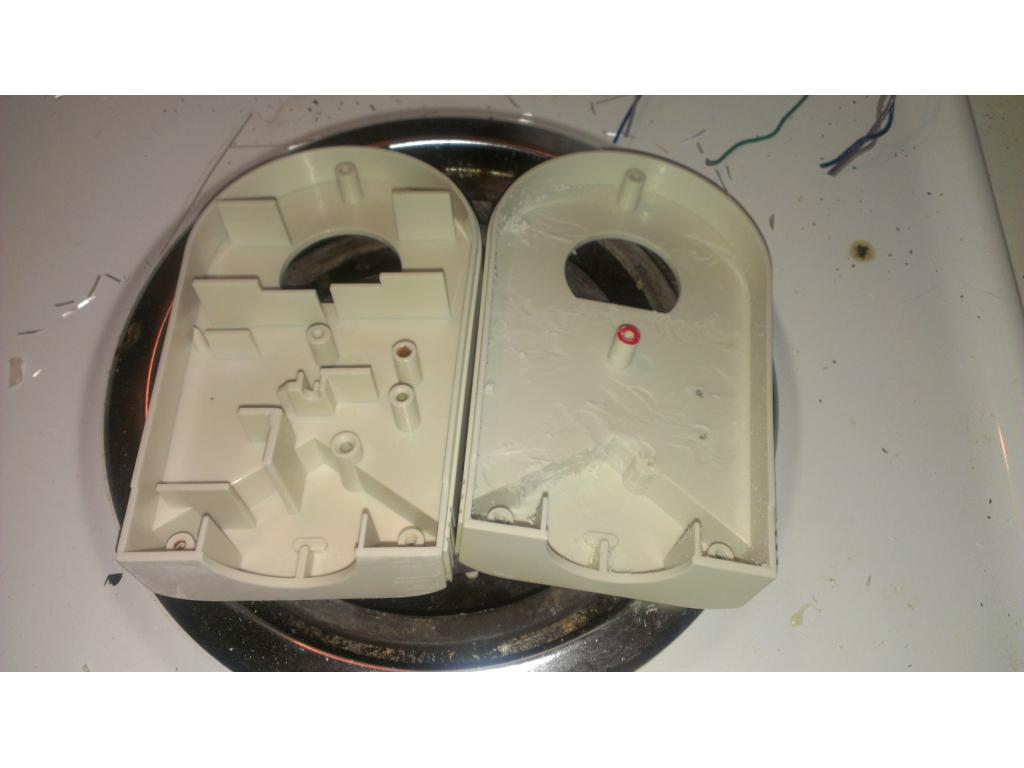
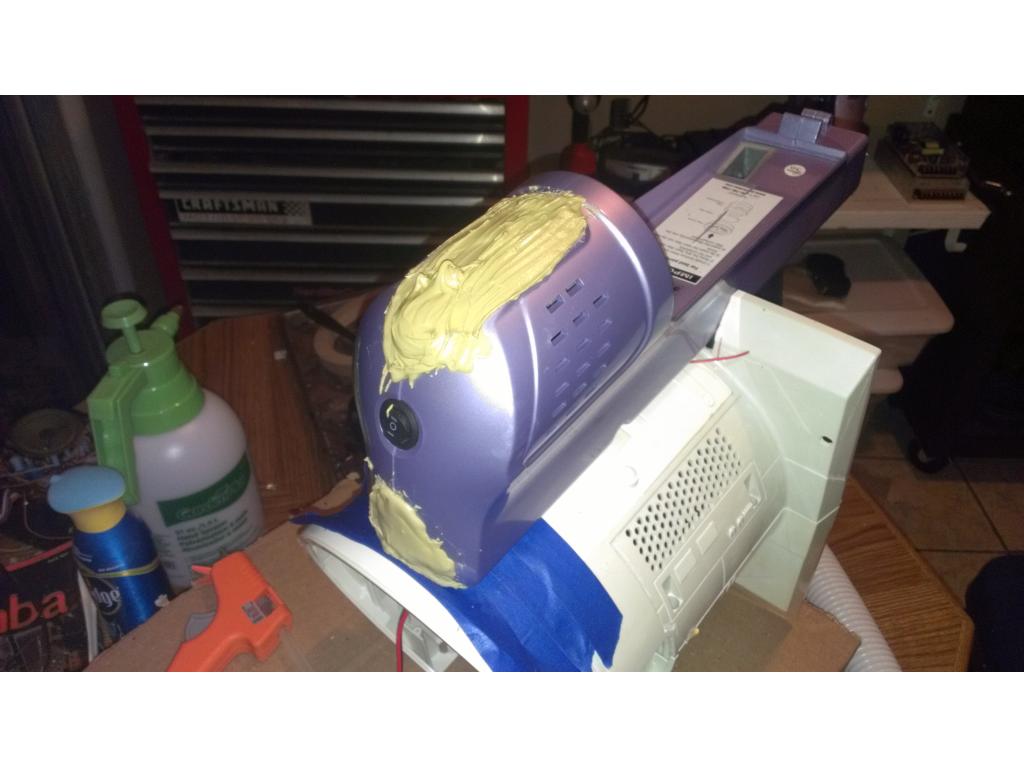
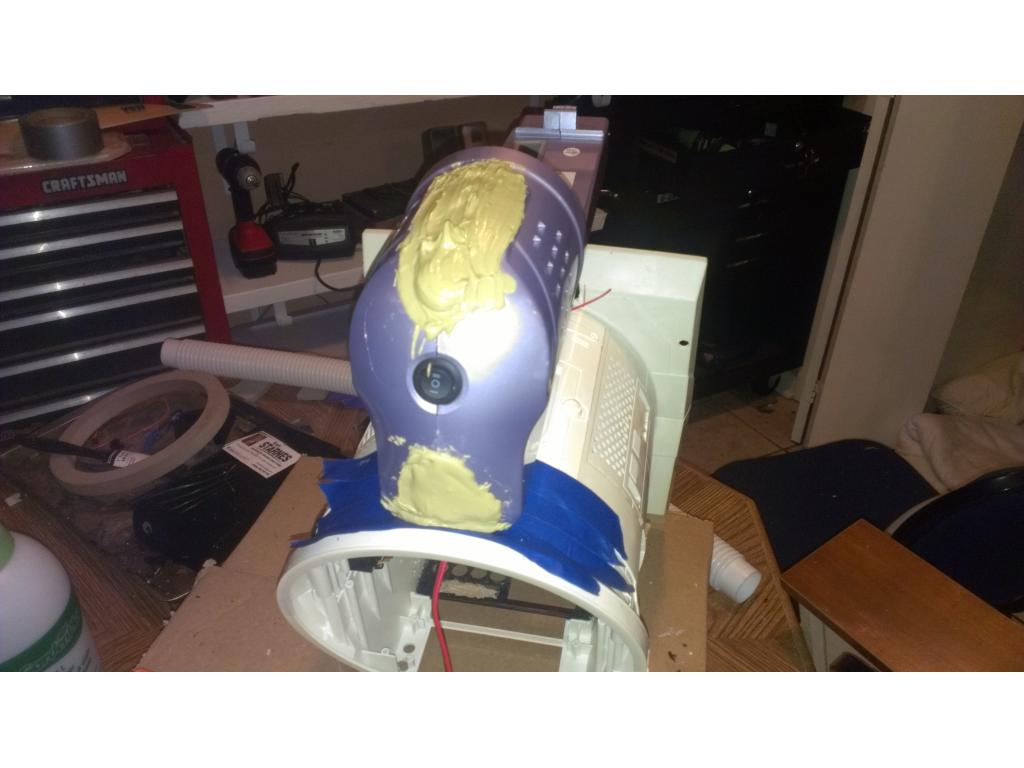
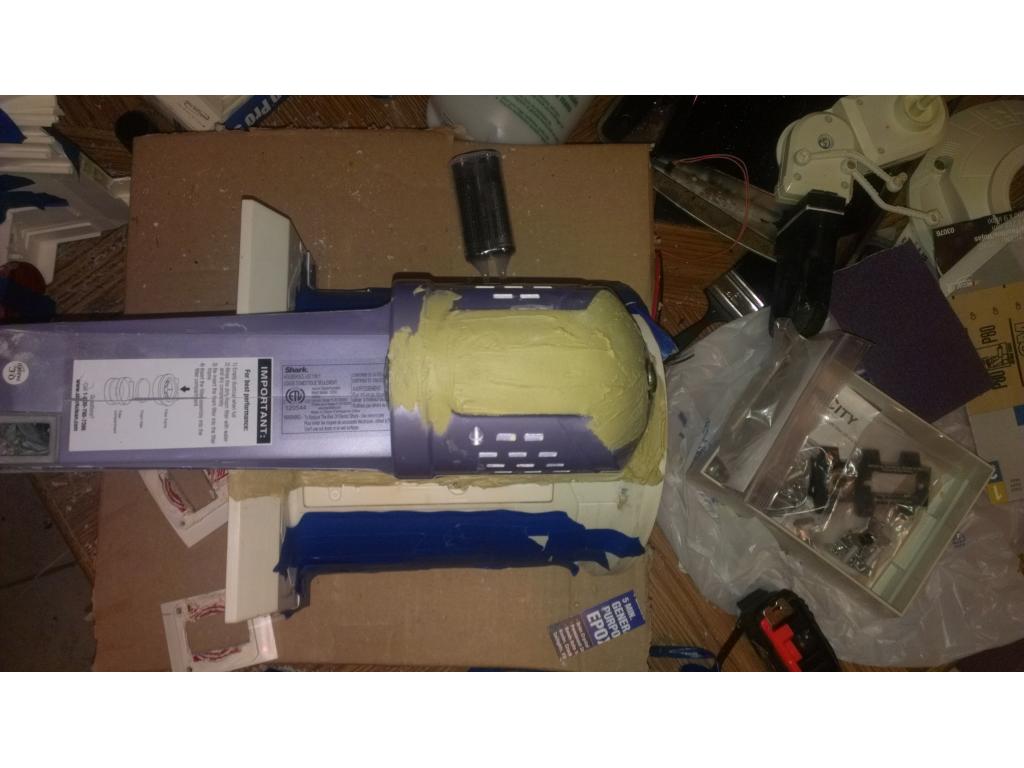
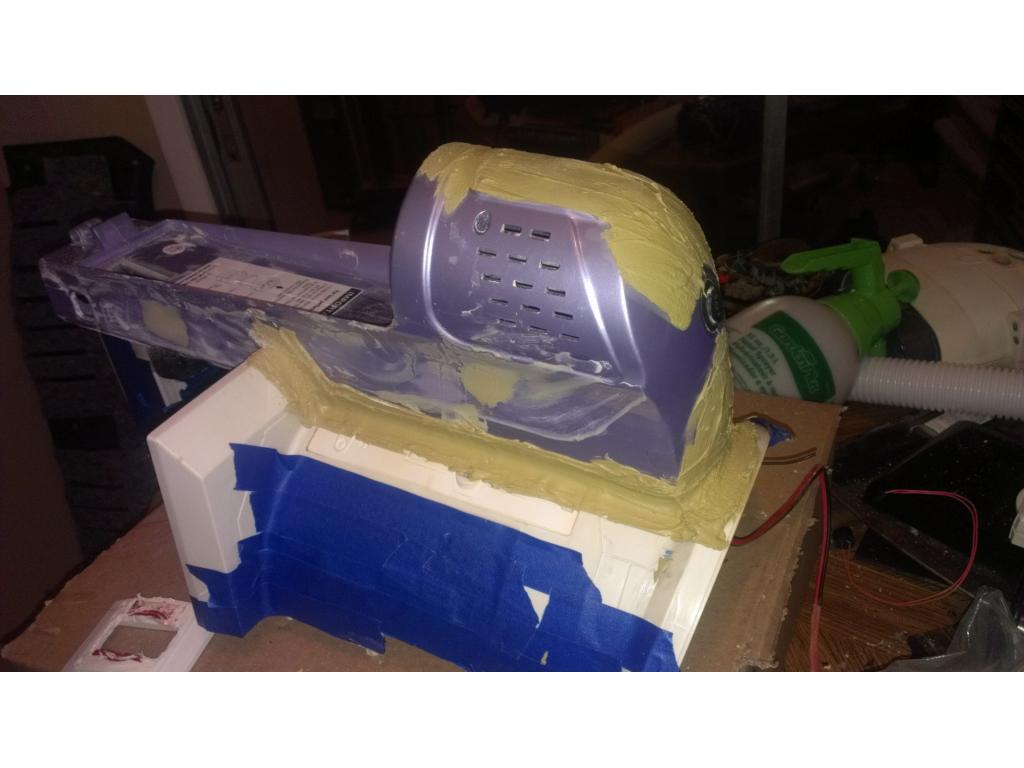
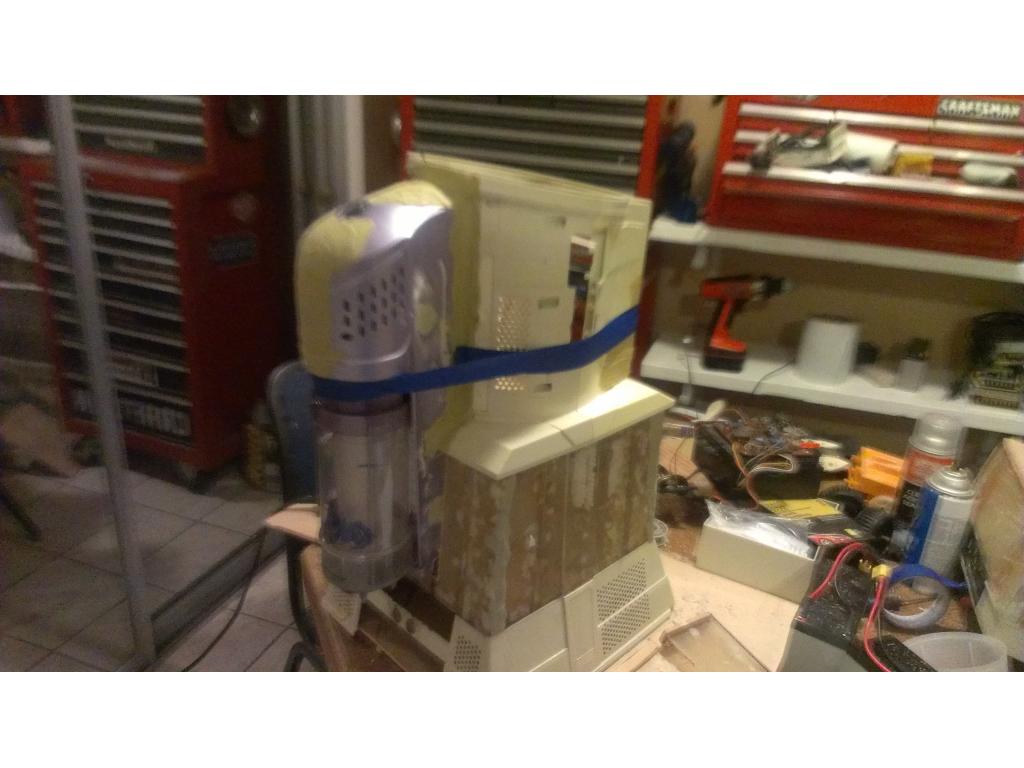
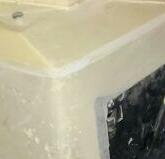
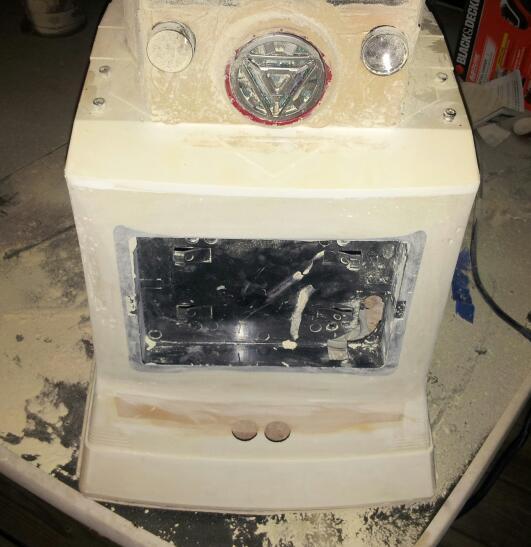
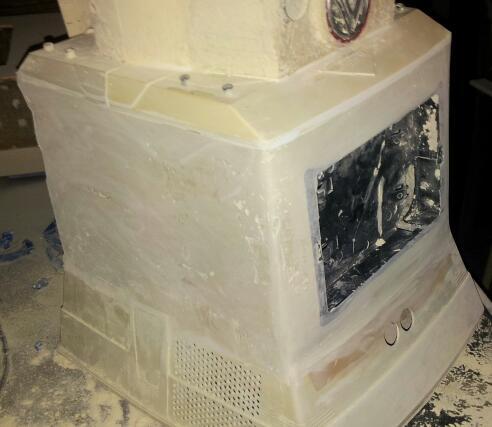
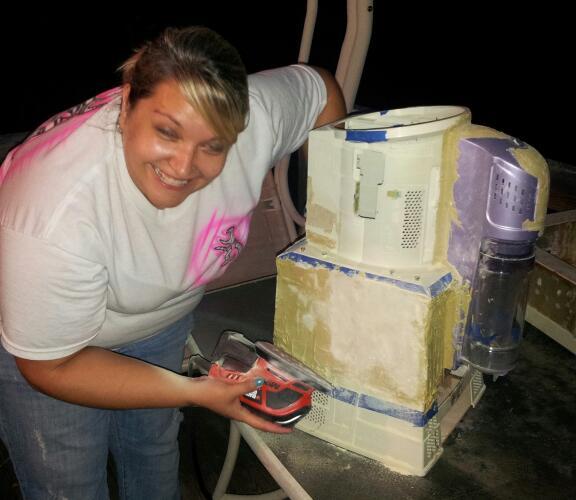
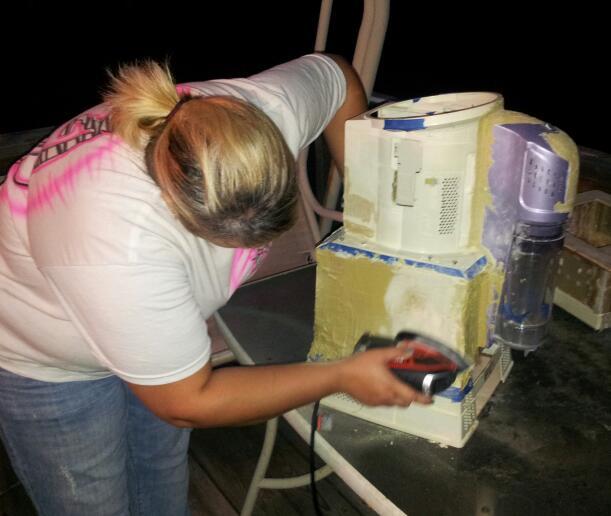
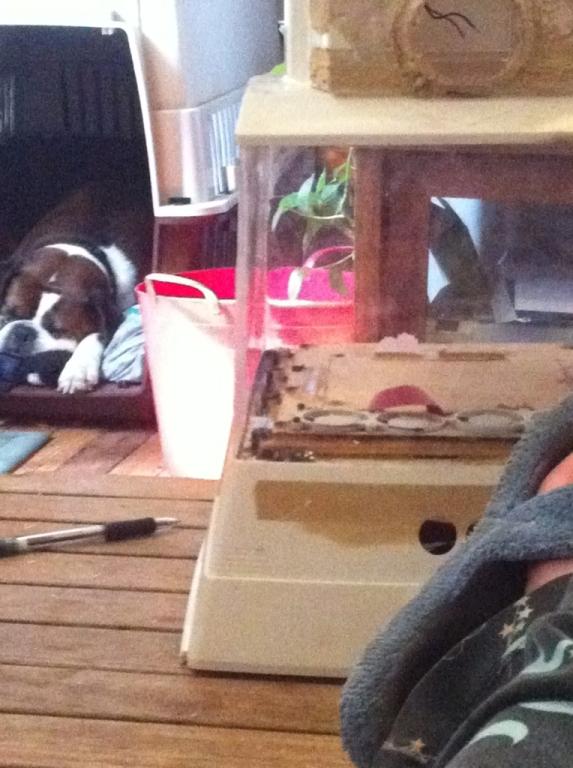
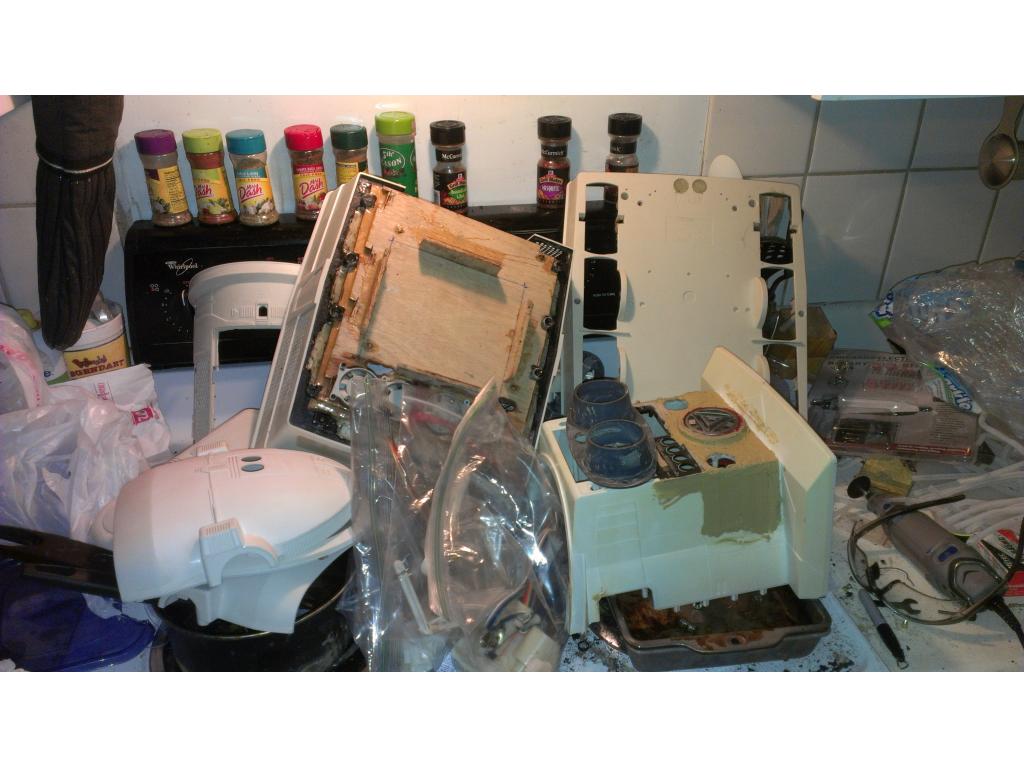
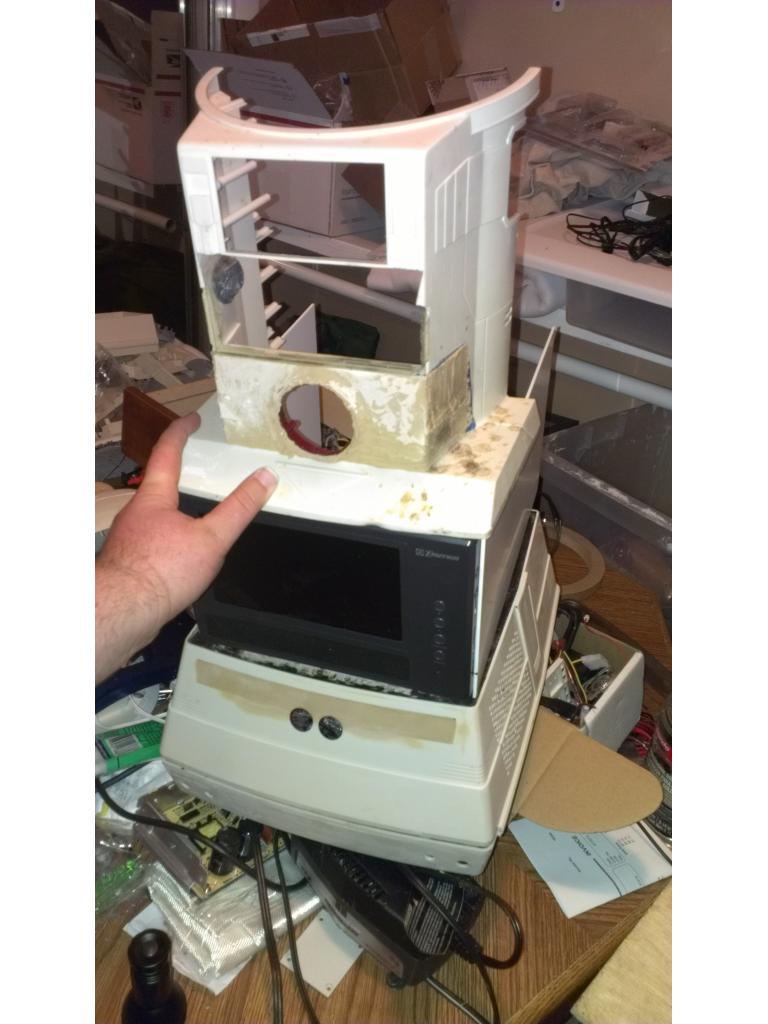
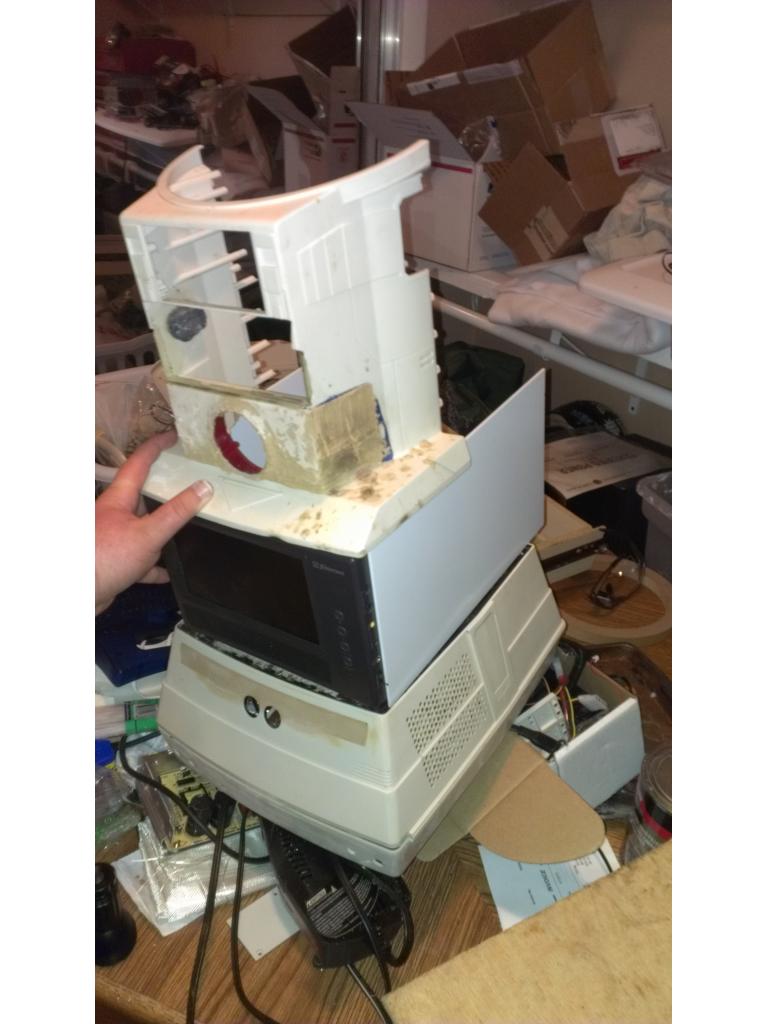
So Im trying to go to bed a little earlier and get up earlier too, I just hate getting up lol. Next obvious steps are :
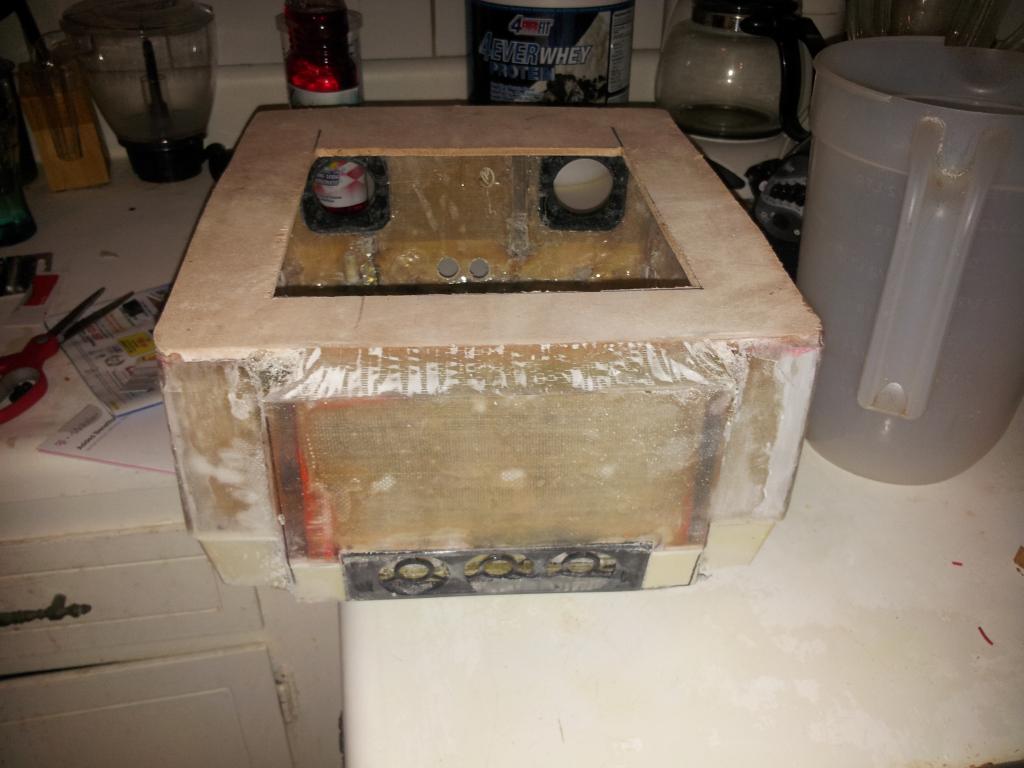
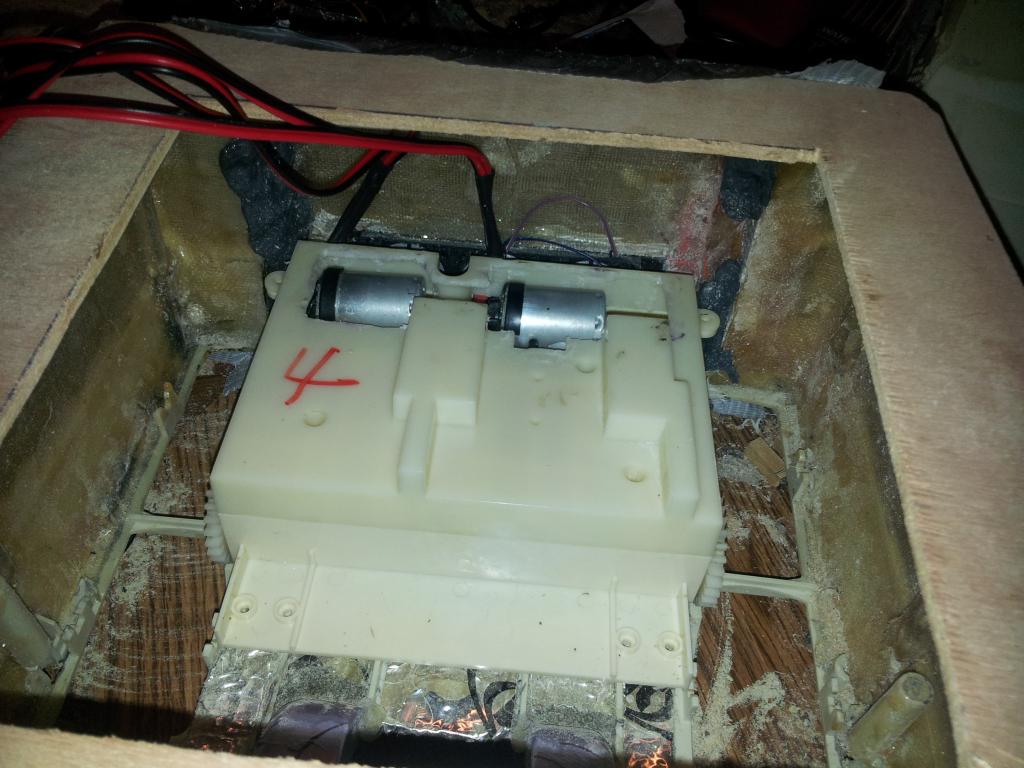
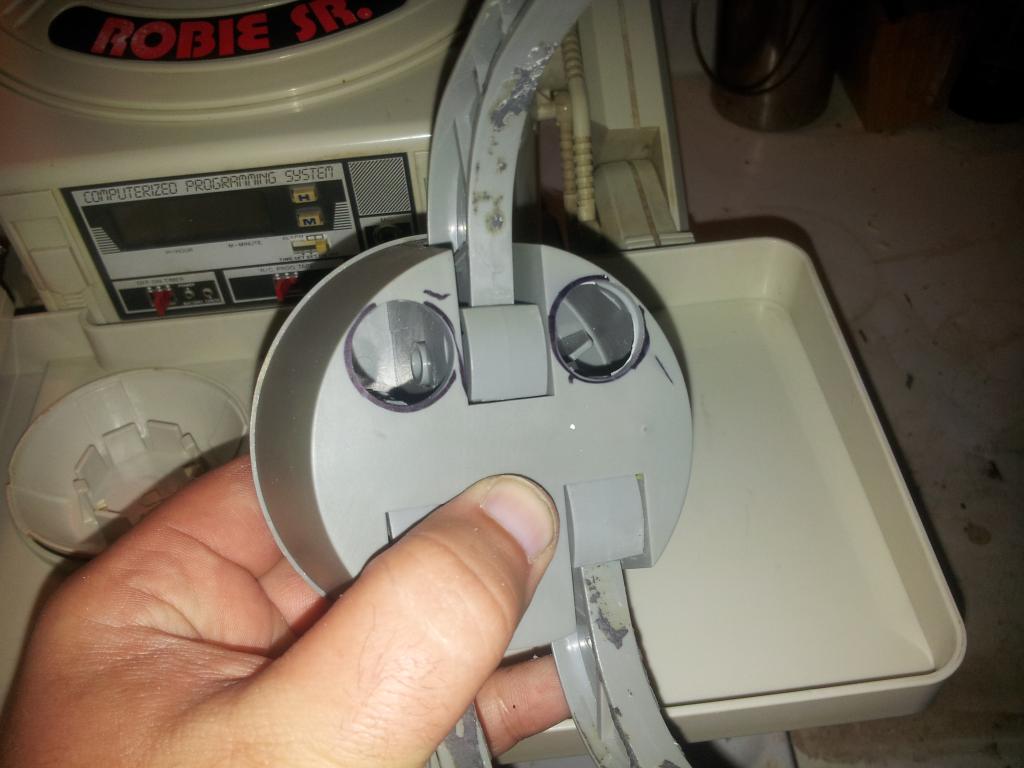
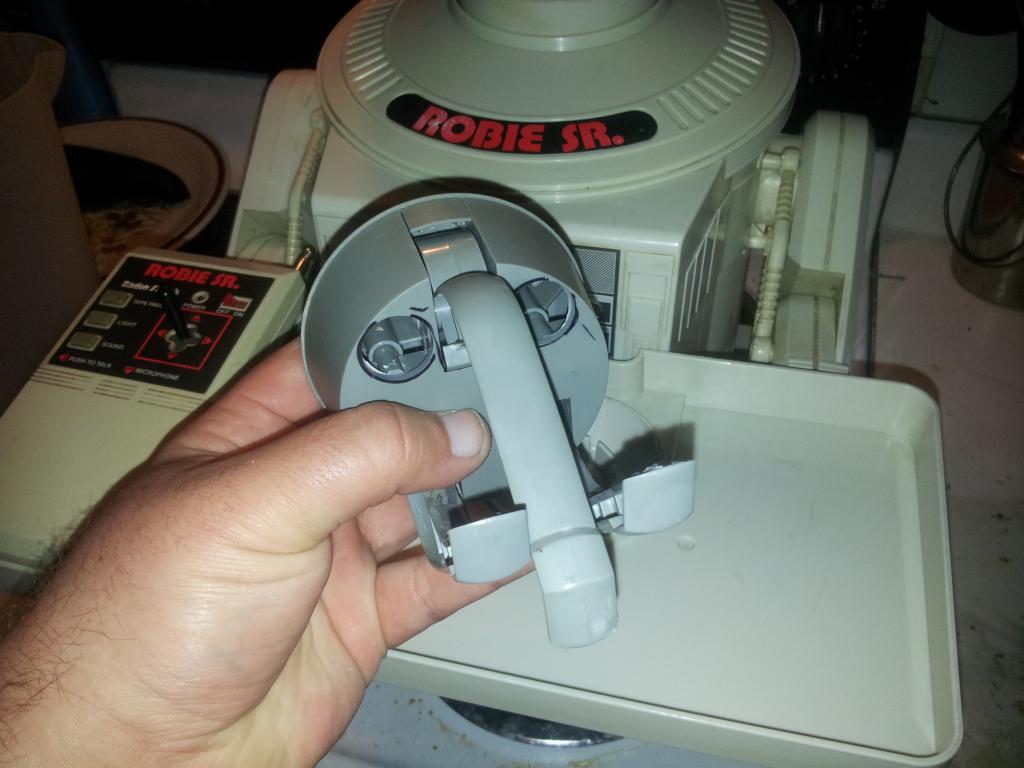
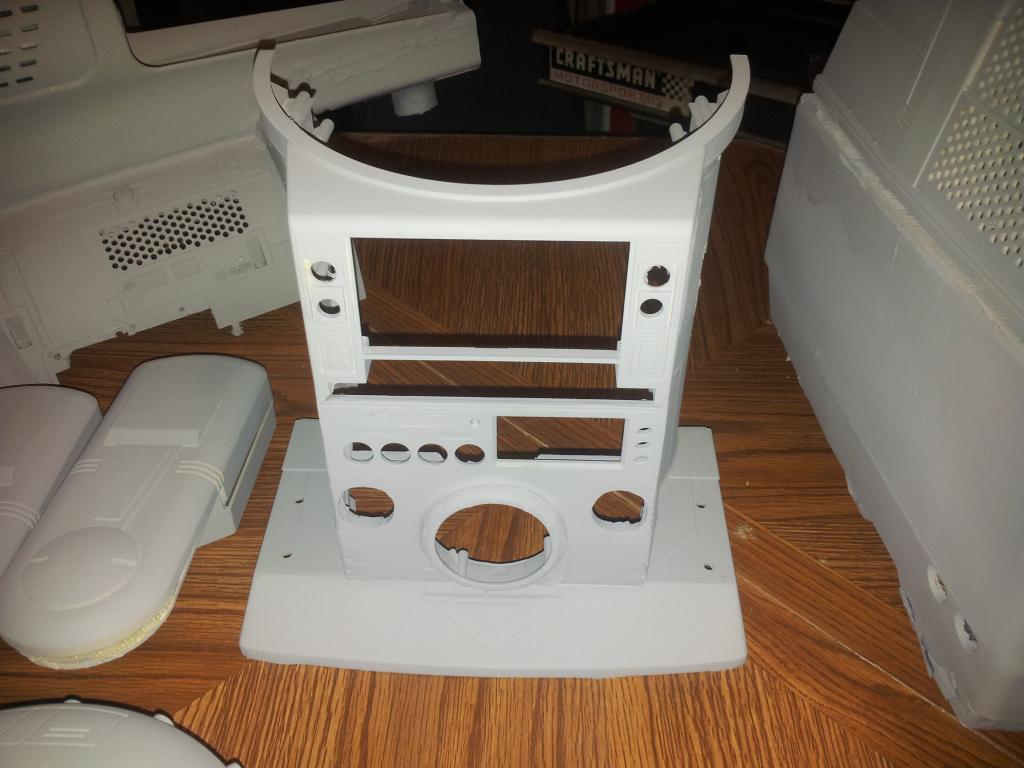
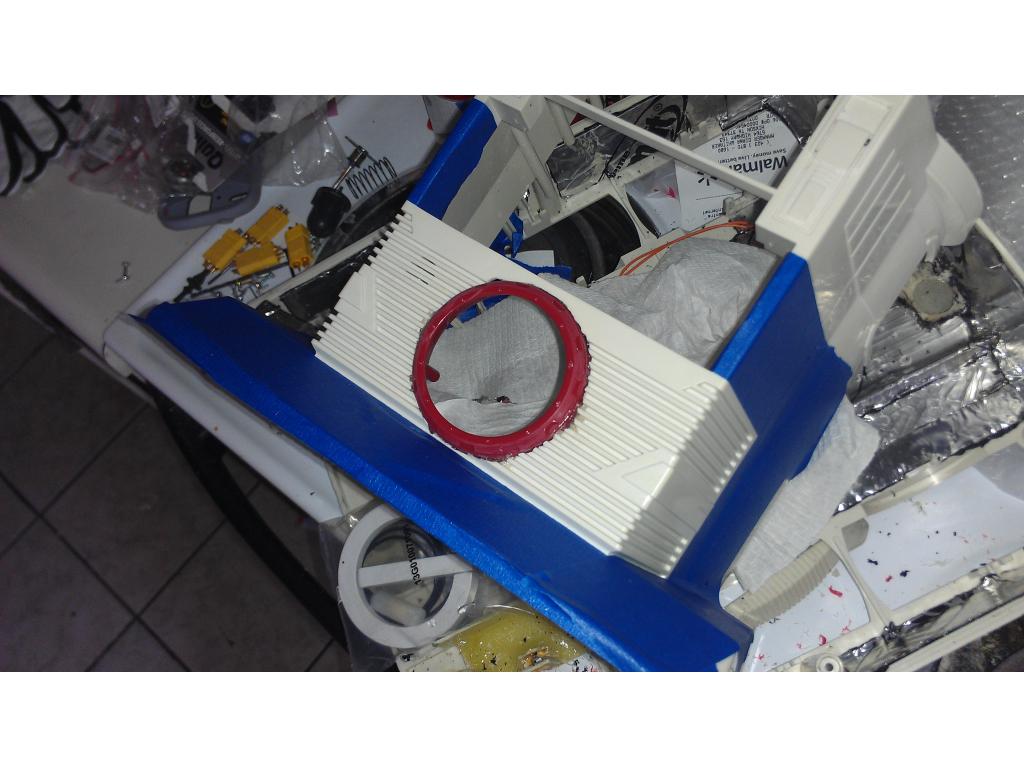
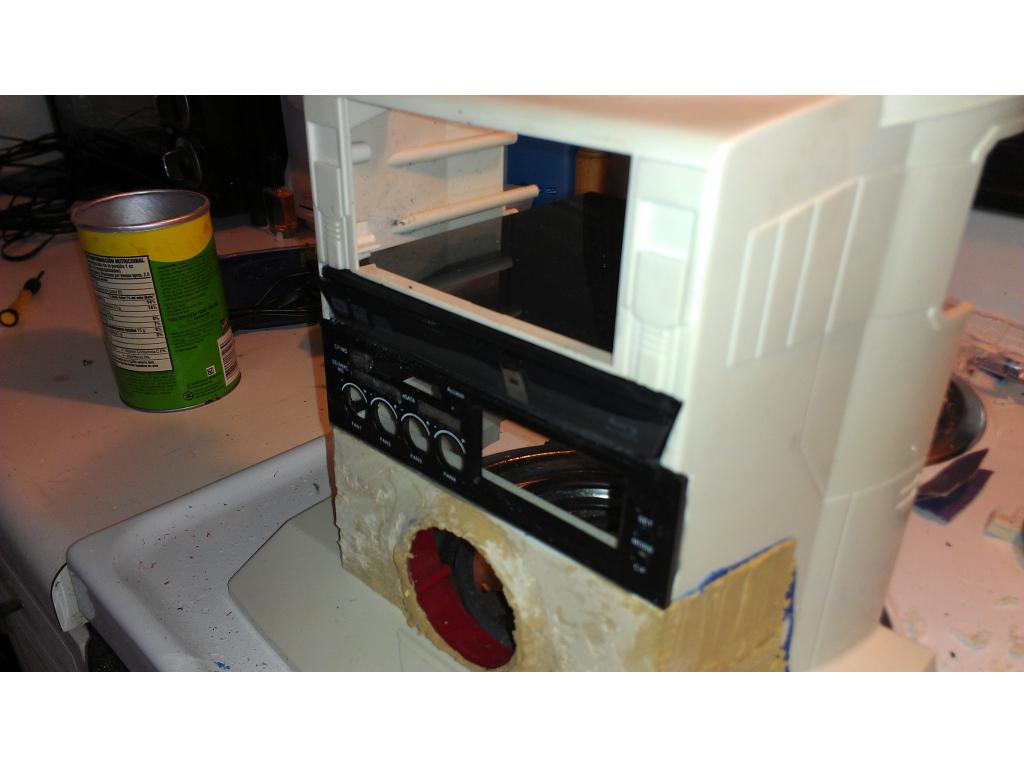
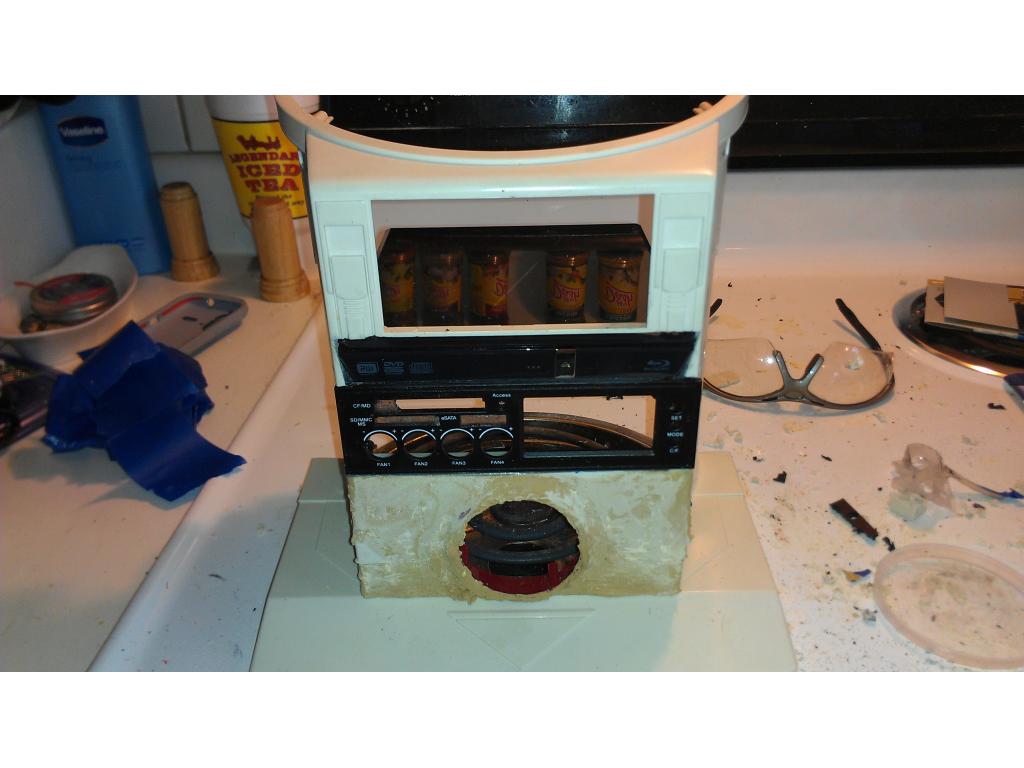
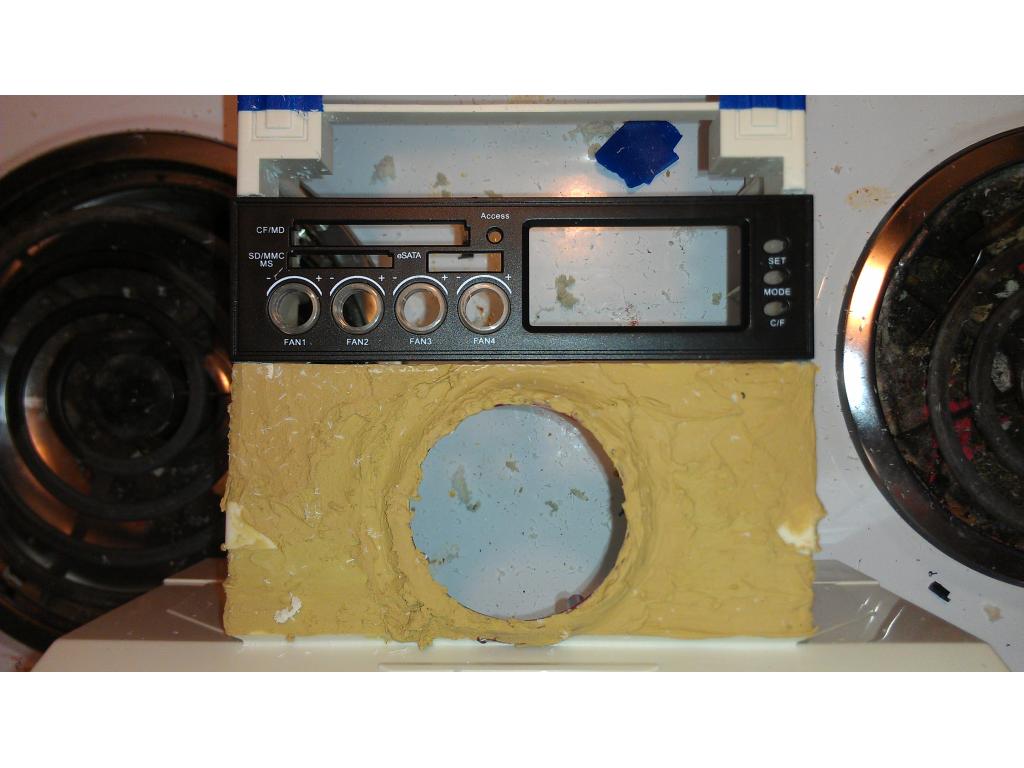
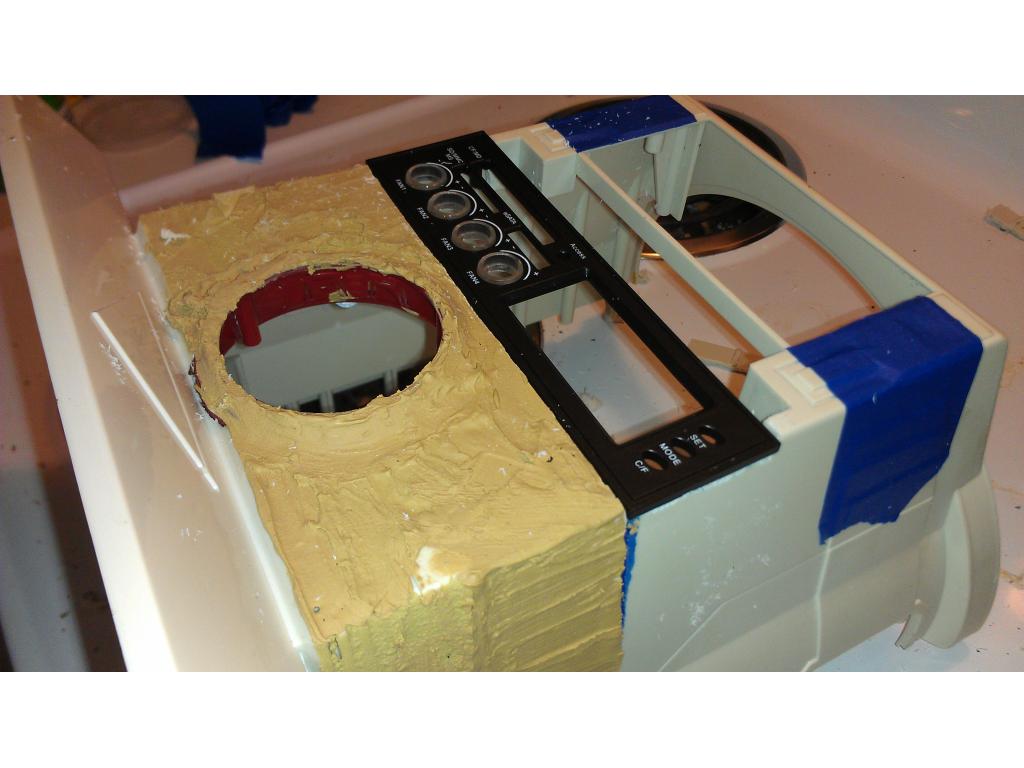
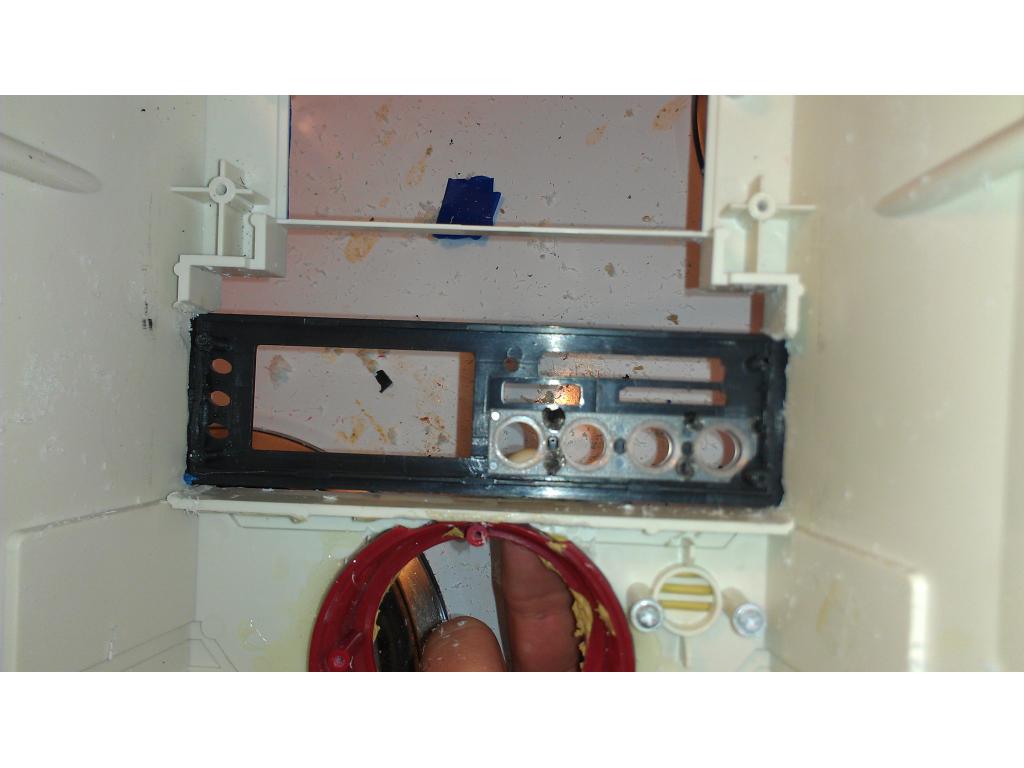
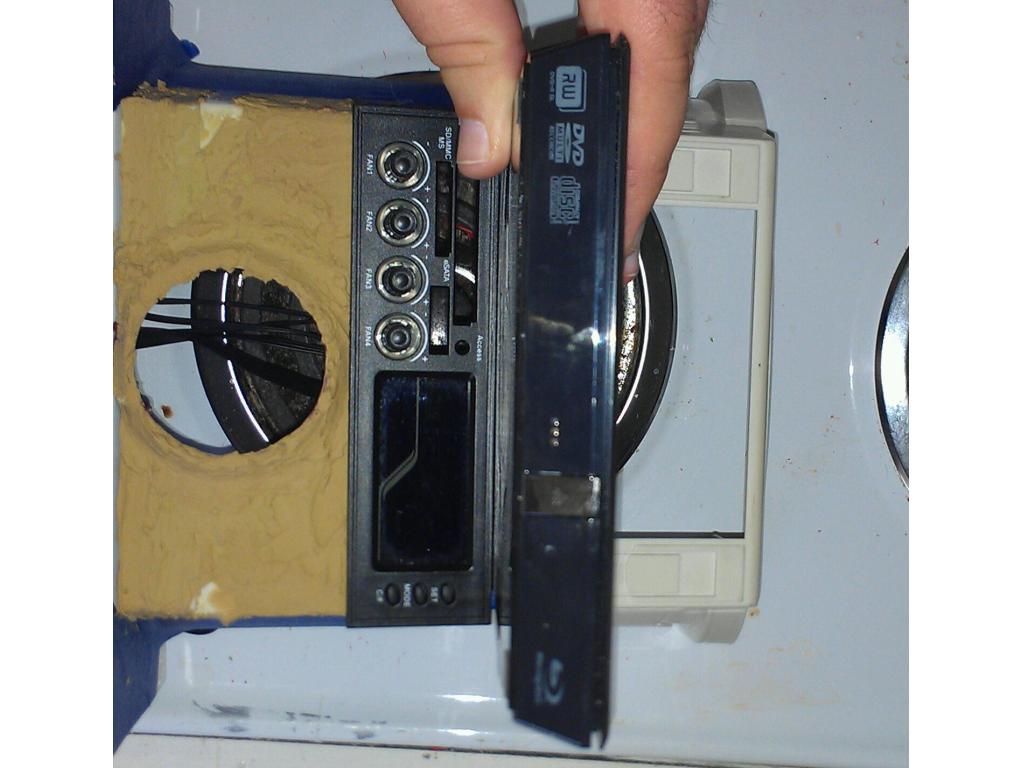
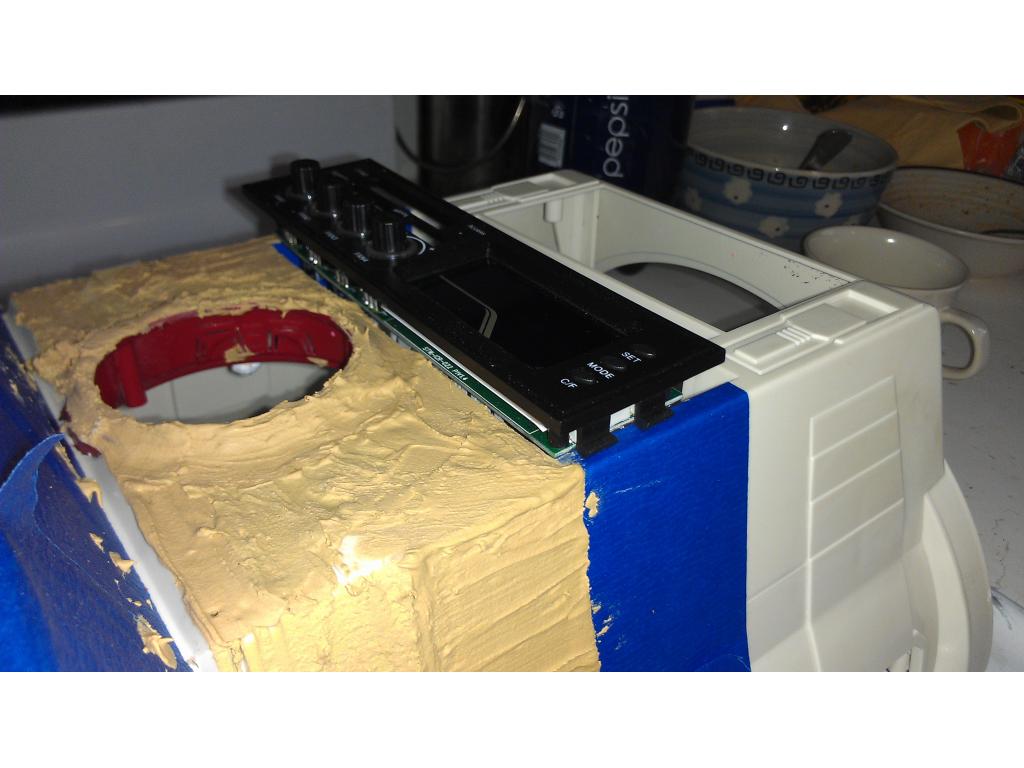
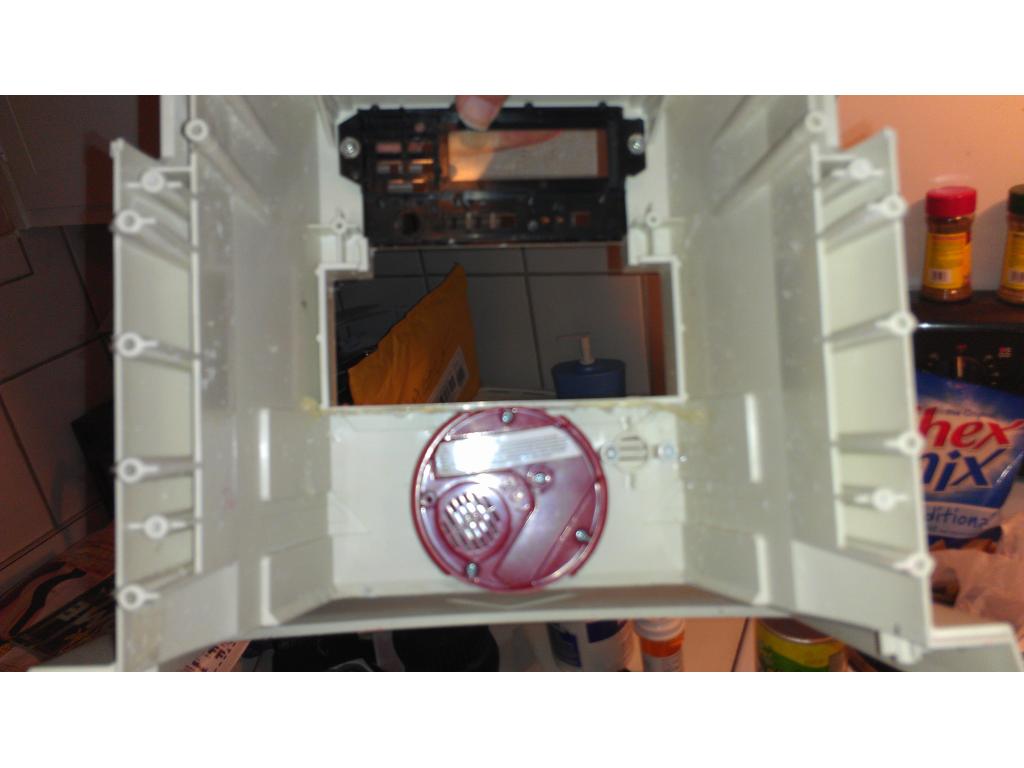
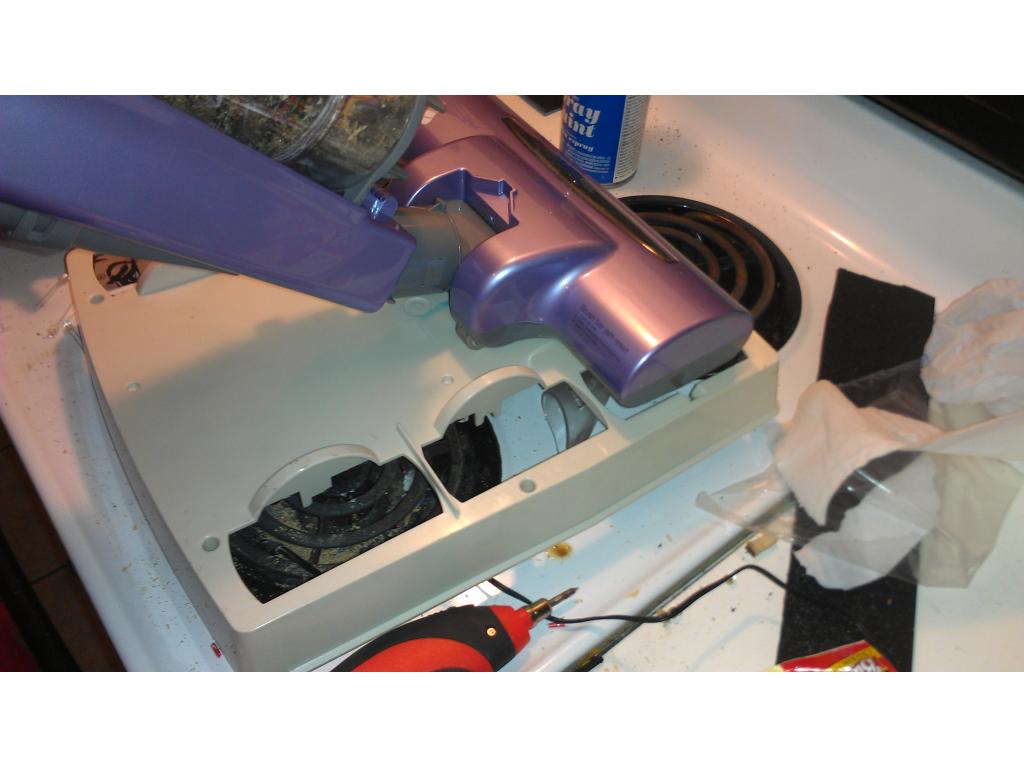
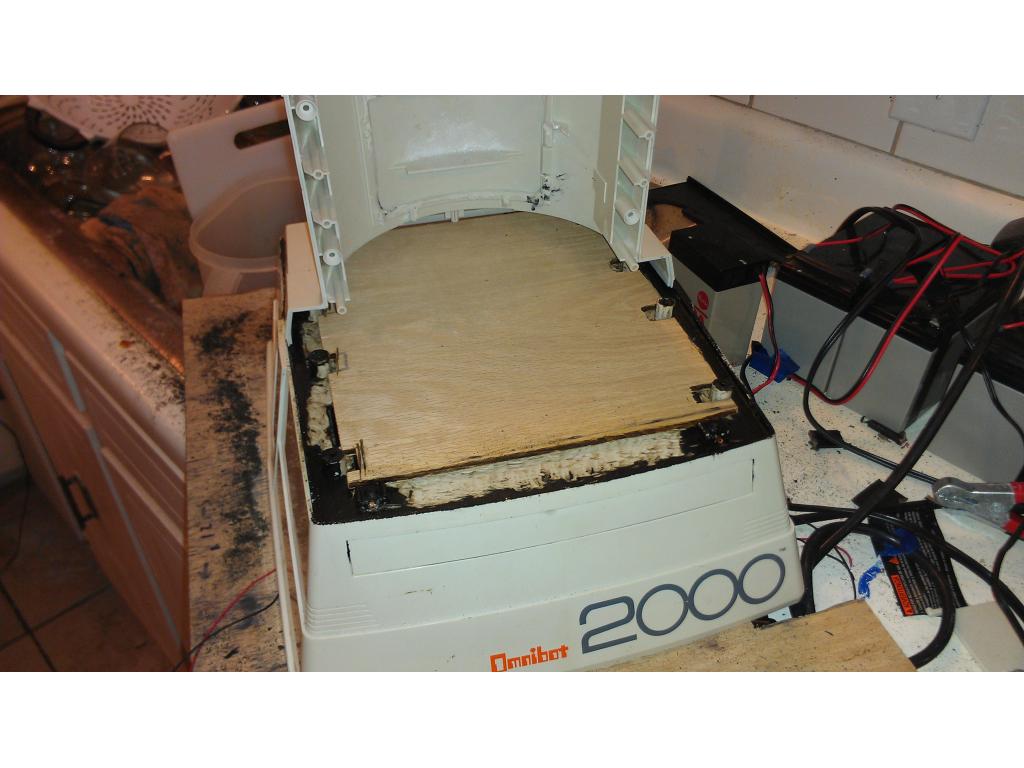
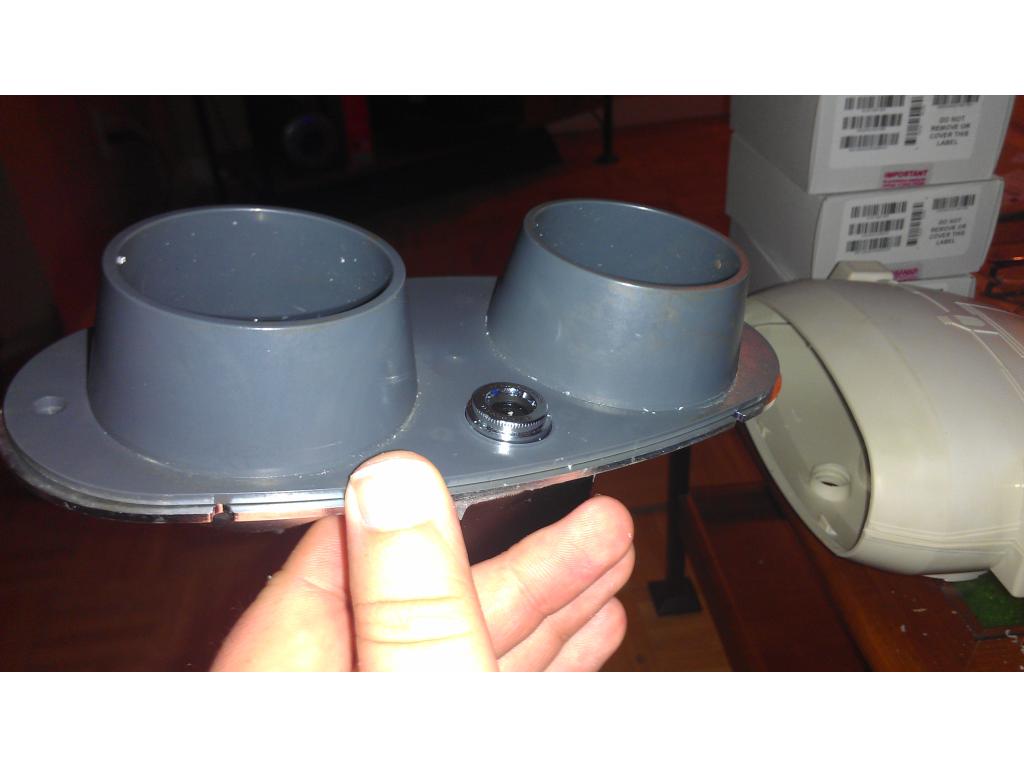
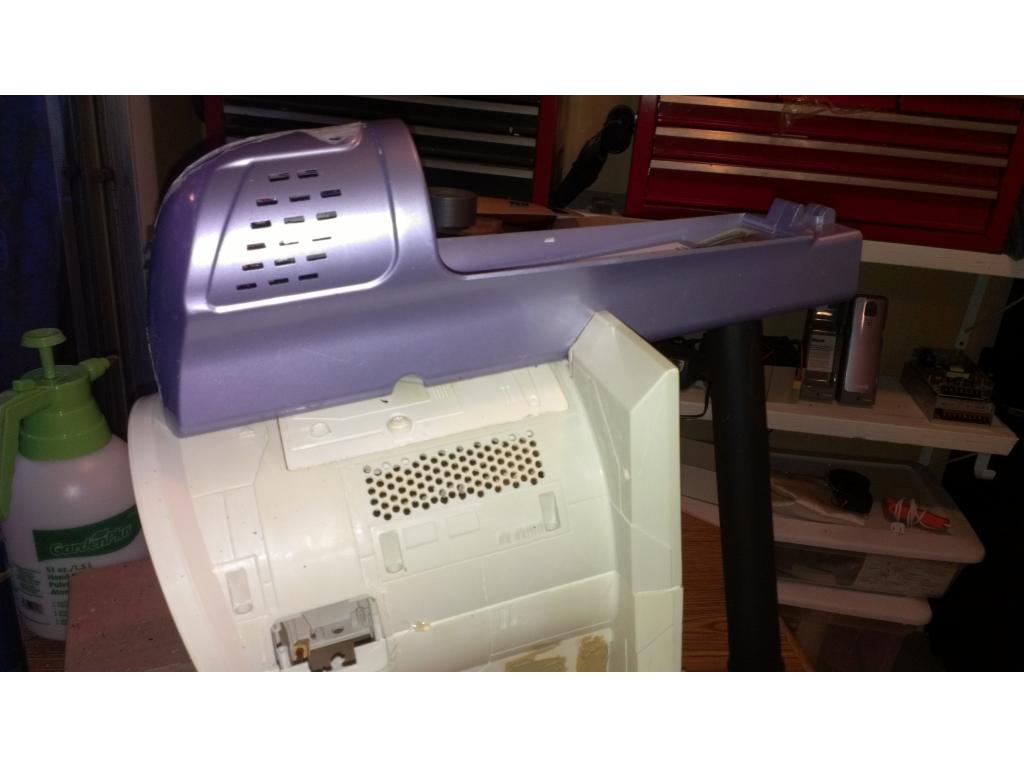
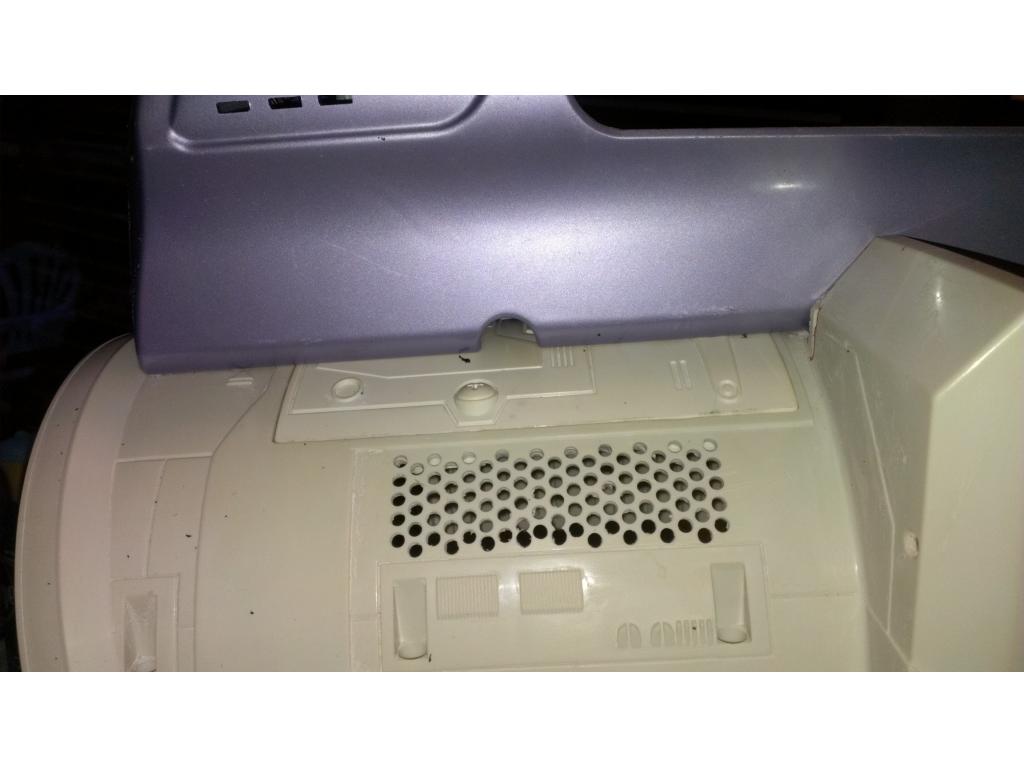
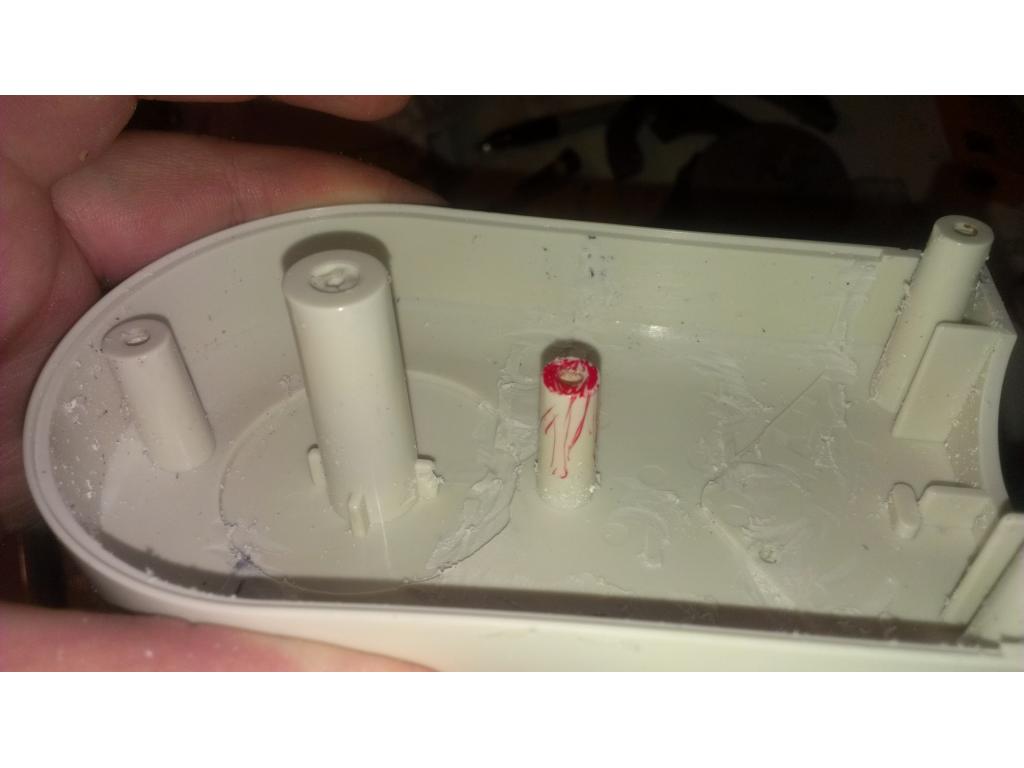
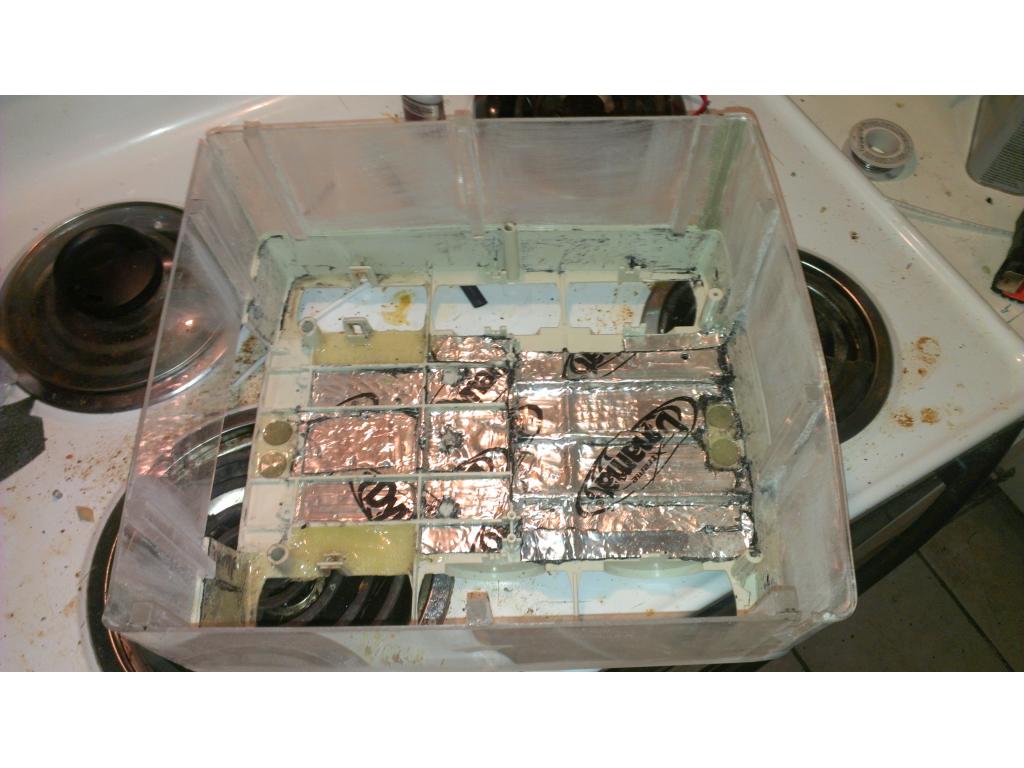
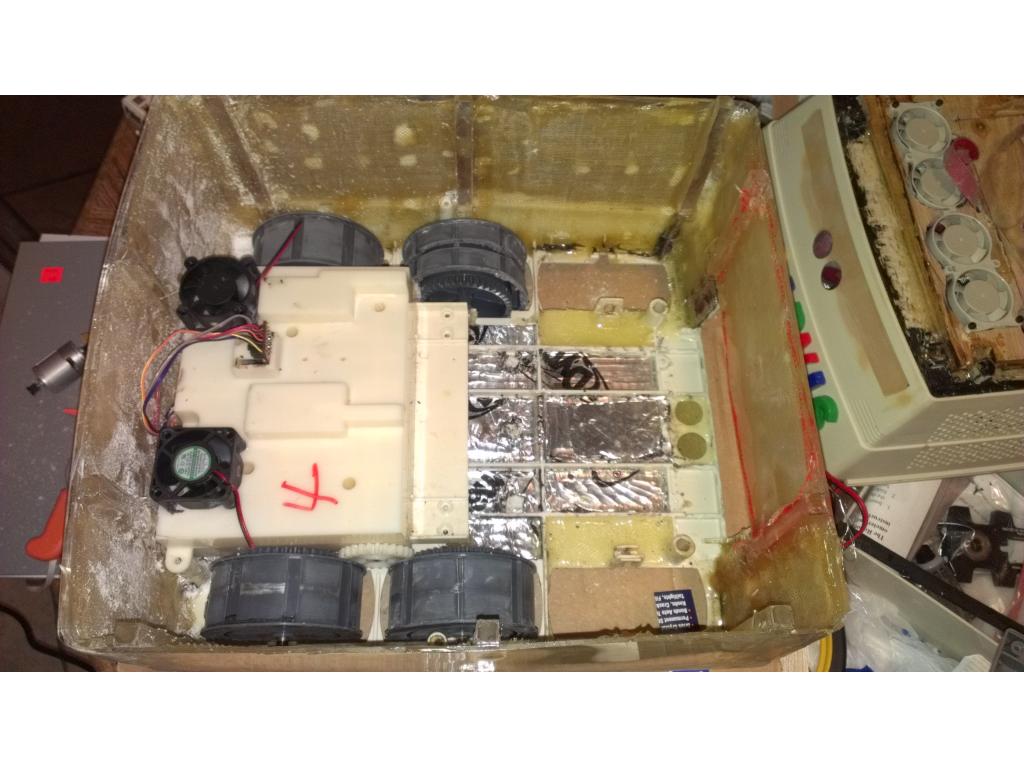
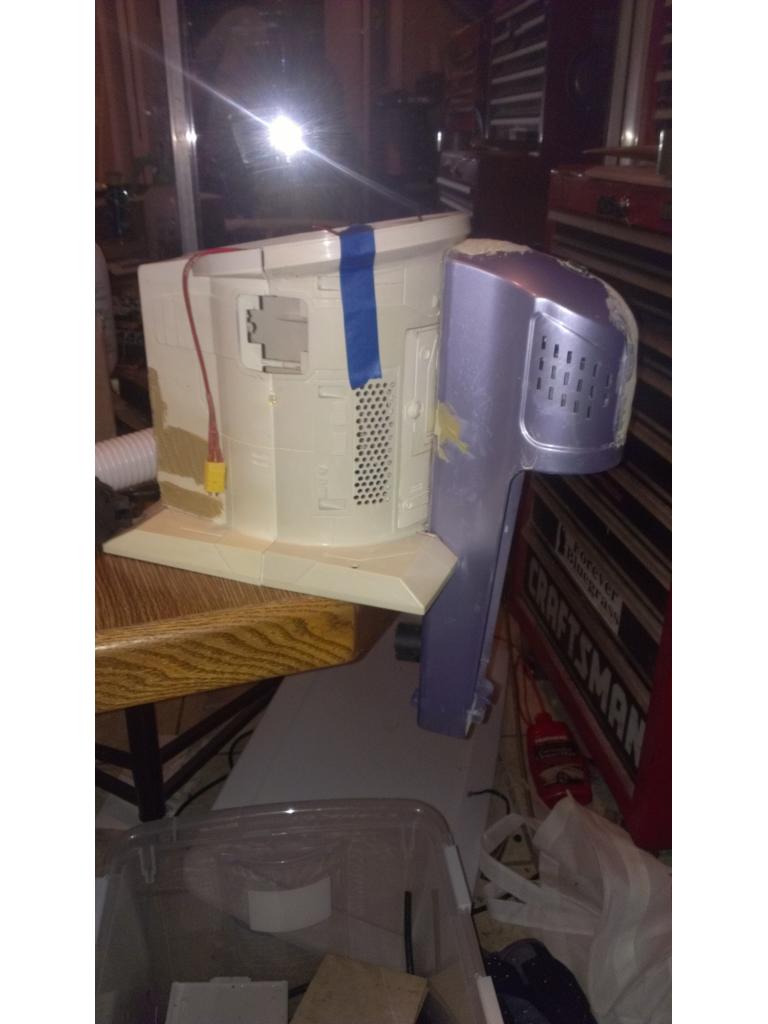
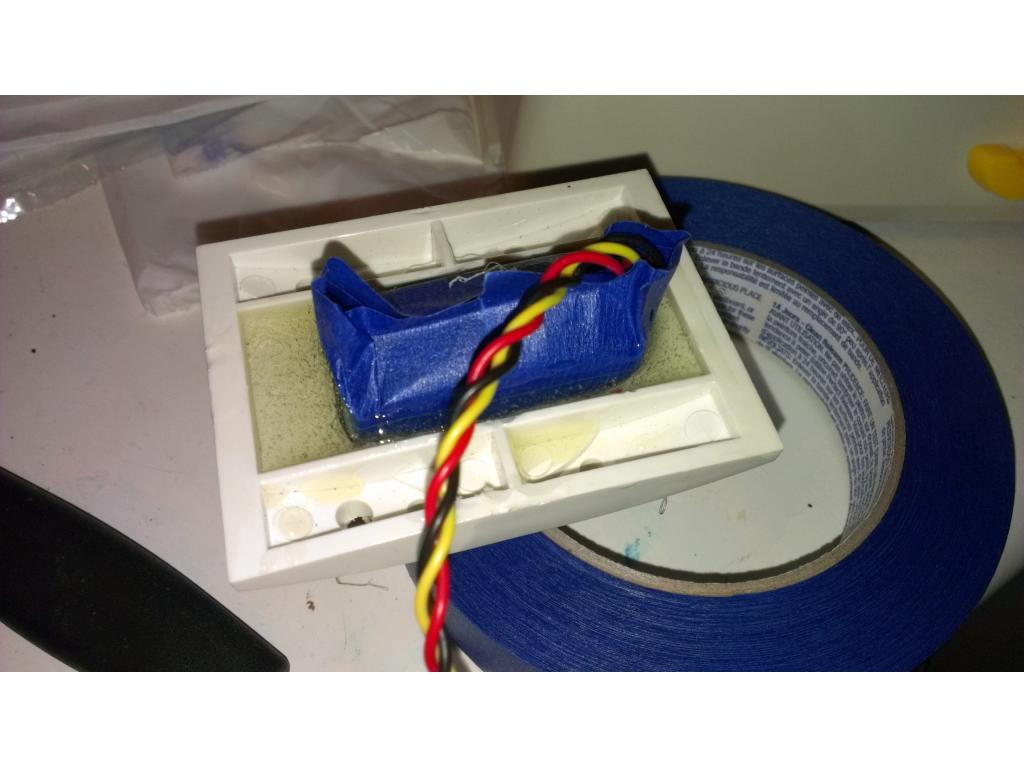
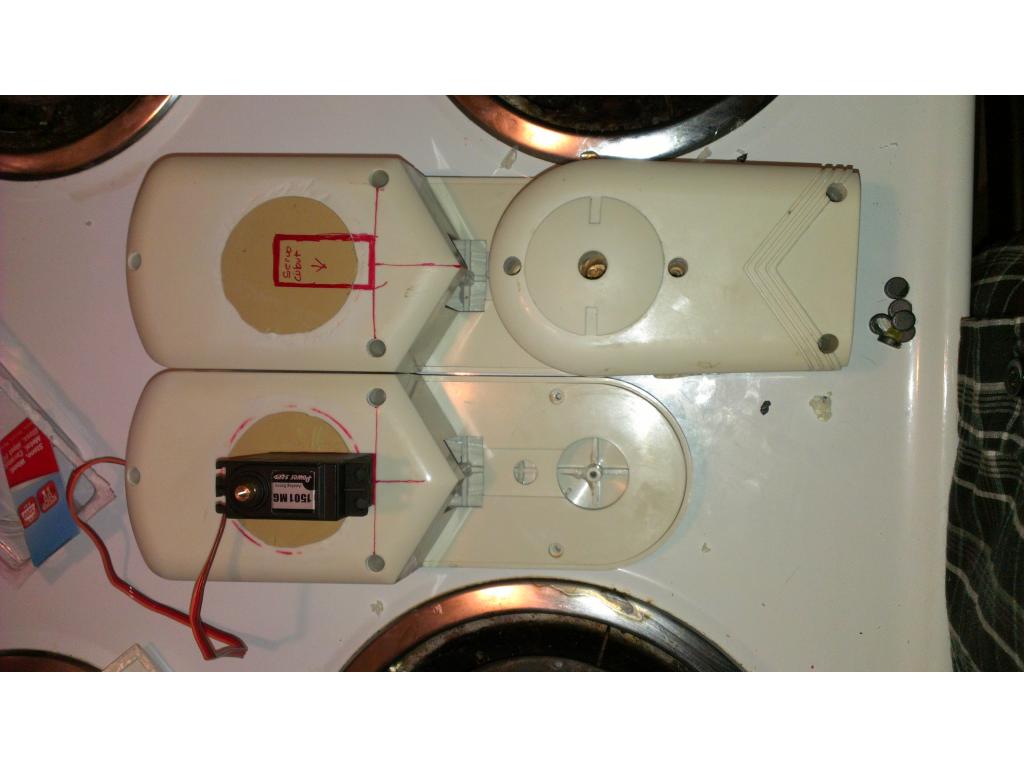
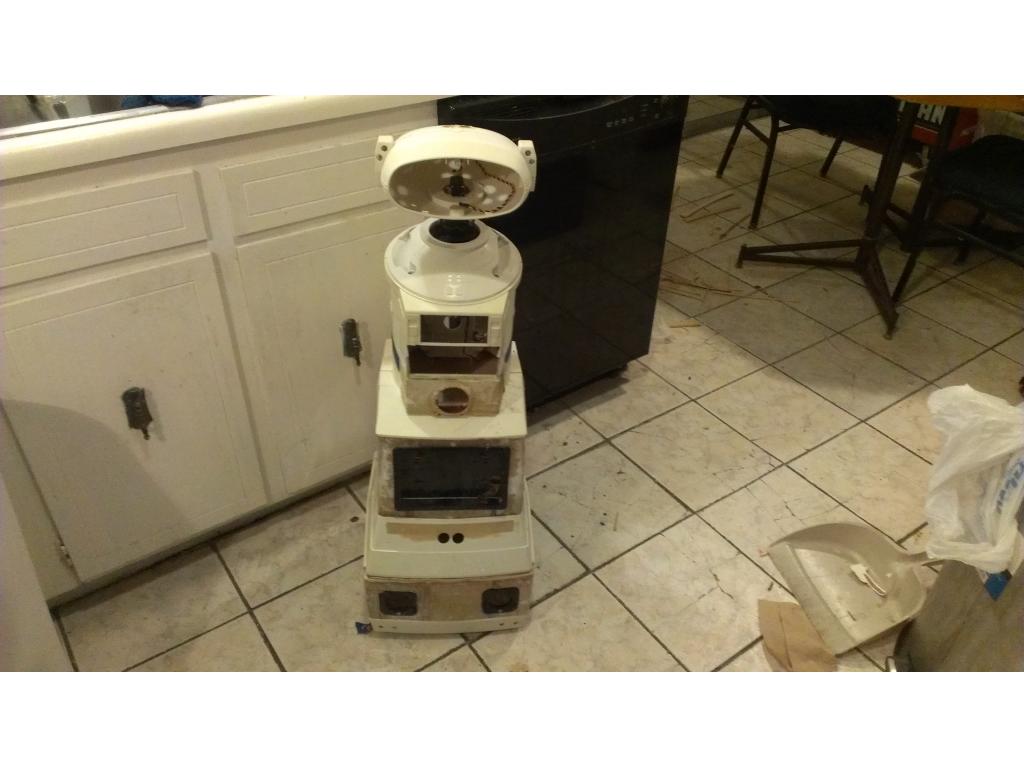
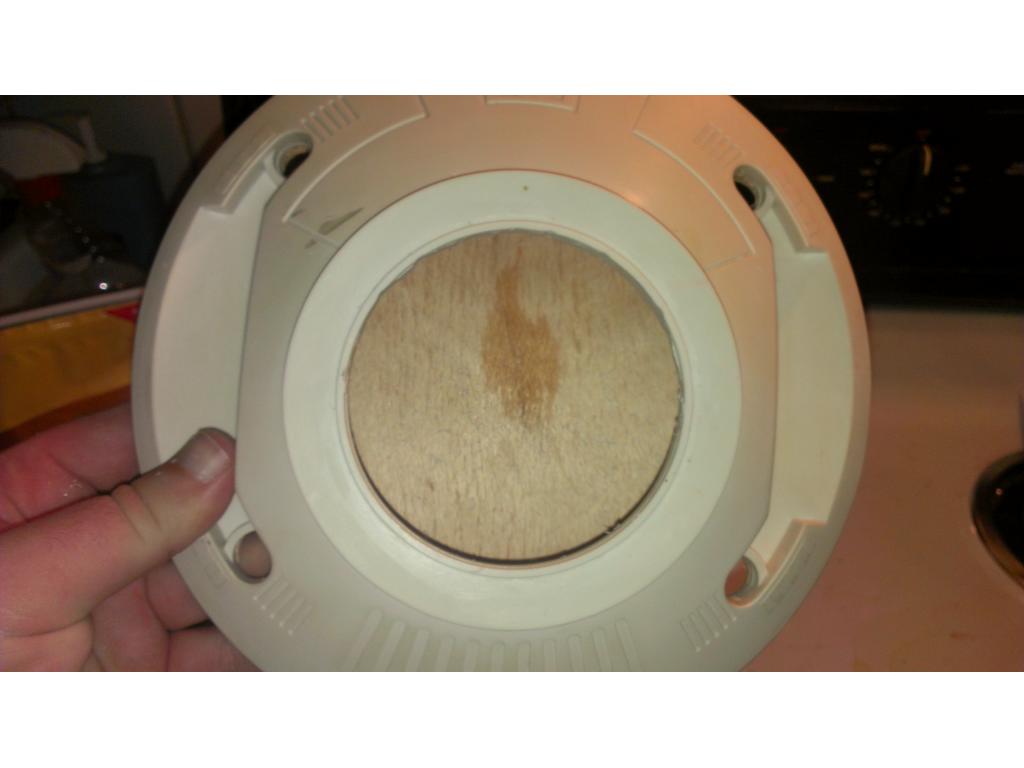
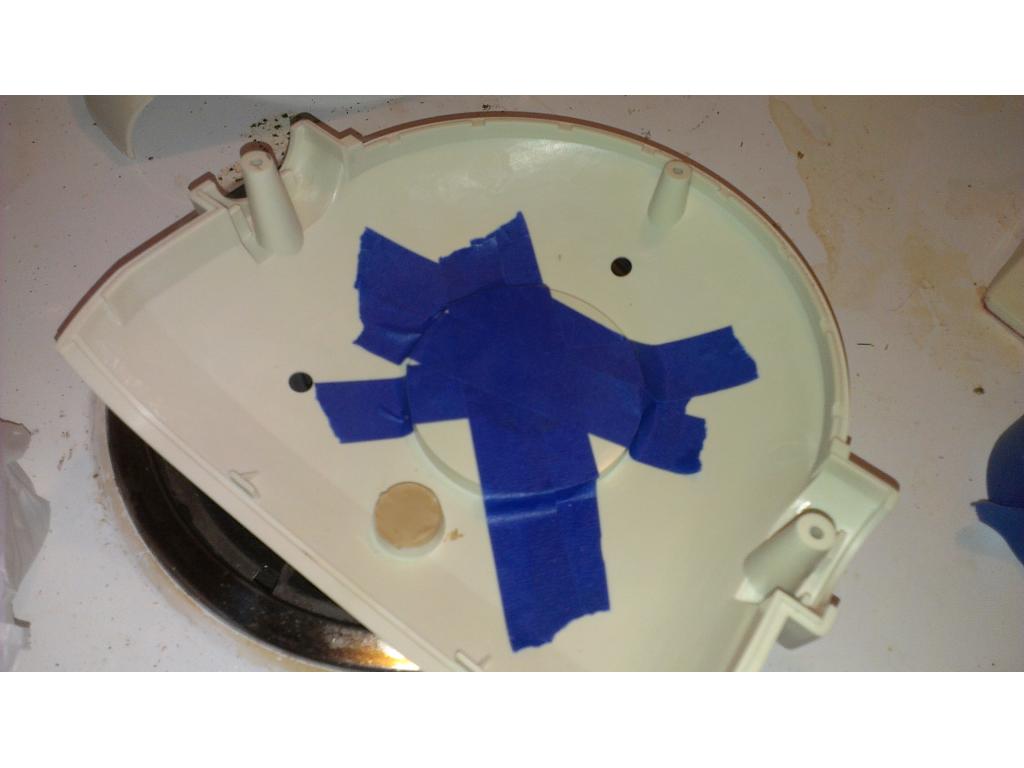
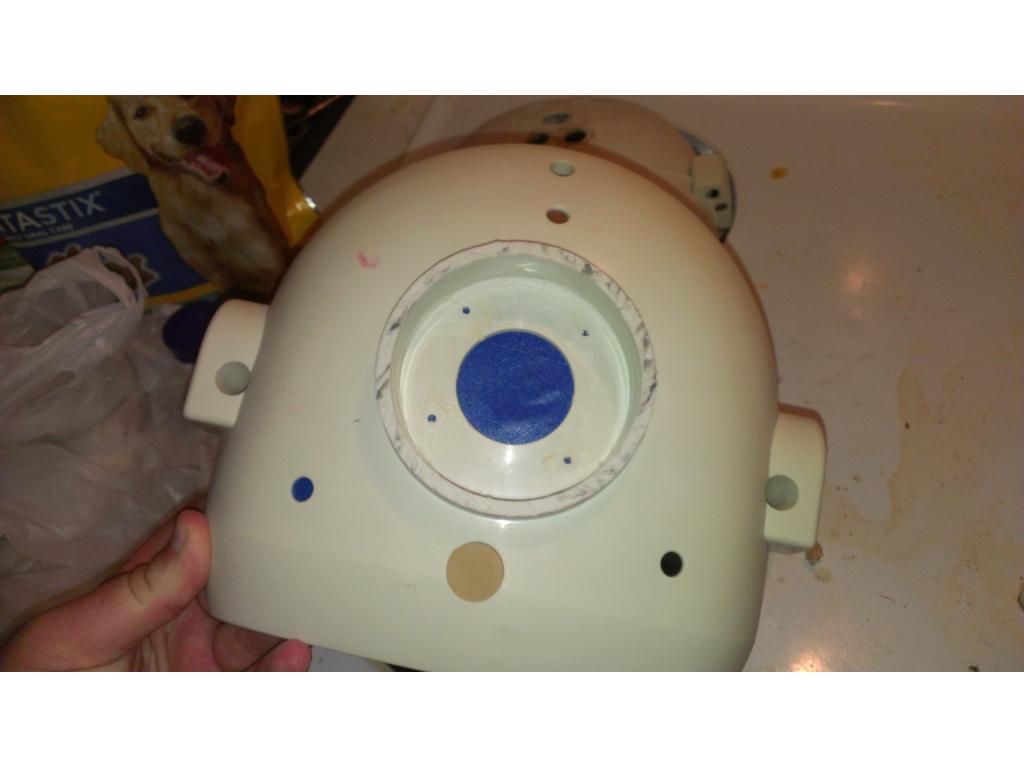
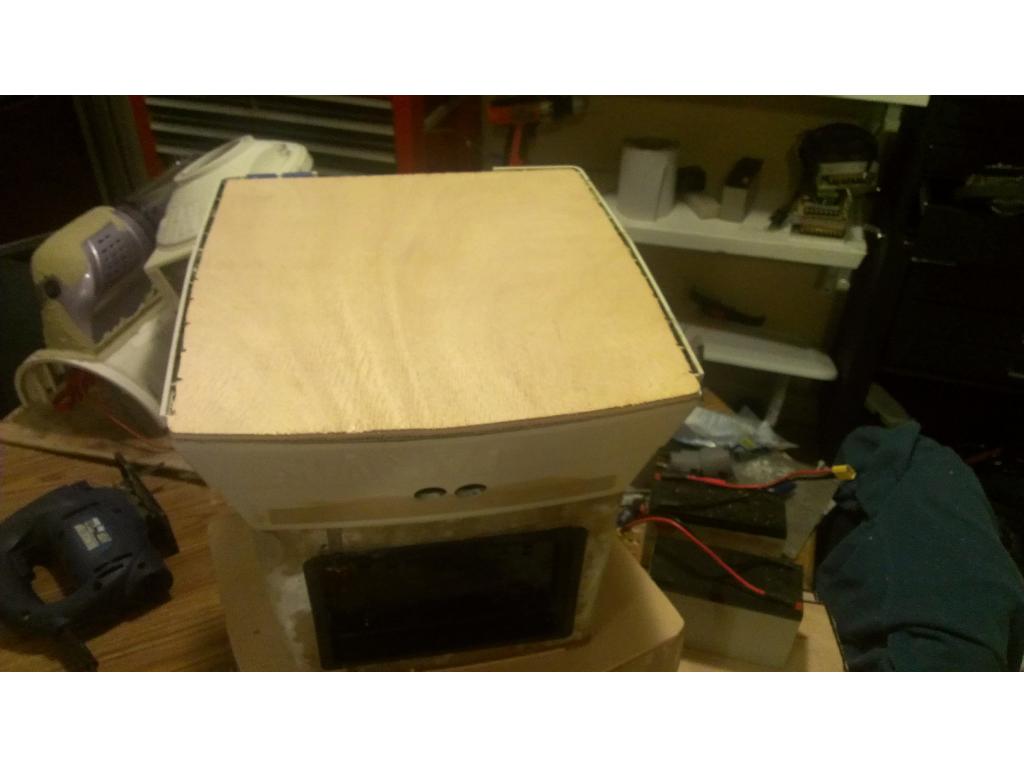
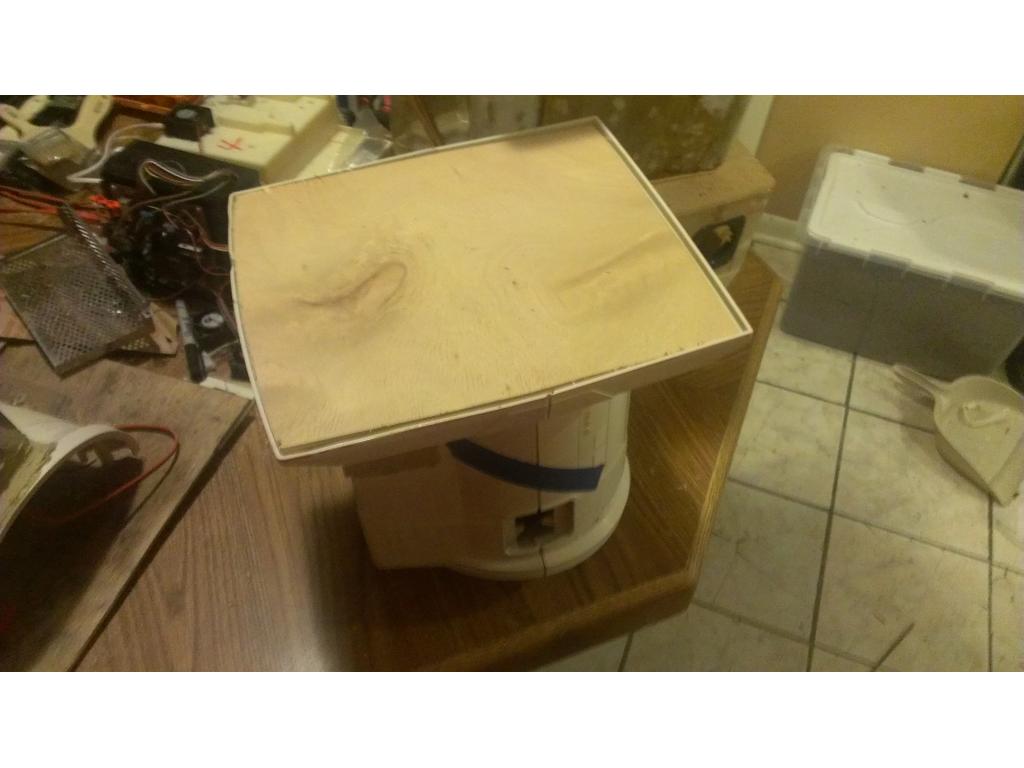
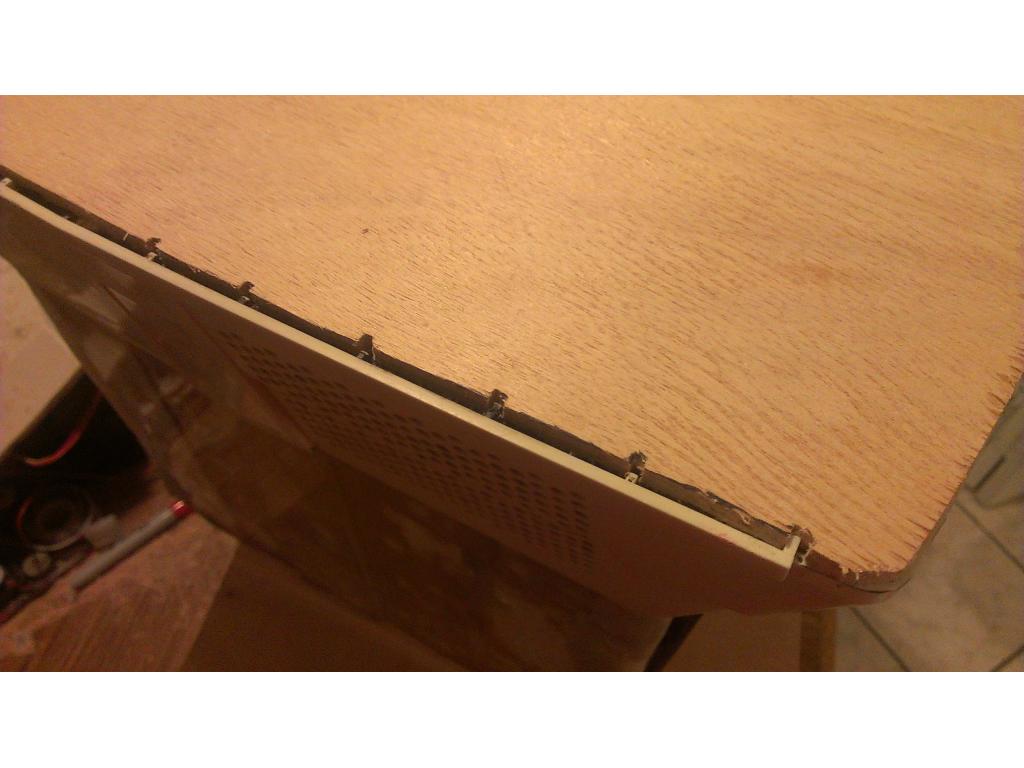
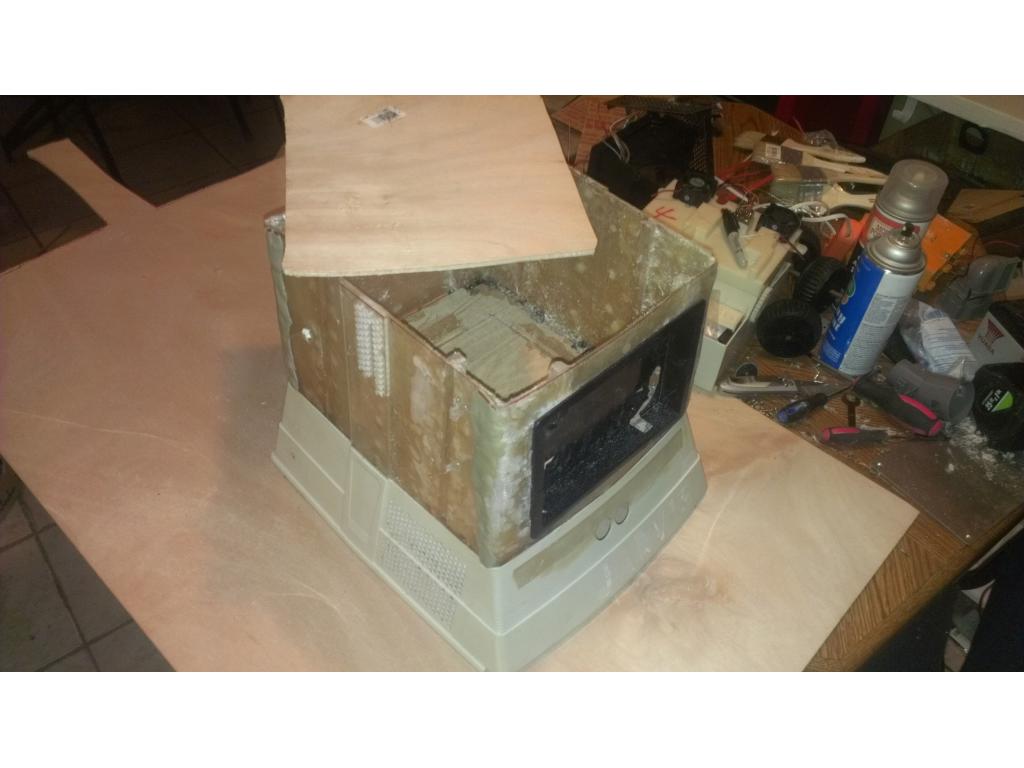
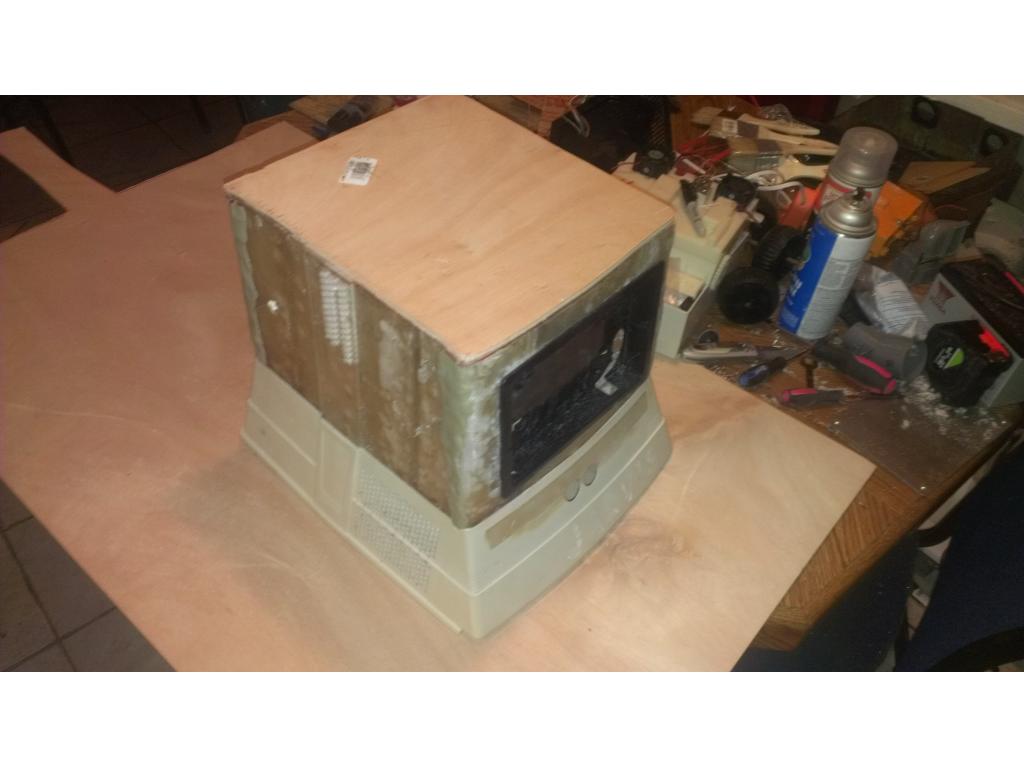
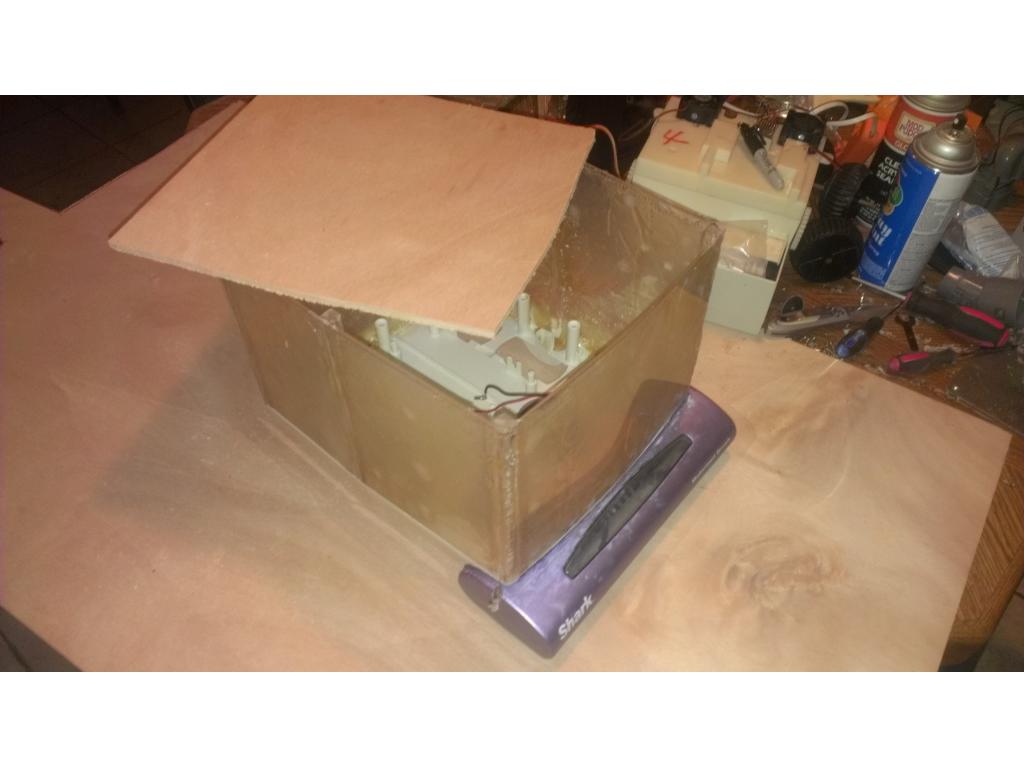
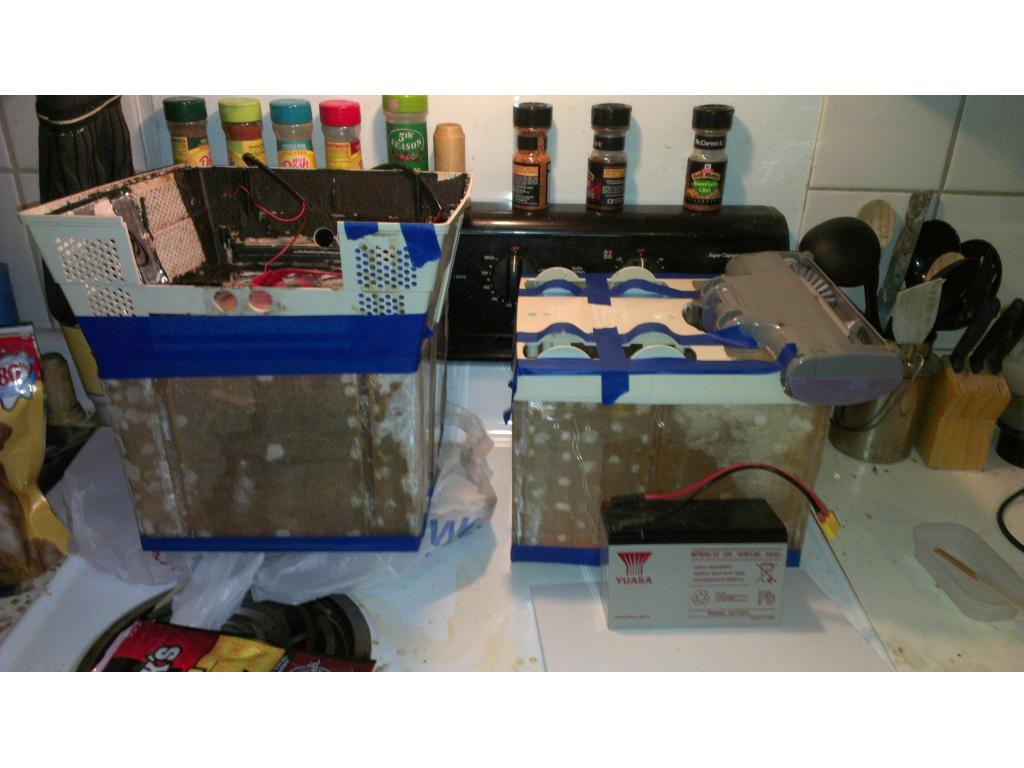
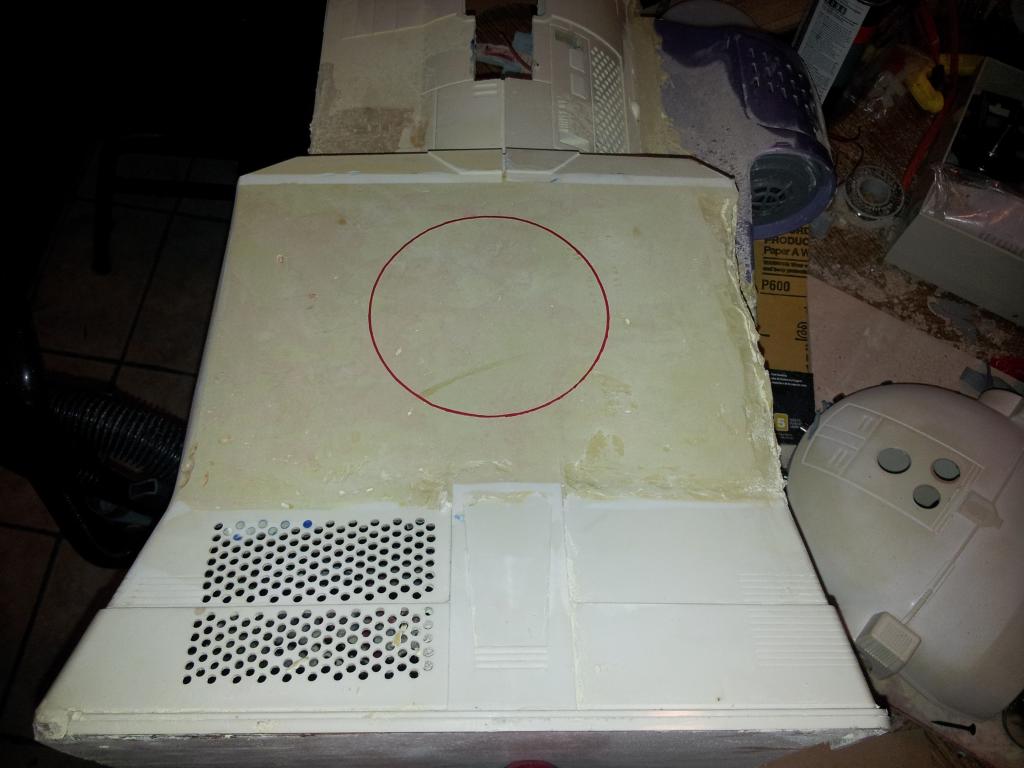
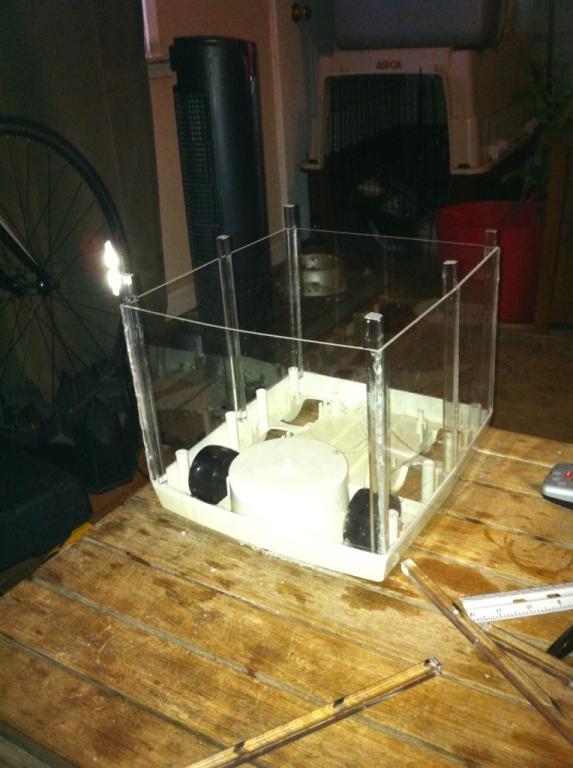
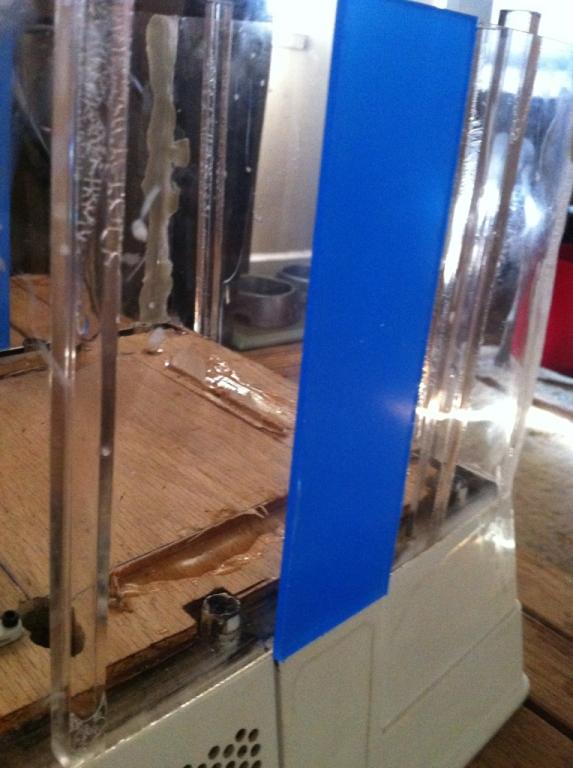
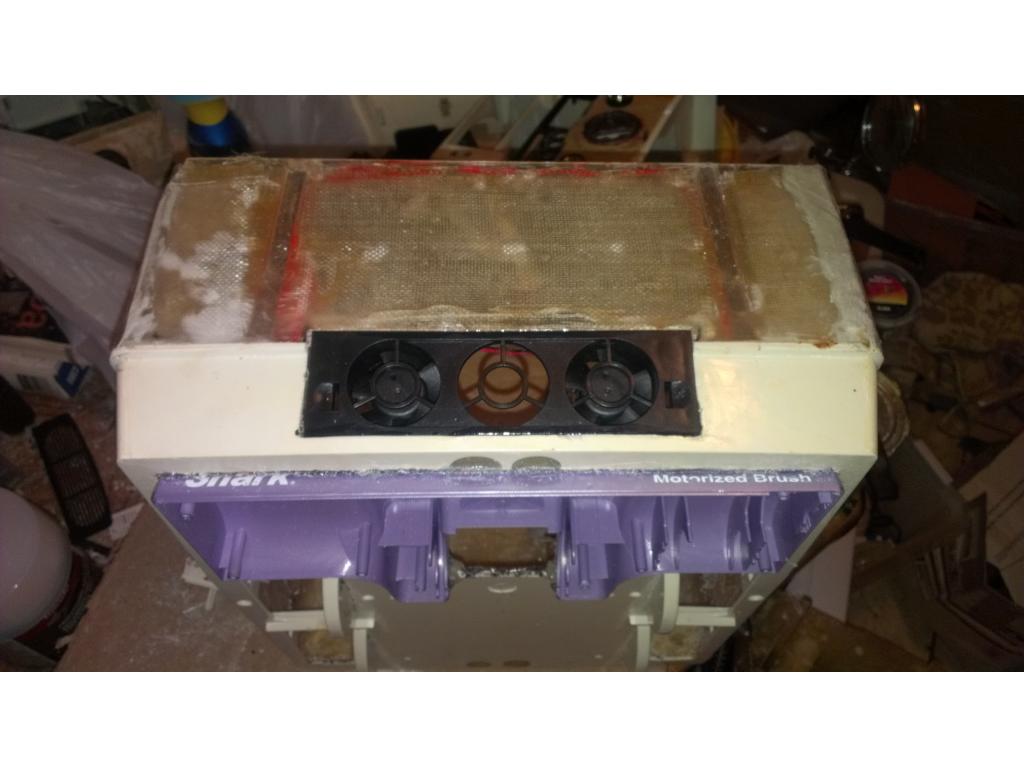
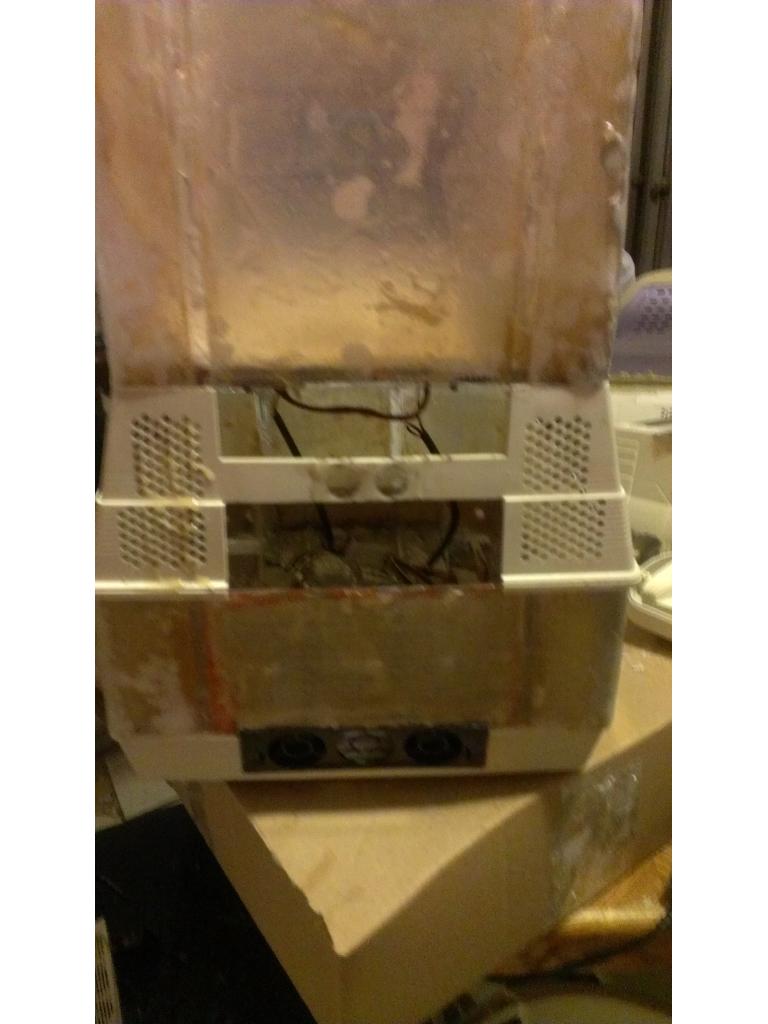
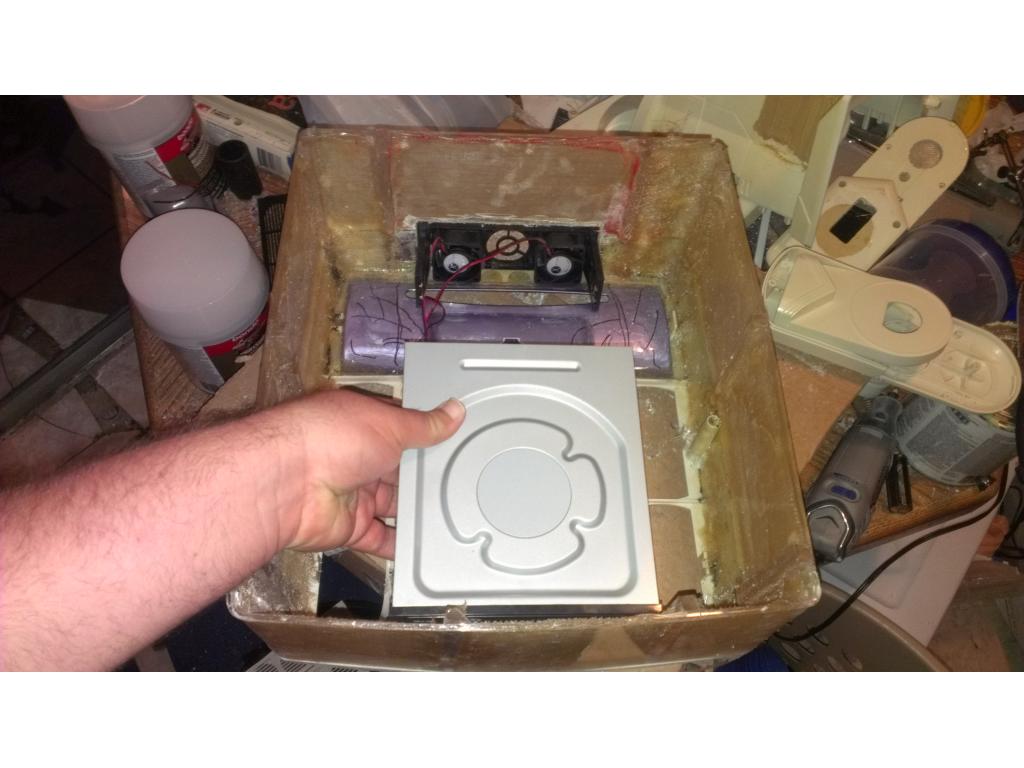
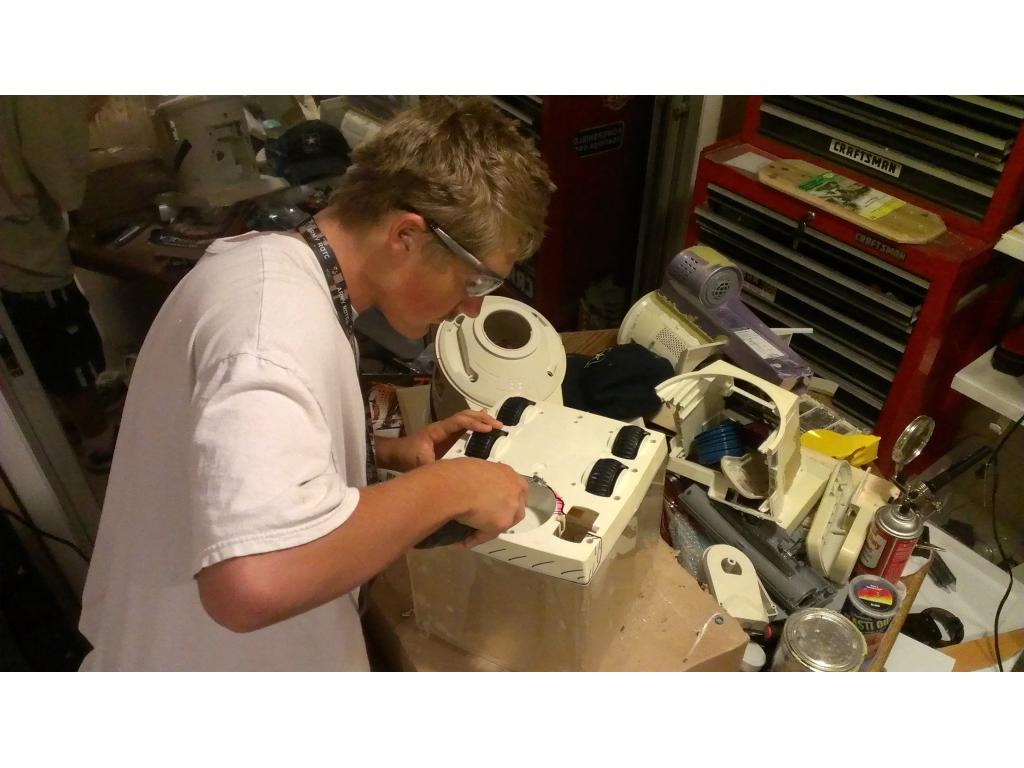
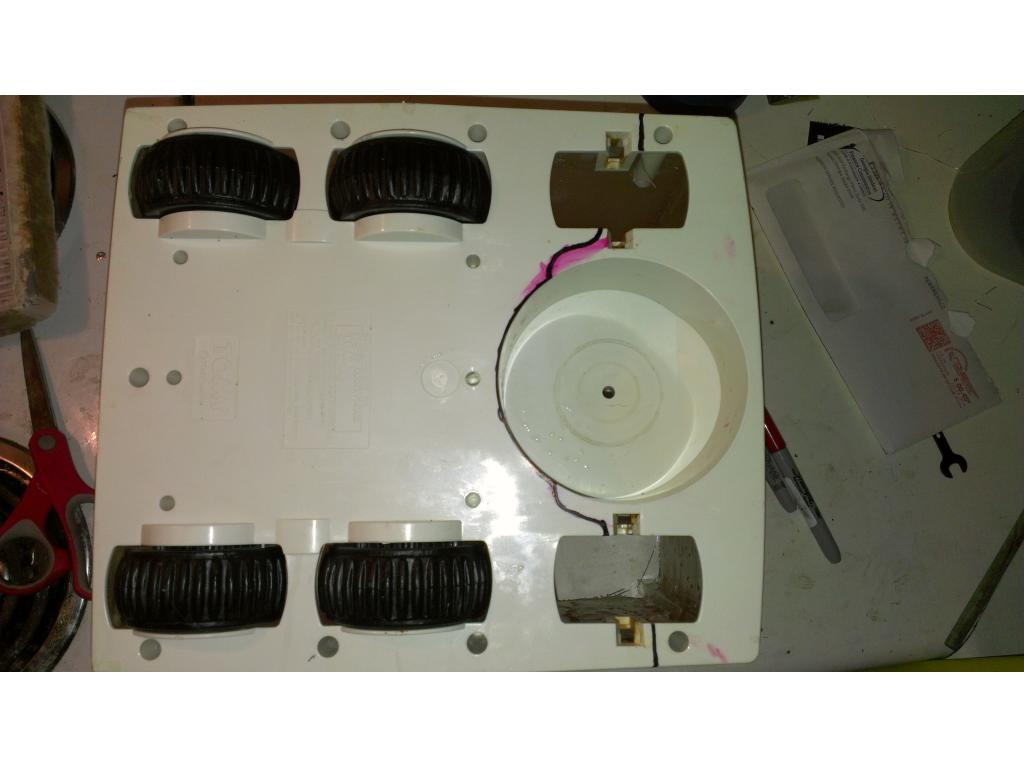
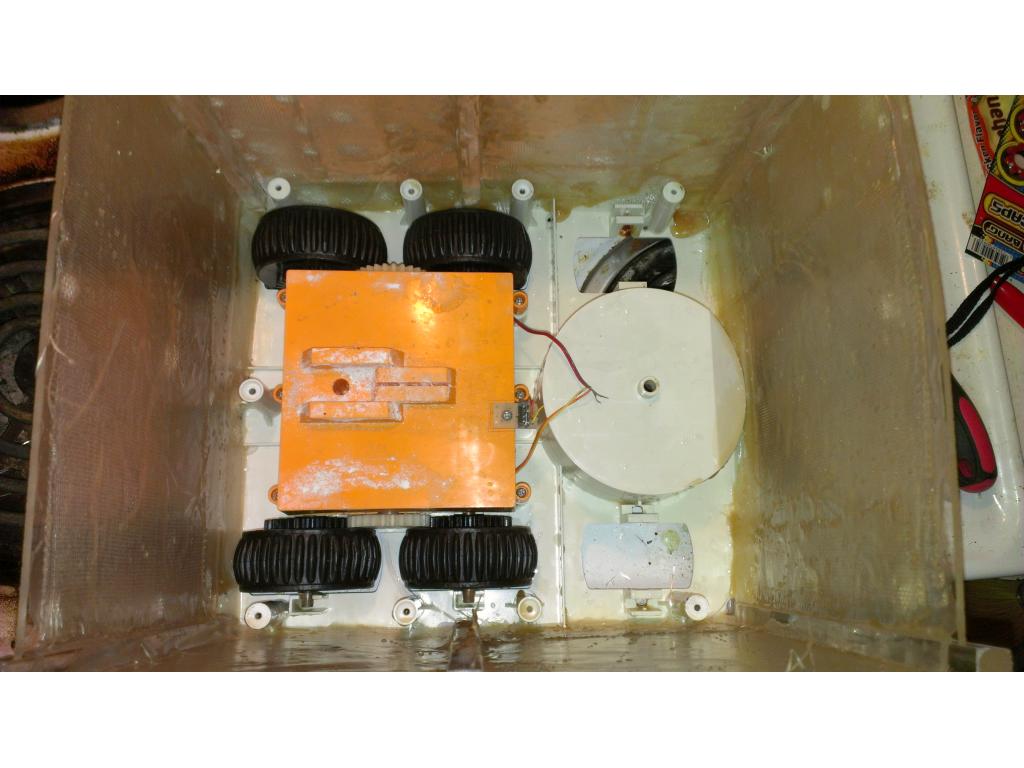
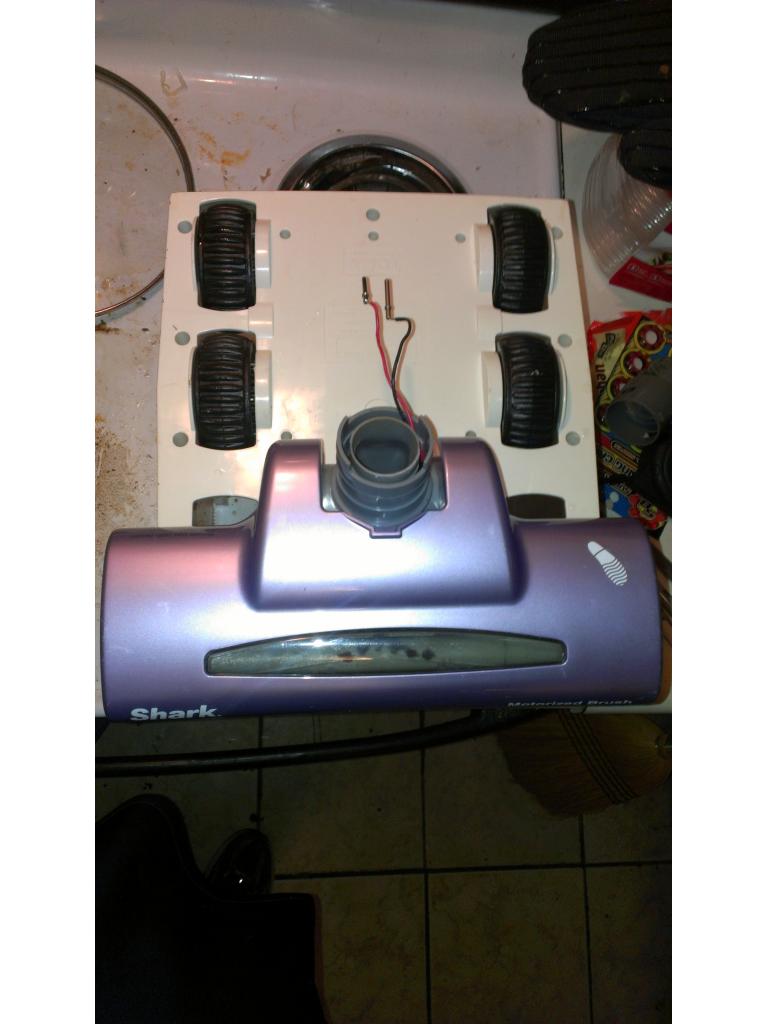
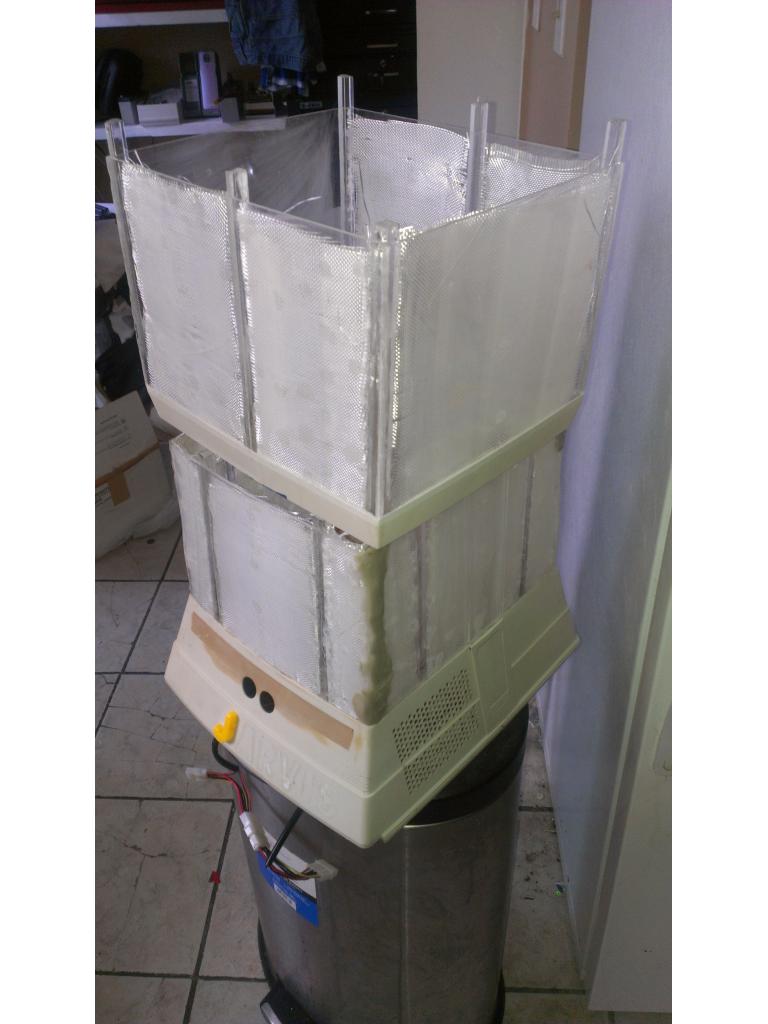
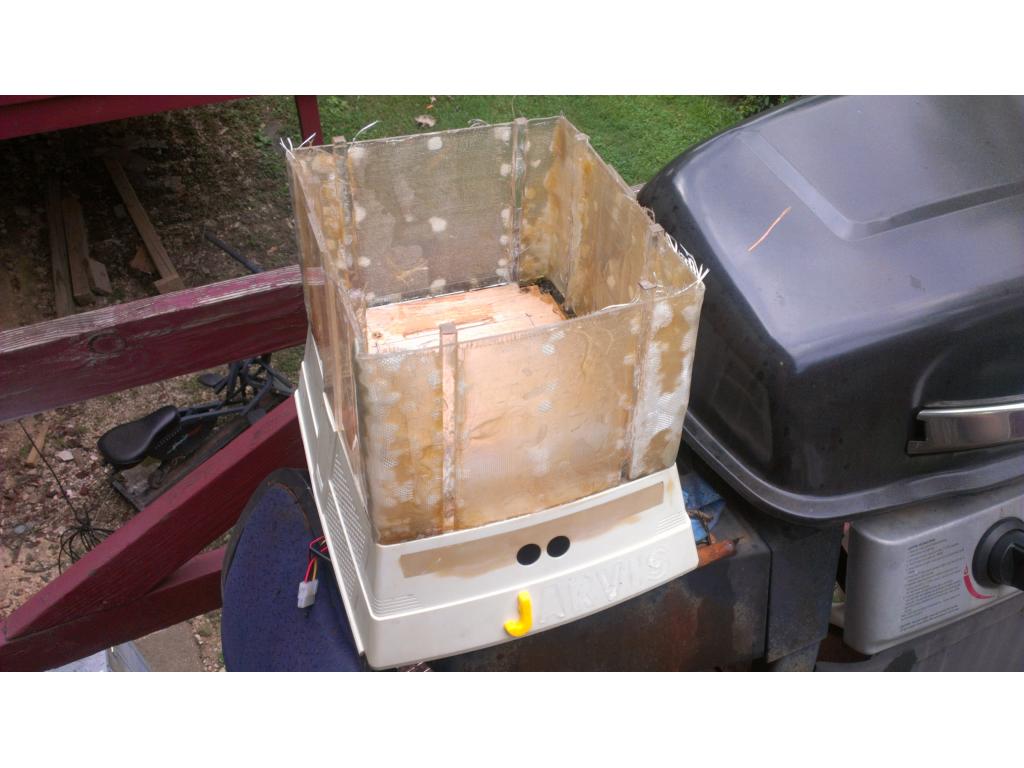
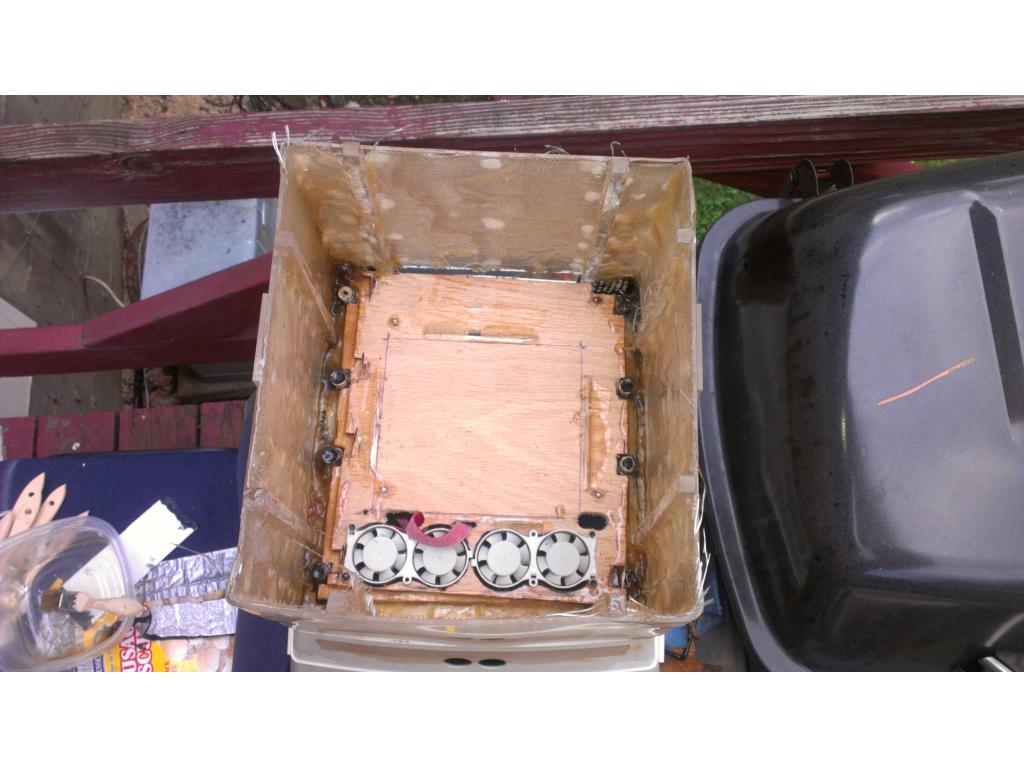
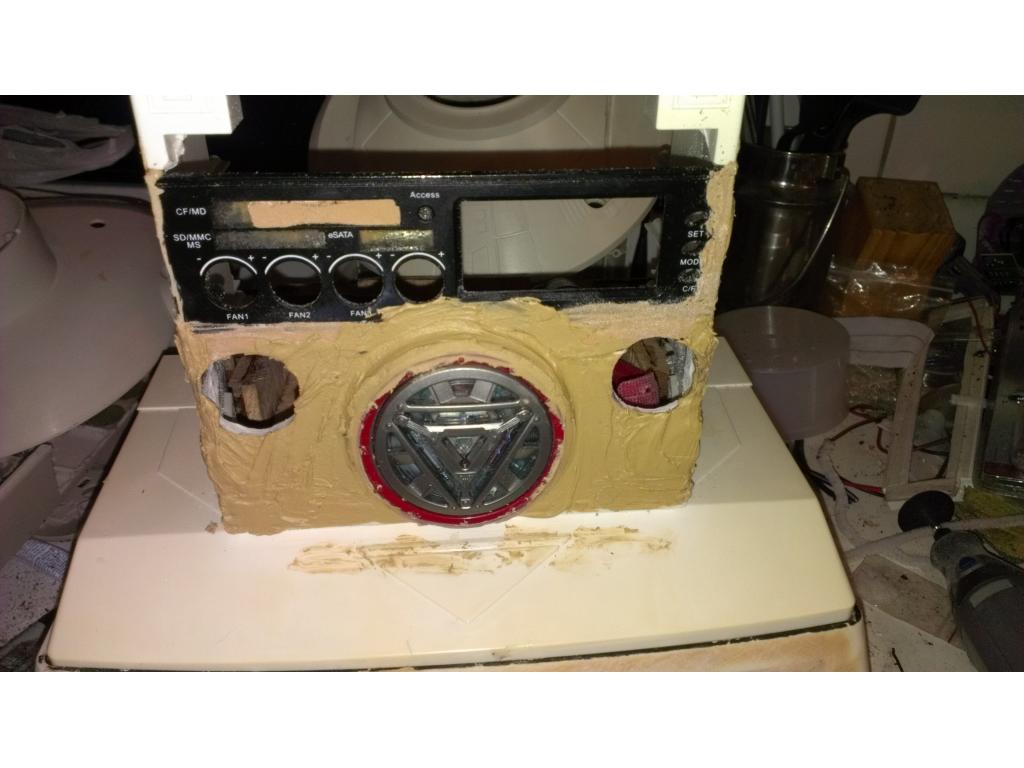
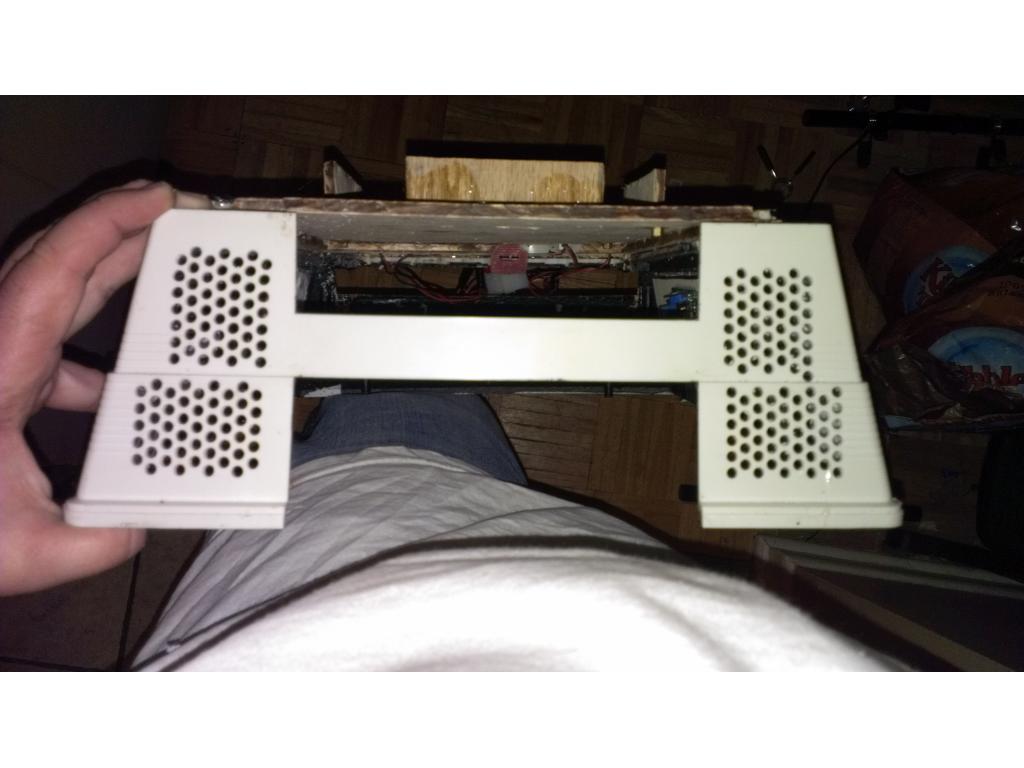
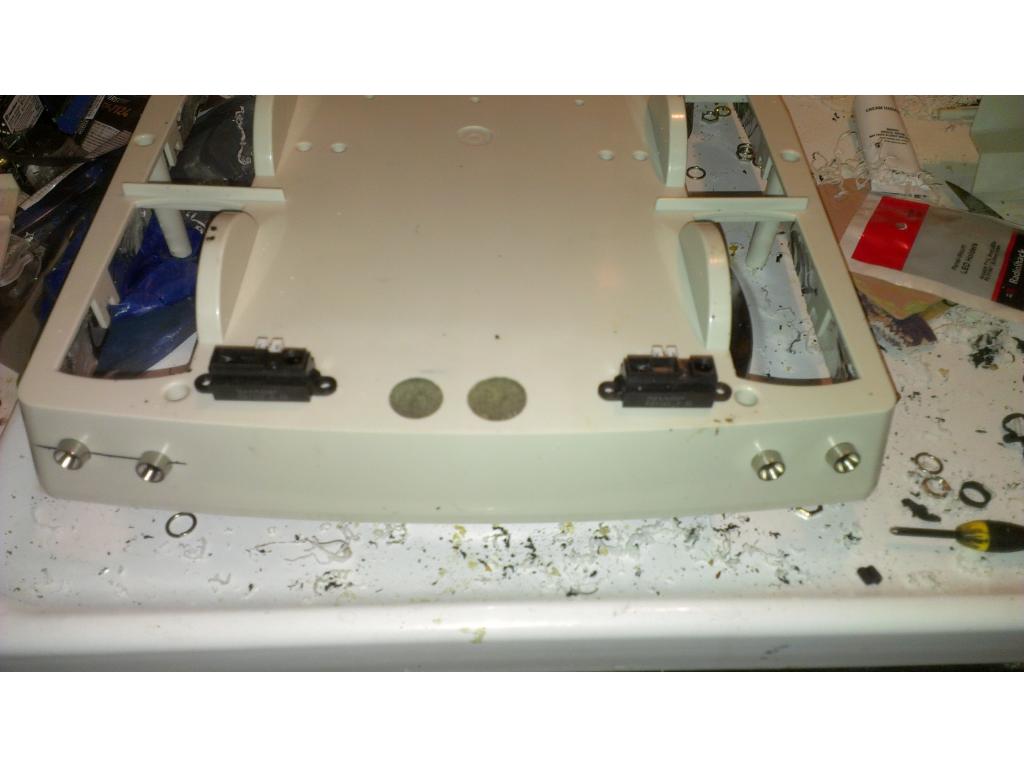
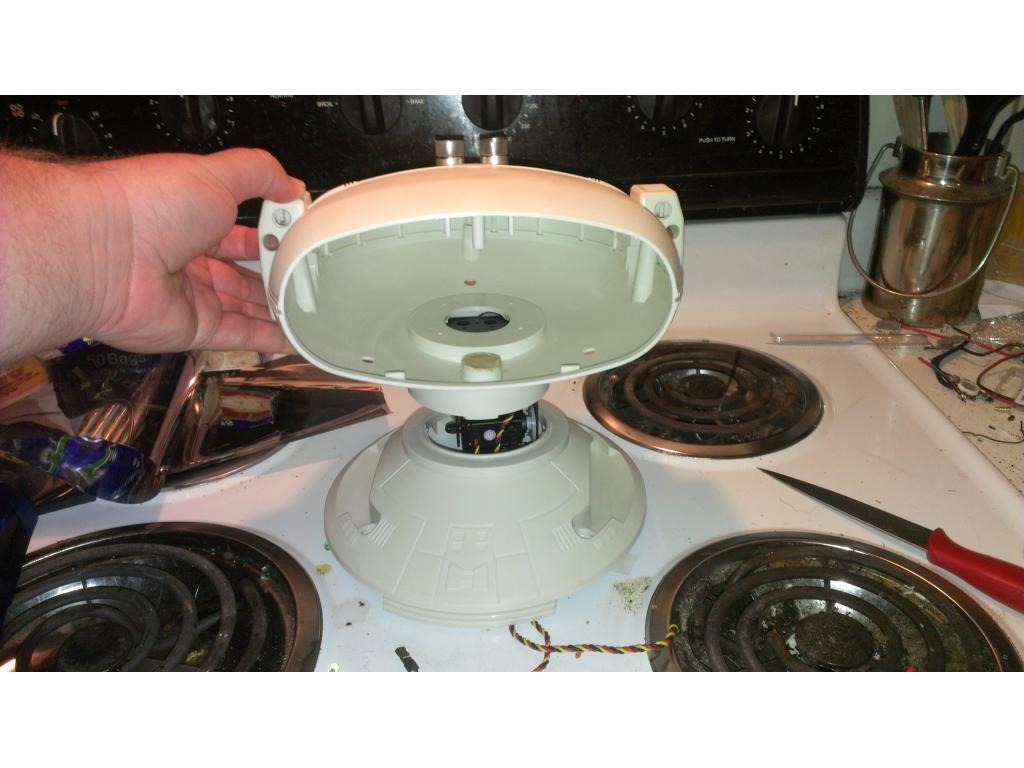
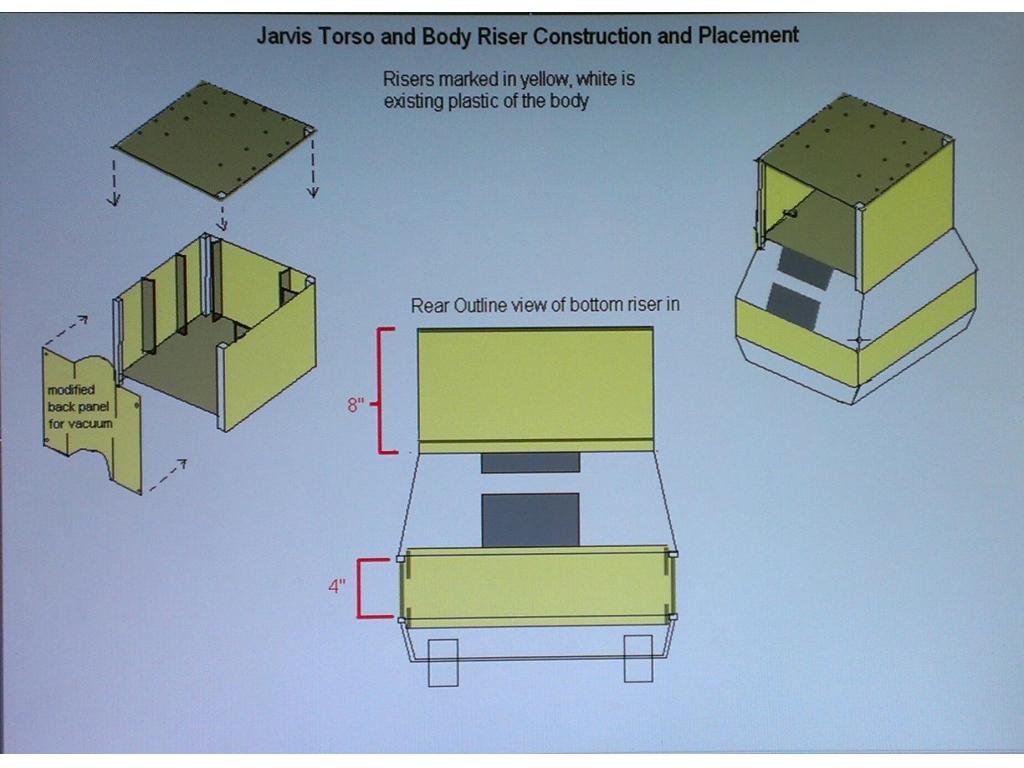
make a lid / mount for lower riser , also make one for upper riser
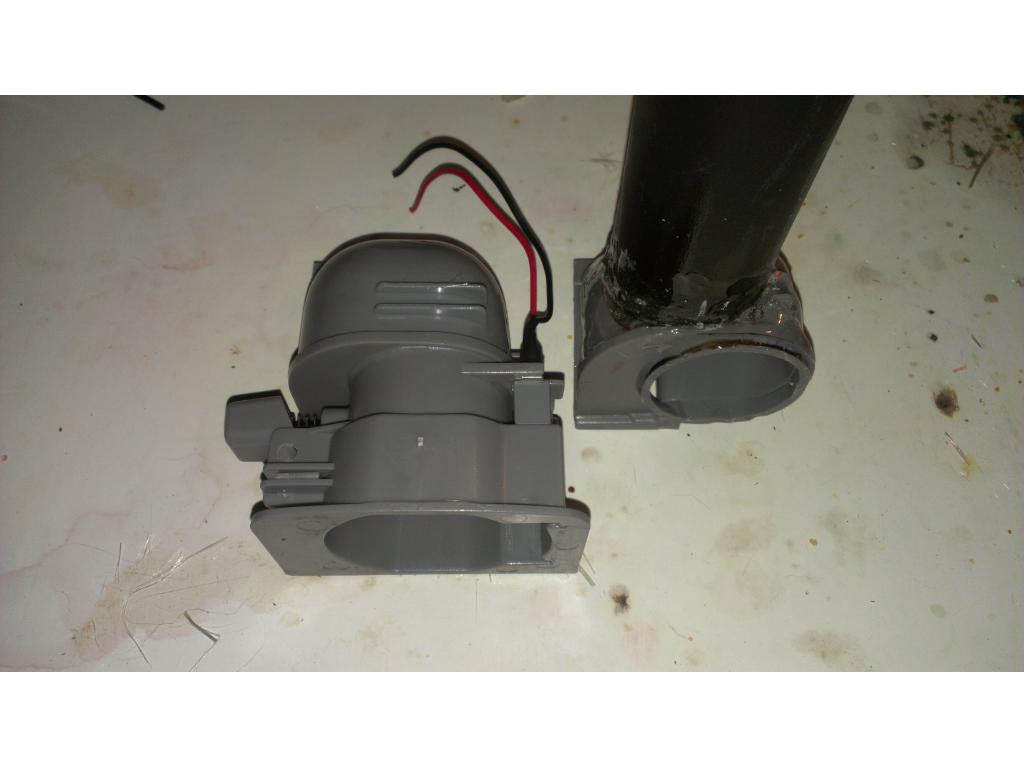
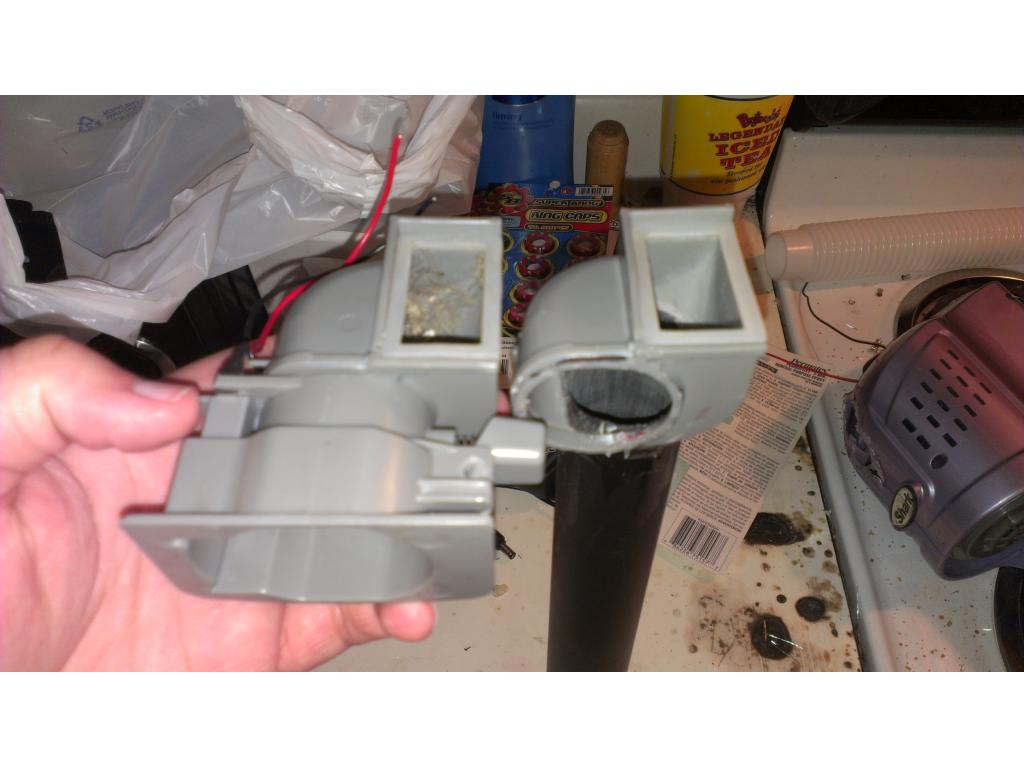
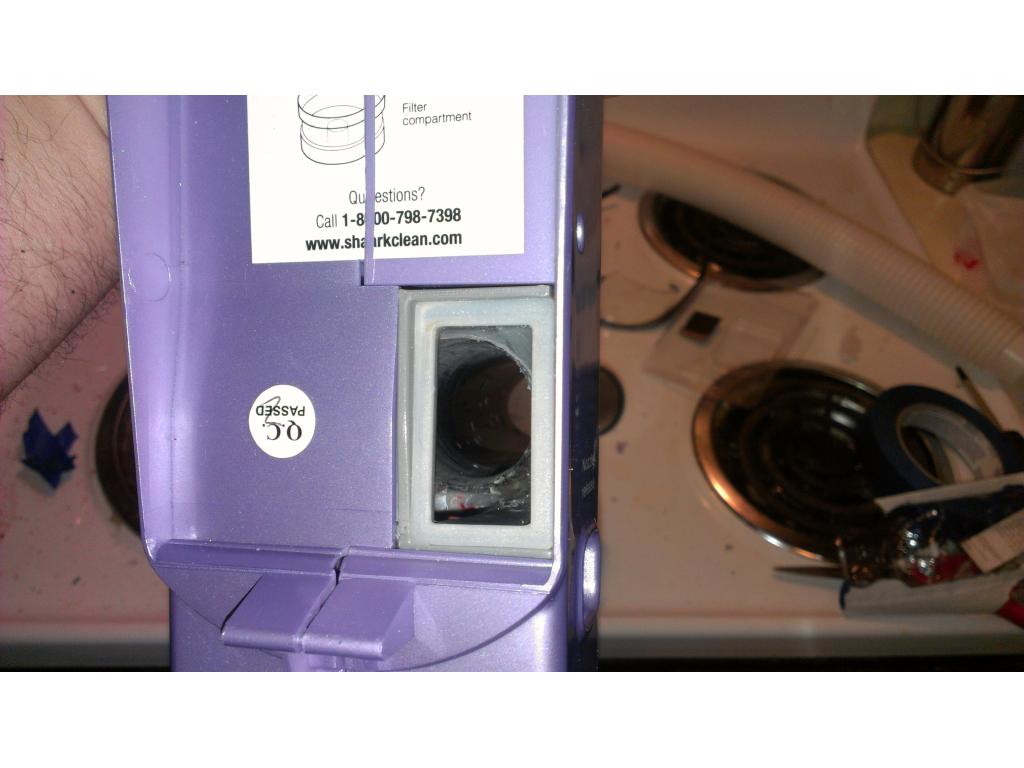
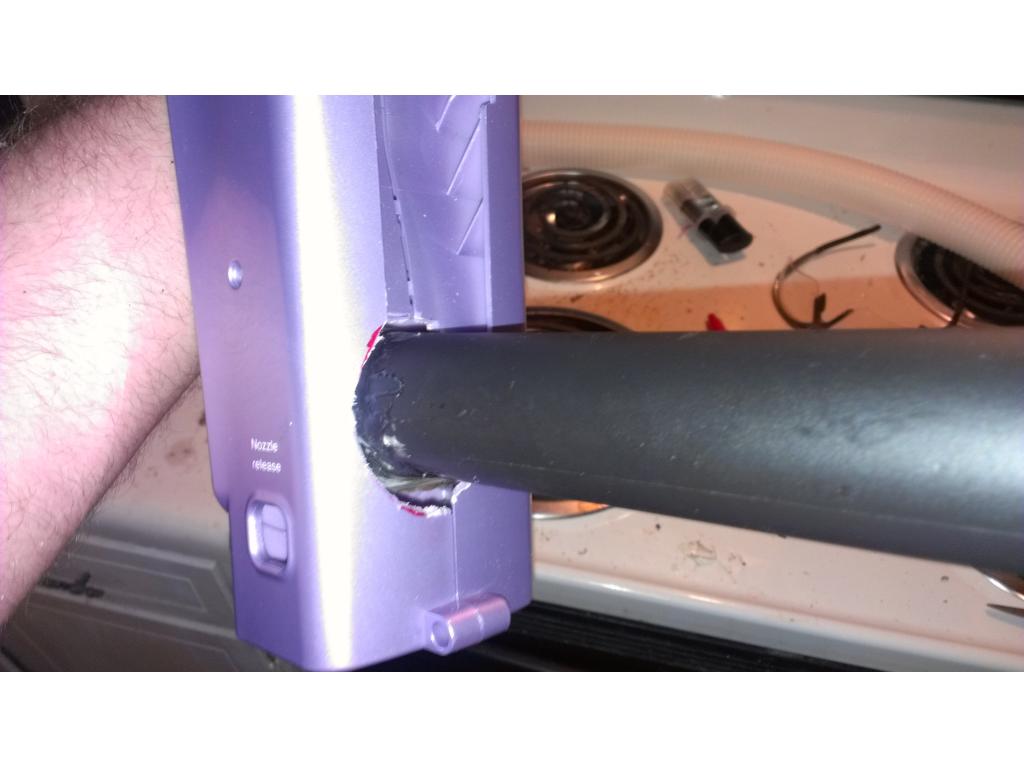
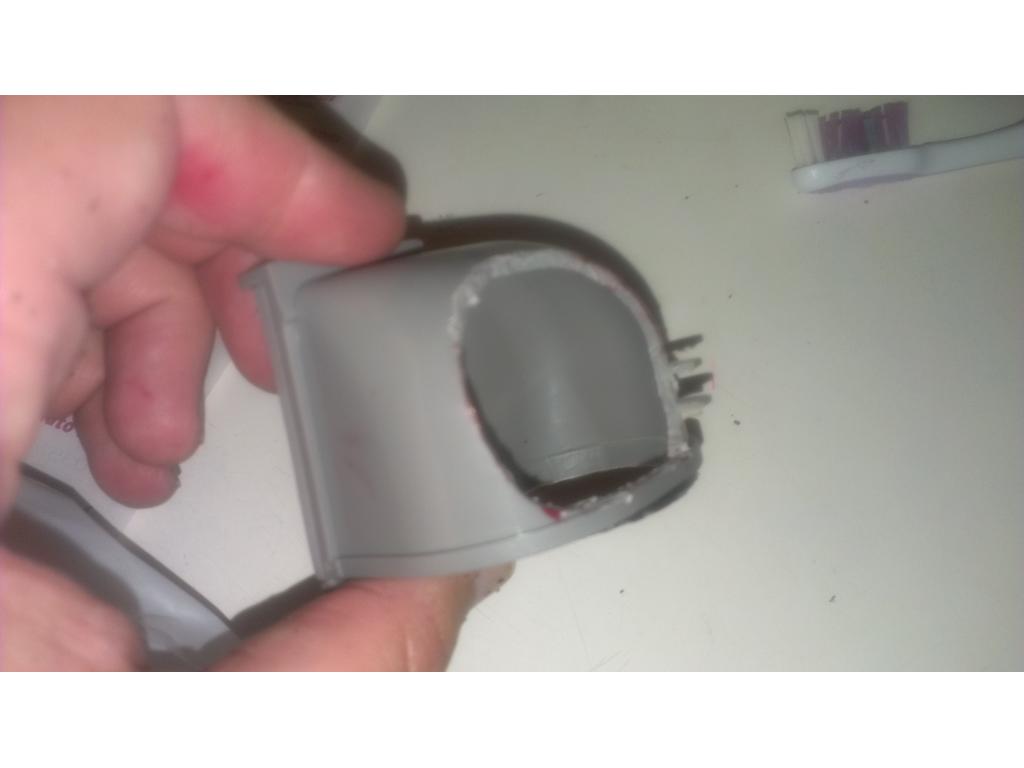
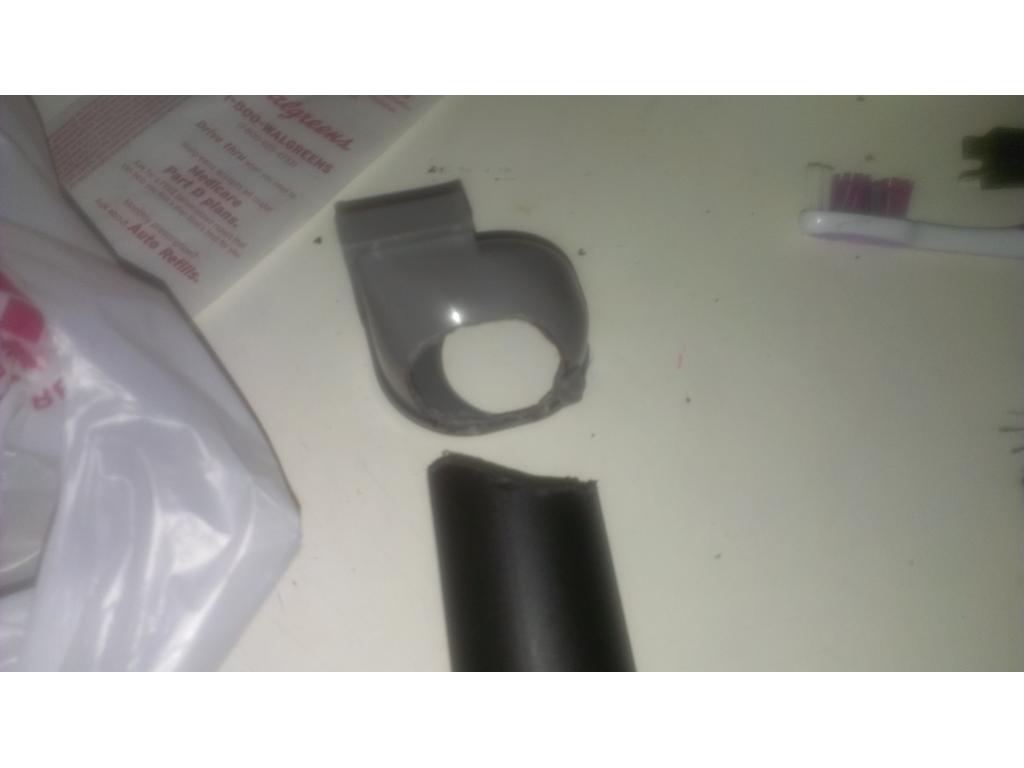
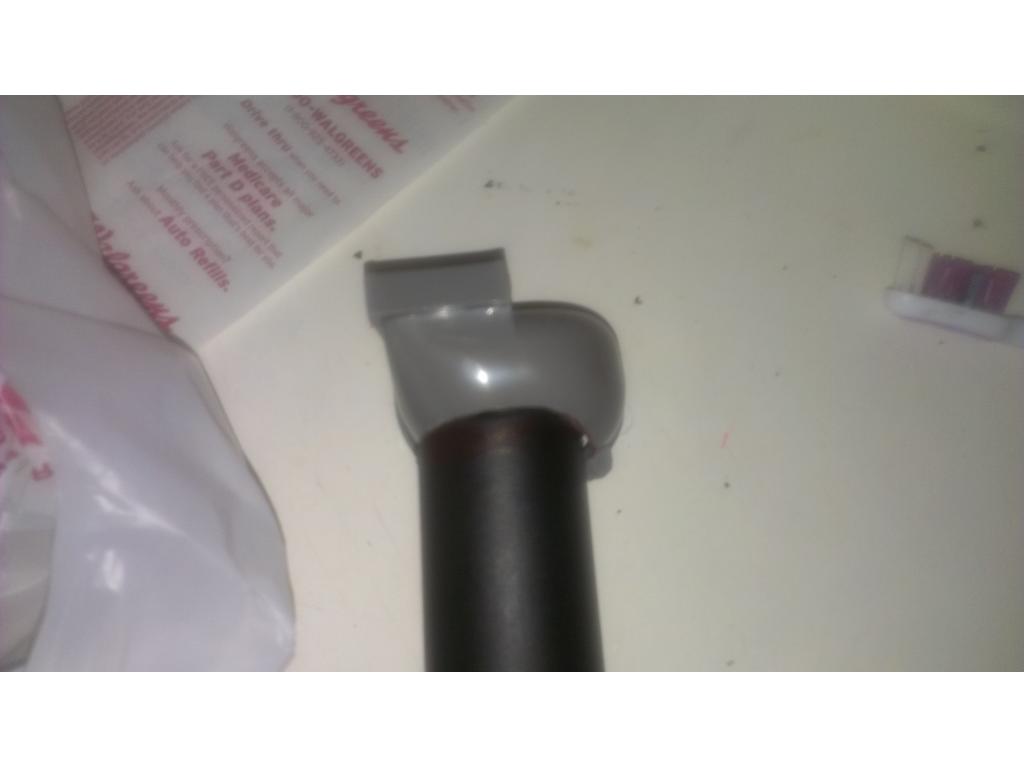
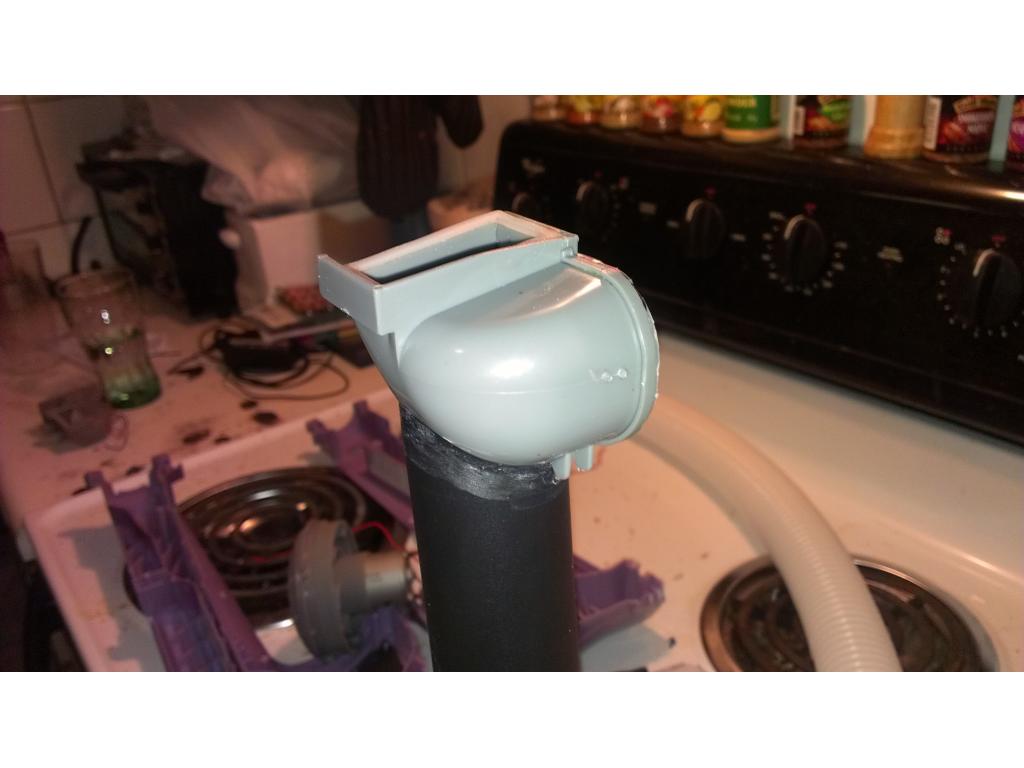
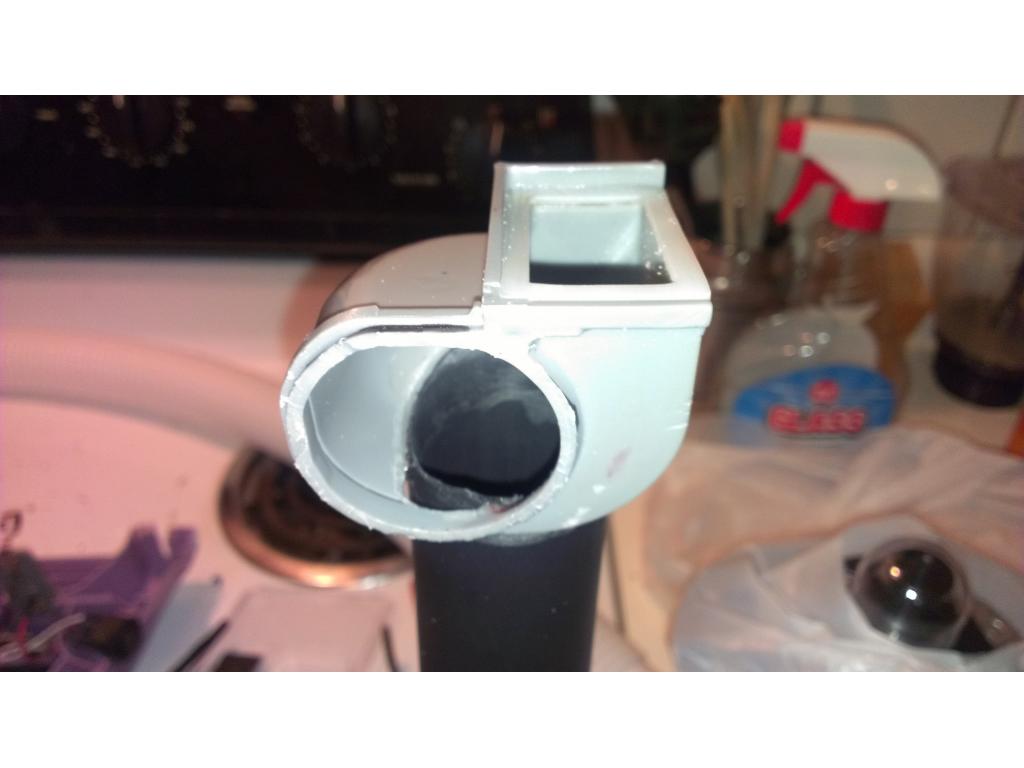
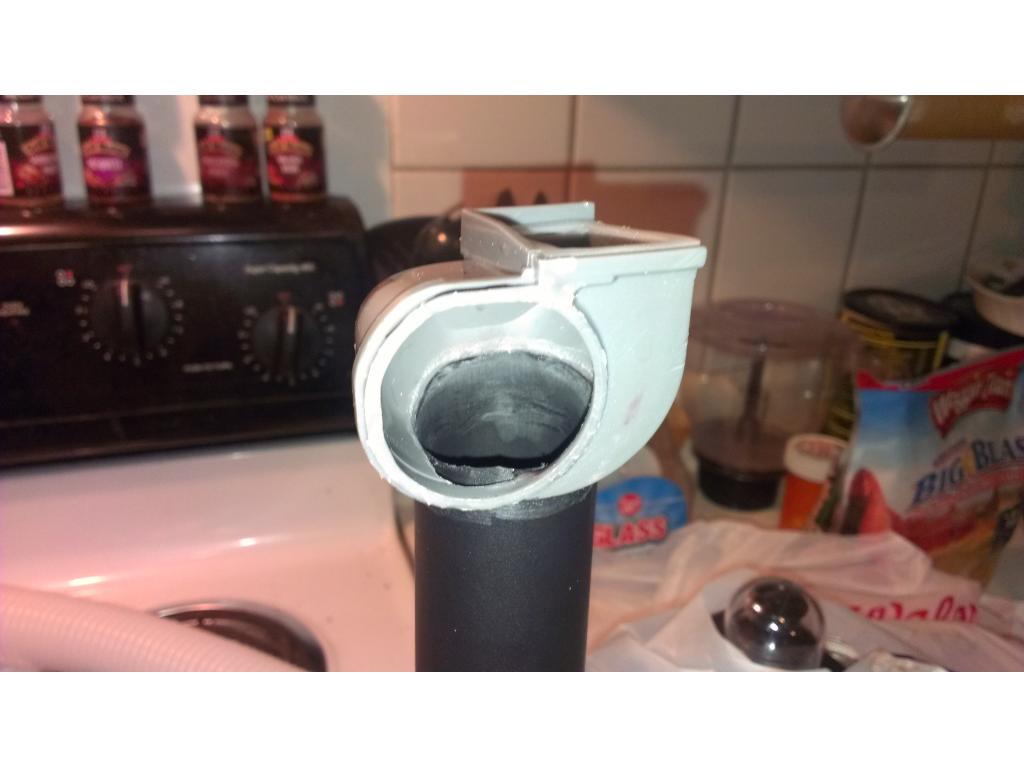
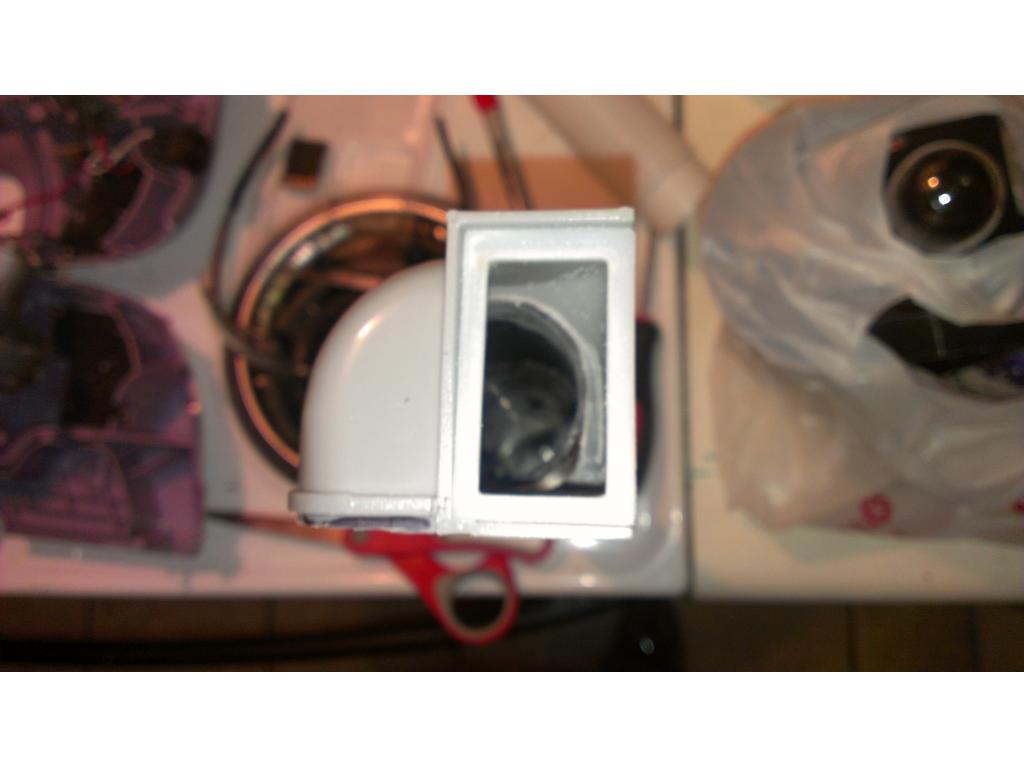
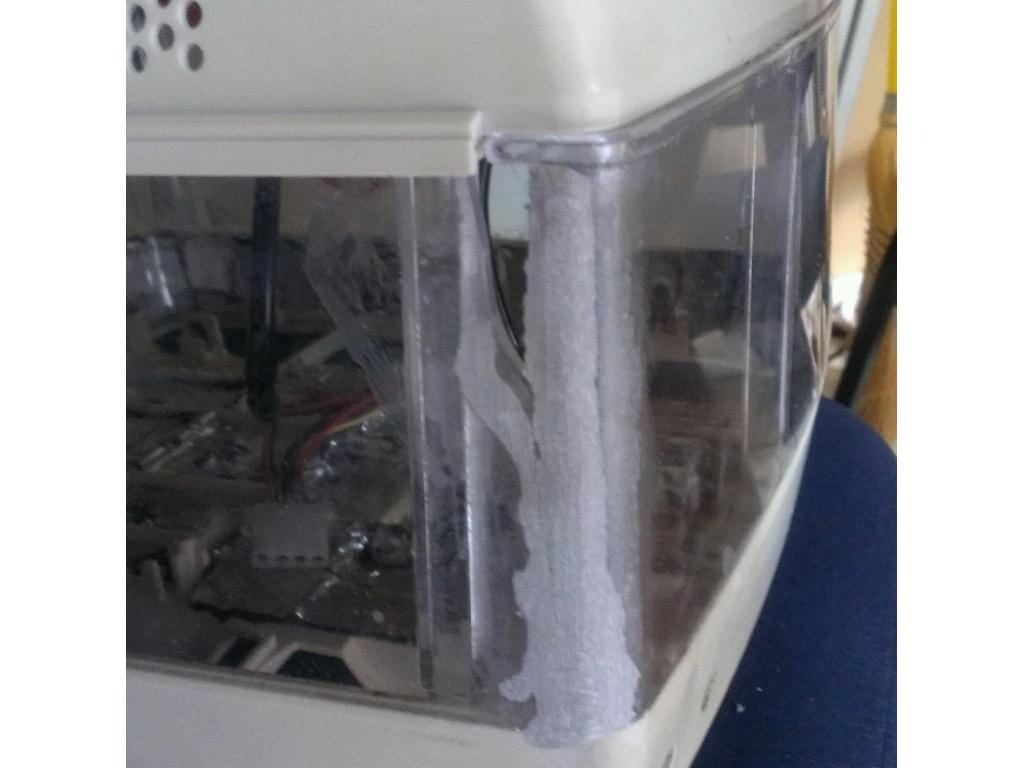
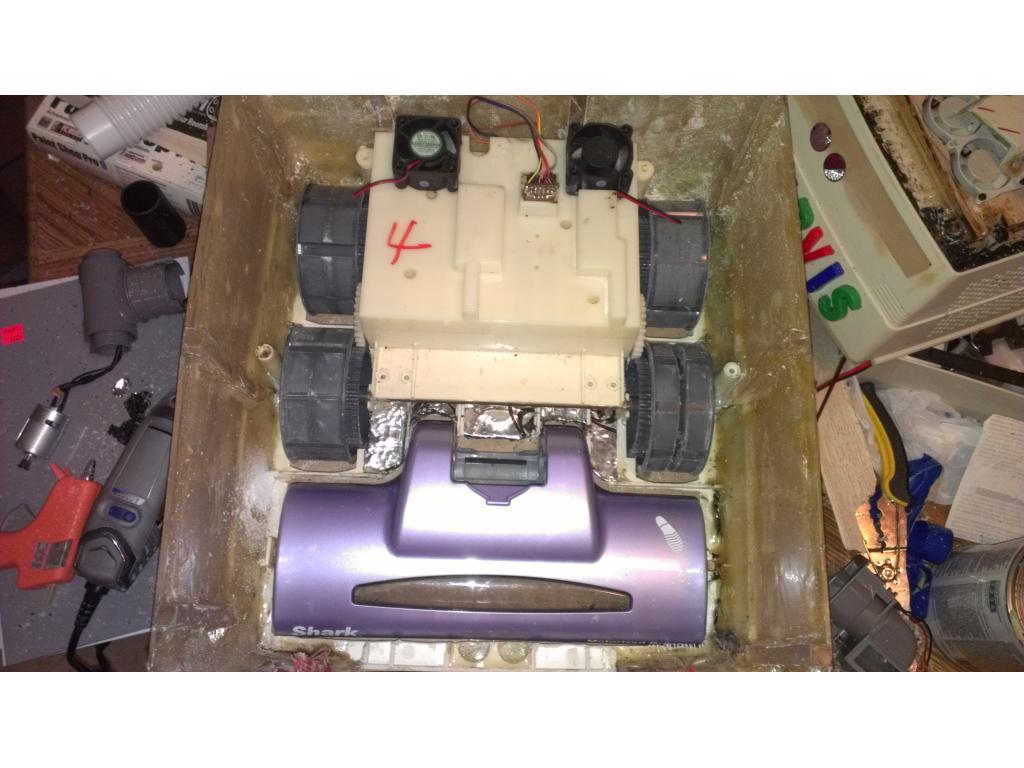
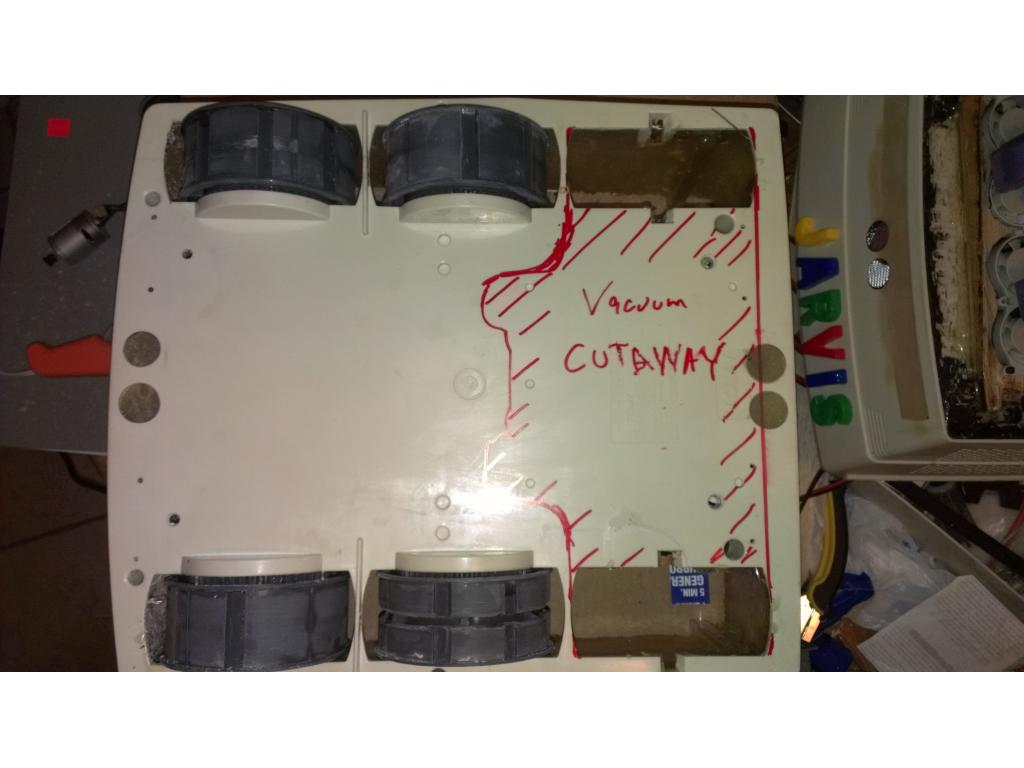
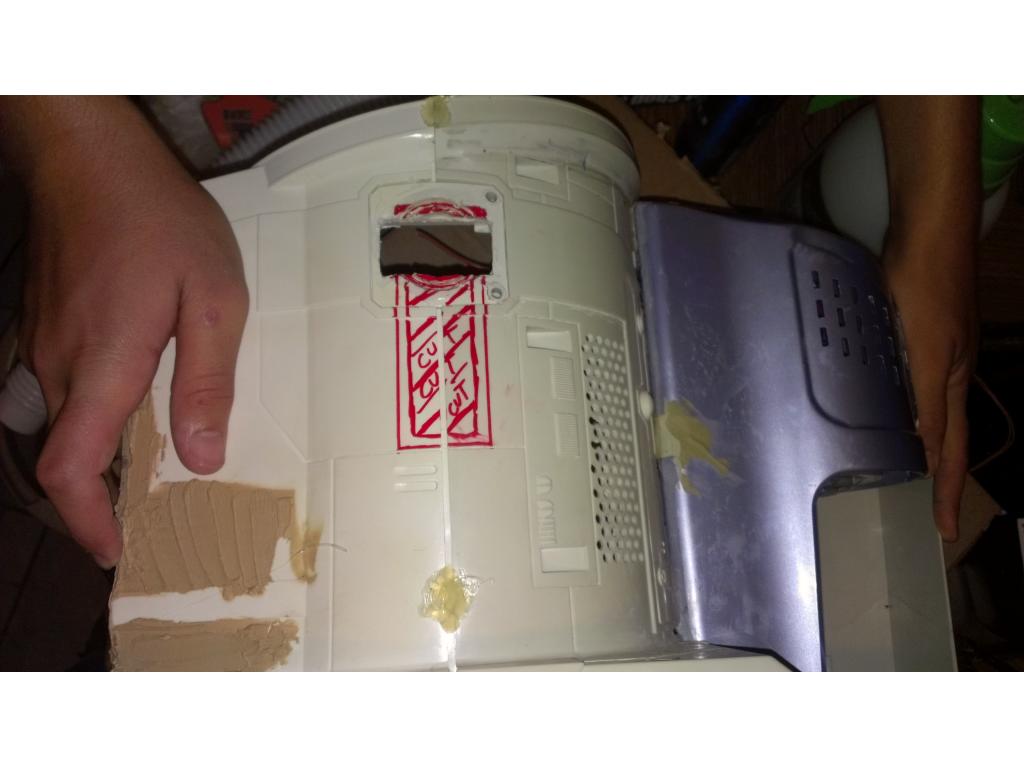
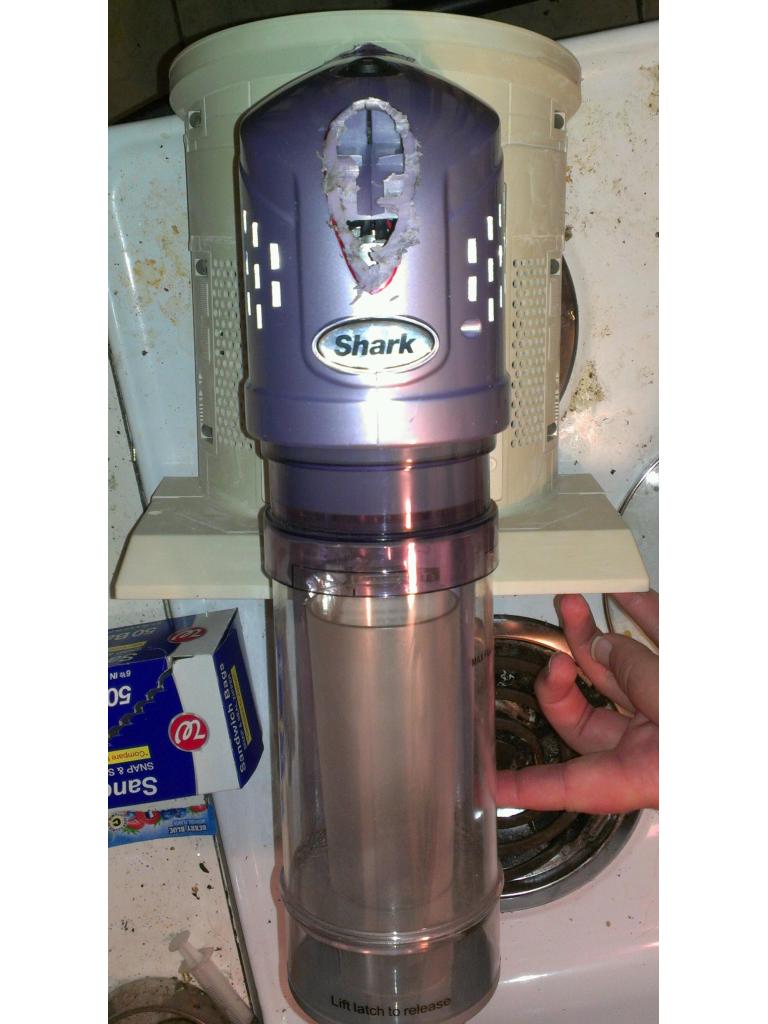
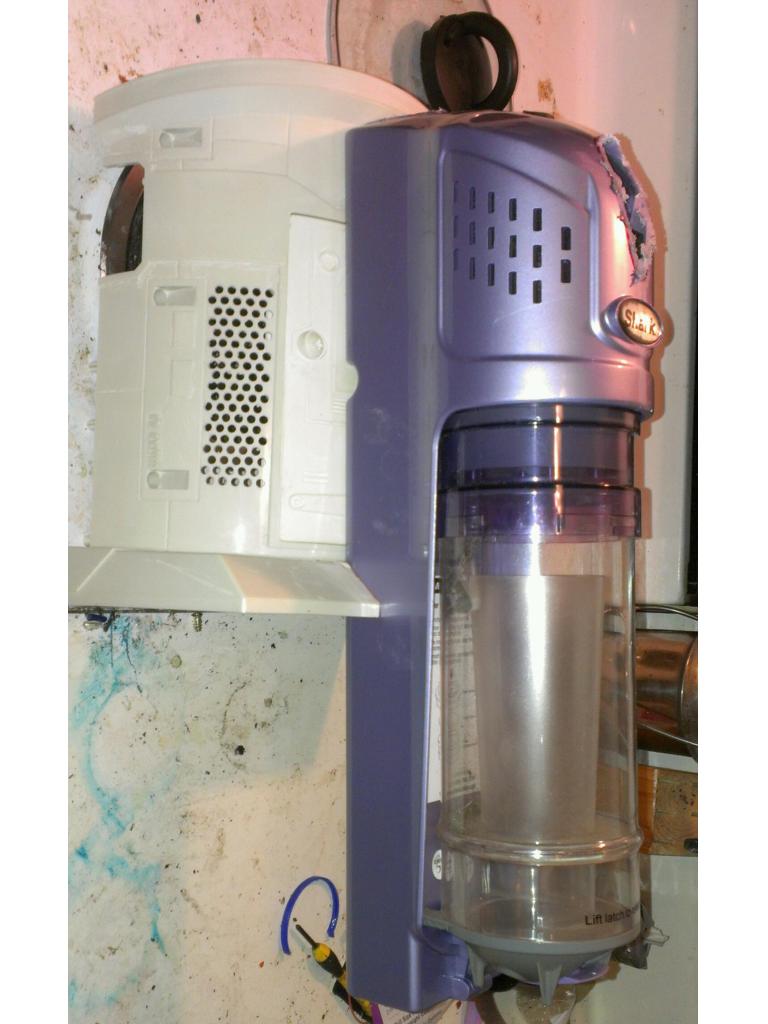
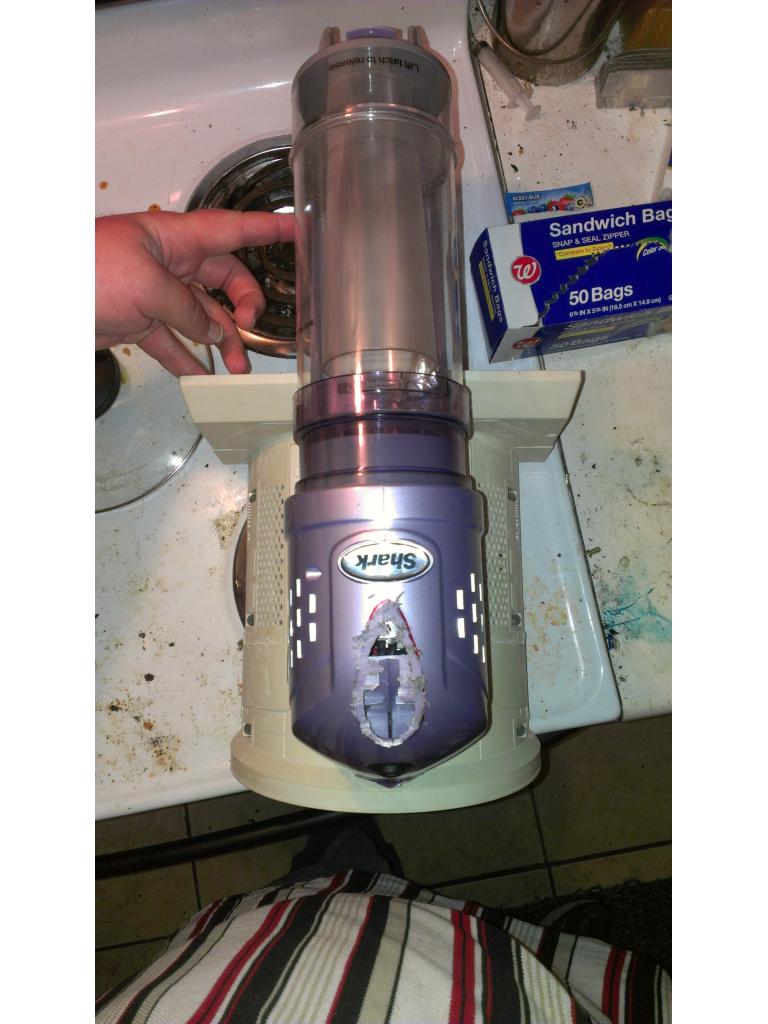
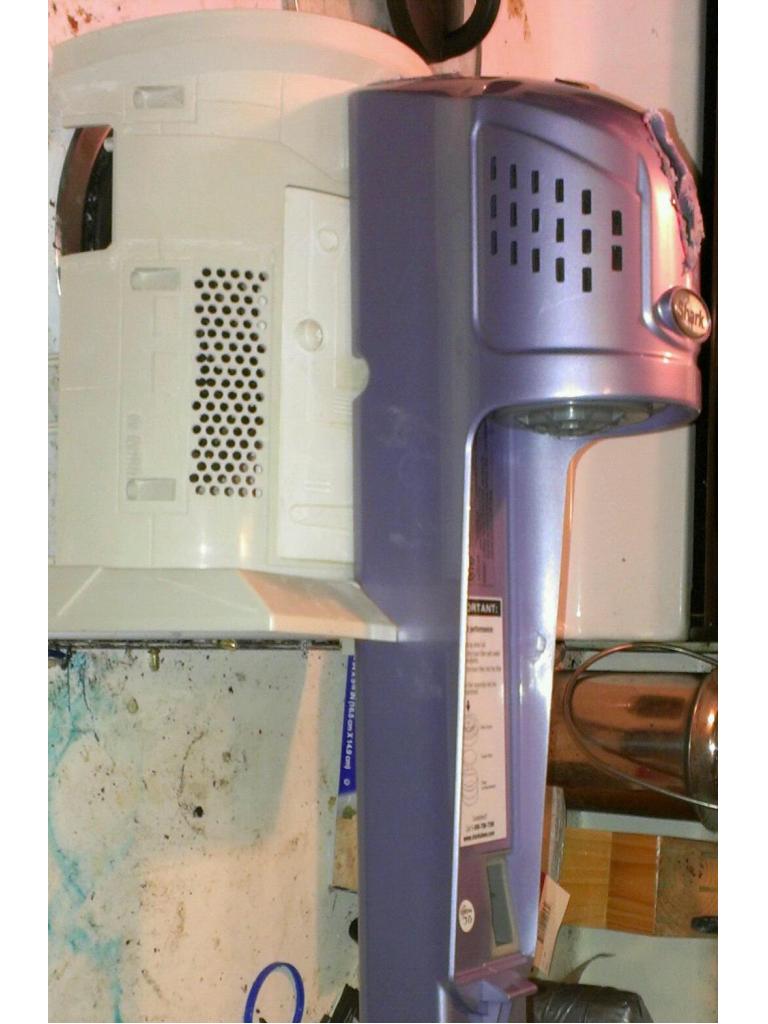
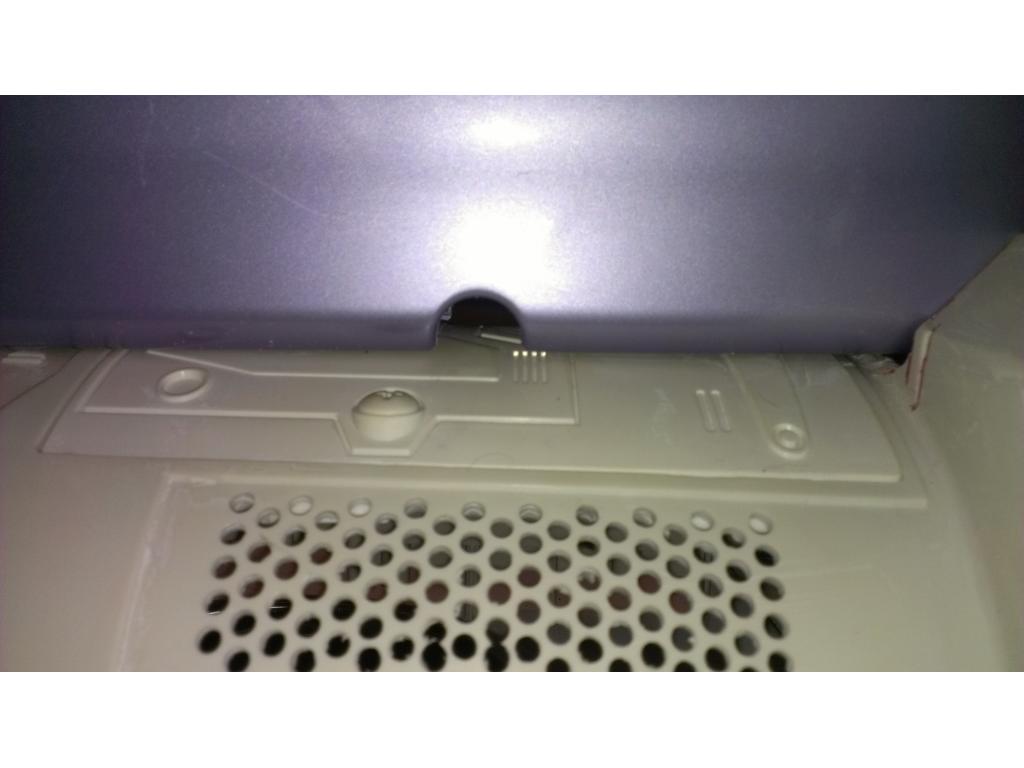
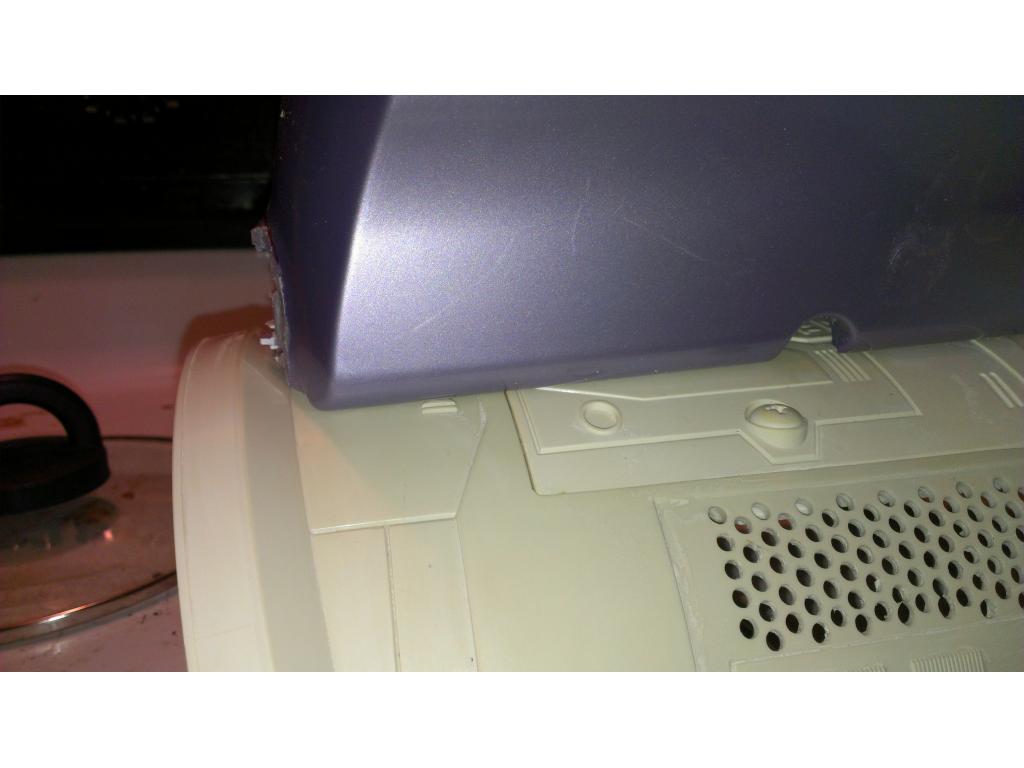
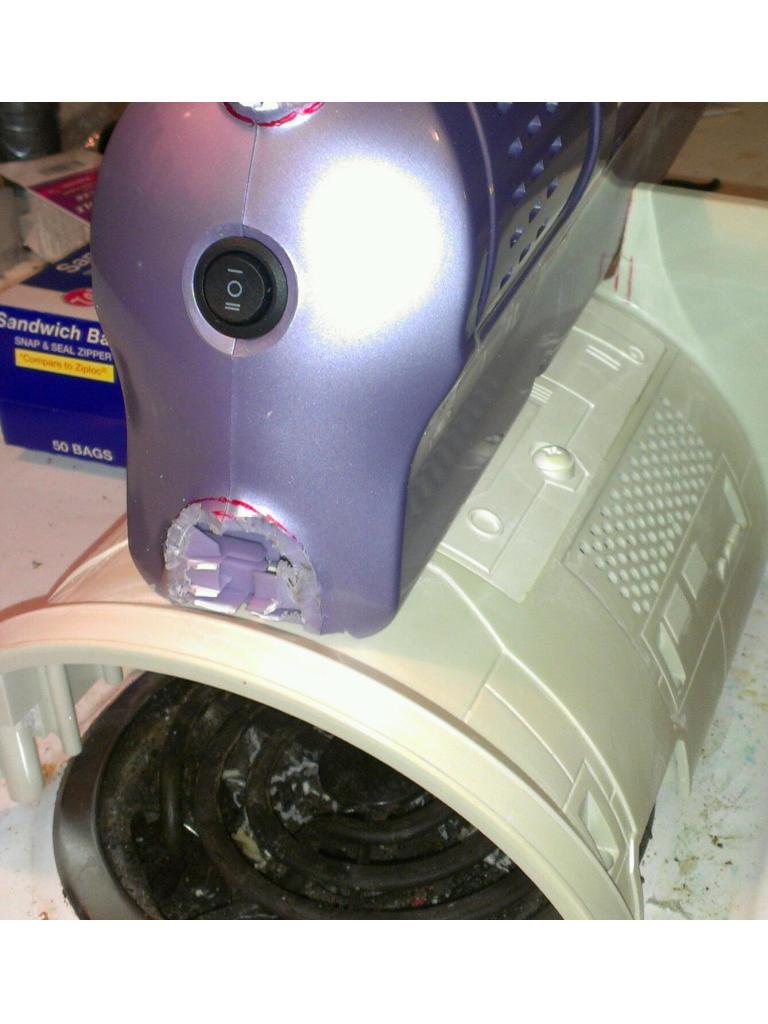
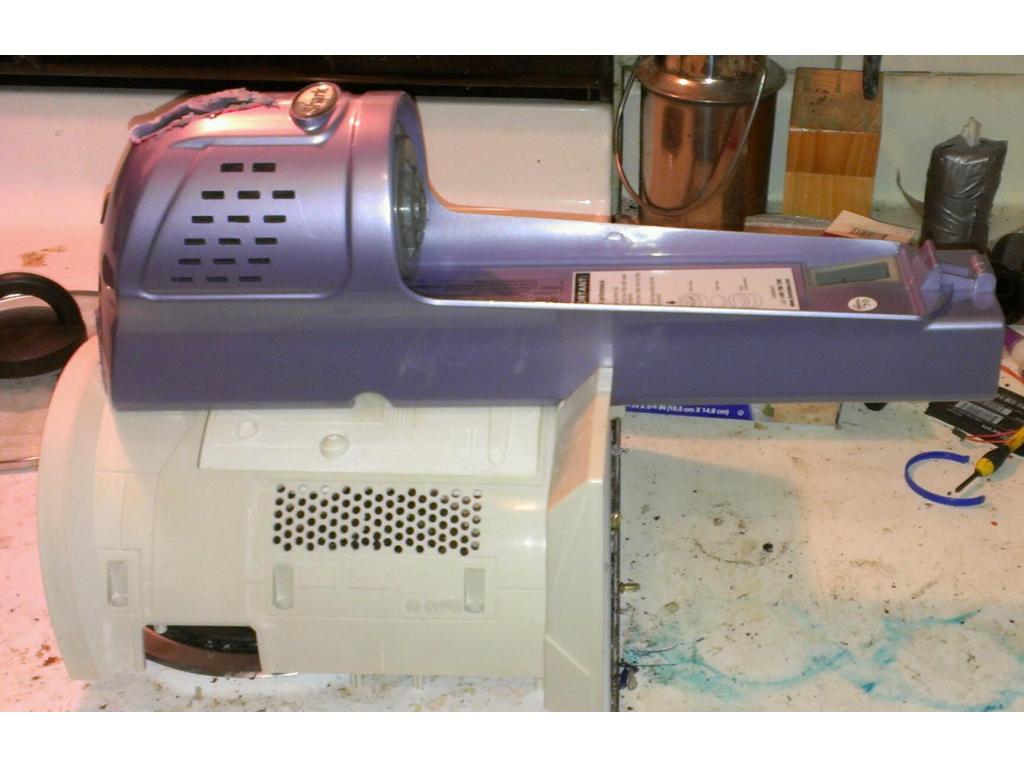
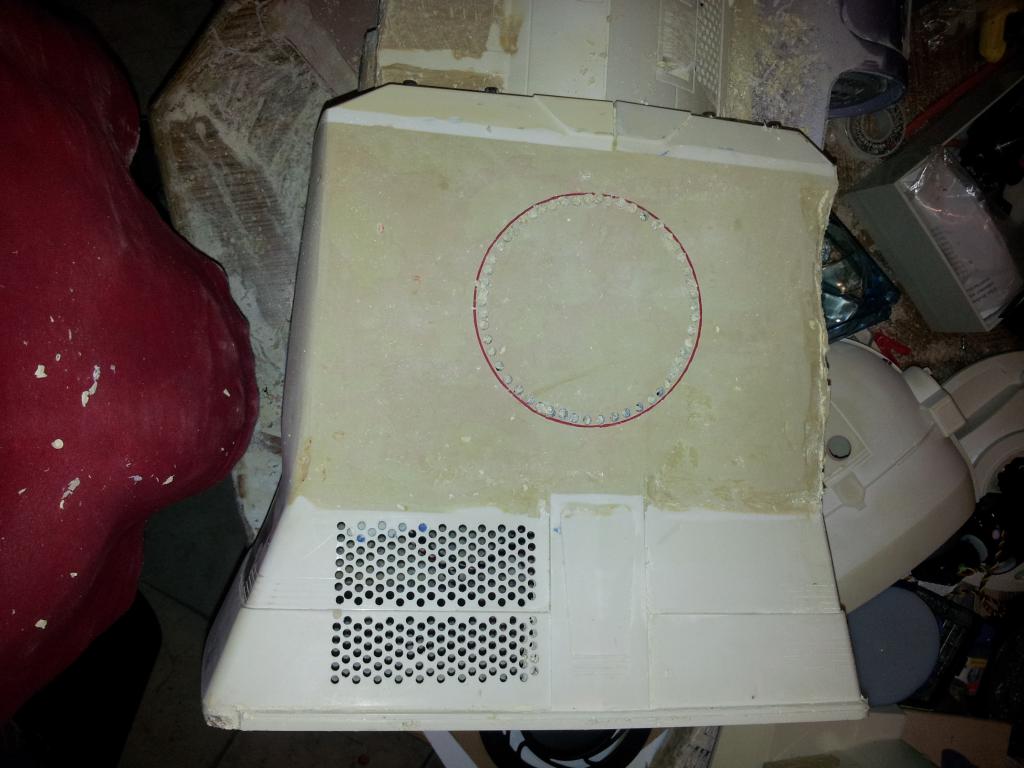
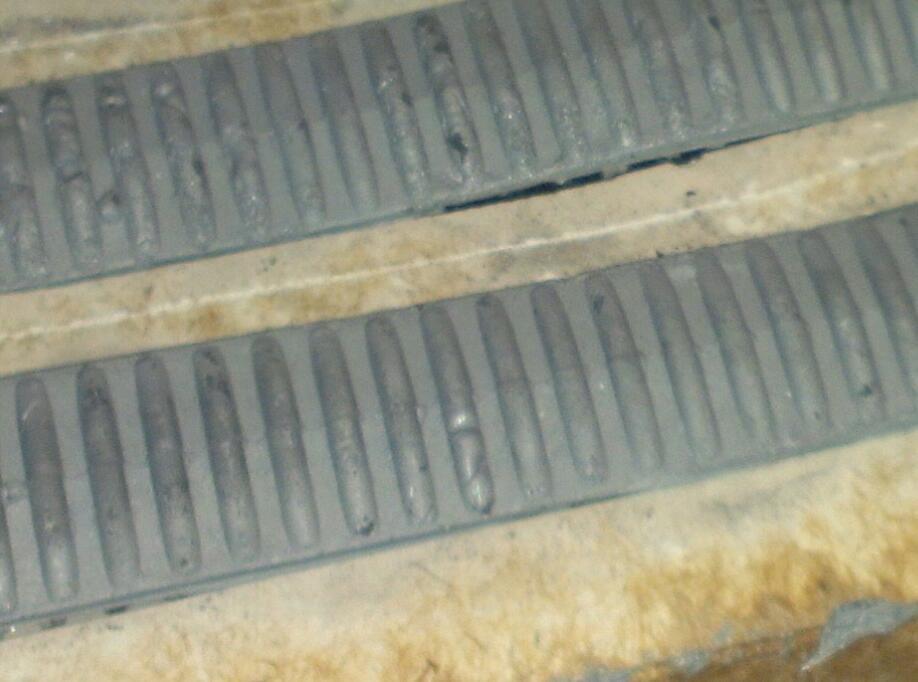
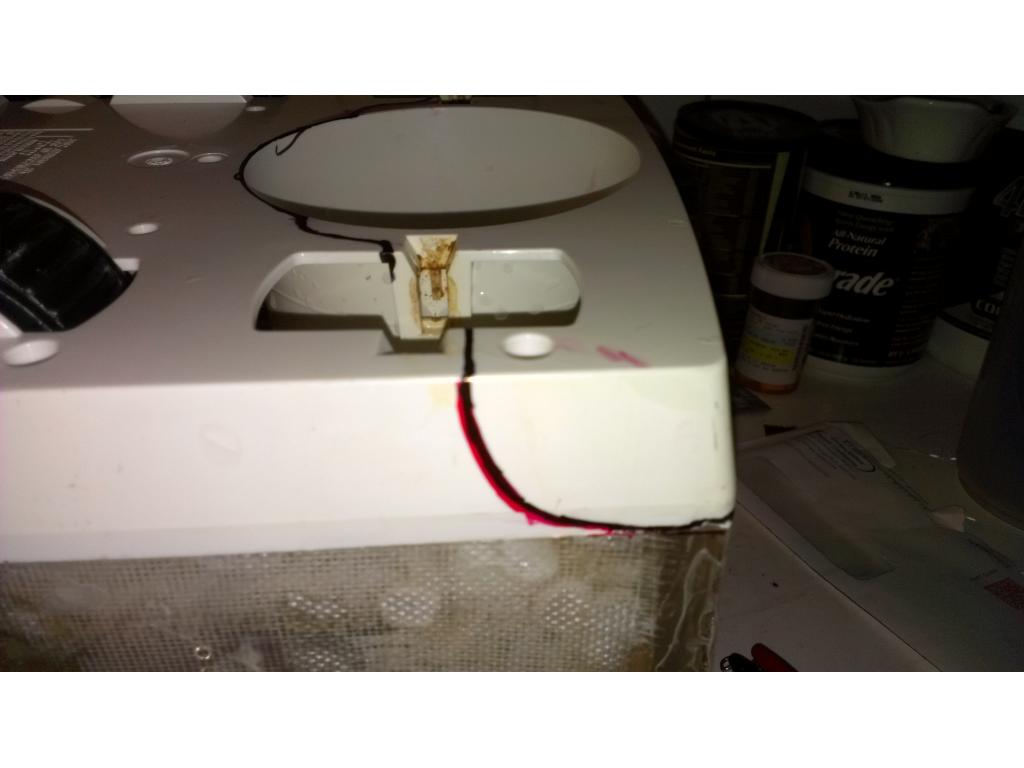
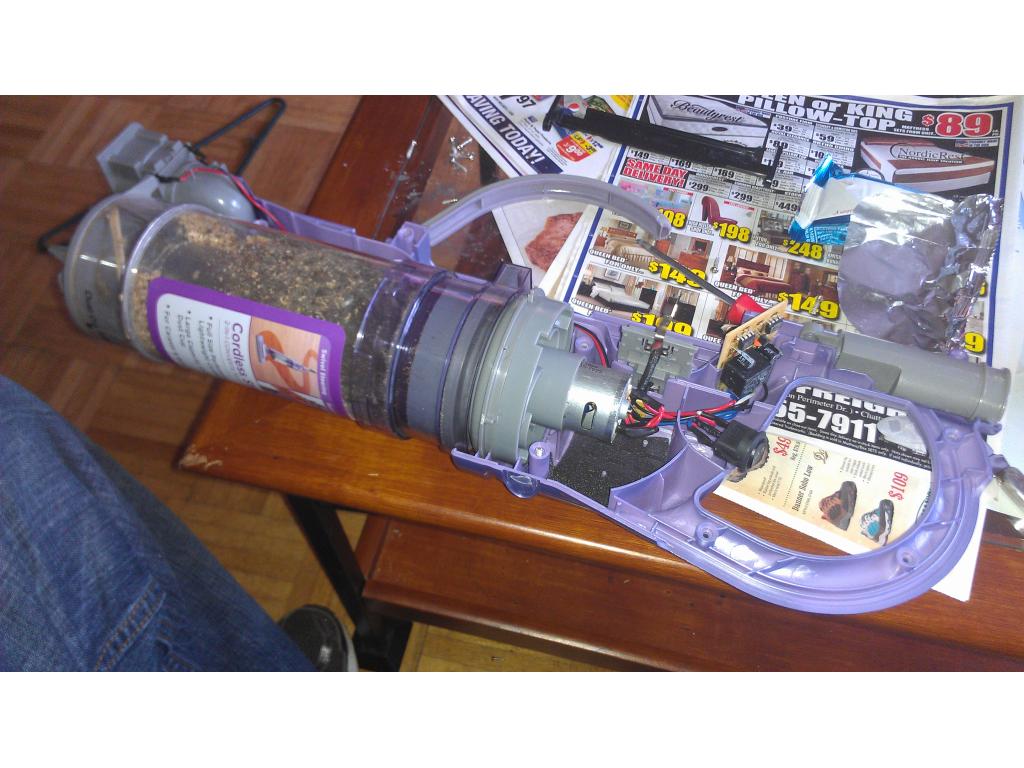
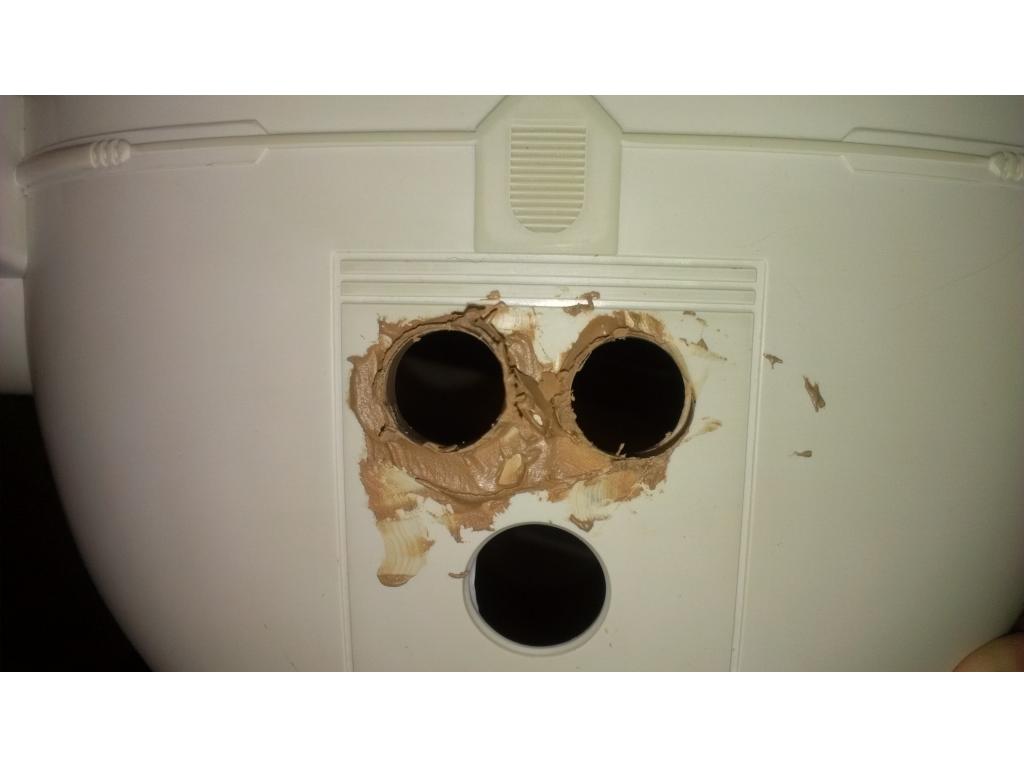
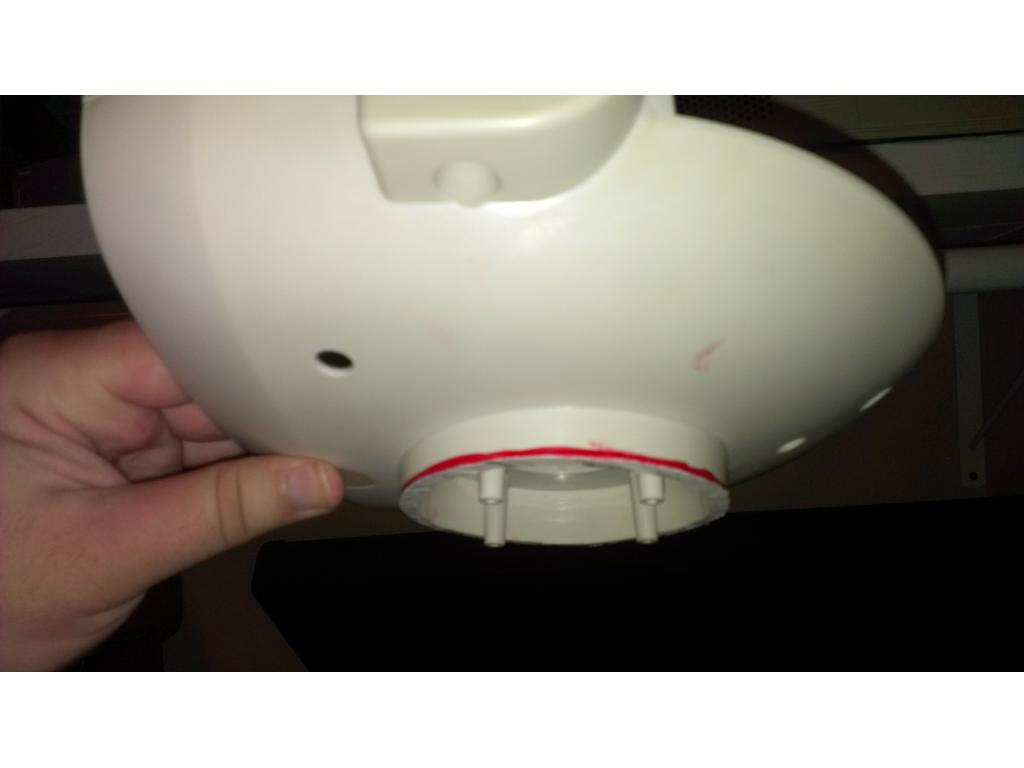
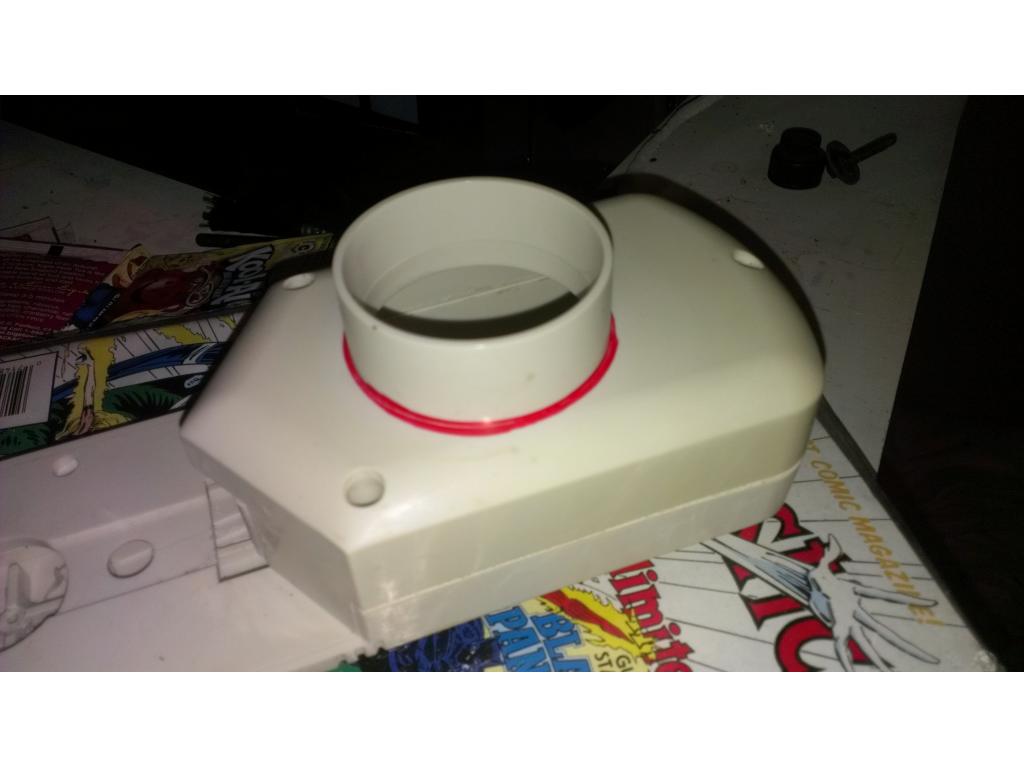
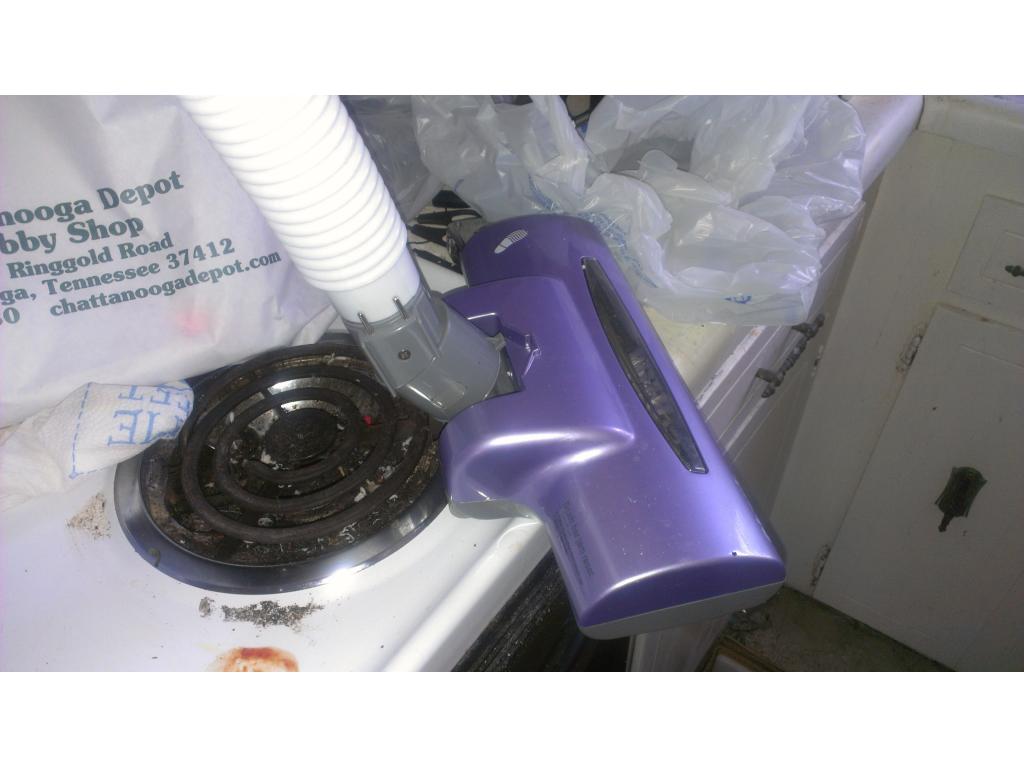
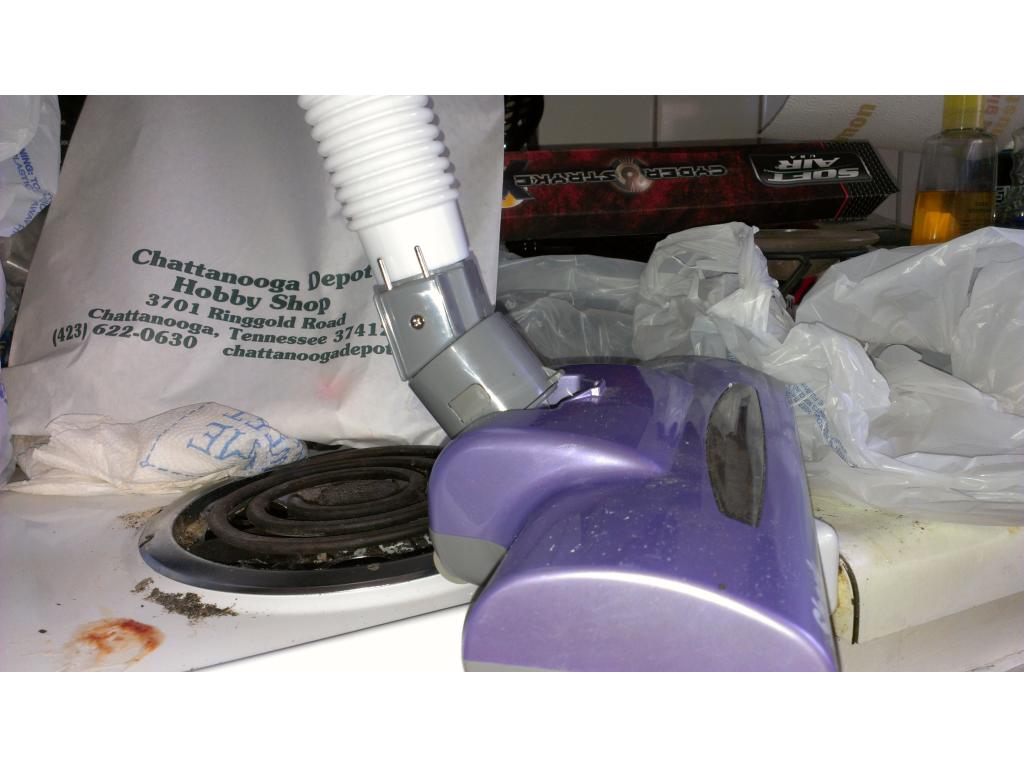
cutout the groove for vacuum then make a back door
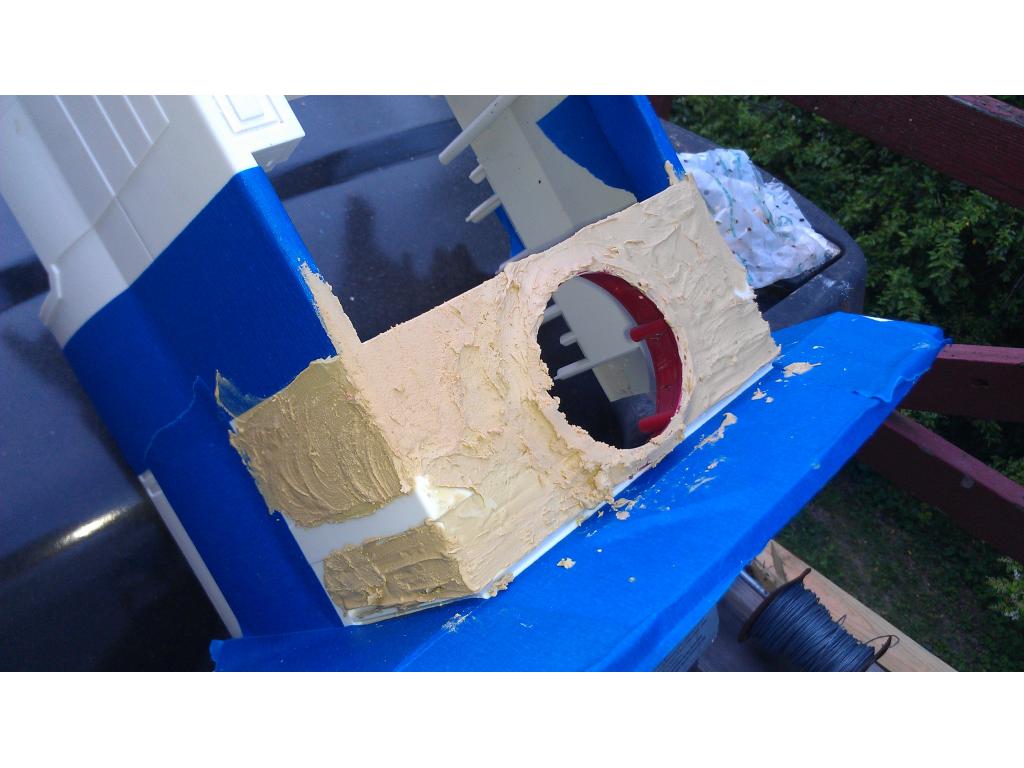
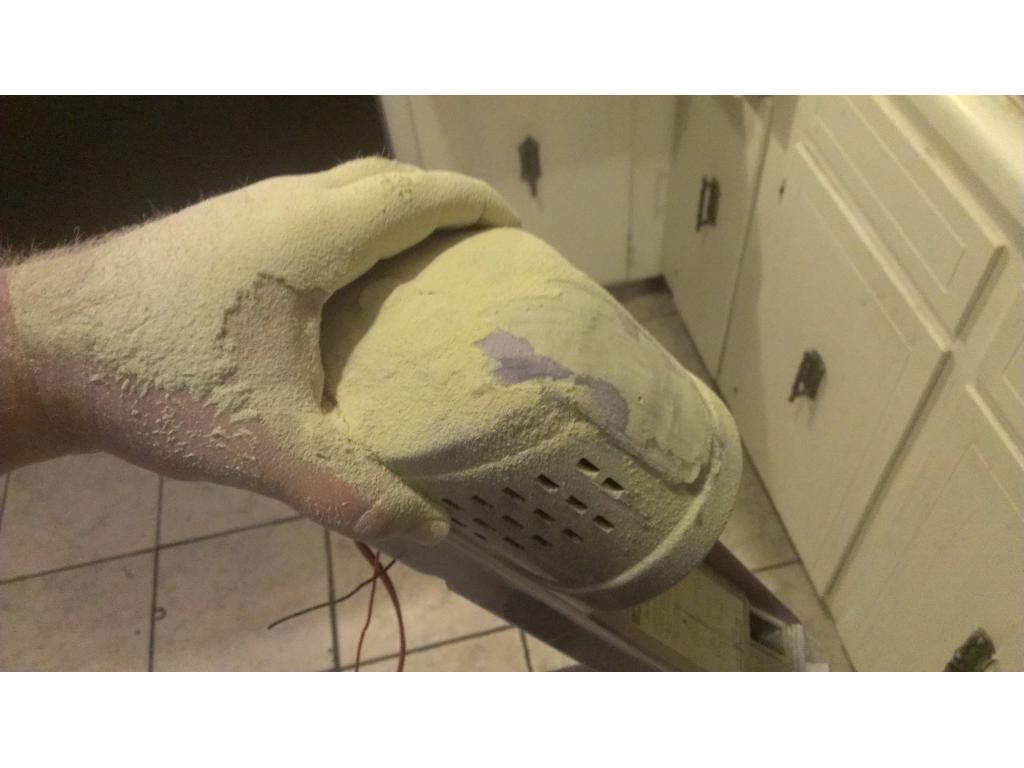
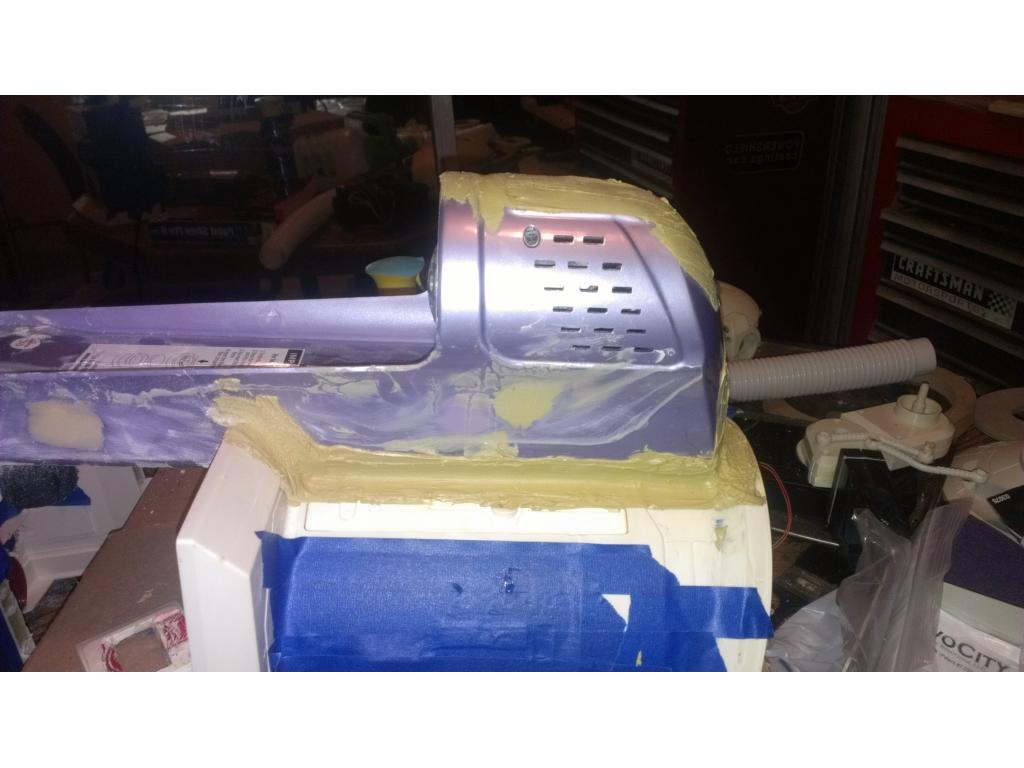
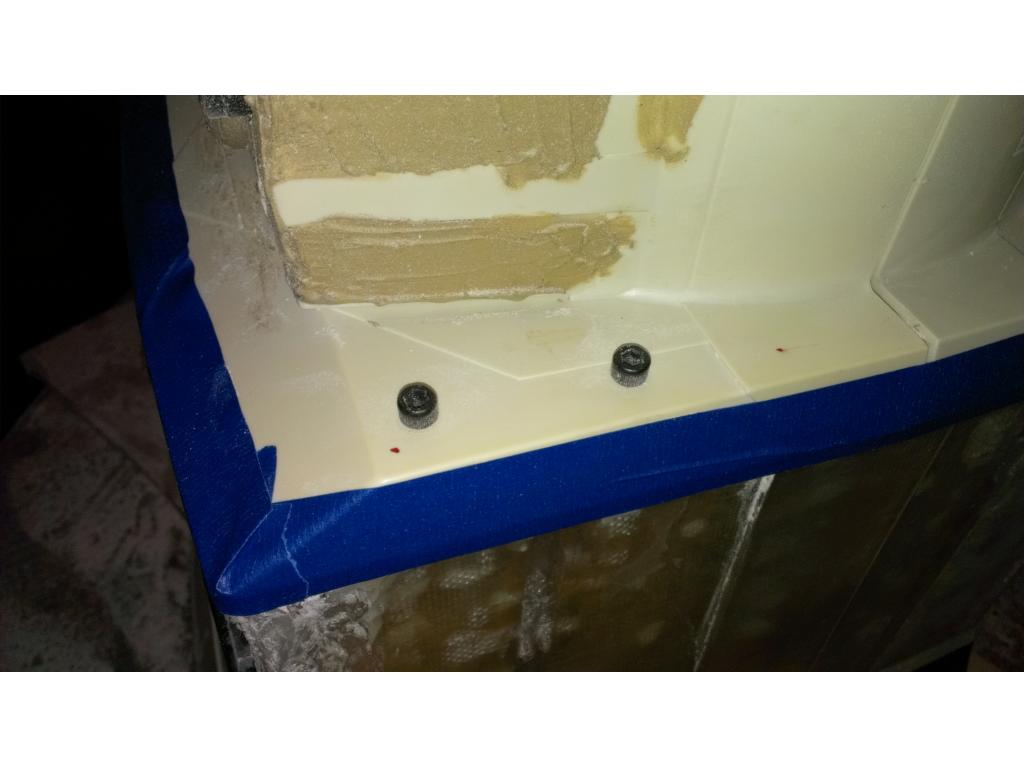
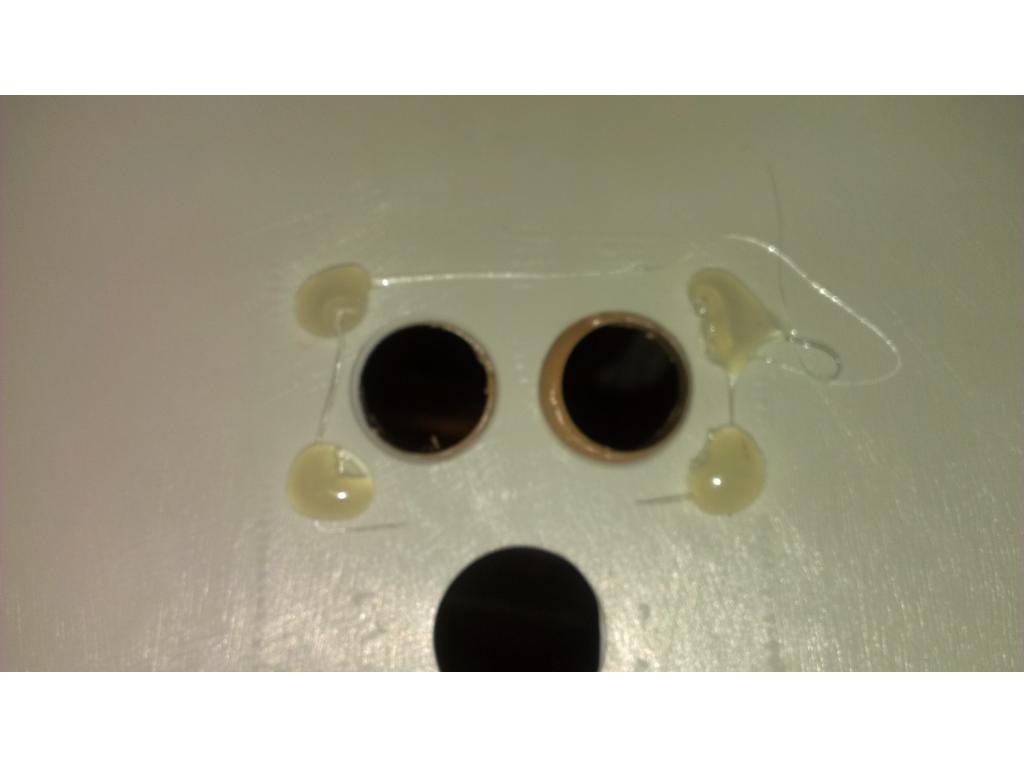
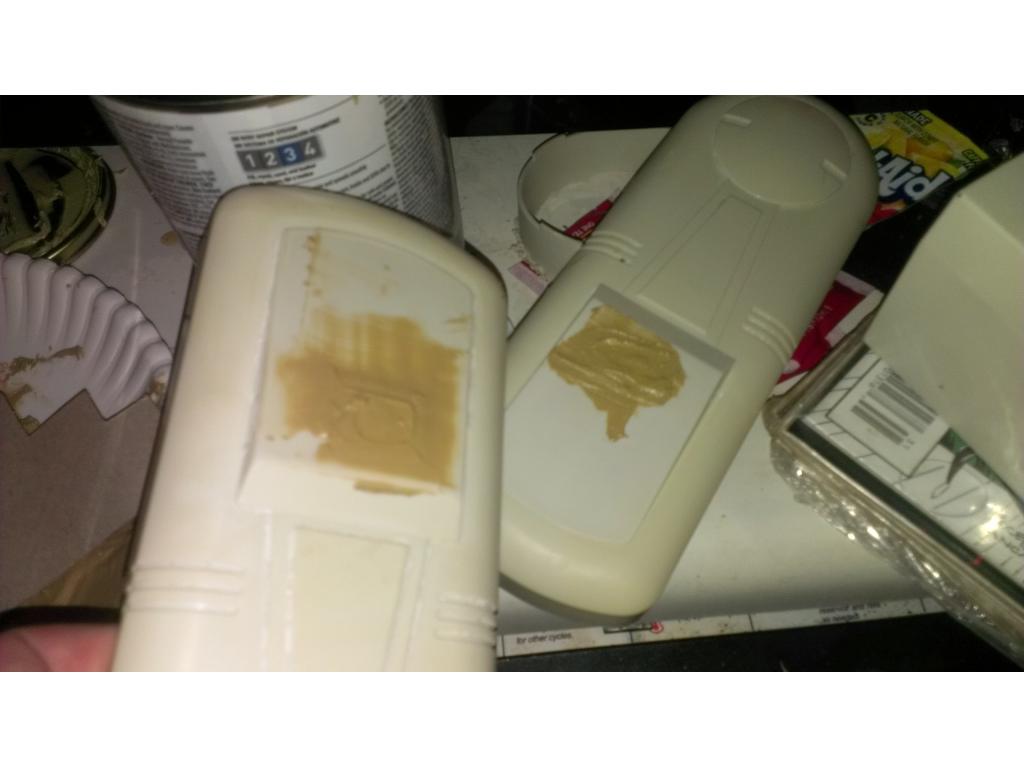
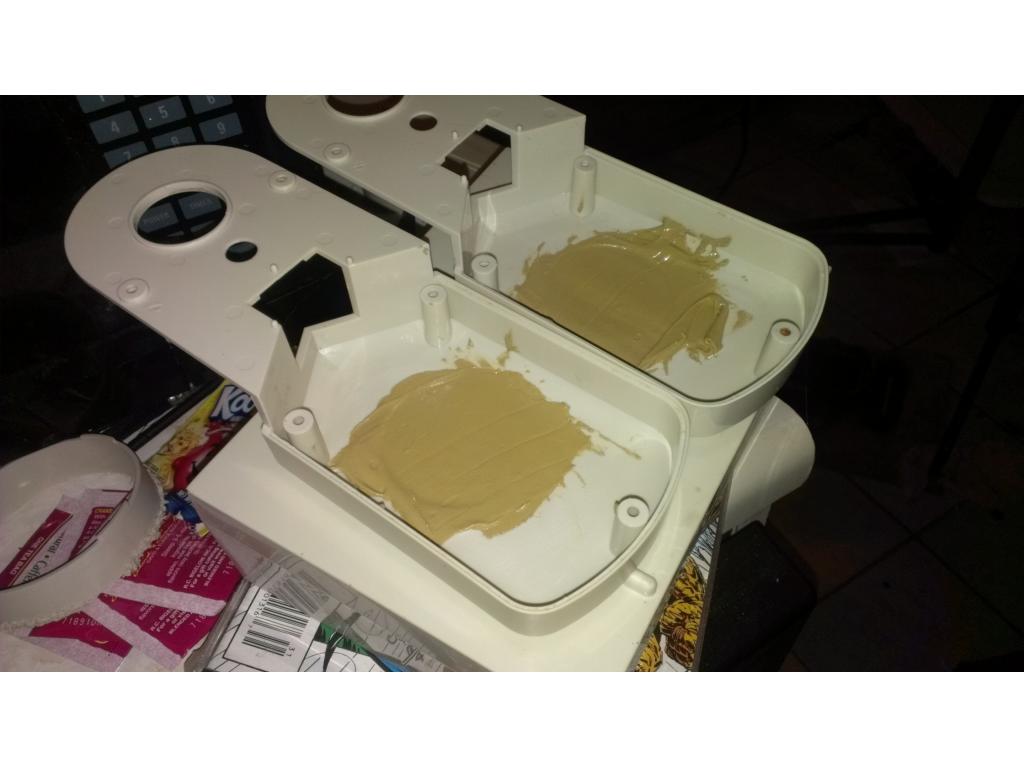
fill with bondo body filler the edge grooves and smooth them out
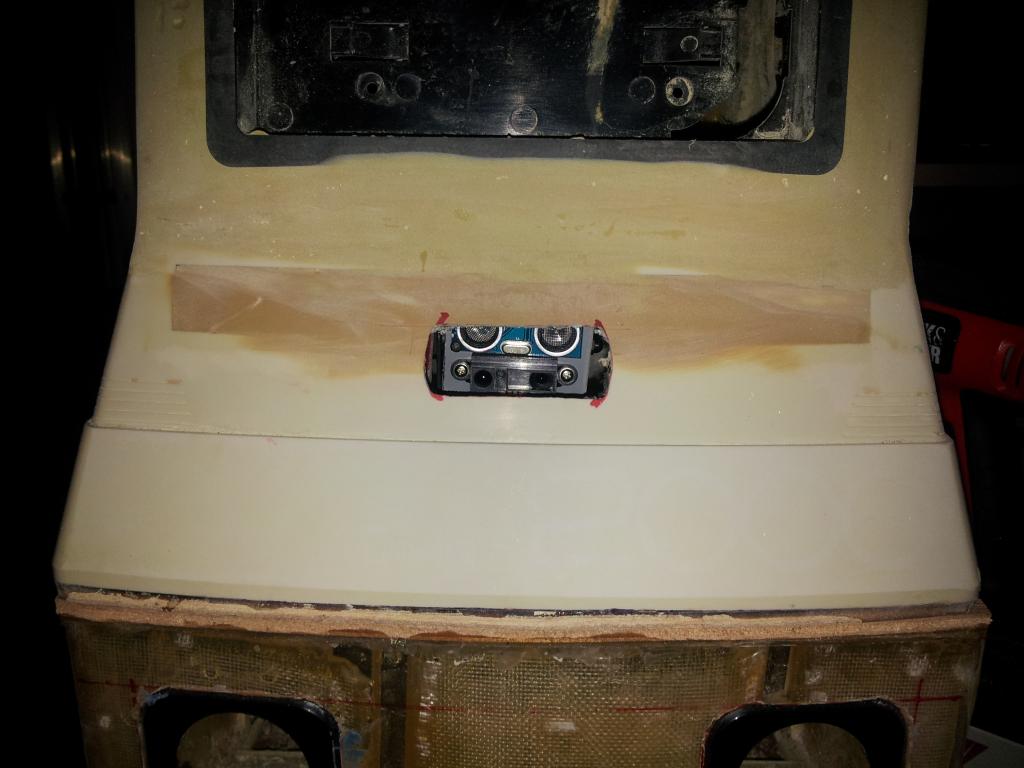
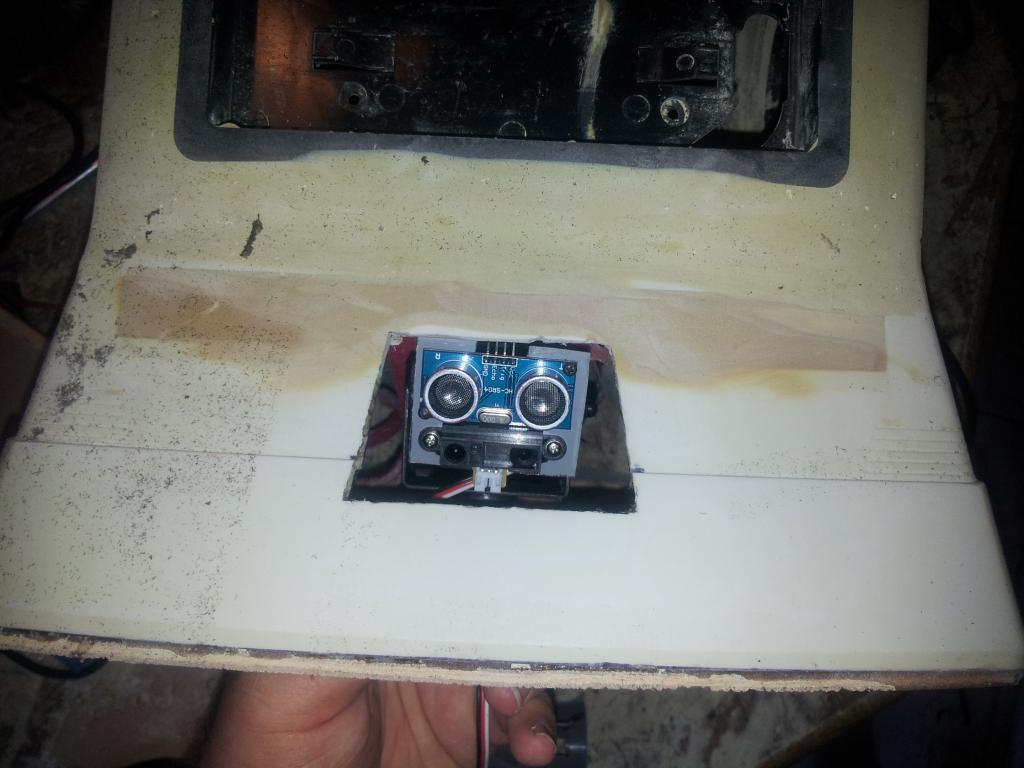
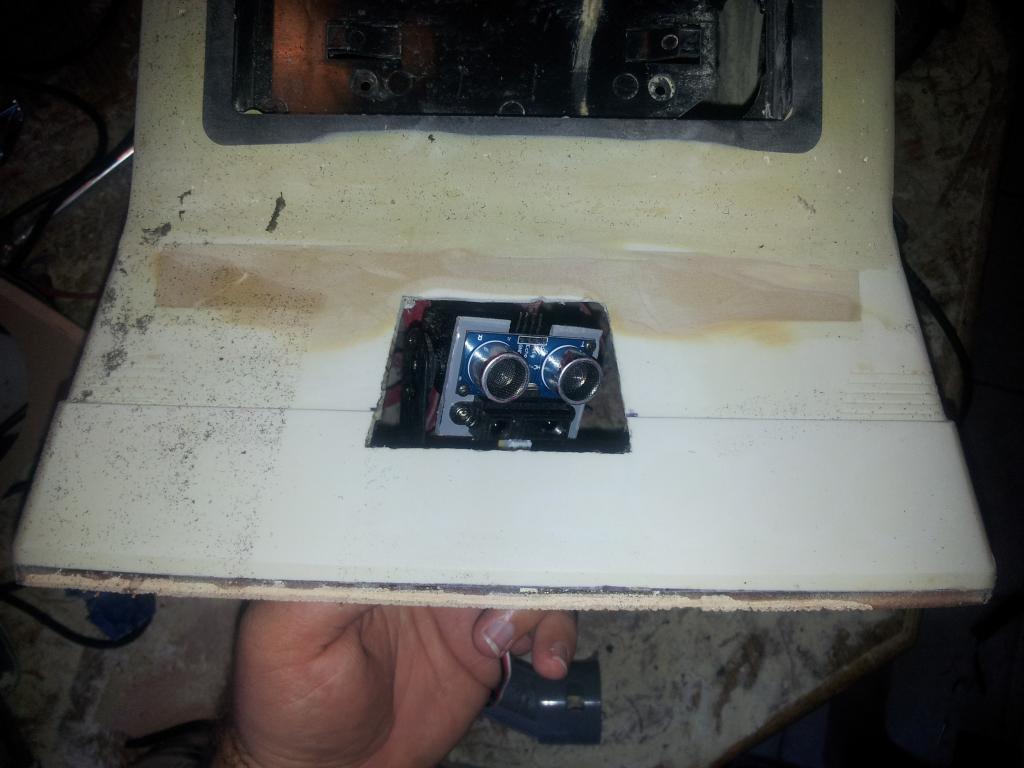
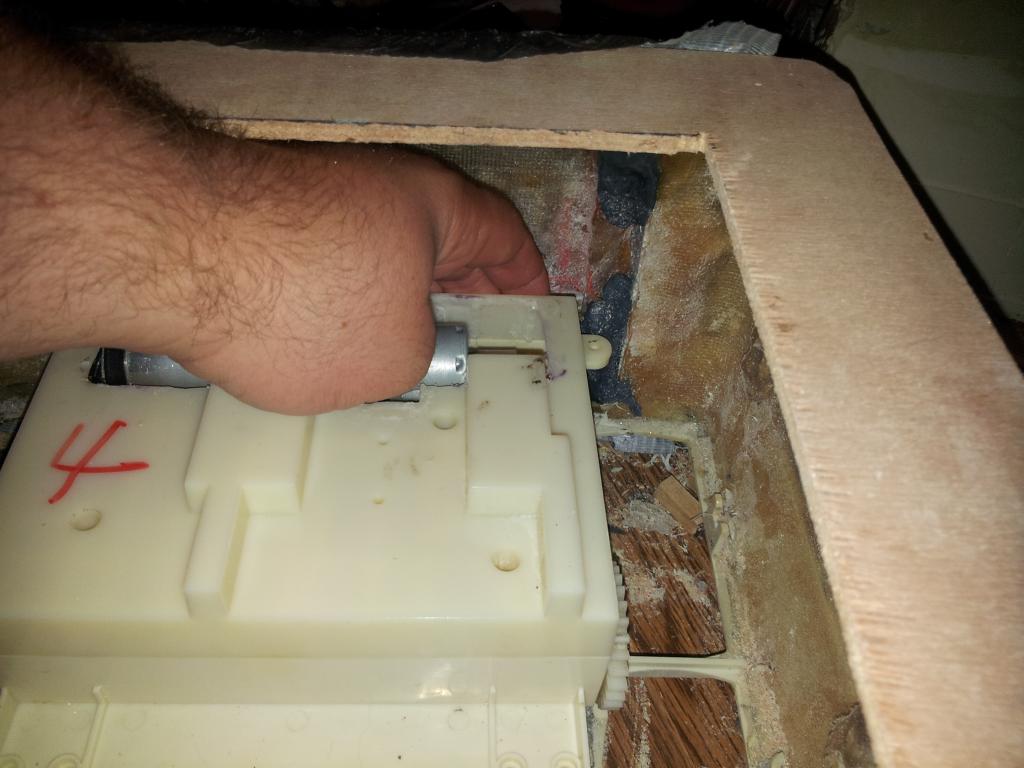
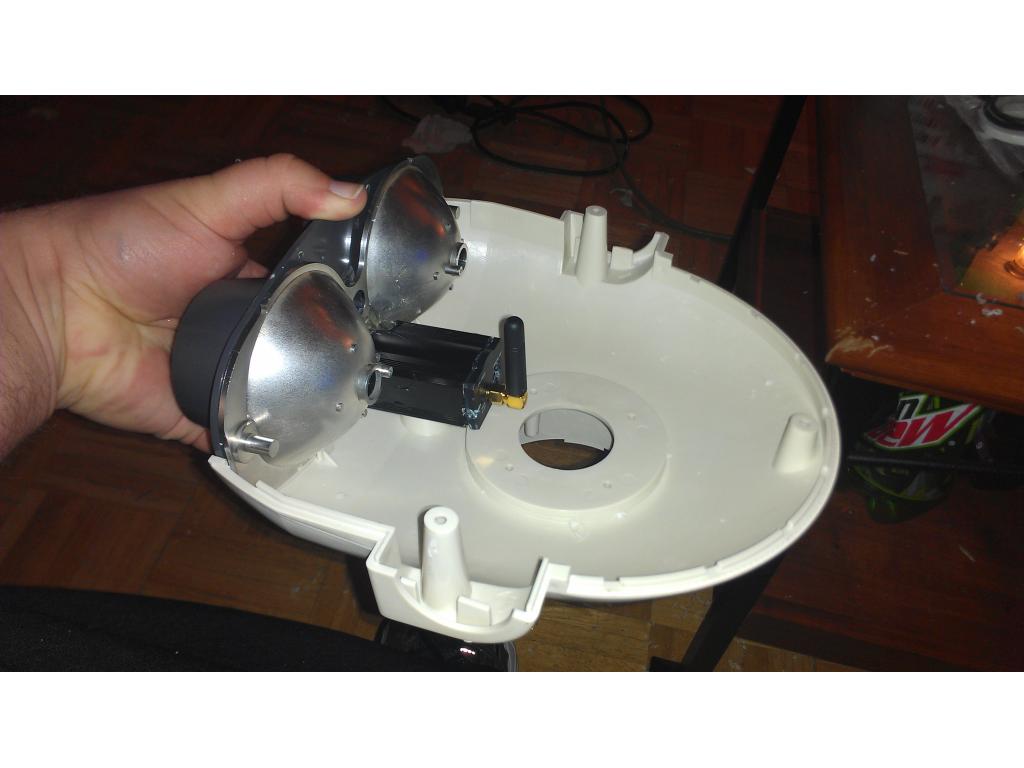
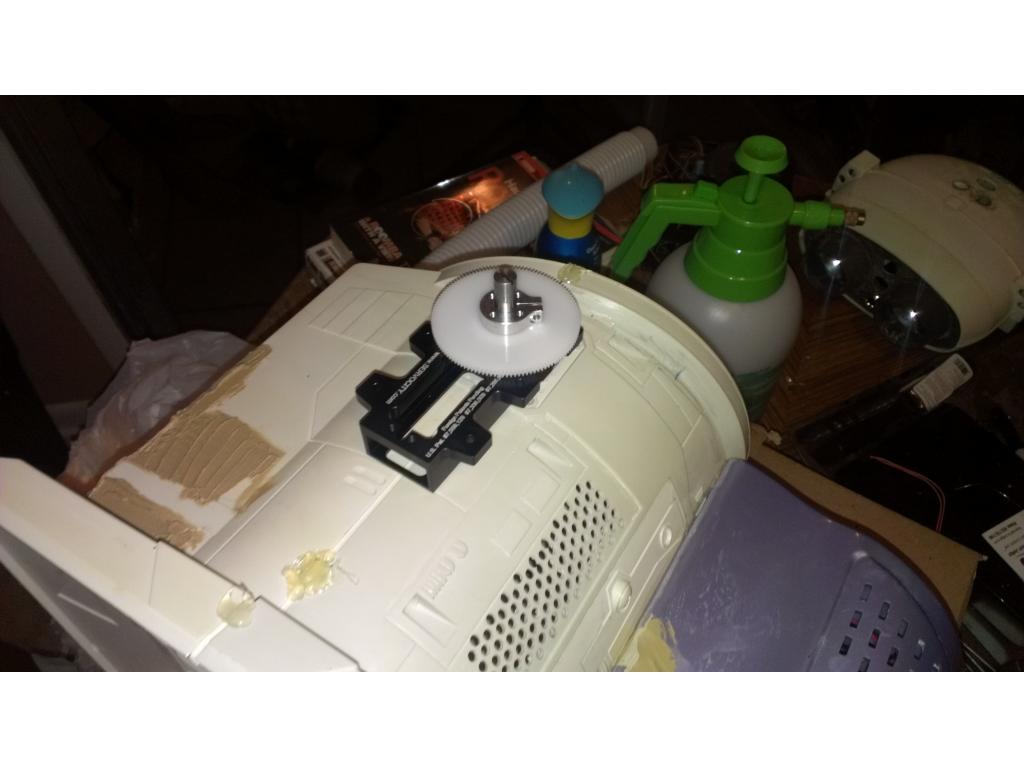
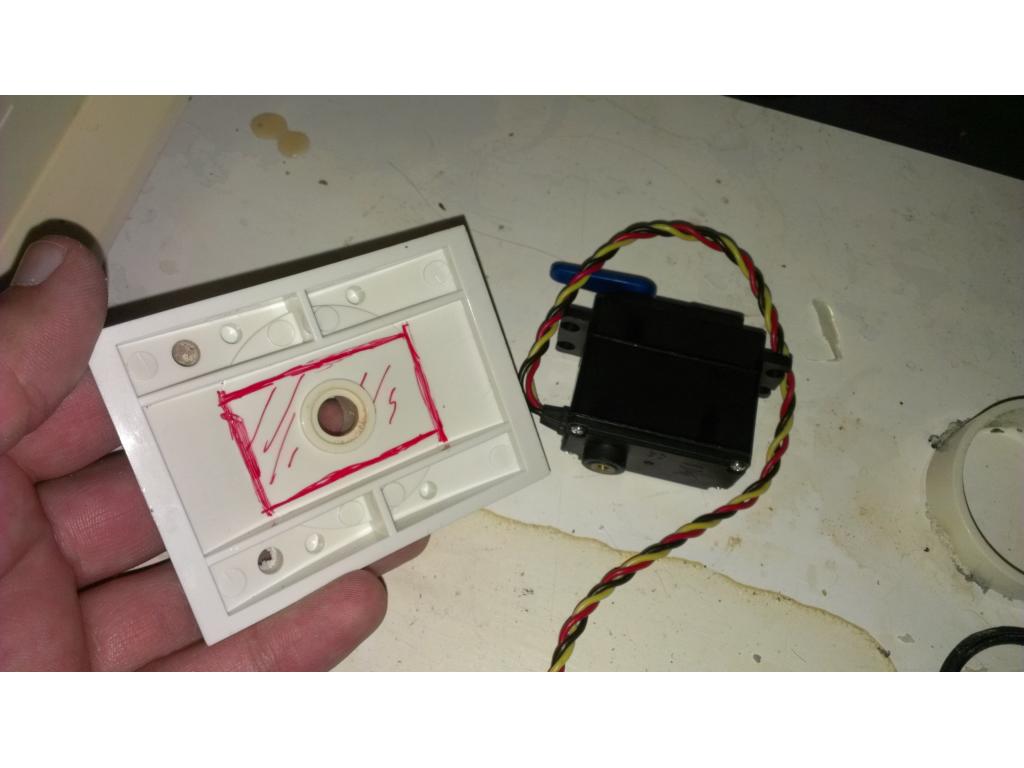
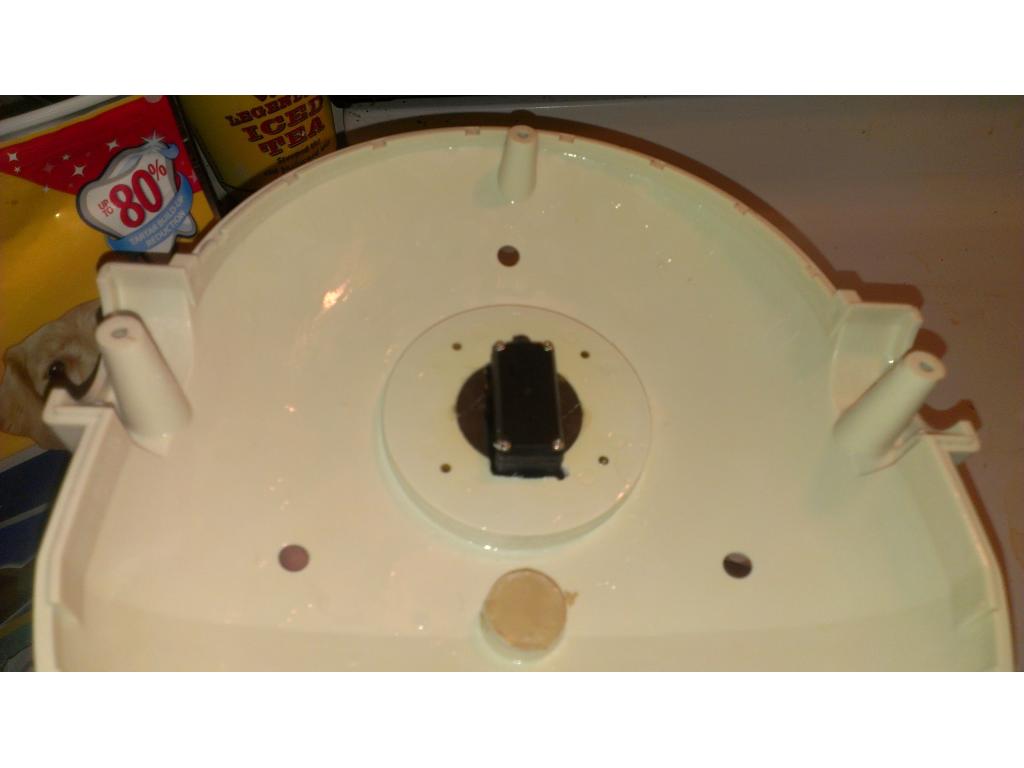
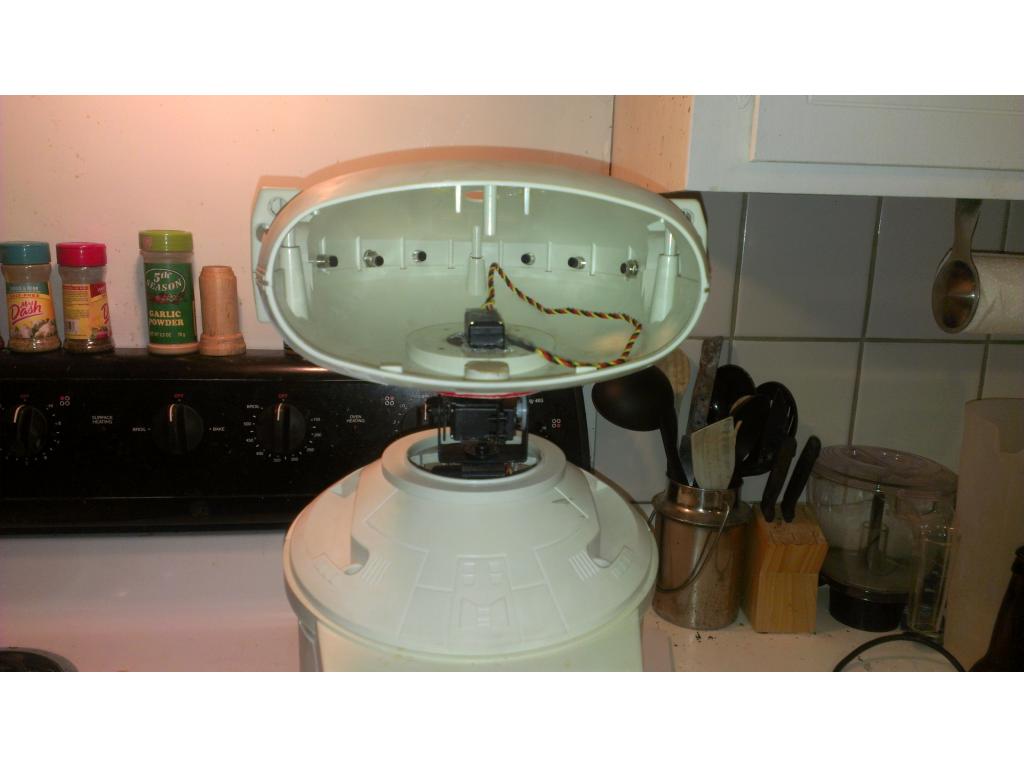
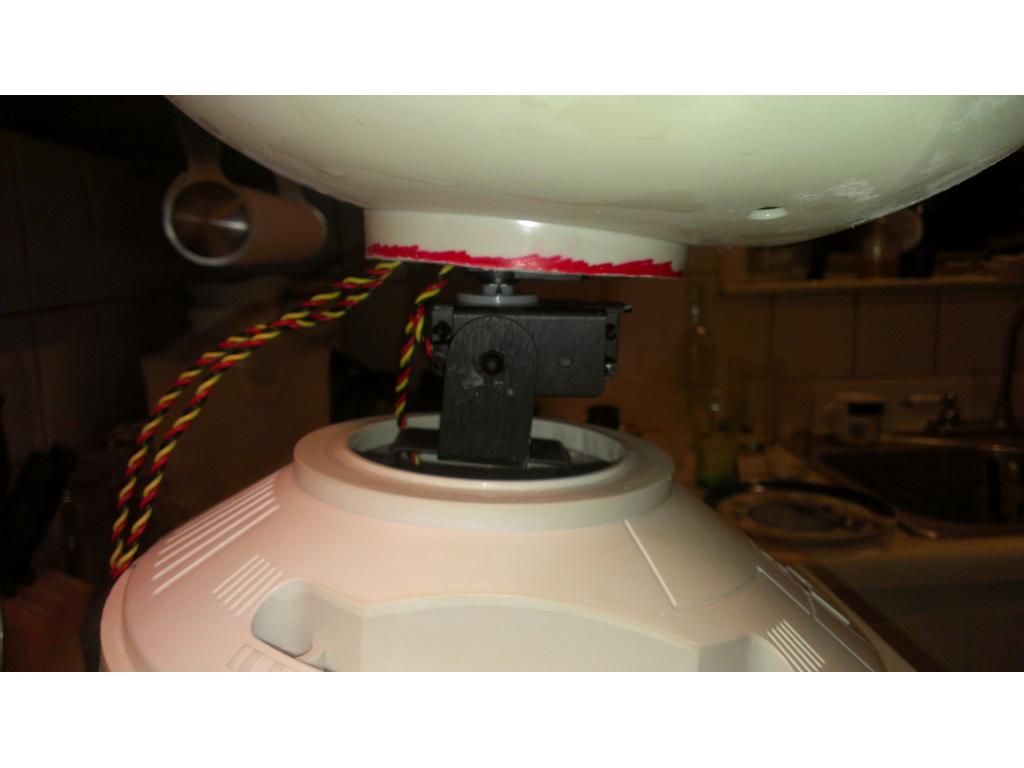
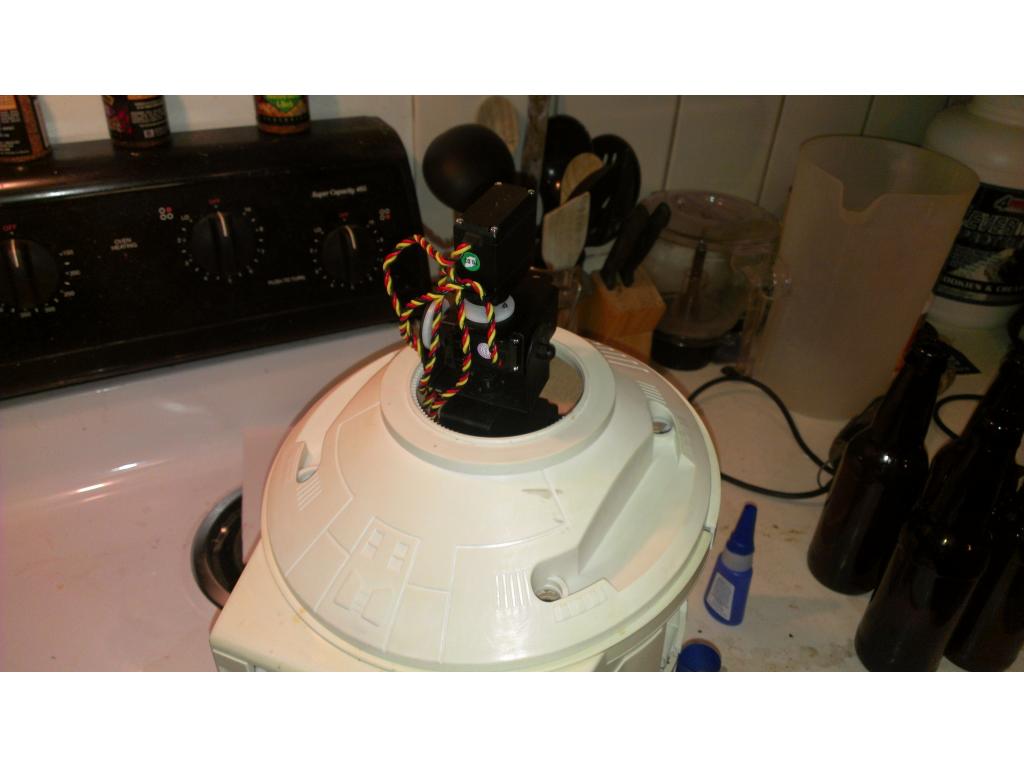
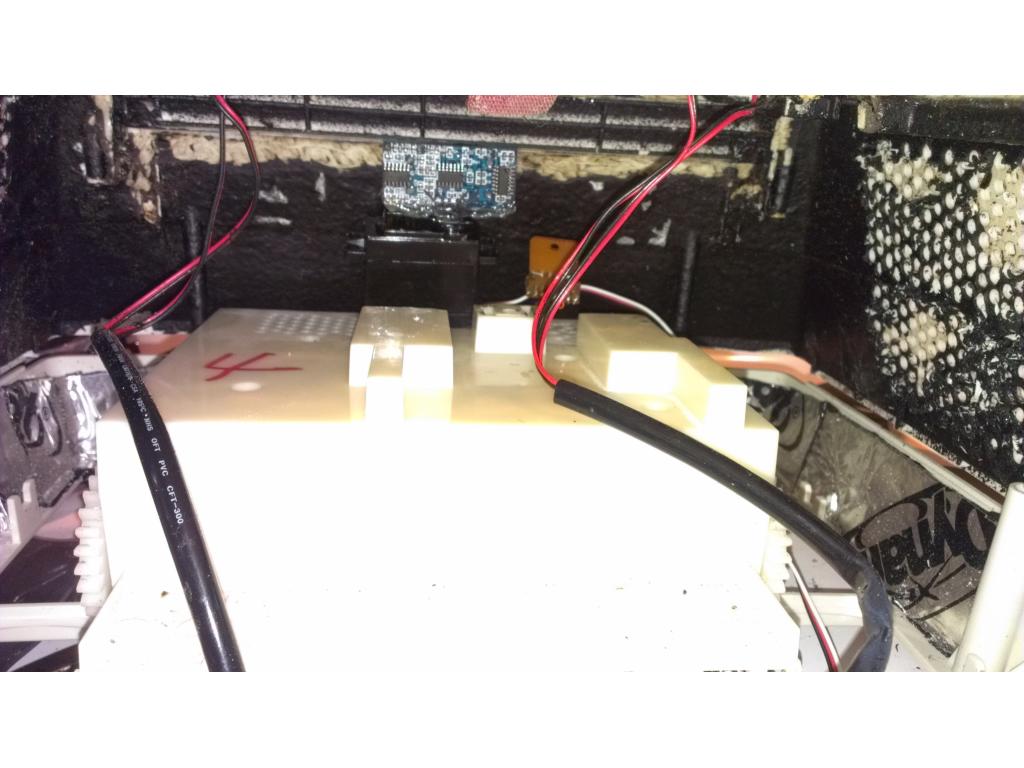
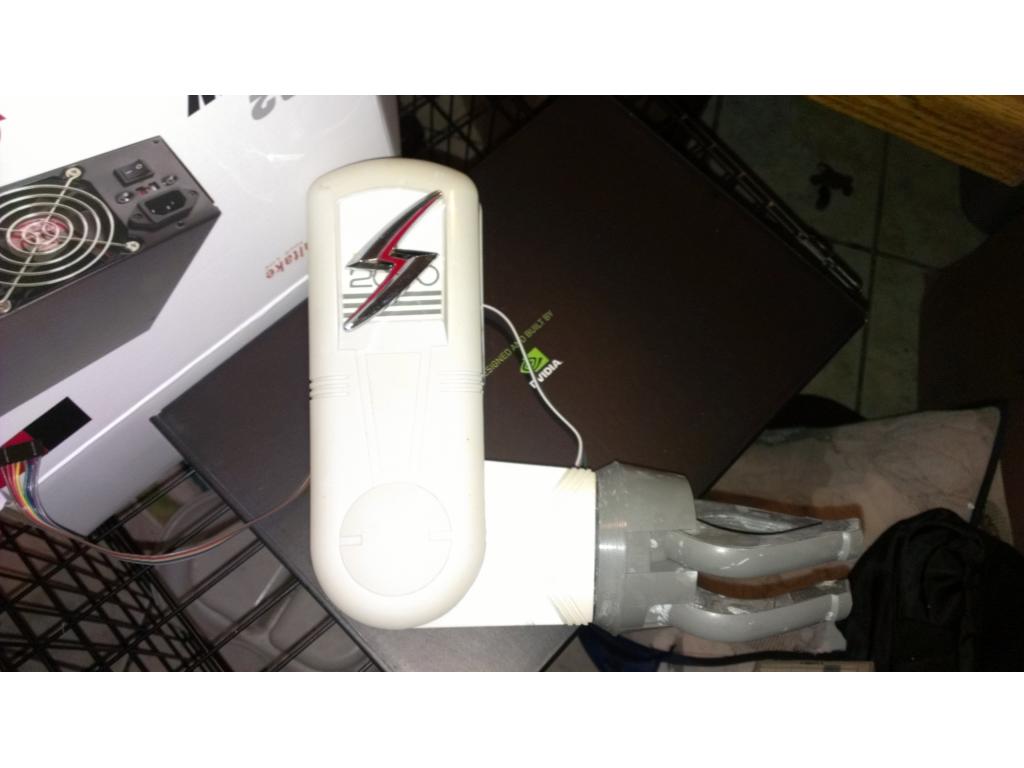
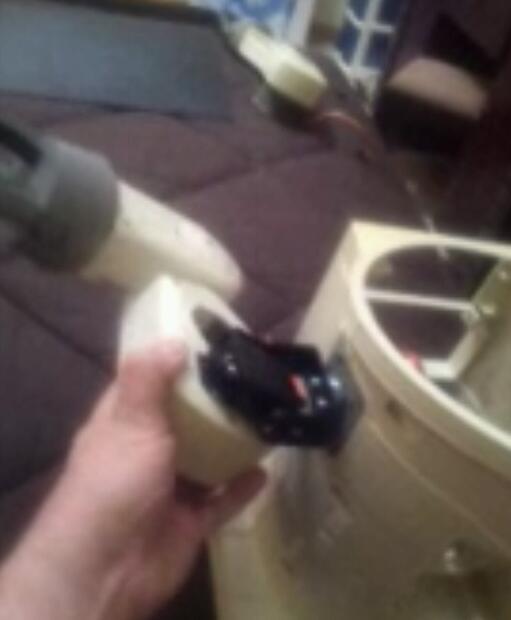
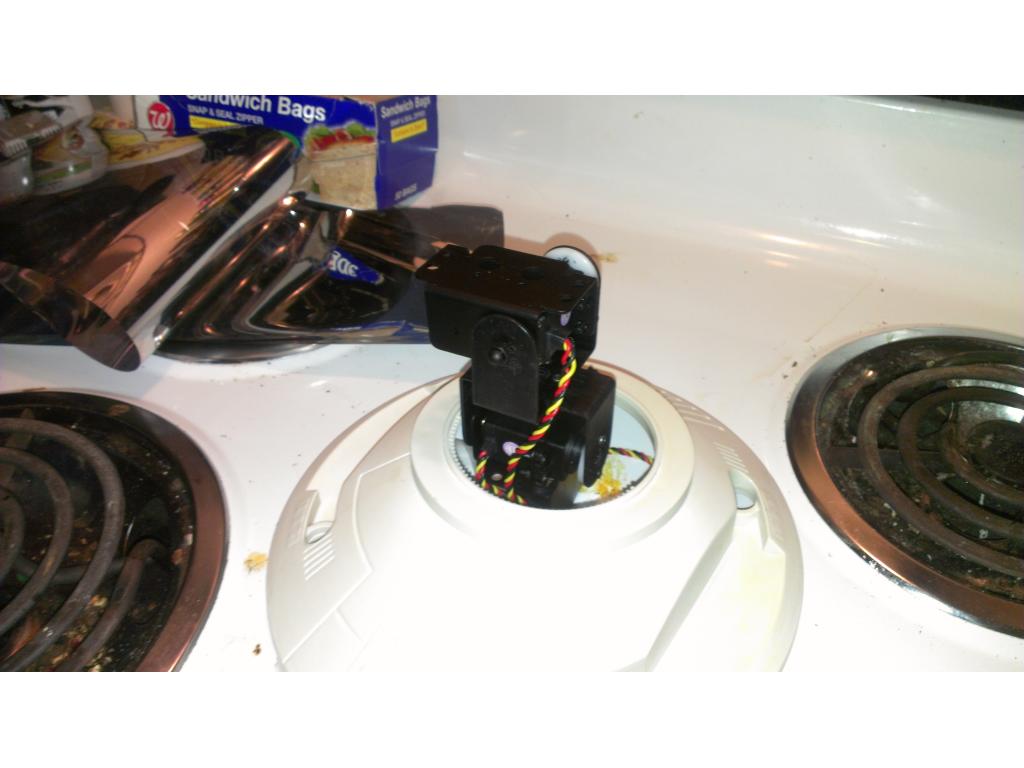
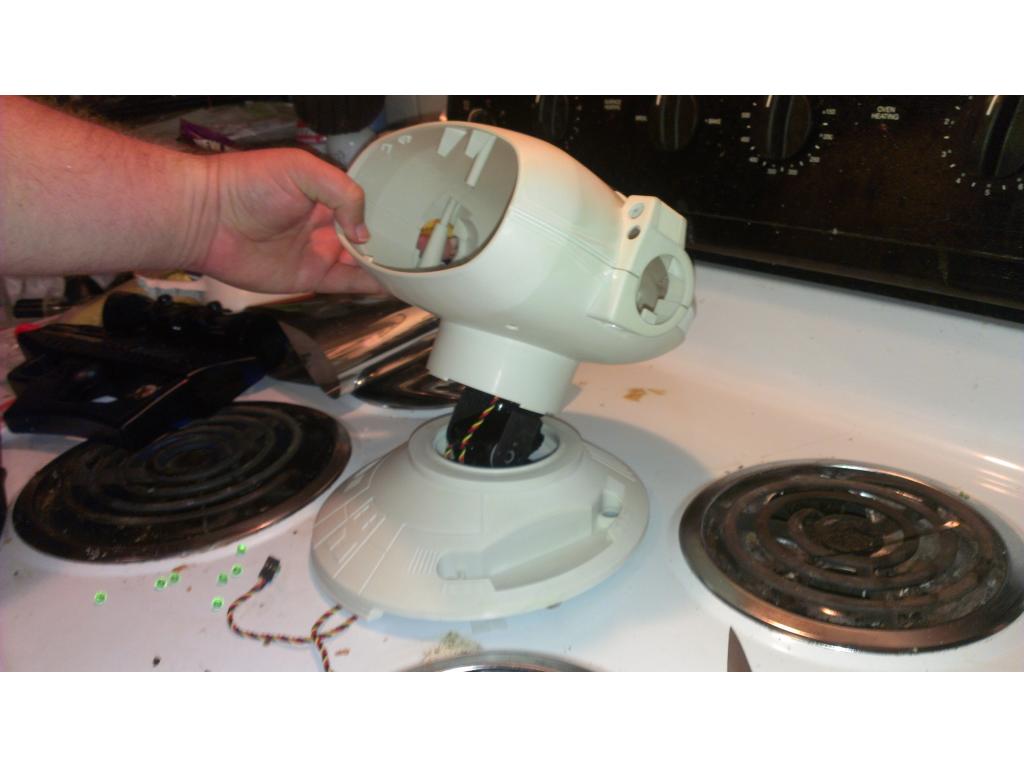
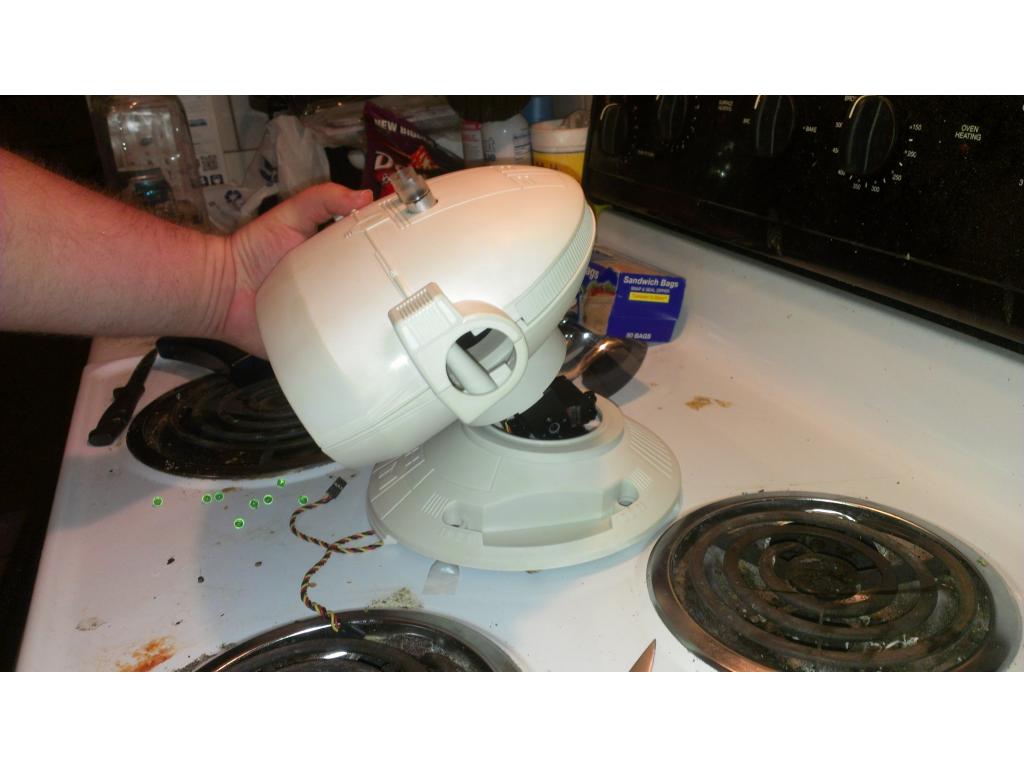
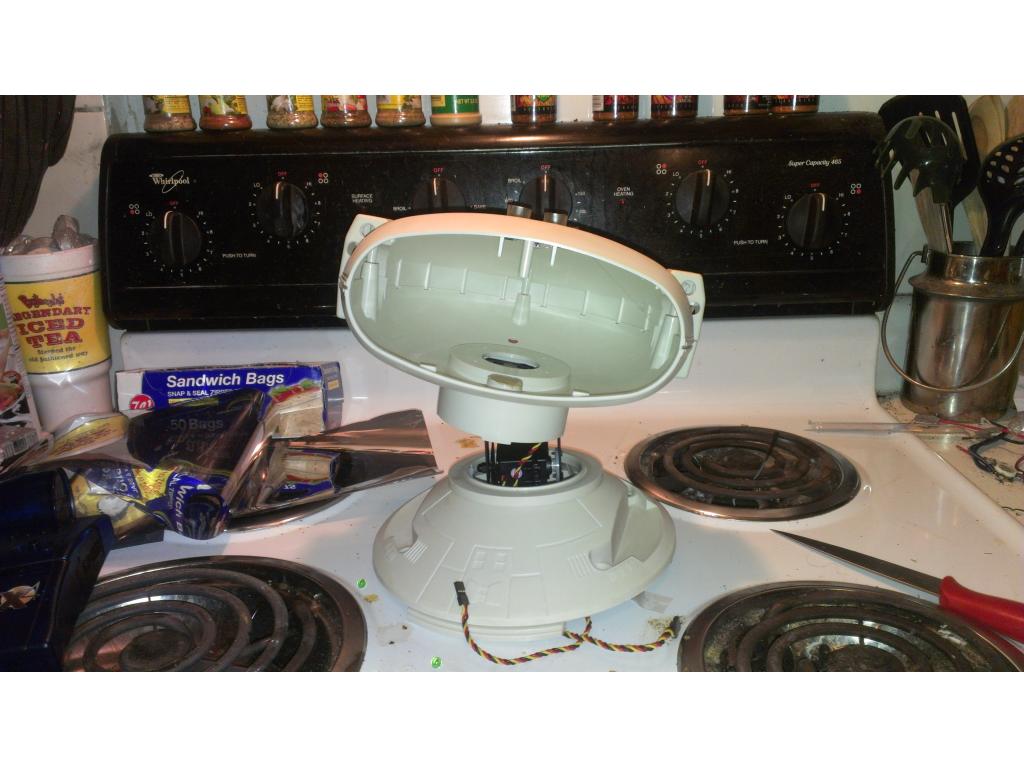
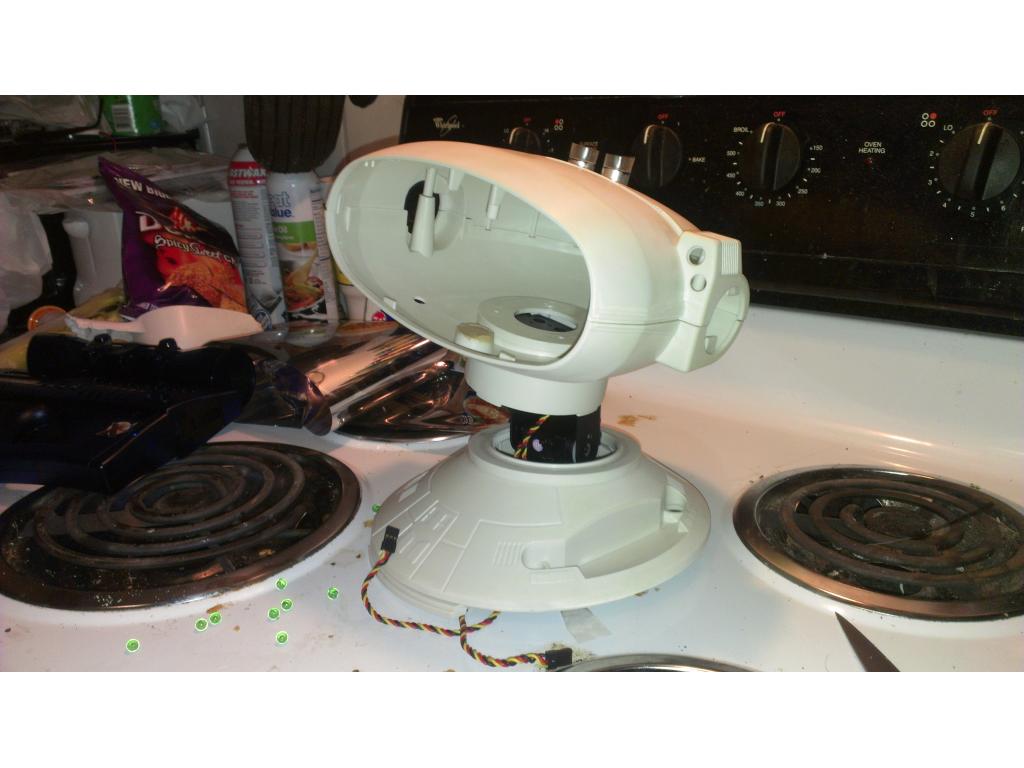
Make a mount for the neck asembly and glue it in
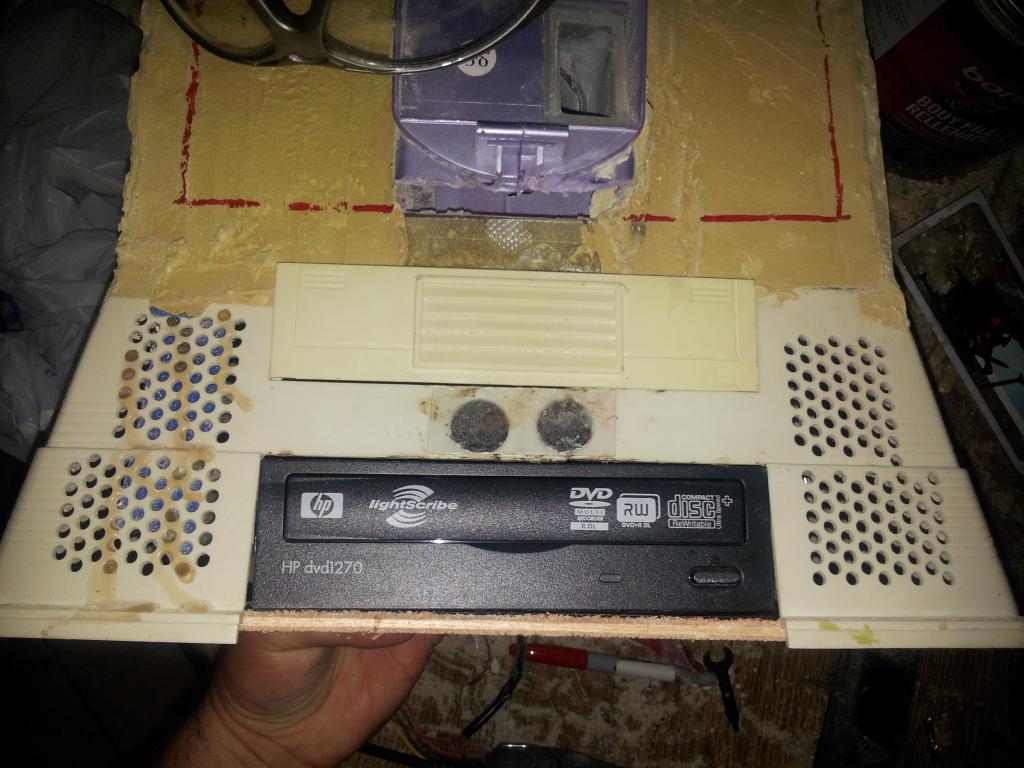
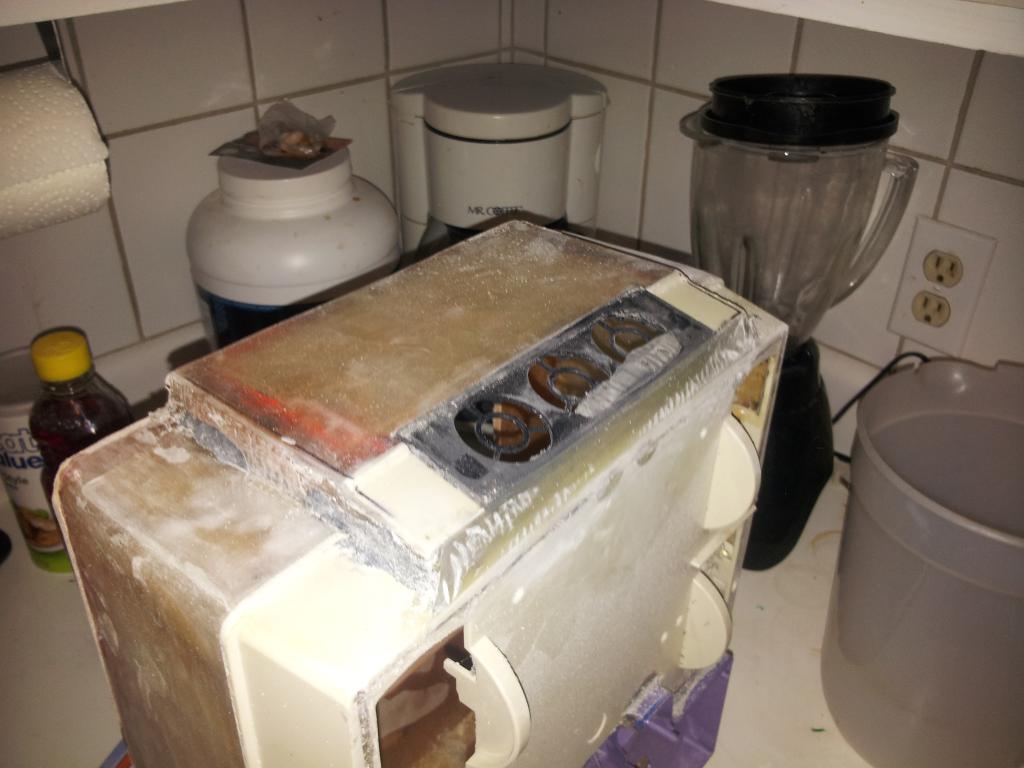
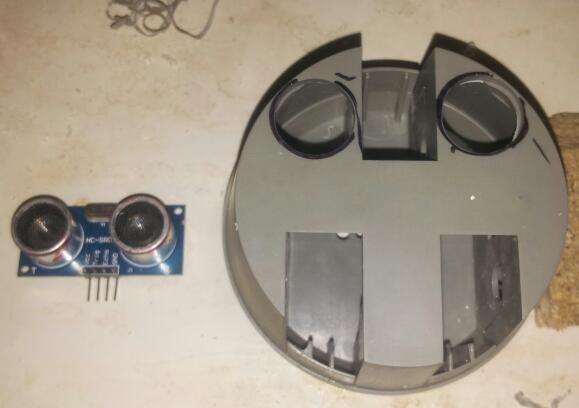
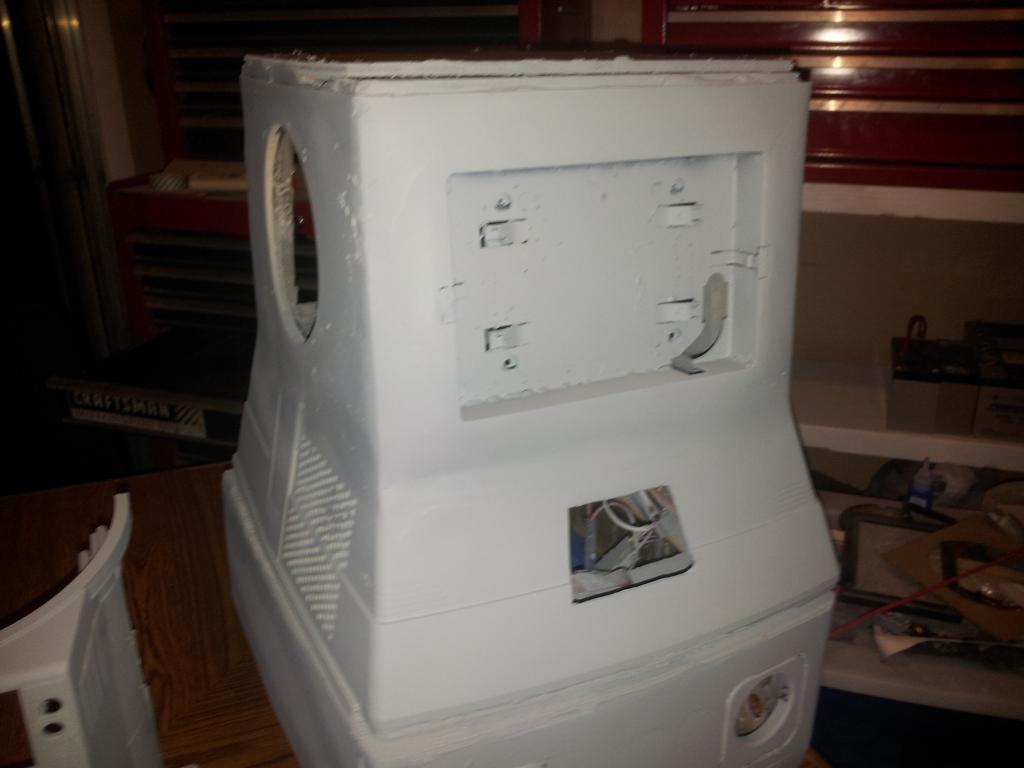
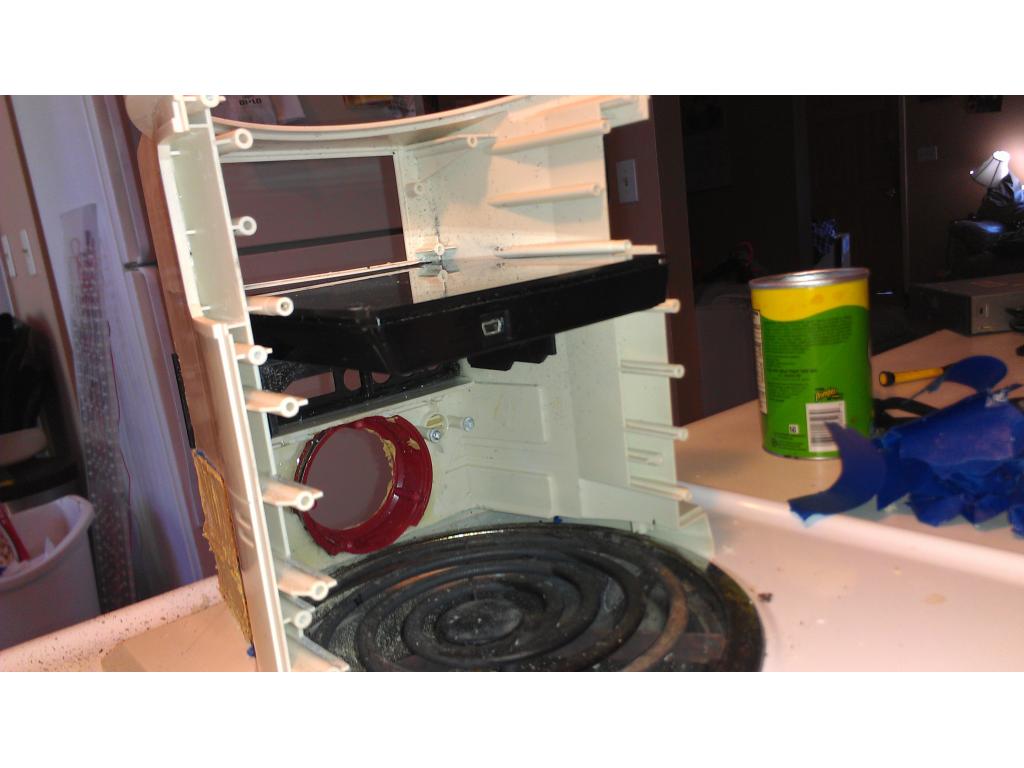
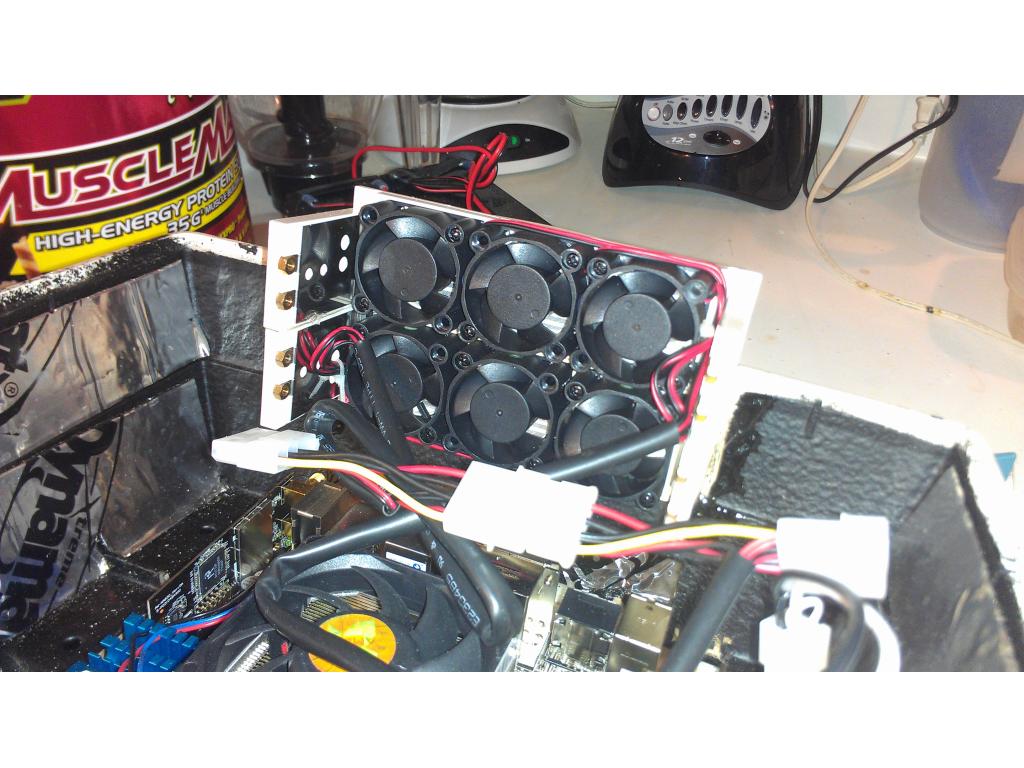
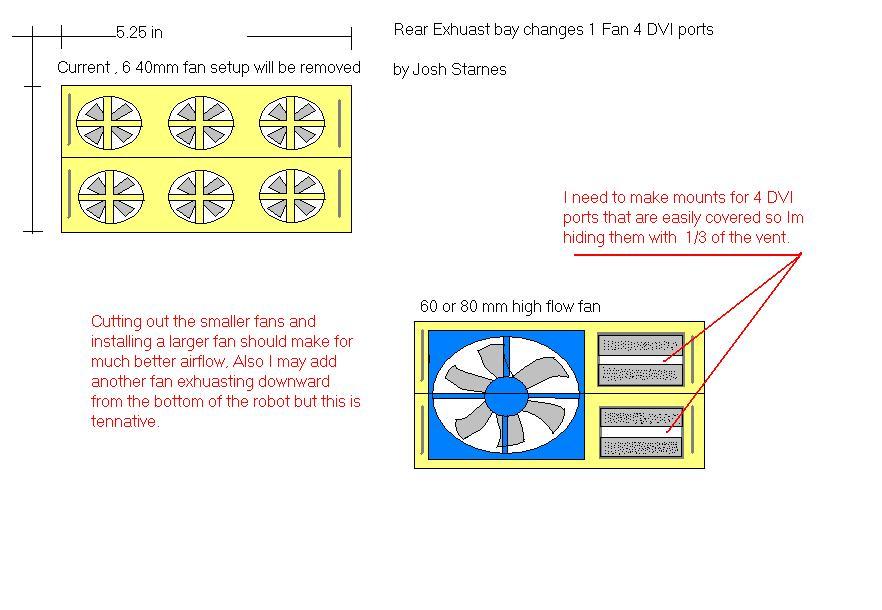
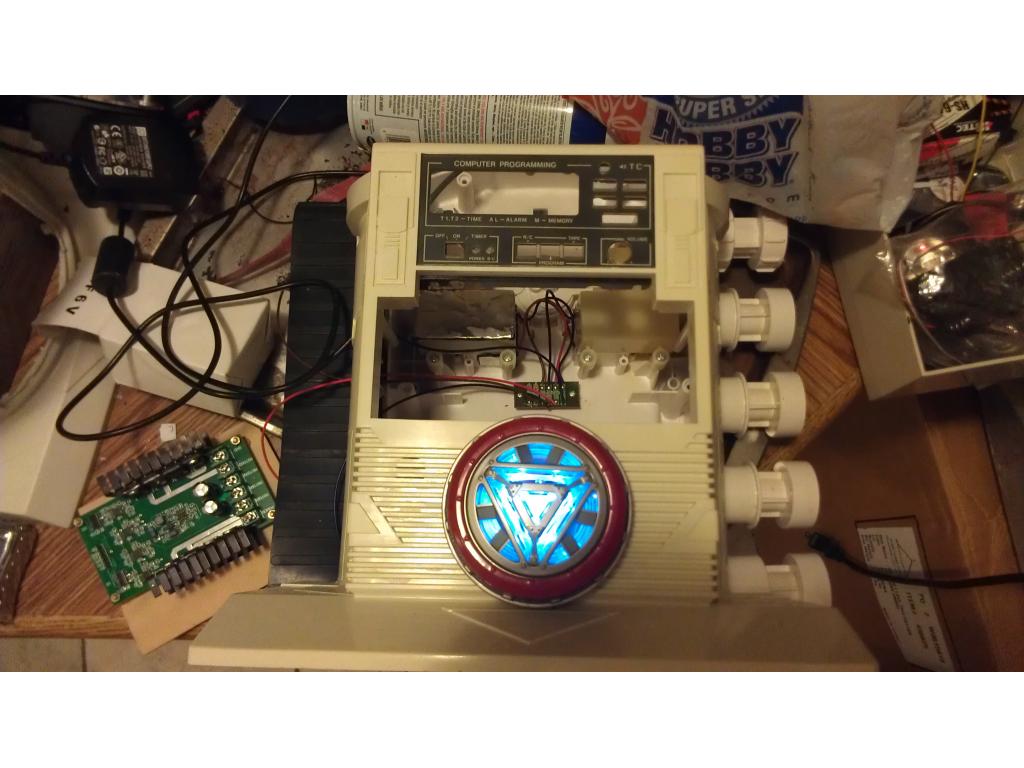
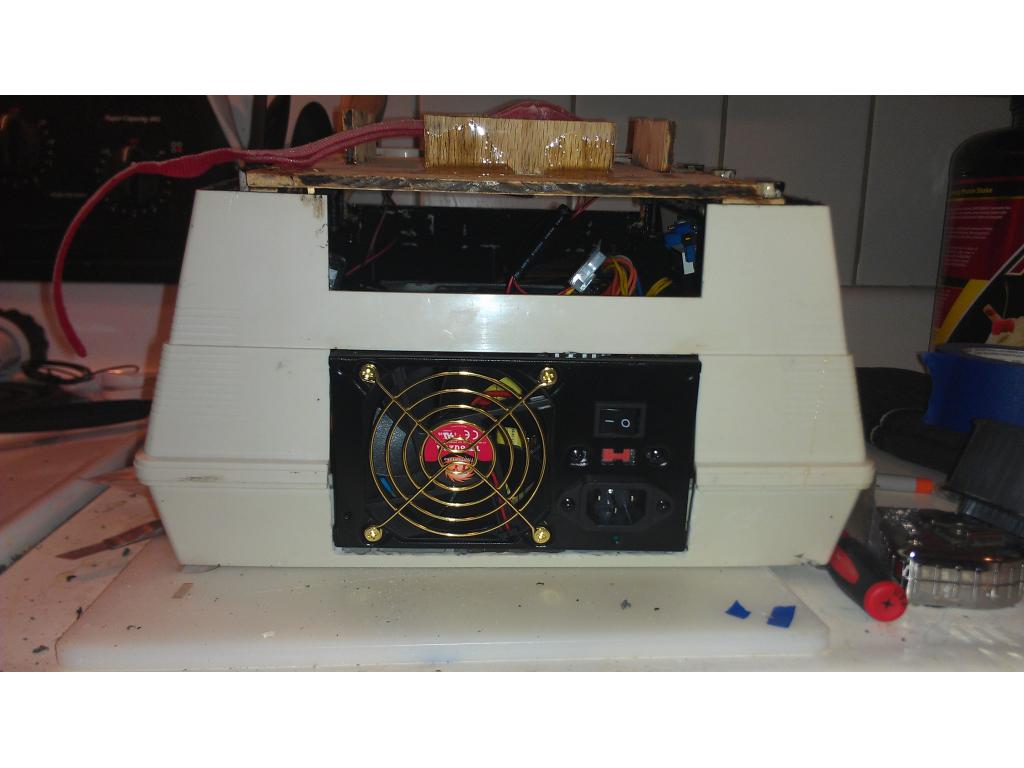
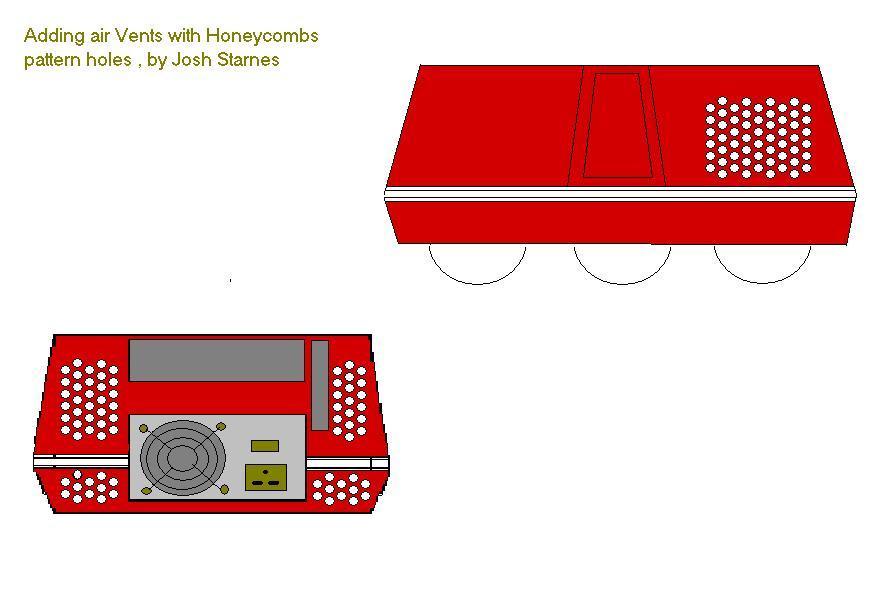
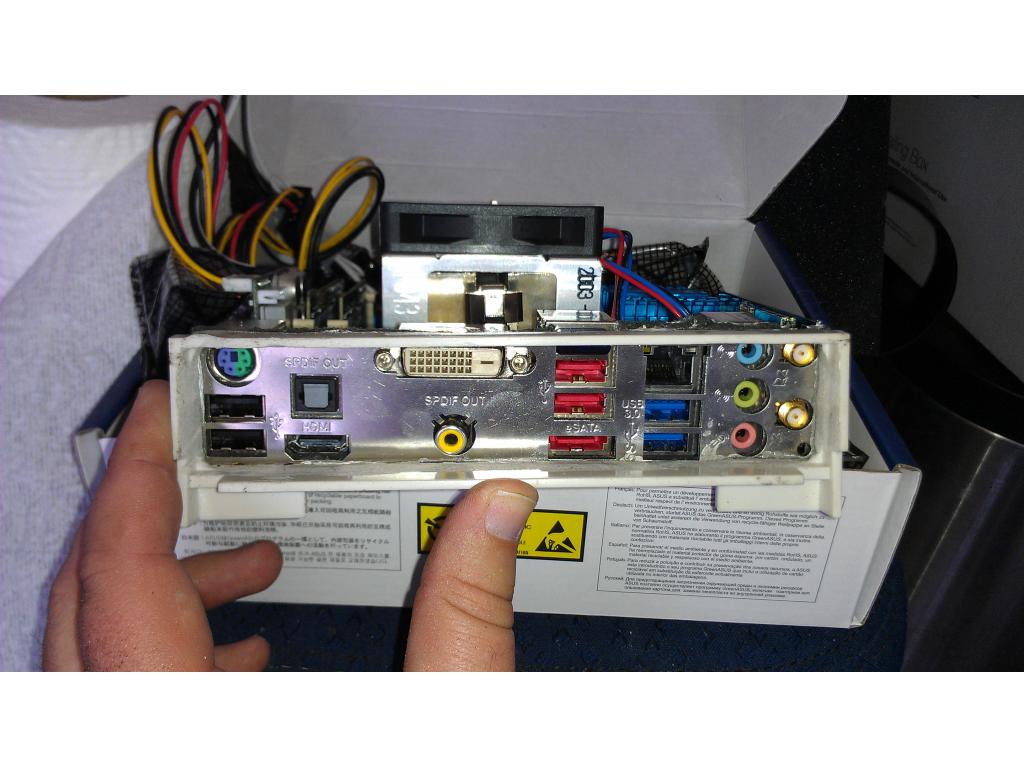
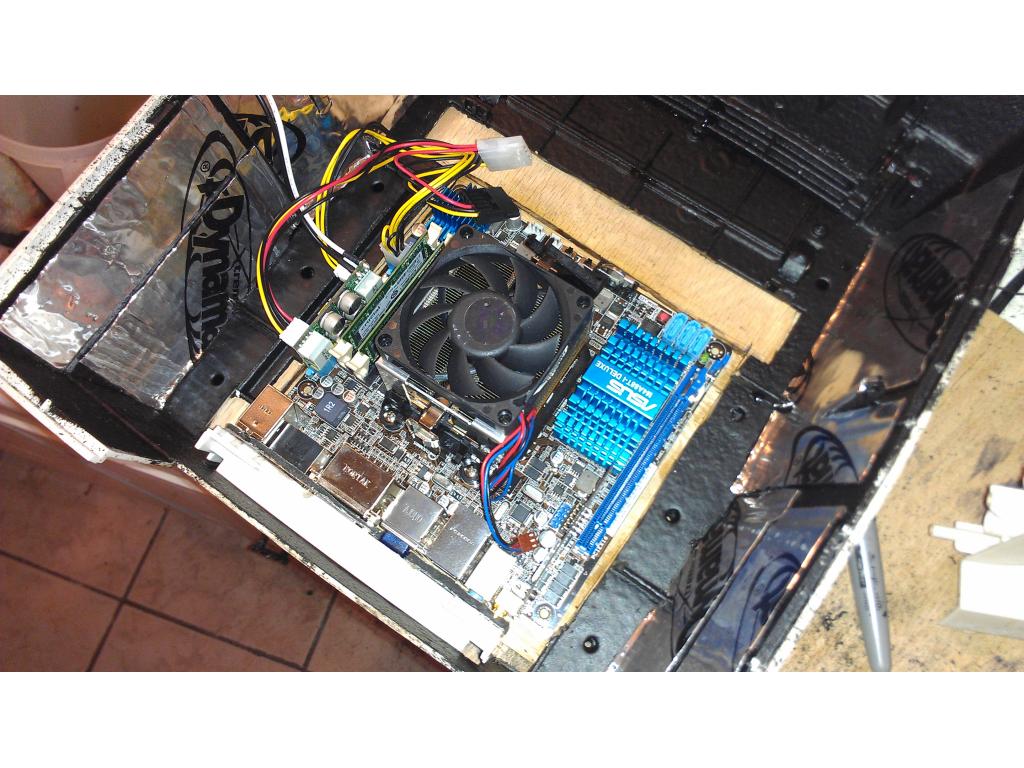
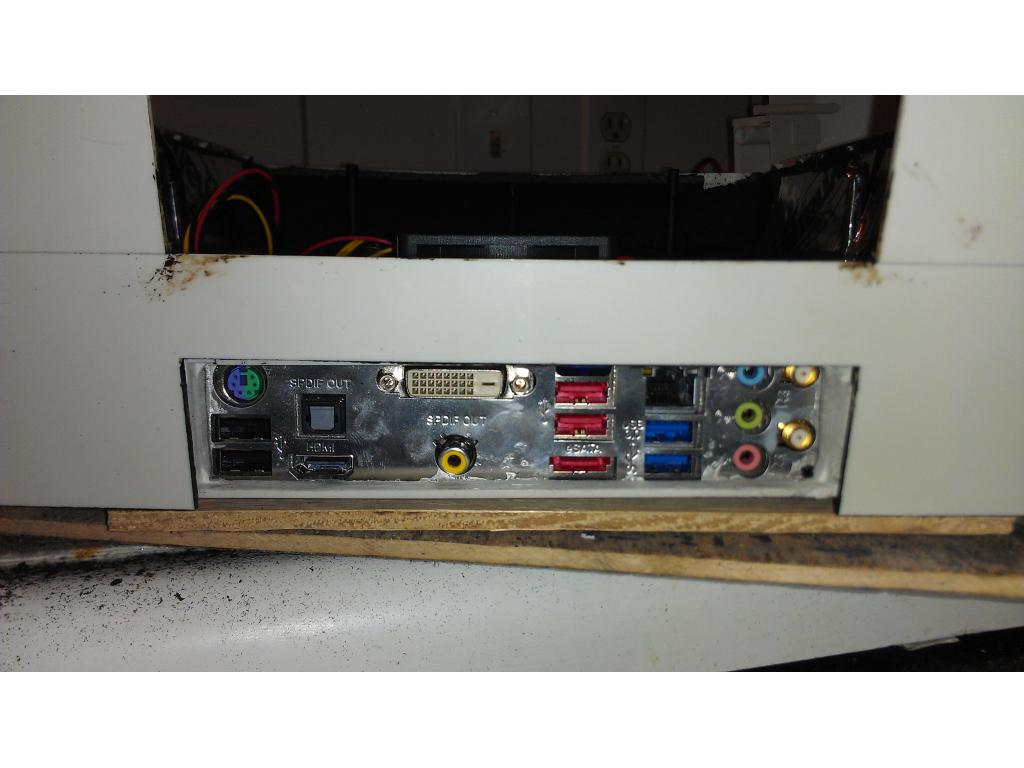
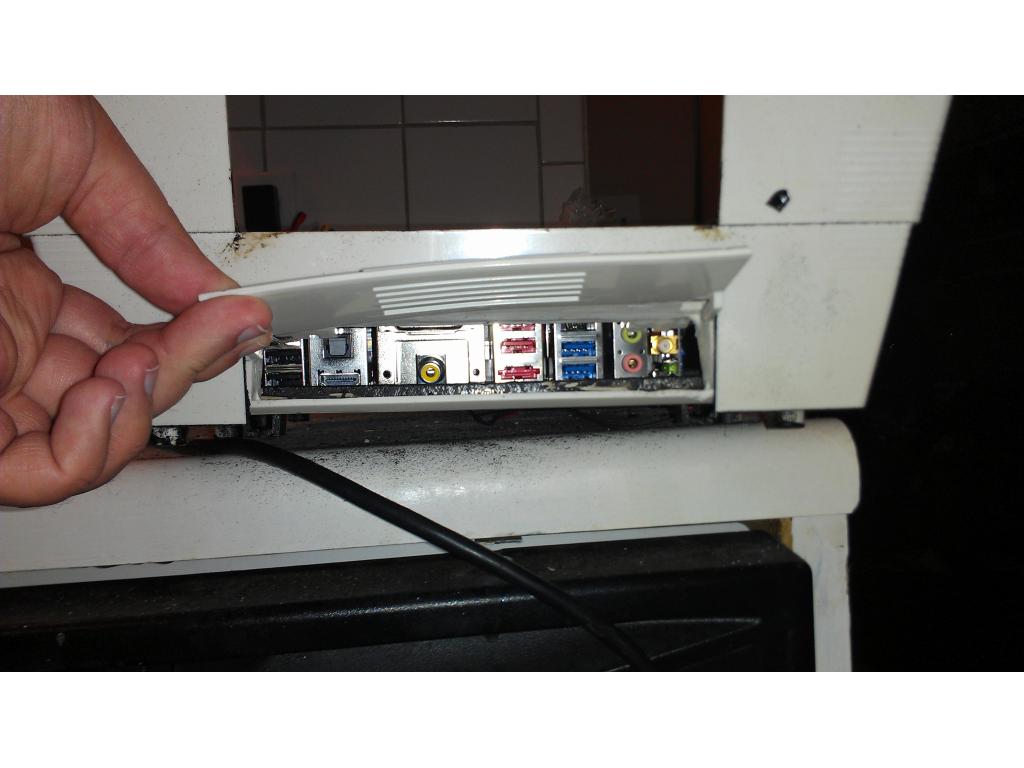
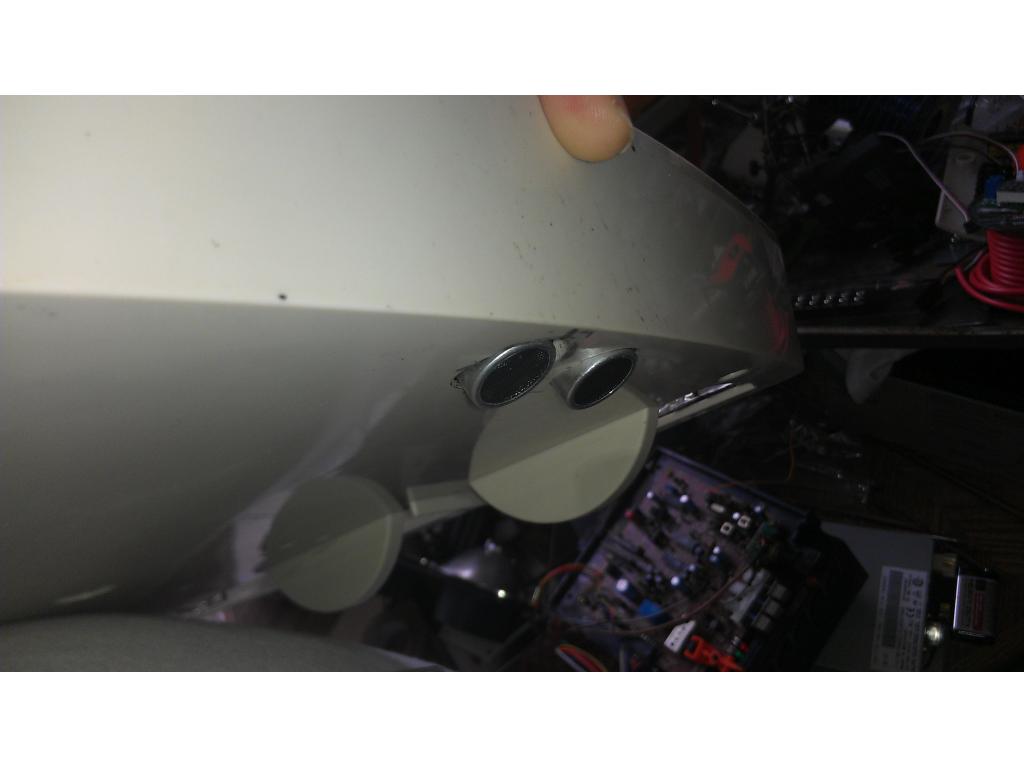
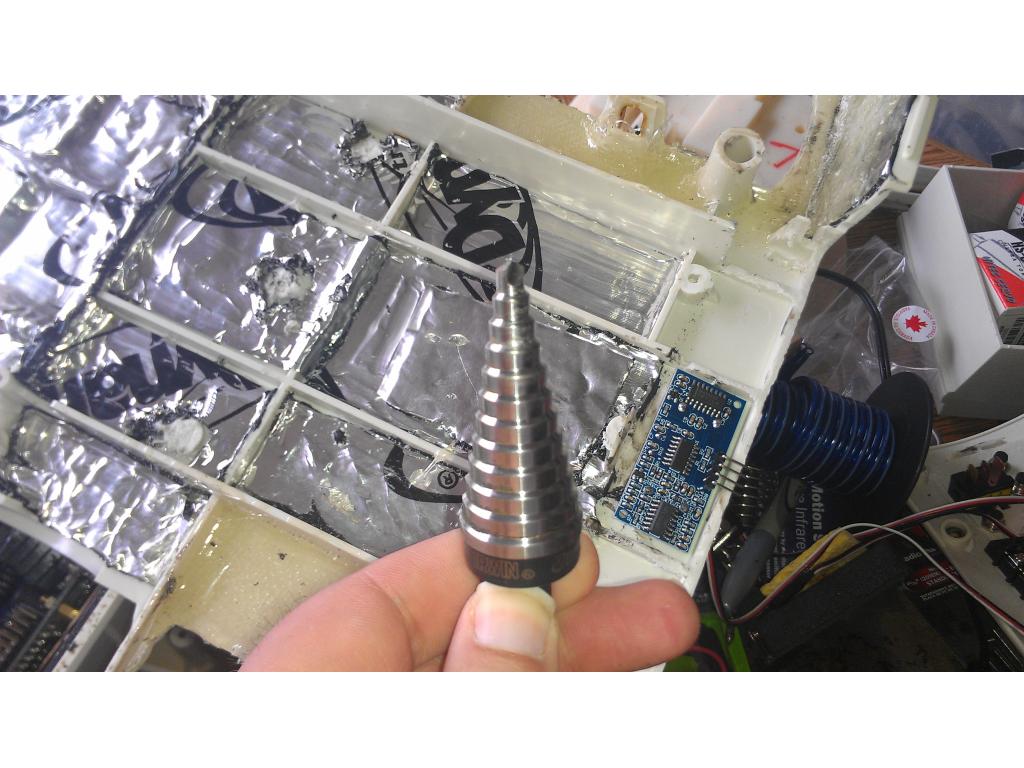
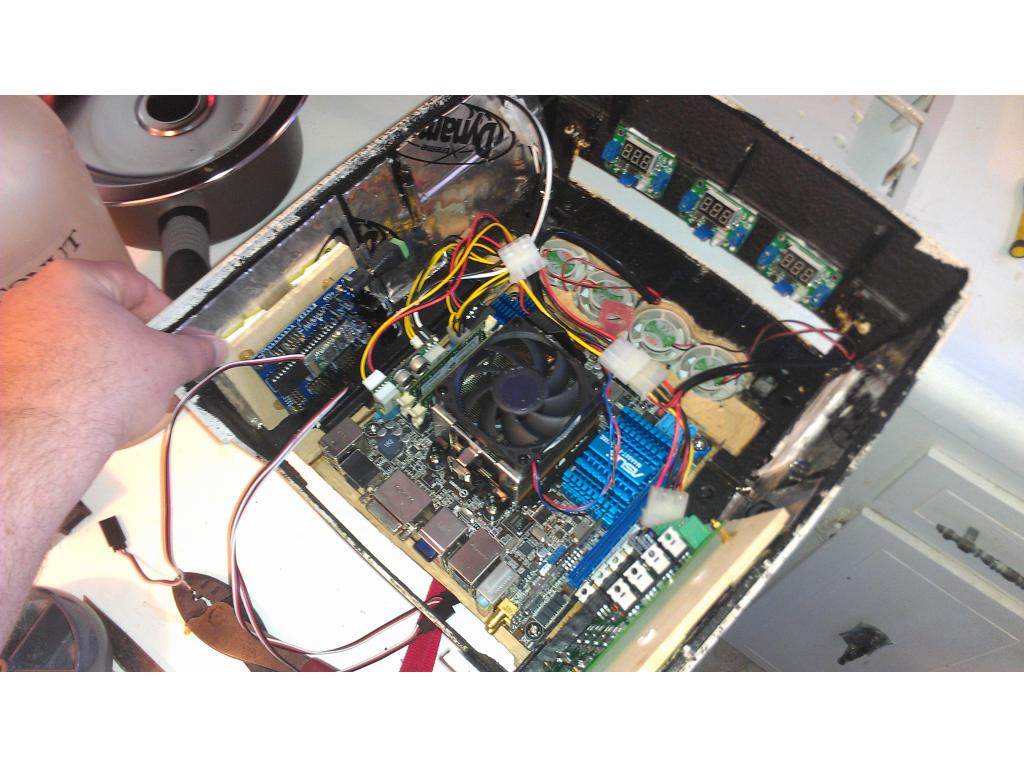
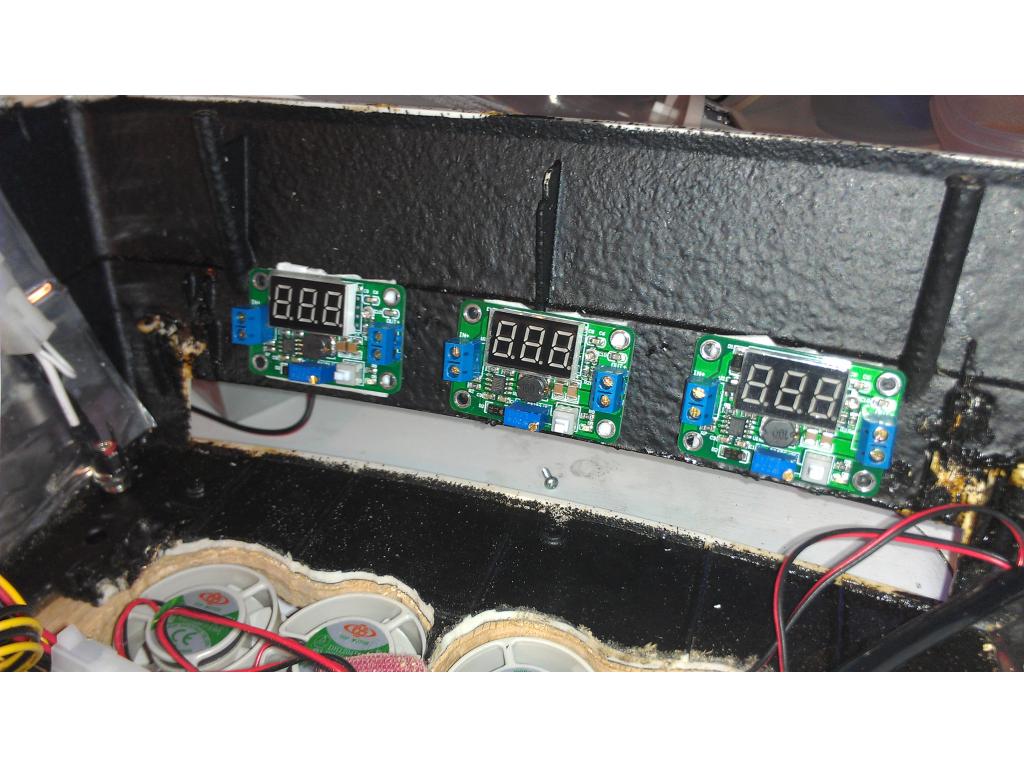
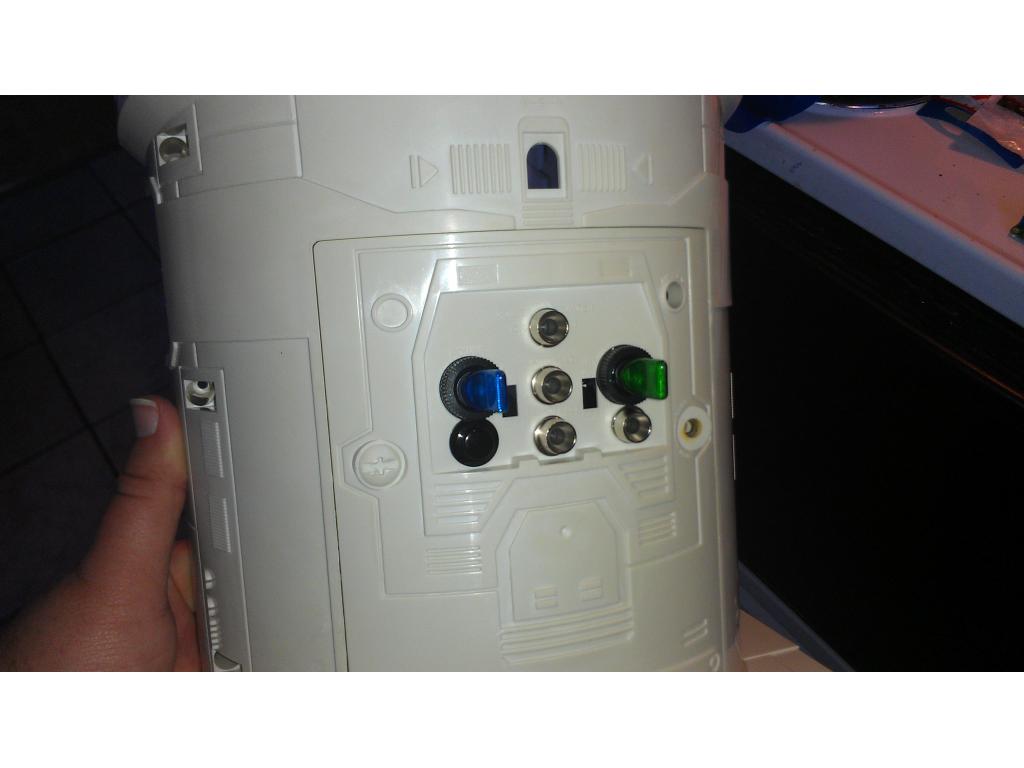
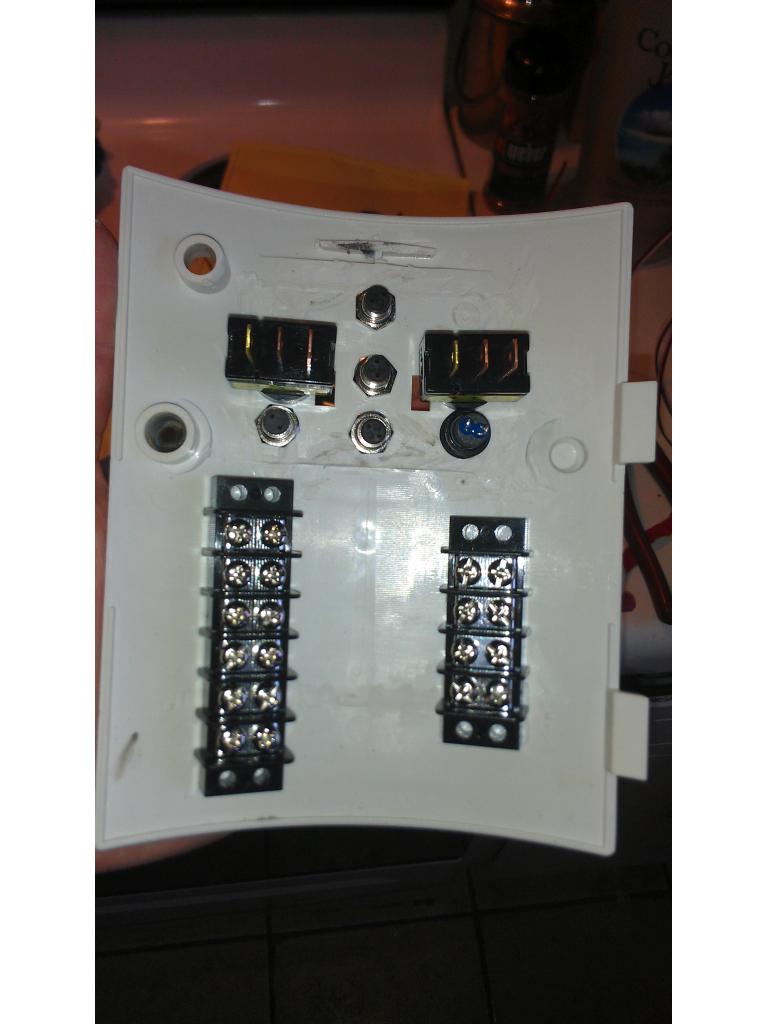
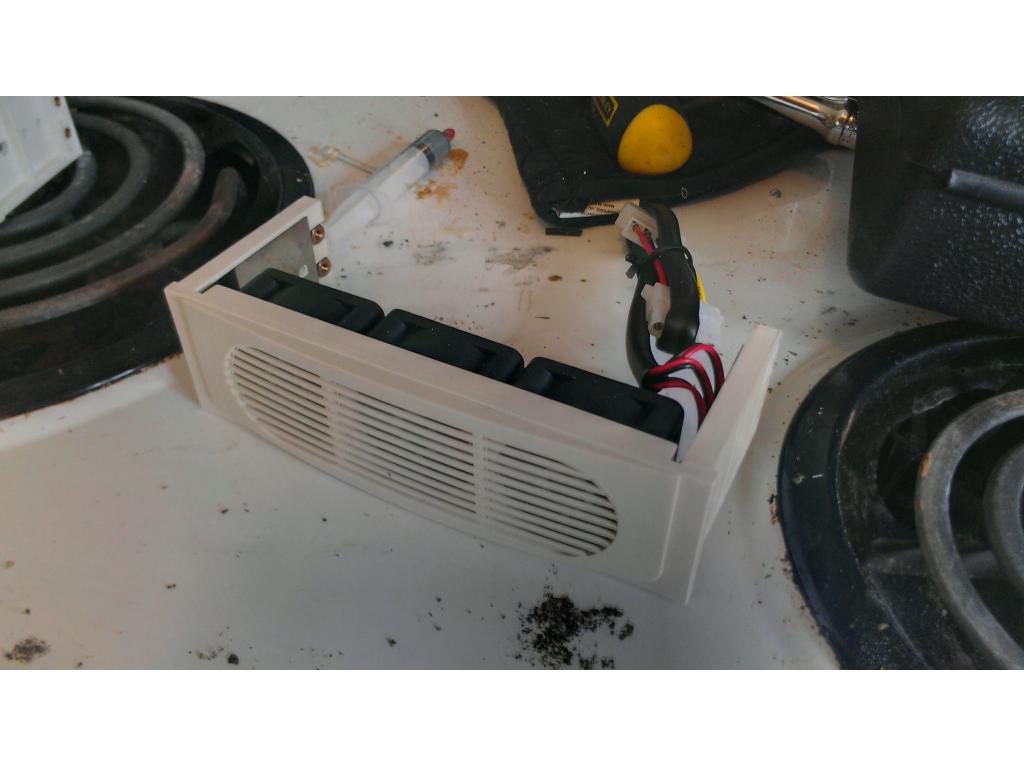
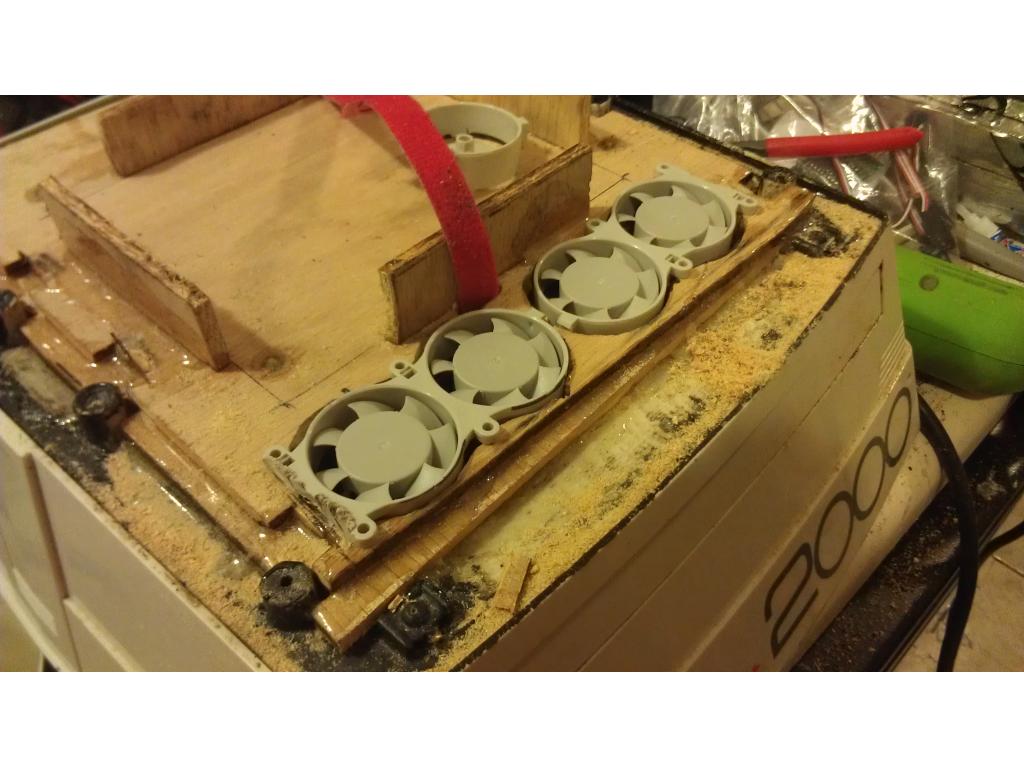
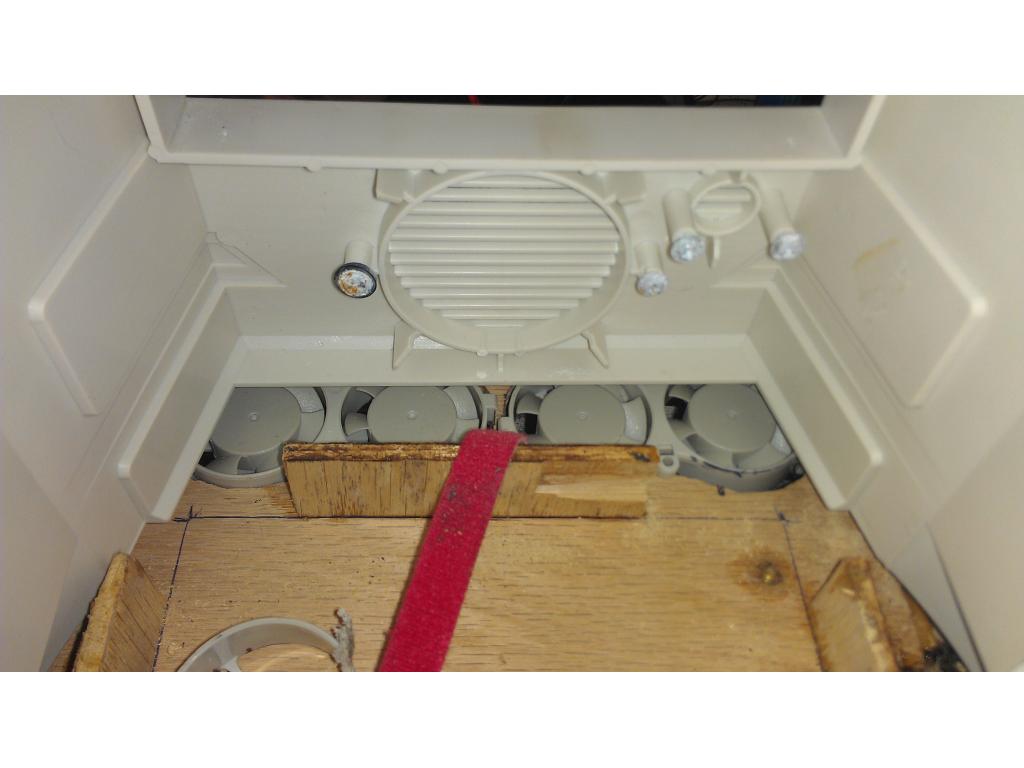
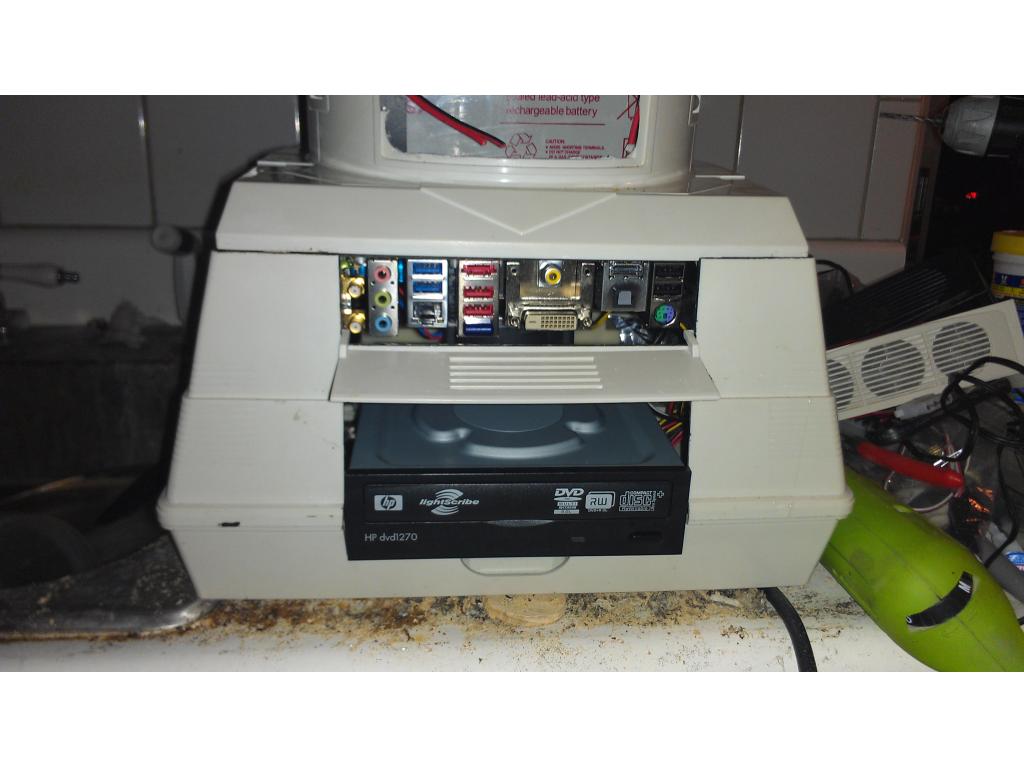
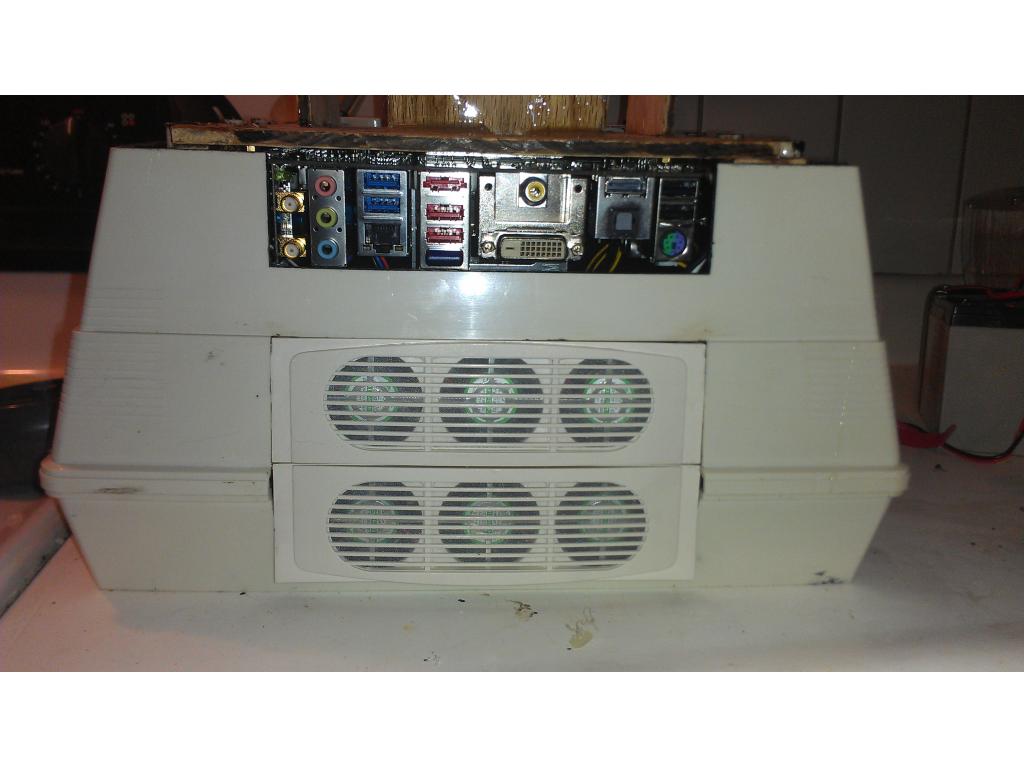
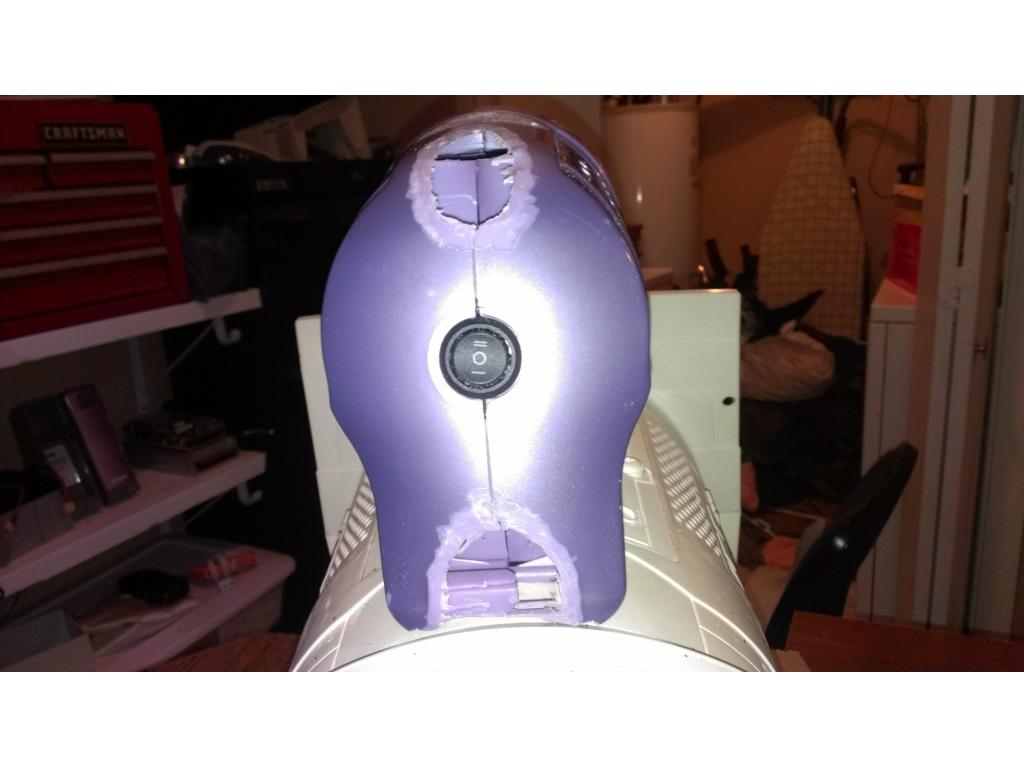
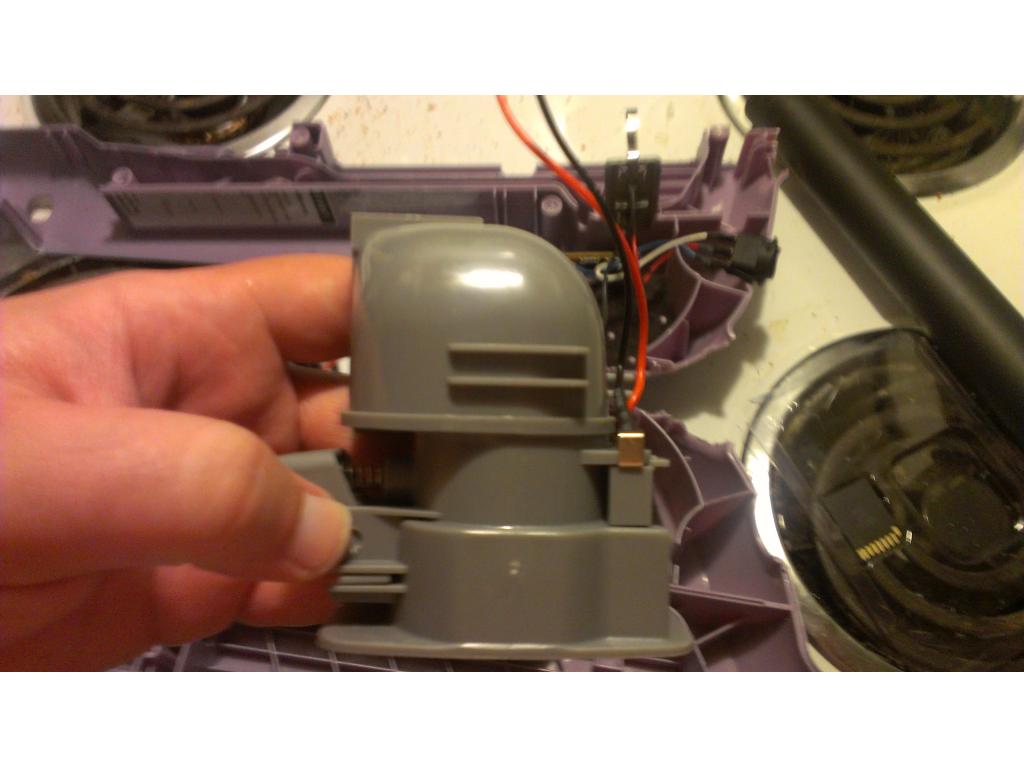
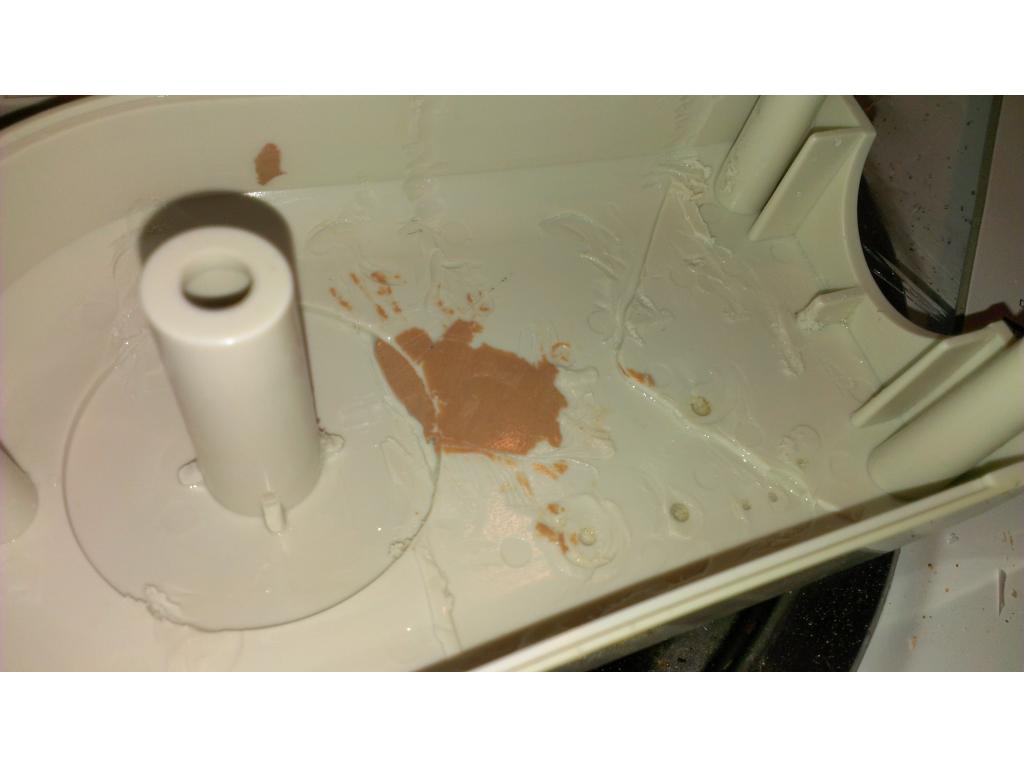
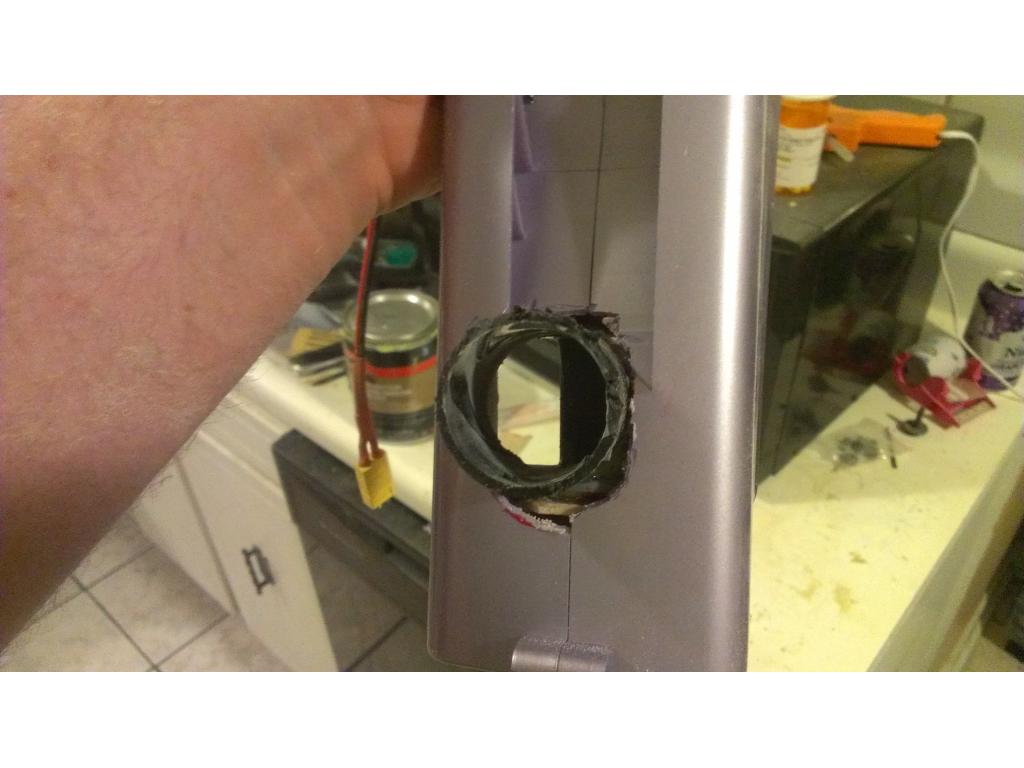
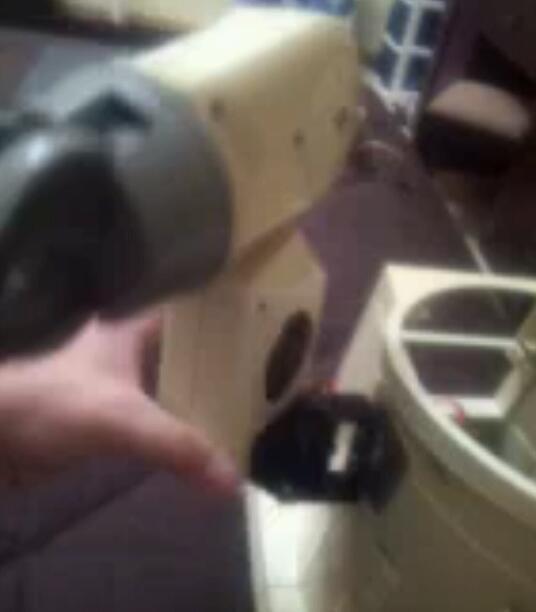
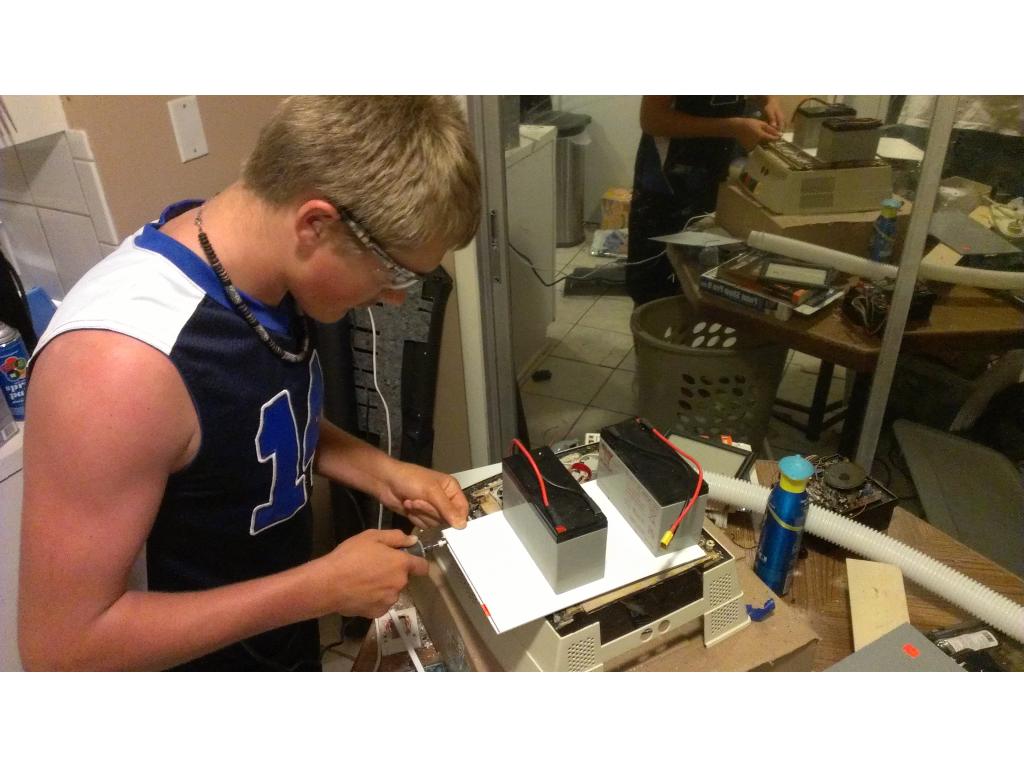
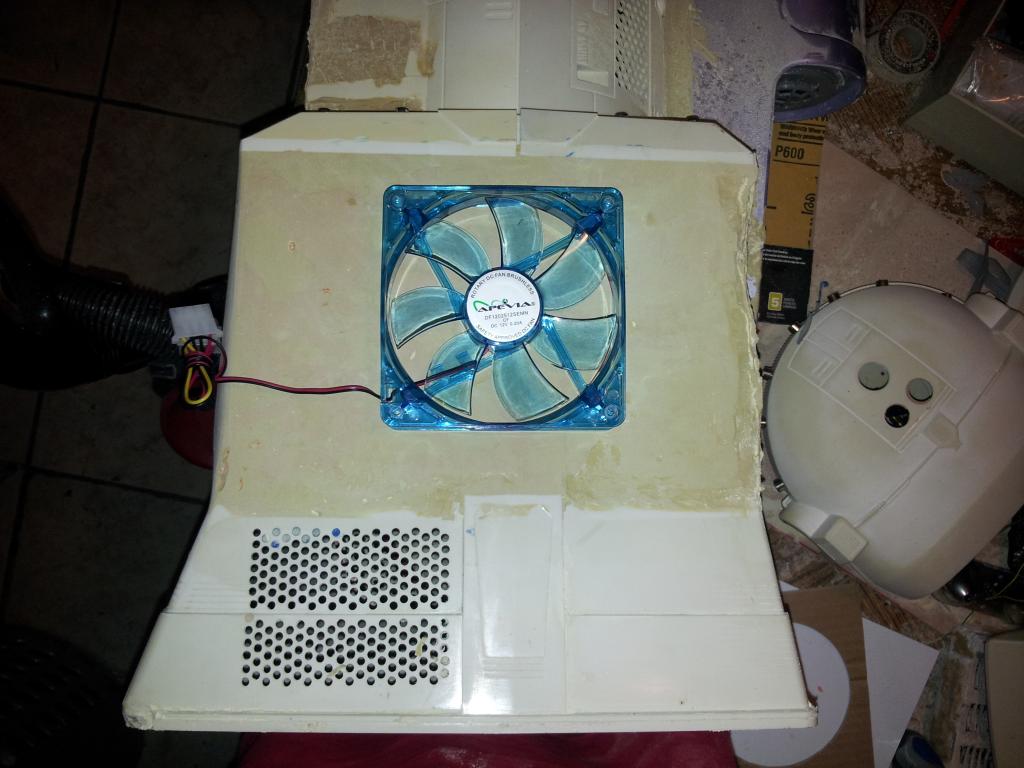
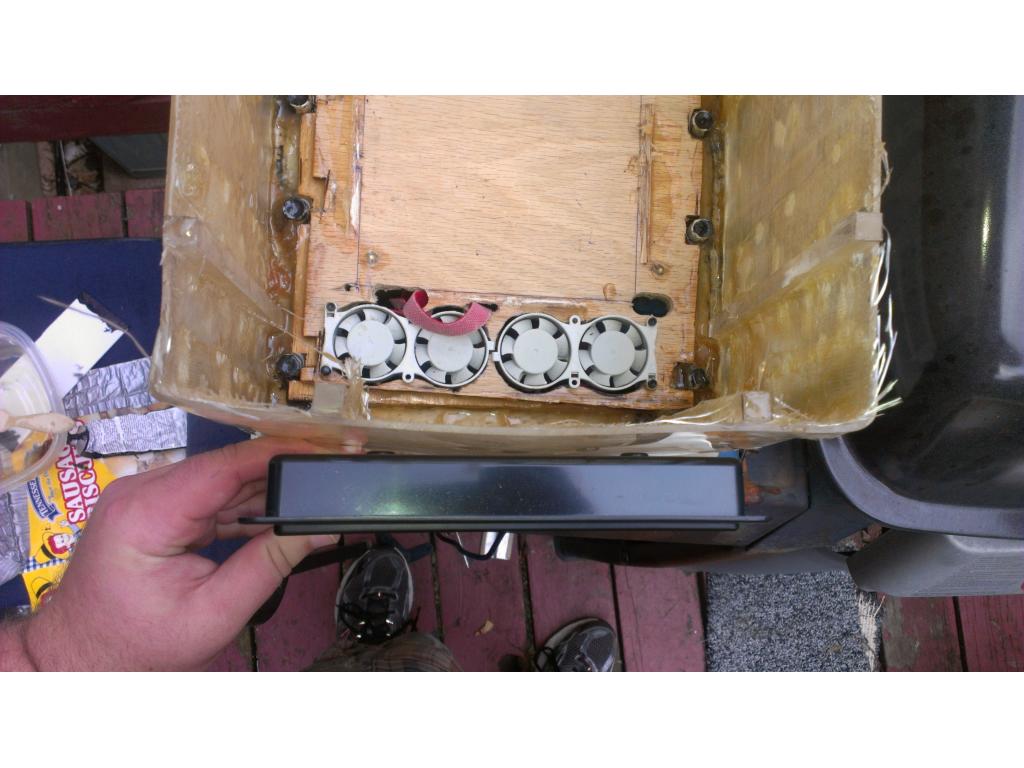
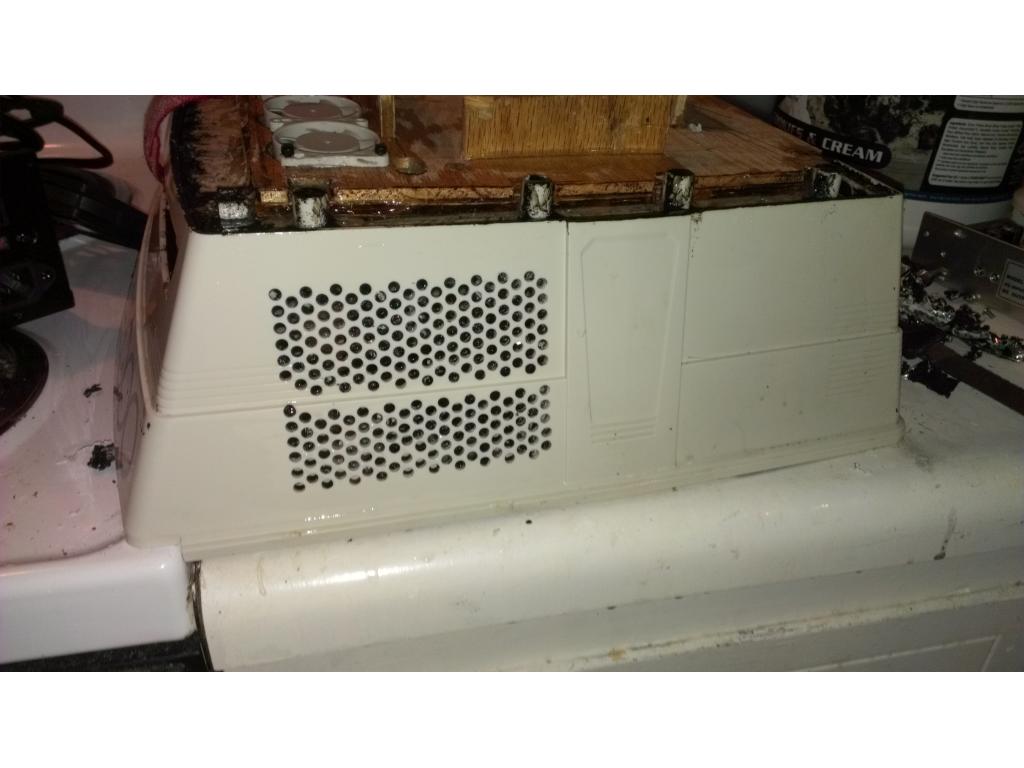
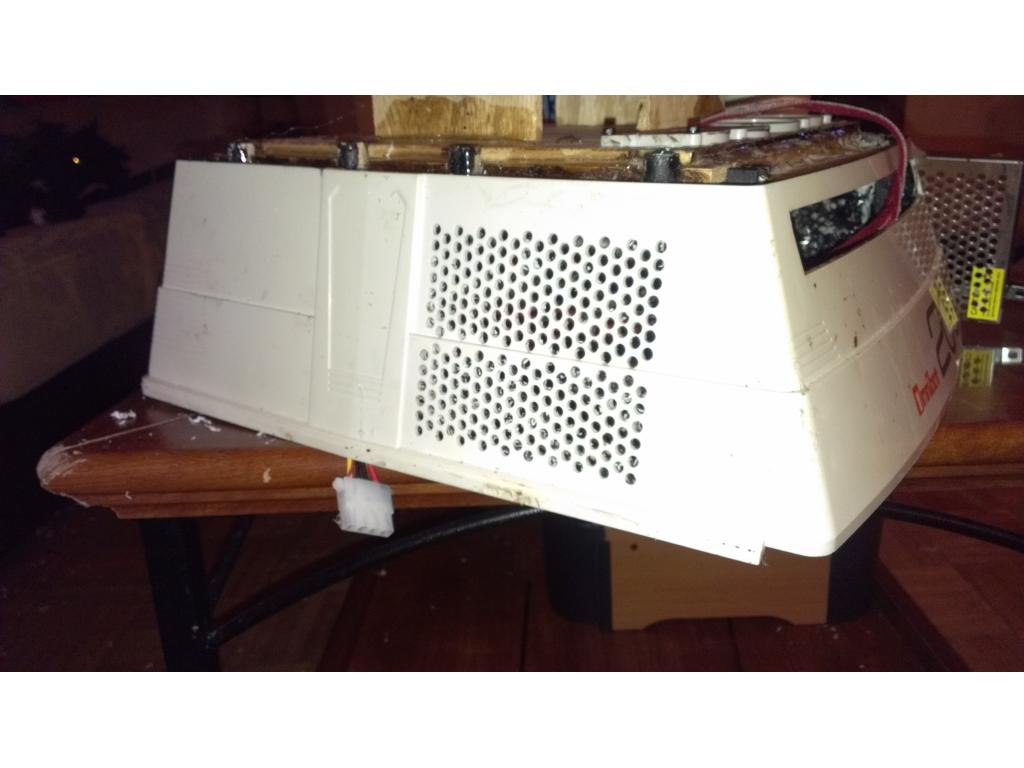
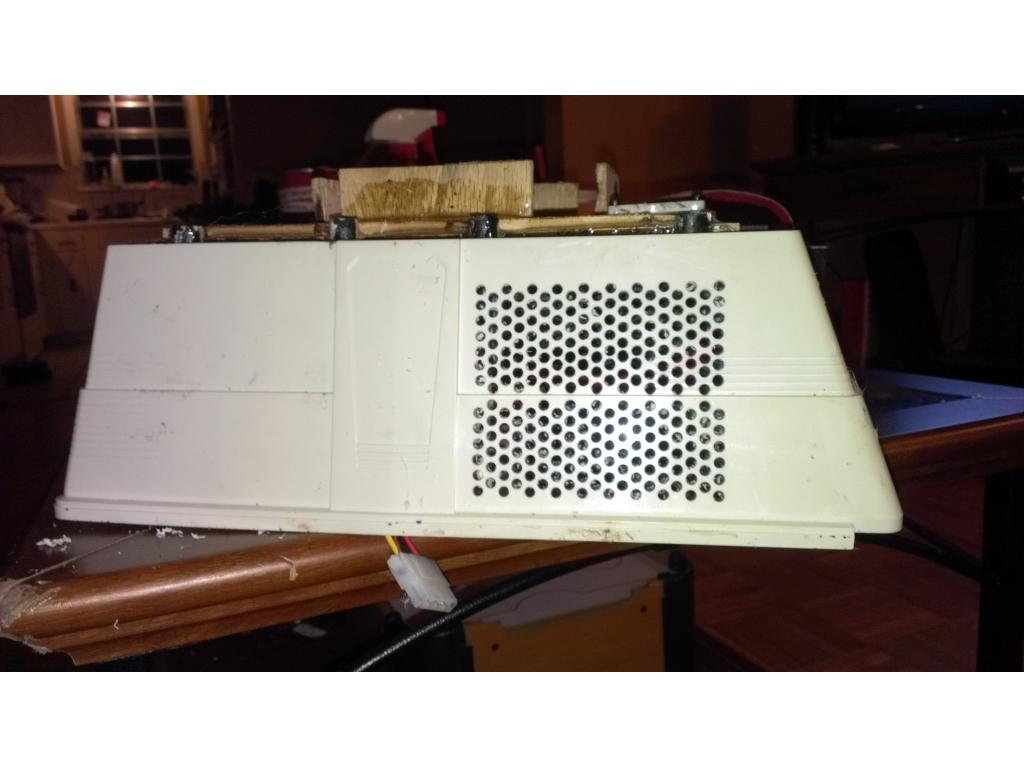
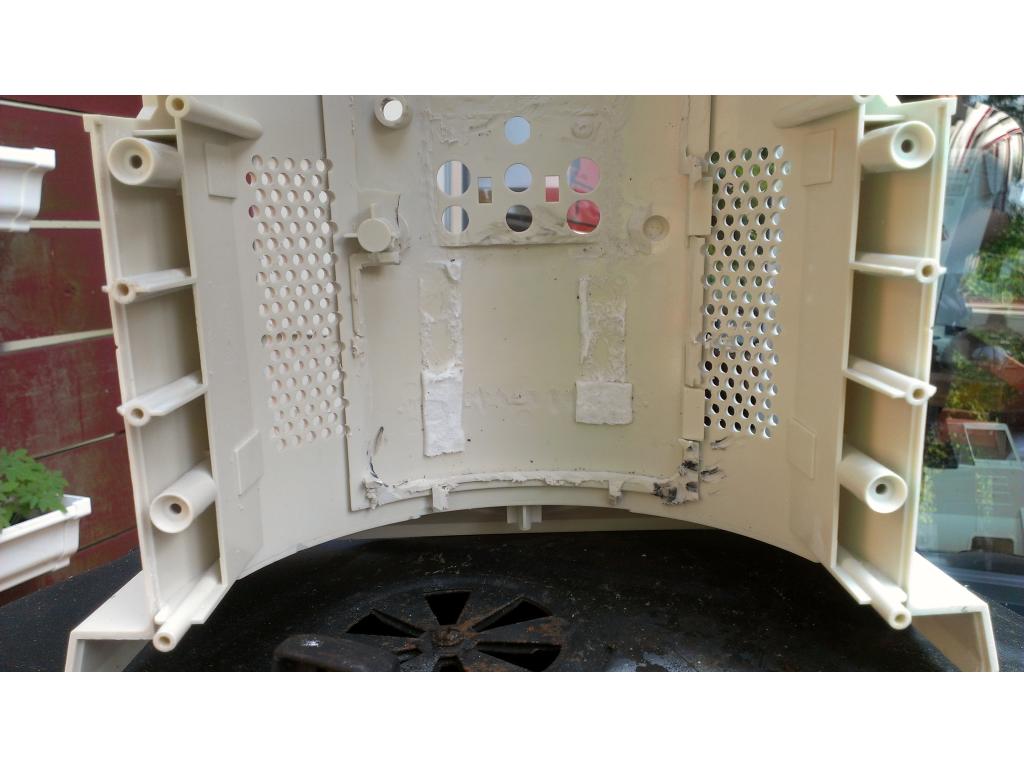
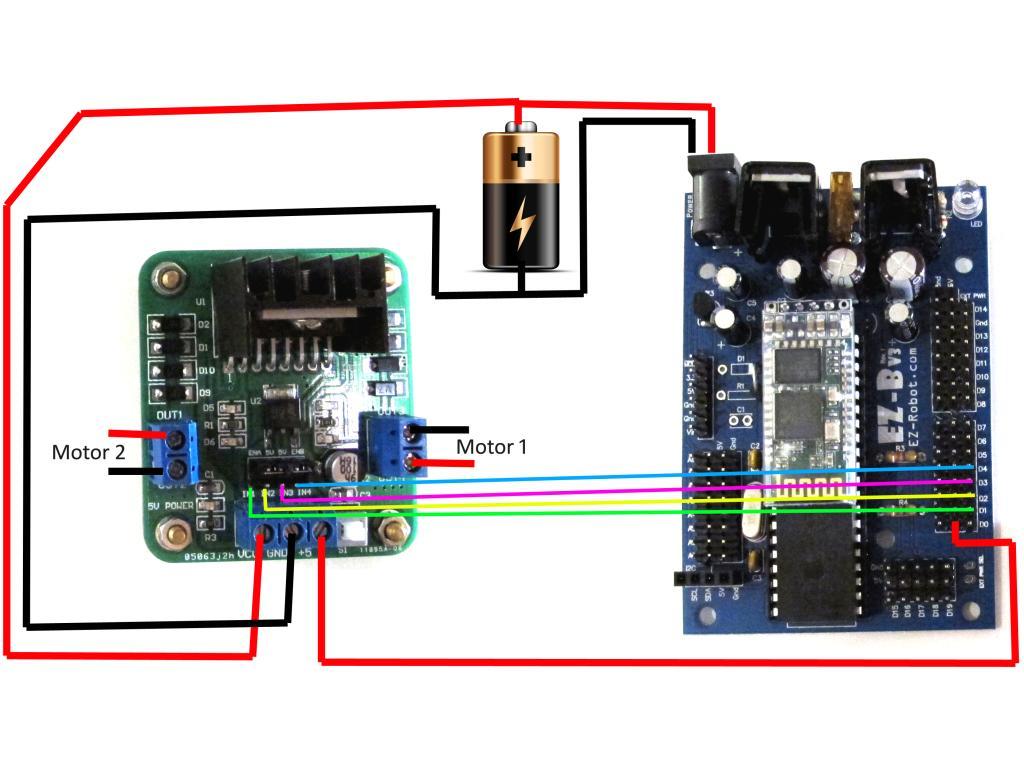
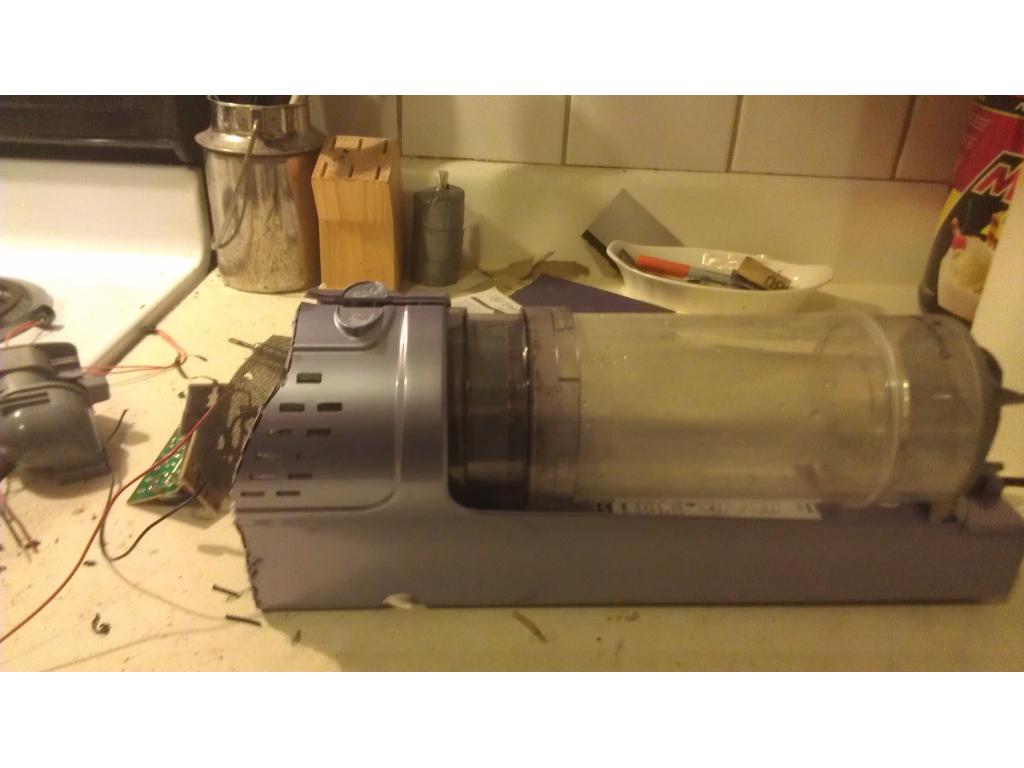
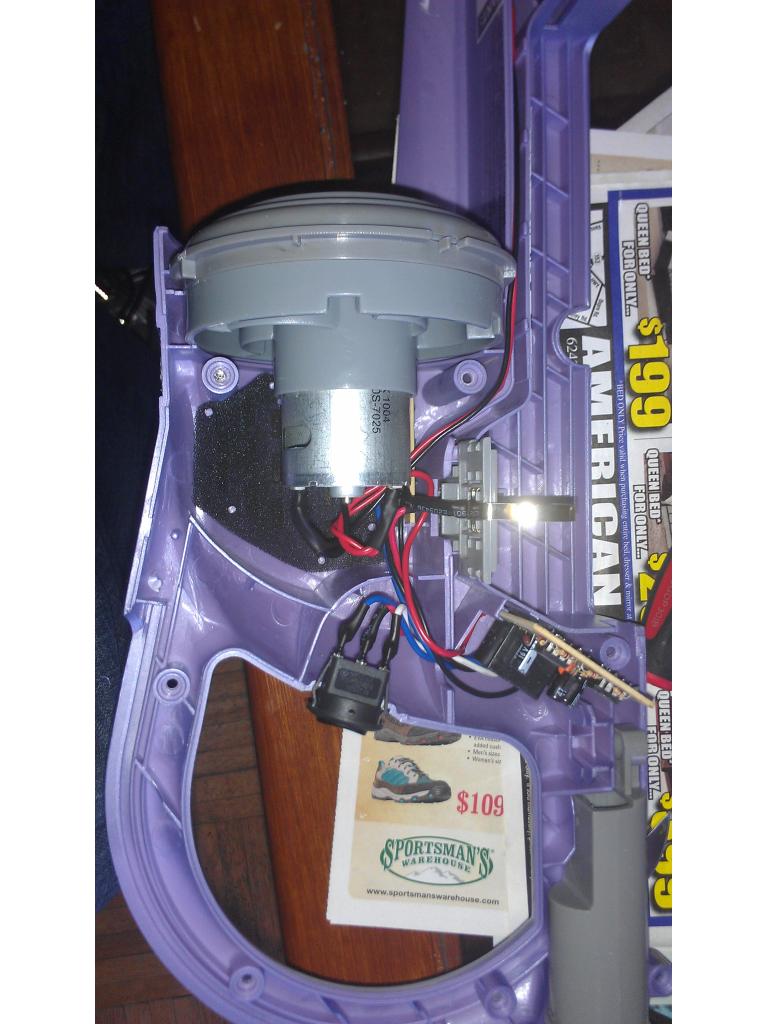
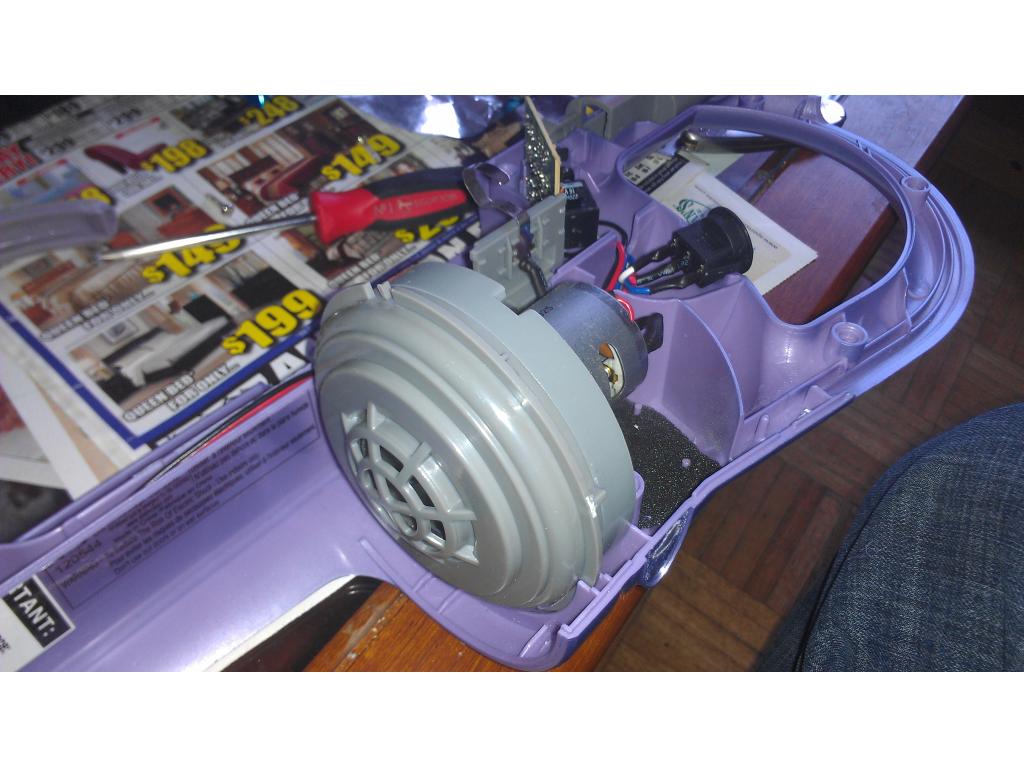
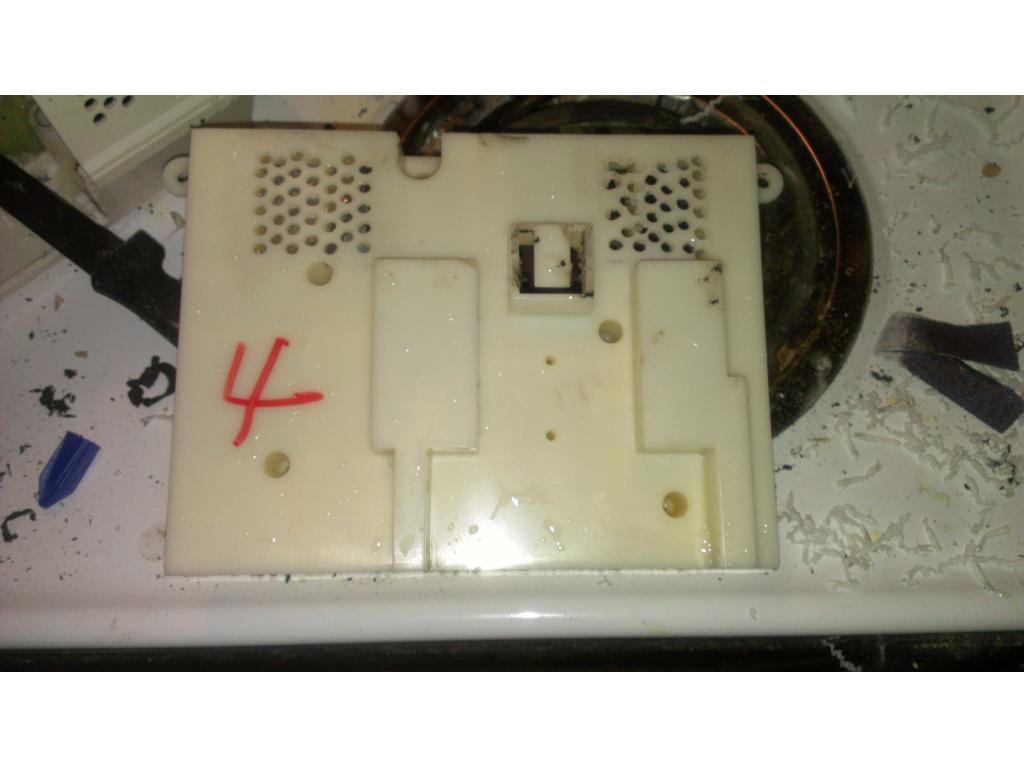
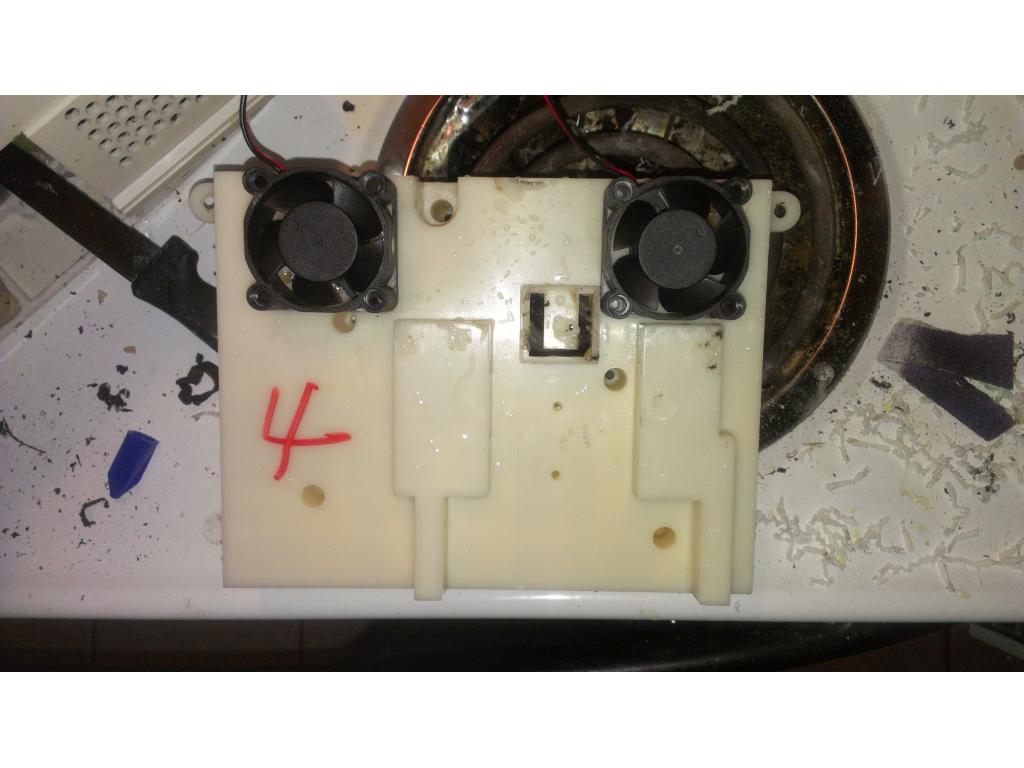
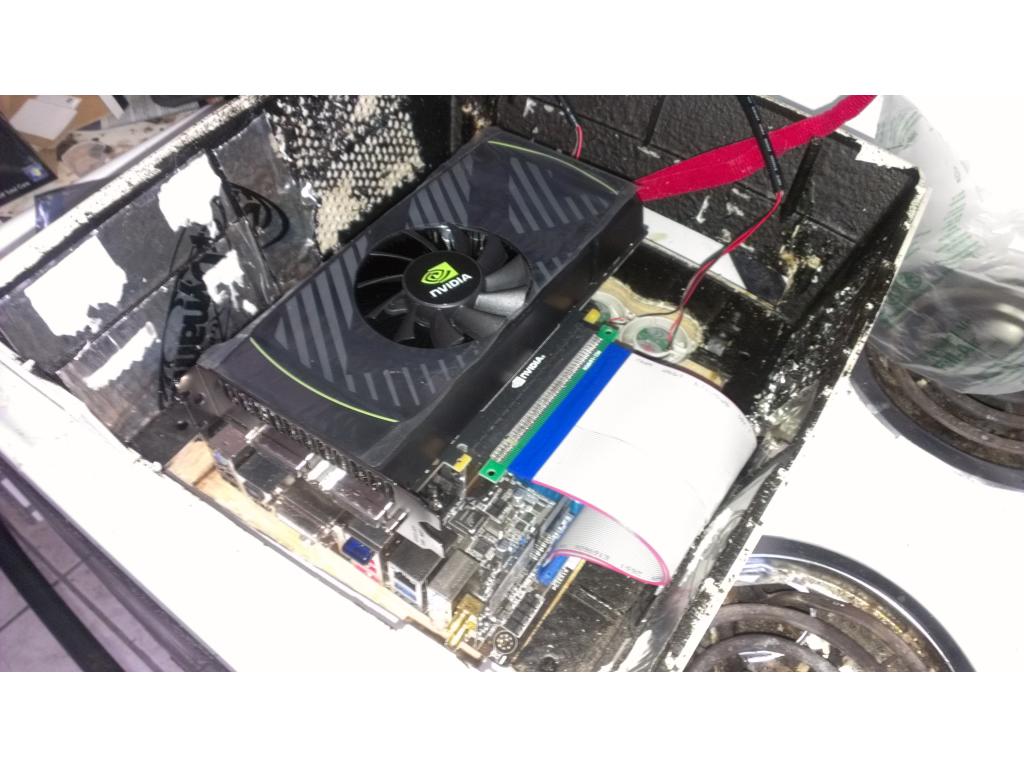
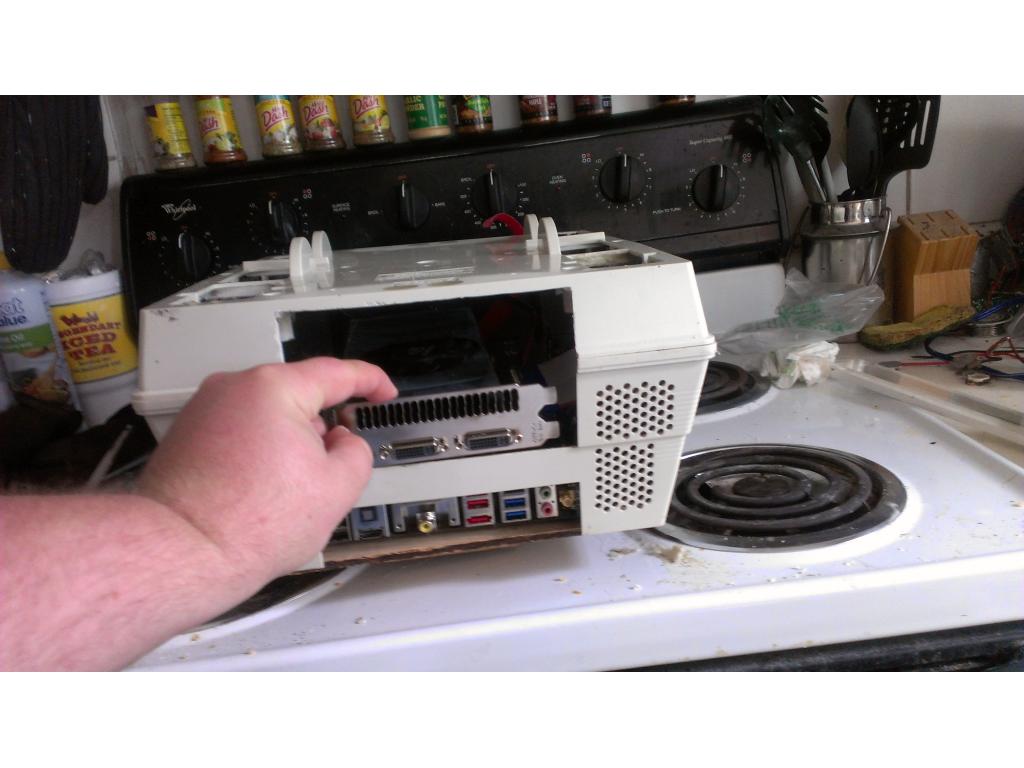
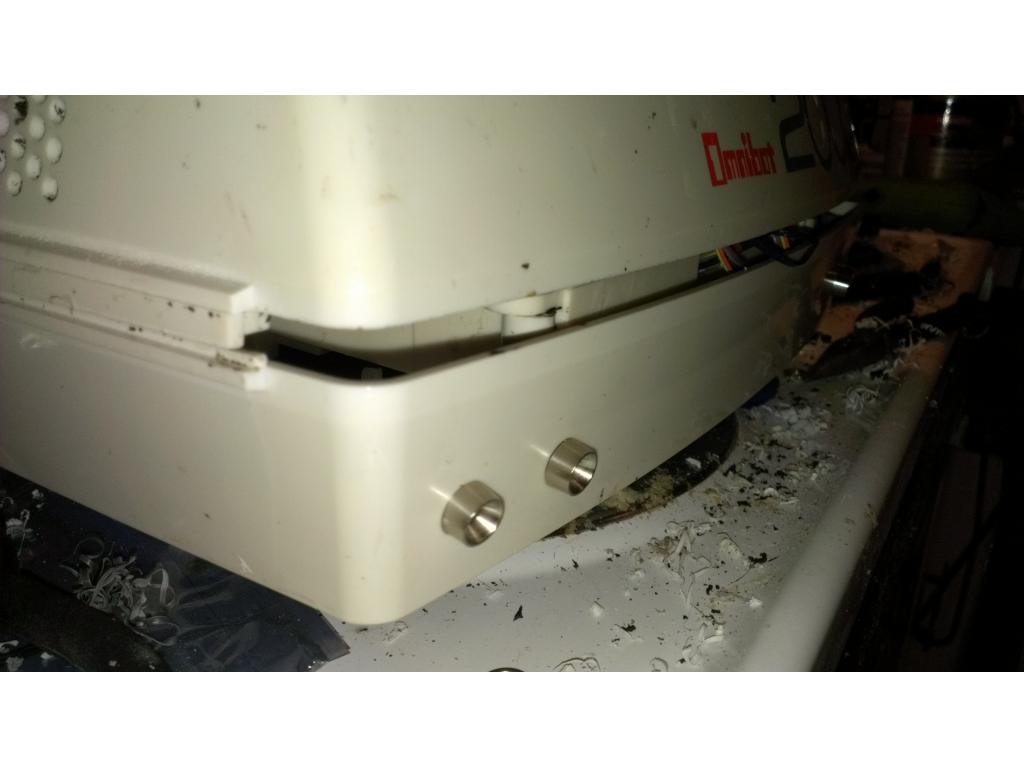
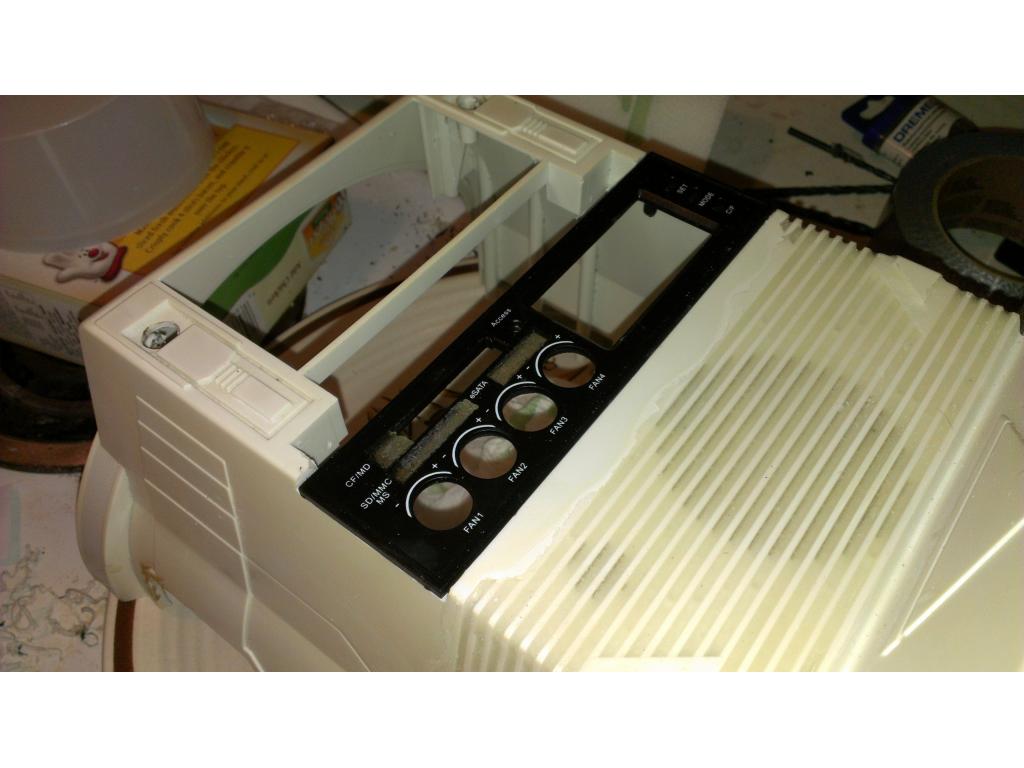
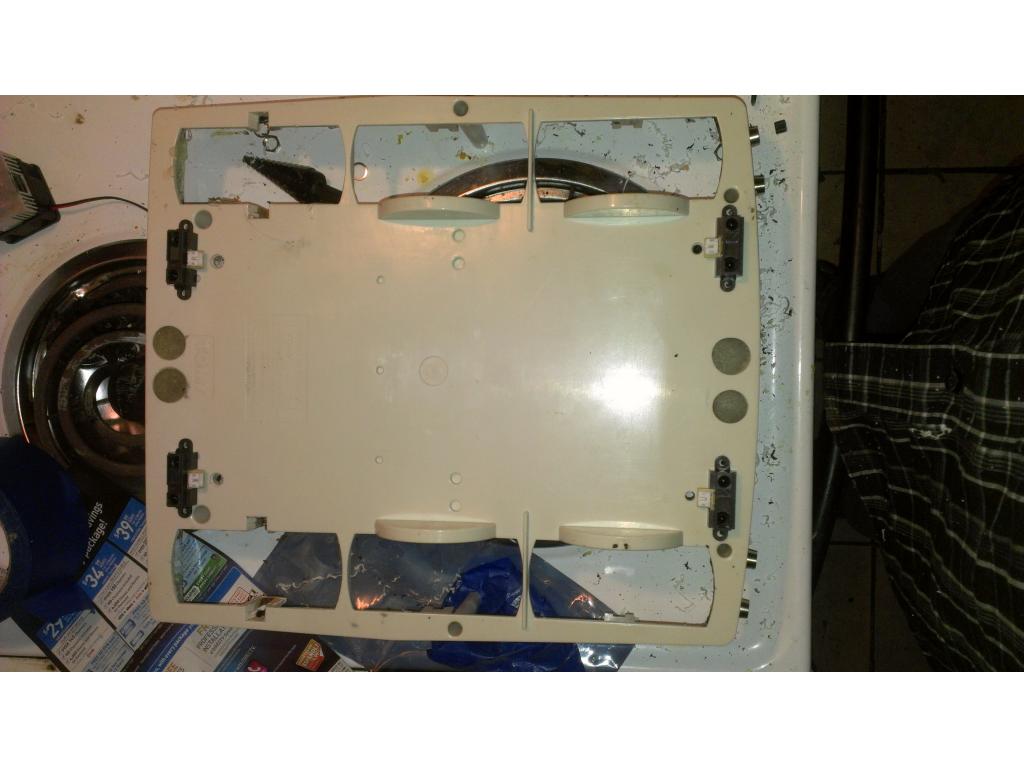
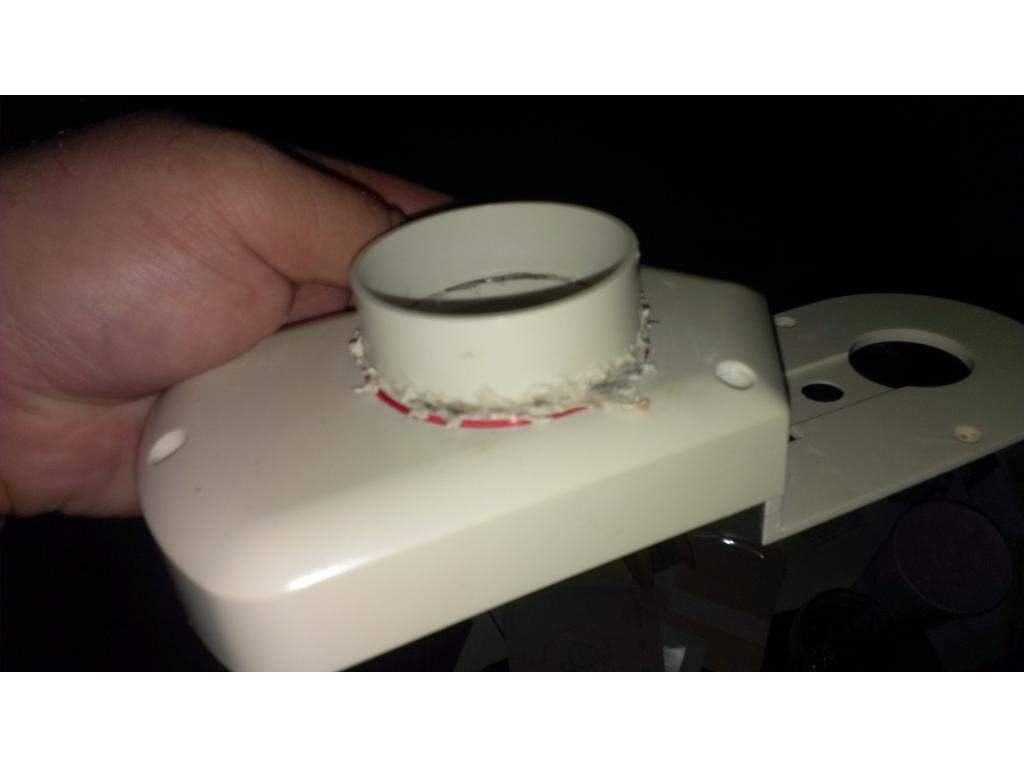
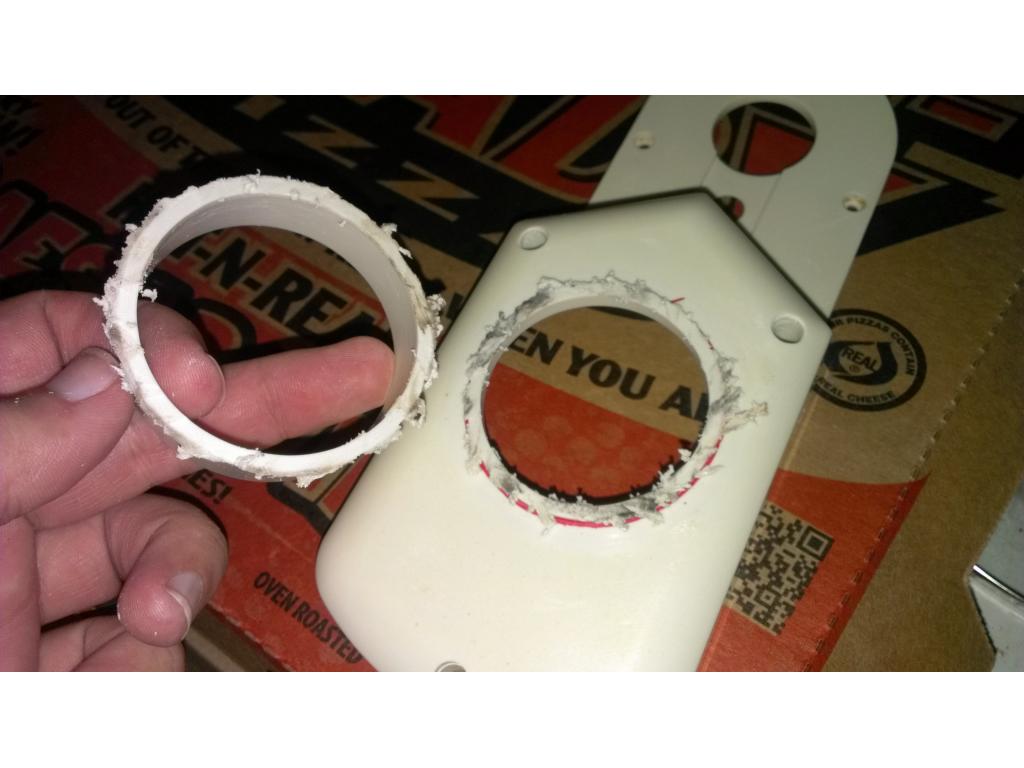
Install power supply plug ins , in the rear , use drill to make vent hole ( which im probably working on now) I will post pics.
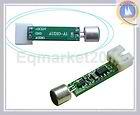
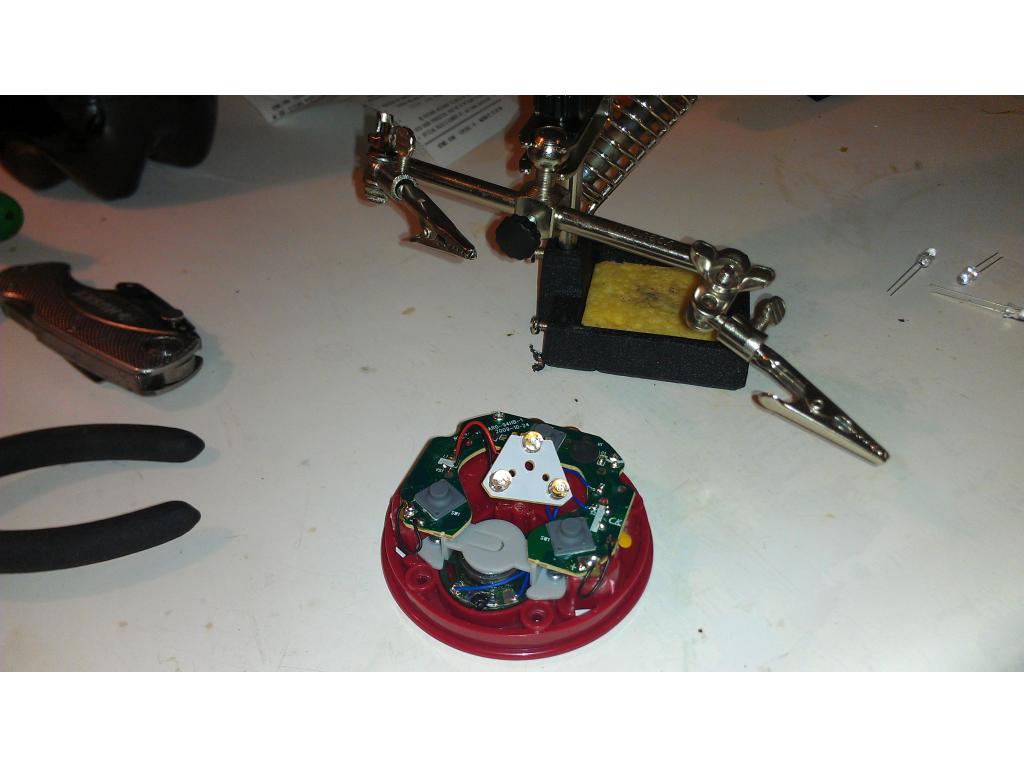
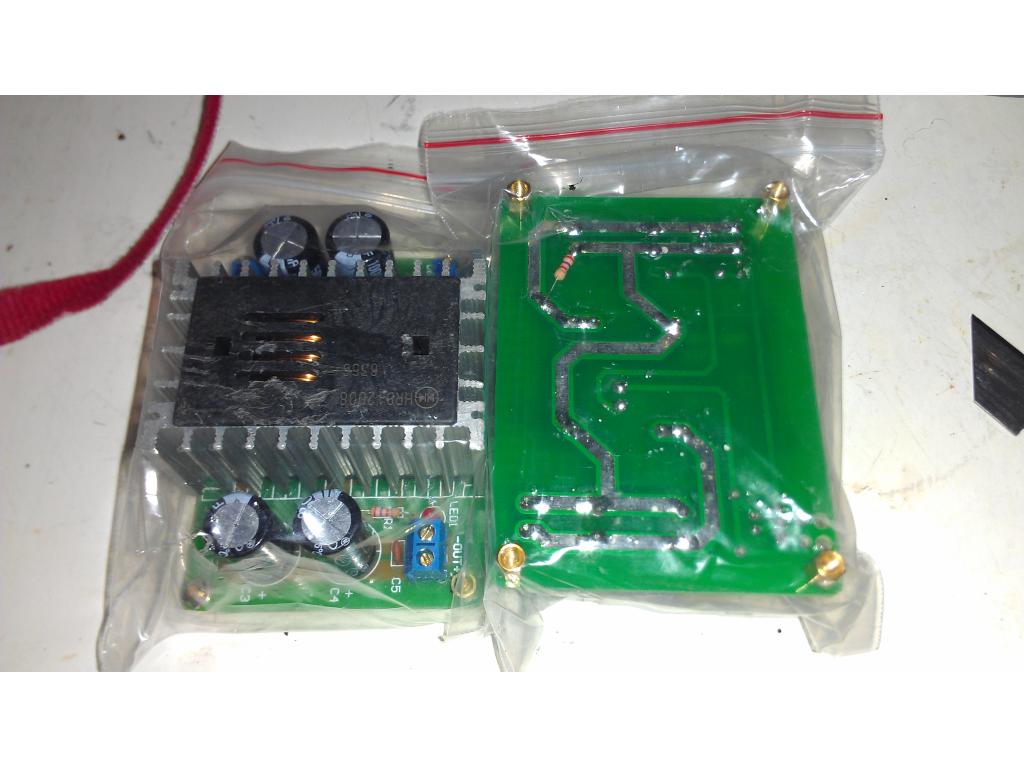
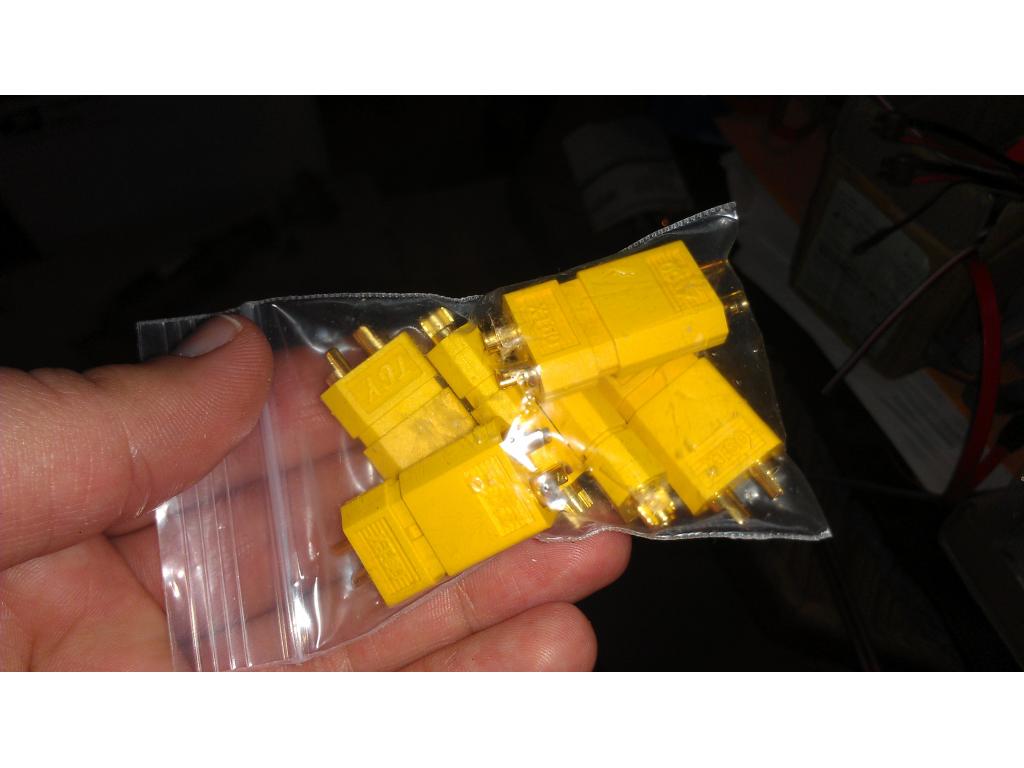
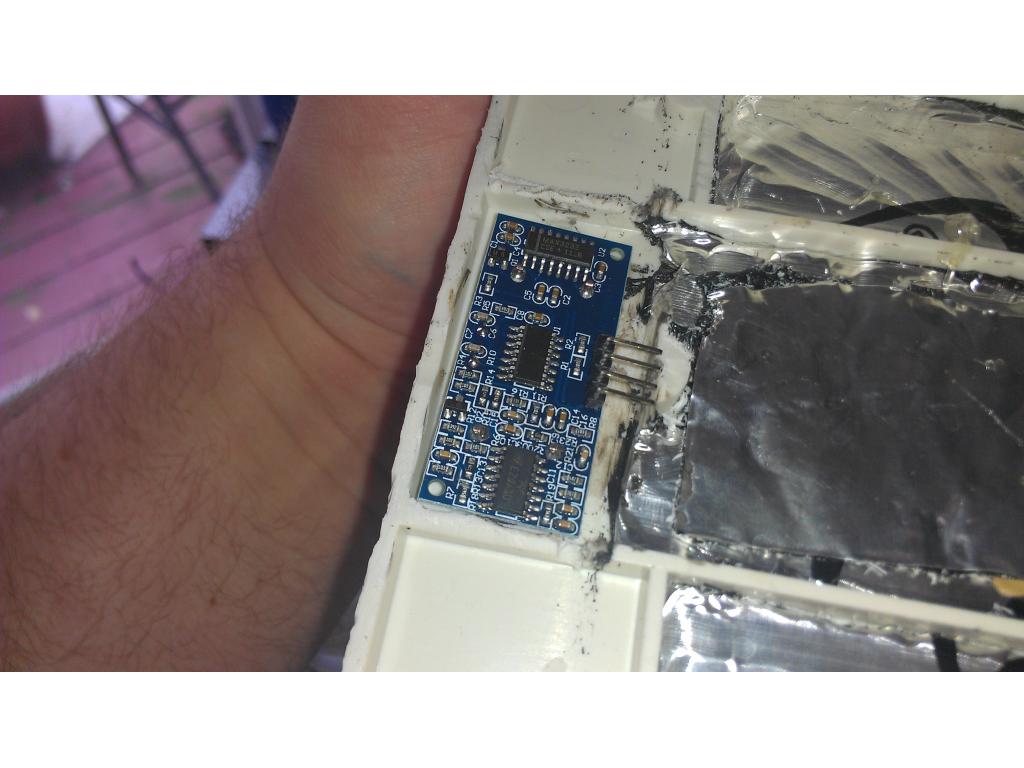
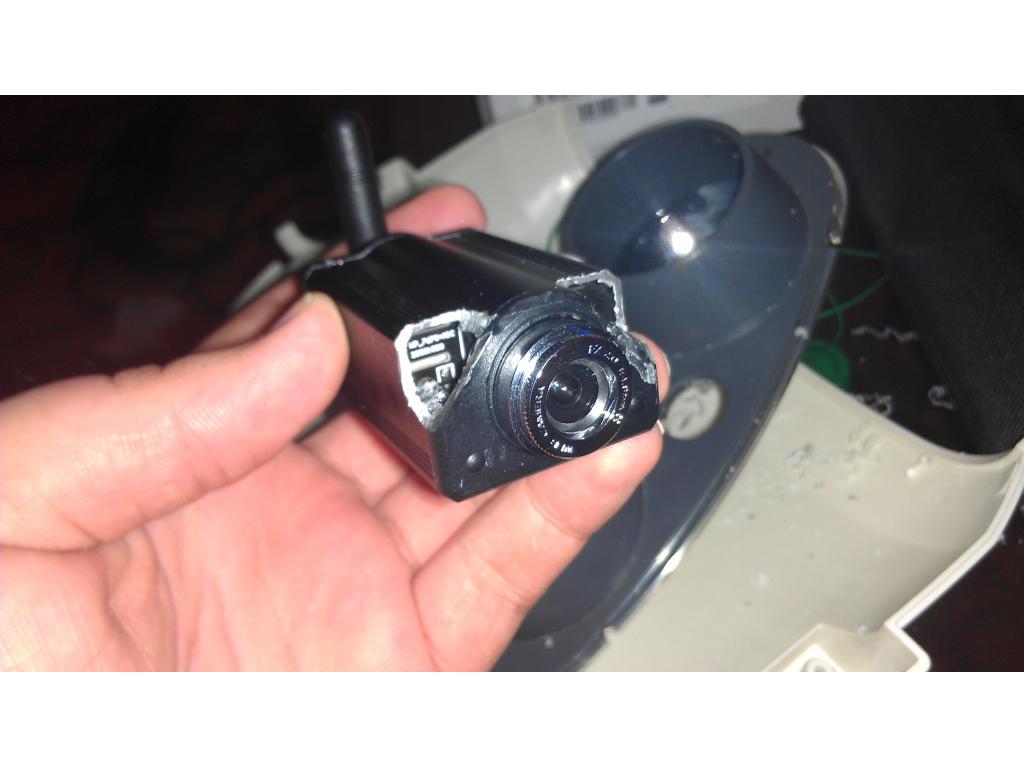
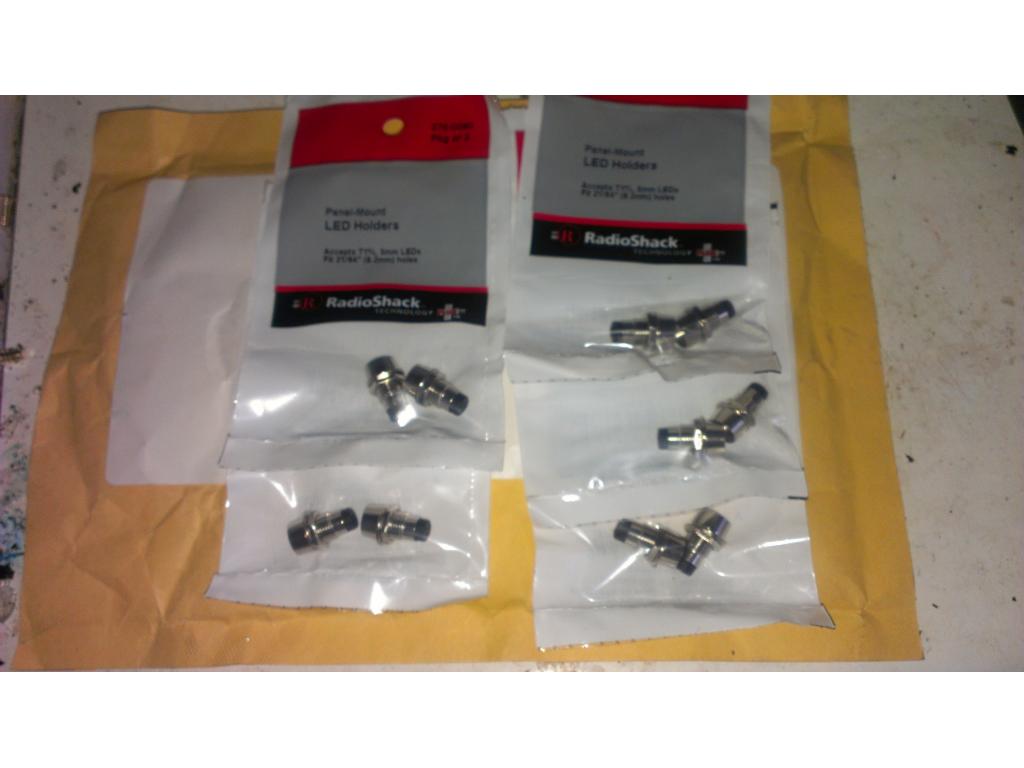
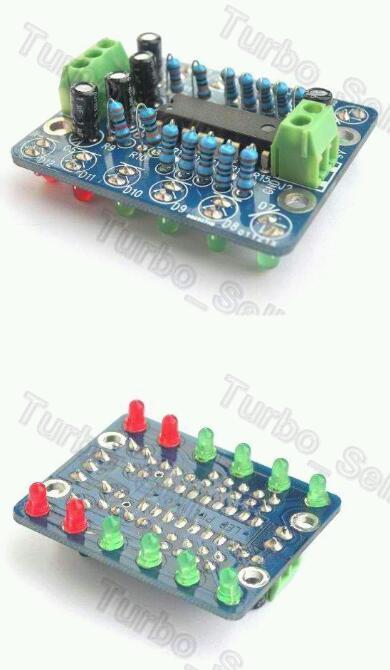
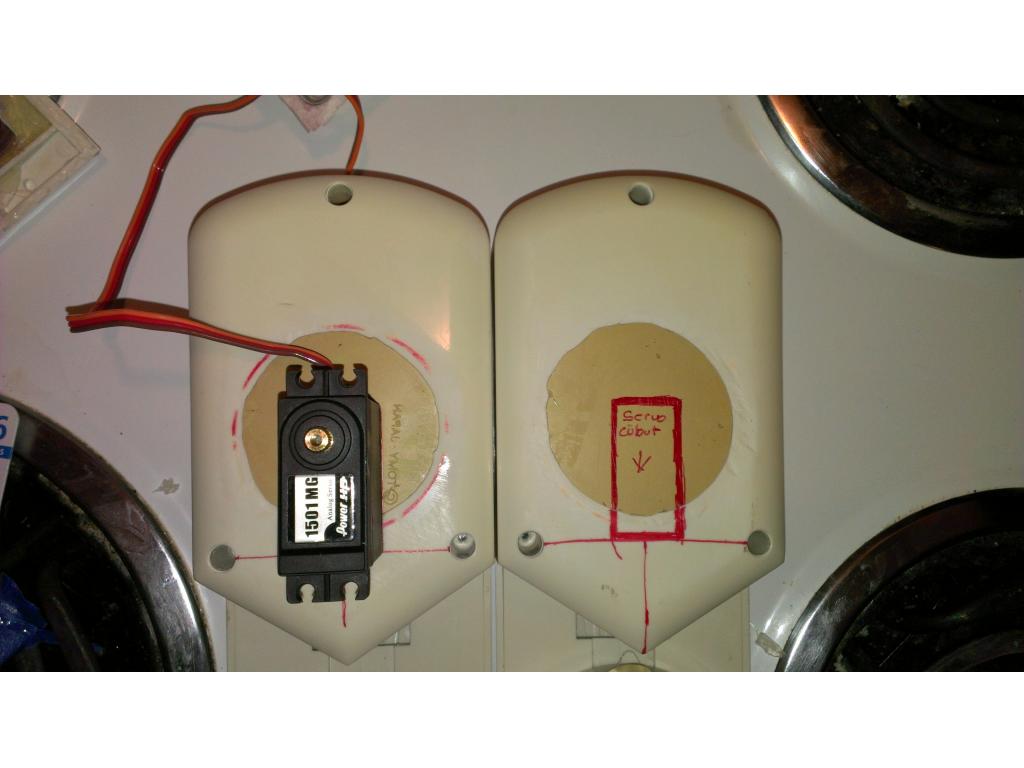
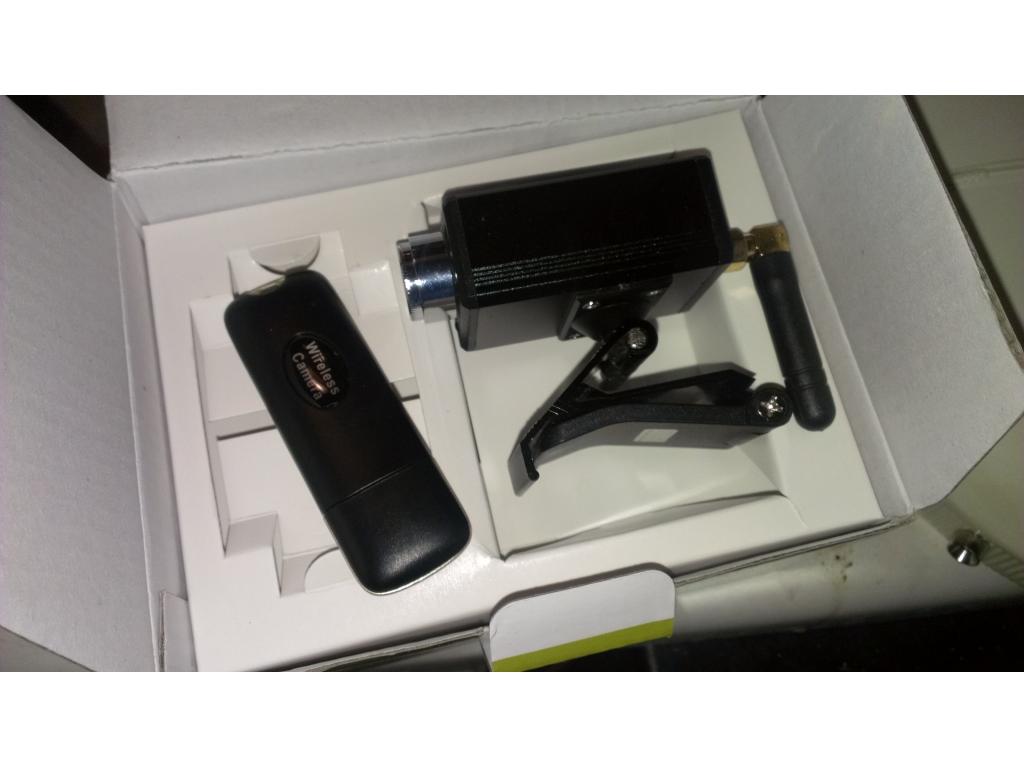
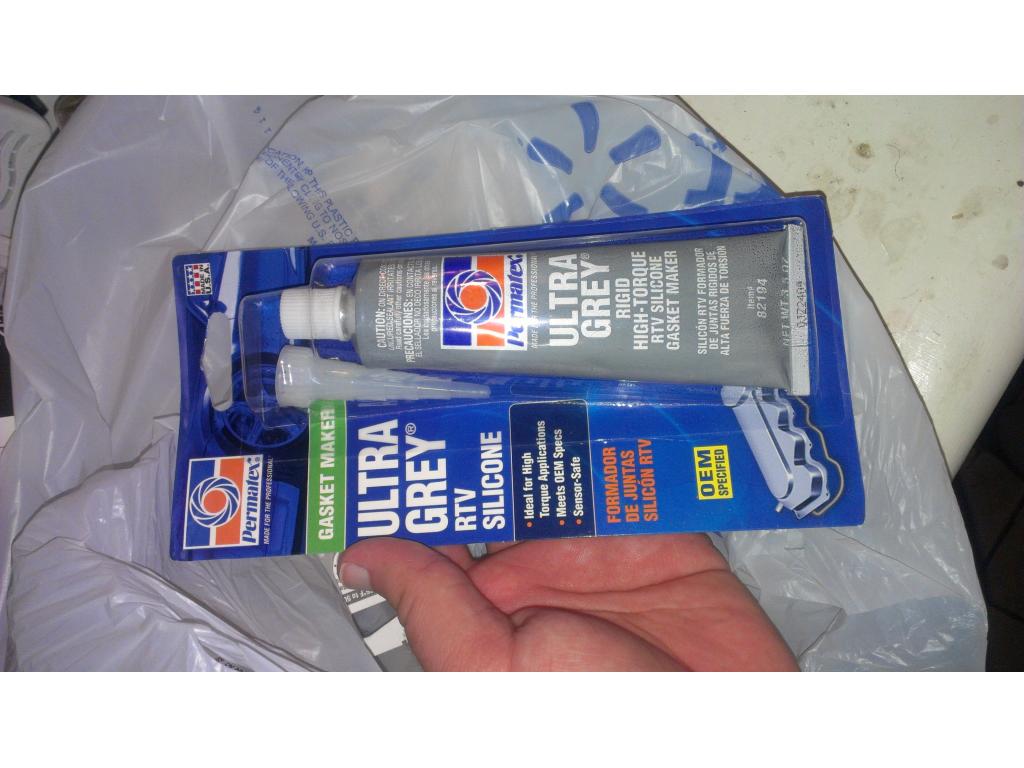
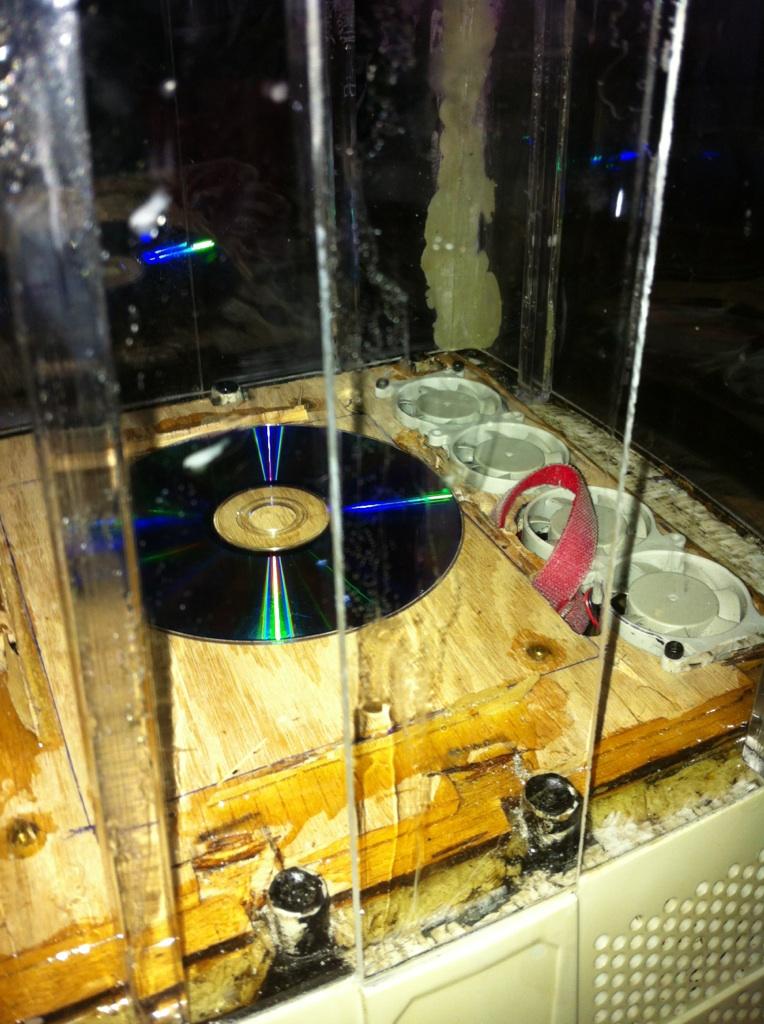
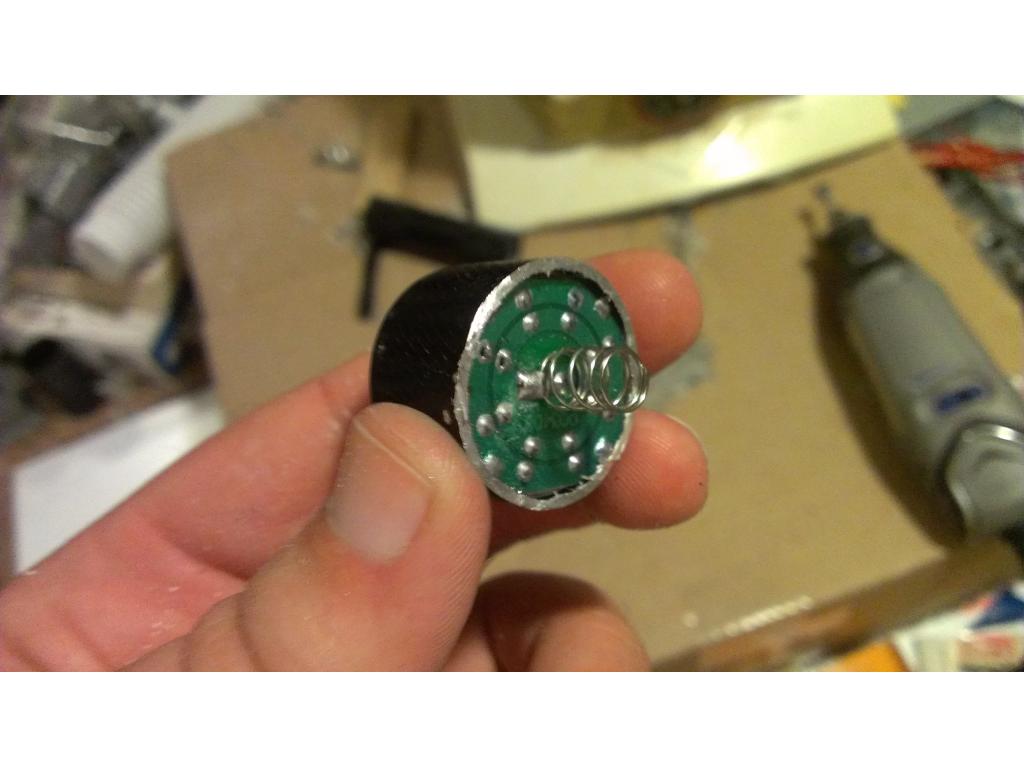
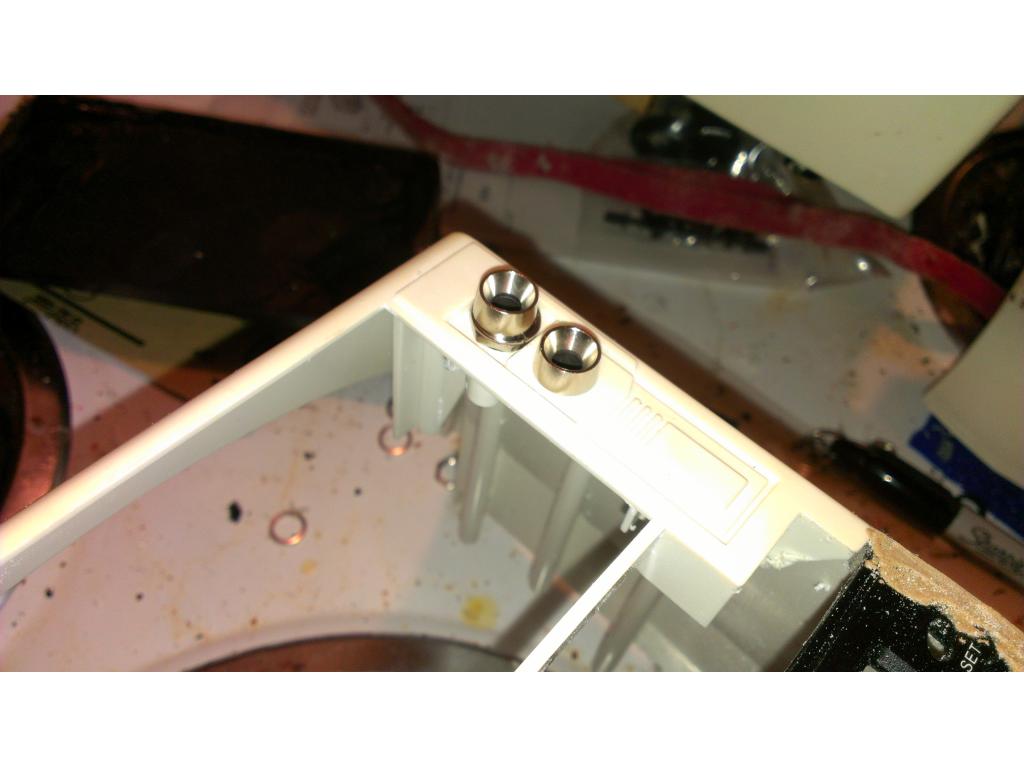
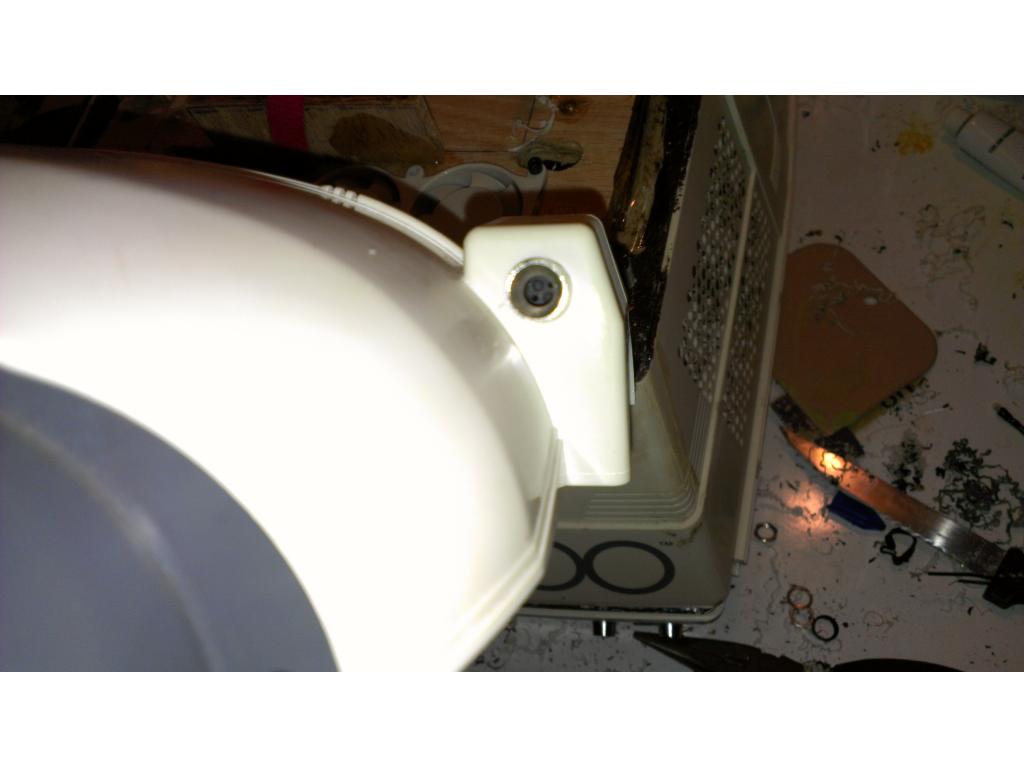
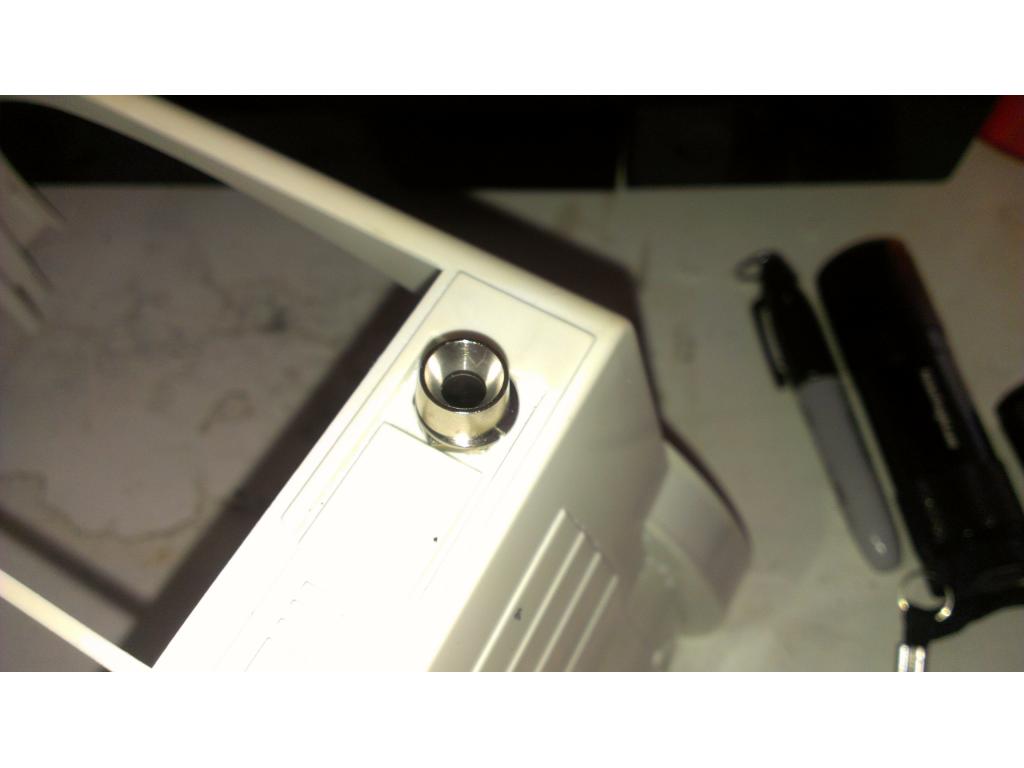
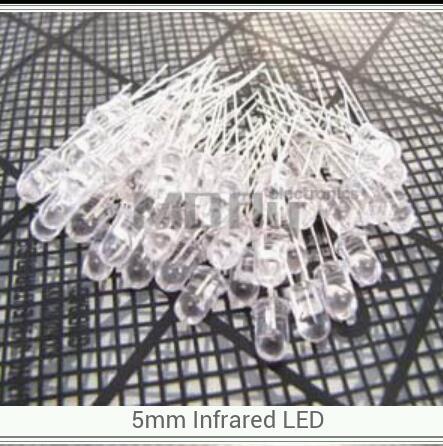
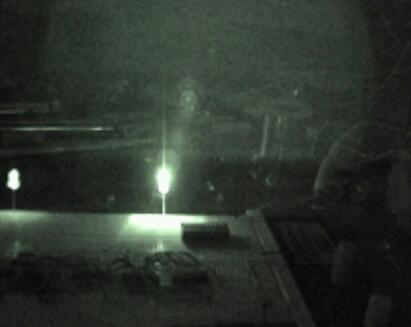
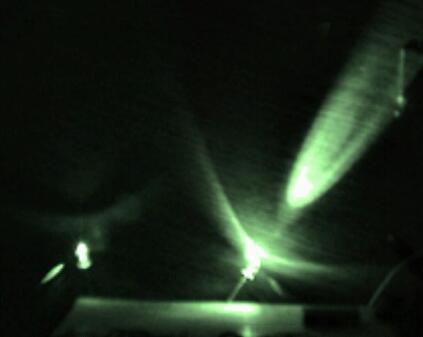
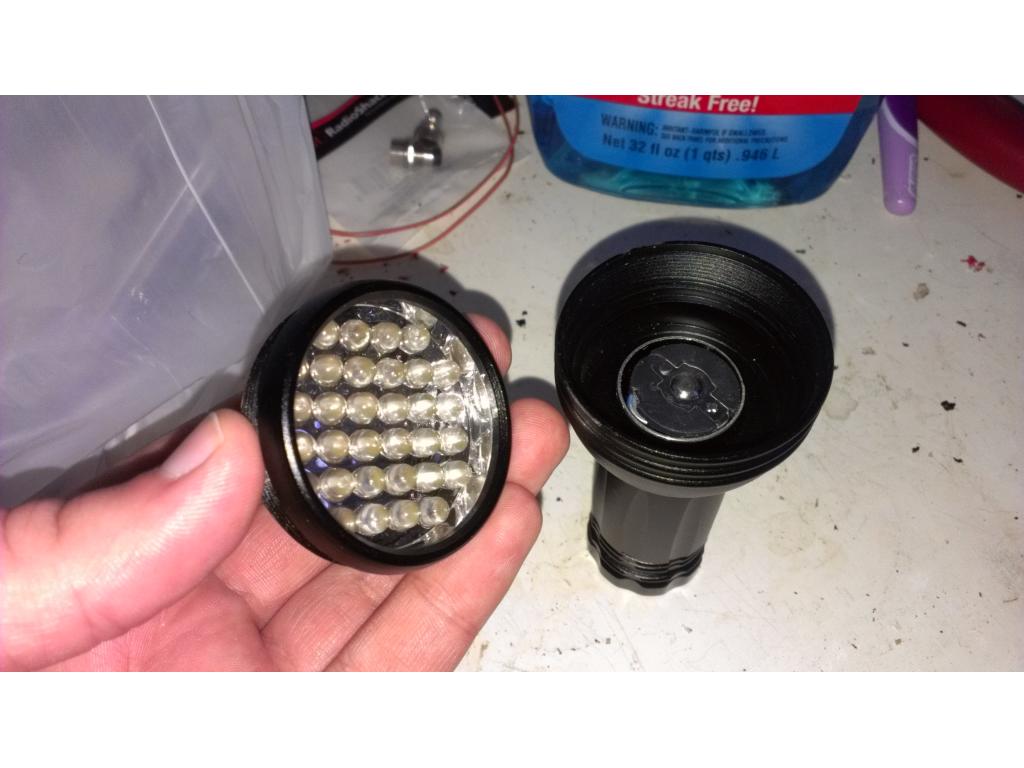
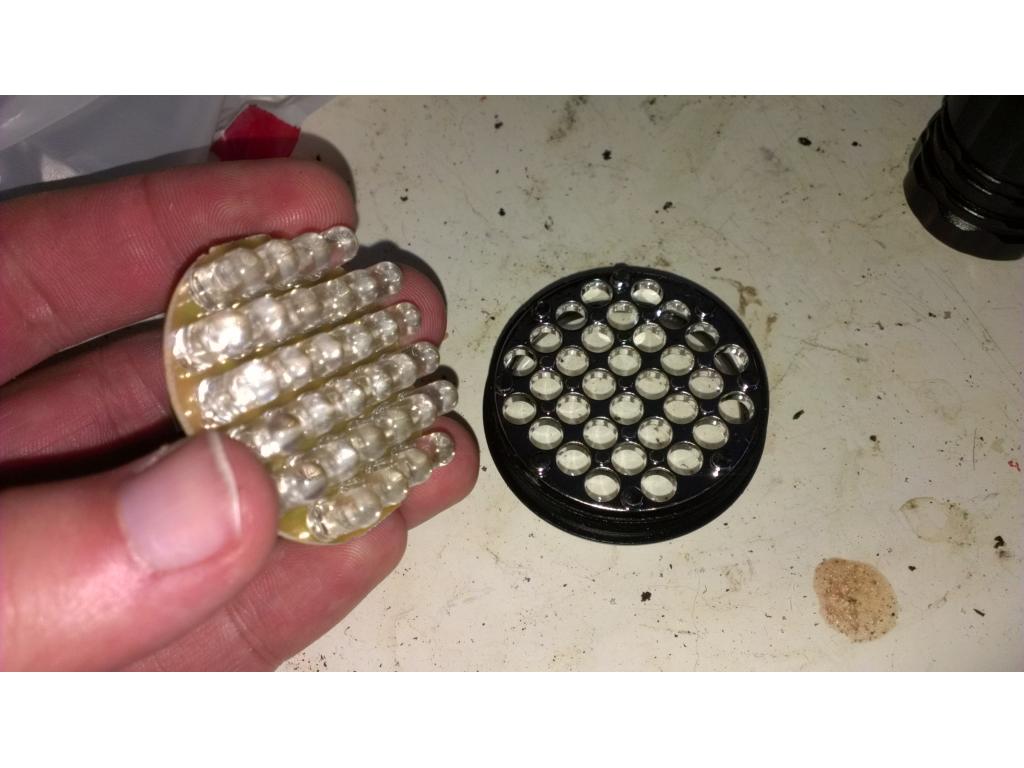
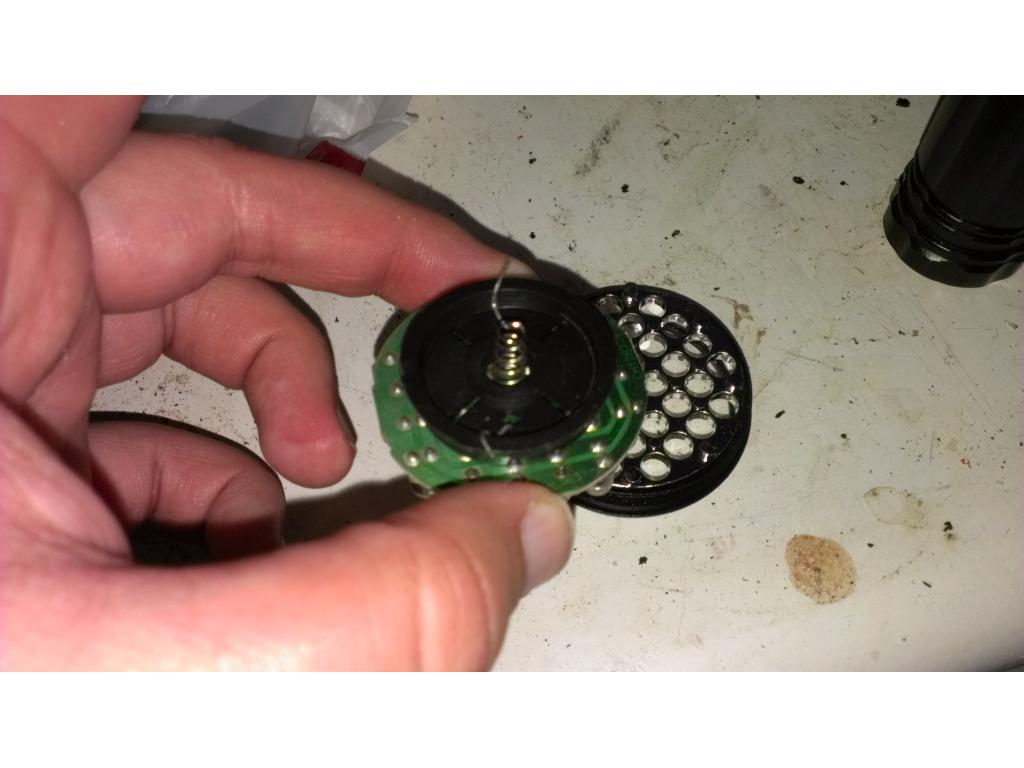
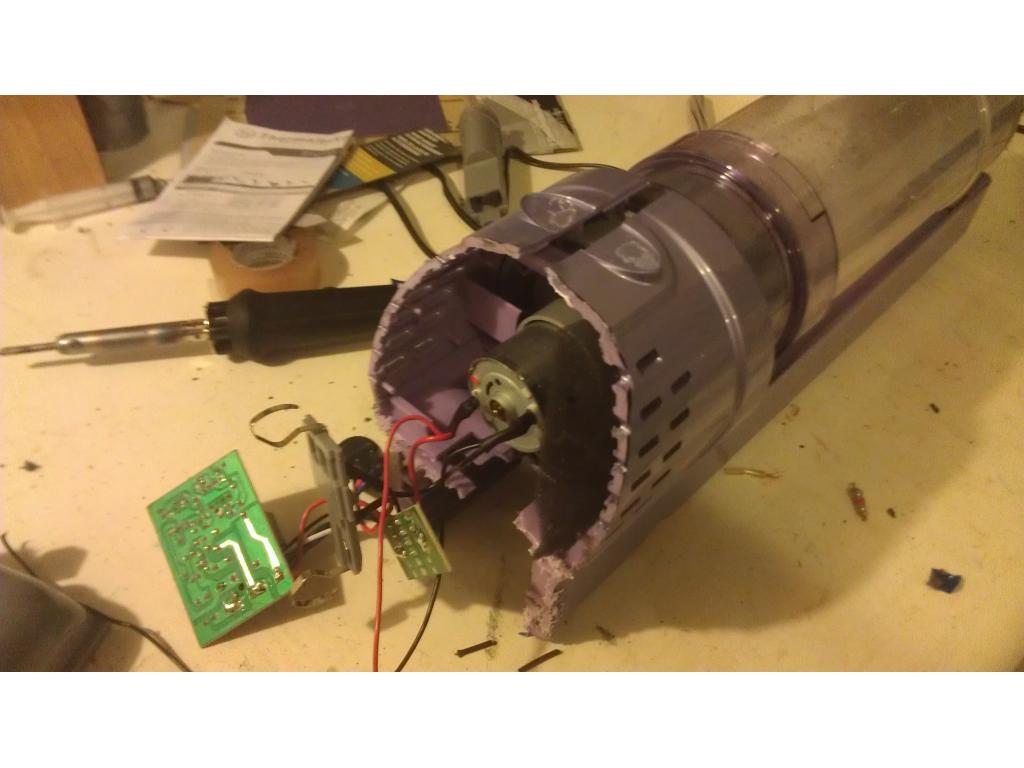
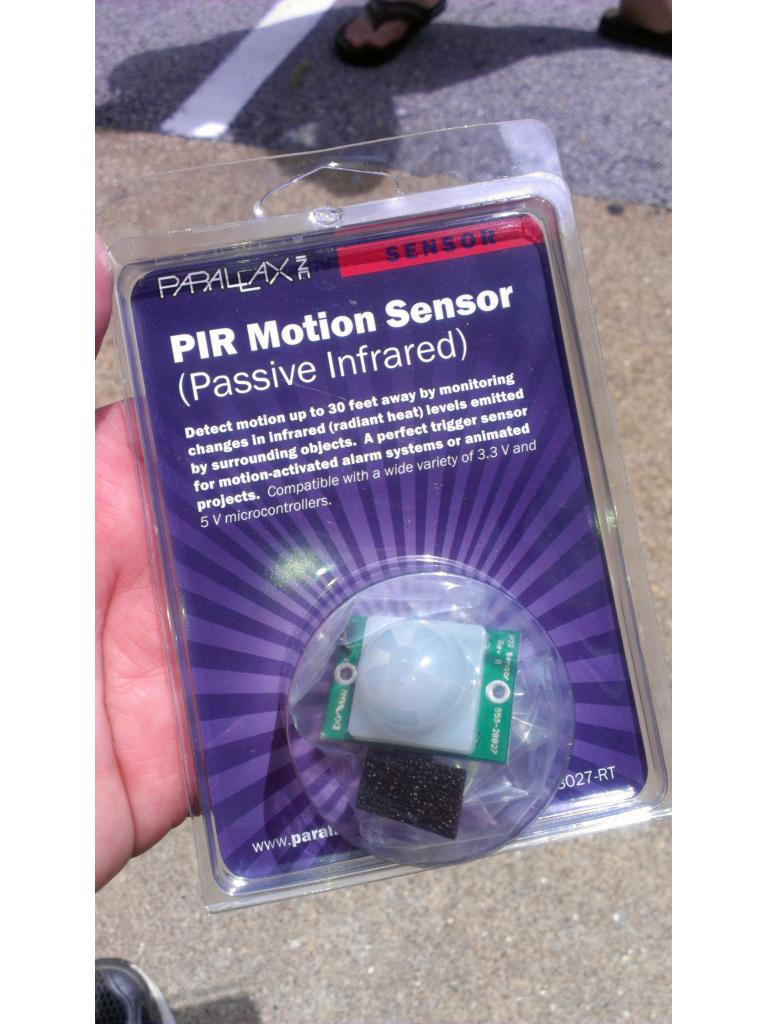
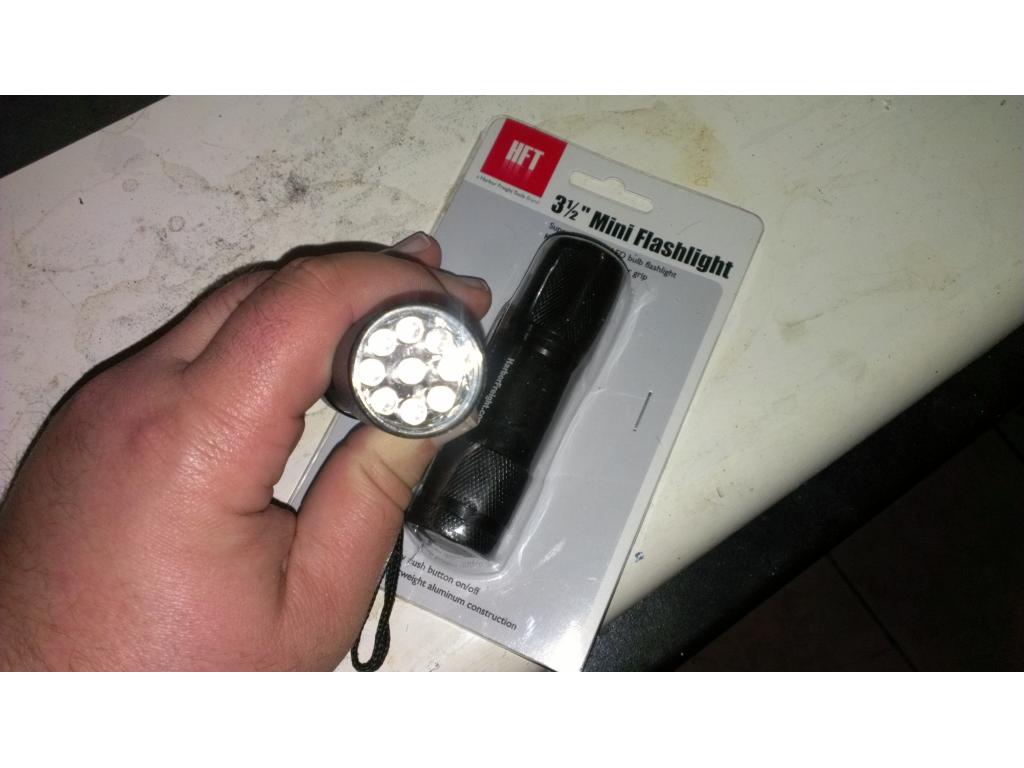
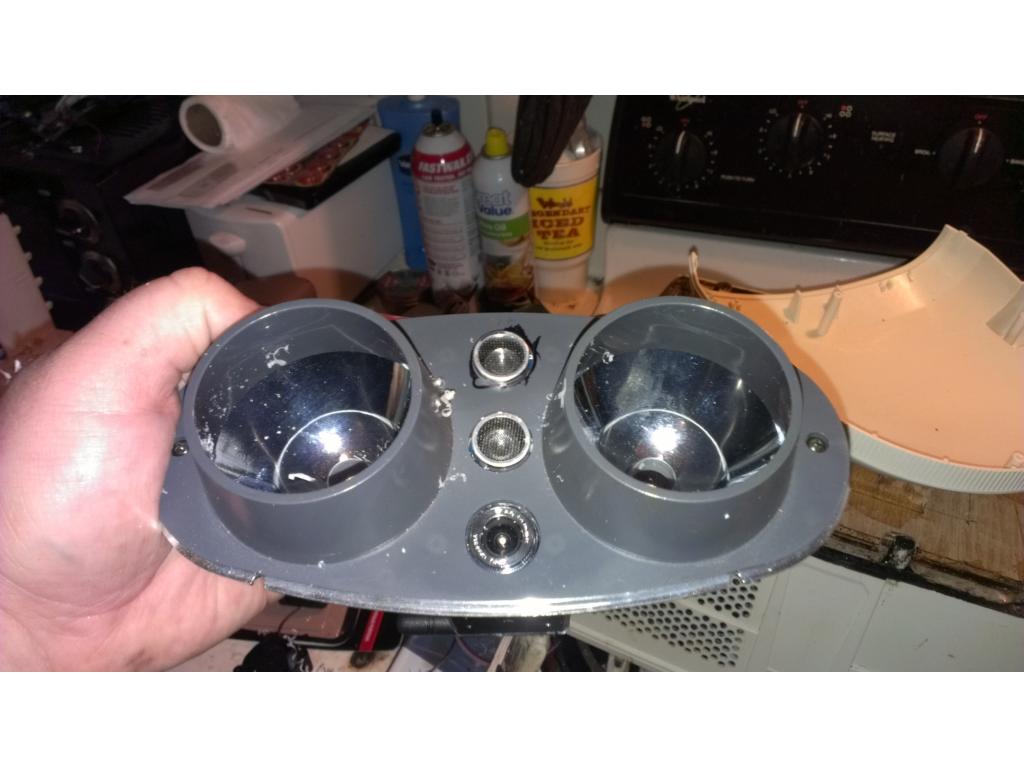
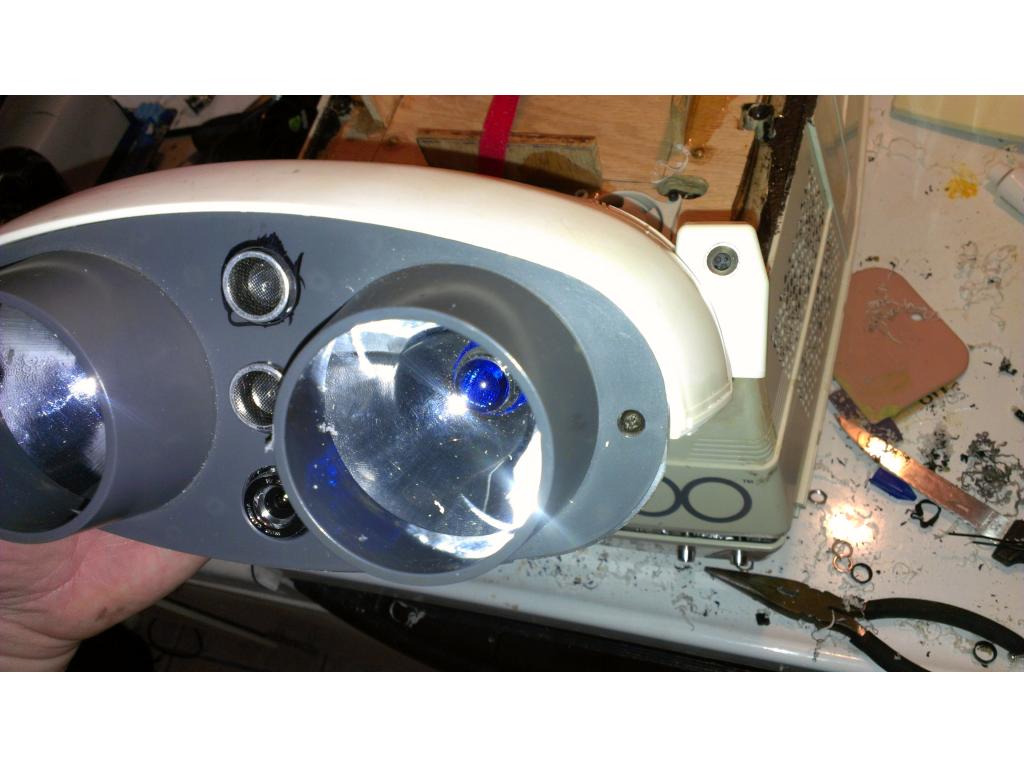
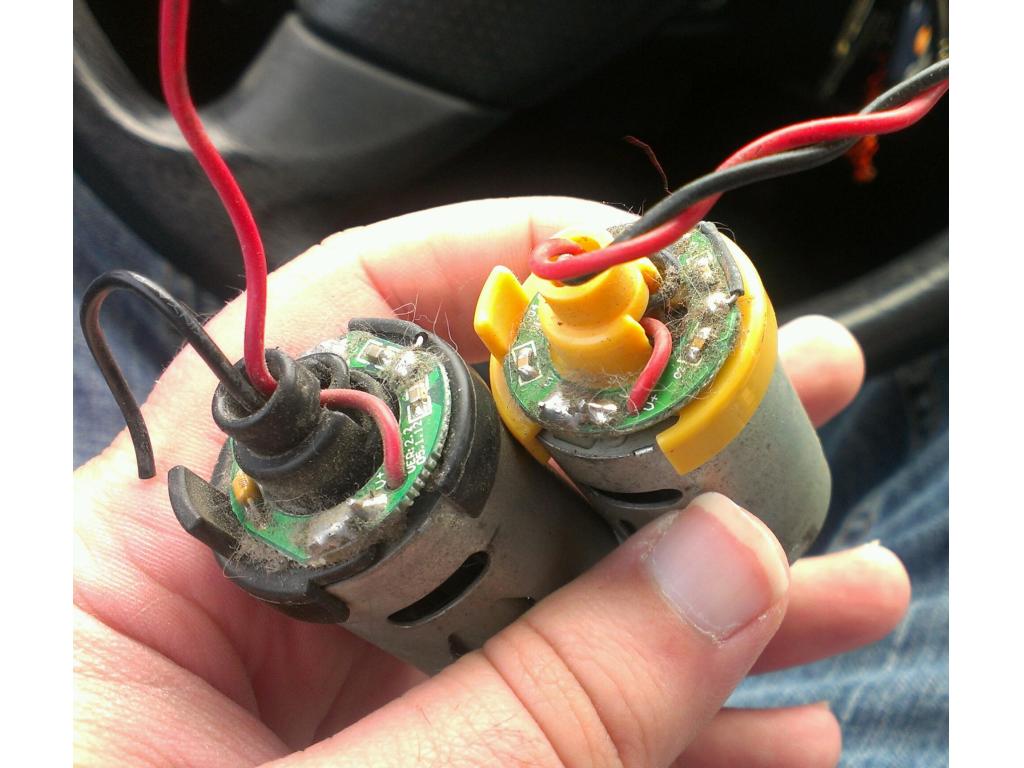
@robotmaker: Great! I have been looking for something like this for a while. Been actually thinking about soldering something like this myself. What about polarity, though. Dont LEDs always use a certain polarity? Have you tested these inside Omnibot yet? Are there different colors available? I want to keep the orange eyes - would want white leds then. These things must be more enrgy-efficient than the old bulbs!
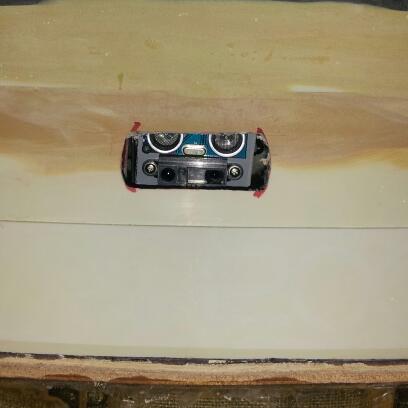
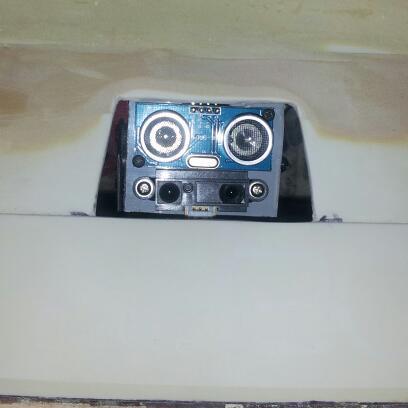
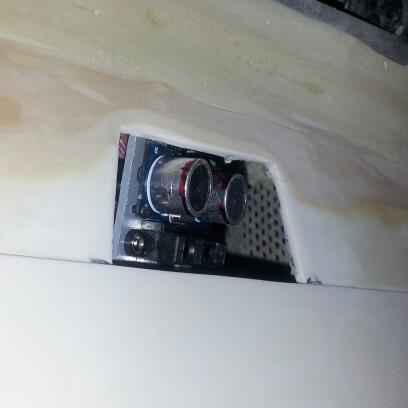
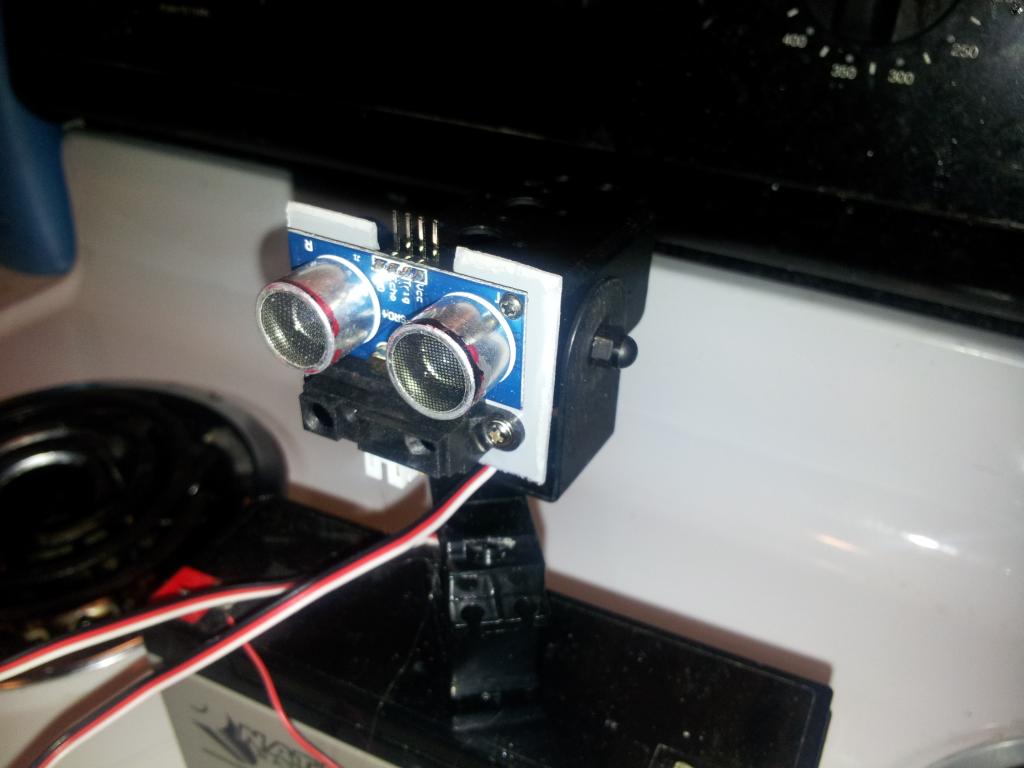
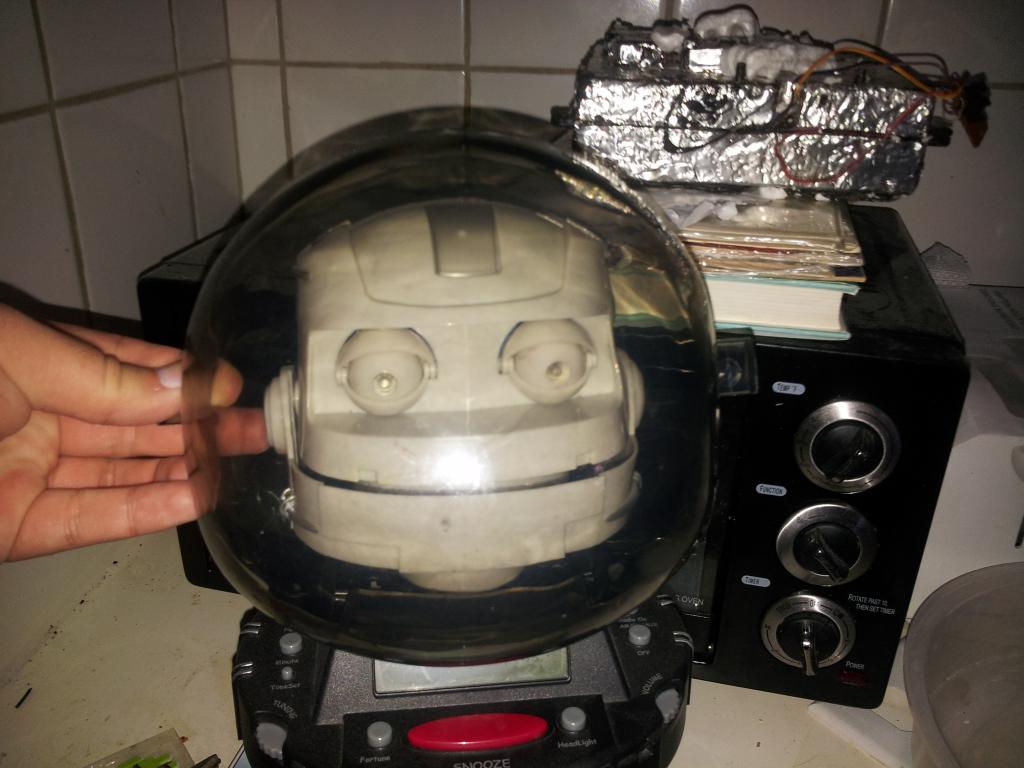
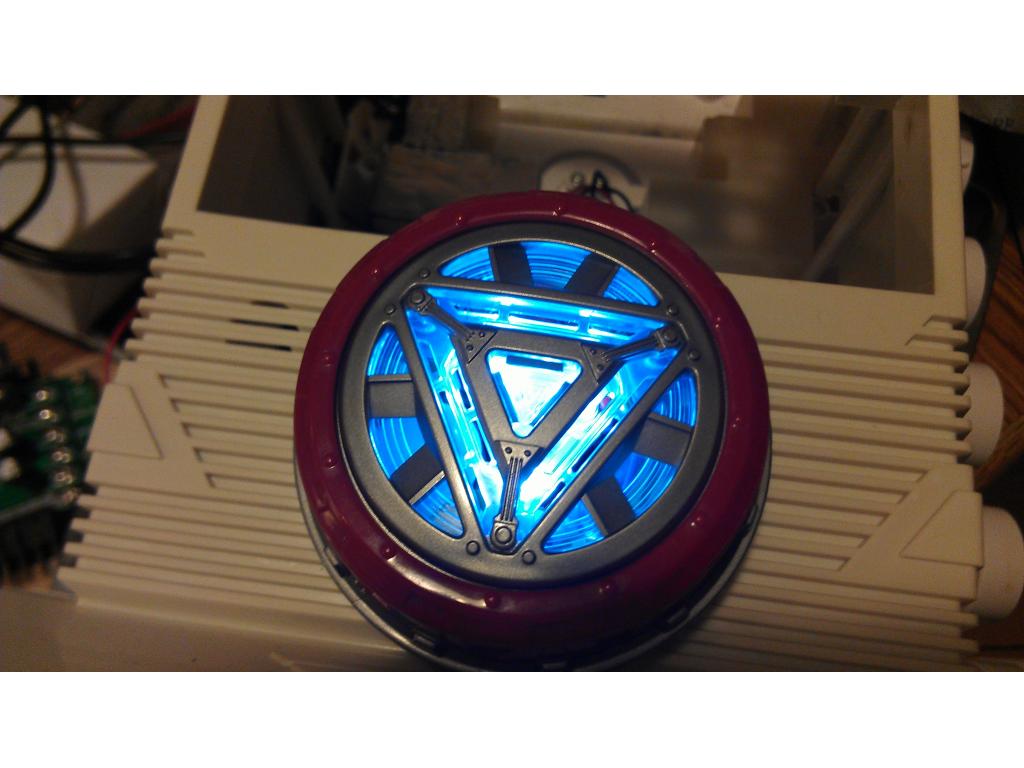
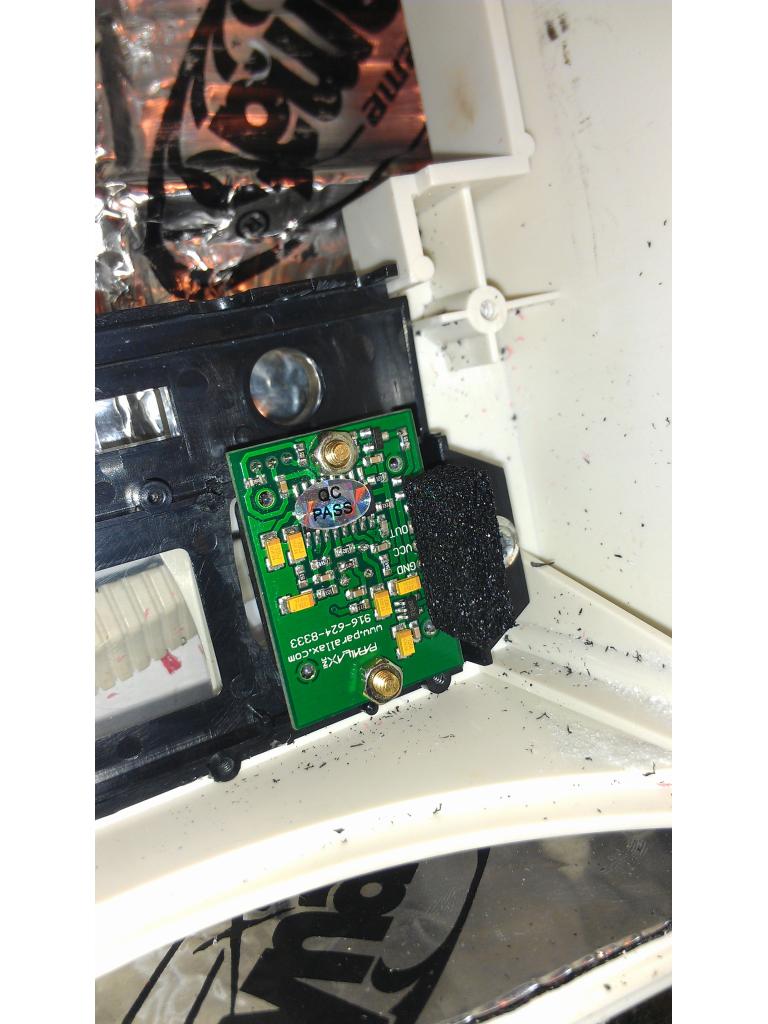
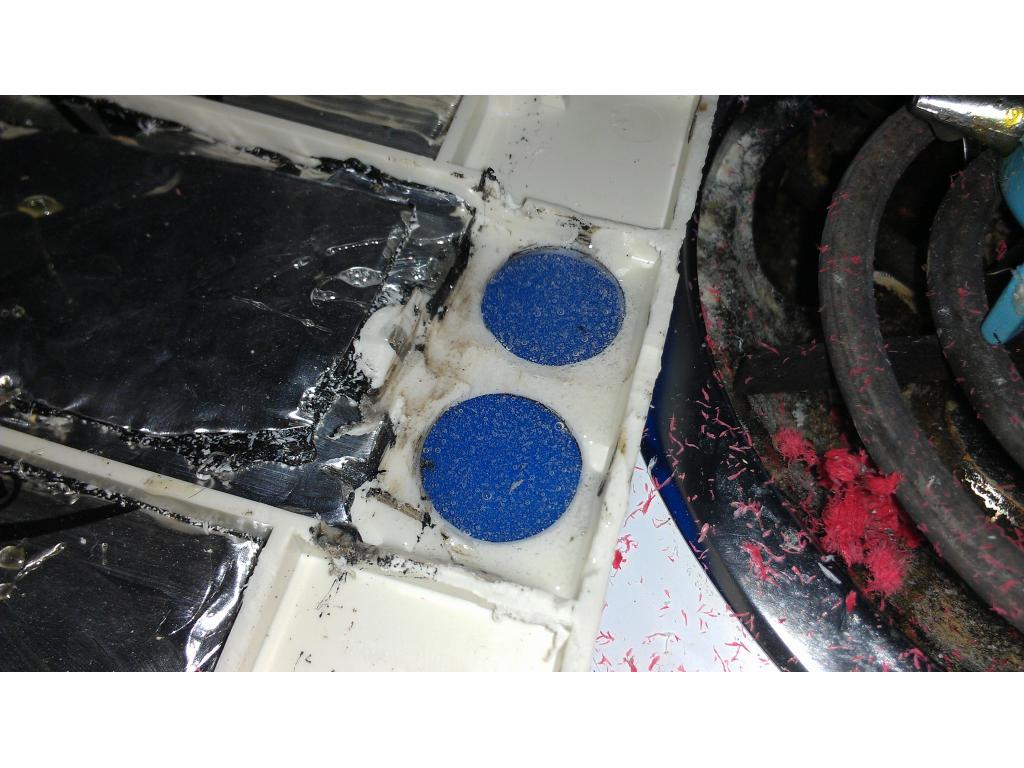
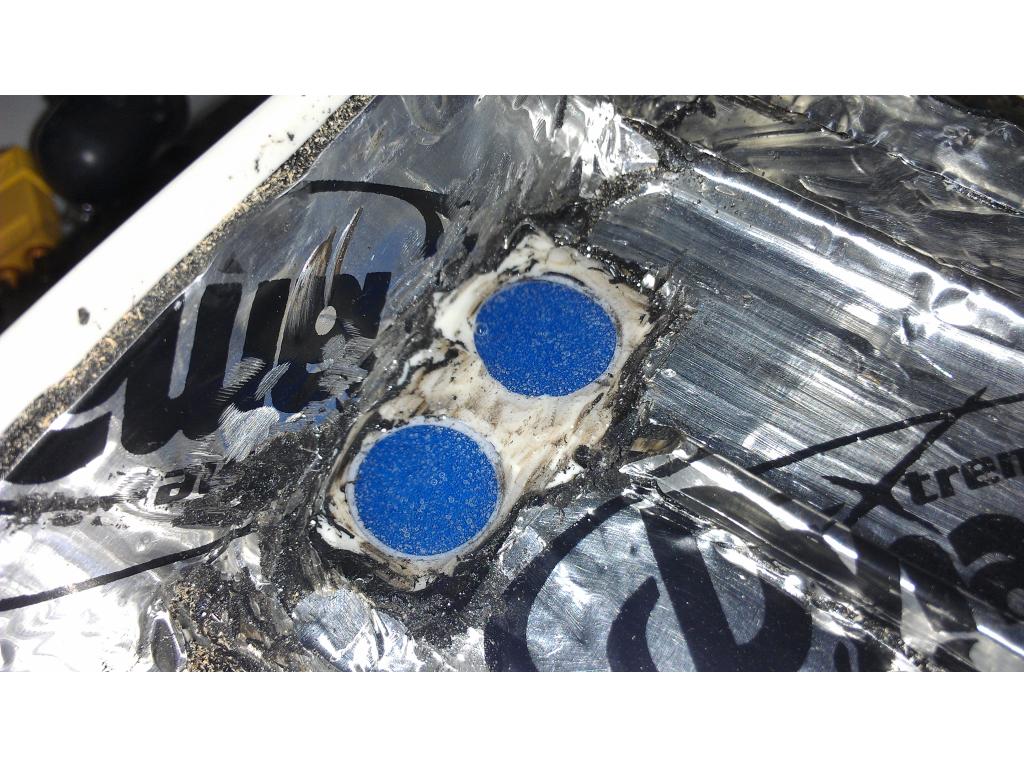
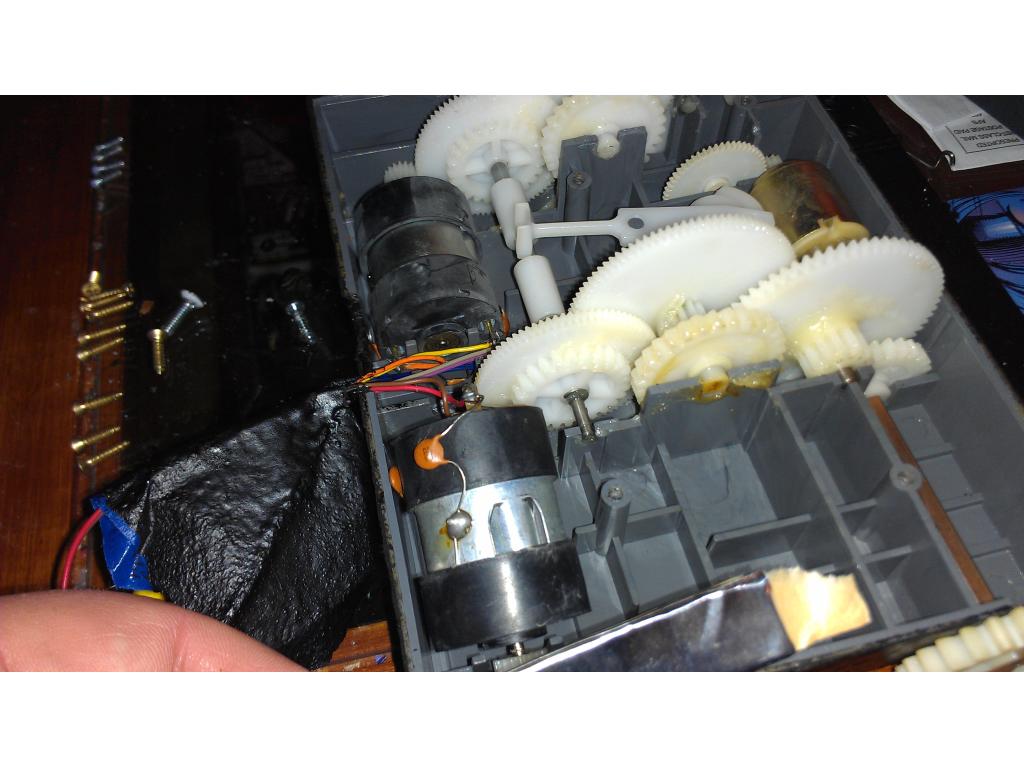
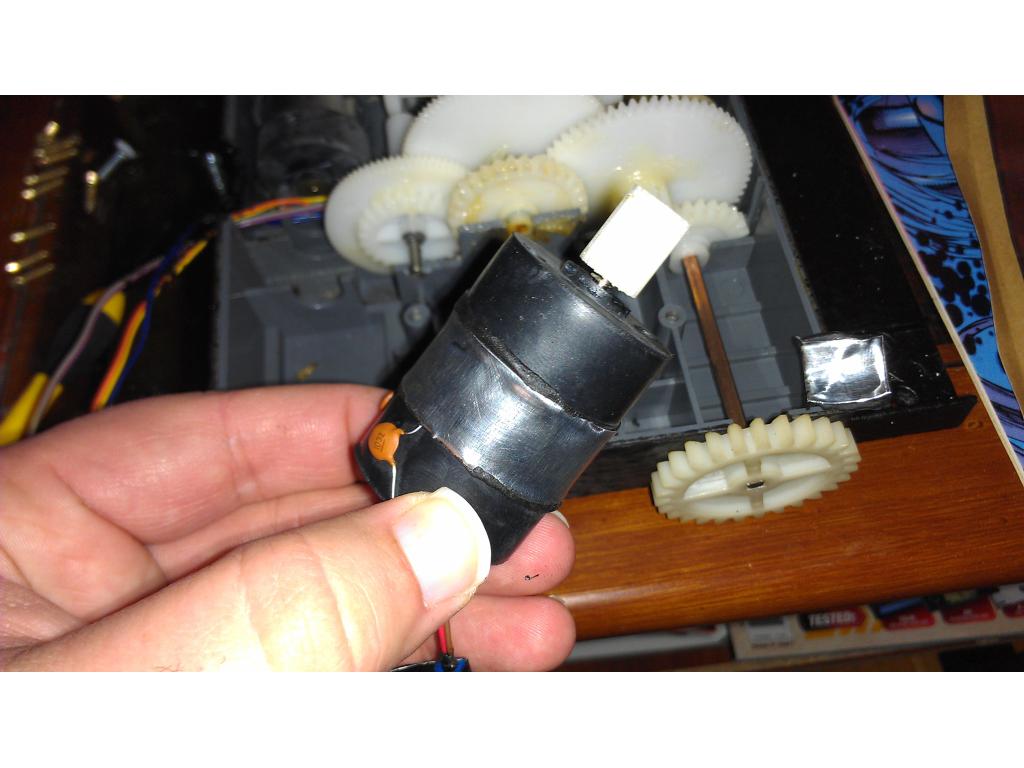
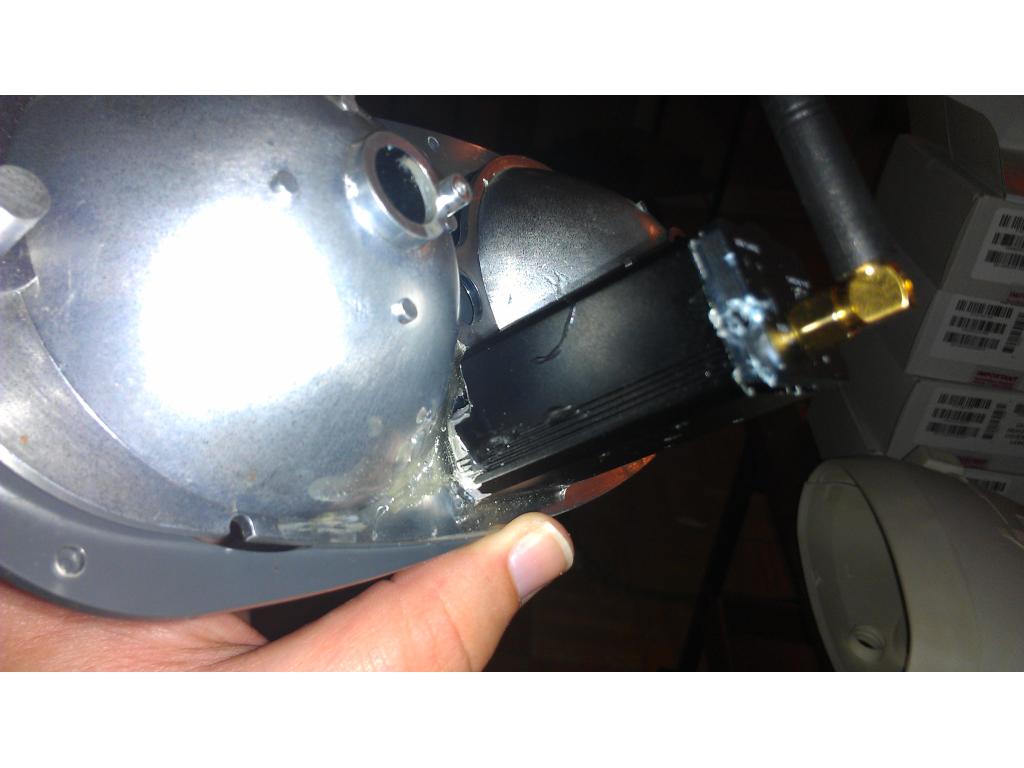
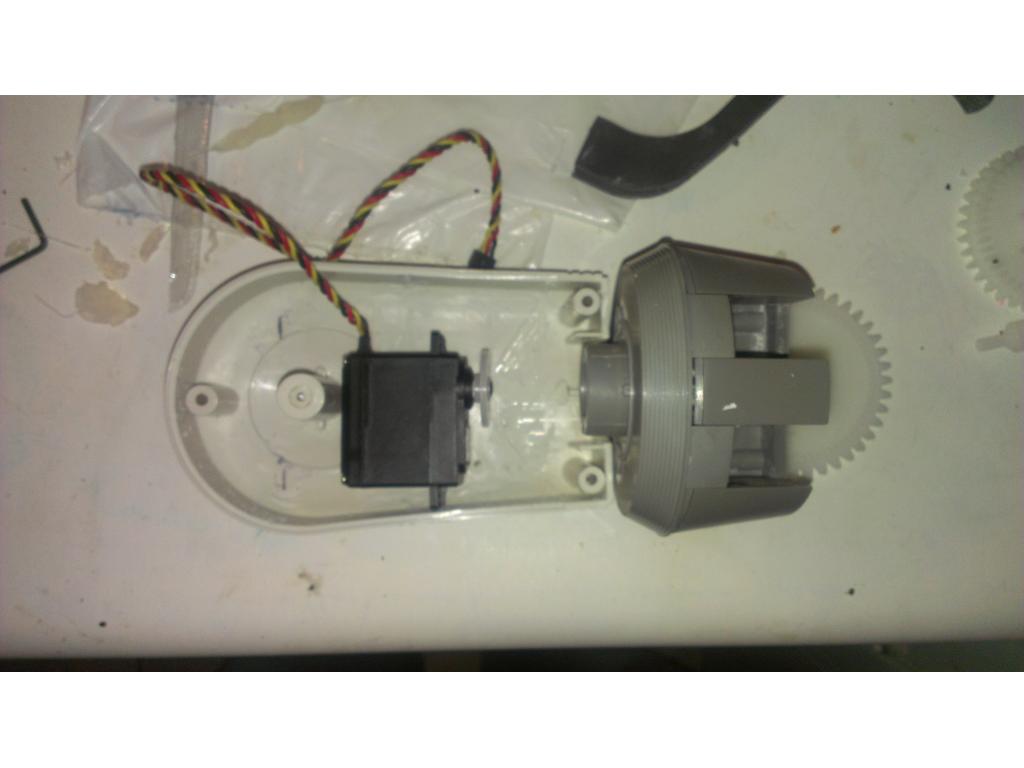
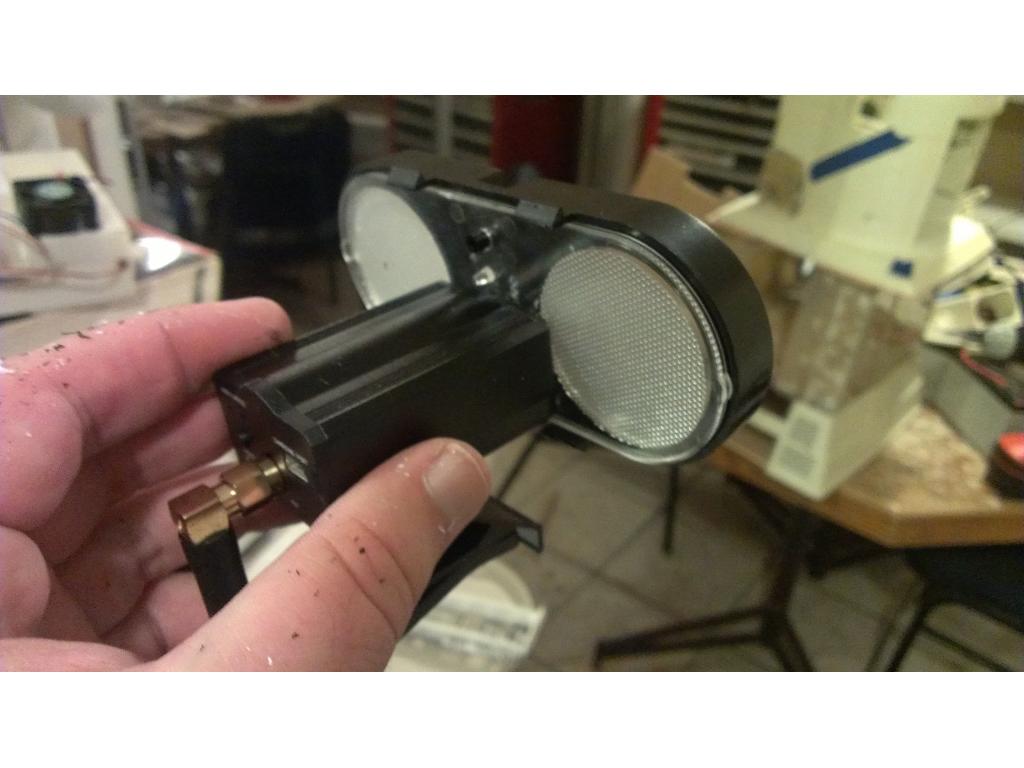
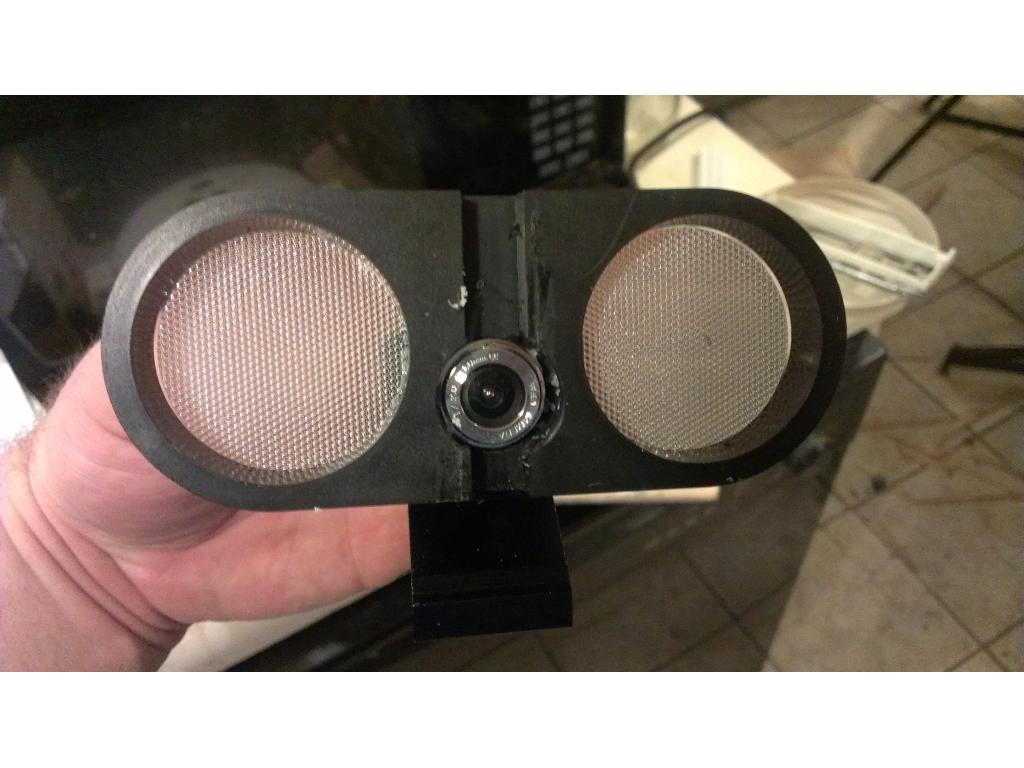
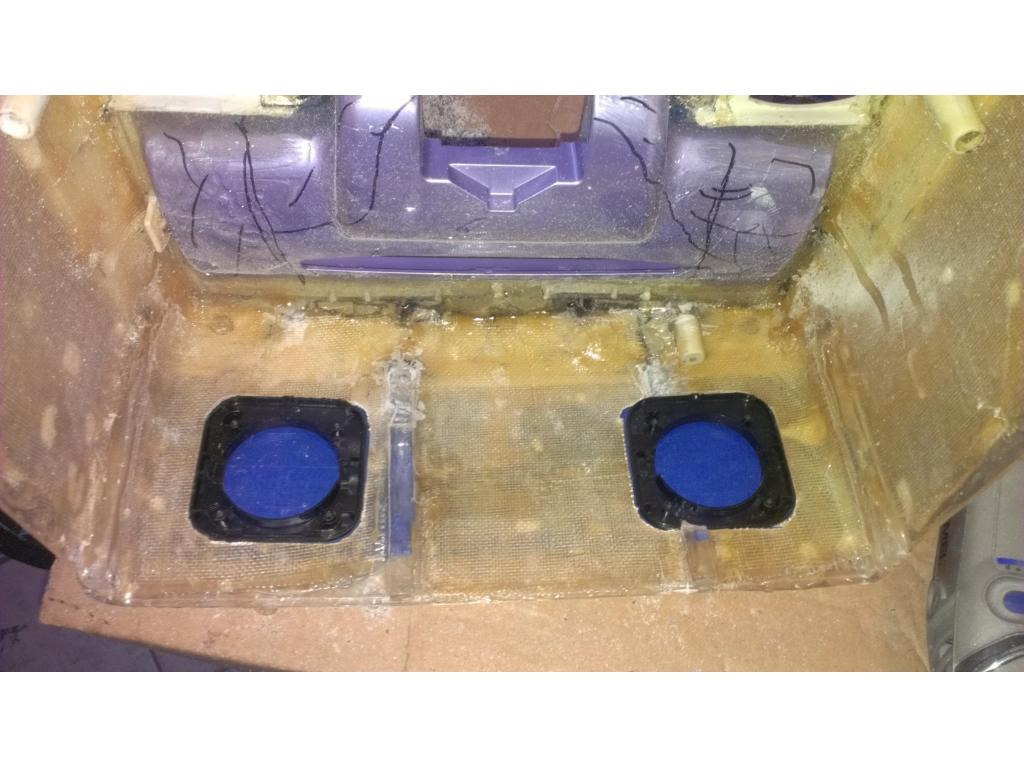
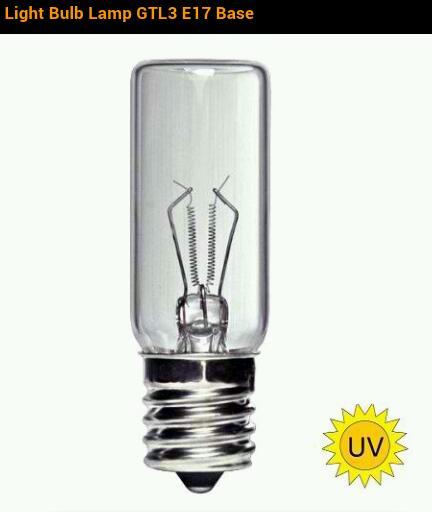
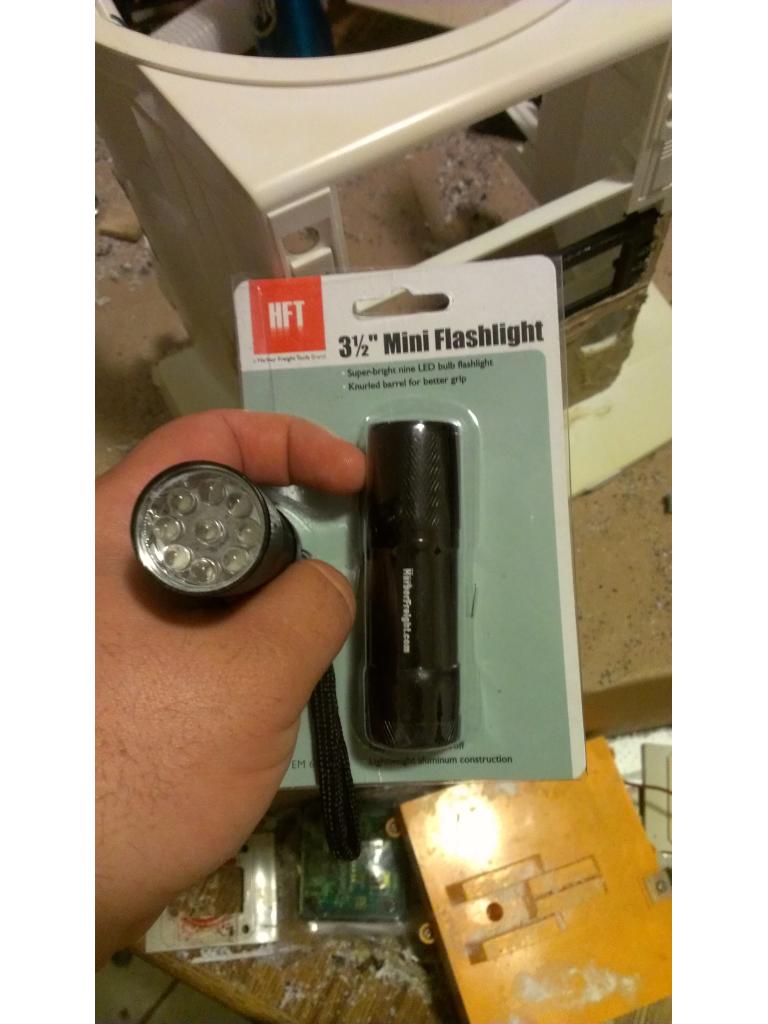
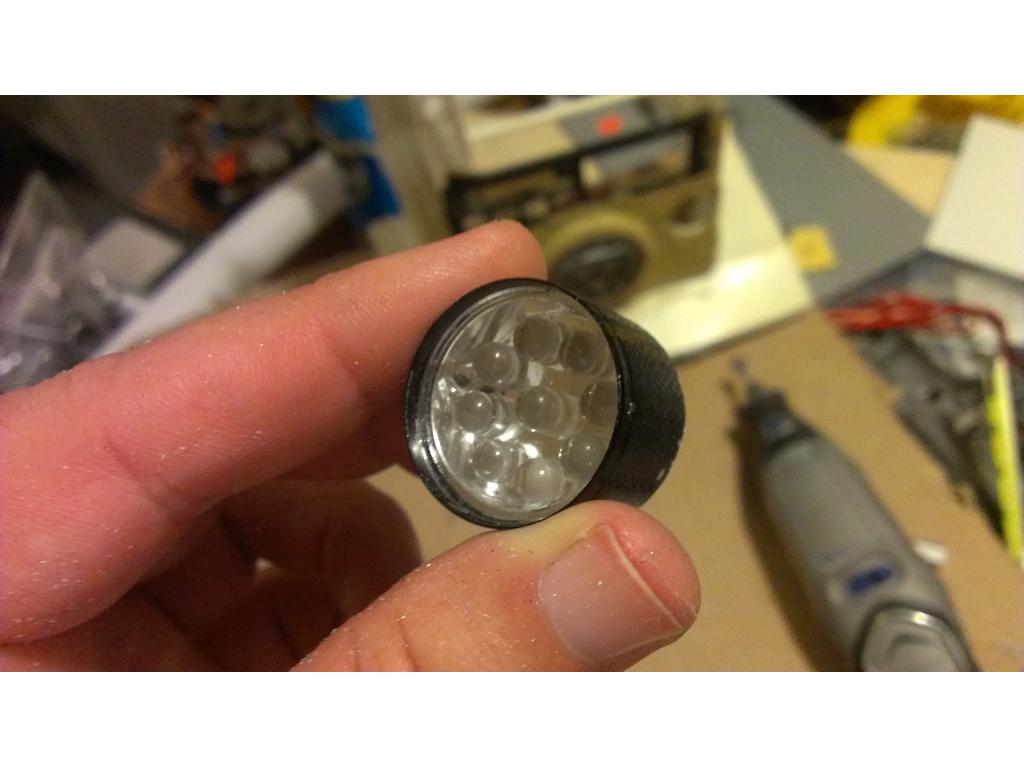
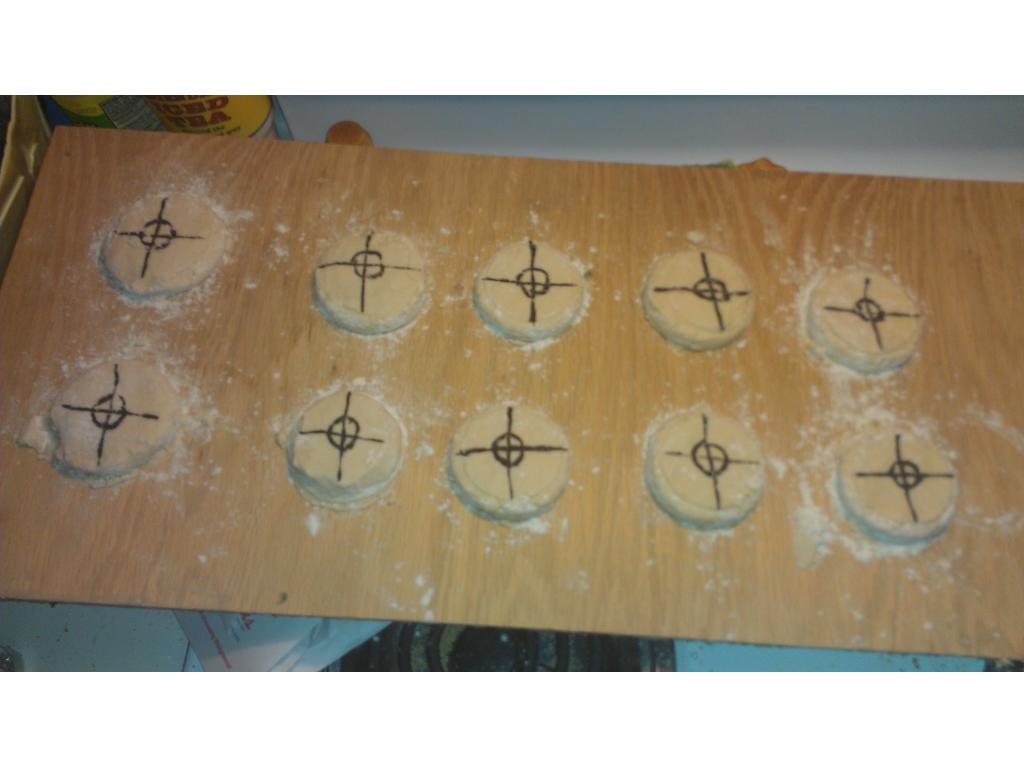
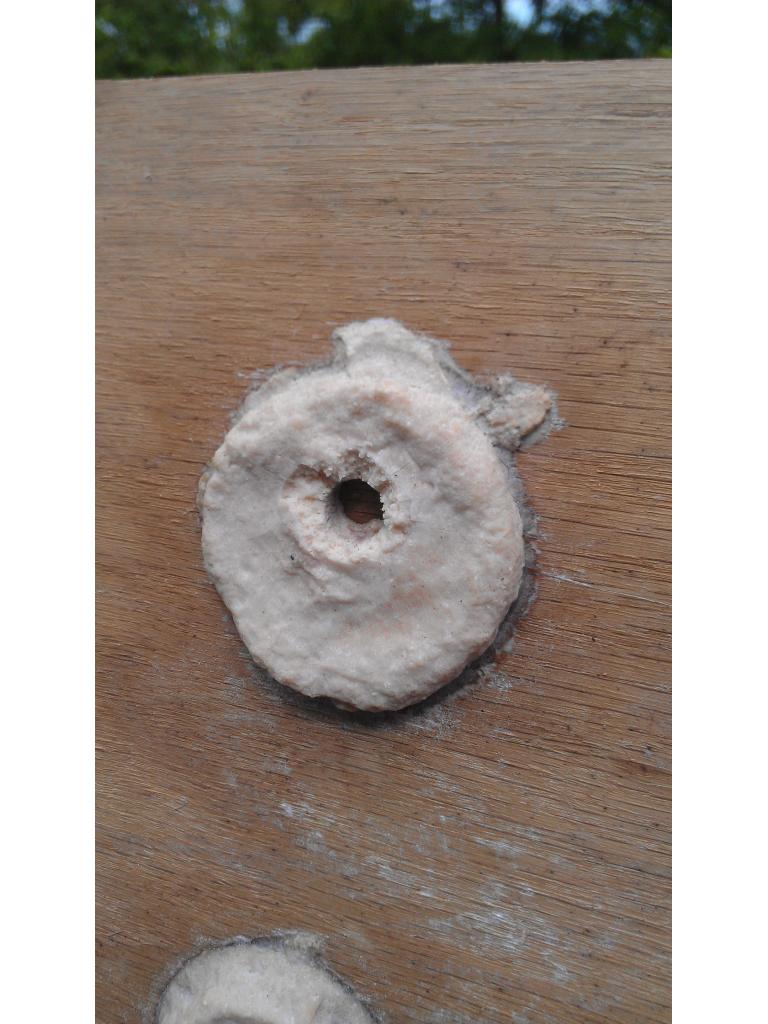
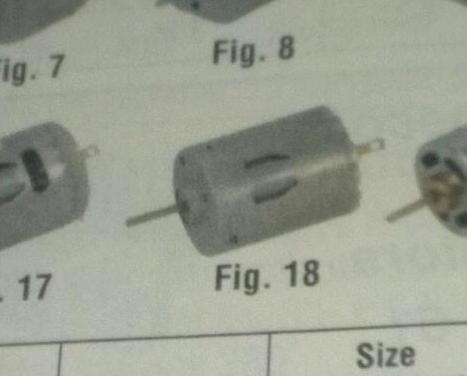
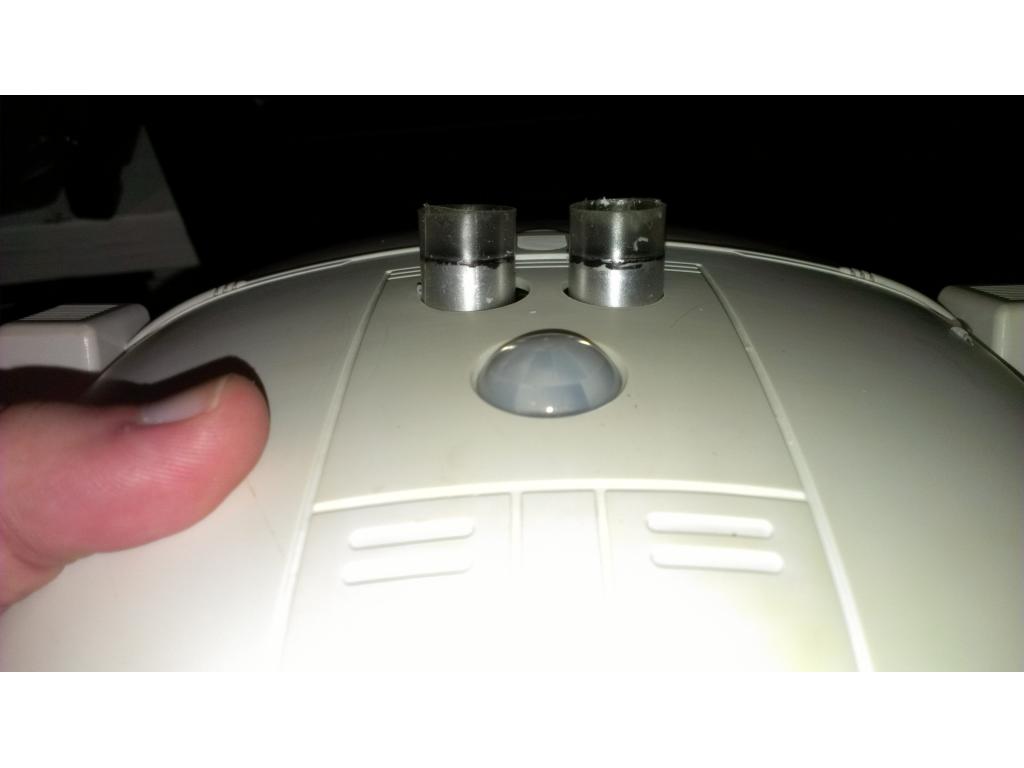
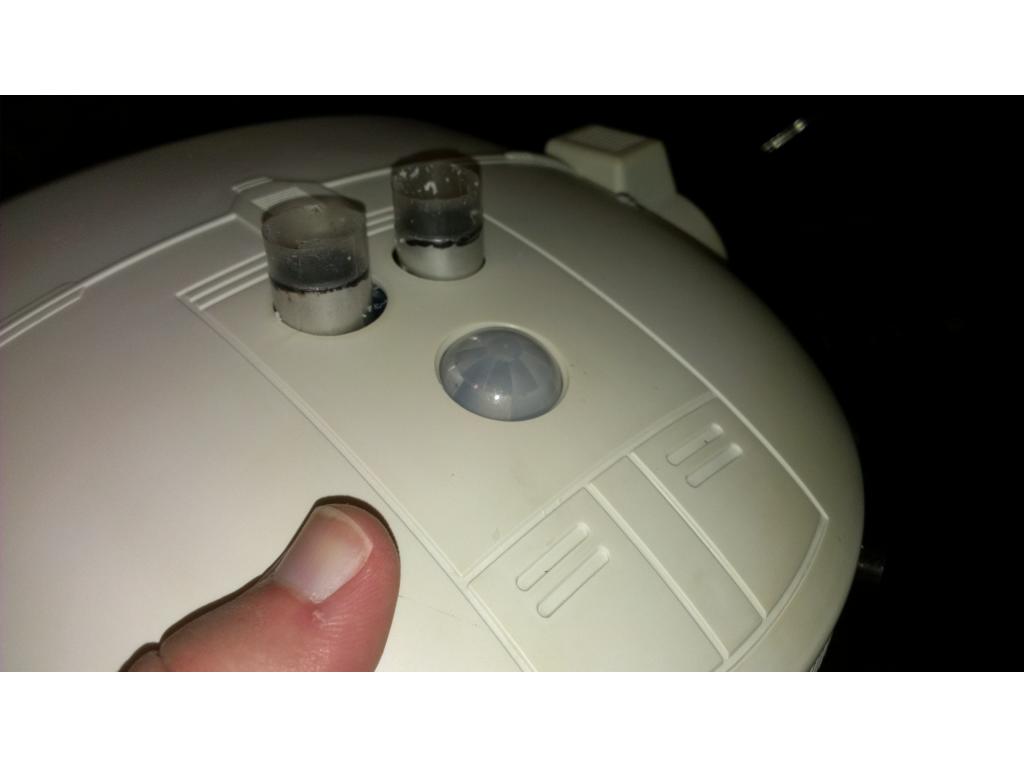
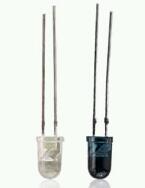
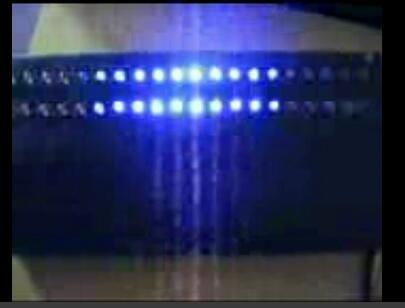
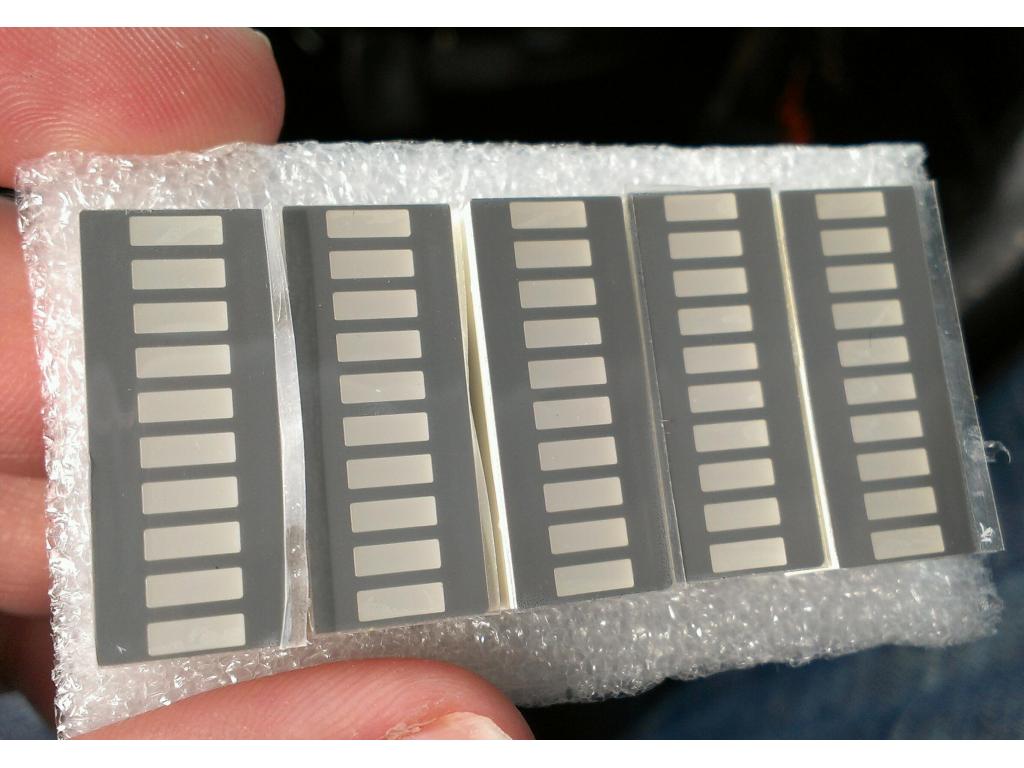
ithink they have different colors,center tip always v+ ,metal part gnd same on all flashlight bulbs,yes i tested very bright will post a photo soon
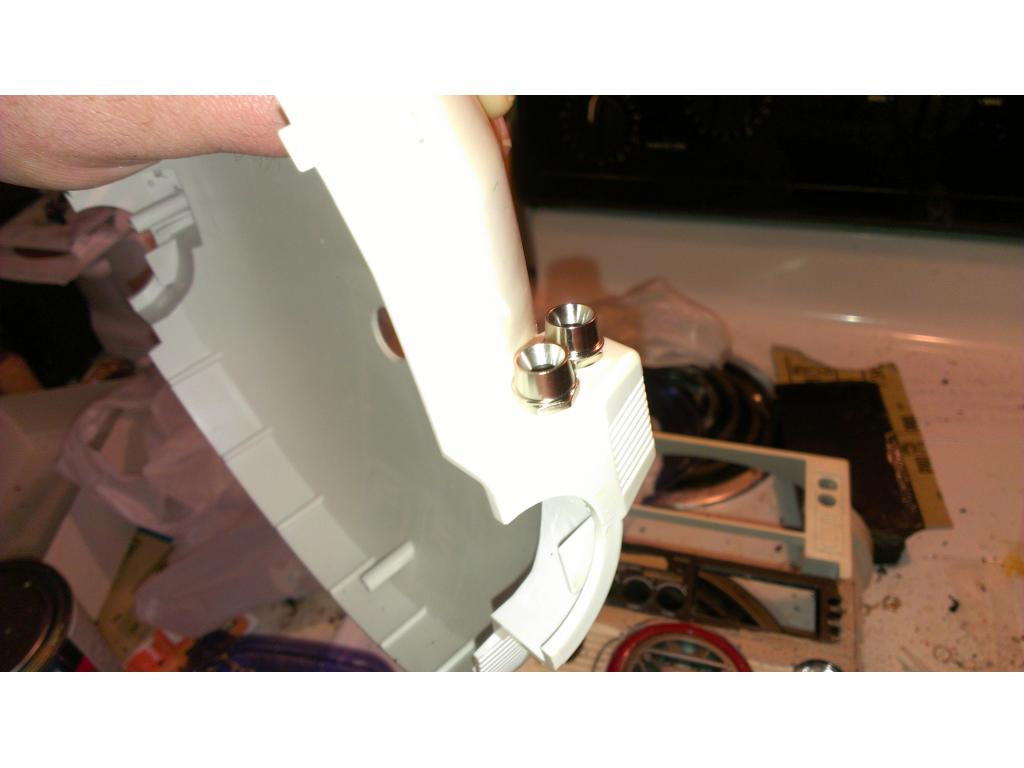
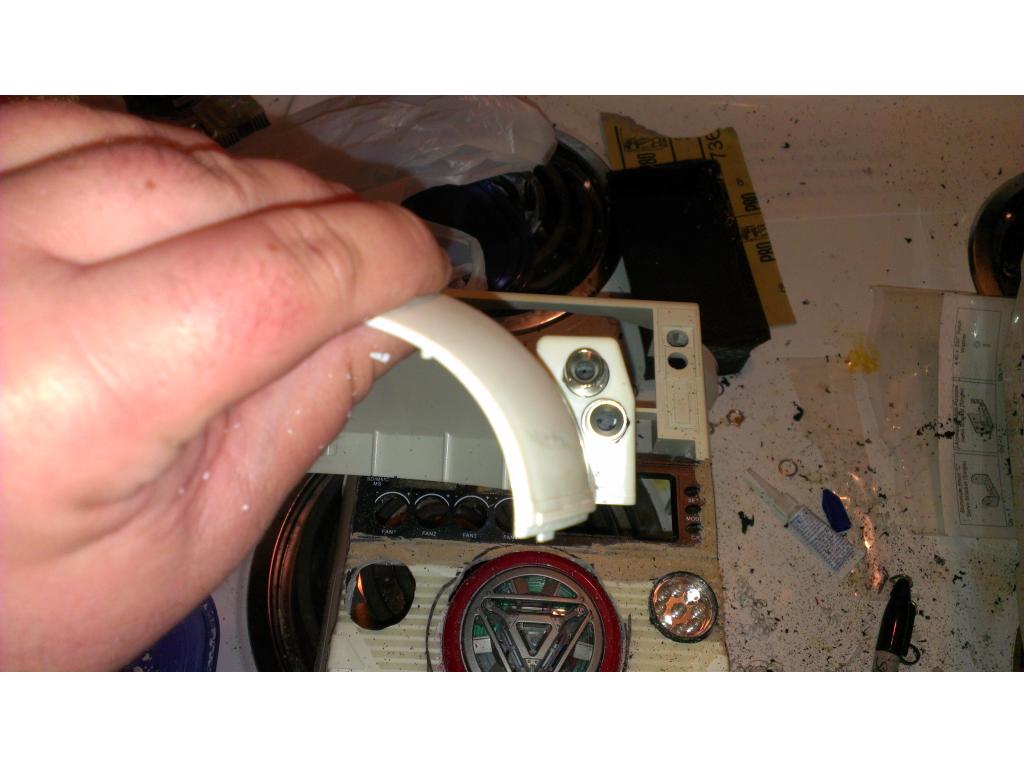
@mikedc yes the.bulbs are center pin positive and led diodes are always positive on the long lead or flat edge of the led itself. For jarvis I just used a 12v premade blue lamp pair from radioshack then pulled the lamp out and drilled a 5mm hole from the back for a standard size blue led.
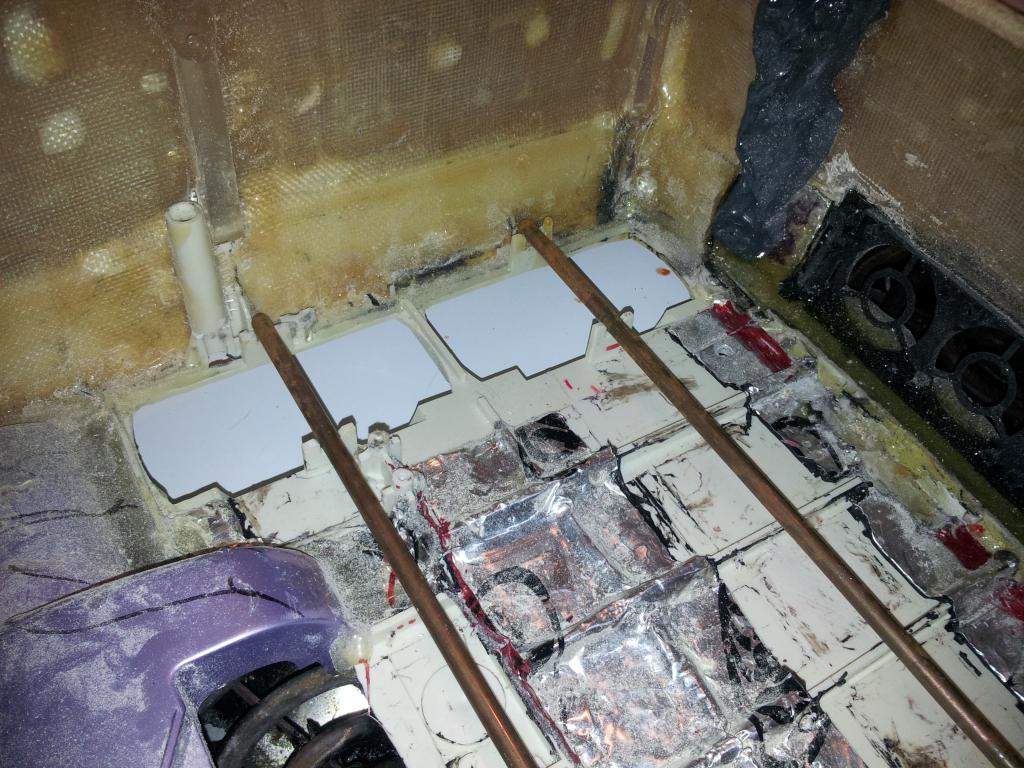
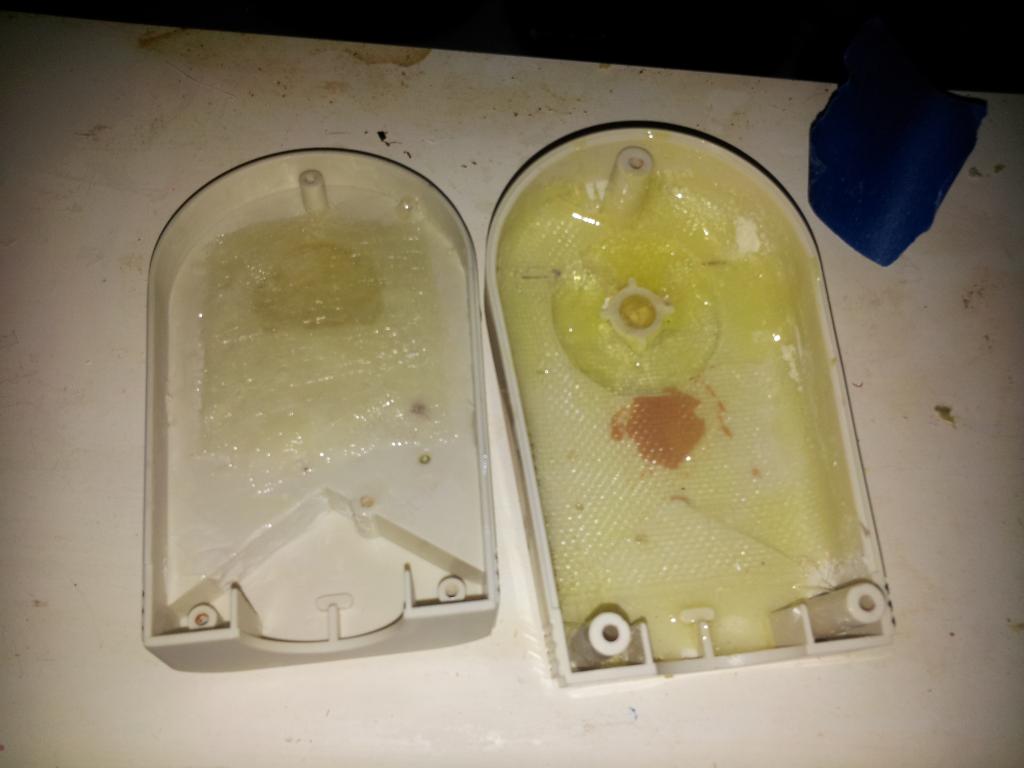
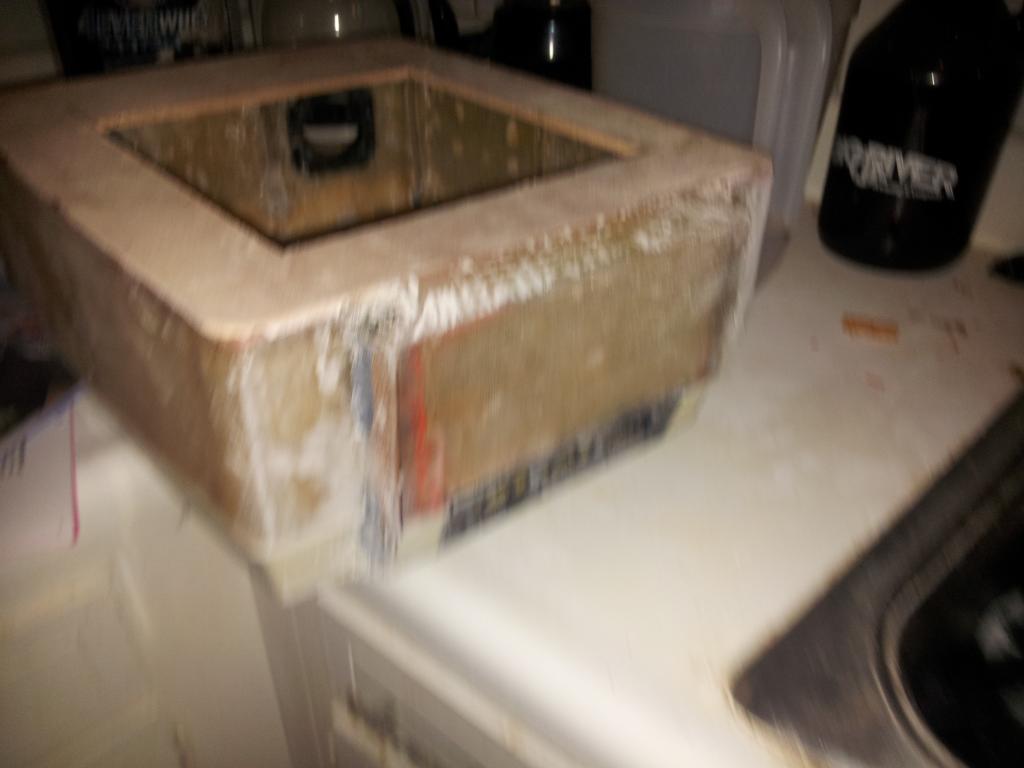
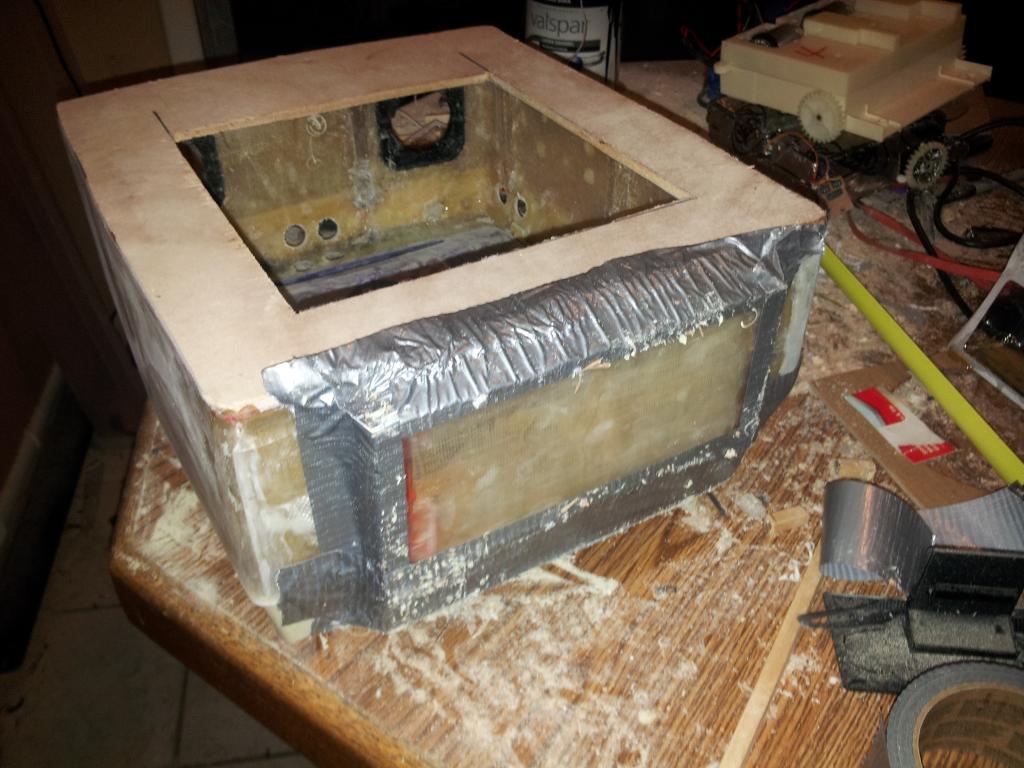
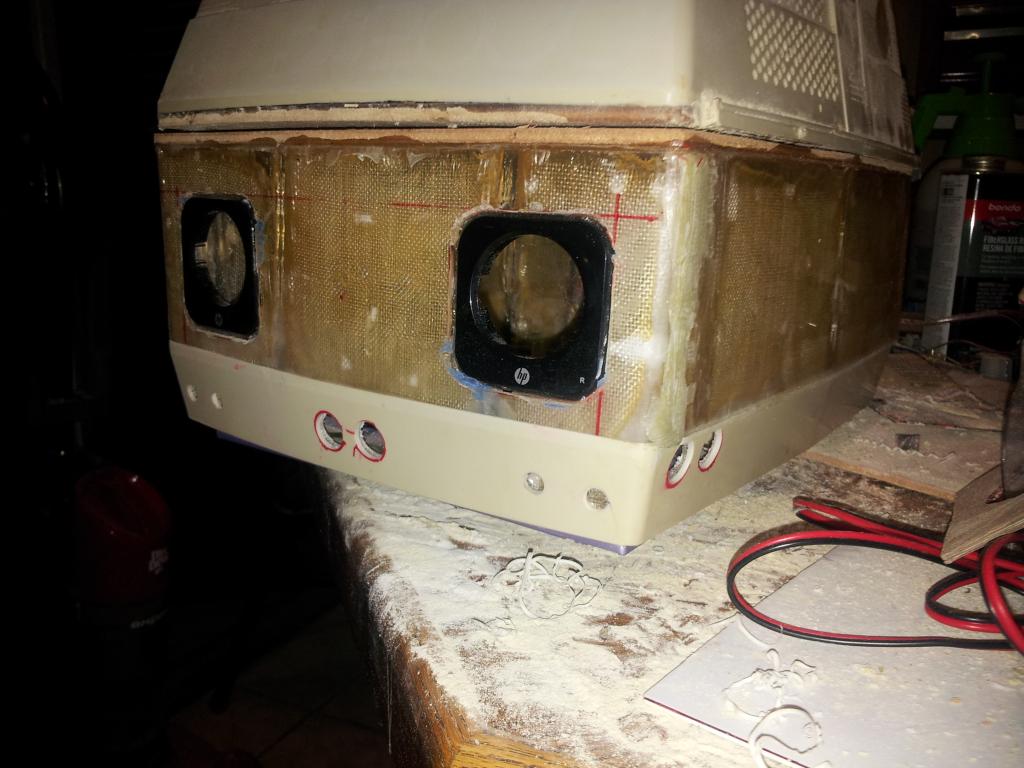
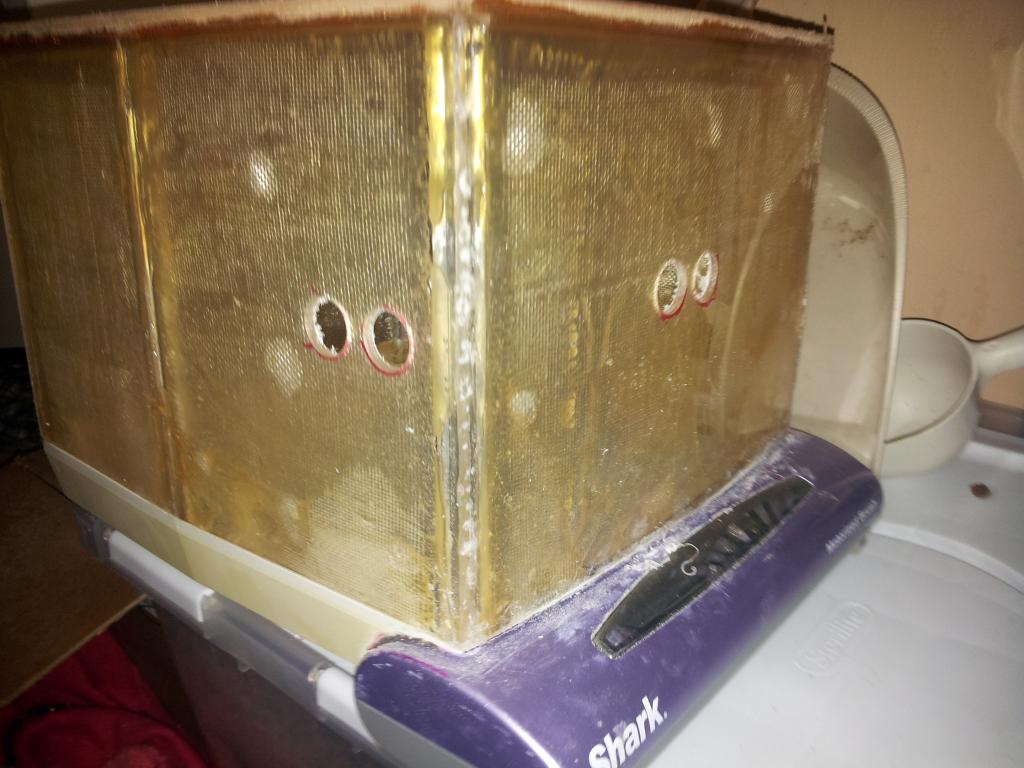
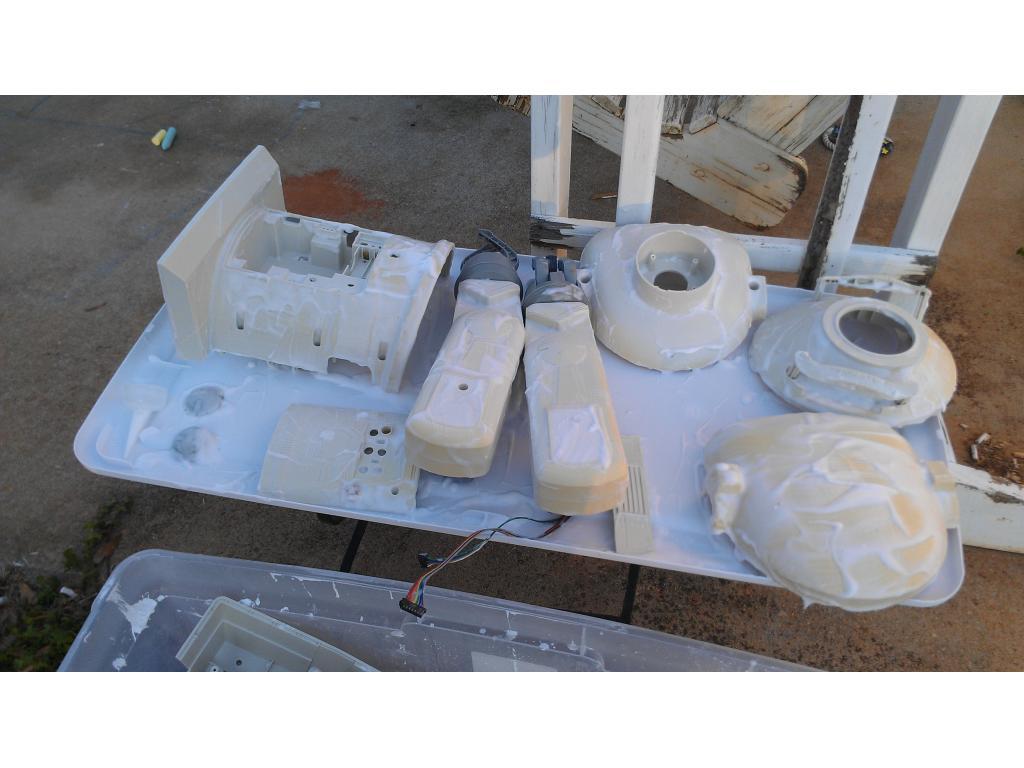
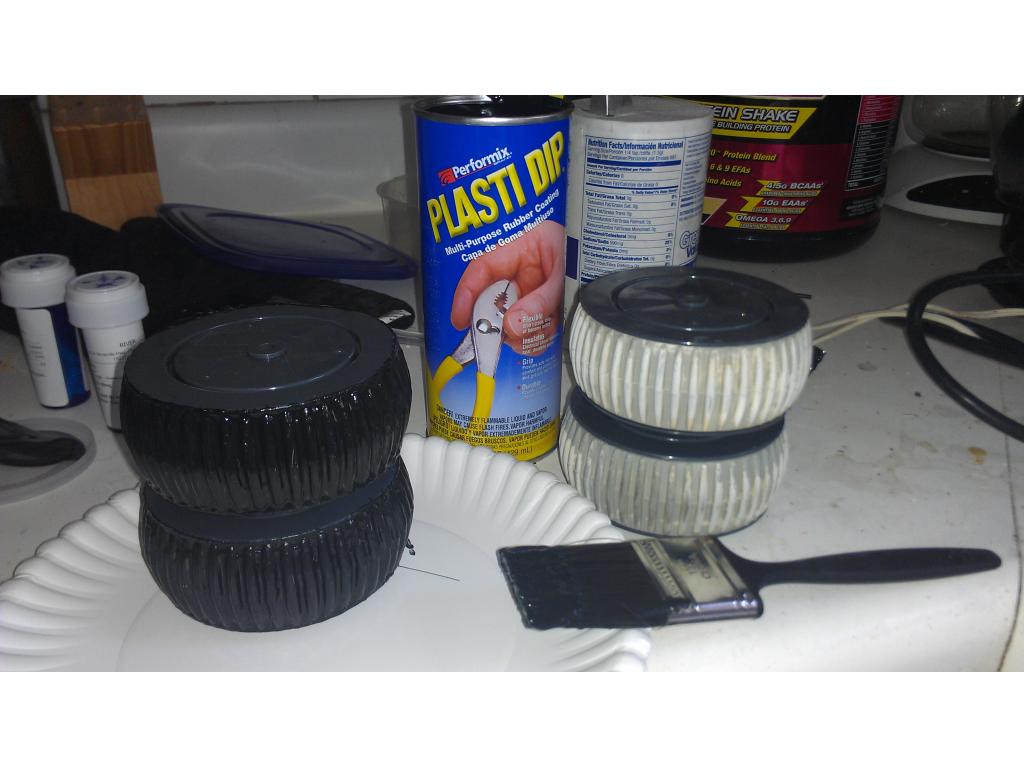
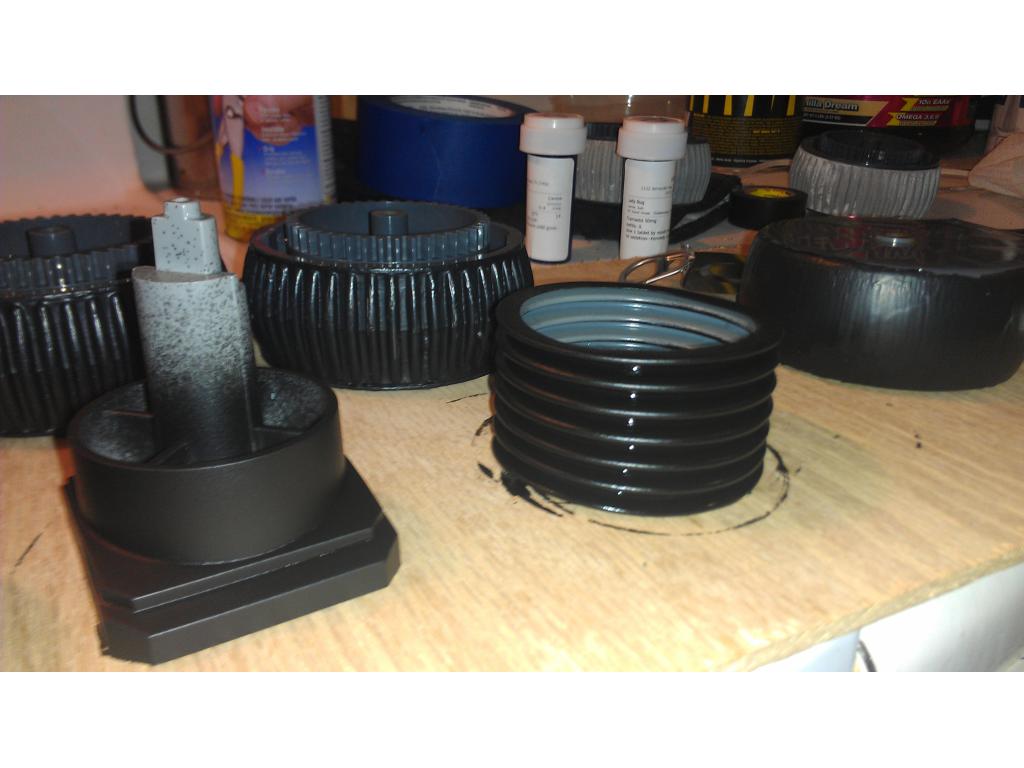
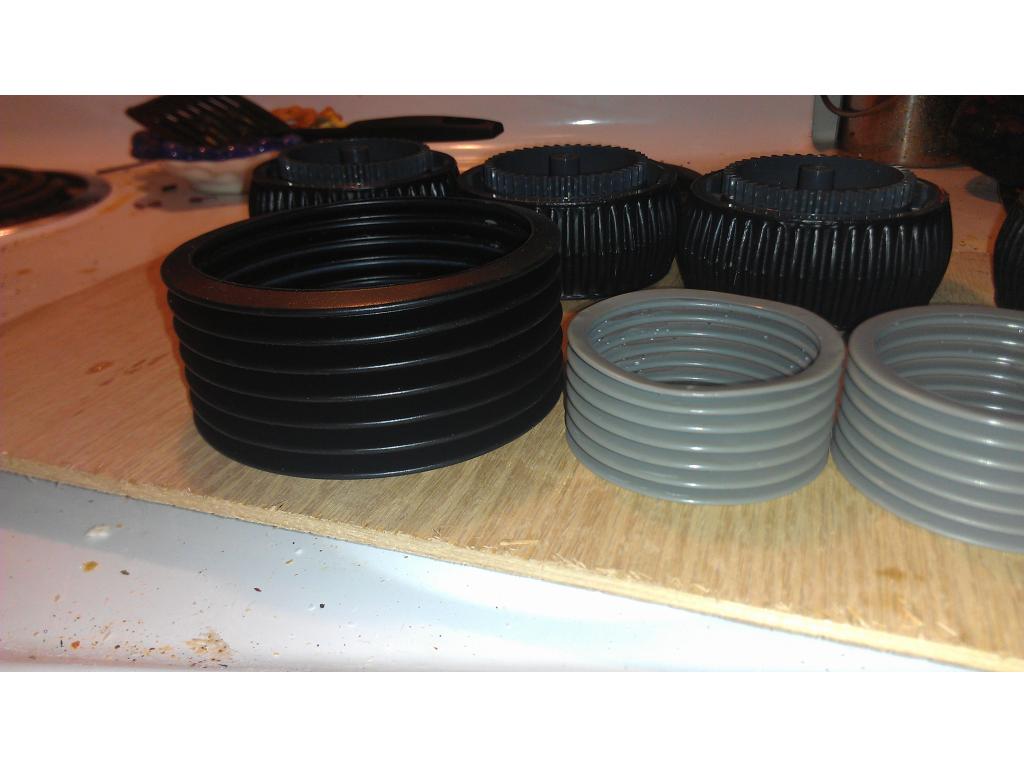
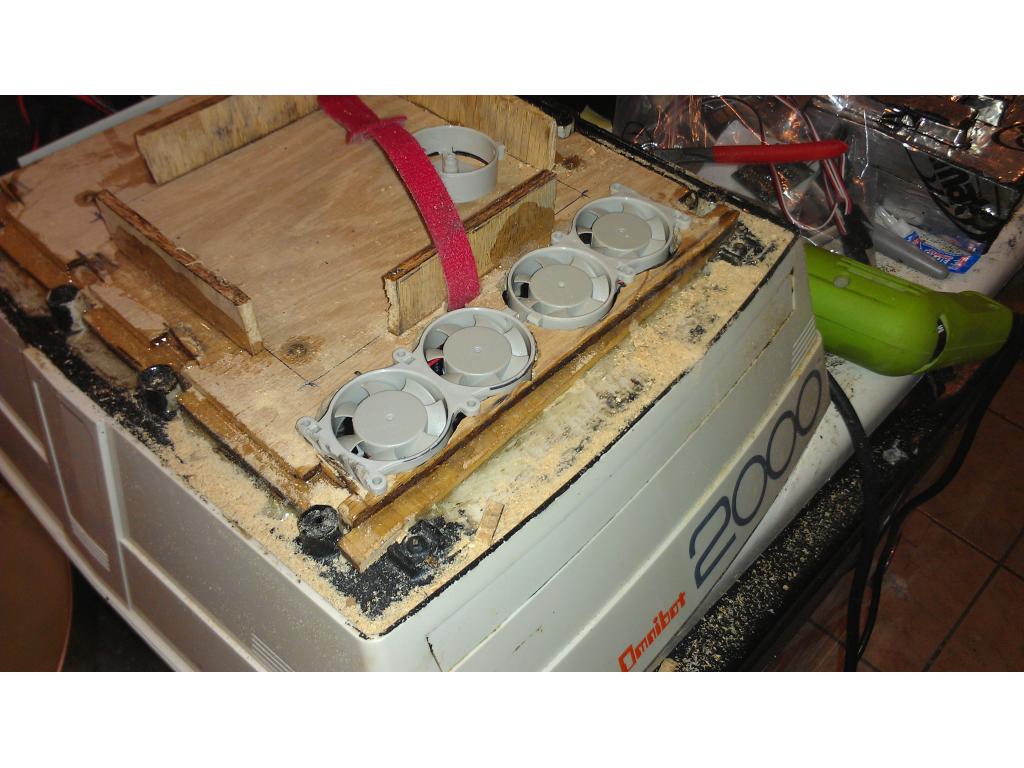
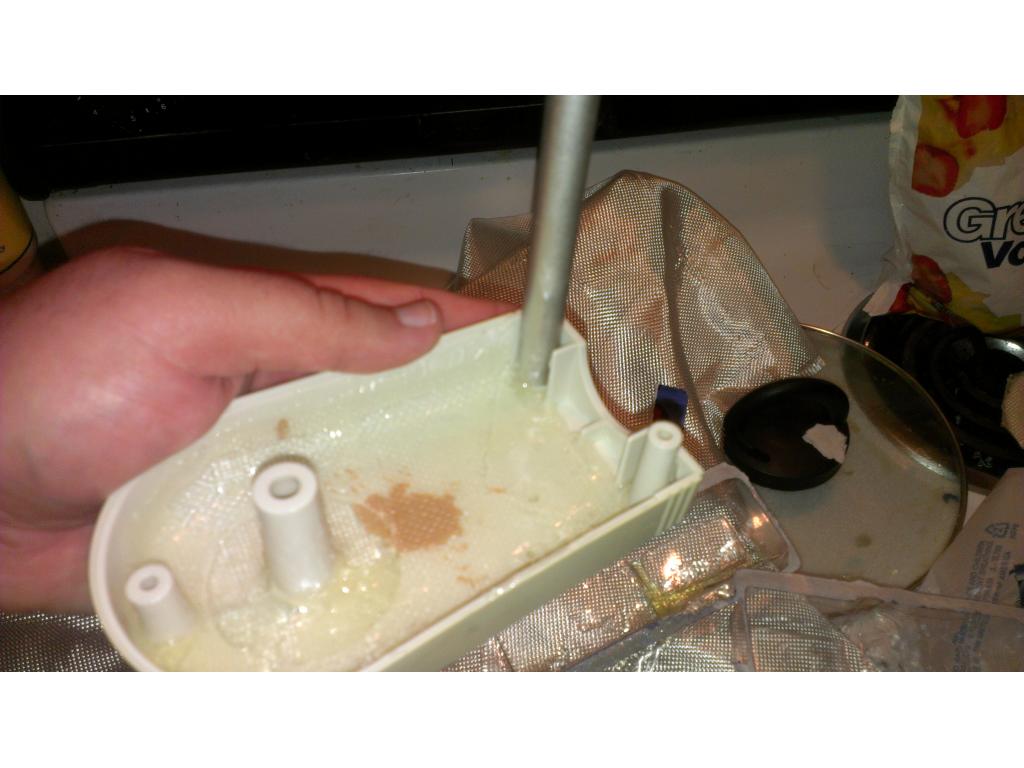
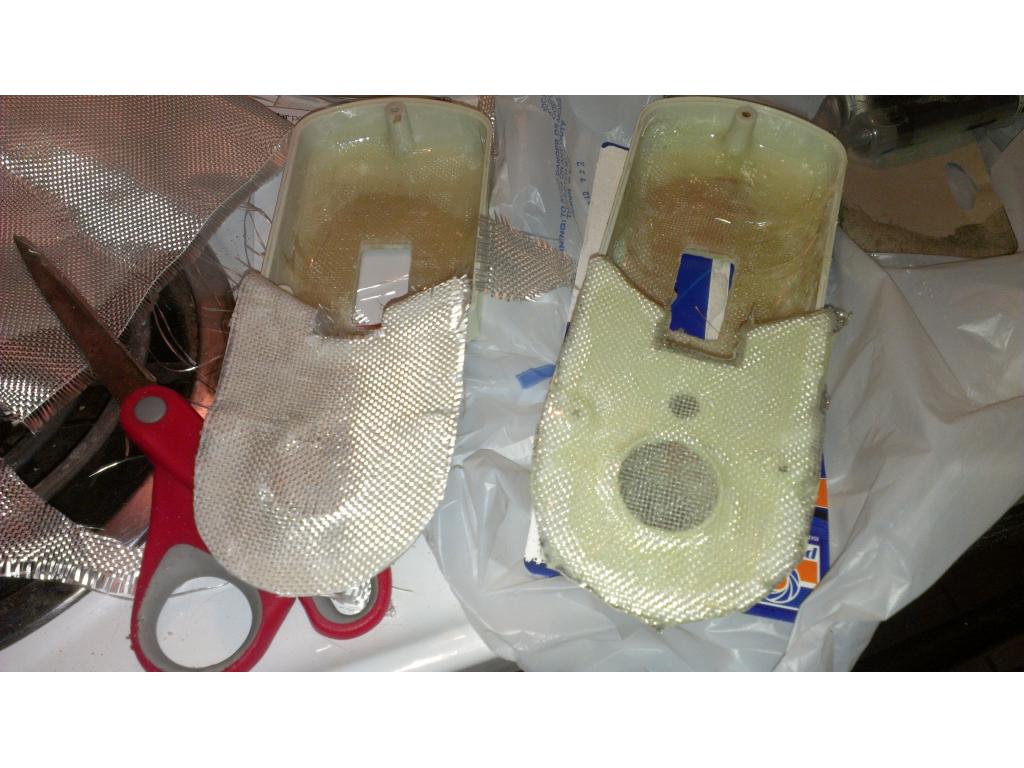
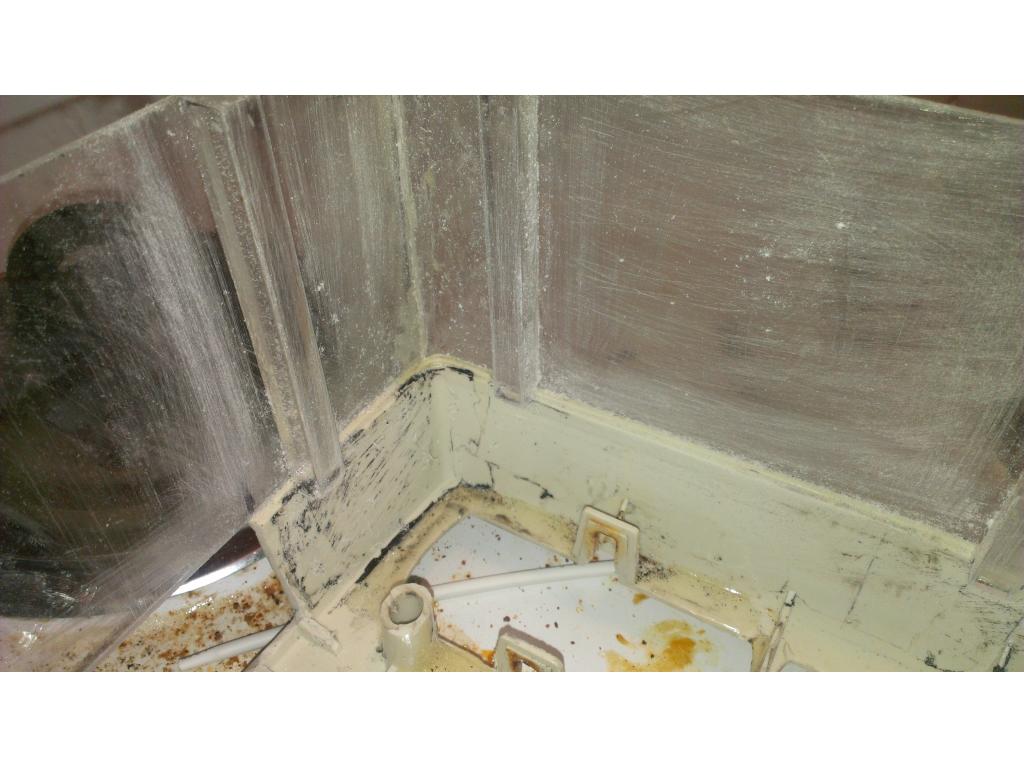
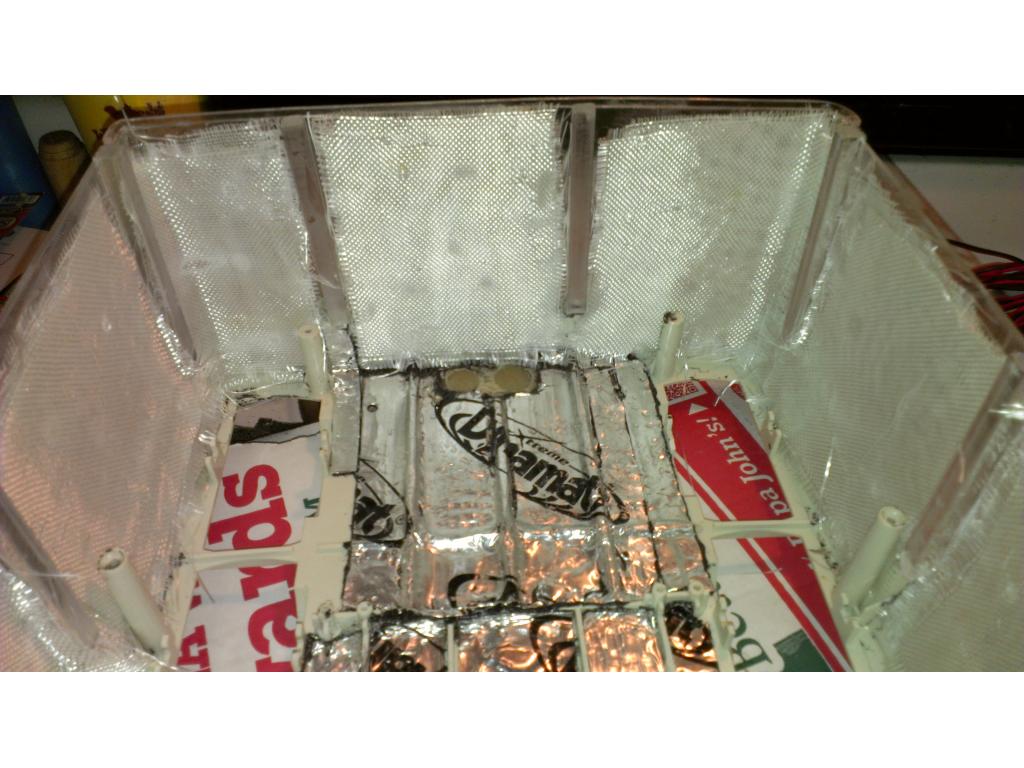
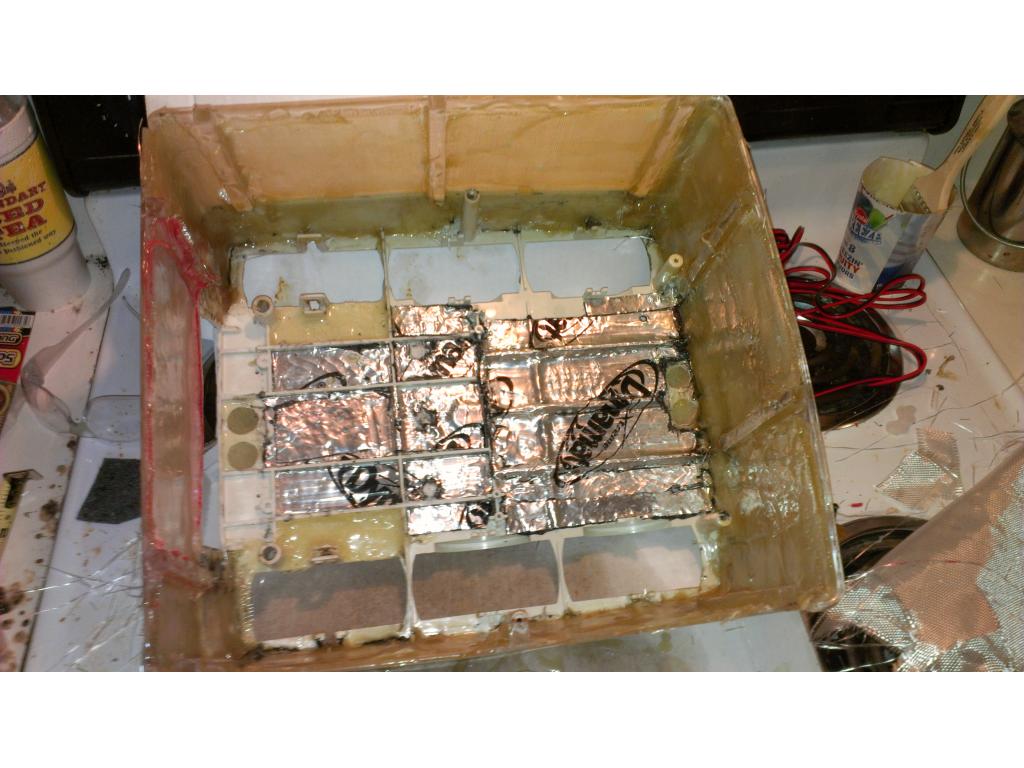
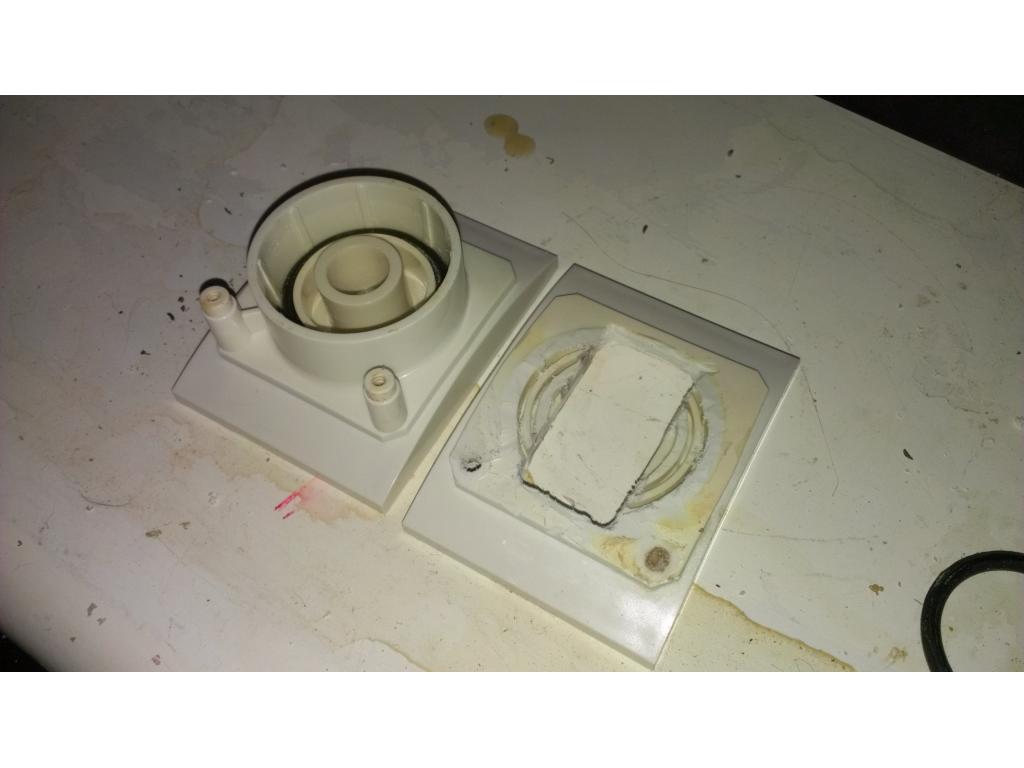
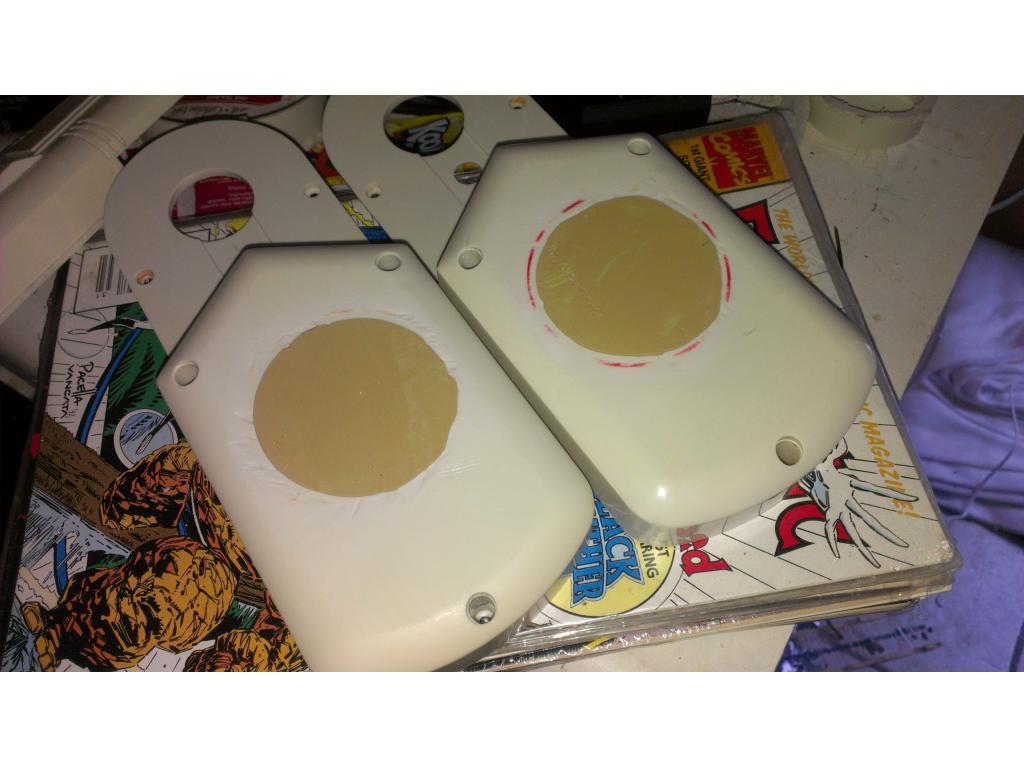
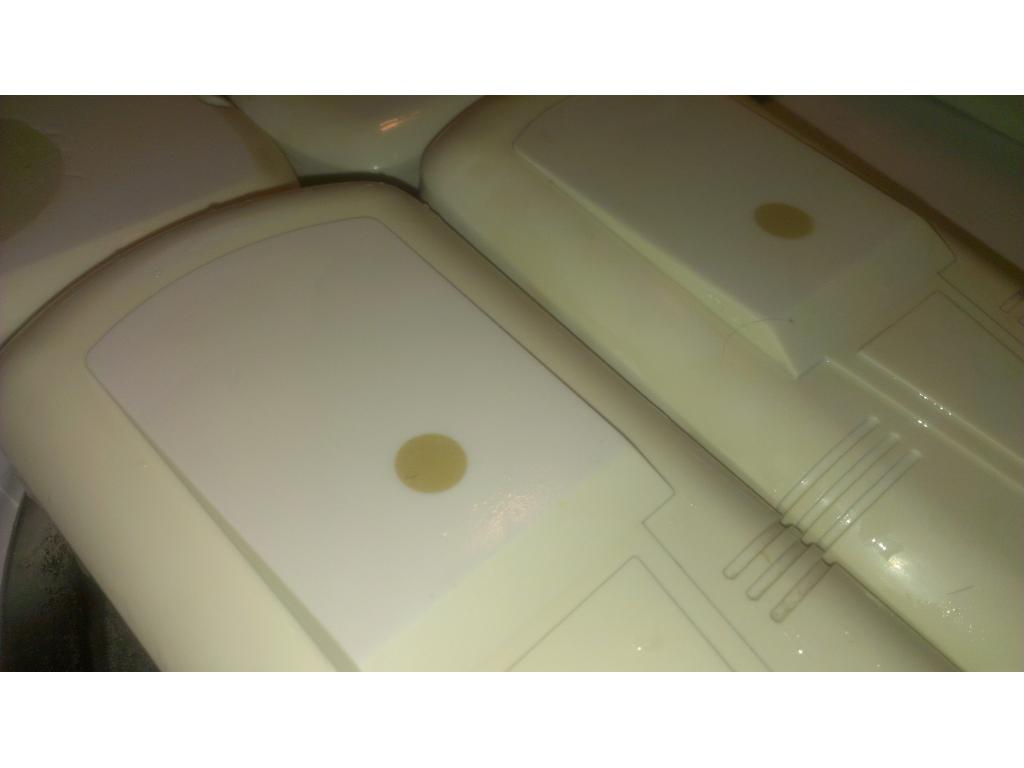
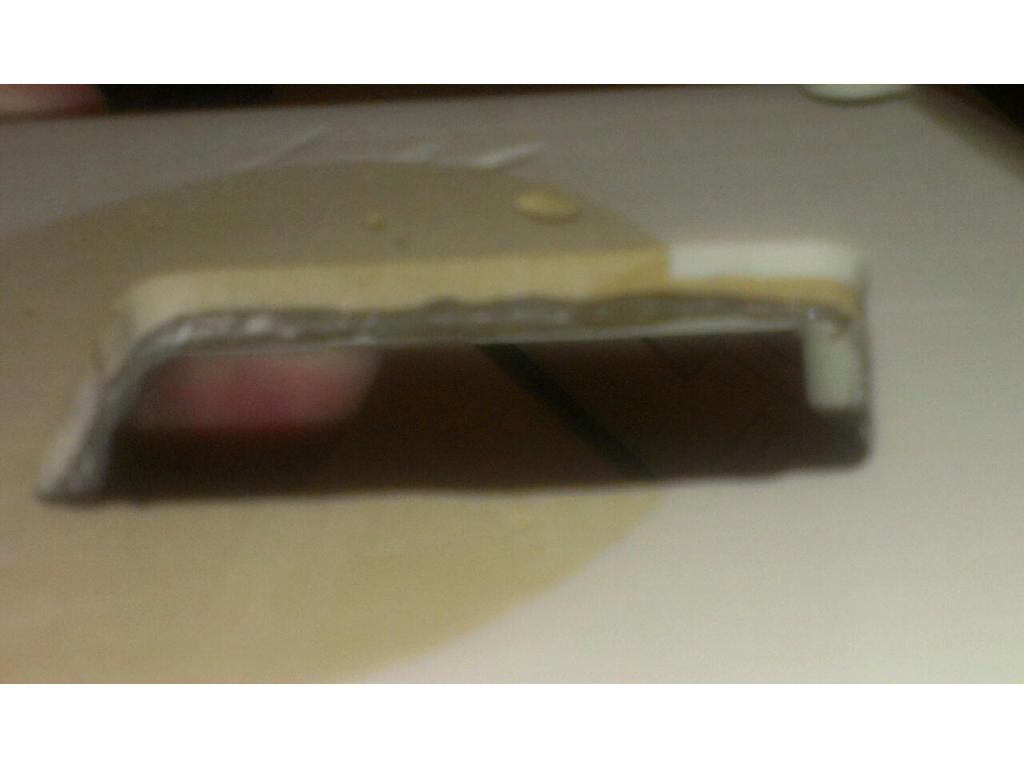
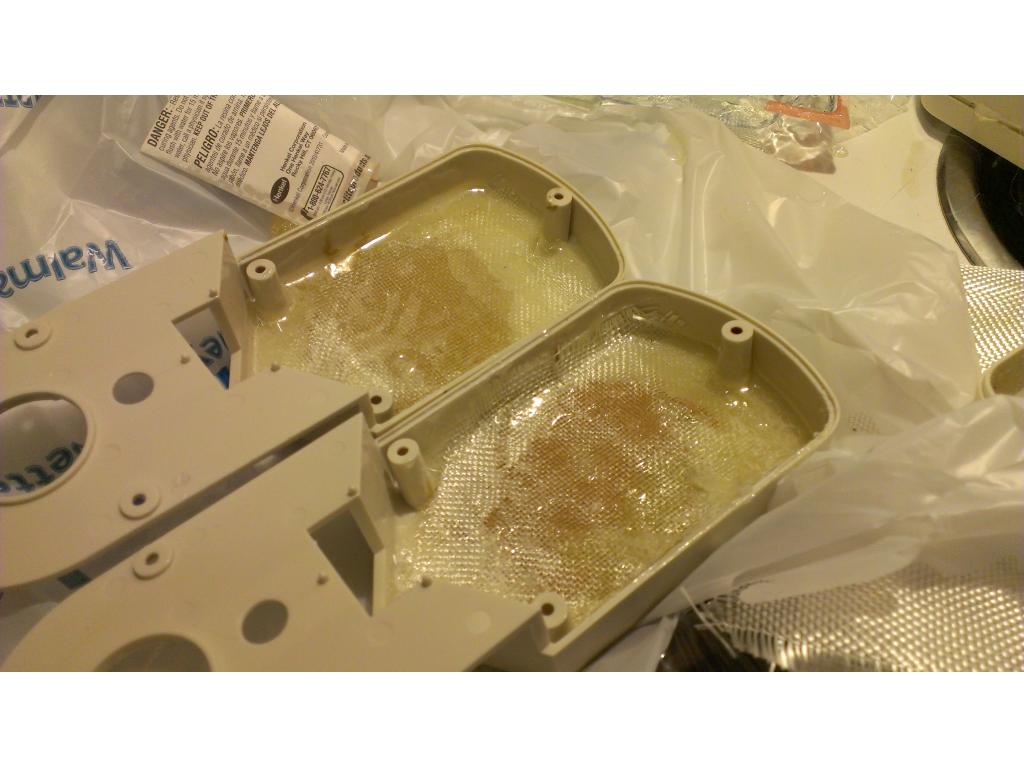
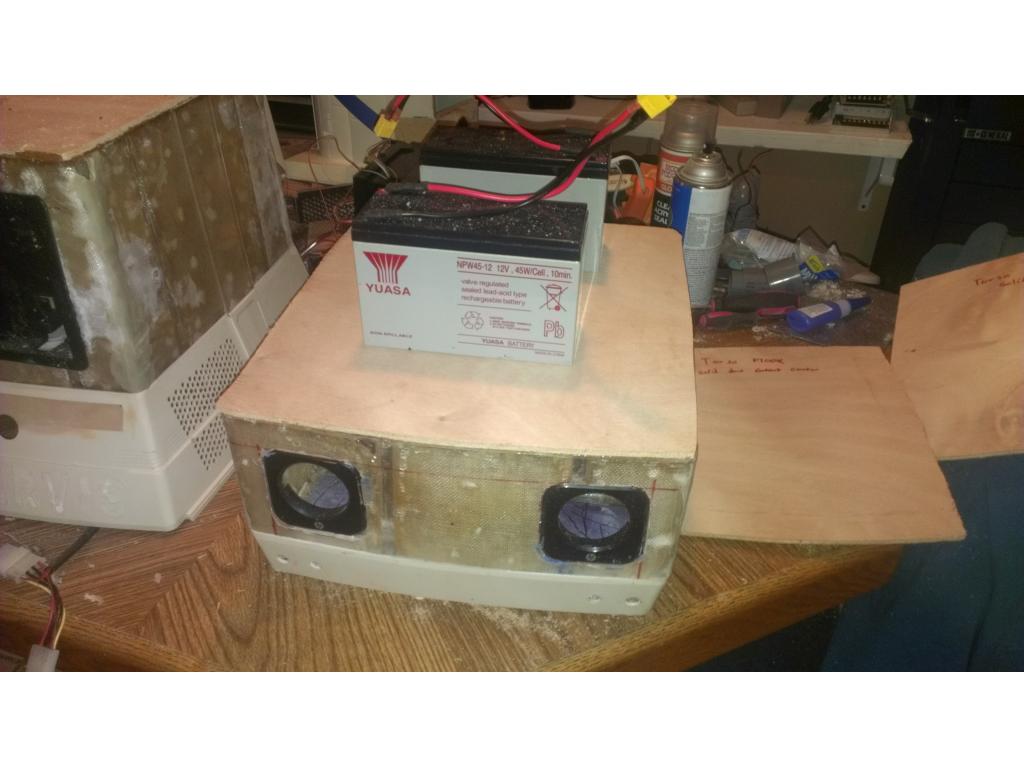
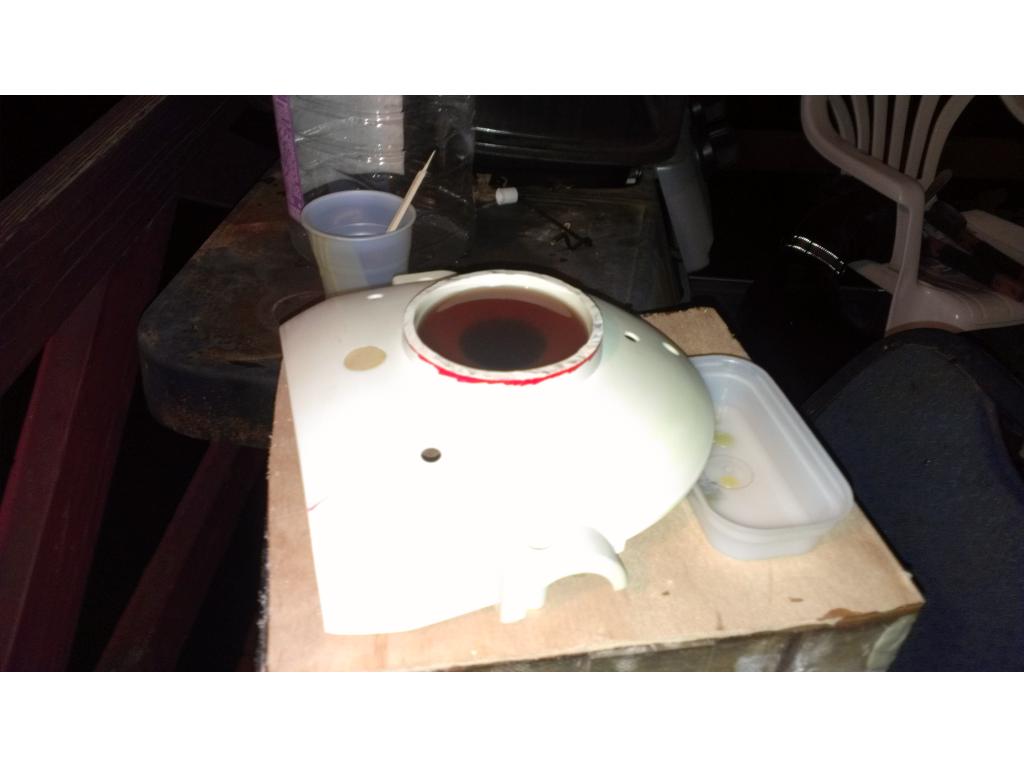
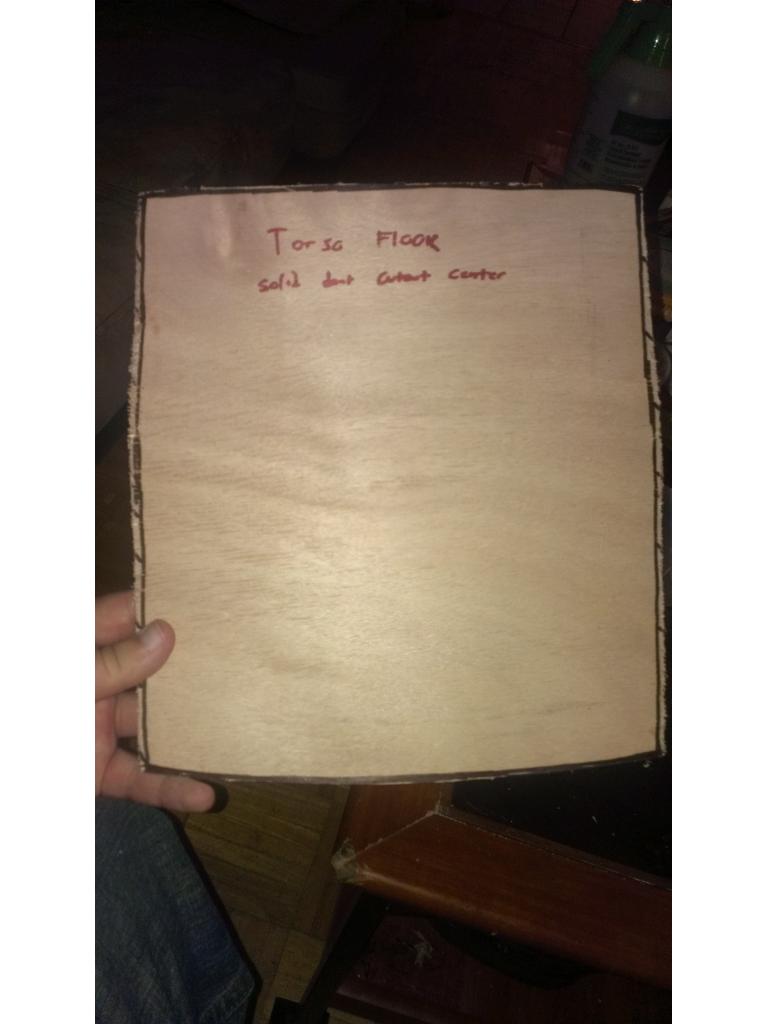
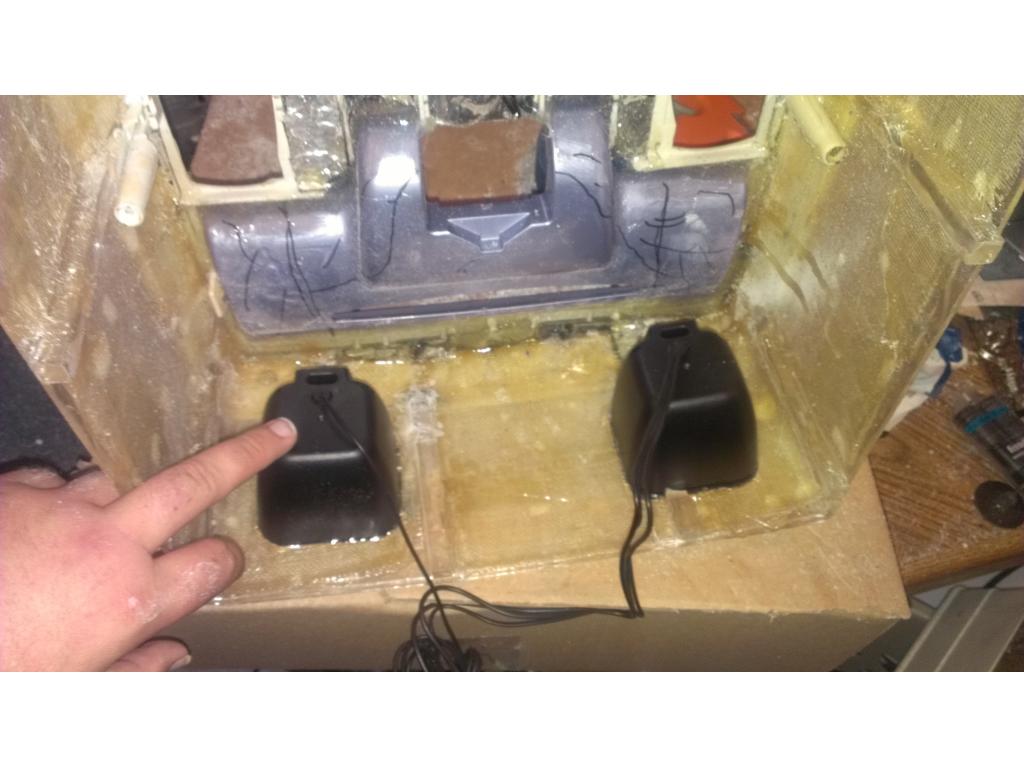
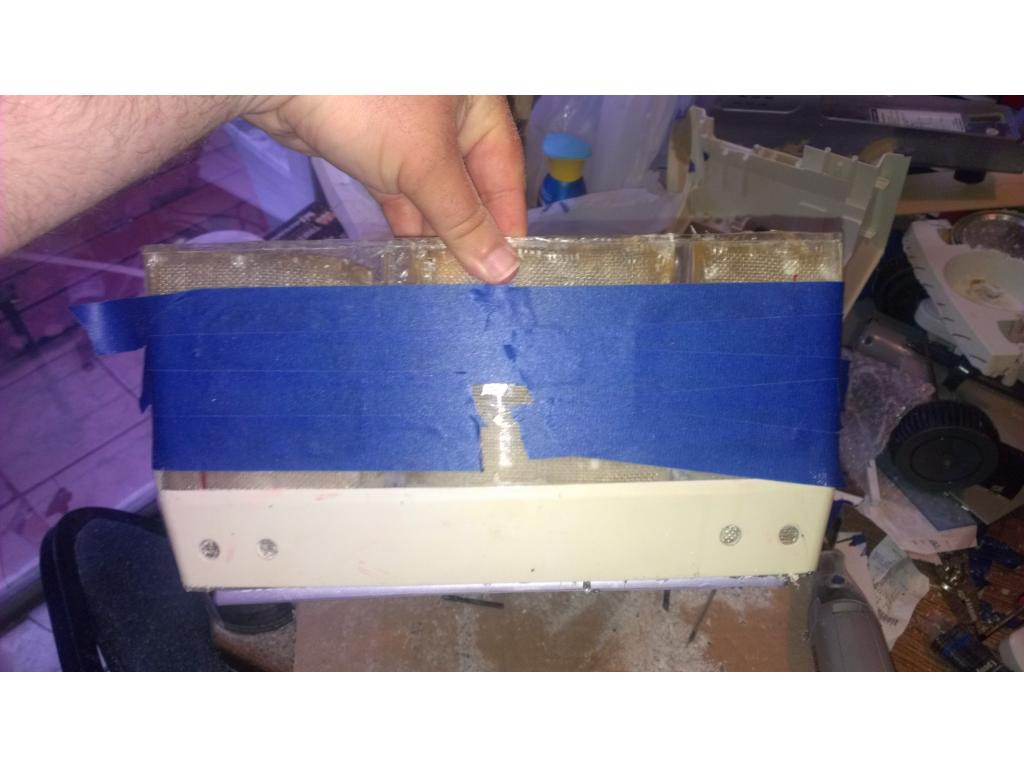
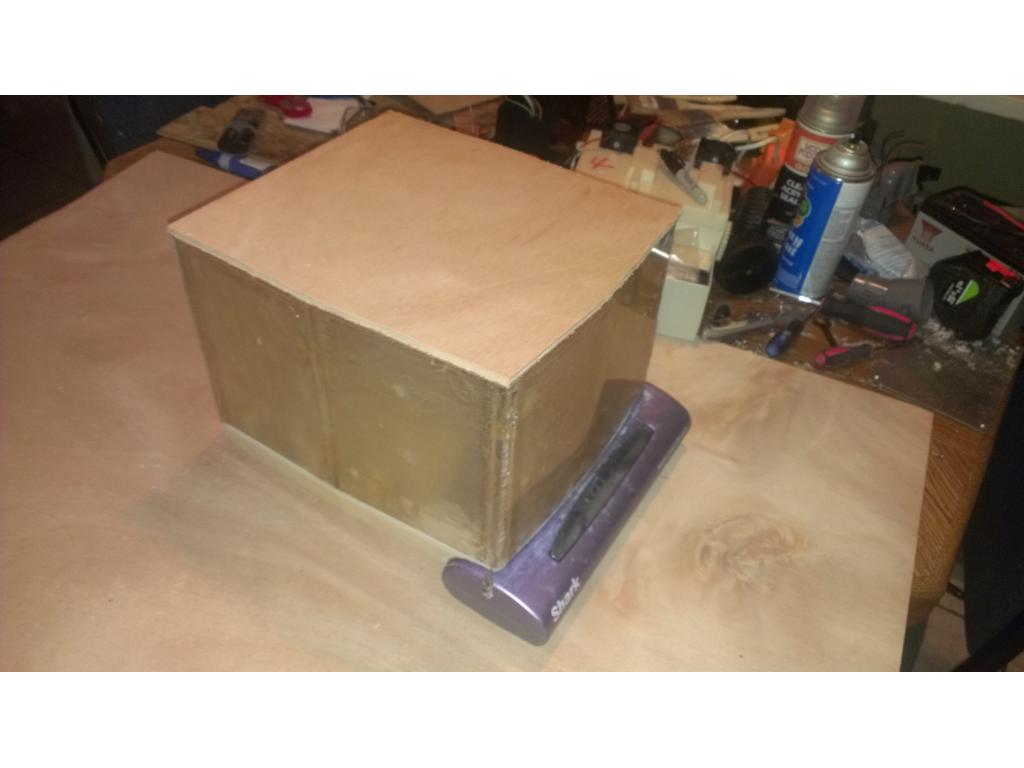
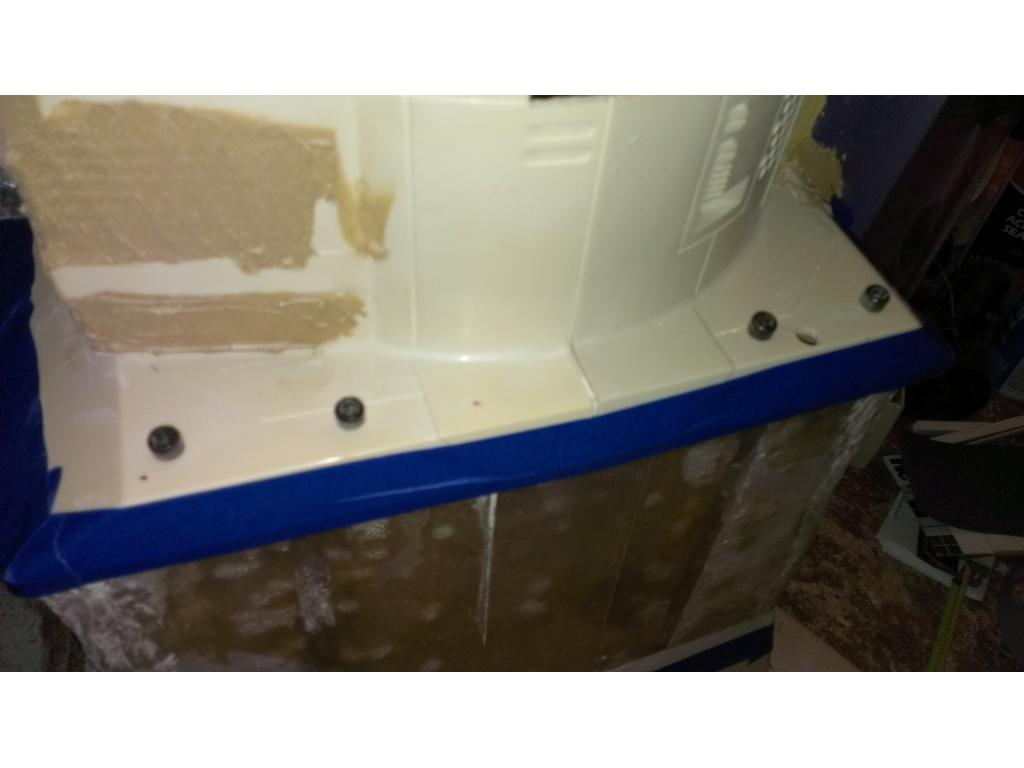
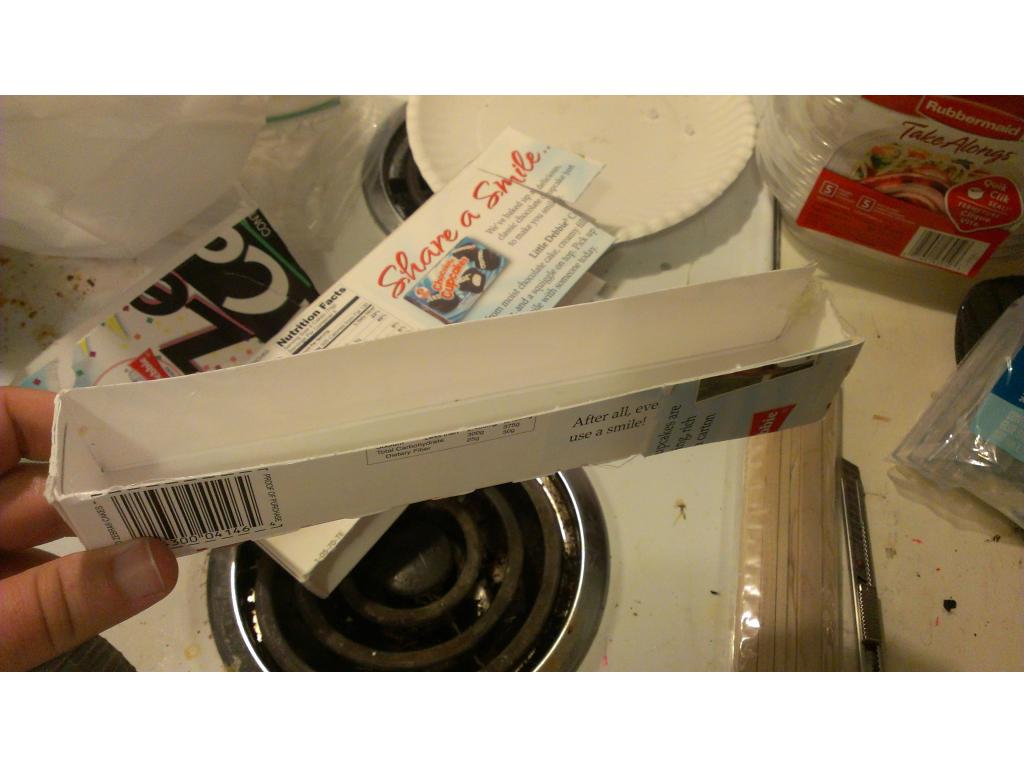
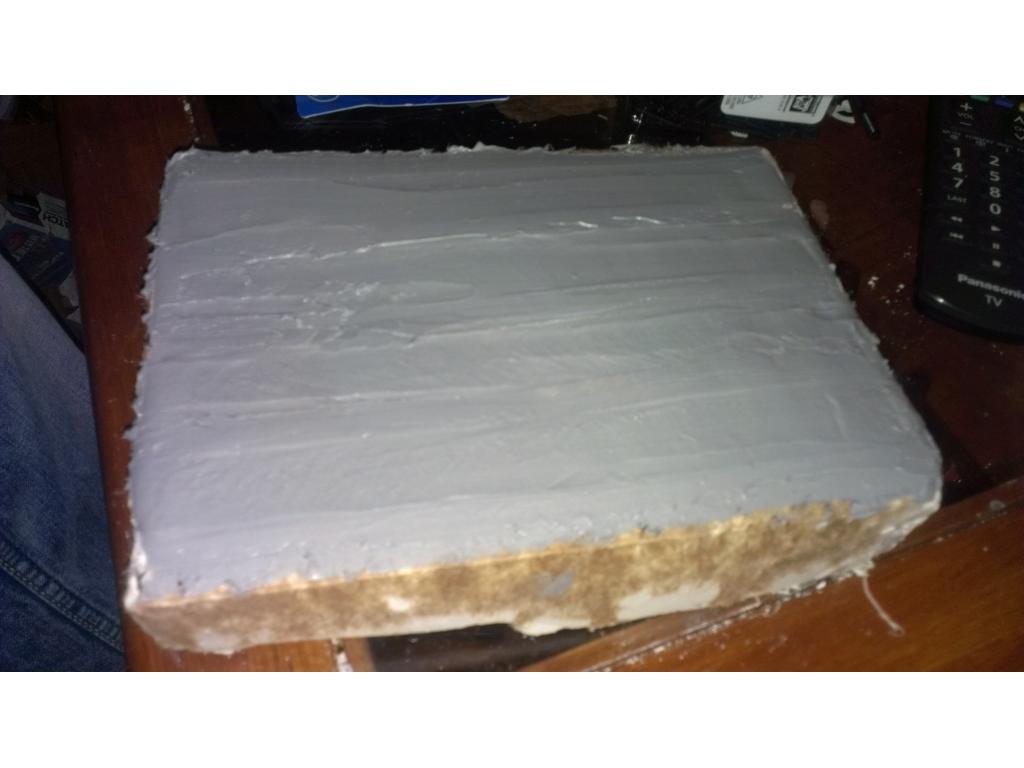
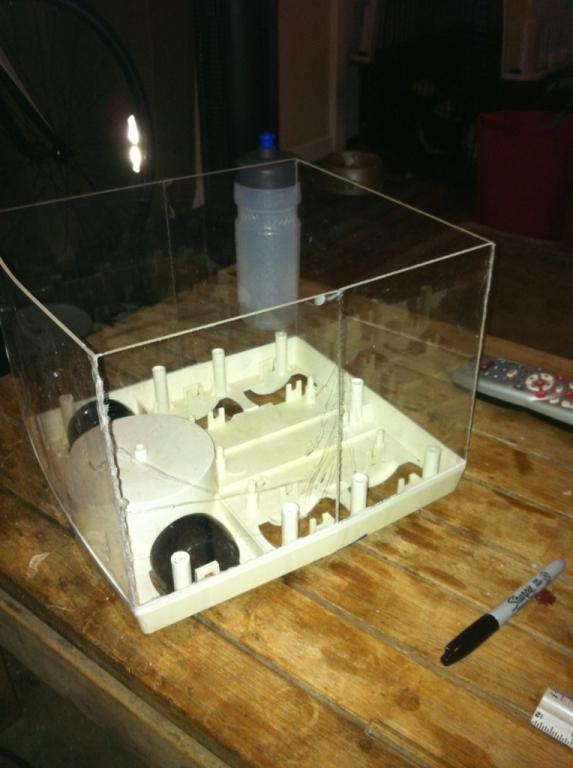
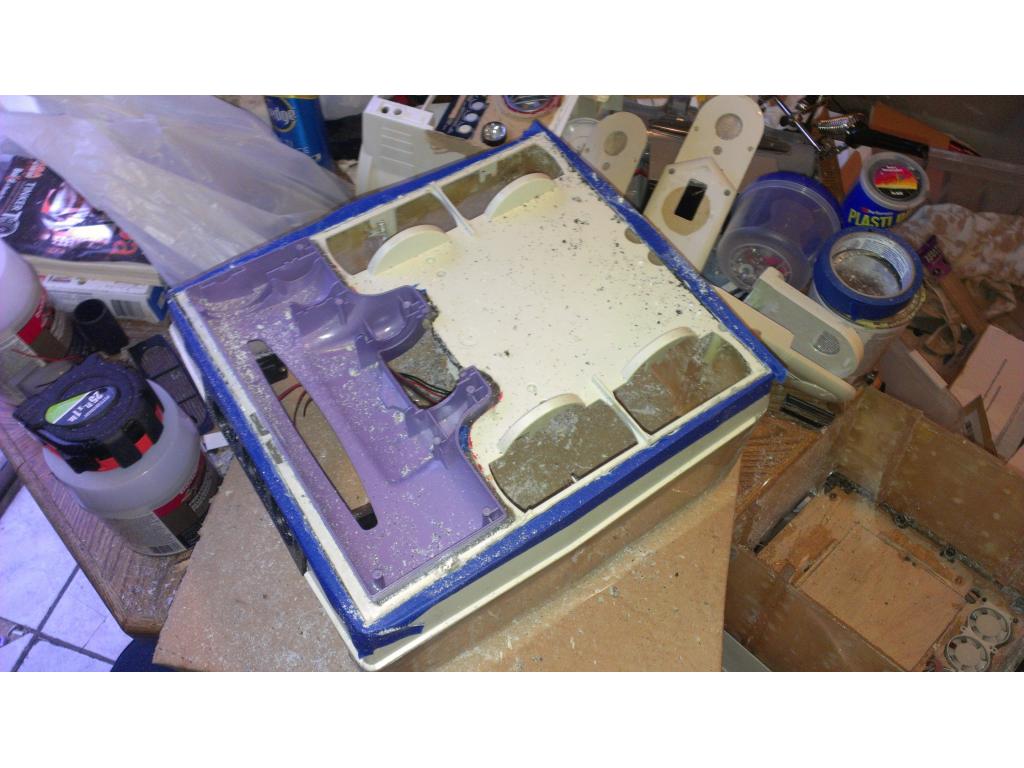
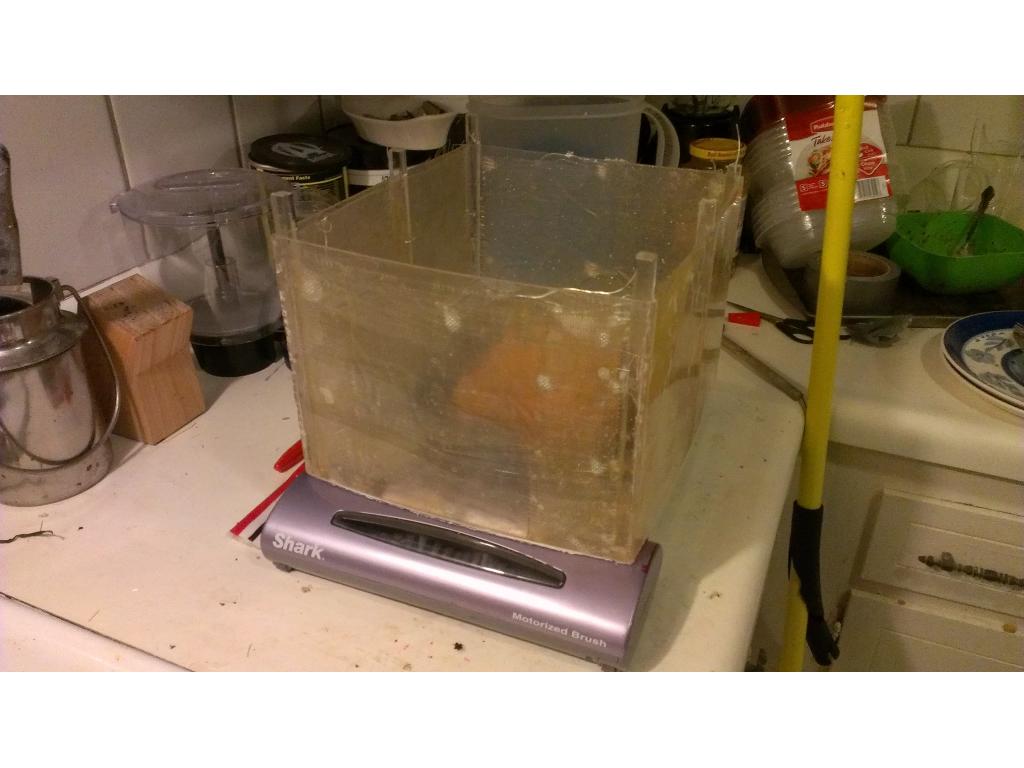
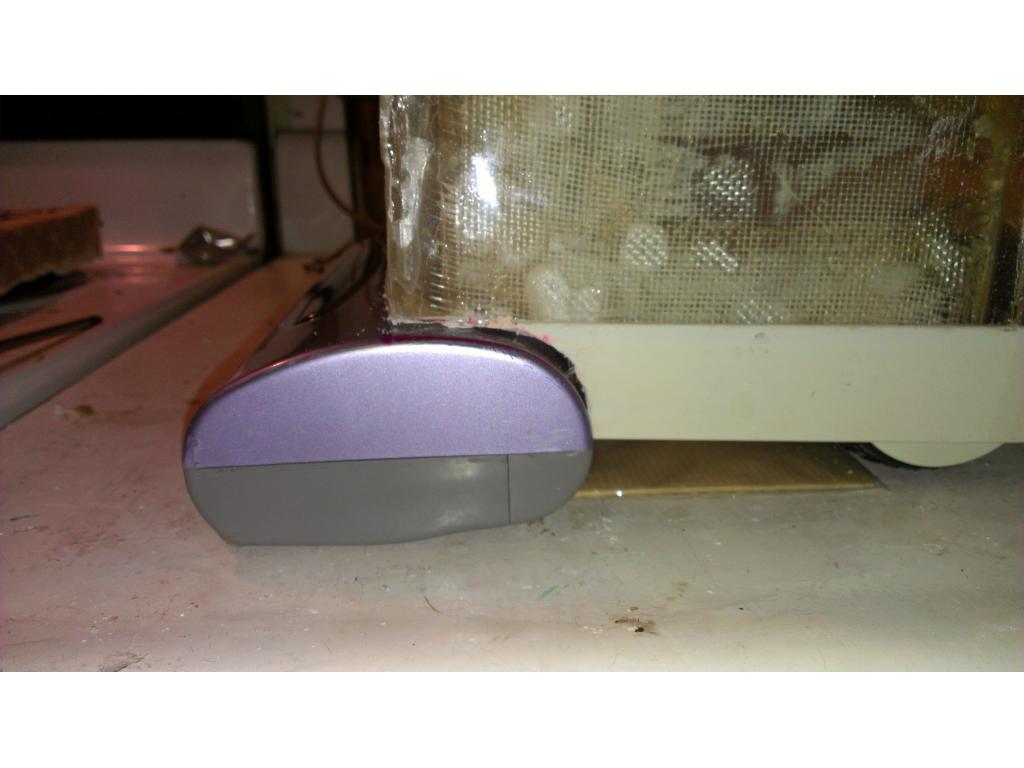
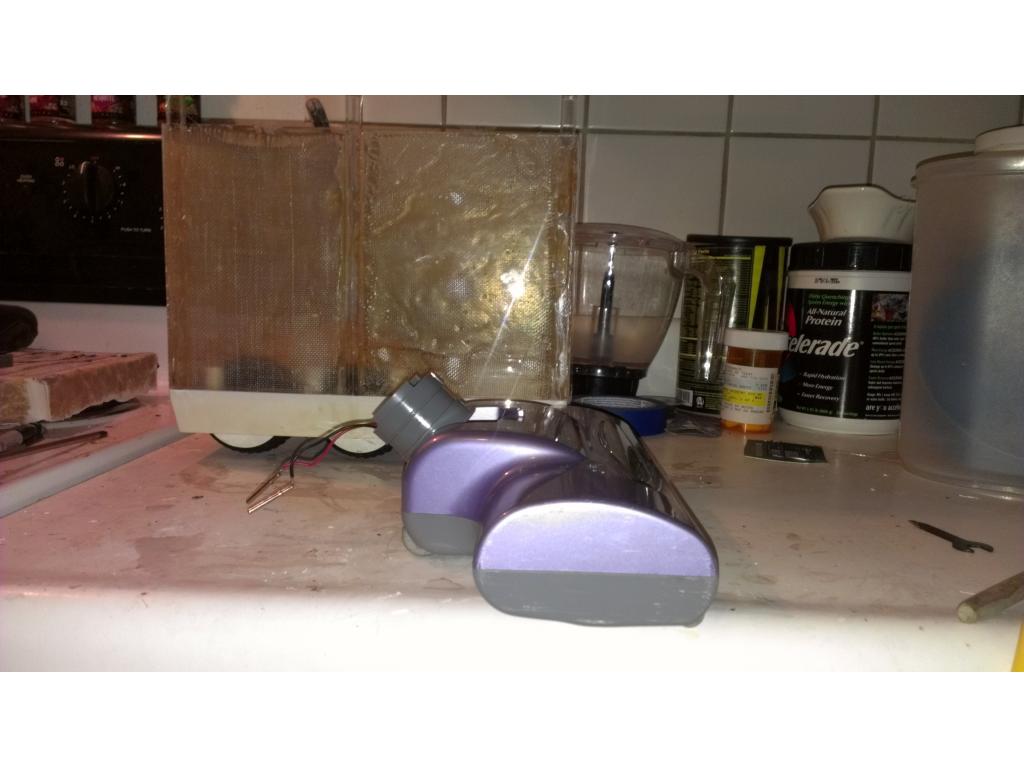
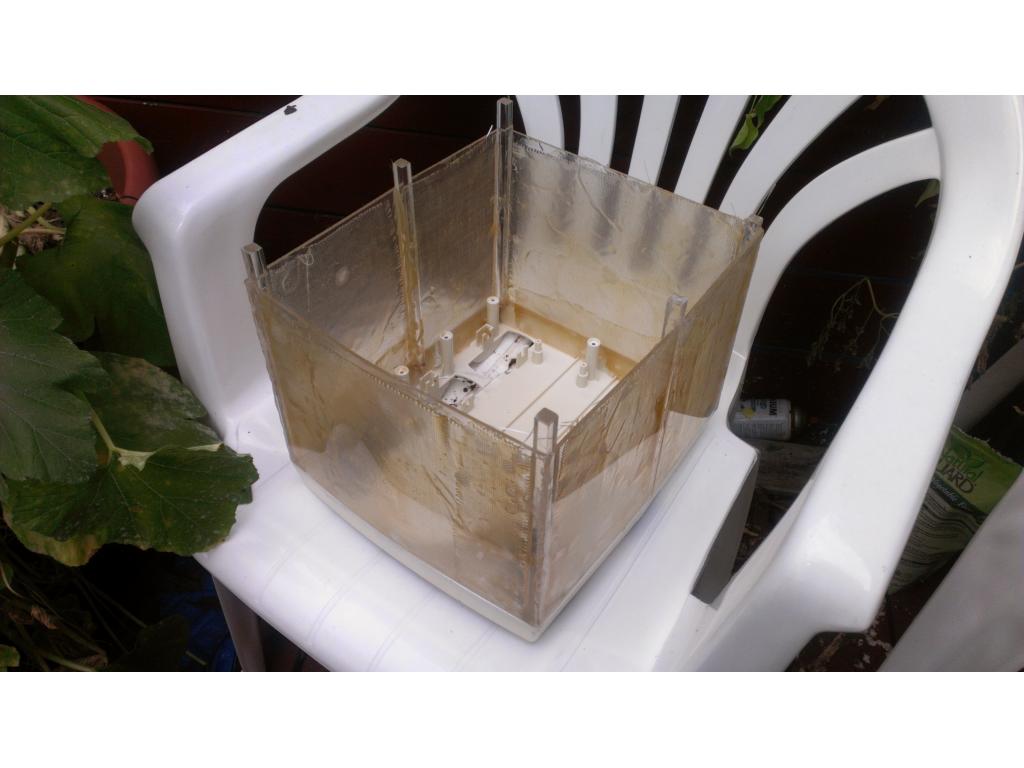
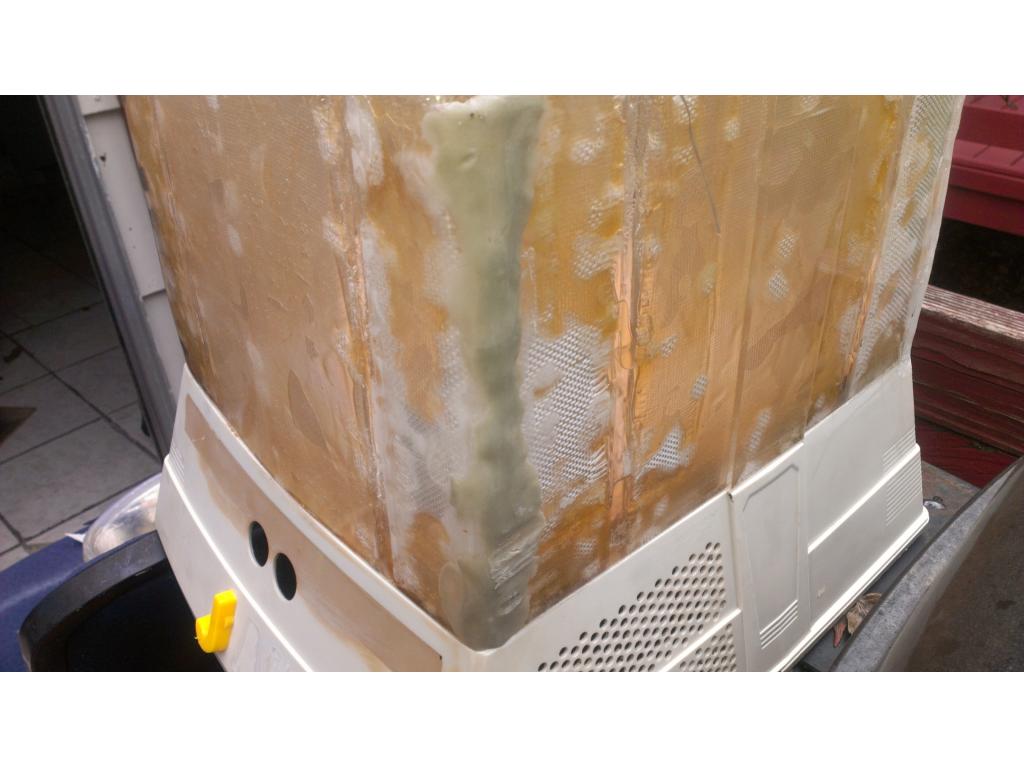
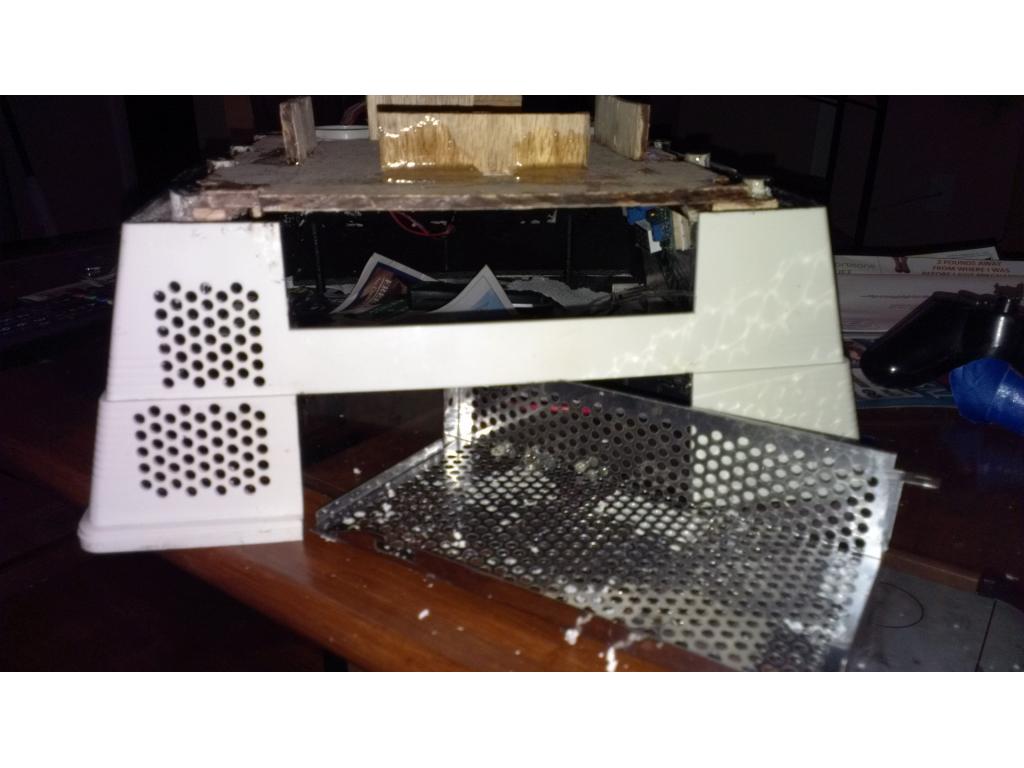
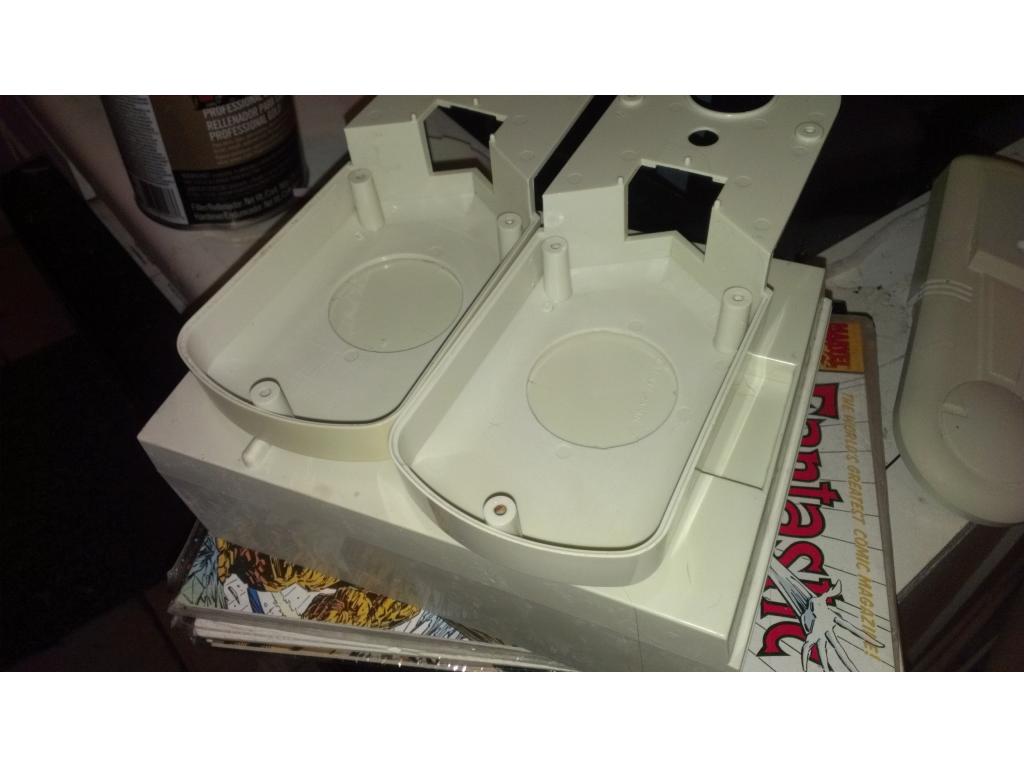
Update - I picked up 1/4" ply from home depot. I traced the top of each riser with a red sharpie and carefully cut it with a jigsaw.
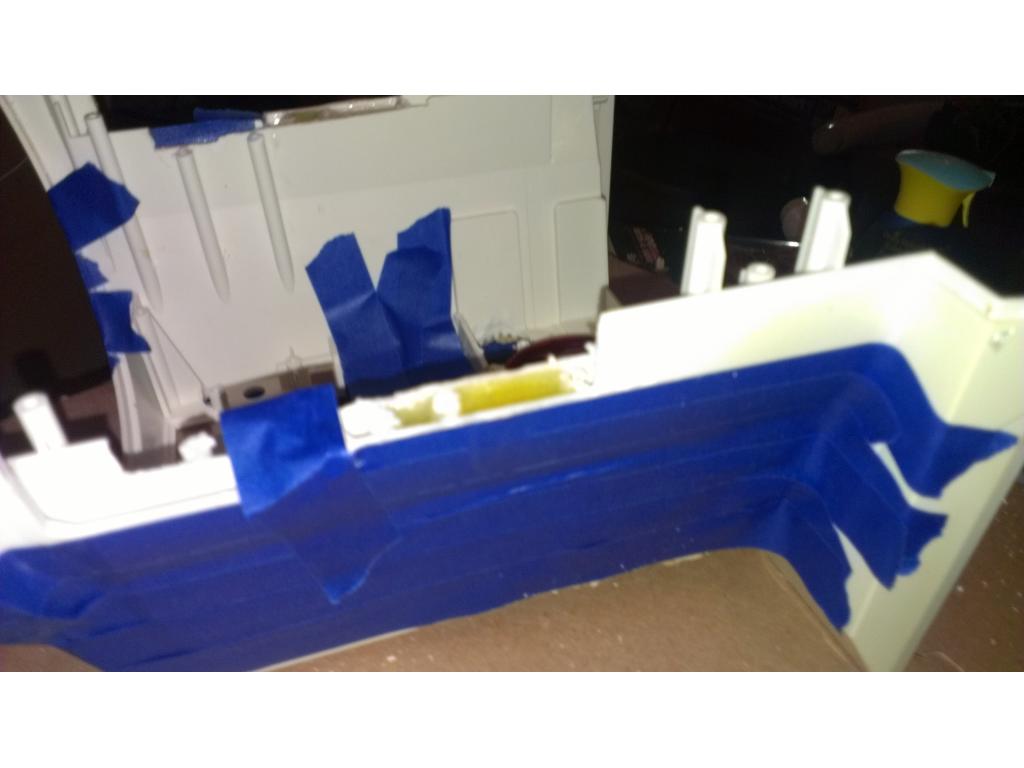
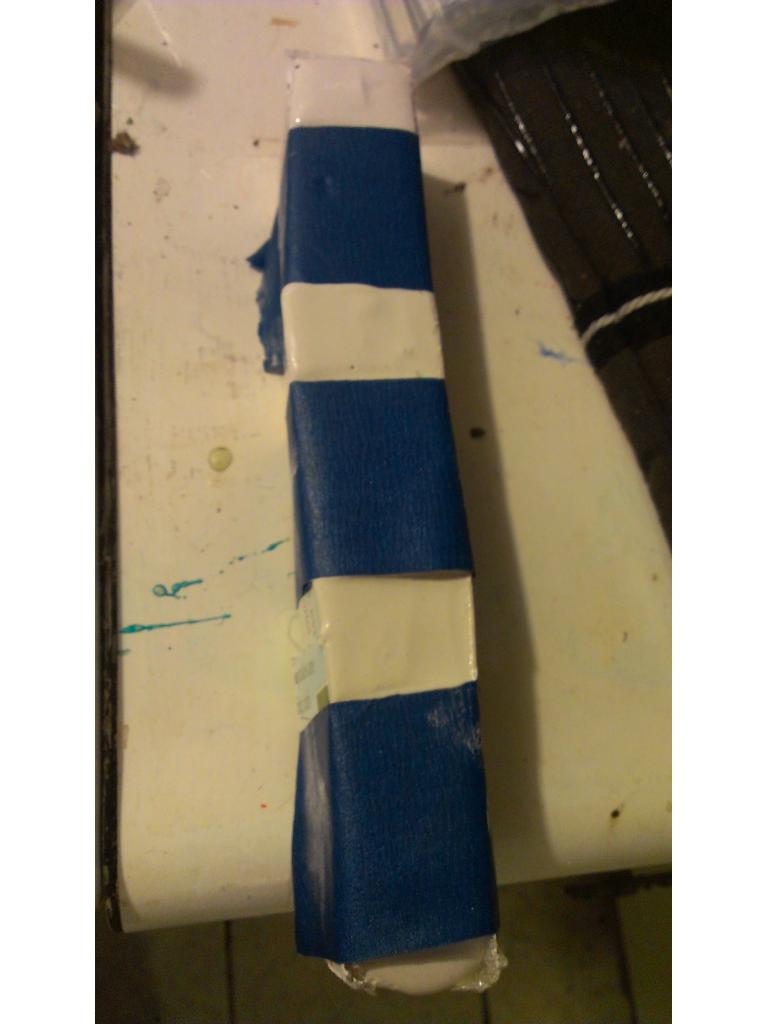
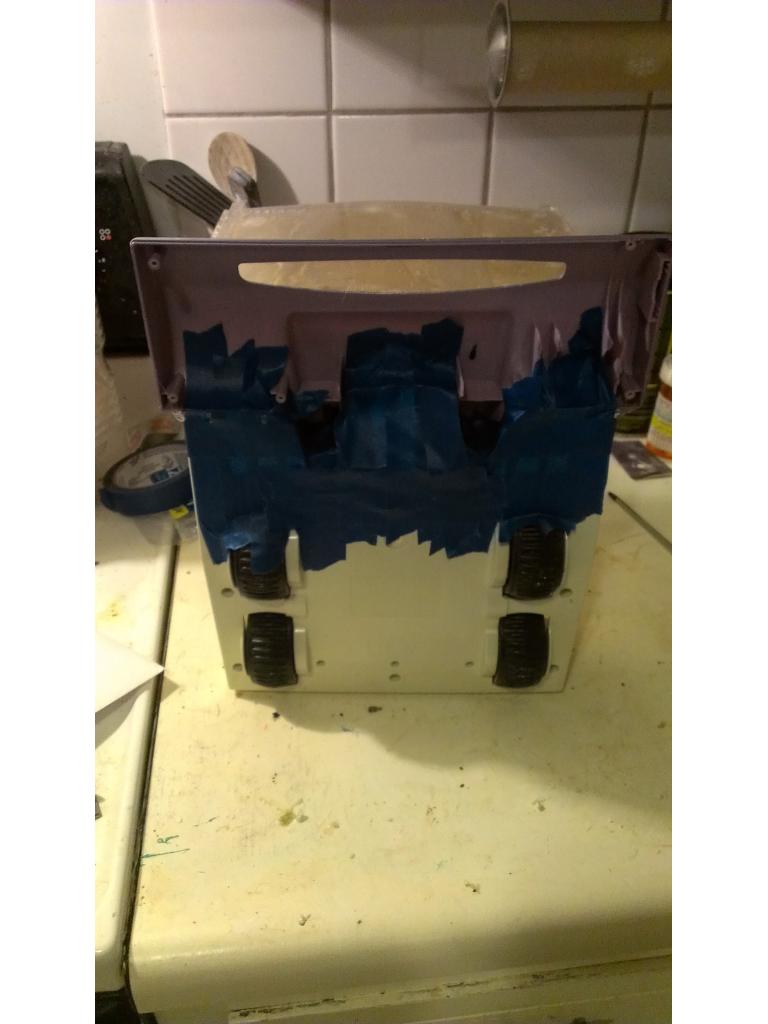
I spot epoxied the edges of the plywood and taped the edge all the way around with blue masking tape.
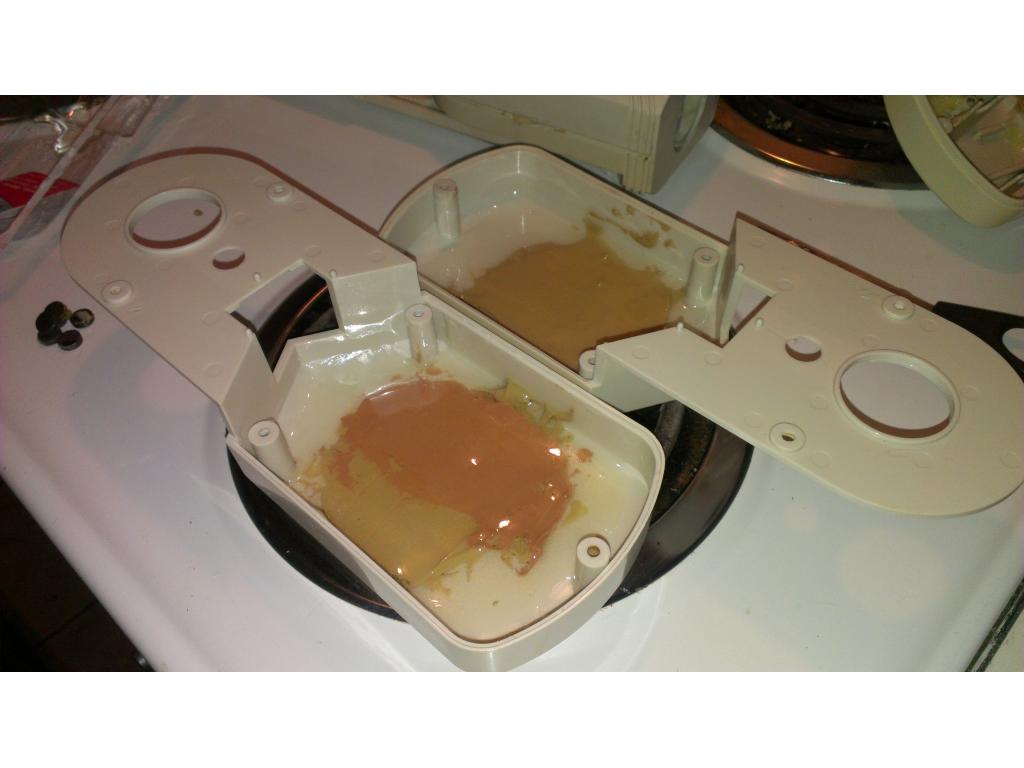
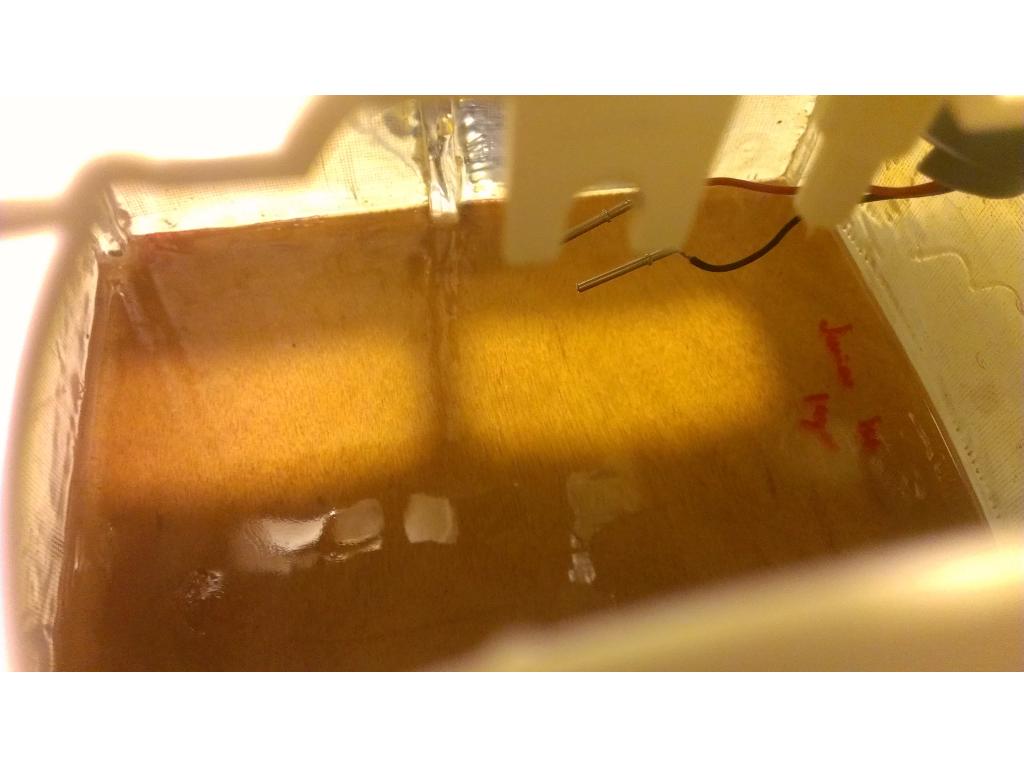
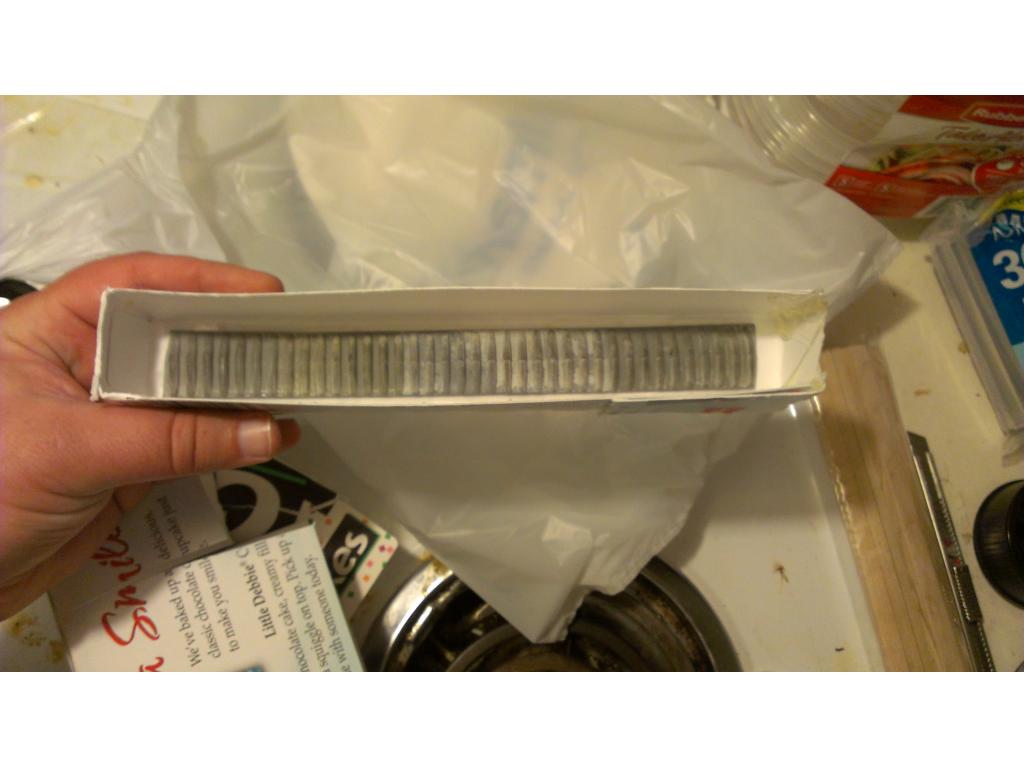
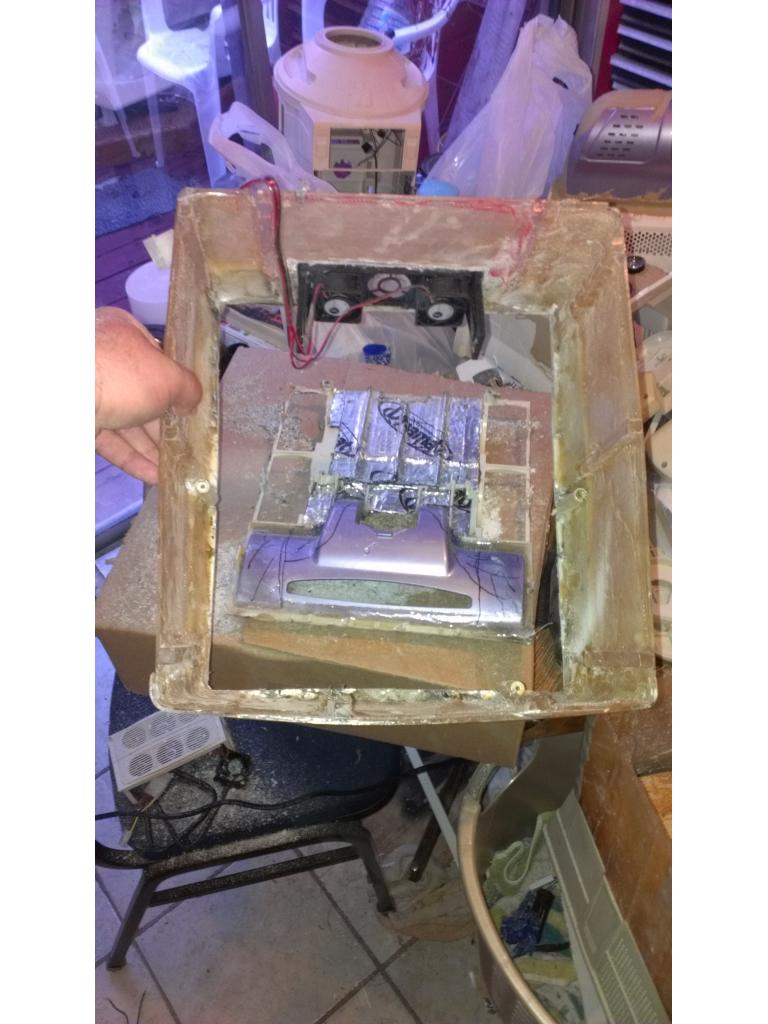
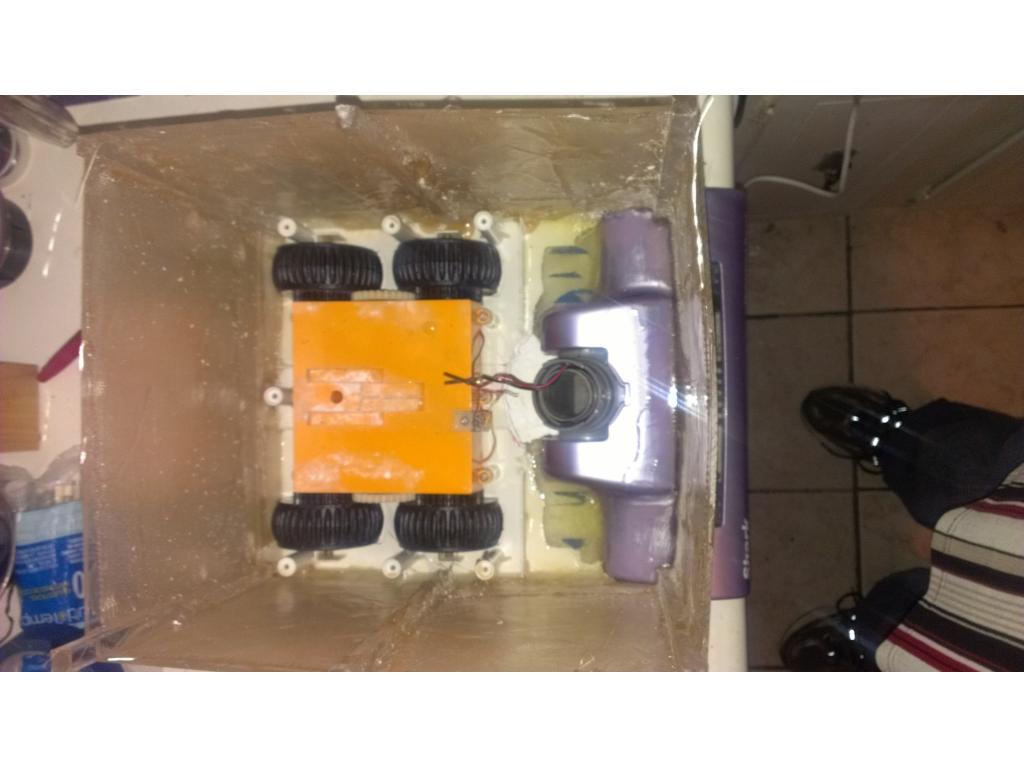
Once I taped around the edges I used a half cup of polyester resin and poured it in from the bottom. It's very runny so I rotated the piece over and over to ensure all the corners and edges were covered and filled well. Once the resin started to thicken I sat the risers upside down so the resin would pool over and cover all of the insides.
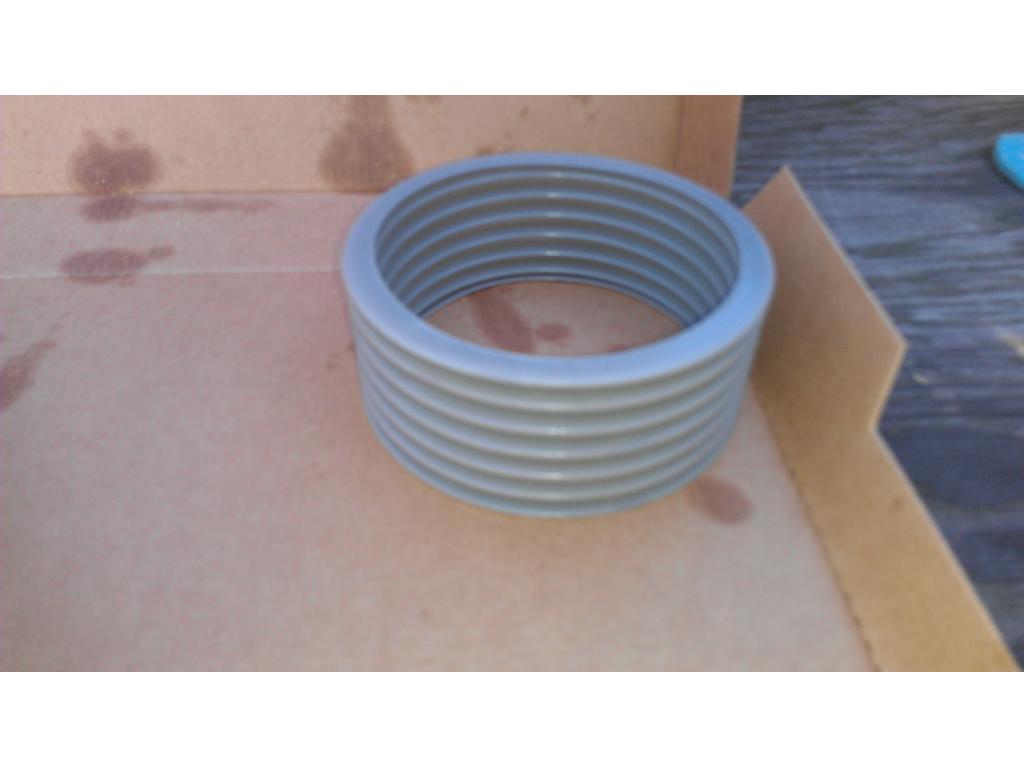
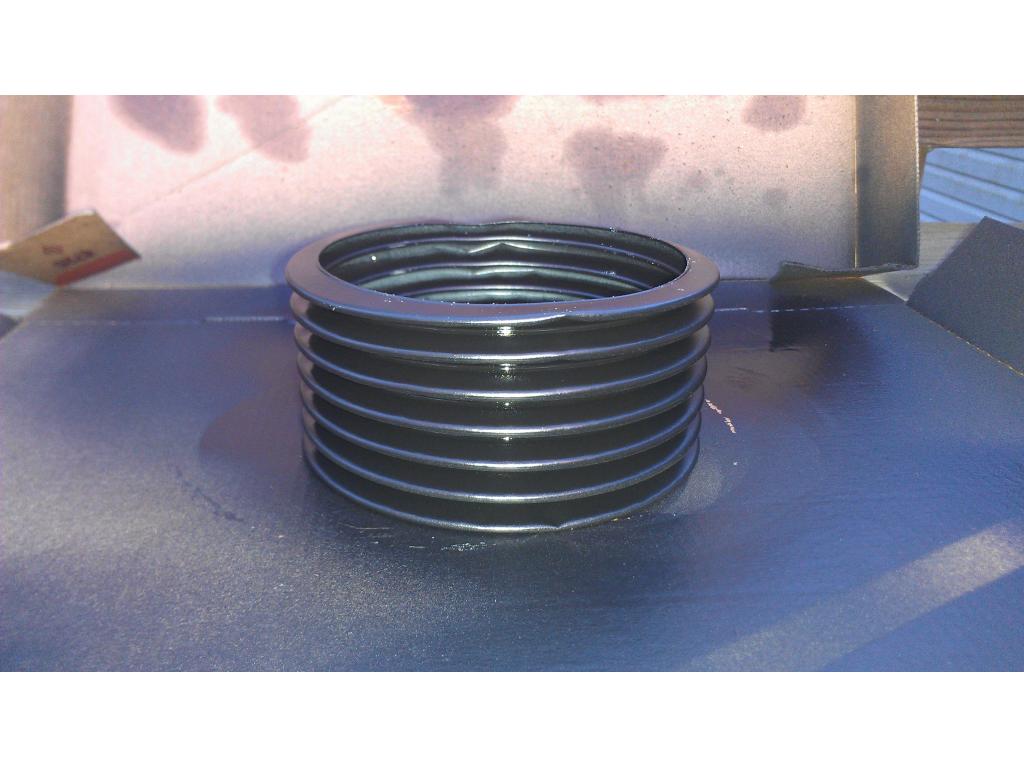
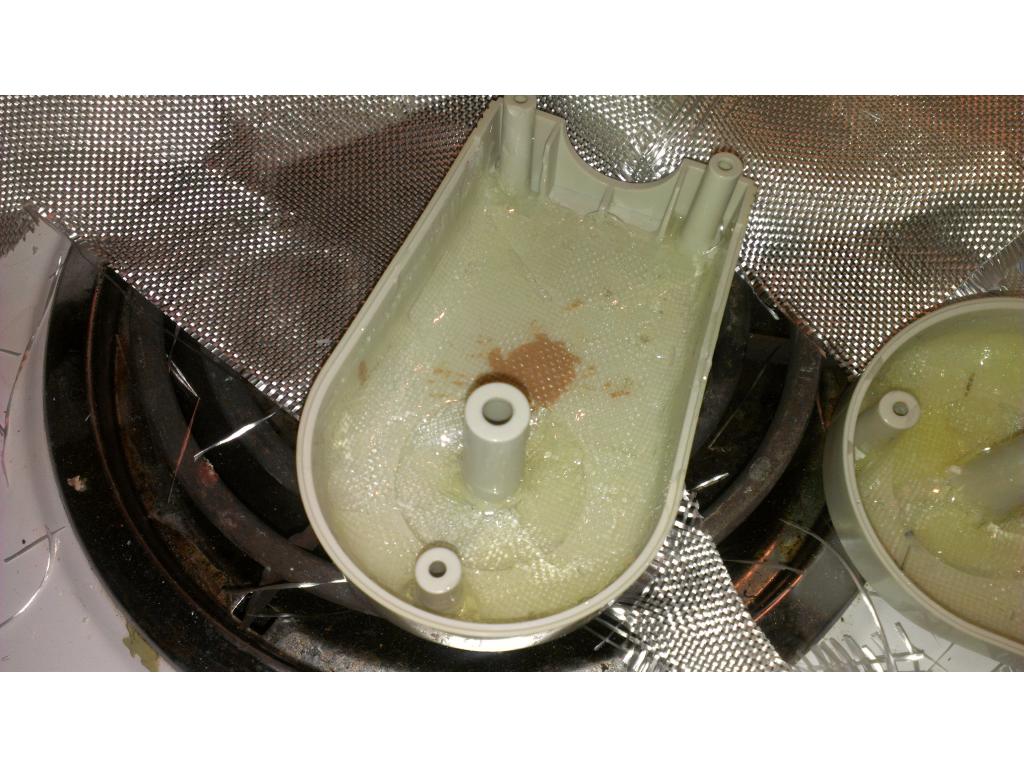
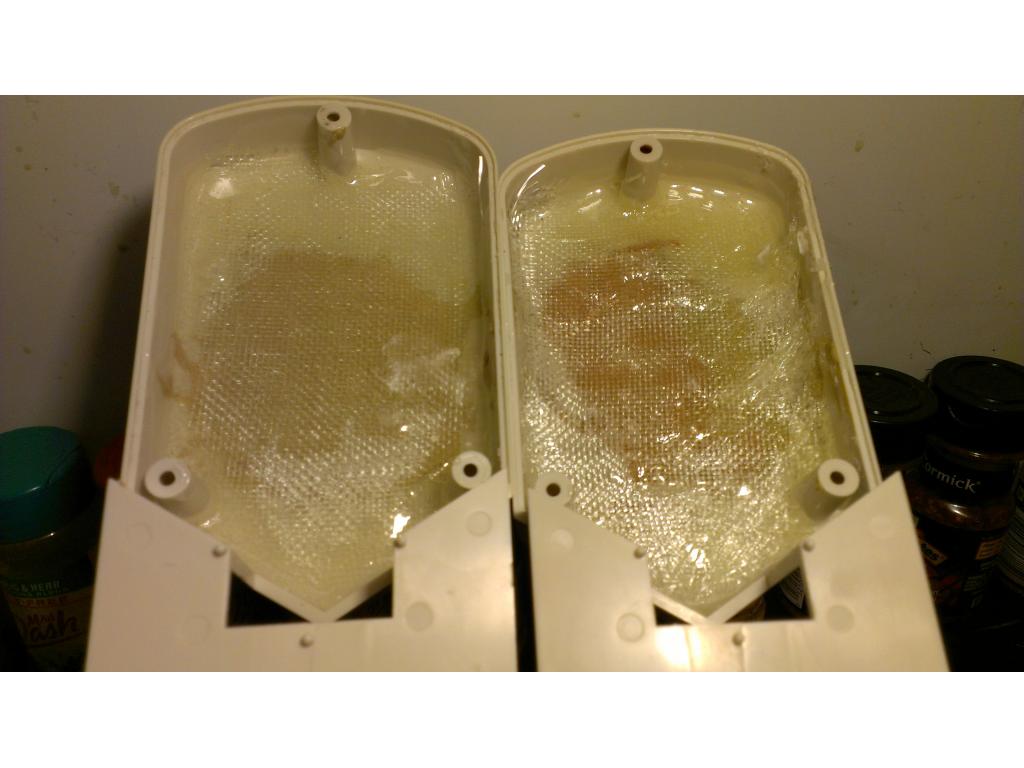
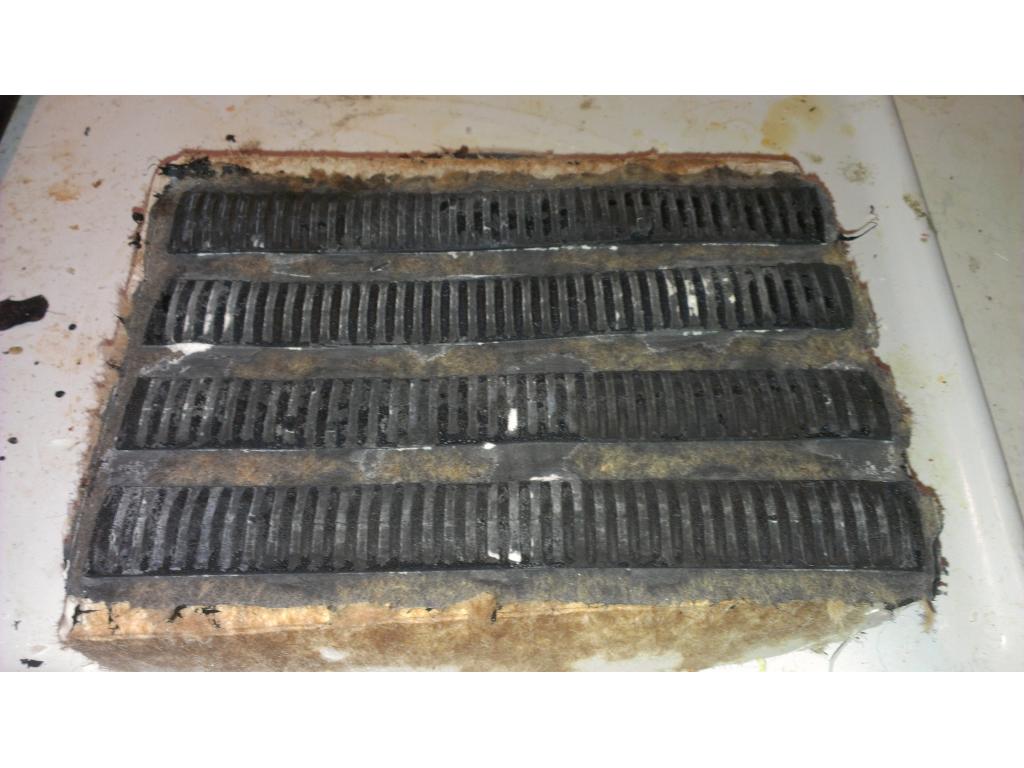
Ok I added enough resin to both risers to gloss over with about a 1/8" overall thickness, as you can see it looks just like a wood boat.
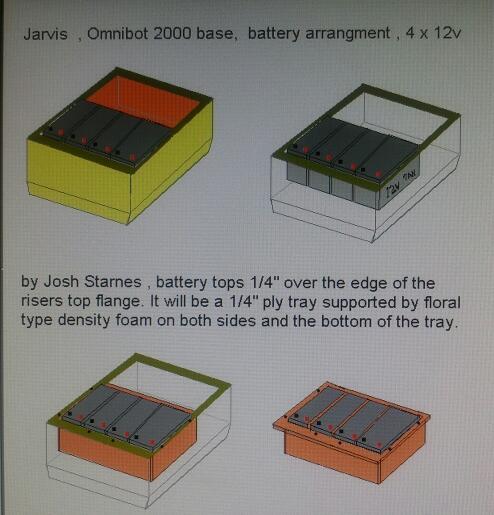
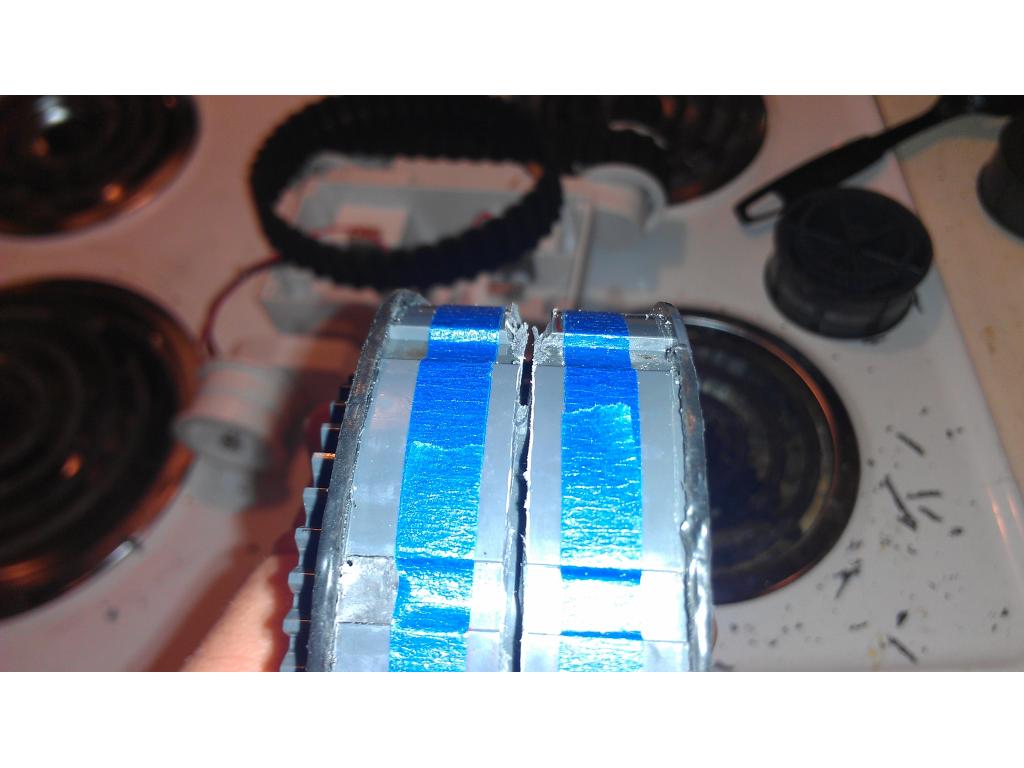
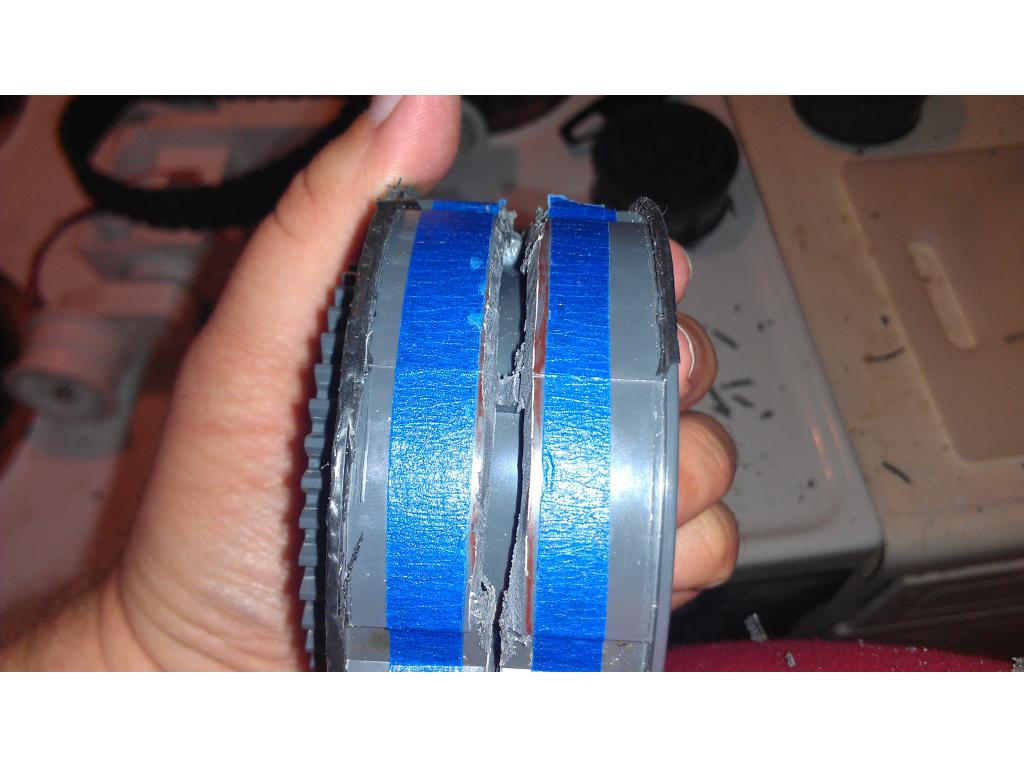
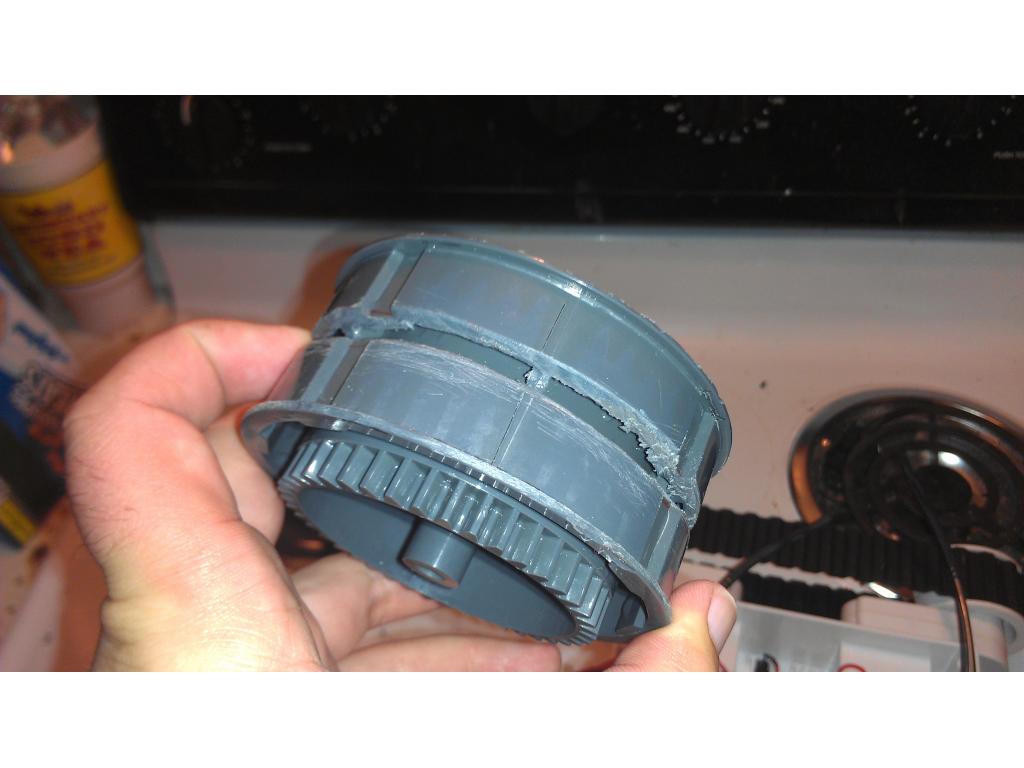
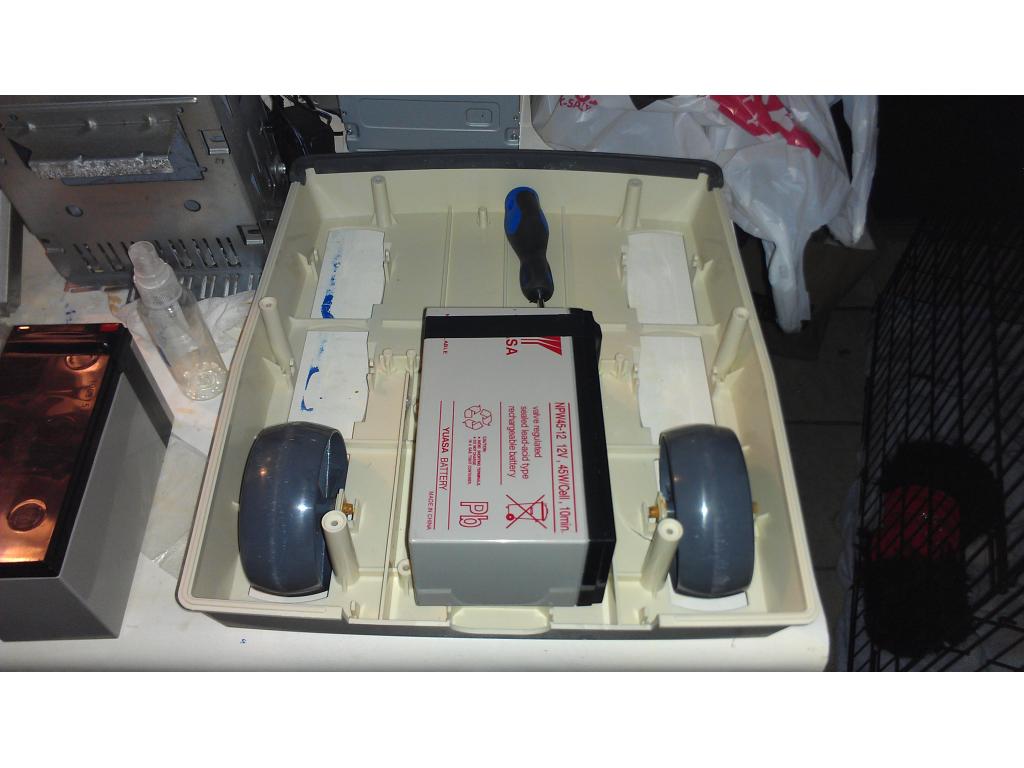
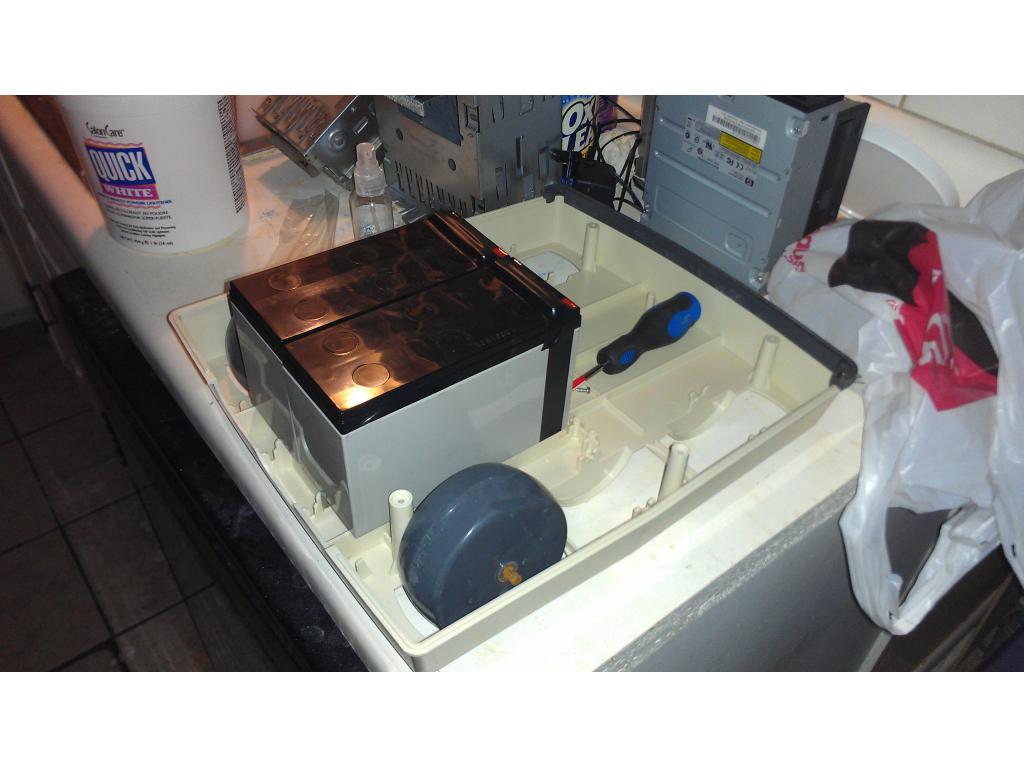
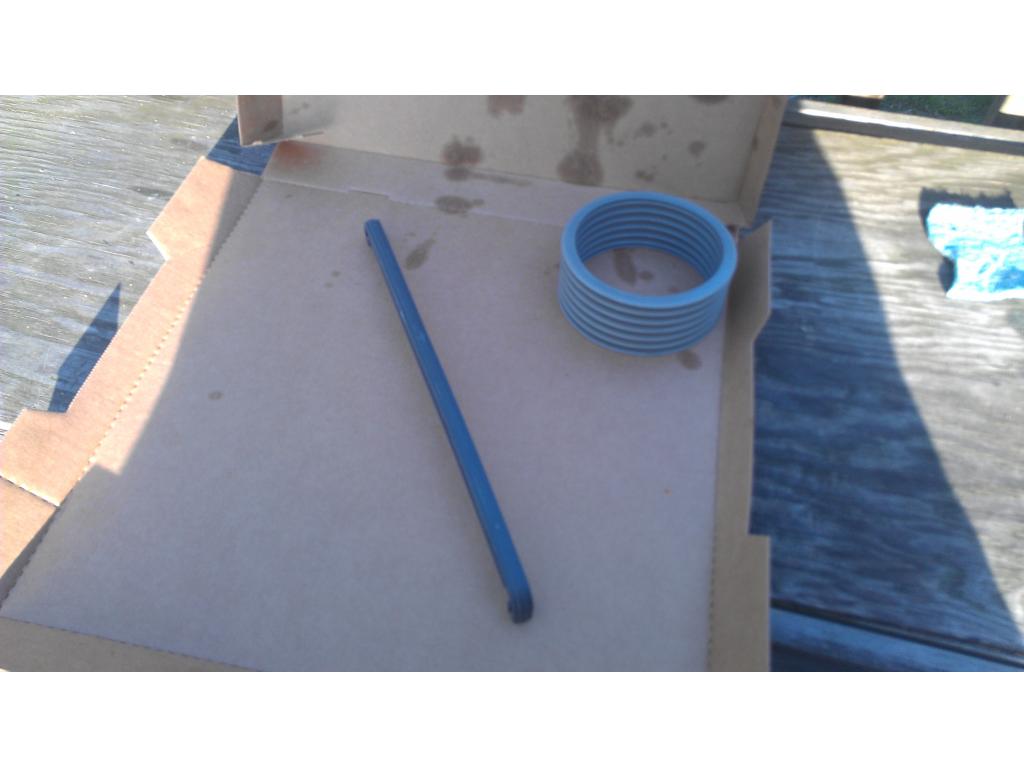
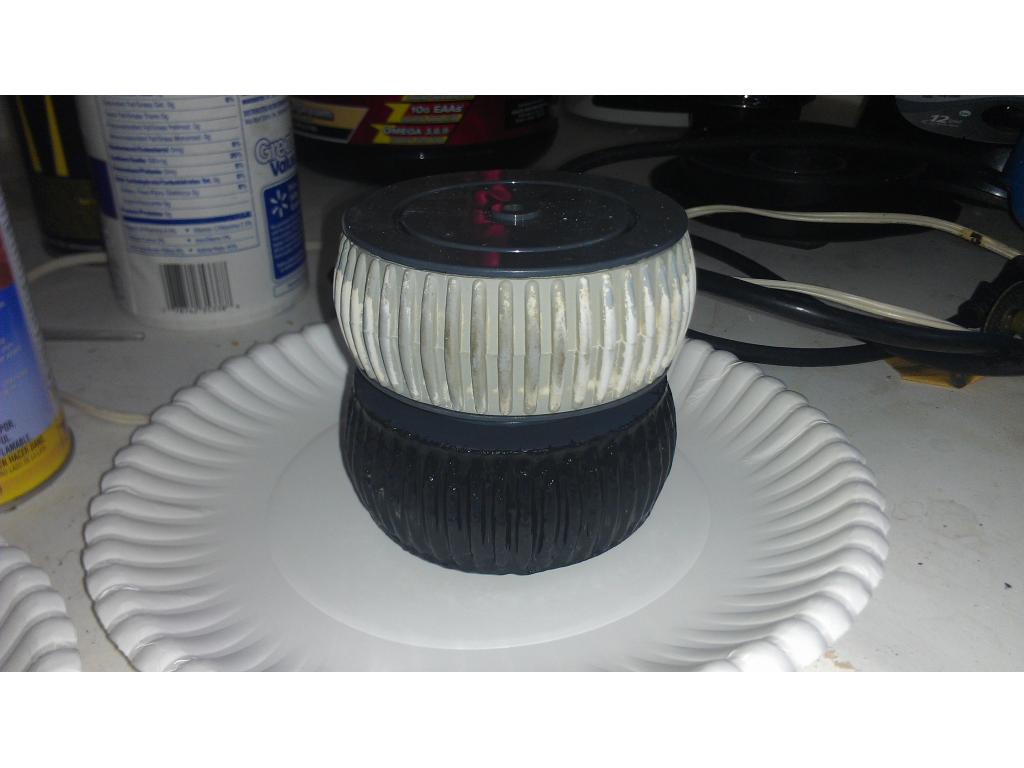
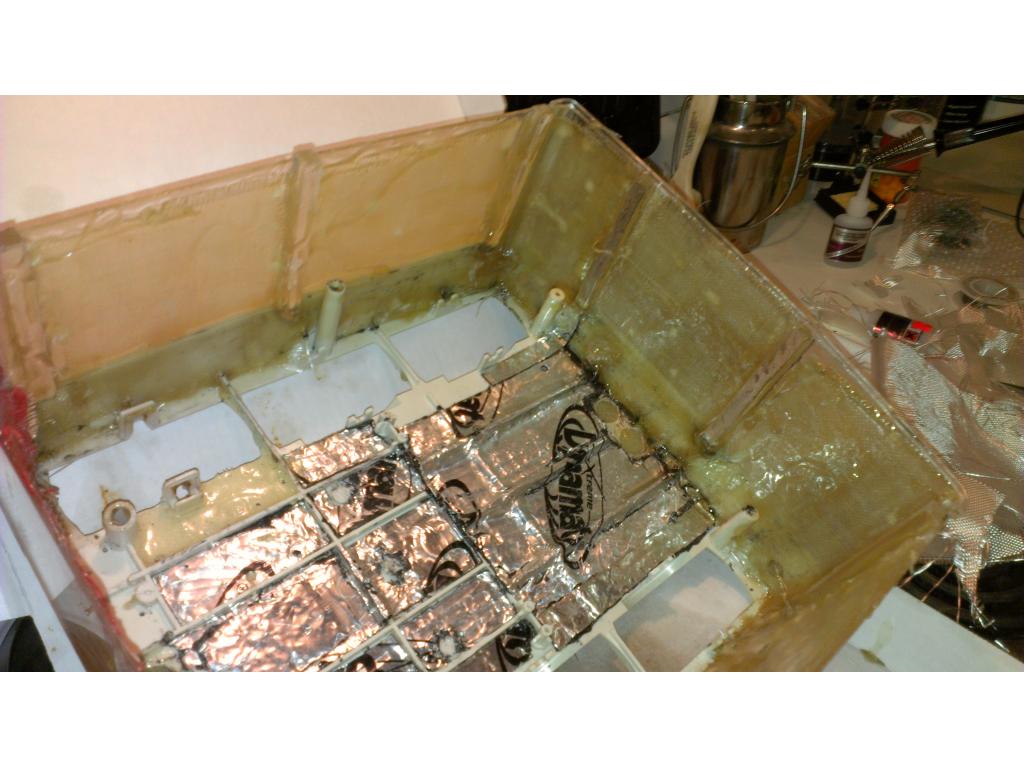
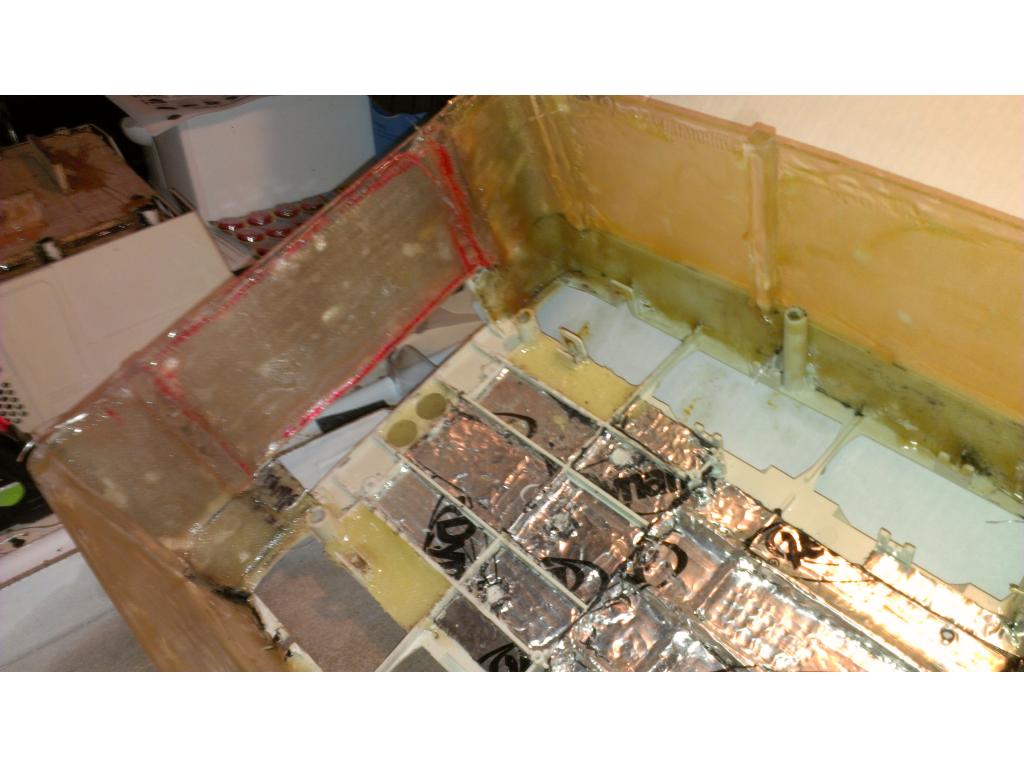
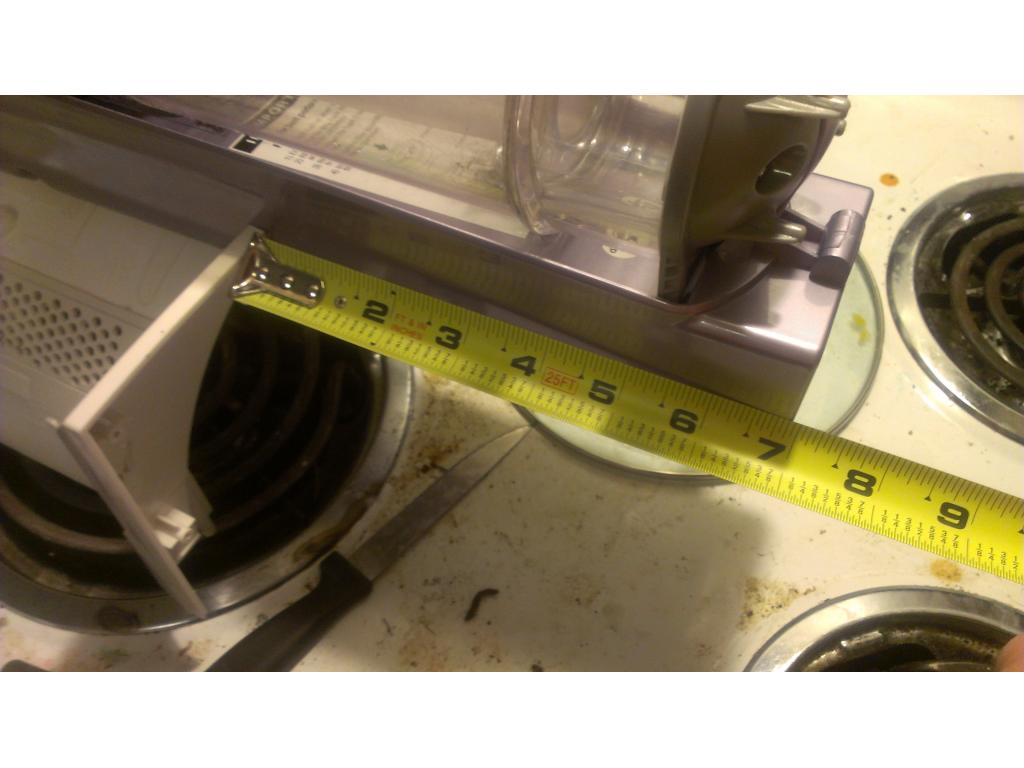
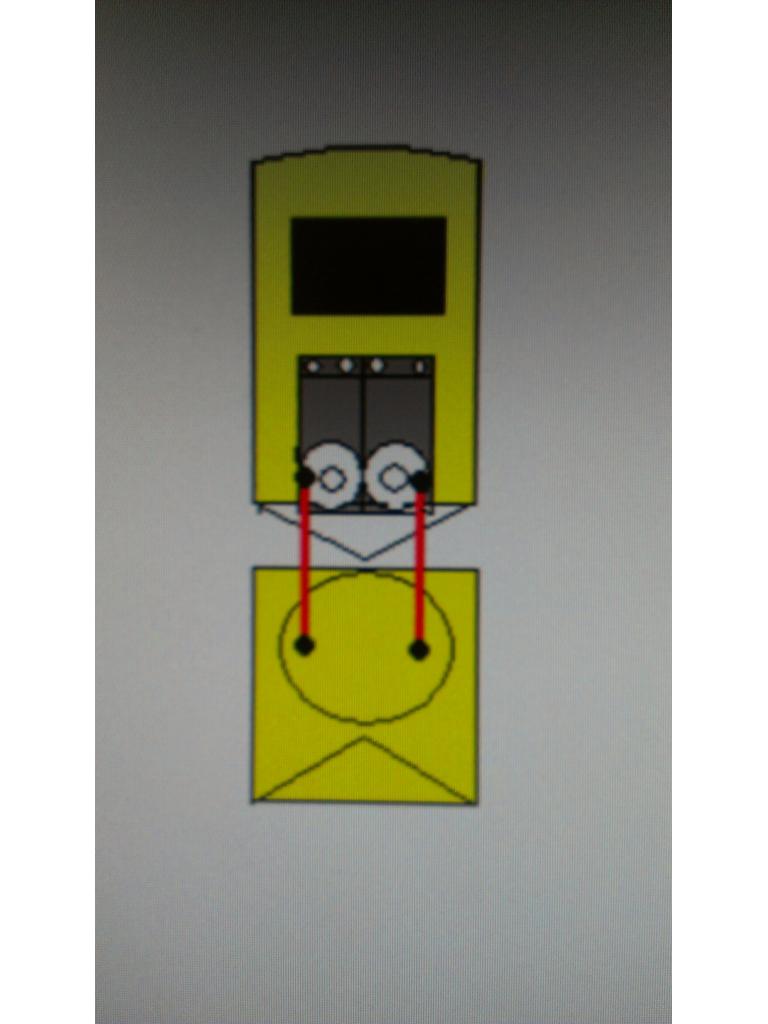
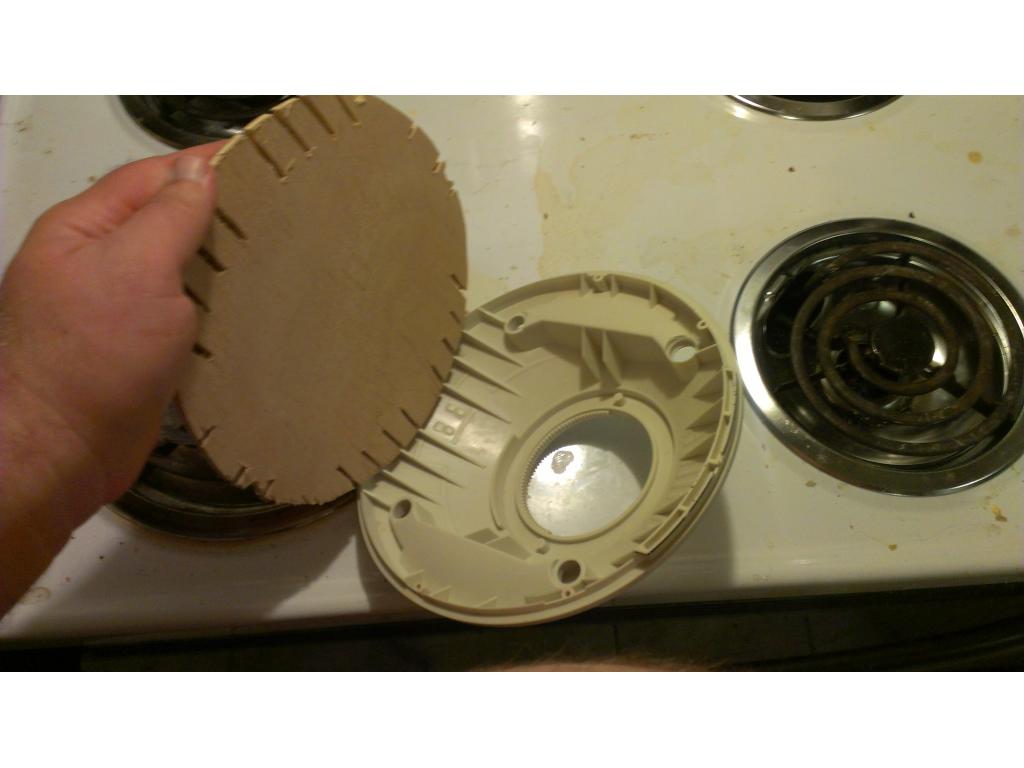
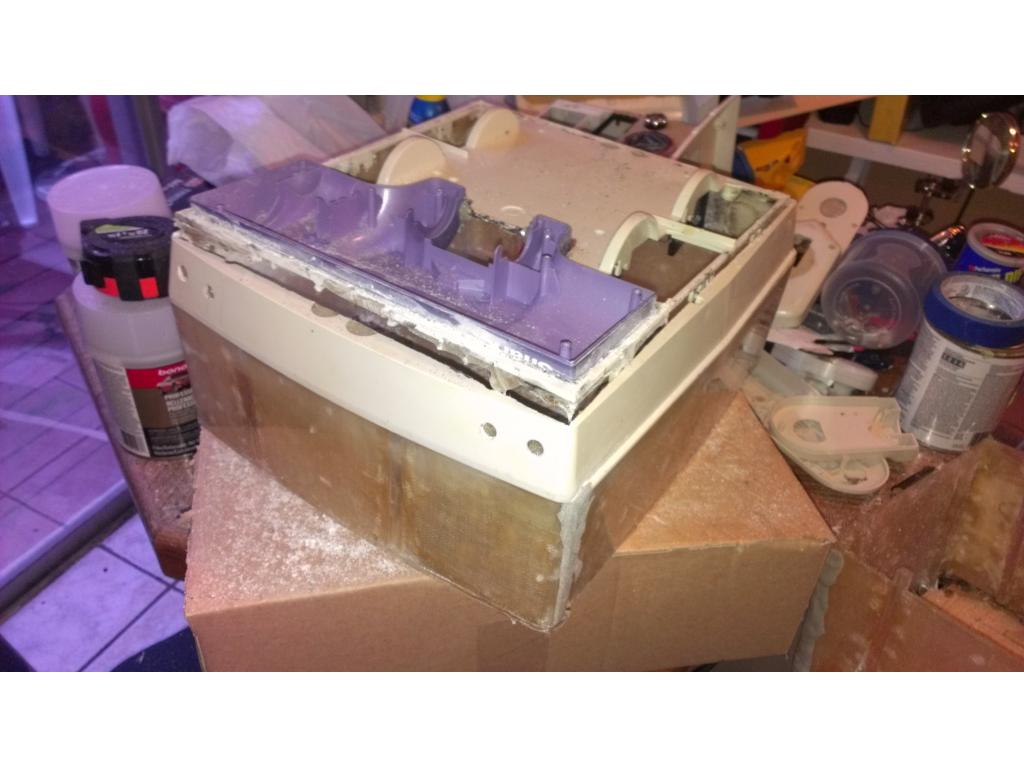
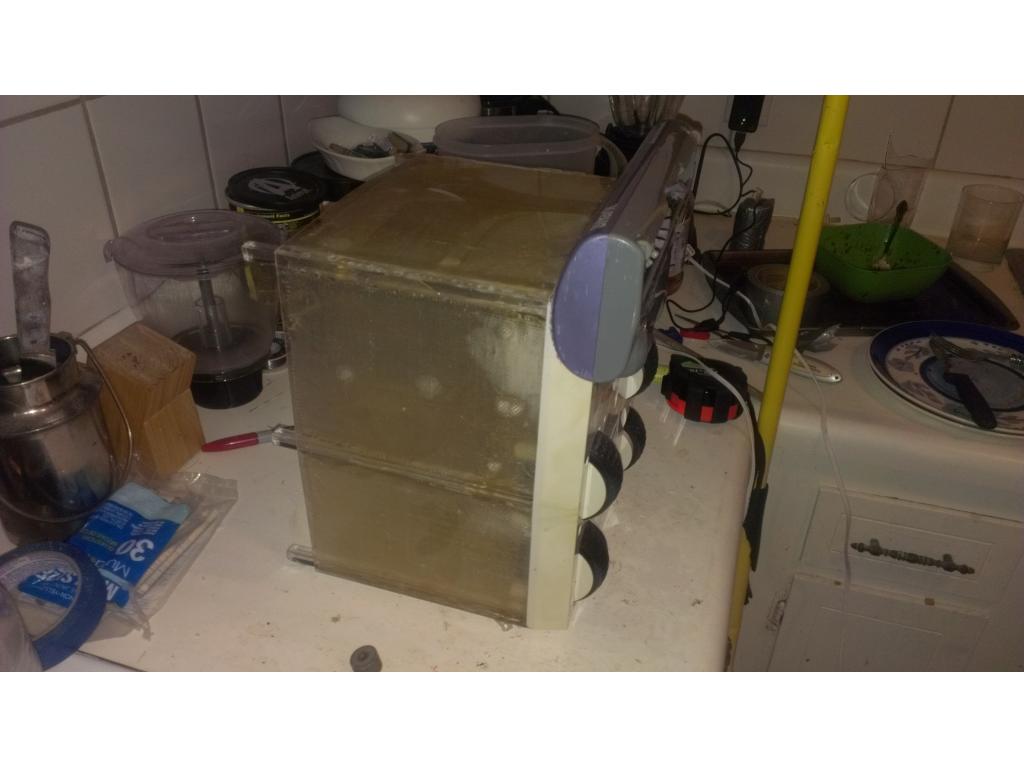
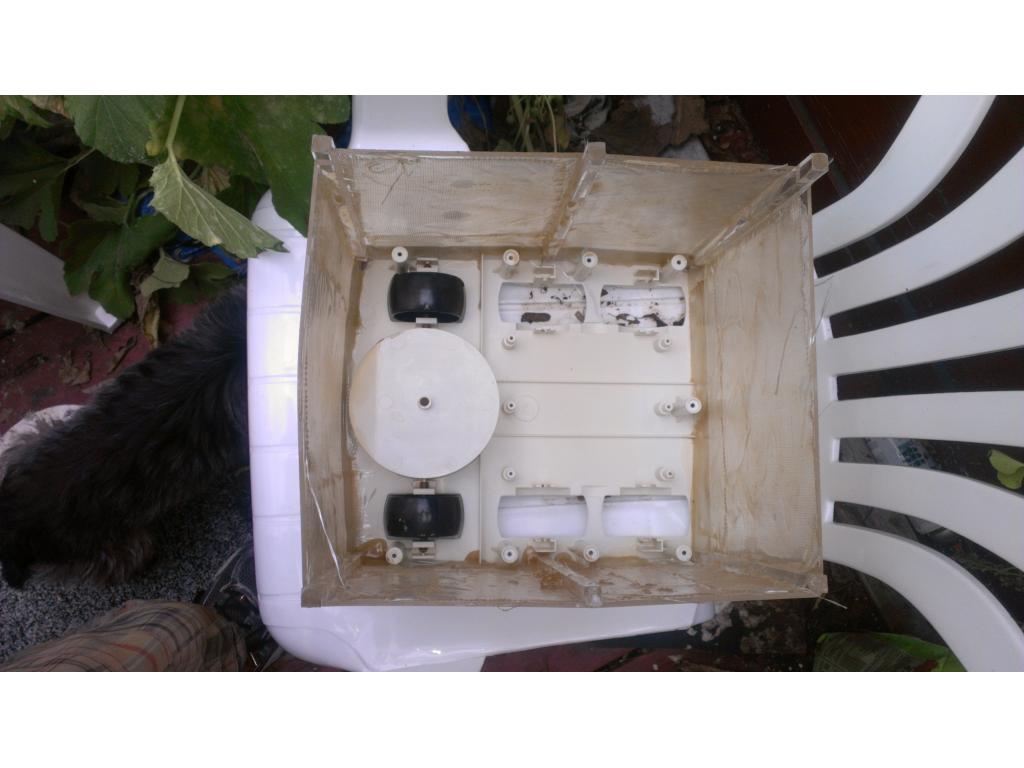
This worked well and each riser easily holds 80 pounds with no flex , about twice the bots total weight. Here you see I trace the bottom riser and this must be done twice so I will have two flanges to bolt together. I will glue a nut in place on the bottom flange and just a hole to run the Allen screws through on.the second flange.
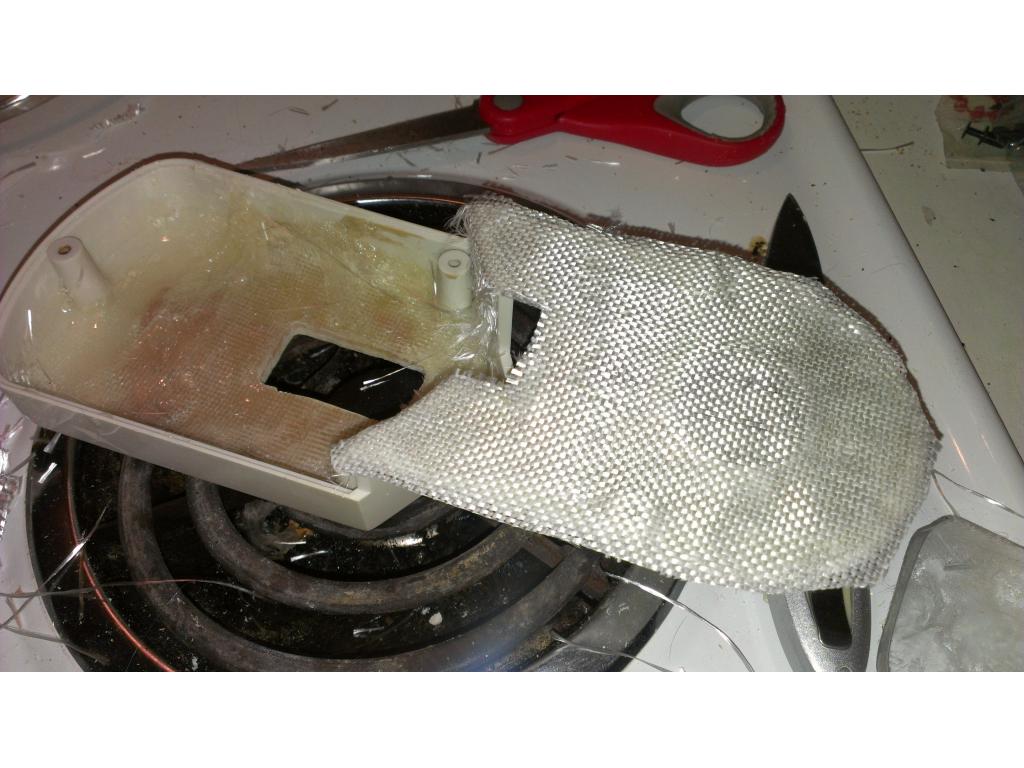
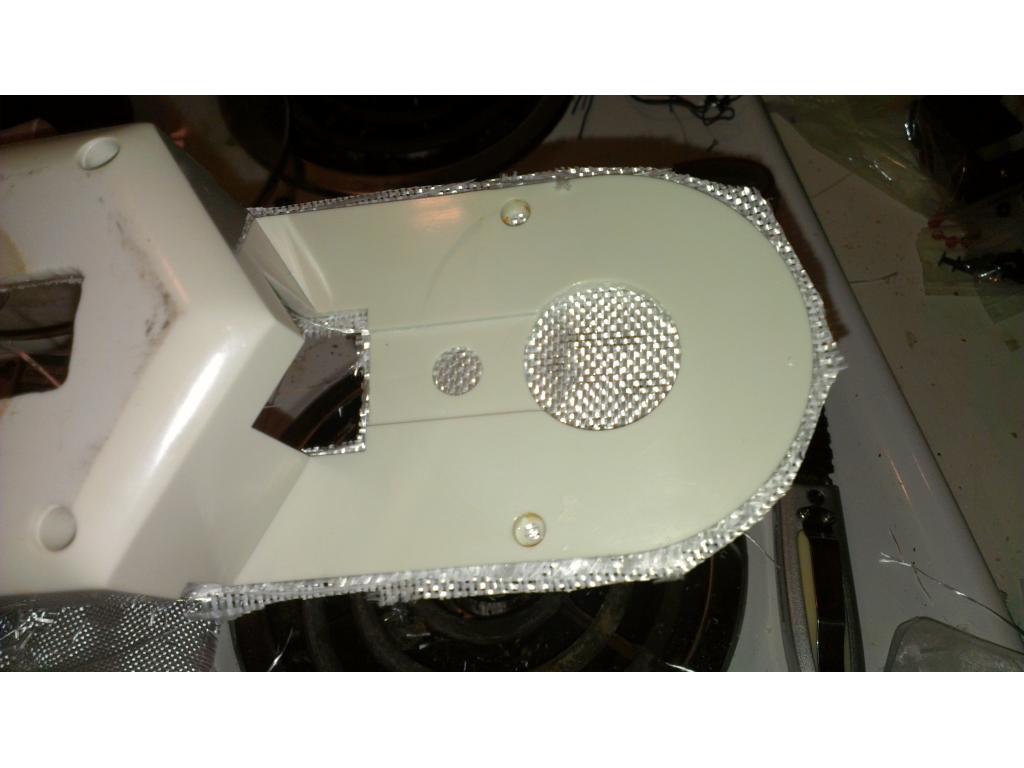
Second pic shows how I traced the risers to make the ply core and.fiberglass both sides.
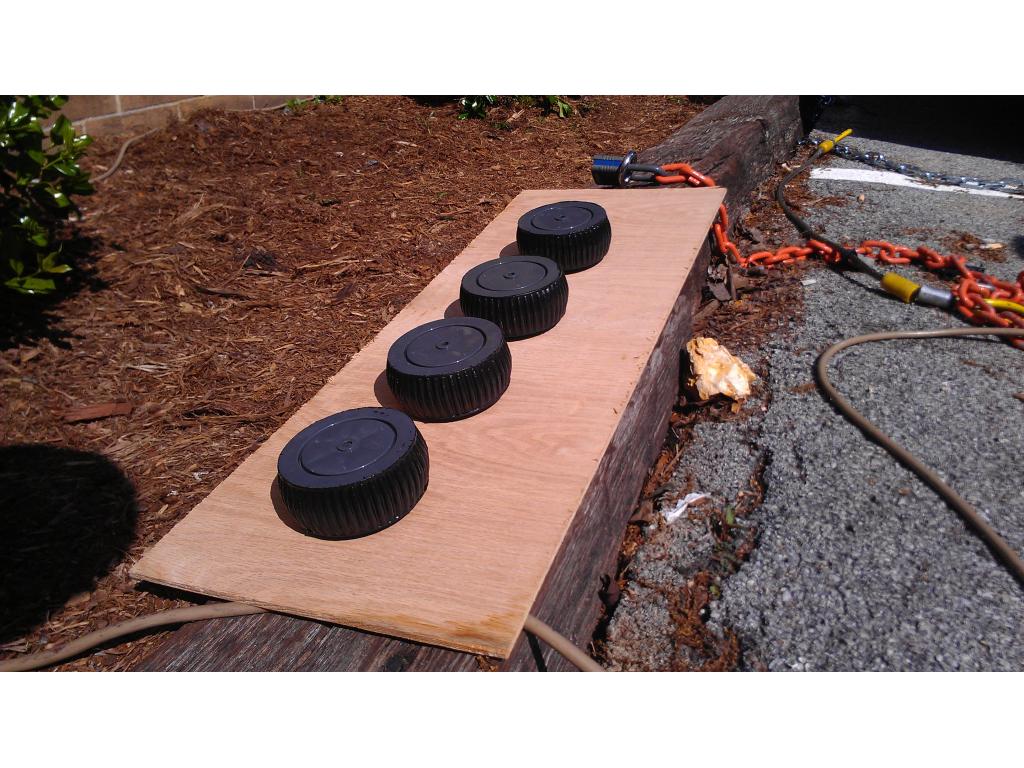
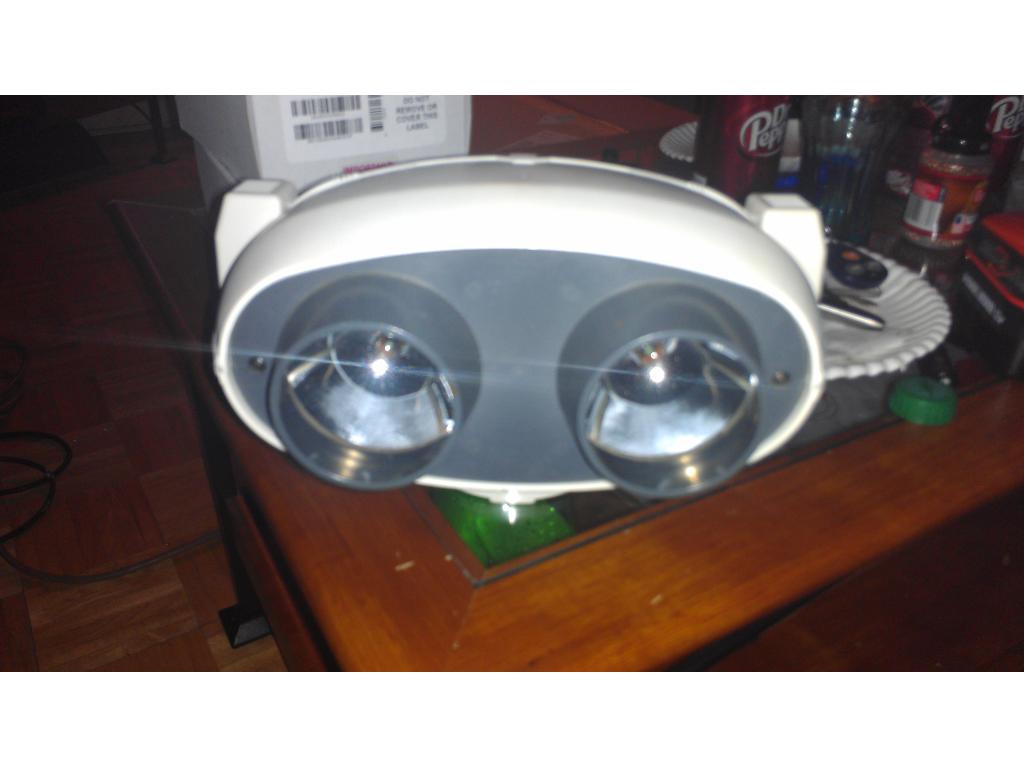
looks very heavy,will it float LOL
also MIKEDC they are set at 12 volts and very low current all blubs are center pin postive,this uses a surface mount blue led andthere is other colors,they about under $1.00 each