


Hello all, I wanted to start my own thread to discuss my Inmoov and my conversion to EZ Robot. I appreciate all the work by the MRL guys but I struggle with it. I am indebted to the help they gave me but I needed something a little more along in development with some documentation.
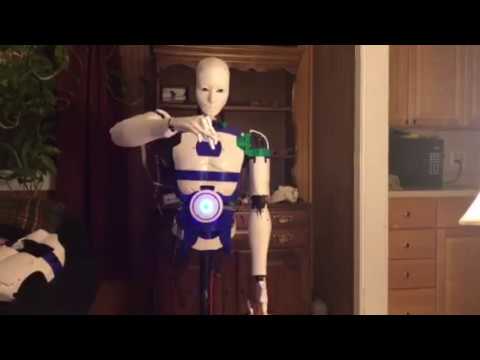
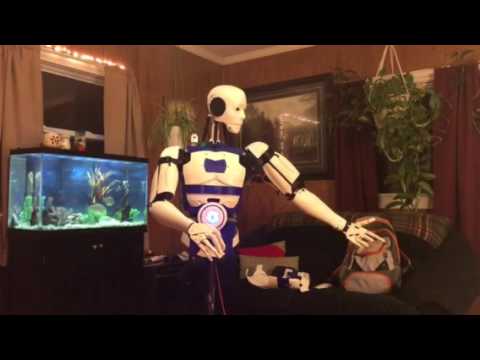
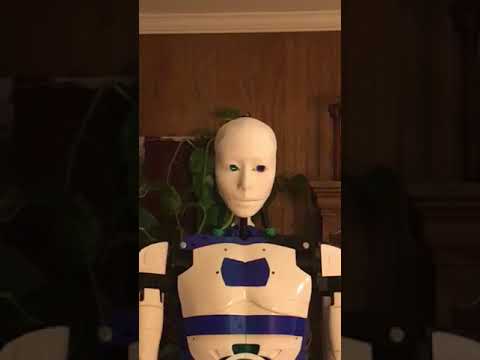
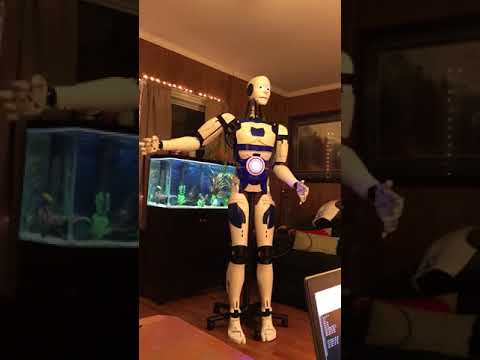
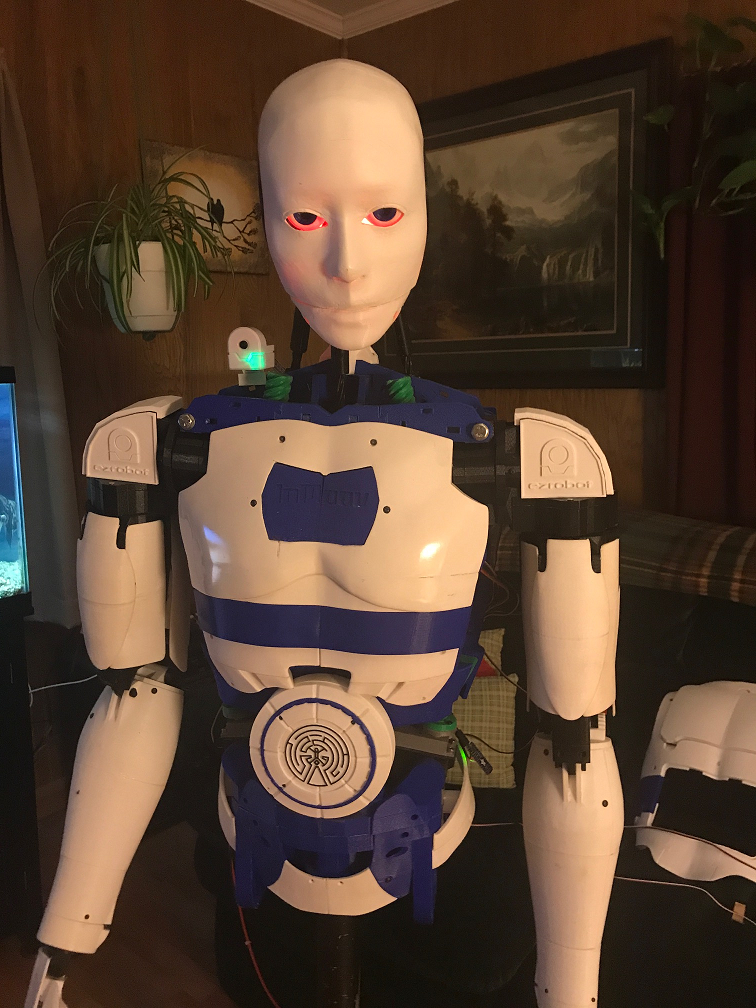
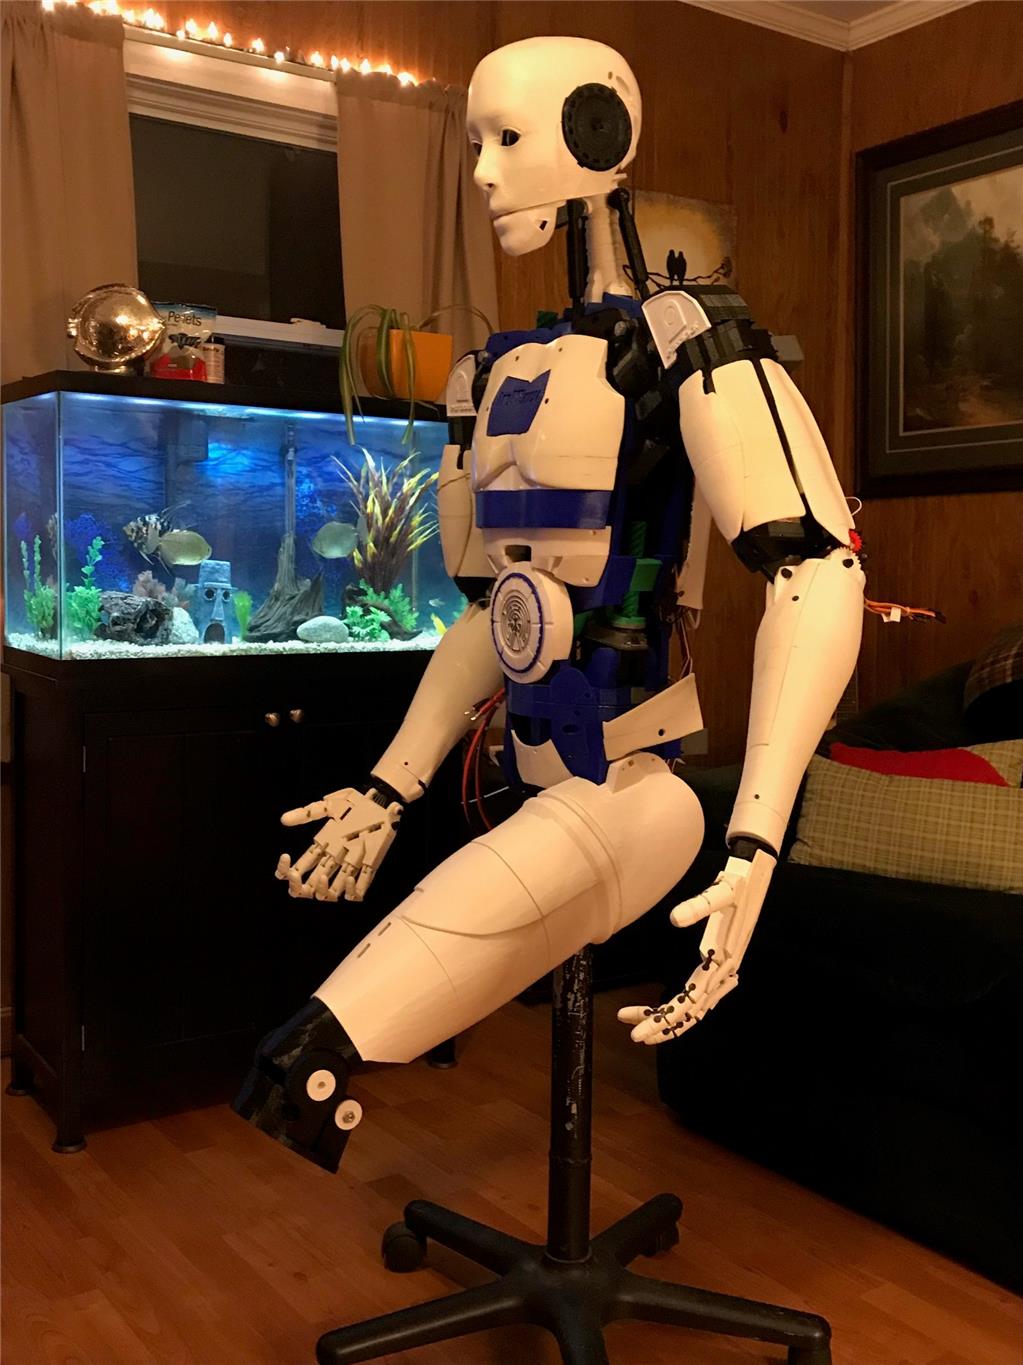
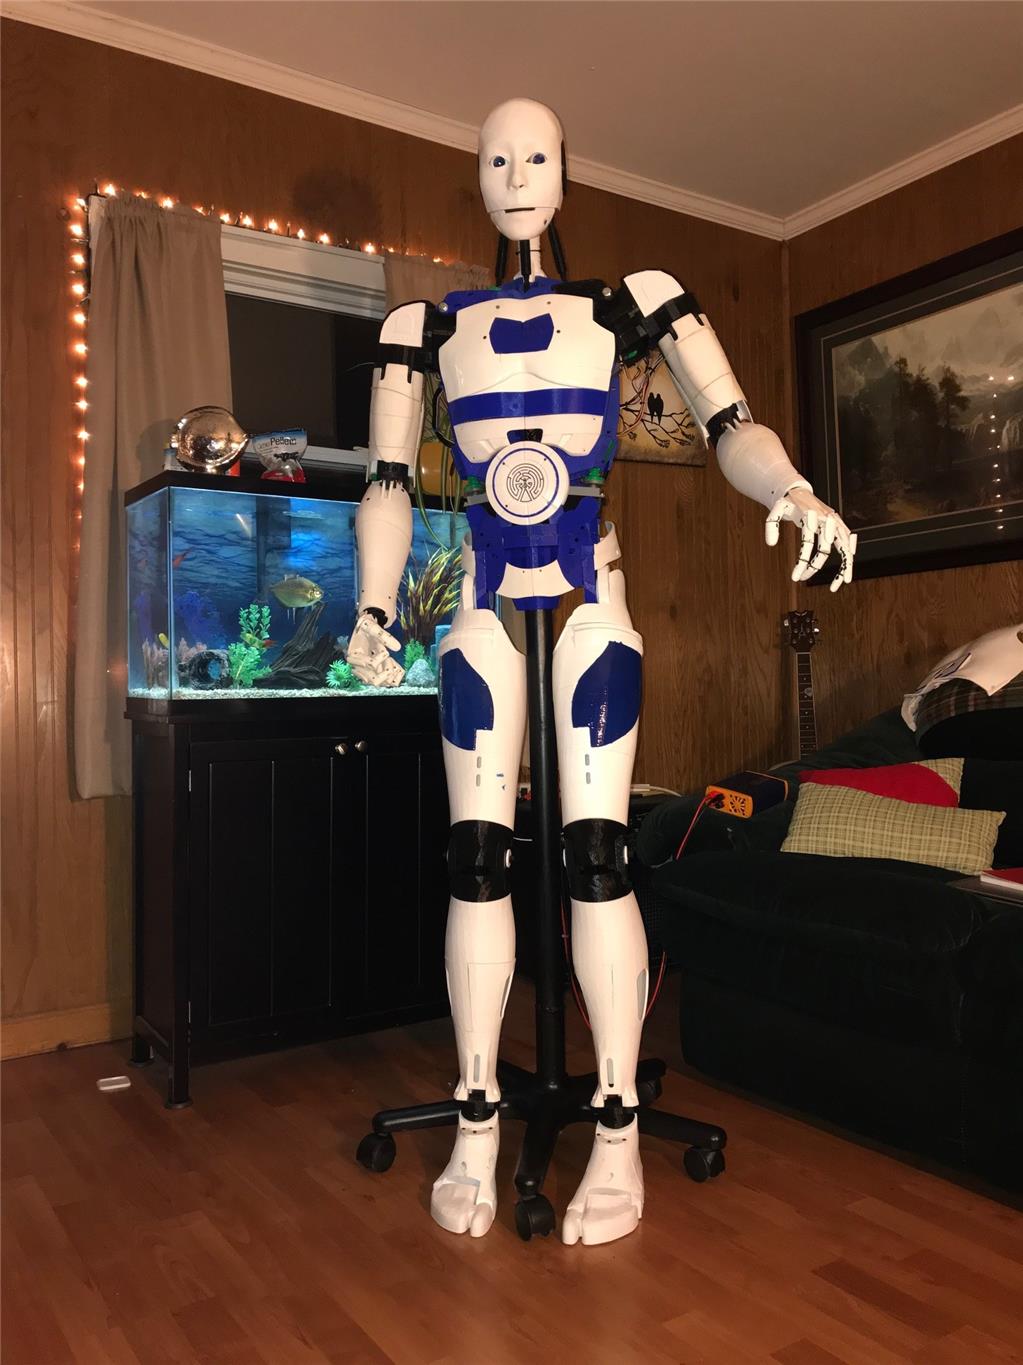
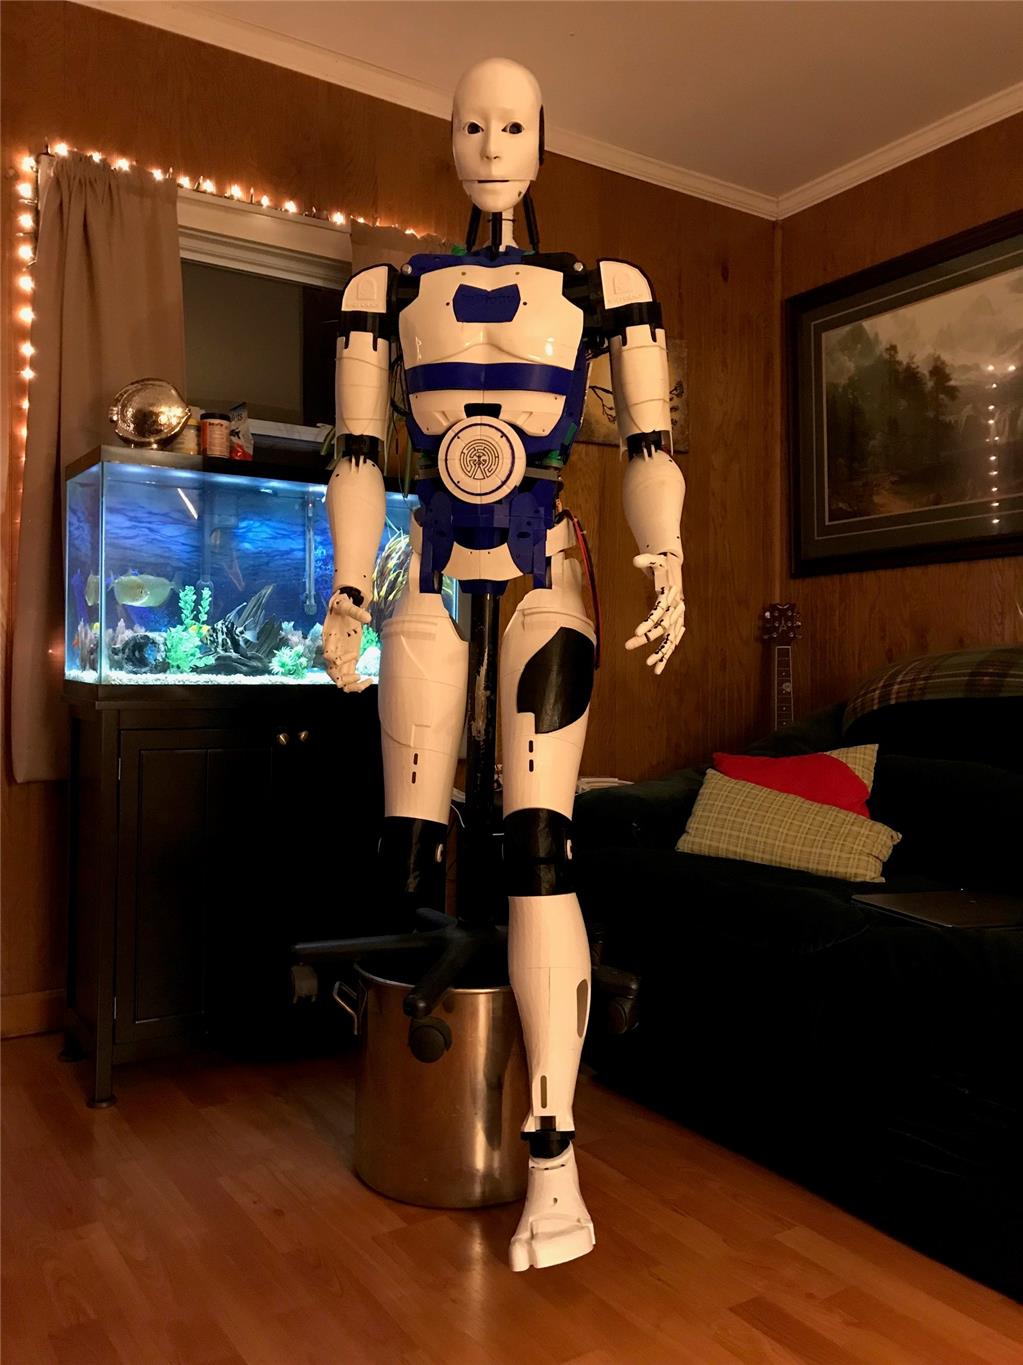
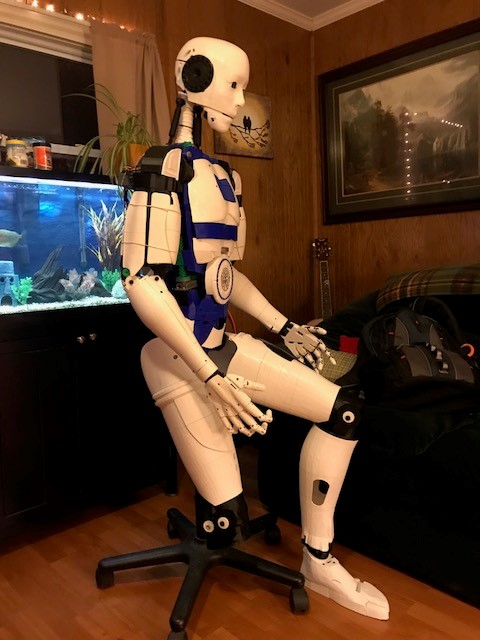
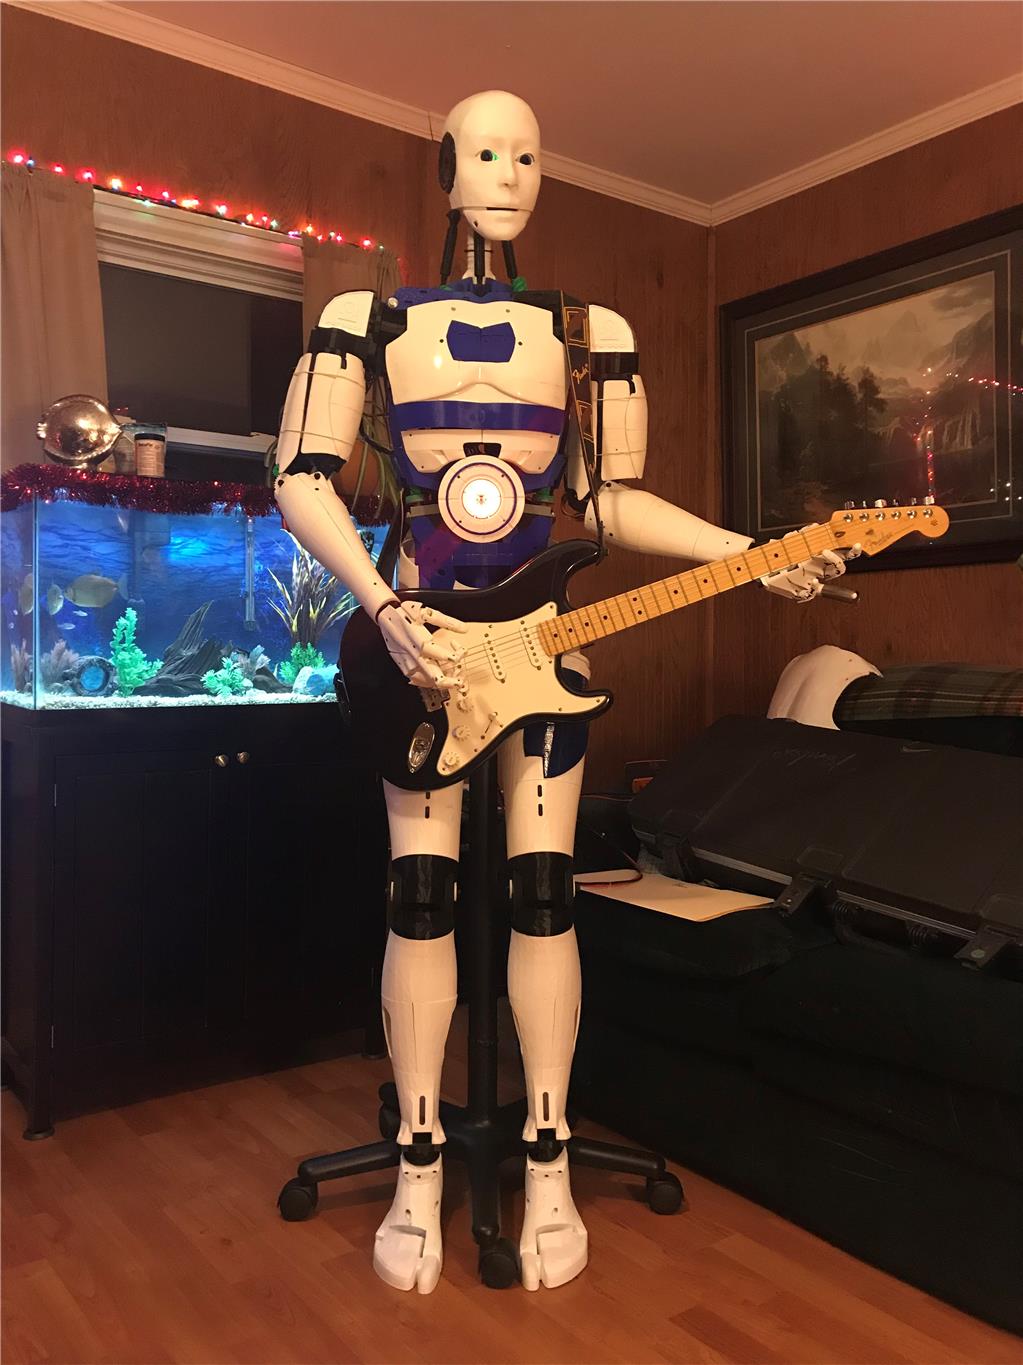
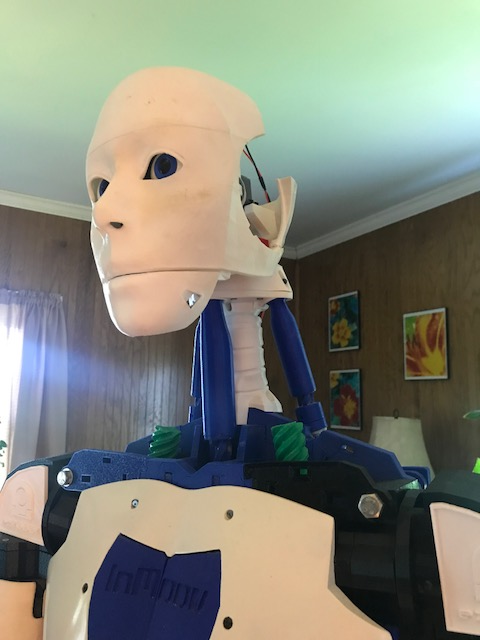
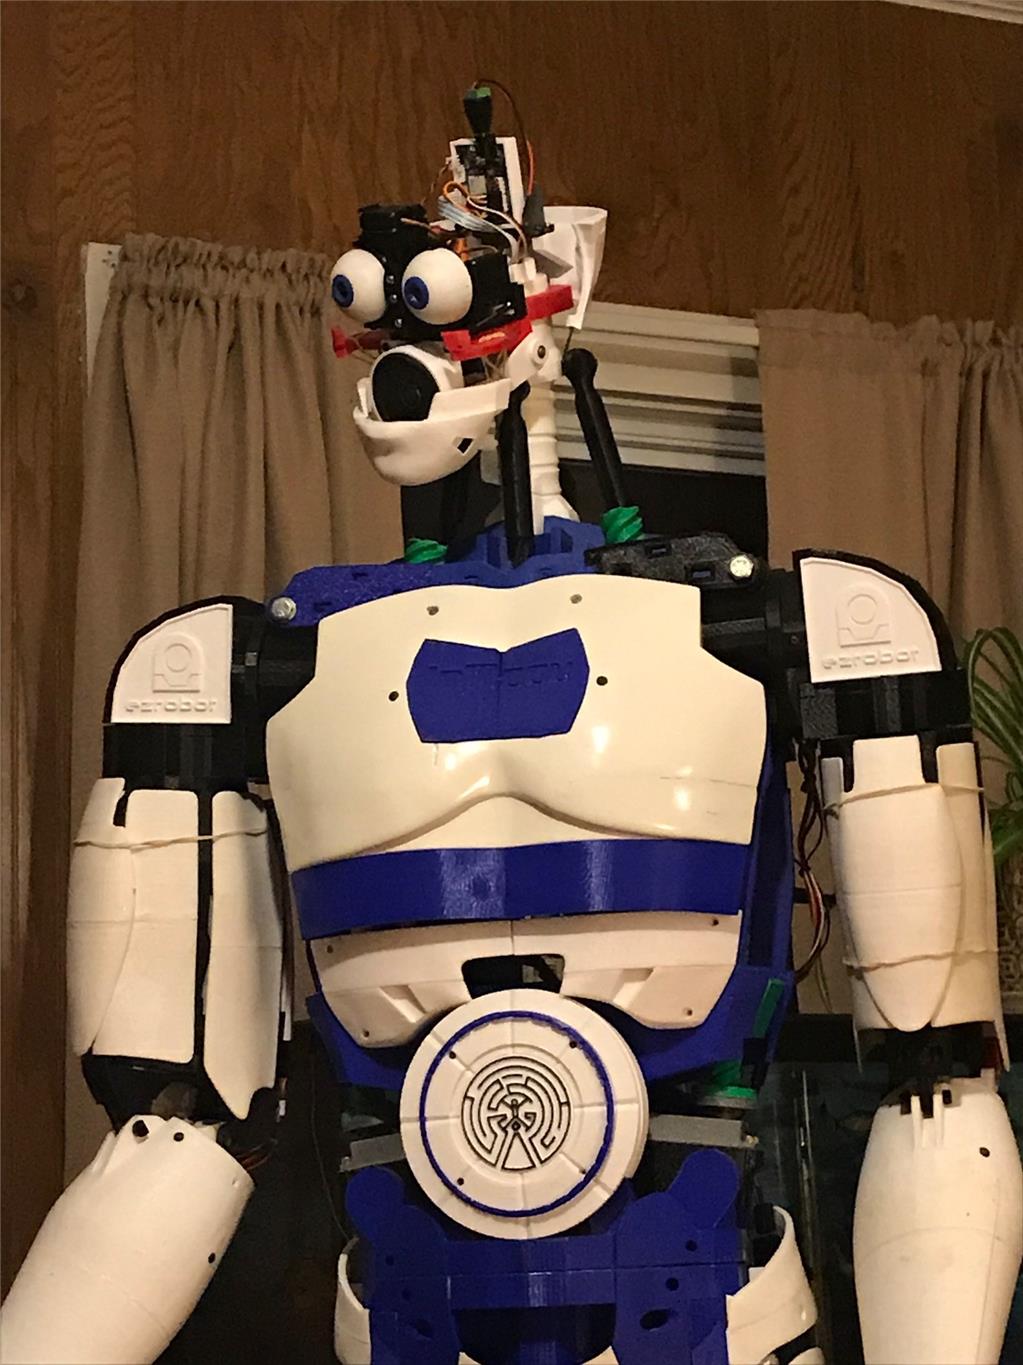
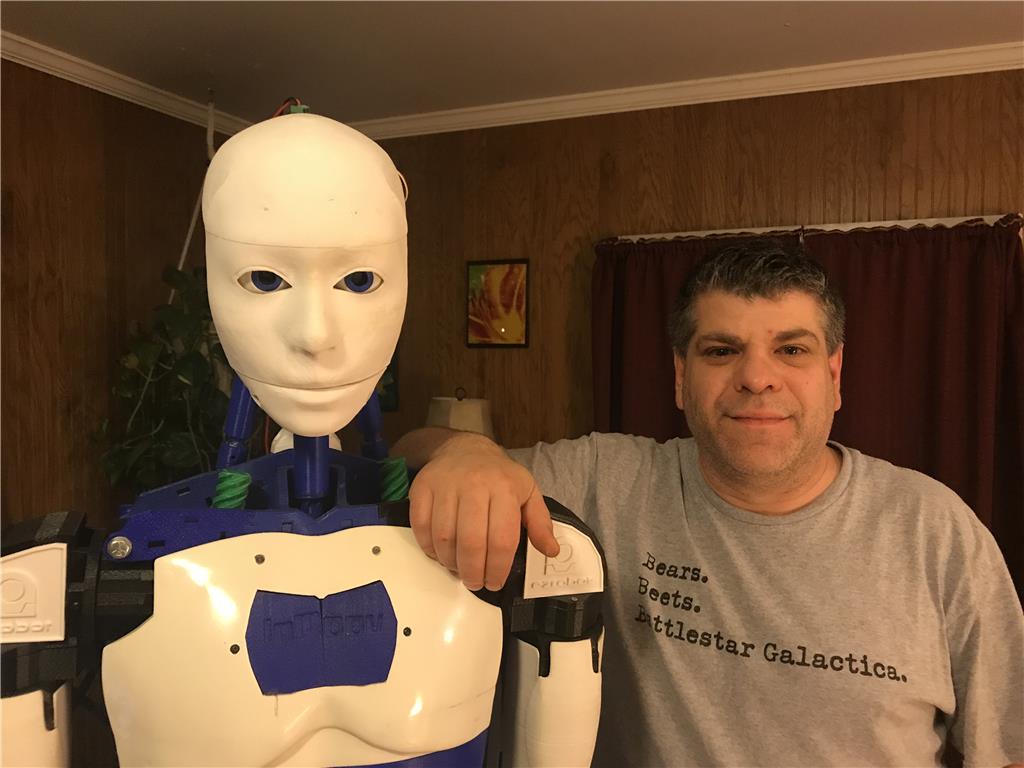
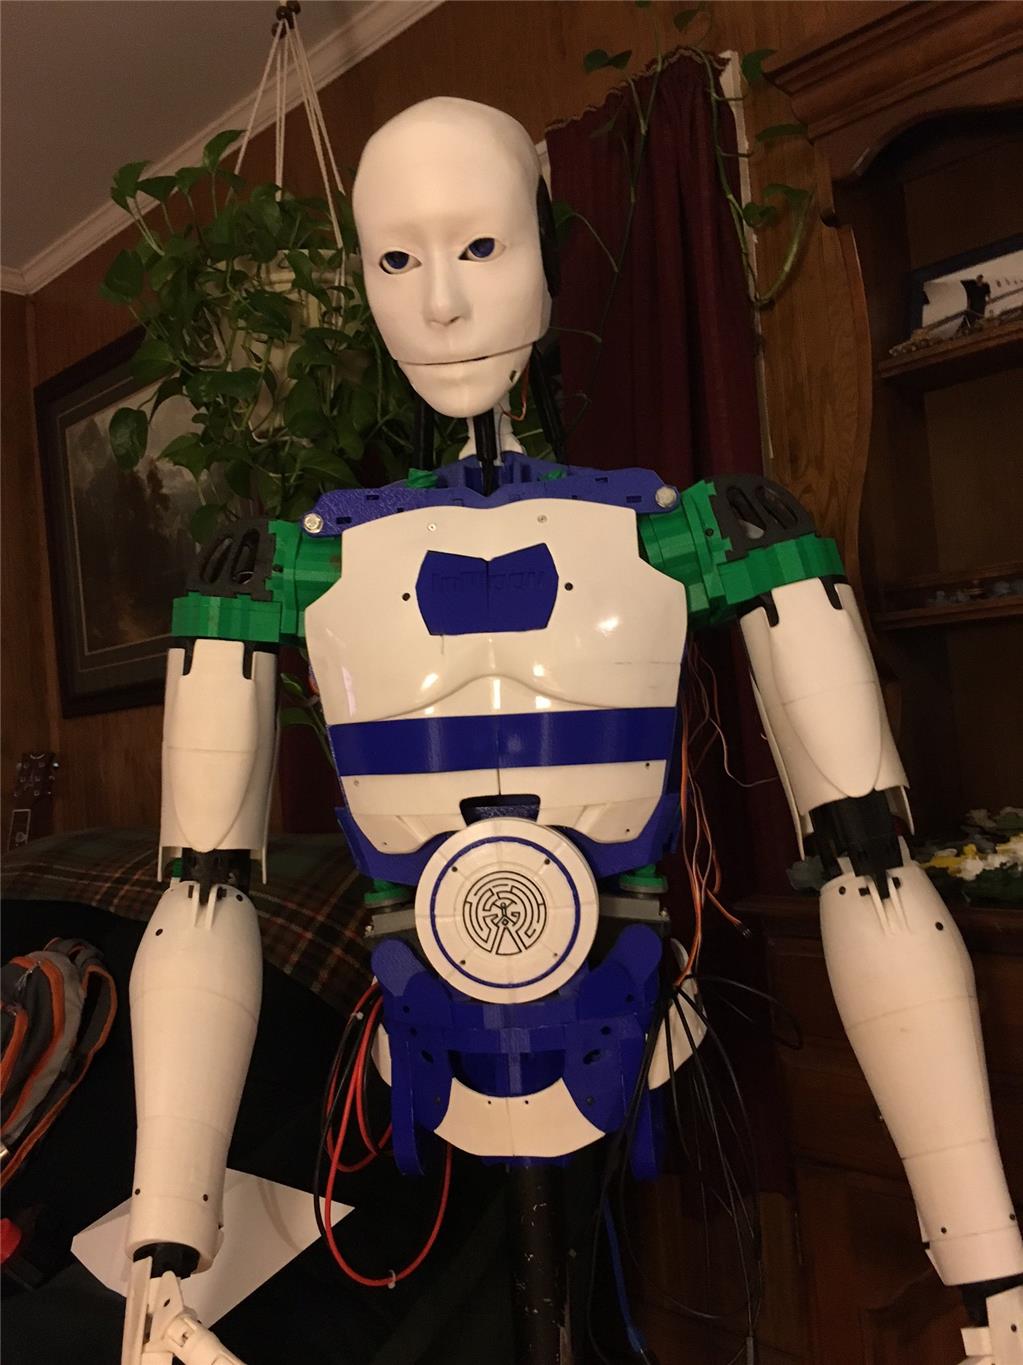
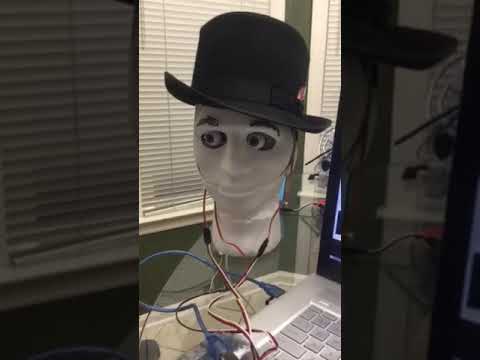
So here is my guy. Pretty standard build as far as inmoov's go.
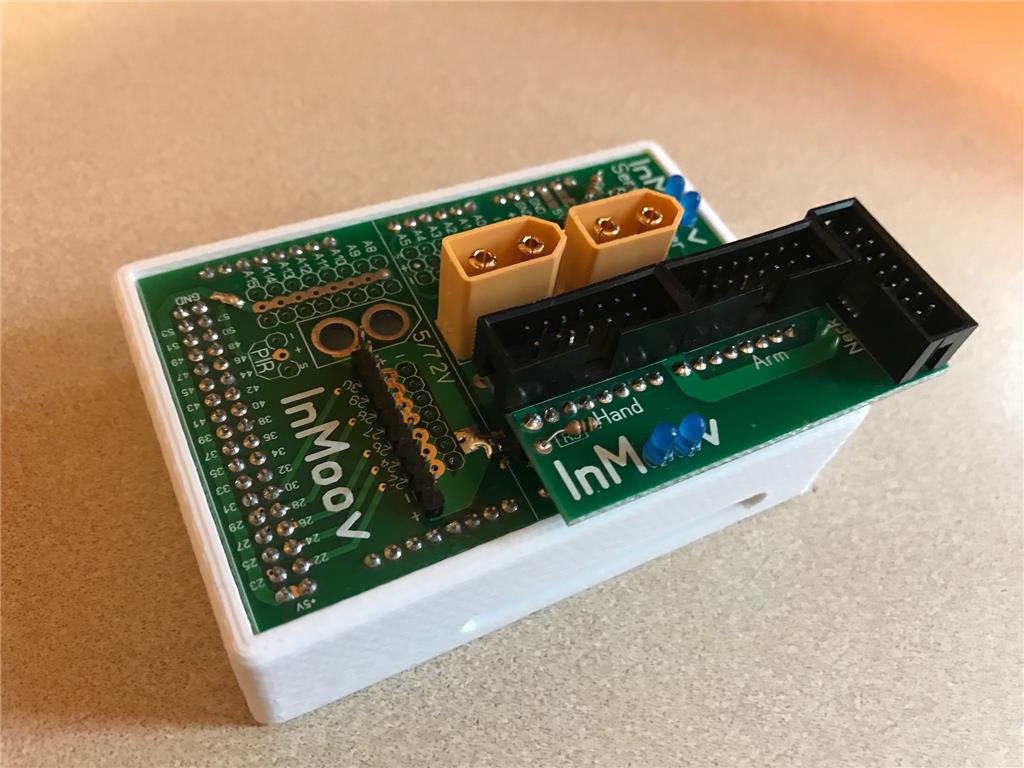
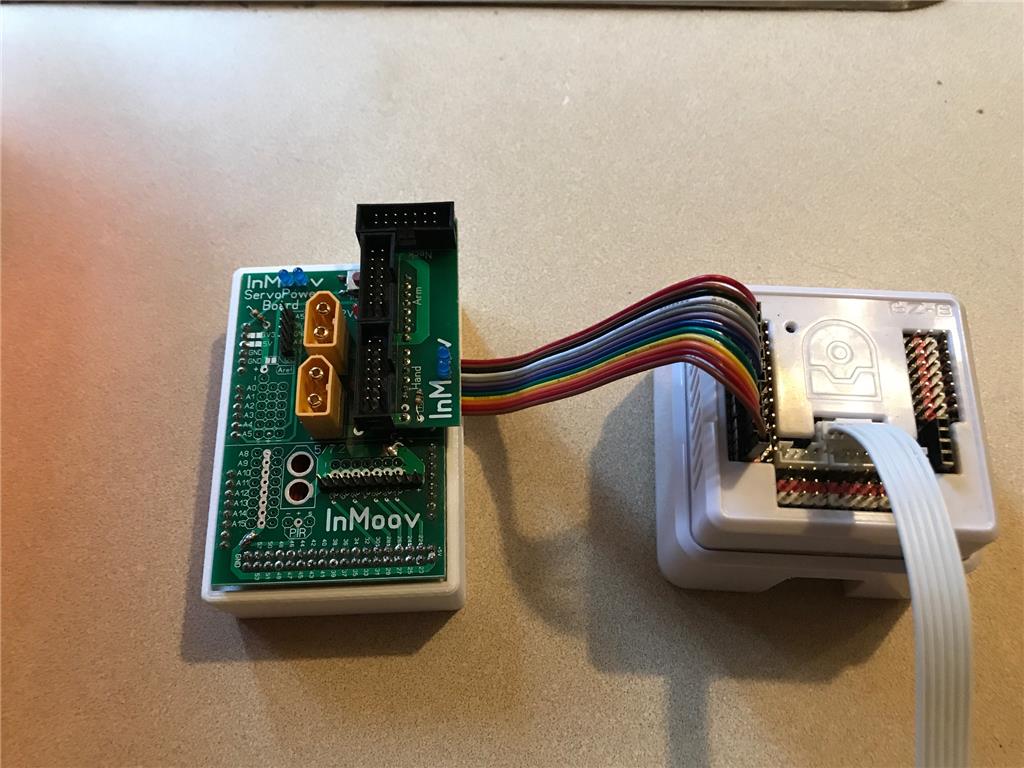
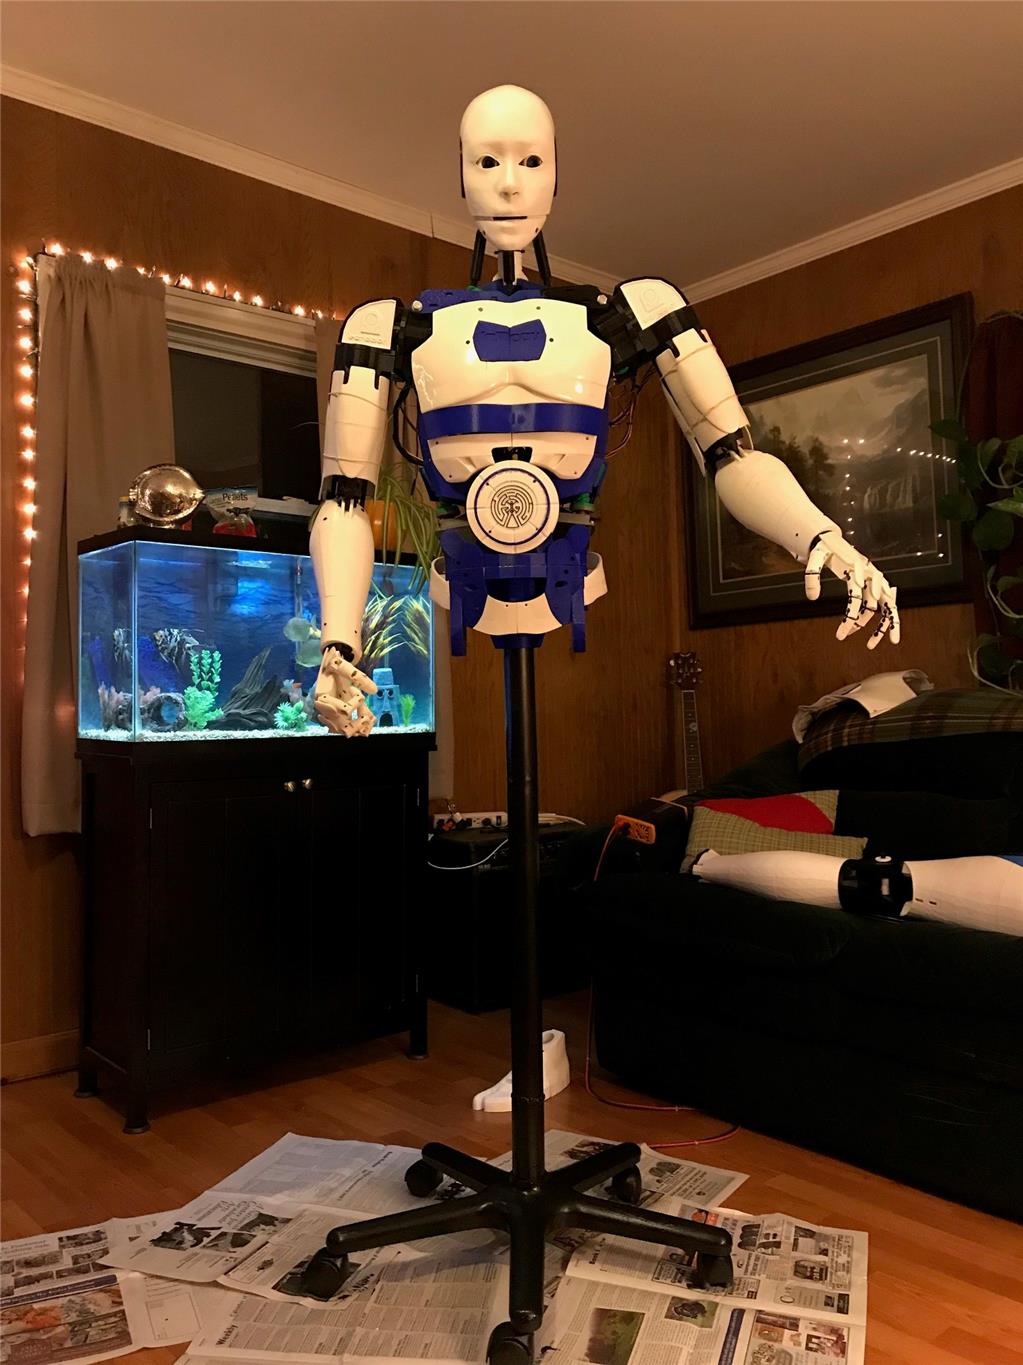
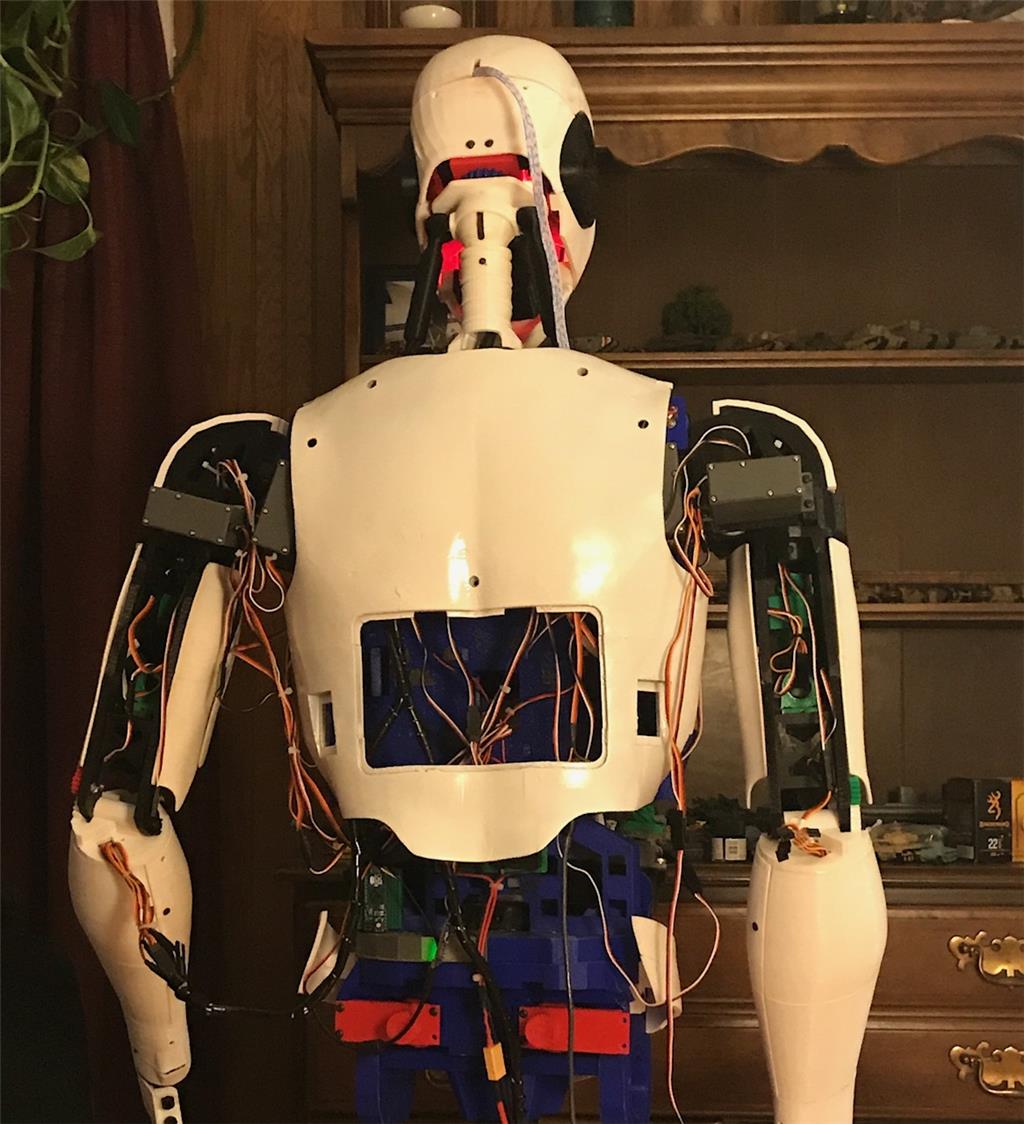
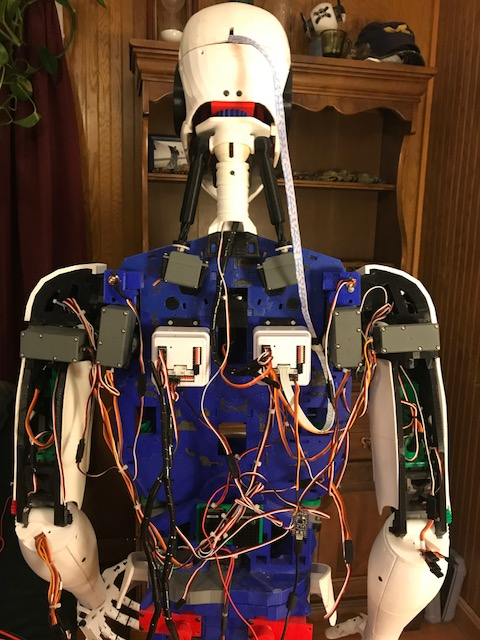
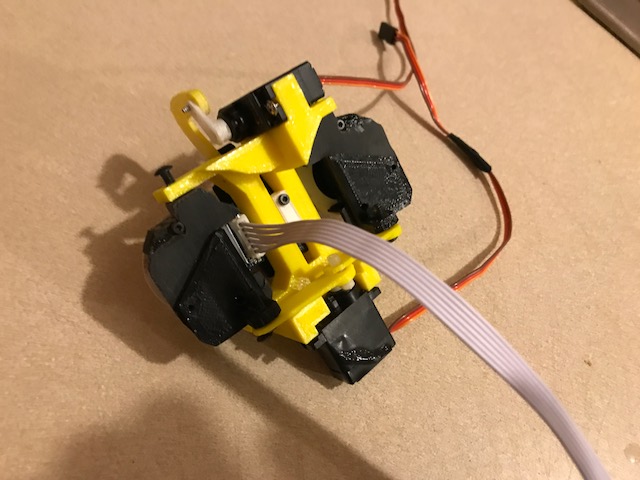
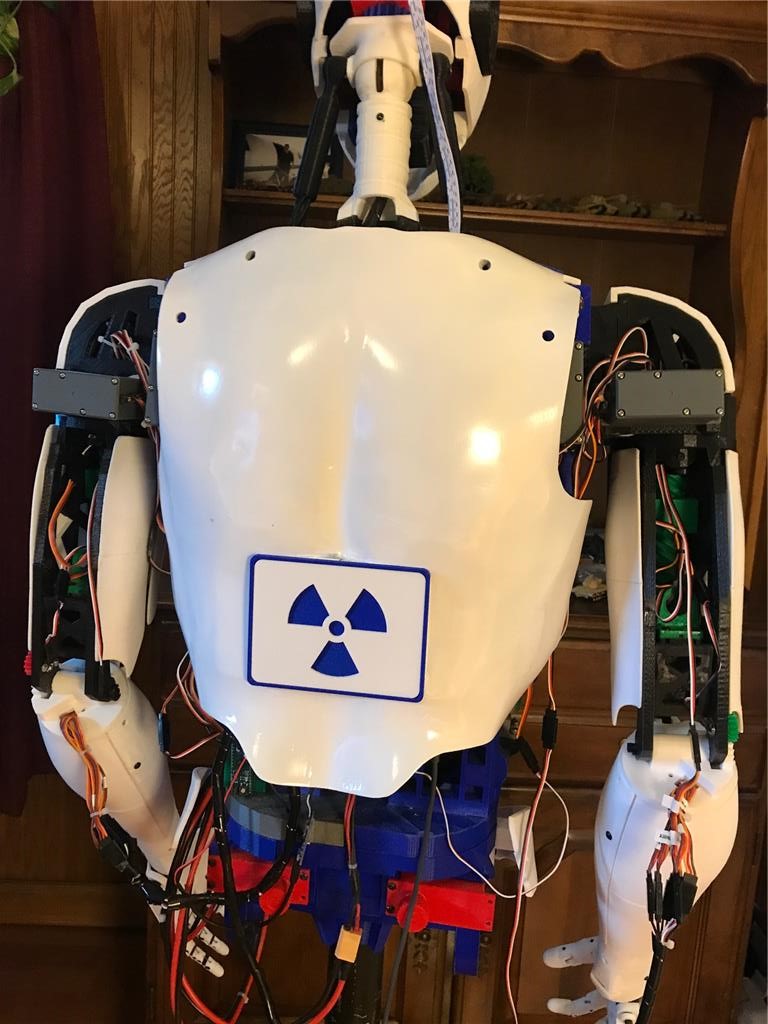
Here's the back. All the standard inmoov components. Dual 256 Megas, Nervo boards USB hub, Power supplys etc.
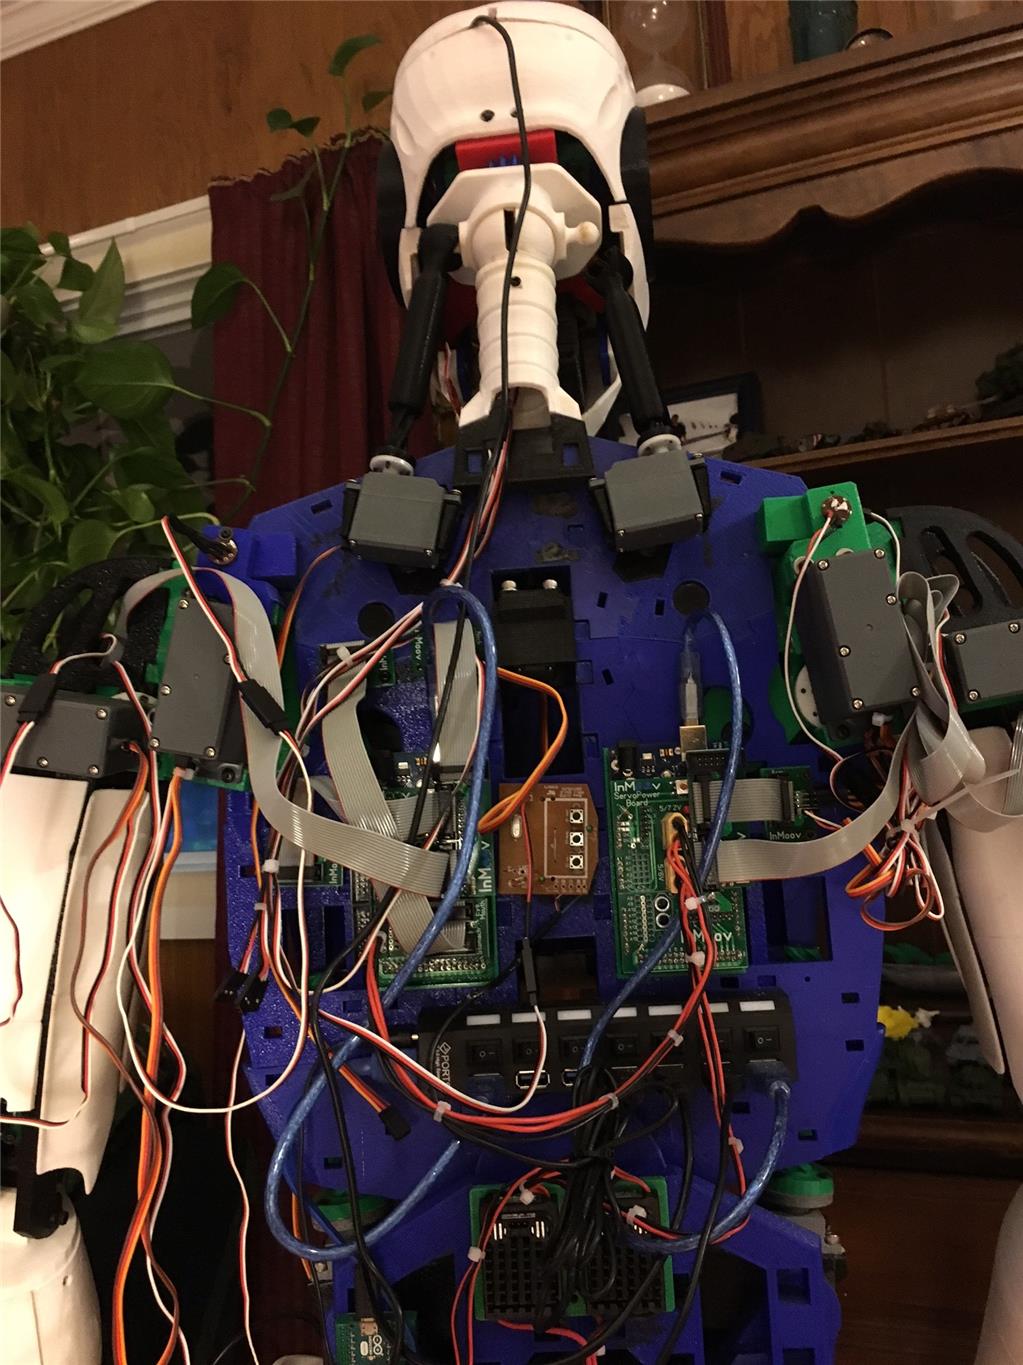
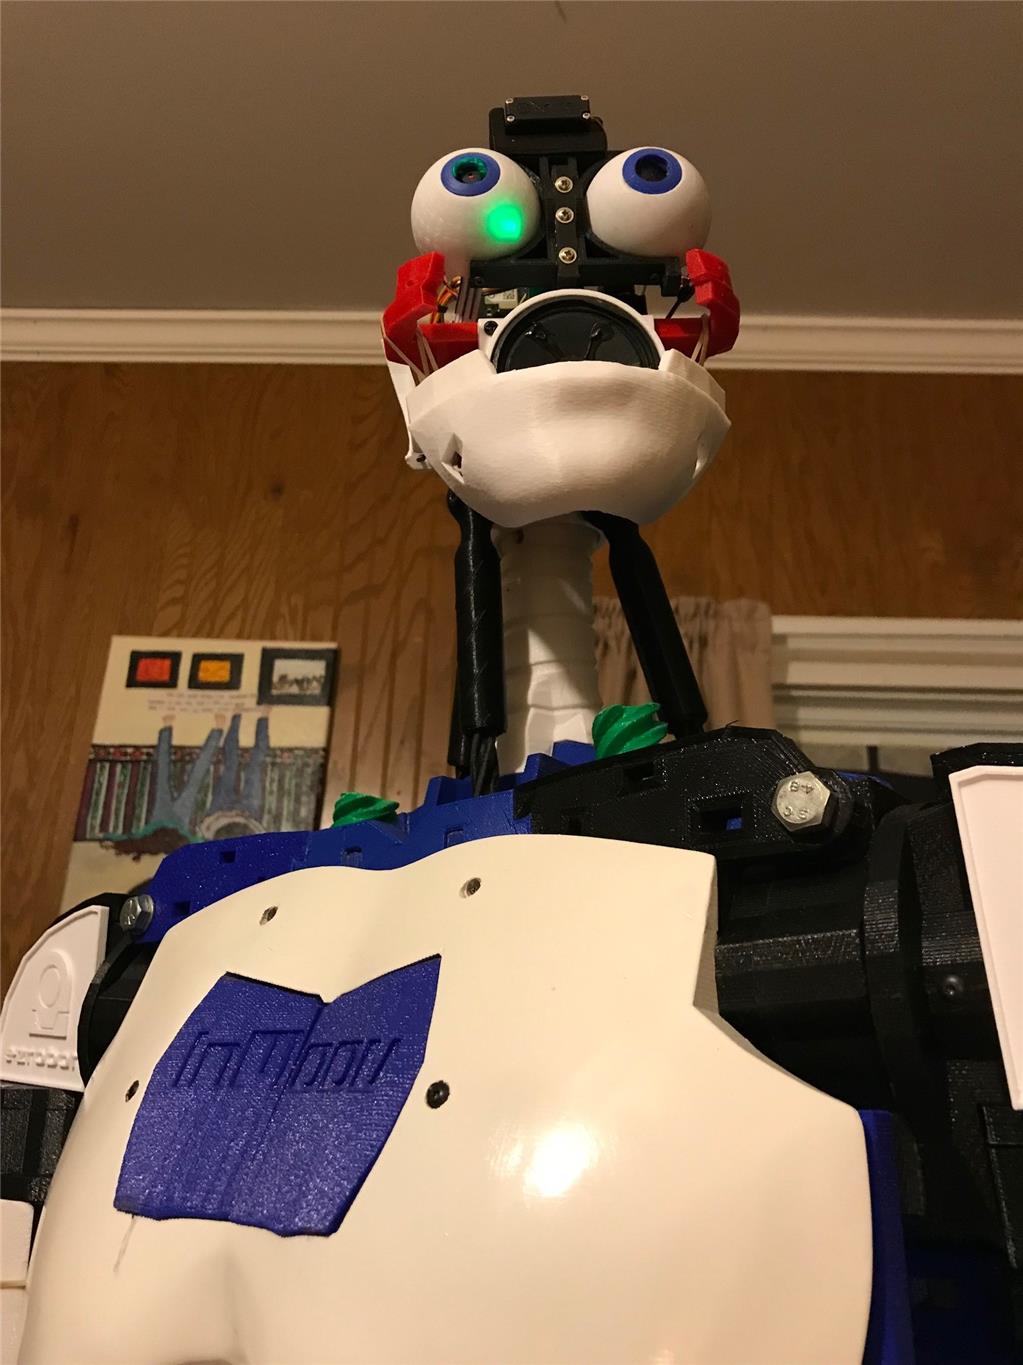
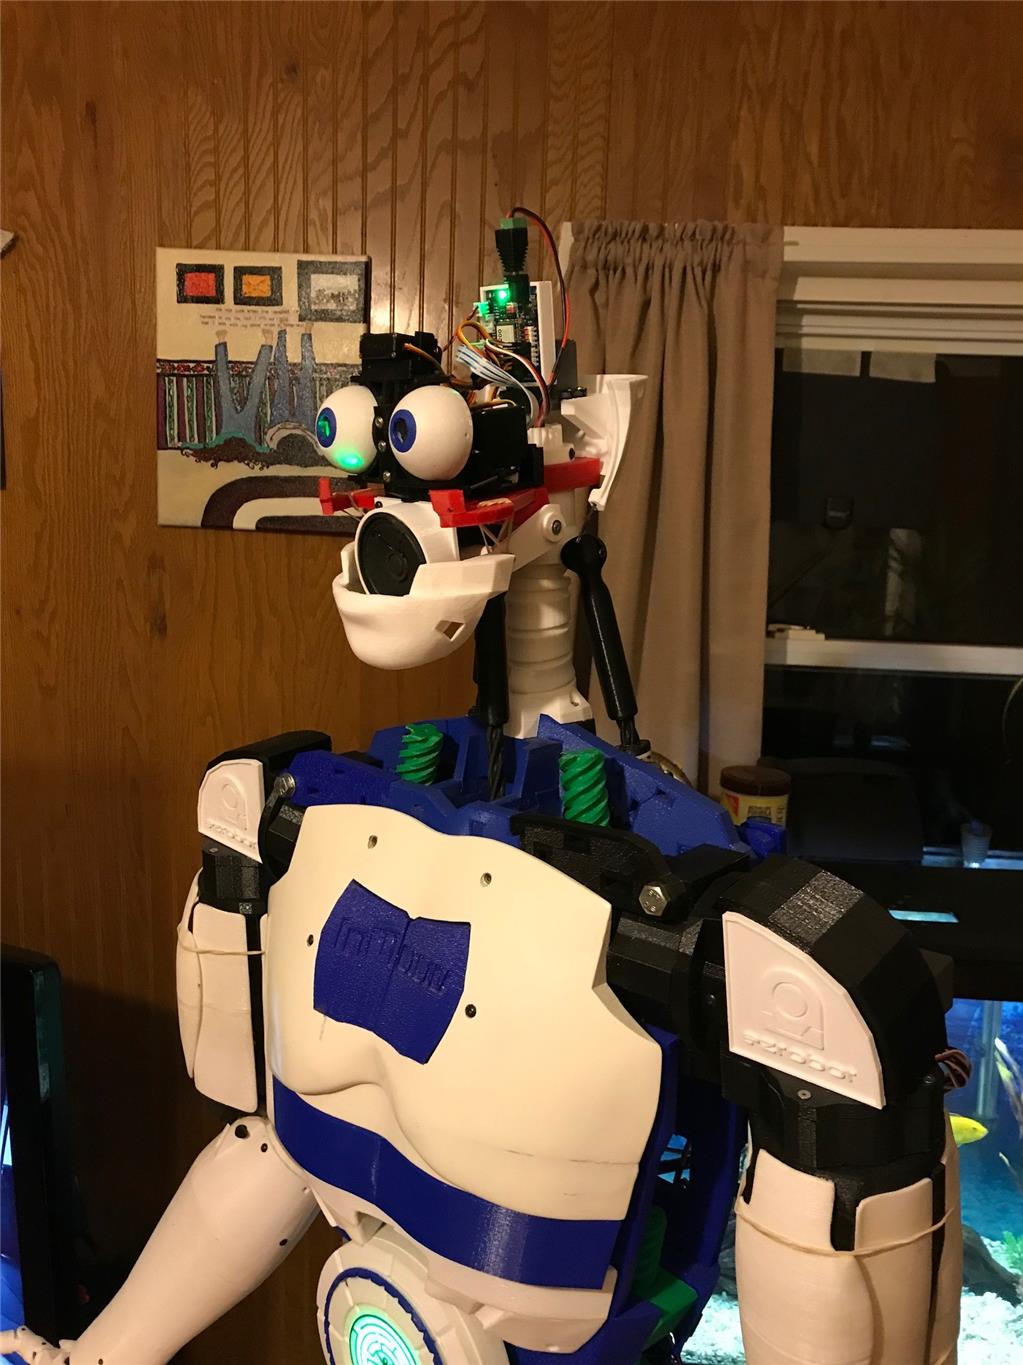
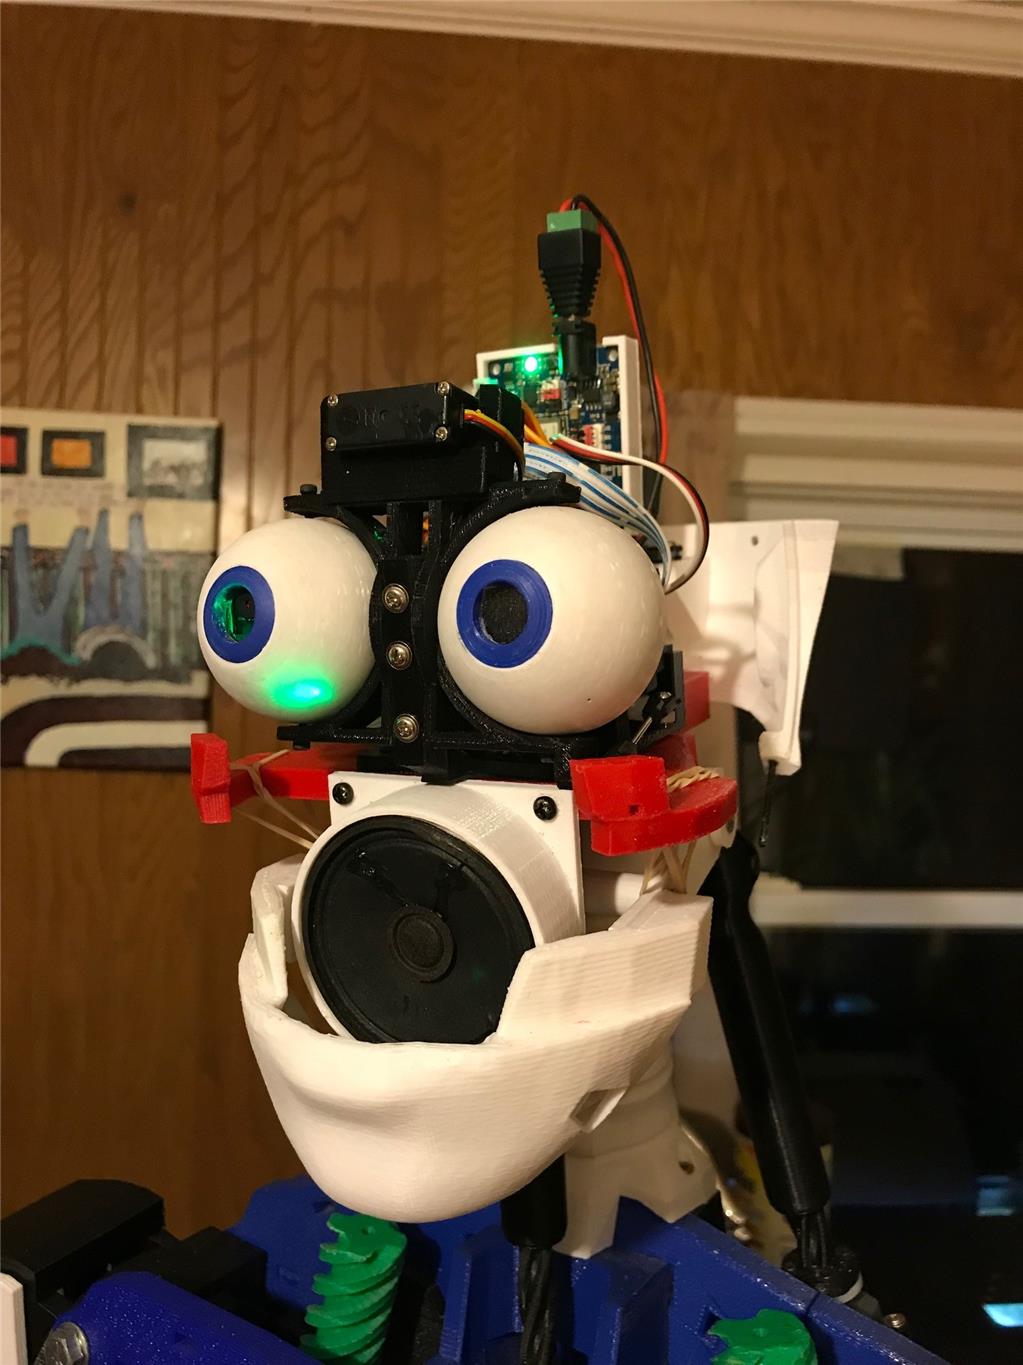
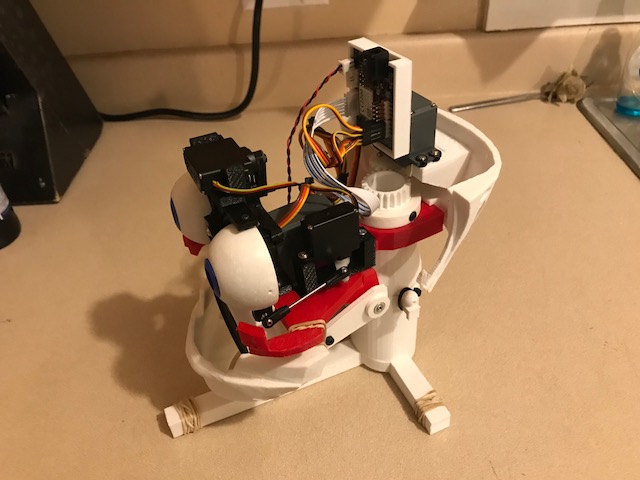
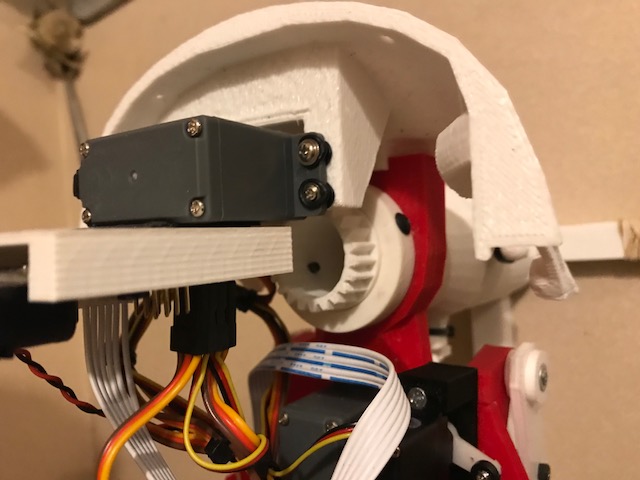
So the tear down begins. I need to clean up that wiring too. What a rats nest!
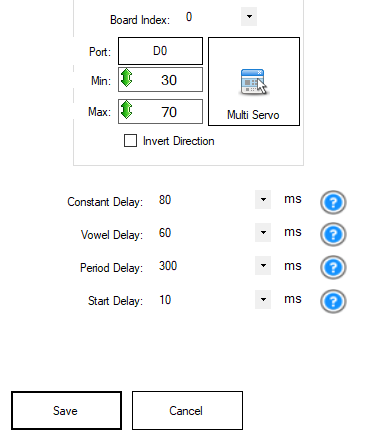
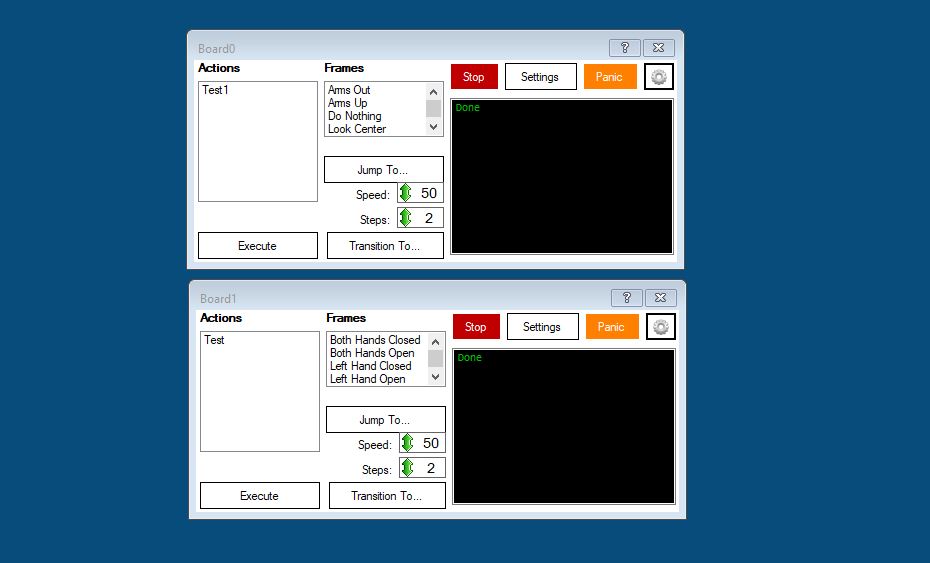
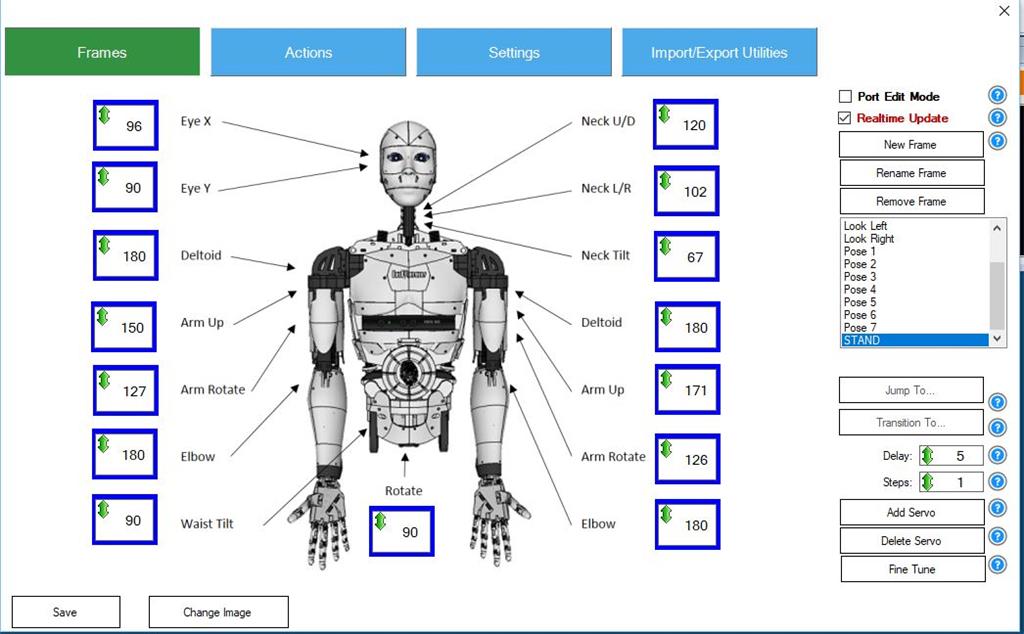
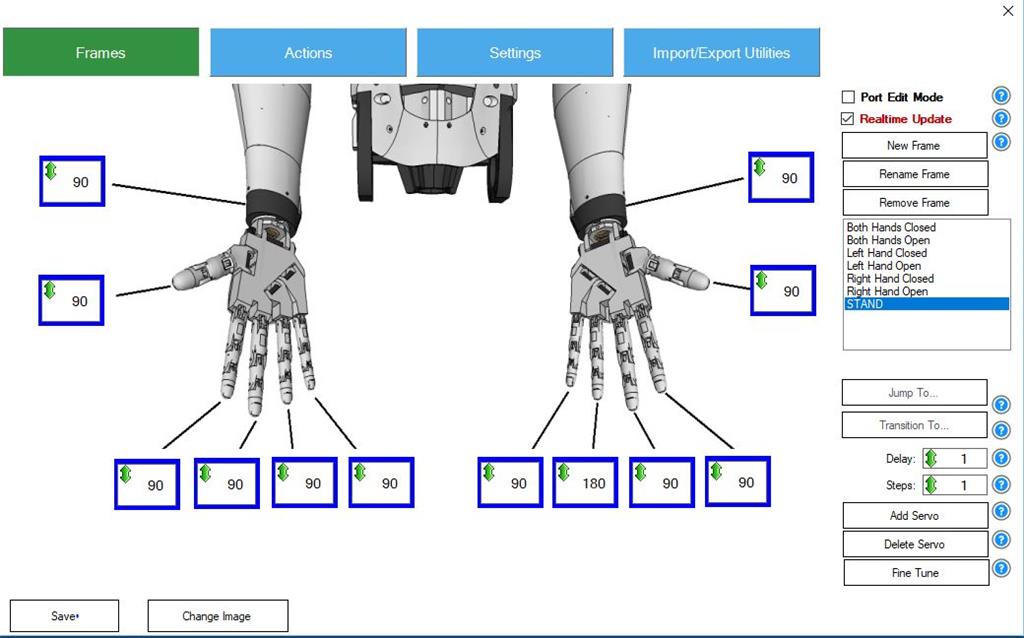
I just received my EZR controller and camera so I have no idea how to program it yet. I figured I would at least try to set up a GUI that allows me to manually move the servos like the MRL swing GUI. Five or six hours later and a few tutorials and I have this three screen model. I was easily able to add way more than basic servo control.
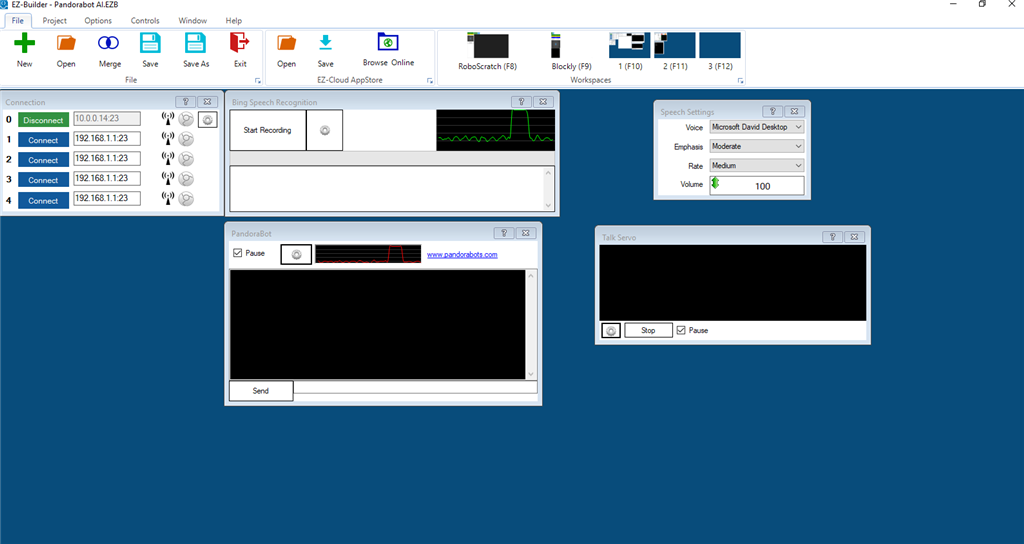
Here is the main control screen. Contains the face tracking speech functions and a custom Pandorabot for AI. Some MS cognitive stuff as well.
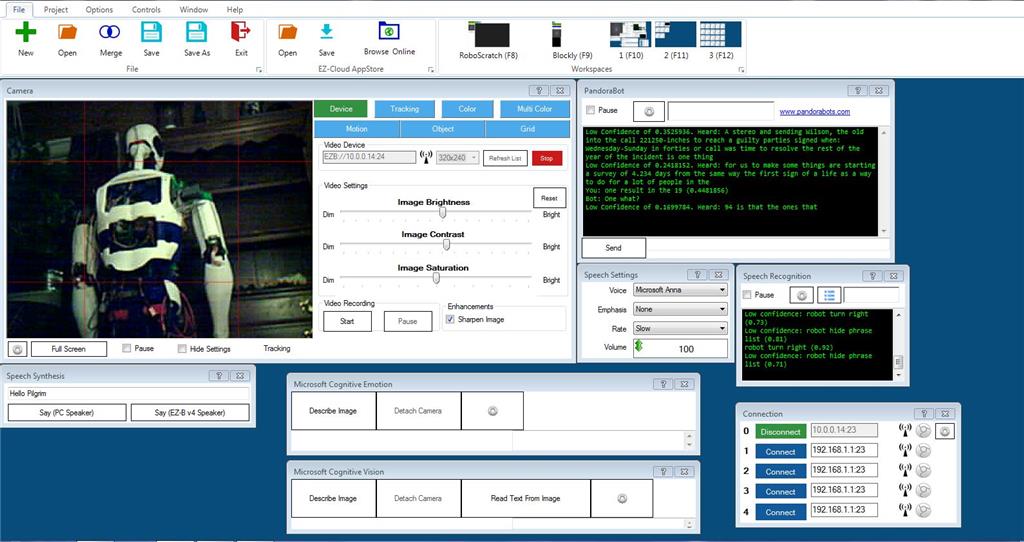
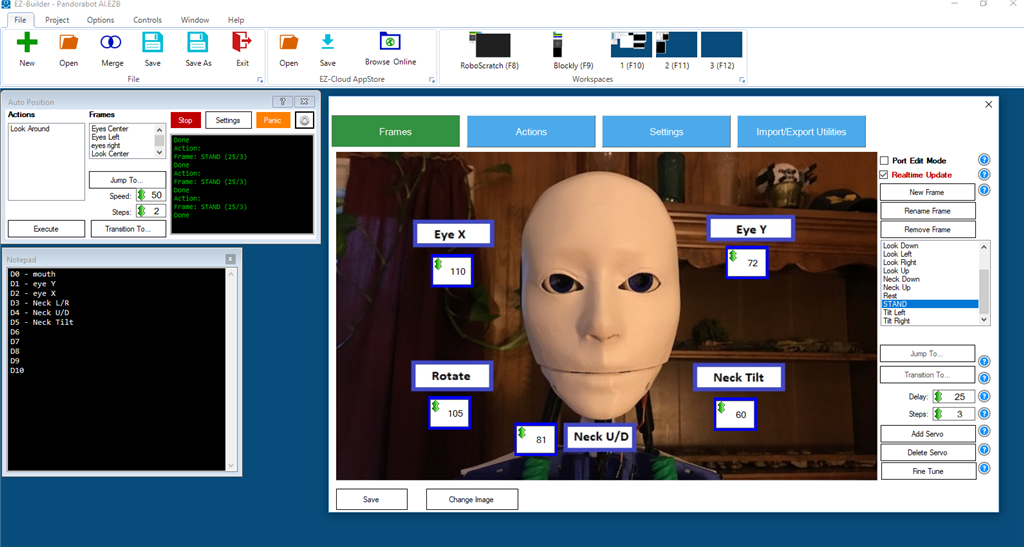
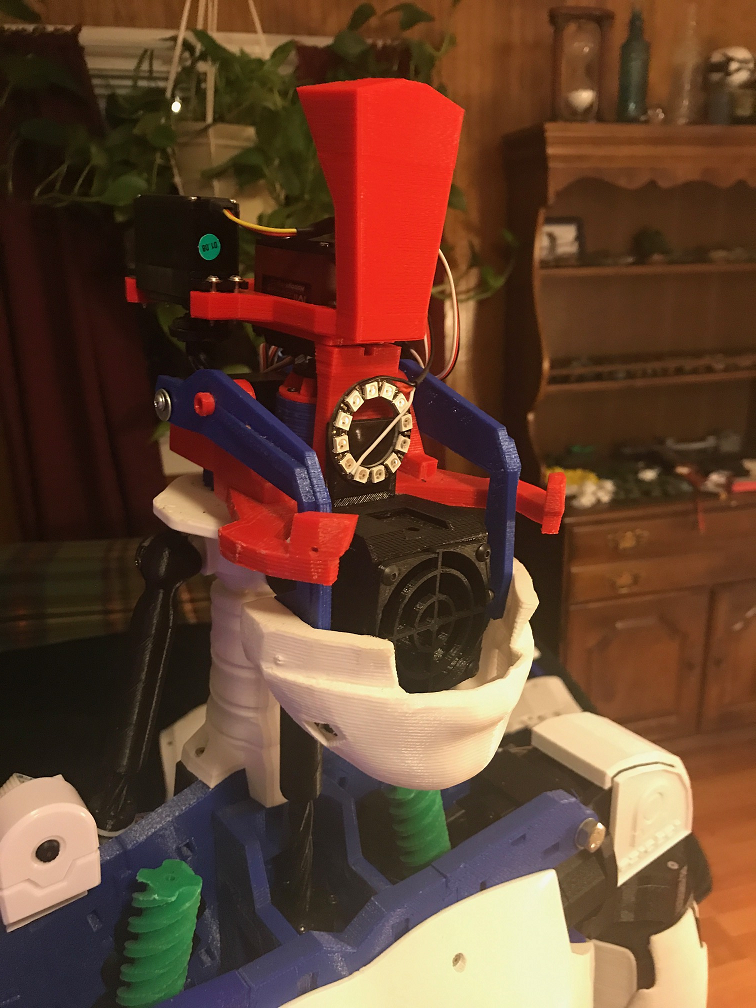
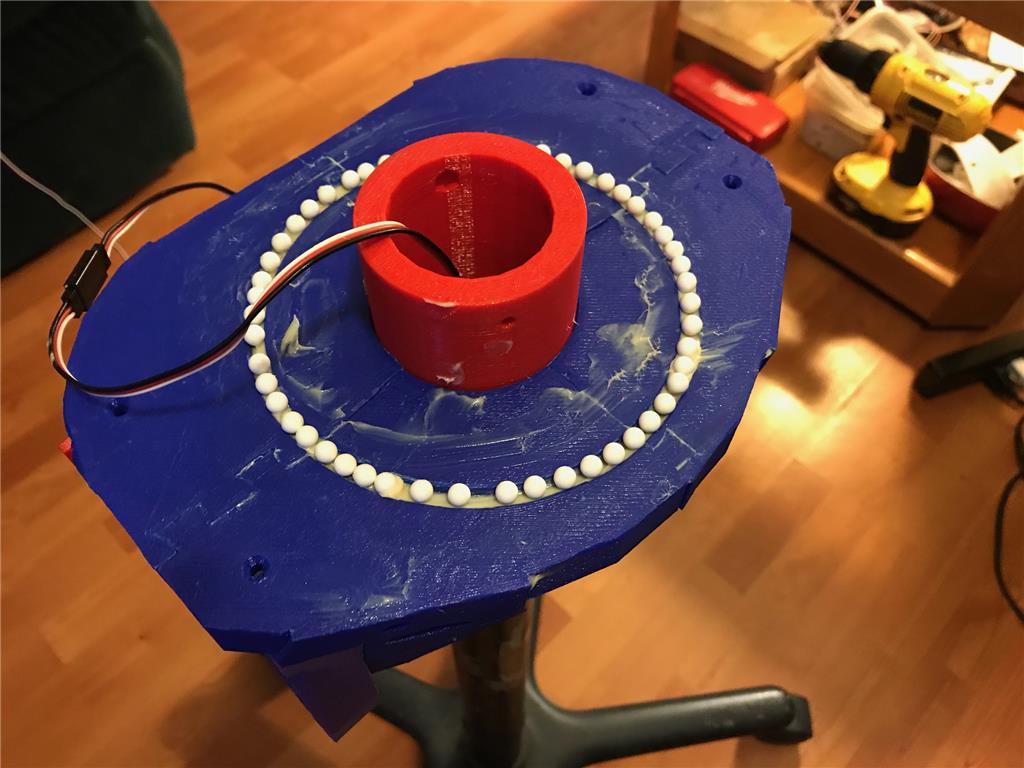
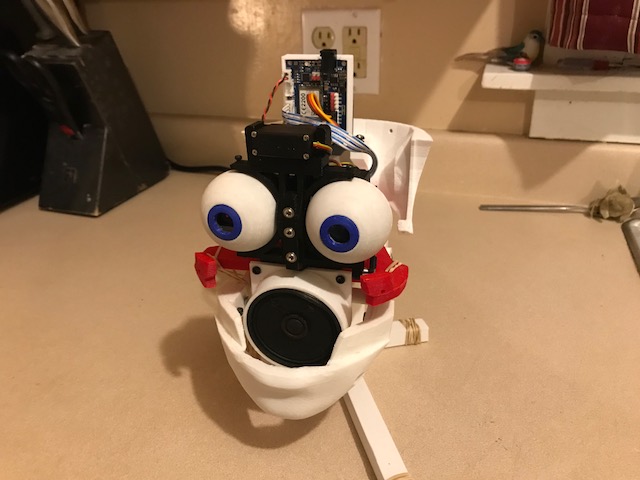
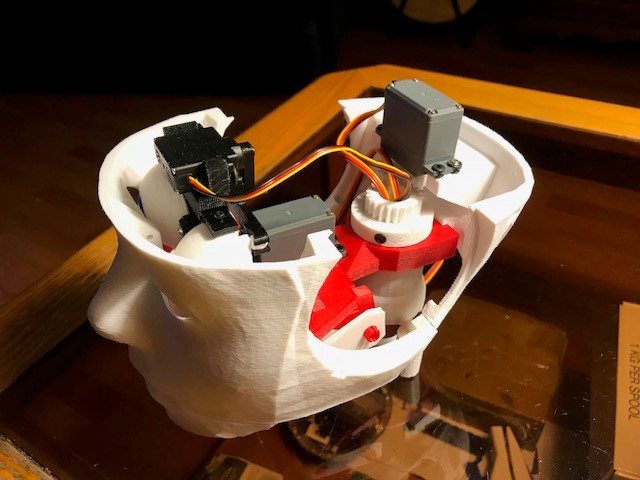
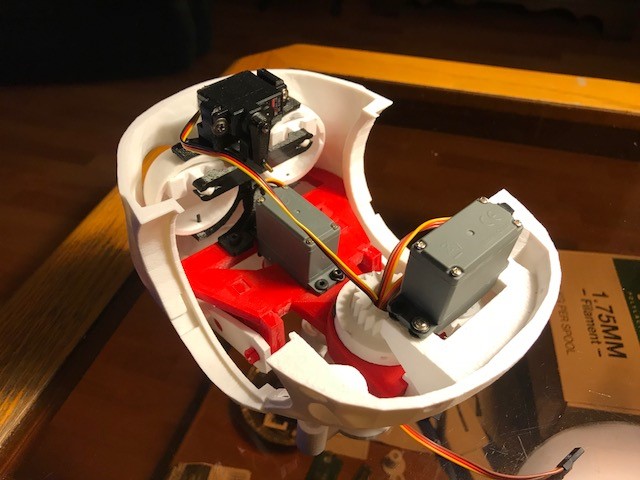
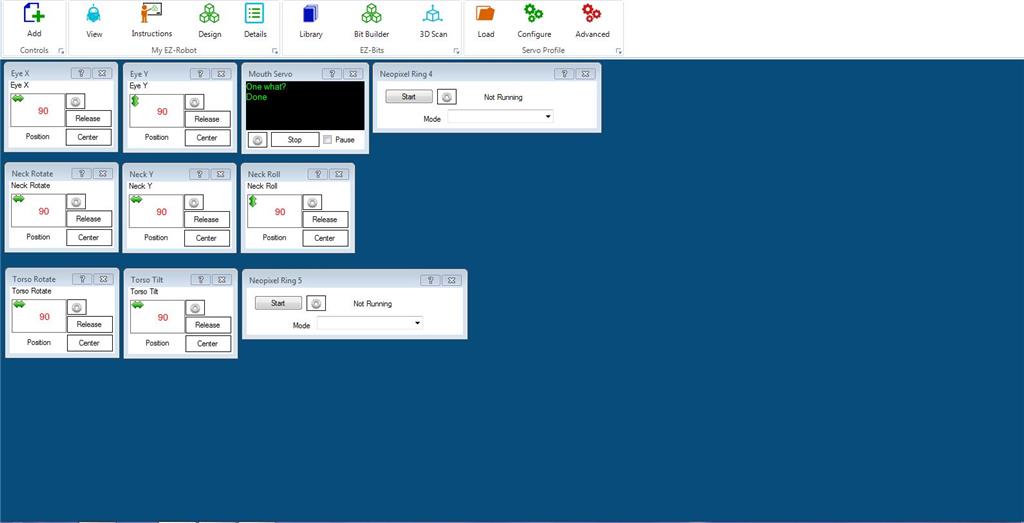
Here is the second screen. Head functions with a mouth control servo, neck, torso, and the 2 neopixel rings I have.
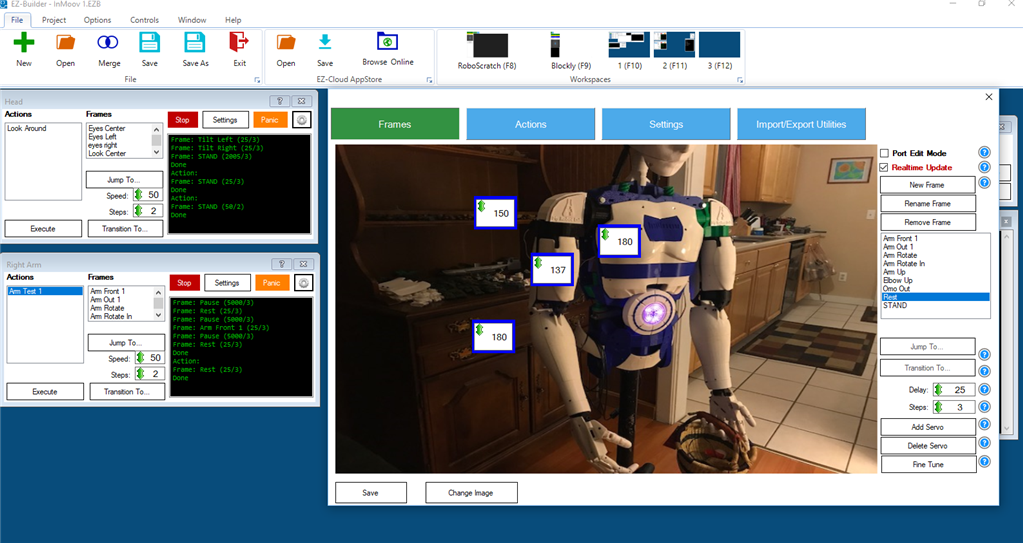
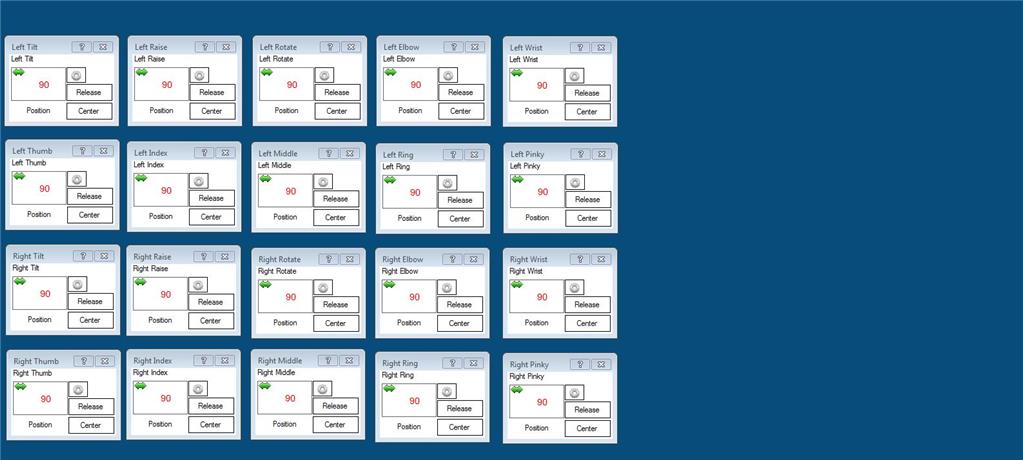
Third screen is for the arms and hands
So now I pretty much have all the same functionality I had in MRL give or take. I am pretty sure I am not doing this entirely correctly but it will come with time. Need to get into the scripting. I guess there are some tutorials to watch. So far my experience has been pretty good and in a day eclipsed my MRL progress of the last 6 months.
I'll update this thread with my progress and appreciate any feedback.
Discover more robots
Dave's New Building System At Servocity, Gobilda
Markthebotbldr's BB-R2 (Baby R2)

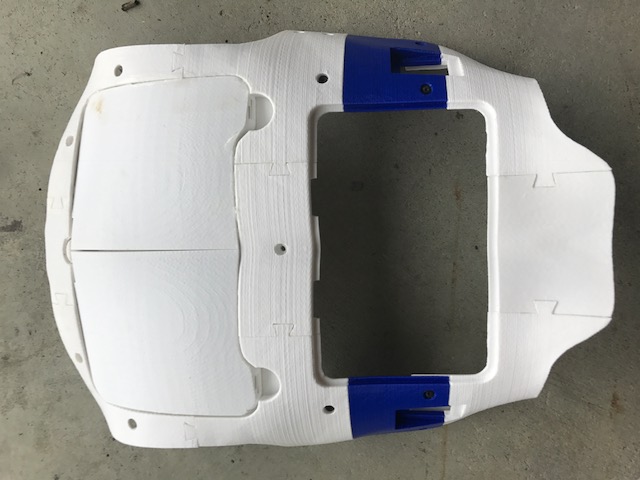
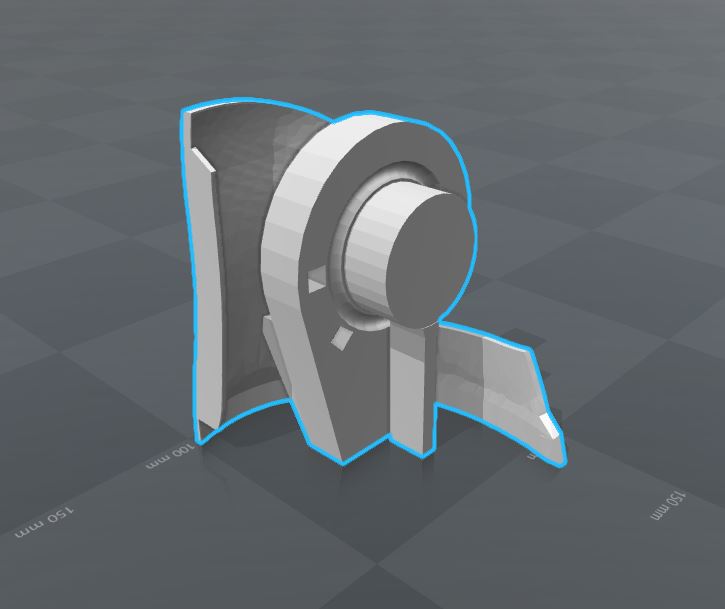
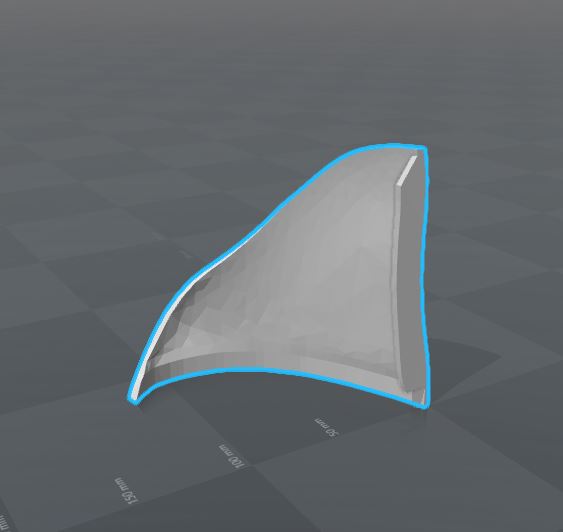
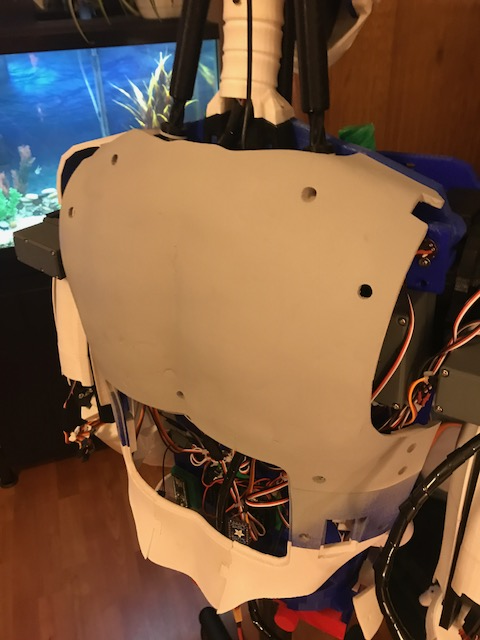
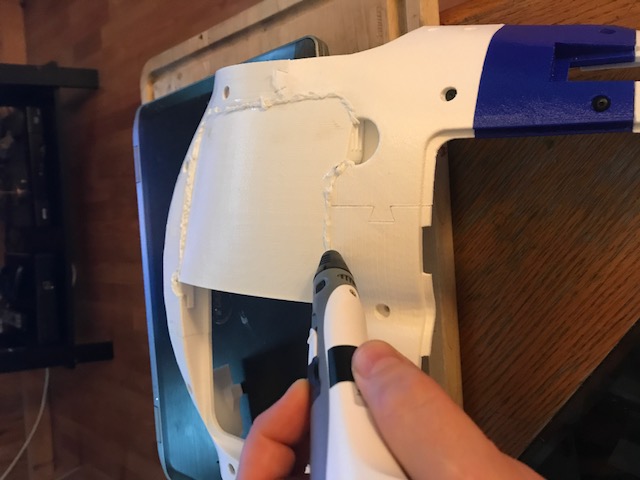
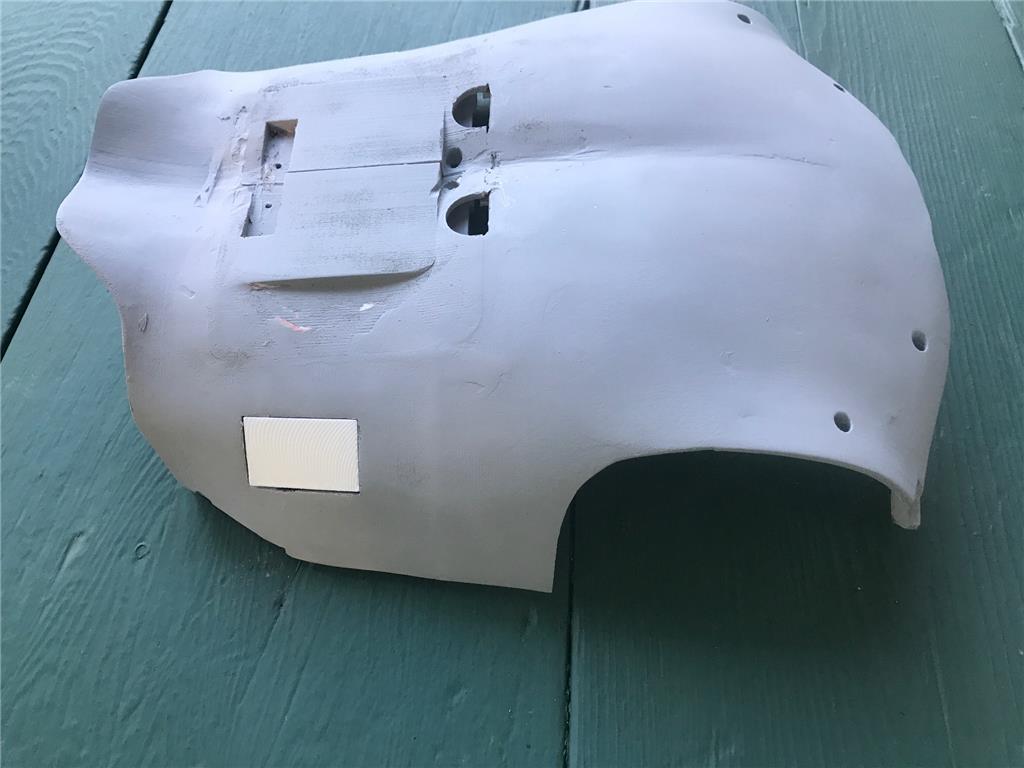
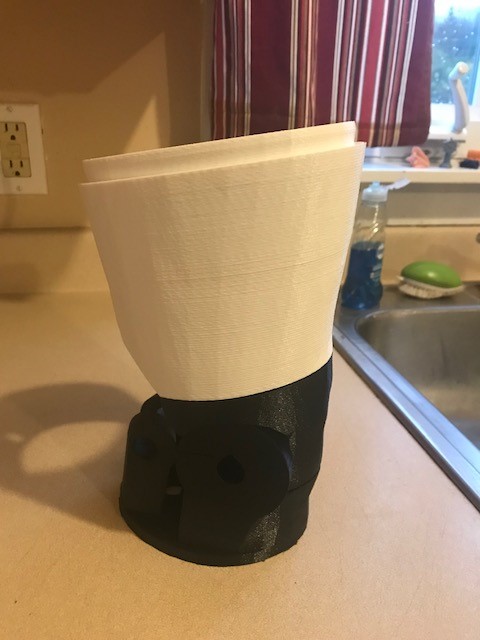
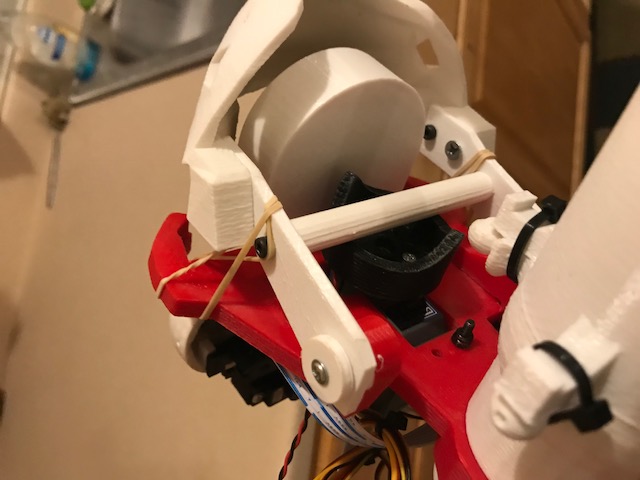
I am trying something a little different here. I used a 3D printing pen to extrude PLA into the gaps that I have. Here is an early picture. It turned out pretty good and is structural. There will be some sanding to do though. I hate sanding. I would rather be at the dentist getting a tooth pulled having a discussion with my wife about the diet she wants me to go on than sand. But I guess it goes with the territory.
I am looking forward to seeing how this turns out. I had though about sealing in the back pieces, but decided that I might want to remove them without removing the entire back. I opted to leave them as doors for now, but might do a similar thing if I am not ever opening them.
@perry_s C'mon, sanding isn't that bad . Look at it as a time of introspection/meditation. You go from coarse grit to ever finer, always a tactile process (even if you are using a grinder, Dremel or sander), and focus on the rhythm.
At least that's the way I approach it when working on my B9
WarPig, I hear you but I think I will hold my opinion. Man it sucks hard
Seriously though, my bot is all PLA and it is horrible to sand. ABS is much easier to post process from what I hear. PLA doesn't sand real well, It kinda just melts.
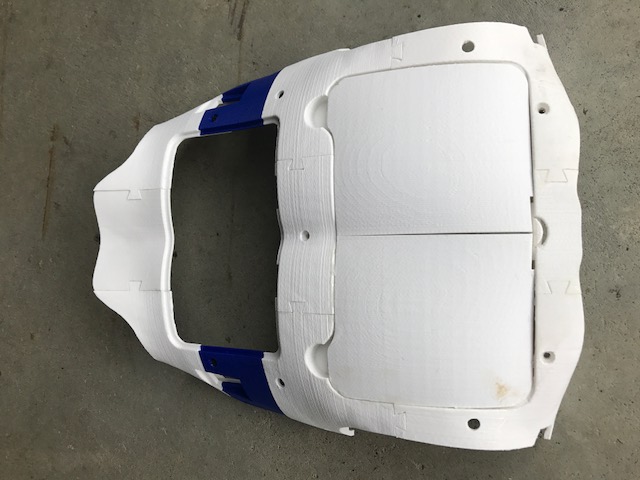
Buuuuut, I made it this far. All the contours are tight and flow with Gaels design intent in my opinion. Not sure what I will do with the battery door and switch panels. The battery cover is kinda ugly as is.
Here's the updated covers;
www.thingiverse.com/thing:1798673
Just basic primer for now
Looks sharp man. Now you can add Tatoo's. Lots of canvas to work with
Wow. Beautiful!
Looking Nice Perry, like David said, large area for an artist to paint.
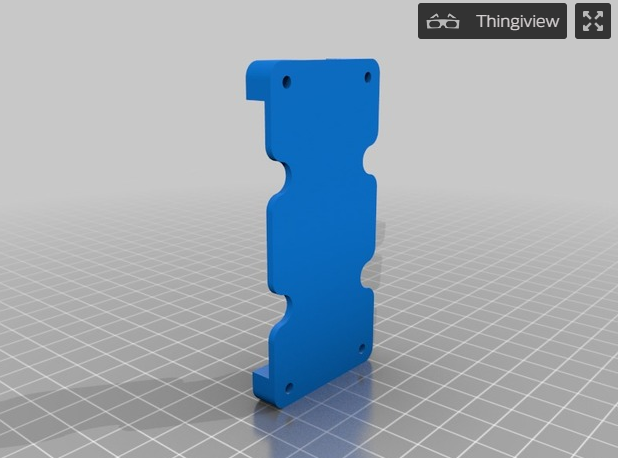
So looking at the hand situation I have seen Bob has done some awesome work. Think I will give it a whirl. Since I don't like printing and cutting here are some modified files to print the hand.
www.thingiverse.com/thing:2445188