


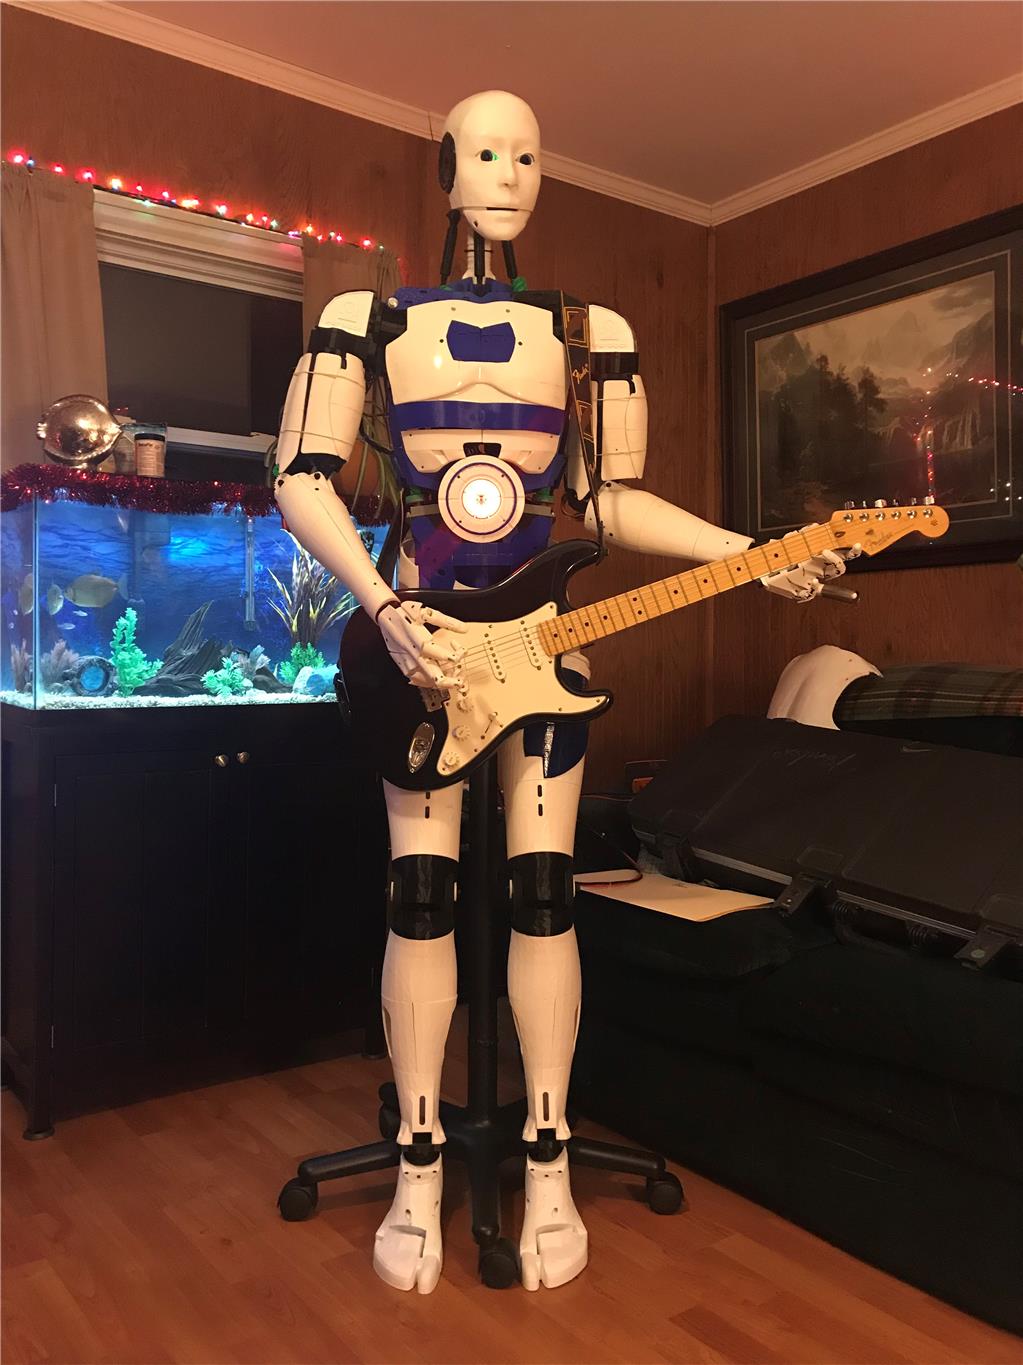
Hello all, I wanted to start my own thread to discuss my Inmoov and my conversion to EZ Robot. I appreciate all the work by the MRL guys but I struggle with it. I am indebted to the help they gave me but I needed something a little more along in development with some documentation.
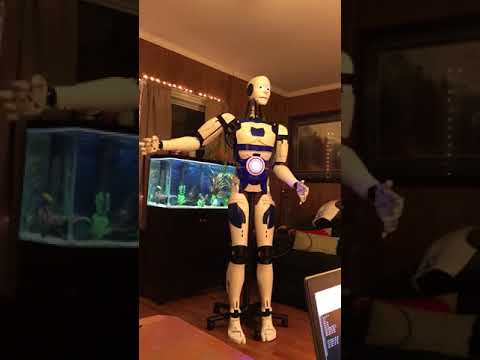
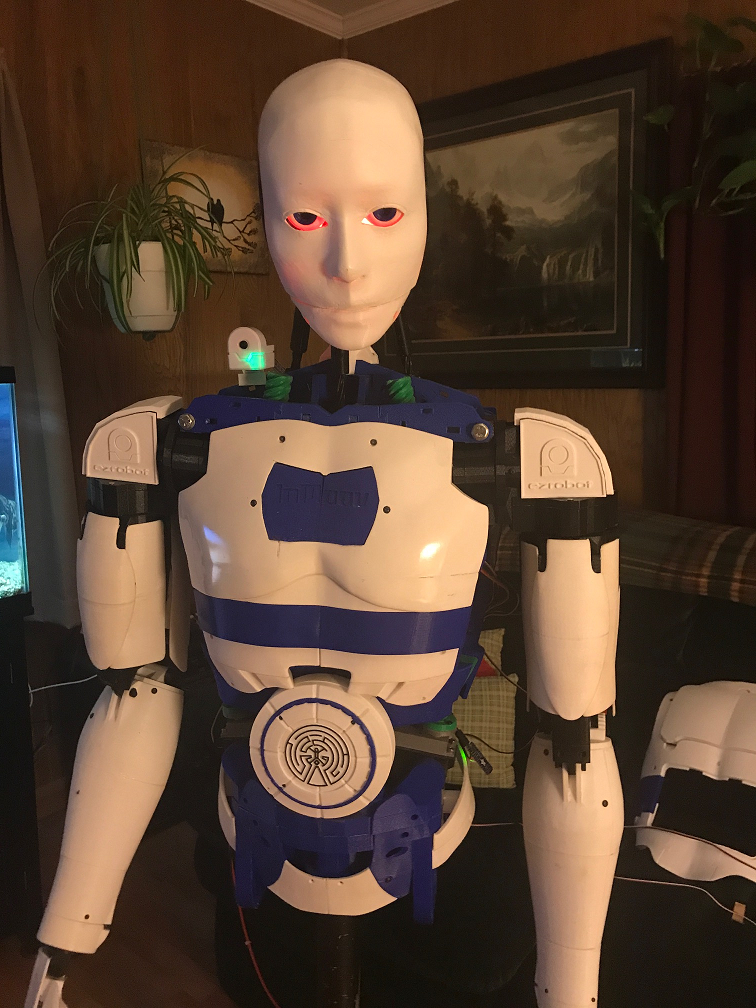
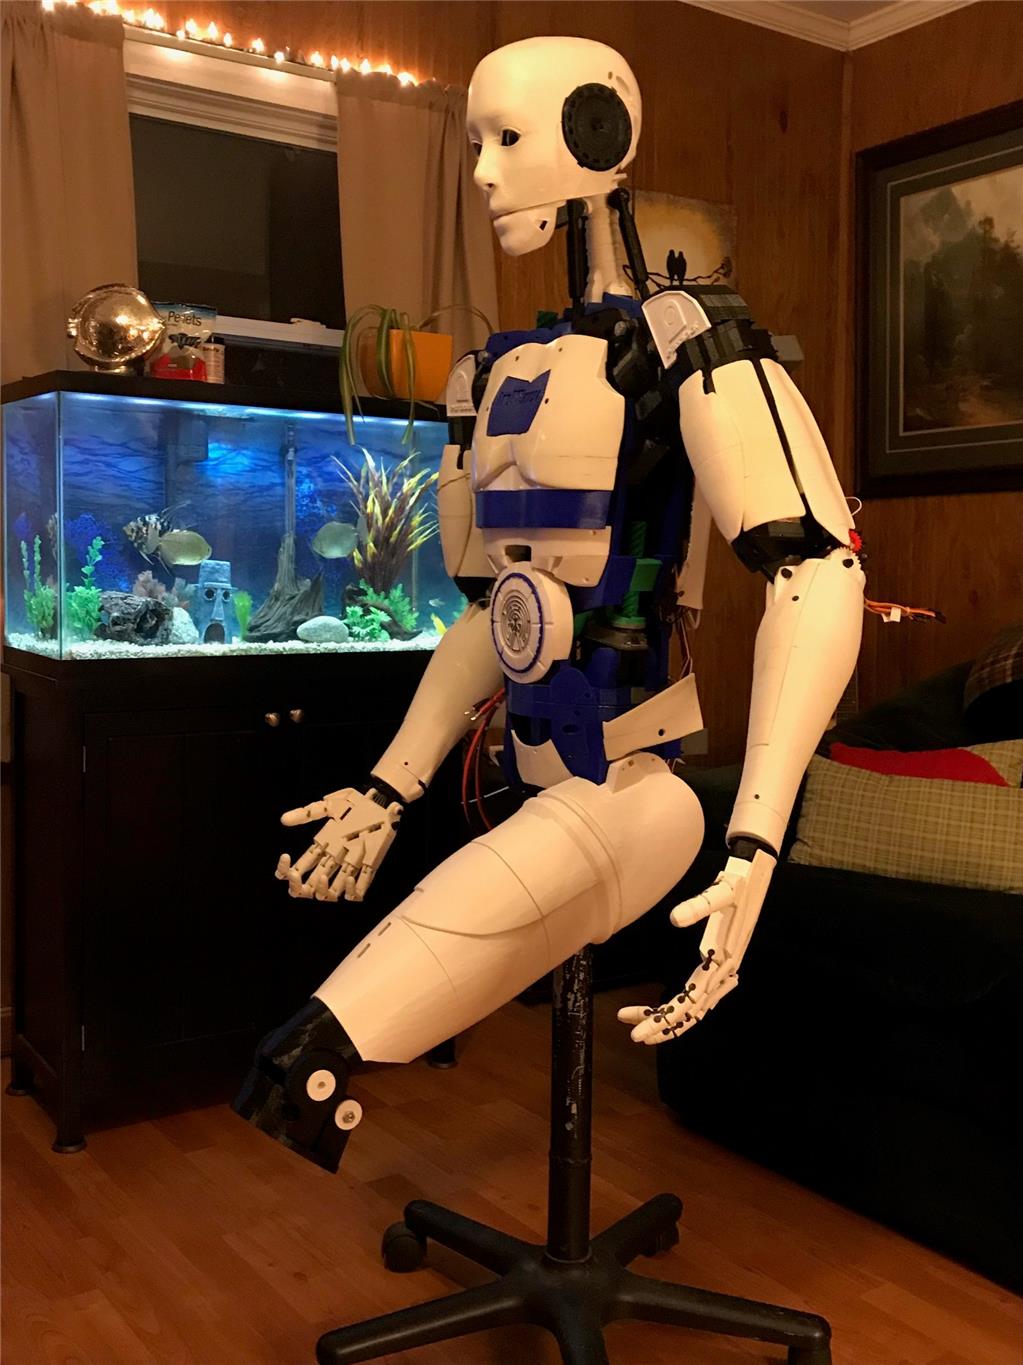
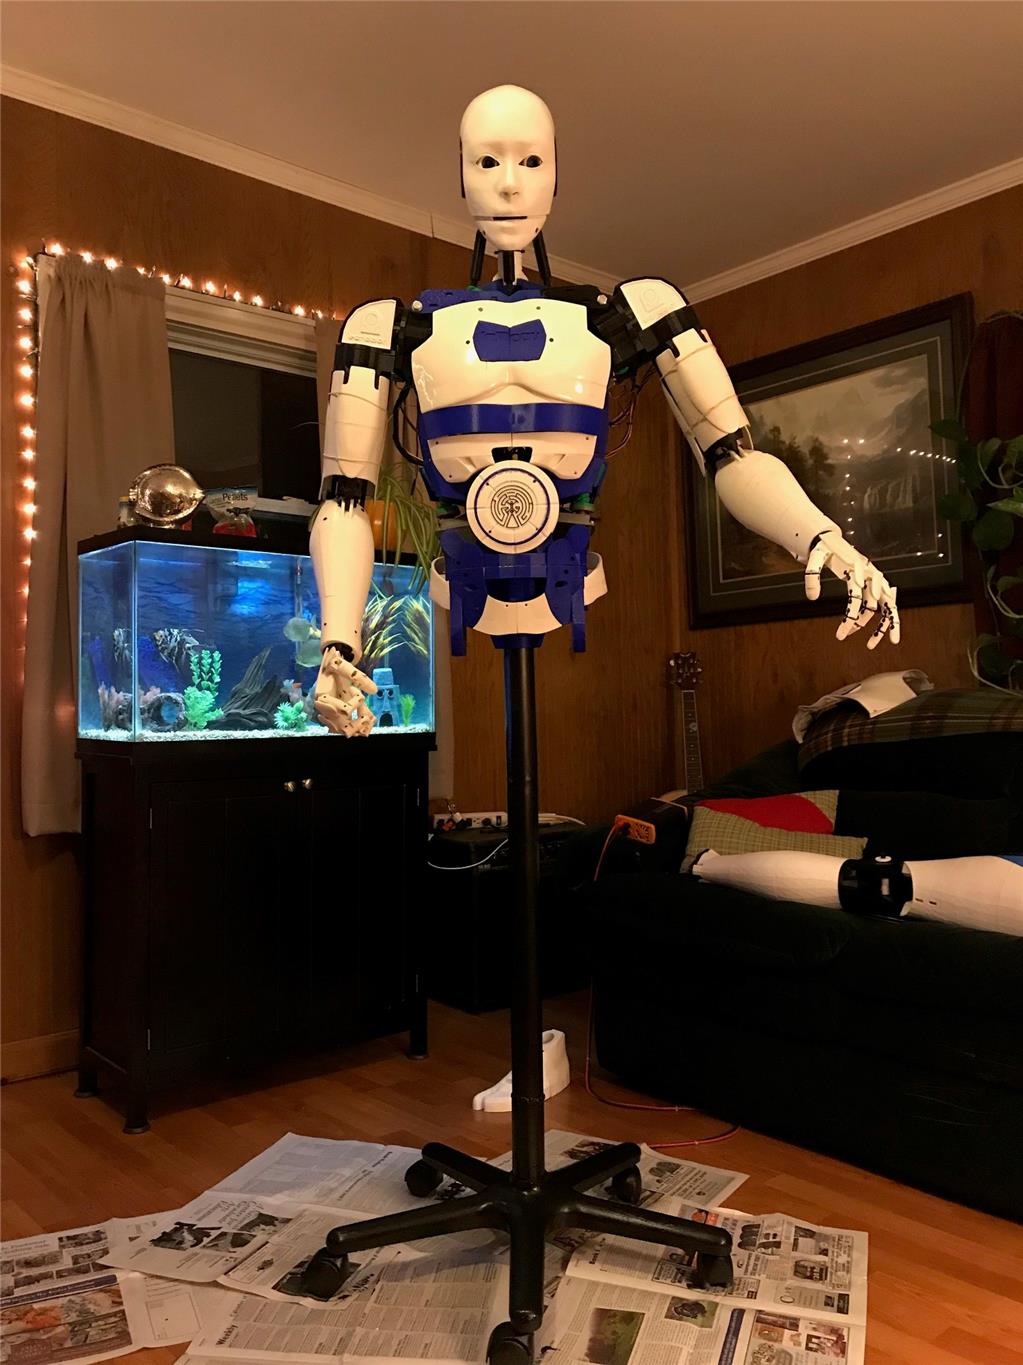
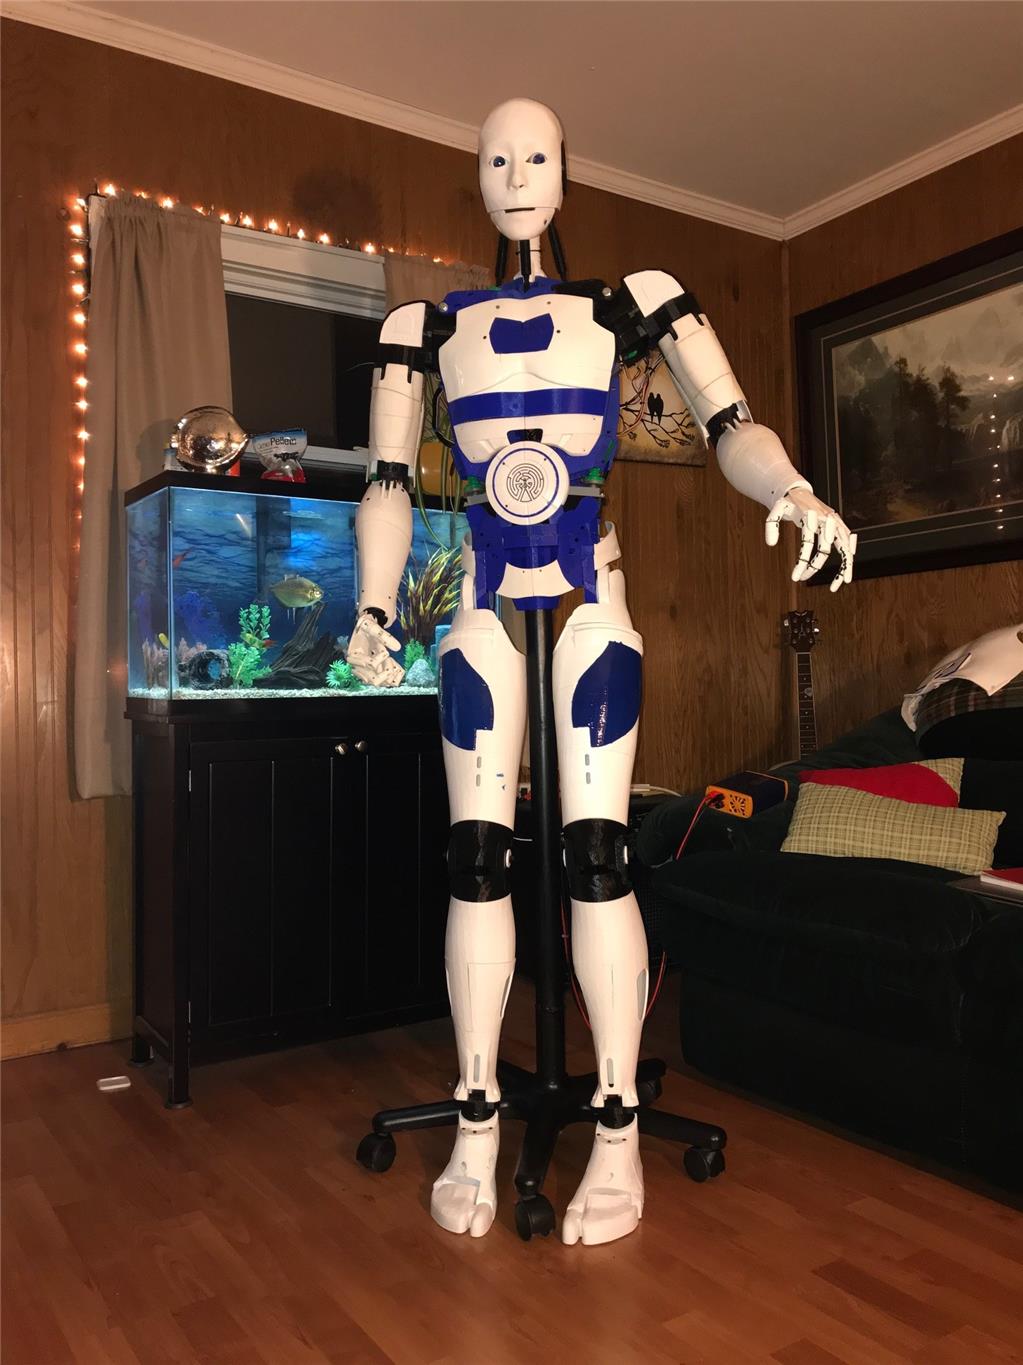
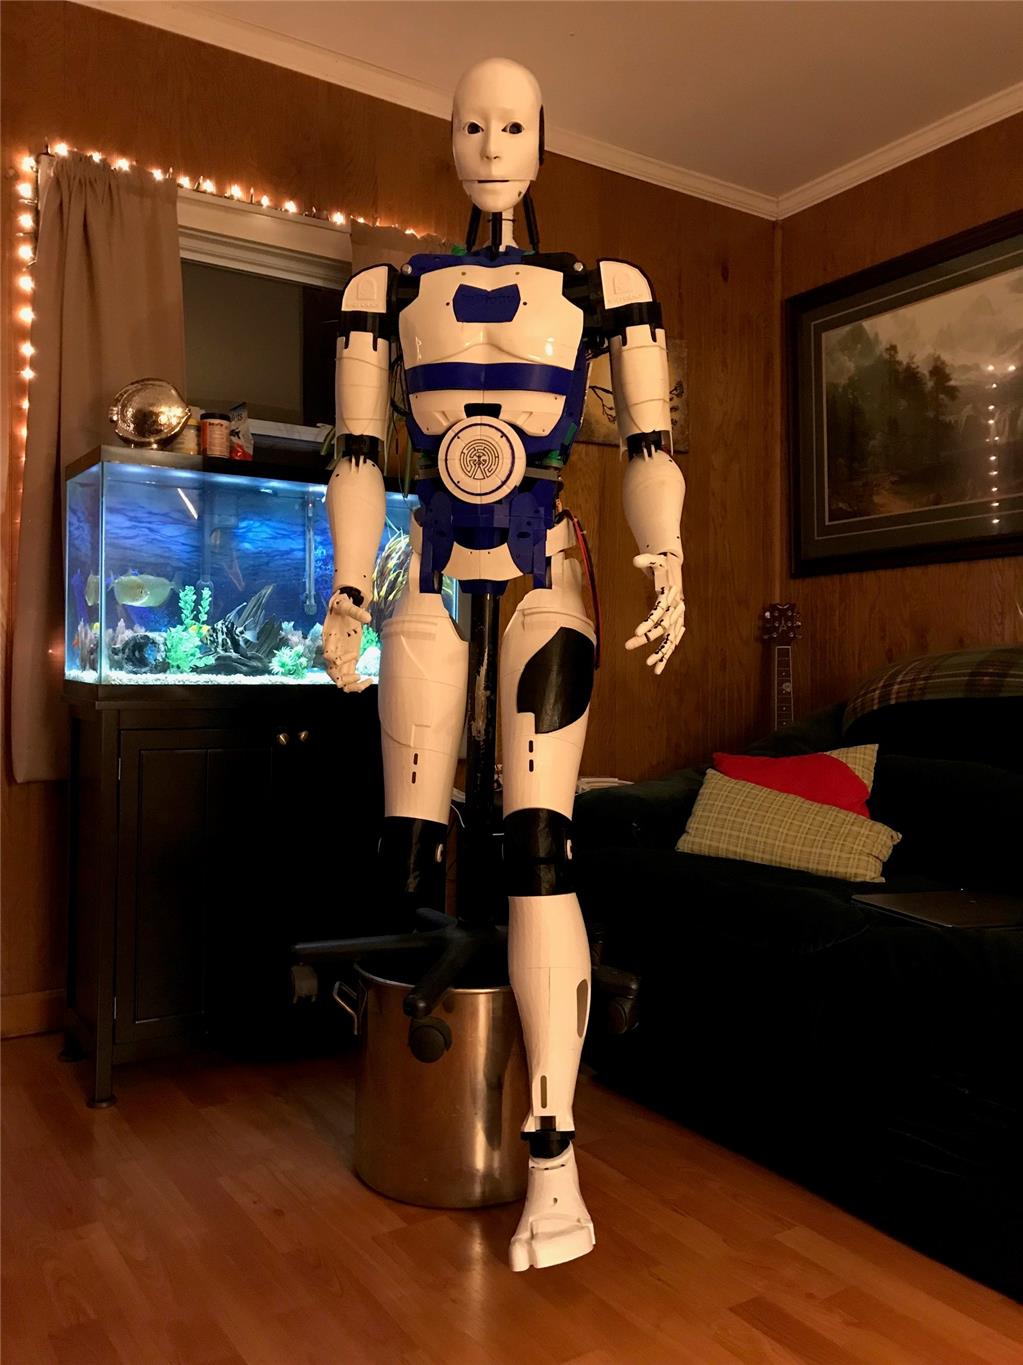
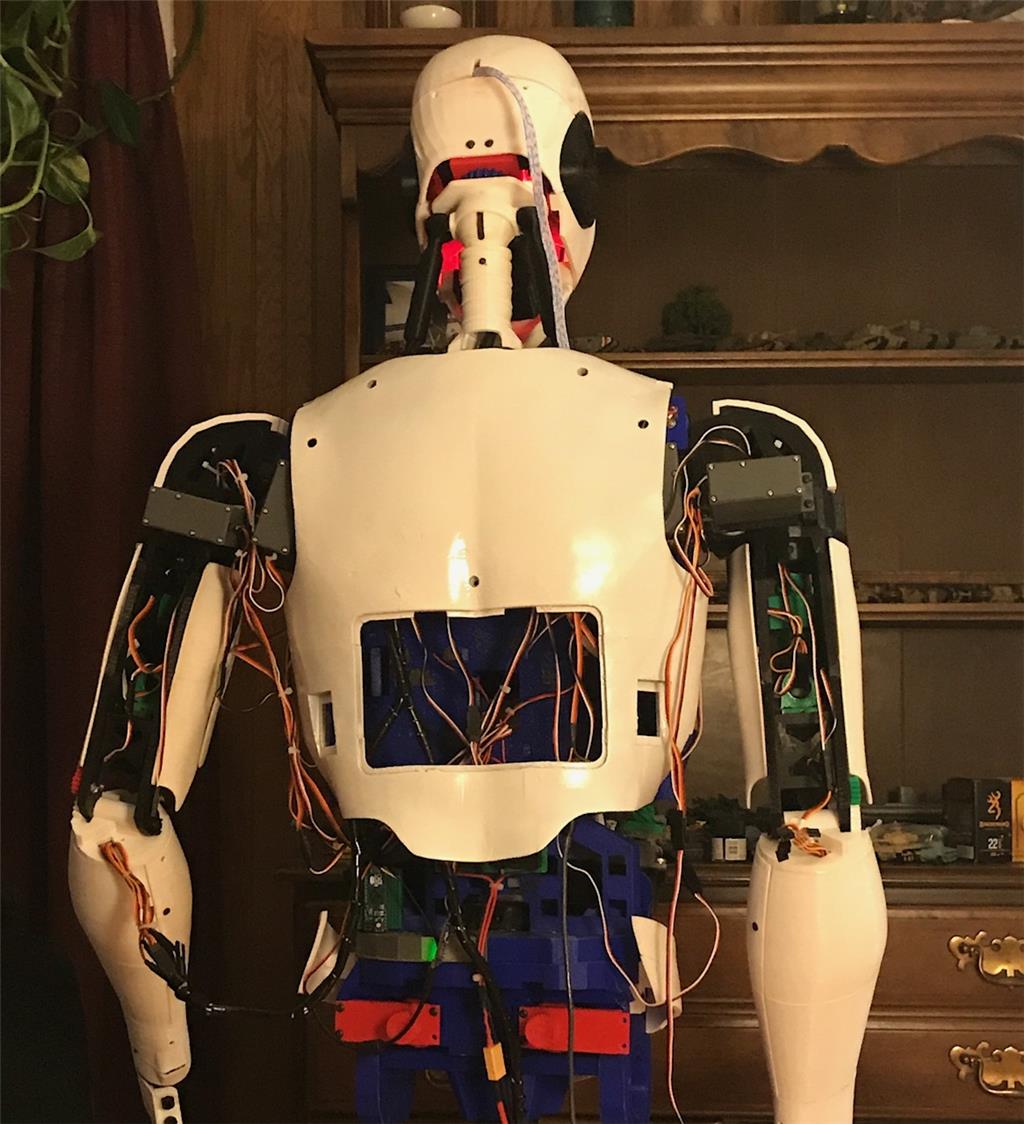
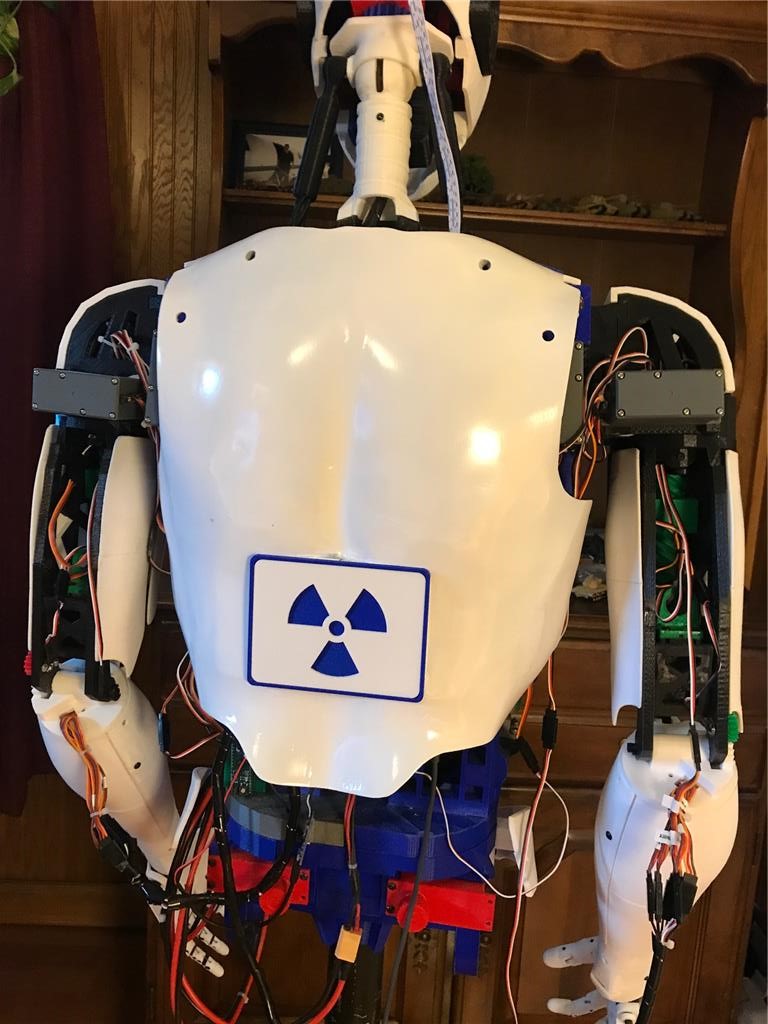
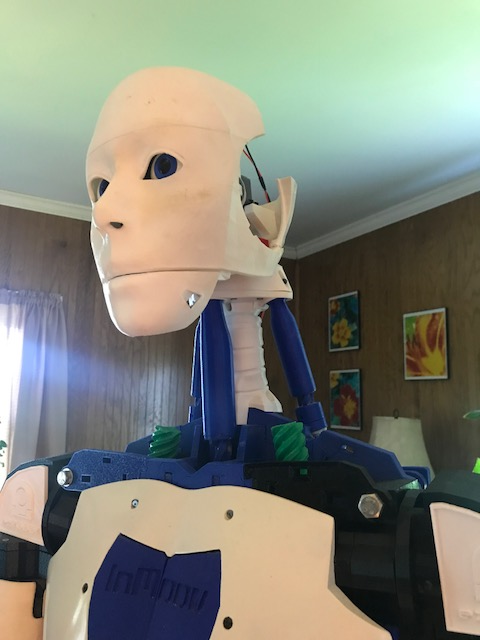
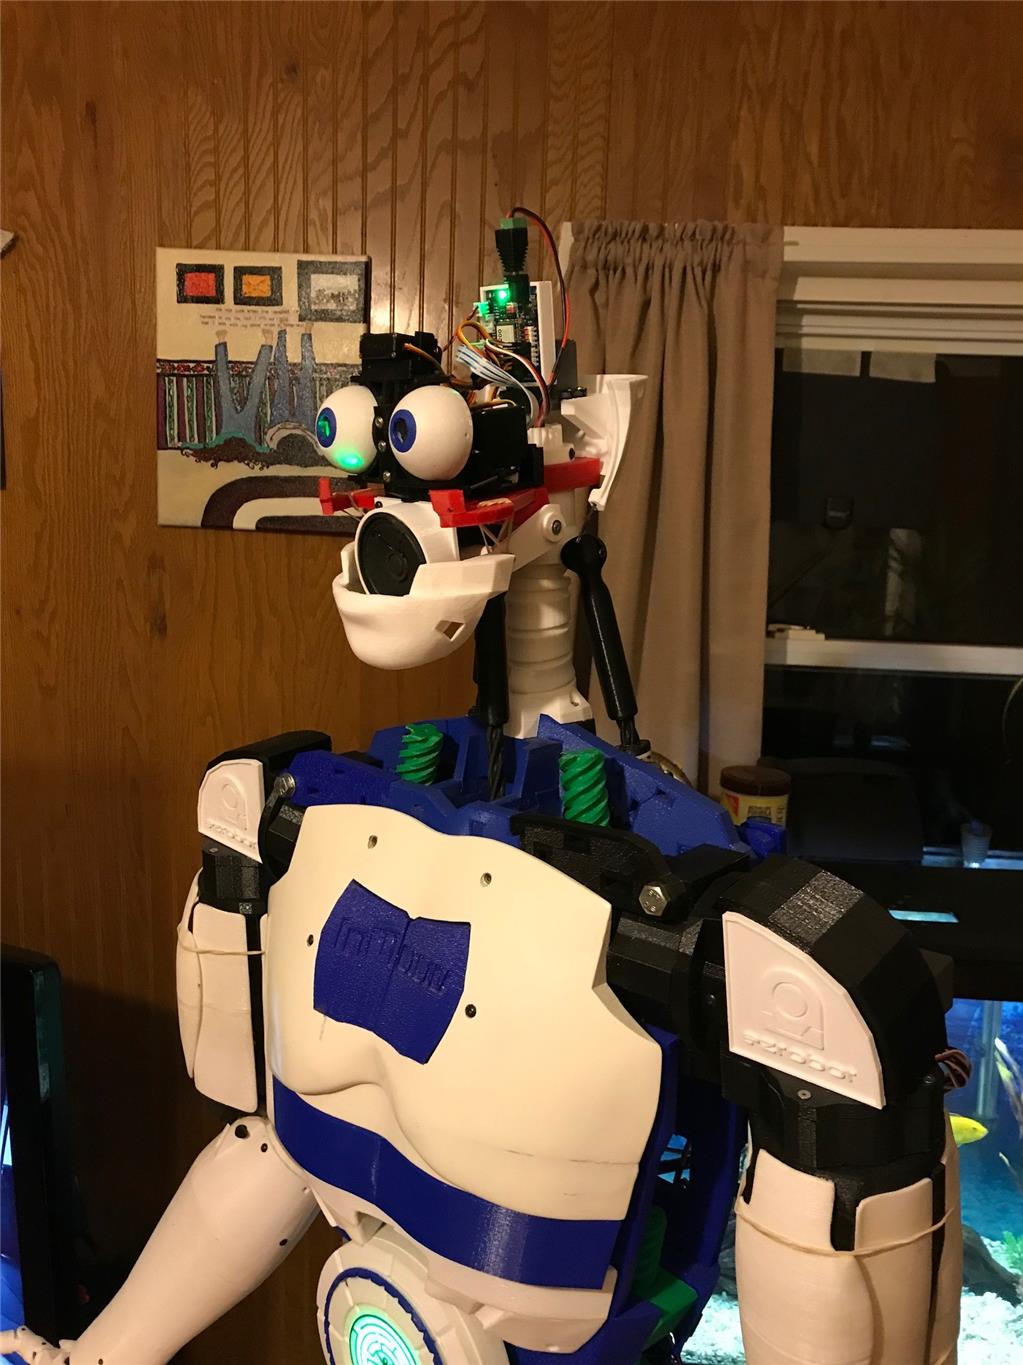
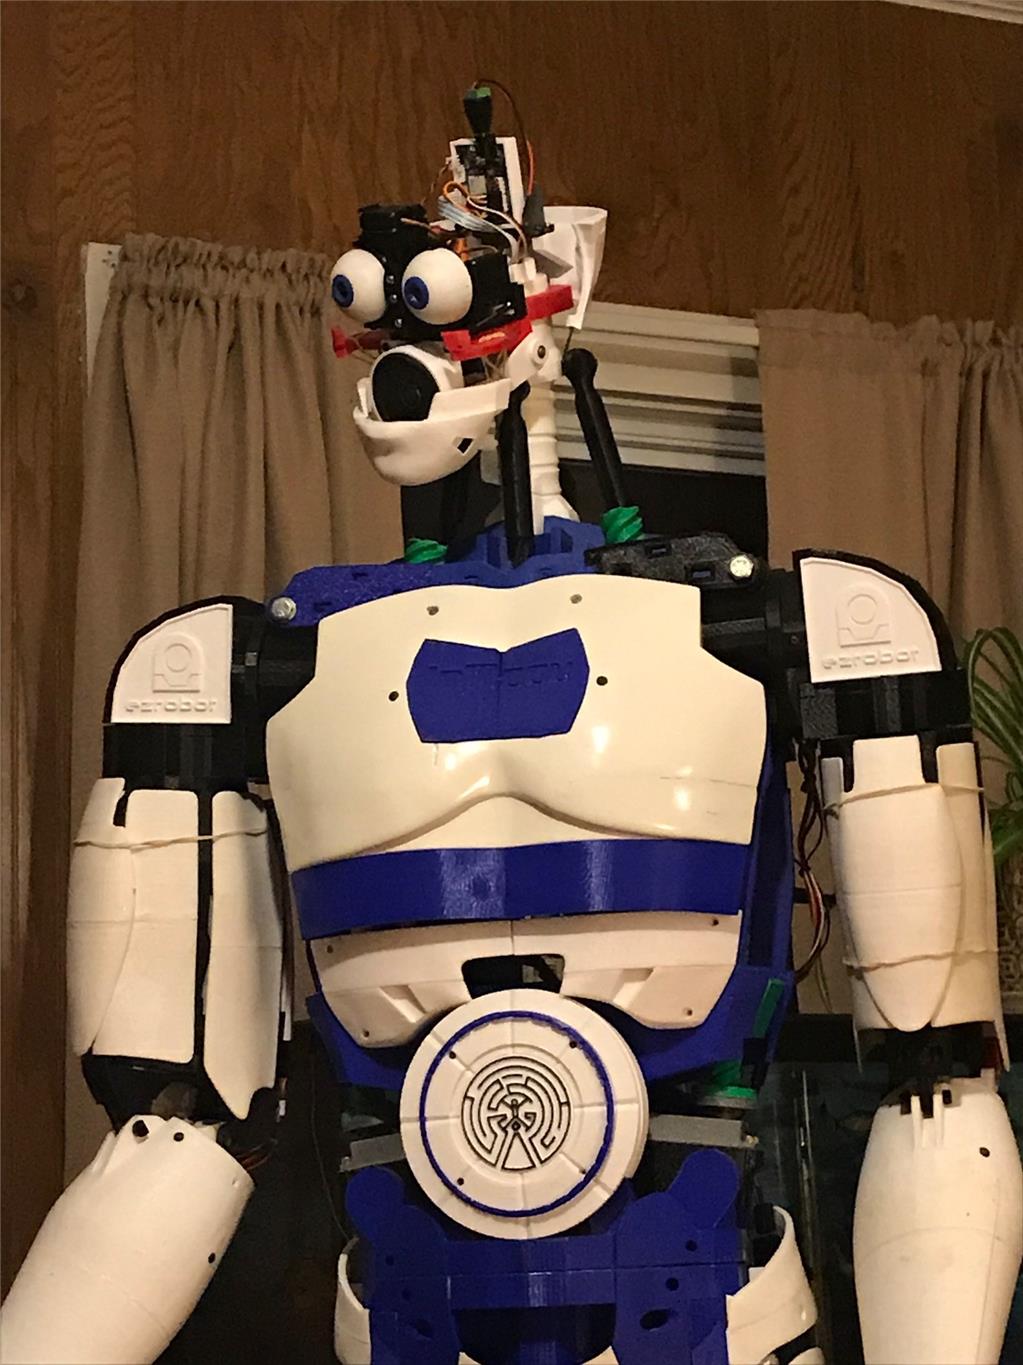
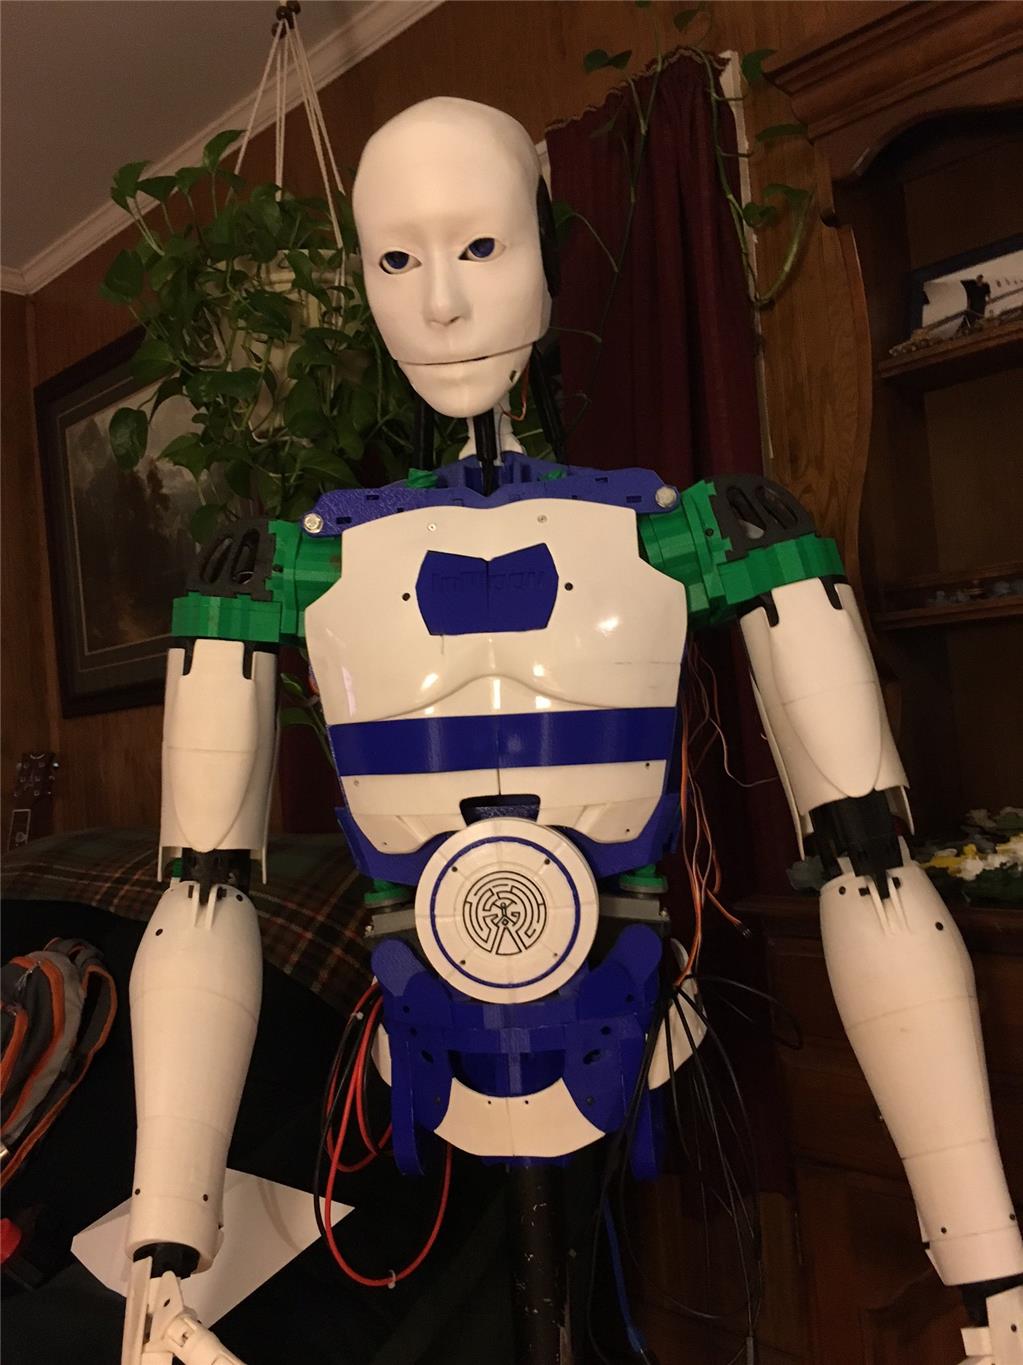
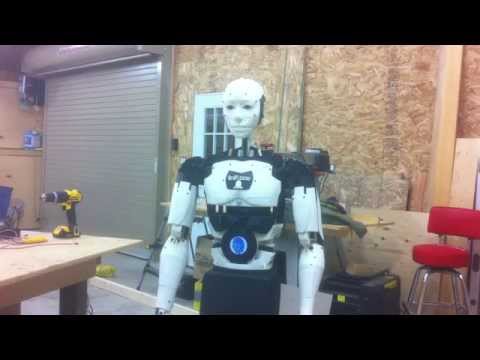
So here is my guy. Pretty standard build as far as inmoov's go.
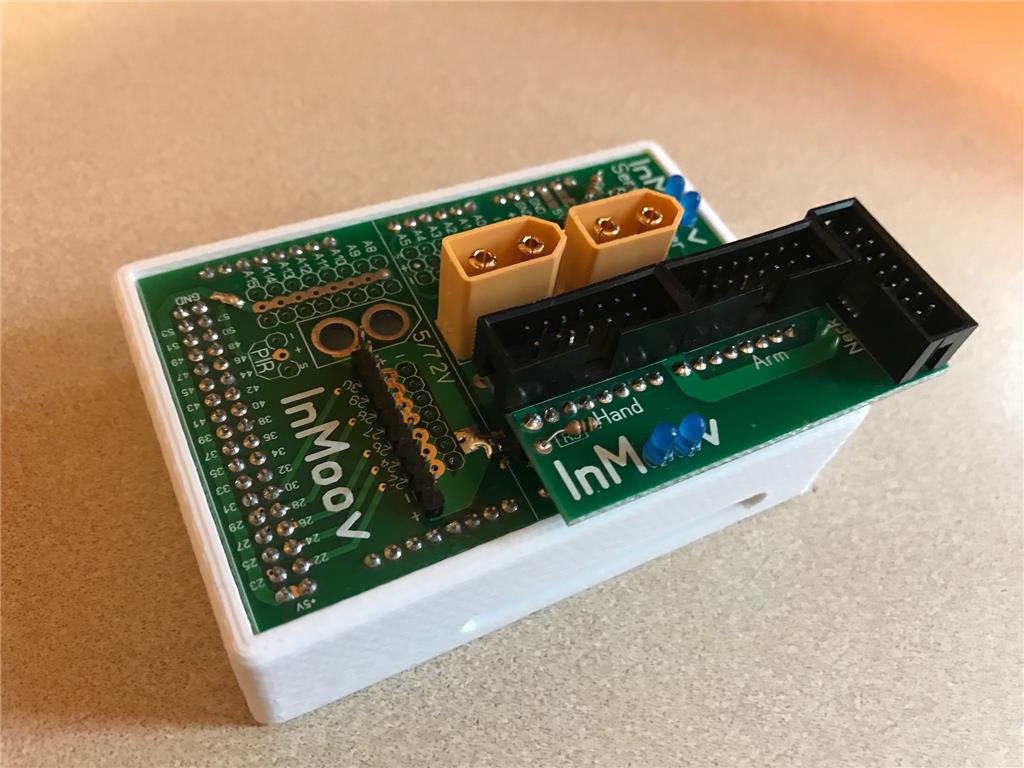
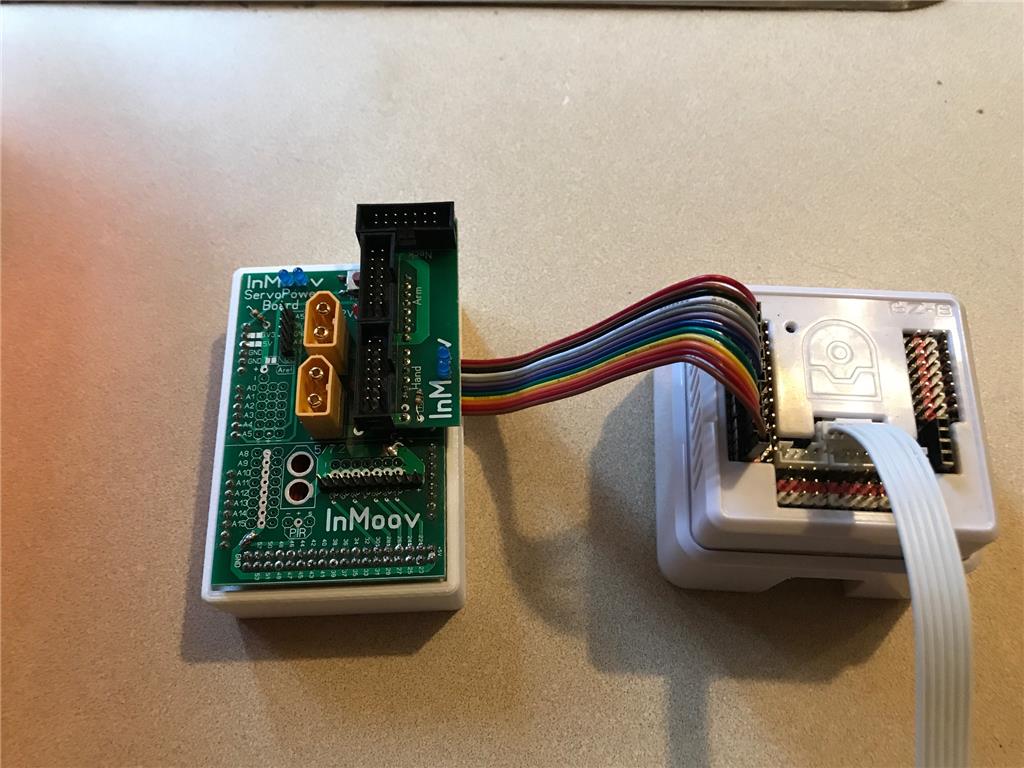
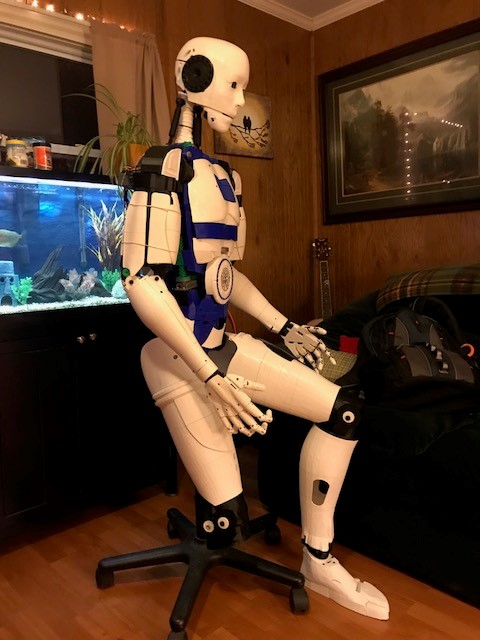
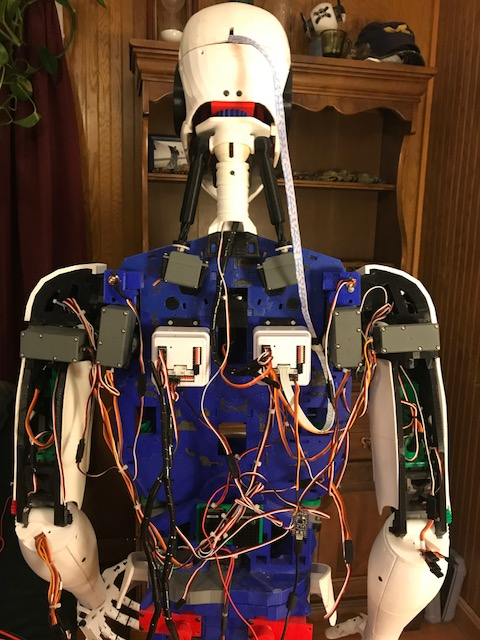
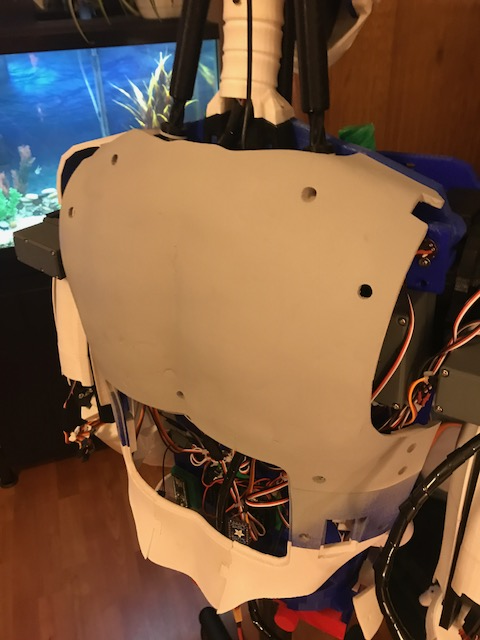
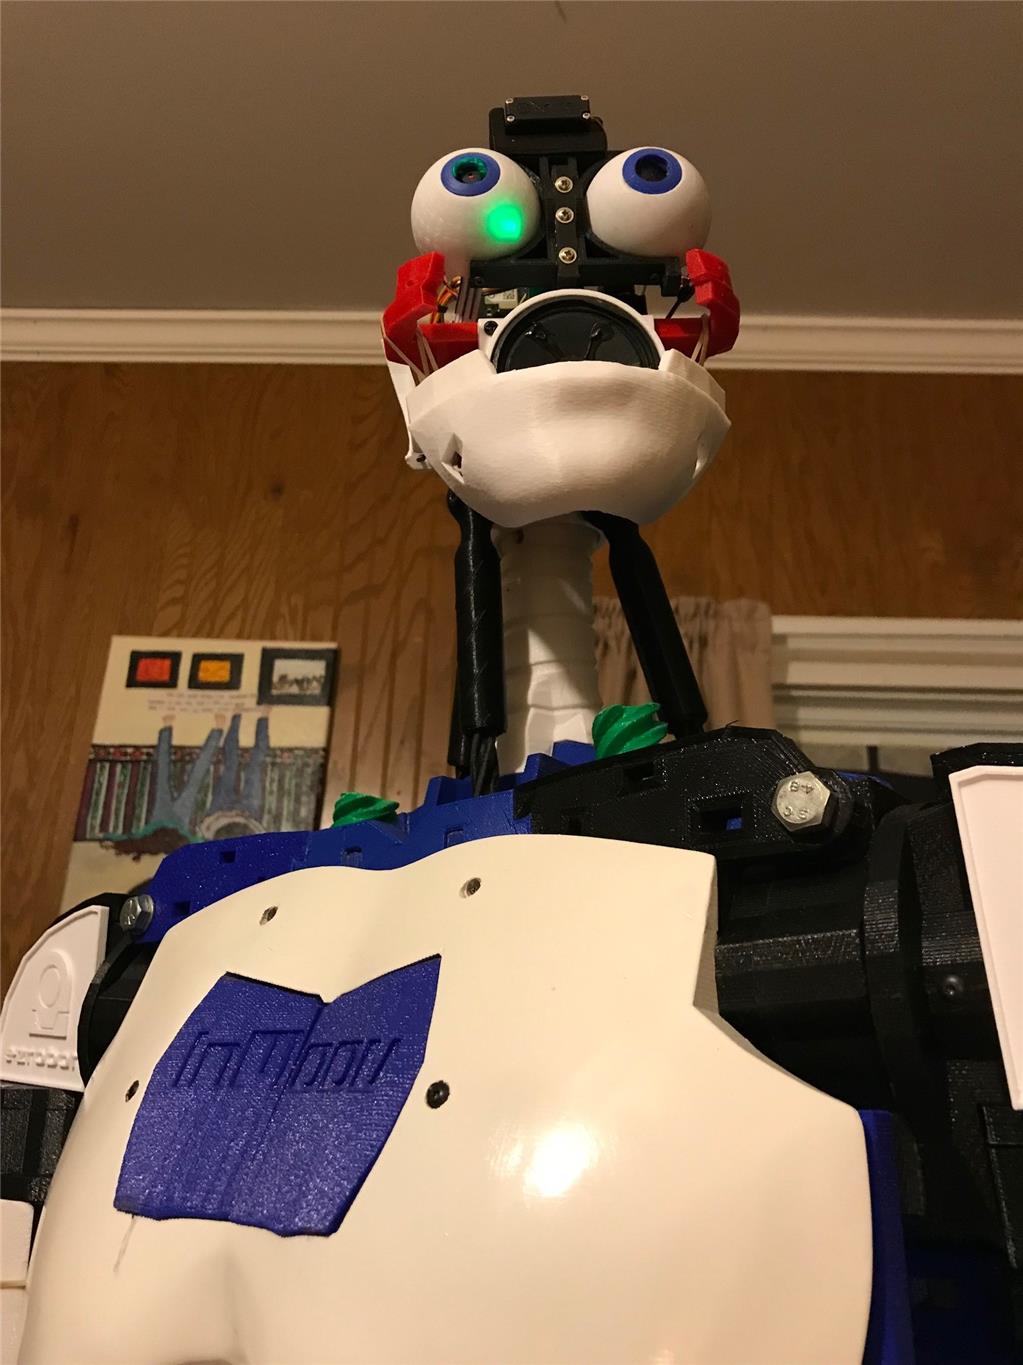
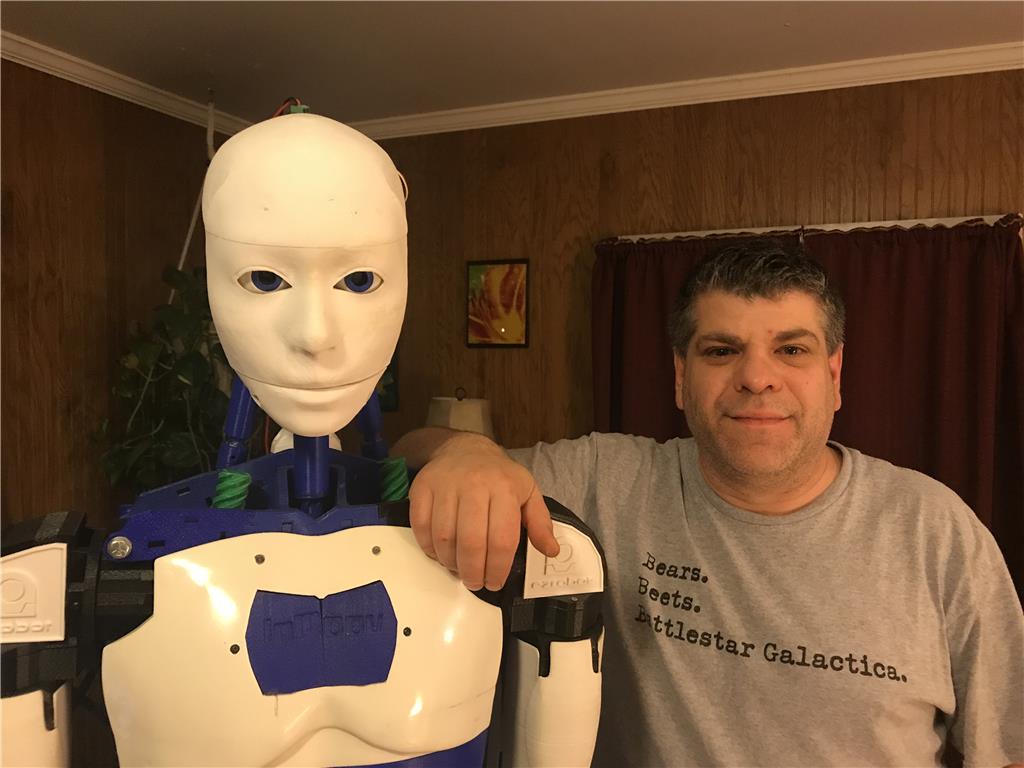
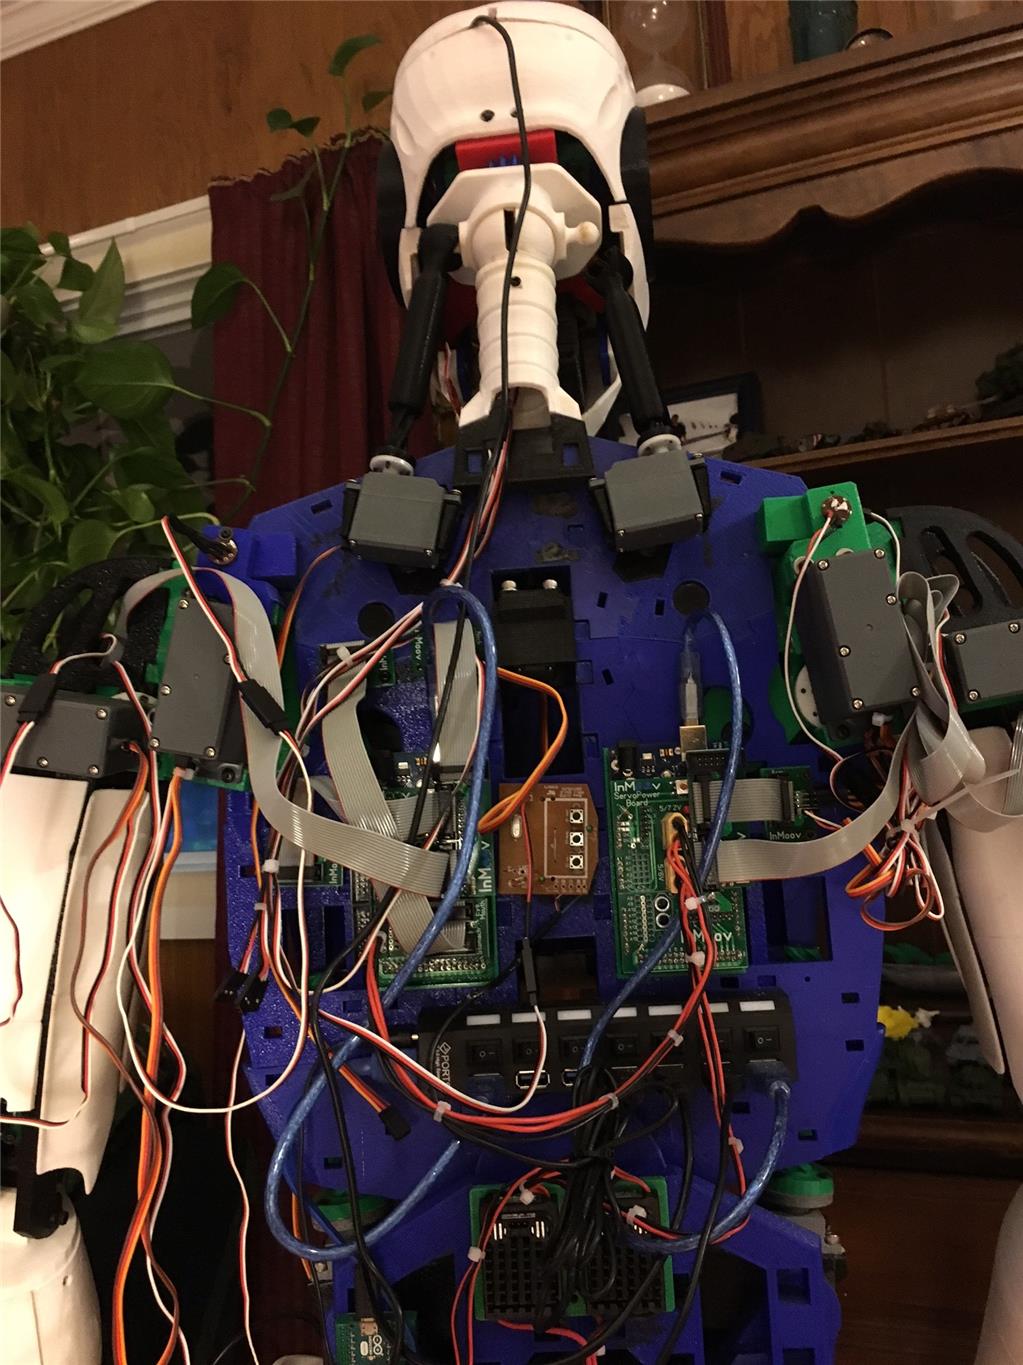
Here's the back. All the standard inmoov components. Dual 256 Megas, Nervo boards USB hub, Power supplys etc.
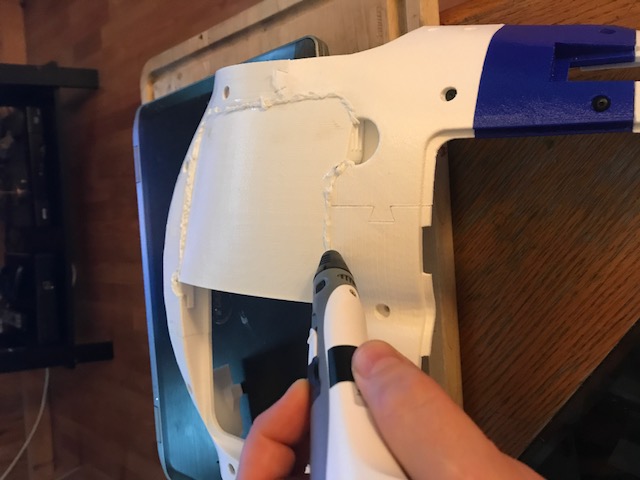
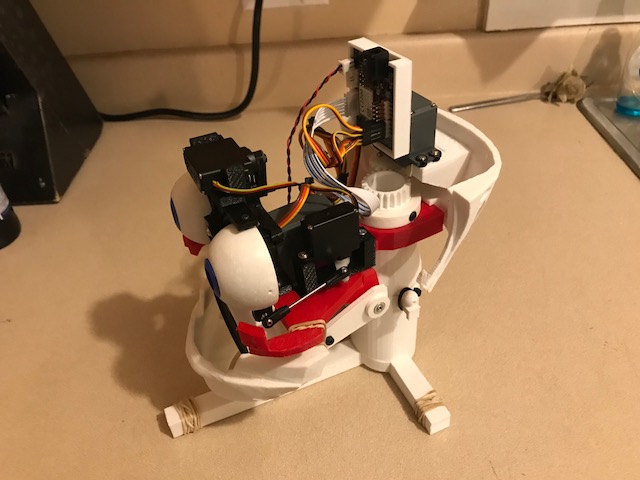
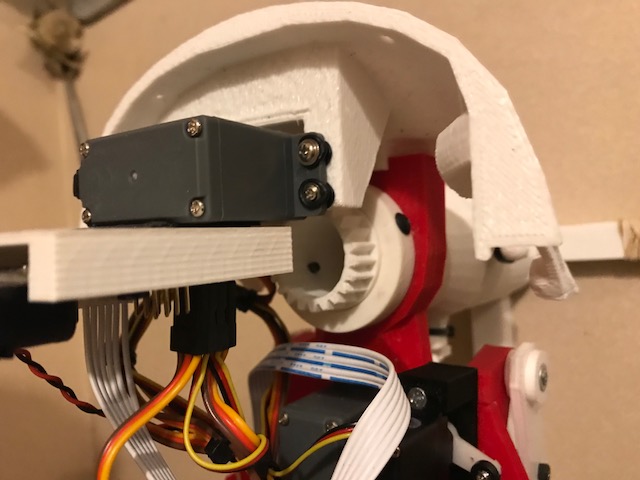
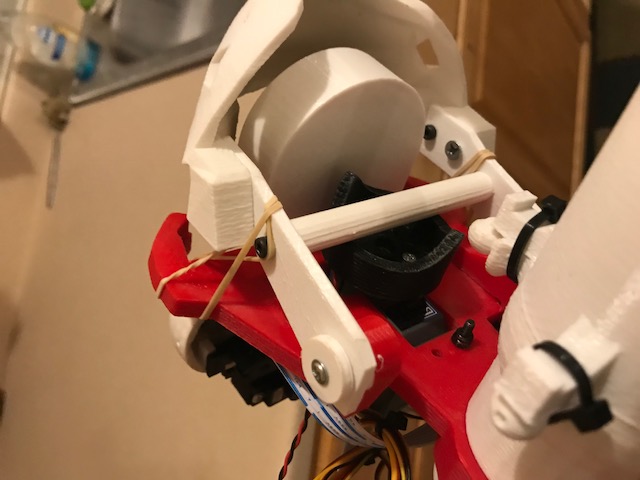
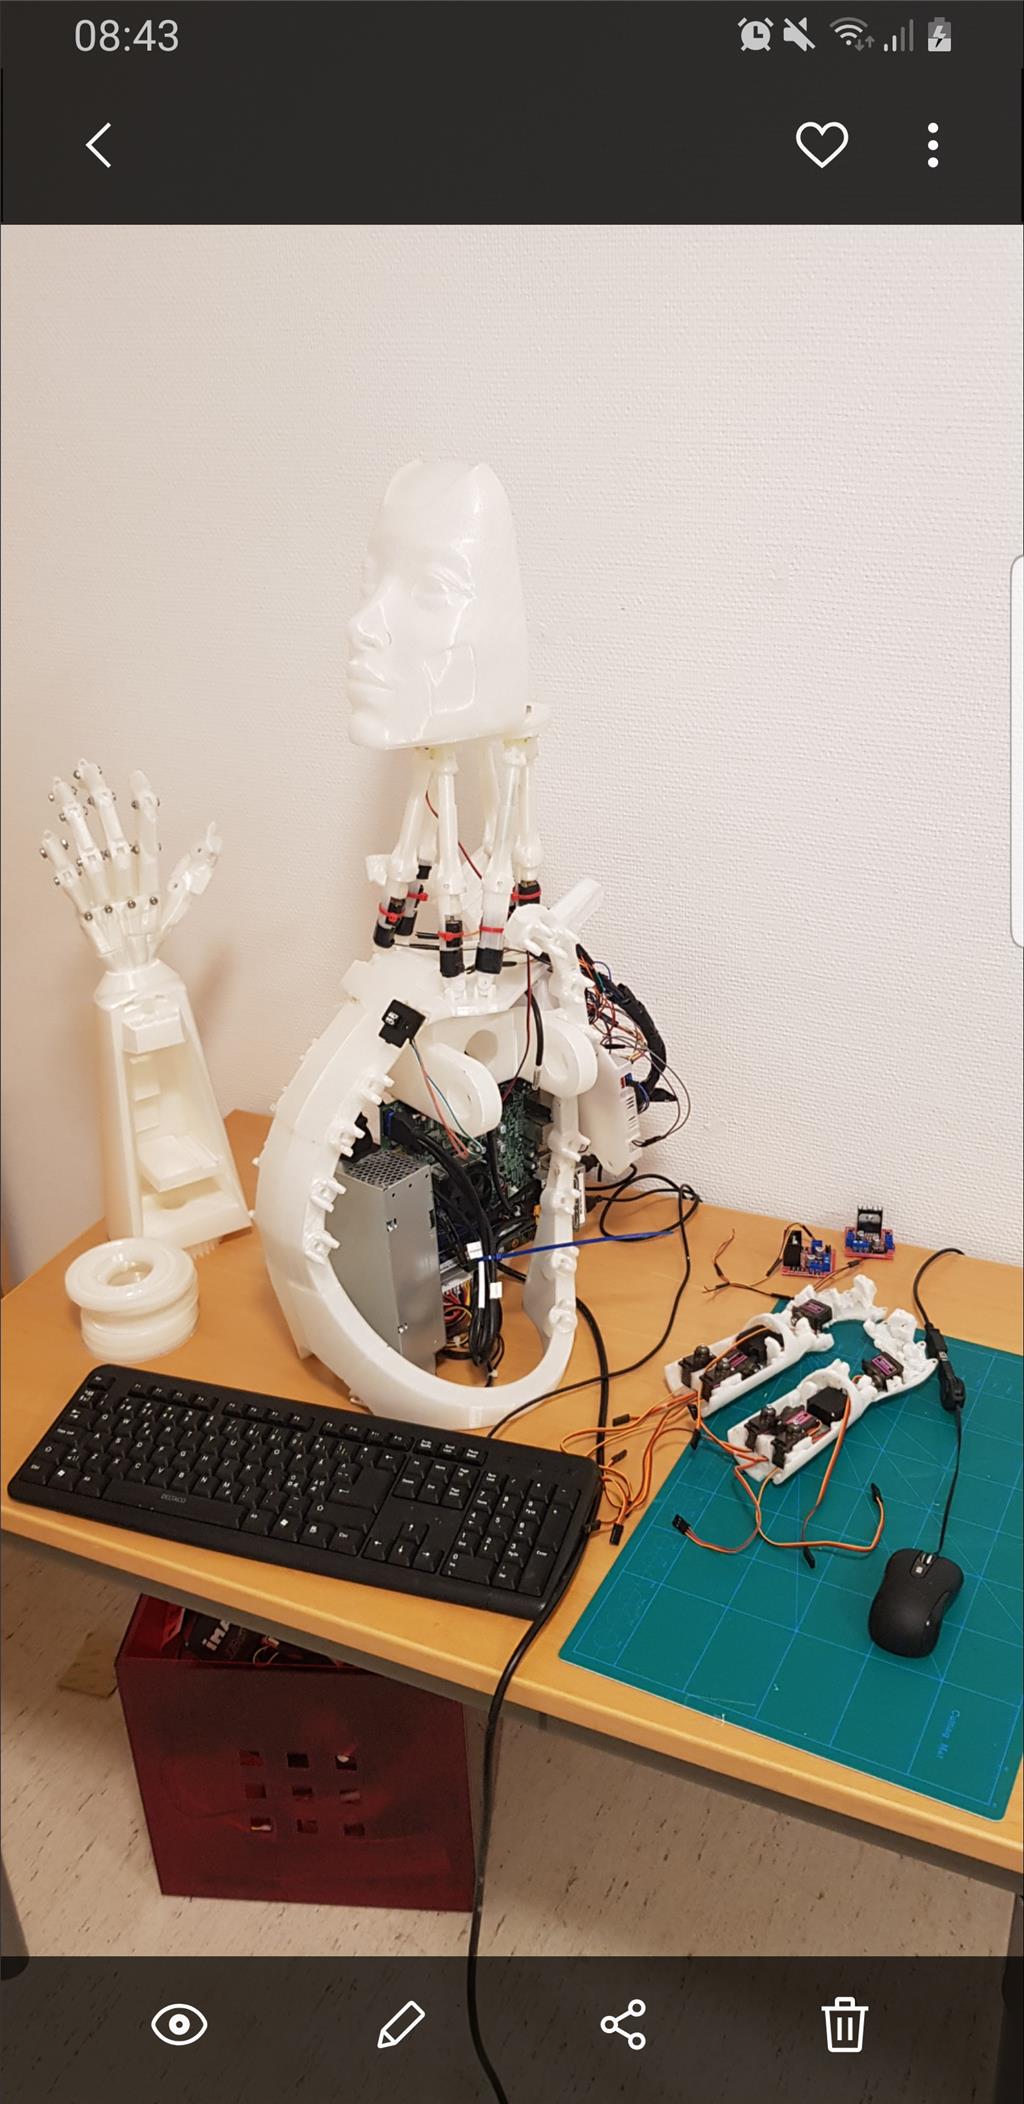
So the tear down begins. I need to clean up that wiring too. What a rats nest!
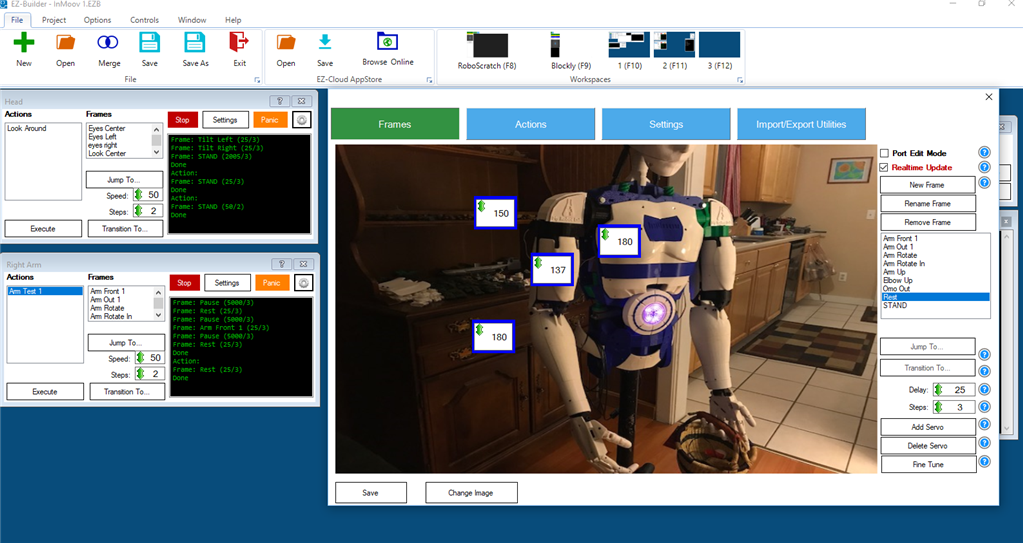
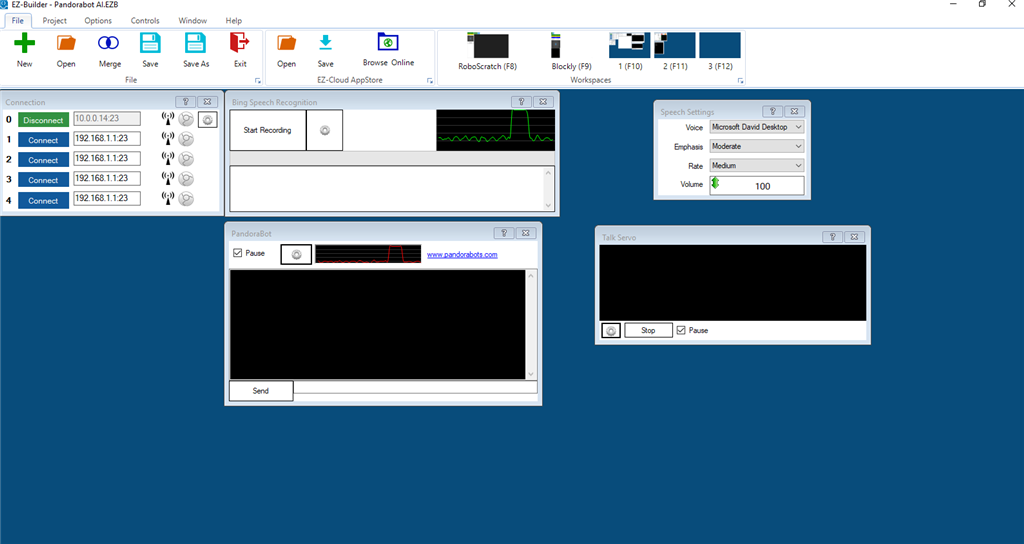
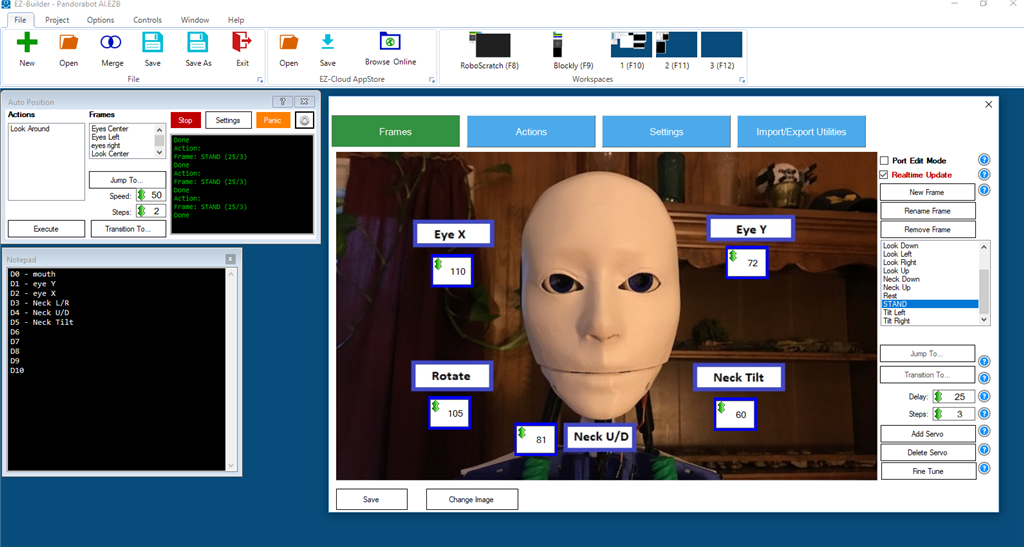
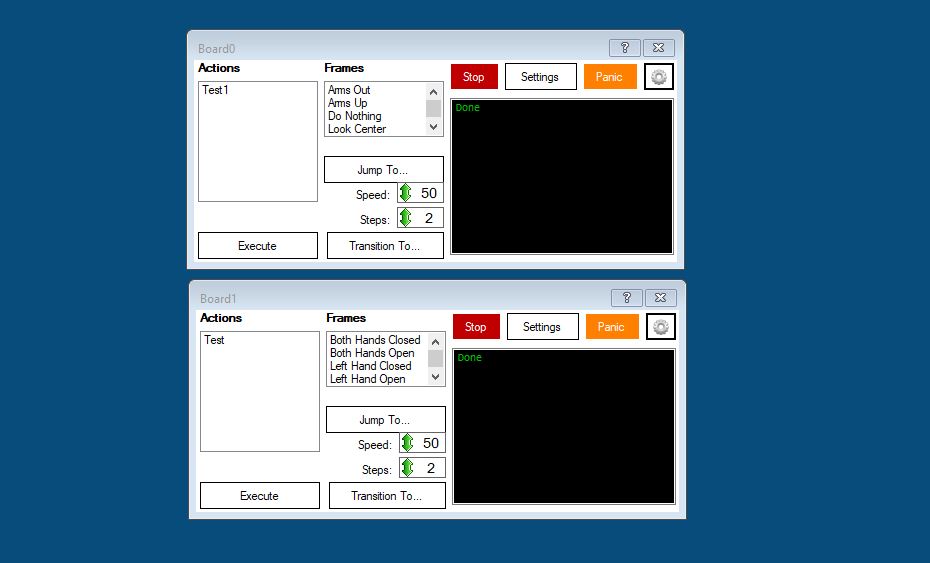
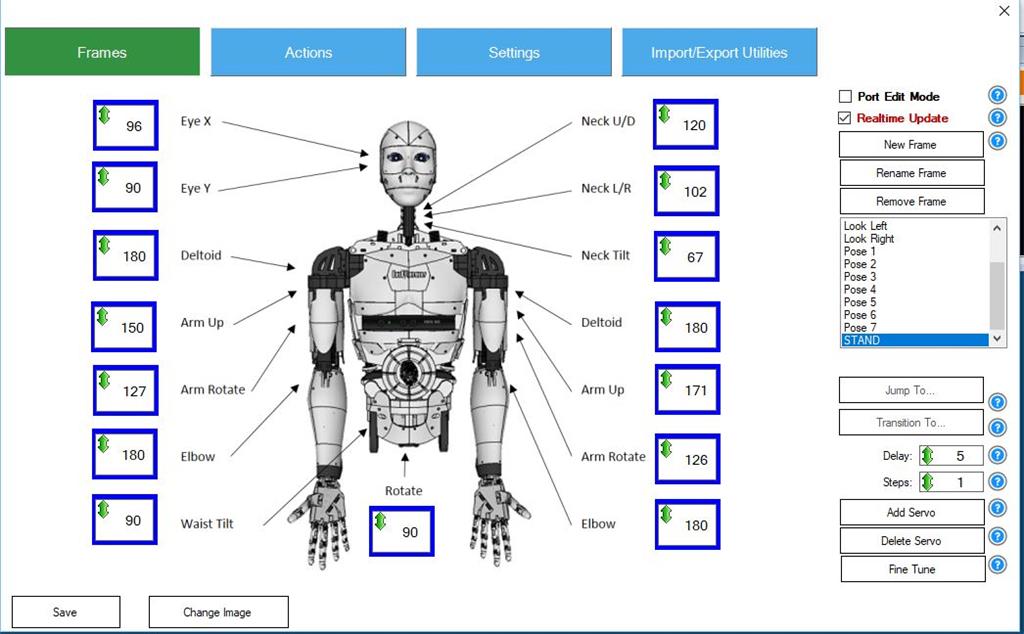
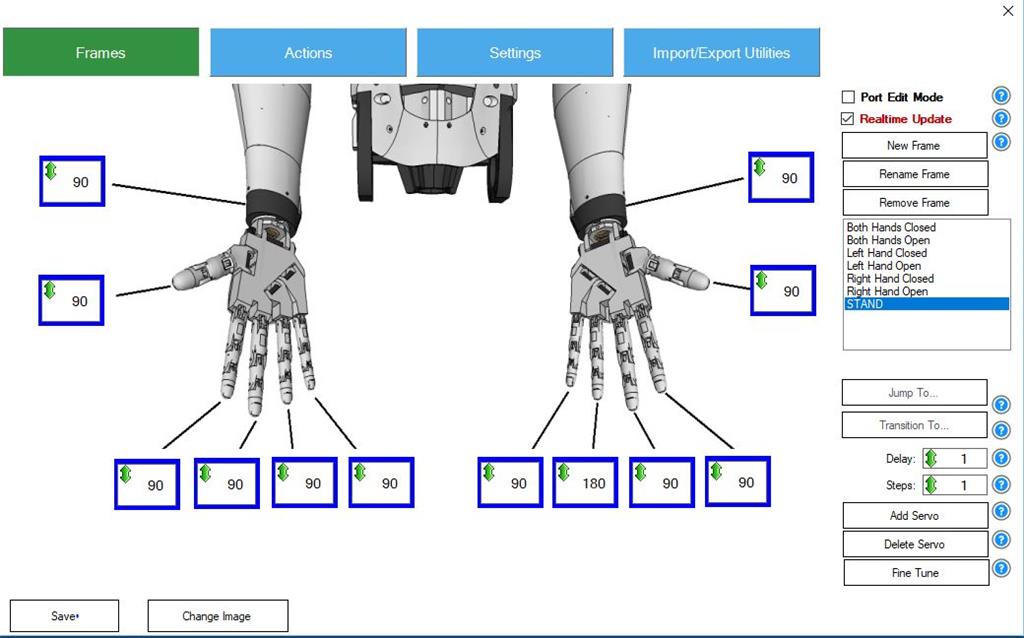
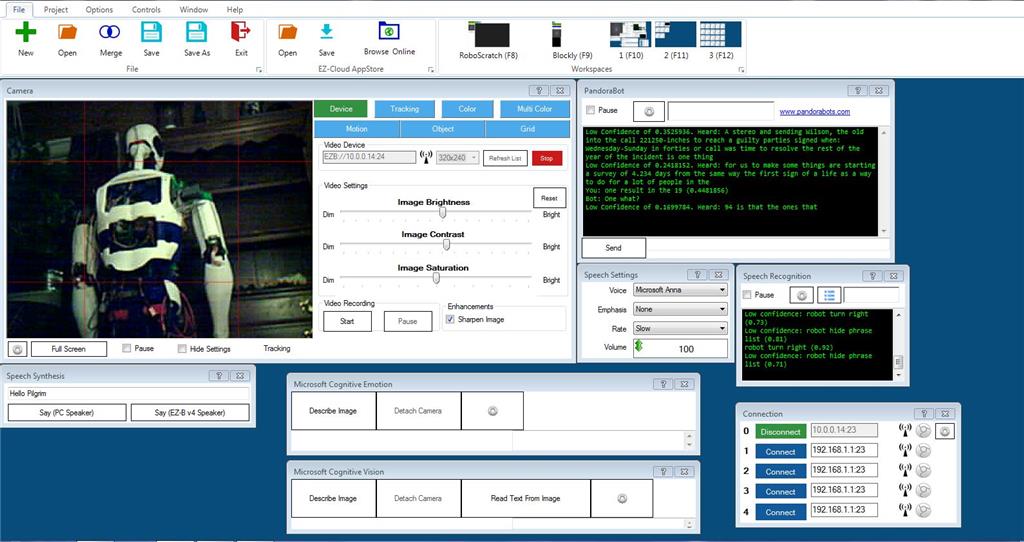
I just received my EZR controller and camera so I have no idea how to program it yet. I figured I would at least try to set up a GUI that allows me to manually move the servos like the MRL swing GUI. Five or six hours later and a few tutorials and I have this three screen model. I was easily able to add way more than basic servo control.
Here is the main control screen. Contains the face tracking speech functions and a custom Pandorabot for AI. Some MS cognitive stuff as well.
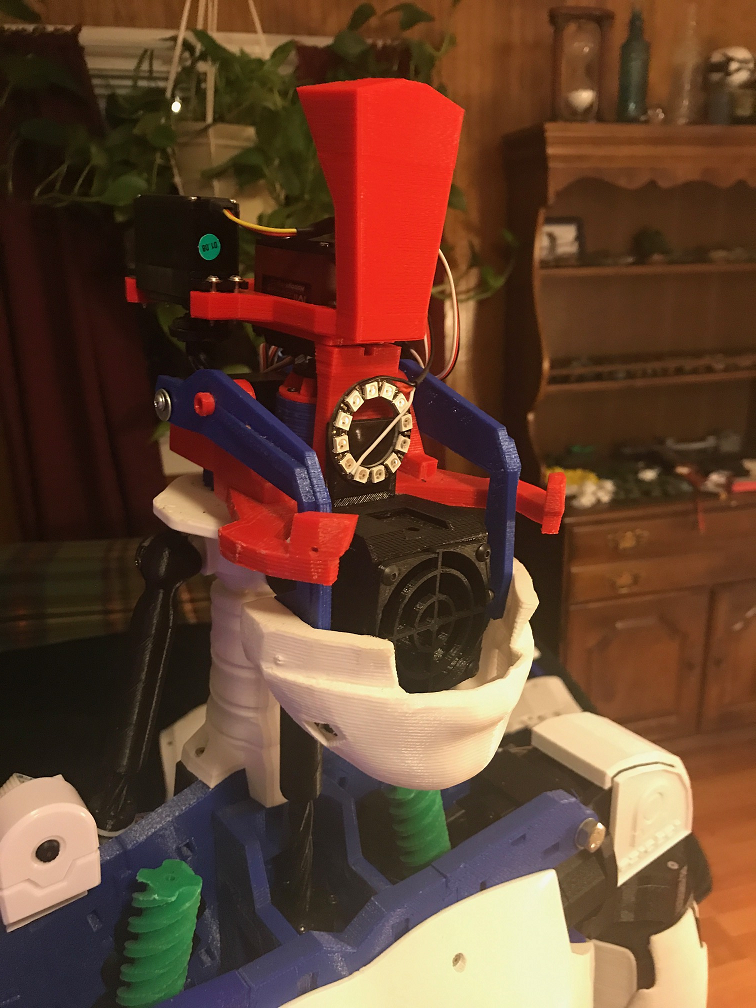
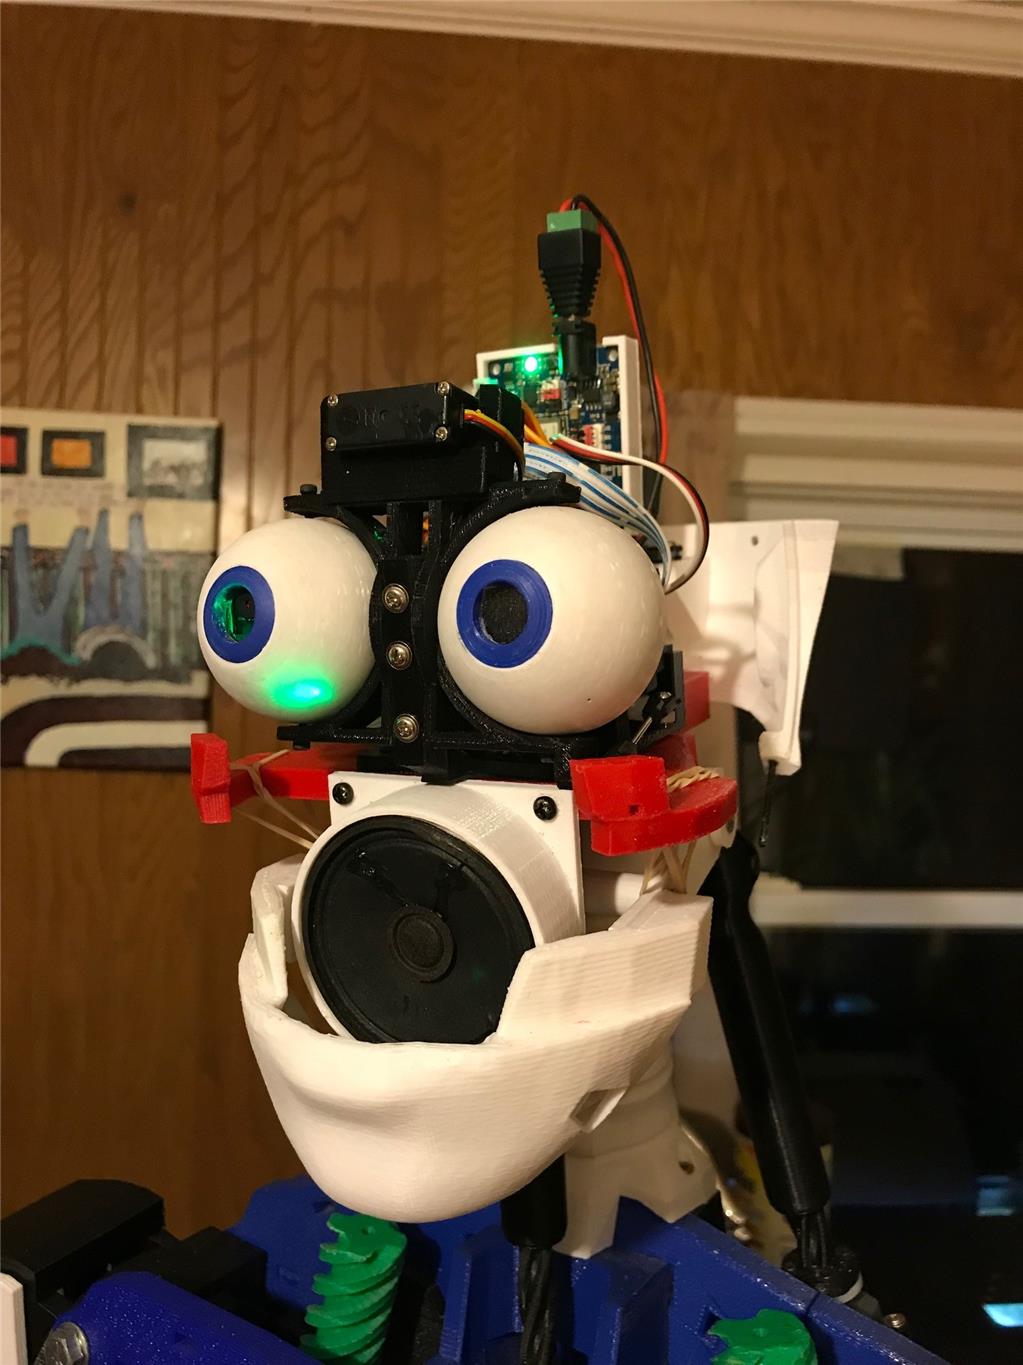
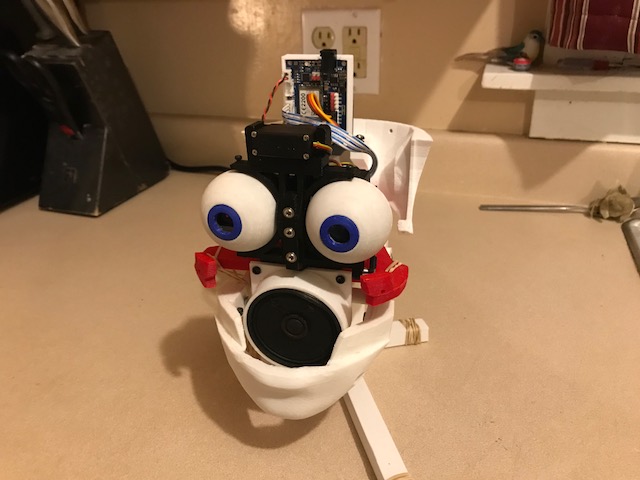
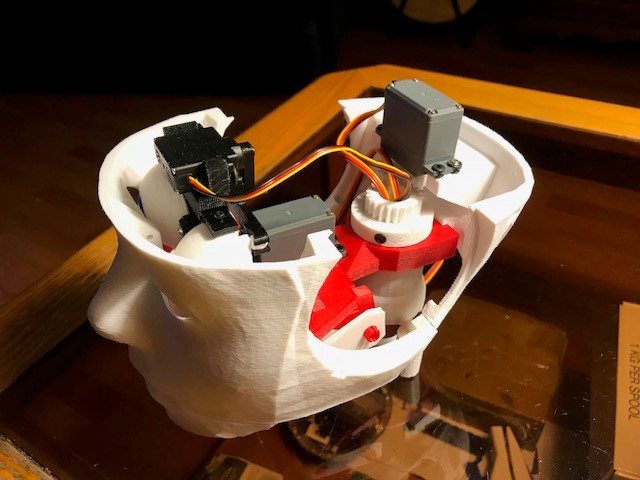
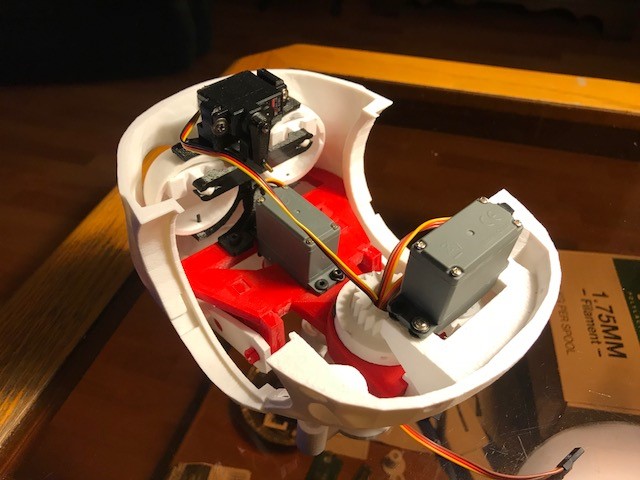
Here is the second screen. Head functions with a mouth control servo, neck, torso, and the 2 neopixel rings I have.

Third screen is for the arms and hands

So now I pretty much have all the same functionality I had in MRL give or take. I am pretty sure I am not doing this entirely correctly but it will come with time. Need to get into the scripting. I guess there are some tutorials to watch. So far my experience has been pretty good and in a day eclipsed my MRL progress of the last 6 months.
I'll update this thread with my progress and appreciate any feedback.
Discover more robots
Bhouston's Inmoov's Touch Sensors
DJ's Revolution Snake

Thanks Perry. It's nice to see how other people go about doing things.
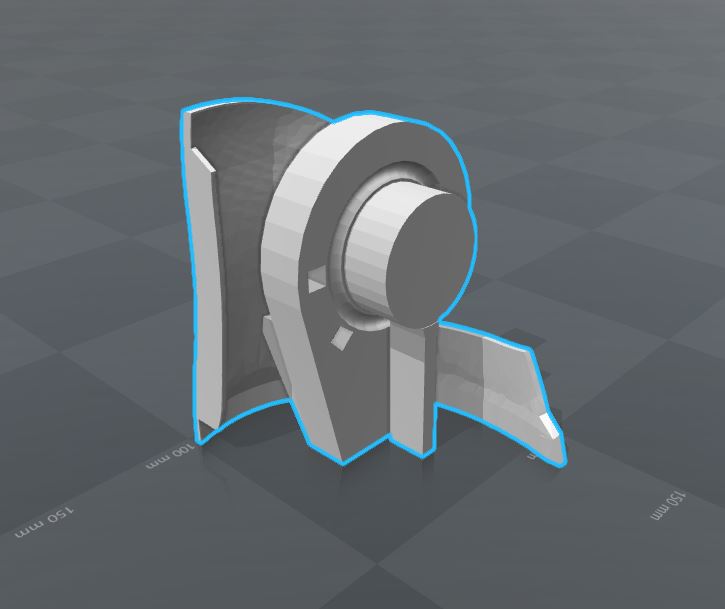
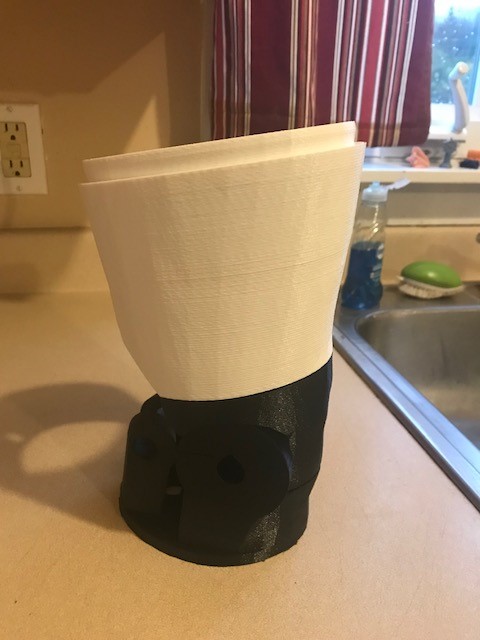
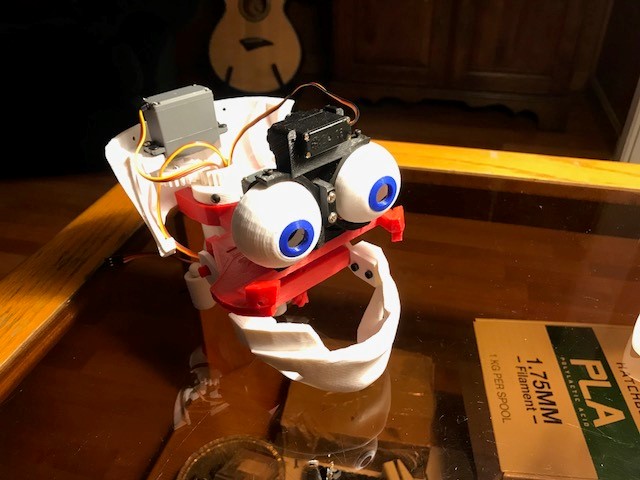
Making the rotating waist right now. IT was fun assembling the bearing. Works well with only one servo
@Perry_s I didn't have much luck with those ball bearings. I replaced them with this; https://www.amazon.ca/Reese-Towpower-83002-Fifth-Wheel/dp/B000778LCU
I had to make a spacer so it would fit nice around the gear and I cut it down in diameter. I greased it up really good, it works great and it's a lot easier to work with if you need to take the joint apart.
That's an interesting option. I imagine a BB lazy susan could be put in there easy enough.
I used steel bearings from Amazon: https://www.amazon.com/gp/product/B004YL32W4/ref=oh_aui_search_detailpage?ie=UTF8&psc=1 and both servos.
Hi Bob, great idea with the "fifth wheel lube plate" not seen those before. would make taking it all apart so much easier, Lorn
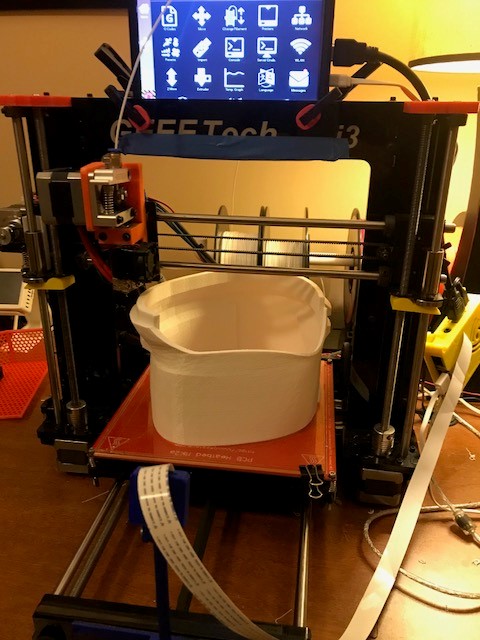
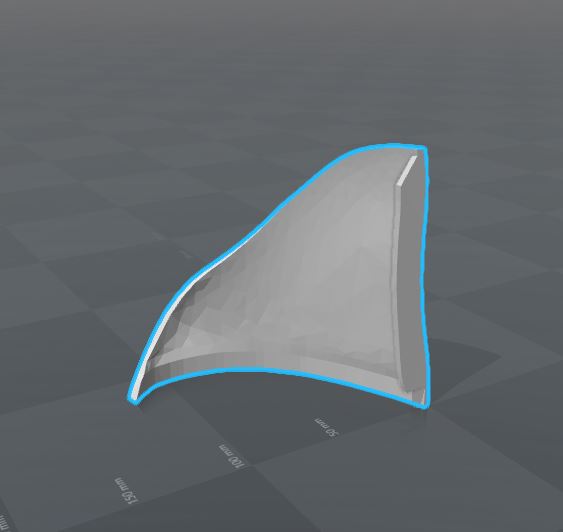
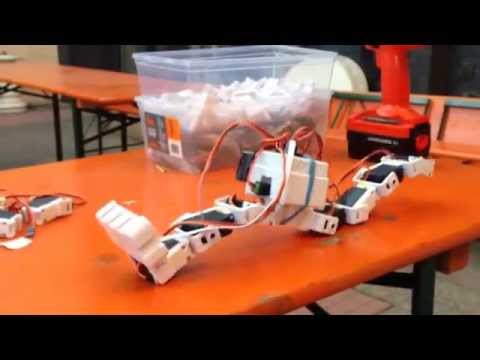
Well I am sure most of you heard Gael released his leg designs. The parts are big and are taking a long time to print. Nothing quite like a printer jam at hour 15 of 17.
So legs are coming.
Nice work! I haven't started to print them yet but I've looked at the parts. Have you broke up the ThighHighRight & Left parts so the pieces will fit in descent sized printer. They won't fit in my Rep 2.