


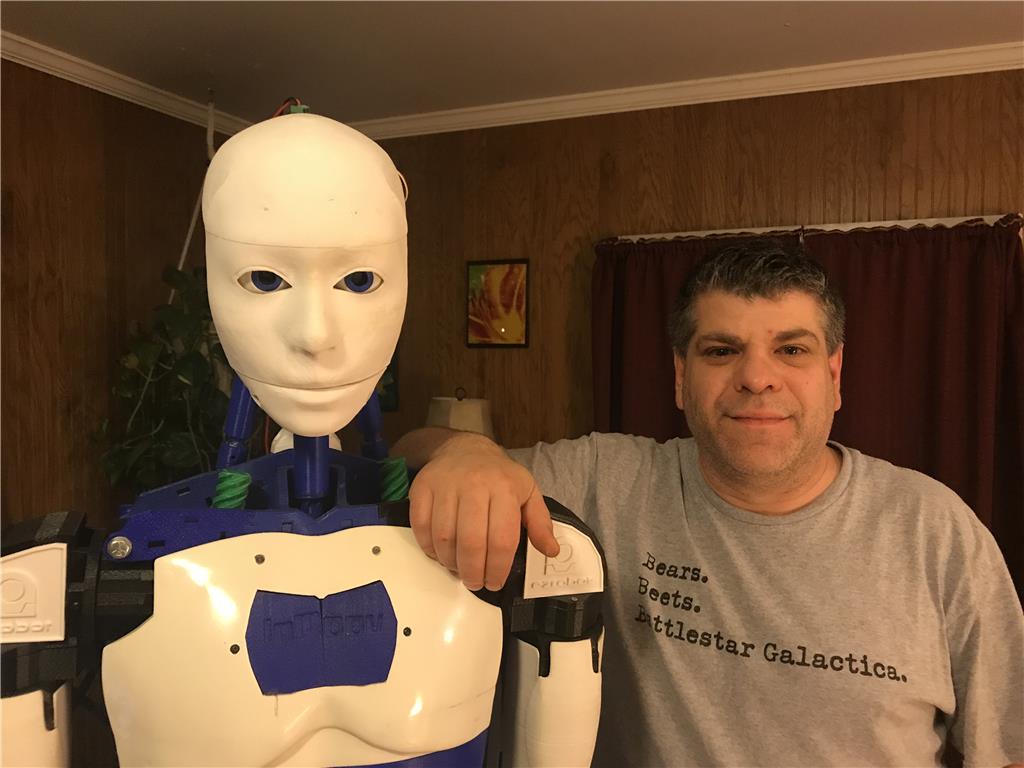
Hello all, I wanted to start my own thread to discuss my Inmoov and my conversion to EZ Robot. I appreciate all the work by the MRL guys but I struggle with it. I am indebted to the help they gave me but I needed something a little more along in development with some documentation.
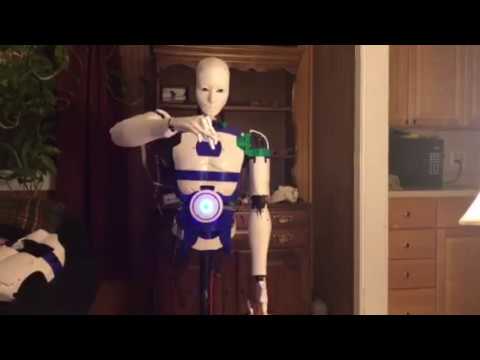
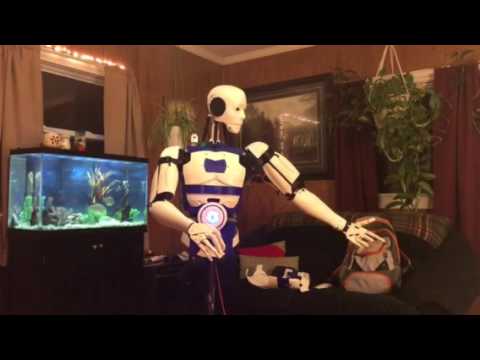
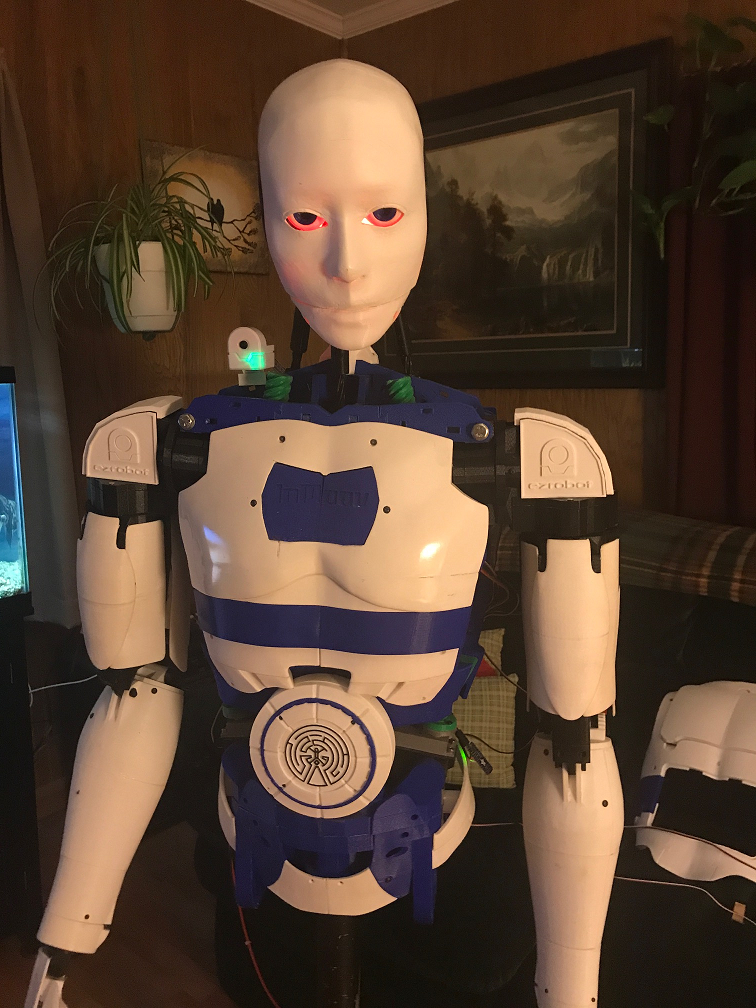
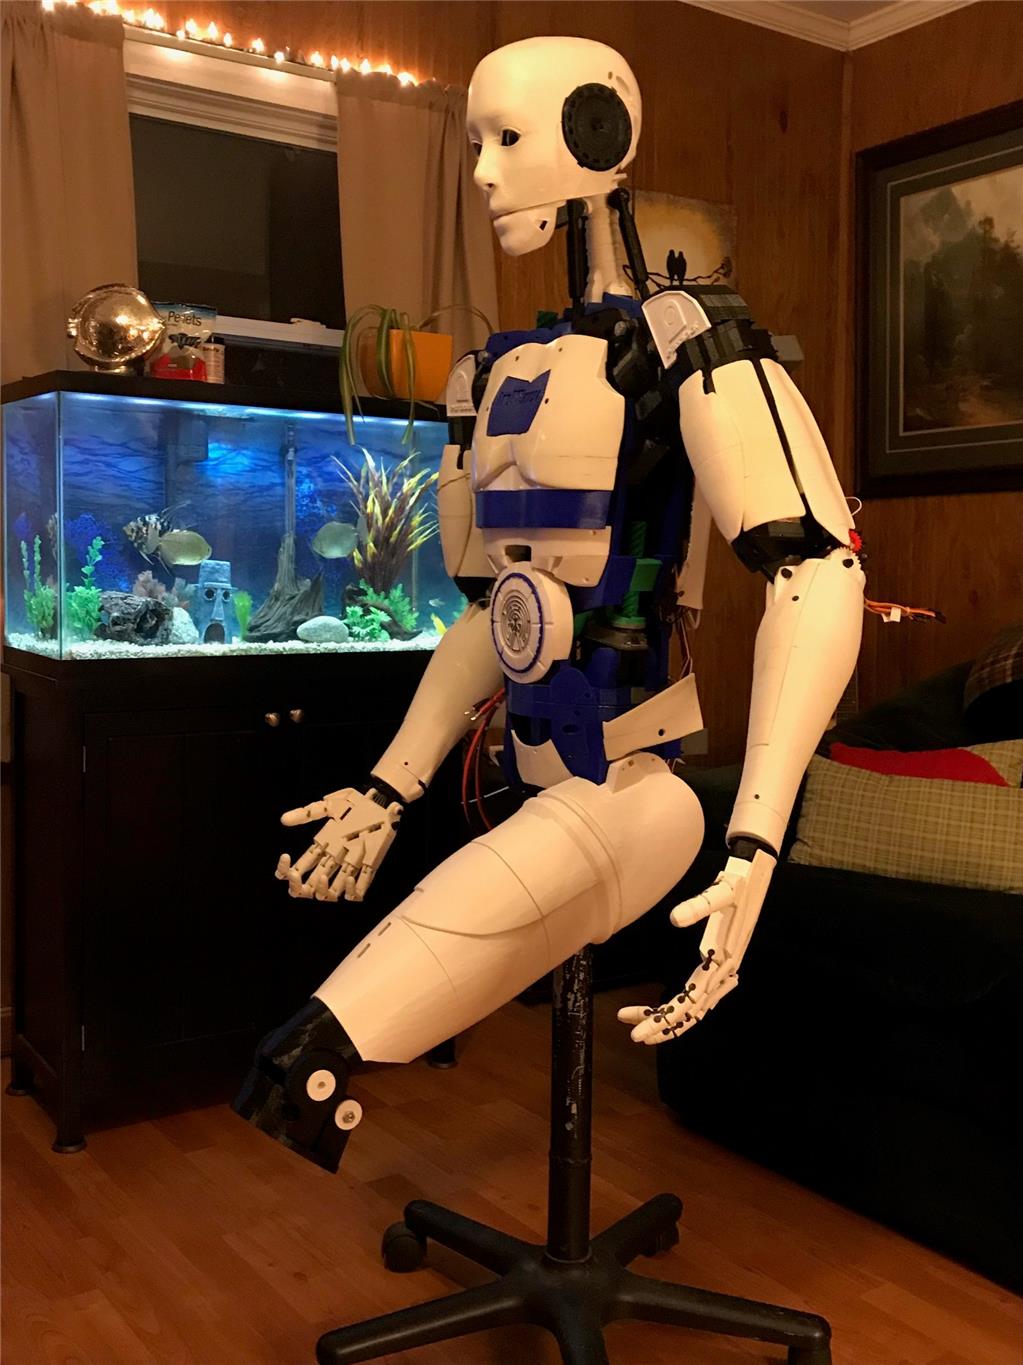
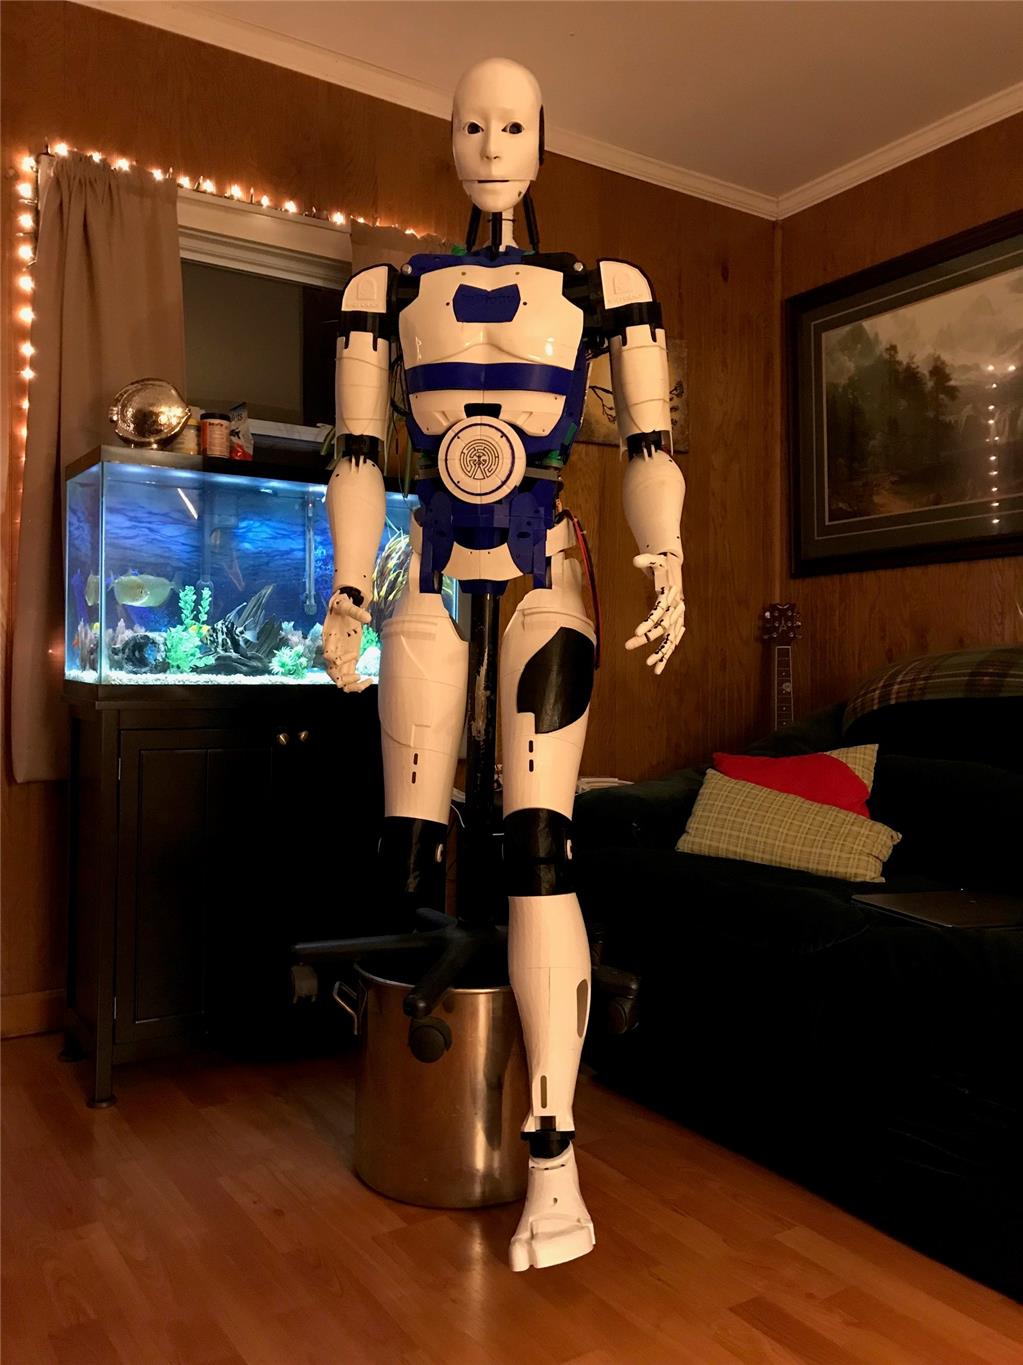
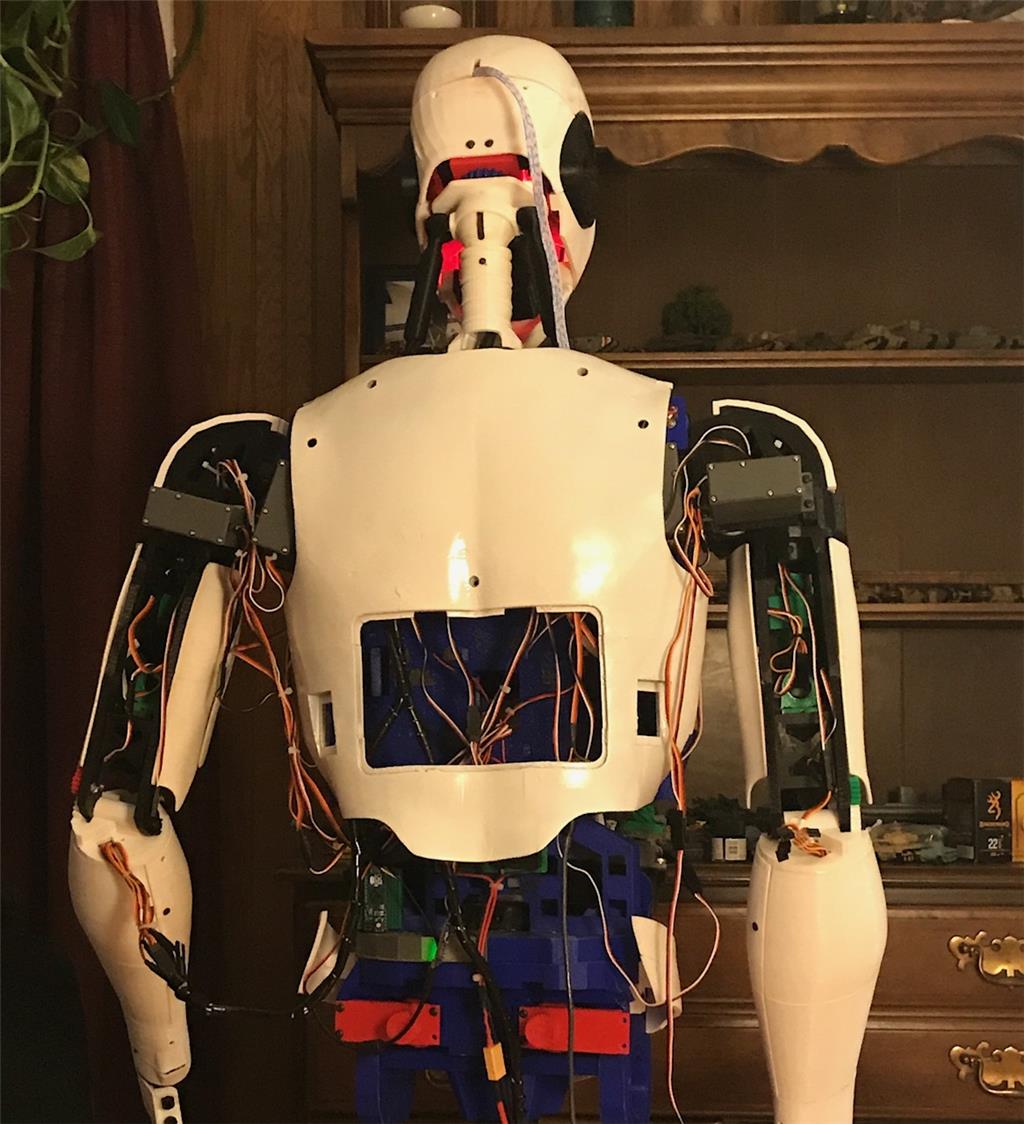
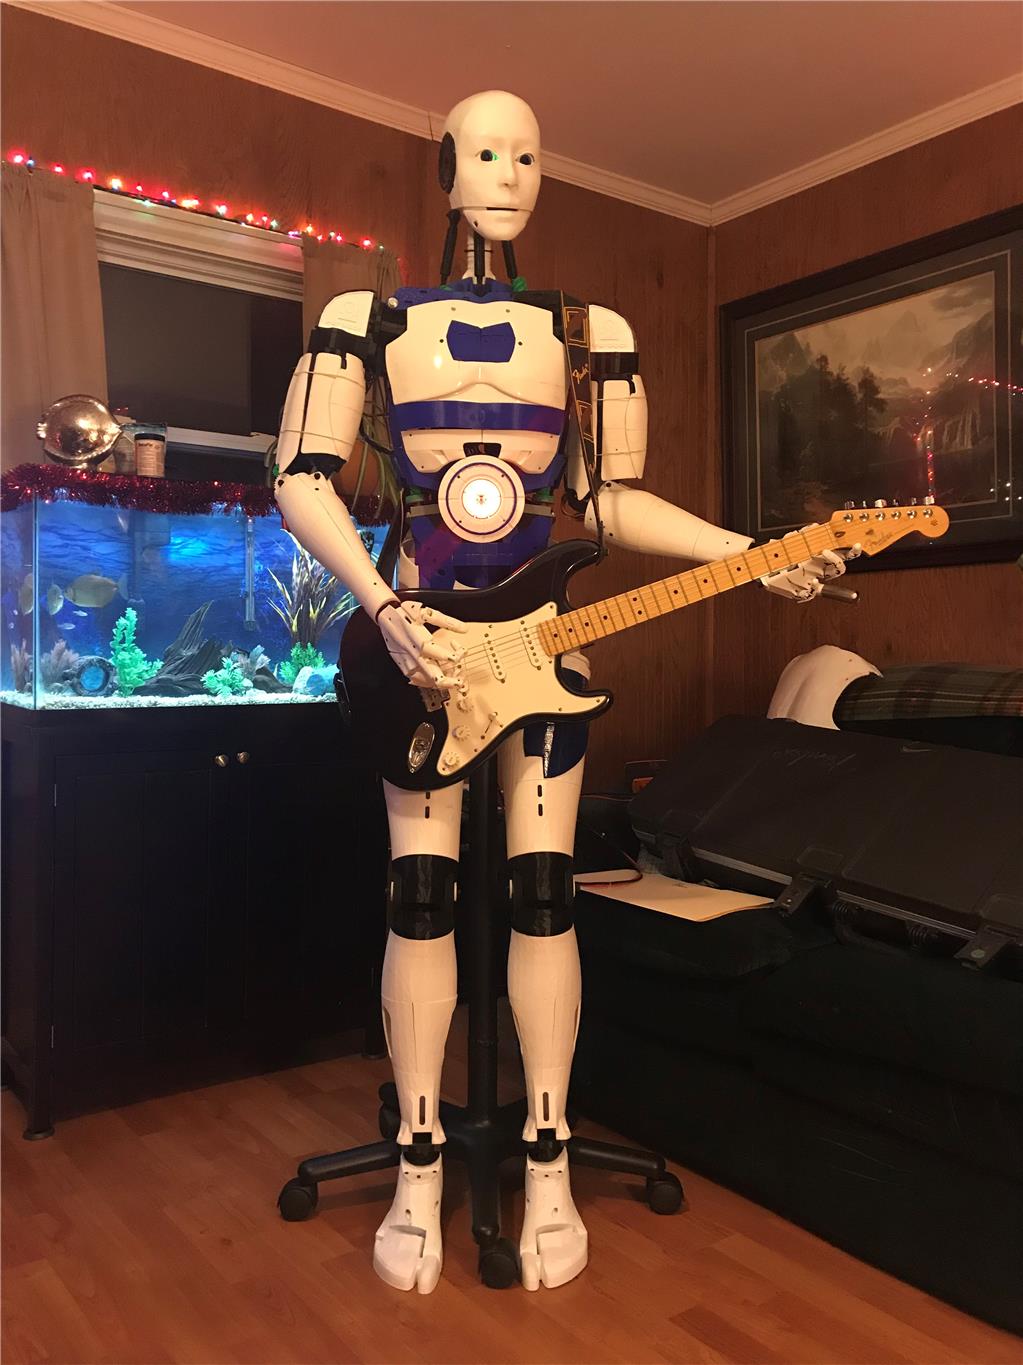
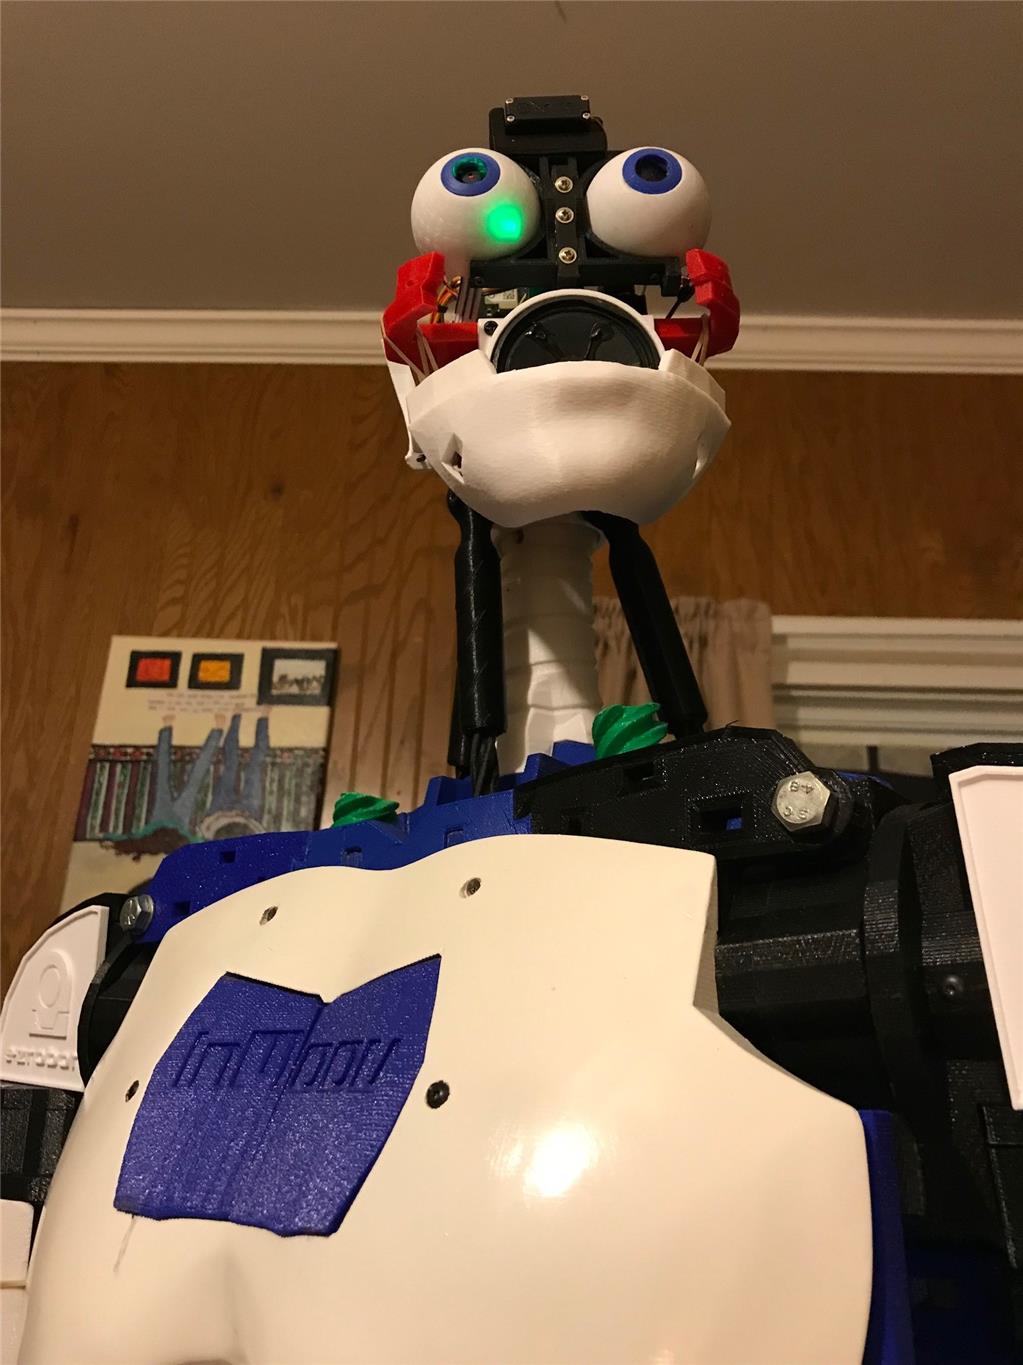
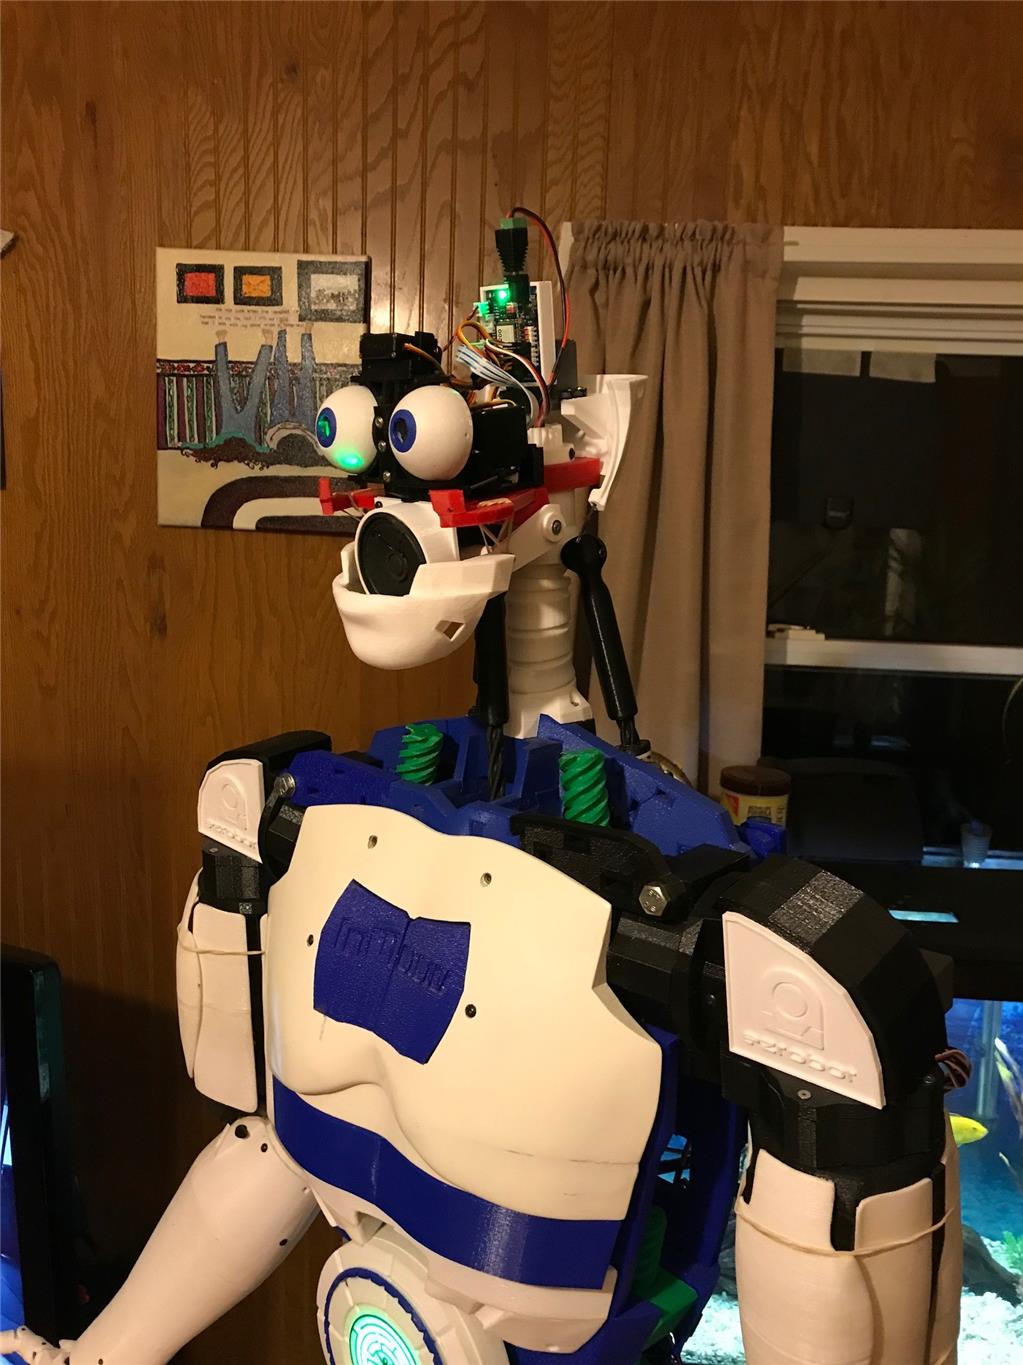
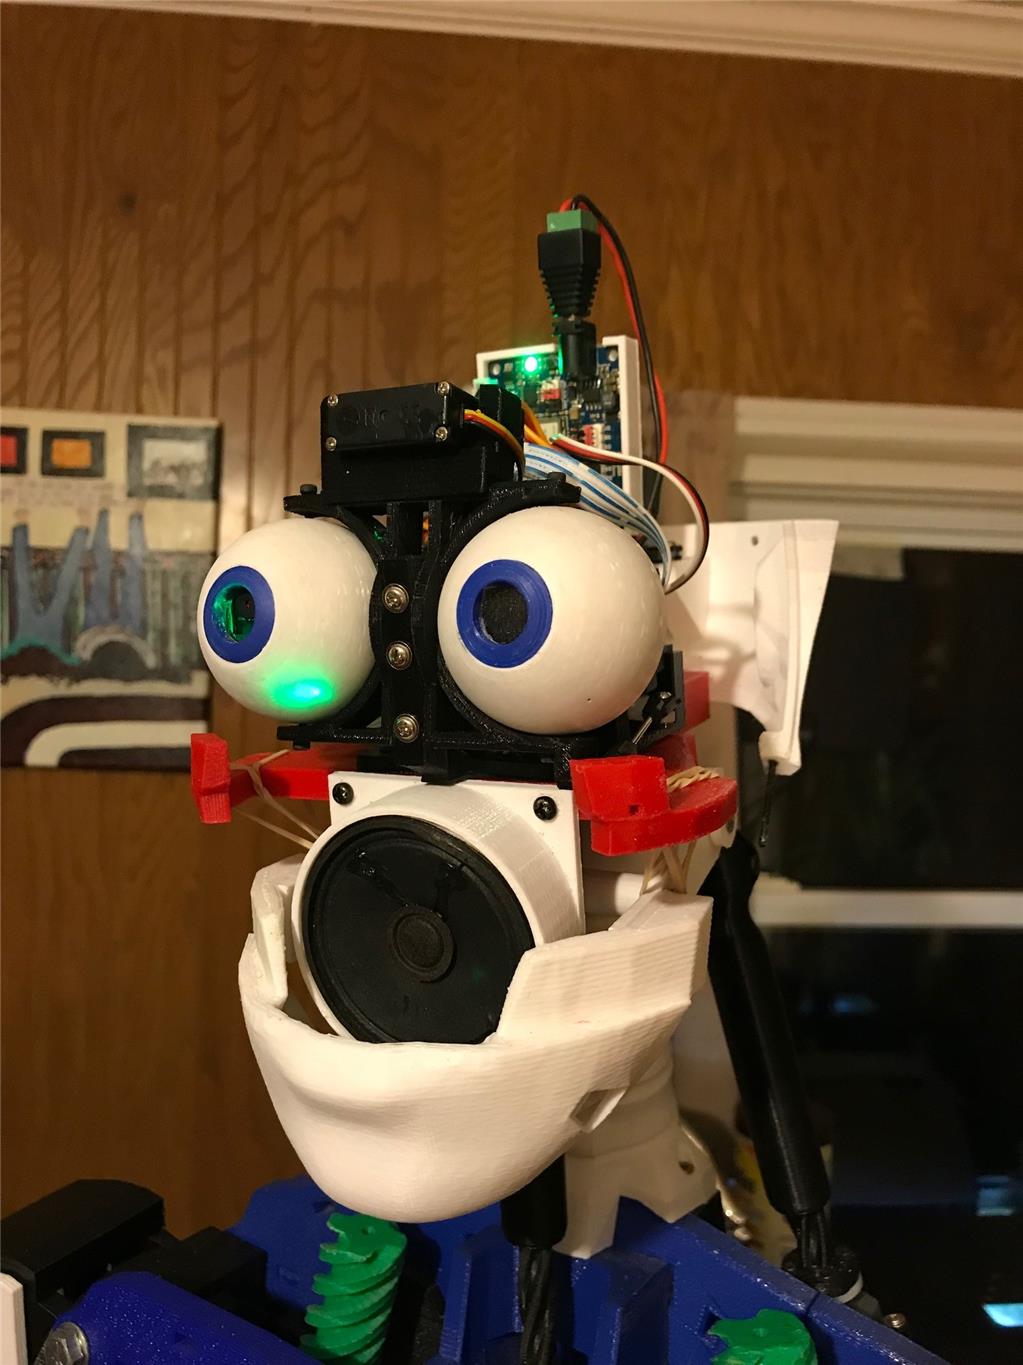
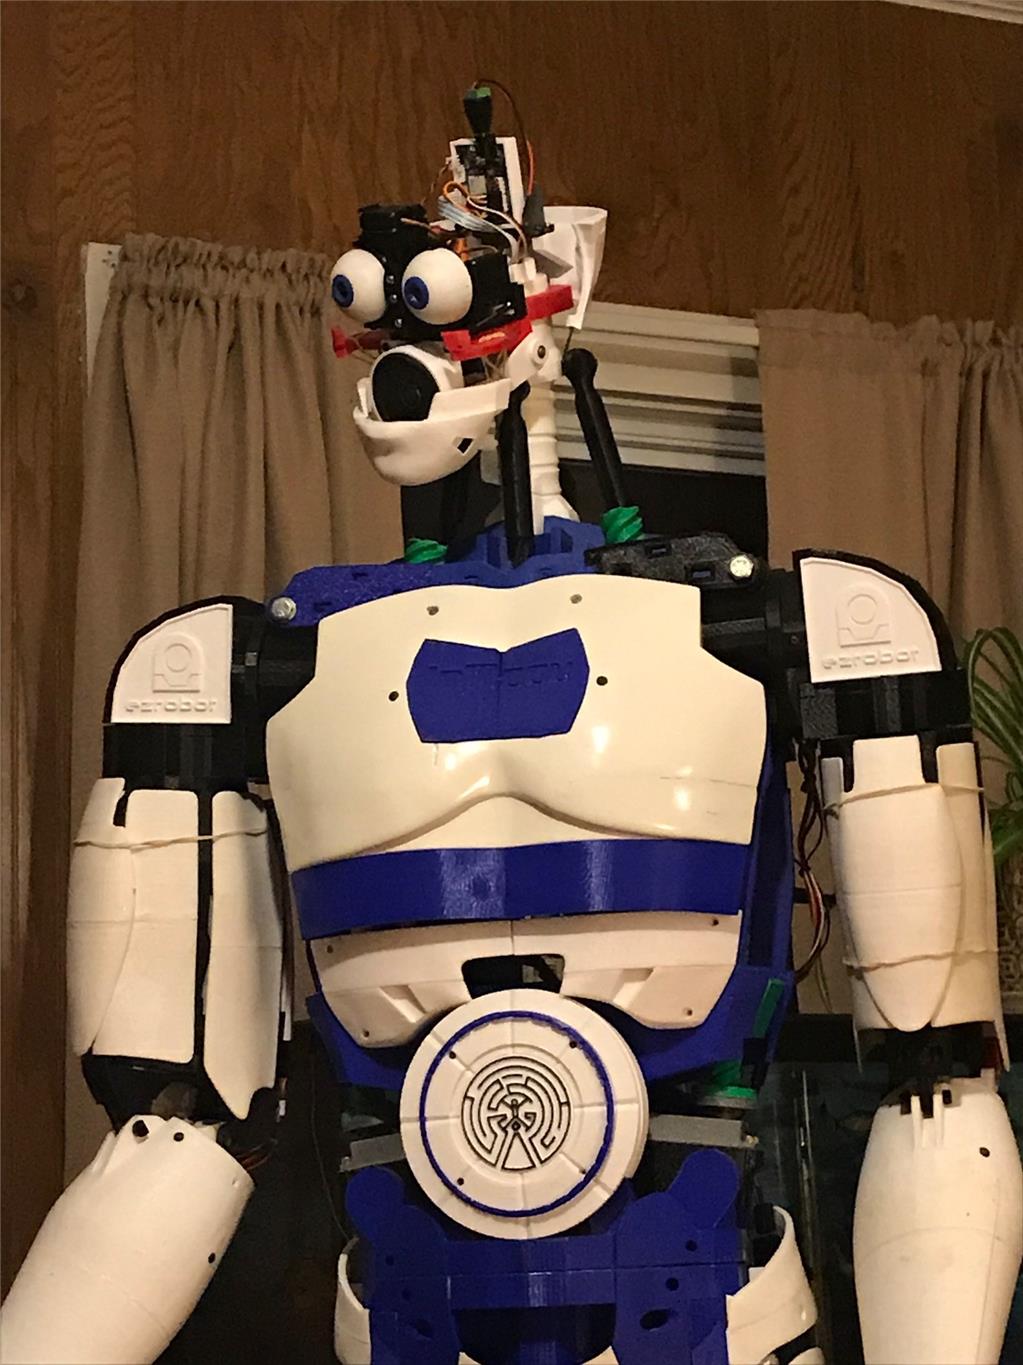
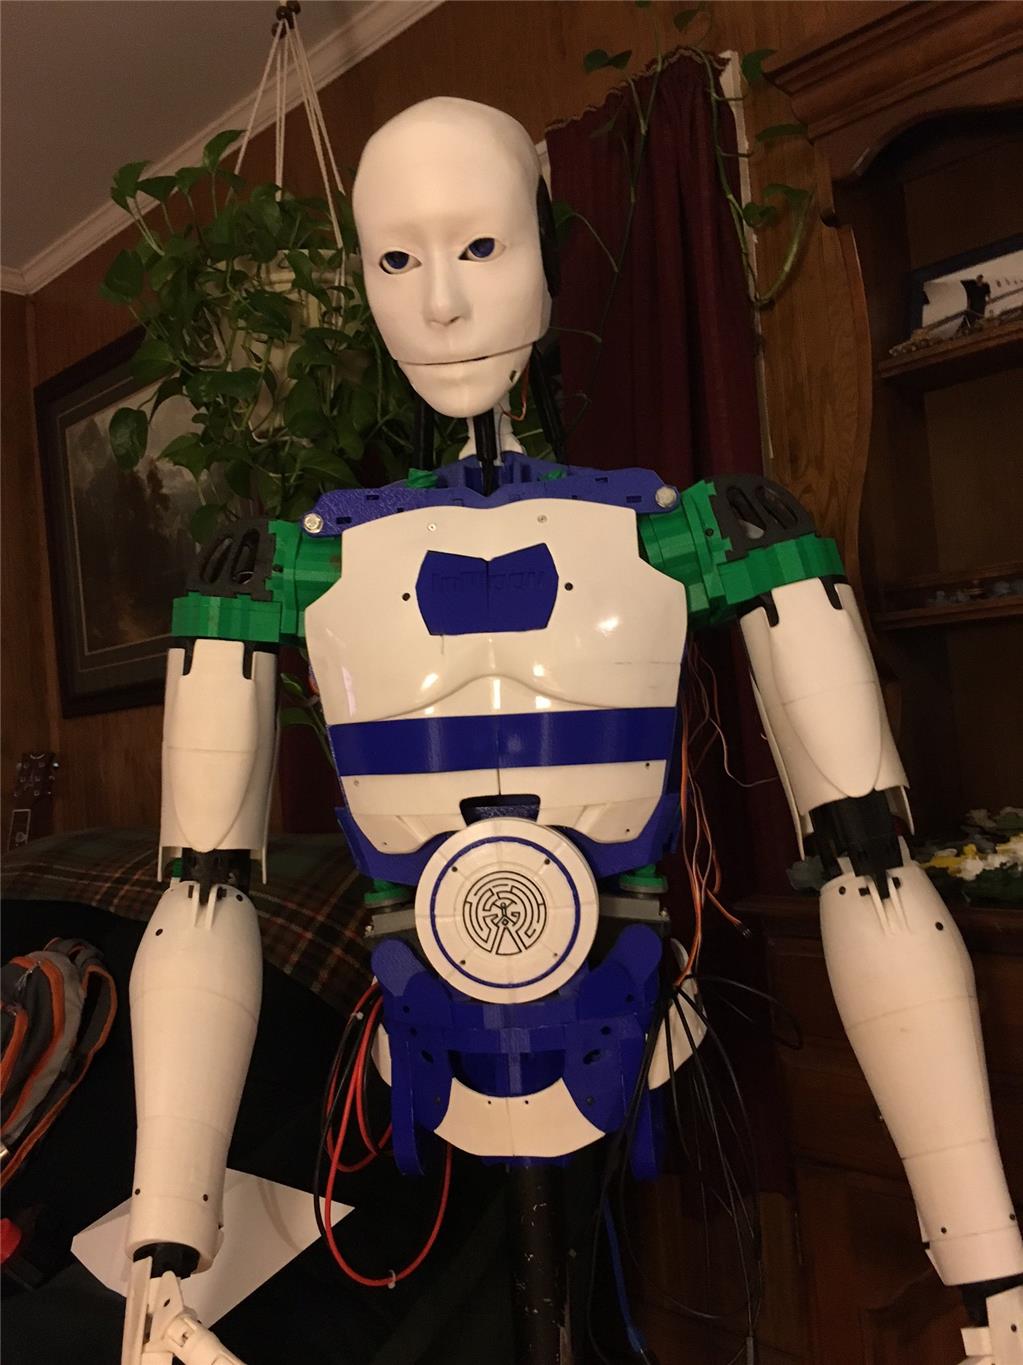
So here is my guy. Pretty standard build as far as inmoov's go.
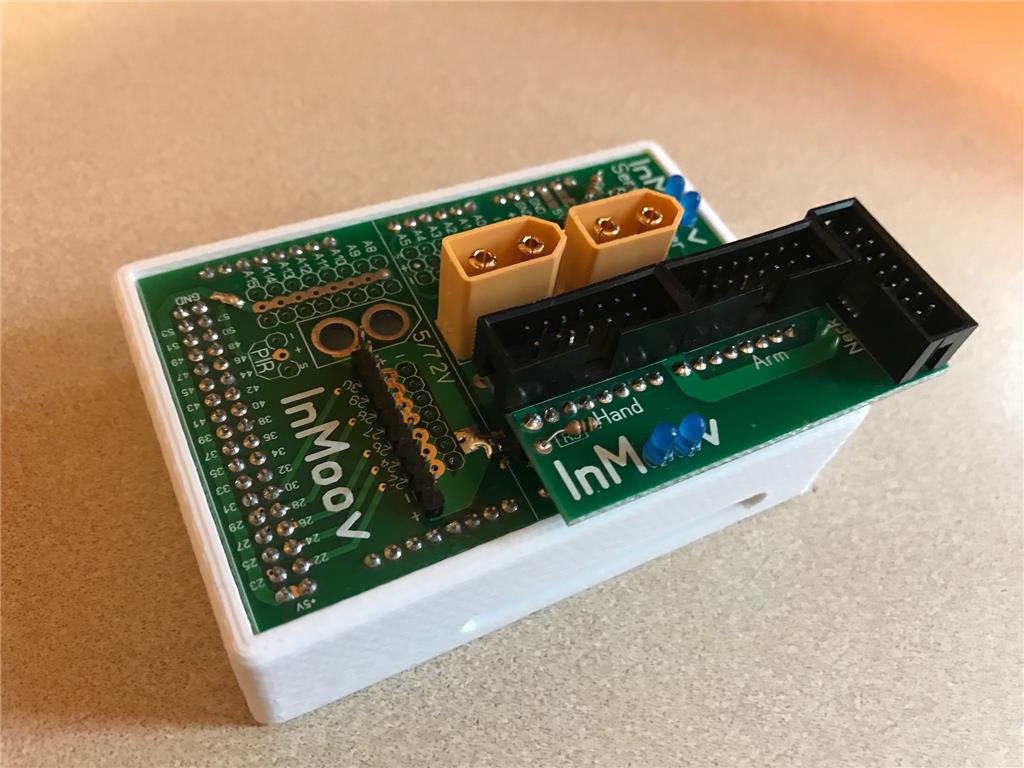
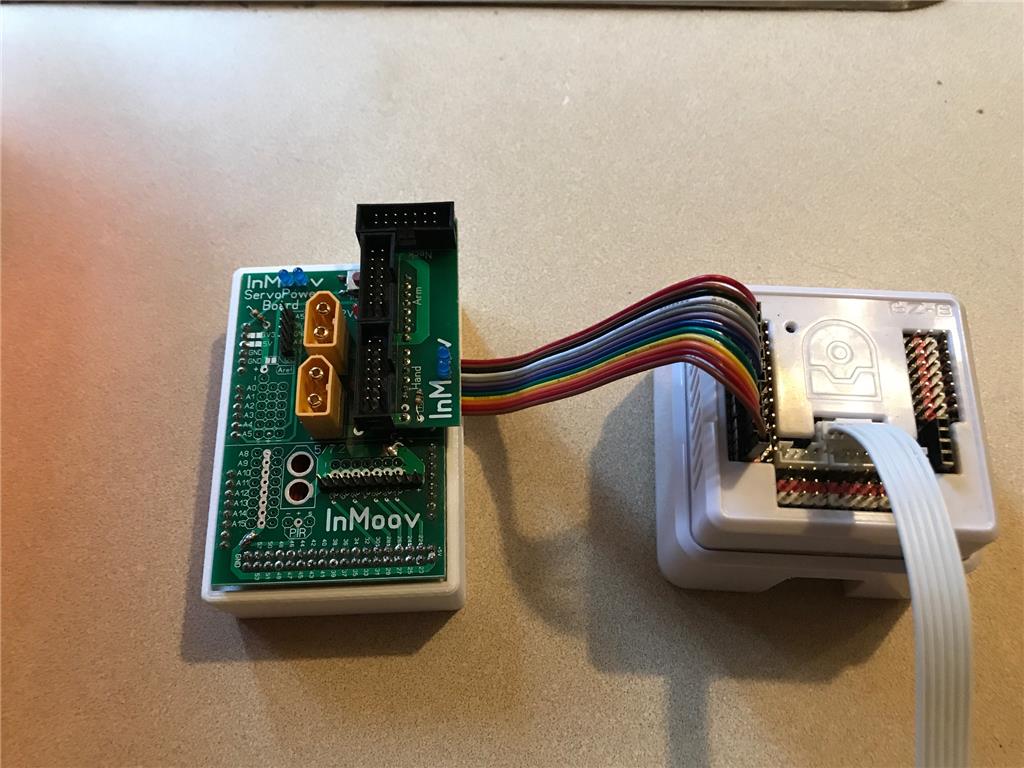
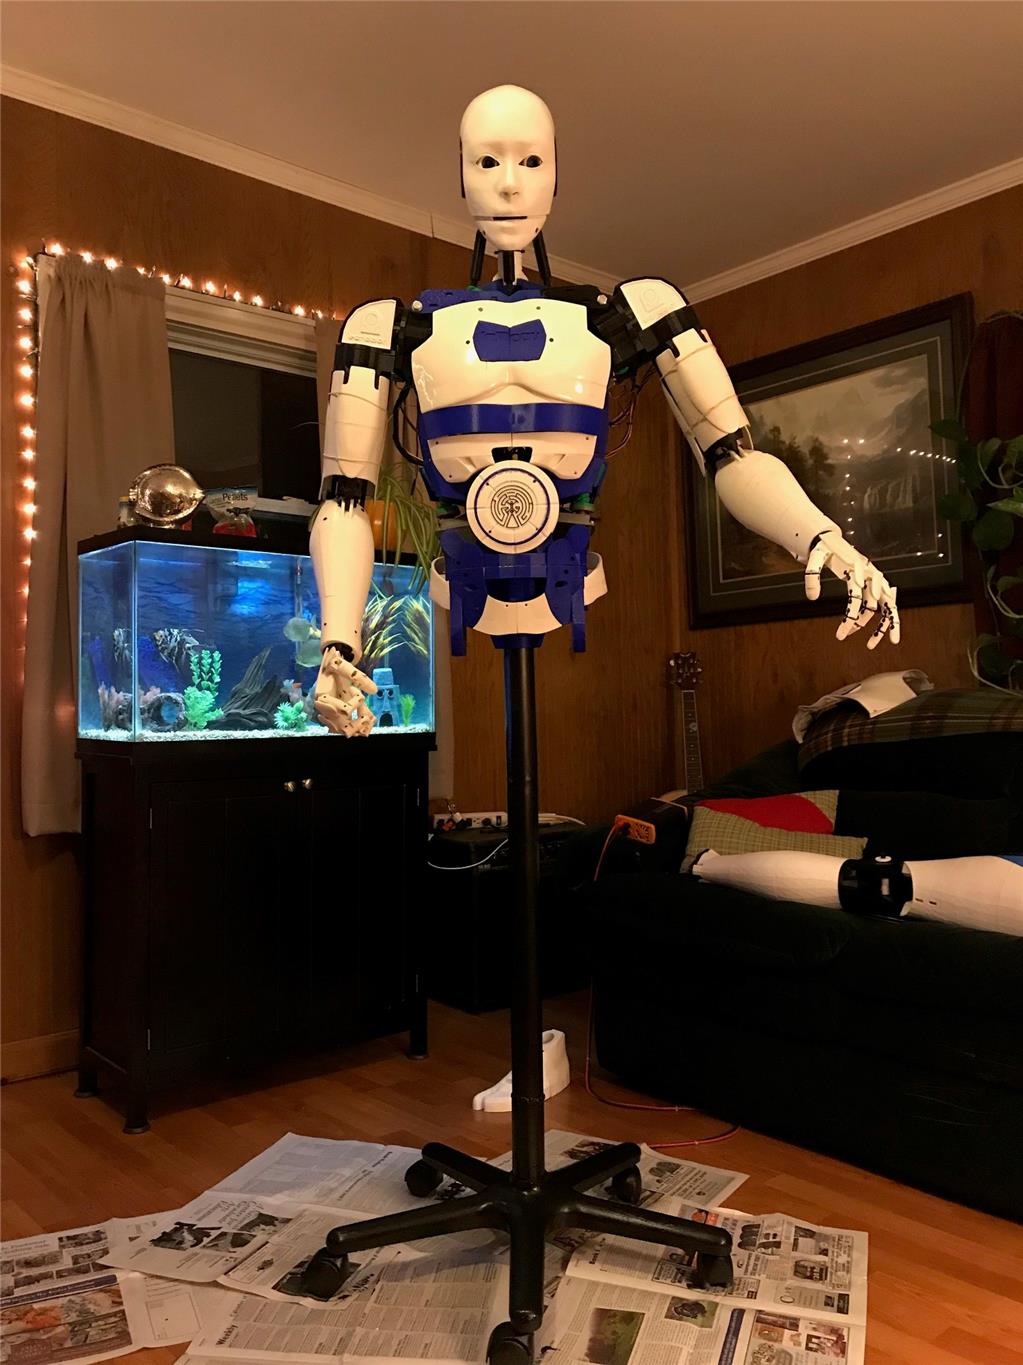
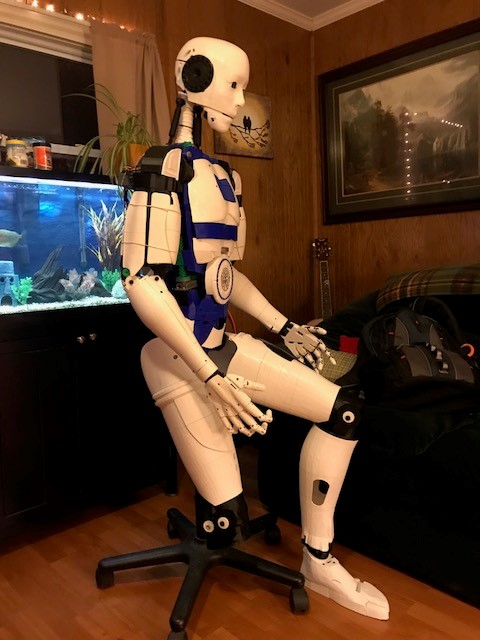
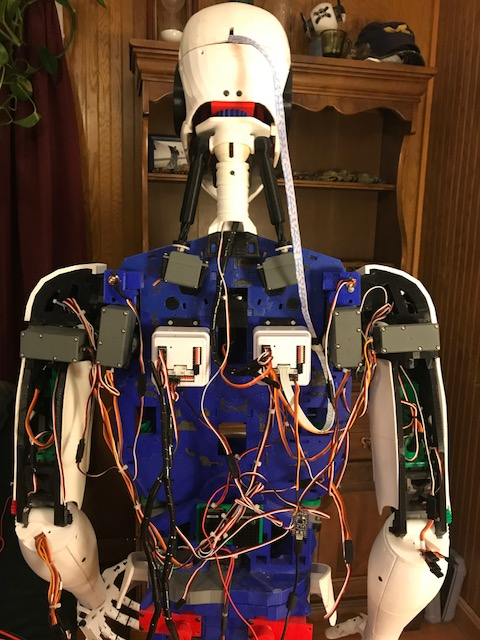
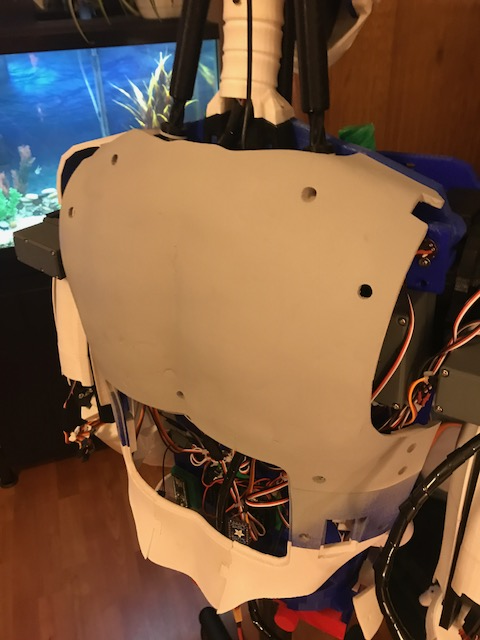
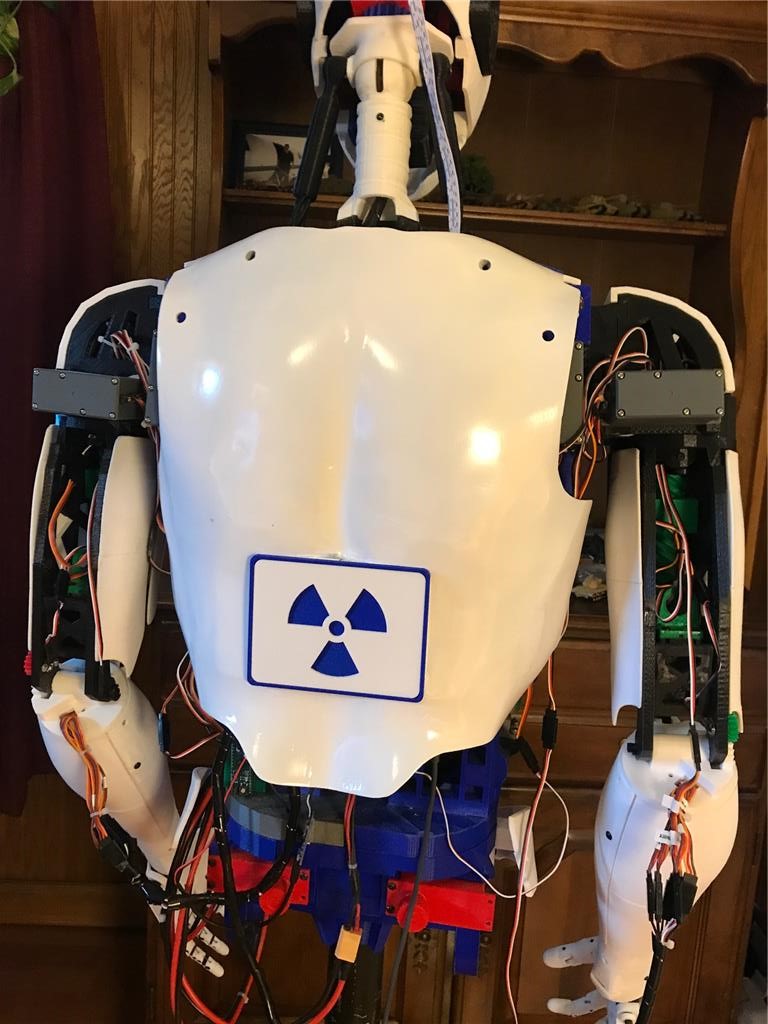
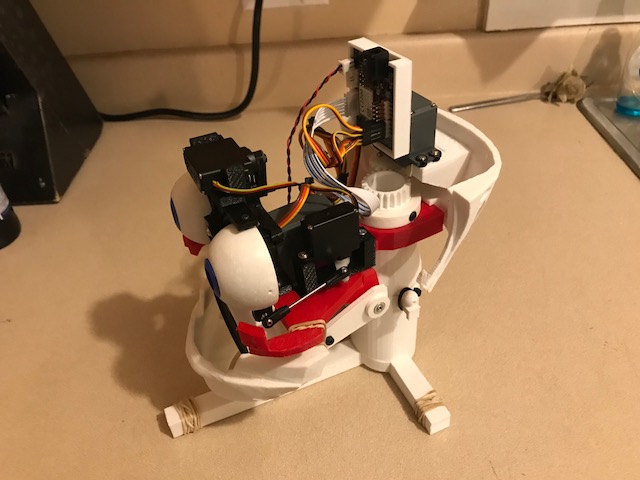
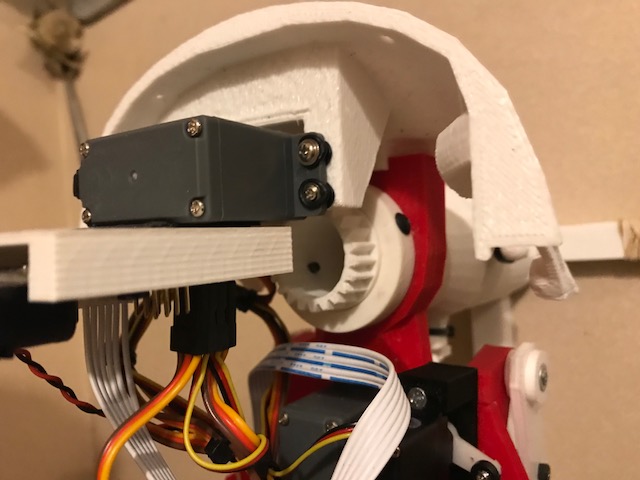
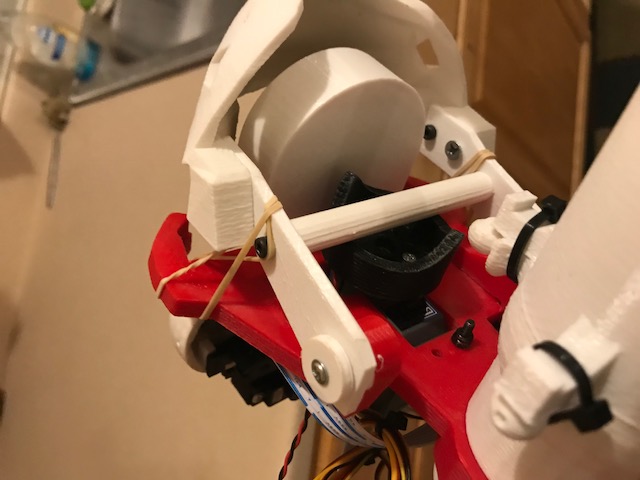
Here's the back. All the standard inmoov components. Dual 256 Megas, Nervo boards USB hub, Power supplys etc.
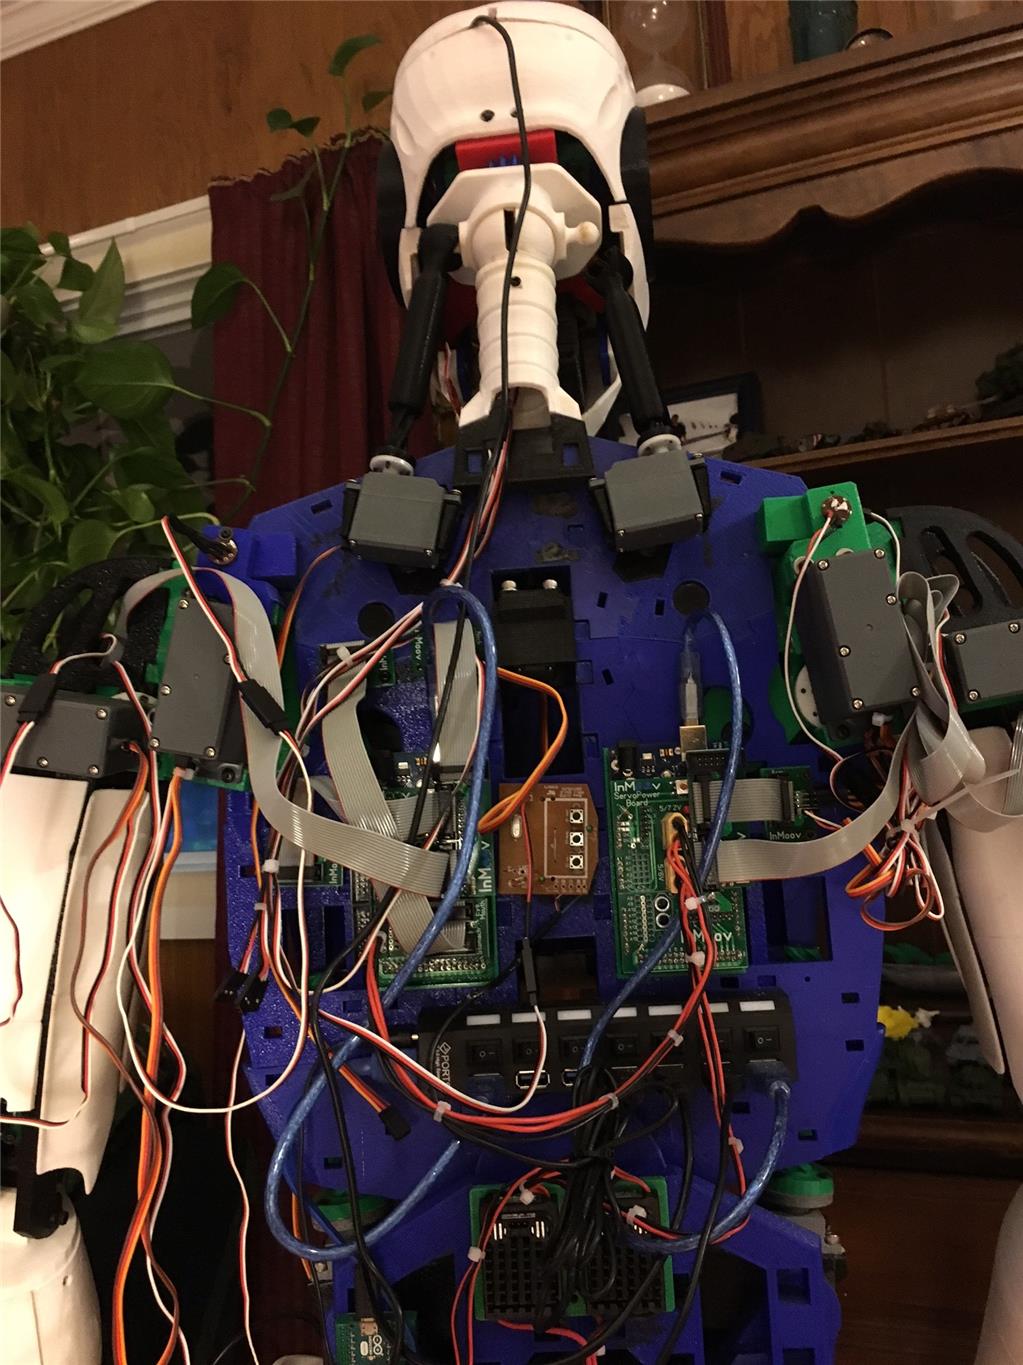
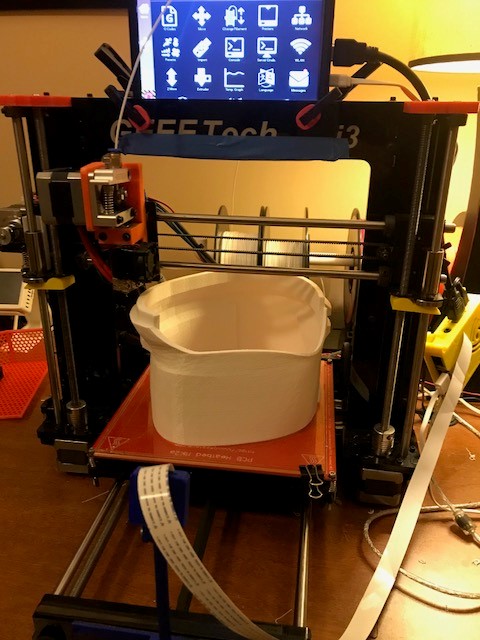
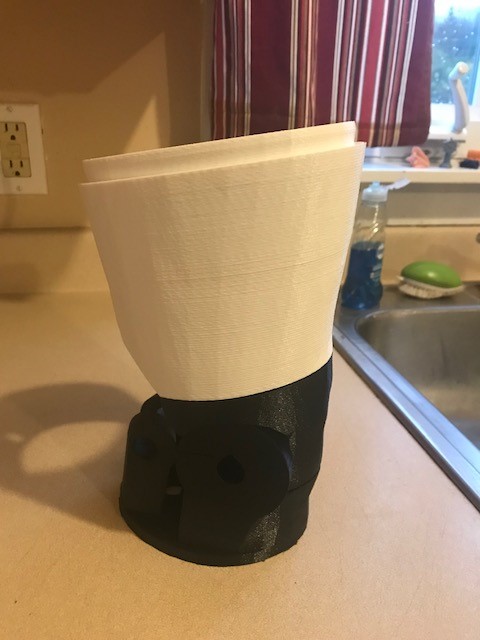
So the tear down begins. I need to clean up that wiring too. What a rats nest!
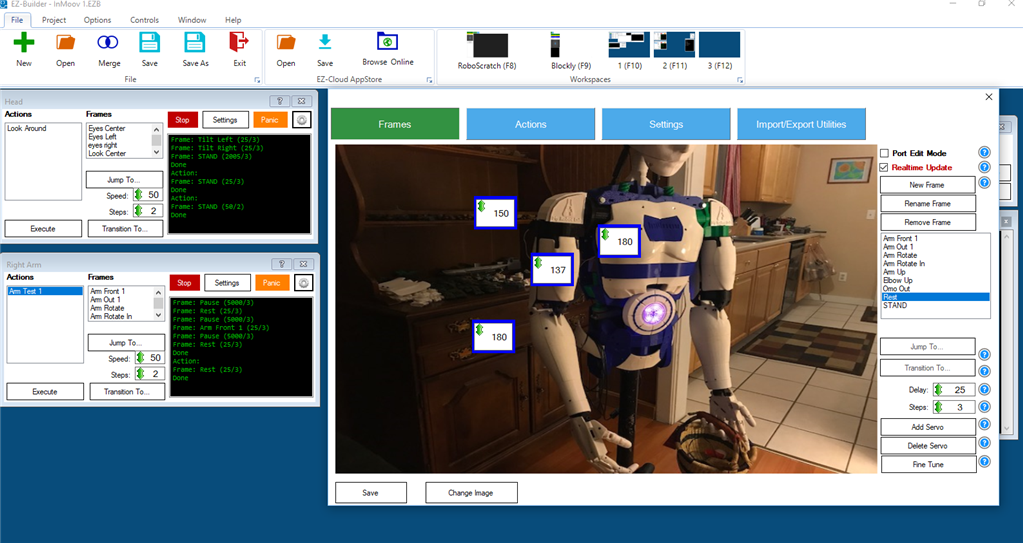
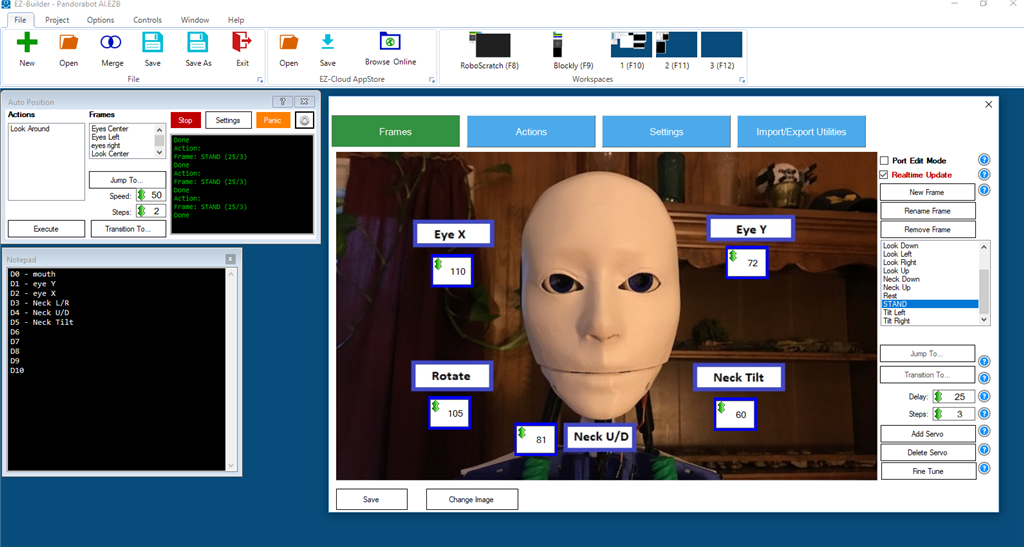
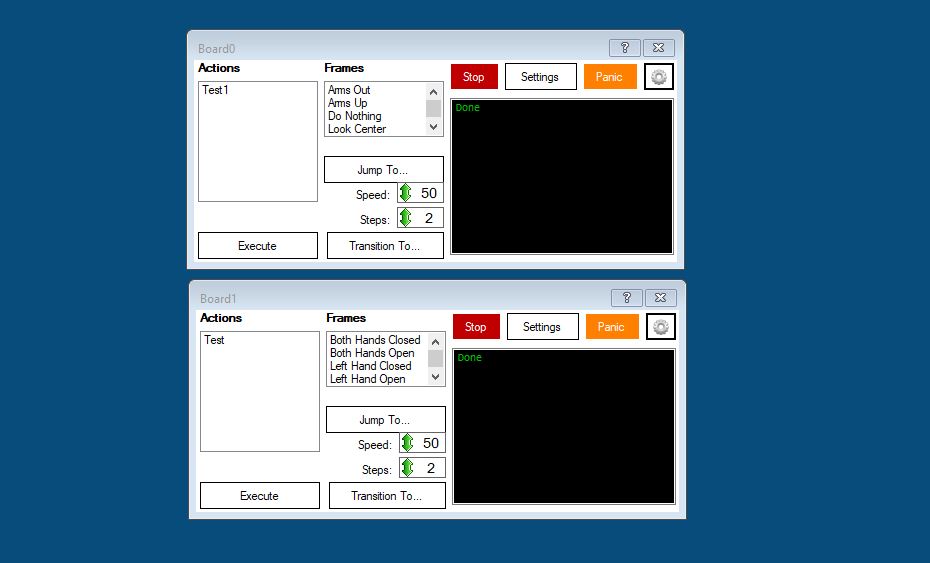
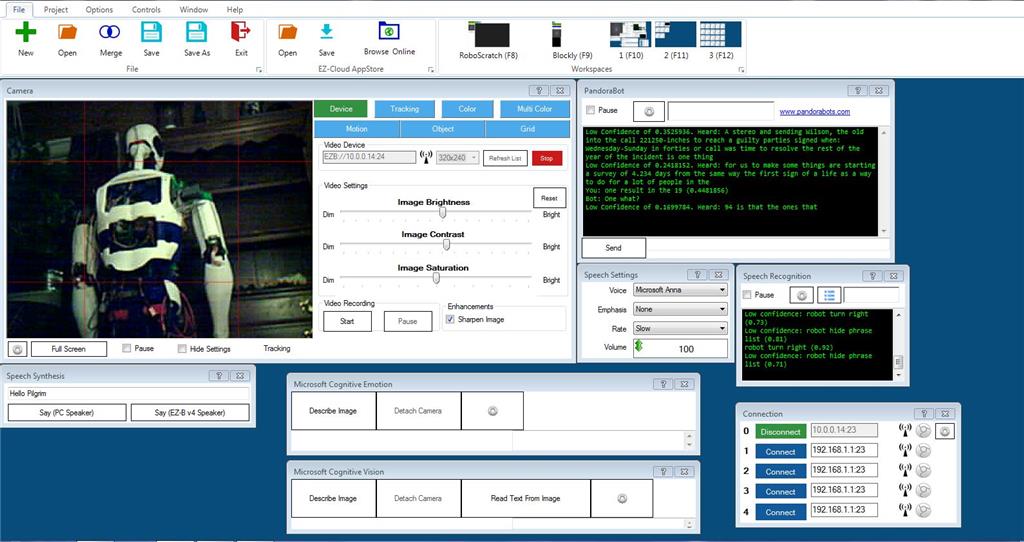
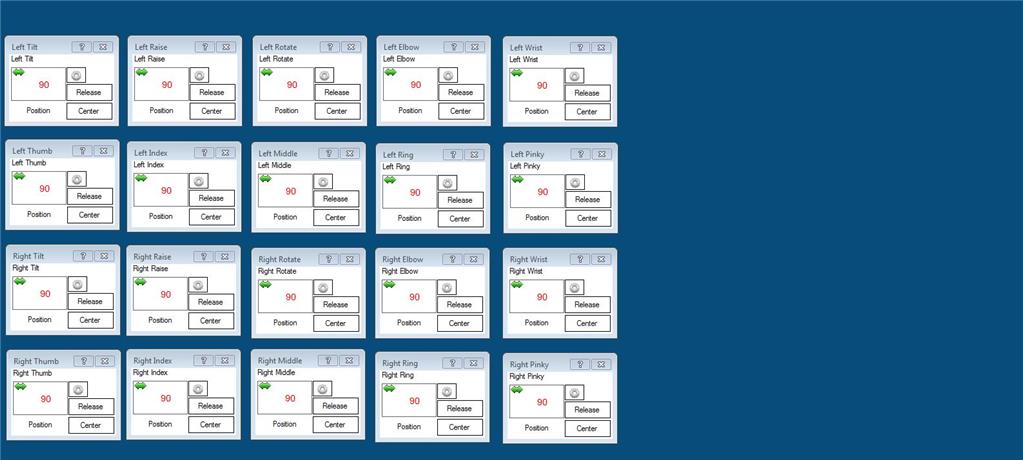
I just received my EZR controller and camera so I have no idea how to program it yet. I figured I would at least try to set up a GUI that allows me to manually move the servos like the MRL swing GUI. Five or six hours later and a few tutorials and I have this three screen model. I was easily able to add way more than basic servo control.
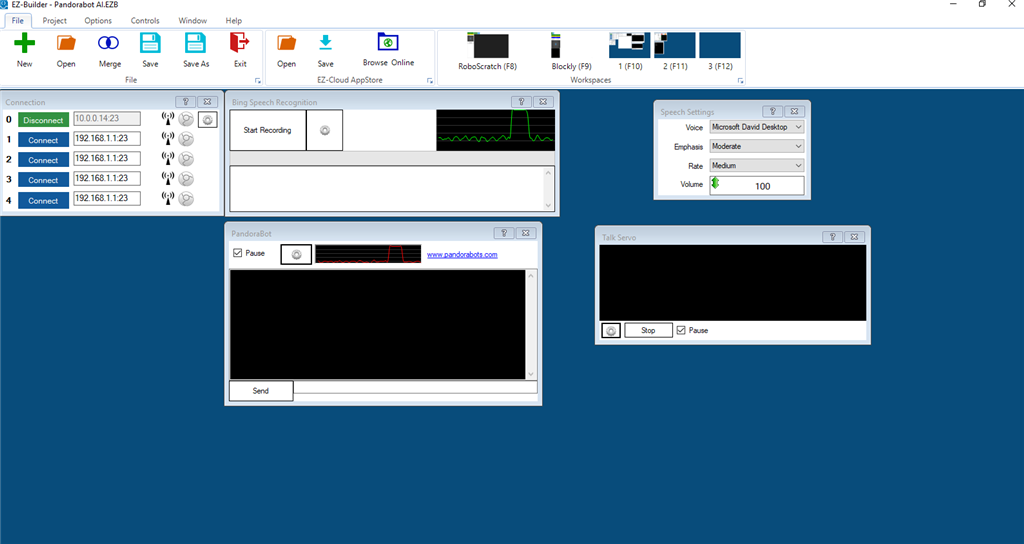
Here is the main control screen. Contains the face tracking speech functions and a custom Pandorabot for AI. Some MS cognitive stuff as well.
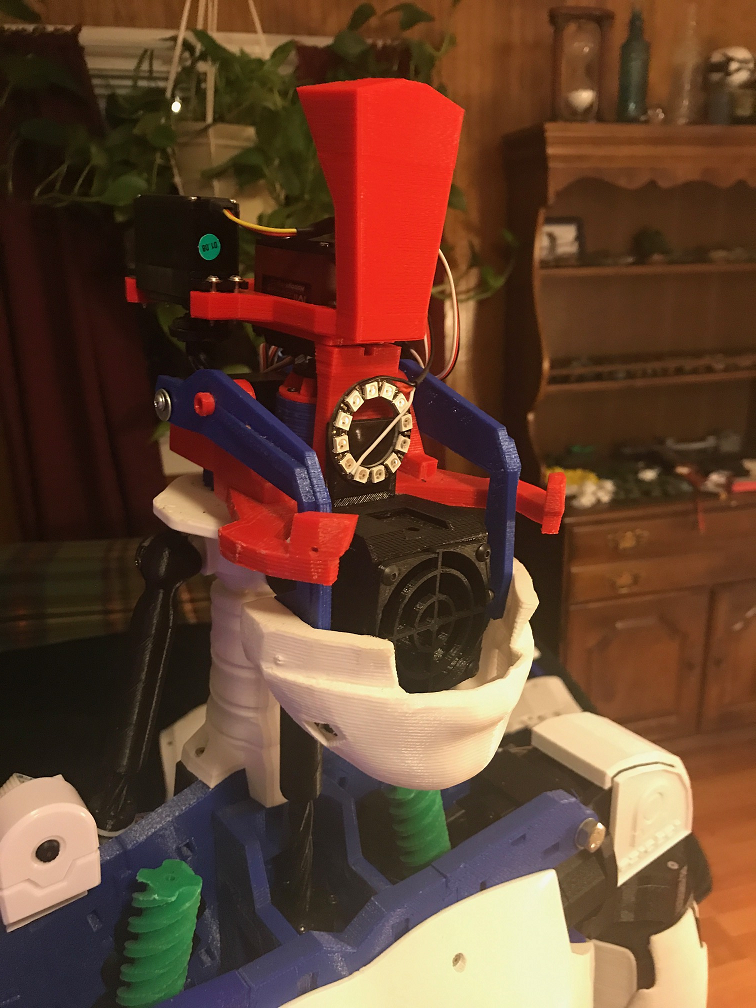
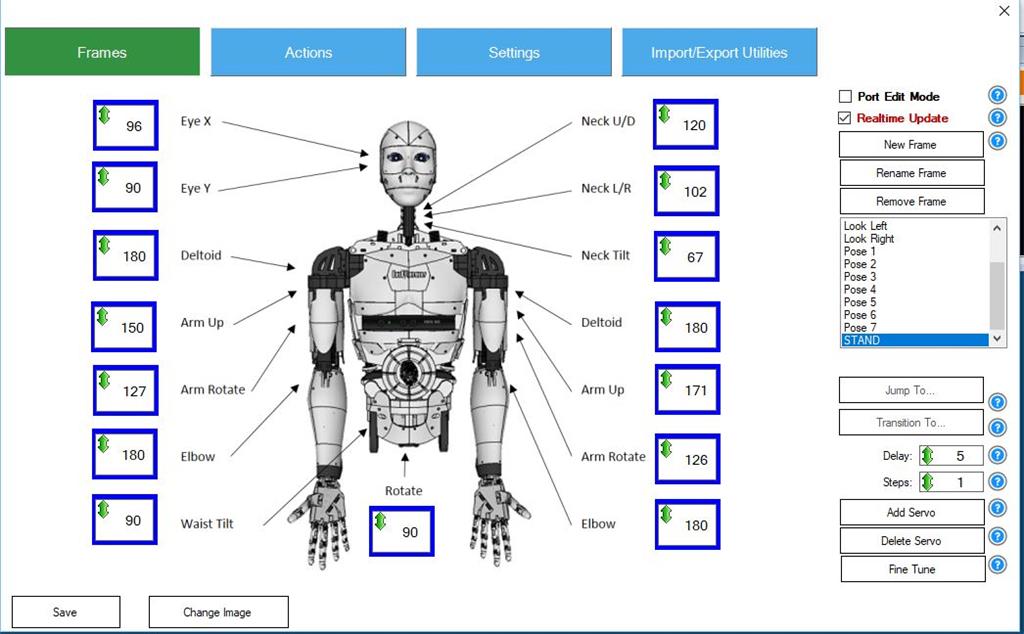
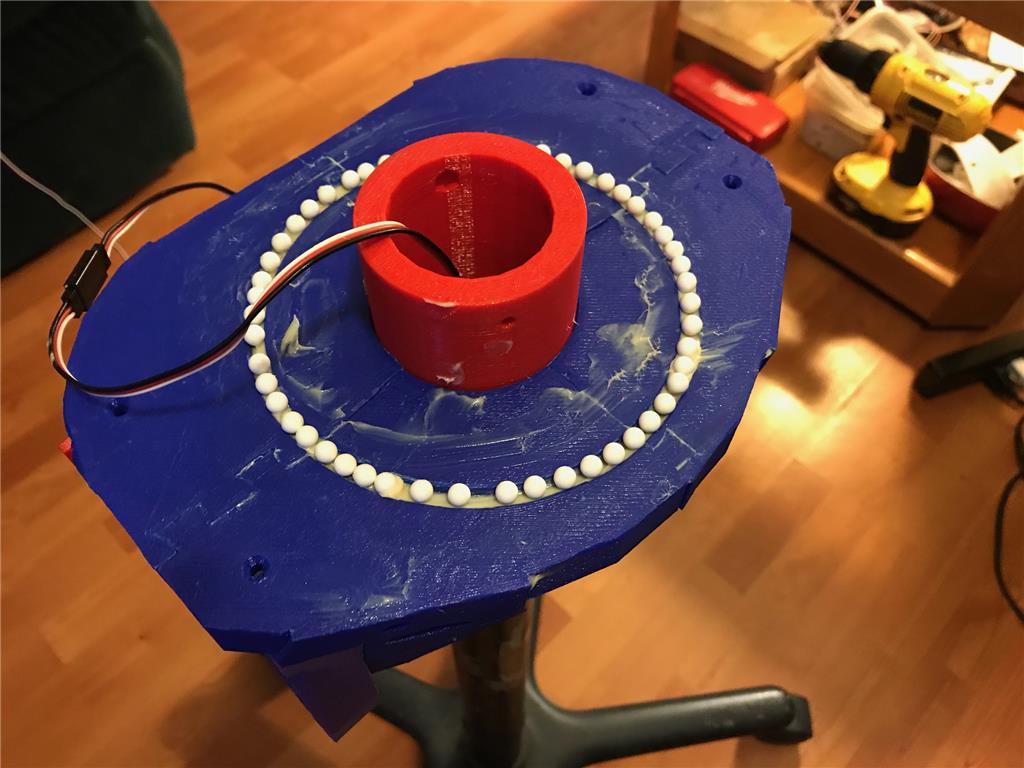
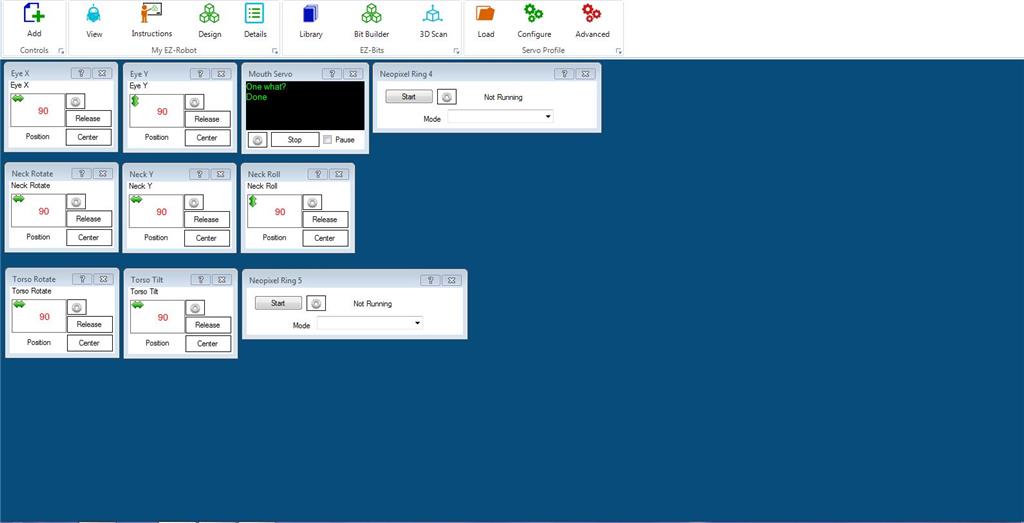
Here is the second screen. Head functions with a mouth control servo, neck, torso, and the 2 neopixel rings I have.
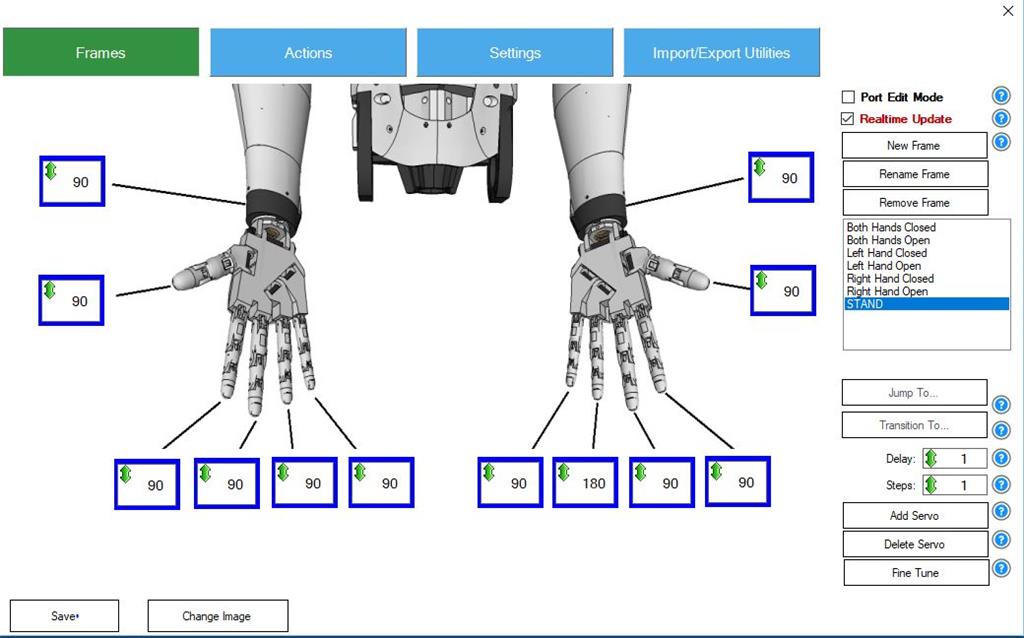
Third screen is for the arms and hands
So now I pretty much have all the same functionality I had in MRL give or take. I am pretty sure I am not doing this entirely correctly but it will come with time. Need to get into the scripting. I guess there are some tutorials to watch. So far my experience has been pretty good and in a day eclipsed my MRL progress of the last 6 months.
I'll update this thread with my progress and appreciate any feedback.
Discover more robots
Autiboy's Max The Robot Based Off Of Inmoov

Herg62123's Omnibot 5402 Project - Code Name: Minion 8

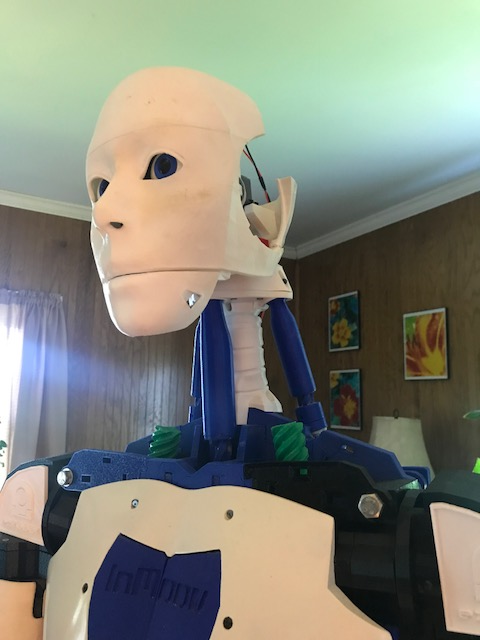
Looks very good, and Inmoov's 'mouth to speech' synchronization is excellent, I wish I could get mine that in sync. Also my inmoov's mouth gear action is a little bit noisy, I don't hear yours at all on the video.
Fantastic work Perry. Chris.
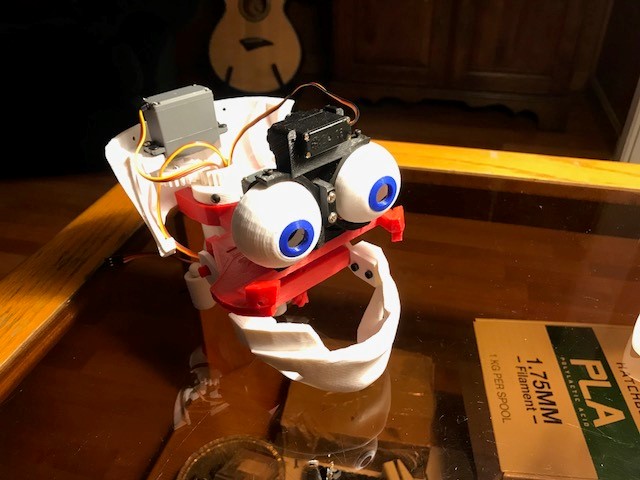
I had issues at first with the mouth servo. I could get it to move the right way but it wanted to be open when it should be close and vice versa. I ended up printing the piston and cross piece in reverse (mirrored) which changed the orientation of the threads. It worked after that. Strange.
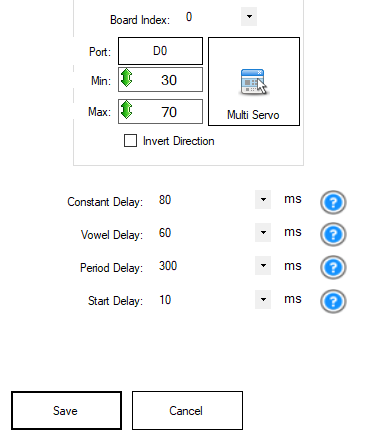
I messed with the controls to get the mouth to sync up. Start with a really long sentence then adjust the timing so that the mouth stops moving when the talking stops. That way it is better calibrated for shorter sentences. I think 'Constant delay' is a typo and really means Consonant delay. Here's the setting I ended up with.
It's too bad you had to reprint pieces to get the jaw to move correctly. Mine was reversed as well but by checking the Invent Direction box that was solved. I wonder why that wouldn't work for you?
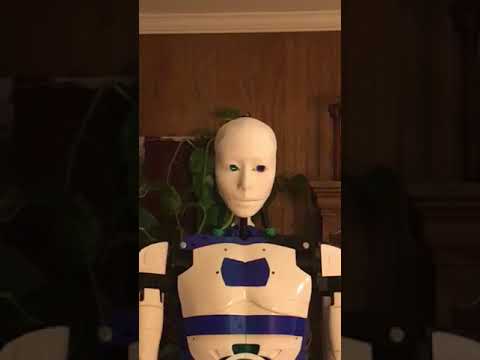
That's a really nice looking InMoov!
Thanks Perry
Yes I played around with the settings and spent a lot of time going back and forwards changing them to try to improve the sync up, but usually end up making it worst, and would end up go back to my original settings. Mine also was reversed, but i check the 'Invent Direction' box and that fixed it.
Cheers Chris.
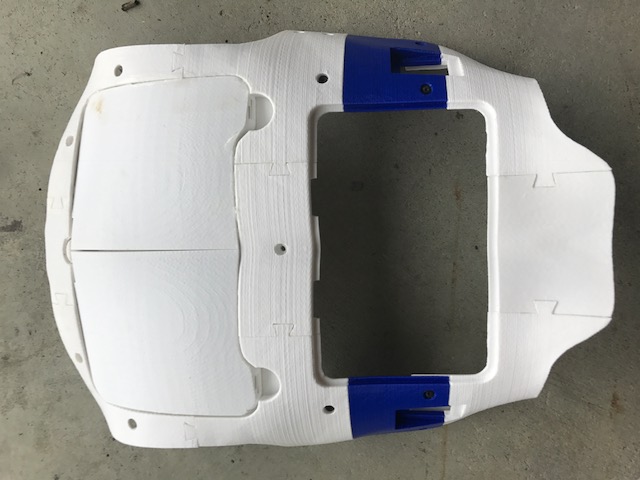
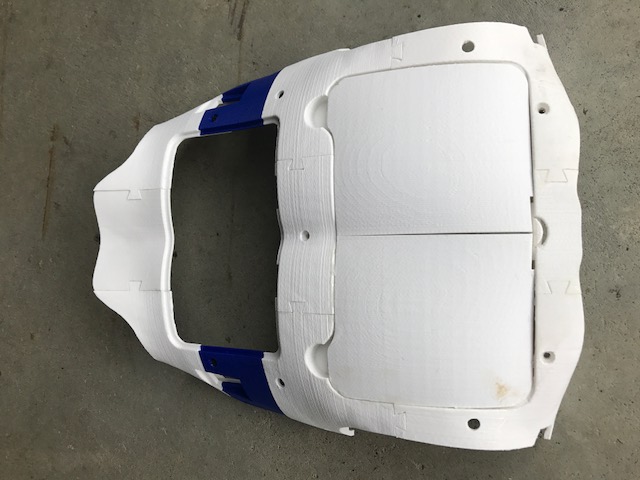
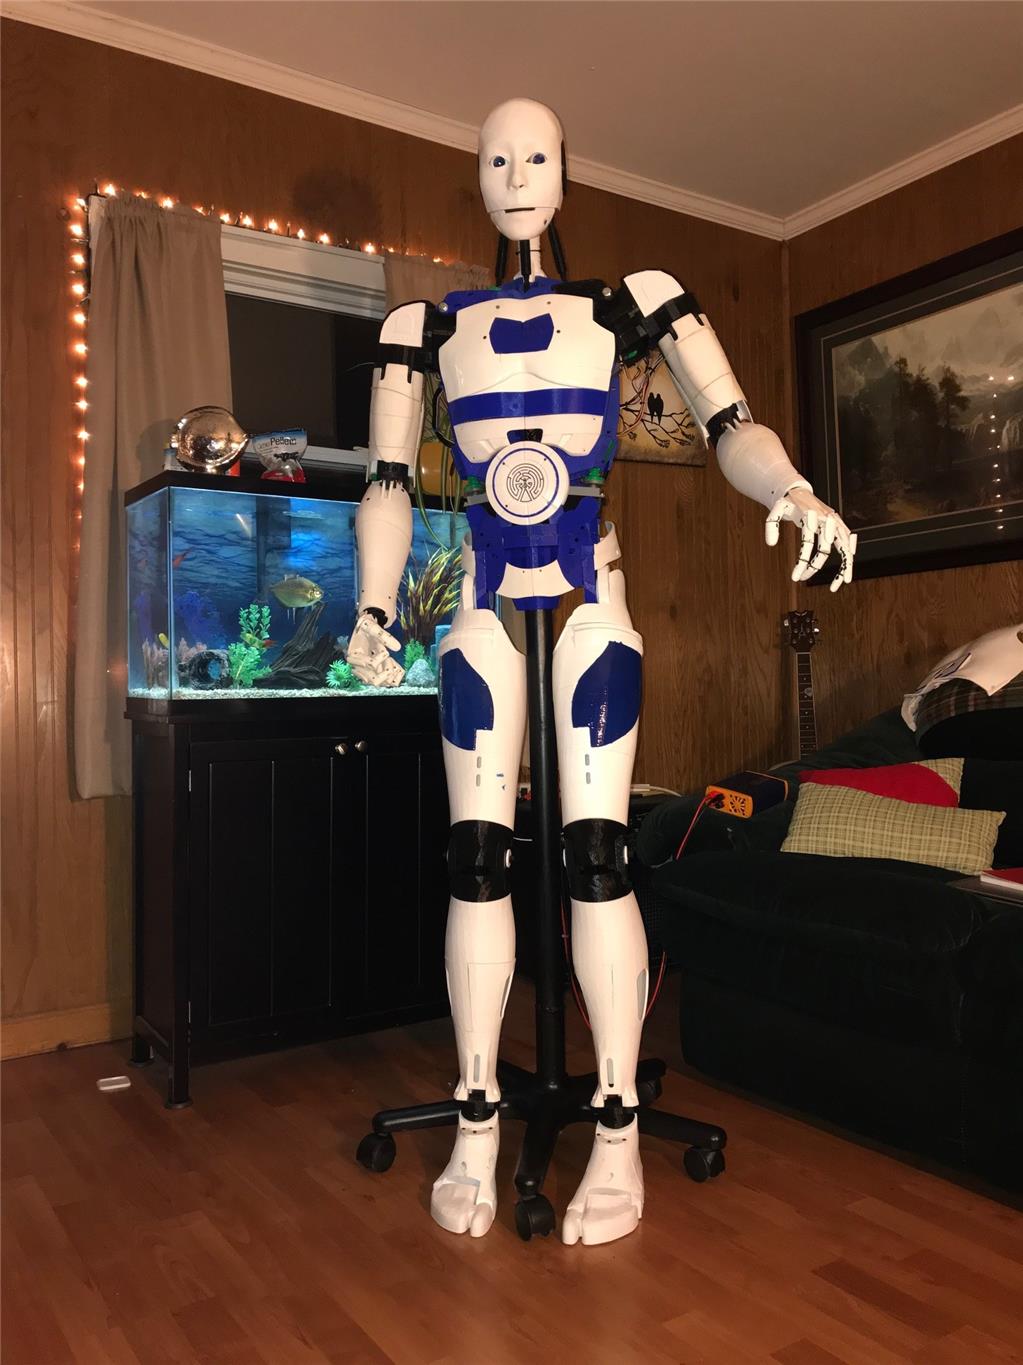
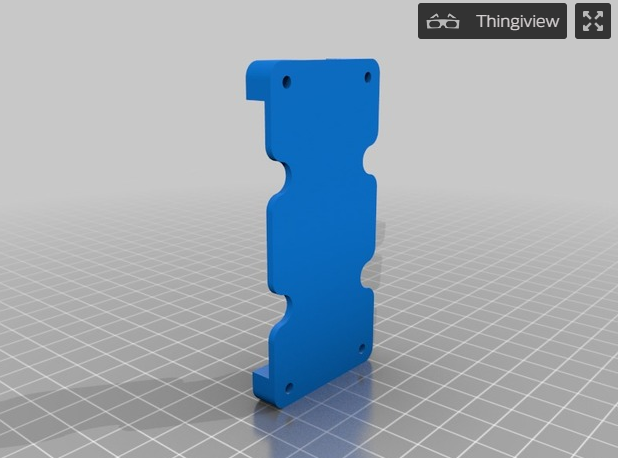
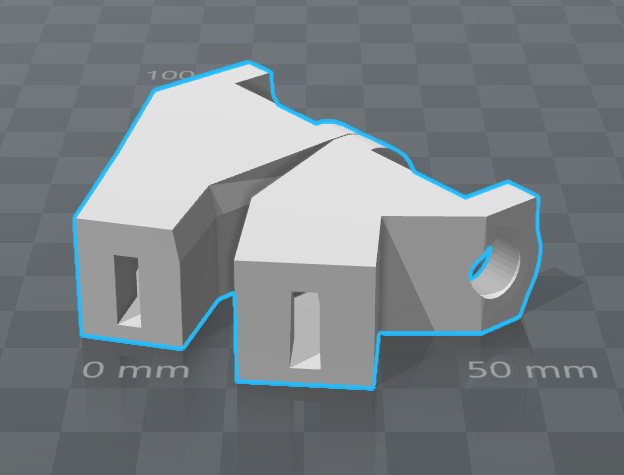
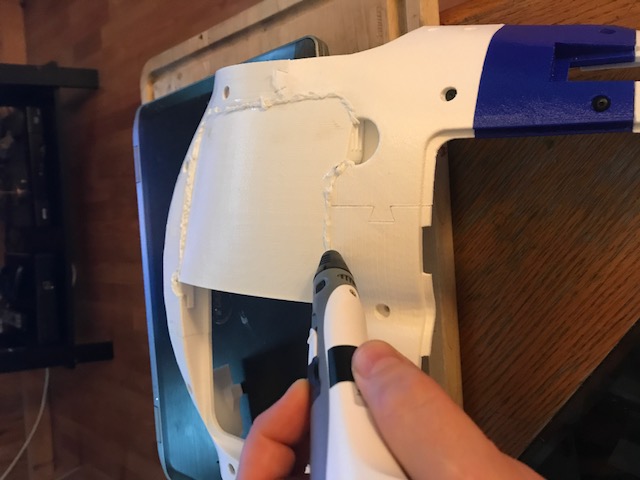
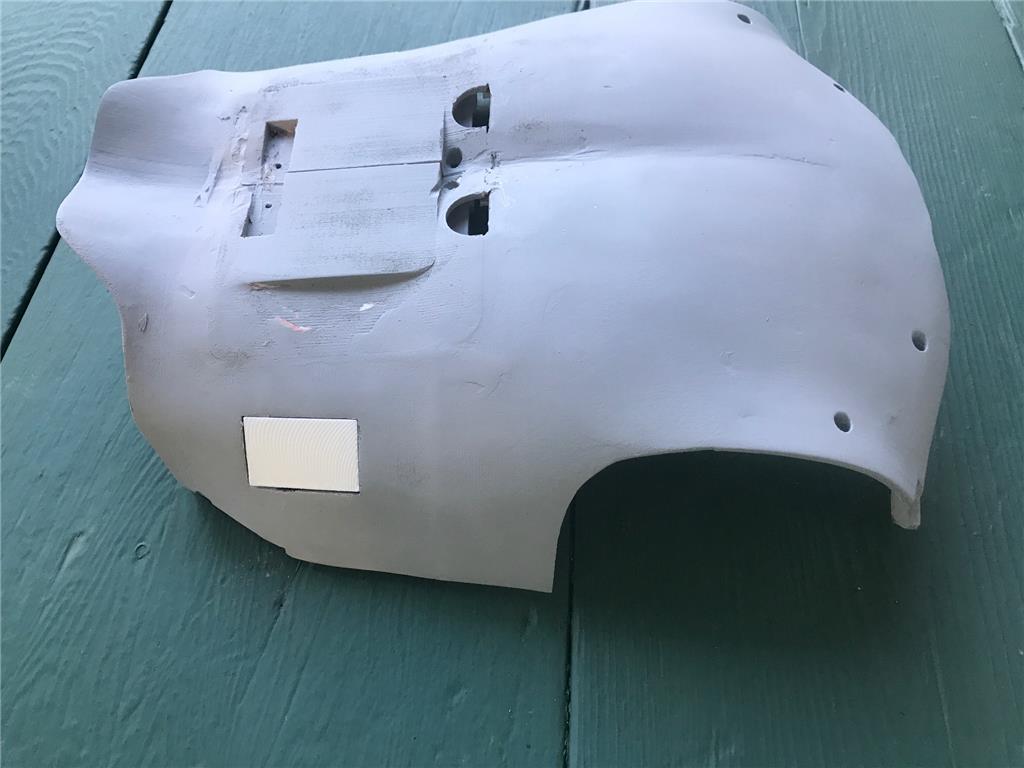
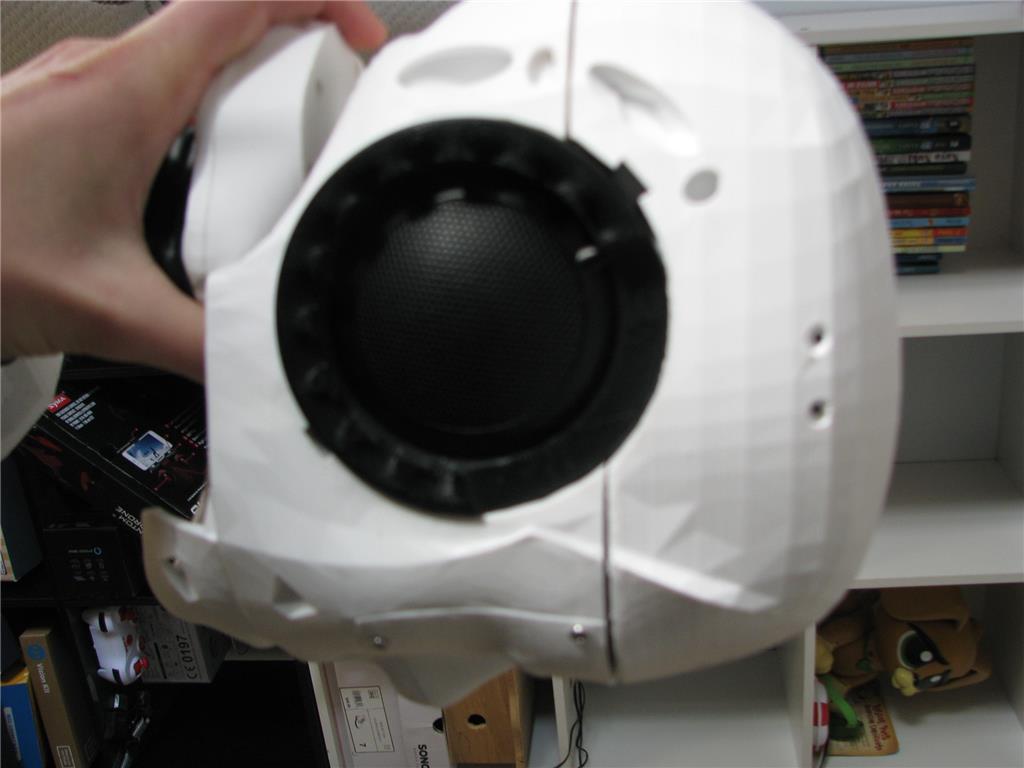
Time for me to finish the back. I redesigned the Lenovo covers for a better fit. All the contours line up better now. Glued it together here and getting ready to start the filling process.
Looking good Perry, the tablet cover is definitely a better fit, with the contour lines. I printed out a flat cover plate a while ago, but I rarely put it on ( especially at the moment as it's in bits ). I like folks to see all the electronic parts especially the EZBs and the wiring requirements etc etc.
Can you post your improved version of the cover plate on 'thingiverse' I'll add it to my 'to do list' after I finish off the HDD servo refit, and other mods I currently doing. I keep getting side tracked, I recently purchased some aluminum and red copper filiments and started to reprinted some parts of the 'Drupp's modified paroloma neck' to see if it makes it stronger.
Cheers Chris.
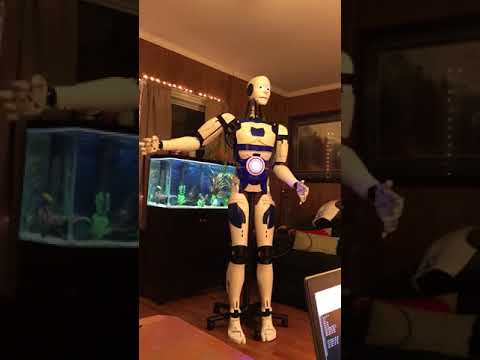
Looks great Perry. There's a lot of parts to print.