


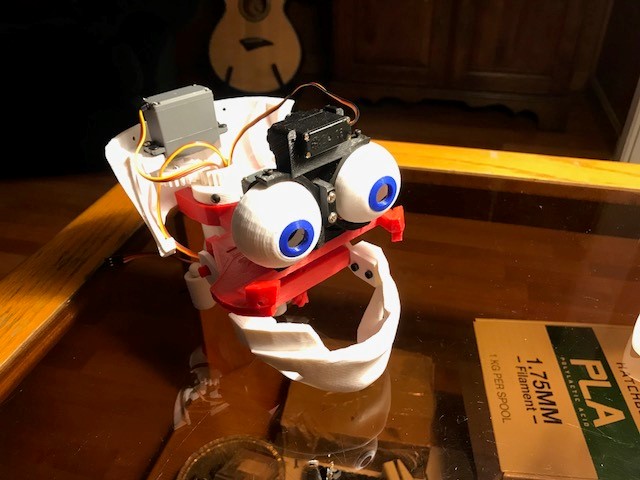
Hello all, I wanted to start my own thread to discuss my Inmoov and my conversion to EZ Robot. I appreciate all the work by the MRL guys but I struggle with it. I am indebted to the help they gave me but I needed something a little more along in development with some documentation.
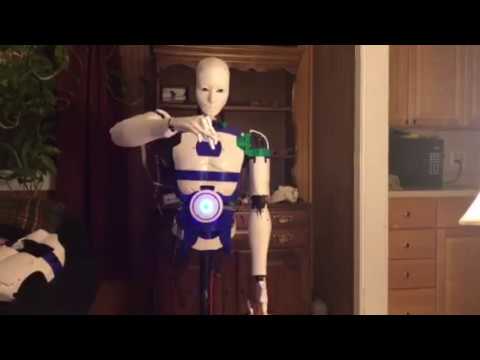
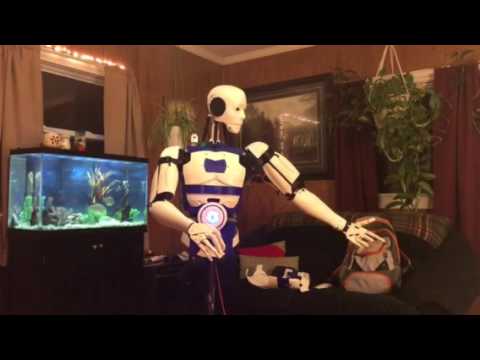
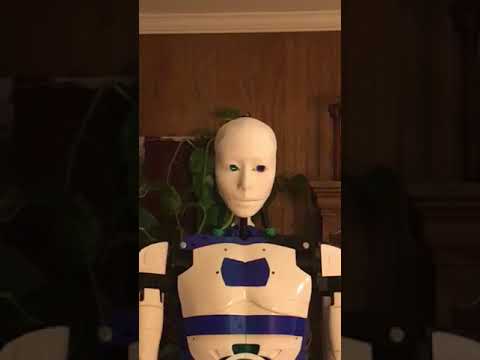
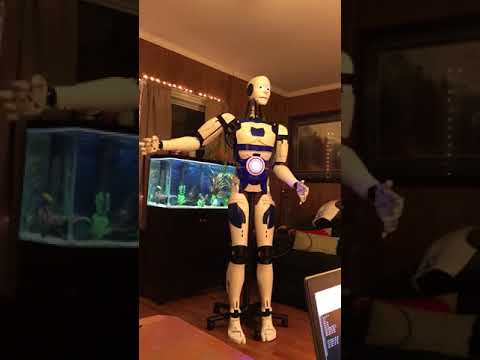
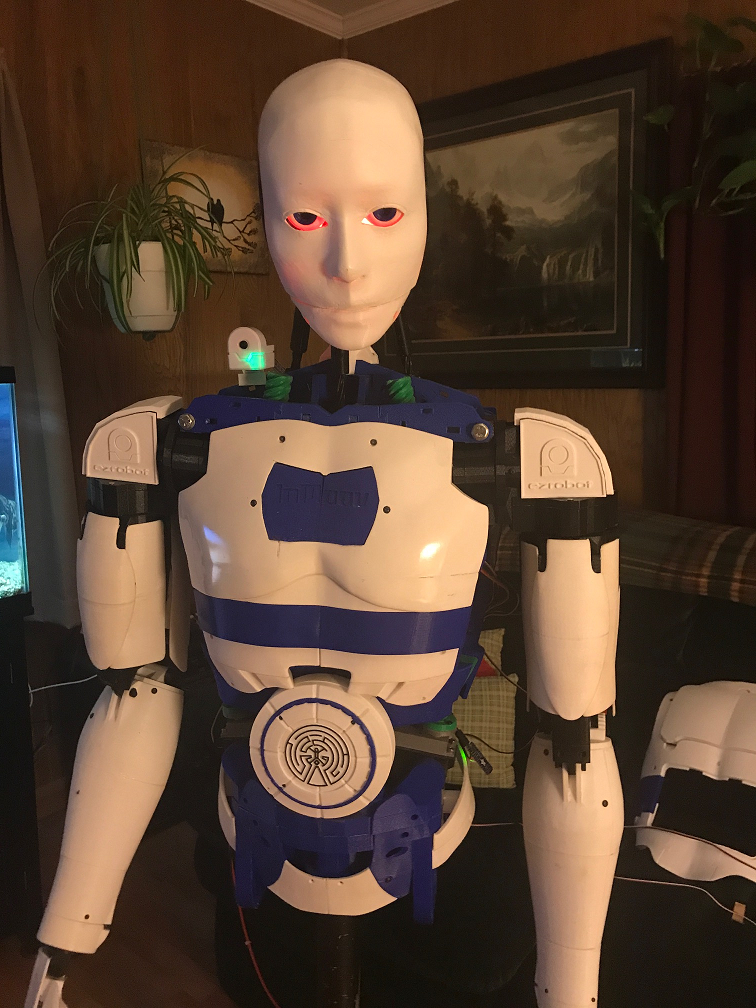
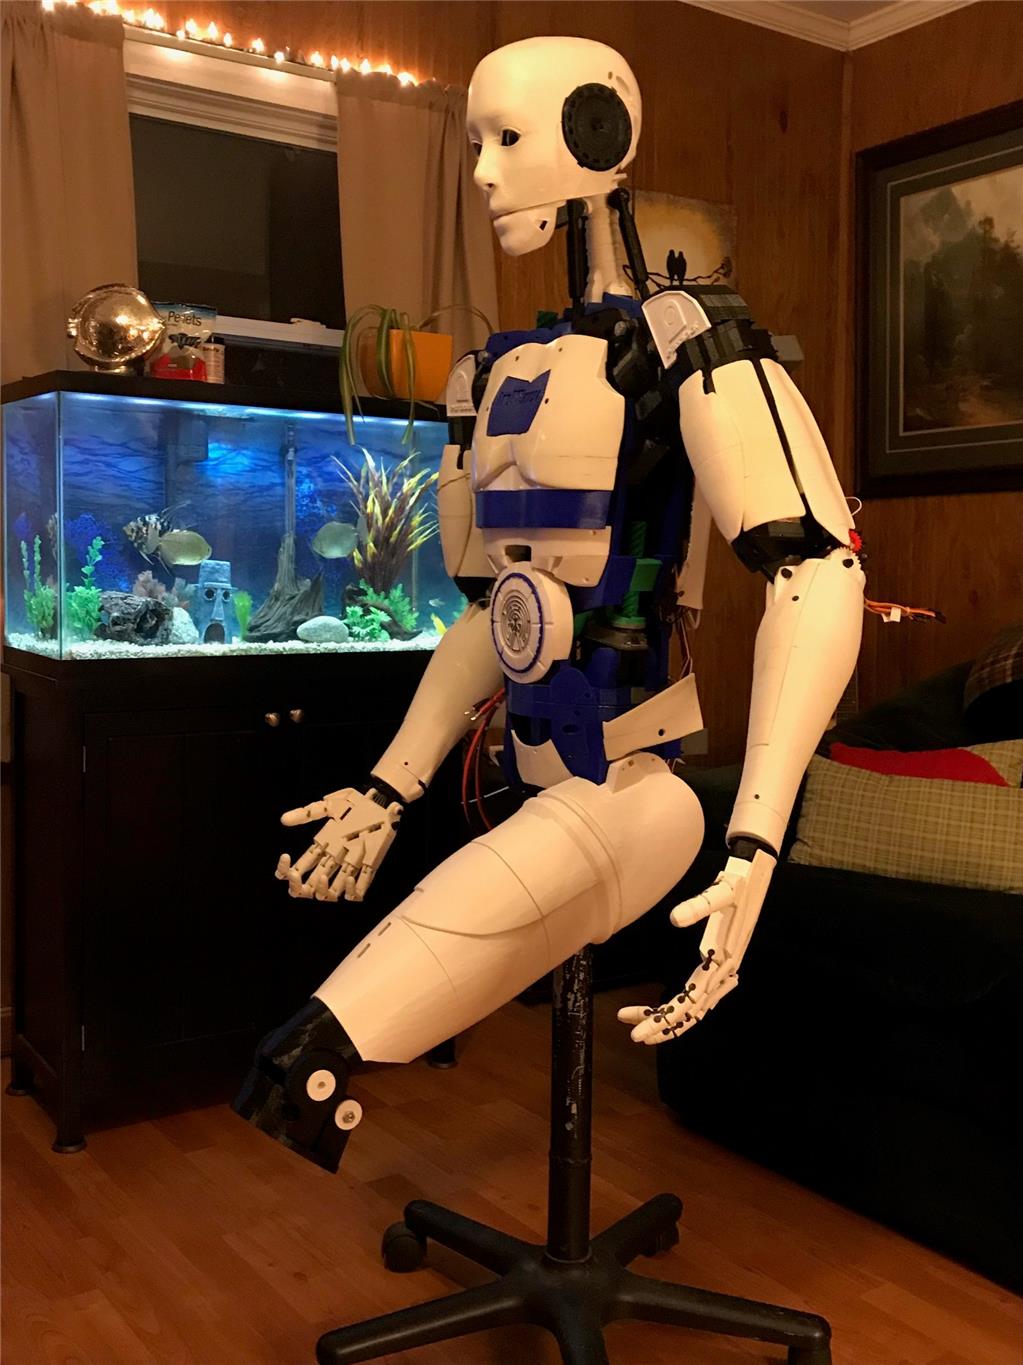
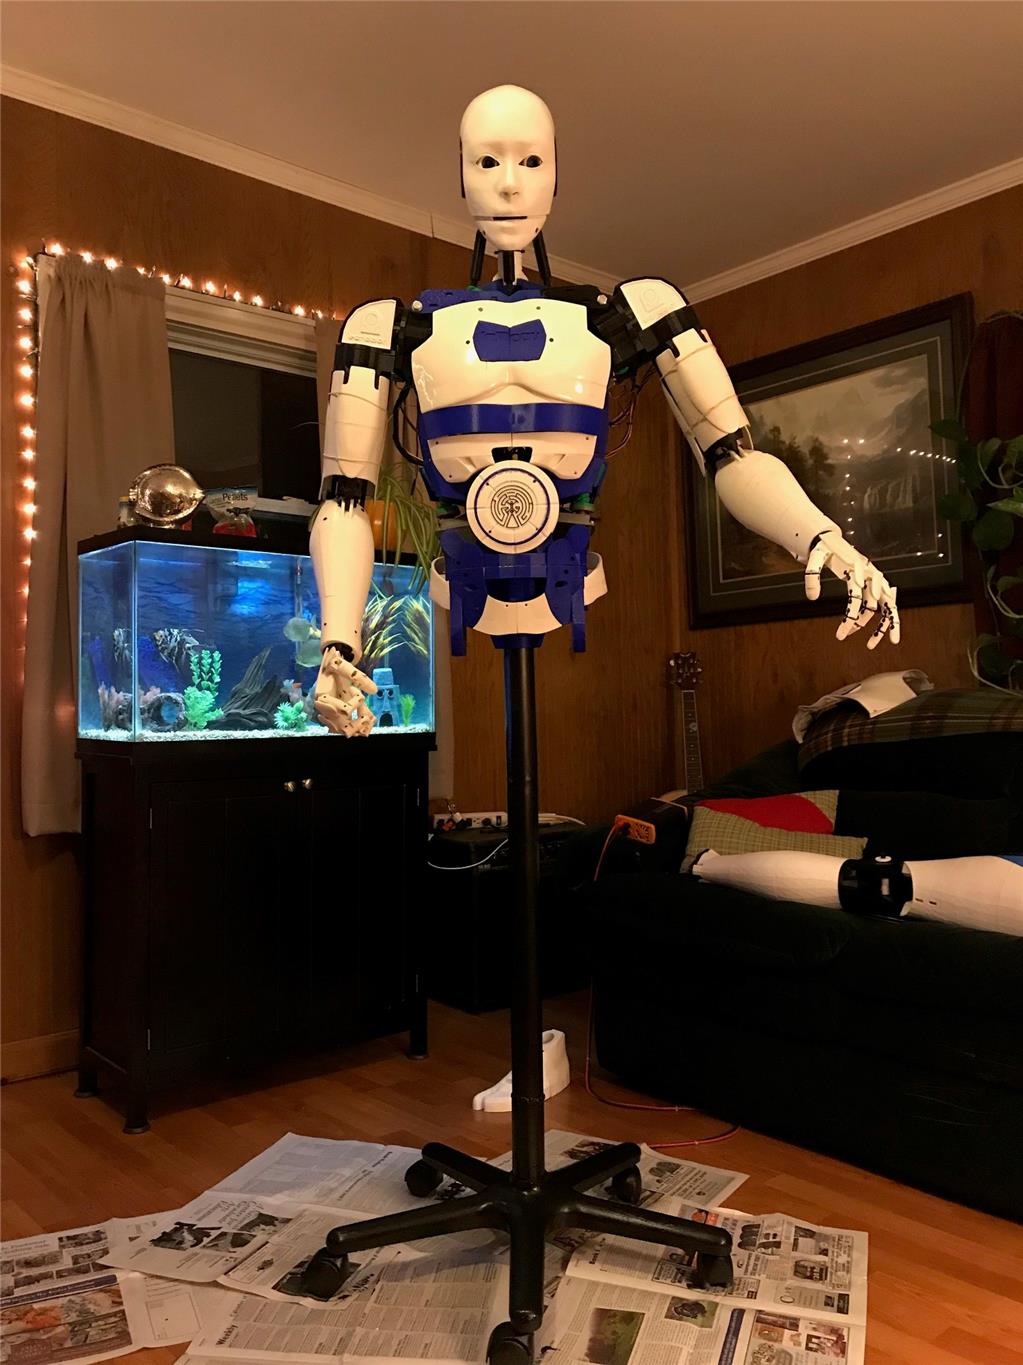
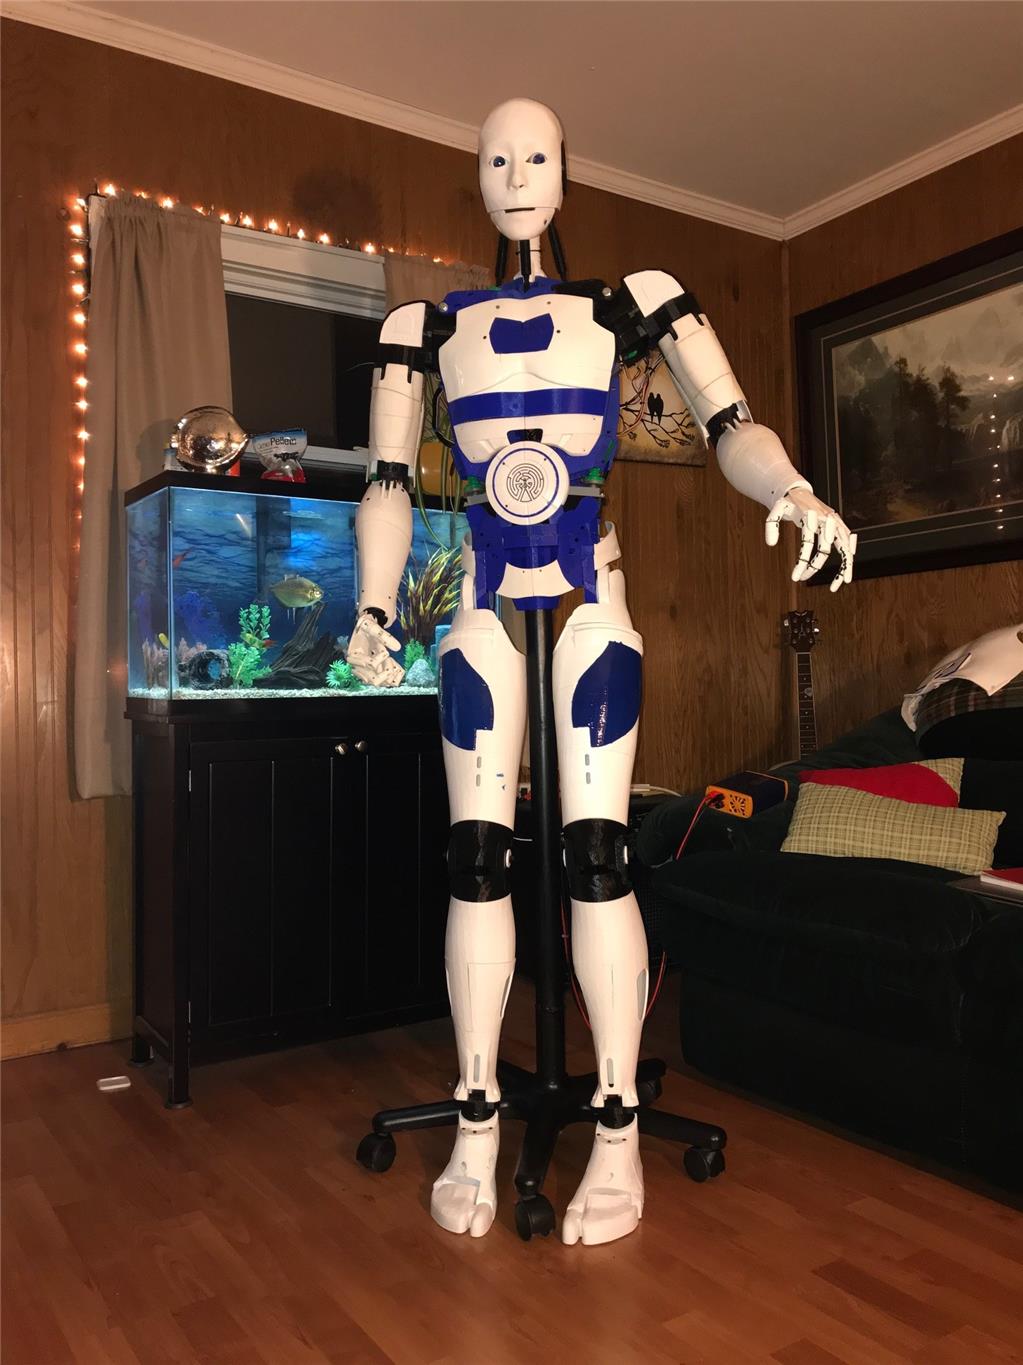
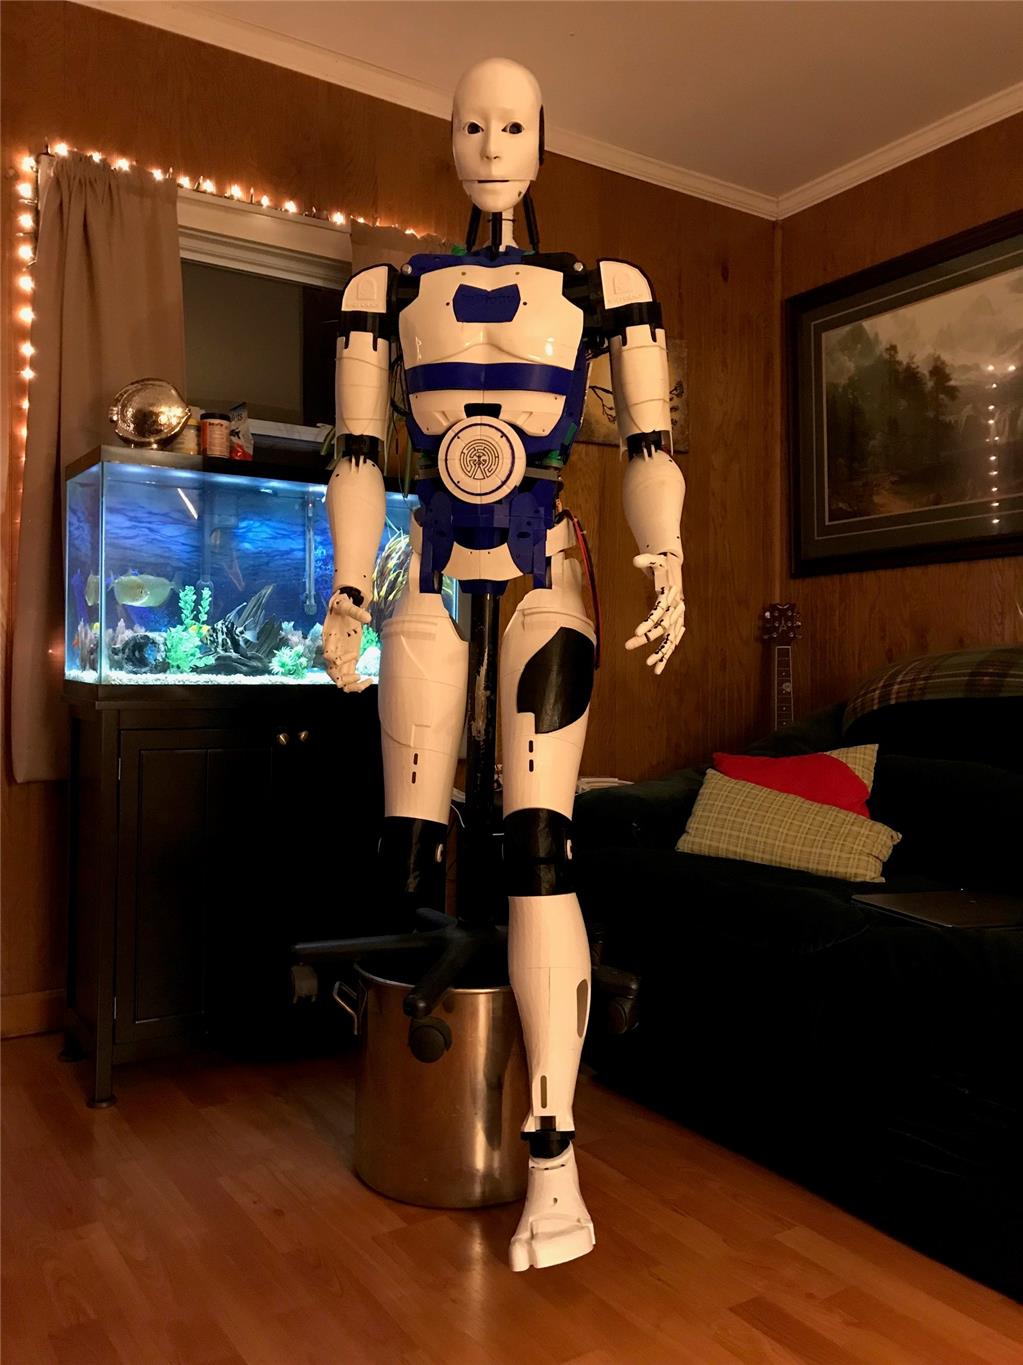
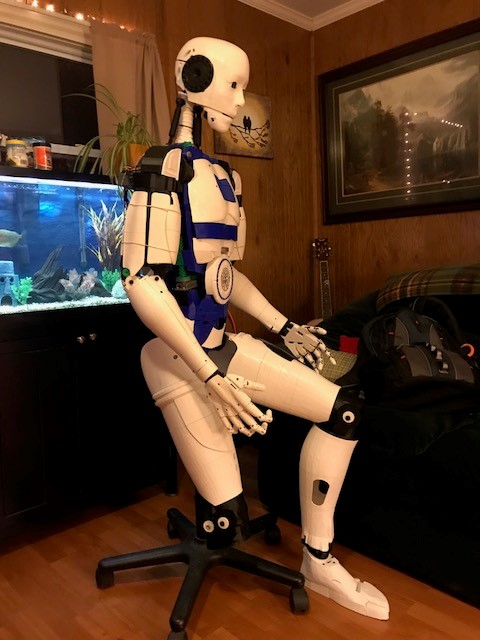
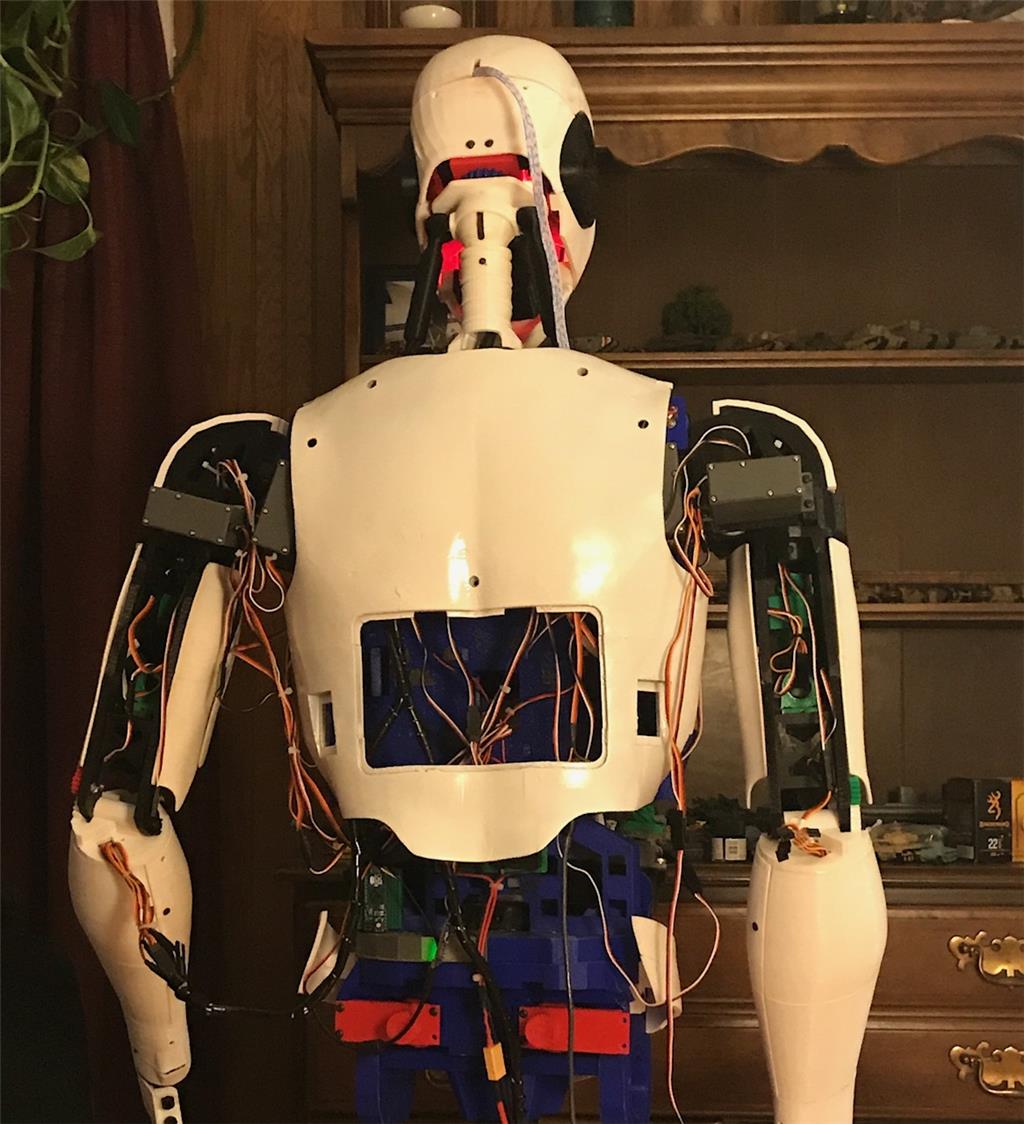
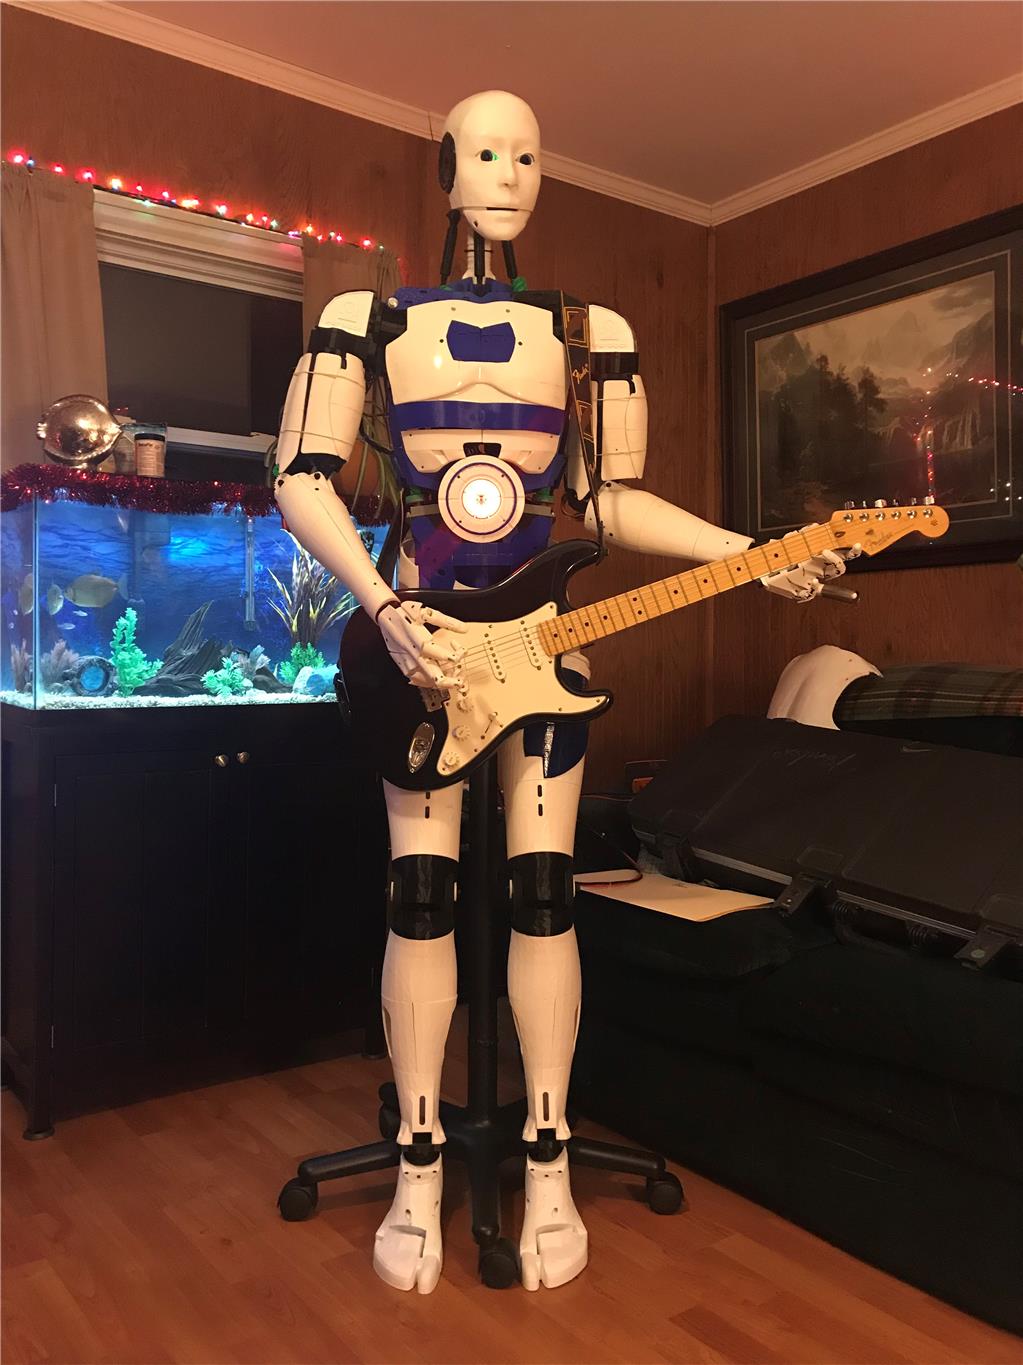
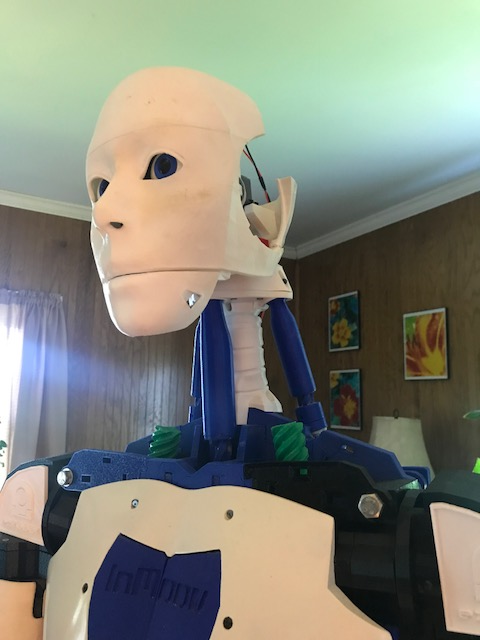
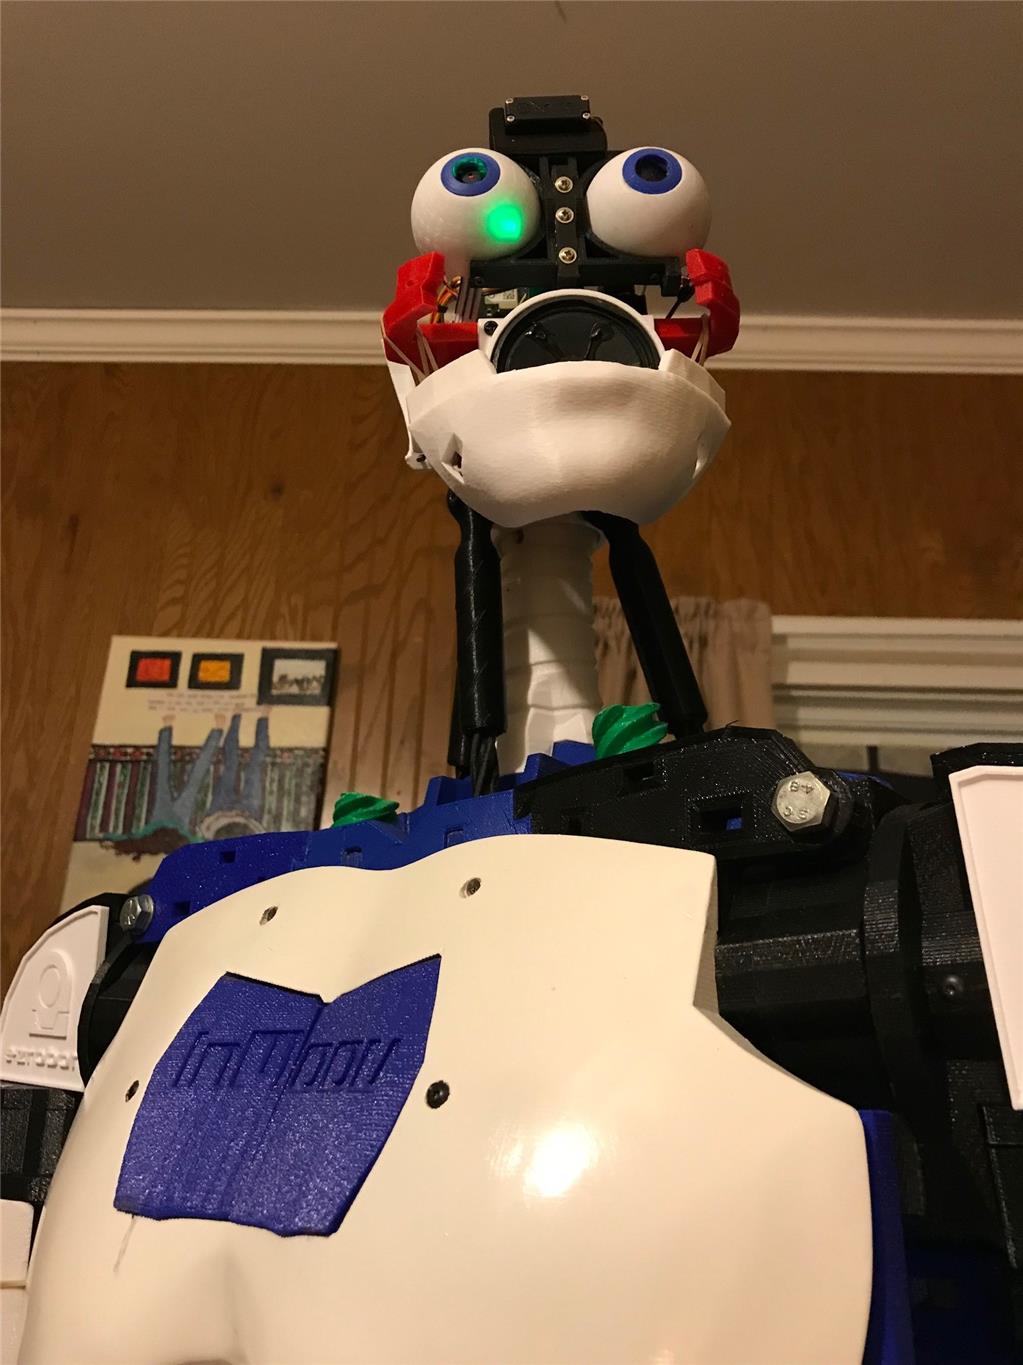
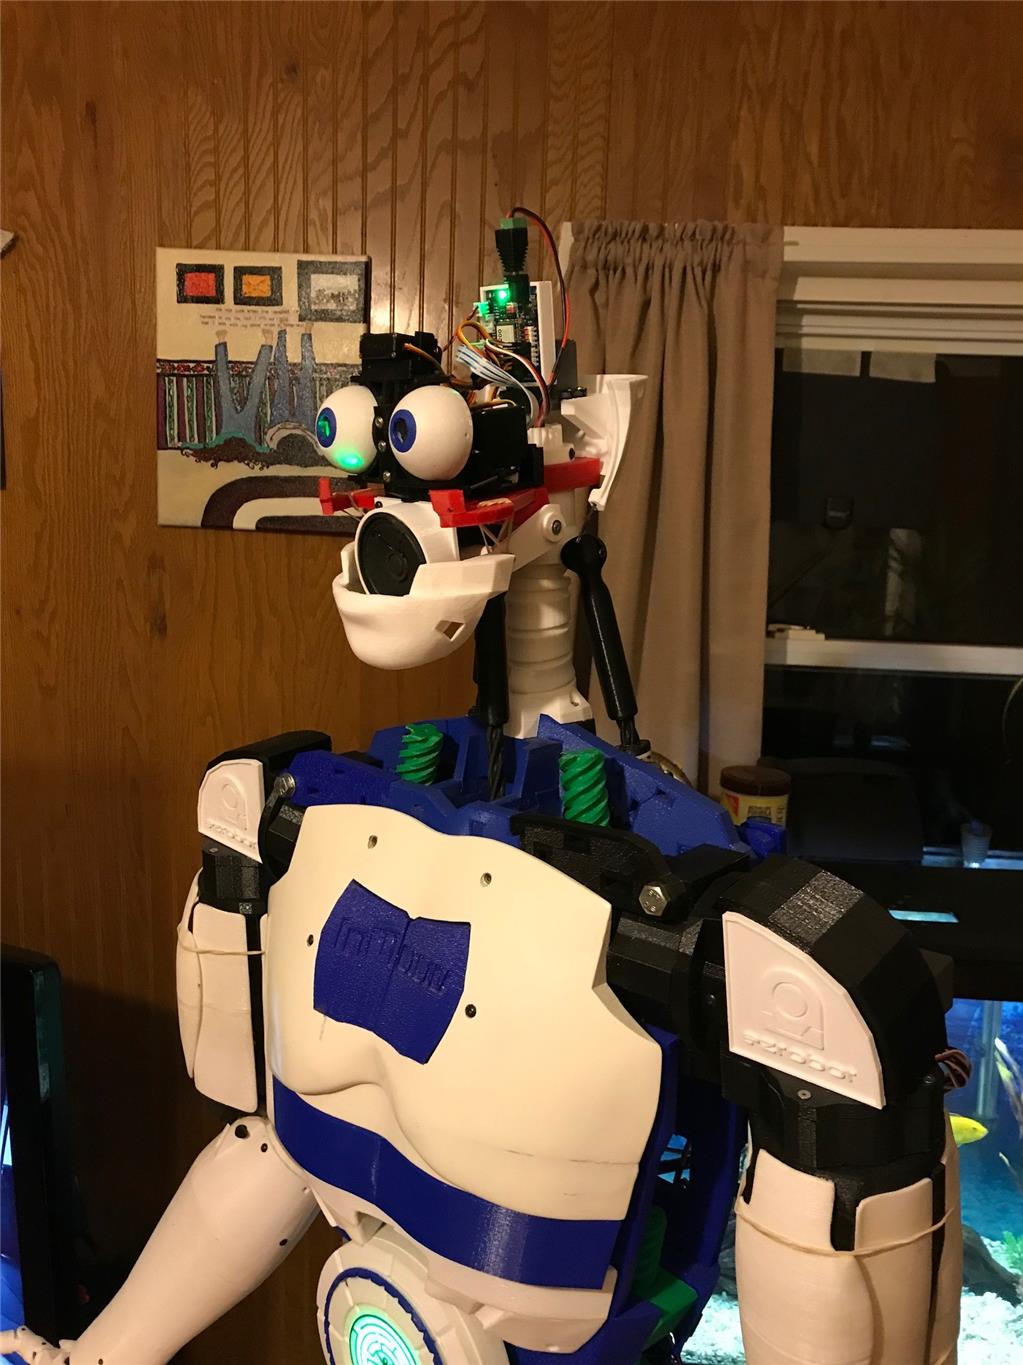
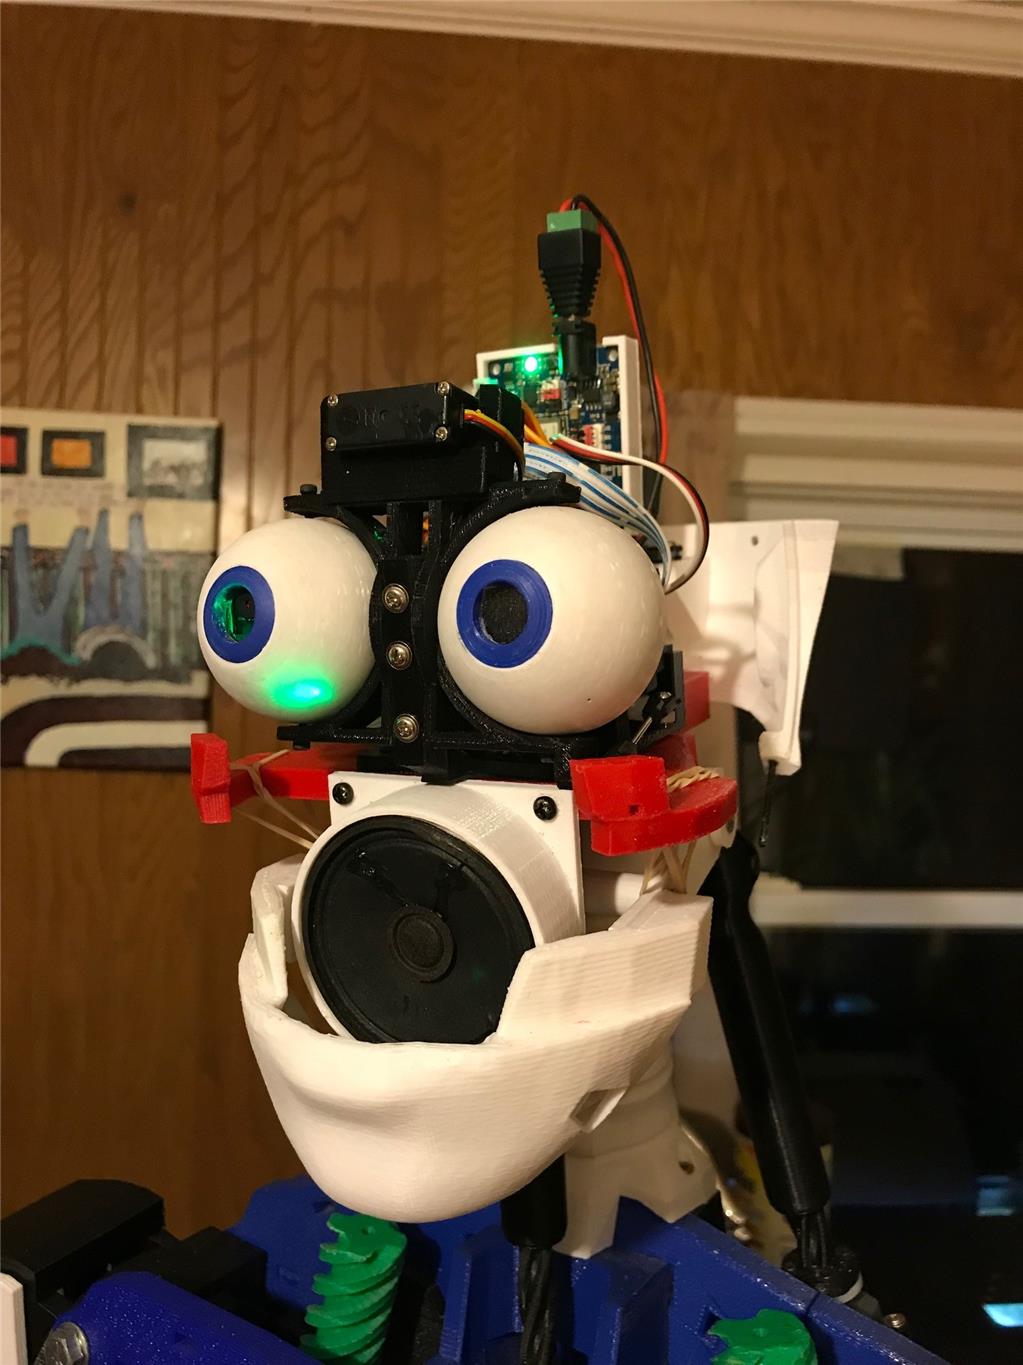
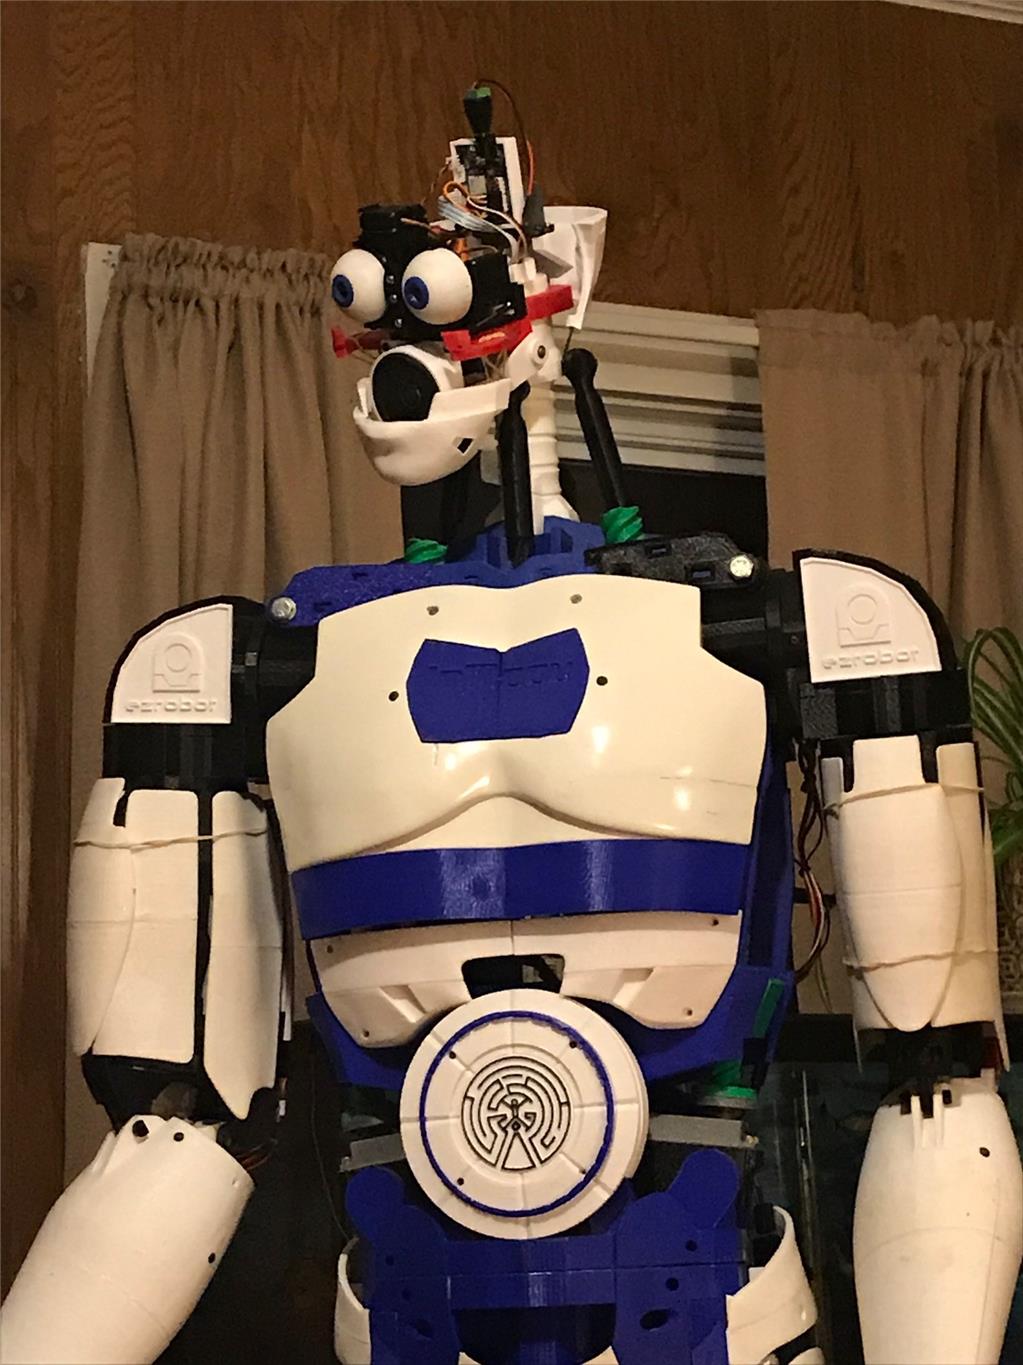
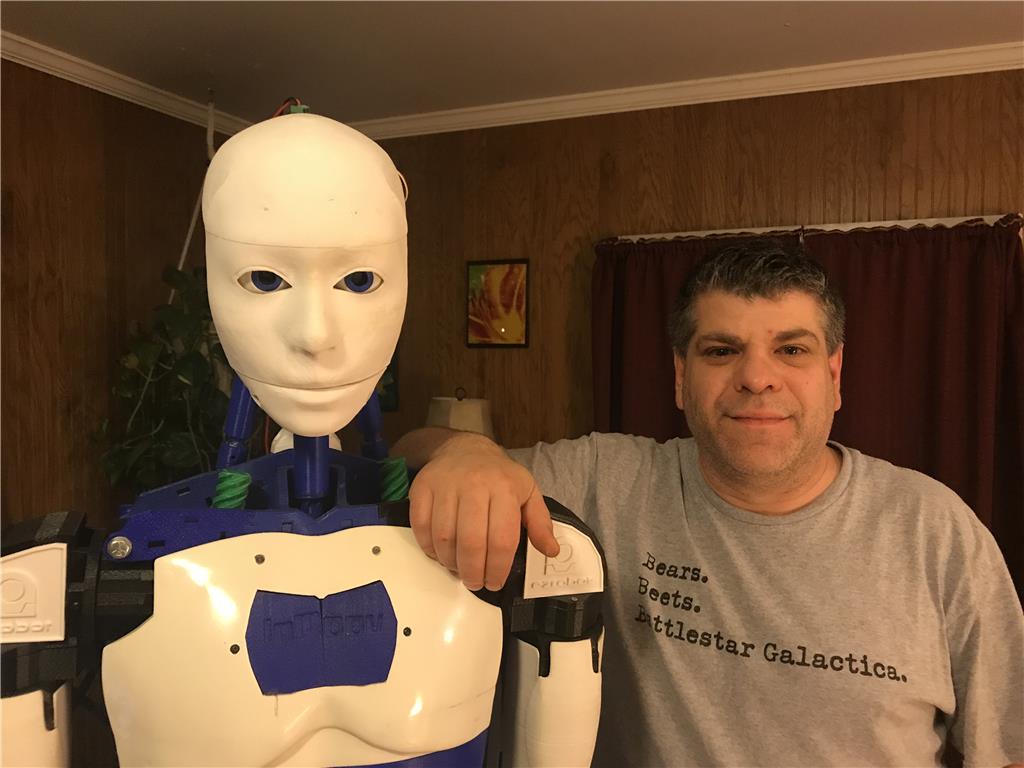
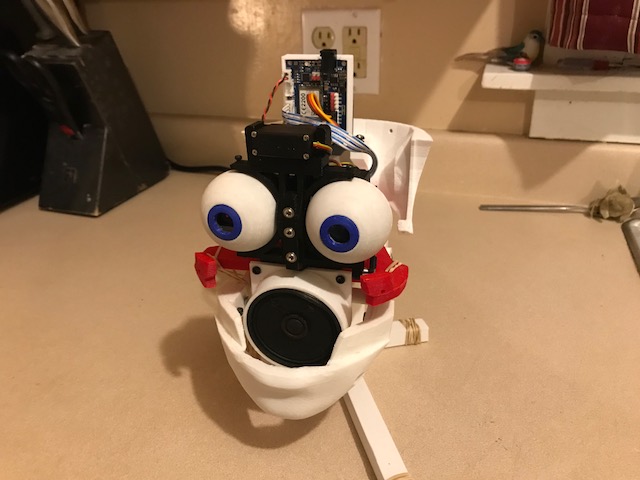
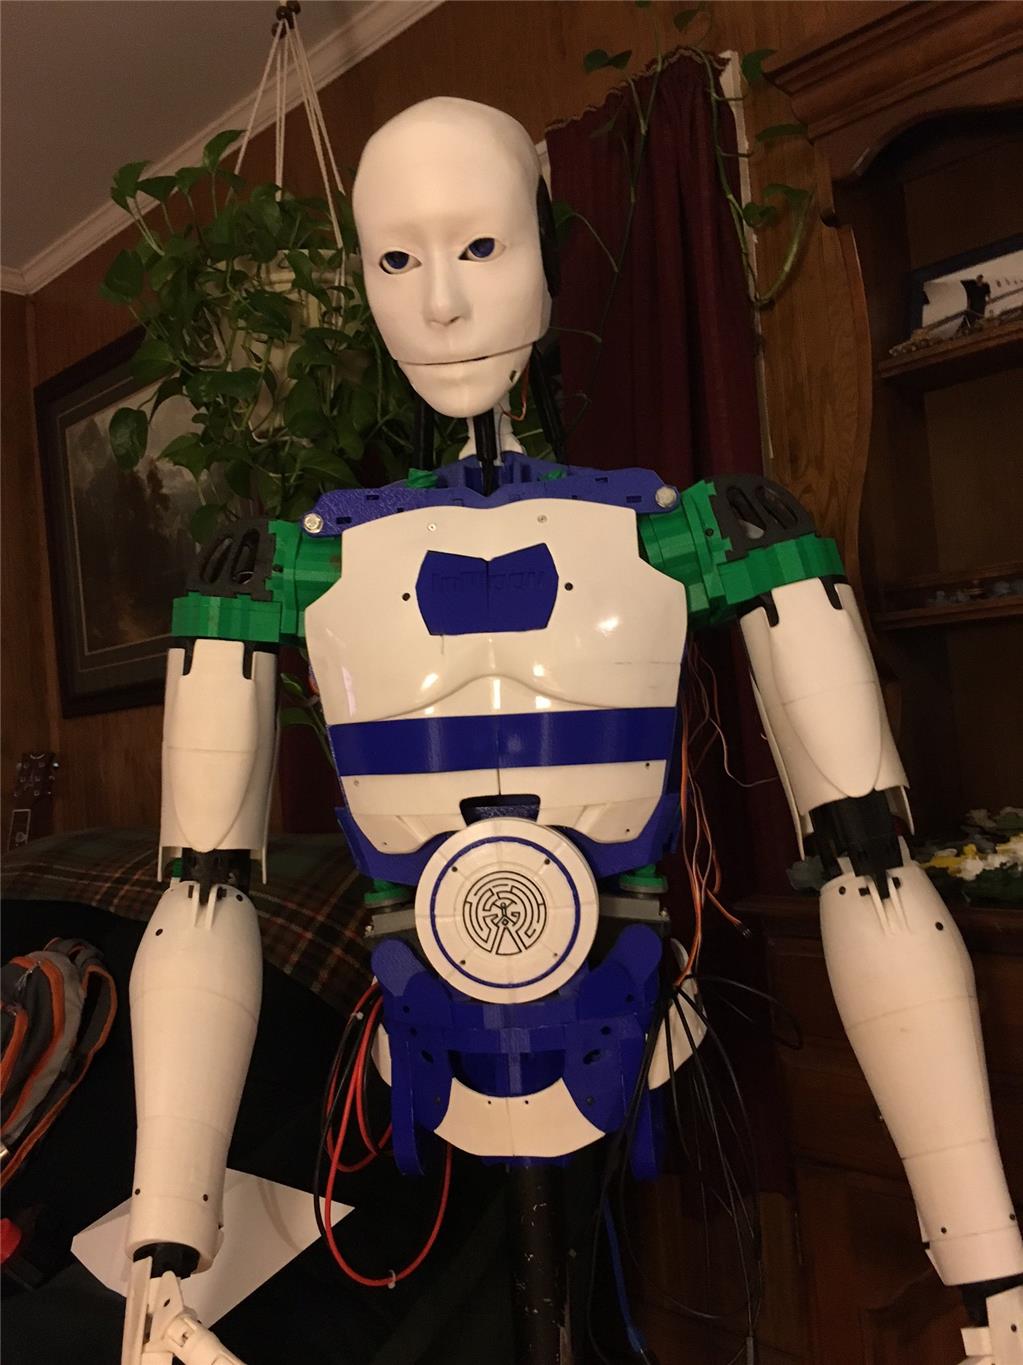
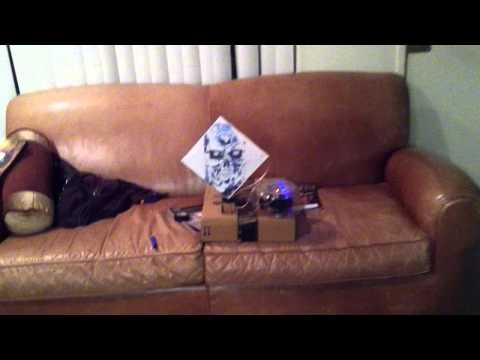
So here is my guy. Pretty standard build as far as inmoov's go.
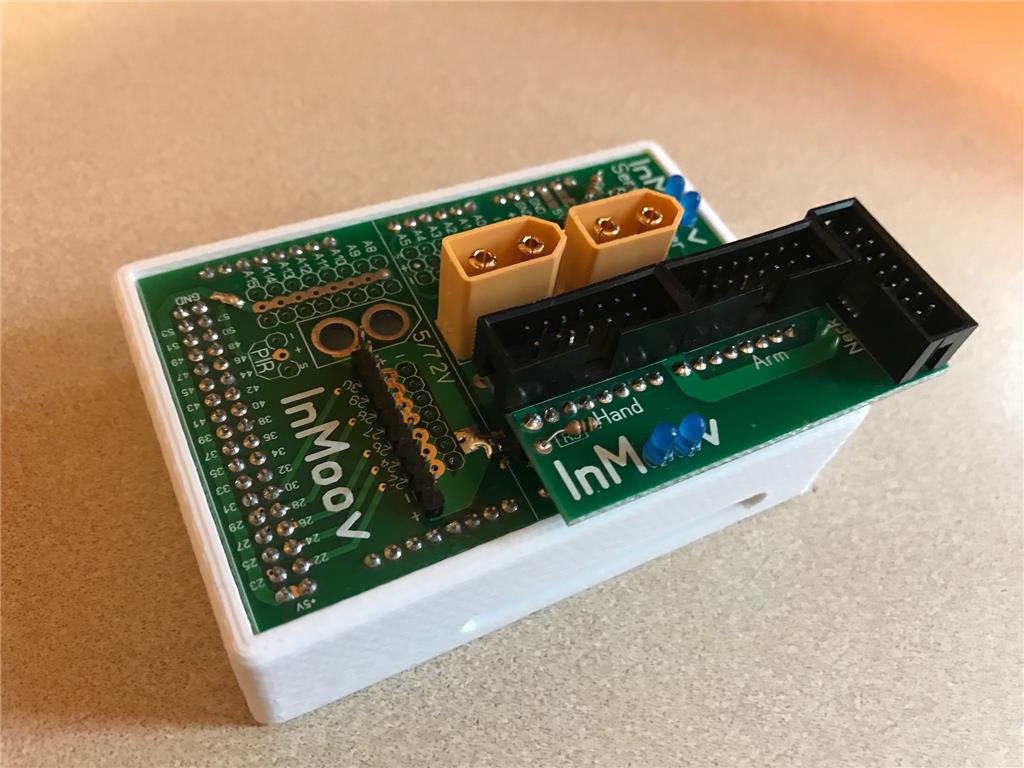
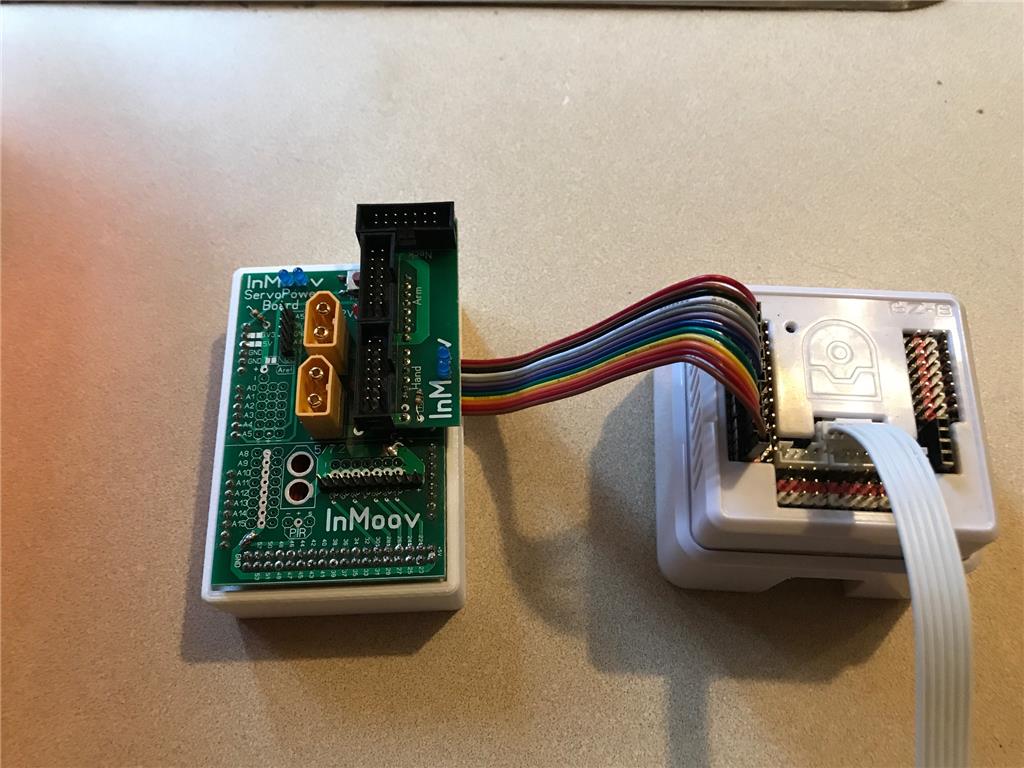
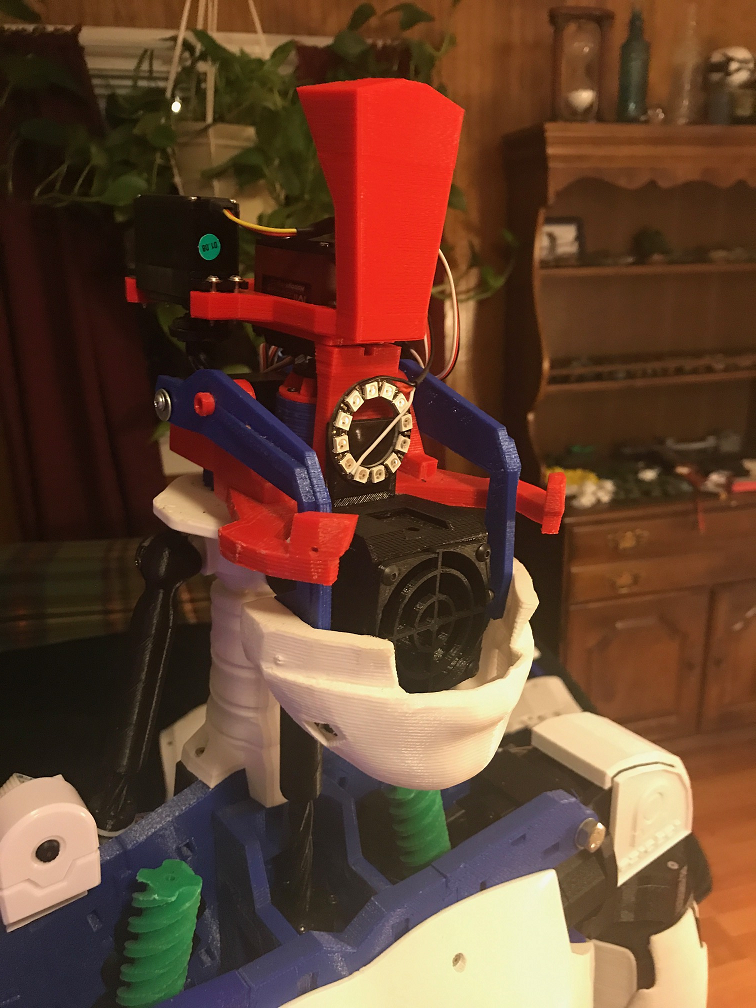
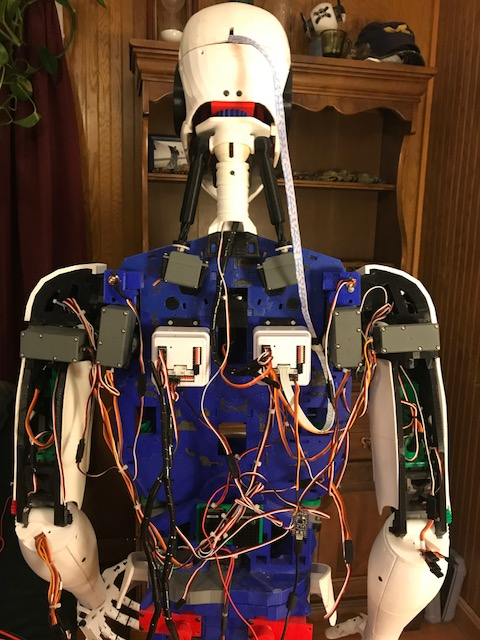
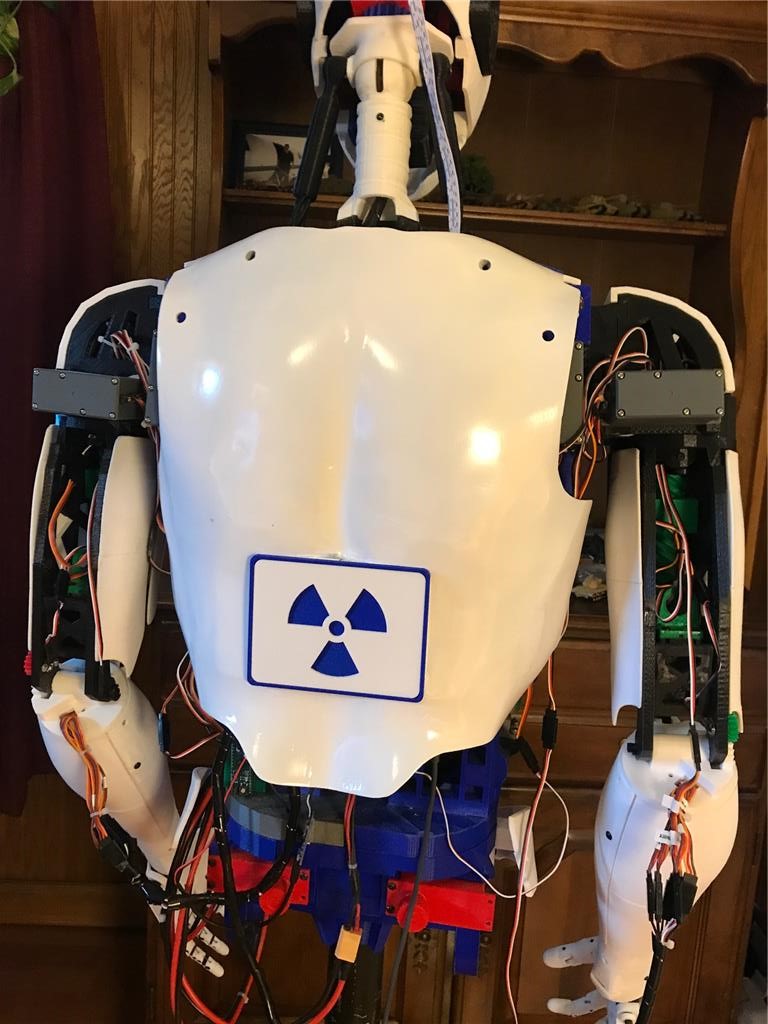
Here's the back. All the standard inmoov components. Dual 256 Megas, Nervo boards USB hub, Power supplys etc.
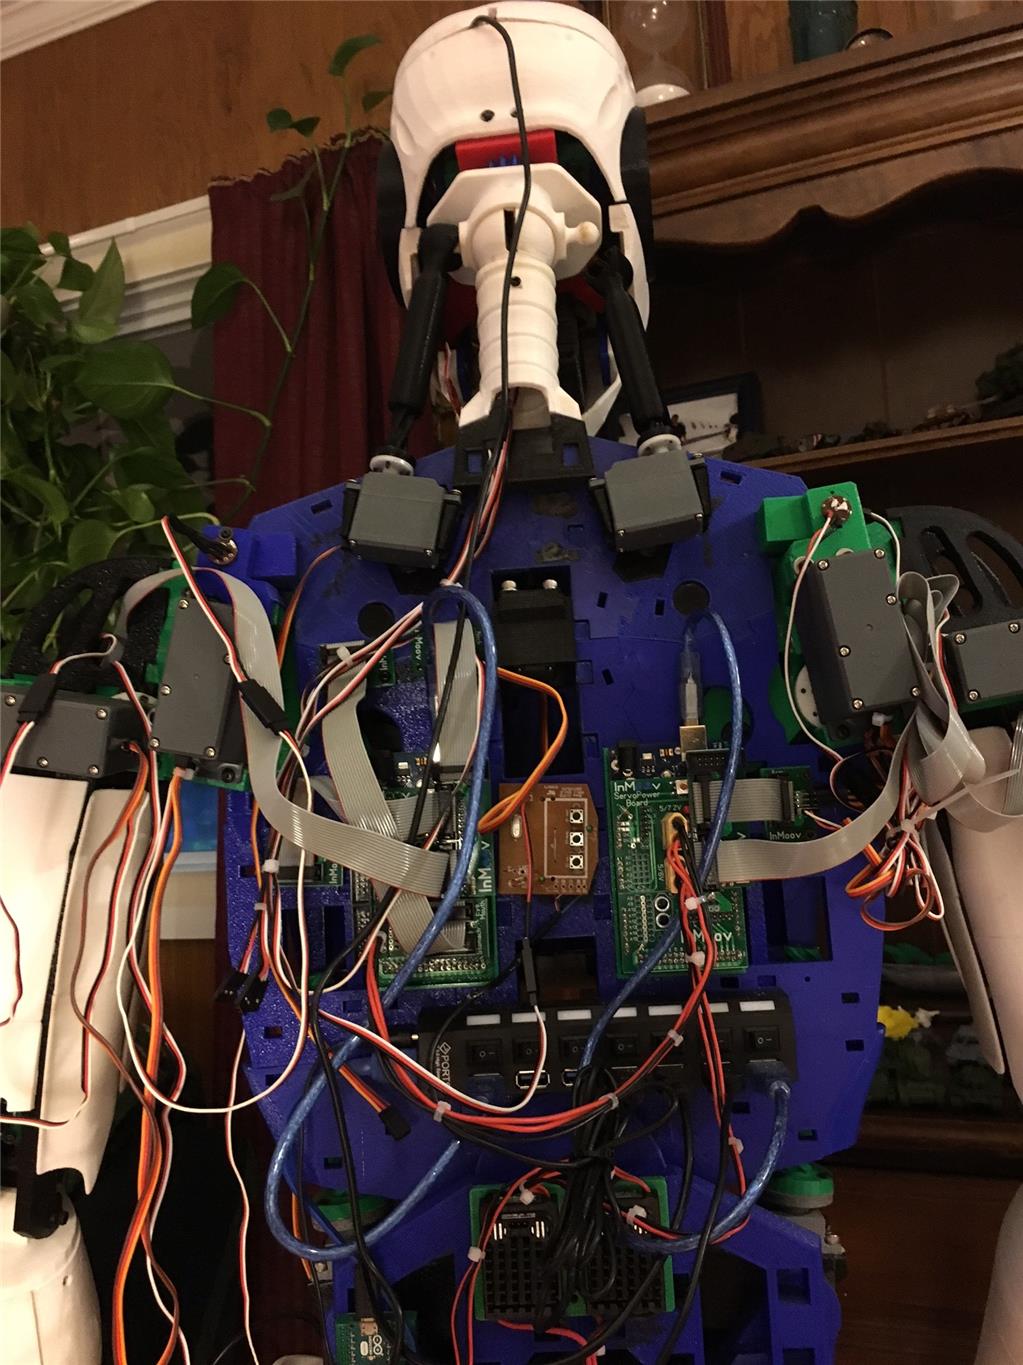
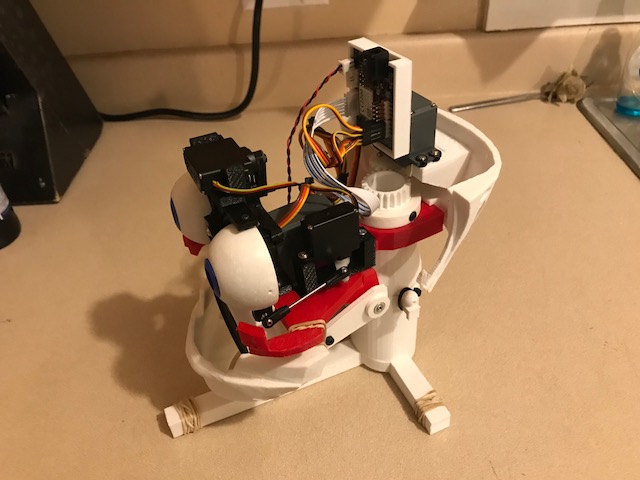
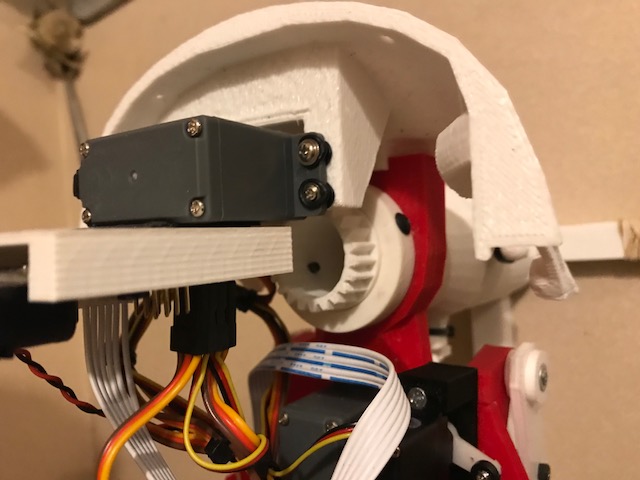
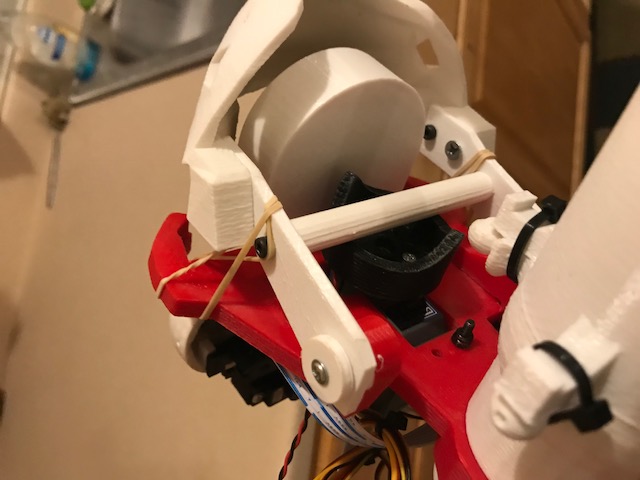
So the tear down begins. I need to clean up that wiring too. What a rats nest!
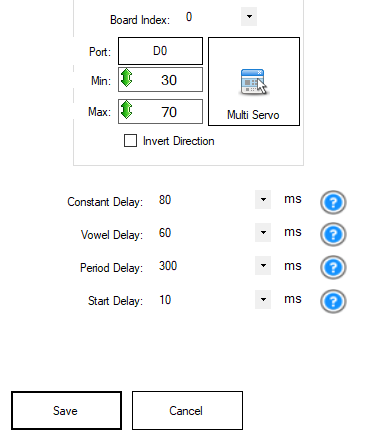
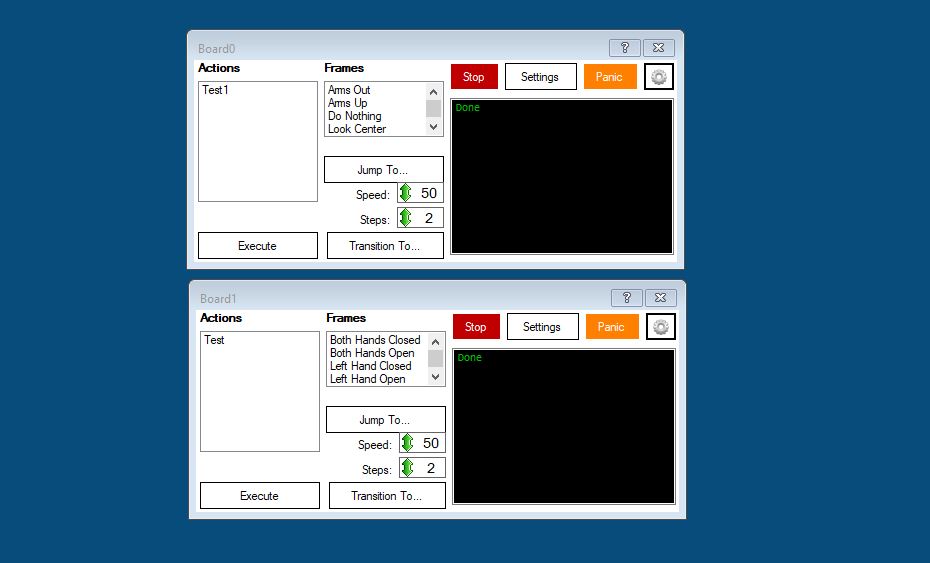
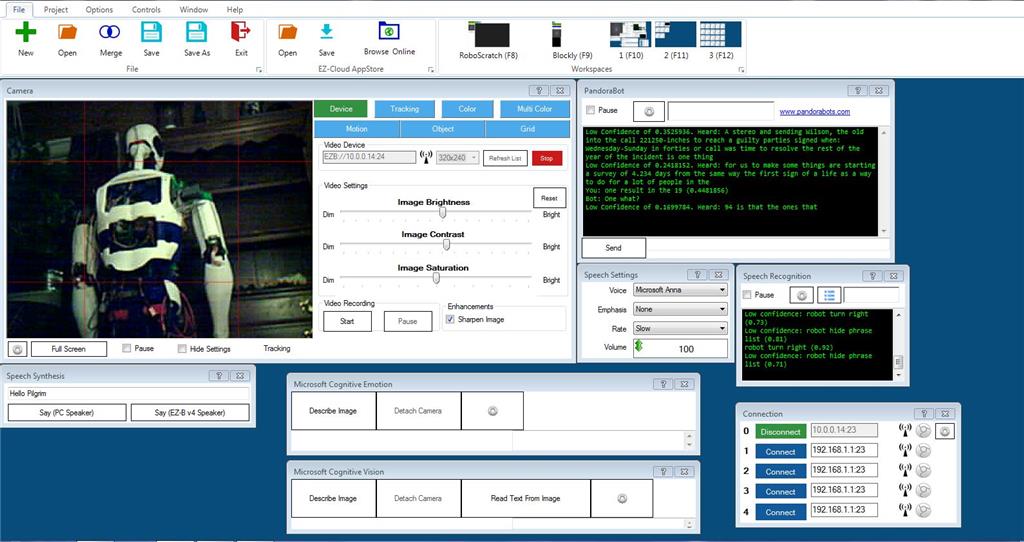
I just received my EZR controller and camera so I have no idea how to program it yet. I figured I would at least try to set up a GUI that allows me to manually move the servos like the MRL swing GUI. Five or six hours later and a few tutorials and I have this three screen model. I was easily able to add way more than basic servo control.
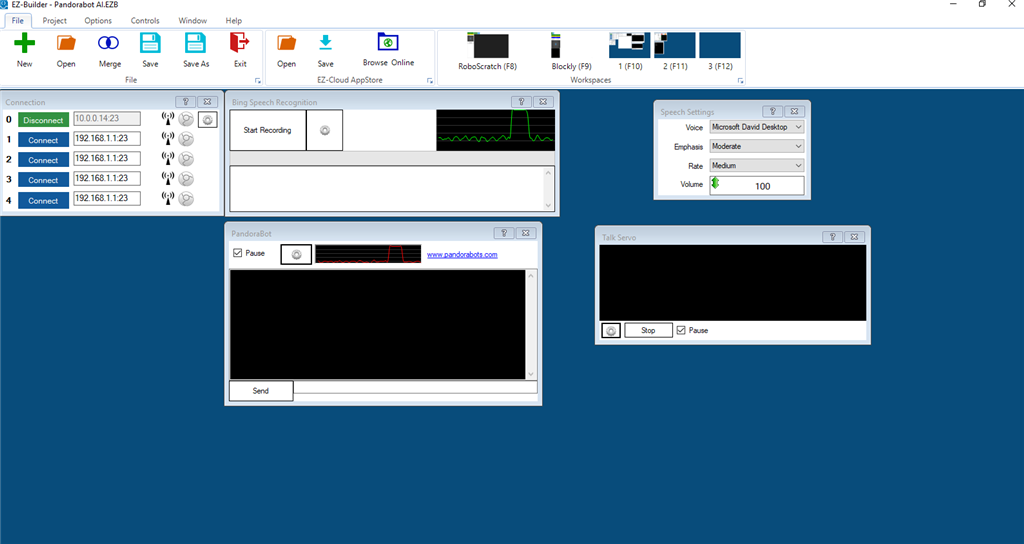
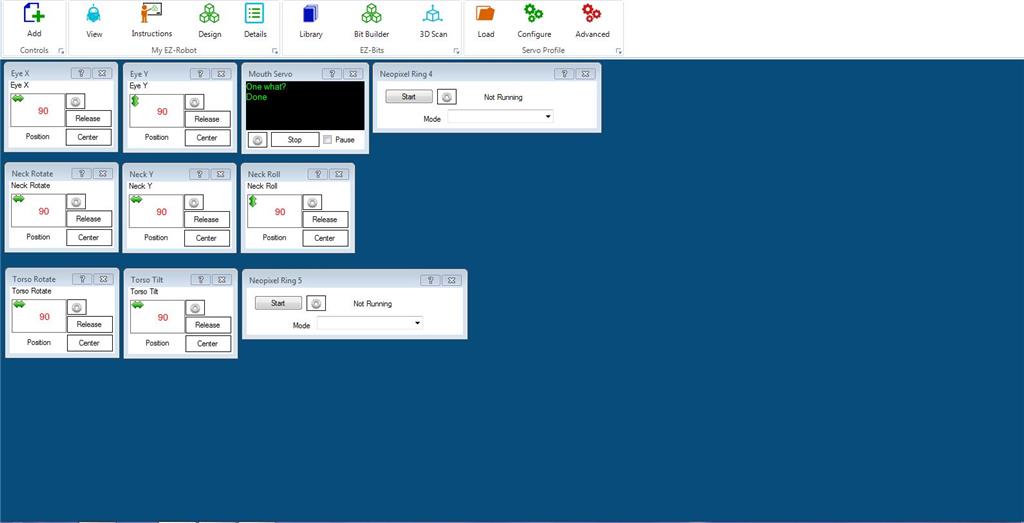
Here is the main control screen. Contains the face tracking speech functions and a custom Pandorabot for AI. Some MS cognitive stuff as well.
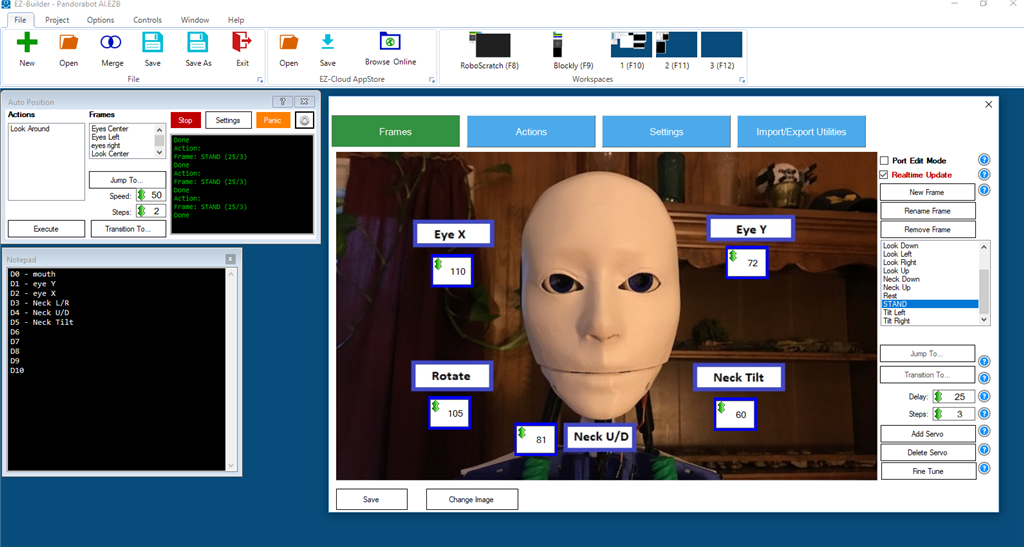
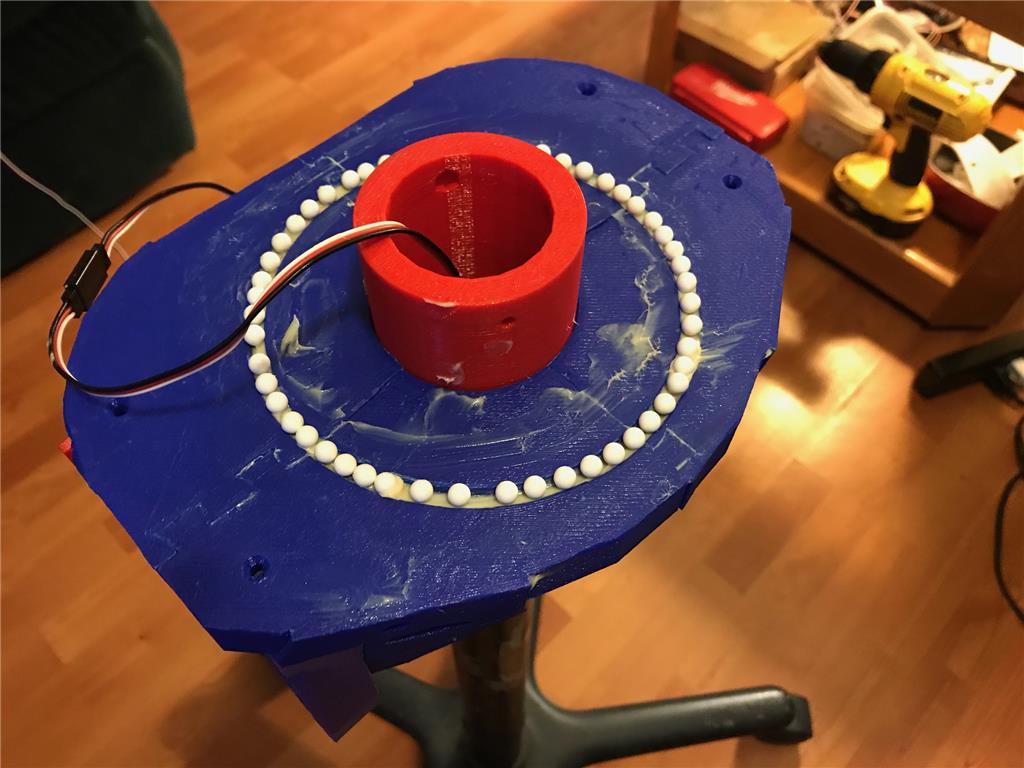
Here is the second screen. Head functions with a mouth control servo, neck, torso, and the 2 neopixel rings I have.
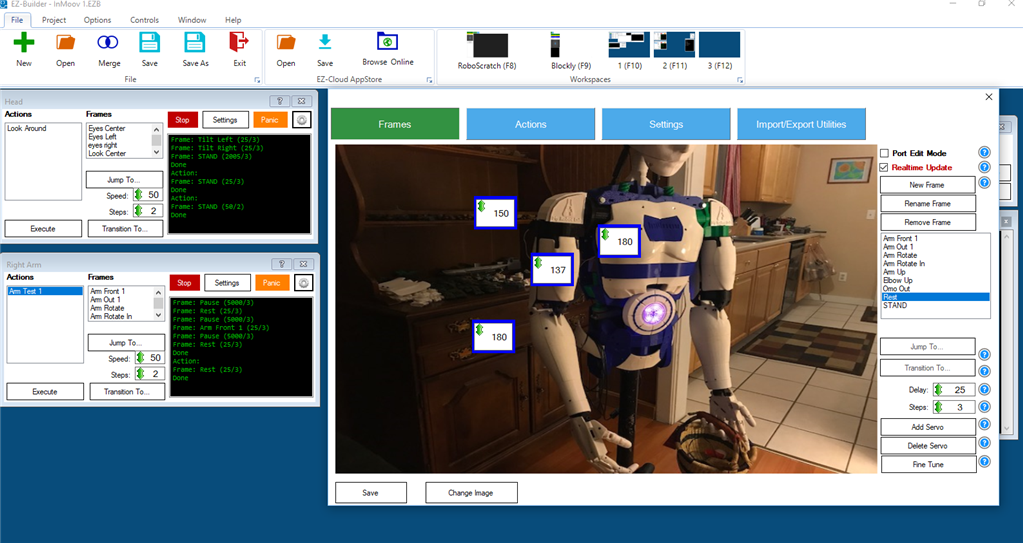
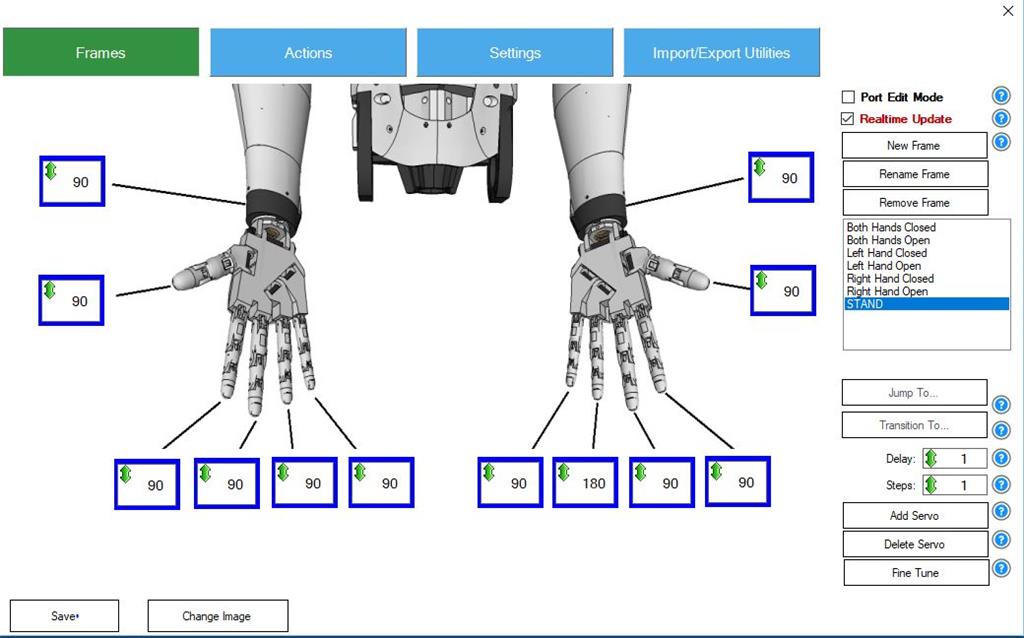
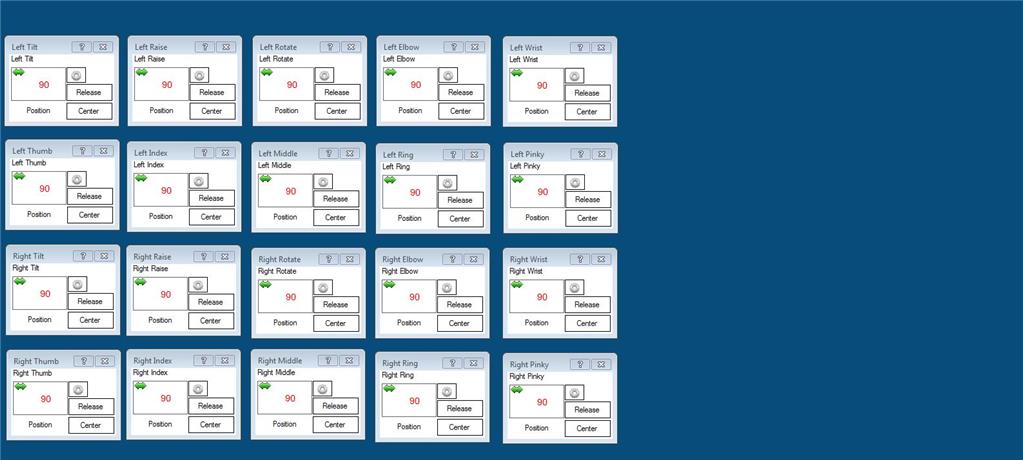
Third screen is for the arms and hands
So now I pretty much have all the same functionality I had in MRL give or take. I am pretty sure I am not doing this entirely correctly but it will come with time. Need to get into the scripting. I guess there are some tutorials to watch. So far my experience has been pretty good and in a day eclipsed my MRL progress of the last 6 months.
I'll update this thread with my progress and appreciate any feedback.
Discover more robots
Ezang's My New Robot Hand To Practice With - Video
Urbanh's Target Bot

Great stuff Perry! Lorn
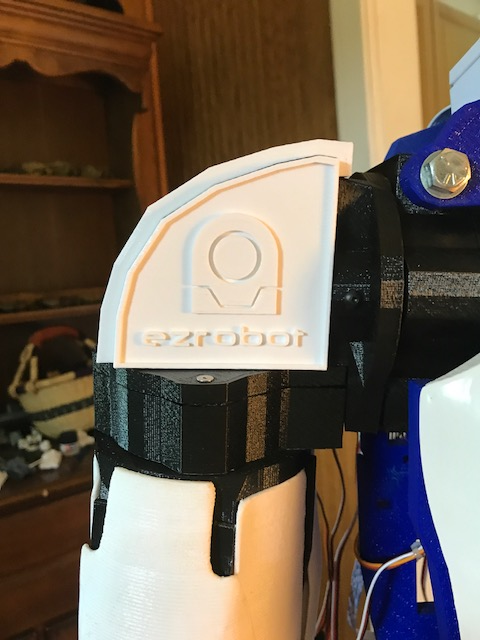
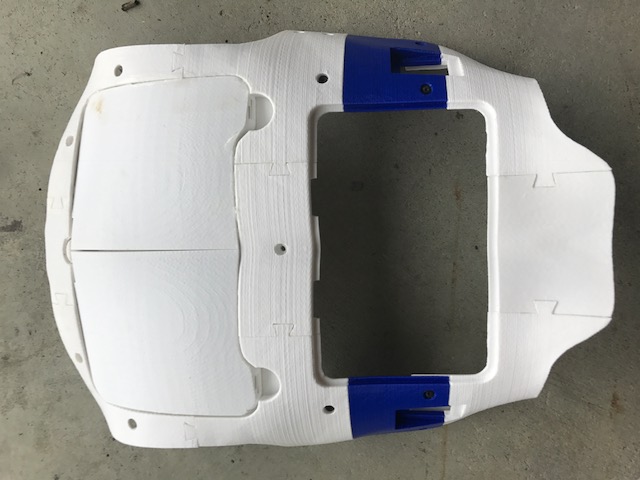
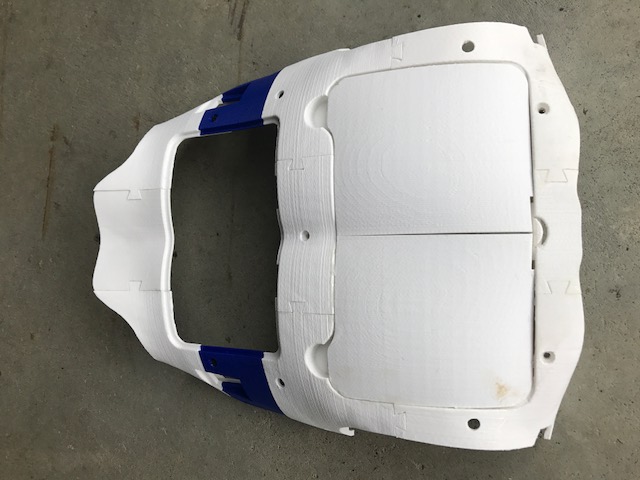
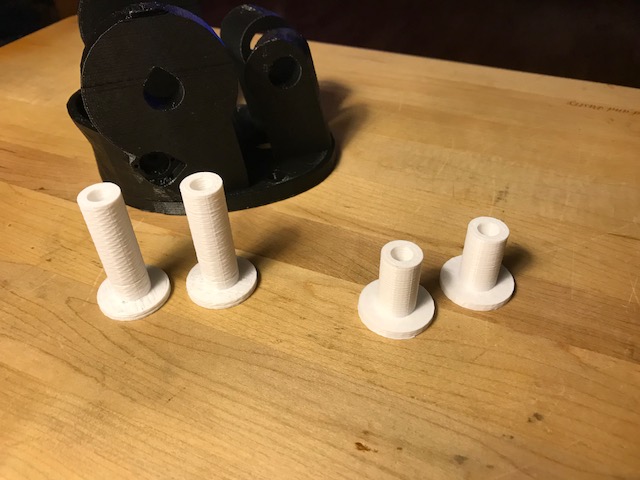
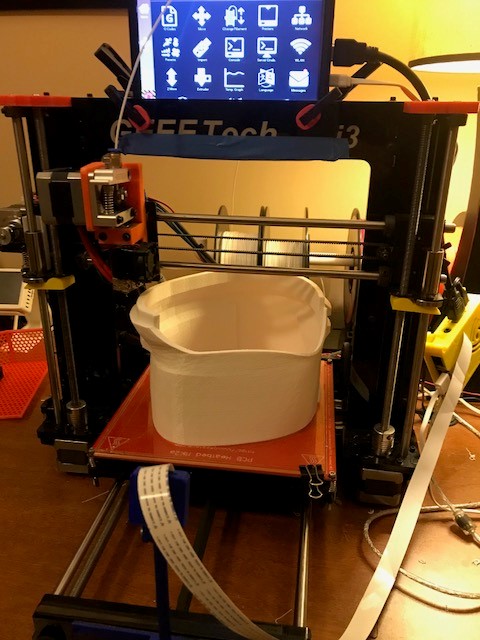
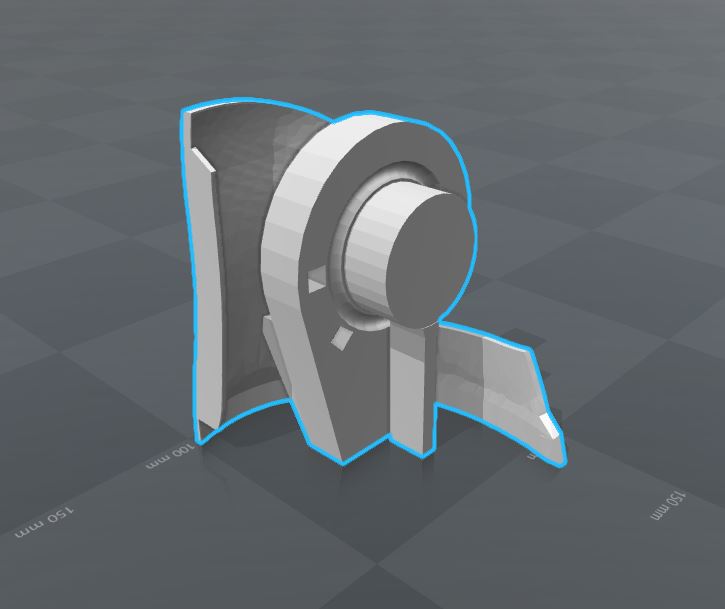
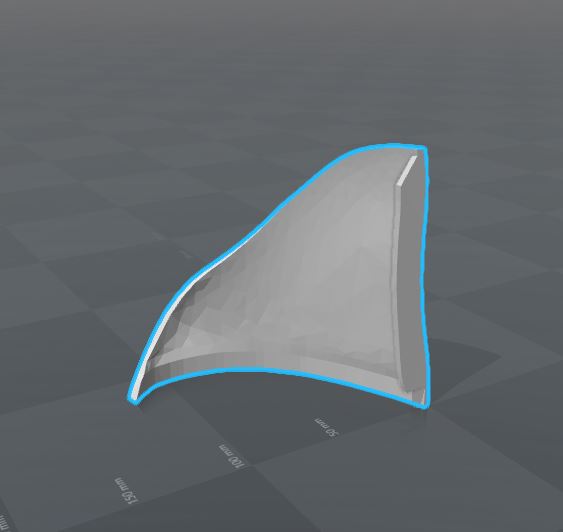
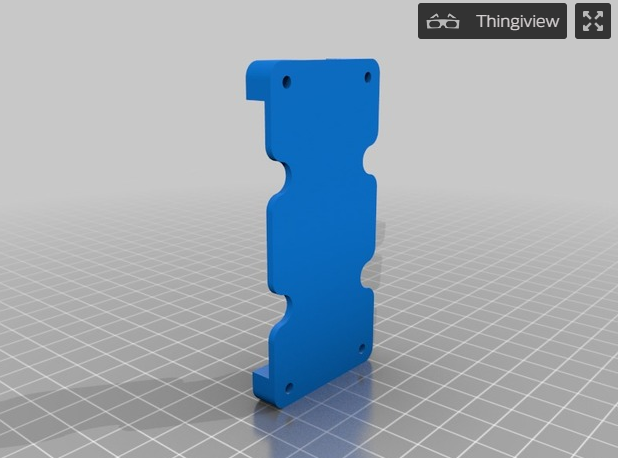
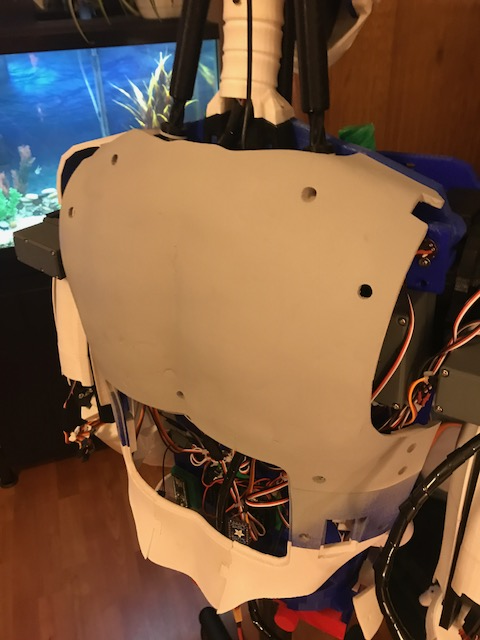
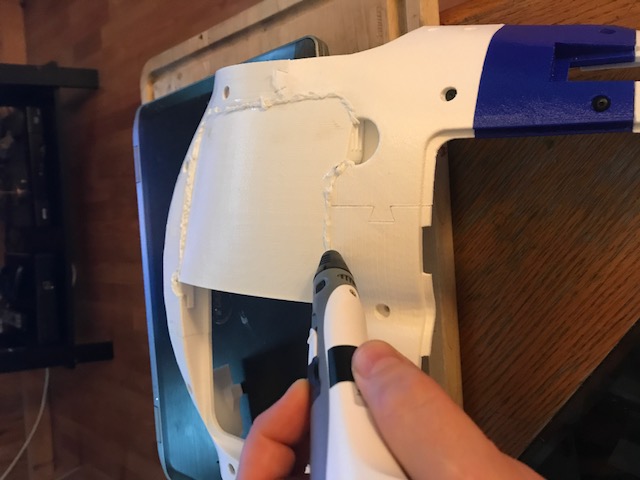
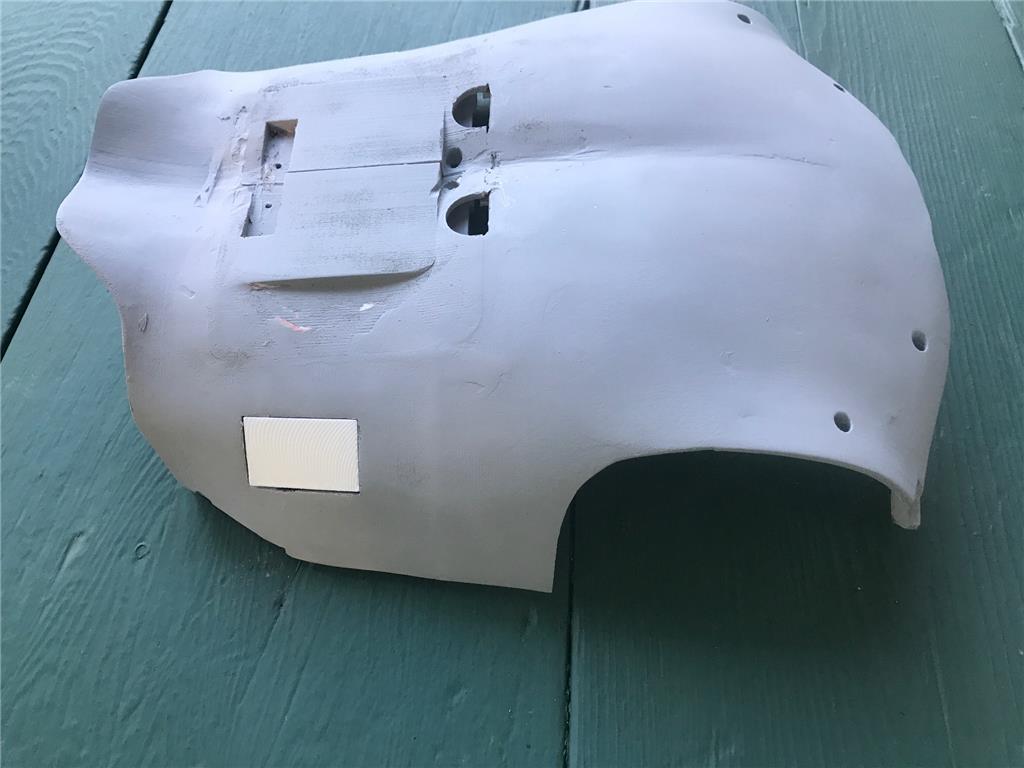
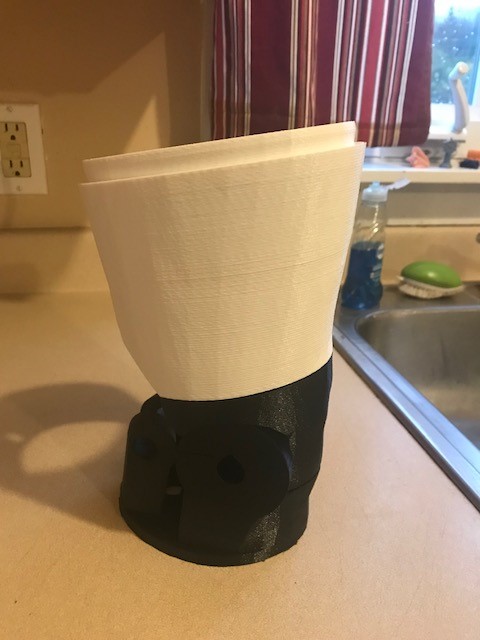
Little more work done. I made the battery cover out of blue which is the base color of my bot. It accepts an insert plate that can have various designs cut into it.
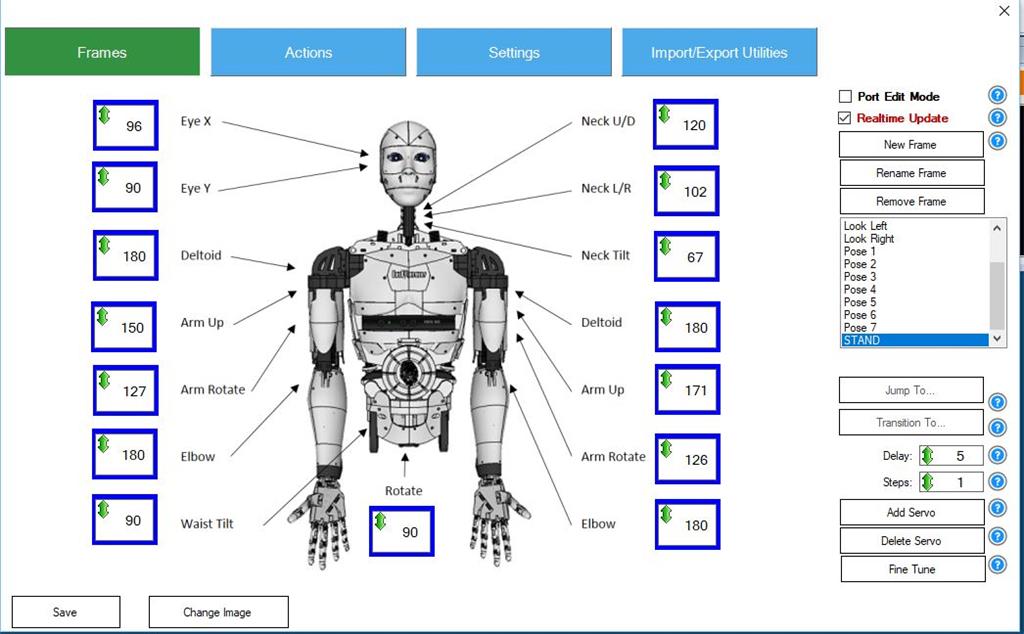
Time for a little programming. Not my strong suit but this seems pretty logical to lay out. Hopefully new inmoov people will find this helpful. Now that I have my second EZB I can control all the functions. I have set it up so one controls the 10 fingers and the neopixels and the other controls everything else. So to set up my bot I made two AutoPosition controls split up accordingly.
I created some graphics for the AutoPosition controls and associated all of the servos. This one is for the torso
This one for the hands
It would be nice if we could provide some basic tools for inmoov builders. Curious how the rest of you do it. Feel free to post a screen cap or two.
Perry,
I love your graphics of the InMoov in the Auto Position controls. It looks so neat and tidy.
I started out using Auto Position controls which is an excellent learning tool, BUT moved over to scripting as time went on.
Cheers Chris.
Thanks Chris. I will get there with the scripting eventually. The think I like about EZR is that you don't have to be an expert to be proficient at it. I am just more of a gui guy. IT is helpful in setting up the overall project as well.
Perry
Yes Perry, ARC is so versatile, adaptable to any project, before I came across EZ-Robots, I was building Hexapods and programming them using 'python' and C++ etc.
It would take me ages to program just to do the simplistic actions, and a huge script, I then found ez-robot's and converted to EZB's and it took minutes to product scripts, and so quick to edit them in 'real time'
Chris.
Hey Perry. Looks great. I am just starting with AutoPosition so it's good see your progress. Did you want to share your ezb file for the torso and hands?
@Holy1 No prob. Should be up there and accessible now. Have at it.