


Hello all, I wanted to start my own thread to discuss my Inmoov and my conversion to EZ Robot. I appreciate all the work by the MRL guys but I struggle with it. I am indebted to the help they gave me but I needed something a little more along in development with some documentation.
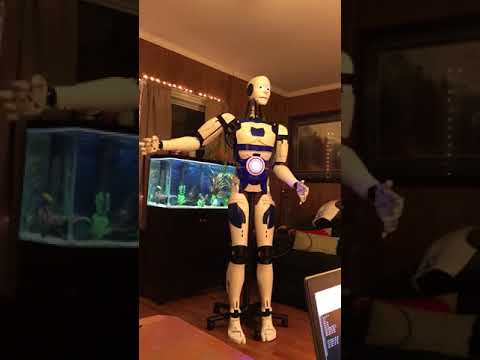
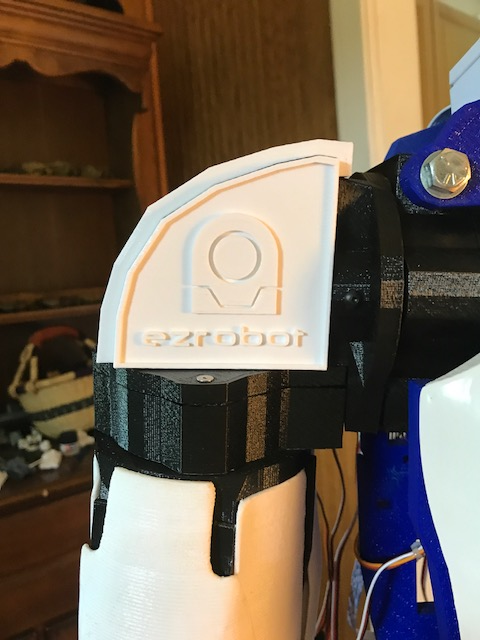
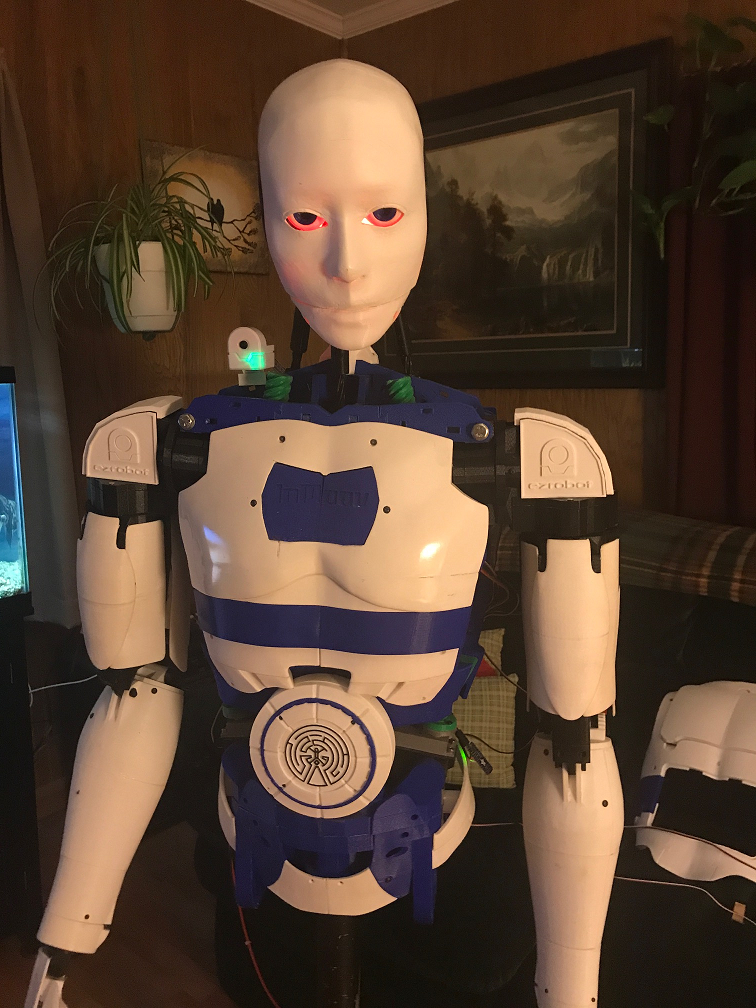
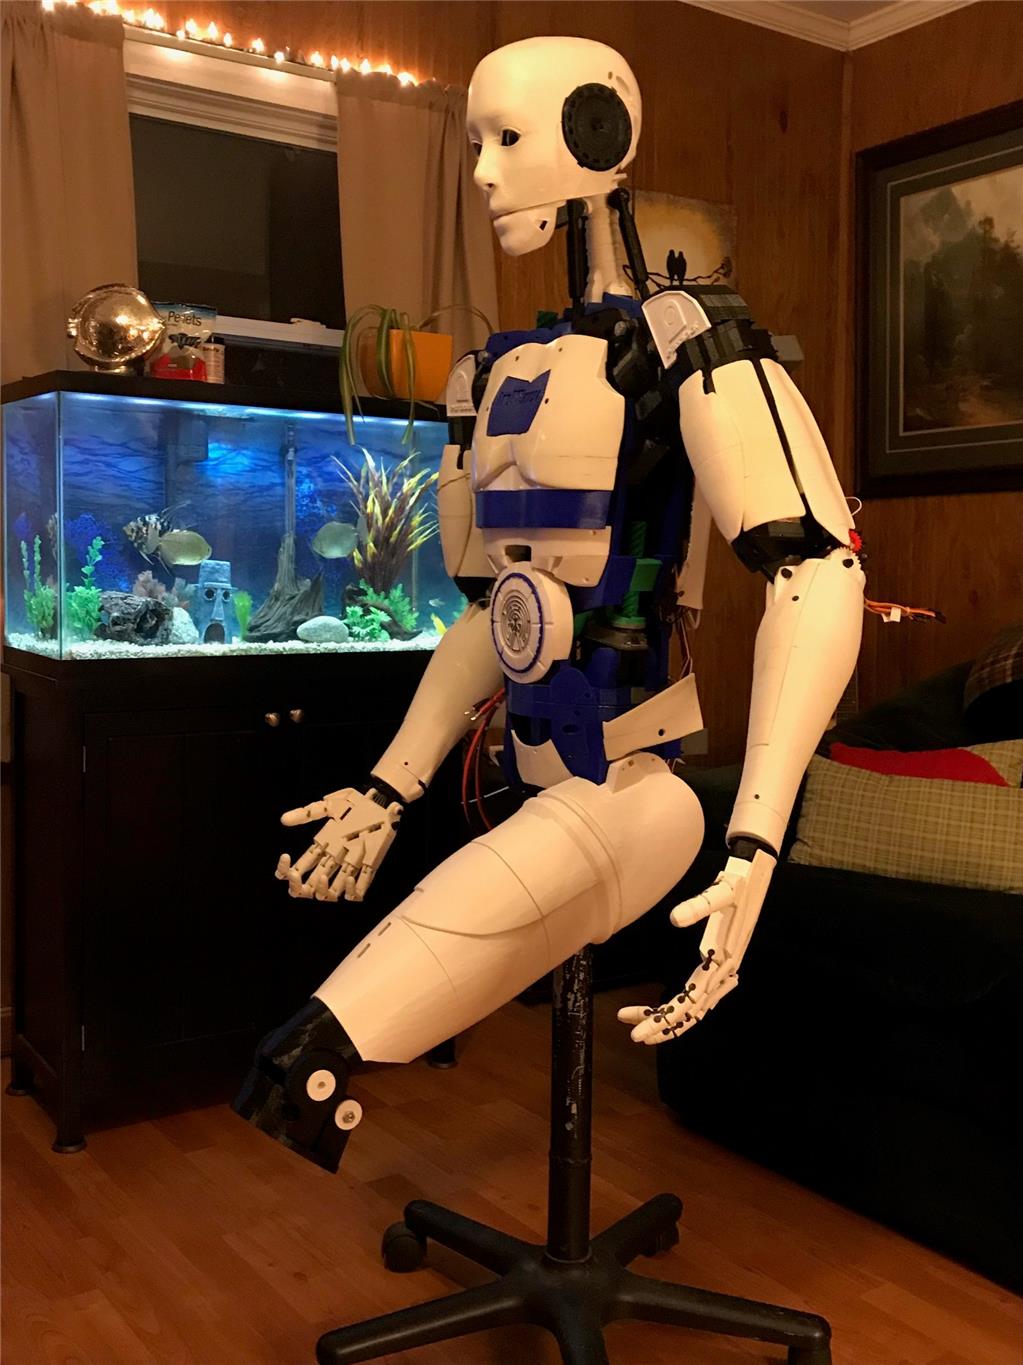
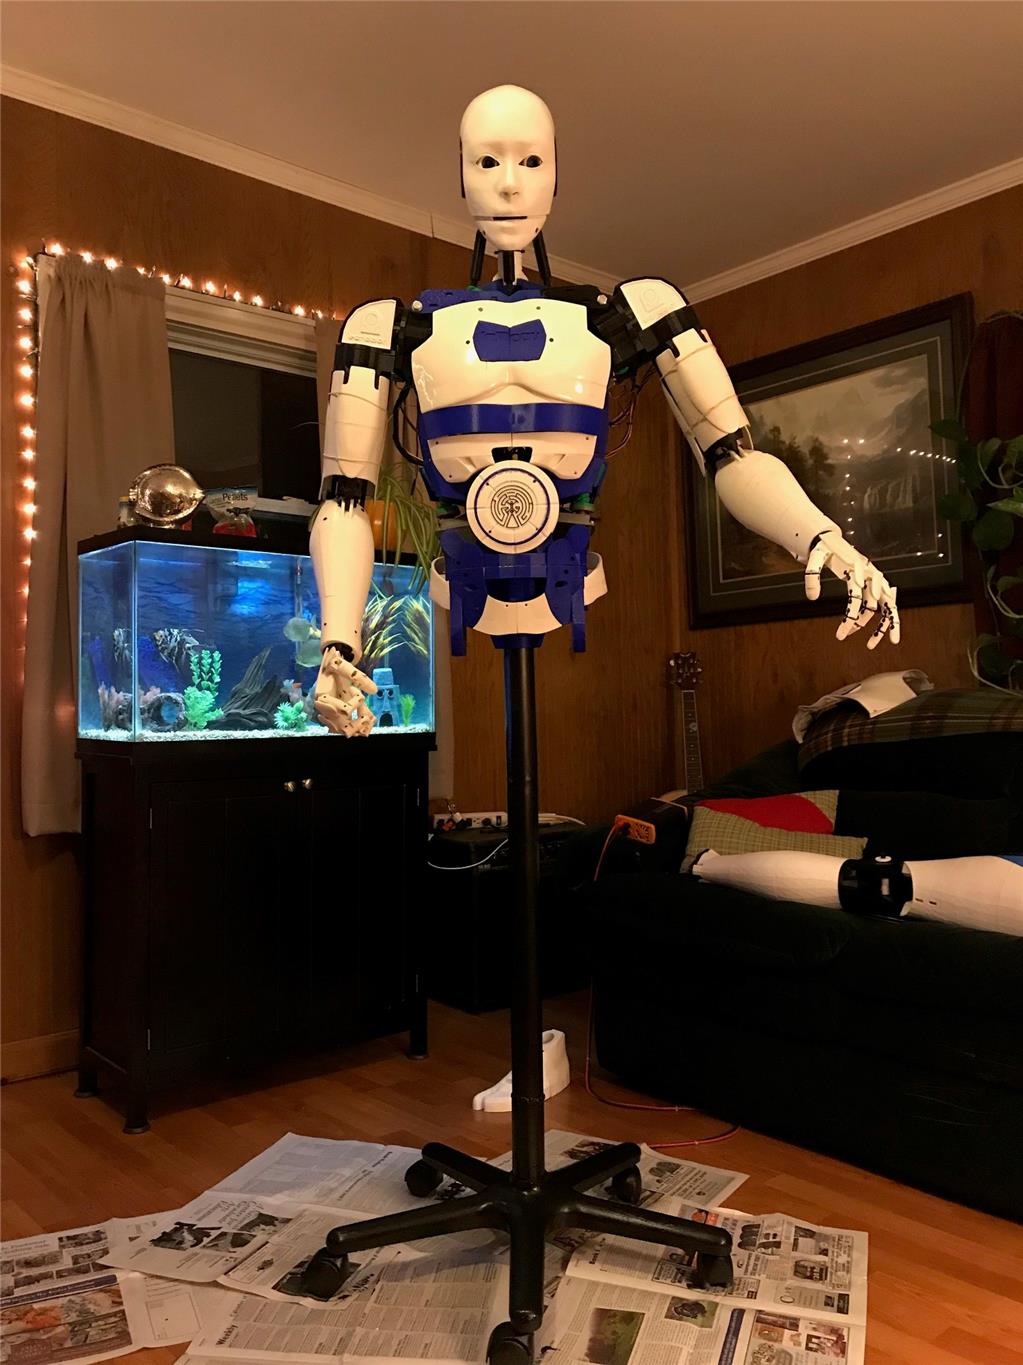
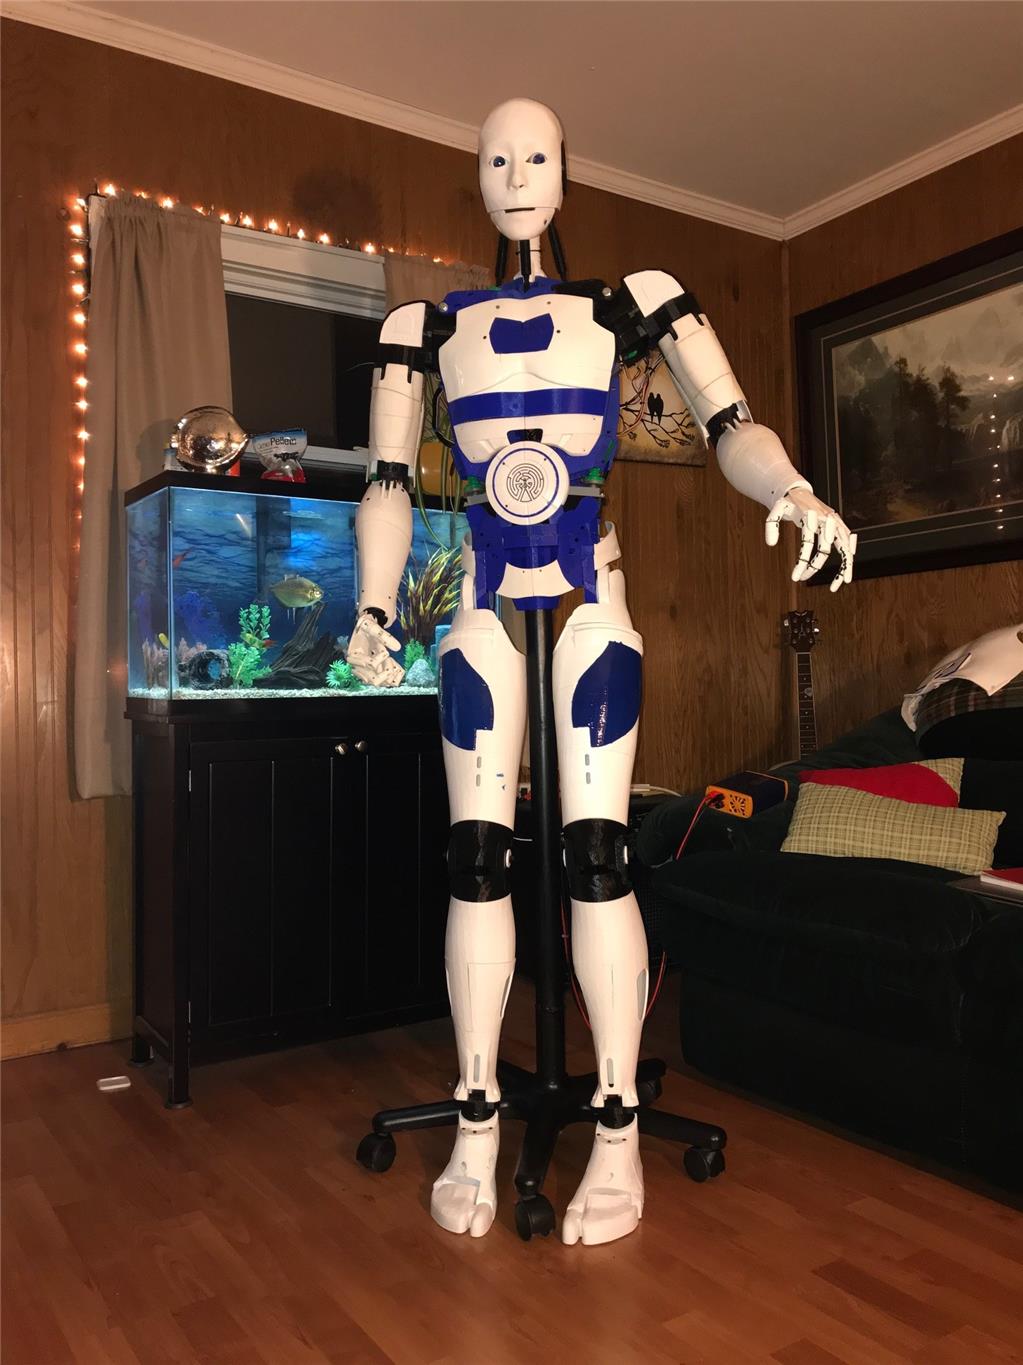
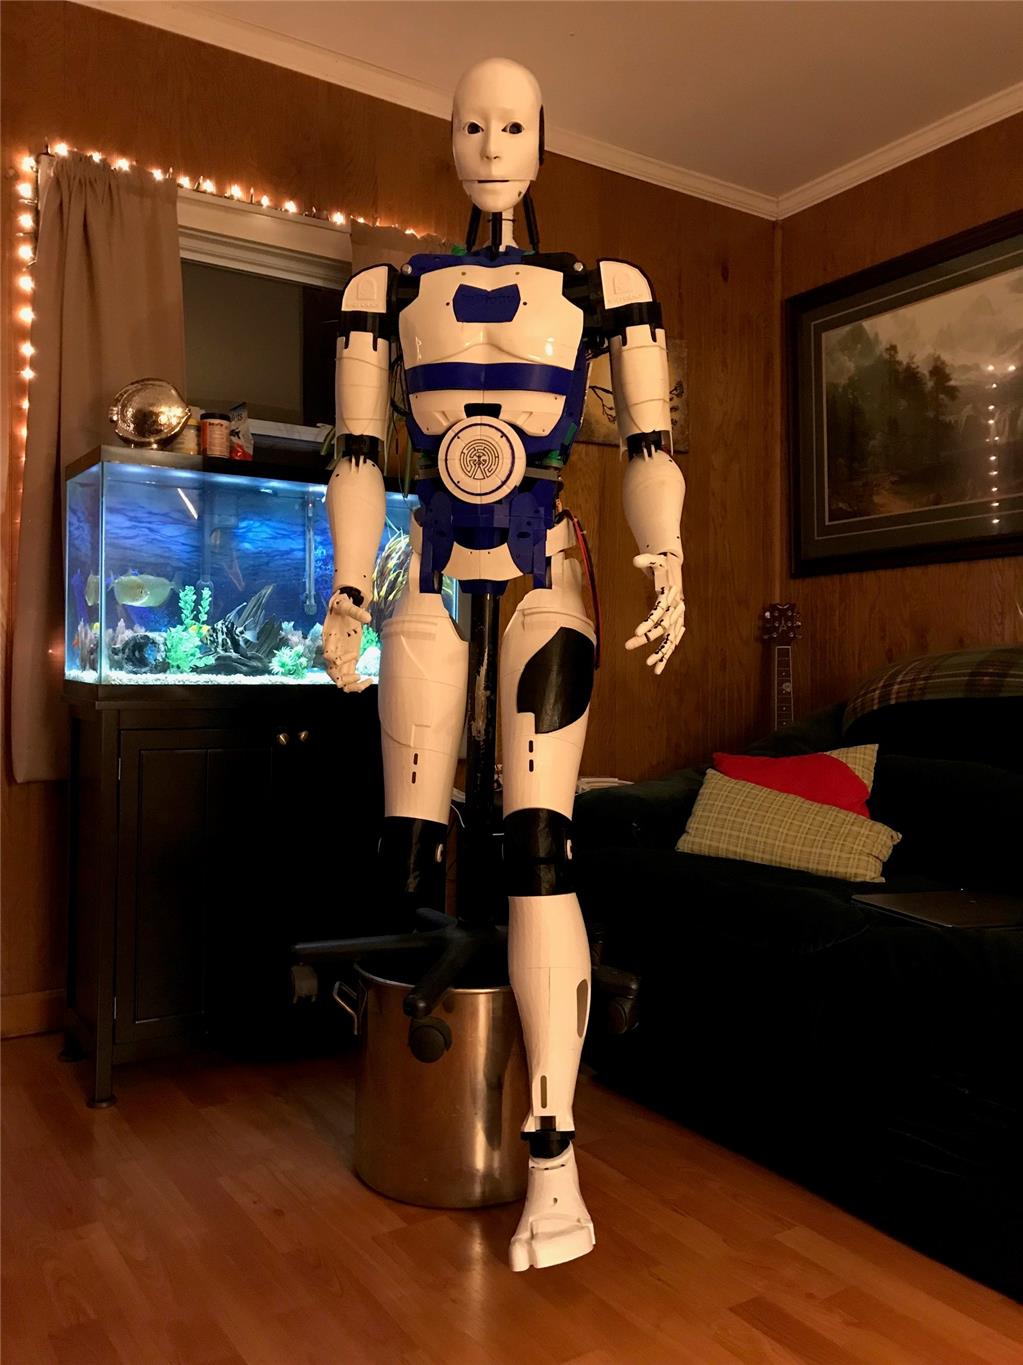
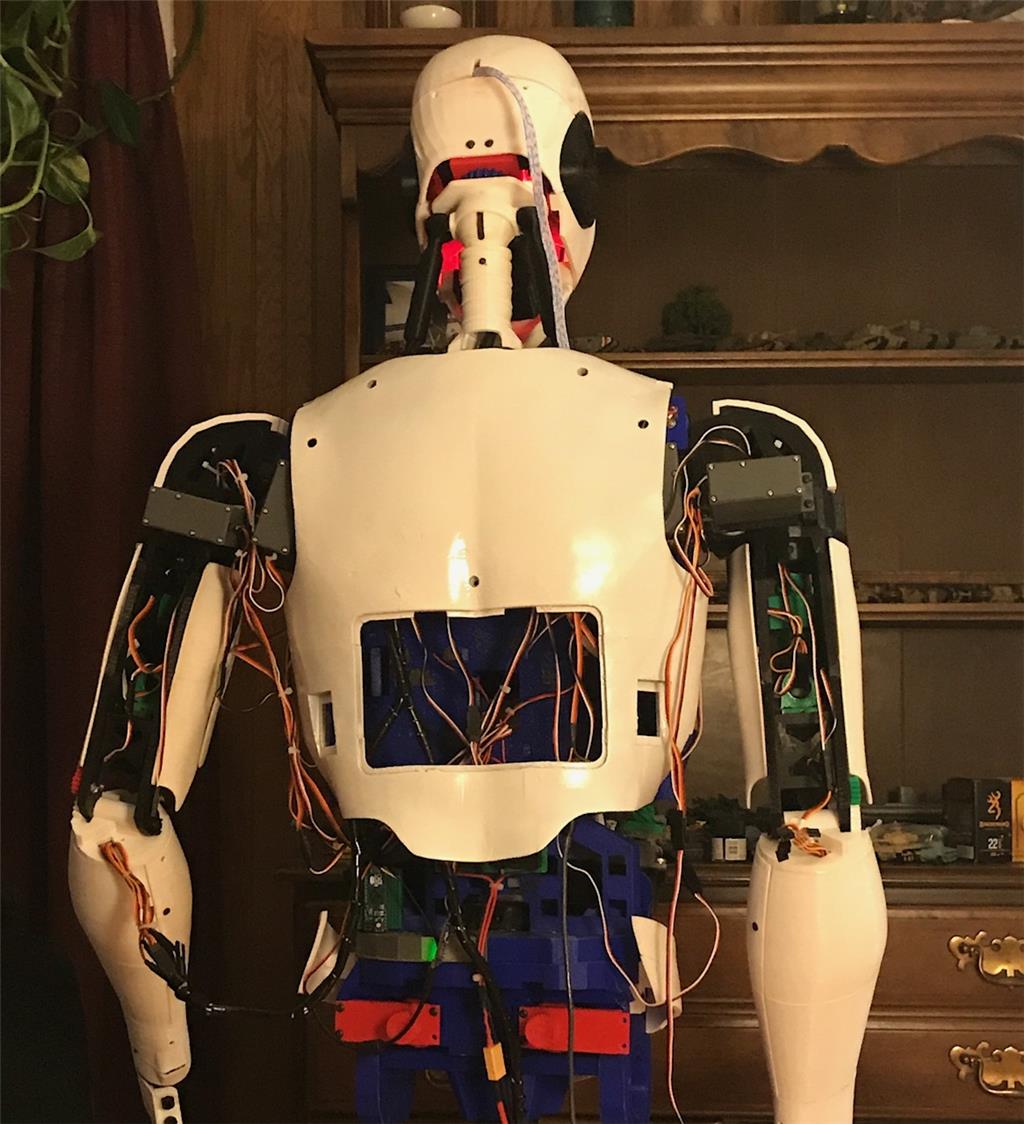
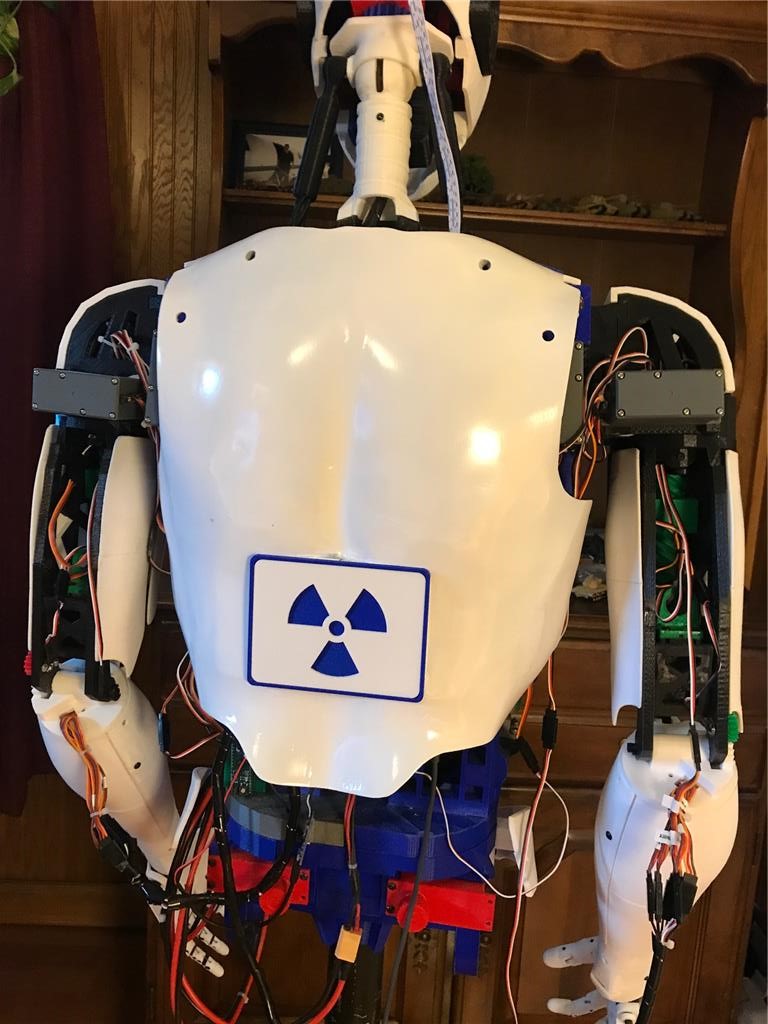
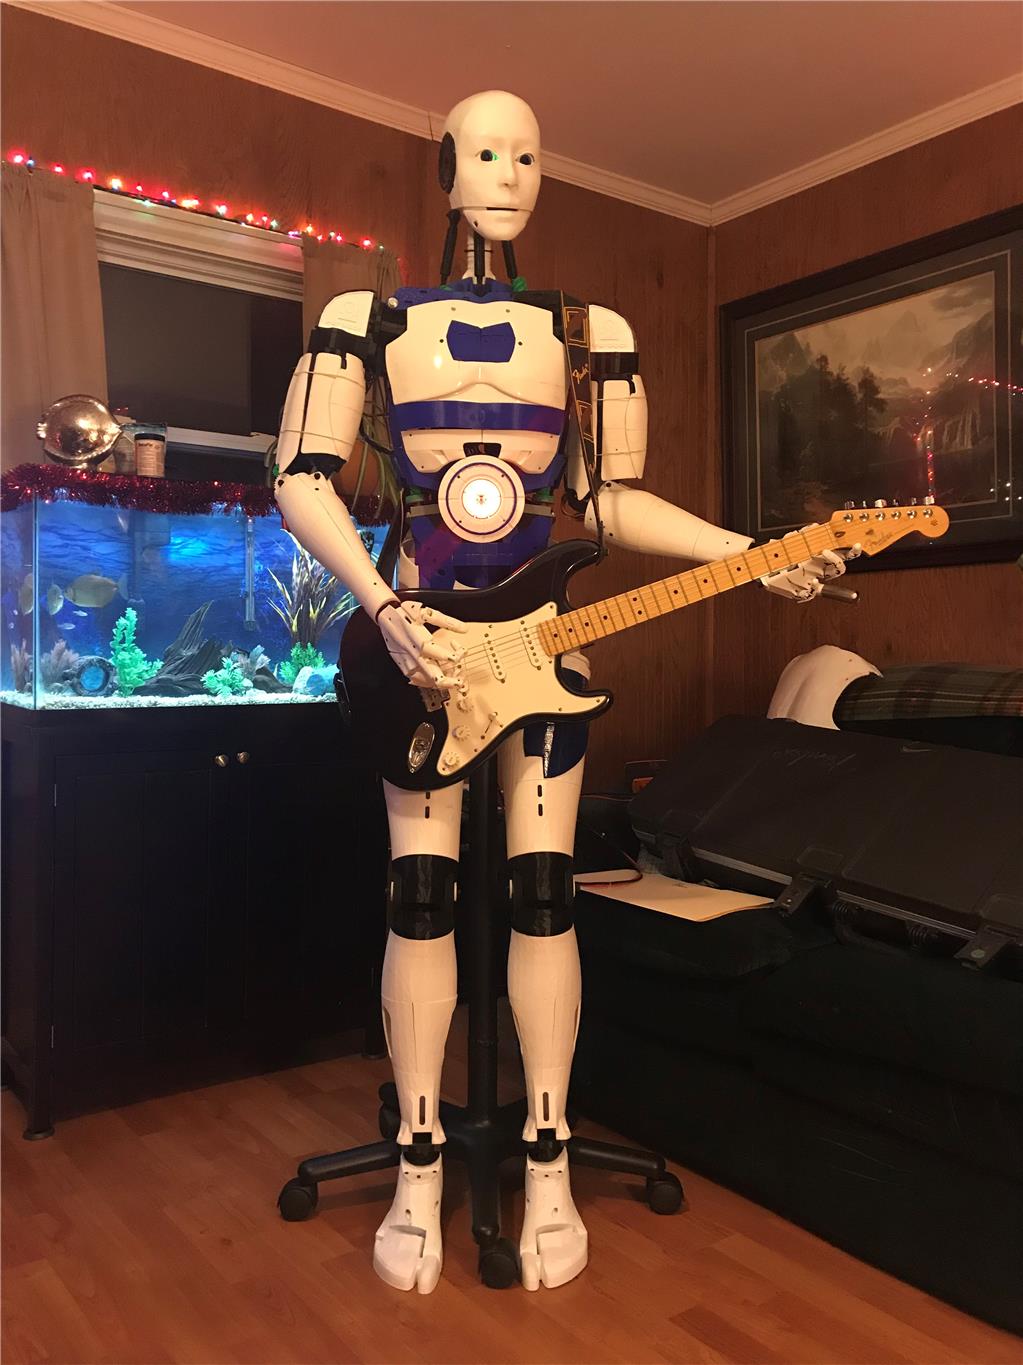
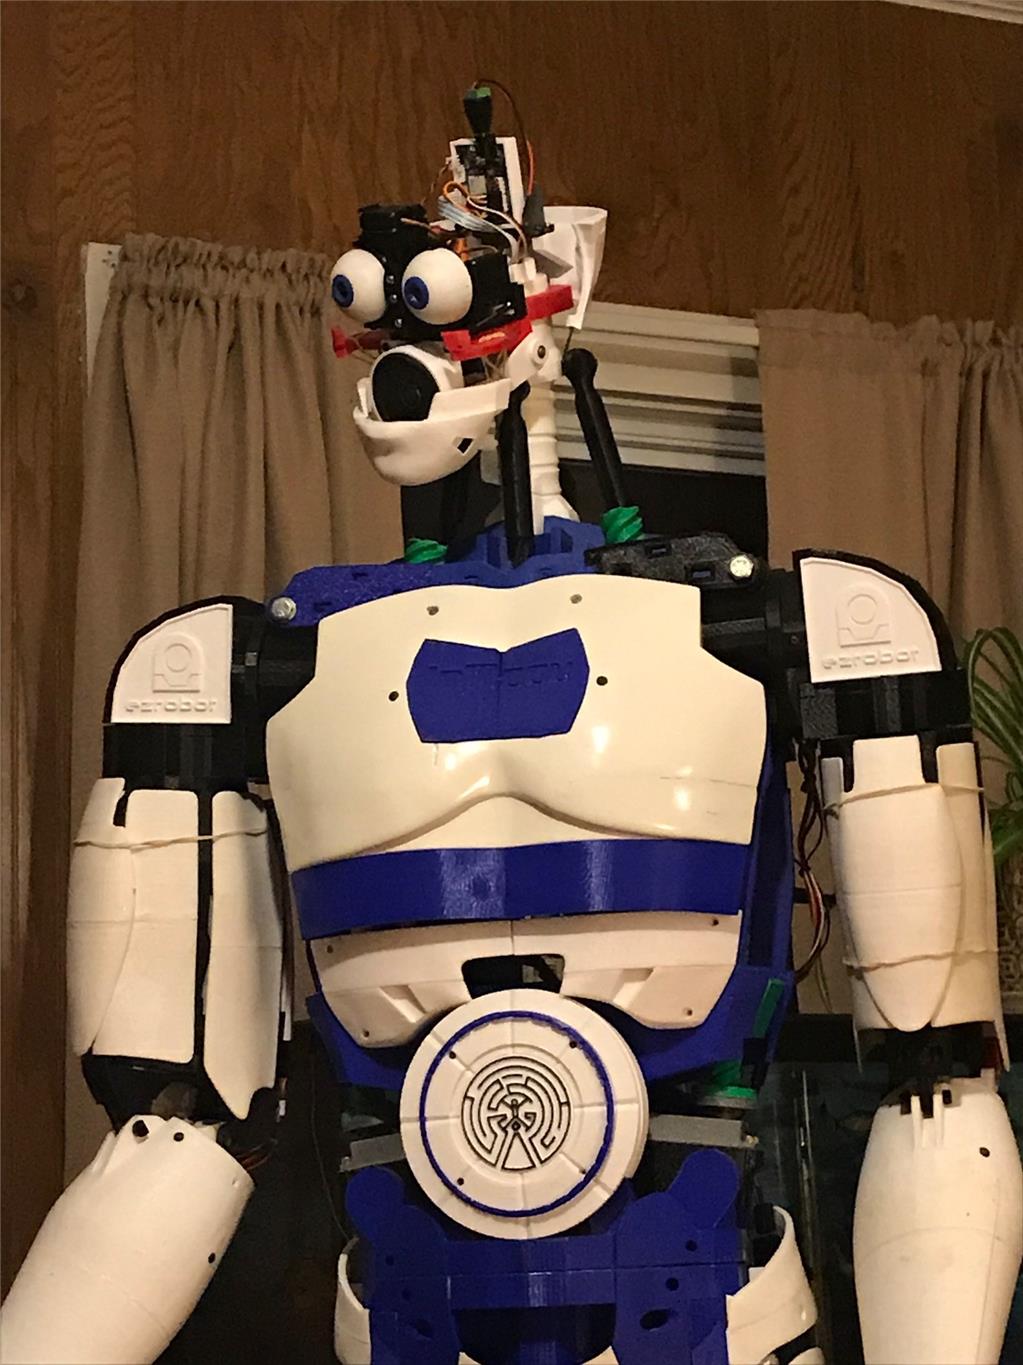
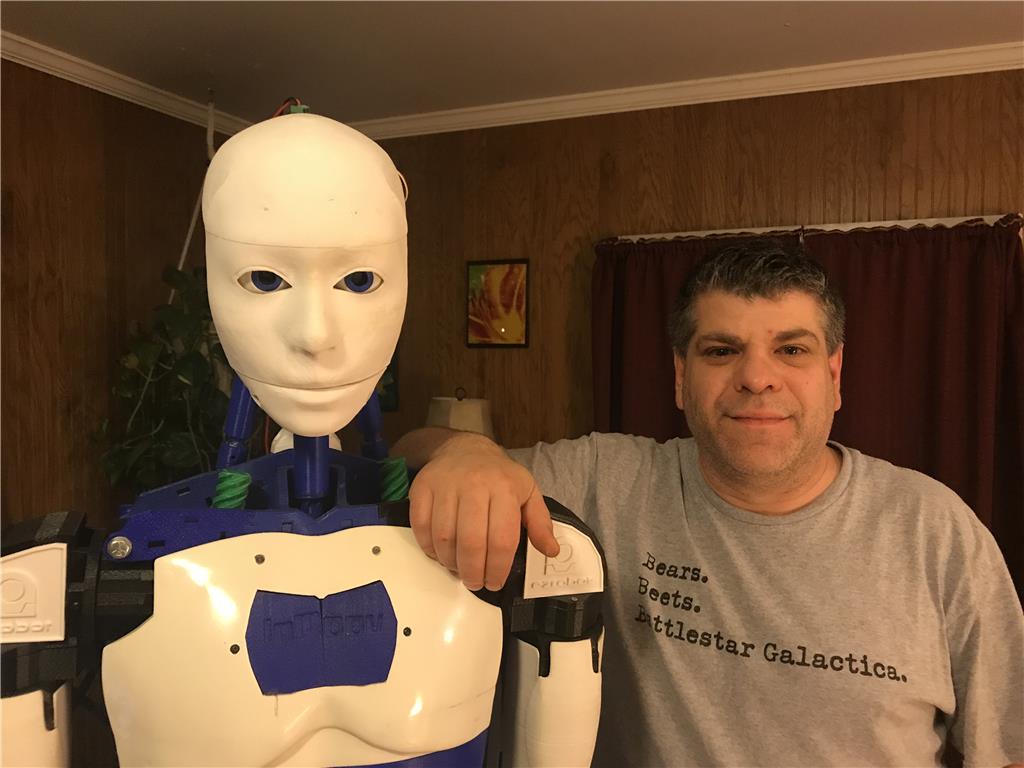
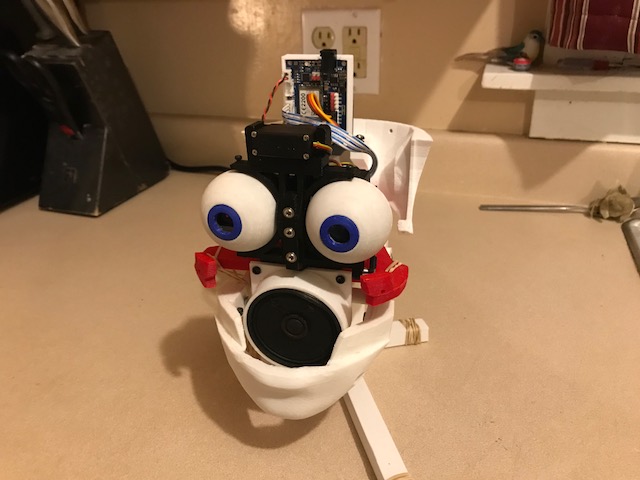
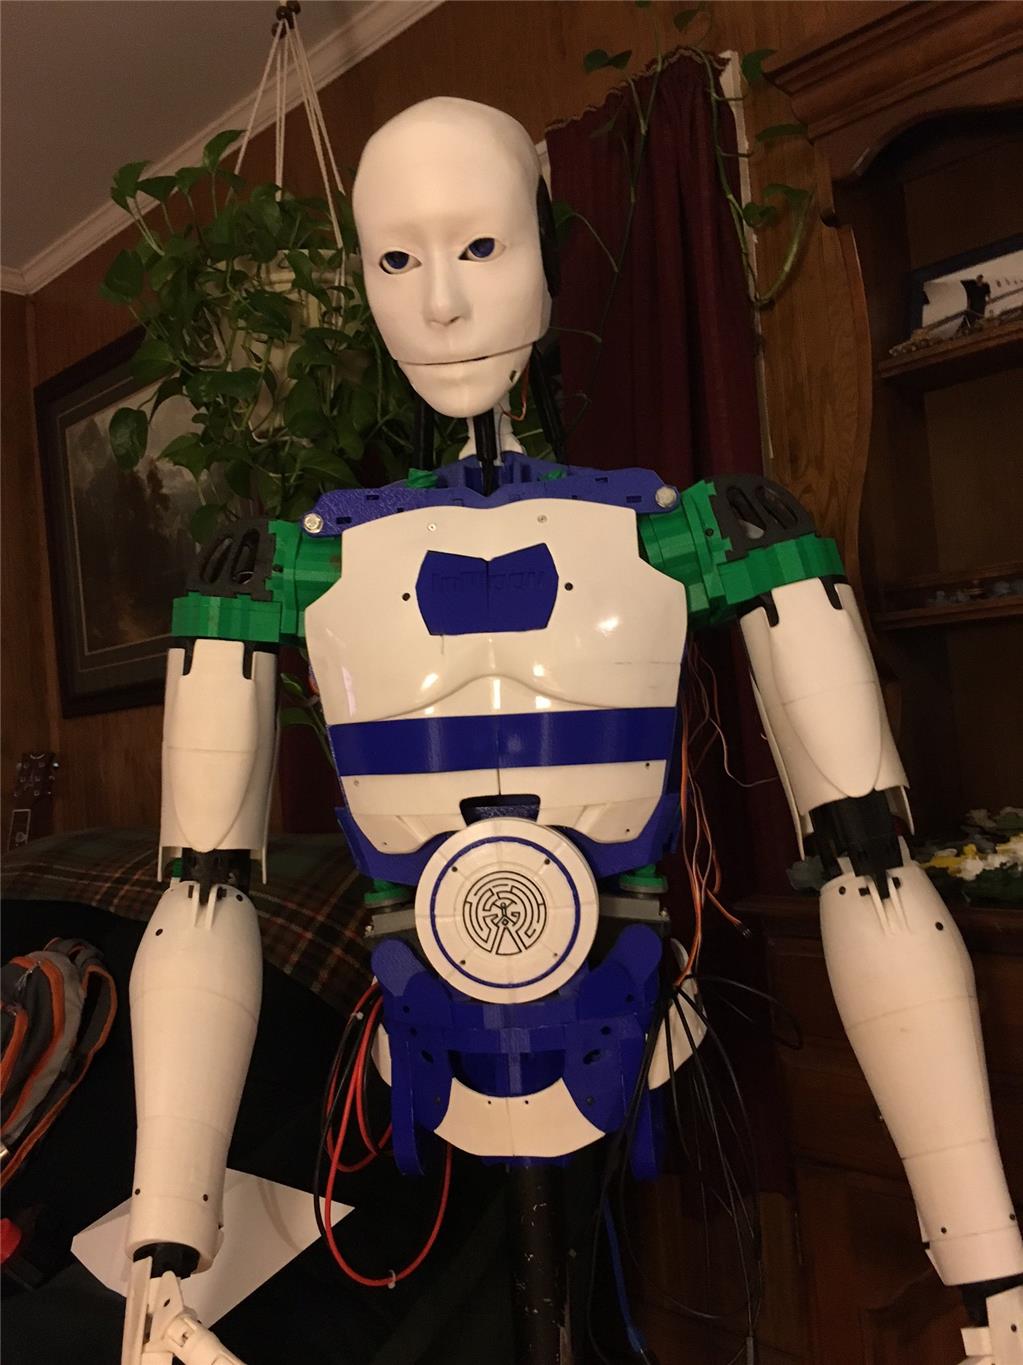
So here is my guy. Pretty standard build as far as inmoov's go.
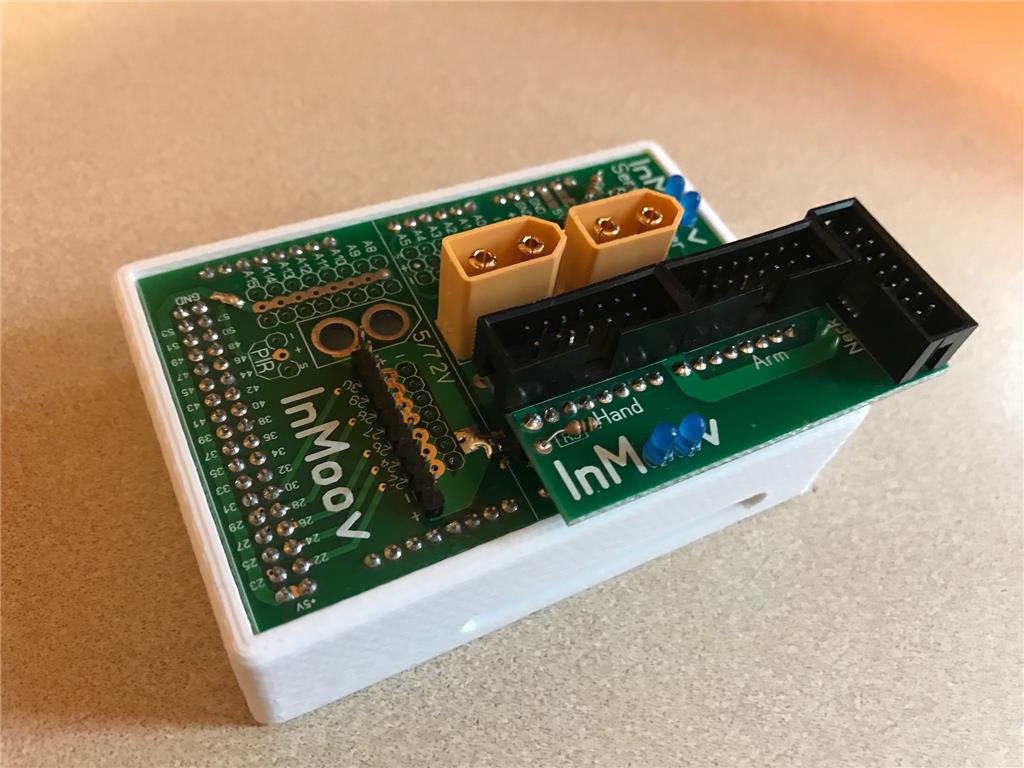
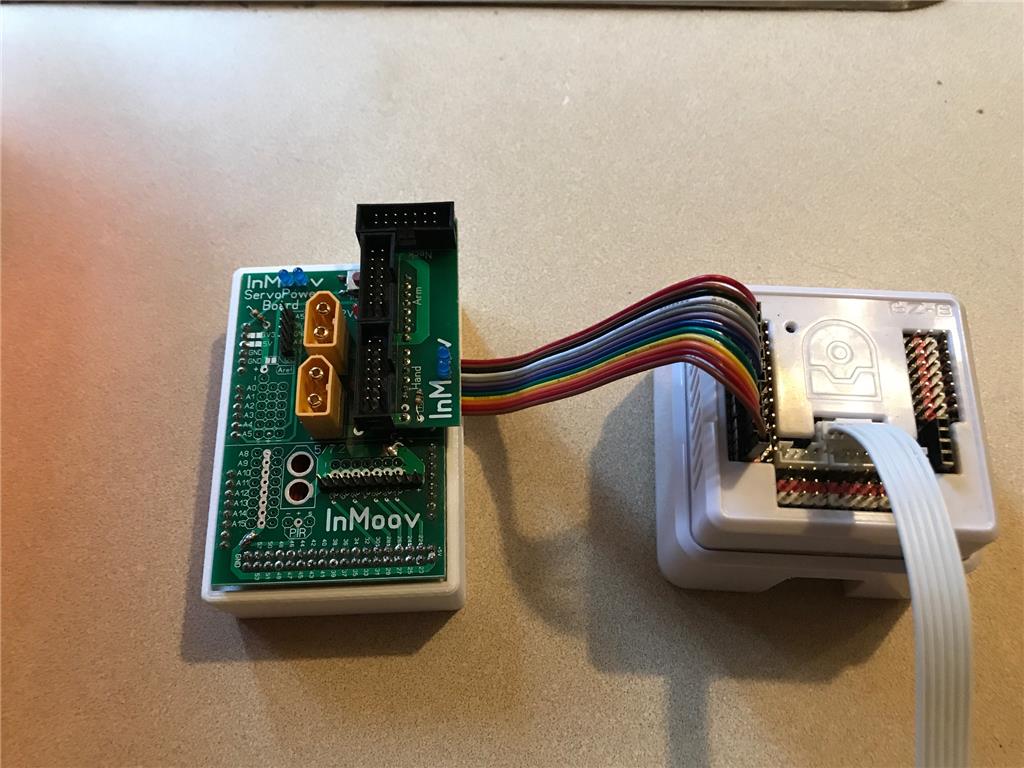
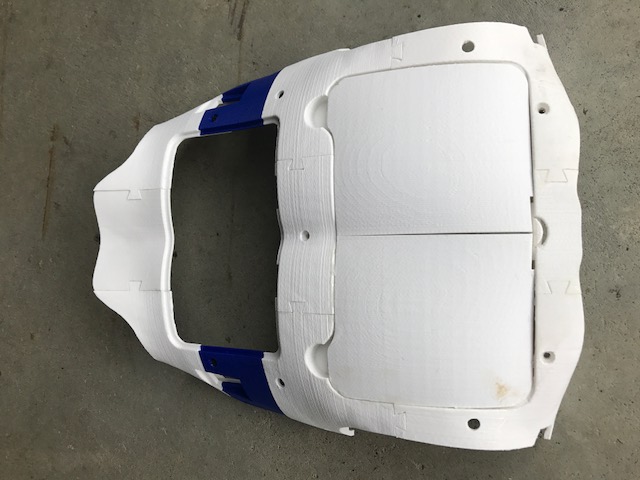
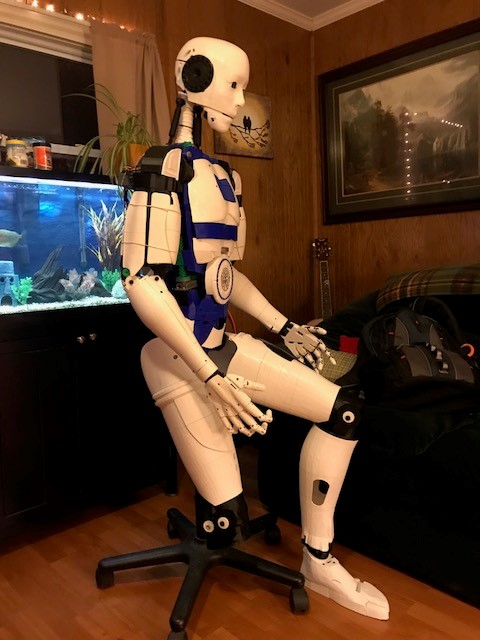
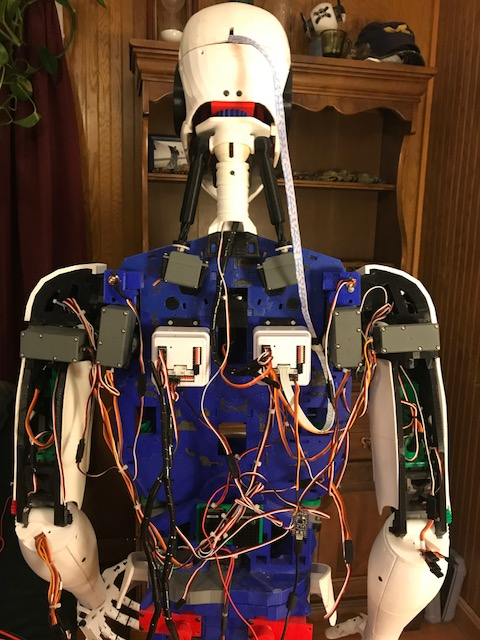
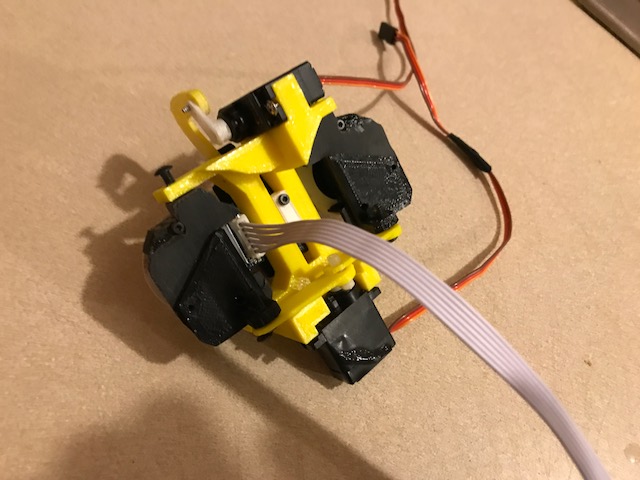
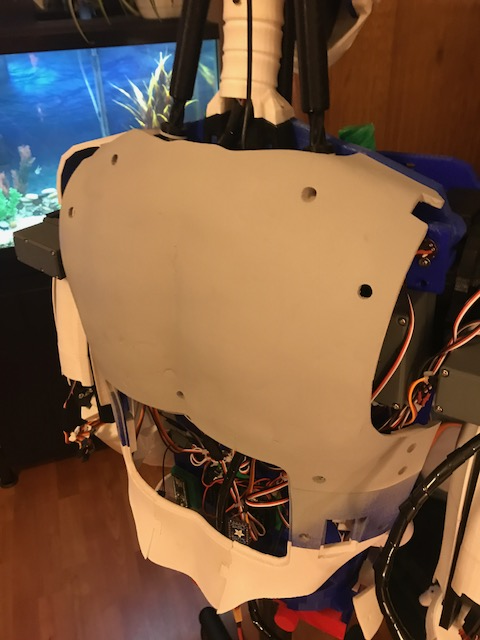
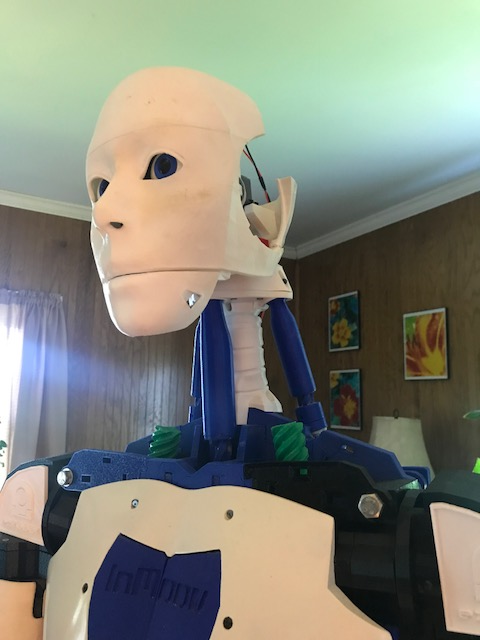
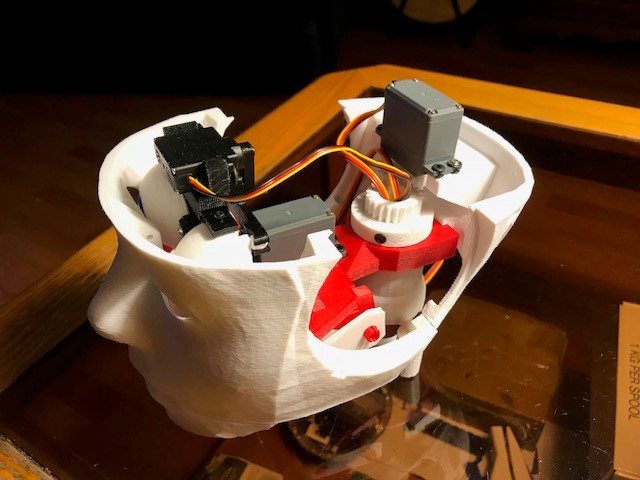
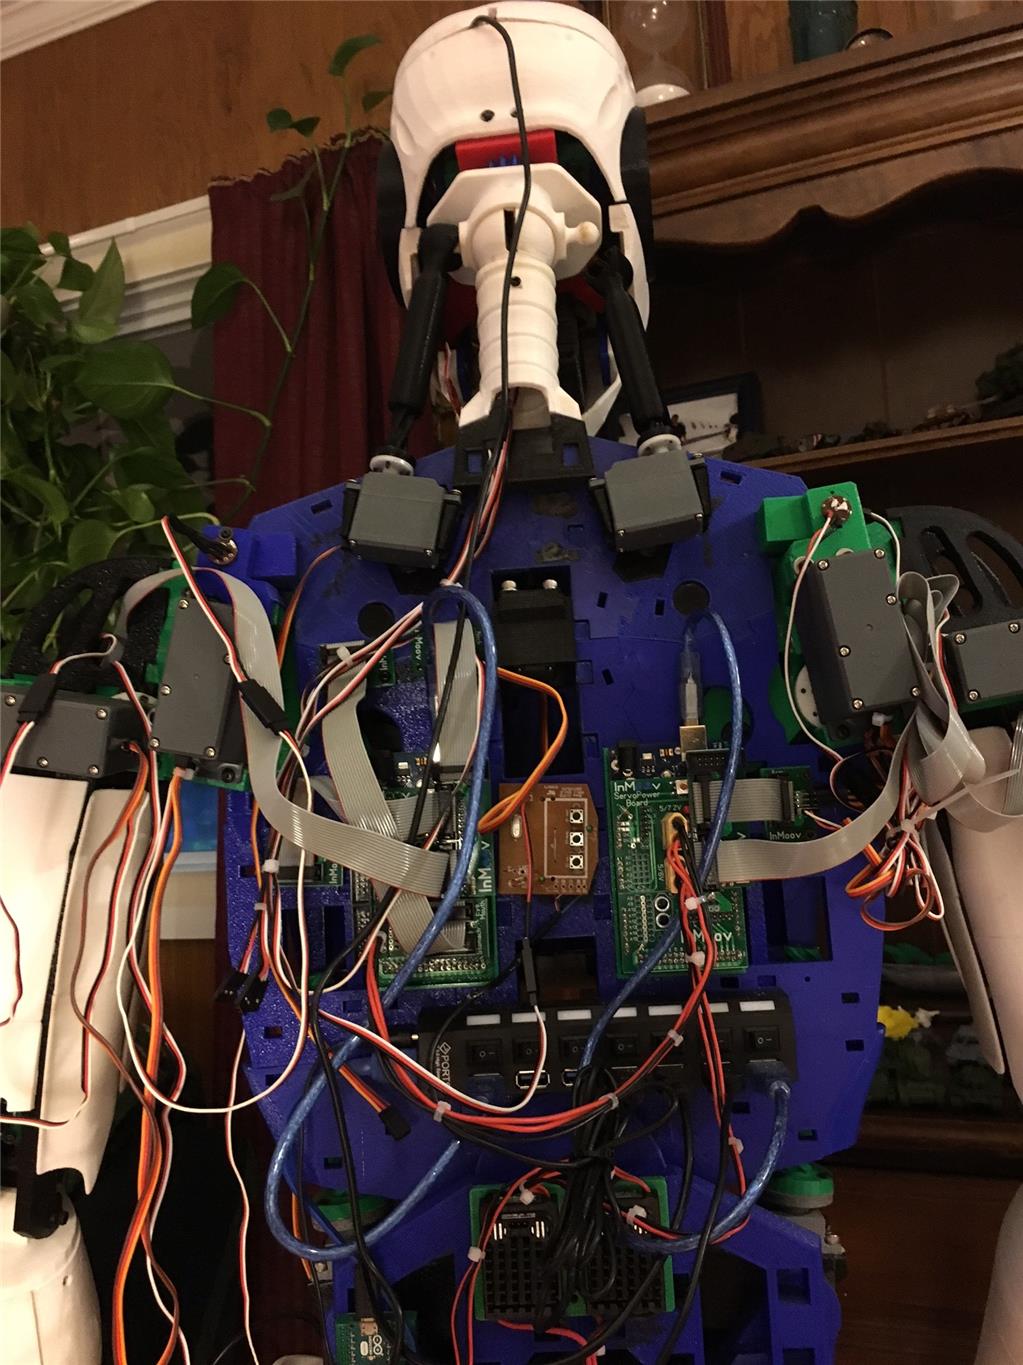
Here's the back. All the standard inmoov components. Dual 256 Megas, Nervo boards USB hub, Power supplys etc.
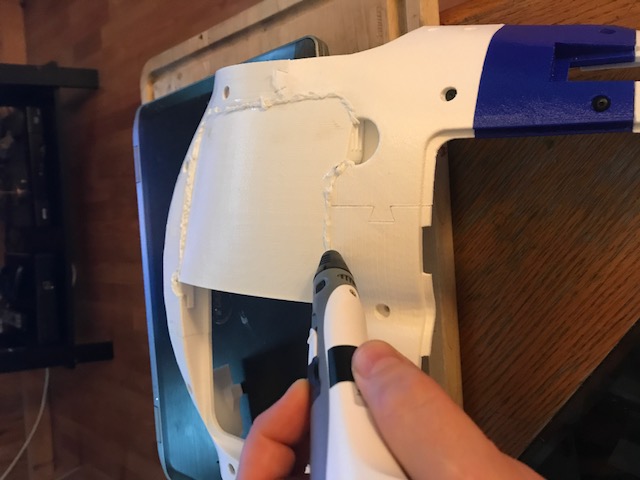
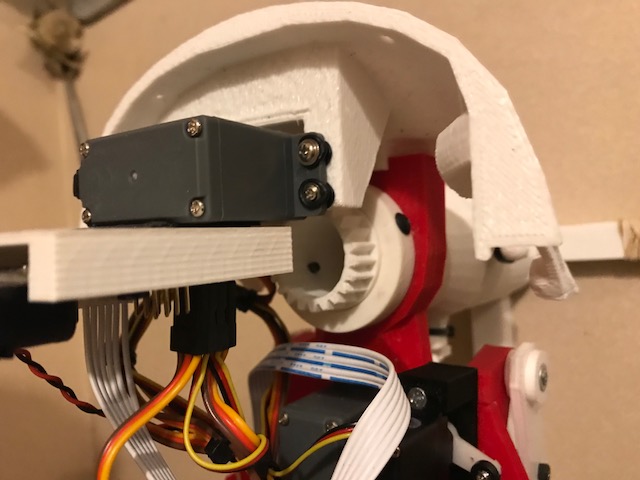
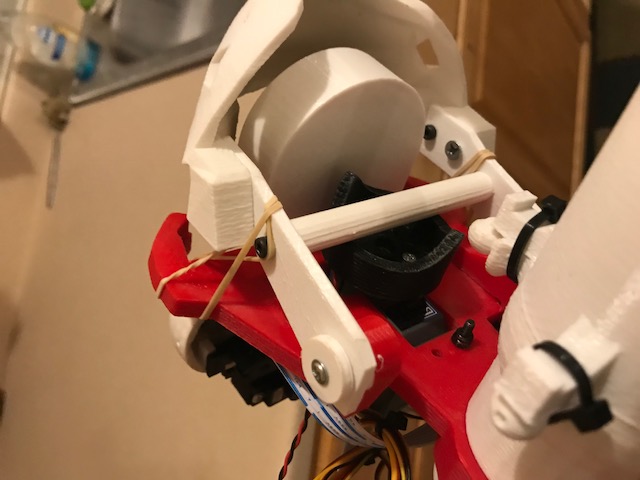
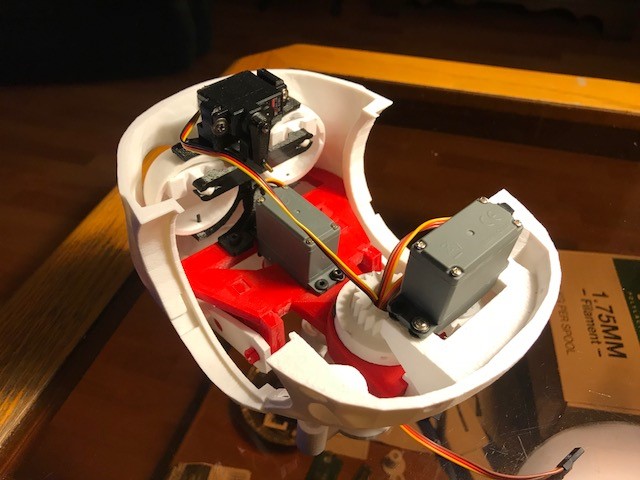
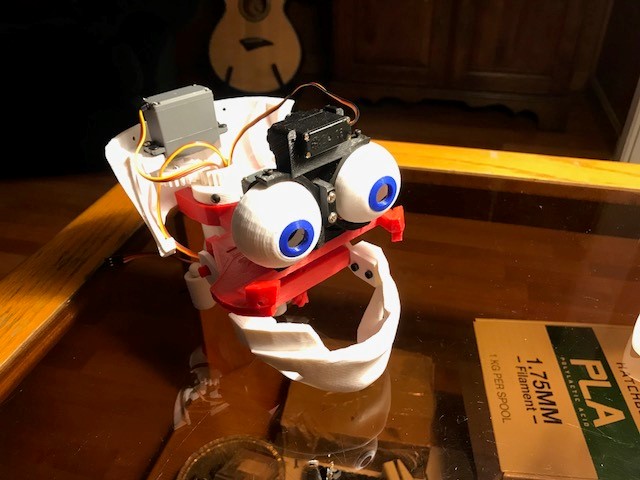
So the tear down begins. I need to clean up that wiring too. What a rats nest!
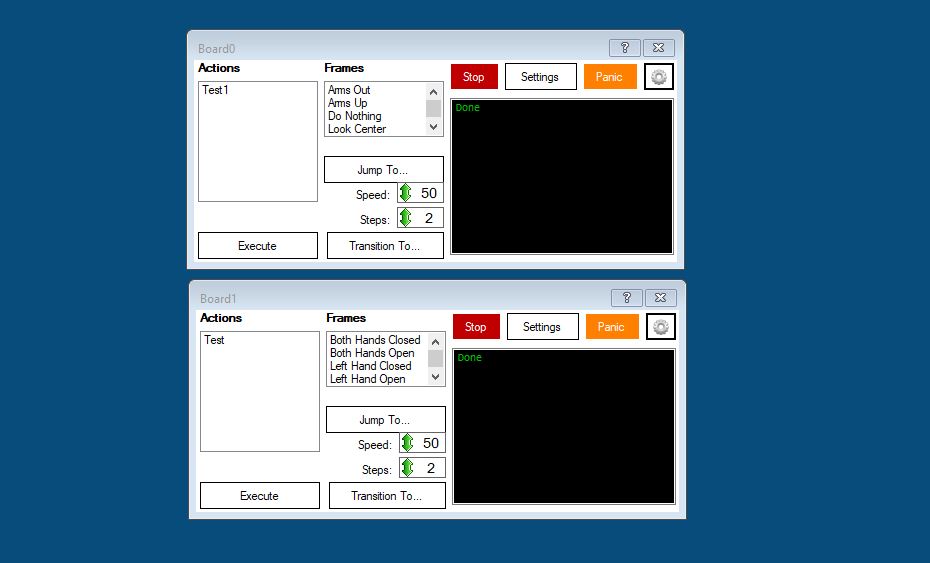
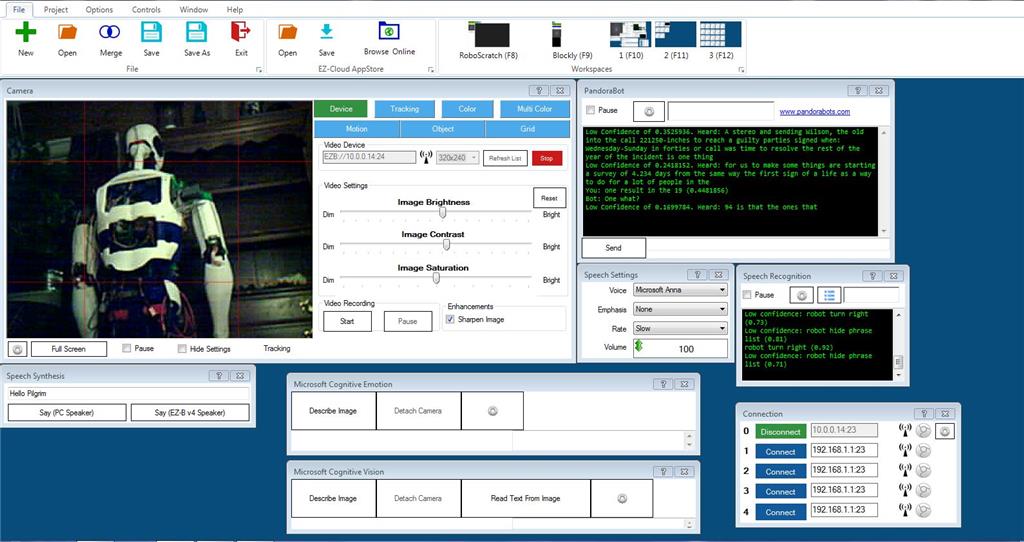
I just received my EZR controller and camera so I have no idea how to program it yet. I figured I would at least try to set up a GUI that allows me to manually move the servos like the MRL swing GUI. Five or six hours later and a few tutorials and I have this three screen model. I was easily able to add way more than basic servo control.
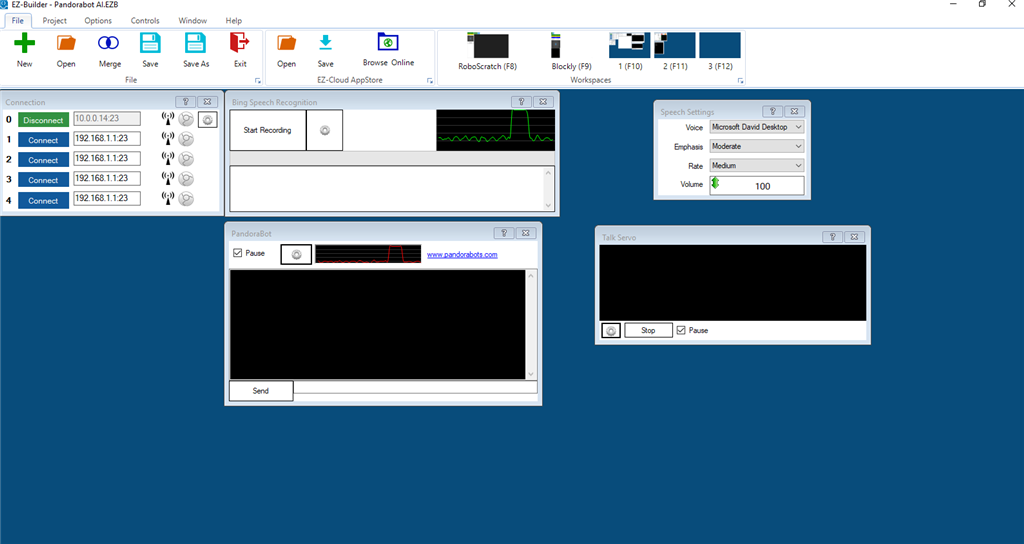
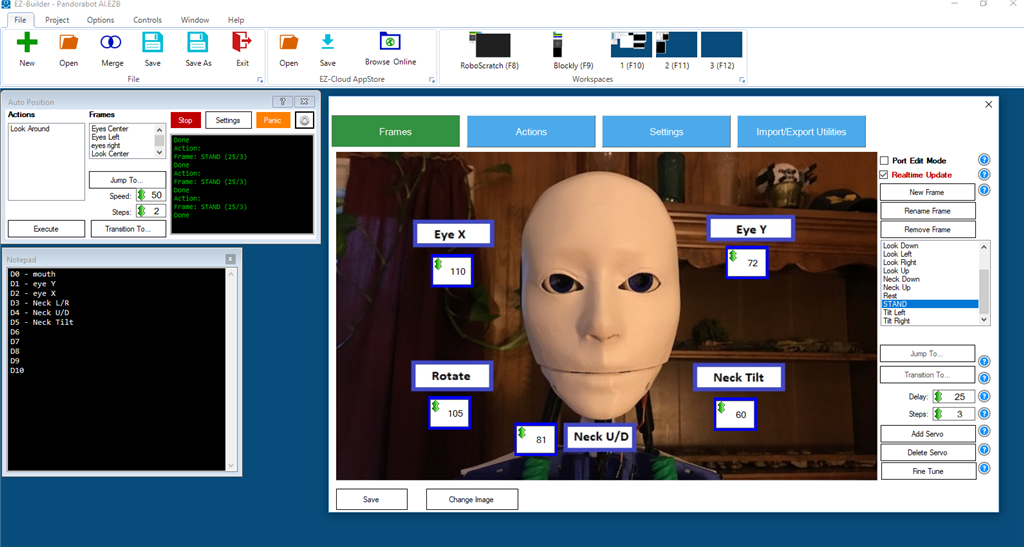
Here is the main control screen. Contains the face tracking speech functions and a custom Pandorabot for AI. Some MS cognitive stuff as well.
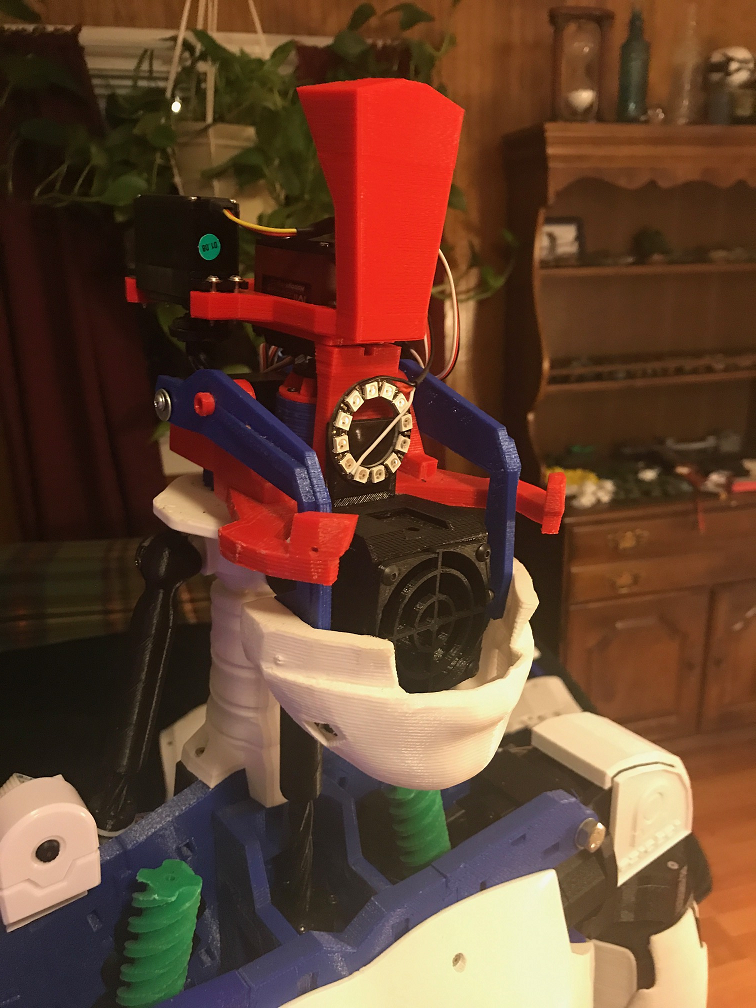
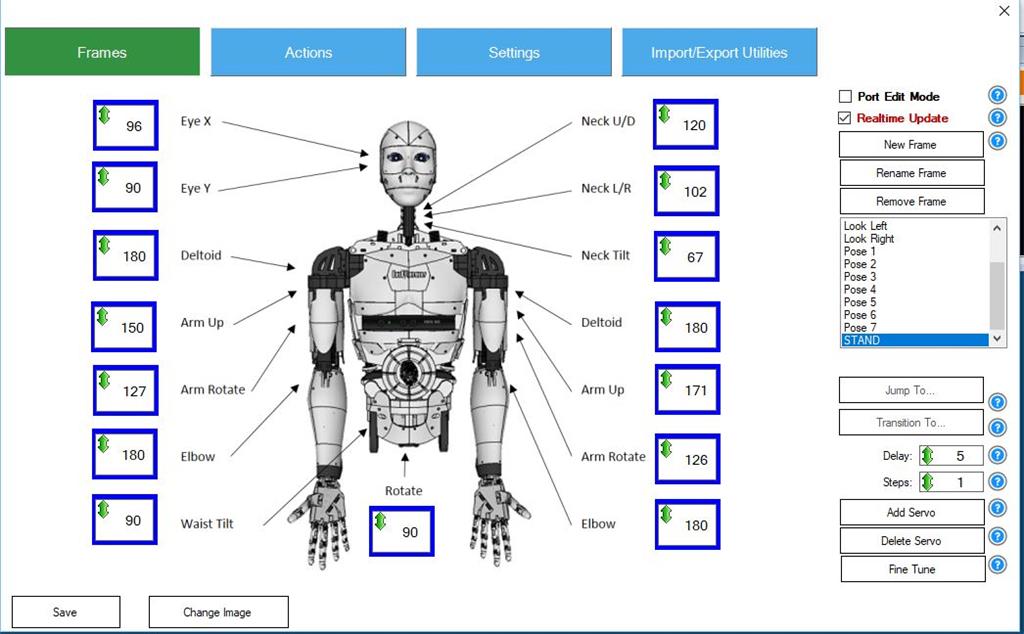
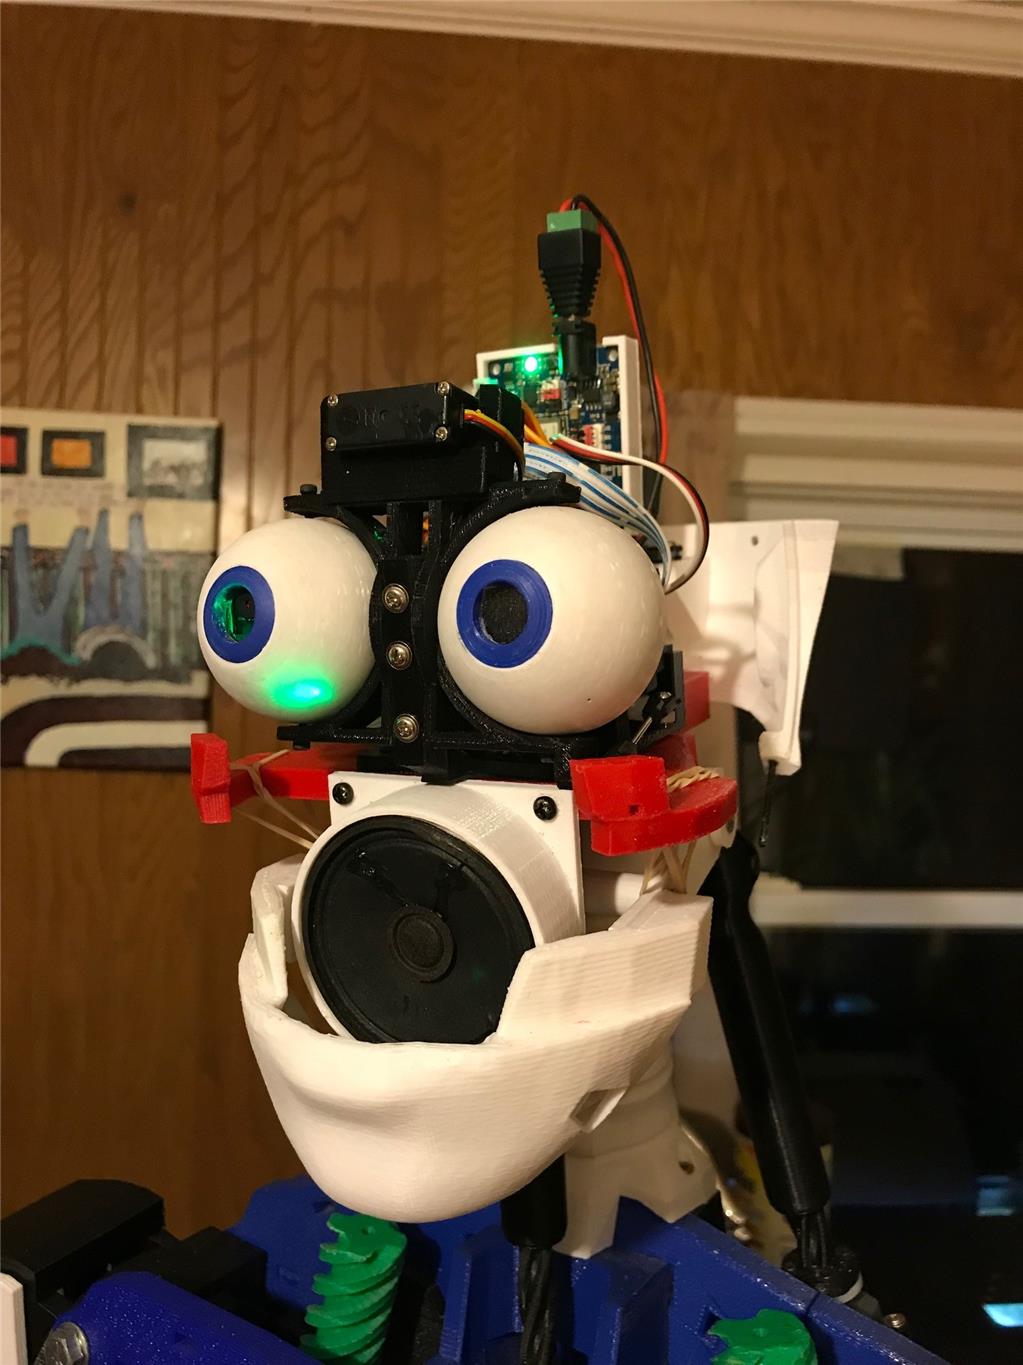
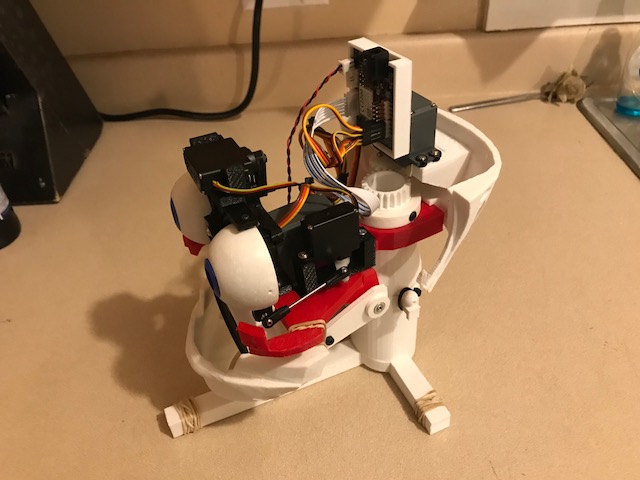
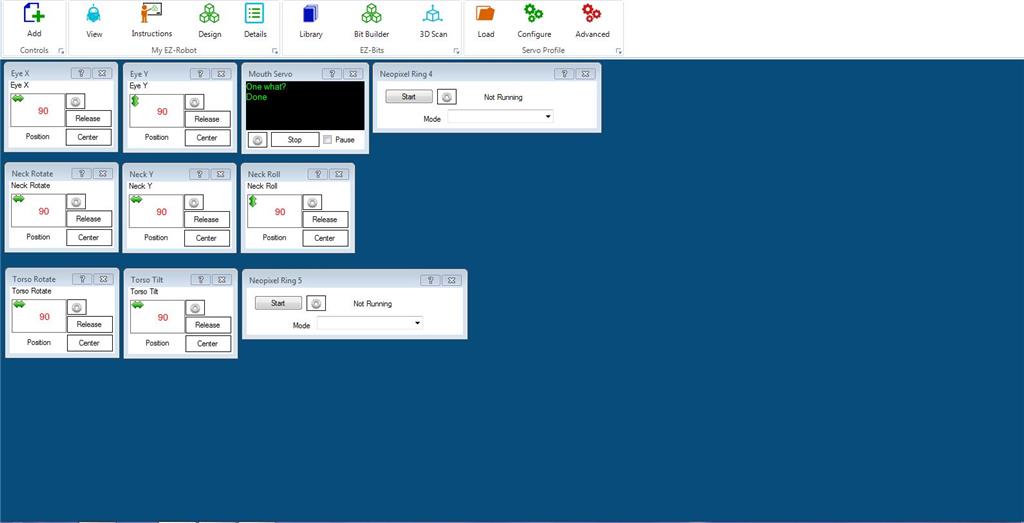
Here is the second screen. Head functions with a mouth control servo, neck, torso, and the 2 neopixel rings I have.
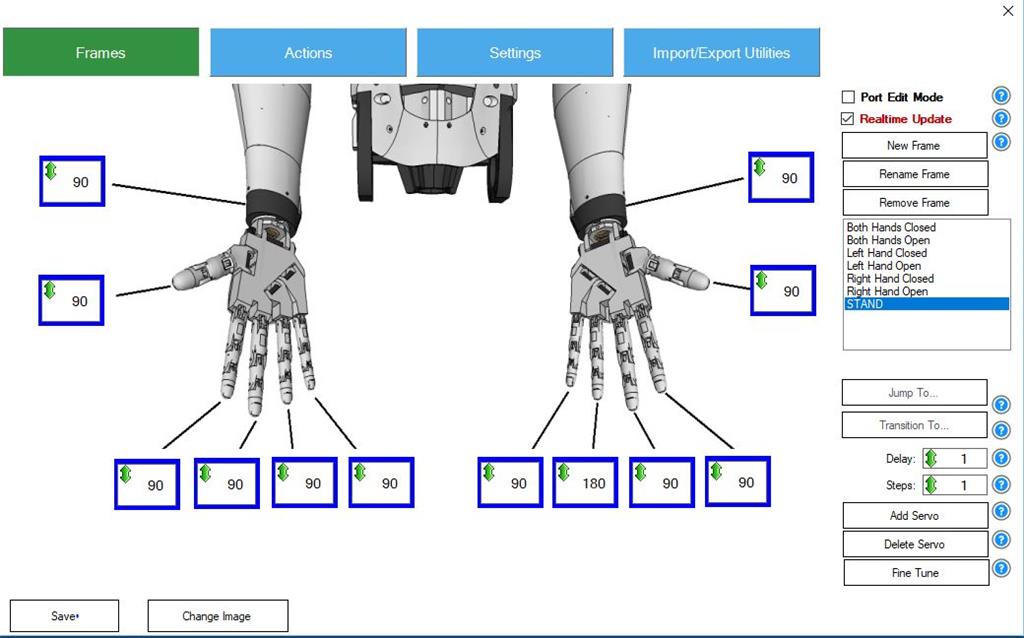
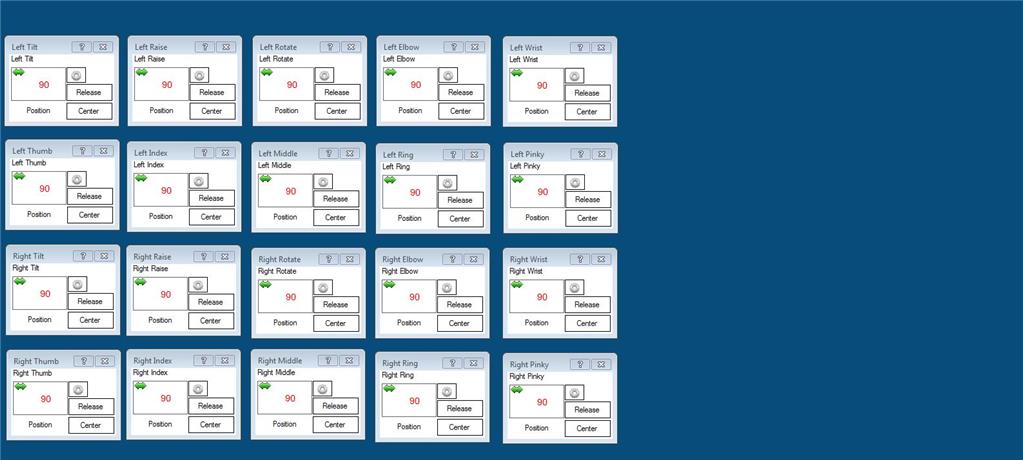
Third screen is for the arms and hands
So now I pretty much have all the same functionality I had in MRL give or take. I am pretty sure I am not doing this entirely correctly but it will come with time. Need to get into the scripting. I guess there are some tutorials to watch. So far my experience has been pretty good and in a day eclipsed my MRL progress of the last 6 months.
I'll update this thread with my progress and appreciate any feedback.
Discover more robots
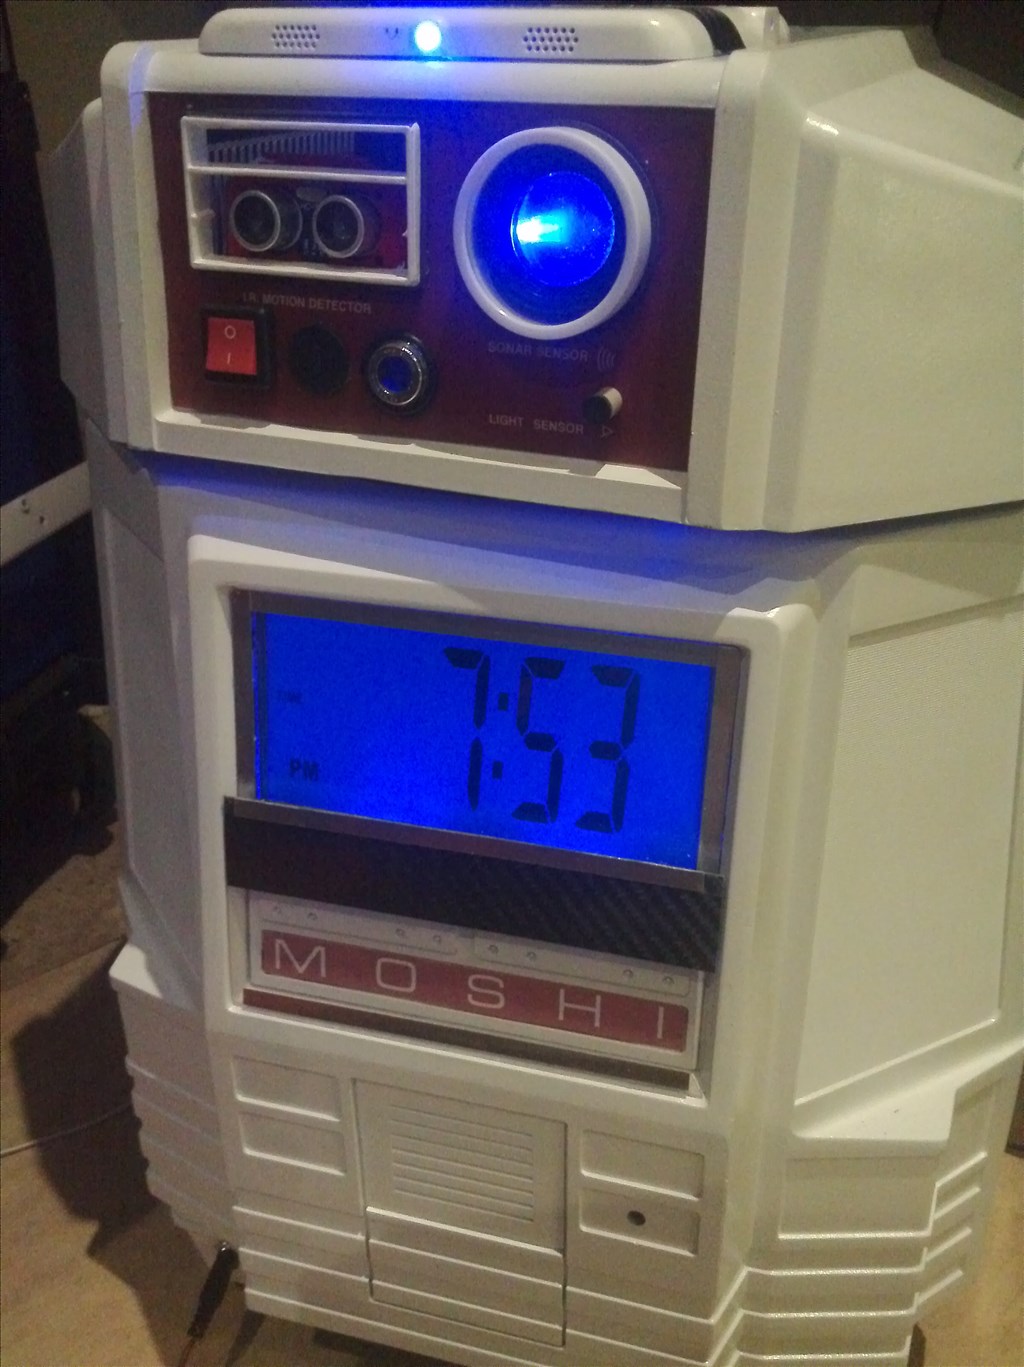
Rb550f's Meet Moshi
-636504920452491494.jpg)
Sssuhl's Late 2017 Wall-E (Yet Another Wall-E)

Hi, I am just beginning my InMoov build and will be using the e-z robot system. Really looks like something that I can sink my teeth into. This will be my first robot build/experience so I am pumped. Good to see others that migrated from MRL as it looked very awkward to learn and use.
What type of power supply are you guys using for bench testing? I know they want you to use the battery power supply they sell but for working out problems on the bench a wall power supply would be advantageous. Any amazon.ca or ebay.ca links would help.
I bought one of these... more than enough juice for an entire inMoov... 6V Power supply
Perfect, Thanks Richard.
@RR, Thant's a great find and price. I spent well over $100 on a 60amp unit but it provided 12v. I see the one you linked to is a 6v, 50 amp unit. Do you Inmoov guys run any other devices that have higher voltage needs? Do you just boost the voltages with converters? If so what kind of boost converter do you use?
I know it's pretty common to buck voltages but to boost I've found a lot of heat is produced and you also have a lot of wasted energy if your using liner converters. Have you found a switching converter that would ease this issue? I do know switching converters are more efficient but do cause electrical noise. Maybe this isn't even a worry you guys have.
@Dave.... I use it with any project that requires 6V (I actually bought 2 from him)... This guy sells lots of models with higher voltage if you need that. I actually haven't done any projects that require various voltages so I have not used any kind of a buck converter yet... FYI I know these are the real deal as the fan rarely comes on even with inMoov fully flailing about....
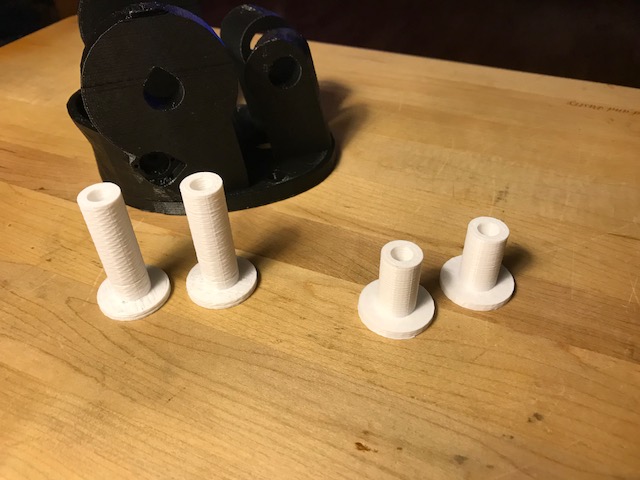
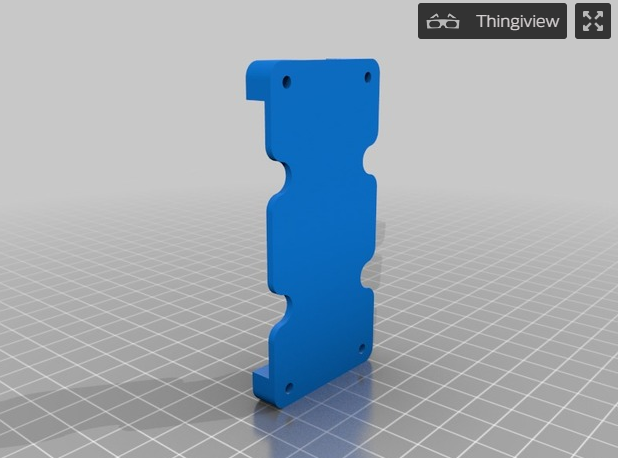
Hints: I have separate power bus lines direct to modified InMoov breakout boards. I took the plastic sockets for the 14 wire plugs off, then unsoldered all but the signal pins. So the signal pins ONLY go to the EZBv4/2 and the servos get their power direct from a SLA 6VDC bat thru a switch bank I designed and mounted at the back of the neck: https://www.thingiverse.com/thing:2168436
The EZB which will only handle 5amps continuous and 20A spike.
First I added all the servos in the Project tab > Details menu > Port Summary tab.
From the Connection control (gear icon) I create a single Init Script on Board 0 (I use two boards for the my InMoov) Setting servo speeds must be prefaced with setting the servo's position (the first time round), and I set min max while I'm at it:
Next I created some scripts using the Script Manager control to test the InMoov - head, L arm, R arm, Torso with a bunch of SayEZB("testing this and that") followed by servo position commands to all the min maxes.
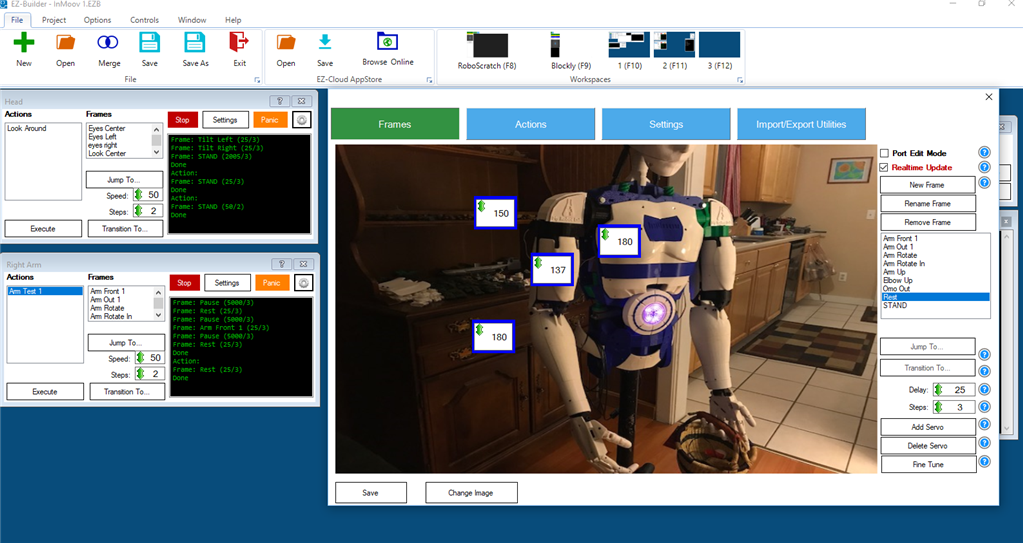
I'm using two Auto Position Controls - one for each board, and created a REST Frame in each. You can upload a snapshot of your InMoov then [Add Servo] after servo, dragging each into proximity of the joint it controls. The mouse drag to set is a nuisance, so I right click each to open a dropdown which is much easier to use to set the value you want. Hint: If [x] Realtime Update is checked the servos will move as you adjust. If [x] Port Edit Mode is checked the Port id's will show on each servo.
Now just to get the concept you can create another frame that for example has the head looking at the right hand as it closes. Now from a script you can use
Delay is when to start, steps is how many steps to break the movement into from where the robot is now, to where it is going to be in this frame. Is that cool or what? The software brackets the movement!
I'm also just a month into converting. My InMoov already shakes hands (and waits for you before closing and shaking...), looks all around, detects life forms in front and behind, has the old style [AIML 1.0] Pandora chatbot: https://www.pandorabots.com/botmaster/en/home and I added my own automation.aiml to reproduce what I had started in MRL to get voice control...
This after a YEAR of futzing around with MRL and the endless changes, breakdowns, and near complete lack of documentation - and a great bunch of guys working on multiple fronts in their spare time for fun and no profit - so no complaint for their free services and efforts.
And a huge thanks to the community here on EZ, esp the tech savy and InMoov users who have been the most help of all!
Good info but in the AutoPosition control I think the Delay is actually how many milliseconds between each step.
So....... if you have the Steps are set to 5 the servo will move between start and finish in 5 steps. If you have Delay set to 30 the servo will stop for 30 milliseconds between each step.
If your servo is jerky when it moves you can do a couple things to smooth it out. Put more or less steps between your start and finish points and/or place more or less delays between the steps.
Feel free to correct any info I've just stated. This stuff is sometimes hard to wrap the mind around.