


Hello all, I wanted to start my own thread to discuss my Inmoov and my conversion to EZ Robot. I appreciate all the work by the MRL guys but I struggle with it. I am indebted to the help they gave me but I needed something a little more along in development with some documentation.
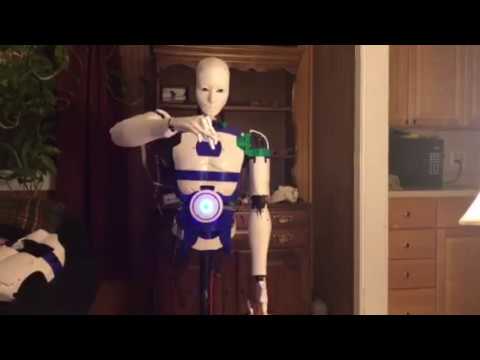
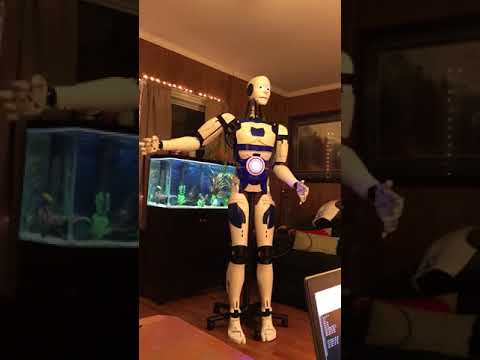
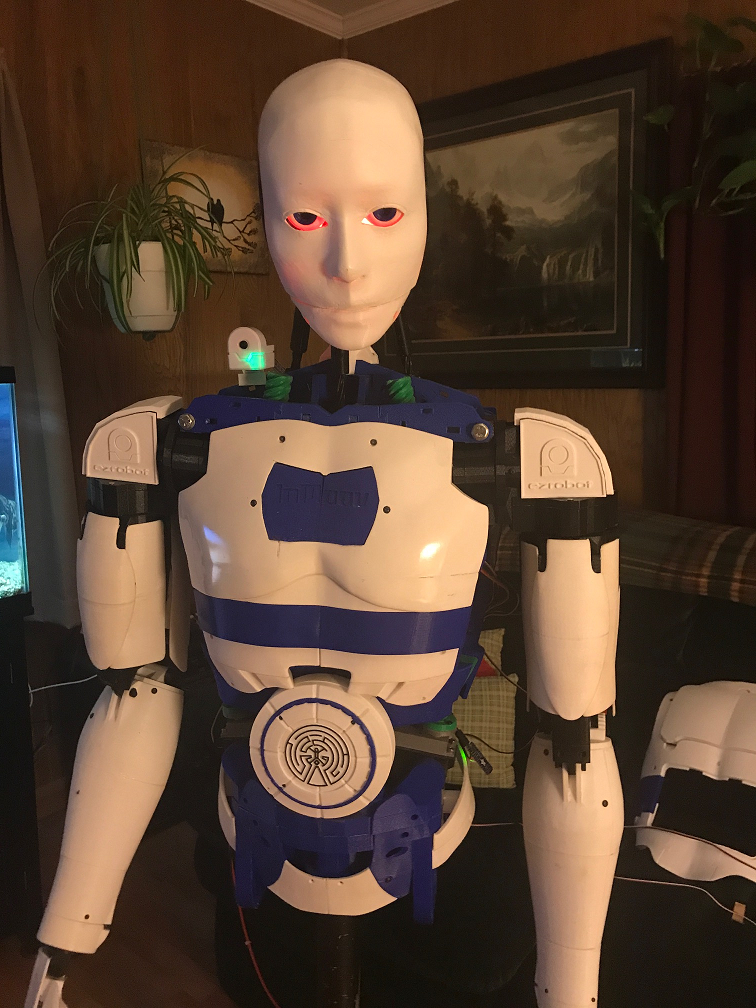
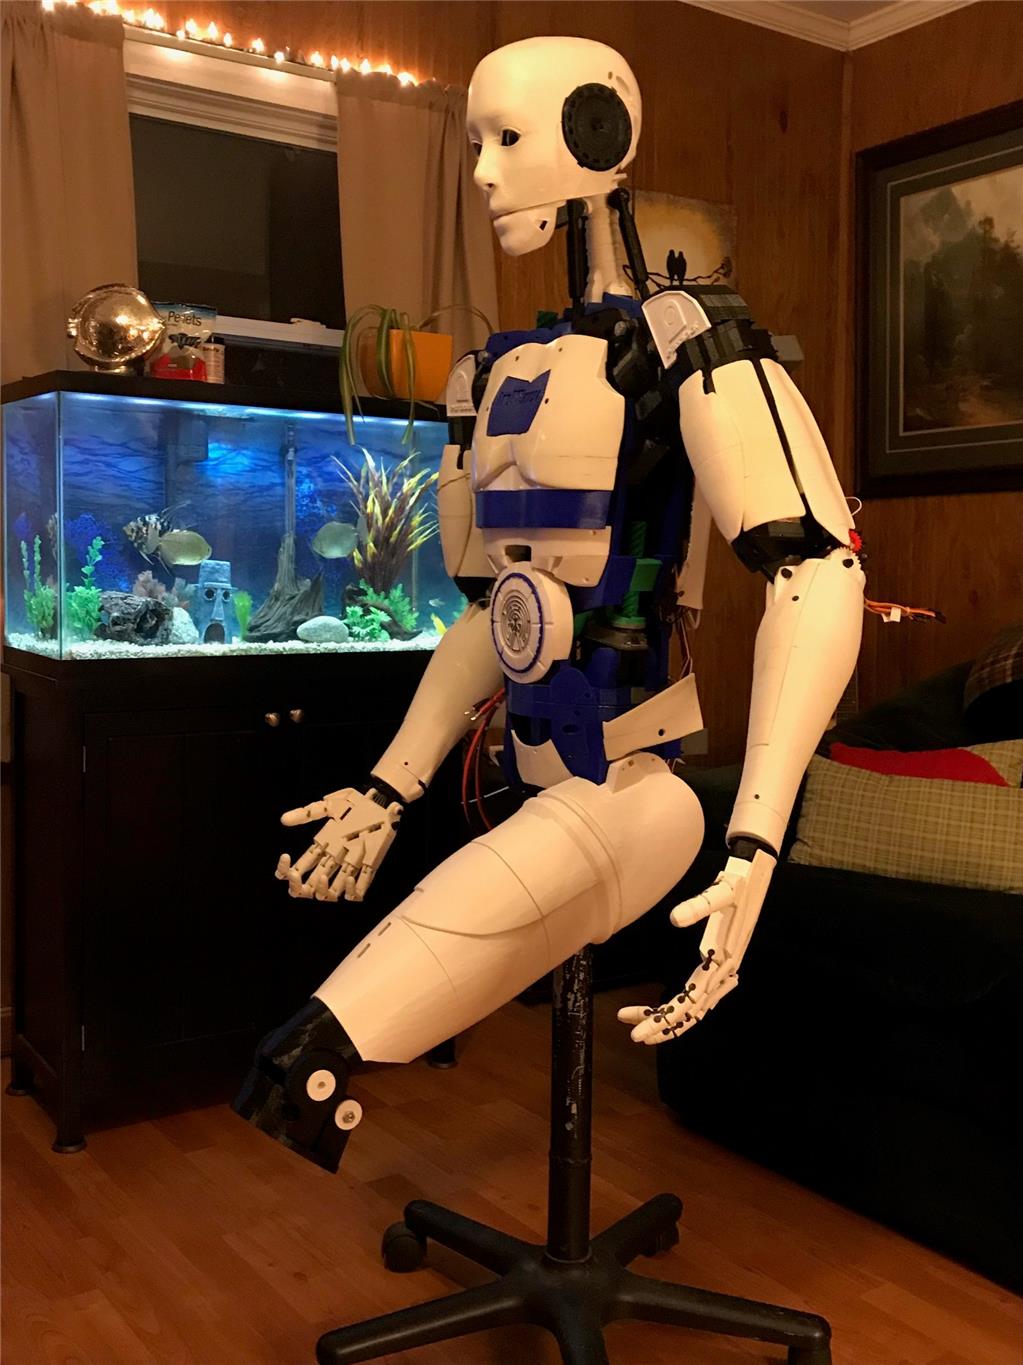
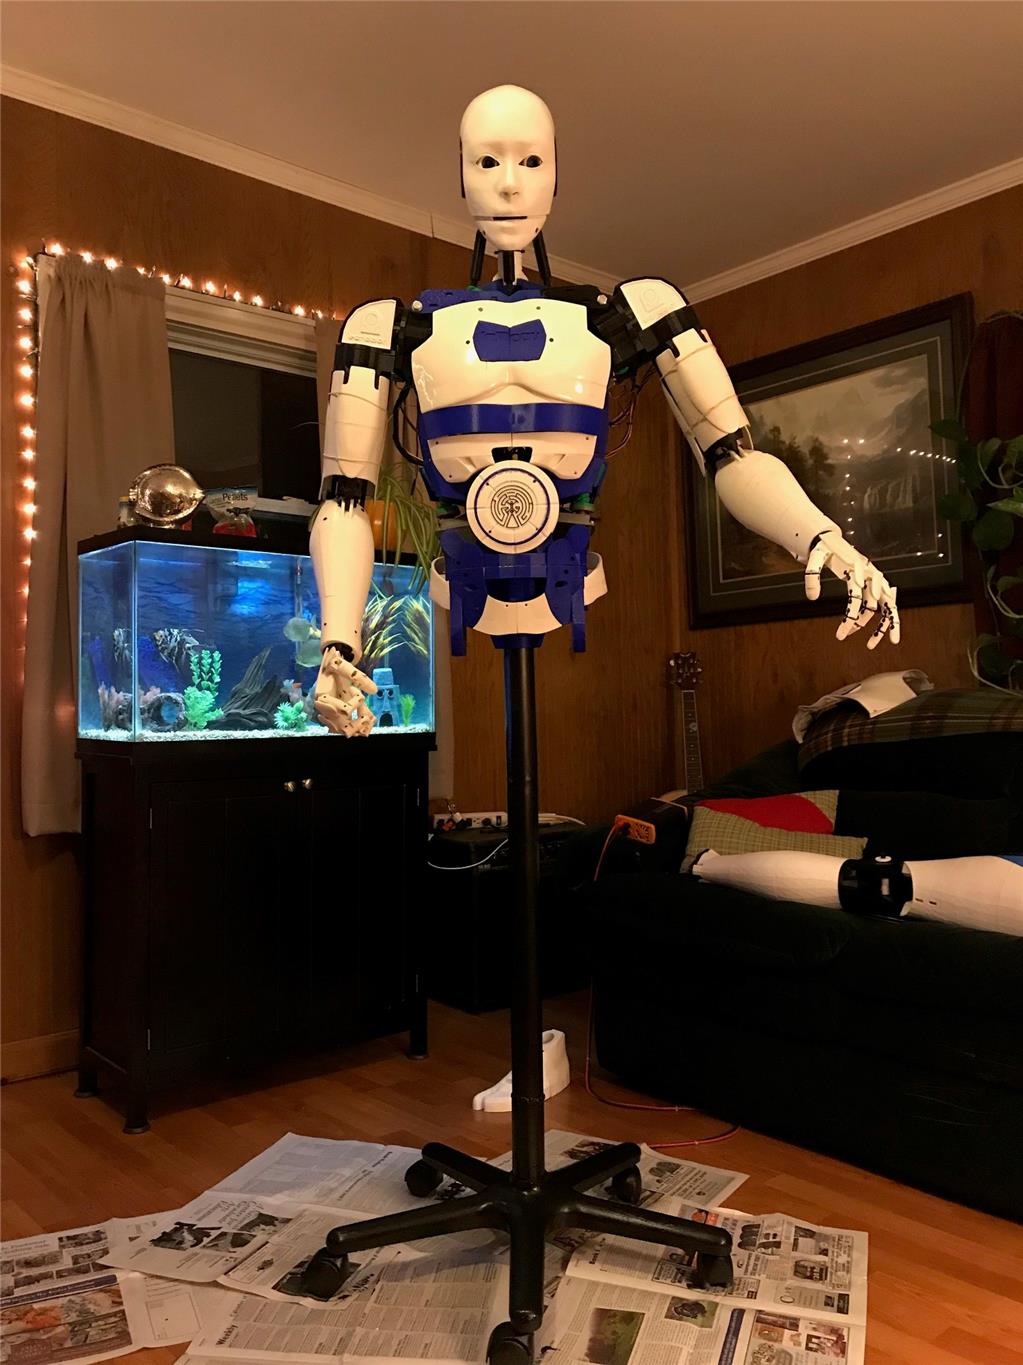
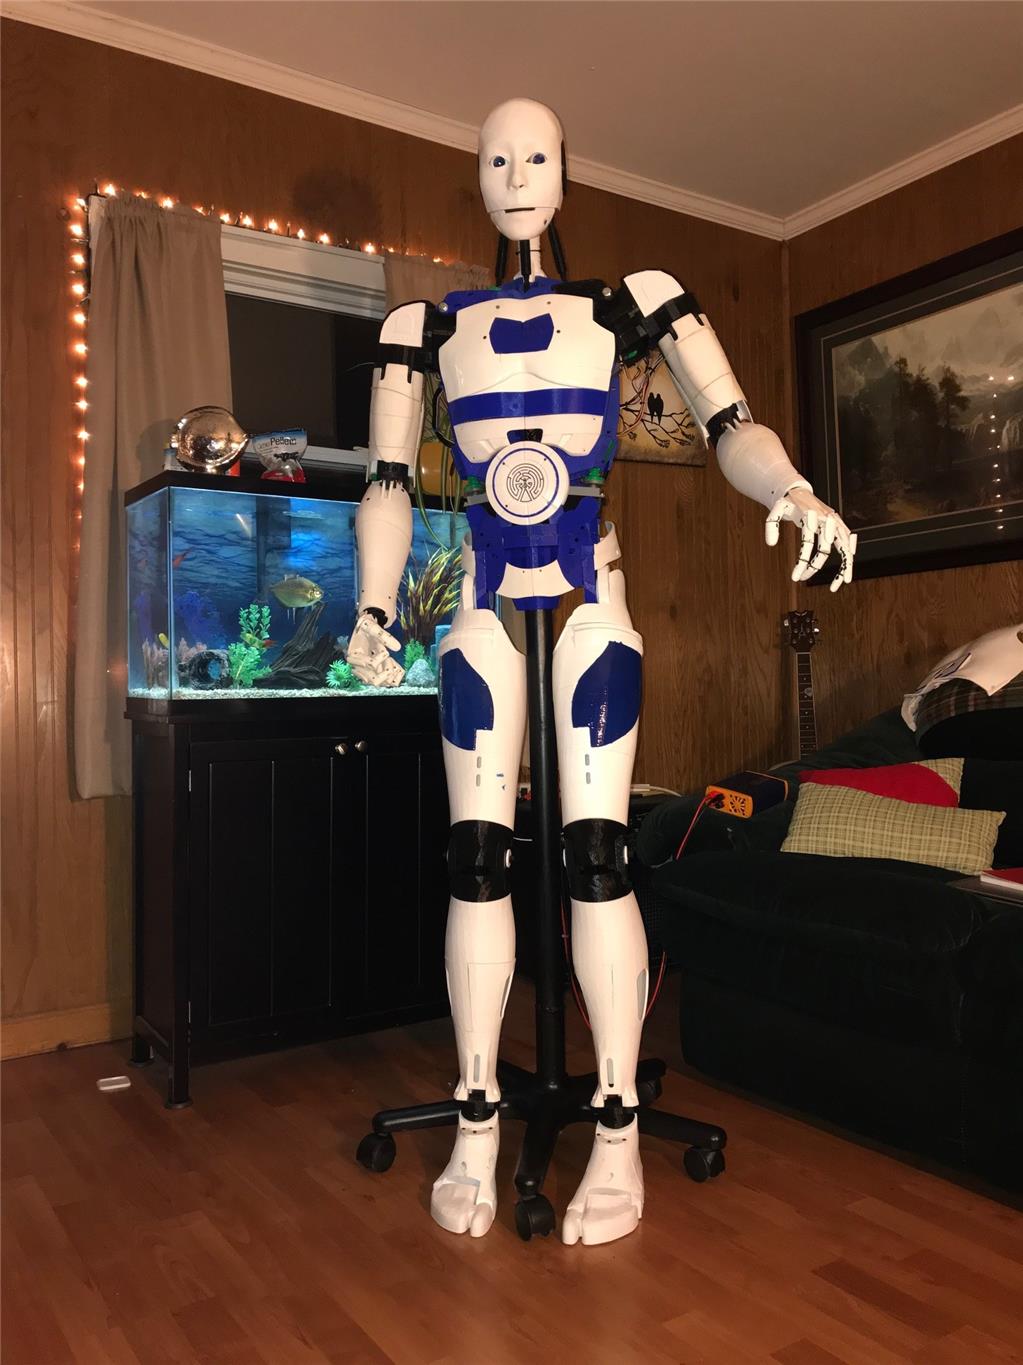
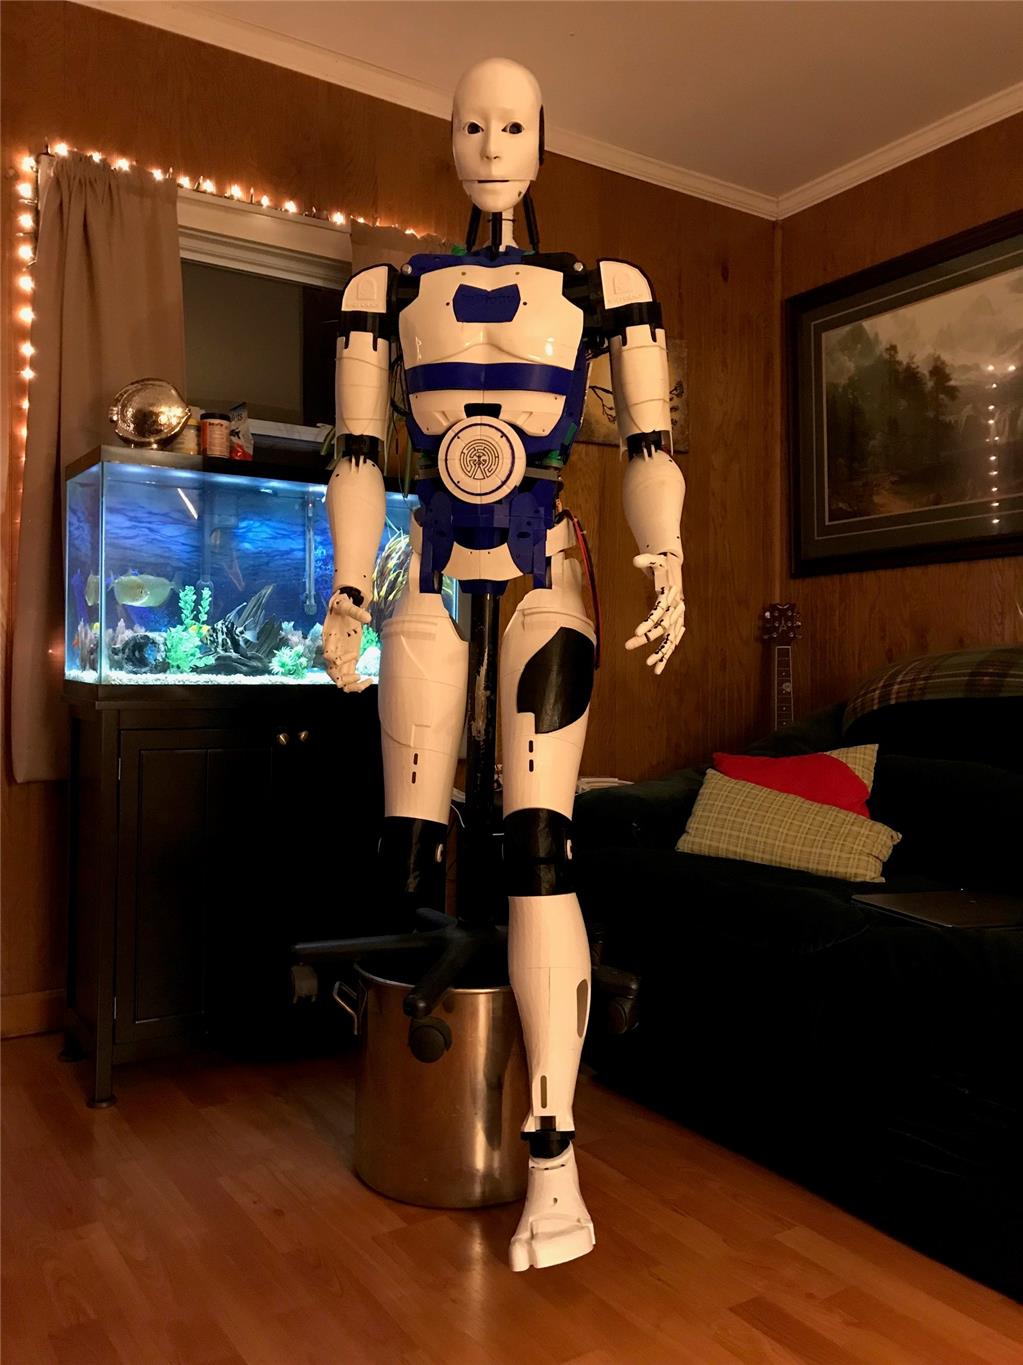
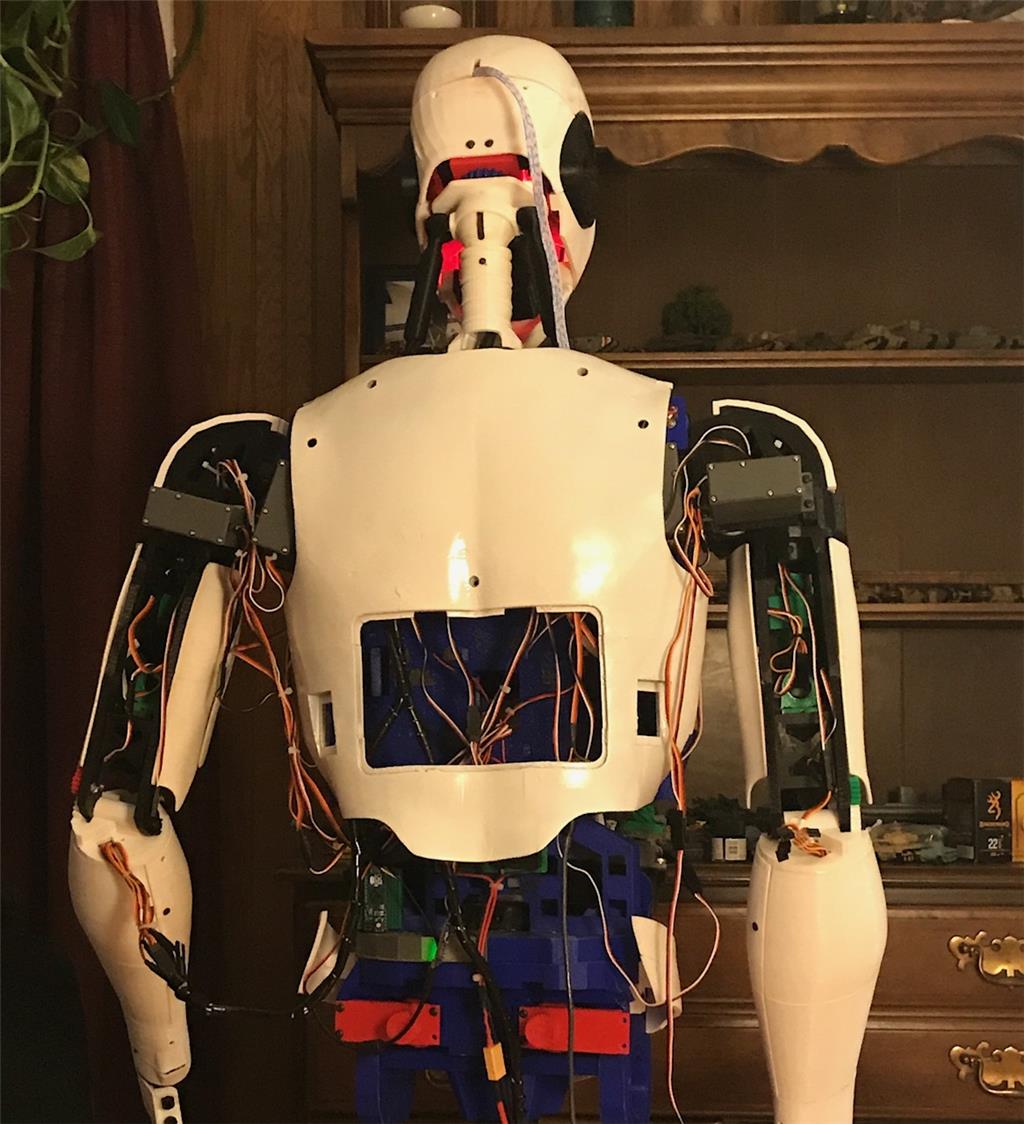
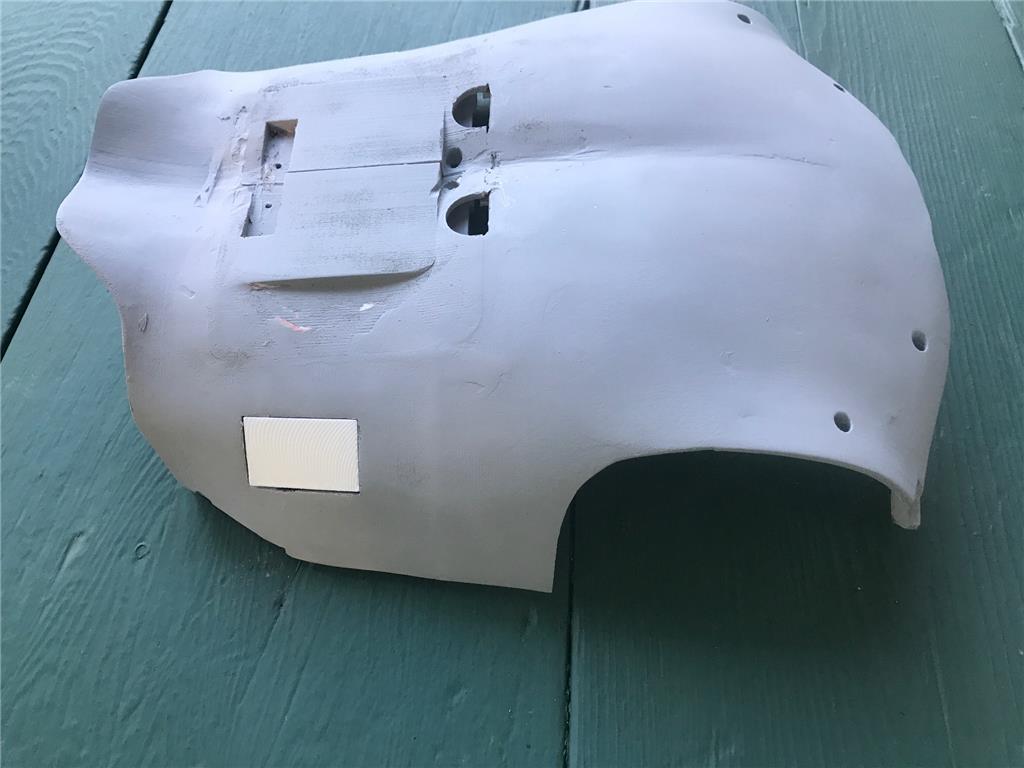
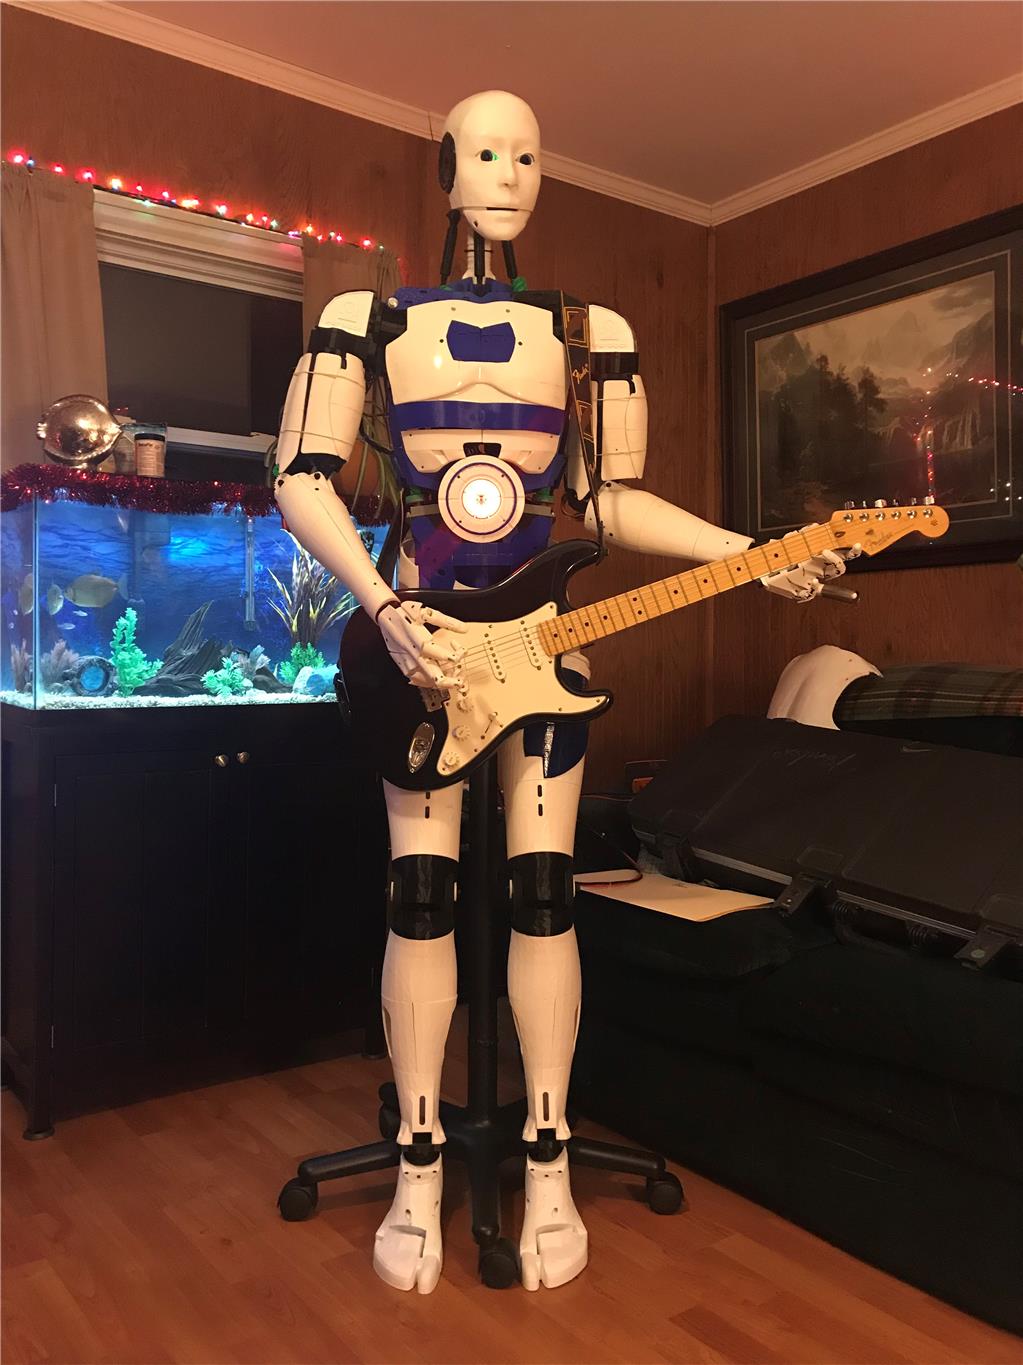
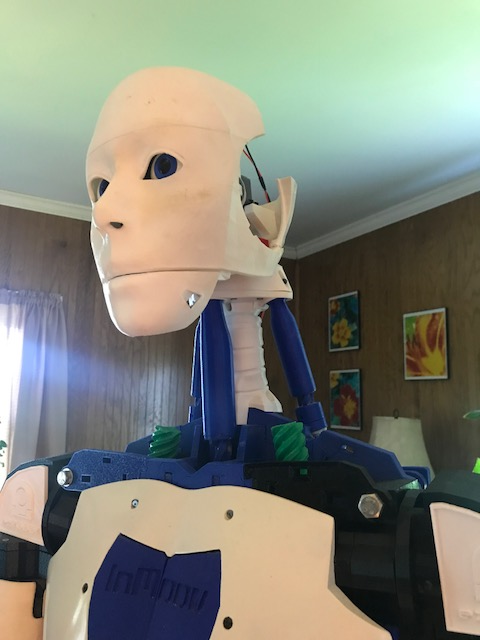
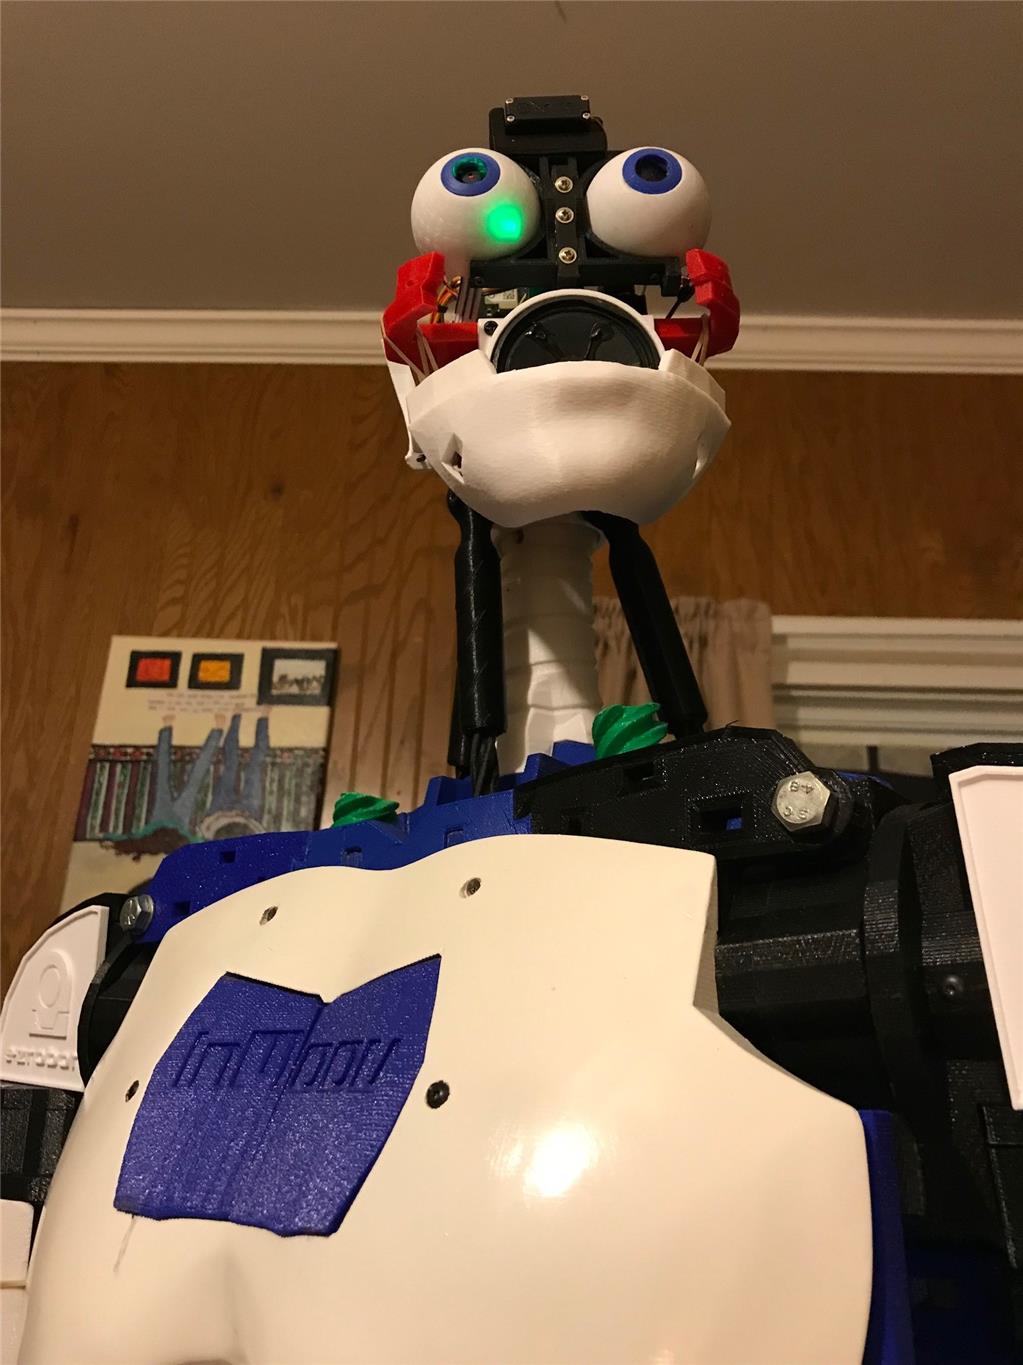
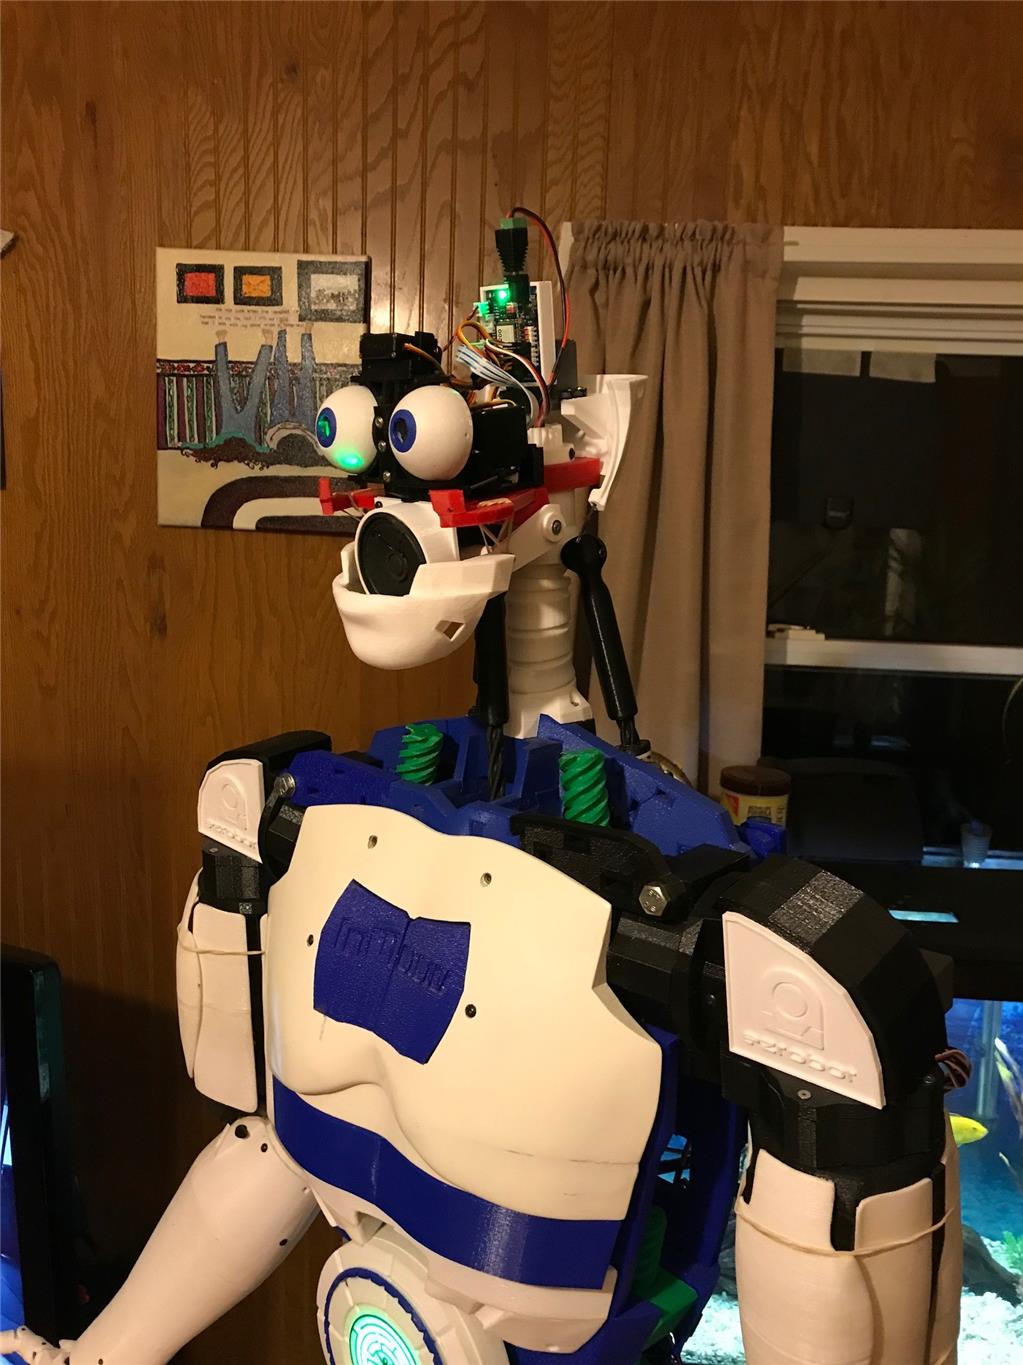
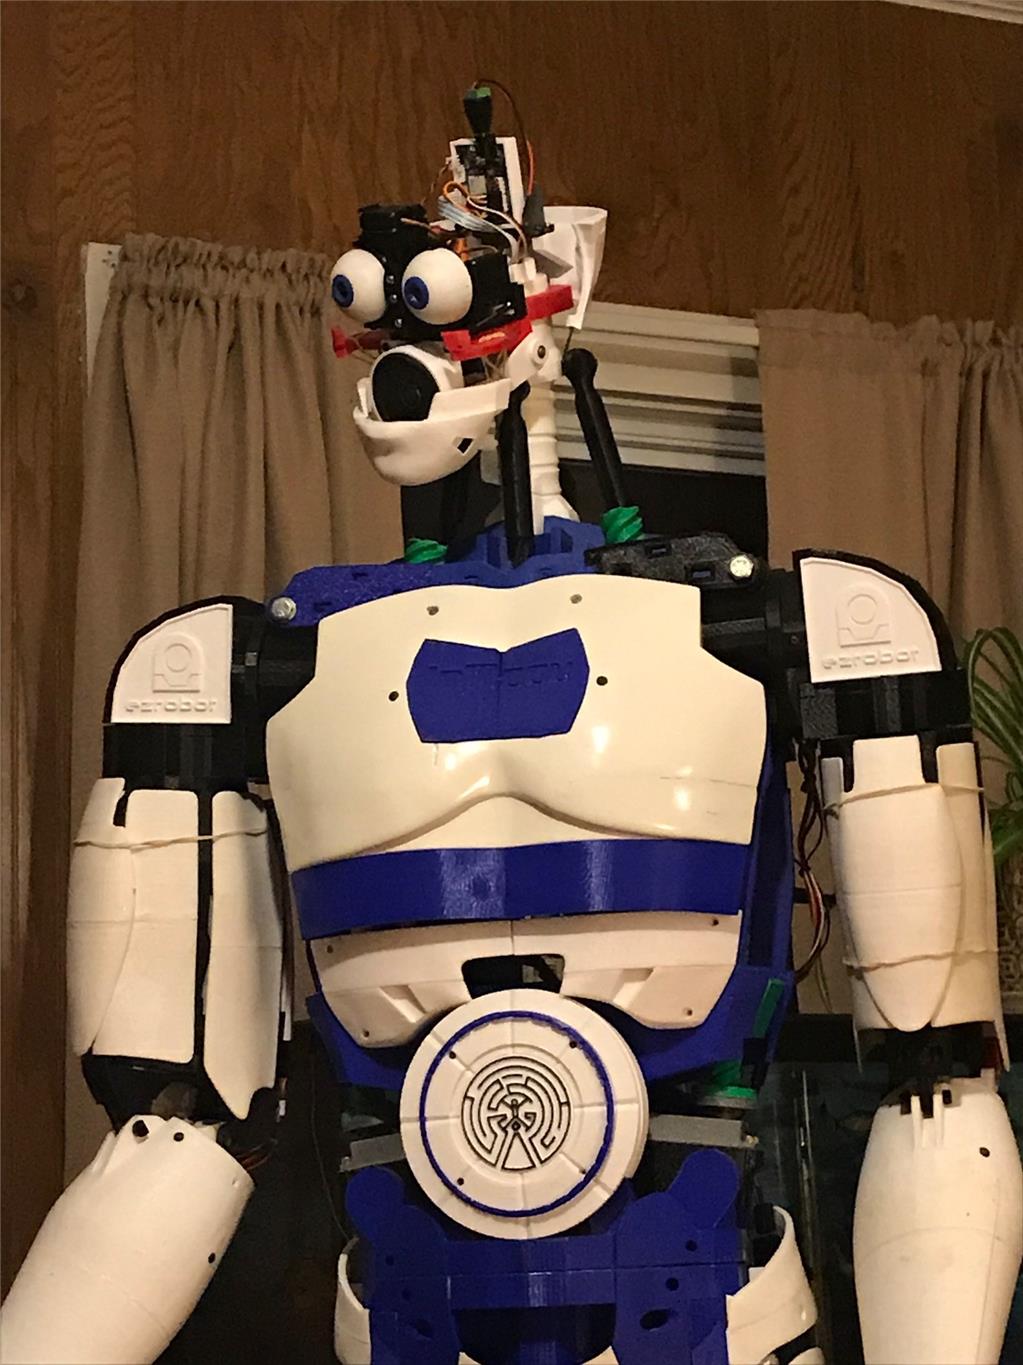
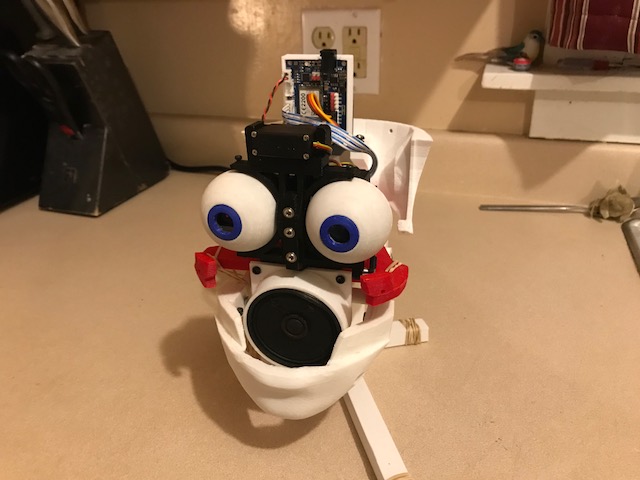
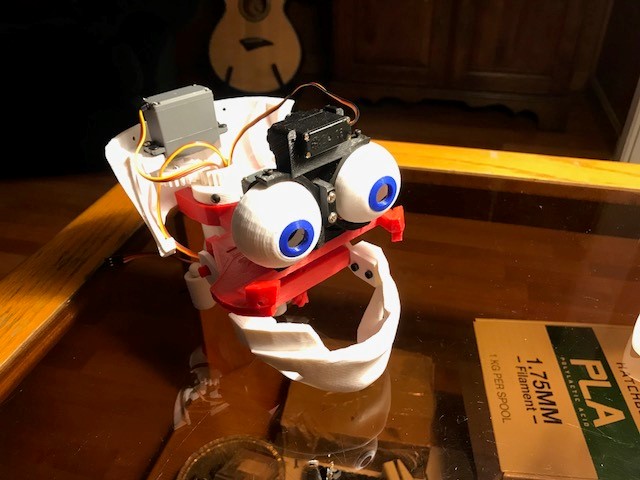
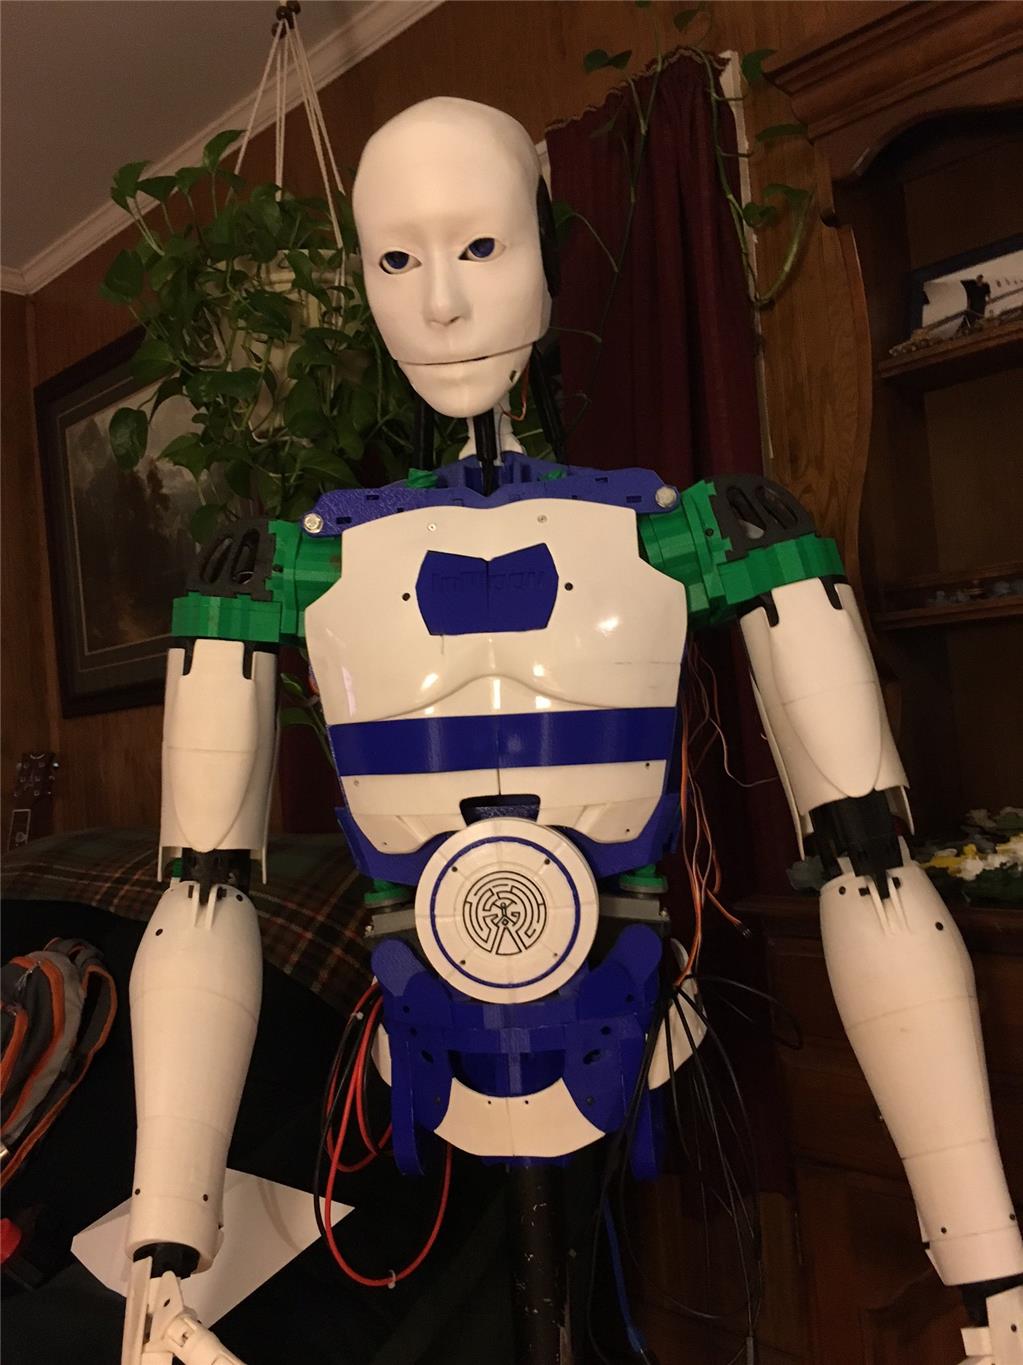
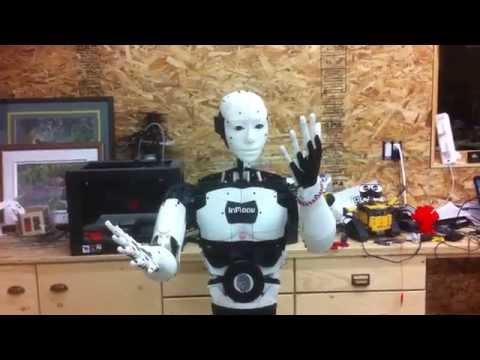
So here is my guy. Pretty standard build as far as inmoov's go.
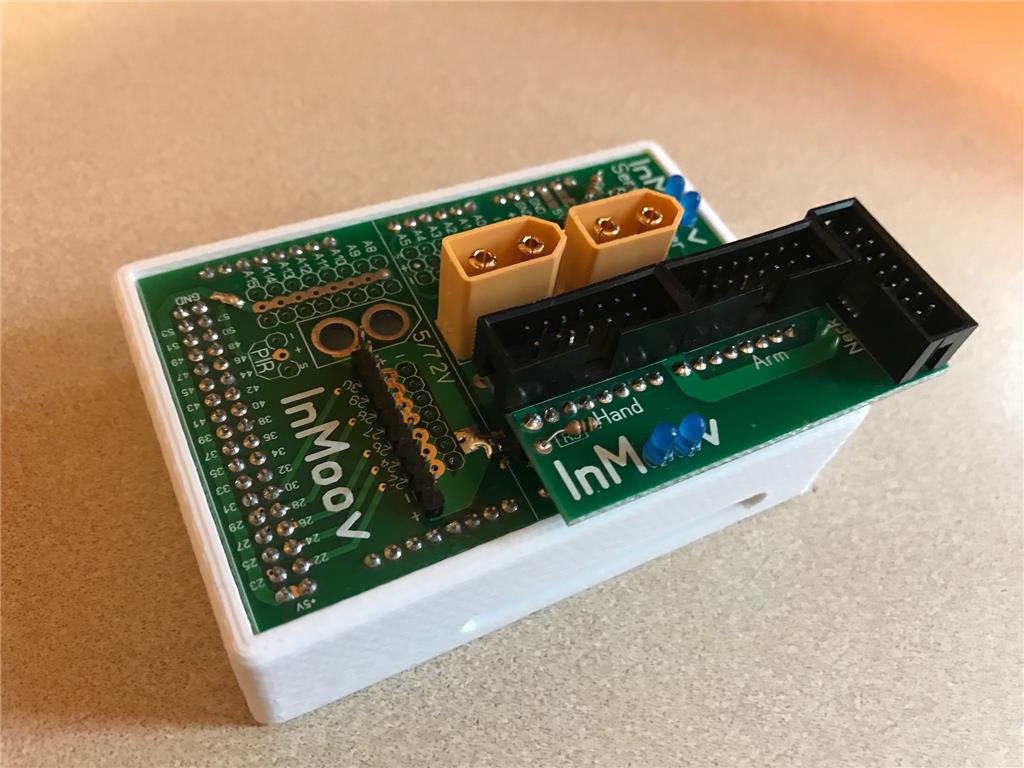
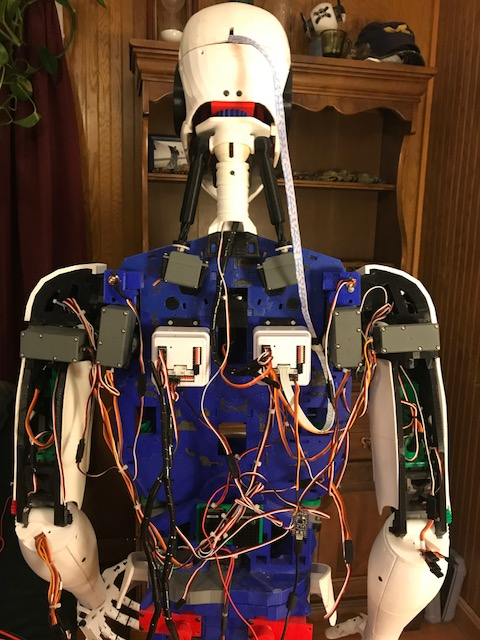
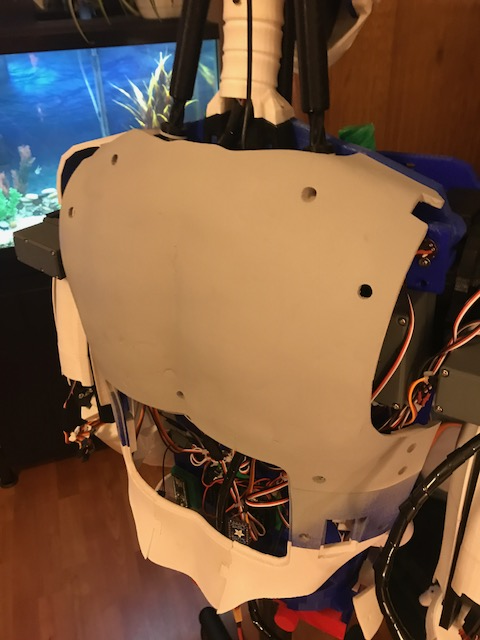
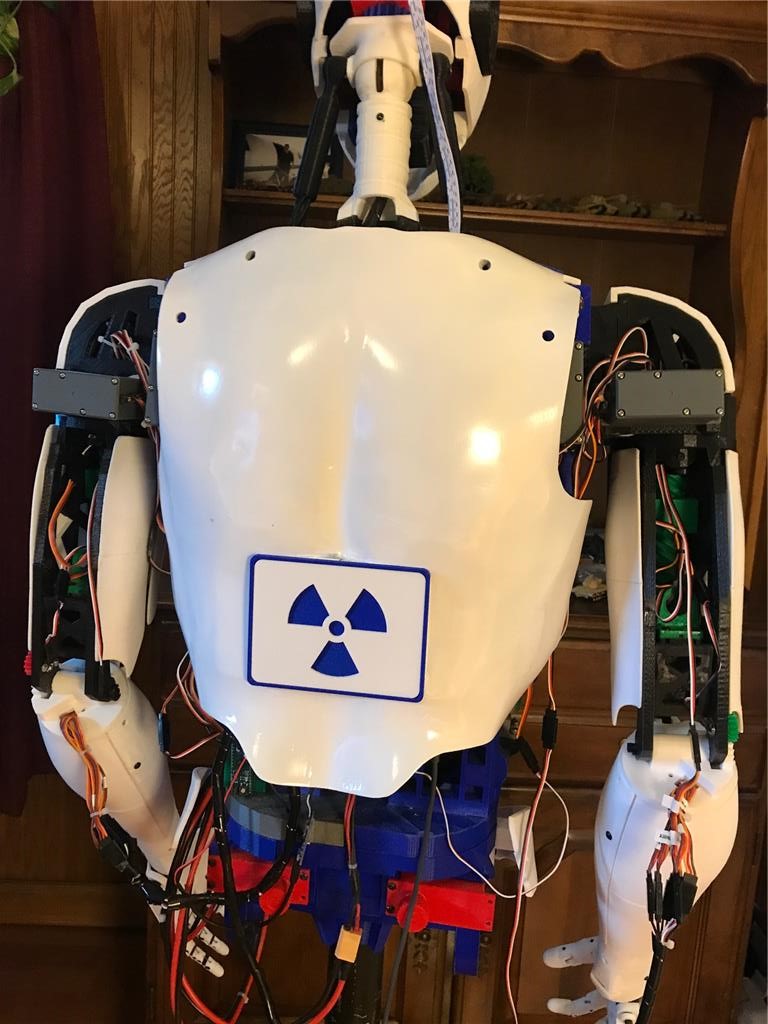
Here's the back. All the standard inmoov components. Dual 256 Megas, Nervo boards USB hub, Power supplys etc.
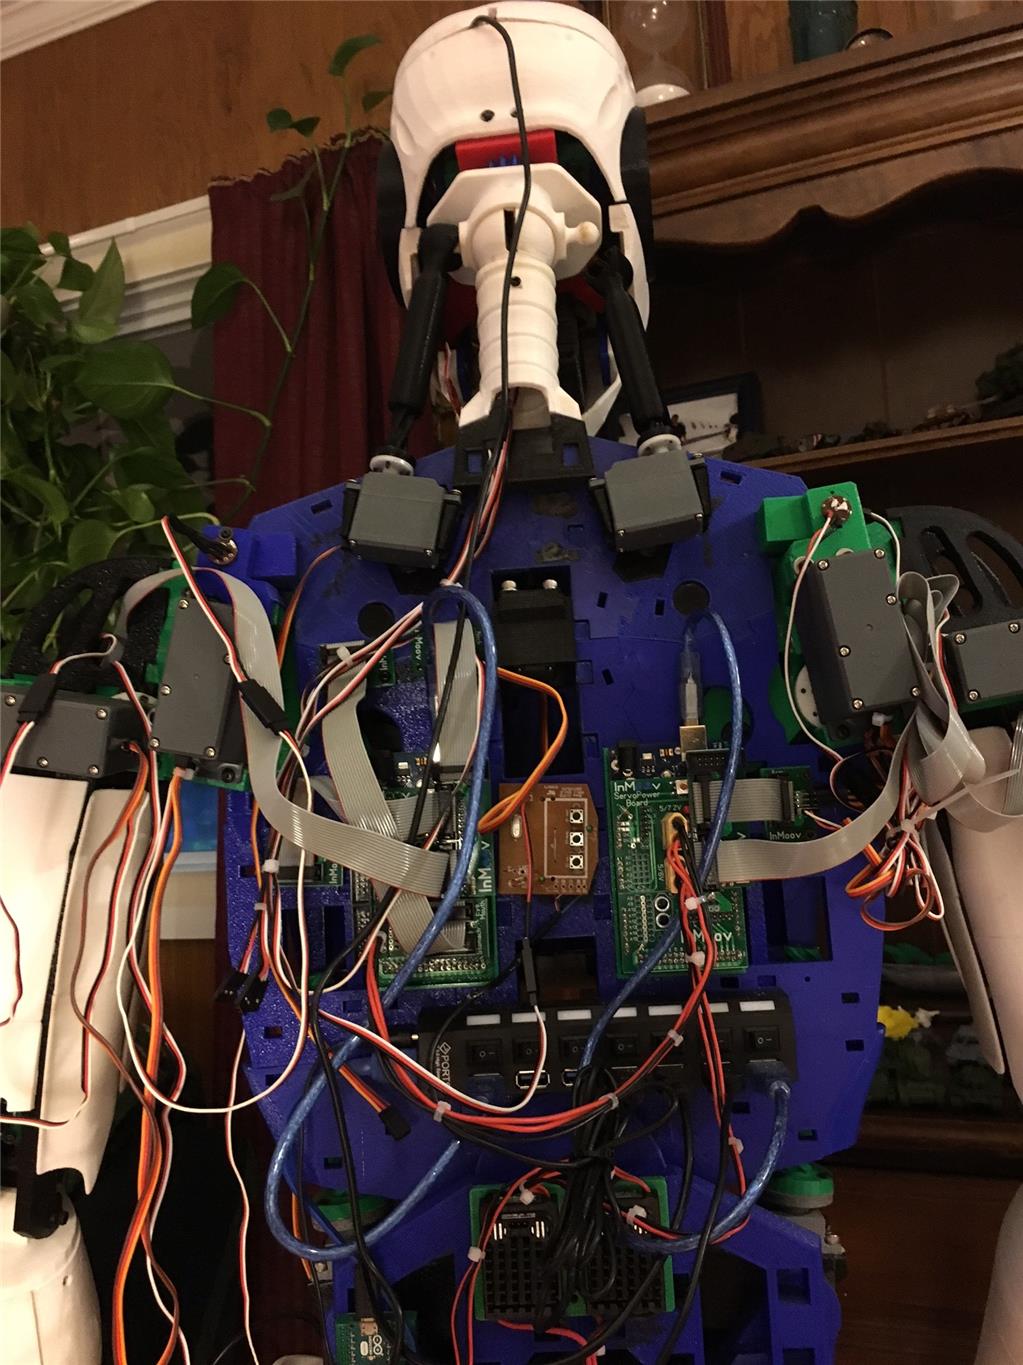
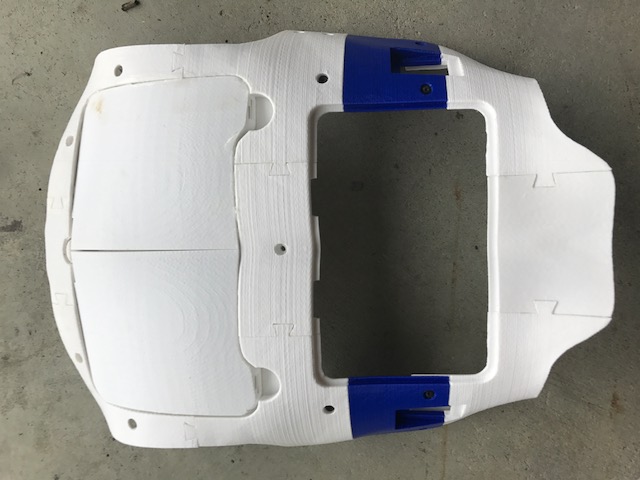
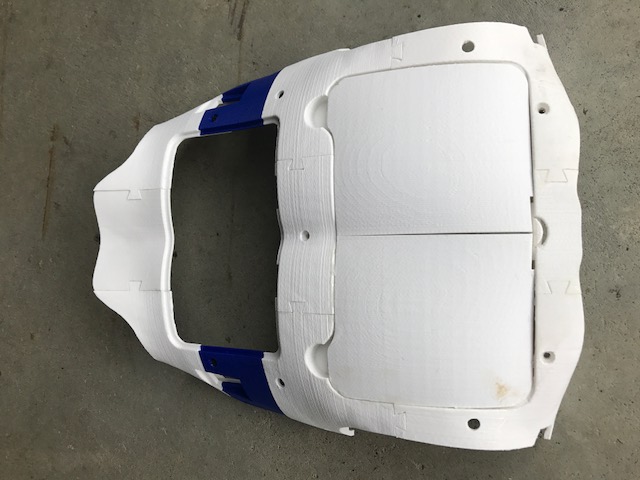
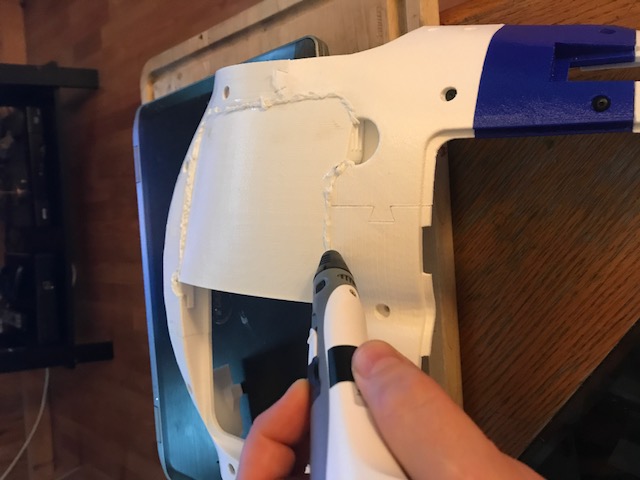
So the tear down begins. I need to clean up that wiring too. What a rats nest!
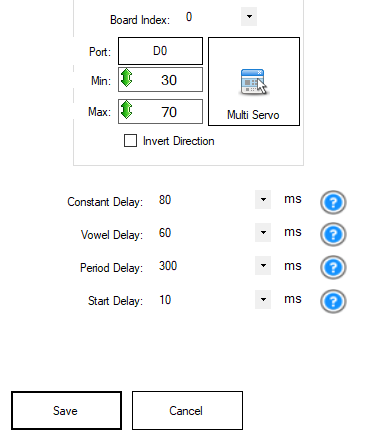
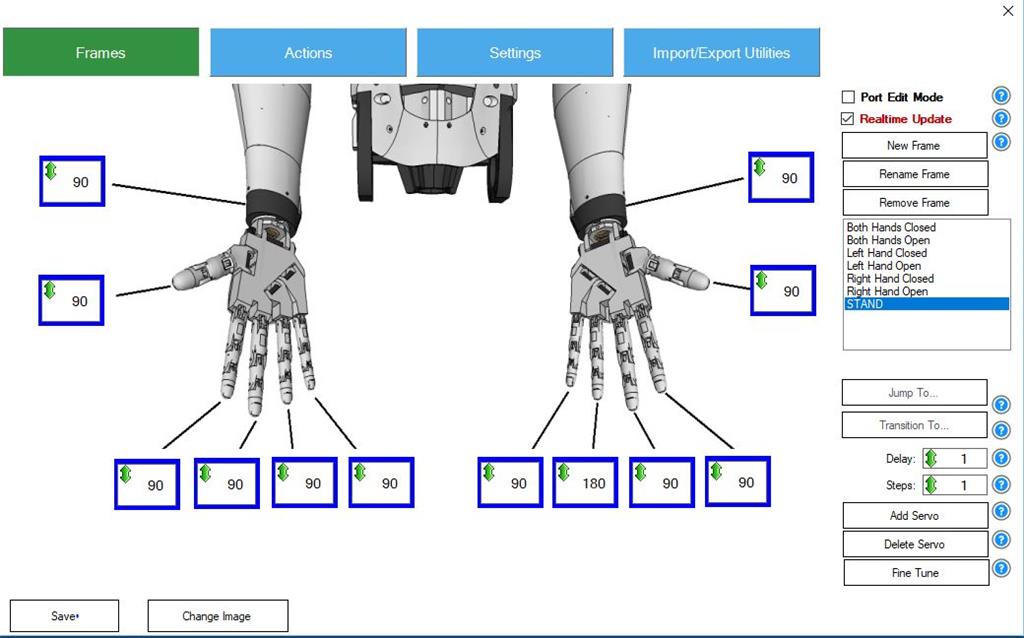
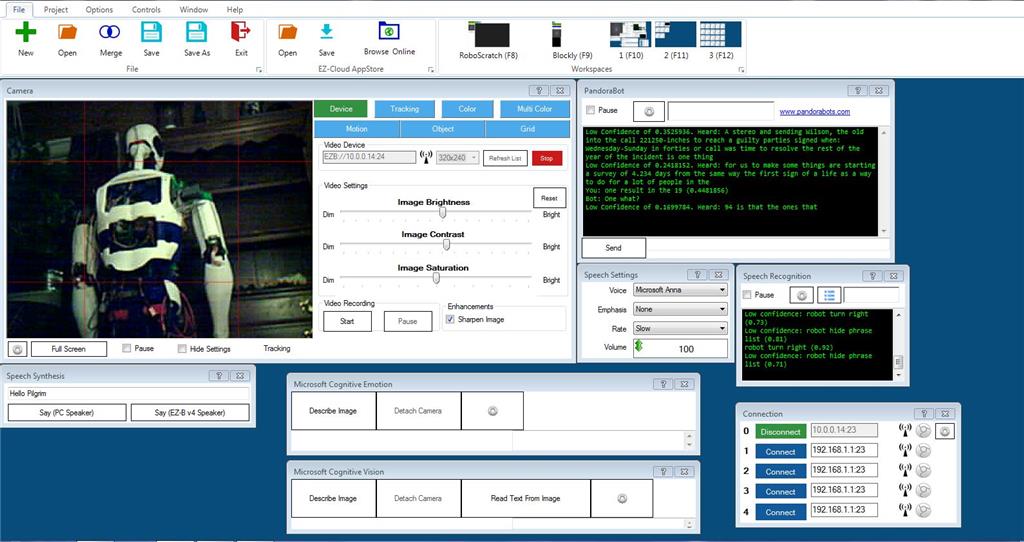
I just received my EZR controller and camera so I have no idea how to program it yet. I figured I would at least try to set up a GUI that allows me to manually move the servos like the MRL swing GUI. Five or six hours later and a few tutorials and I have this three screen model. I was easily able to add way more than basic servo control.
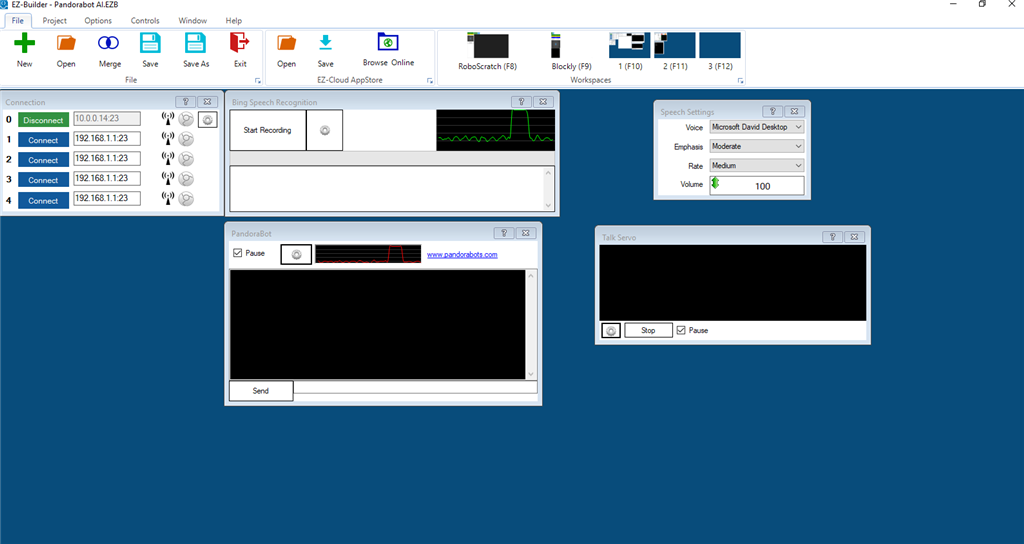
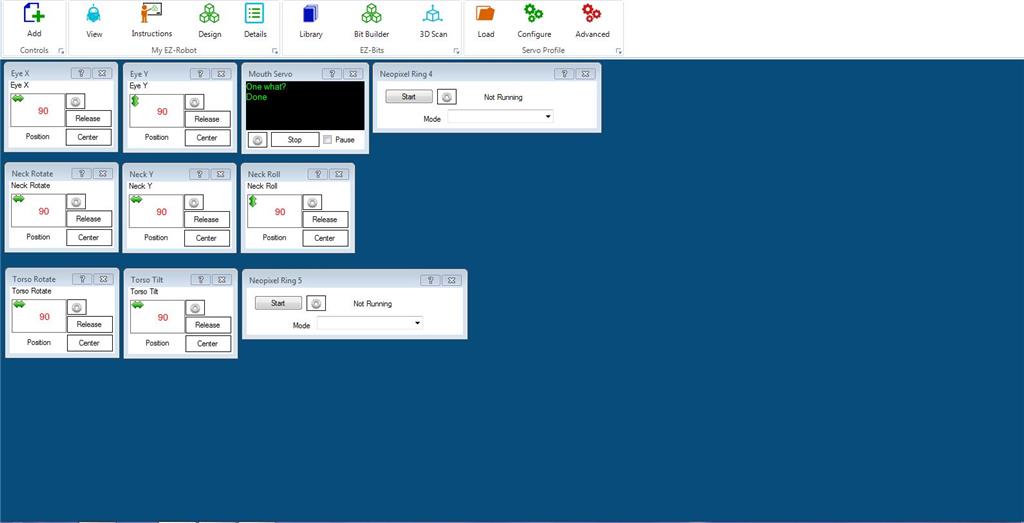
Here is the main control screen. Contains the face tracking speech functions and a custom Pandorabot for AI. Some MS cognitive stuff as well.
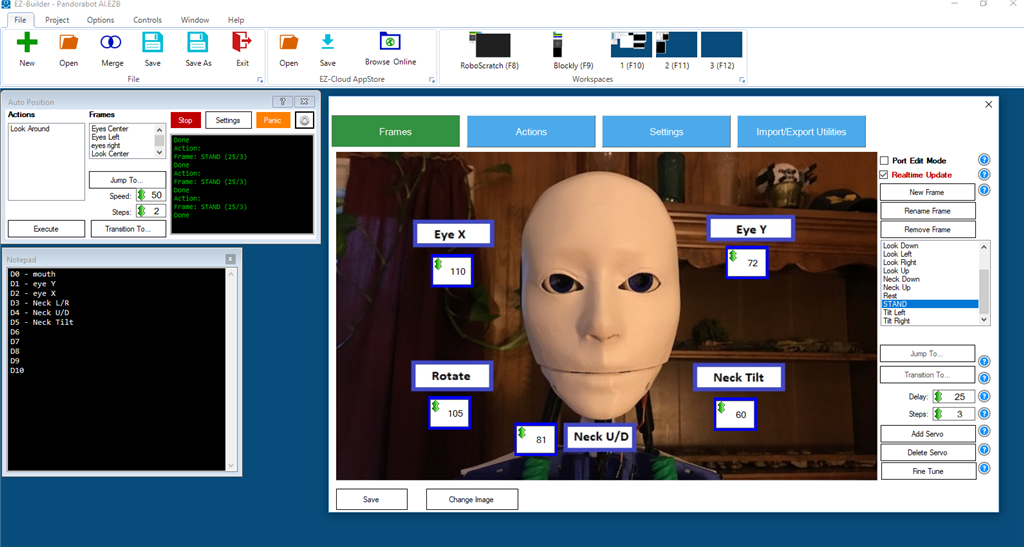
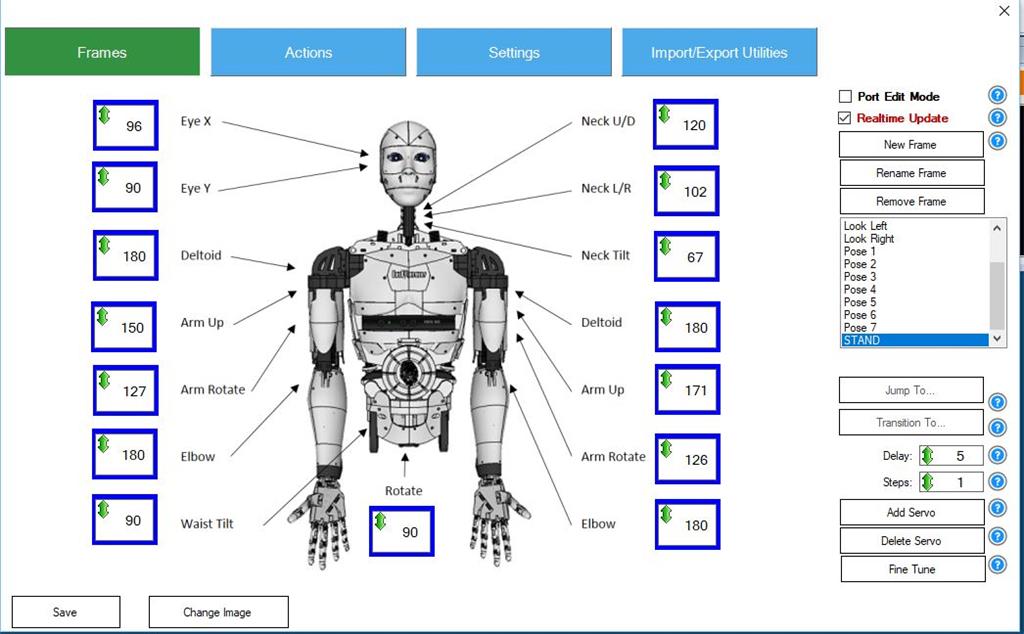
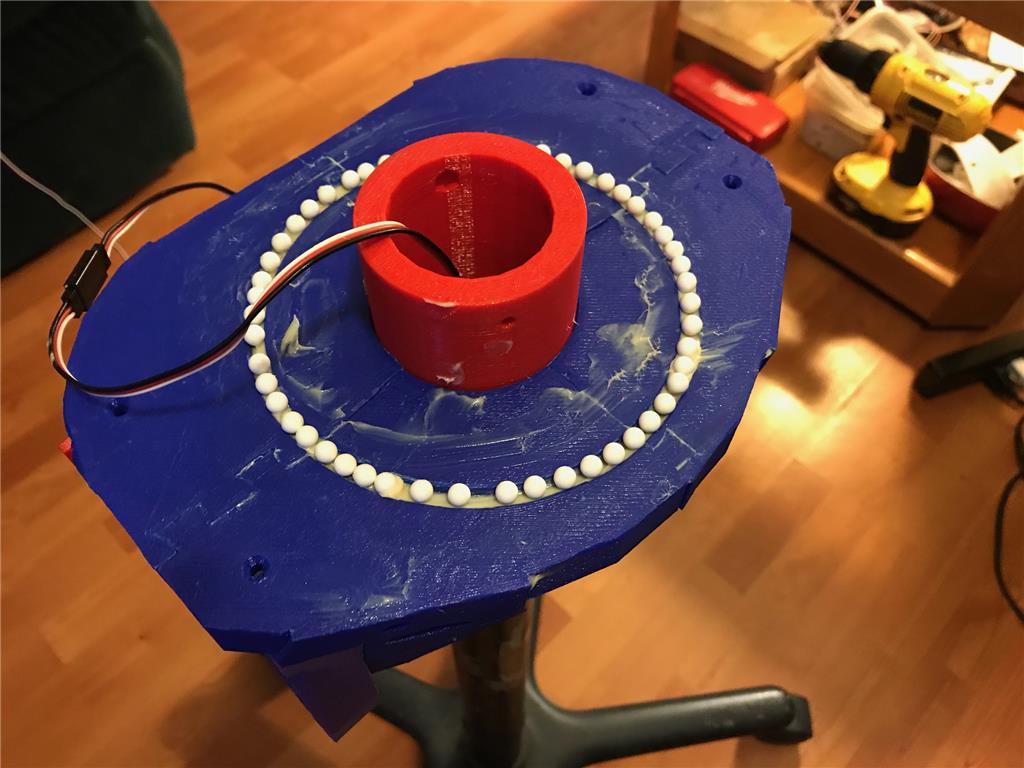
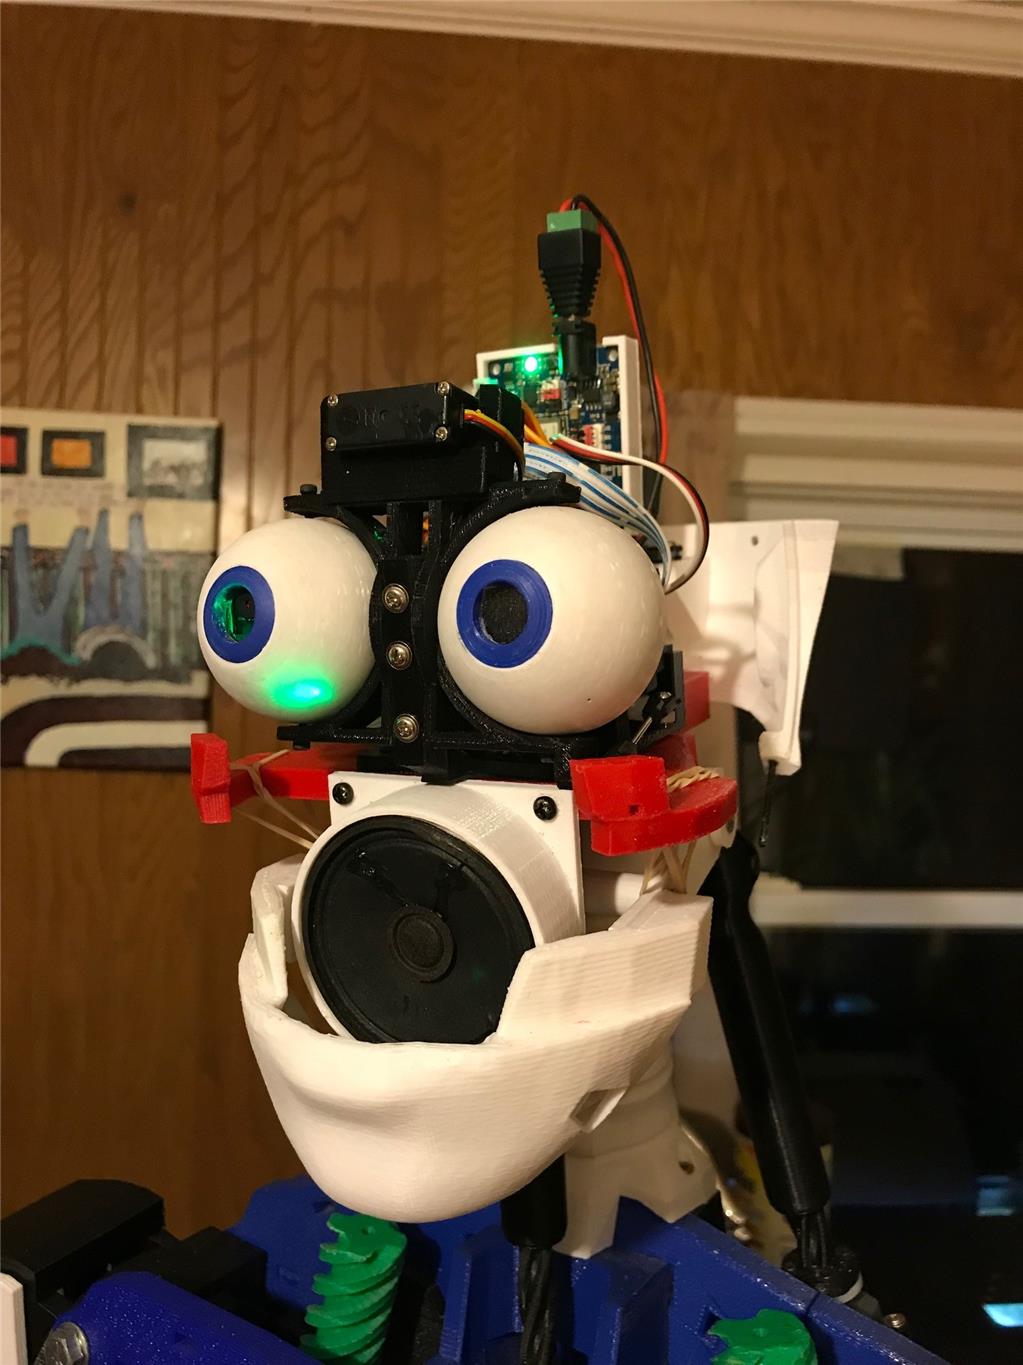
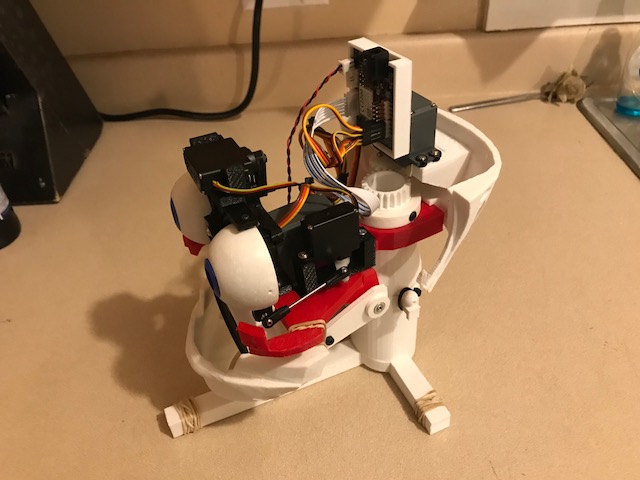
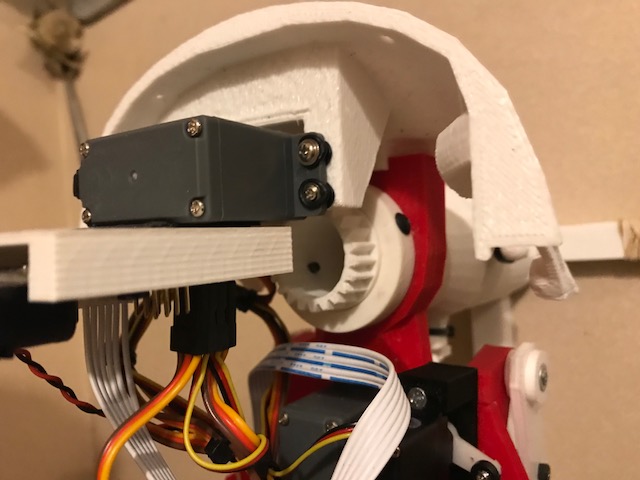
Here is the second screen. Head functions with a mouth control servo, neck, torso, and the 2 neopixel rings I have.
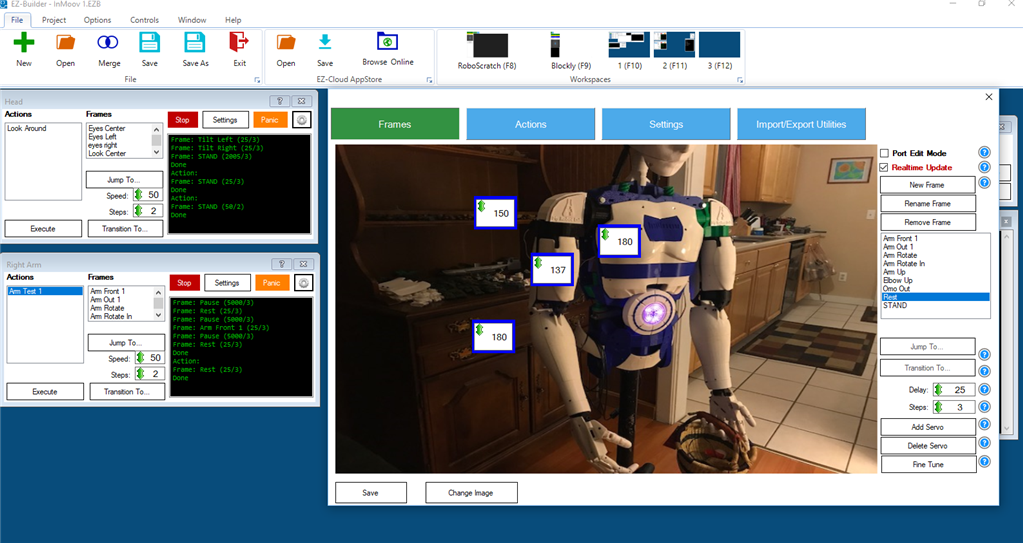
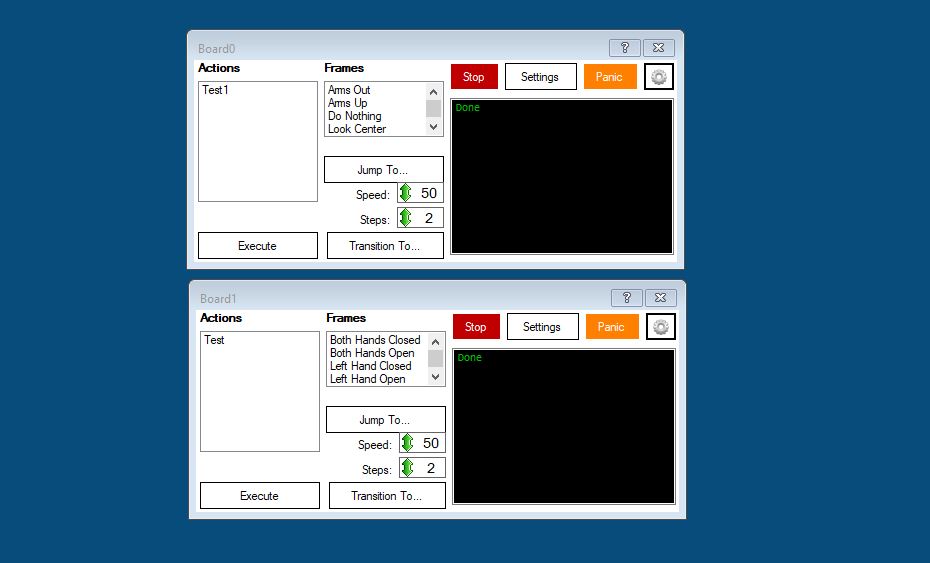
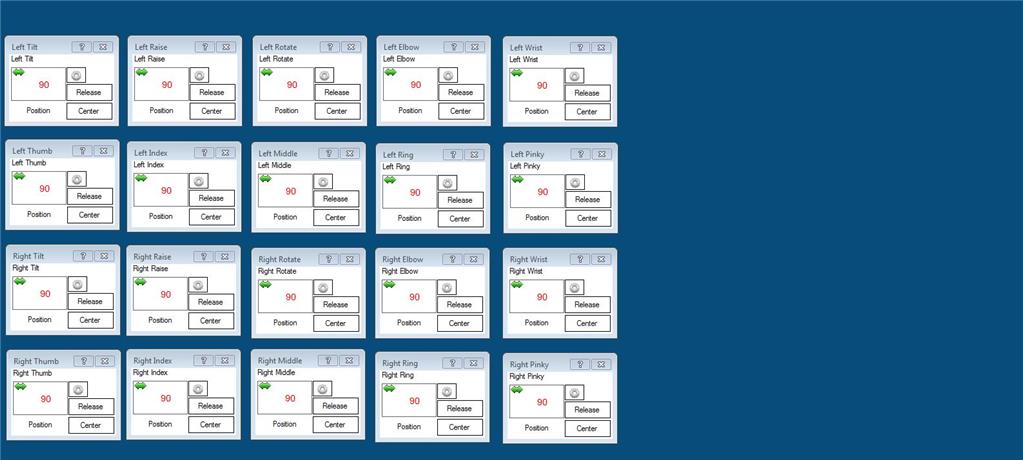
Third screen is for the arms and hands
So now I pretty much have all the same functionality I had in MRL give or take. I am pretty sure I am not doing this entirely correctly but it will come with time. Need to get into the scripting. I guess there are some tutorials to watch. So far my experience has been pretty good and in a day eclipsed my MRL progress of the last 6 months.
I'll update this thread with my progress and appreciate any feedback.
Discover more robots
Bhouston's Bob's Inmoov
Dave's Hello All

@Dave Thanks! I sort of fig that out just this afternoon. About to have a Skype with @Bob to learn more...
FYI: Here is a 5V 40A 200W DC Power Supply for just $25 and free shipping if you have prime. I think the InMoov would run on this just fine since the servos will all run on 4.8V - 6.0V
They also have 60A and 80A each $$35 and $45 respectively.
https://www.amazon.com/JoyNano-Transformer-Surveillance-Industrial-Automation/dp/B01JLYWC3I/ref=pd_lutyp_simh_1_6?_encoding=UTF8&pd_rd_i=B01JLYWC3I&pd_rd_r=CQGT9PTSFT0C5XQFDS8E&pd_rd_w=2xd89&pd_rd_wg=wWmQt&psc=1&refRID=CQGT9PTSFT0C5XQFDS8E
Great contributions guys. I think I am up for a power supply upgrade. Mine is peaked at 10 amps.
Stephan getting about time for you to post a video!
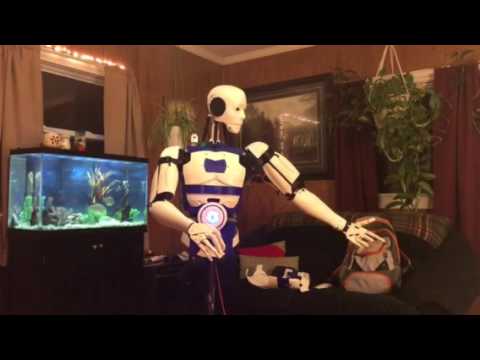
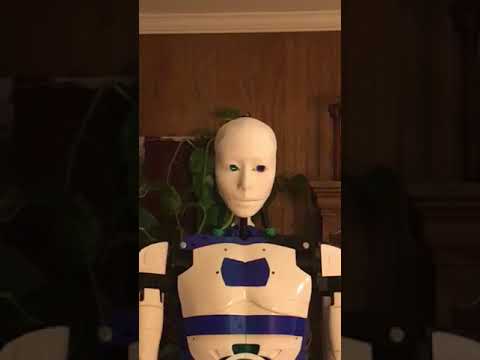
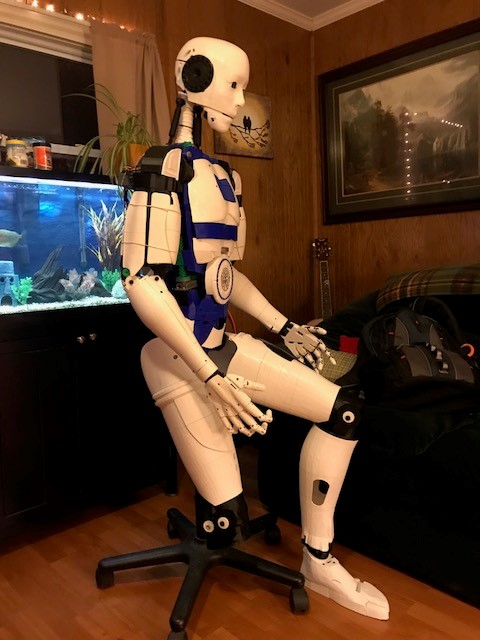
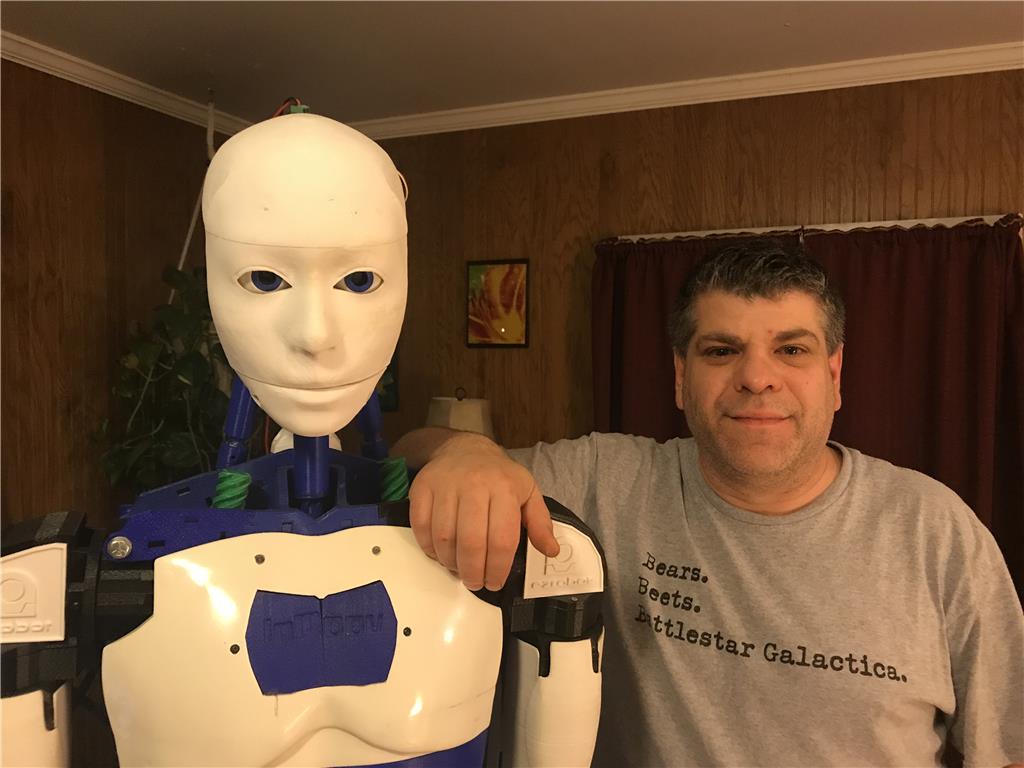
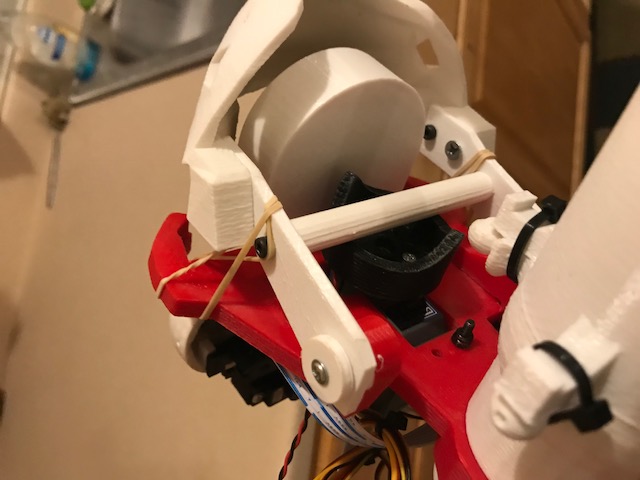
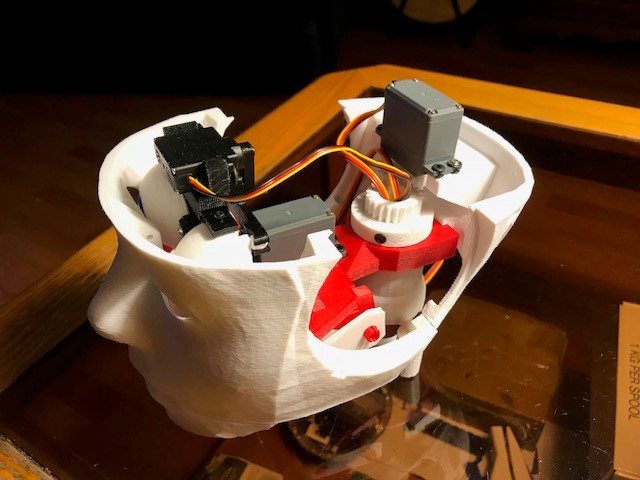
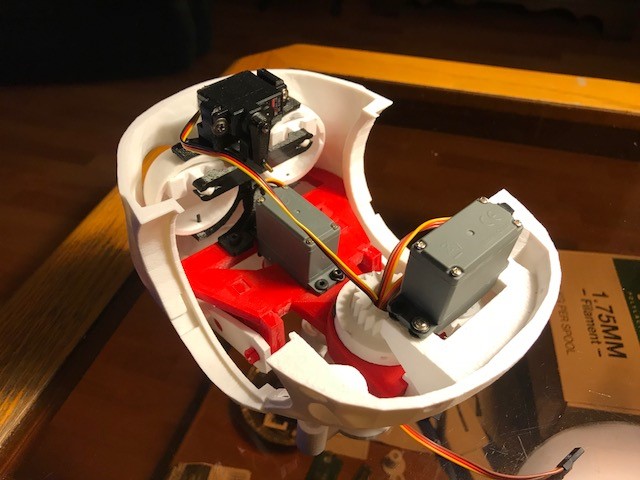
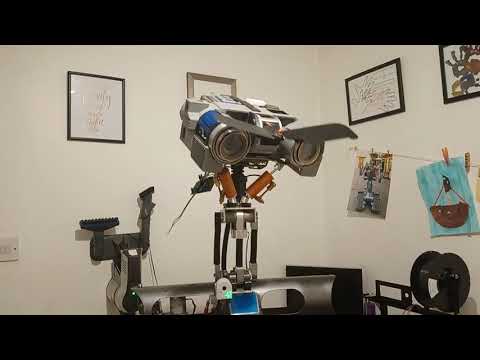
Here's a couple of pics...
@mayaway Outstanding man!... He just needs legs and he can do your grocery shopping for you...
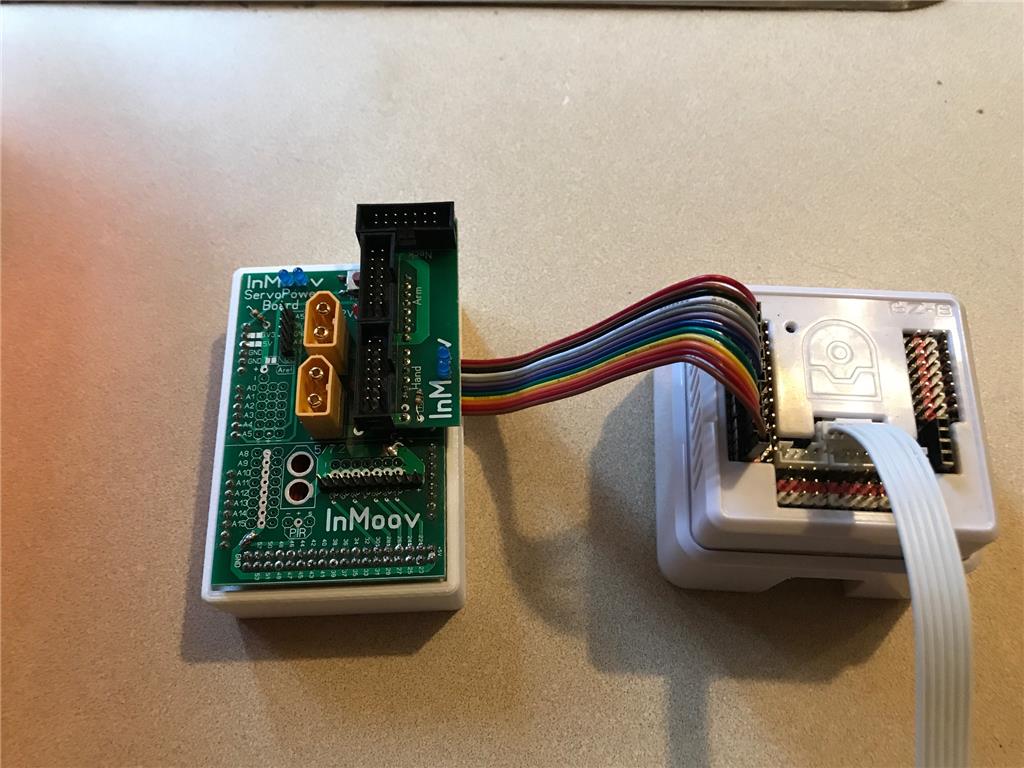
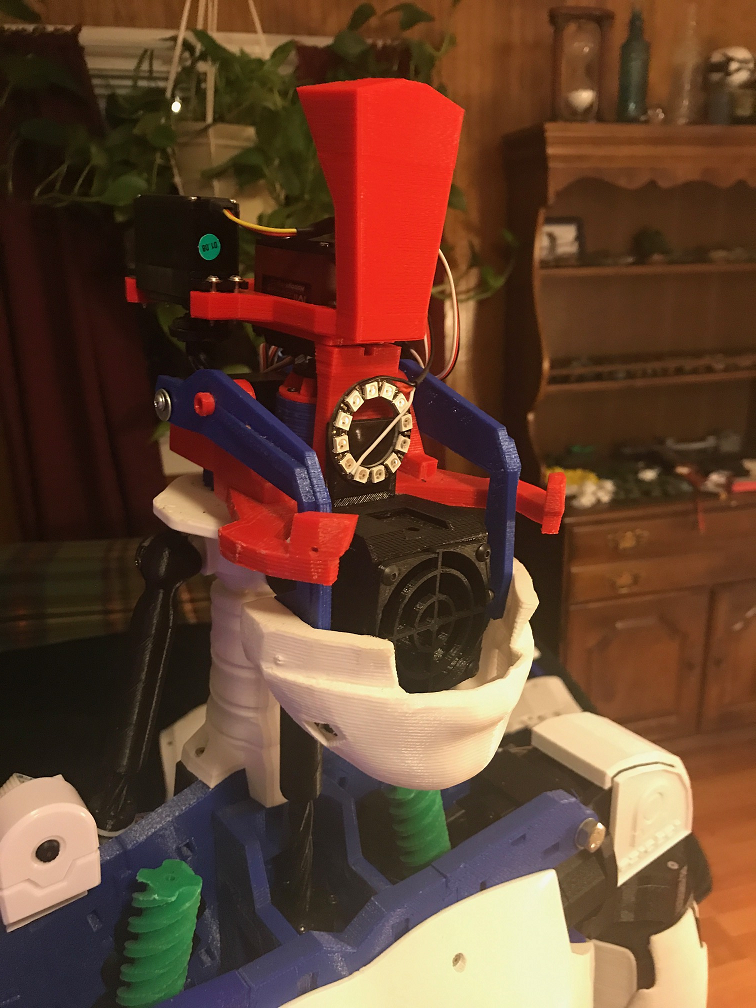
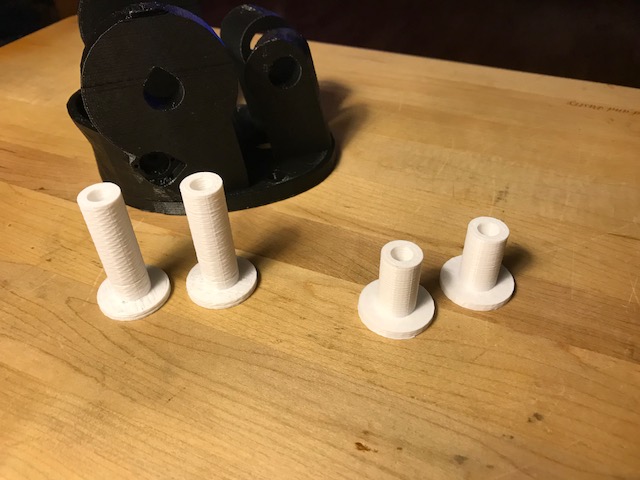
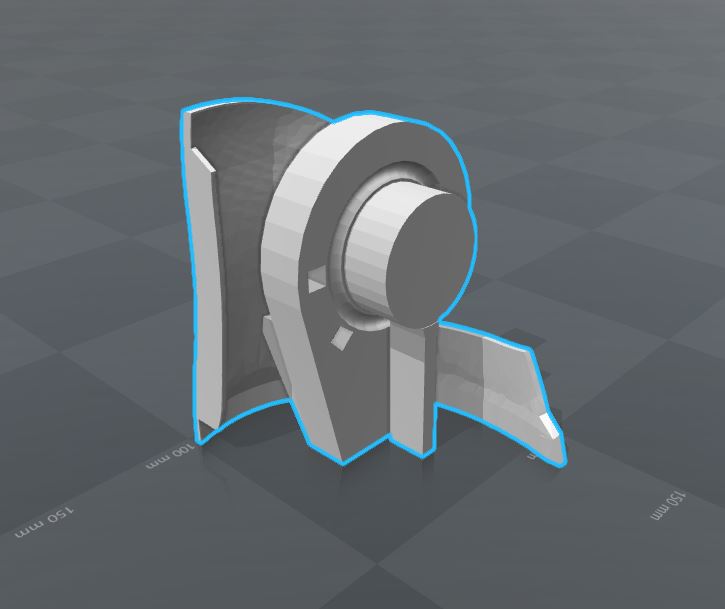
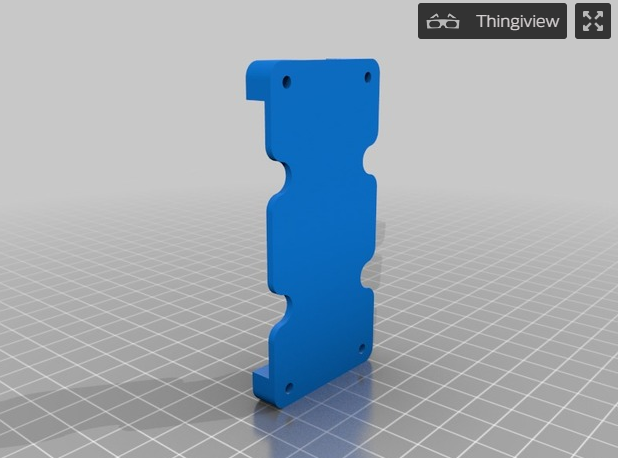
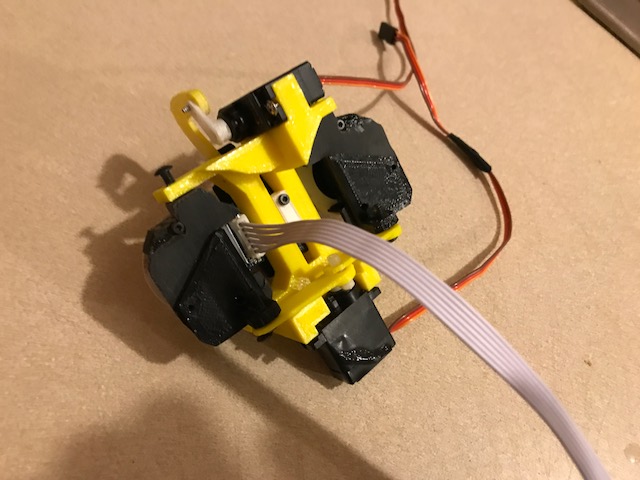
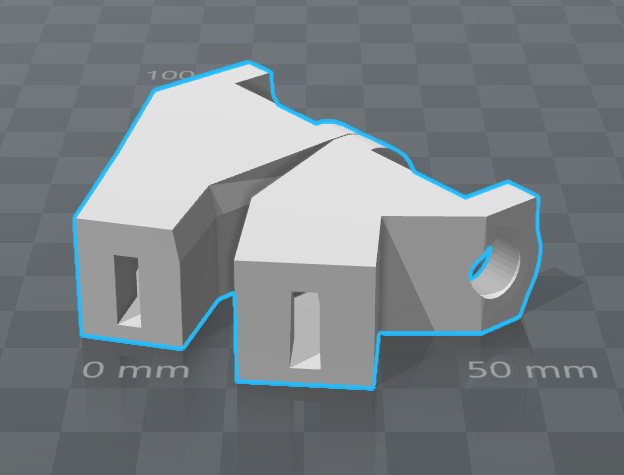
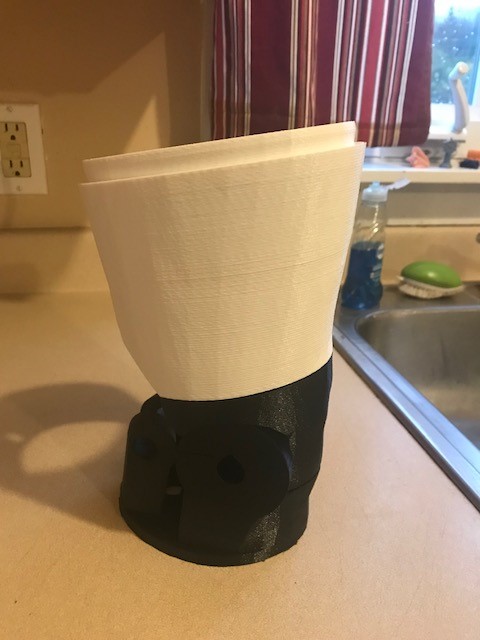
A little more progress on my inmoov. Since I already had all the original Nervo boards and wiring in place I decided to print a holder for the Nervo board and ditch the Arduinos.
Hi folks, really interesting build thread for me. I'm early stages of my build, just completed my 1st arm and am now building the head. I'm going with EZB for my Inmoov as I have no experience of any other kind of system. Toy maker Tony suggested I go down this route as well. As I'm starting from scratch do I actualy need the nervo boards as well as the EZB. I don't fully understand their function? Regards Steve (uk)
You don't need the nervo boards with EZ-B. Some of us have modified them since we had them, and had switched from MyRobotLab & Arduino MEGAs to EZBv4/2 The idea is to provide power buss to your servos separately, so you only have signal wires going to the EZB which can handle 5A continuous, 20A pulse, and is fused at 20A. Does this help? You'll be delighted at the power and ease of using ARC and the EZBv4!