


Hello all, I wanted to start my own thread to discuss my Inmoov and my conversion to EZ Robot. I appreciate all the work by the MRL guys but I struggle with it. I am indebted to the help they gave me but I needed something a little more along in development with some documentation.
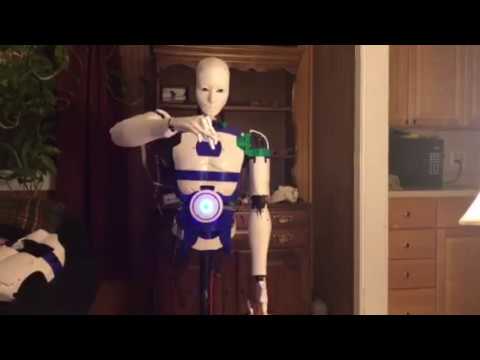
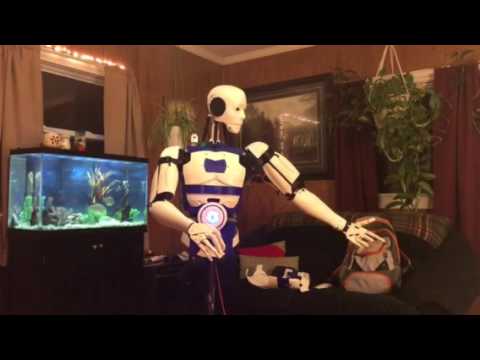
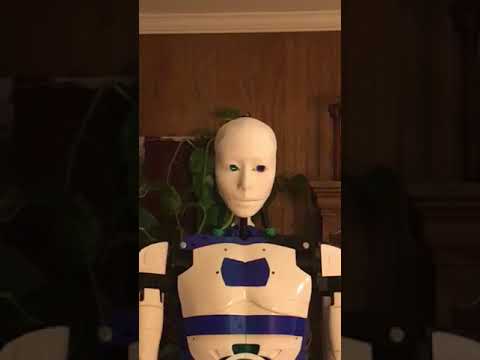
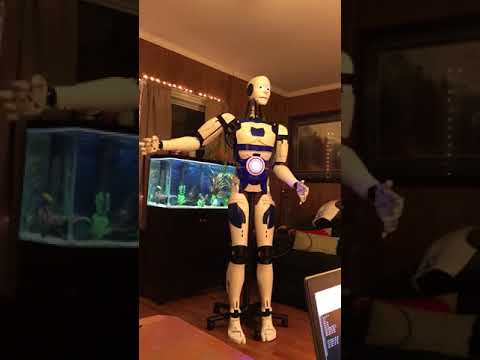
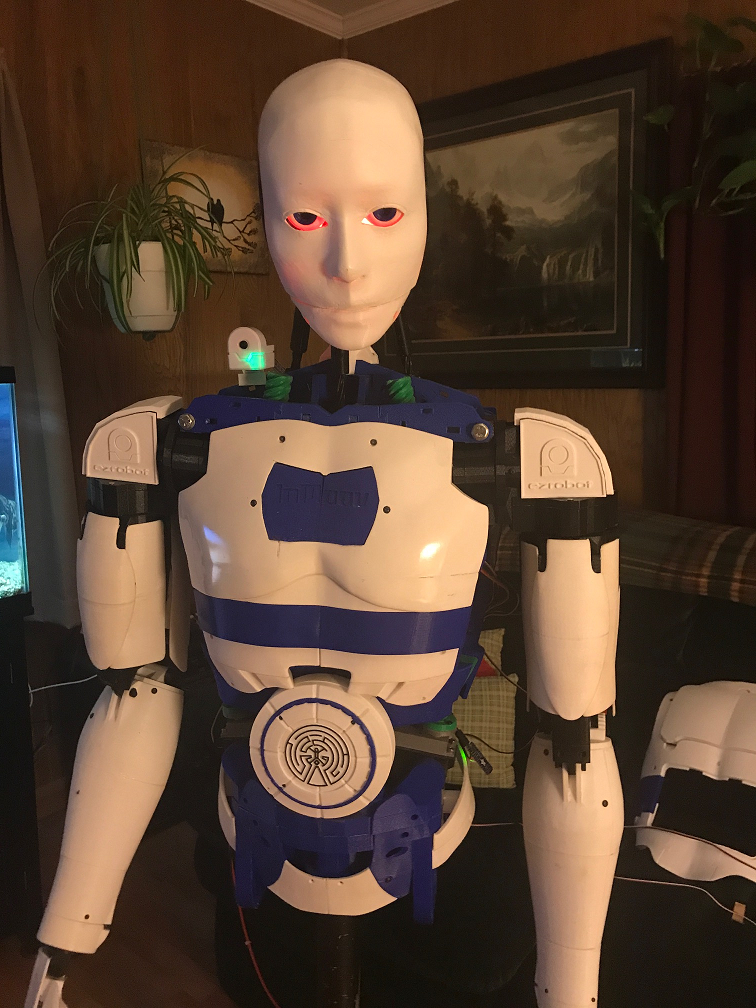
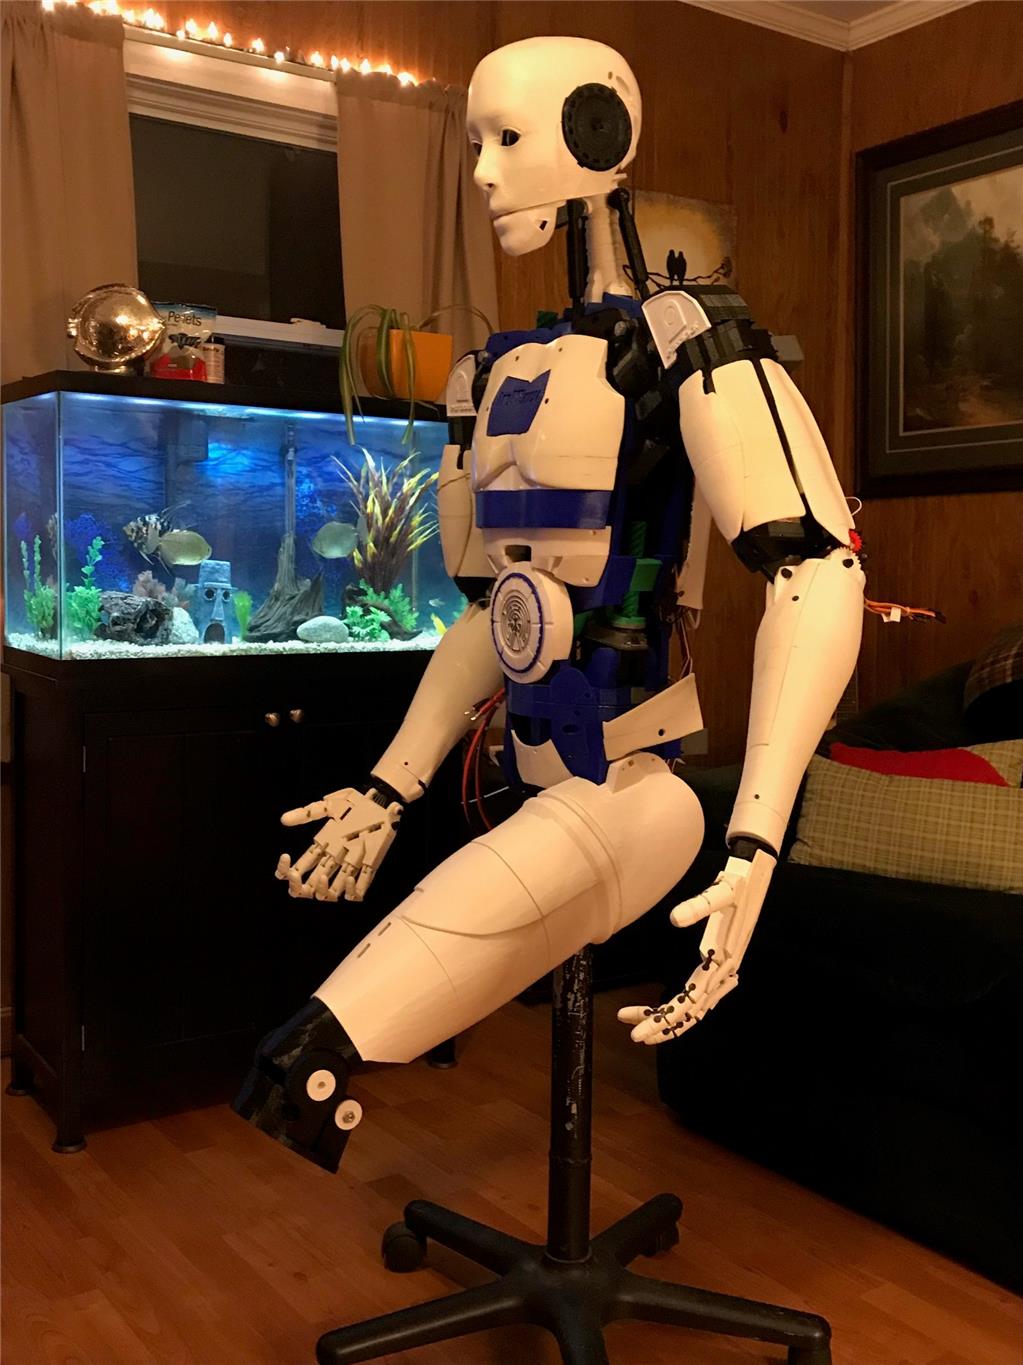
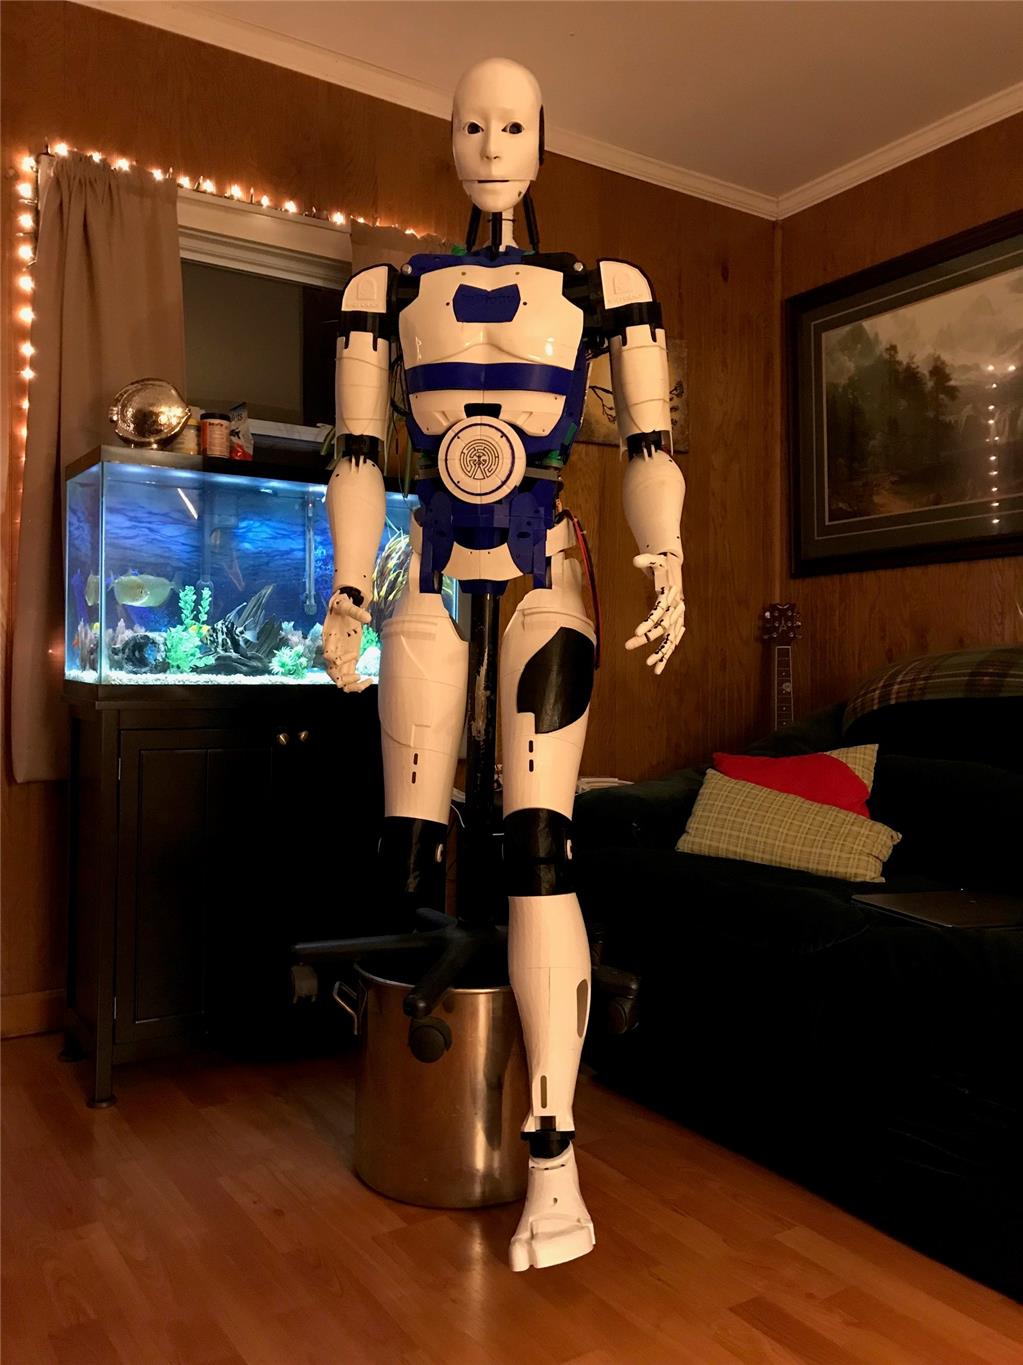
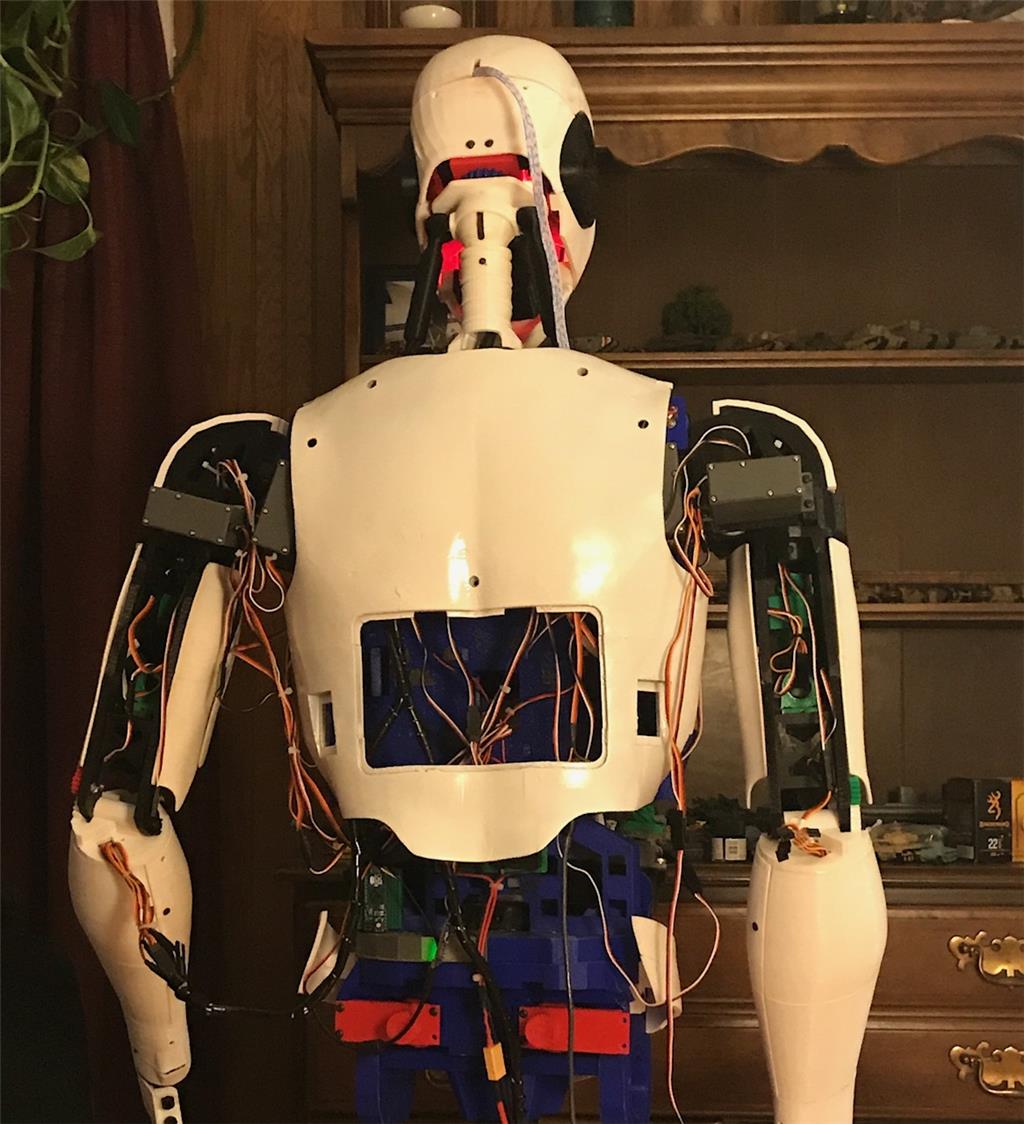
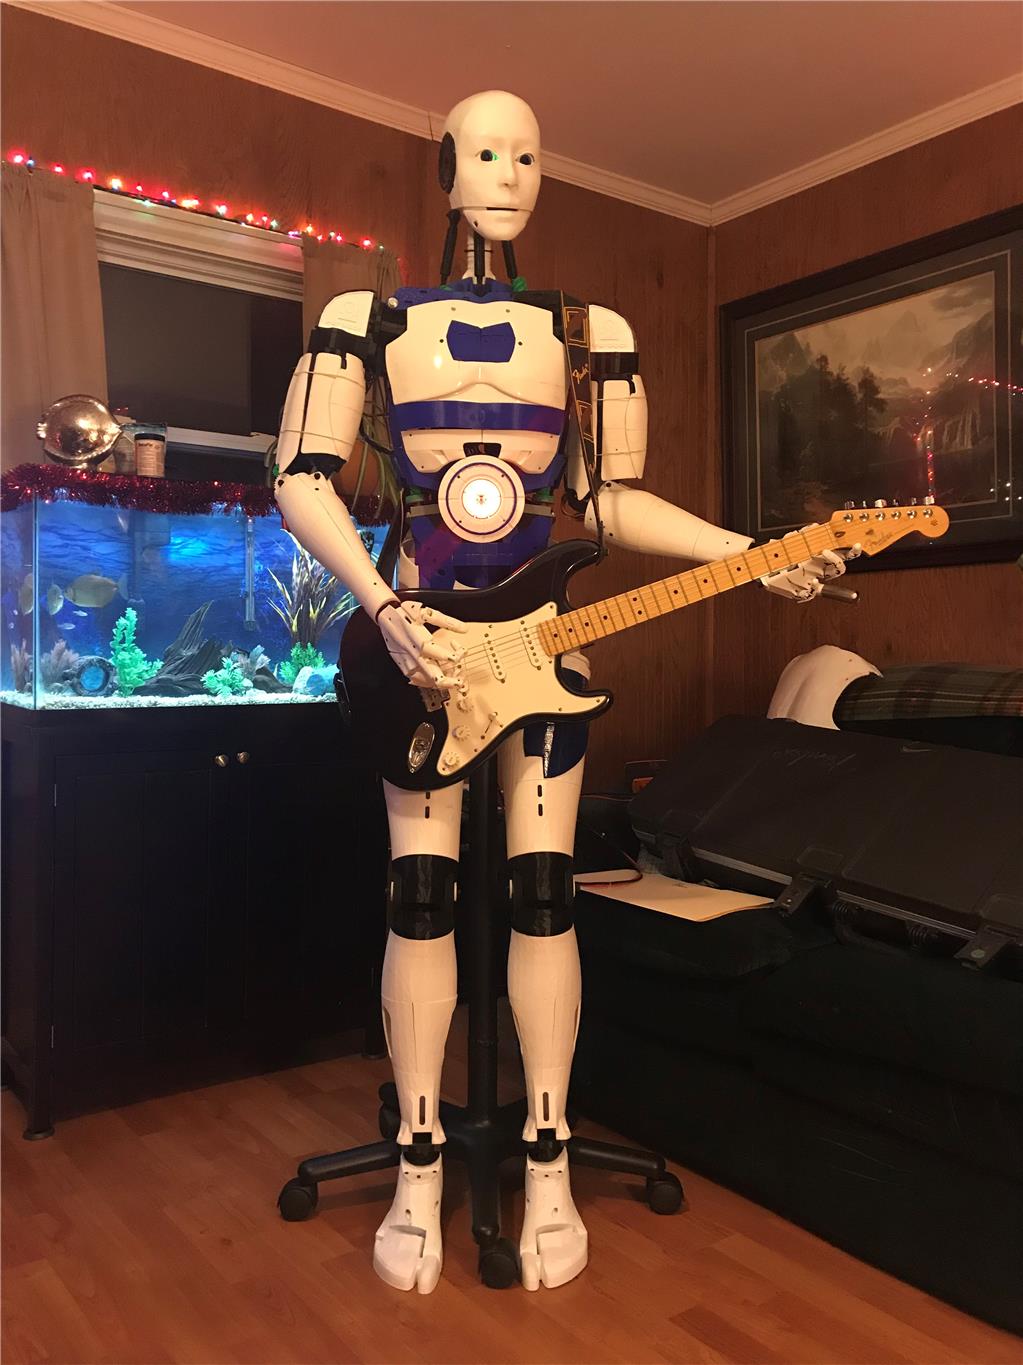
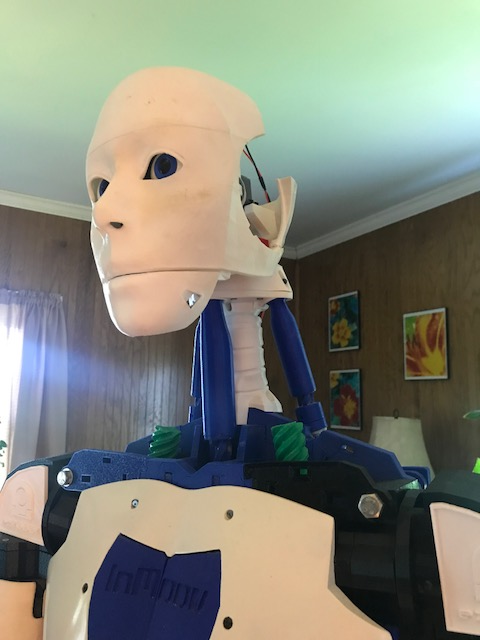
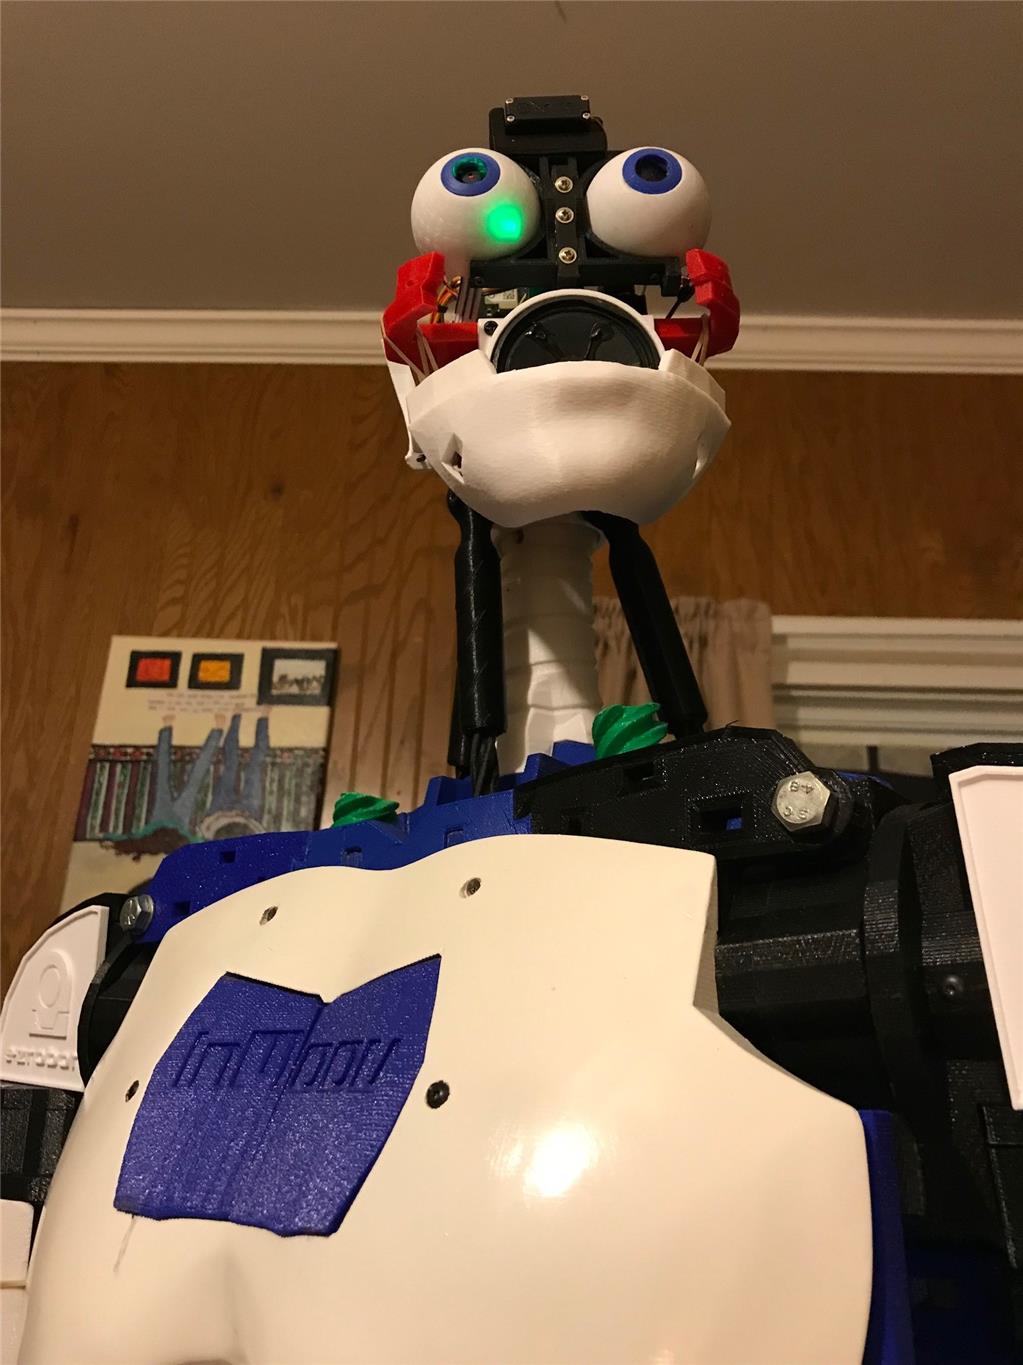
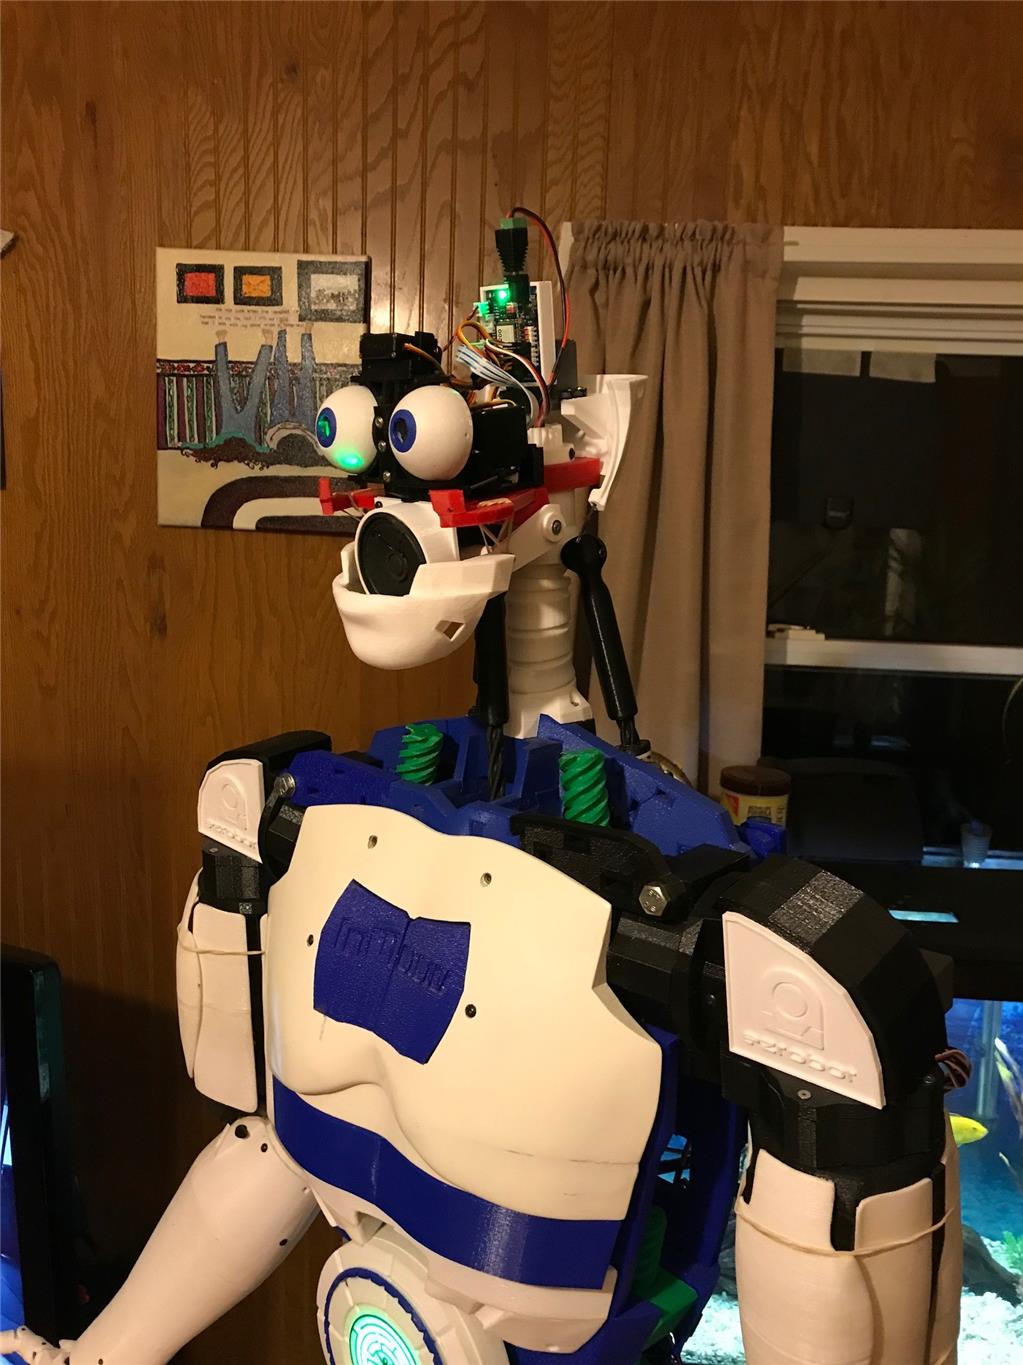
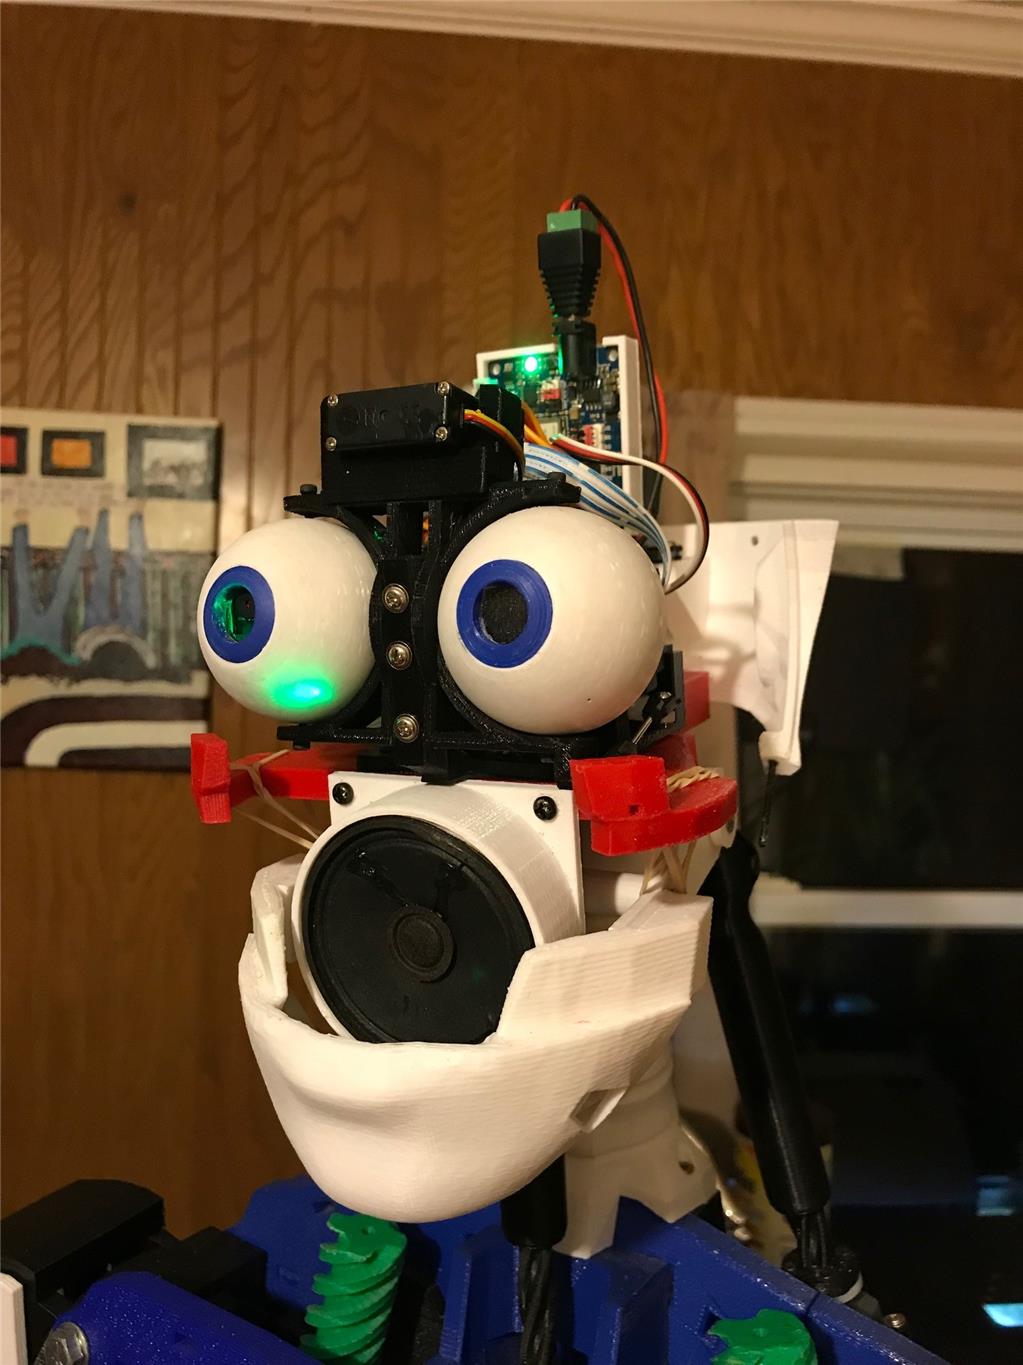
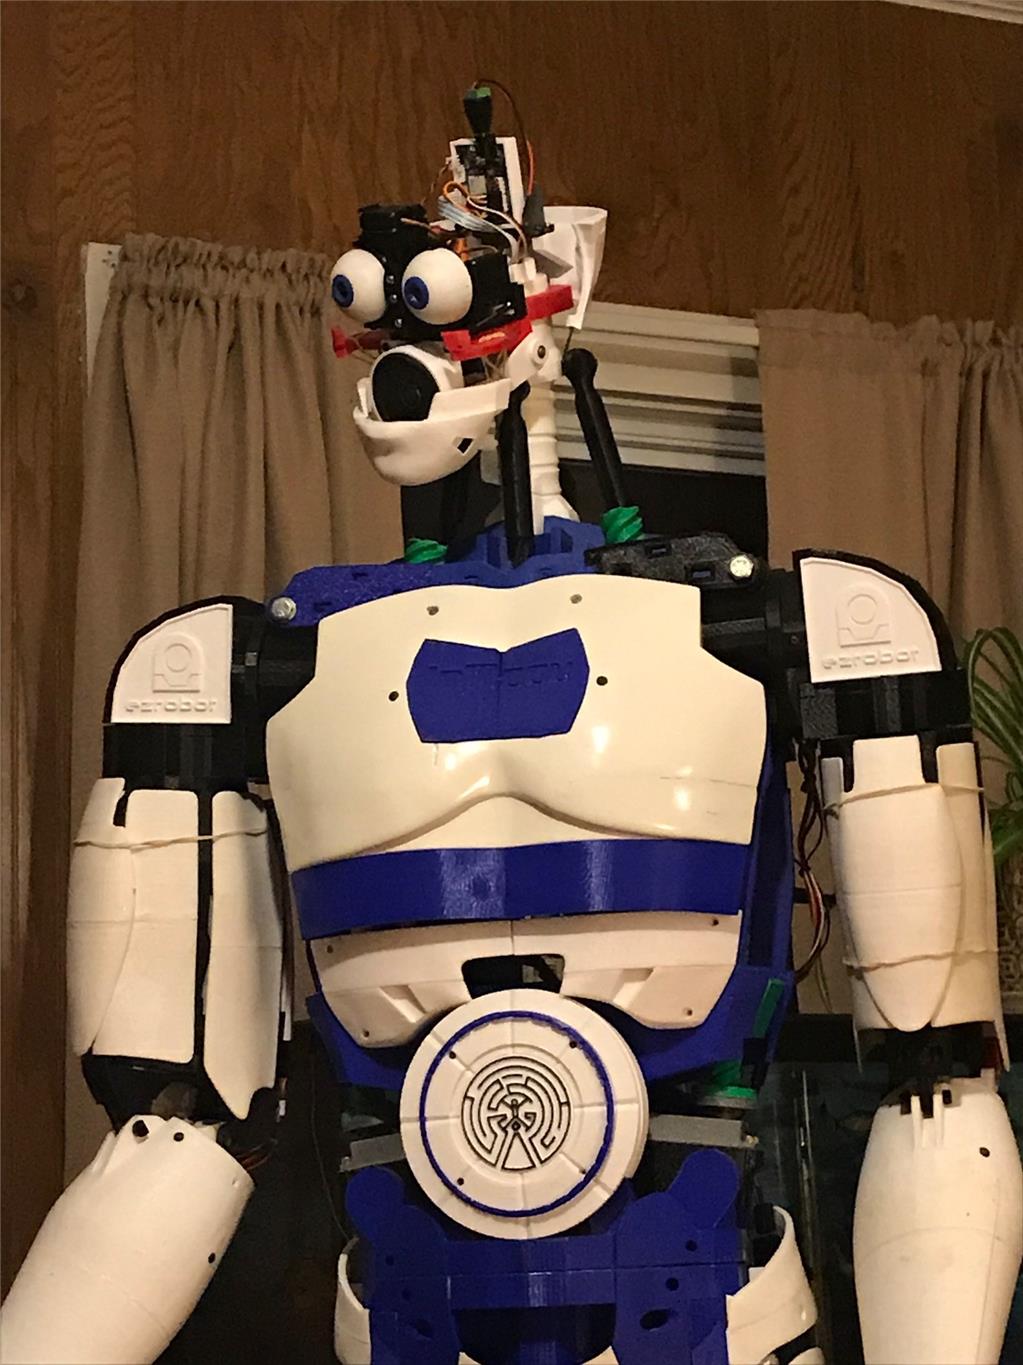
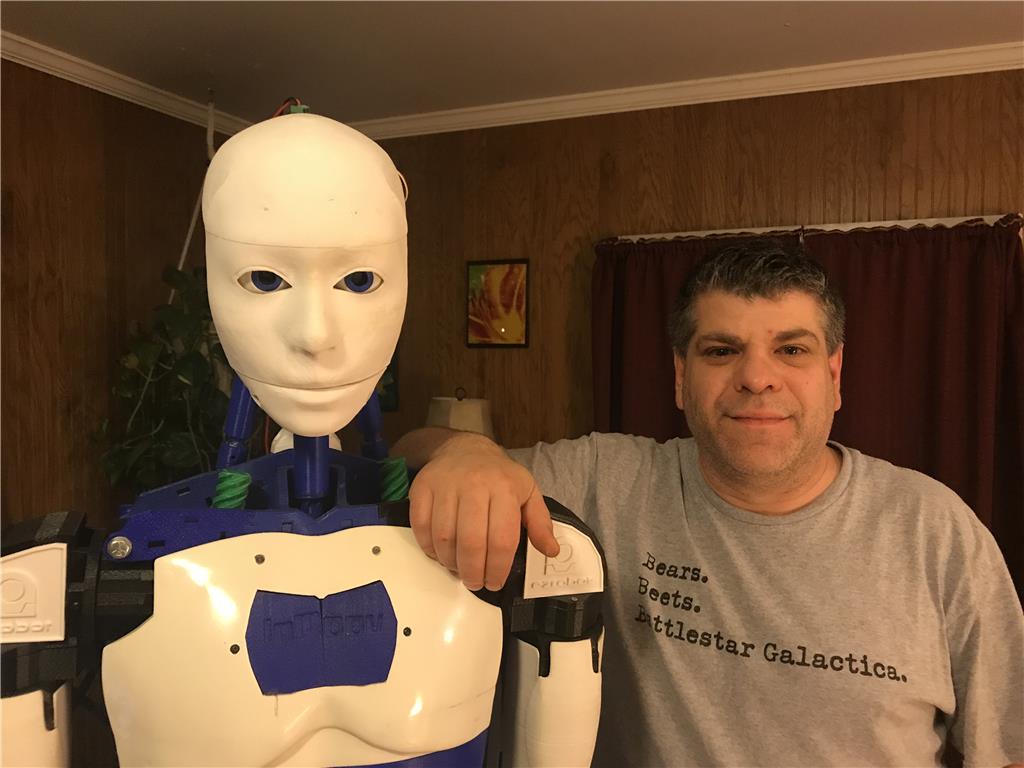
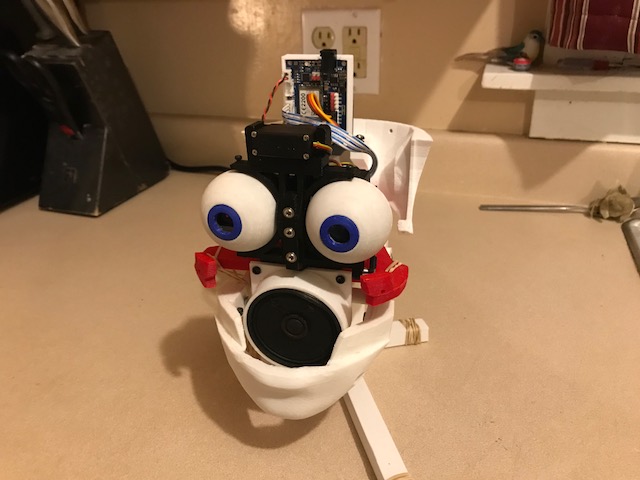
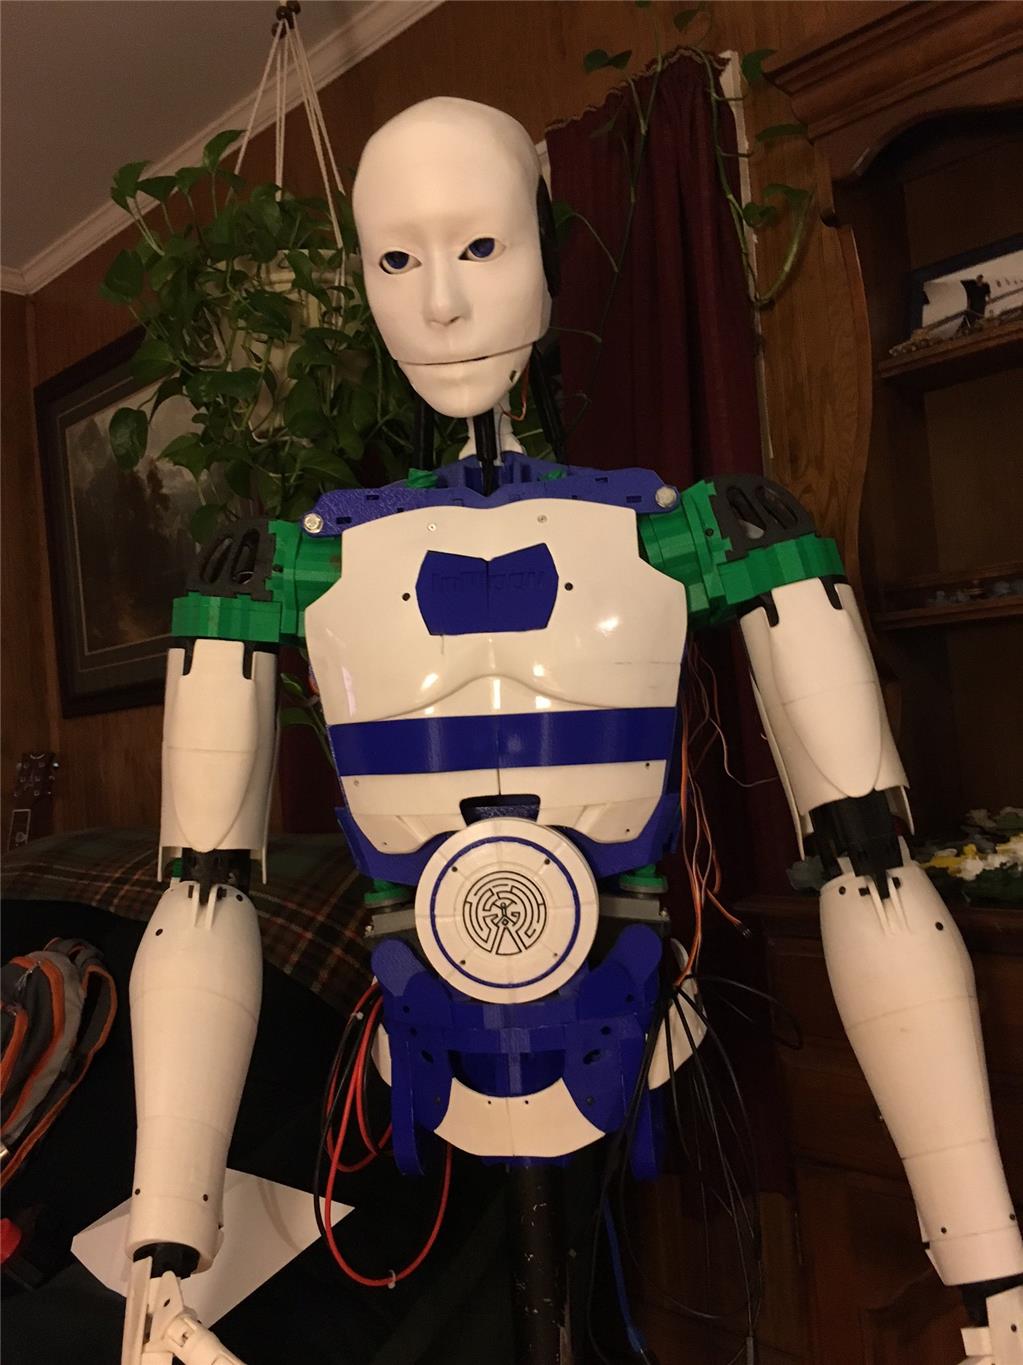
So here is my guy. Pretty standard build as far as inmoov's go.
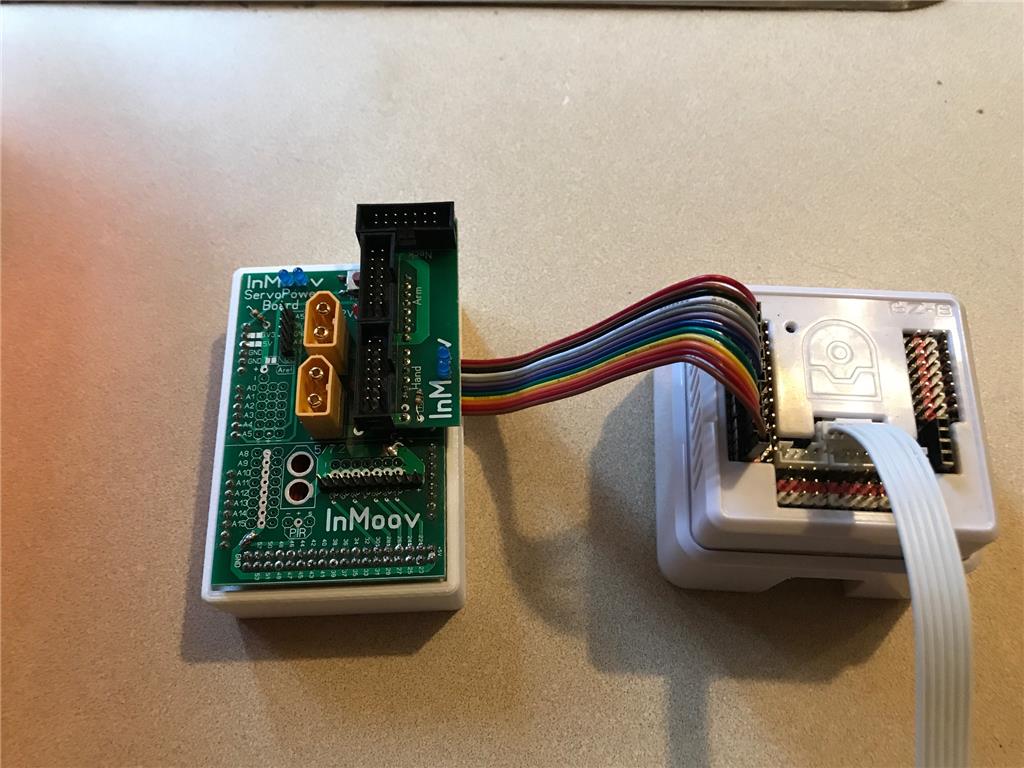
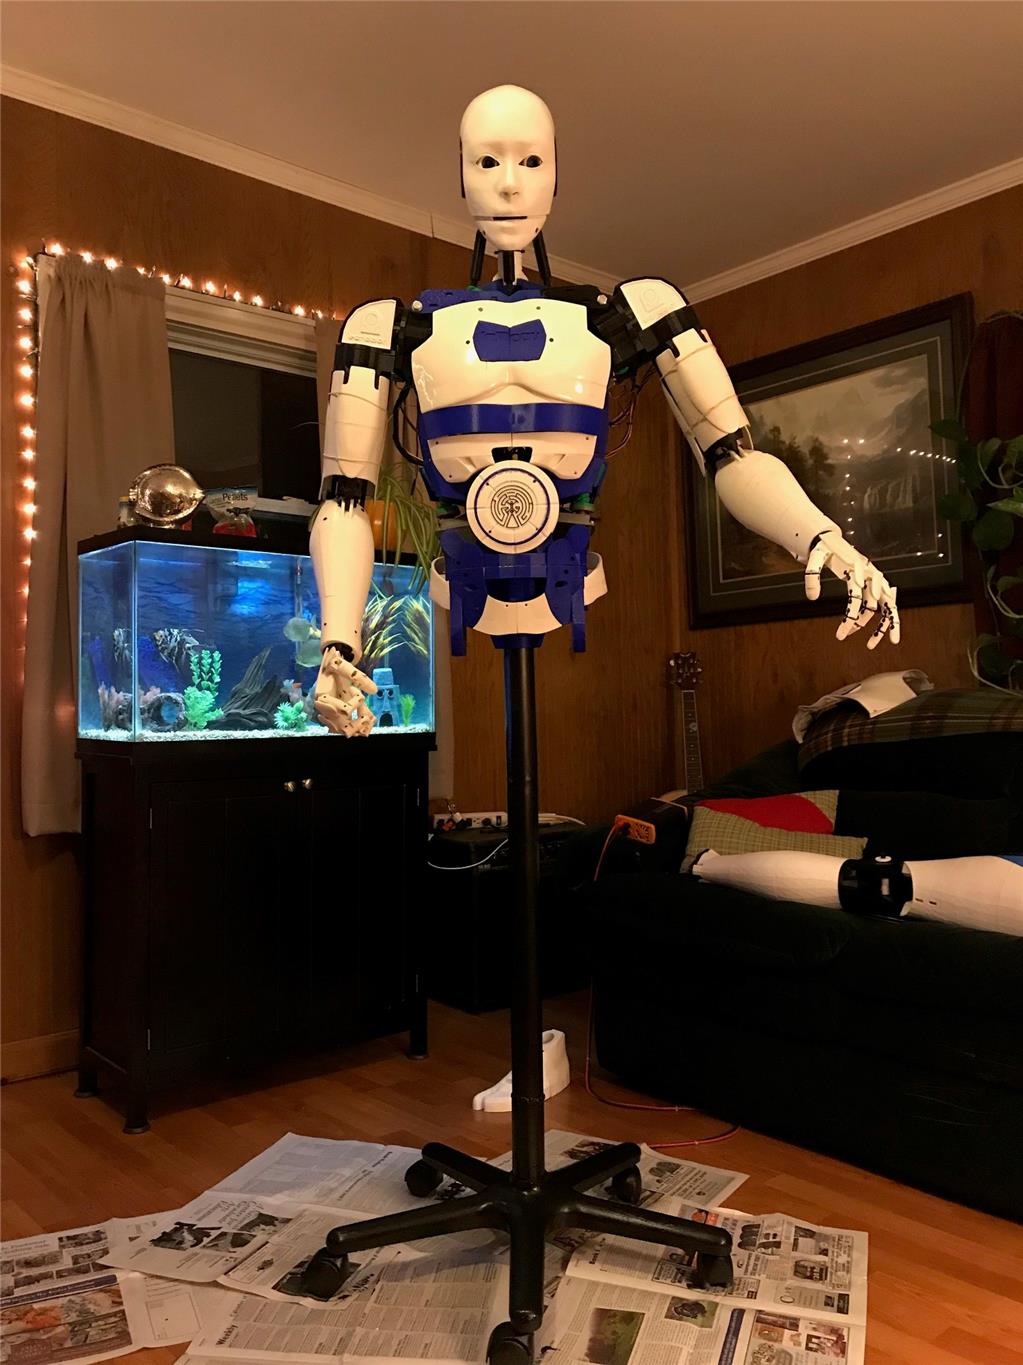
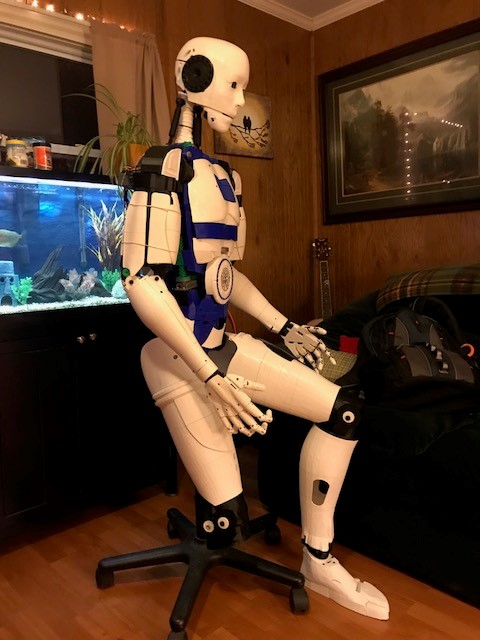
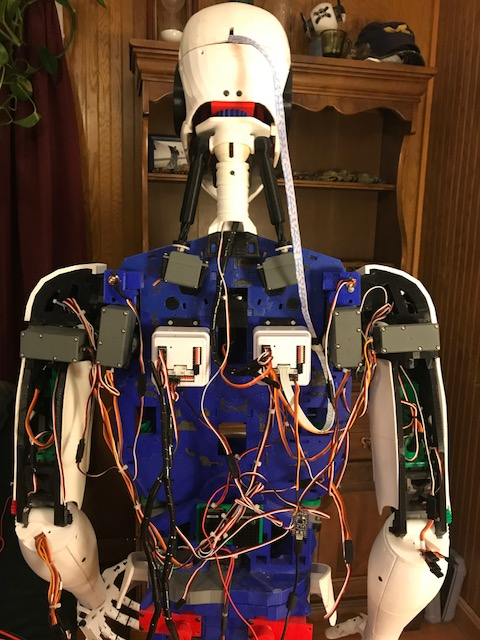
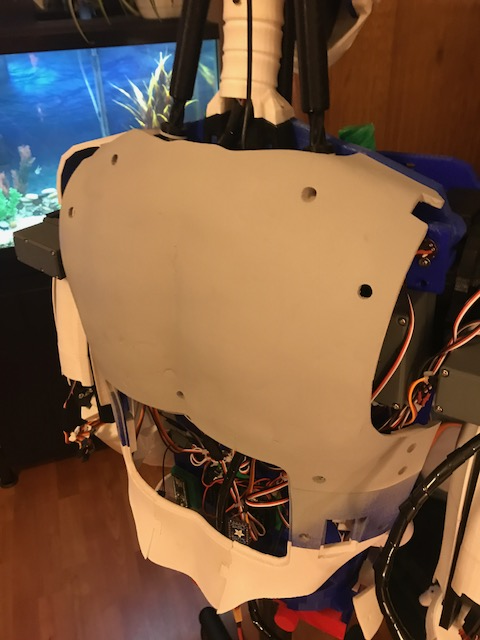
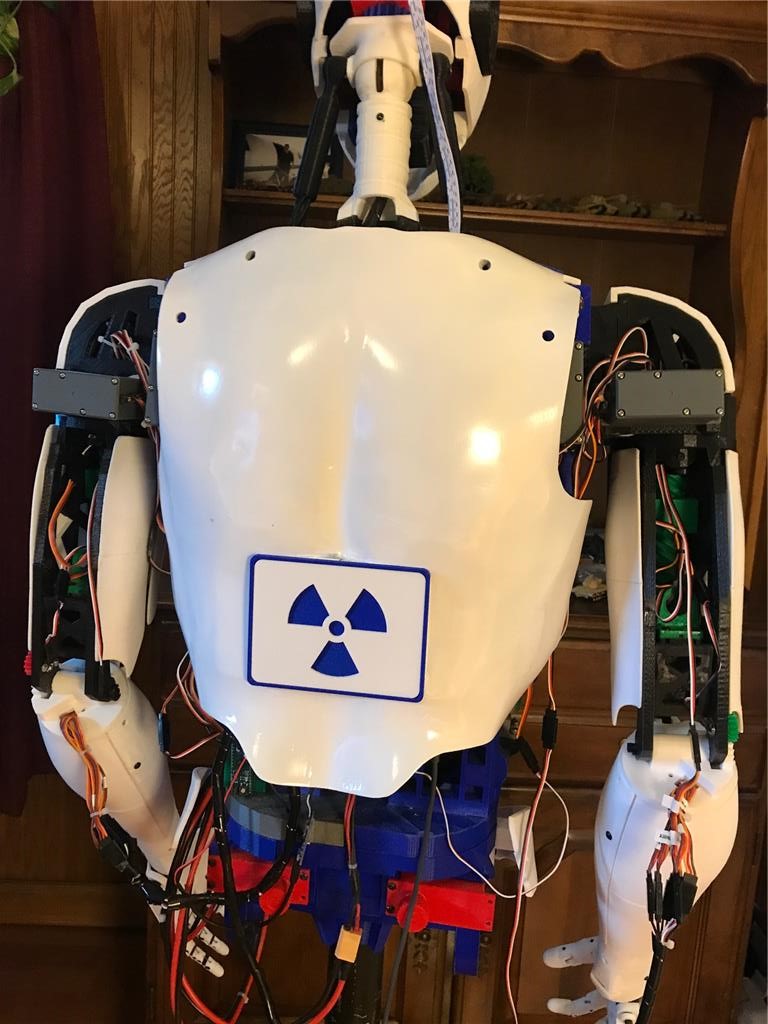
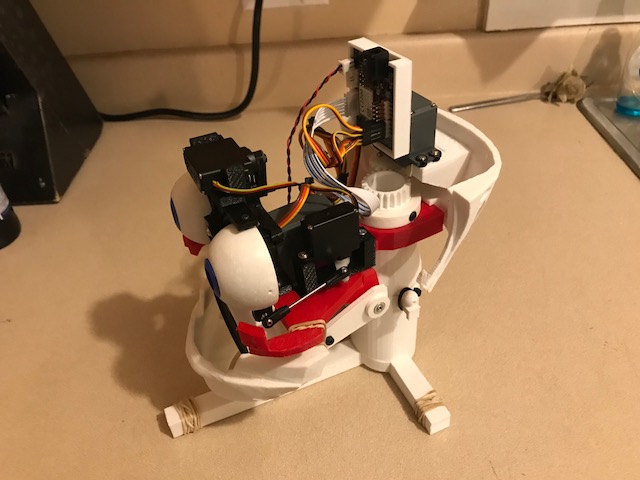
Here's the back. All the standard inmoov components. Dual 256 Megas, Nervo boards USB hub, Power supplys etc.
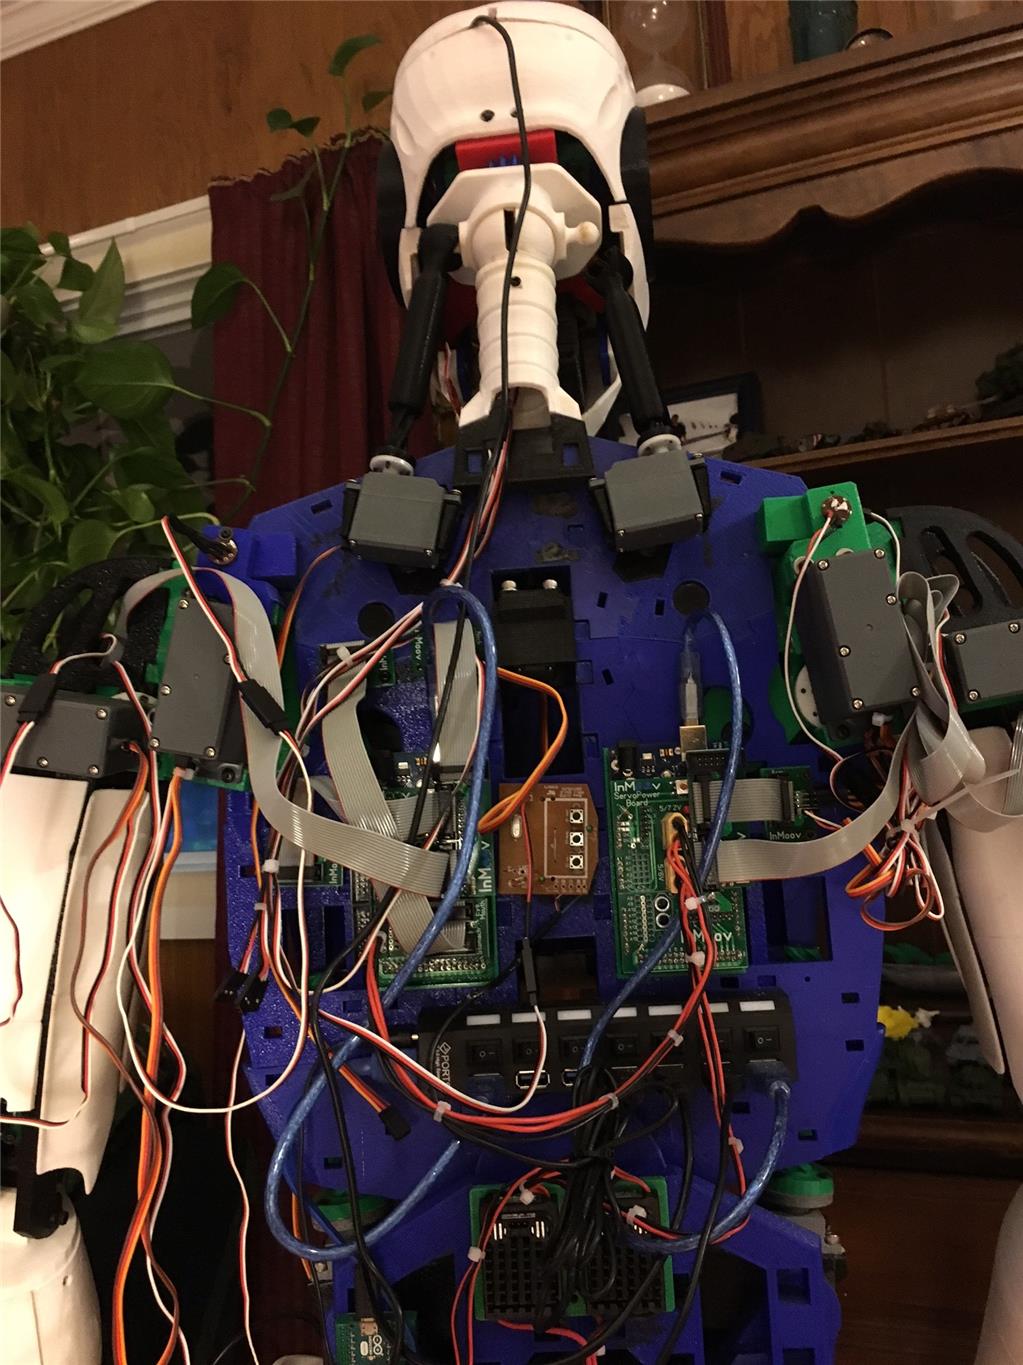
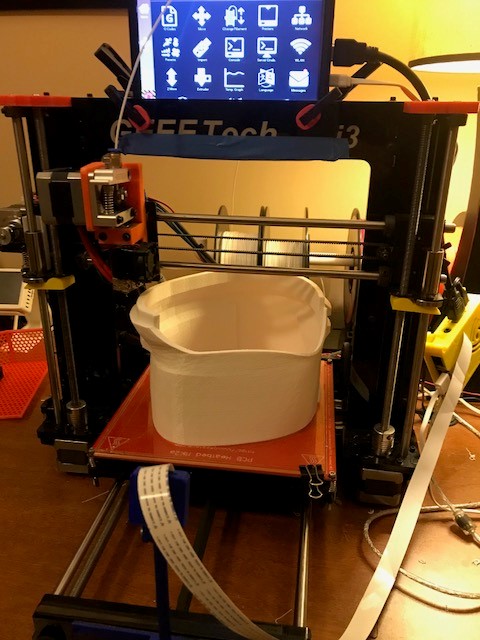
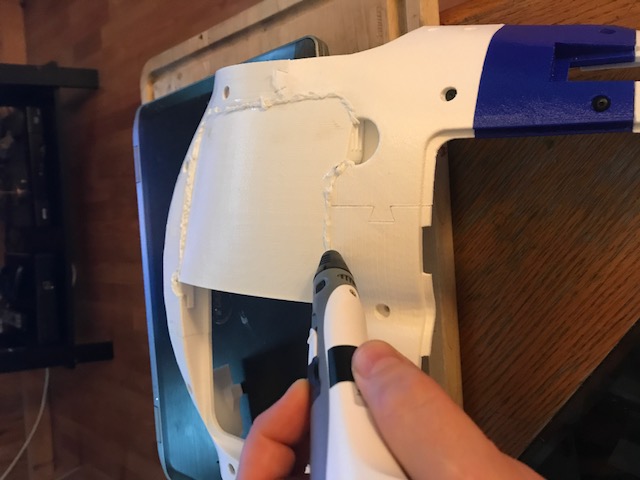
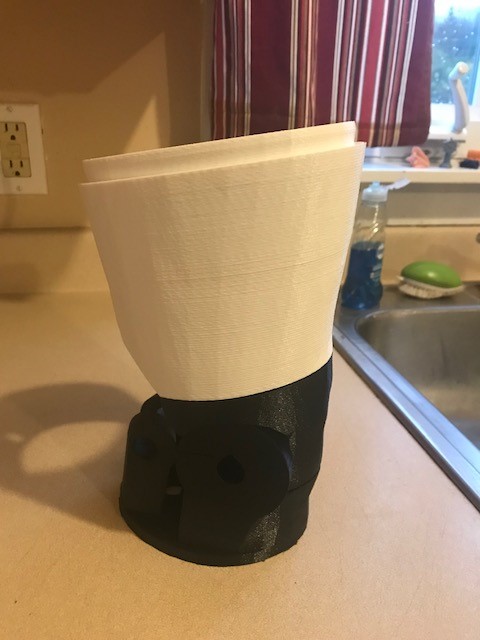
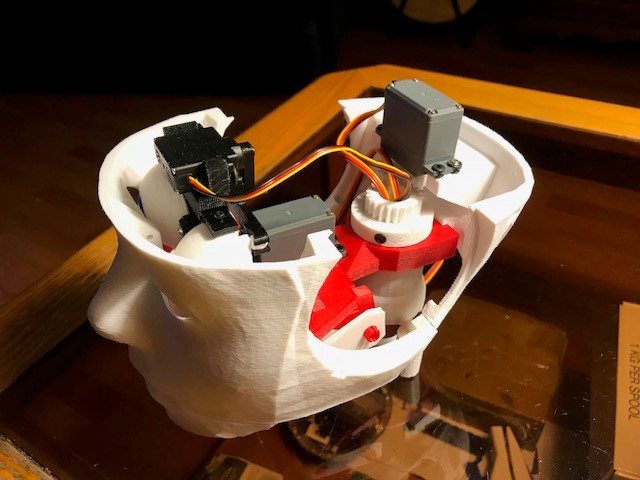
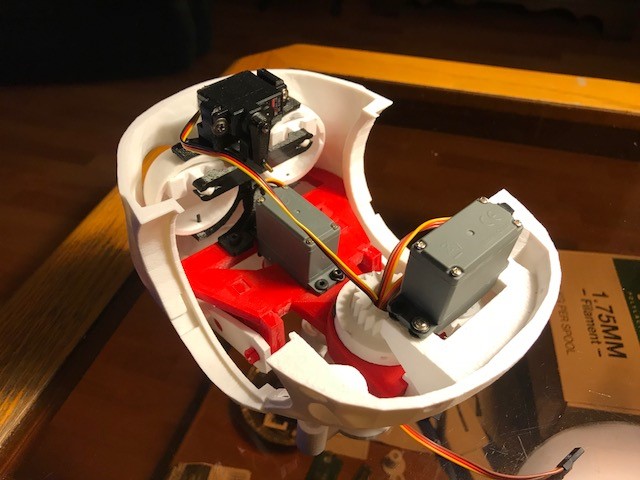
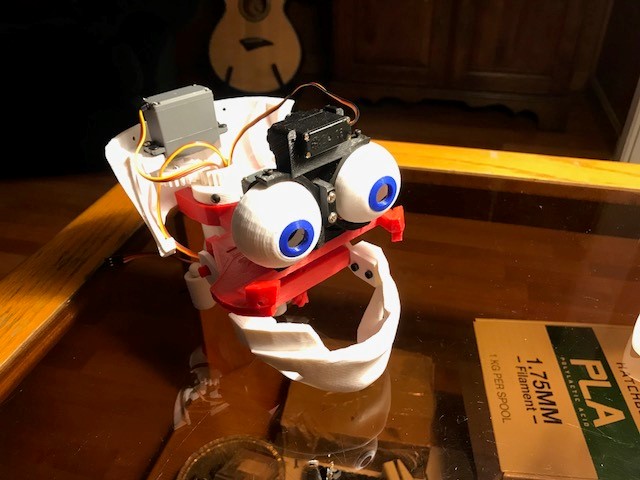
So the tear down begins. I need to clean up that wiring too. What a rats nest!
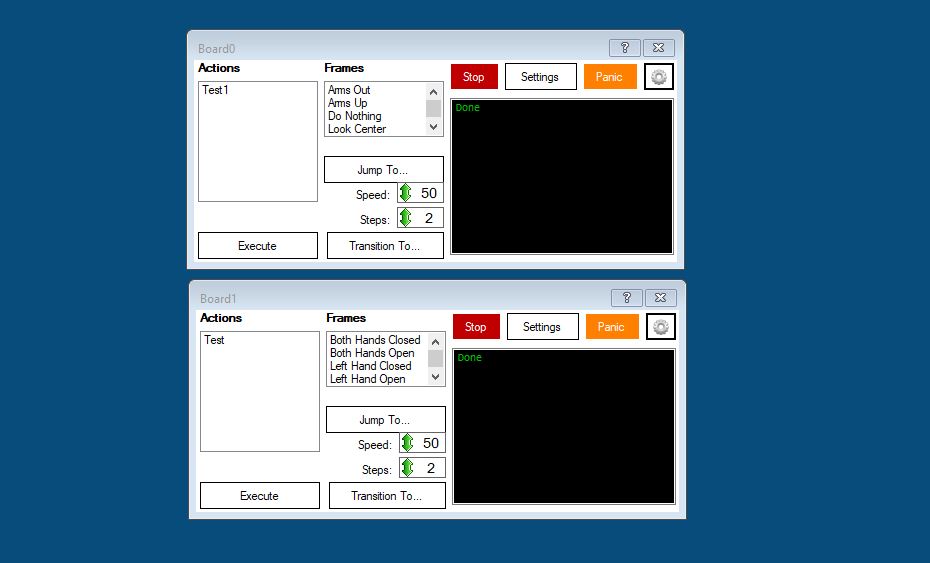
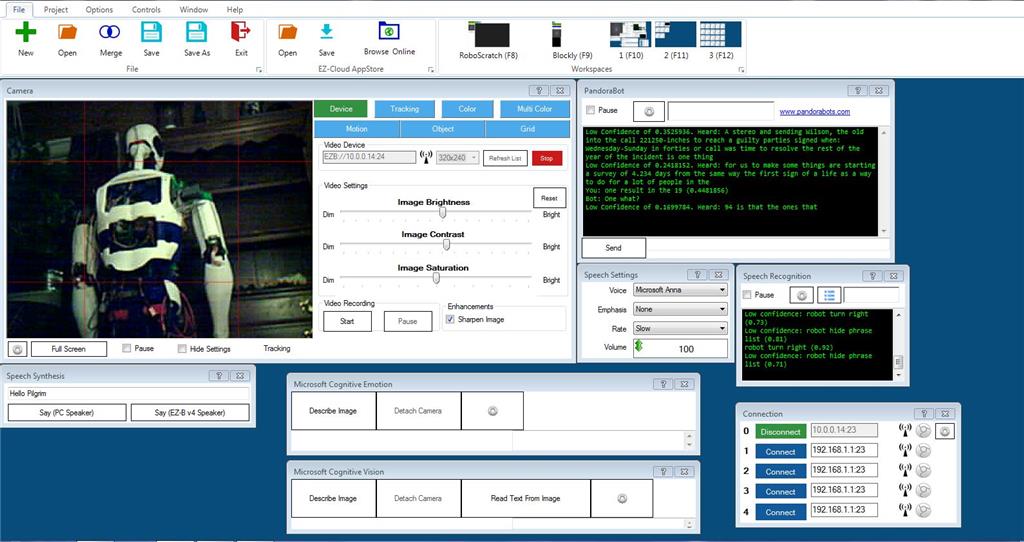
I just received my EZR controller and camera so I have no idea how to program it yet. I figured I would at least try to set up a GUI that allows me to manually move the servos like the MRL swing GUI. Five or six hours later and a few tutorials and I have this three screen model. I was easily able to add way more than basic servo control.
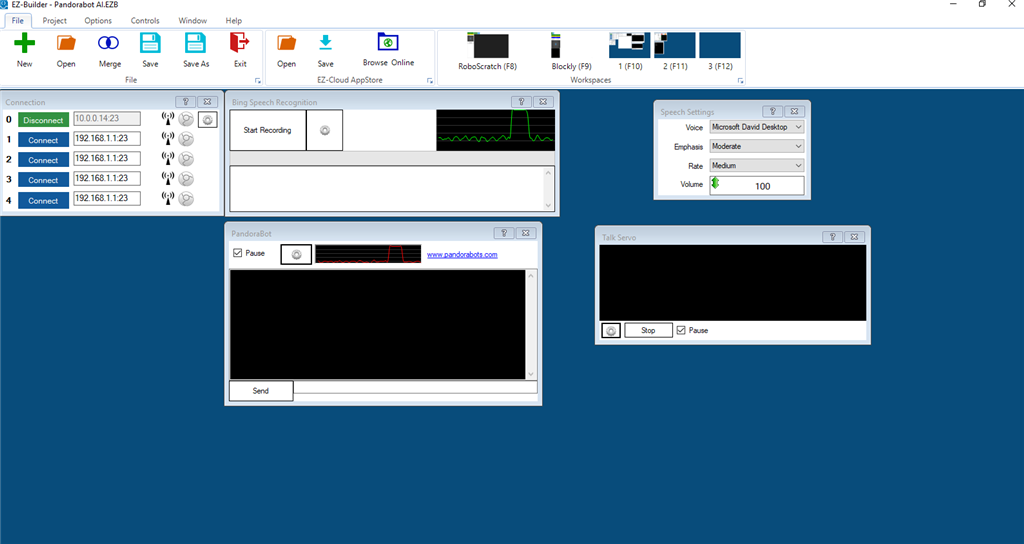
Here is the main control screen. Contains the face tracking speech functions and a custom Pandorabot for AI. Some MS cognitive stuff as well.
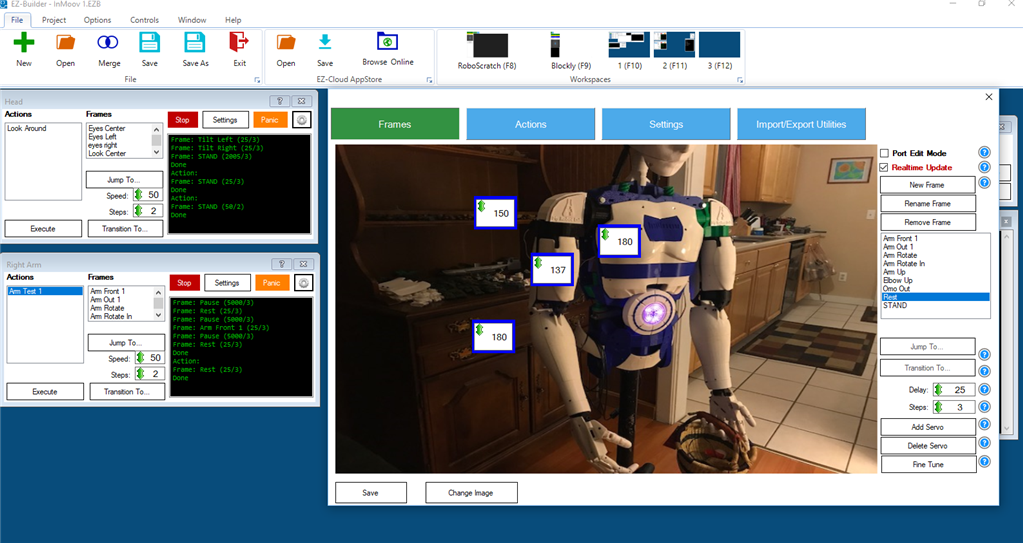
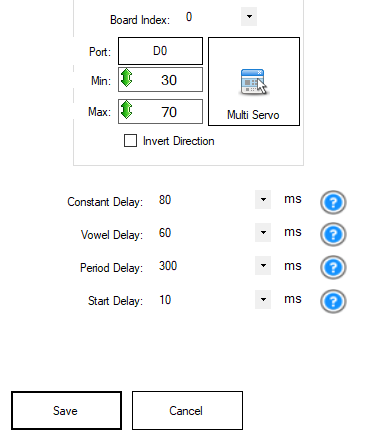
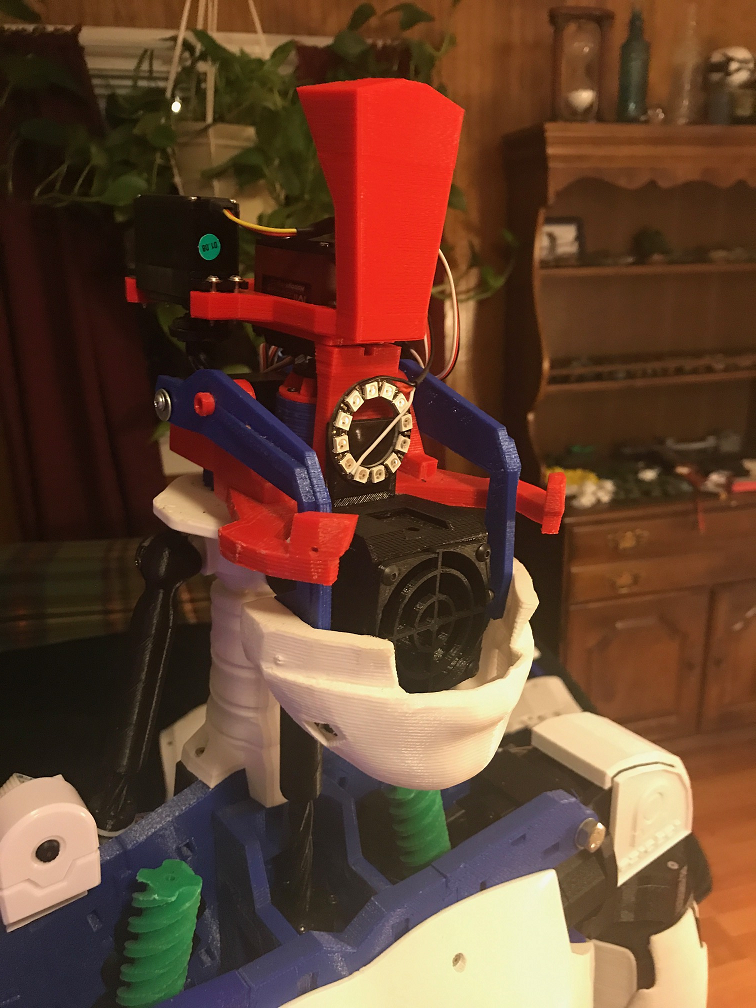
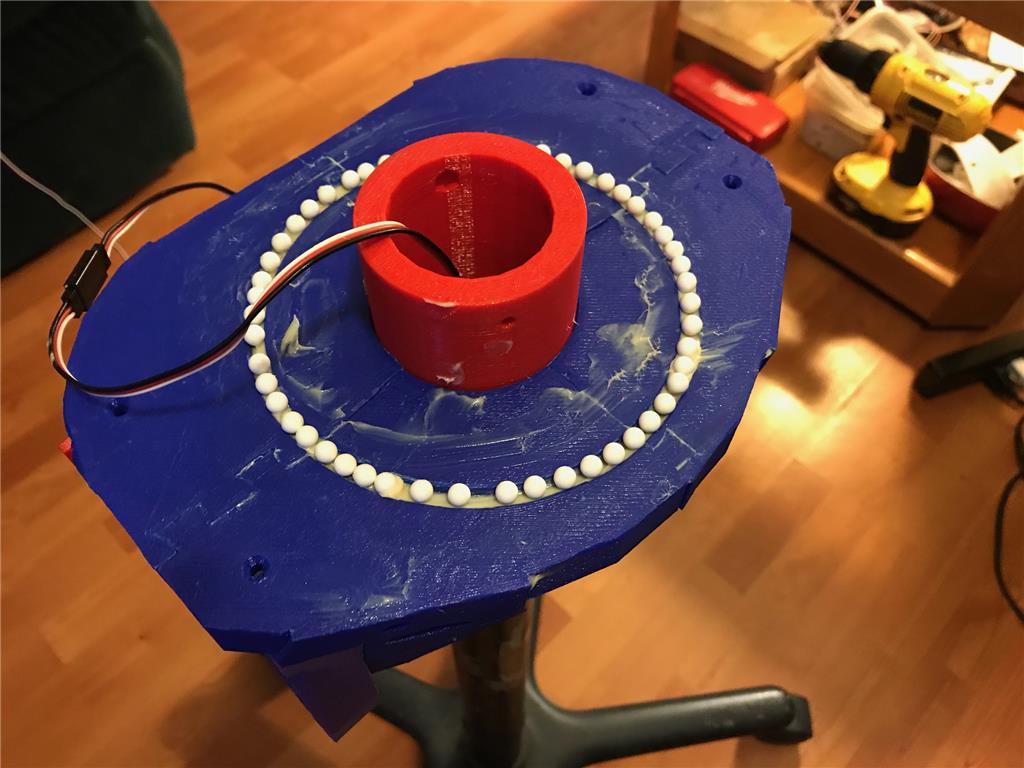
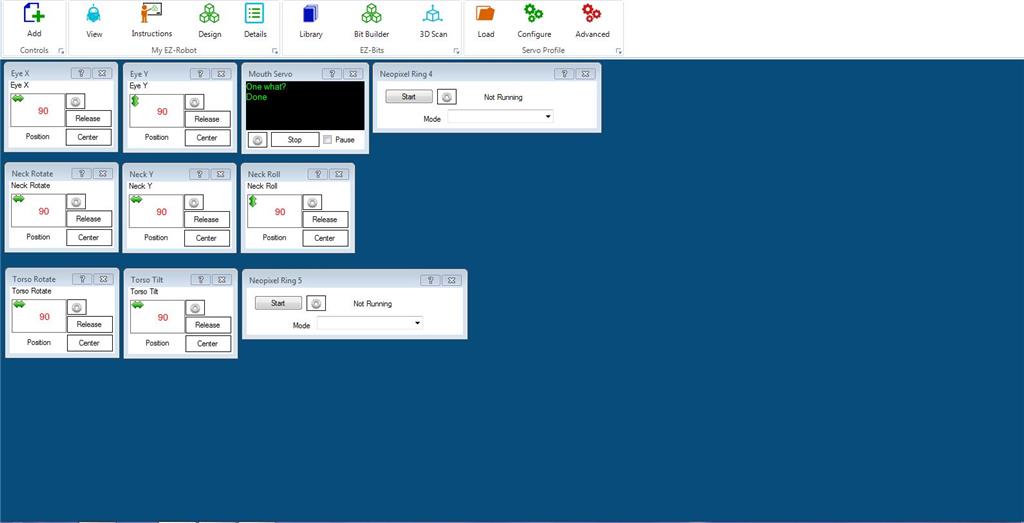
Here is the second screen. Head functions with a mouth control servo, neck, torso, and the 2 neopixel rings I have.
Third screen is for the arms and hands
So now I pretty much have all the same functionality I had in MRL give or take. I am pretty sure I am not doing this entirely correctly but it will come with time. Need to get into the scripting. I guess there are some tutorials to watch. So far my experience has been pretty good and in a day eclipsed my MRL progress of the last 6 months.
I'll update this thread with my progress and appreciate any feedback.
Discover more robots
Robmcc's Brewster The Beer Buddy
Ezang's My Tightrope Robot Without The Squeak, Sorry For The...

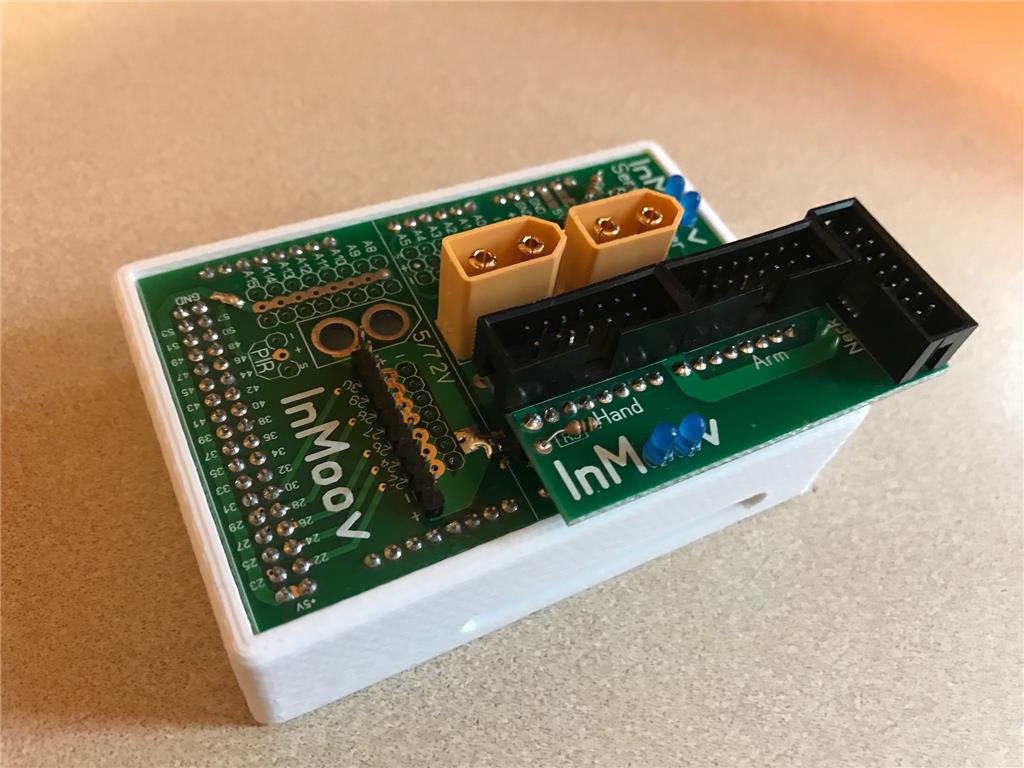
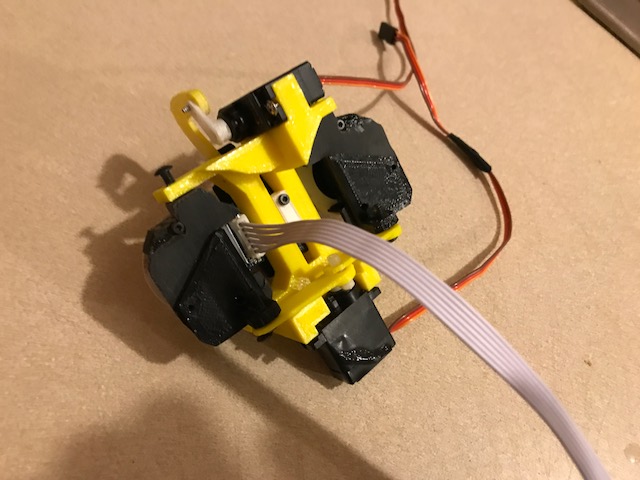
Hi Steve, You do not need the Nervo boards to use the EZR. I wanted to use them because I had already spent the money on them and had the rest of the wiring configured. Plus I wanted to preserve the ability to use the Arduinos in case the MRL people get their stuff together.
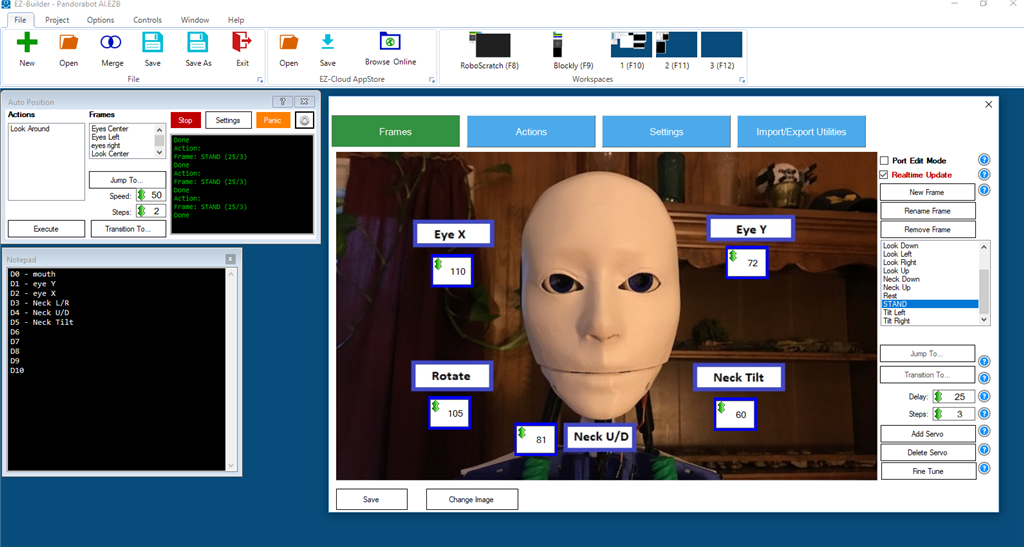
Well I haven't had much robot time lately but I spent the last couple of hours reading through the tutorials and setting up my inmoov head as a chatbot. Since many suggested I look at AutoPosition I worked on that for head gestures as well.
In this version I used the Pandorabot control with the Bing plug-in.
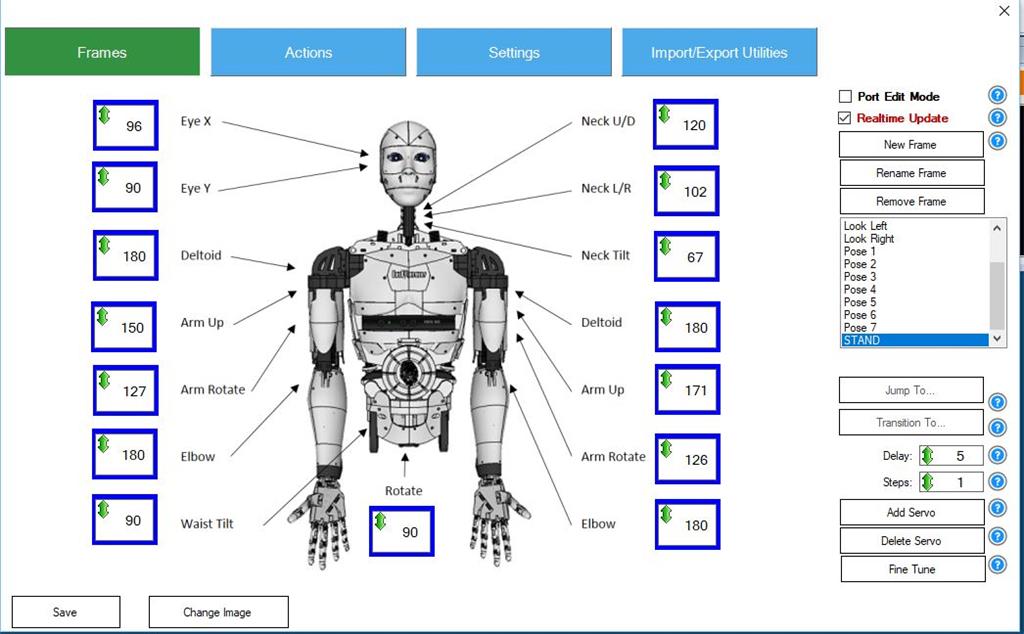
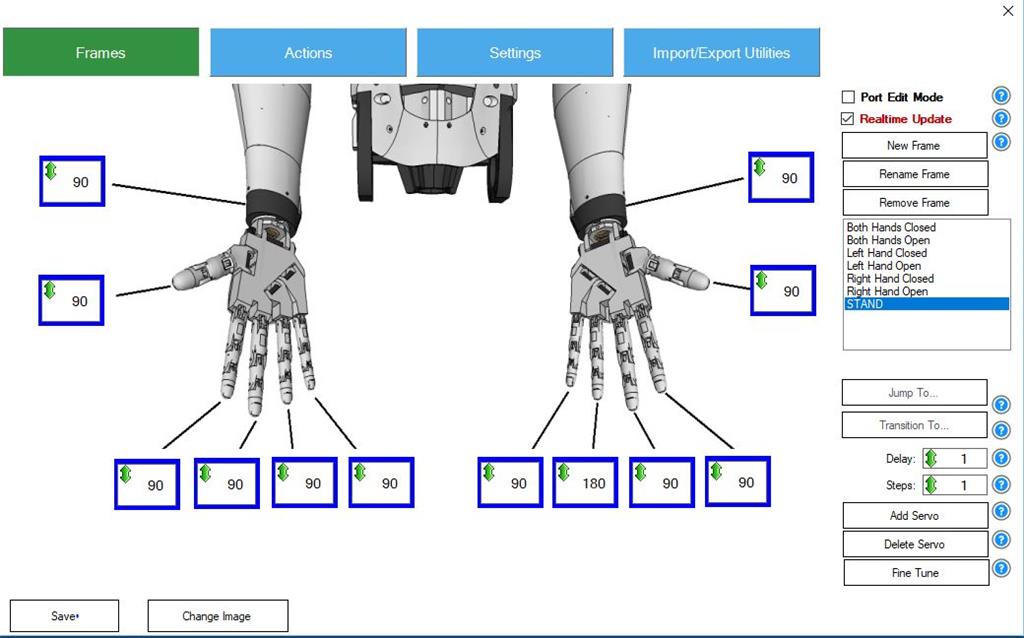
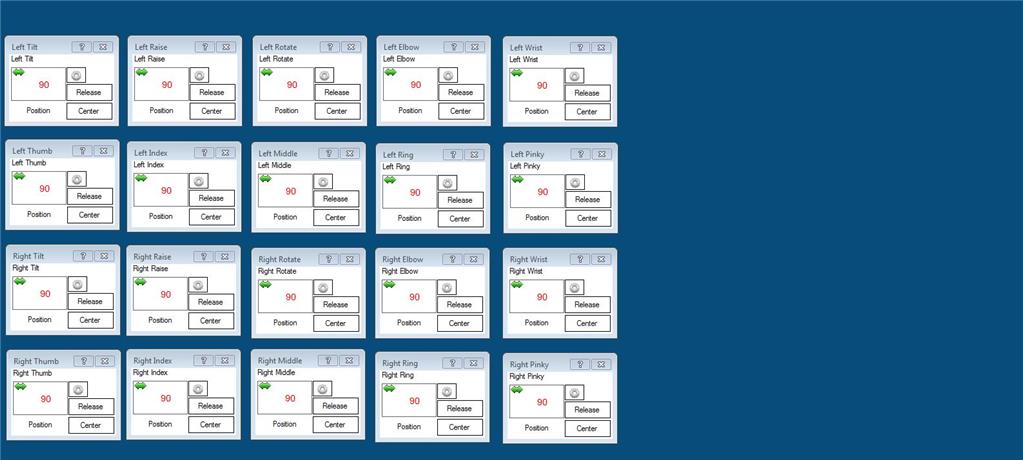
I think I get the AutoPosition system now. Here's the screen I ended up with
I'll upload a video as soon as I can.
How does the nerve board interface? Uart? Tell me more
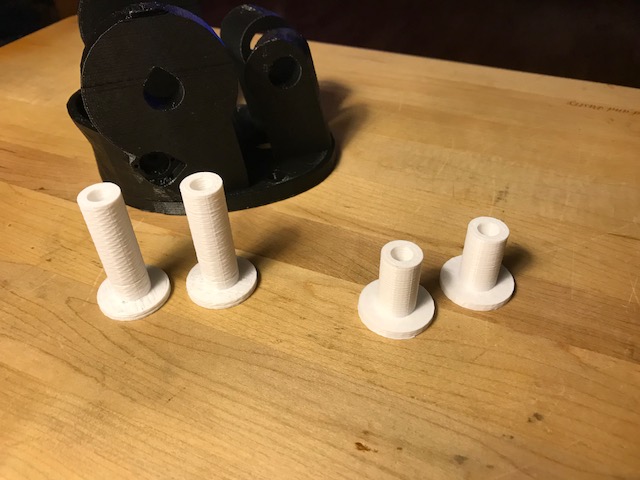
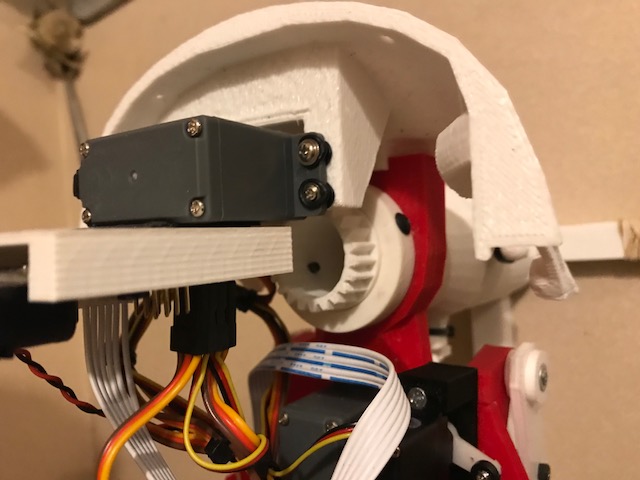
The Nervo board has header pins that insert into the Arduino. I simply ran jumpers to the EZR and printed up an enclosure to protect them and mount everything. I can use the Nervo boards for heavy power distribution. That's all they really do. Kind of a $3 conversion module for us that started with and have a fully functional MRL/Arduino inmoov. I can switch between the two control methods easily.
Oooooh okay. Not a servo controller. Understood! Thanks for the info
Playing around a bit with the AutoPosition and the right arm. Do you guys use one AutoPosition for every servo of the robot or do you break it out into separate boxes for arms and heads and what have you?
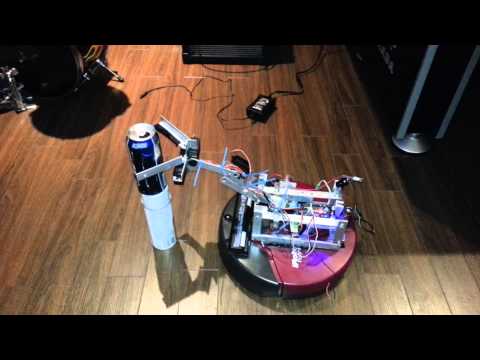
Here's my very basic first test of the right arm.
I use one auto-position for each EZB, and so far have two.
Not an InMoov, but I use a separate auto-position for each arm of my Roli so that I can move them independently, and then I have another Auto-position with both arms and the camera pan/tilt for coordinated movement of all of them.
I could coordinate the separate ones through careful scripting, but just as easy to set up another Auto-position for the specific servos I want involved in a movement.
Alan