


-634700966886250000.jpg)
-634700967015000000.jpg)
-634700967157968750.jpg)
-634702814800312500.jpg)
-634702600865468750.jpg)
-634702601116718750.jpg)
-634702602252031250.jpg)
-634702602665625000.jpg)
-634702602851875000.jpg)
-634694134410000000.jpg)
-634693960892812500.jpg)
-634693961752343750.jpg)
-634693953179375000.jpg)
-634693953336093750.jpg)
-634693164809062500.jpg)
-634693165327500000.jpg)
-634693165925625000.jpg)
-634693166147343750.jpg)
-634786542943876953.jpg)
-634796120303593750.jpg)
-634796120470312500.jpg)
-634812479455986328.jpg)
-634812479726035156.jpg)
-634812480620283203.jpg)
-634812481334052734.jpg)
-634812482341699218.jpg)
-634822681001005859.jpg)
-634822681580644531.jpg)
-634822681777470703.jpg)
-634821106166250000.jpg)
-634821106572812500.jpg)
-634821106815625000.jpg)
-634814909605058593.jpg)
-634814909850224609.jpg)
-634814910193212890.jpg)
-634814910596445312.jpg)
-634820188048437500.jpg)
-634820188647187500.jpg)
-634820189032656250.jpg)
-634718079154687500.jpg)
-634718080622031250.jpg)
-634714909191250000.jpg)
-634714909644843750.jpg)
-634713078392031250.jpg)
-634713078781250000.jpg)

-634720009877968750.jpg)
-634749341545937500.jpg)
-634749341951406250.jpg)
-634732946203437500.jpg)
-634708797562402343.jpg)
-634706000248750000.jpg)
-634705927185312500.jpg)
-634705927626406250.jpg)
-634705928146250000.jpg)
-634705929045781250.jpg)
-634705929717812500.jpg)
-634705930336093750.jpg)
-634705930540468750.jpg)
-634705931037812500.jpg)
-634709695807265625.jpg)
-634709696076181640.jpg)
-634711364771718750.jpg)
-634711364485781250.jpg)
-634712172318906250.jpg)
-634771897291406250.jpg)
-634771897466093750.jpg)
-634771897849687500.jpg)
-634771898236093750.jpg)
-634771898712187500.jpg)
-634771899102656250.jpg)
-634771899822656250.jpg)
-634771900771562500.jpg)
-634771901301875000.jpg)
-634768466924746093.jpg)
-634768467383681640.jpg)
-634772580489218750.jpg)
-634772581075781250.jpg)
-634772581532343750.jpg)
-634772581721718750.jpg)
-634773400815625000.jpg)
-634773401032187500.jpg)
-634781365777988281.jpg)
-634781366040302734.jpg)
-634781366299042968.jpg)
-634766553798554687.jpg)
-634766556025839843.jpg)
-634759732245312500.jpg)
-634765021896093750.jpg)
-634765022115000000.jpg)
-634765022326562500.jpg)
-634765023386093750.jpg)
-634765855550937500.jpg)
-634765856533437500.jpg)
-634765856756250000.jpg)
-634845177217089843.jpg)
-634845177425585937.jpg)
-634857207521406250.jpg)
-634857208212500000.jpg)
-634857208786718750.jpg)
-634826982093593750.jpg)
-634838602835000000.jpg)
-634838603089687500.jpg)
-634838603585312500.jpg)
-634871181815468750.jpg)
-634871183099531250.jpg)
-634871128238750000.jpg)
-634870976497031250.jpg)
-634870976894687500.jpg)
-634880528374375000.jpg)
-634880528707656250.jpg)
-634880529073593750.jpg)
-634892824736386719.jpg)
-634892824903066406.jpg)
-634892825090117187.jpg)
-634892825255283203.jpg)
-634880812756406250.jpg)
-634870194470625000.jpg)
-634870194829687500.jpg)
-634865232676250000.jpg)
-634863402043750000.jpg)
-634863402351562500.jpg)
-634863402584218750.jpg)
-634863404238125000.jpg)
-634869405242656250.jpg)
-634869405424687500.jpg)
-634869405586562500.jpg)
-634869405943906250.jpg)
-634869406072656250.jpg)
-634869404353281250.jpg)
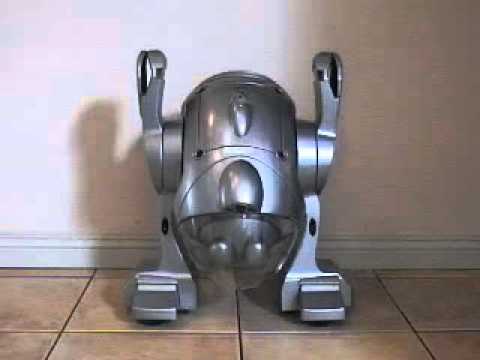
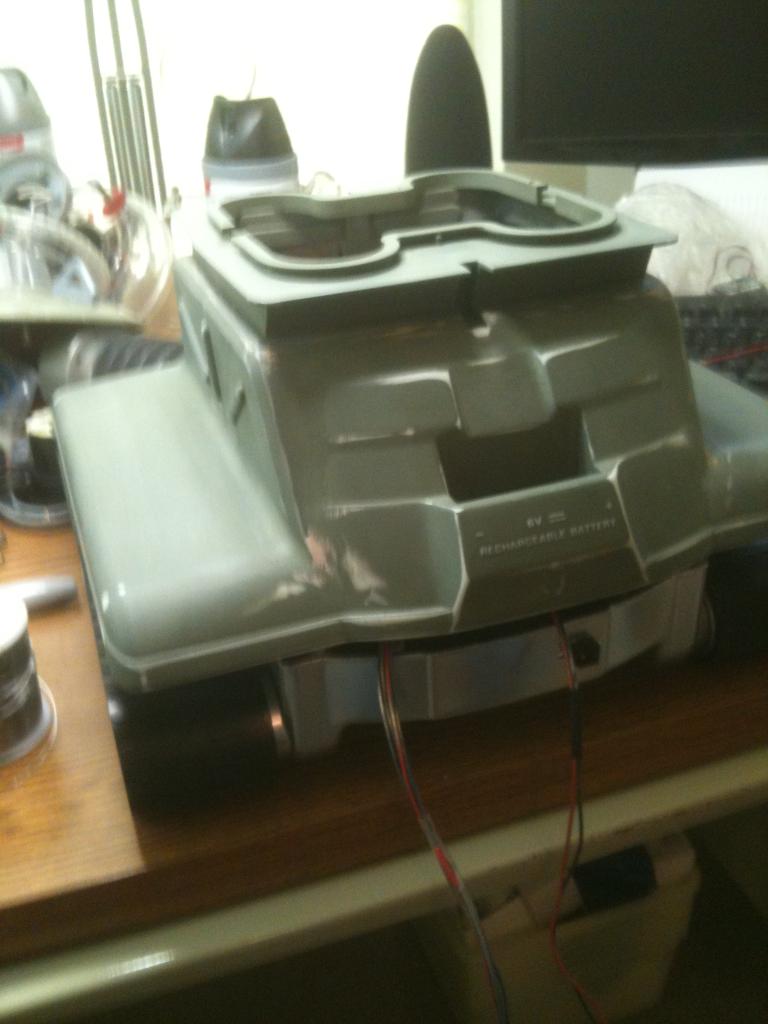
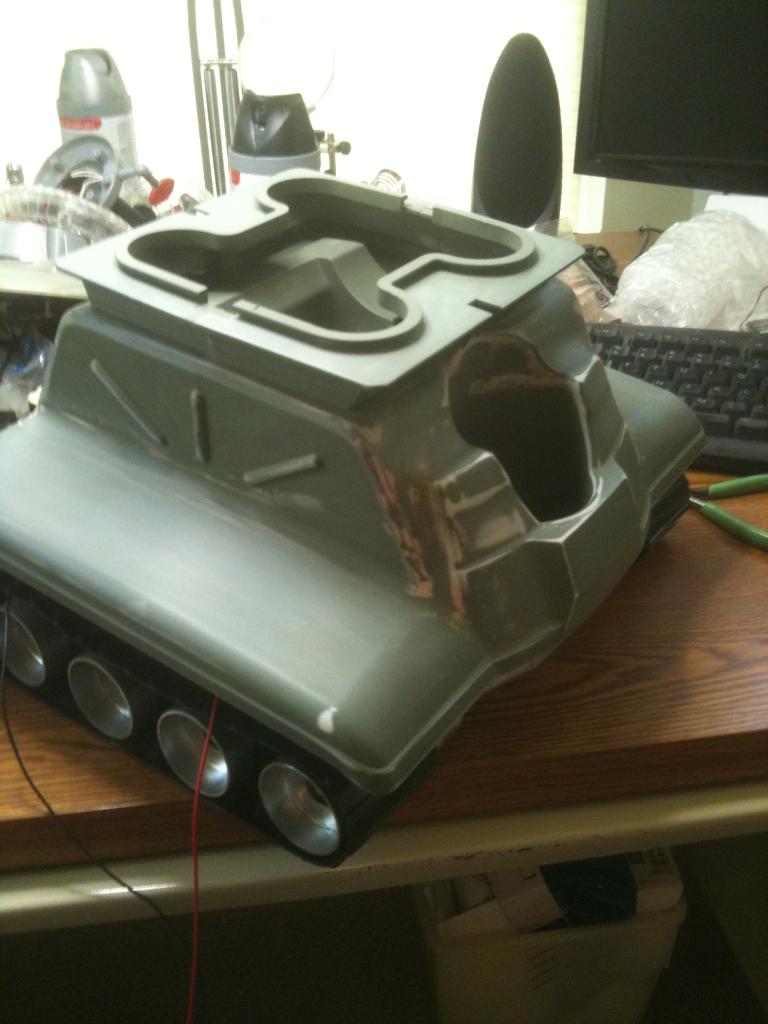
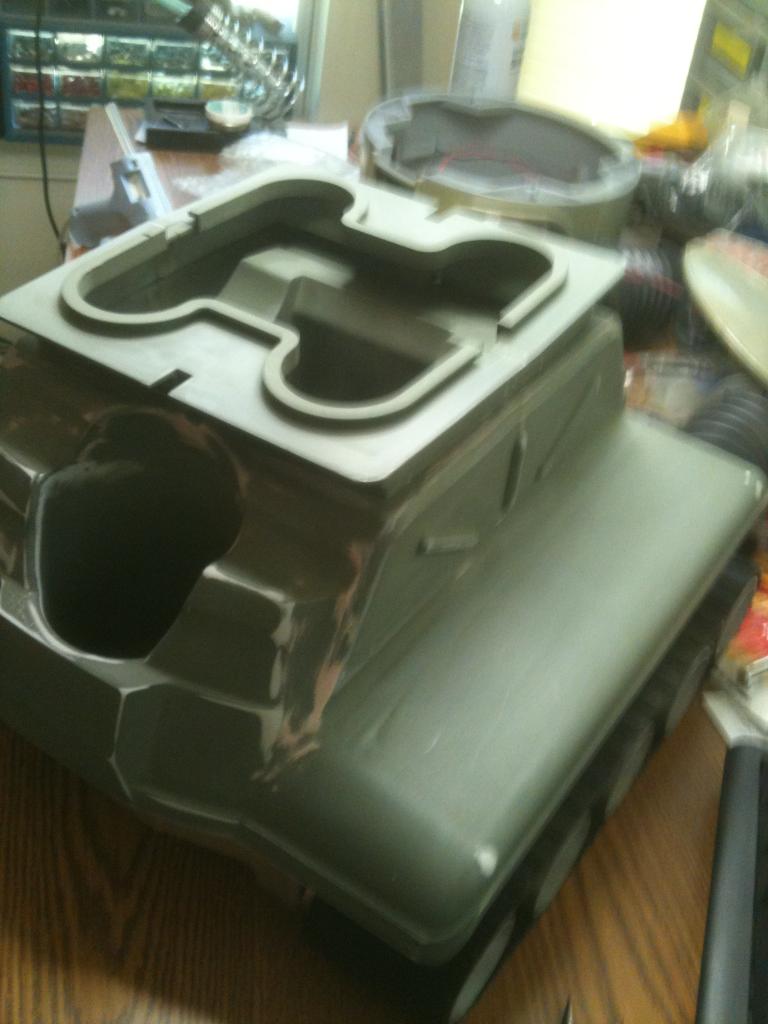
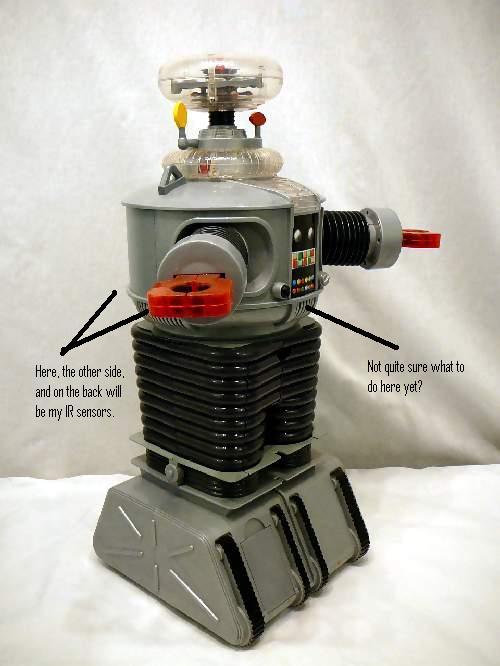
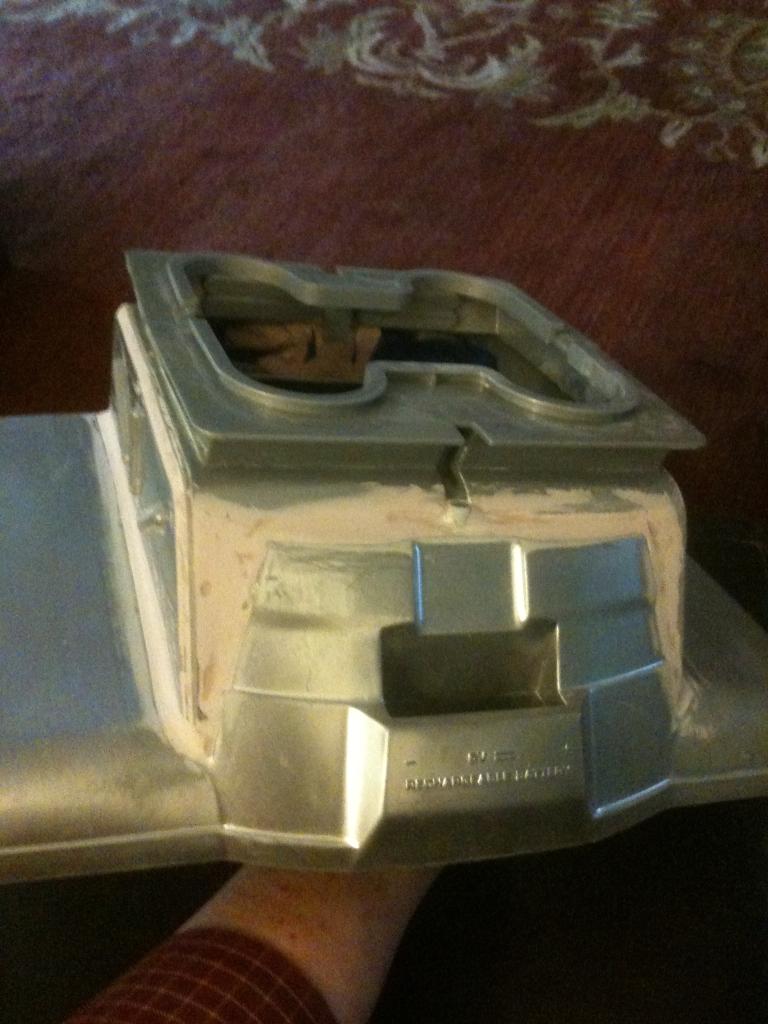
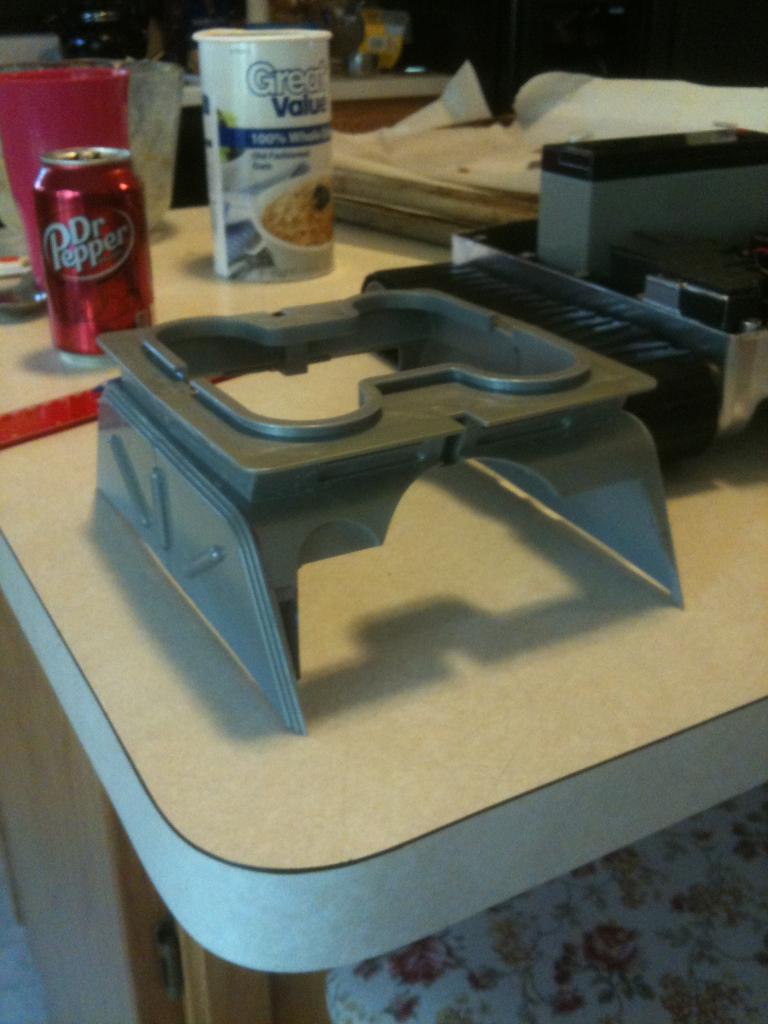
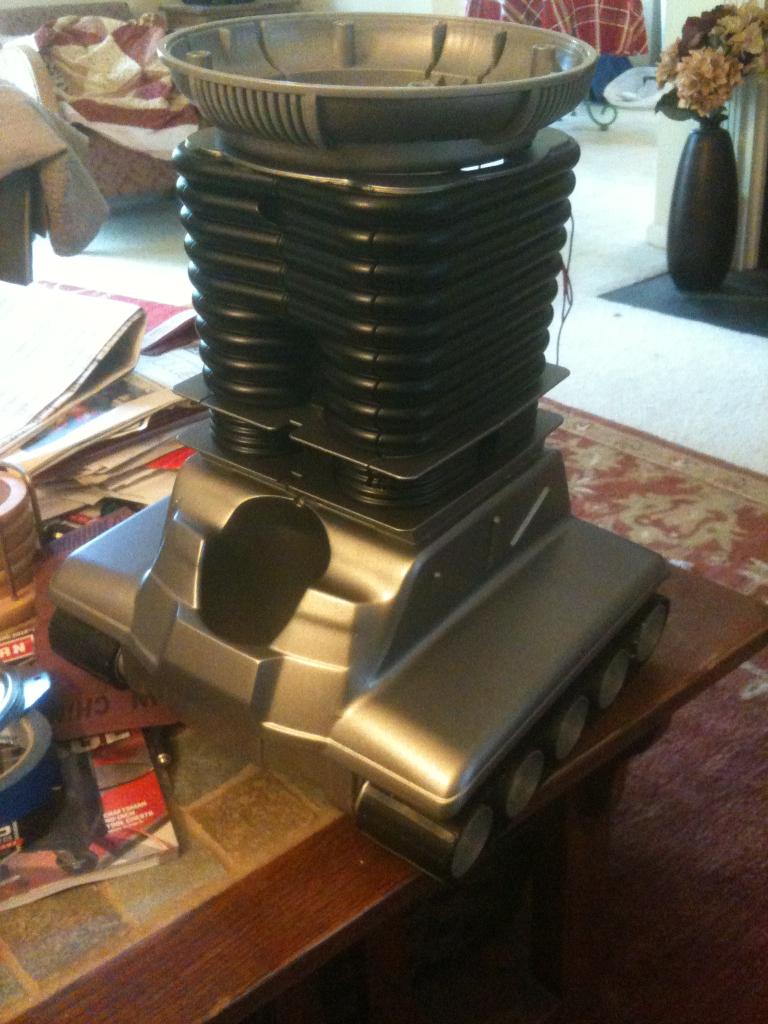
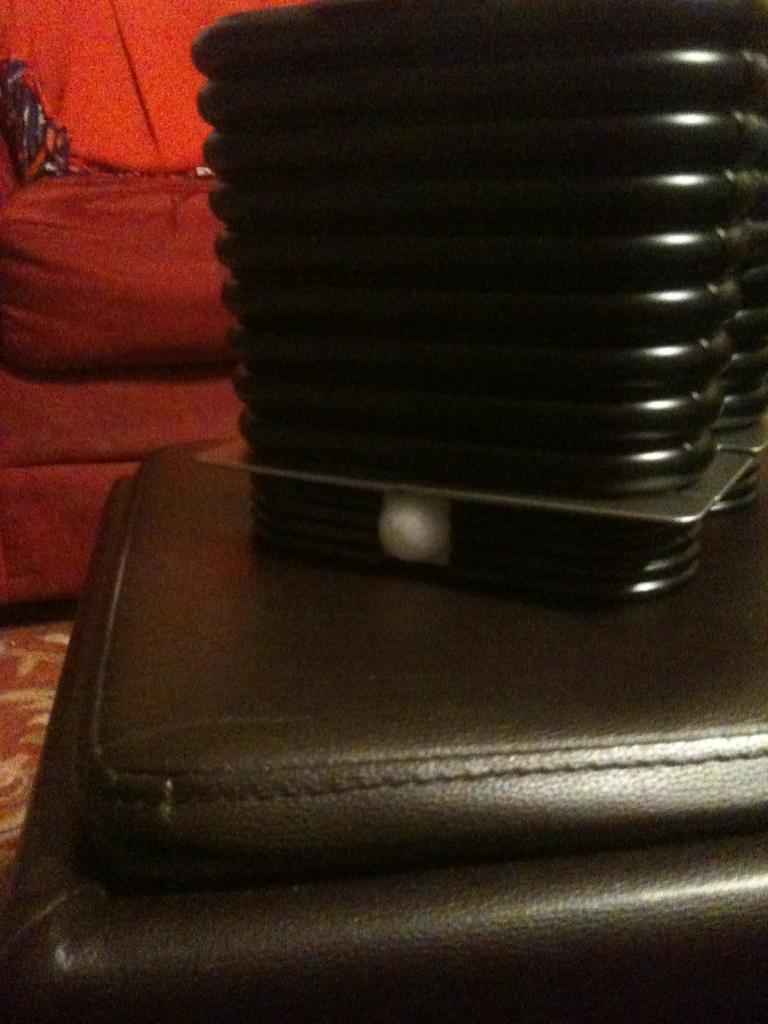
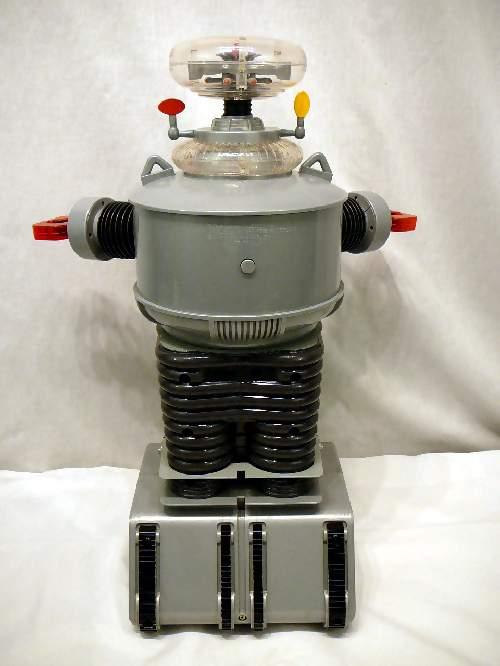
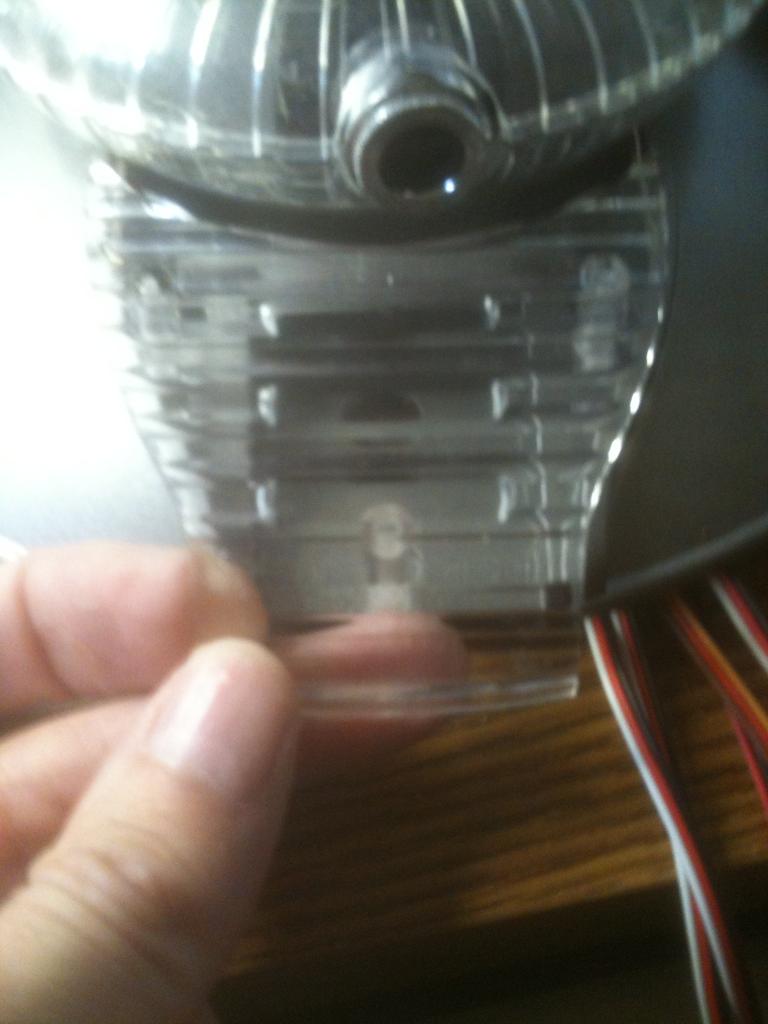
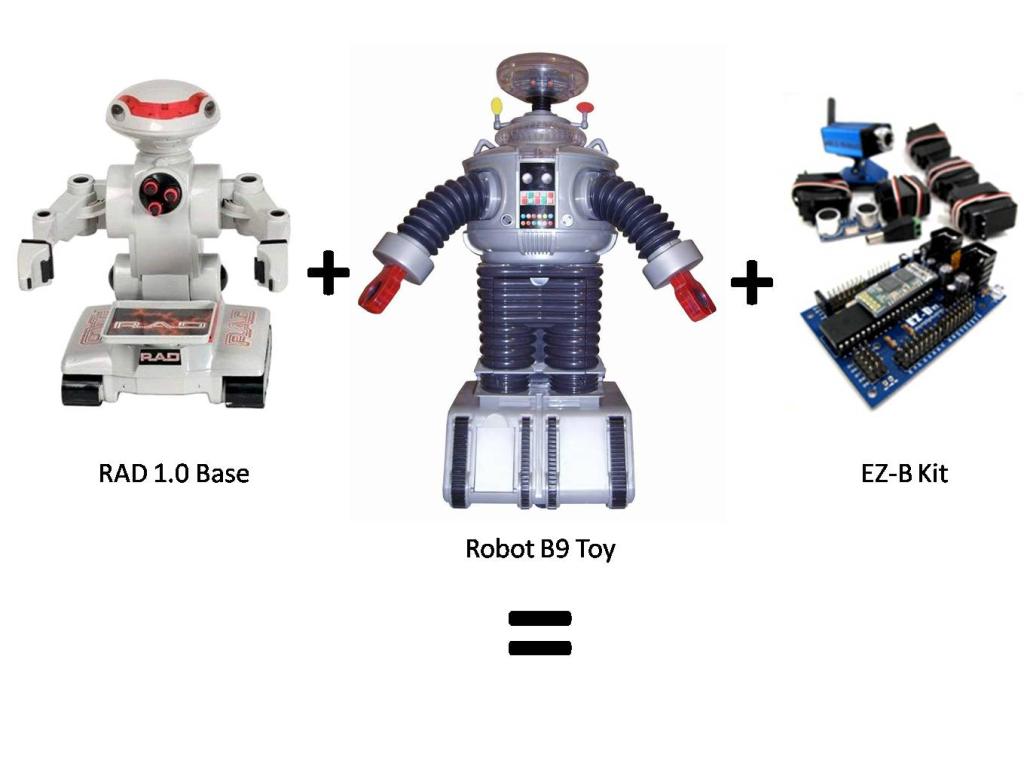
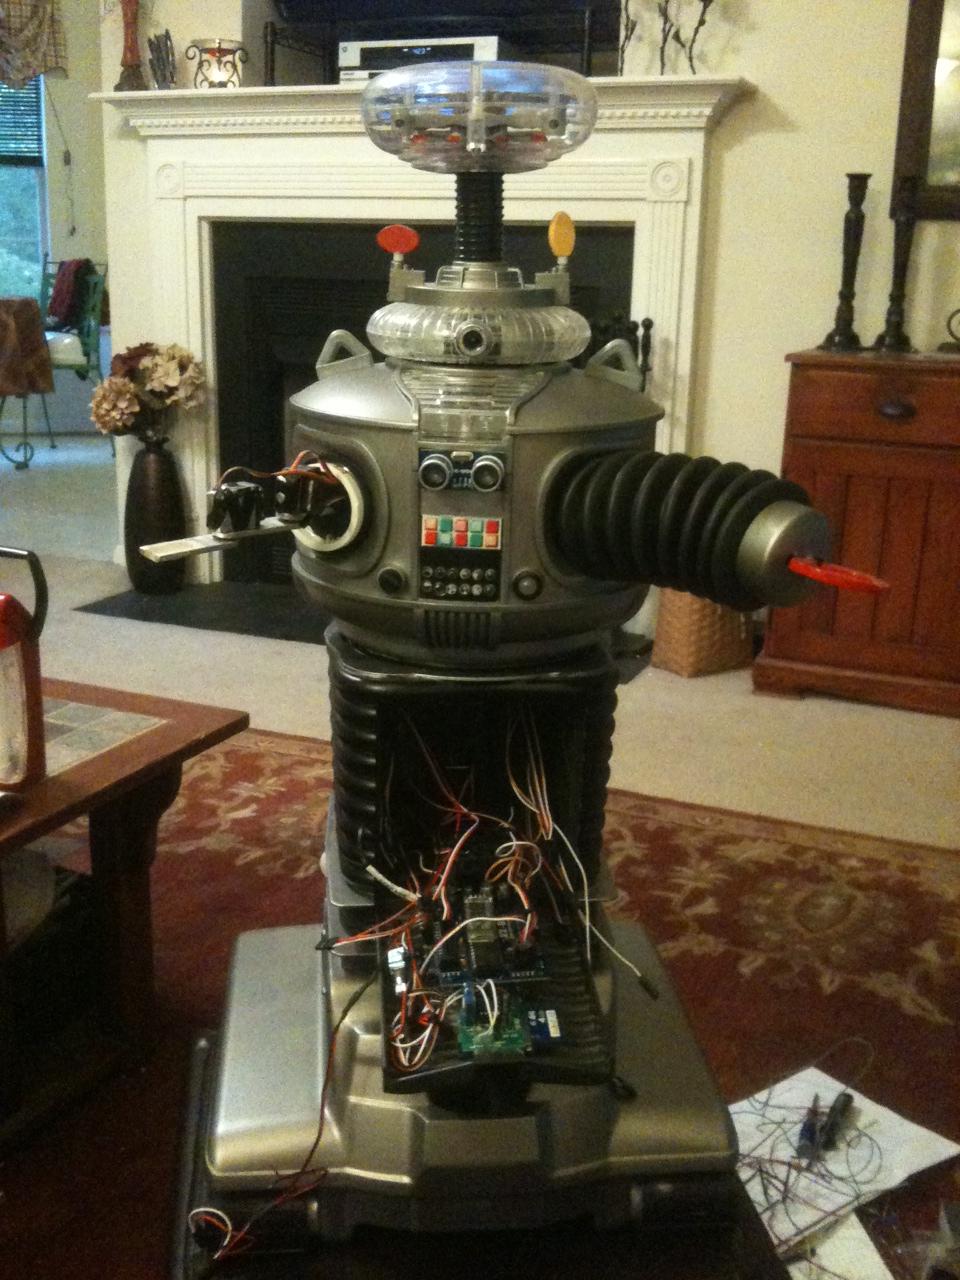
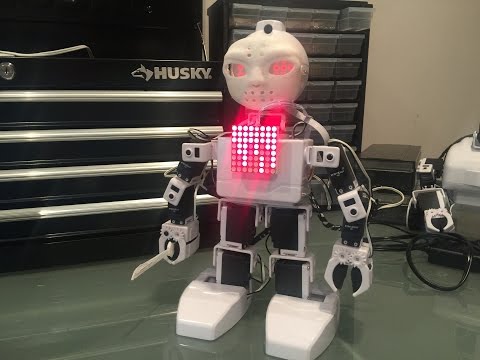
Now that I have finished B.O.B., my get your feet wet bot, I have begun my next hack. This next robot will bridge the gap between Bob and my ultimate big robot. I am starting with a remote controlled B9 toy from Trendmasters. It was very limited in what it did, and the drive section was pathetic, but it was B9!
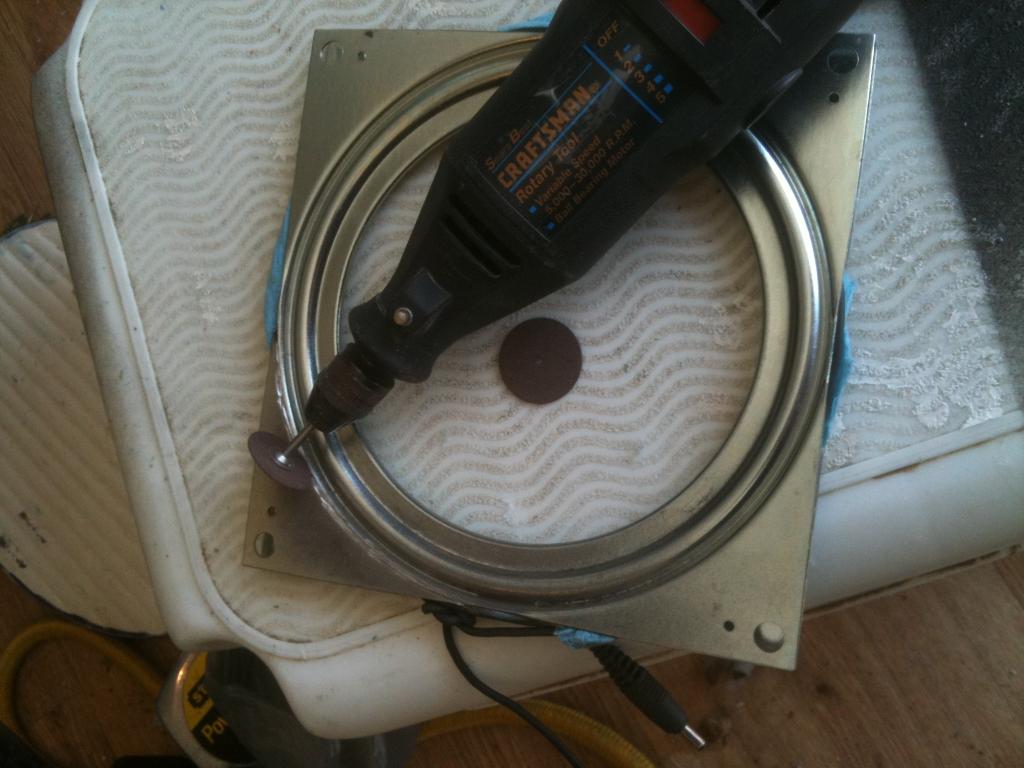
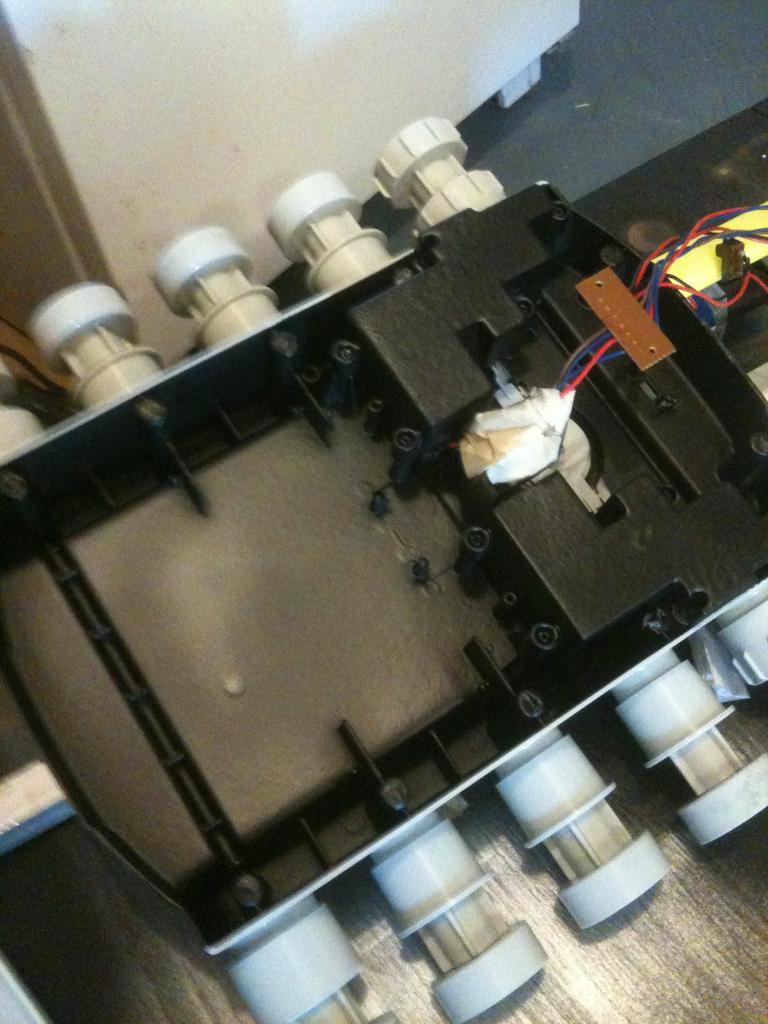
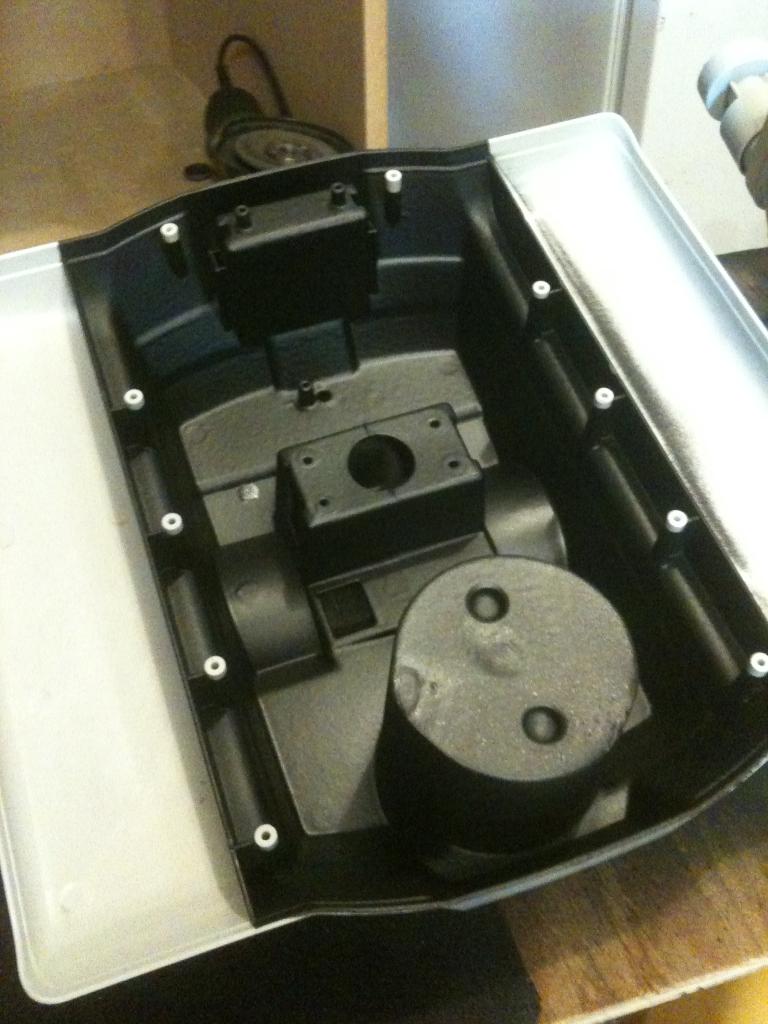
Before Pics:
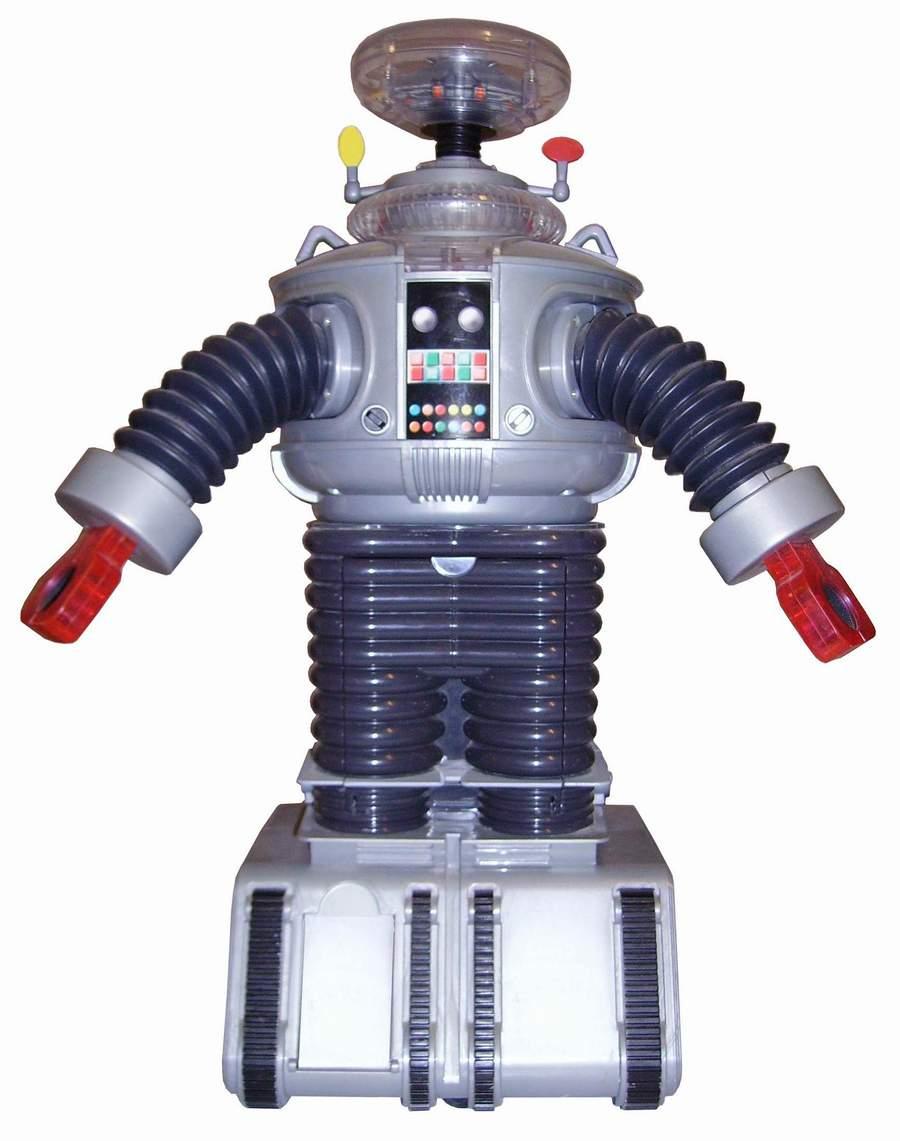
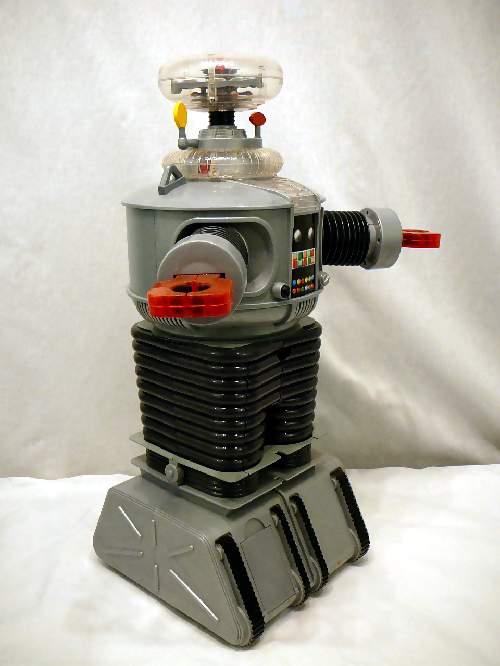
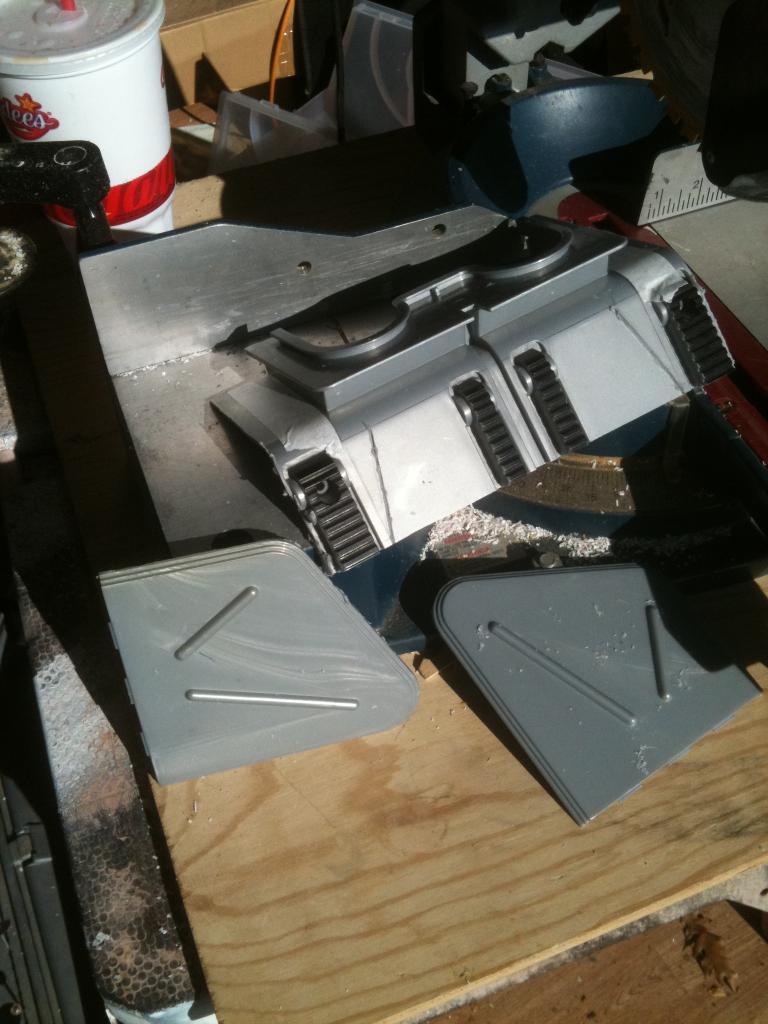
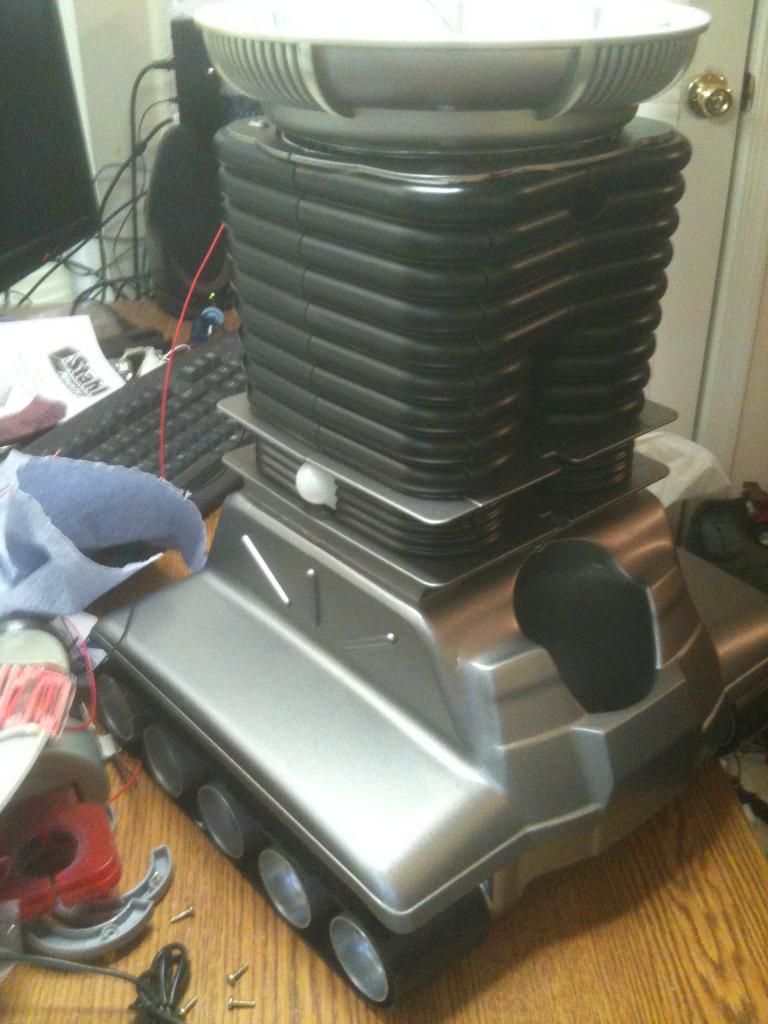
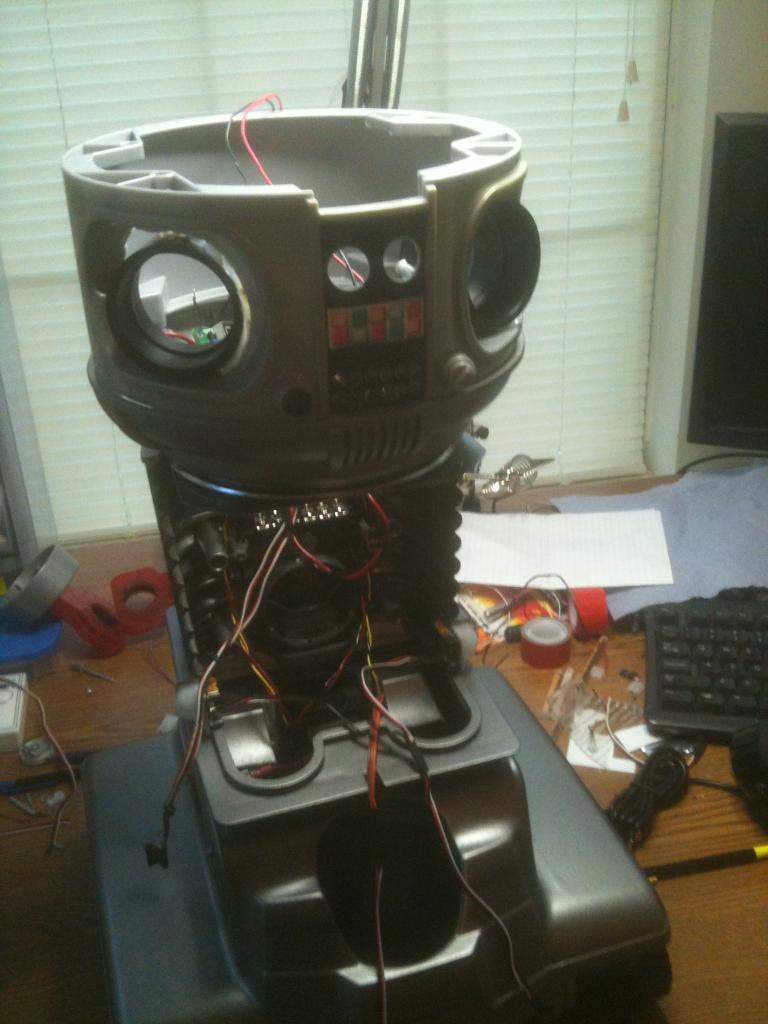
Here is what B9 looks like now:
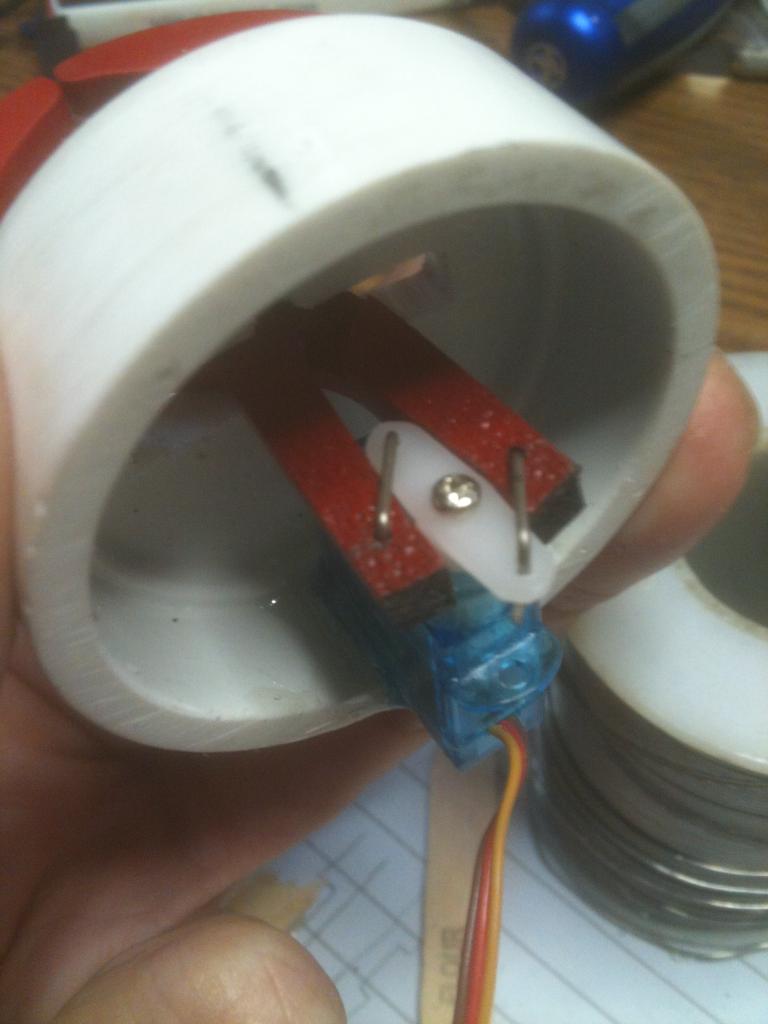
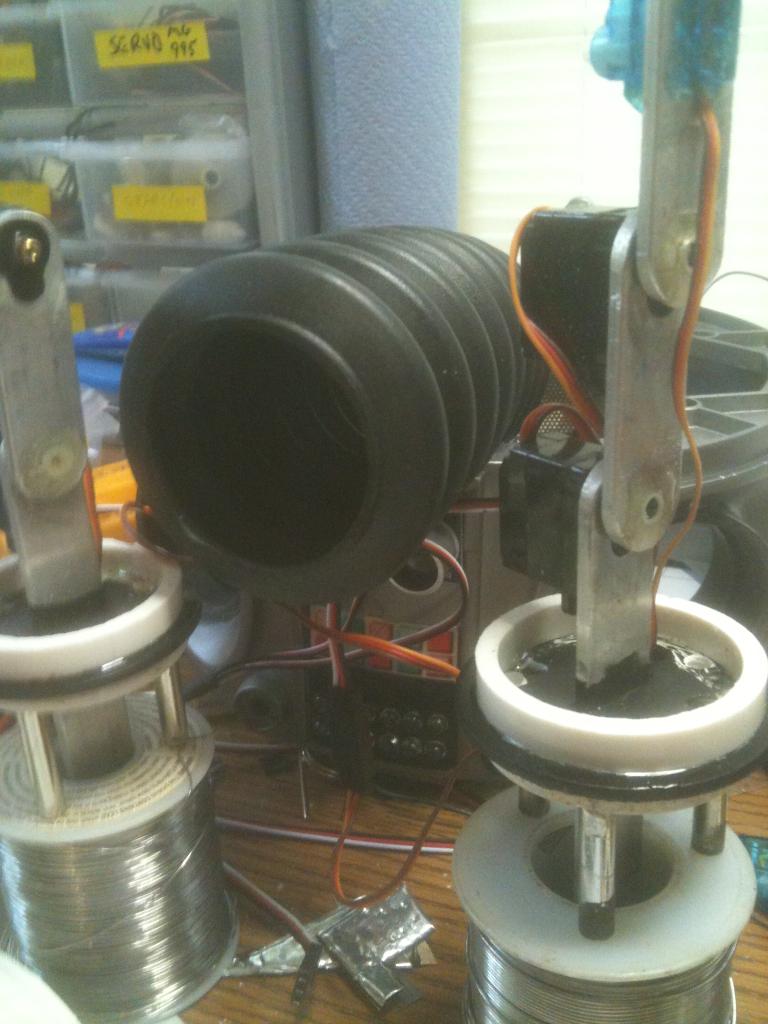
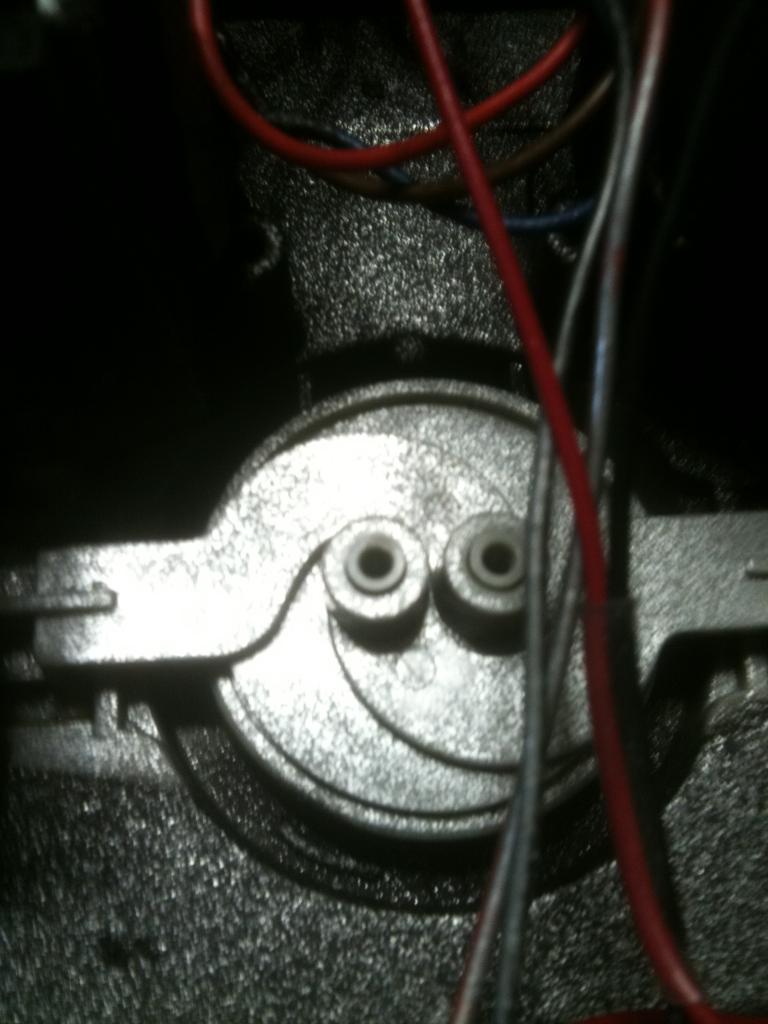
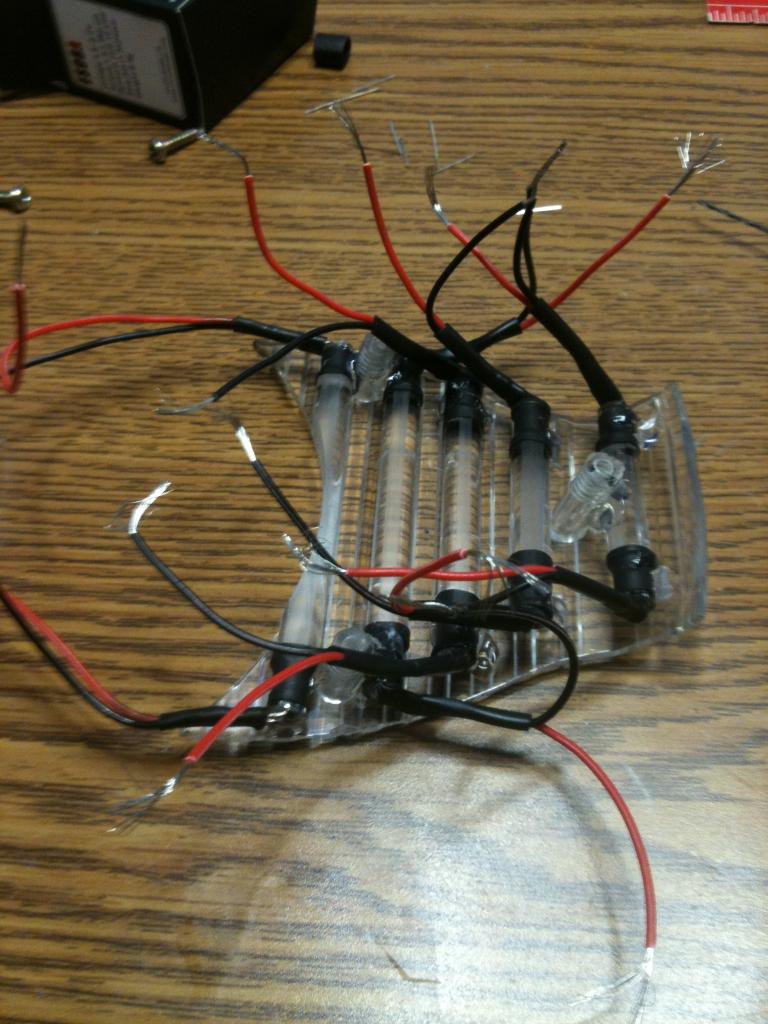
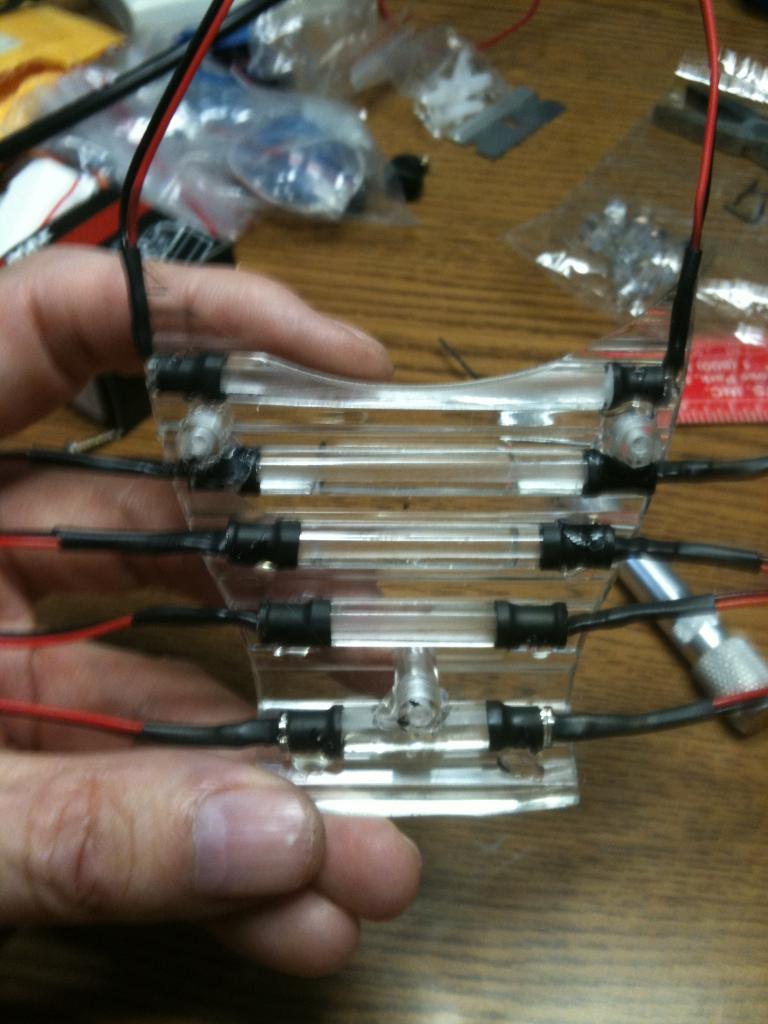
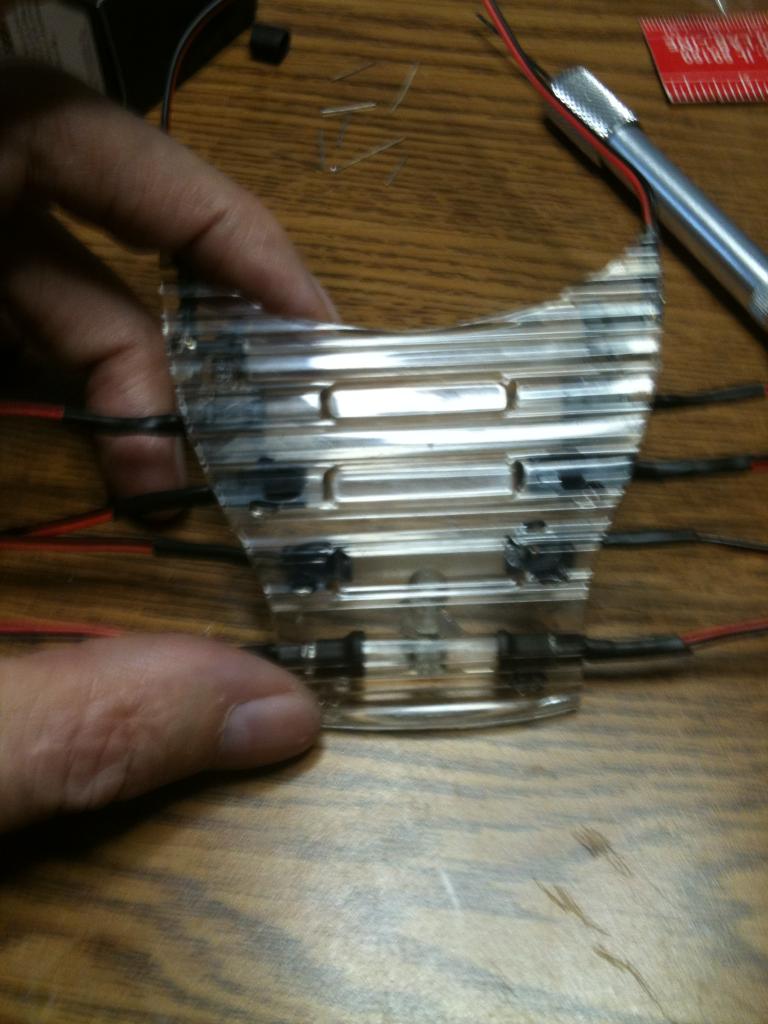
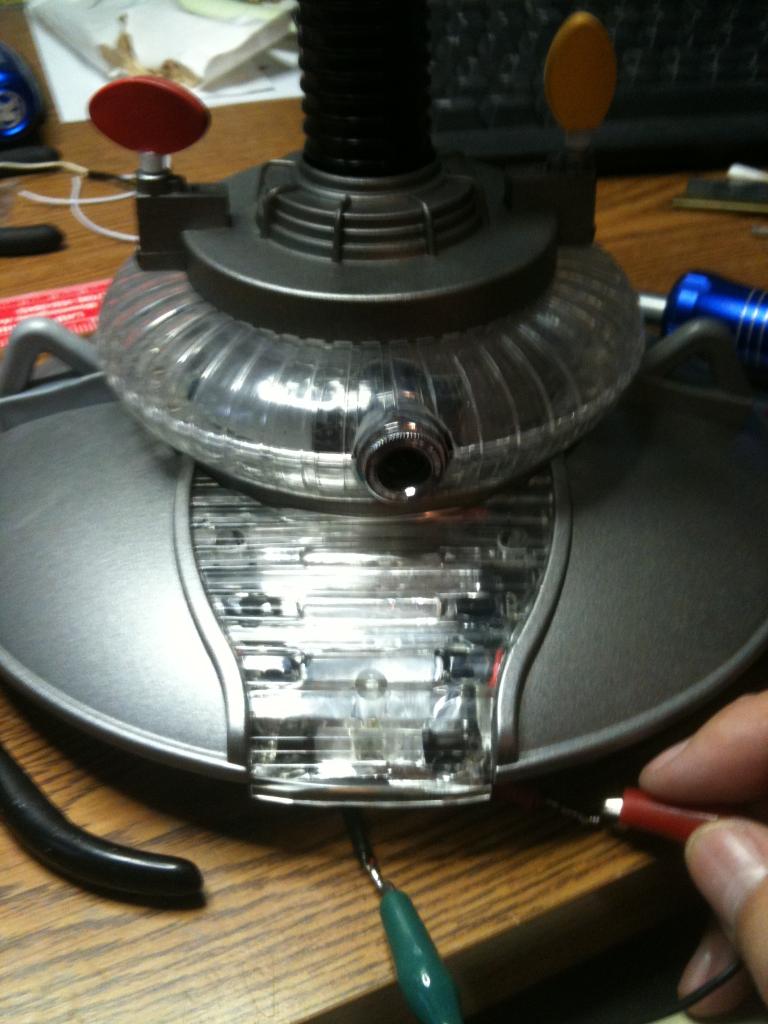
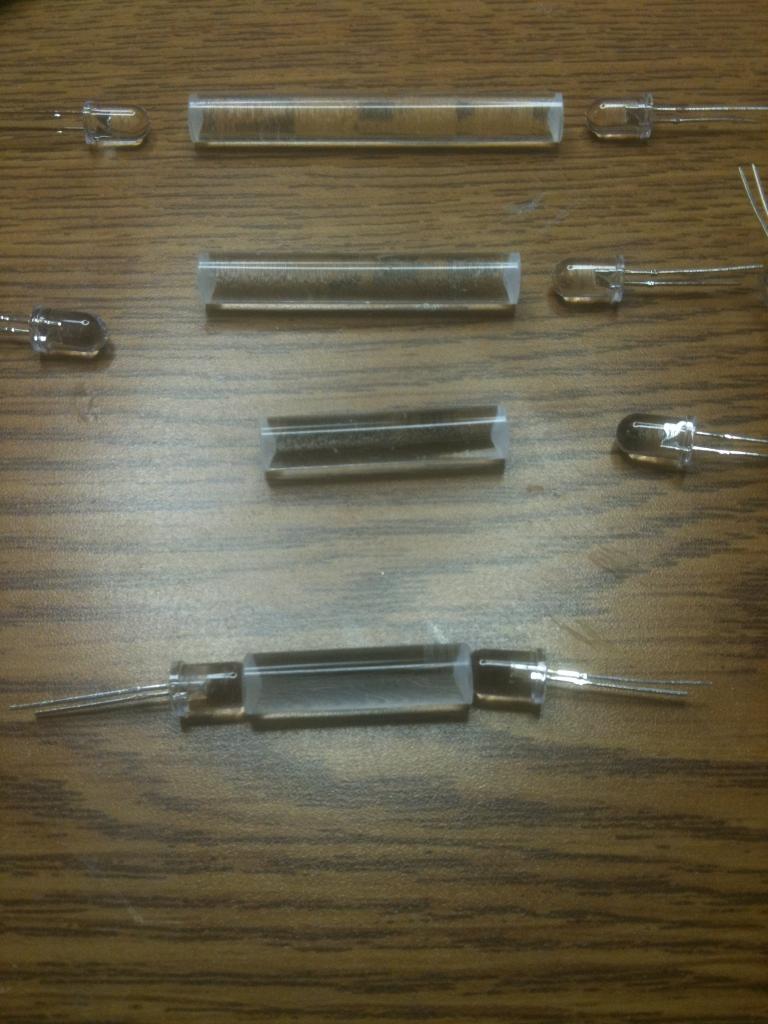
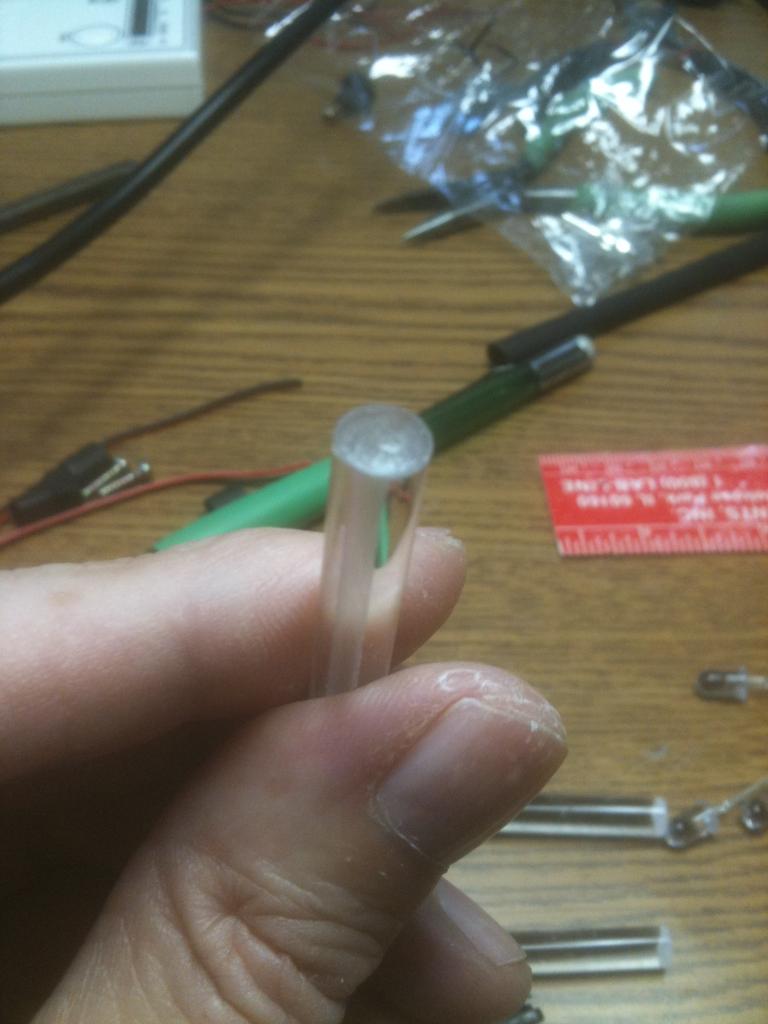
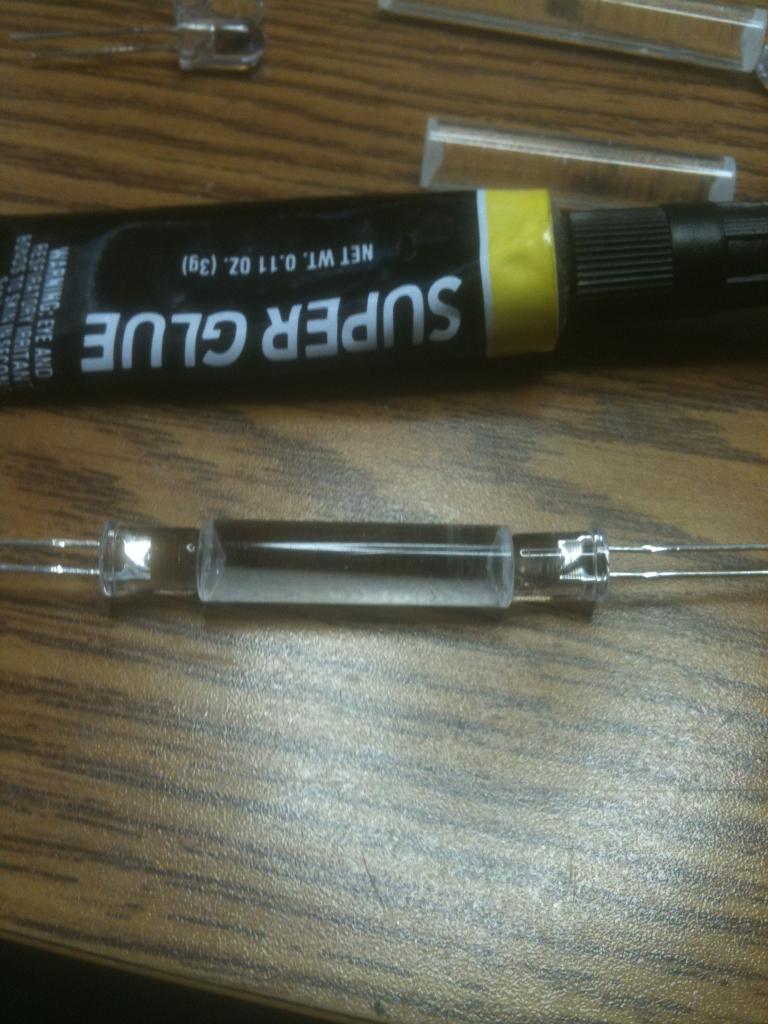
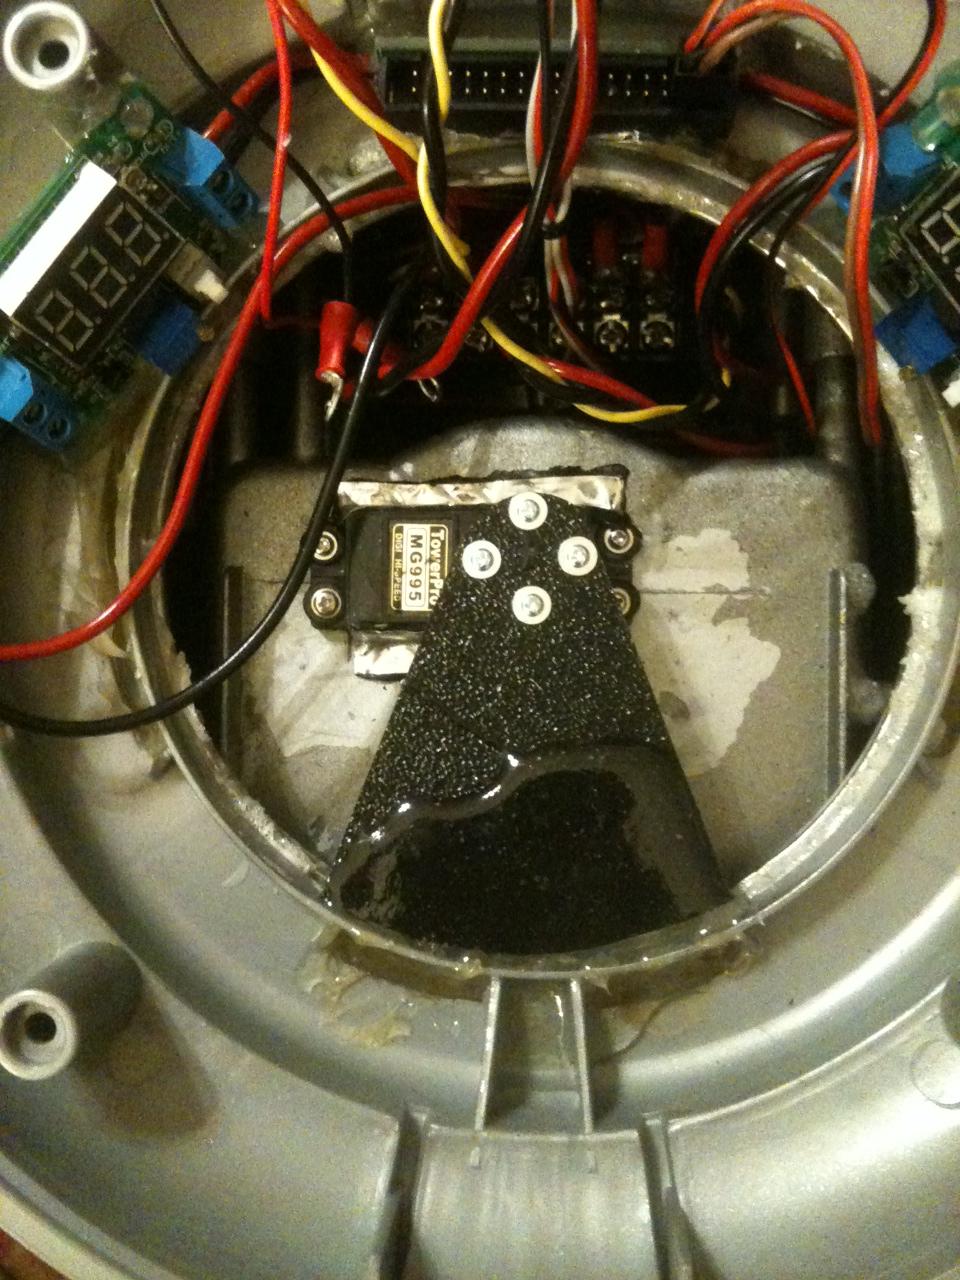
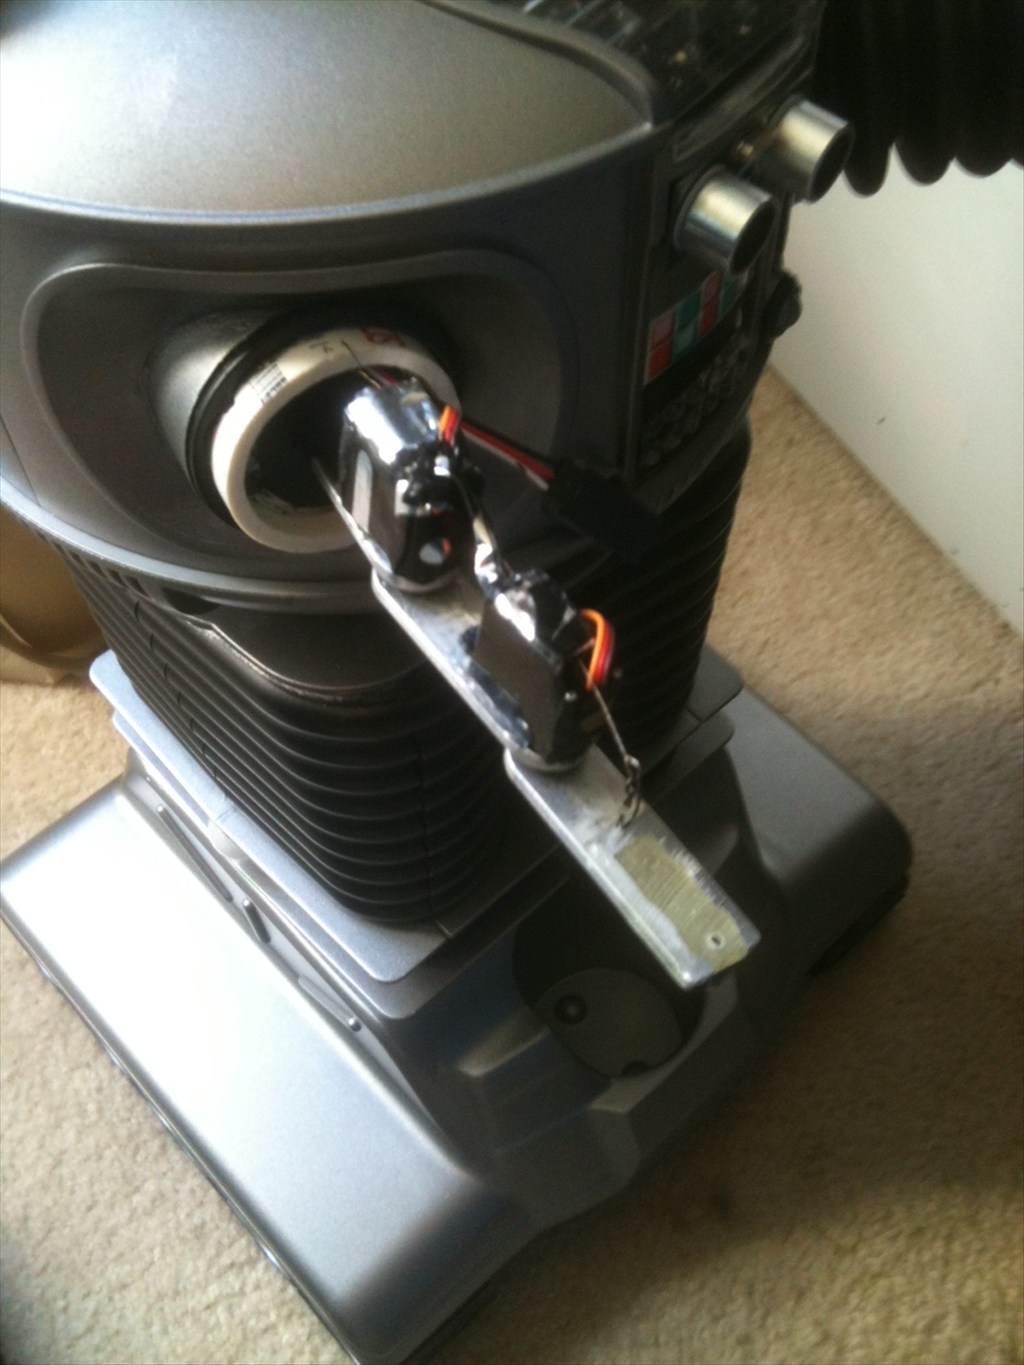
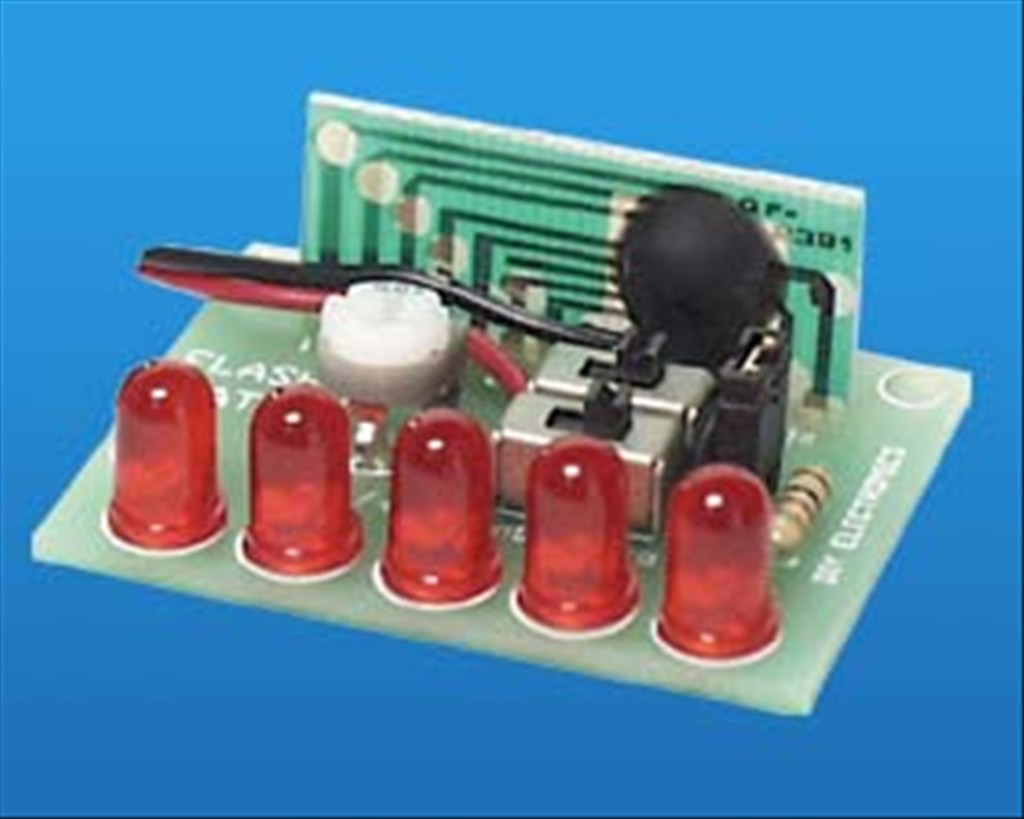
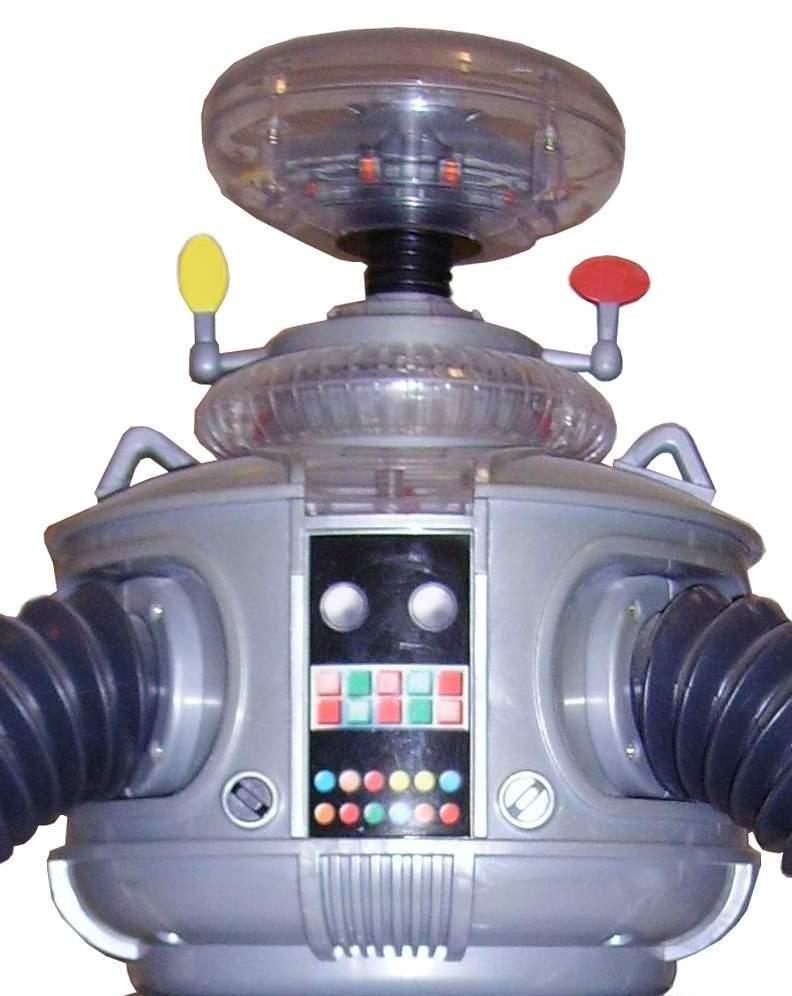
I have mounted clear LEDs in the appropriate colors in the chest at the bottom of the decal and have a flashing circuit that will blink them in the combination as seen on the series. Where the two large round circles are (white domes on the big guy) I will have my ping sensor. I have mounted pager motors in the antenna housings to turn the "sensors" as seen in the TV version. I have mounted red El Wire to his voice plate to emulate the original as well. I have also mounted a series of blinking LEDs to the "brain" section in the bubble.
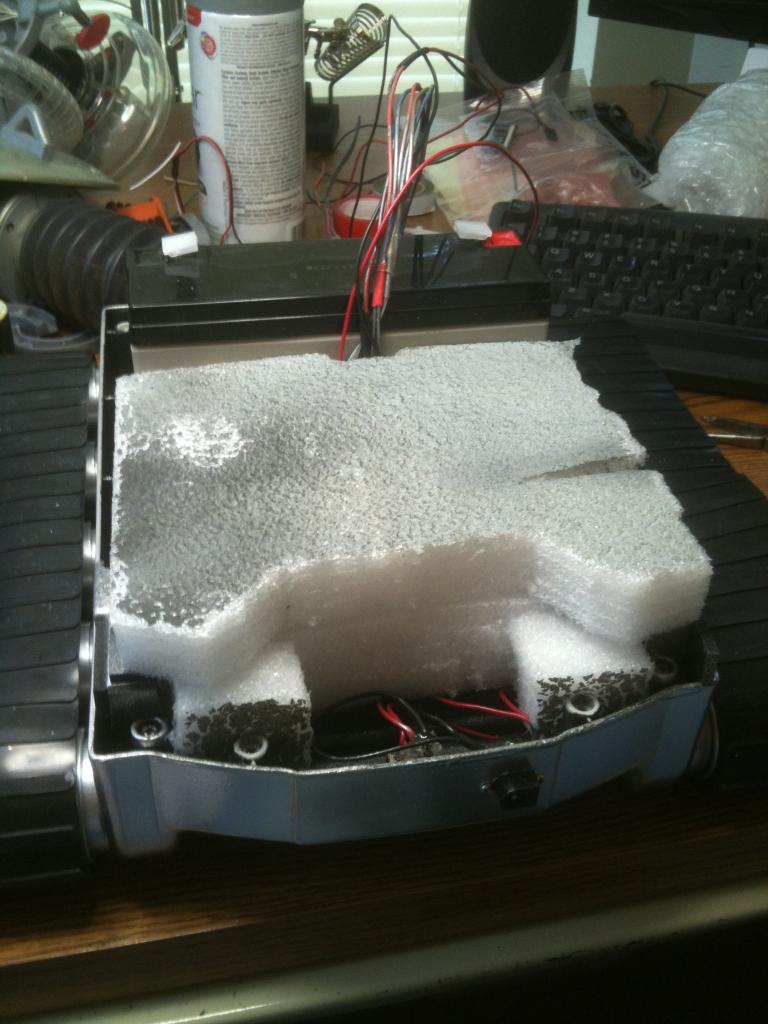
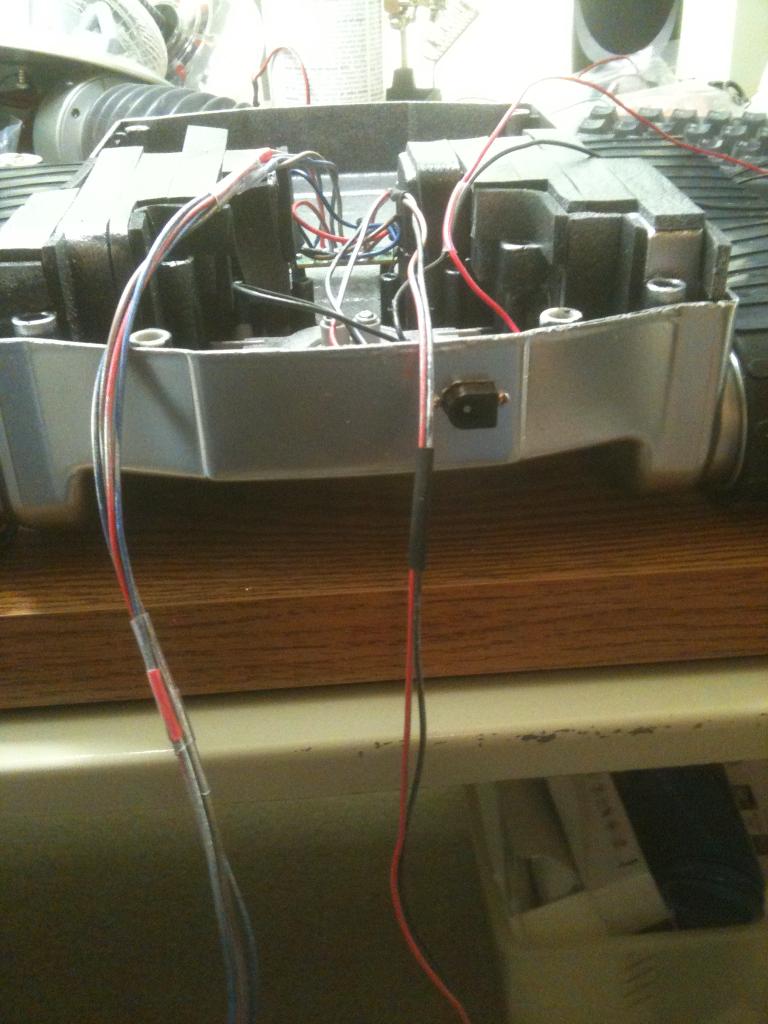
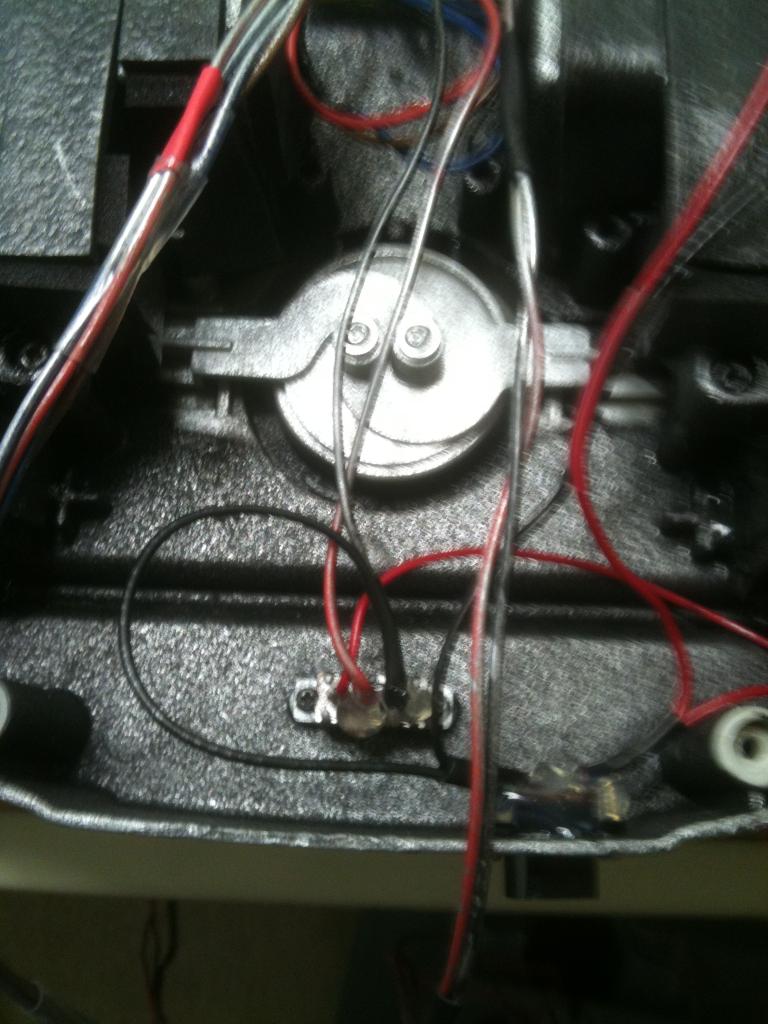
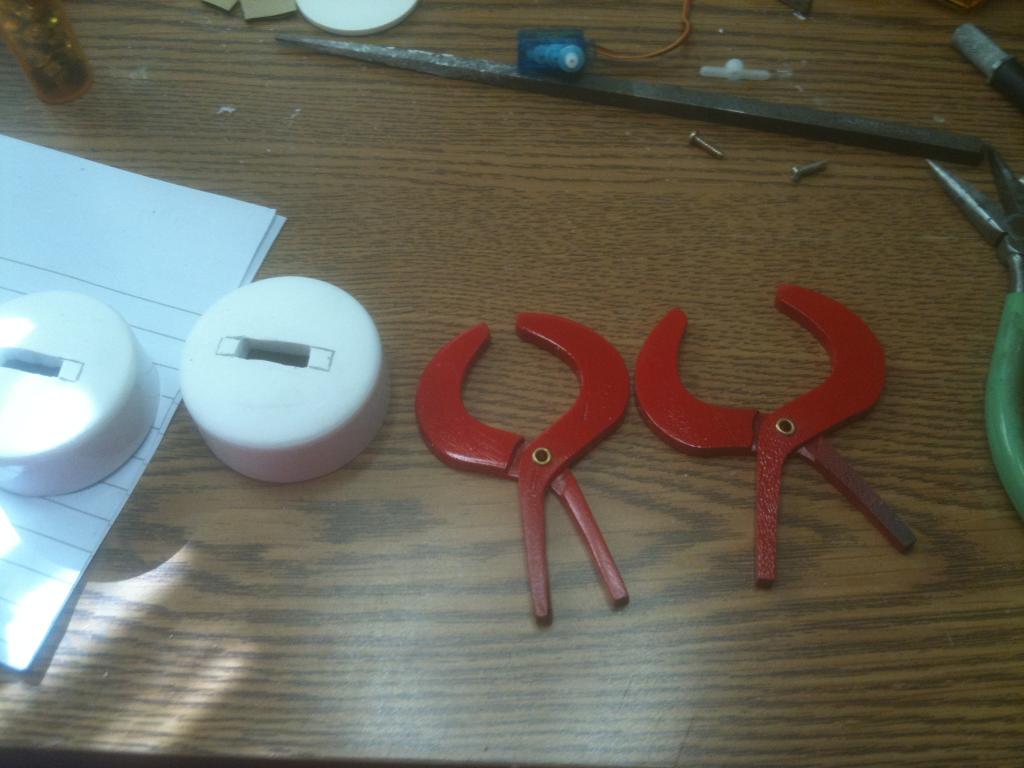
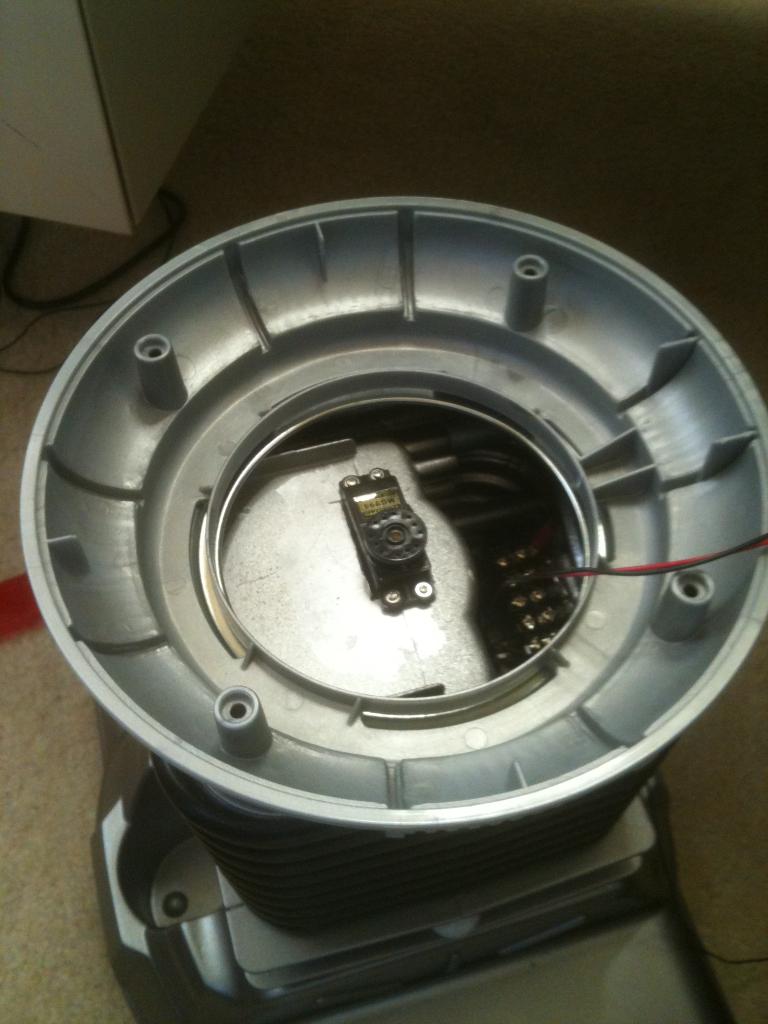
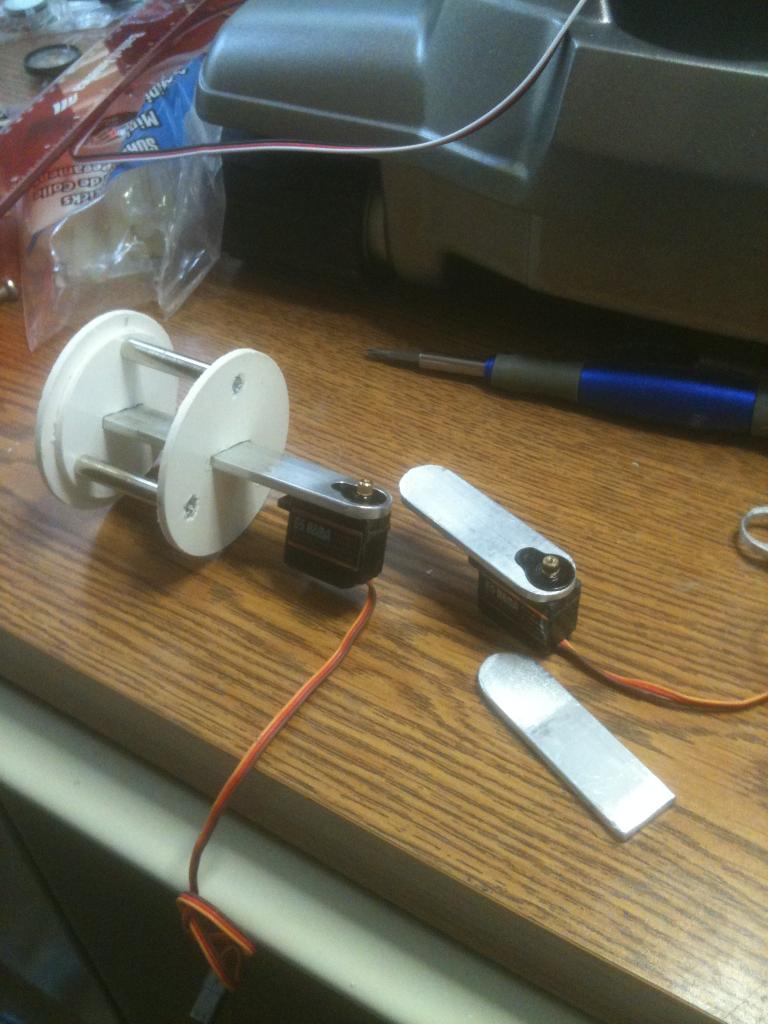
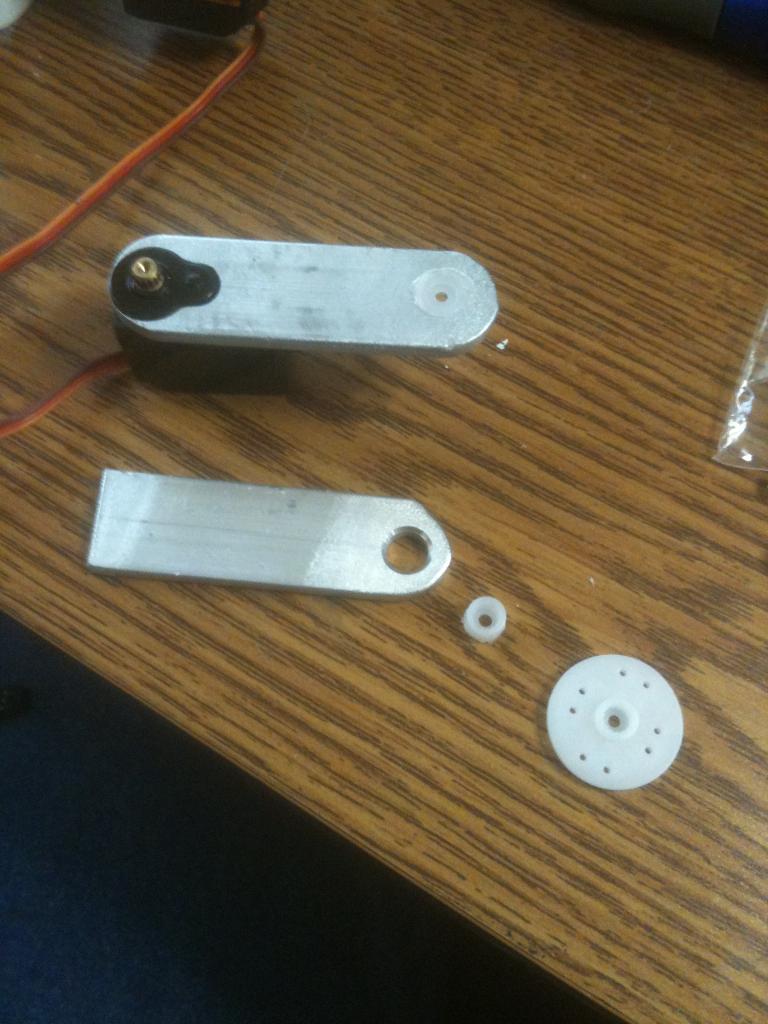
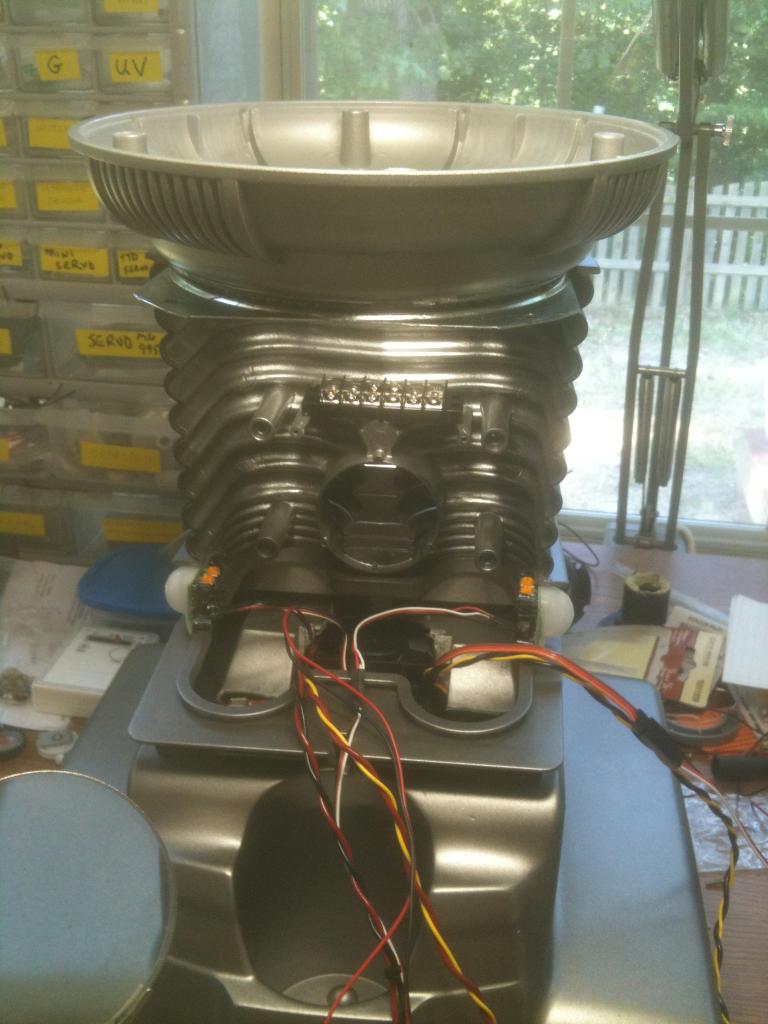
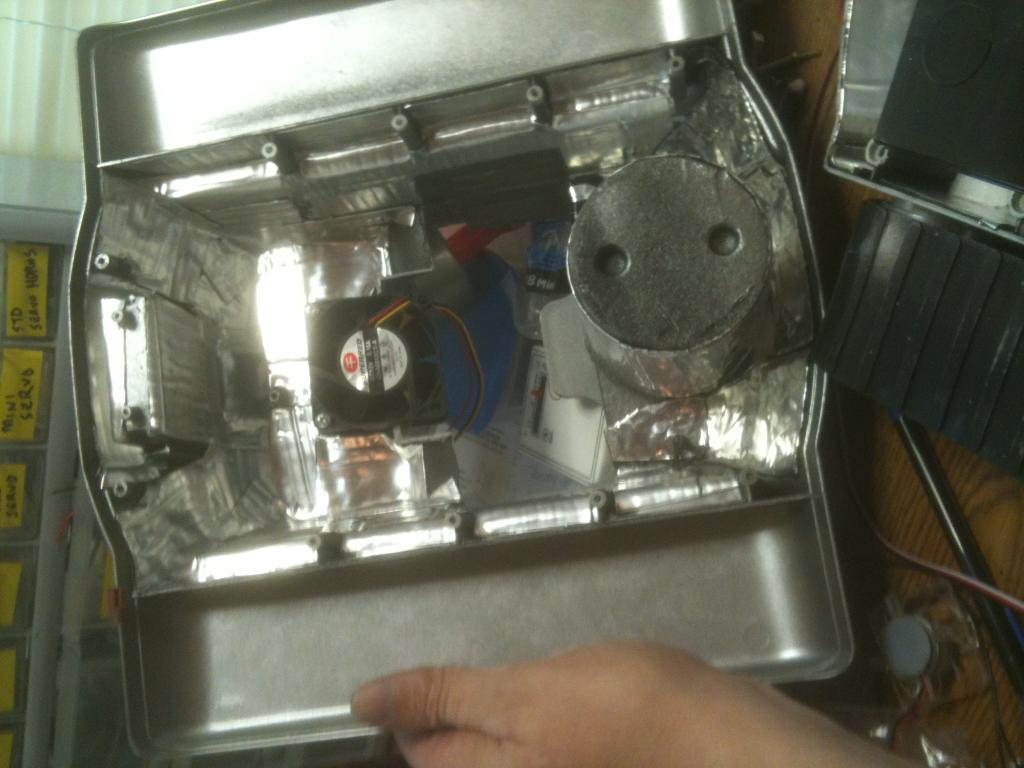
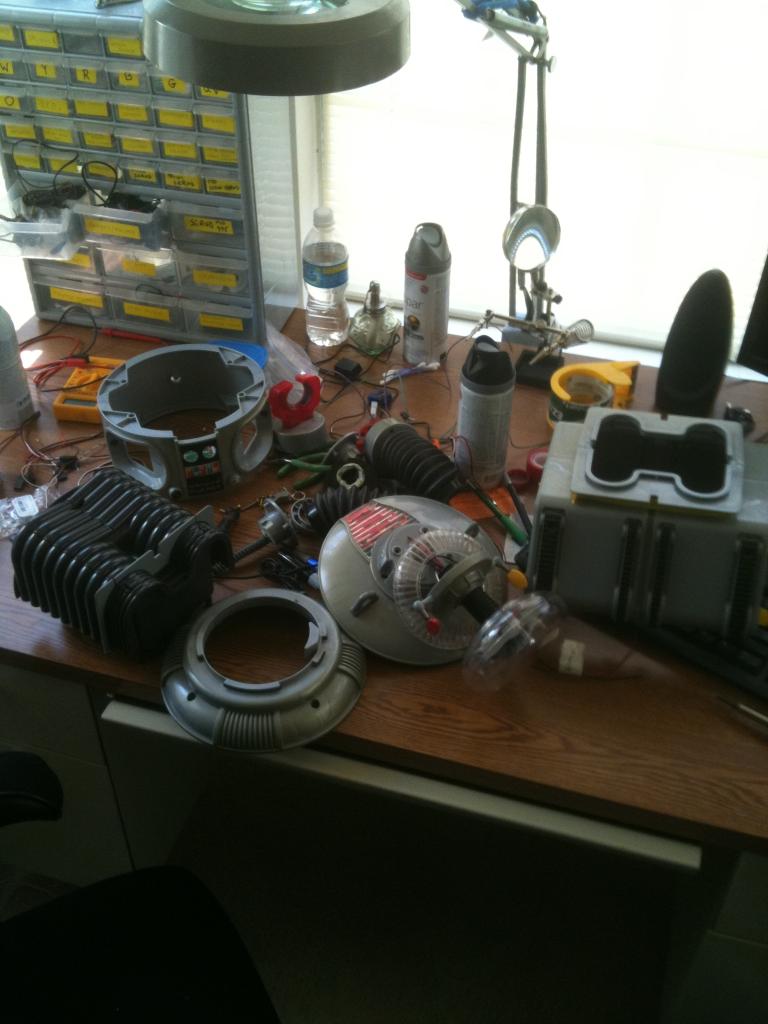
Next is to work on the rotation of the bubble and torso, articulate the arms and claws, and make a real functioning tread section. For the tread section I am adapting the base from my RAD robot. I will keep you posted with pics as I proceed.
Thanks,
Bret
Discover more robots
DJ's Jd's Friday The 13Th
Sudo's Shogun V2

You could put a spring mechanism on the bottom to have it pop the beer out on command!
I thought about a servo that could raise it up, but the spring is interesting too. You could make it sort of like a dart gun so that you engage the spring when you put the beer in, and use a servo to release it. It has potential for damage, I like it!
Fantastic adaptation of the two platforms! and also capable of carrying beer that, that if a service robot!
Kkeast , I agree , I absolutely love tracks , they are an icon that we all imagine when we think.of a cool robot
Gotta Love Bondo!

...and sanding...and sanding
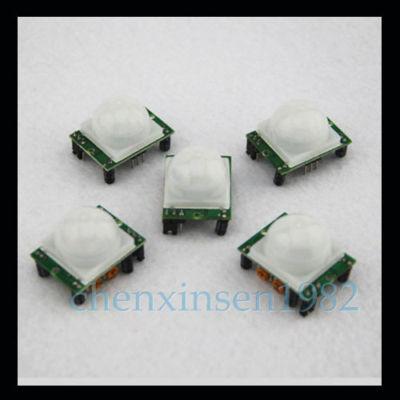
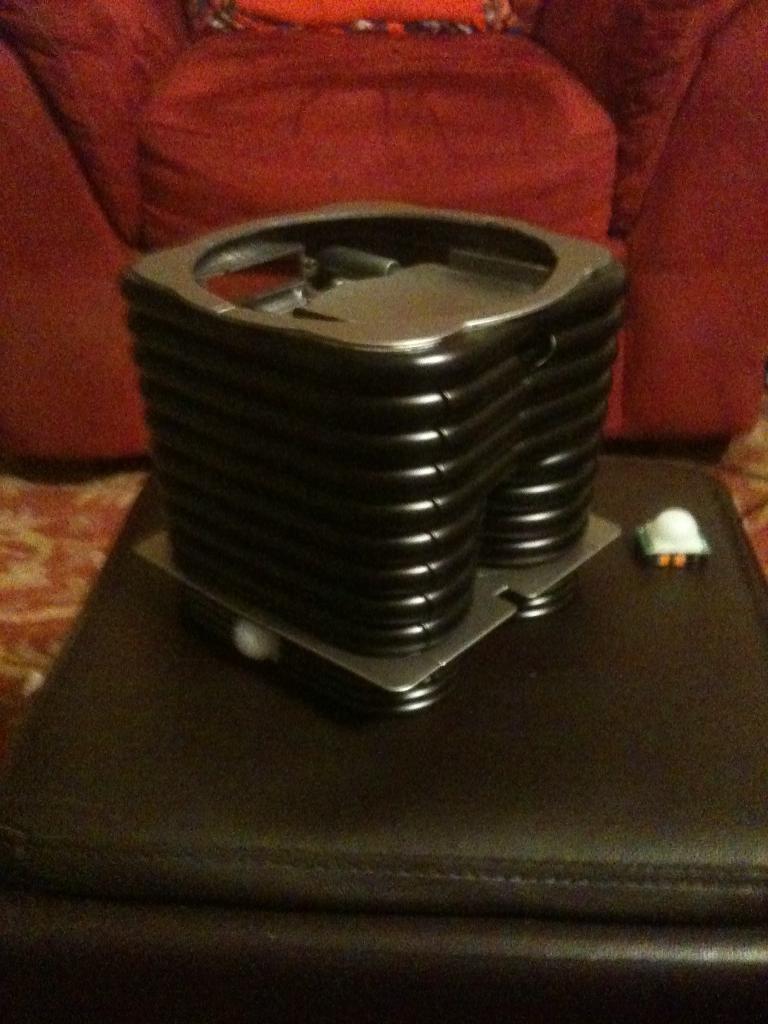
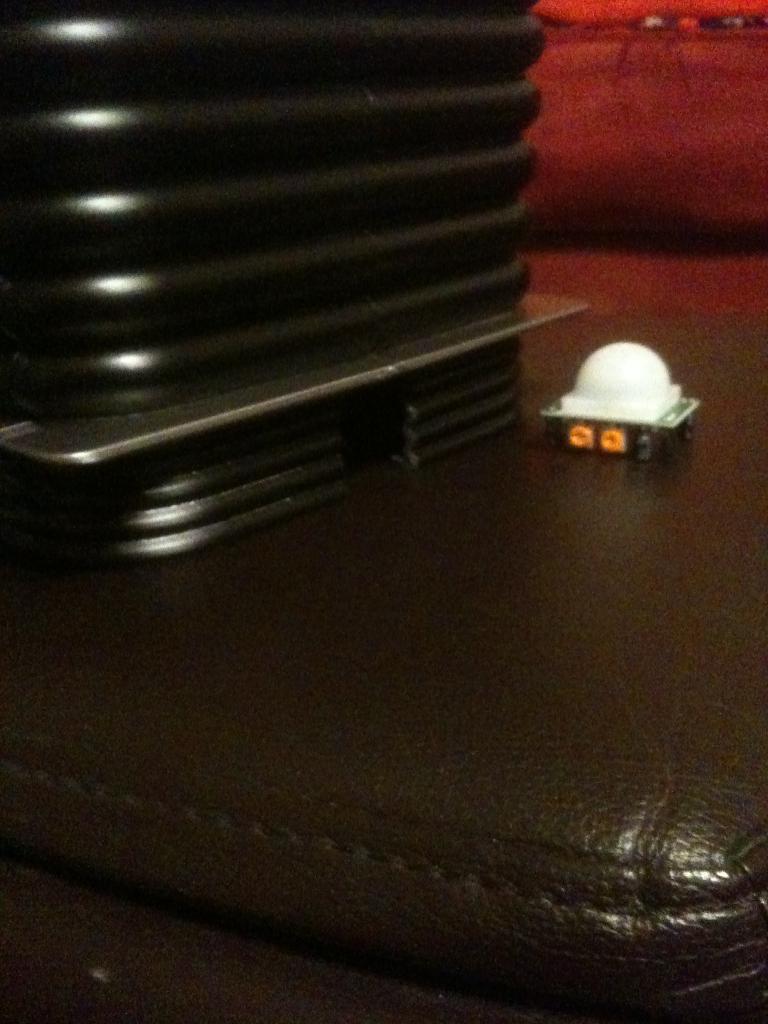
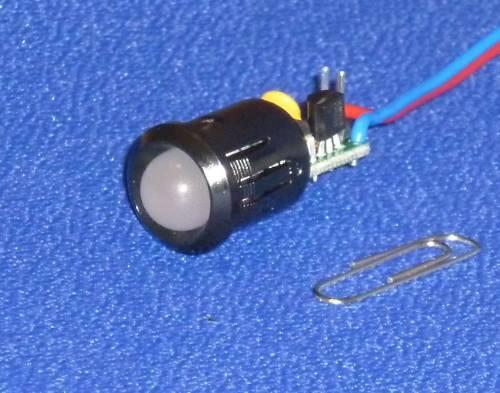
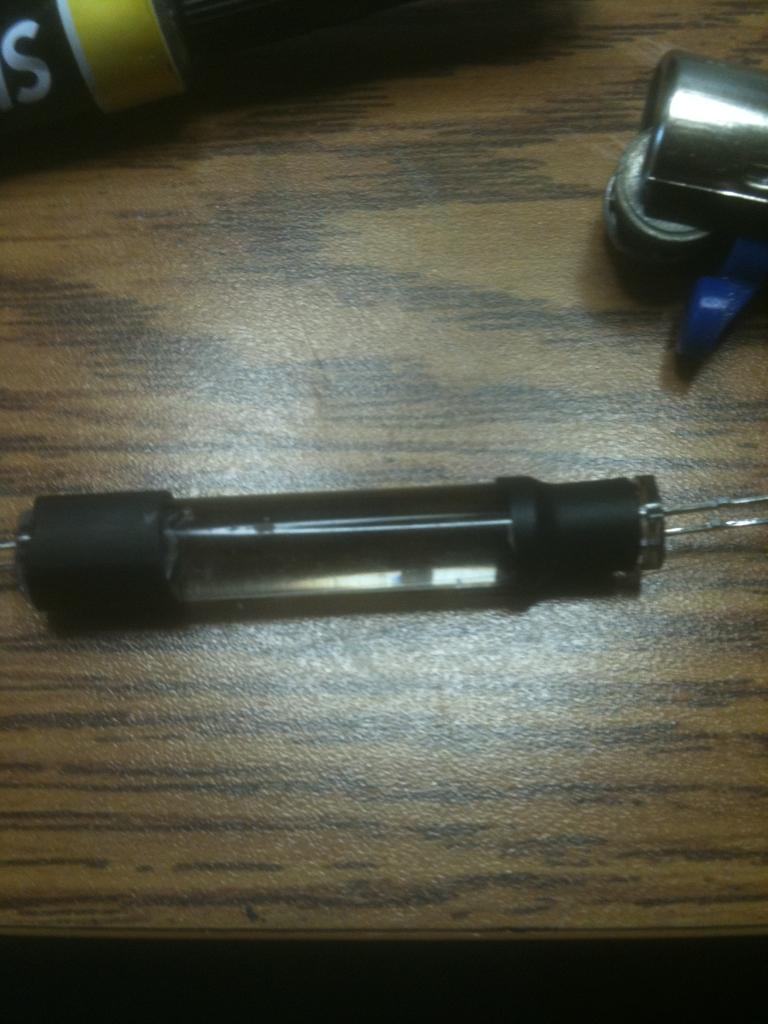
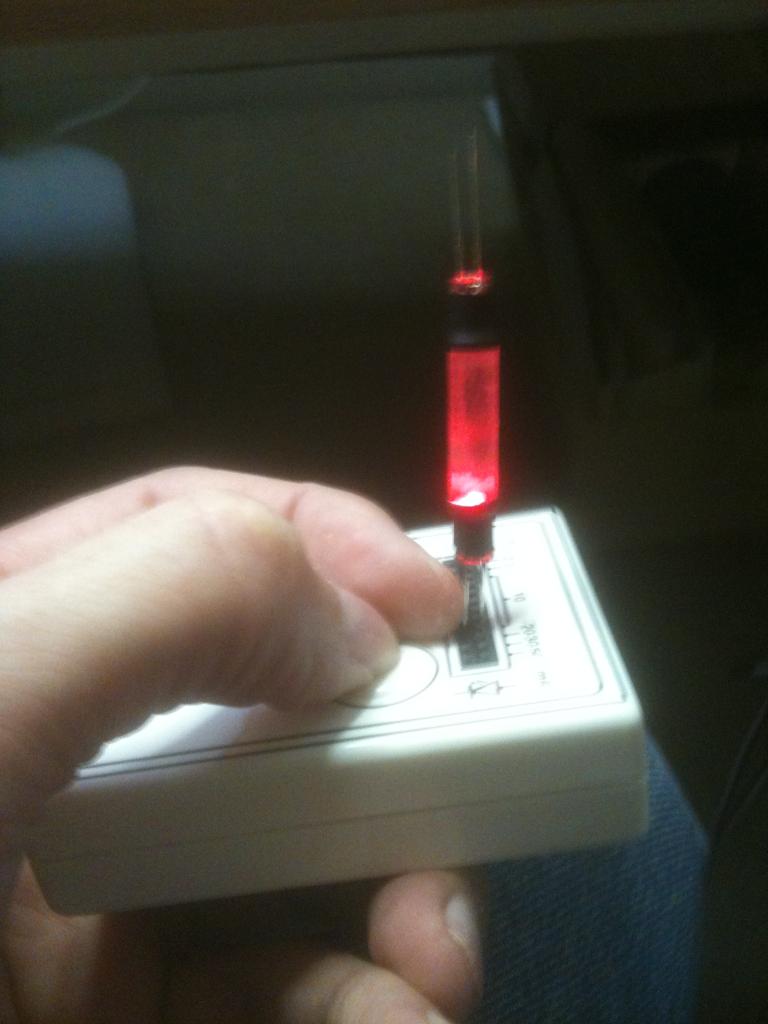
...and then sanding some more. I should put on my last skim coat this weekend and get all the sanding done. Then I can paint it and complete the drive section.Just received these last night - IR sensors for Robot B9:
100% BRAND NEW! Weight: 33g (approx) Color: White + Green Dimension: 3.2cm x 2.4cm x 1.8cm (approx) Infrared sensor with control circuit board The sensitivity and holding time can be adjusted Working Voltage Range: DC 4.5V- 20V Current drain:<60uA Voltage Output: High/Low level signal:3.3V TTL output Detection distance: 3--7M(can be adjusted) Detection range: <140 Delay time: 5-200S(can be adjusted, default 5s +-3%) Blockade time: 2.5 S (default) Trigger: L: Non-repeatable trigger H: Repeat Trigger (default) Work temperature:-20-+80C Trigger Method: L unrepeatable trigger / H repeatable trigger
Note: Sensitive Setting: turn to right, distance increases (About 7M); turn to left, distance reduce (About 3M) Time Setting: turn to right, time increases (About 300S); turn to left, time reduce (About 5S).
Package Included: 5x IR Detector Module
And I think I will mount 3 of them in his lower torso on the sides and back - nothing gets past B9...
@brett , if I can recommend Somthing that will save.you.a.great.deal of time finishing the.Bondo. when you.believe your on your last round.of Bondi.and sanding , spray three thin layers a couple minutes apart of.primer. then give.it.your.final sand using 400 , then spray on another coat.of primer and 600 or 800 grit will completely insure.that.its.smooth agianst your plastic and no sanding marks that.will show through your paint job. Sanding sponges from lowest are.usually good.for.this. ps. Do not buy.high.build primer! It stays wet a long time and multiple.layers aren't possible as.it just stays mushy. Either regular black primer or etching primer because your.working.with plastics.
jstarne1;
You're a freaking Genius!!!!:) Always Great Advice!