


-634700966886250000.jpg)
-634700967015000000.jpg)
-634700967157968750.jpg)
-634702814800312500.jpg)
-634702600865468750.jpg)
-634702601116718750.jpg)
-634702602252031250.jpg)
-634702602665625000.jpg)
-634702602851875000.jpg)
-634694134410000000.jpg)
-634693960892812500.jpg)
-634693961752343750.jpg)
-634693953179375000.jpg)
-634693953336093750.jpg)
-634693164809062500.jpg)
-634693165327500000.jpg)
-634693165925625000.jpg)
-634693166147343750.jpg)
-634786542943876953.jpg)
-634796120303593750.jpg)
-634796120470312500.jpg)
-634812479455986328.jpg)
-634812479726035156.jpg)
-634812480620283203.jpg)
-634812481334052734.jpg)
-634812482341699218.jpg)
-634822681001005859.jpg)
-634822681580644531.jpg)
-634822681777470703.jpg)
-634821106166250000.jpg)
-634821106572812500.jpg)
-634821106815625000.jpg)
-634814909605058593.jpg)
-634814909850224609.jpg)
-634814910193212890.jpg)
-634814910596445312.jpg)
-634820188048437500.jpg)
-634820188647187500.jpg)
-634820189032656250.jpg)
-634718079154687500.jpg)
-634718080622031250.jpg)
-634714909191250000.jpg)
-634714909644843750.jpg)
-634713078392031250.jpg)
-634713078781250000.jpg)

-634720009877968750.jpg)
-634749341545937500.jpg)
-634749341951406250.jpg)
-634732946203437500.jpg)
-634708797562402343.jpg)
-634706000248750000.jpg)
-634705927185312500.jpg)
-634705927626406250.jpg)
-634705928146250000.jpg)
-634705929045781250.jpg)
-634705929717812500.jpg)
-634705930336093750.jpg)
-634705930540468750.jpg)
-634705931037812500.jpg)
-634709695807265625.jpg)
-634709696076181640.jpg)
-634711364771718750.jpg)
-634711364485781250.jpg)
-634712172318906250.jpg)
-634771897291406250.jpg)
-634771897466093750.jpg)
-634771897849687500.jpg)
-634771898236093750.jpg)
-634771898712187500.jpg)
-634771899102656250.jpg)
-634771899822656250.jpg)
-634771900771562500.jpg)
-634771901301875000.jpg)
-634768466924746093.jpg)
-634768467383681640.jpg)
-634772580489218750.jpg)
-634772581075781250.jpg)
-634772581532343750.jpg)
-634772581721718750.jpg)
-634773400815625000.jpg)
-634773401032187500.jpg)
-634781365777988281.jpg)
-634781366040302734.jpg)
-634781366299042968.jpg)
-634766553798554687.jpg)
-634766556025839843.jpg)
-634759732245312500.jpg)
-634765021896093750.jpg)
-634765022115000000.jpg)
-634765022326562500.jpg)
-634765023386093750.jpg)
-634765855550937500.jpg)
-634765856533437500.jpg)
-634765856756250000.jpg)
-634845177217089843.jpg)
-634845177425585937.jpg)
-634857207521406250.jpg)
-634857208212500000.jpg)
-634857208786718750.jpg)
-634826982093593750.jpg)
-634838602835000000.jpg)
-634838603089687500.jpg)
-634838603585312500.jpg)
-634871181815468750.jpg)
-634871183099531250.jpg)
-634871128238750000.jpg)
-634870976497031250.jpg)
-634870976894687500.jpg)
-634880528374375000.jpg)
-634880528707656250.jpg)
-634880529073593750.jpg)
-634892824736386719.jpg)
-634892824903066406.jpg)
-634892825090117187.jpg)
-634892825255283203.jpg)
-634880812756406250.jpg)
-634870194470625000.jpg)
-634870194829687500.jpg)
-634865232676250000.jpg)
-634863402043750000.jpg)
-634863402351562500.jpg)
-634863402584218750.jpg)
-634863404238125000.jpg)
-634869405242656250.jpg)
-634869405424687500.jpg)
-634869405586562500.jpg)
-634869405943906250.jpg)
-634869406072656250.jpg)
-634869404353281250.jpg)
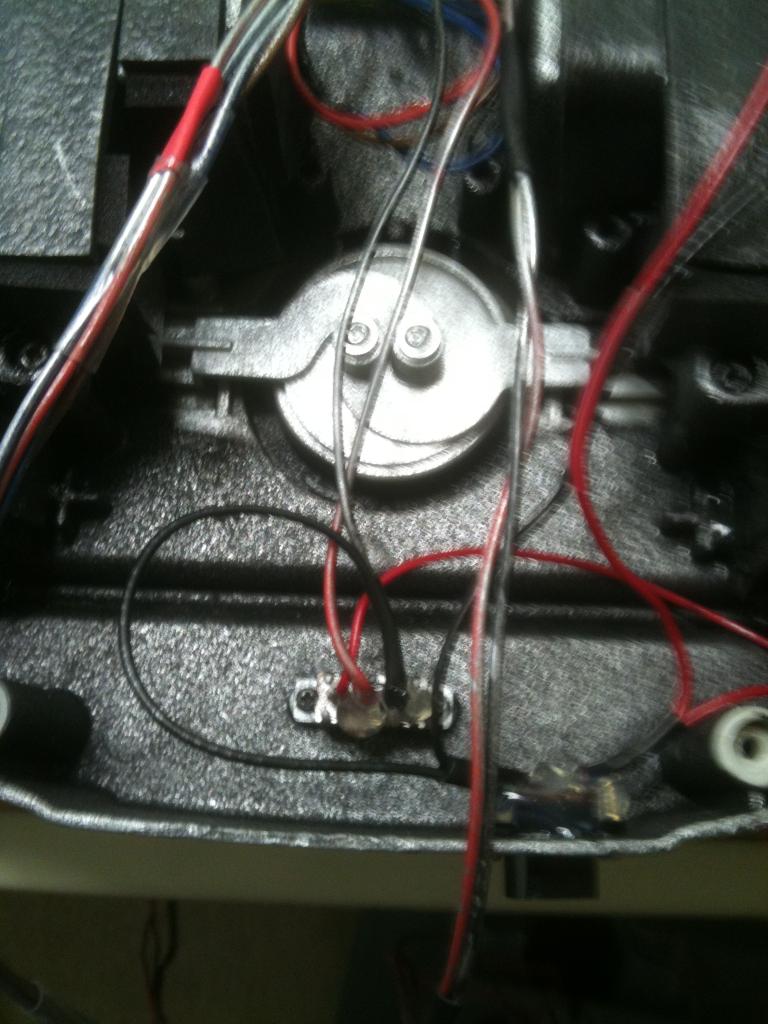
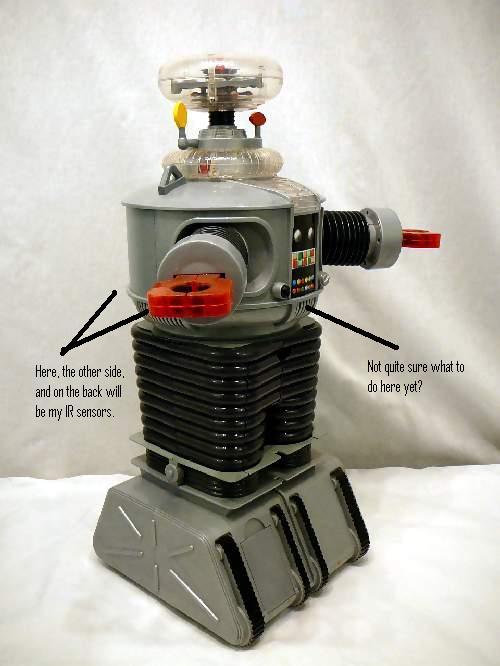
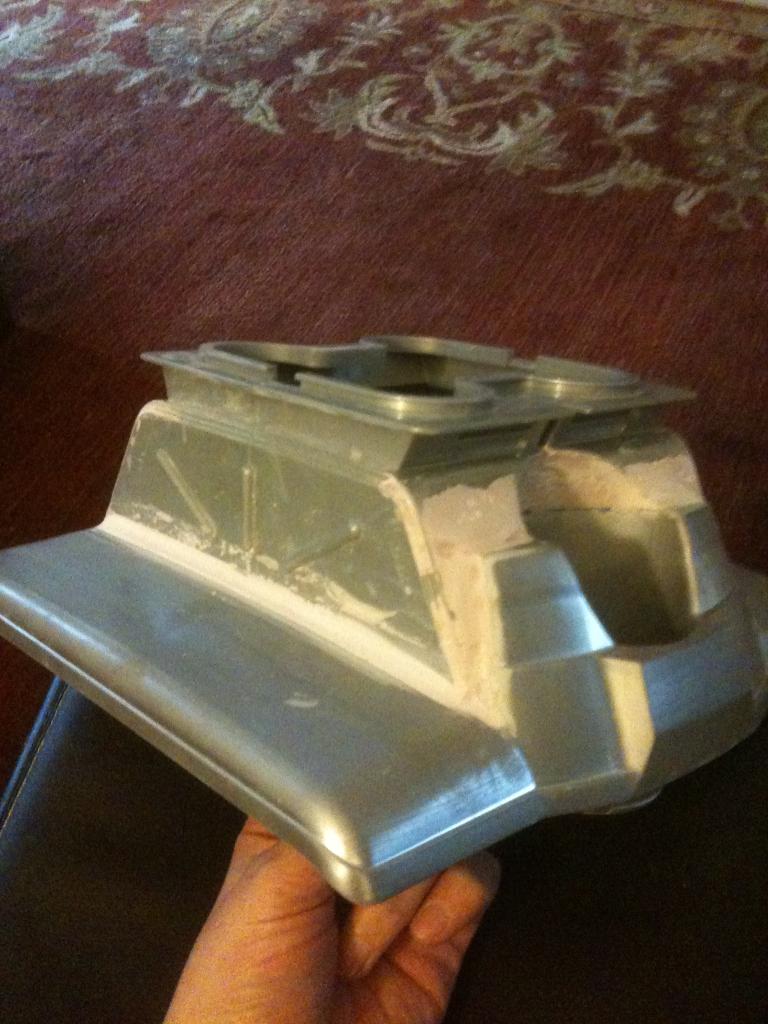
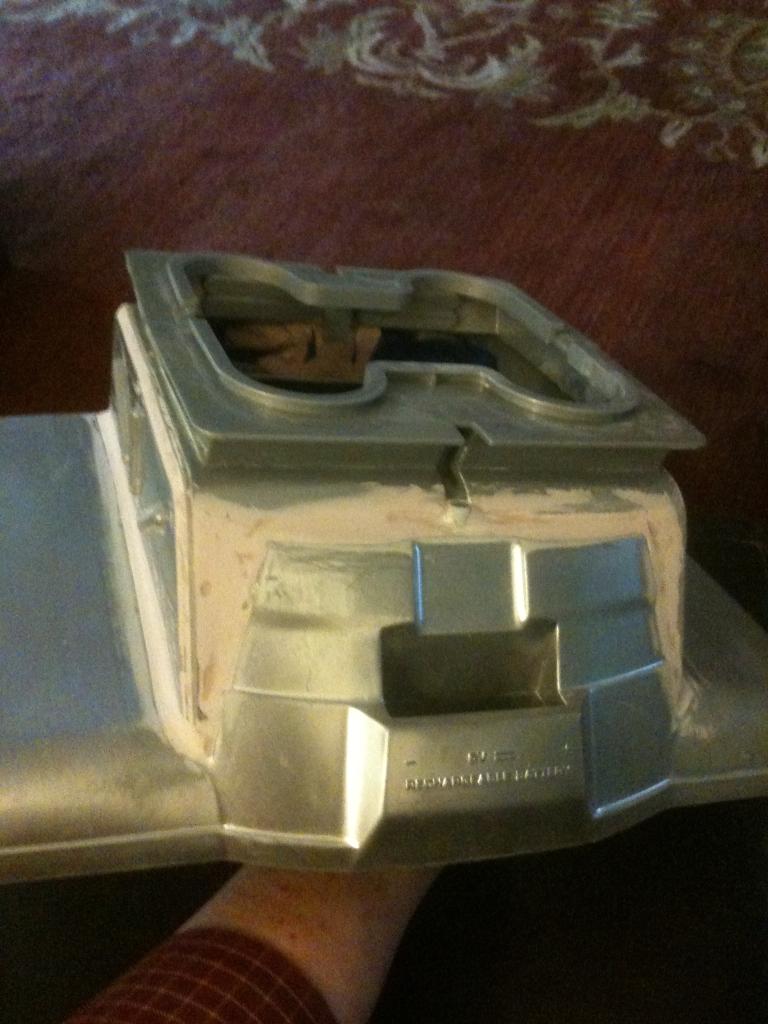
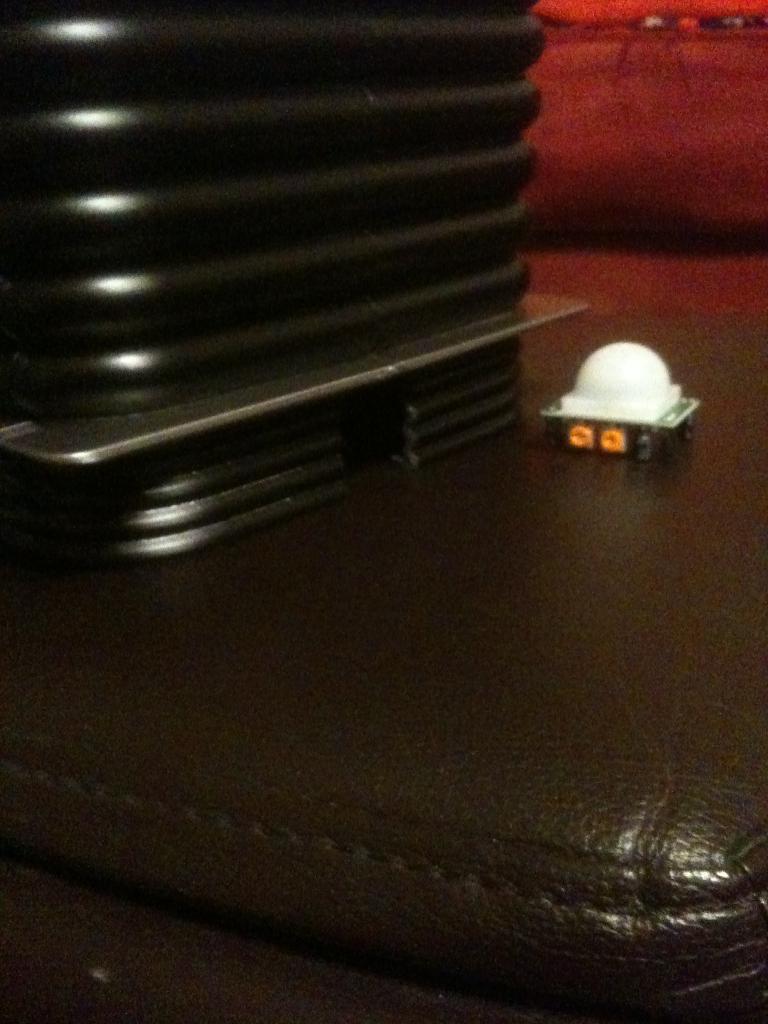
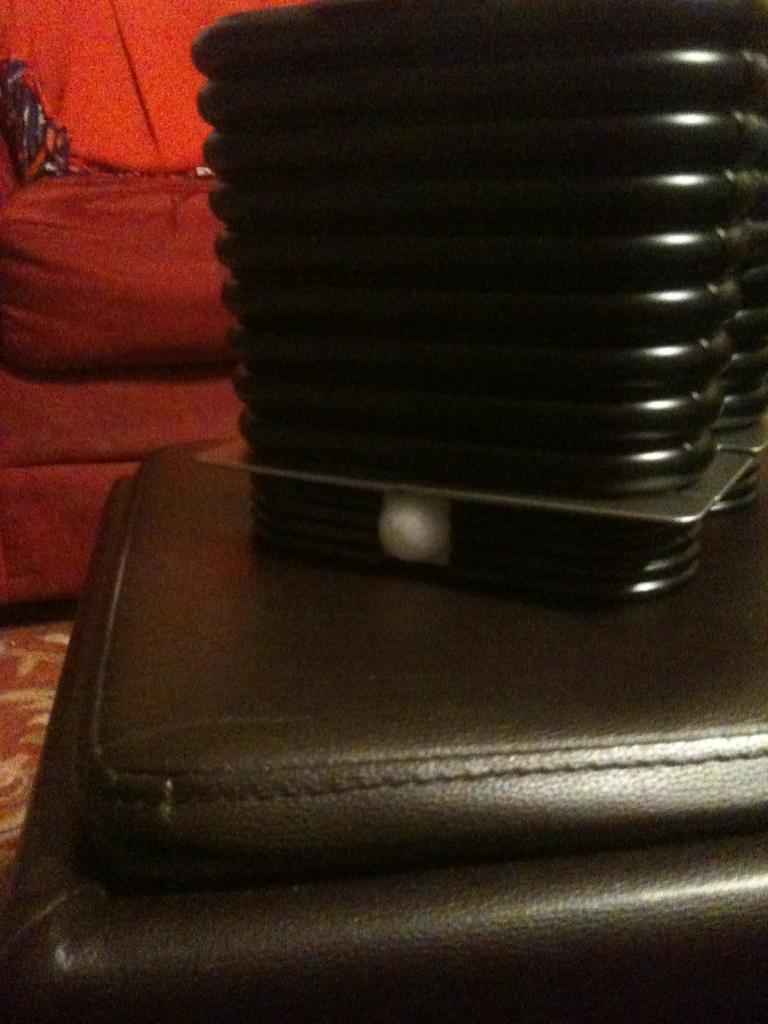
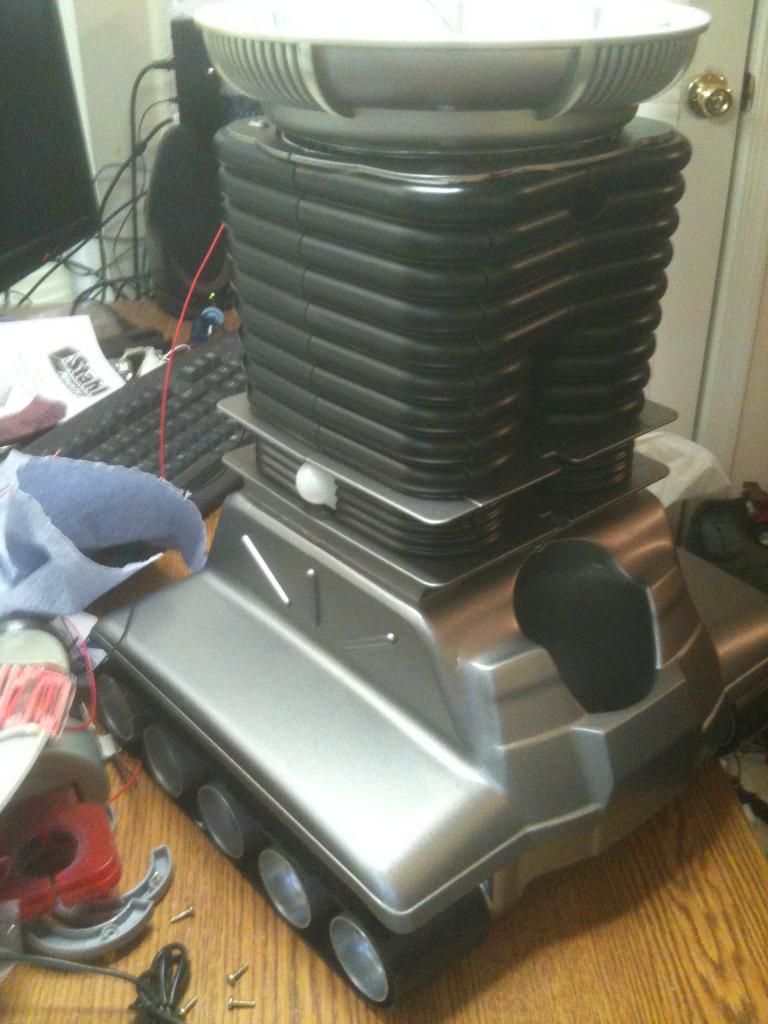
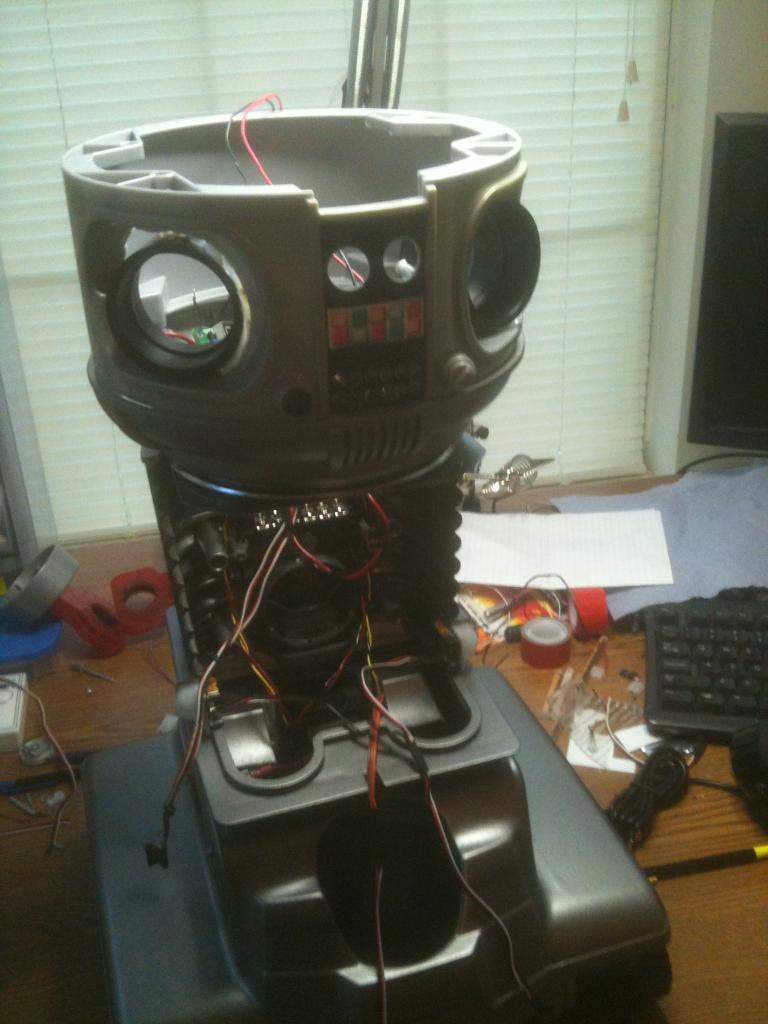
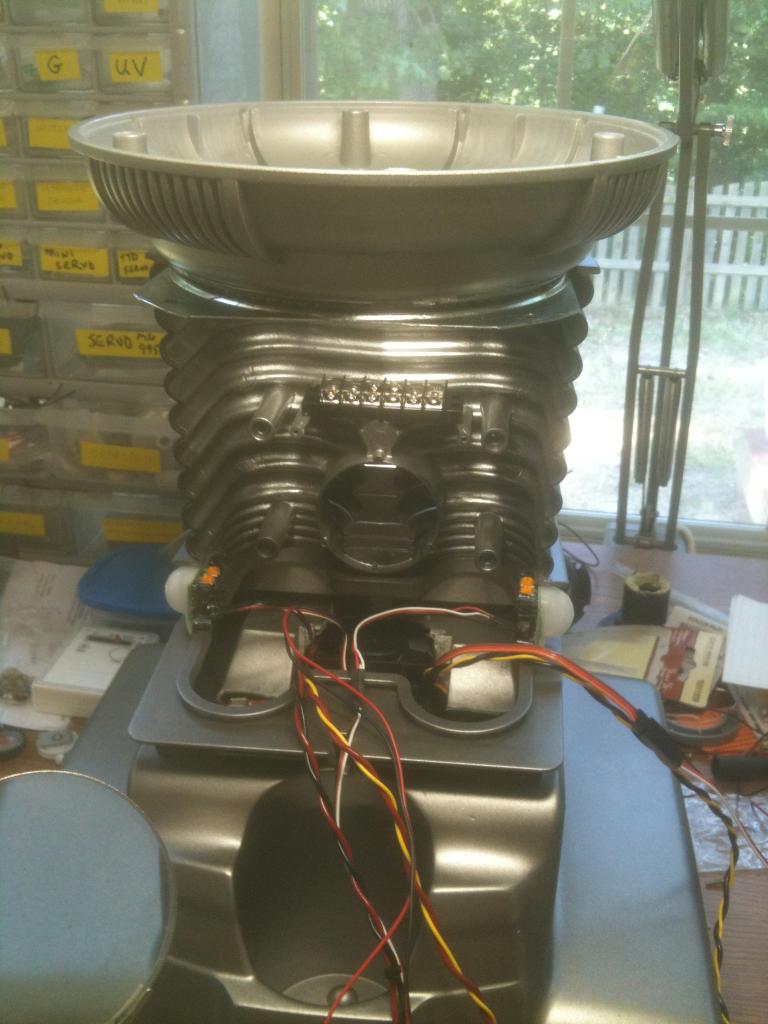
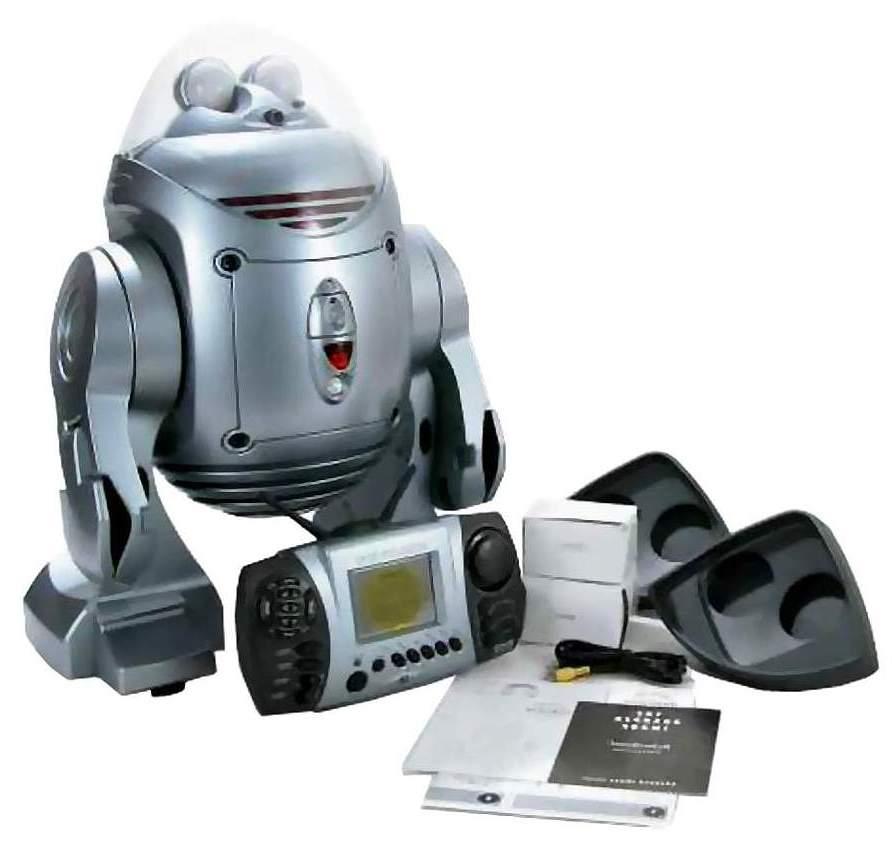
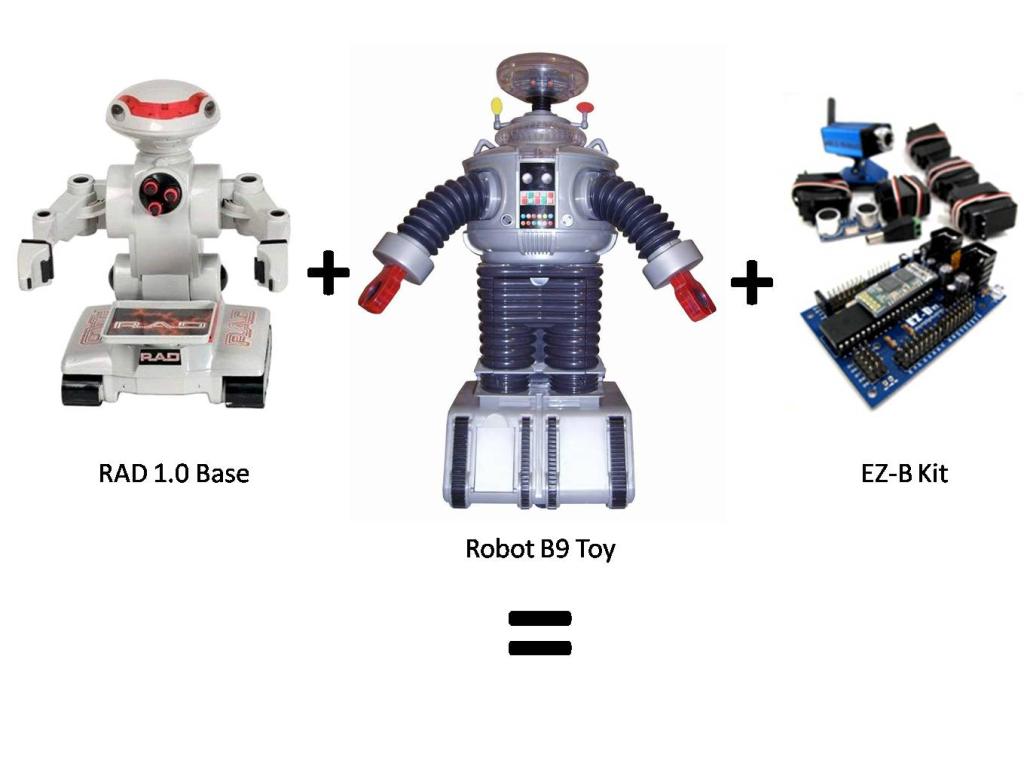
Now that I have finished B.O.B., my get your feet wet bot, I have begun my next hack. This next robot will bridge the gap between Bob and my ultimate big robot. I am starting with a remote controlled B9 toy from Trendmasters. It was very limited in what it did, and the drive section was pathetic, but it was B9!
Before Pics:
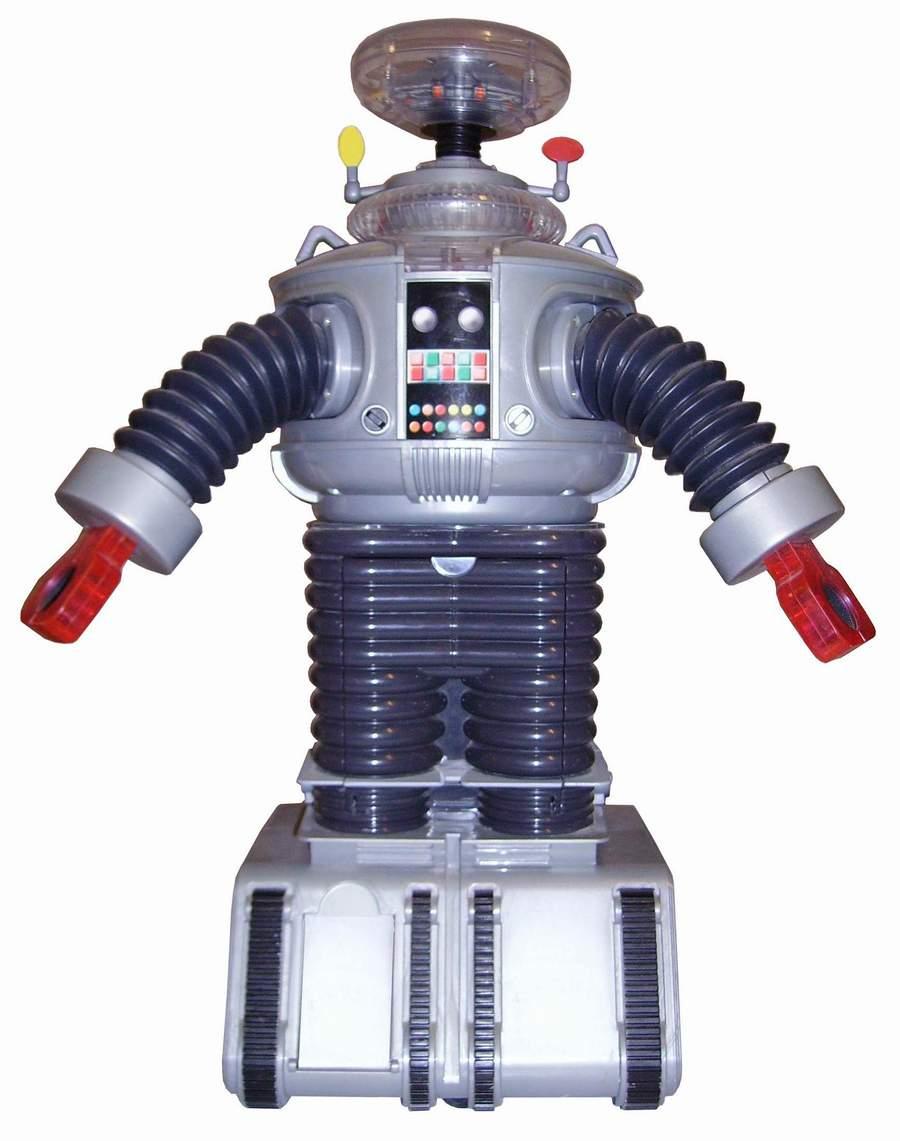
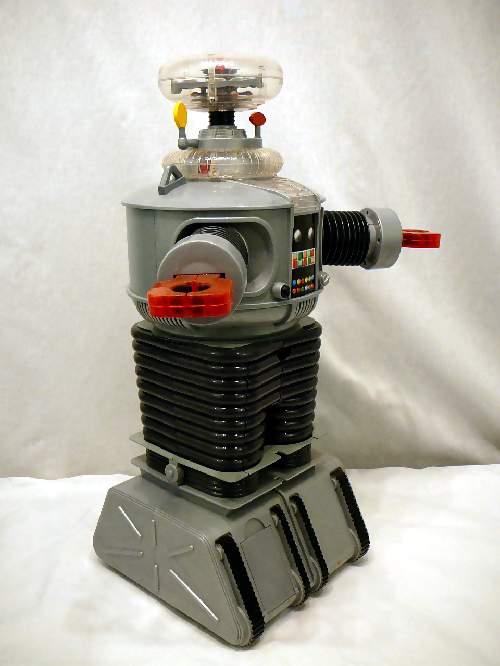
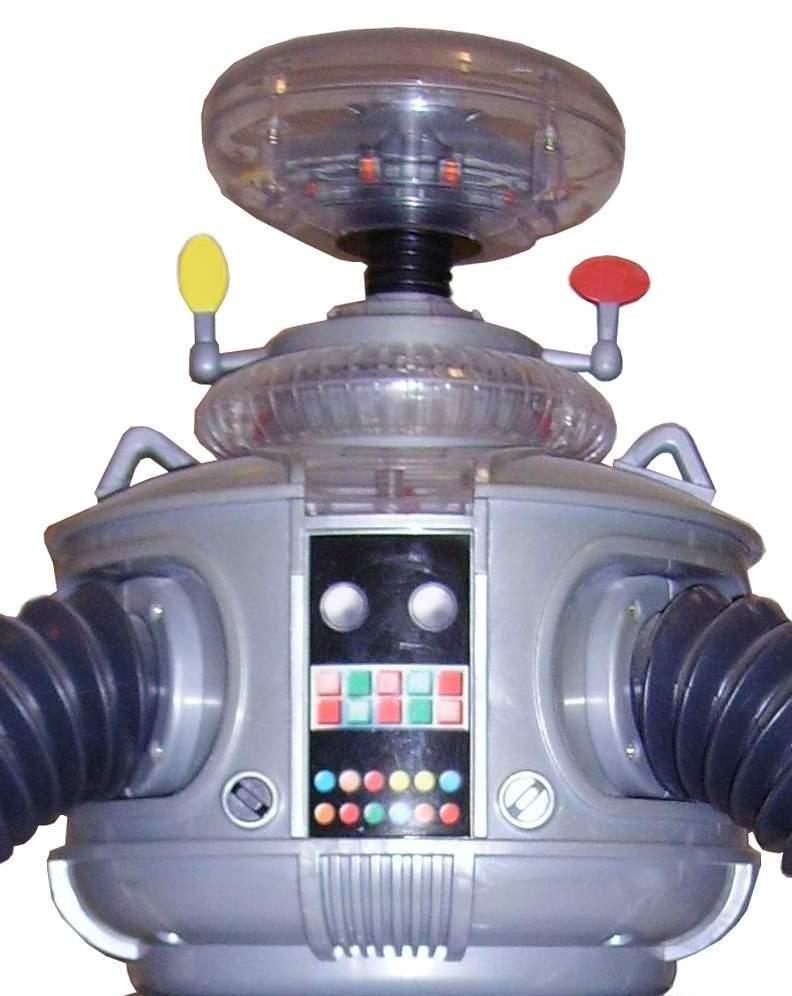
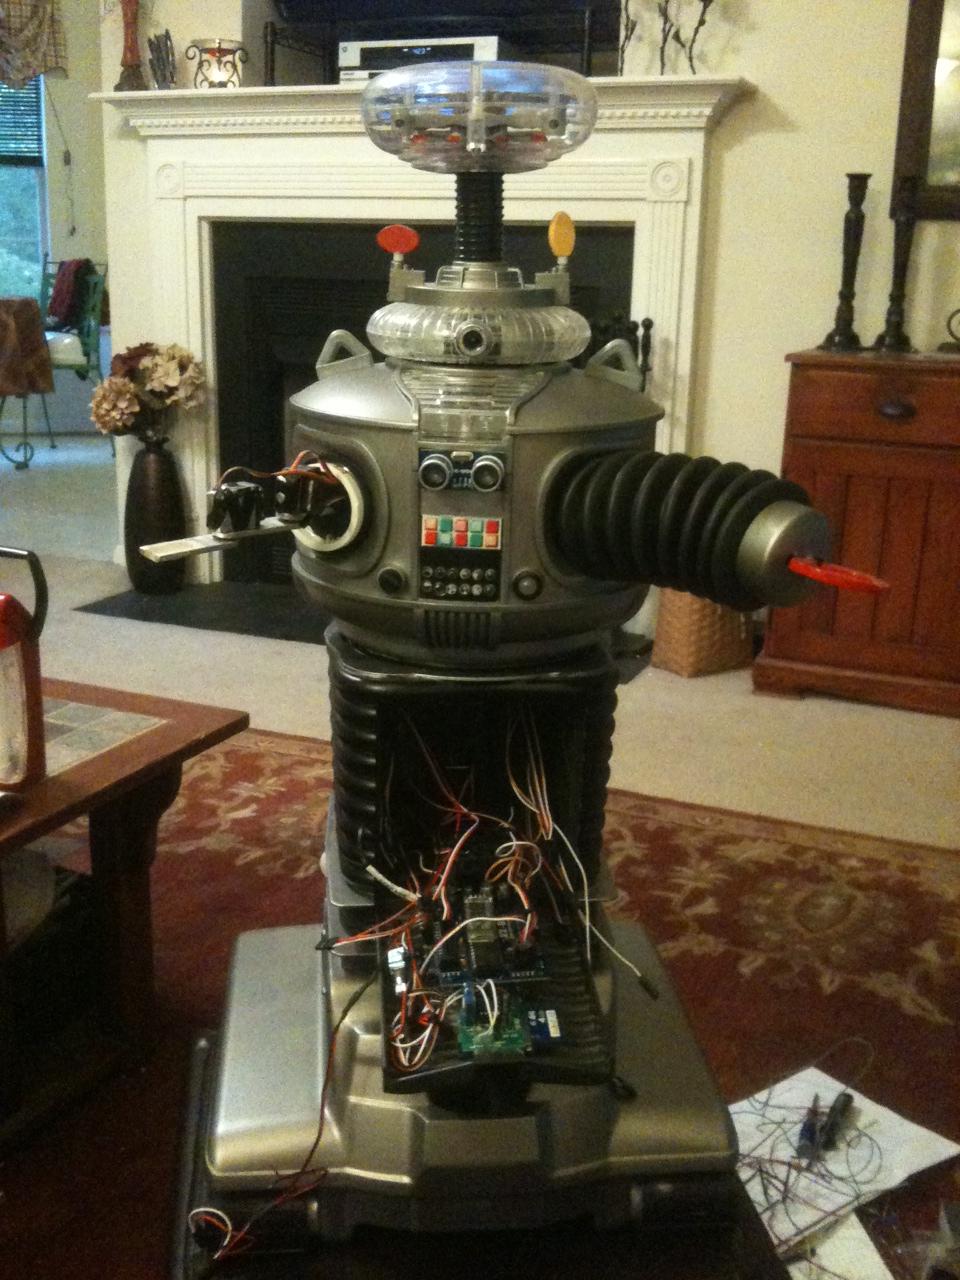
Here is what B9 looks like now:
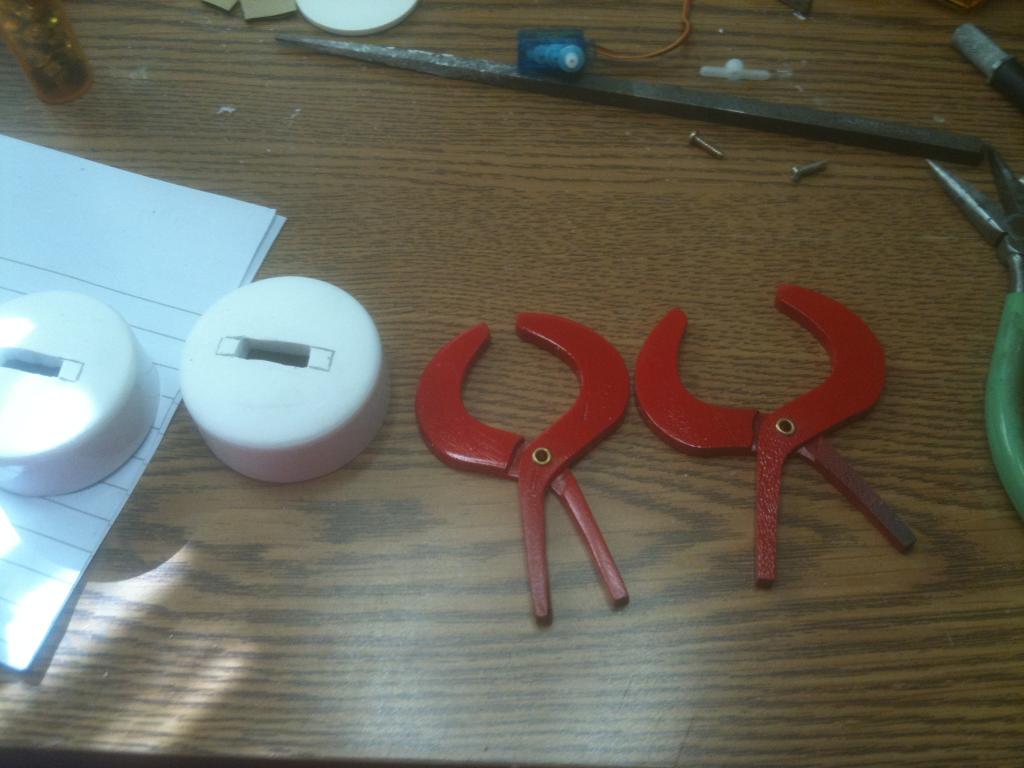
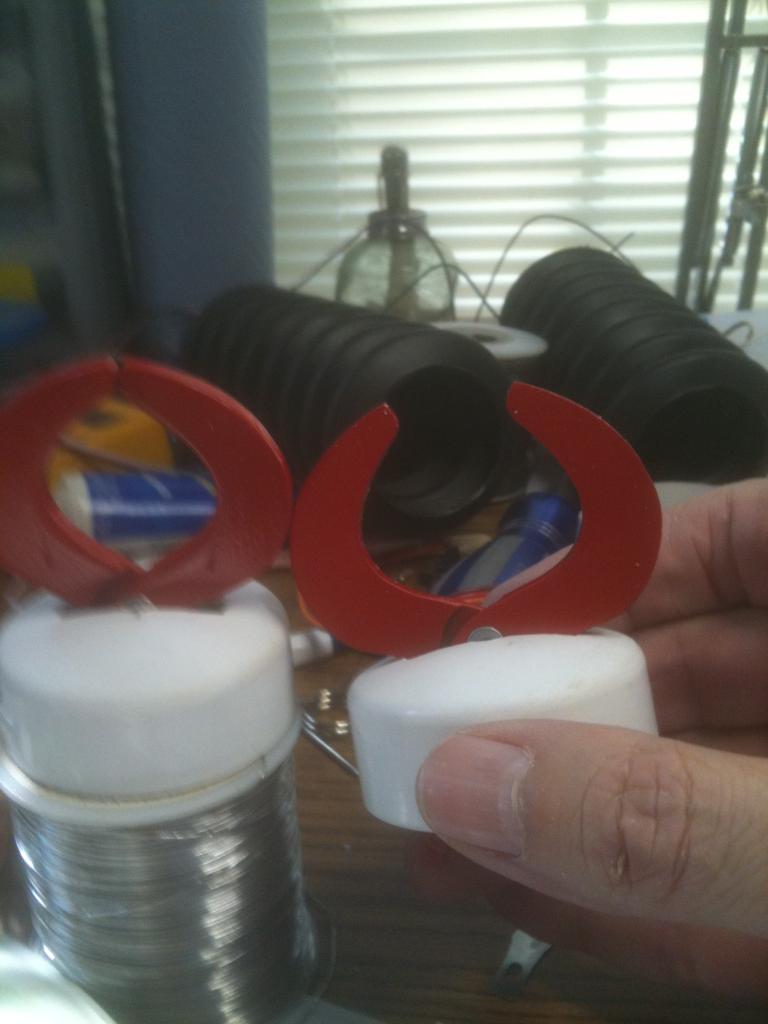
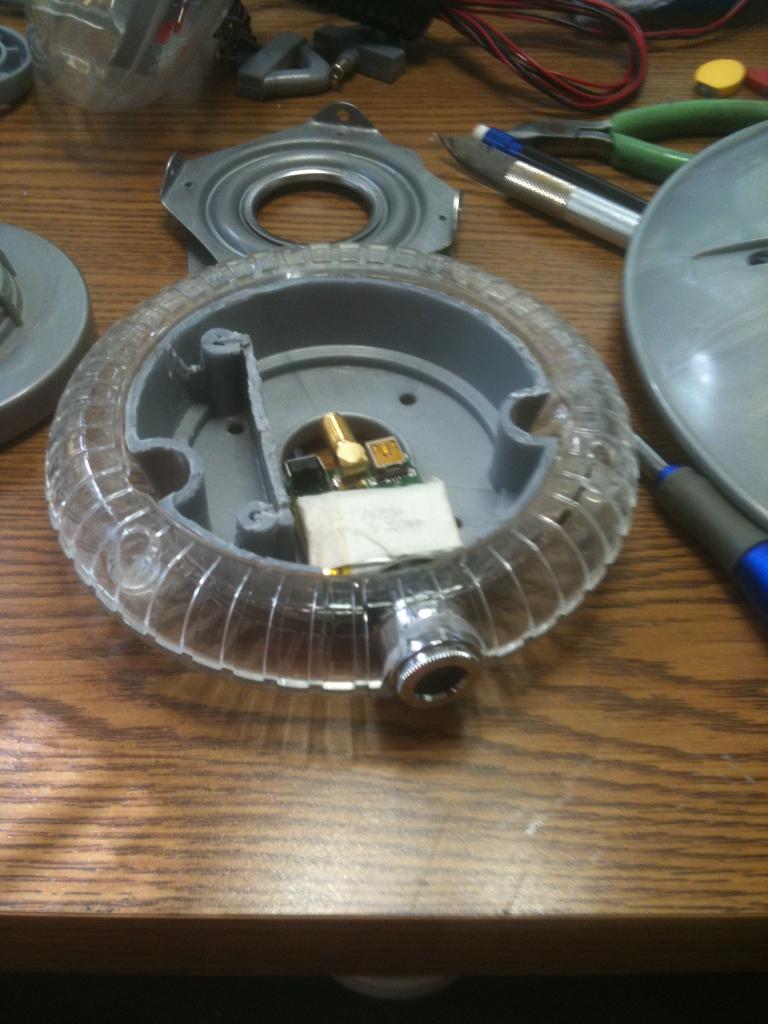
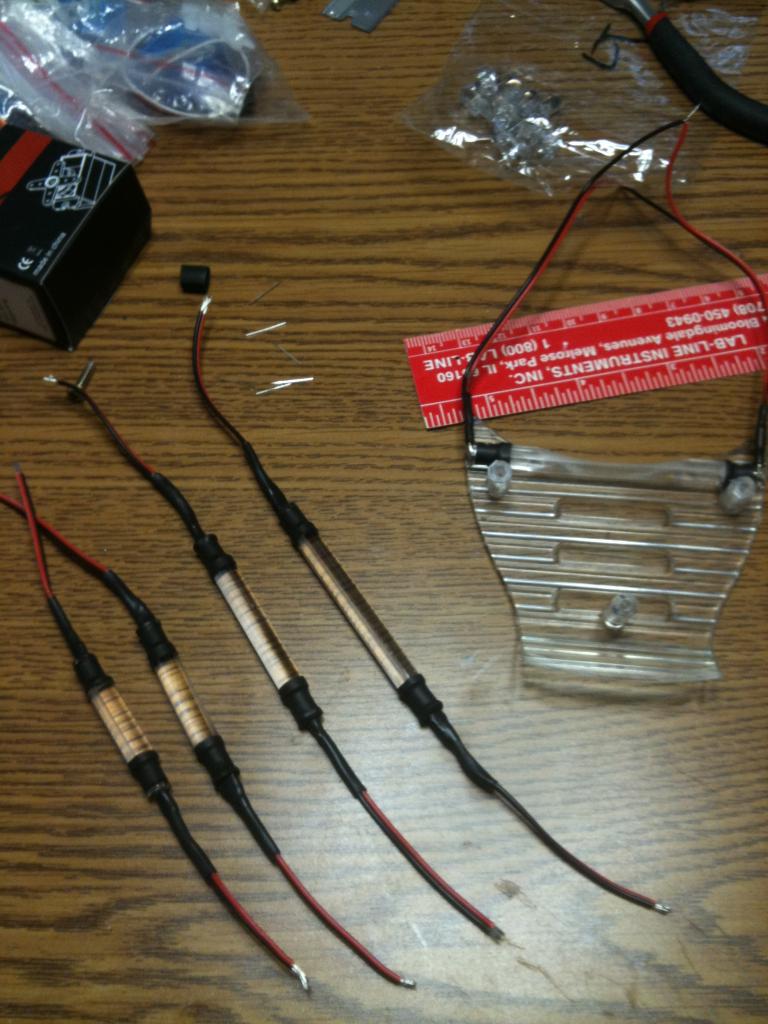
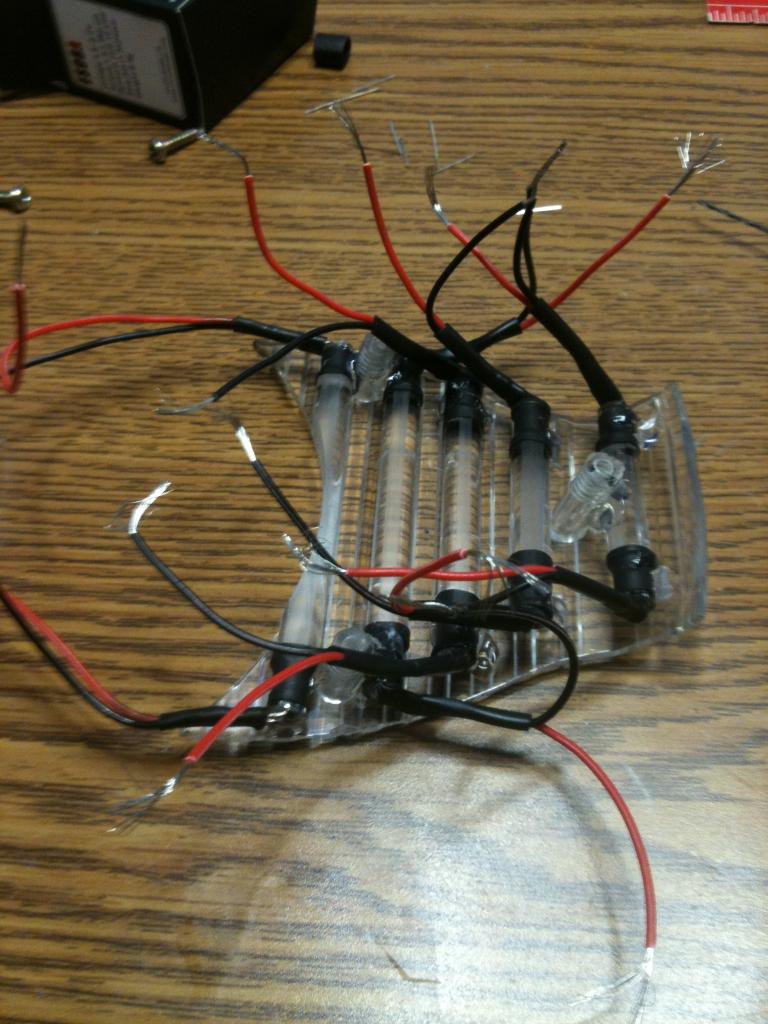
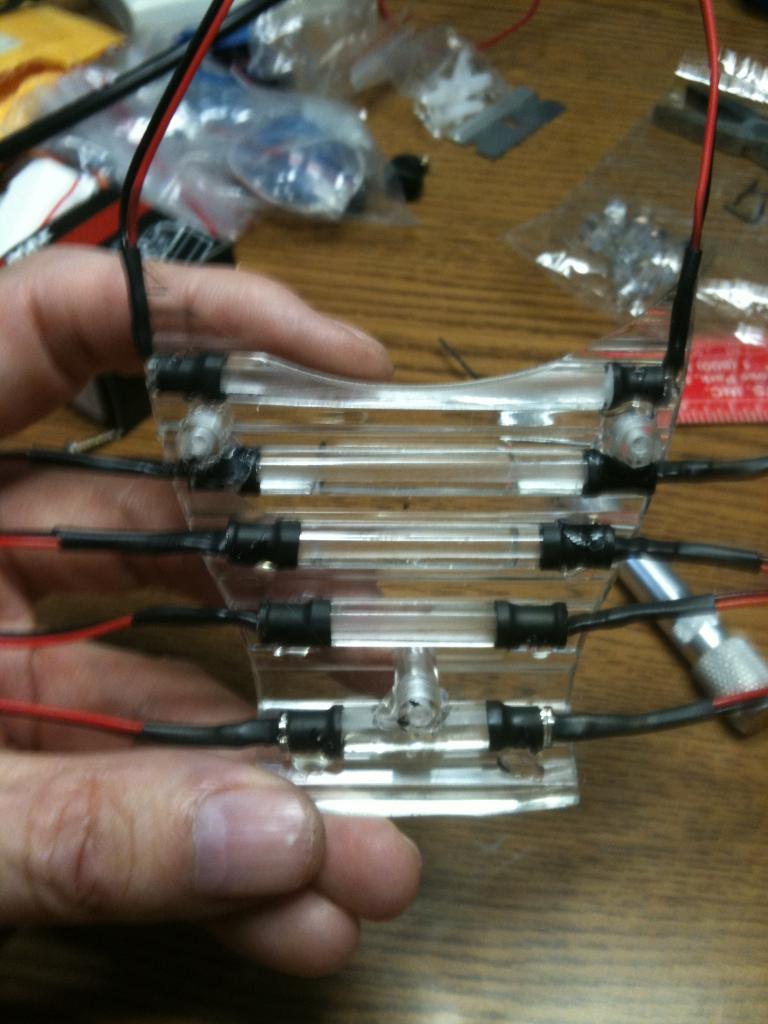
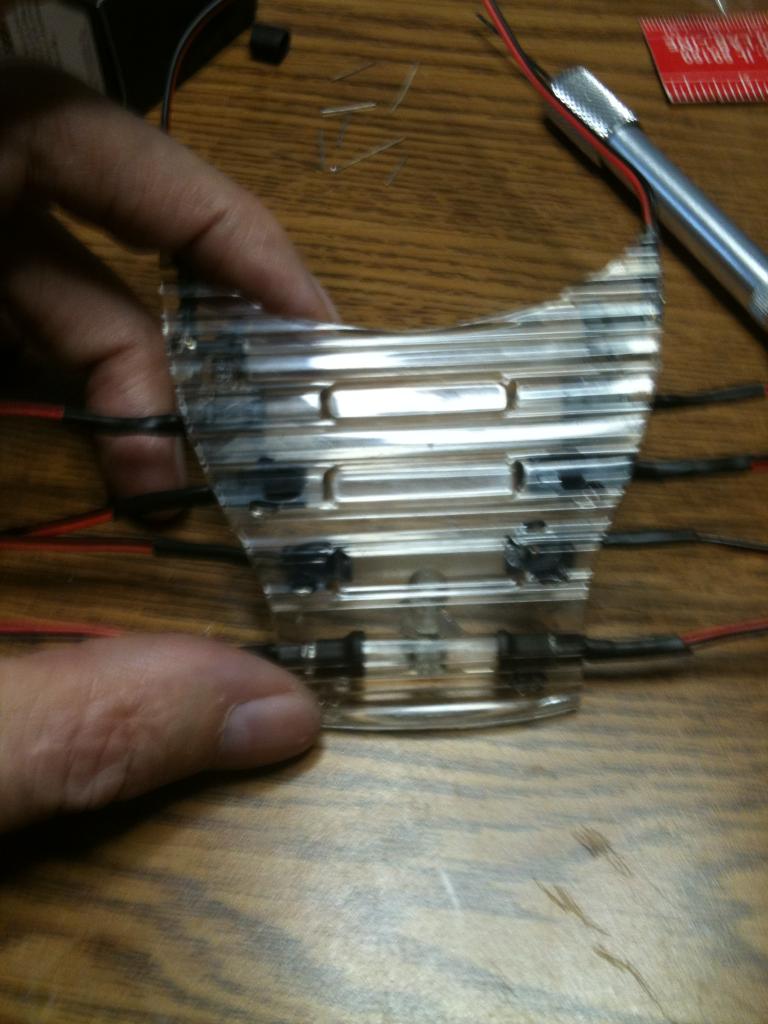
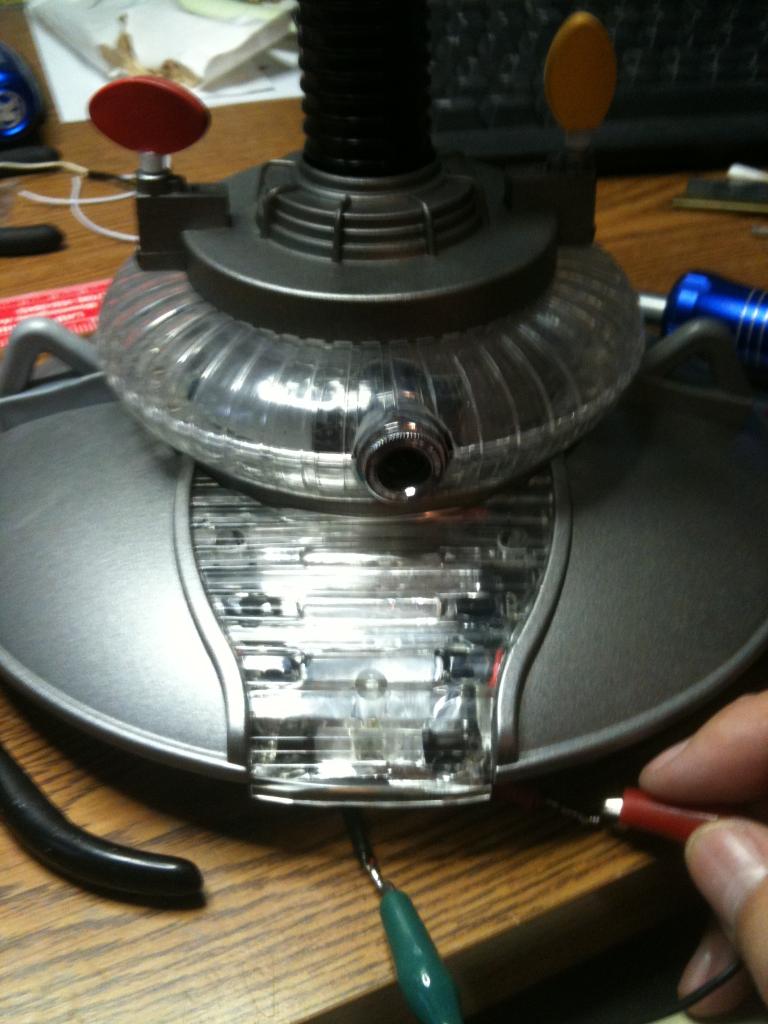
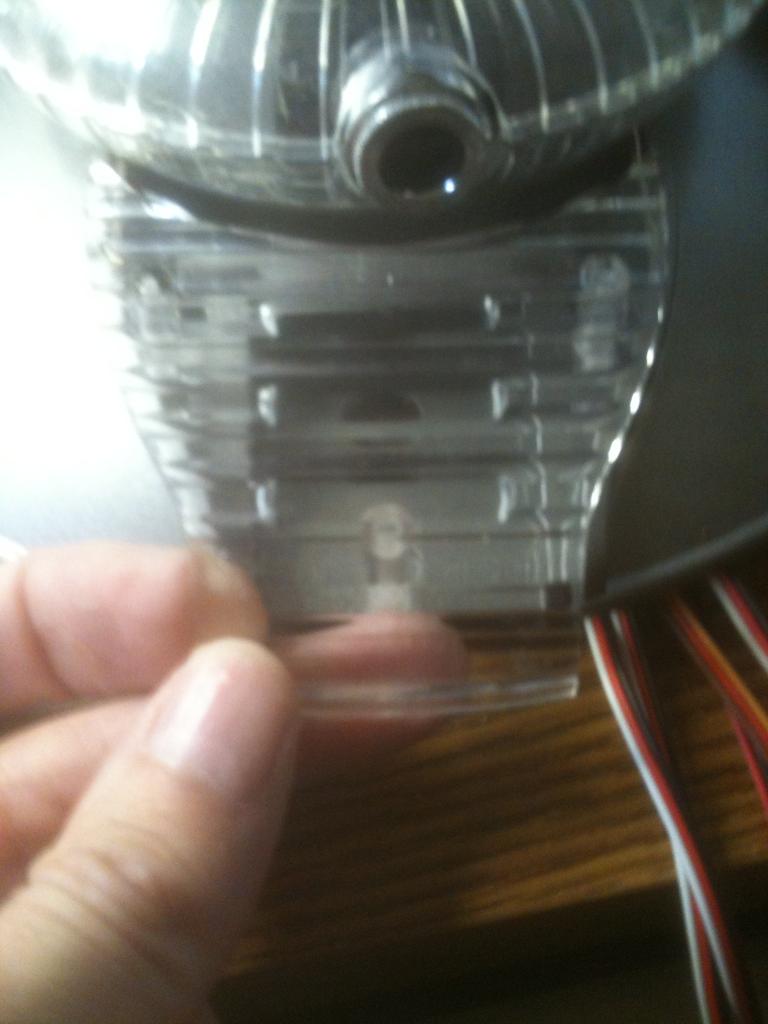
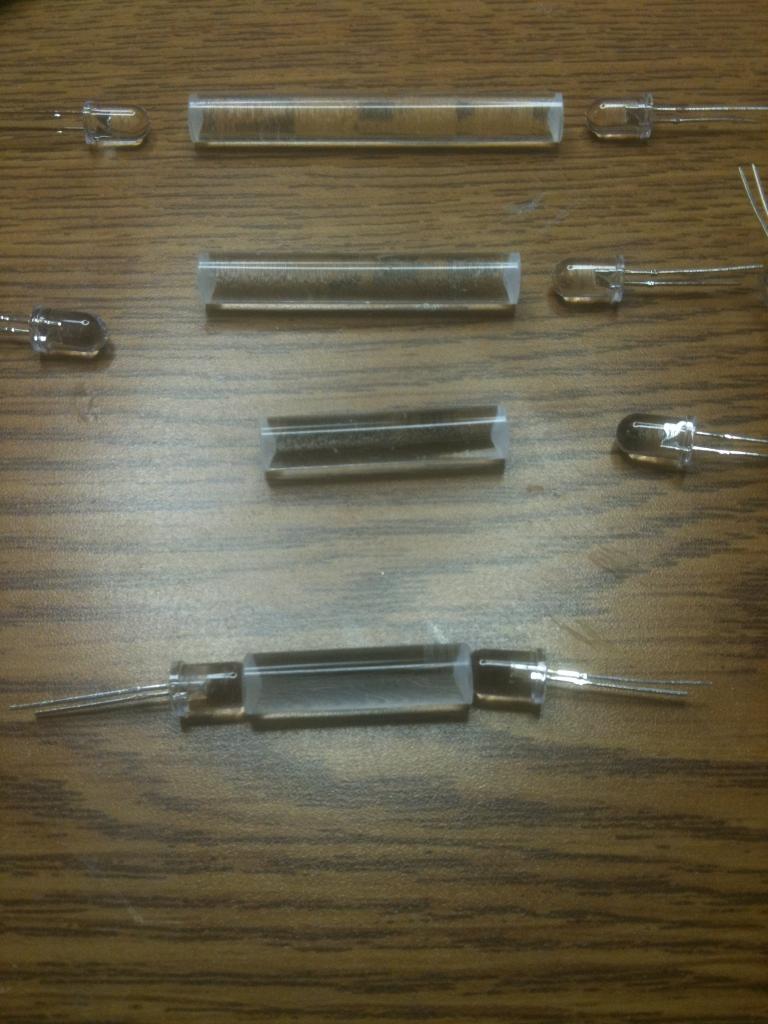
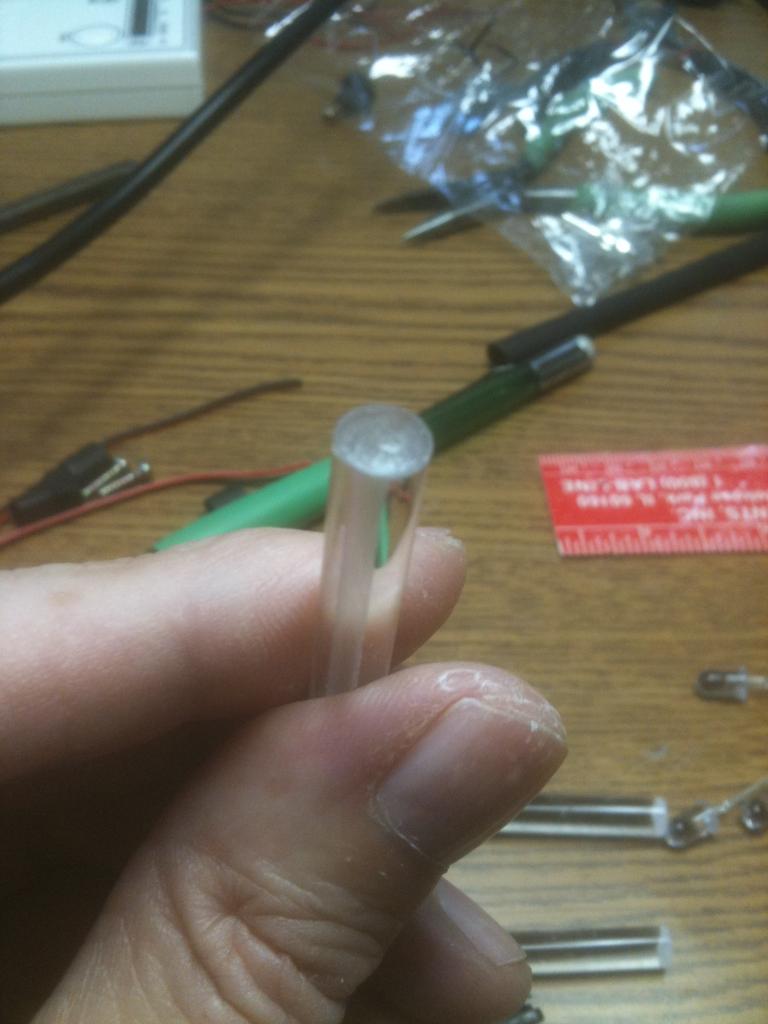
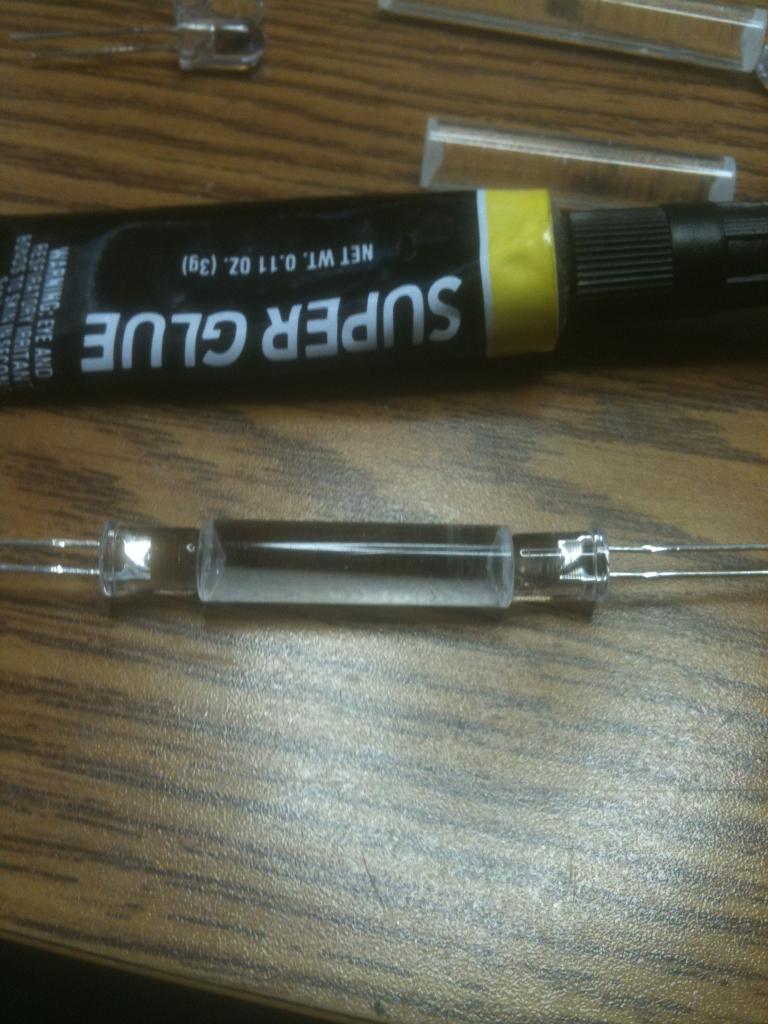
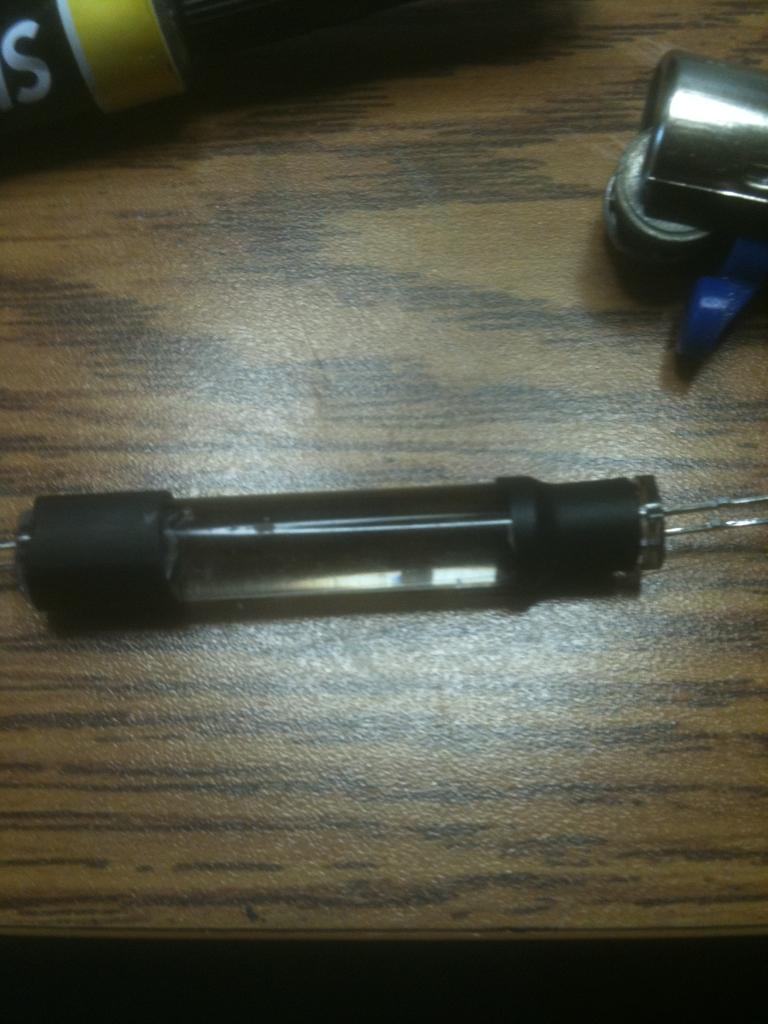
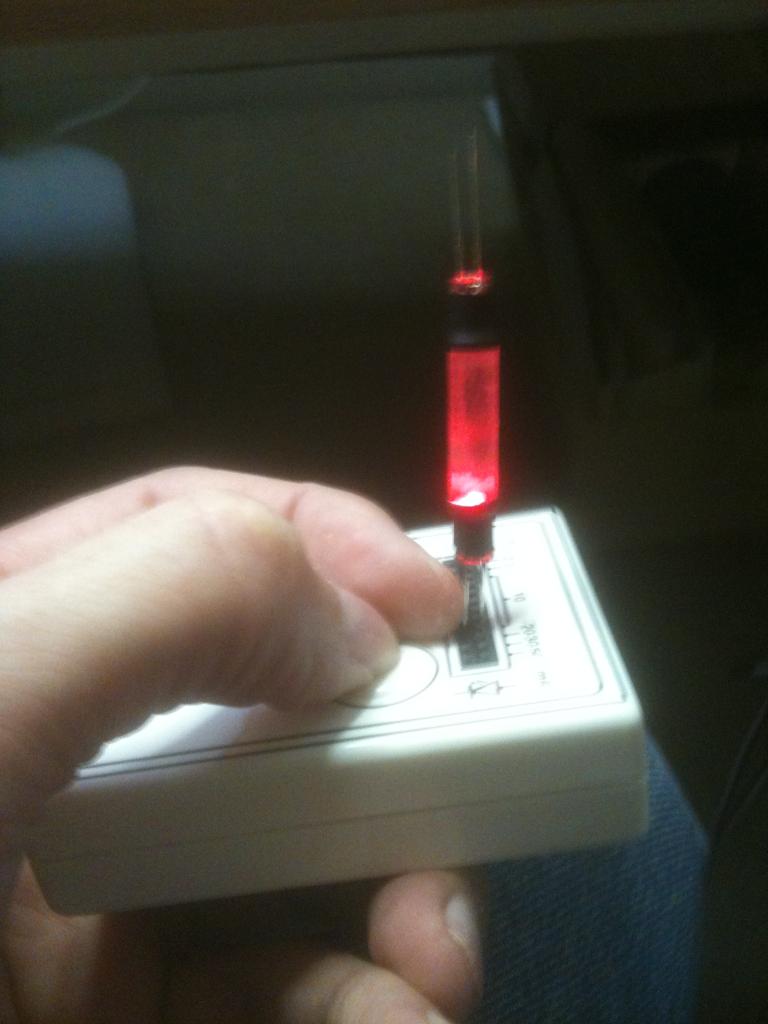
I have mounted clear LEDs in the appropriate colors in the chest at the bottom of the decal and have a flashing circuit that will blink them in the combination as seen on the series. Where the two large round circles are (white domes on the big guy) I will have my ping sensor. I have mounted pager motors in the antenna housings to turn the "sensors" as seen in the TV version. I have mounted red El Wire to his voice plate to emulate the original as well. I have also mounted a series of blinking LEDs to the "brain" section in the bubble.
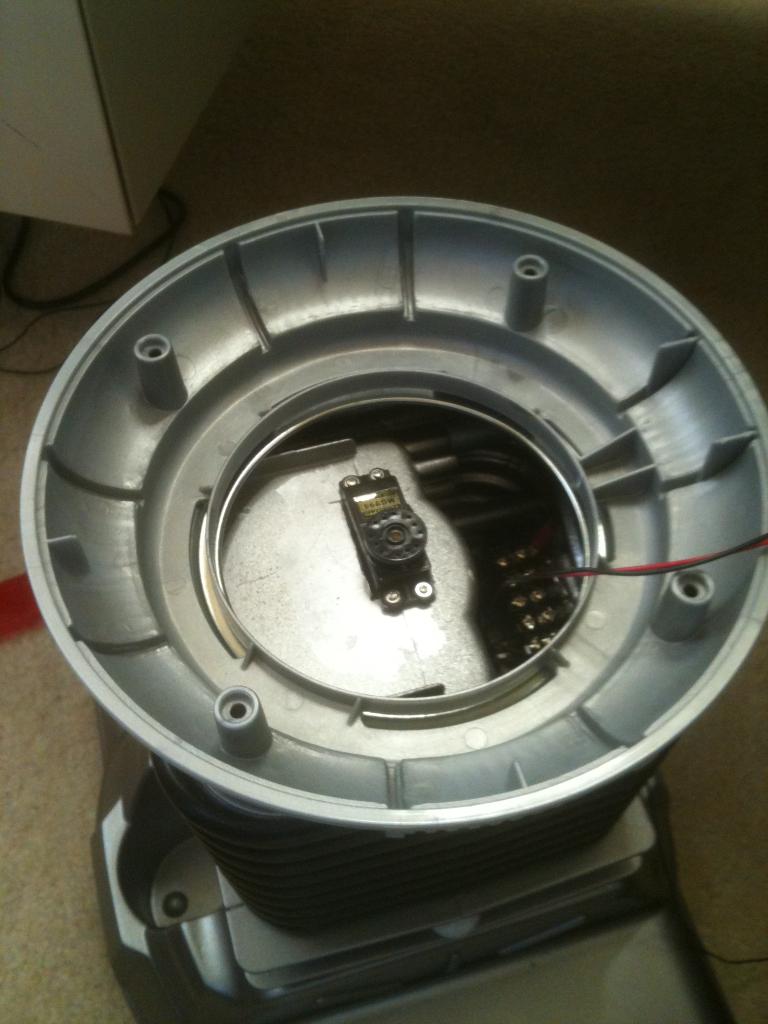
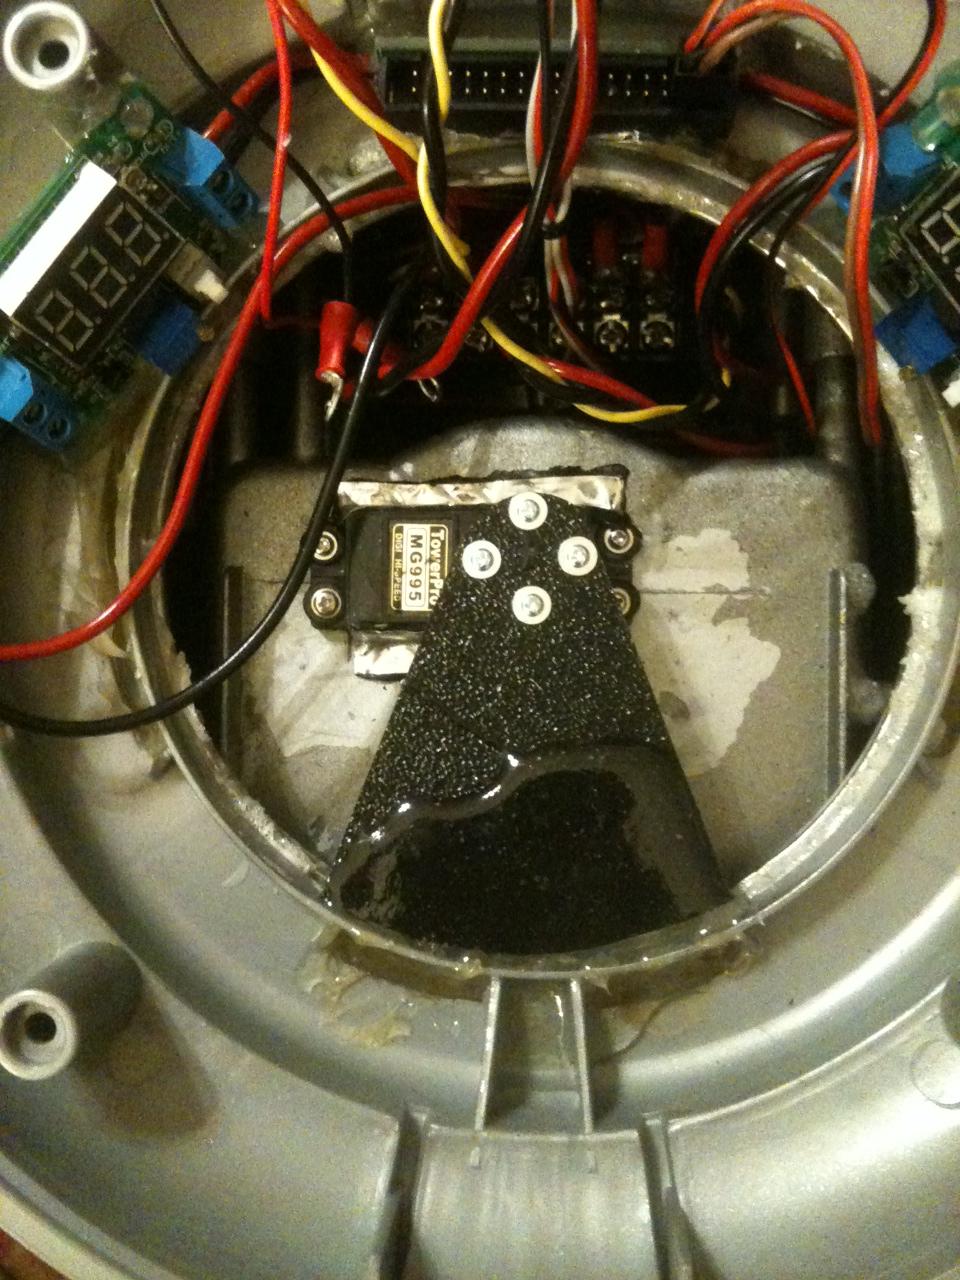
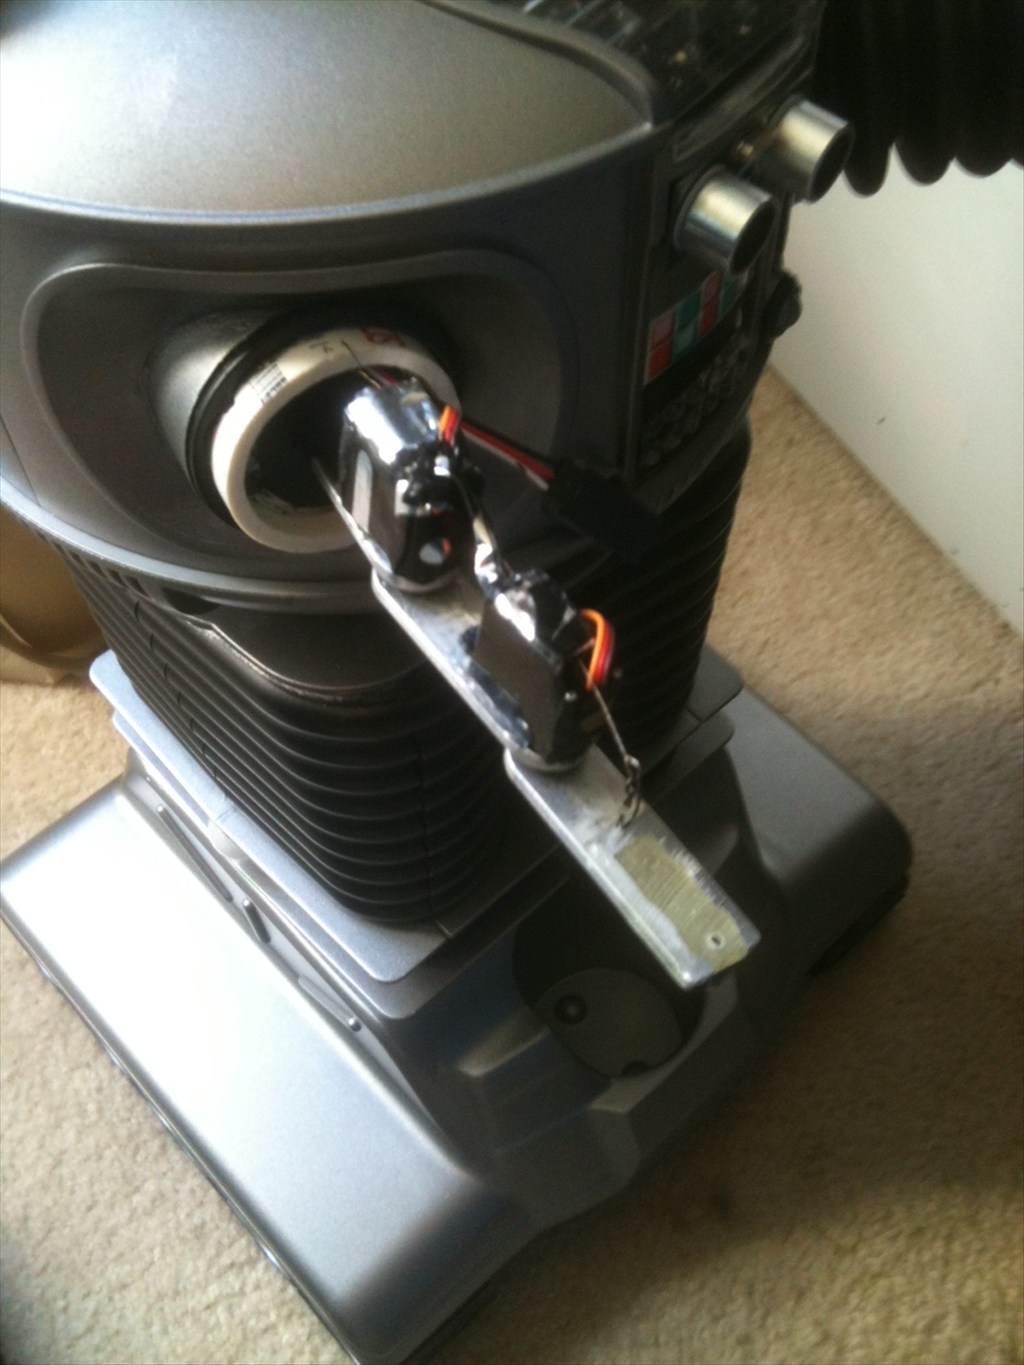
Next is to work on the rotation of the bubble and torso, articulate the arms and claws, and make a real functioning tread section. For the tread section I am adapting the base from my RAD robot. I will keep you posted with pics as I proceed.
Thanks,
Bret
Discover more robots
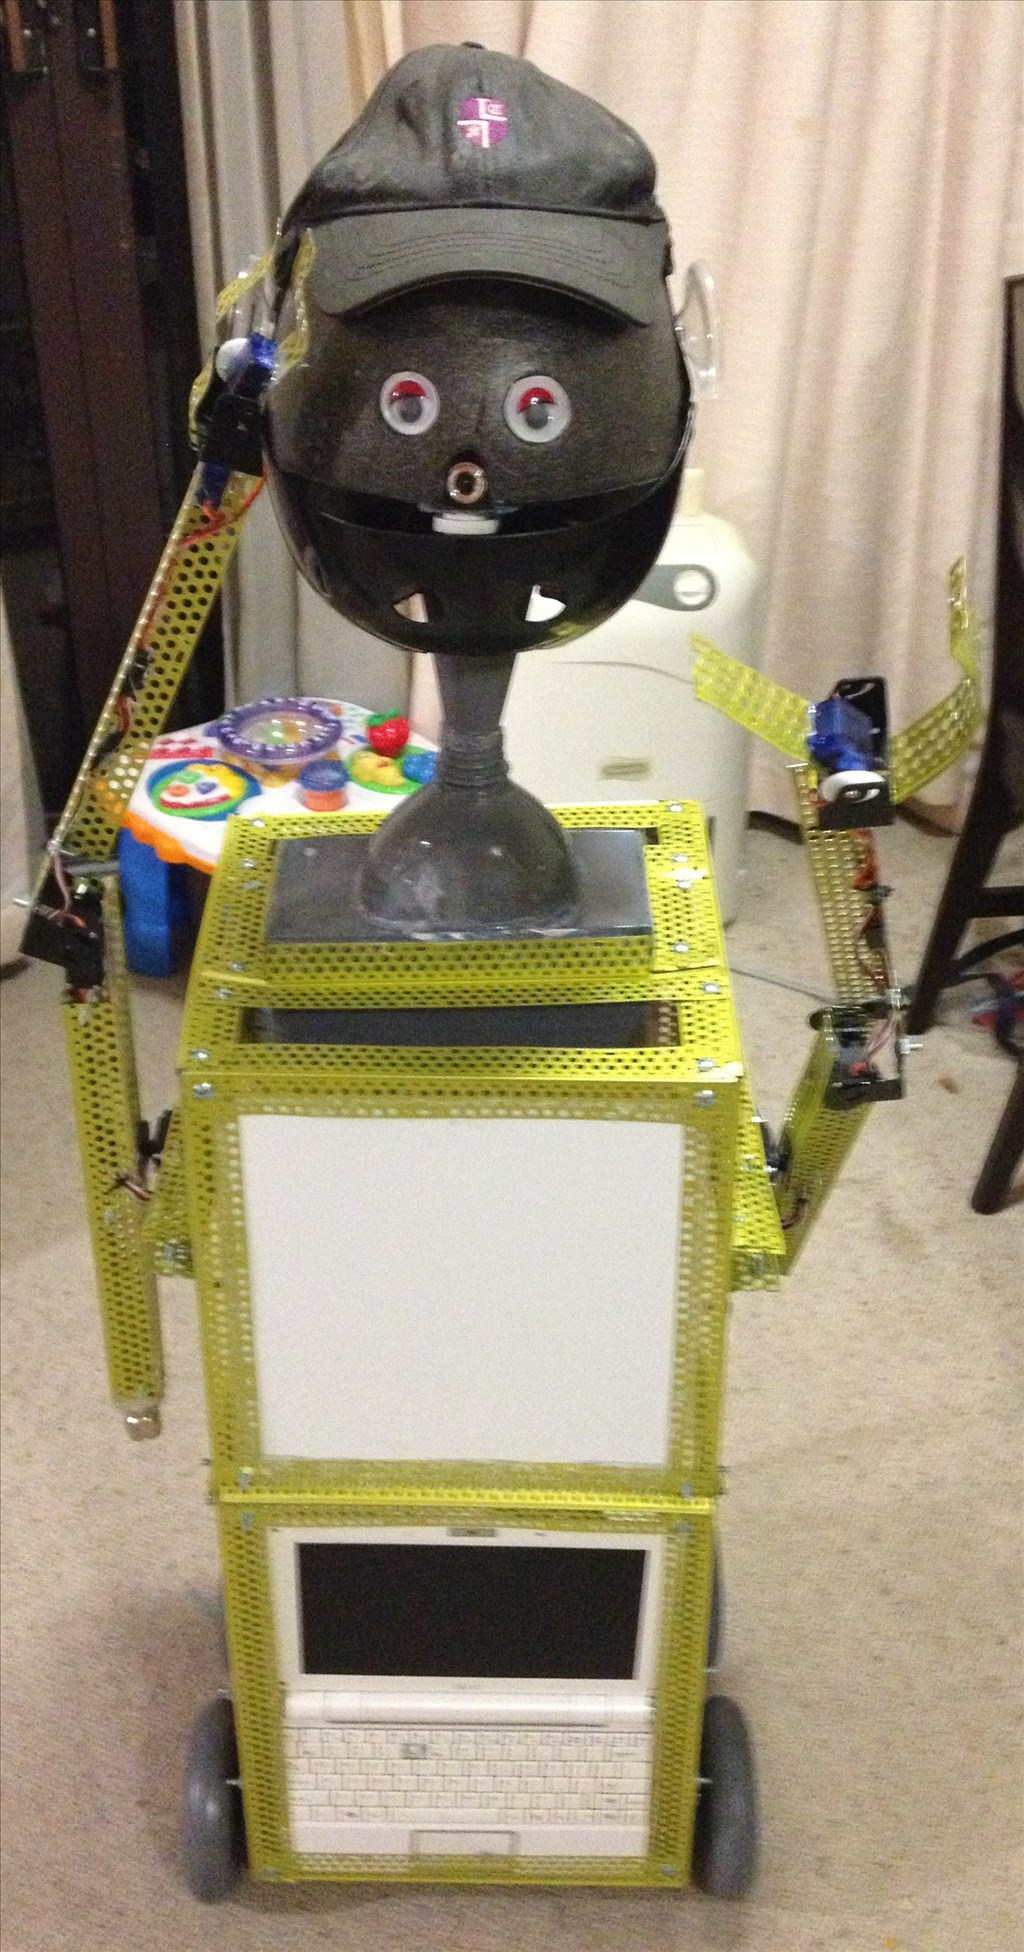
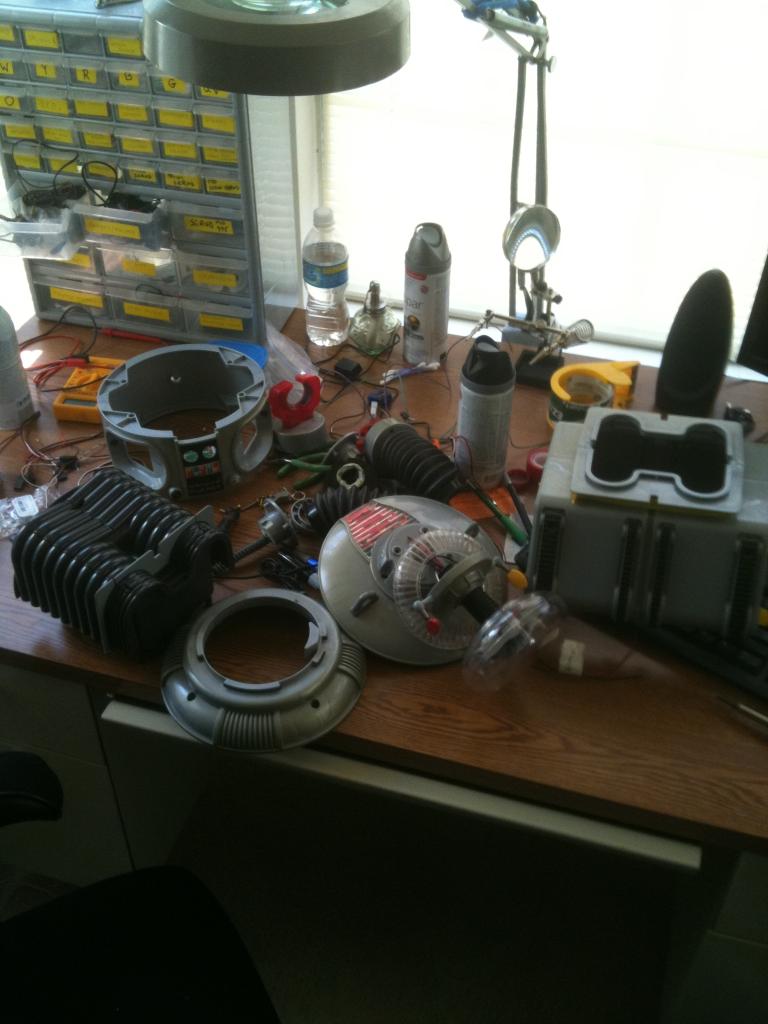
Mita's First Robot From Bits Around The House
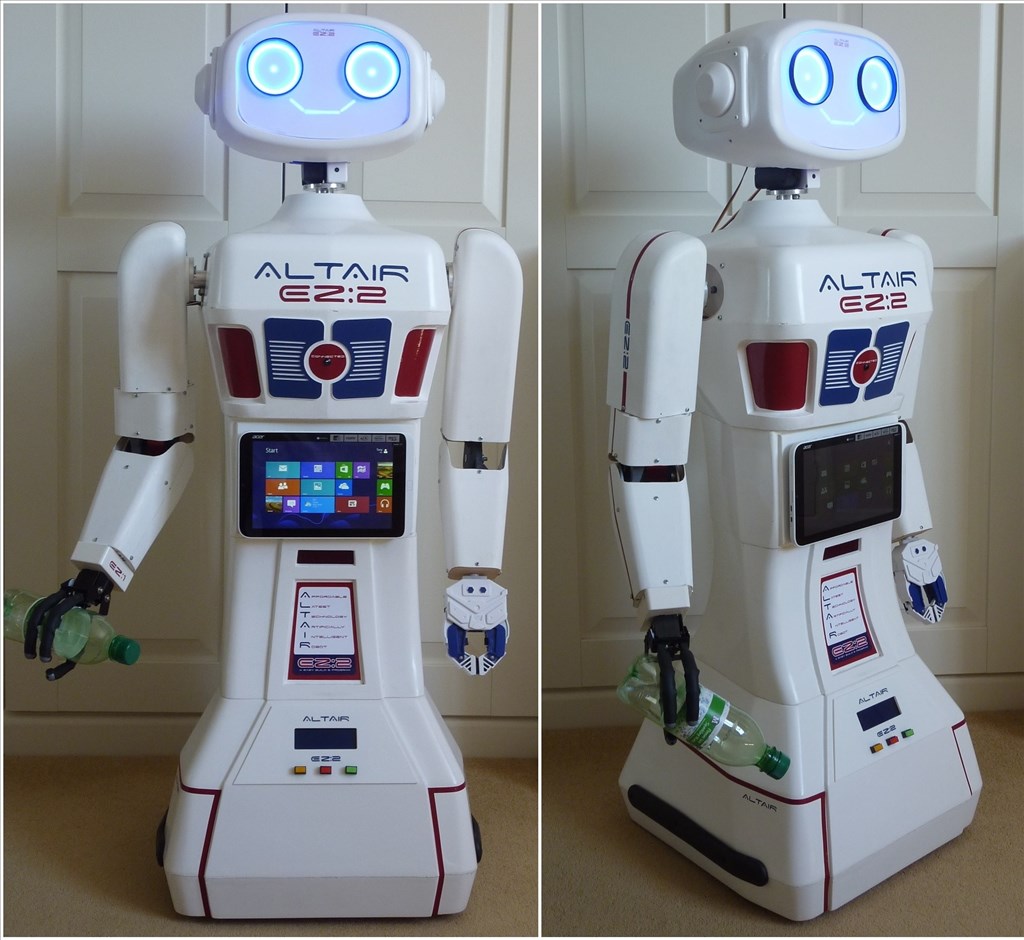
Toymaker's Introducing The Altair Ez:2 Robot

Sorry man I posted the wrong pic , here's the pic showing the batteries strapped down with Velcro wire tie on their.edge.
I hate giving up that cup colder though, the perfect place for him to bring me a beer! I actually found this battery, that with a little modding, I think I can fit behind the cup holder.

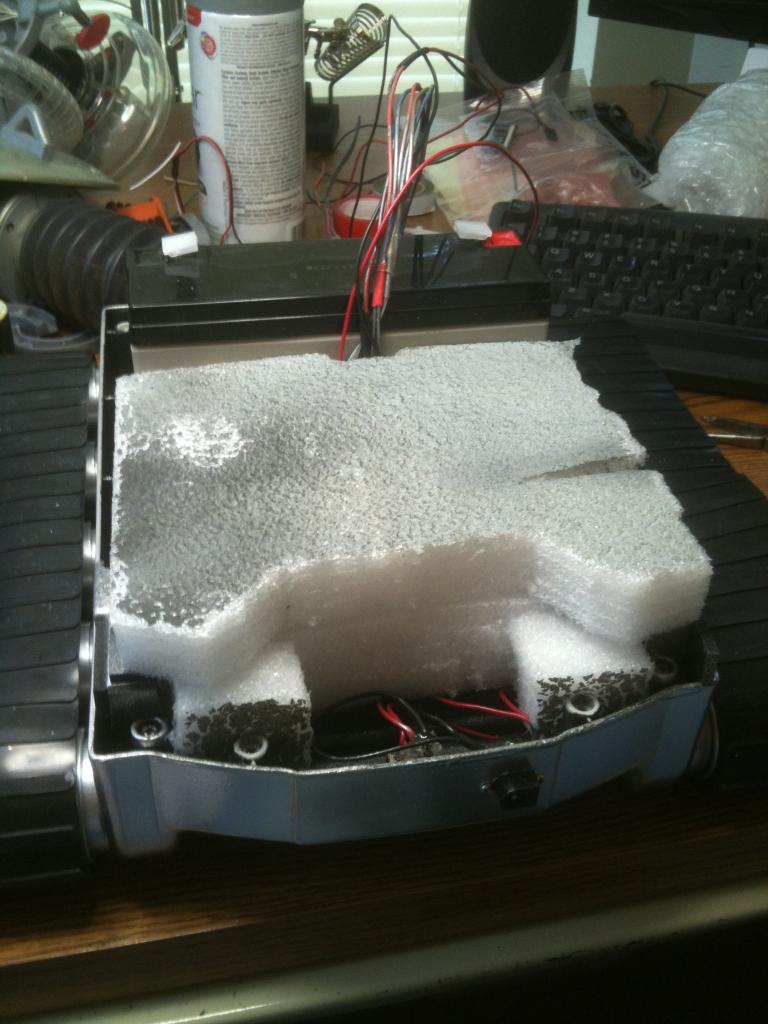
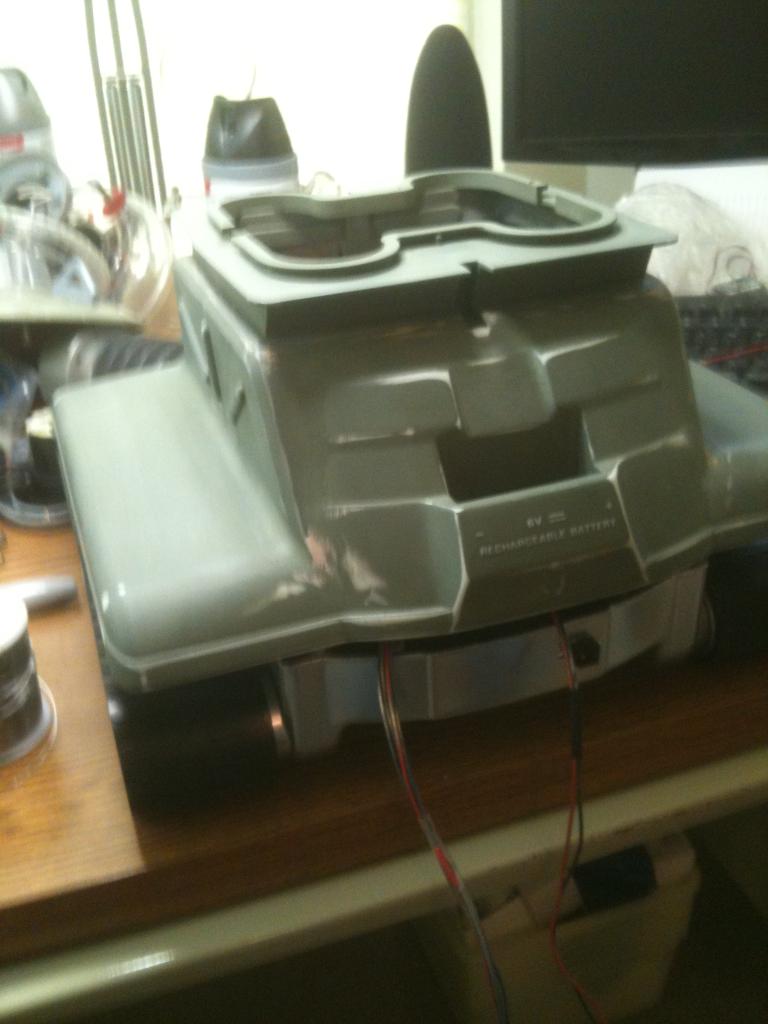
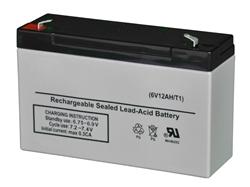
The dimensions are 6" X 2" X 3.7" (LxWxH) - it is 6V 12AH and only $14.00@jstarne1 - what are your plans for your RAD base?
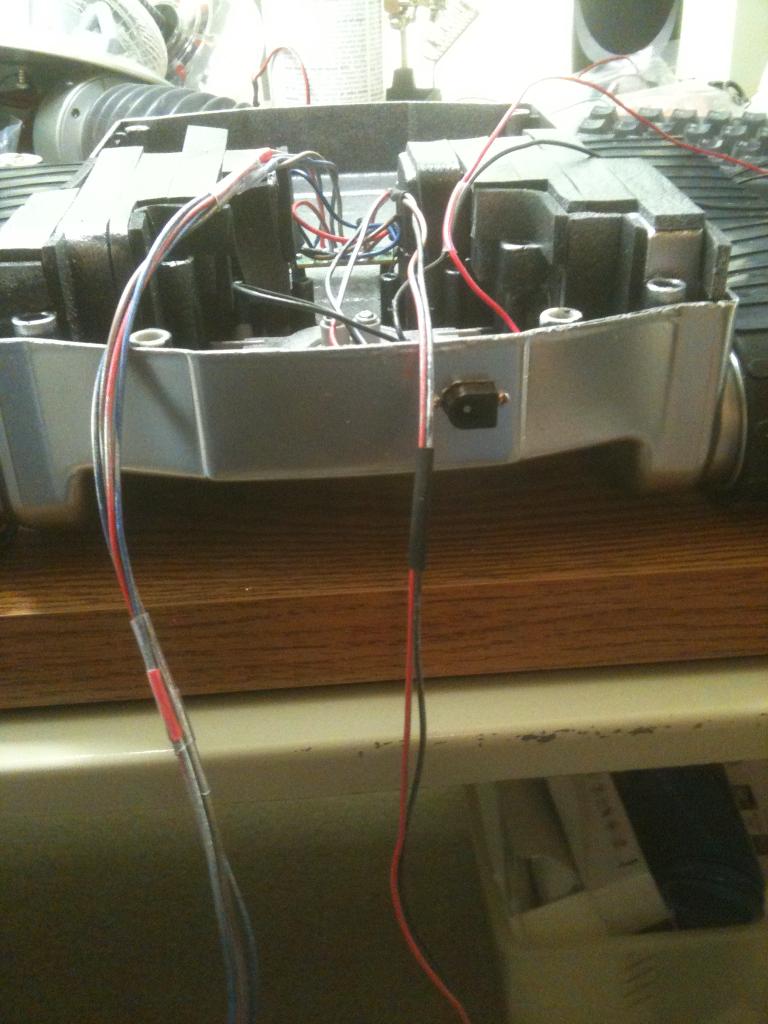
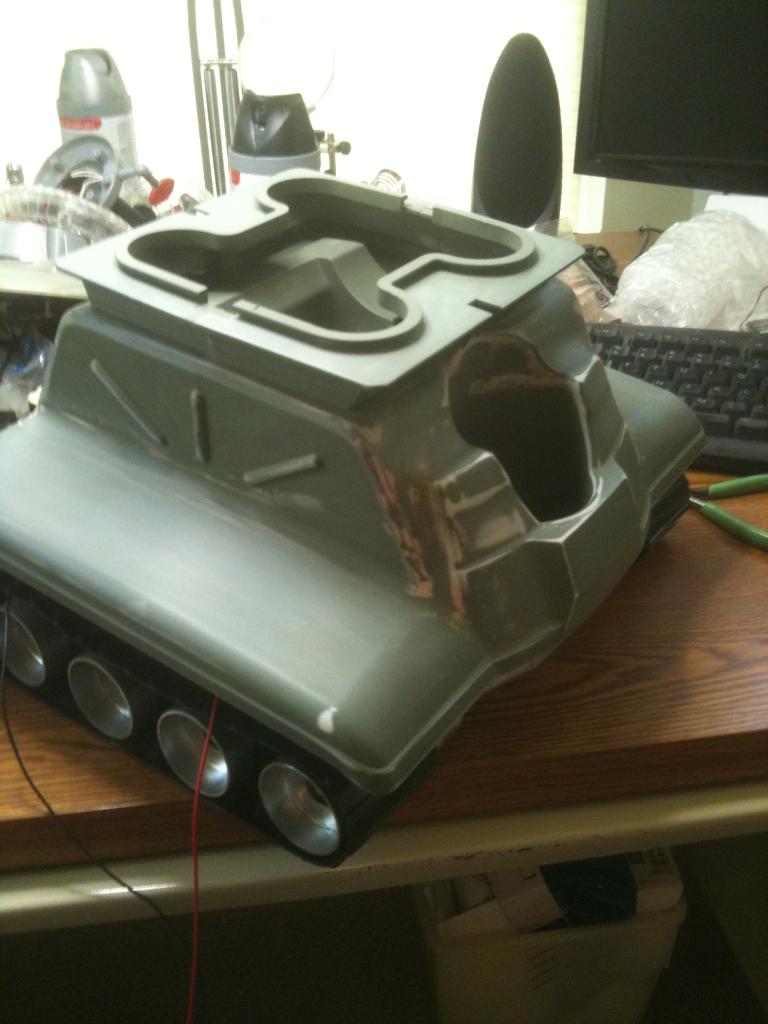
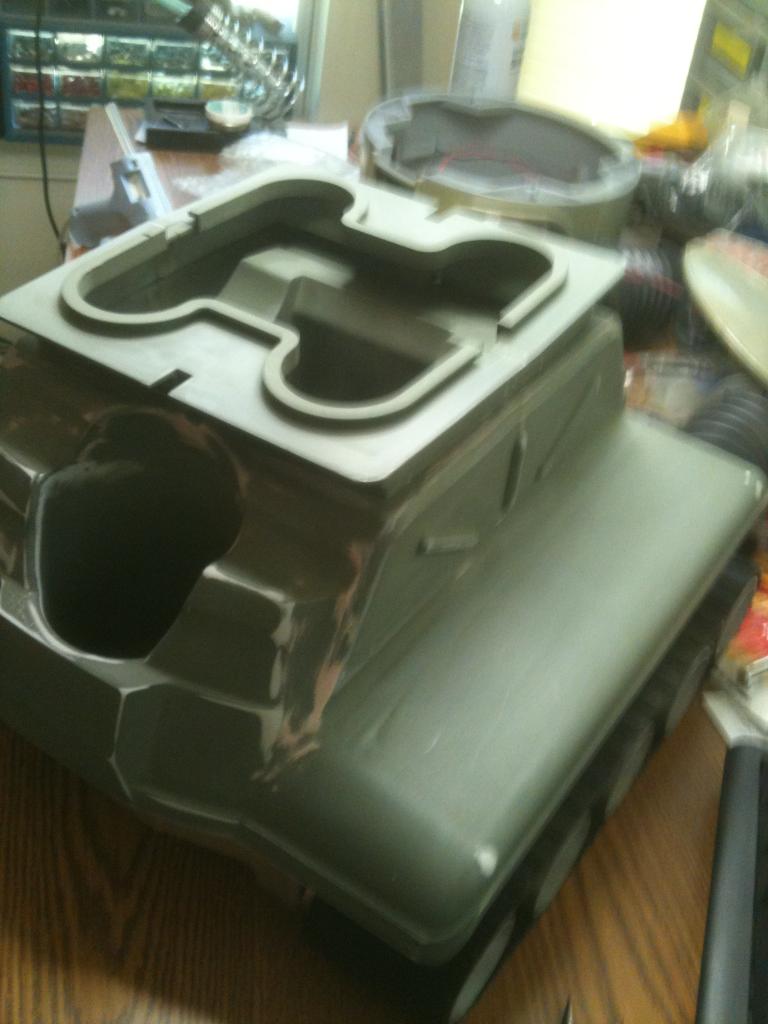
I measured , keeping the cupholder is a no go ,
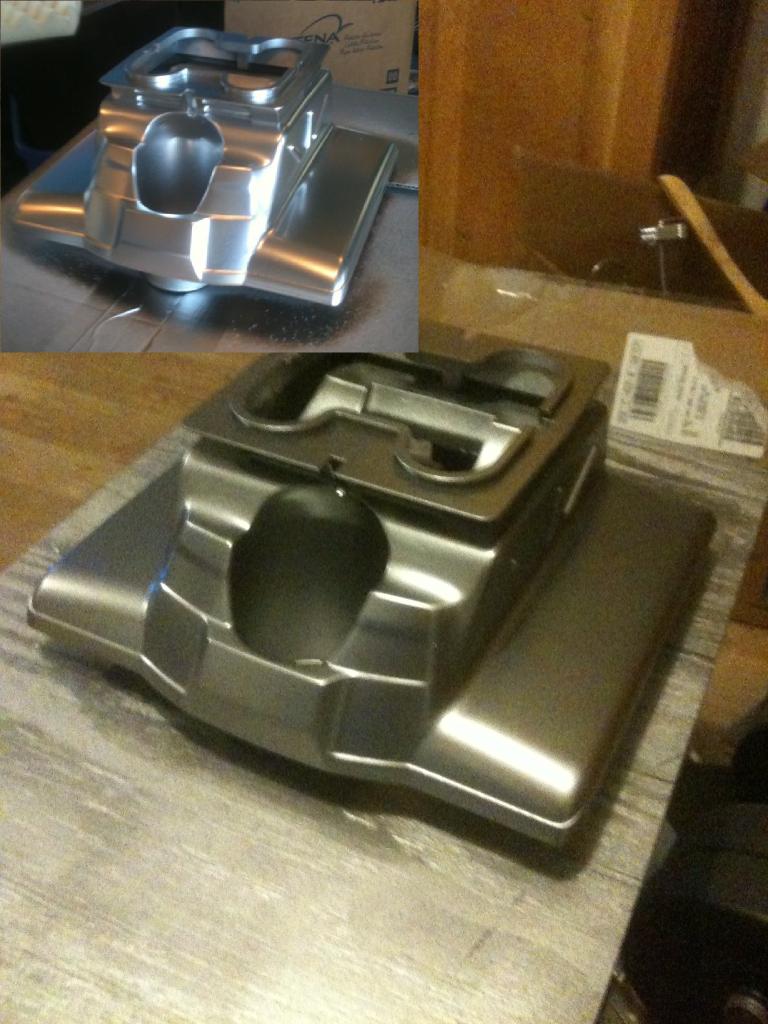
@Josh - I went ahead and ordered that battery. I will just have to see how I can fit it in and if the cup holder goes - oh well. But I like the idea of staying with the 6V and getting more than twice the AH. I have to add a piece to the top so the base can mesh up correctly with my B9's leg section - so maybe there is some room the for mods to help with battery placement. I think I am going to take your advice on the plasti-dip for the motor compartments at least. I kind of wish now that I had measured the db before and after to see what each change does. Oh well. The cool thing about the leg section is there is a storage compartment that opens from the front that will easily house the EZ-B and give me total access to it.
Sweet , so is the rad drive going to be hidden or are you gonna just sit your b9 ontop? Postba pic you know how I love pics lol
You could just cut the cups bottom out and trim out about 1.75 inch then glue the bottom back on. It would just be more shallow that originally. I'm pretty sure auto correct screwed up my grammer lol.
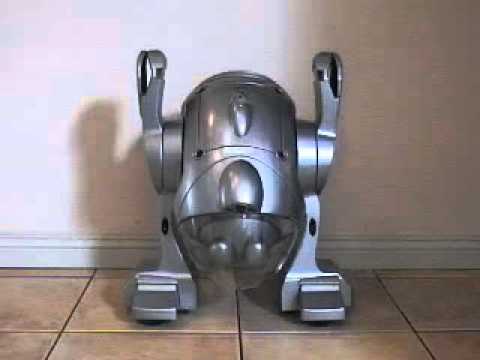
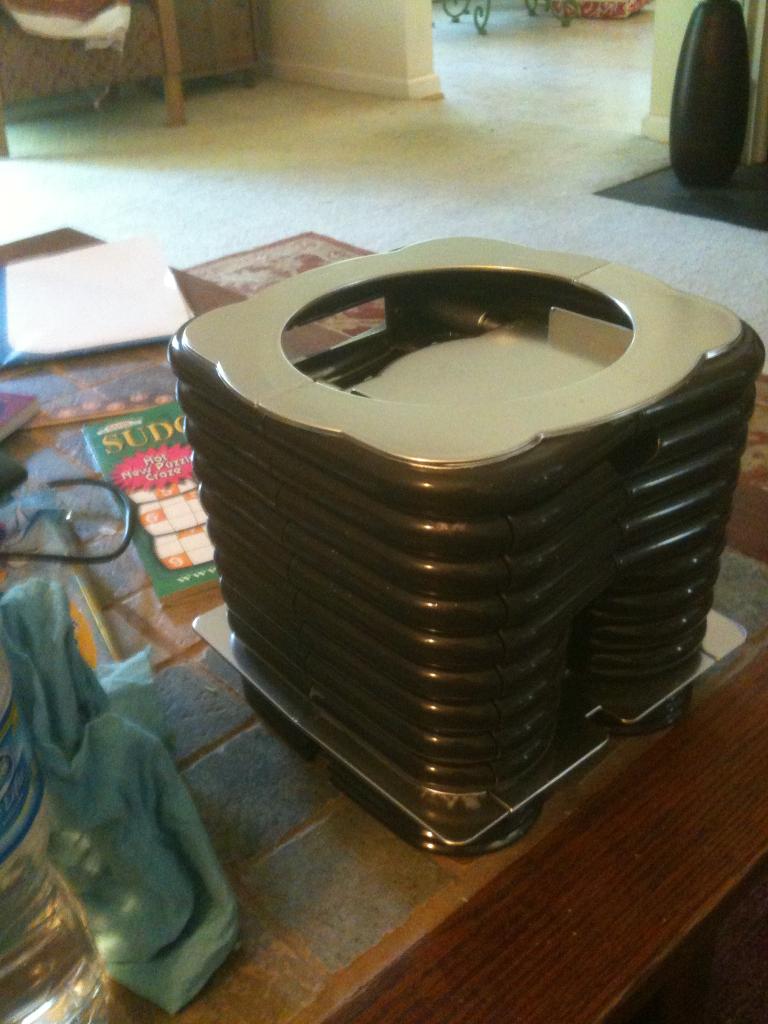
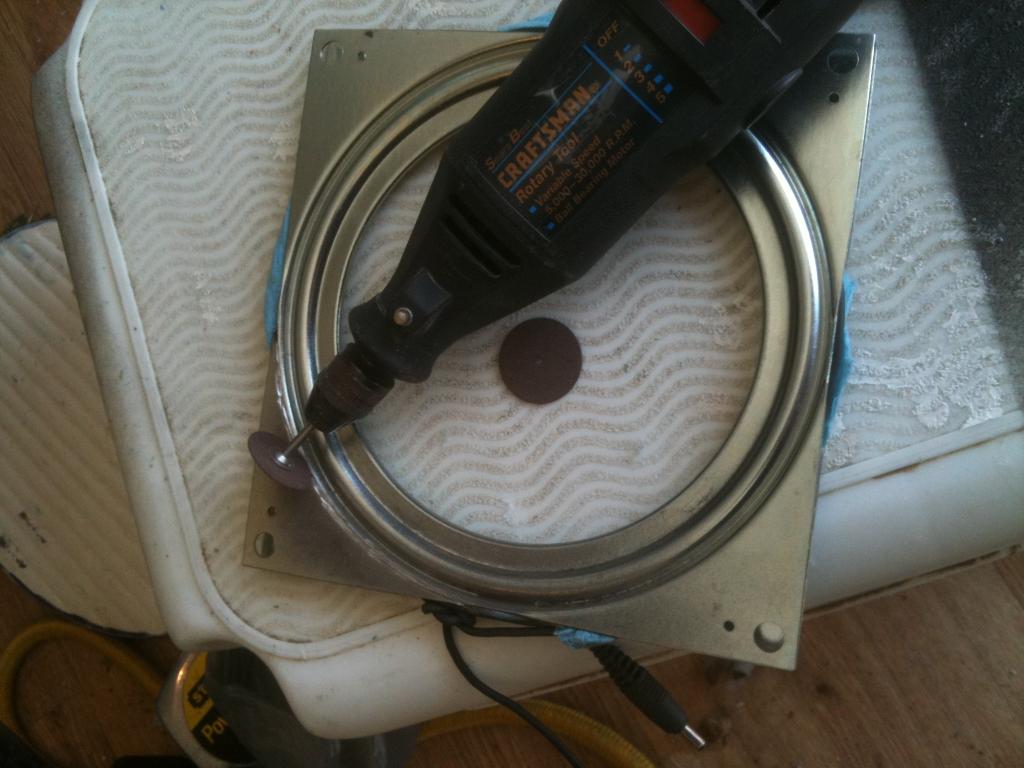
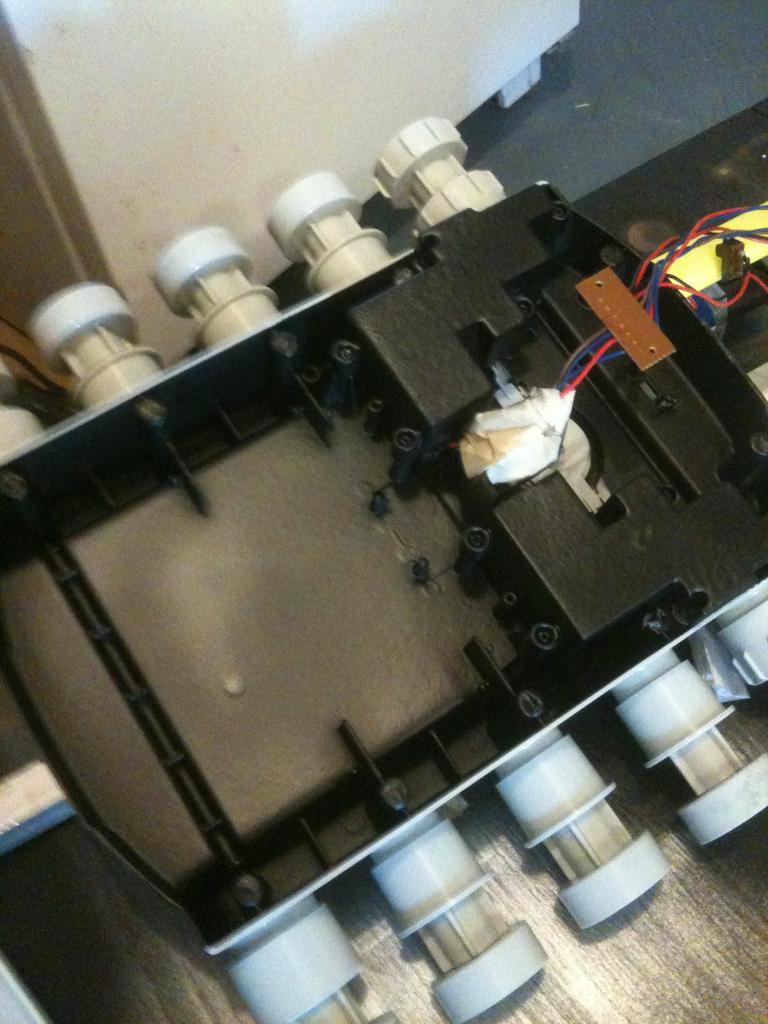
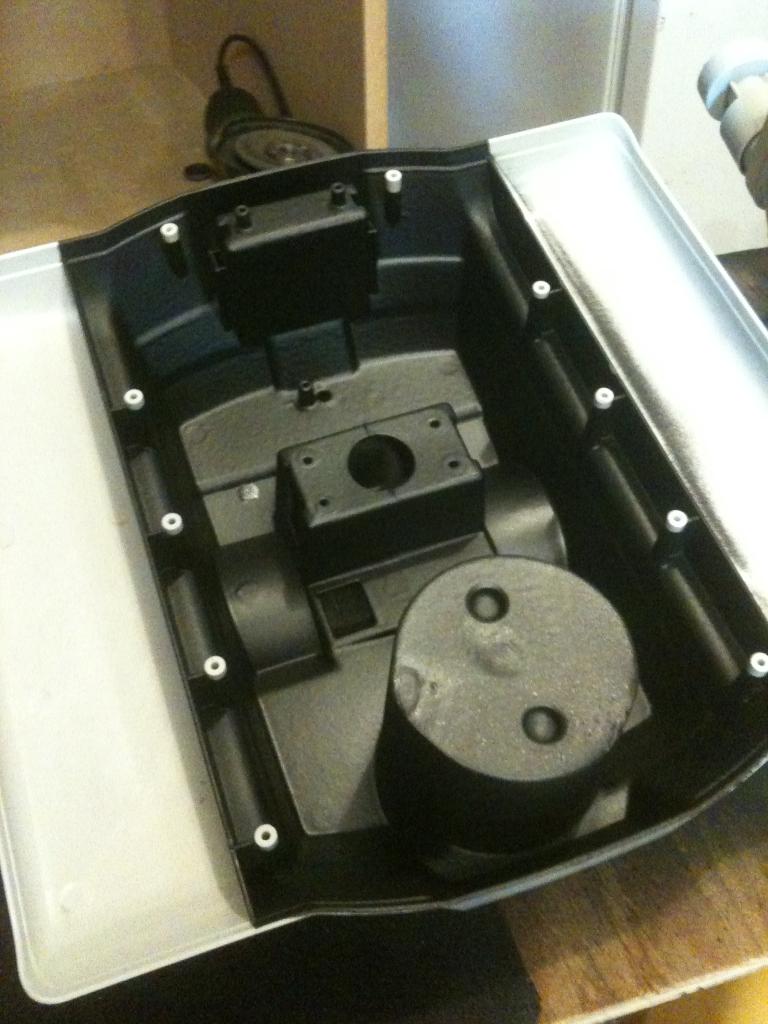
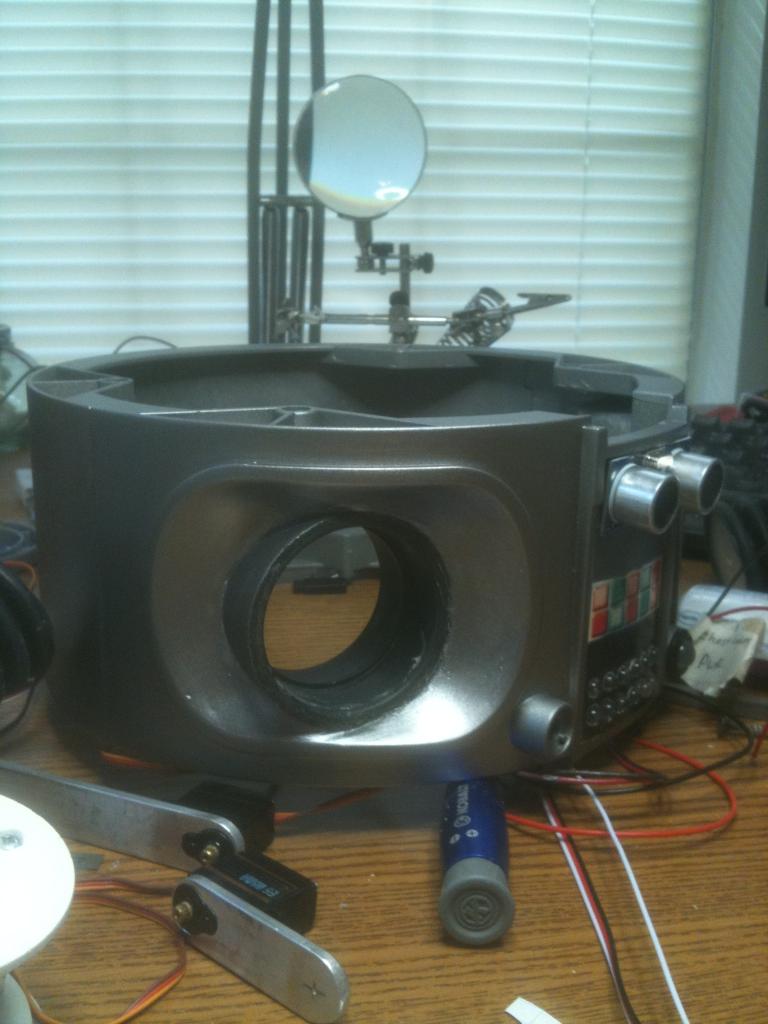
So this weekend it is the drive section. Here is the RAD base I am using:
-634693164809062500.jpg)
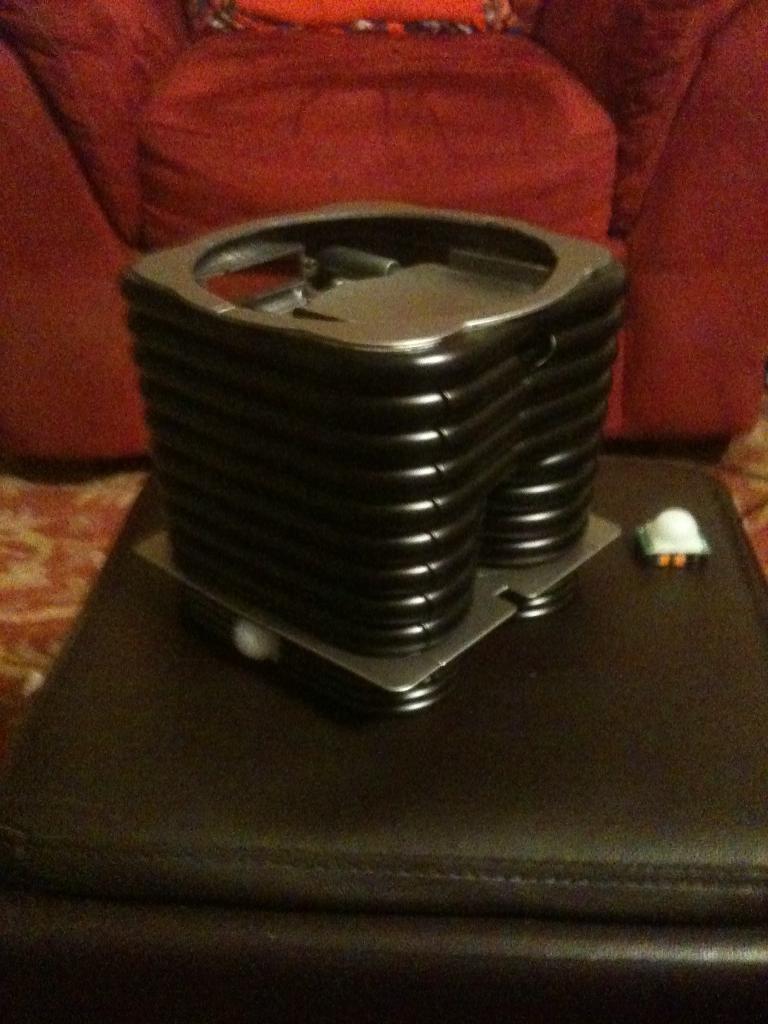
And the battery:-634693165327500000.jpg)
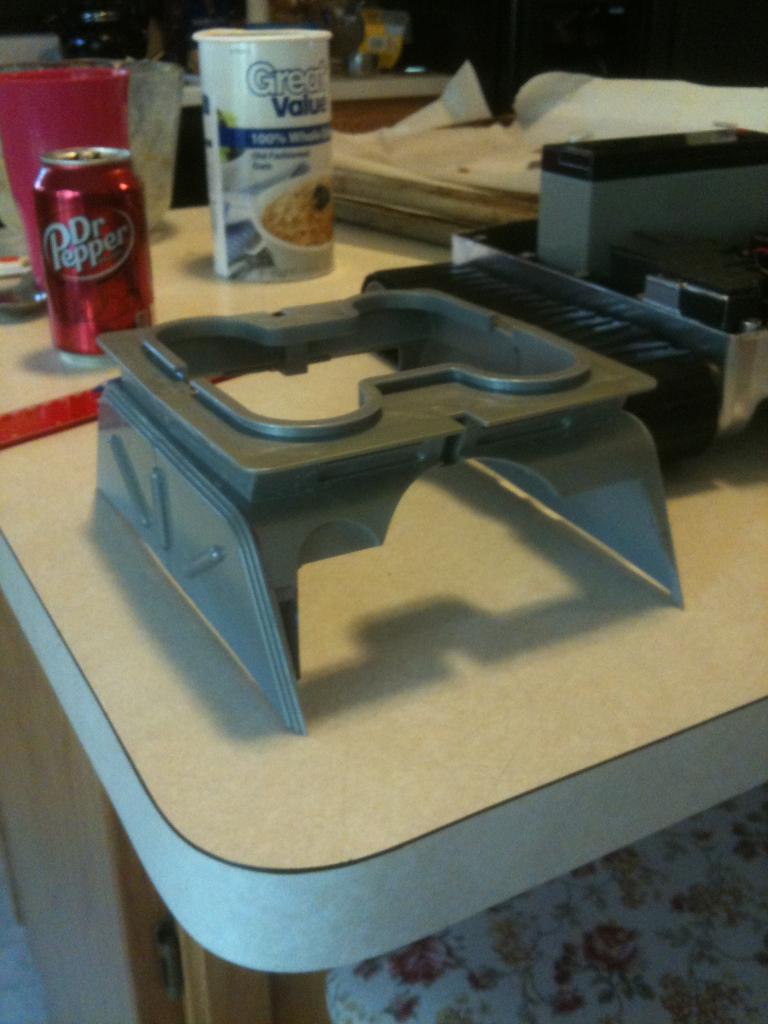
Then I have the B9 base I need to blend with it so the leg section can attach.Sweet that's great , so you managed to turn it sideways . Does it fit with top on?