


-635353562186322812.png)


Hi all,
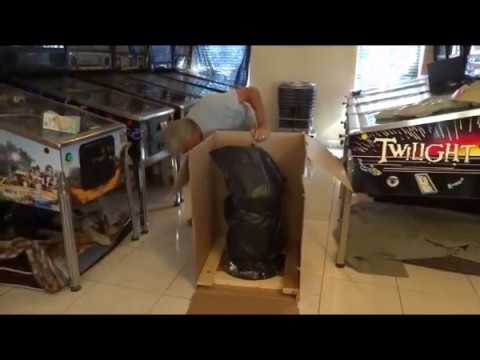
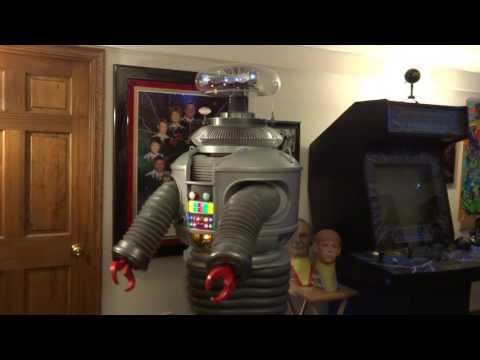
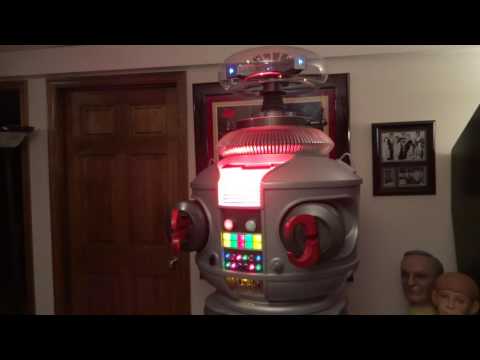
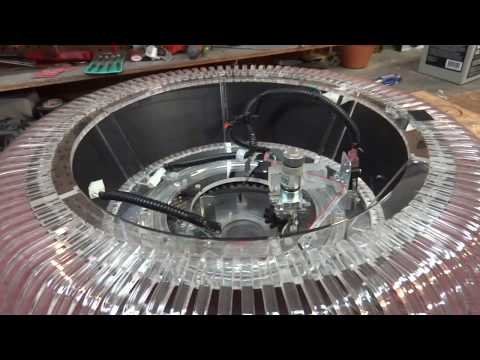
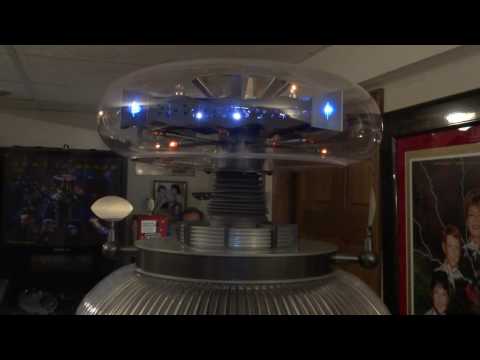
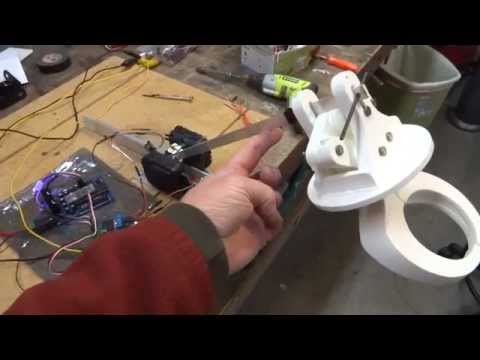
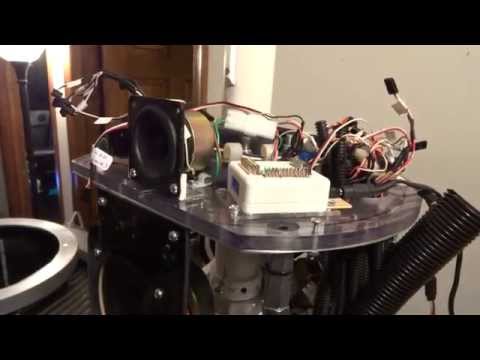
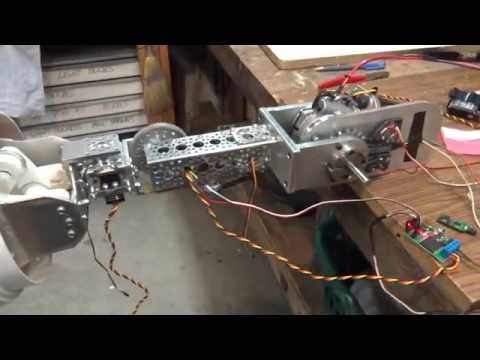
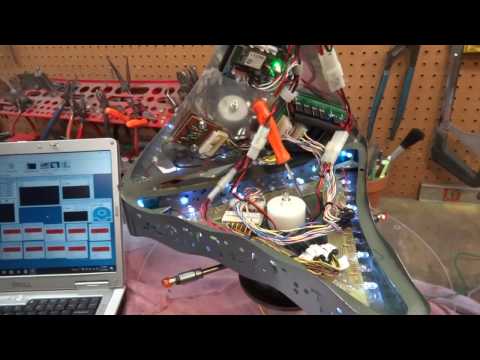
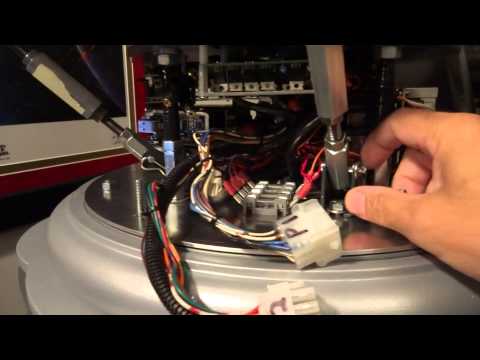
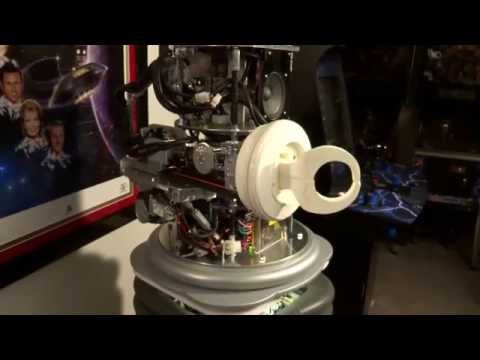
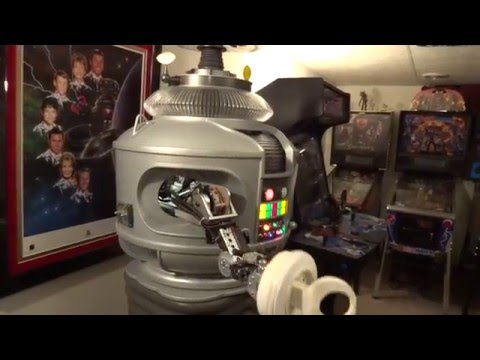
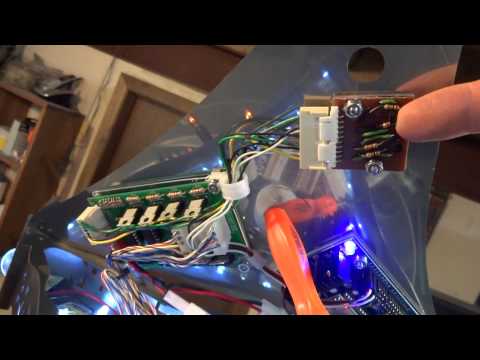
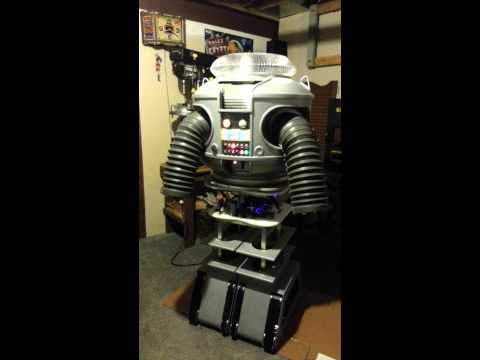
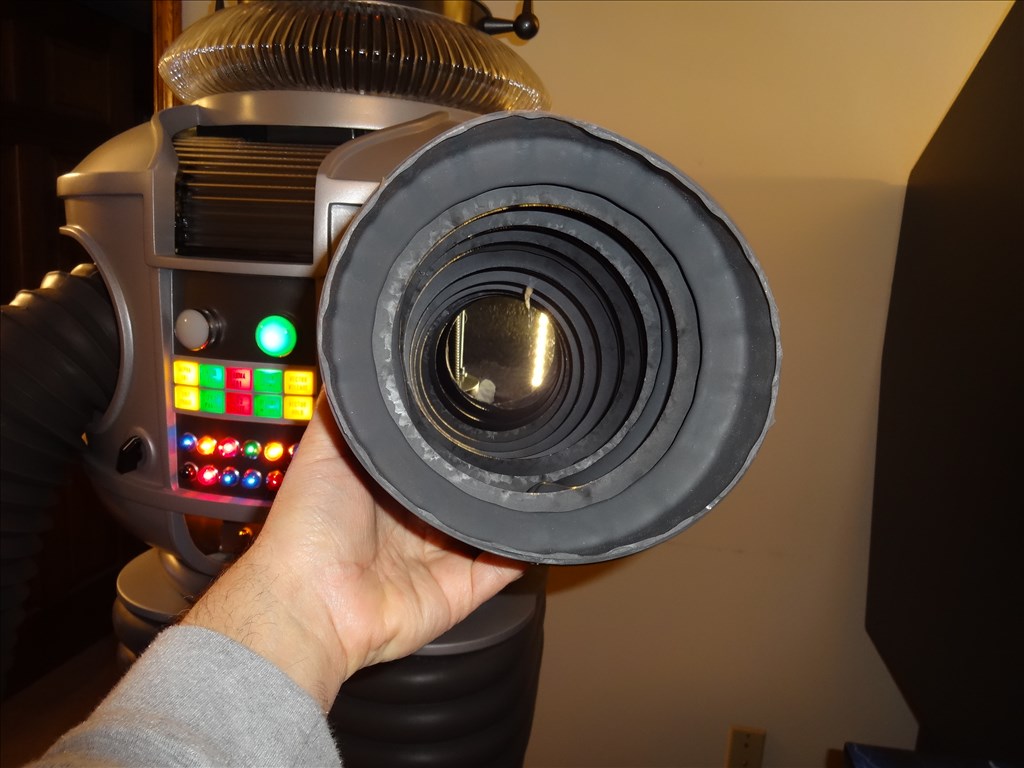
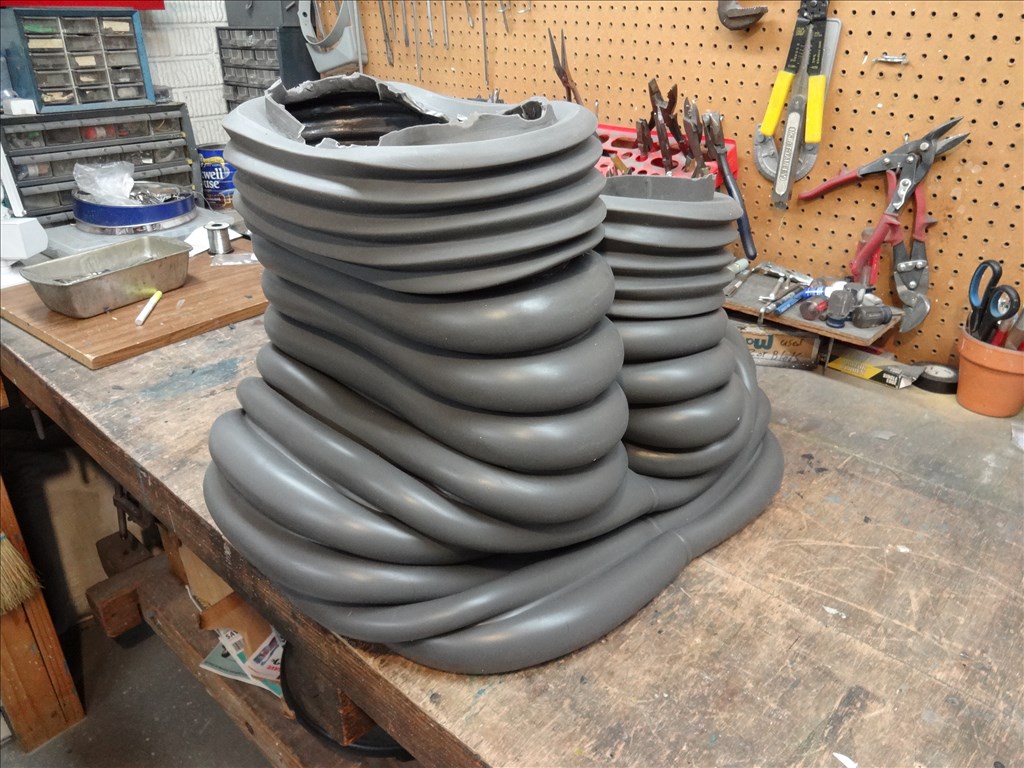
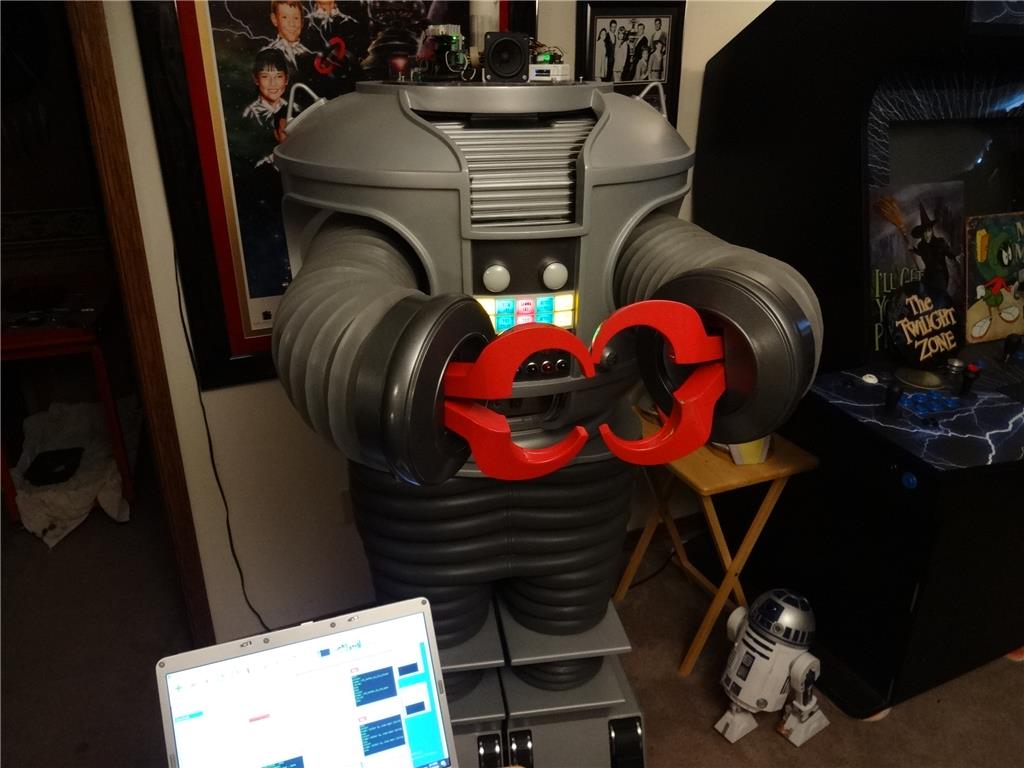
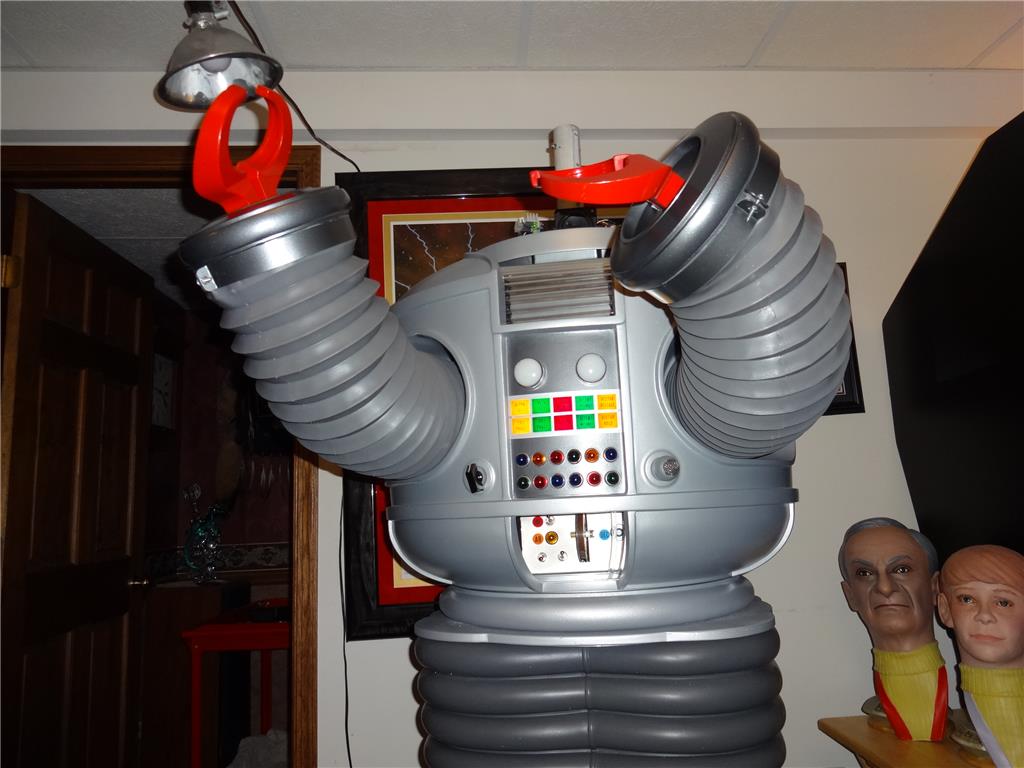
I'd like to share a video I just took of my full size Lost in Space B9 robot that's controlled by two EZ-B controller boards. Right now they are controlling limited movement and voice response of a few motors, lights and sound files played from a Sparkfun MP3 Trigger board. Although I'm just starting with the animation and have more building on the actual robot the result (mostly thanks to the EZ Robot controller board) is shocking. Please have a look at this (4 minute) You Tube vid and enjoy.
Please excuse some Technical camera lighting and sound issues. This is the first time I'd made and posted a vid online.
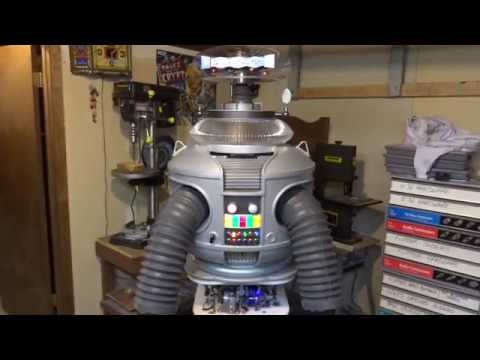
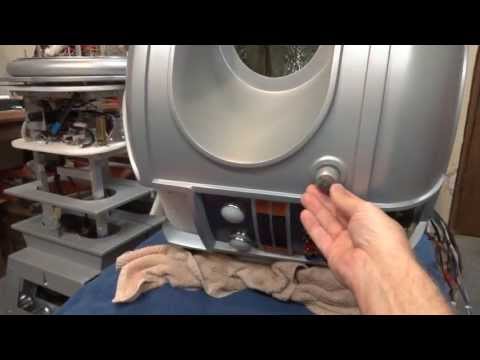
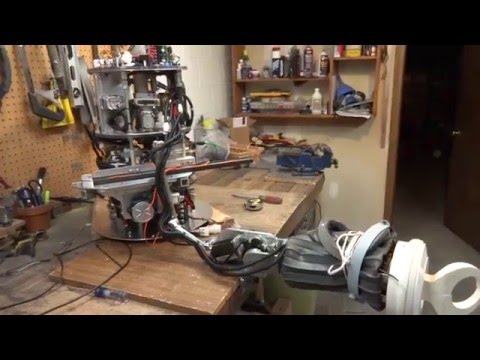
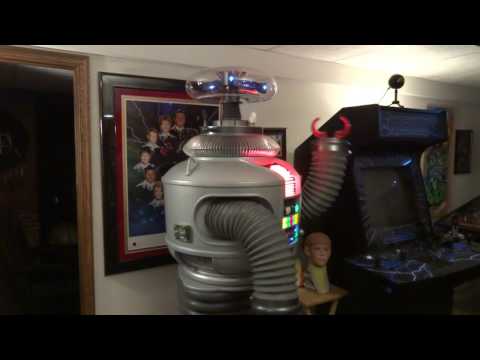
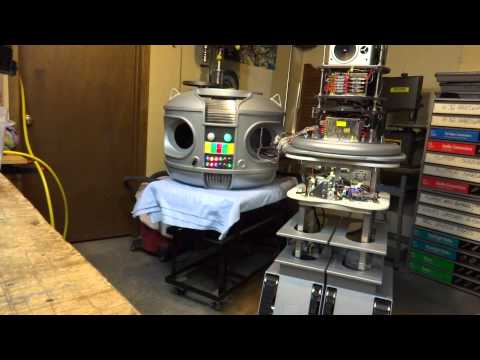
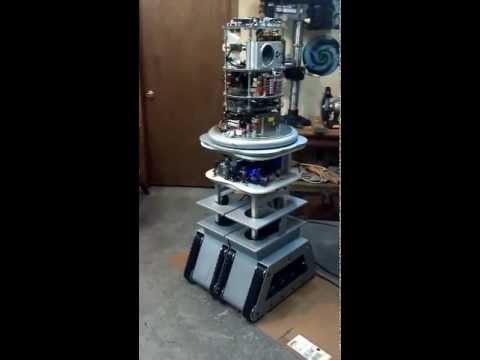
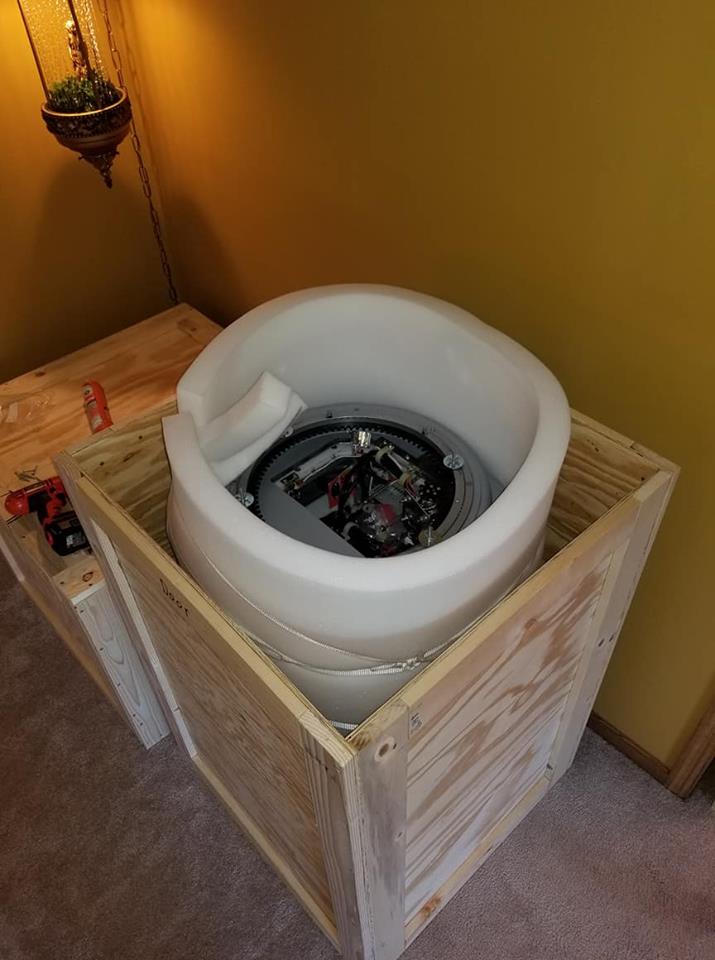
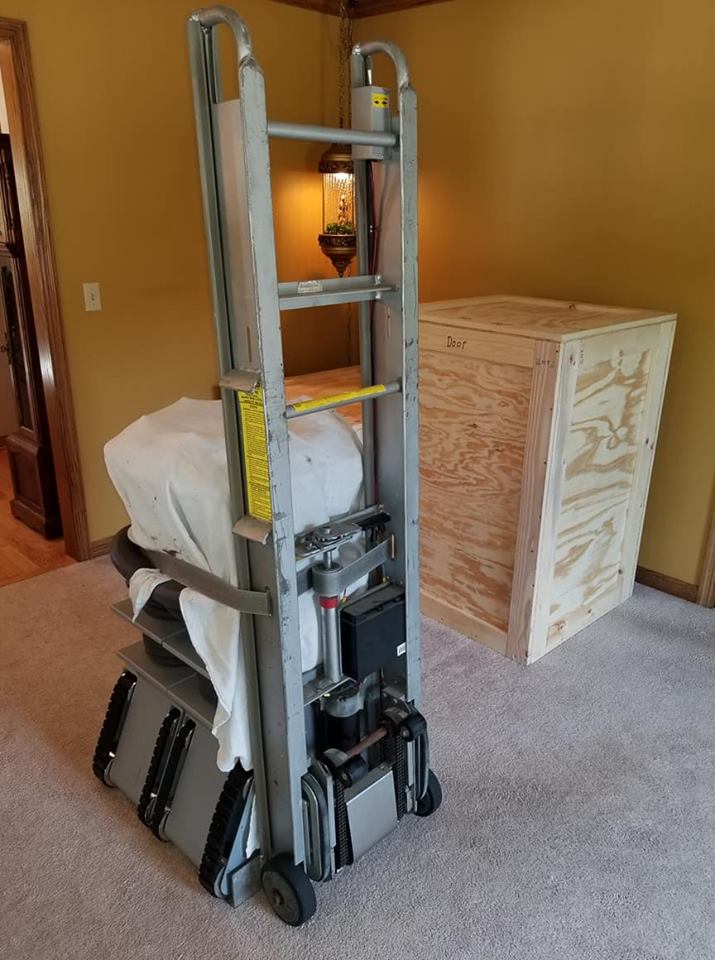
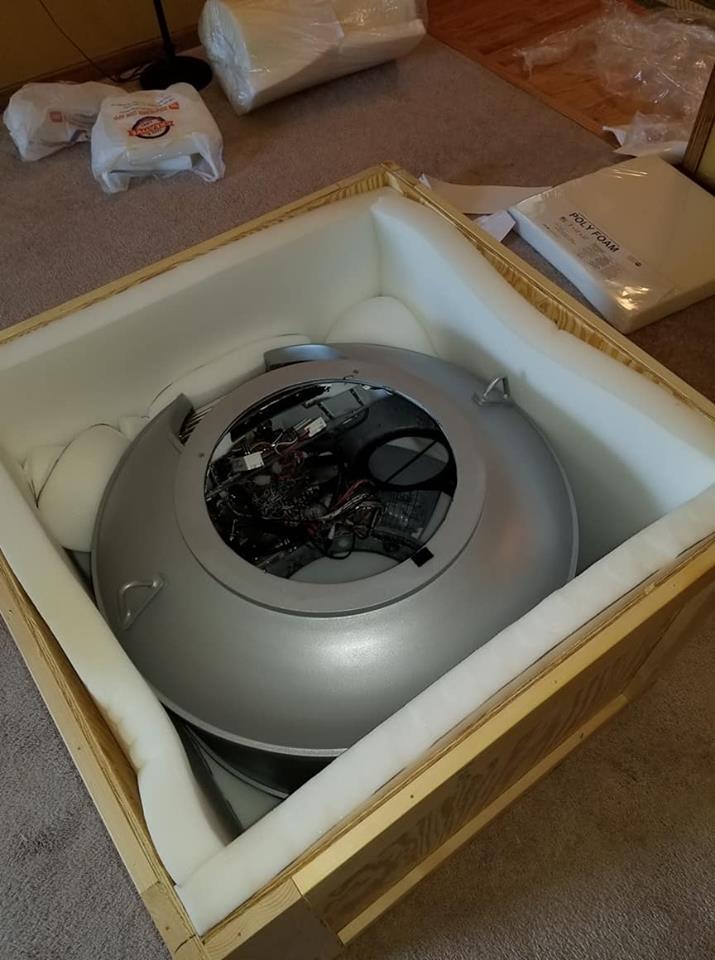
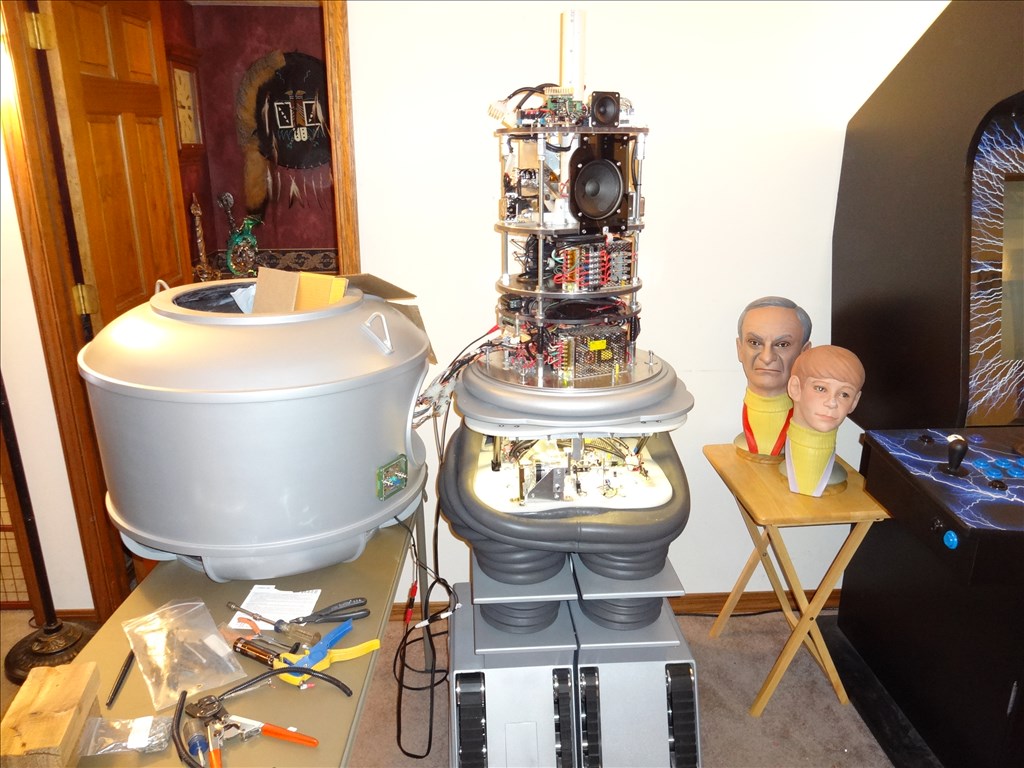
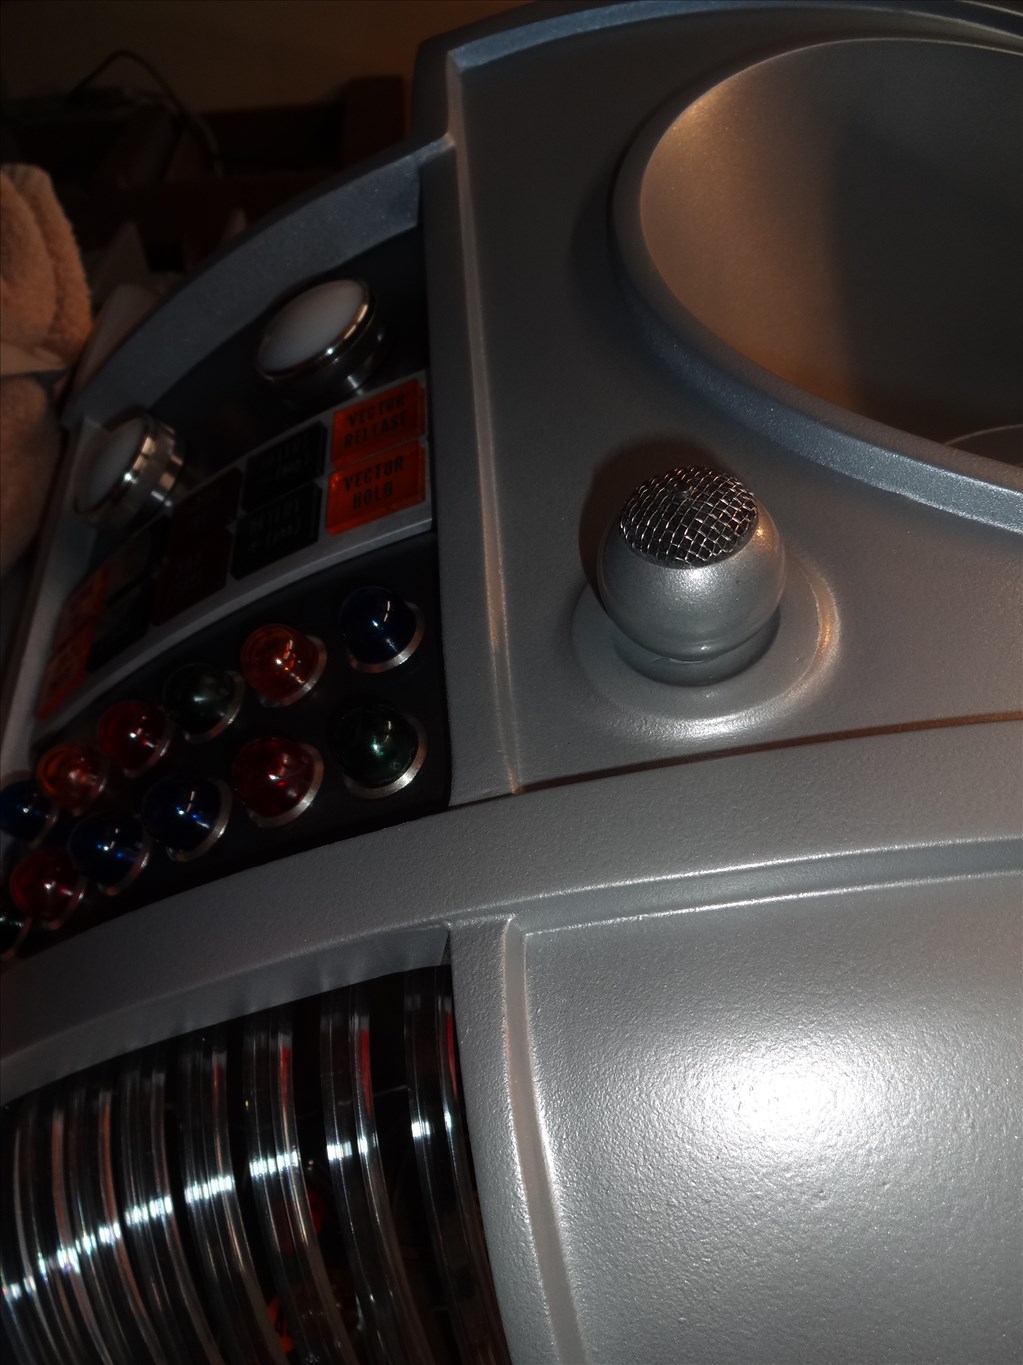
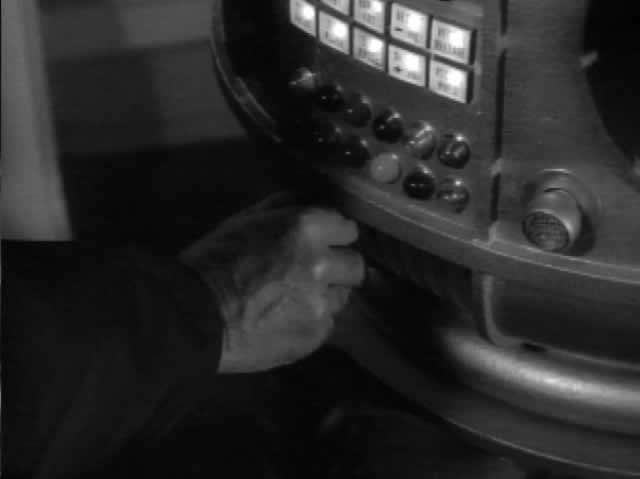
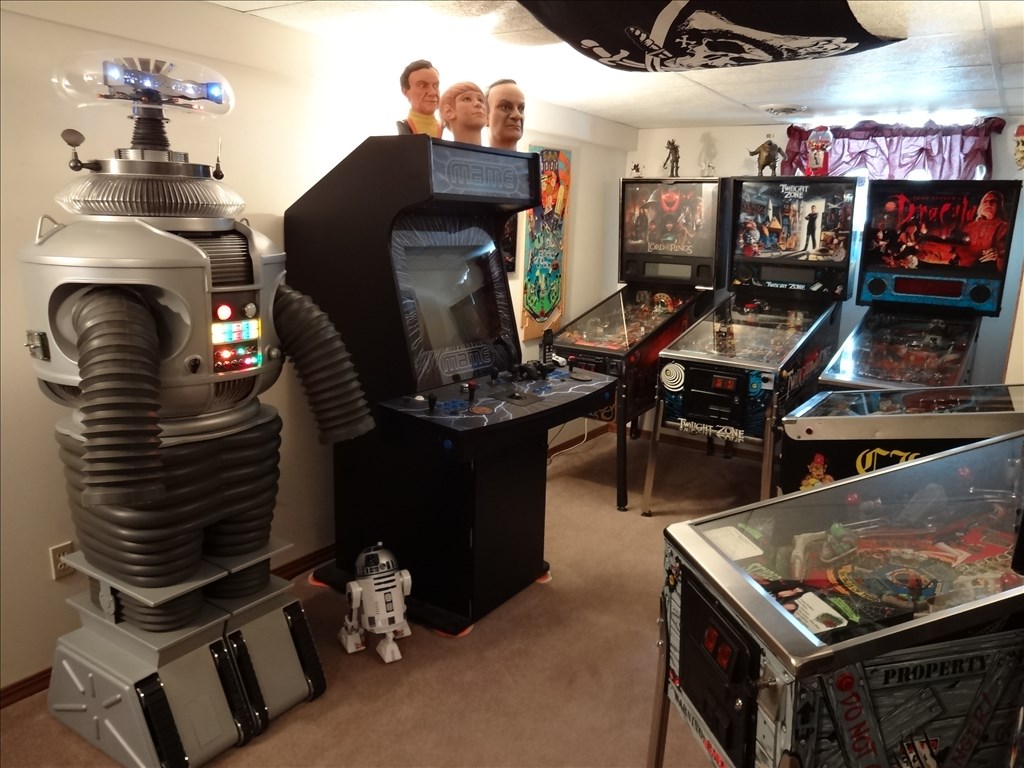
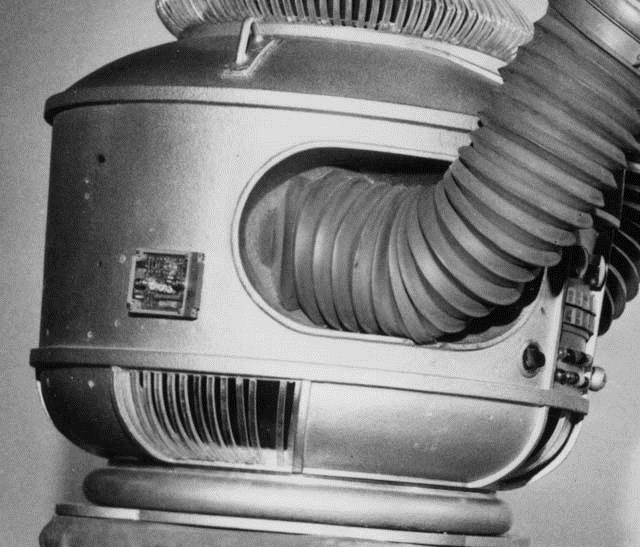
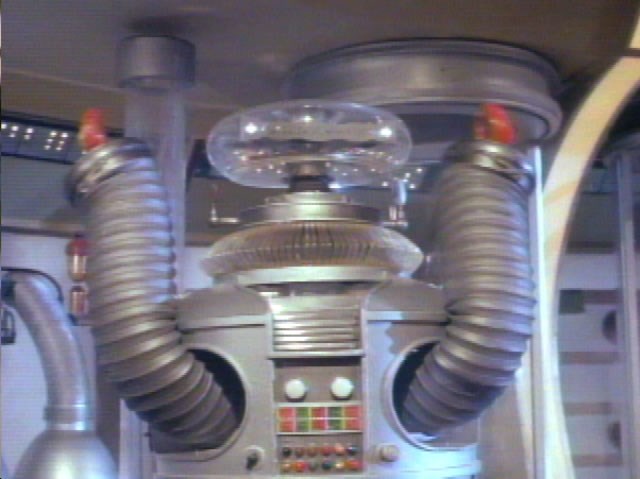
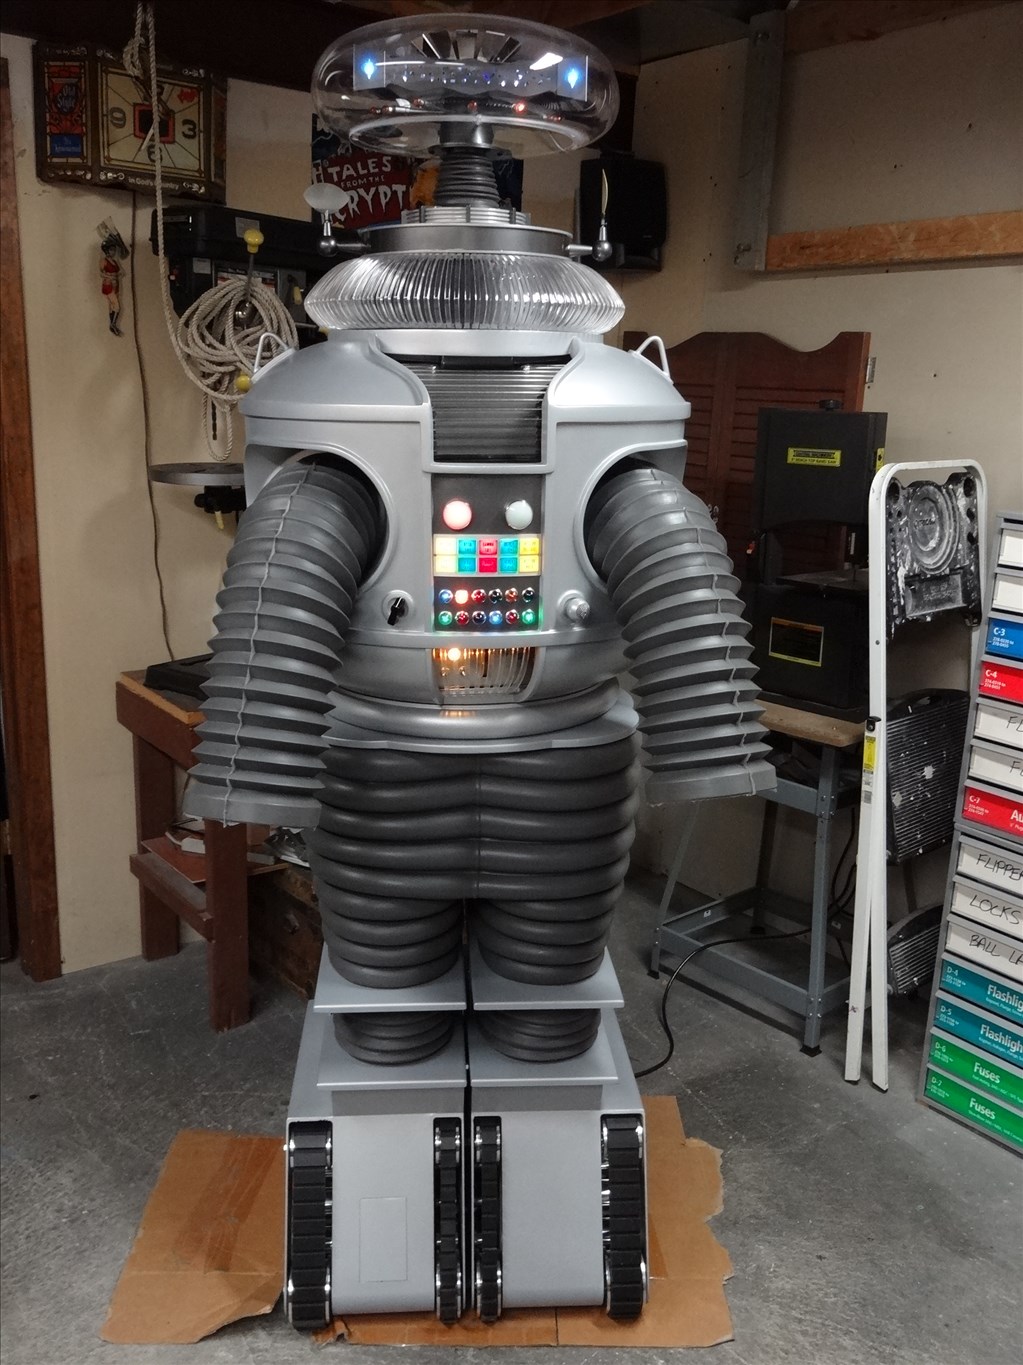
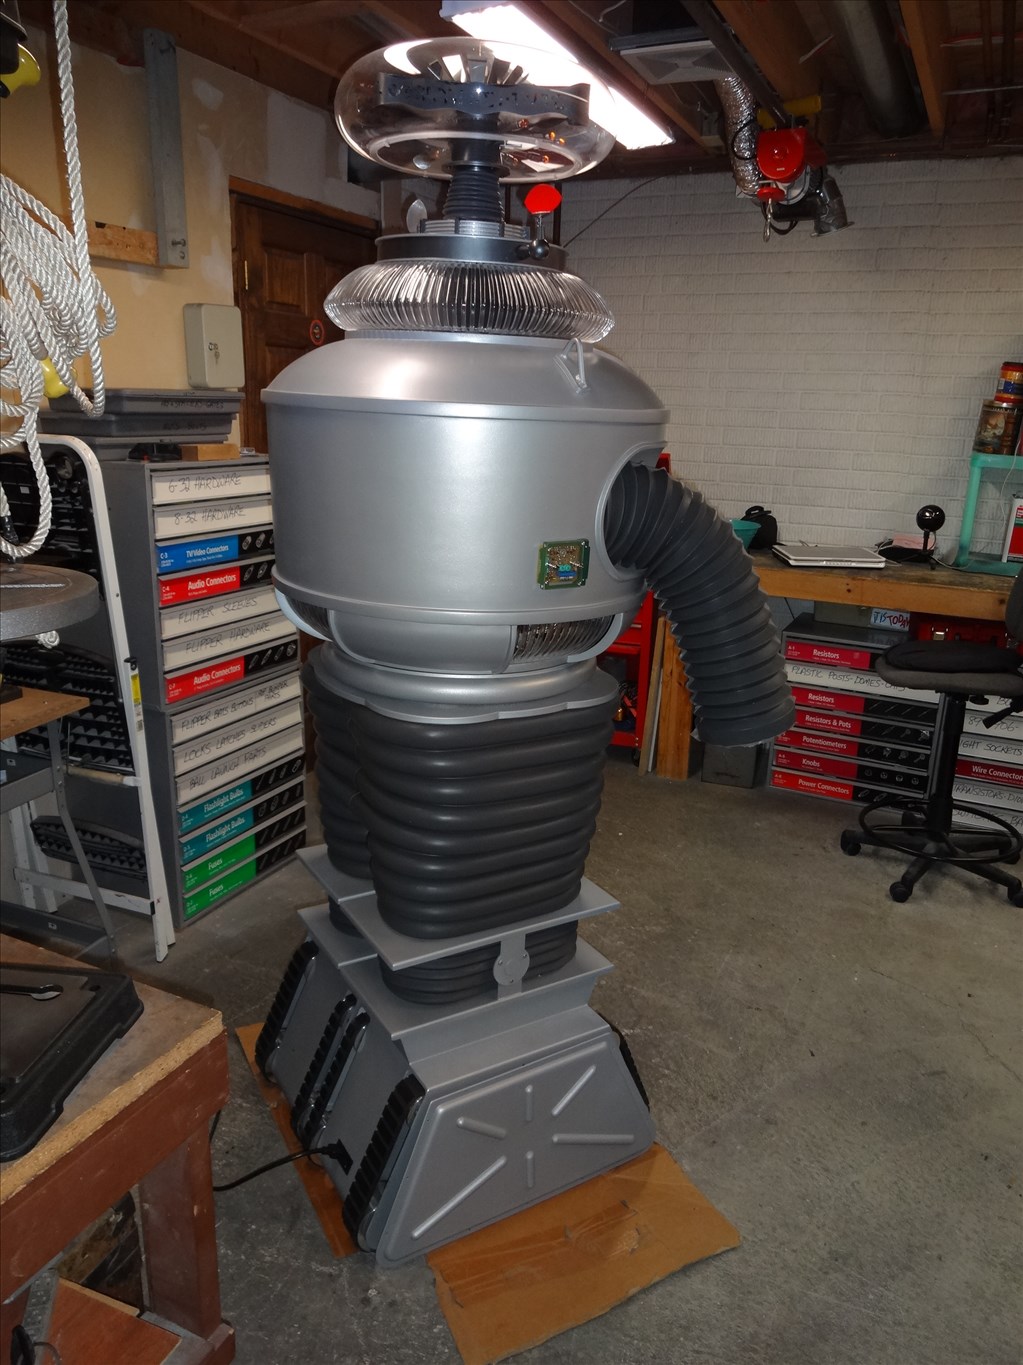
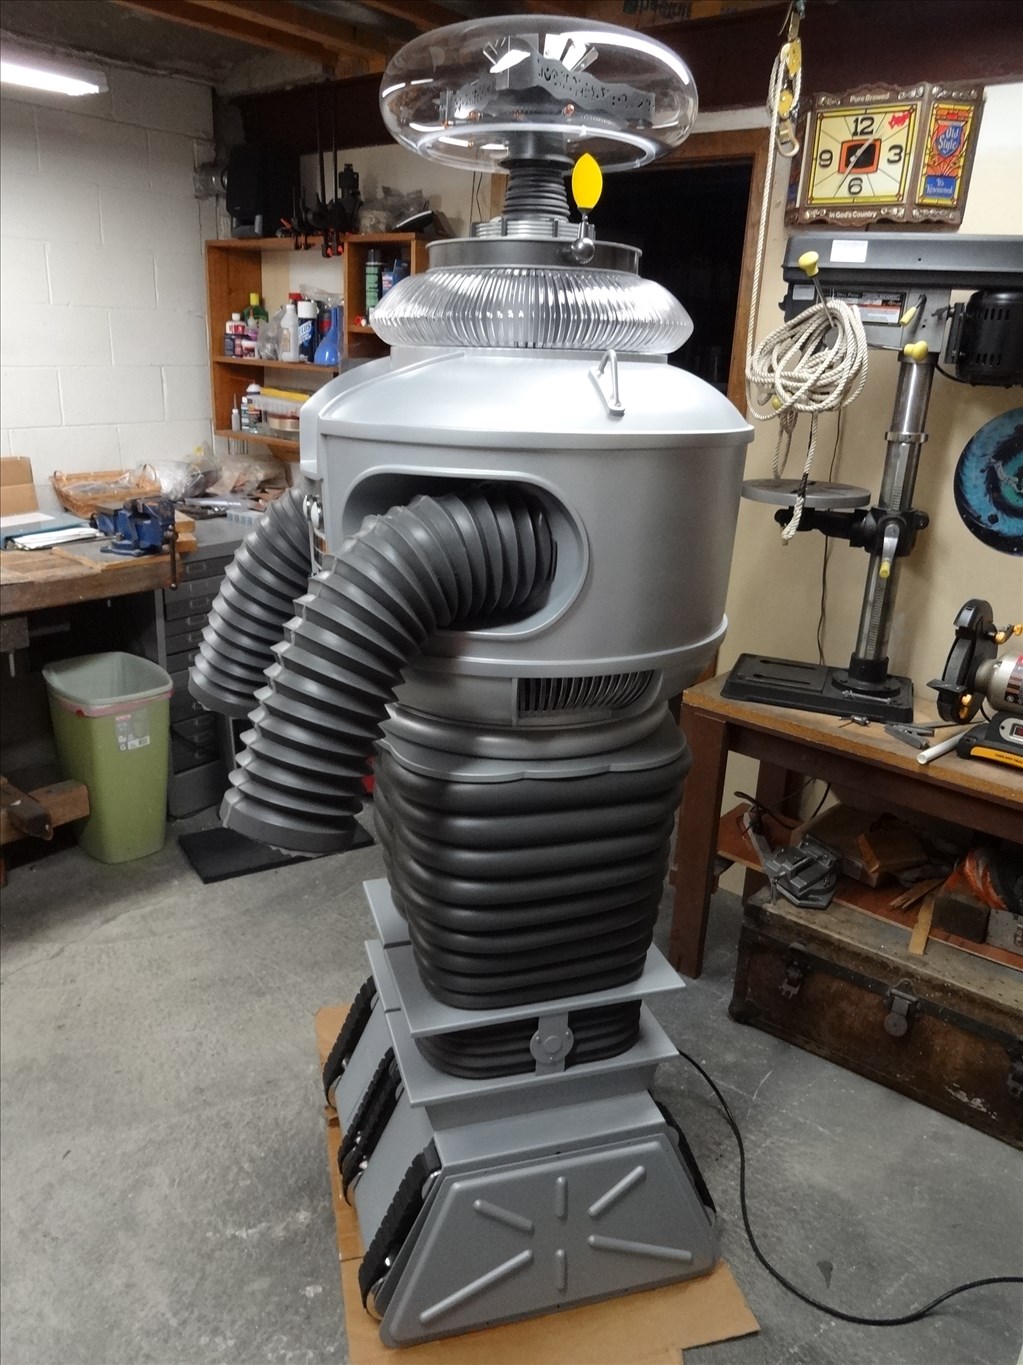
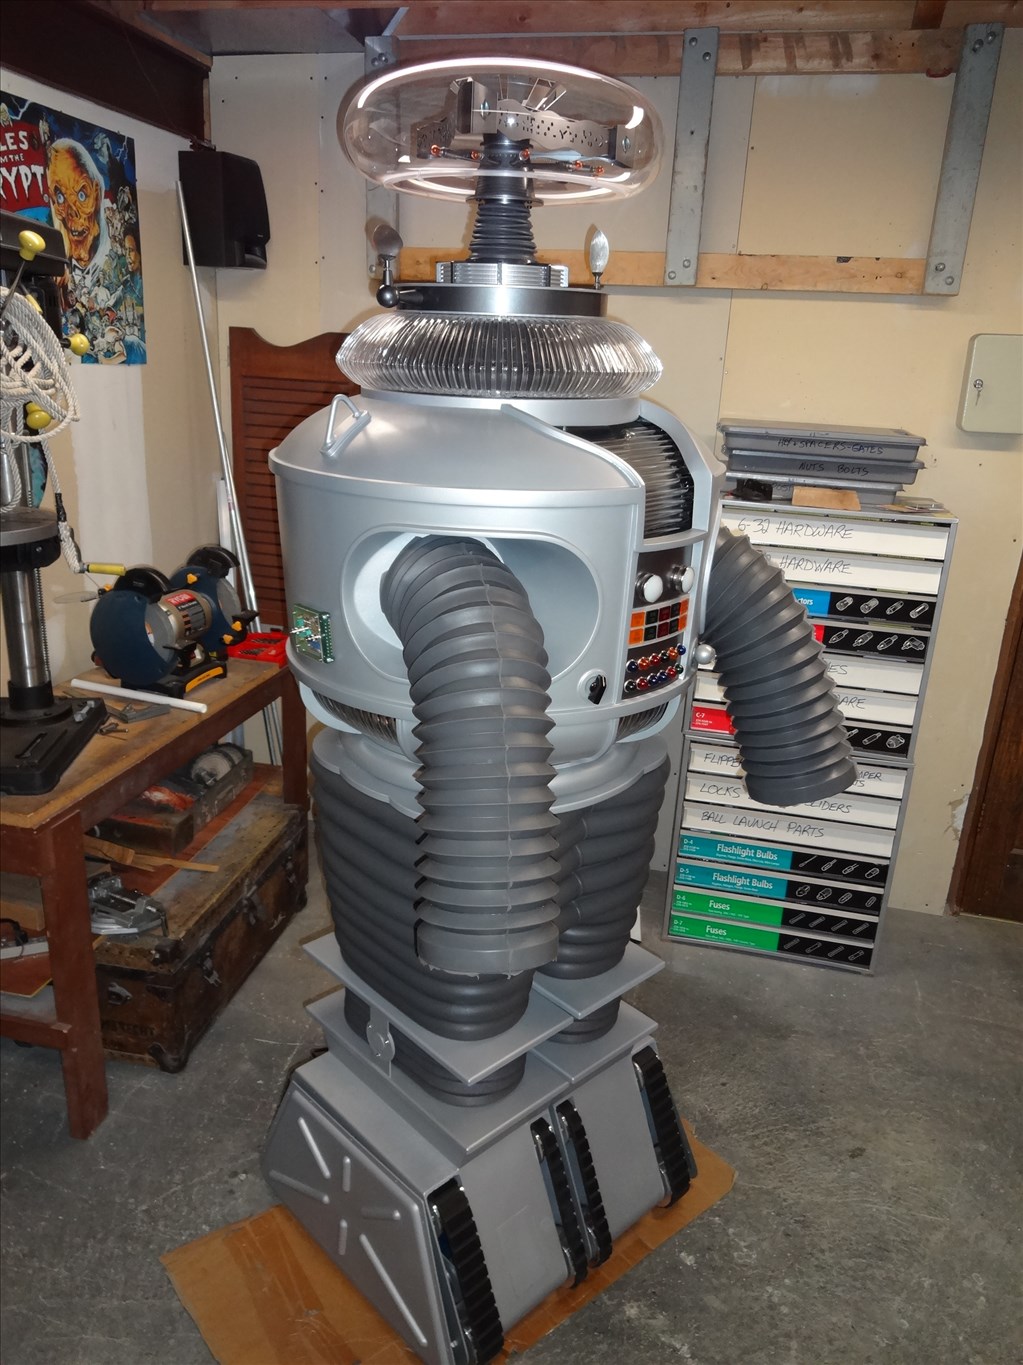
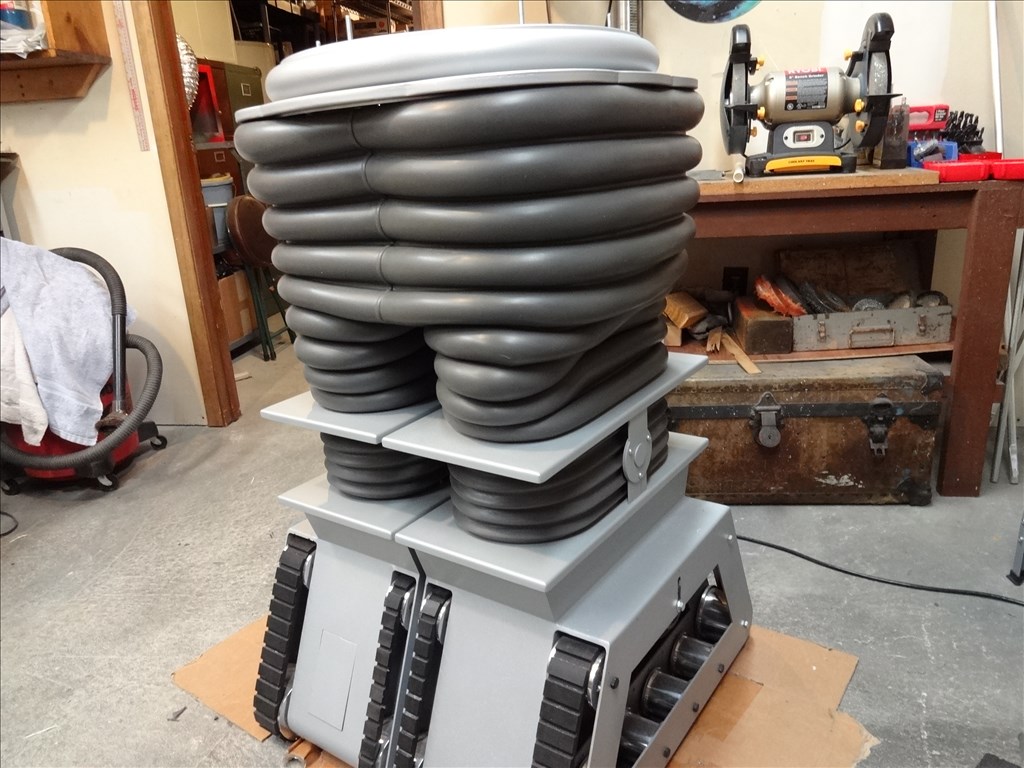
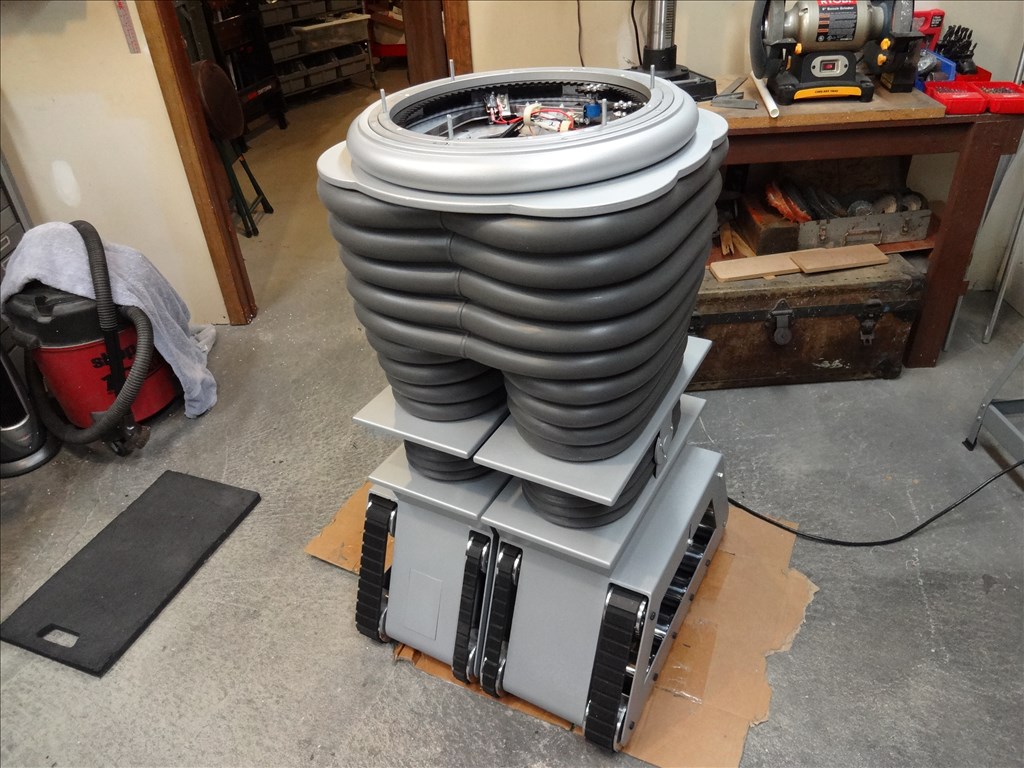
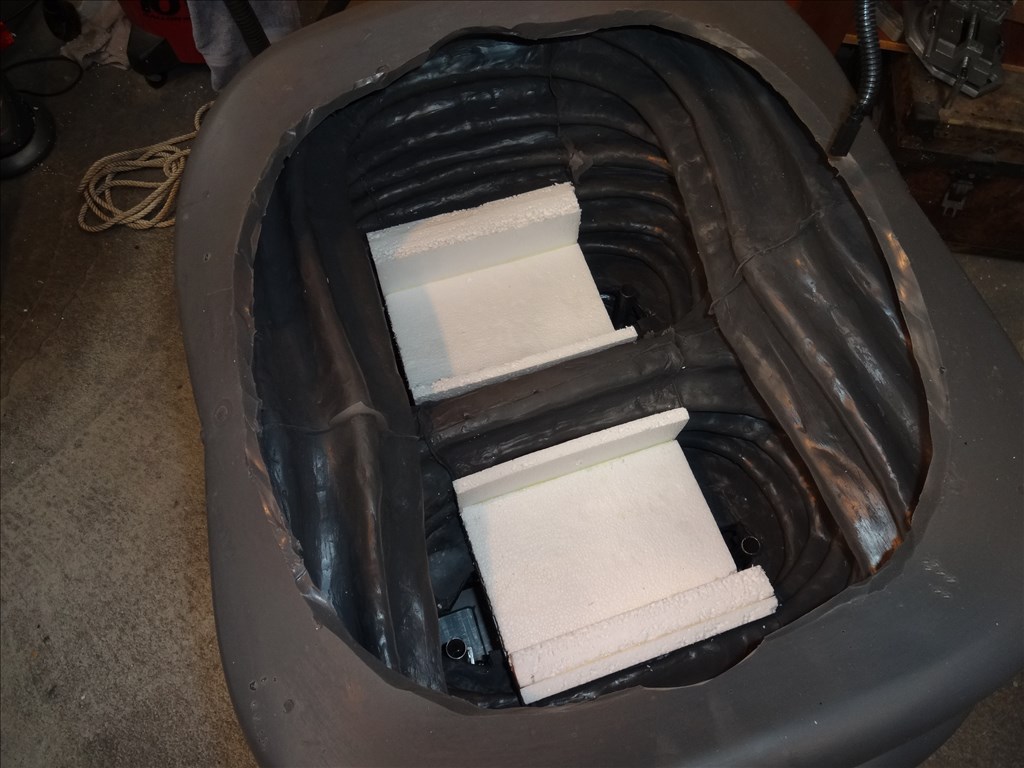
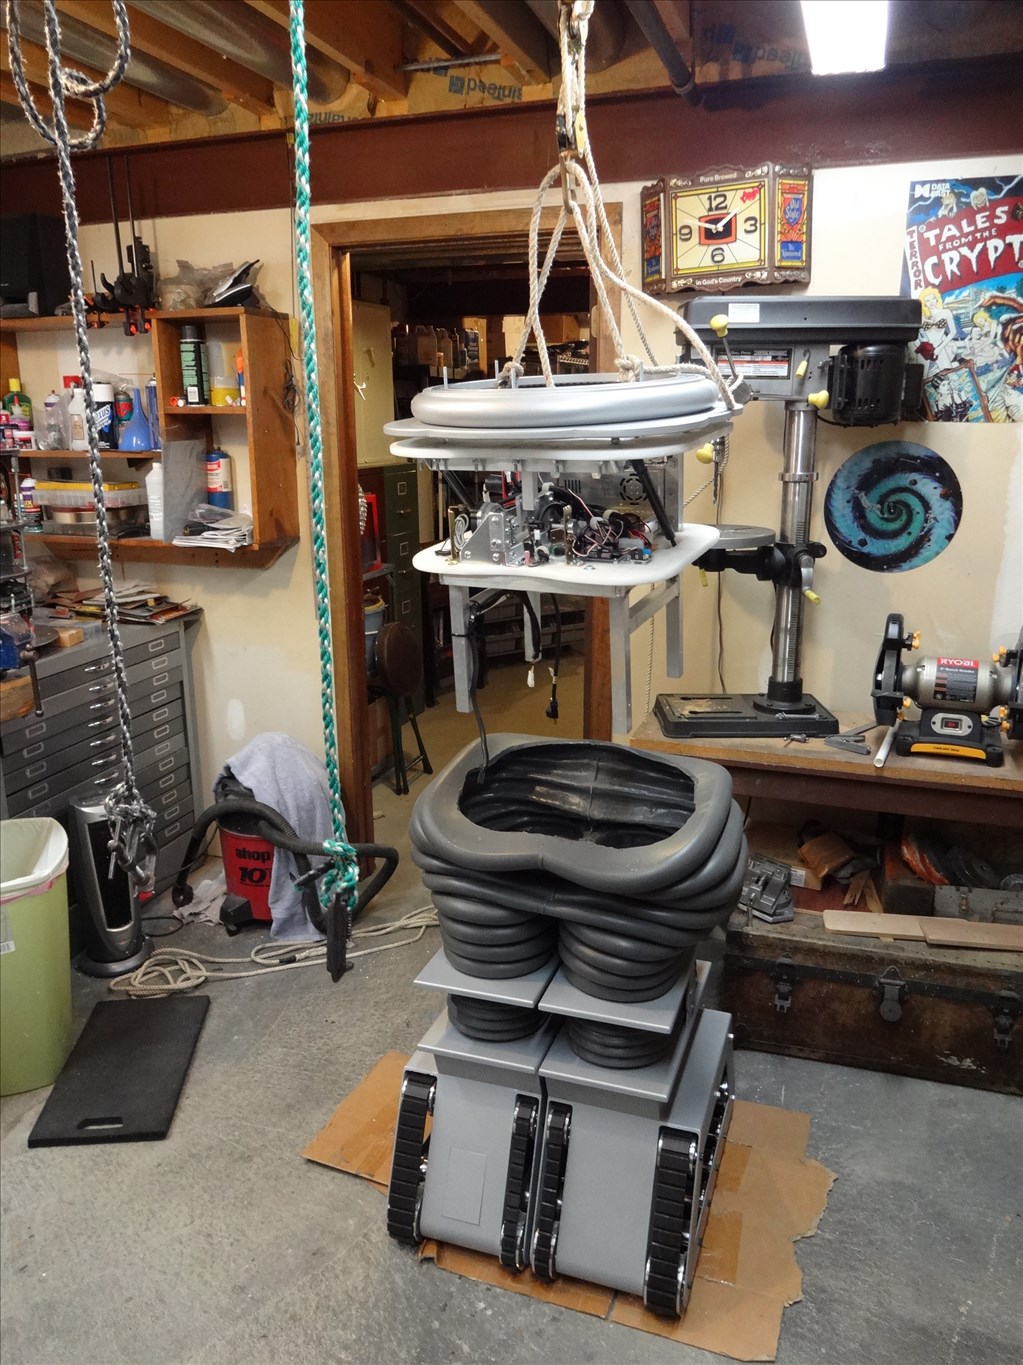
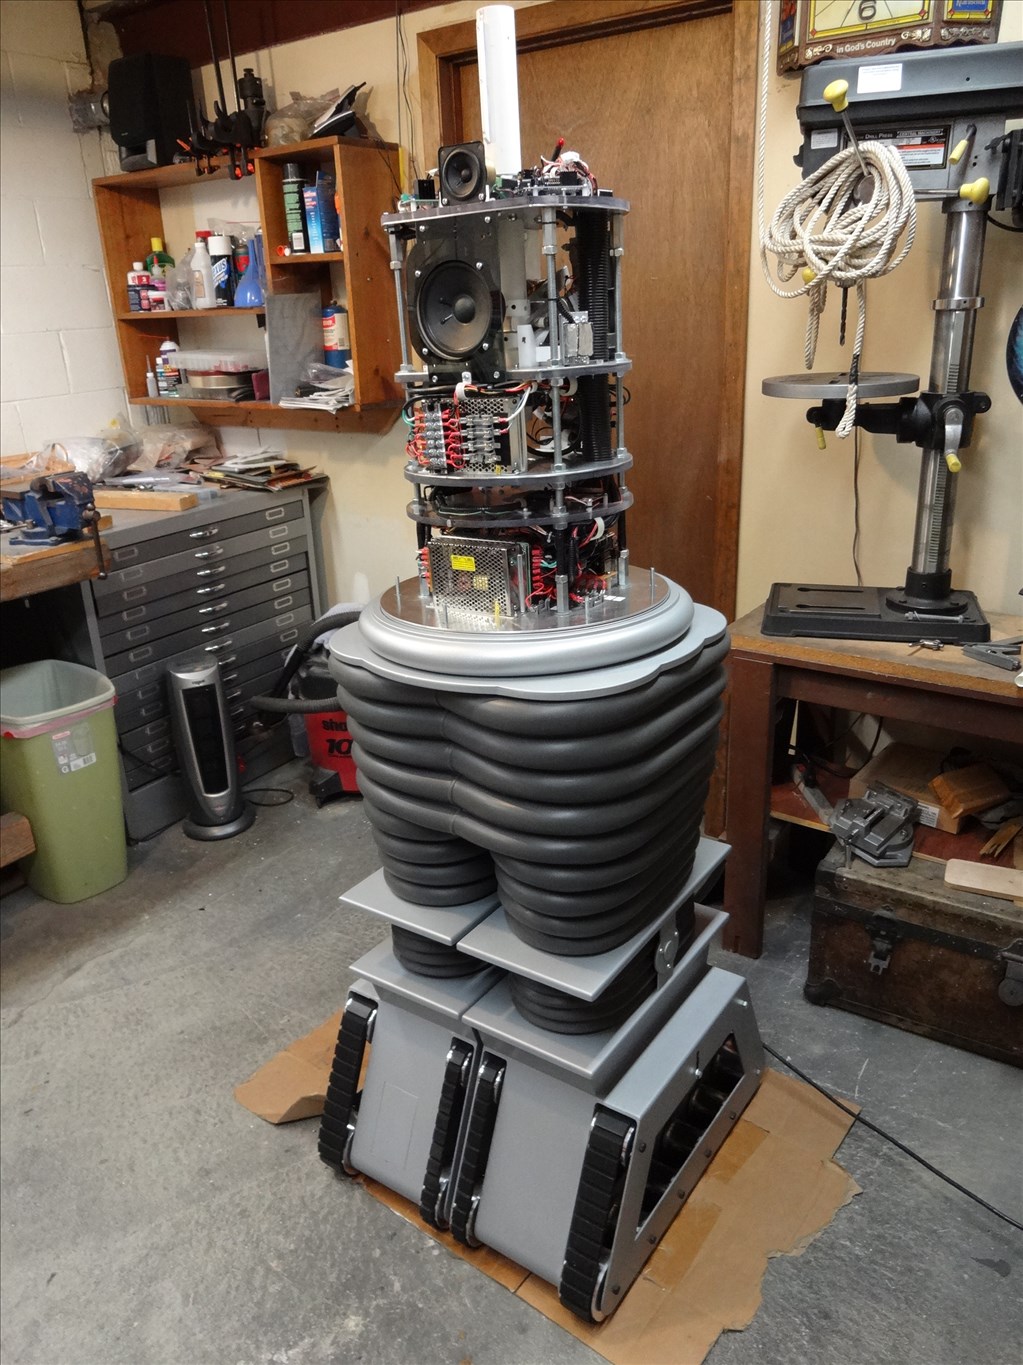
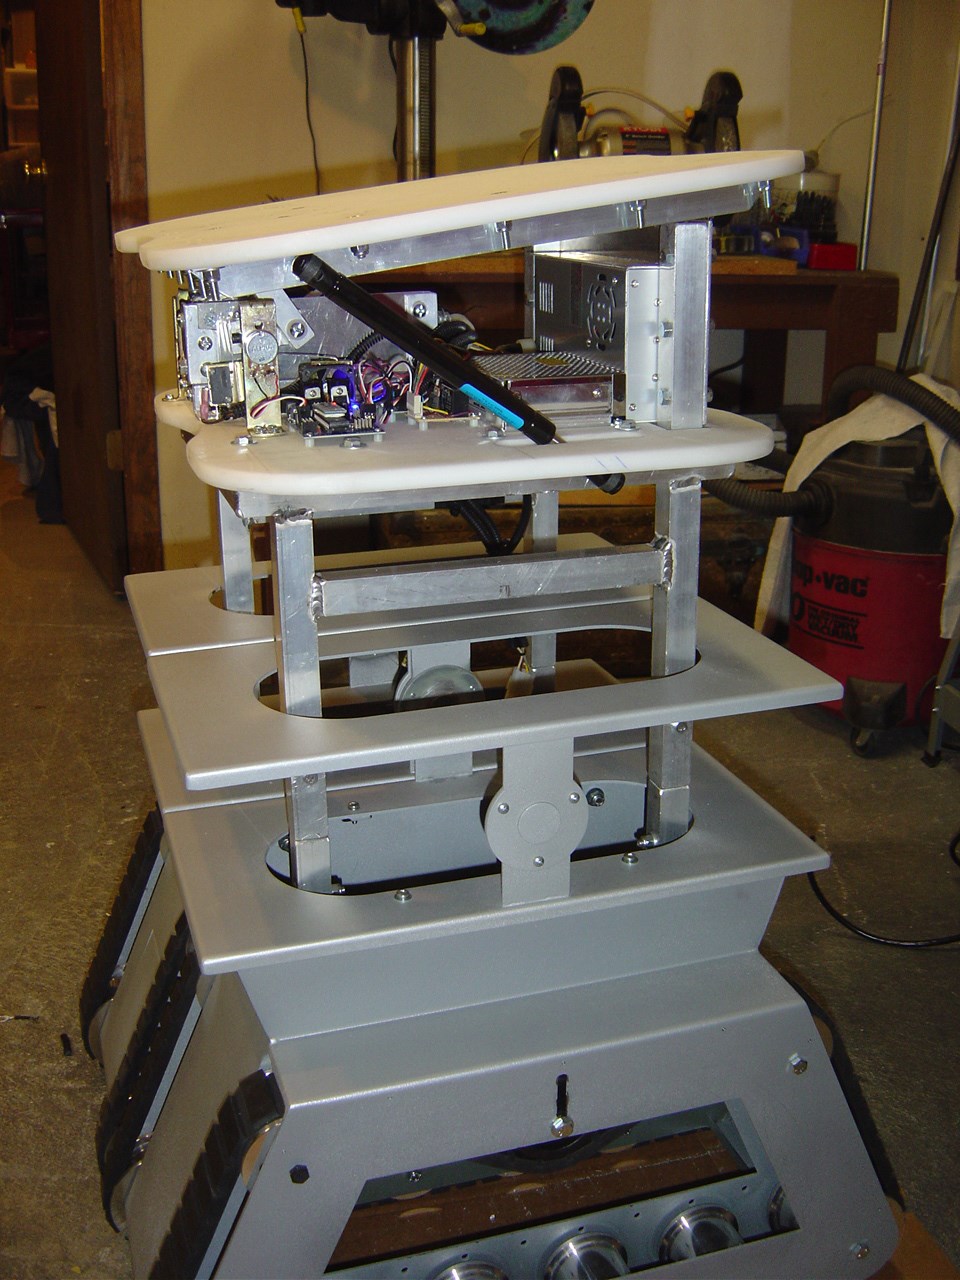
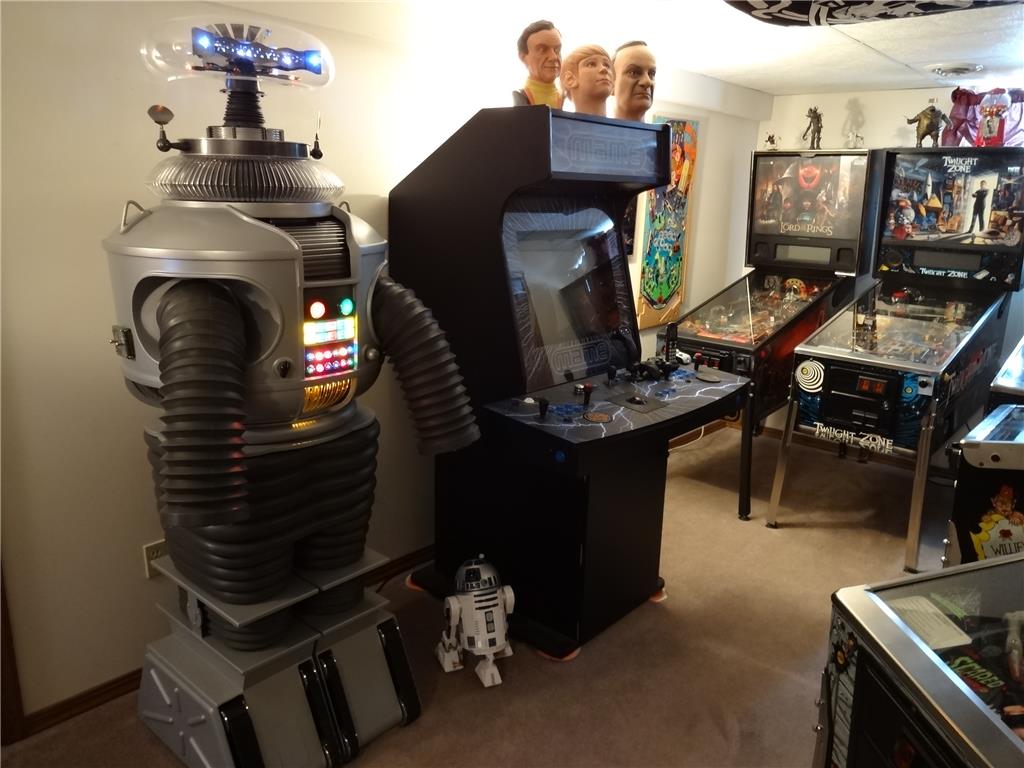
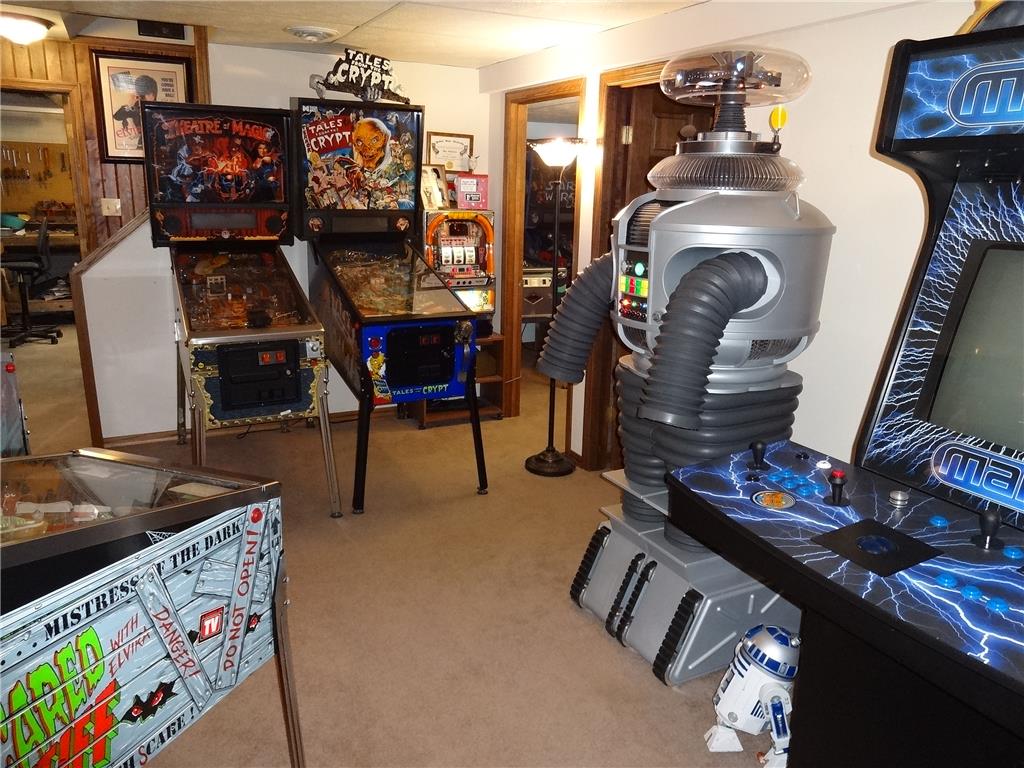
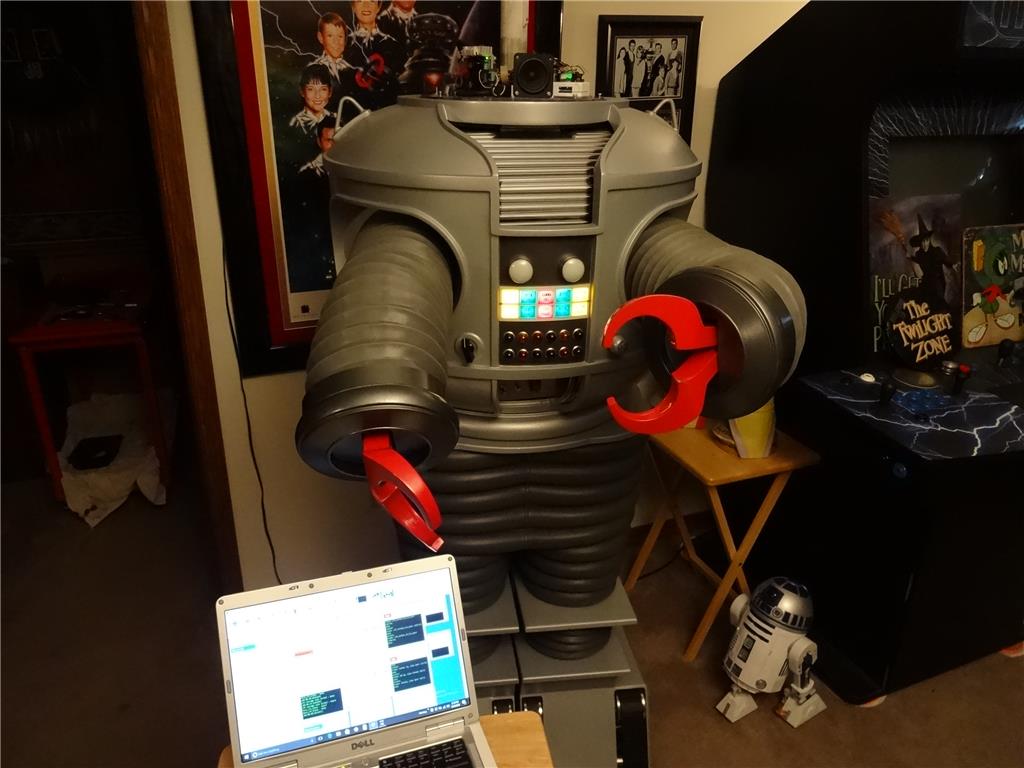
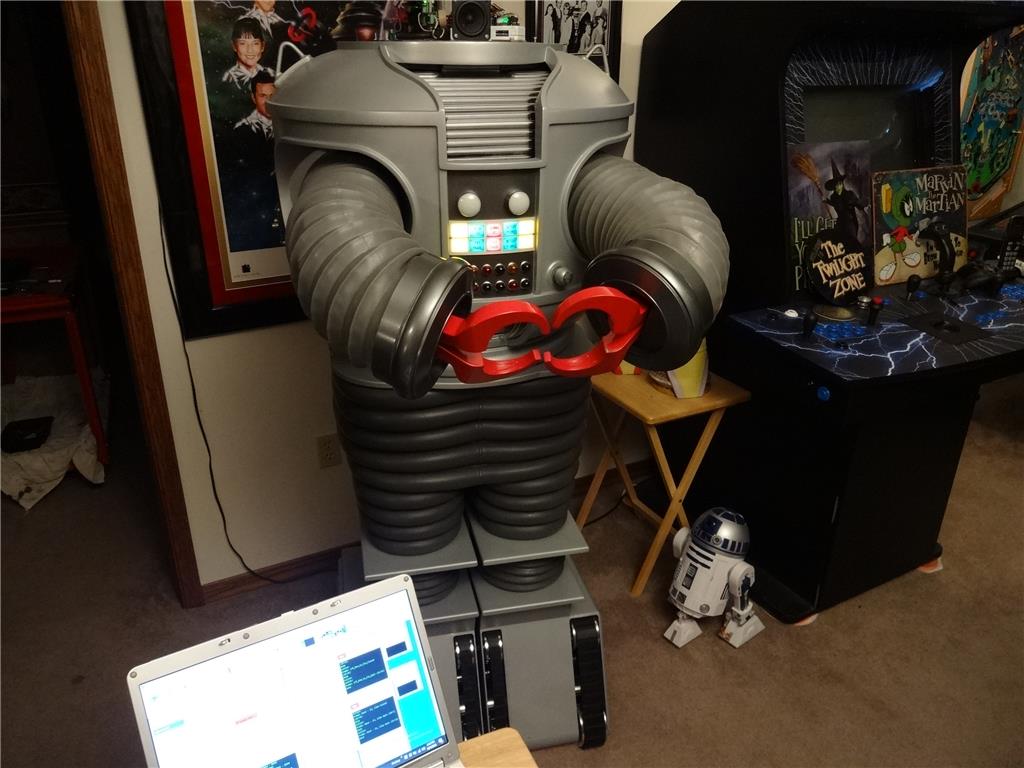
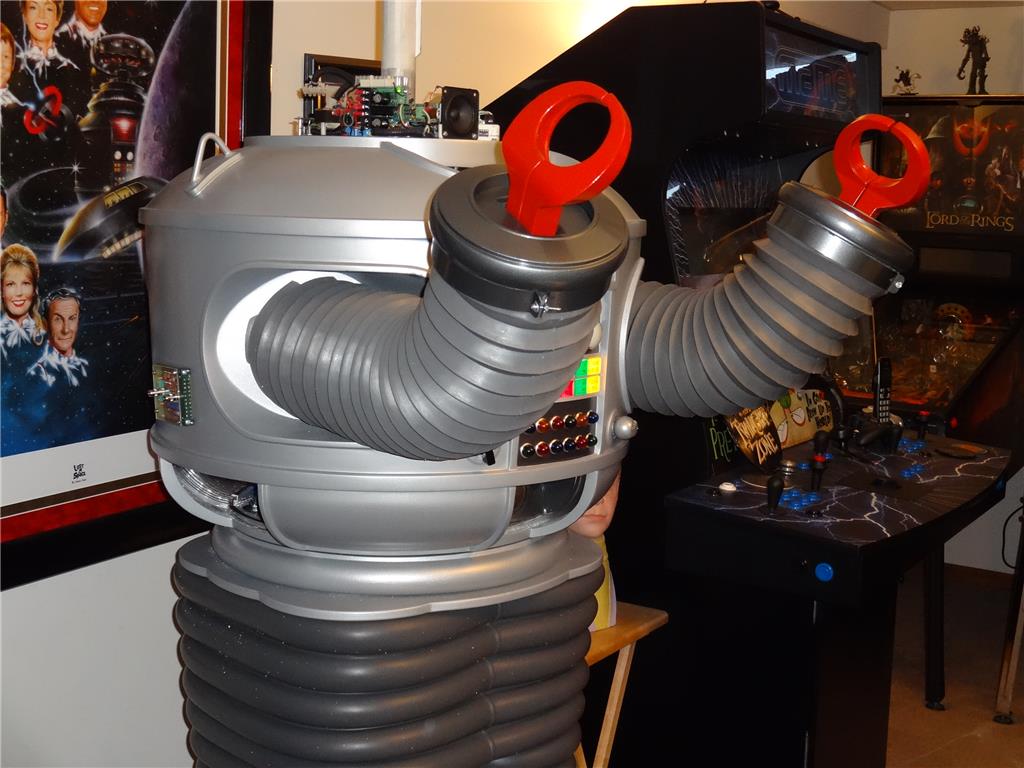
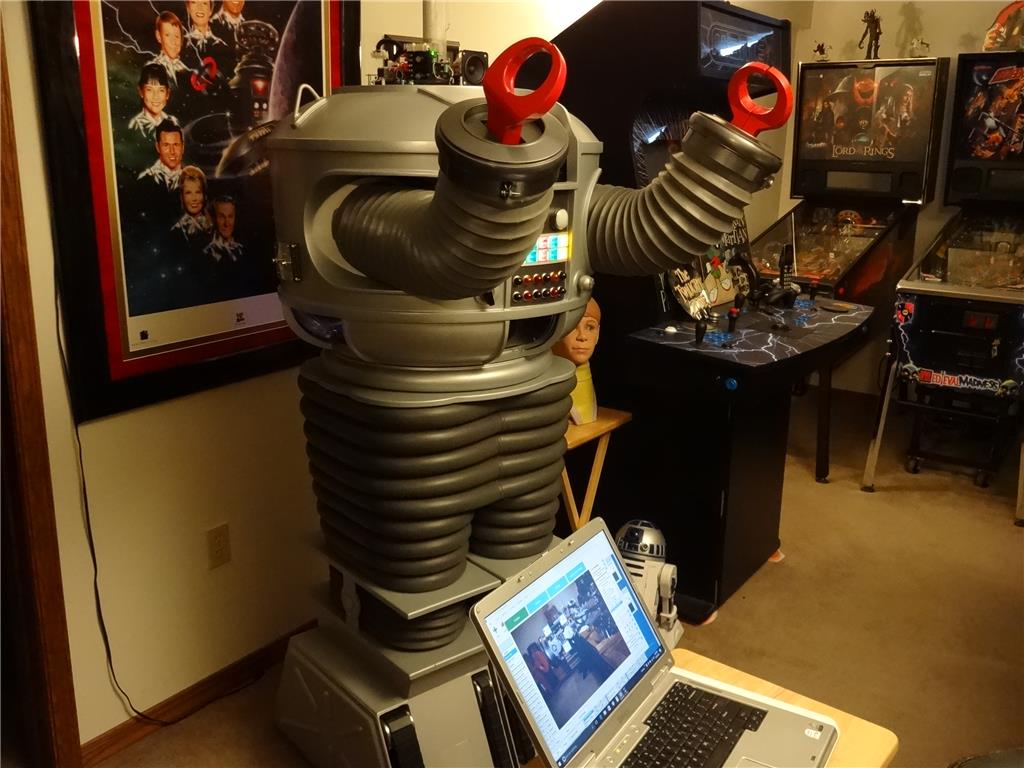
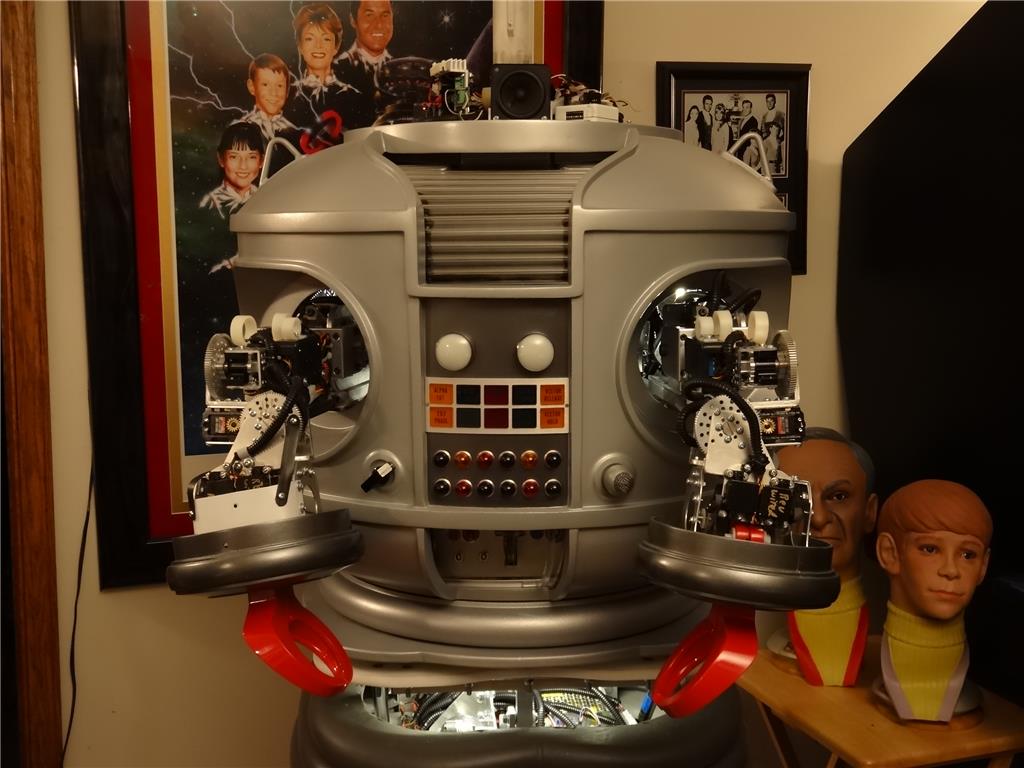
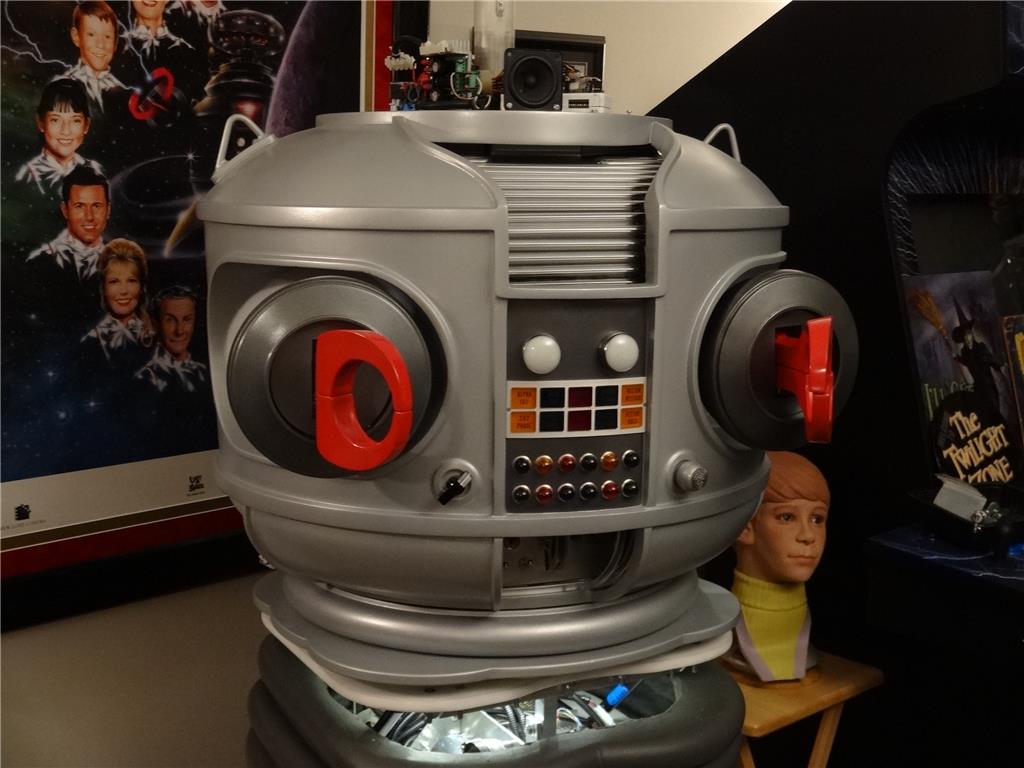
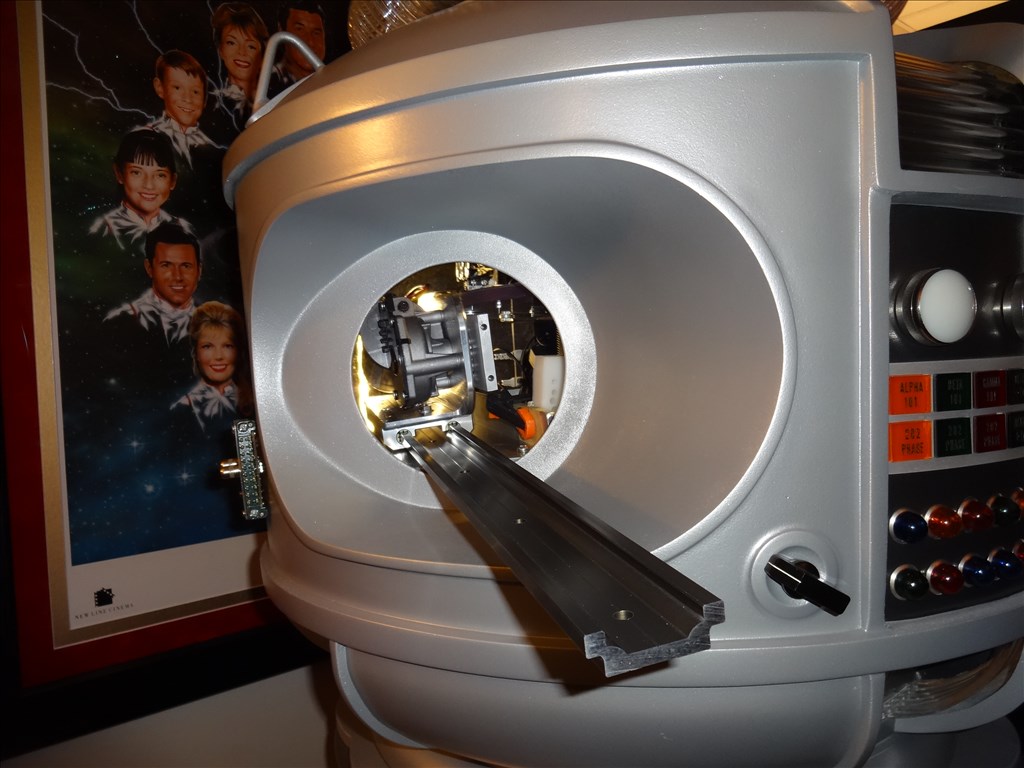
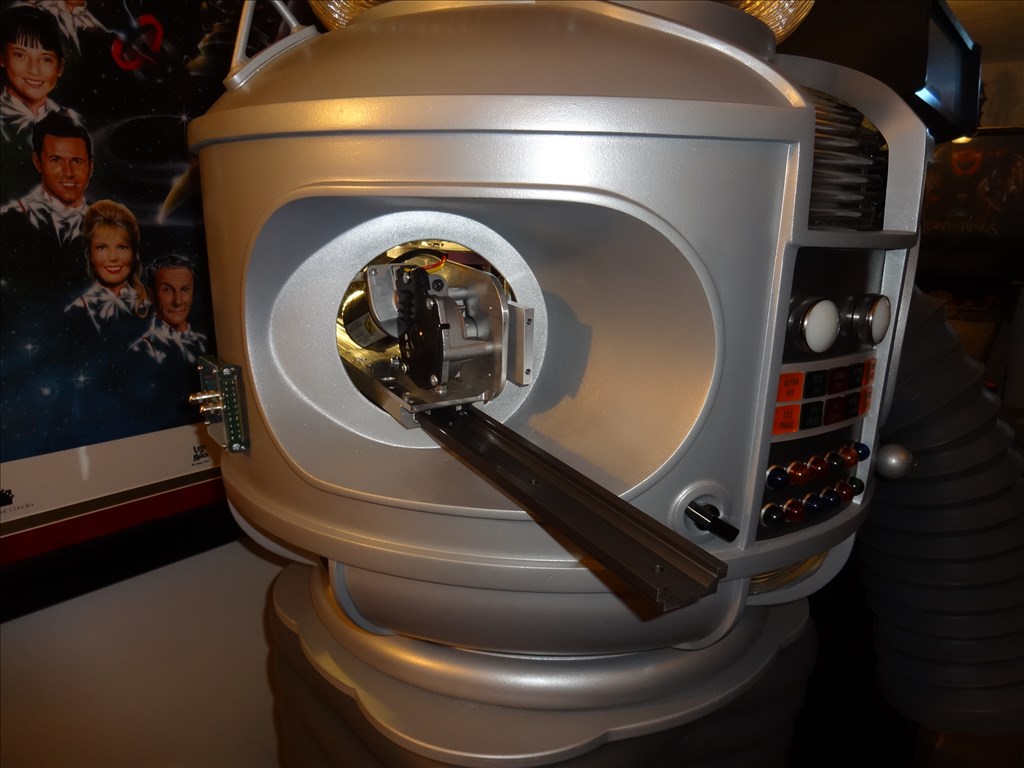
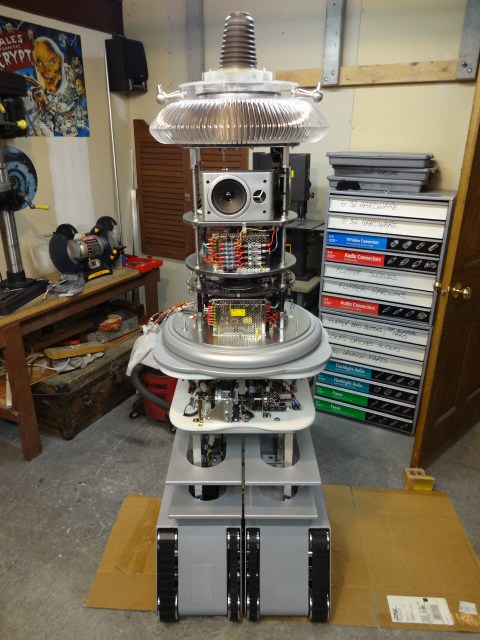
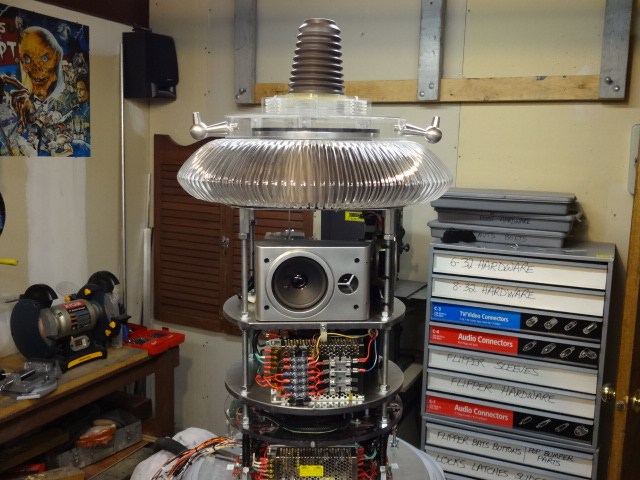
EDIT 8/2/13: Just realized I have no good pictures of how my B9 will look when complete. Here's one of the actual TV robots from the 60's TZ show Lost in Space and one recent shot of where I'm at with my build over 1 1/2 year after I started. Enjoy:

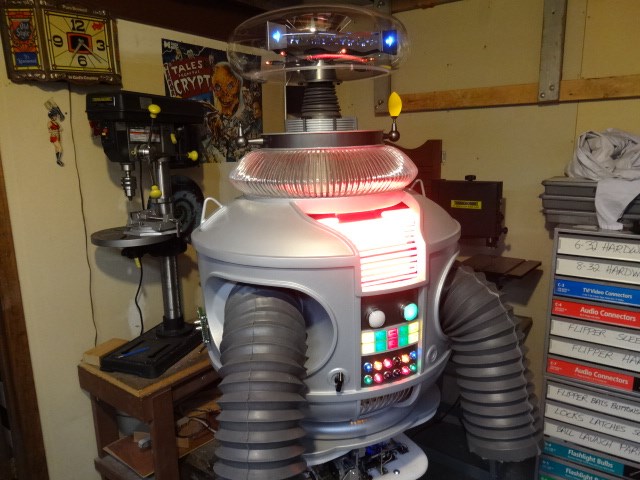

Thanks, Dave Schulpius
Discover more robots

DJ's Teddy Ruxpin Robot Version 1

Jeremie's Voltron Robot

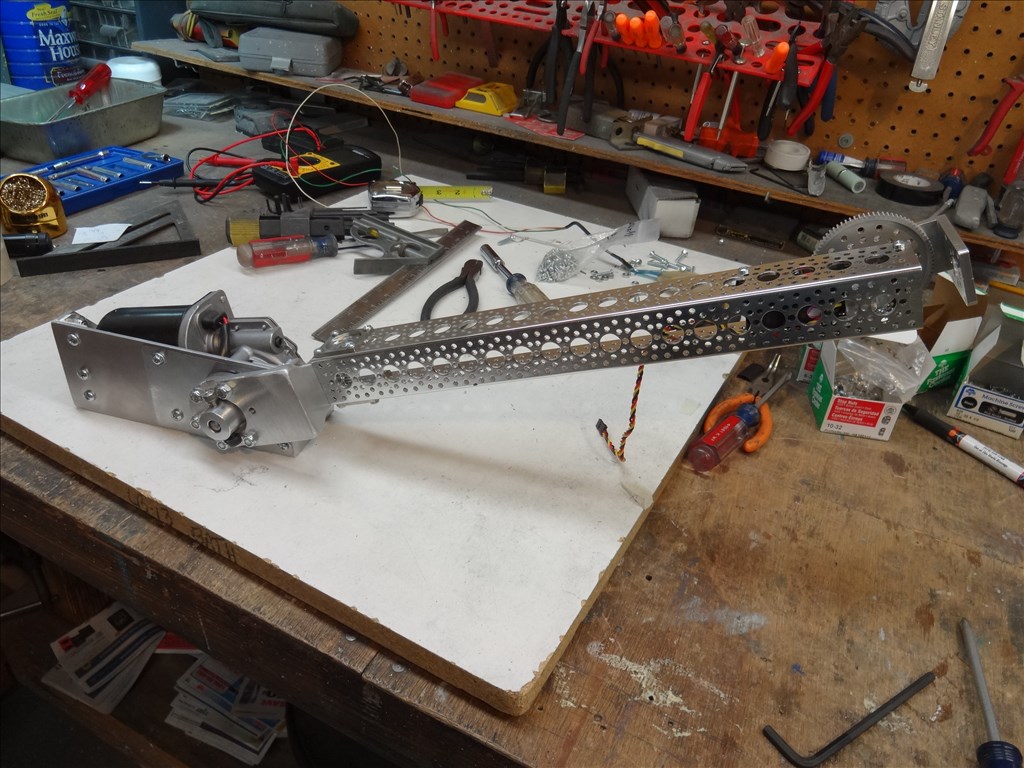
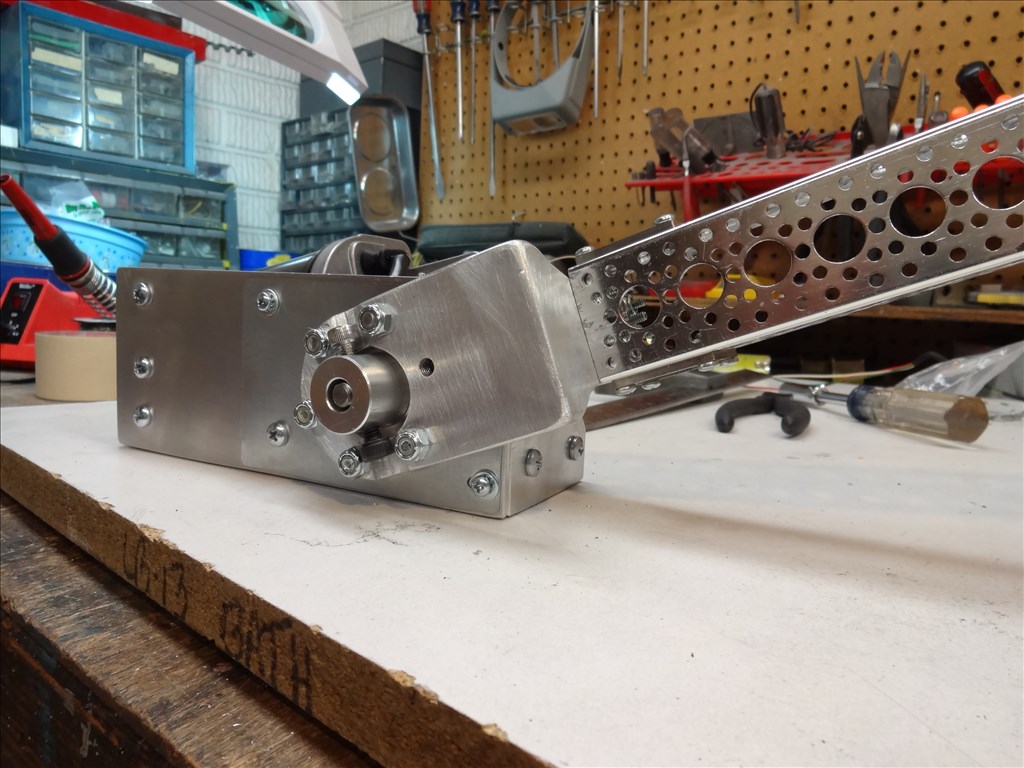
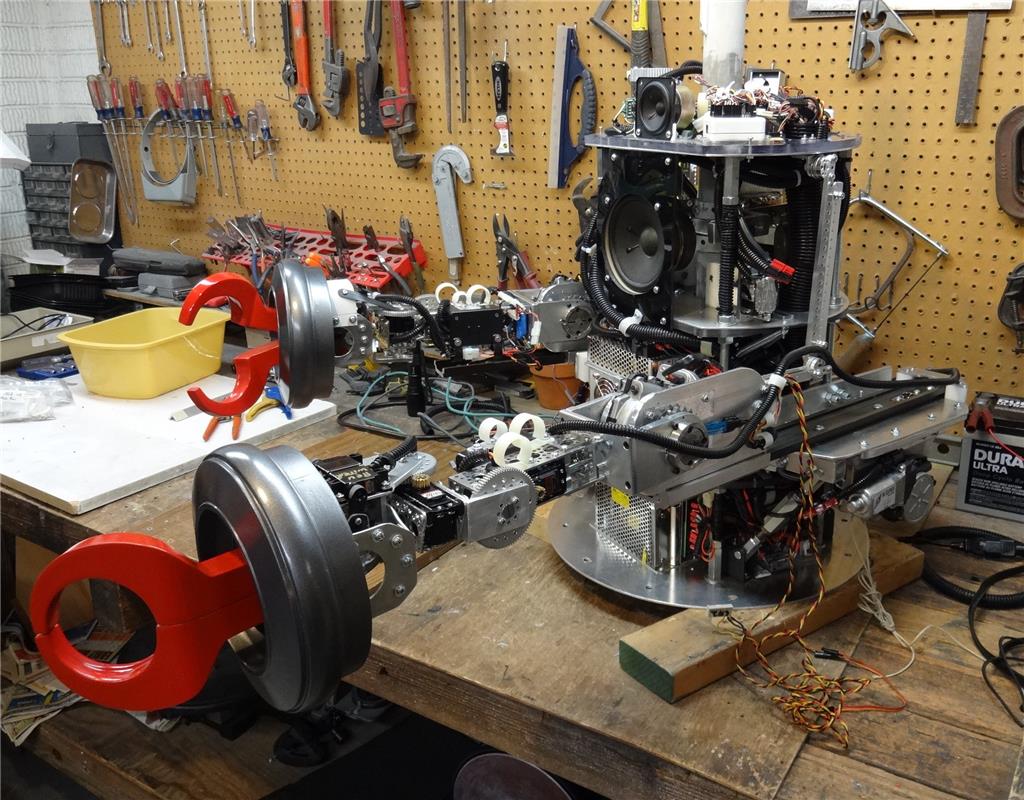
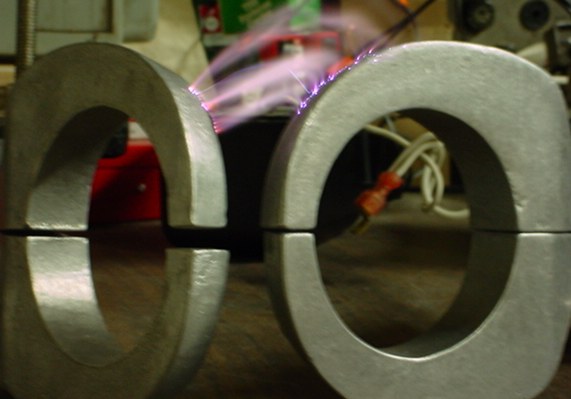
@Dave... You put a lot of work into that arm.... It shows. It is solid and moves beautifully.... now all you have to do is make another one... Oh, and don't forget the electricity (Van de Graaff generator) that B9 can generate between his claws... You know, for those bullies...
Thanks again guys! Your kind words help me keep going.
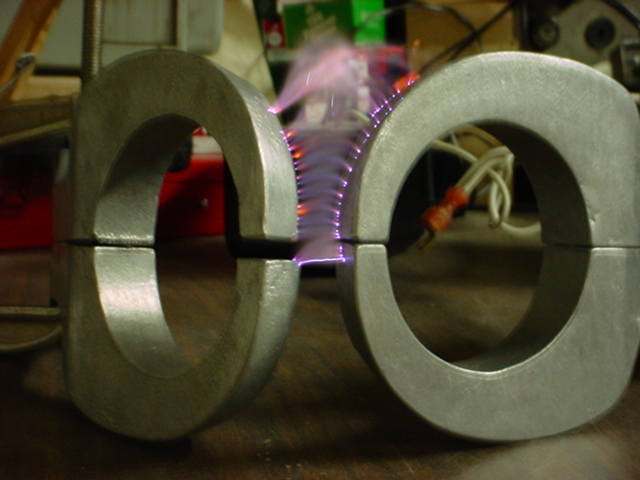
@Richard, LOL, I know a few guys that actually did this! 16,000 volts and a ton of current will give you a sweet arc. Check this out! eek :
Awesome... The big guy can tase people who get out of line at your parties...
Thumbs up I think you got it right cant wait to see how you get the arm to retract
Thanks all. Your encouragement help keep me going.
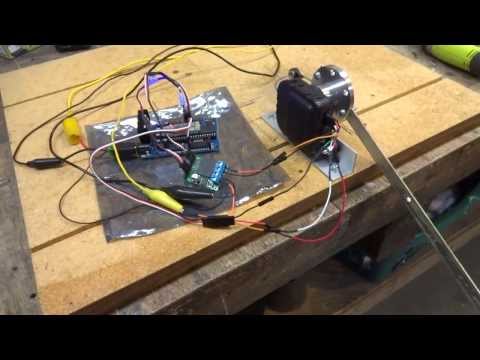
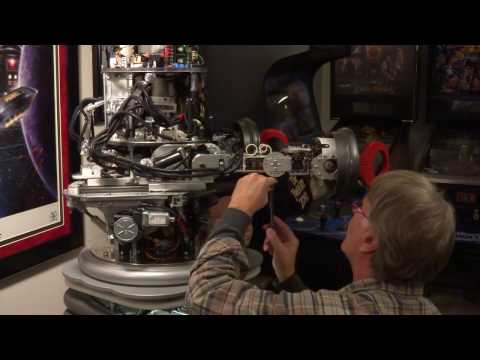
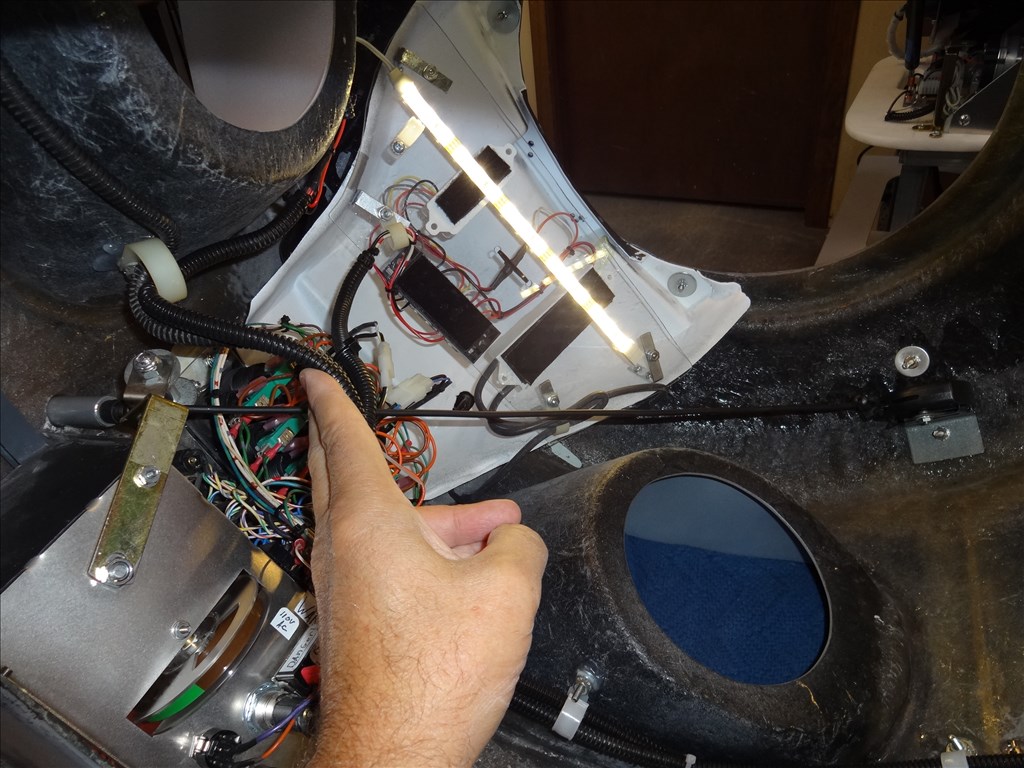
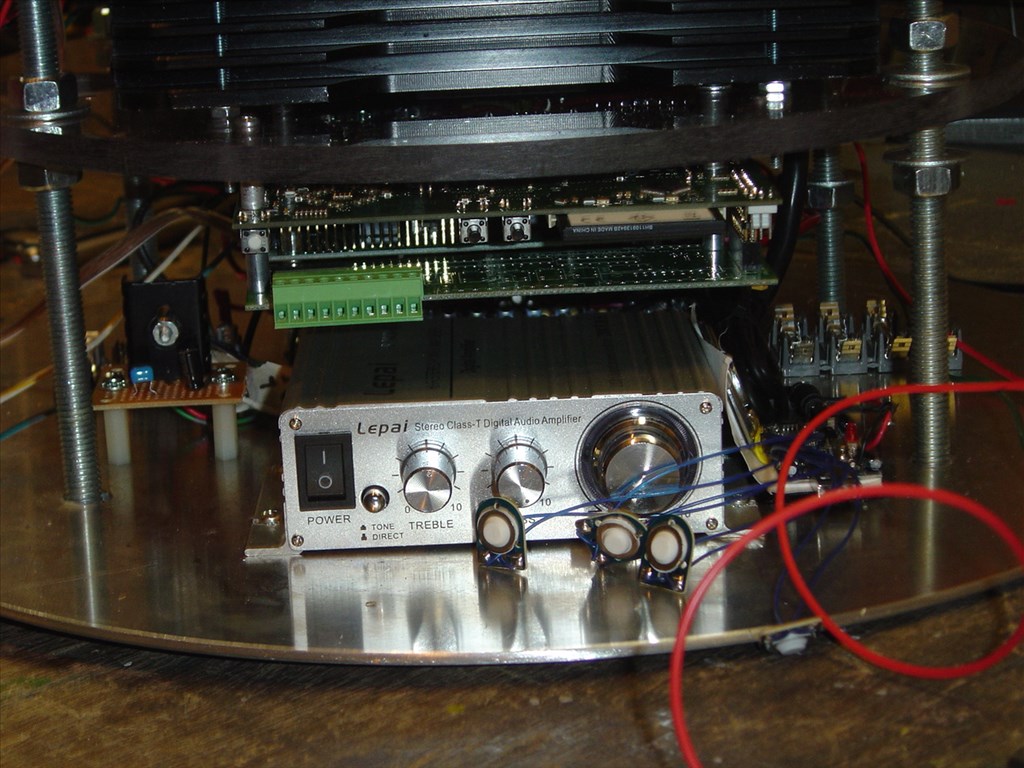
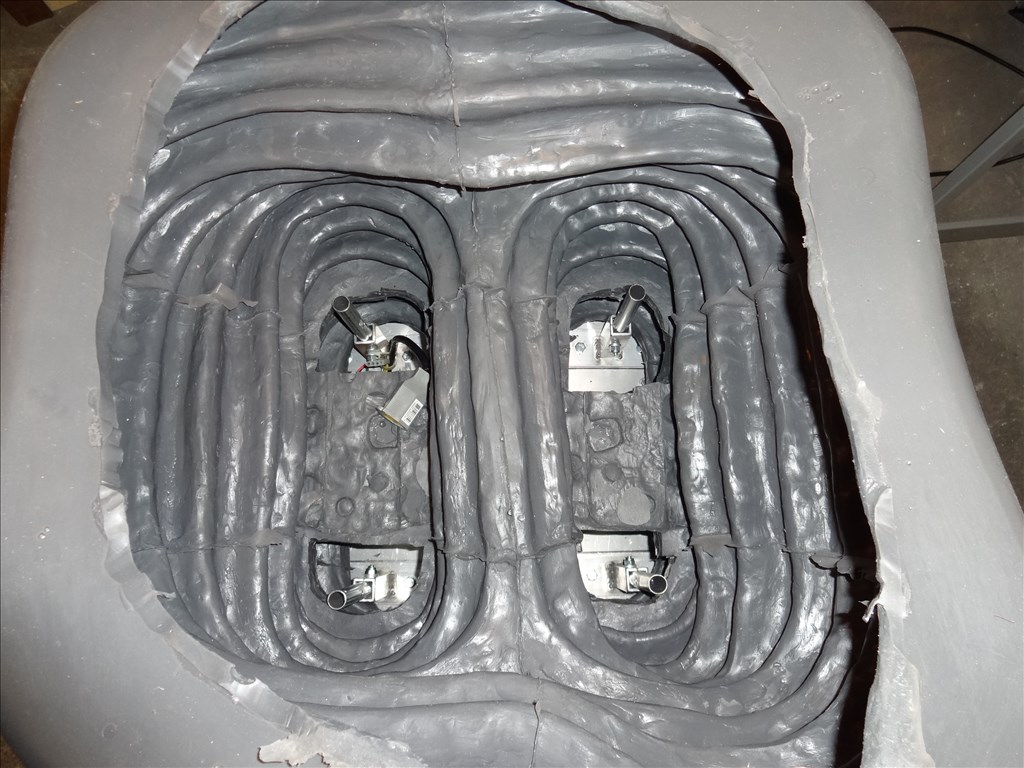
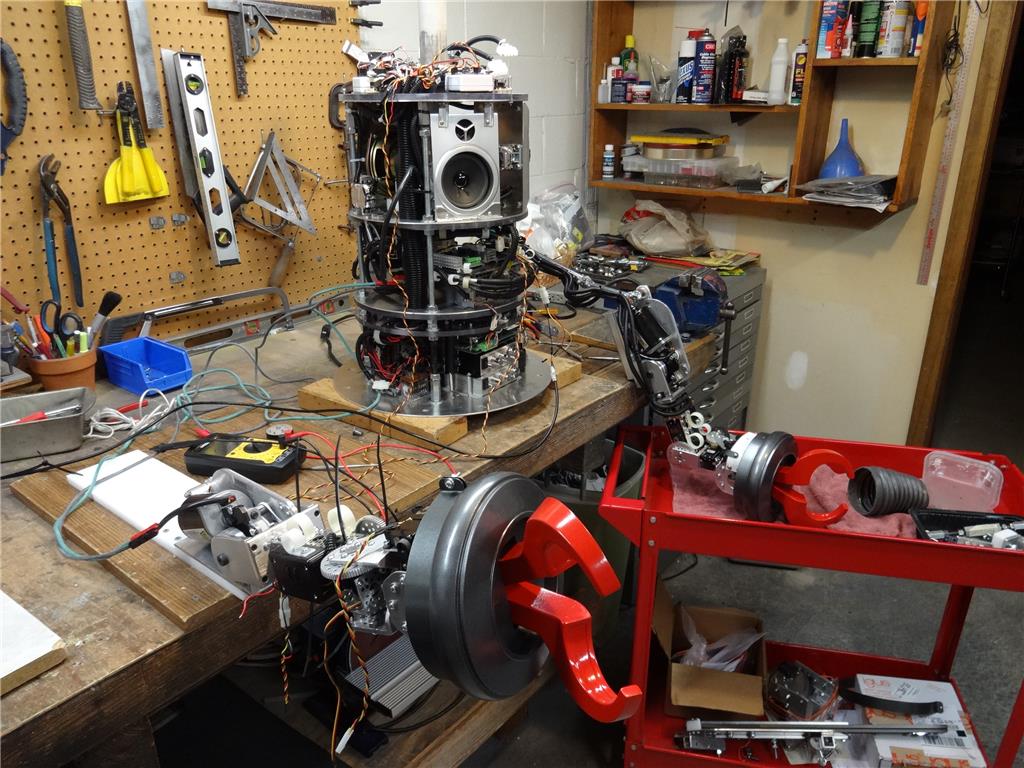
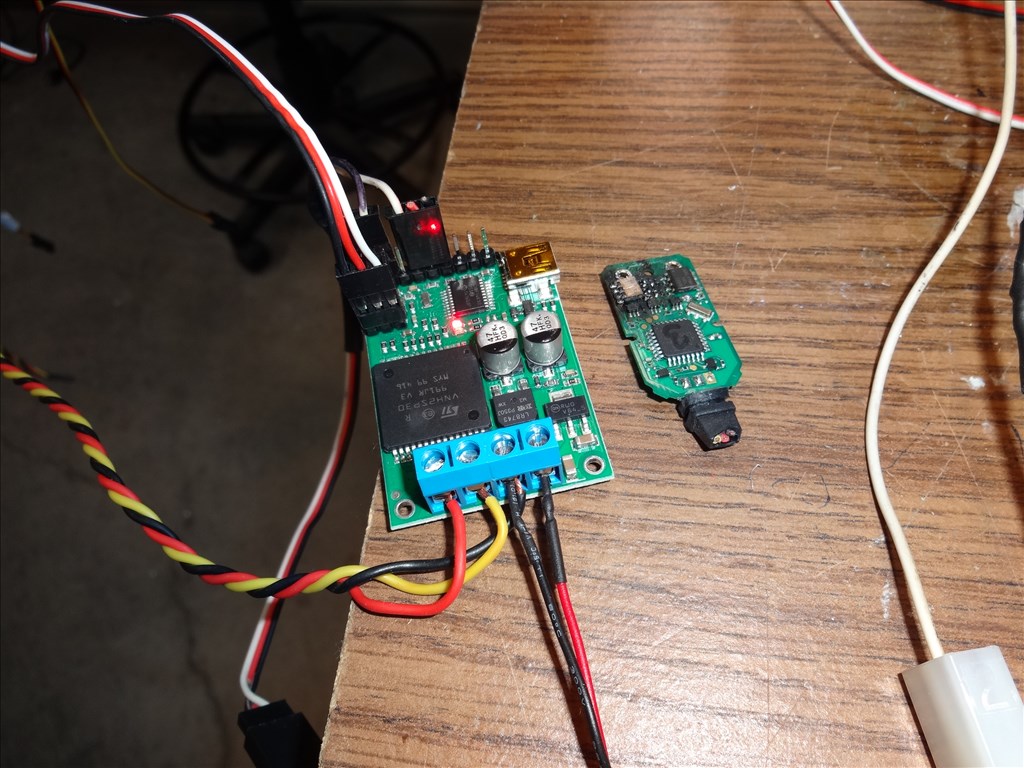
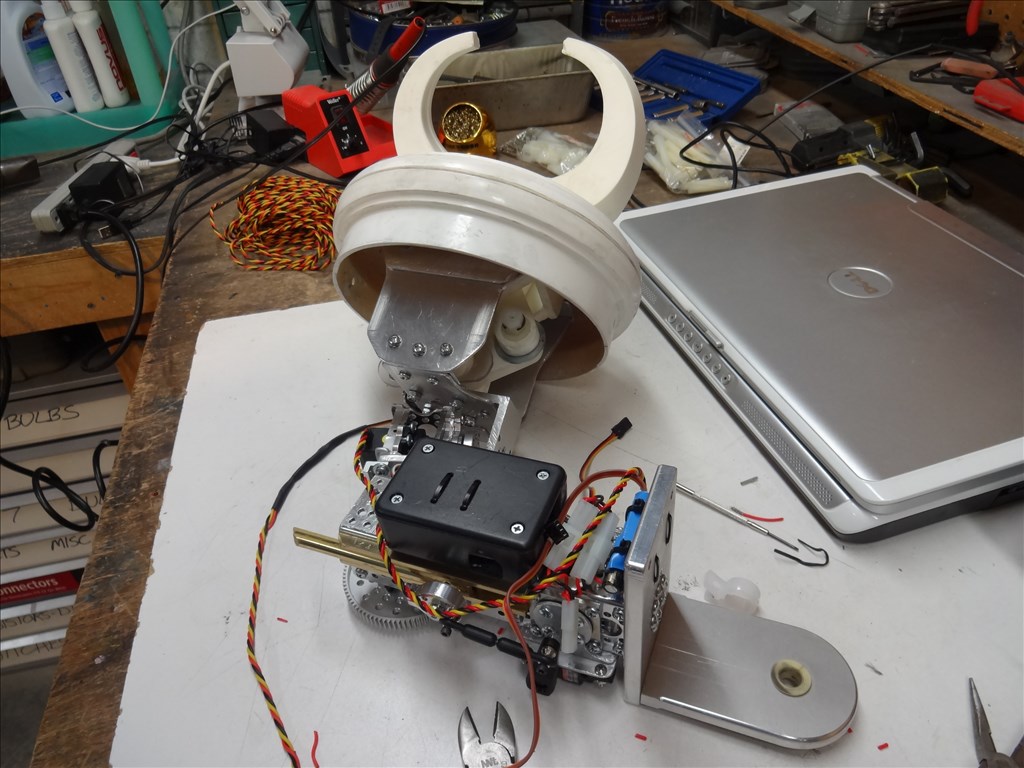
For the people asking for directions on how to build this; I'll get a list together along with the codes I worked on. There are two programs (not including the EZ Robot scripts), one for the Kangaroo X2 and the other for the ultrasonic switching Jrk 12v12 motor controller I bought from Pololu. This may take a little time as I'm actively building and and living life and you know how that sucks up our extra time.
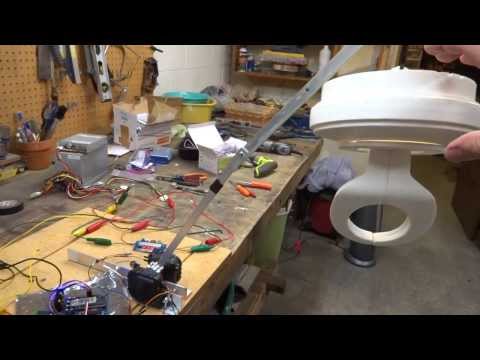
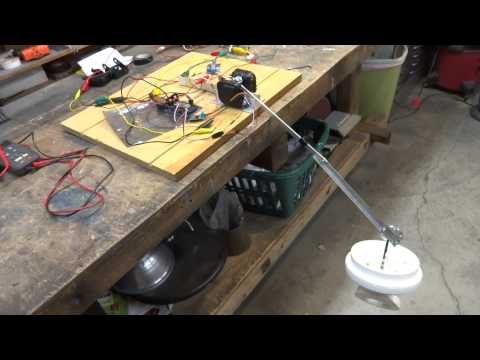
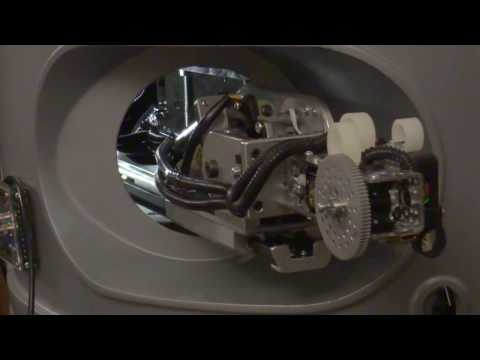
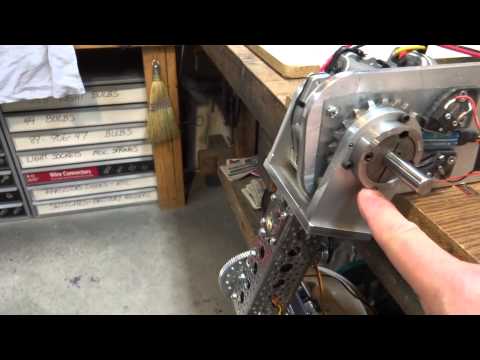
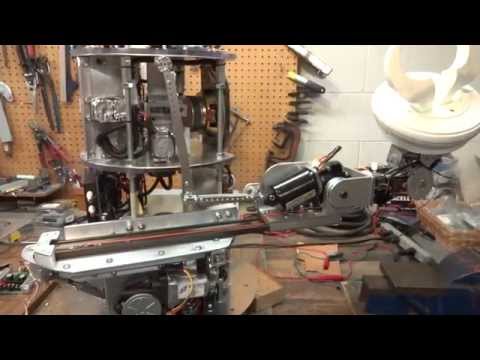
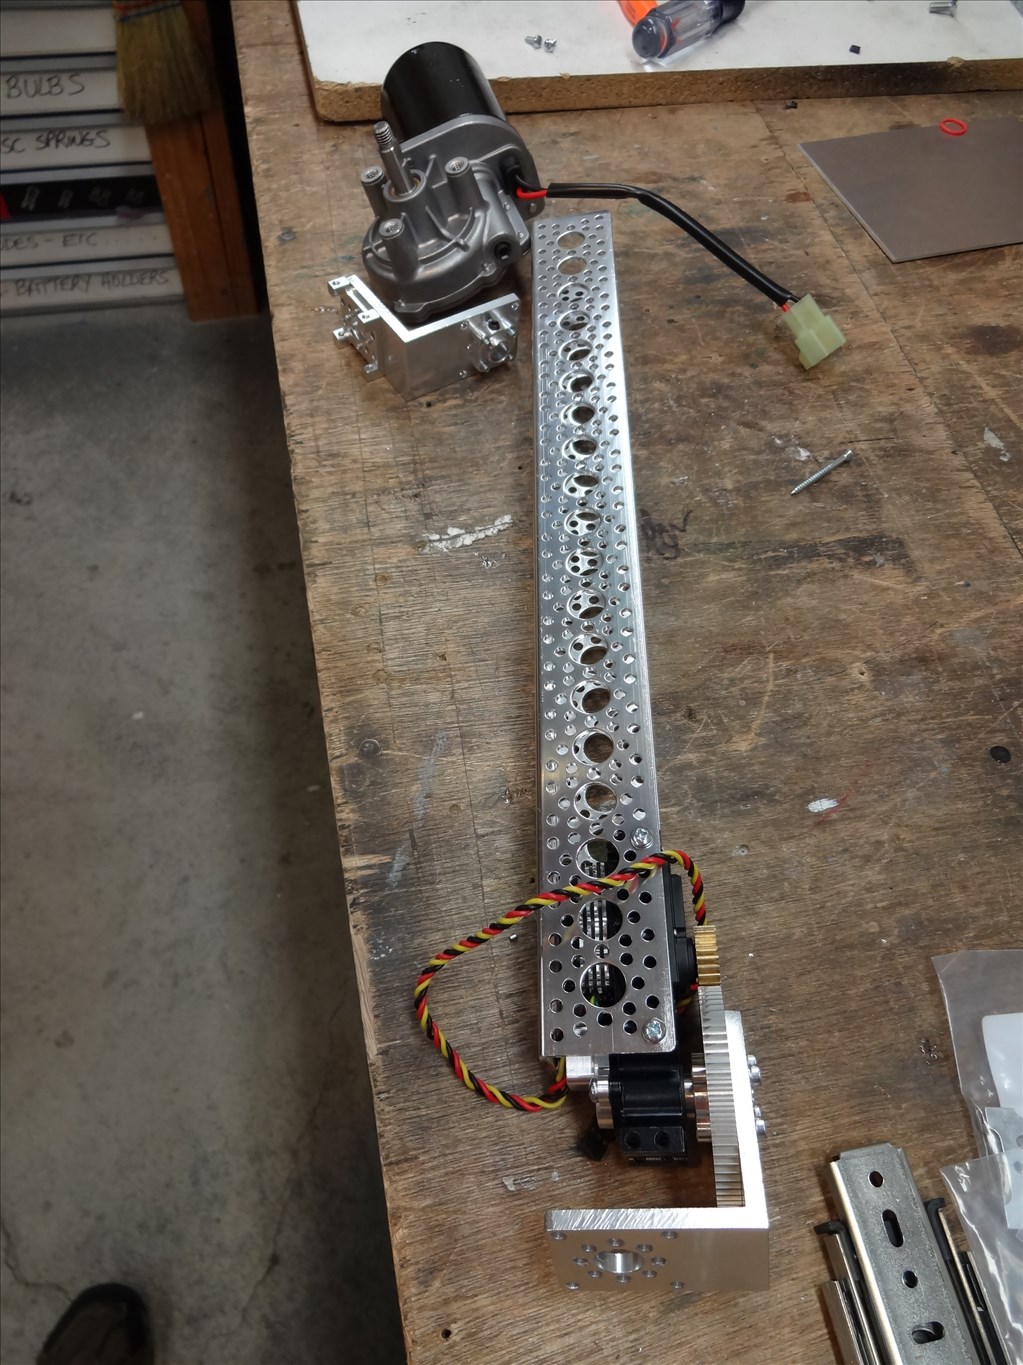
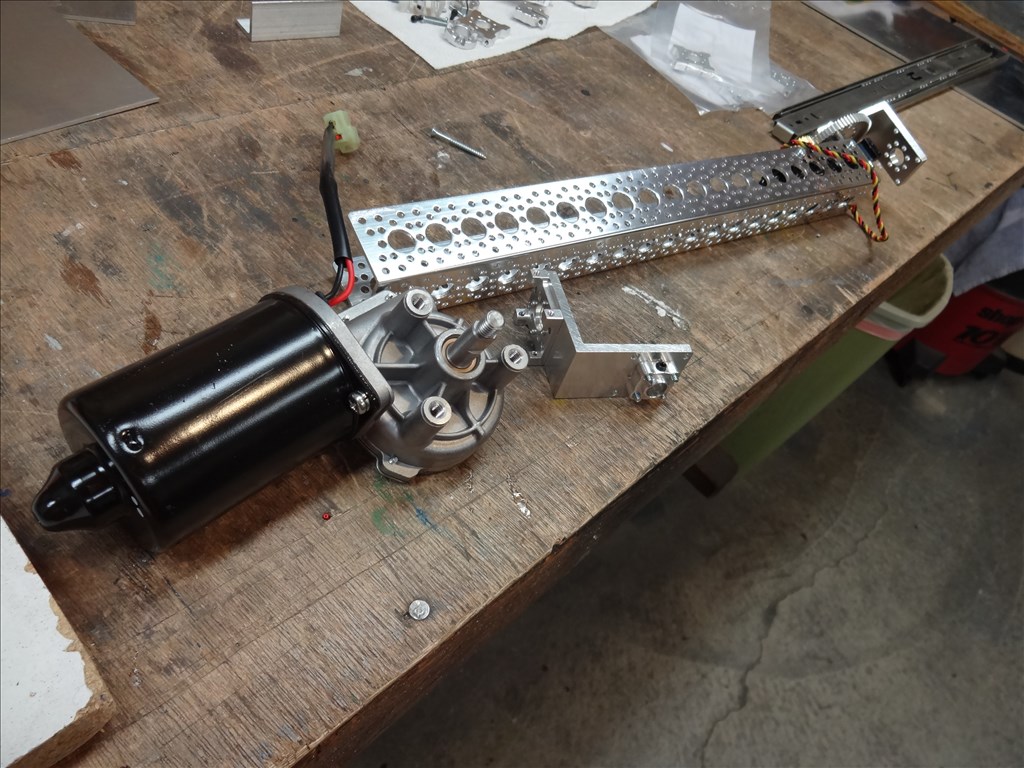
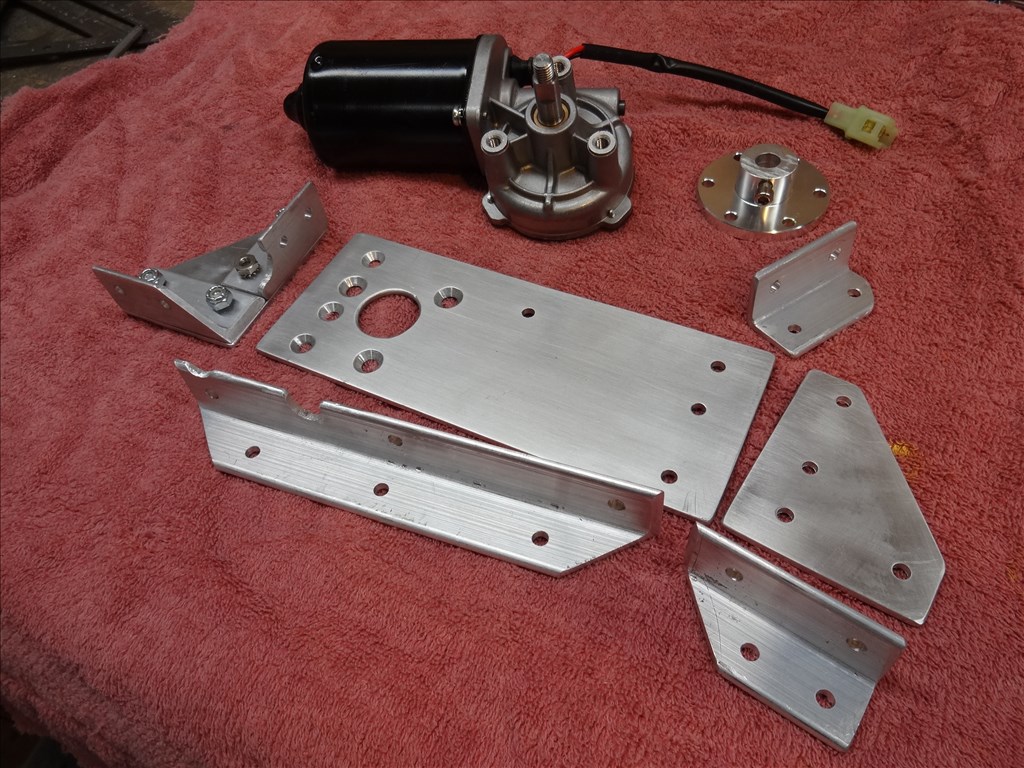
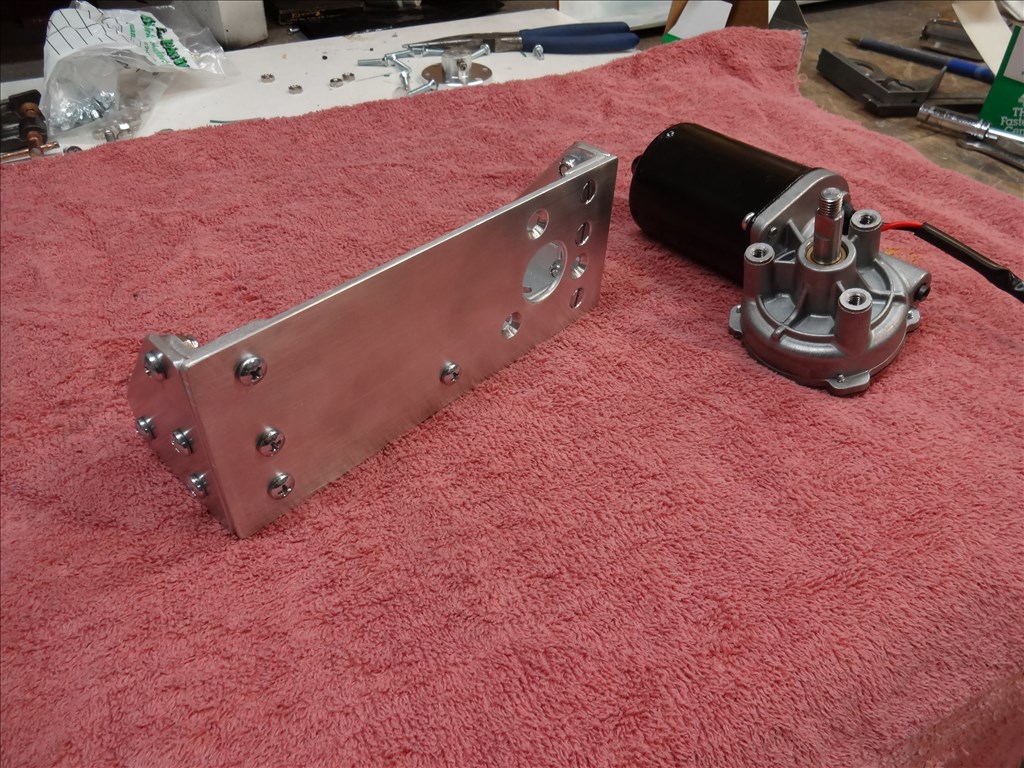
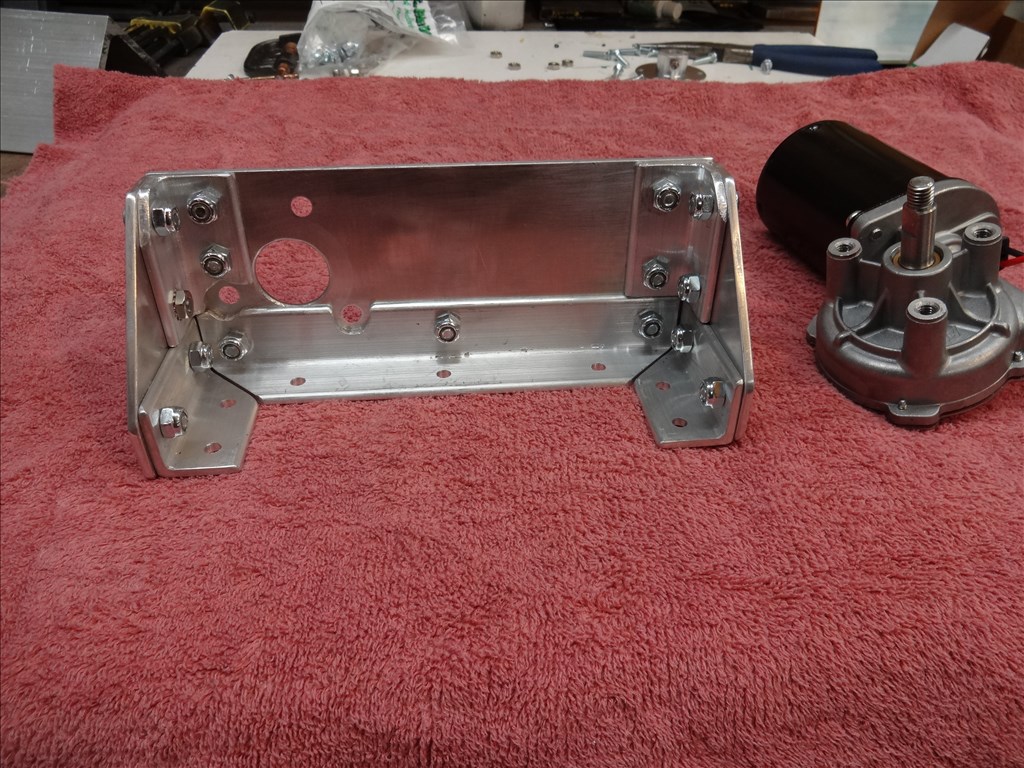
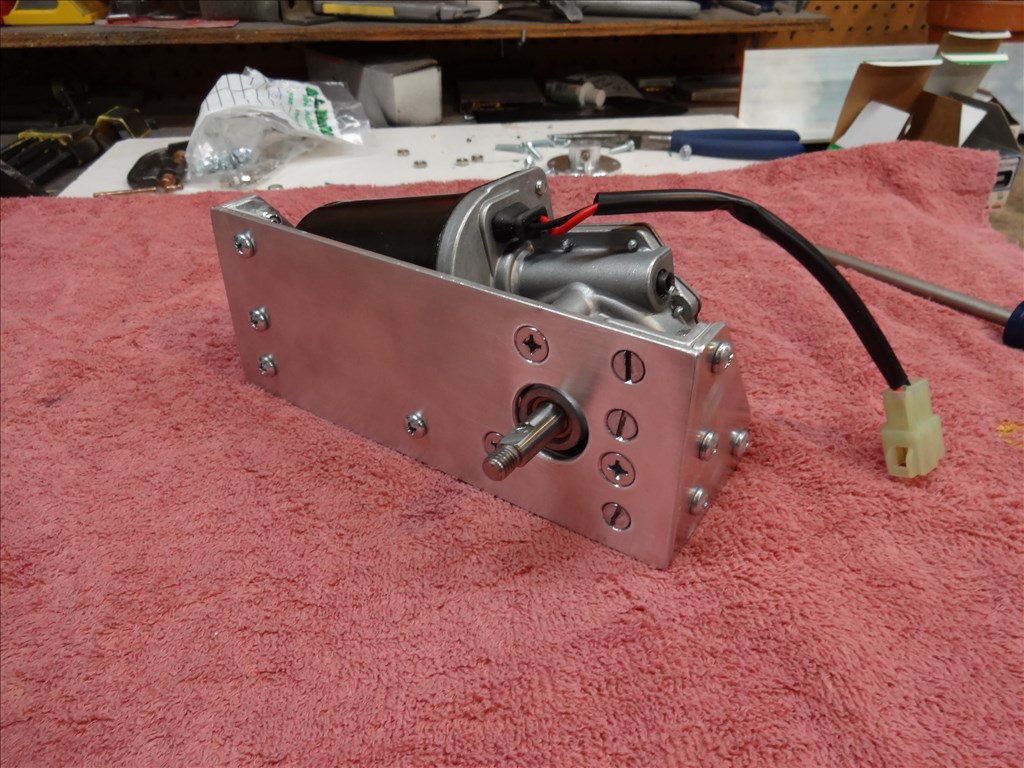
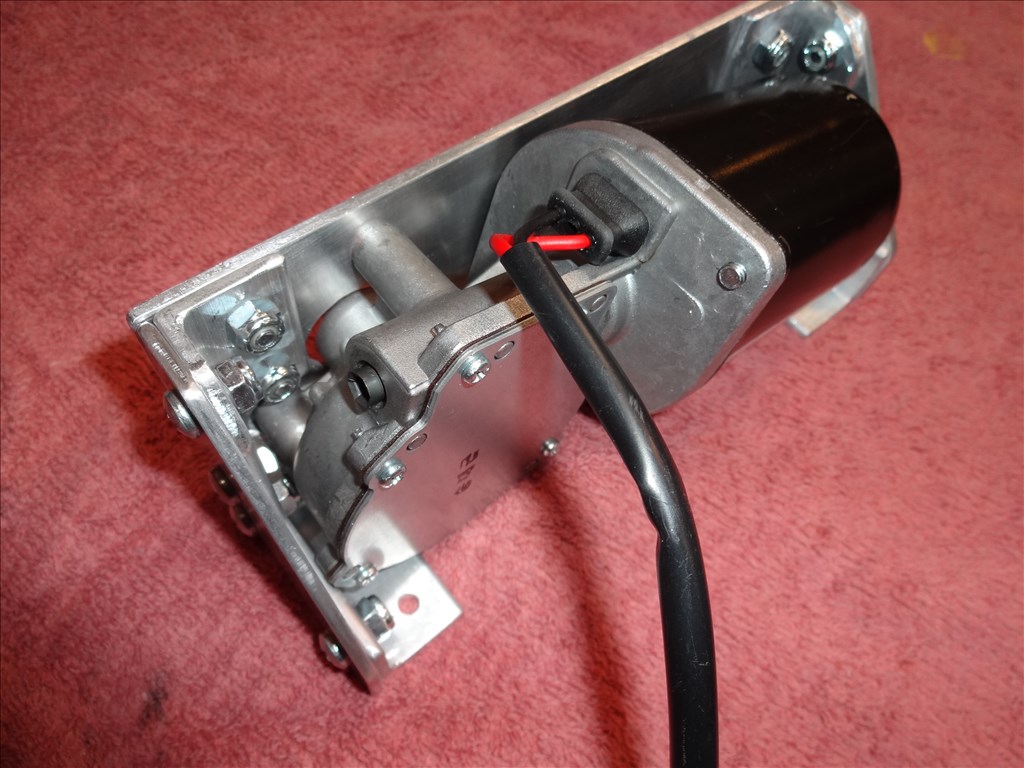
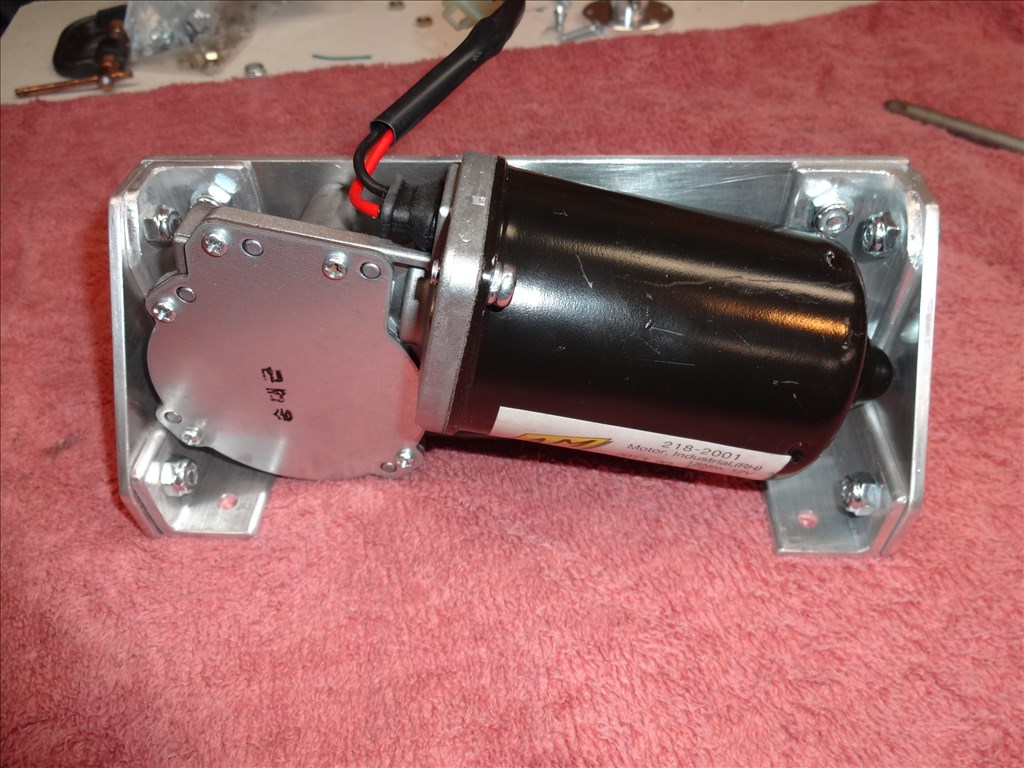
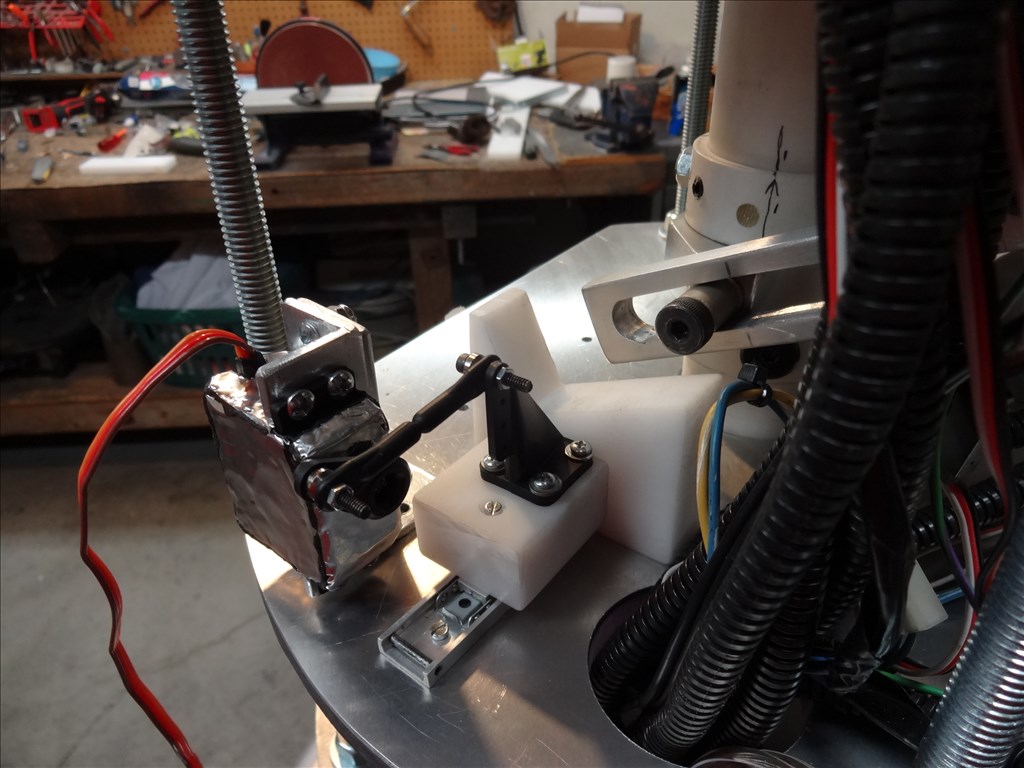
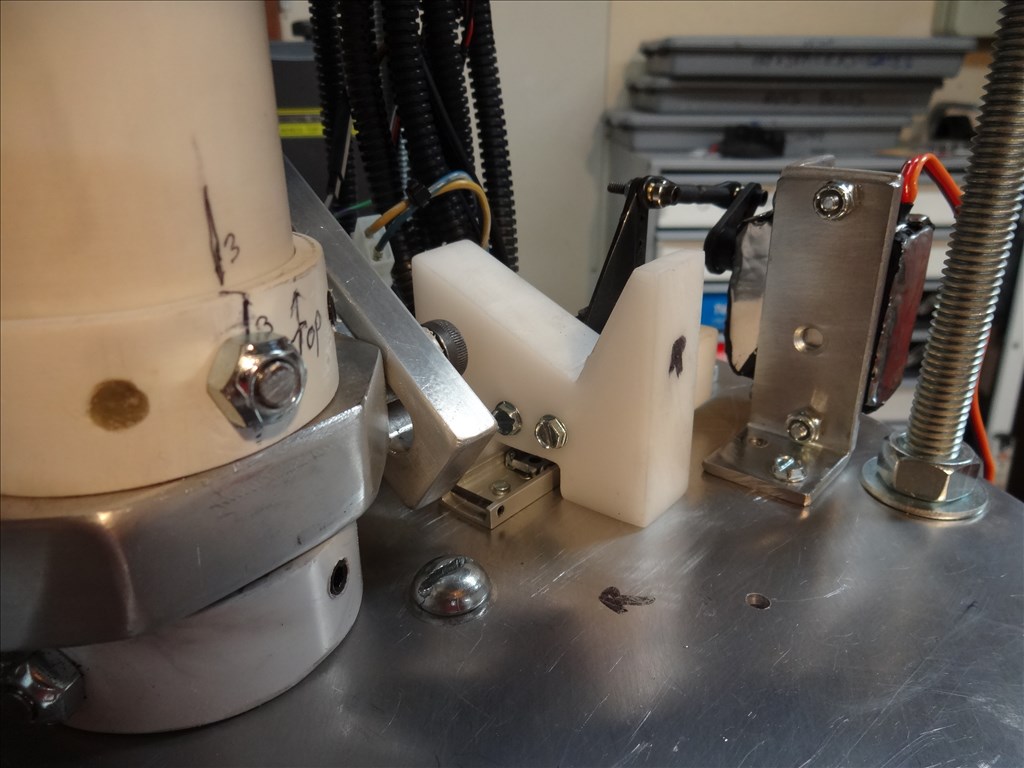
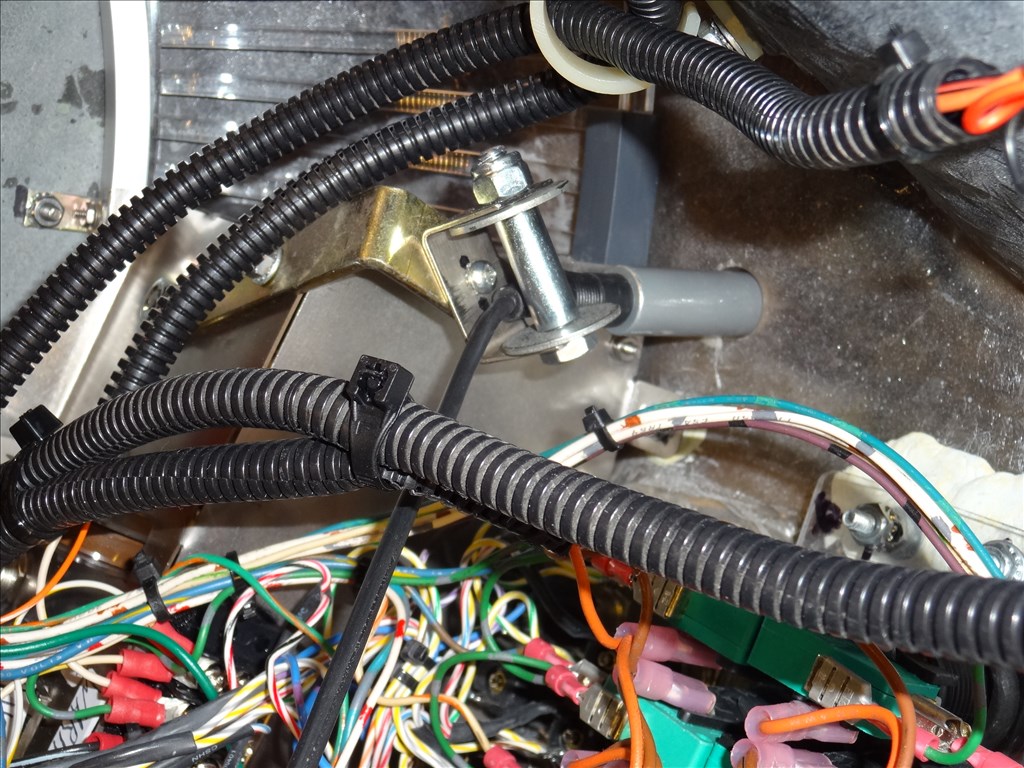
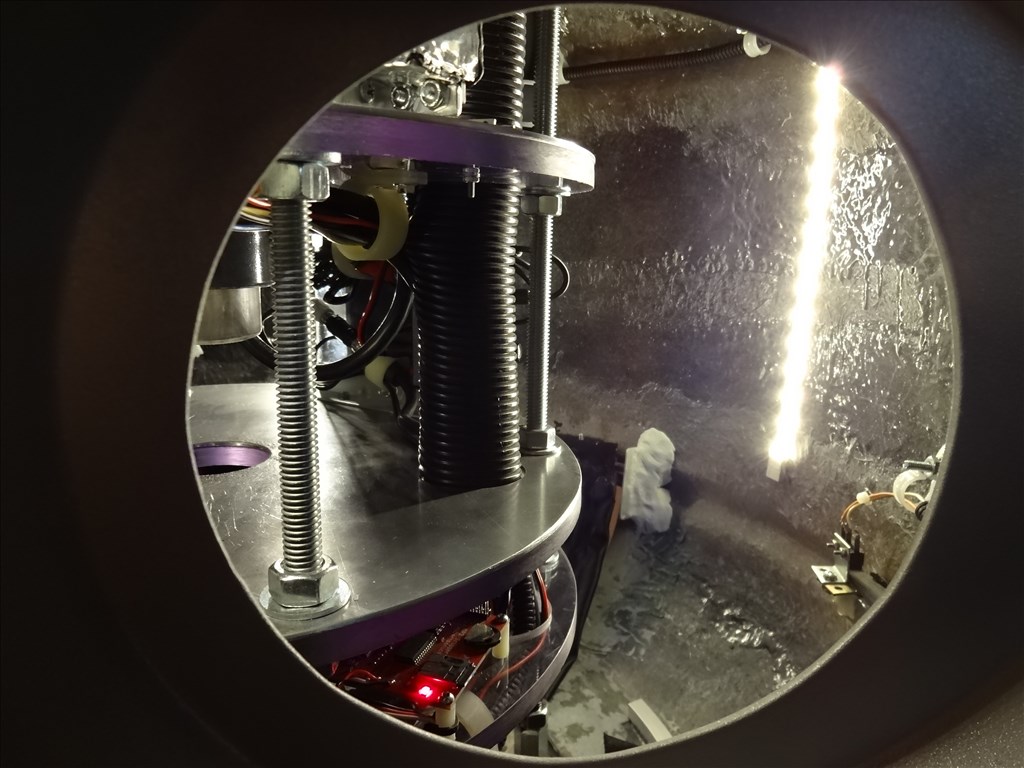
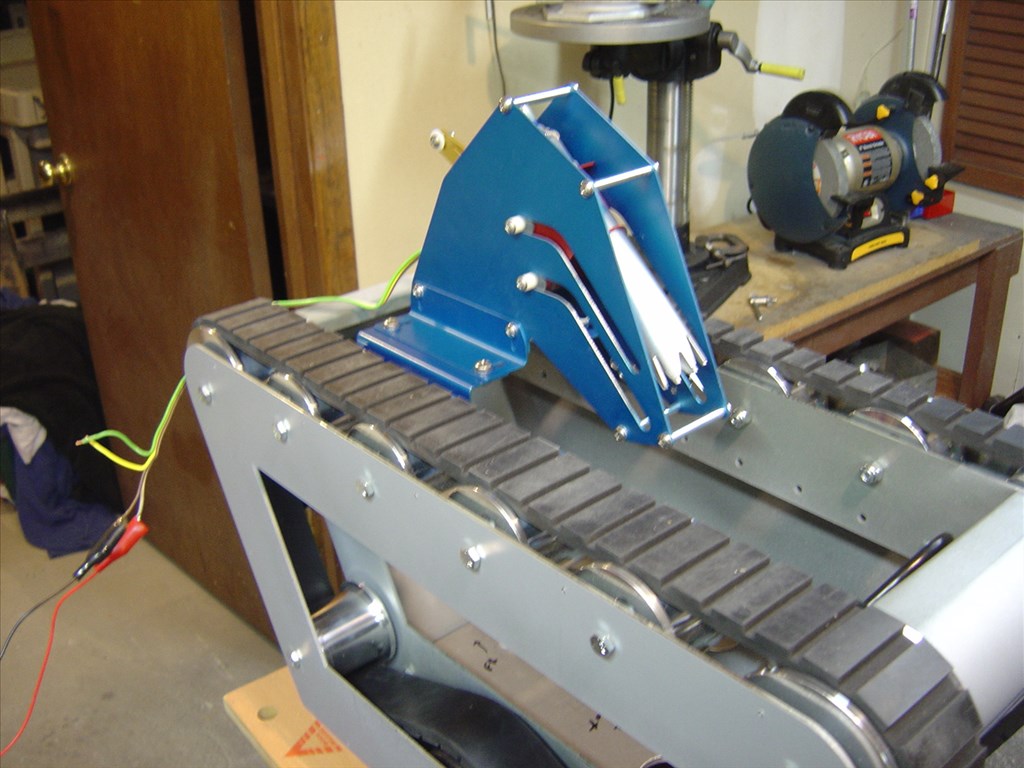
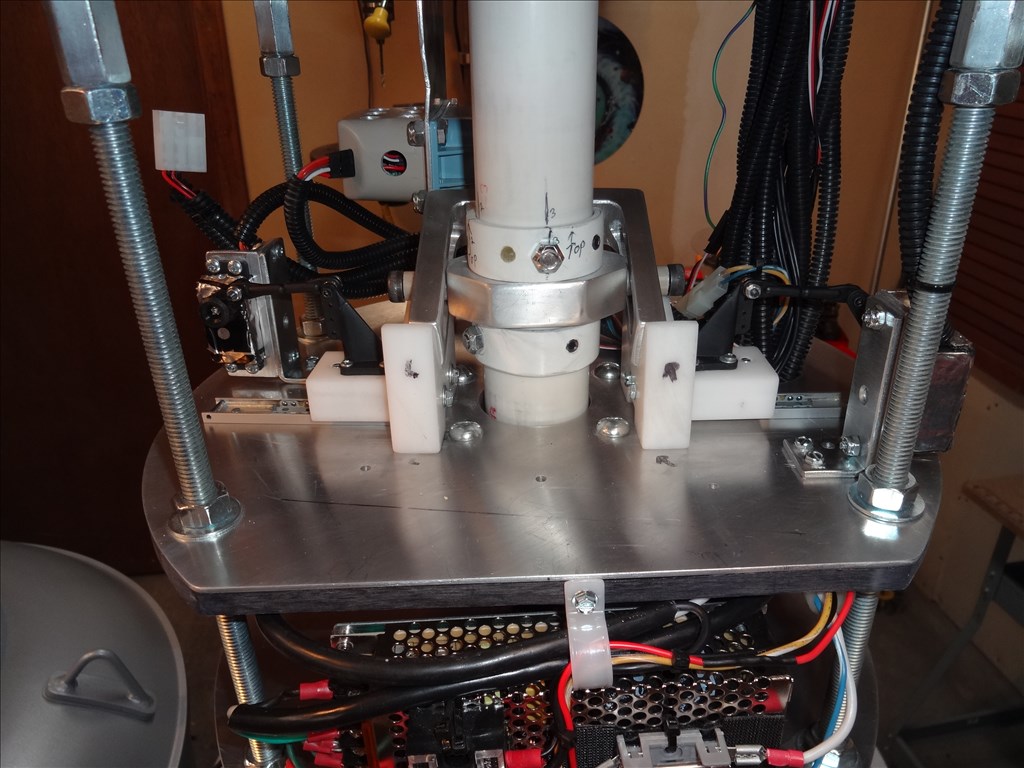
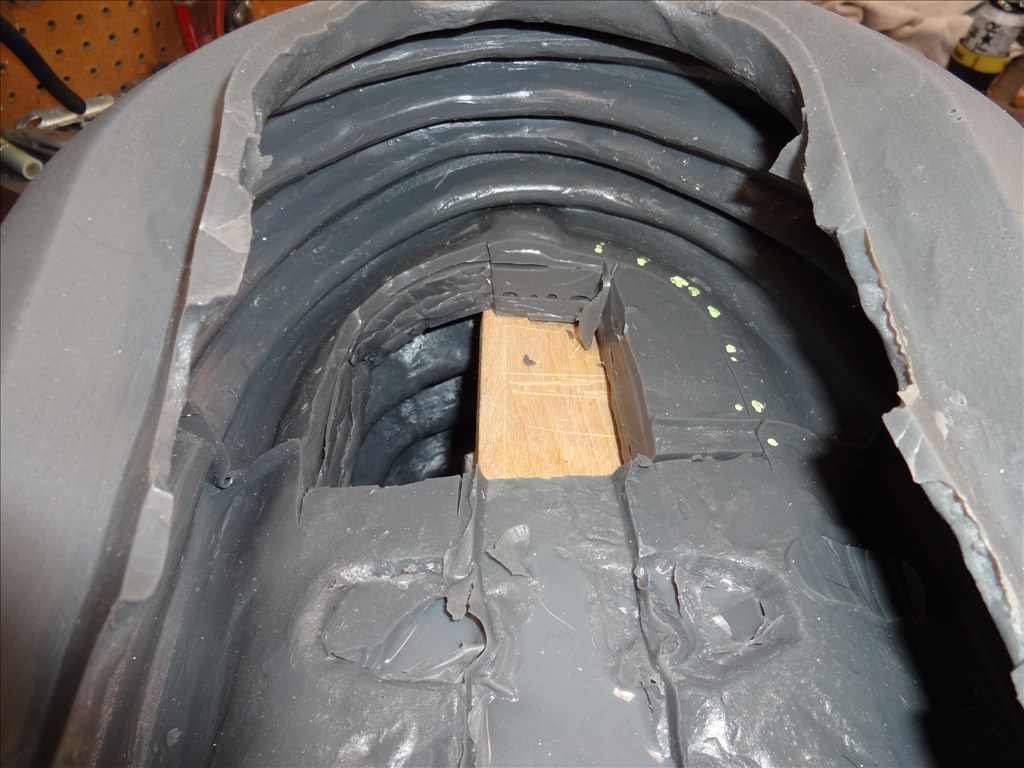
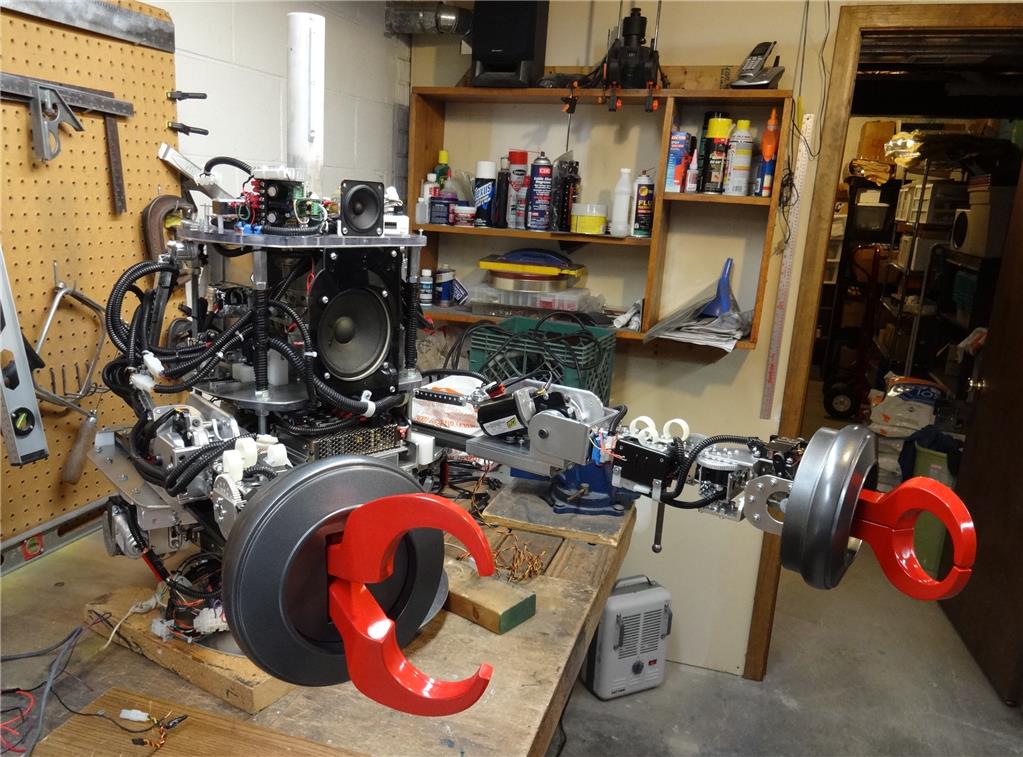
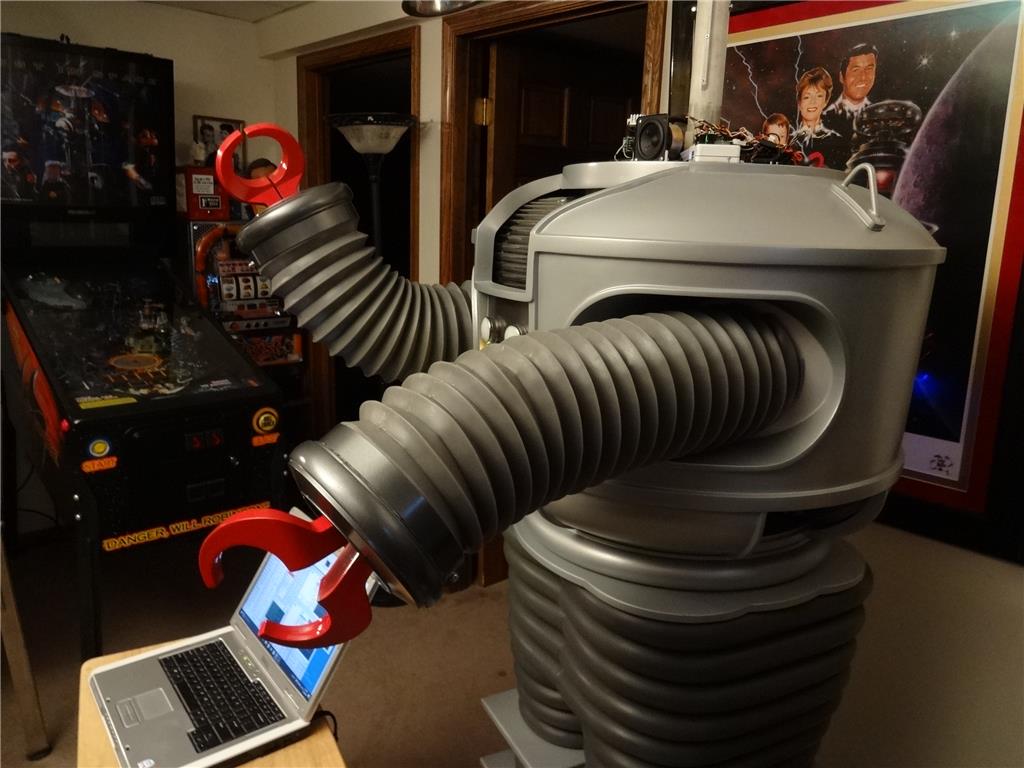
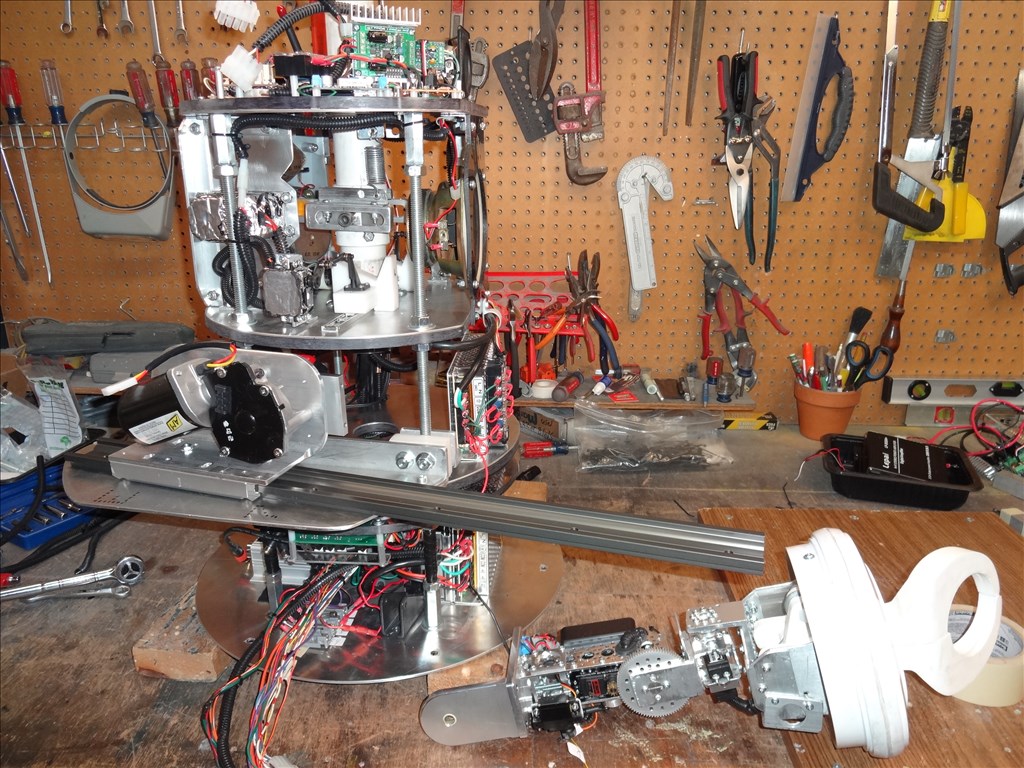
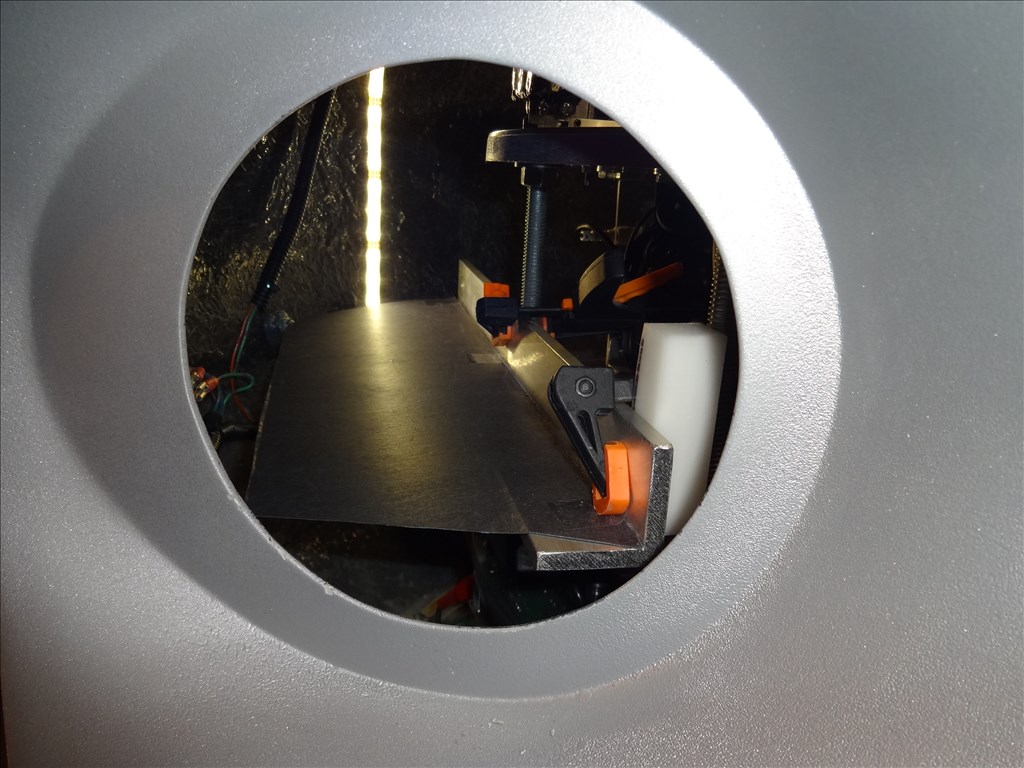
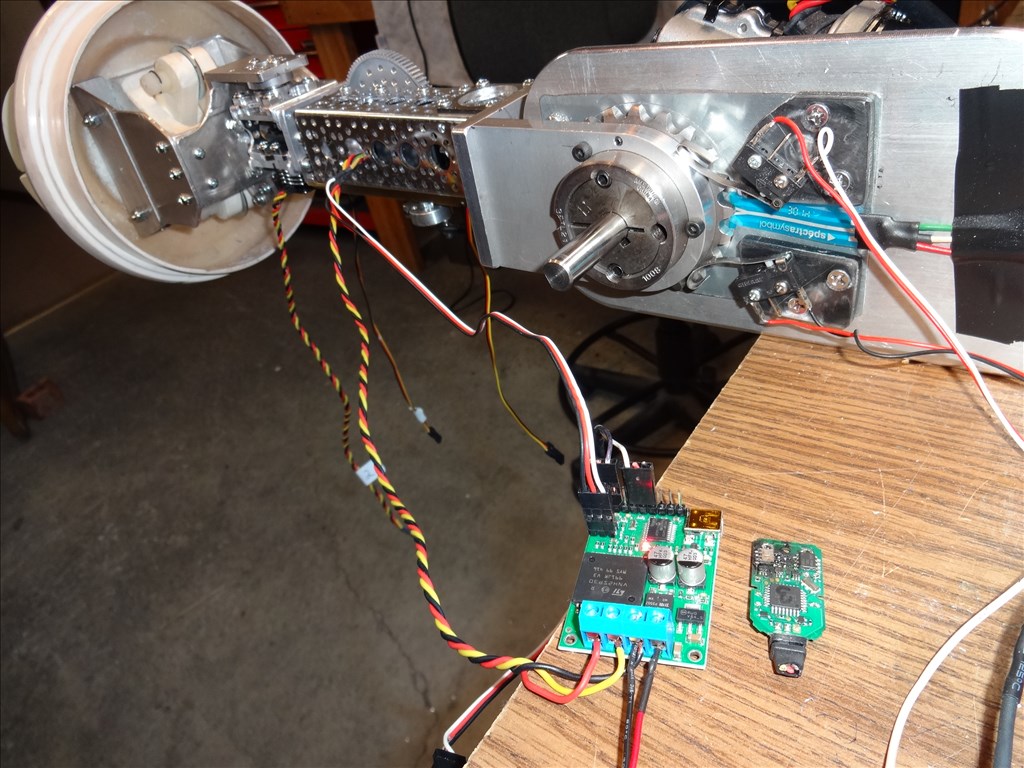
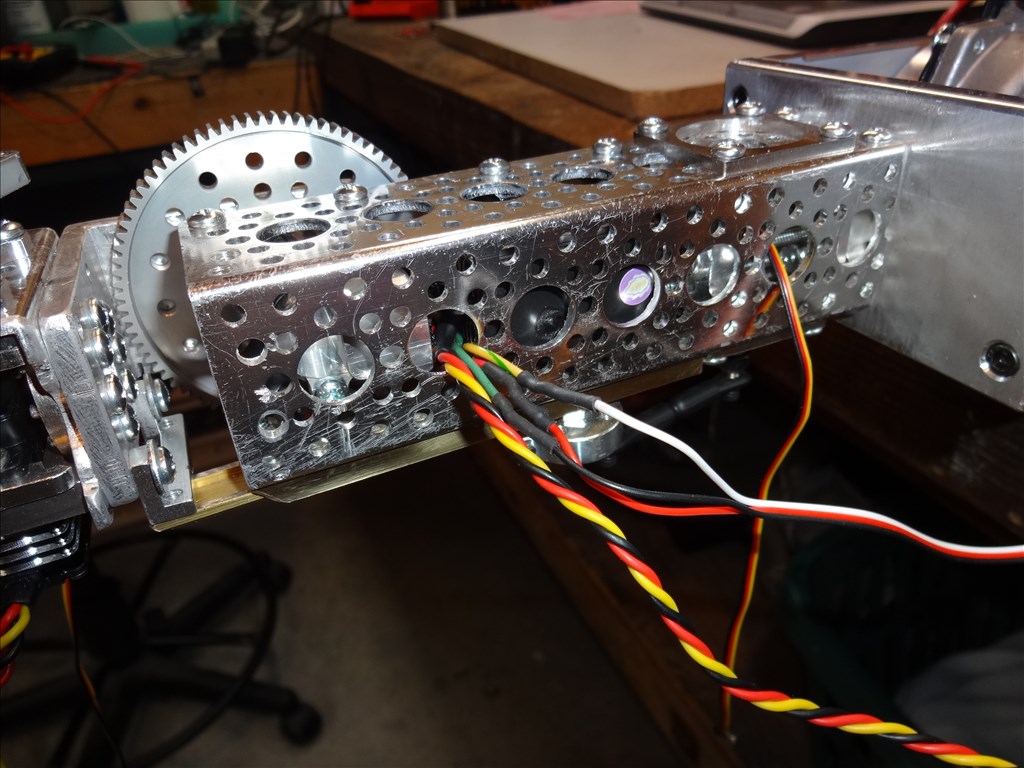
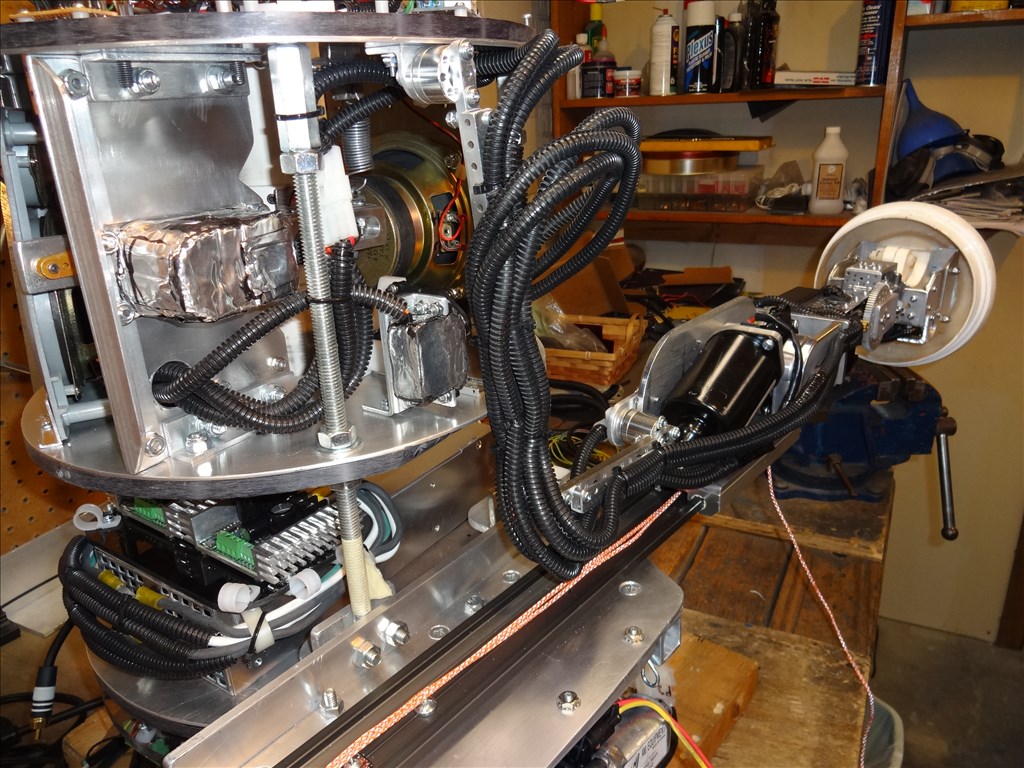
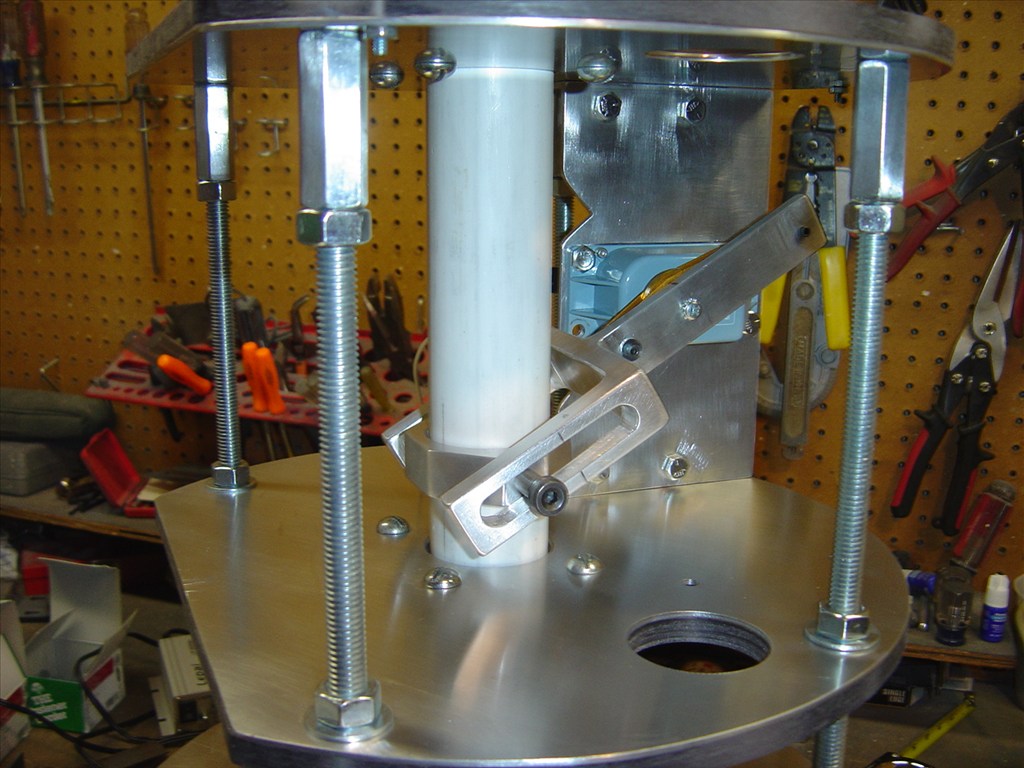
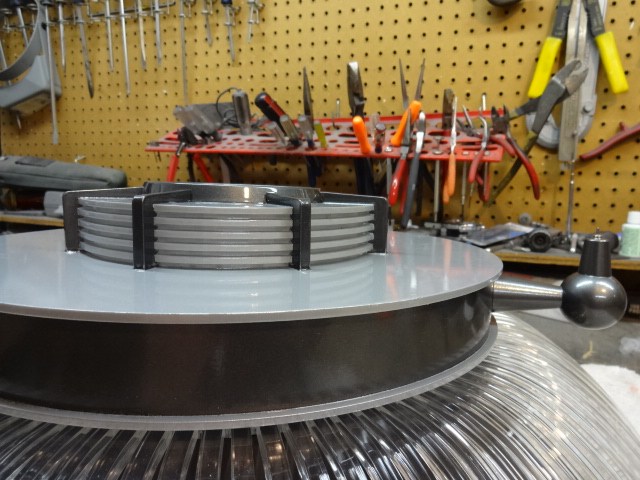
Another thing about this arm build is the bracket that holds the DC Elbow motor needs to be machined. The tolerances are crazy close to get the motor to lift this heavy load out front of it's self and not bind as it swings the weight. As you know this means expensive. At some point I hope to offer a run of these mounts to builders wanting to try this. I don't have a price yet but i'm sure it will be well over $500 for a set.
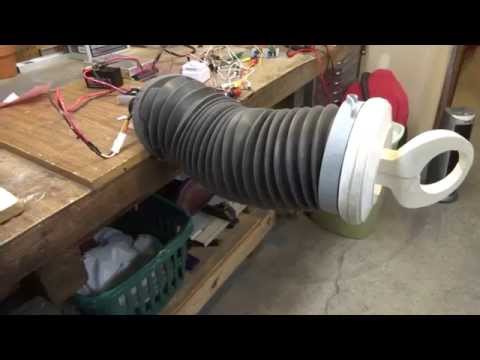
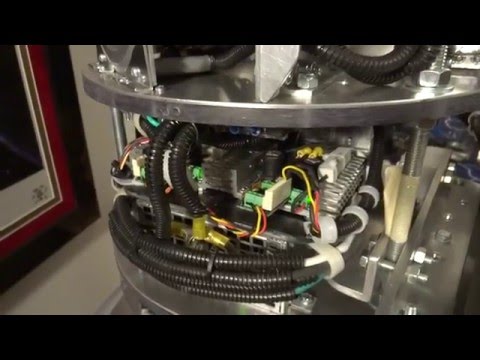
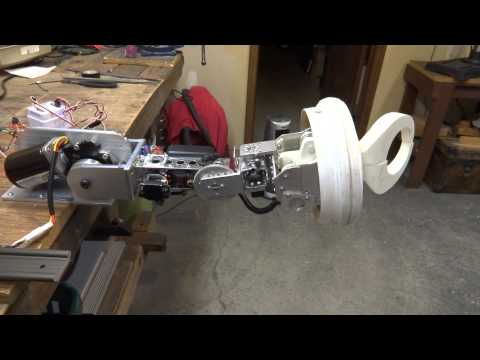
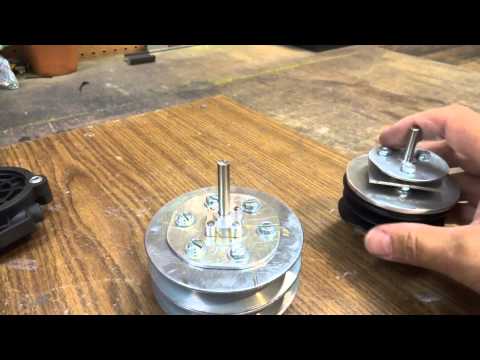
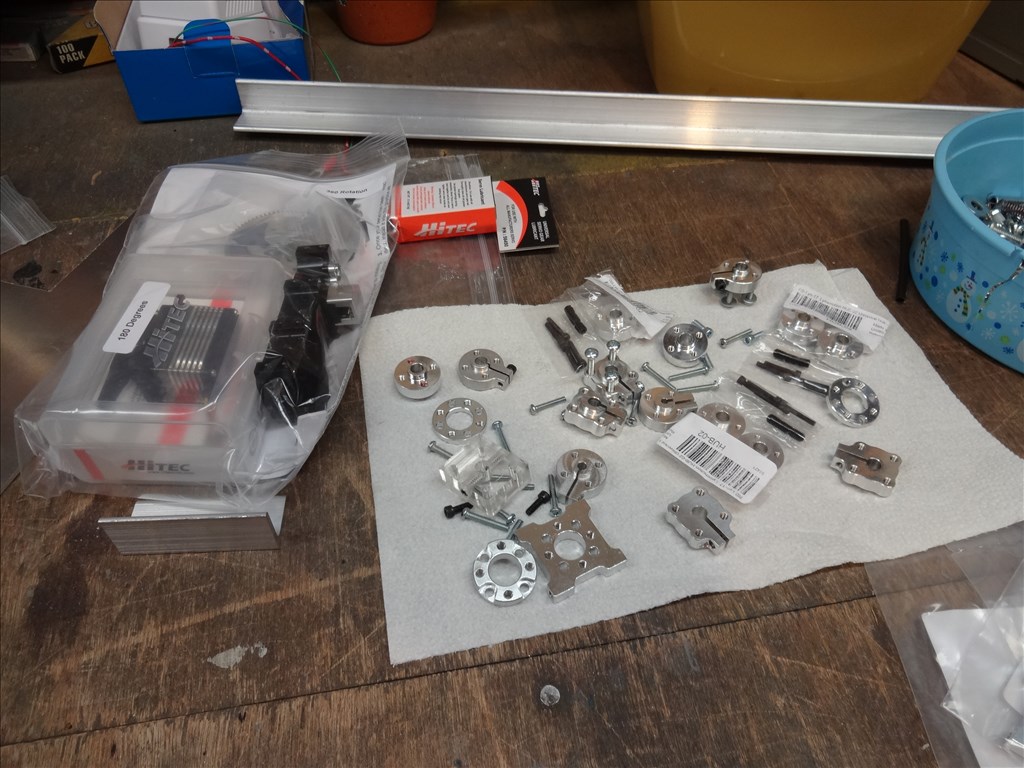
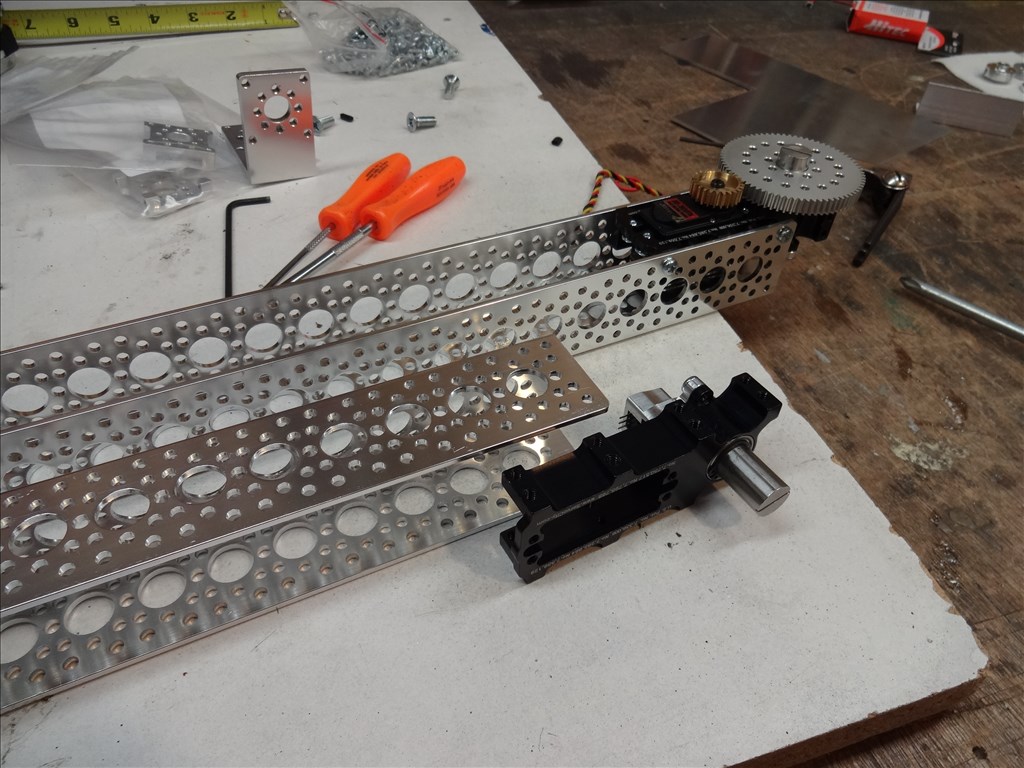
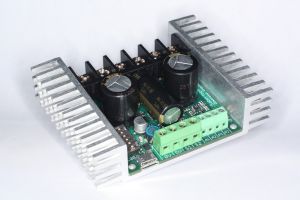
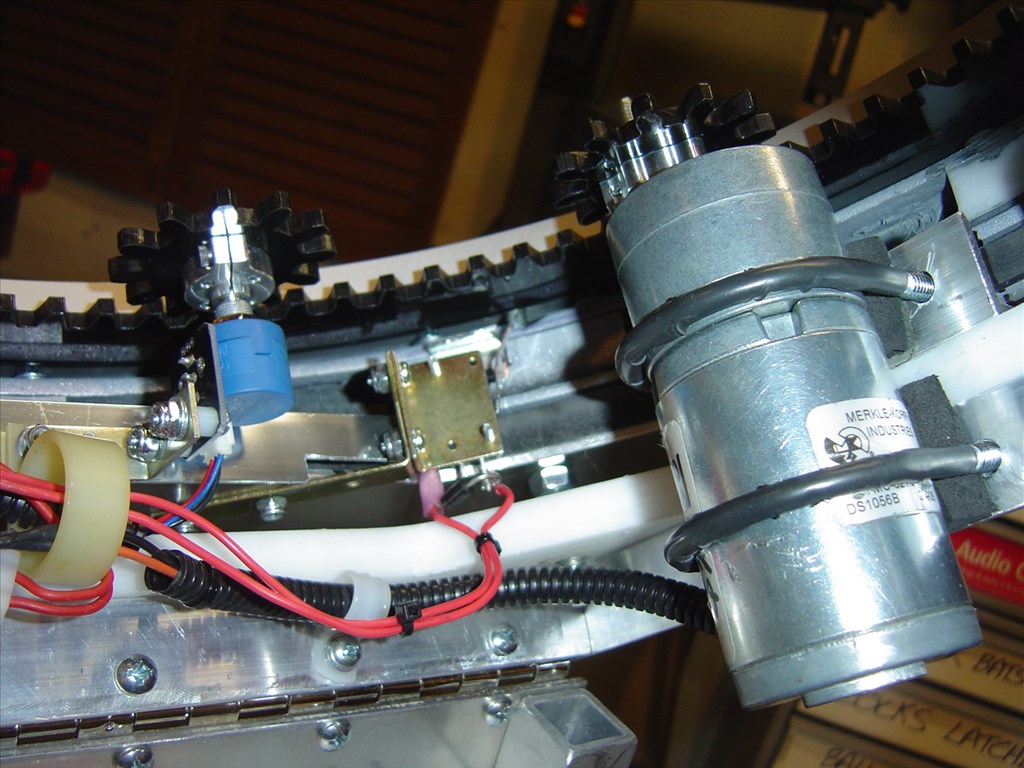
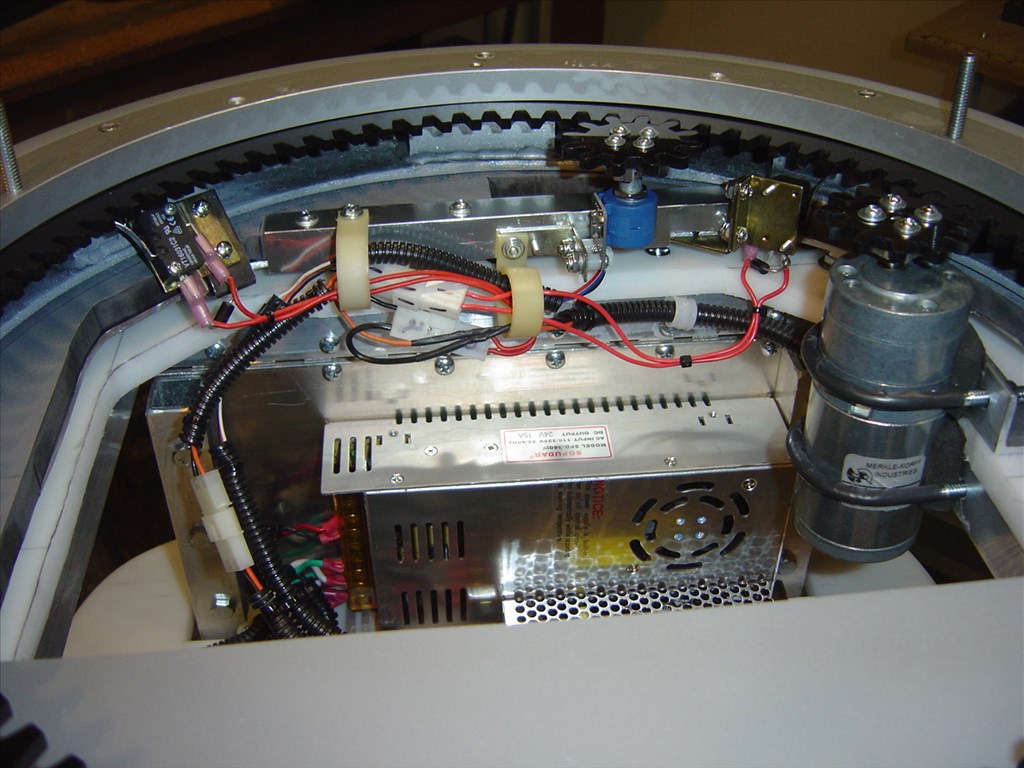
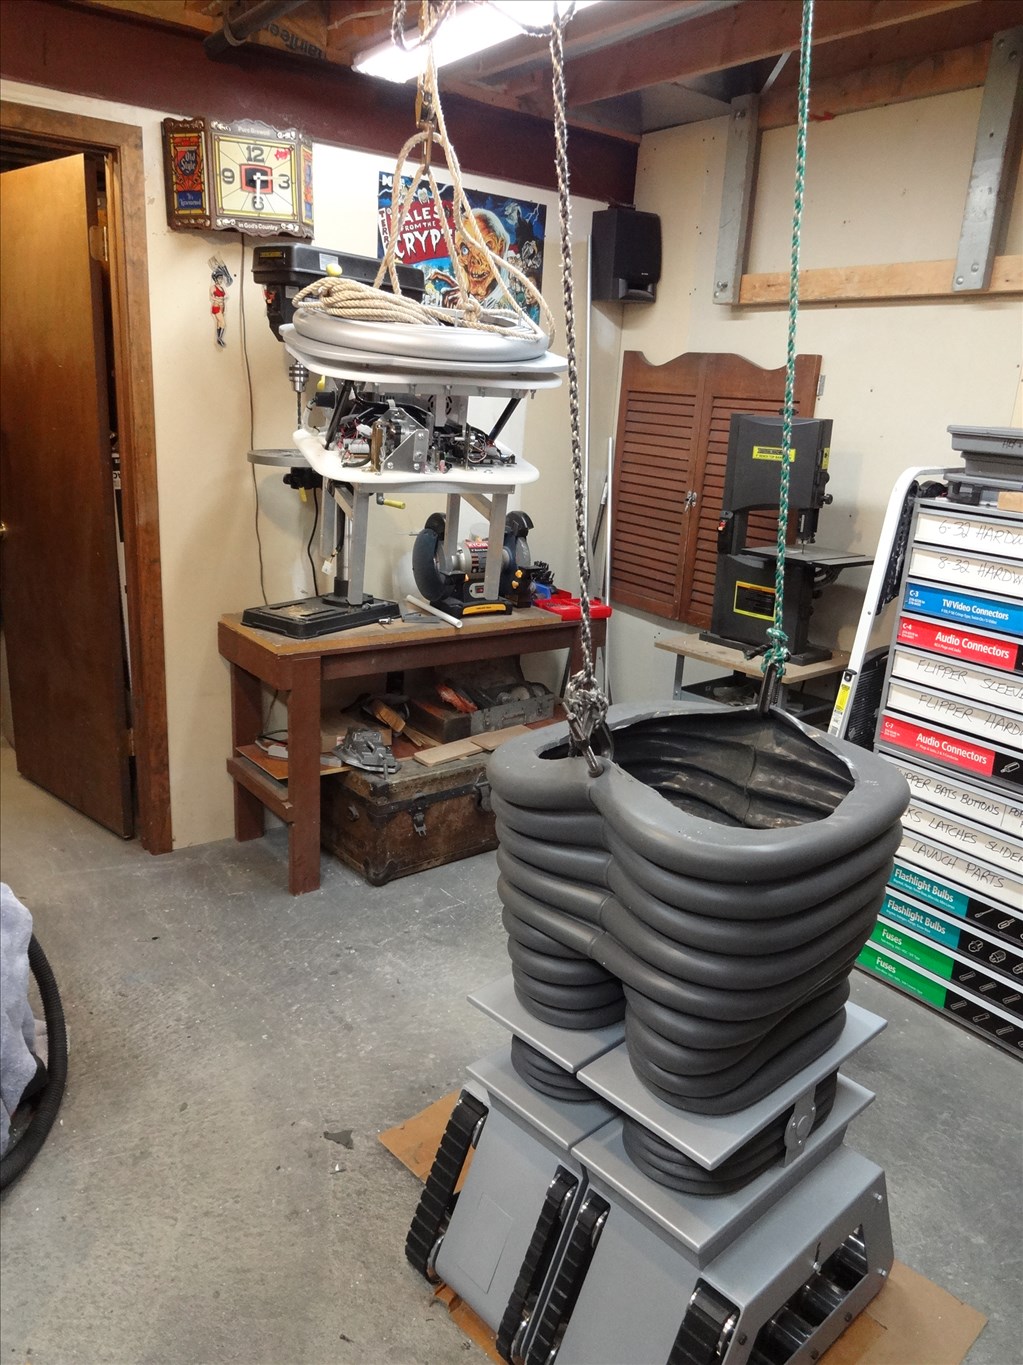
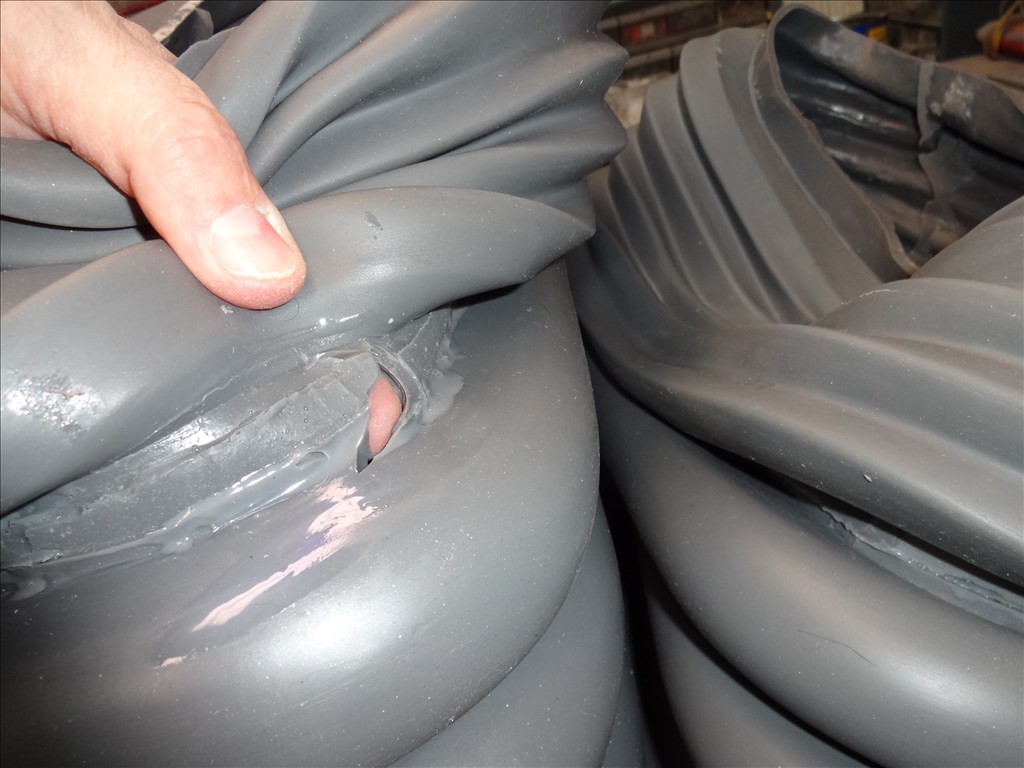
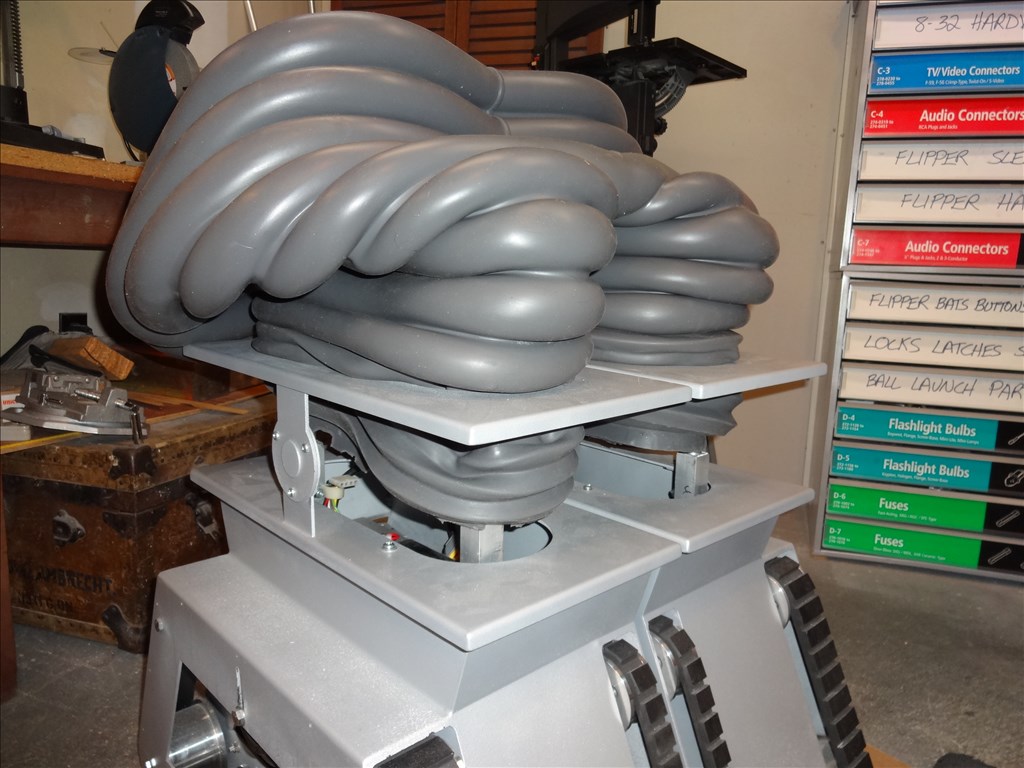
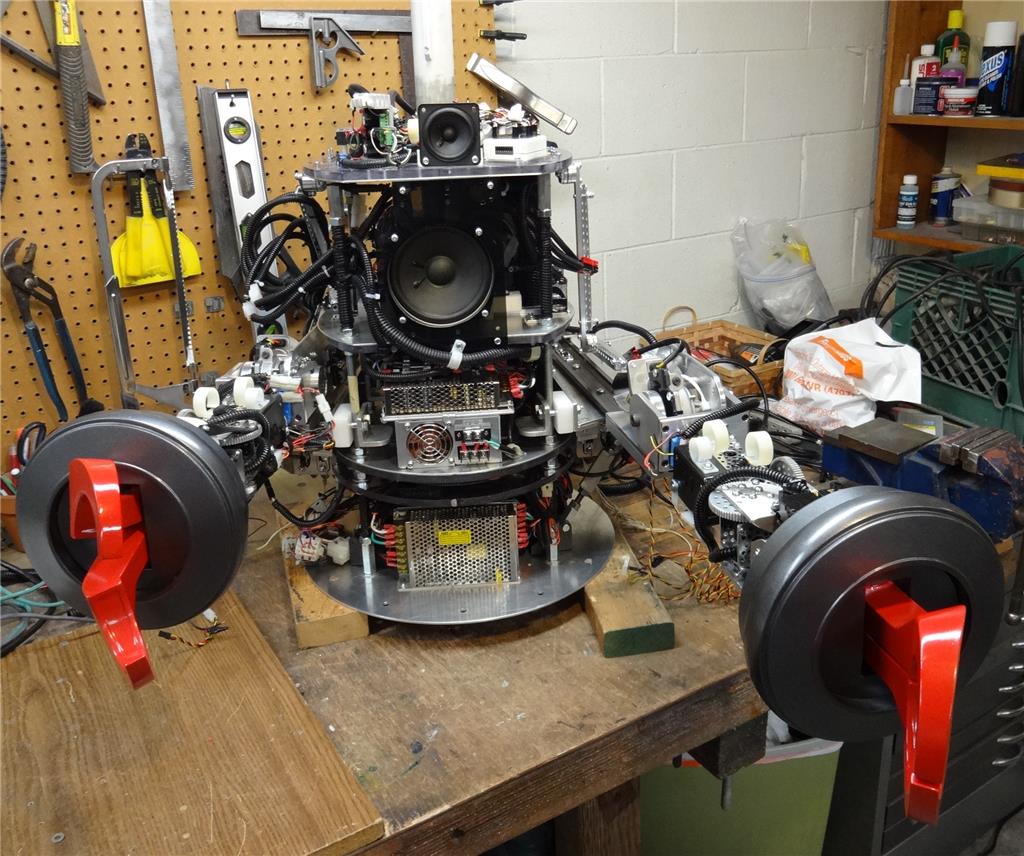
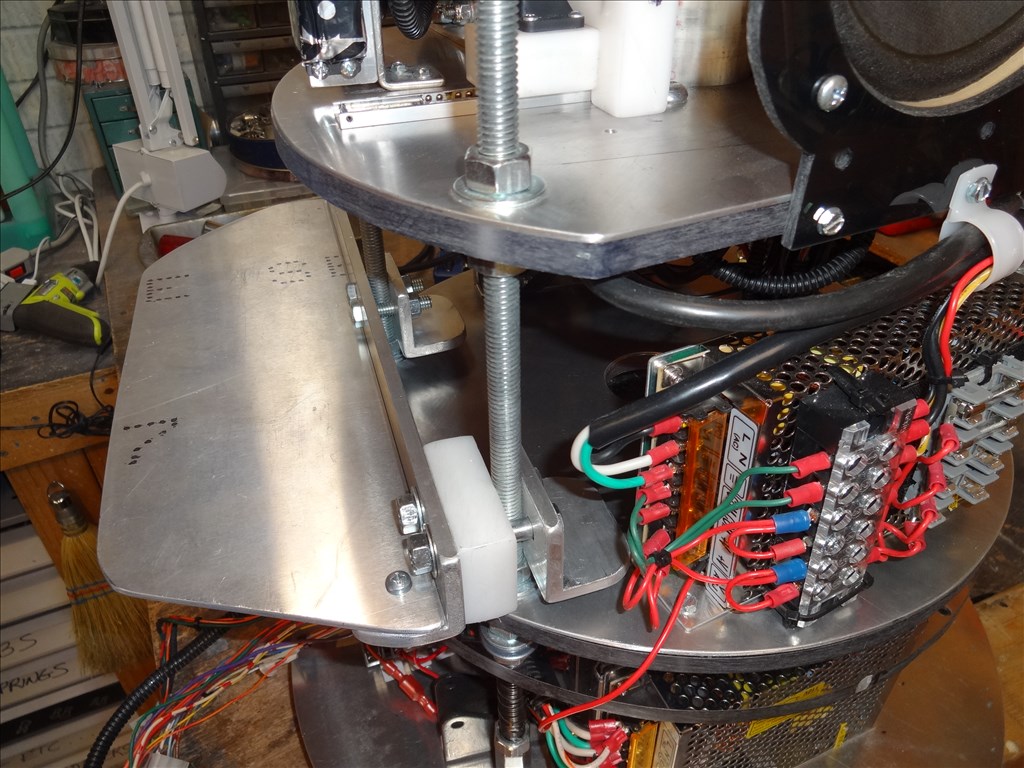
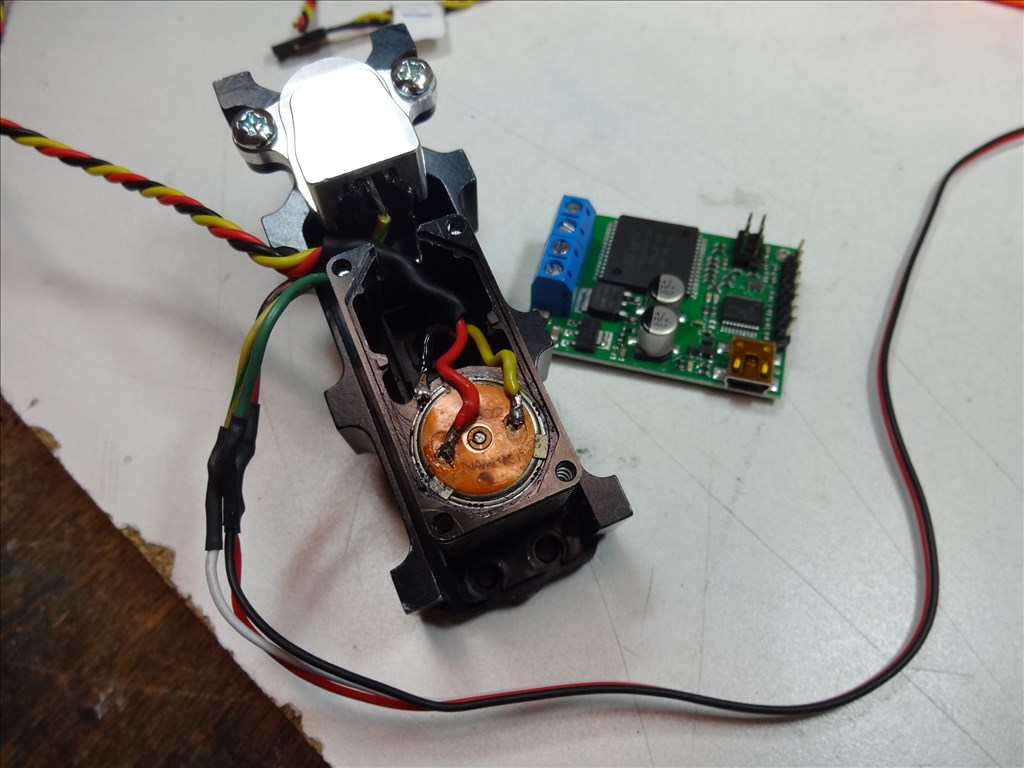
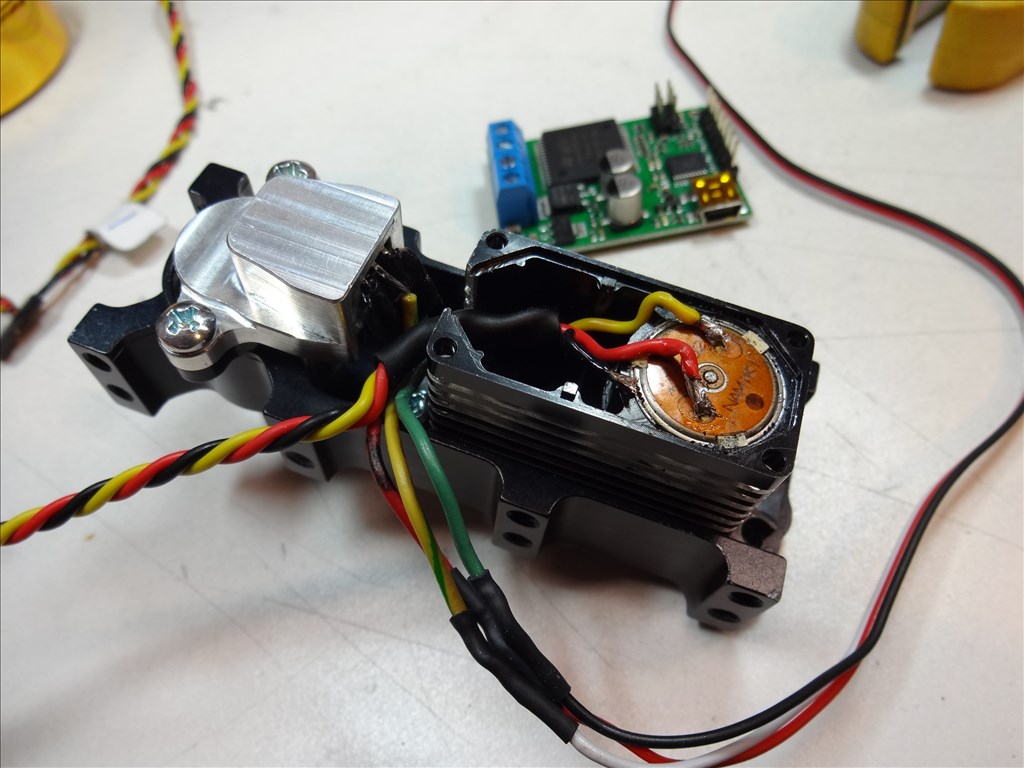
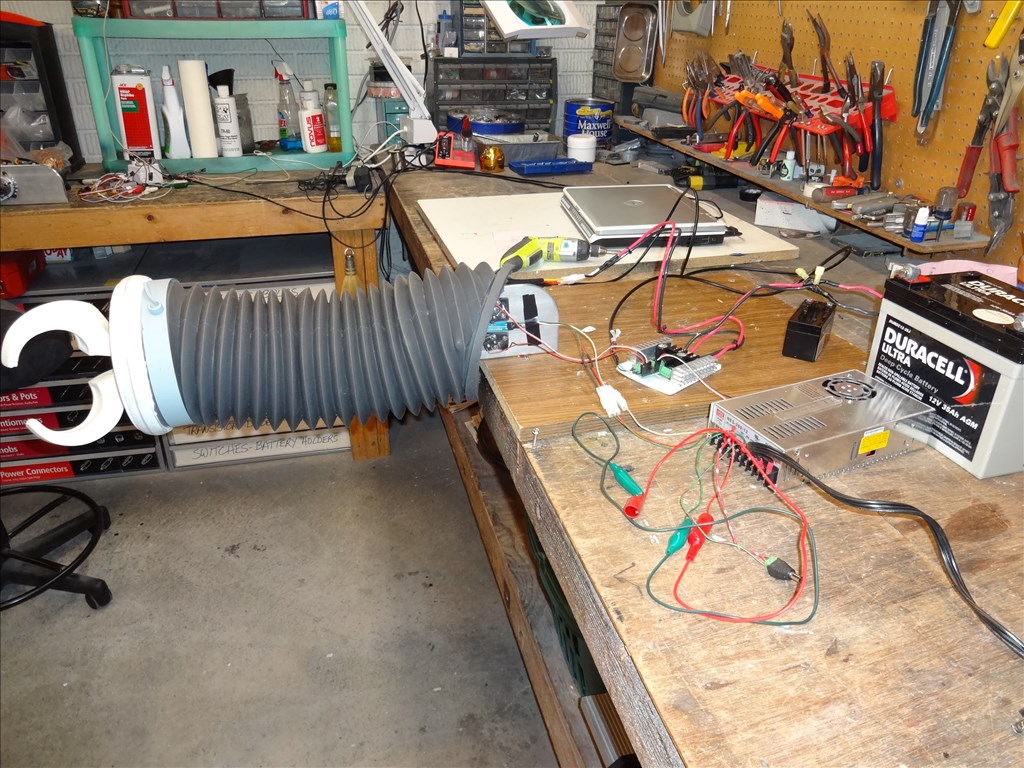
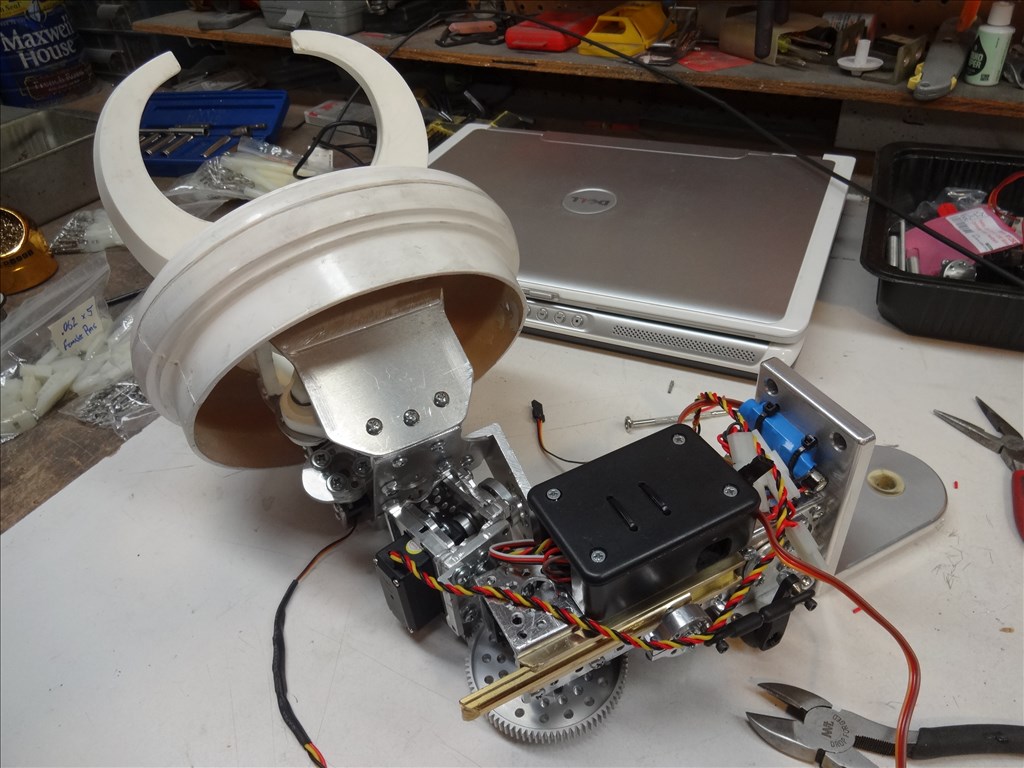
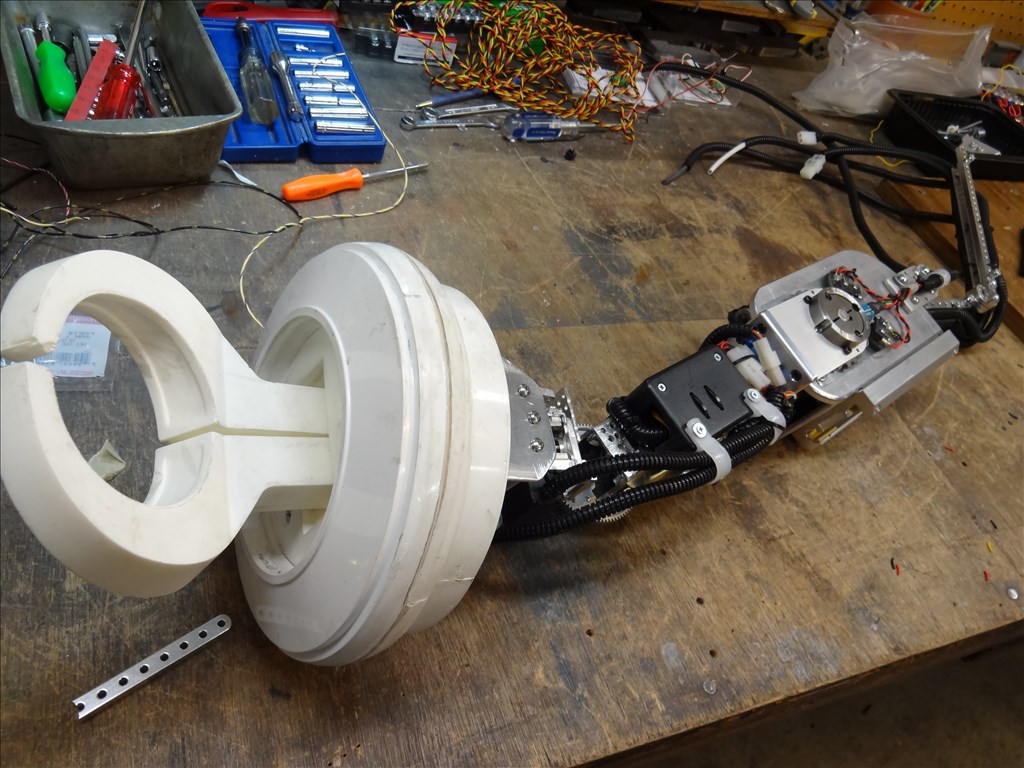
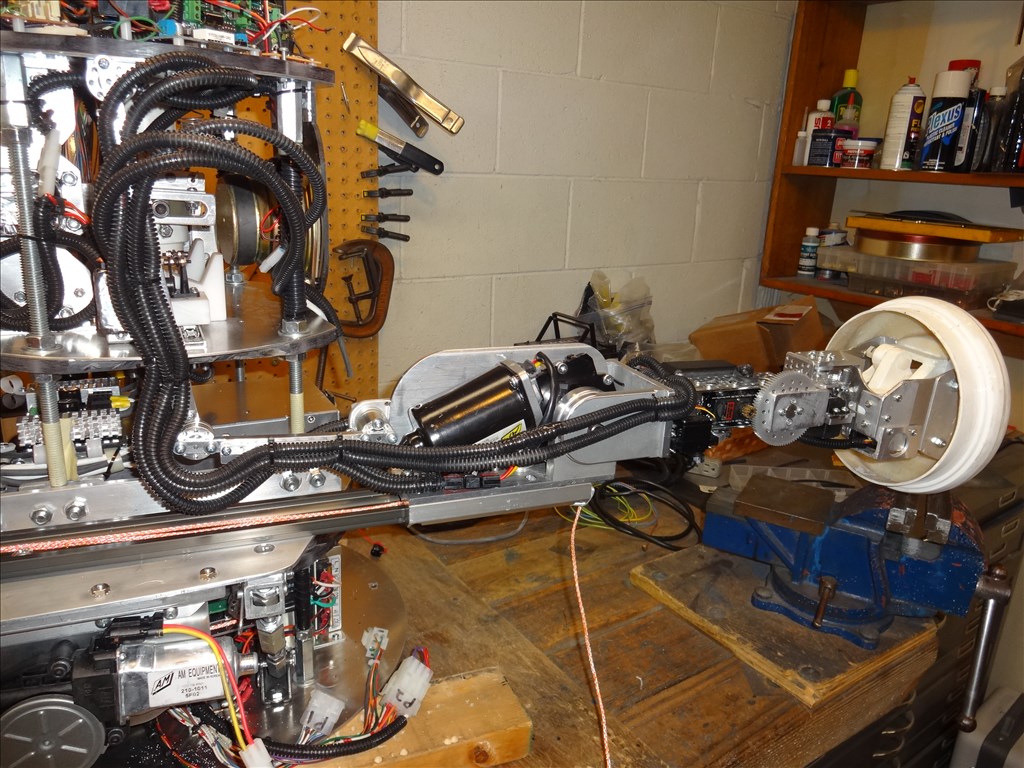
As long as we'er talking expense; the other high price tag parts are the Light Weight wrists, Claws and the Wrist Lifting servo with it's ultrasonic switching controller: **I had to buy from the B9 Builders Club vendor Bill Kendzierski whole set of Claws and Wrists and also Vendor Craig Reinbrecht light weight Wrists. I set aside Bill's Wrists and used his claws with Craig's wrists. This shed an entire pound off the end of the lift. In the robot arm would this is huge. However having to buy the two sets is very pricey. This approach cost me about $800 but is for both arms. Bill has said he is working on a set of light weight claws to complement Craig's light weight wrists. However like me, his time is limited because of real life commitments. **The wrist lifting servo with it's ultrasonic switching controller is another high price point. The RobotZone SPG7950A-CM-360 channel mount servo Power Gearbox with the Hitec HS-7950TH servo installed runs about $220 at ServoCity. Then I had to screw up some courage and I gutted it by removing it's control board and wired in the ultrasonic switching jrk 12v12 motor controller that runs $100 at Pololu. You need to double this because you have two arms. **The Sabertooth 2x32 with a Kangaroo X2 will run about $150. Also double this because you have two arms. **The remaining parts and servos are small potatoes compared to the above items. Also remember that I haven't successfully mounted this arm on the robot and figured out how to move it in and out of the torso. I'm sure I can do this but I'm not 100% sure how the asymmetrical load will effect the balance of the robot. These arms weighs over 10 lbs each.
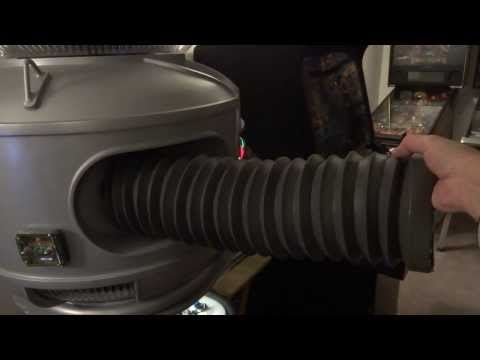
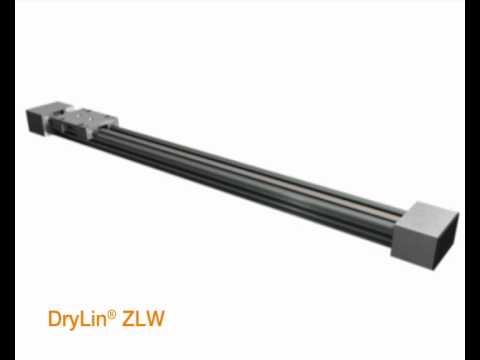
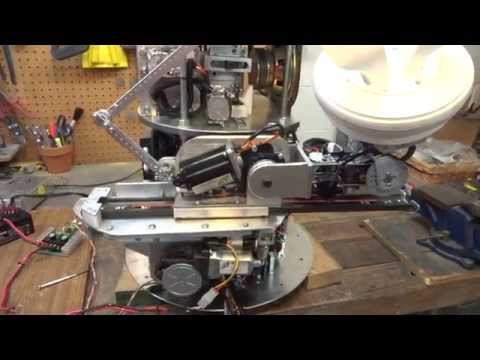
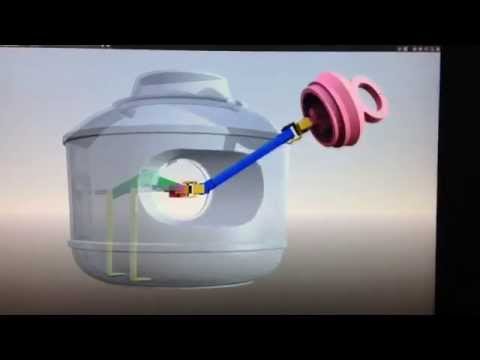
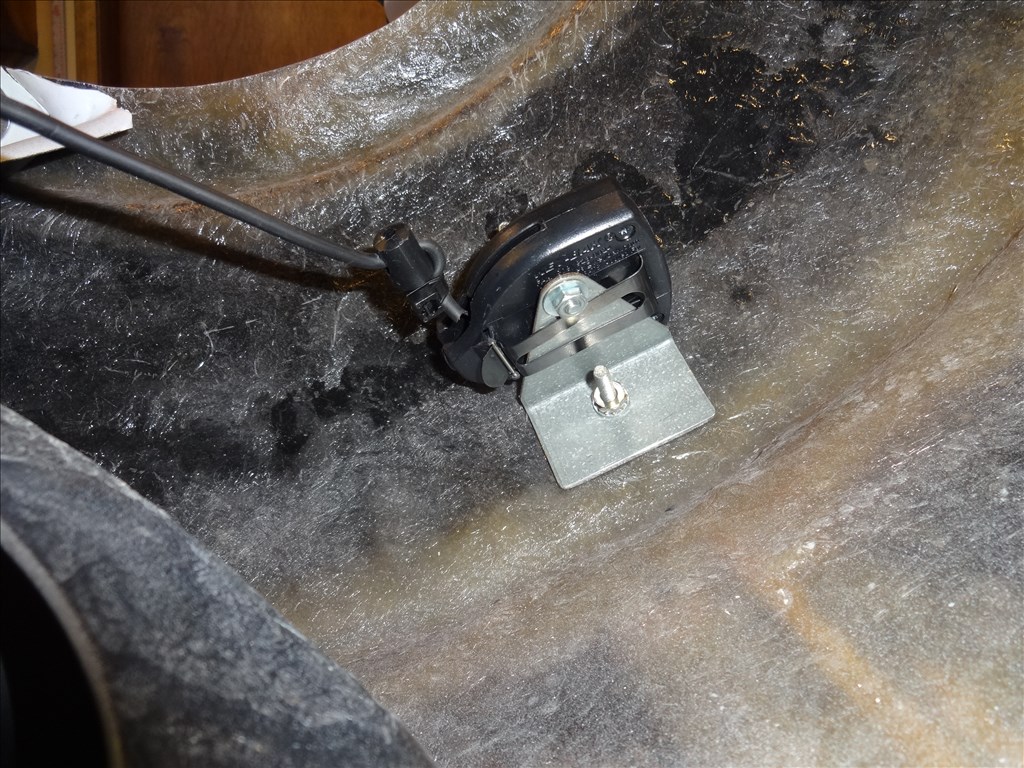
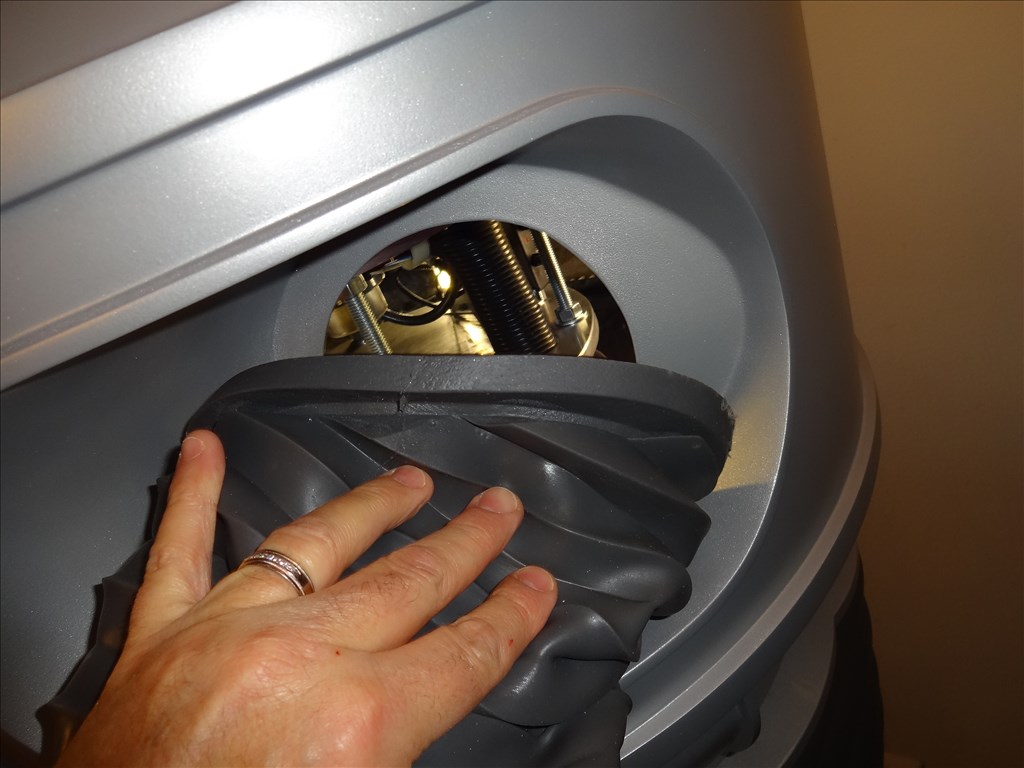
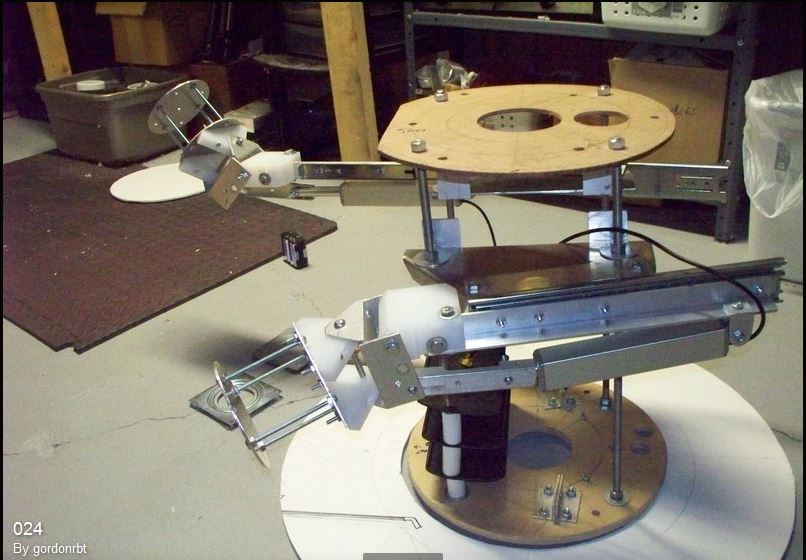
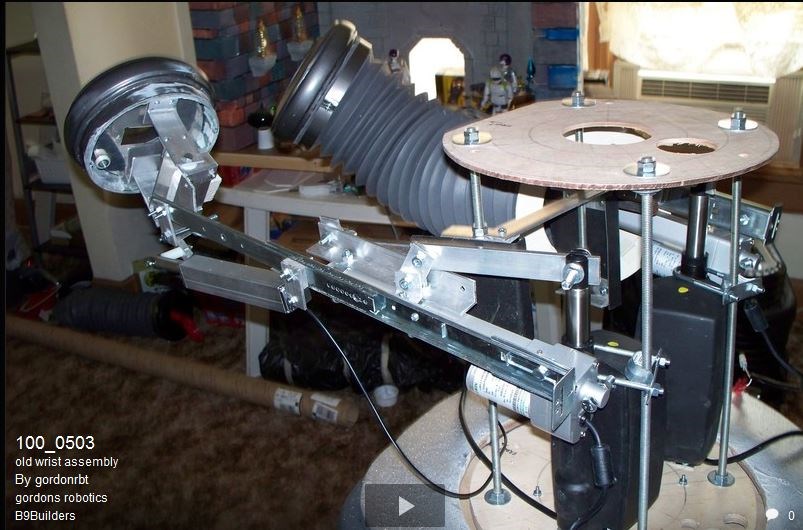
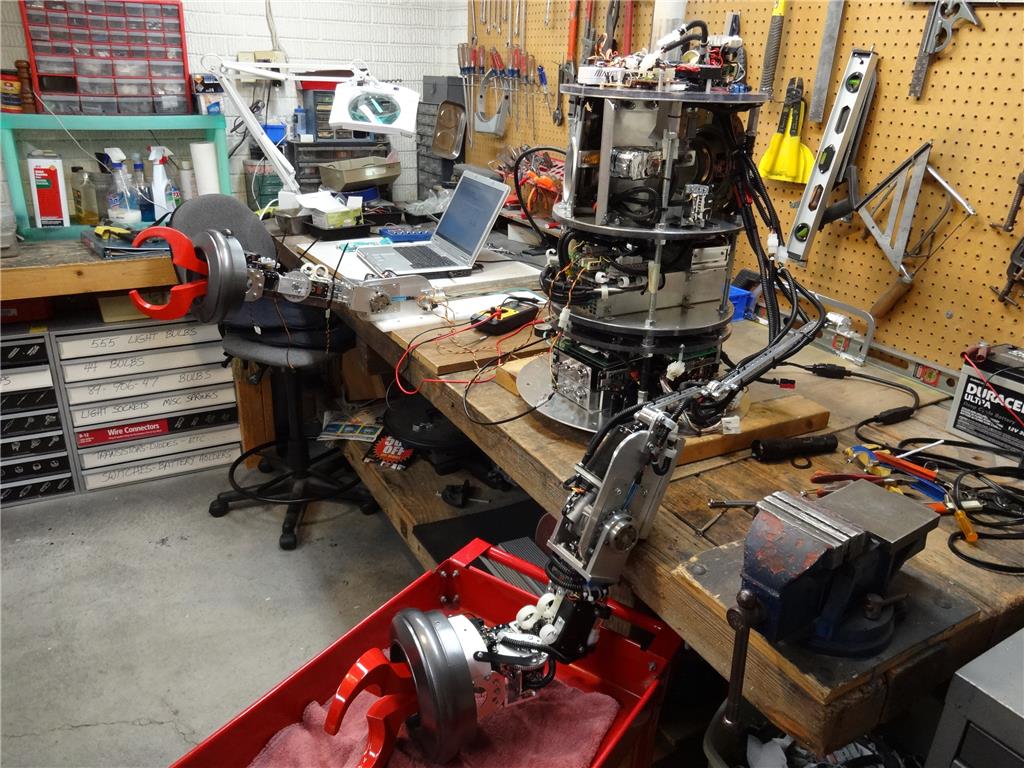
Amazing work Dave, the operation is so smooth! I wonder if a motorised threaded rod could push/pull the arm section in and out.
Tony
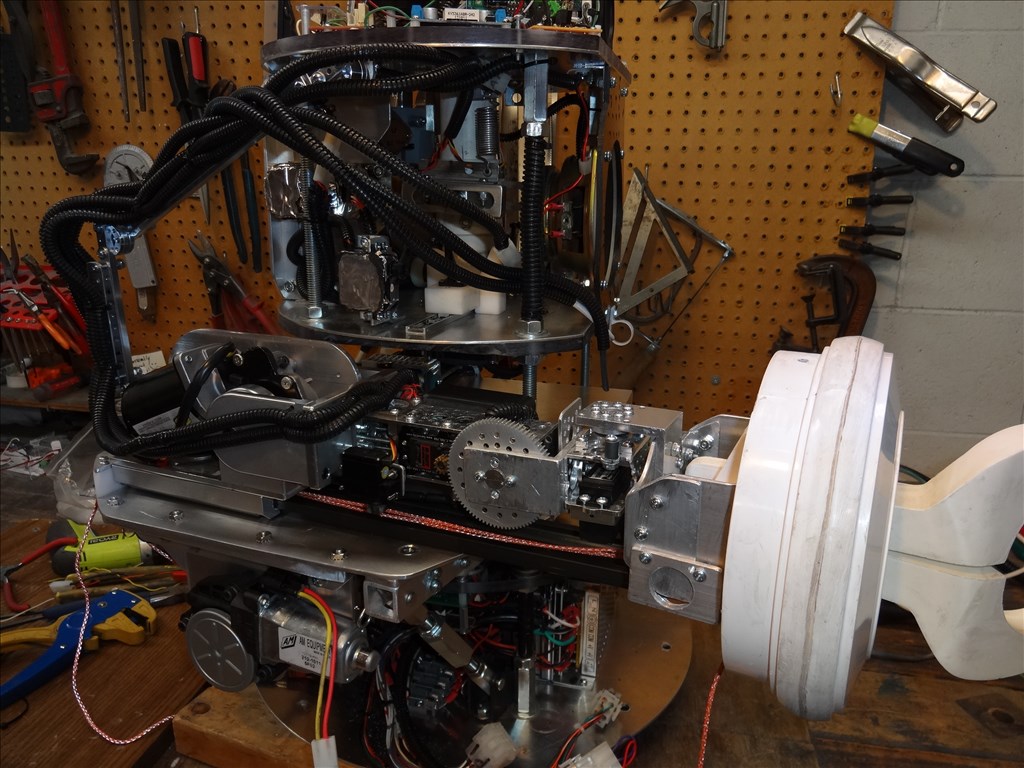
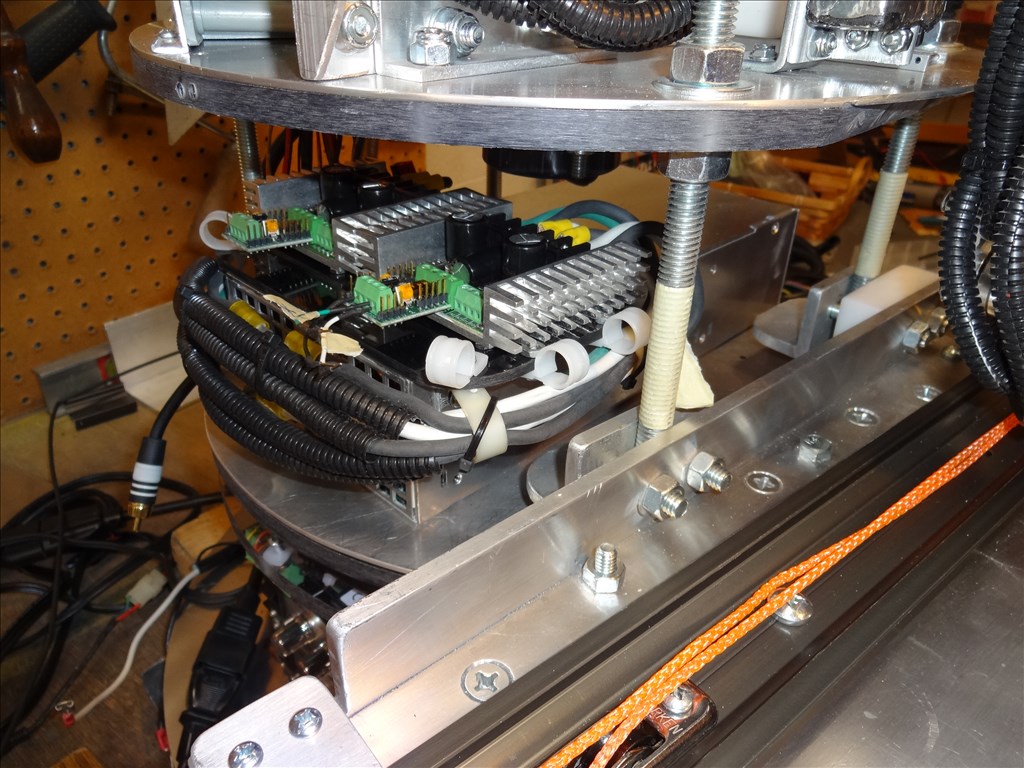
Hi Tony and thanks for the suggestion. I have been considering the screw option but I don't think this will work for me. I have no extra room either fore or aft of the rail system for the needed end caps and motor. I think I'll end up using either a cable with a winch or a type of timing belt. This way I can install small rollers at each end. Then I can attach a belt or cable to the carriage and pass it over the rollers and down under the rail system to where the motor will sit. I have lots of room under where the arm support platform will live.
This project is an interesting lesson in just how hard it can be to do something that looks simple. Watching Lost in Space as a kid, I thought the robot was cool, but also thought that we would have much more advanced robots by the time I was 50. Little did I know it looked so simple because there was a person squeezed into the robot body making it do those movements and actually having a machine recreate the moves ia a major engineering challenge.
Thanks Dave for sharing your successes as well as the challenges along the way. We are all learning from your efforts.
Alan