
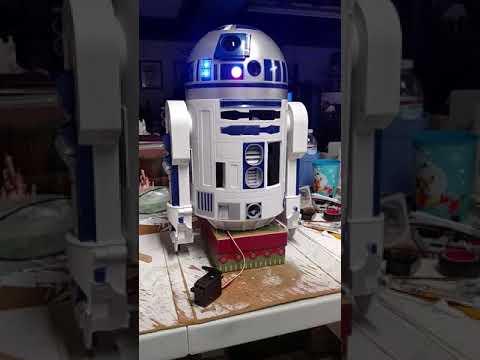

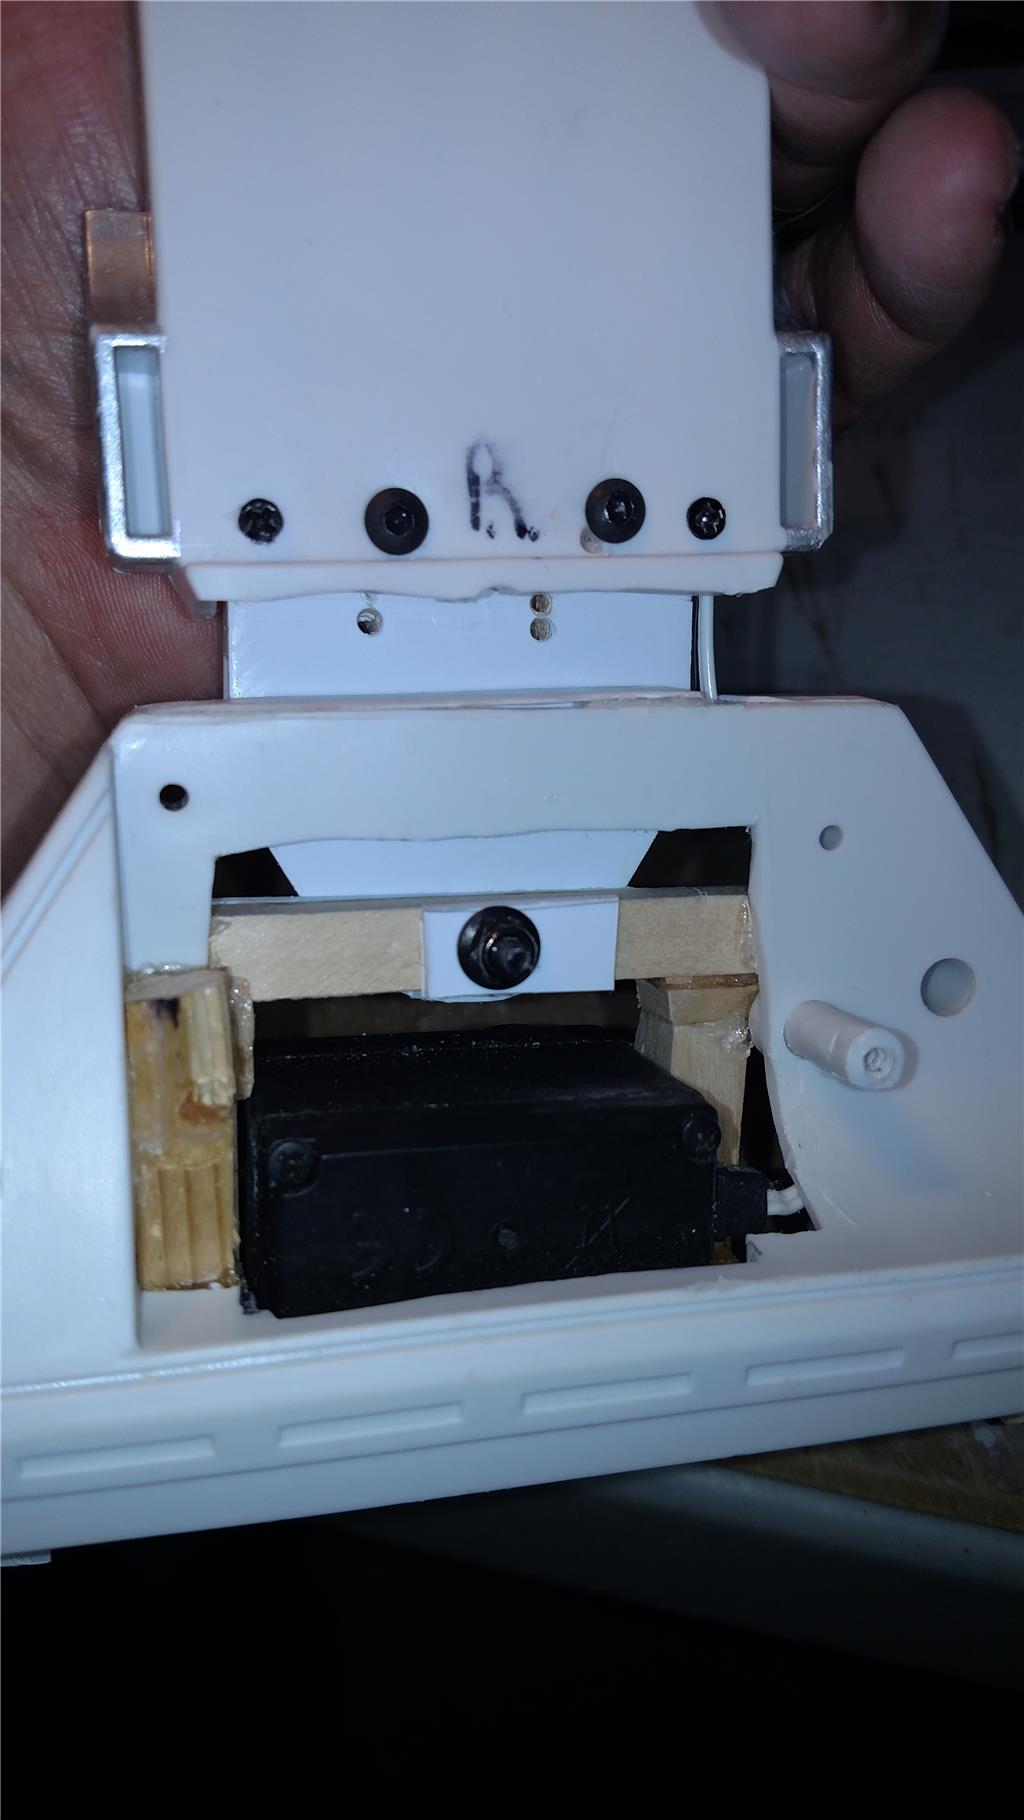


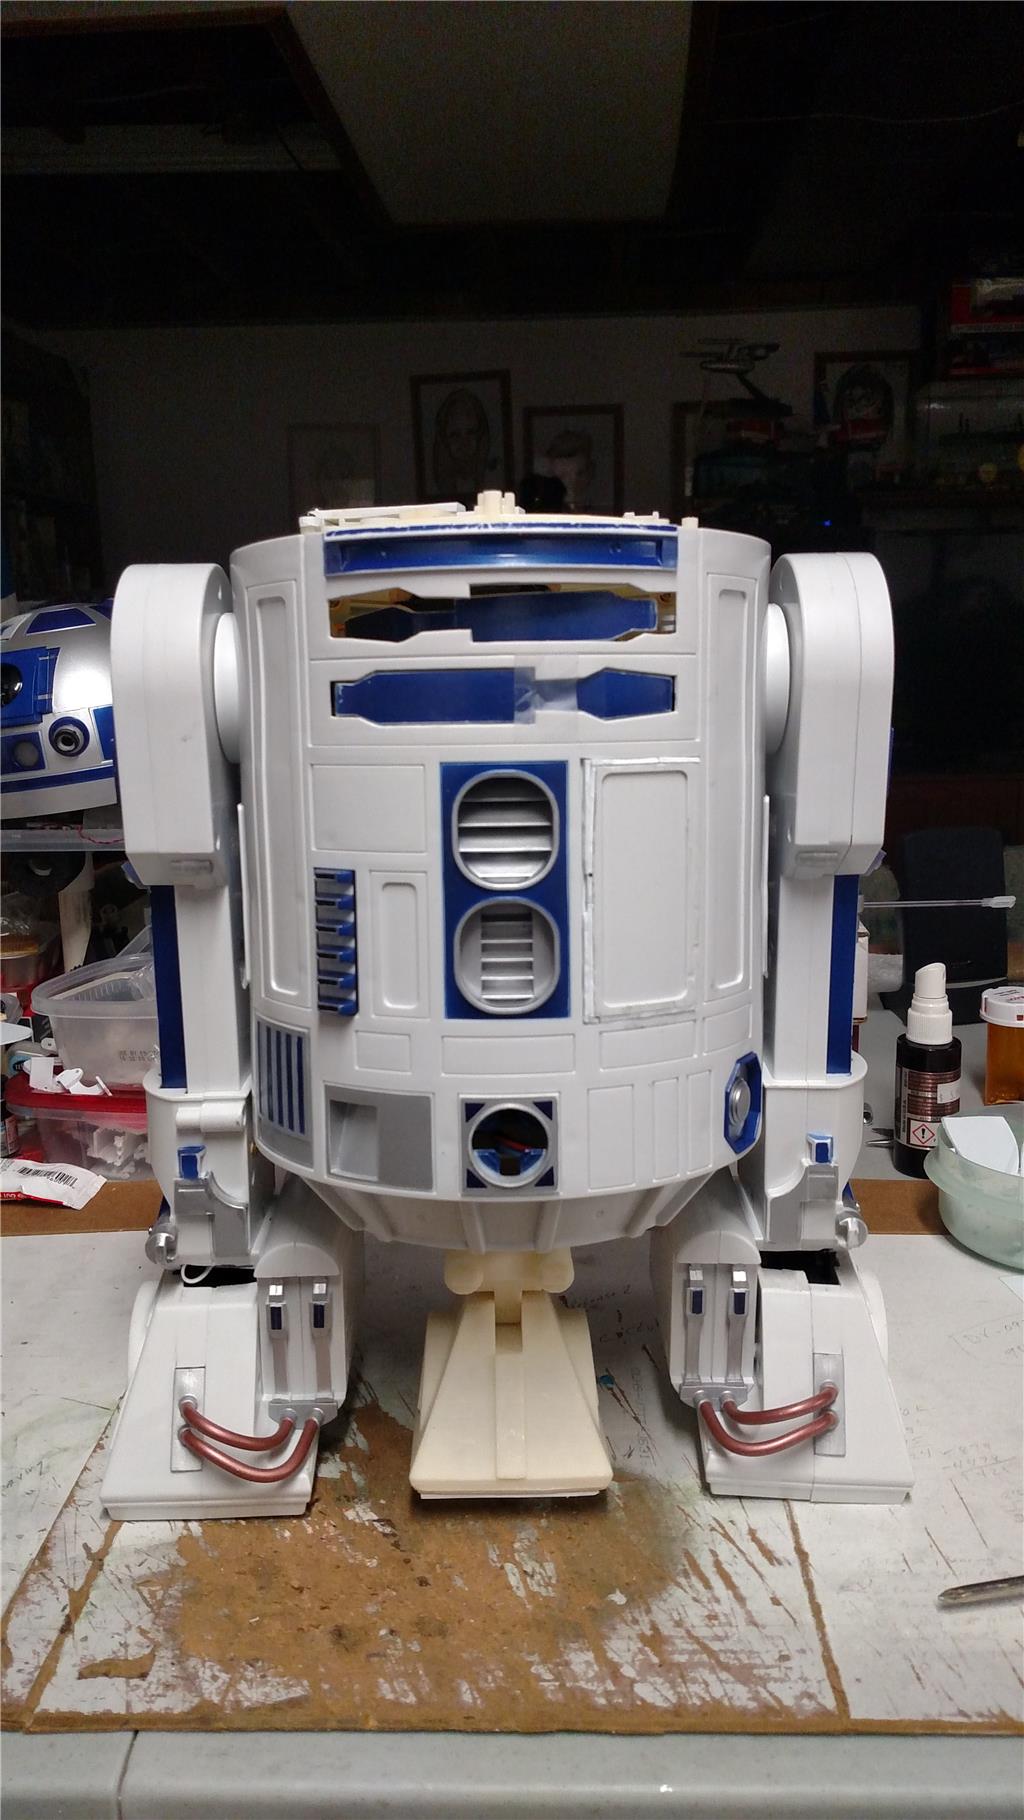


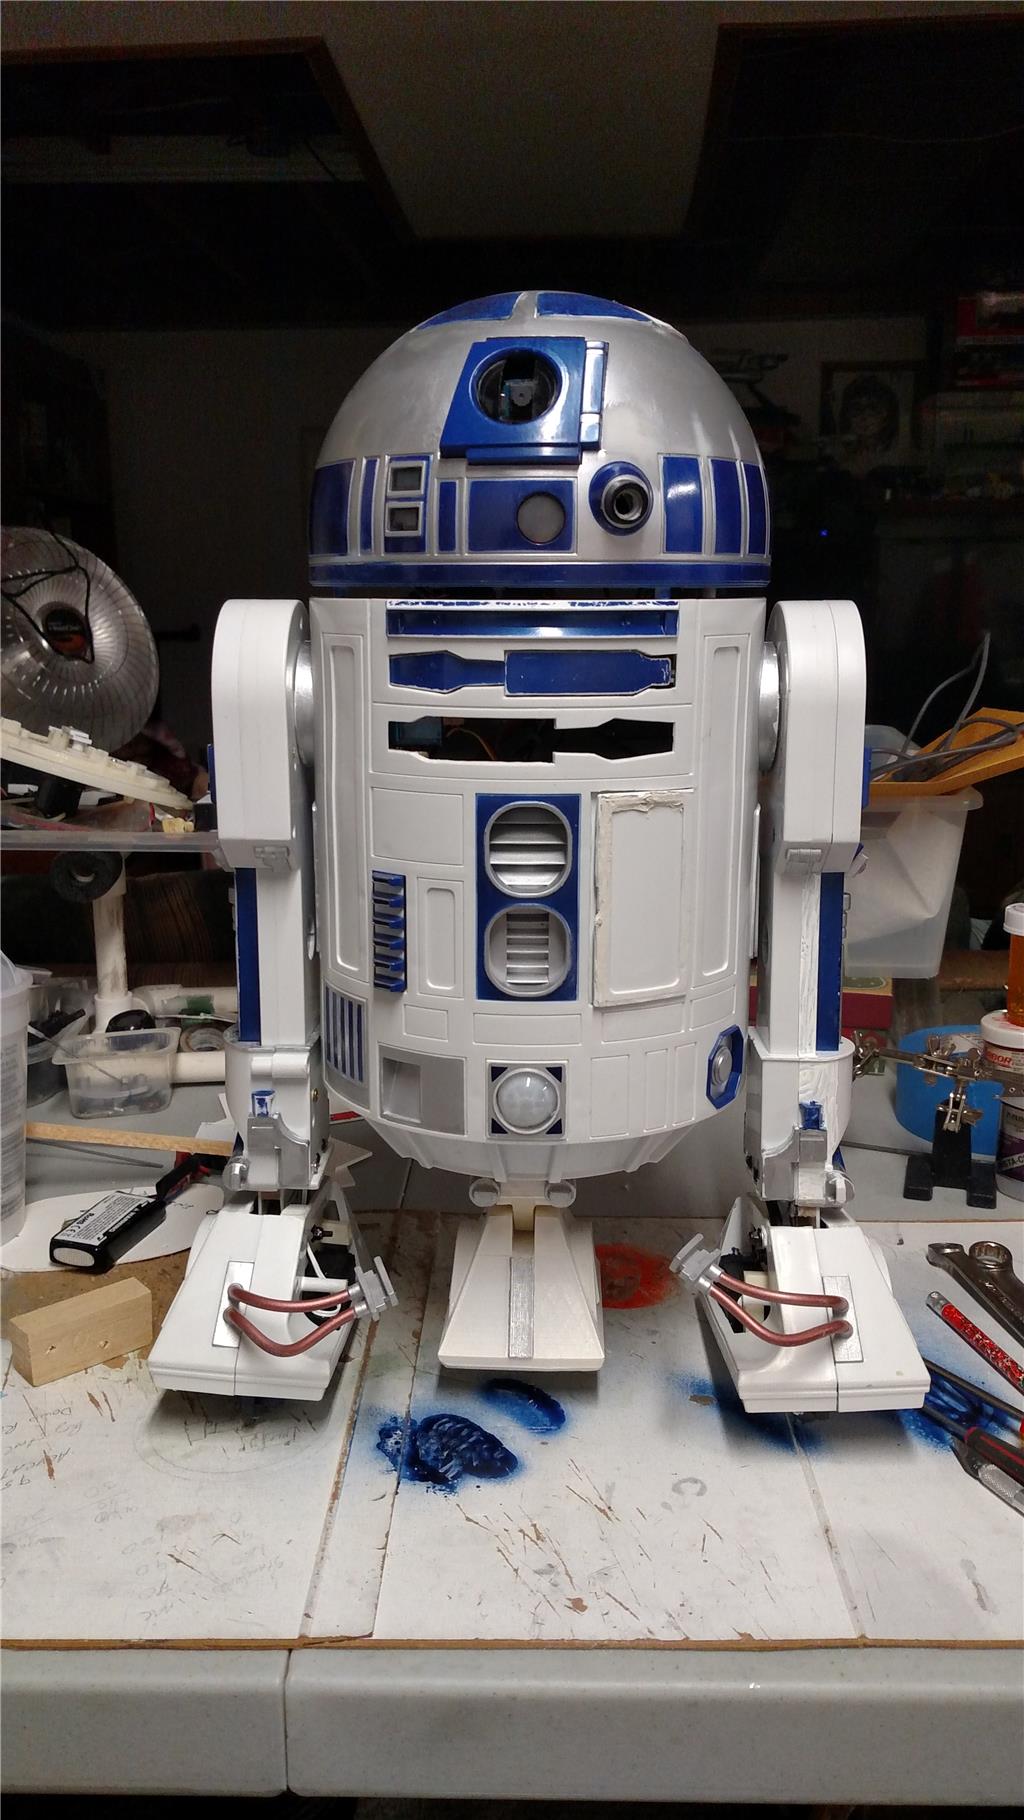

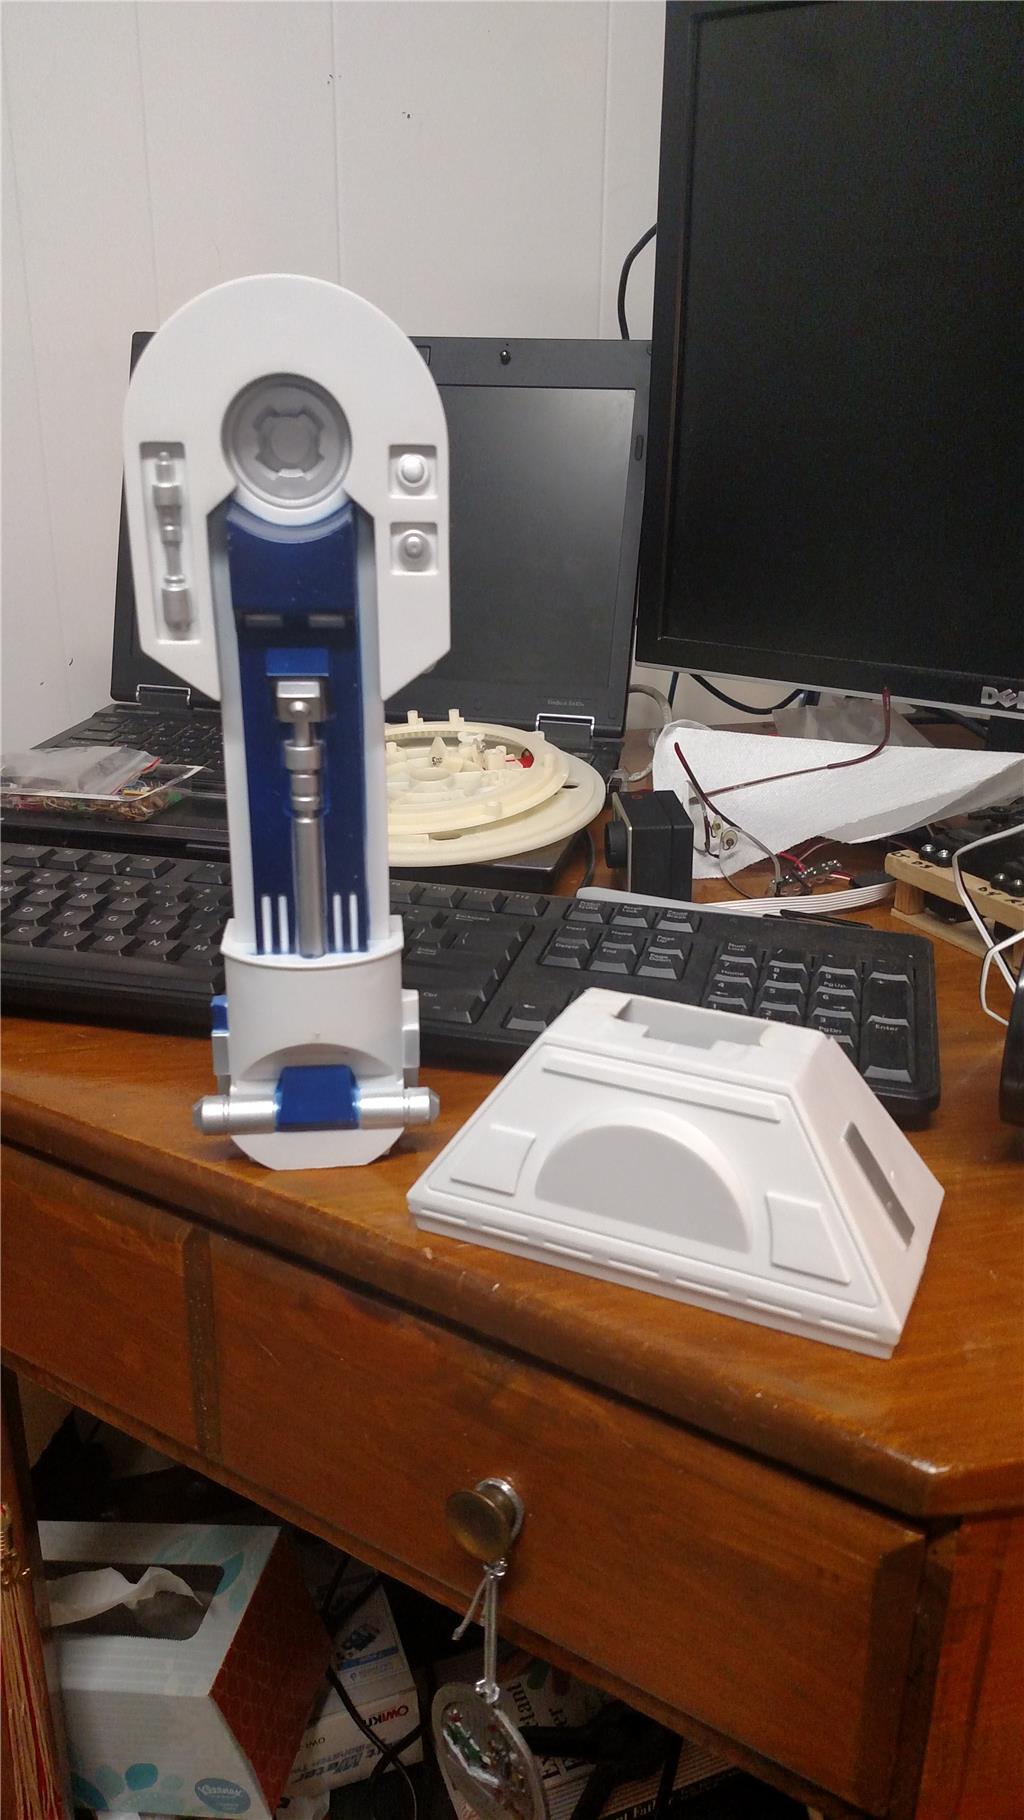
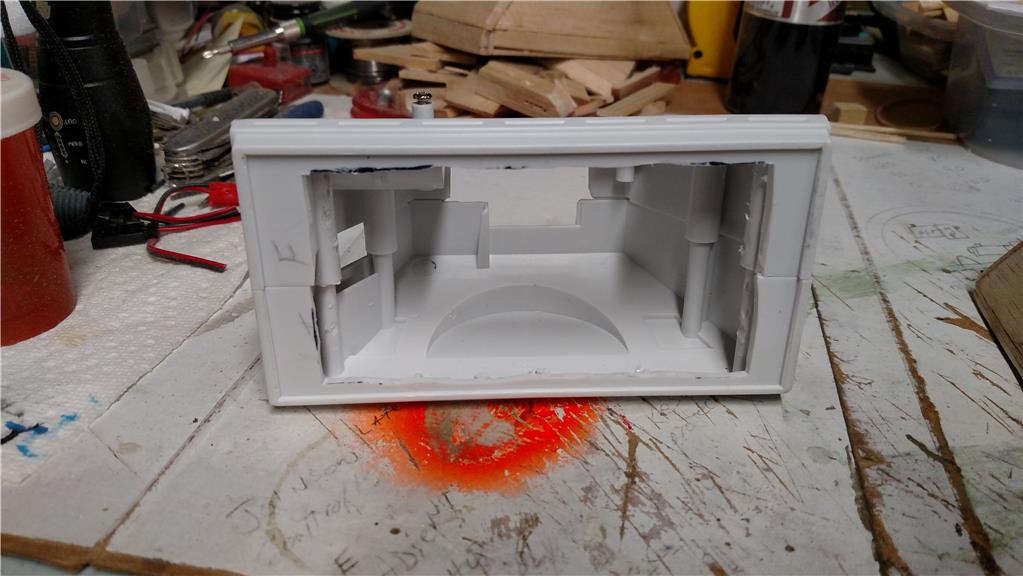

I am currently working on an 18 inch tall R2D2 that was purchased from Toys-R-US. This R2D2 had no electronics in it at all, just a pose able plastic model. It has a simple lazy susan type setup for the head movement. It has an upper gear and a lower plate. I put a EZ-Robot 360 degree (continuous) rotation servo in for the gear to rotate the head. The problem that I am having now is that the continuous rotation servo is difficult to stop at a give point, say 90 degrees. This faces my R2D2 head to the front. How would I control it like an Auto Position control, yet get the 360 degrees of movement out of it. with the Auto Position control I only get 180 degrees of movement. I am on a tight budget (unemployed) and am using what I have at my house for most everything I want to do with this R2 unit. The issue that I am having with the Auto Position is that once it hits the point it should stop, the servo keeps going until I hit the panic button to stop it. The stop button has no effect. Any idea's would be helpful. I have been programming with the EZ-Robot for about 4 months, but have programmed for 6 years with legacy software.
Regards, Richard
Discover more robots
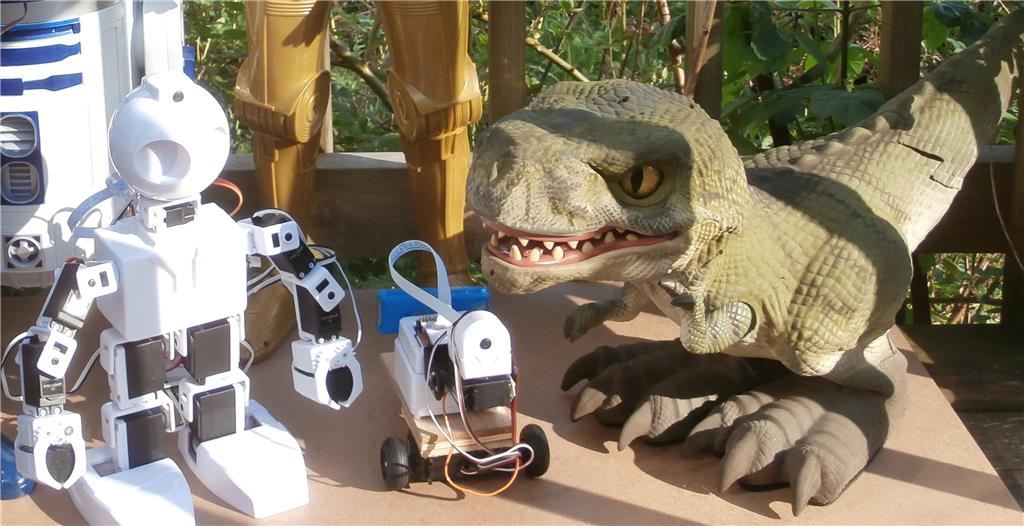
David's Ai Dino Robot
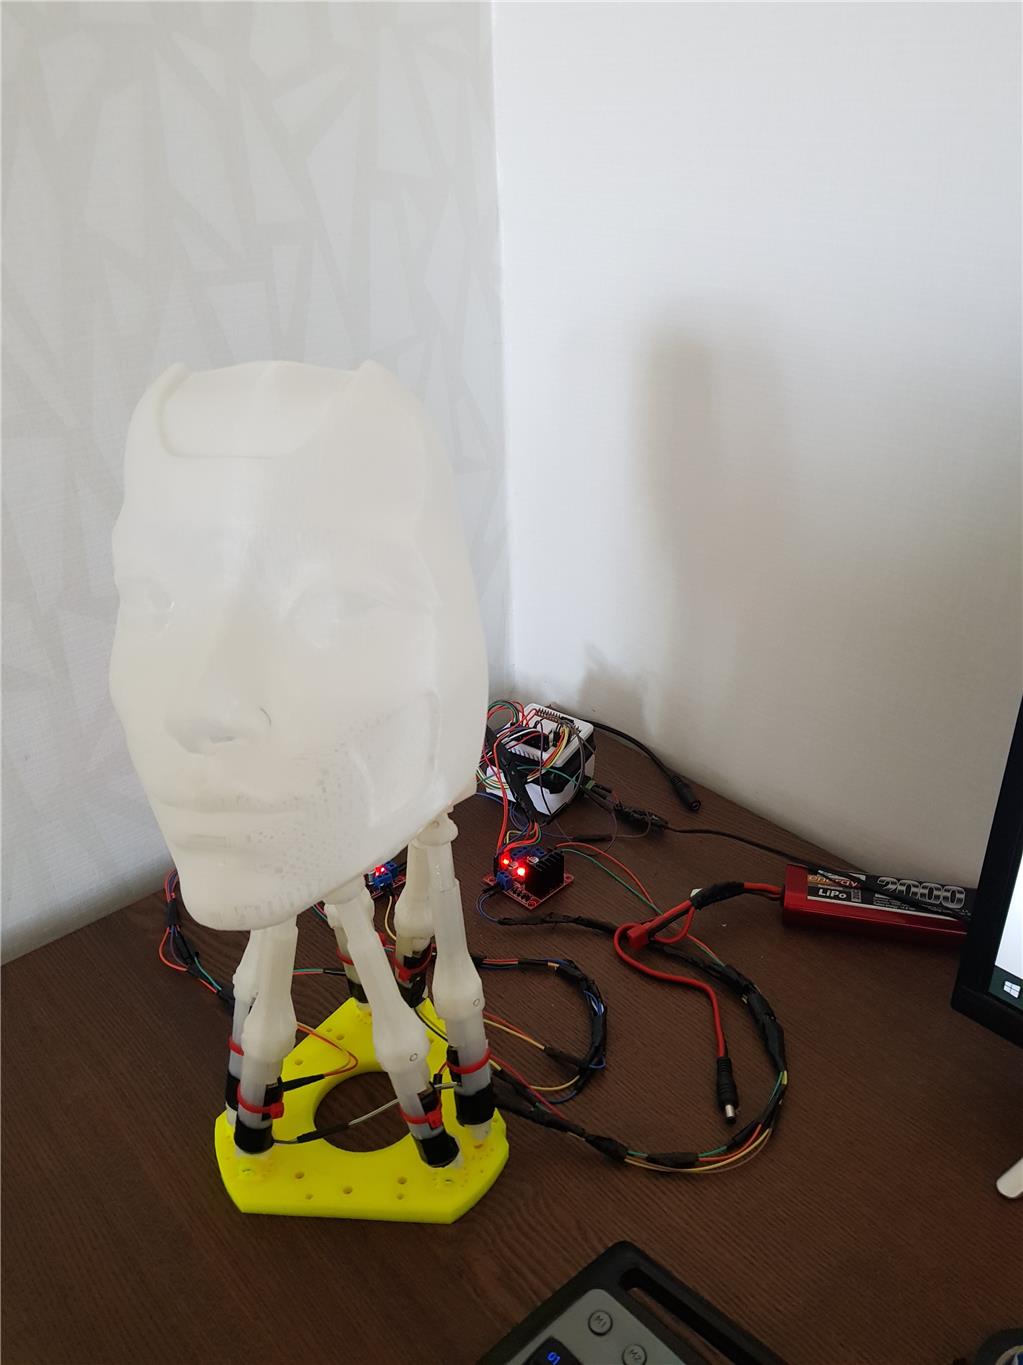
Animator28's AVA (Advanced Visual Android) Update

The only pictures I took are on my project showcase. Maybe you could find one there. I deleted them from the computer.
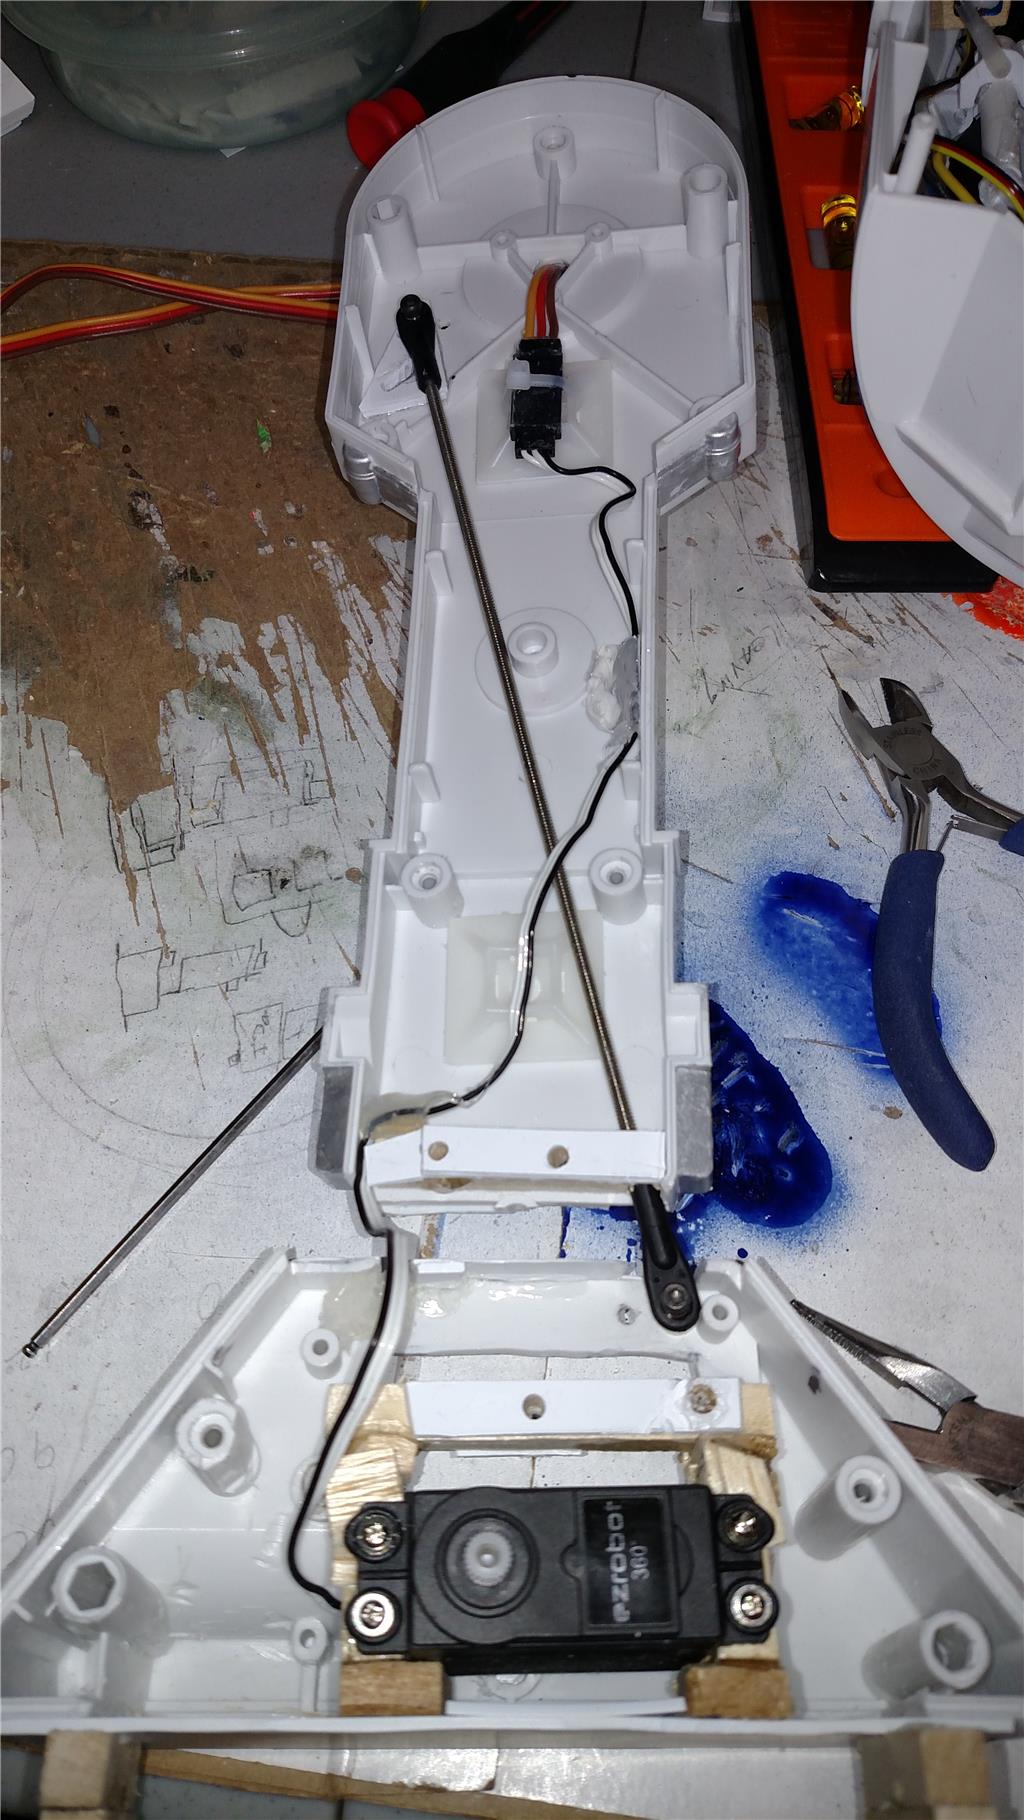
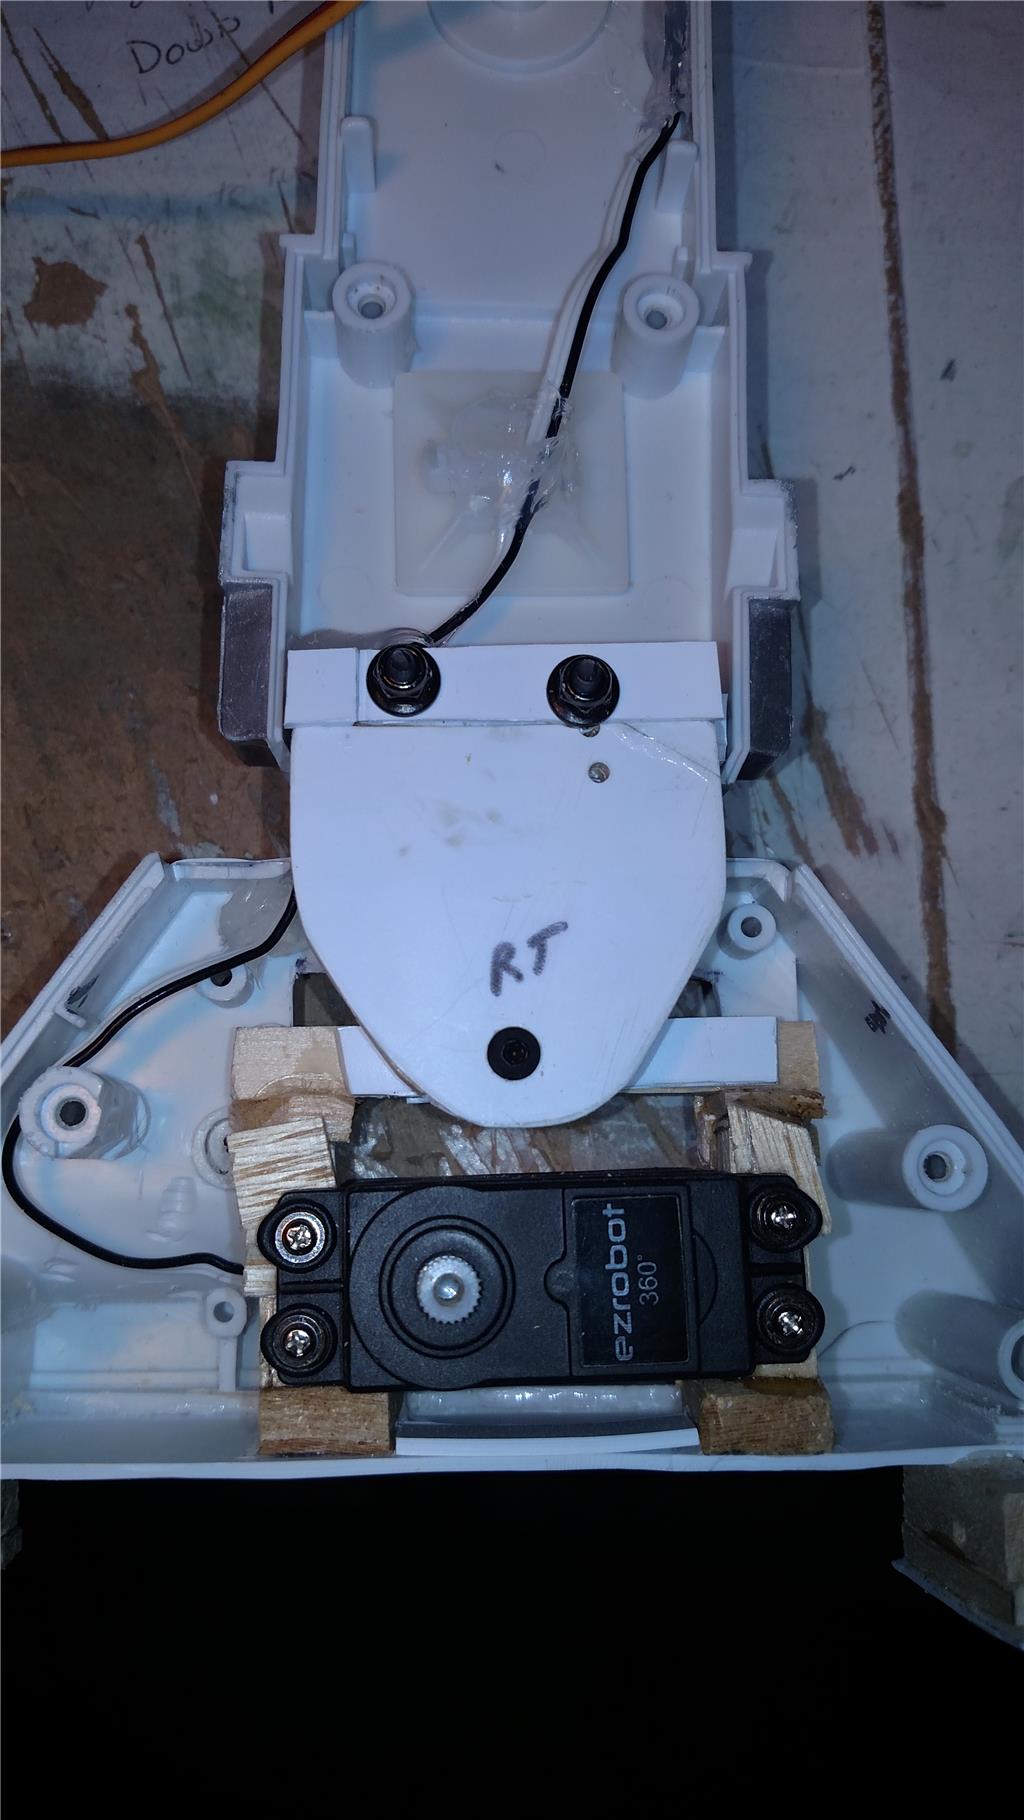
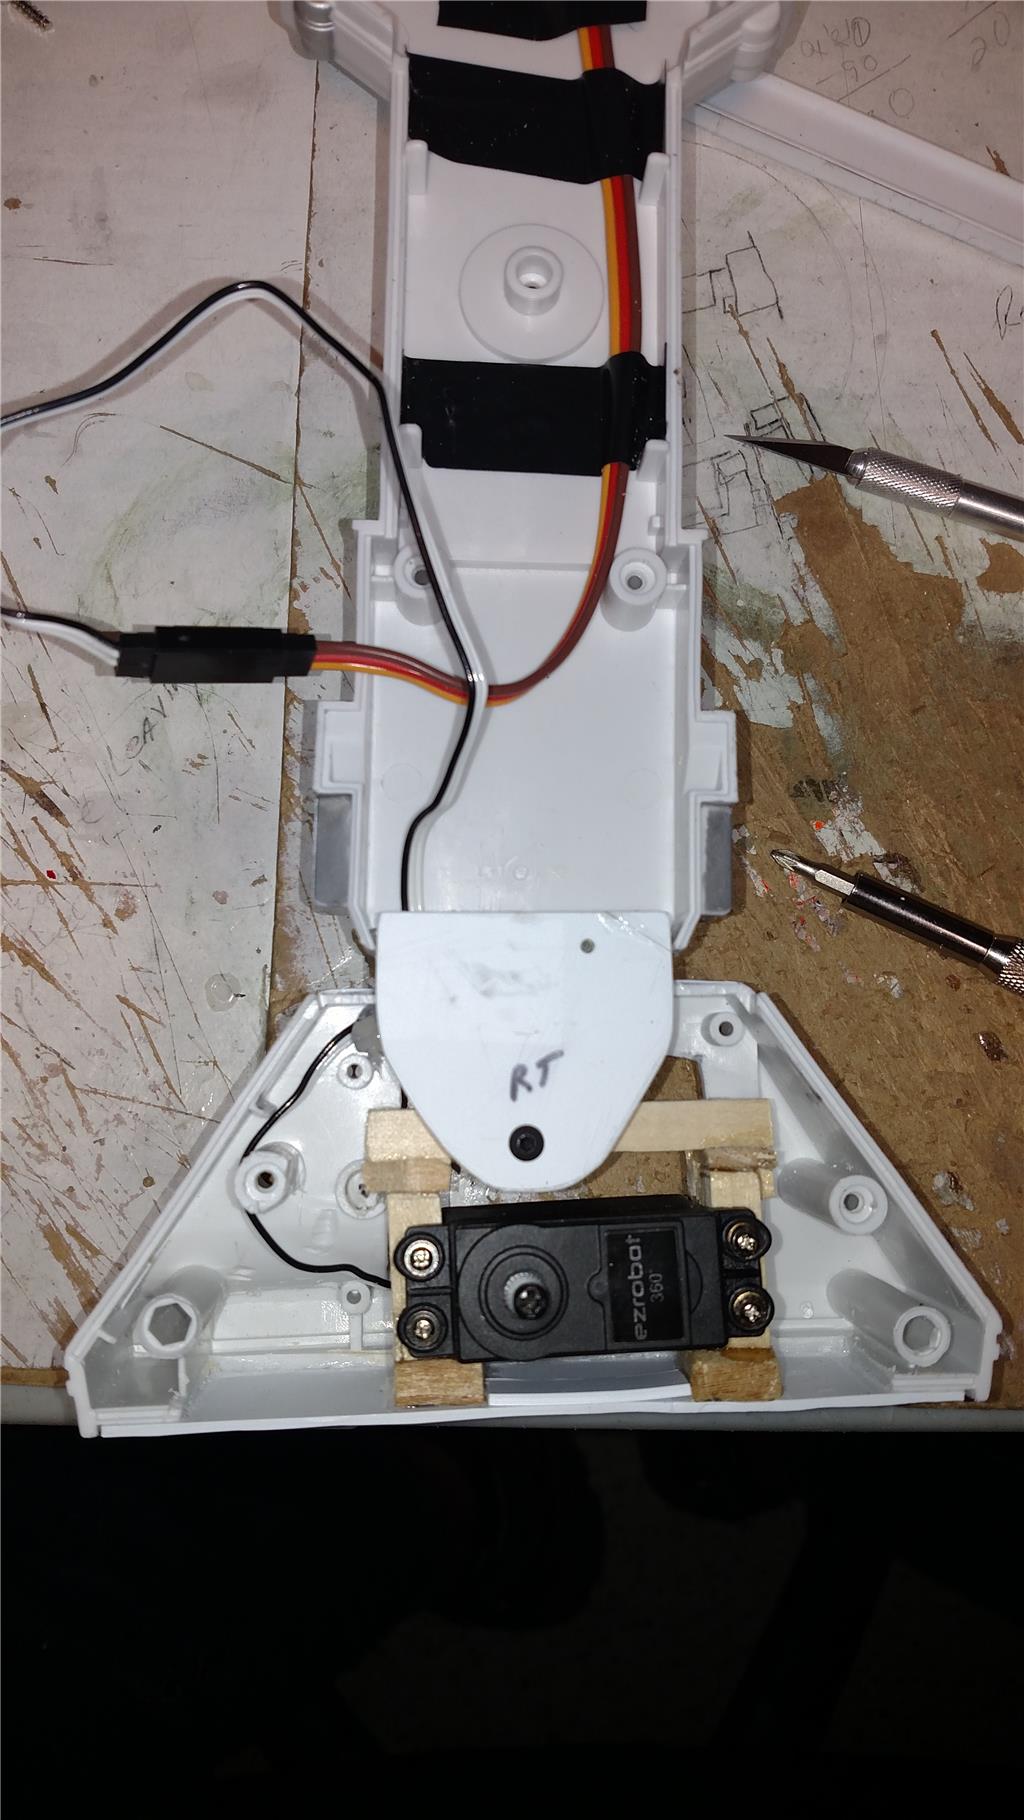
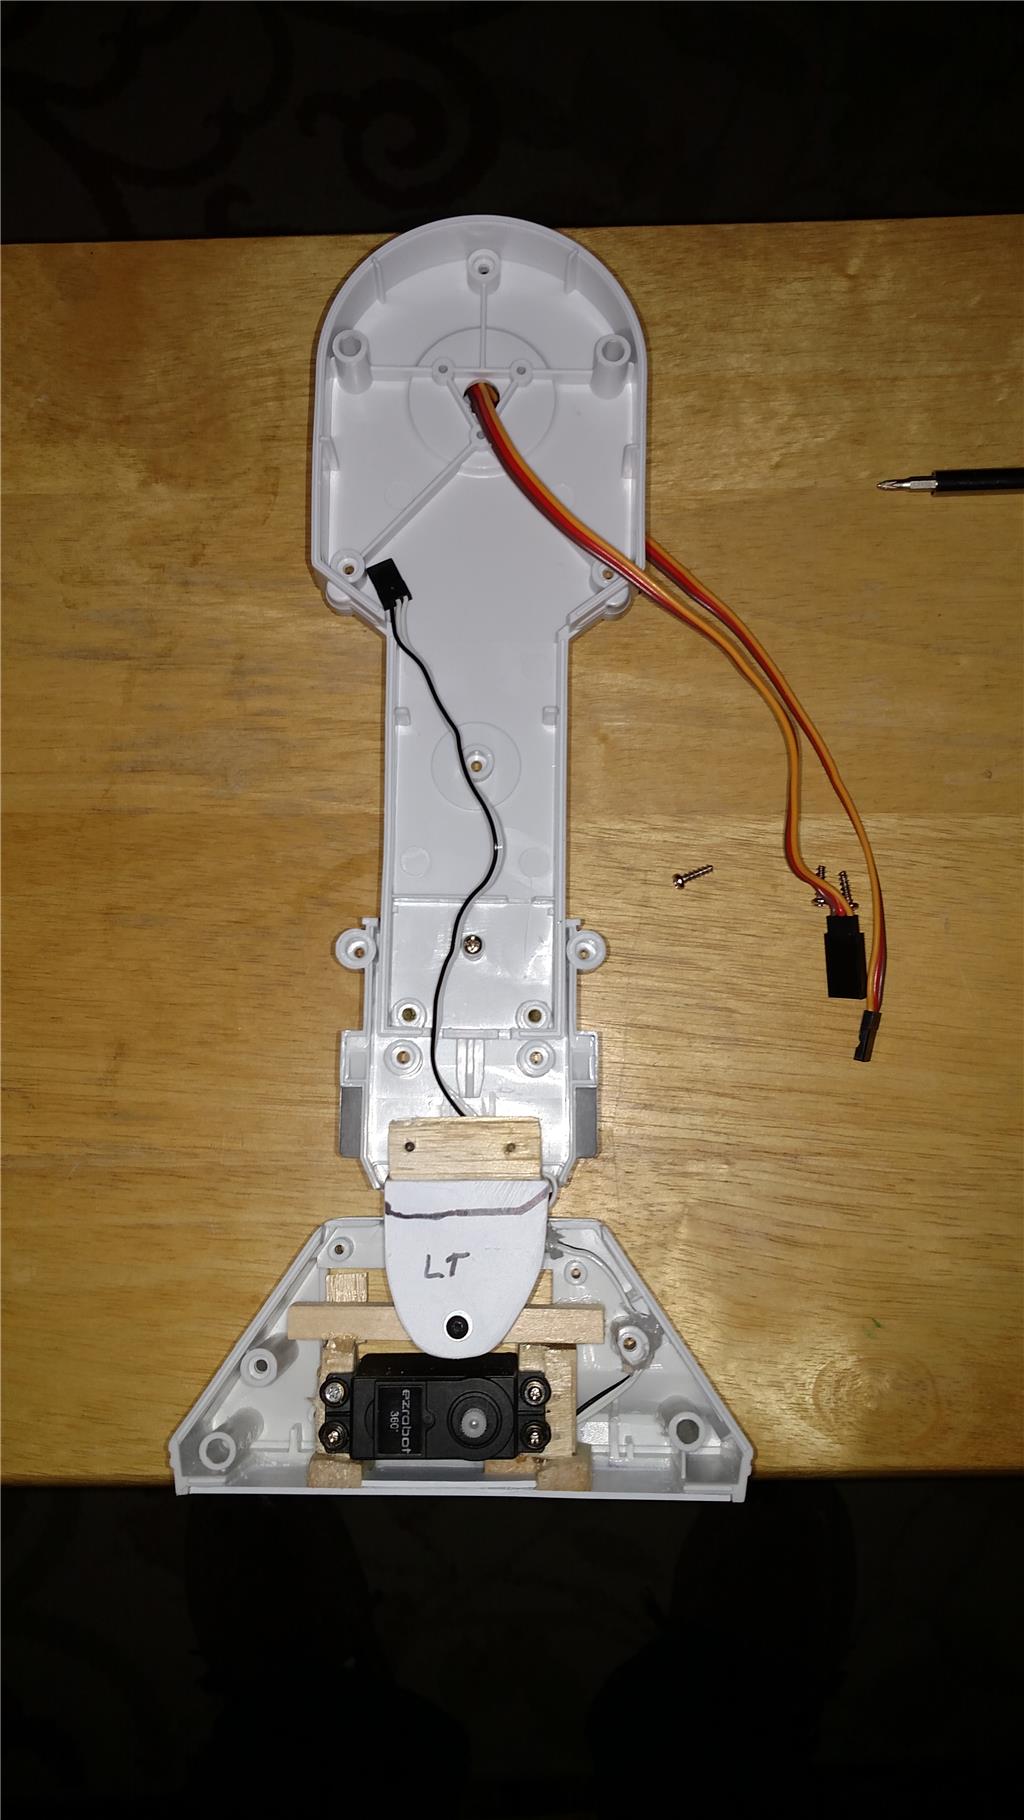
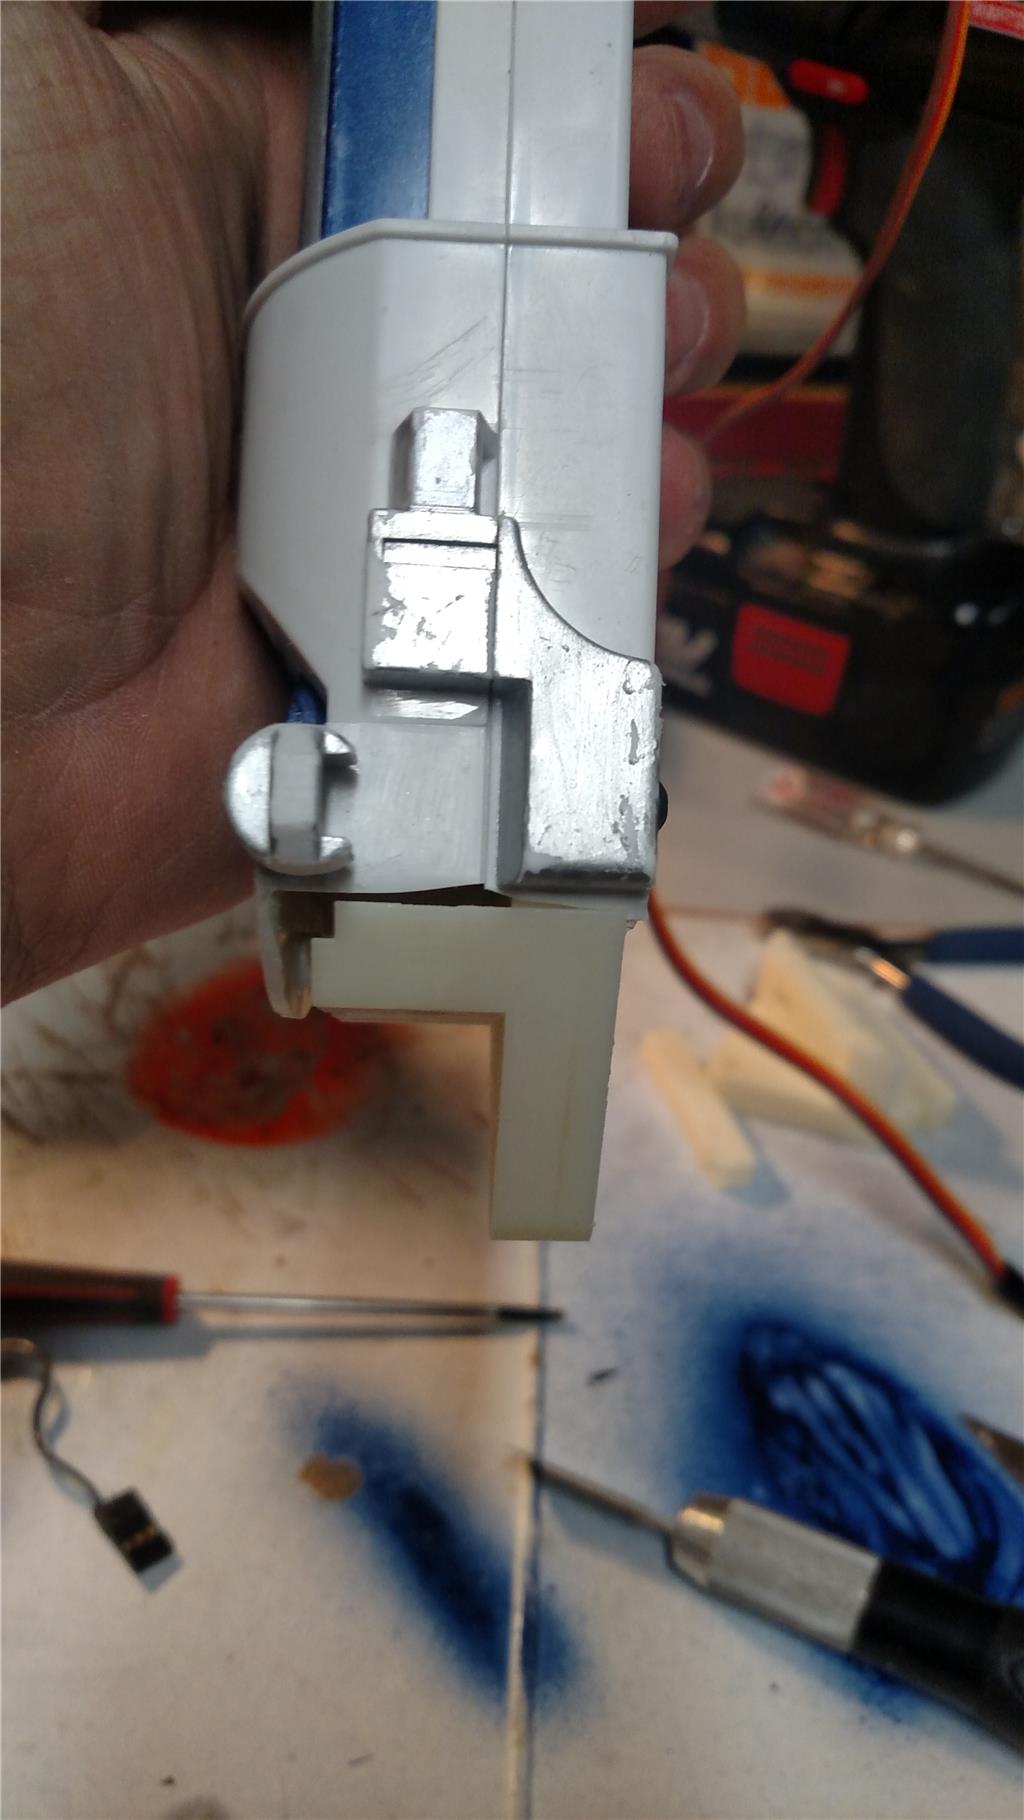
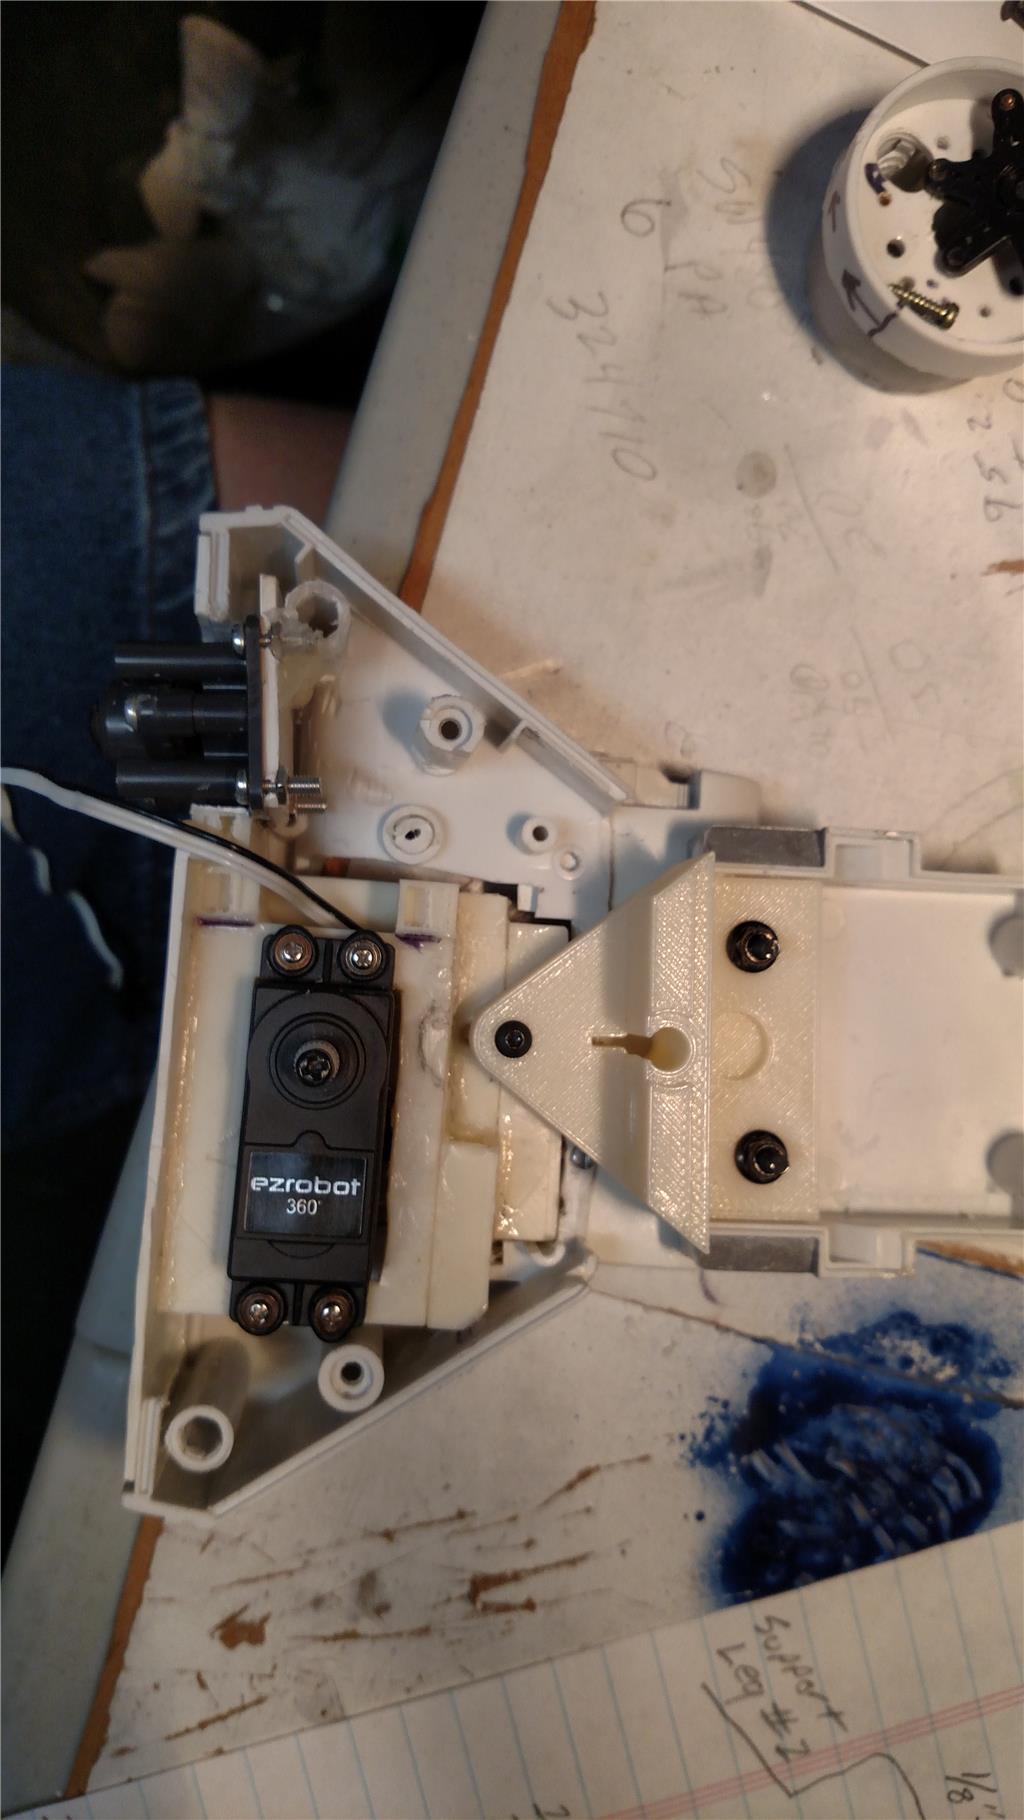
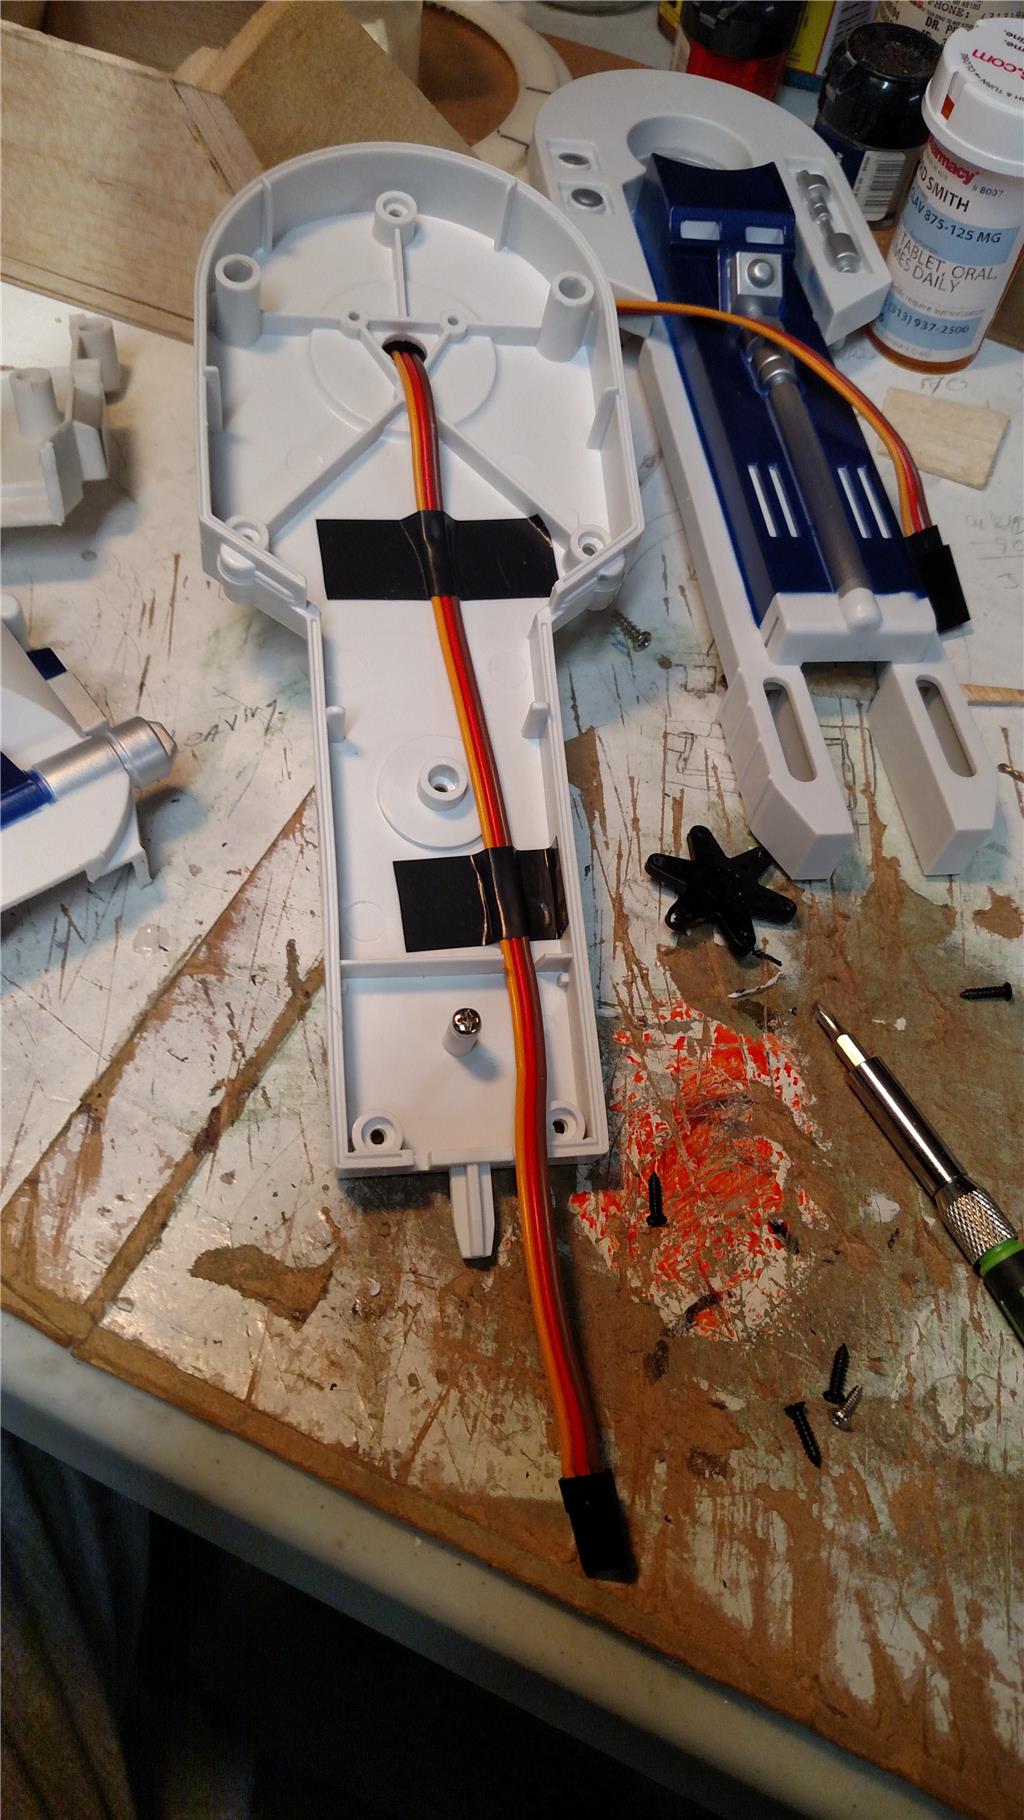
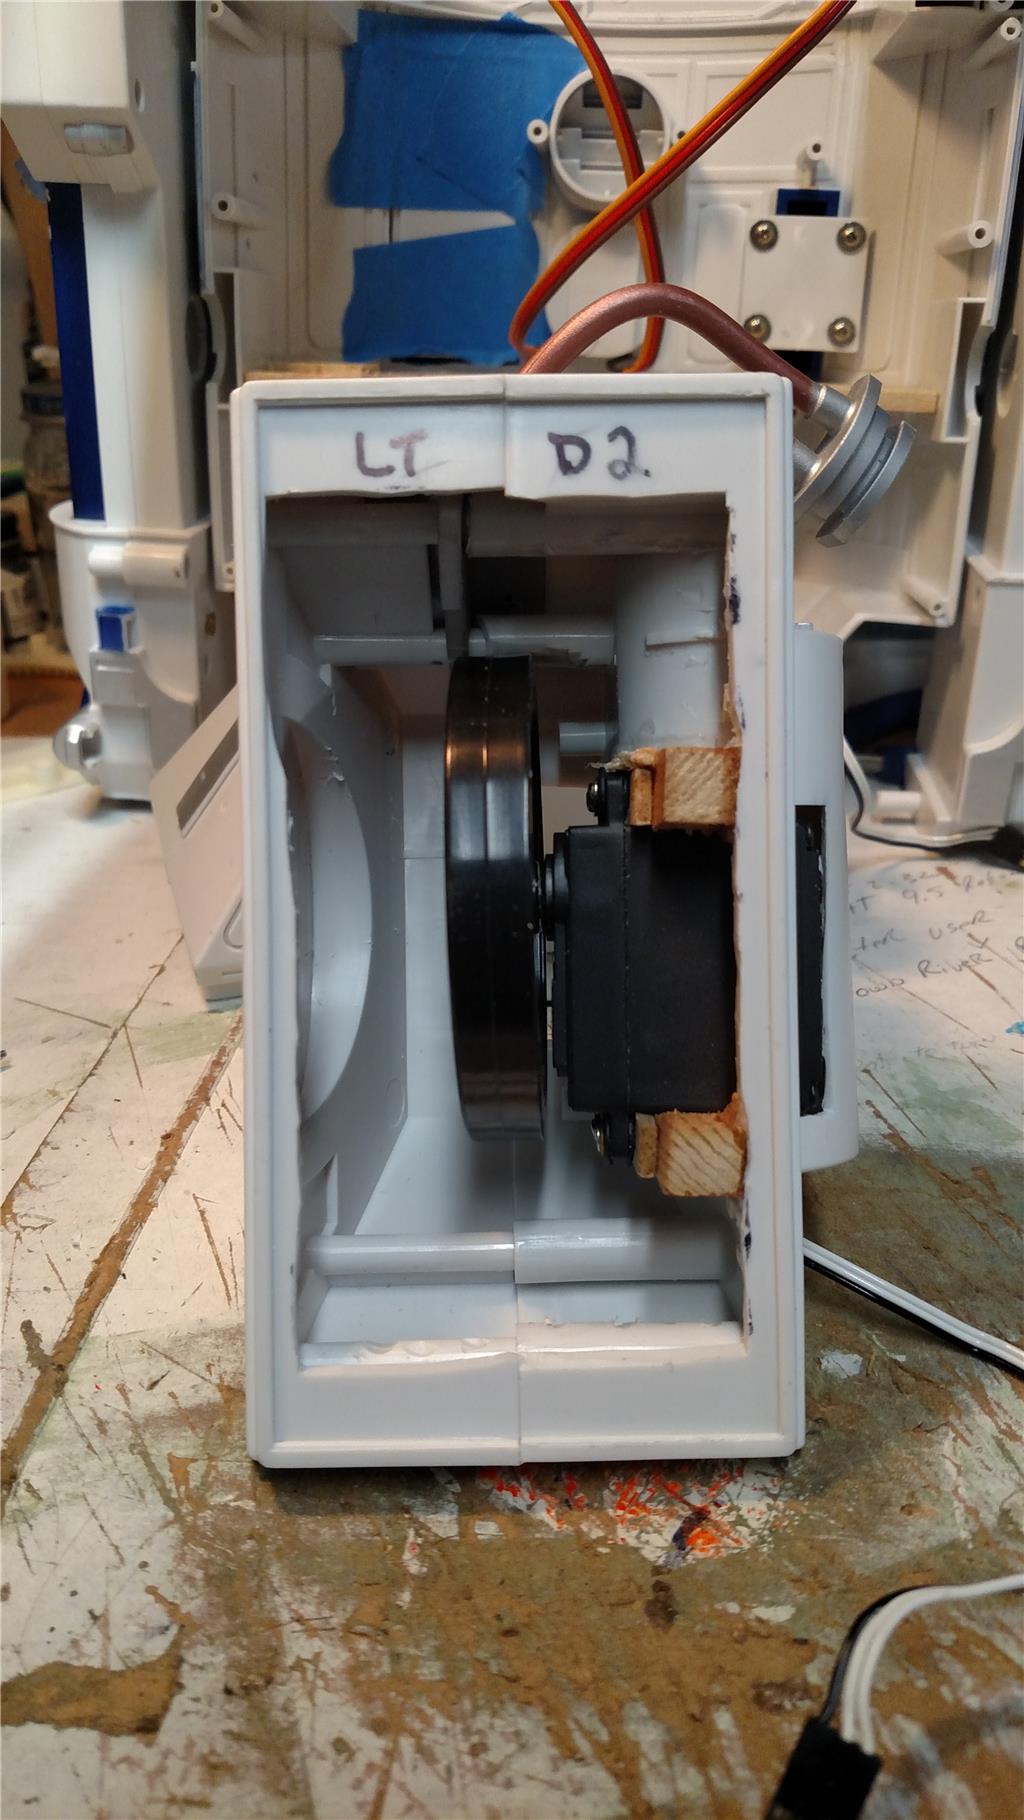
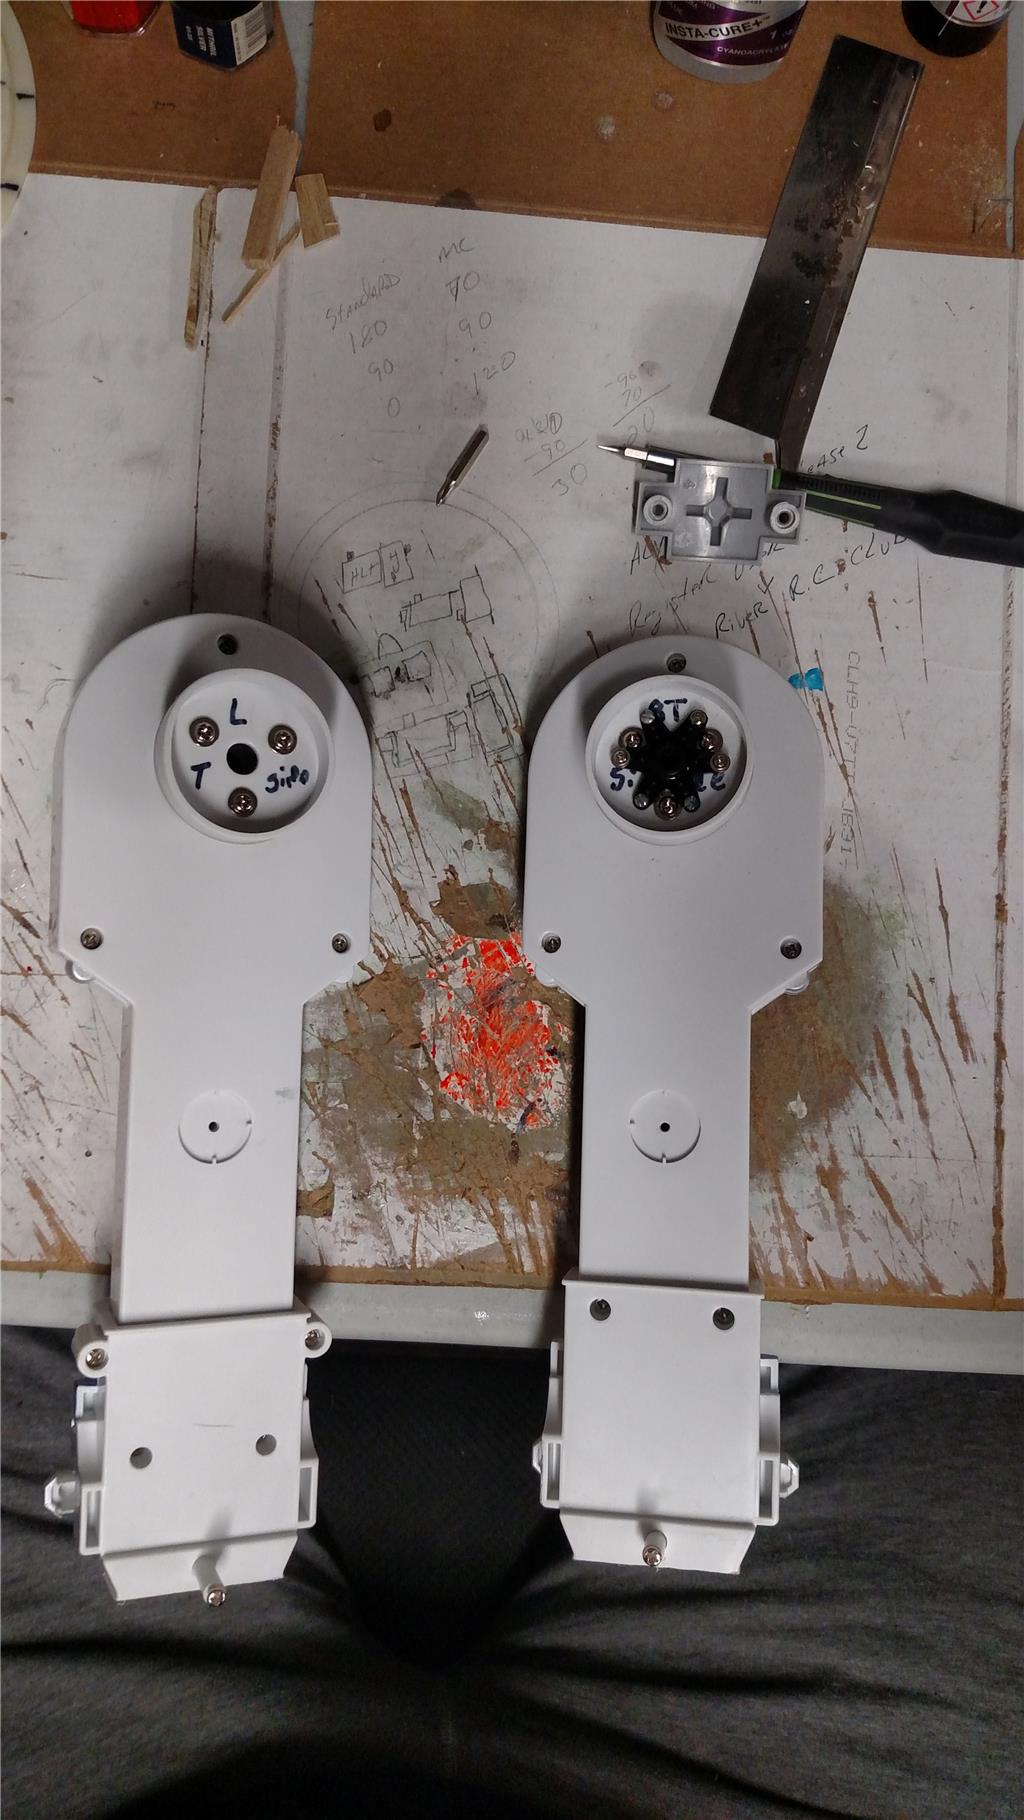
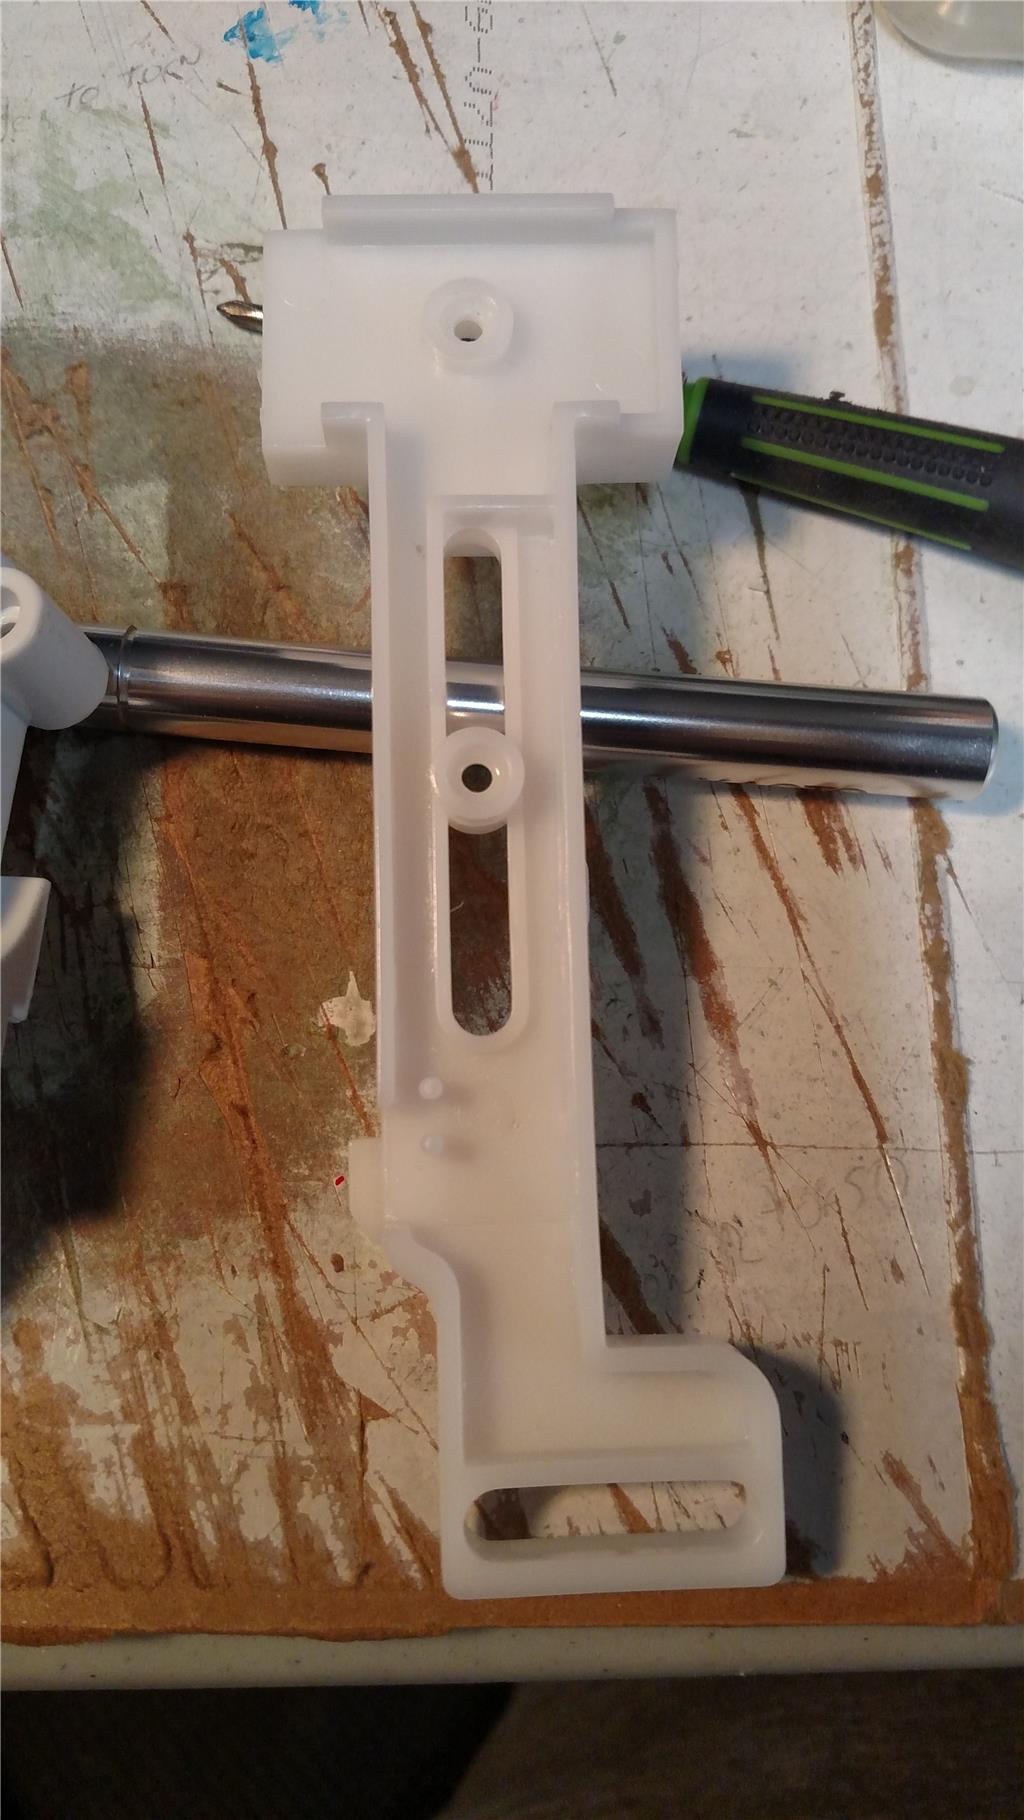
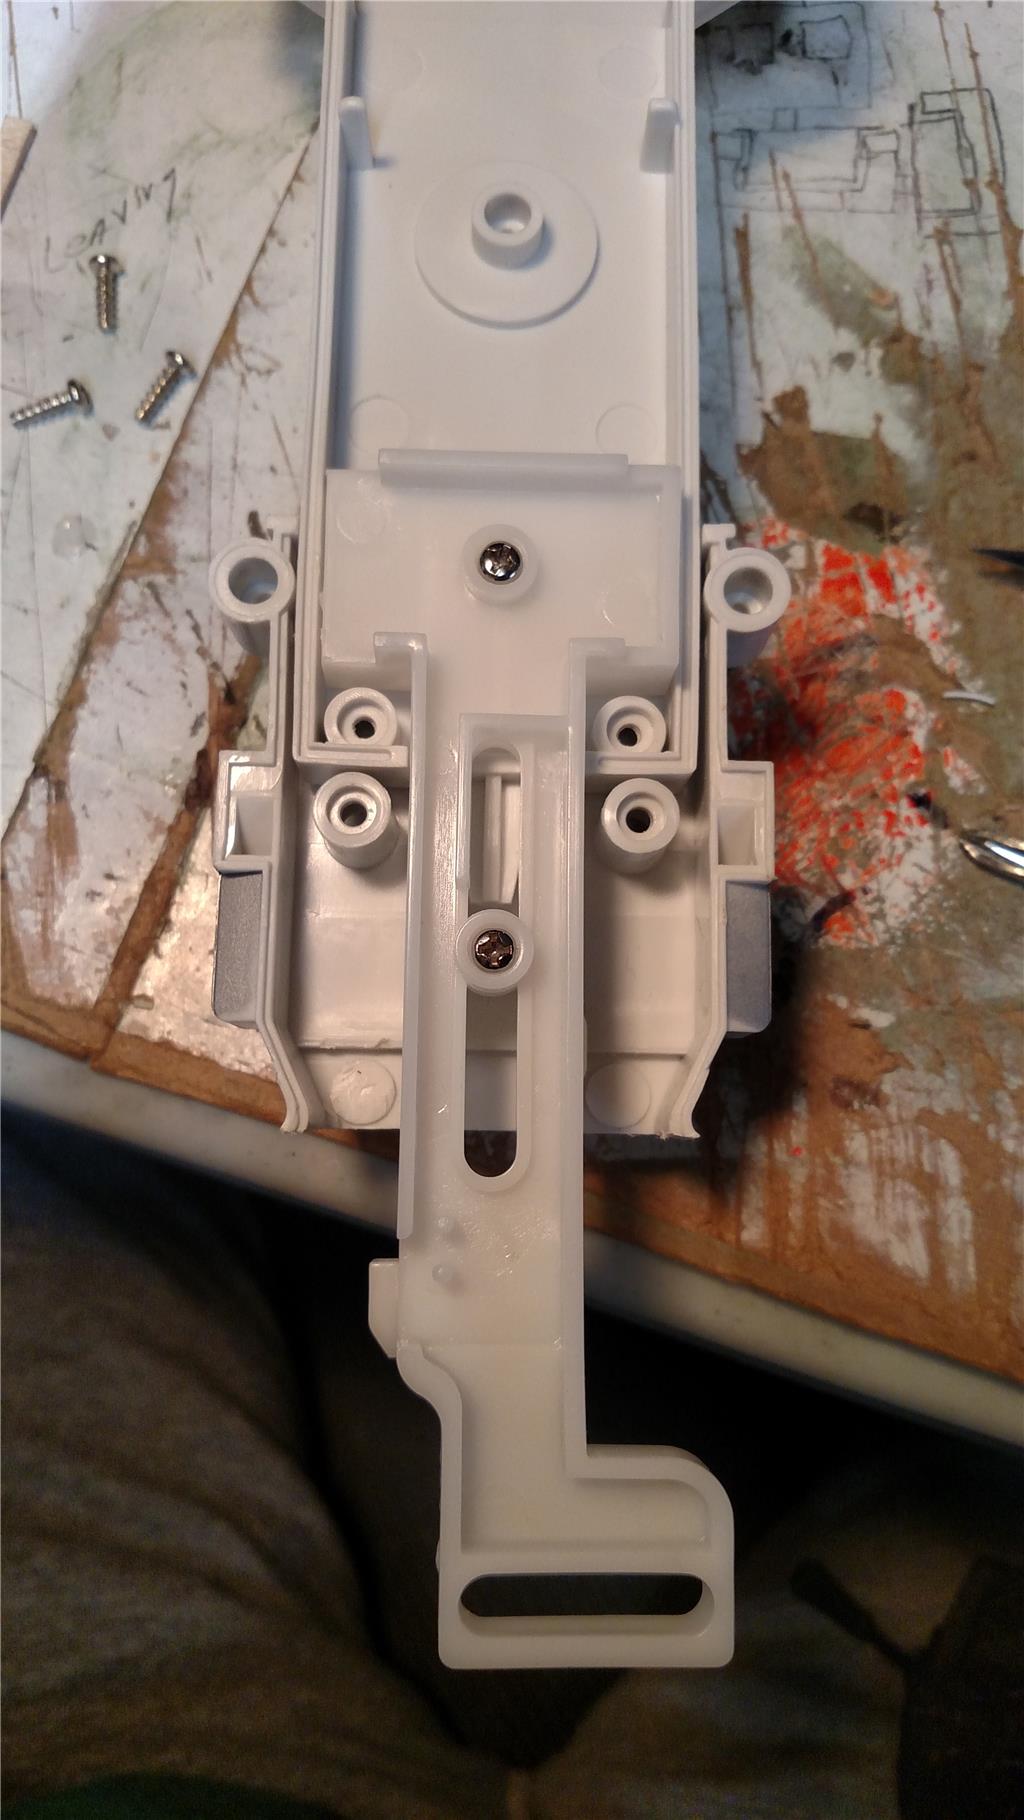
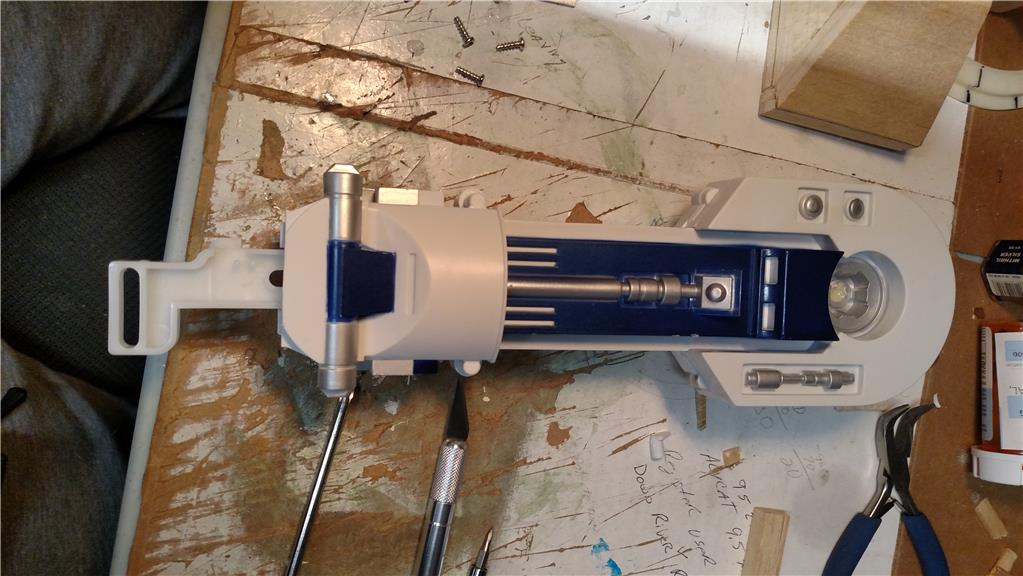
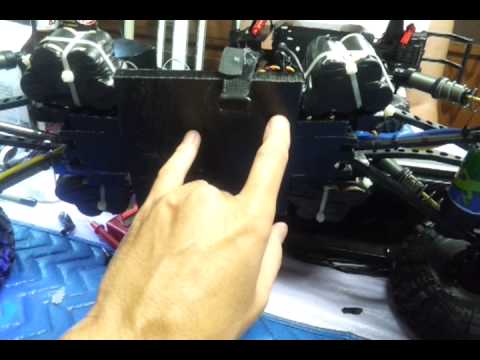
I have completed the mounting and straightening of the continuous rotation servos for the feet. I have to complete the ankles for the rear feet before I can reattach the foot/ankle/leg together. I cut my feet off, as I wanted them to move back and forth with the leg movements of R2. This means that both R2 feet and legs will rotate from a standing position to a forward moving position. Also the shoulder joint with the connection for movement. I have also run 18 inch servo extender cables through the legs for the feet servos. That way there is plenty of cable to connect into the EZB V4.
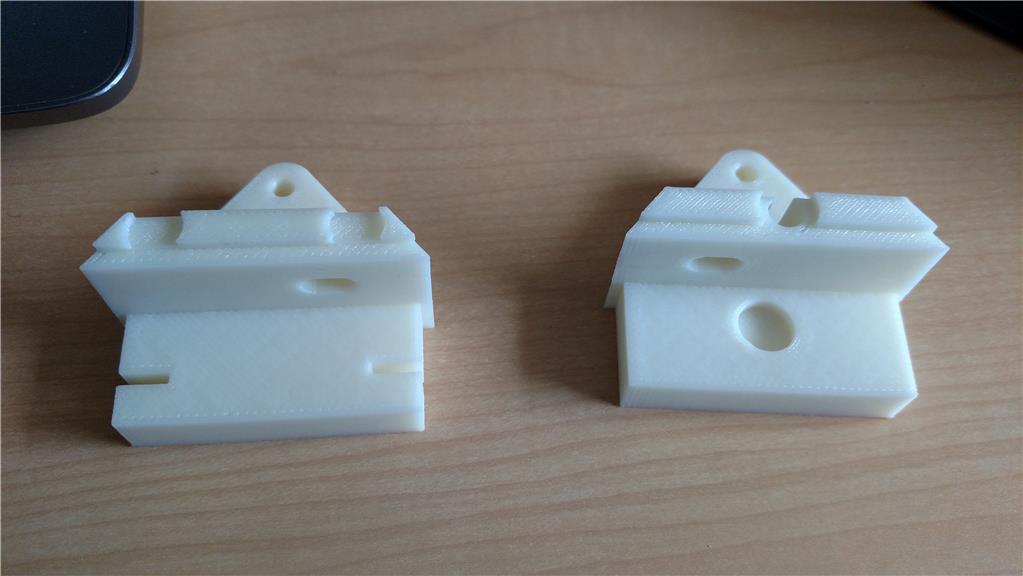
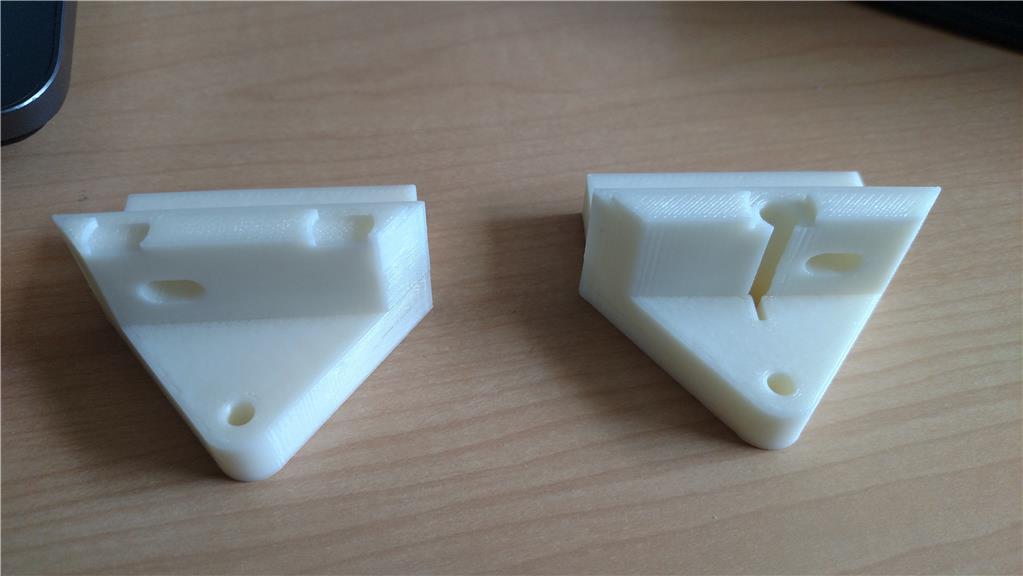
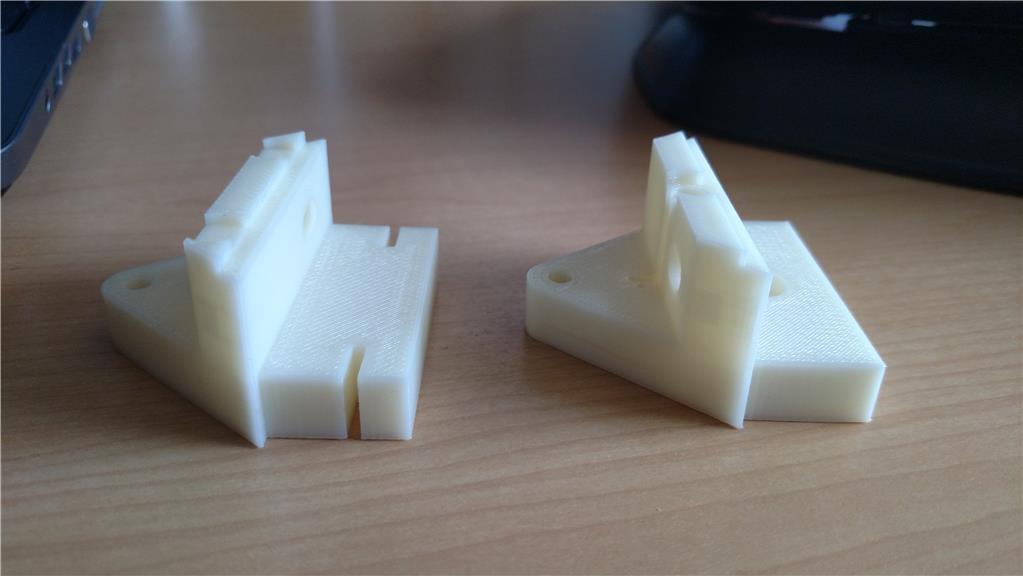
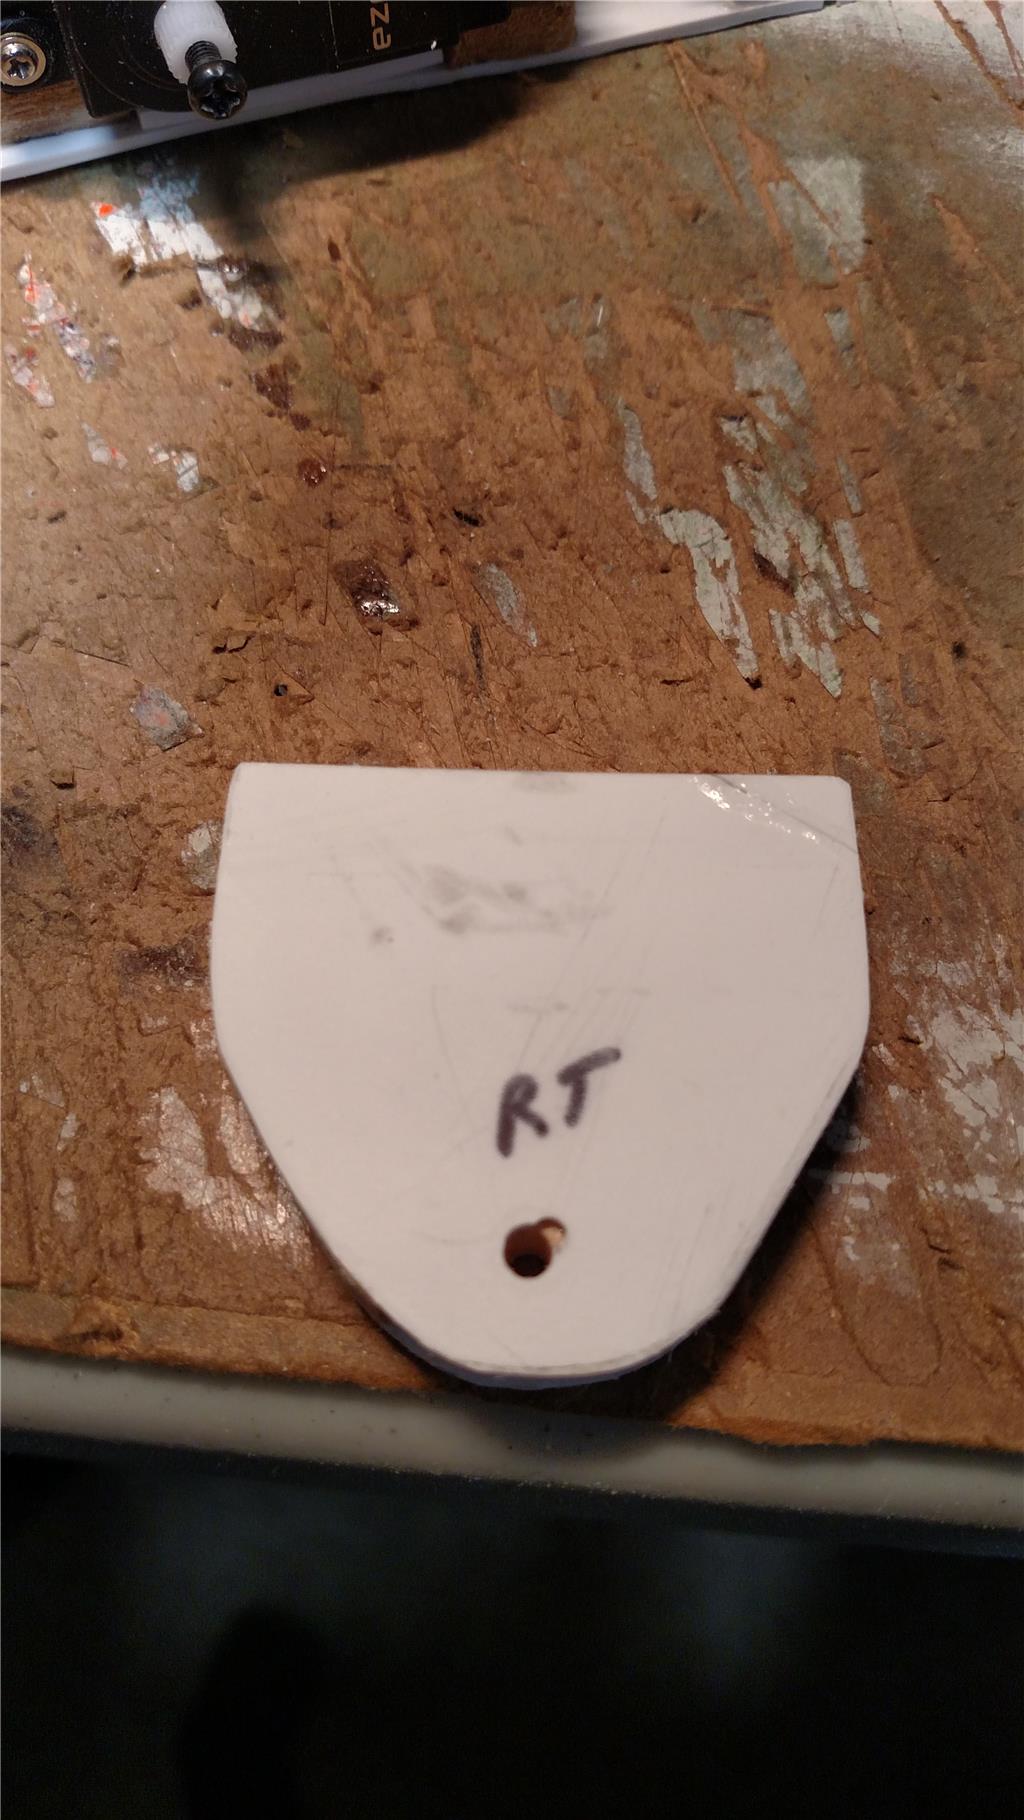
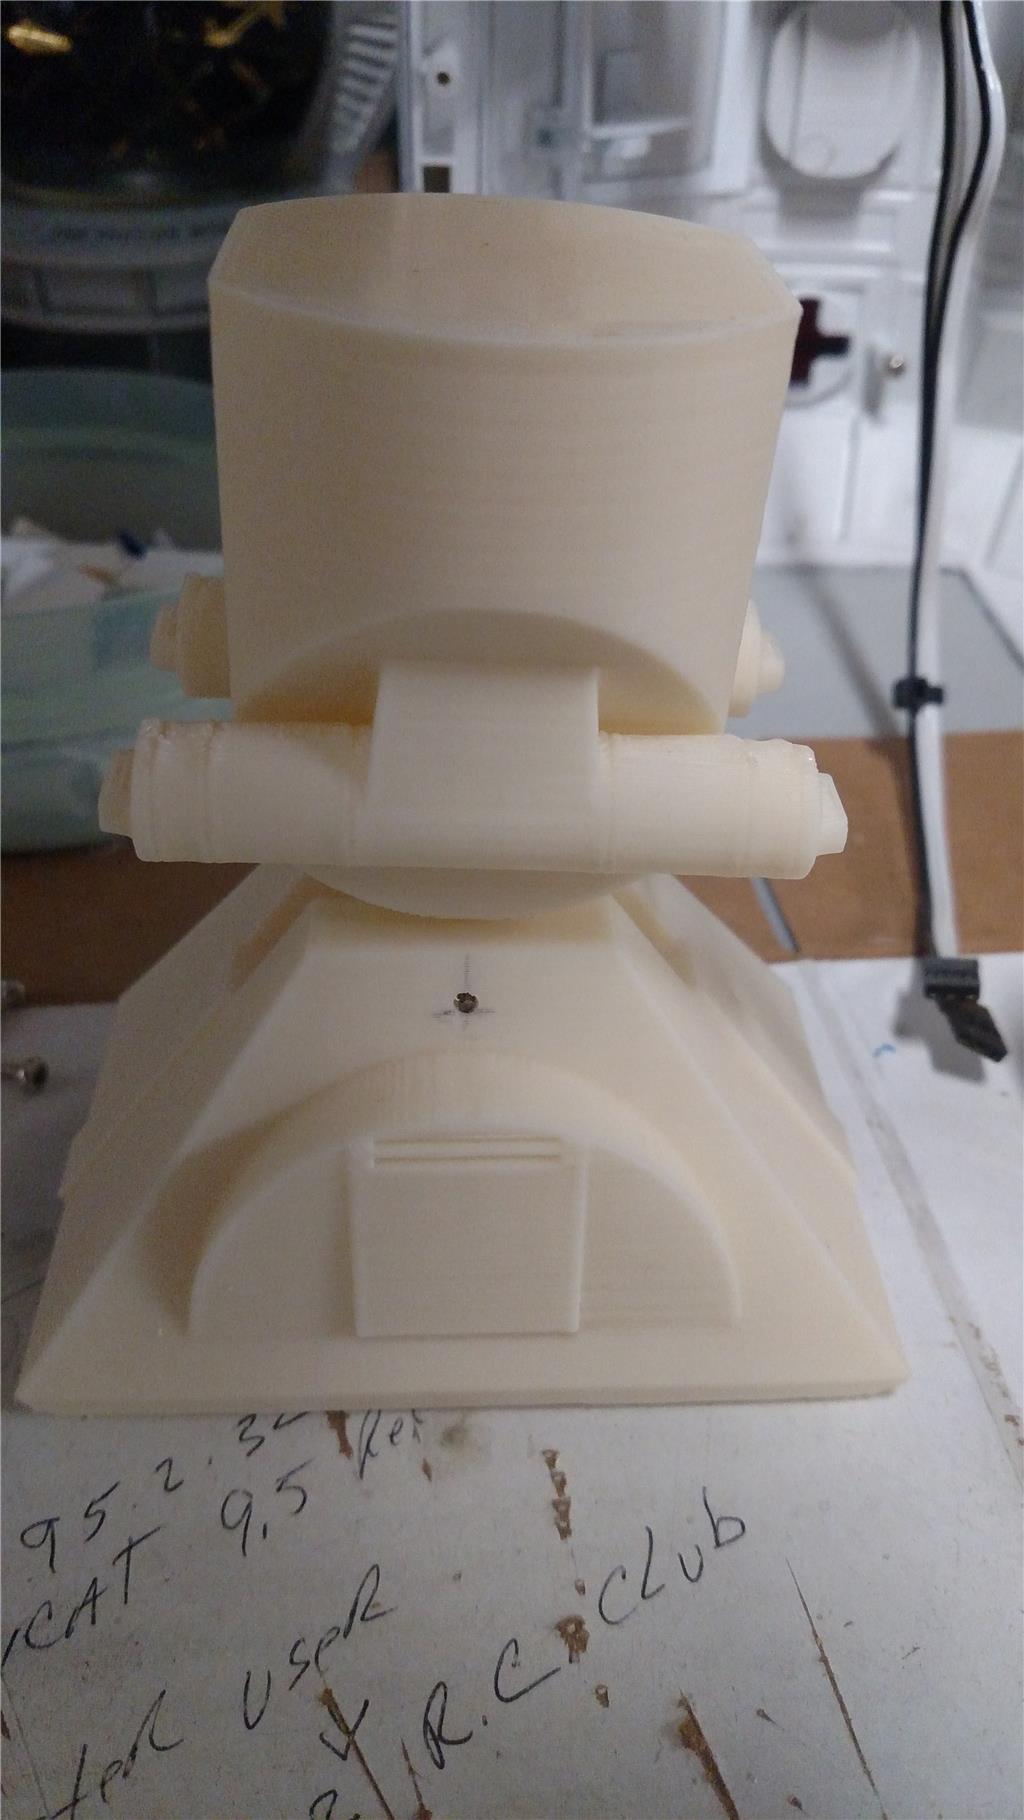
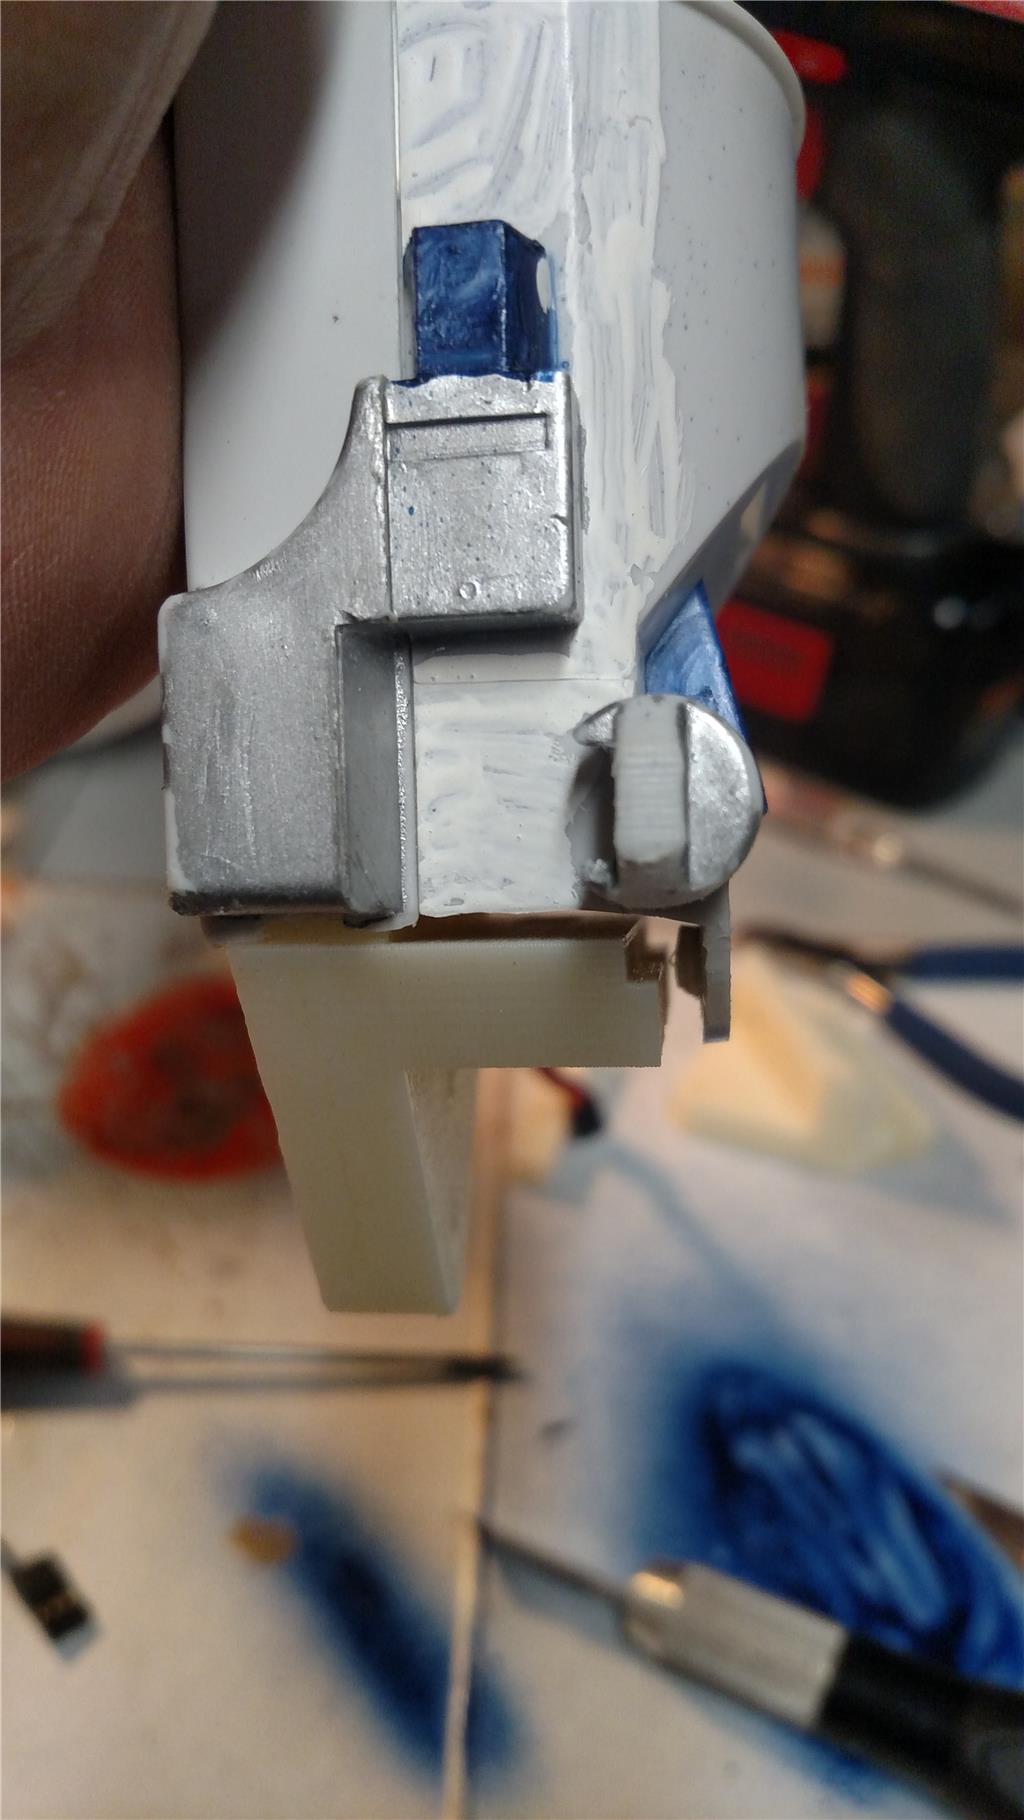
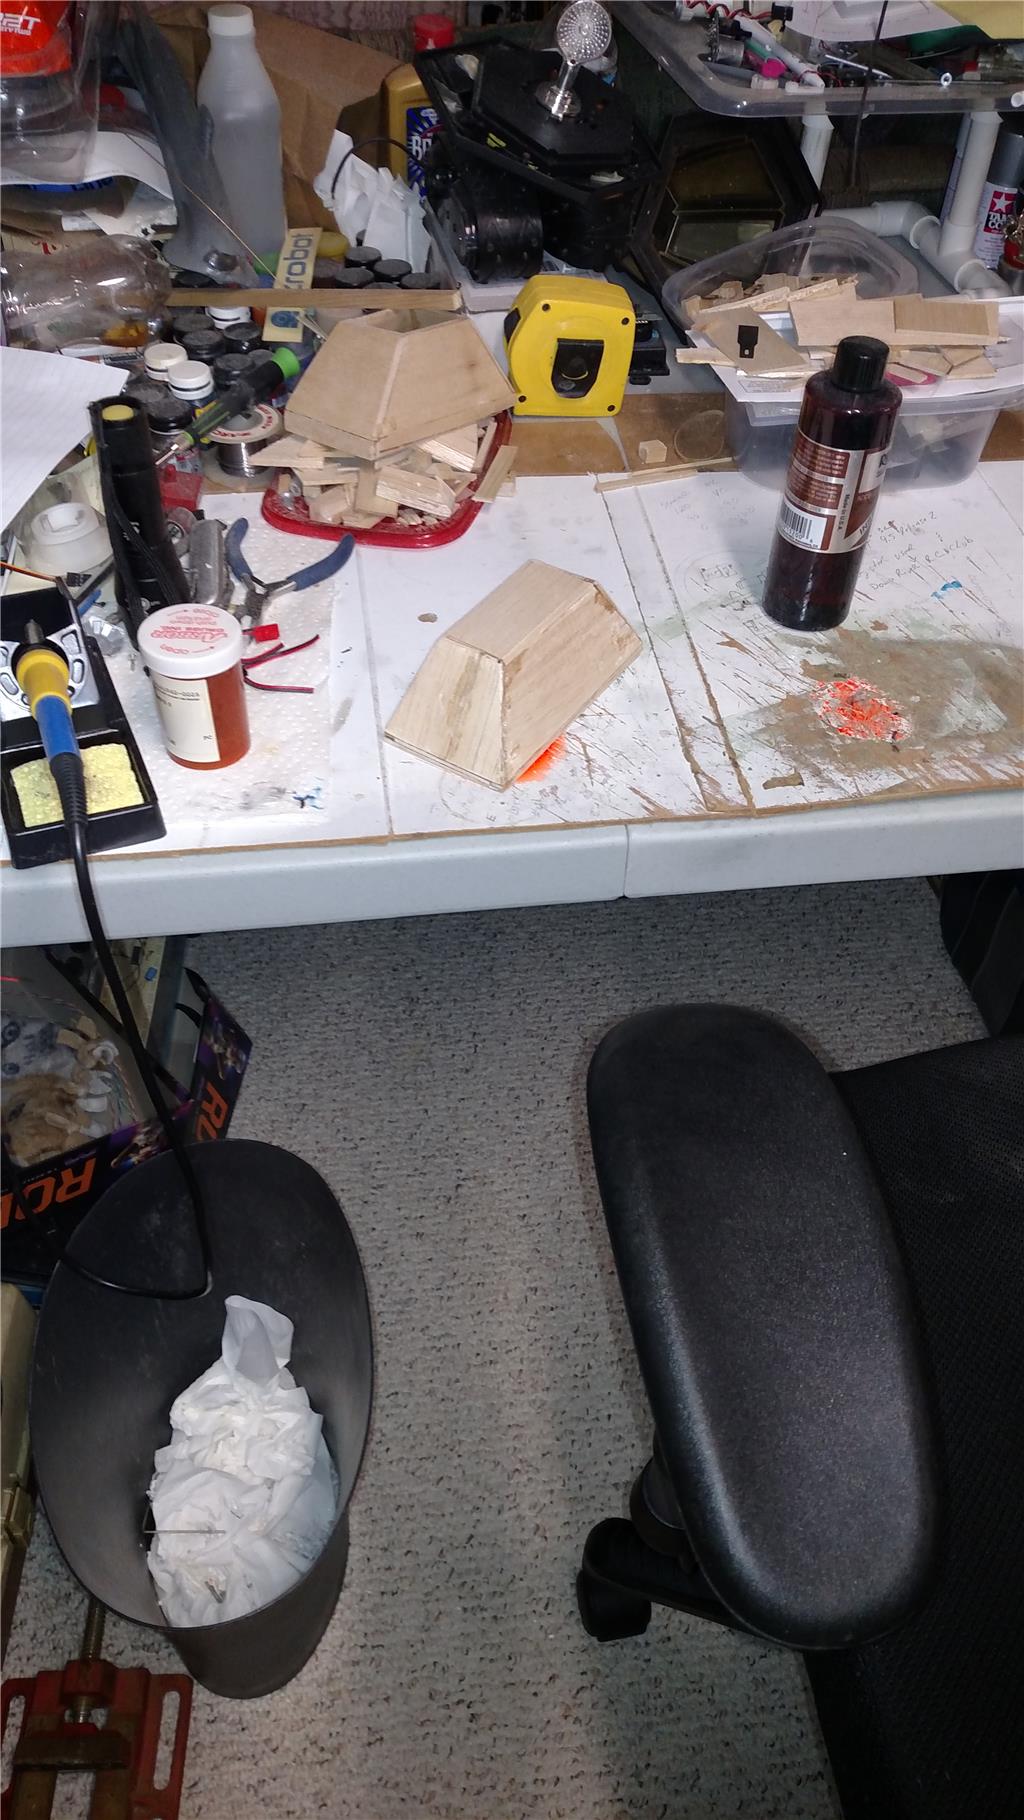
I have built a front foot from balsa and an ankle out of hardwood and 1/8 inch plastic. I now have to build the upper ankle, that will connect the lower ankle to R2. I also have one of my brother-in-laws printing me the front foot and ankle based on @AndyRoid stl files.
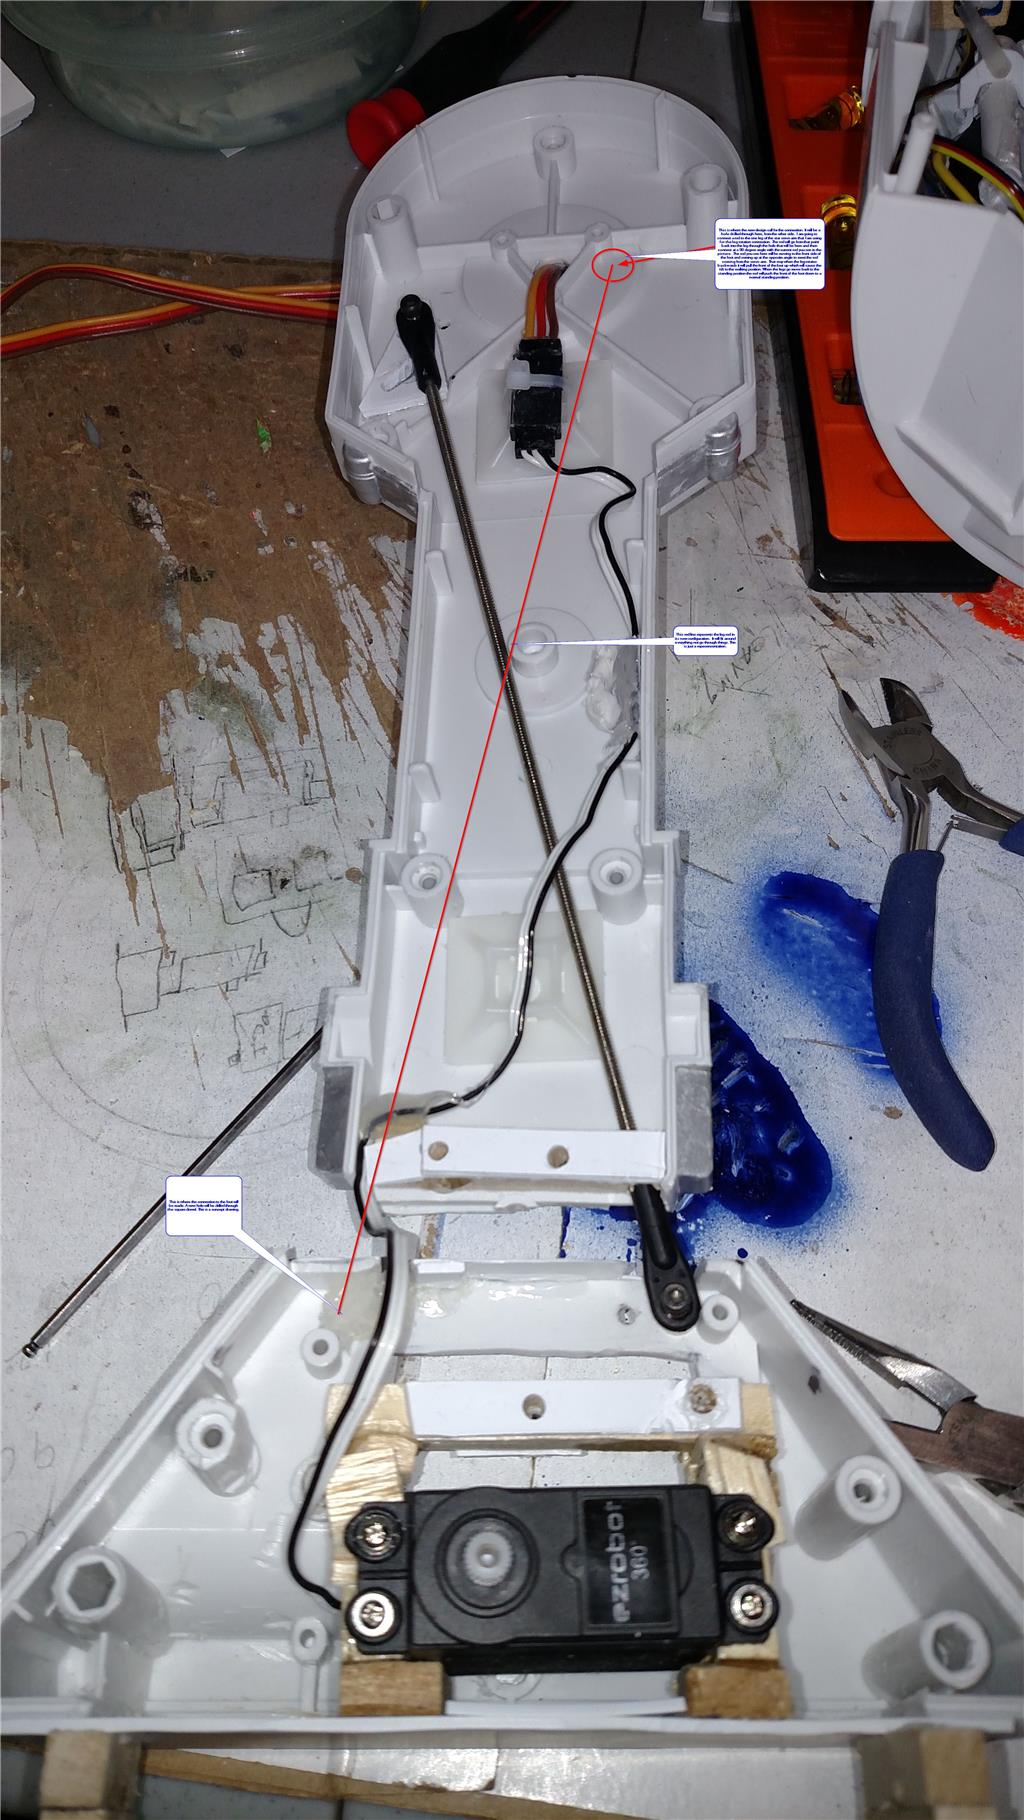
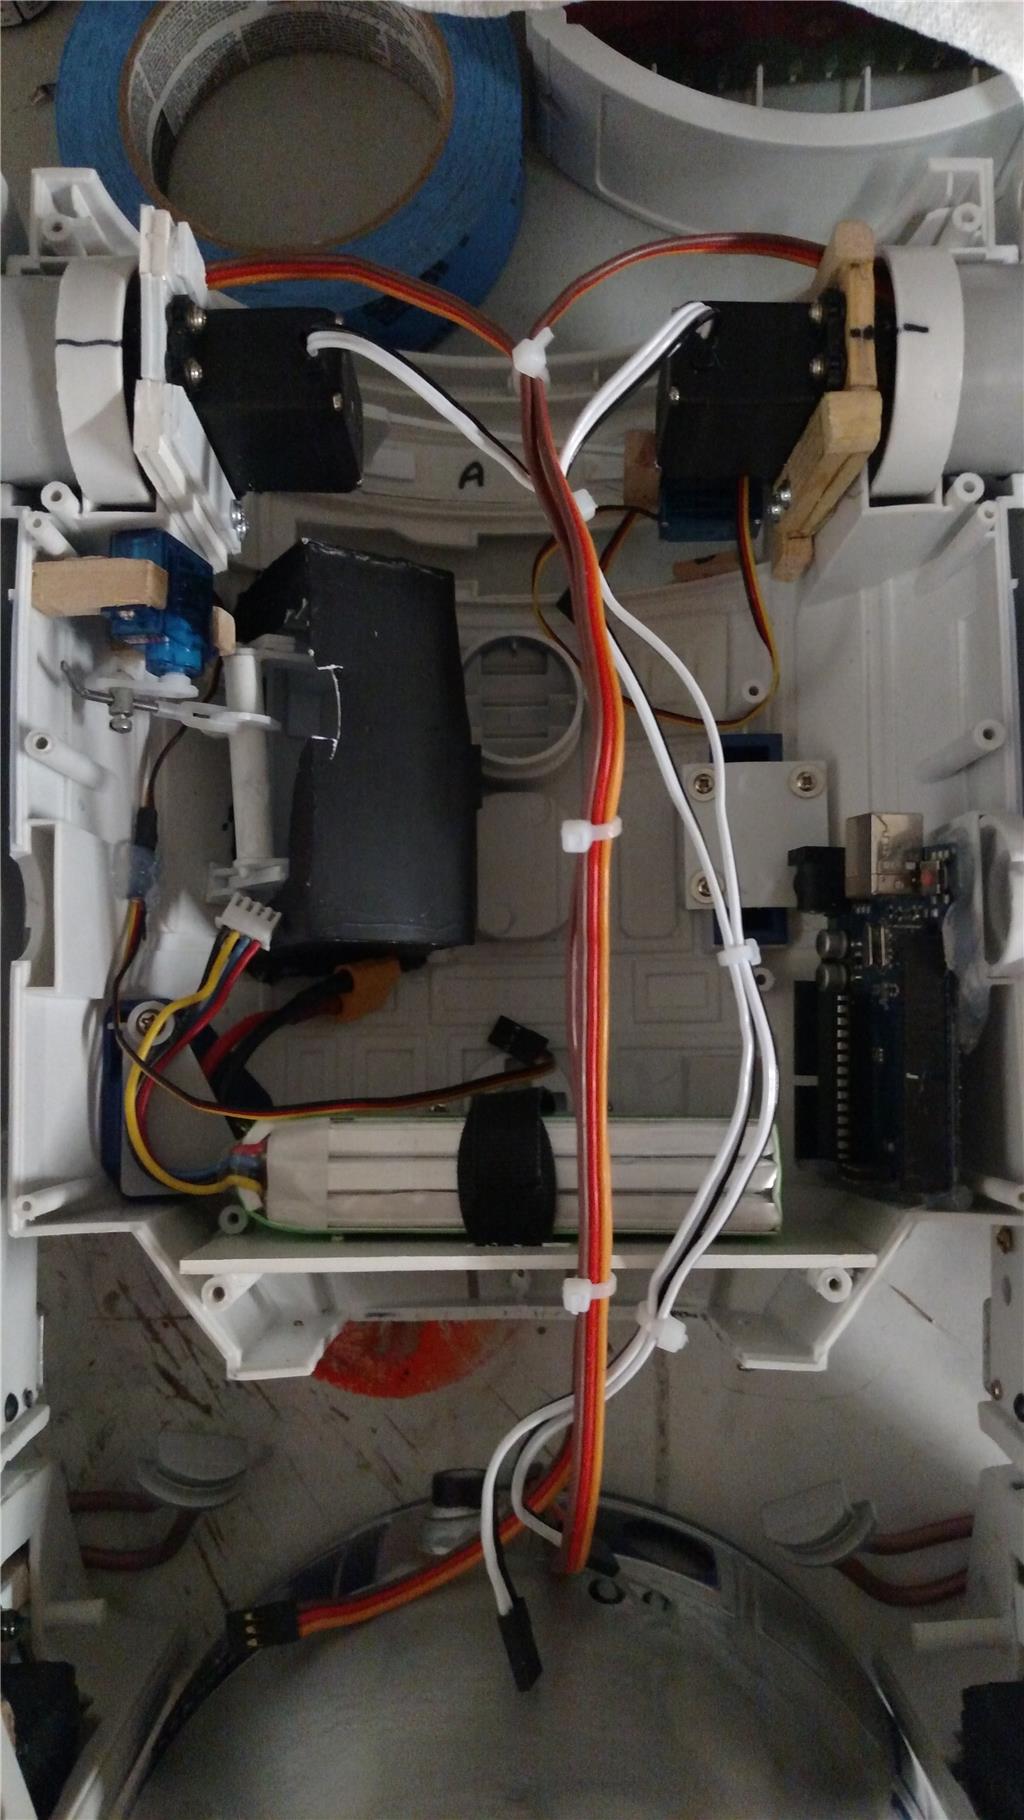
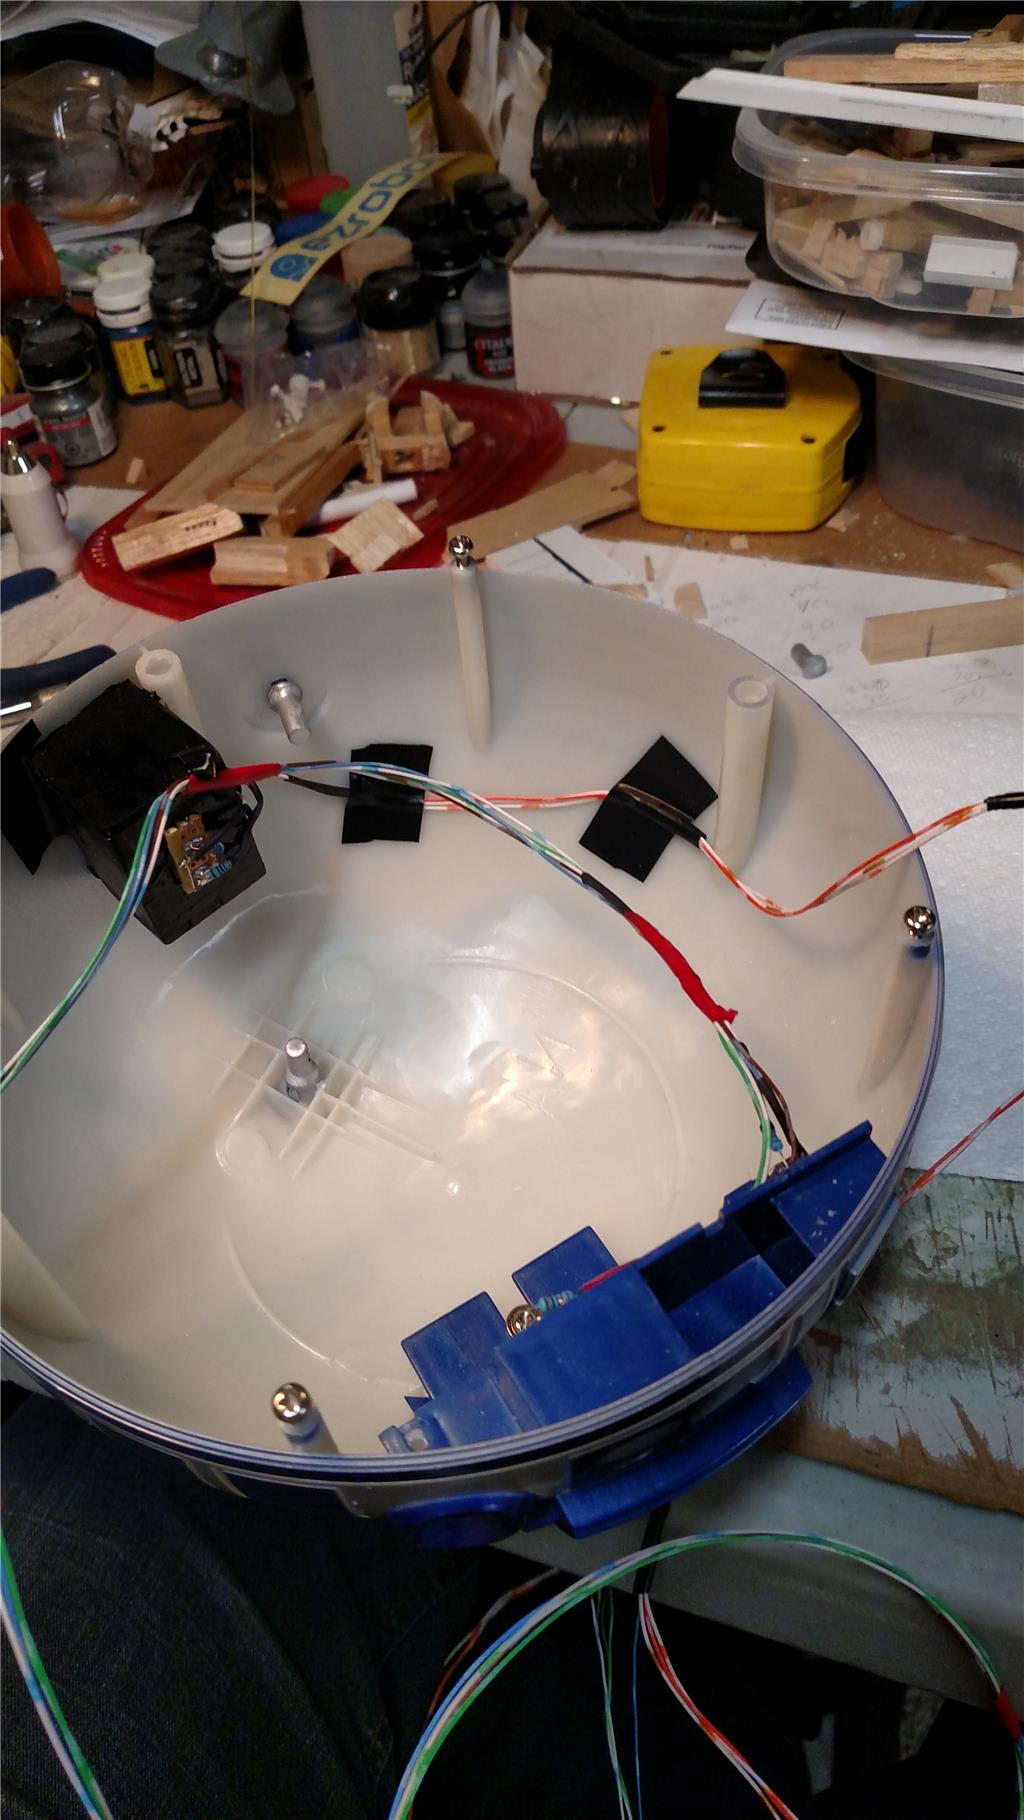
Attached are photos of the rear feet with servos, the front foot and lower ankle. The legs with wiring, and rotation point at the top.
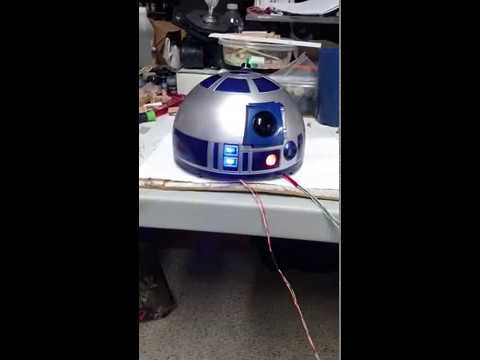
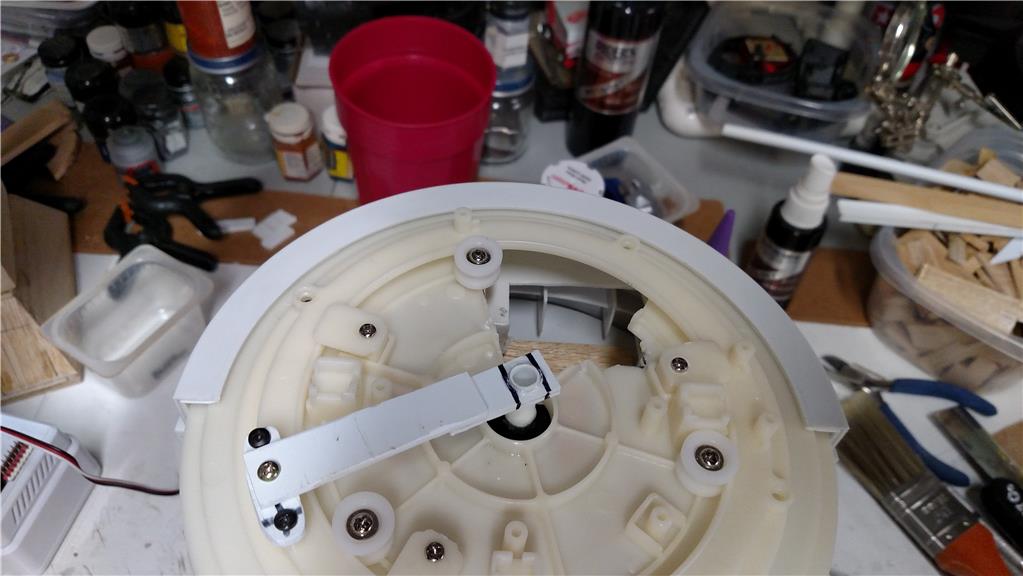
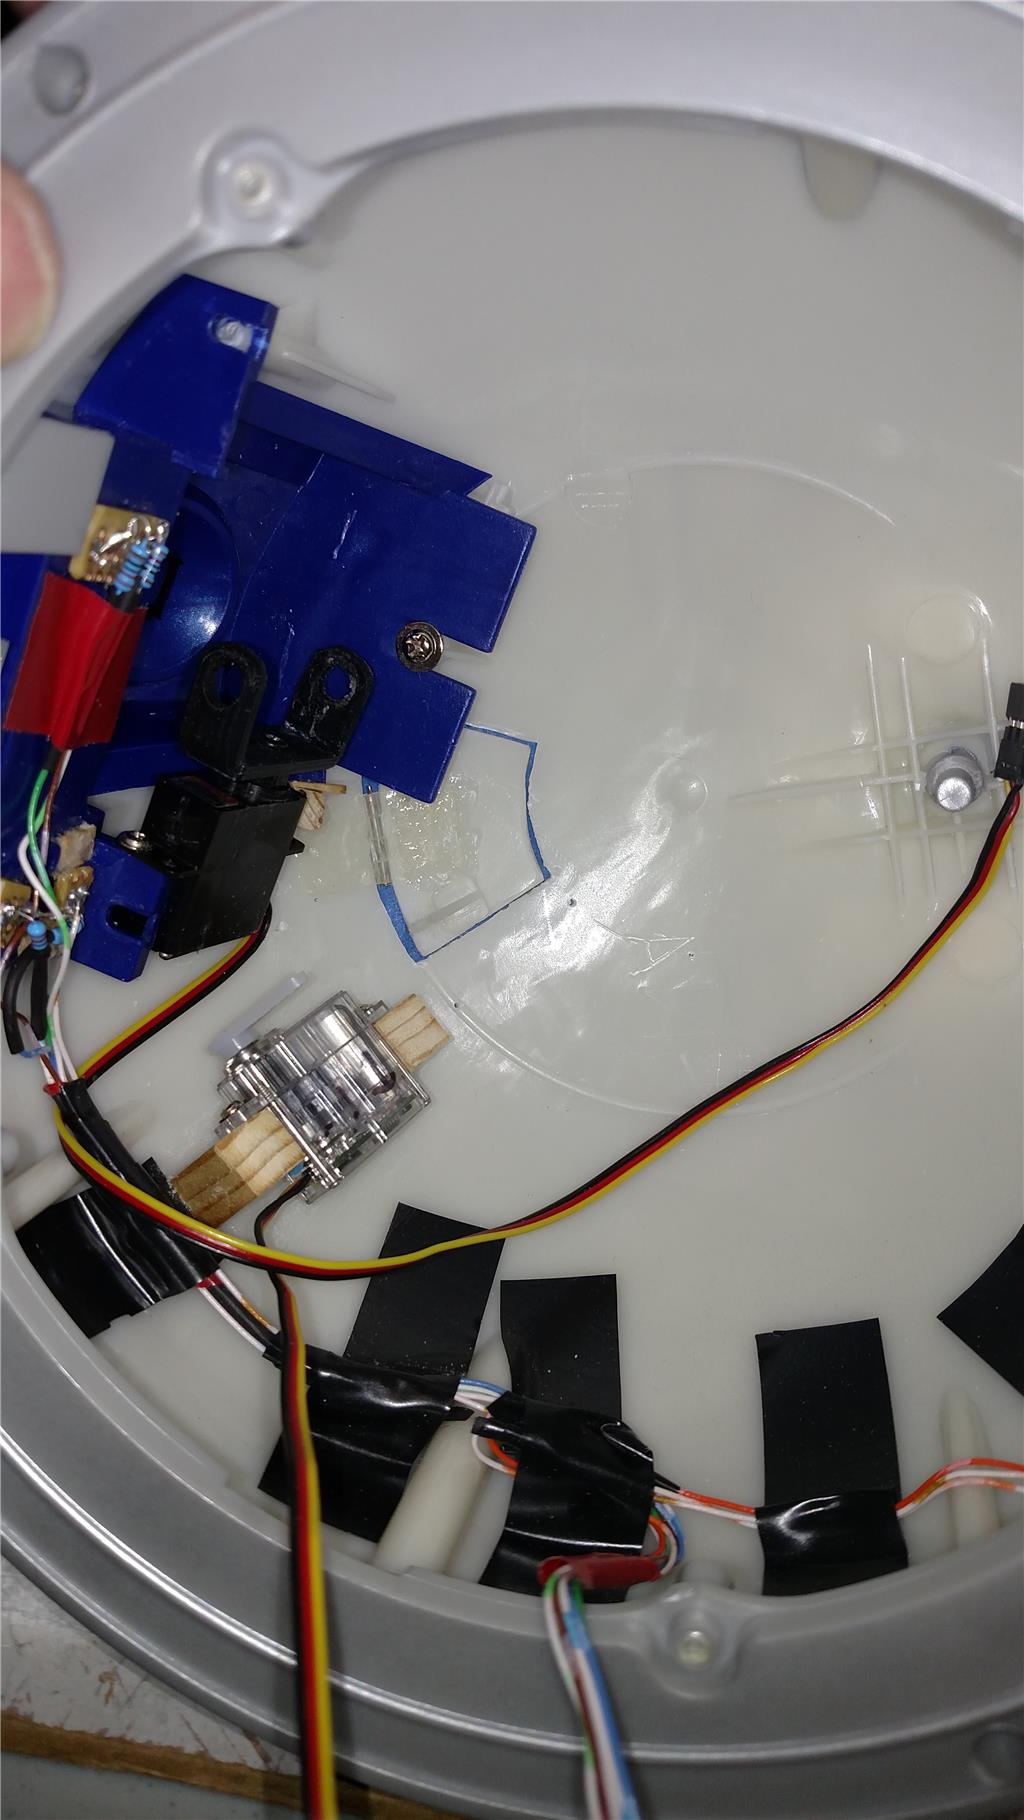
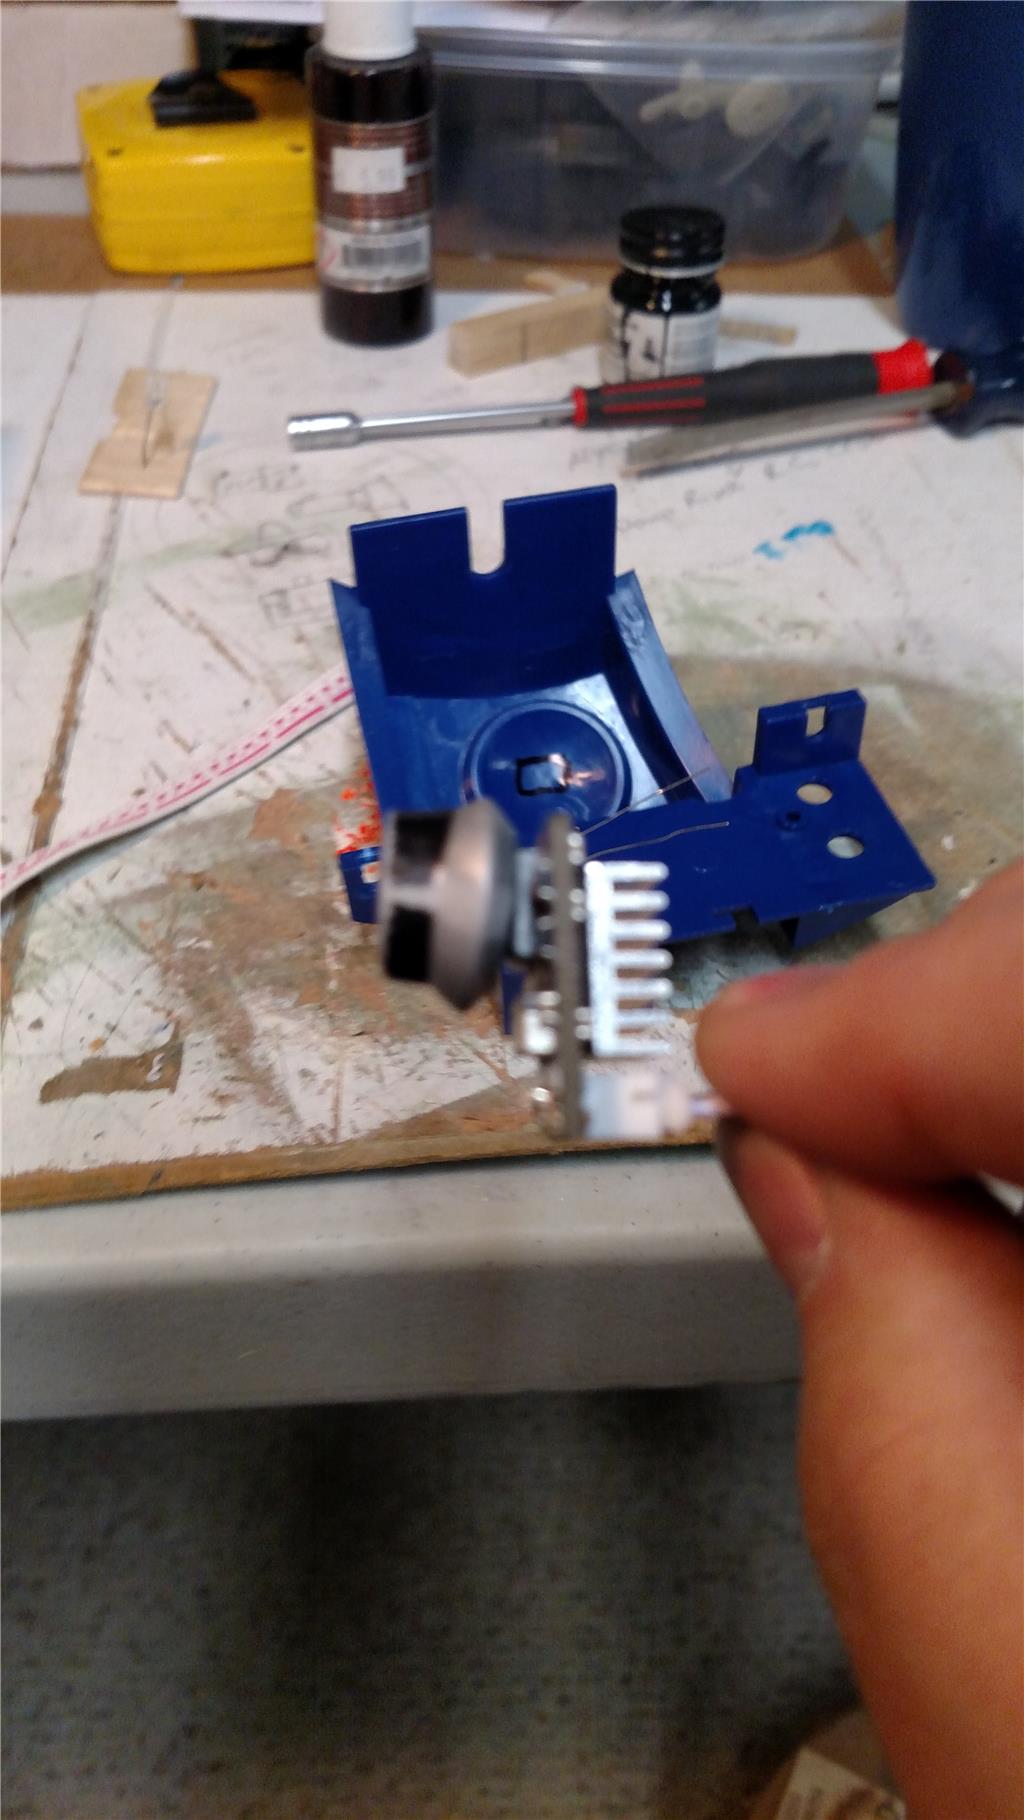
nice build.here a tip put the wire further away from the circle edge.see pic
@rsmith.
Cool, another R2 mod. Looking good so far, and nice job with the foot. Coming along nicely.
Thank you to both @Nomad 6R, and @Steve G. I will move the wire further away from the circle, I think I will lay it on the flat part or the wall. More to come.
This is a good idea! Having the legs move like that. I might have to copy you


Thank you DJ. Please copy if you like.
DJ, I have a question for you. I would like to use a Y cable between a single port (D5) to connect both the leg servos to. That way I only have to address one port to get both legs moving in the same direction. Can the Ez-B Robot Controller V4 handle powering both servos from a single port ? The servos are the standard EZ-Robot HD servos.
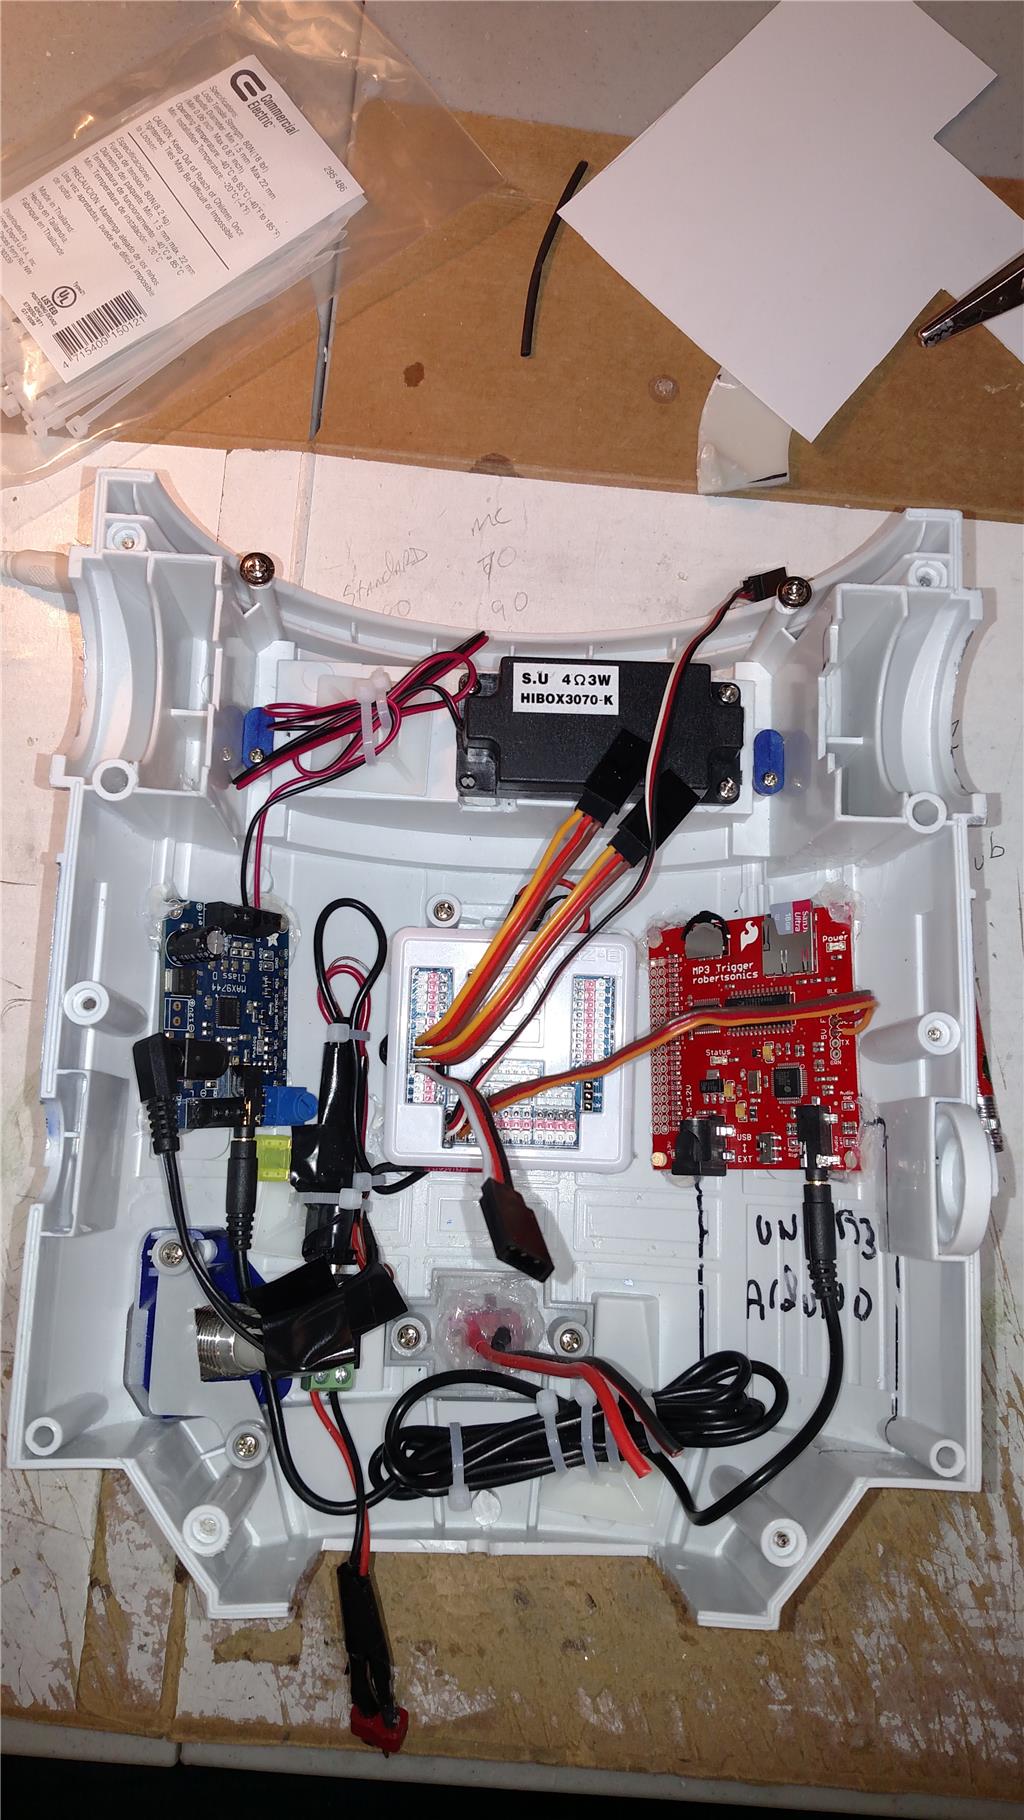
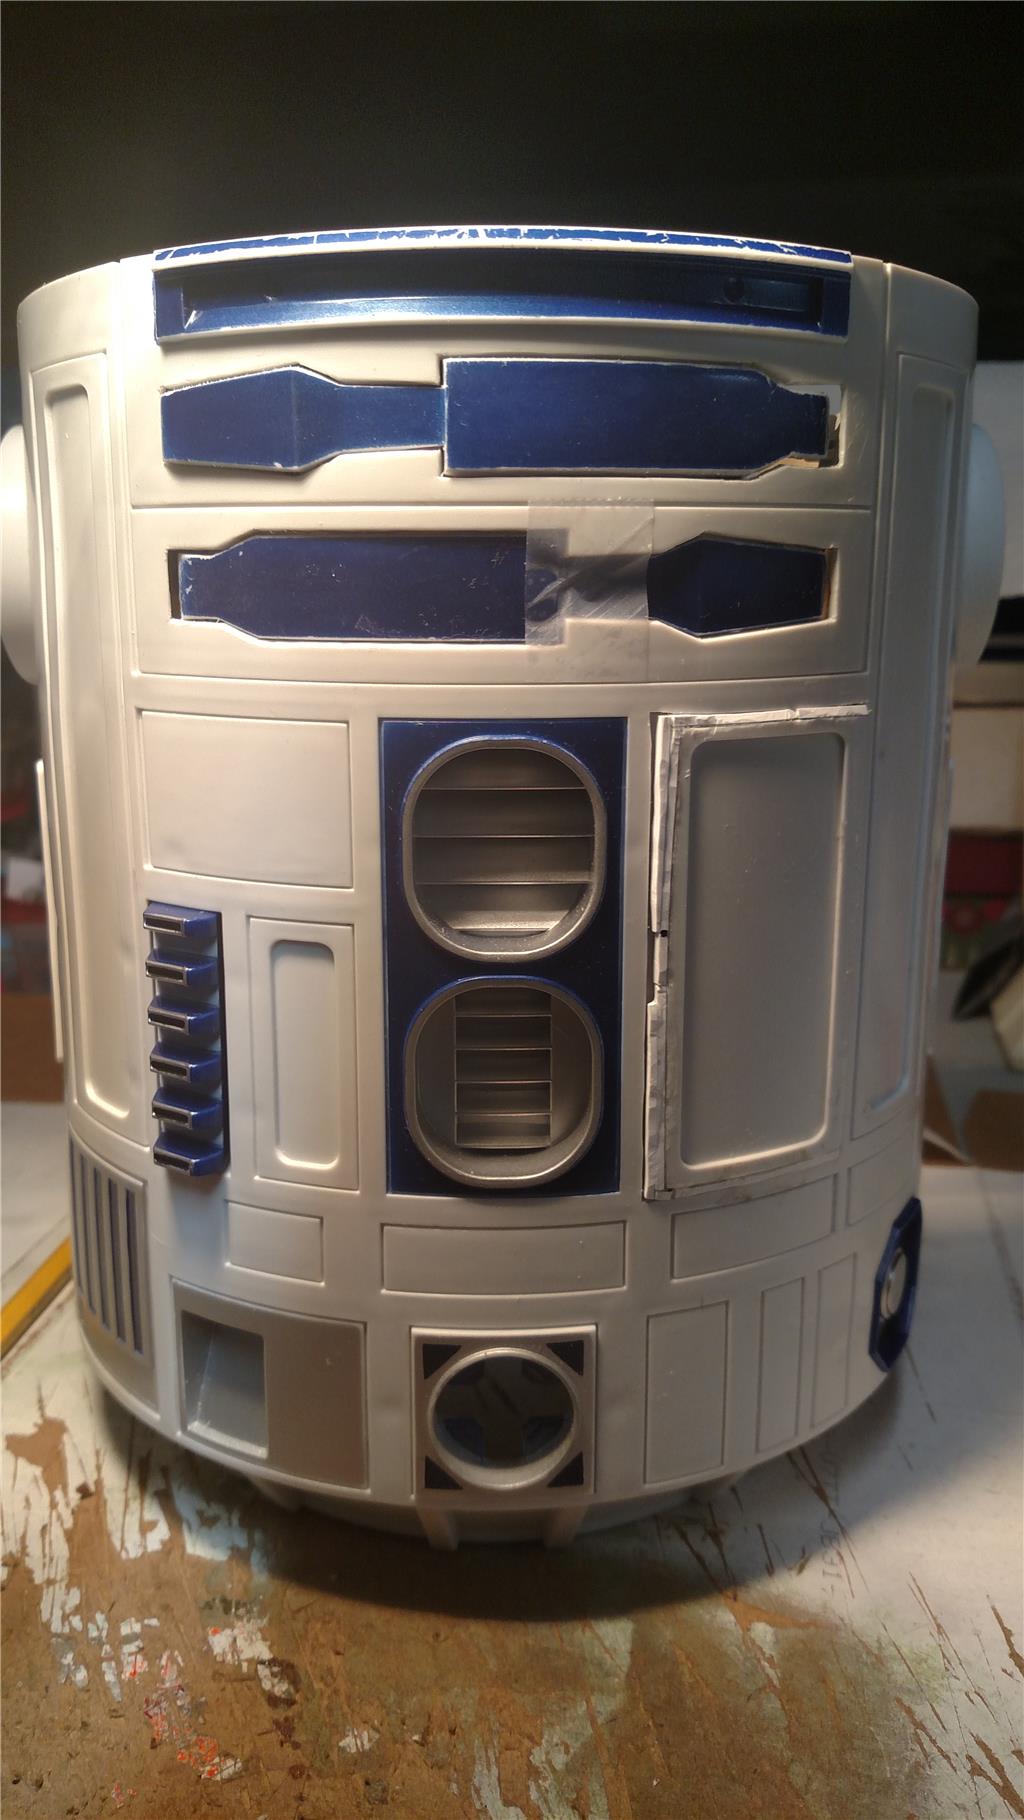
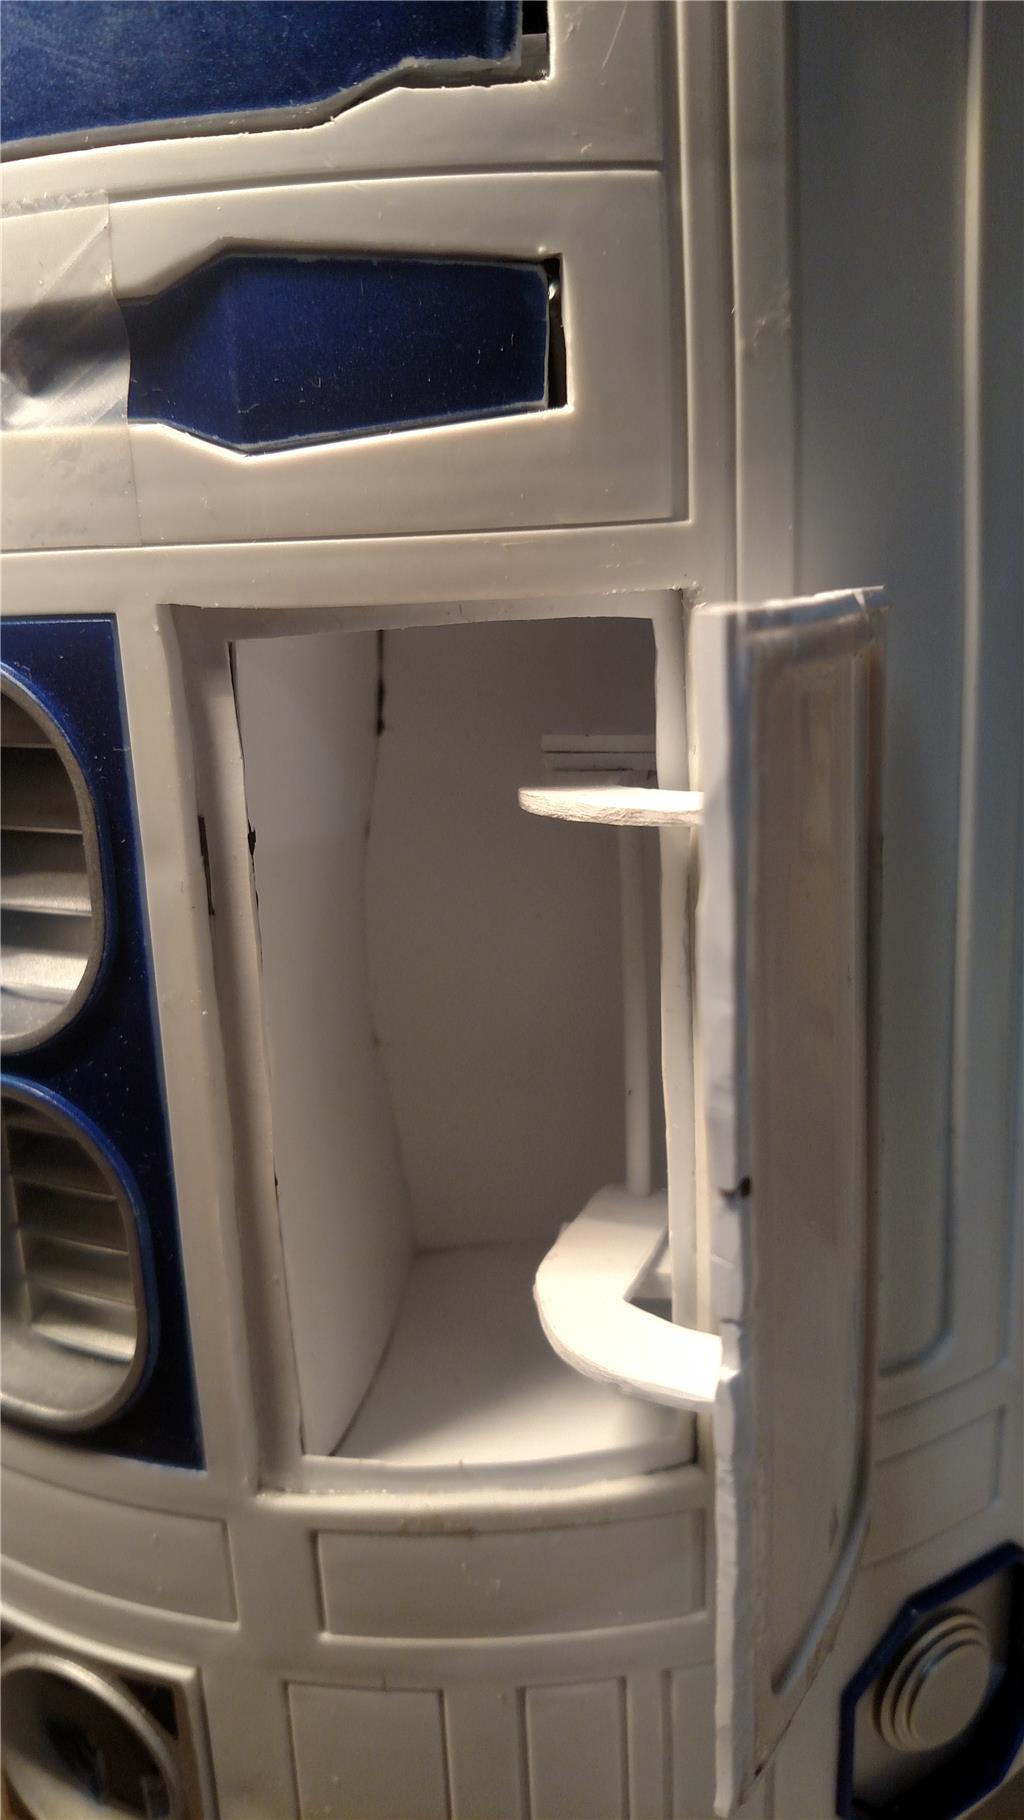
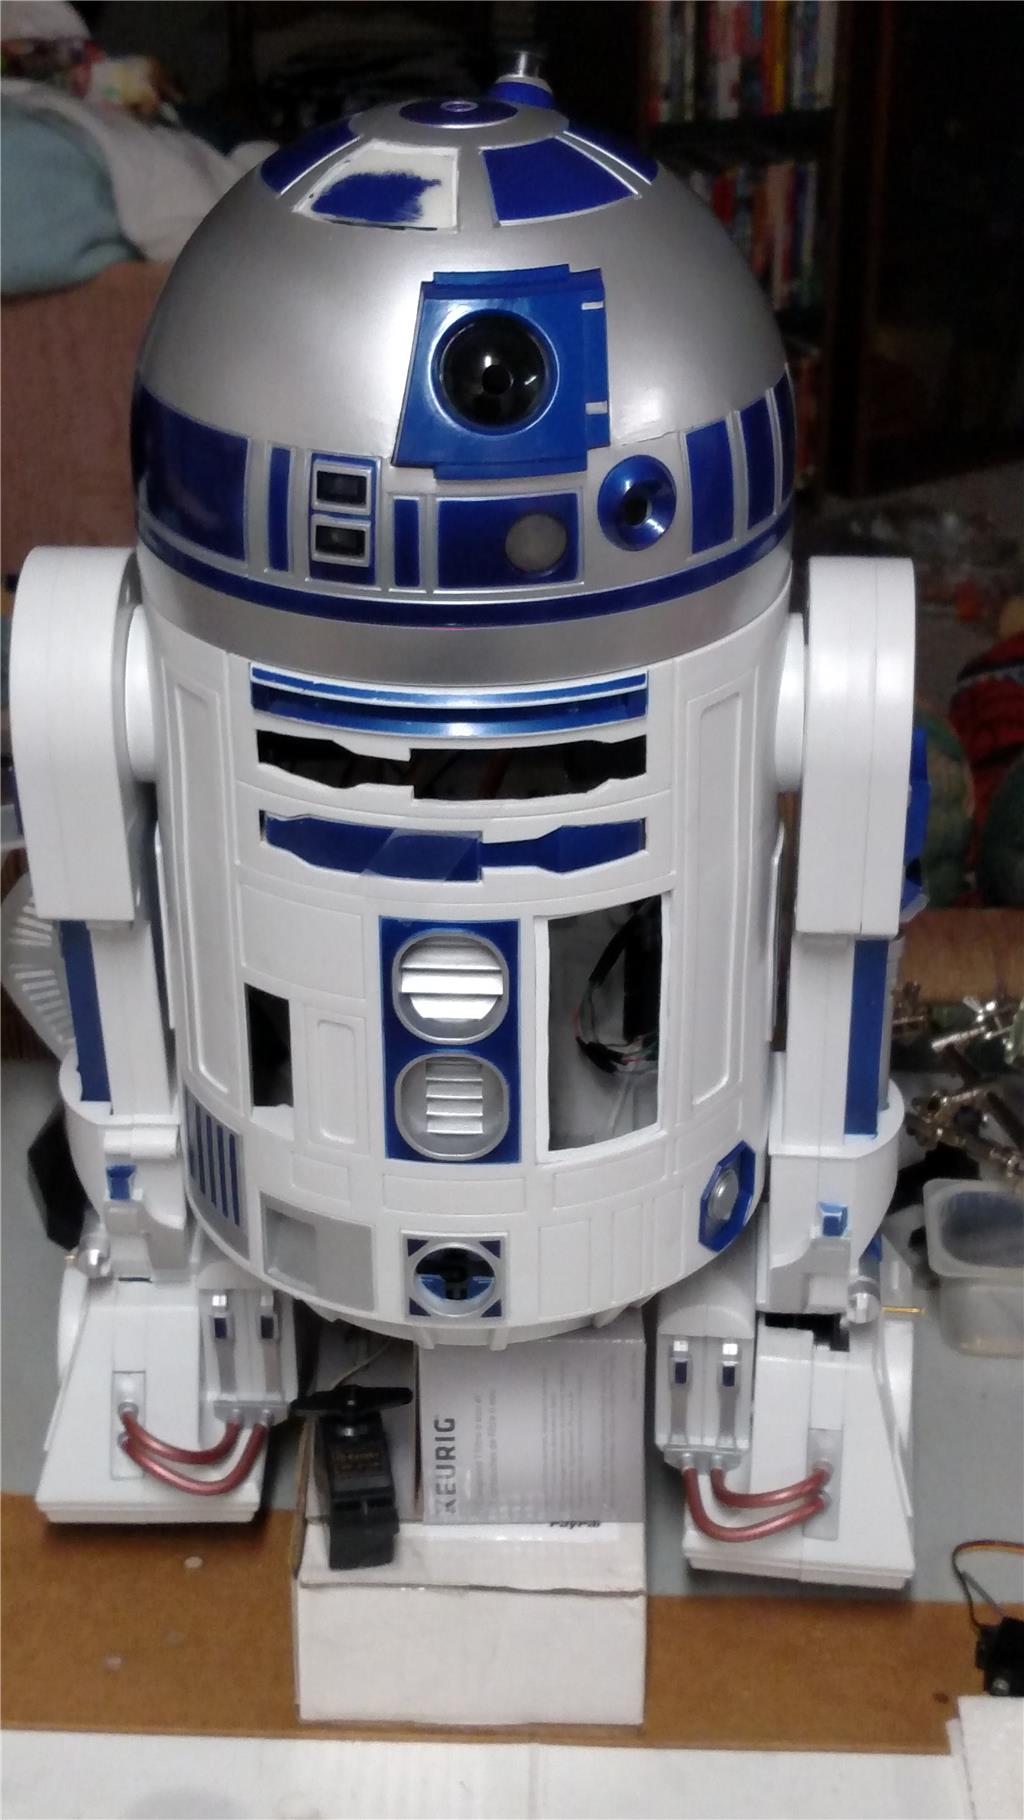
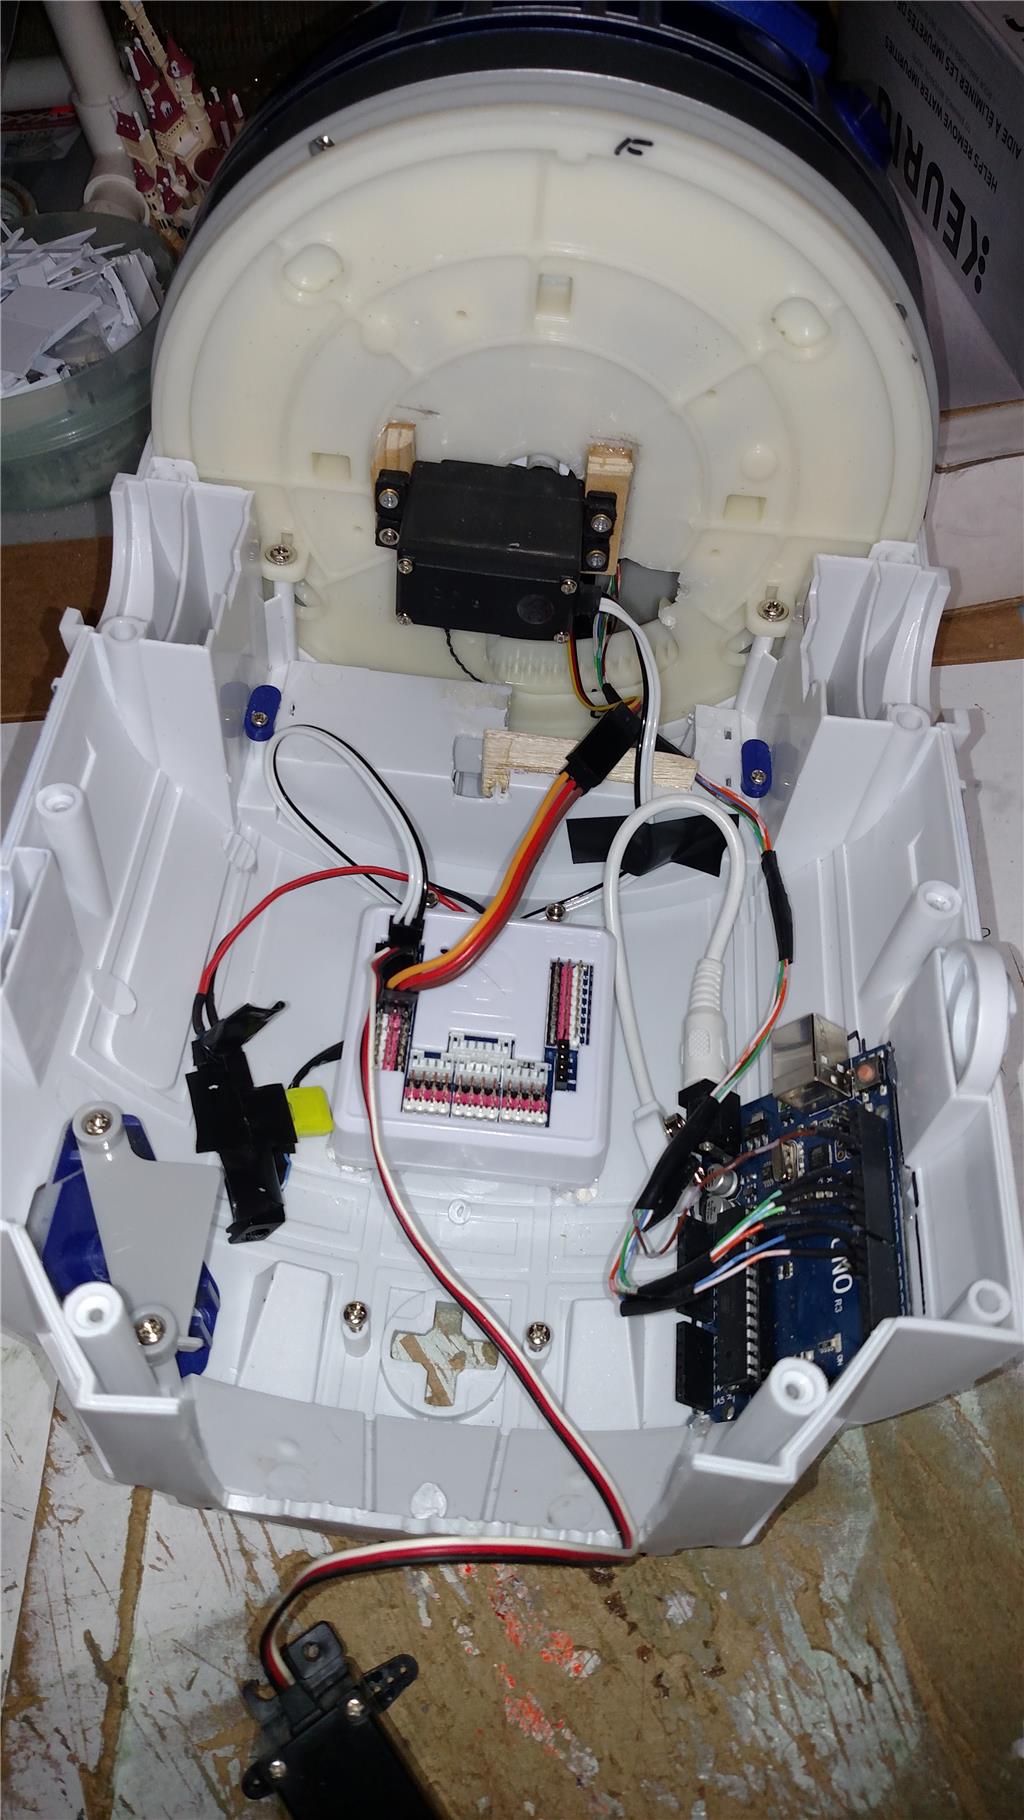
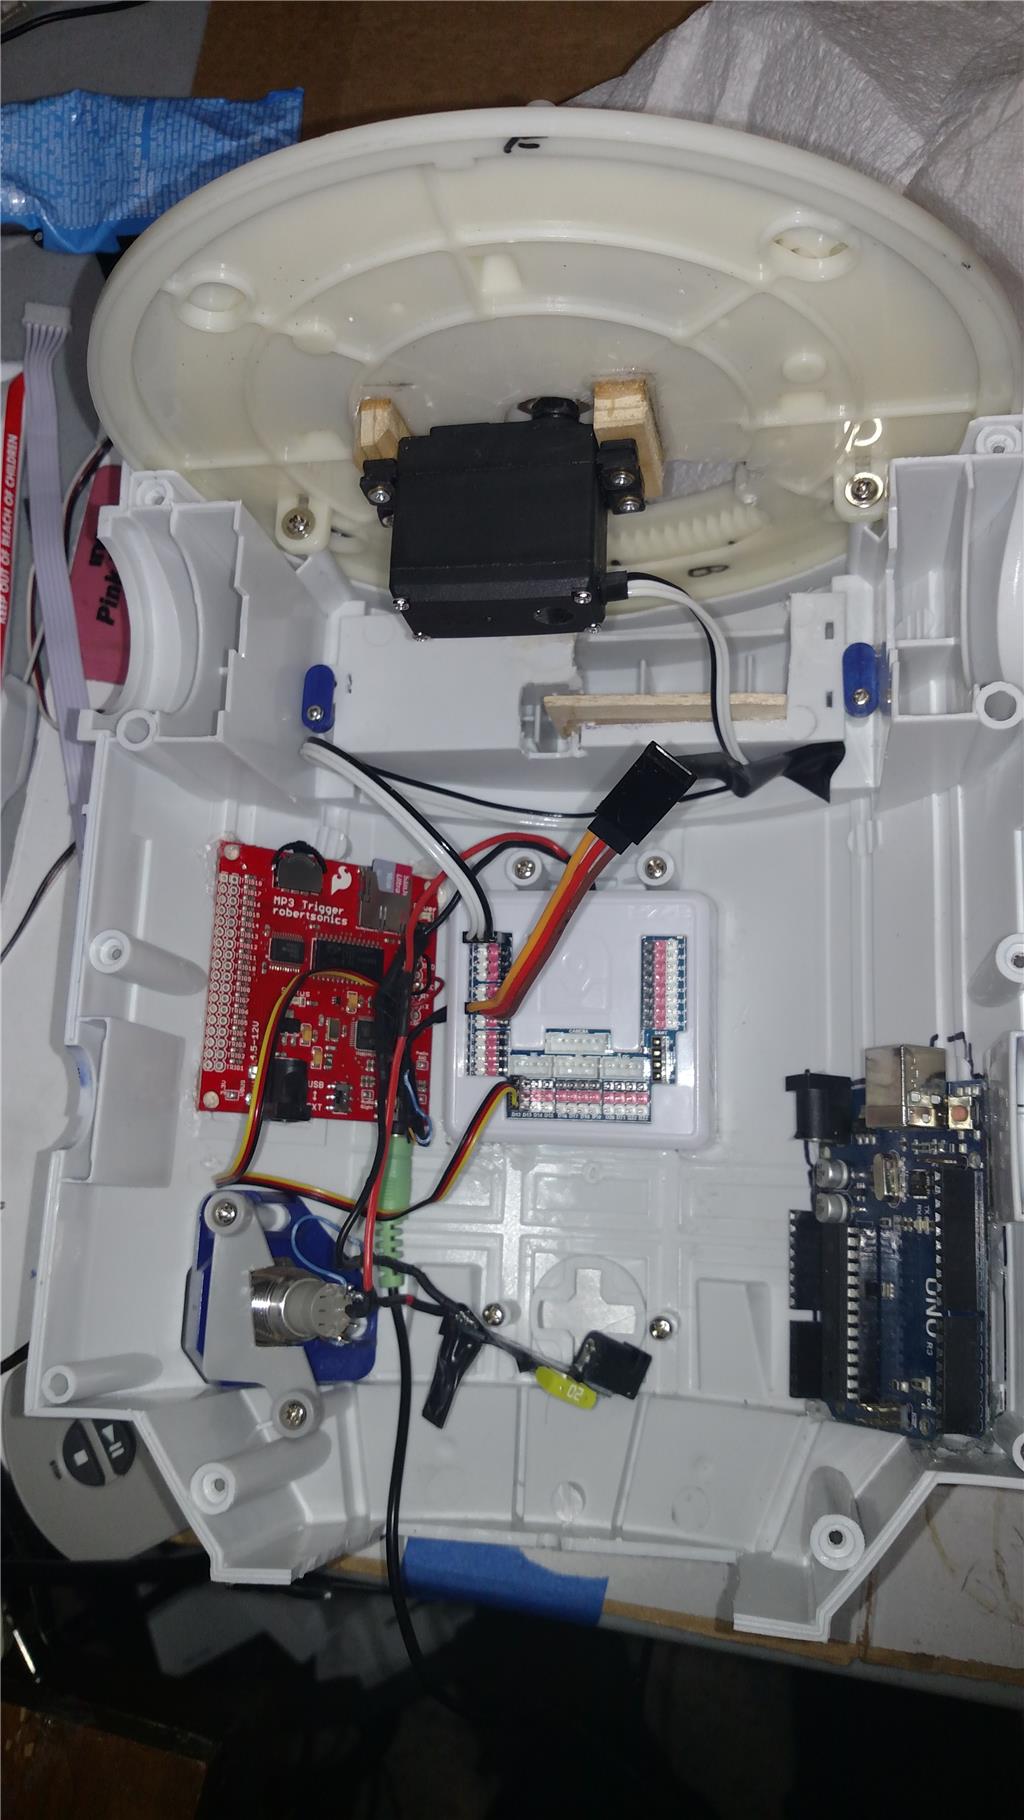
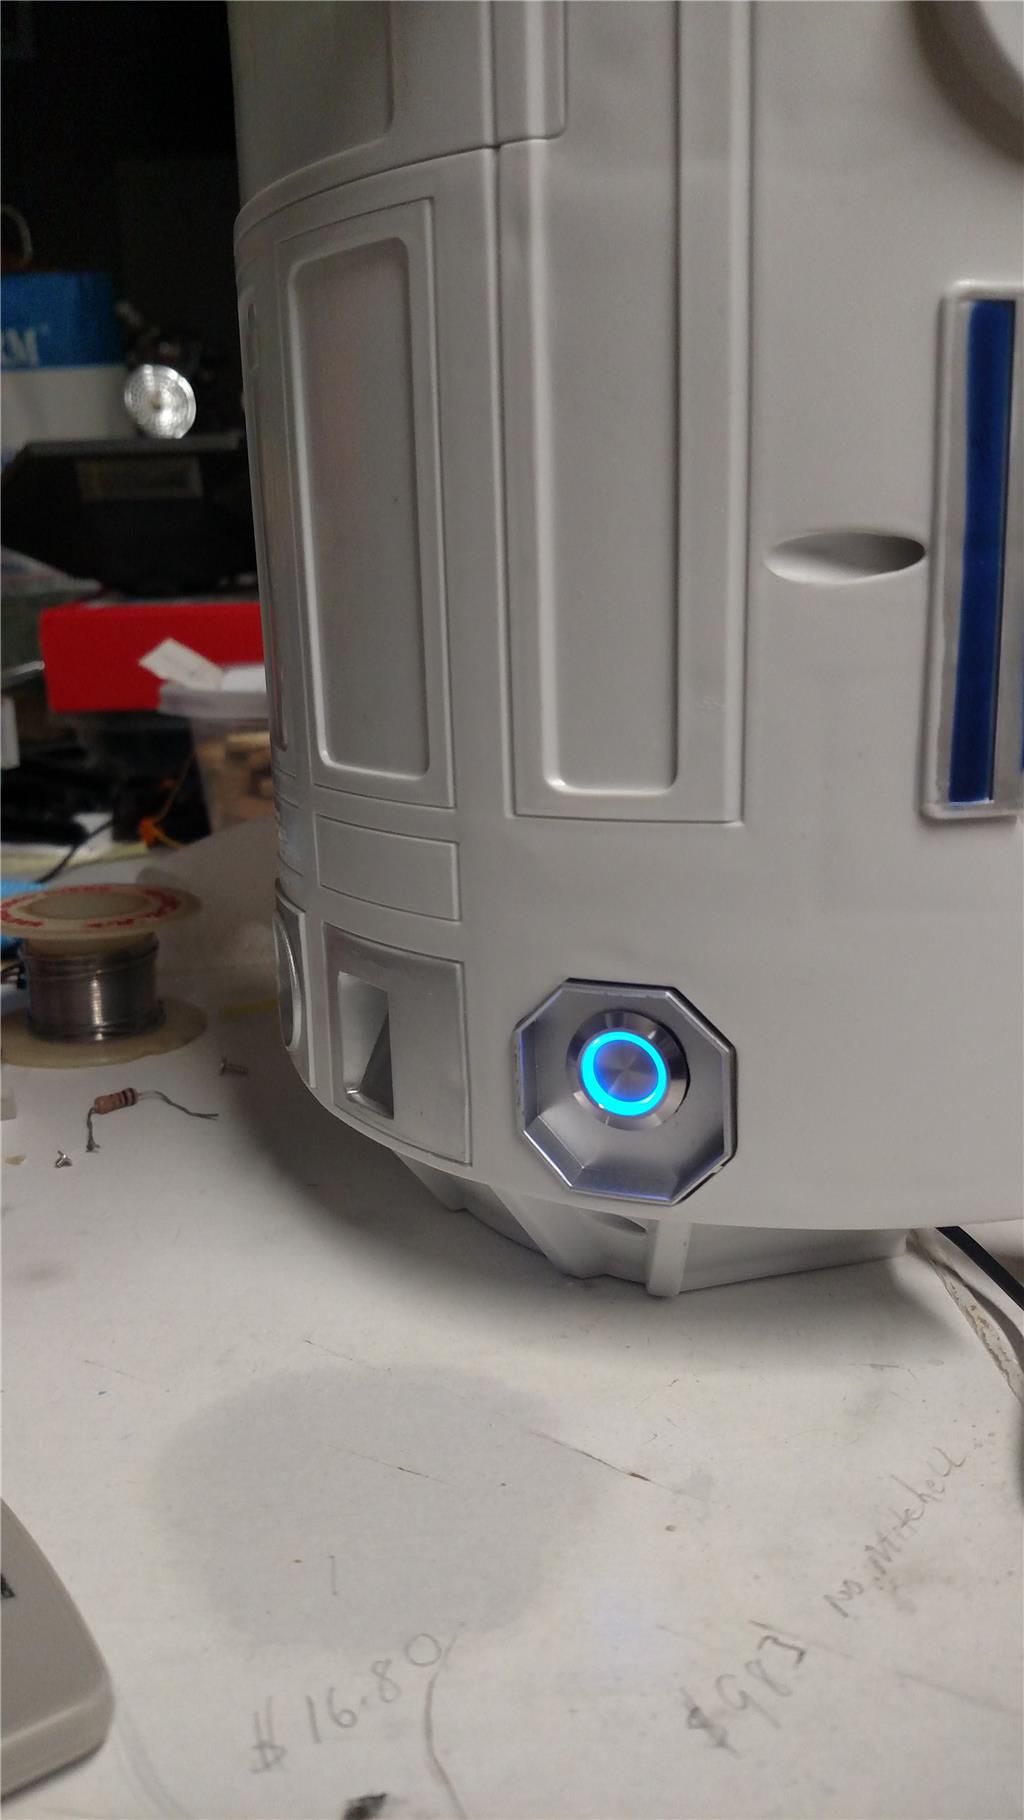
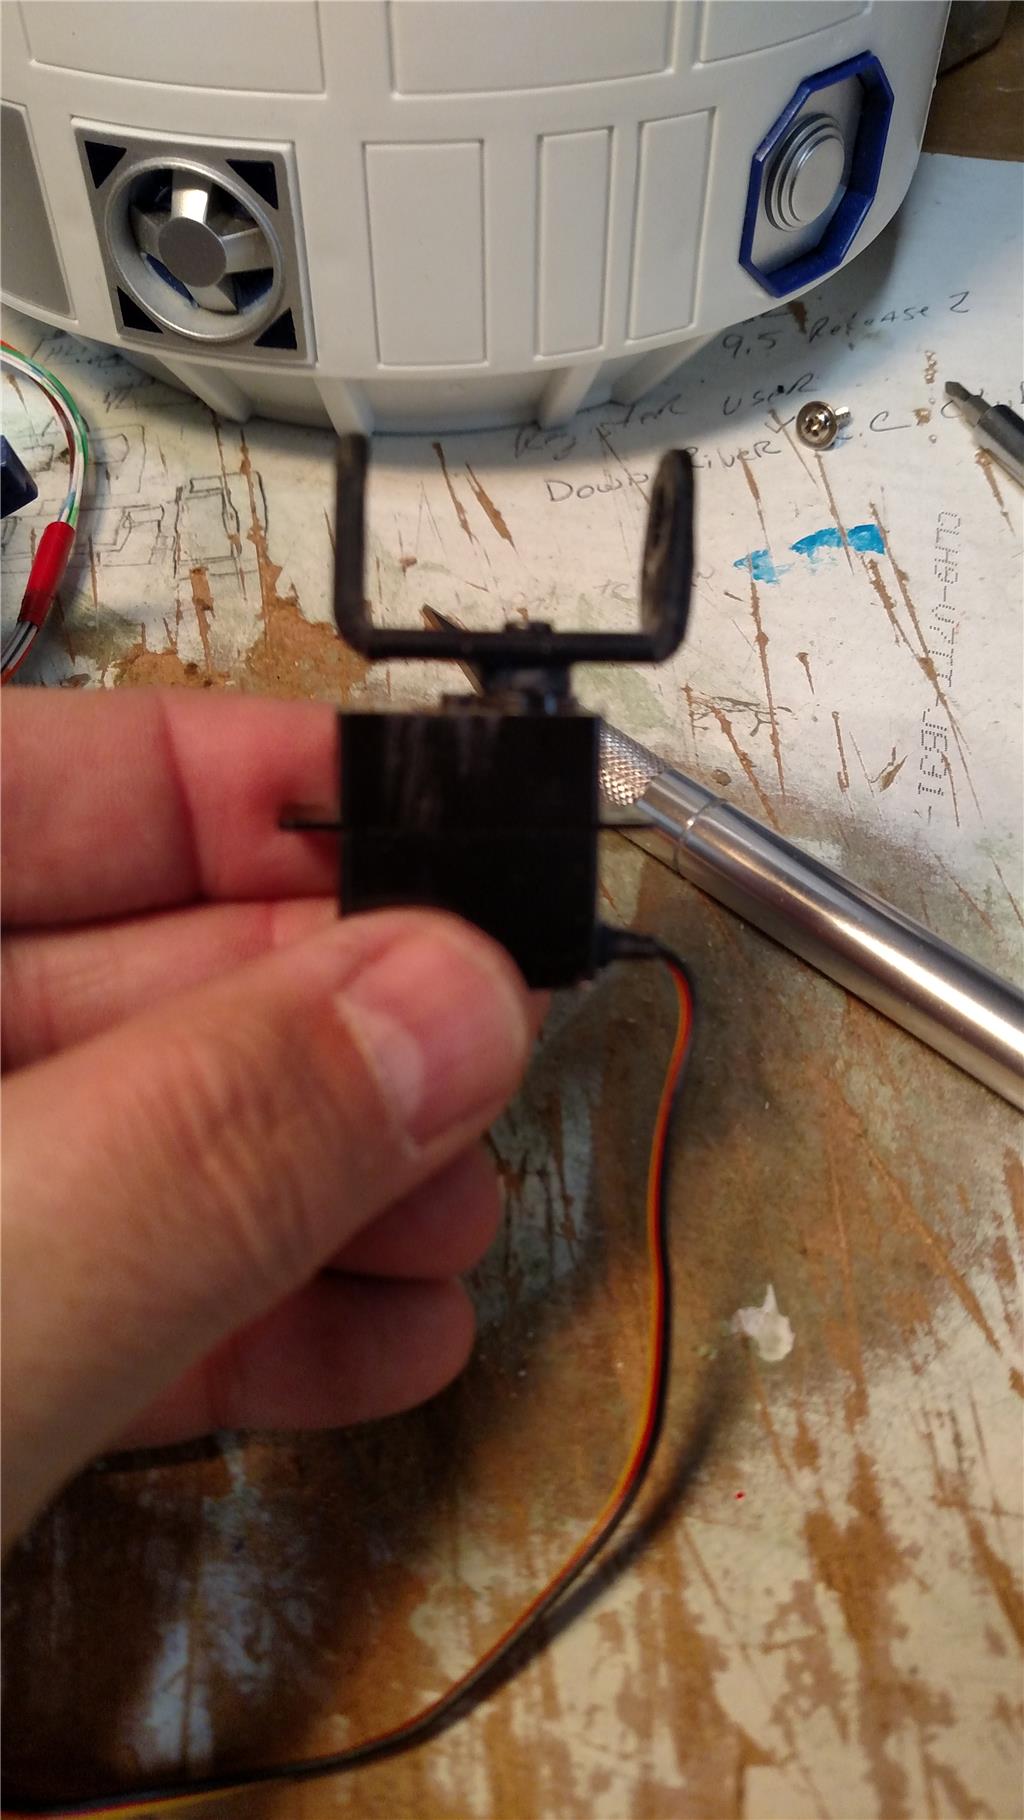
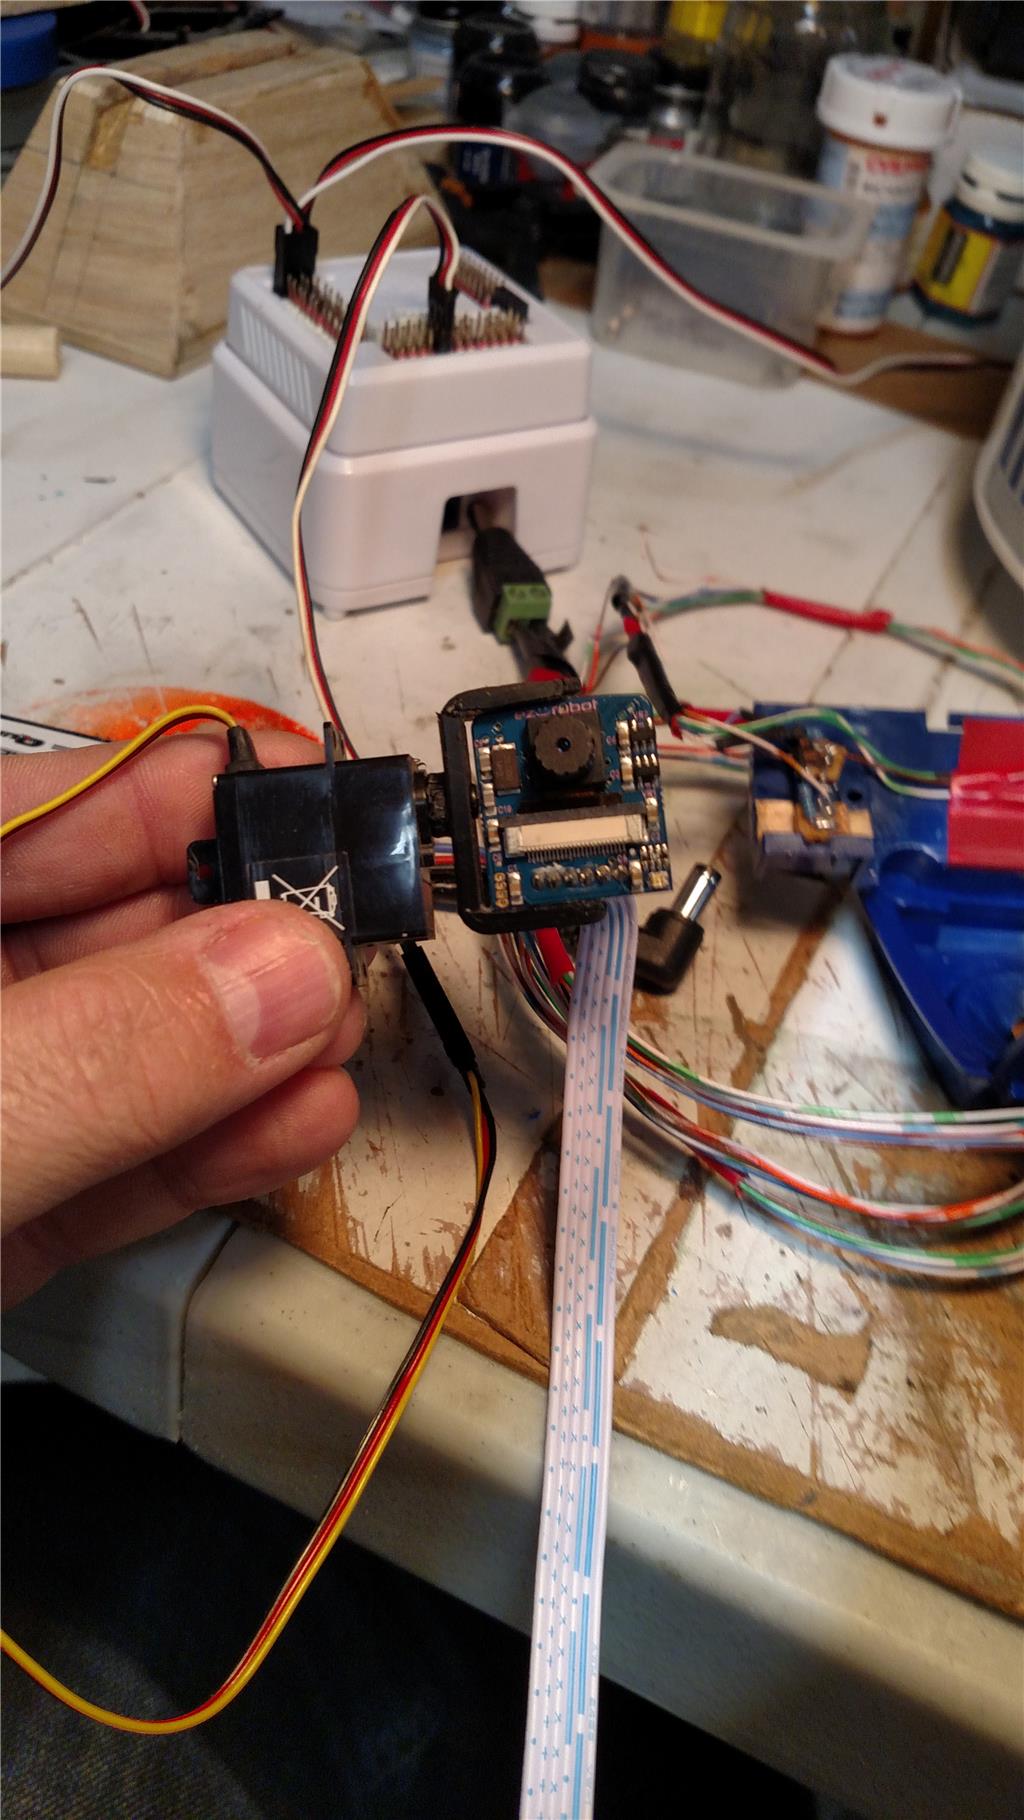
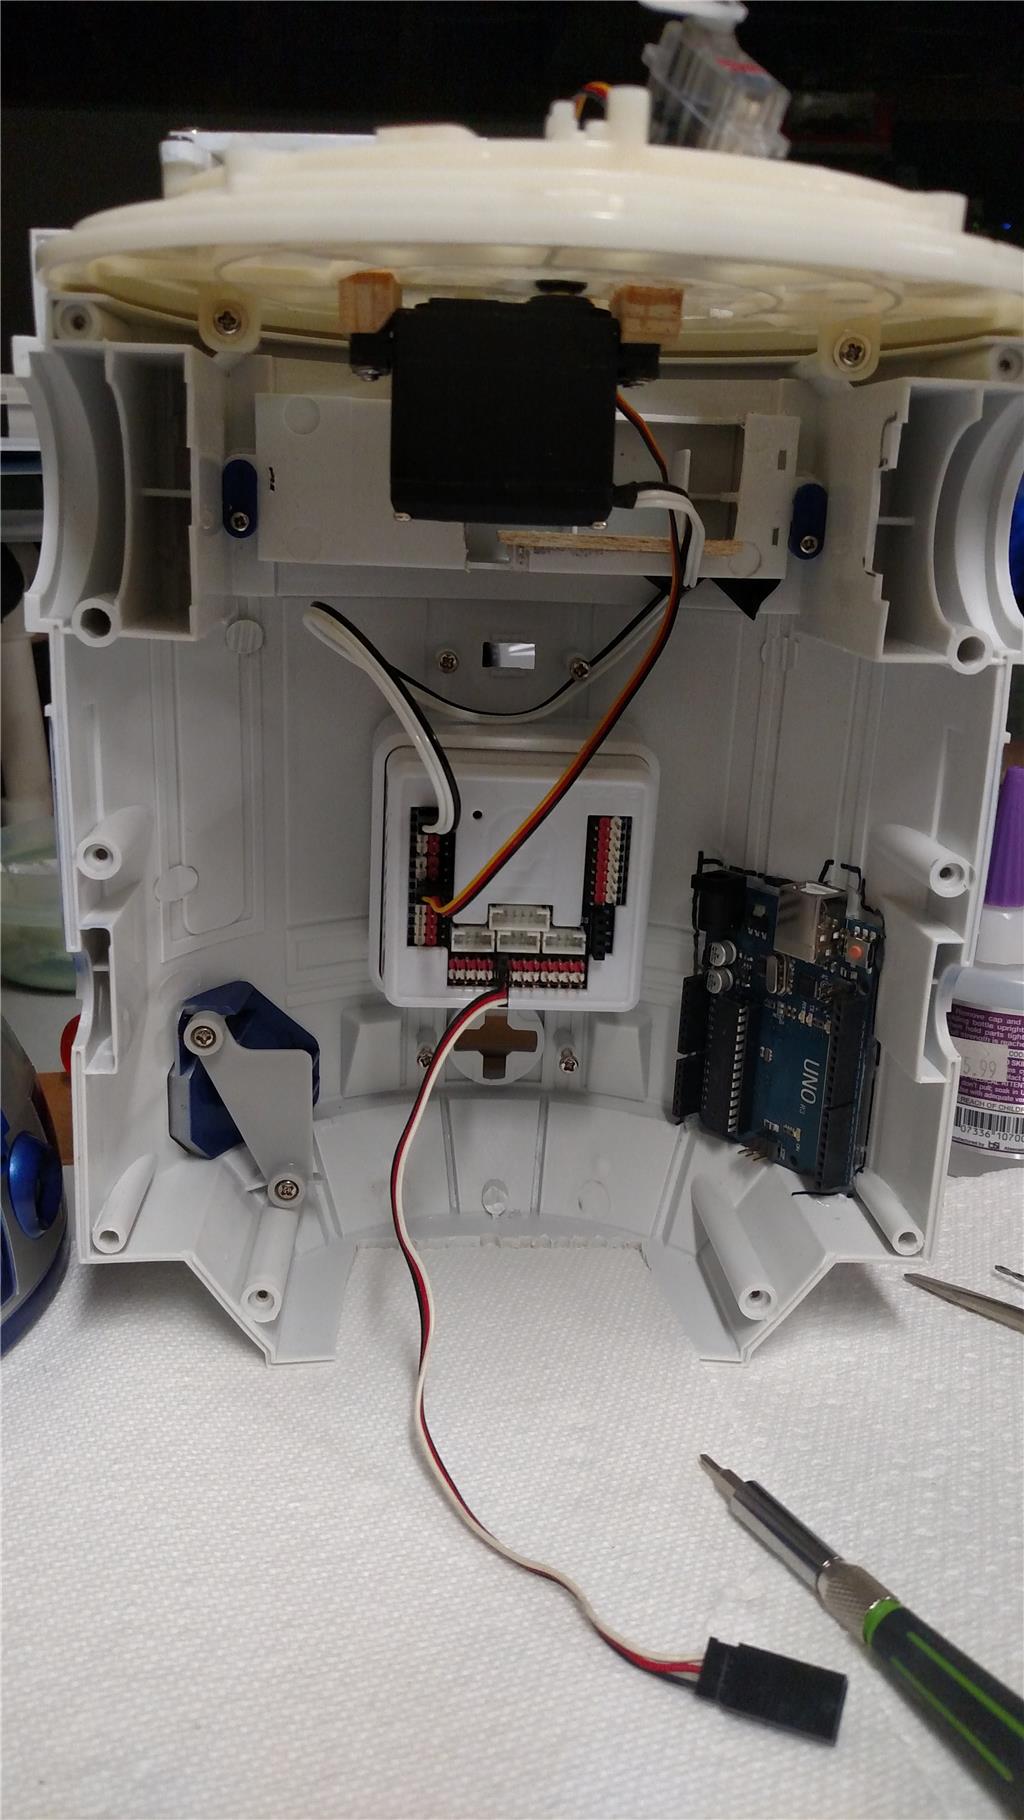
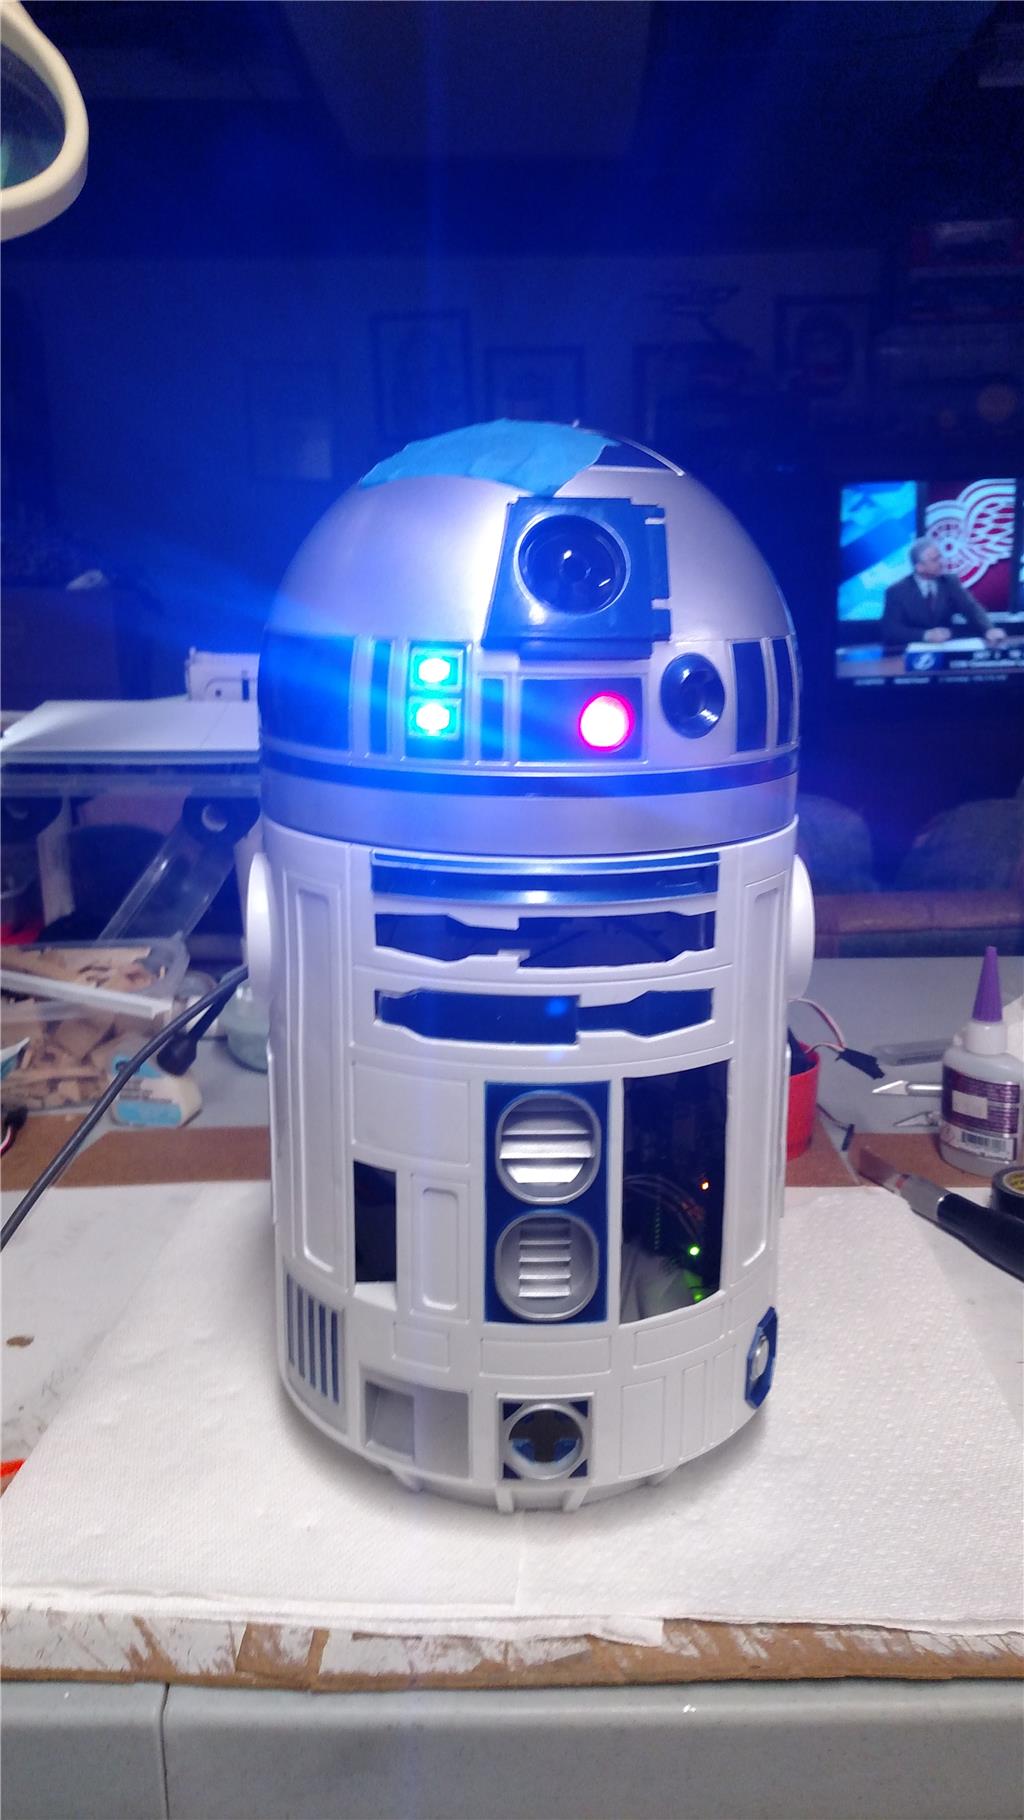
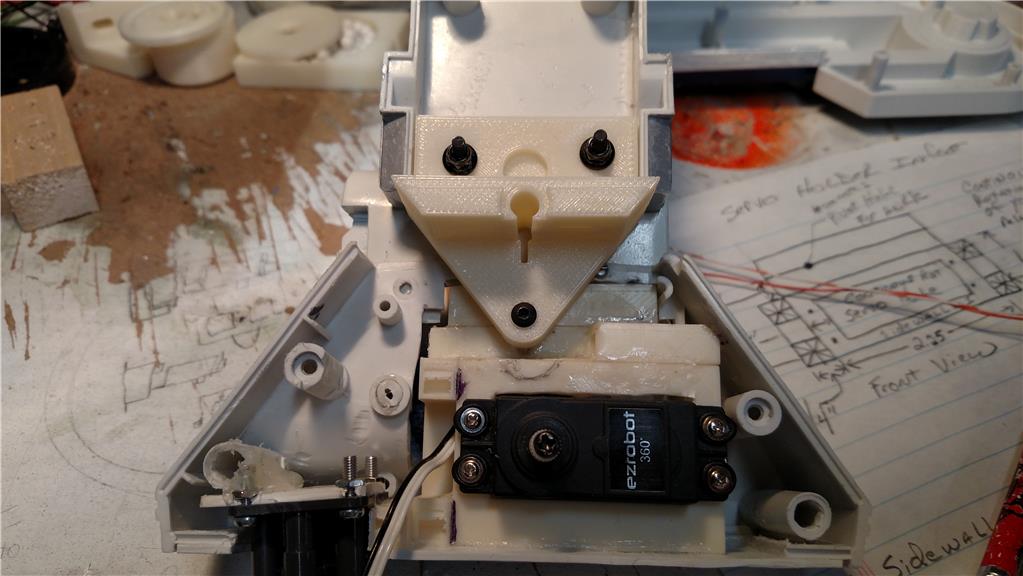
Update 02/15/2018 Well let see what have I done in the last 5 or 6 days. I have moved my camera from the front holo projector to the radar eye. I have also installed a servo and custom mount for the camera so that it can point up/down. (thanks for the idea @DJ) See the photos below for that custom mount. I have also managed to cut/drill through the dome material and have one of the dome door almost ready to function. I have used my past knowledge of Radio Controlled Airplane building to get this dome door to move. I used an airplane aileron hinge to hold the door to the dome, then a control horn to physically make it move. As you can see from the photos the clear servo is what I am using for the door. Its a feather lite HiTec HS-45HB servo. Nice sub micro servo that is very light, 28ox or 8 grams. Its output torque is 13.88 OZ-in (1Kg-cm). it is inexpensive. I have also got the dome rotation finished as well. I finally gave in and did it like the others with a center mounted standard servo and a straight bar to the dome. I have gotten the EB V4 mounted in the torso and the Arduino Uno R3 mounted in the torso. The Arduino is running the LED as the things that I tried with the EB, just didn't work out for me. I reviewed the PWM to flash an LED tutorial, even used the provided code.