


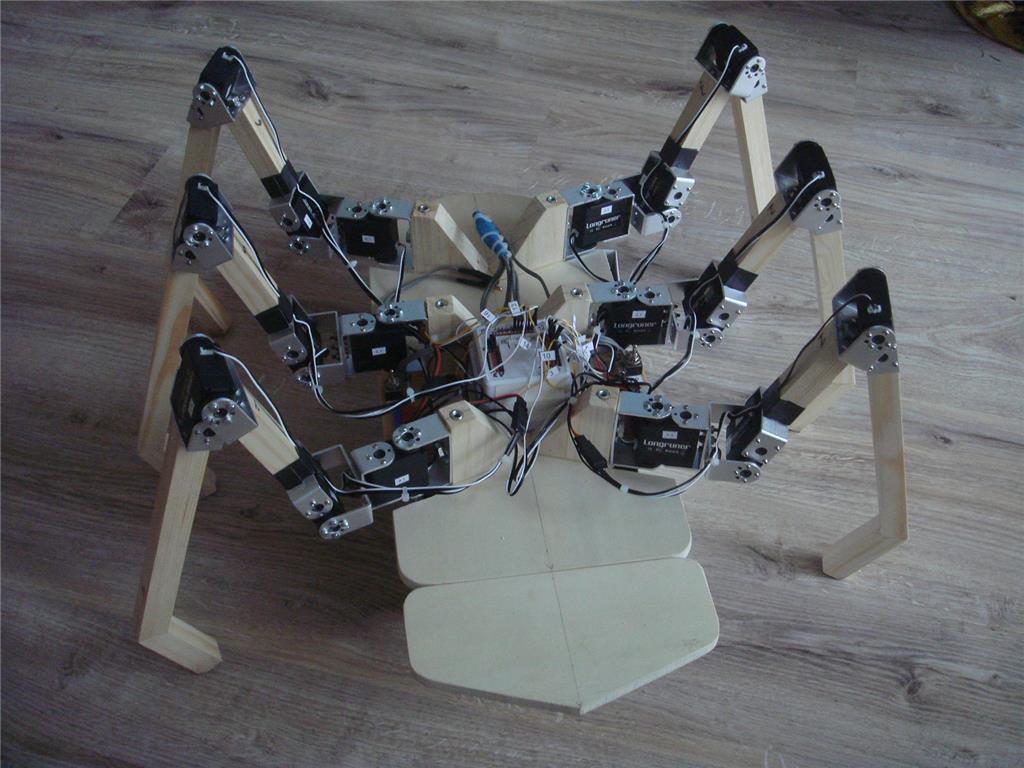
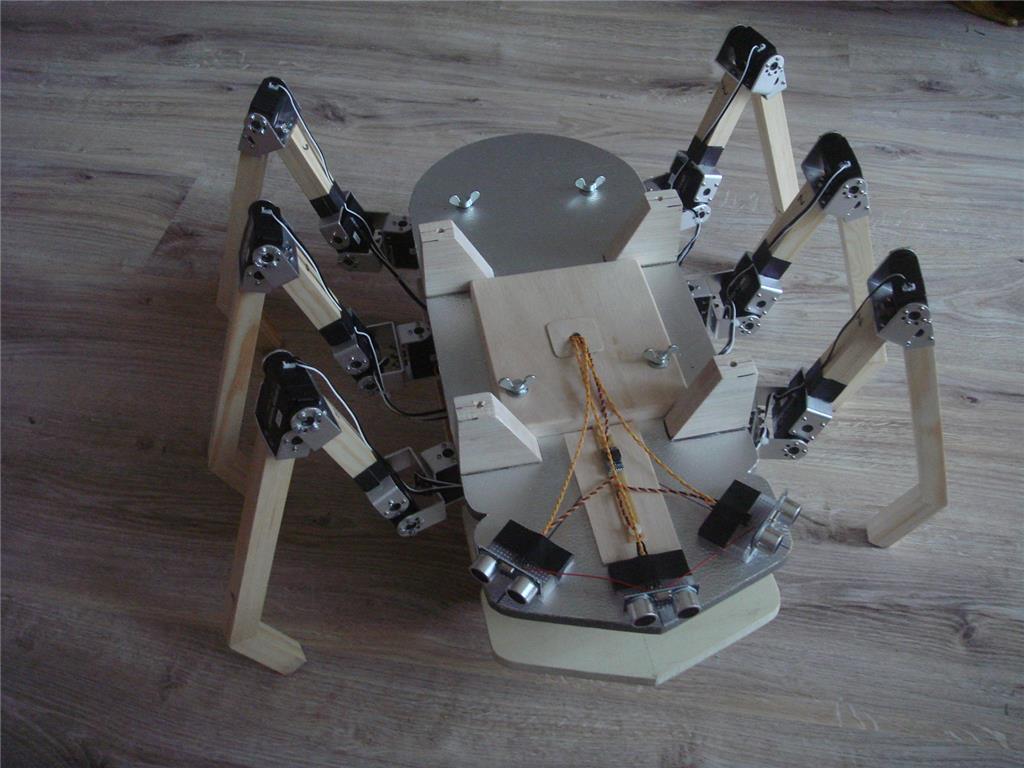
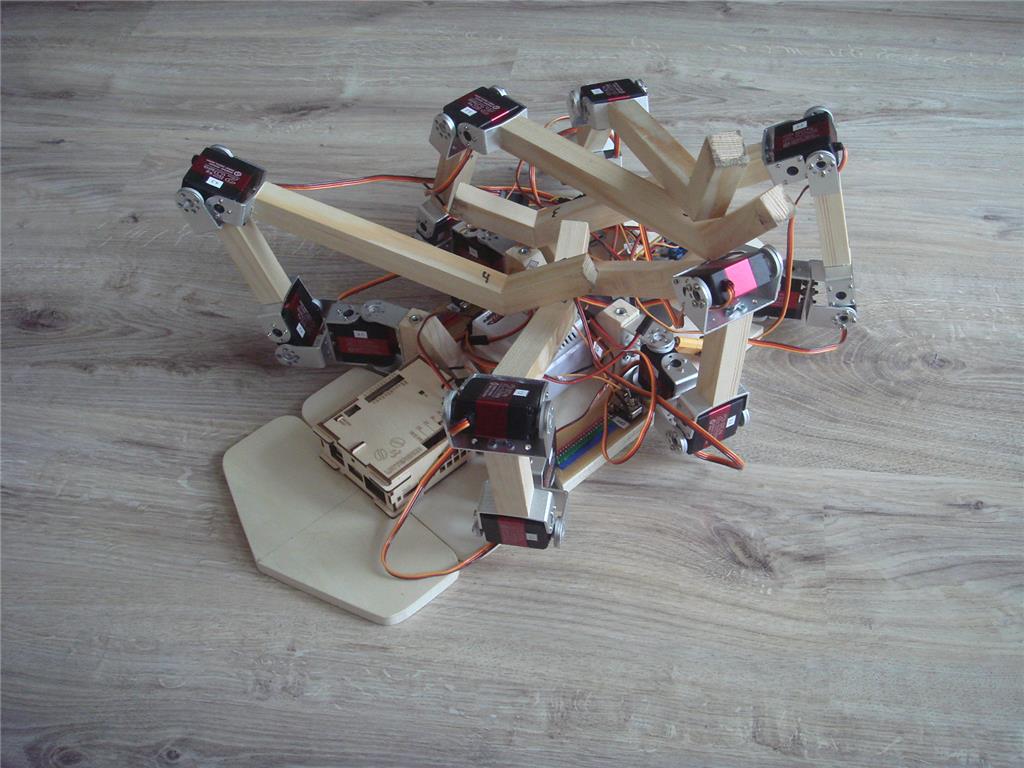

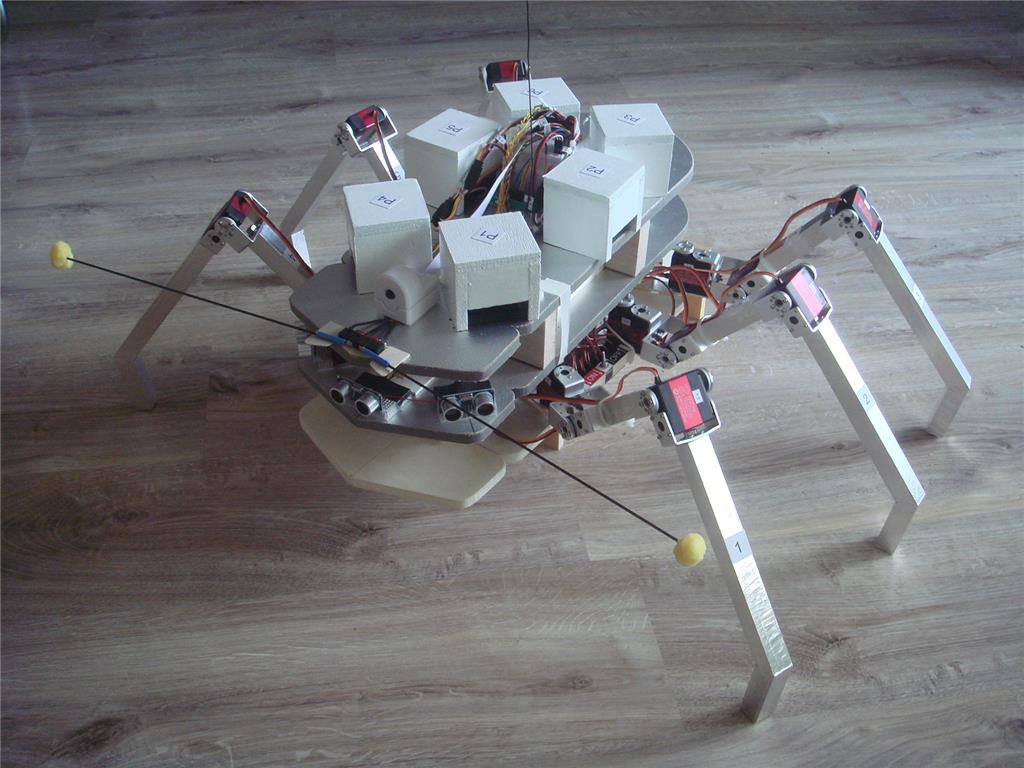

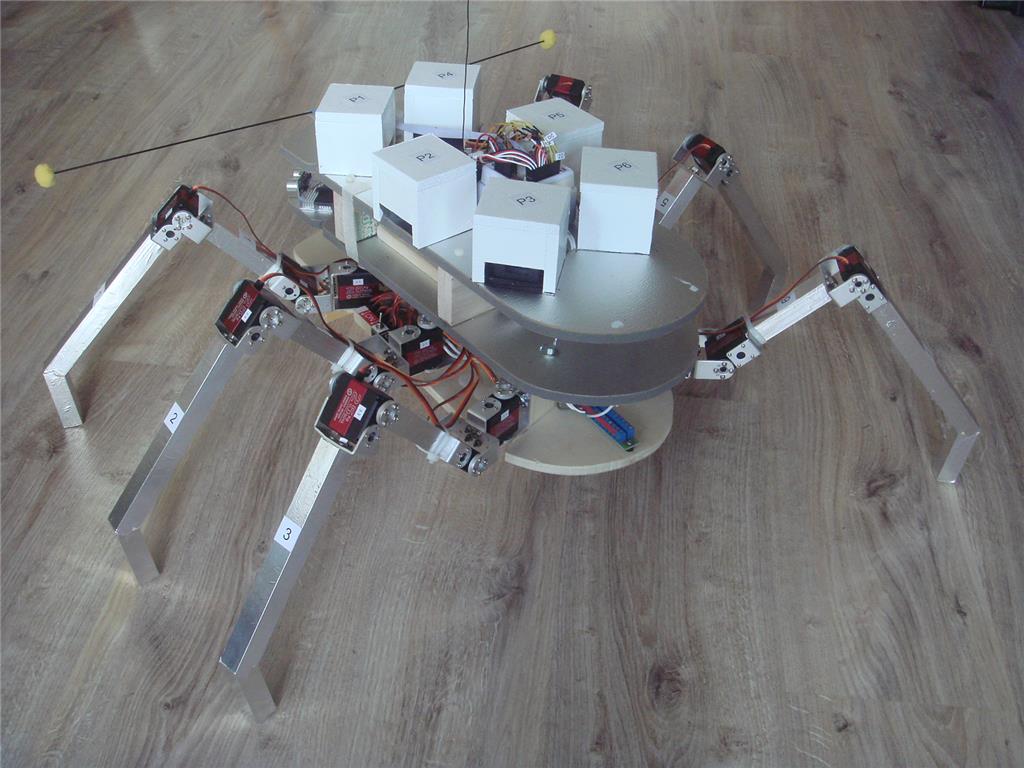

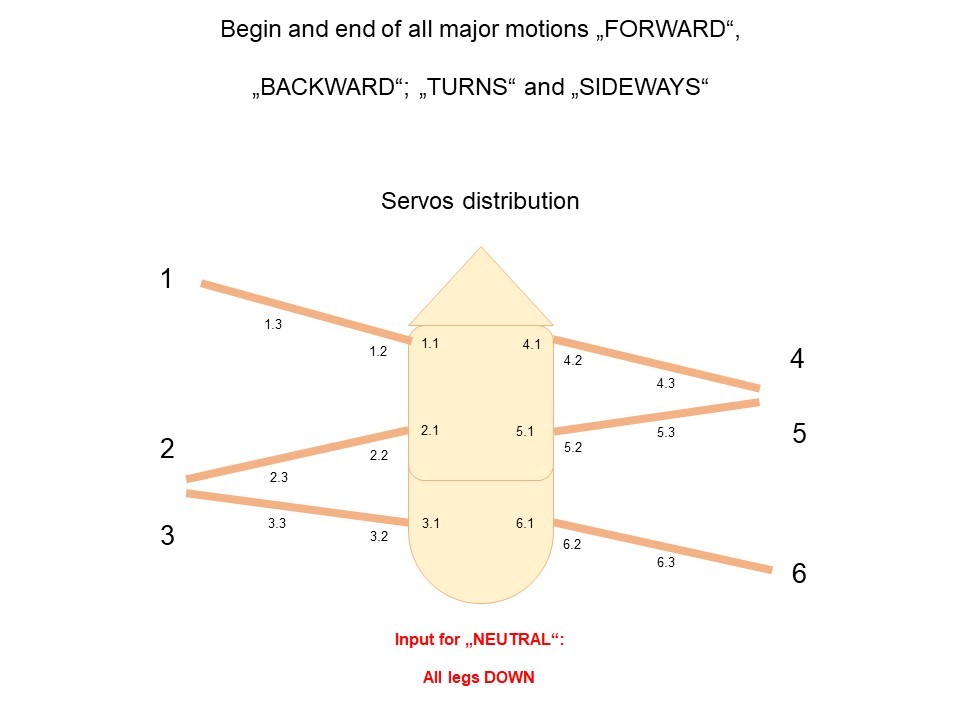
Hi guys, this is the first introducing part of a series, describing an autonomously operating hexapod with about 1 m width (my "large insect"). Idea behind this project: From early childhood on I wanted to build a kind of "mechanical turtle" or similar, being able to "survive" in the garden from spring to fall and doing whatever it would be programmed for, recharging its battery, seeking for shelter in case of rain, etc. Decades later (meanwhile a retired physicist, phd after 30+ yrs. in the space business) it was really time to realise this dream, meanwhile based on modern state-of-the-art electronics and software. Then, a colleague suggested to acquire an EZ-B V4-2 as the core element for such an undertaking and from thereon things picked up speed quite rapidly. As mentioned above, goal is the realisation of a quite large autonomous hexapod. The figure below is illustrating the general shape of this robot as well as the nomenclature for the legs (1, 2, , 6) and the servos (1.1, 1.2, , 6.3), respectively.

The base plate is made from 10 mm plywood and the legs from 20 mm x 20 mm pine wood. servo base blocks: 20 mm pine wood. A further light weighted plate (2nd floor) will be added later for accommodation of a scanning lidar, etc.. The hexapod’s legs are moved by 18 servos (Longrunner B07K68MK3Y:

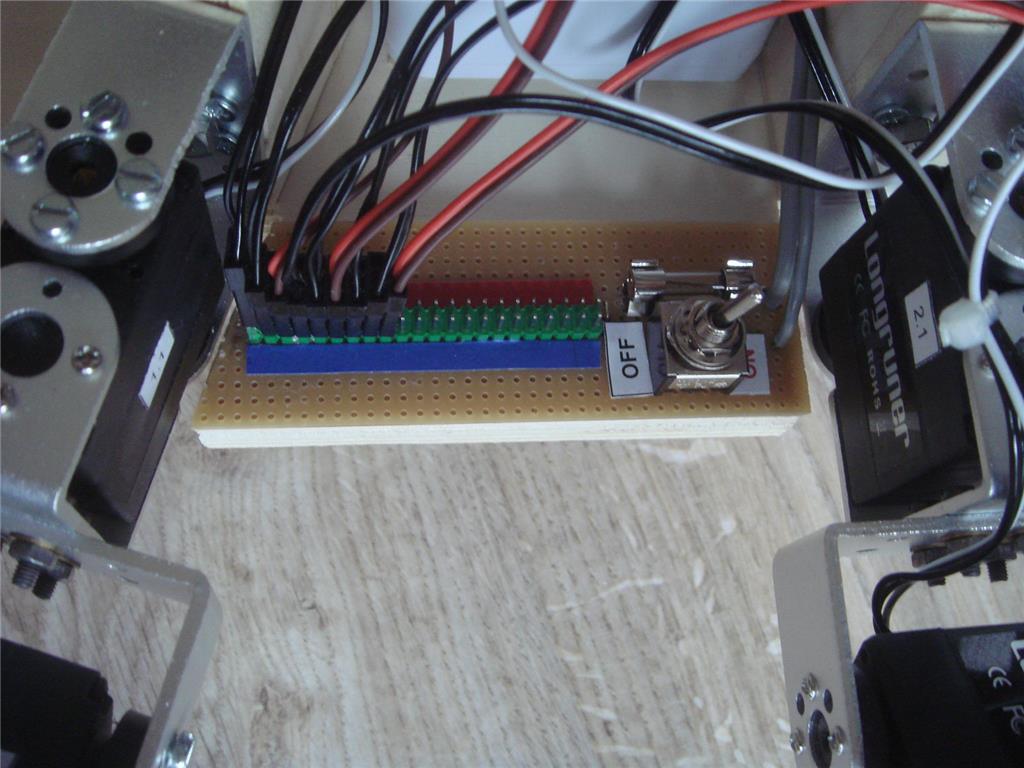
In order to suppress unwanted rapid servo motions during EZ-B initialising, a switchable power distributor was added for each side (servos 1.1 through 3.3 and servos 4.1 through 6.3, respectively). These units are served by a central 2S2P LiPo battery (10.000 mAh) and are protected by individual fuses and are galvanically connected to the EZ-B.

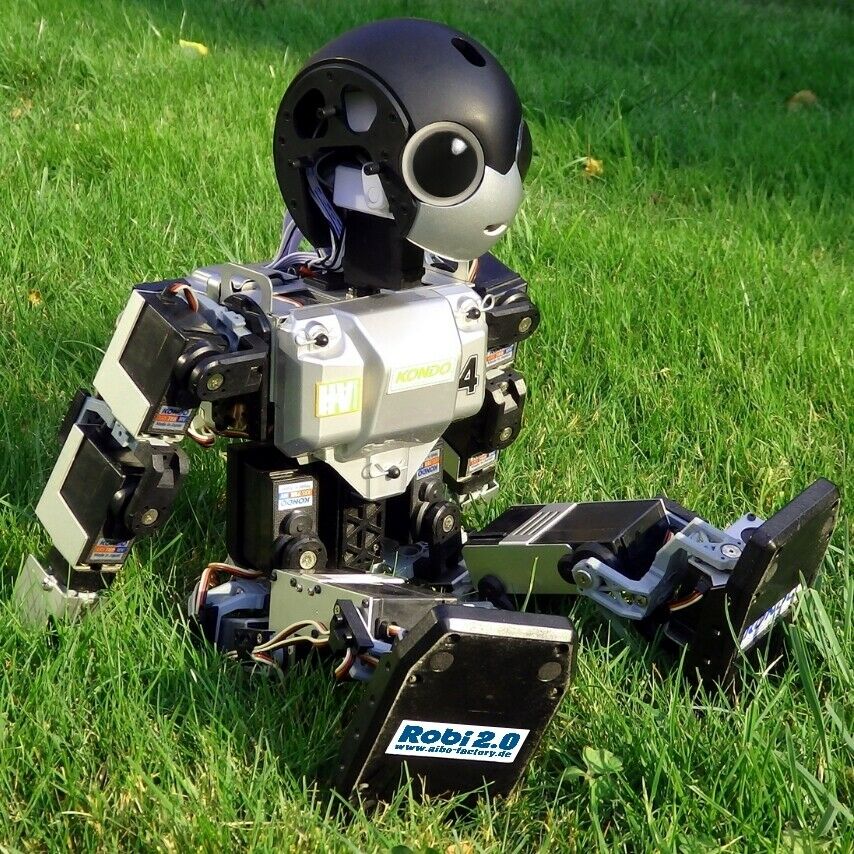
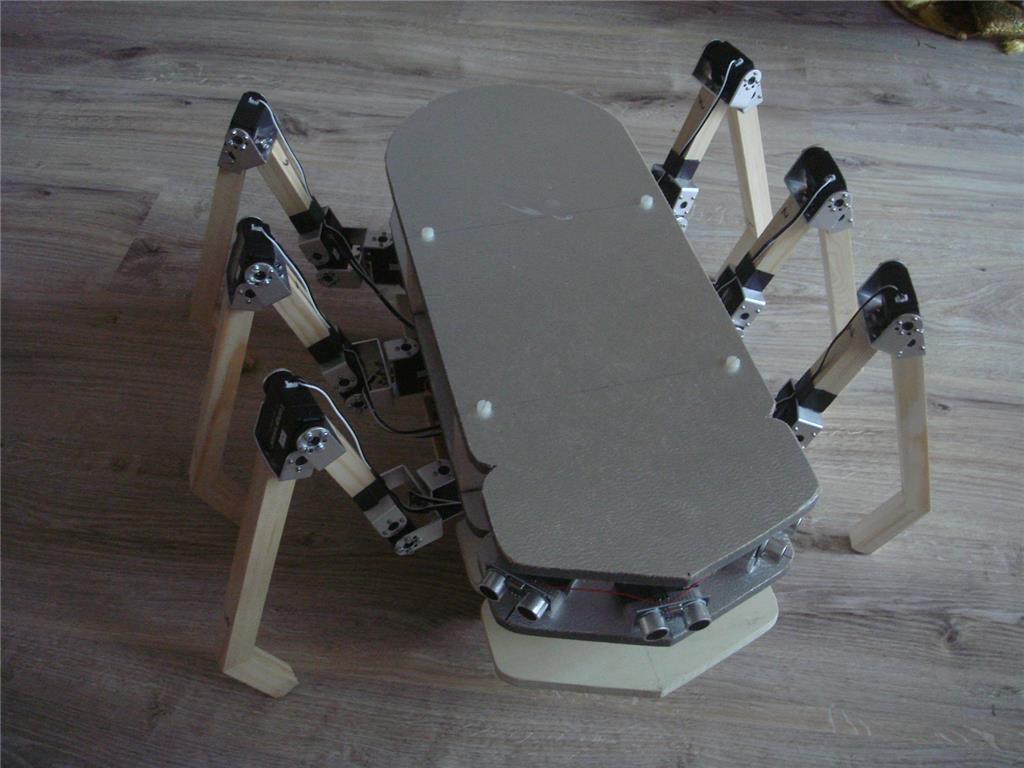
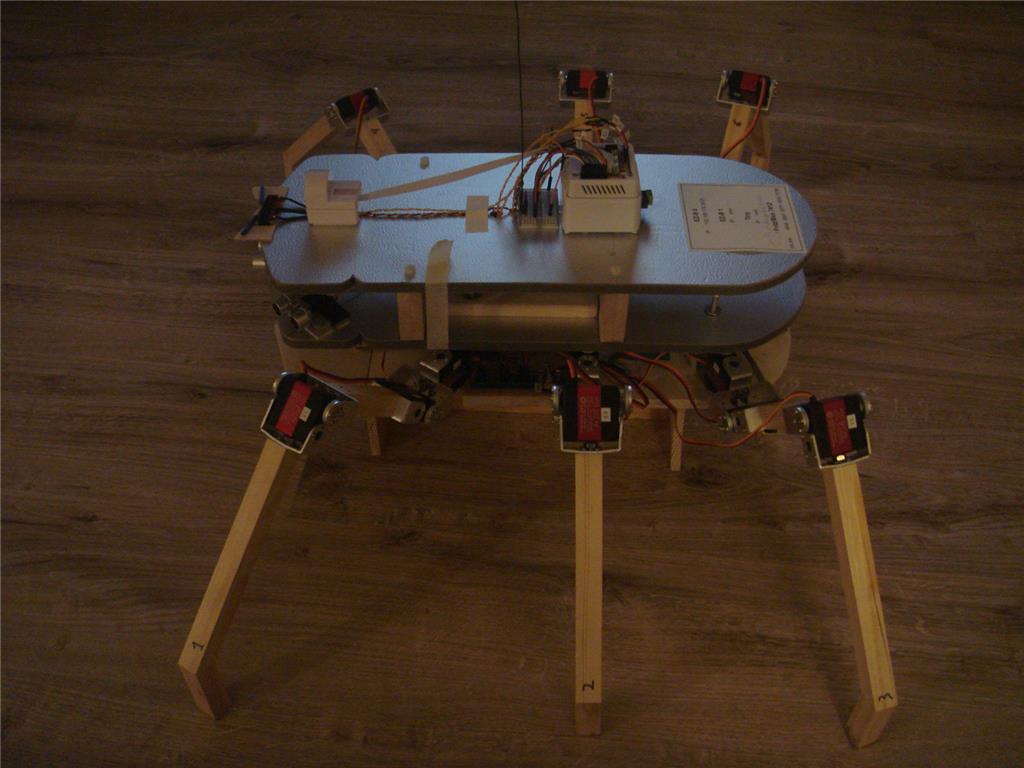
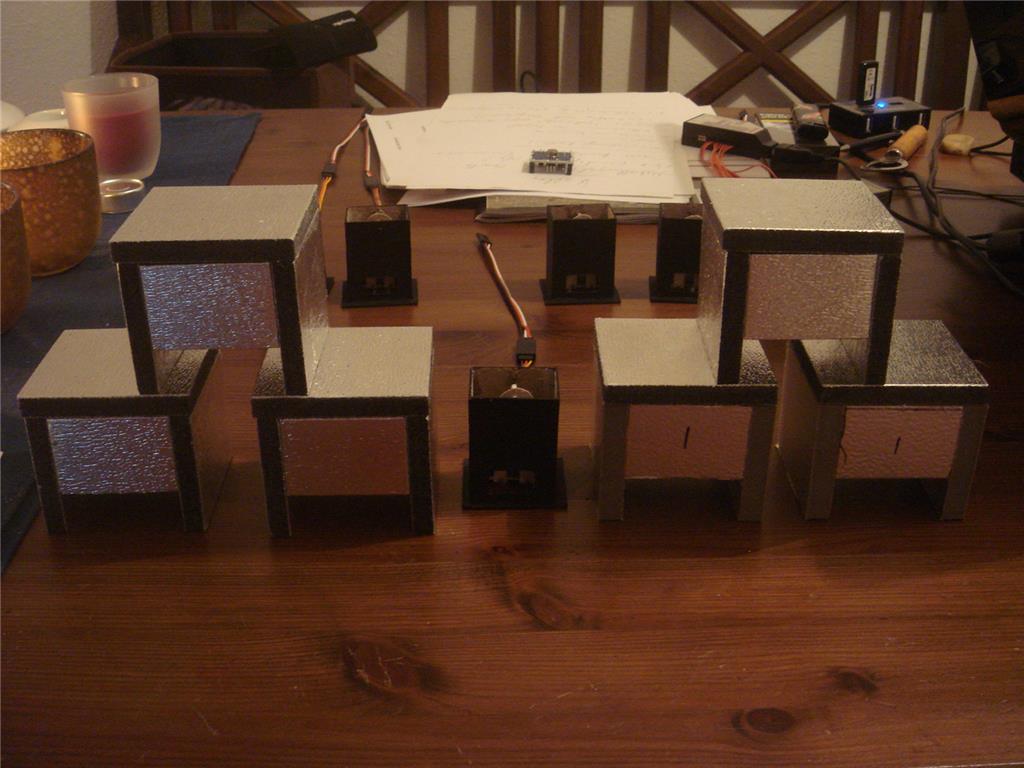
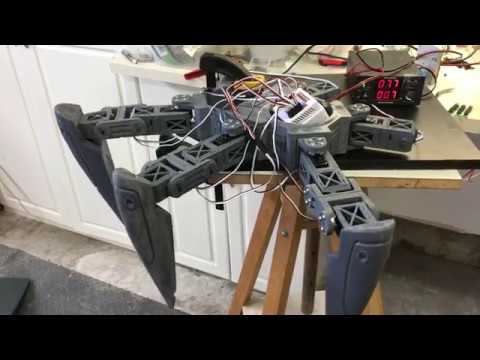
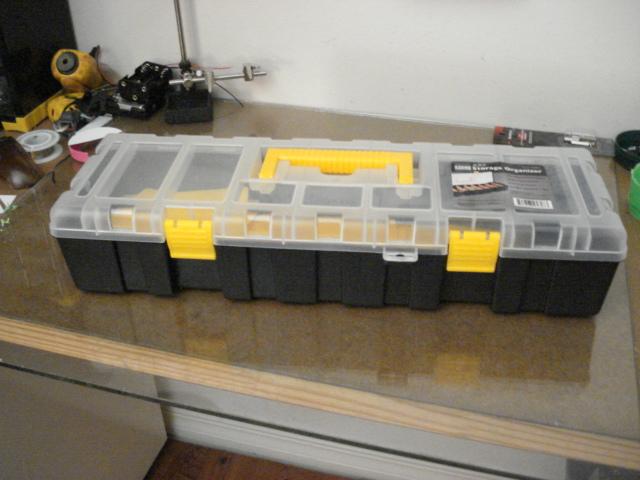
Only the signal pin of each servo is directly connected to the EZ-B. servo Vcc and GND are both fed by these power distributors. Result: During EZ-B initialisation all servos are switched off - to be activated via toggle switches as required. Of course, all servos need to be positioned adequately beforehand. Currently, the hexapod is looking like this (together with his silent friend).


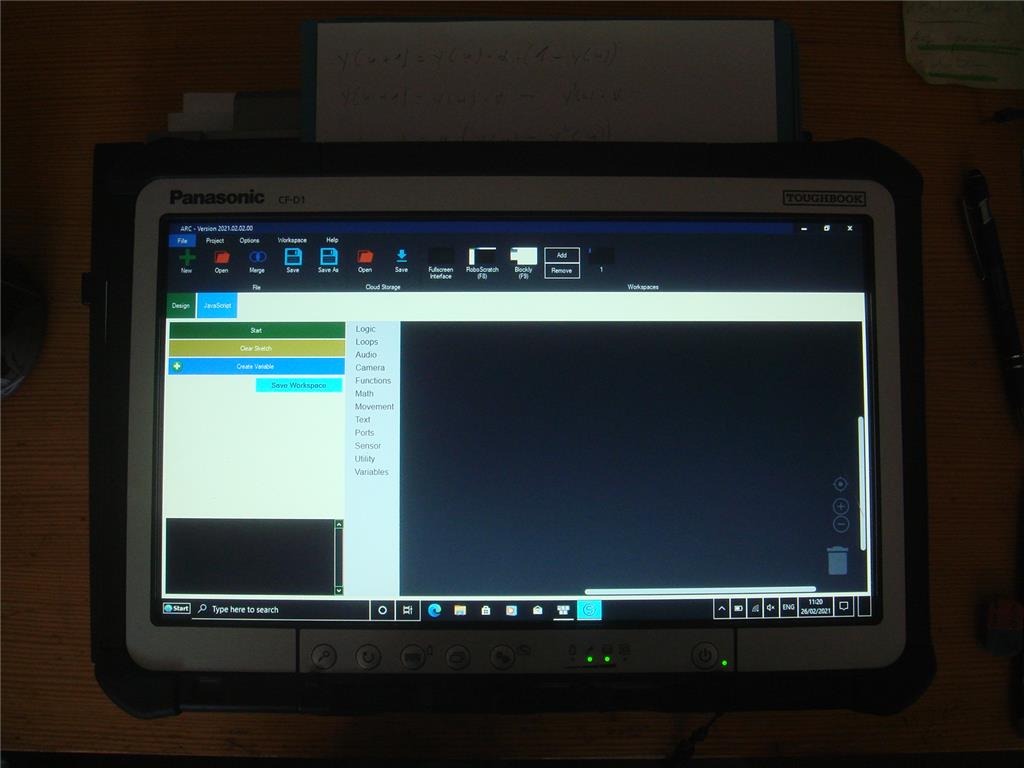
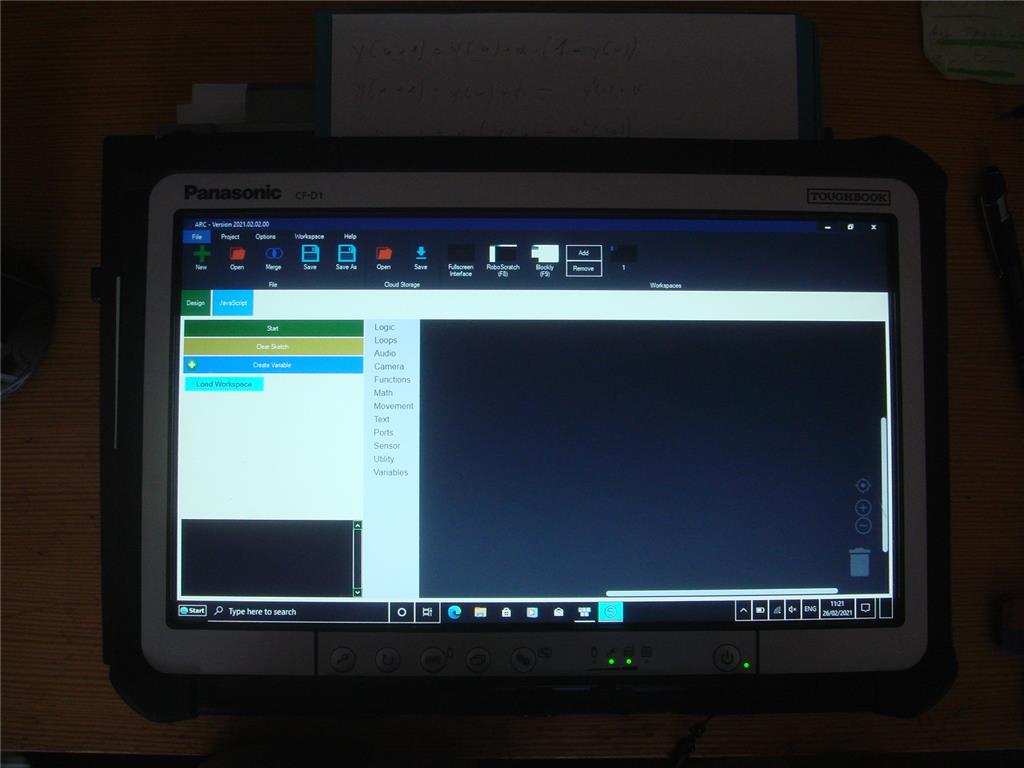
Programming was done in Synthiam BLOCKLY; surprisingly, the final version was completed within two days only !
Upcoming activities: First steps in the garden (Forward direction). Then: Backward, Turns, Sideways.
So long, that’s it for today,
Cheers
Volker
Discover more robots
Rich's My Project Jarvis
Fxrtst's Project Gargantua (Or Gar)

Sweet...nice we are getting the BLDCs back to the table, more and more interesting options are popping up!!
POSSIBLY OF GENERAL INTEREST
Hi guys,
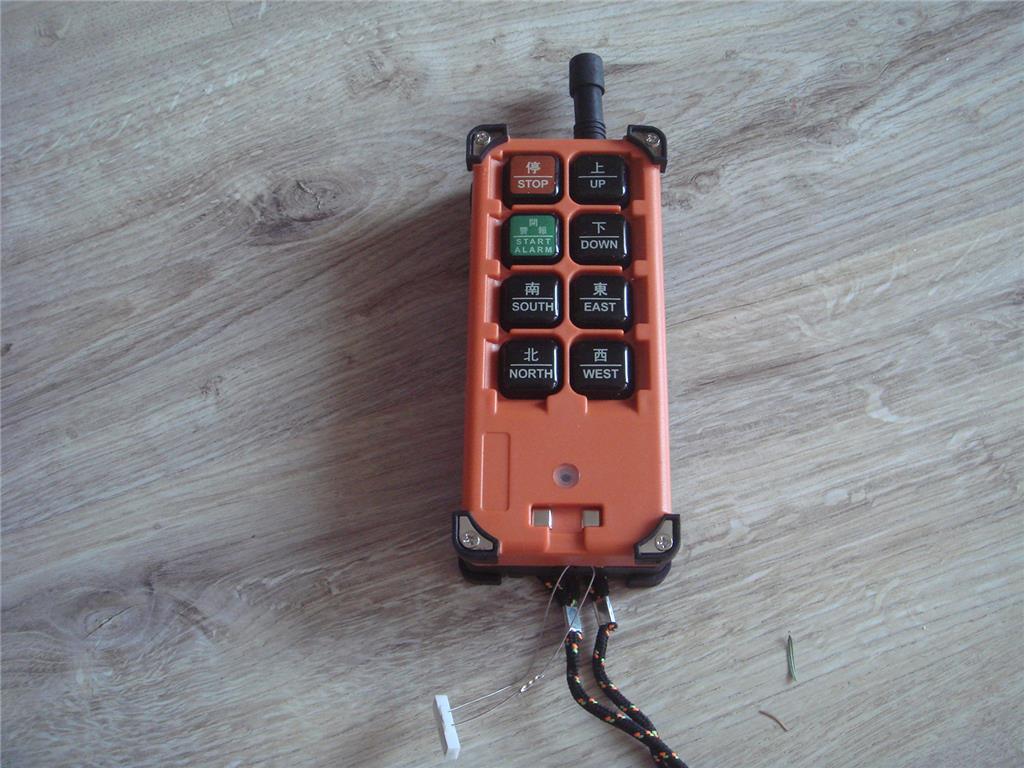
the remote for my hexapod has arrived today; a really well designed tool, indeed !
Background and need for this device: Preventing the hexapod from doing "forbidden things" while not in autonomous mode, e.g. crawling towards an obstacle despite its installed sensors.
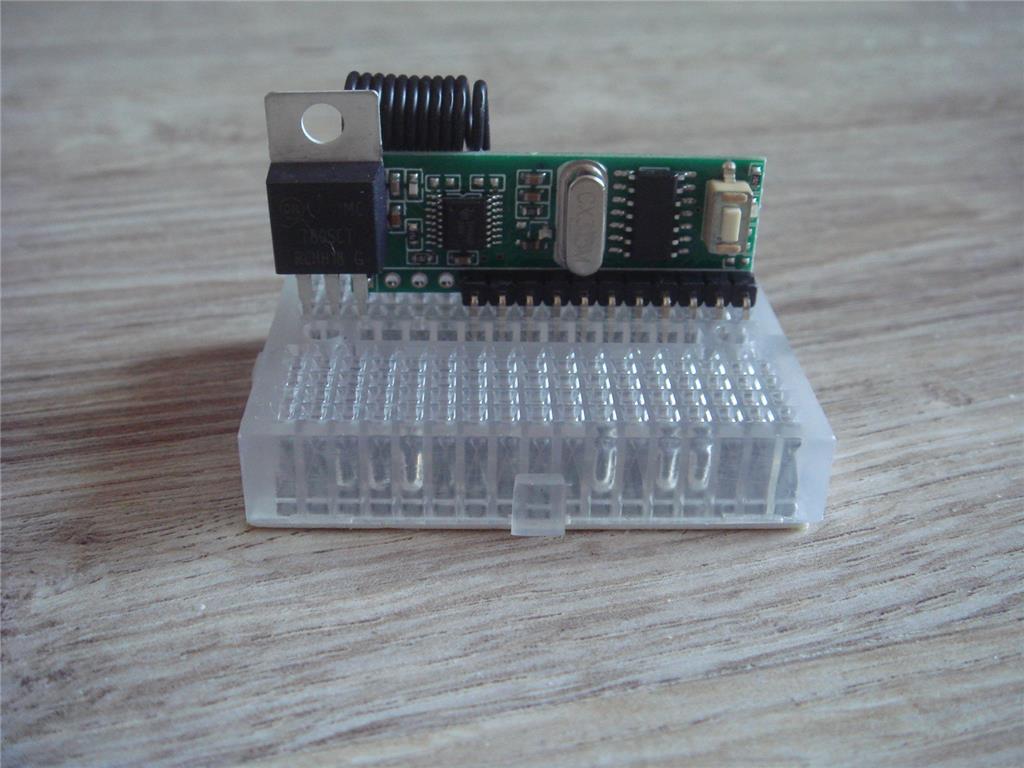
The pack includes an eight-channel digital transmitter; nearly waterproof; at least fulfilling IP 64 plus a tiny quartz-stabilised receiver.

Tough case; ideal for outdoor use. Little white item at the bottom: Magnet for the internal solenoid ON / OFF switch. Little dark items on the lower right: Needles from our Christmas tree
Receiver antenna still unrolled. Base plate and 5 V regulator not included in the pack.Operating wavelength: 315 MHz (classical superhet receiver). Transmitter ON / OFF switch: Removable magnet plus solenoid switch inside housing. Transmitter power : 4 AA batteries (not included). Receiver power: Main 2S-lipo battery through a 5 volt regulator (L7805). Receiver antenna: Straight lambda/4 wire (26cm length). Receiver sensitivity: -112 dBm (very good value). Range: Up to 500 m (far enough for any robot). Price: Around 25 Euros (price may vary slightly).
Supply source (example): https://www.banggood.com/315MHz-8CH-Channel-Superheterodyne-Receiver-Module-with-Decoding-Output-Module-With-Remote-Control-Transmitter-p-1573292.html?cur_warehouse=CN&rmmds=search
Delivery time to Europe: About two weeks.
Next activities: Re-lableling of the buttons on the transmitter (STOP, FORWARD, BACKWARD, LEFT, RIGHT, RESUME). Functions of further channels: TBD Connection between receiver outputs (TTL level) and EZ-B and 2S-Lipo via 10-lead ribbon cable.
In a nutshell: A really useful item with a very friendly price tag.
I actually like that chinky stuff on the transmitter...makes it look pretty Cyberpunk!!
Hi guys,
just added a few audio text outputs to one of my test routines for acoustical support during sensor calibration.
Result was really astonishing: Using English text, my insect was speaking with a really bad German accent. In addition, numbers are called in German and not in English.
Sounds really terrible
 ; like a 5th grade (in maximum) ! !
What is the reason for this ? Is it caused by the region setting of my computer (where probably these acoustic data are being created) ?
Setting the PC completely to English makes no sense, since all other formats would be altered as well.
Question: Is there a chance to only set AUDIO output from a PC to a different language ?
I like to hear British English, despite the fact that the insect is residing in southern Germany .
.
Thanks a lot for any hint !
Cheers
Volker
Hexapod during a recent Yoga session:
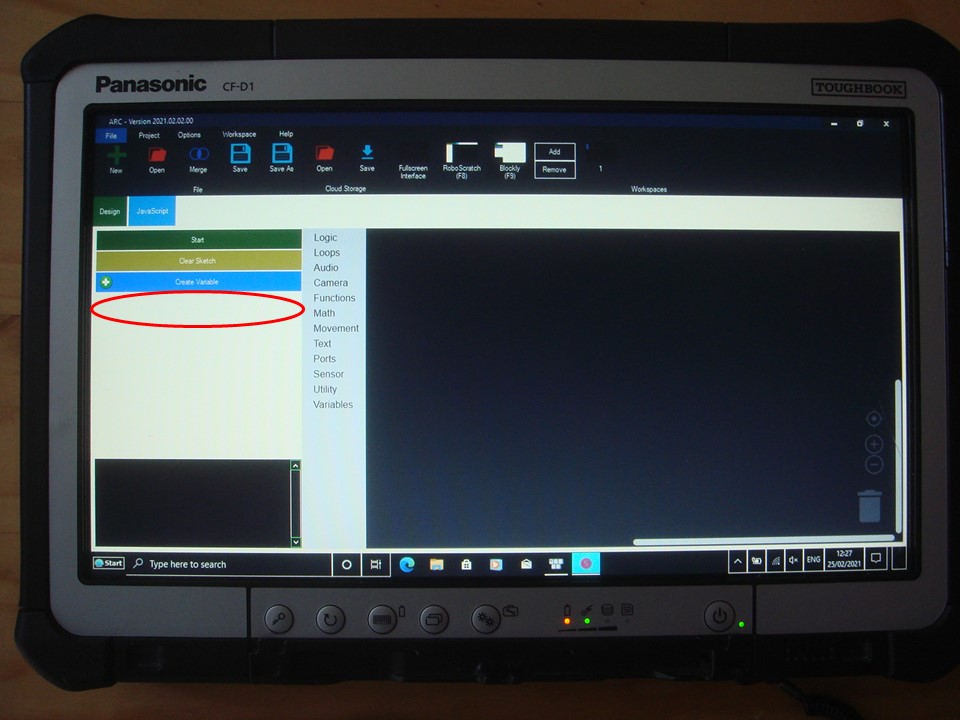
Lots of options for speech synthesis. There are several text to speech solutions and there are also speech settings (male female) but you may want to poke around in the skills section to find a voice / language you like. There is Bing text to speech and Watson as well as others.
Project - add - audio
Hi guys,
the 1 m insect has received some major modifications:
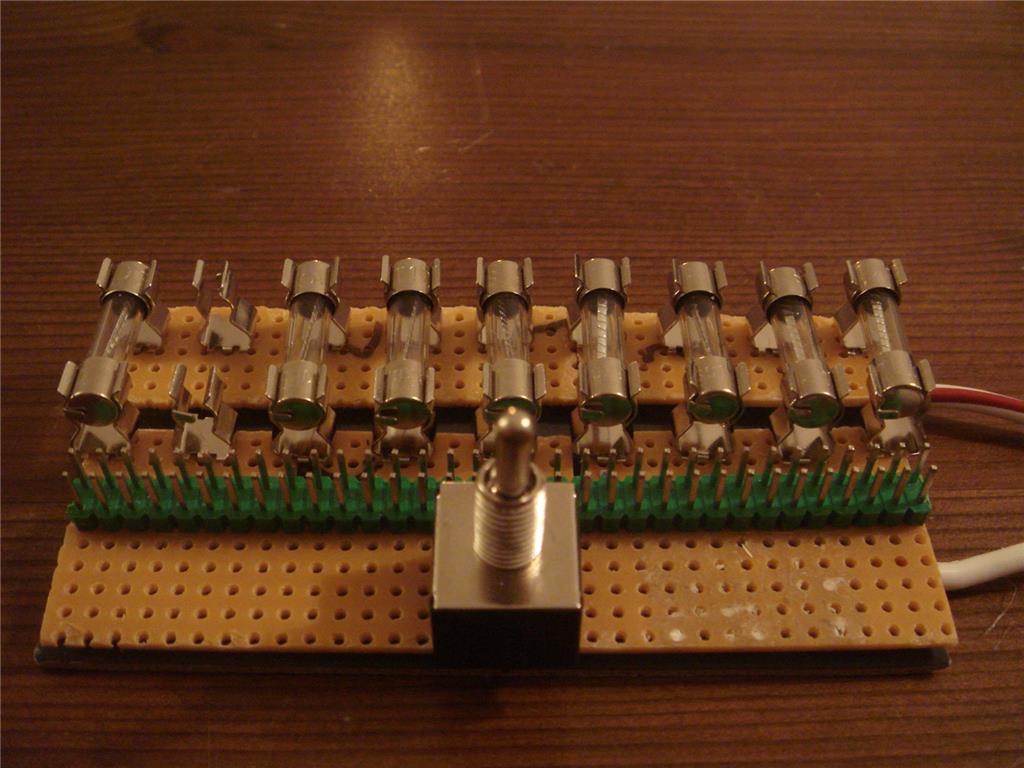
(1) Previous power distributors incl. switches, fuses and sockets for the servos have been replaced by a kind of "fuse banks", each equipped with an individual fuse for each servo.
Background: During a recent test, one of the servos ran into a hard stop (unnoticed). After a minute or so, "Amperes" were smelled, but it was too late, the servo was already dead (overheated electronics). The 2 common fuses (serving 9 servos per side) did not react, since their values had been defined to withstand currents for 9 servos under load and therefore could no protect a single unit in a hard stop. As a result a new concept with individual fuses.

Previous version (1 common fuse).
New version (1 individual fuse per servo plus common switch) - I am aware of this one missing fuseThis concept (one unit per side) works very well and will surely save nerves (Fuses: Cheap and Servos: Expensive) !
(2) Work on the upper deck was also progressing as planned.
The receiver for the digital 8-channel remote control as well as the second EZ-B have been installed on the upper deck.
Upper deck with receiver of the remote control and the second EZ-B. OK, cables still need to be arranged. Tentacles (here at the left) not attached; only their microswitches visible.
Latter unit will control all present and future sensors; avoiding signal lines running from the upper deck down to the lower deck (other EZ-B; now only responsible for the drive servos and some housekeeping stuff). Just a single power line is running from the upper deck down to the 2S2P5000 LiPo battery, making future disassembling and inspection much easier.
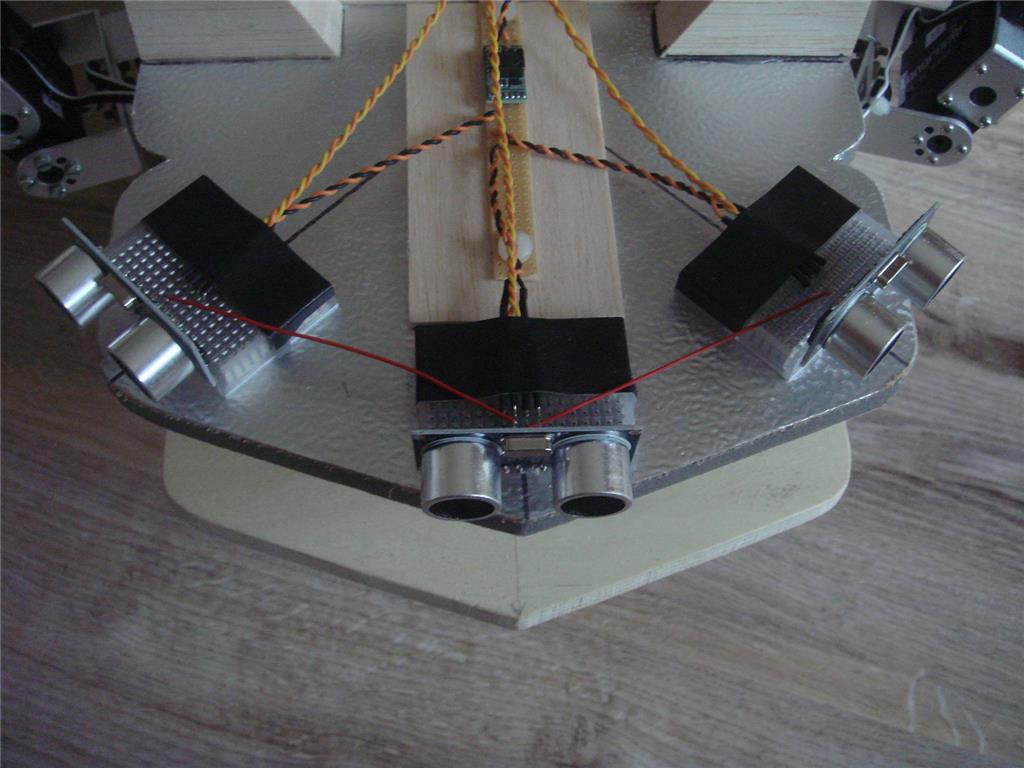
The insect is currently equipped with the following sensor suite: - Three ultrasonics (middle deck), covering 180 of the front section. - Two tentacles (upper deck), acting as final obstacle warning at zero distance. - Camera (upper deck), function still t.b.d. .
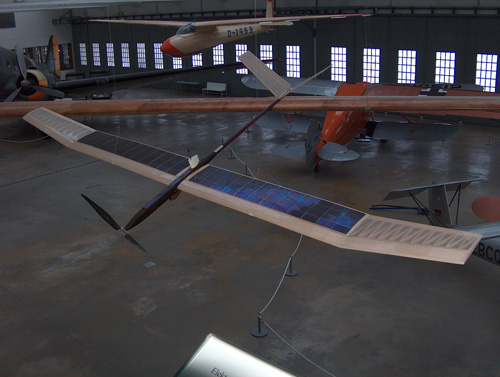
For future "long range" outdoor navigation (primarily for autonomous location of the battery charging station) an optical solution is currently under test.
Due to the fact that homing-in towards e.g. the charging station has to work during bright sunshine as well as during dusk or dawn.
Classic optical concepts, based on lamps or LEDs in the VIS or NIR spectral range will hardly work, sincethe SNR at the detector outputs will be too low, even when using extreme narrowband optical filters <-- damned expensive !
VIS = Visible section of the electromagnetic spectrum (380 nm to 750 nm).
NIR = Near infrared section of the electromagnetic spectrum (800 nm to 2500 nm).
A way out could be, using Mid-IR signals (wavelength about 10 m). This is the regime of thermal signatures.
Mid-IR = Middle infrared section of the electromagnetic spectrum (3 m to 50 m).
Important: Keep in mind that the sun is not emitting any thermal radiation or heat. Maximum intensity of solar radiation is at about 500 nm (green); therefore leaves, etc. are green for optimised plants’ metabolism !
Heat in sunlight is exclusively created on / in illuminated surfaces (conversion of solar radiation with short wavelength (VIS and NIR) into thermal radiation with longer wavelength (Mid-IR).
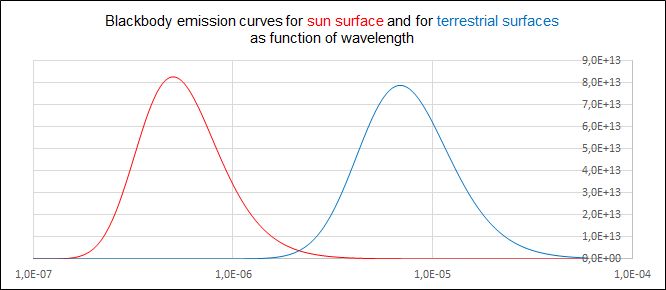
The following diagram (spectral intensities of sun light (VIS and NIR) and Mid-IR radiation) is illustration this effect:

Planck curves for solar signal (T = 5778 K) left and terrestrial Mid-IR radiation (T = 373 K) right; both well decoupled. Abszissa: Wavelenght in metres. Ordinate: Not scaled.The sun is about invisible in the Mid-IR !
As a matter of fact, garden environment in the Mid-IR is pretty "dark", only the small warming effect of sunlight on leaves, grass or other objects may generate thermal signatures of lower intensity or contrast.
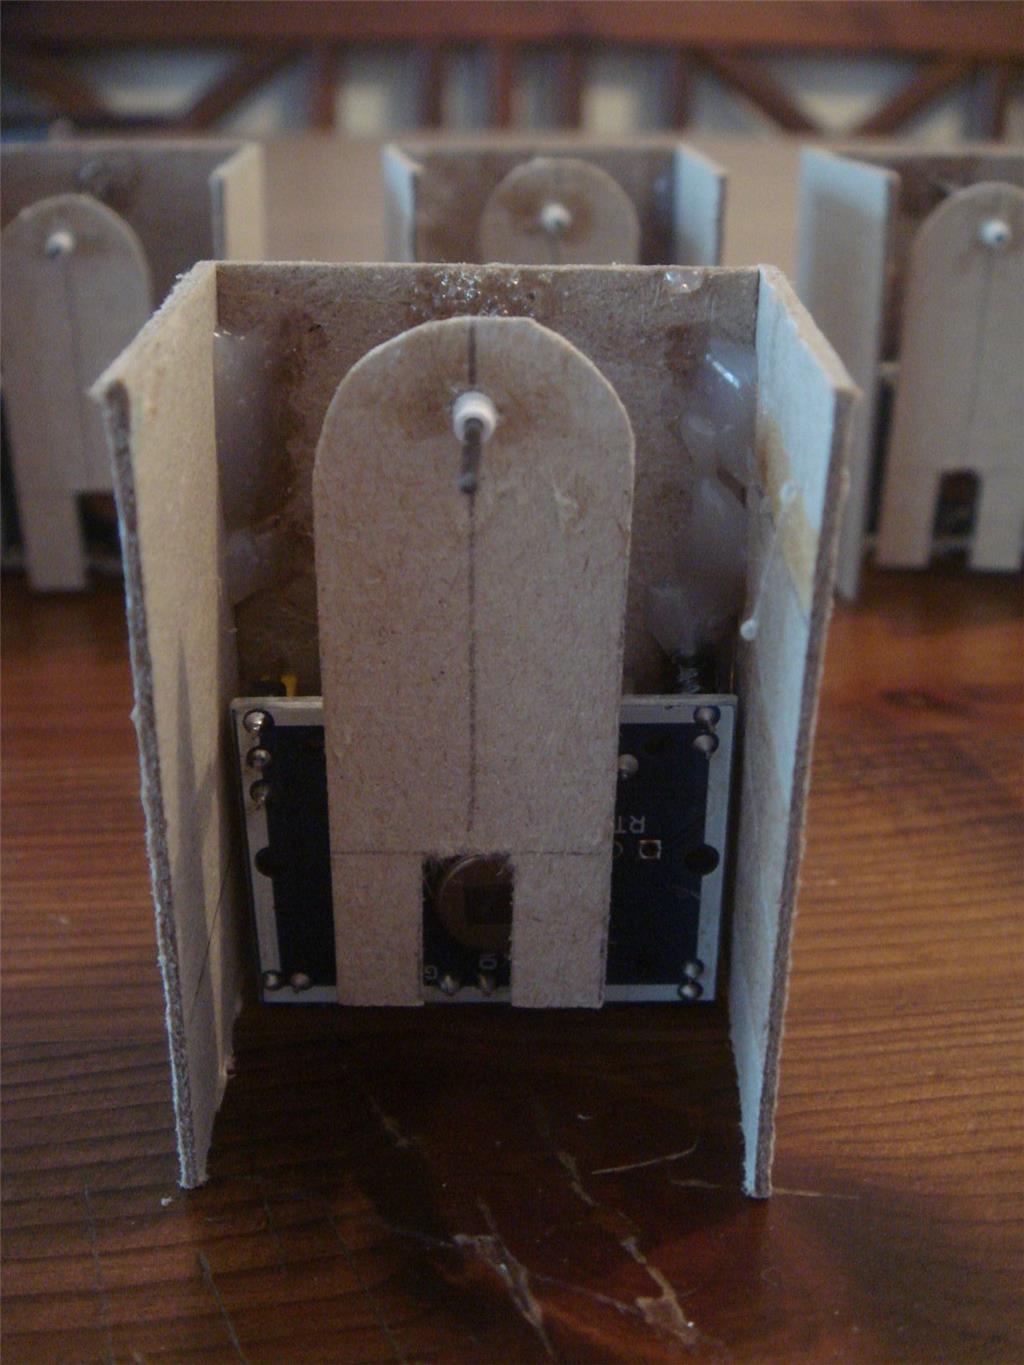
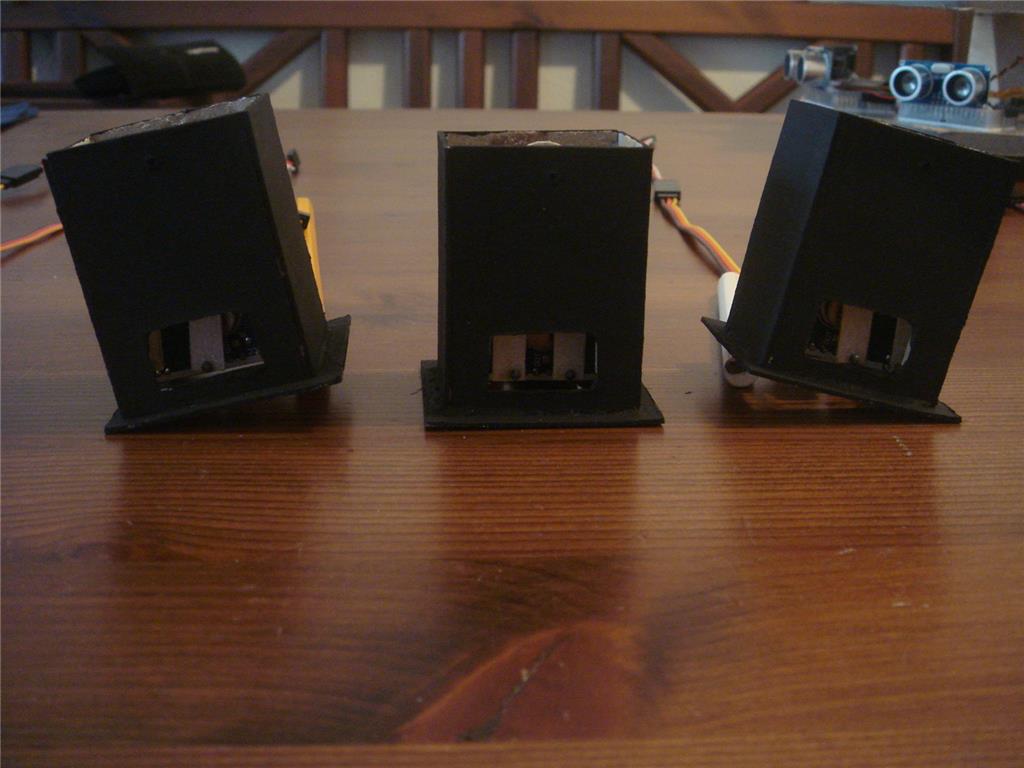
Principle of Mid-IR outdoor navigation: An object with a hot surface (about 100C), aka Black Body in the centre of the charging station is acting as an optical transmitter and heat sensitive detectors on the insect are delivering information for the navigation towards this station. Due to its high SNR relative to the environment, this "thermally bright object" will easily be detected by suitable sensors.
Realising such a hot surface is not a big deal. It was more interesting, whether suitable detectors were available.
Answer: YESSS ! !
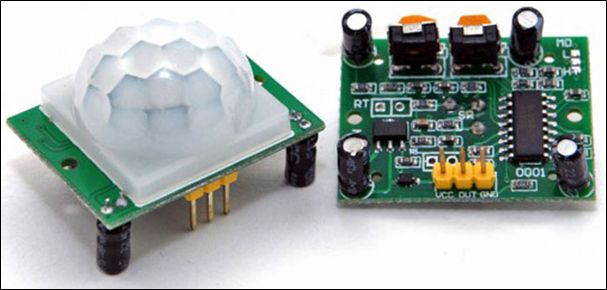
PIR sensors, typically in use for activating the light at the entrance of a house are commonly available at low cost (small versions including electronics below 2 Euros).
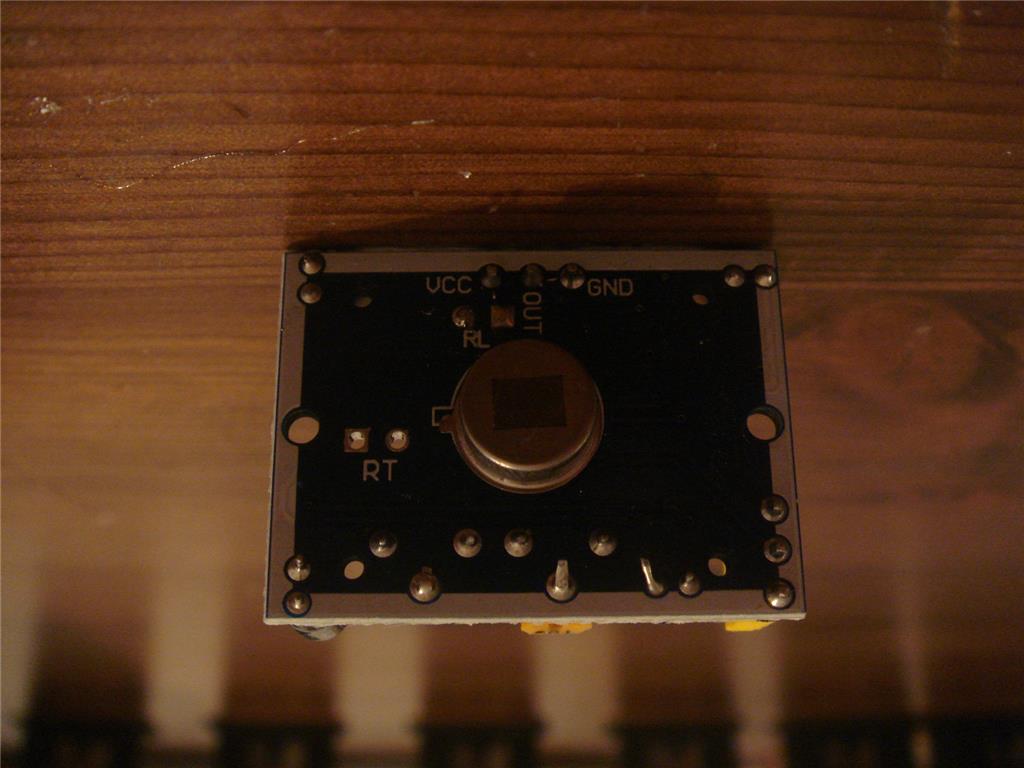
Typical example: HC-SR501.

HC-SR501: Compact PIR sensor for Mid-IR outdoor navigation. Board size: 28 mm x 32 mm. The upper deck will receive six of these sensors; easily covering the 360 surrounding. Their digital outputs will directly be fed to the upper EZ-B.Dedicated subroutines in the main control software will transform their information into corresponding signals for the motion servos.
More details about this - hopefully working - concept in the near future during / after outdoor tests.
Well, that’s it for today !
Cheers
Volker
Wow that is so neat to see progress on this! Specially the wave length filters. I’m excited to witness the succsss!