


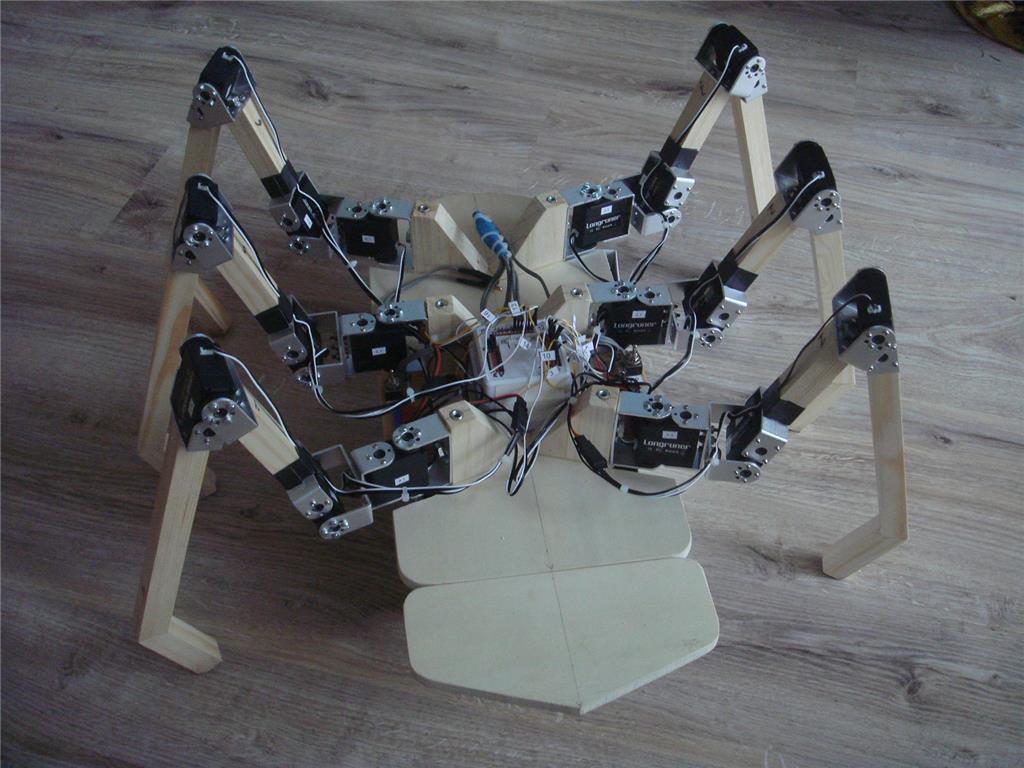
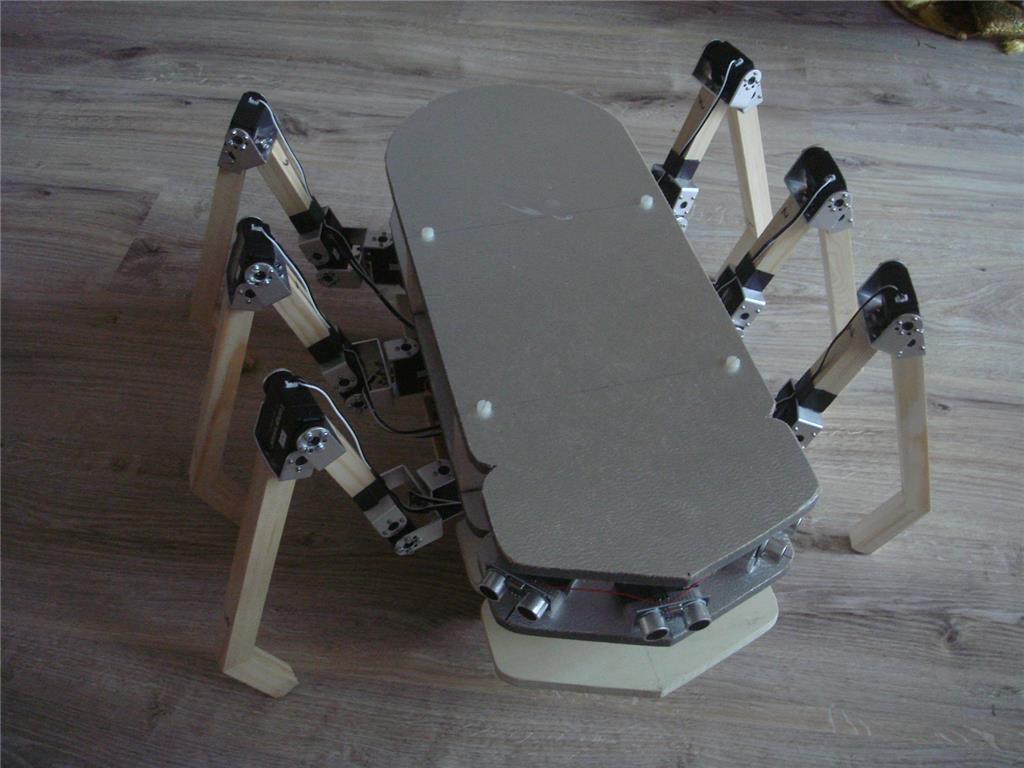
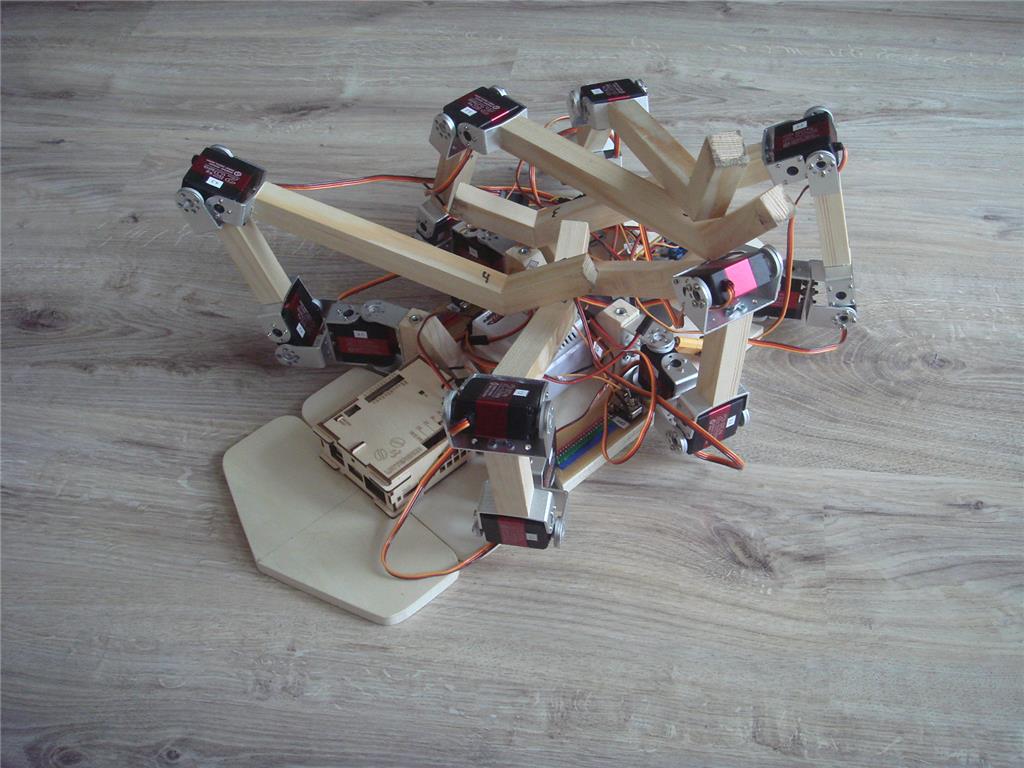

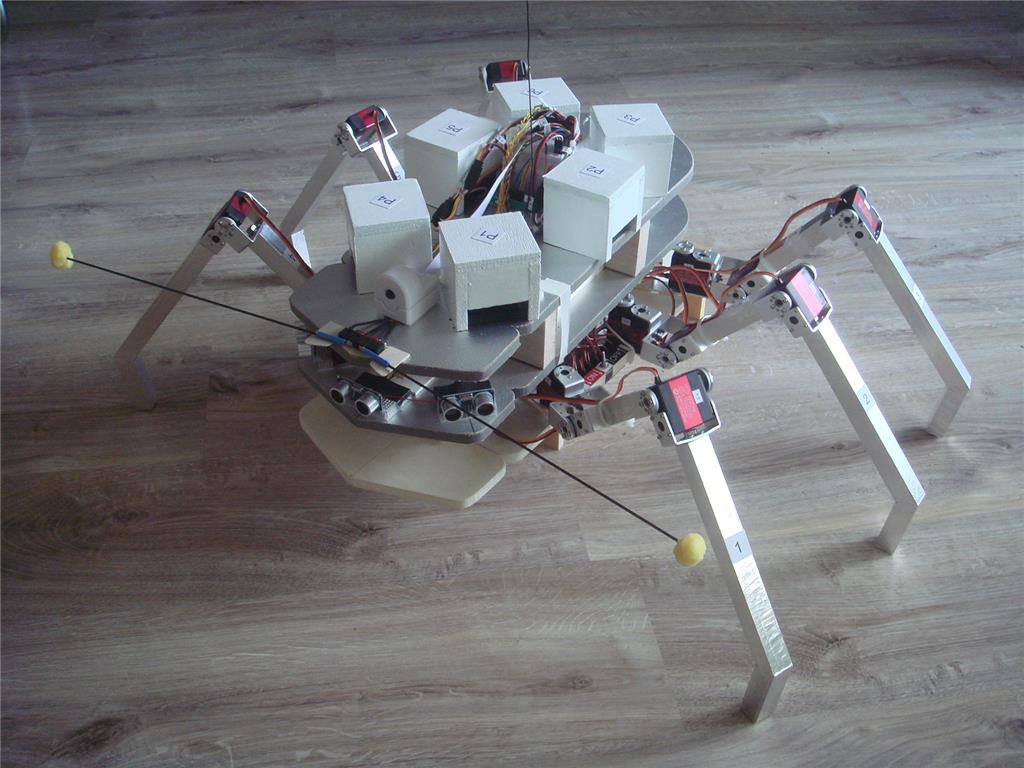

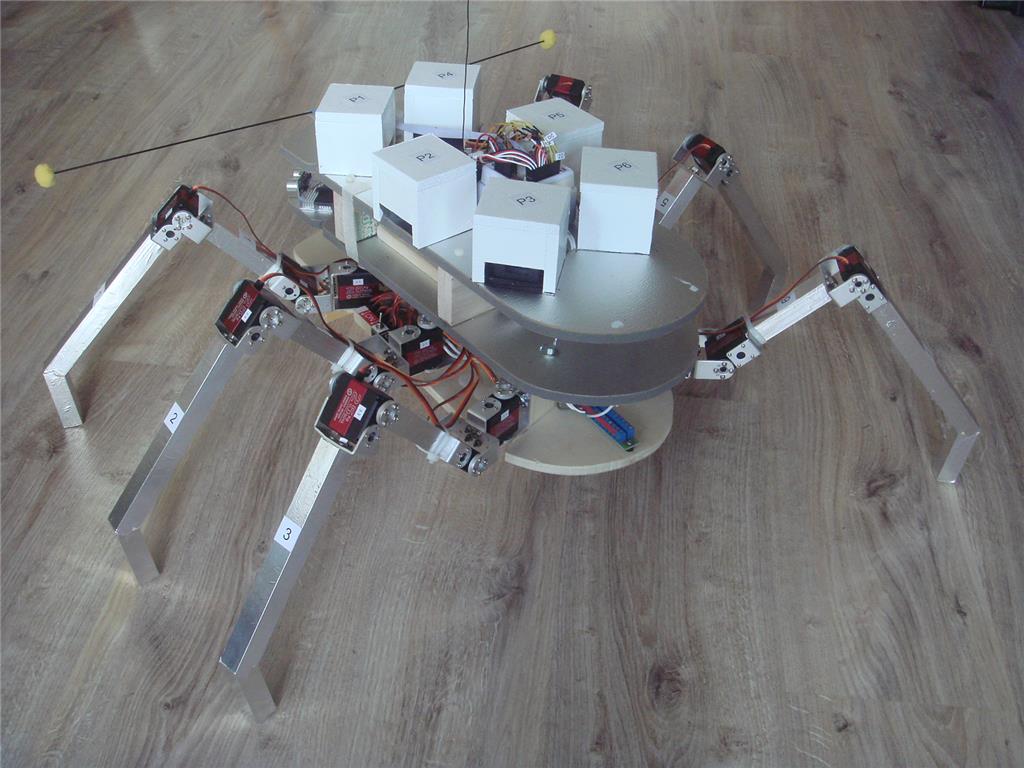

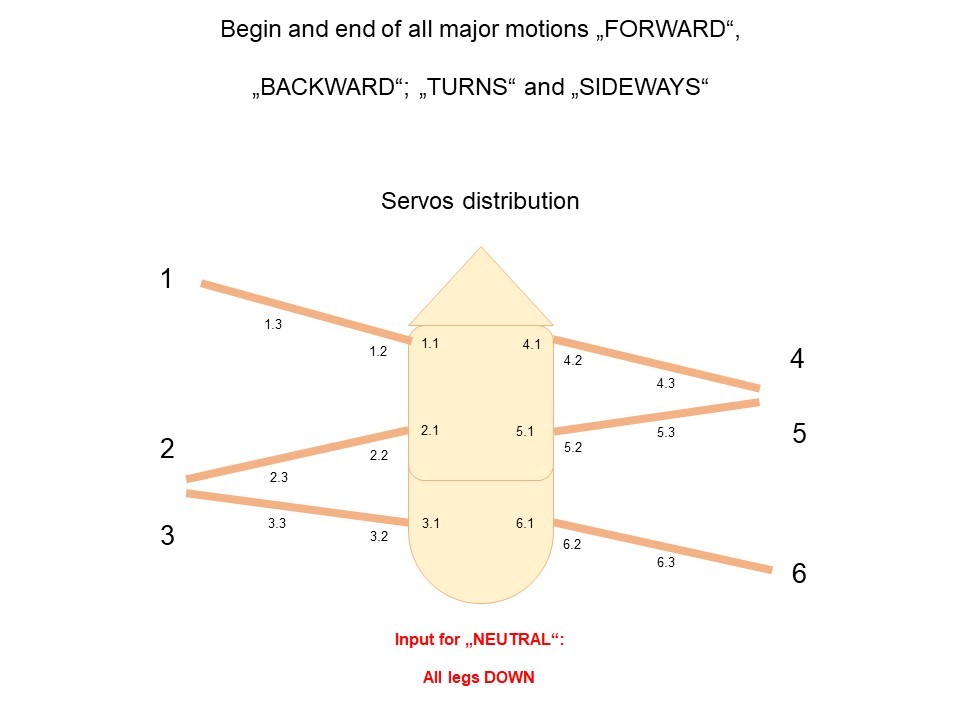
Hi guys, this is the first introducing part of a series, describing an autonomously operating hexapod with about 1 m width (my "large insect"). Idea behind this project: From early childhood on I wanted to build a kind of "mechanical turtle" or similar, being able to "survive" in the garden from spring to fall and doing whatever it would be programmed for, recharging its battery, seeking for shelter in case of rain, etc. Decades later (meanwhile a retired physicist, phd after 30+ yrs. in the space business) it was really time to realise this dream, meanwhile based on modern state-of-the-art electronics and software. Then, a colleague suggested to acquire an EZ-B V4-2 as the core element for such an undertaking and from thereon things picked up speed quite rapidly. As mentioned above, goal is the realisation of a quite large autonomous hexapod. The figure below is illustrating the general shape of this robot as well as the nomenclature for the legs (1, 2, , 6) and the servos (1.1, 1.2, , 6.3), respectively.

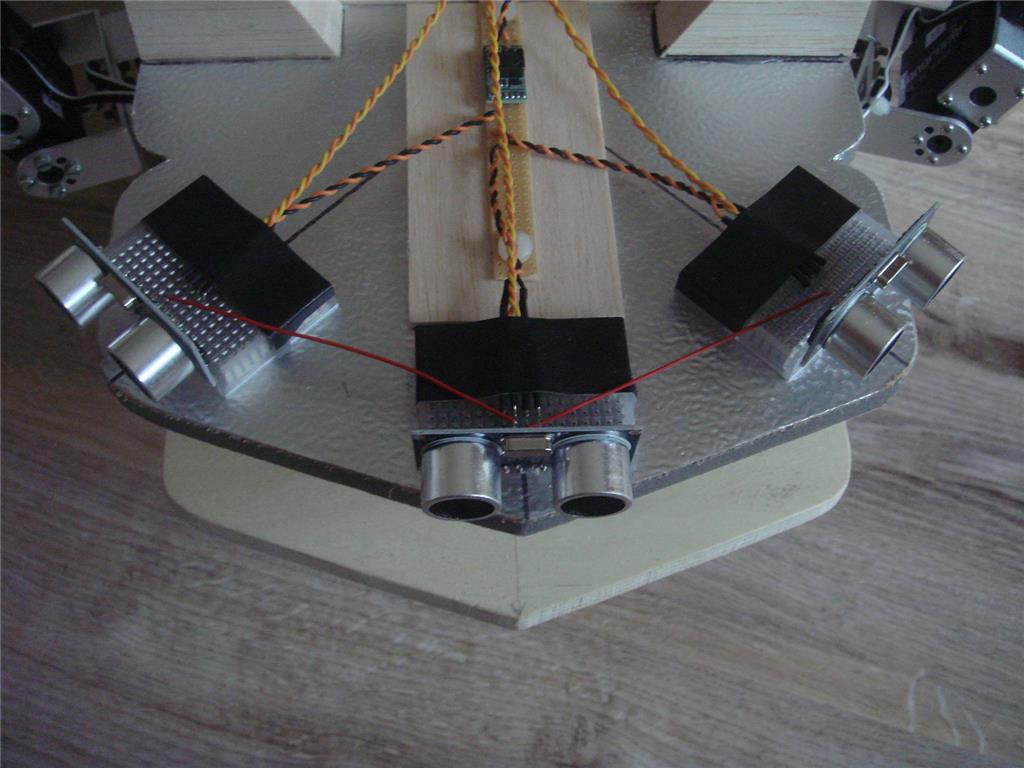
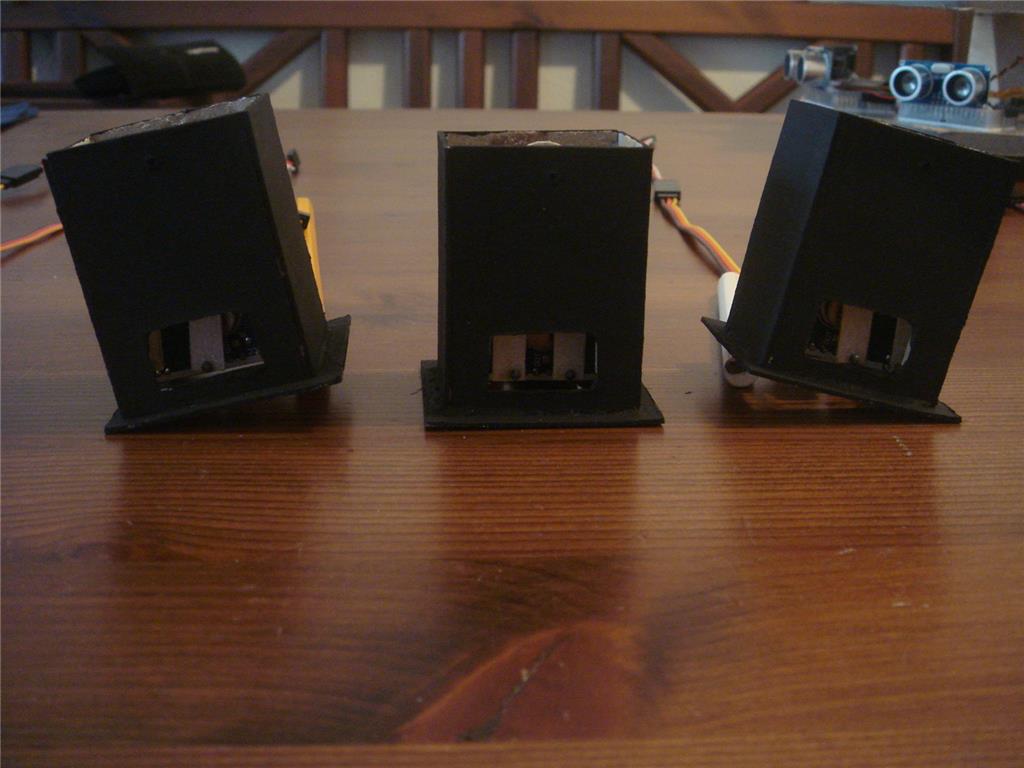
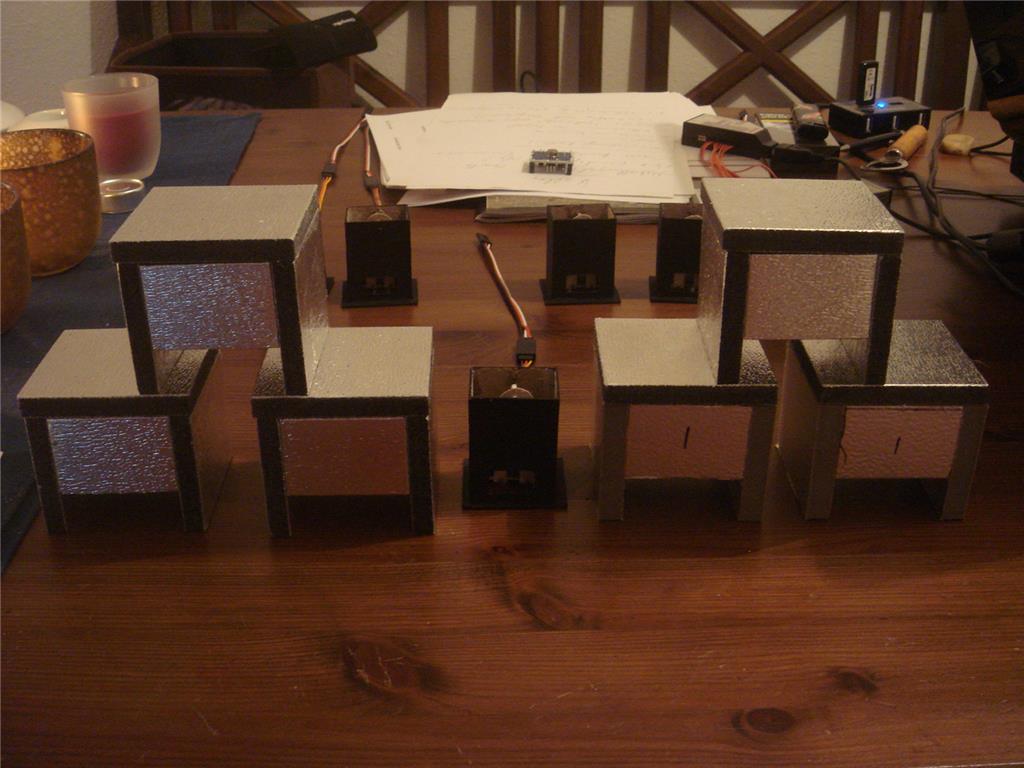
The base plate is made from 10 mm plywood and the legs from 20 mm x 20 mm pine wood. servo base blocks: 20 mm pine wood. A further light weighted plate (2nd floor) will be added later for accommodation of a scanning lidar, etc.. The hexapod’s legs are moved by 18 servos (Longrunner B07K68MK3Y:

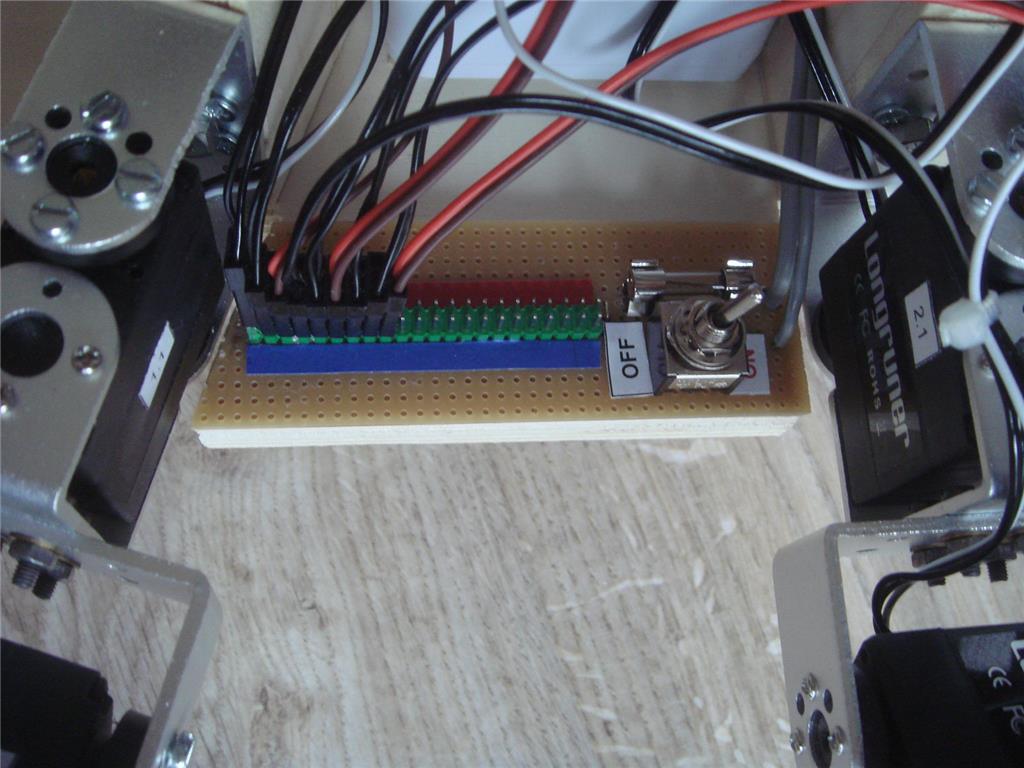
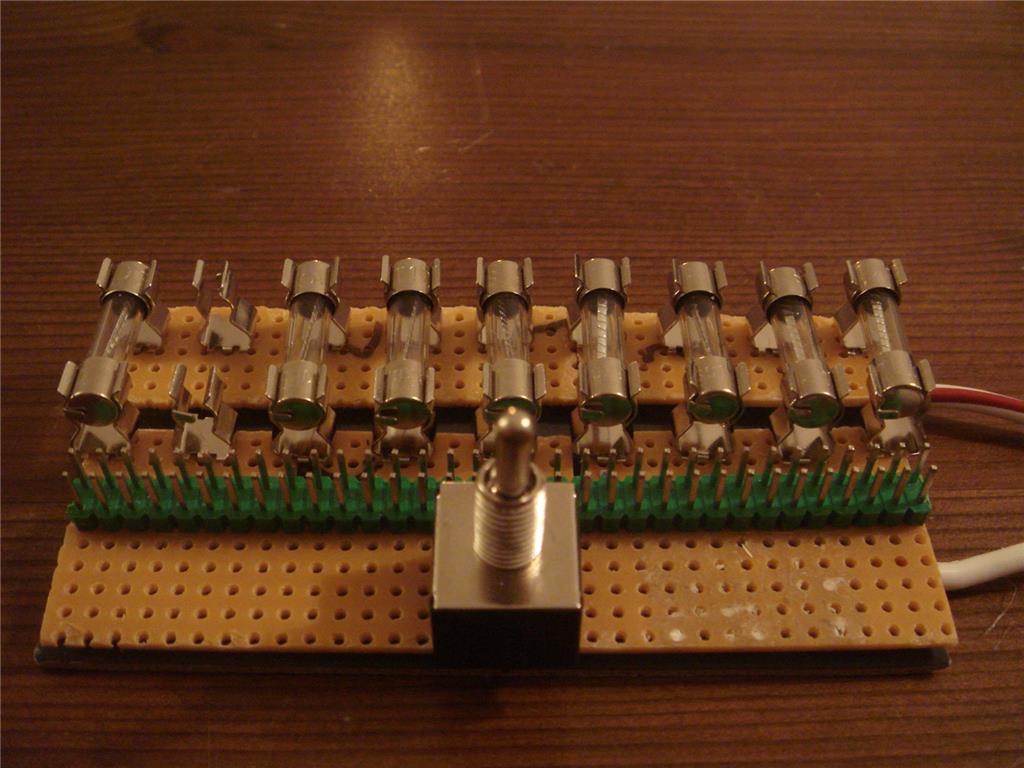
In order to suppress unwanted rapid servo motions during EZ-B initialising, a switchable power distributor was added for each side (servos 1.1 through 3.3 and servos 4.1 through 6.3, respectively). These units are served by a central 2S2P LiPo battery (10.000 mAh) and are protected by individual fuses and are galvanically connected to the EZ-B.

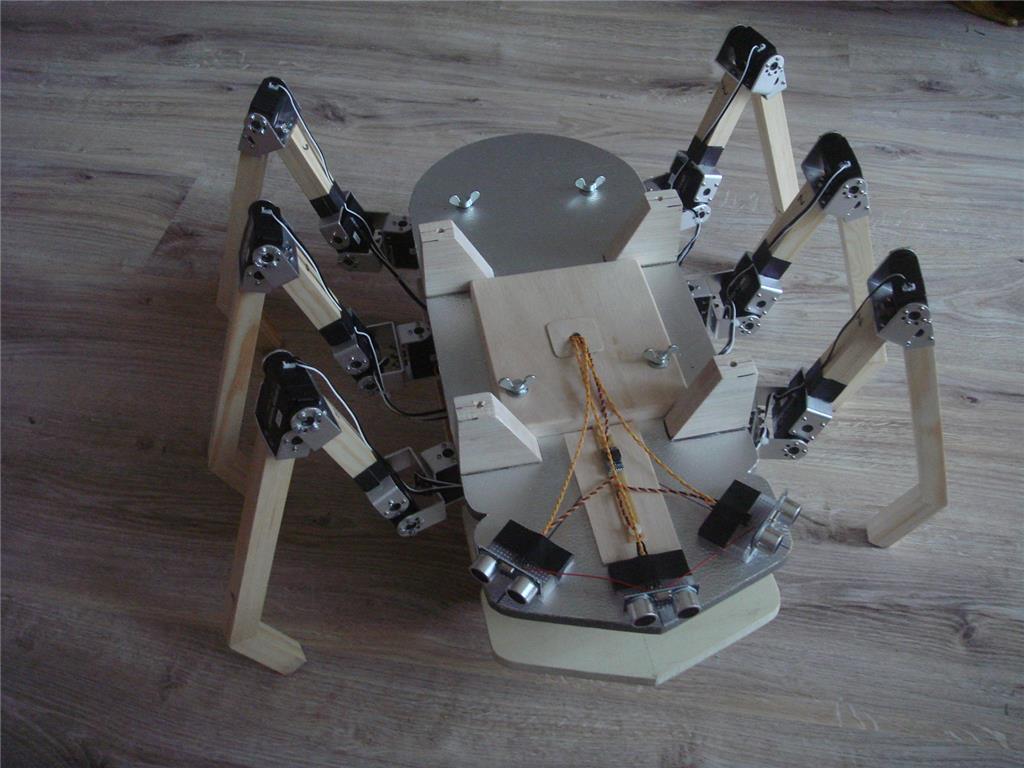
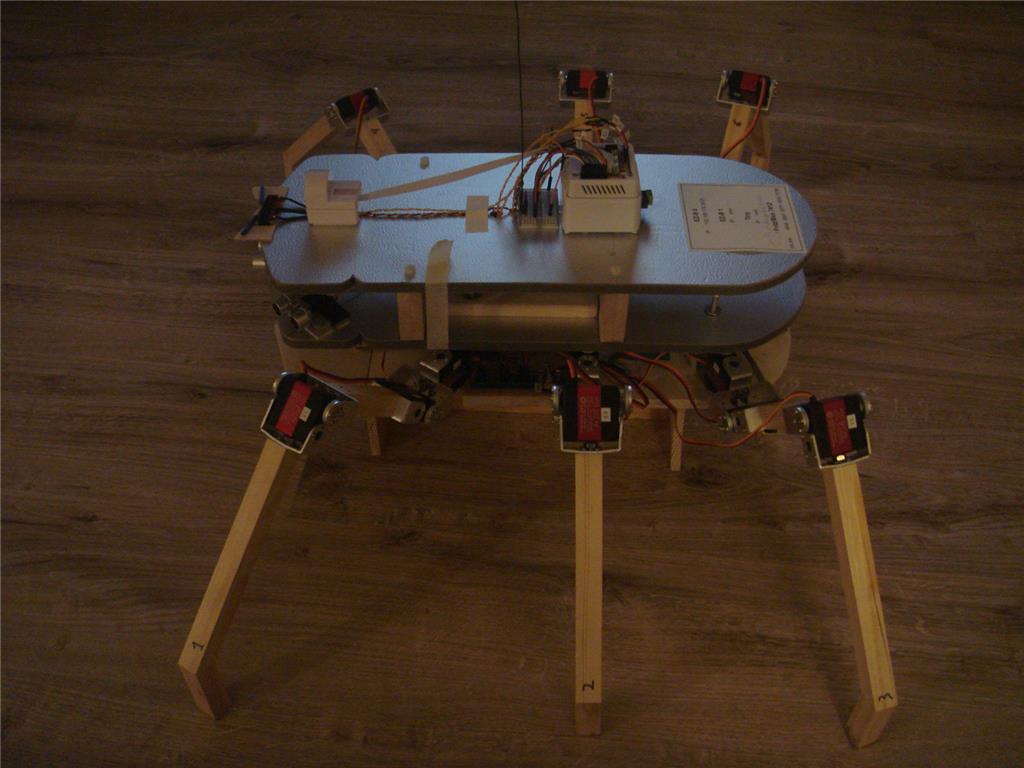
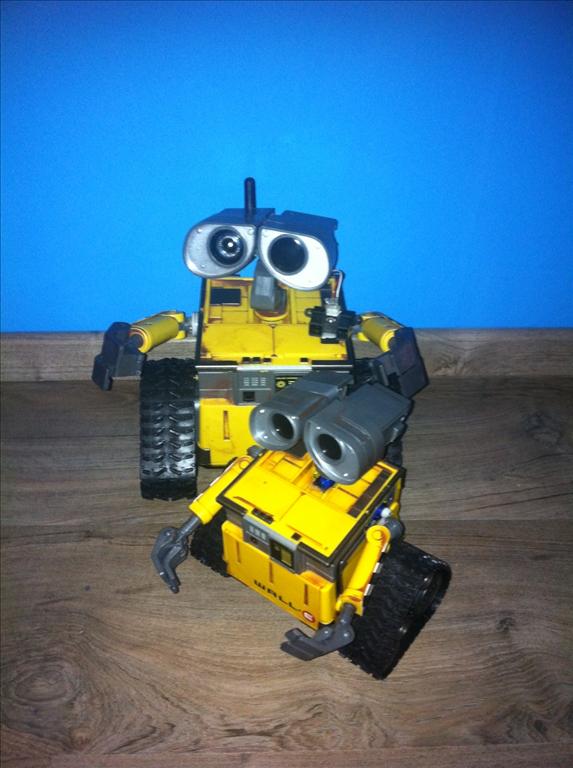
Only the signal pin of each servo is directly connected to the EZ-B. servo Vcc and GND are both fed by these power distributors. Result: During EZ-B initialisation all servos are switched off - to be activated via toggle switches as required. Of course, all servos need to be positioned adequately beforehand. Currently, the hexapod is looking like this (together with his silent friend).


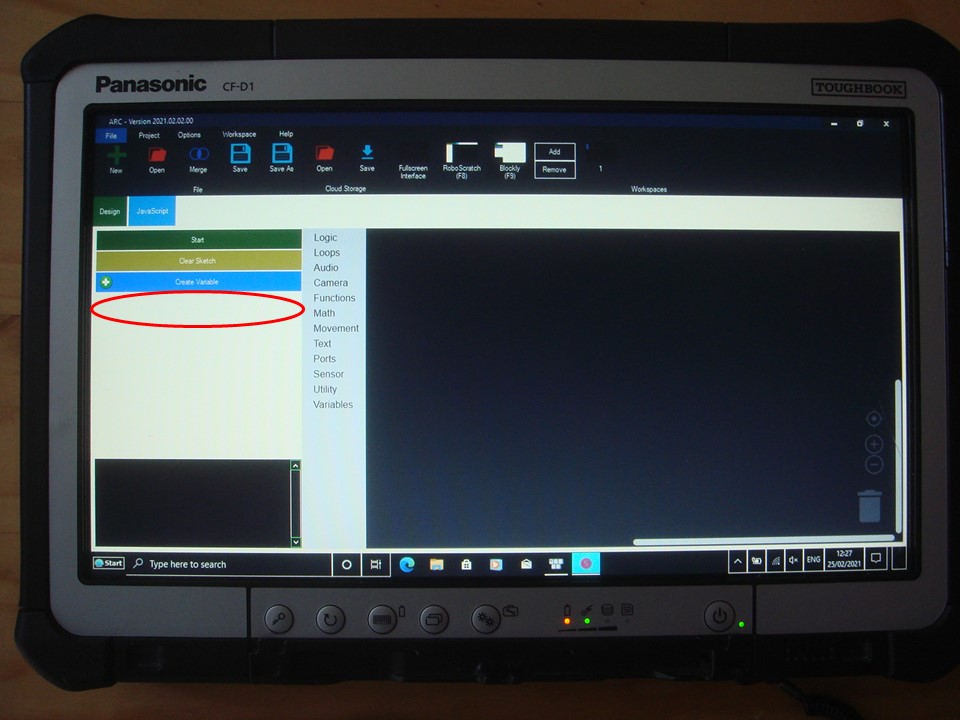
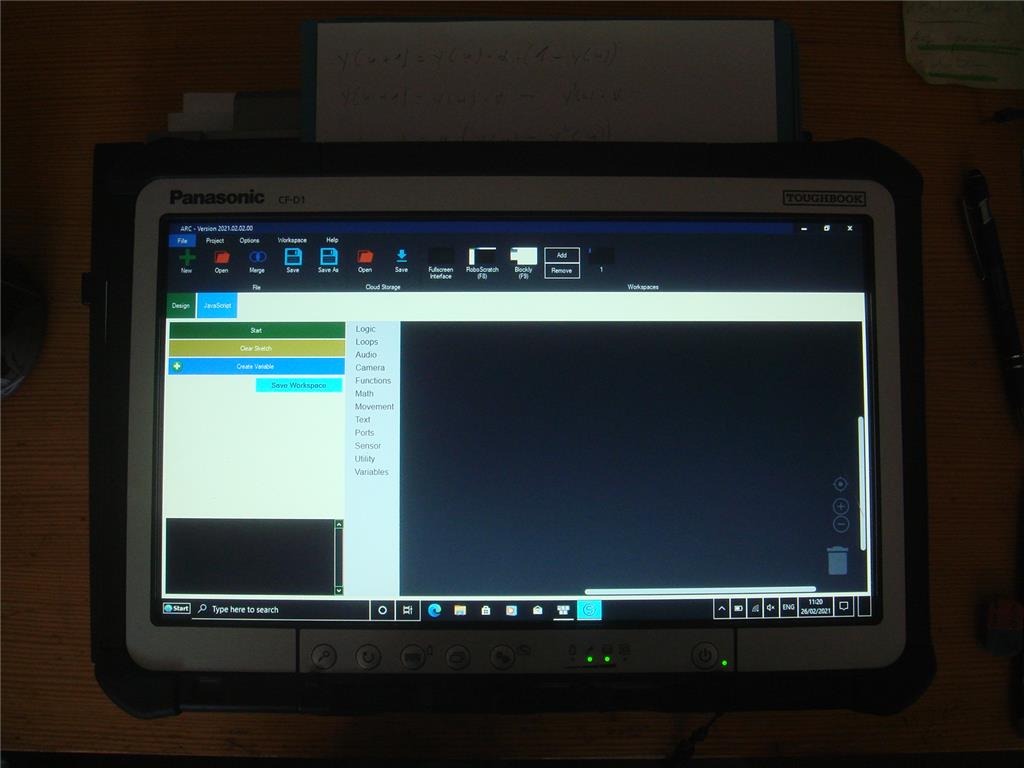
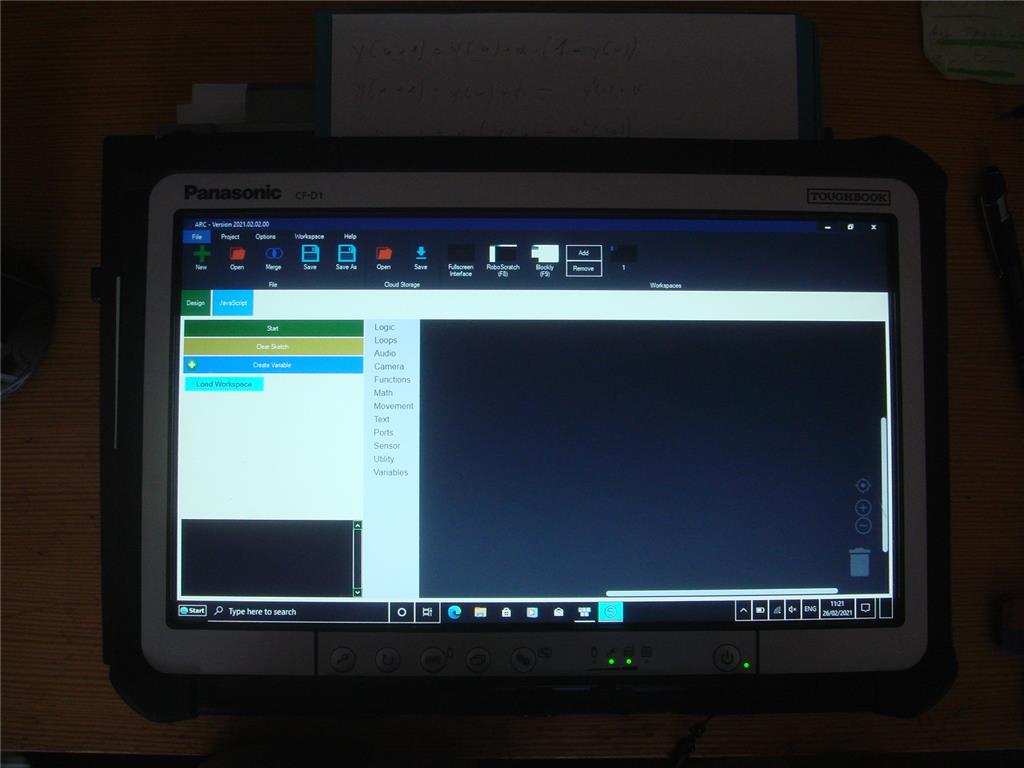
Programming was done in Synthiam BLOCKLY; surprisingly, the final version was completed within two days only !
Upcoming activities: First steps in the garden (Forward direction). Then: Backward, Turns, Sideways.
So long, that’s it for today,
Cheers
Volker
Discover more robots
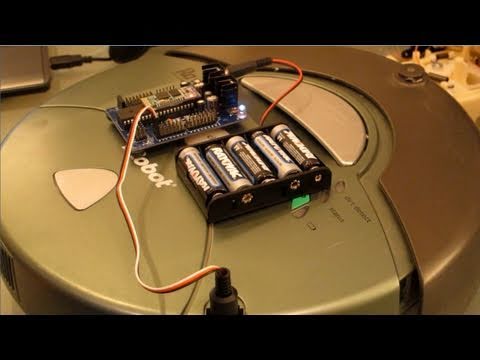
DJ's Irobot Roomba Hack

Leversofpower's Omnibot 200 Mod Progress

And a great build too, are you located in Germany?
Yepp, close to Munich.
Wow that's so simple and elegant hexapod. I really like it! Look forward to seeing him wandering through your garden
Oh wow that is going to be such a great bot to see for sure! Reminds me of the Stargate Replicator, will follow this closely. Be careful to keep a close watch if outside. I once made a robot that would turn on every 30 minutes to move explore,take a photo so I could leave it all night in this old abandoned house. Owner said paranormal stuff going on possibly. Of course when I went back ,beer bottles all over, seems only thing paranormal was teenagers breaking in to party and steel my robot camera.xD
I am from northern Germany!!
I think the empty spot on the head is a perfect location for a guinea pig command chair.
Haha i pictured far too vividly after I read your post. But he had a little helmet on and was holding a staff for some reason. King of the guinea pig revolution
Nice build, love the design, elegant and simple. The sensor deck is a good idea, that fellow can get in a lot of trouble so have some insight into his surroundings will be helpful.
Your living the dream we all have when we retire, just sit around and build robots.