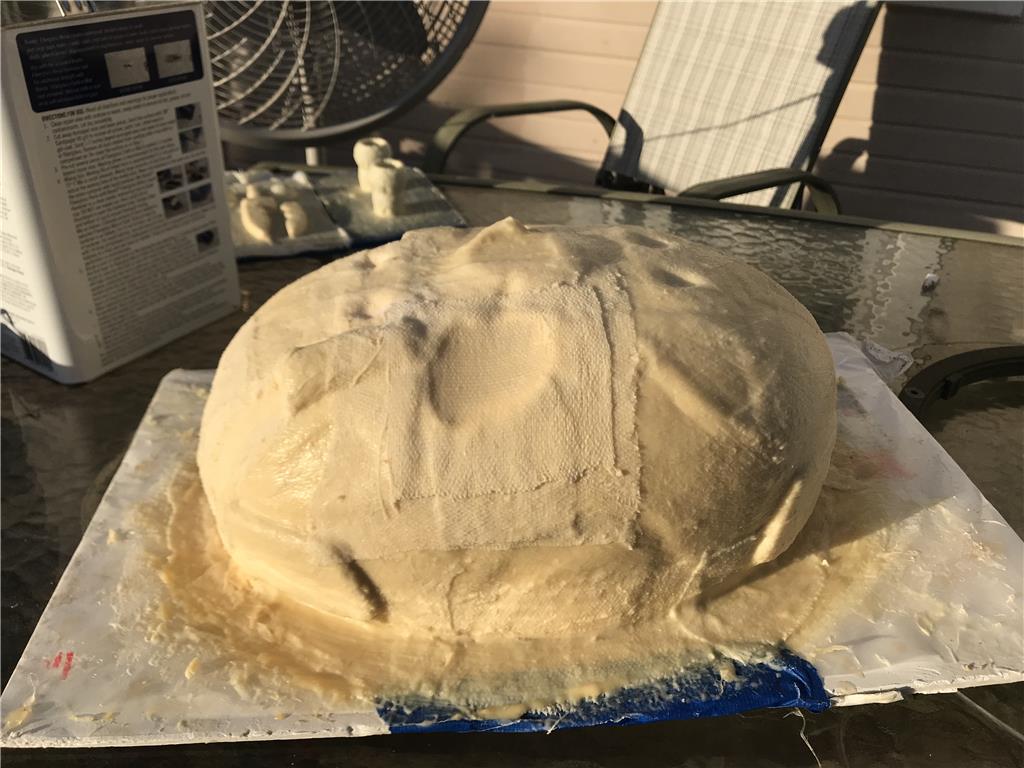
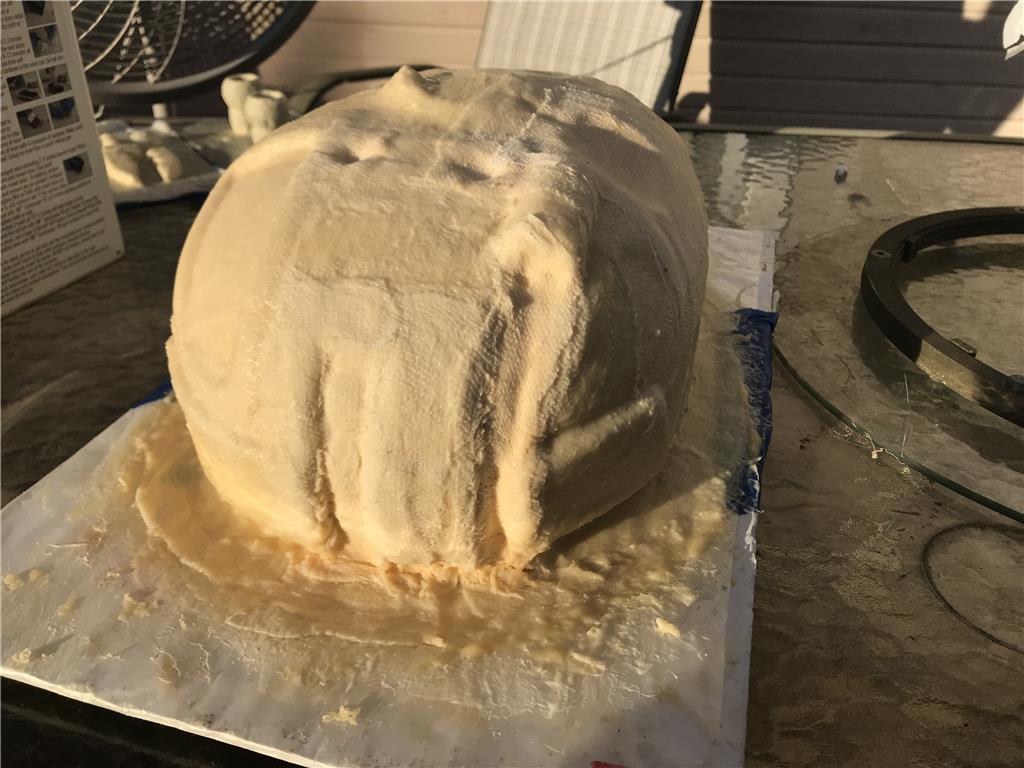
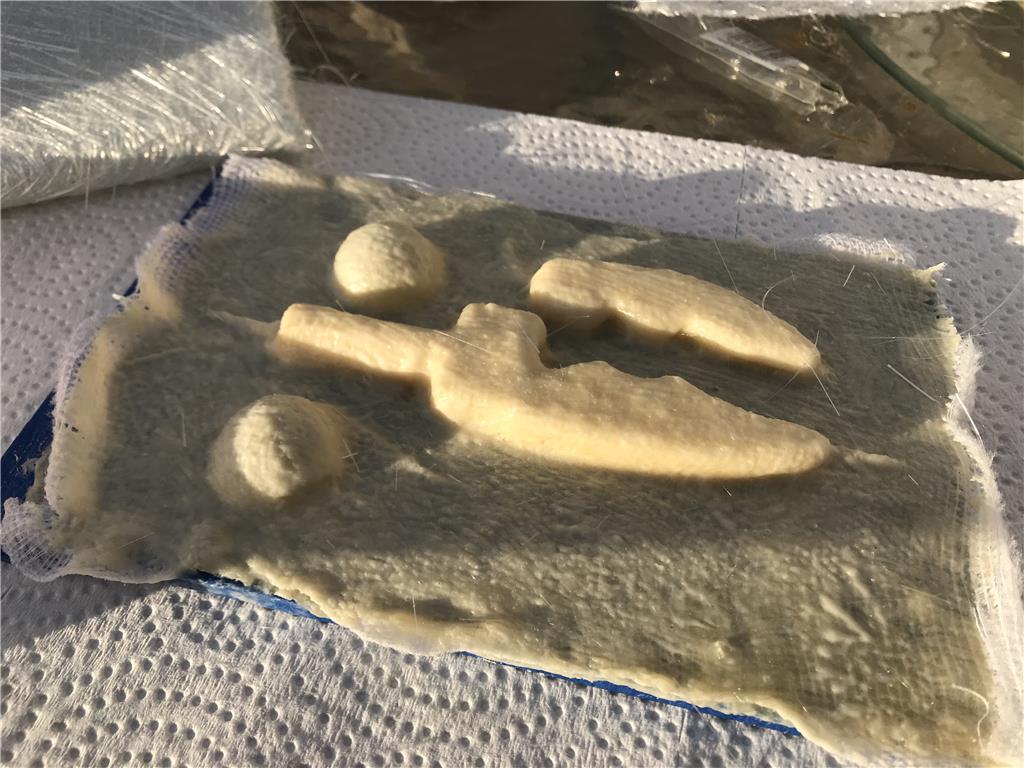
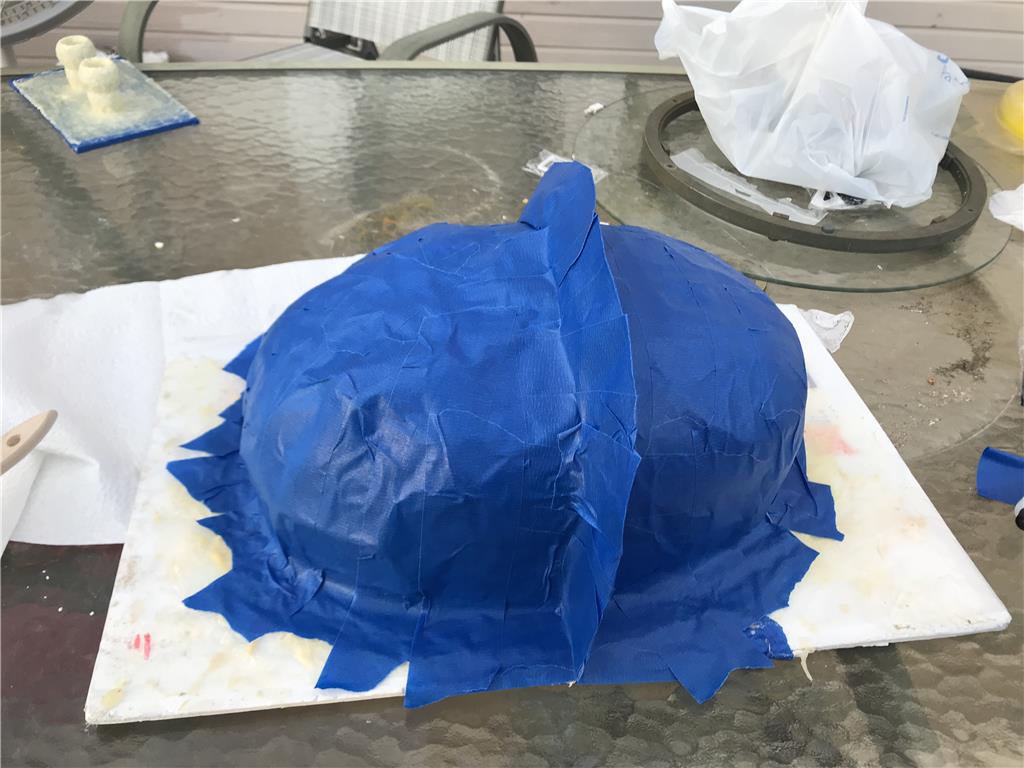
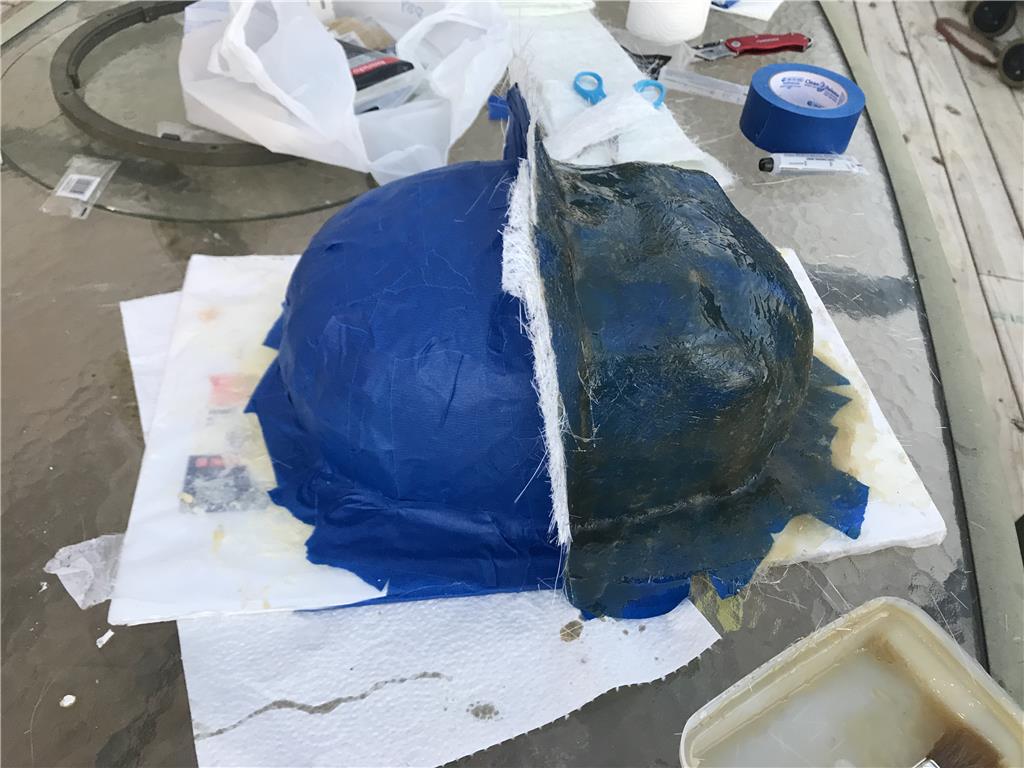
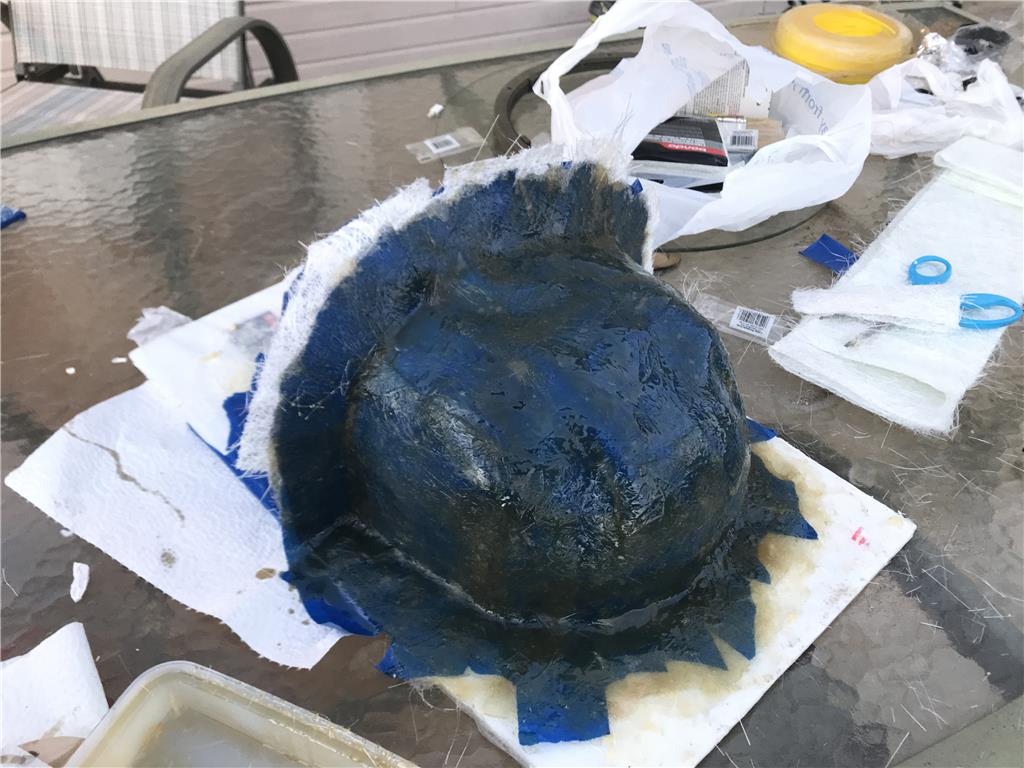
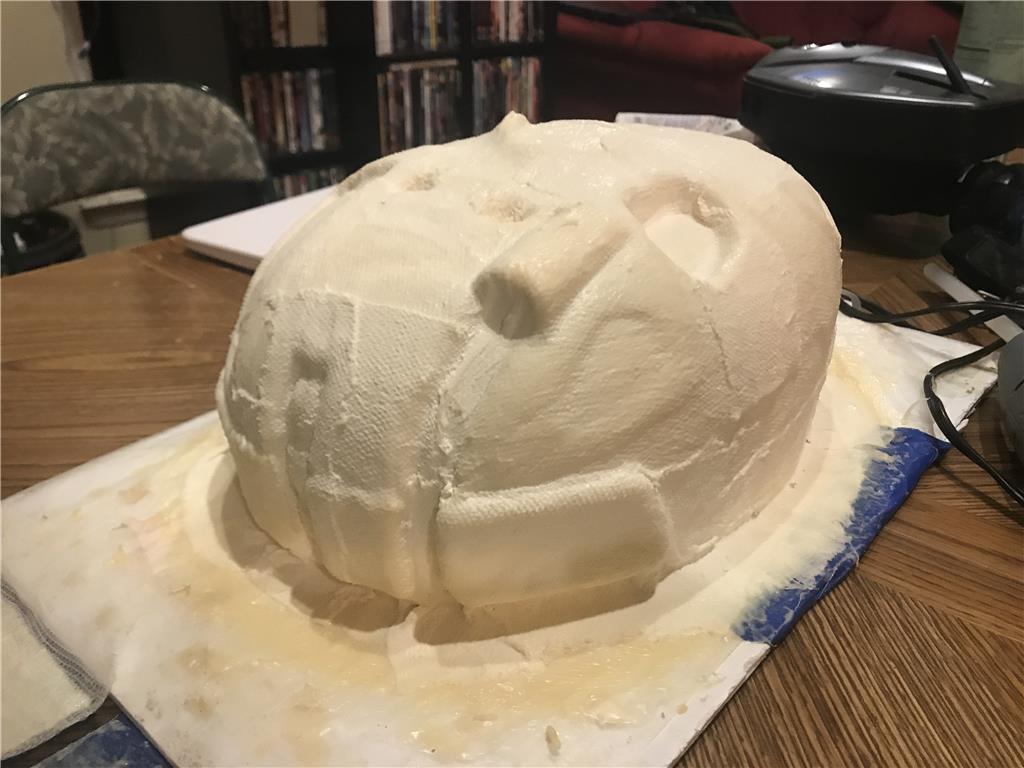
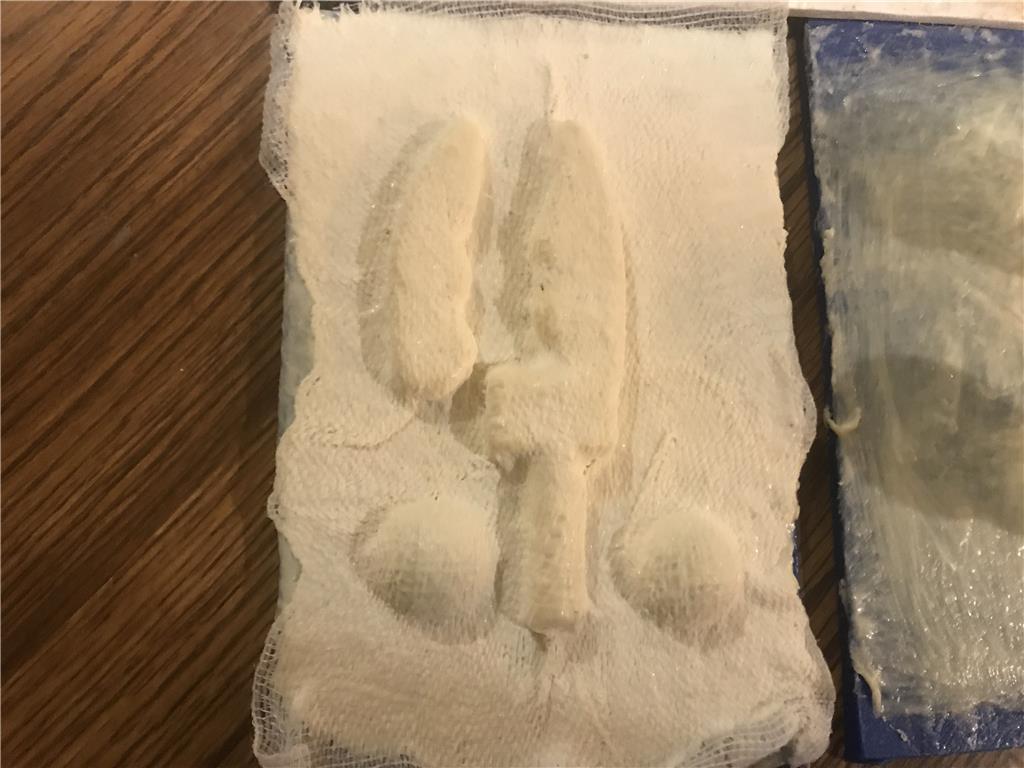
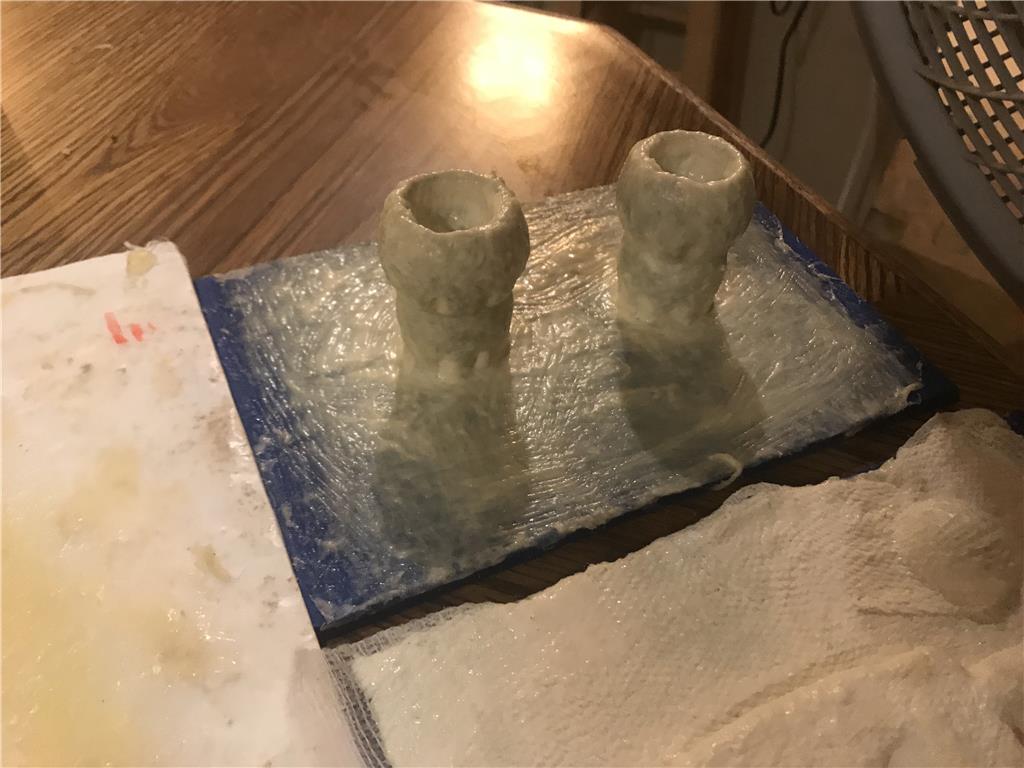
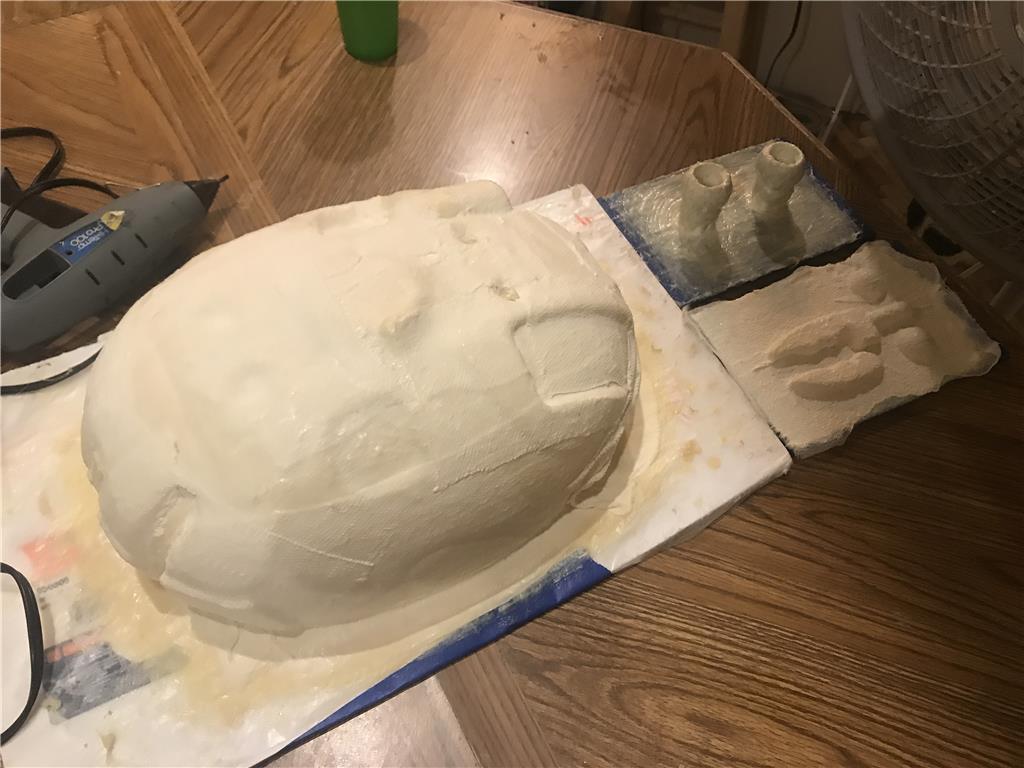
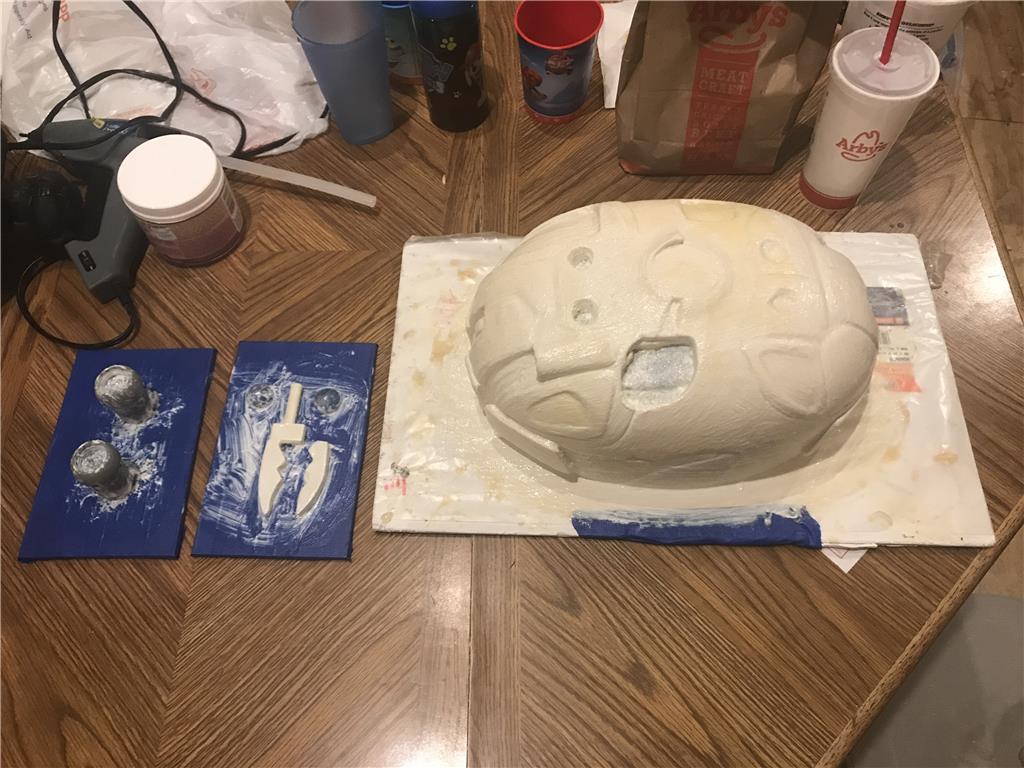
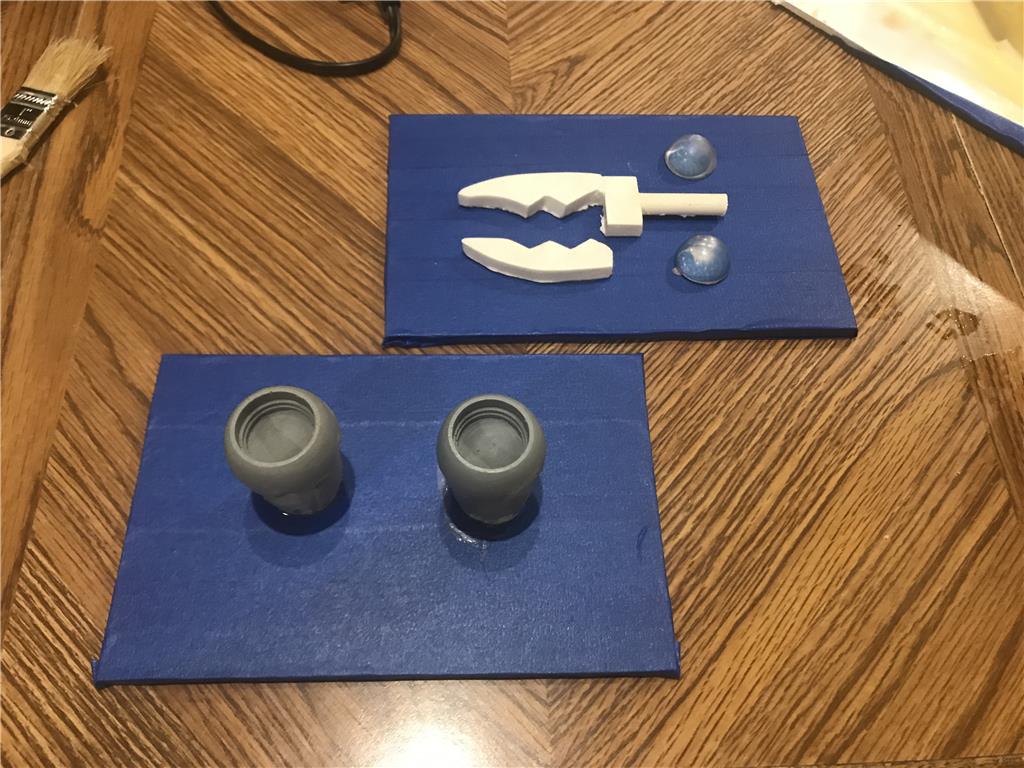
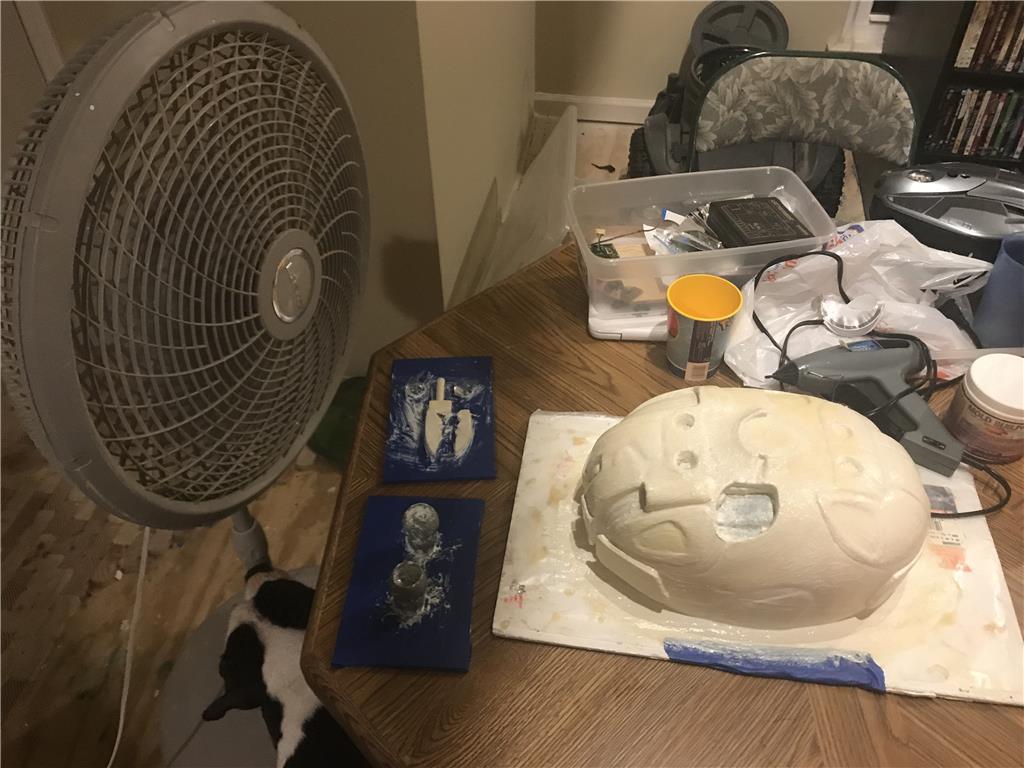
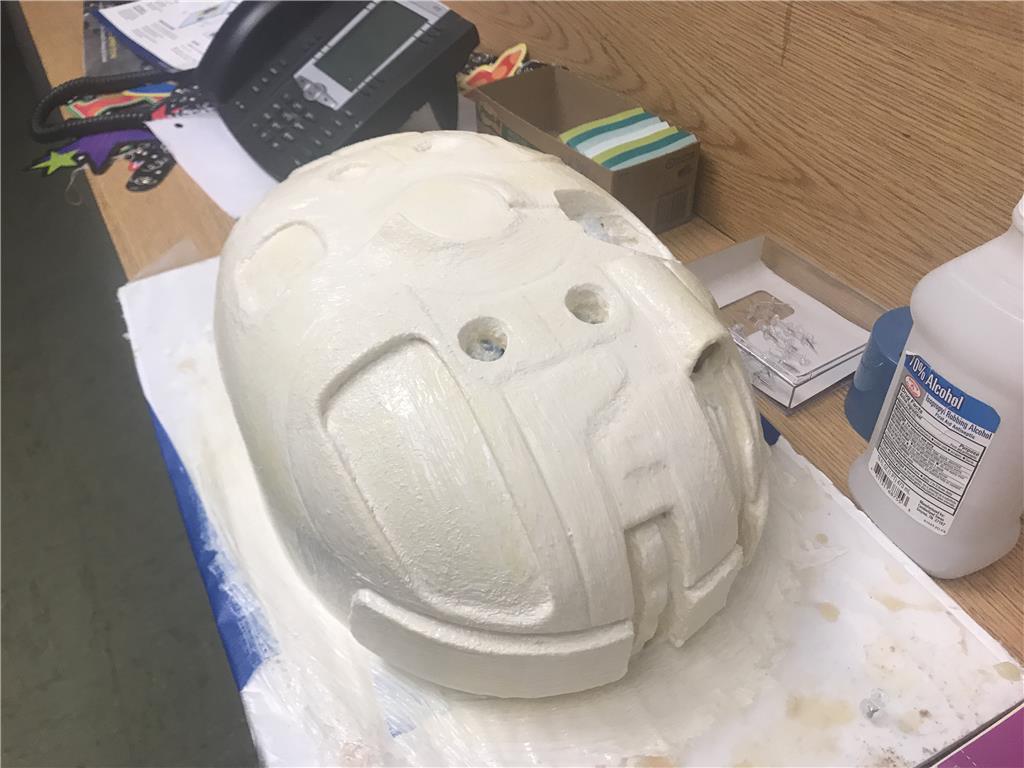
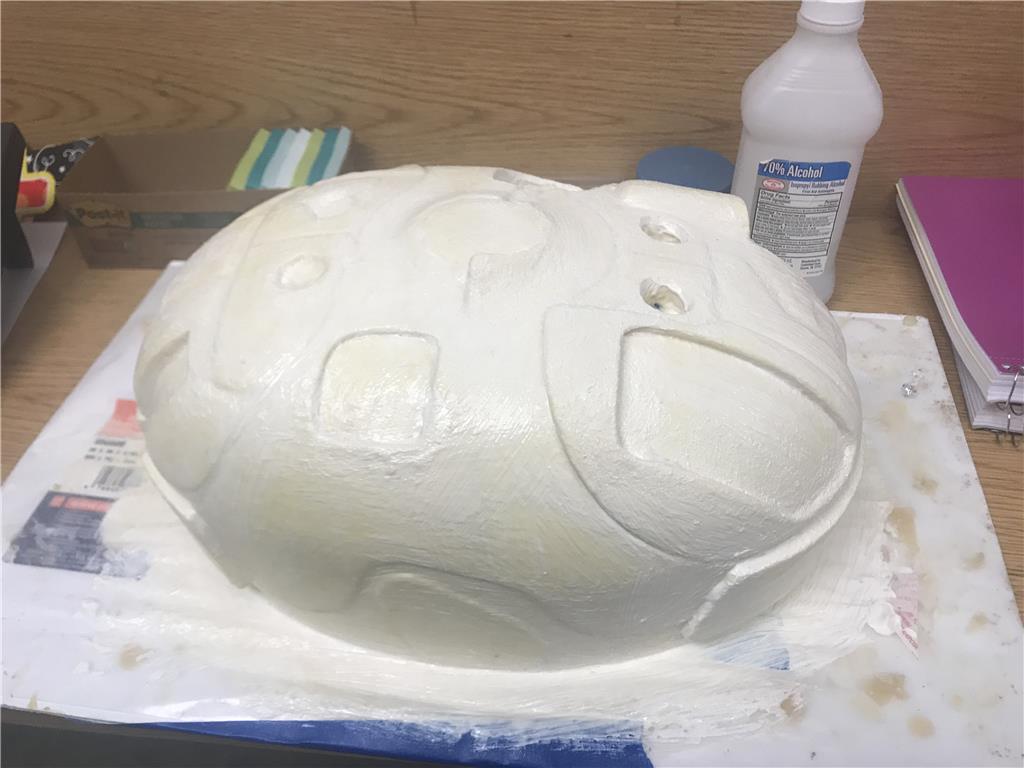
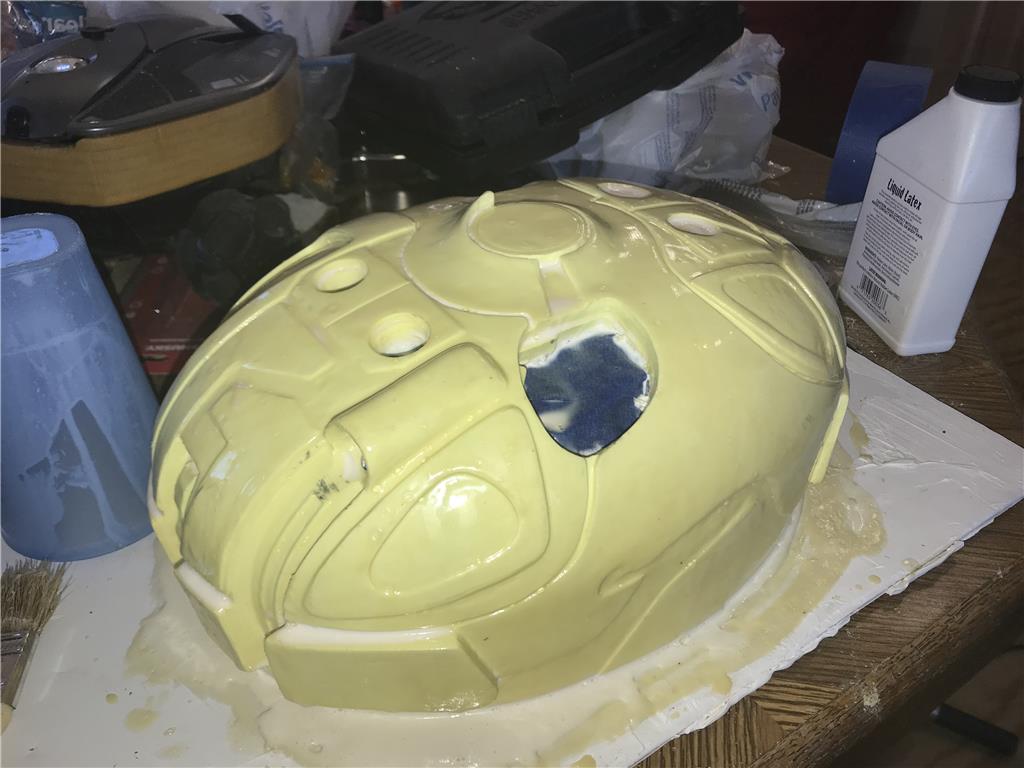
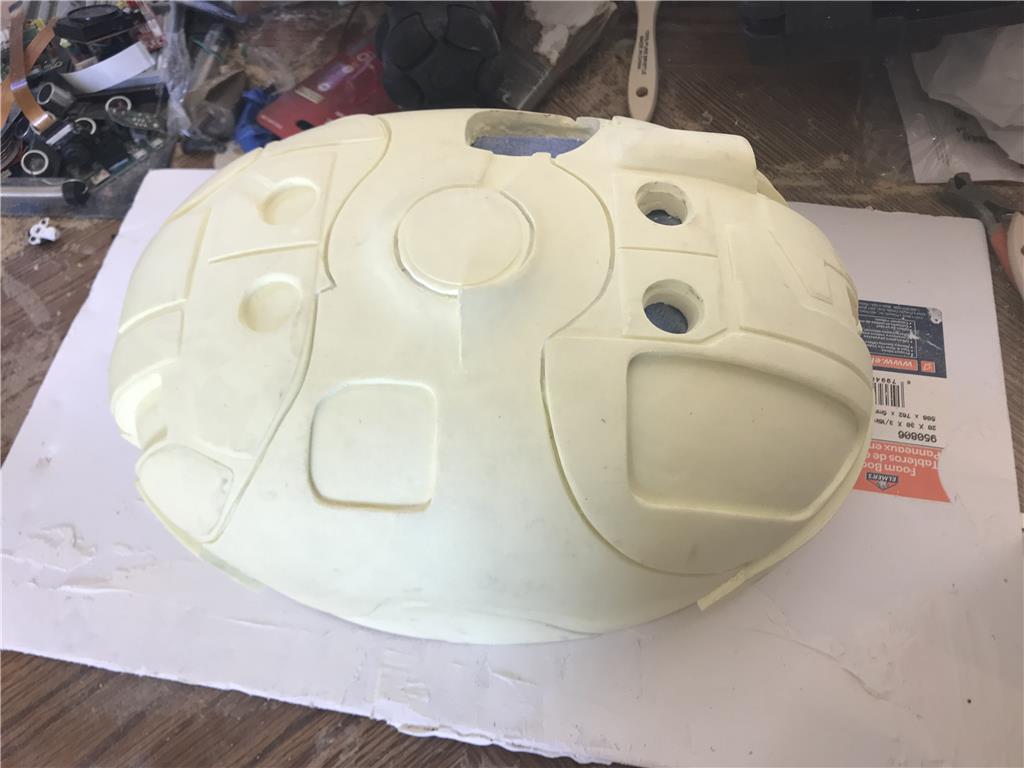
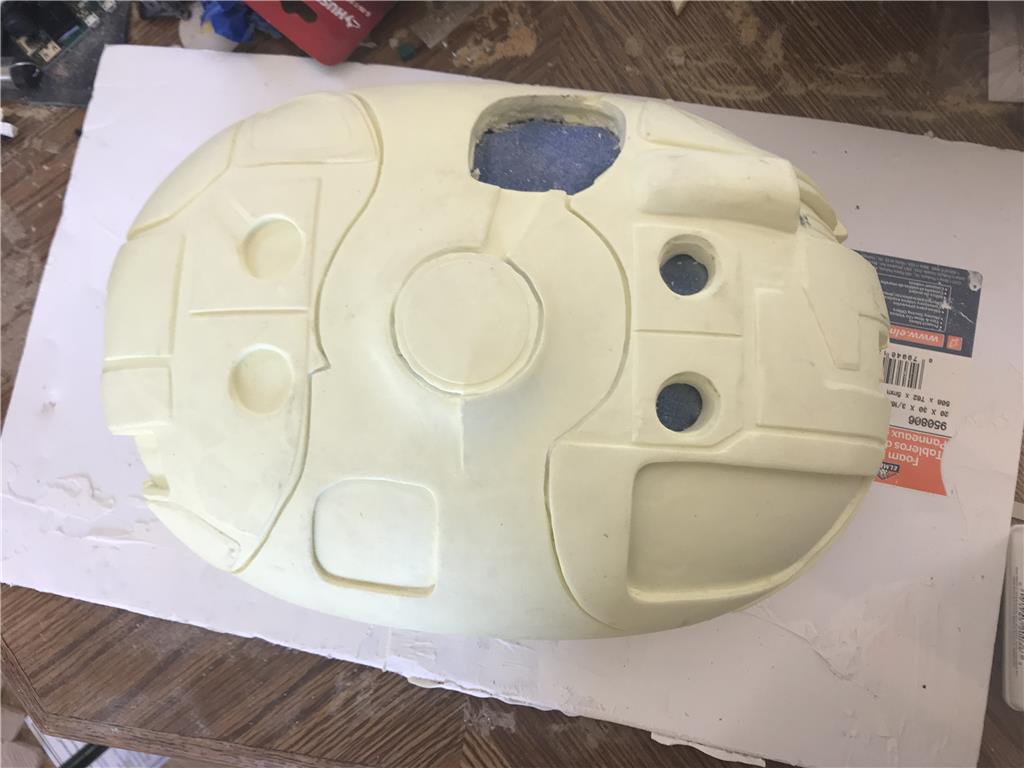
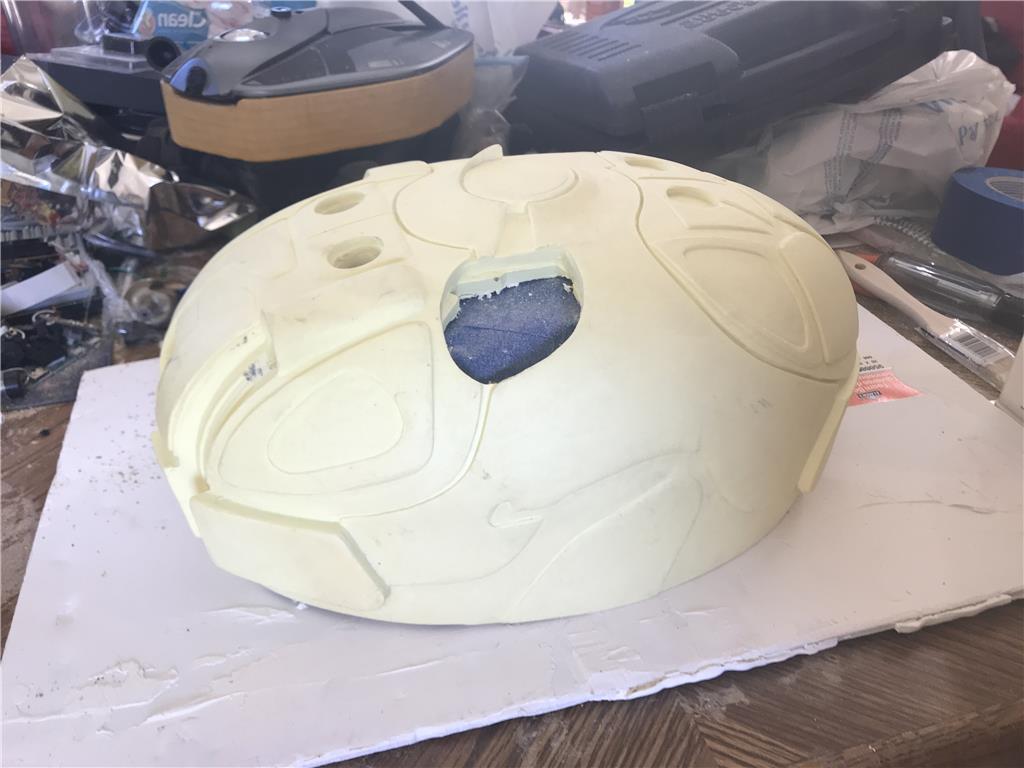
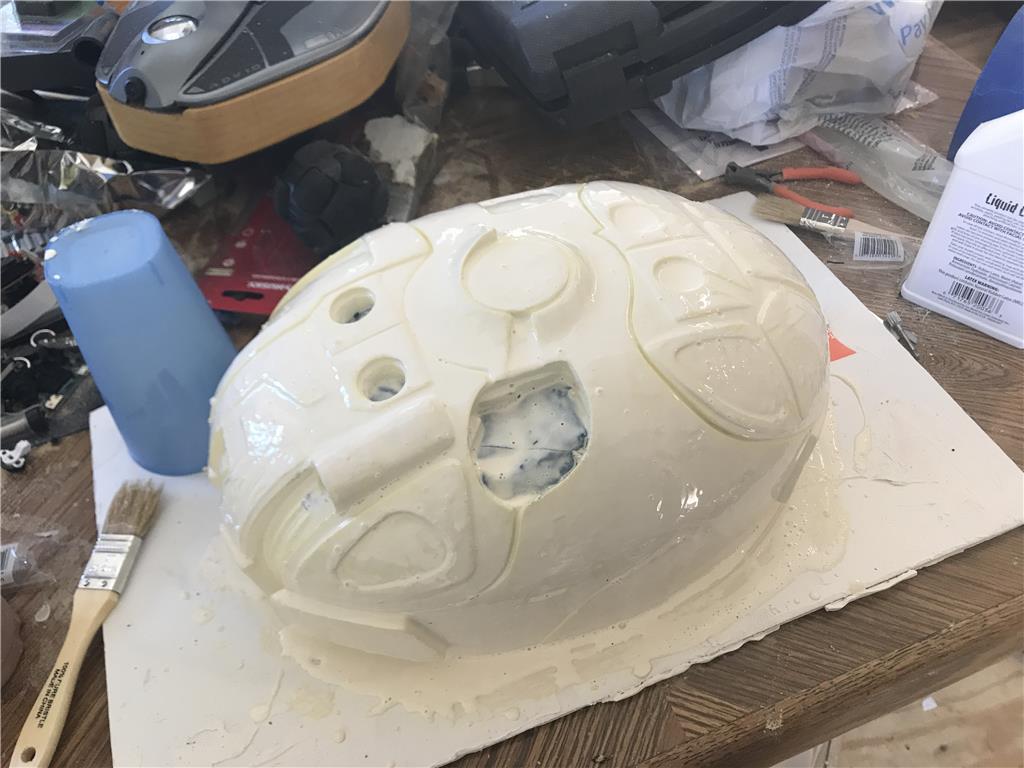
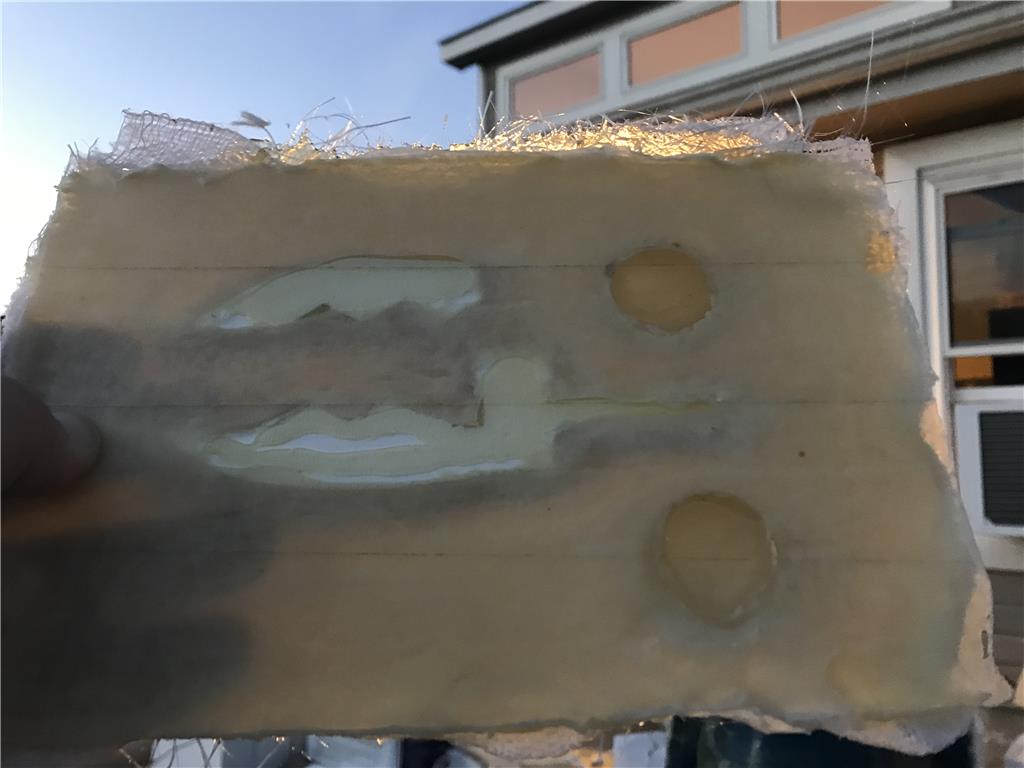
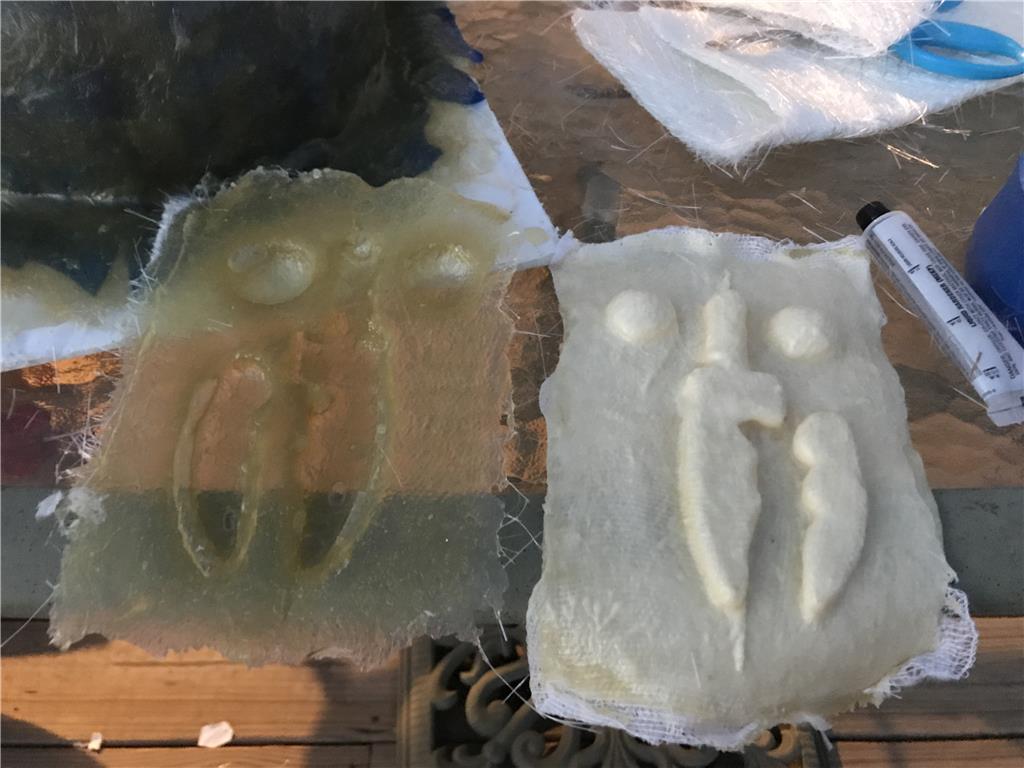
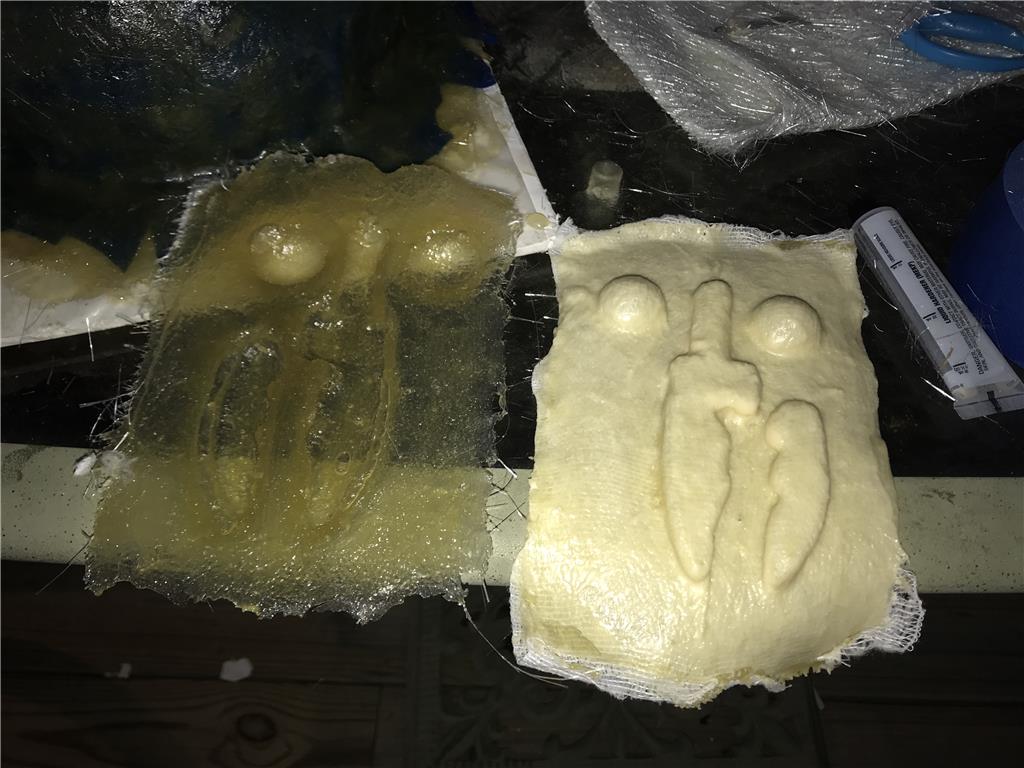
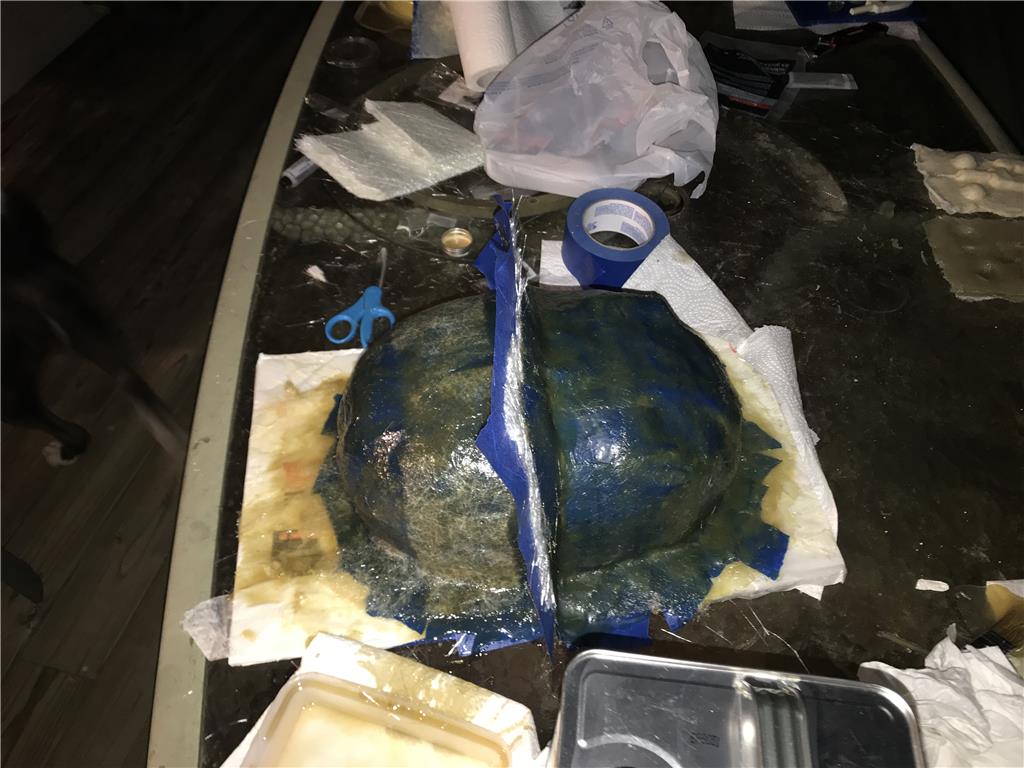
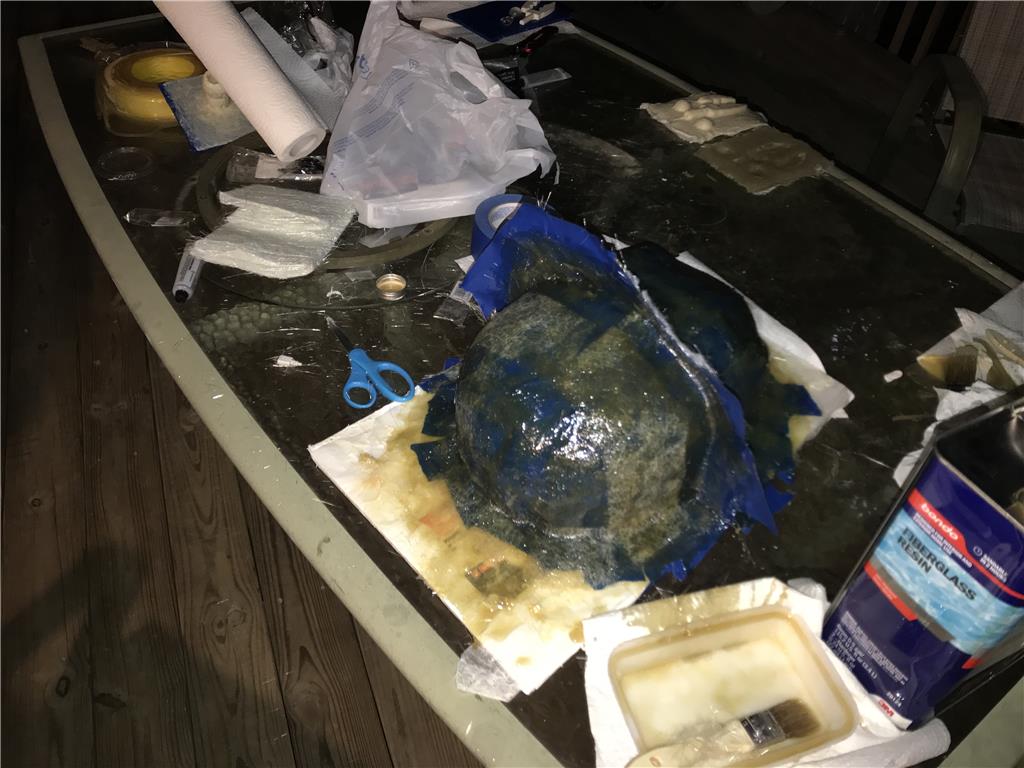
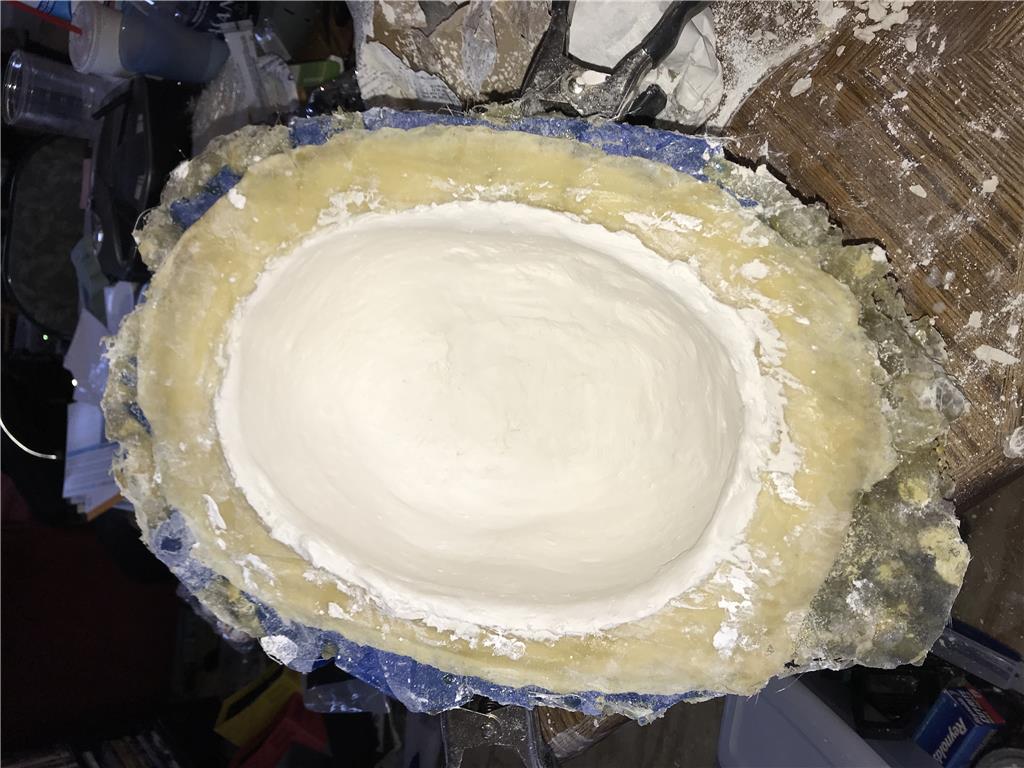
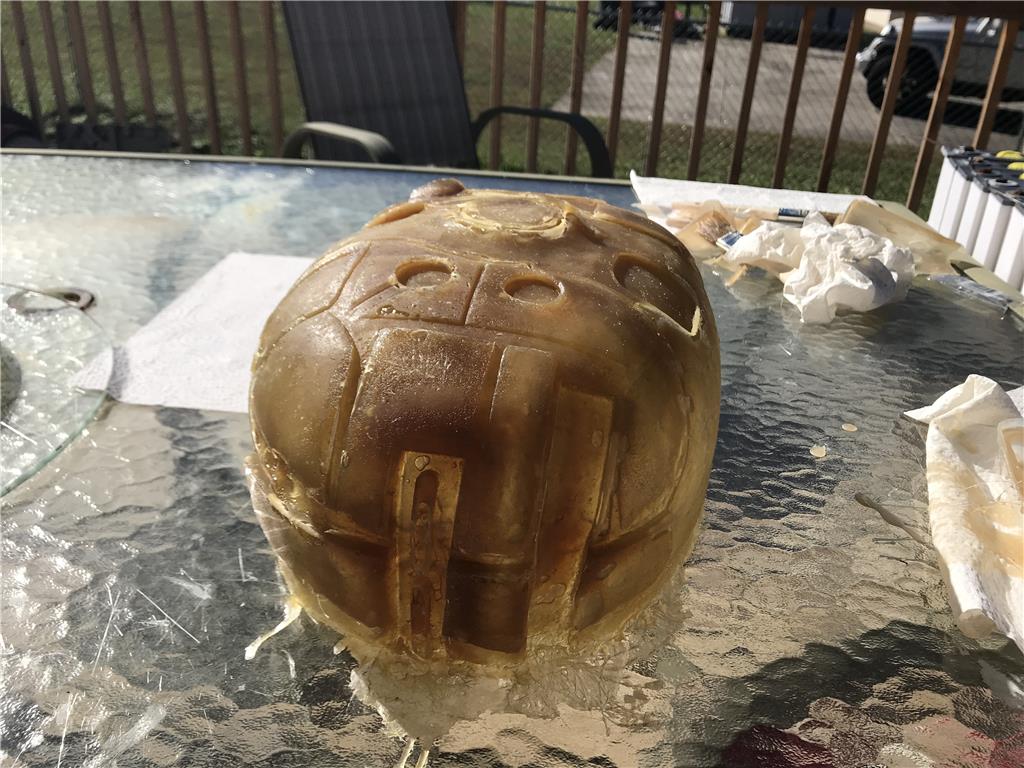
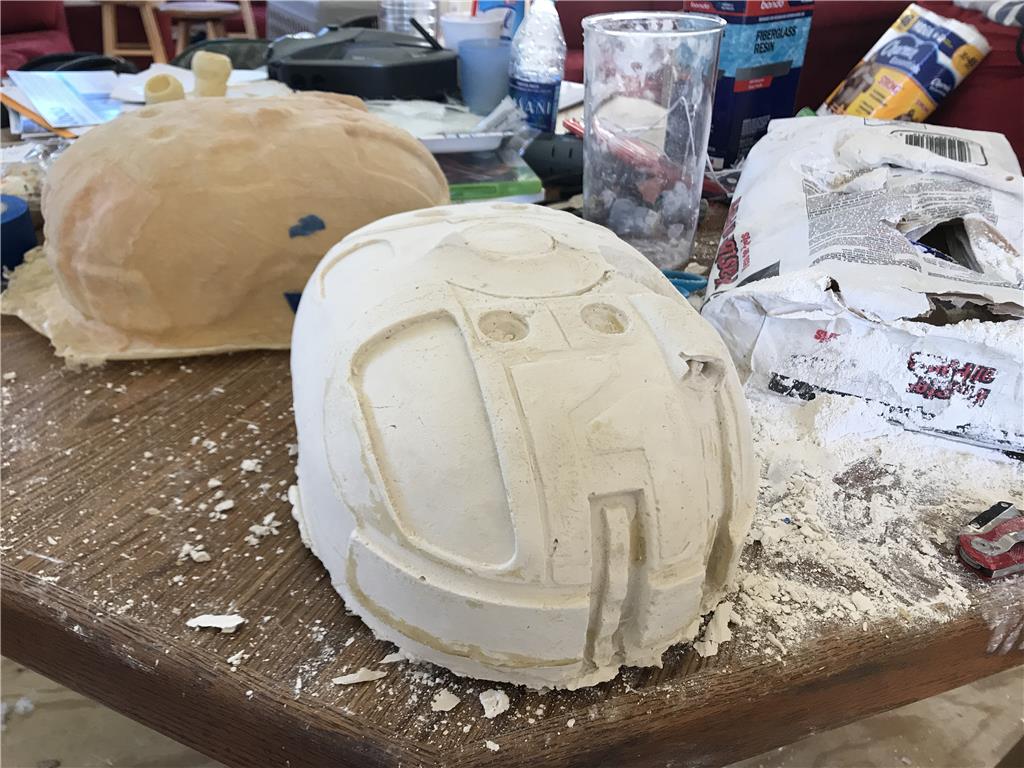
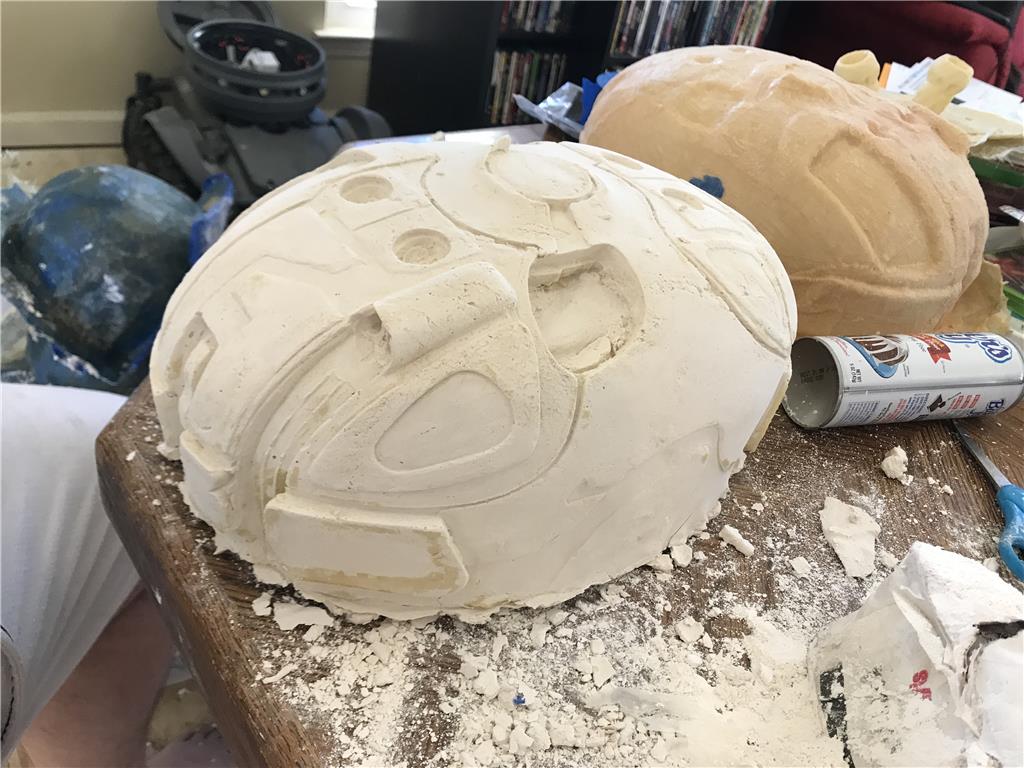
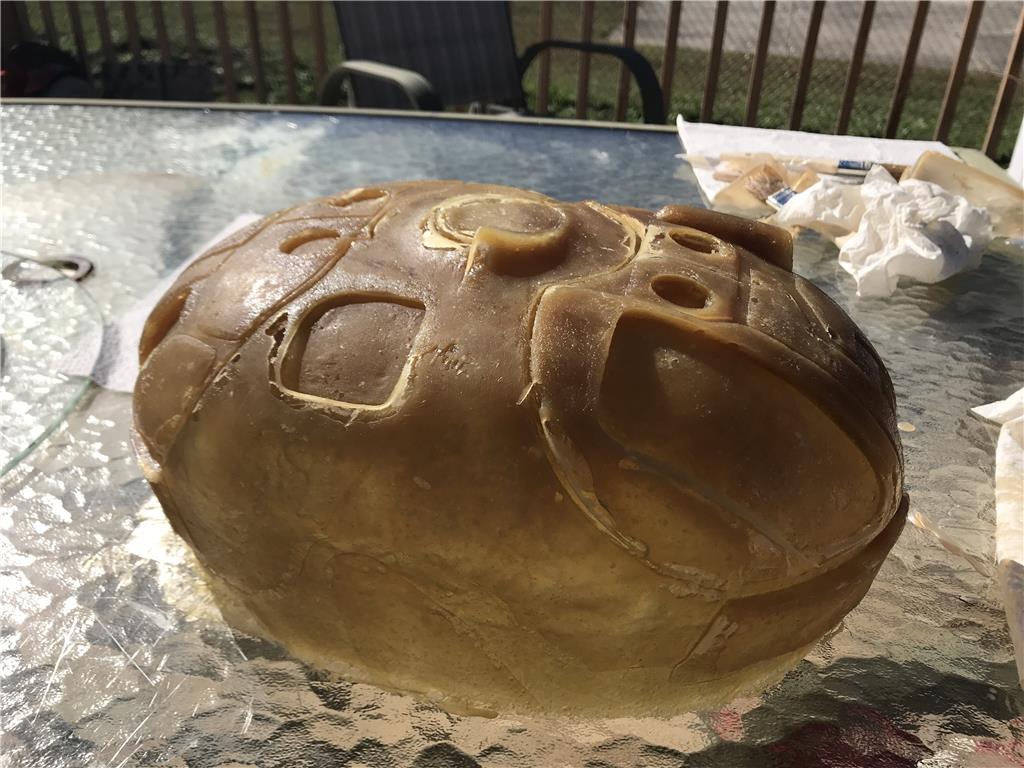
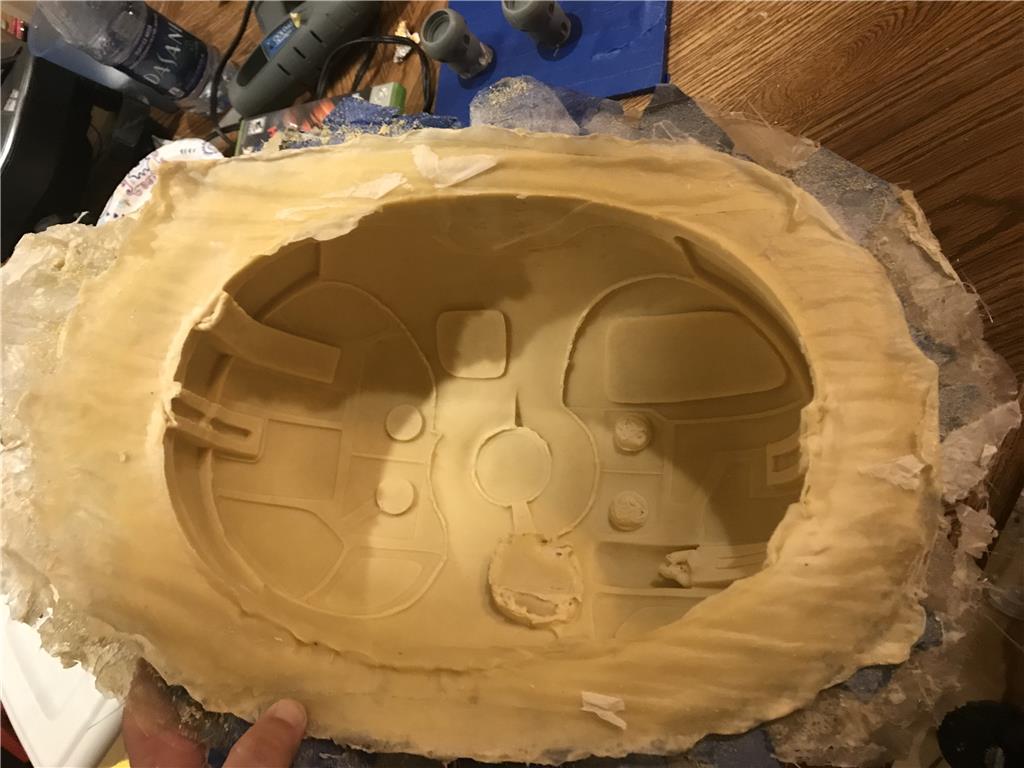
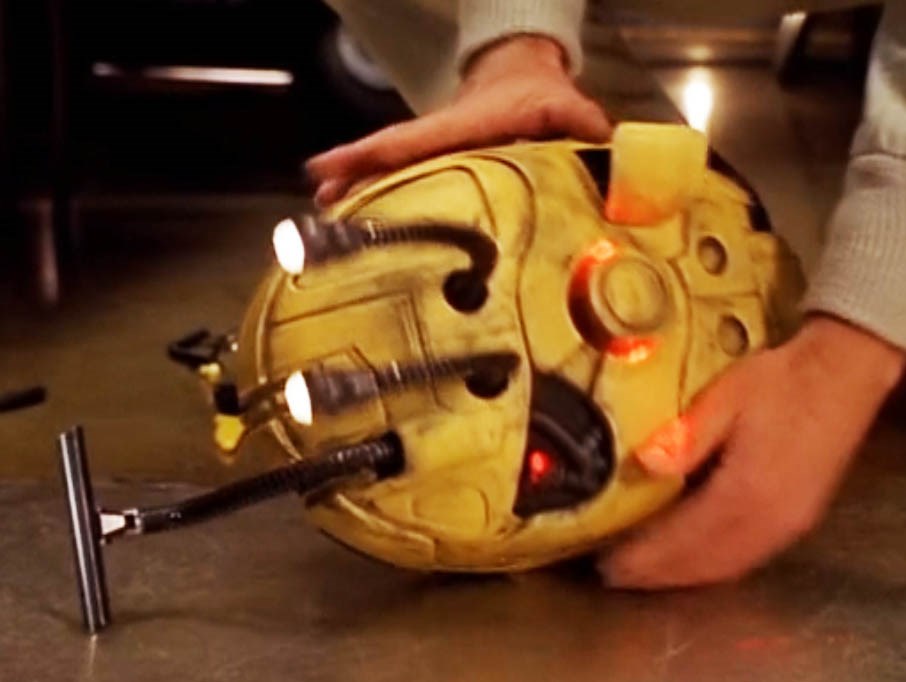
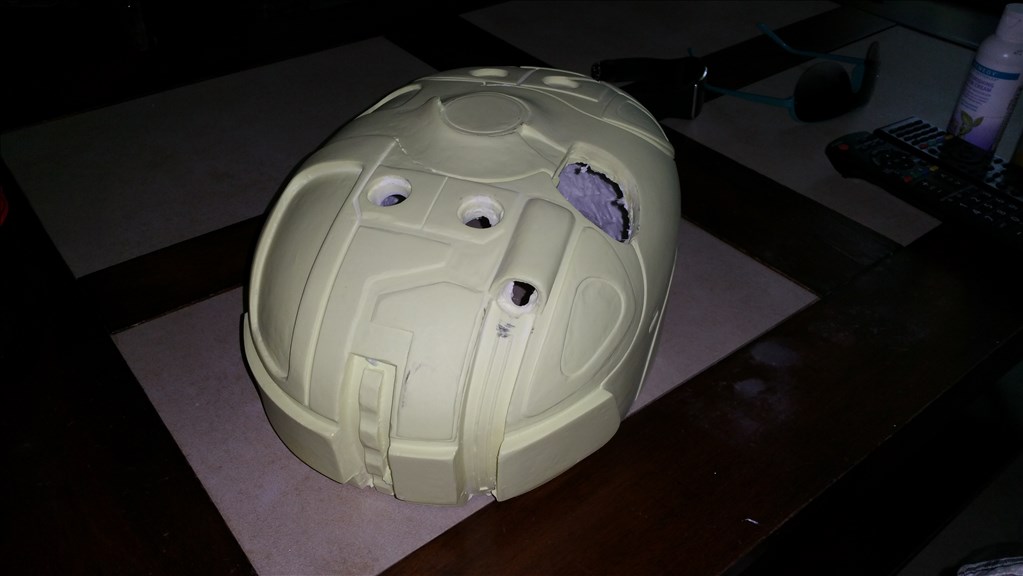
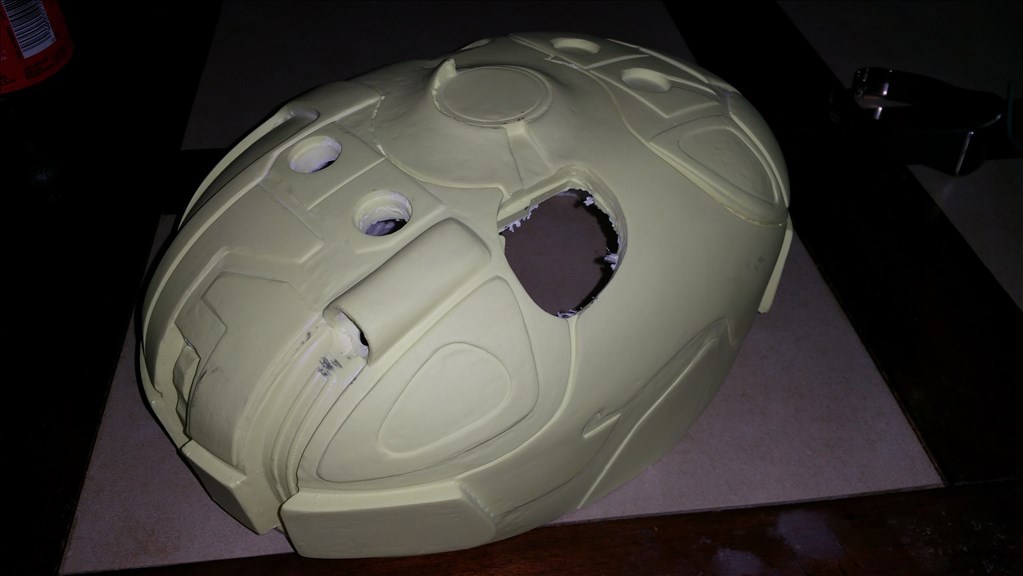
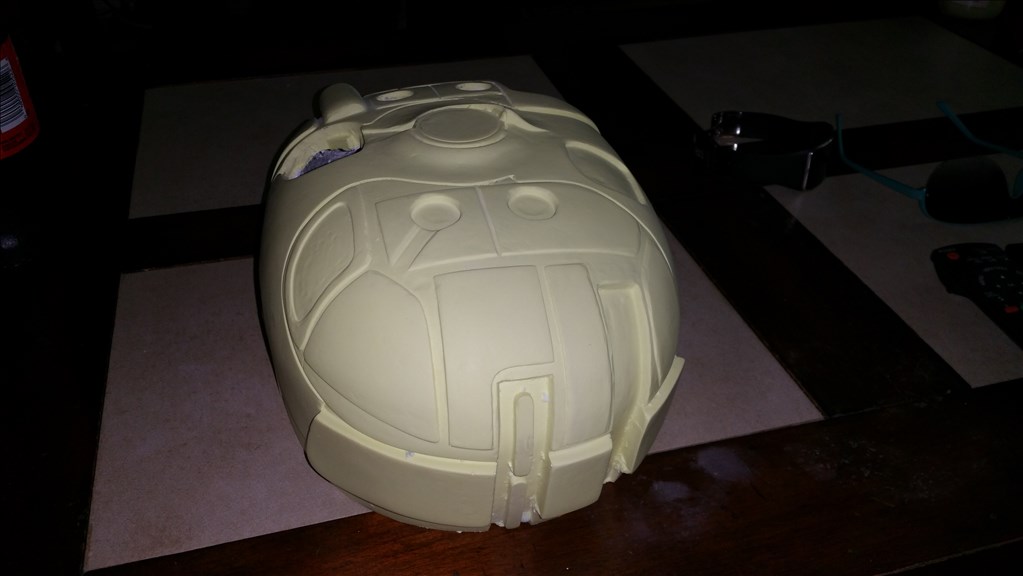
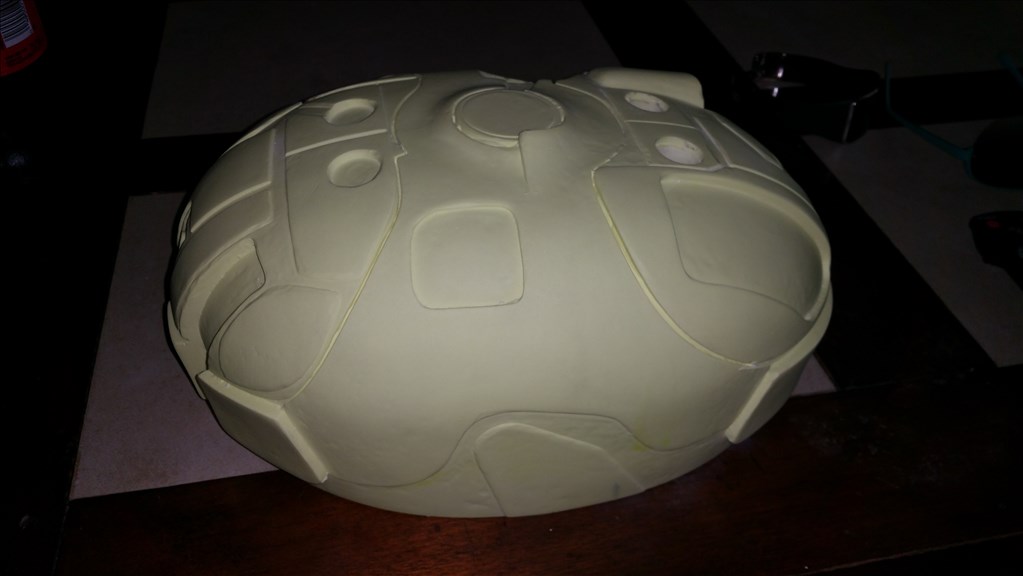
We poked around about doing this a year ago but where to start got us hung up! Due to the DRD Strange shape and size larger that the makerbot , 3d printing the whole shell as one piece was not possible. However drawing details and then applying them to a hand made oval body is totally doable! This is the start of the project , I wanted to get something together that could be shared with the rest of the community. Once details are glued on then you can use a DREMEL to dig out the cavities between details. This is what makes them POP!
By jstarne1
— Last update

Discover more robots
Ezang's Mr. Metal Again 2021 - Made From Servo City Parts -...
Greeting from Mr. Metal wishing everyone well and announcing a body move soon - signed EzAng
Steve's Lynx Robot 1996? Reborn W/Ez Robot
Vintage Lynx robot arm reborn with EZB3, internal LiPo and Synthiam ARC for wireless control, Auto Position and voice...
Rich's My Project Jarvis
Build a physical JARVIS robot with RAD V1 and EZ-B using Synthiam ARC, scripting and house automation integration for...
Hi Jay, As always, A super project... I look forward to the next steps.
@Andy Roid , Thanks!
Now who all is interested in getting their very own DRD kit?!
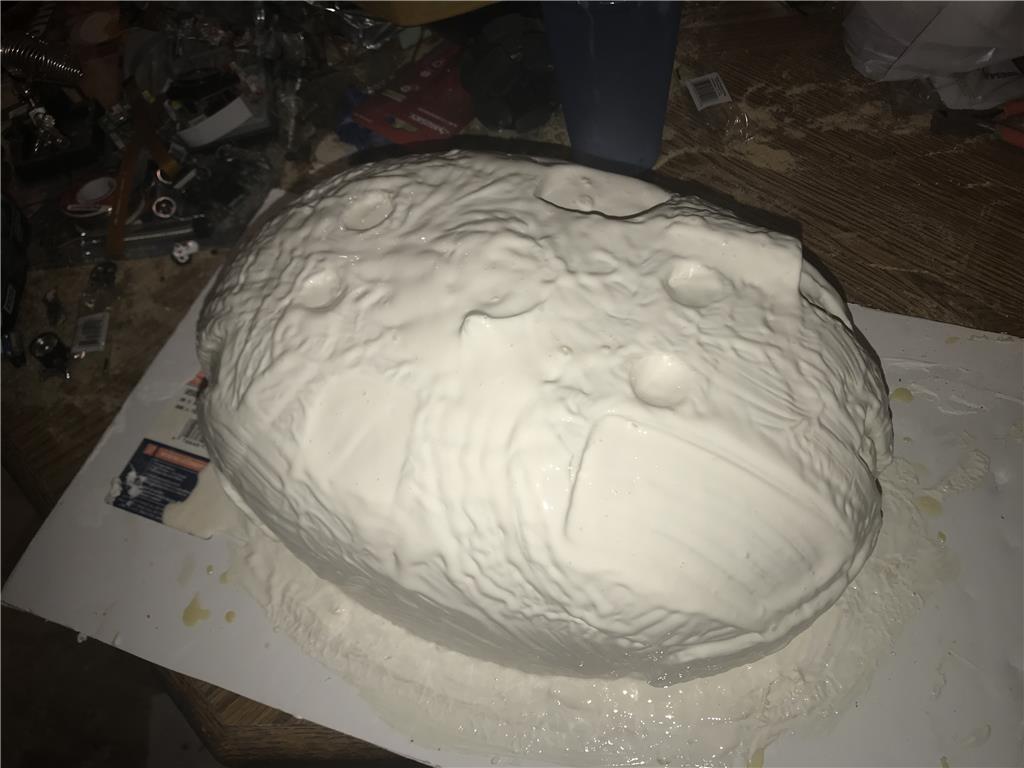
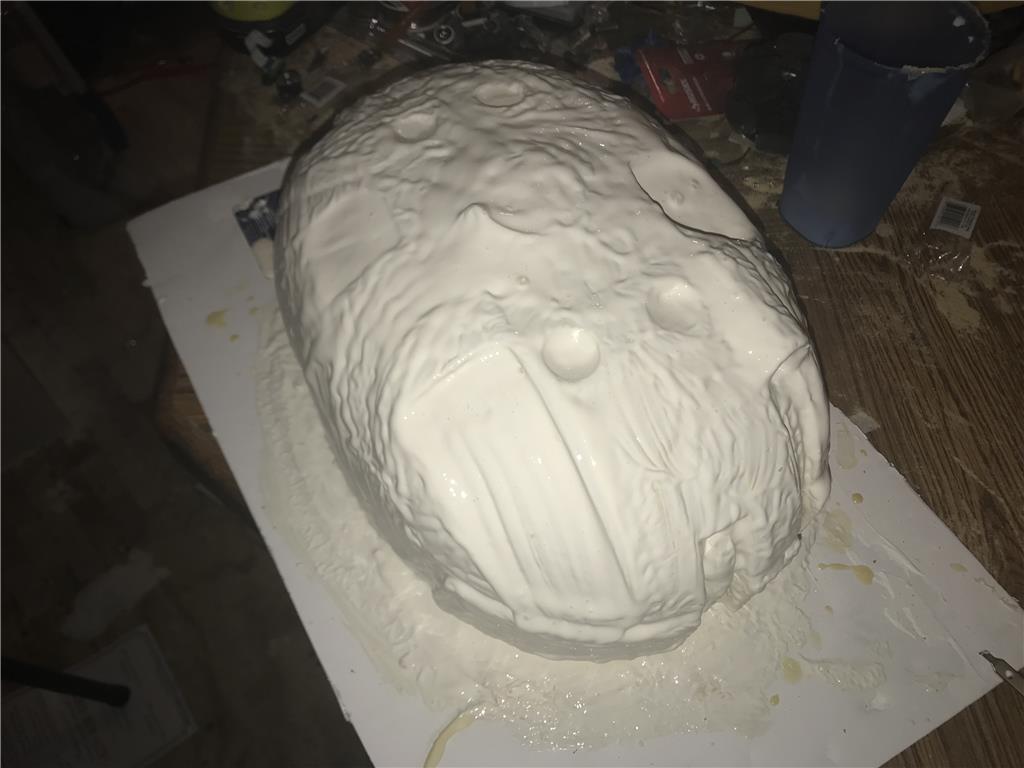
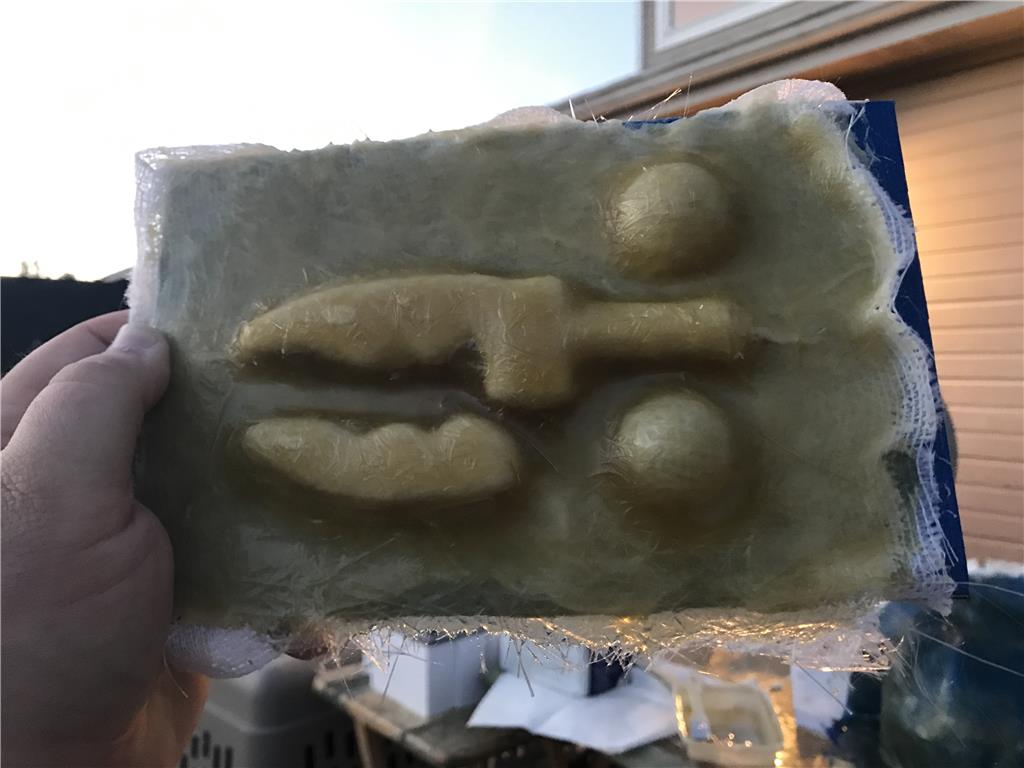
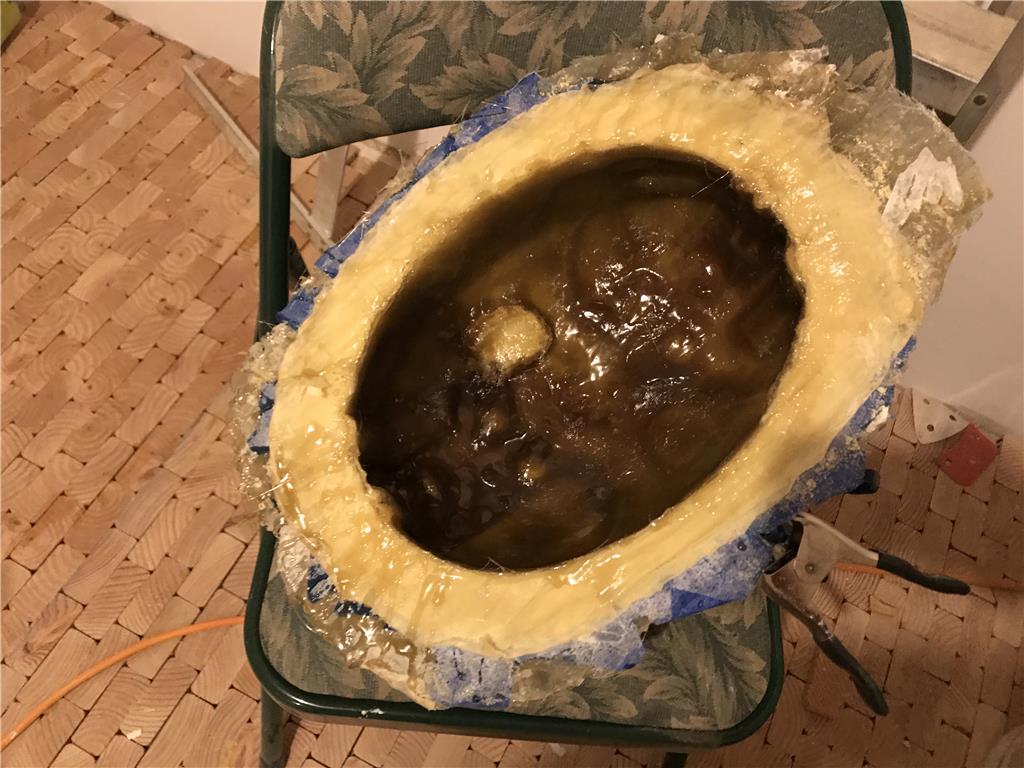
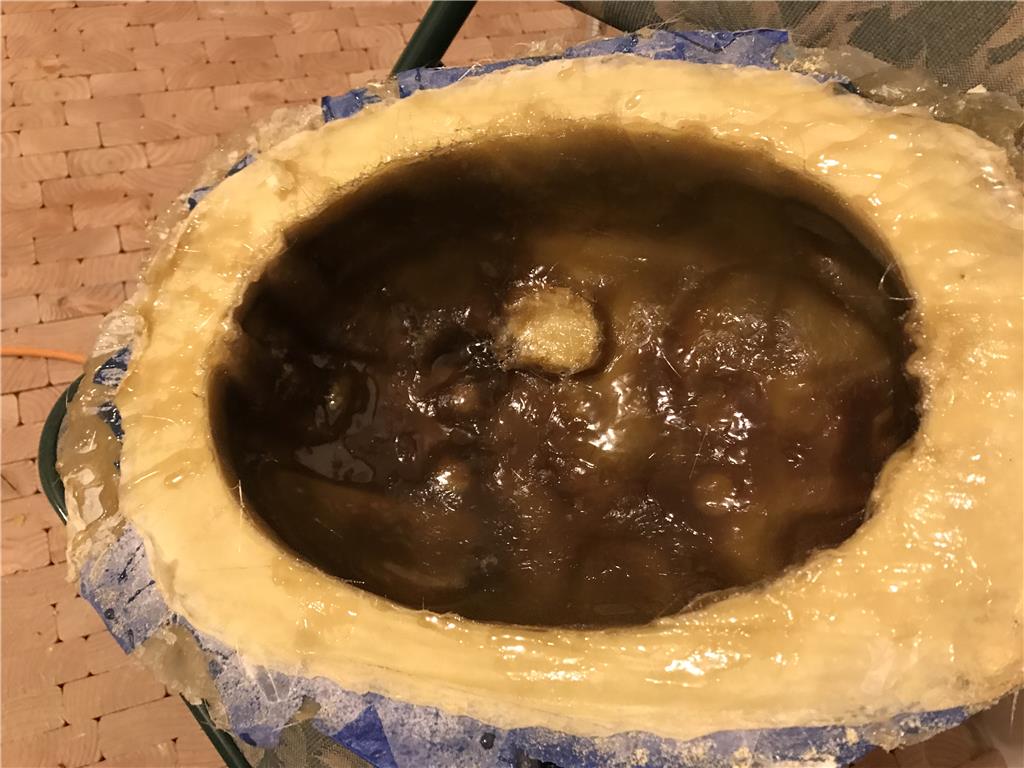
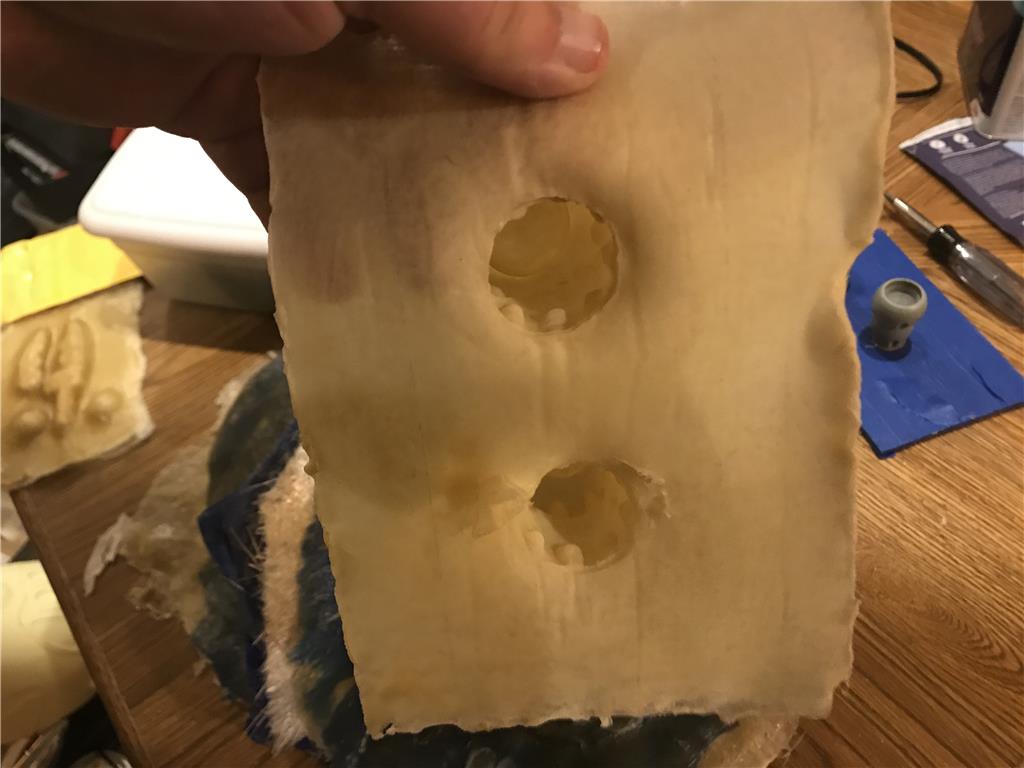
Fiberglass and resin goes into the mold, I used canola cooking spray as a mold release. I will let it sit overnight and go from there.
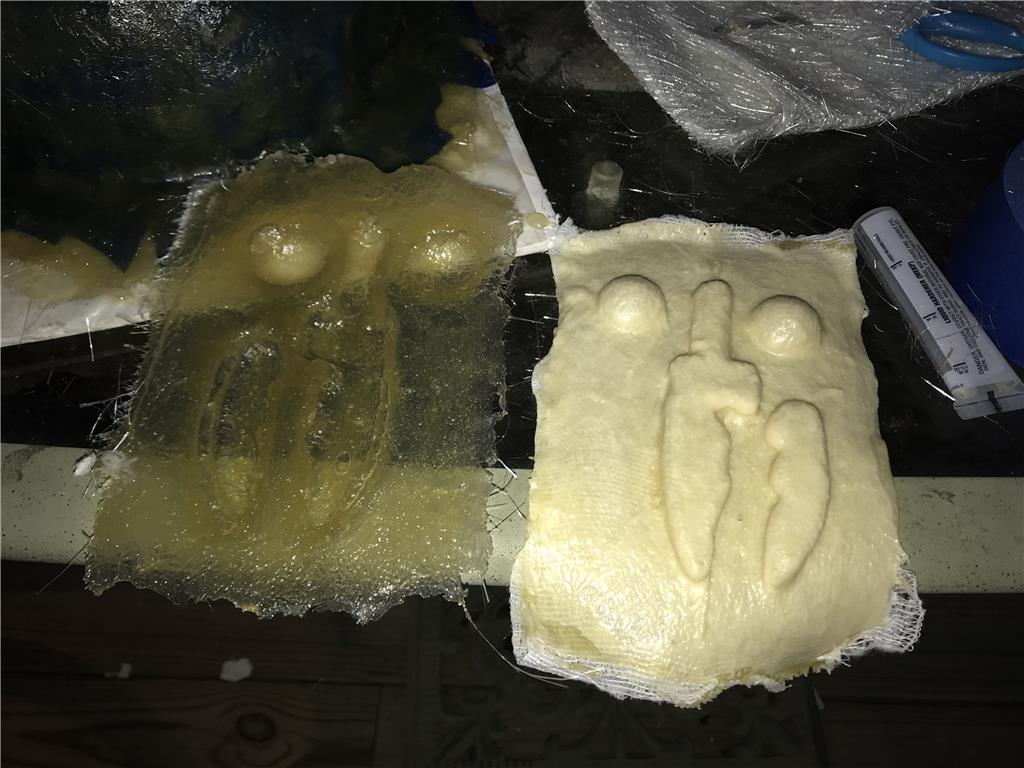
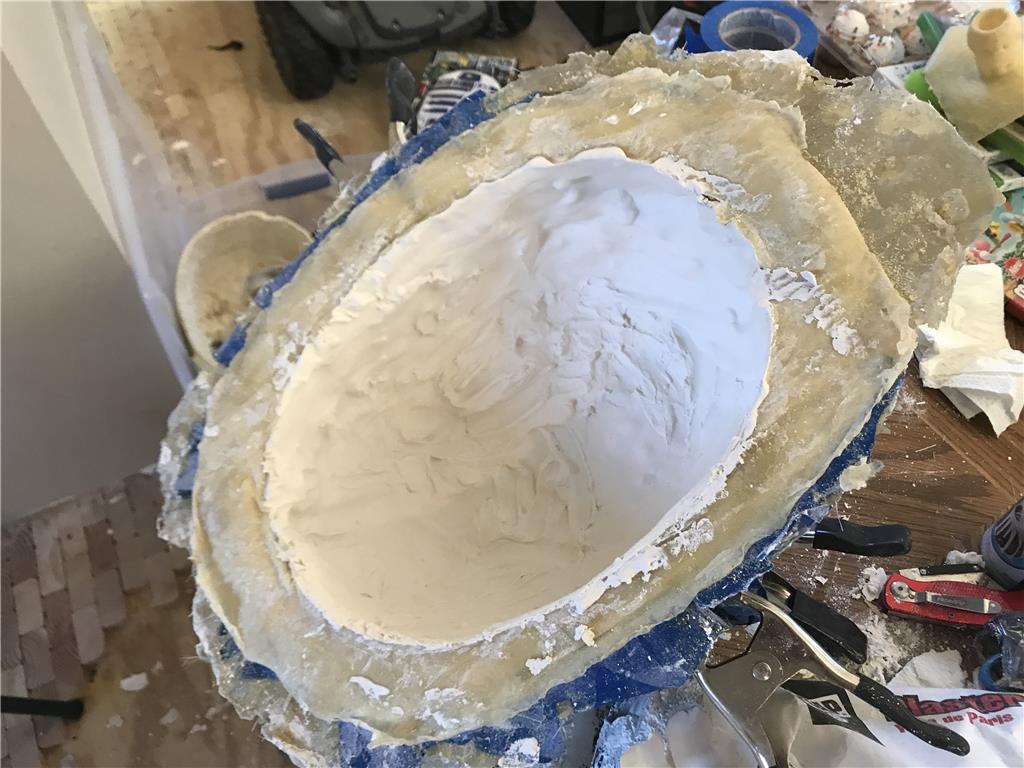
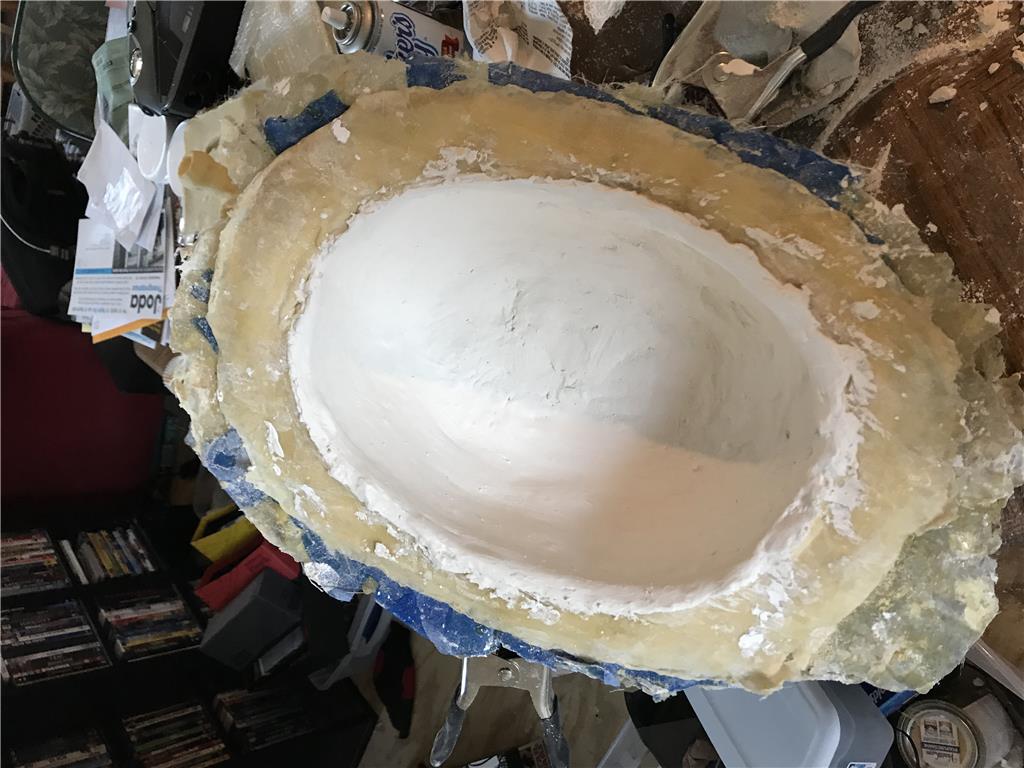
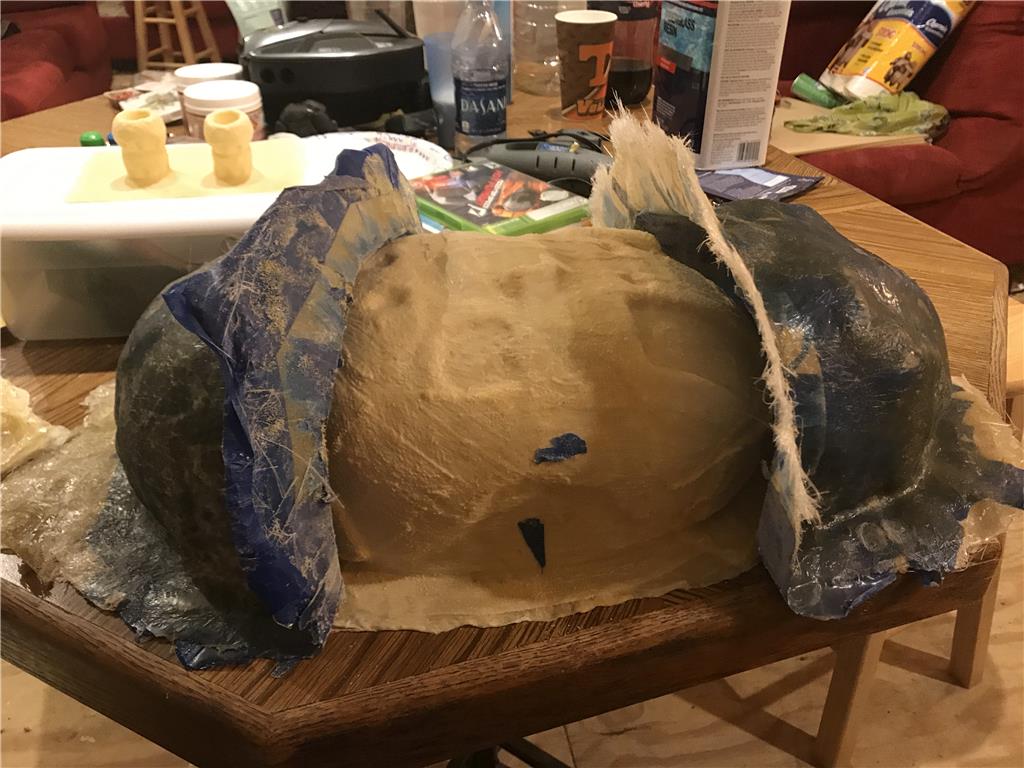
Quick try on fiberglass and plaster , I will need to do a liquid rotary cast to get the plaster just right.
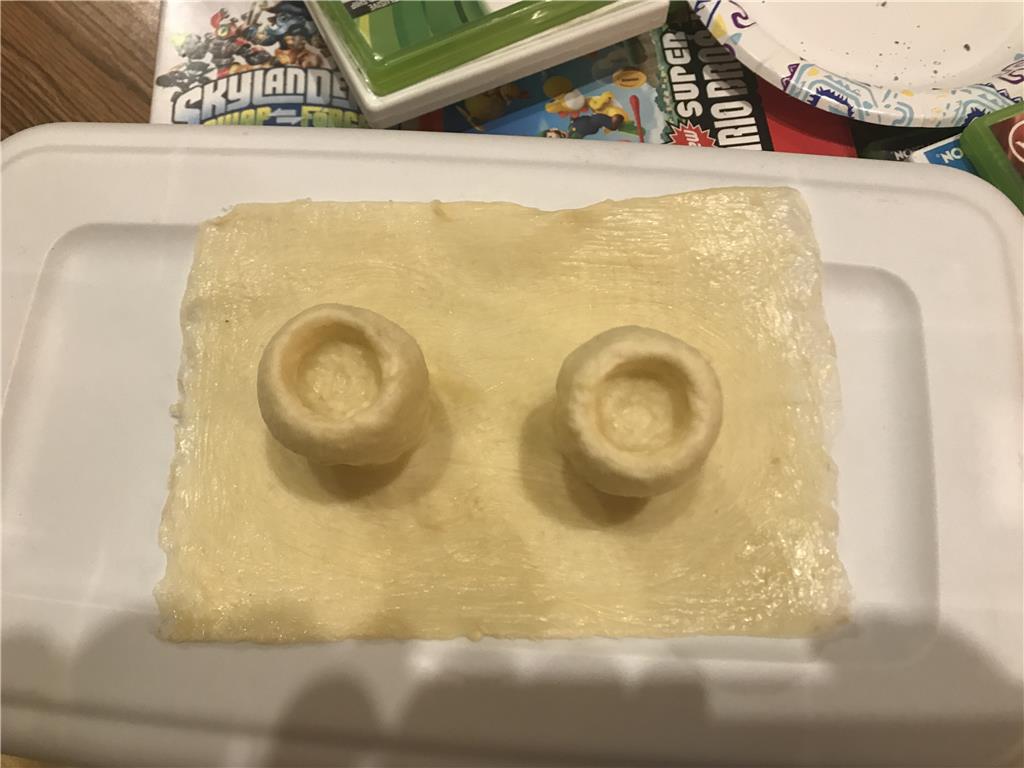
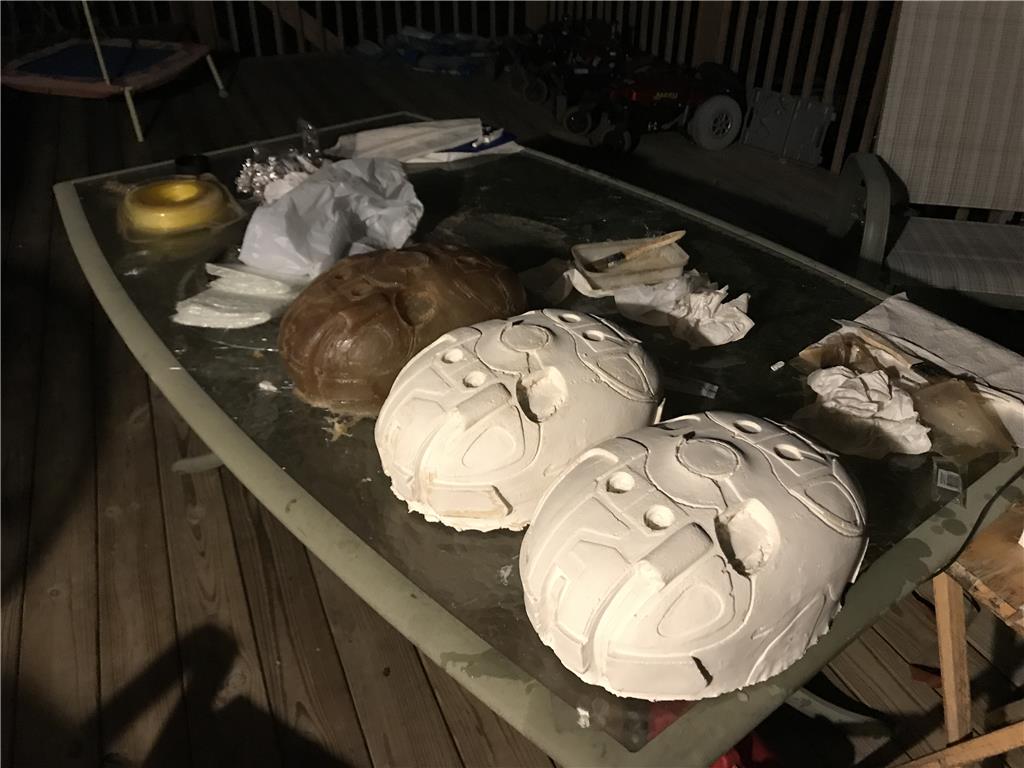
Brush method sucks for ceramics so instead I tried the 2 to 1 water to plaster ratio and turned the mold slowly to make a 1/8" coat each pass , I did three passes. It turns out much cleaner and minimizes waste this way.
These first two plaster copies of my DRD are on the way to EZ-Robot! I hope DJ and Jeremie finish them and enjoy my little contribution to the fandom of Farscape and science fiction.
cool pics