
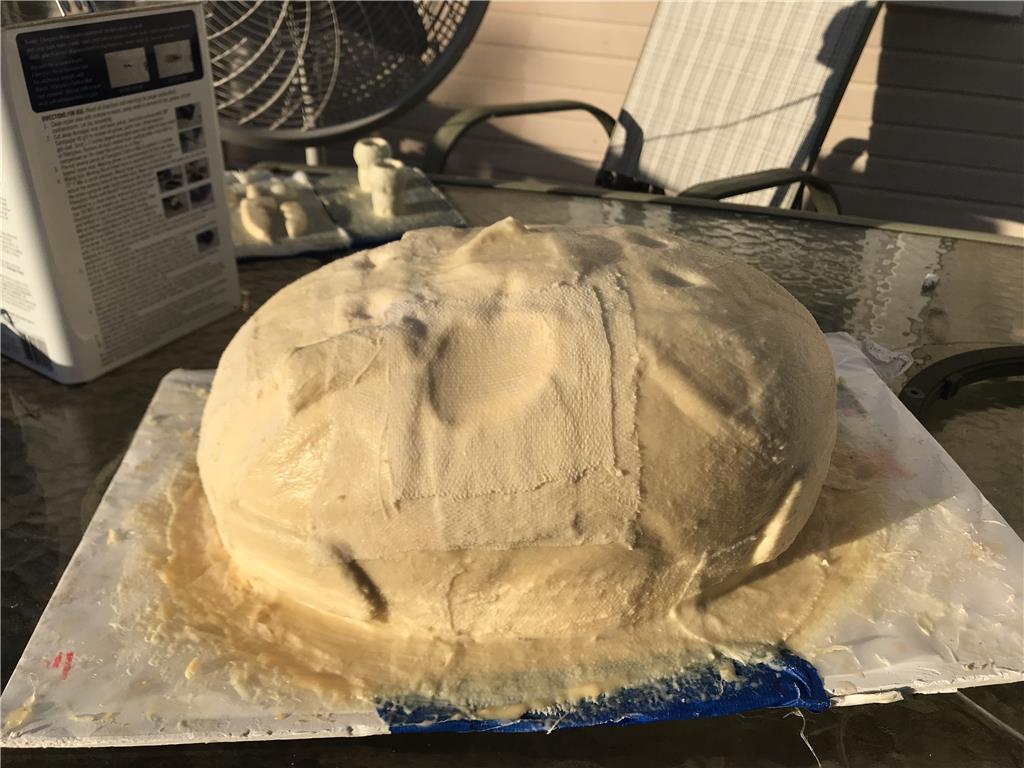
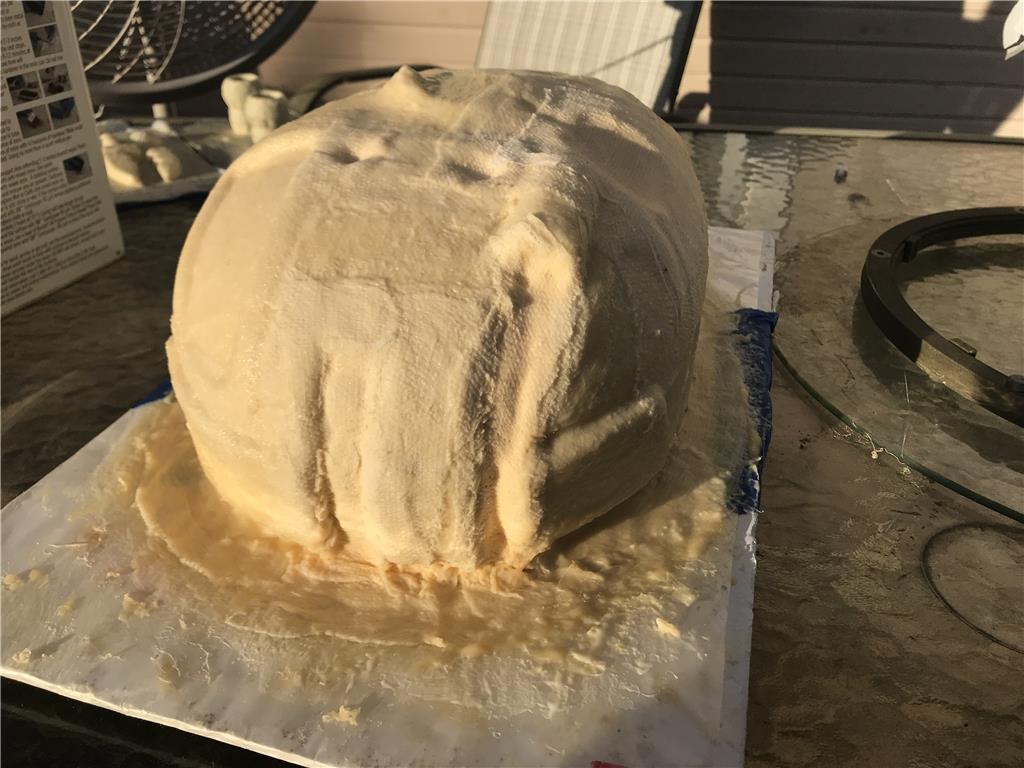


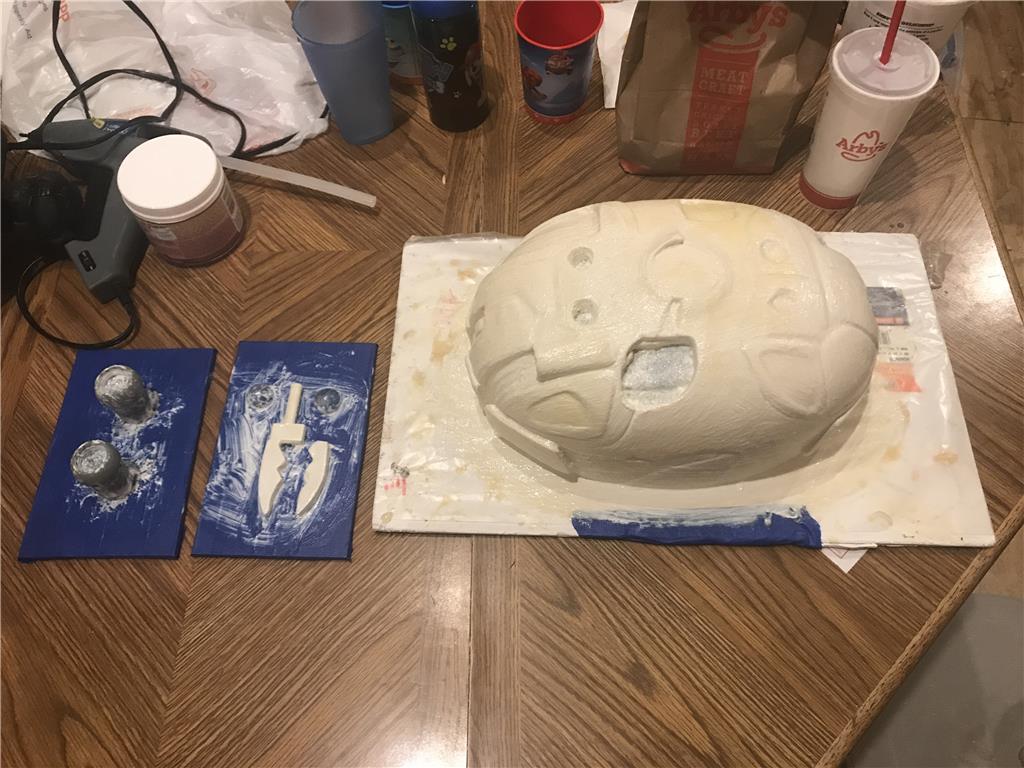

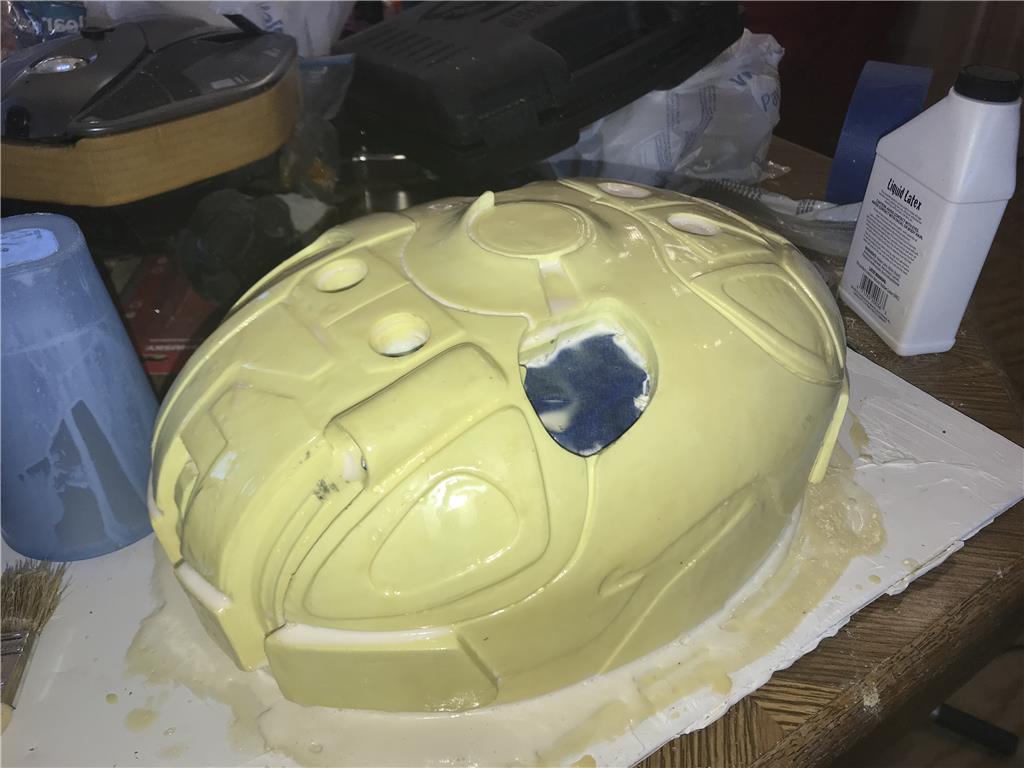
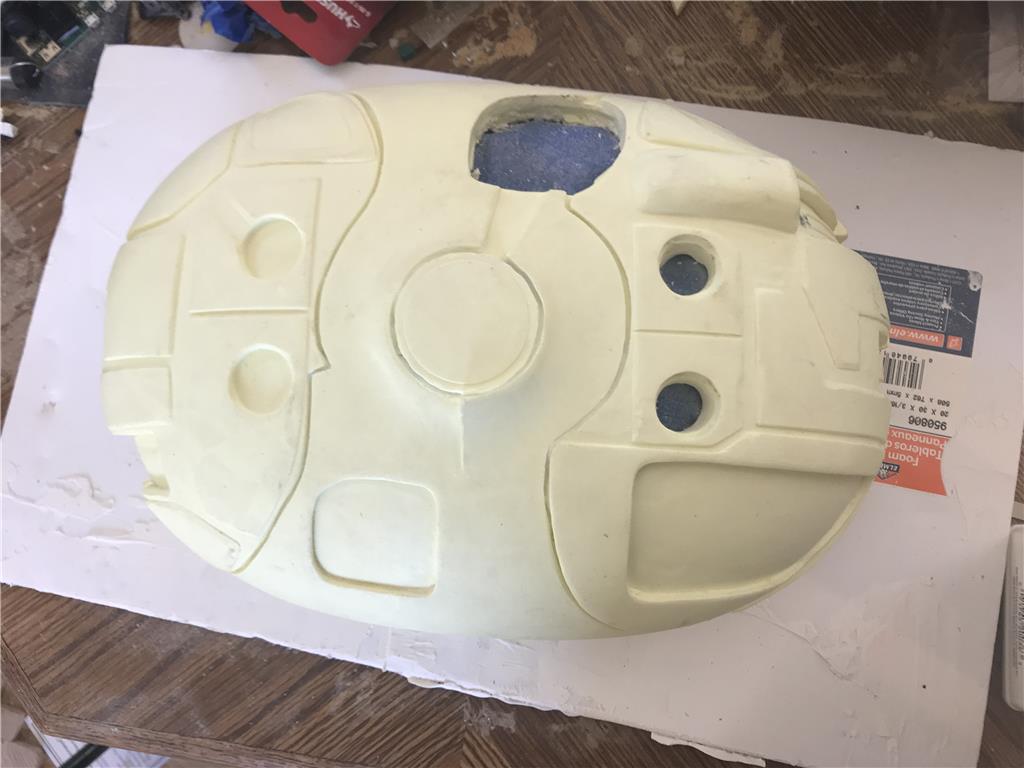
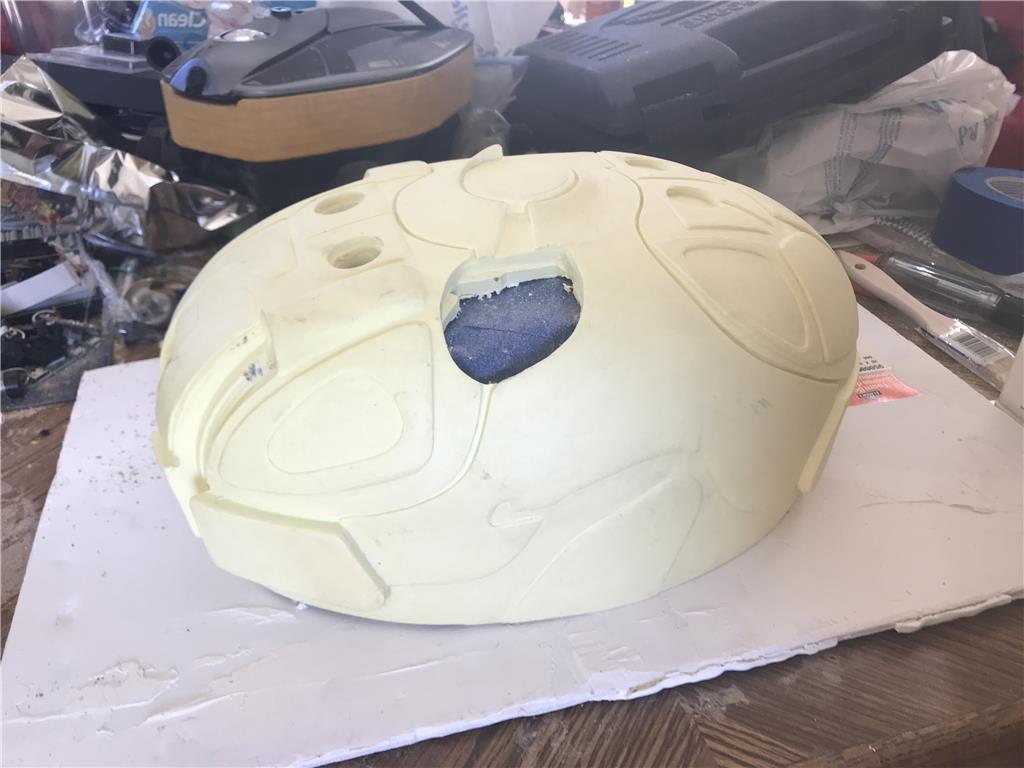
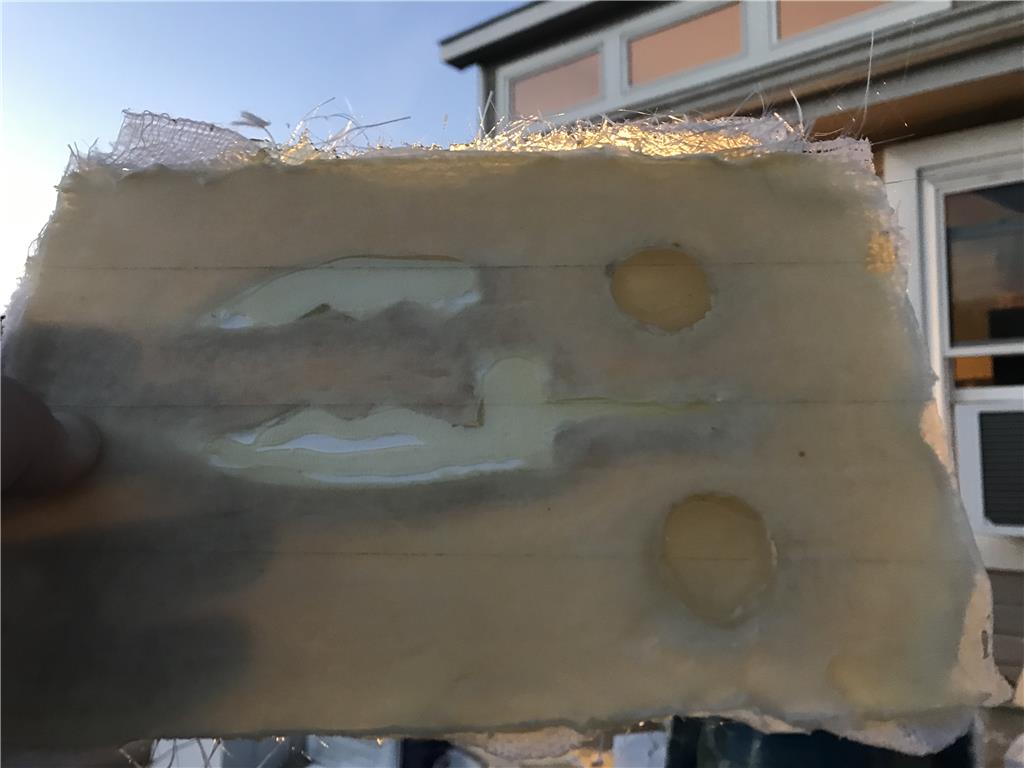

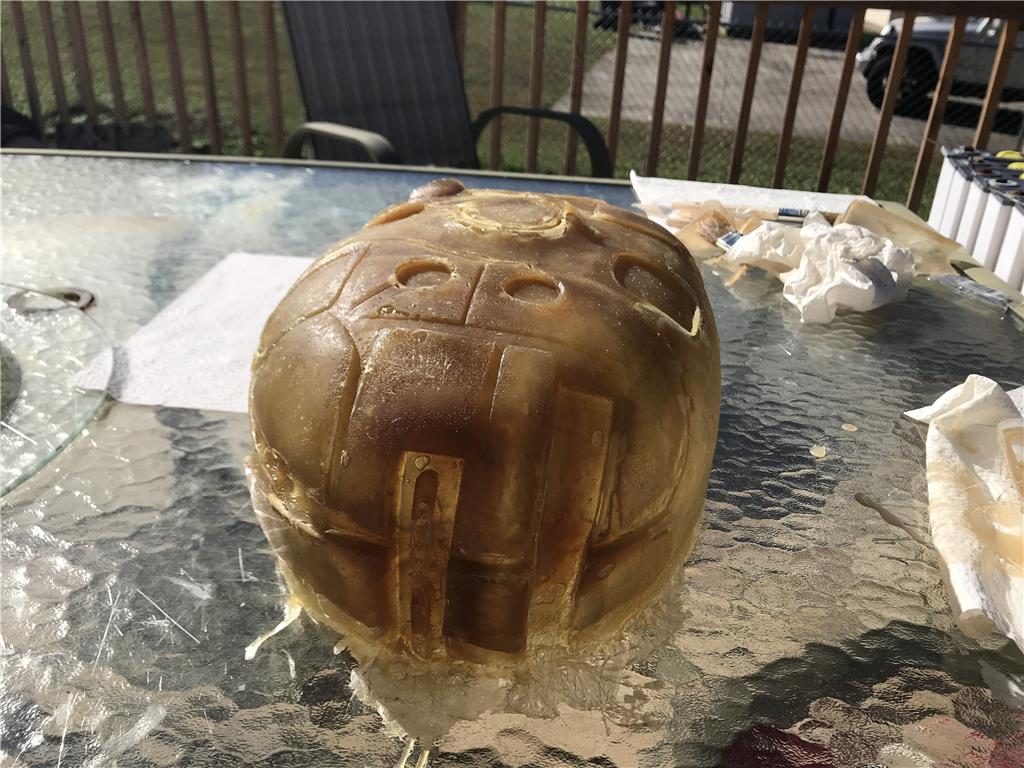
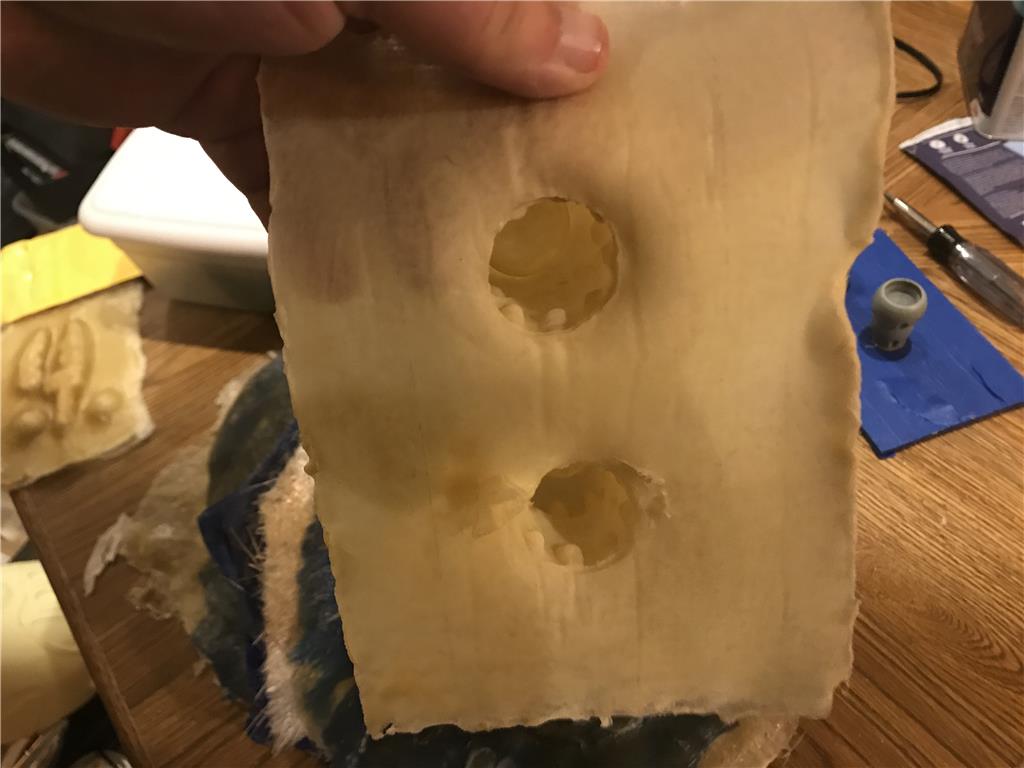


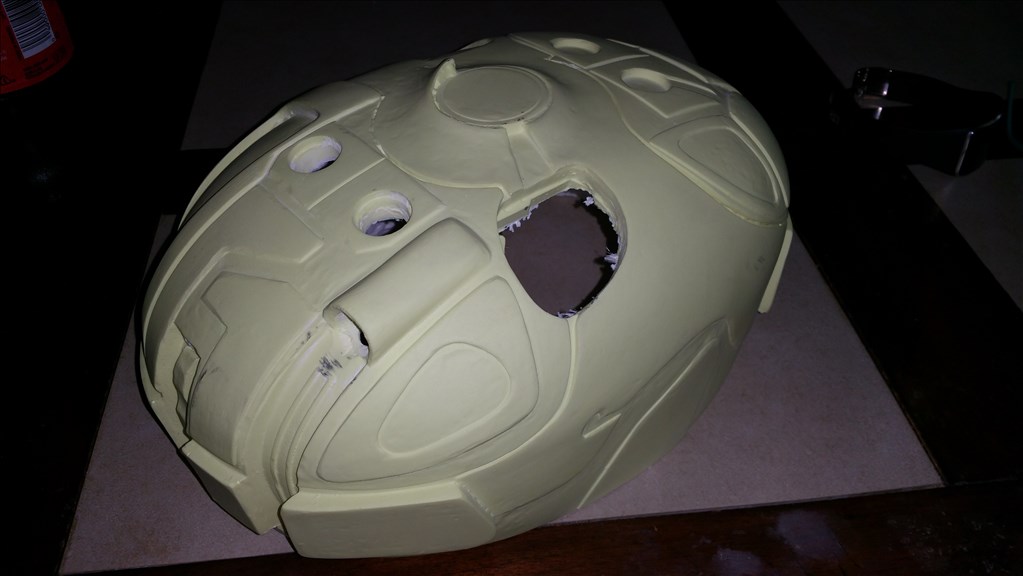
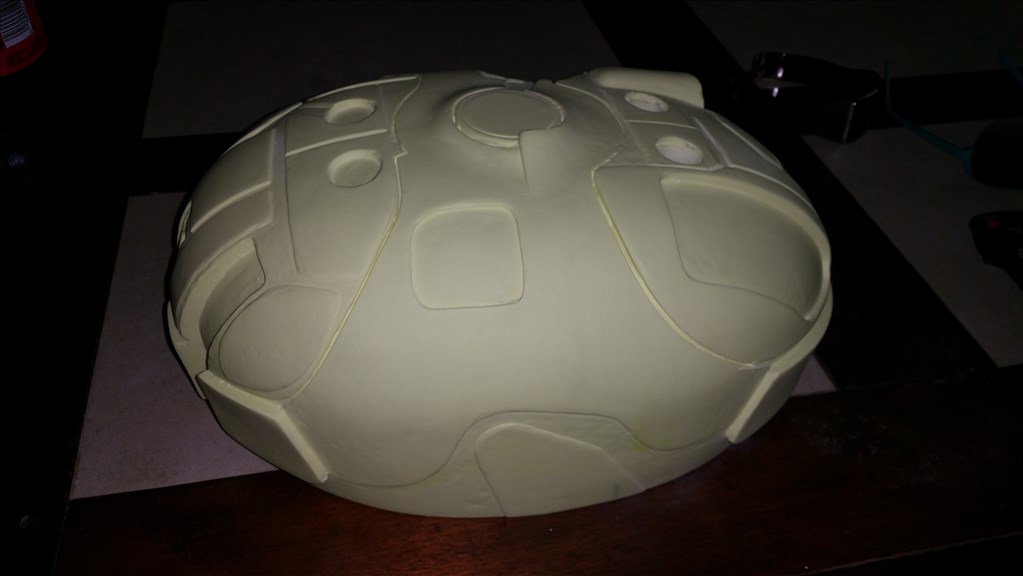
We poked around about doing this a year ago but where to start got us hung up! Due to the DRD Strange shape and size larger that the makerbot , 3d printing the whole shell as one piece was not possible. However drawing details and then applying them to a hand made oval body is totally doable! This is the start of the project , I wanted to get something together that could be shared with the rest of the community. Once details are glued on then you can use a DREMEL to dig out the cavities between details. This is what makes them POP!
By jstarne1
— Last update
Discover more robots
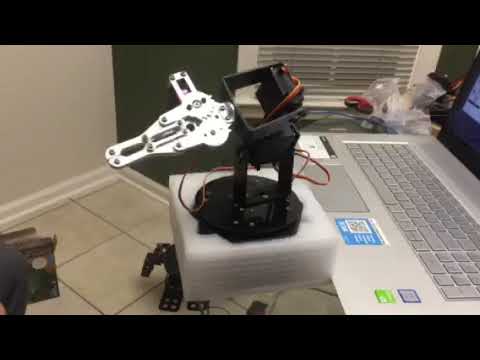
Ezang's My First Video Of My Metal Arm Gripper Nov. 7, 2019
Control Mr. Metal arm gripper with Synthiam ARC and Arduino for precise robotic manipulation; initial demo and upcoming...
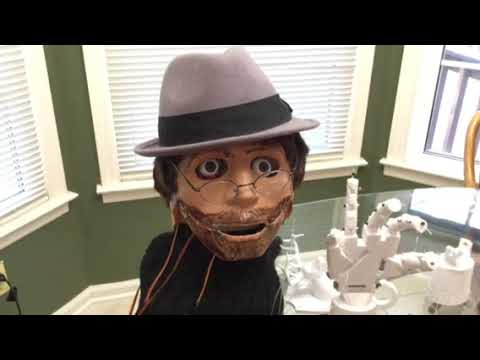
Ezang's Happy New Year To All From Ezang And Family And...
Happy New Year from EzAng, family and Roman the robot, grateful to robot friends for teaching so much and promising more...
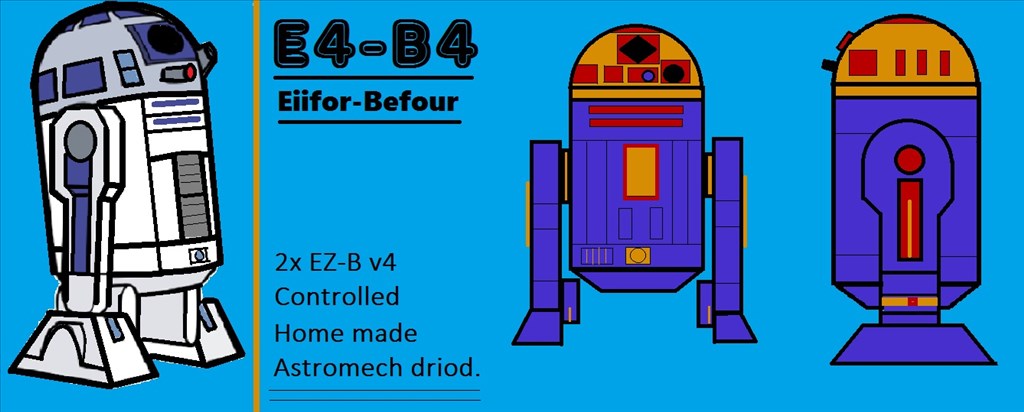
Steve's E4-B4 Build Diary. (R2-D2's Little Brother)
Build a custom Astromech Smartdroid E4-B4 with dual EZ-B v4 controllers, tablet chest, pico projector, 12V drive motors,...

Hi Jay, As always, A super project... I look forward to the next steps.
@Andy Roid , Thanks!
Now who all is interested in getting their very own DRD kit?!
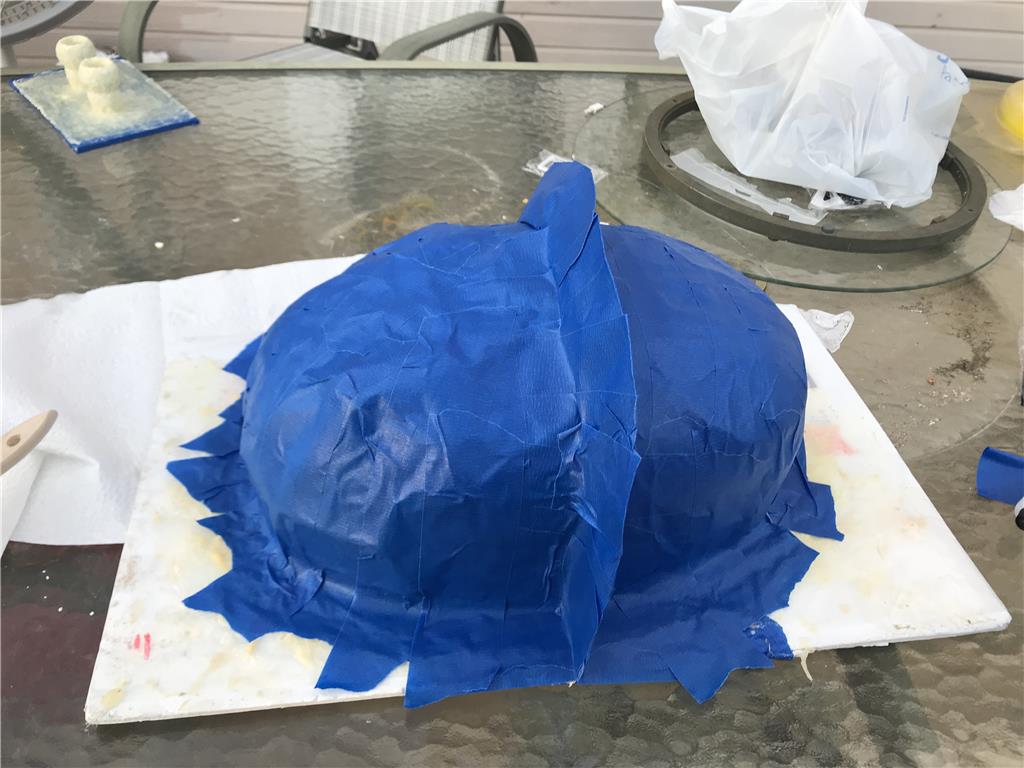
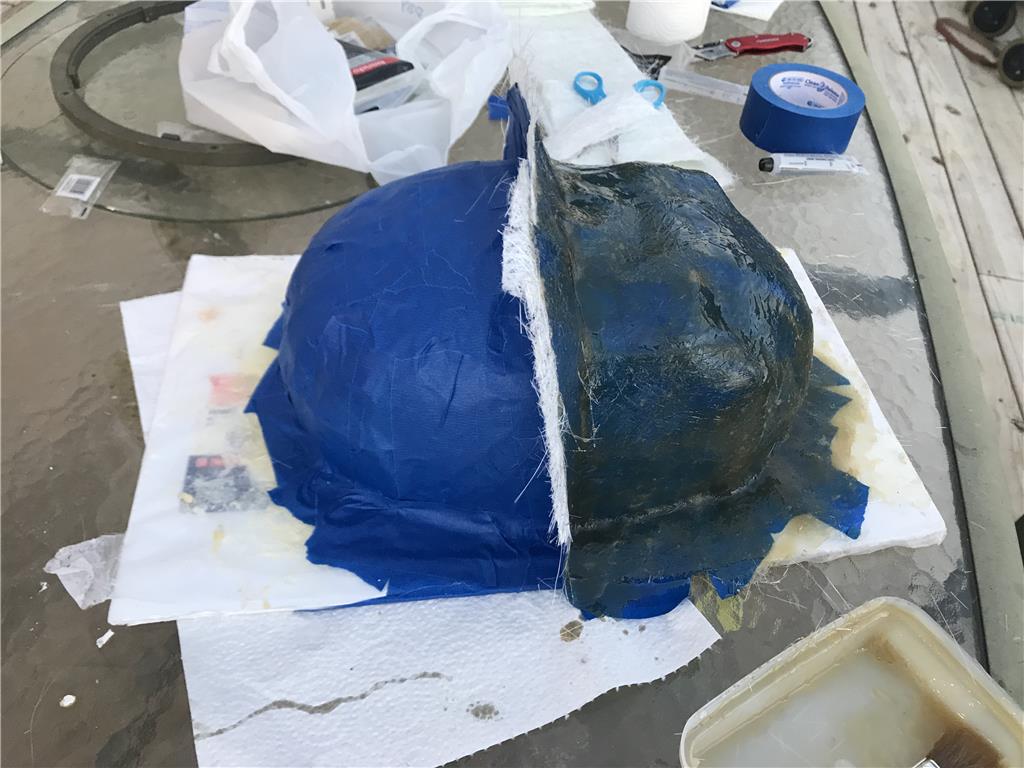
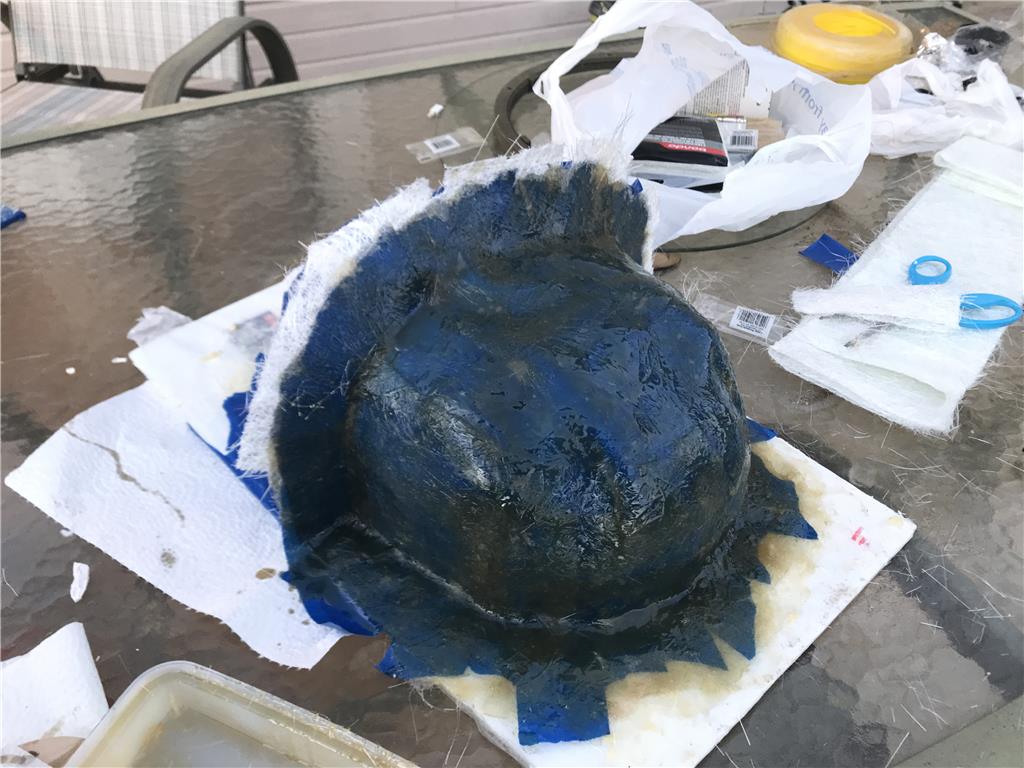
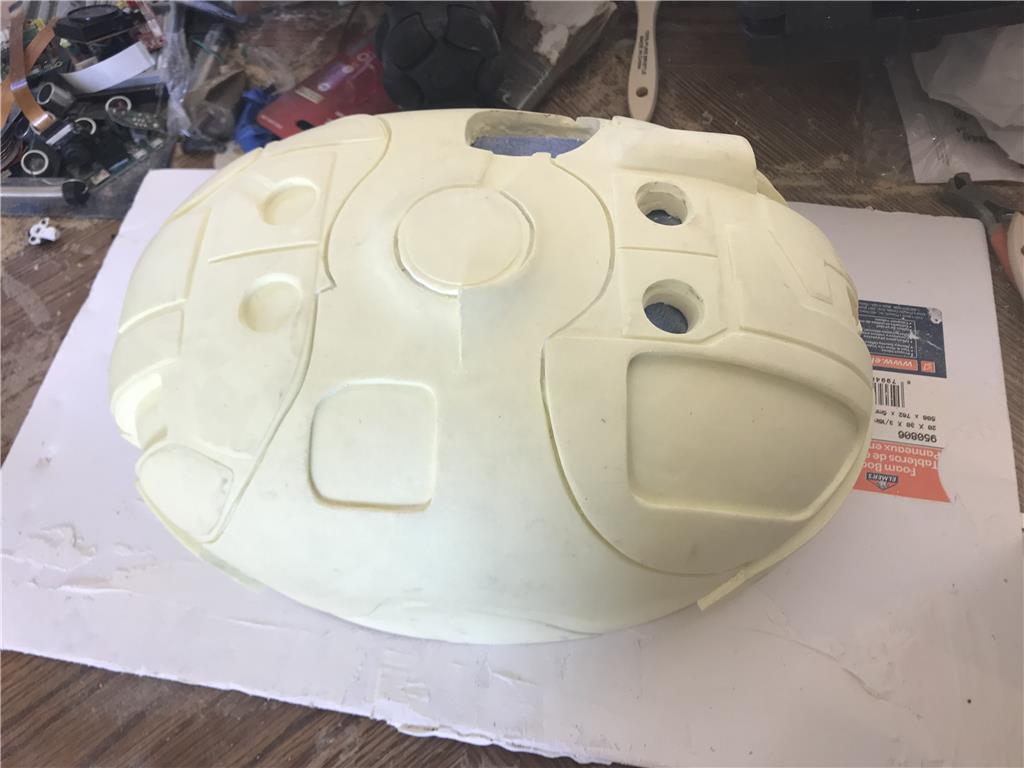
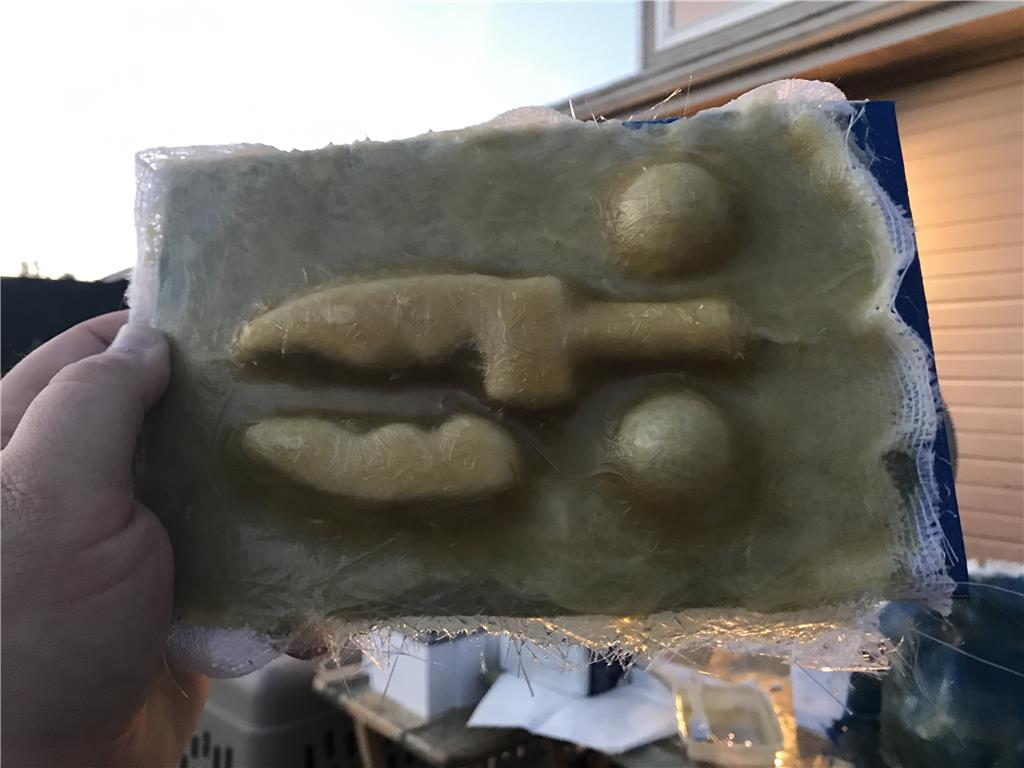
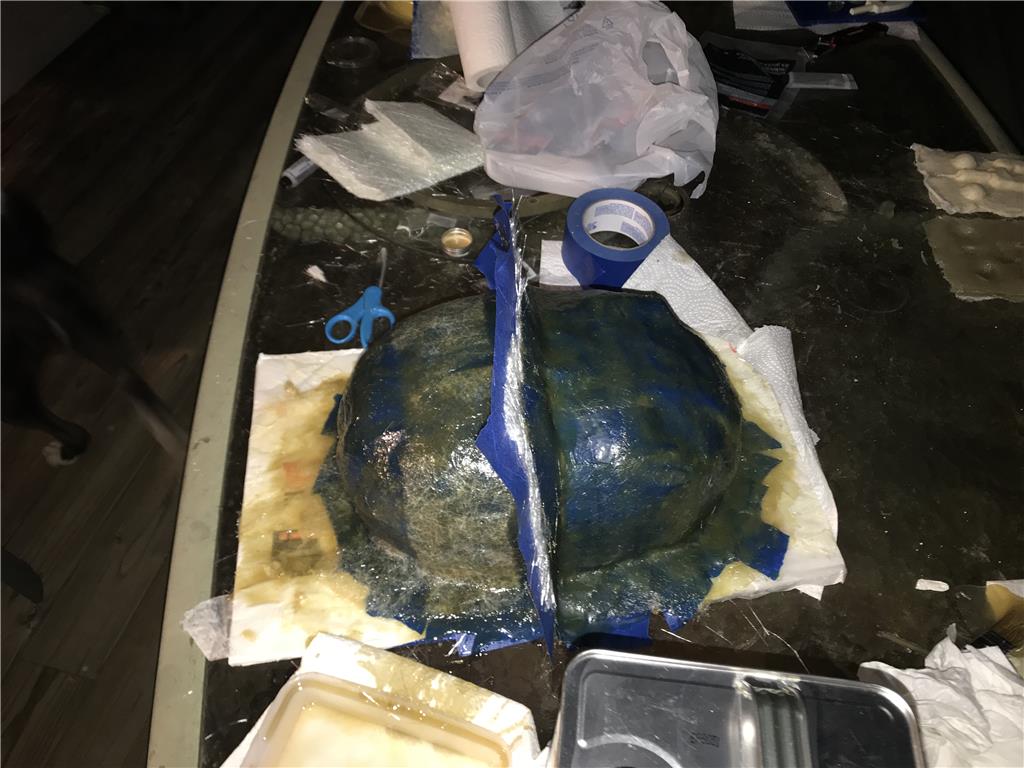
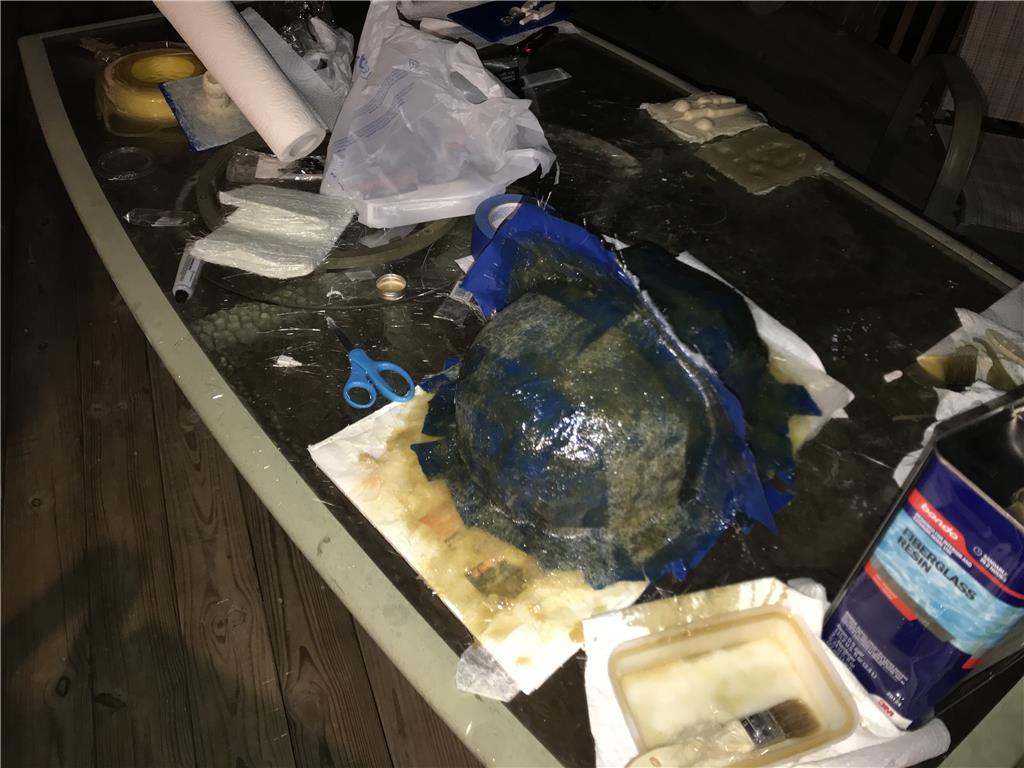
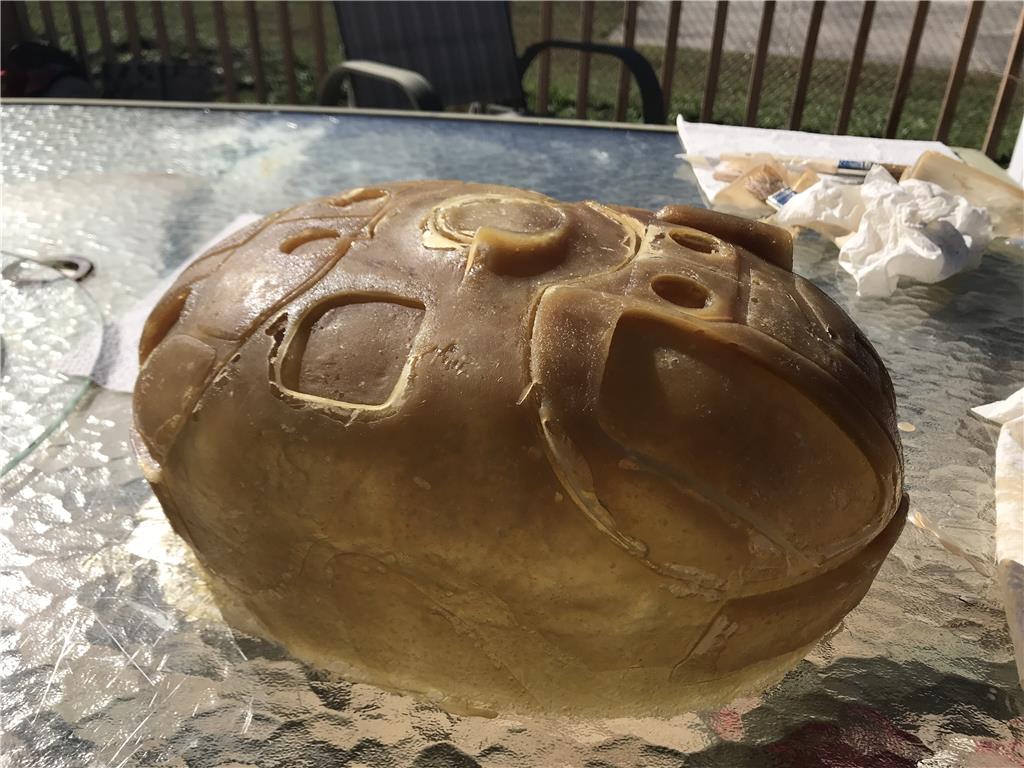
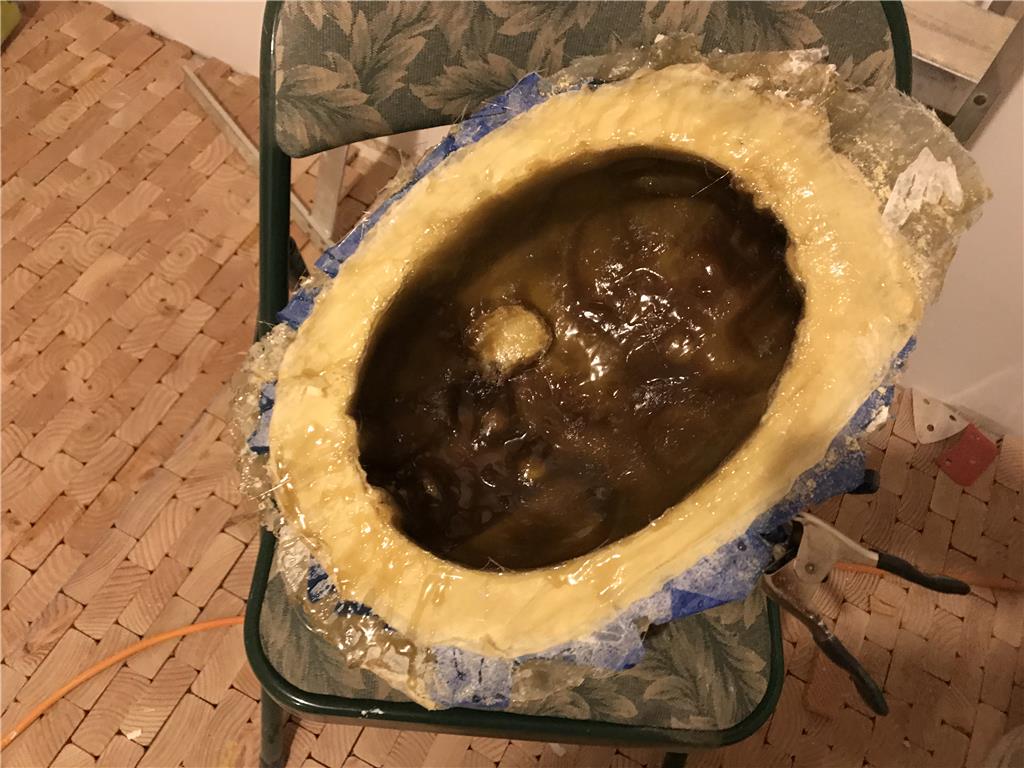
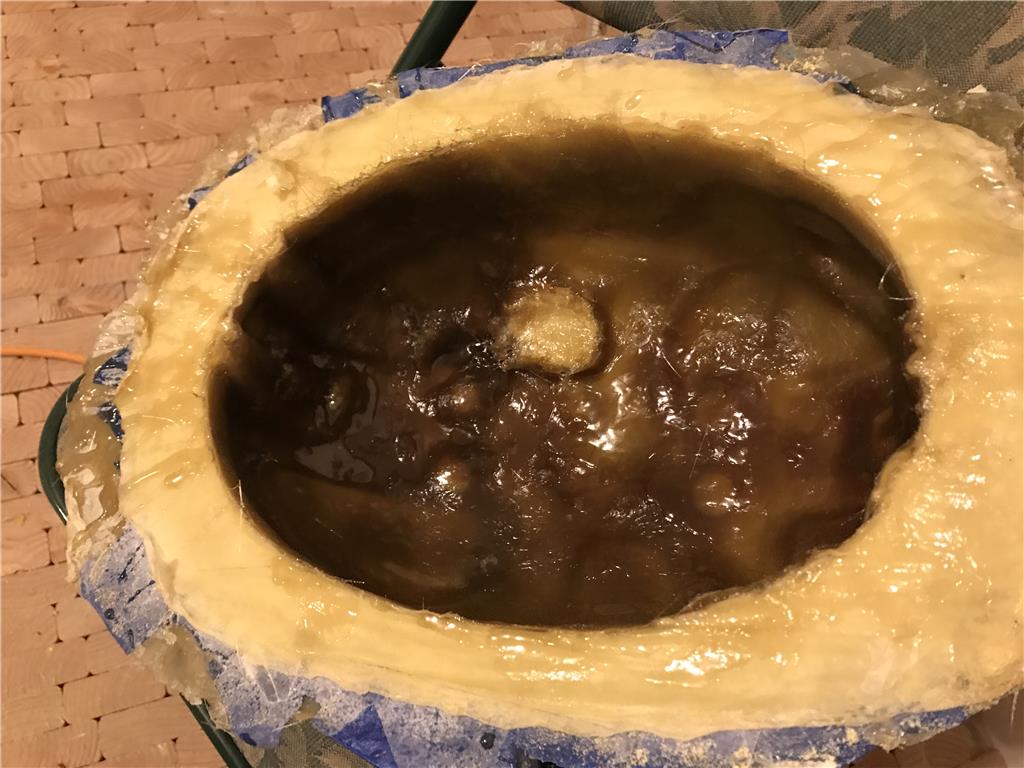
Fiberglass and resin goes into the mold, I used canola cooking spray as a mold release. I will let it sit overnight and go from there.
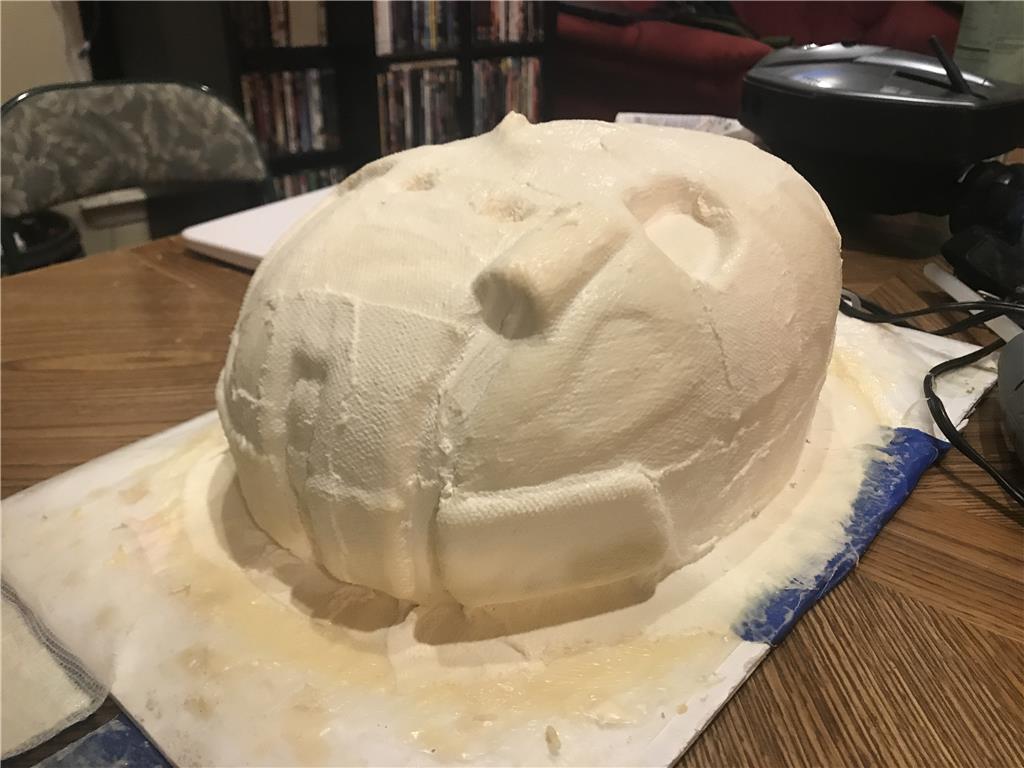
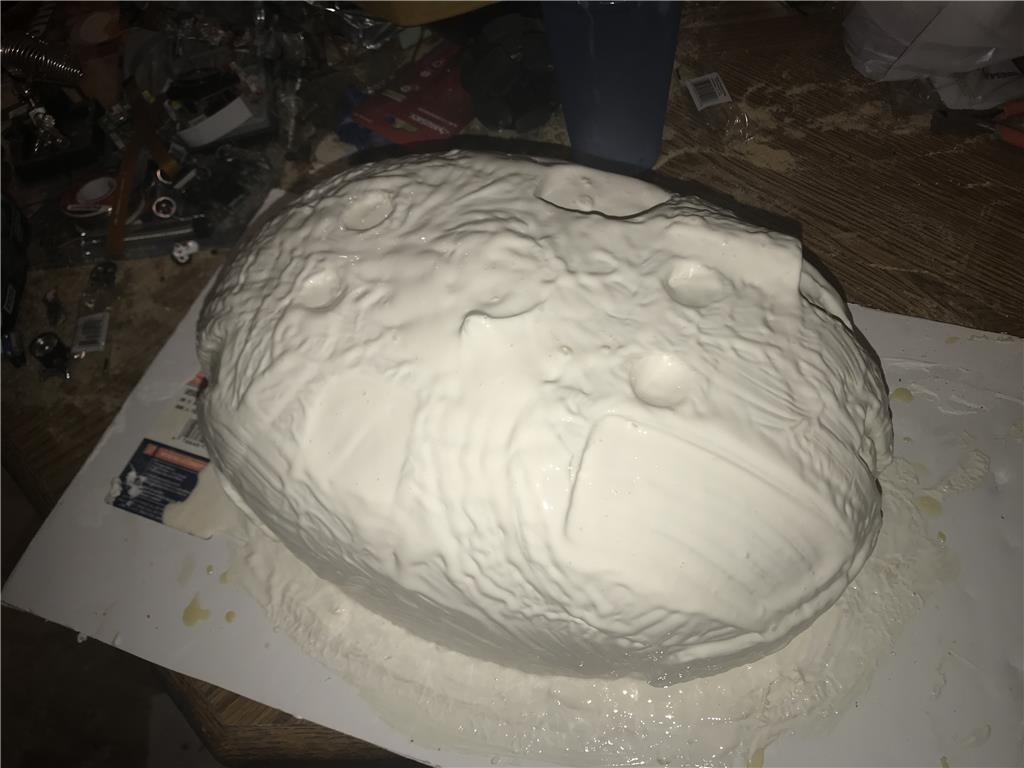
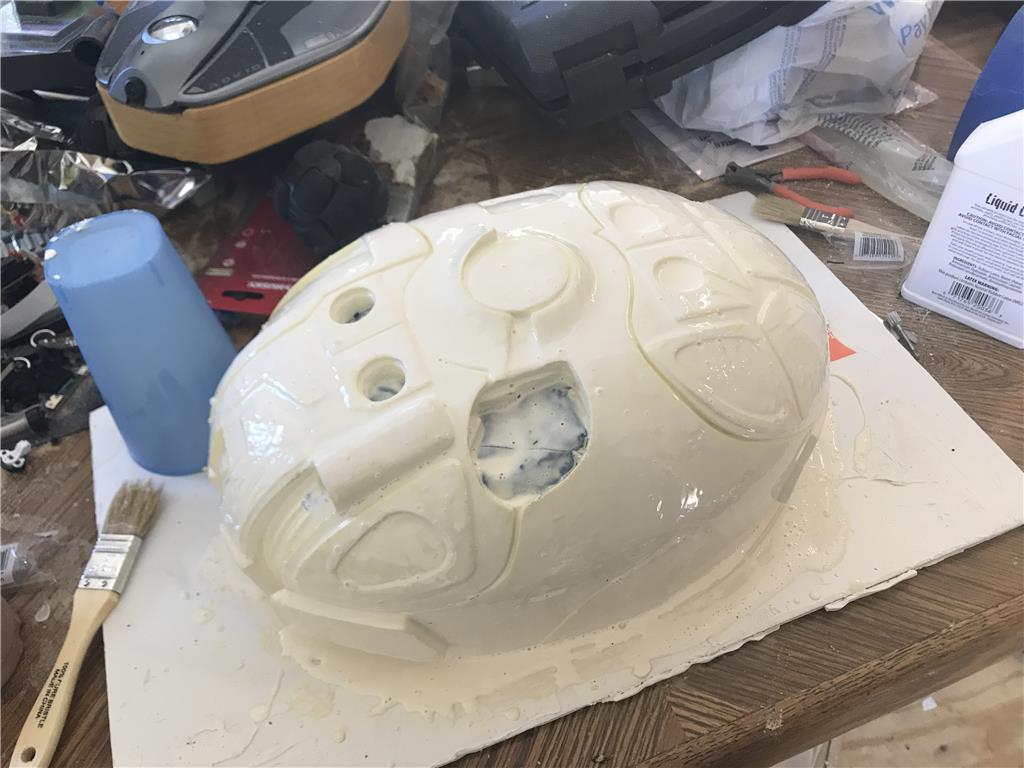
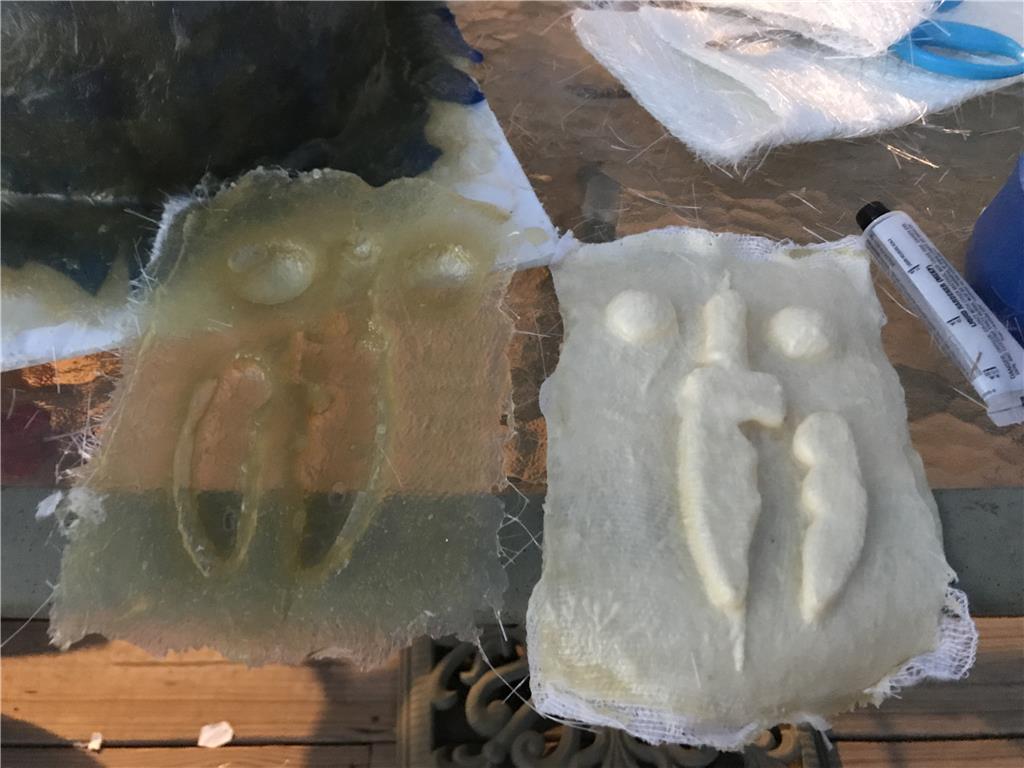
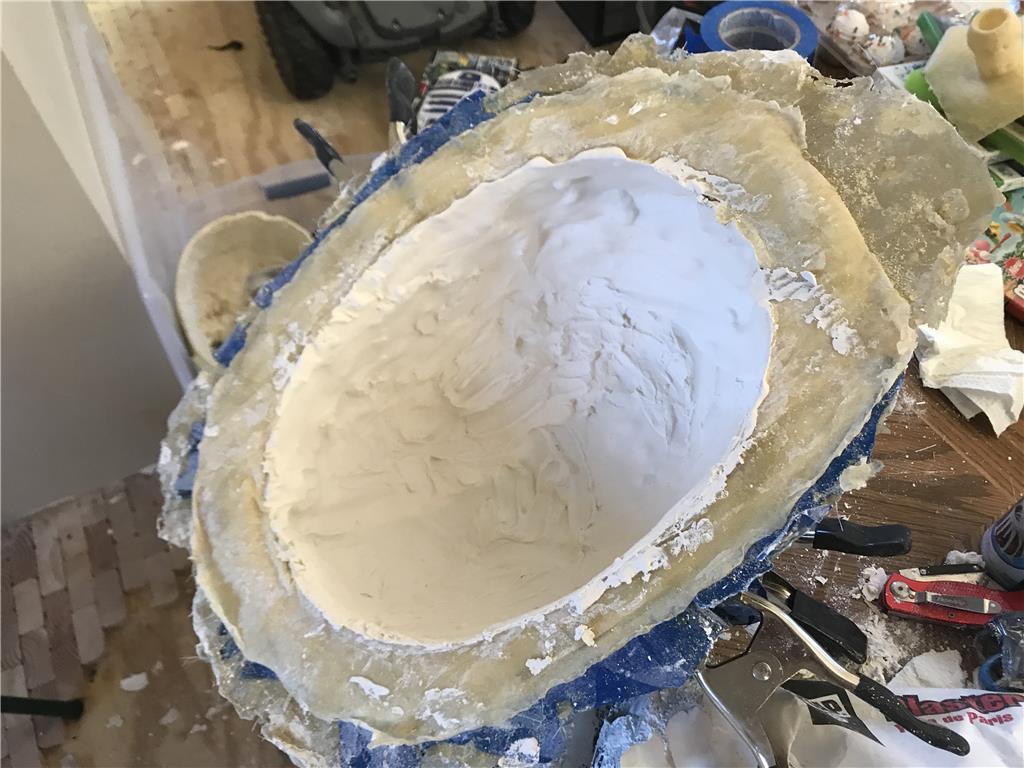
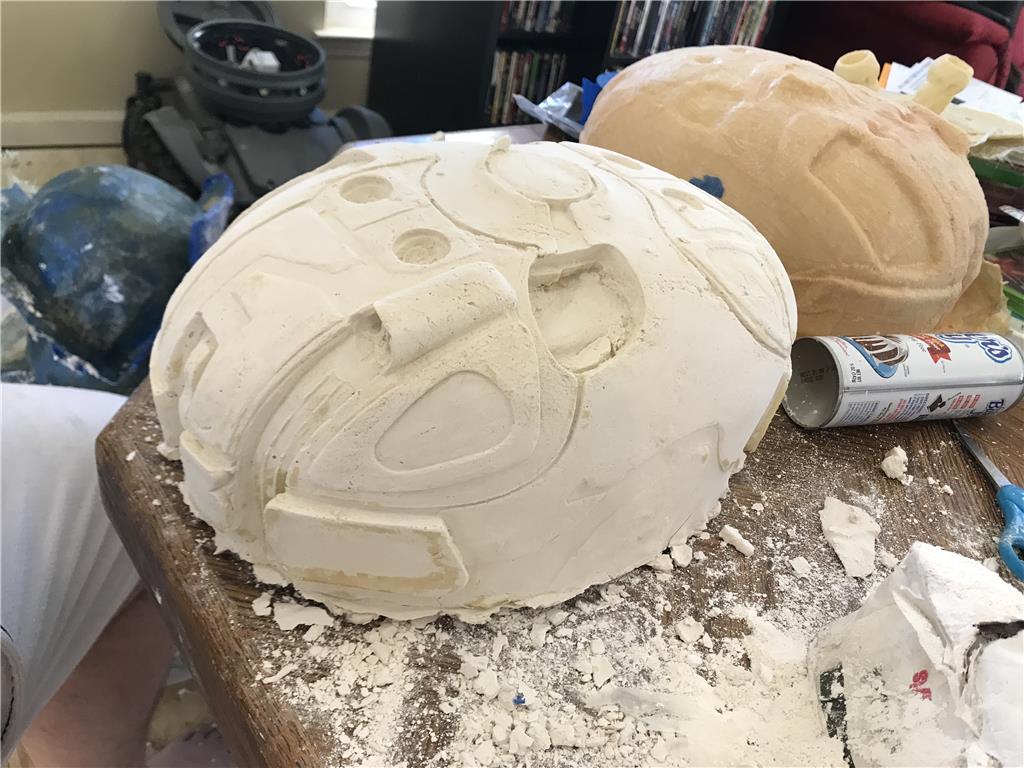
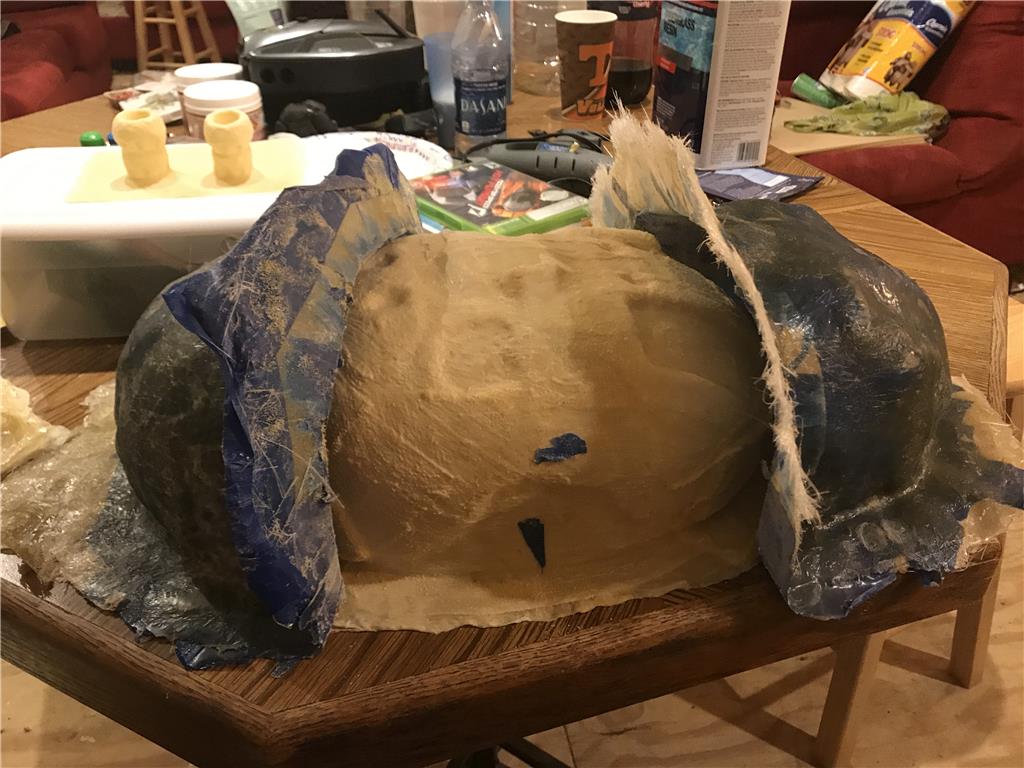
Quick try on fiberglass and plaster , I will need to do a liquid rotary cast to get the plaster just right.
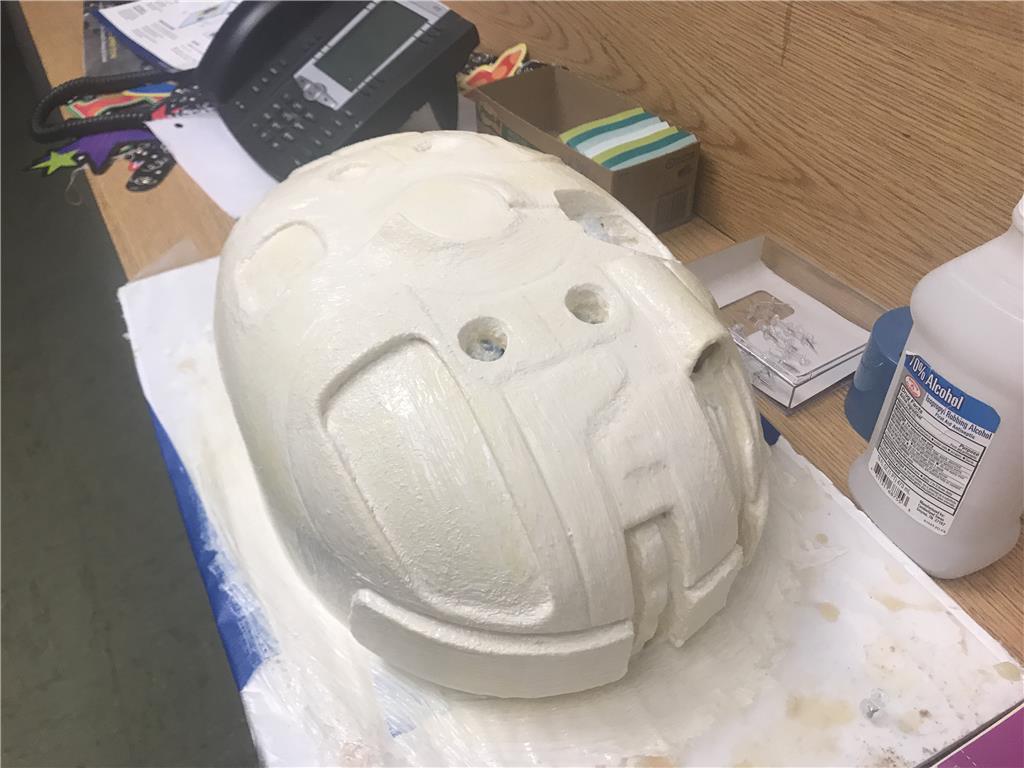
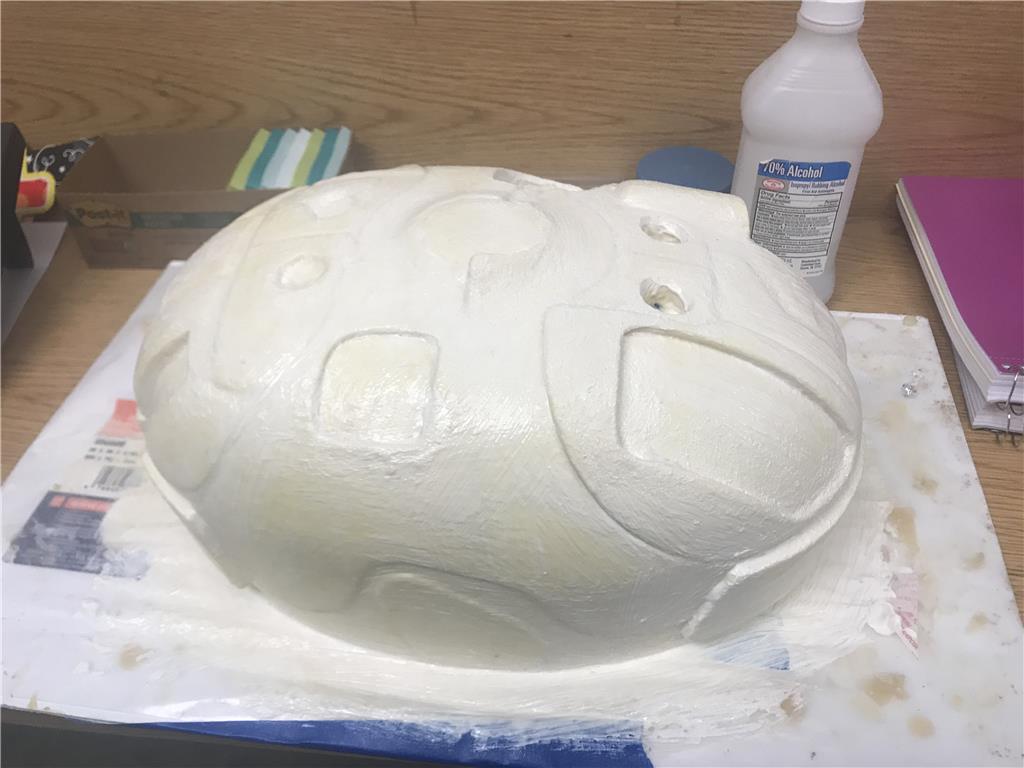
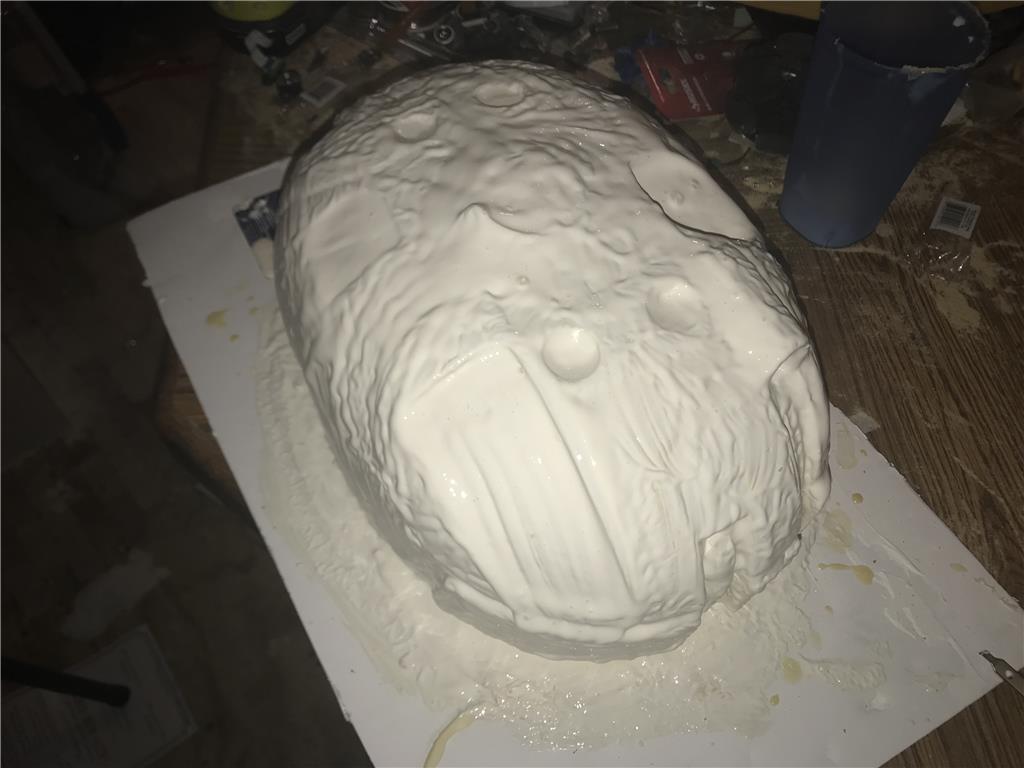
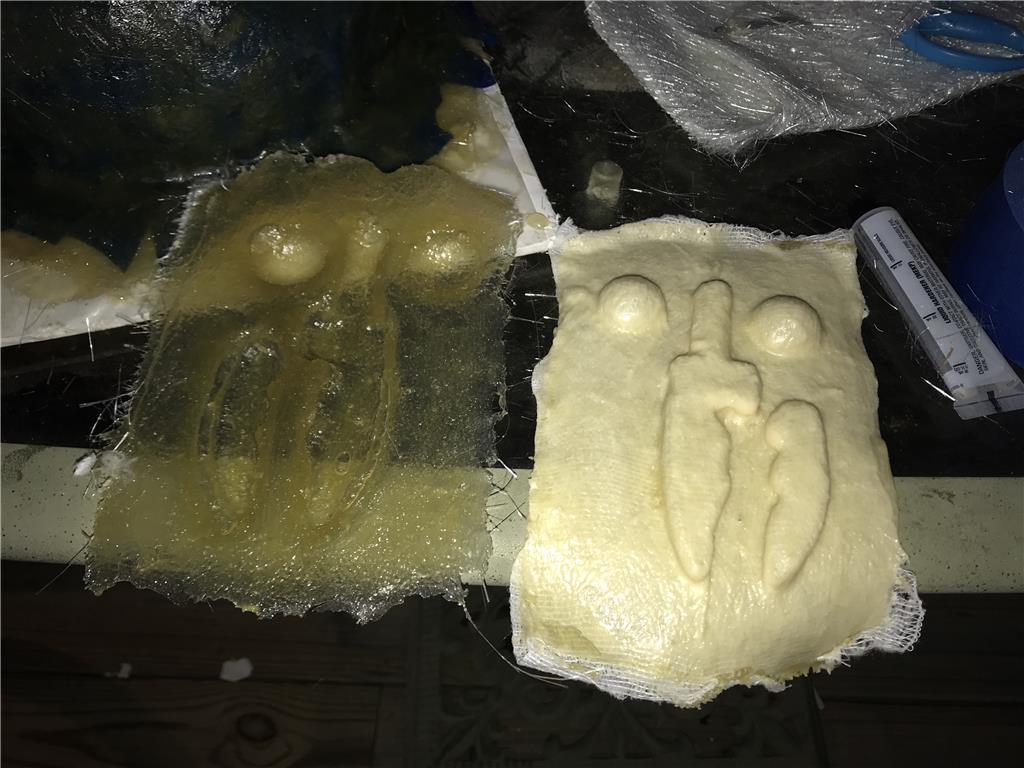
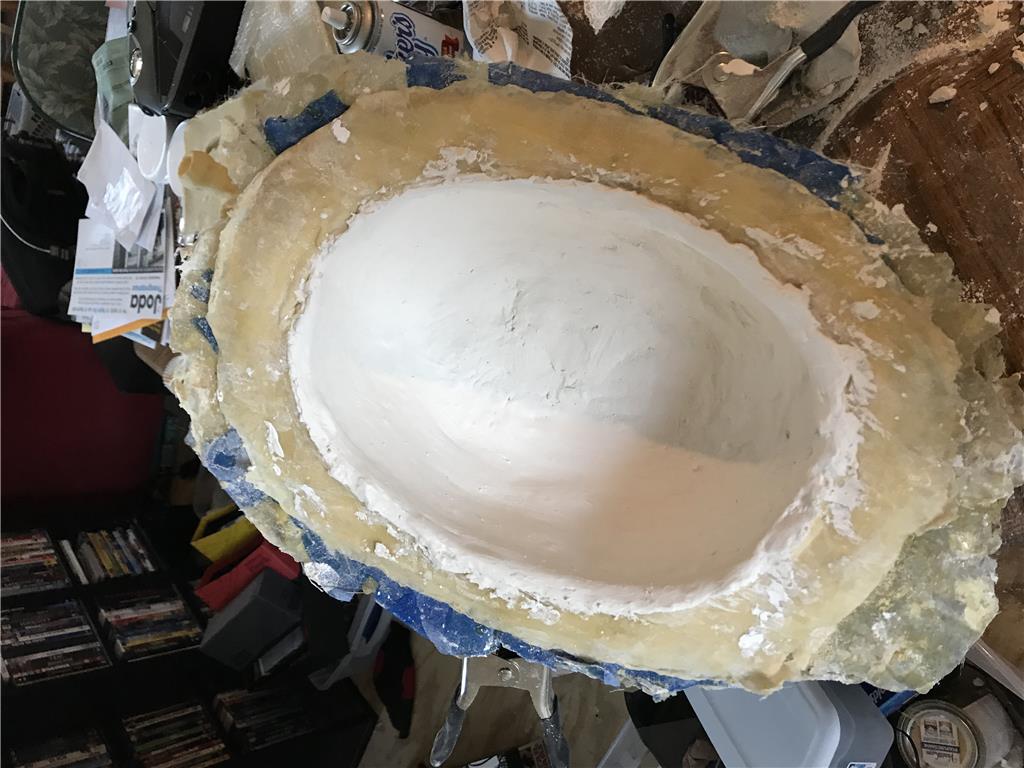
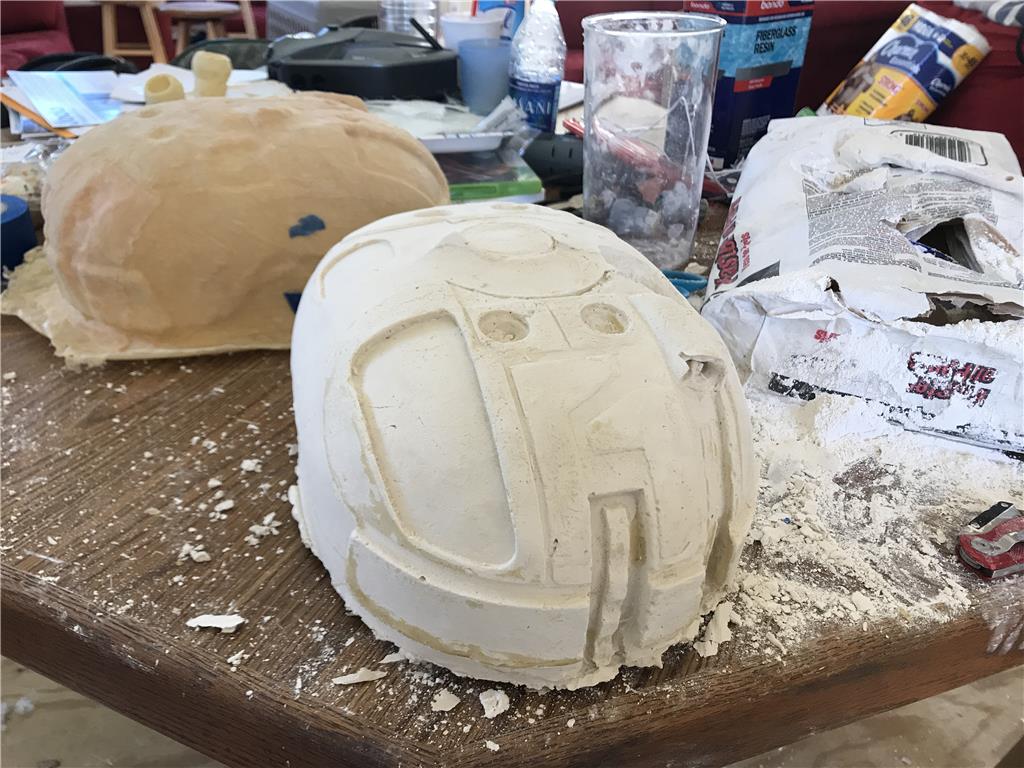
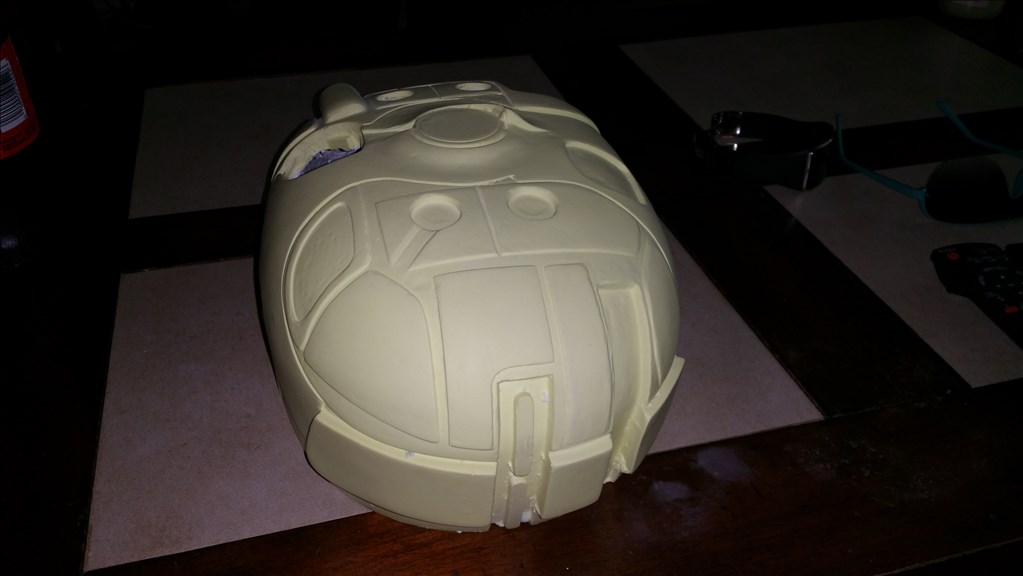
Brush method sucks for ceramics so instead I tried the 2 to 1 water to plaster ratio and turned the mold slowly to make a 1/8" coat each pass , I did three passes. It turns out much cleaner and minimizes waste this way.
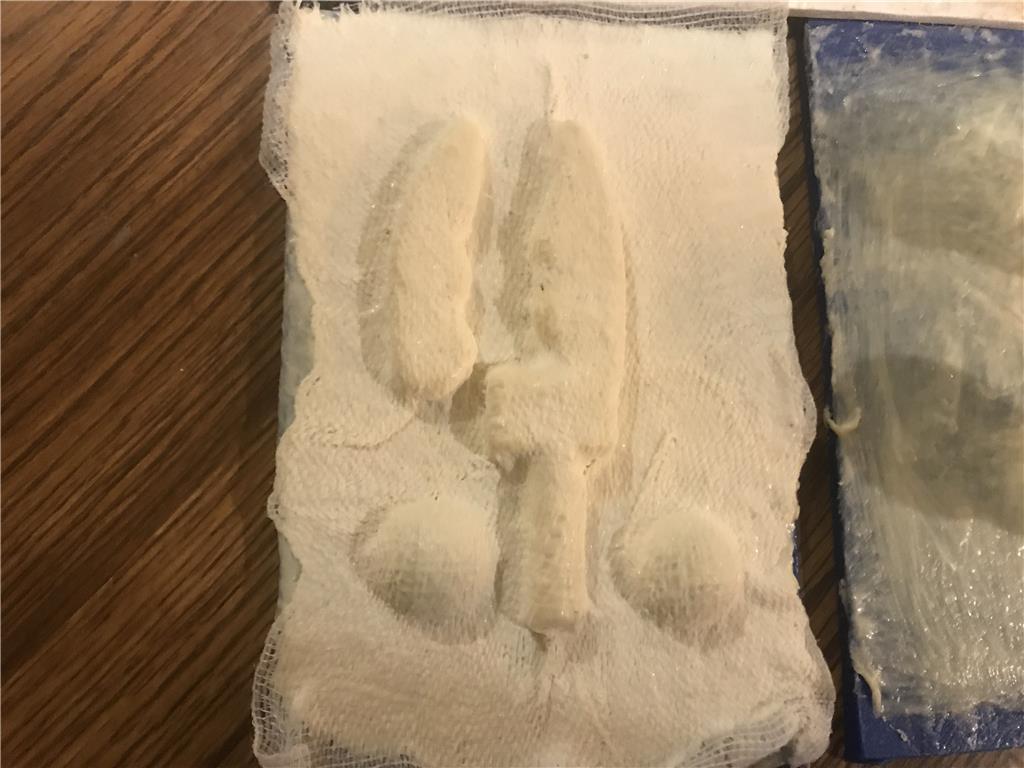
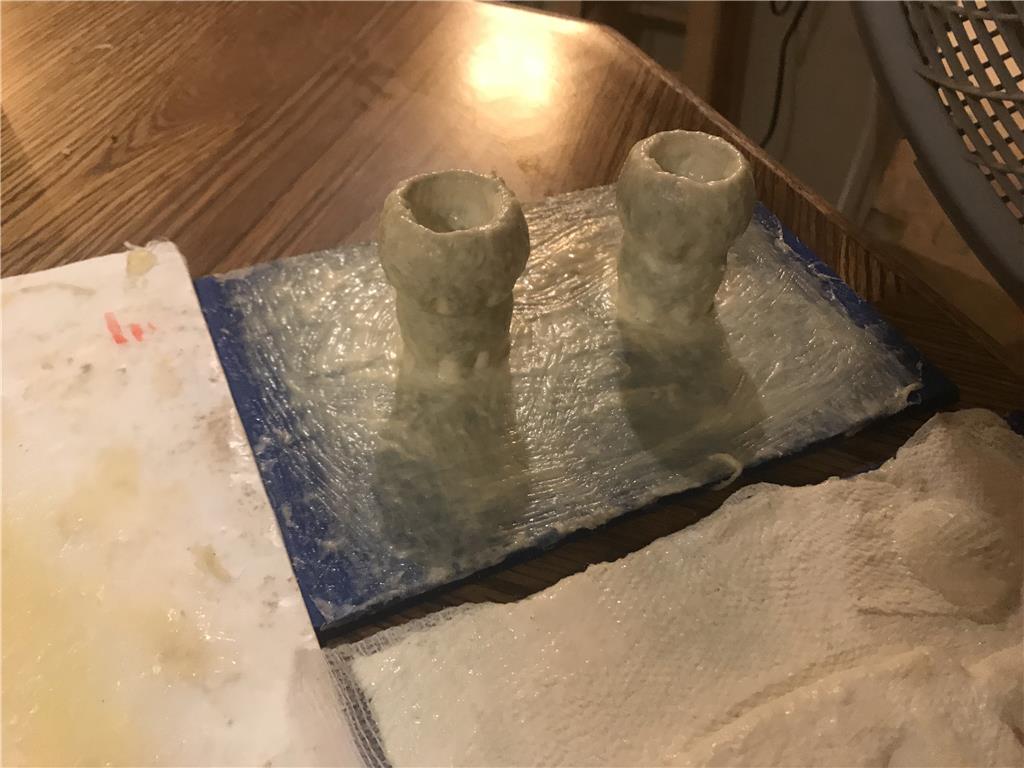
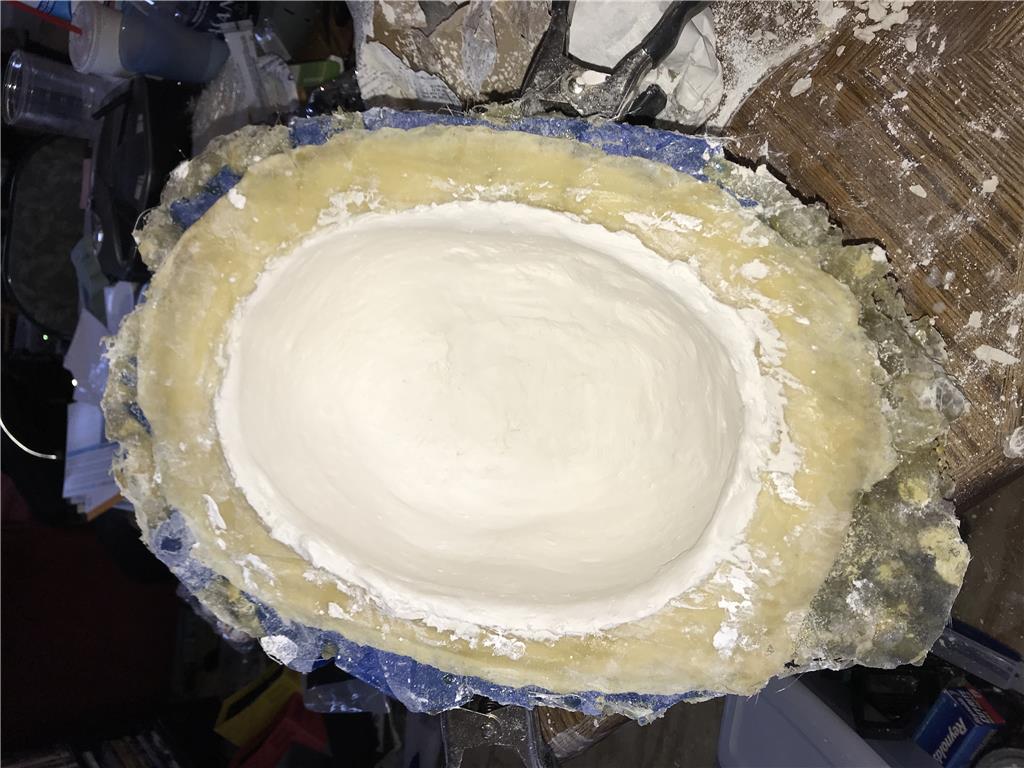
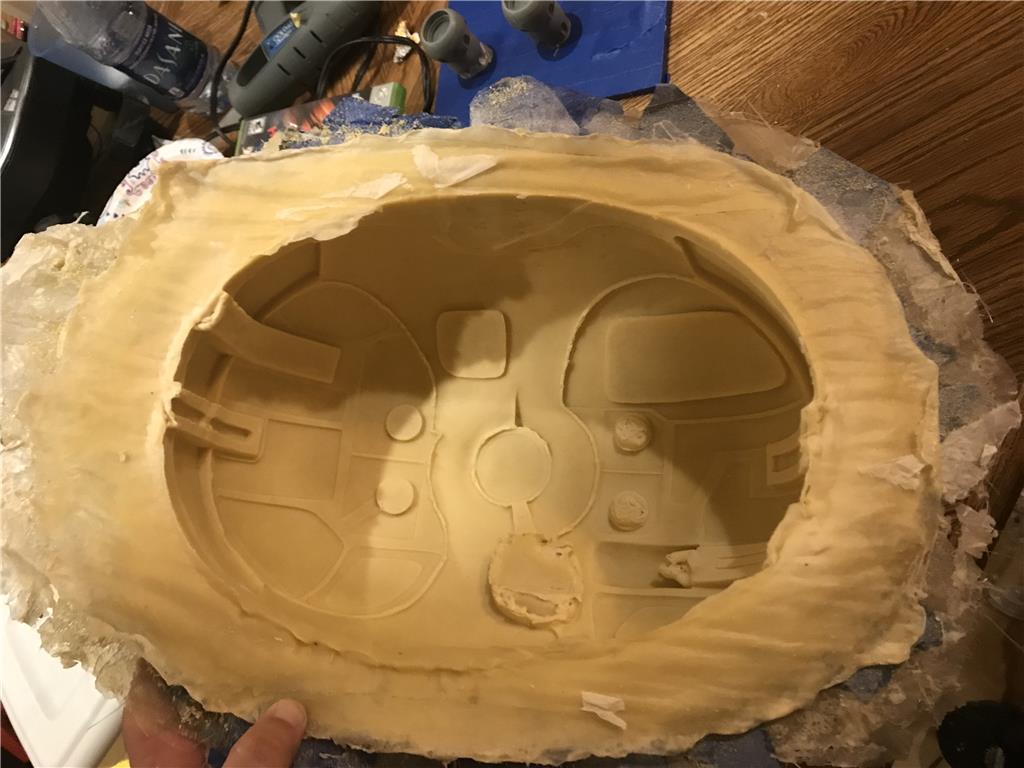
These first two plaster copies of my DRD are on the way to EZ-Robot! I hope DJ and Jeremie finish them and enjoy my little contribution to the fandom of Farscape and science fiction.
cool pics