
Connecting Arduino To ARC
Program an Arduino and connect it to ARC to become an EZ-B.
Compatible Arduinos
This tutorial currently covers what Arduino's are compatible with ARC, where to download the firmware, how to flash the Arduino and connect to ARC.
Once you follow this tutorial and program an Arduino, you will be able to connect an Arduino to ARC and control the Arduino. Essentially, you will be converting an Arduino into an EZB. The best part about this is having access to the source code means you can add new functionalities to the Arduino and extend the capabilities of ARC. The one item to note is each Arduino will have different capabilities or lacking capabilities (i.e. video, audio, etc.).
ARC Version
- This feature works with ARC 2019.01.31.00 Beta or newer
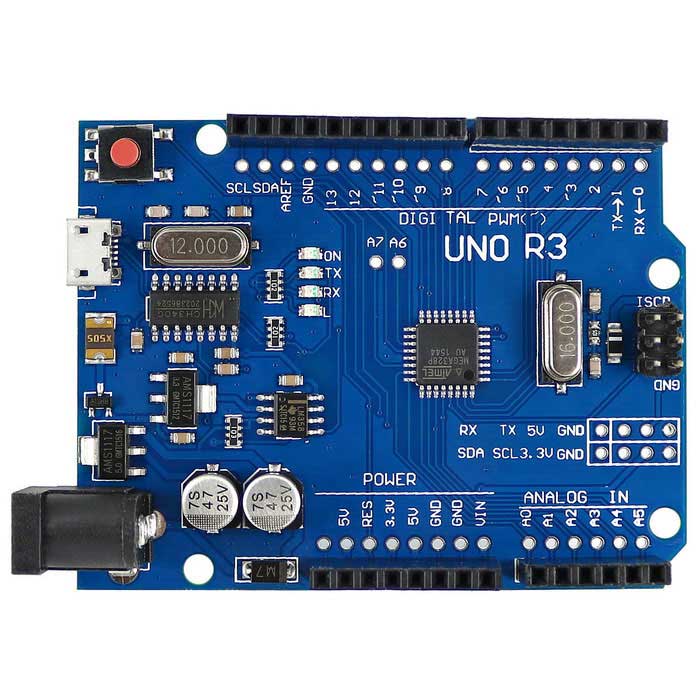
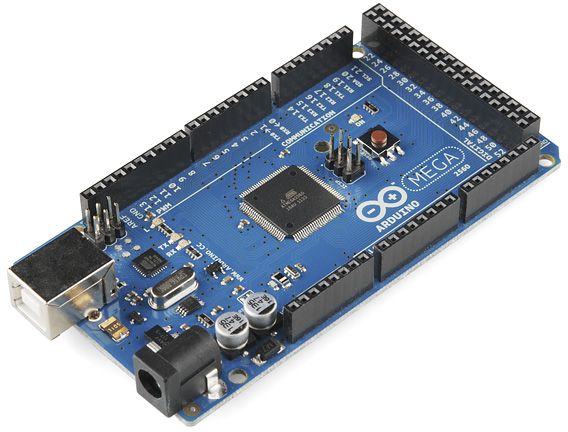
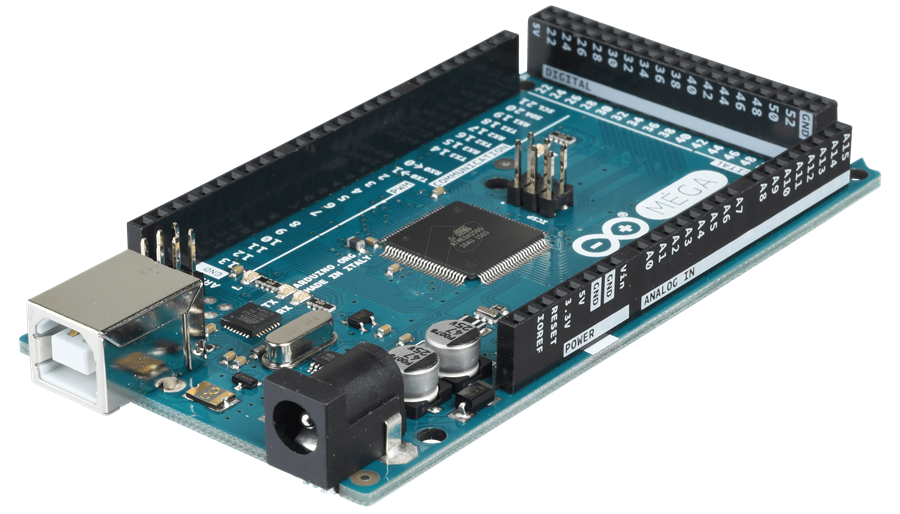
Arduino Capabilities Additionally, each Arduino model will have a different MCU (microcontroller) with different capabilities for servos, PWM, and Analog. Consult the datasheet/manual of the Arduino you're using to ensure you understand what ports are available for different commands. For example, some Arduino models only allow PWM/Servos on specific digital ports. Meanwhile, other Arduino's share I2C with Analog ports. You will have to determine what ports are available because we have no idea due to the number of Arduino versions out there. For example, servo ports on Arduino UNO must be PWM ports 3, 5, 6, 9, 10, and 11. These limitations are that of the Arduino libraries and hardware.
There's a significant number of Arduino's variations out there each with slight modifications. This means the base firmware provided in this tutorial can be modified for various Arduino configurations. Also, you are free to add new features to the Arduino firmware and register them as Capabilities to be used in ARC. But, that's a future edit of this tutorial .
.
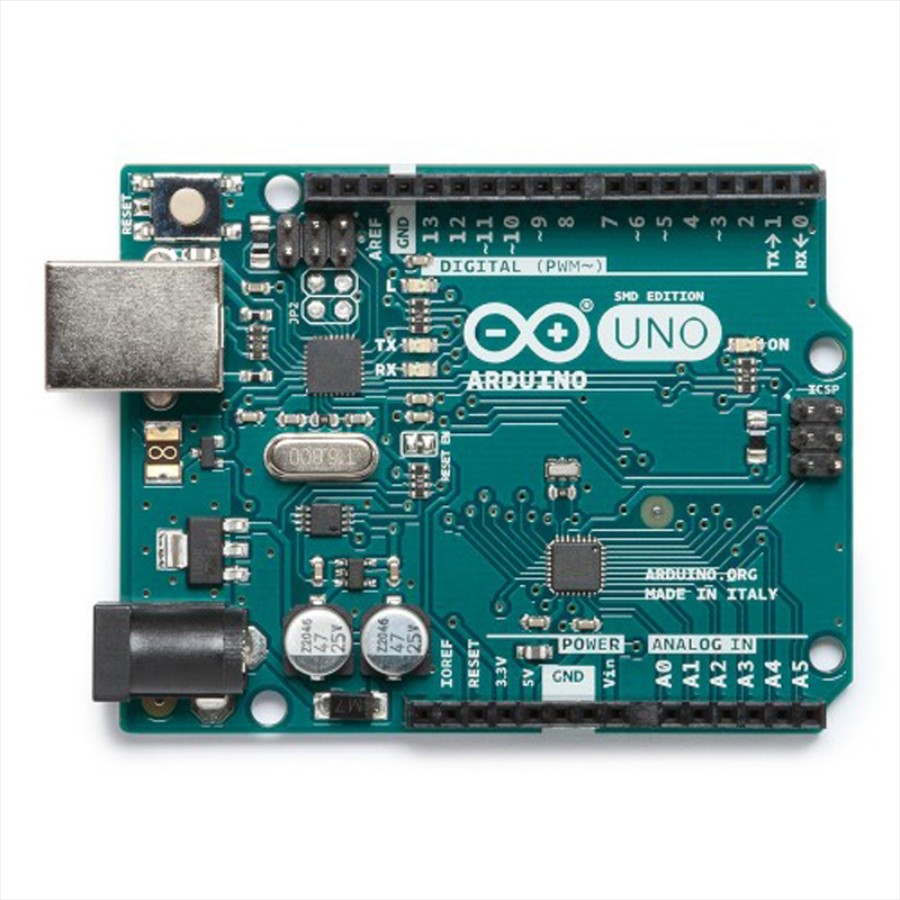
Compatible Official Arduinos The ARC software is compatible with a number of Arduino products, which the firmware can be found on their respective pages. Find your Arduino board and download the firmware from this page: https://synthiam.com/Support/Hardware/Hardware-Overview
Download the firmware source code for your Arduino version or compatible from the above link and continue to the next step of this tutorial. *Note: compatible or clone Arduino's will require a toolset and library installation to compile the firmware. Check the Arduino compatible product manual for instructions on adding libraries and tools to the Arduino IDE for clone hardware.

Any for that board will work. They just create a virtual COM port in Windows, which you select in ARC.
All these updates are so exciting!
DJ, I assume you can use the EZ-B as connection 0 and add the arduino to connection 1 to give yourself additional I/O correct?
What If the arduino has WiFi already? Can we use it wirelessly?
Yes to the ezb #1
yes to the WiFi version of arduino. Look in the getting started guide for the WiFi enabled arduino
Great tutorial
I used my Arduino today, com3 on ARC
sharp sensor:
used port ADC3
sharp IR radar
ADC graph
ADC meter
ADC read
All went well
That's great news! Appreciate the feedback
@DJ-Sures,
Any updates on adding "Capabilities"? I'm looking to use an Arduino Mega as an EZ-B controller, but need to add (I think?) a library to manage some Neo Pixels. Any thoughts or suggestions?
Thanks,
John
John, think you want this: https://synthiam.com/Products/Controls/Misc/Neopixel-Ring-16158