
Connecting Arduino To ARC
Program an Arduino and connect it to ARC to become an EZ-B.
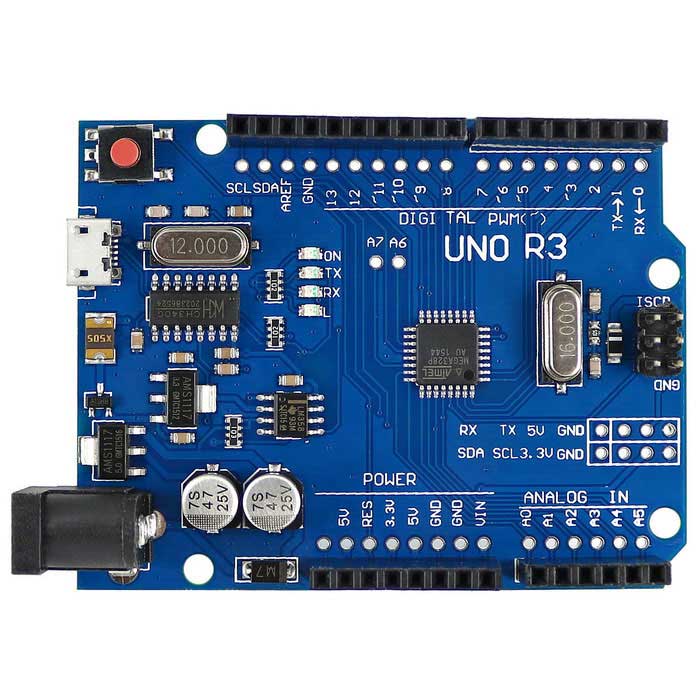
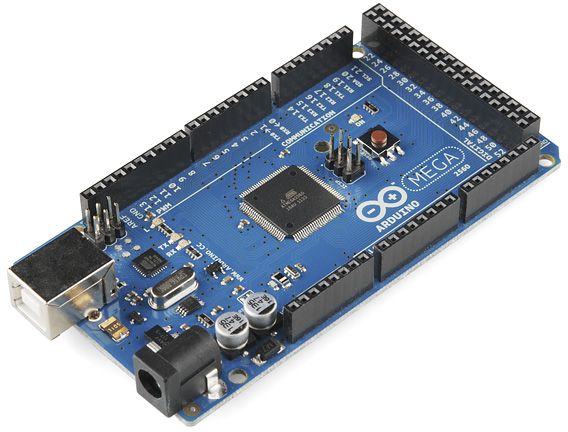
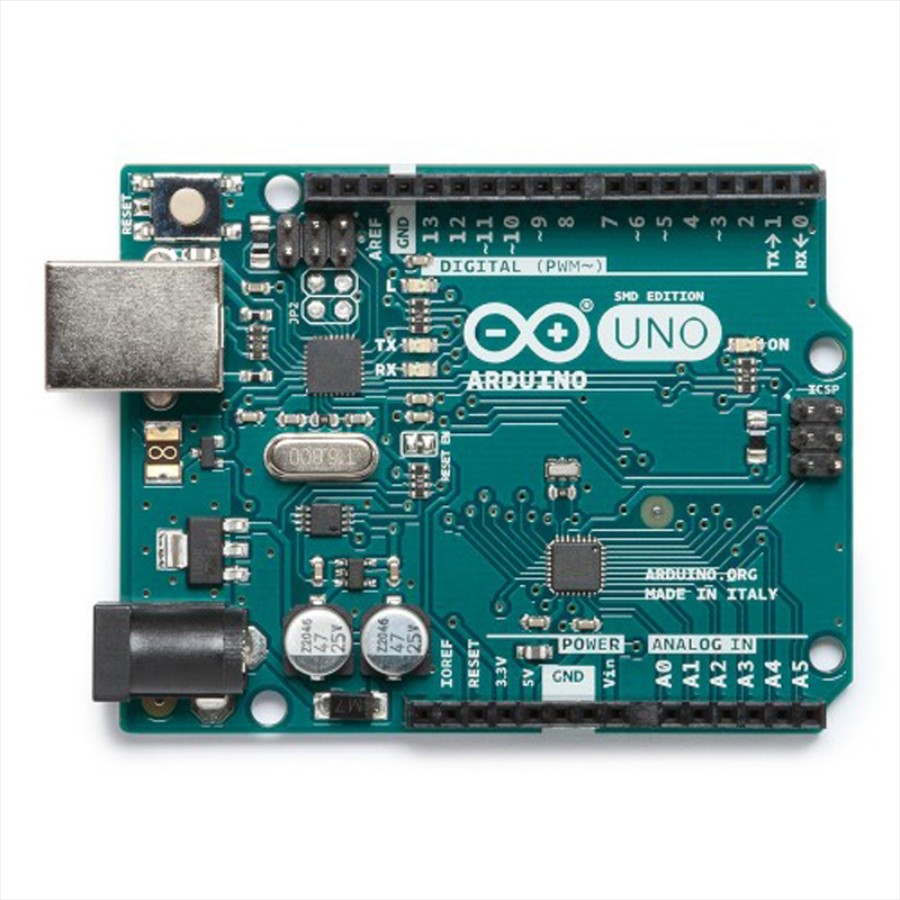
Compatible Arduinos
This tutorial currently covers what Arduino's are compatible with ARC, where to download the firmware, how to flash the Arduino and connect to ARC.
Once you follow this tutorial and program an Arduino, you will be able to connect an Arduino to ARC and control the Arduino. Essentially, you will be converting an Arduino into an EZB. The best part about this is having access to the source code means you can add new functionalities to the Arduino and extend the capabilities of ARC. The one item to note is each Arduino will have different capabilities or lacking capabilities (i.e. video, audio, etc.).
ARC Version
- This feature works with ARC 2019.01.31.00 Beta or newer
Arduino Capabilities Additionally, each Arduino model will have a different MCU (microcontroller) with different capabilities for servos, PWM, and Analog. Consult the datasheet/manual of the Arduino you're using to ensure you understand what ports are available for different commands. For example, some Arduino models only allow PWM/Servos on specific digital ports. Meanwhile, other Arduino's share I2C with Analog ports. You will have to determine what ports are available because we have no idea due to the number of Arduino versions out there. For example, servo ports on Arduino UNO must be PWM ports 3, 5, 6, 9, 10, and 11. These limitations are that of the Arduino libraries and hardware.
There's a significant number of Arduino's variations out there each with slight modifications. This means the base firmware provided in this tutorial can be modified for various Arduino configurations. Also, you are free to add new features to the Arduino firmware and register them as Capabilities to be used in ARC. But, that's a future edit of this tutorial .
.
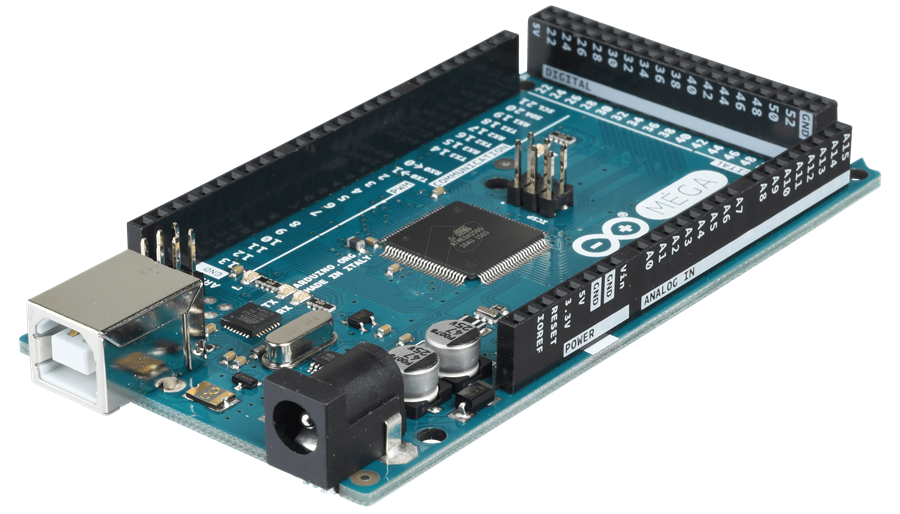
Compatible Official Arduinos The ARC software is compatible with a number of Arduino products, which the firmware can be found on their respective pages. Find your Arduino board and download the firmware from this page: https://synthiam.com/Support/Hardware/Hardware-Overview
Download the firmware source code for your Arduino version or compatible from the above link and continue to the next step of this tutorial. *Note: compatible or clone Arduino's will require a toolset and library installation to compile the firmware. Check the Arduino compatible product manual for instructions on adding libraries and tools to the Arduino IDE for clone hardware.

I have an idea for you, but it’ll take a few days to make
DJ Sures, Thank you so much for your response. If you do think of a way that would really be great. You have no idea how much I've already struggled. I knew I was already taking on a big challenge. Thank you!
I have some ideas. Running a few excitements but the plan is to allow a robot skill to extend the servo ports into the Vx ports for arduino firmware. Stay tuned and thanks for the kind words
Im excited, thank you again!
I presume you will use your Arduino Mega to control a mix of servos and digital ports.
One easy option: change the firmware code to map: EZB 0-23 servos to control arduino mega servo ports 0-23. EZB 0-23 digital ports to control arduino mega digital ports 24-47
so you can control 24 servos and 24 digital ports, is this ok ?
Oh that’s a good idea - it would be easiest change right away. Smart Ptp
DJ taking in consideration Arduino Mega hardware limitations:
I would map the following: Analog: A0-A7
Servos: mega ports D22-D43 = 22 Servos = EZB 0-21 mega ports D68-D69 = 2 Servos = EZB 22-23 Total = 24 servos
PWM Ports: mega ports D02-D10 = 9 ports = EZB 0-8 mega ports D13 = 1 ports = EZB 9 mega ports D44-D46 = 3 ports = EZB 10-12 Total = 13 pwm ports
Digital Ports: EZB 0-12 = same as PWM ports in mega (above) EZB 13-14 = D11-D12 = 2 ports EZB 15-20 = D62-D67 = 6 ports Total = 21 ports ( 8 exclusive for Digital IO and 13 shared with PWM ports)
pin 0 and 1 are serial port 0 / usb port (avoid these ports)
and you have the following: Serial1 on pins 19 (RX) and 18 (TX), Serial2 on pins 17 (RX) and 16 (TX), Serial3 on pins 15 (RX) and 14 (TX).
I2C: D20 - sda D21 - scl
With the above setup: 24 servos 13 pwm ports / digital ports 8 digital ports 8 analog ports serial ports available/free i2c available/free
Super smart. I like it! I’ll make changes and publish. This will be much easier. Thanks again for the idea ptp