
Connecting Arduino To ARC
Programming Arduino
On the previous step, you were instructed to download a firmware soucecode zip file for the Arduino that you'd like to use. Extract the contents of your zip file somewhere on your hard drive. I create a Arduino folder in My Documents and keep them in there.
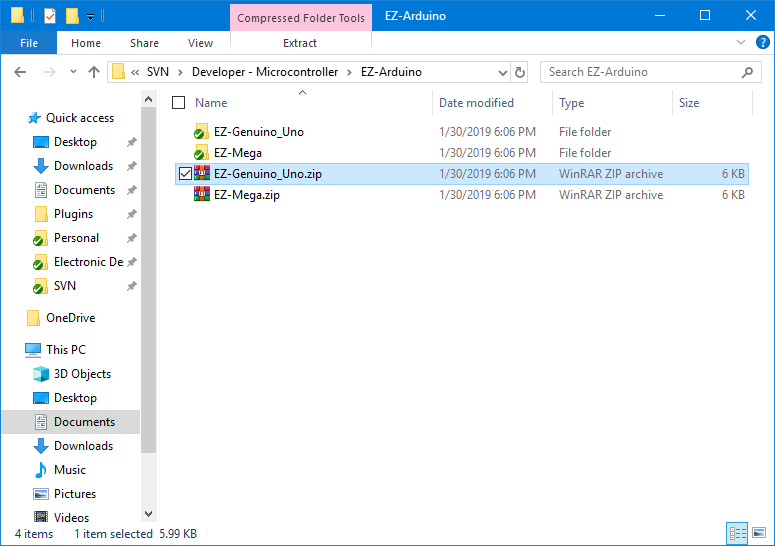
Enter the folder with your Arduino firmware source file. I'll use the Arduino Mega as an example, but the process is the same for the other Arduino versions.
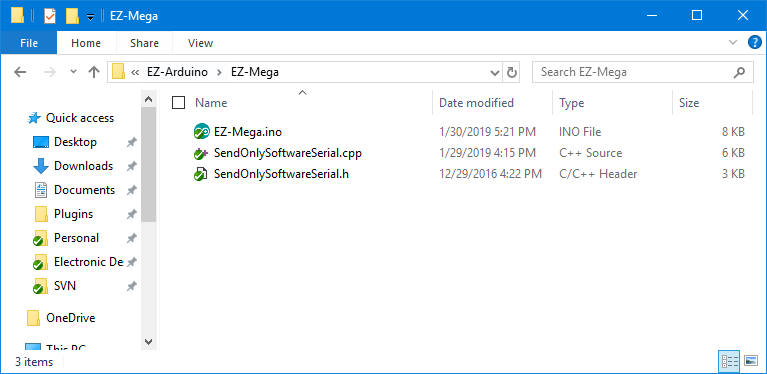
Do you have Arduino IDE programming software installed? If so, double click on the *.INO file and it will load the project into the Arduino IDE software. Otherwise, download Arduino software from HERE.

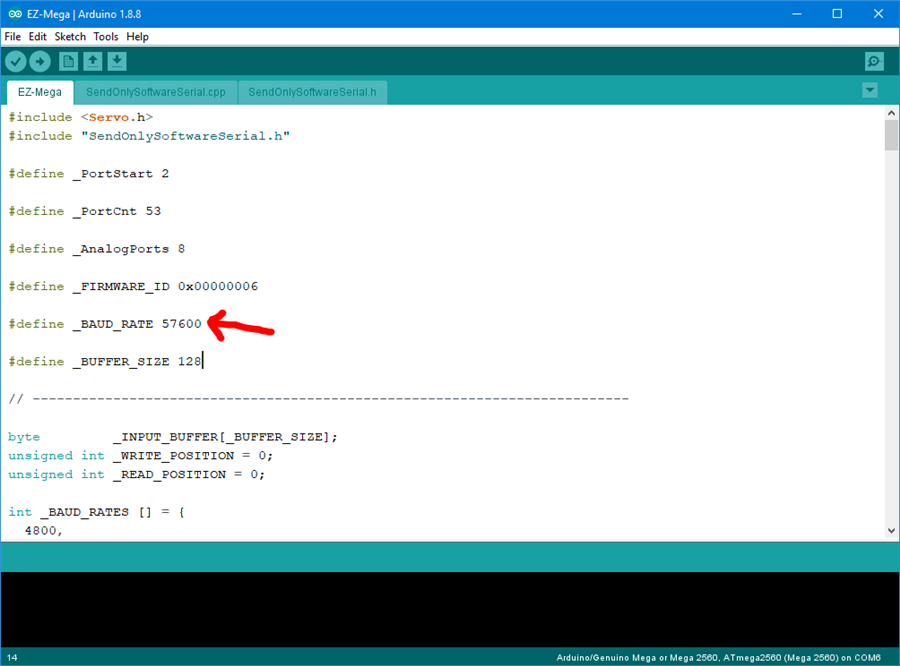
When the software loads, the main file will be the EZ-B firmware. The only field that really matters for you to notice is the BAUD_RATE. You will need to know the BAUD_RATE when connecting to ARC in the next step of this tutorial.
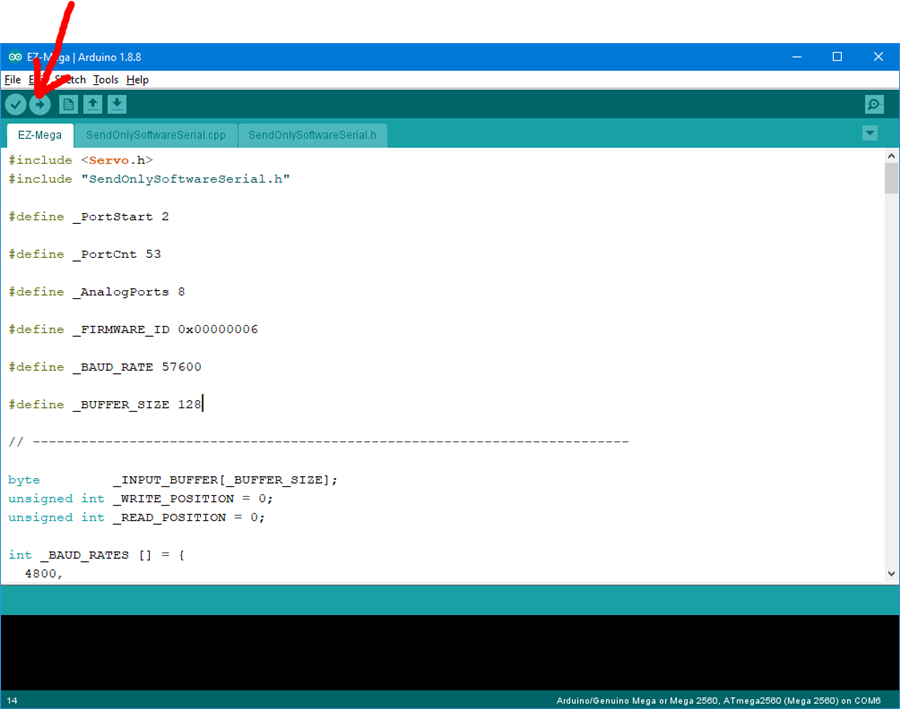
Connect your Arduino to the PC via the USB cable
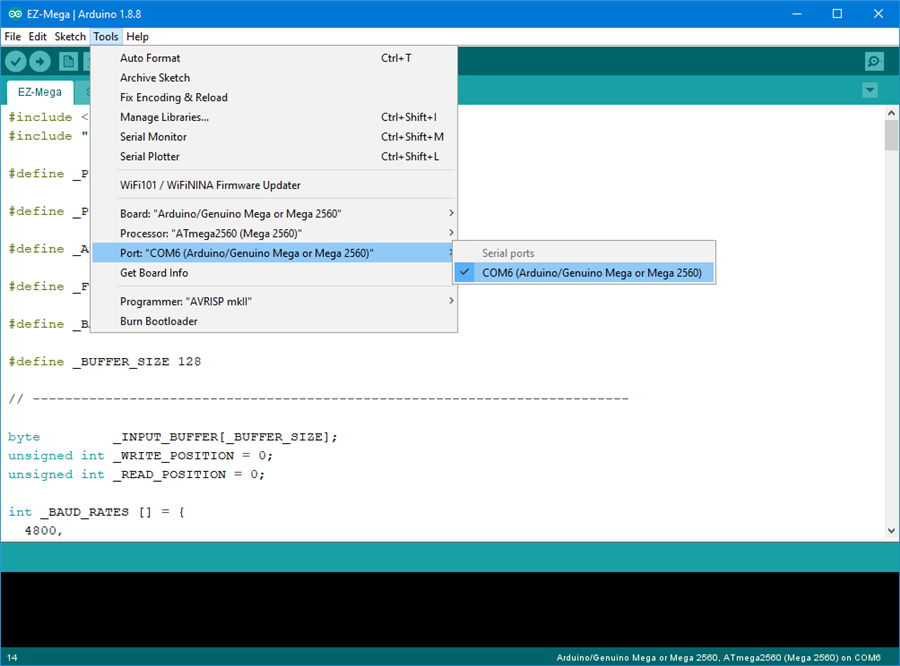
Let's configure the Arduino IDE for your Arduino board. In my example, I'm using the MEGA so I selected that. If you're using an UNO or Duemilanove, select that instead.
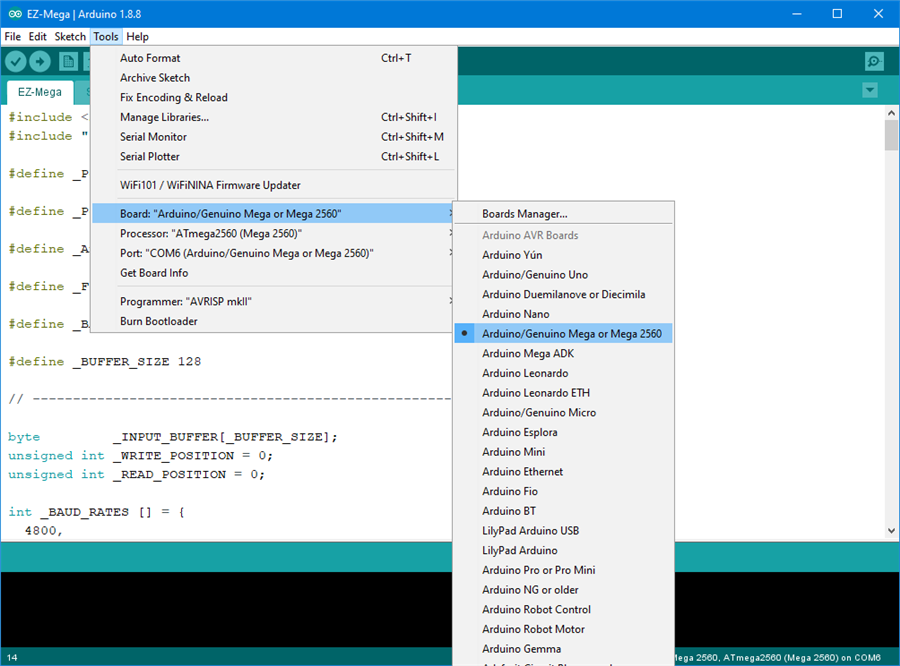
Specify the COM PORT for your Arduino to be programmed
Press the UPLOAD button, which will compile and program the Arduino to become an EZ-B
There you go, the Arduino has been programmed and is now an EZ-B. The next step will demonstrate how to connect ARC to the EZ-Arduino. Or is it EasyDuino? OR EZDuino?
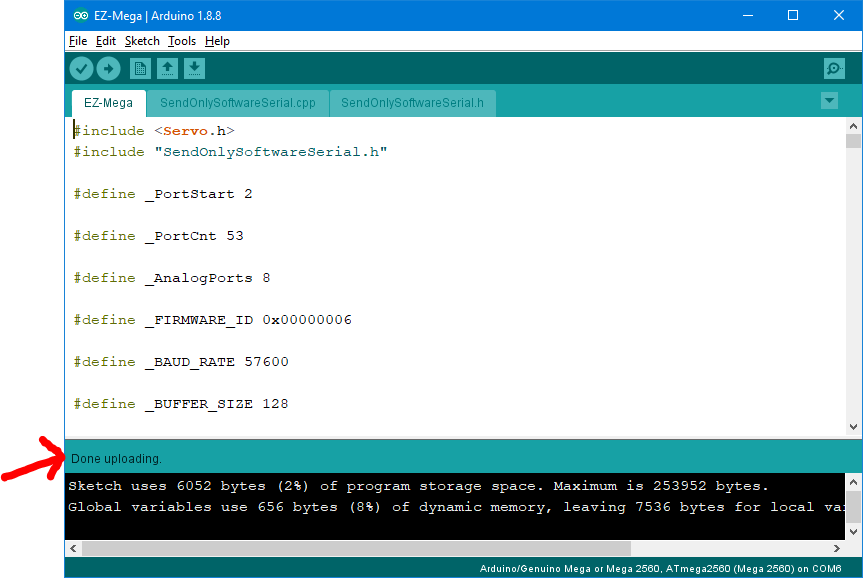
Remember, you don't have to perform these steps each time. The Arduino will remember the programming when it is turned off and back on again. The program is inside of the Arduino memory until it is reprogrammed. So, feel free to close the Arduino IDE program and move to the next step.

Thanks DJ, should prove a valuable tool!
:D
Wow. This is not what I was expecting when you said you were adding Arduino support. I thought you were going to have a pre-written application for connecting to an Arduino to extend the capabilities of ARC, or maybe the ability to compile scripts or autopositions into arduino apps that could run independently of an ARC computer for simple robots (still think either of those would be cool things) but this is a total surprise. Still processing what it all means, but I think you just dramatically reduced the price of entry for hobbyists.....
Alan
Double Wow! And I have only tried two digital and one PWM control. As soon as people see the power of ARC everywhere - well, I just hope I can keep up.
Thanks - good news is if you want to hard program sequences into the arduino, go ahead. The code is there so you can add your own commands or what ever you’d like to do. The capability firmware section of the website is being worked on. But essentially there will be a place where you can obtain a unique firmware ID that ARC recognizes and knows the capabilities. That way there’s an understanding between controls and hardware of what’s compatible when you make your own firmware with new features.
Another game changer from Synthiam! Nice job!
when i get home I will be al over this .....so cool...thanks DJ [font=OpenSans, -apple-system, BlinkMacSystemFont, "Segoe UI", Roboto, "Helvetica Neue", Arial, sans-serif, "Apple Color Emoji", "Segoe UI Emoji", "Segoe UI Symbol", "Noto Color Emoji"]Synthiam!
Pardon my ignorance. Does this mean that I can now operate one of these platforms directly with ARC without having to go through an EZB? Would I be able to use EZ Script commands?
Dave - best to read the first 2 paragraphs of this tutorial