


Hi everyone.
This is the first of two posts talking about the inspiration and features of my home robotics build. In the first post I talk about the inspiration behind the build of K-9 2.0. The second post explains the features and build details.
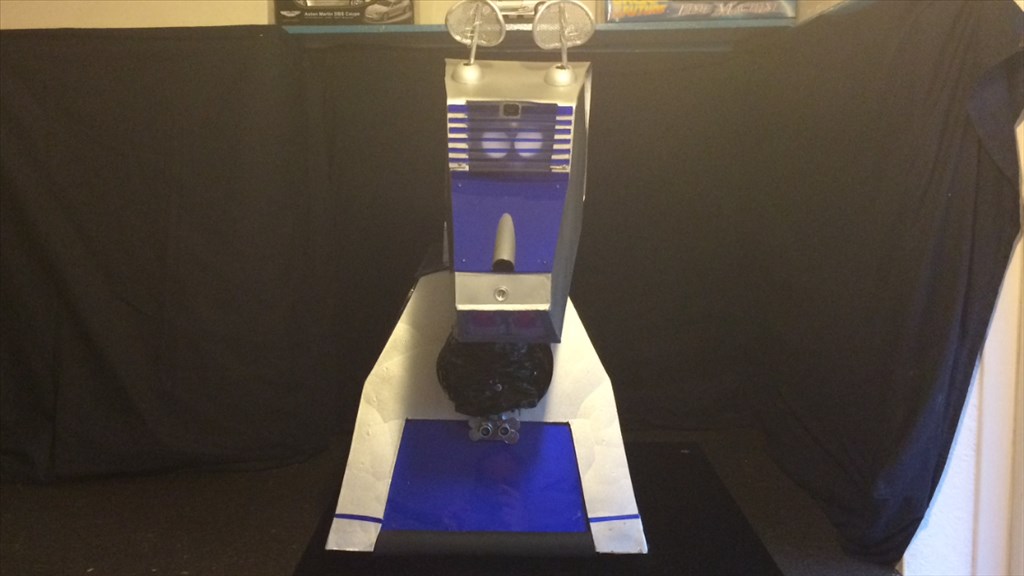
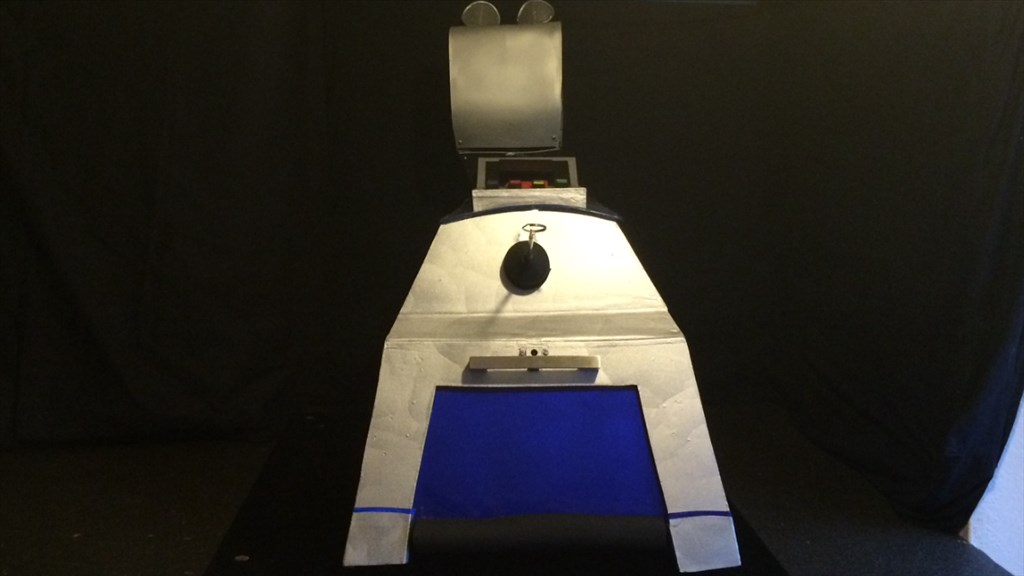
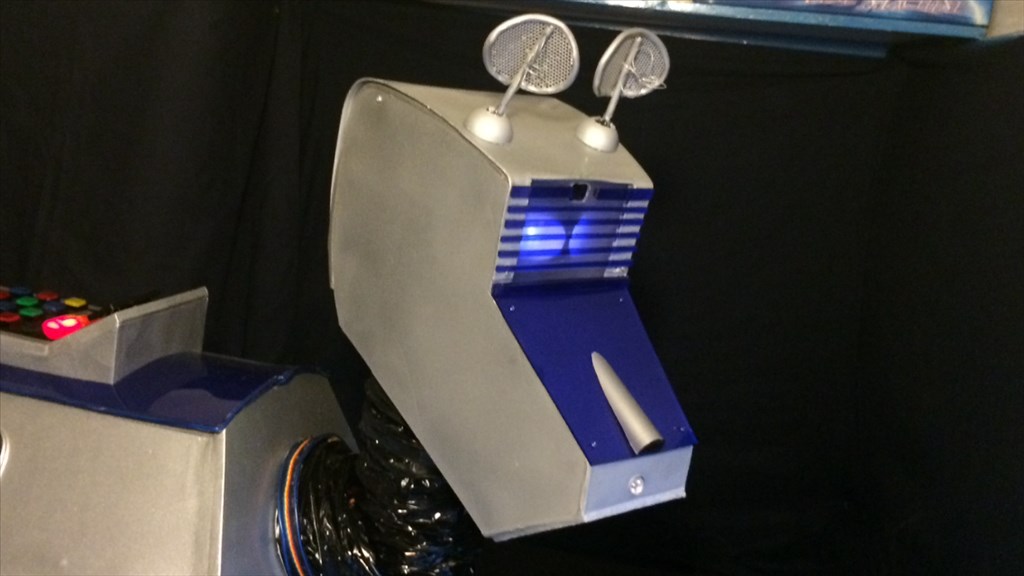
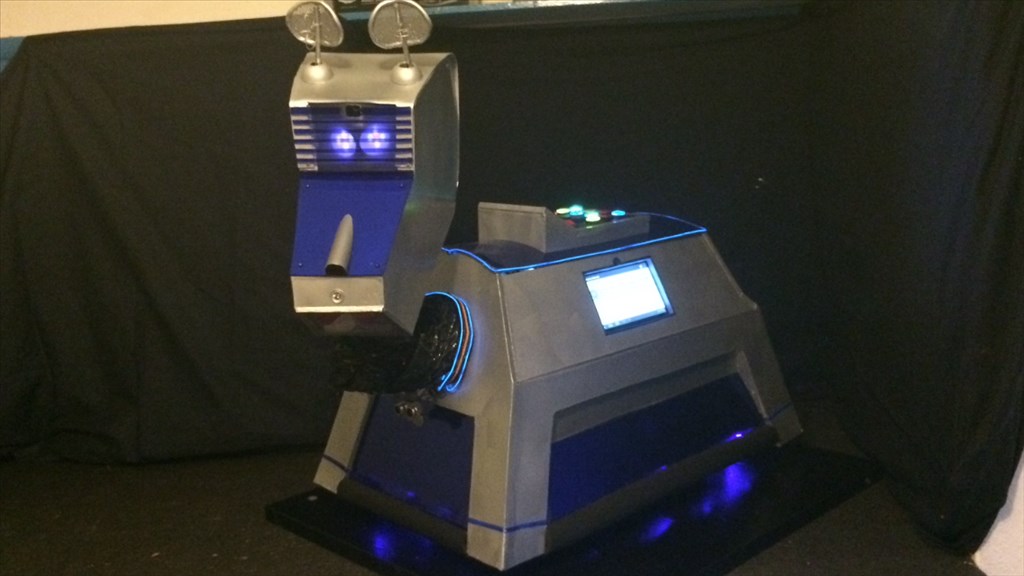
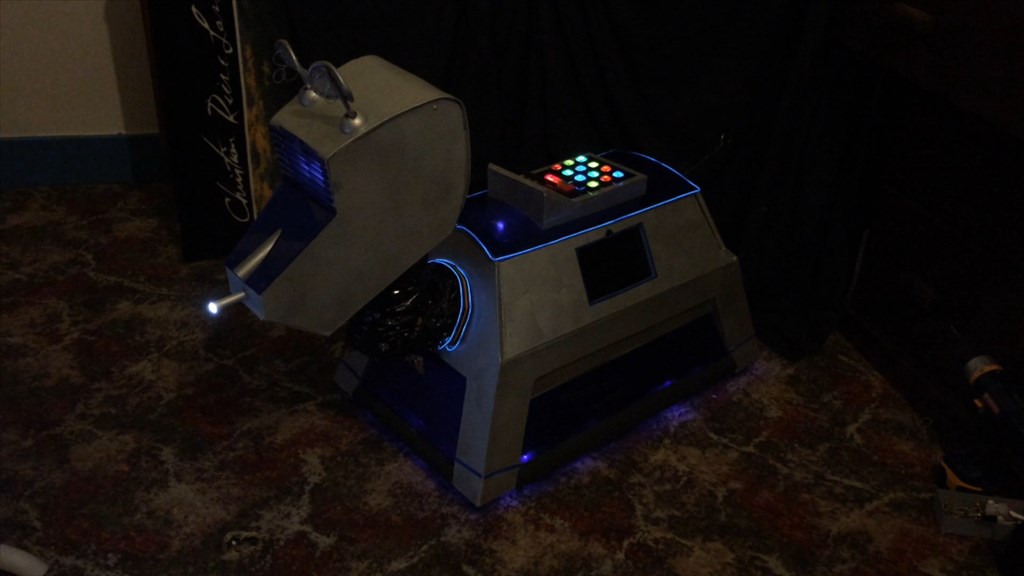
So, after a year in the making, I am pleased to present a project I've been wanting to do for years, pretty much since the first time I saw the little fella in Doctor Who when Tom Baker (one of my favourites) was playing The Doctor. K-9 was pretty much my all time favourite characters in the show and with that in mind, and with my love of dogs and my love for robots, it was logical that building my own K-9 unit some day was in the stars.
Some of you have already had a brief viewing of him when he gave a Birthday message to the EZ-Robot team, and Donned a moustache for Movember, but now his build is pretty much complete its time to bring him to the showcase. I have included a "How he was made" video at the end of the post.
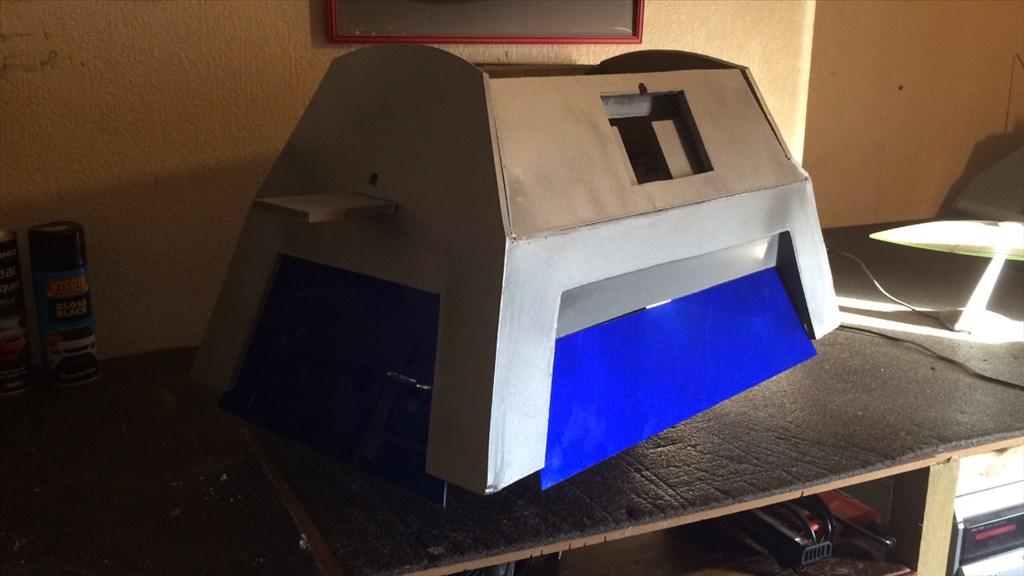
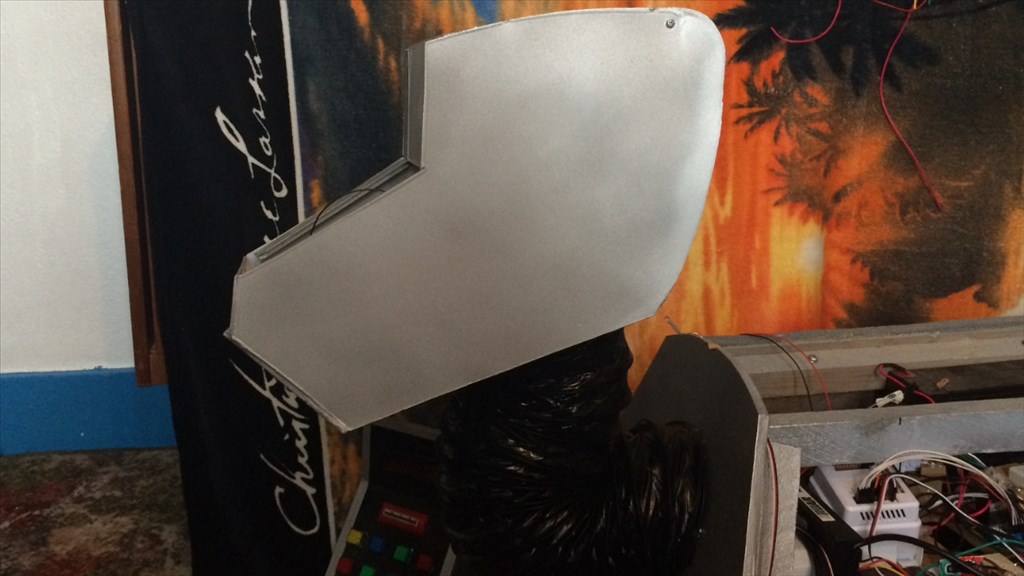
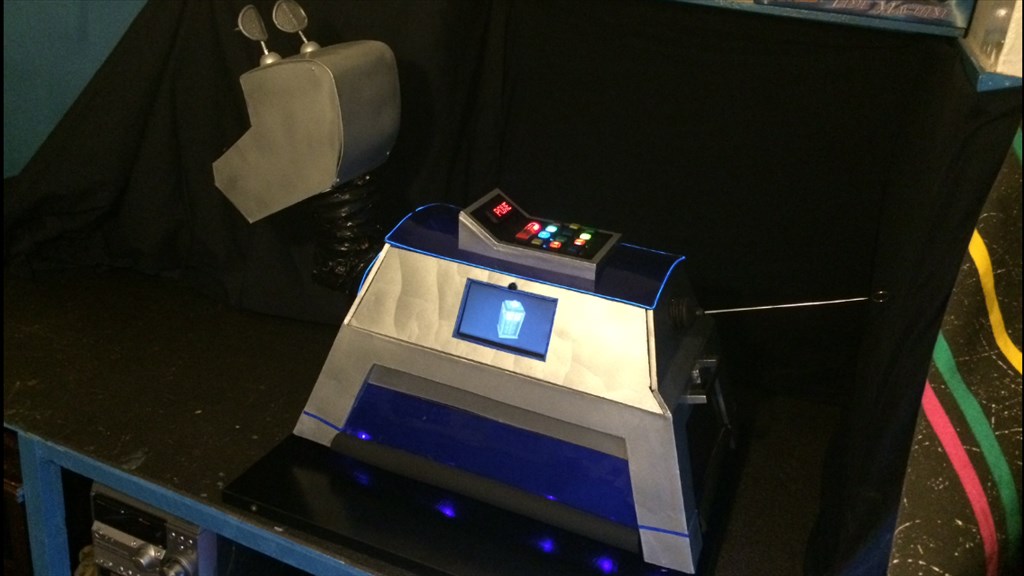
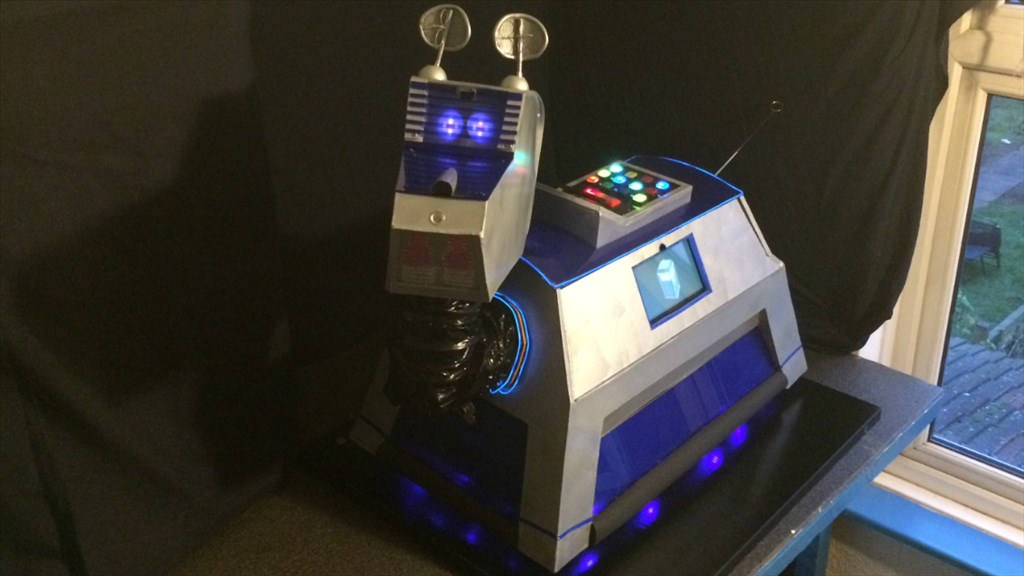
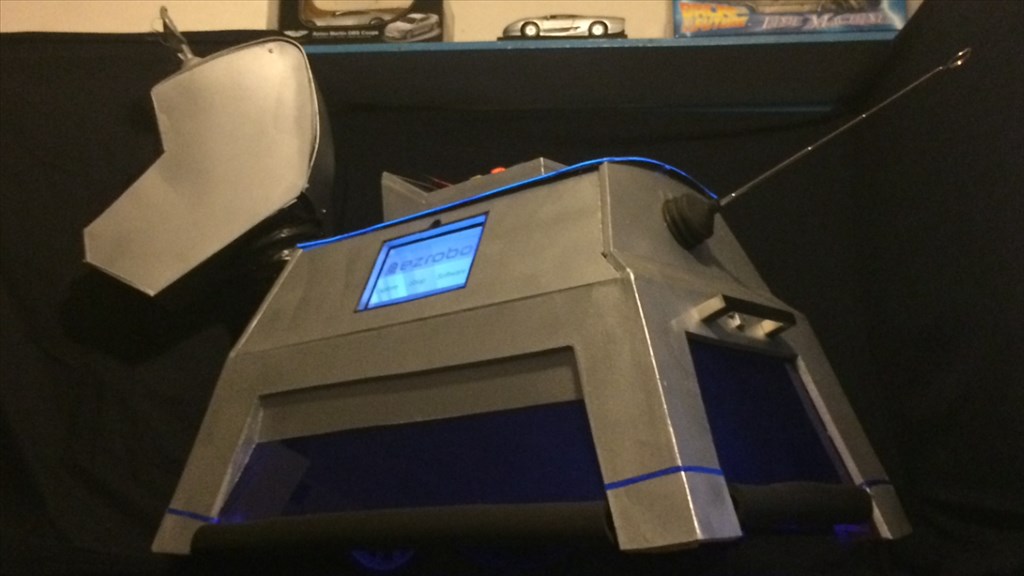
So, why K-9 2.0? K-9, because it's a cool name and the clever play on words. I just couldn't change that, and I couldn't call him FiDo (whovians will know what I mean by that). 2.0, well those of you in the know have already noticed my K-9 looks a little different to the one's seen in the show. This is because I wanted to give him a newer, slightly more modern look but still keep the original shape I fell in love with as a child (don't like the new one in the new kids show. Looks too much like a toy to me). I also wanted to have a more personalised look and shy away from building a replica, although I very nearly did. (I hope I haven't offended any K-9 aficionados out there with his new look).
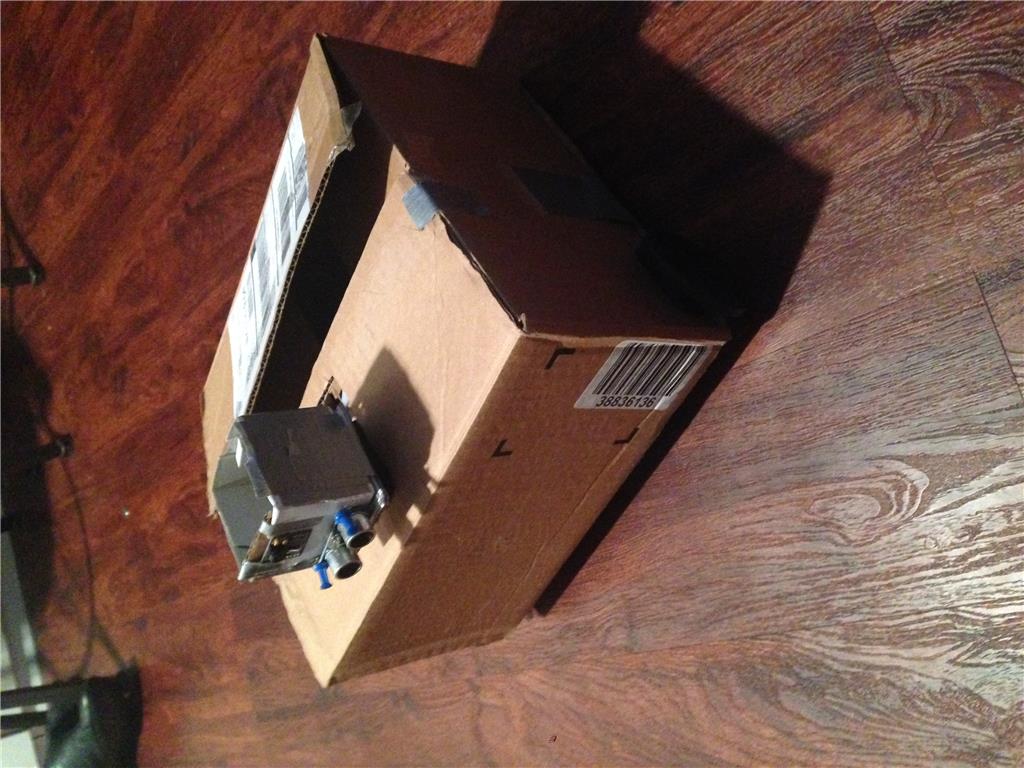
Okay, why now? I had an accident a while ago now resulting in injuring my back and left leg which left me unable to work or do much else for a while. So, looking for something to do to keep my mind and hands busy, and not become a couch potato, I thought "I want to build something". So needing to keep costs as low as possible, I got together a load of material I had from around the home, old R/C tanks, Cardboard, MDF sheets, LED fairy lights, old web cams, and numerous other bits and peace's laying around my home just crying out to be used. First of the blocks was a robot which didn't turn out very well. To heavy for the R/C tank drivetrain.

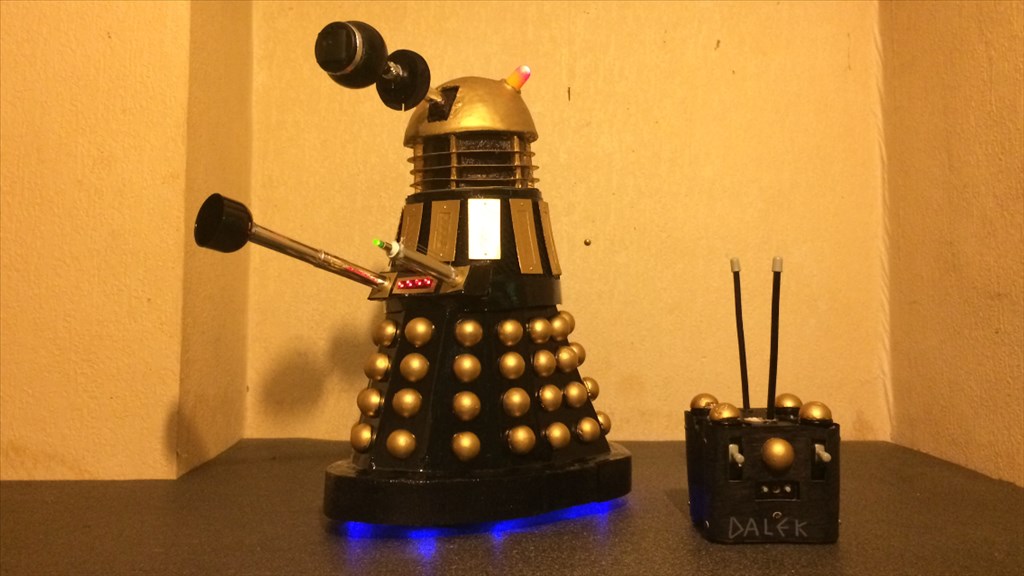
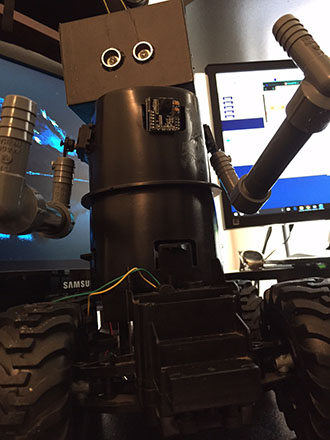
Then came cardboard Dalek BOB (Built Out of Boredom). He was a lot more successful, and was a lot of fun to build.
During BOB's build my mind started going in to overdrive, and that where the K-9 build came in. So after BOB was finished I drew up some plans and made a Cardboard K-9 prototype.
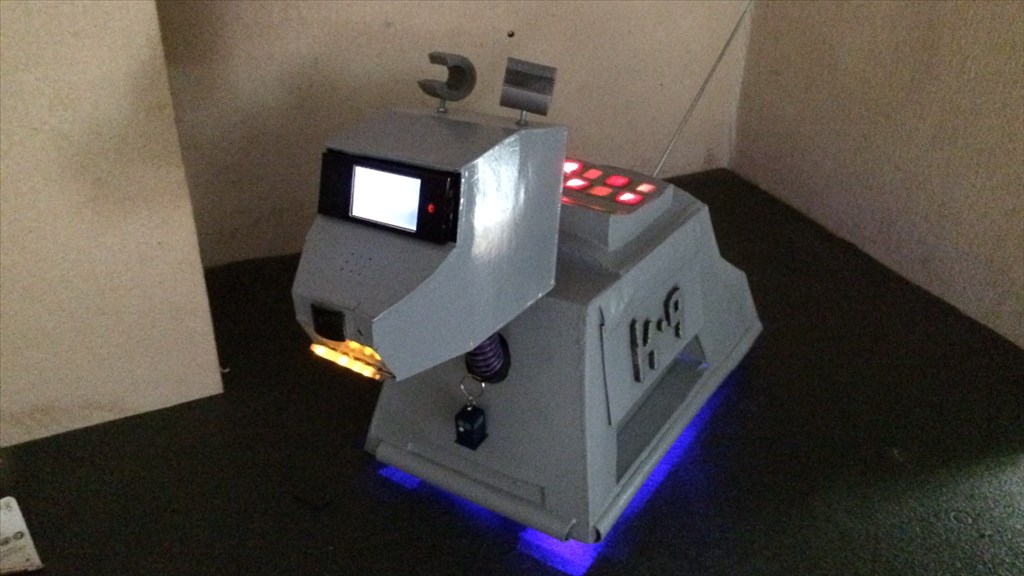
Again, he was was a lot of fun to build but I wanted bigger and better. At this point I had a lot more mobility so I decided, let's just do it.
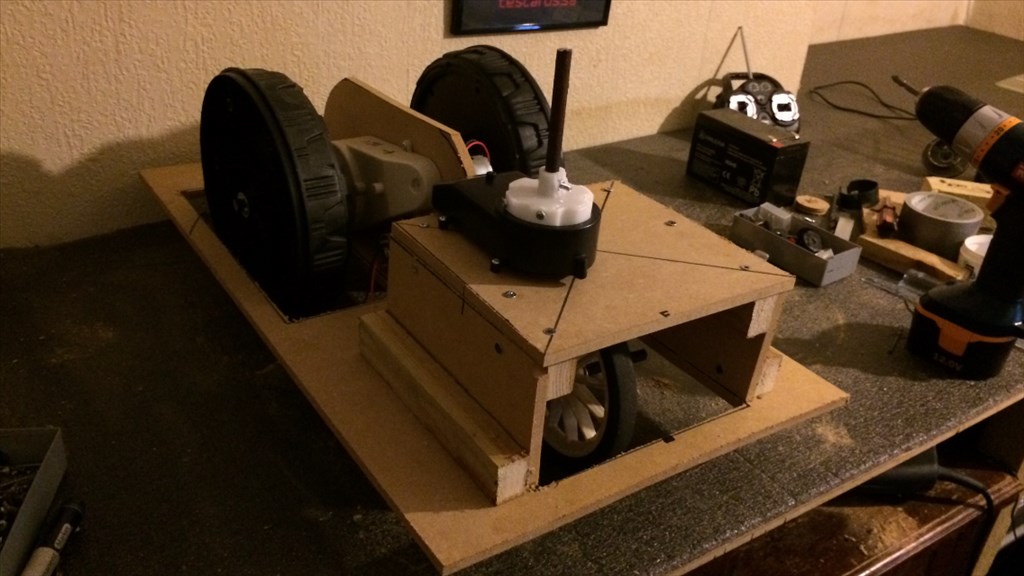
My (not so) little robotic pooch nearly turned out very different, and I'm not talking about how he looks. After making the R/C bots I had three strong motors and one last working R/C control and receiver. So I drew up some blueprints, I got my tools together and dusted of the MDF sheets. I was going to make a full size similar dimension R/C K-9 and hack some PIR sensors and audio equipment to install inside of him. I started on the chassis first (as seen in the "making of" video below) just working a couple of hours a day or night, and a few weeks later pretty much had it complete and started to make the body frame. During a not very good day as my back gave out again, I was searching the interweb when I came across a fun, crazy, interesting company's website. I think it was called "EZ-Robot" but I can't be sure(s) (pardon the pun DJ). This changed everything. Microcontroller, servos, face/colour/object recognition and so much more, this was for me, or rather K-9. After spending days going through the website and forum I made a shopping list and placed my order. Due to the pre-order status for orders at the time, this gave me time to crack on with the build and hopefully get most of it done. About 3 weeks after I finished the main part of the build I got that all important email, "Your order has been dispatched".
My goodies arrived a few days later and it was "game on". I started playing around with ARC and my new EZ-B v4 and was well impressed. This lead to a few small changes in K-9's design, but for the better as it turned out. It was about this time I became more active in the forum asking questions I got really stuck with and was amazed with the community members response times and willingness to help. If it wasn't for you guys, K-9 wouldn't be half the robot he is now, so thank you all who took the time to respond and help. No joke, this is the only forum I look at on a daily basis and that I am active in.
Well as I mentioned, the build is pretty much complete now, and everything installed and working. I still have a couple of ideas I would like to implement at some point like adding microphones to his ears, adding a smoke detector in his eye panel and a couple of other things. But for now I'm going to concentrate on ARC and set a lot more things up. I've done a fair bit such as setting up servo positions, sound files, face and speech recognition, but there's much more to explore and still have a couple of teething problems I need to iron out.
The video below is the first of a few to come. It is a slideshow of some of the photos and video clips I took during the build and testing. As I said earlier, I still need to sort out a couple of issues I'm having, and once that's done and everything is hunky-dory, I will put up at least a couple more videos of K-9 in action for you guys.
In post #2, I have put down a few more details of K-9's features, abilities and build design along with a few things I am planning to do if possible. So, as some of you already know, this is my very first attempt at building a microprocessor controlled robot, with no scripting/coding knowledge or "qualified" woodwork/electrical experience but, even if I do say so myself, I don't think he turned out too badly. But it's not what I think that matters (well perhaps a little bit), it's what you guys think. Well I hope you enjoyed this insight to how K-9 2.0 came to be (and if you kept reading this far, then fair play to you), and I hope you enjoy the video. I would love to hear your thoughts and opinions, things you may have done differently, things you do like and things you don't. I'm pleased with the way he turned out and I hope you like him too.
Again, thanks to all of you that helped me along the way, and for those who are just browsing or are new here, I hope K-9 2.0 inspires you in some way with your own robot builds.
Steve G.
Discover more robots
Mitzeljk's Meet Modi
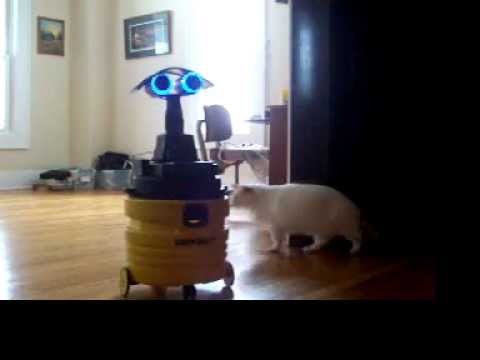
Csa459's Wet And Dry Vac Demo Video

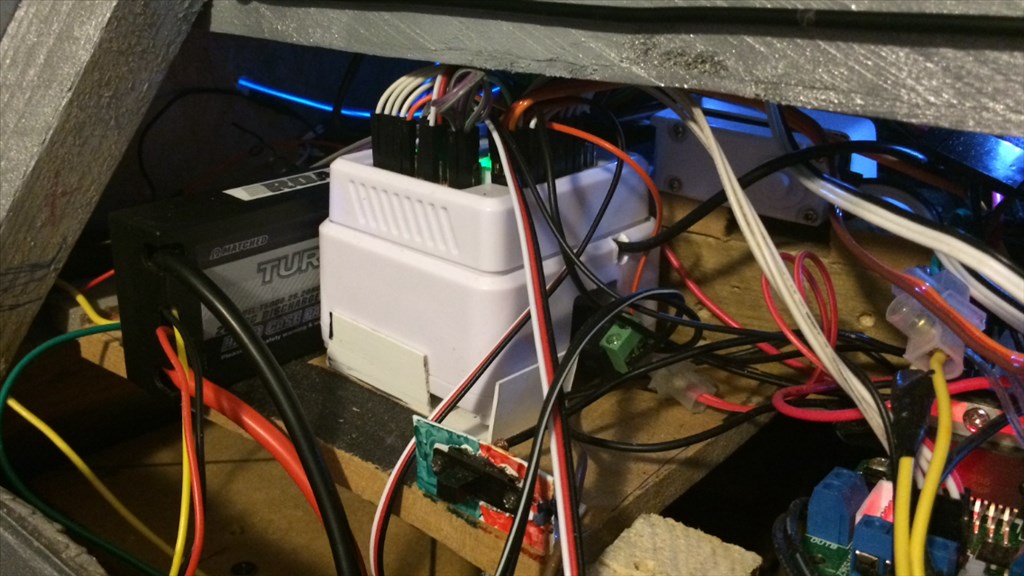
Steve, glad the gear-tray idea worked for you. Case in point, I have just needed to get the gear-tray out of the EZ:1 for modifications and it takes less than 15 minutes to completely extract it, and about the same for re-installing it. I meticulously mark/name all cables so it is easy to find where they belong.
Tony
Yep, I did the exact same thing this time around using a little bit of masking tape and a pen to make labels for each wire. Very useful.
UPDATE 2.0/5 cont.
So, as mentioned in the above post, here's the details of what's new in the metal pooch (well, mostly wooden pooch actually. )
)
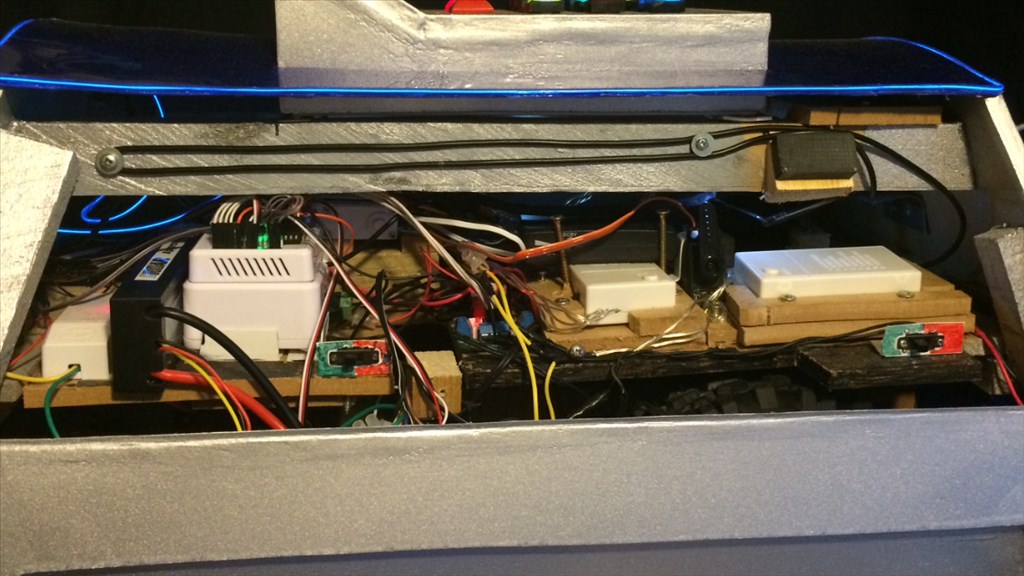
MAIN ELECTRICAL SYSTEM
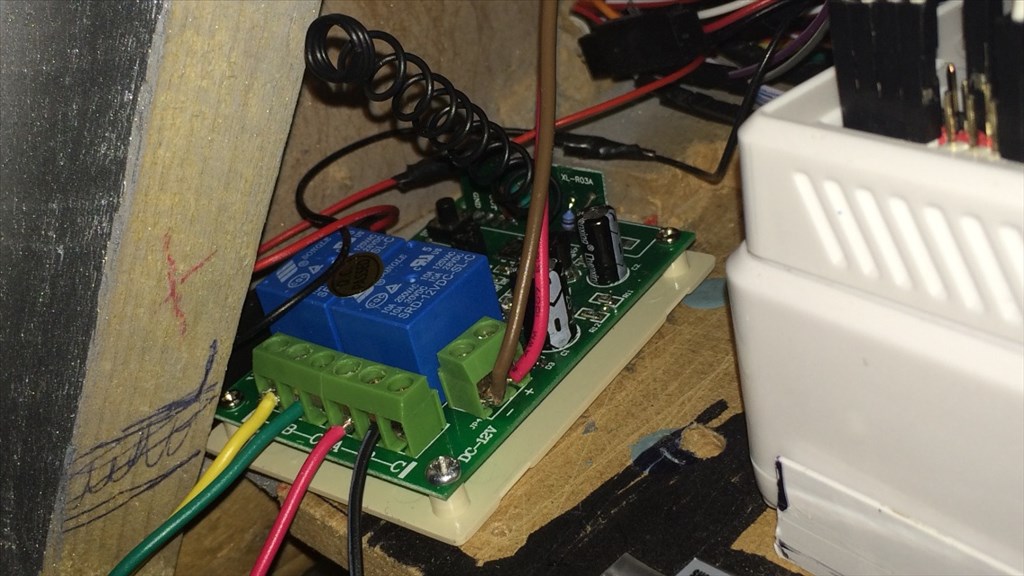
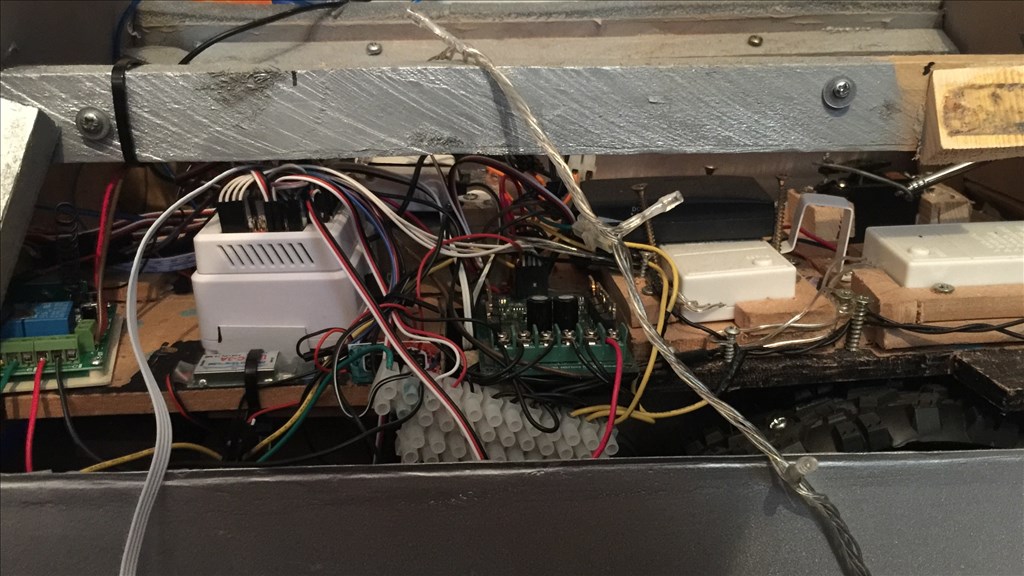
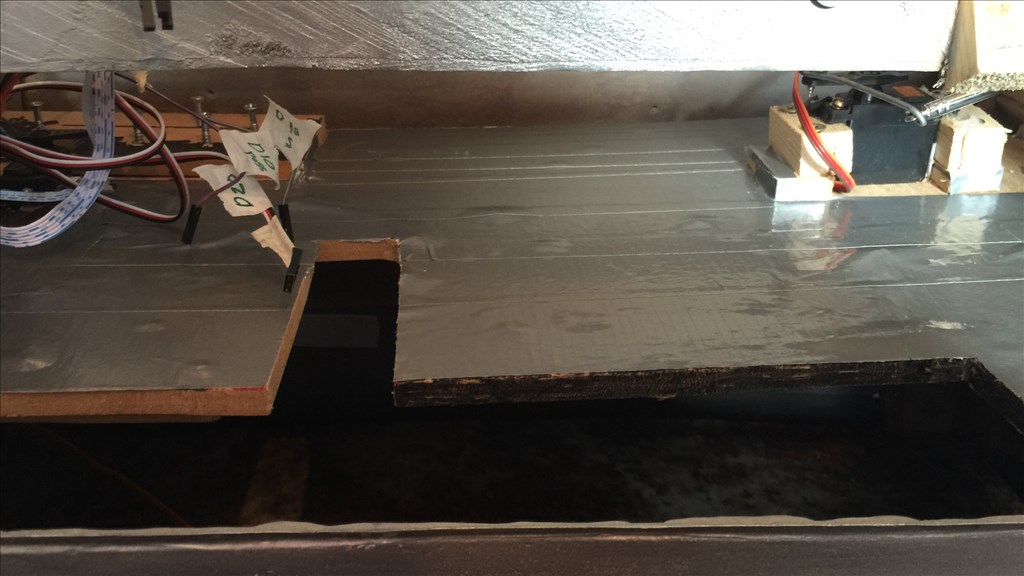
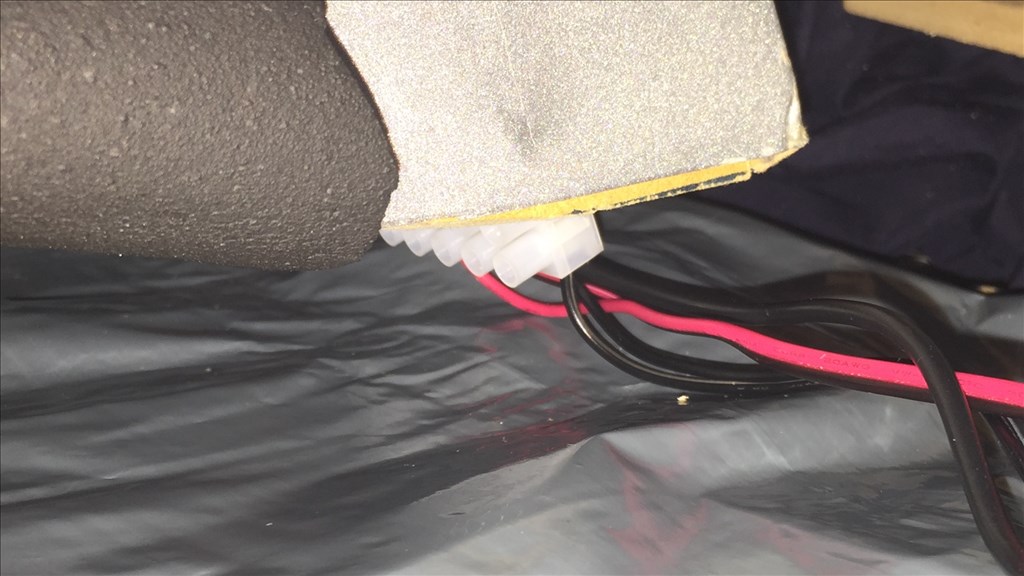
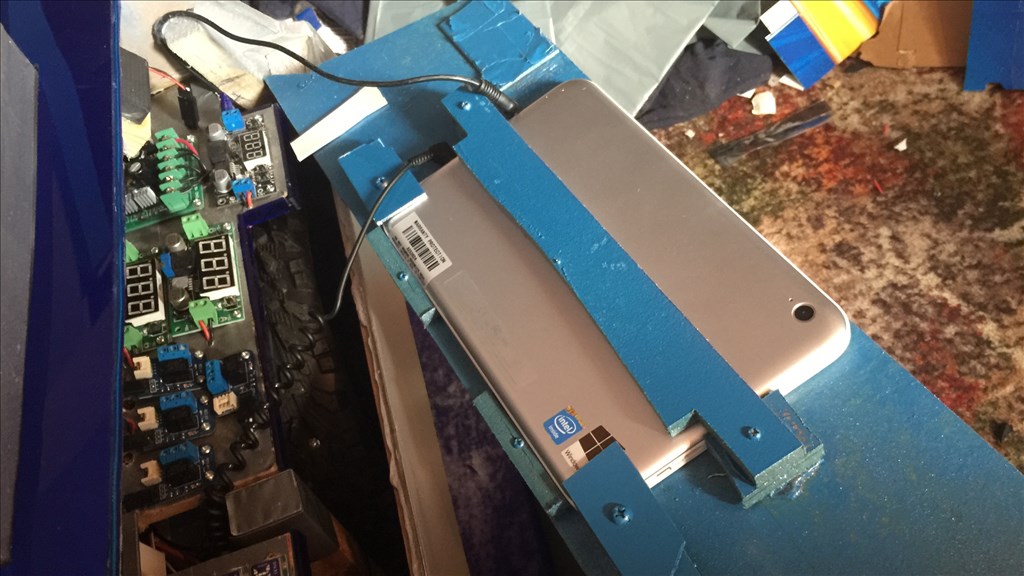
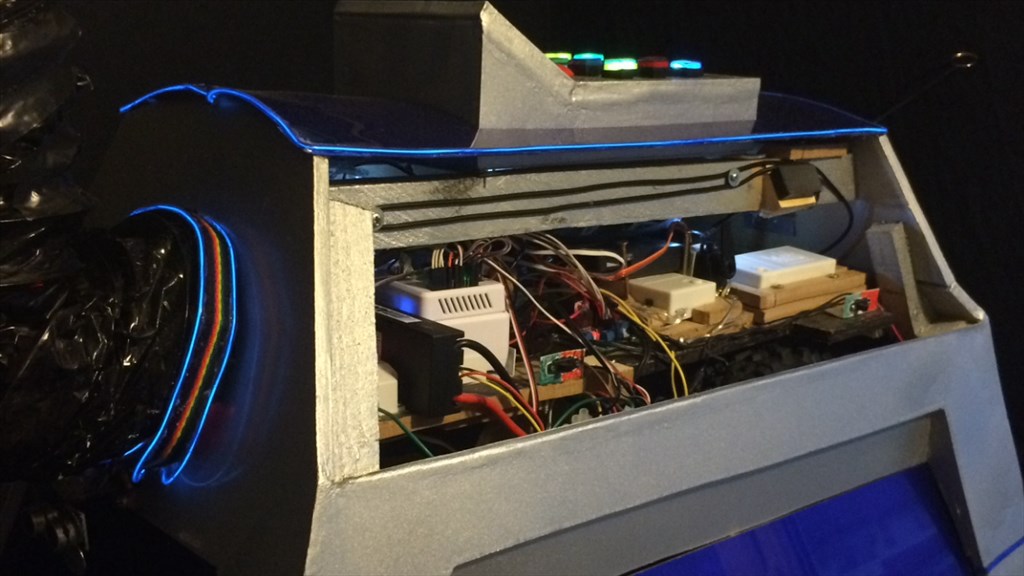
As this was my first what I would call "proper robot", there were things I wasn't quite happy about when I initially finished the build. One thing was the messy wires I mentioned in post #47, which I really wanted to sort out. Another thing was that all the lighting (except for the RGB eye array) were all powered by separate power supplies (AA and AAA batteries), as well as the speaker and "sound to light" sensor for the mouth.
So after stripping out the electrics, I tidied up the platform, laid all the new peripherals out, and marked then drilled the holes for all the wires to poke through. Then fixed all peripherals down to the platform.
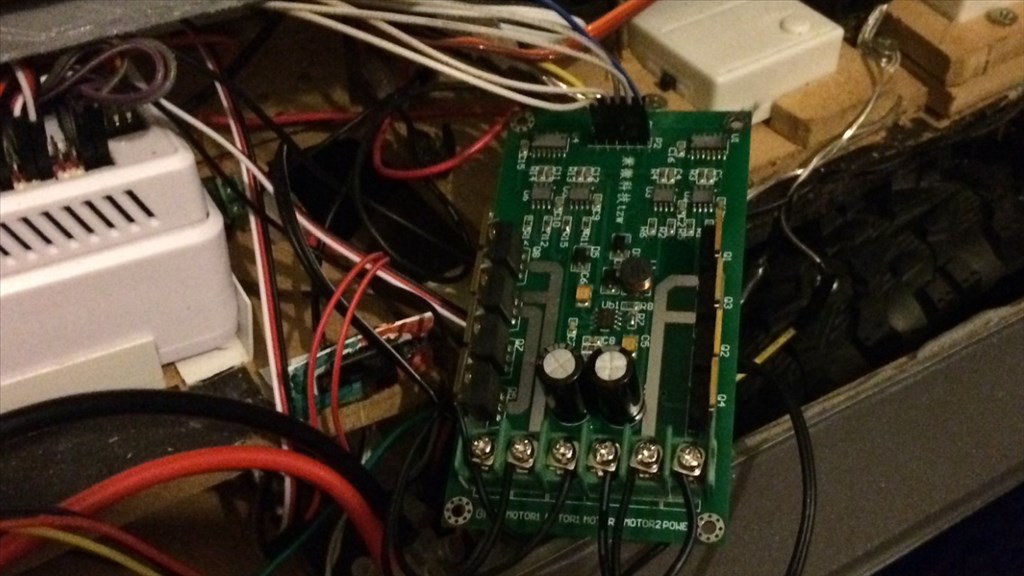
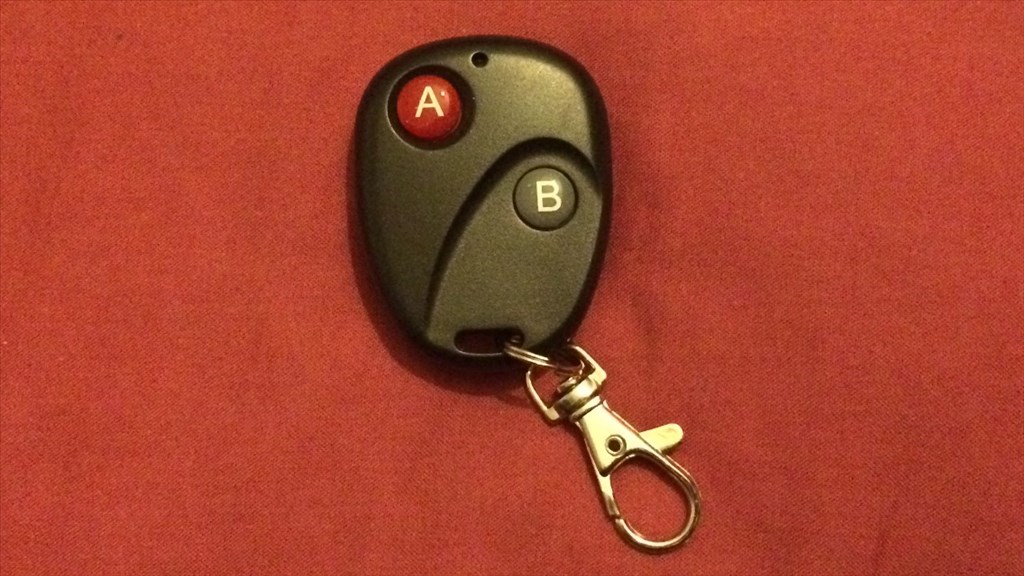
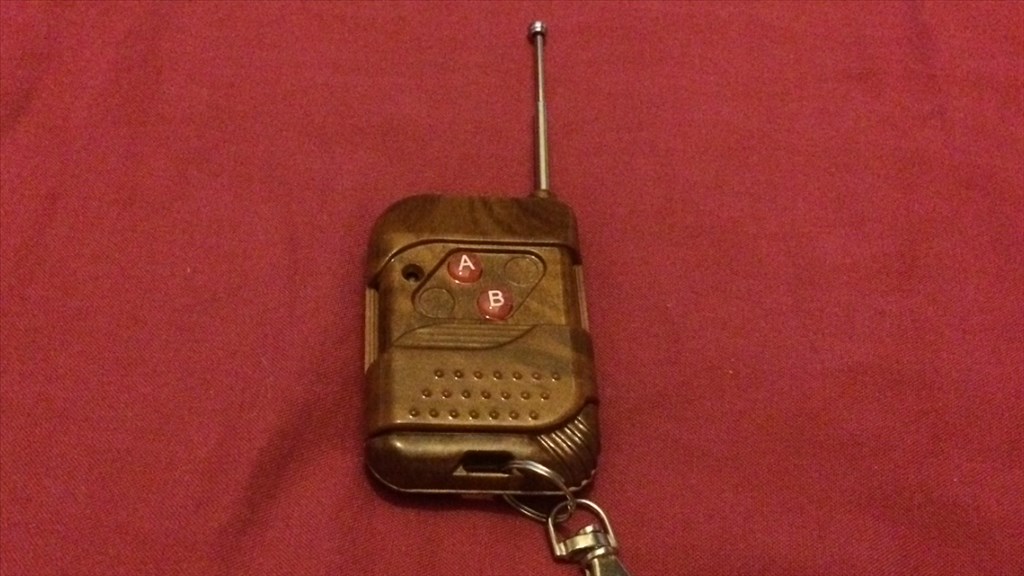
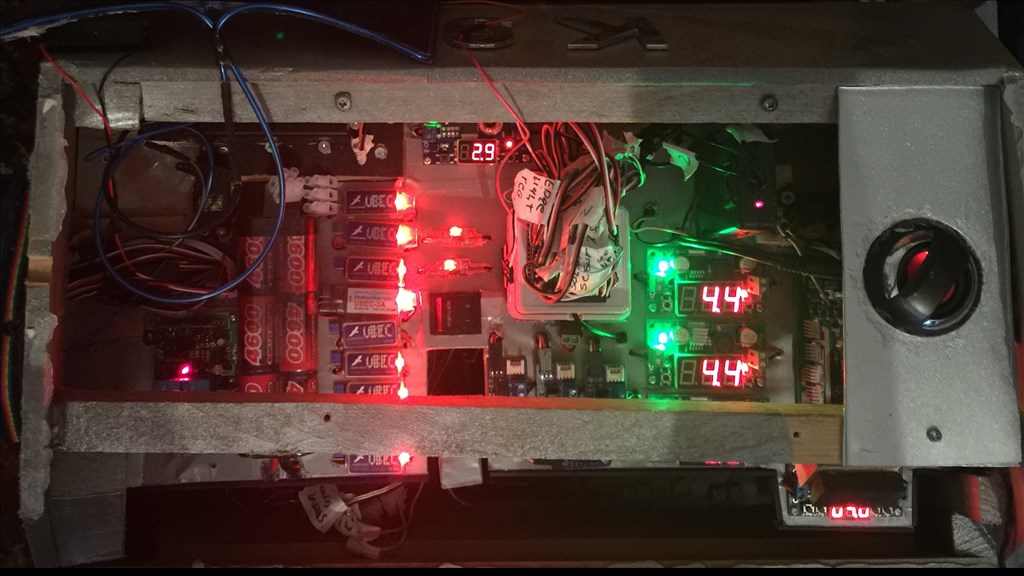
In regards to peripherals, these were 5v regulators, adjustable step down buck converters, 5v relay bricks, 12v 2 channel remote relay, sound to light sensor, EL light relay, 10 amp motor controller, re-positioned EZ-B v4, and two battery packs for the EZ-B and drive motors. Once everything was fixed down, the wiring up commenced using new silicone coated steel wire which was now colour coded, and reusing the servo extension and jumper cables.
REPAIRS
Over Christmas K-9 had a little accident when turning in to a doorway. He took the turn too tight and rubbed his side panel up against the door frame with enough force to crack his blue acrylic panel. So I managed to order another sheet, cut it to size and fixed it in place. But to stop this happening again, I added a couple of wooden batons just inside of the acrylic panels to act as reinforcements so the panels wouldn't flex as much should it happen again.
I also replace K-9's bumpers as the one on the broken panel was trashed when I removed it, and I had enough foam tubing to replace all of the bumpers. But before I replace the new side bumpers, I made an additional secret change to them which is mentioned below in the "Sensors" section (oop's, I gave the secret away now), which would help protect the acrylic panels further.
LIGHTING AND SPEAKER
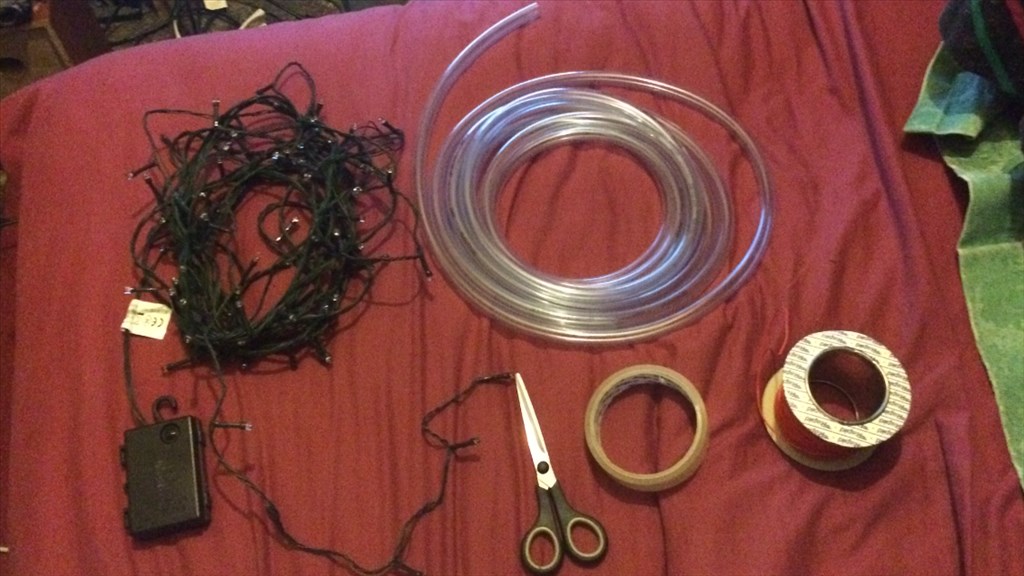
As mentioned above, all of the lighting were running off their own batteries, so I changed that. Quite simply, I cut the battery compartments off the chassis and control panel lights, ran them through step down buck converters, and then broke through the positive wires and ran them through relays which would be scripted with different flashing patterns in ARC.
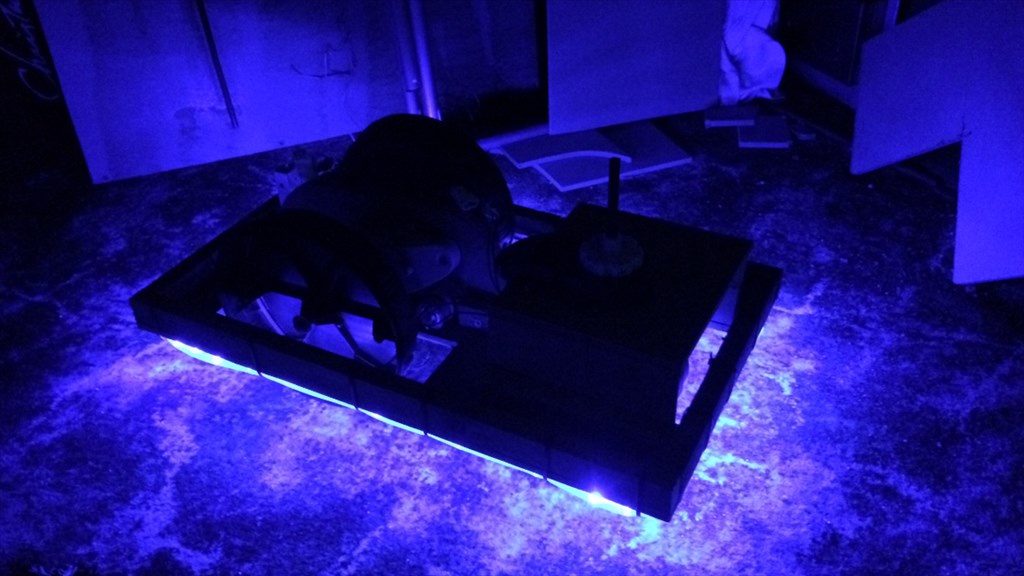
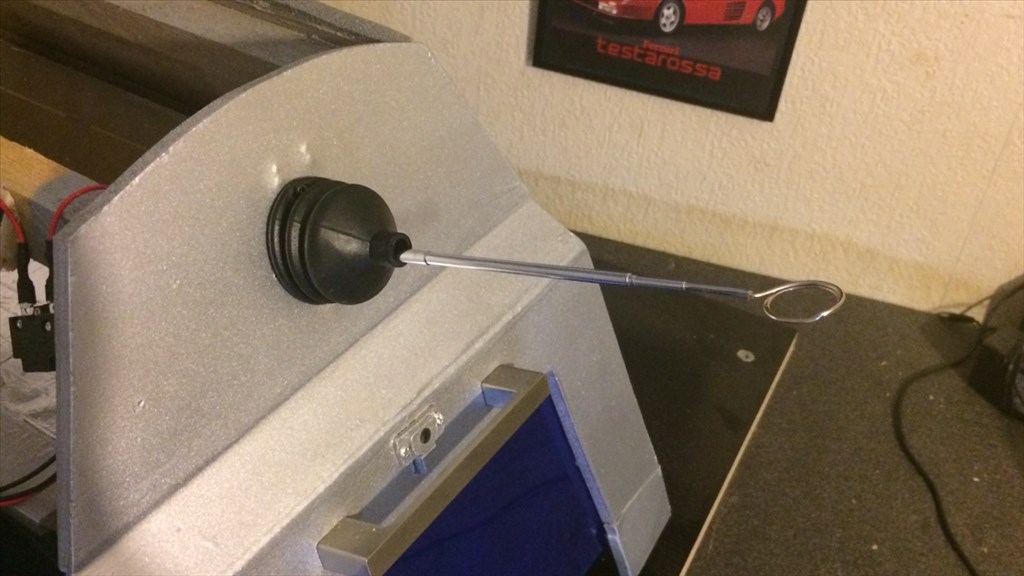
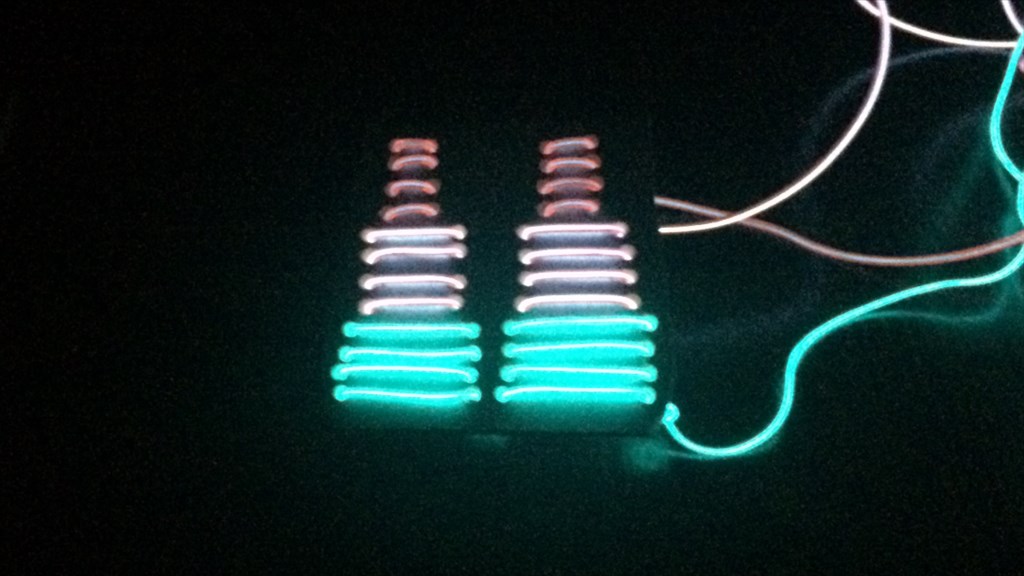
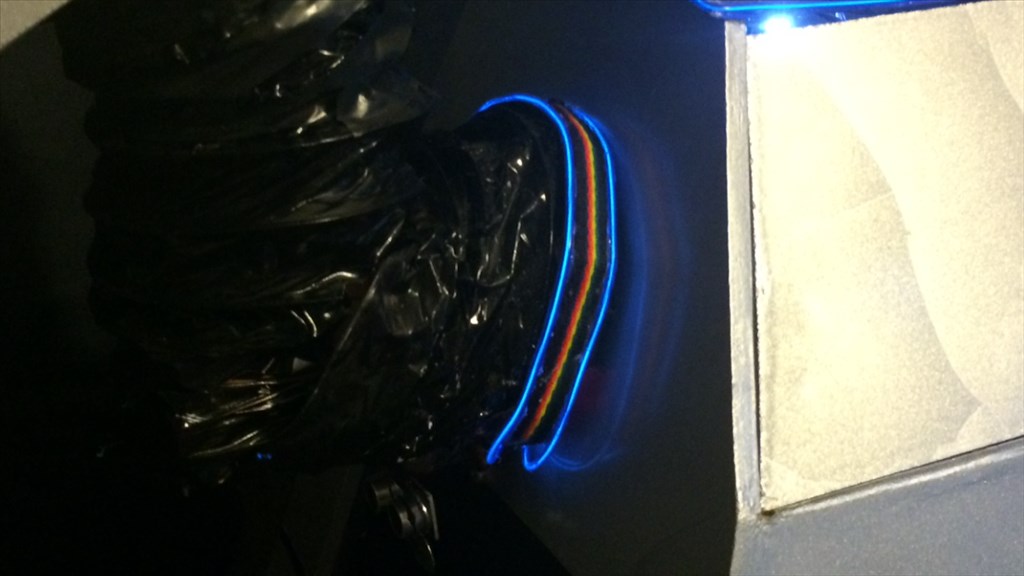
With the EL lighting for the mouth and dorsal edge lighting, I ran them through buck converters which are powered using digital Vcc pins. The dorsal lighting is still servo controlled (servo presses button for different flash modes), and the mouth lighting automatically powers up when the EZ-B does. I also removed he rechargeable battery from the speaker and wired it directly to analog ground and Vcc pins which fires up when the EZ-B does.
SENSORS
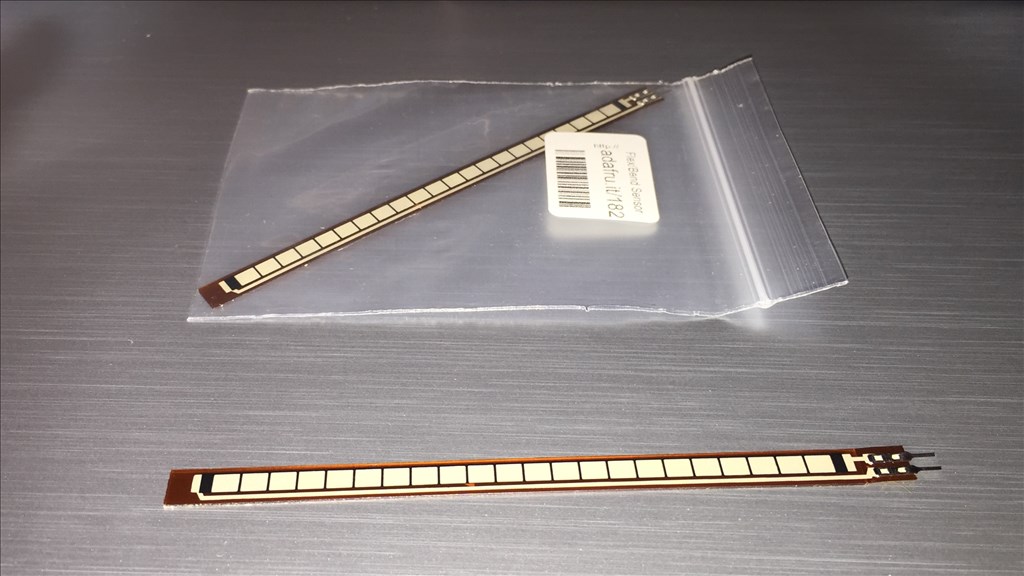
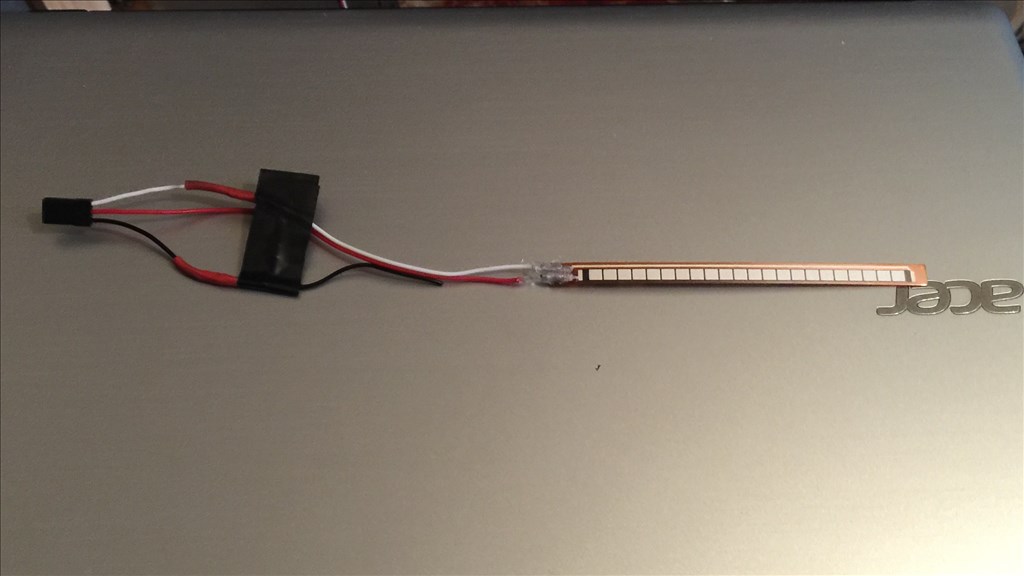
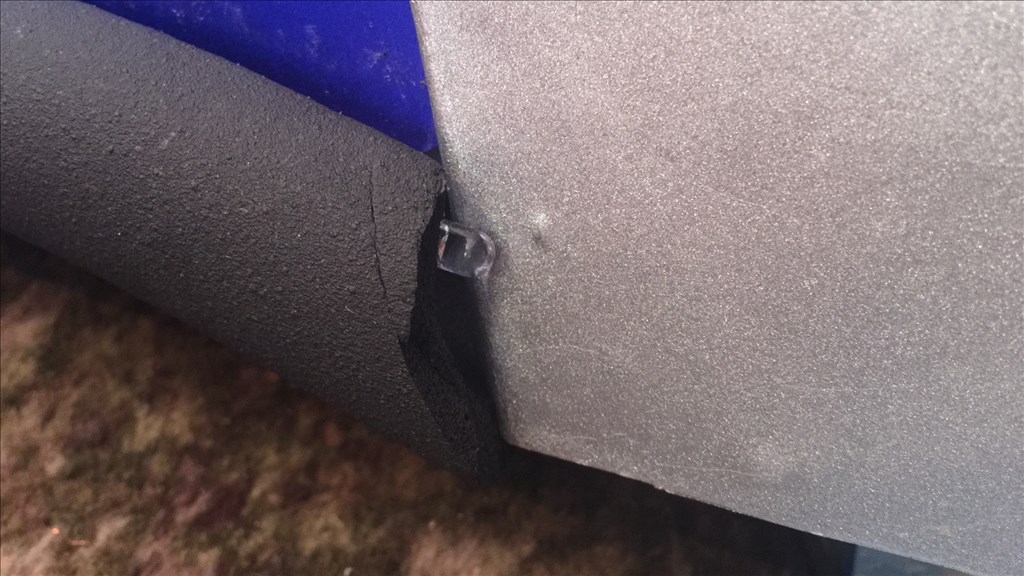
Flex sensors.
So, as mentioned above in the "Repairs" section, I have added two Flex Sensors which are attached in a strategic position inside of the side bumpers which act as a bump sensor. These will be scripted so when a bumper comes in to contact with an object such as a door frame when K-9 is turning in to a room, the bumper/sensor will bend triggering a script which will stop the drive motors, reverse, then steer away from the object, then adjust its course to navigate past the object safely.
These sensors are easy to set up and run off an ADC port. I wrote a short tutorial here in post #29, explaining how to hook these Flex Sensors up.
Sound sensors.
After some success fitting these sound sensors in to my Victor project, I decided to get some more and fit them in to K-9.
They are discreetly hidden away inside of the front end of the side bumpers, and are also hooked up to ADC ports. These are linked to the neck "look left/right" servo, so K-9 can look in the direction of the loudest sound signal that's detected. Great for when someone is talking to him, and also useful as a security feature where if a sound is detected, he can do things such as look in the direction of the sound and take photos, for example.
Light sensor.
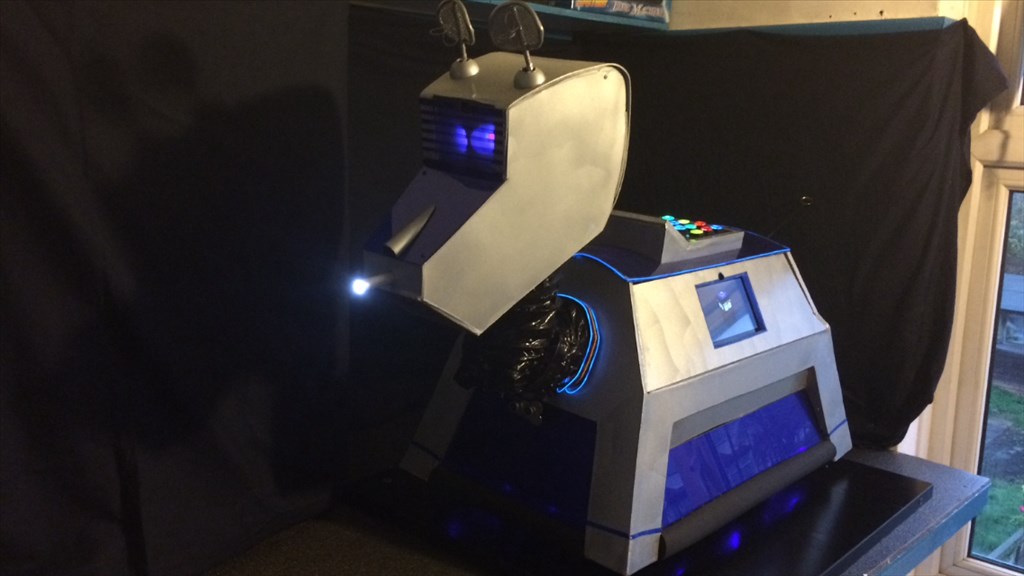
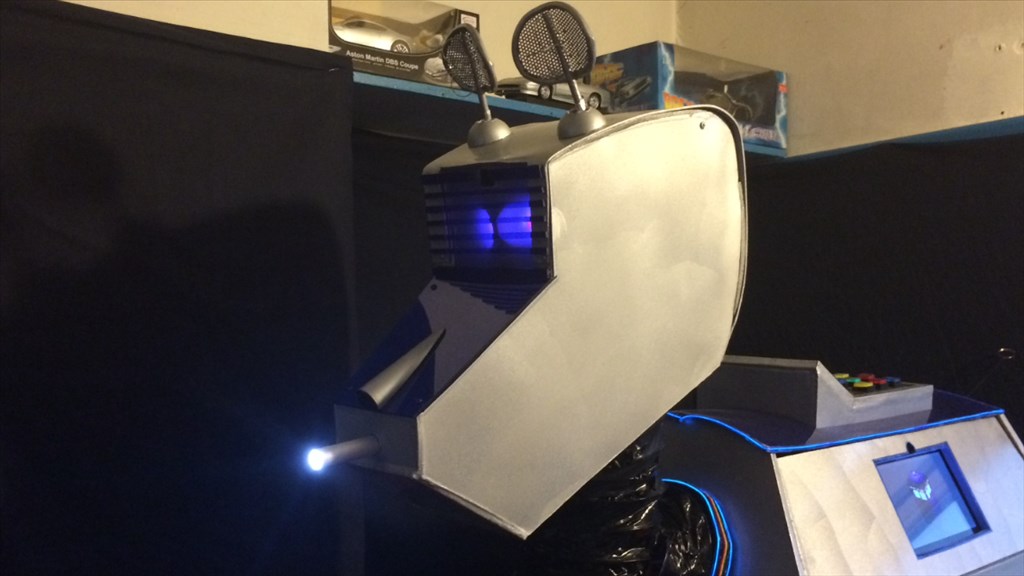
Tucked away underneath the left side bumper is a Photosensitive Diode Sensor Module which detects changes in light. So if he was to wonder in to a dark room, the light sensor would detect this and deploy the torch. That's just an example of what I will use this for.
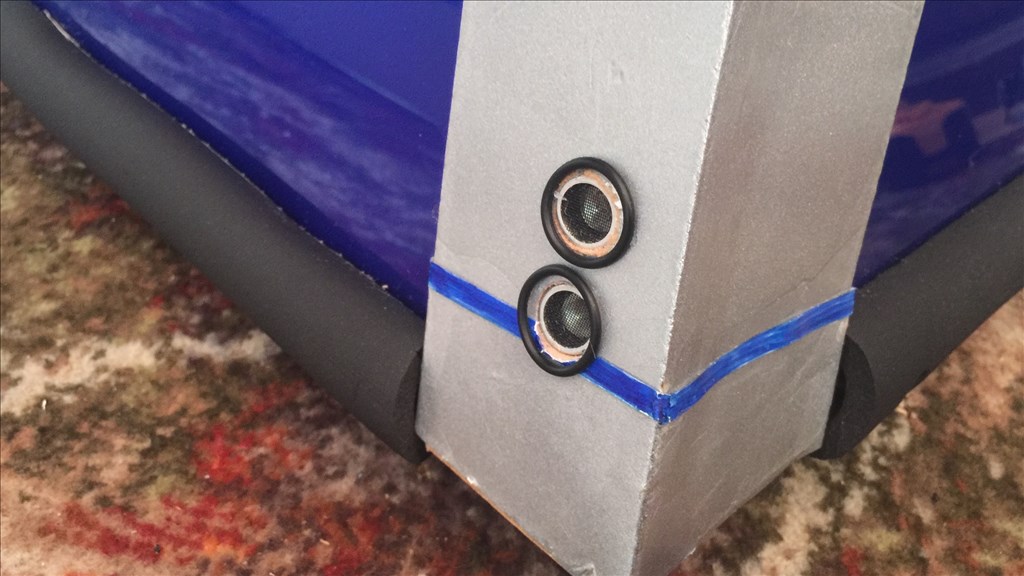
Ultrasonic "Ping" sensors.
K-9 already had one ping sensor fitted under his neck, but I felt he needed more to compensate for the longest width of the body. So now he has two further ping sensors flush fitted to the left and right front leg panels.
These will simply be scripted to stop at an object (door frame ect), reverse, and steer away. The neck sensor is now static (ran out of digital ports for the servo) which monitors the length of the head and takes avoidance action if needed.
I also added one other ping sensor to the back of K-9, fitted inside of the rear bumper.
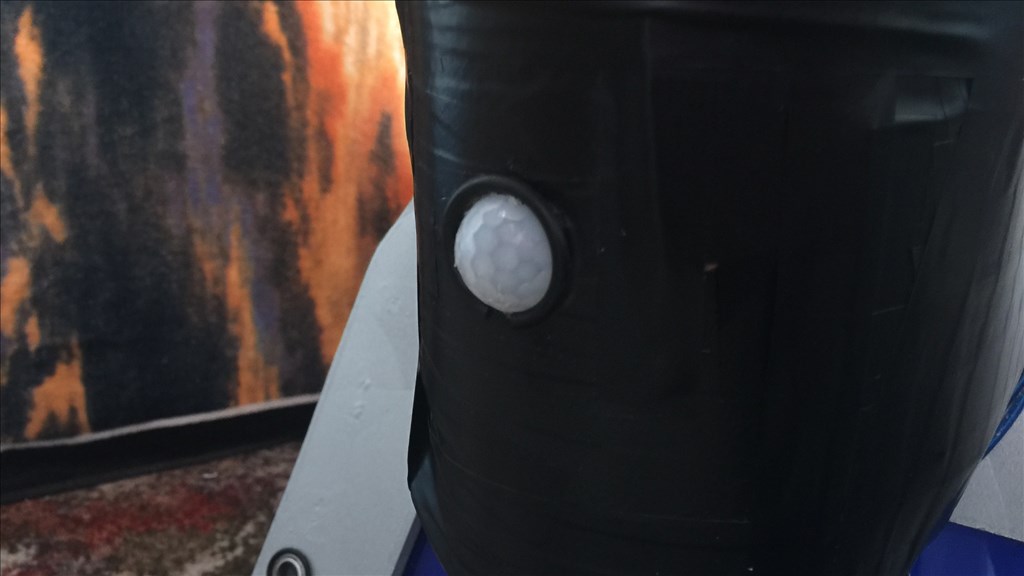
PIR sensor.
I have also added a passive infrared sensor to the front of K-9's neck which, depending on the time of day, will act as a security monitor. He will automatically power down (lights, servo release ect) at a preset period of time, and only have the PIR running. So when movement is detected, he will power up and take the necessary action. I also found that It's useful power saving option when live testing scripts. Simple to wire up and connected to a digital port.
4 in 1 sensor.
It had to be done as this looks like a great little sensor, and I had a spare i2c port to use. Not much to say about this, as I'm waiting for it to ship, but shouldn't be long now.
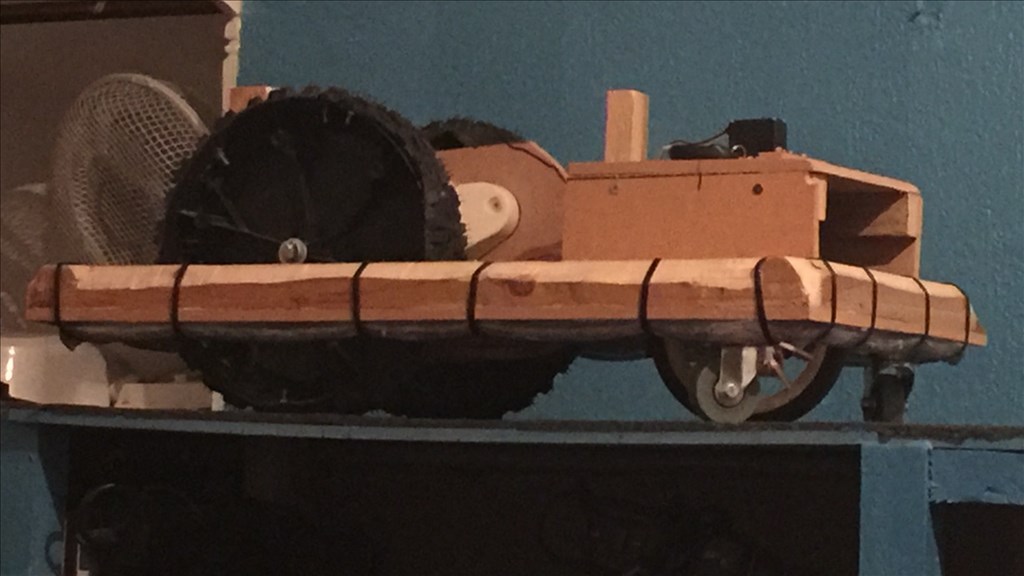
CHASSIS
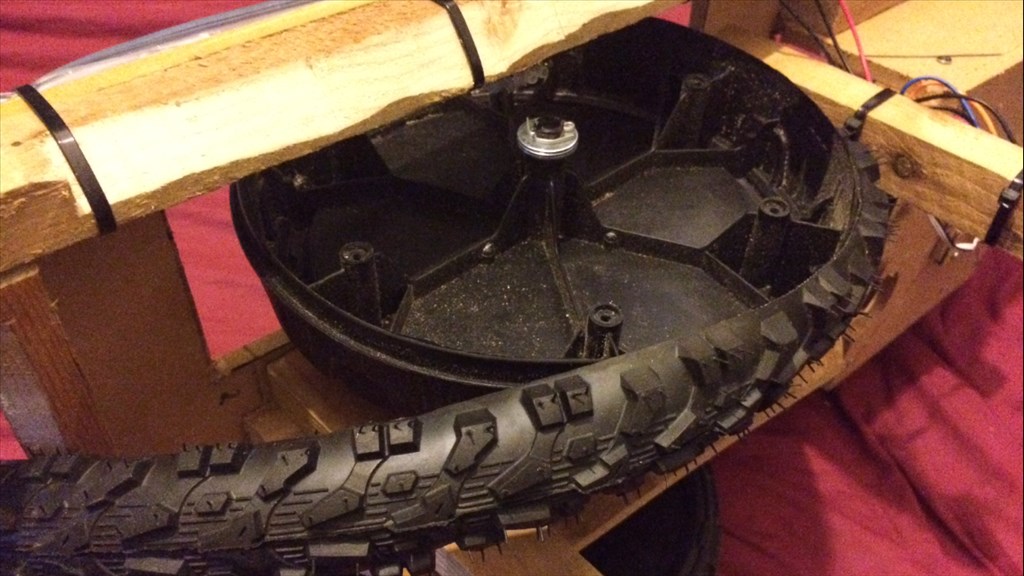
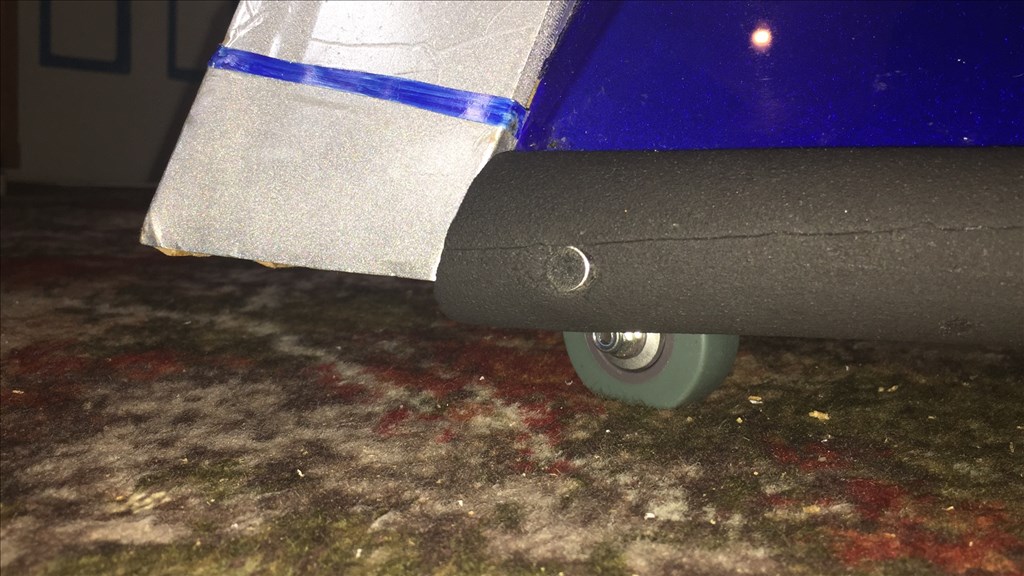
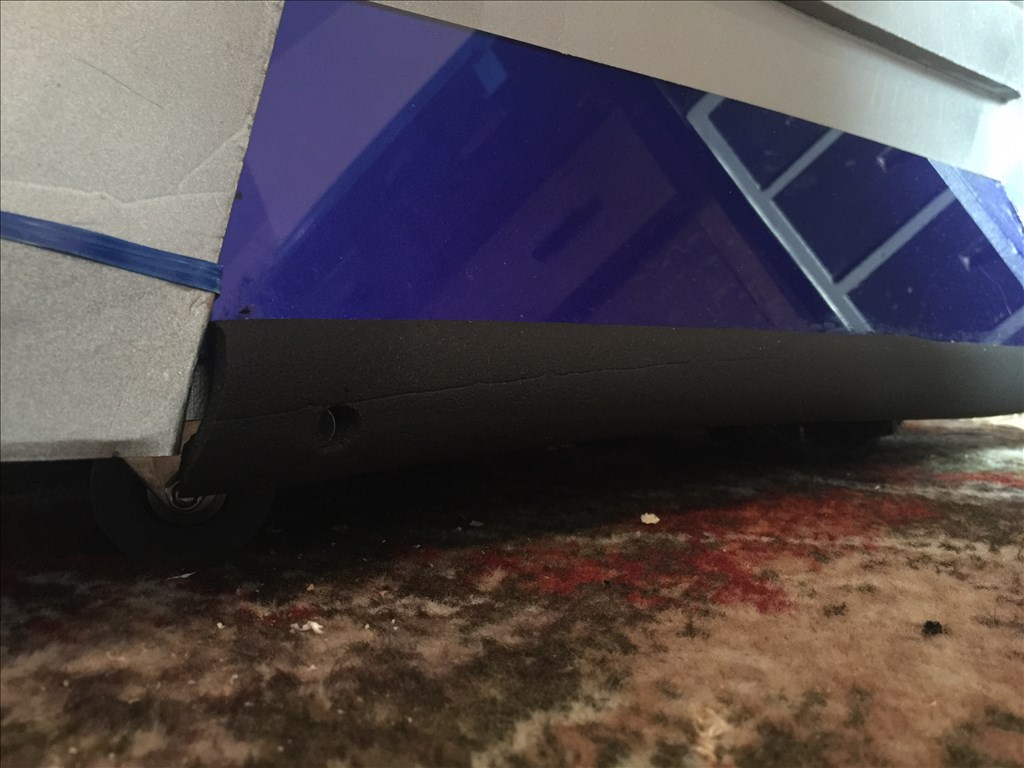
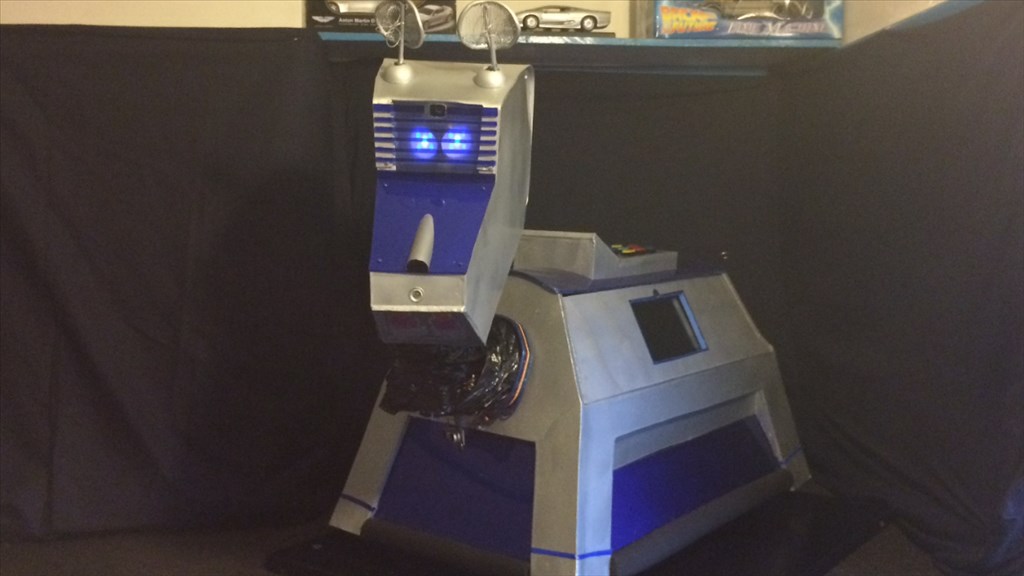
Only a small change here, but it was needed. The chassis had two large drive wheels and one front steering wheel. And although this setup worked, when K-9 would take a corner a bit fast, his front corners would tend to dip to one side. Also I wasn't happy about all the front end weight resting on one wheel.
So I added some caster wheels to the two front corners of the chassis, and he moves around a lot more gracefully now, without looking like he's had one to many oil cans for lunch (if you know what I mean).
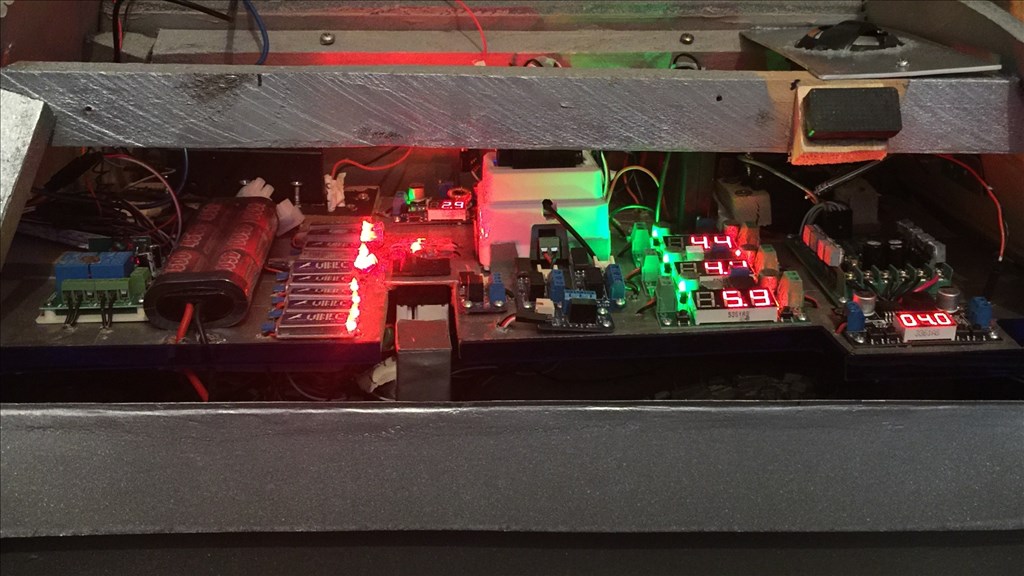
POWER SYSTEM
LiPo batteries are out, Nimh battery packs are in. Reasons, well it's not that I dislike LiPo batteries, far from it. They pack a great punch offering a nice amount of current when it's needed. But I have two main reasons why I have made the change. The first reason. My family received some devastating news recently, so robotics took a back seat as you can imagine. So when I got back to it recently (another reason for K-9's makeover, so it could take my mind of things), I plugged my 7.4v and 11.1v LiPo's in to recharge (you see where this is going), yep, they wouldn't charge up and were both as dead as a dodo. As you can imagine, I was pretty (insert bad words here) with this, as the batteries were only a few months old. Pretty much a waste of about 80/$125, that ended up in the trash, all because I wasn't around to charge them up even when I wasn't using them.
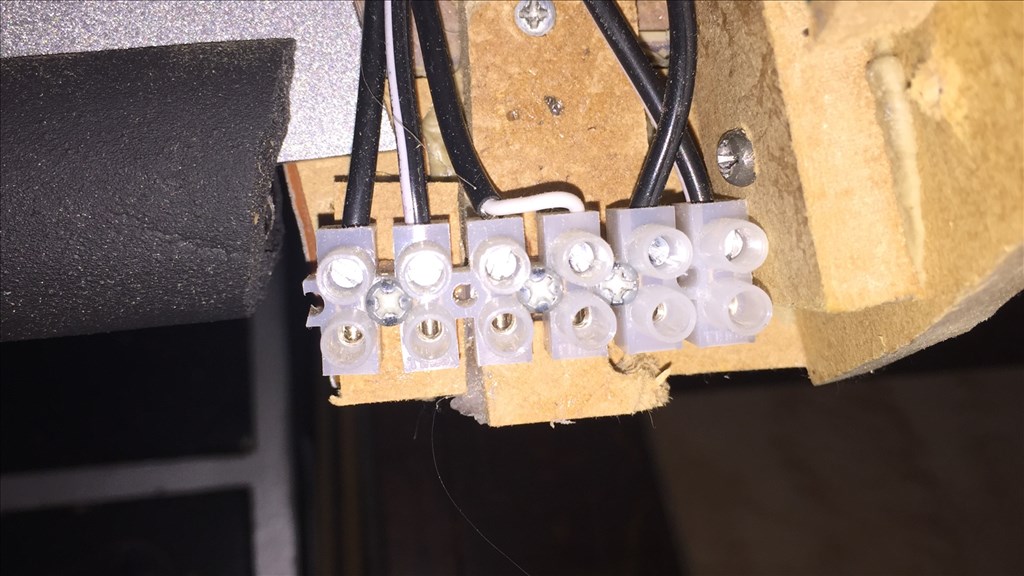
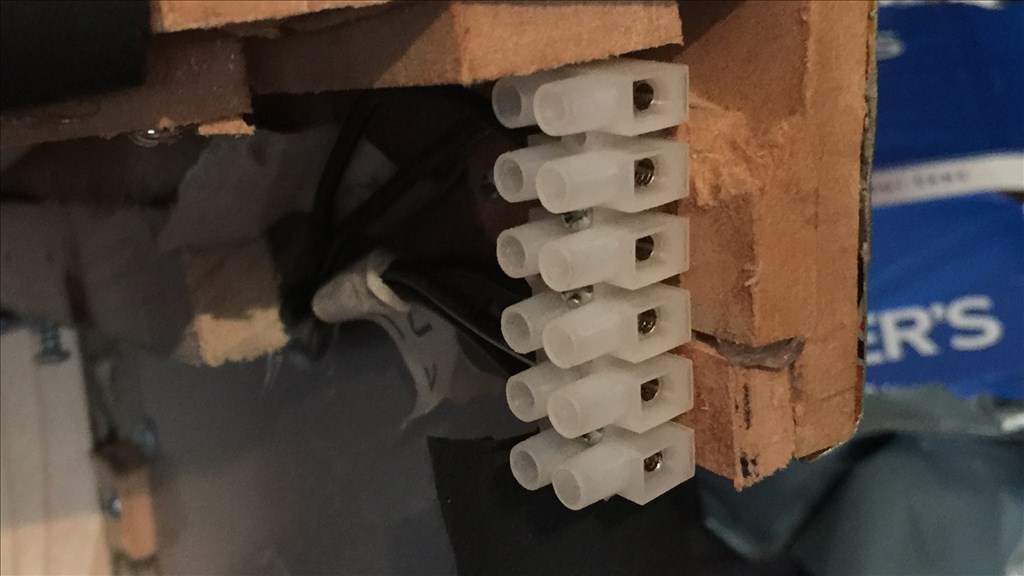
The other reason was that I wanted to charge the batteries up while K-9 was still powered on (in a low power, security scan mode), with just the EZ-B checking the PIR sensor. Also with the new charging port I have made, I intend one day to convert this to a docking port, so K-9 can auto dock and self charge which, as you may or may not know, cannot be done with LiPo batteries, unless a cleaver switching circuit is made, which I'm not sure how to go about this anyway.
In regards to charging and possible future docking, I attached a 6 way plugable terminal block to the inside of the back leg panel and wired it up, with the other end attached to the chargers. So once plugged in, this will recharge the 7.2v EZ-B, 12v drive system, and the tablet PC batteries. Although the Nimh chargers I purchased have a power cut off which kicks in after 4 hours, all three chargers are plugged in to a digital mains countdown timer which I have set to turn off after 2 hours, so there's no danger of overcharging the Nimh battery packs. They are also isolated so I can charge whatever battery is needed, on its own. I may one day make the move to LiFe batterie packs, but I don't know enough about them yet to commit to making a purchase, as they are quite pricey, and they don't seem to have many user reviews on the web.
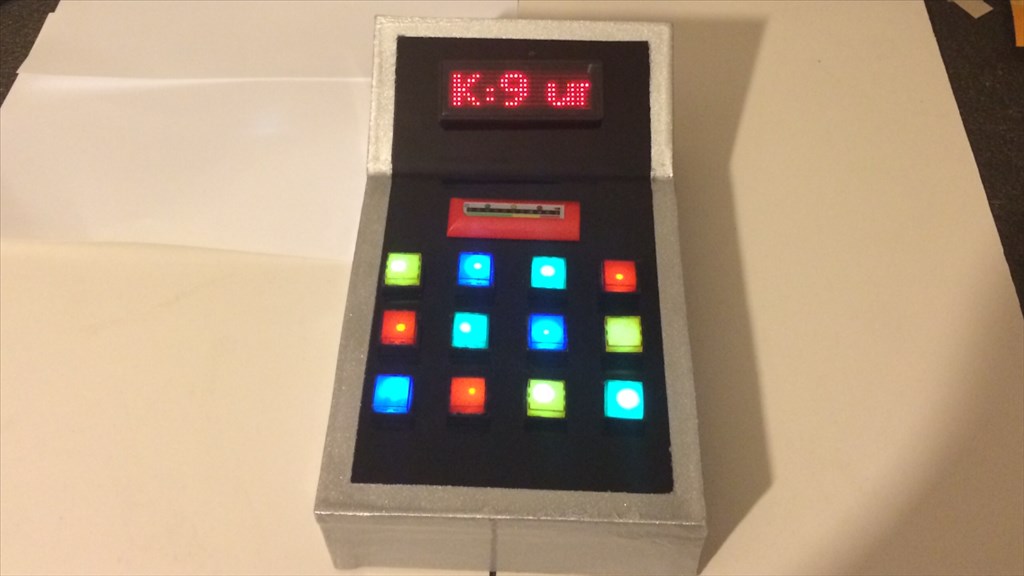
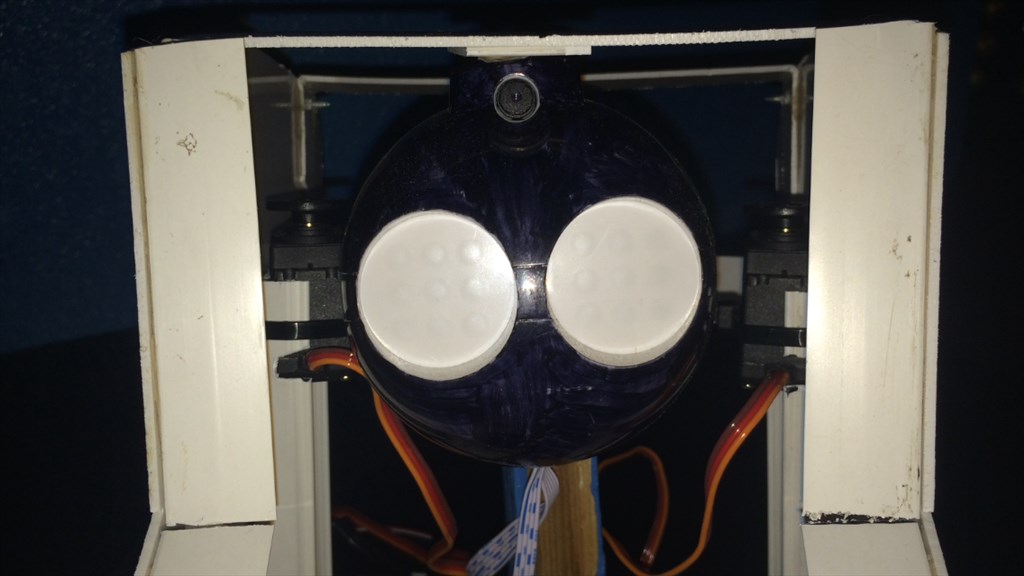
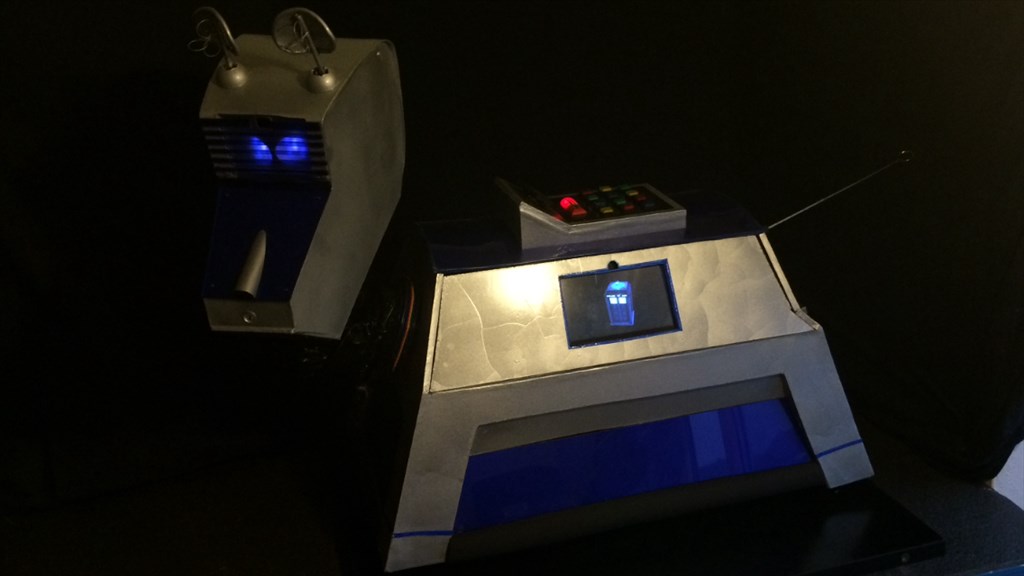
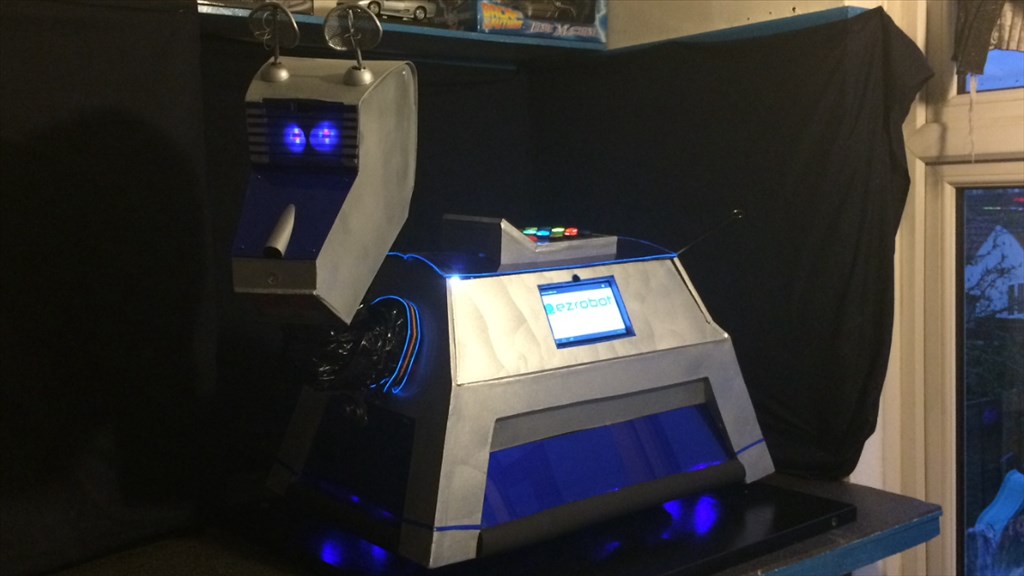
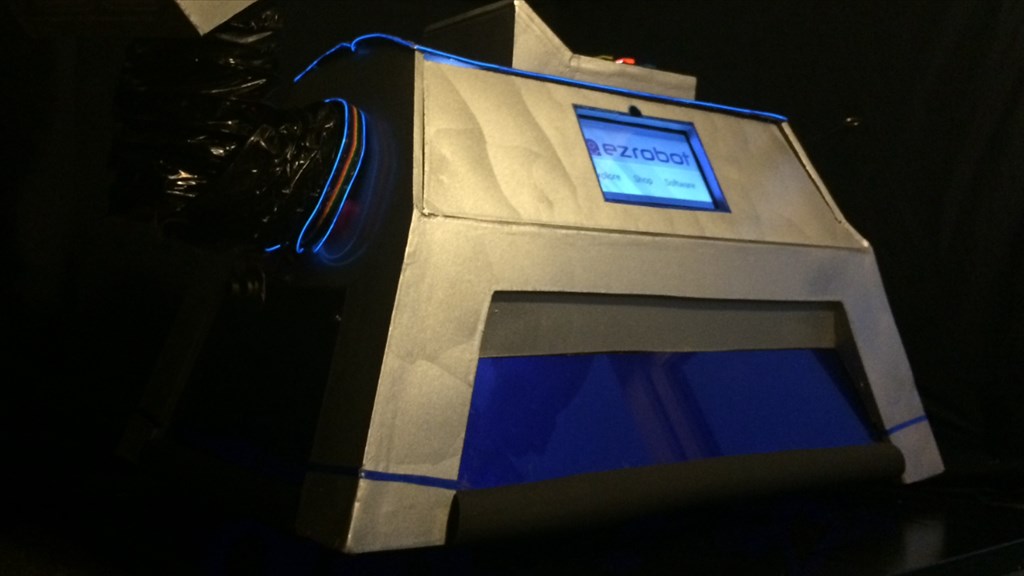
VISUAL DISPLAY UNIT
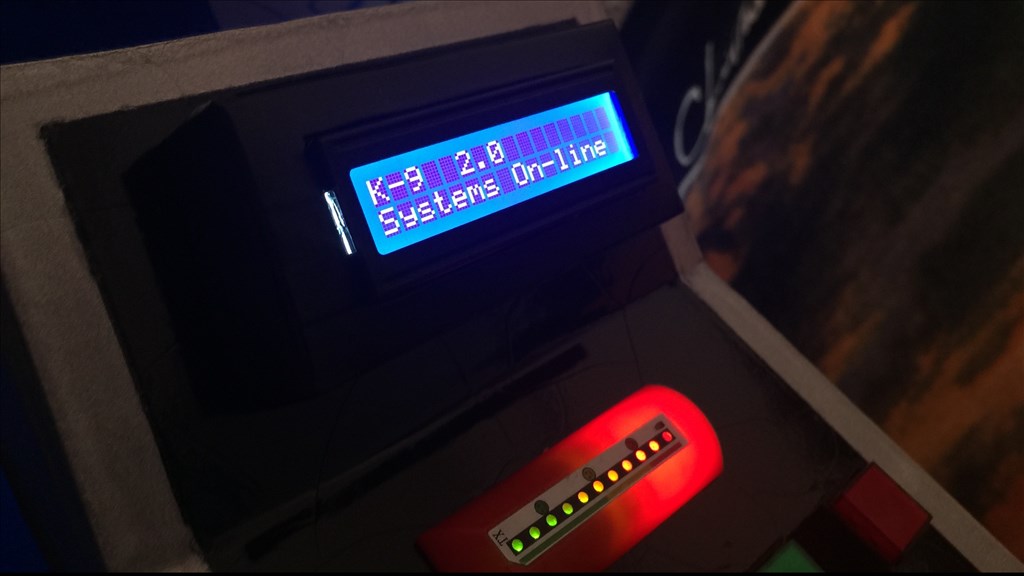
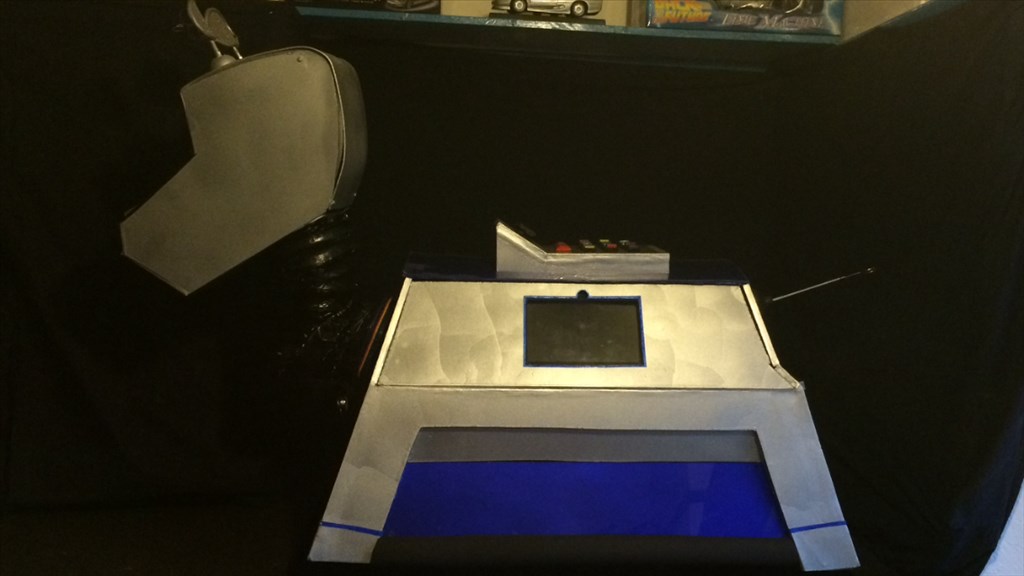
On the control panel that sits in K-9's dorsal panel, I originally had a dot matrix scrolling display, which looked and worked okay, but didn't display any real information. So I have removed it, and replaced it with a blue LCD display that will display live EZ-B and system information, as well as some custom messages.
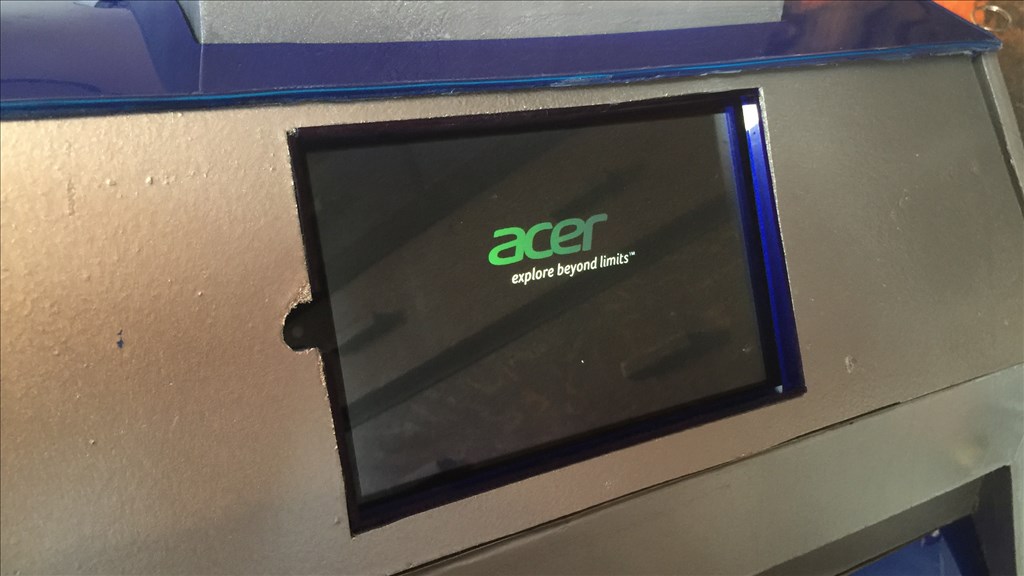
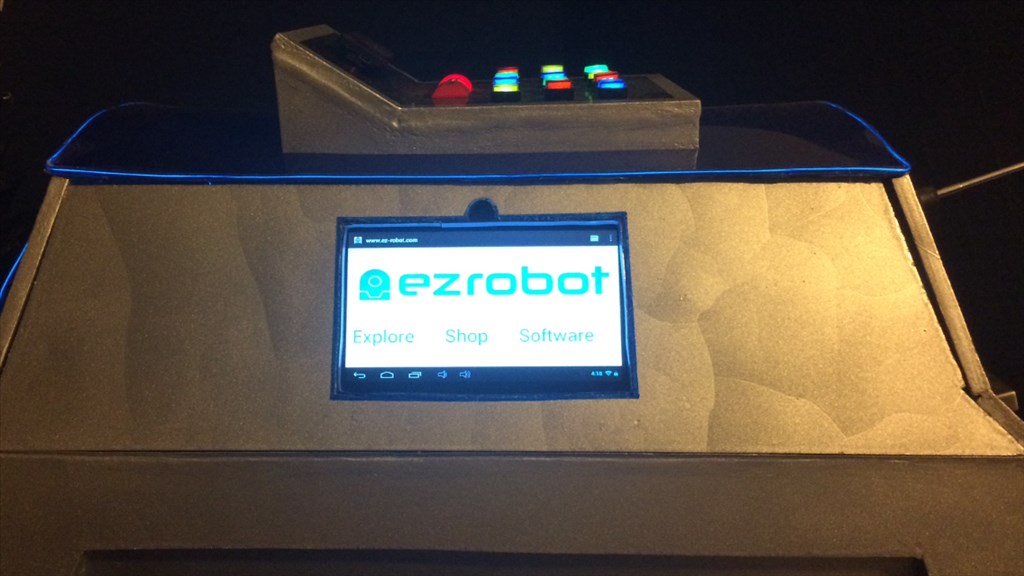
Another small change, but a major one as well is the VDU in K-9's inspection panel. Originally I had a cheap'o generic Android tablet, but that's gone now. Generic Android, OUT... Acer W3 with Windows 8, IN. This will be a bit of a game changer for K-9, as this will help towards making him a lot more autonomous and mobile with full ARC access, and will give him the ability to access system files when he is out and about either at a friends house, or a charity event without carting my laptop about as well. Also a slightly bigger screen is a bonus.
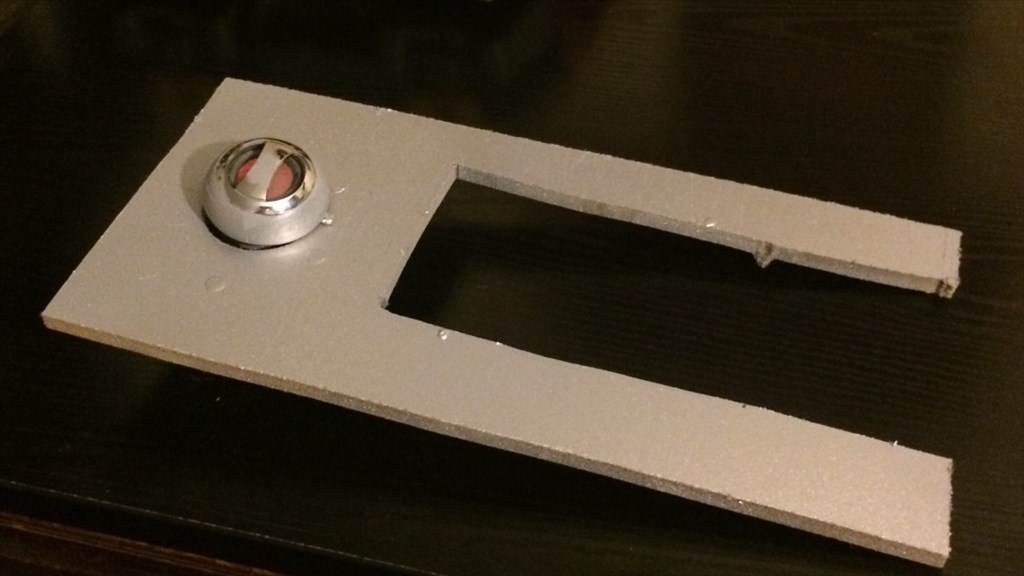
I had to recut the inspection panel to house the new tablet as its a bit bigger, and reposition the hole for the front facing camera, and is designed so the W3 is easily removable by sliding it out from the top of the inner side of the panel.
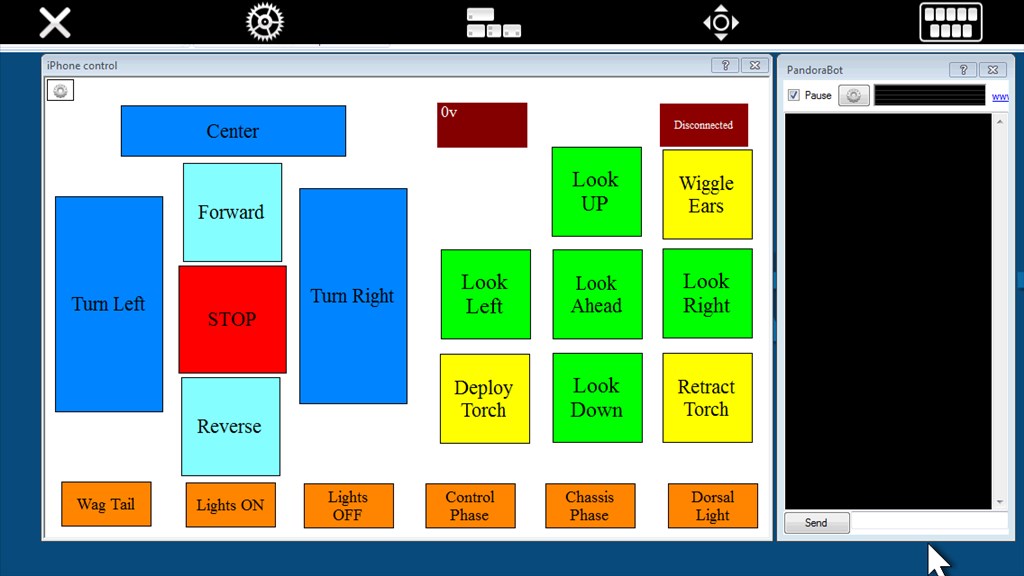
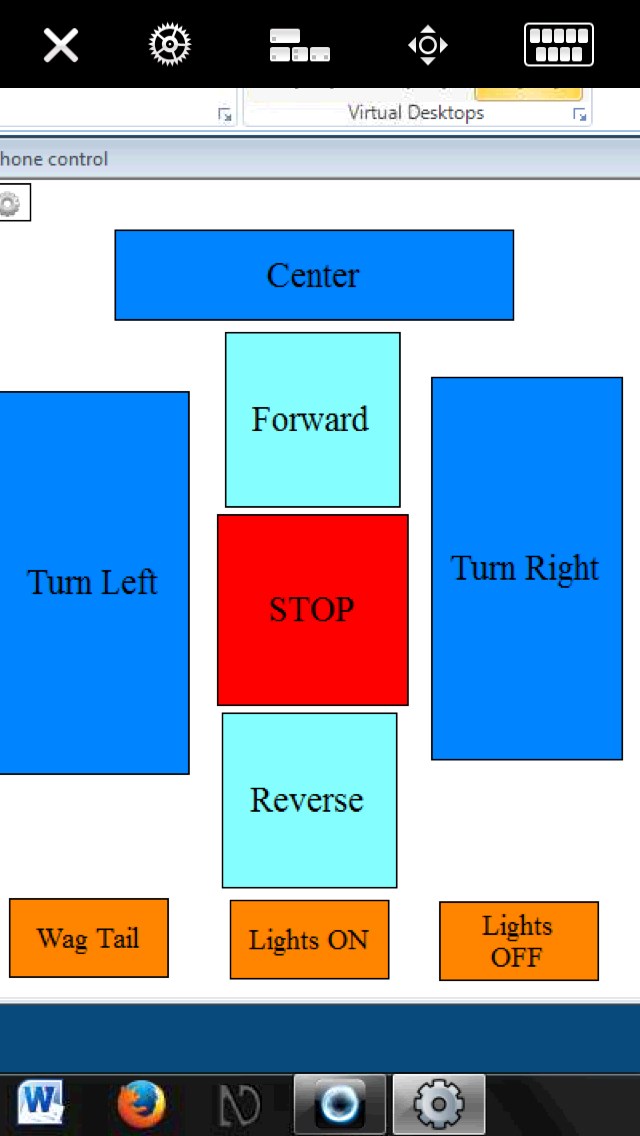
I also have a headphone splitter plugged in to K-9's speaker, so now as well as Bluetooth to connect my phone to, and a sound breakout from the EZ-B going to the speaker, the W3 is also jacked in to the same speaker as well, so any music, videos ect can be played through the W3 and heard through a better quality speaker system. And if I connect my iPhone to the W3 via the VCN app I use, I don't need to use my laptop as much to control a full ARC project, especially for using controls such as Pandorabot.
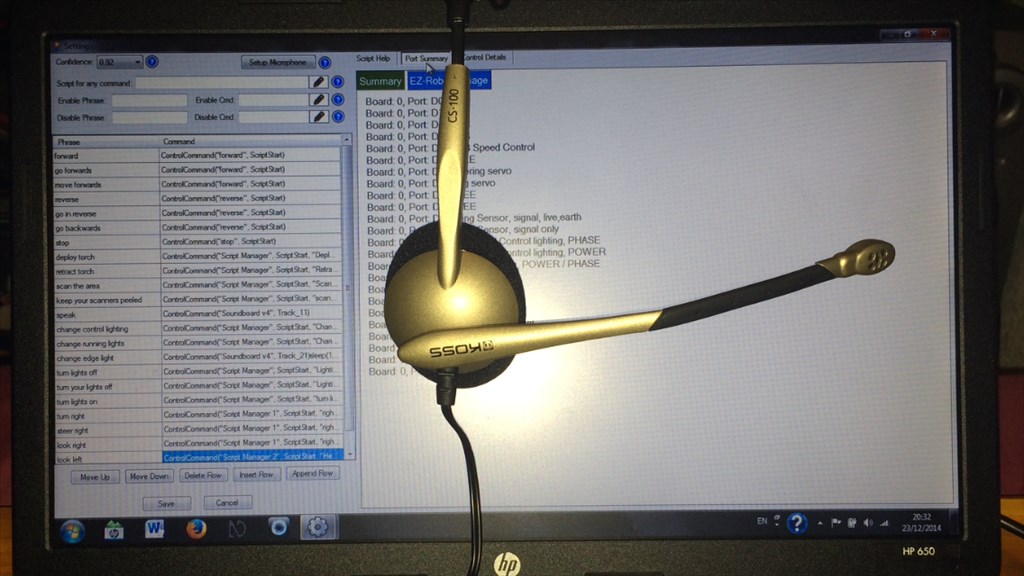
ARC PROJECT
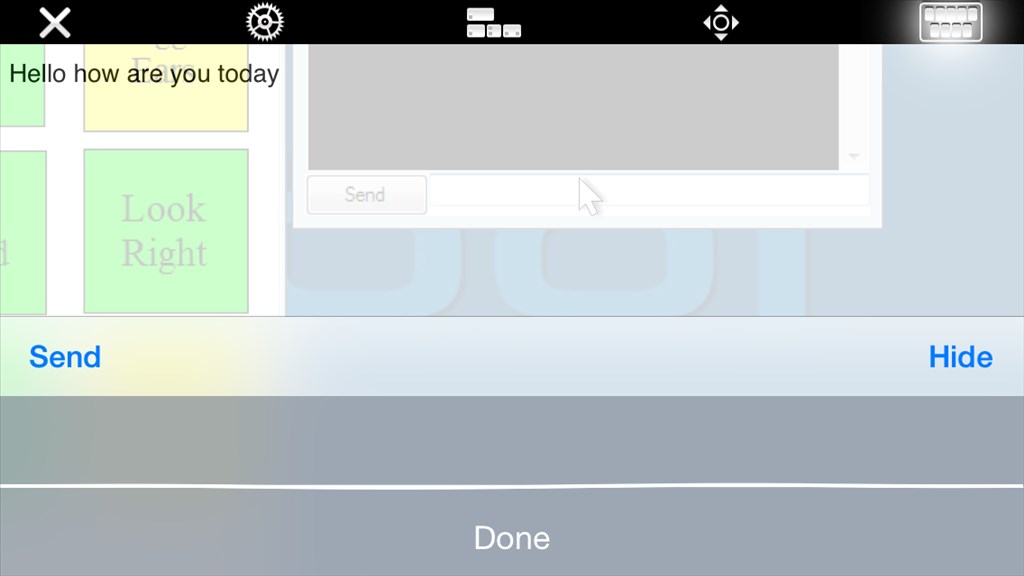
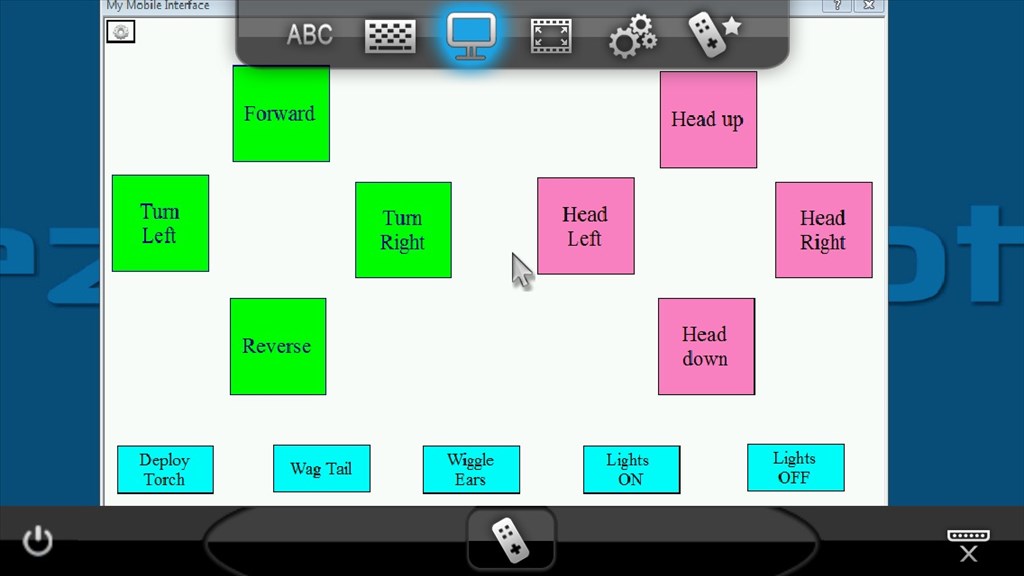
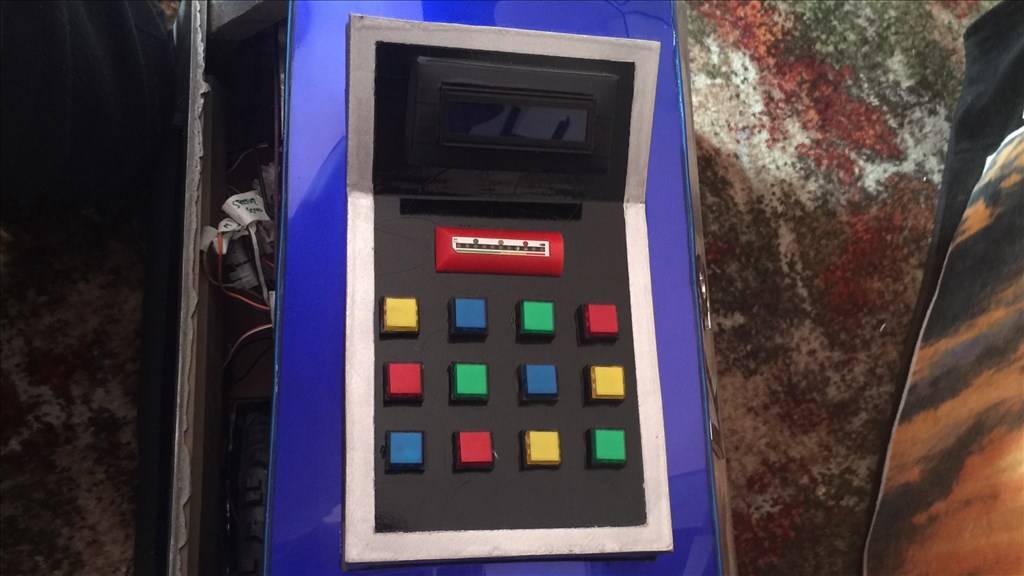
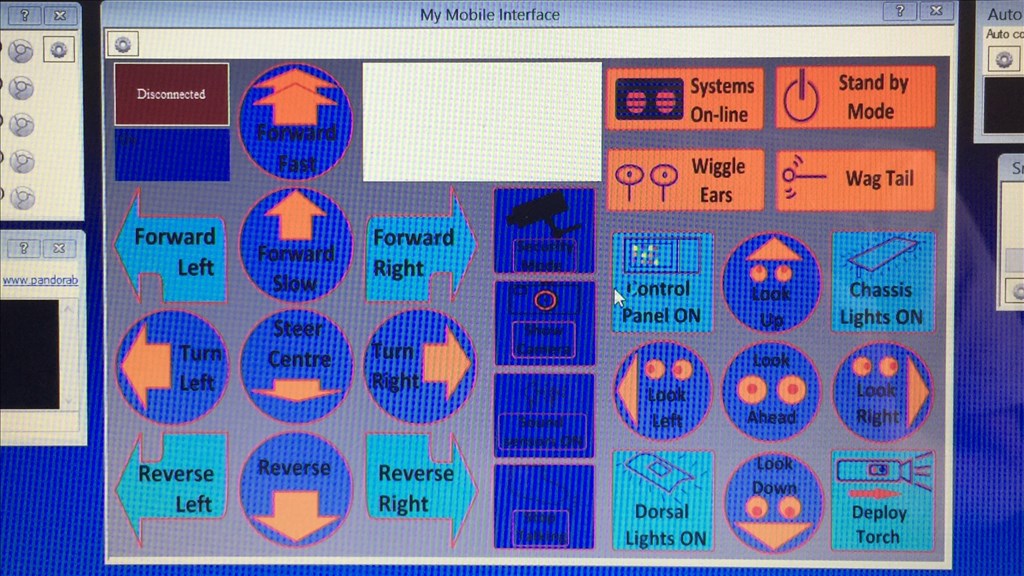
There's not much to mention here at the moment, as I'm rewriting/rebuilding the ARC project to reflect the changes made, but once I've got a few things done, I'll post another update. I've made a start with the mobile interface control, although this might change slightly, but not much. I made the buttons using MS Paint which I was going to use for my Victor project, so they are not as good as they probably could be, but they're different and unique, look good on ARC mobile... and I like them, and it was my first attempt at making custom buttons too. When a button is active, elements of the button turn green, and when stopped, they are as you see them in the picture below, and most buttons work as a latching (push On/push Off) function which saves on screen real estate with not having a On button and an Off button.
I'M DONE WRITING NOW, ALMOST.
So that's about it for now. K-9's EZ-B is now fully loaded, with every digital port and pin, every analog port and pin, all three i2c ports (well not quite, as I'm waiting for the 4 in 1 sensor to arrive), and the camera port, all in use. The only one that's not, is the UART 0 port which is still empty, but I'm sure I'll find a use for it someday. So I hope you found some of the update interesting. I'll see if I can get around to putting up another video soon for anyone interested.
Anyway, thanks for reading, and I'd love to hear what you guys think of the changes made, and any suggestions too. Thanks again to everyone that helped me along the way.
Steve.
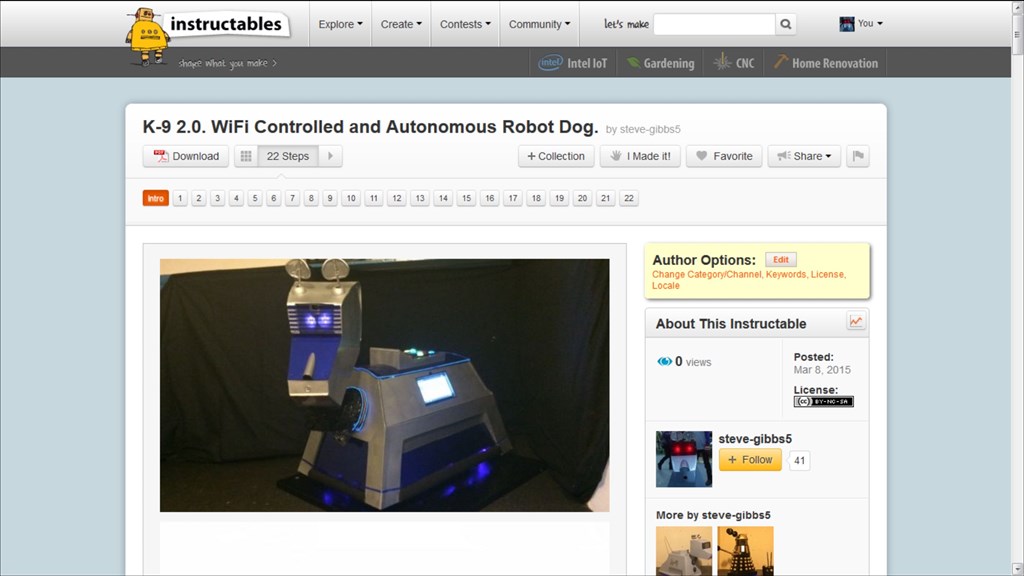
K-9 is now featured on the "Let's Make Robots" website. Hopefully a little bit more exposure for EZ-Robots.
stunning what electronics is all in the dog.
Very cool work! I also found a Windows tablet works better for a robot than an Android tablet. Full use of ARC, voice control and you can use a wireless mouse and keyboard. Plus you can use any USB camera and GPS on your robot and still be mobile.
@nomad.
Thanks buddy. Yeah, there's not much room left now to add much more, but I think he has everything he needs now anyway. I'm looking forward to getting the 4 in 1 sensor. That should be fun, and a great addition to K-9's sensor array.
where did you get the sounds for the dog.