


Hi everyone.
This is the first of two posts talking about the inspiration and features of my home robotics build. In the first post I talk about the inspiration behind the build of K-9 2.0. The second post explains the features and build details.
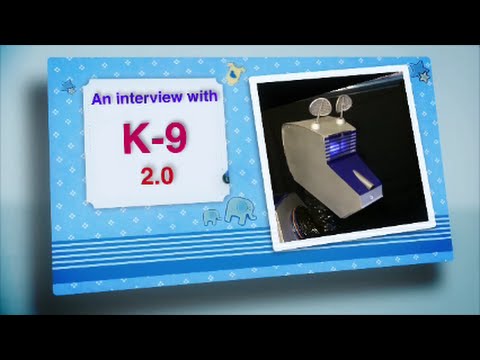
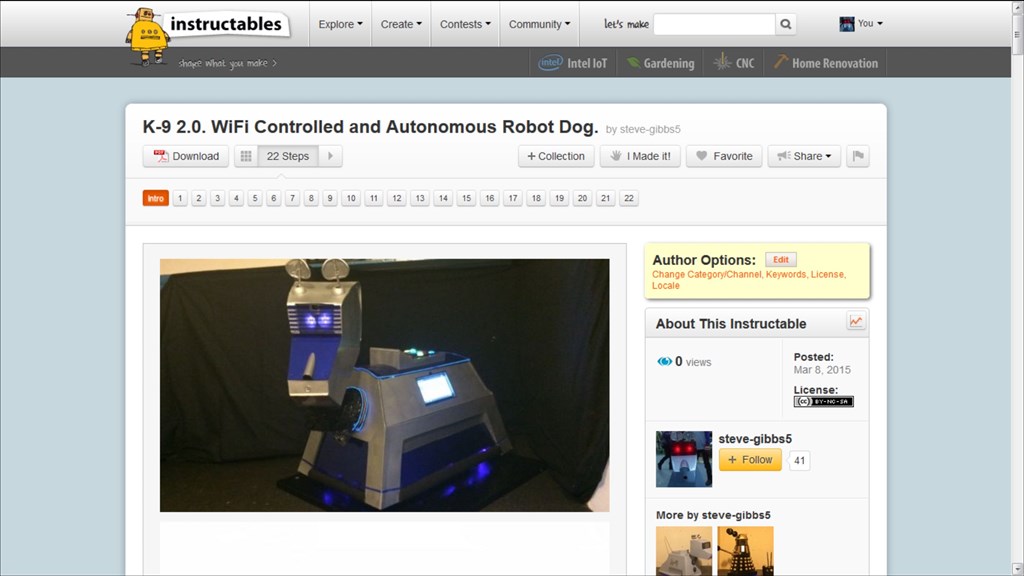
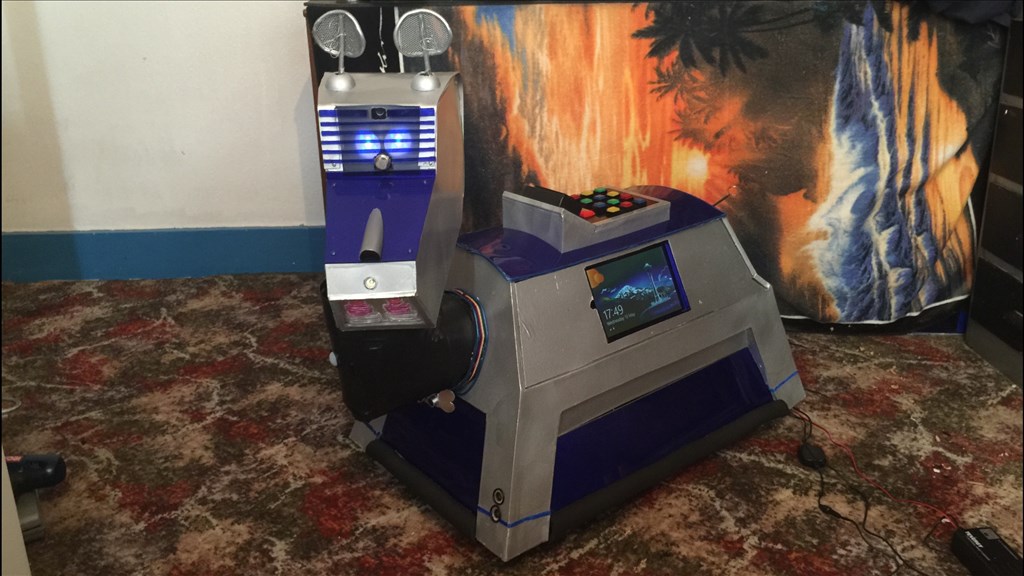
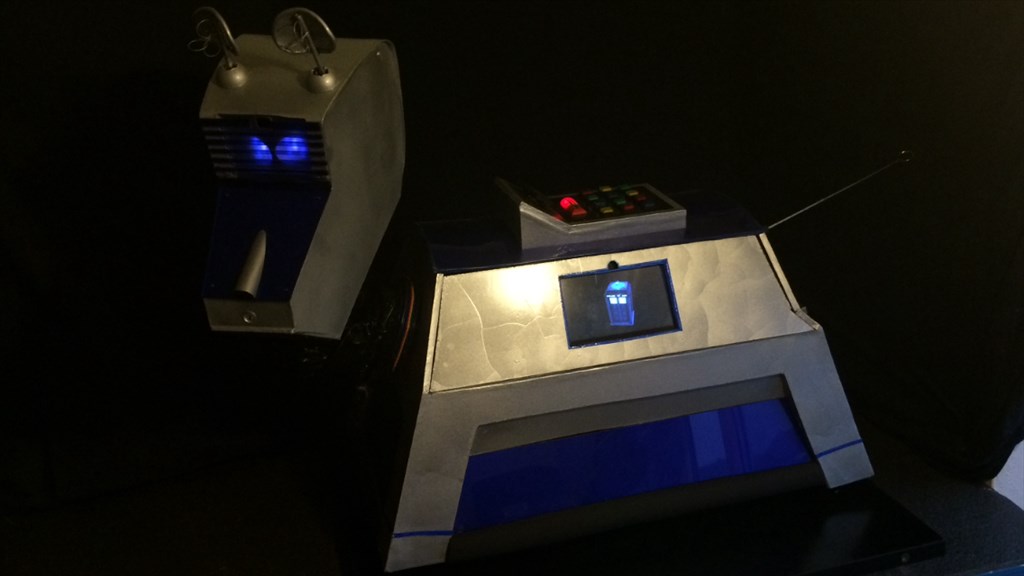
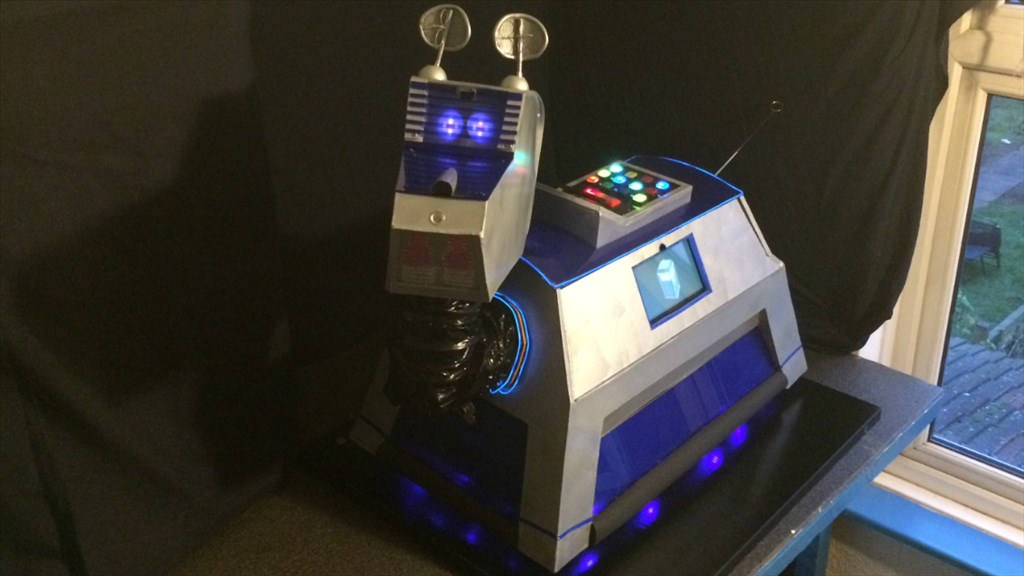
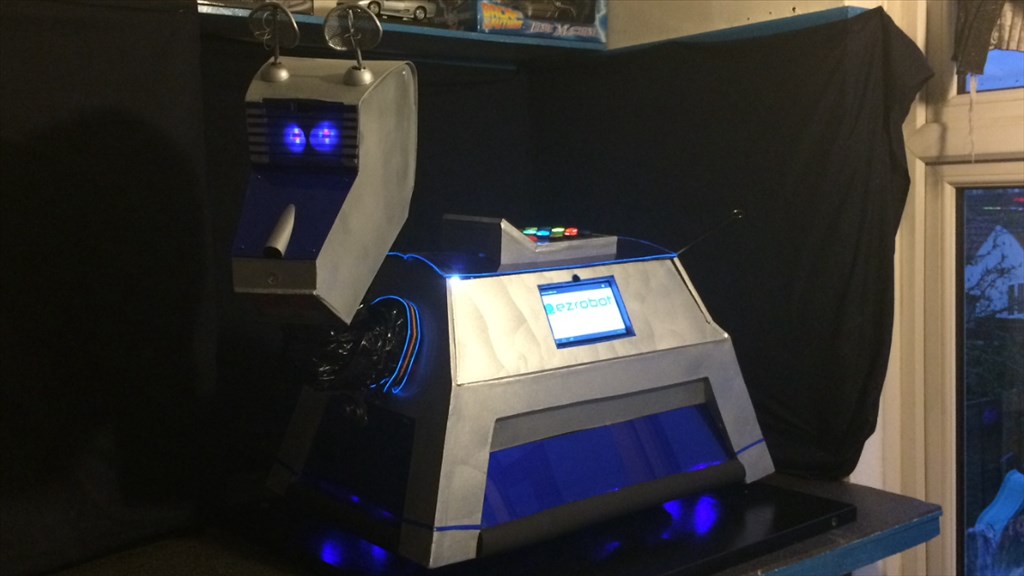
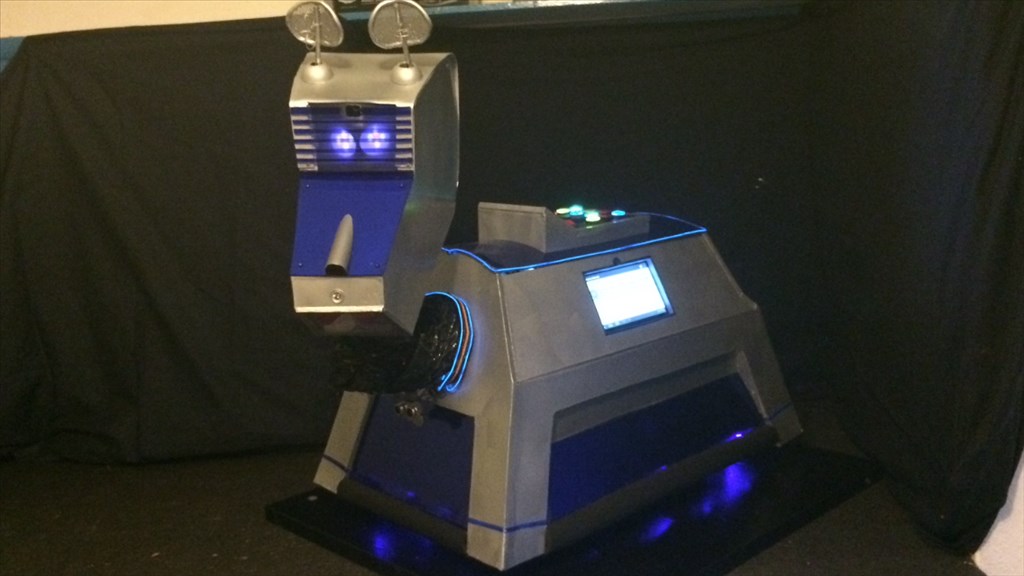
So, after a year in the making, I am pleased to present a project I've been wanting to do for years, pretty much since the first time I saw the little fella in Doctor Who when Tom Baker (one of my favourites) was playing The Doctor. K-9 was pretty much my all time favourite characters in the show and with that in mind, and with my love of dogs and my love for robots, it was logical that building my own K-9 unit some day was in the stars.
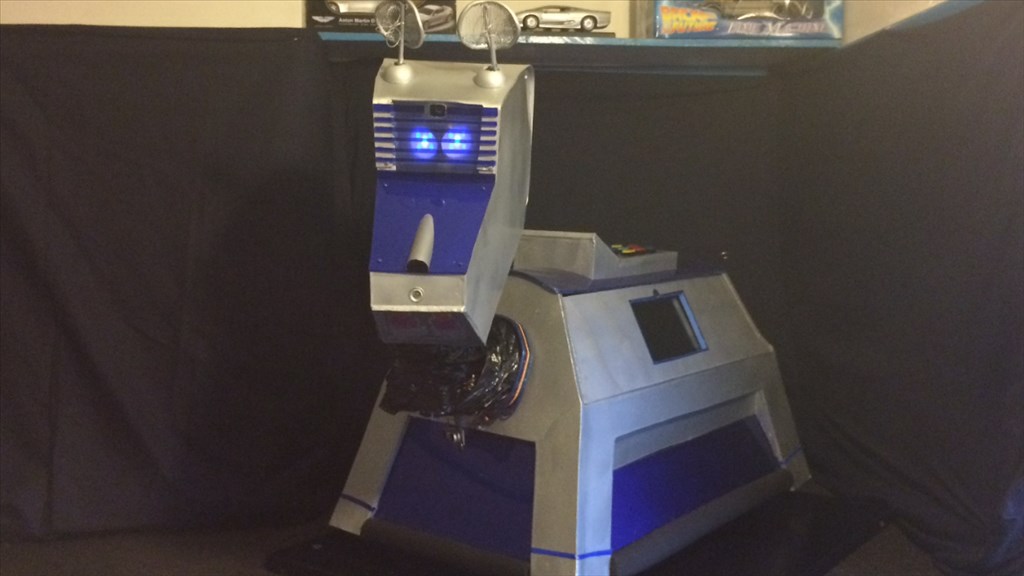
Some of you have already had a brief viewing of him when he gave a Birthday message to the EZ-Robot team, and Donned a moustache for Movember, but now his build is pretty much complete its time to bring him to the showcase. I have included a "How he was made" video at the end of the post.
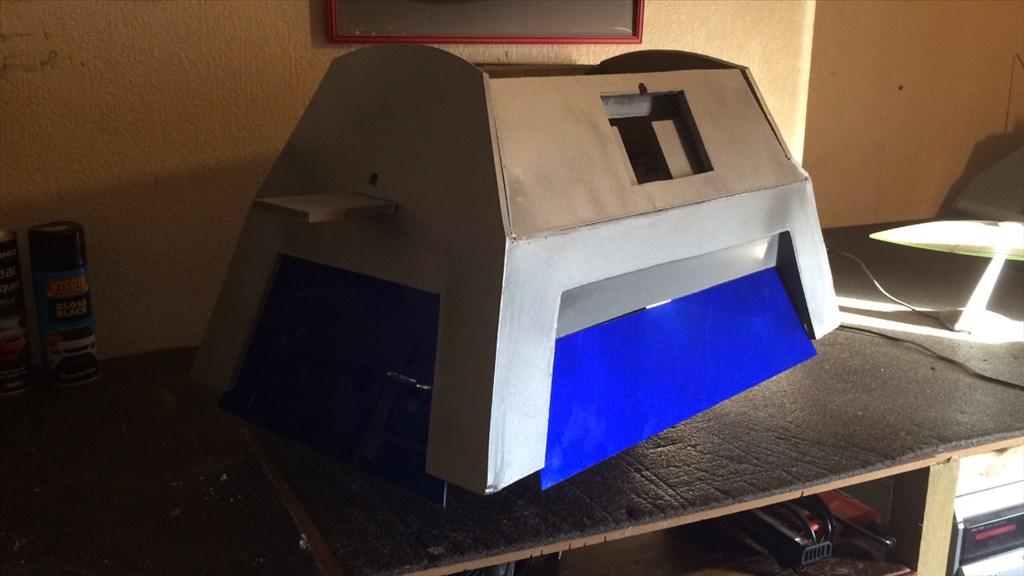
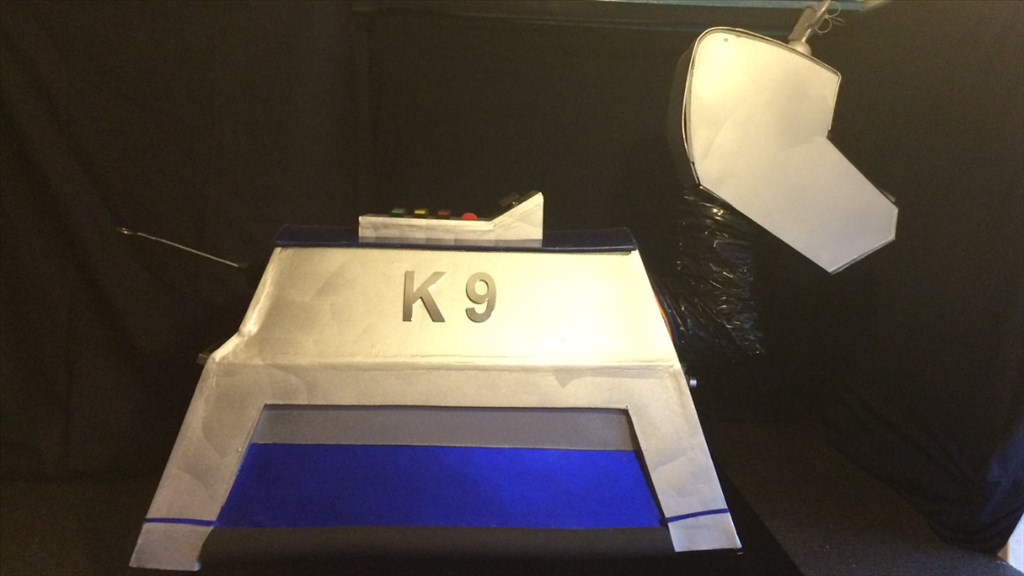
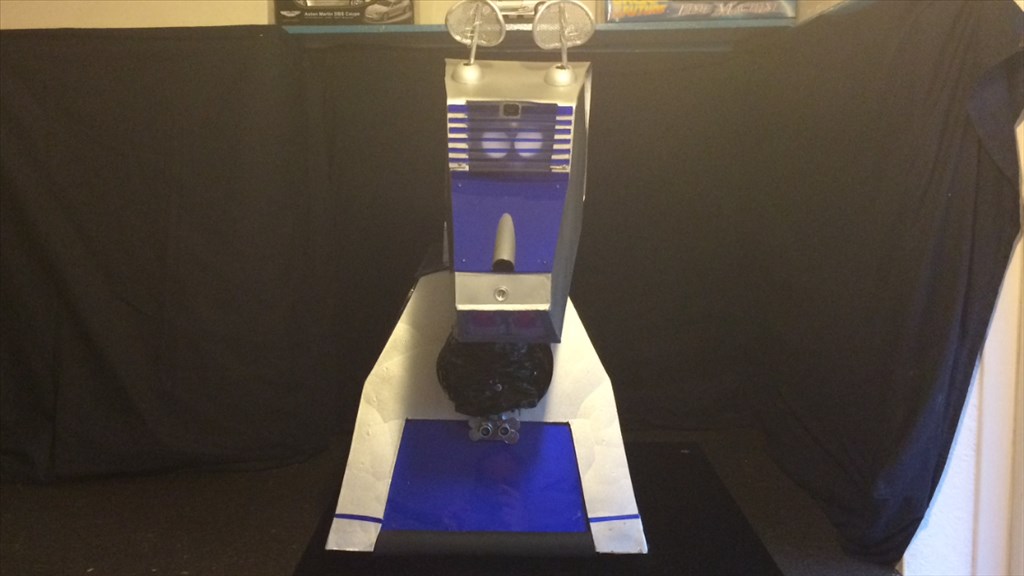
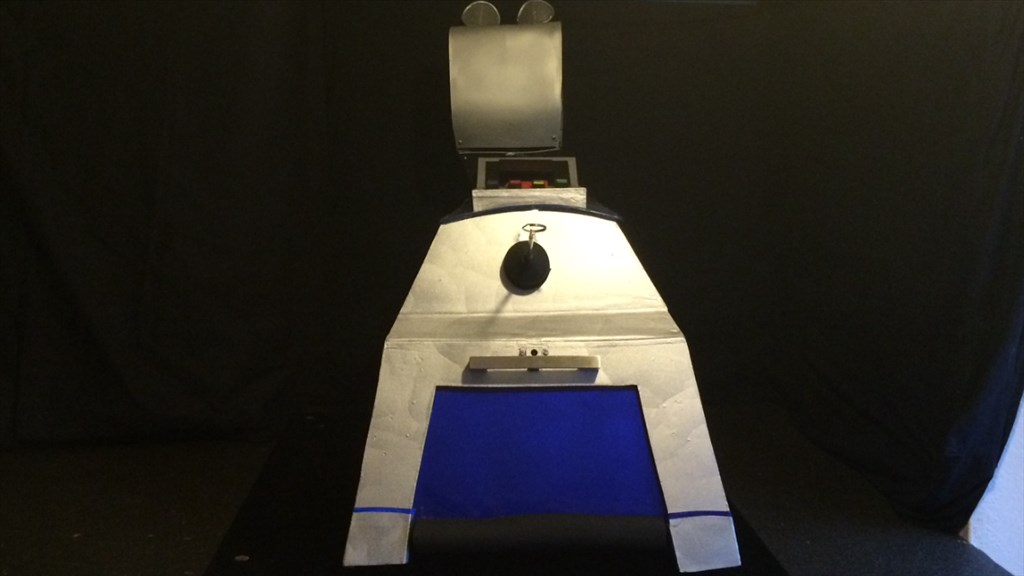
So, why K-9 2.0? K-9, because it's a cool name and the clever play on words. I just couldn't change that, and I couldn't call him FiDo (whovians will know what I mean by that). 2.0, well those of you in the know have already noticed my K-9 looks a little different to the one's seen in the show. This is because I wanted to give him a newer, slightly more modern look but still keep the original shape I fell in love with as a child (don't like the new one in the new kids show. Looks too much like a toy to me). I also wanted to have a more personalised look and shy away from building a replica, although I very nearly did. (I hope I haven't offended any K-9 aficionados out there with his new look).
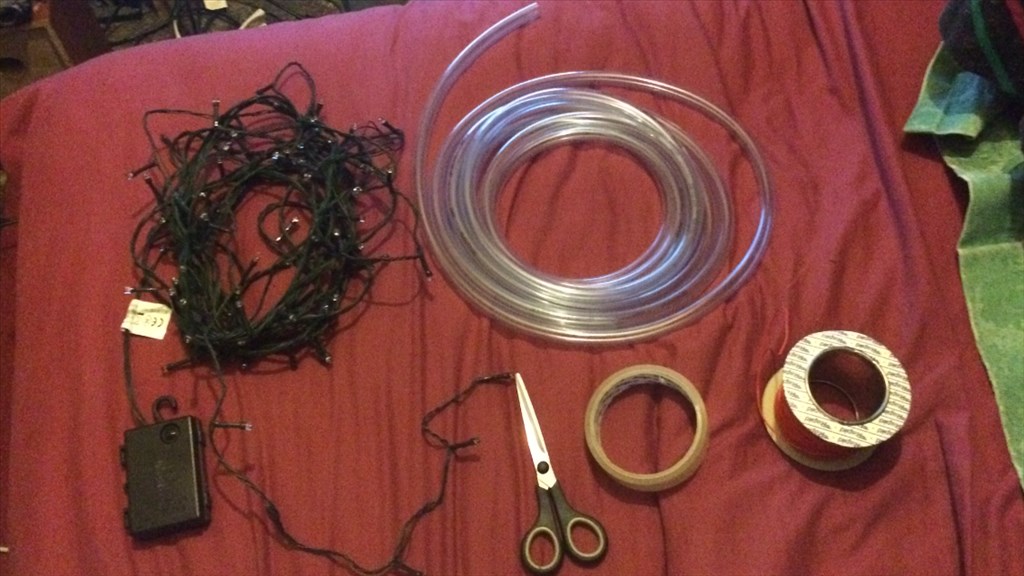
Okay, why now? I had an accident a while ago now resulting in injuring my back and left leg which left me unable to work or do much else for a while. So, looking for something to do to keep my mind and hands busy, and not become a couch potato, I thought "I want to build something". So needing to keep costs as low as possible, I got together a load of material I had from around the home, old R/C tanks, Cardboard, MDF sheets, LED fairy lights, old web cams, and numerous other bits and peace's laying around my home just crying out to be used. First of the blocks was a robot which didn't turn out very well. To heavy for the R/C tank drivetrain.

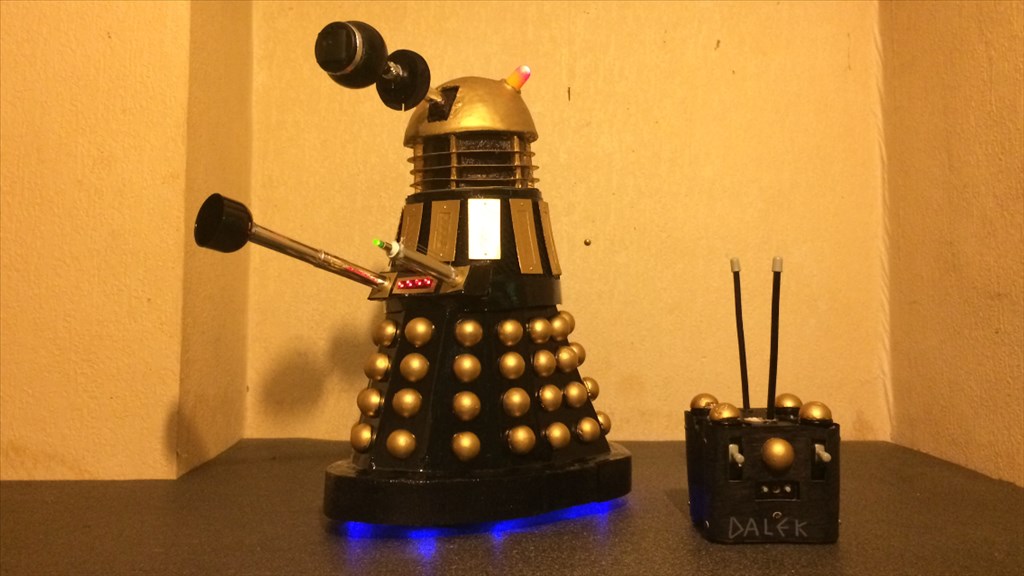
Then came cardboard Dalek BOB (Built Out of Boredom). He was a lot more successful, and was a lot of fun to build.
During BOB's build my mind started going in to overdrive, and that where the K-9 build came in. So after BOB was finished I drew up some plans and made a Cardboard K-9 prototype.
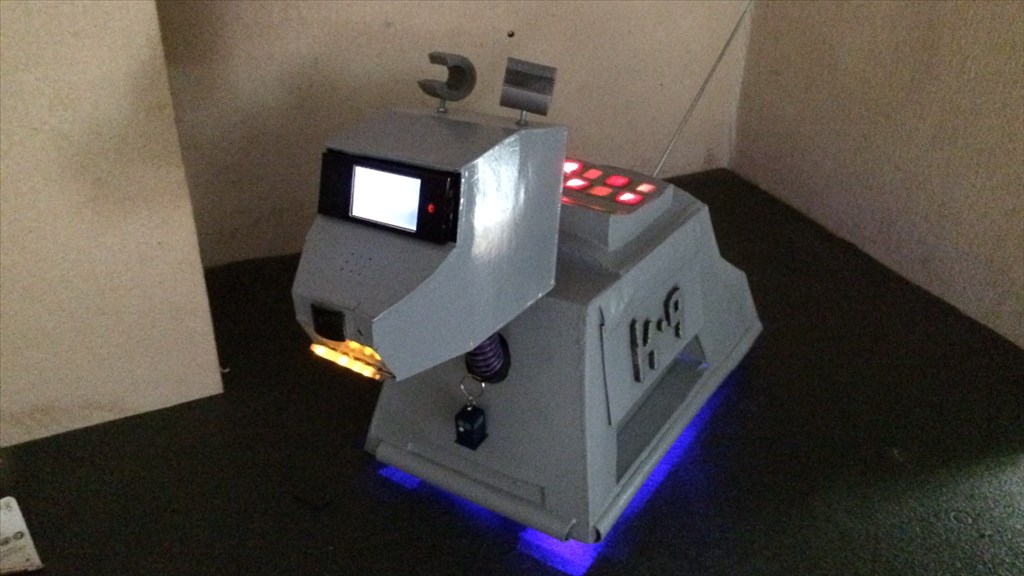
Again, he was was a lot of fun to build but I wanted bigger and better. At this point I had a lot more mobility so I decided, let's just do it.
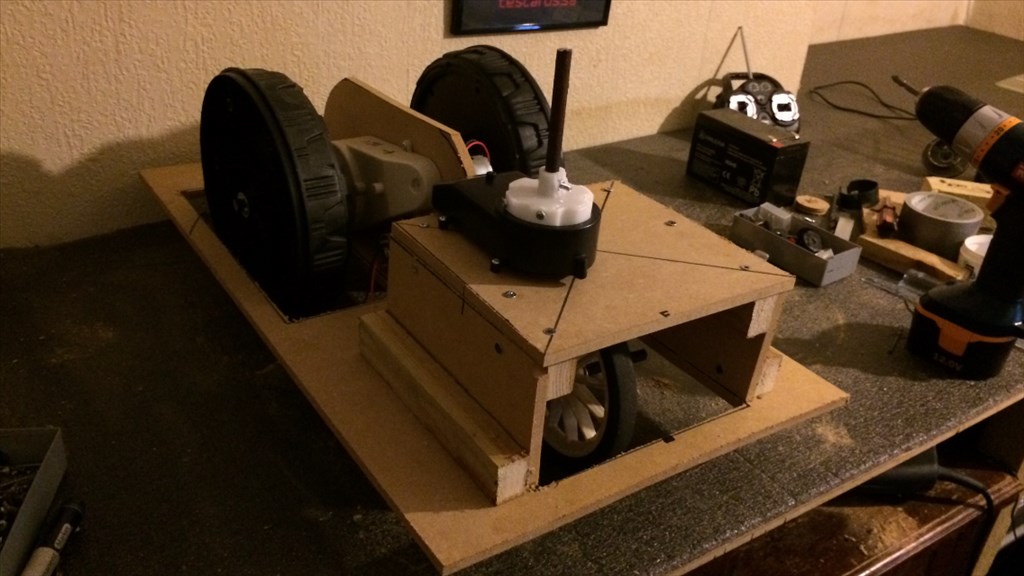
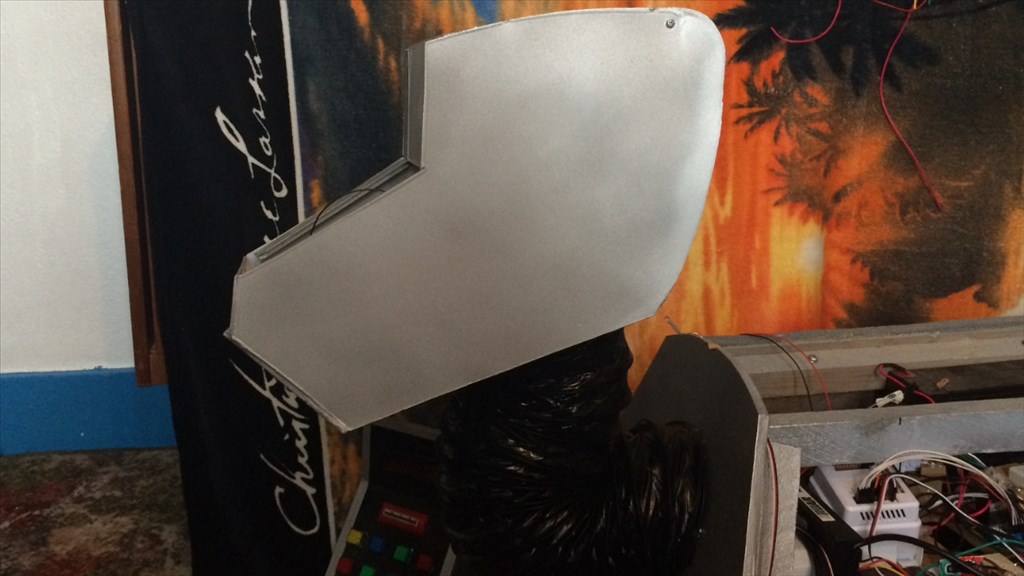
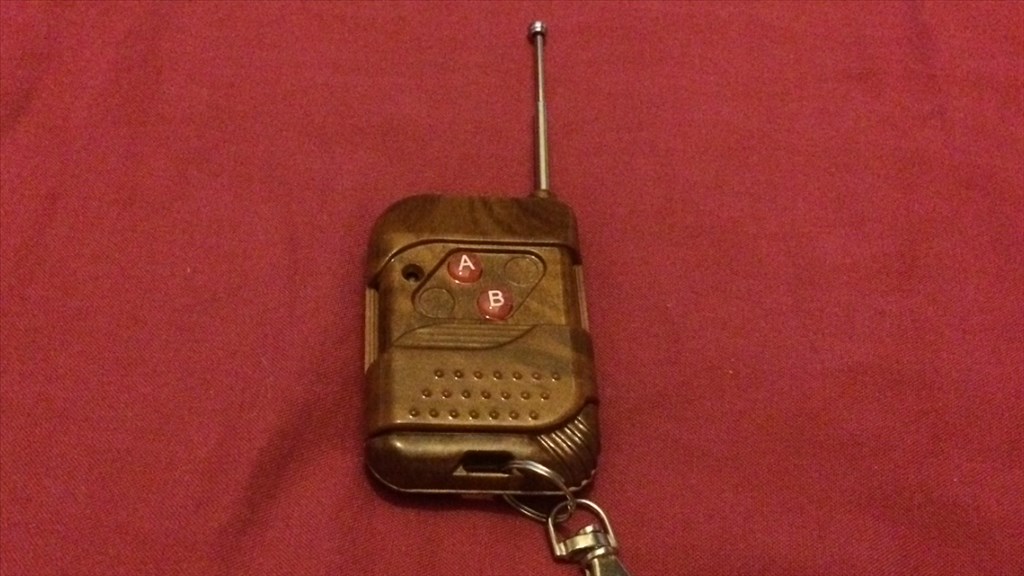
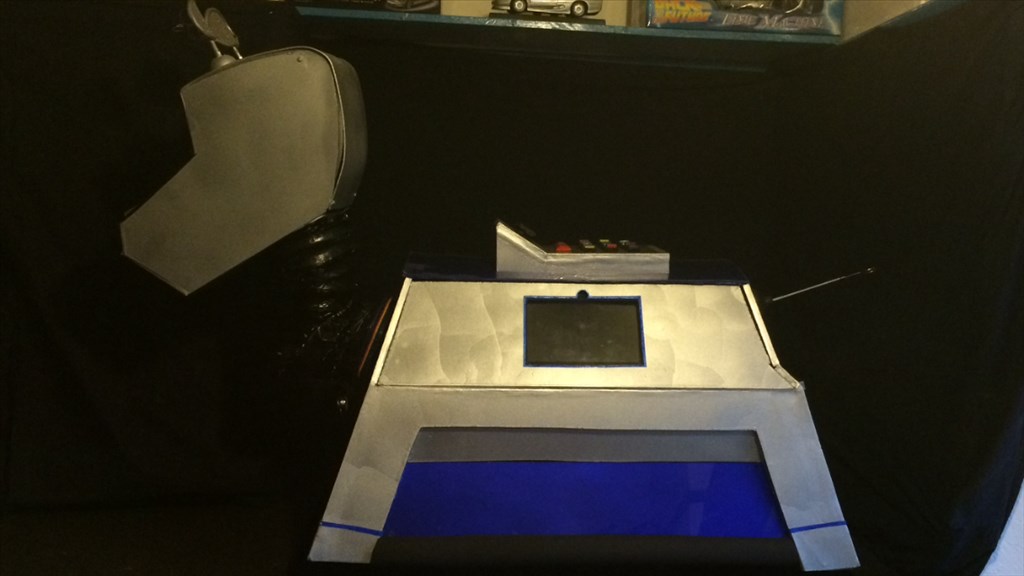
My (not so) little robotic pooch nearly turned out very different, and I'm not talking about how he looks. After making the R/C bots I had three strong motors and one last working R/C control and receiver. So I drew up some blueprints, I got my tools together and dusted of the MDF sheets. I was going to make a full size similar dimension R/C K-9 and hack some PIR sensors and audio equipment to install inside of him. I started on the chassis first (as seen in the "making of" video below) just working a couple of hours a day or night, and a few weeks later pretty much had it complete and started to make the body frame. During a not very good day as my back gave out again, I was searching the interweb when I came across a fun, crazy, interesting company's website. I think it was called "EZ-Robot" but I can't be sure(s) (pardon the pun DJ). This changed everything. Microcontroller, servos, face/colour/object recognition and so much more, this was for me, or rather K-9. After spending days going through the website and forum I made a shopping list and placed my order. Due to the pre-order status for orders at the time, this gave me time to crack on with the build and hopefully get most of it done. About 3 weeks after I finished the main part of the build I got that all important email, "Your order has been dispatched".
My goodies arrived a few days later and it was "game on". I started playing around with ARC and my new EZ-B v4 and was well impressed. This lead to a few small changes in K-9's design, but for the better as it turned out. It was about this time I became more active in the forum asking questions I got really stuck with and was amazed with the community members response times and willingness to help. If it wasn't for you guys, K-9 wouldn't be half the robot he is now, so thank you all who took the time to respond and help. No joke, this is the only forum I look at on a daily basis and that I am active in.
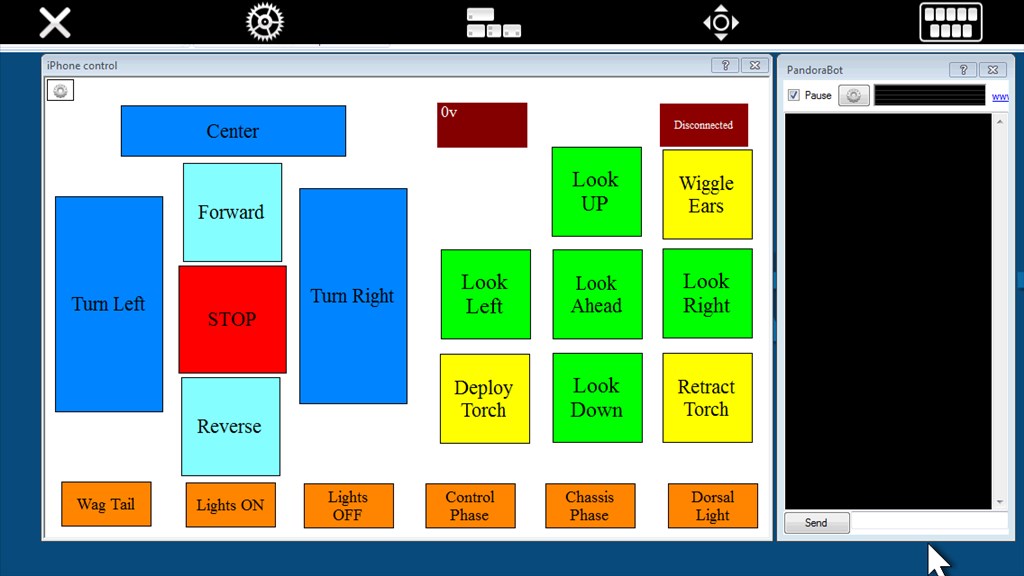
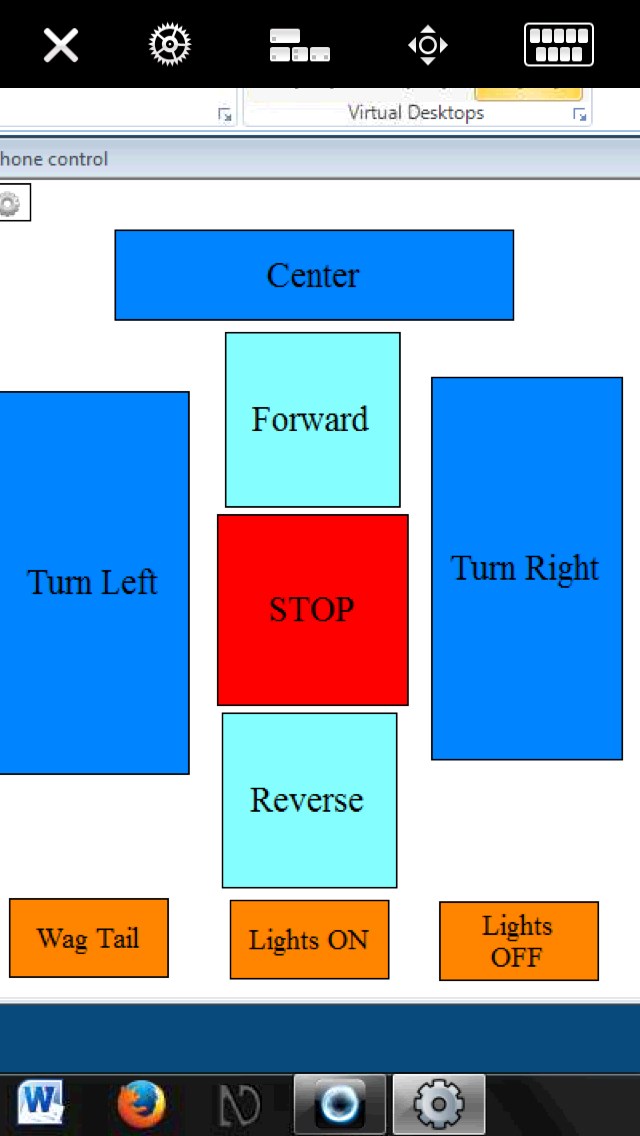
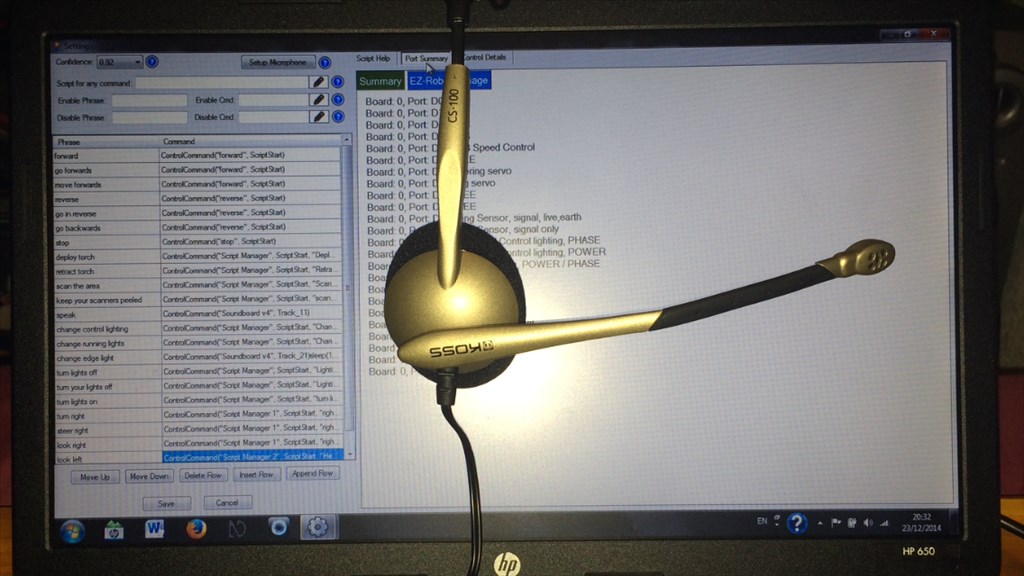
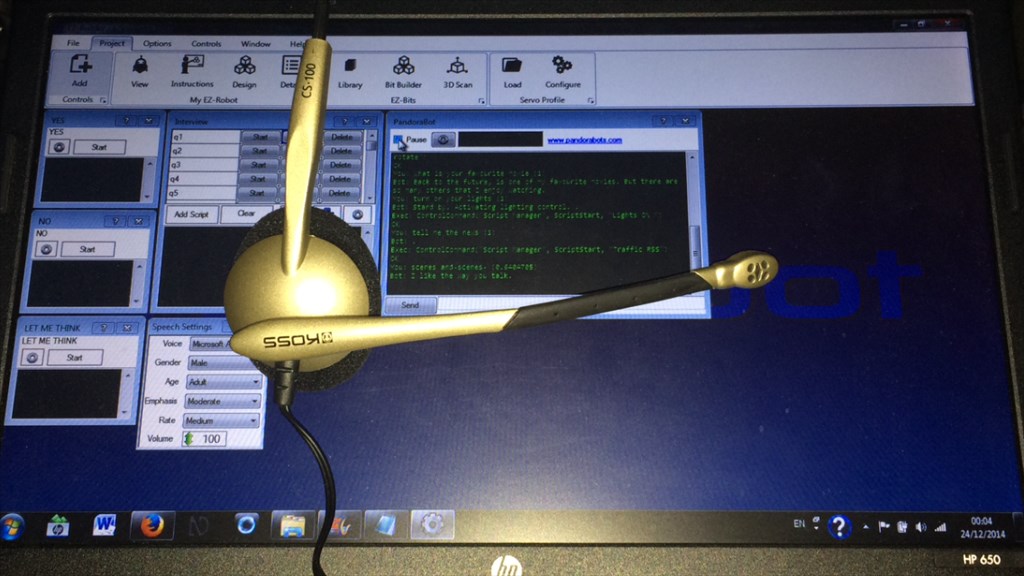
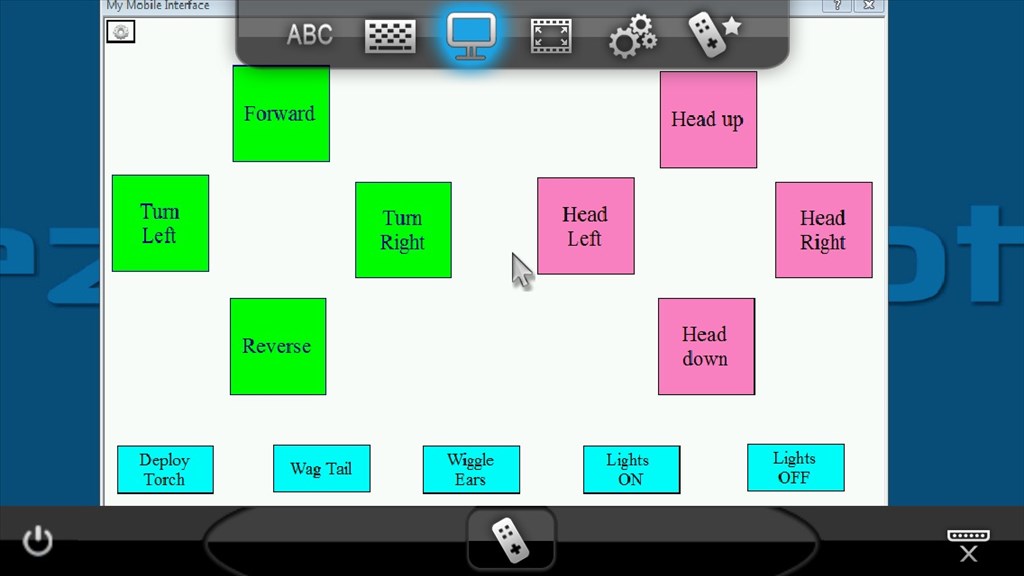
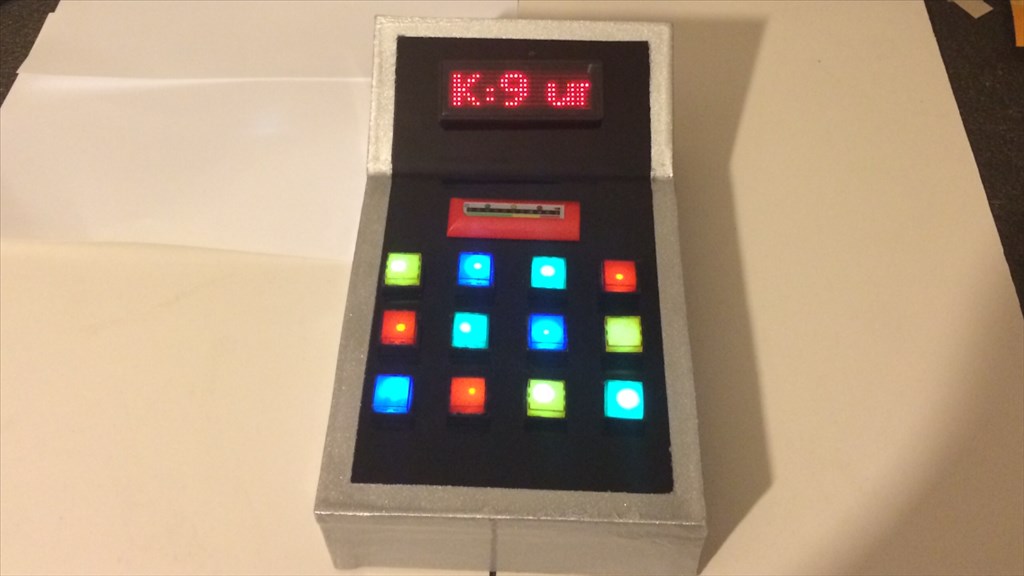
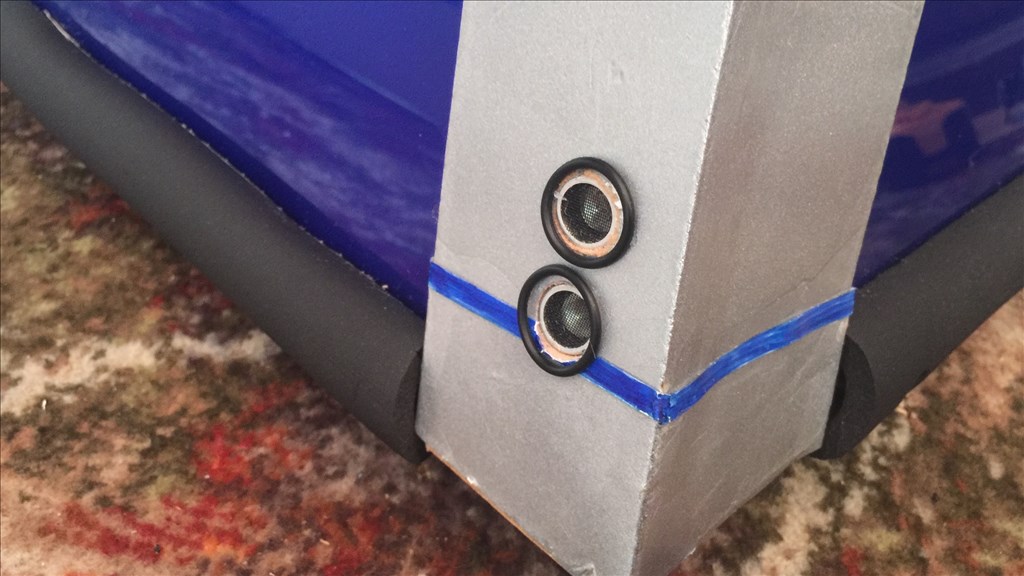
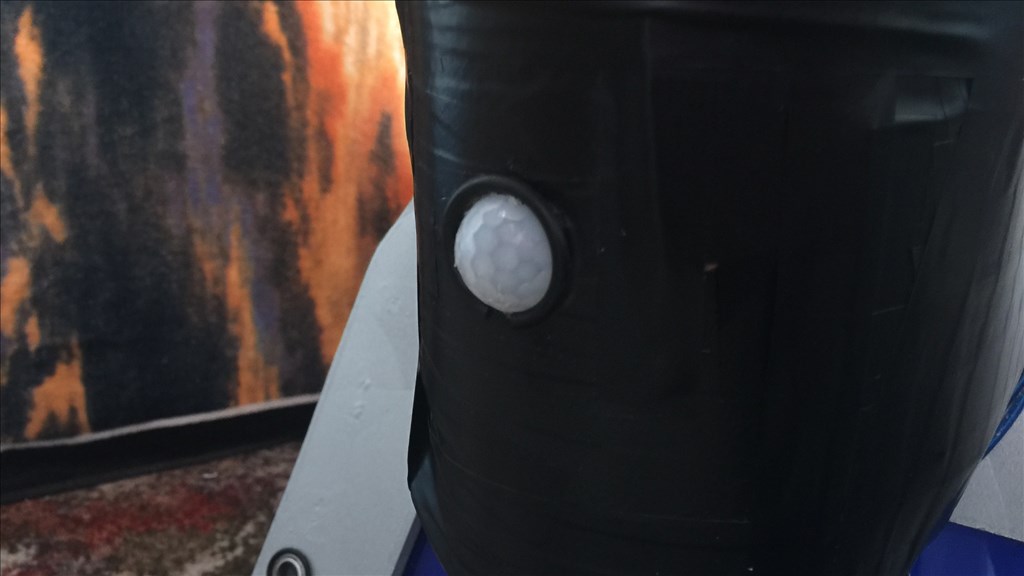
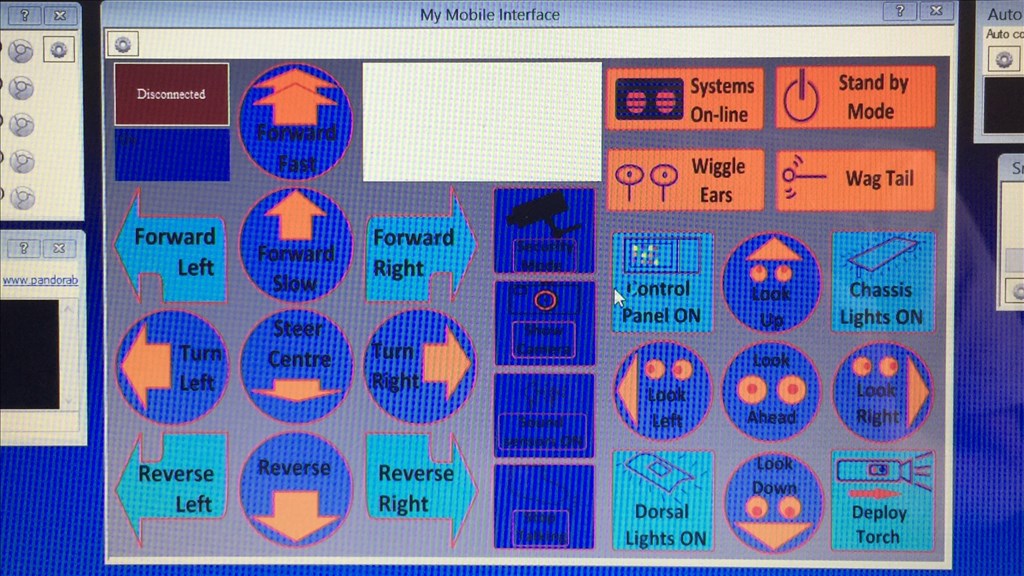
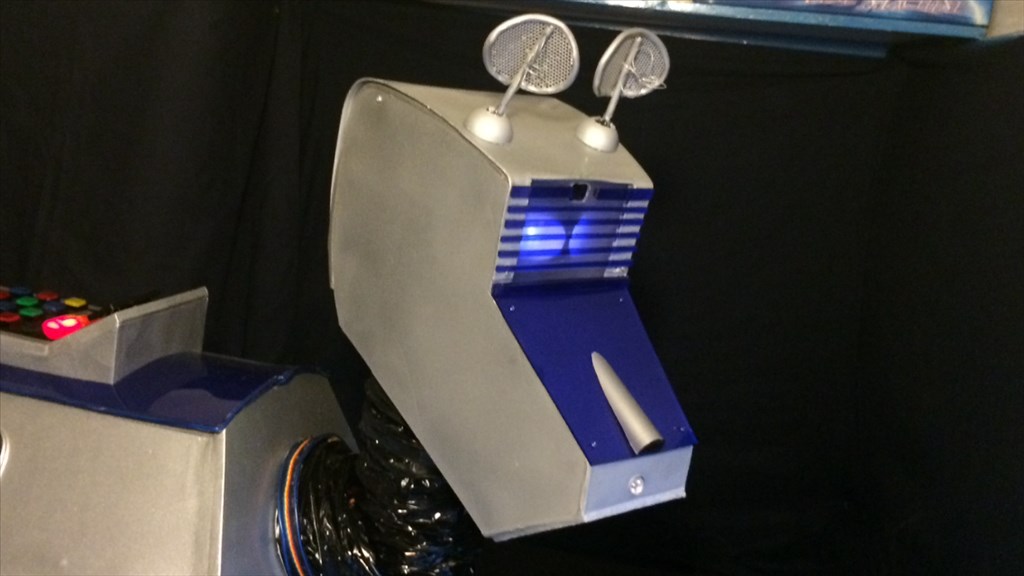
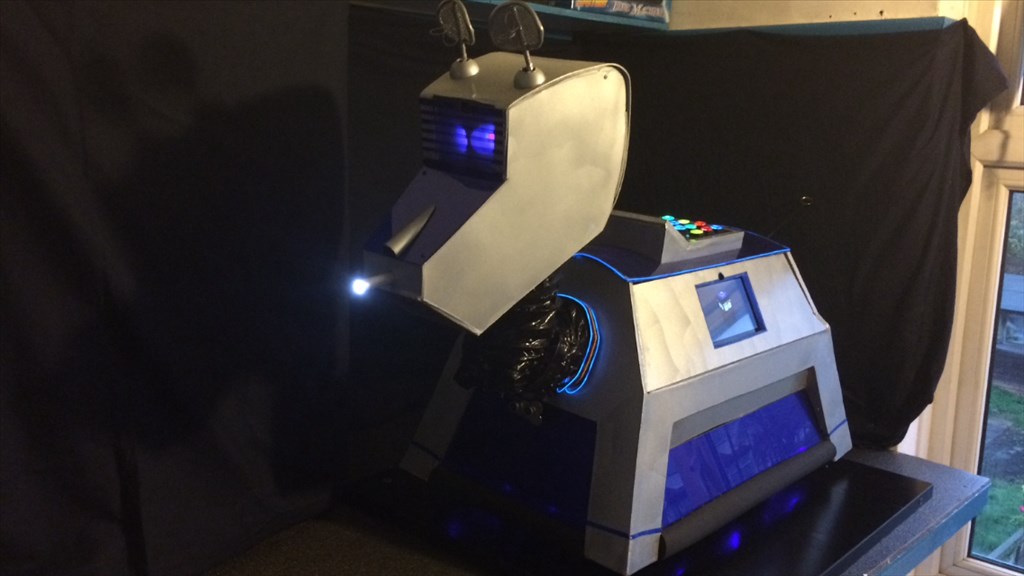
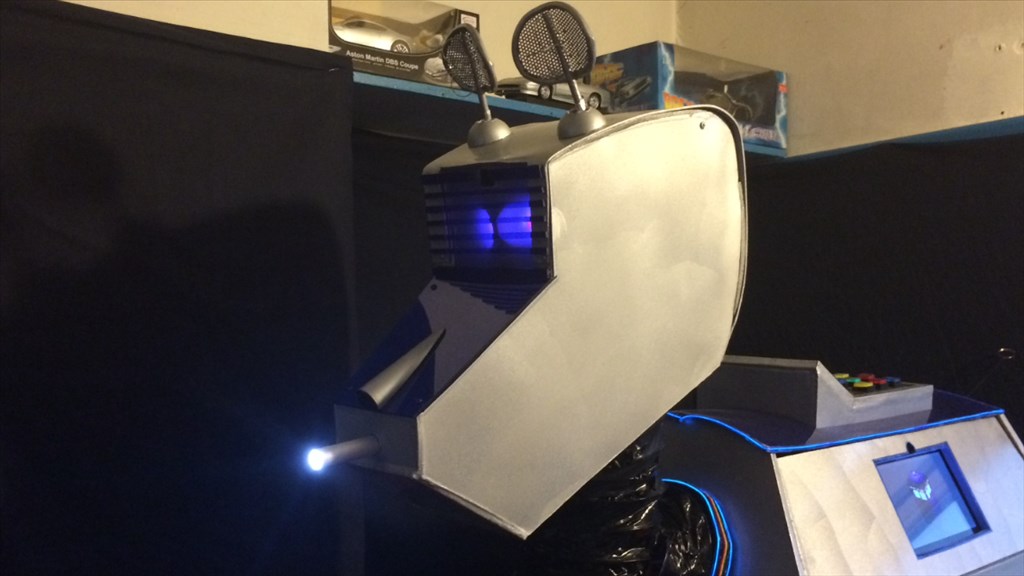
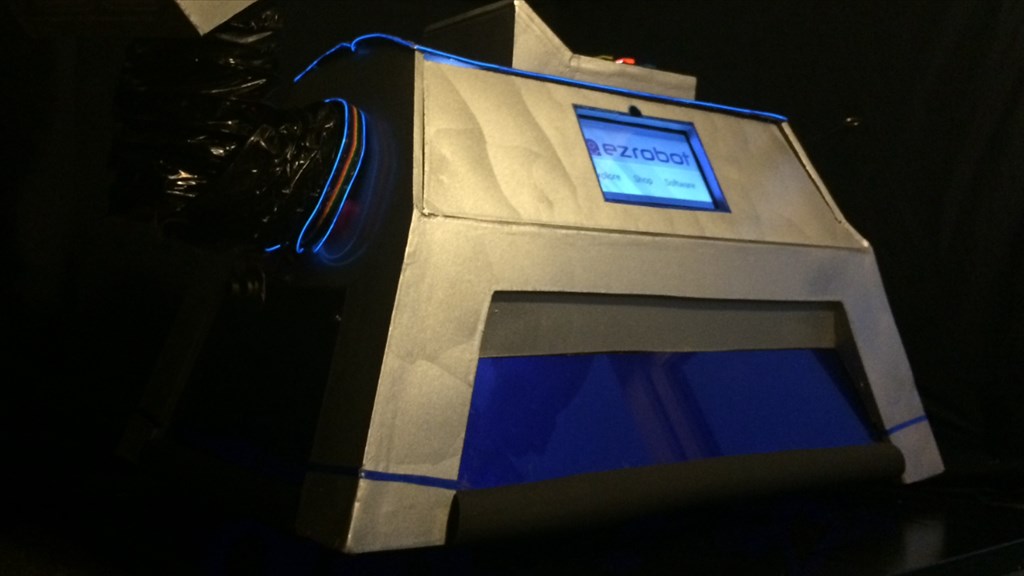
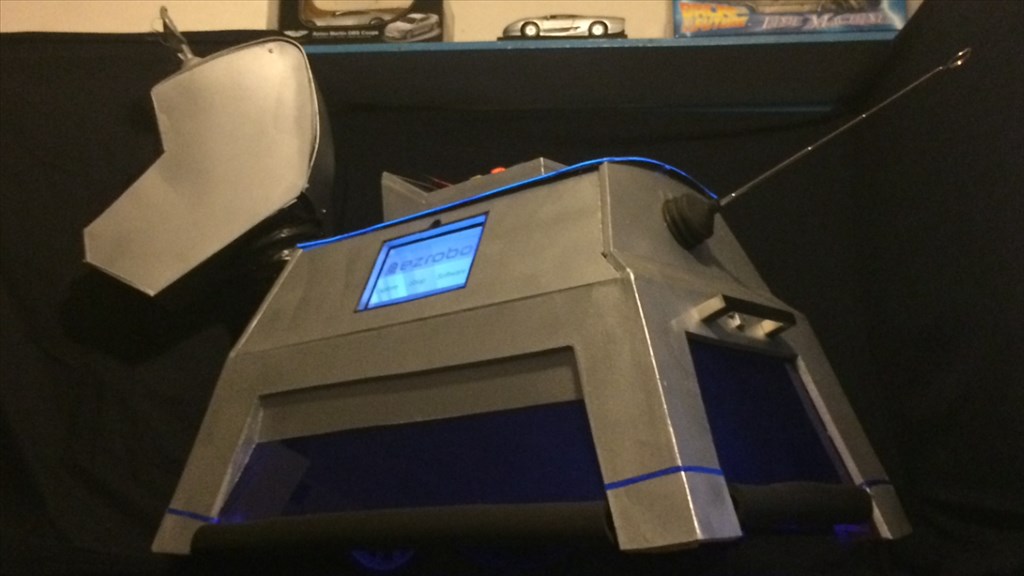
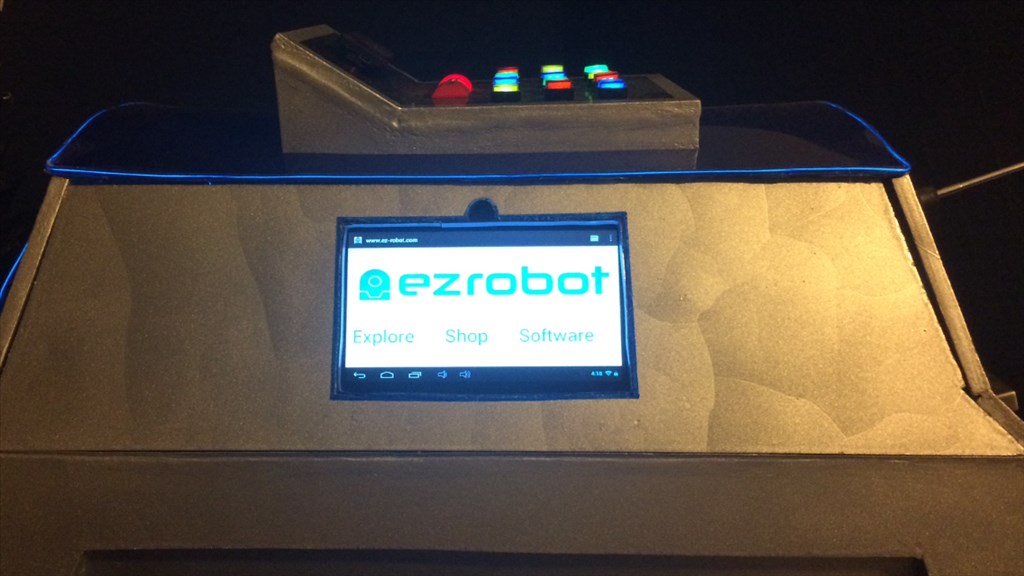
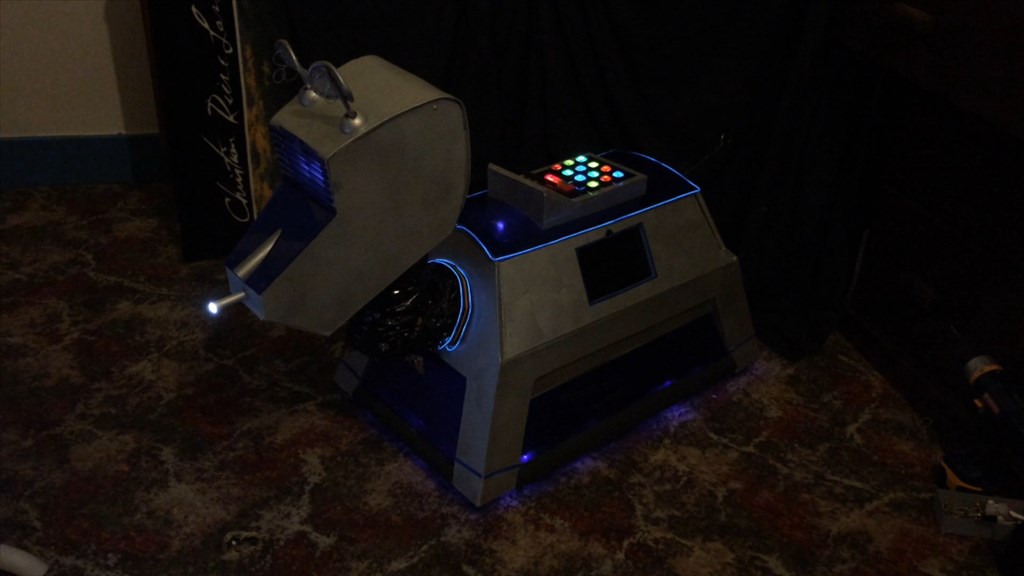
Well as I mentioned, the build is pretty much complete now, and everything installed and working. I still have a couple of ideas I would like to implement at some point like adding microphones to his ears, adding a smoke detector in his eye panel and a couple of other things. But for now I'm going to concentrate on ARC and set a lot more things up. I've done a fair bit such as setting up servo positions, sound files, face and speech recognition, but there's much more to explore and still have a couple of teething problems I need to iron out.
The video below is the first of a few to come. It is a slideshow of some of the photos and video clips I took during the build and testing. As I said earlier, I still need to sort out a couple of issues I'm having, and once that's done and everything is hunky-dory, I will put up at least a couple more videos of K-9 in action for you guys.
In post #2, I have put down a few more details of K-9's features, abilities and build design along with a few things I am planning to do if possible. So, as some of you already know, this is my very first attempt at building a microprocessor controlled robot, with no scripting/coding knowledge or "qualified" woodwork/electrical experience but, even if I do say so myself, I don't think he turned out too badly. But it's not what I think that matters (well perhaps a little bit), it's what you guys think. Well I hope you enjoyed this insight to how K-9 2.0 came to be (and if you kept reading this far, then fair play to you), and I hope you enjoy the video. I would love to hear your thoughts and opinions, things you may have done differently, things you do like and things you don't. I'm pleased with the way he turned out and I hope you like him too.
Again, thanks to all of you that helped me along the way, and for those who are just browsing or are new here, I hope K-9 2.0 inspires you in some way with your own robot builds.
Steve G.
Discover more robots
Goldenbot's Stickman JD Robot V1.1
Jim's Armadeus Mk. 11


I may have missed it in the instructable, but you mentioned adding mountain bike tires to the wheels. I assume you cut them to fit. How did you adhere the tread to the wheels?
Also, what is the total weight of K-9, and how fast does he move with those motors/wheels?
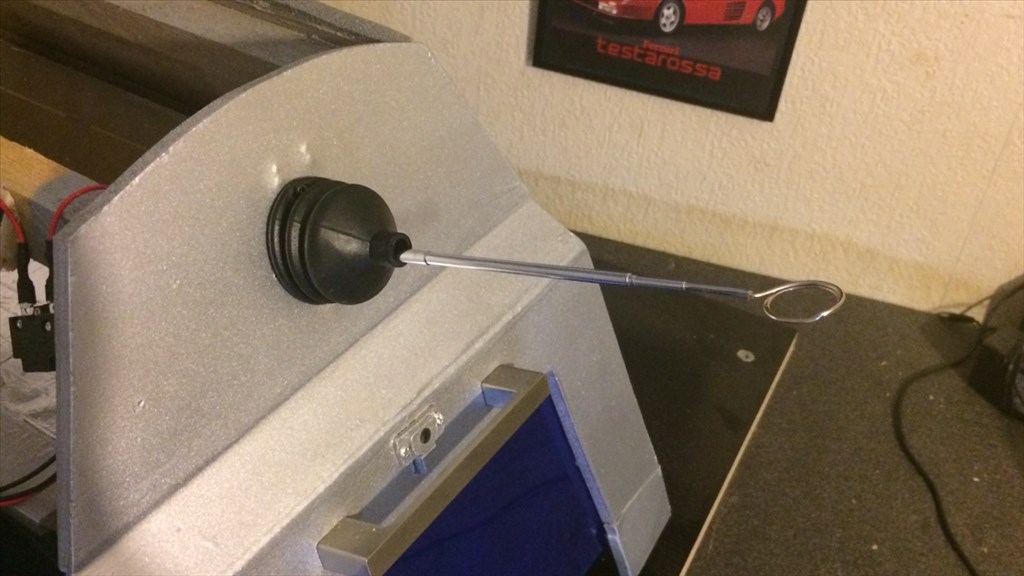
I have a set of power wheels motors and gear boxes (but no wheels) and a set of wheelchair motors with wheels, but missing bolts that hold the wheels together that I would need to source. Haven't decided yet which to use, but getting wheels for the power wheels and running the system on 12 volts instead of 24 is starting to have some appeal.
Alan
@Steve... Wow! That is a very thorough and cool Instructable. Now I want to build a K9 more than ever! Thanks for taking the time to this. This is extremely helpful to robot builders everywhere. Good job!
@Richard.
Thanks buddy. Yeah, the number of EZ Robots are certainly growing in the public domain. "An EZ Robot in every household", You know what, DJ and his team just might pull it off.
@Alan.
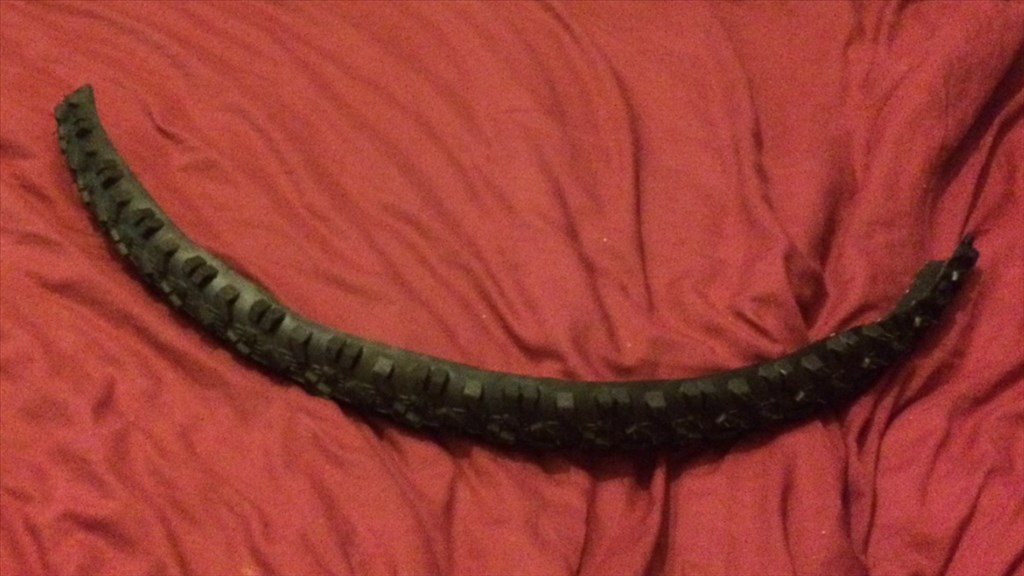
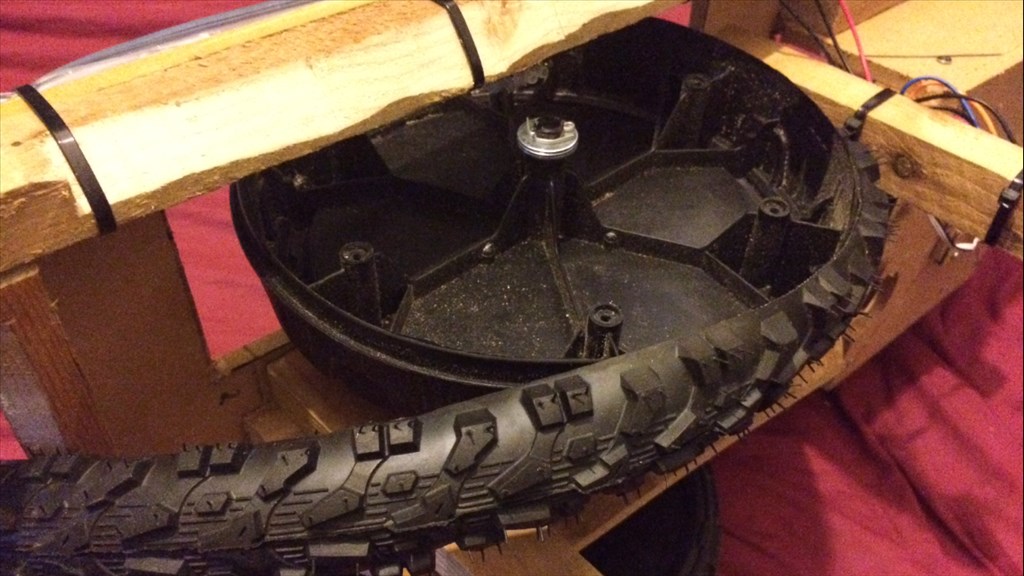
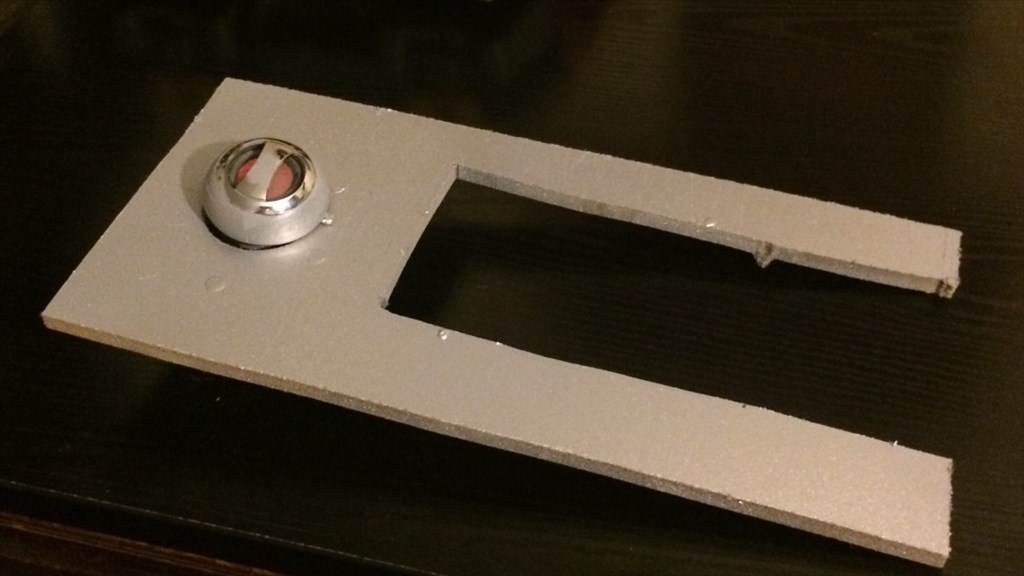
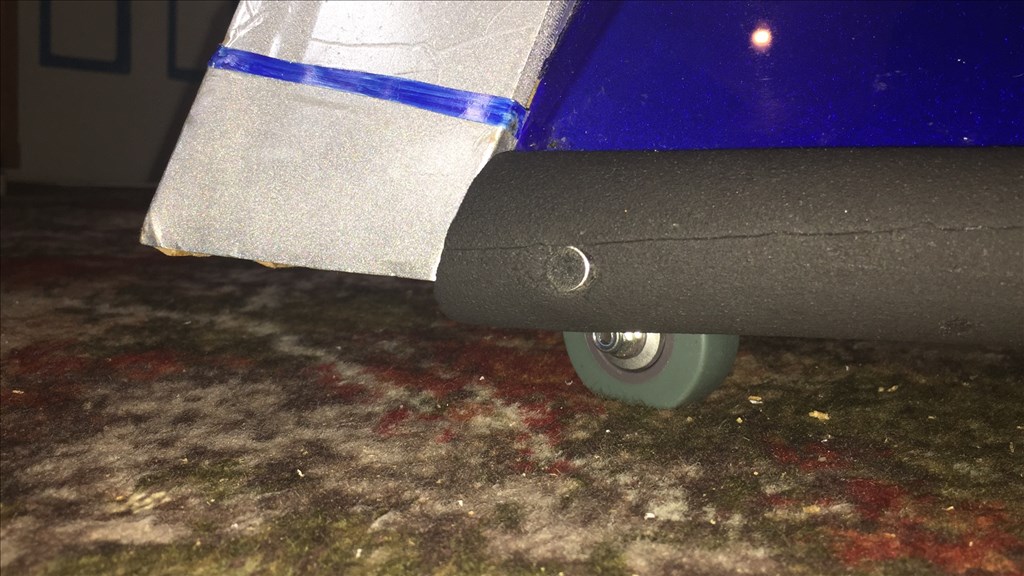
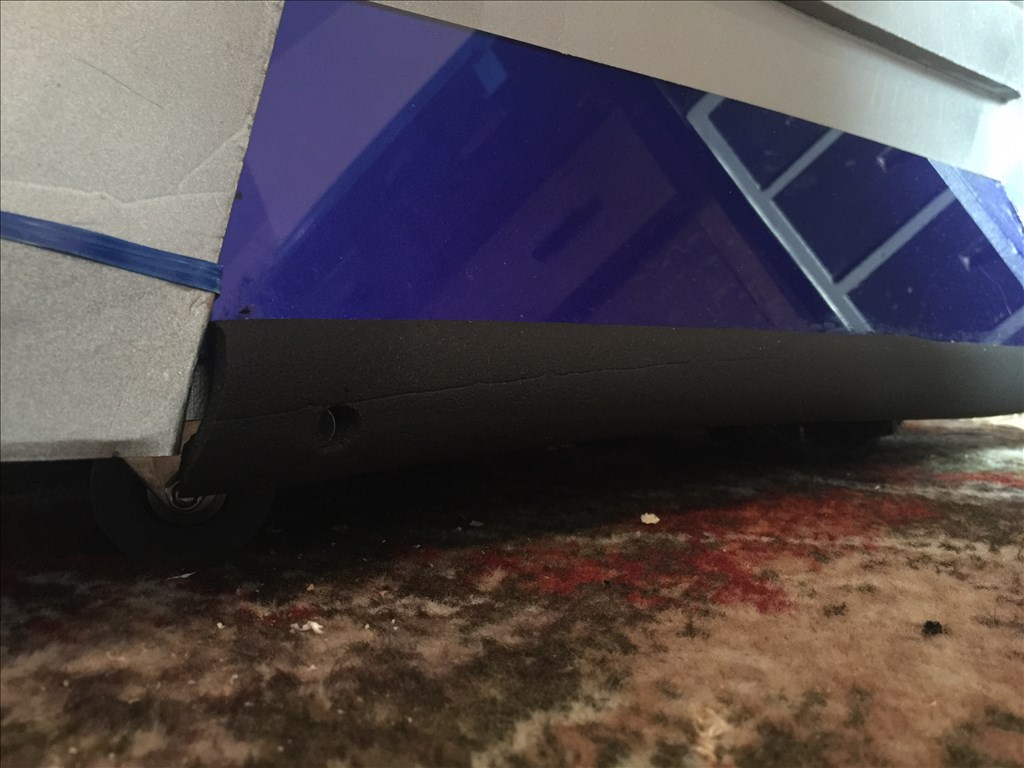
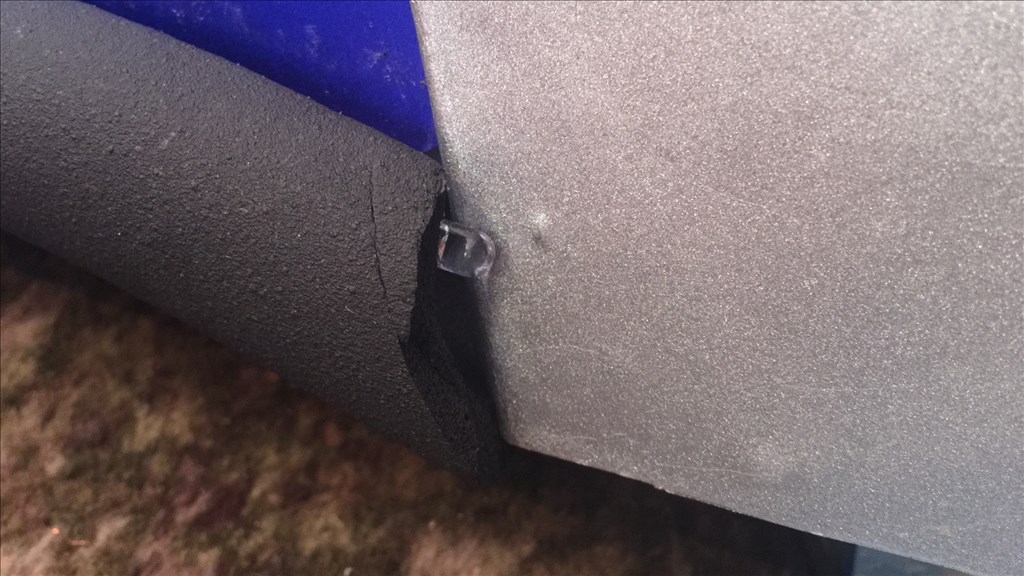
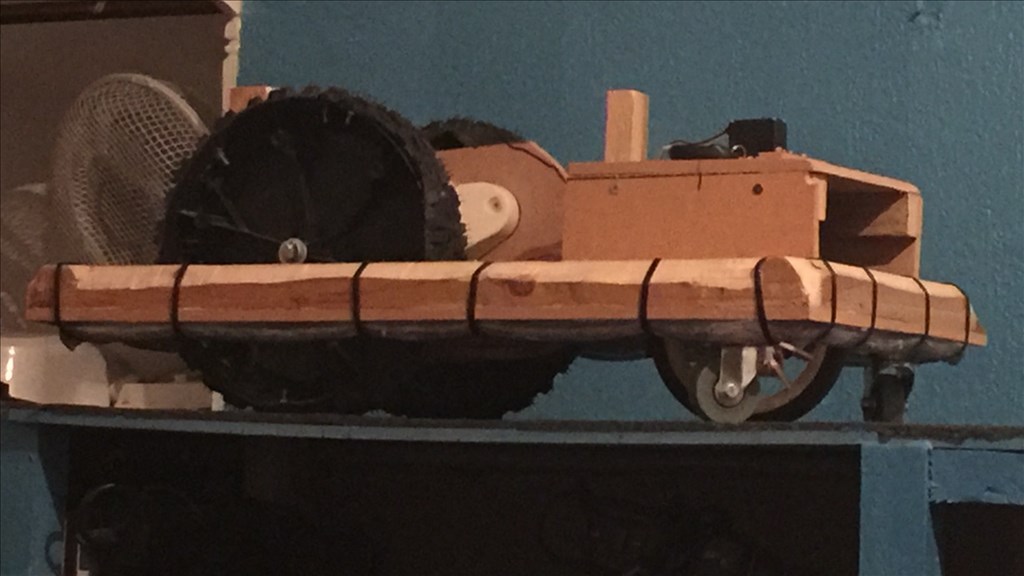
Do you know what, I proof read that twice and never noticed it, I forgot to add the tyre bit in, opps sleep (it's in there now). Anyway, Yes I did cut the tyre down to length and trimmed off the tyre walls. I was going to use adhesive but decided against it and went with simple evenly spaced nuts and bolts. The head of the bolts sit on the base of the tyres in-between the treads so they don't touch the ground and the tyres can be easily replaced if needed. K-9 weighs about (rough guess) 30 to 35KG, and with PWM set to 100 he can get to about 6 MPH/9.5 km, but I have most of his PWM scripts set to 50, so about 2.5 to 3 MPH/ 4.8km. Even at top speed the traction is excellent. Using 12v either on a lead acid or LiPo battery powers the motors great with power in reserve.
Hope that helps, (and thanks for the heads up). Here's some pics for you.
@rgordon.
Thanks for you kind words and pleased you liked the Instructable. I hope it gave you some ideas. Come on my friend, get building. K-9 needs an overseas relative, and I would love to see your approch at building one.
Thanks for the wheel information. If I can score some wheels for my Power Wheels motors/gearboxes I may go that route. I like the compactness of your drive train (although I think I will use differential steering and have a couple of casters trailing as rear wheels instead of a steering servo). My wheel chair motors are 15kg on their own, and take up a huge amount of space, and provide much more power and speed than I need. I think I will save them for another project like a Segway clone.
I was thinking about adding foot pegs and a T-bar handlebar so I could ride the robot while standing, which would require the wheelchair motors, but that was more so that I could claim it was an assistive device and bypass the luggage weight limit if I travel by train. Using the smaller motors, I can keep the overall weight low enough that it isn't an issue.
Great instructable. There are things that I would do differently like replacing the servo activated switches with TIP120 circuits or relays, but more important that you made it work, then that it was done in the most elegant fashion. I am certainly going to take design cues from how you did the neck/head and some ideas from the body build as well.
Alan
Alan
@Alan.
Pleased you liked the Instructable. I have to agree with you about the diff steering. It is an easier set up, control and build wise, but I went for the independent steering simply because of the size of the doorways and halls in my house. Having the diff steering would have caused massive overswings from his head and rear when turning in to rooms, thus causing lots of bumps and scrapes (mainly to the walls).
This was my first full robot build and wasn't aware of things like TIP circuits, but thanks to you guys that's something I am looking in to on future projects (I hope Rich hasn't forgot about me), as well as other things I've picked up along the way. Can't wait to see what you come up with Alan.
UPDATE 2.0/5
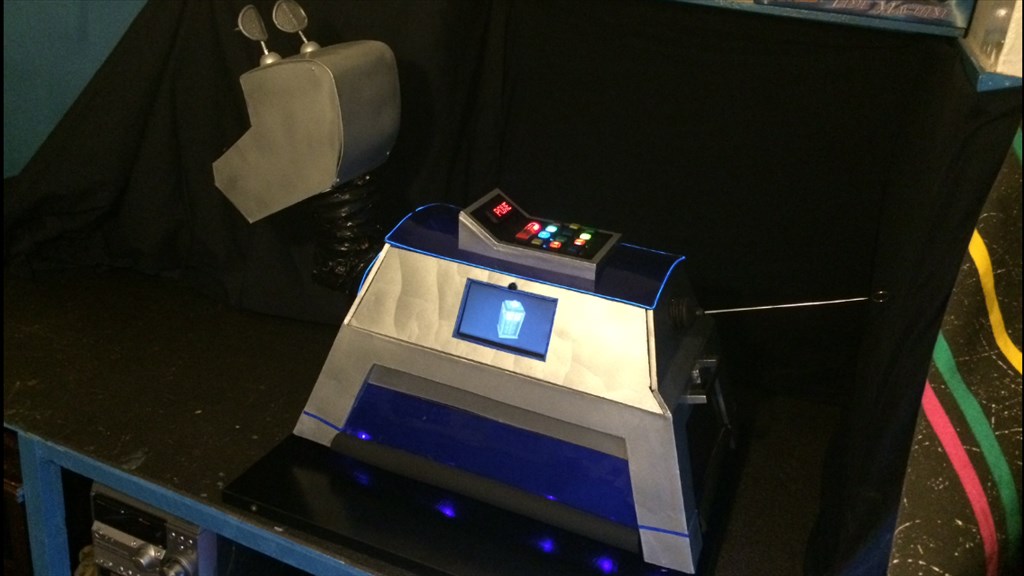
Oh no. Who killed the dog?
Well he's not quite dead, but certainly lifeless when this picture was taken.
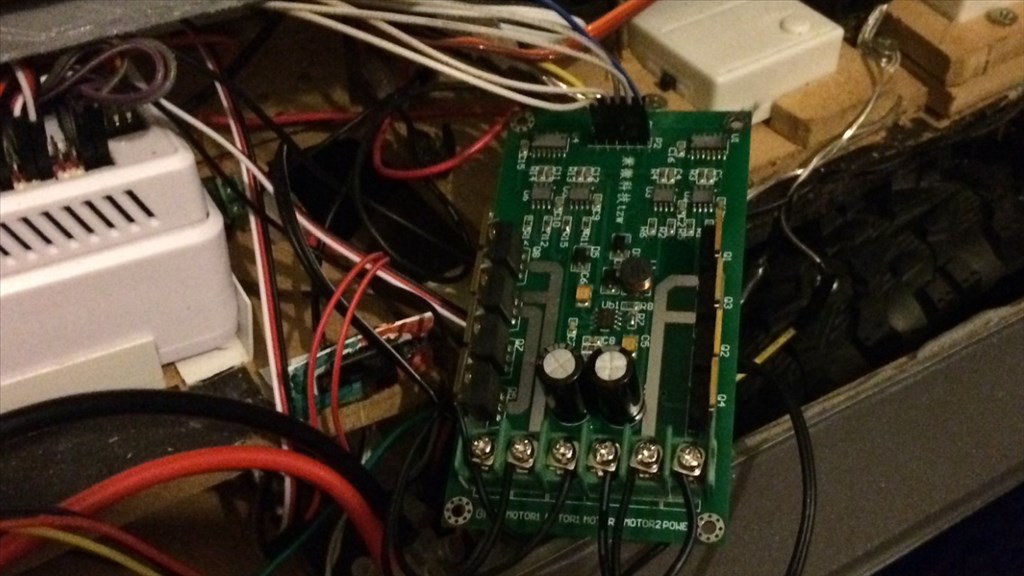
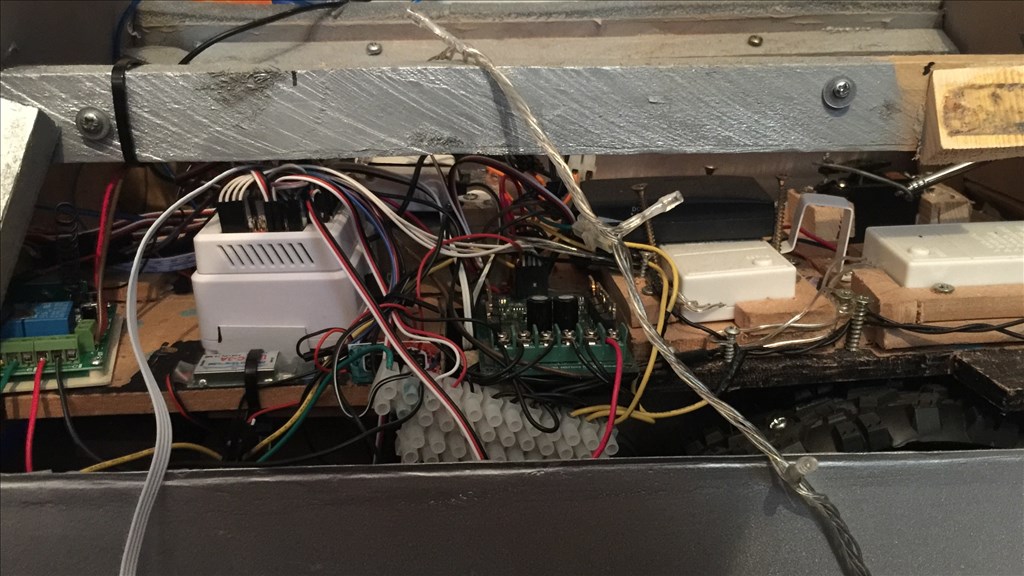
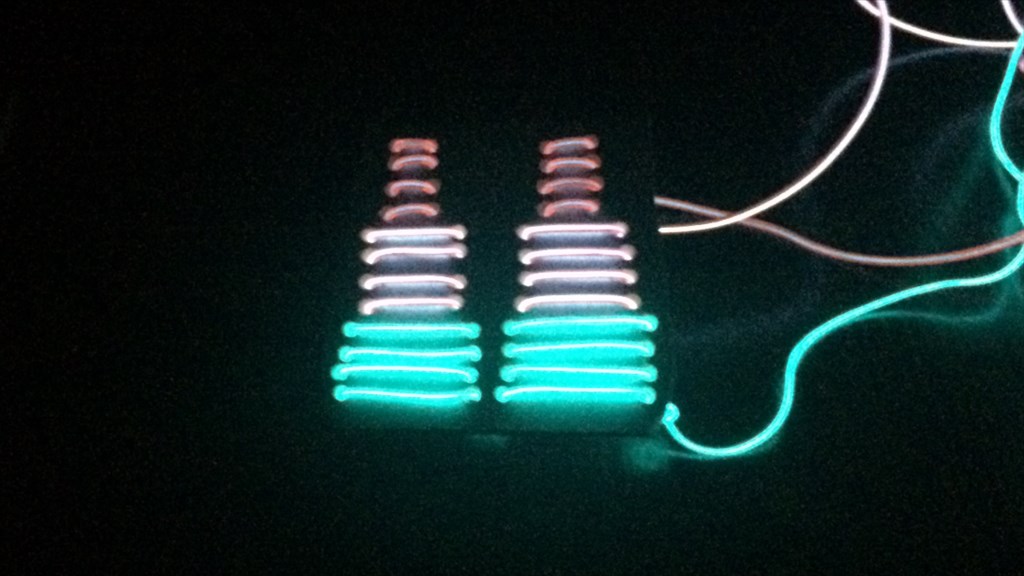
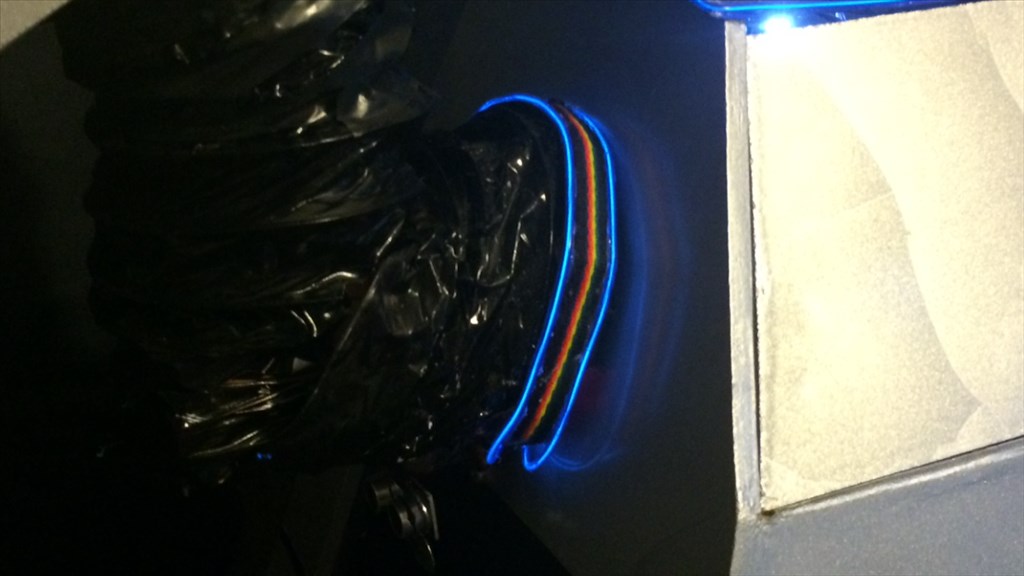
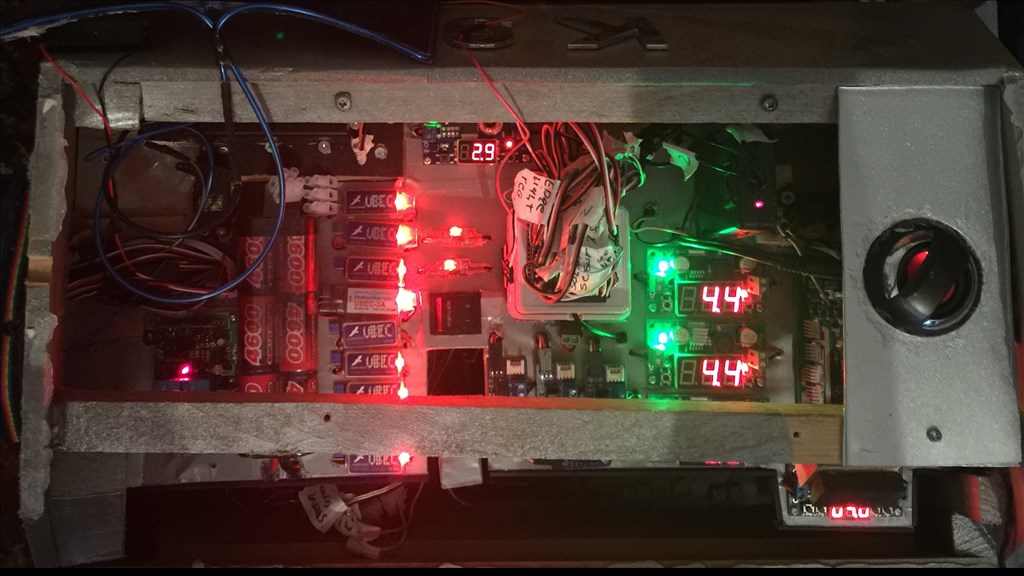
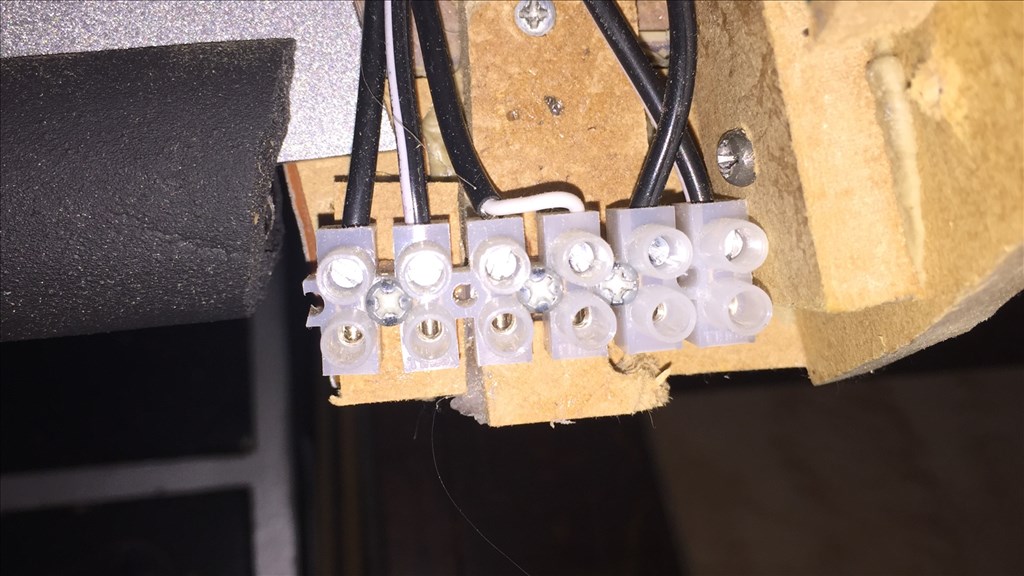
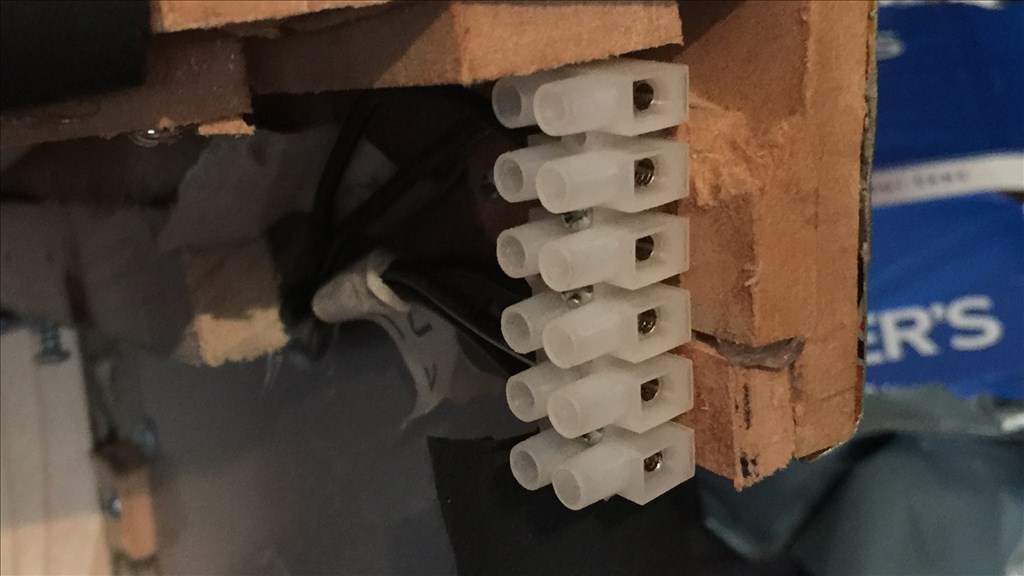
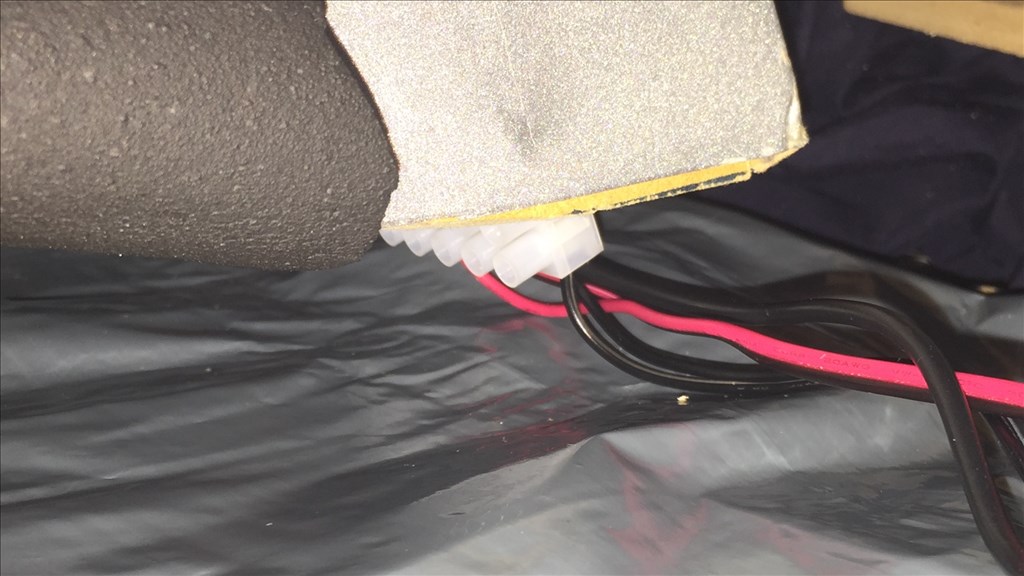
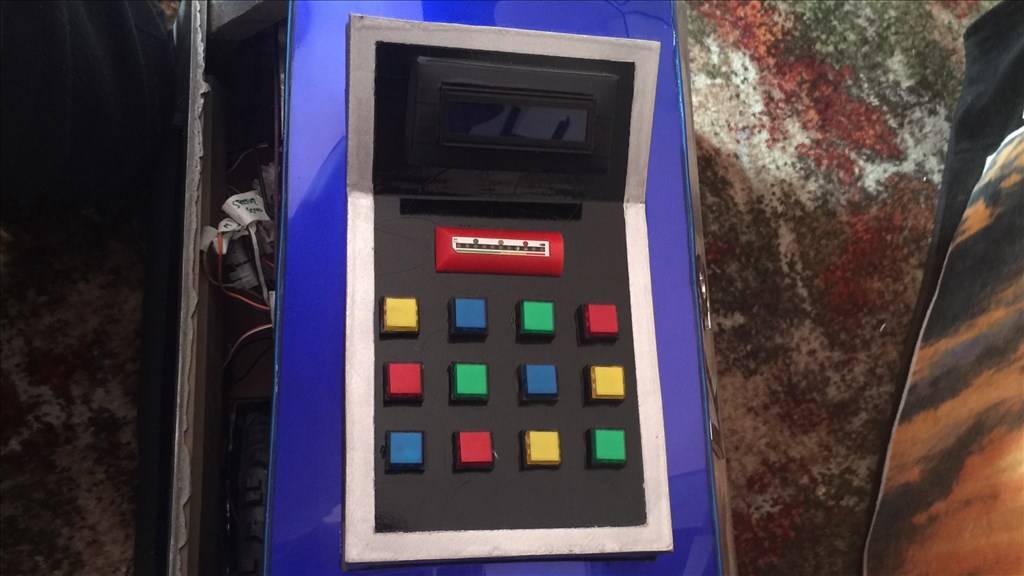
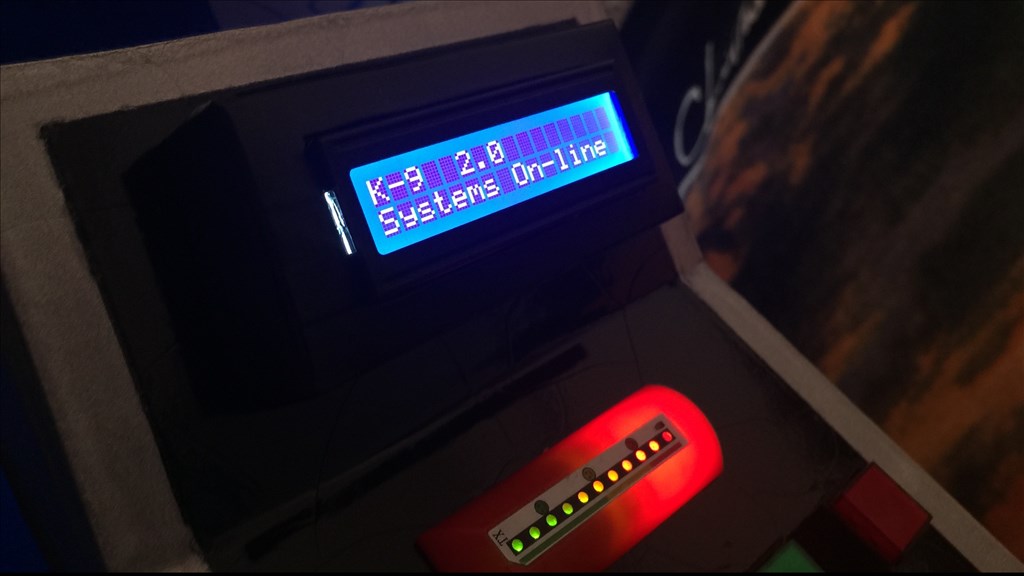
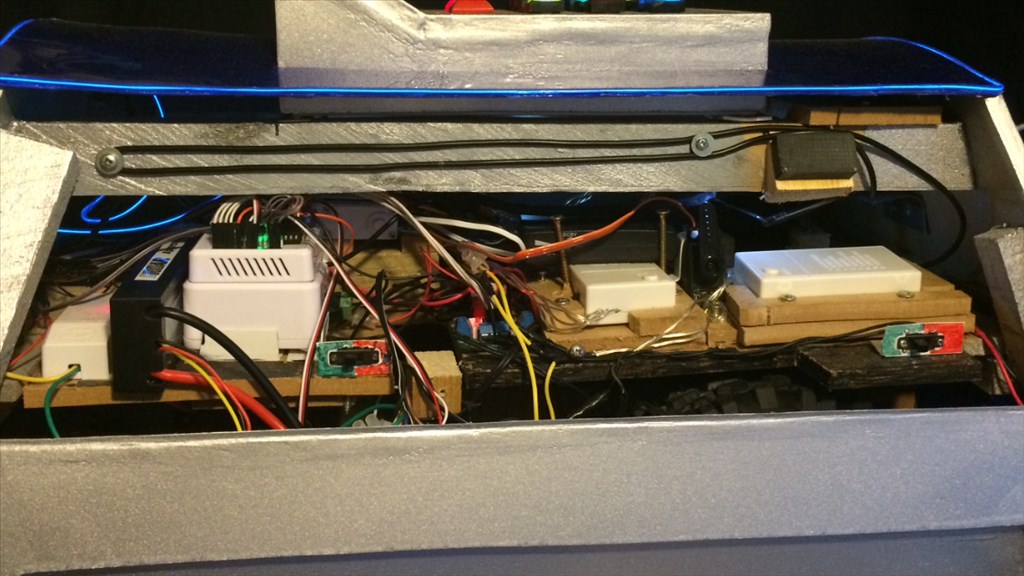
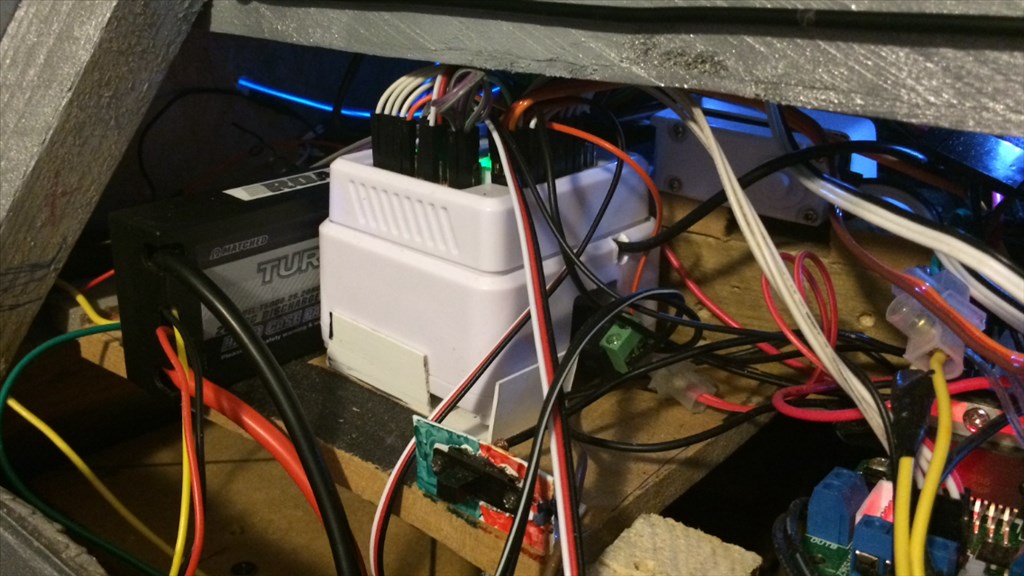
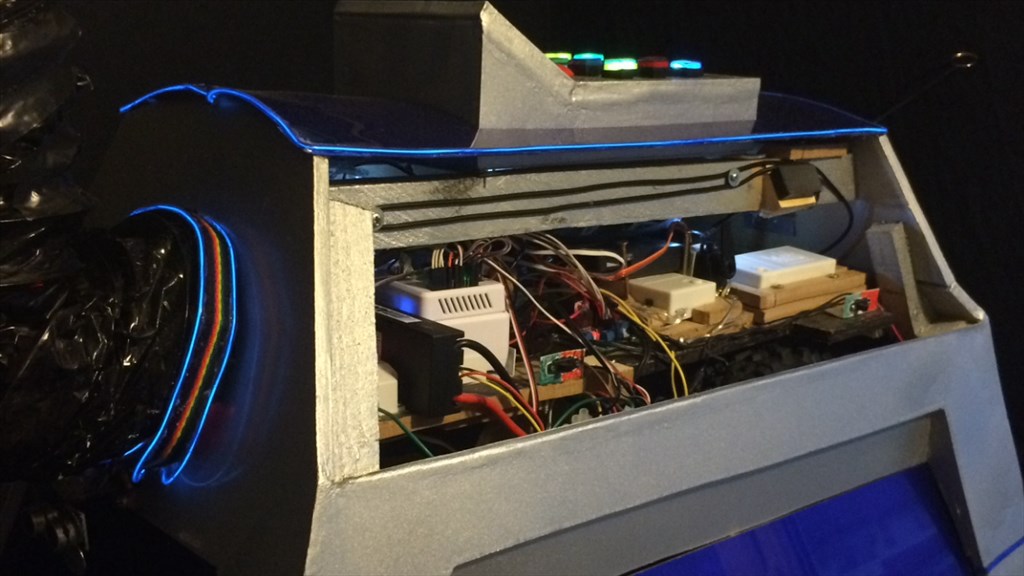
So a bit of a major update to share with you guys as K-9 has had a bit of a face lift, or rather a transplant for want of a better description. So I've been a community member for almost a year now and I'm constantly looking through the forum checking out what you guys are up to and how your robot projects are progressing. While doing so, one thing sticks out for me in regards to some of your builds. Wiring. As much as I love tinkering with electronics, there's one thing that always bugs me, which is messy wiring, and K-9 was unfortunately no exception.
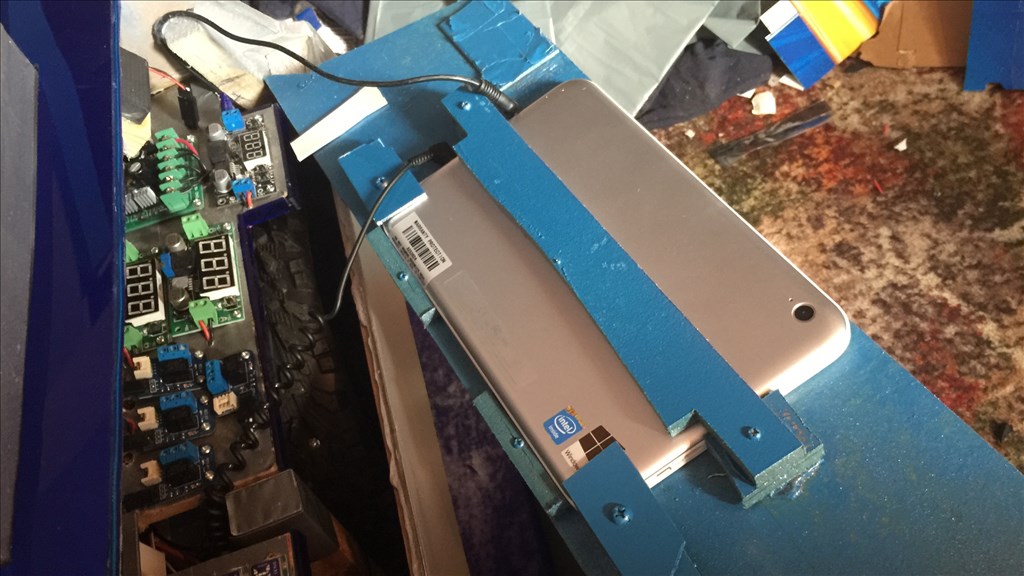
After looking at the robots made with the likes of Richard R's and Bob Huston's InMoov's (there must be a ton of wiring in there), as well as Steve S, Mcsdaver, Dave S, and many more of you guys, one thing I noticed is how tidy you guys keep your wiring. And after seeing Tony the ToyMakers really neat work on his Altair EZ:2 build, that was the last straw (in a good way, as it was the kick up the butt I needed), and figured I could improve on what I had done. So I initially set about tidying up all of K-9's wiring (a day or two's work), but ended up ripping out his entire electrical system and started again from scratch (which took a little over 2 weeks instead).
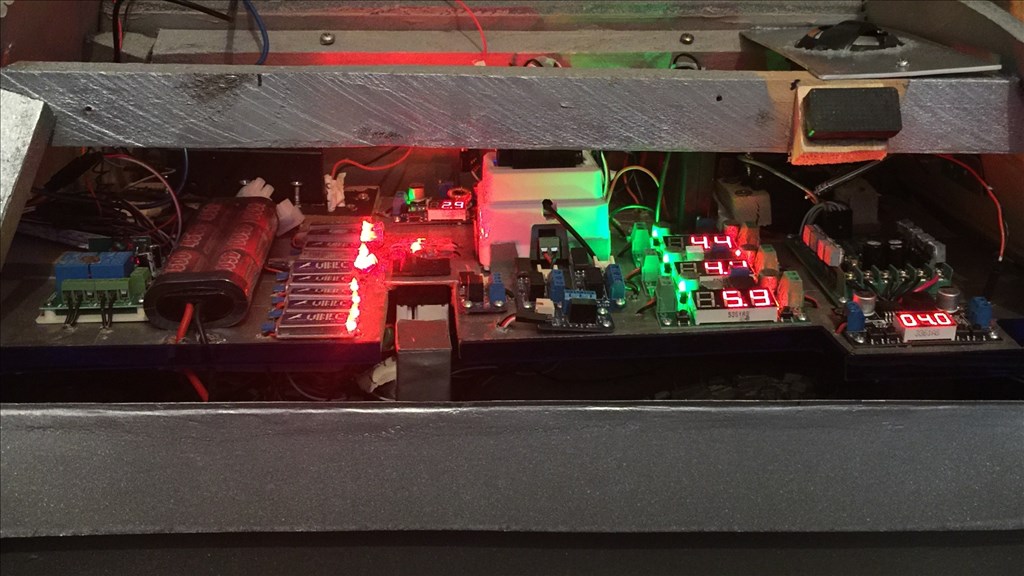
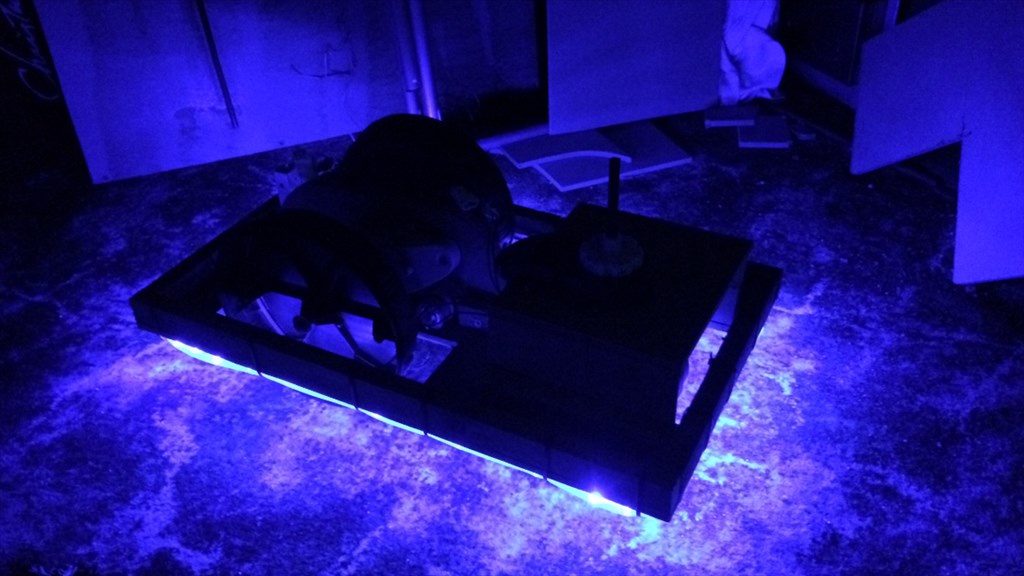
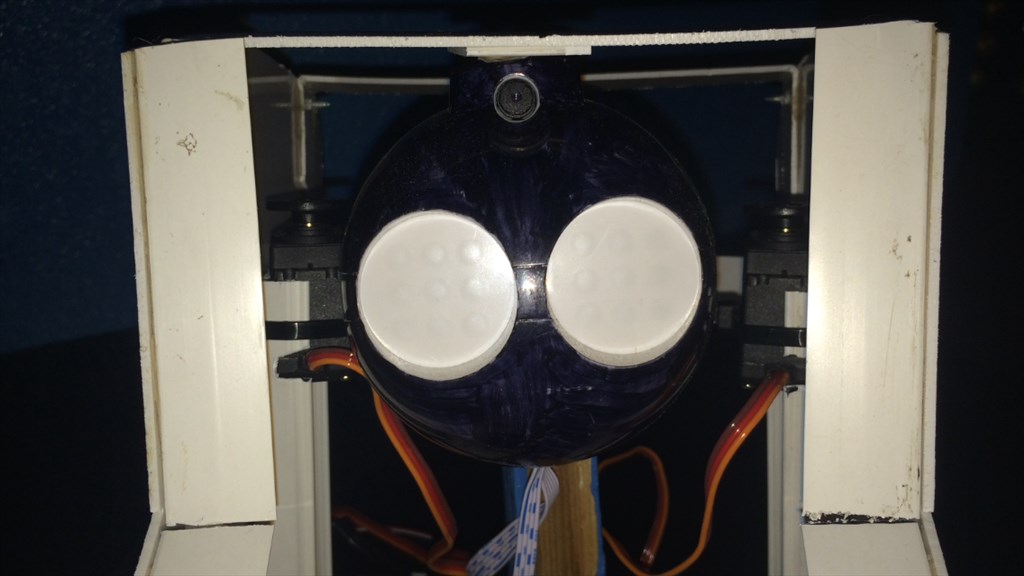
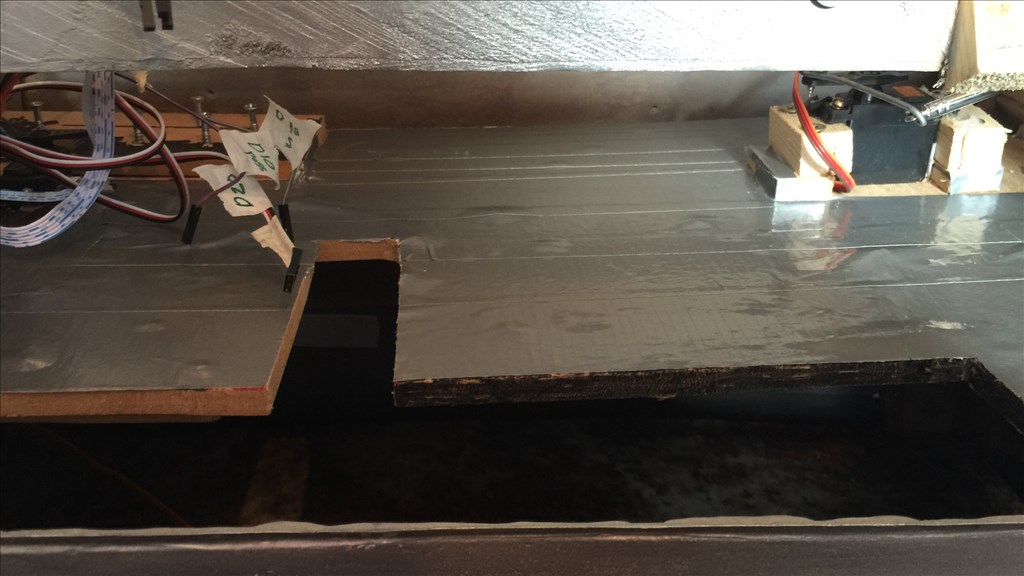
So from a simple re-wiring job to a full out electrical rebuild, K-9's internal's have gone from this...
to this...
Yeah it was a lot of extra work, took a lot longer than expected, and cost me a few more beer tokens, but it was worth it now he looks a little tidier than he did.
I was also glad I did this for another reason. It gave me the chance to make a few changes and improvements, a couple of repairs, and the chance to add a few more sensors (so I won't have to make further repairs, hopefully). In the next post (post #52), I'll go through what the new changes are with a few more pictures for you guys to check out.
Wow, fantastic job Steve! This now looks like something a Timelord really would build.
Tony
@Toymaker.
Lol, thanks Tony. Hopefully I've made the good Doctor proud .
.
As well as thanks for the kind words, I'm also grateful you posted your Ez-b V4 Gear-tray thread. If it wasn't for that, I probably wouldn't have done the re-build for quite some time, so you gave me the motivation I needed.