


-635971125254815084.png)
-635971009768280111.jpg)


-636393423097260688.jpg)


-636337988865509663.jpg)


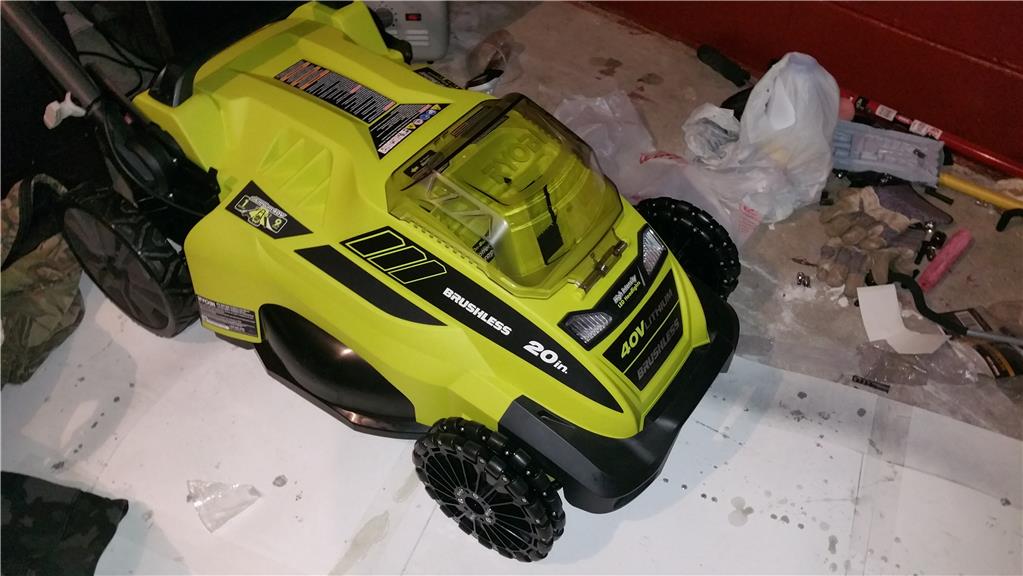
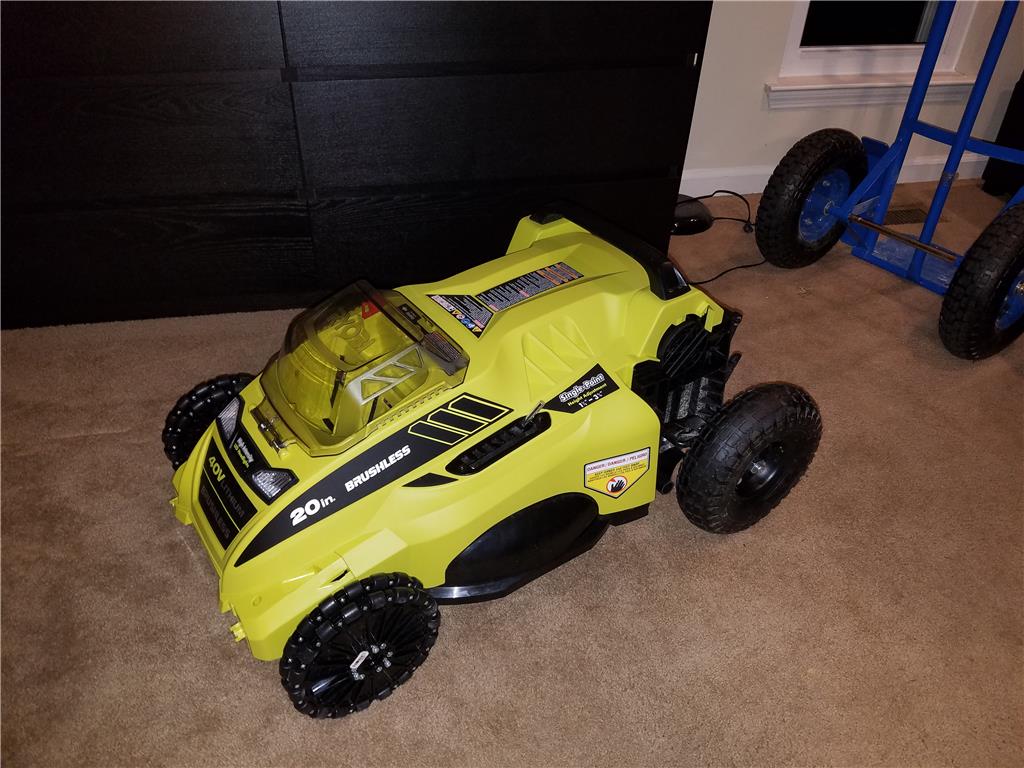
Hello all, I am getting back in the saddle making robots now that I am moved into my new home and settled into my new job as a technician maintaining the Fiber Optics network in Chattanooga TN.
IM BACK !

By jstarne1
— Last update
Discover more robots
Dunning-Kruger's Ez Dog (Inmoov Frankendog Failure)
Failed experiment prototype; planning a new version with design improvements and fresh ideas.
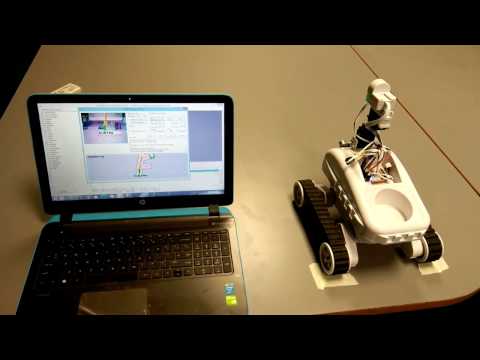
Recon's Development Of Autonomous Navigation Robot
Autonomous navigation robot on Roli Rover using EZ-Builder and RoboRealm, demoed as a final-year project; tutorial...

DJ's JD Humanoid Puppet
Sync two JD robots' servos in real time with a Synthiam ARC script using PWM Servo Feedback to mirror positions over...

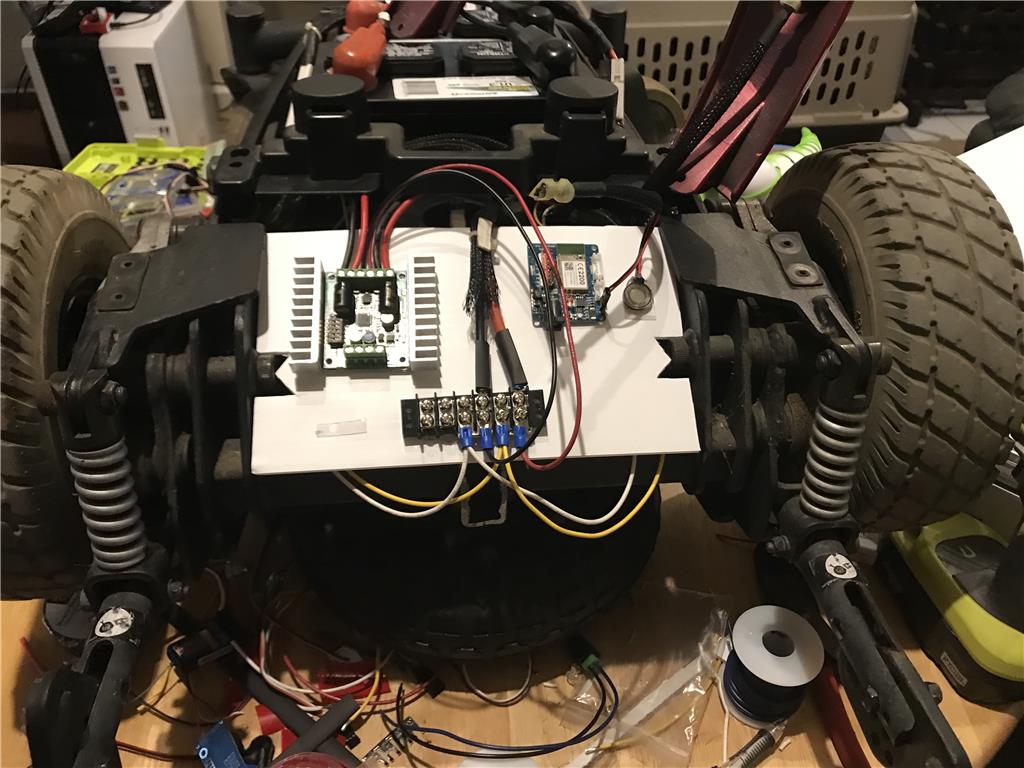
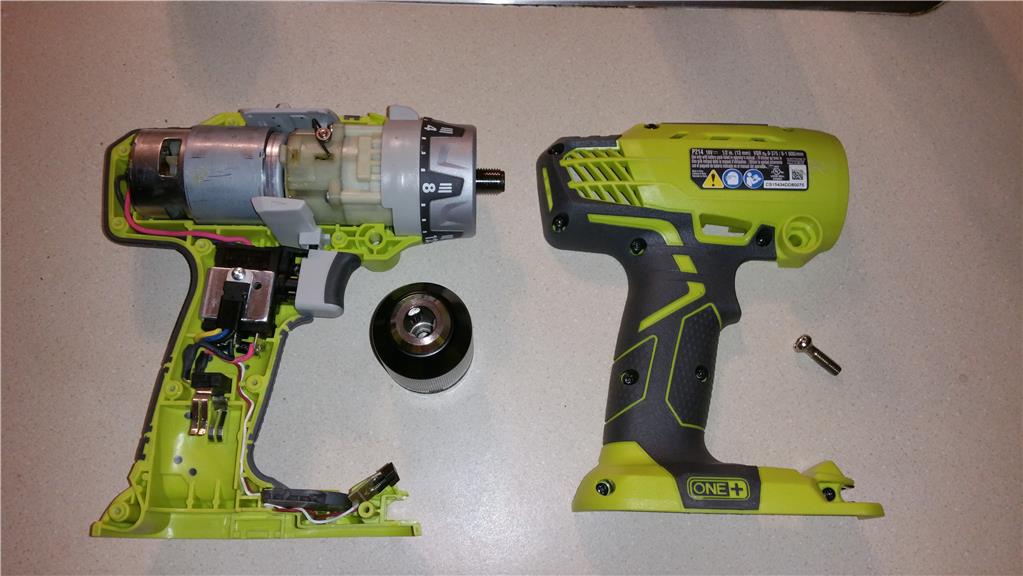
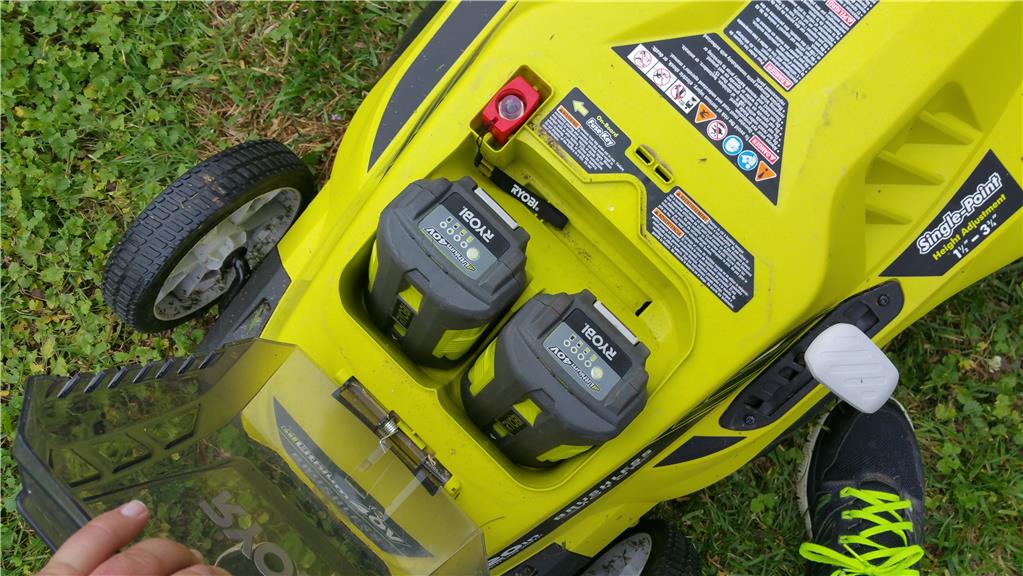
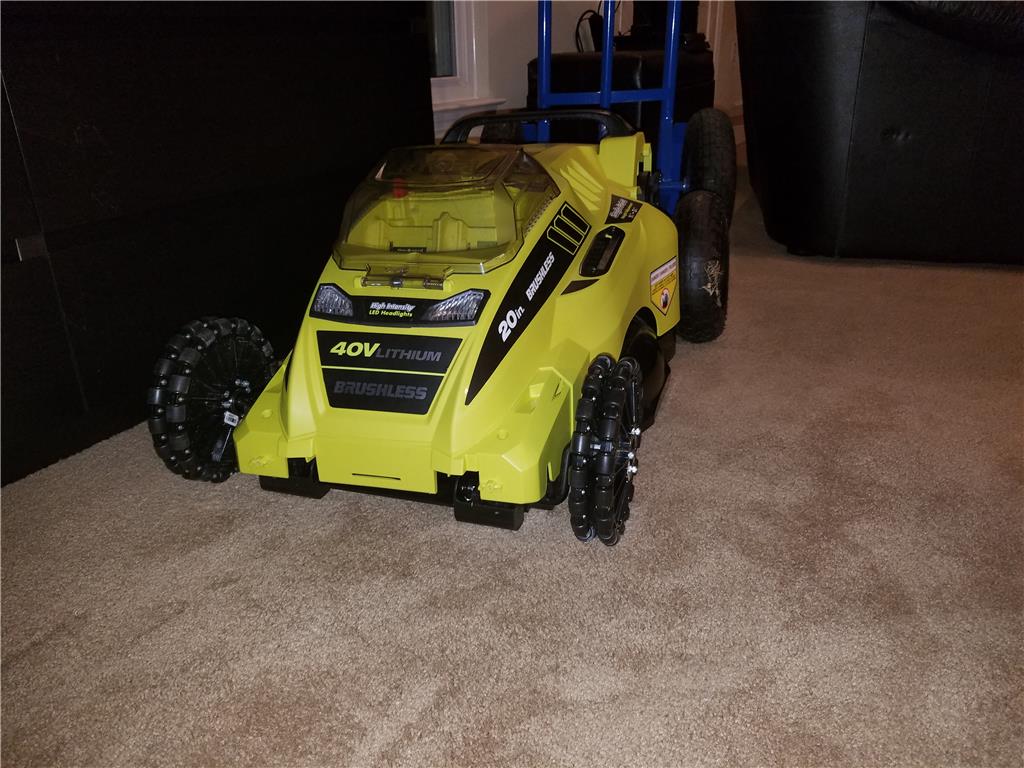
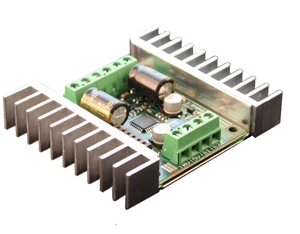
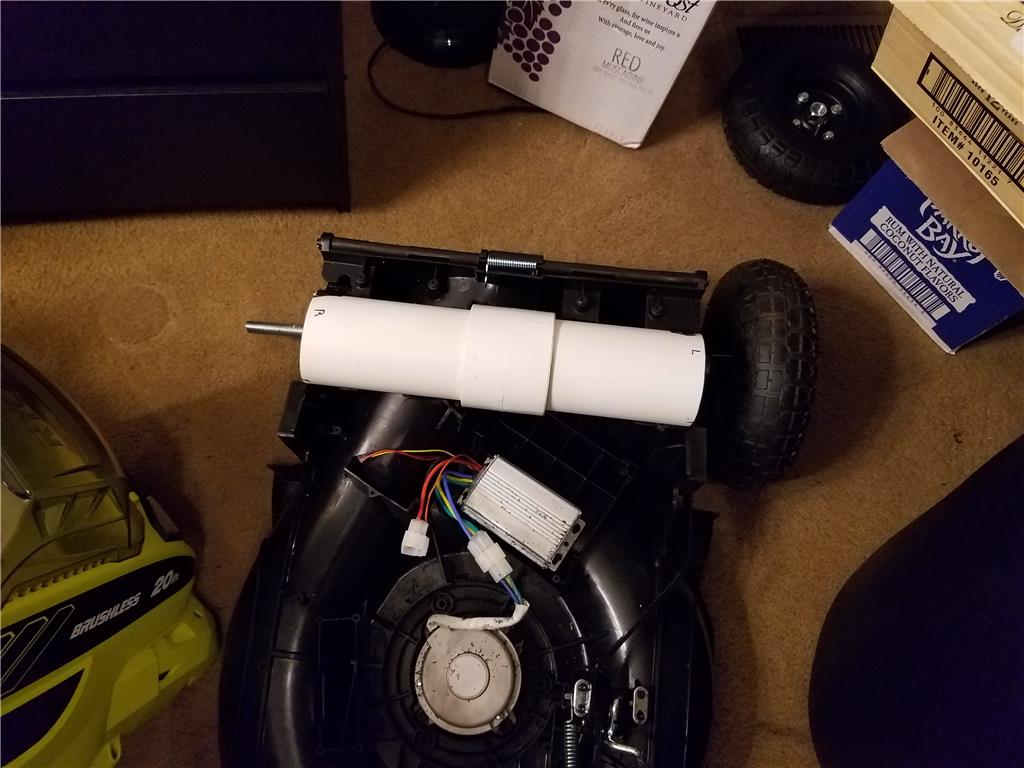
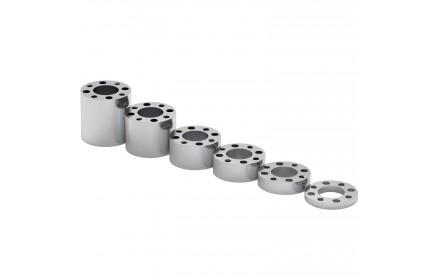
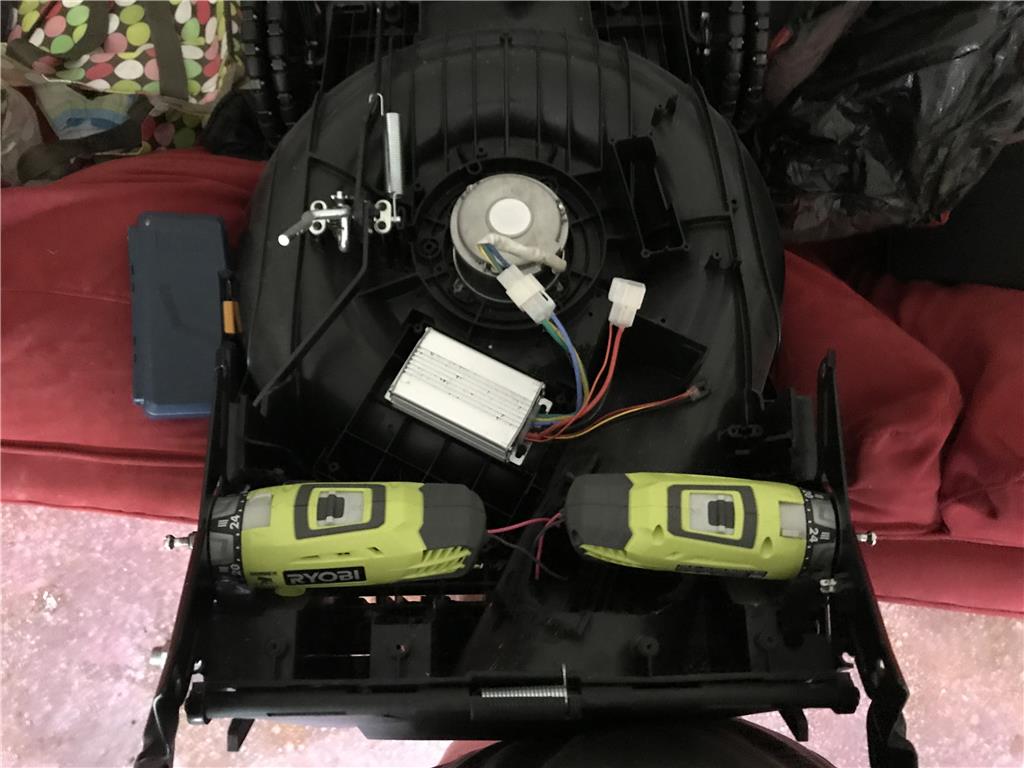
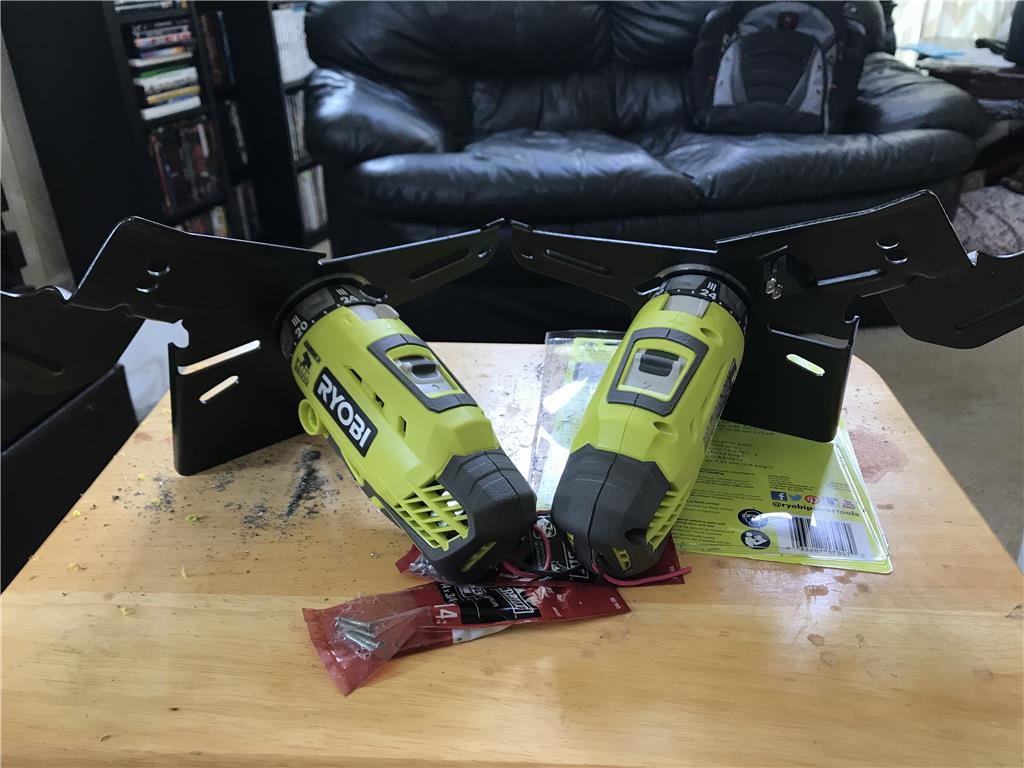
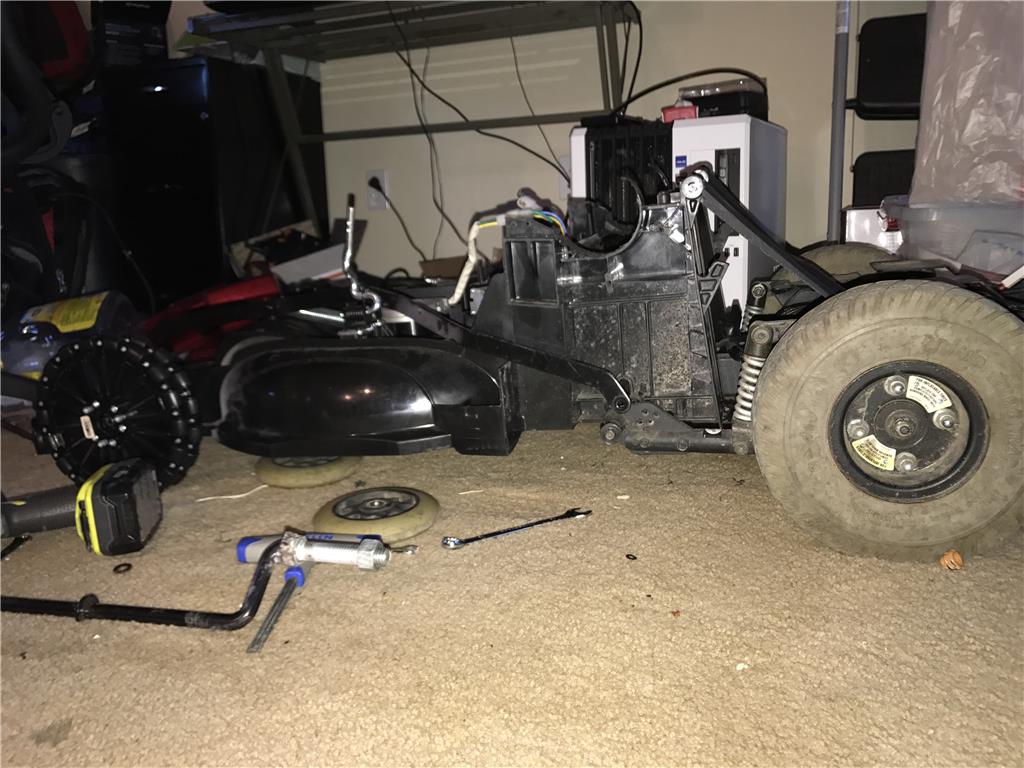
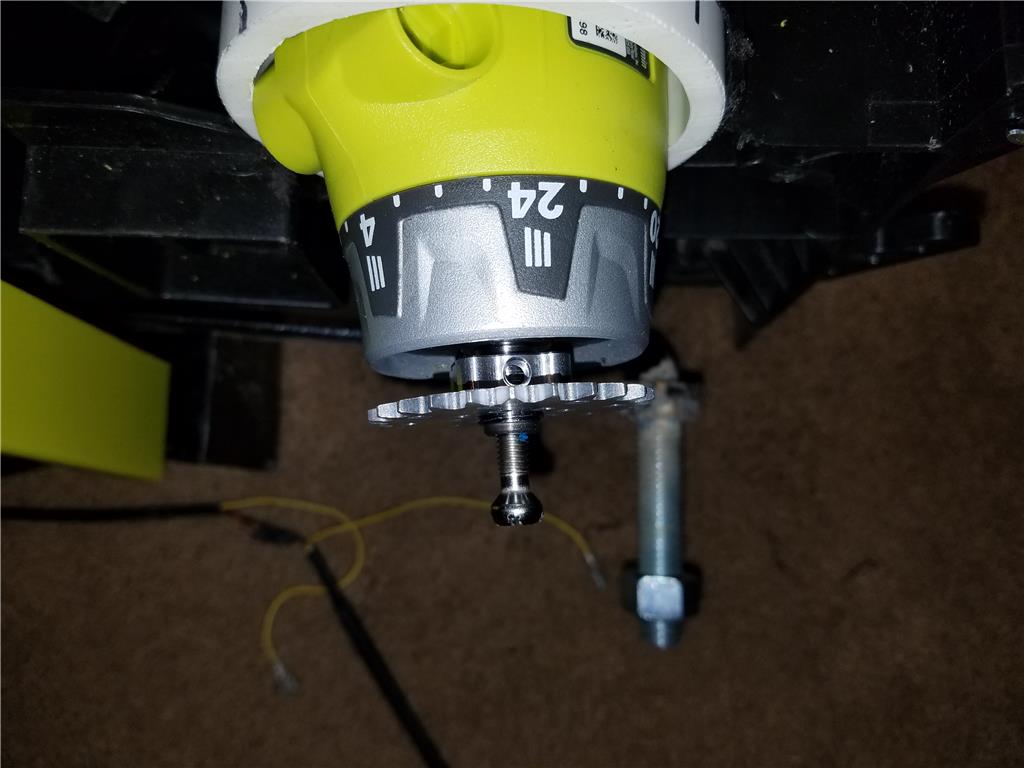
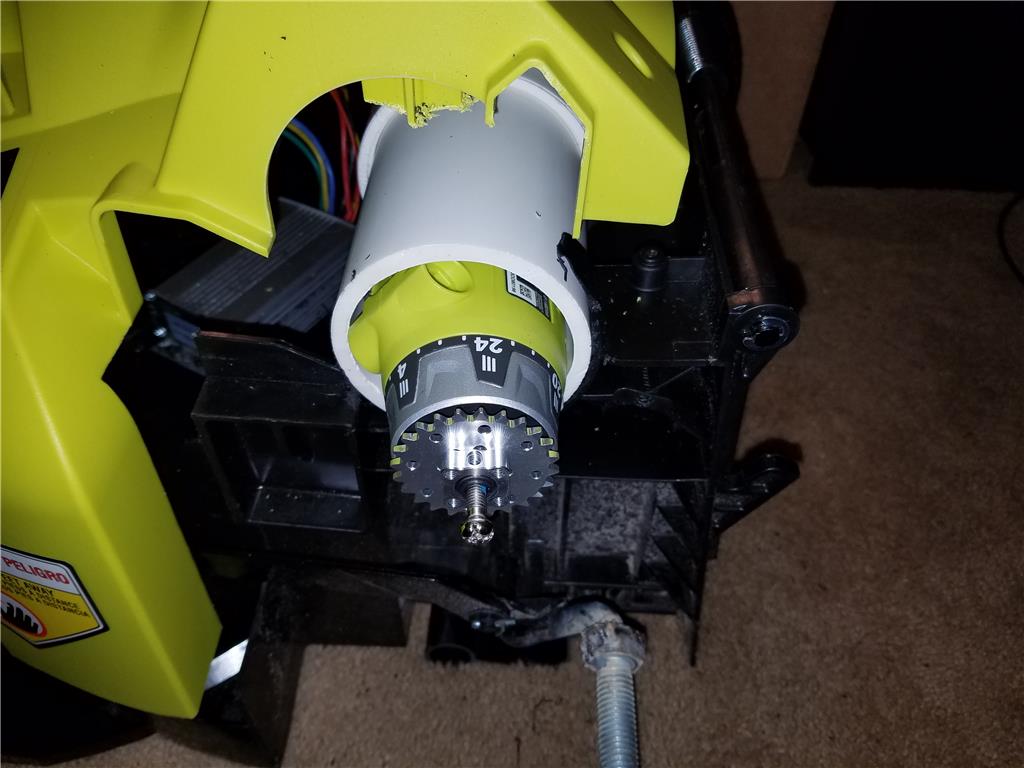
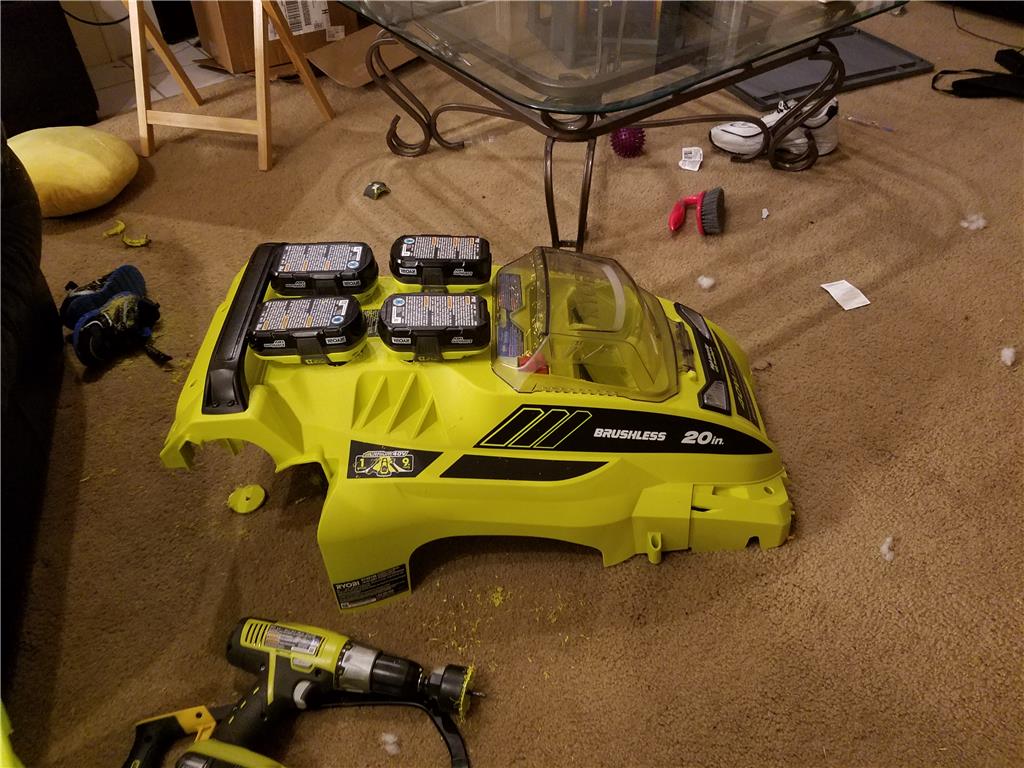
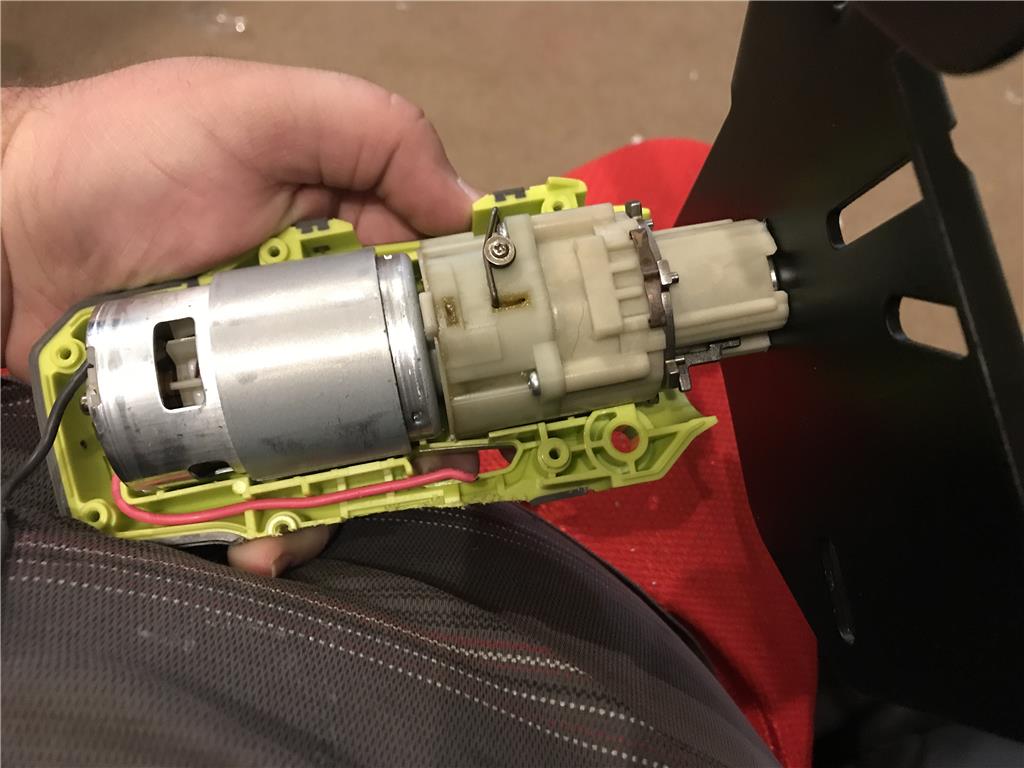
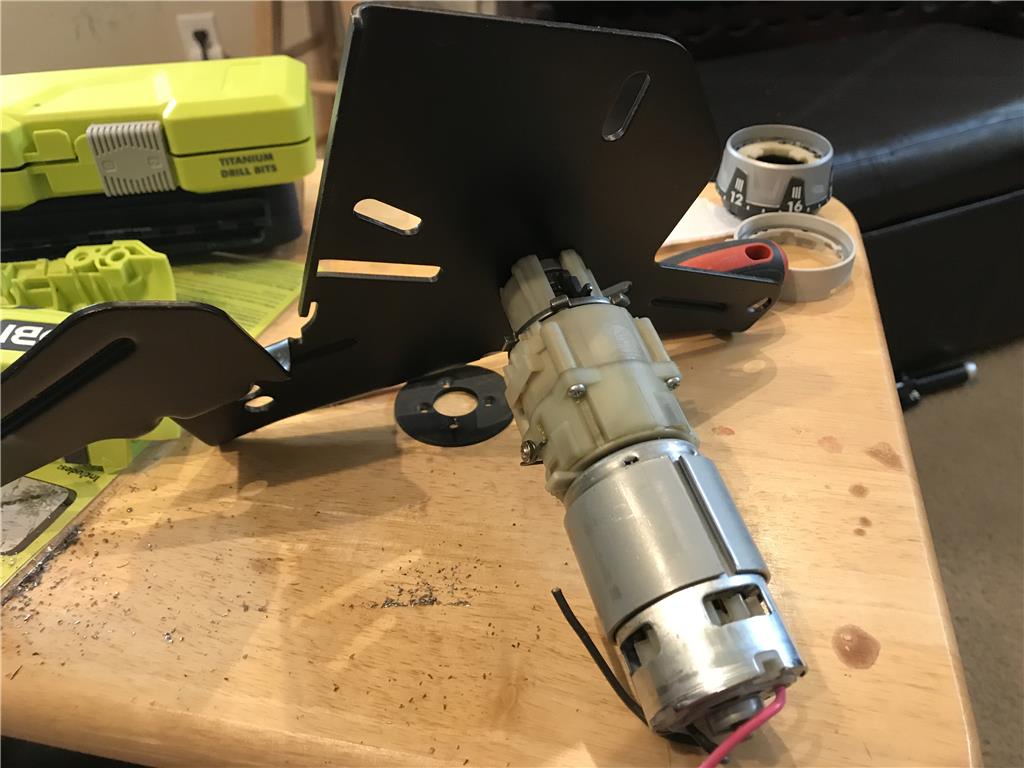
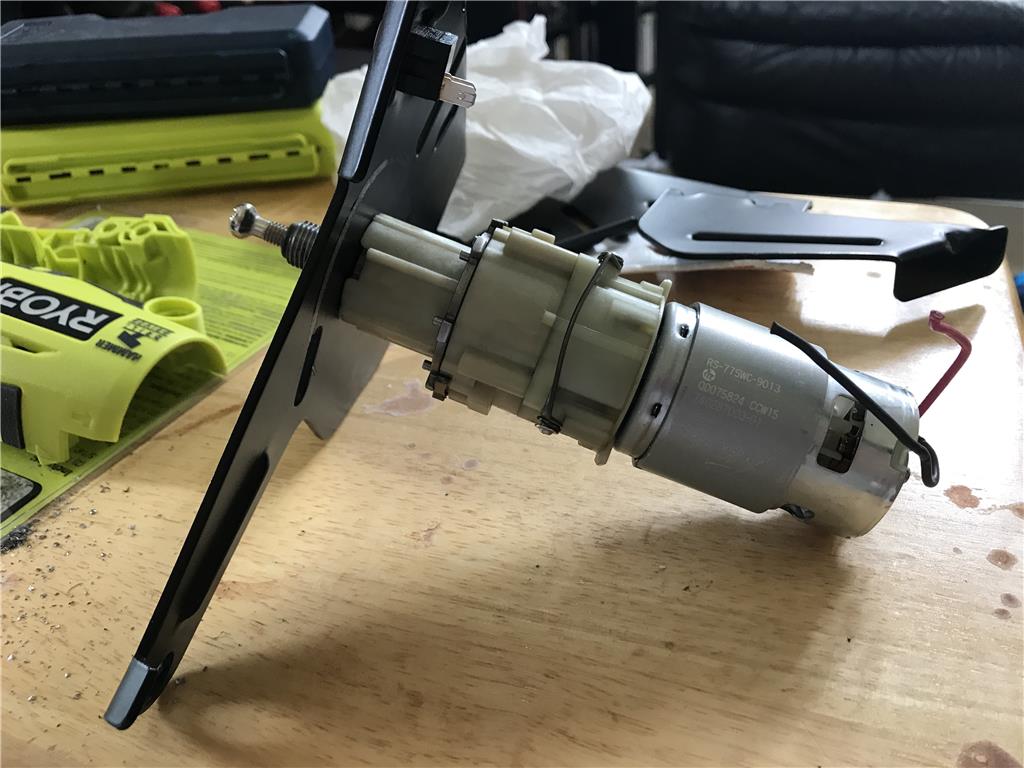
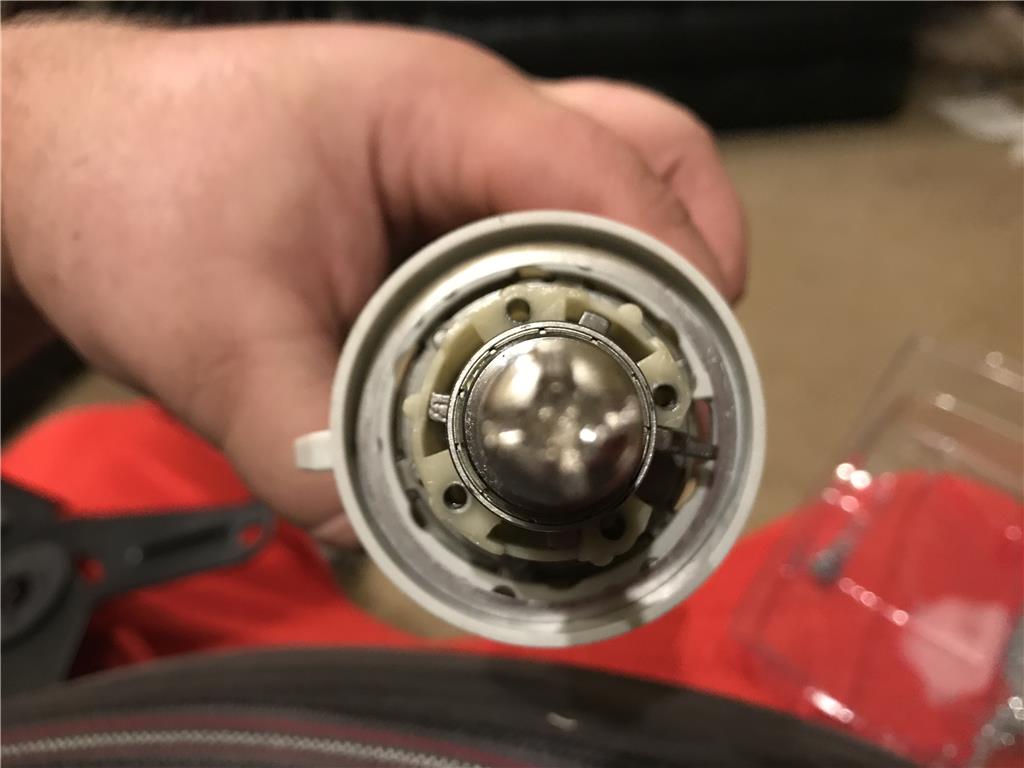
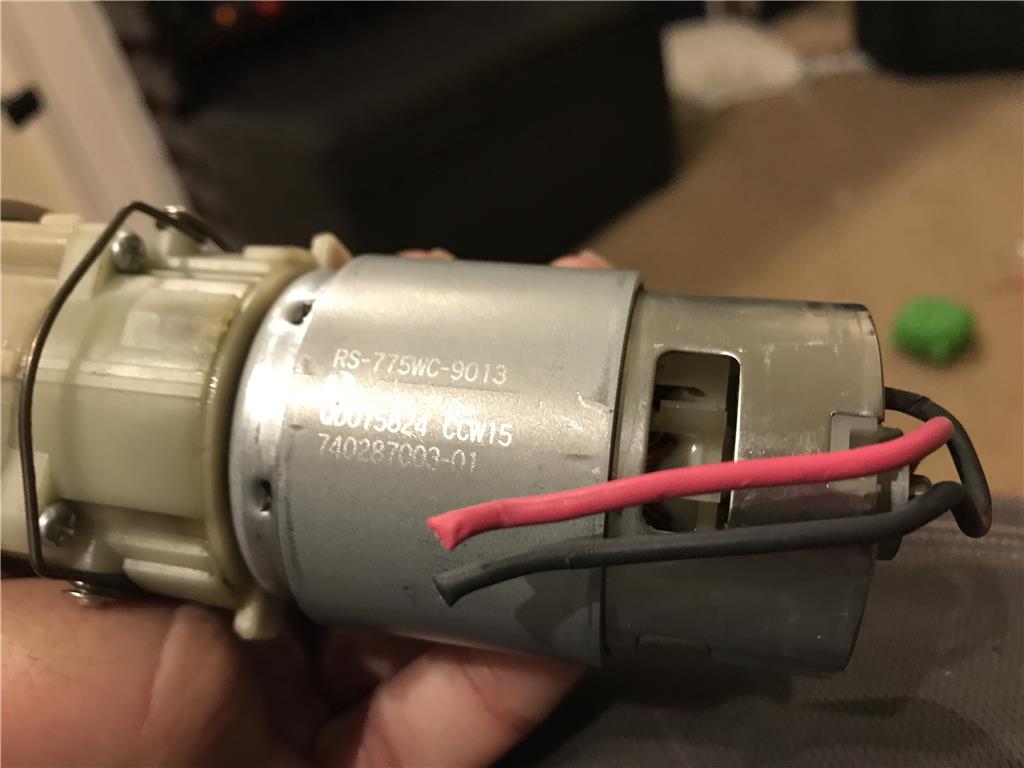
maybe one if these 550 RS motor heat sinks on each motor will do the job? we will see later. I might order a couple and see if they fit.
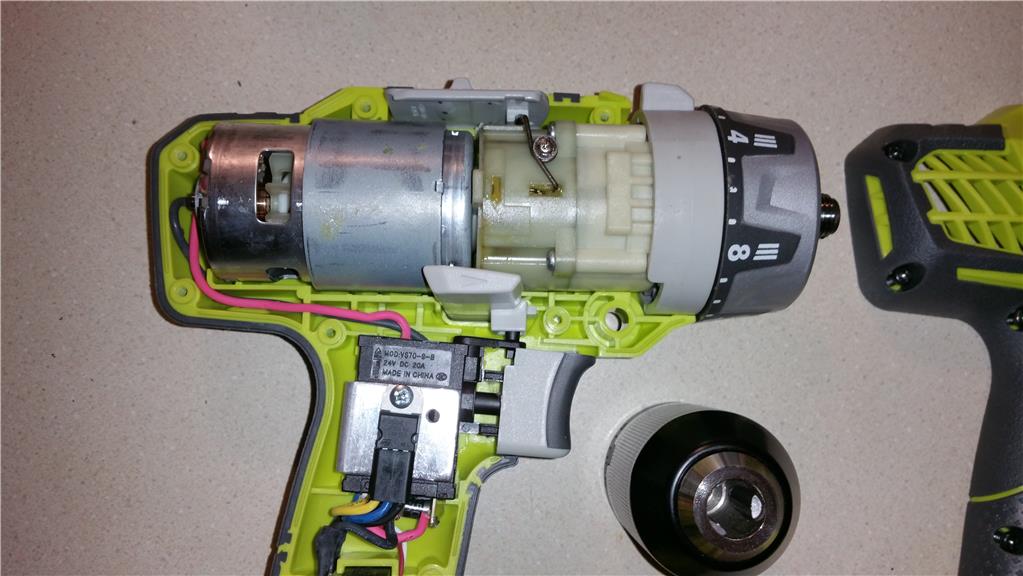
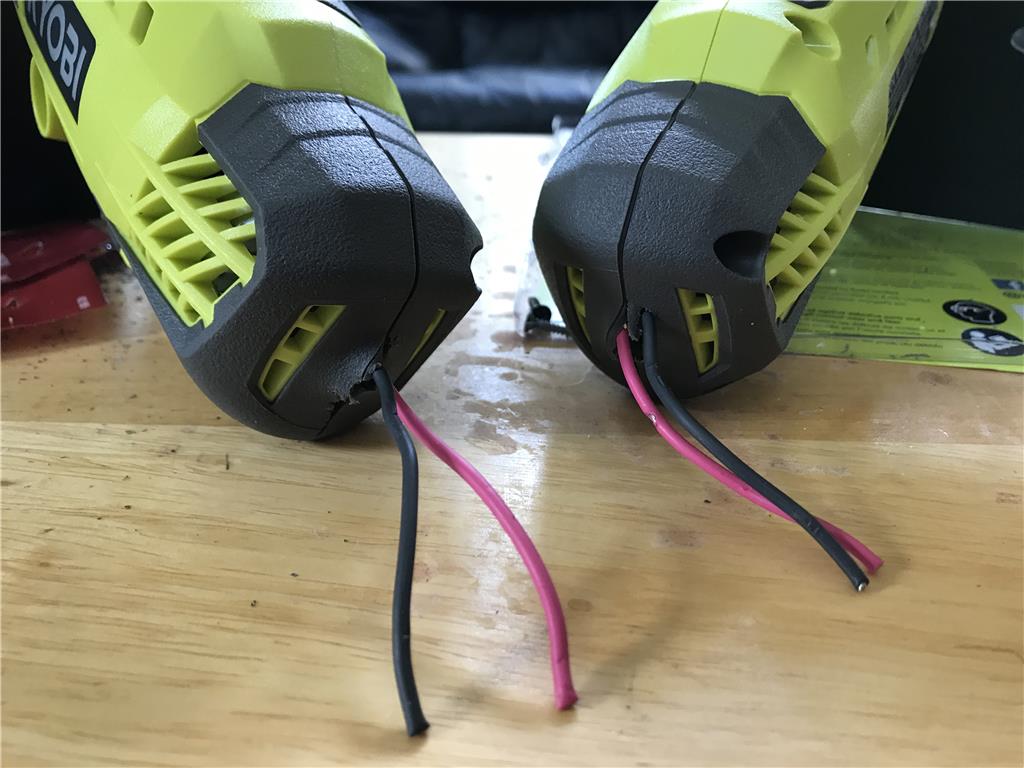
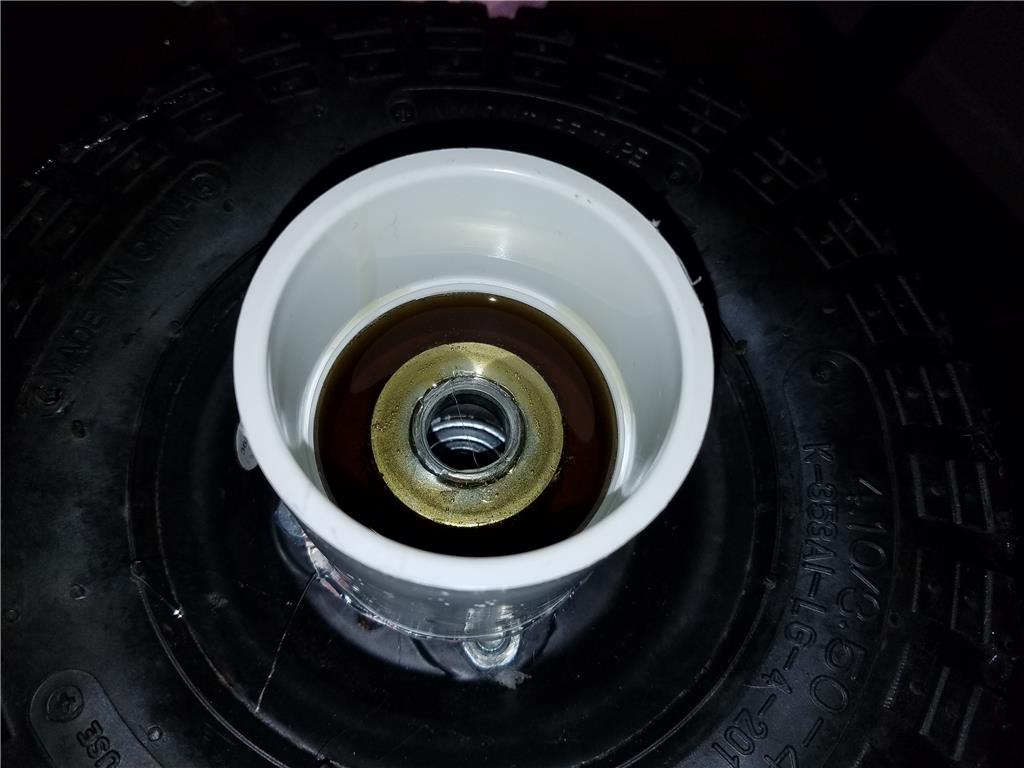
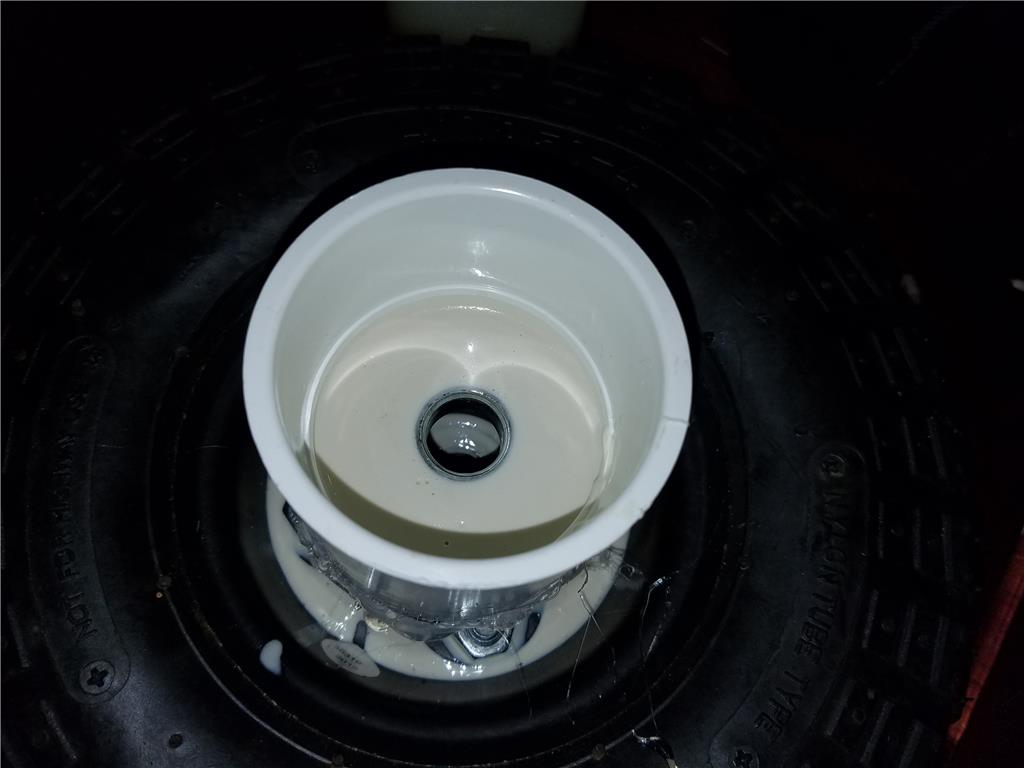
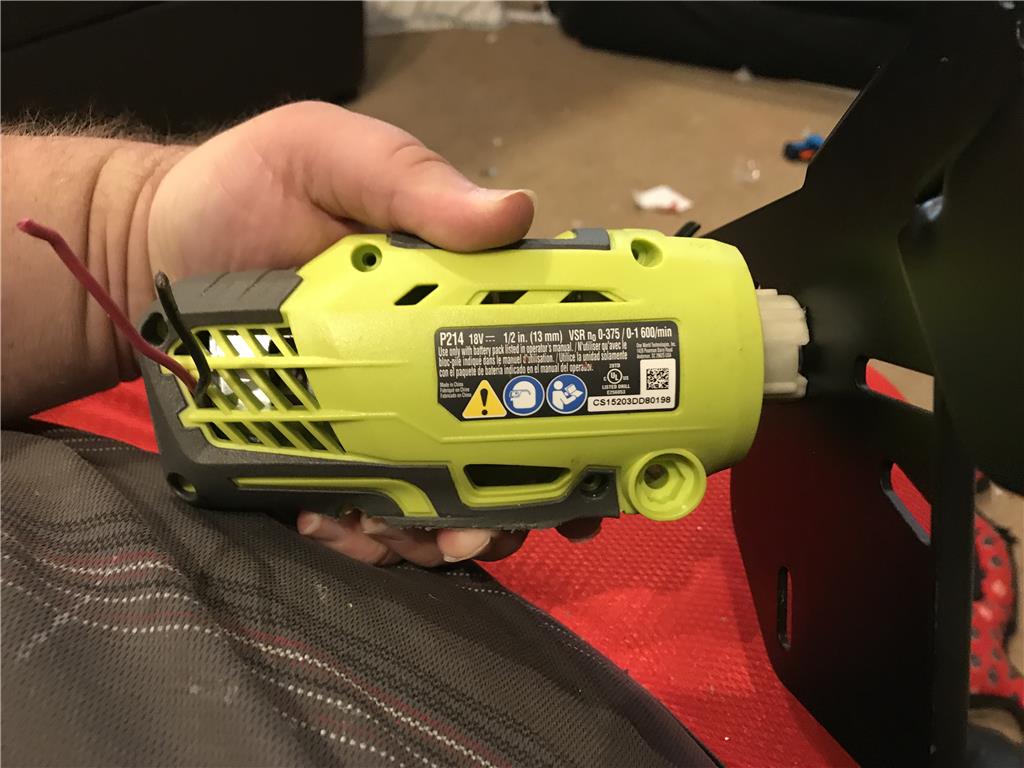
I believe I will just expose the whole motor as it will give me more direct mounting to the PVC pipe and more air. The motor has vents but they will not do much good unless they can breath.
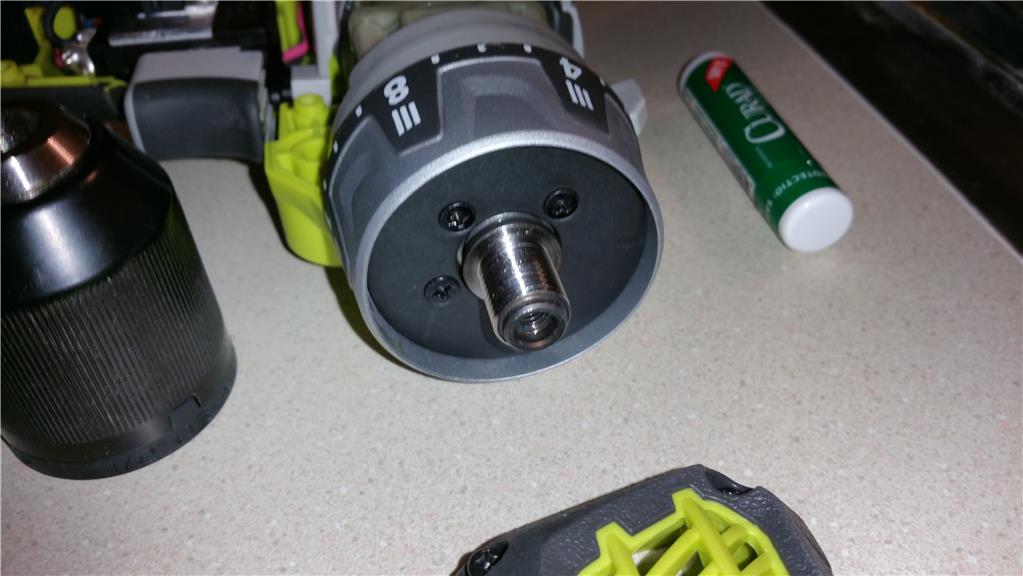
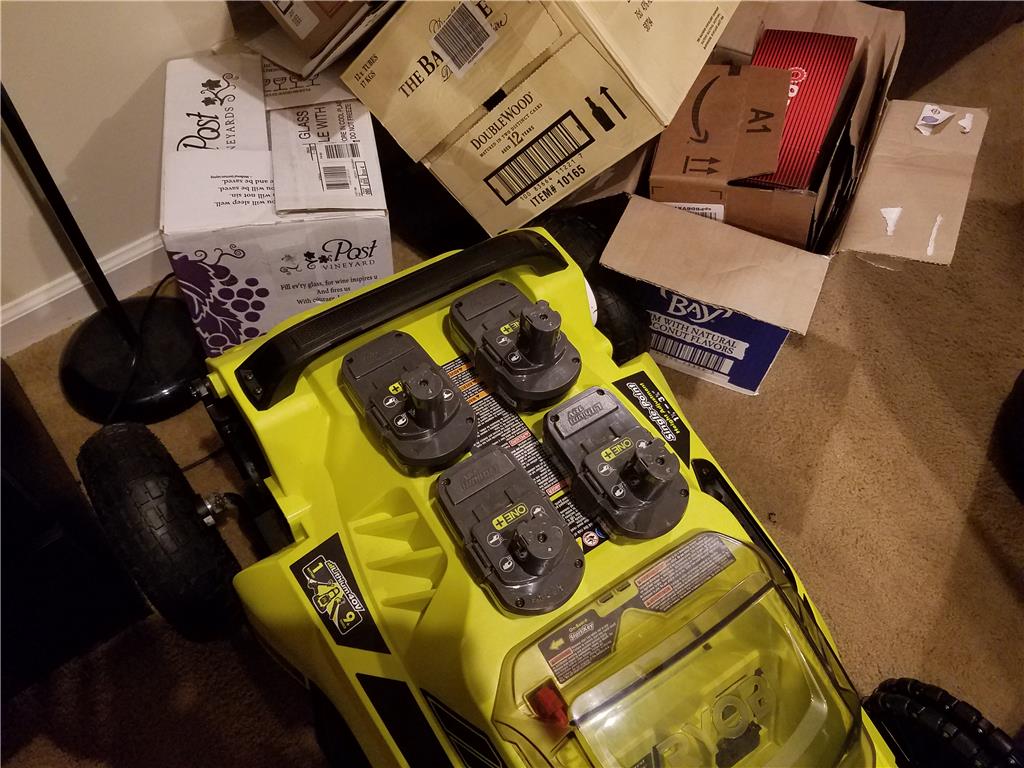
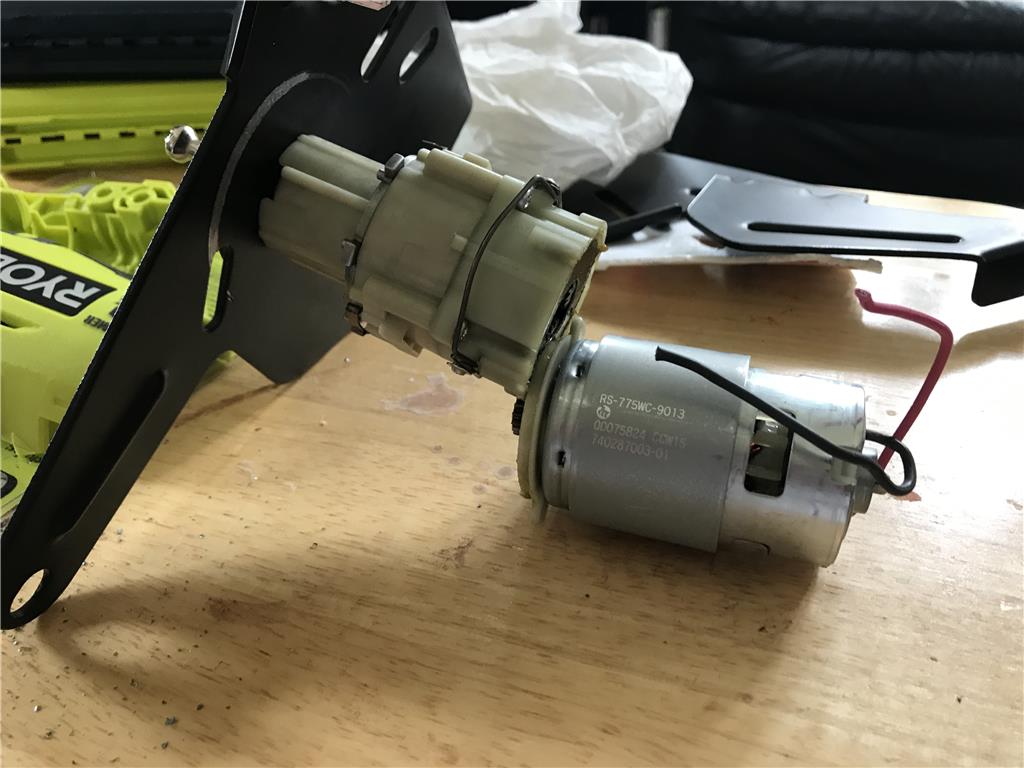
OK so for mounting I will use a combination of instamorph and and worm gear radiator hose clamps. The instamorph I can use to make an impression to tightly fit the bottom of the motors and ALSO help keep the gearbox and motor closely meshed.
If needed I could swap the poly morph for epoxy putty if heat softens the plastic instamorph. I just need to test that it can securely hold the motor and gearbox close together.
@jstarne1, glad to see you're back at your project been waiting to see your final product.
I am pretty sure the instamorph will soften or melt when in use. (the reusable on the label is the big hint). I know of some builders who have had their stuff start to melt on a hot day in a window, so next to a spinning motor on a hot day when you are mowing the grass would be a bad time for it to start to fail.
Alan
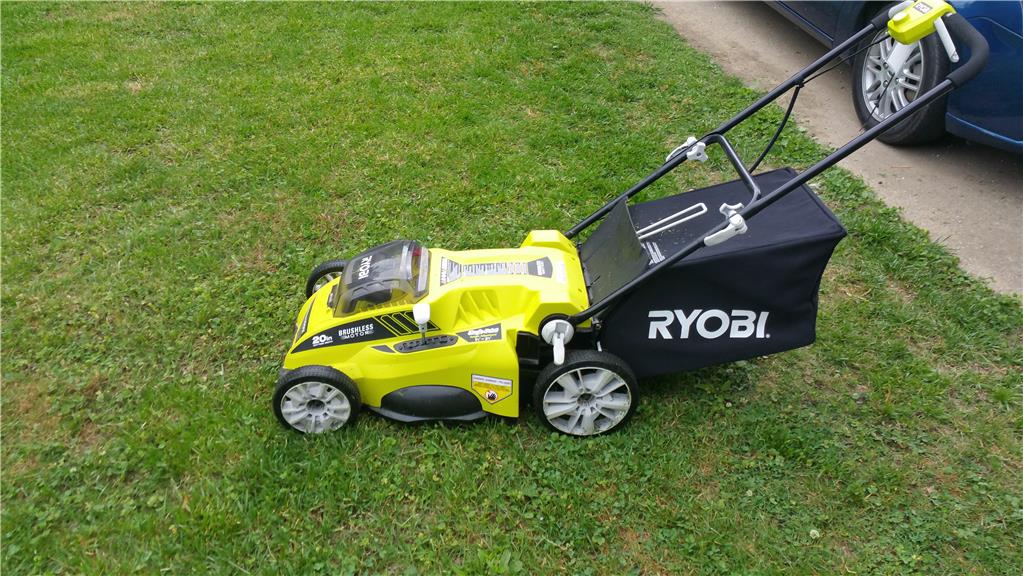
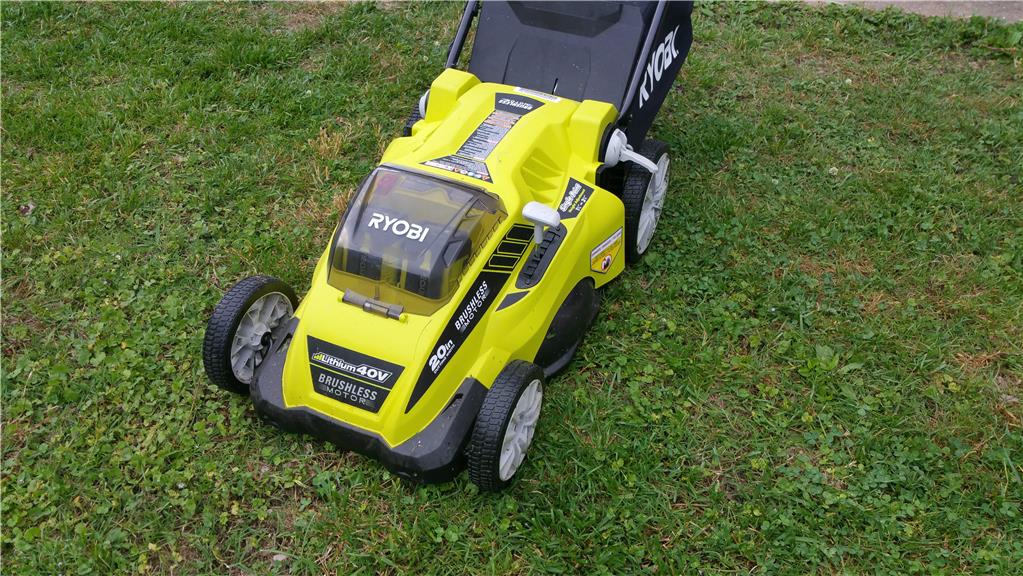
Hey thanks man! It would be nice to have now that grass is growing practically an inch a day.
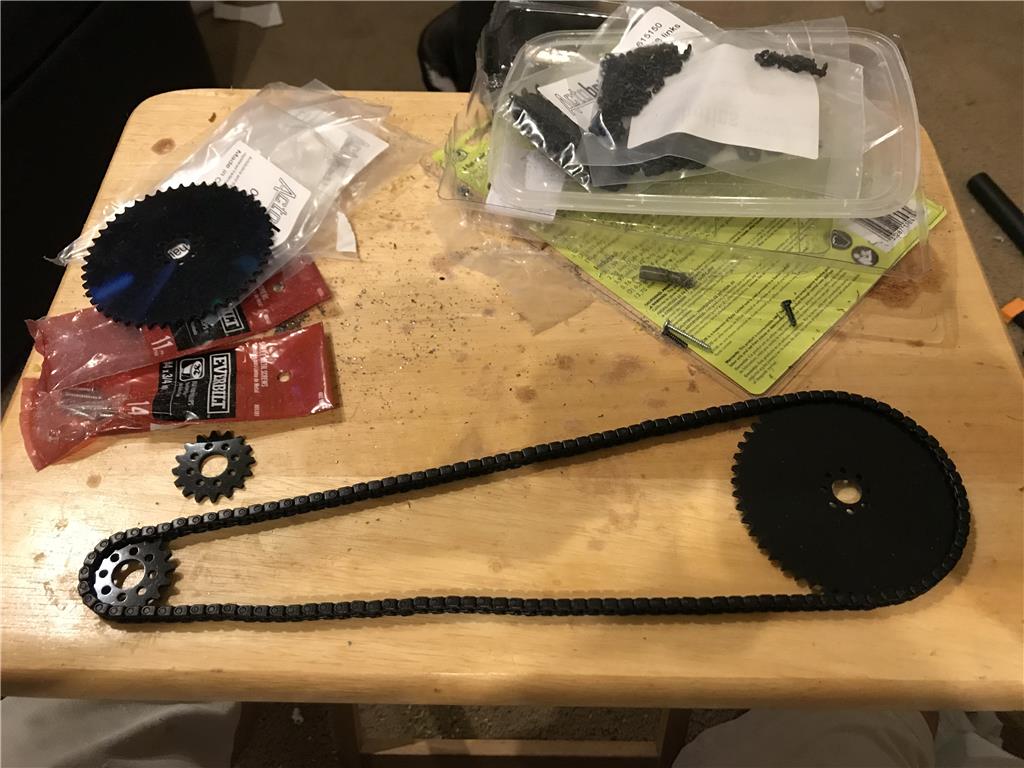
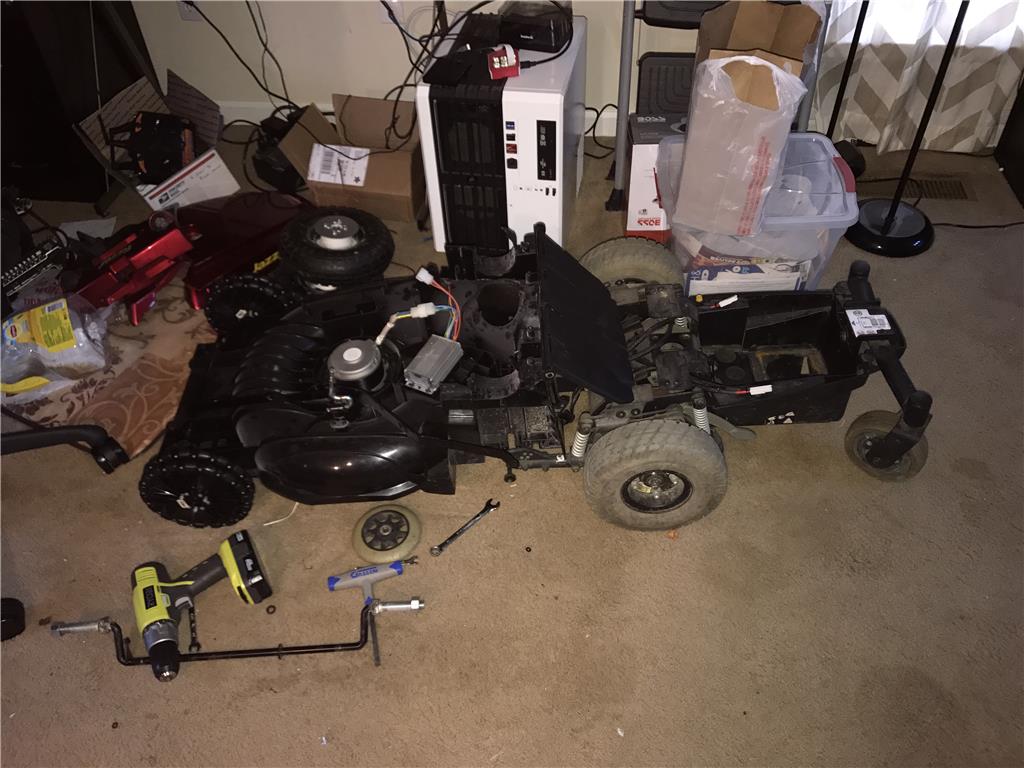
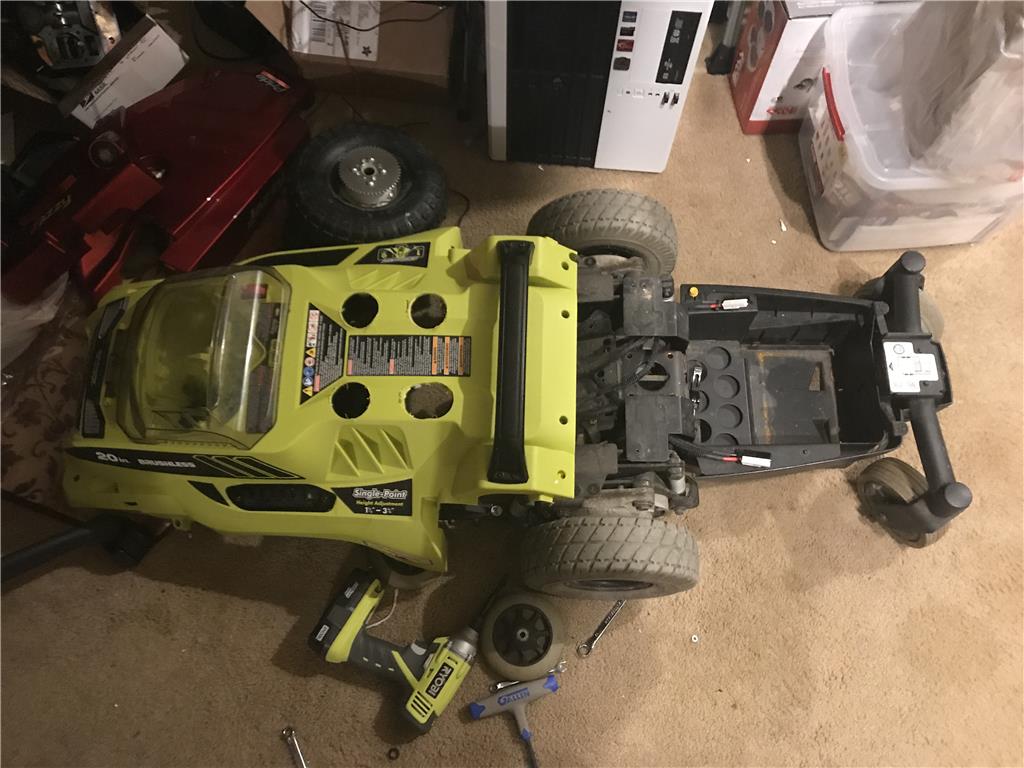
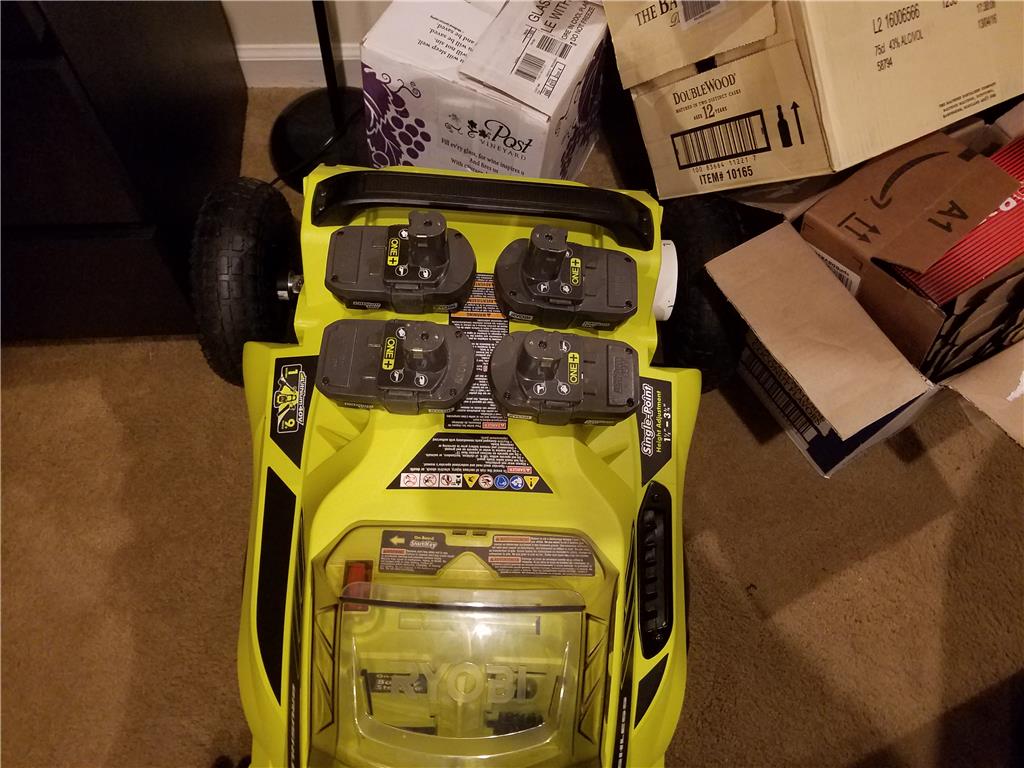
So I think I have most everything to get the ball rolling minus some misc like certain screws and such.
To DO
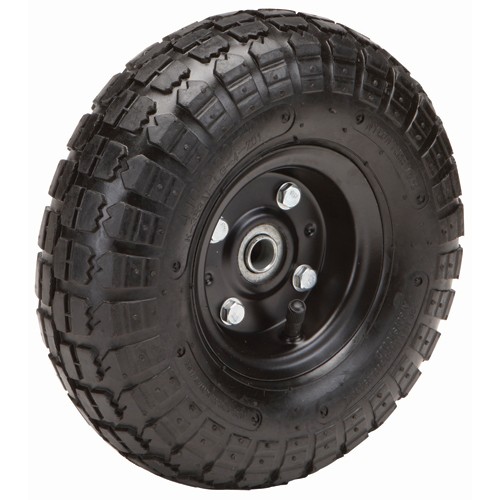
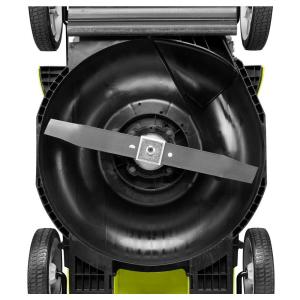
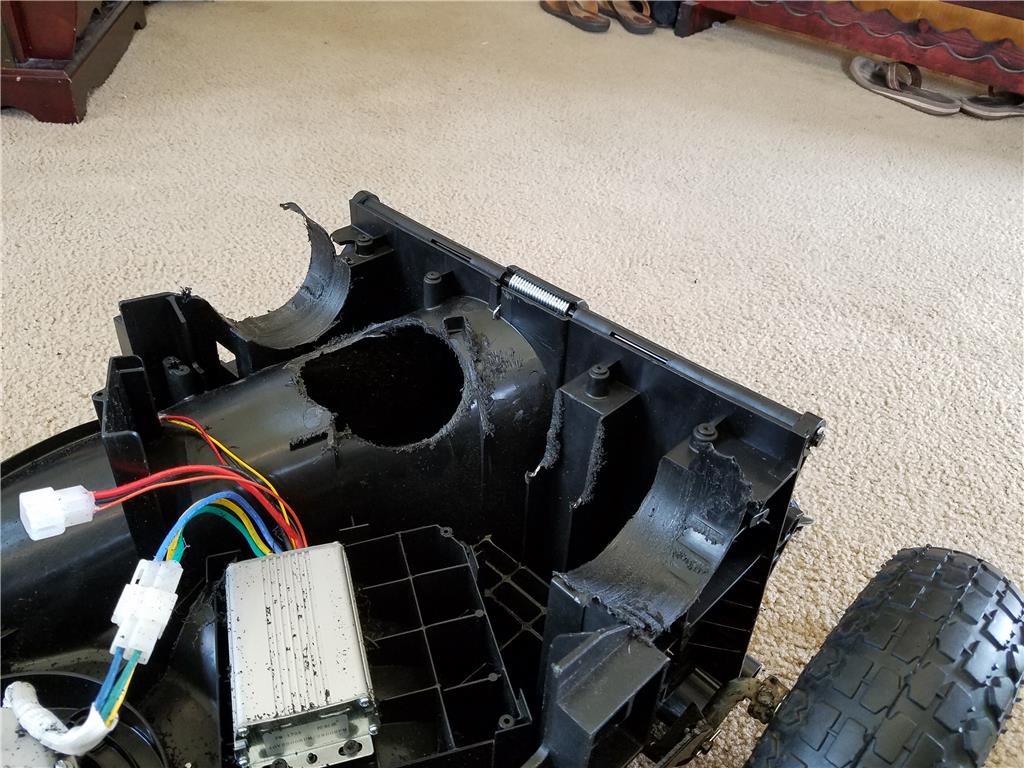
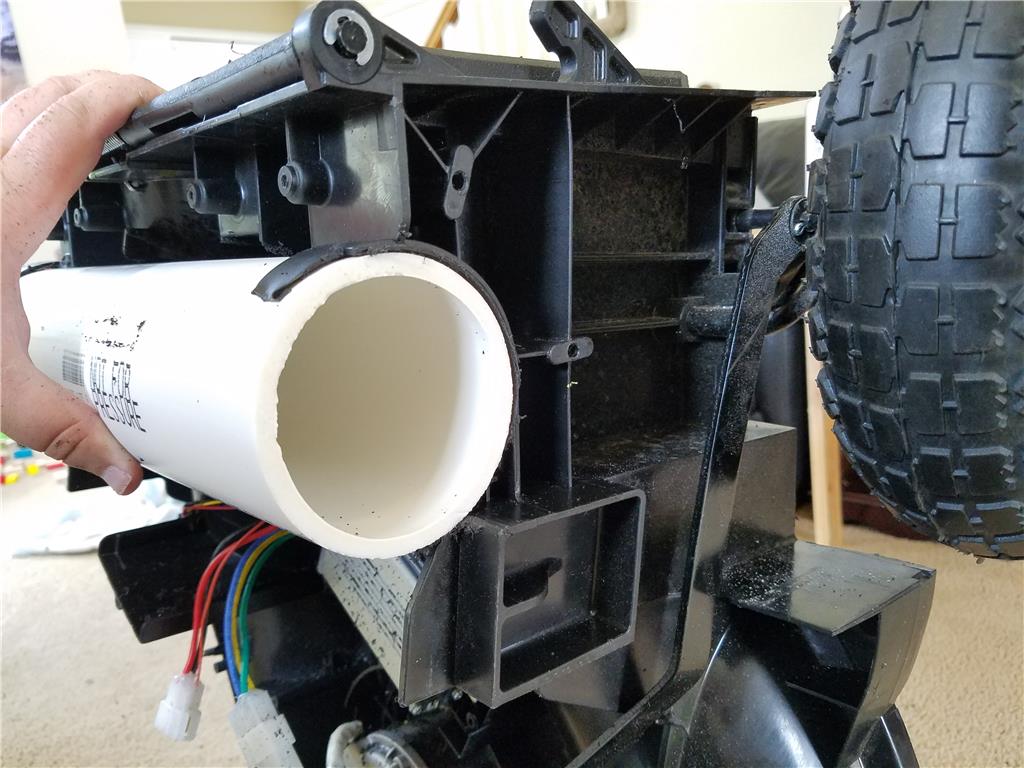
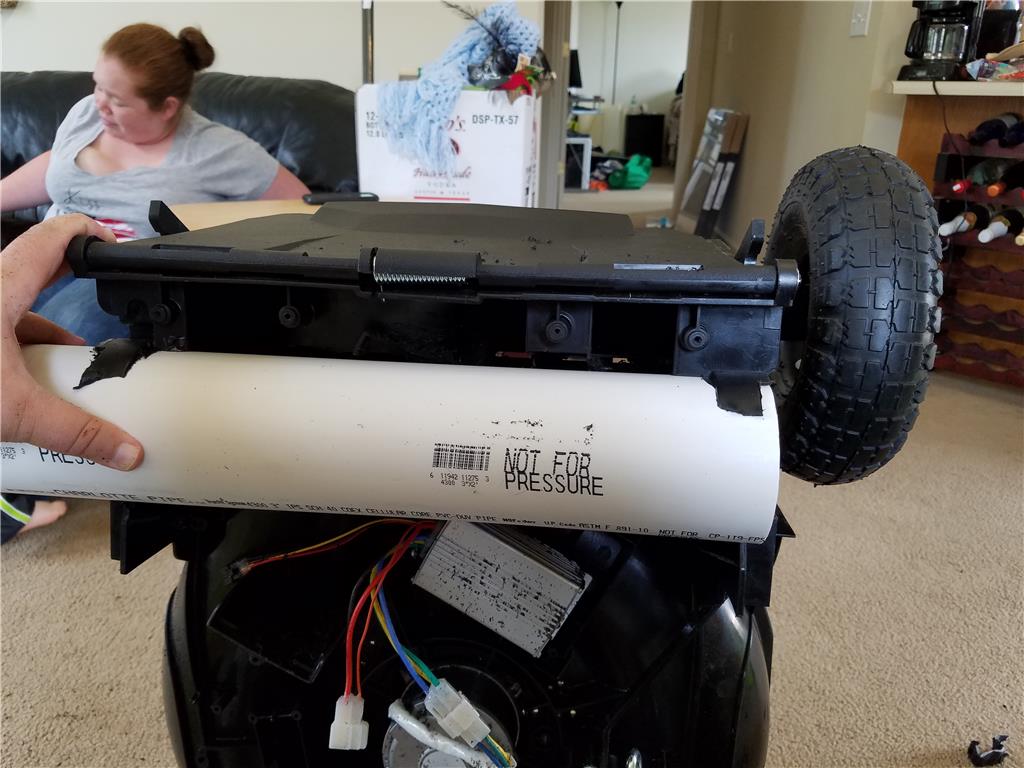
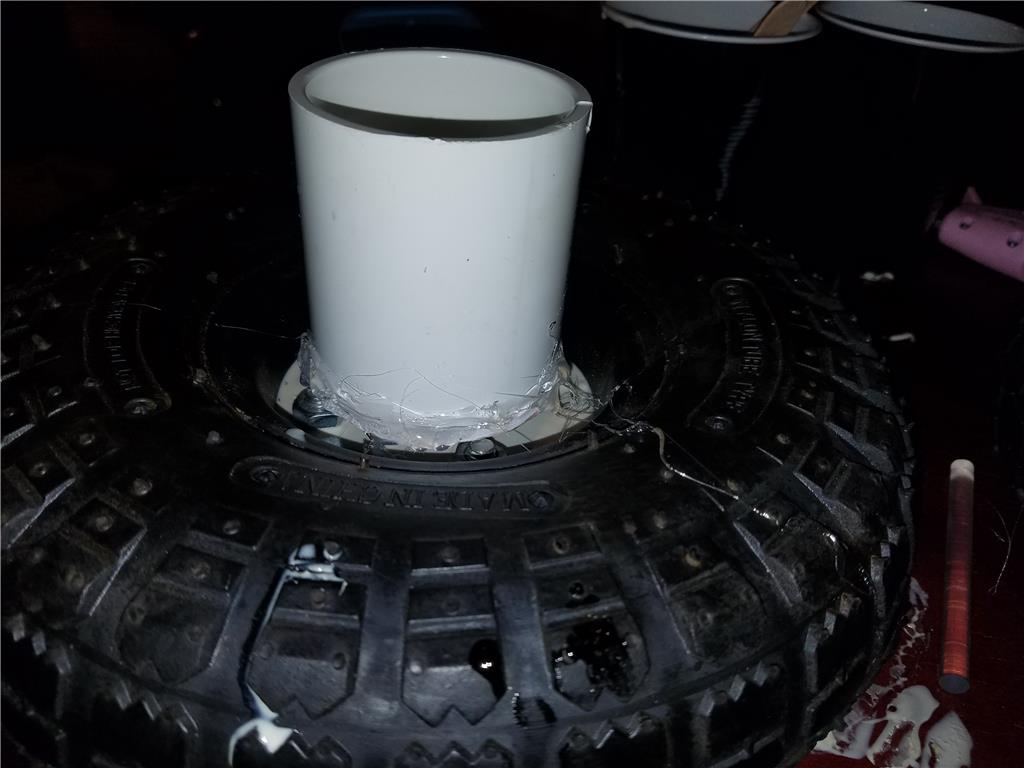
Cut out the pvc pipe to get the motors in
Use the instamorph to connect gearbox and motor then strap down with 2-3 inch hose clamps. 2-4 on each motor/ gearbox
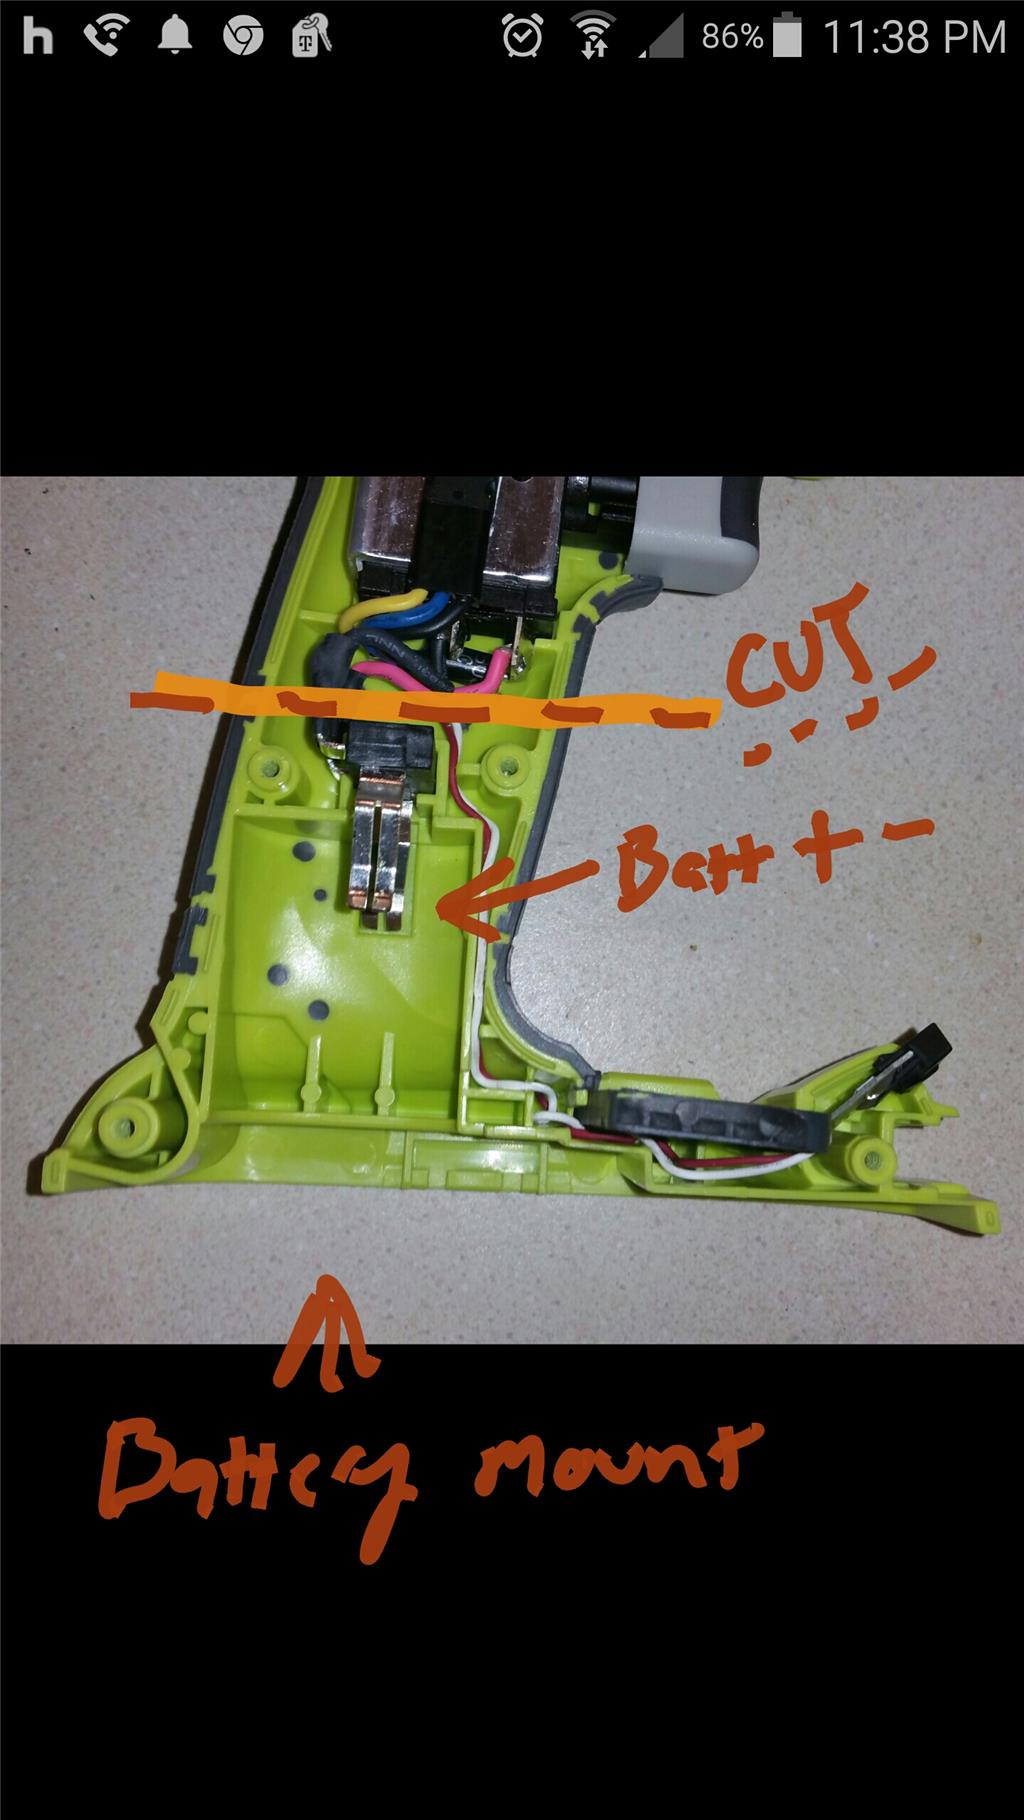
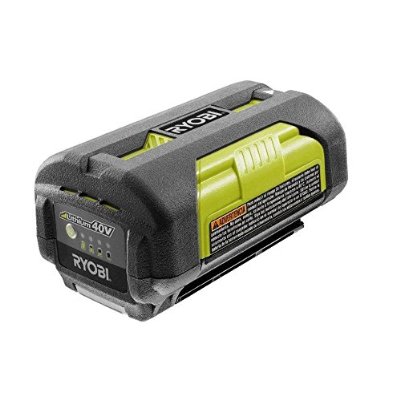
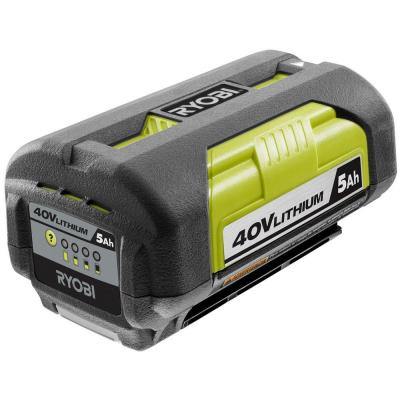
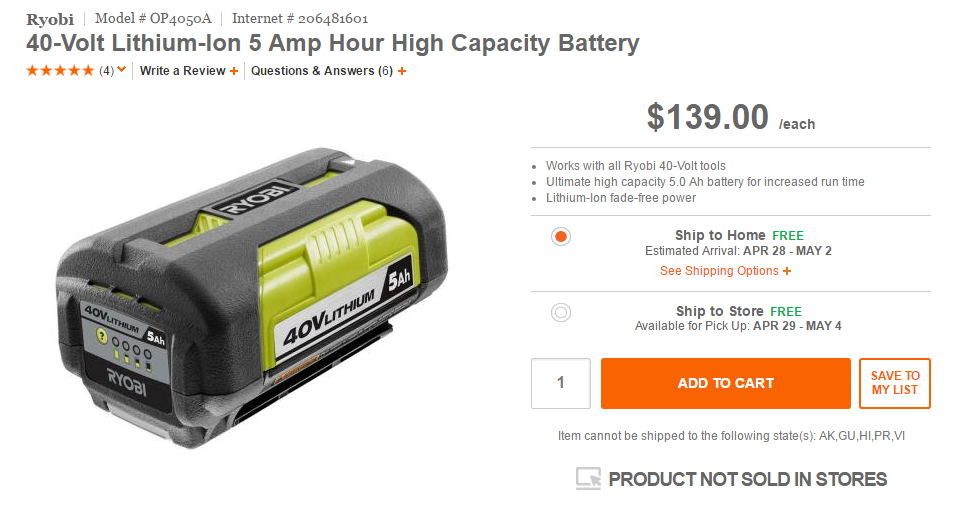
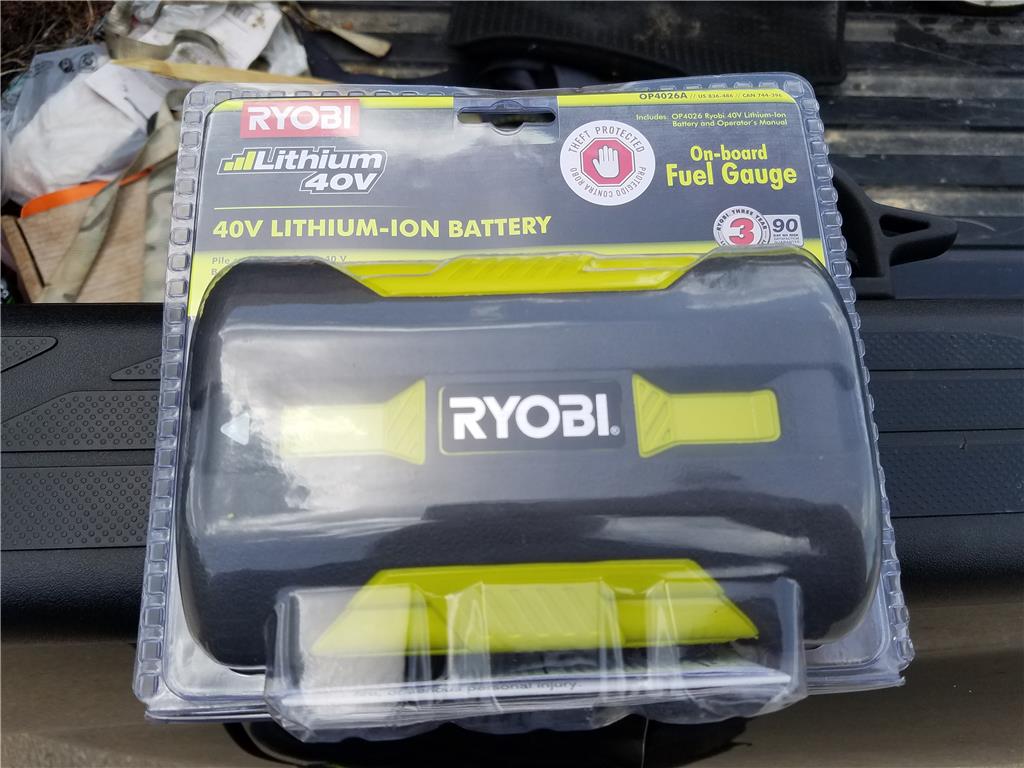
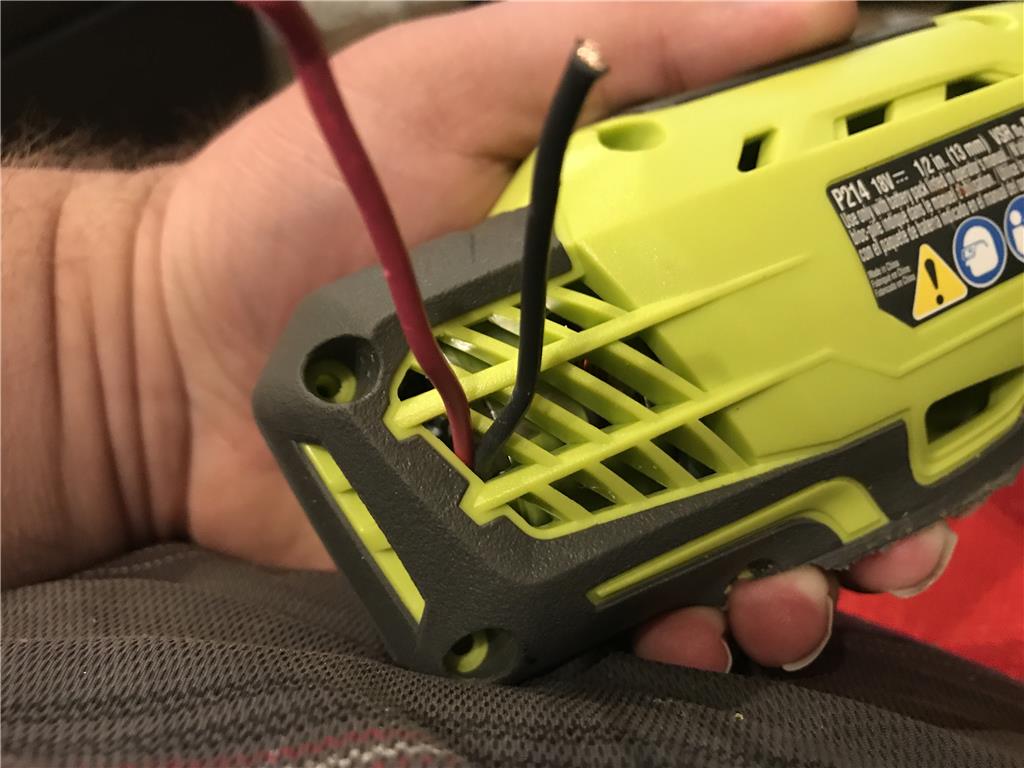
Solder up the xt60 connectors to all the battery connectors and motors
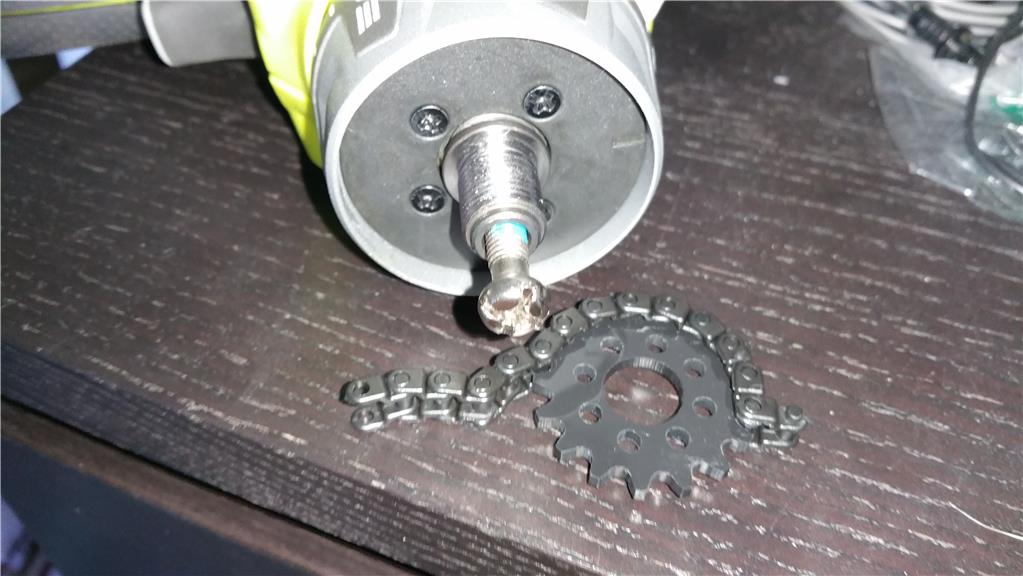
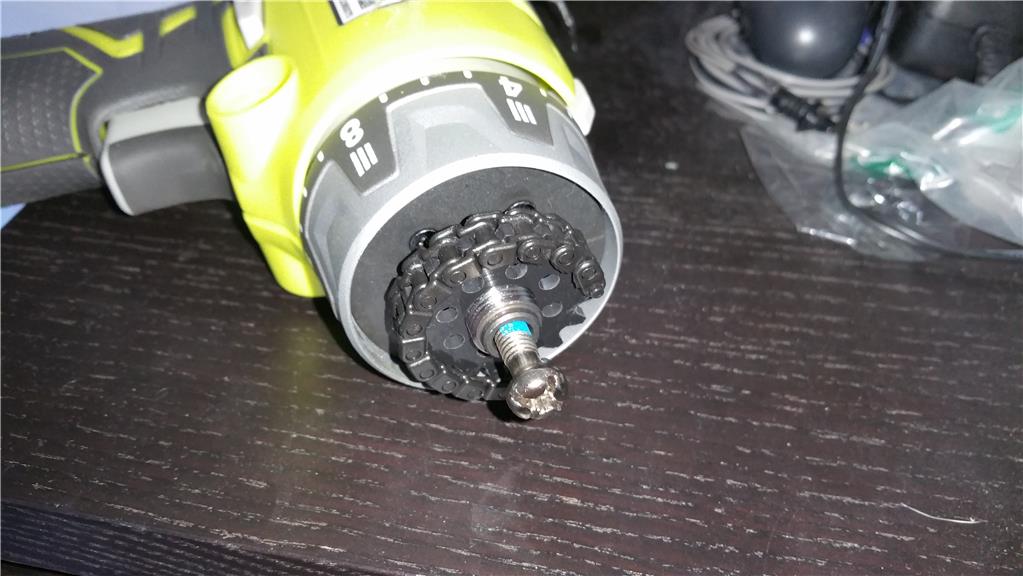
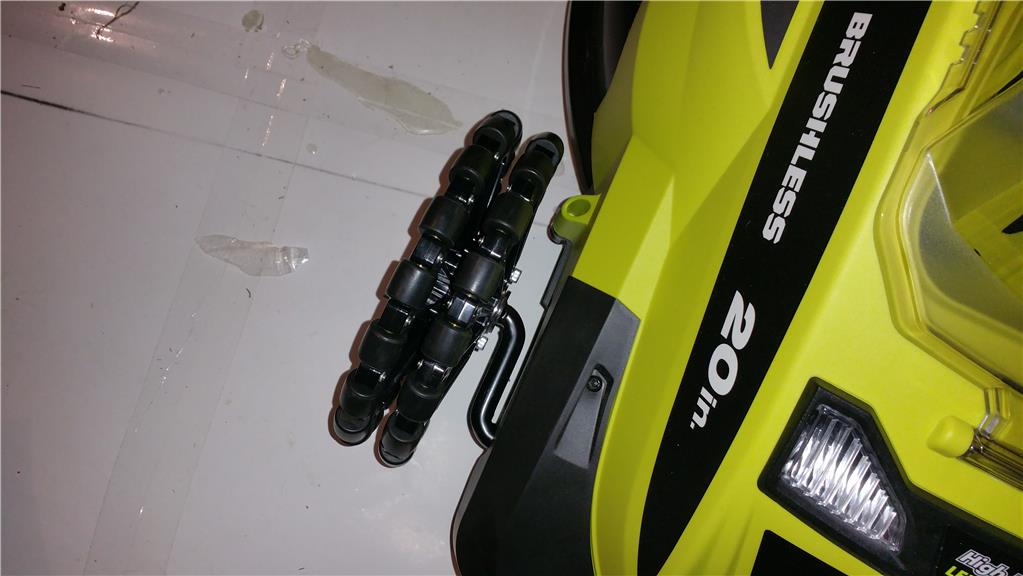
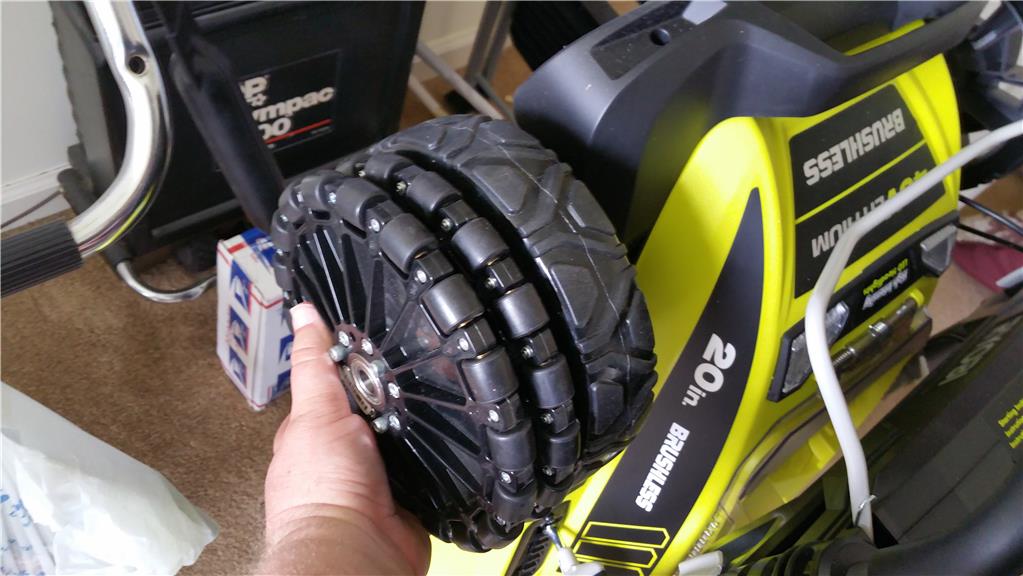
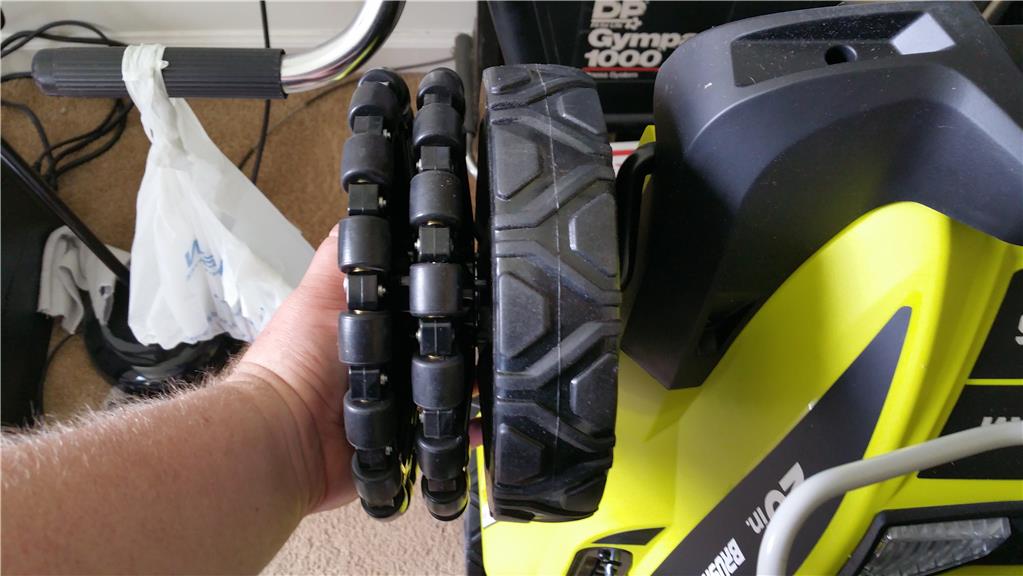
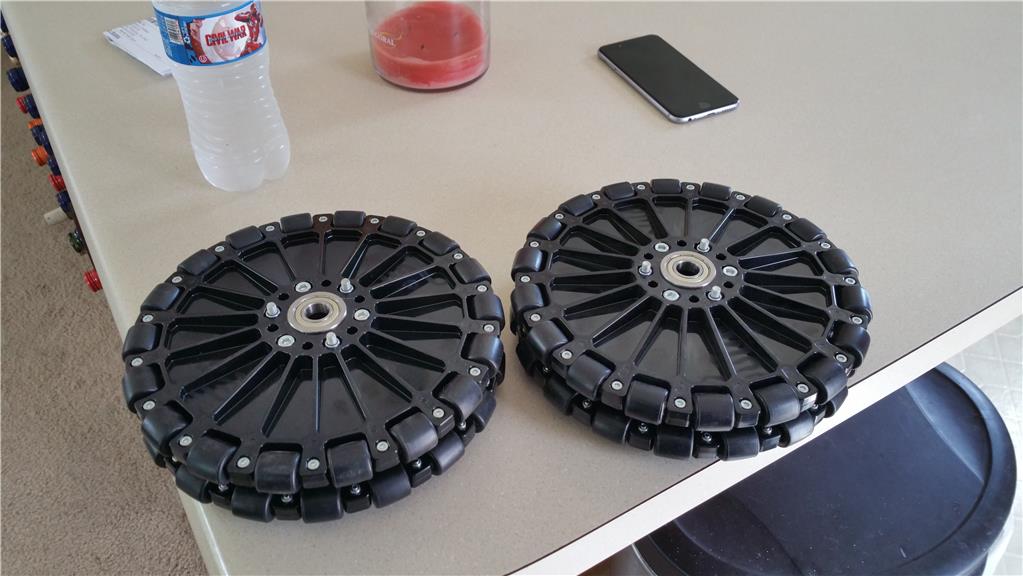
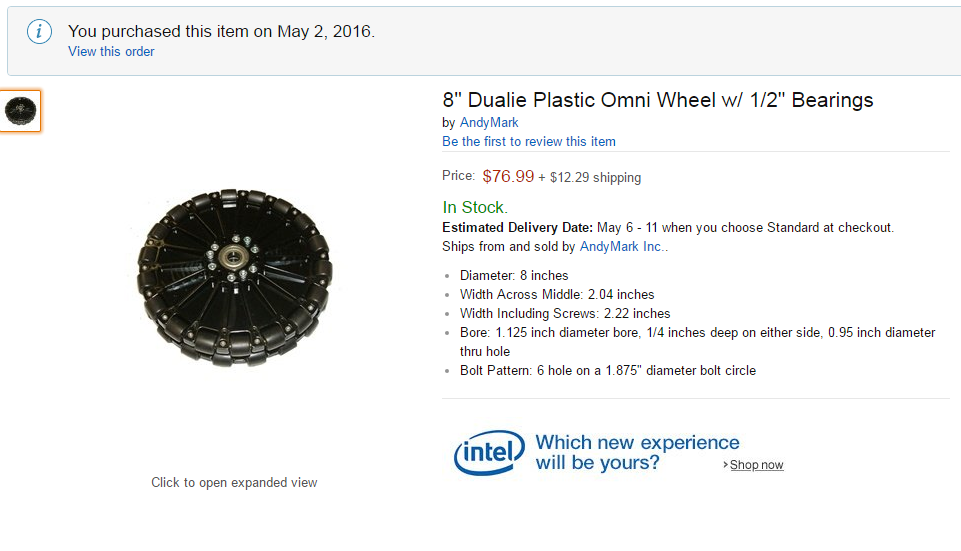
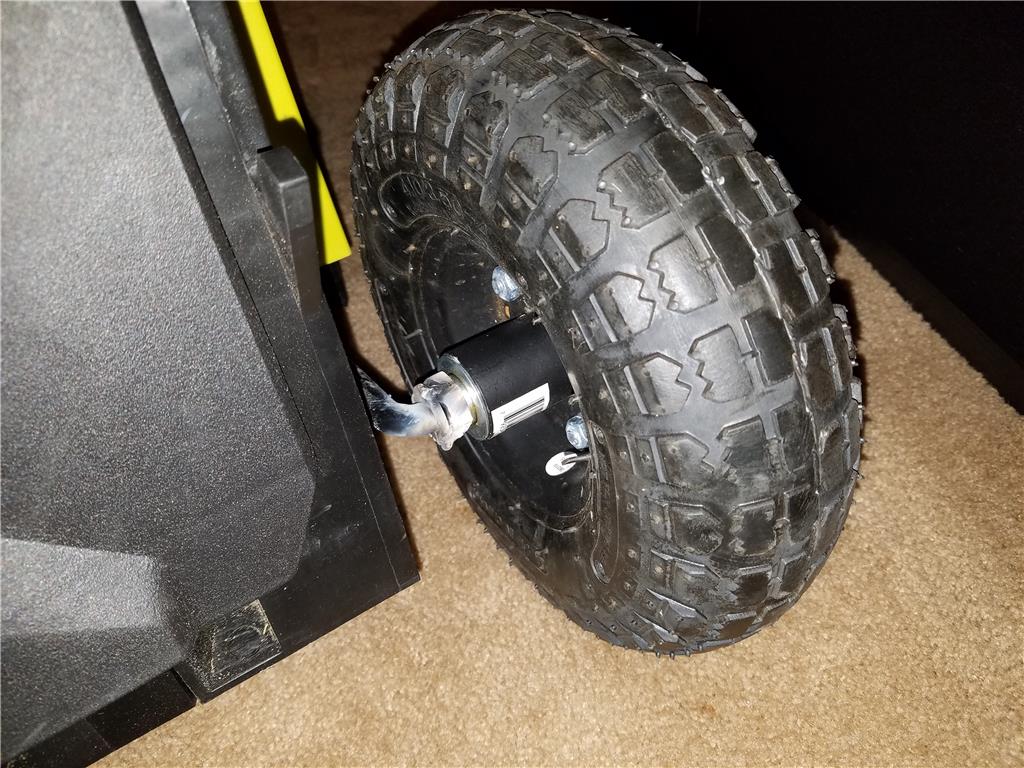
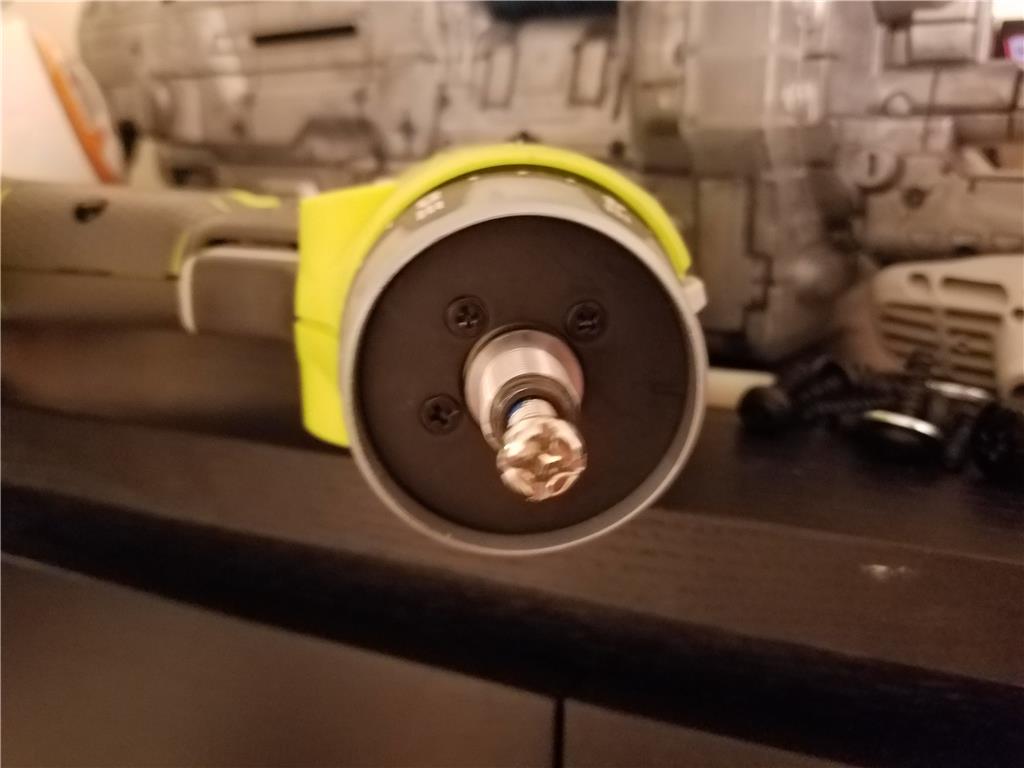
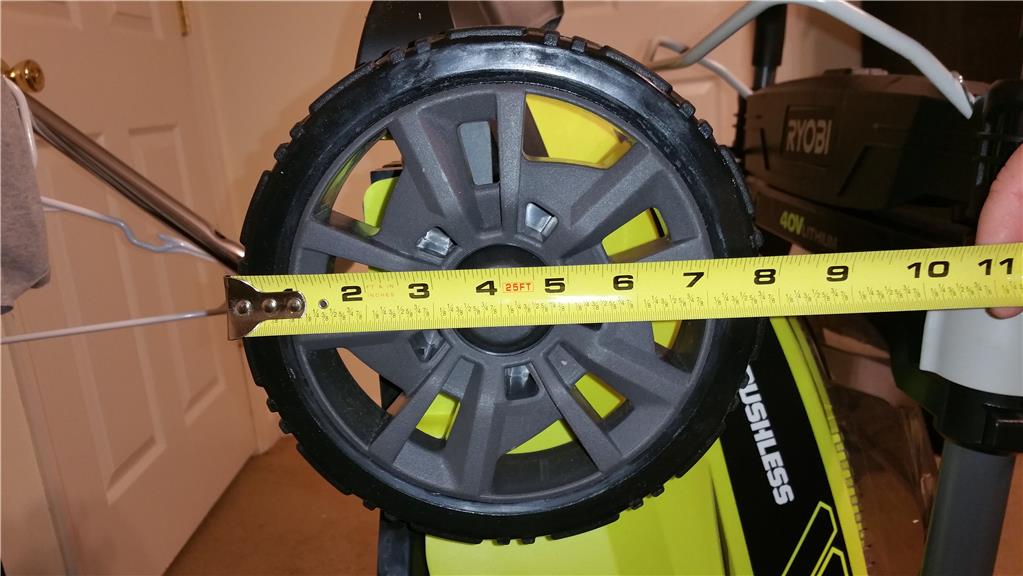
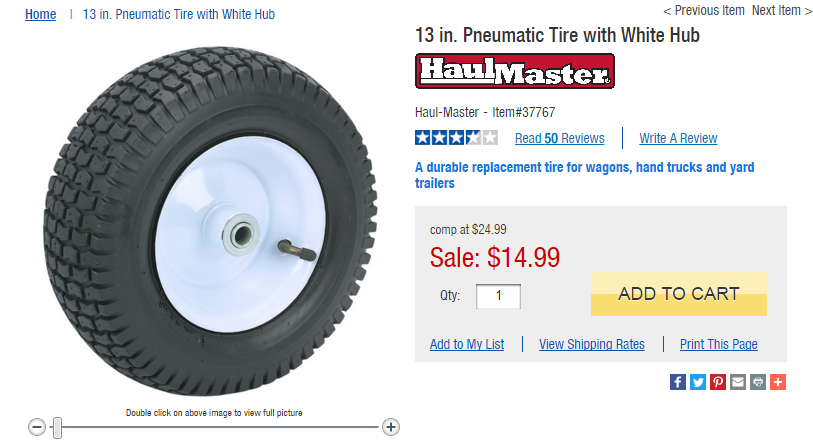
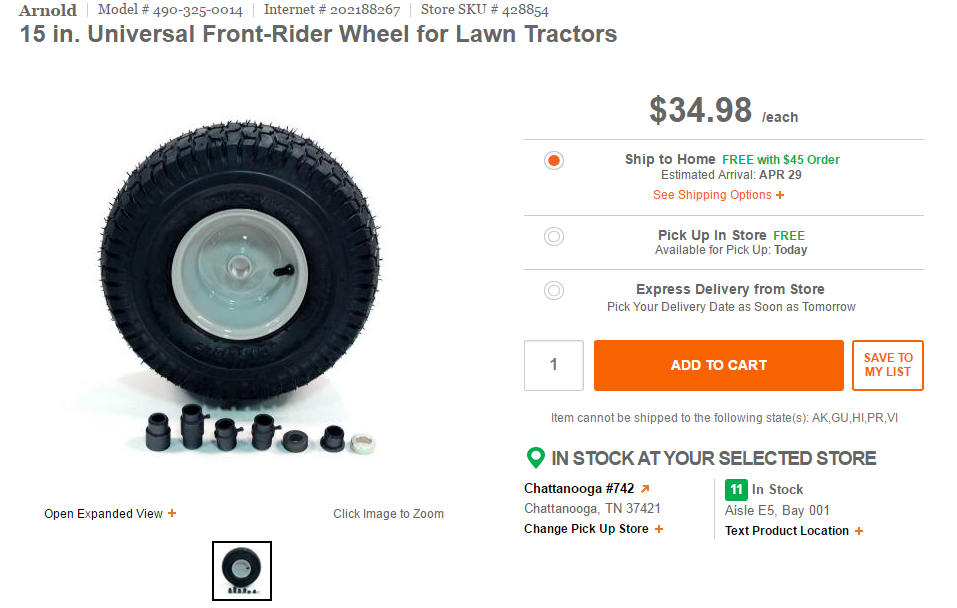
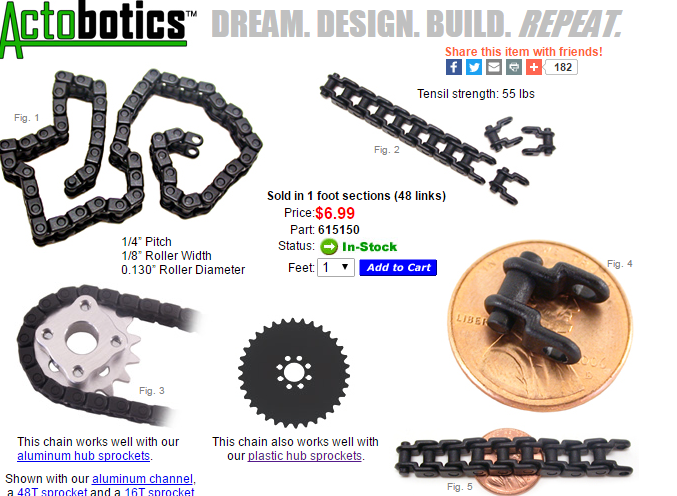
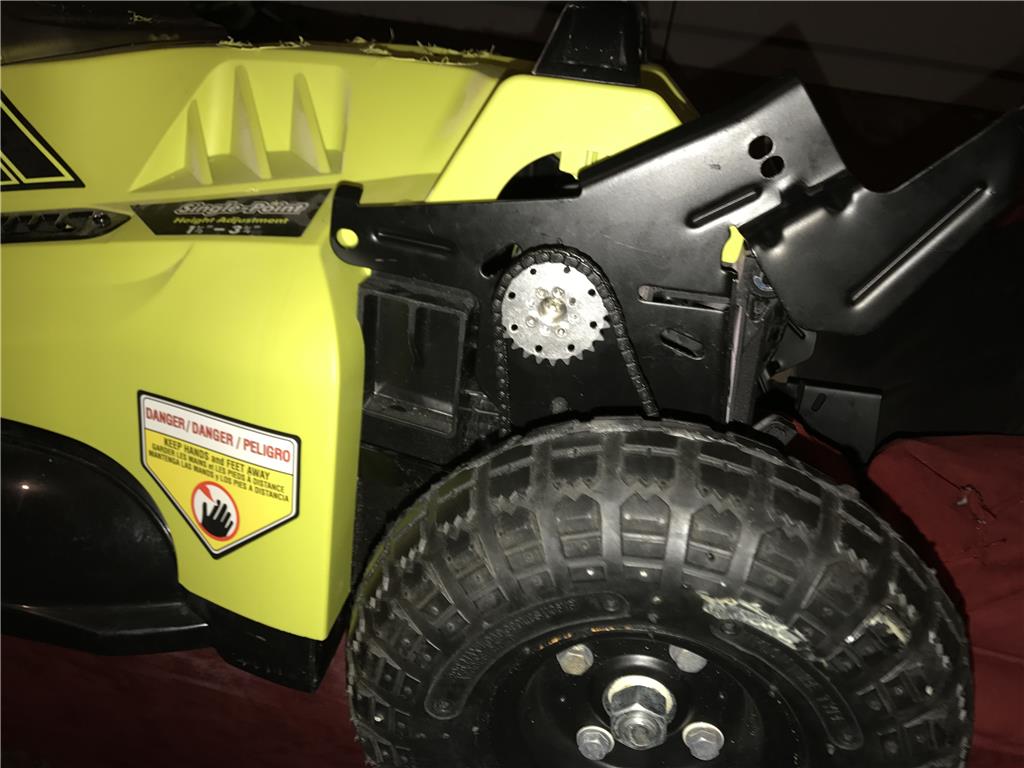
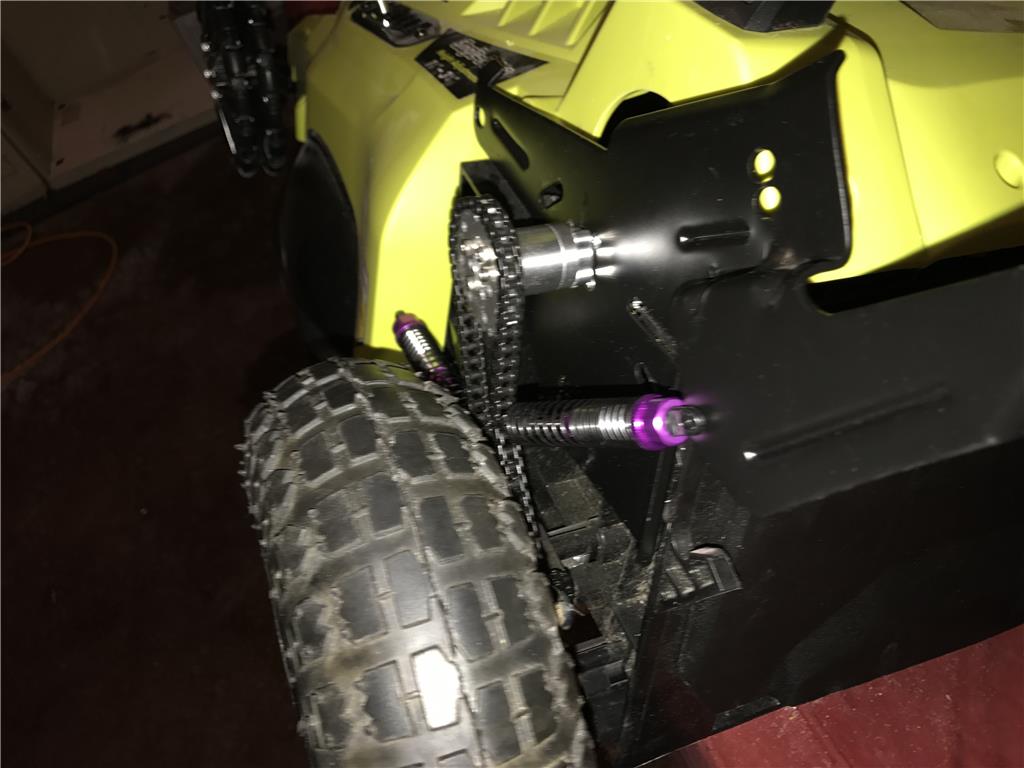
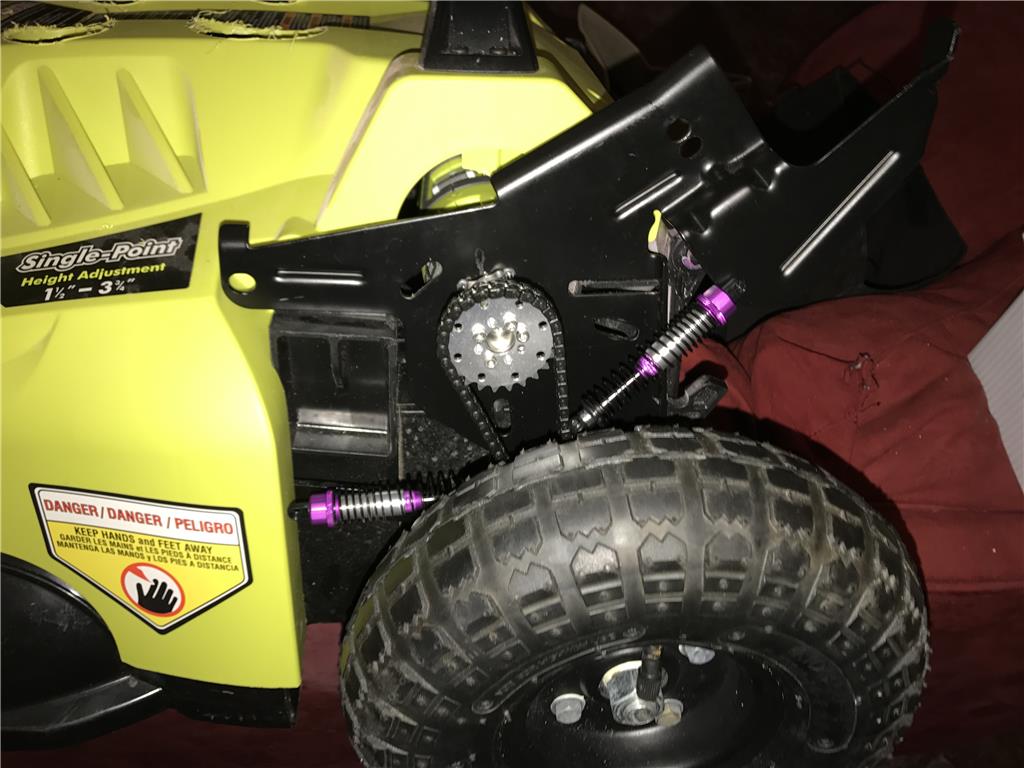
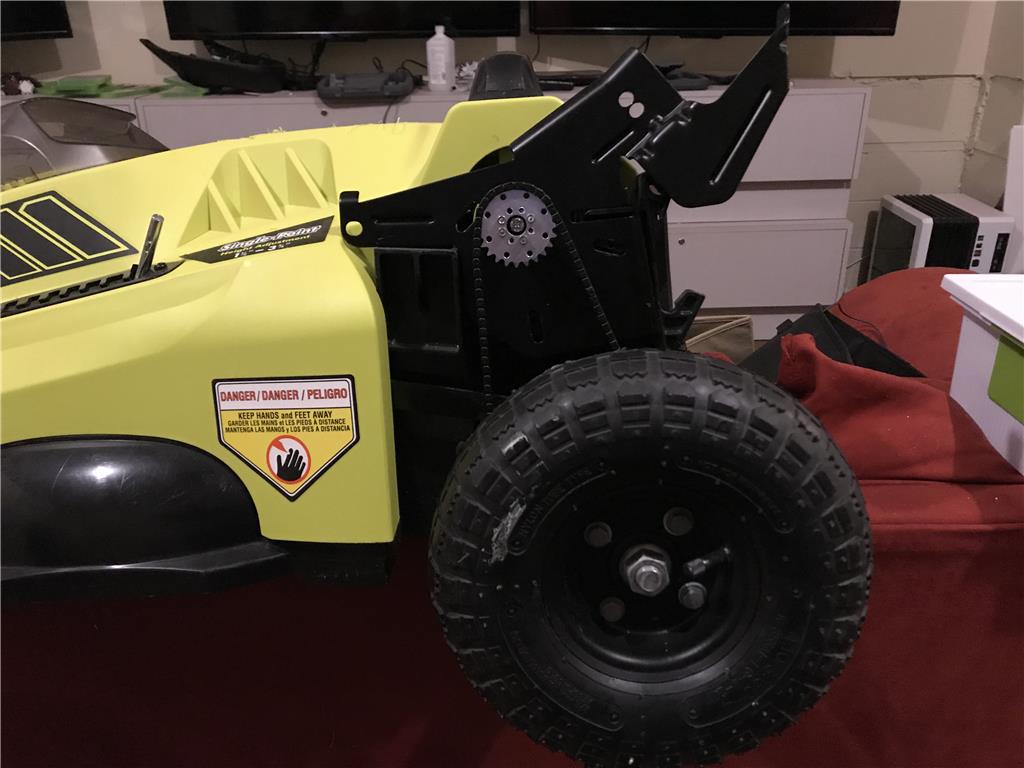
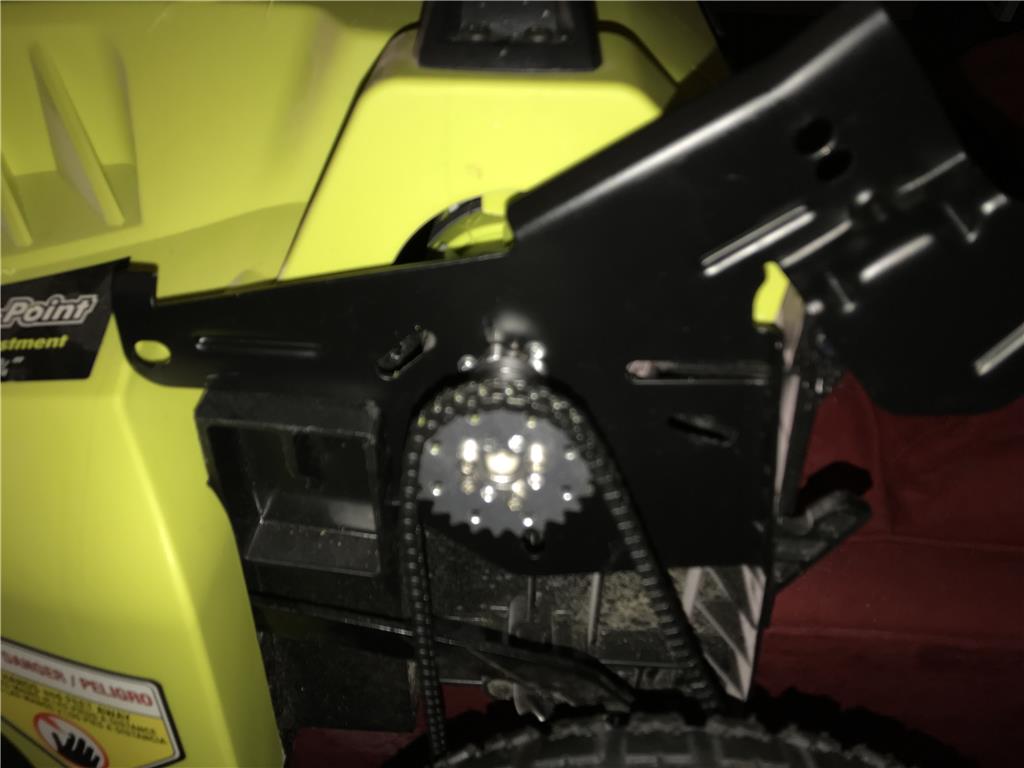
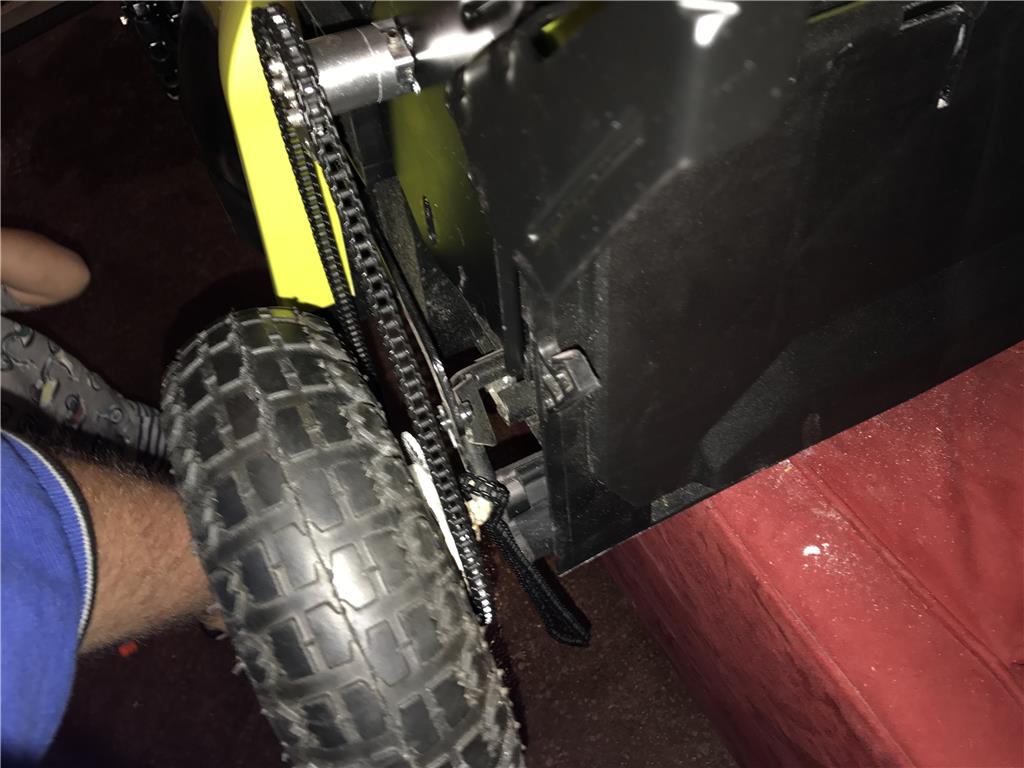
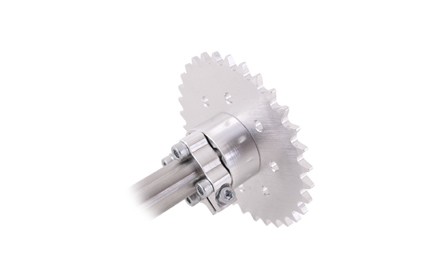
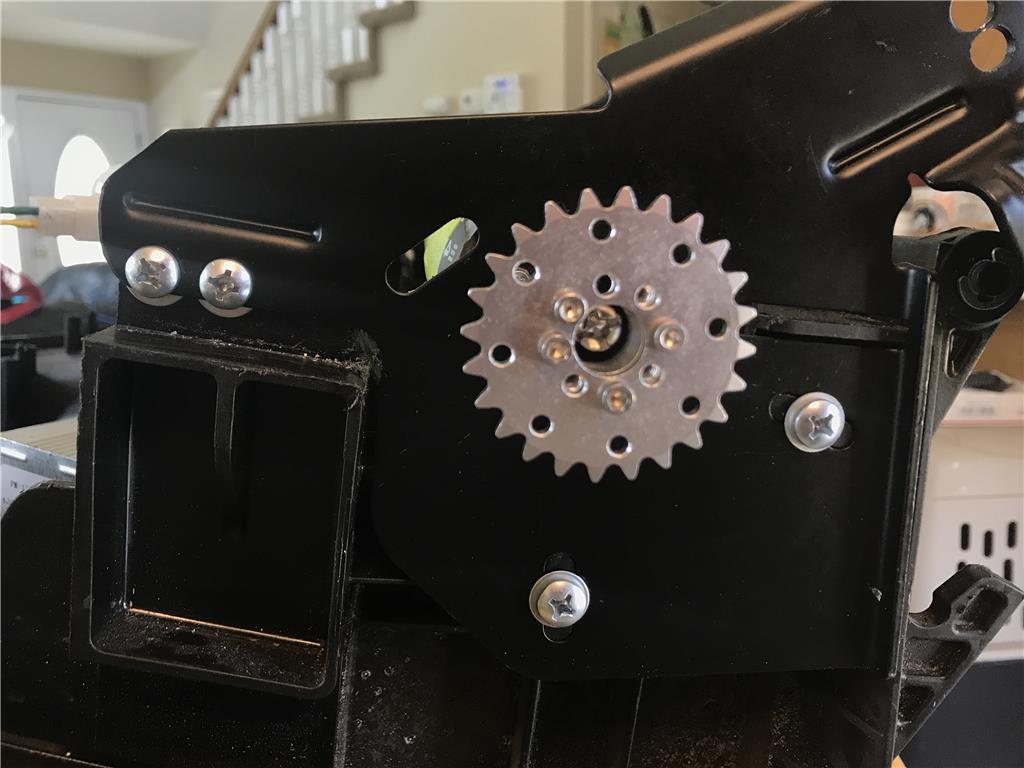
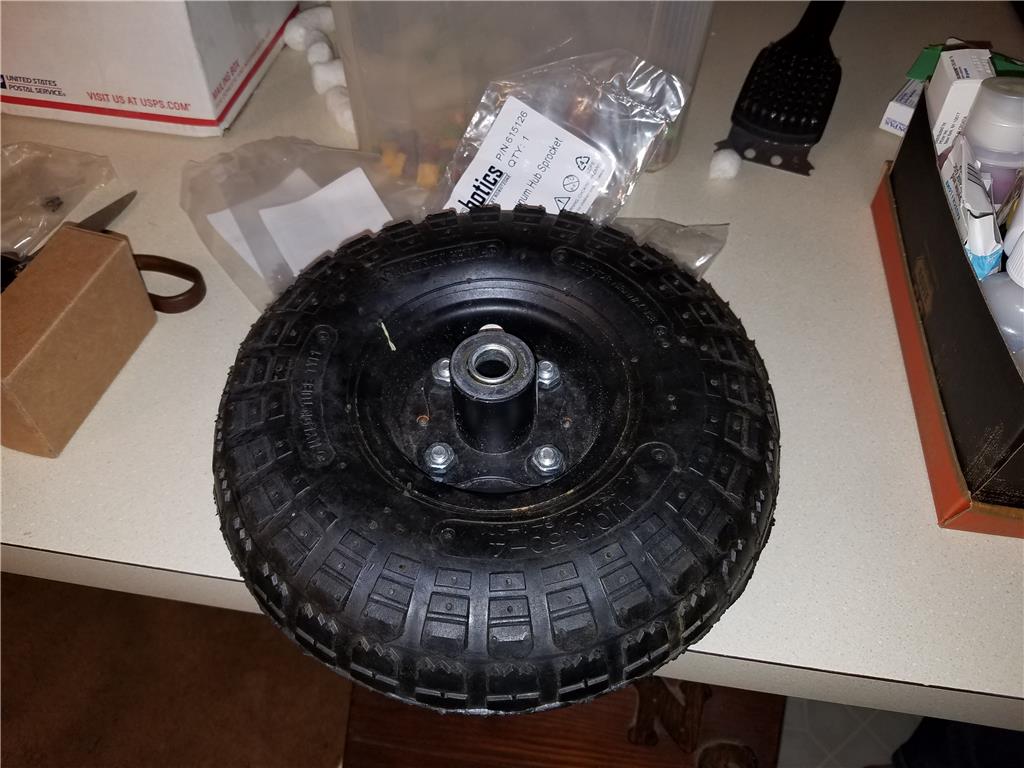
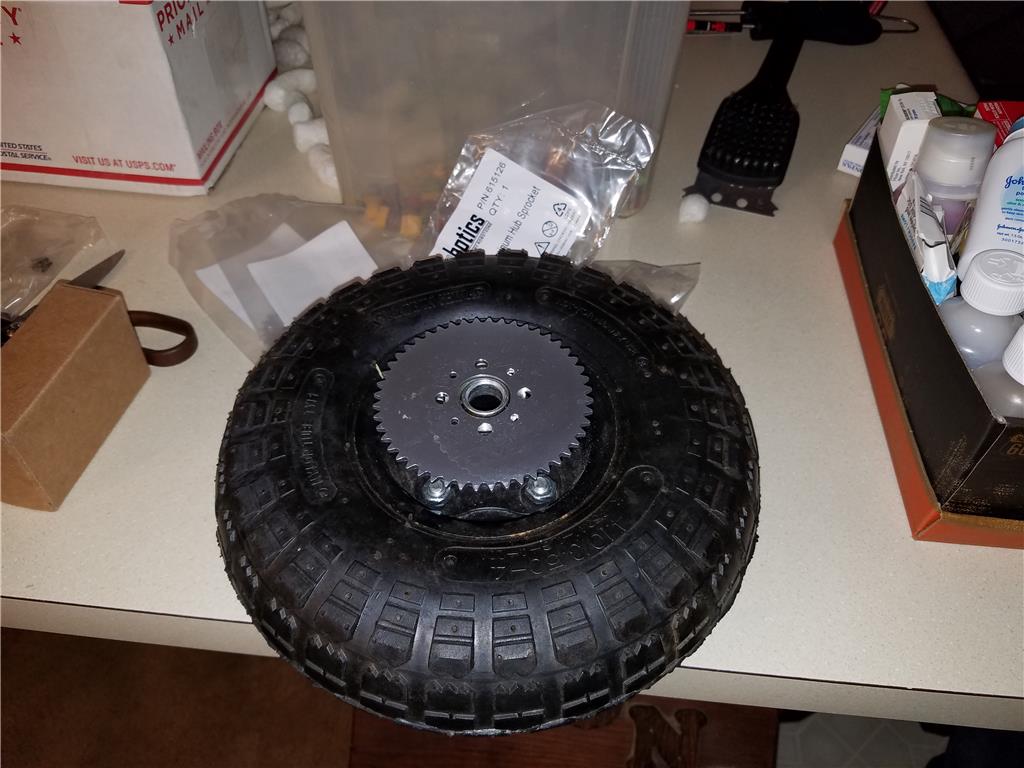
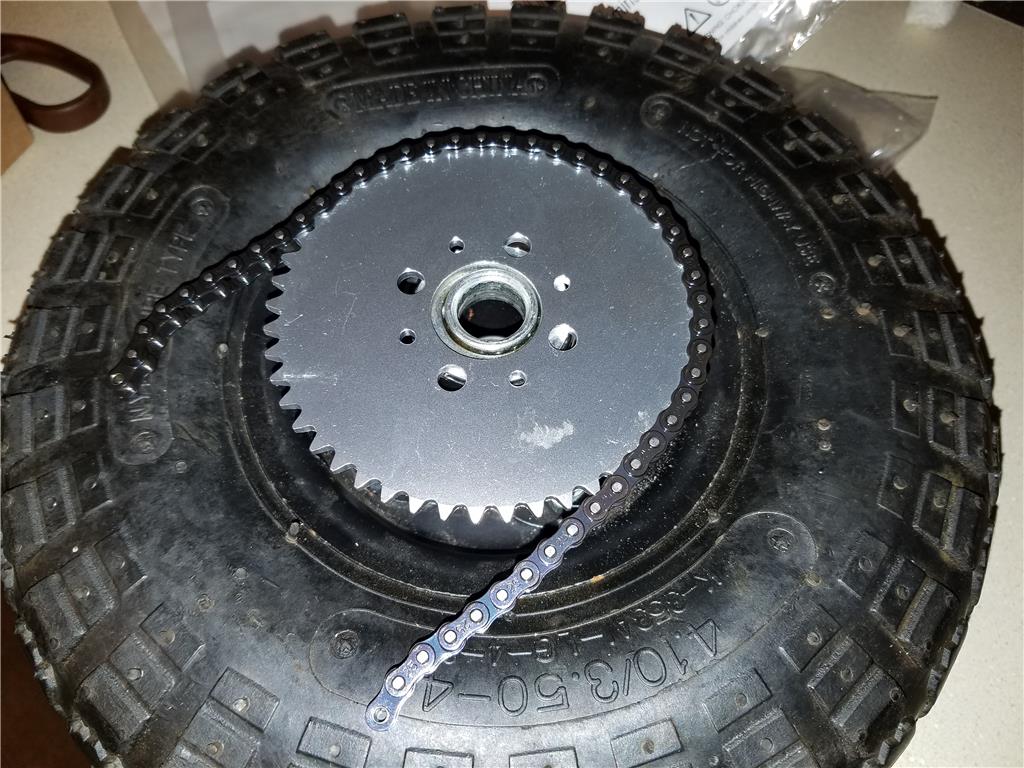
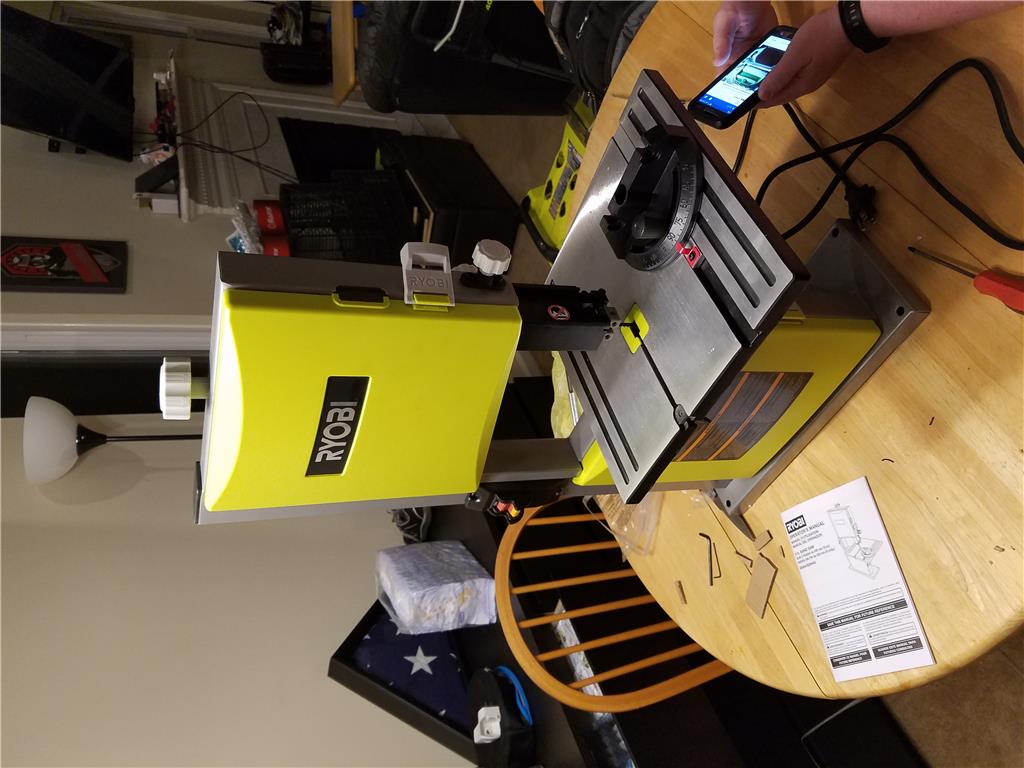
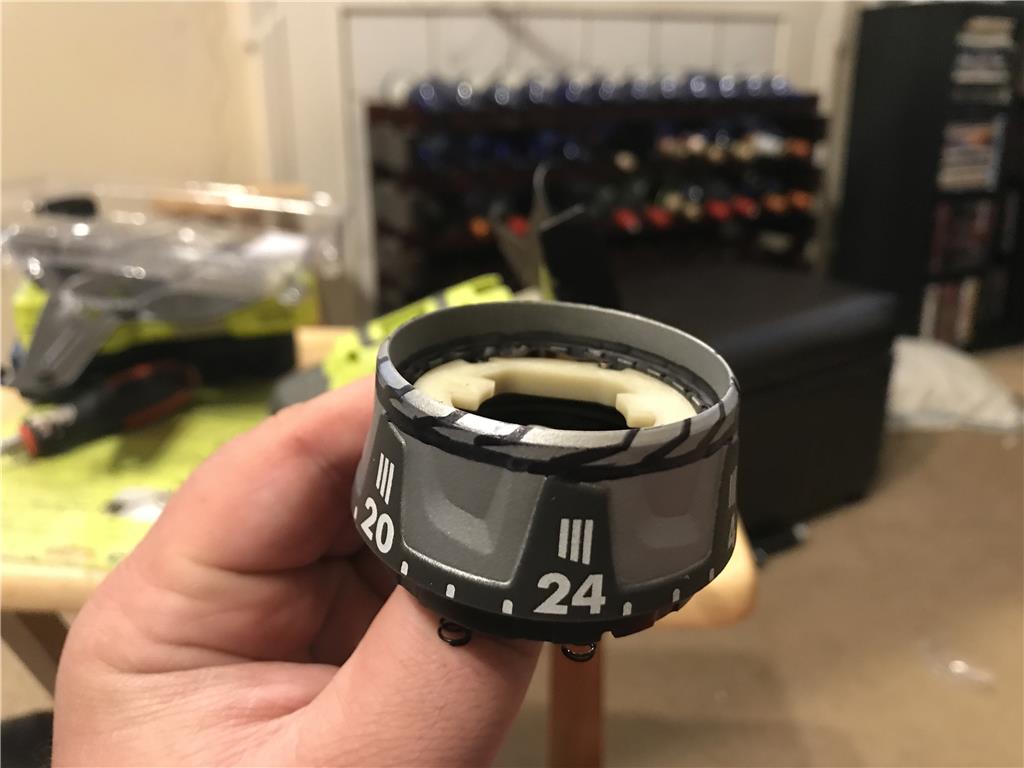
Mount up sprockets to the wheel hubs and the shaft on the motors and make a custom chain to fit them.
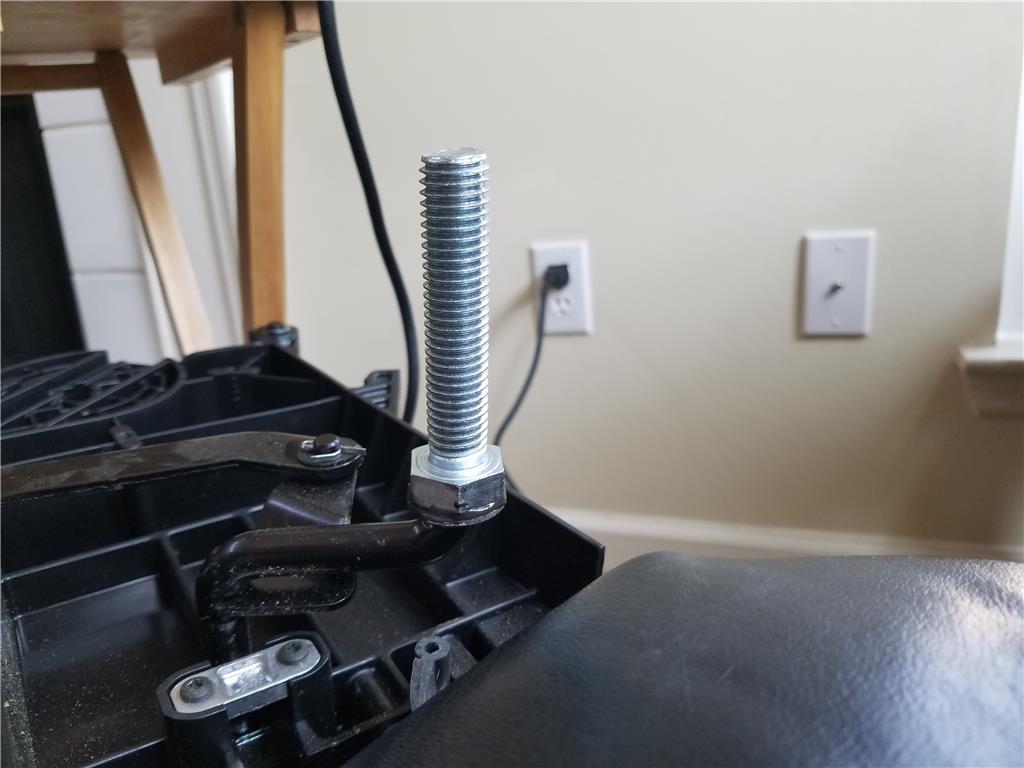
I will need misc stuff like screws for example and more solder but this is a start.
@thetechguru , you are probably right, but I don't want my first try to not allow any for adjustments. I am considering epoxy putty for that so I can put it just where I need it.
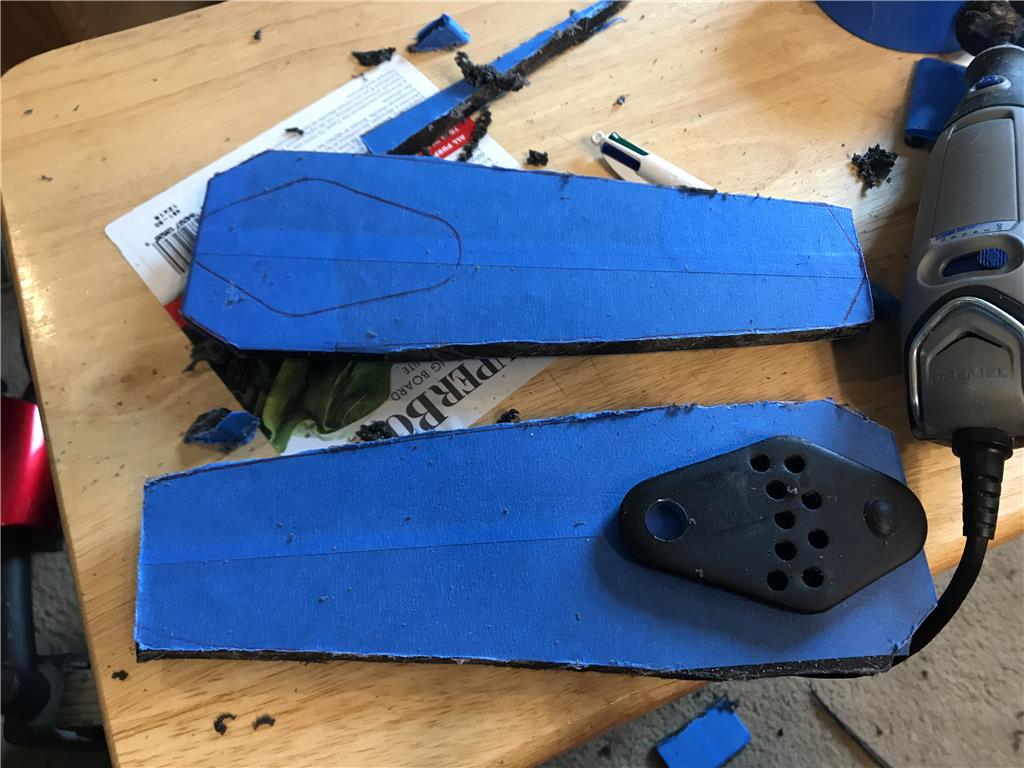
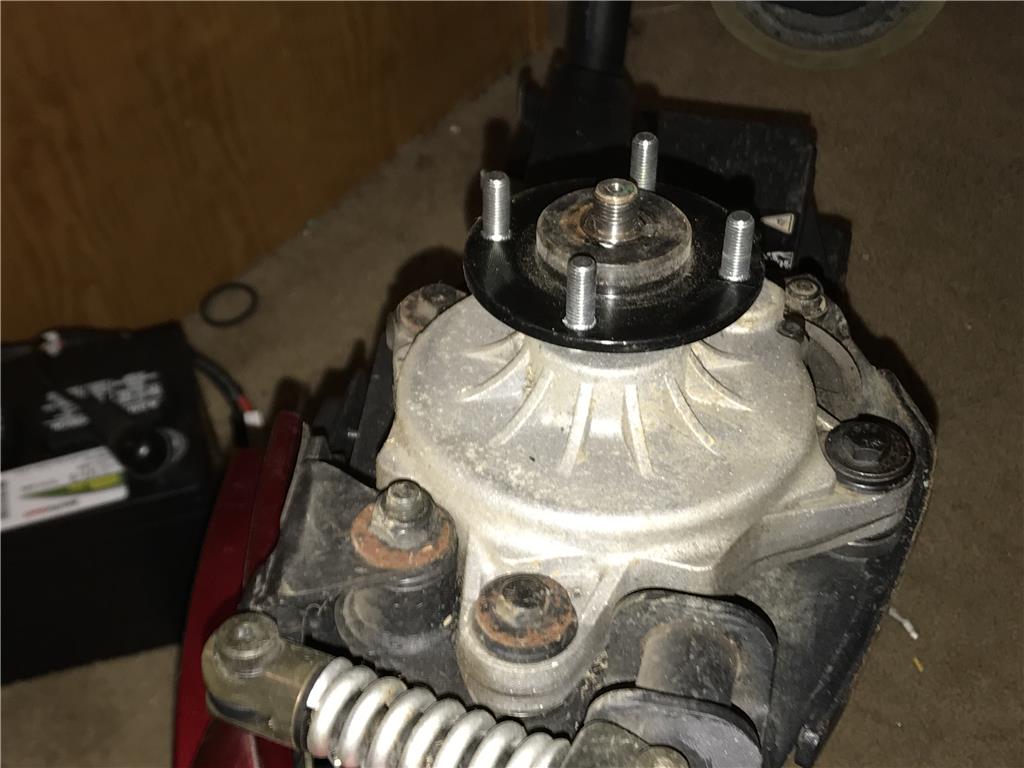
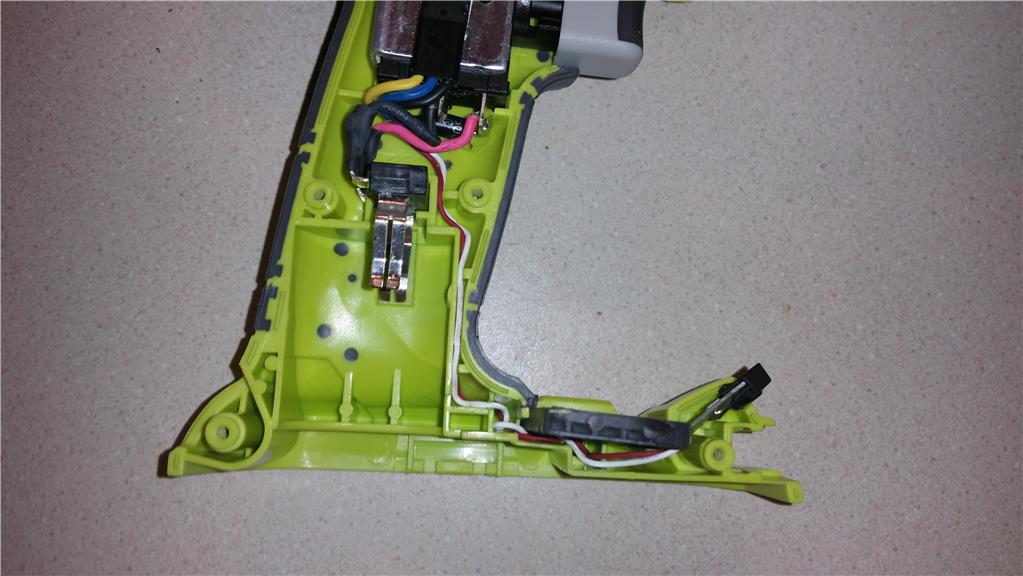
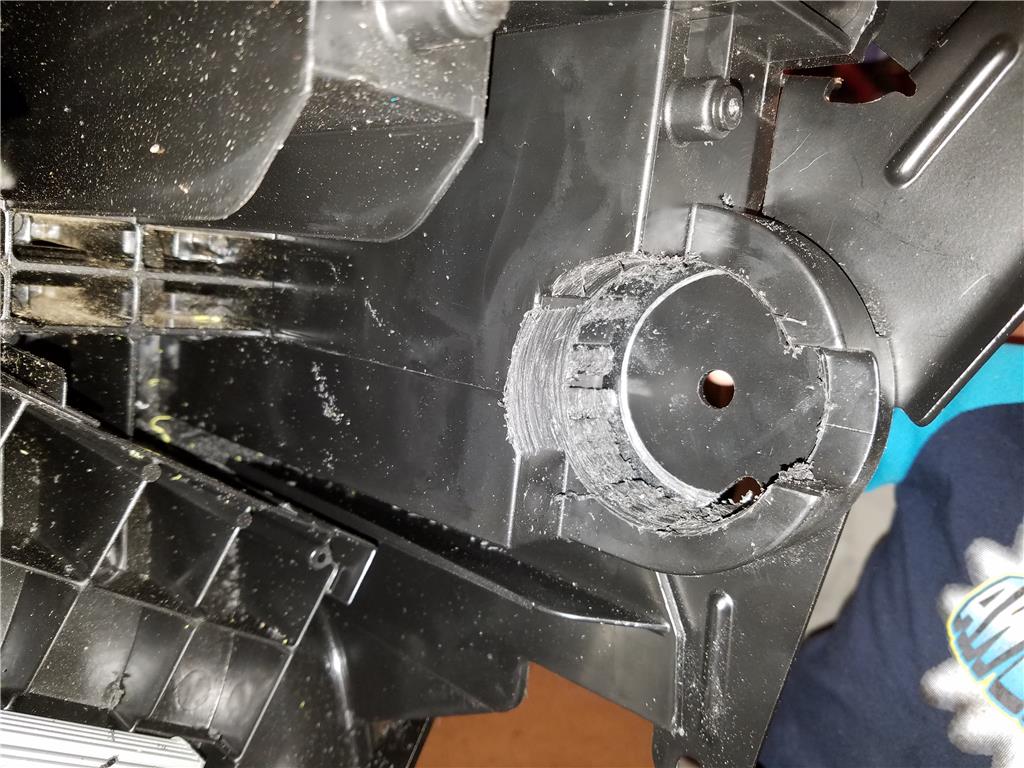
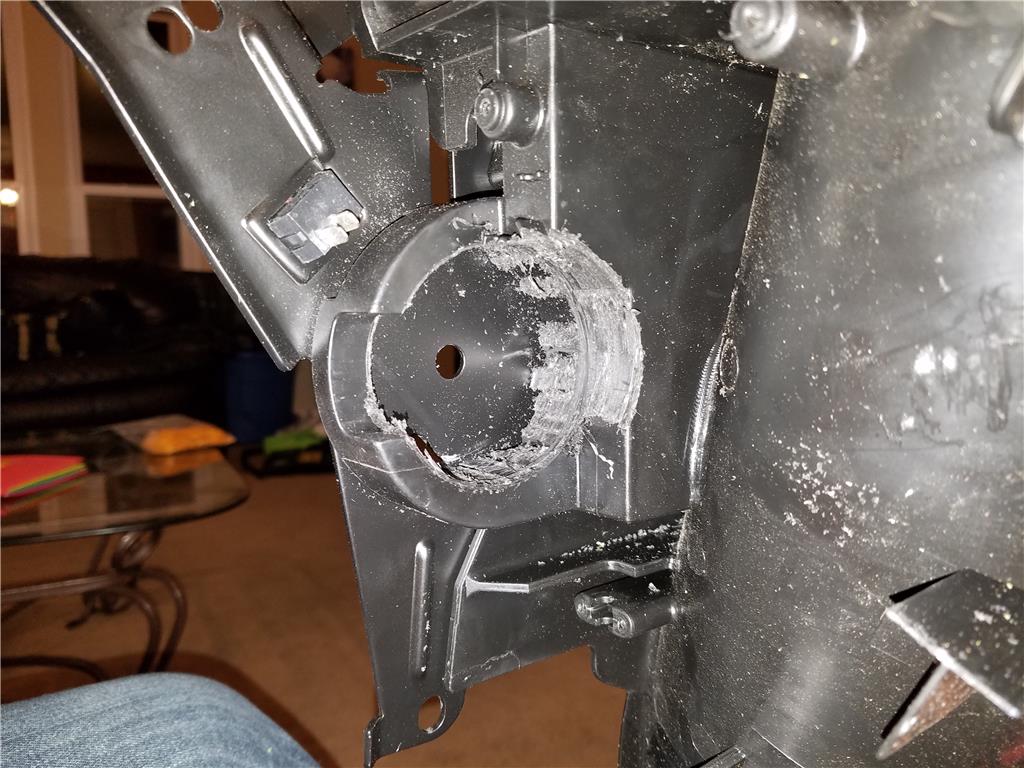
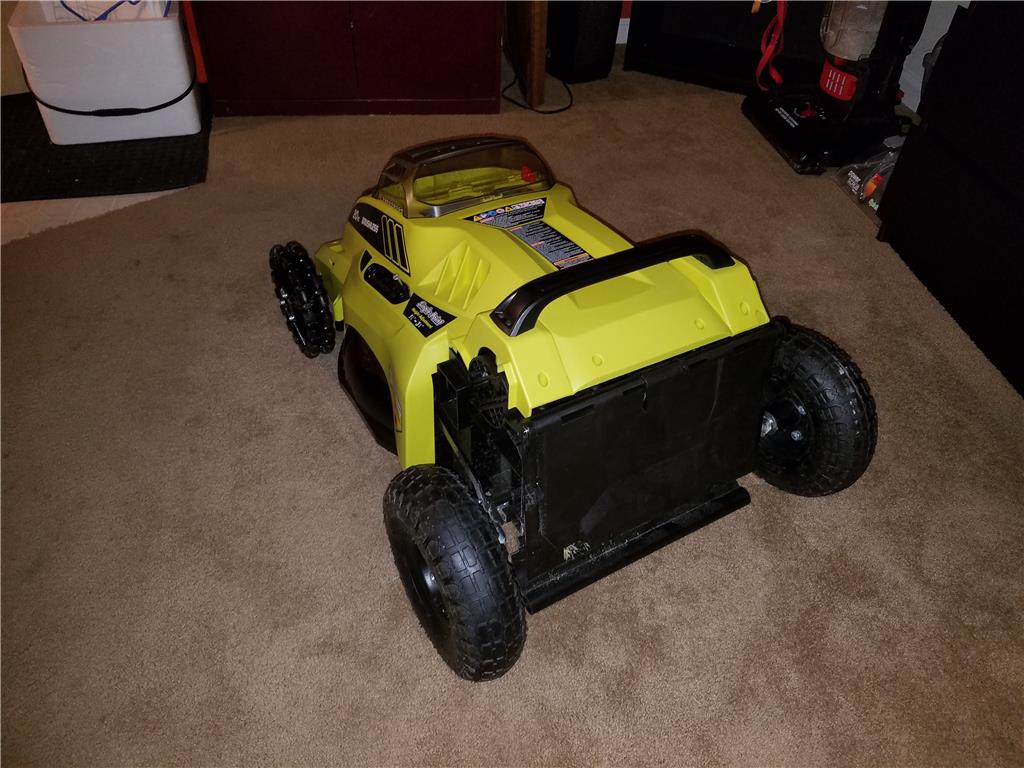
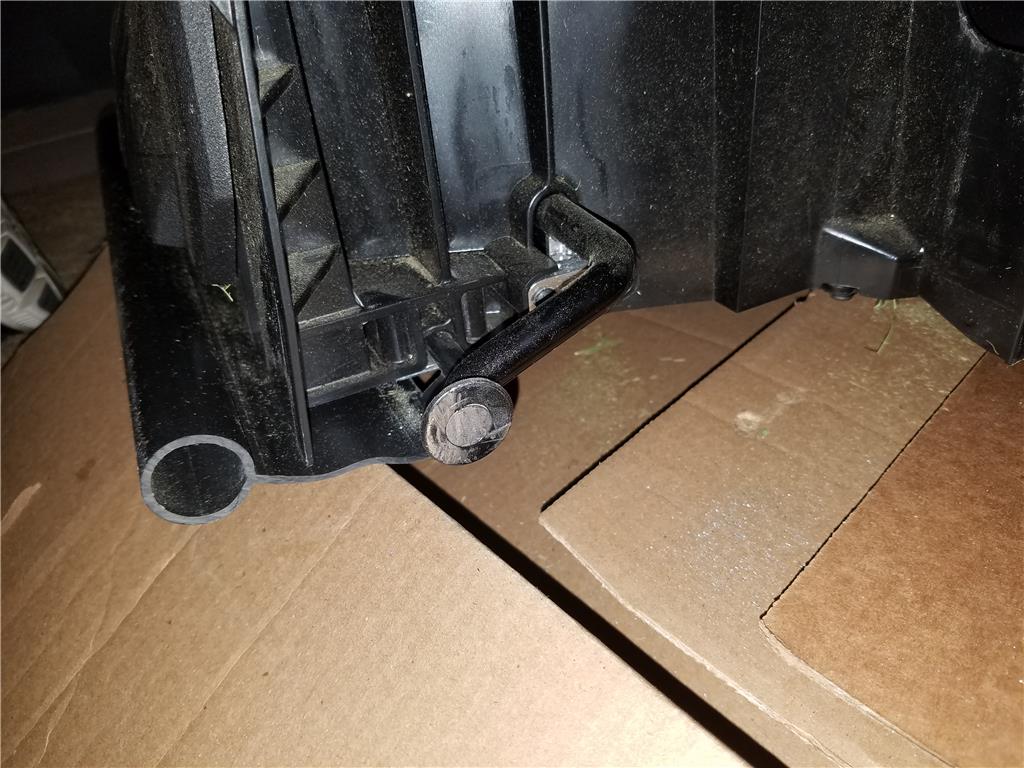
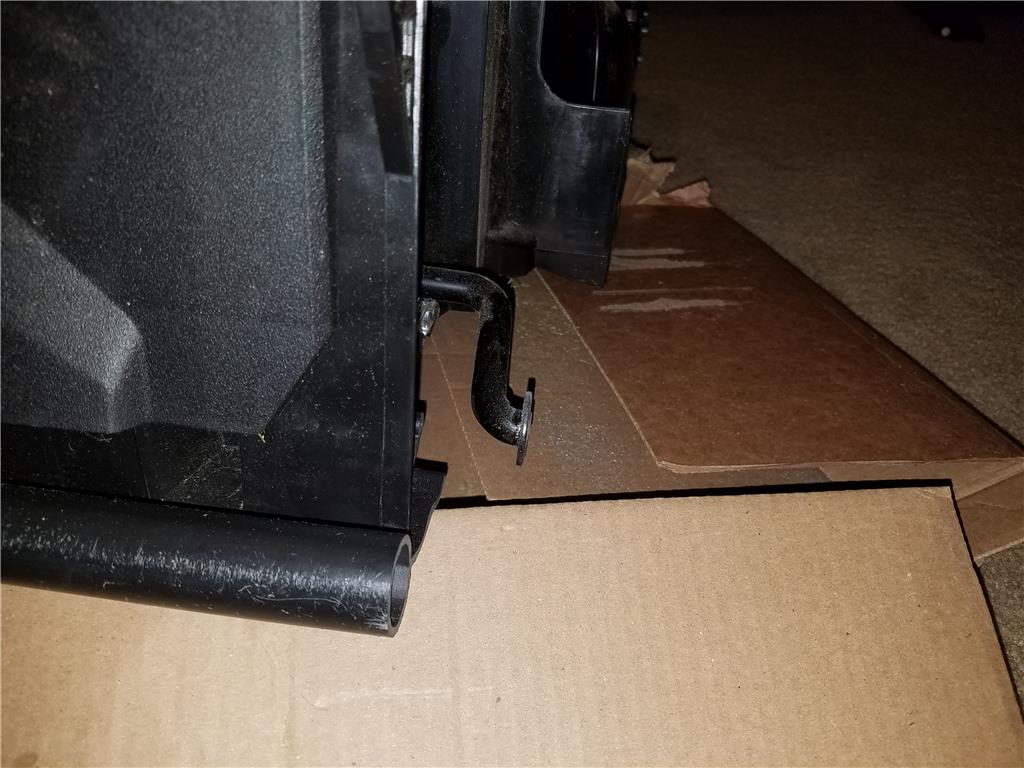
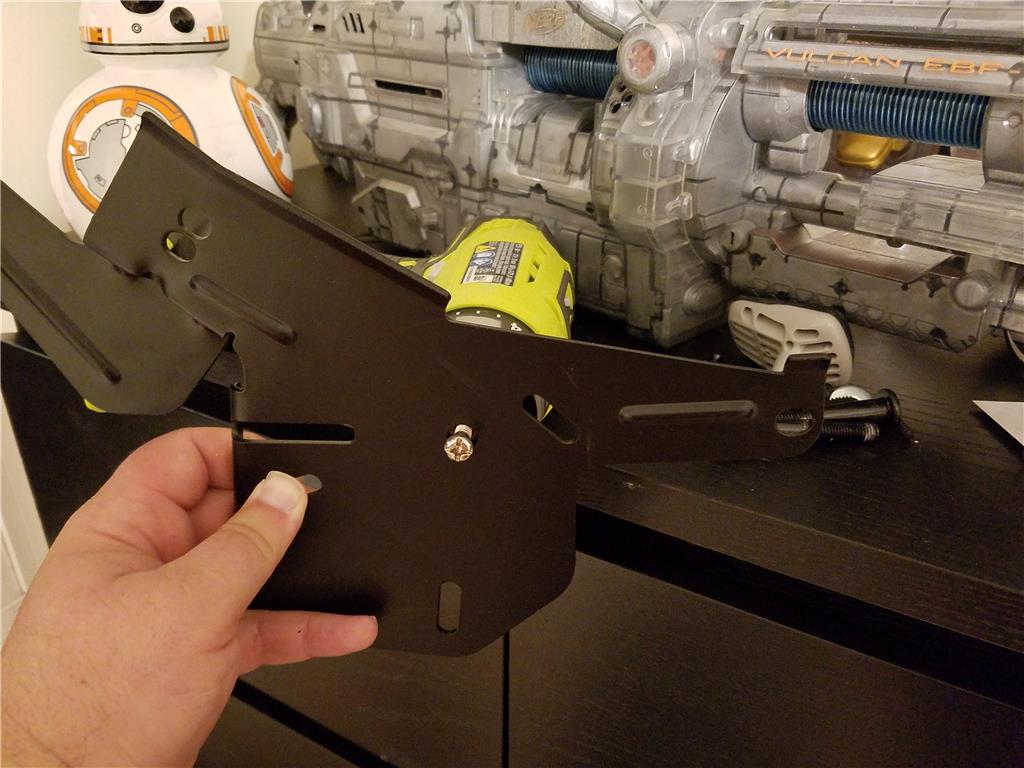
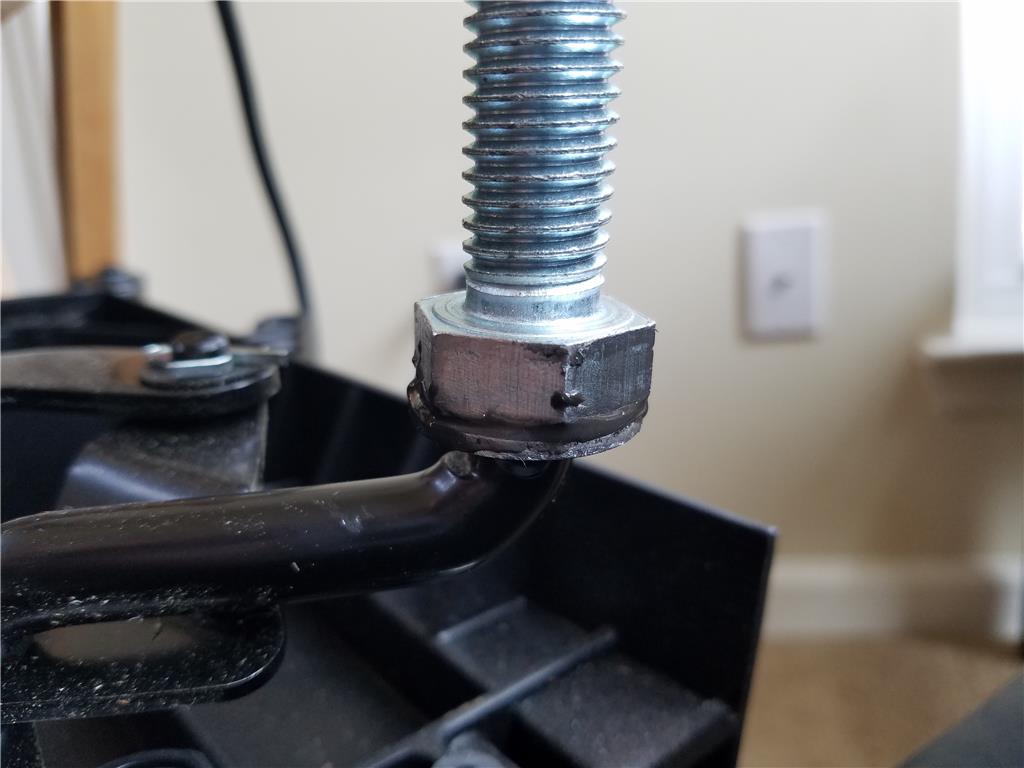
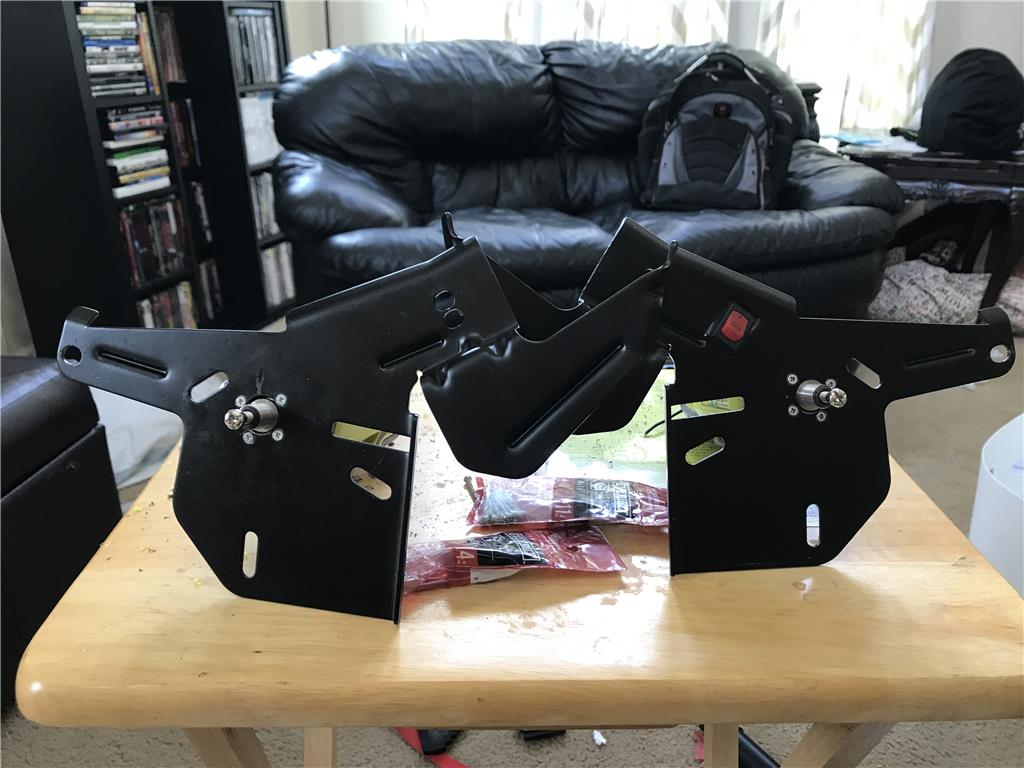
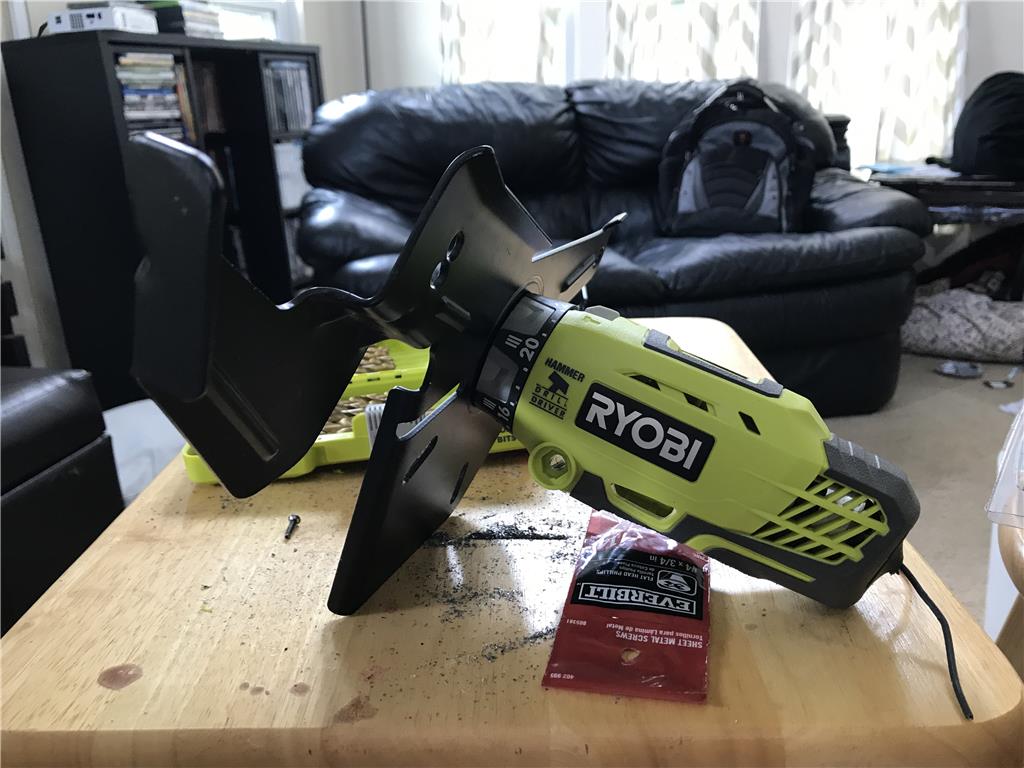
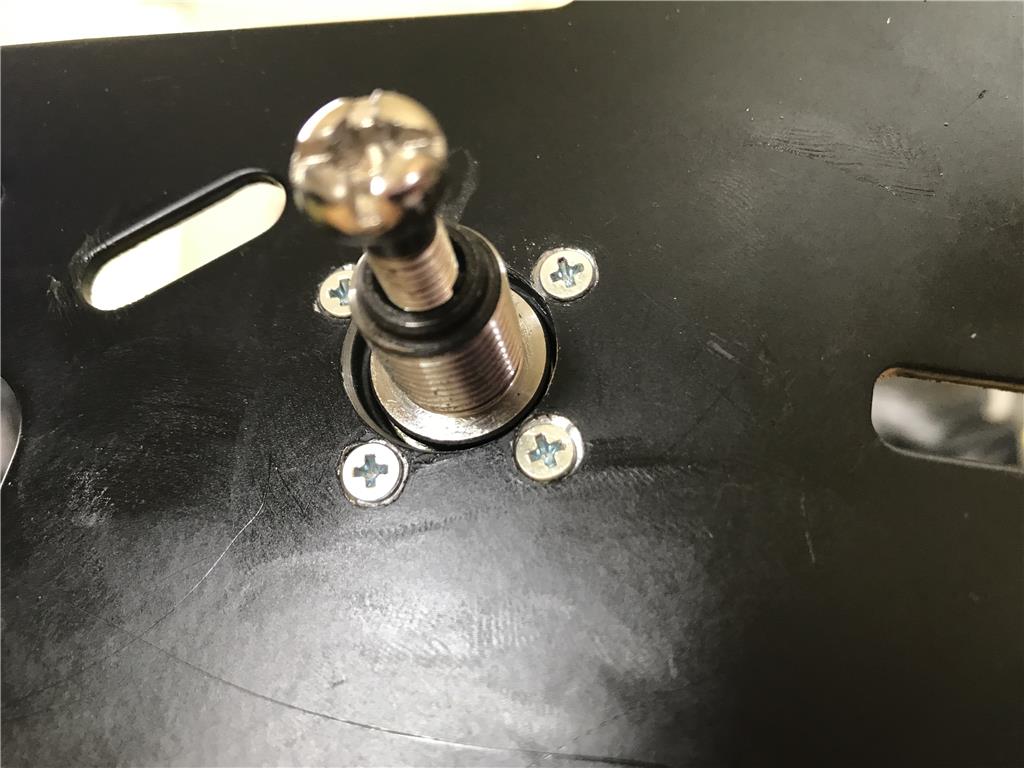
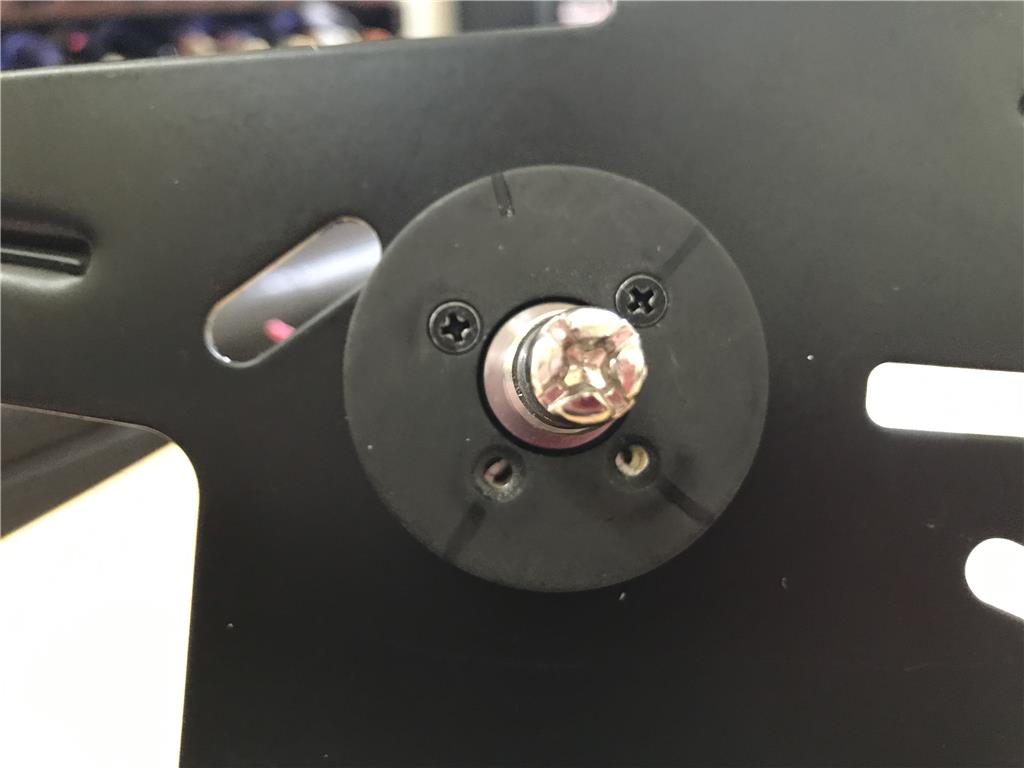
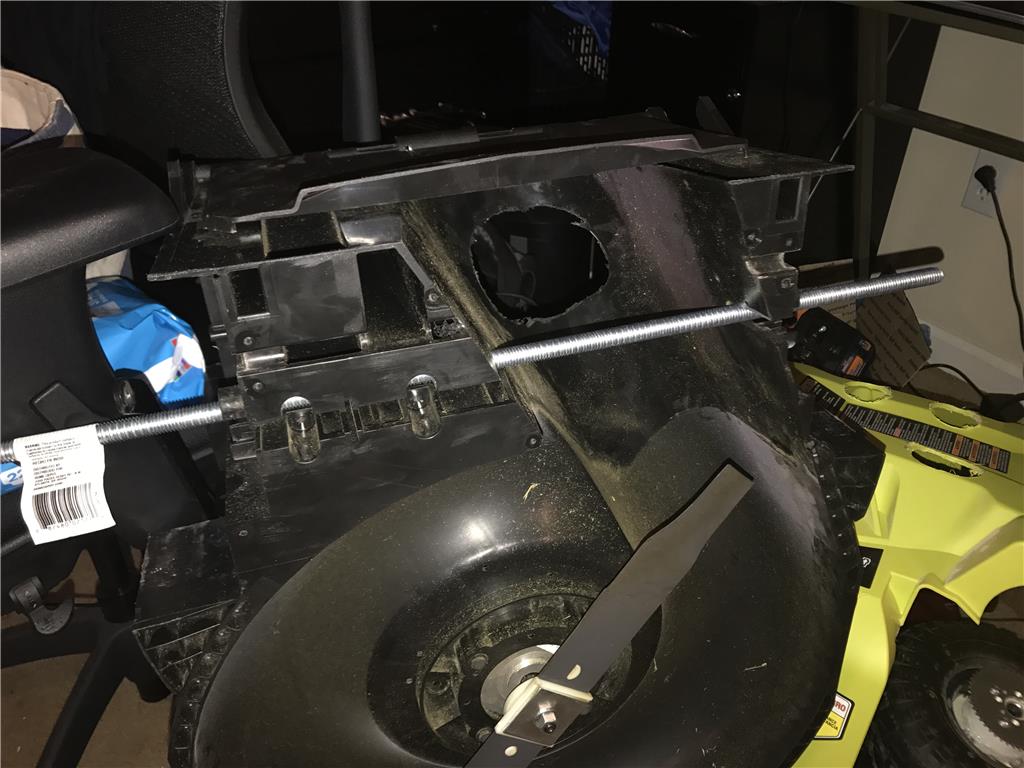
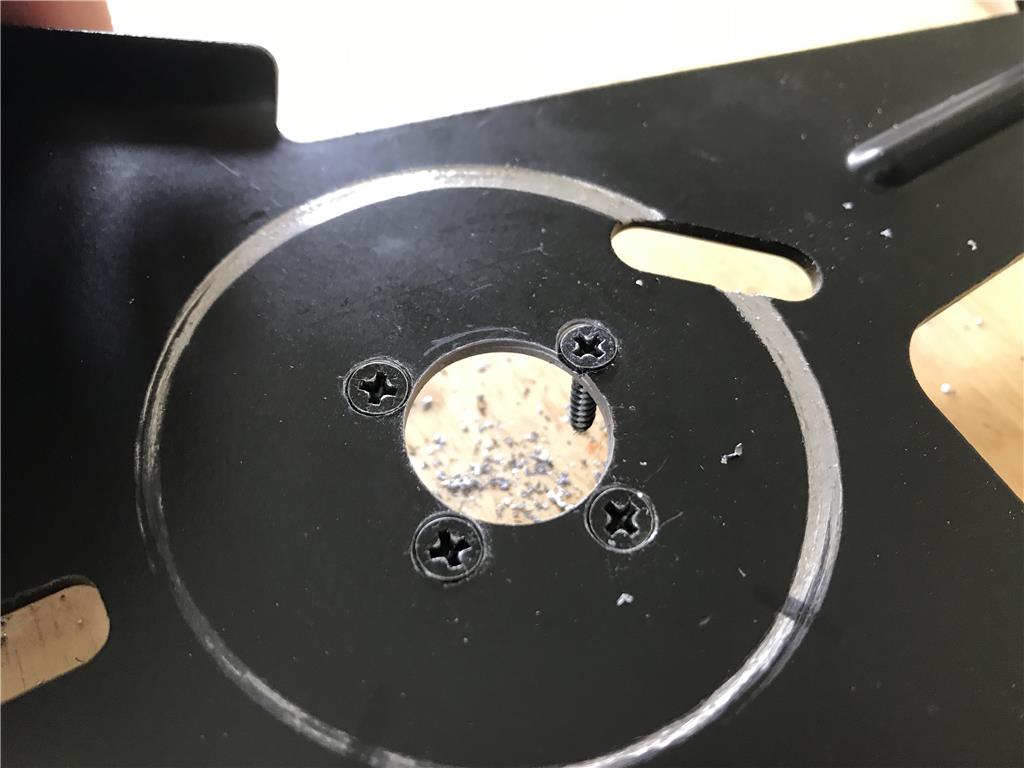
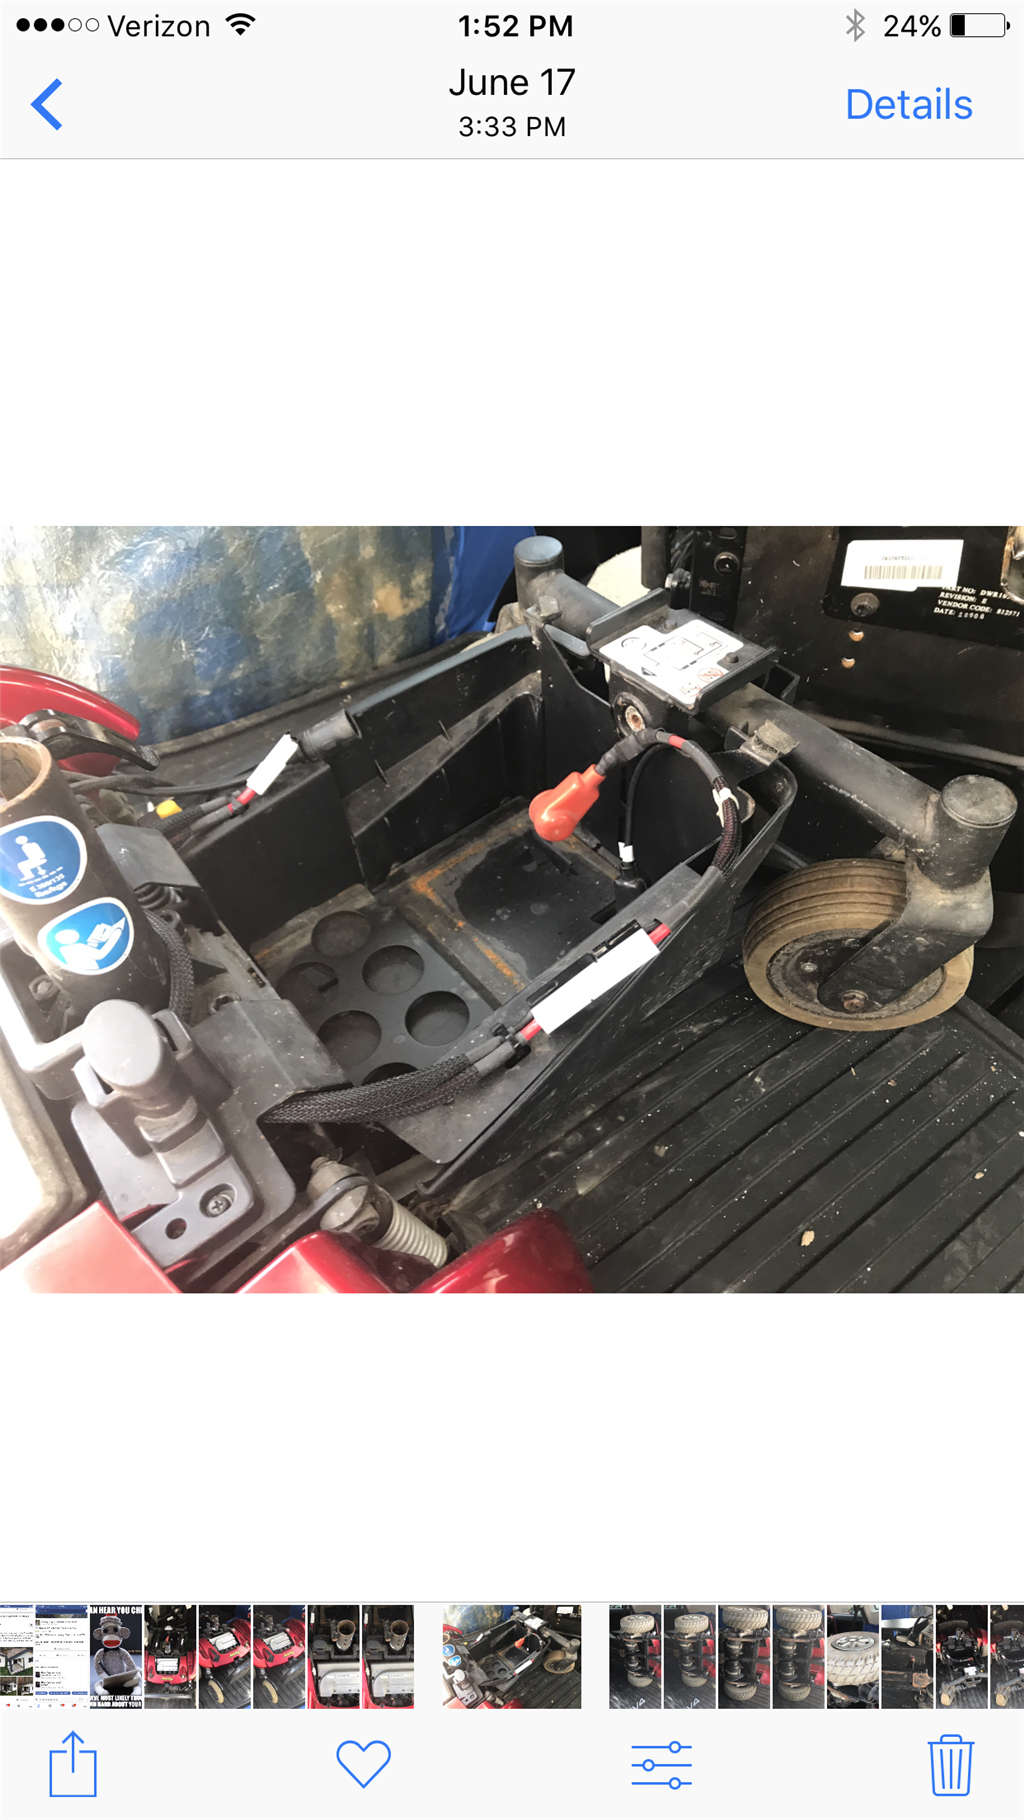
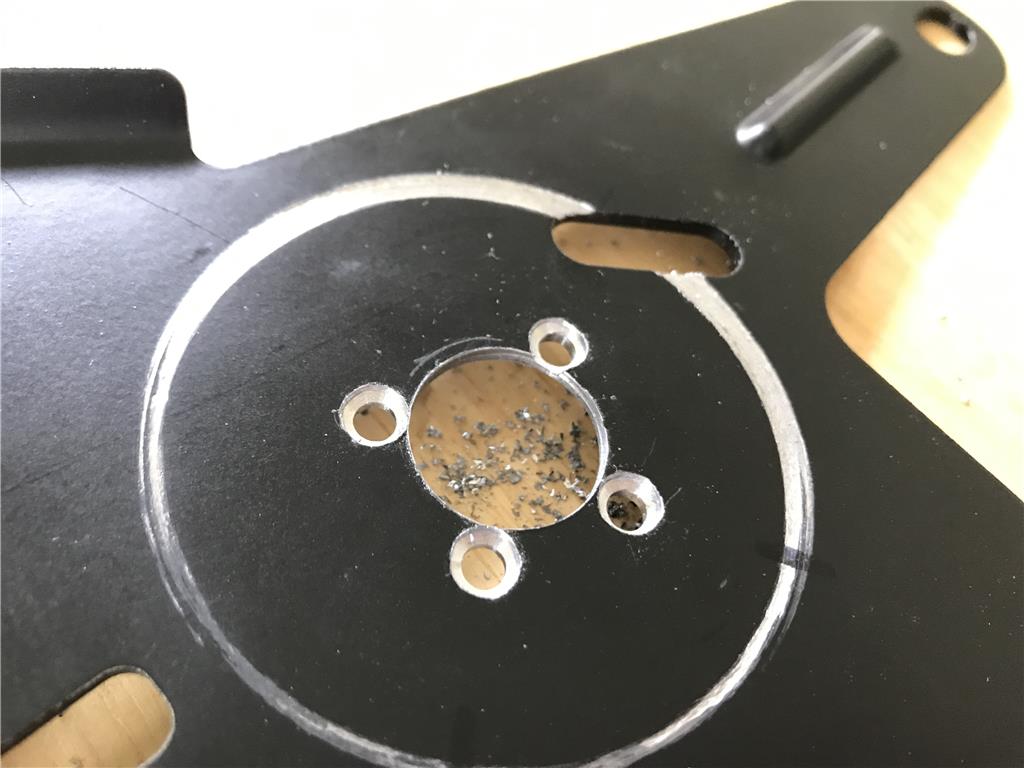
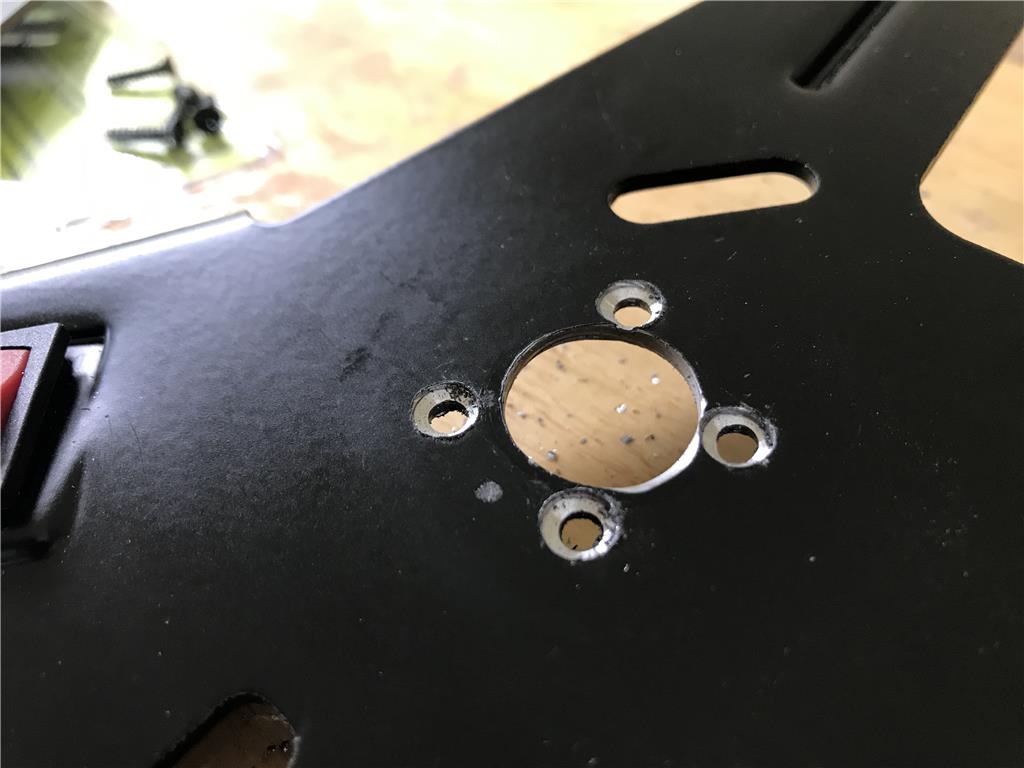
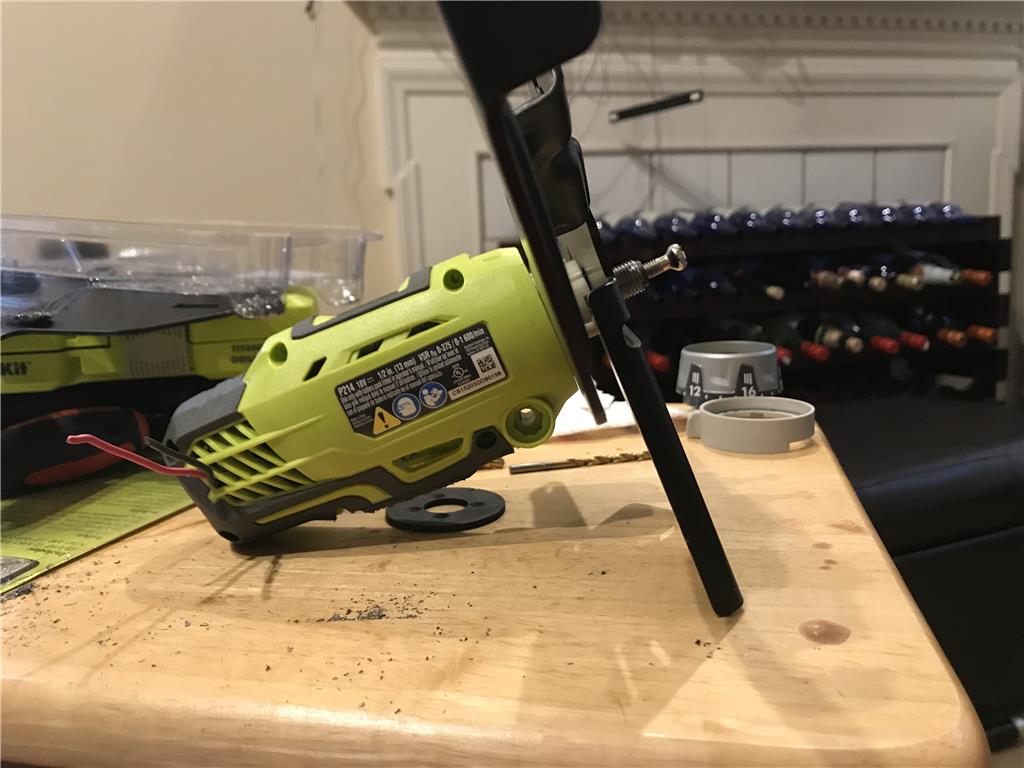
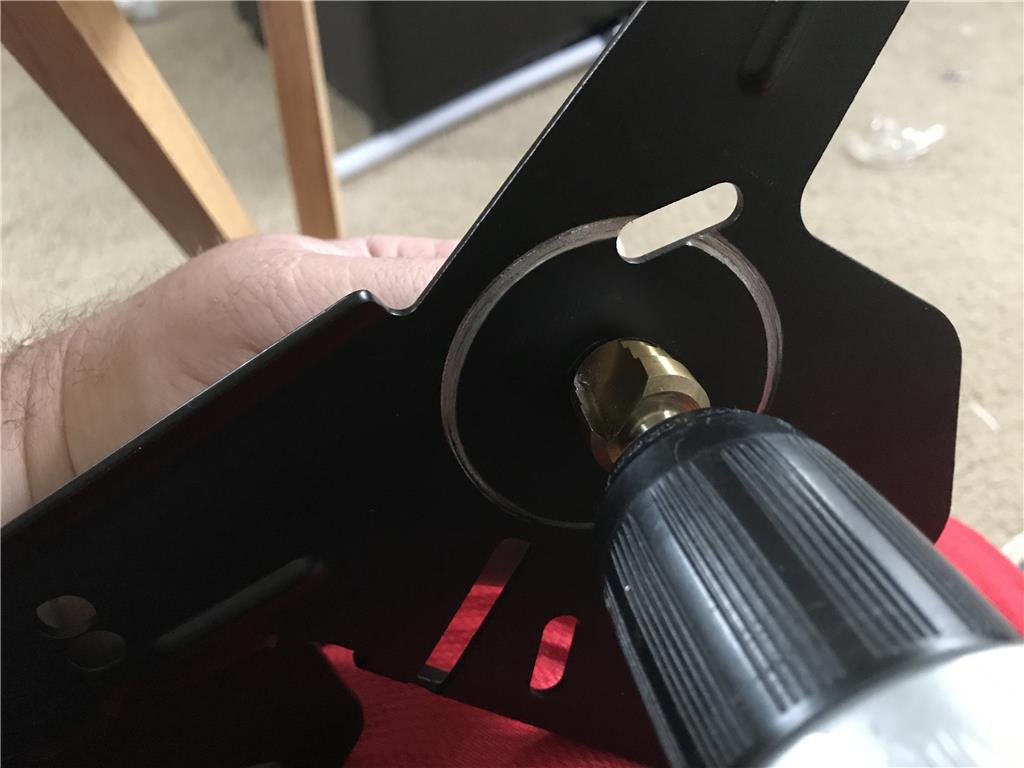
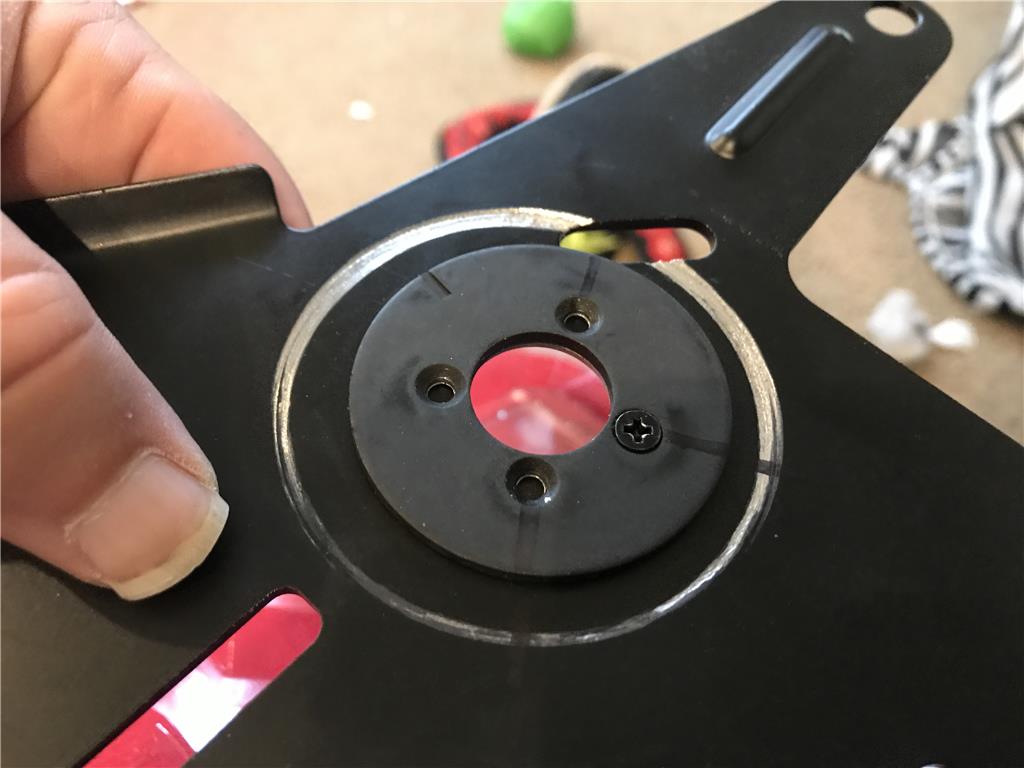
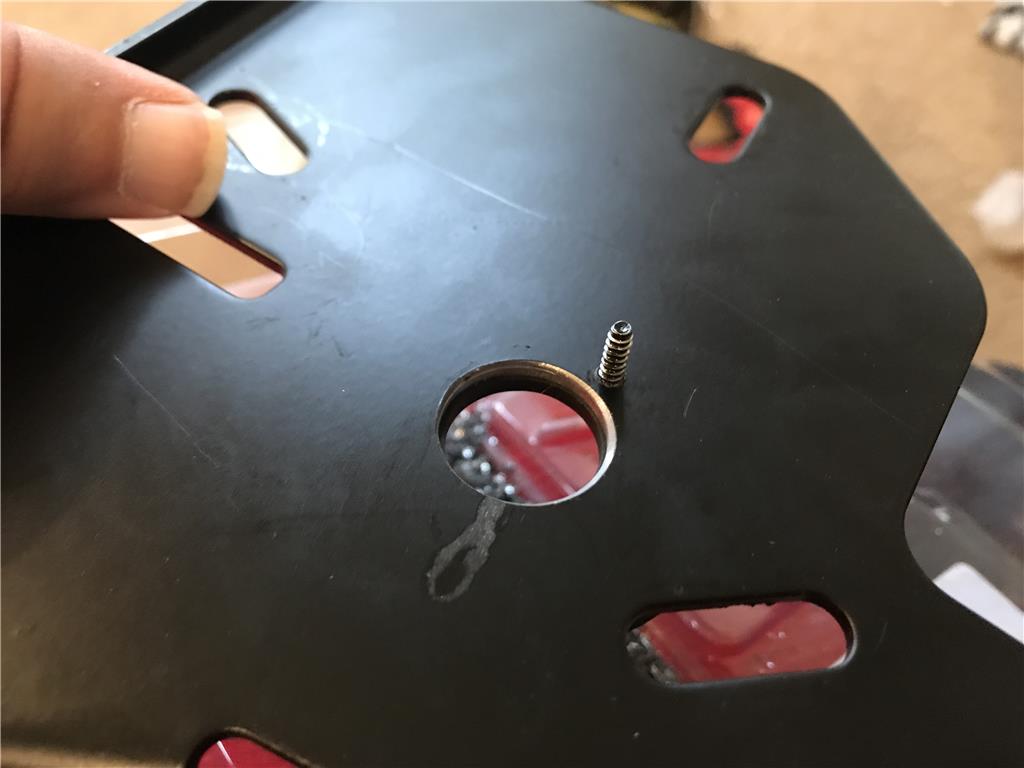
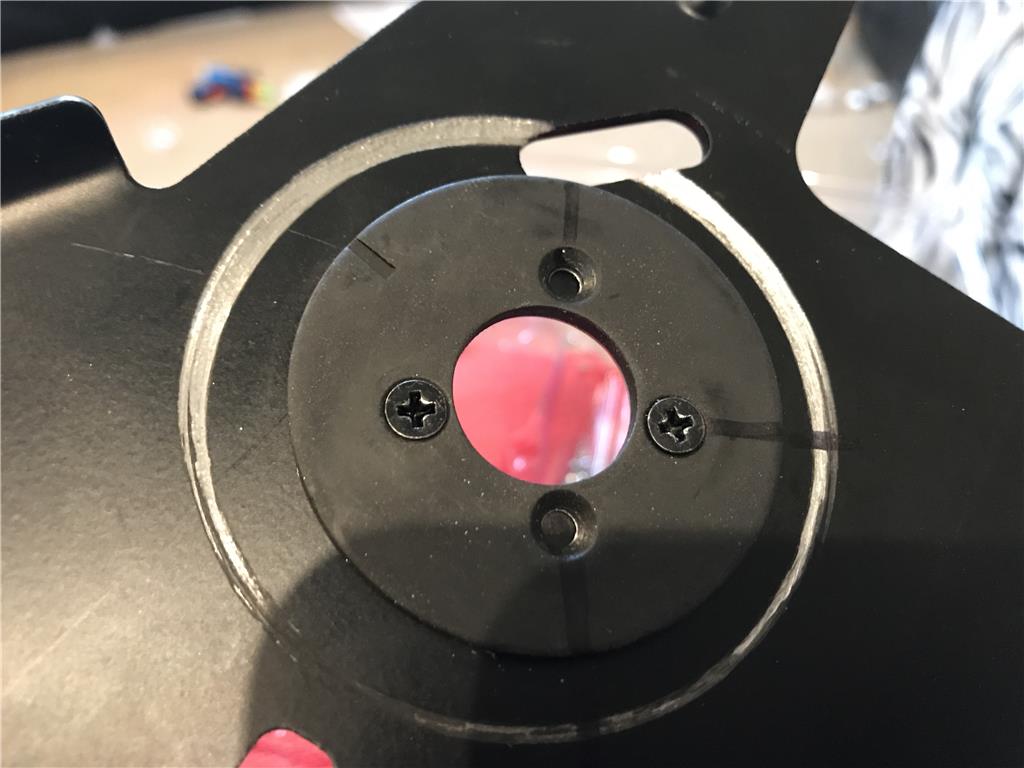
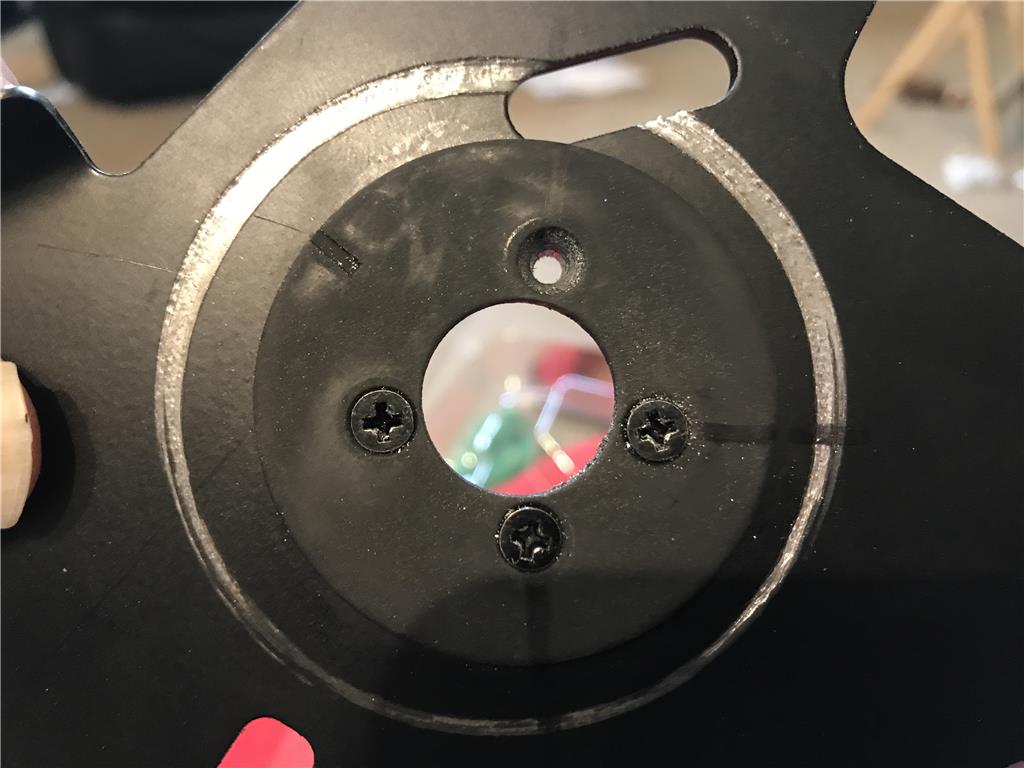
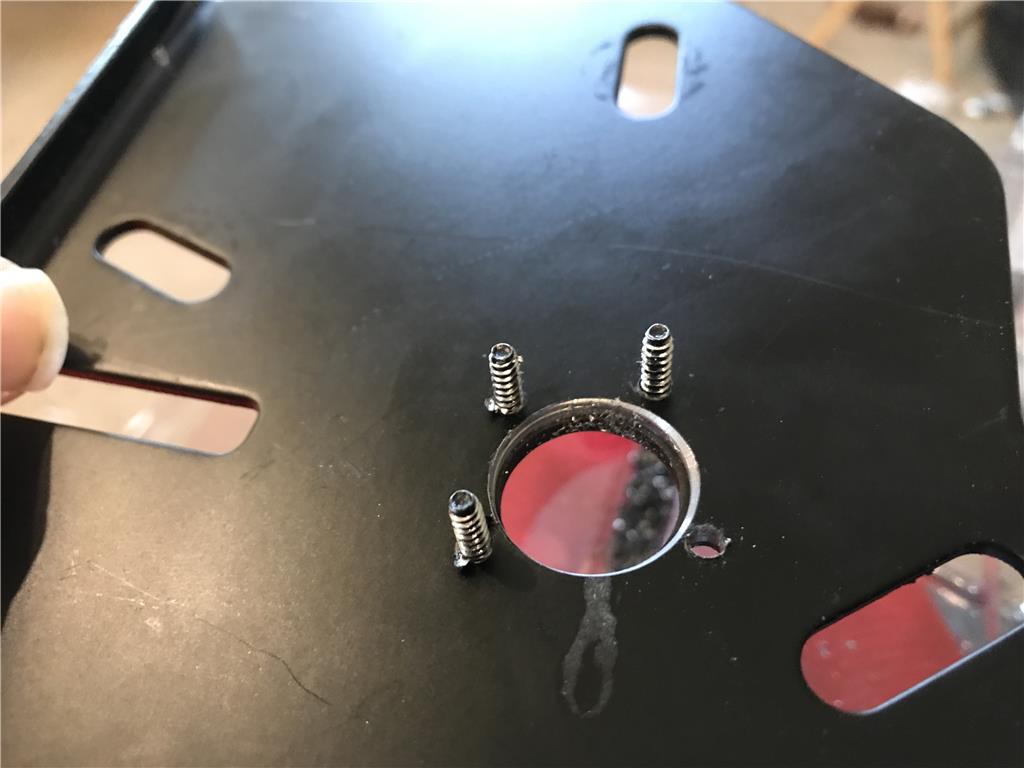
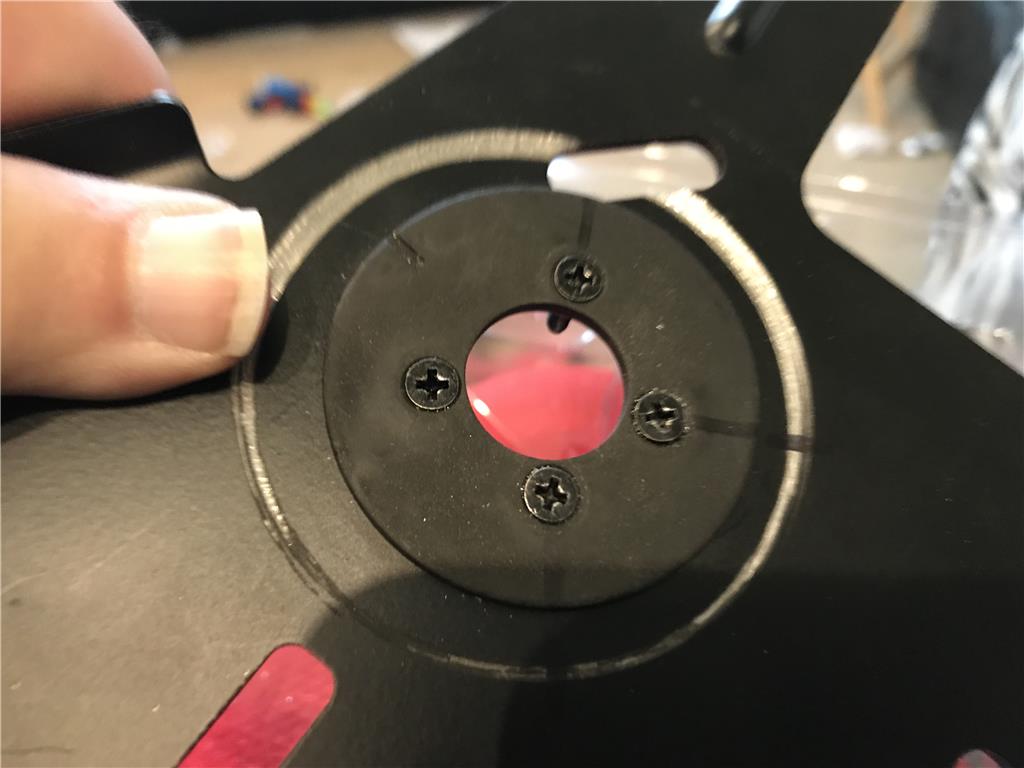
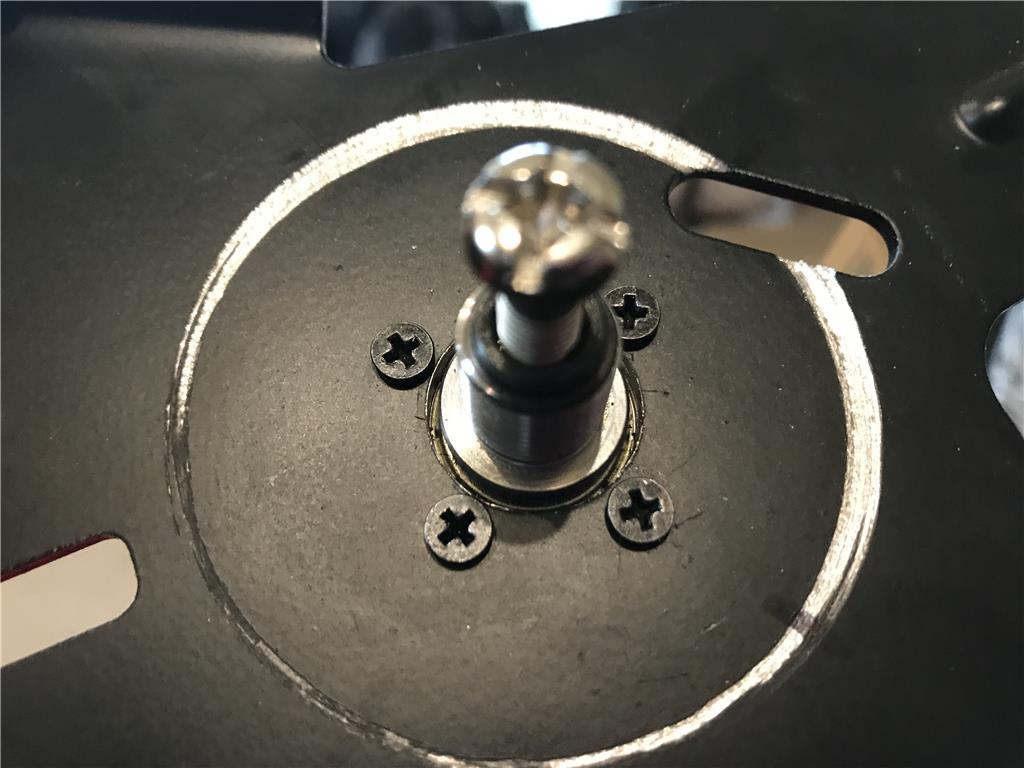
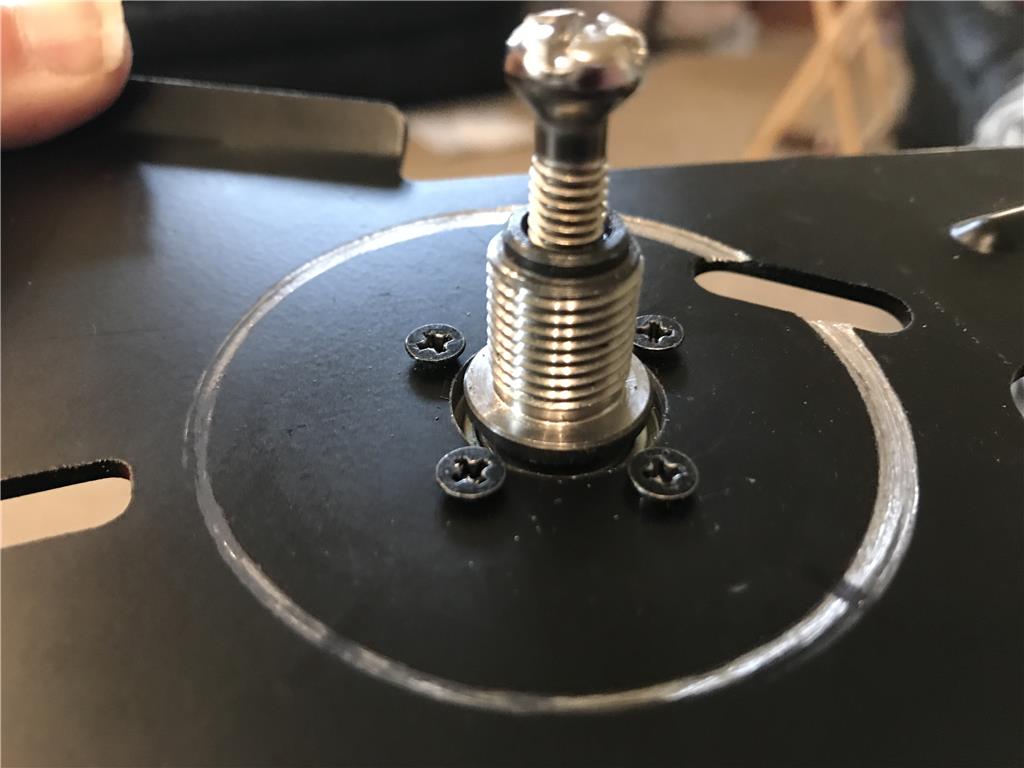
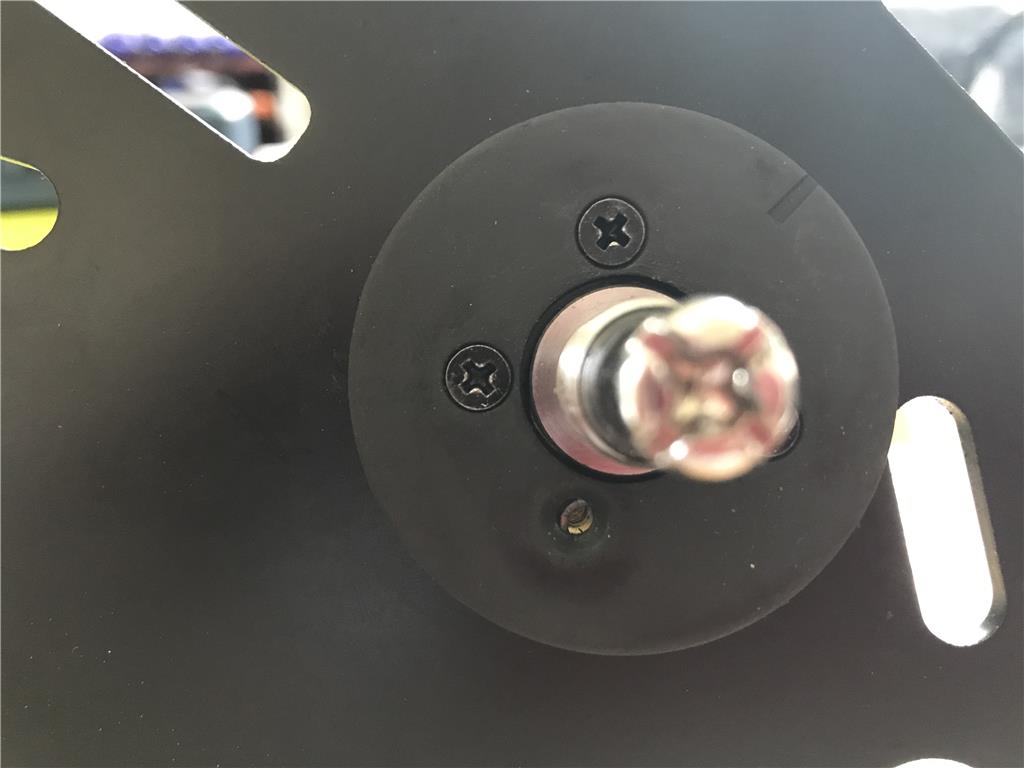
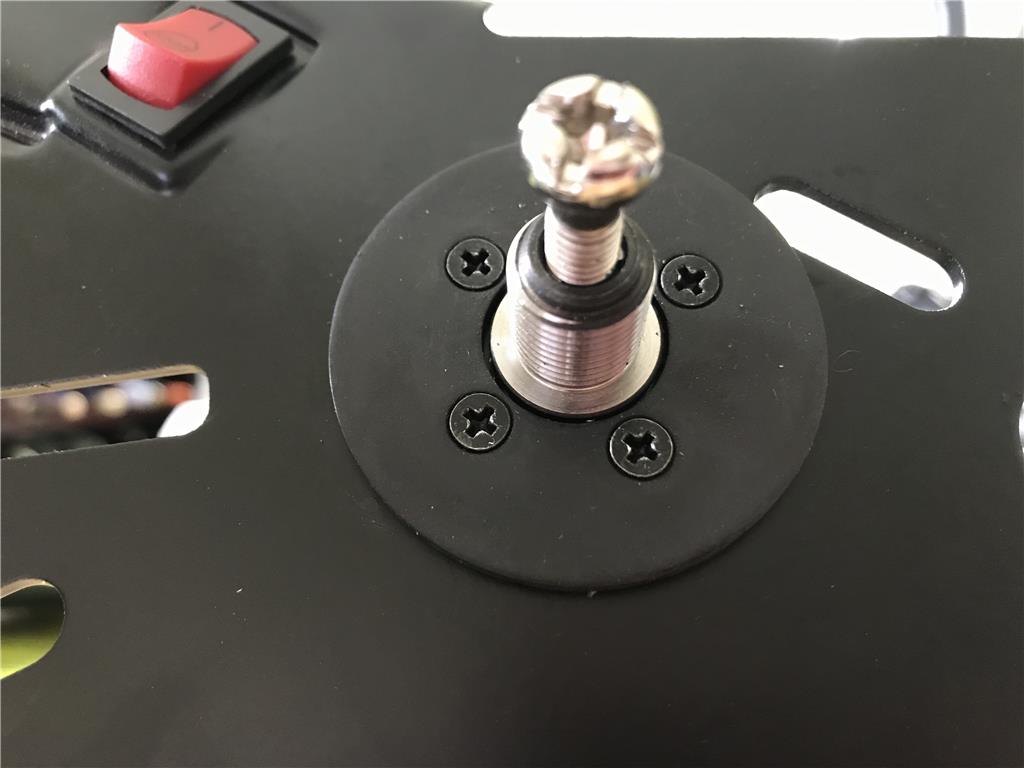
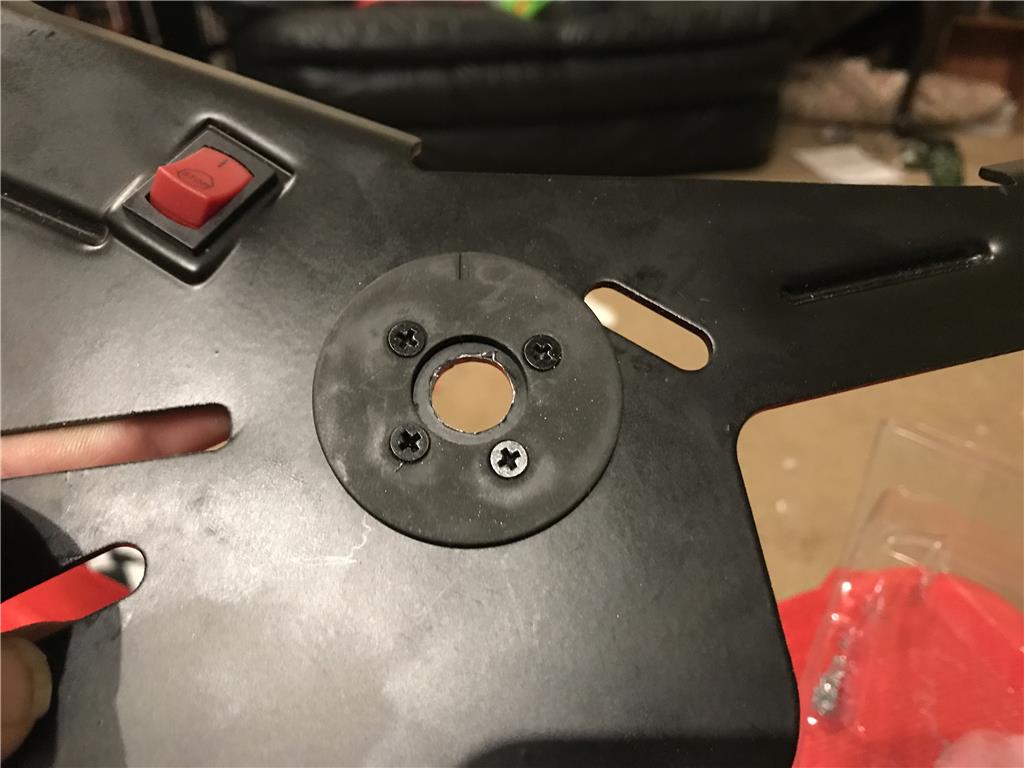
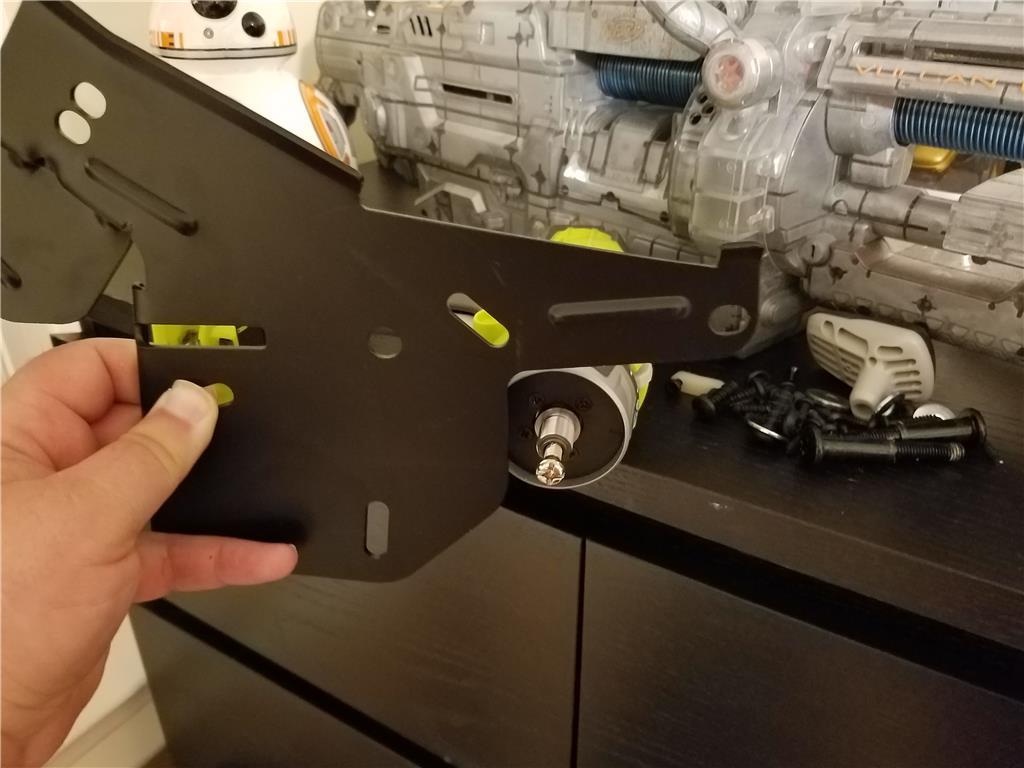
I went back and looked and I still have the steel end plate mounts so I can maybe drill 4 additional holes to mount the edge of the gearbox.
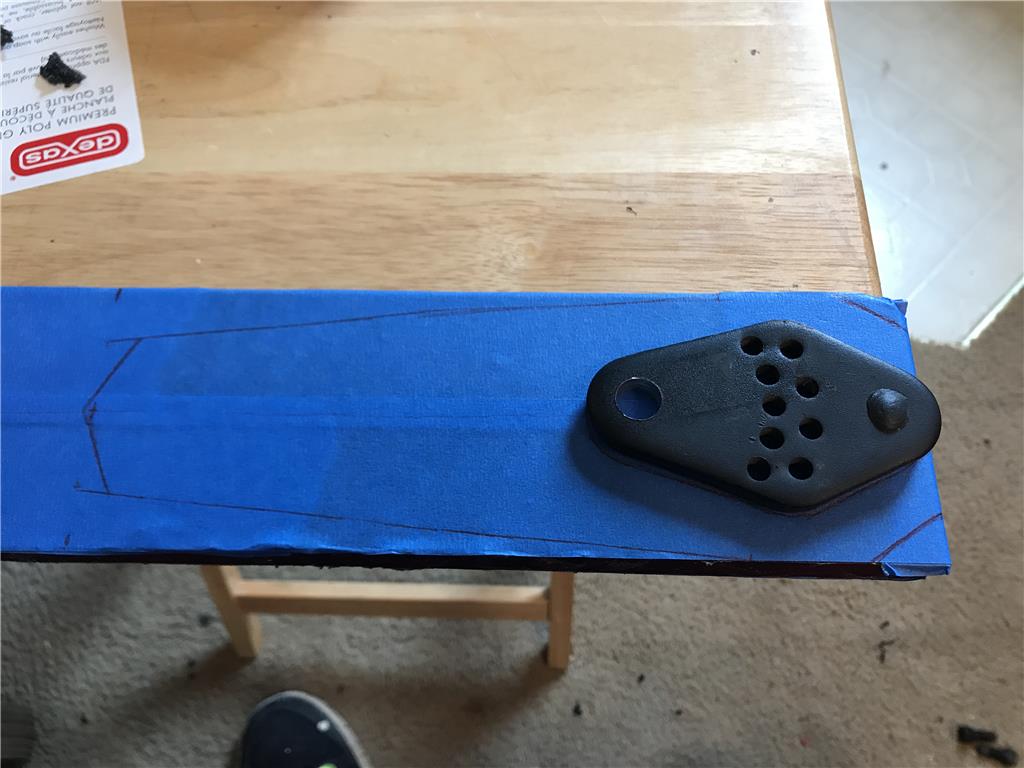
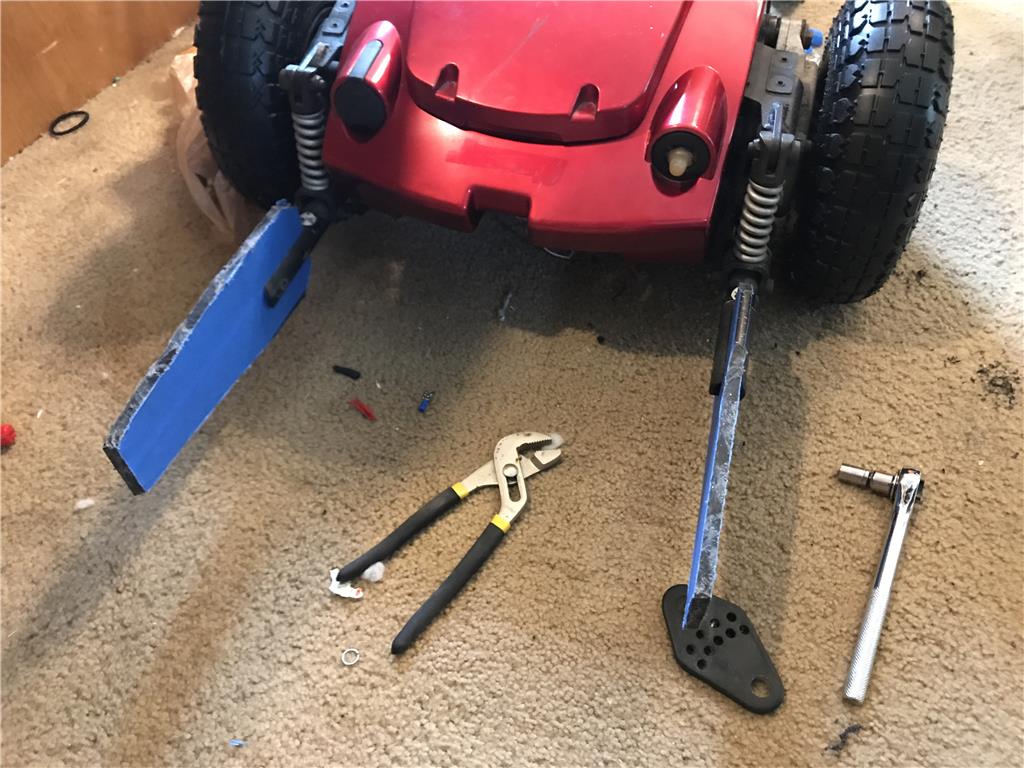
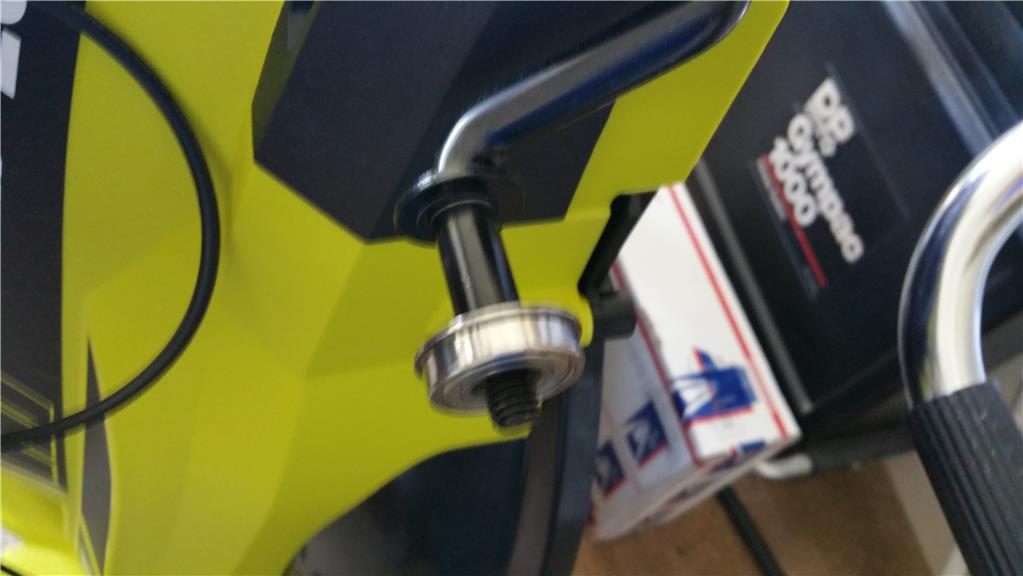
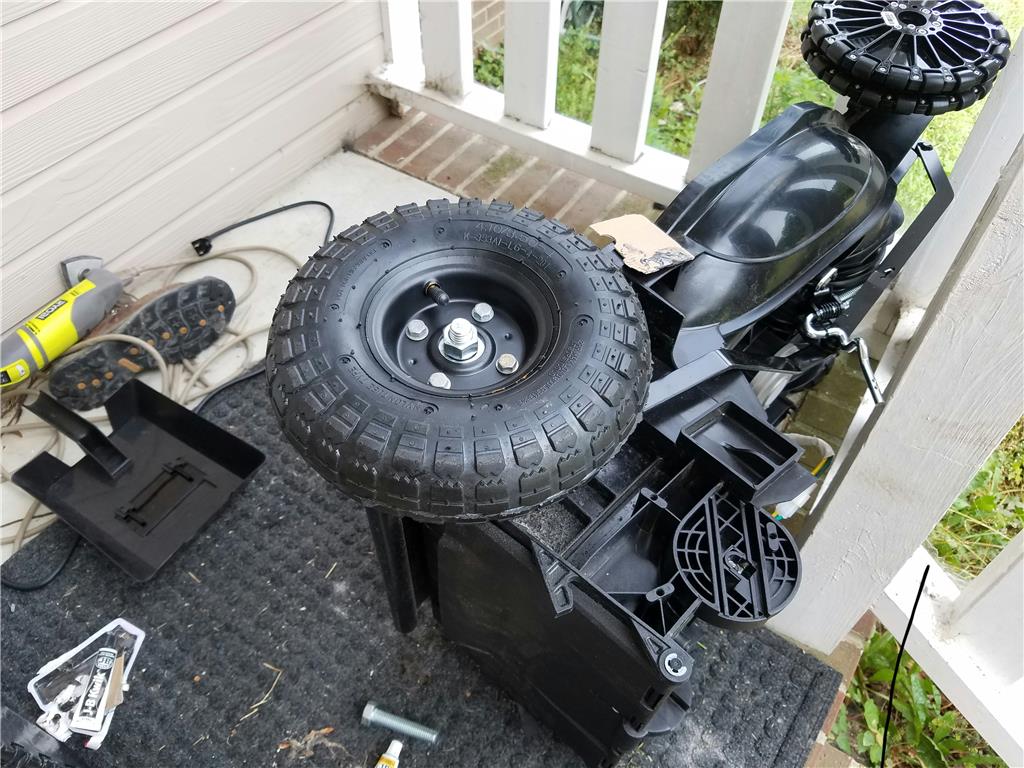
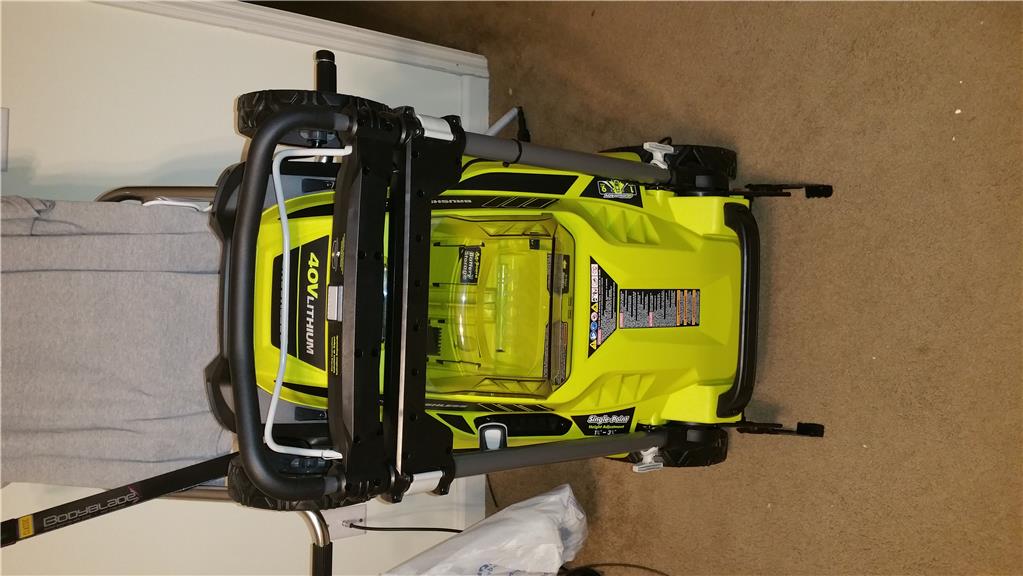
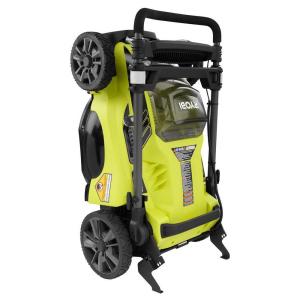
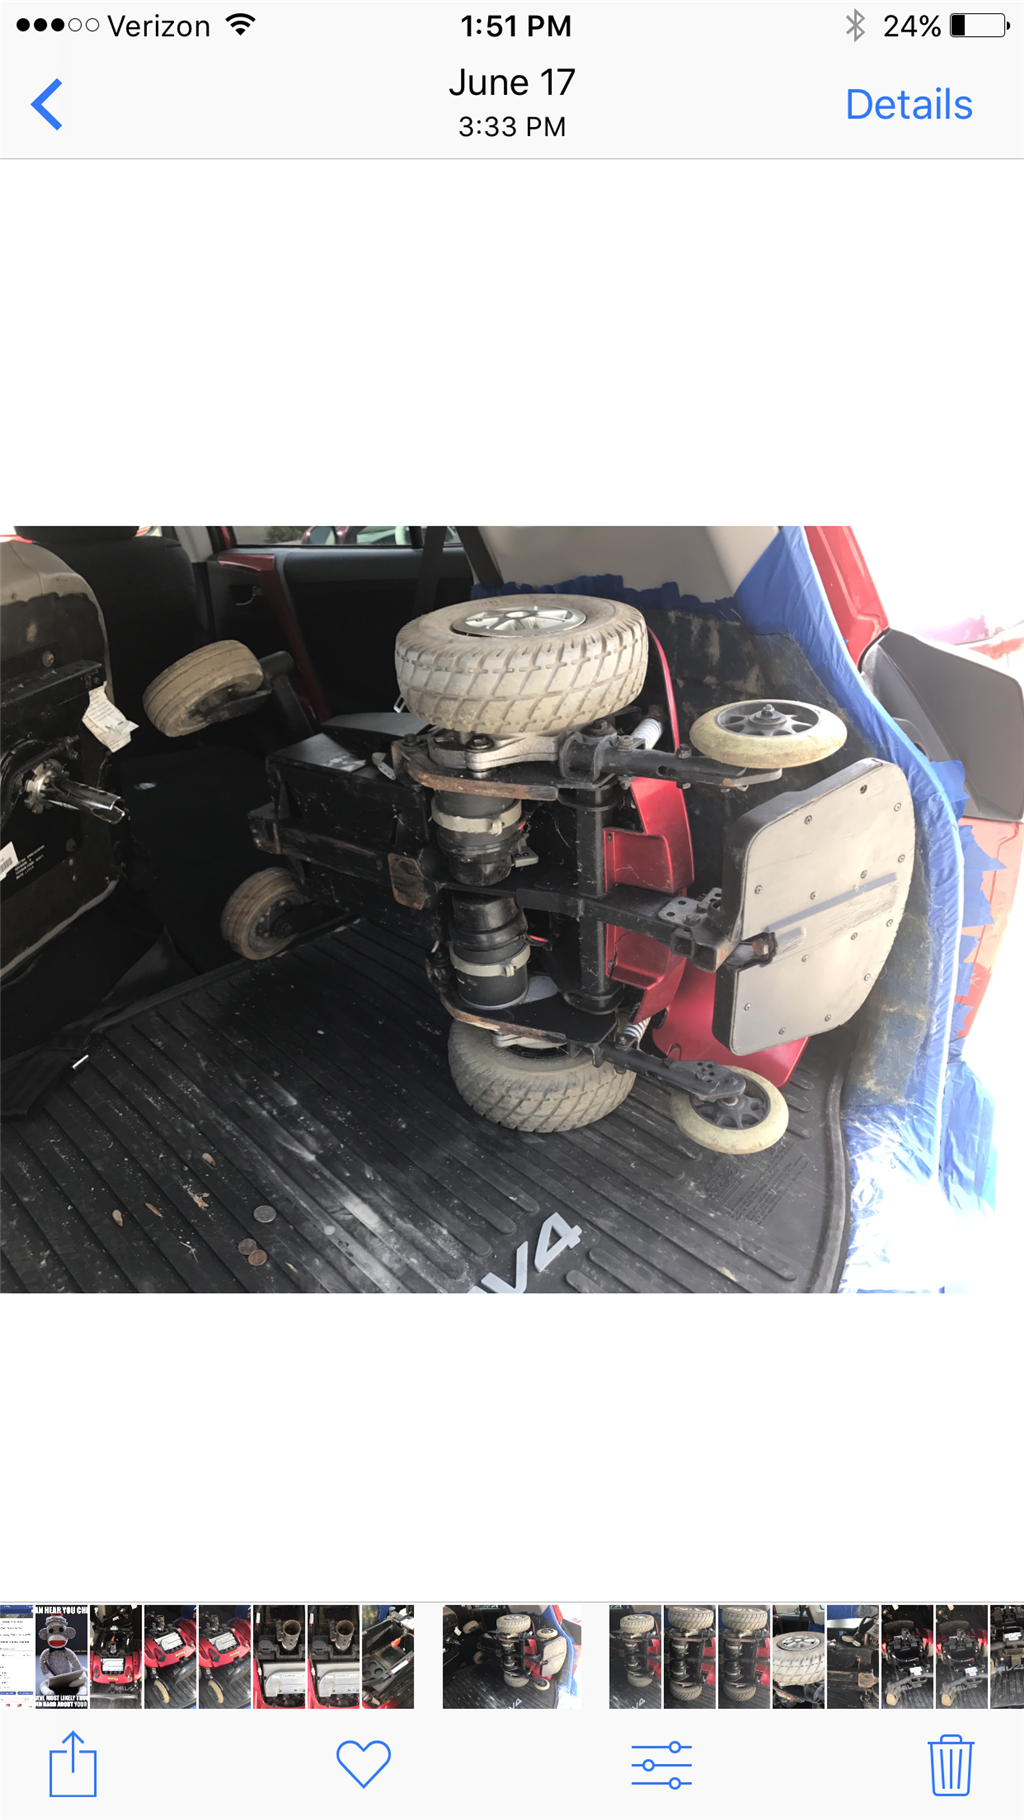
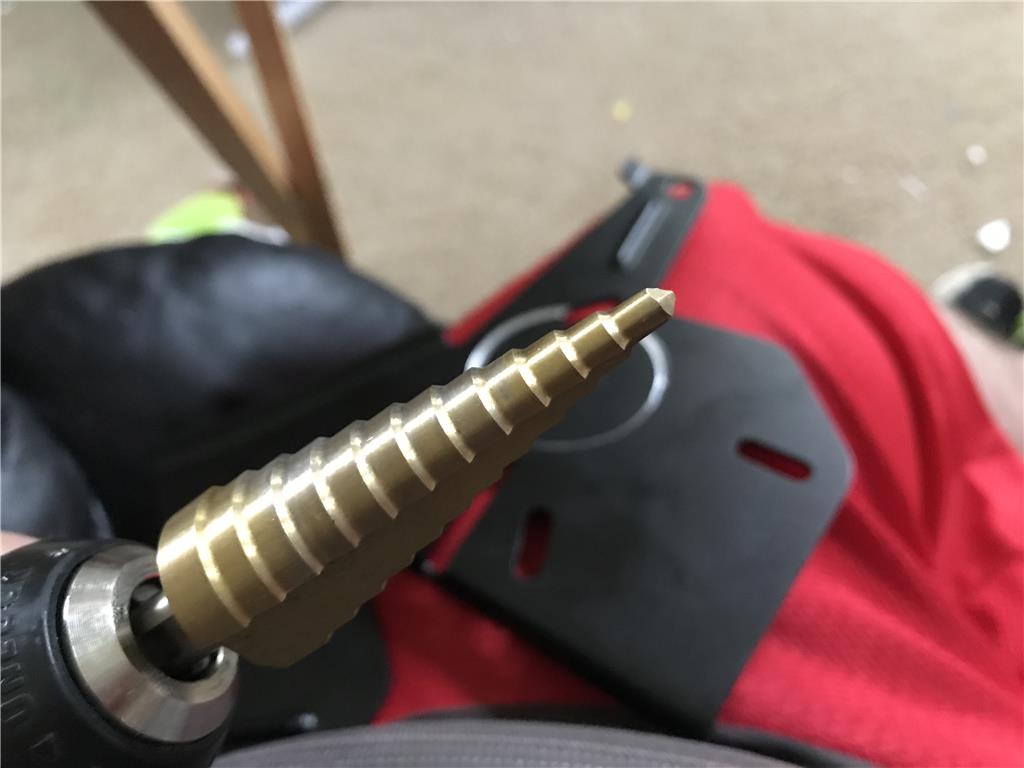
Here is that steel plate that also acts as a stand I was referring to.
Only two of the mounting points that connect to the frame of the mower, but I think that can work. I need to pickup some diamond tip bits and longer screws to drill the 4 additional holes to mount up the gearbox.