


-635971125254815084.png)
-635971009768280111.jpg)


-636393423097260688.jpg)


-636337988865509663.jpg)


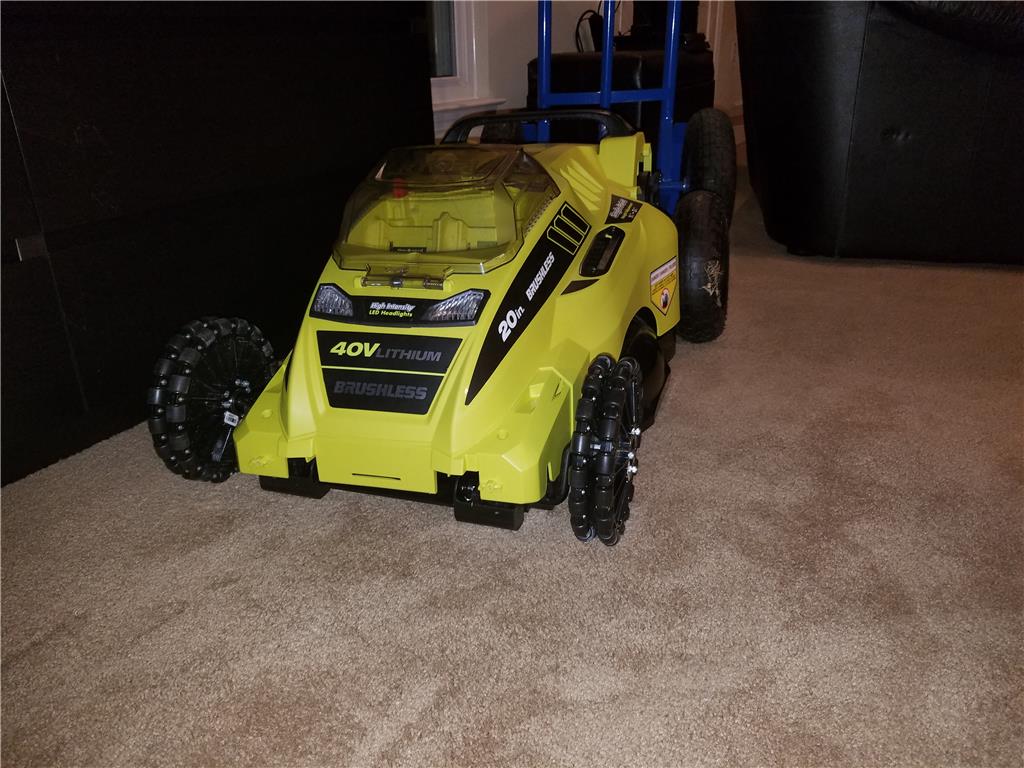
Hello all, I am getting back in the saddle making robots now that I am moved into my new home and settled into my new job as a technician maintaining the Fiber Optics network in Chattanooga TN.
IM BACK !

By jstarne1
— Last update
Discover more robots

Lumpy's Lumpy's Wall-E
Custom Wall-E robot build with servo-mounted eyes, mini-servos for arms, sonar installed, reinforced head mount and...
Animator28's AVA (Advanced Visual Android)
Program robots with Synthiam ARC on Windows 10-add projector faces, extra EZ-Bs/Arduinos, 3D printed legs; free...

Stiko's Henry The Enchanted Tree
Bring an Enchanted Tree puppet to life with 3D-printed parts and an E-Z-B V4 camera to animate arms, mouth and eyes.

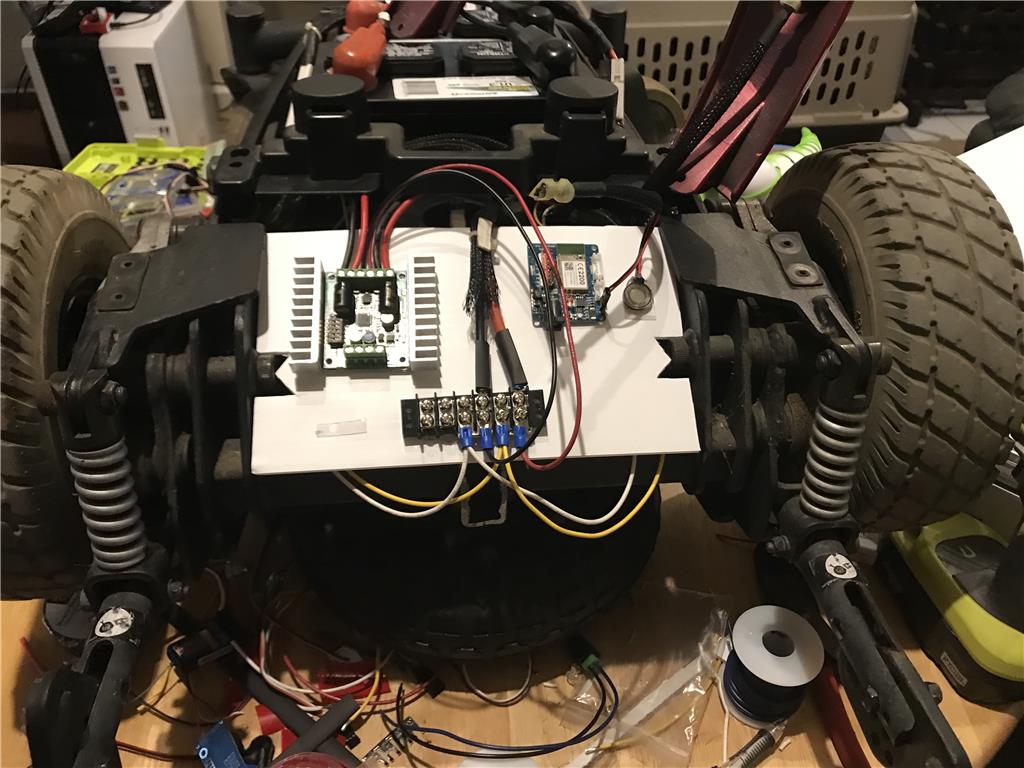
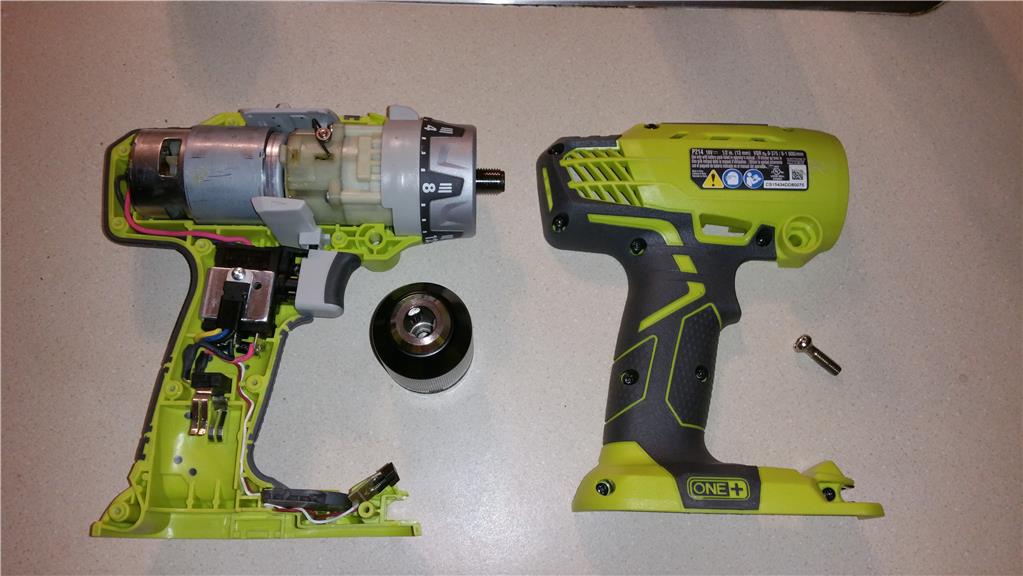
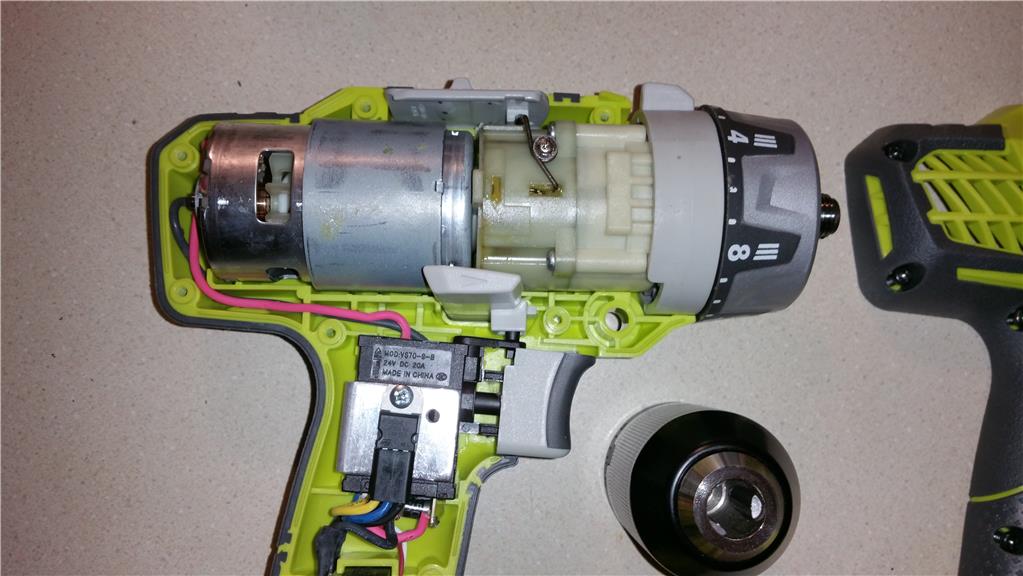
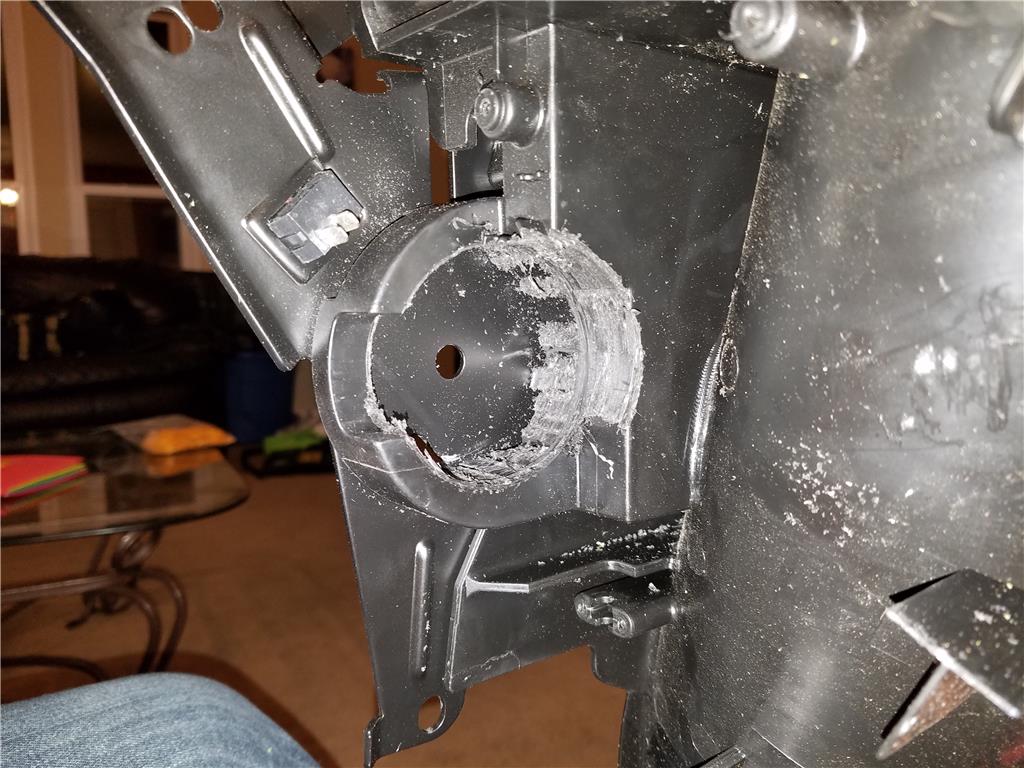
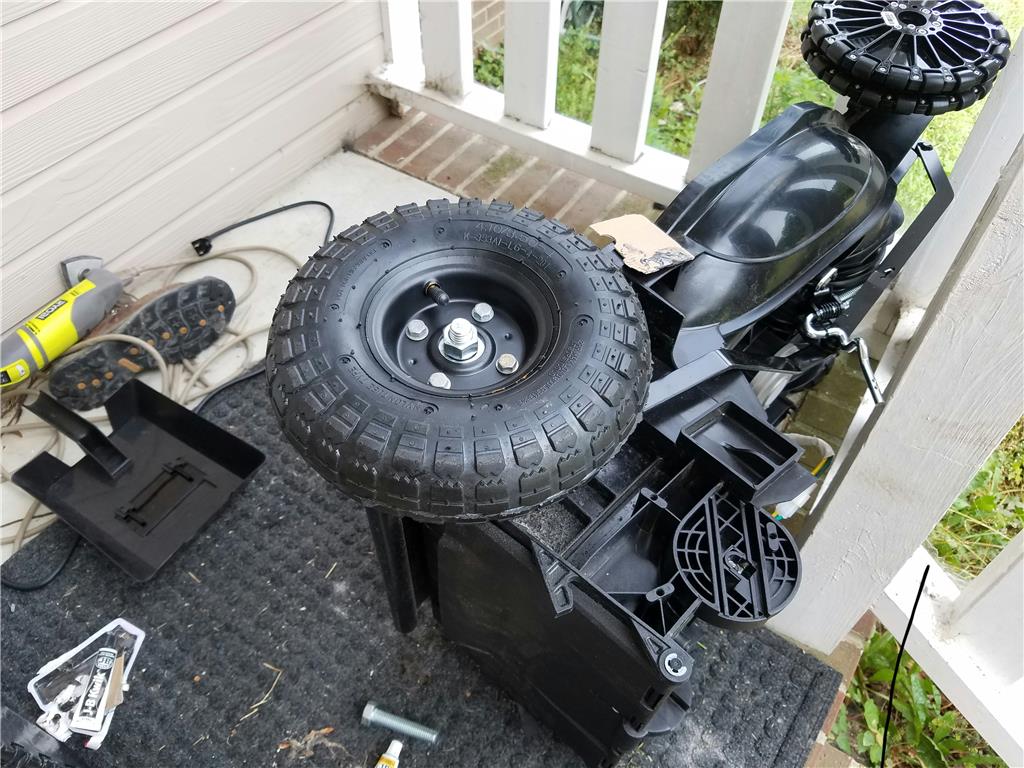
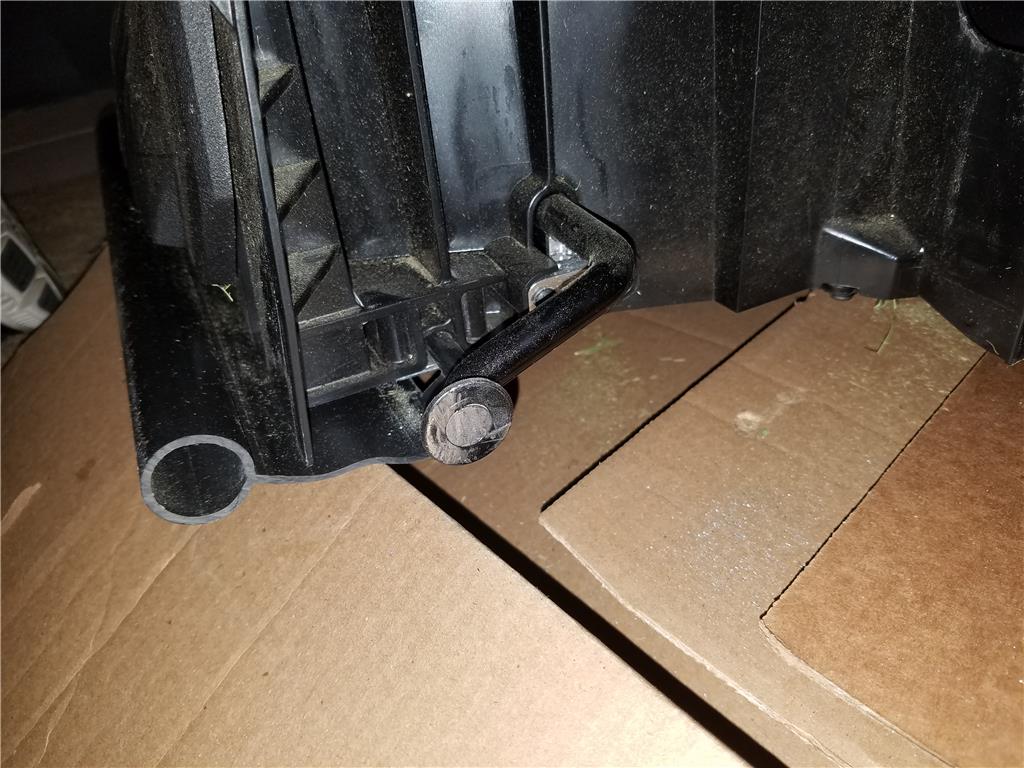
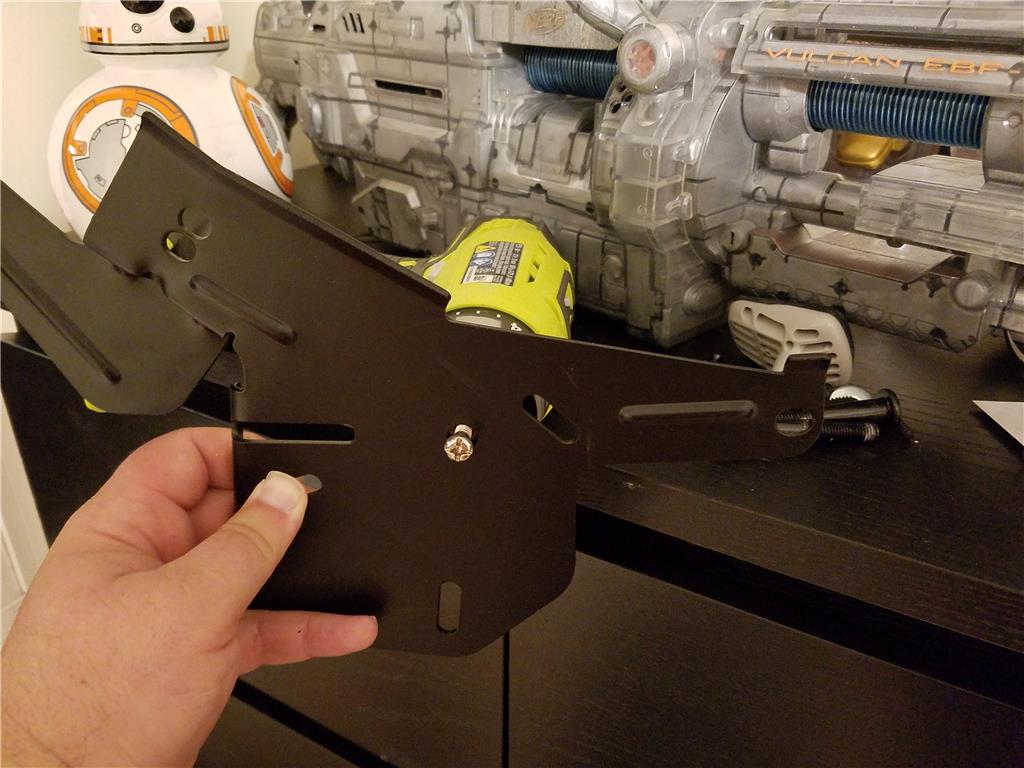
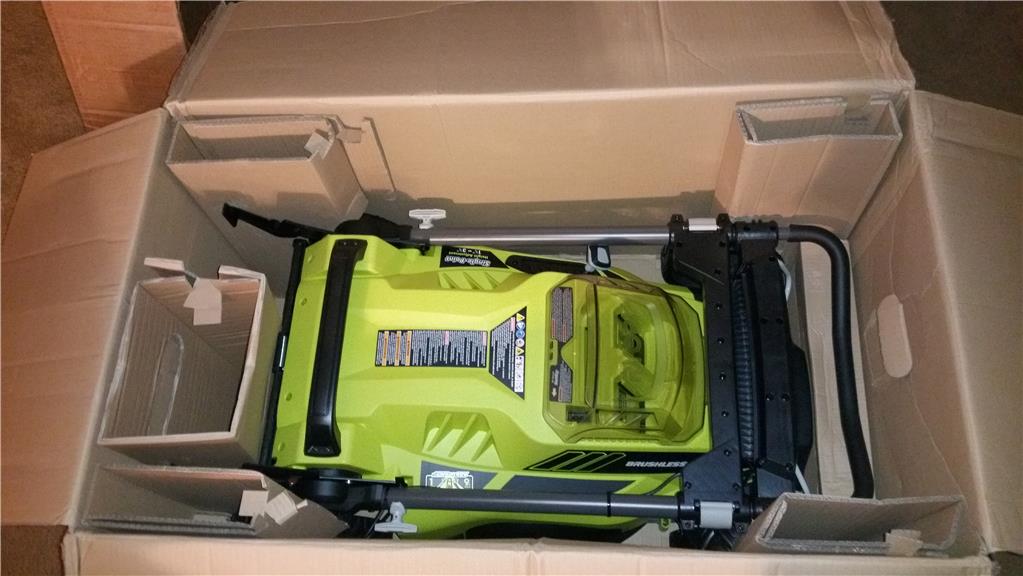
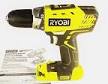
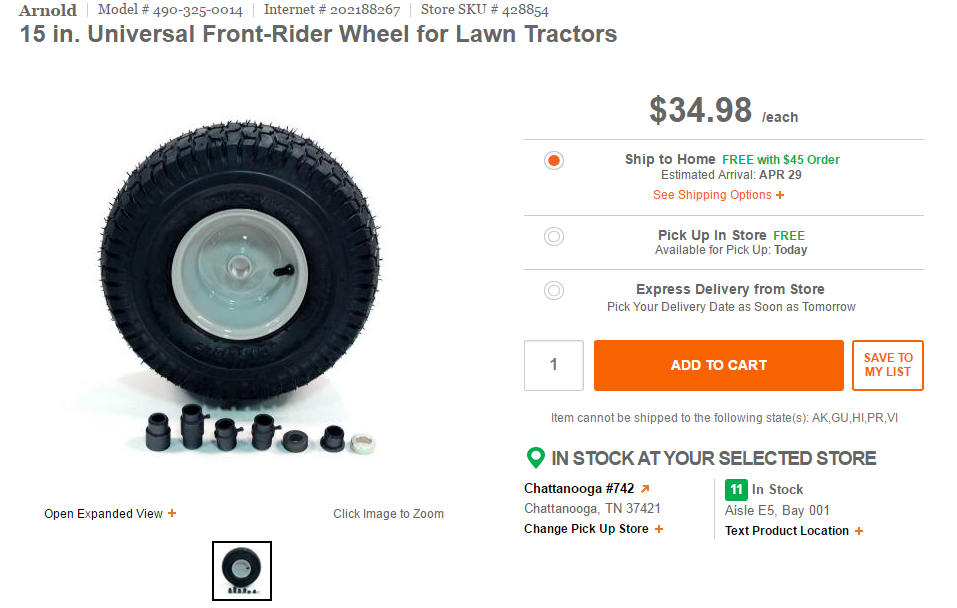
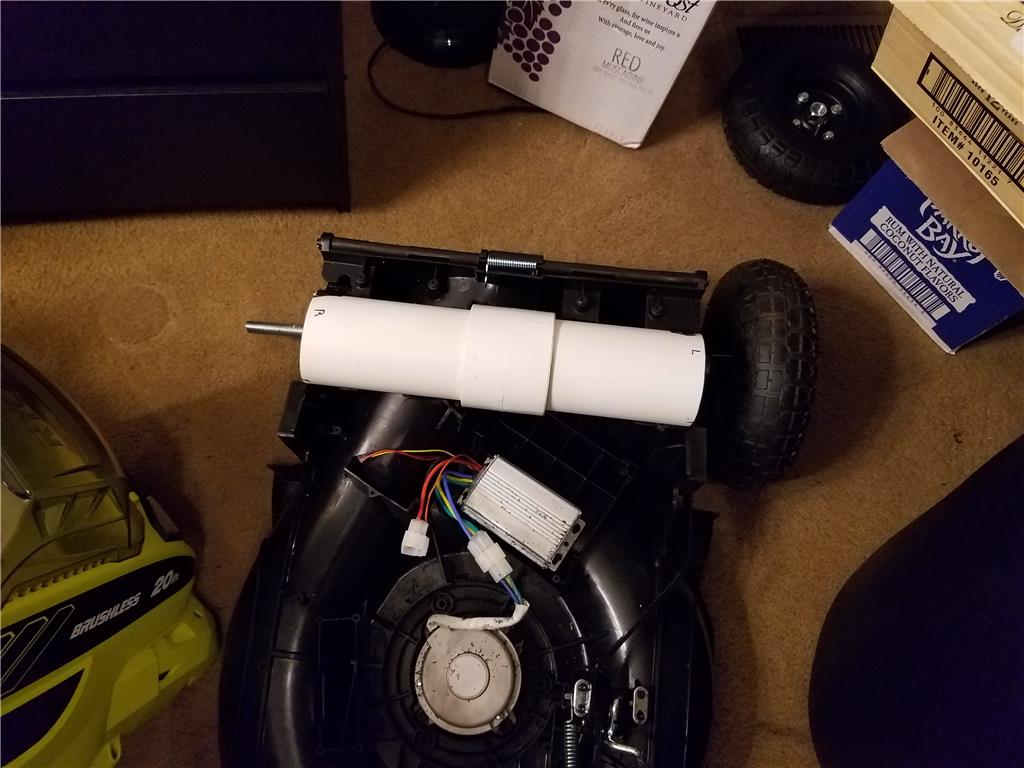
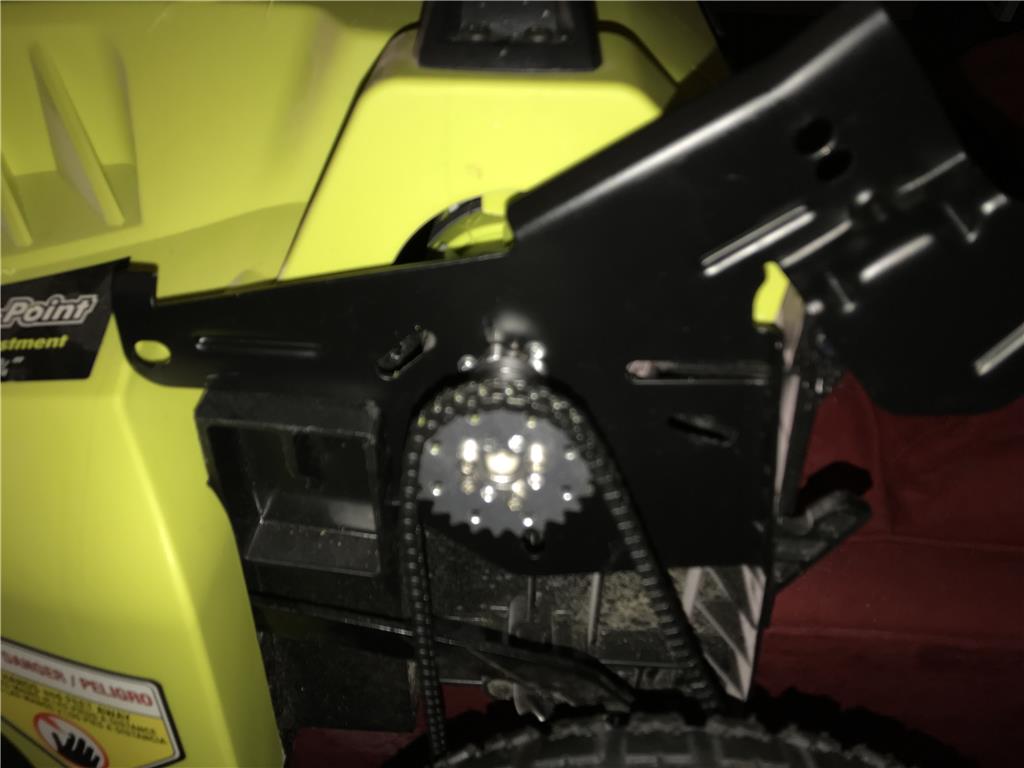
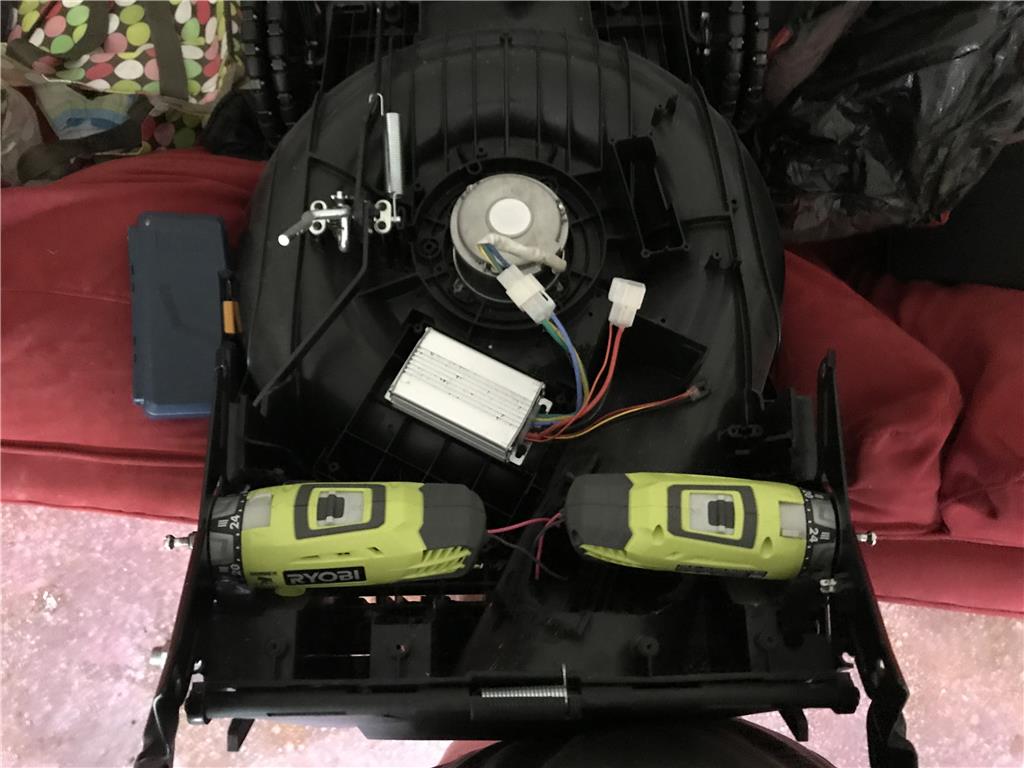
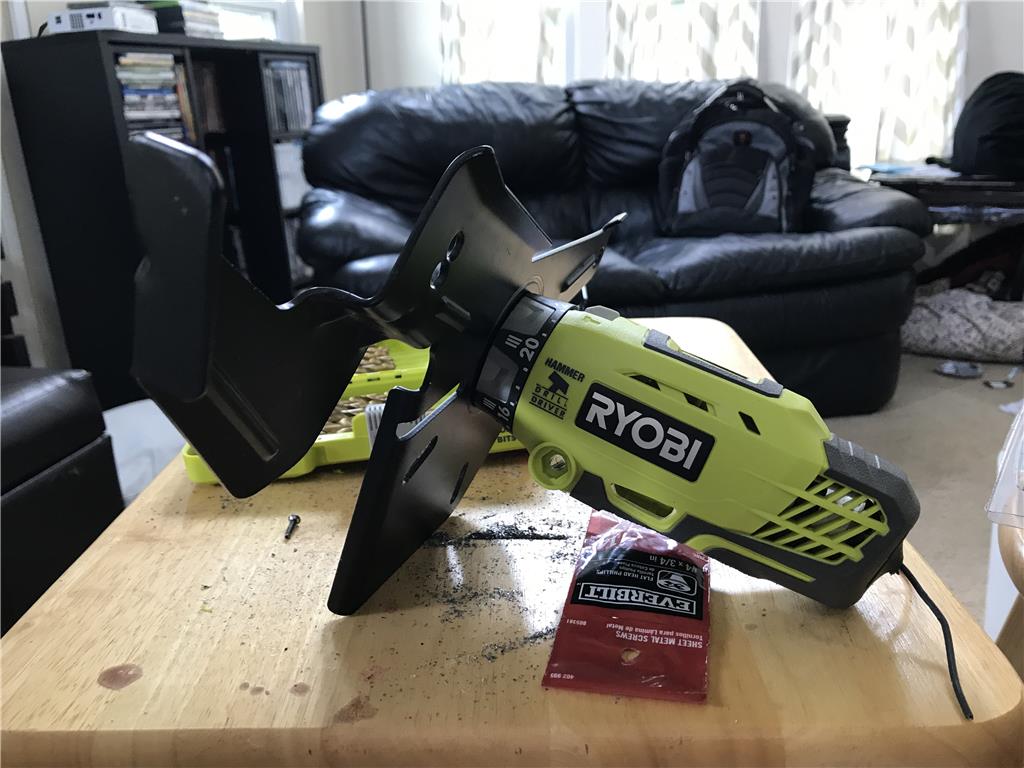
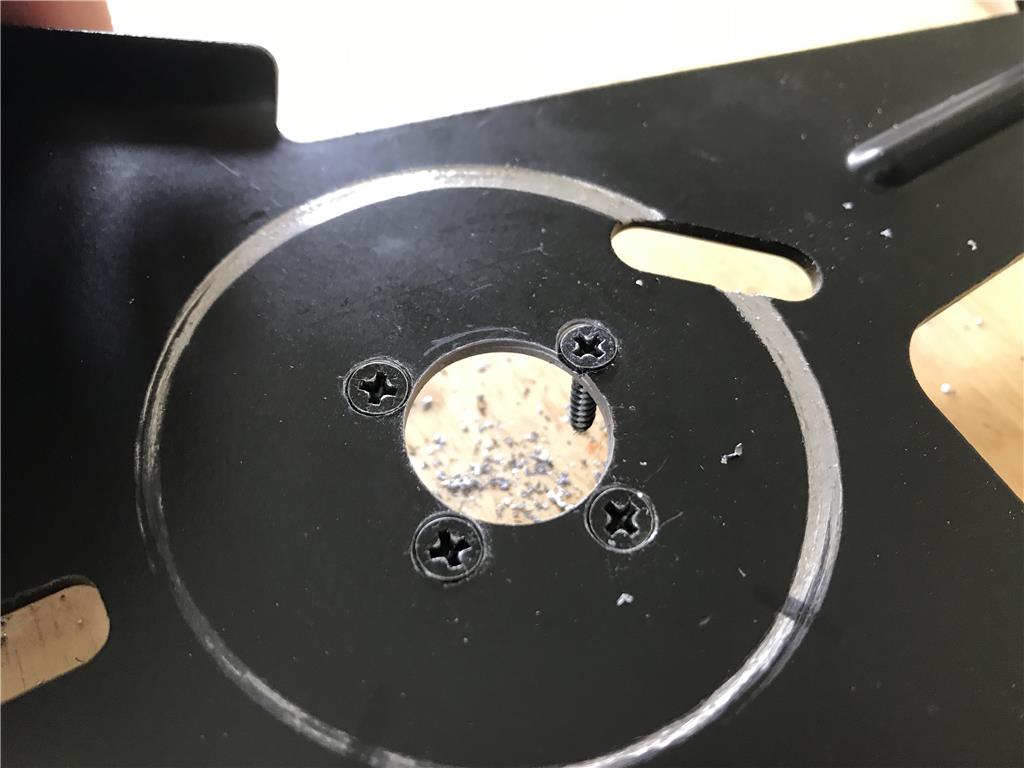
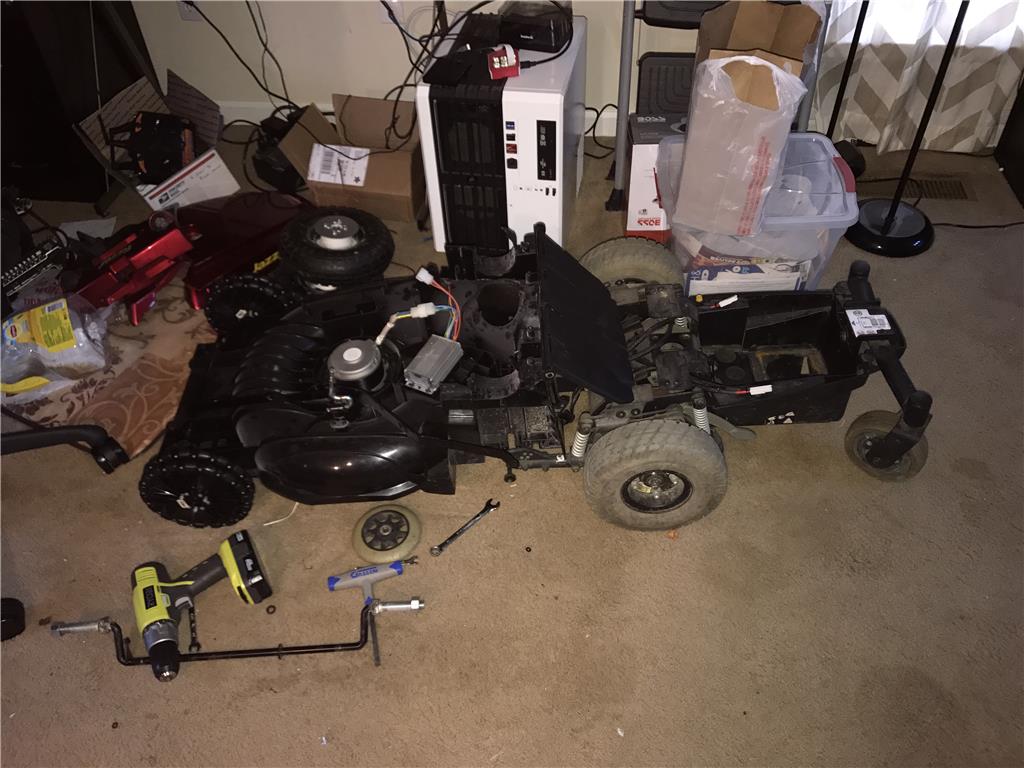
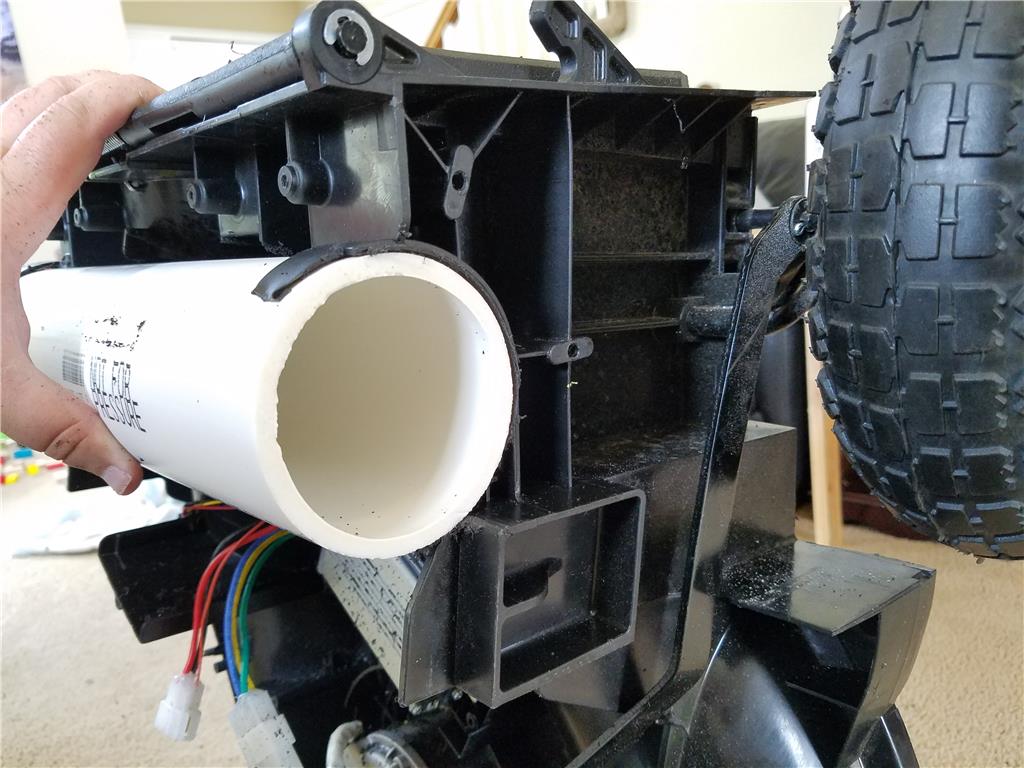
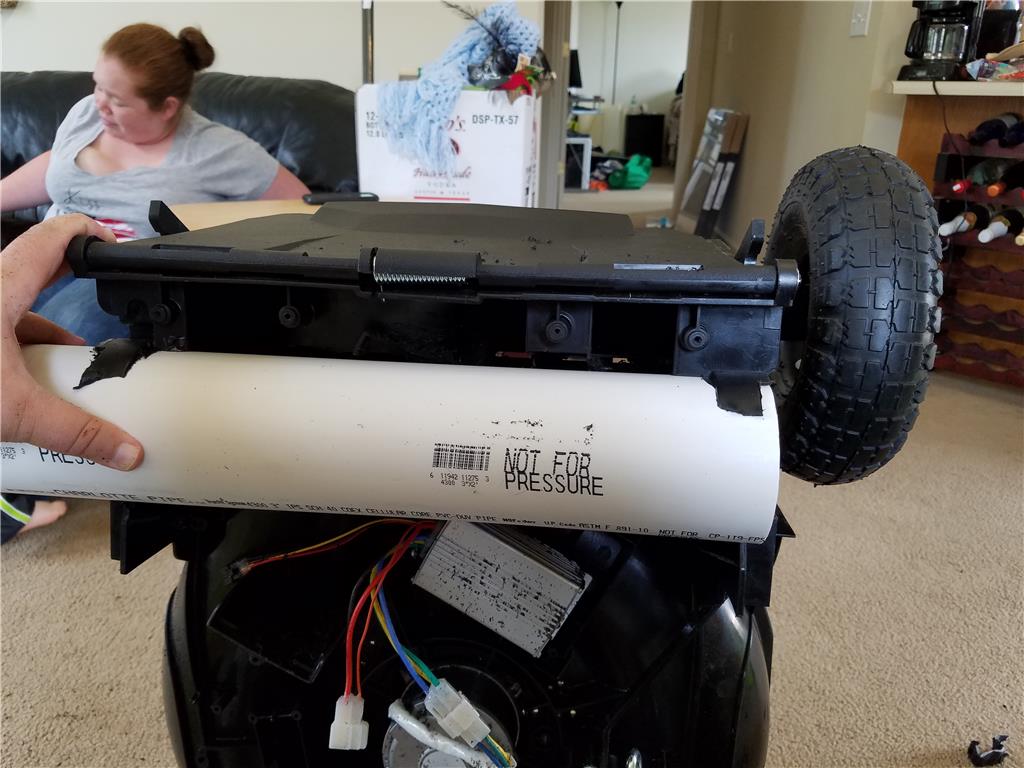
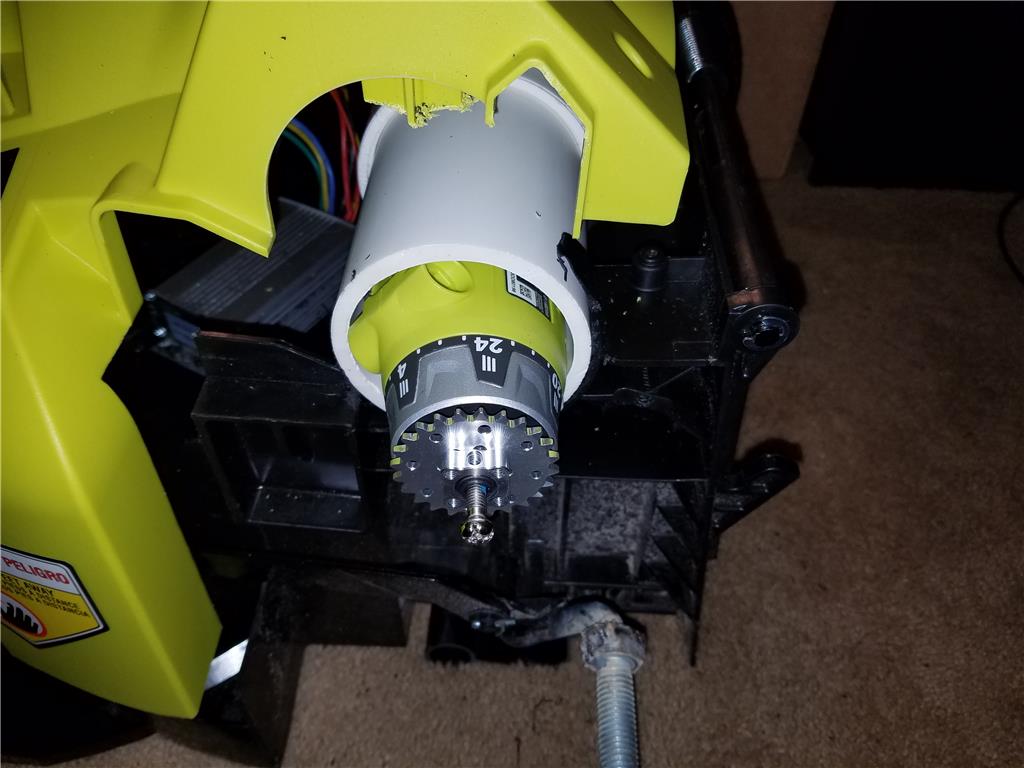
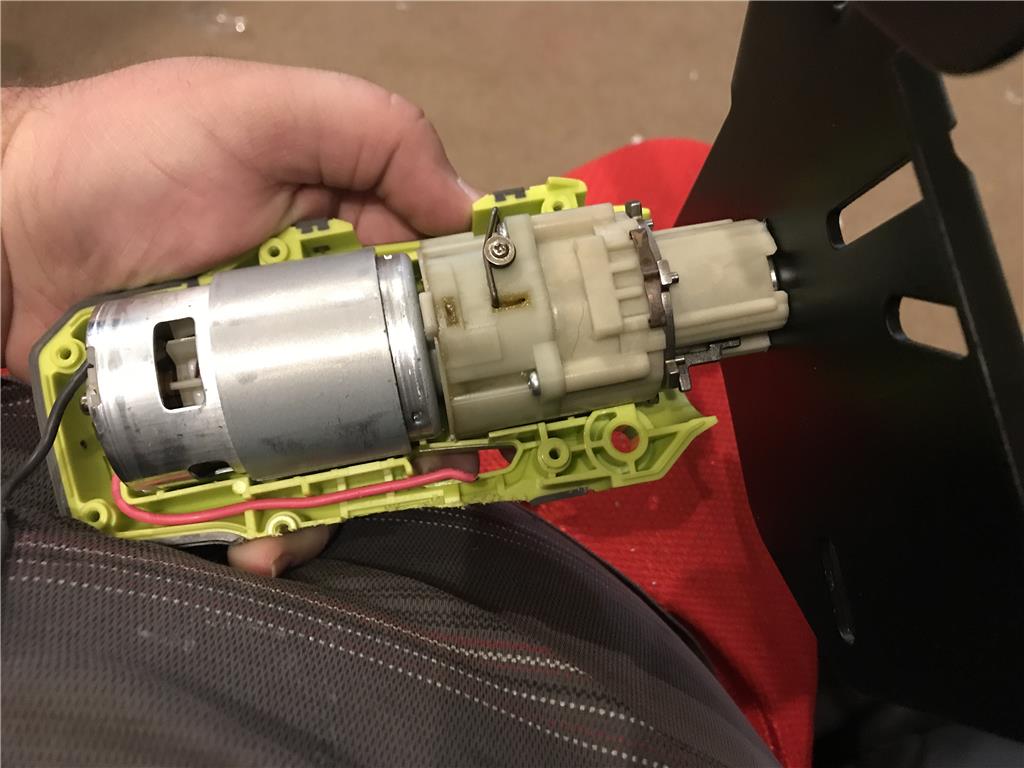
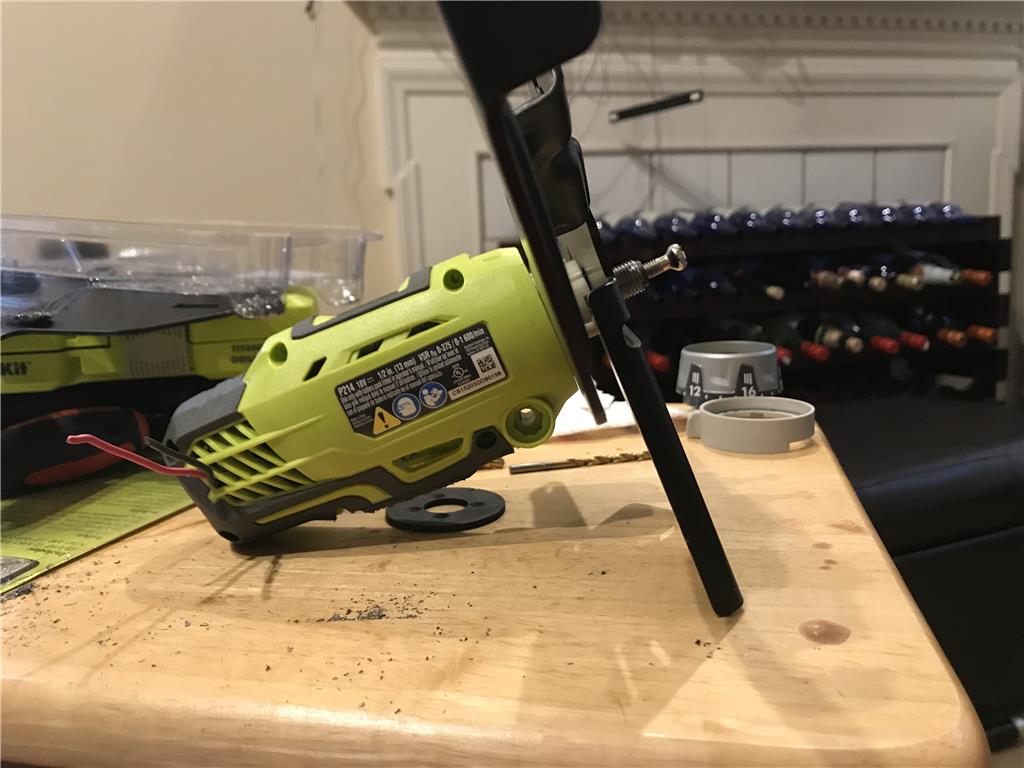
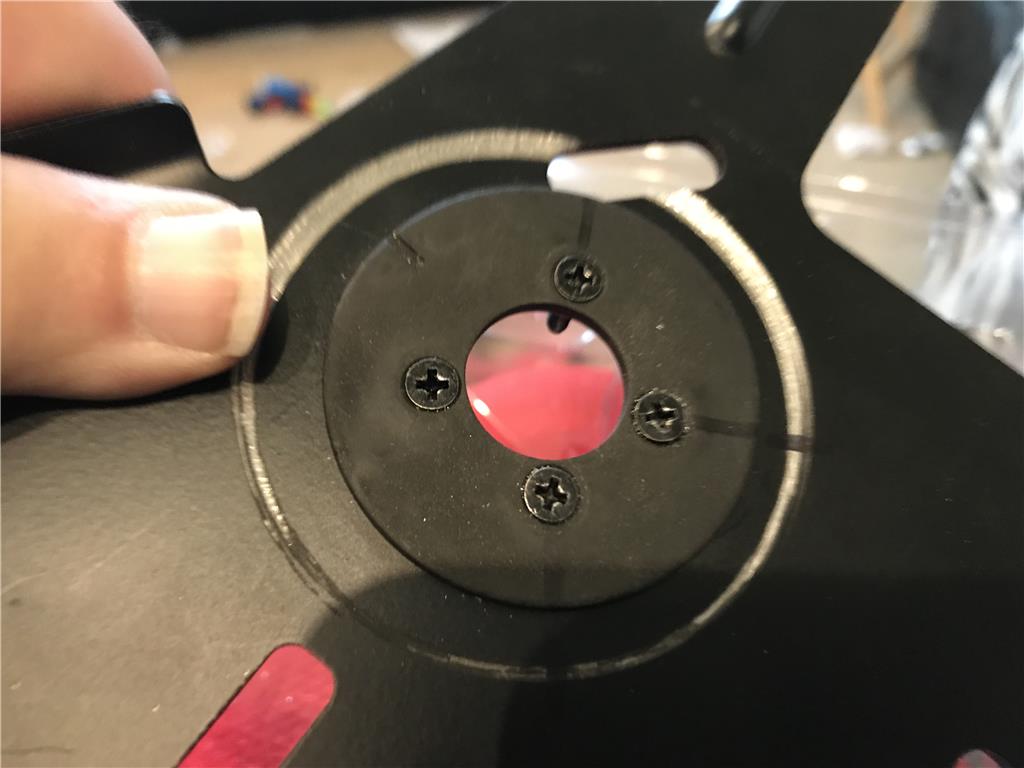
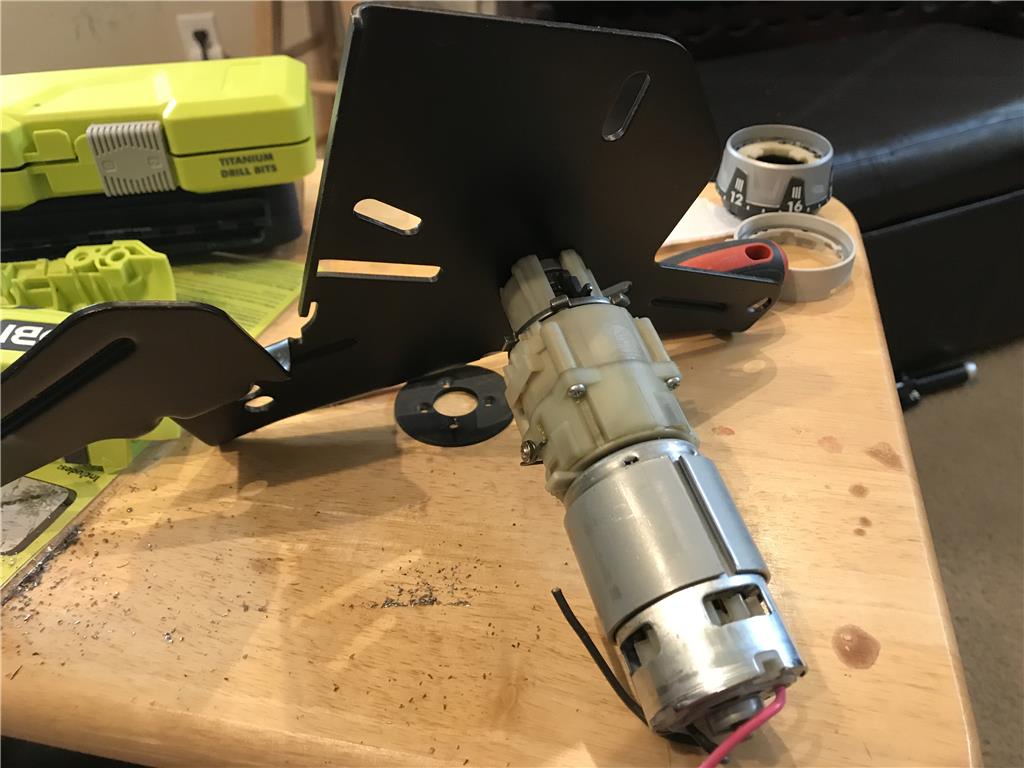
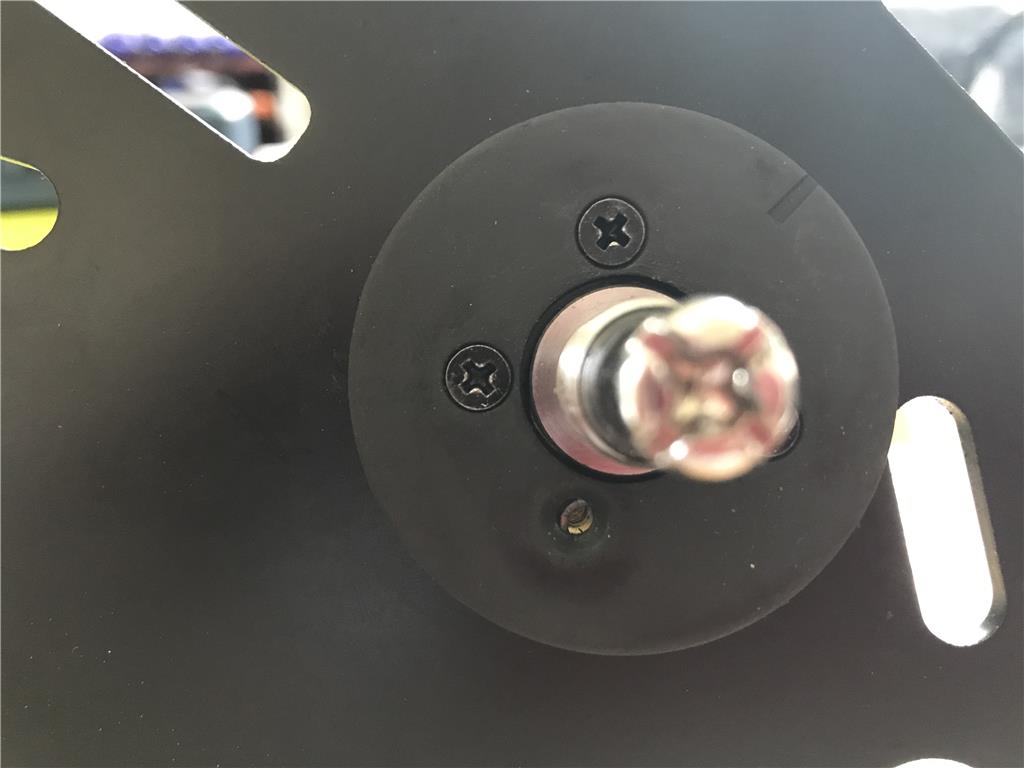
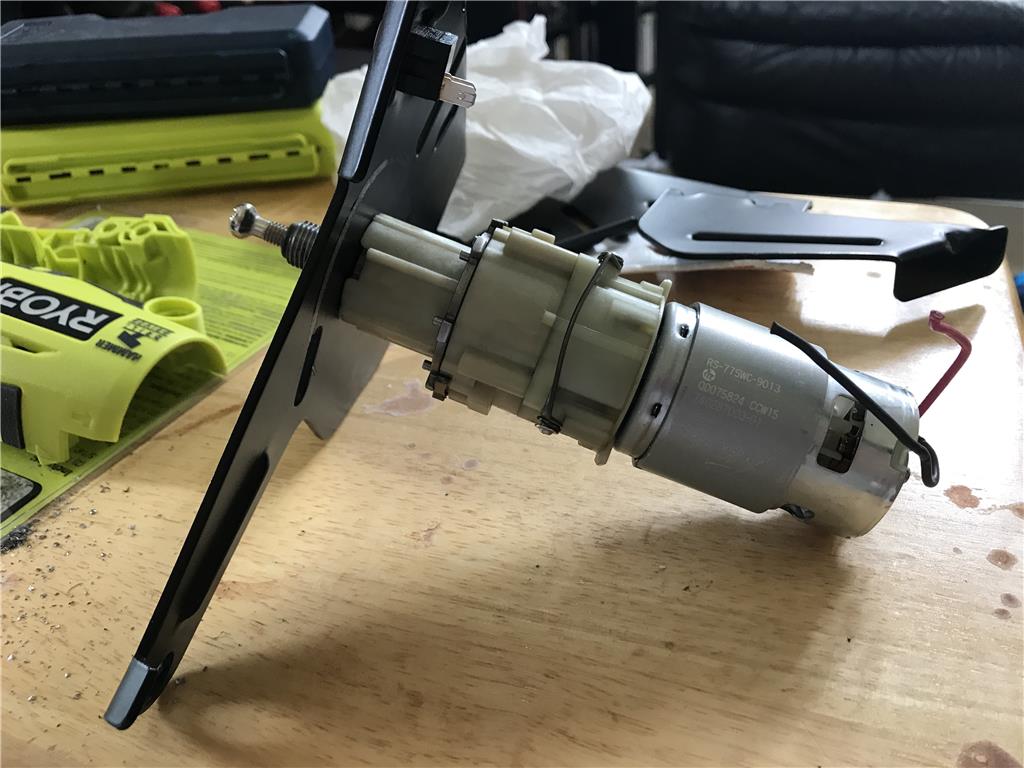
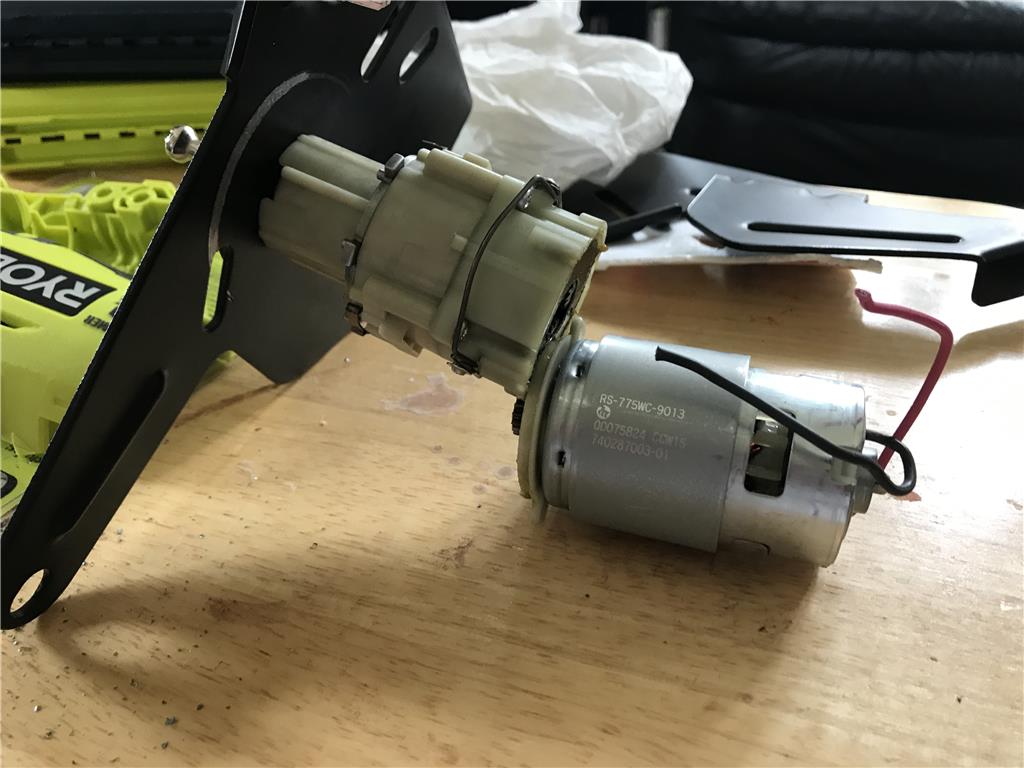
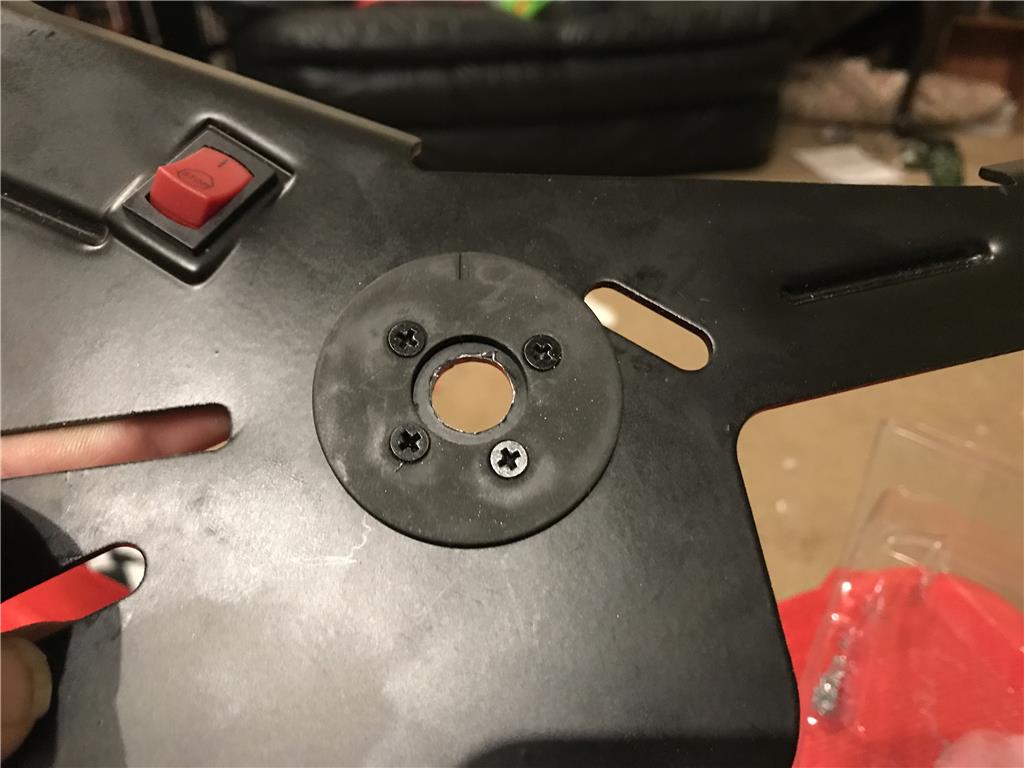
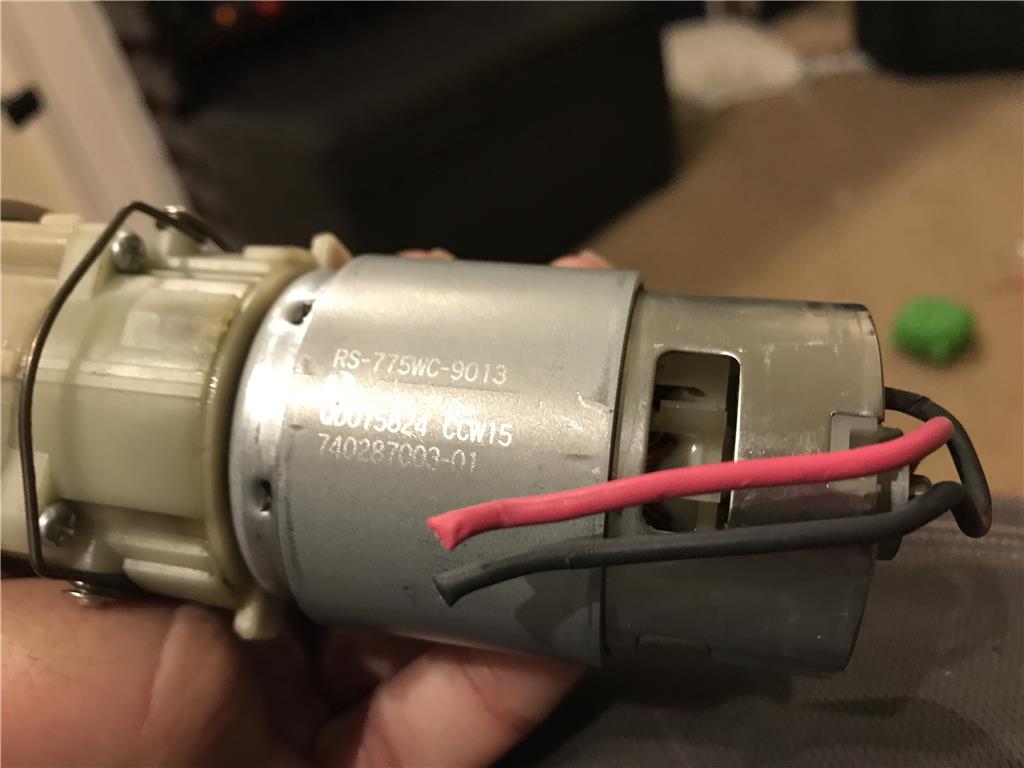
The left motor is mounted to the steel plate. I reassembled the casing to mate the motor to the gearbox. I may drill a couple 1 inch holes to act as additional vents to cool the motor.
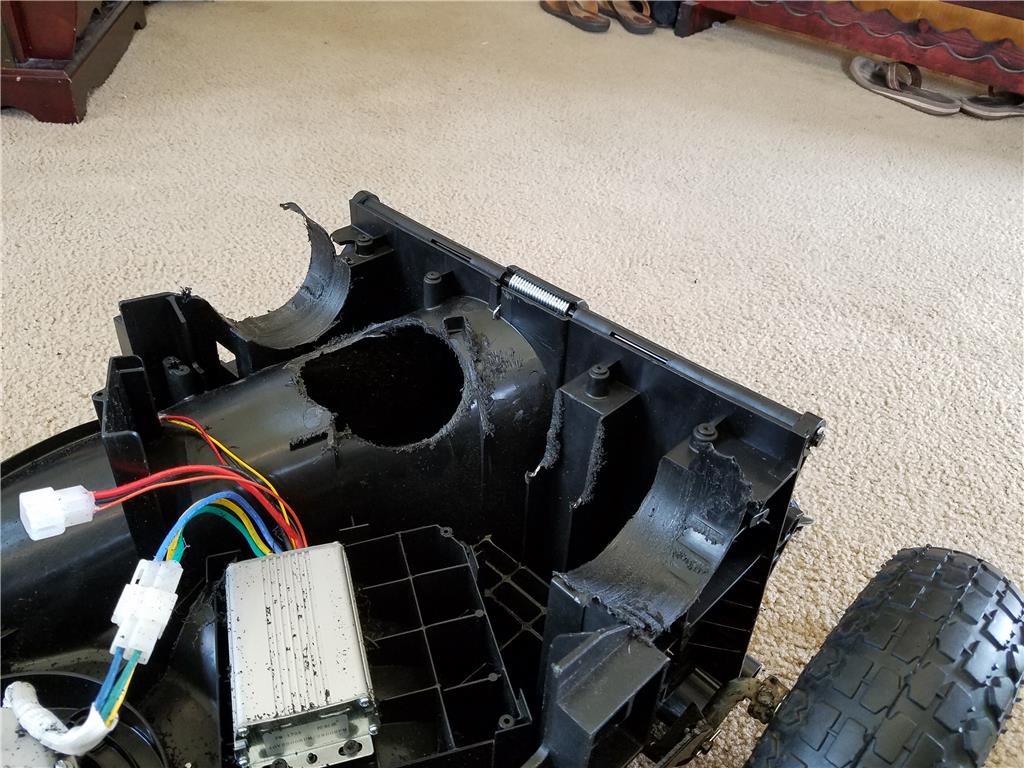
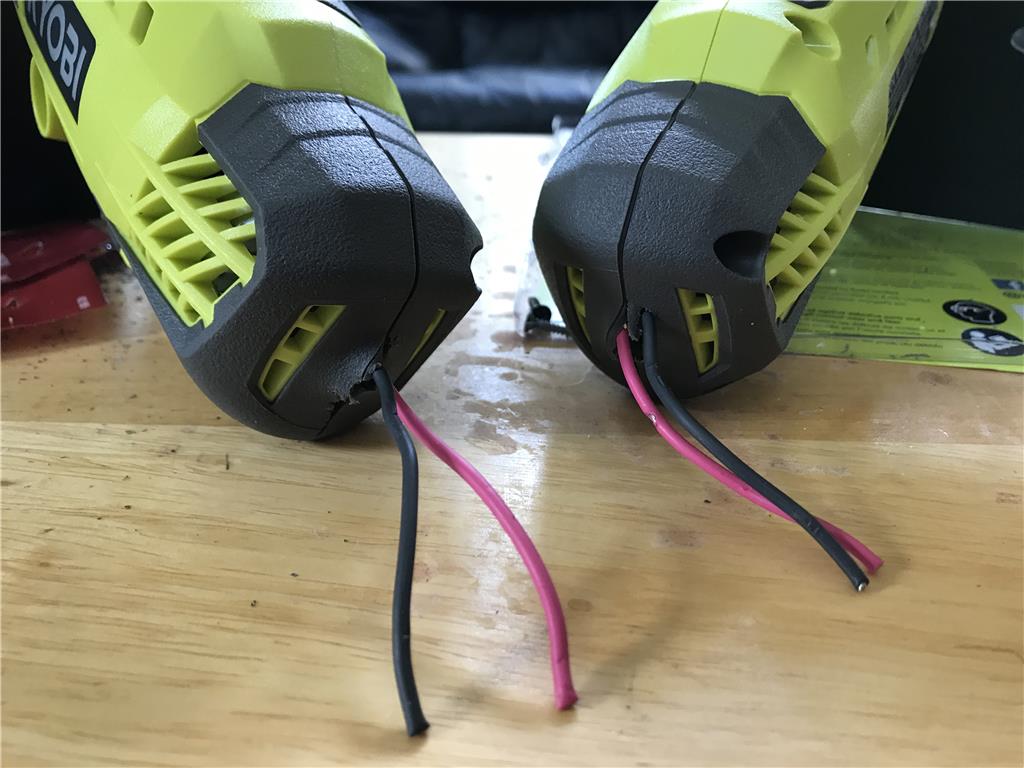
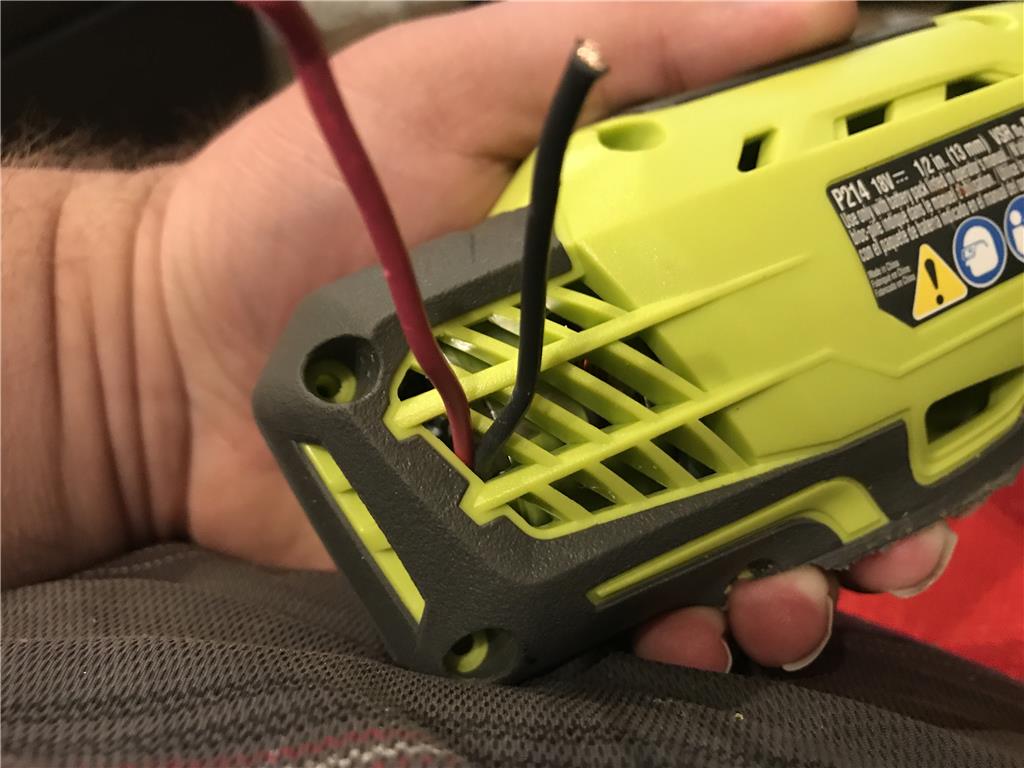
I made a hole on the ends of the casing to feed the power wires through.
Josh, I am not laughing, that is easy to do. Looking forward to your updates on your project. Steve S
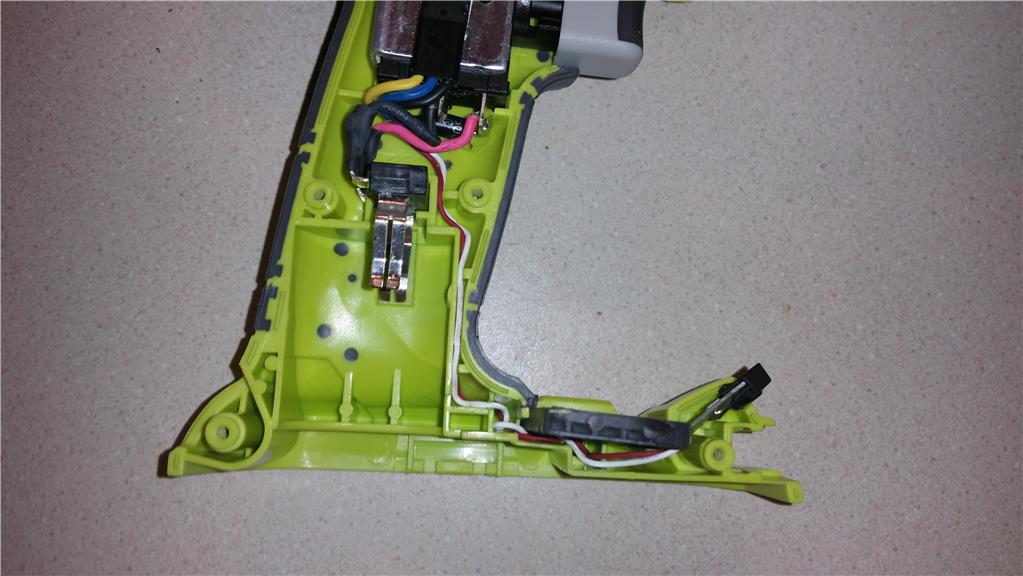
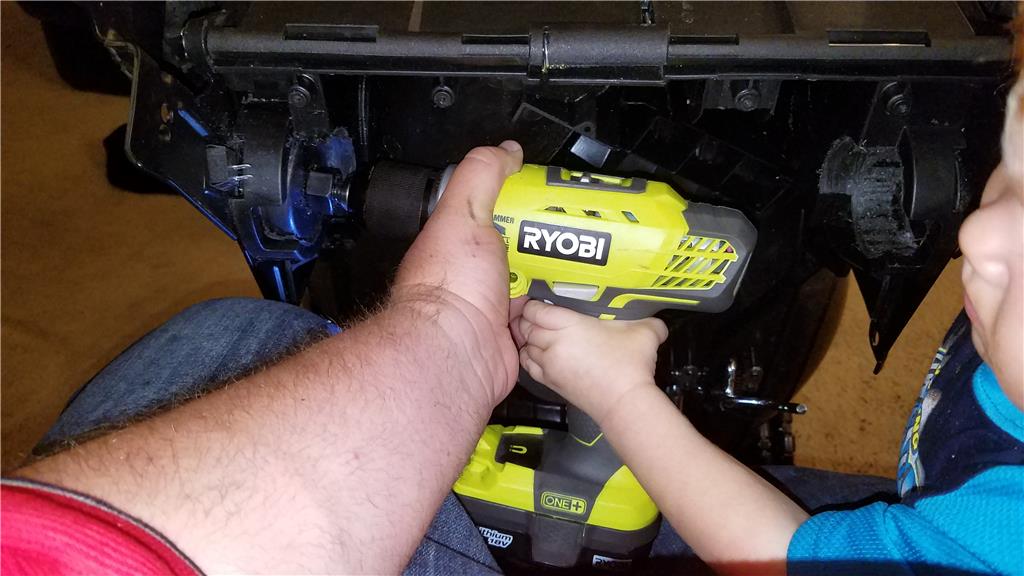
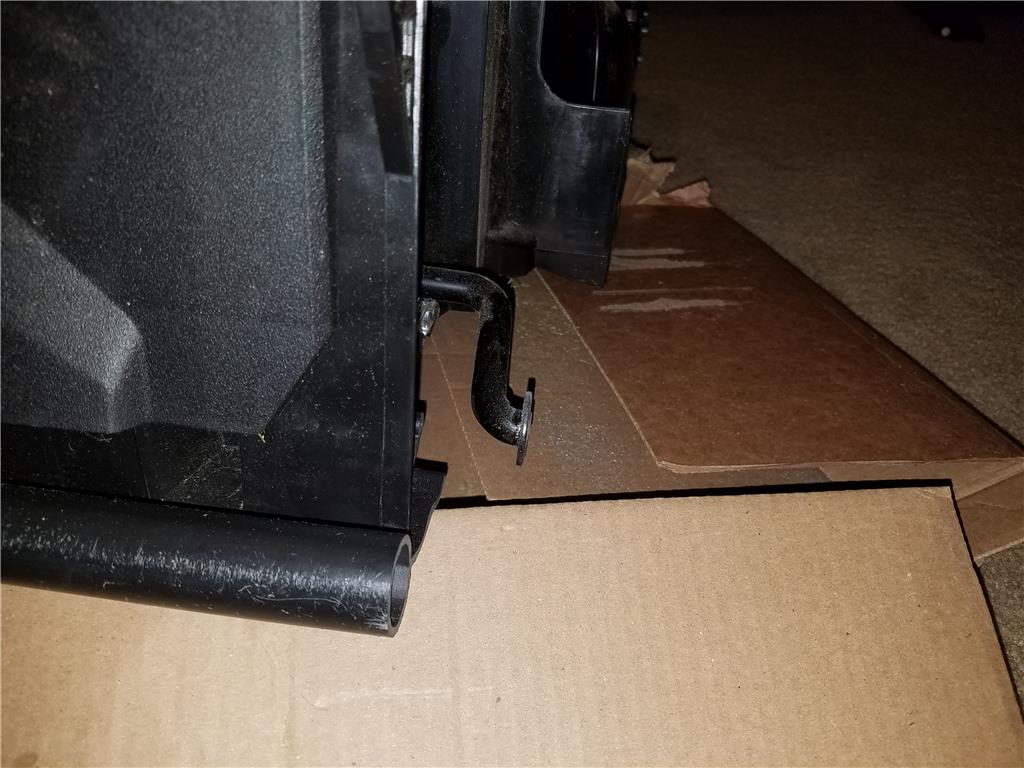
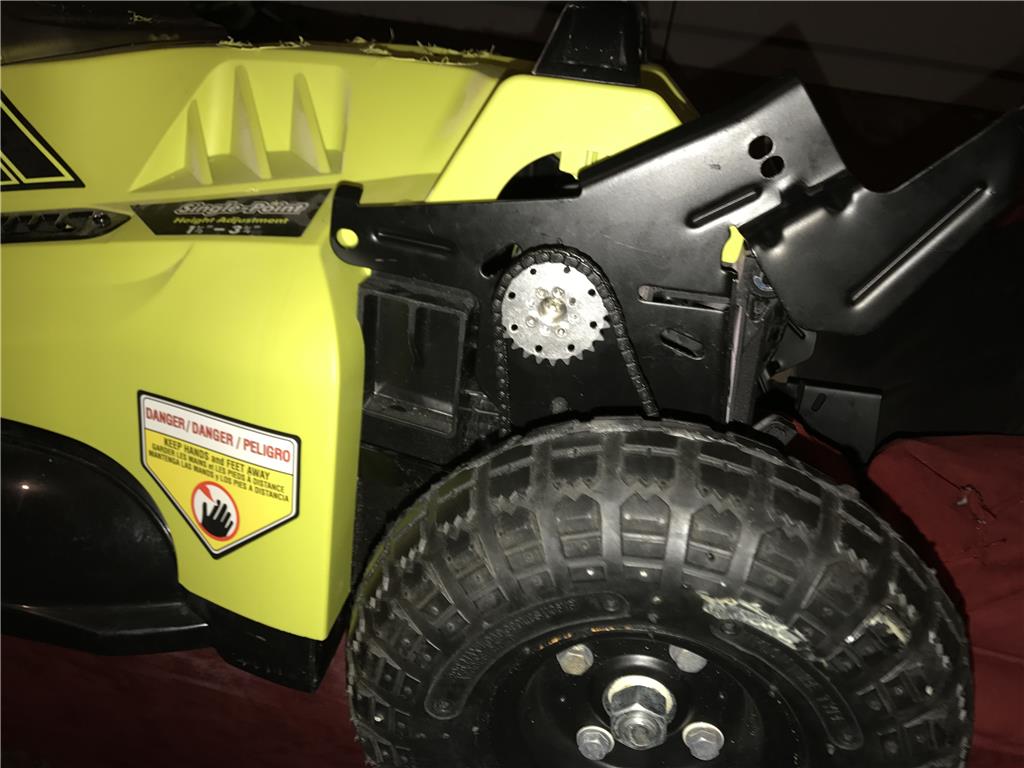
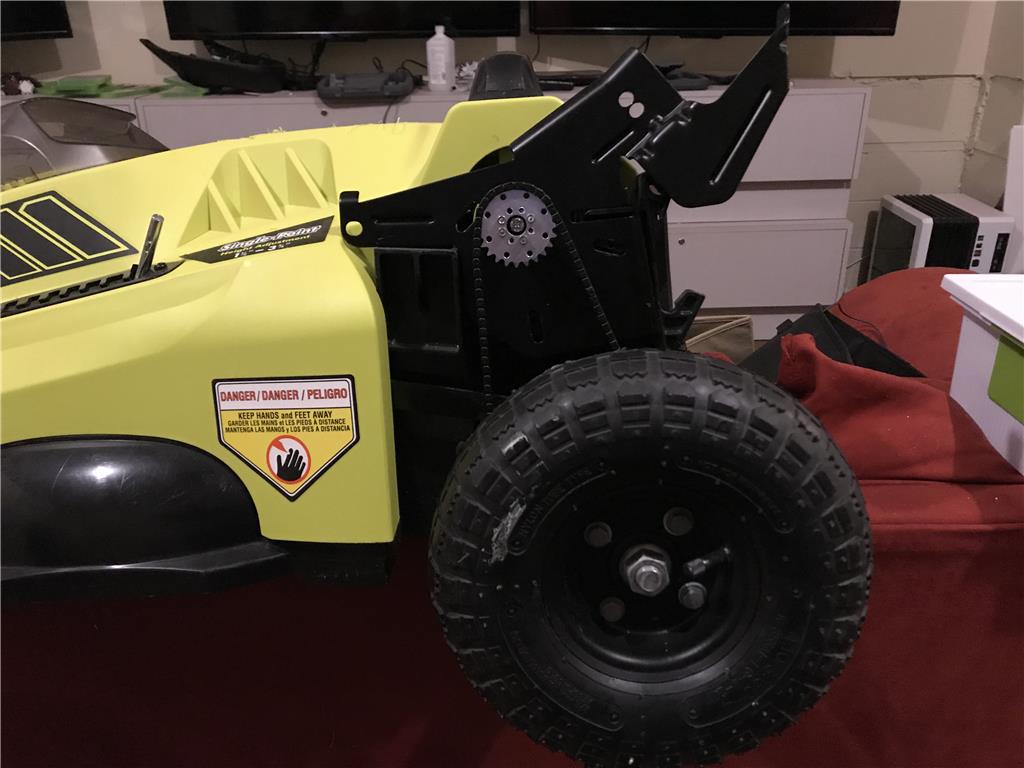
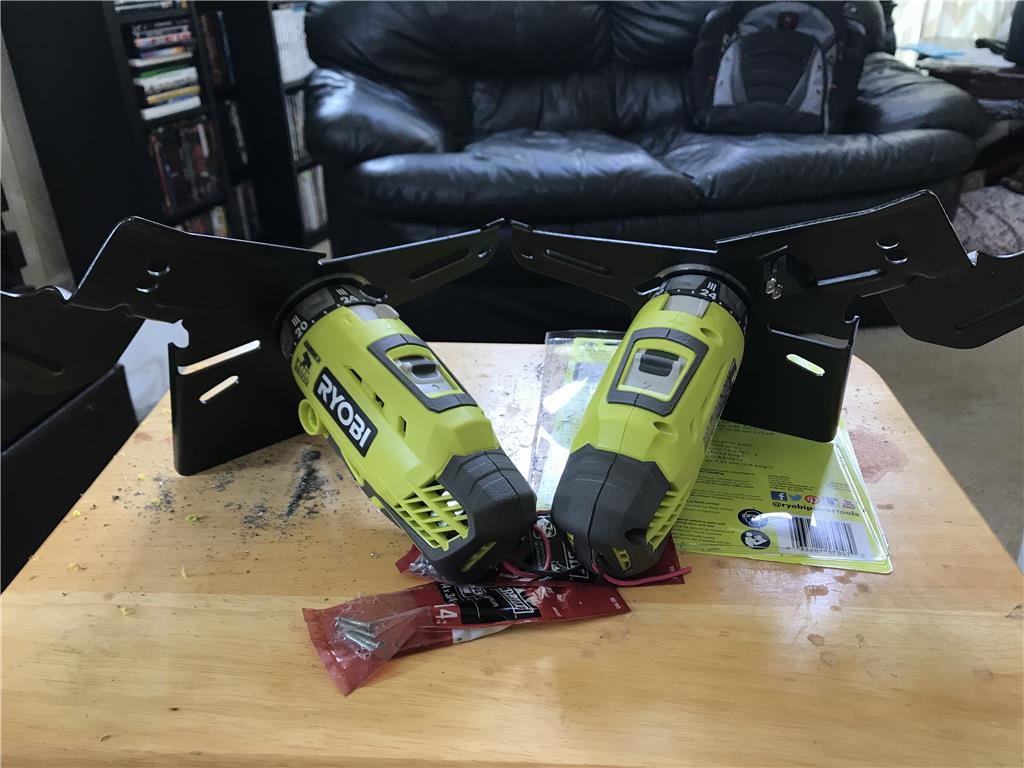
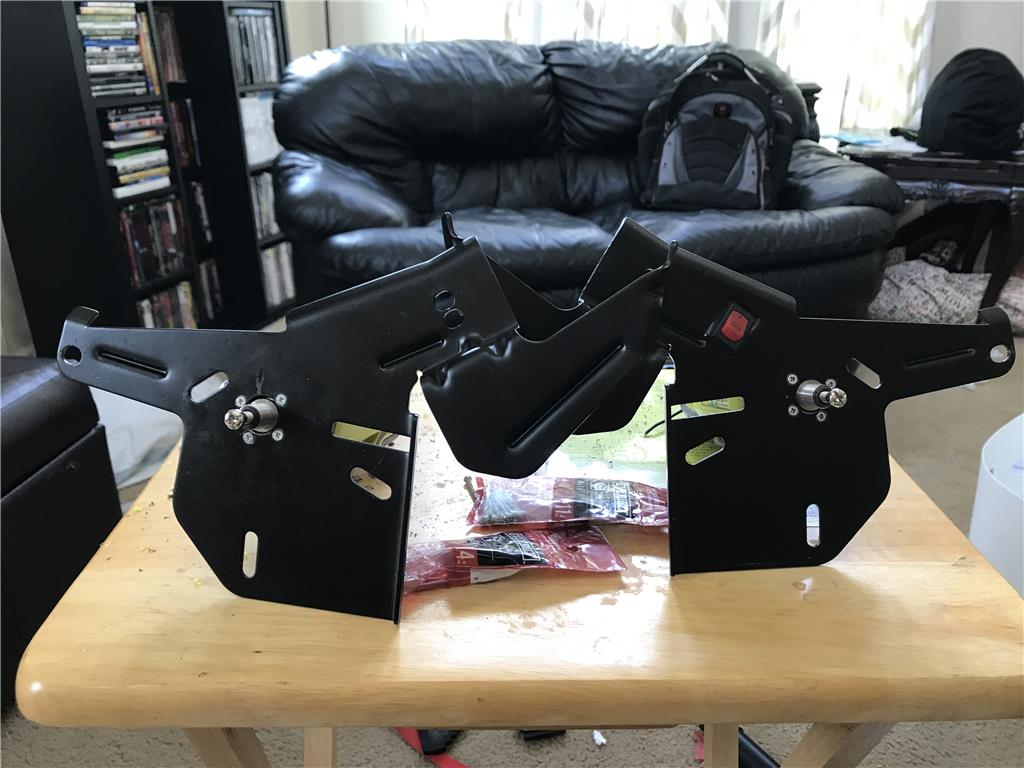
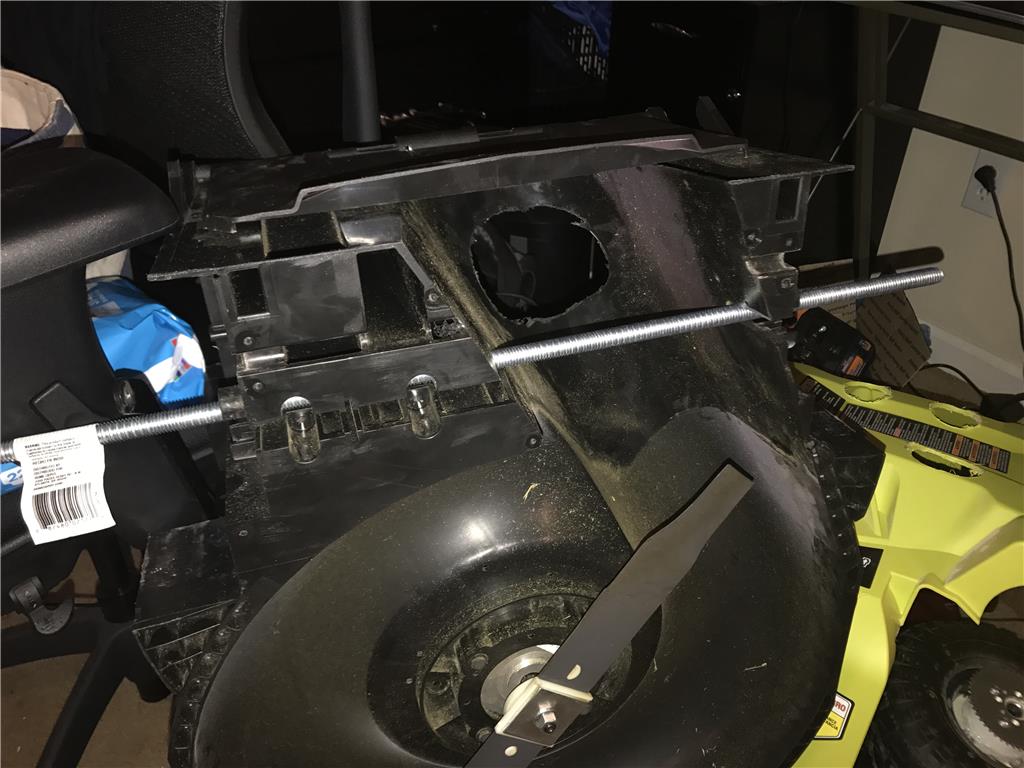
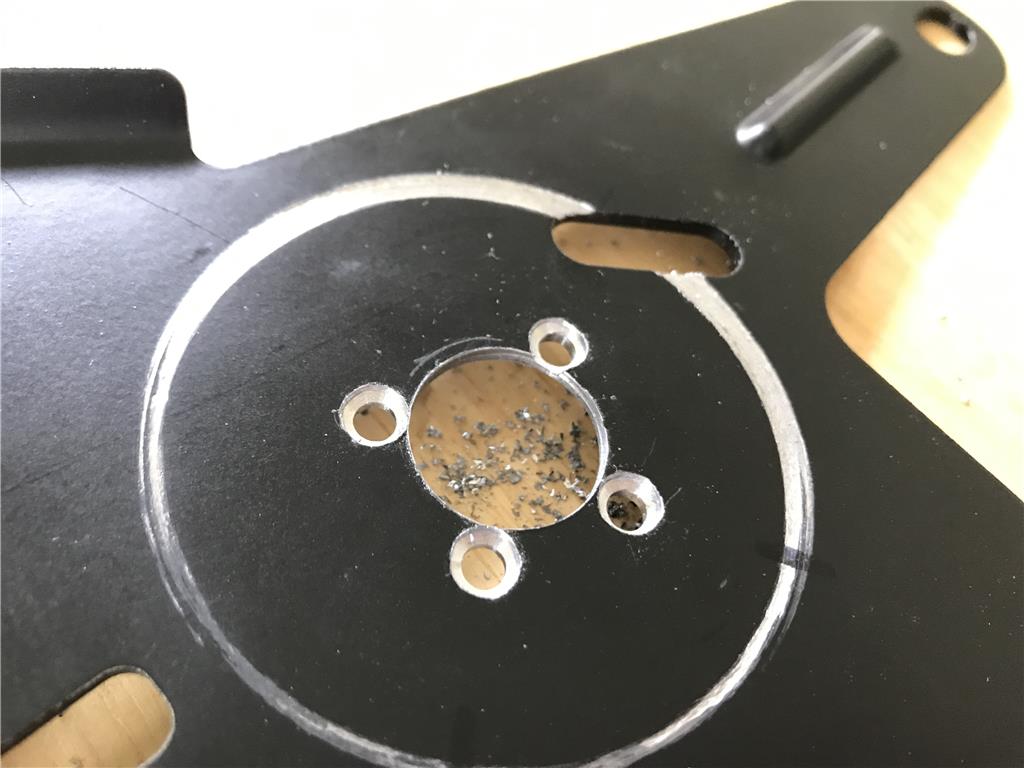
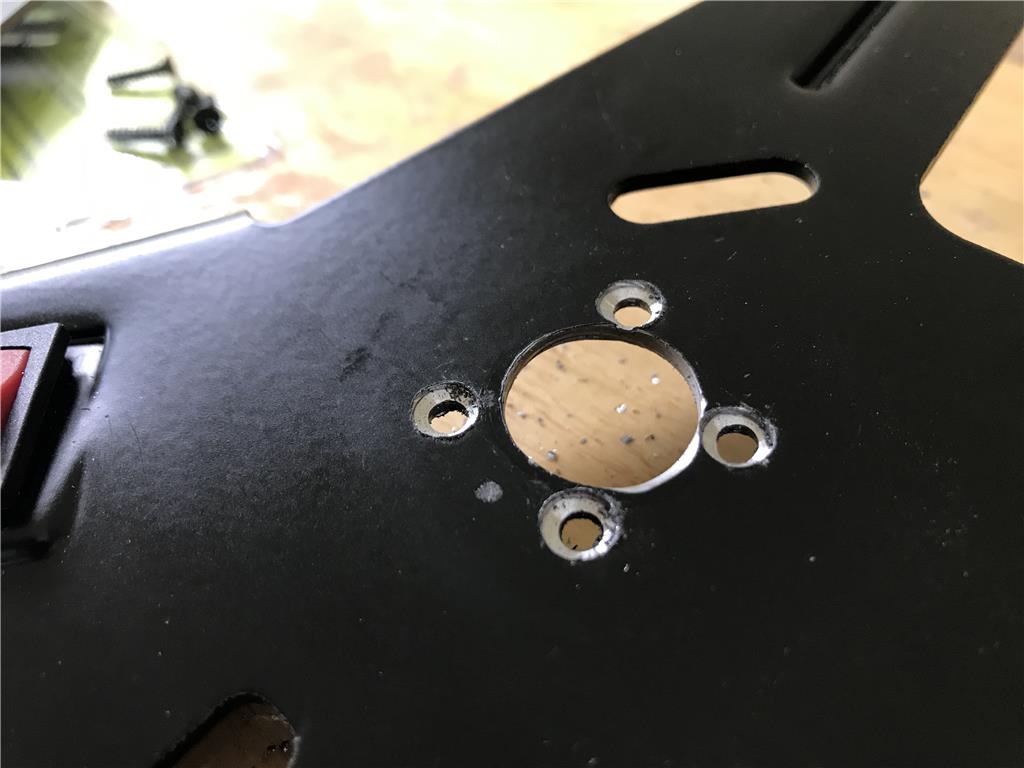
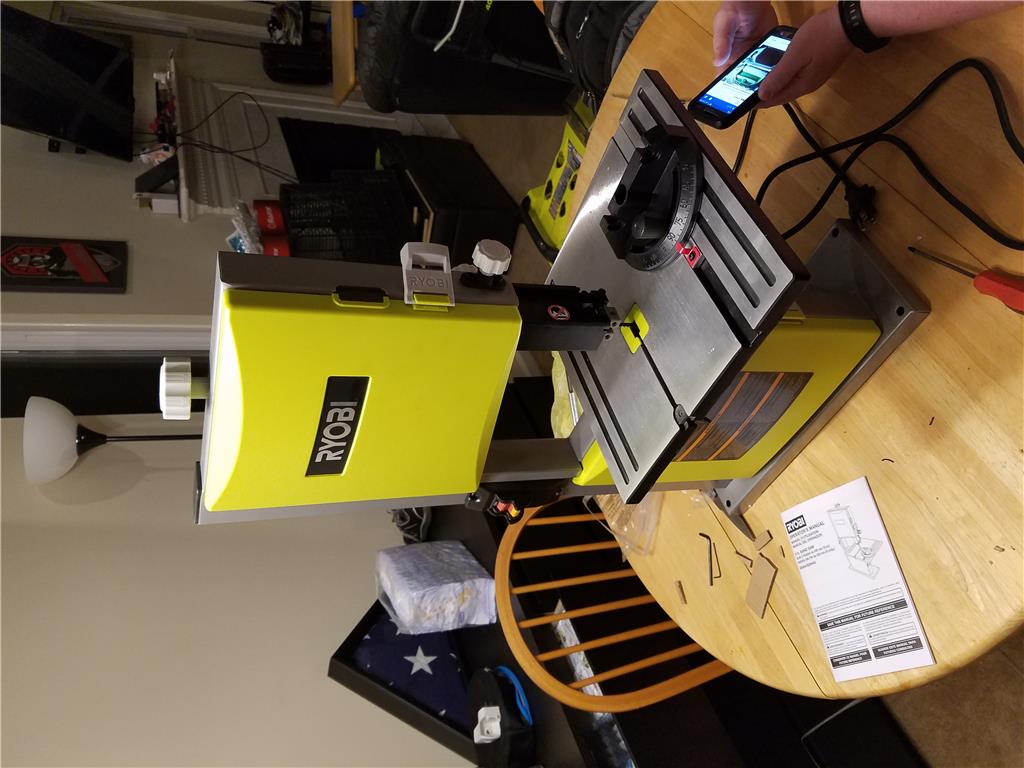
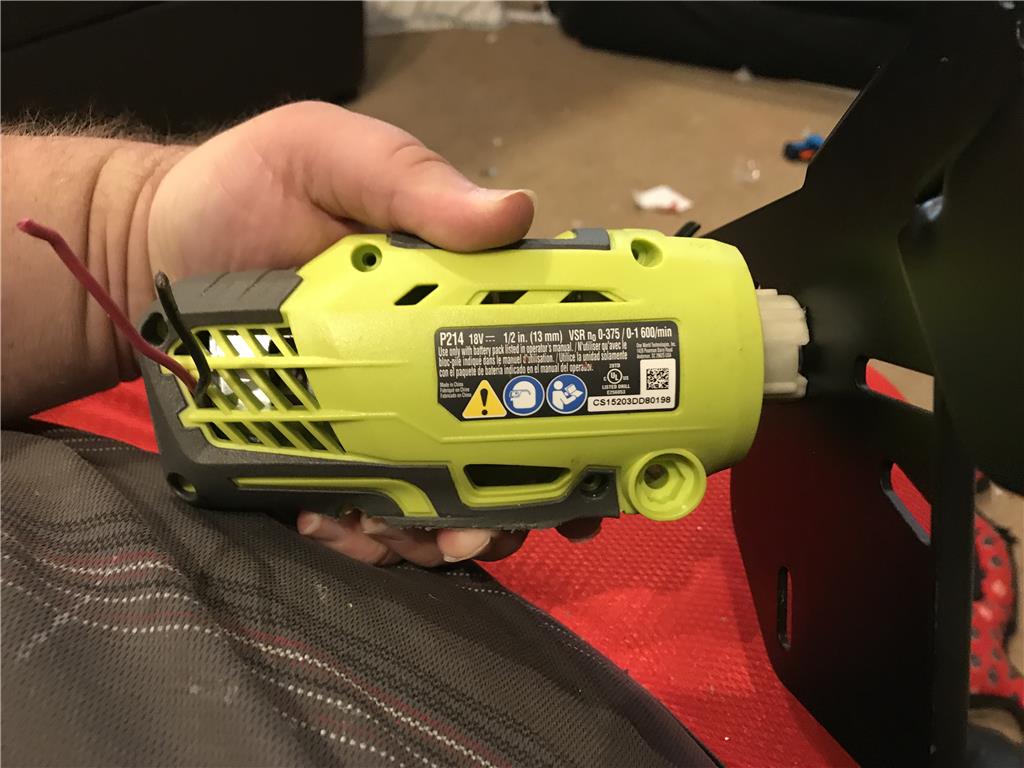
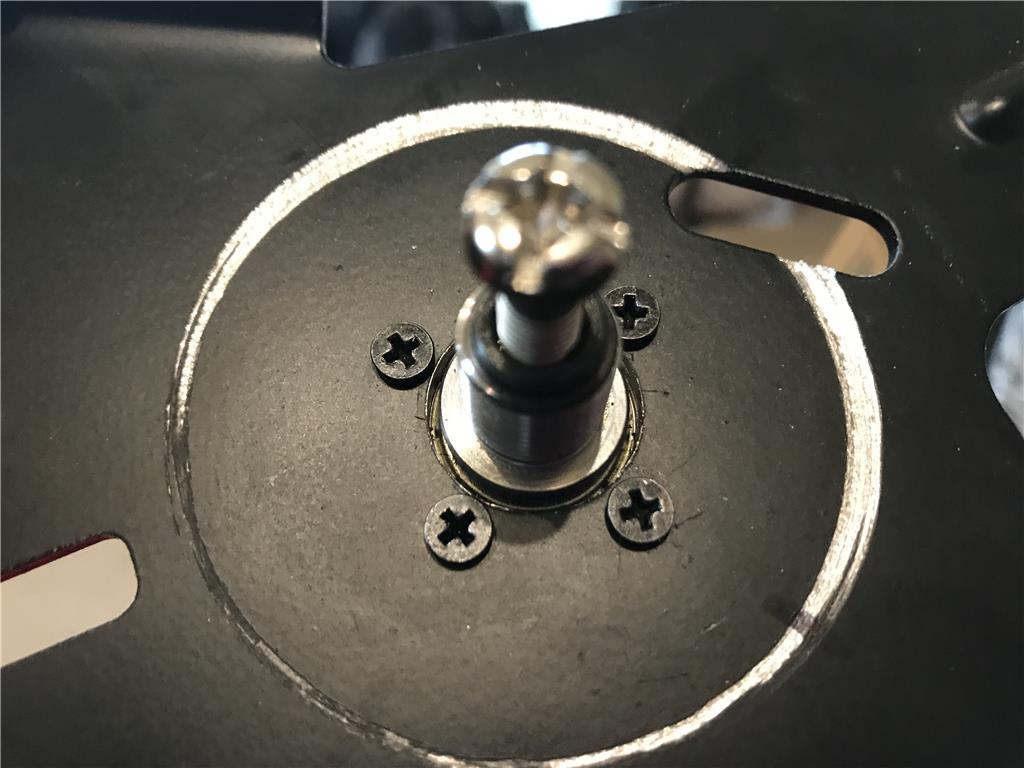
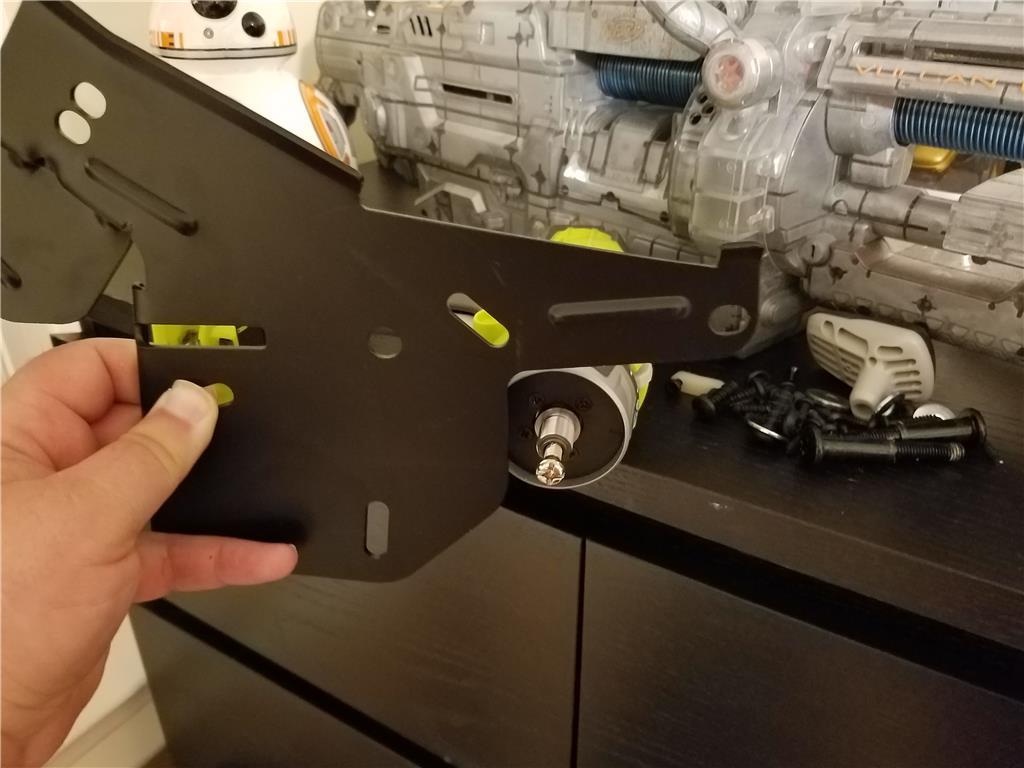
A quick test for shows I need to do some trimming of the case or the plastic on the frame to line up with the bracket mounting holes. I will do this and go from there.
Oh and thanks Steve , I appreciate the support.
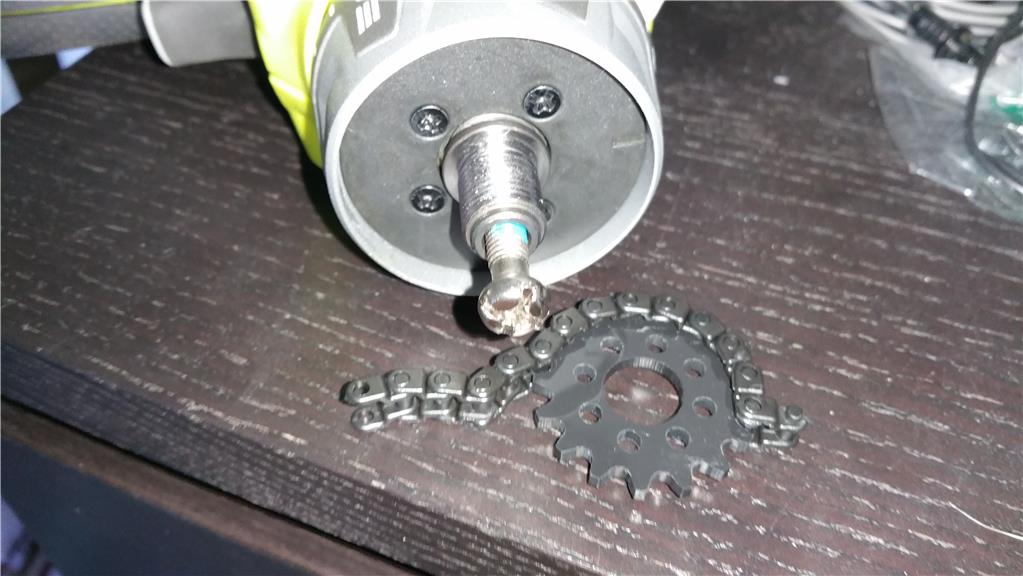
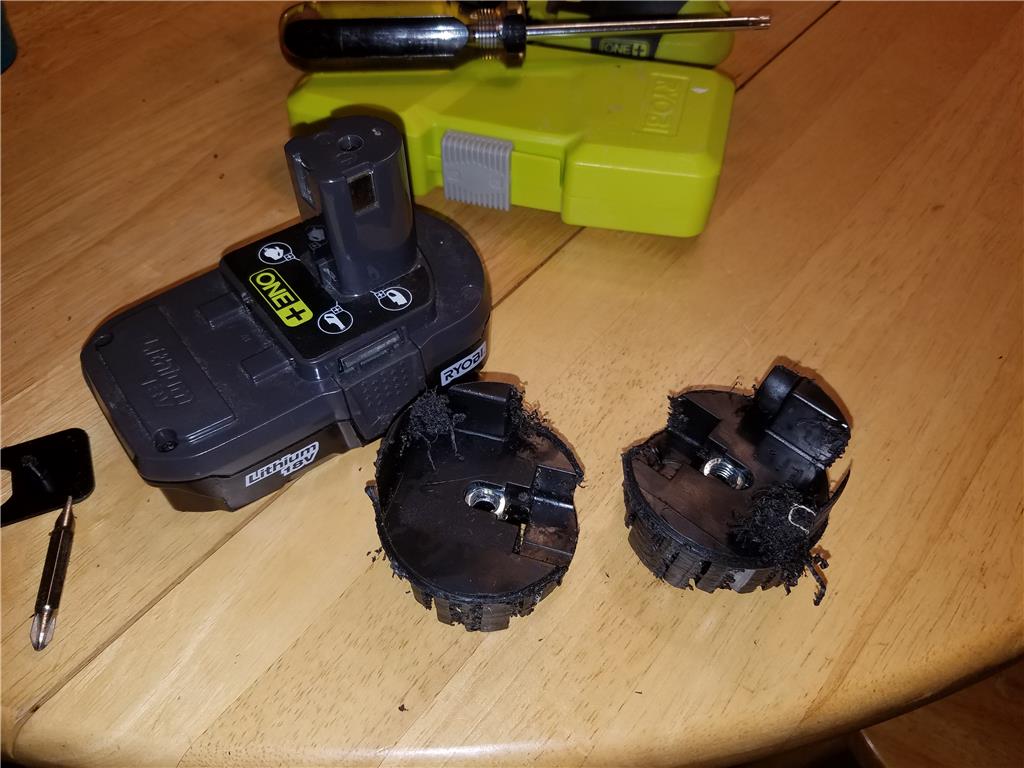
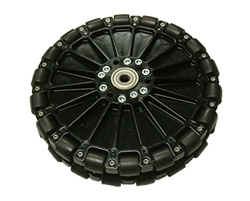
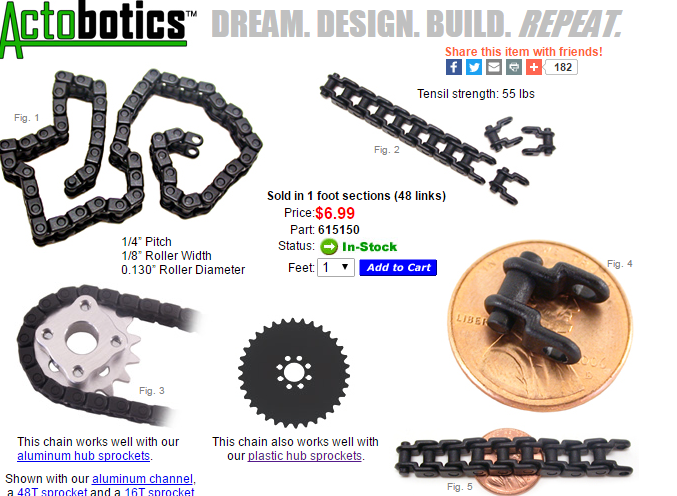
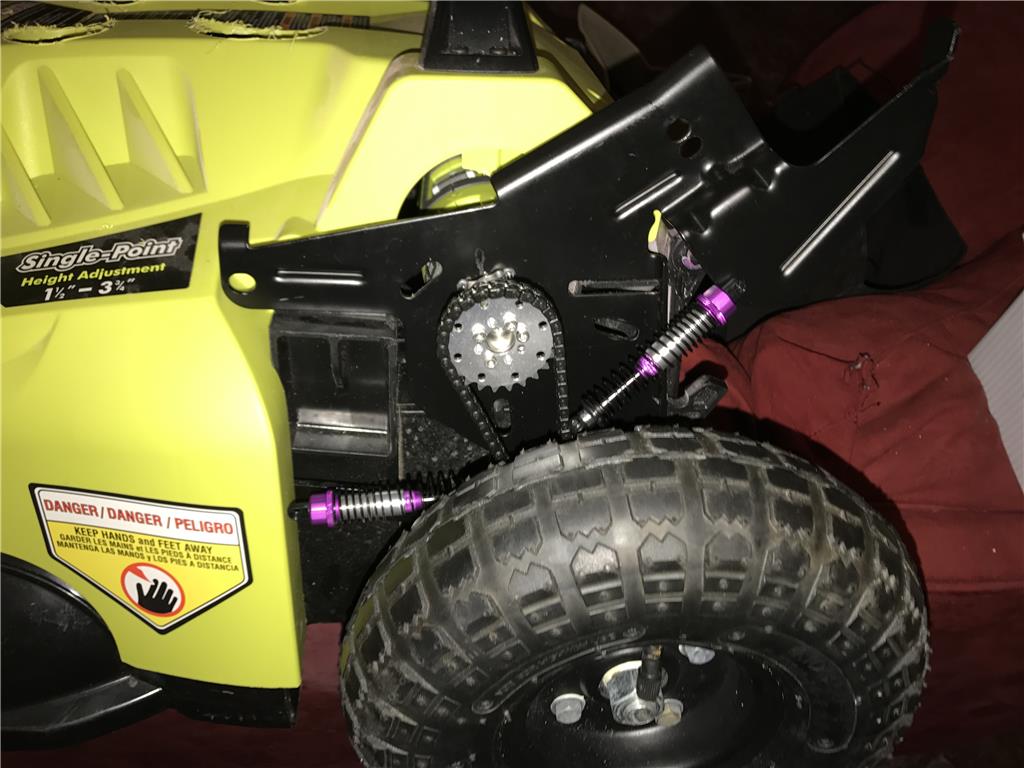
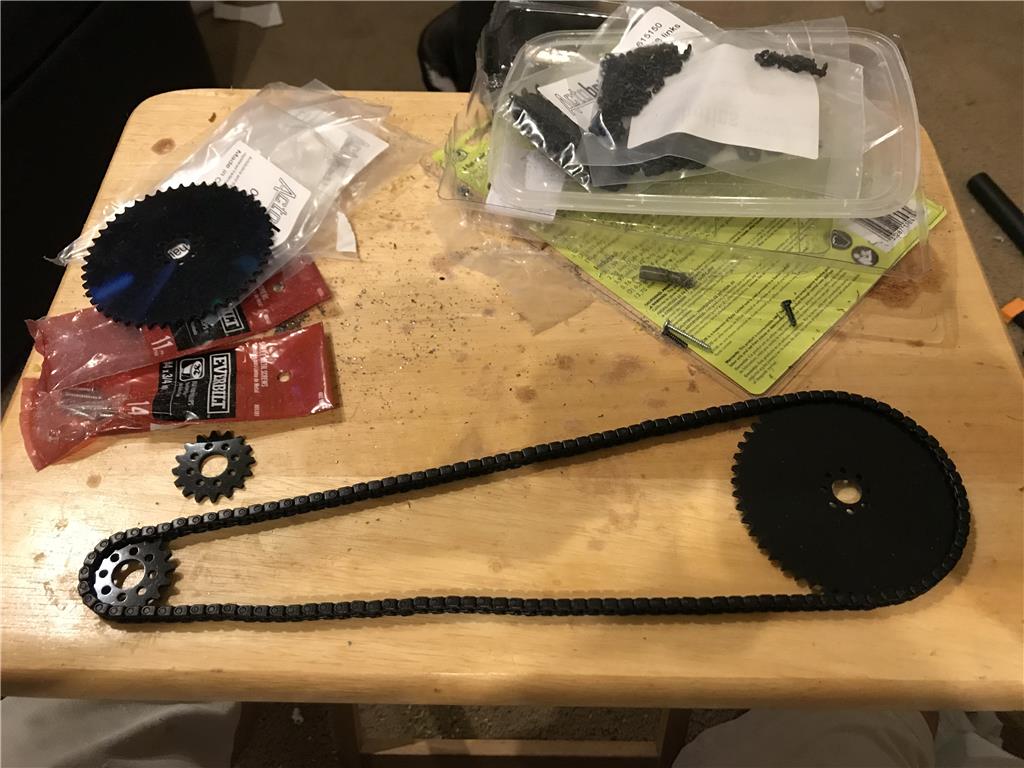
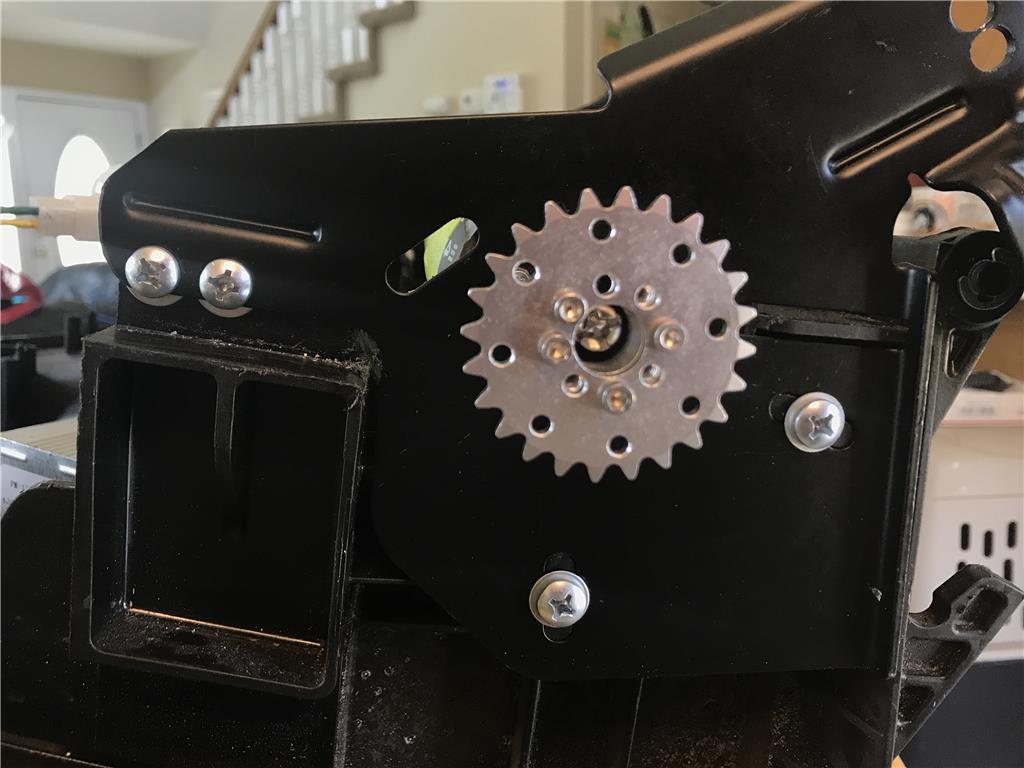
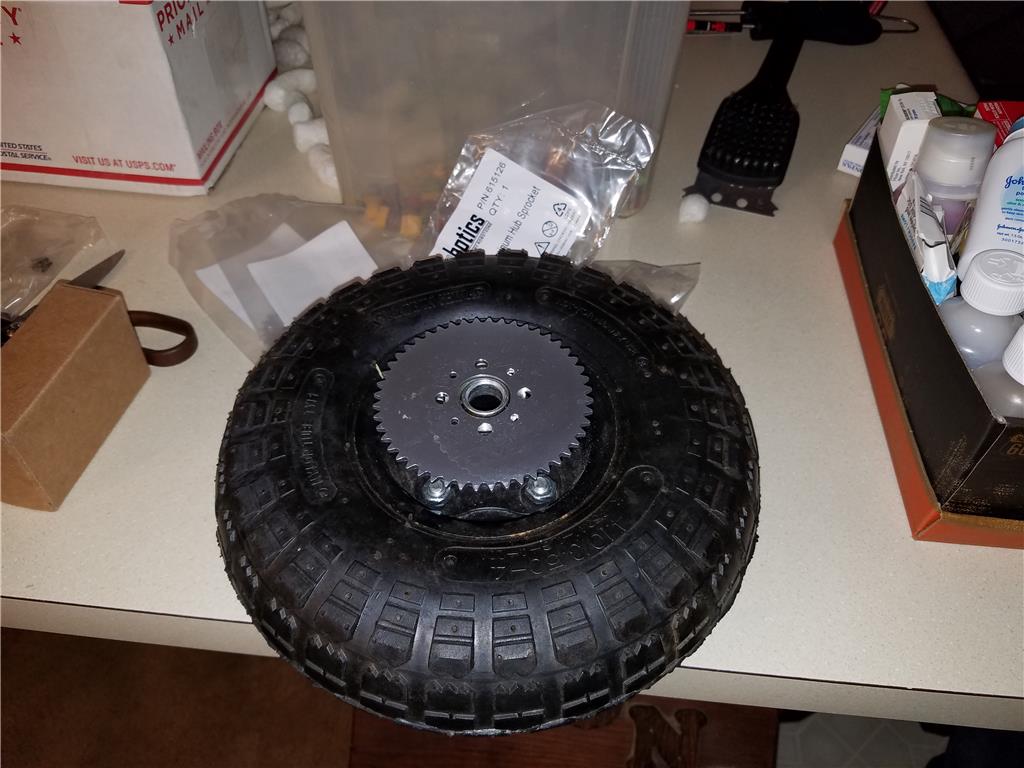
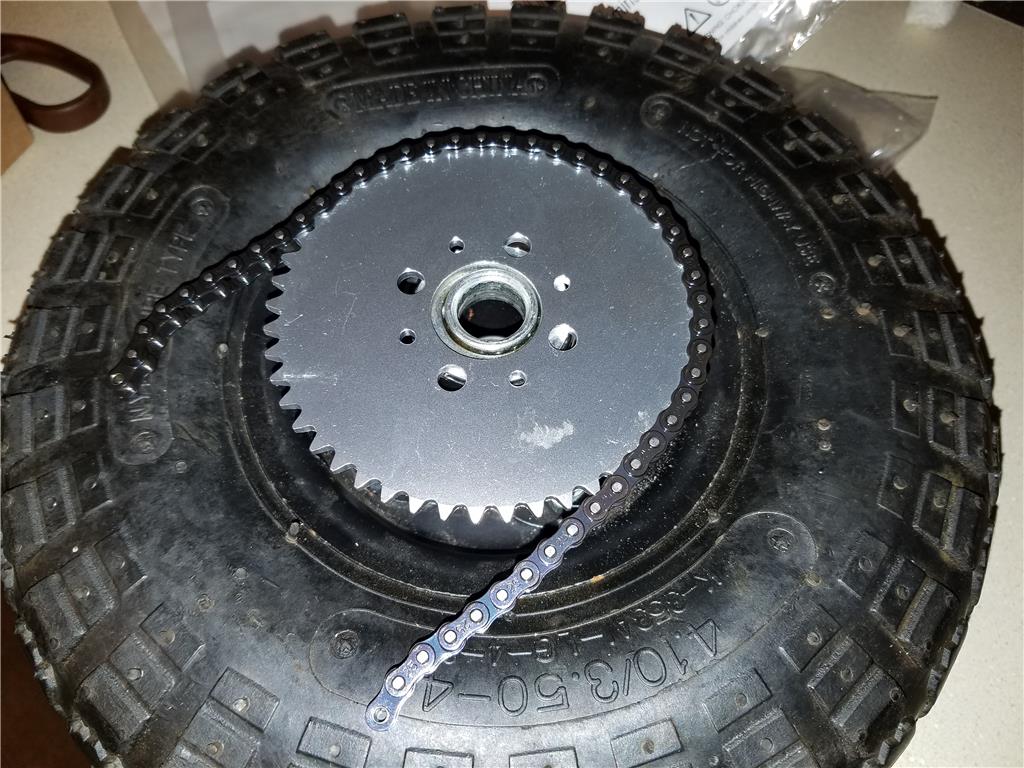
Ok so I dug out the plastic sprockets and chain, I really intended on using the metal chain but the location eludes me. So I will use the plastic chain as a place setter till I find the stronger metal counterpart.
The chain came in a baggy of individual links so I had the pleasure of painstakingly twisting and pushing these links till they snapped together. Poor fingertips
I know have 6 feet of this stuff I believe.
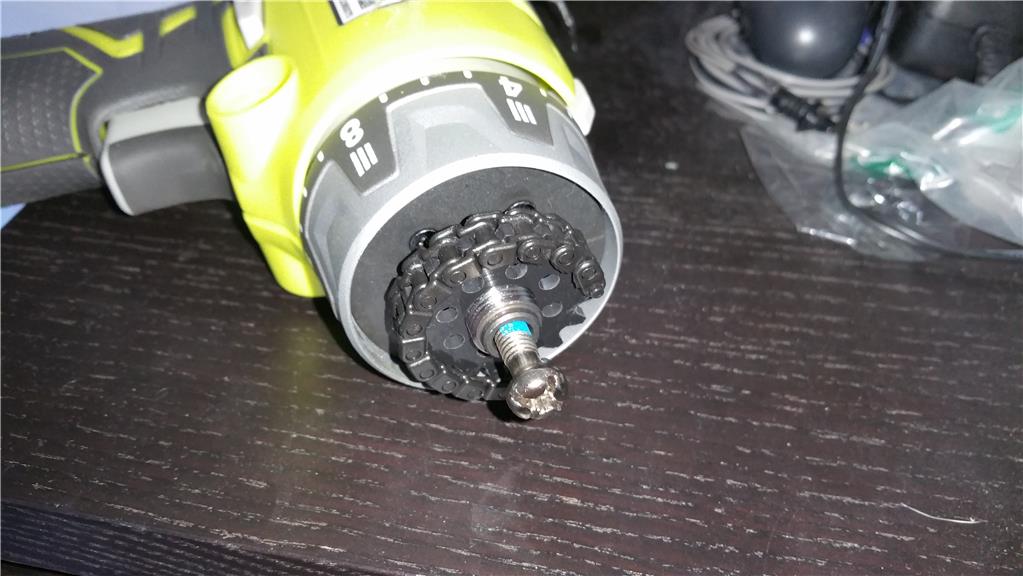
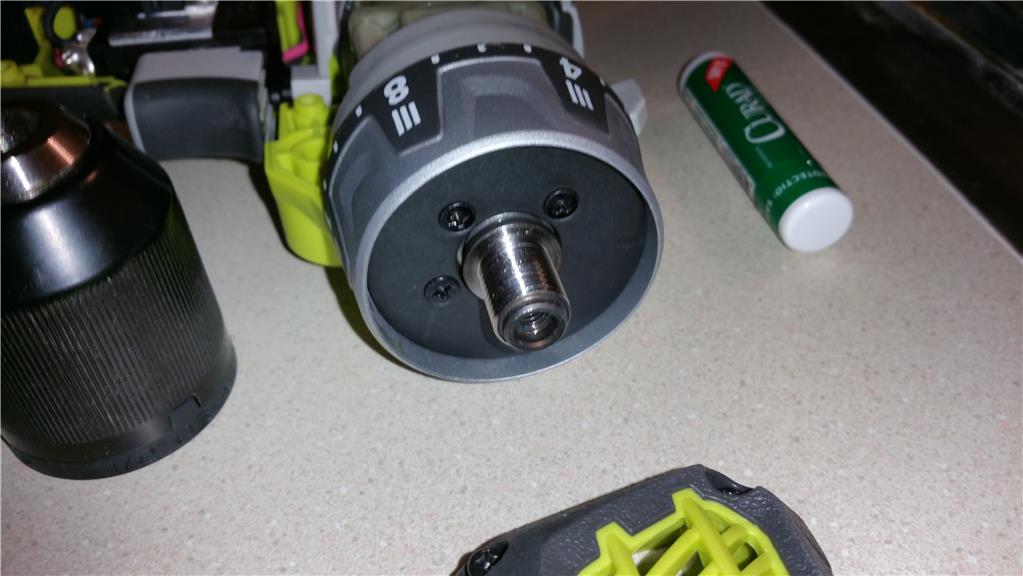
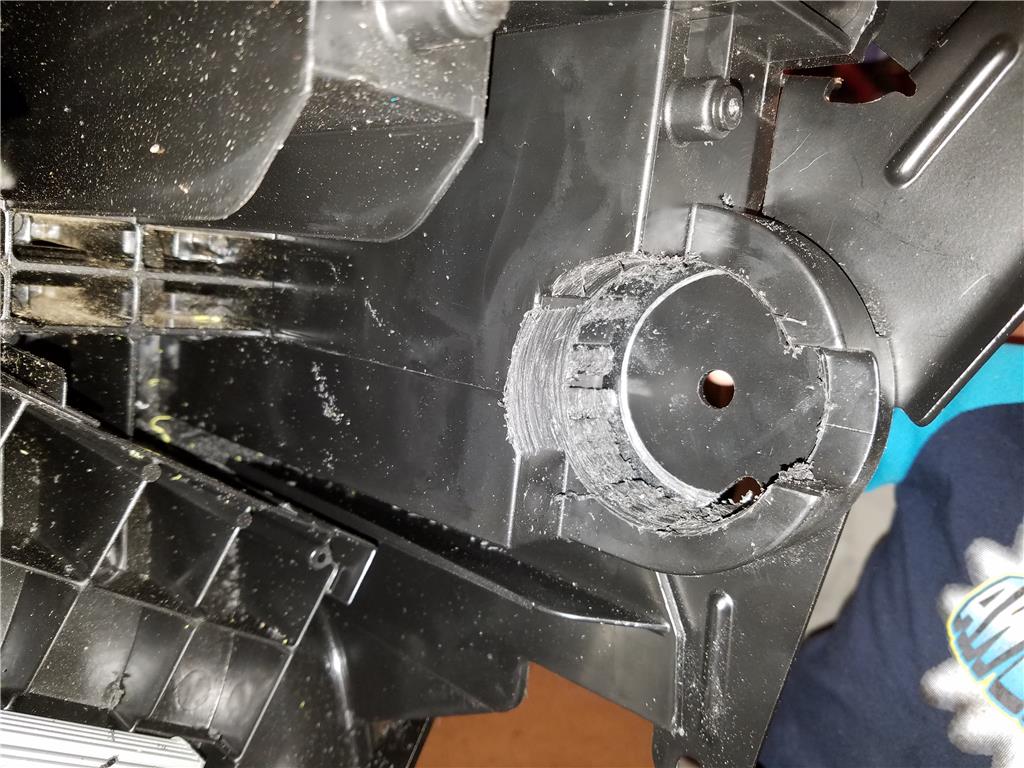
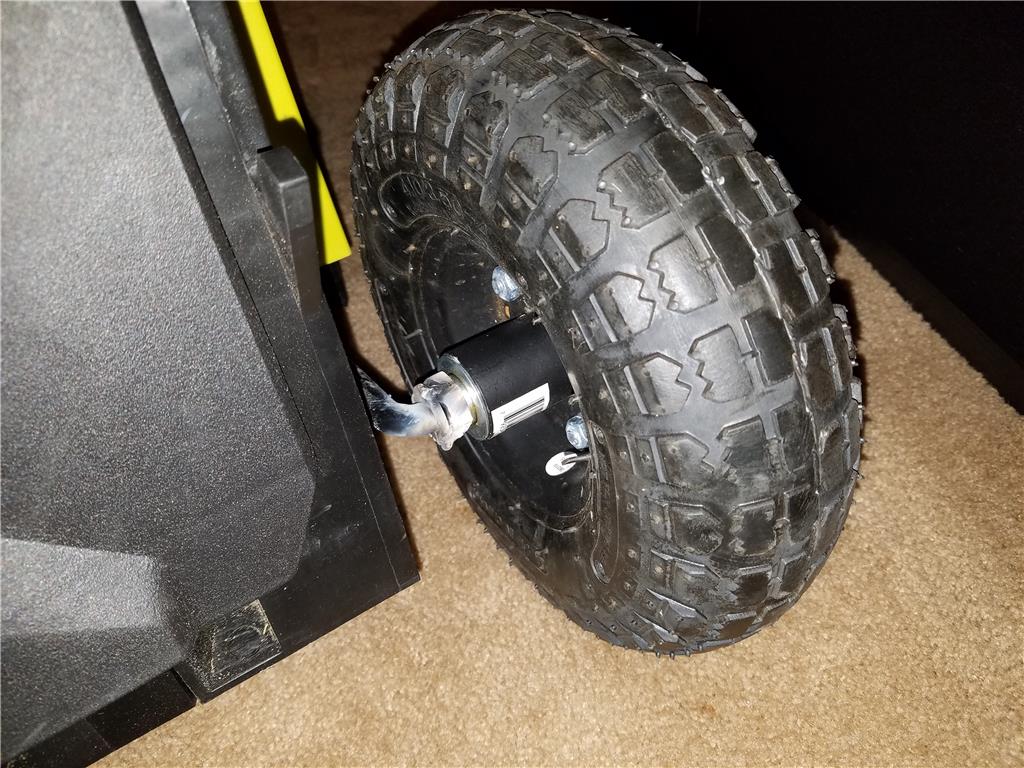
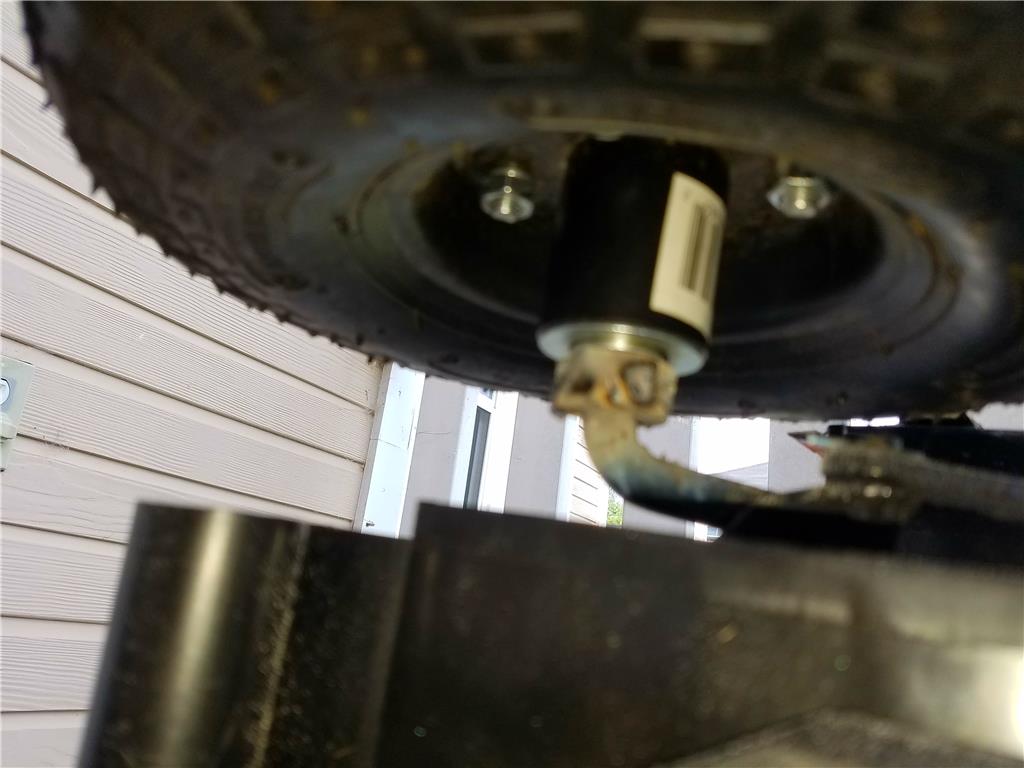
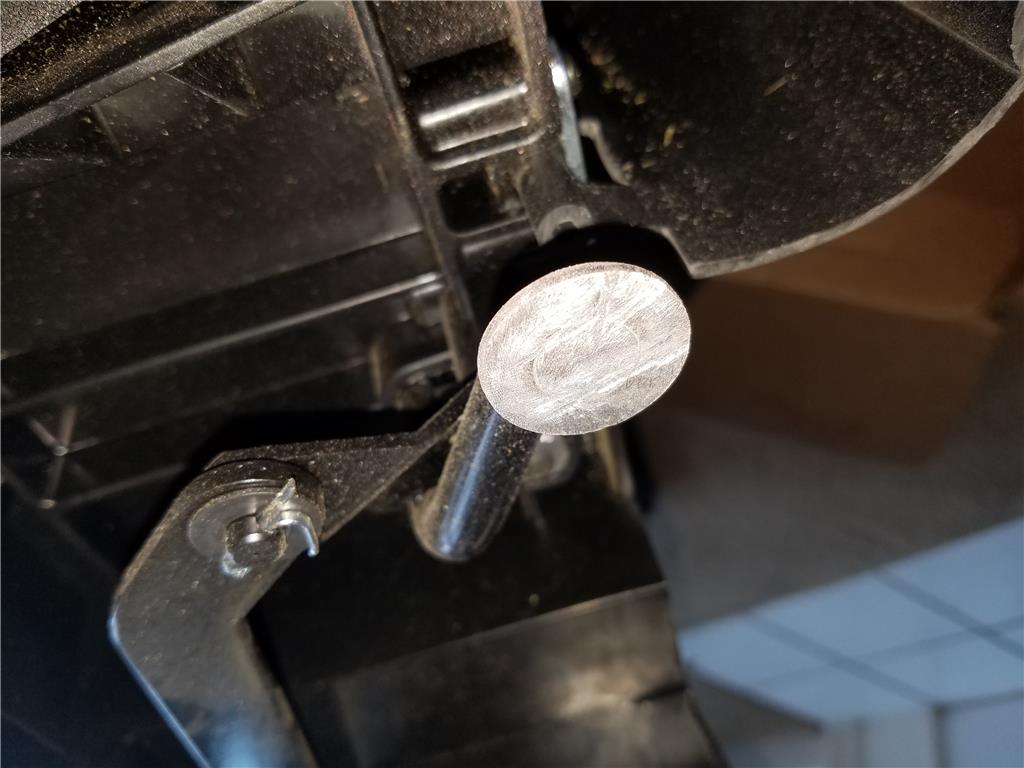
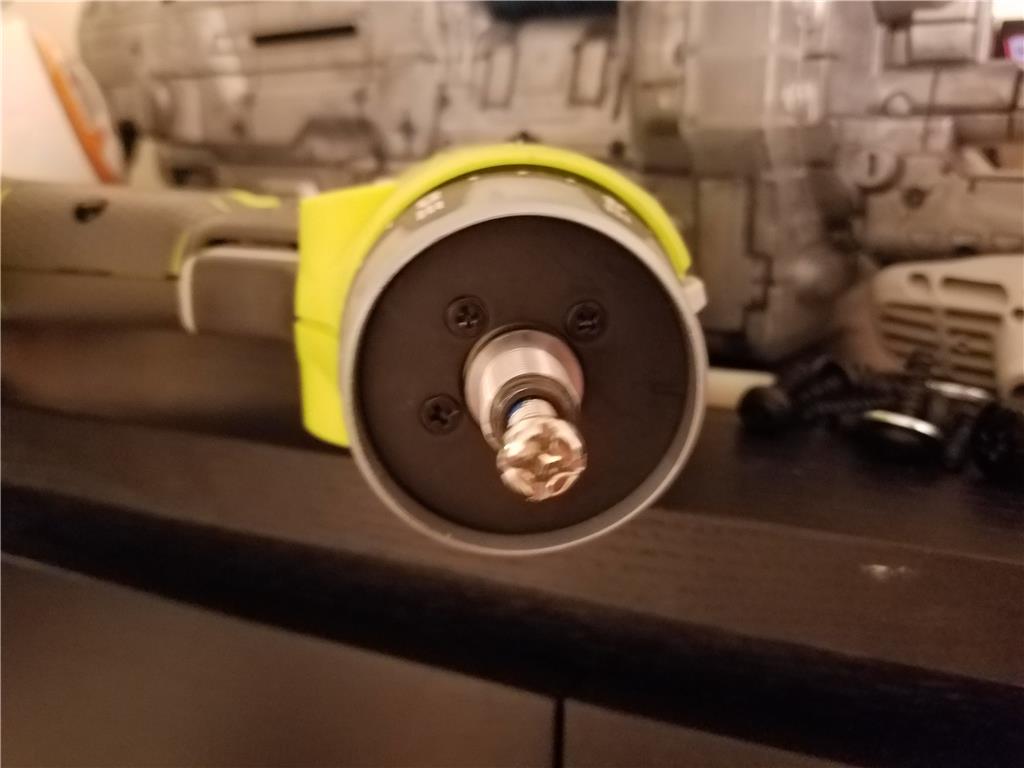
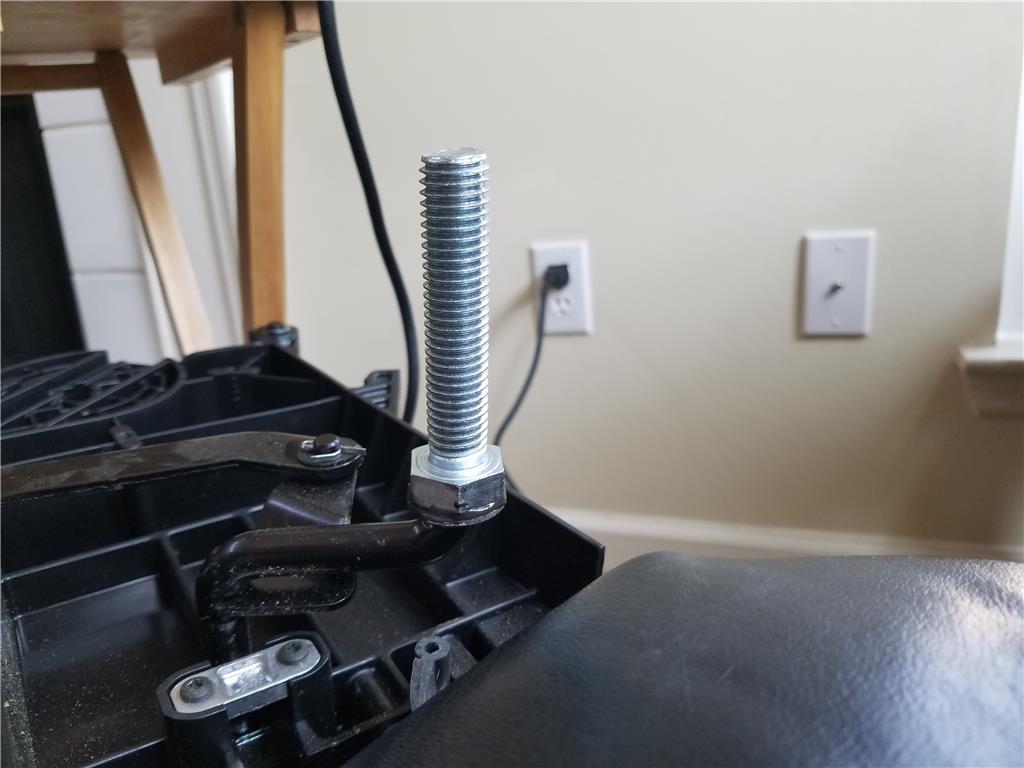
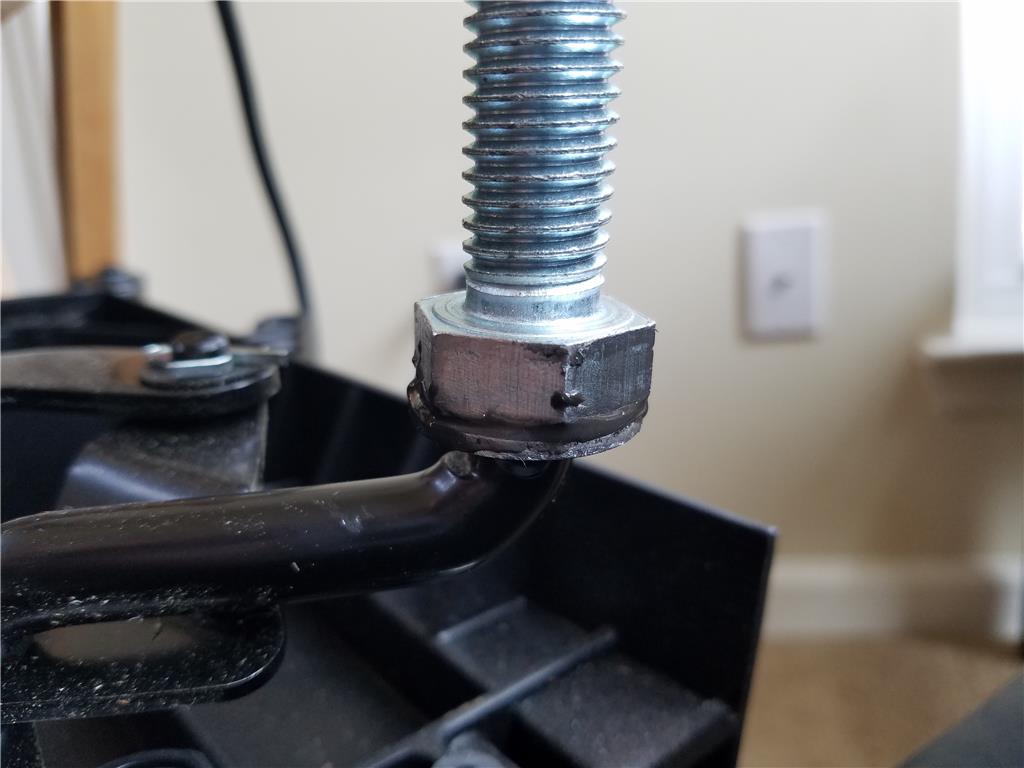
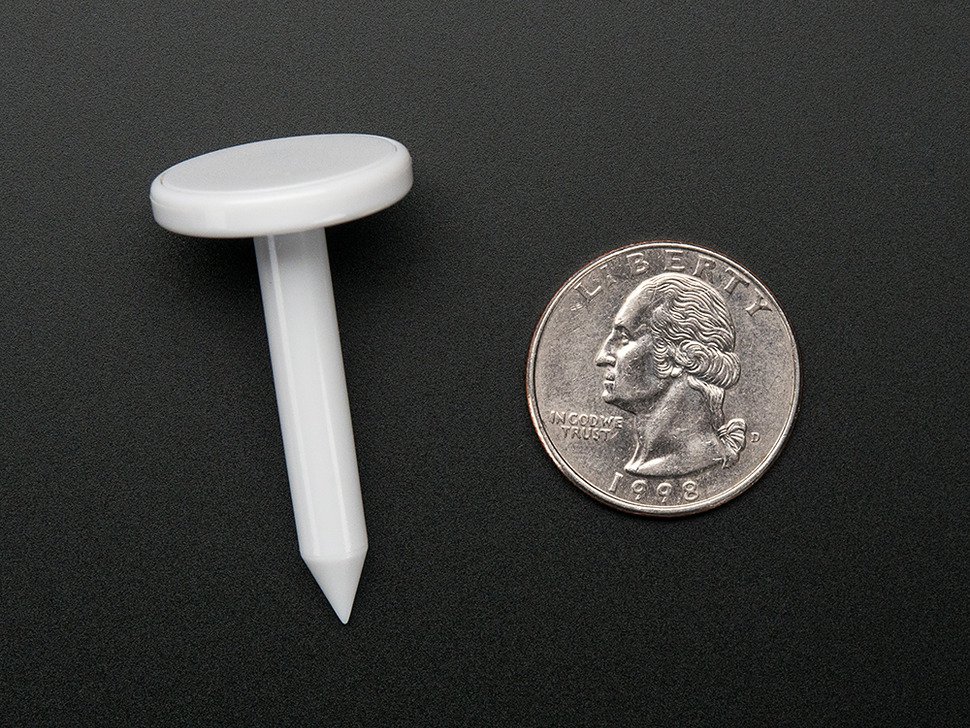
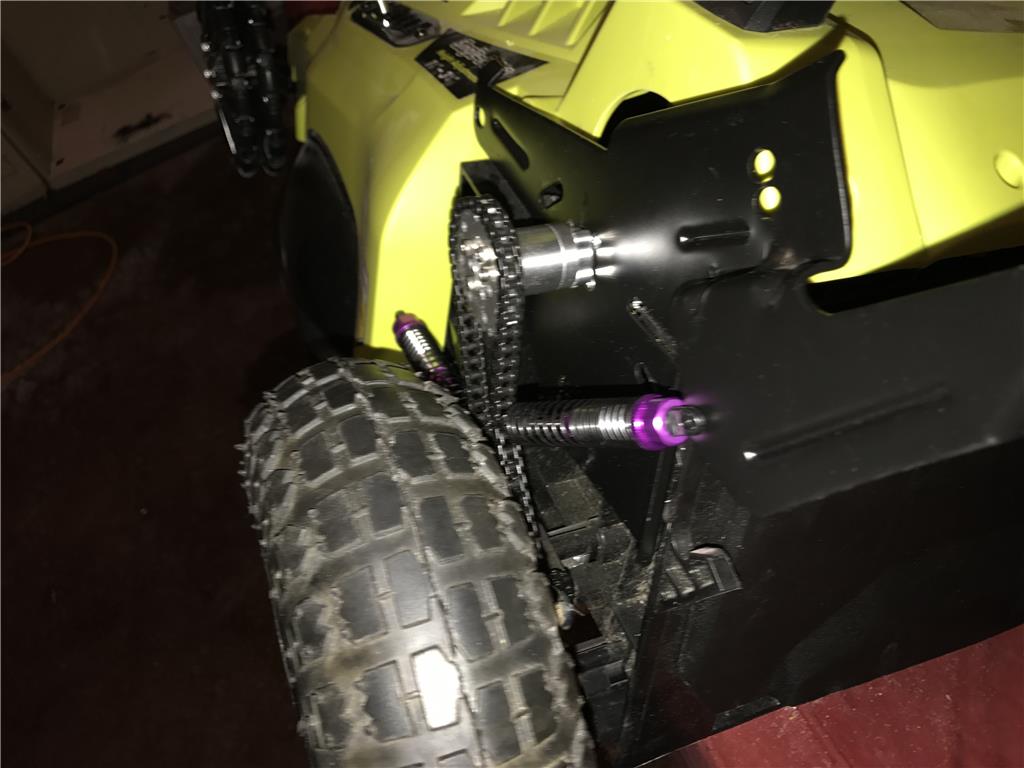
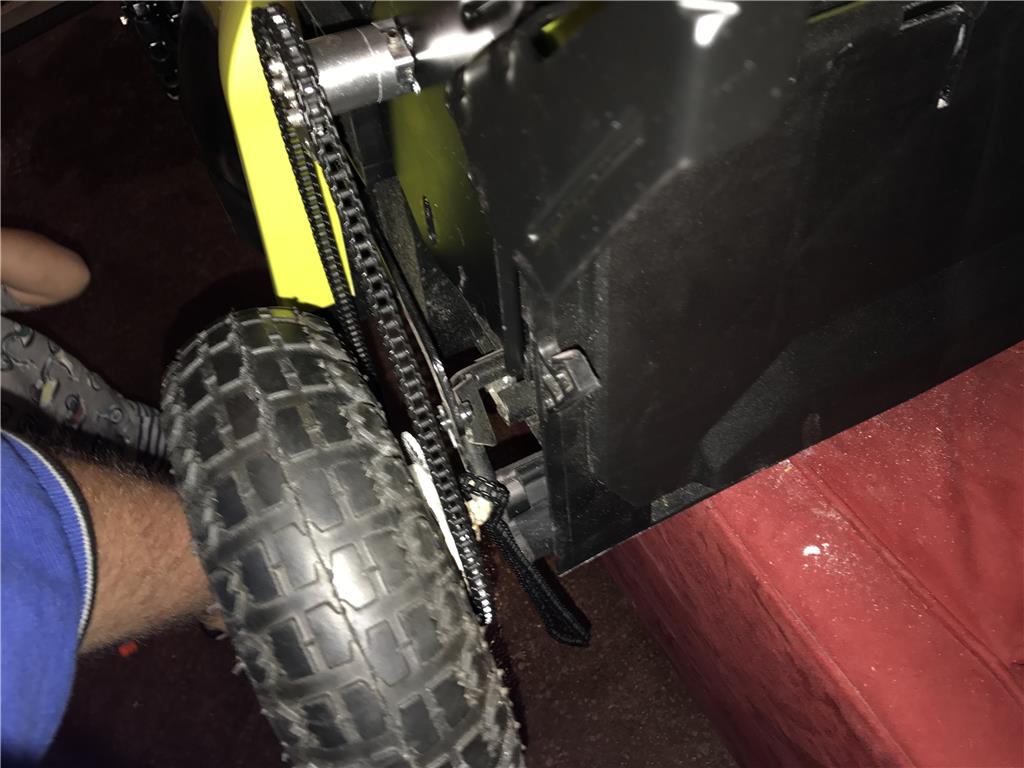
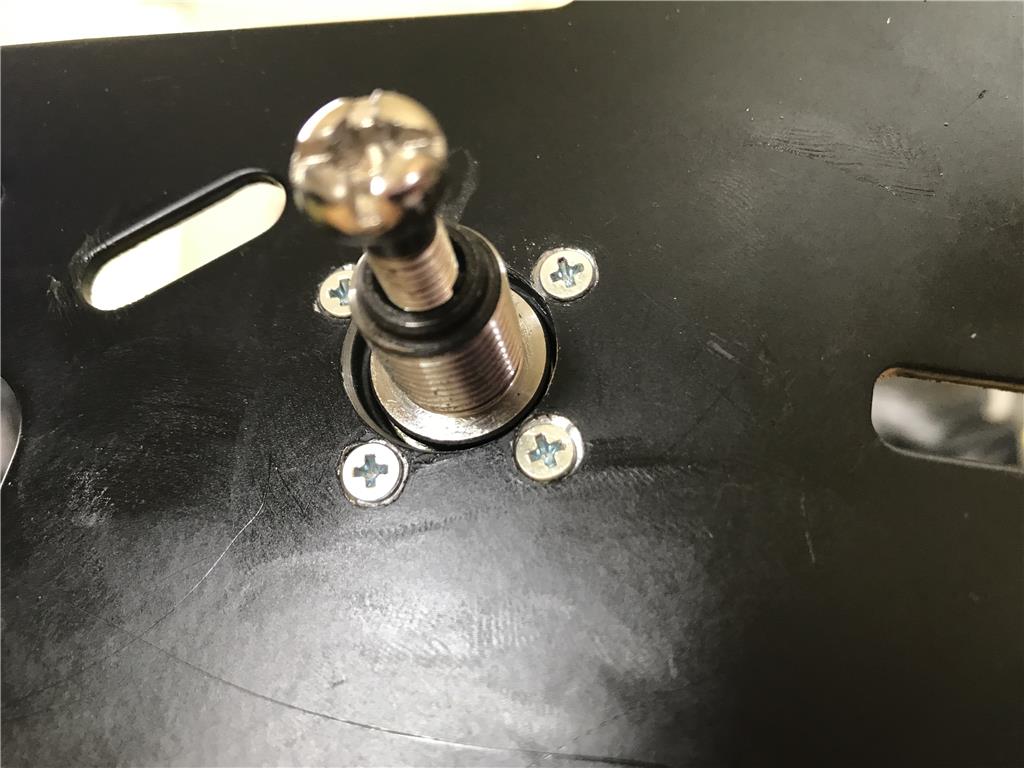
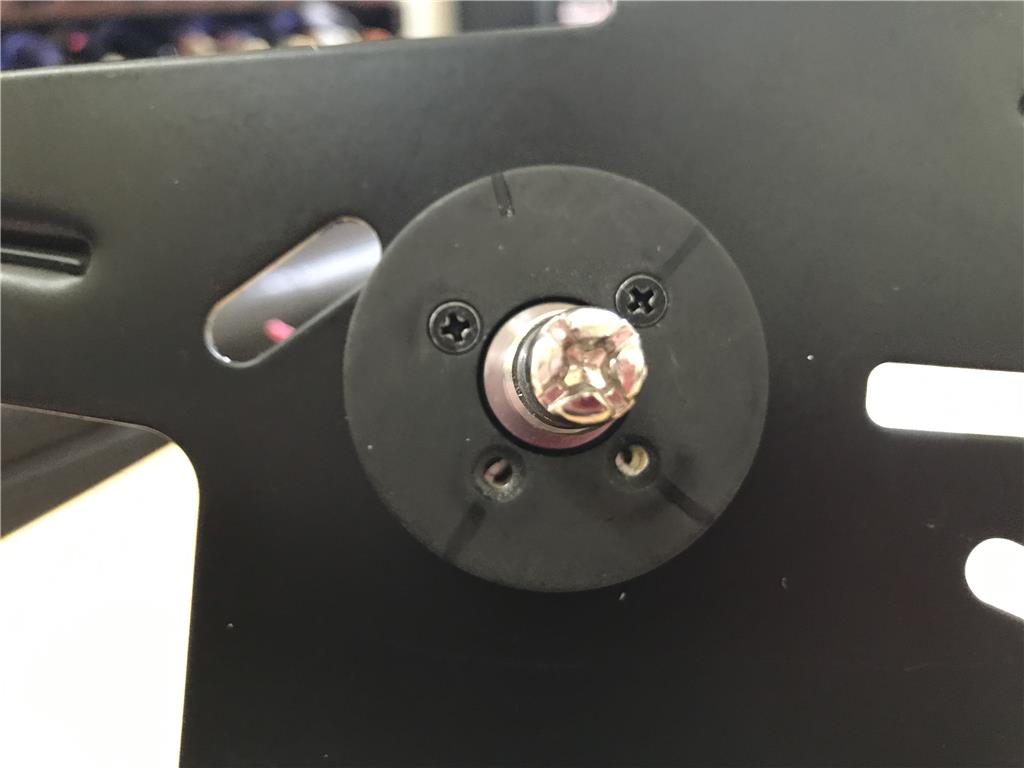
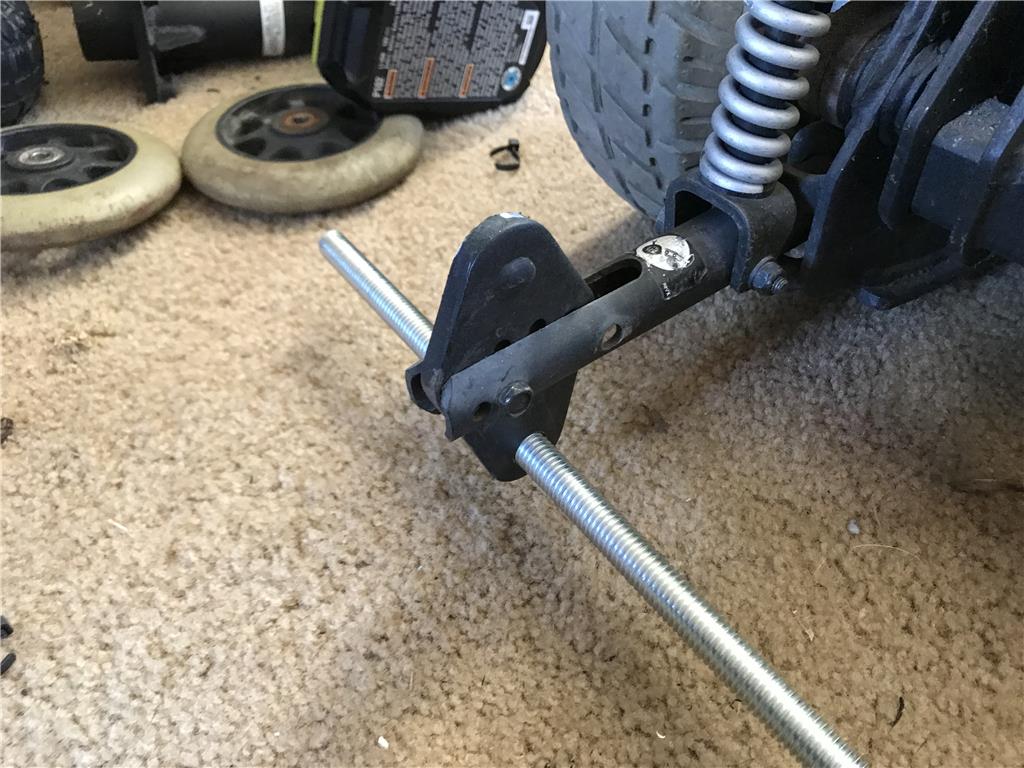
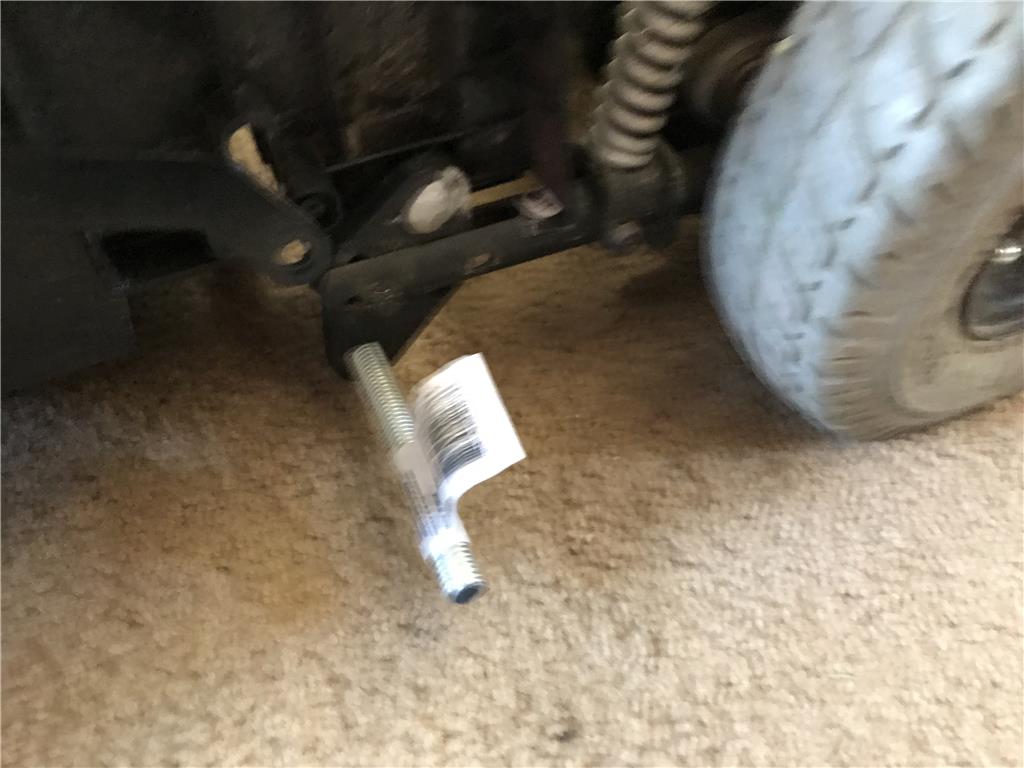
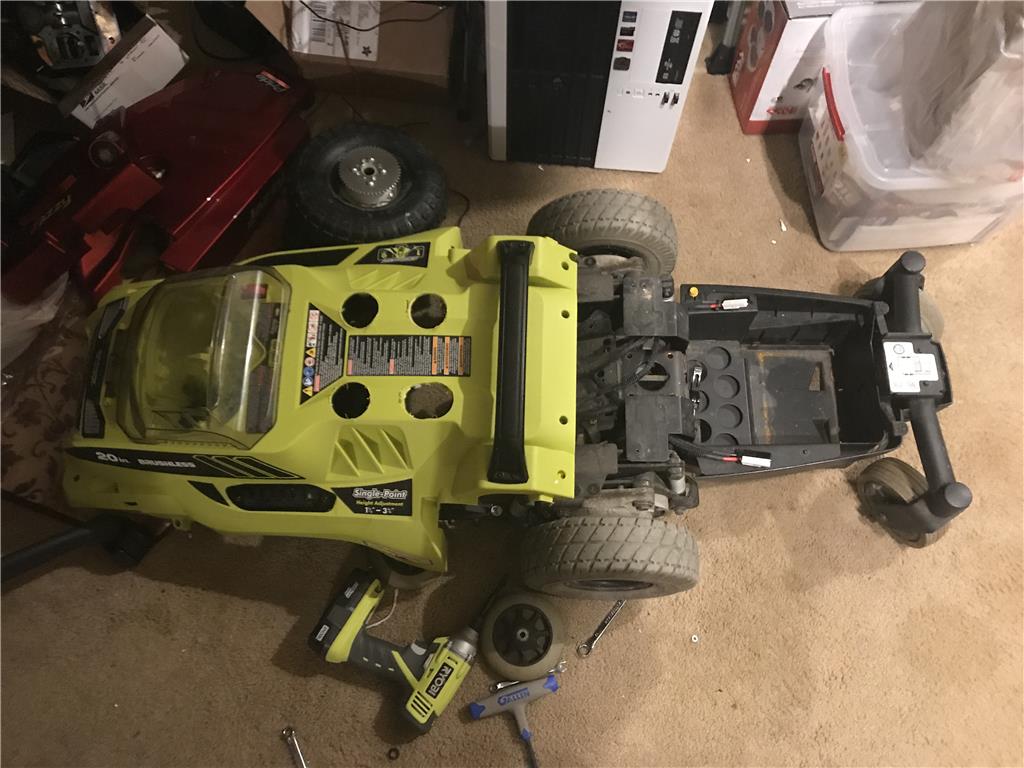
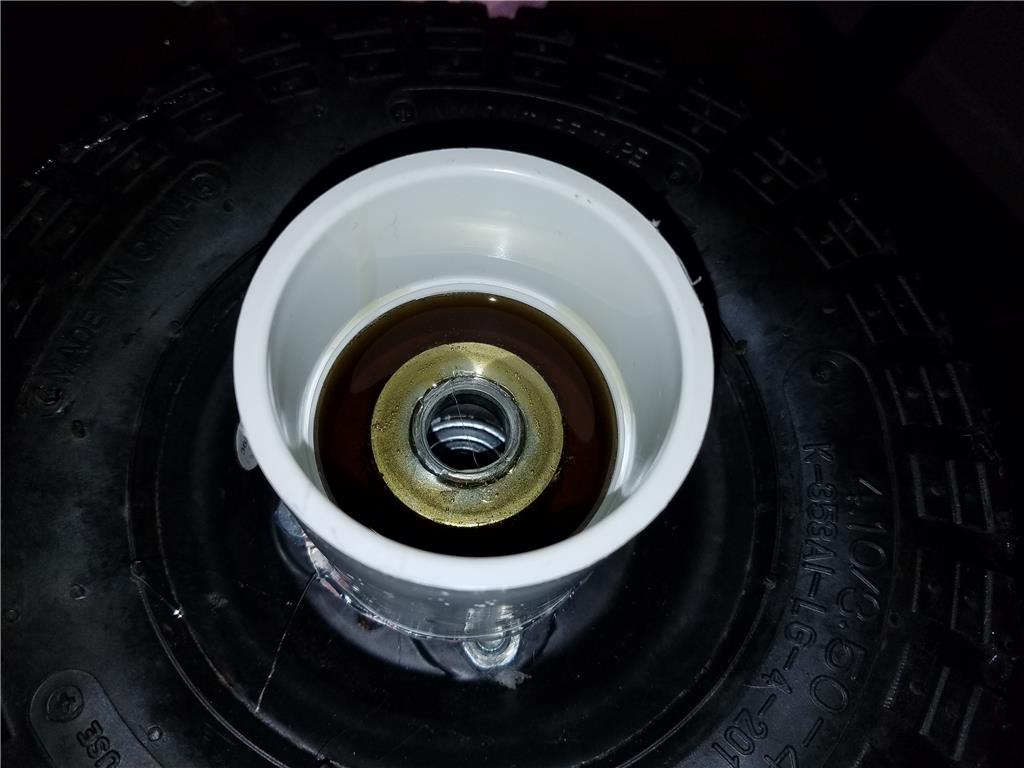
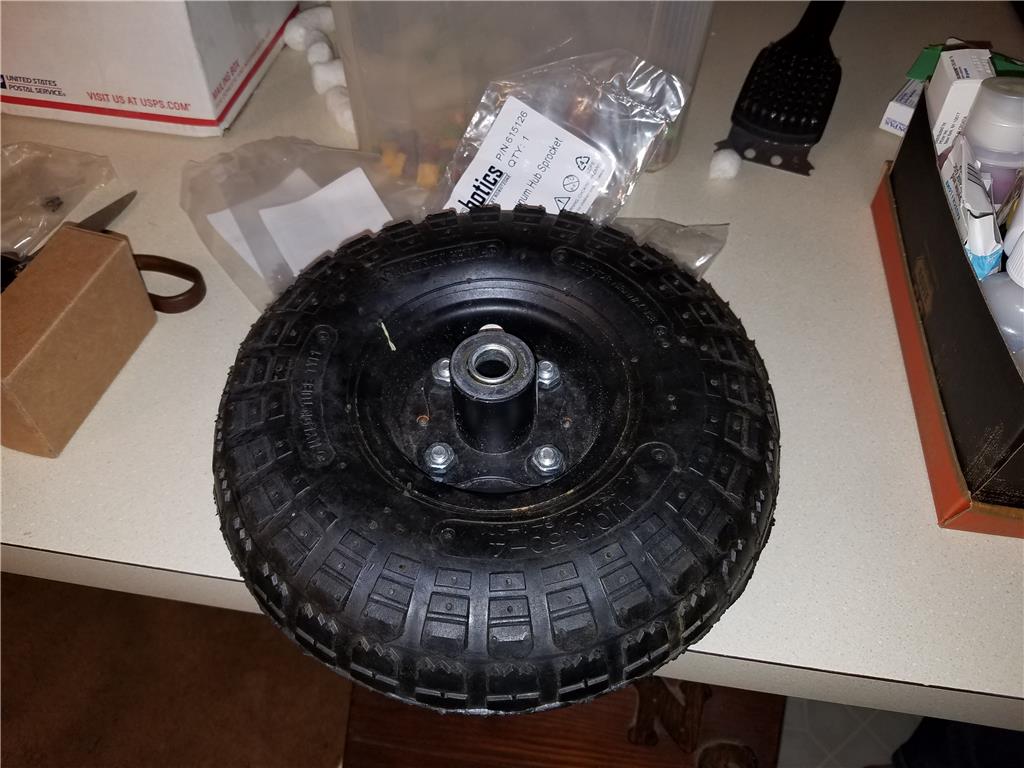
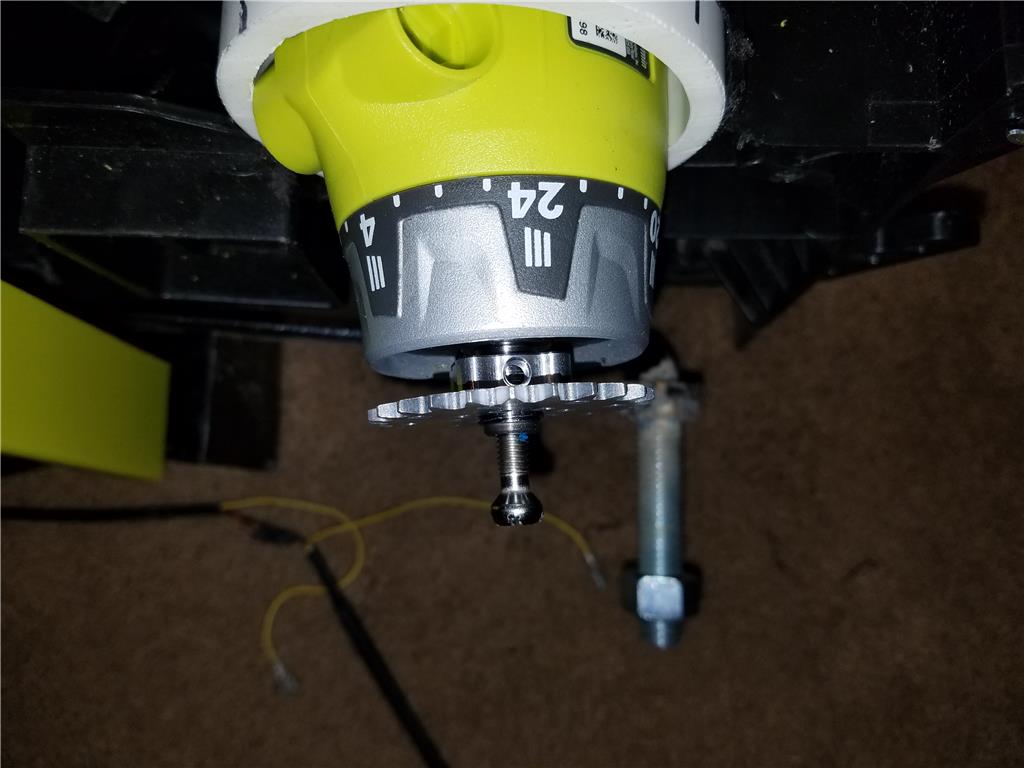
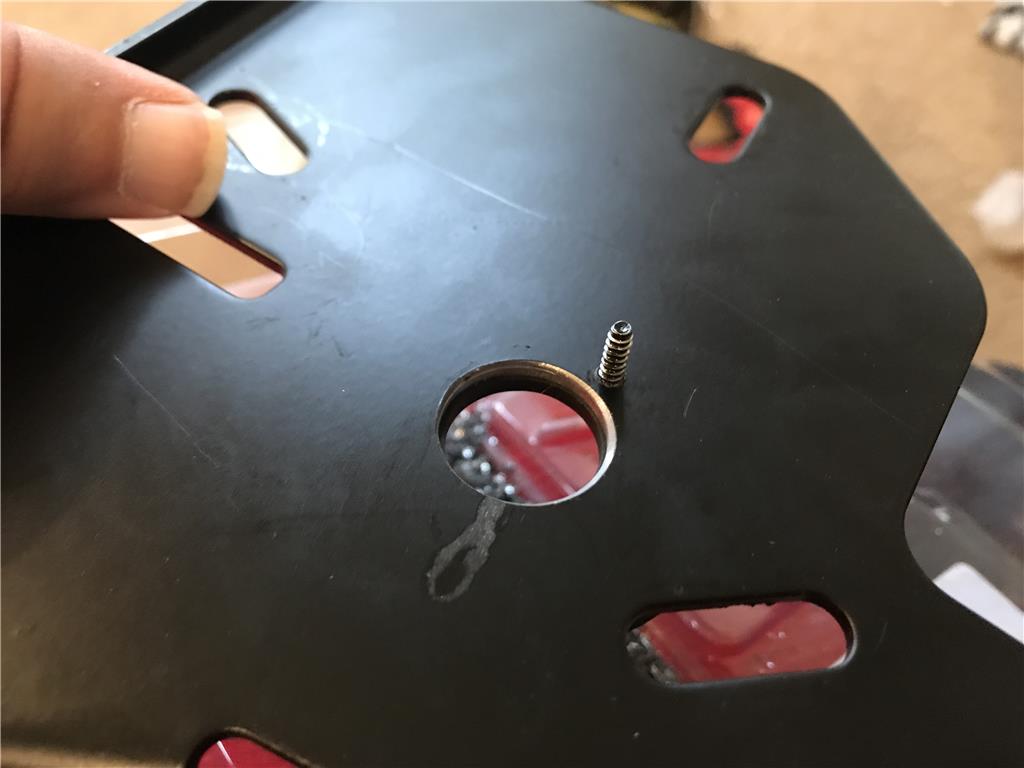
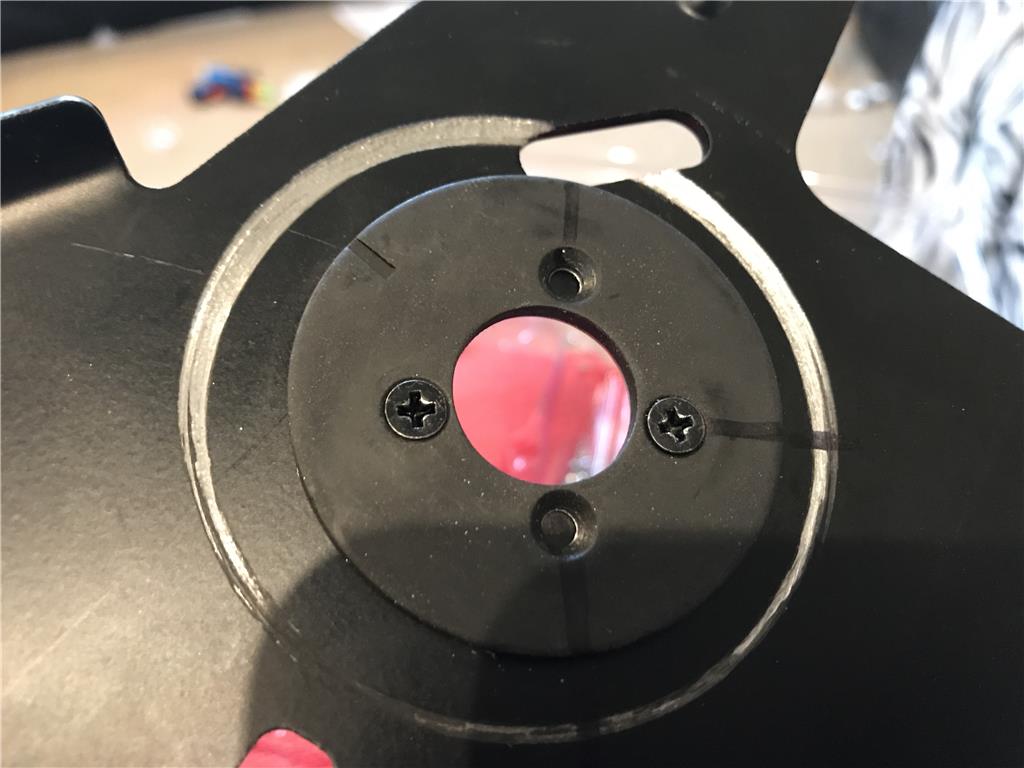
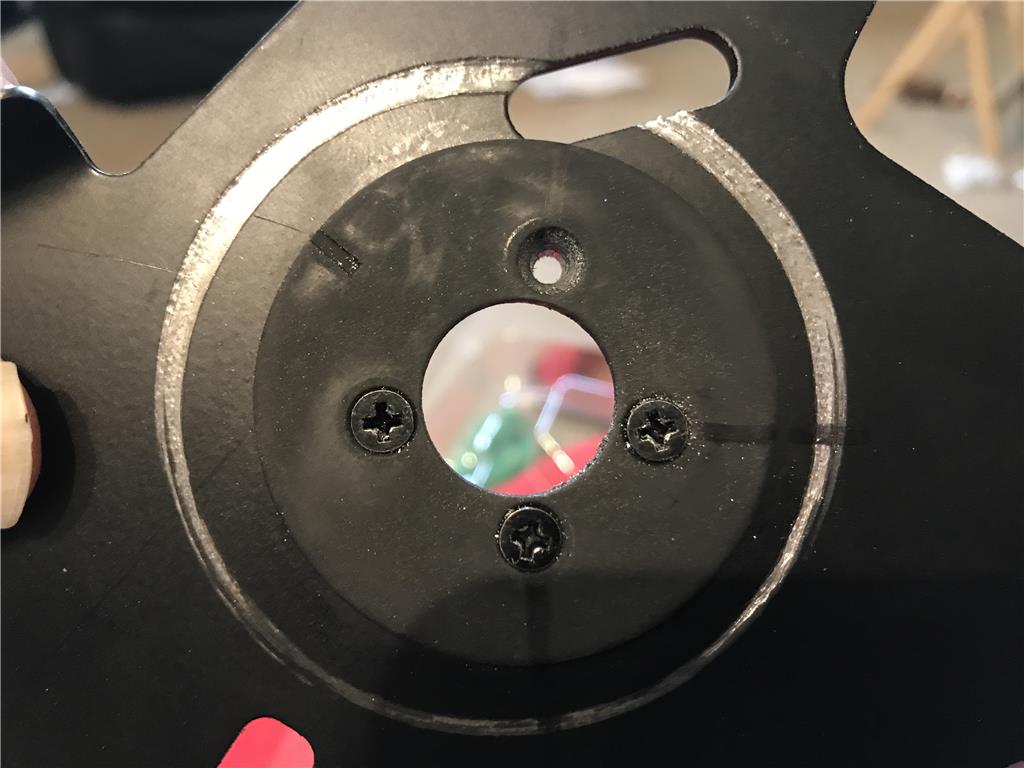
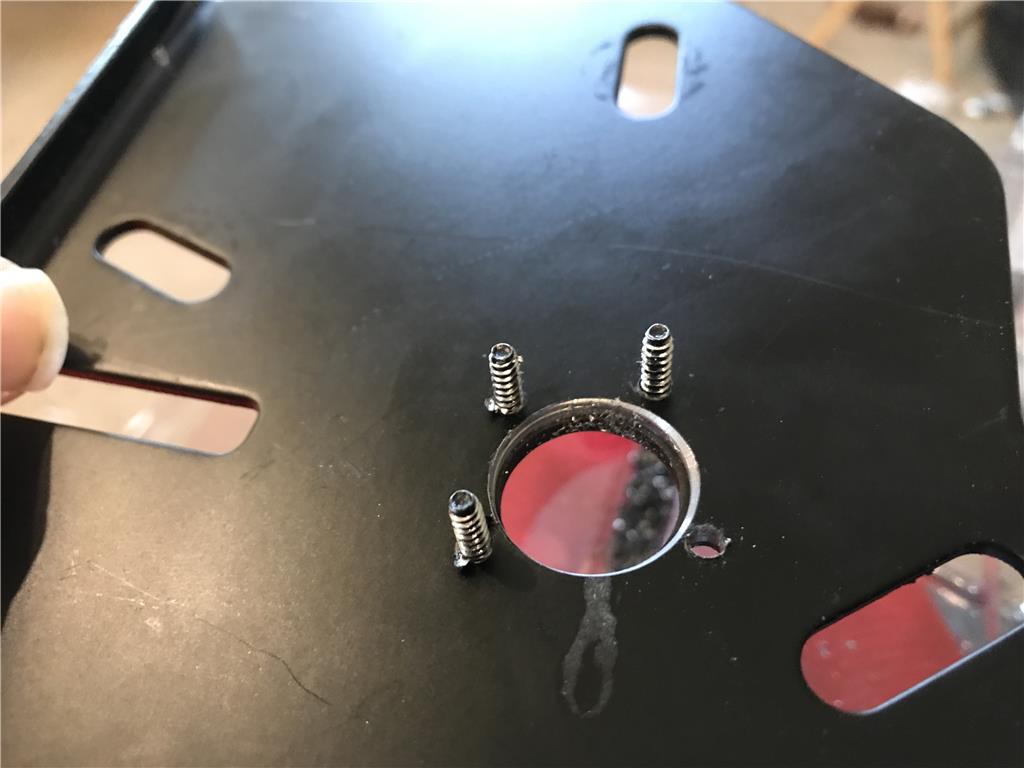
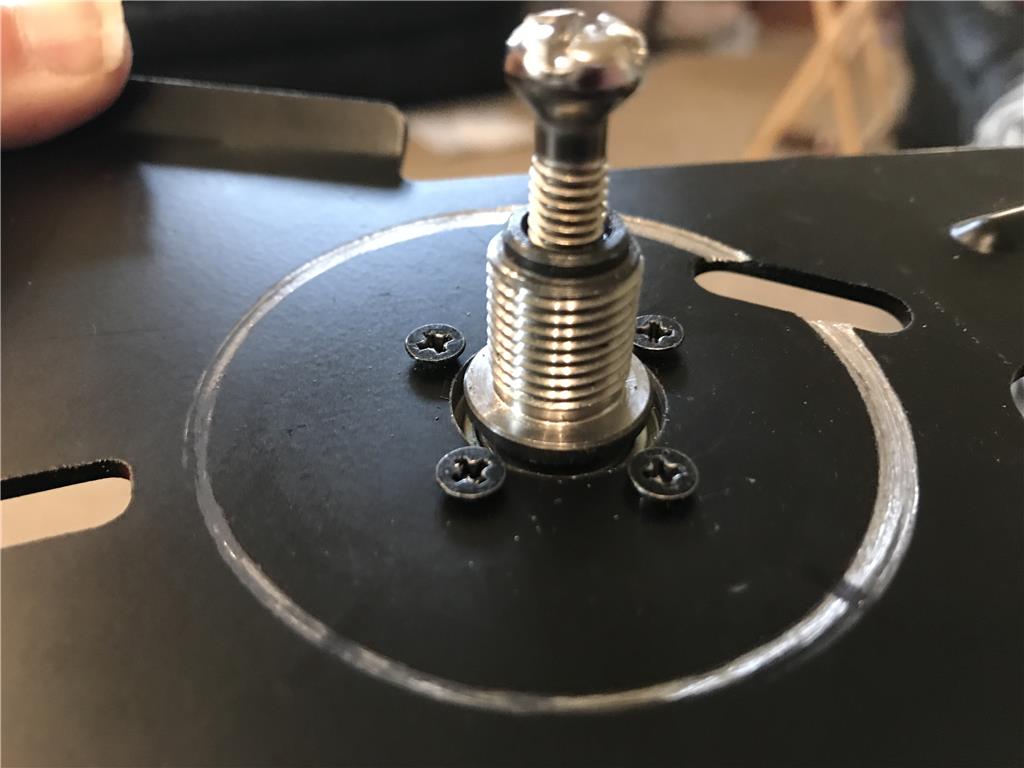
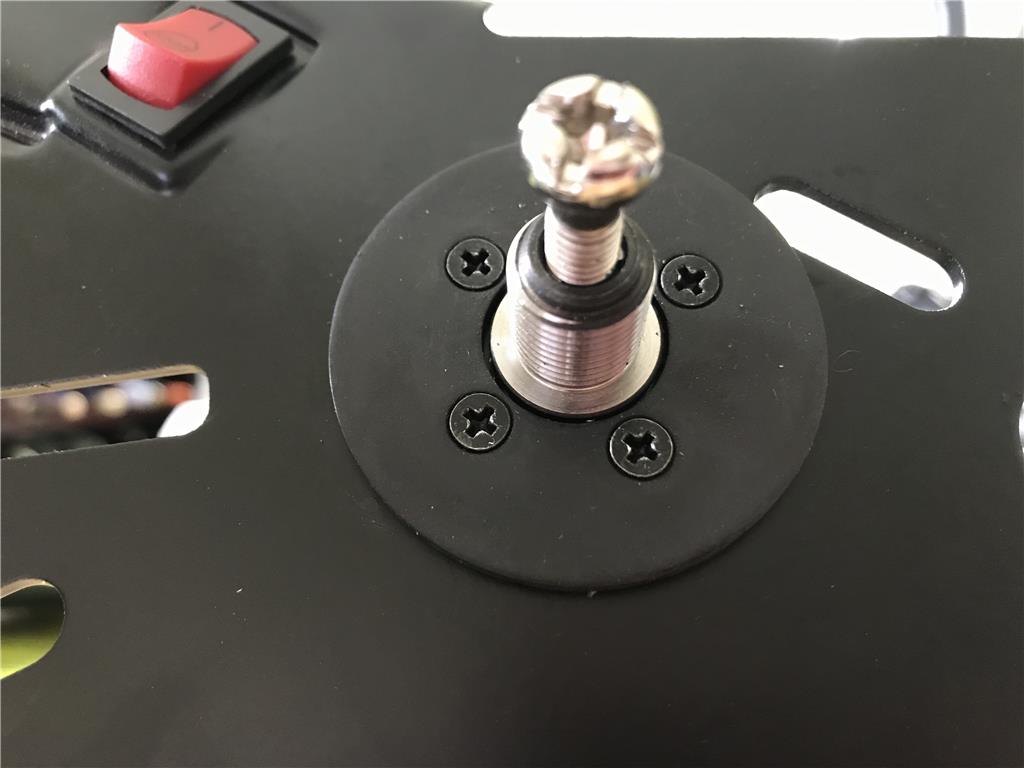
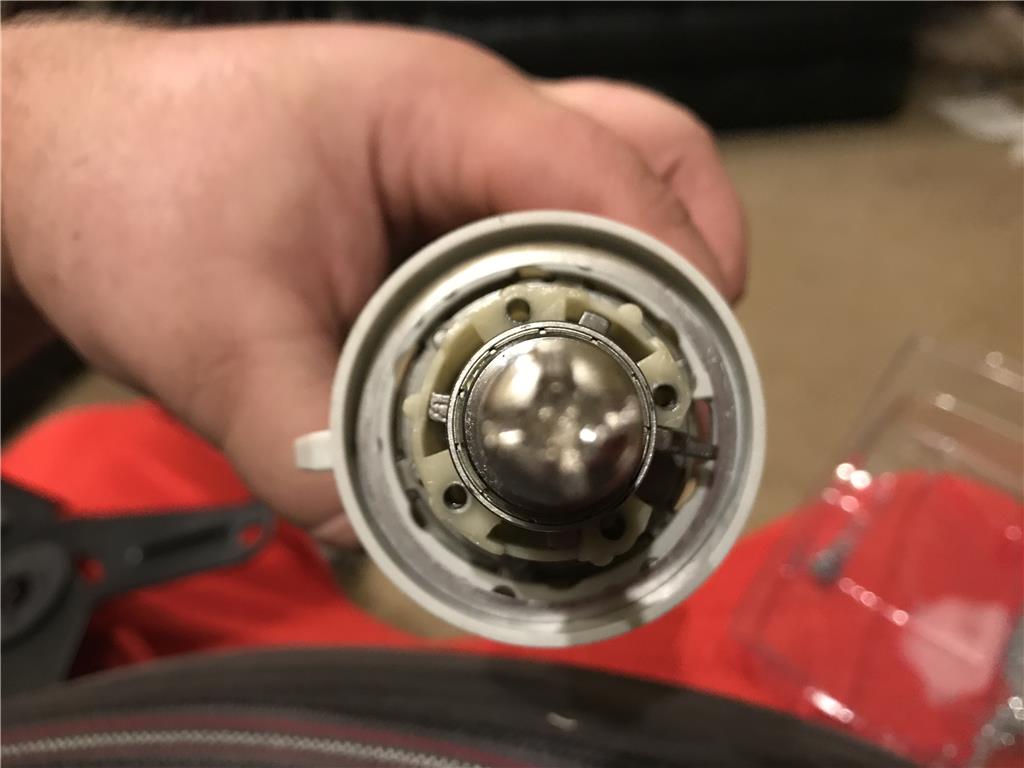
Ok yet another hurdle , once the motors are in I can see the drills output shaft lacks about an inch and a half longer to align with a drive sprocket. Maybe I could weld on an extension?
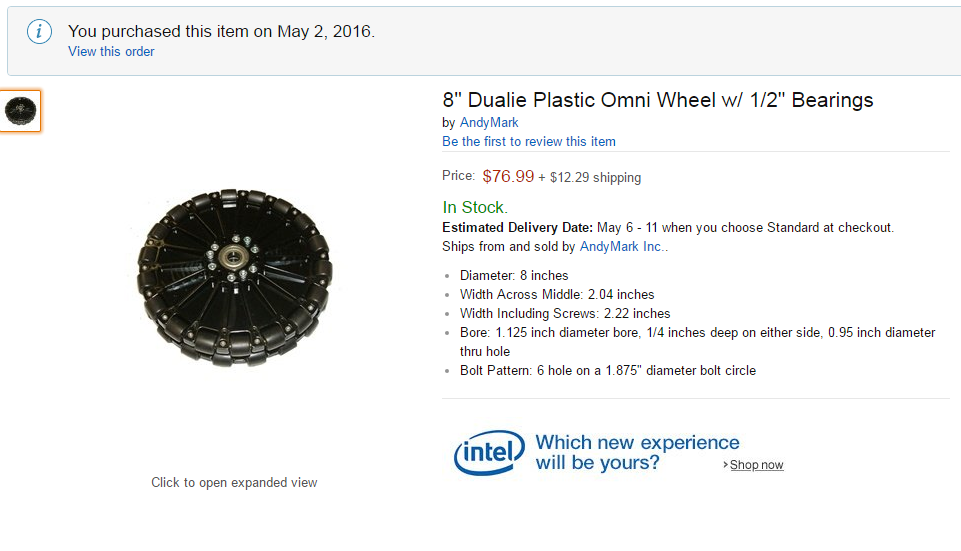
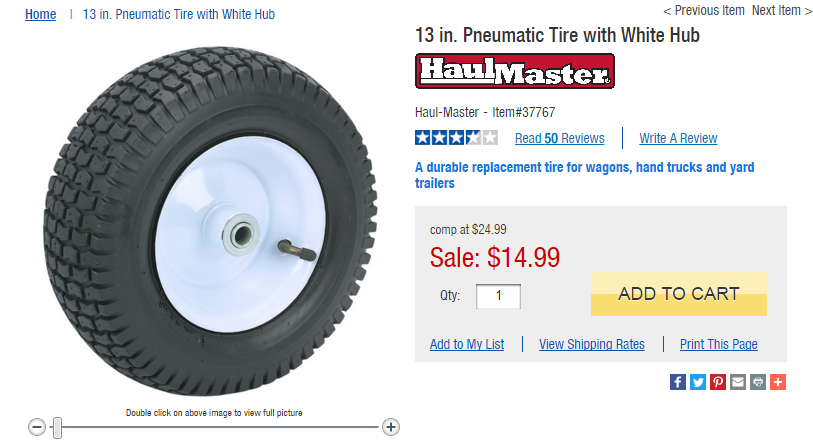
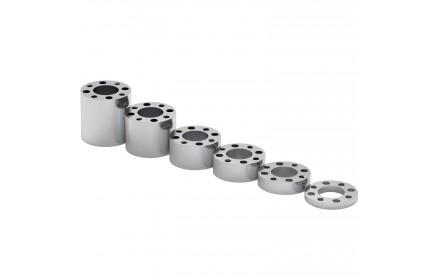
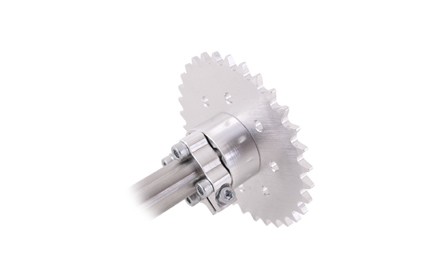
Good news , servo city machines aluminum hub spacers I can use to extend the shaft long enough to align with the wheel hub sprocket.
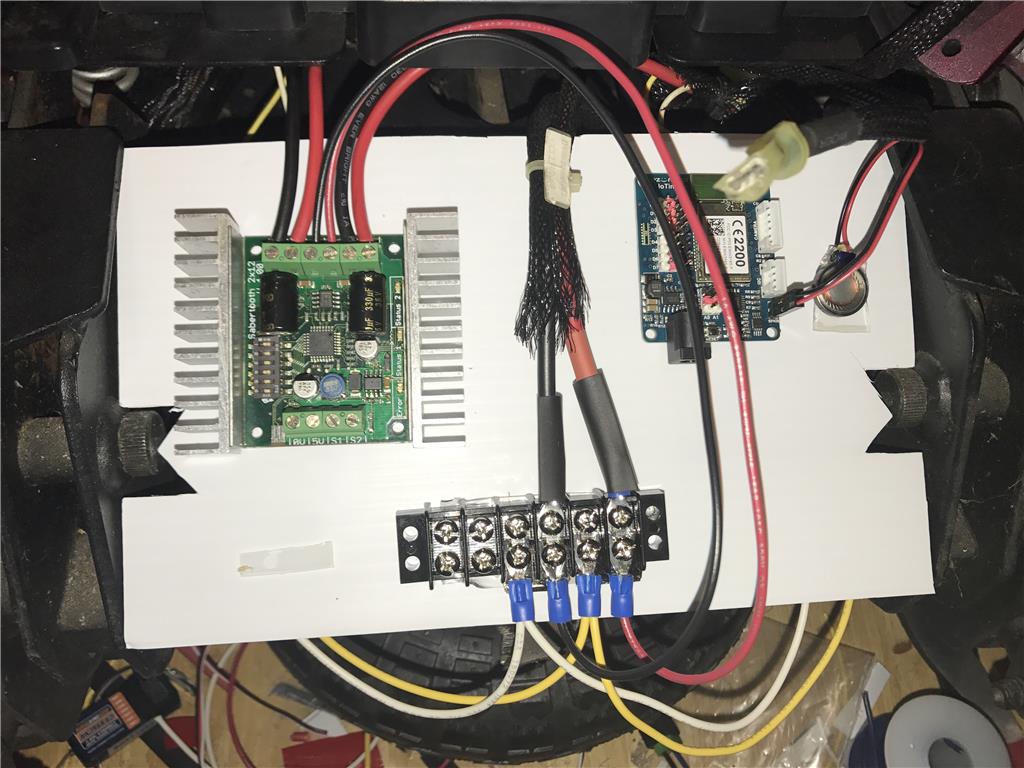
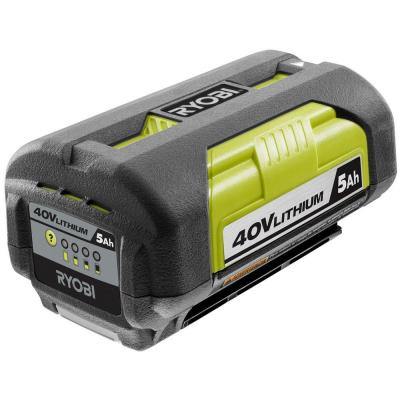
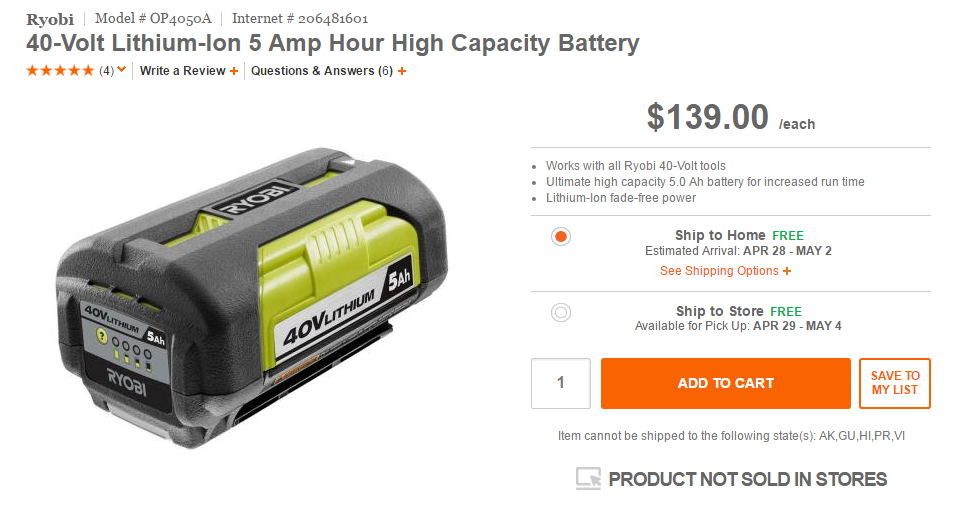
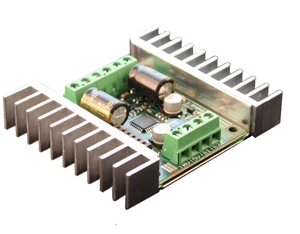
So now I wait will I get the parts to do this. In the mean time I can start wiring and finding ways to mount the motor controller and the EZ-B as well.
Does anyone know which gets better wifi range , The tiny or the v4 with original wifi shield?