


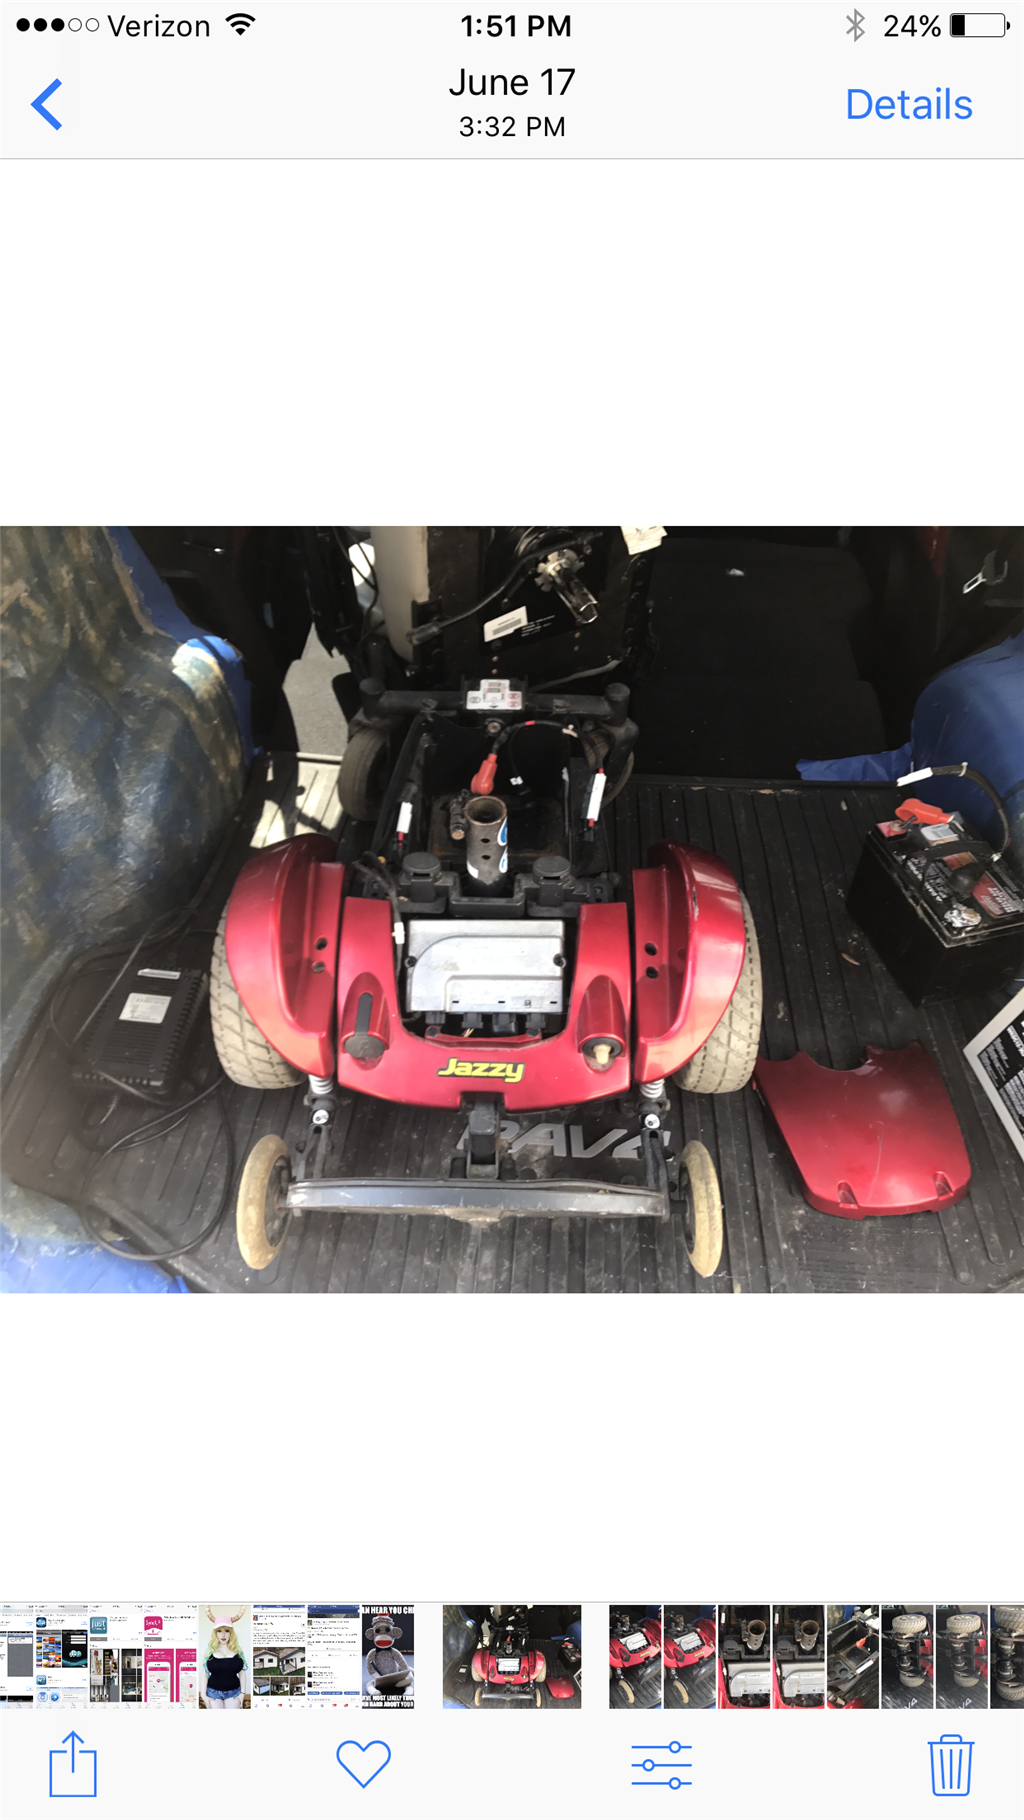
-635971125254815084.png)

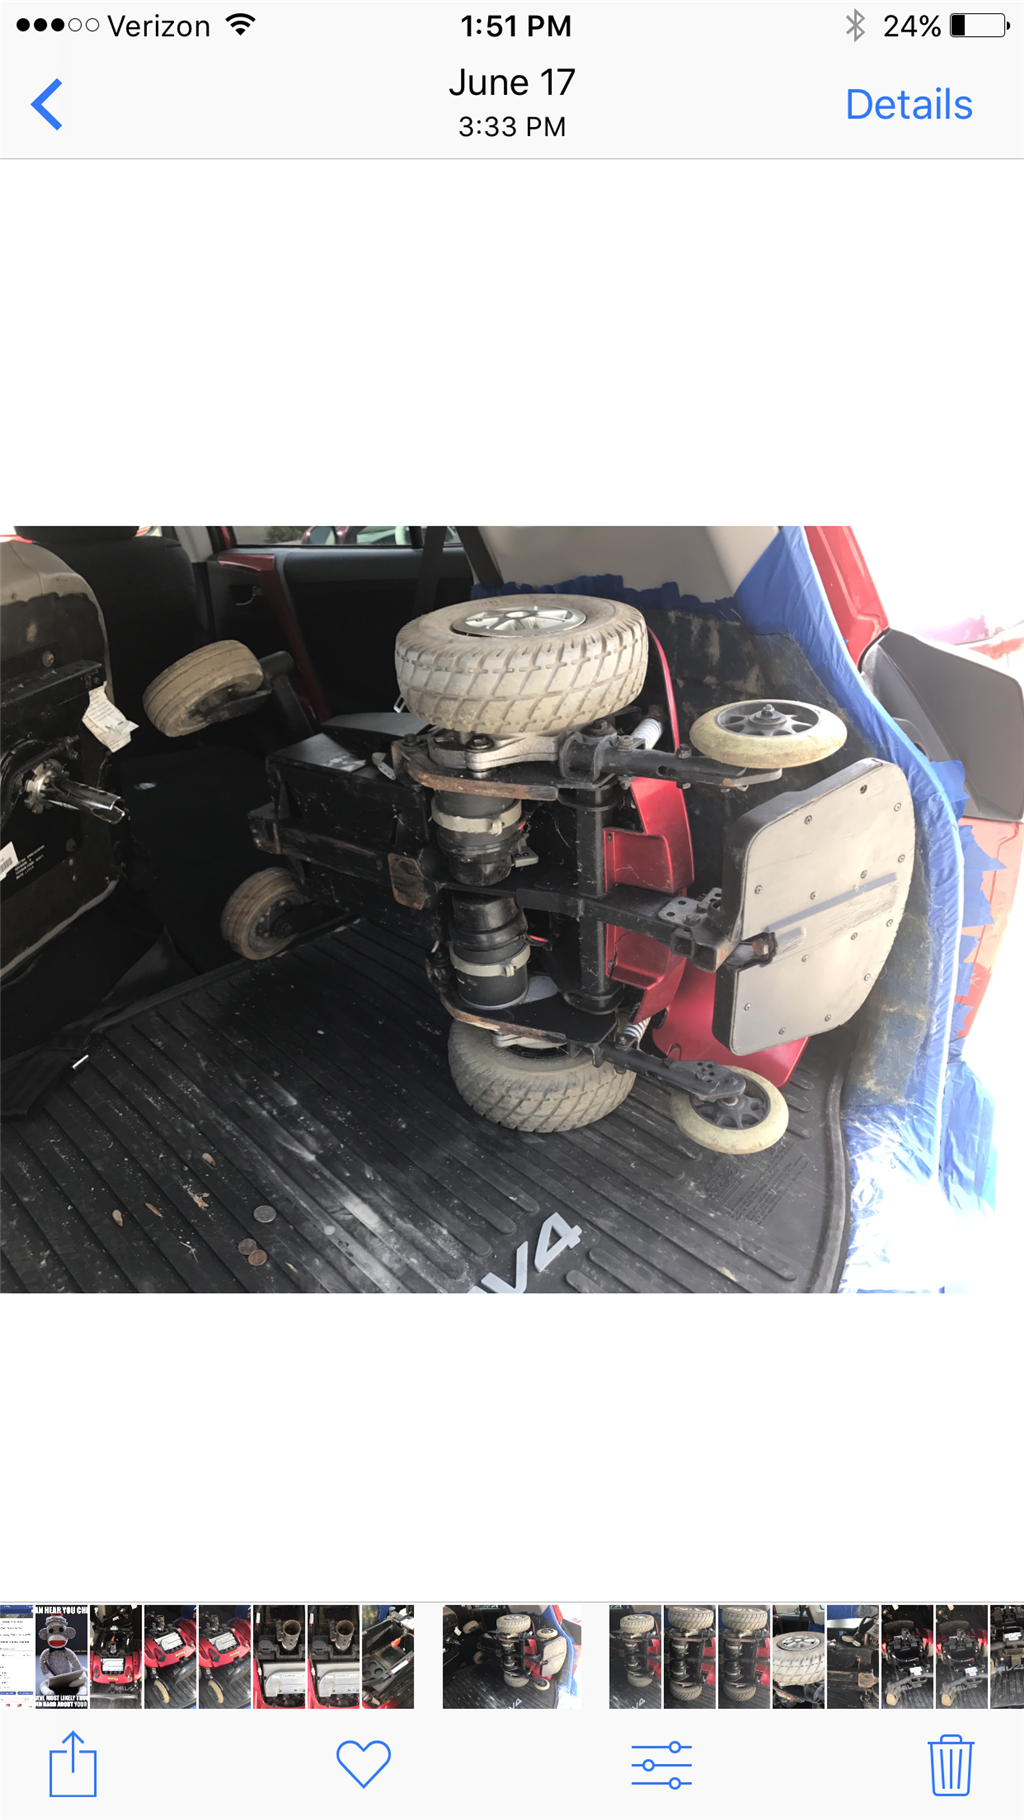
-635971009768280111.jpg)


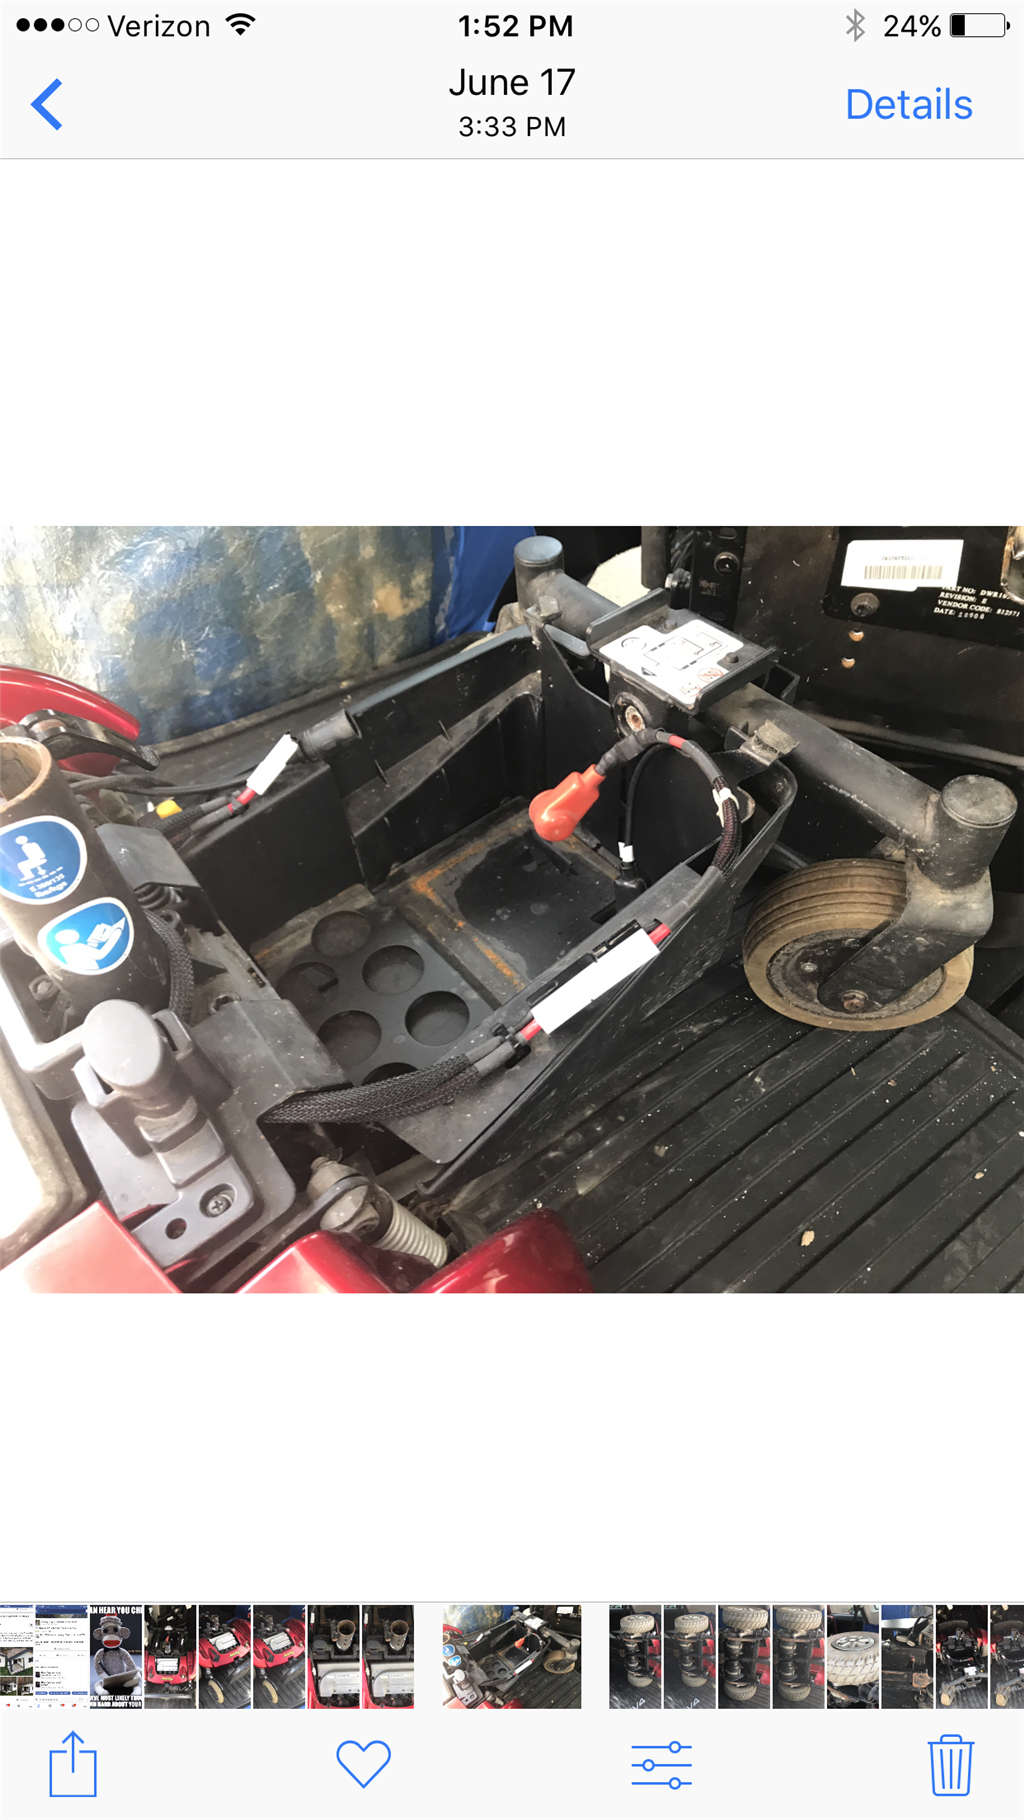
-636393423097260688.jpg)

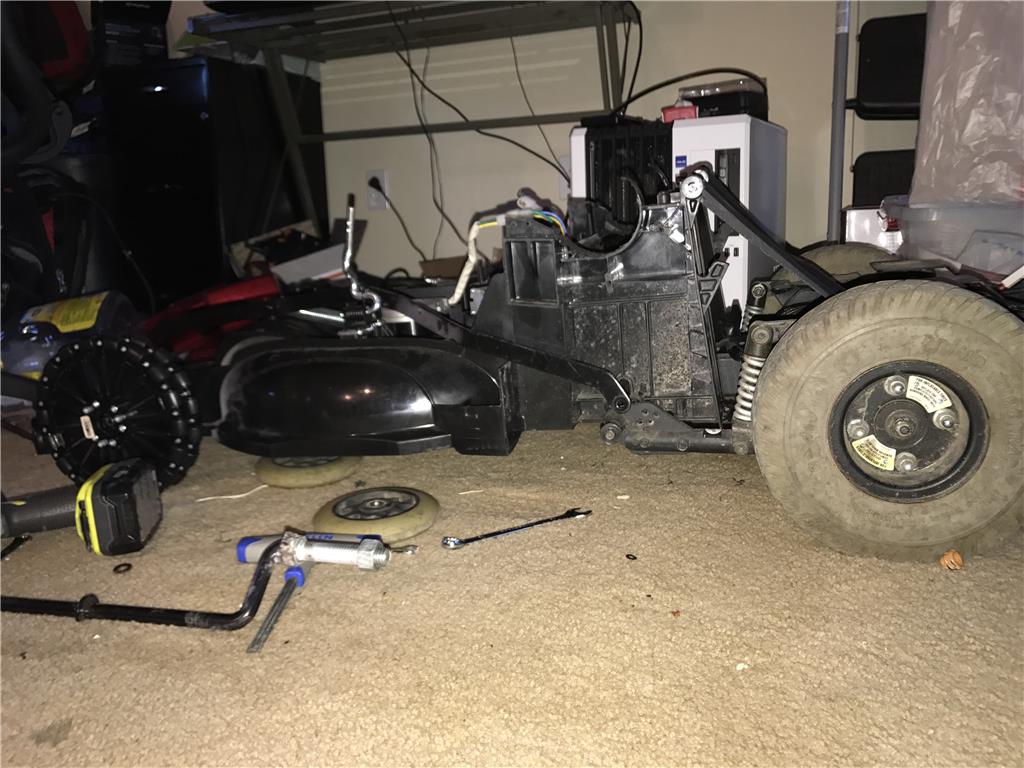


-636337988865509663.jpg)


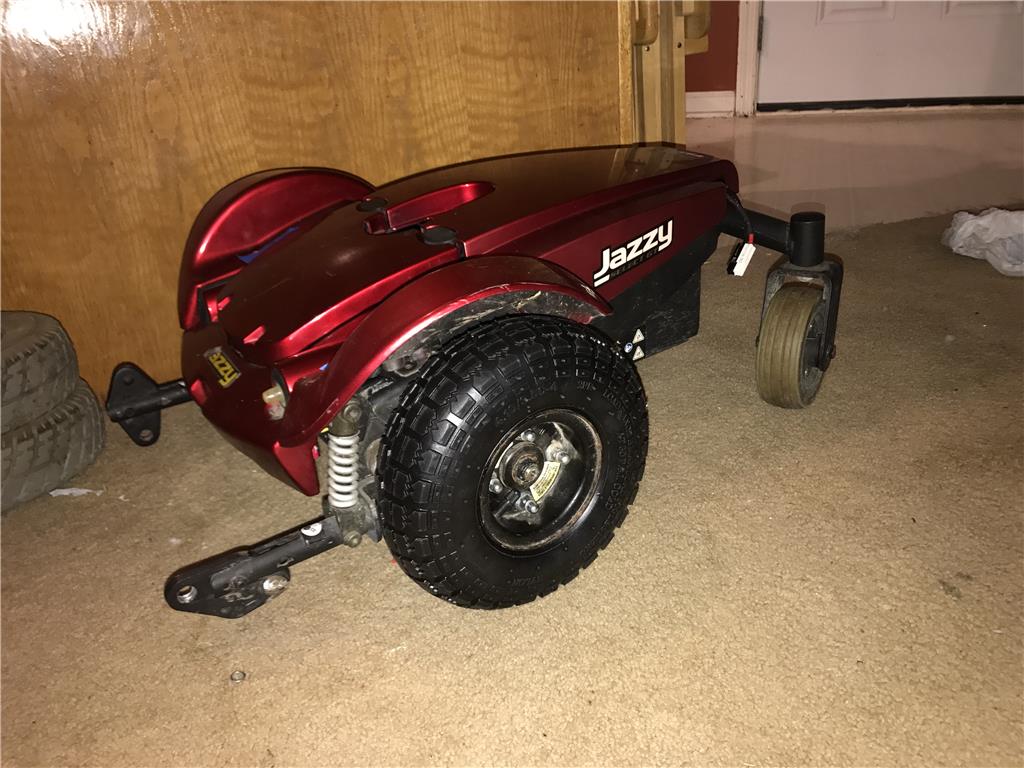
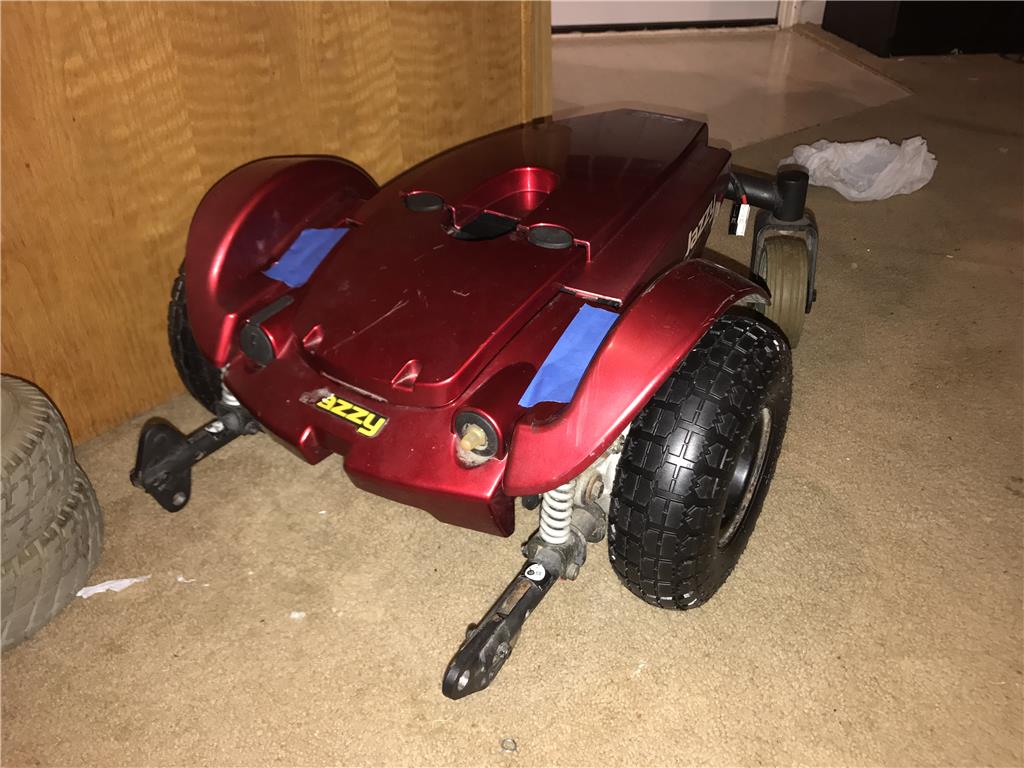
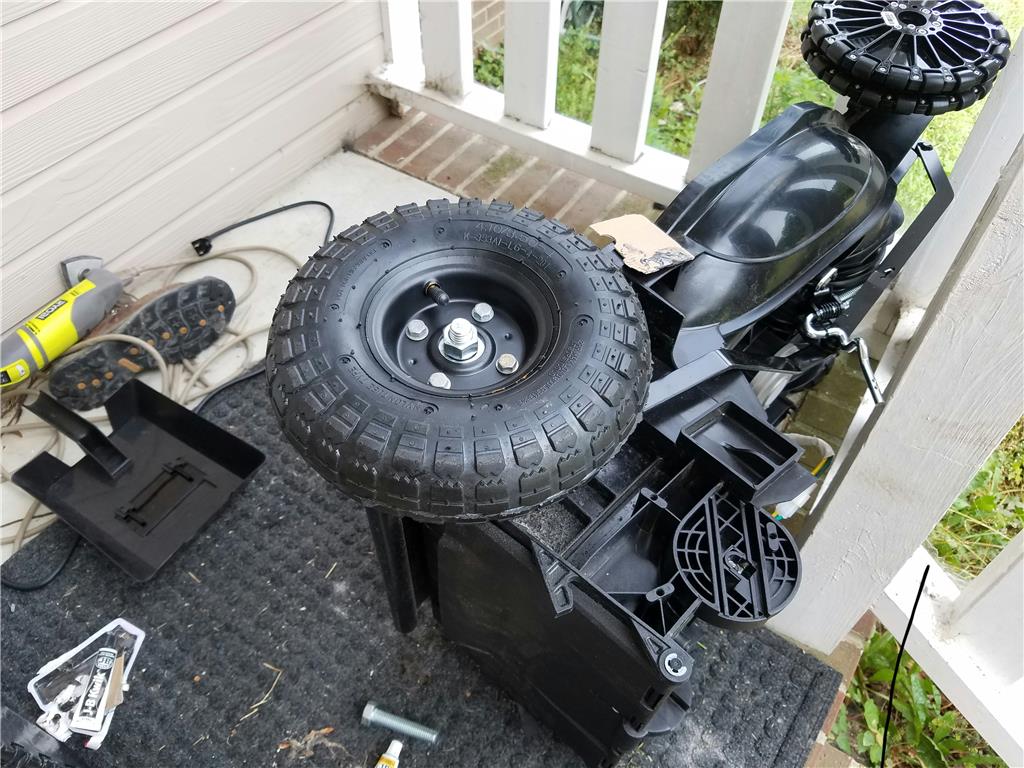
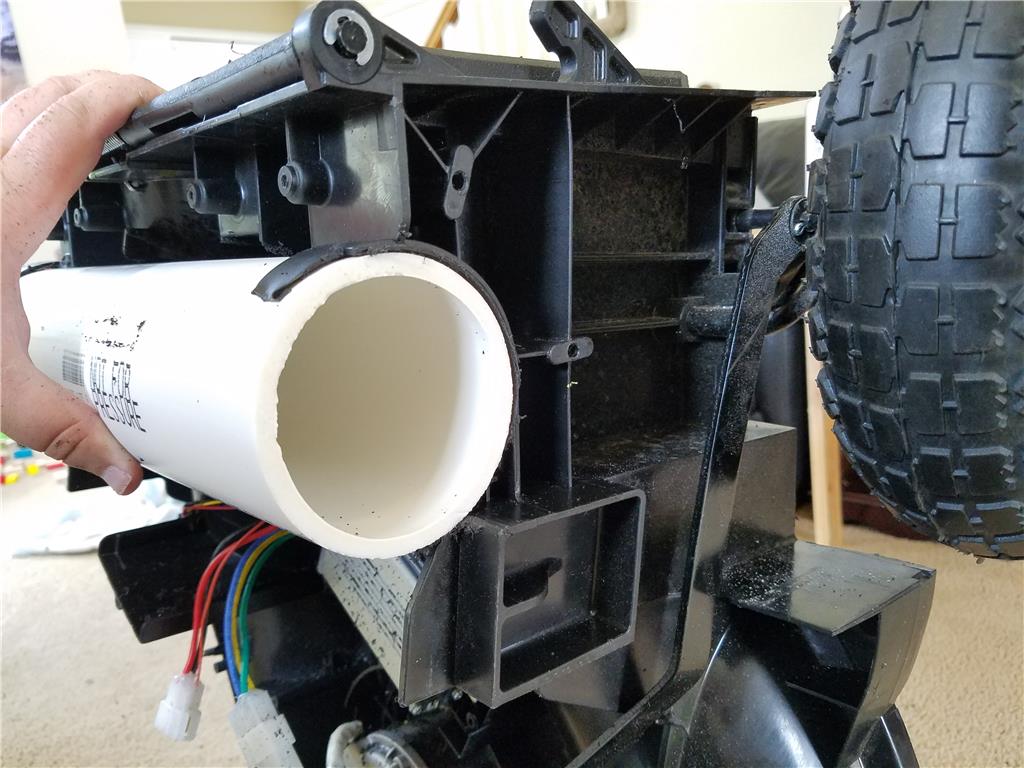
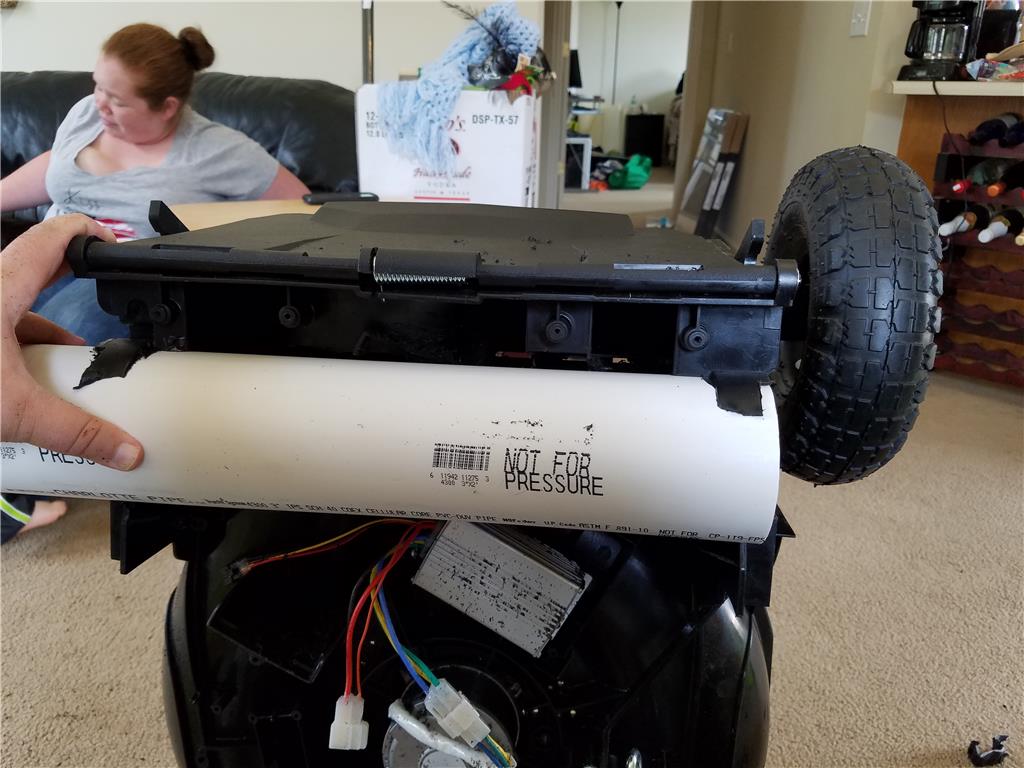
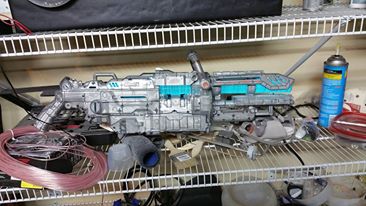
Hello all, I am getting back in the saddle making robots now that I am moved into my new home and settled into my new job as a technician maintaining the Fiber Optics network in Chattanooga TN.
IM BACK !

By jstarne1
— Last update
Discover more robots
Jp15sil24's Samantha
Synthiam ARC powers Samantha, a humanoid robot with Python voice control, servo movement, sensors, face tracking, and...
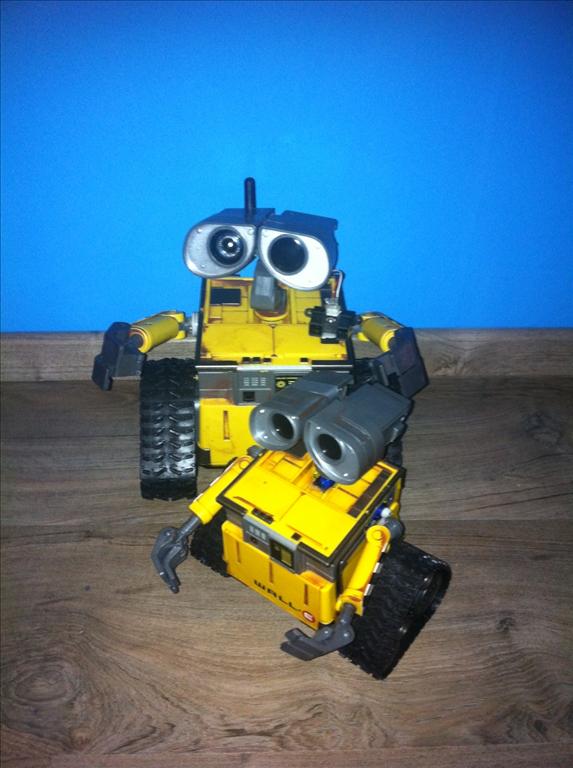
Pabi!O's Pabi!O's Wall-E
Custom WALL-E robots: compact interactive and larger U-command builds using old sound board, servo-packed upper half,...

Markthebotbldr's R2D2 Interactive Hacked!
Hack R2-D2 interactive with EZ-B v4, dual L298N motor controllers and a Synthiam ARC mobile app; add sensors for...

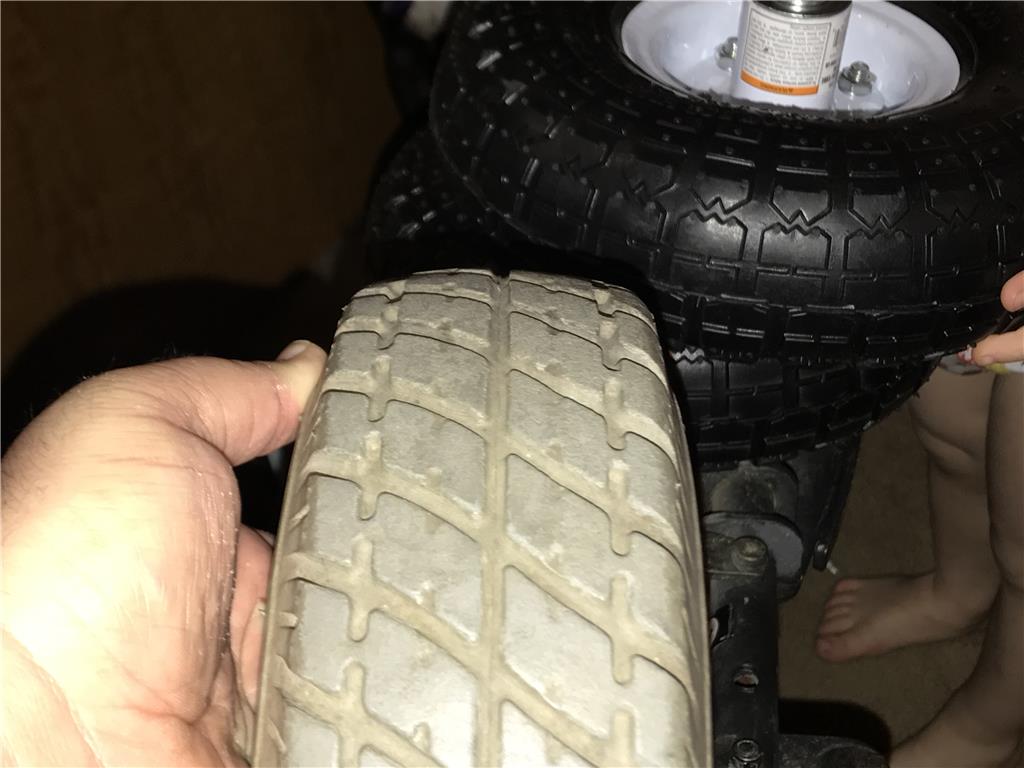
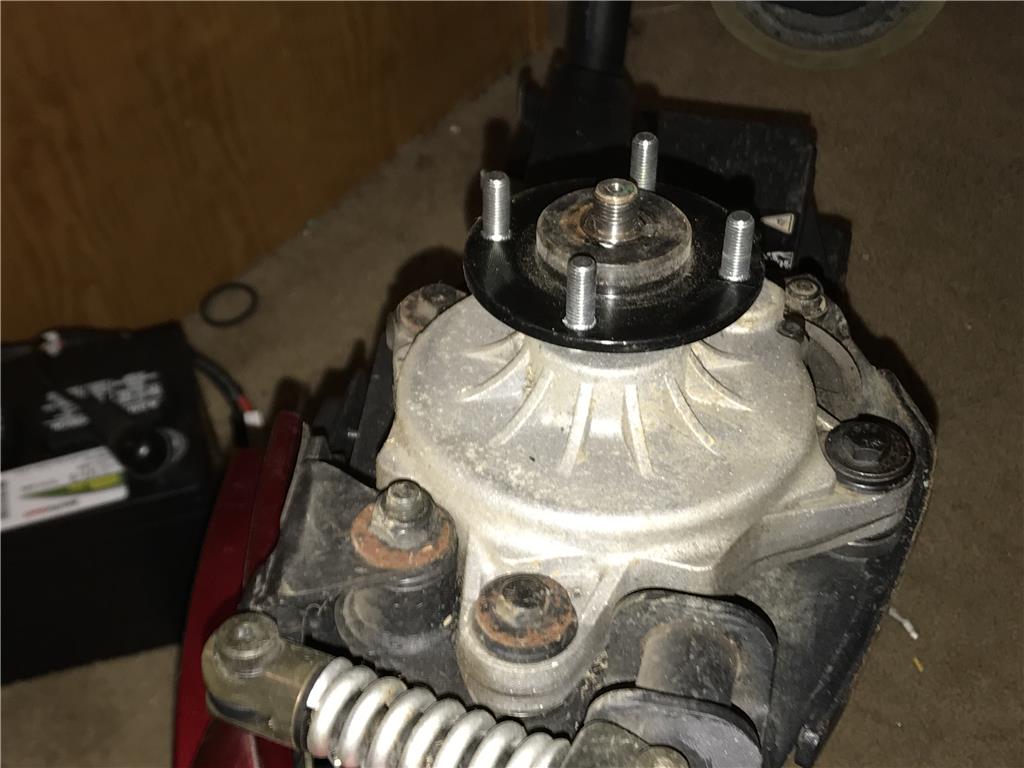
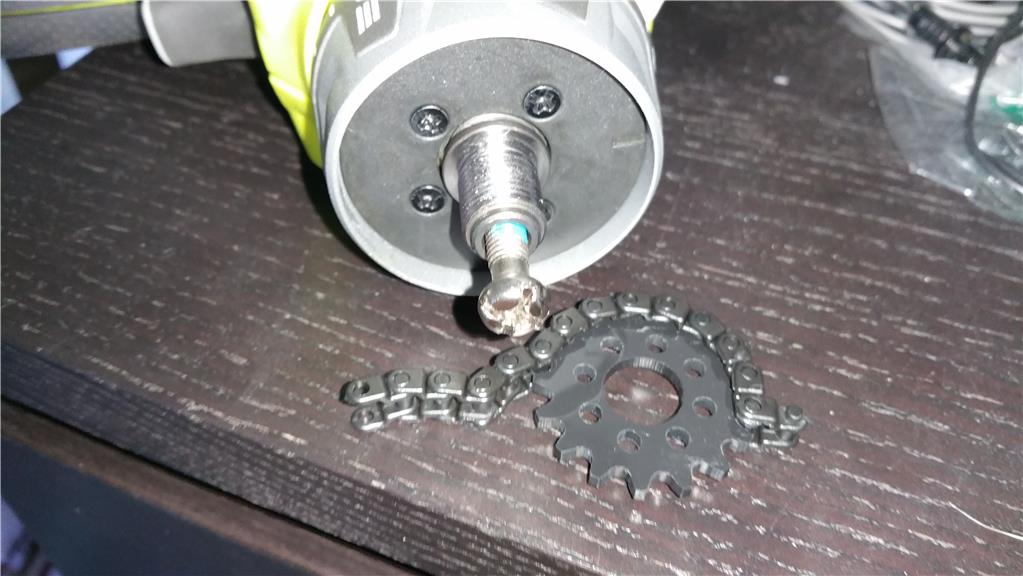
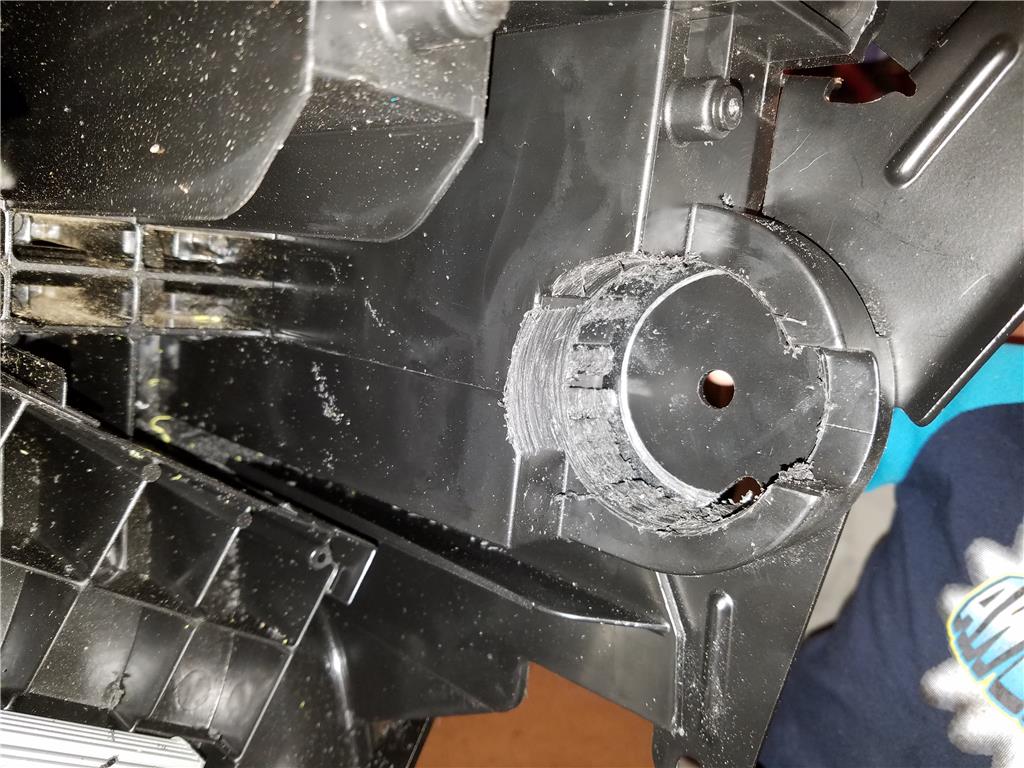
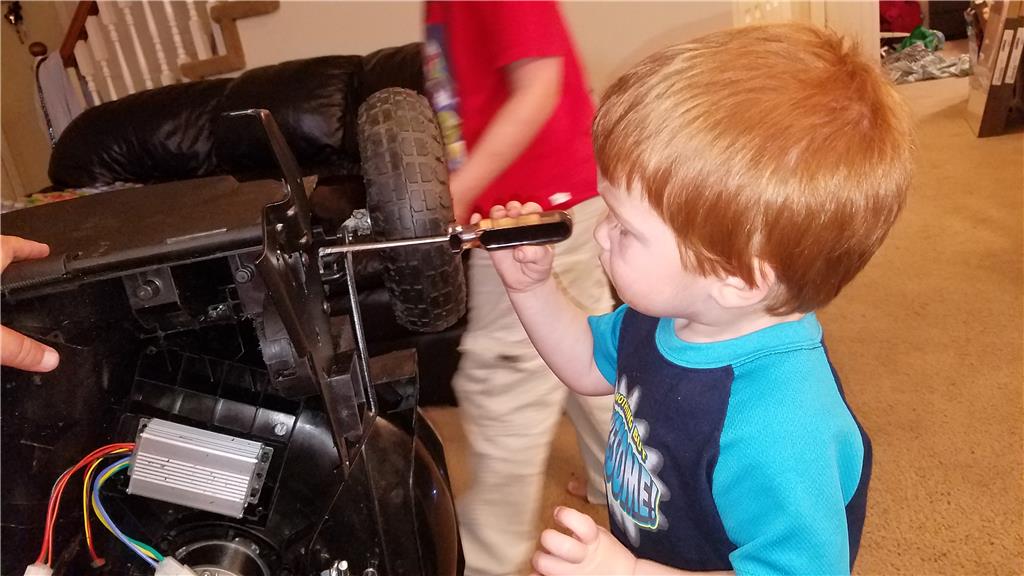
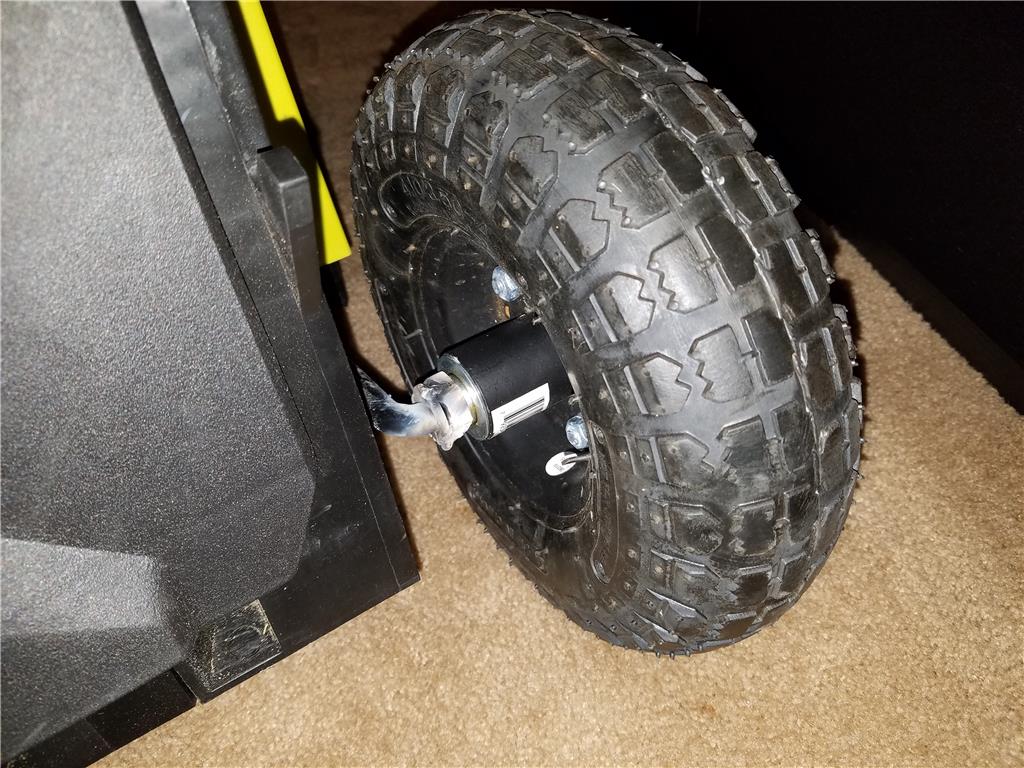
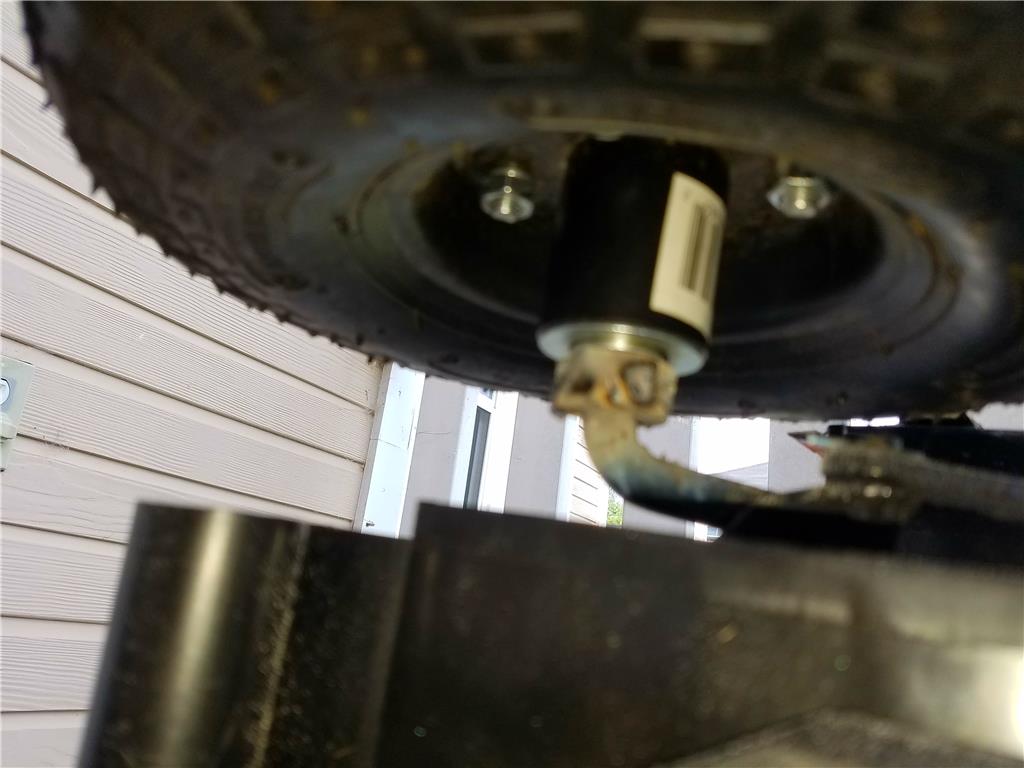
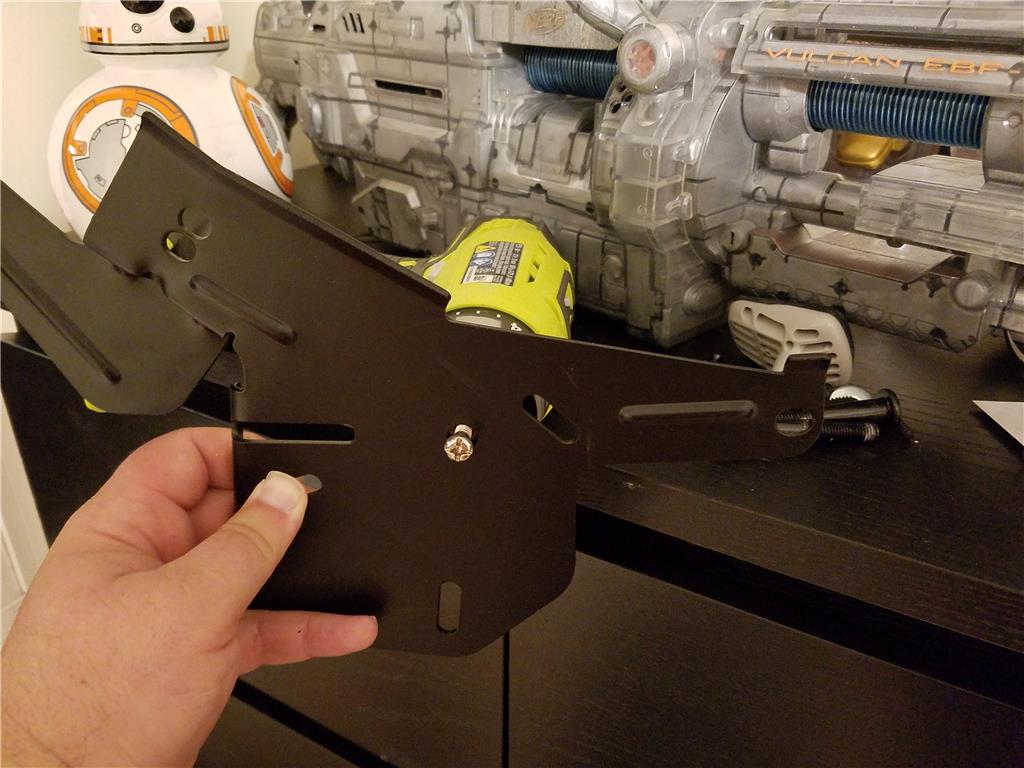
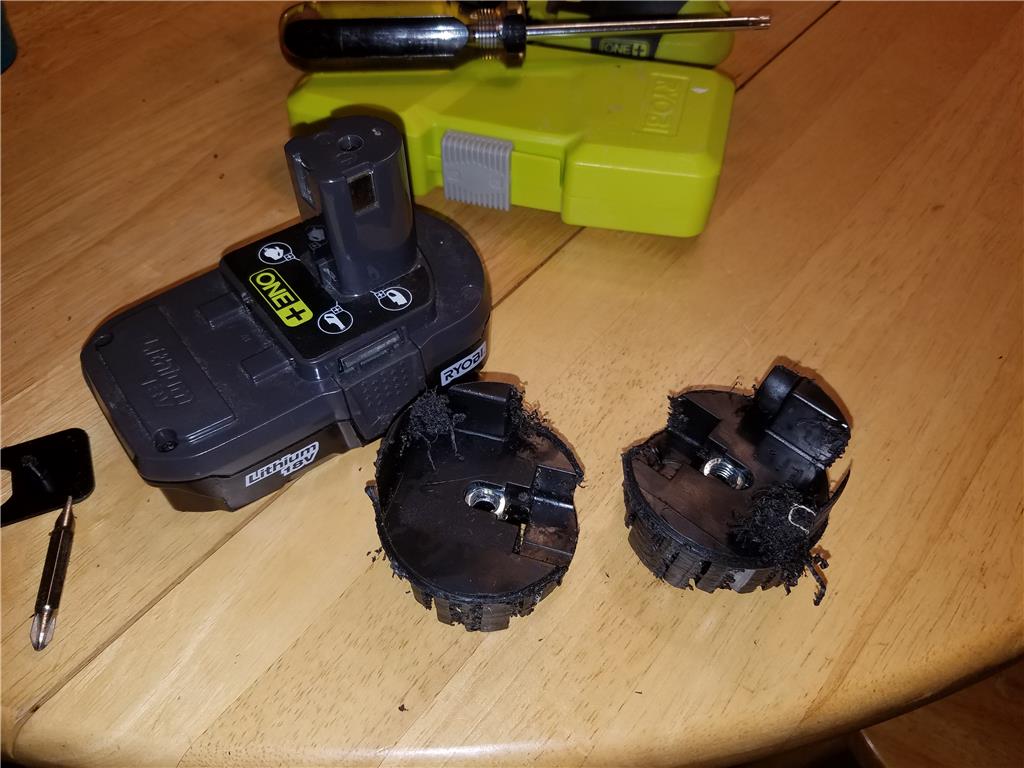
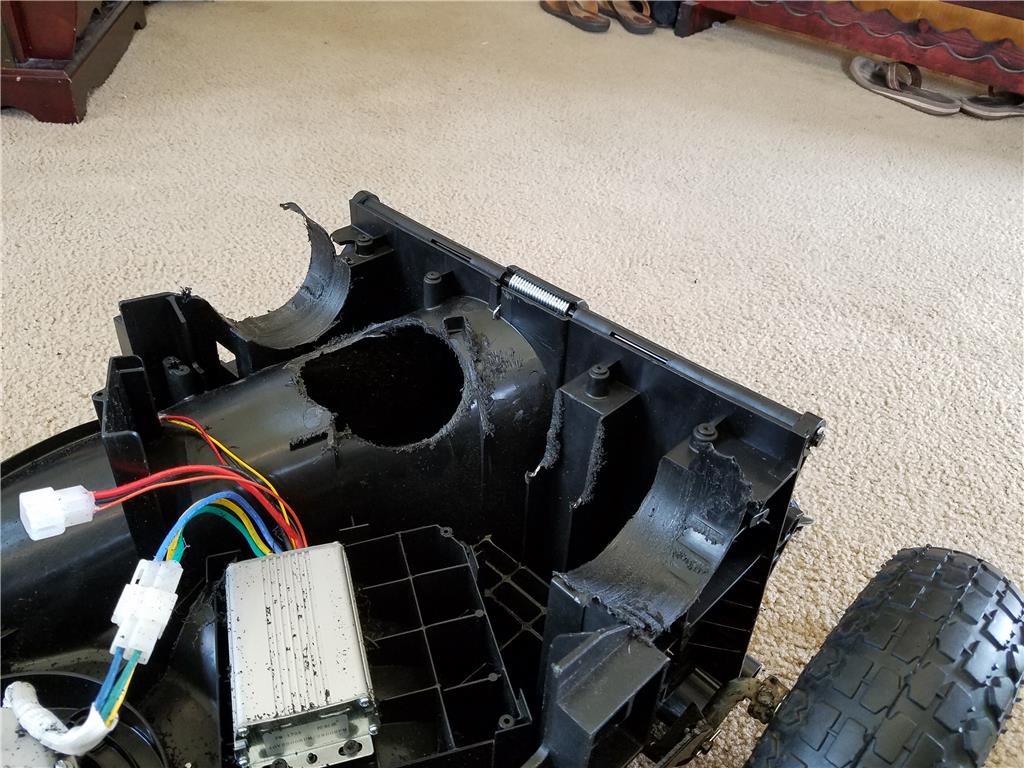
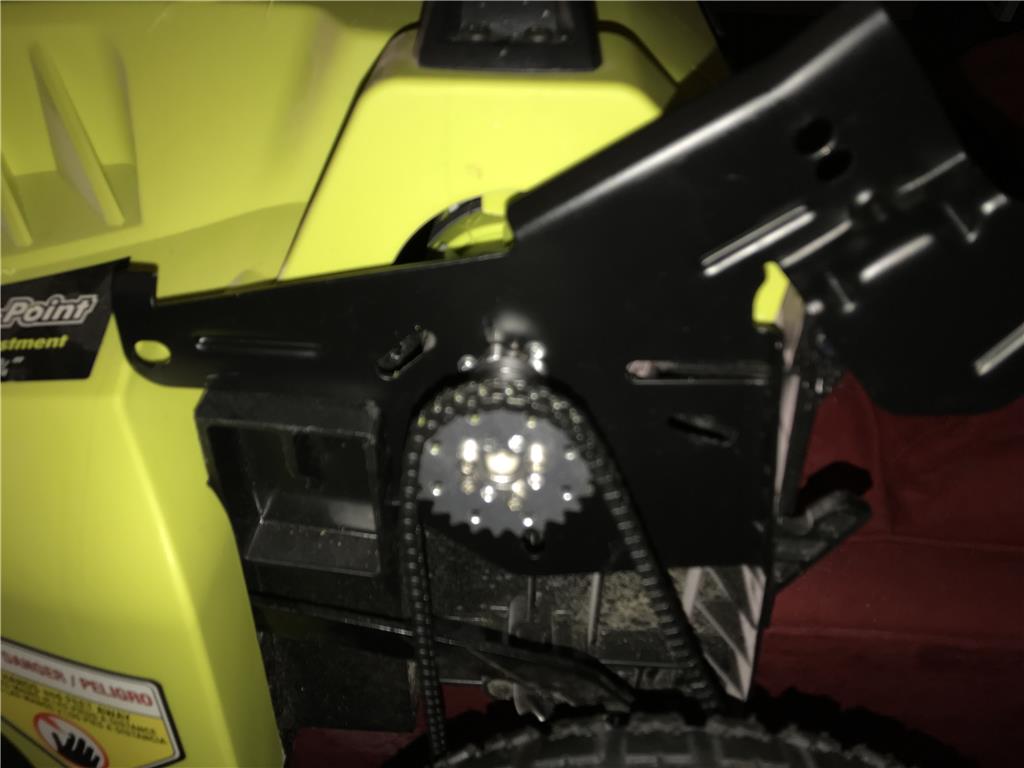
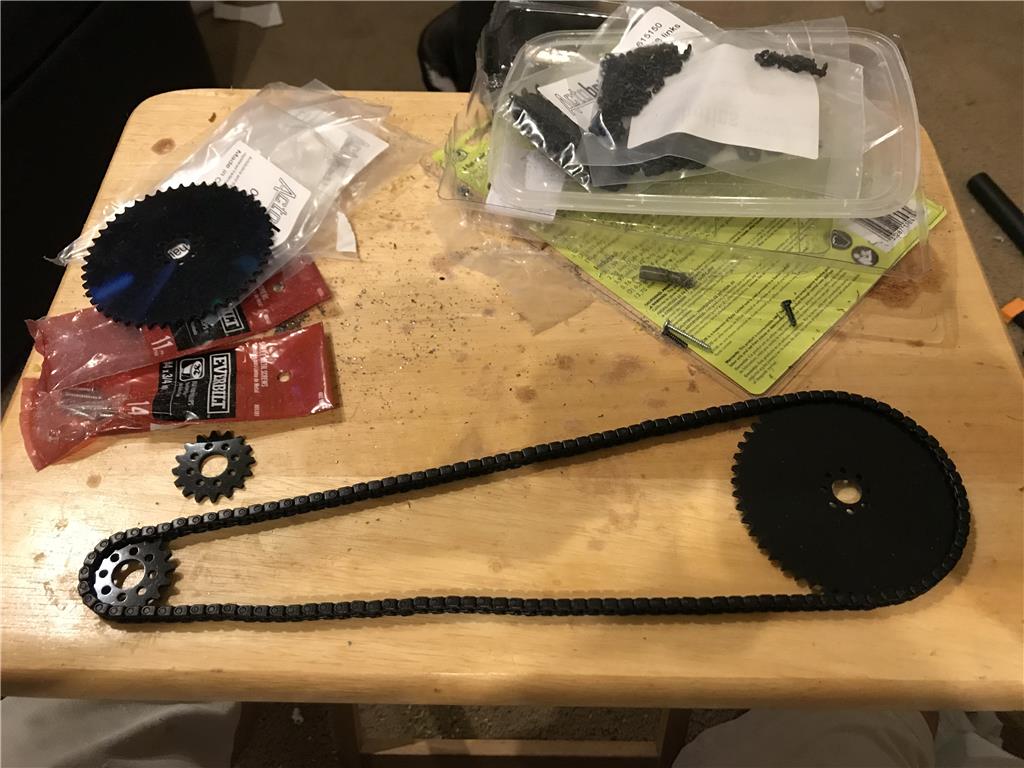
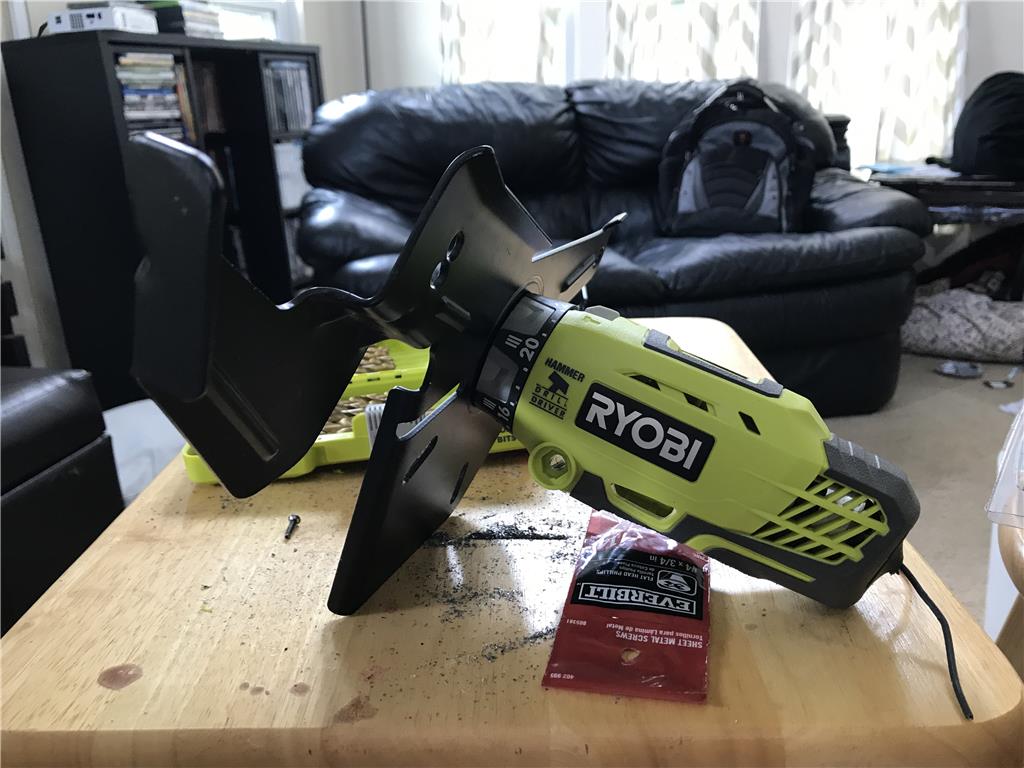
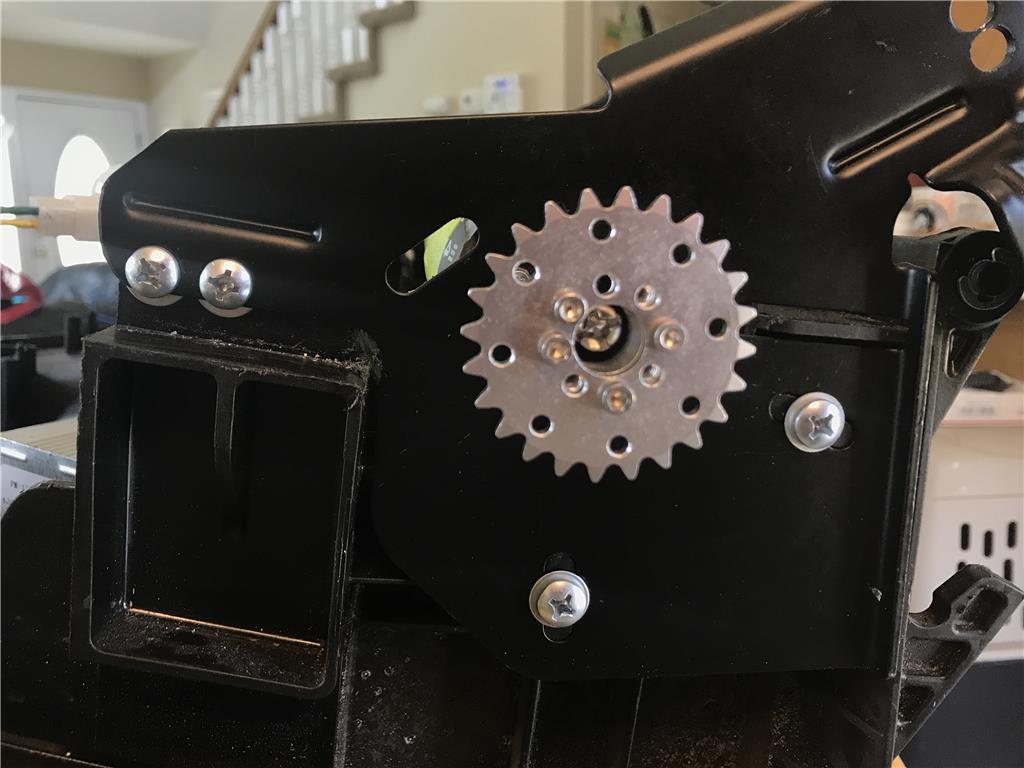
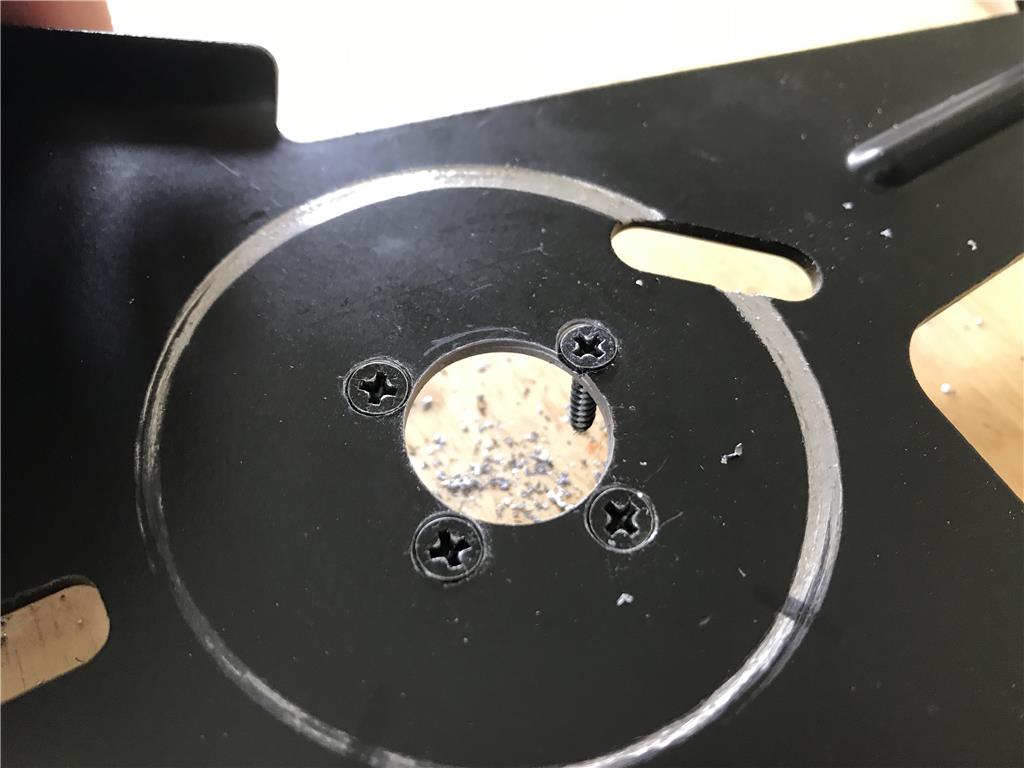
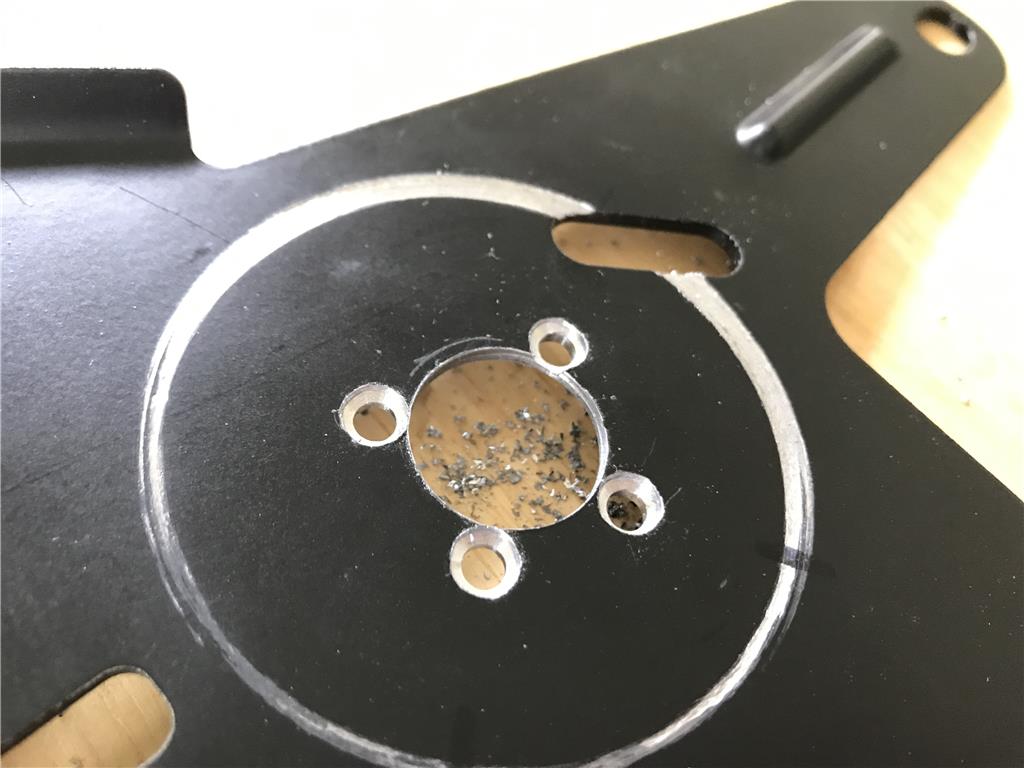
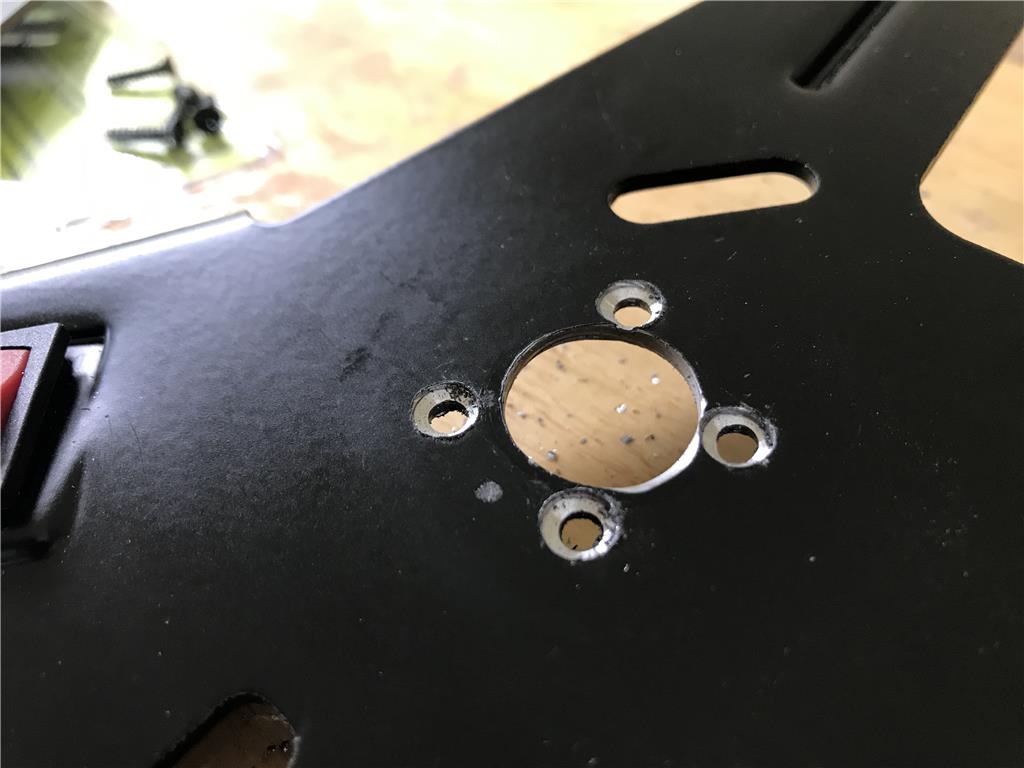
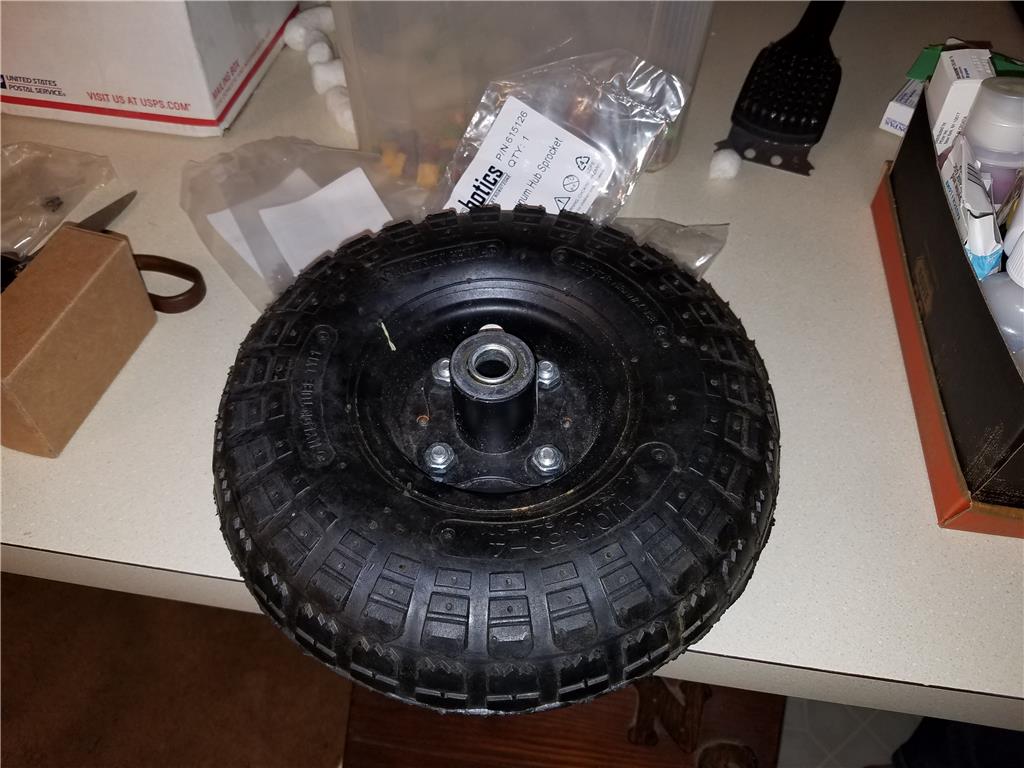
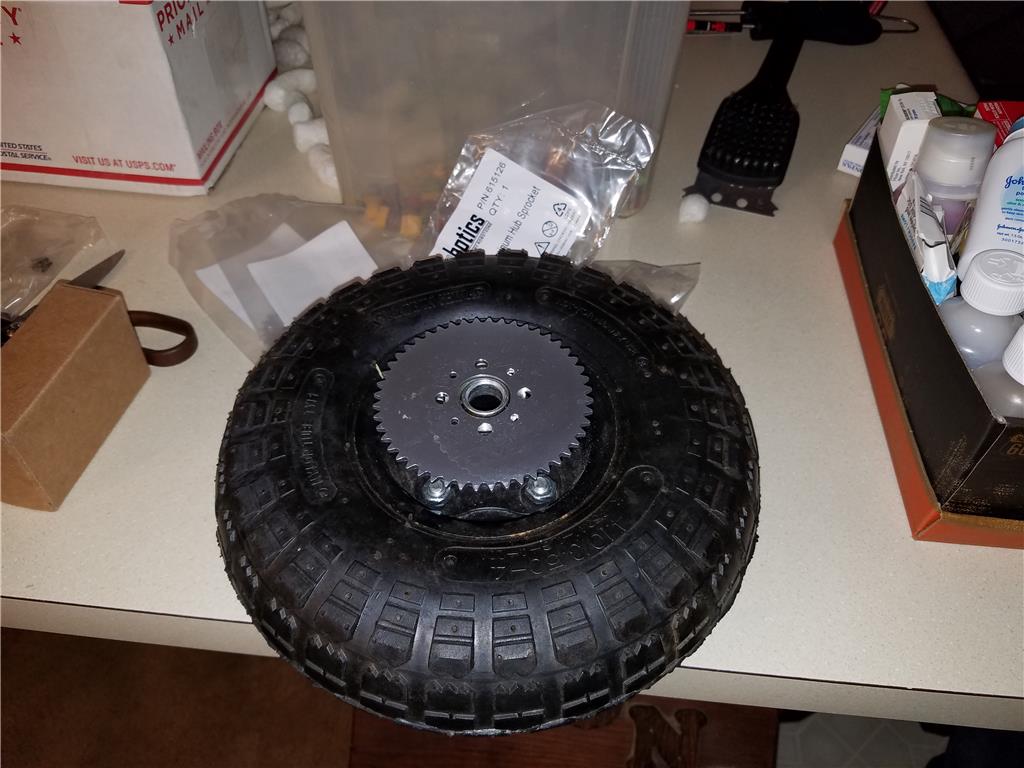
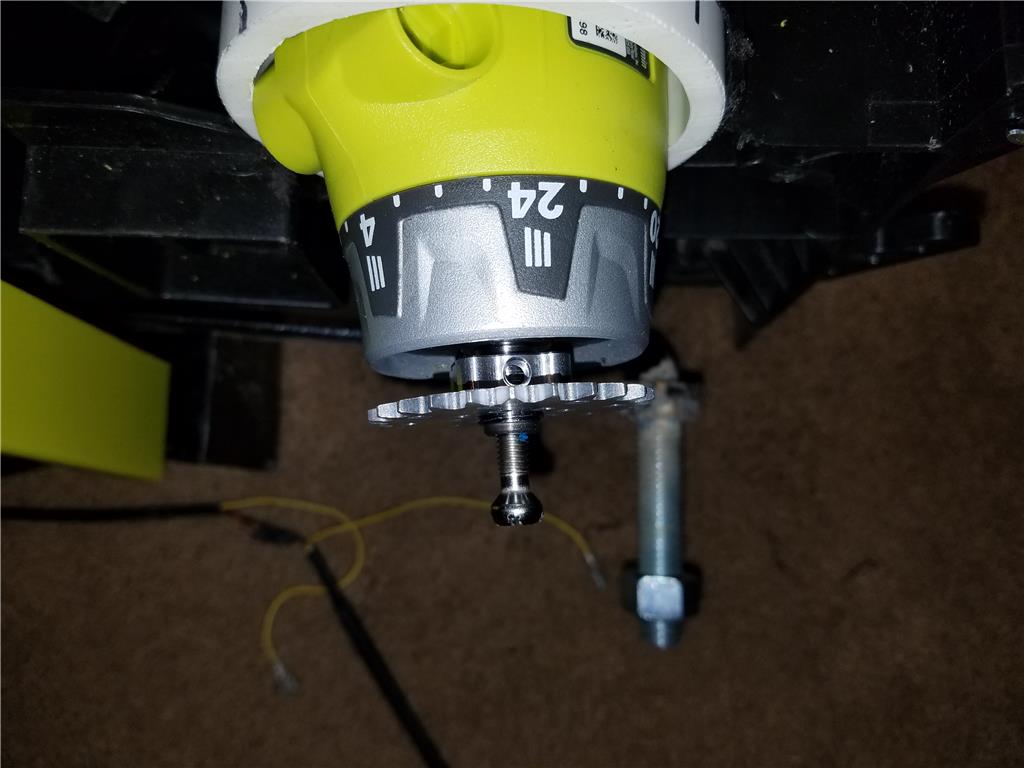
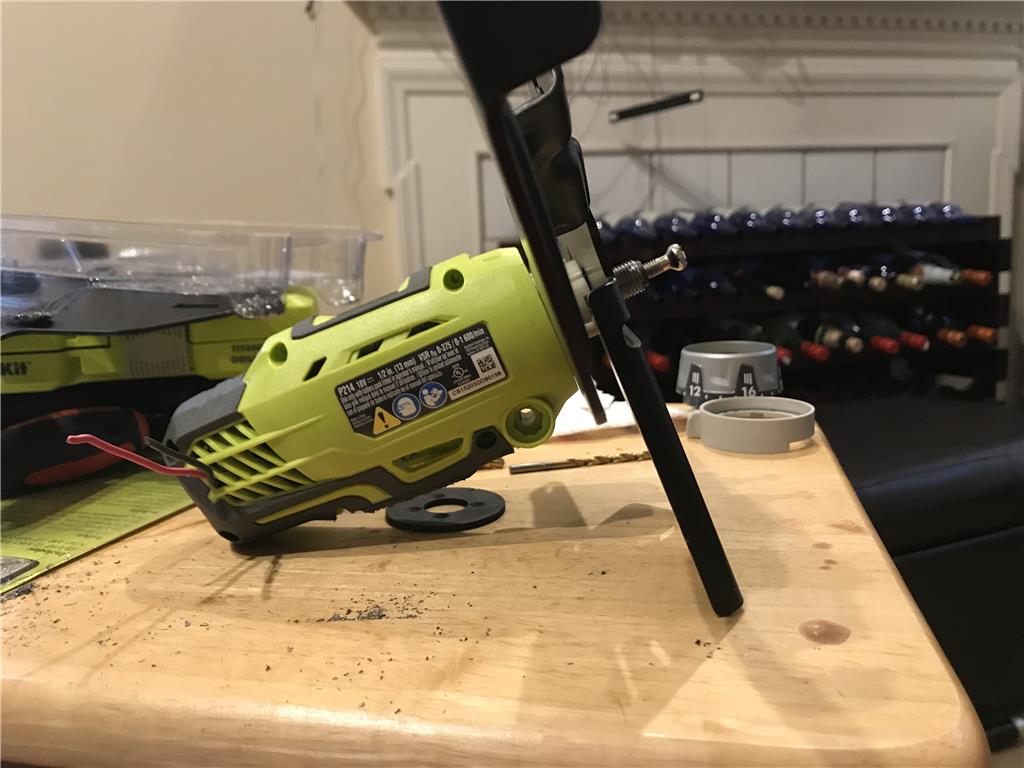
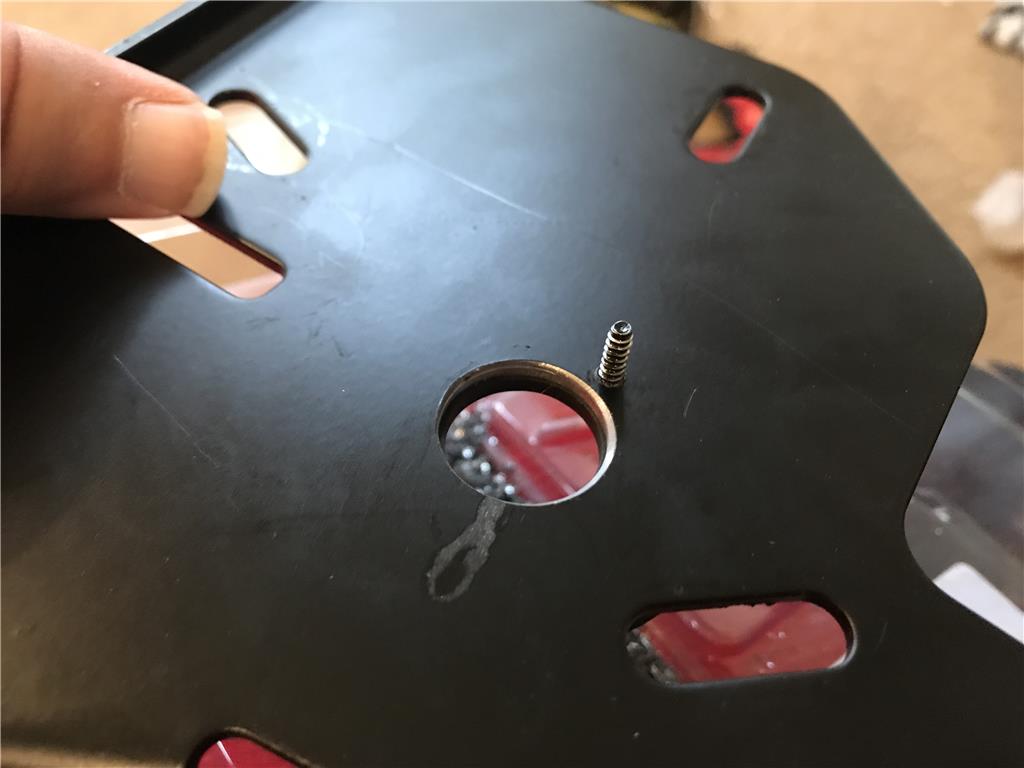
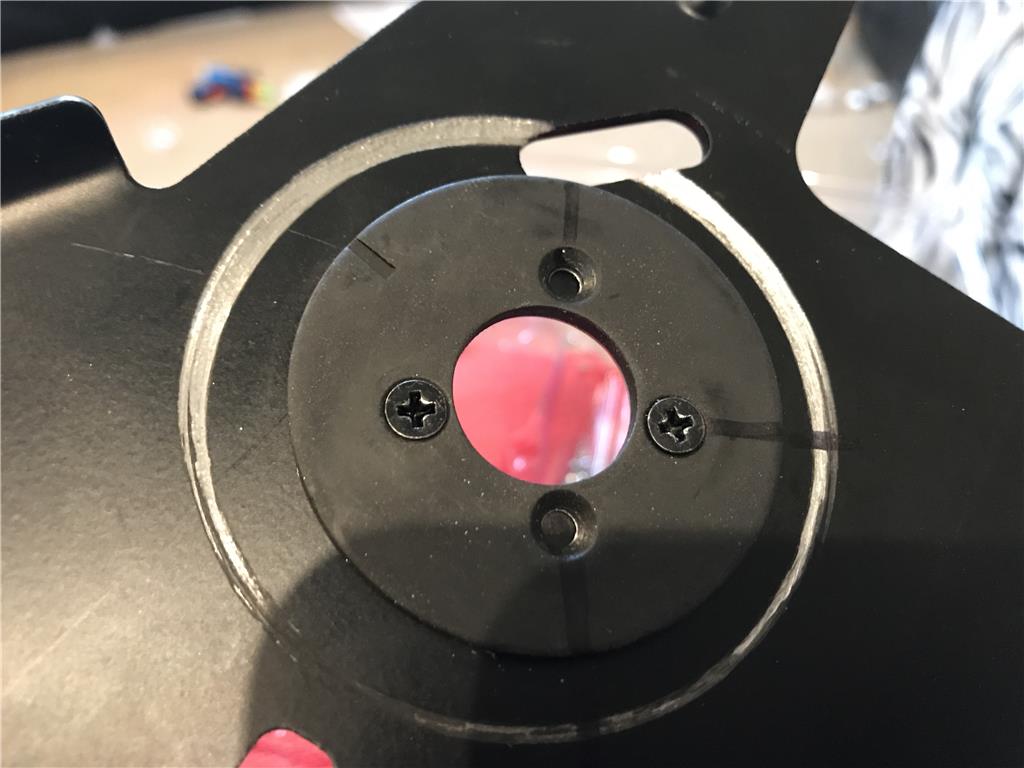
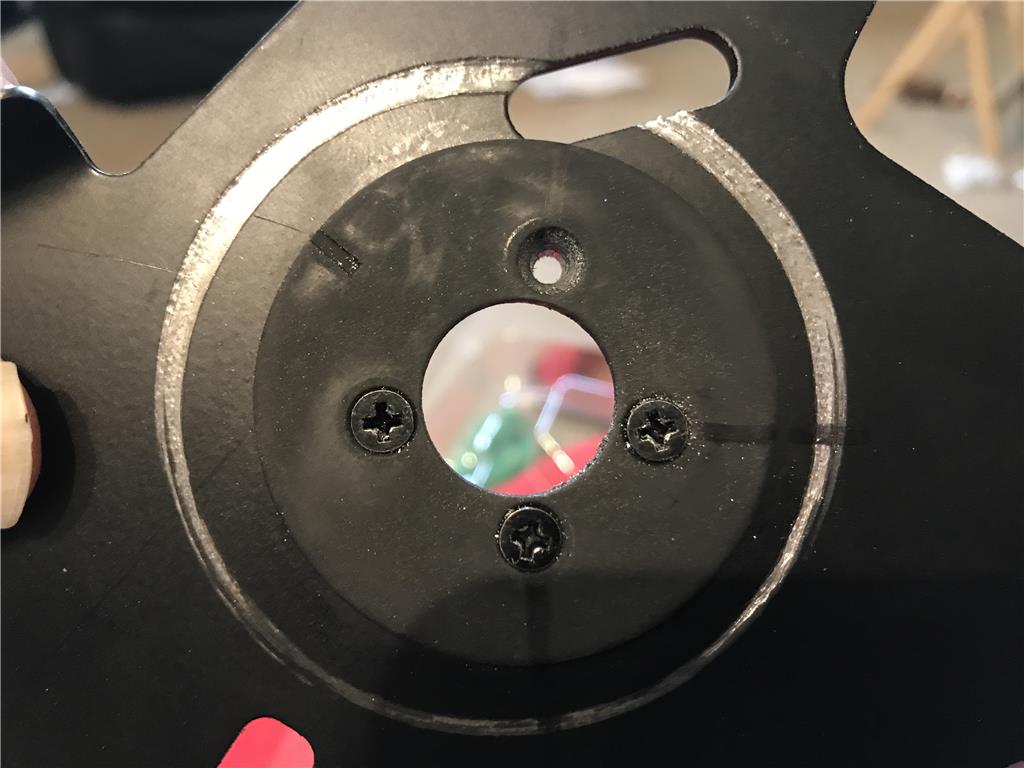
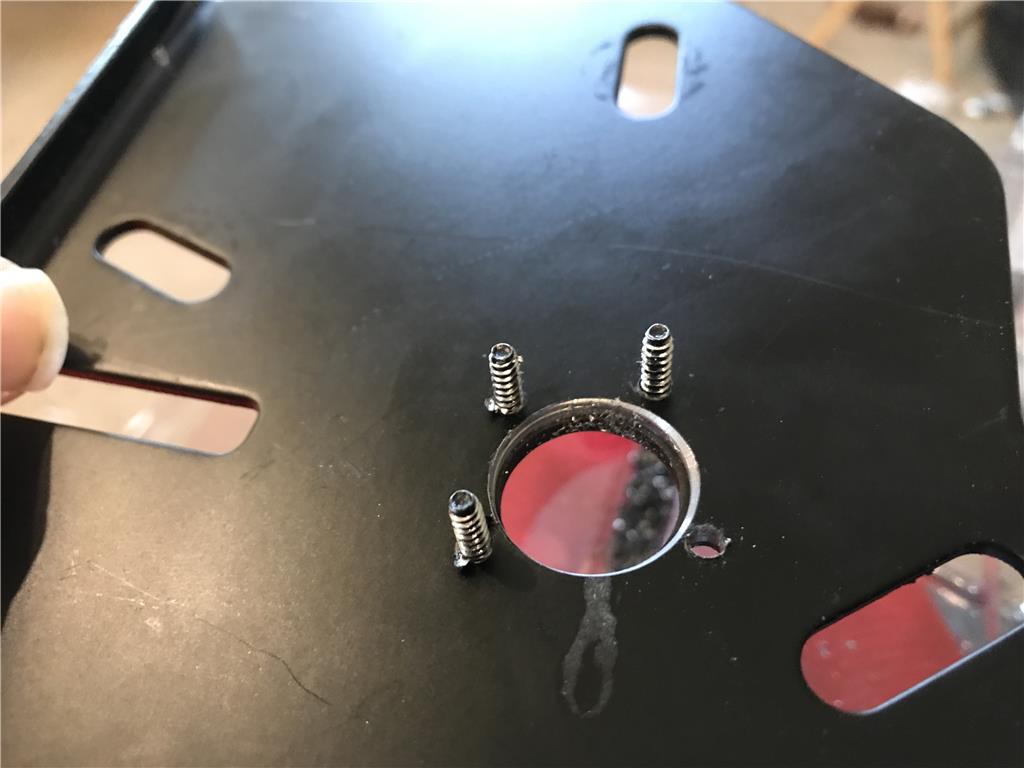
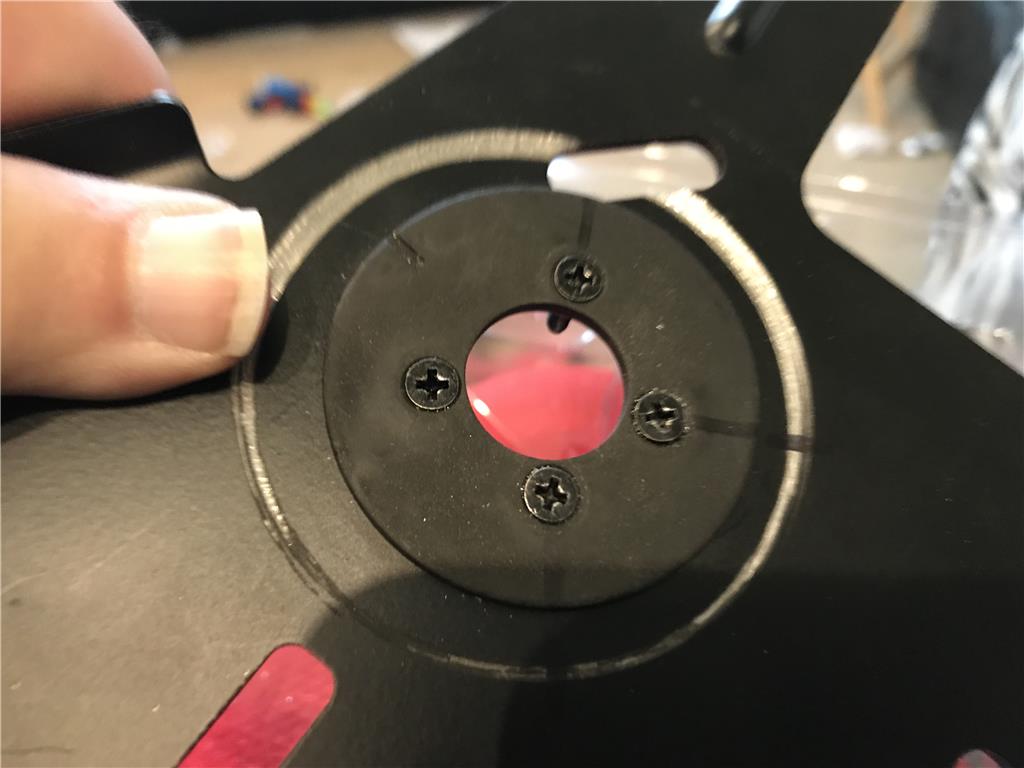
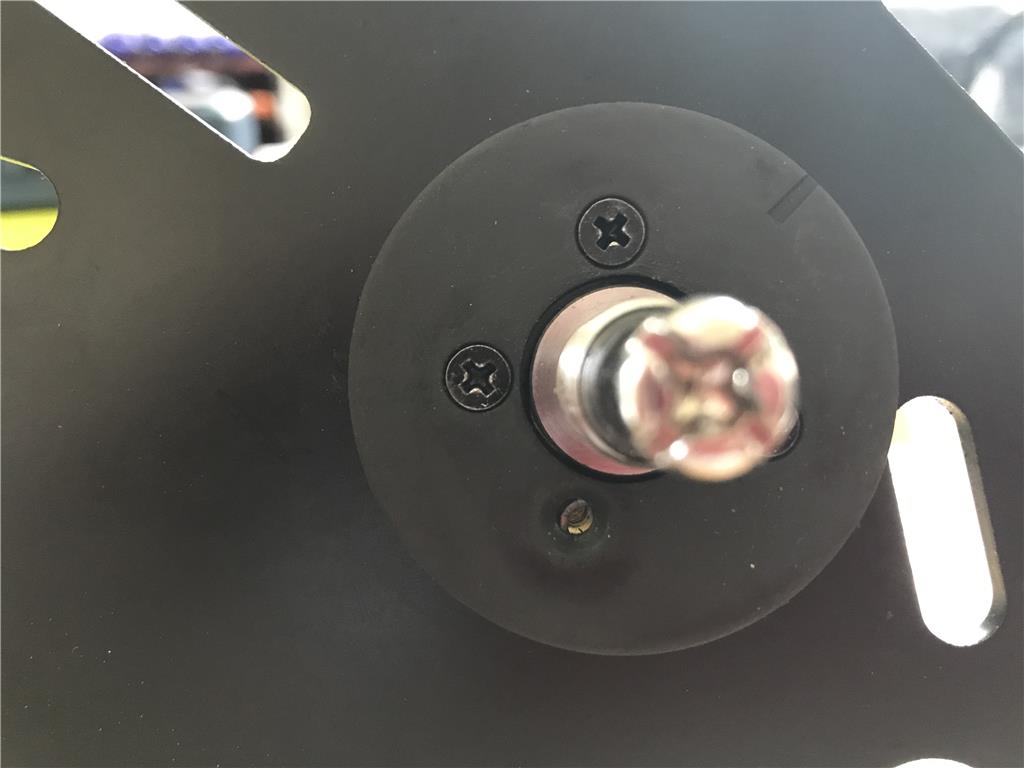
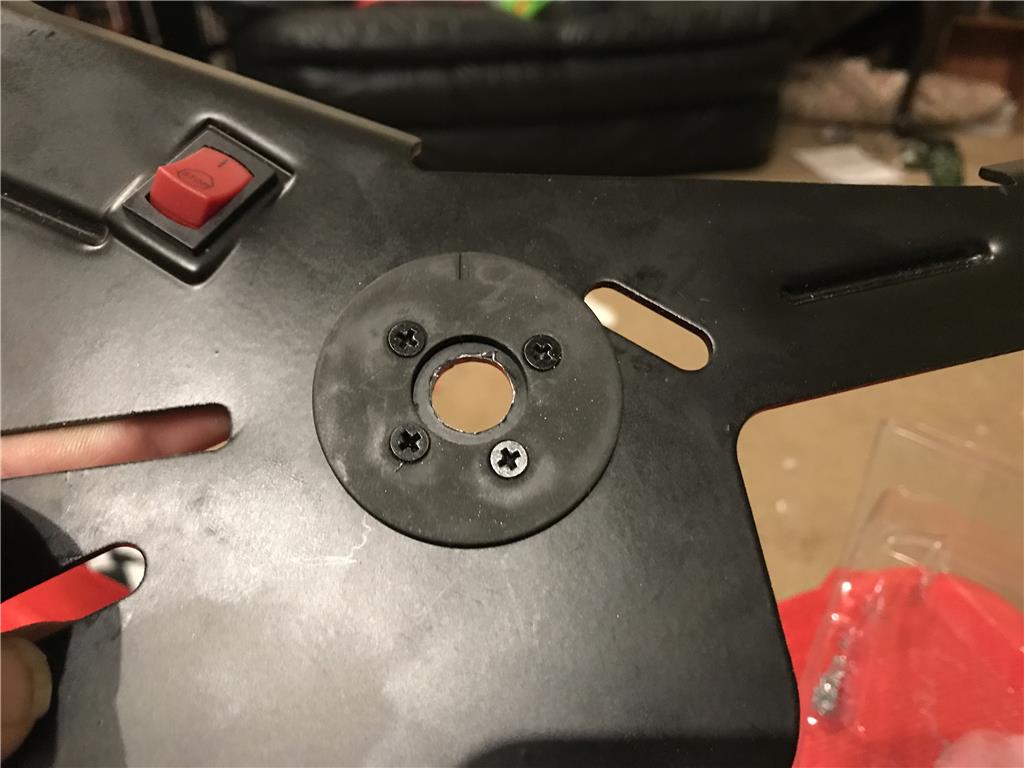
Ok so I picked up titanium coated bits so I can drill through this 1/8th inch steel. Just so happens the outside plate of the gearbox is also 1/8 inch steel. I thought to myself that I could likely use the same screws to mount the play to the gearbox. I used the largest bit I had and I still need to widen the hole more for the bearing at the base of the shaft.
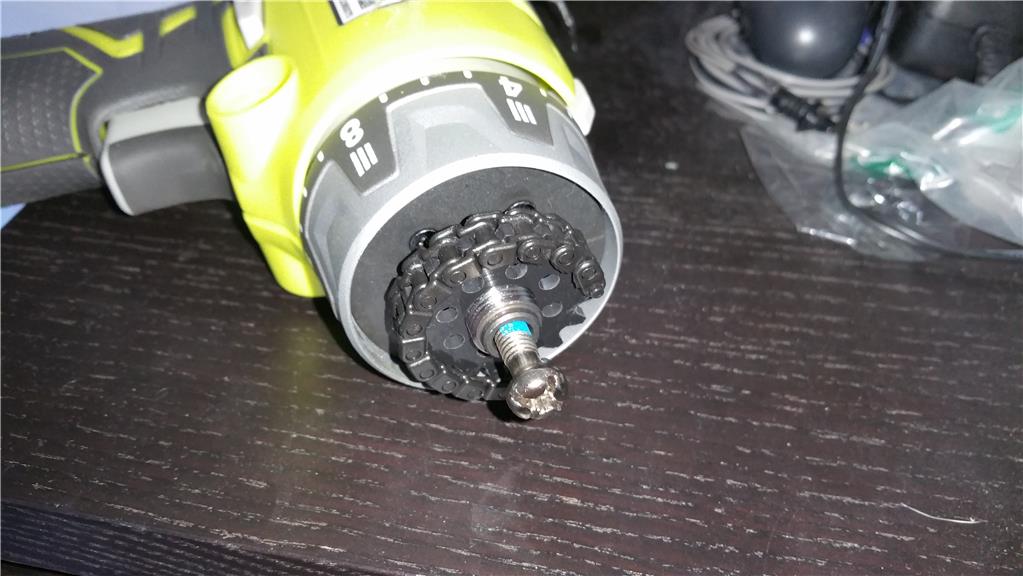
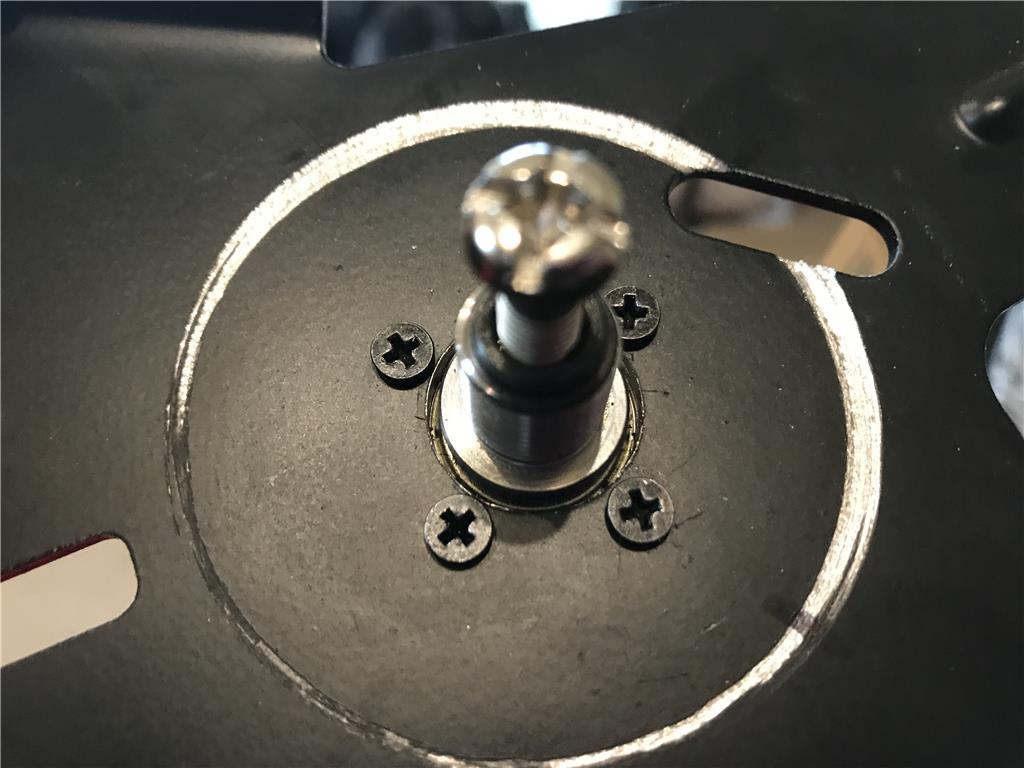
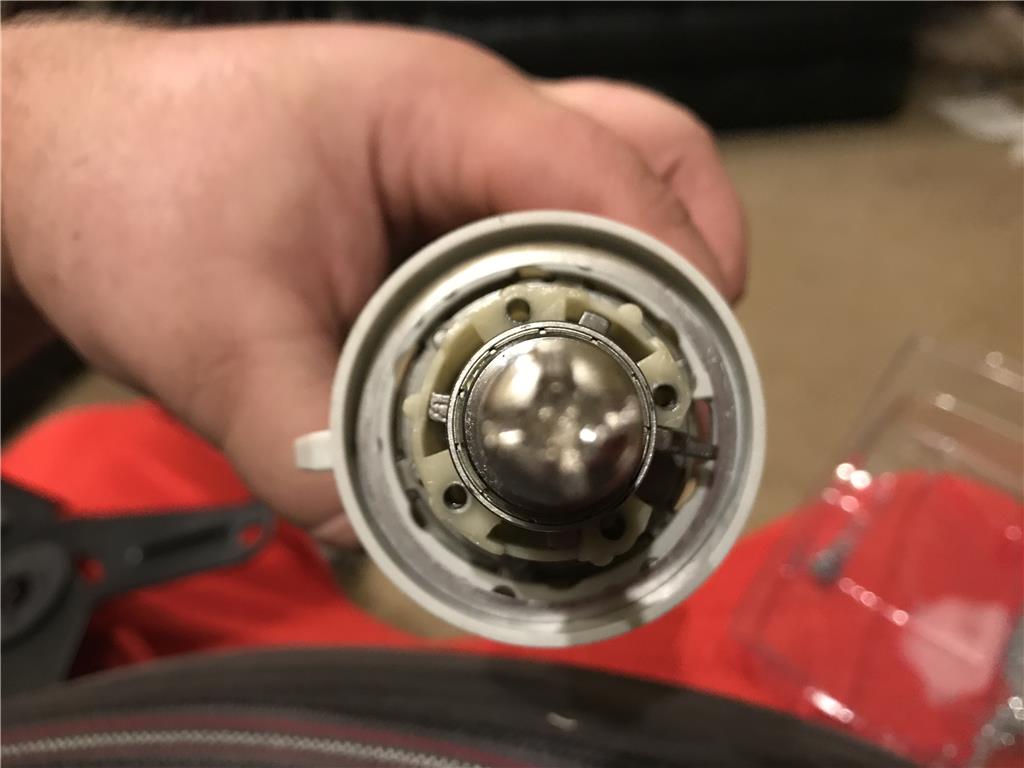
Shaft through the hole . I need to widen it out another quarter inch I think and I will try getting longer screws tomorrow.
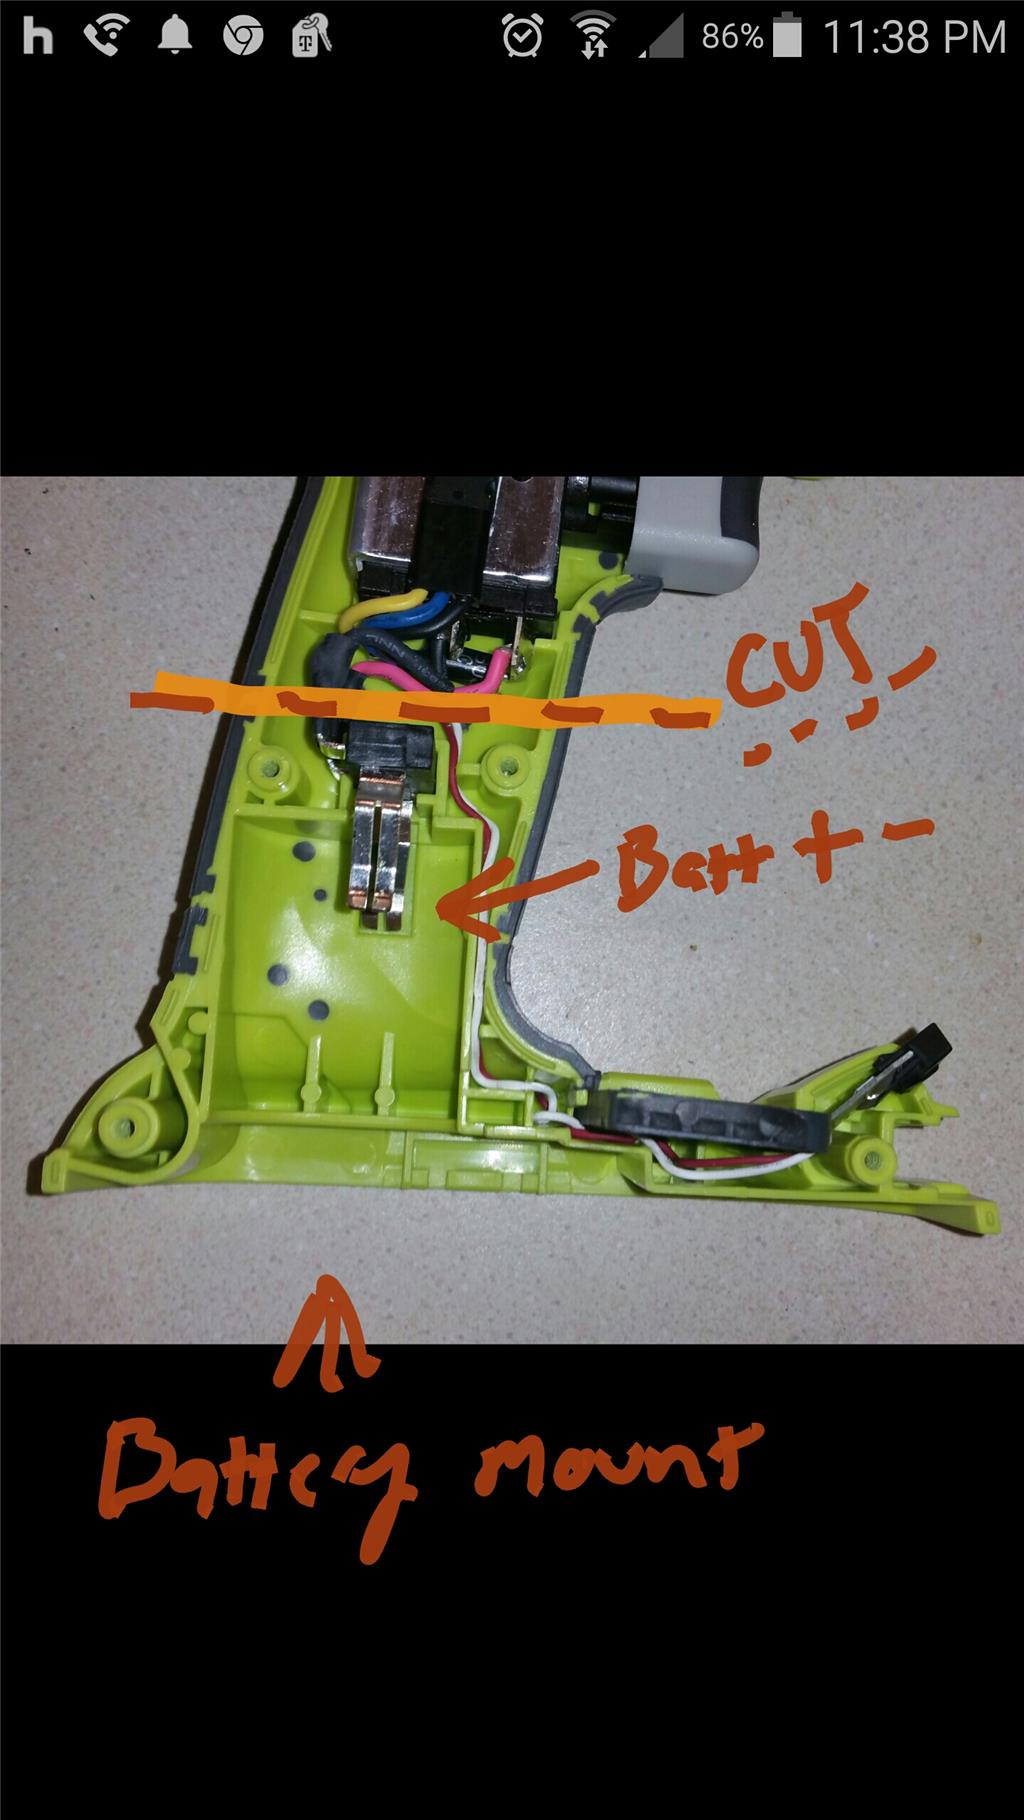
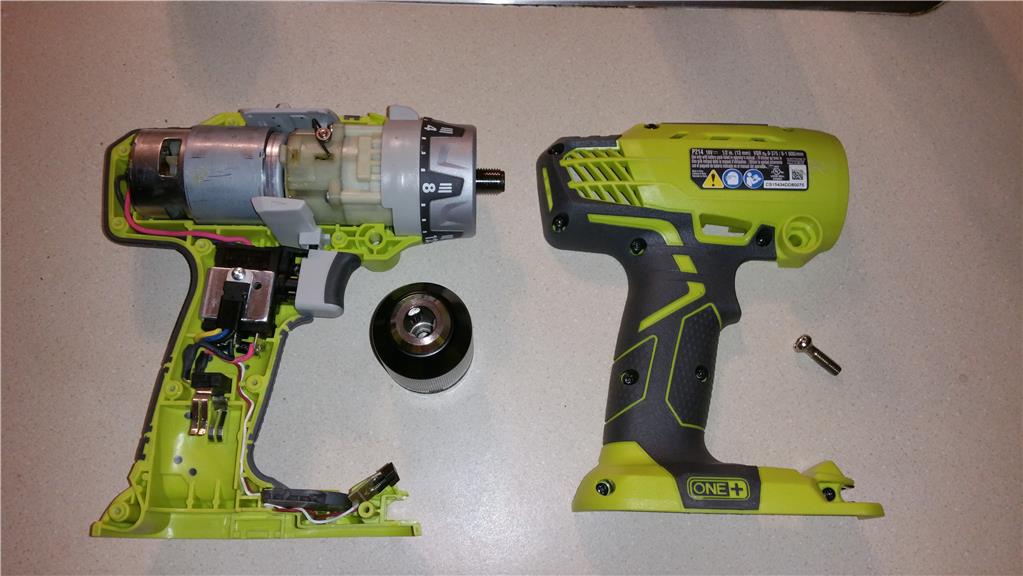
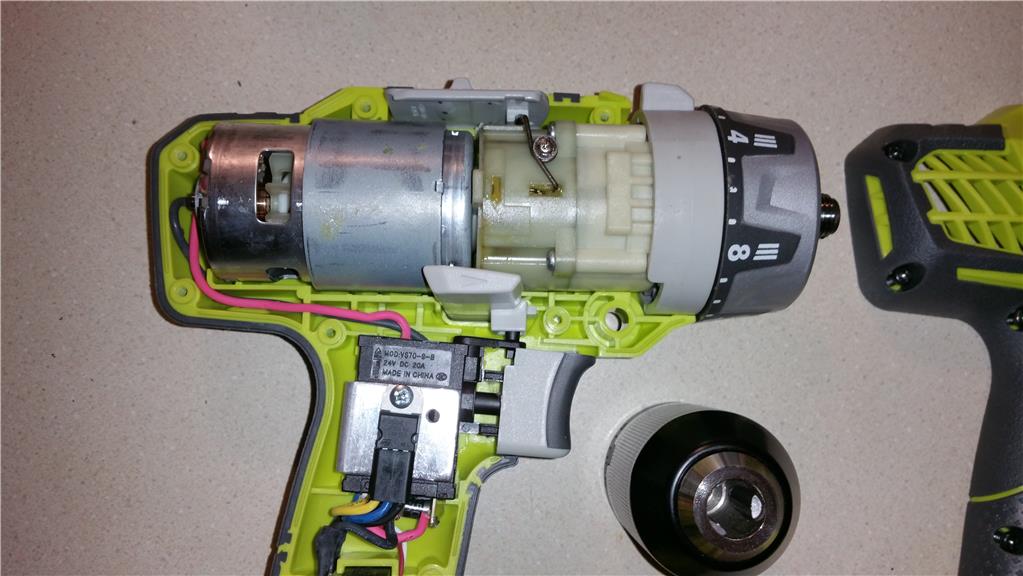
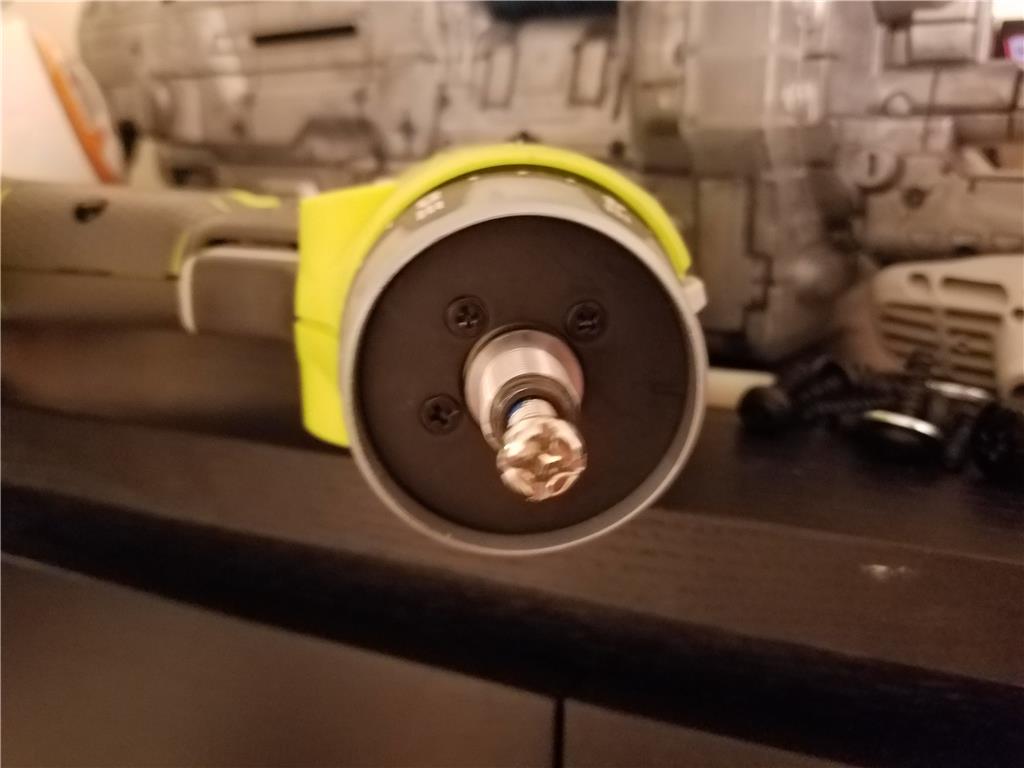
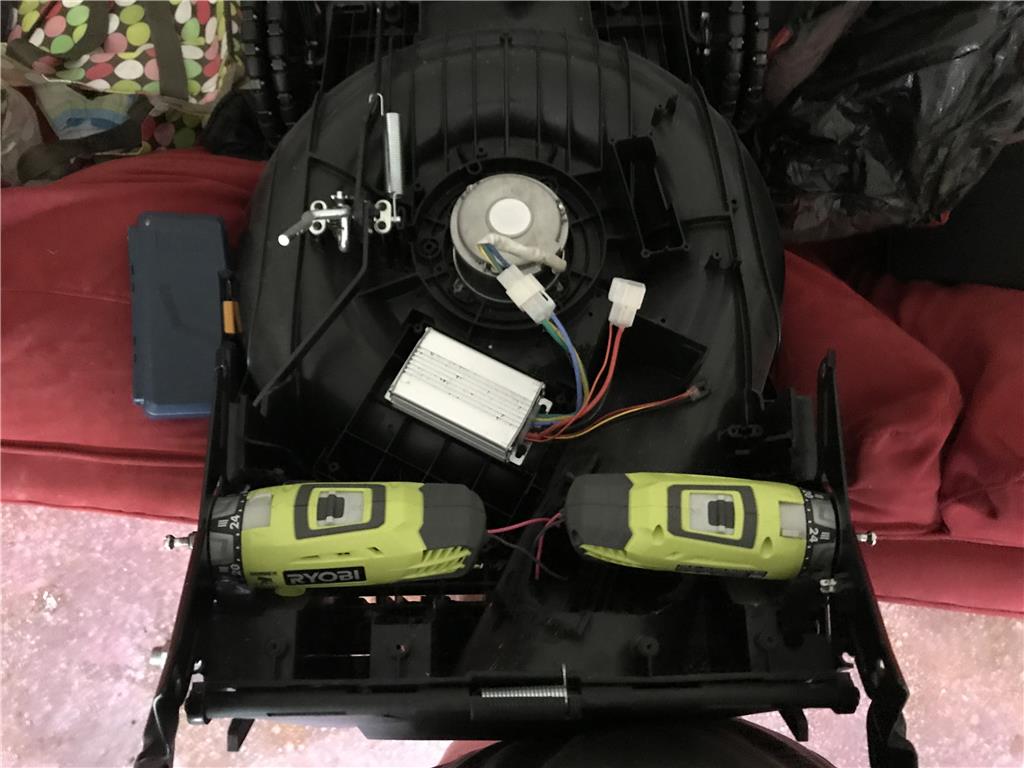
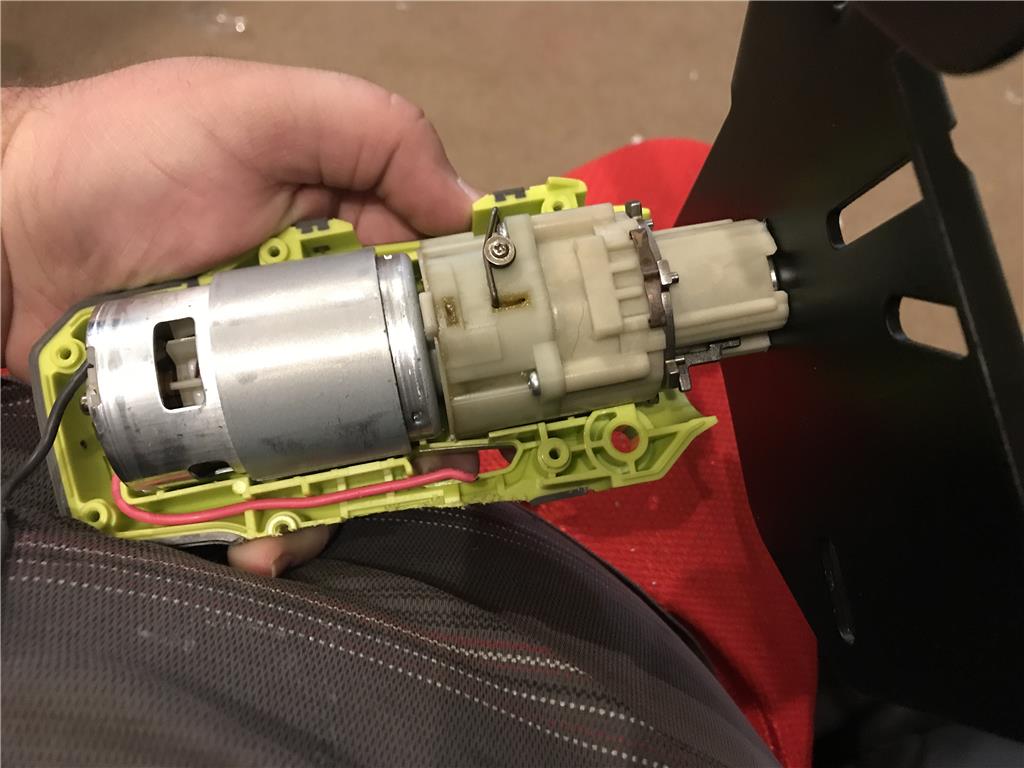
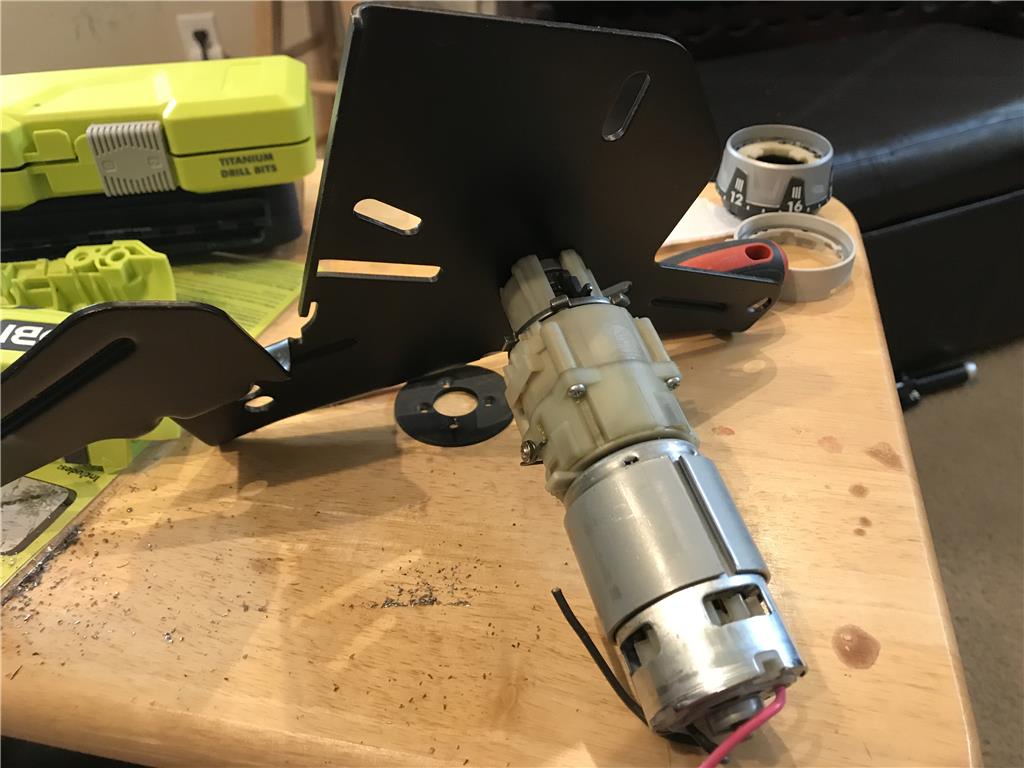
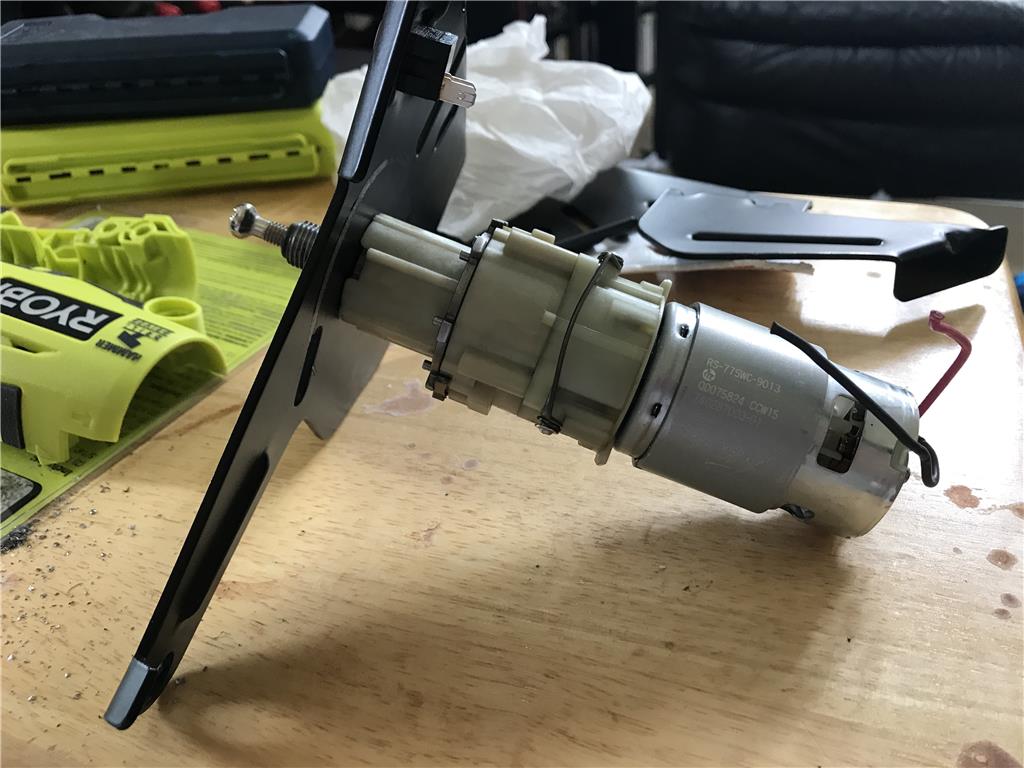
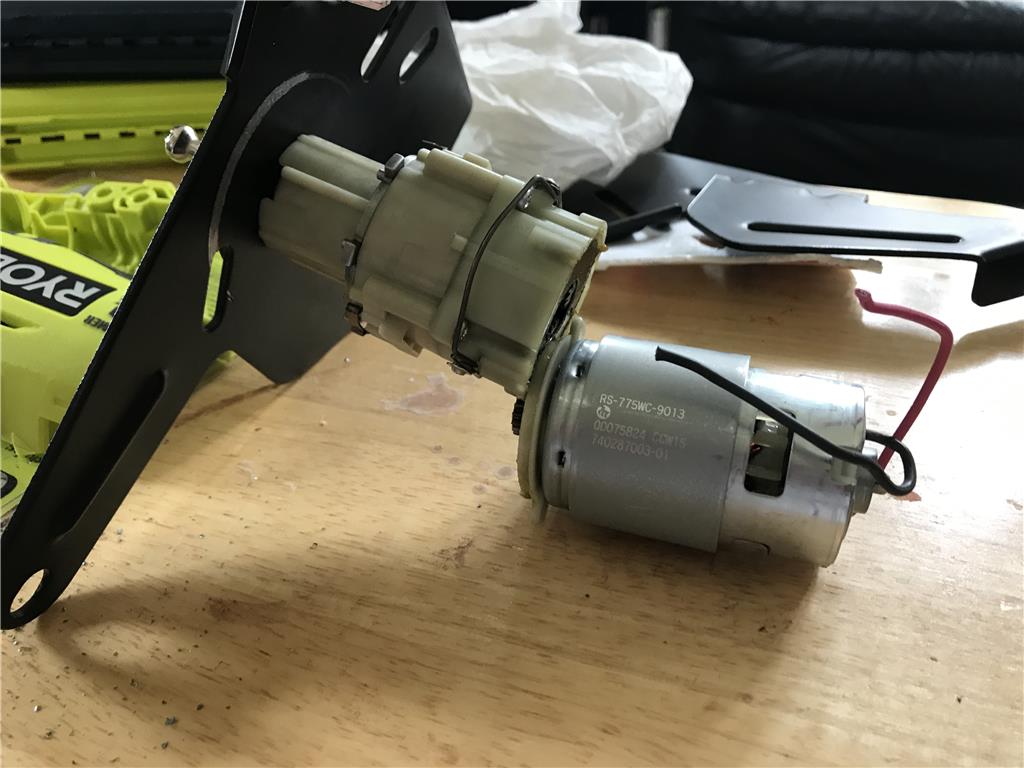
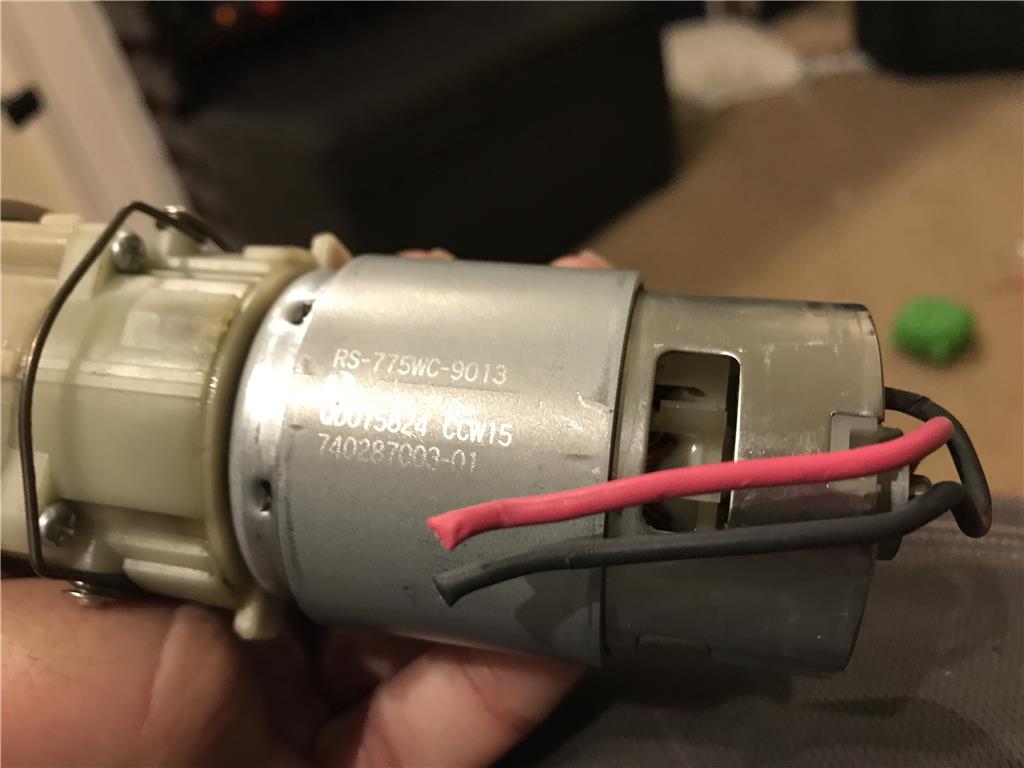
Found the motor markings , RS775WC-9013
6-18 volts , so it says it is 153 amps drawn at stall and 20 amps nominal torque
This little motor is a beast!
Just take one of your Laser guns and trim it out !
I never realized those motors were so mean. What controller were you going to use?
I don't have a laser but boy do I want one ! It's on the project list!
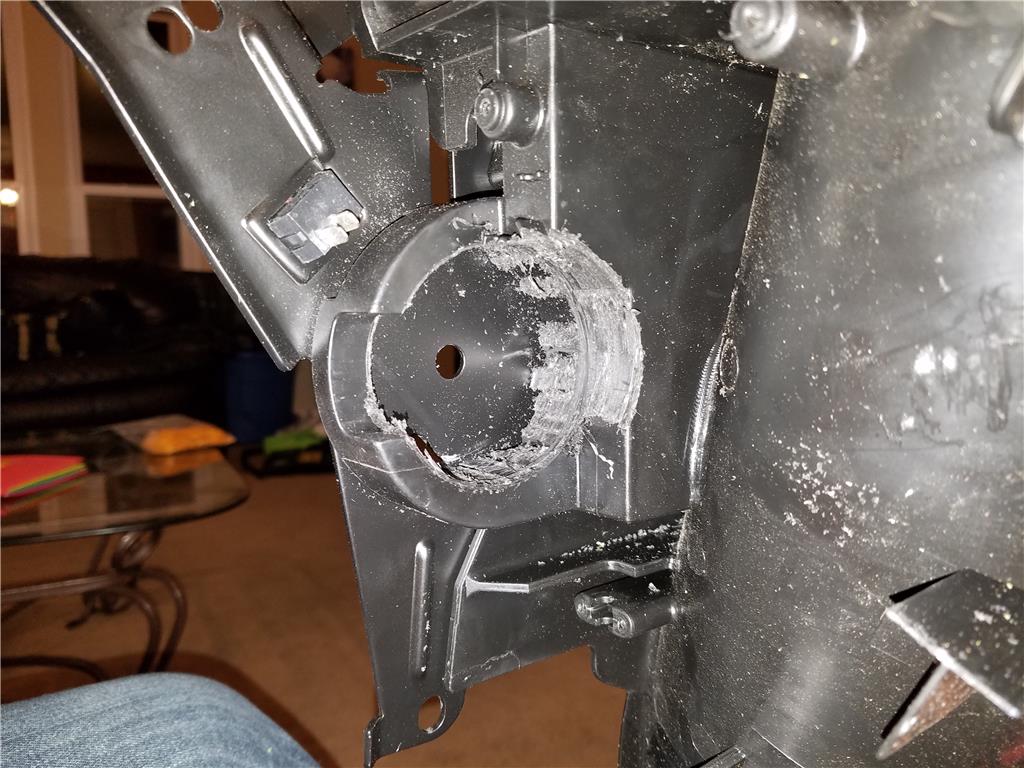
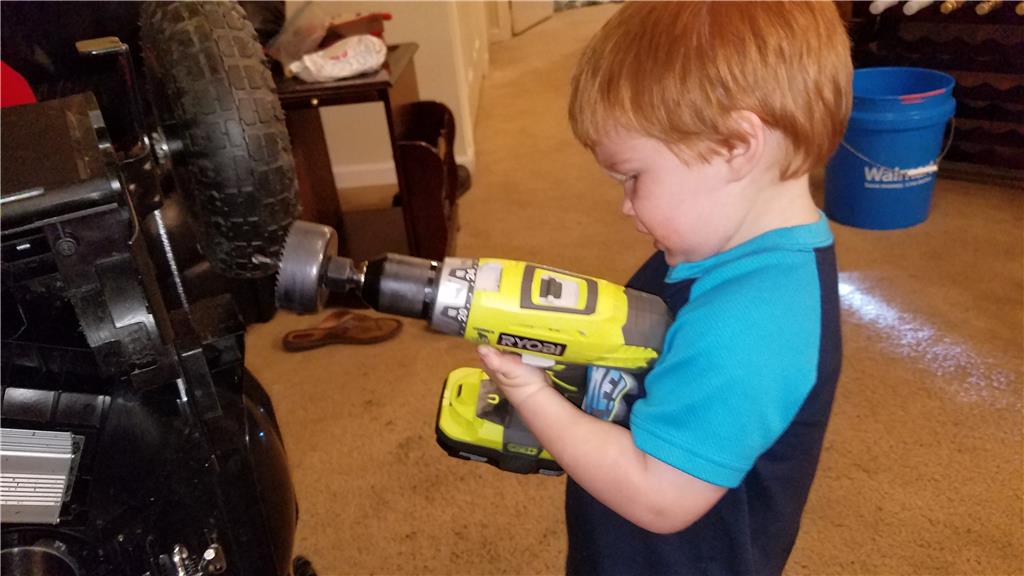
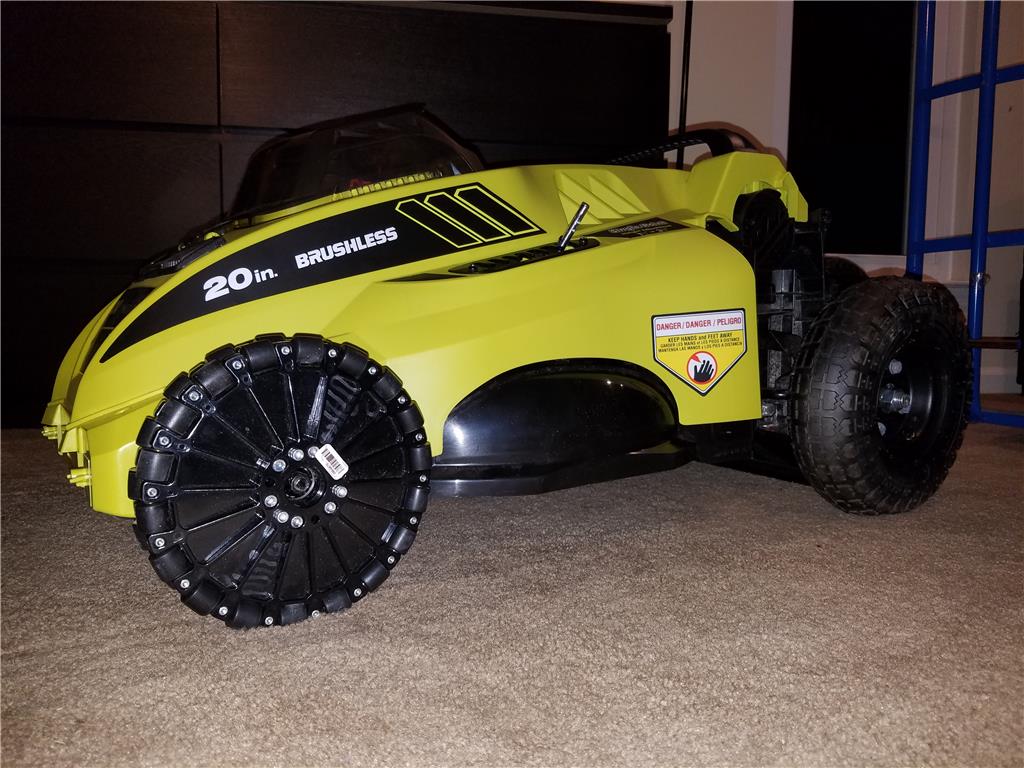
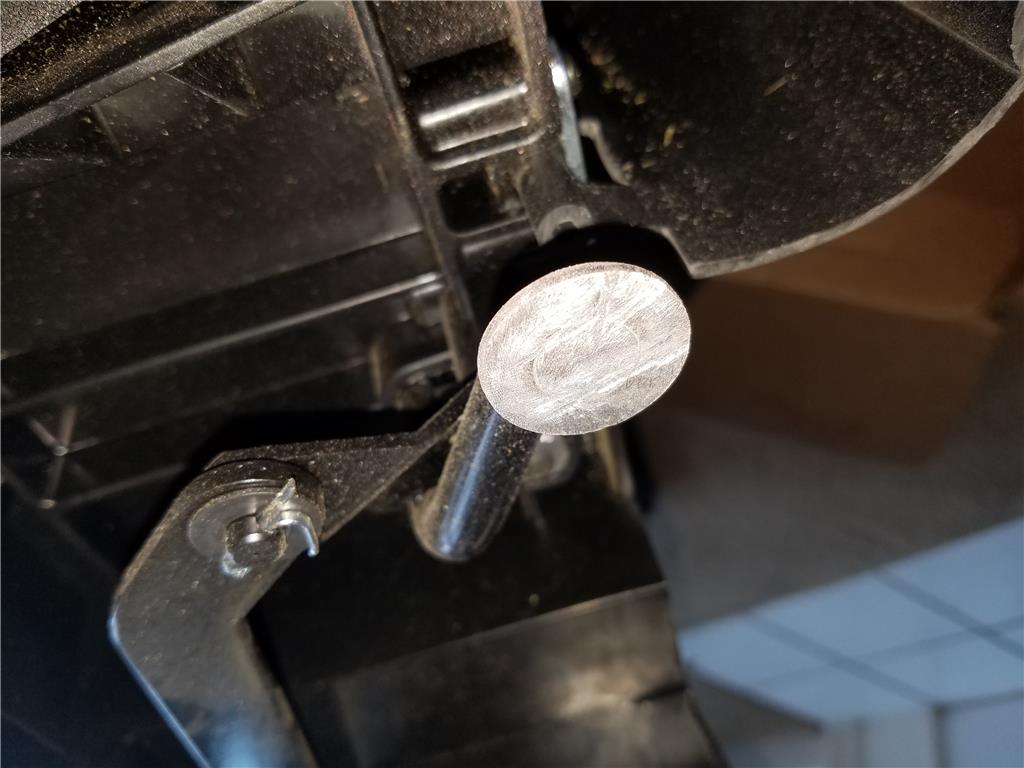
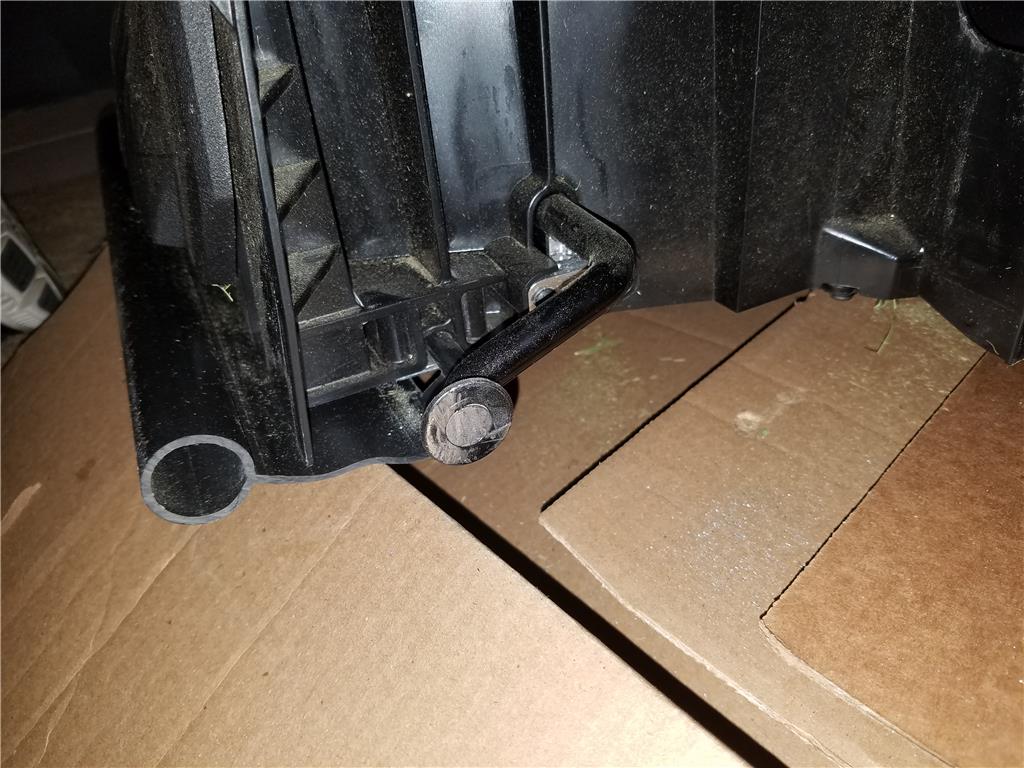
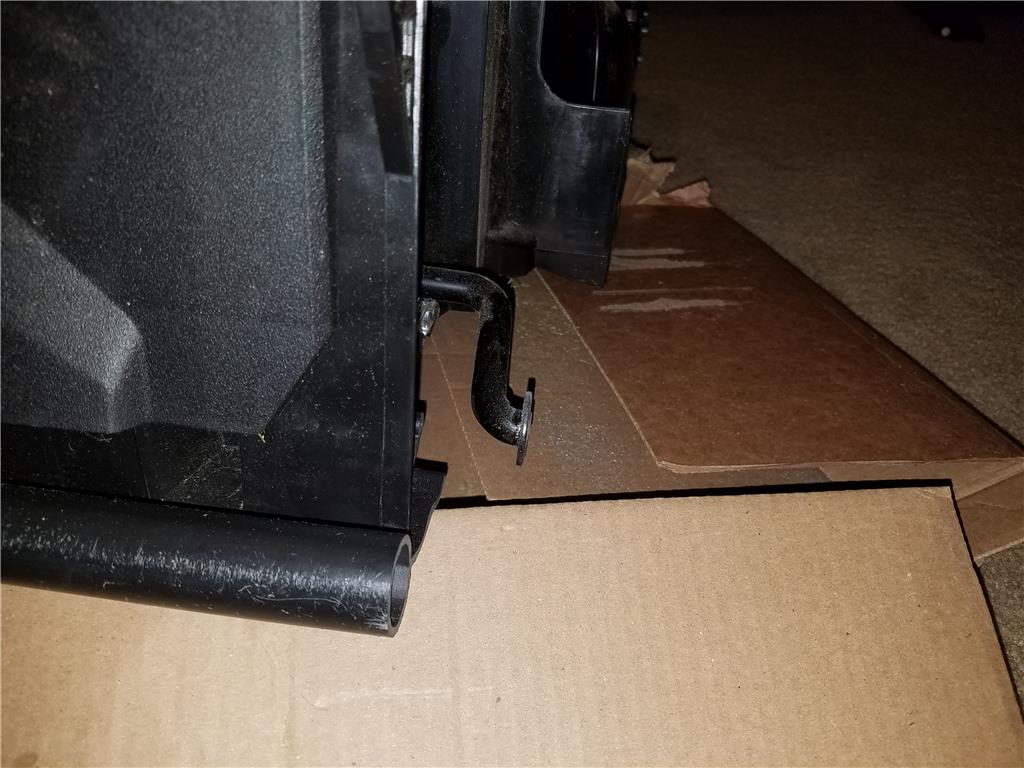
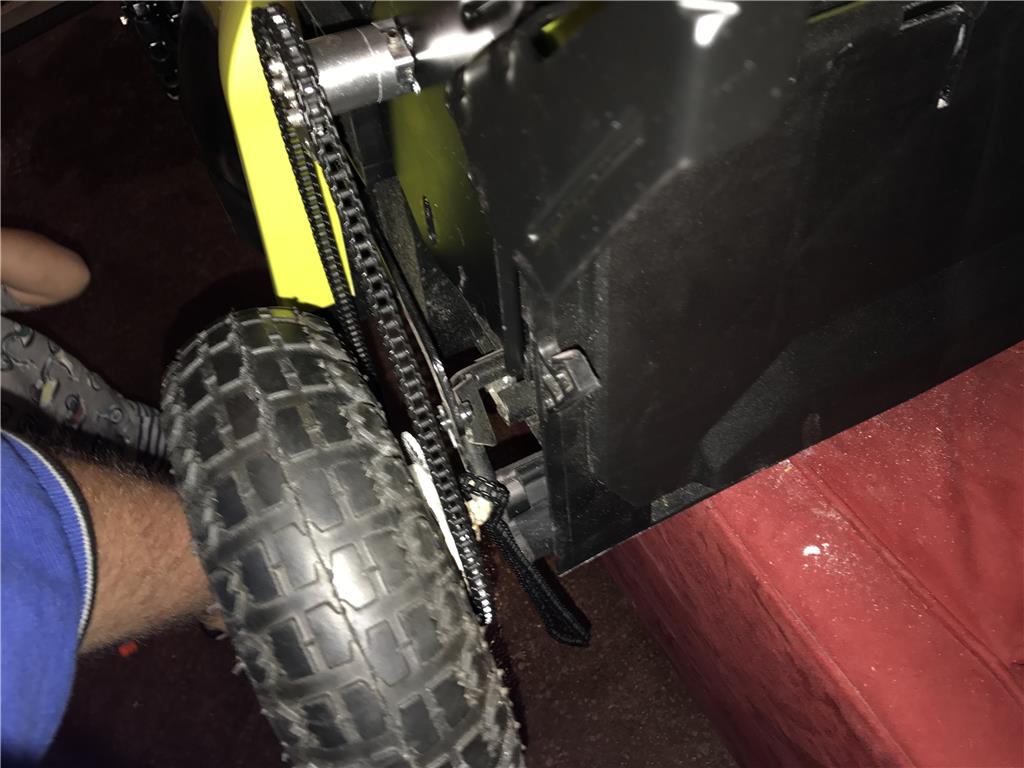
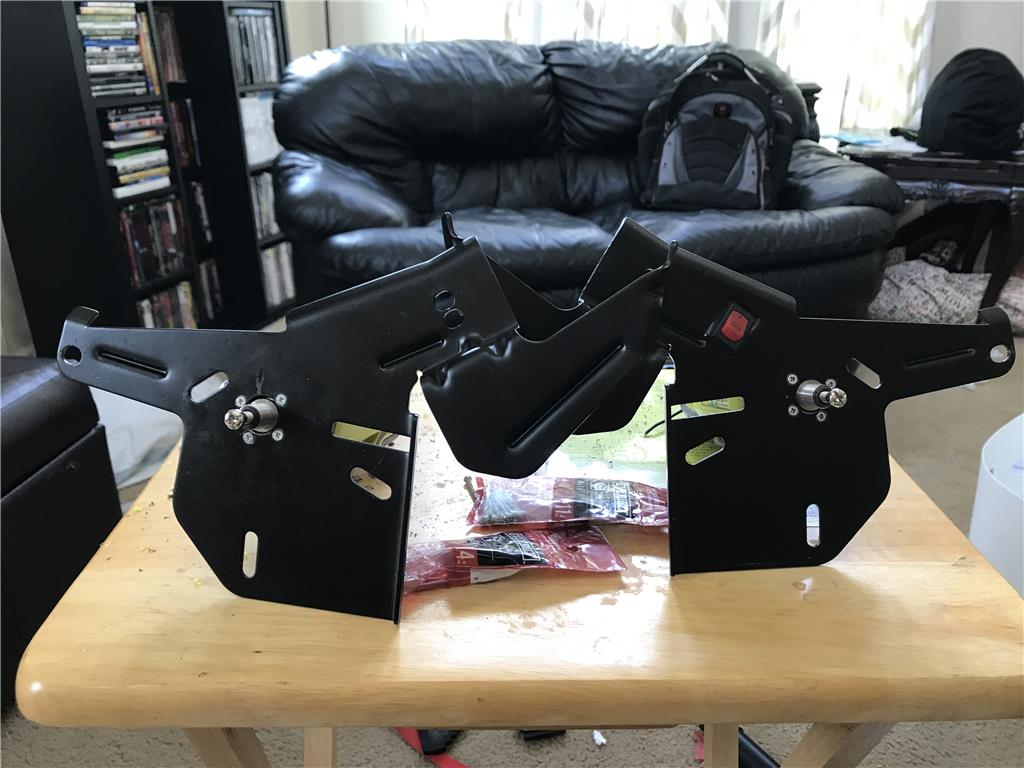
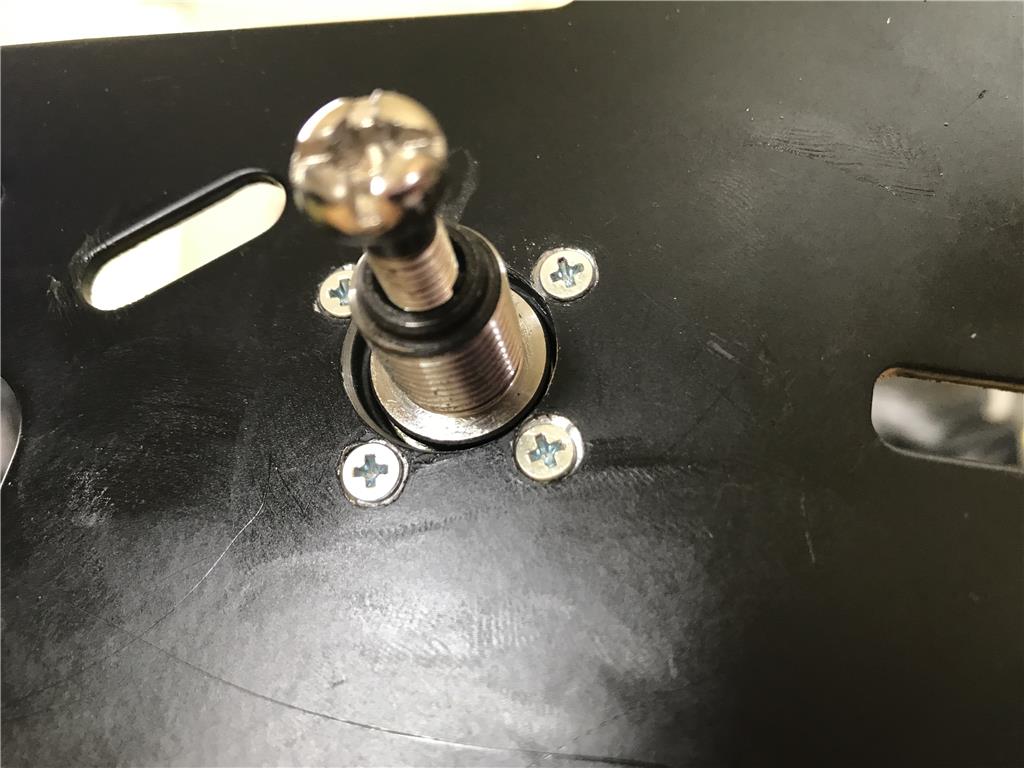
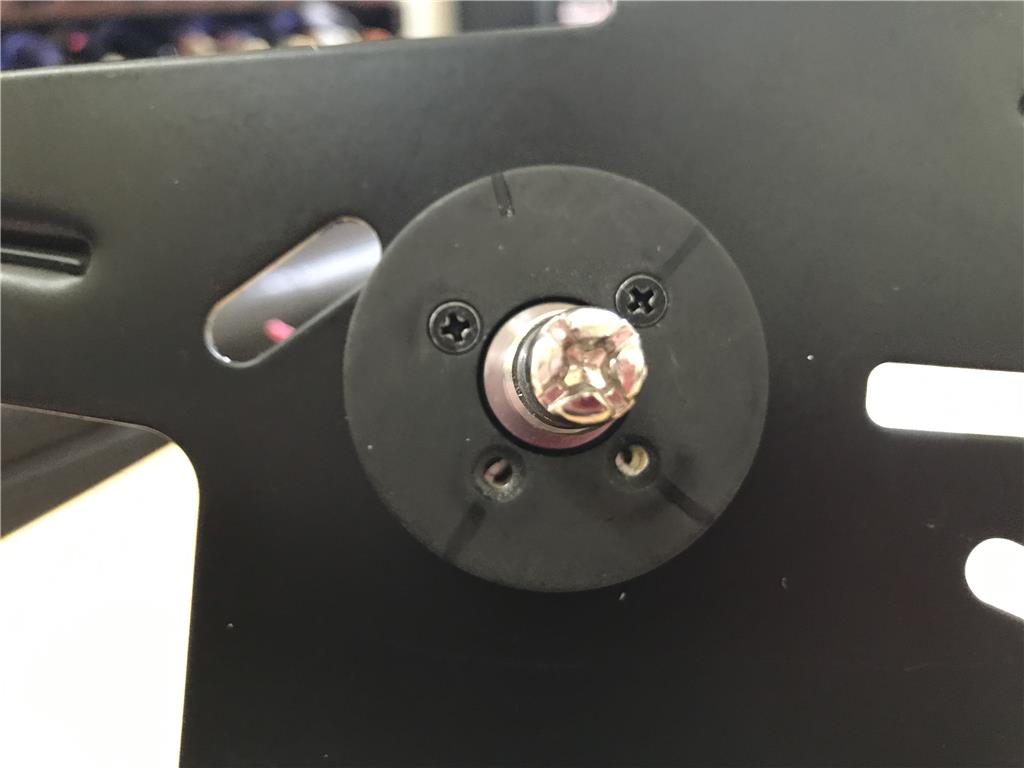
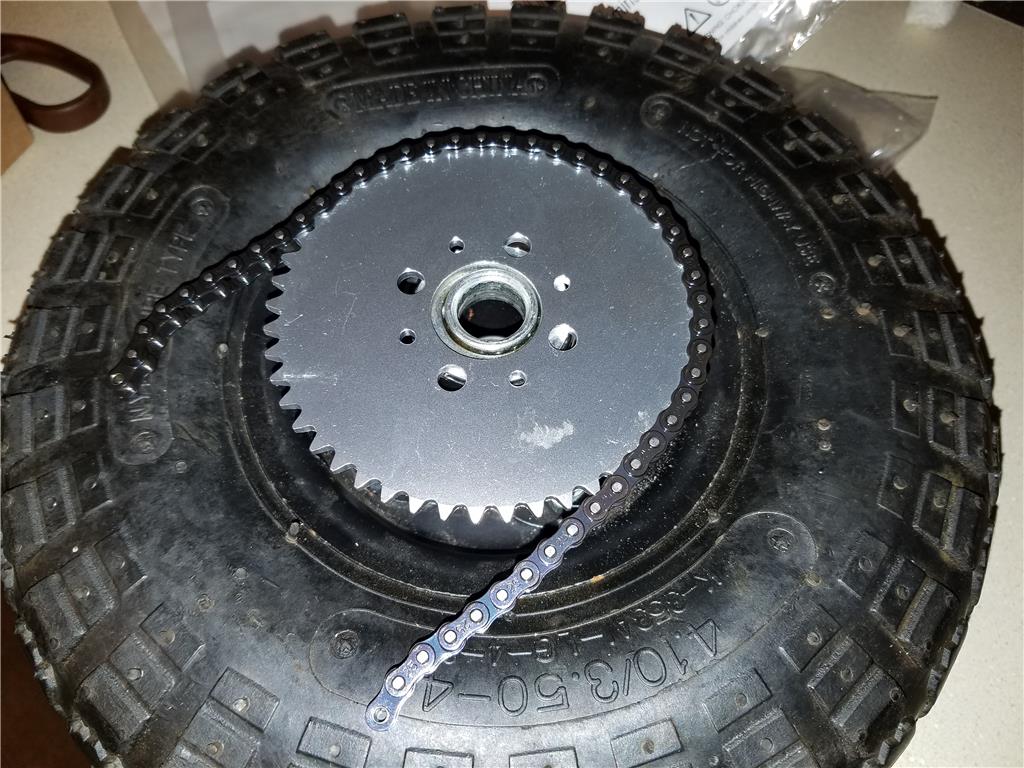
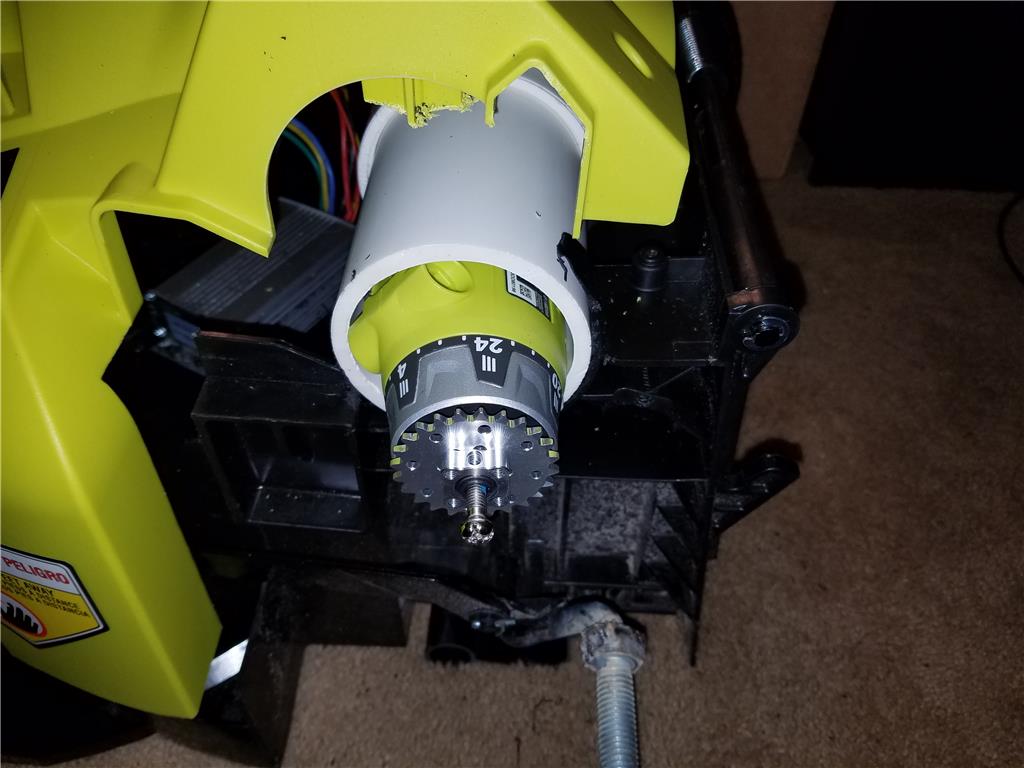
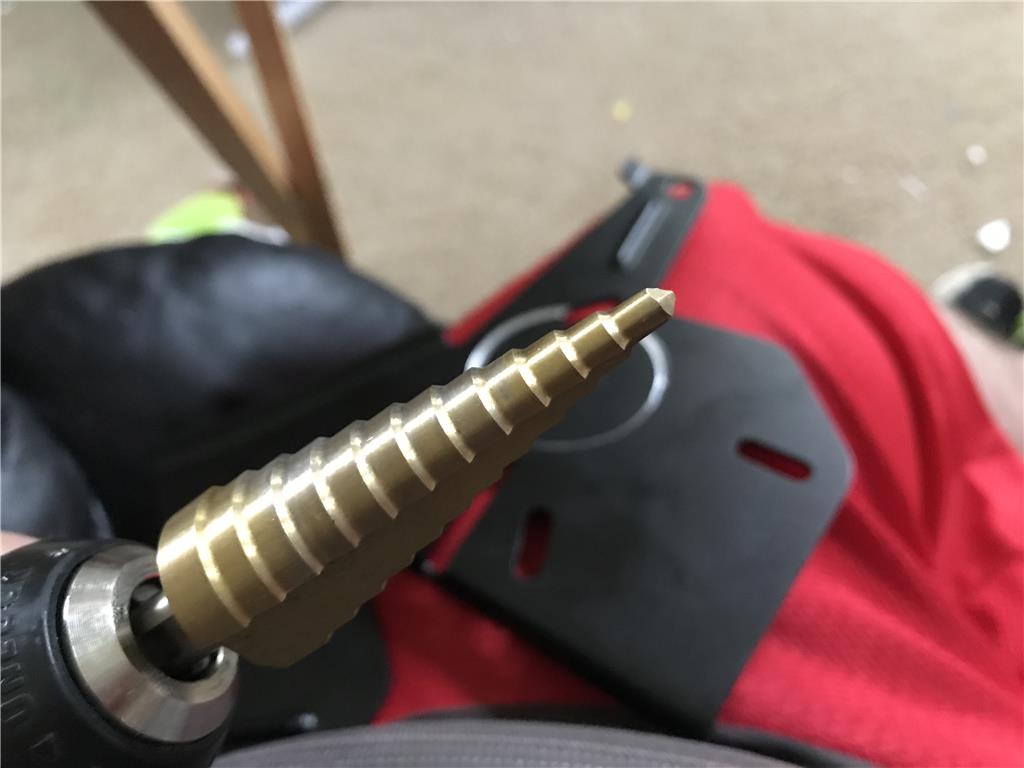
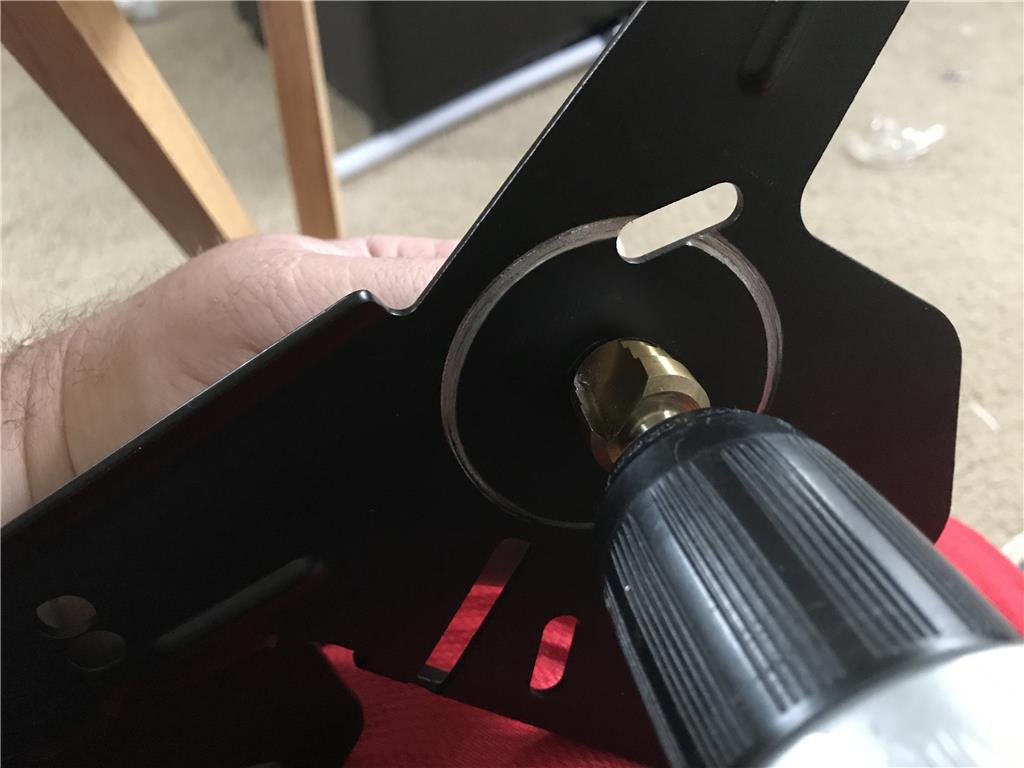
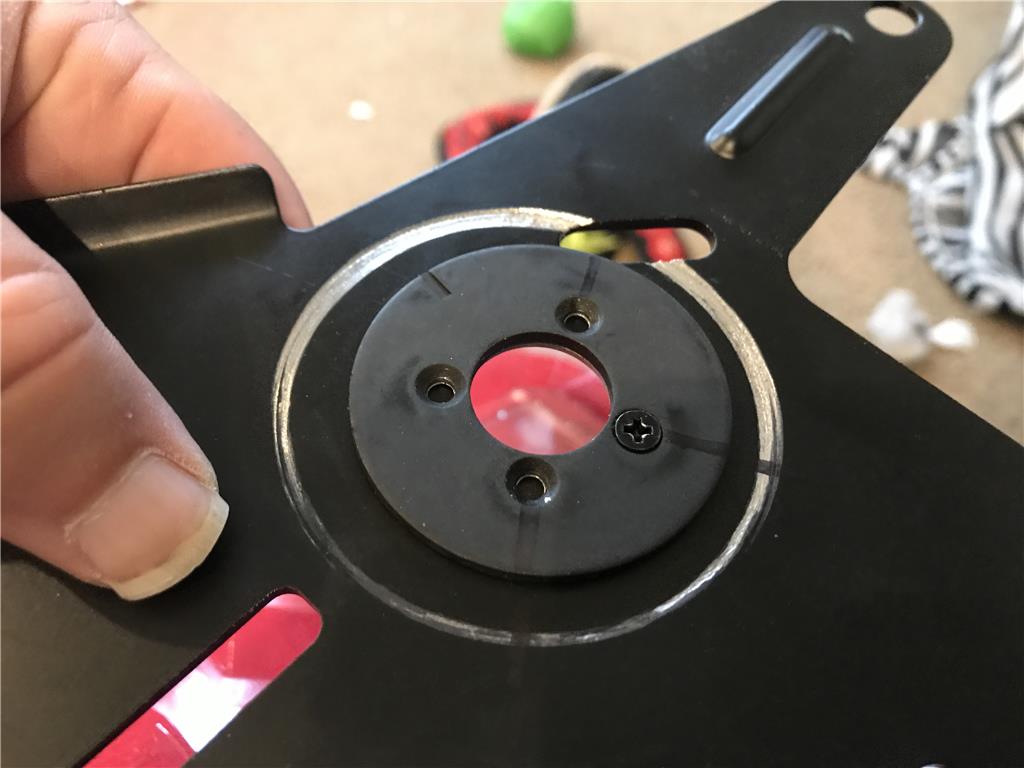
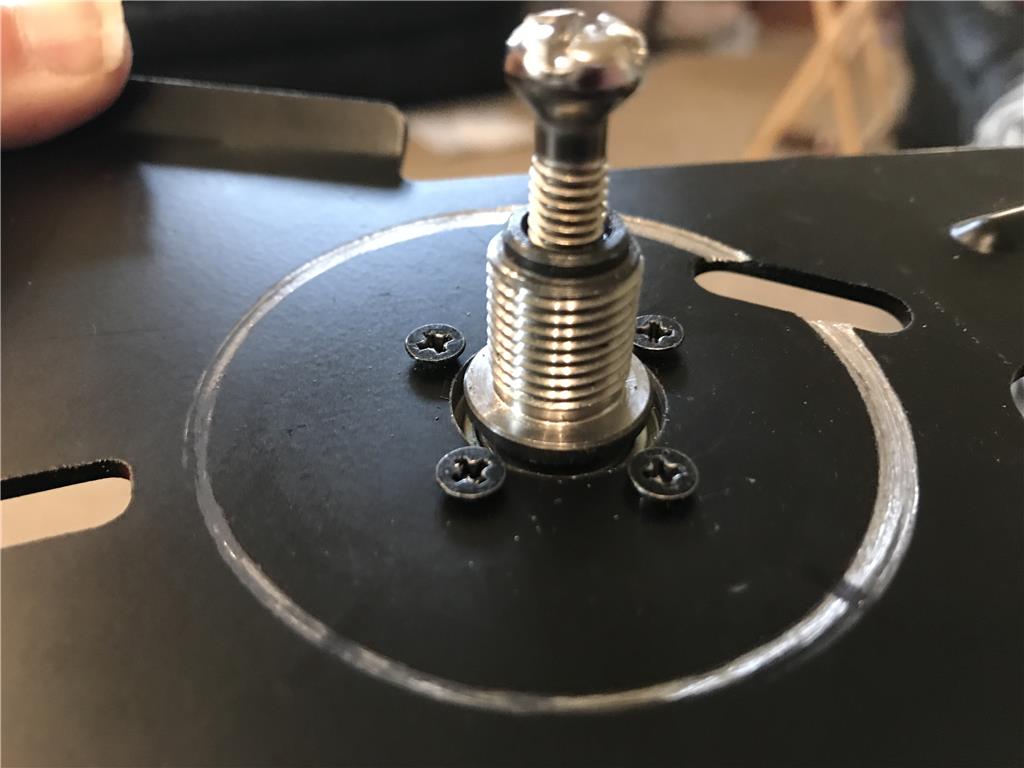
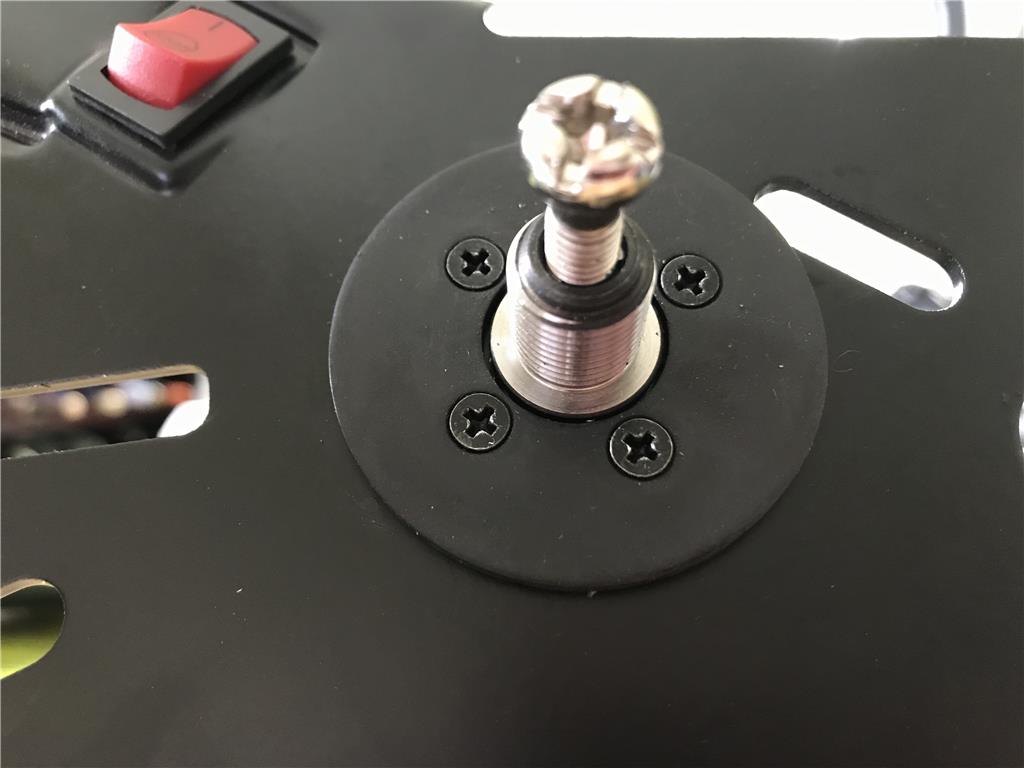
Anyways I ran to harbor freight to get a titanium stepper but to carefully widen the area around the shaft to clear for the main bearing. The mounting holes were spot on except the last one was about one mm off , so I screwed down the plate and drilled out the last one as a correction.
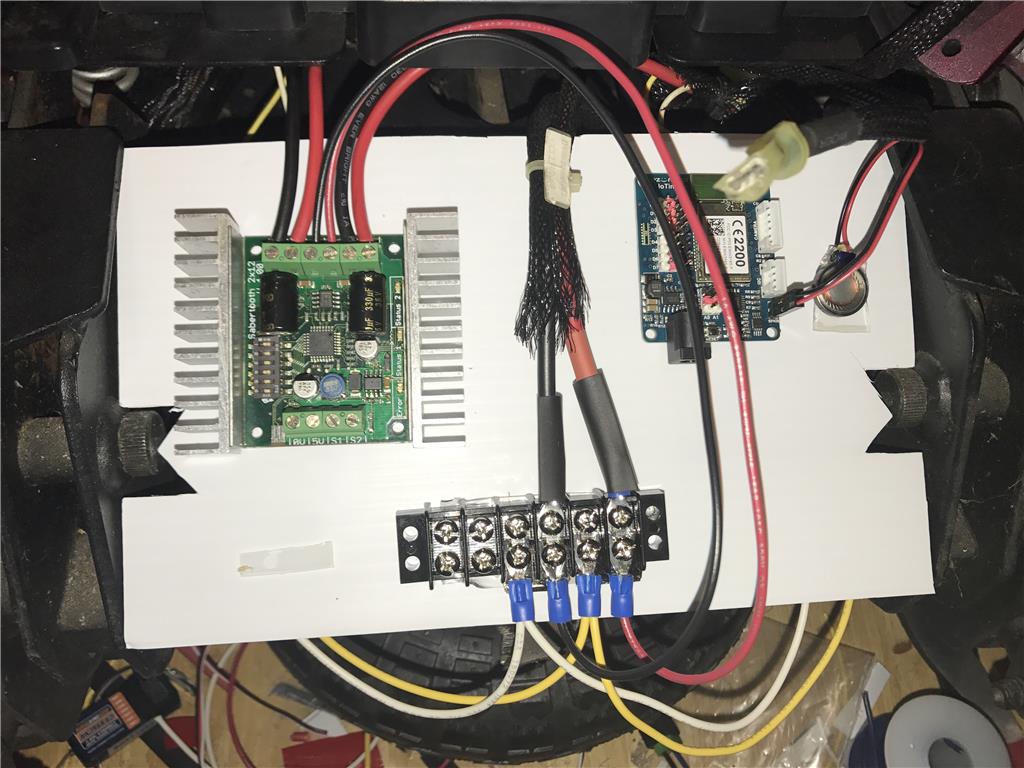
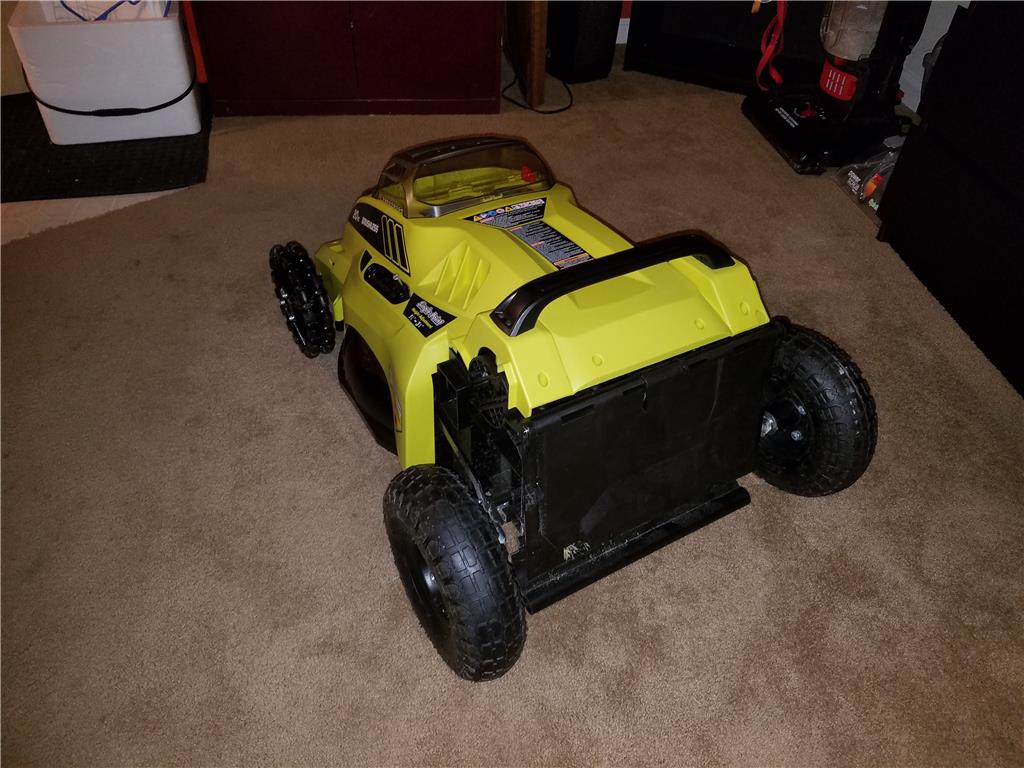
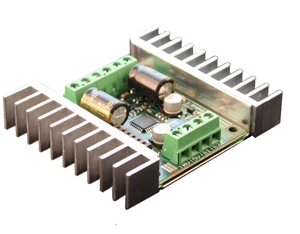
I have a sabertooth 2 x 12 but I think I may play it safe and go with a different configuration. I have two h bridges off Ebay I picked up. I was thinking of running both L and R on the h bridge paralleled to one motor which should share the load and run cooler. When I saw the nominal 20 amp at max torque I was worried I might over heat the sabertooth. I will try the 2 x12 sabertooth first if I can find it in my electronics bins.
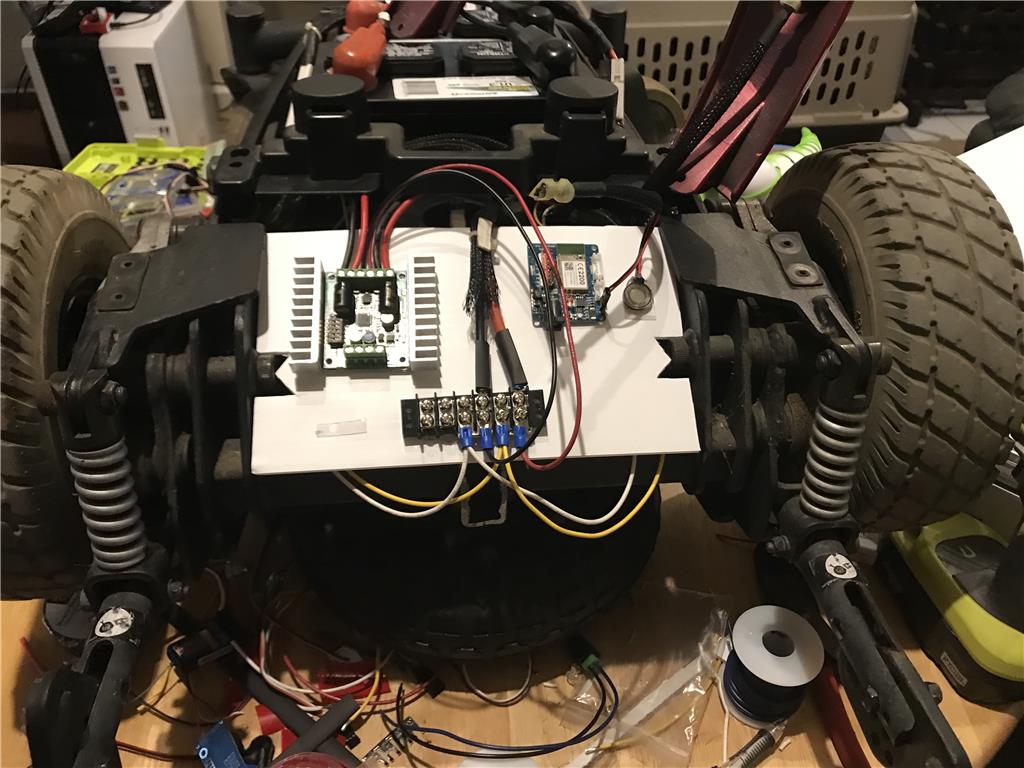
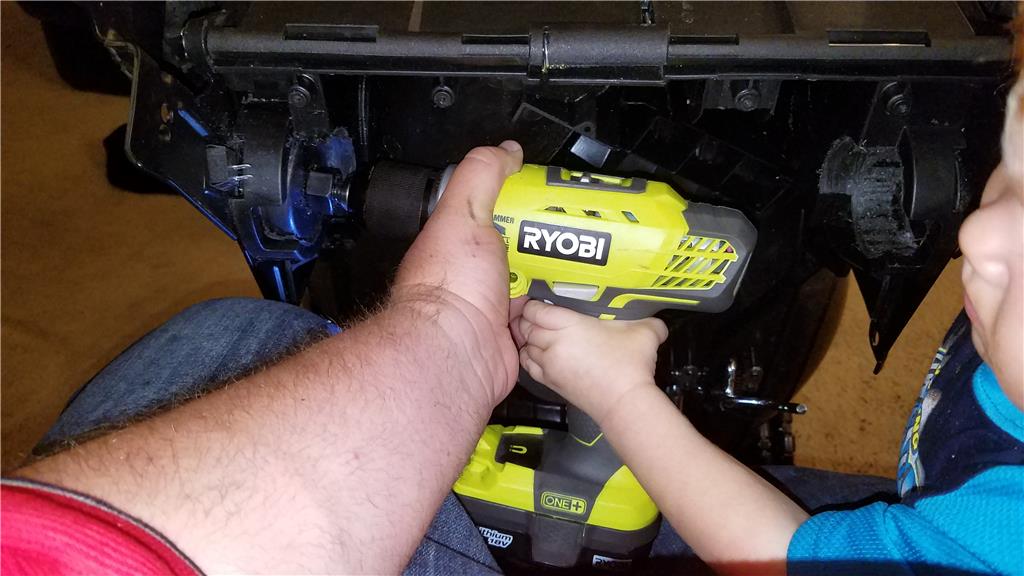
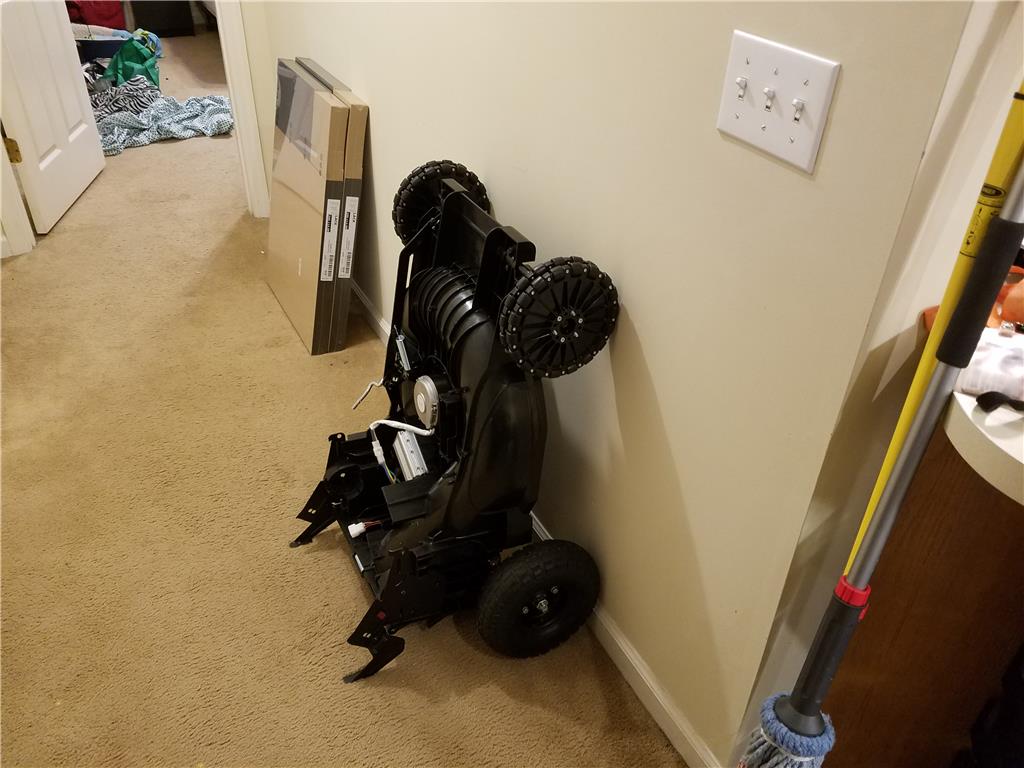
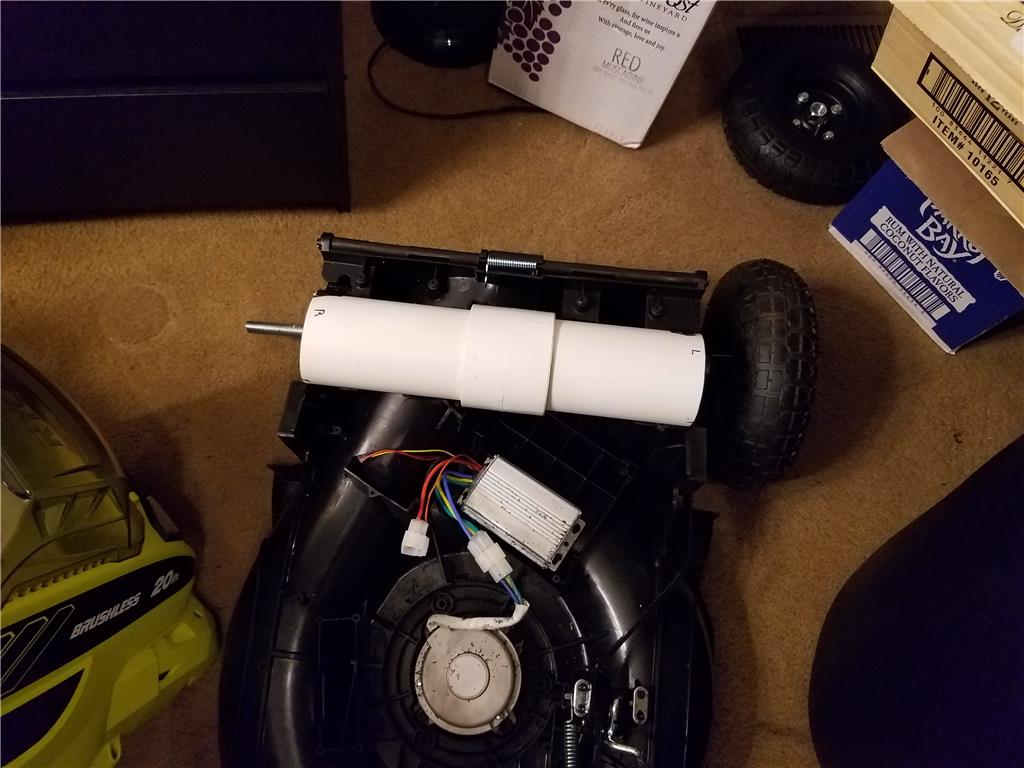
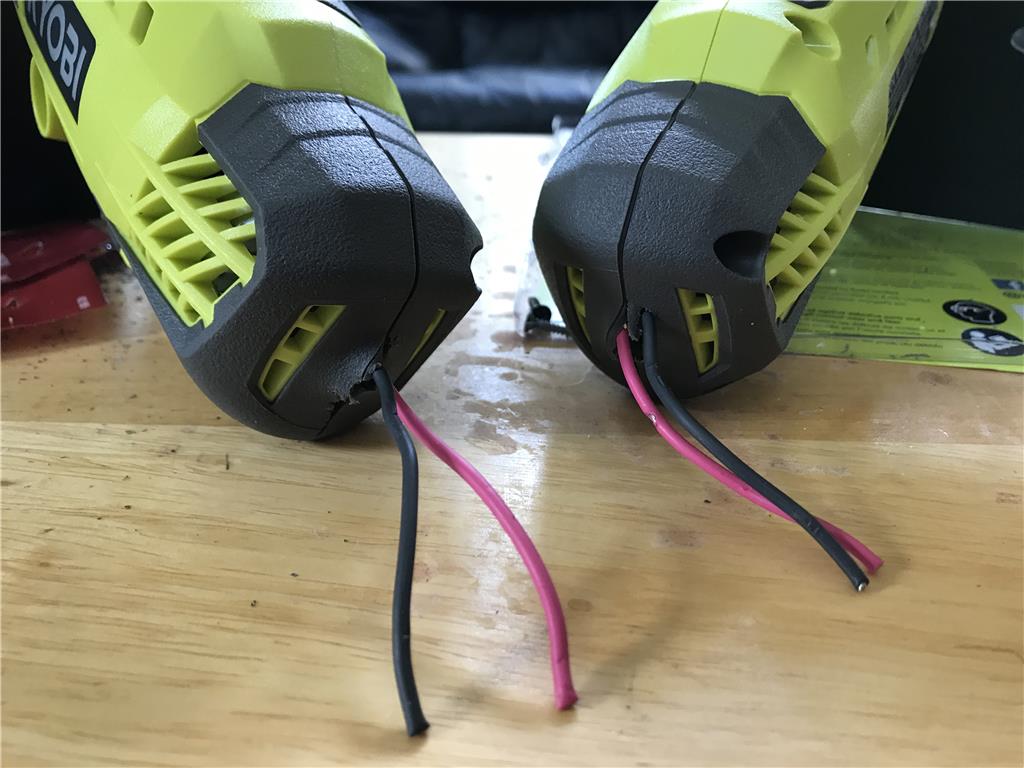
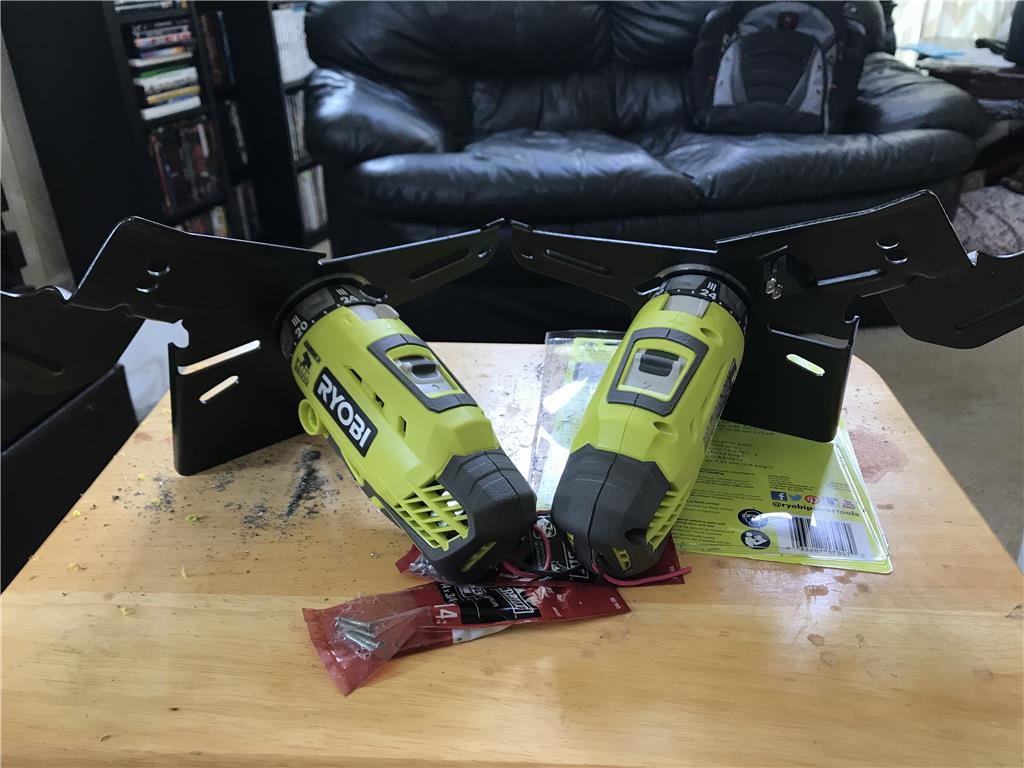
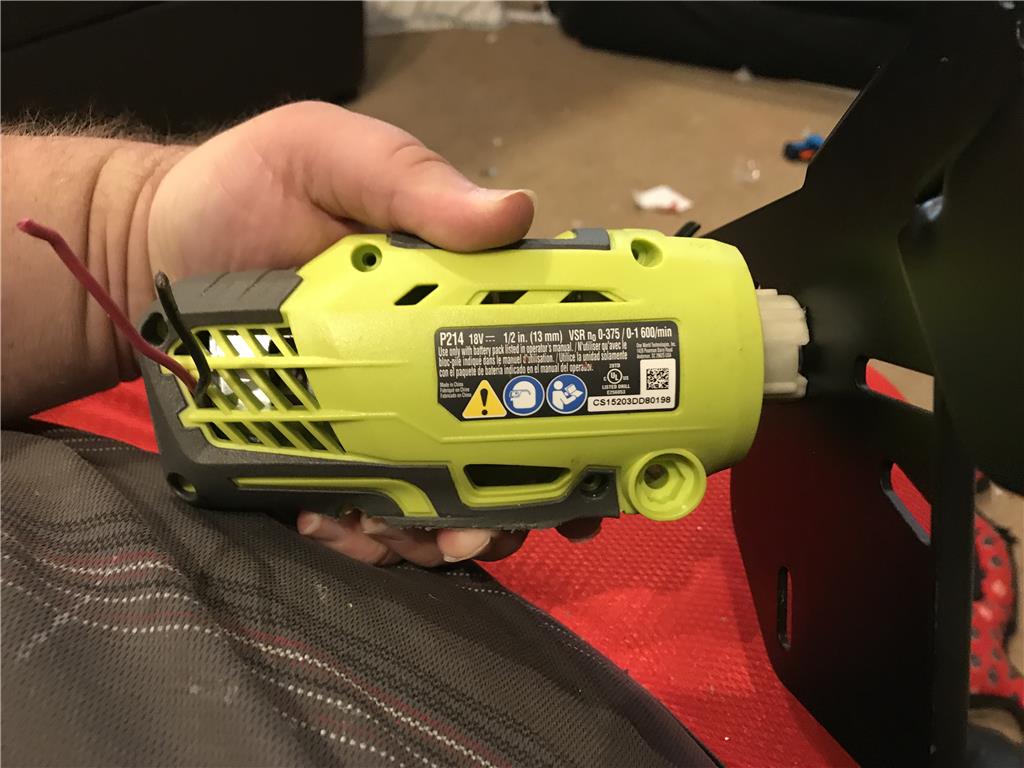
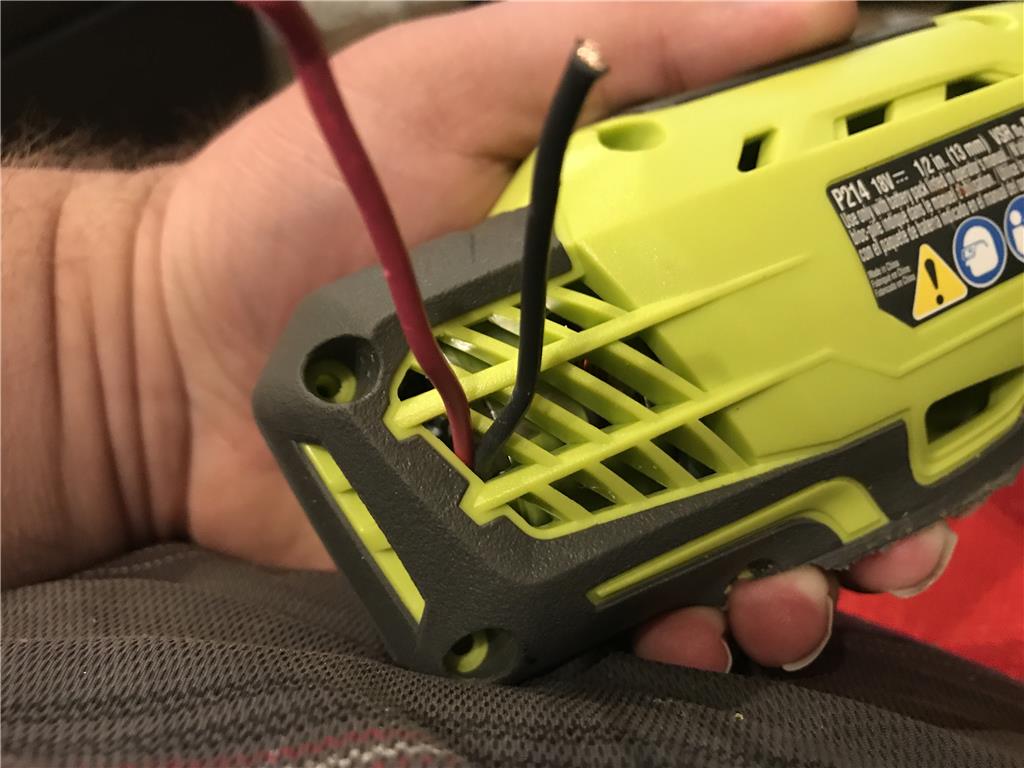
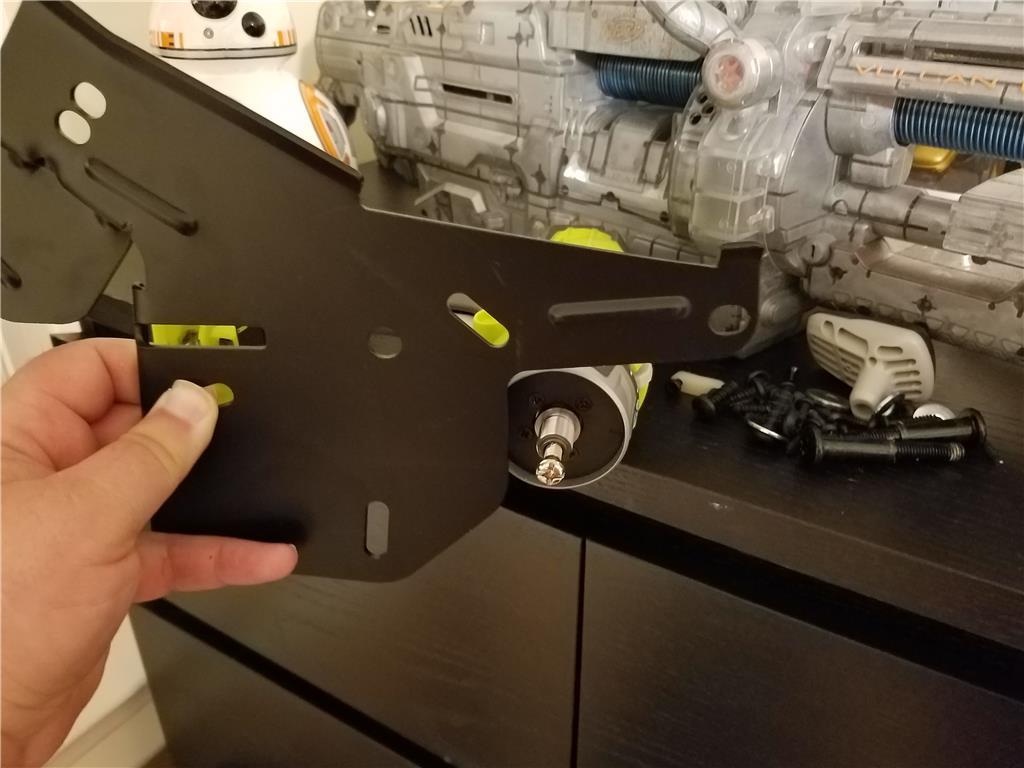
Just for today I am working to get motors mounted and connectors soldered onto the motors and I can go from there.
Ok round 2 , I need to do the other side and I will takes pics step by step in case anyone ever needs to surface mount a motor.