


-635971125254815084.png)
-635971009768280111.jpg)


-636393423097260688.jpg)


-636337988865509663.jpg)


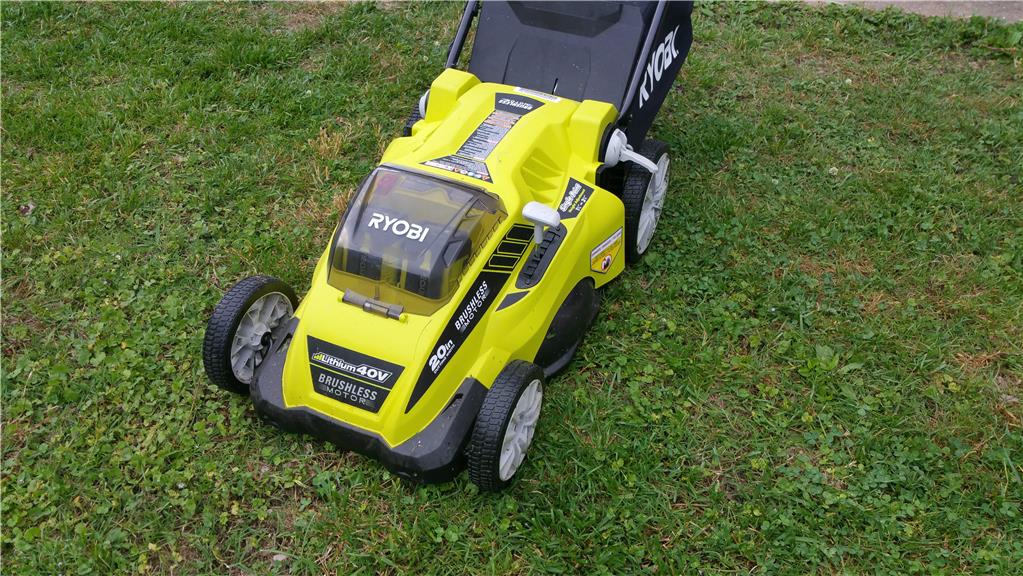
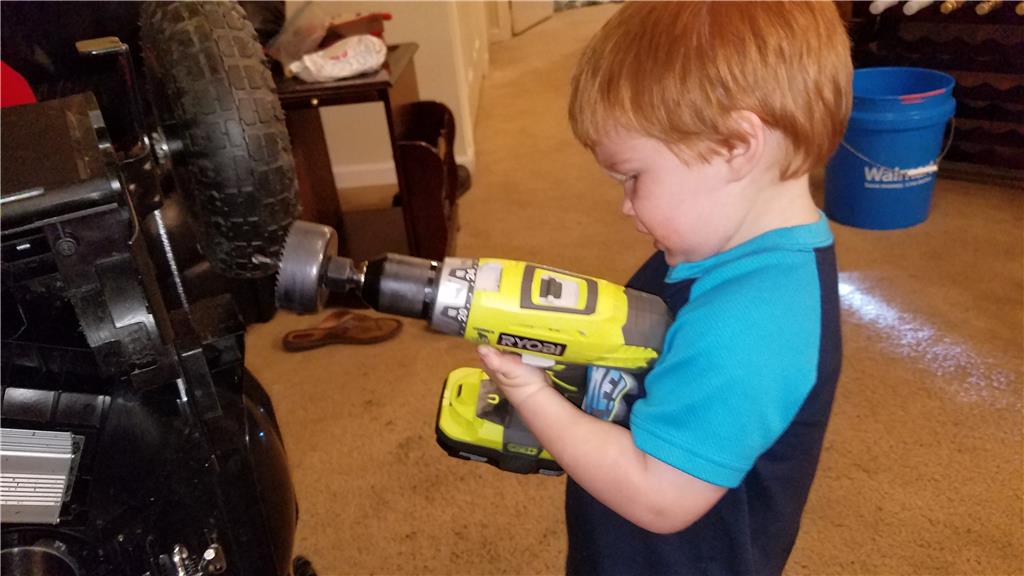
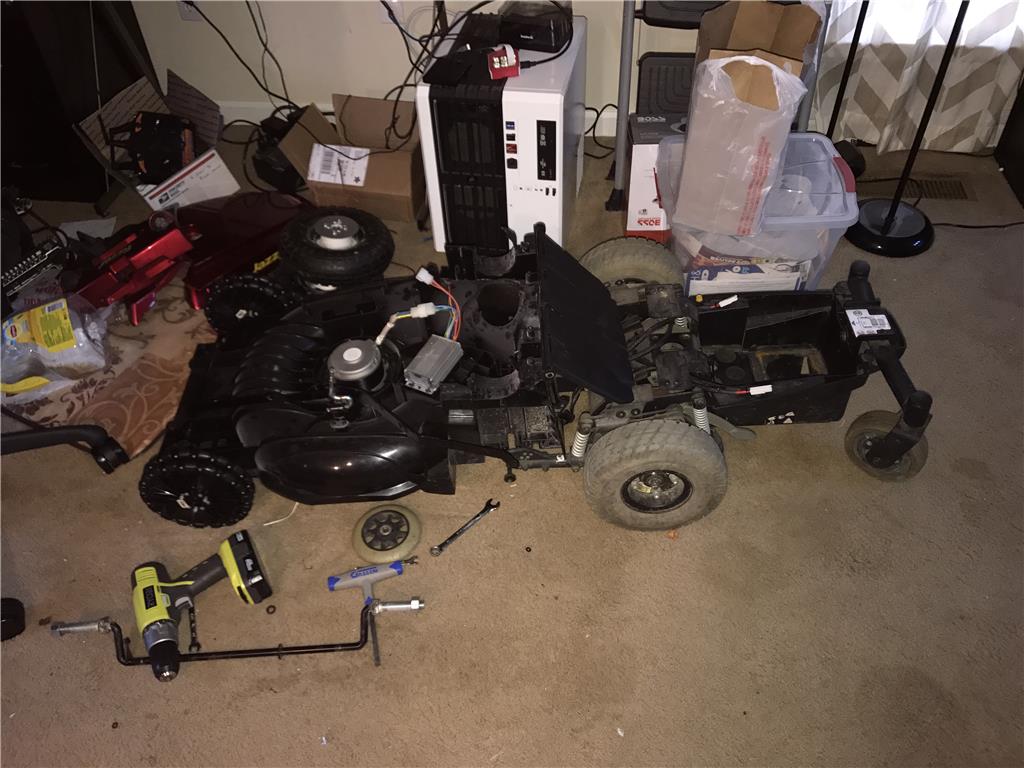
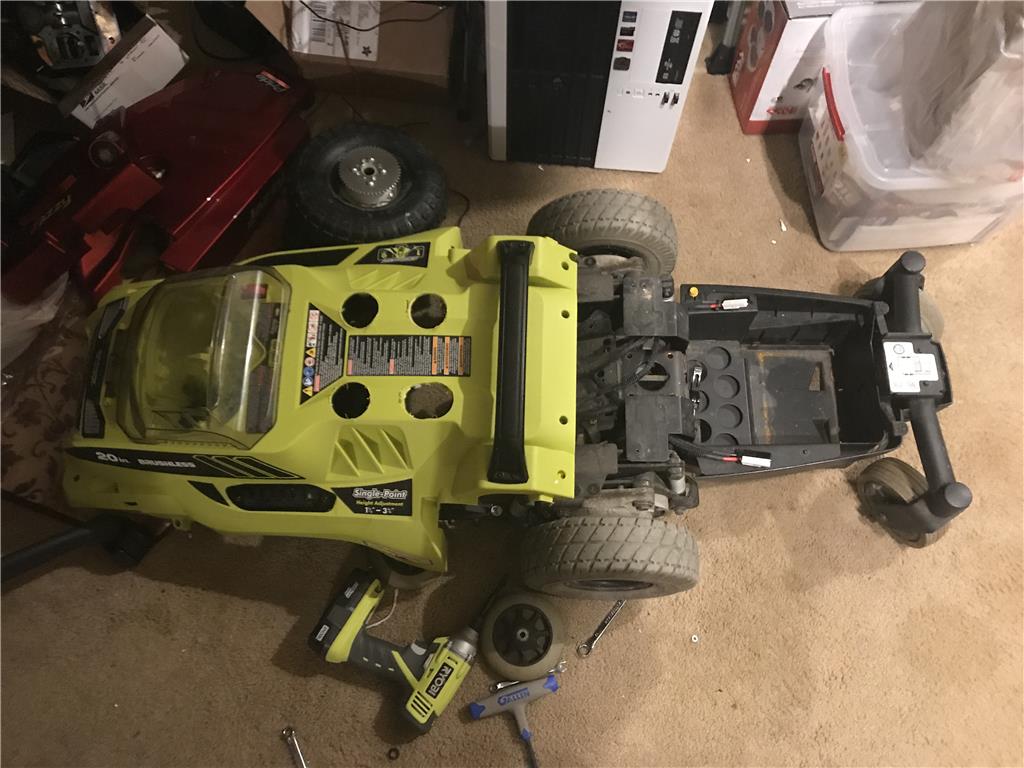
Hello all, I am getting back in the saddle making robots now that I am moved into my new home and settled into my new job as a technician maintaining the Fiber Optics network in Chattanooga TN.
IM BACK !

By jstarne1
— Last update
Discover more robots
PEEK's SAM Inmoov Robot
Building a complete InMoov robot as a newbie learning assembly and programming while seeking mentorship.
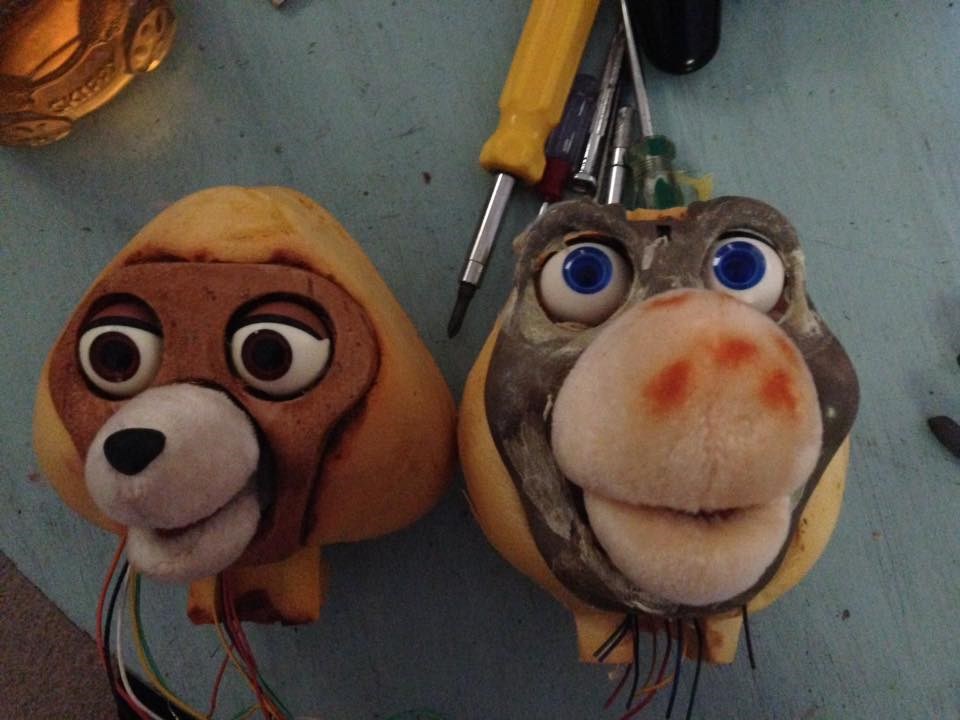
Sweetn8's Teddy Ruxpin And Grubby
Restore Teddy Ruxpin and Grubby with EZ-B v4: lip-sync speech, eye/mouth/head motion, mobile wheelchair/roller-skates,...

Markthebotbldr's Drone Tracking Fun
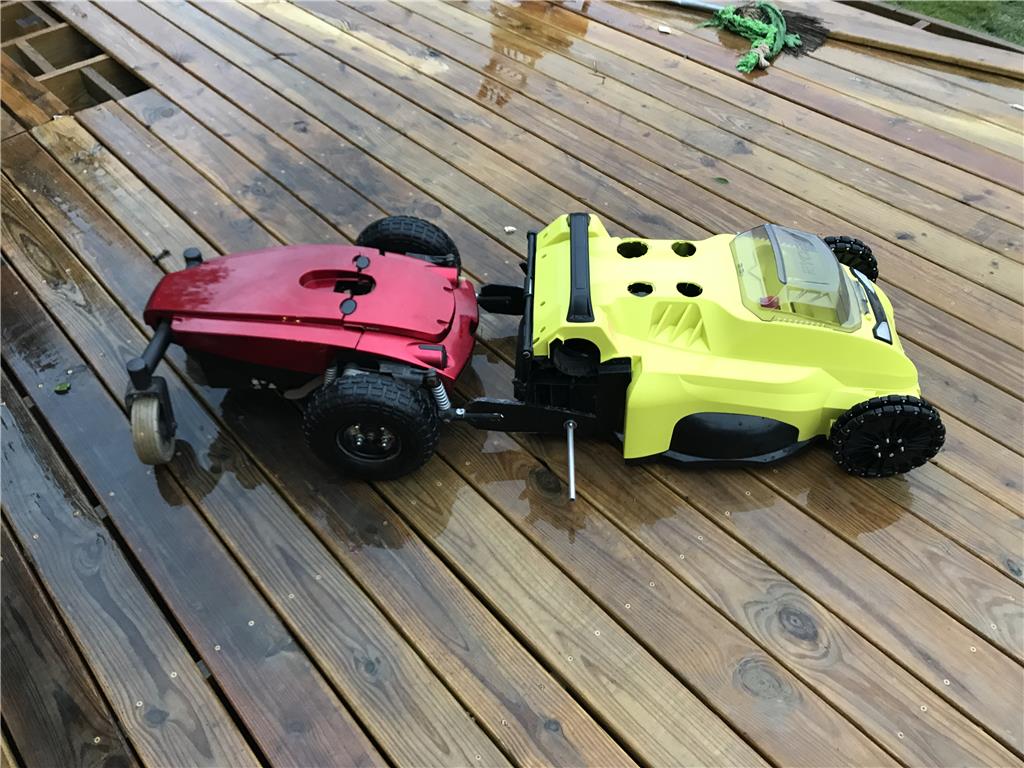
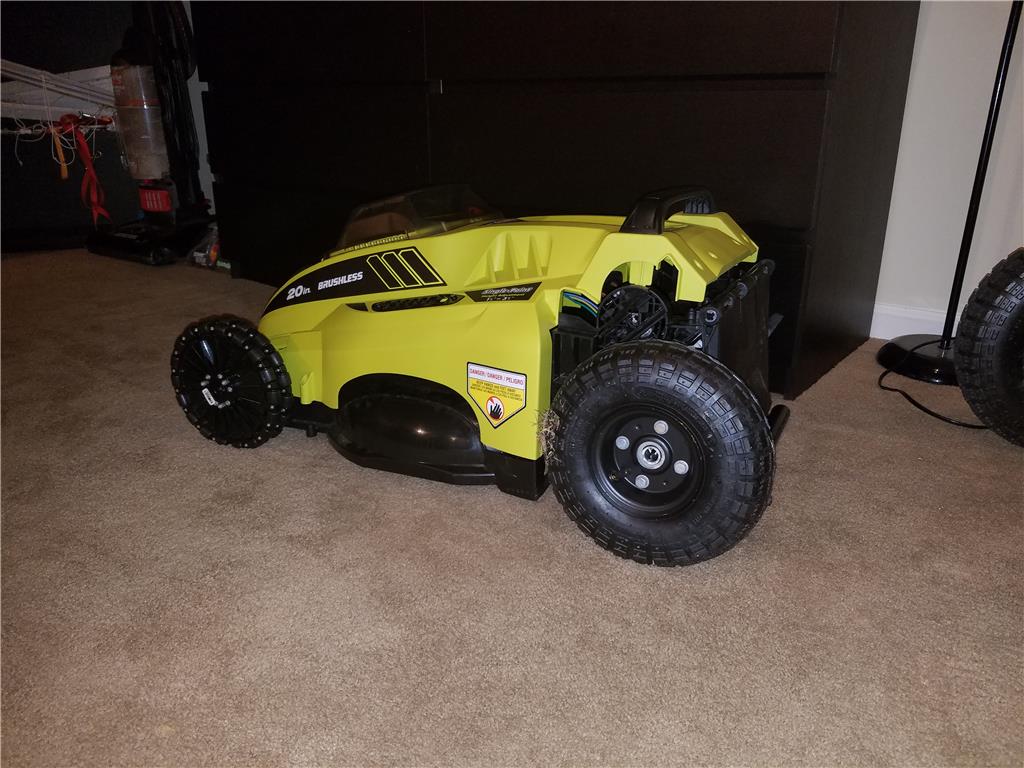
DJI P4 active tracking follows a hacked Friendly Robotics Lawnbot using Sabertooth motor controller, switchable EZ-BV3...

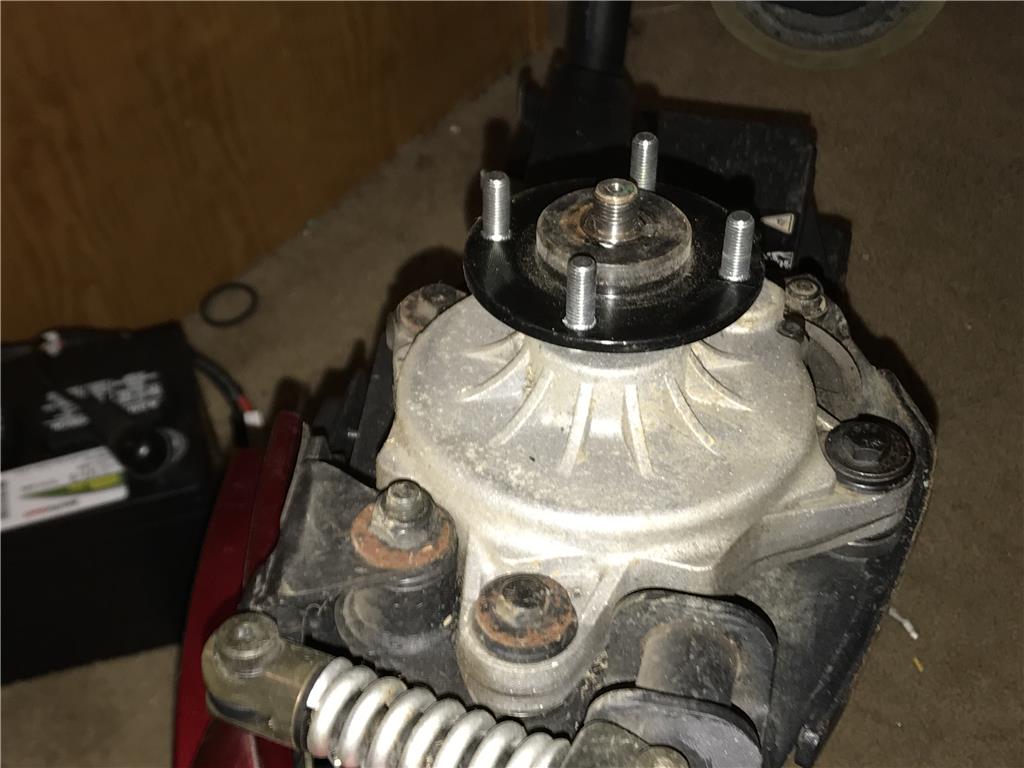
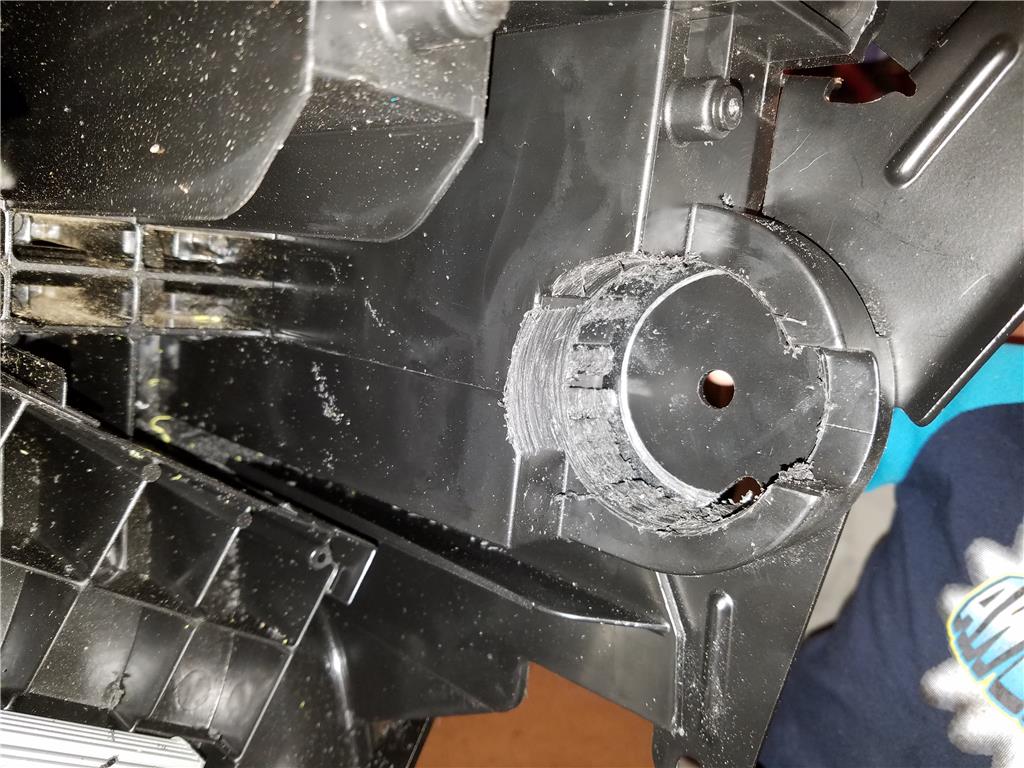
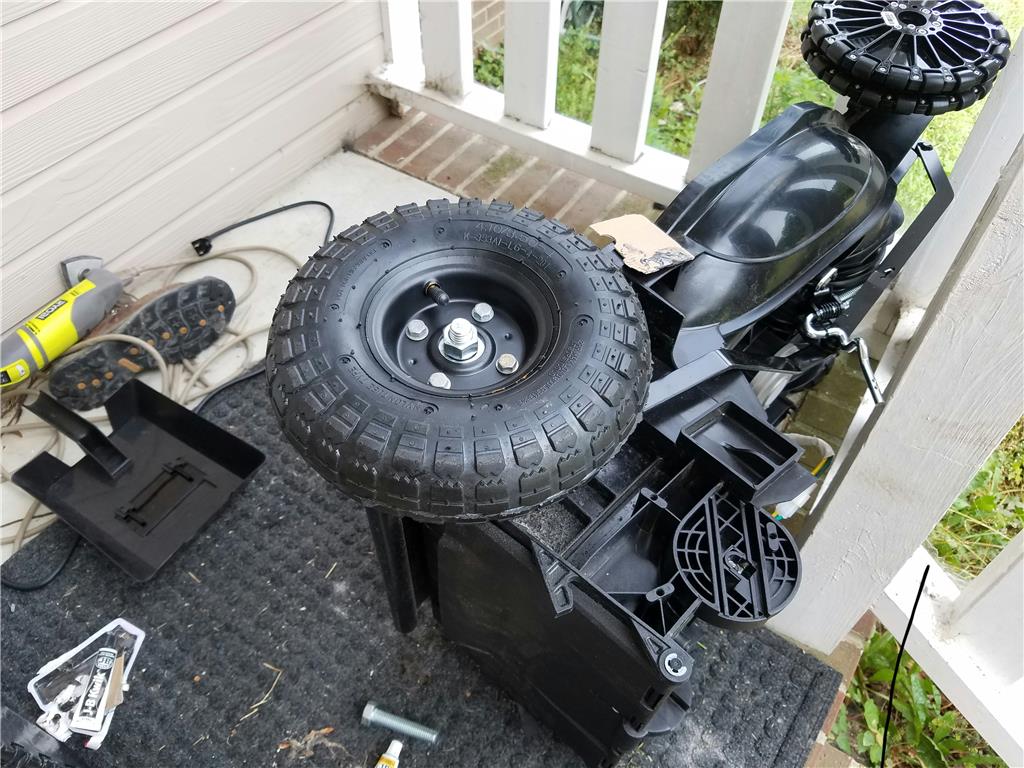
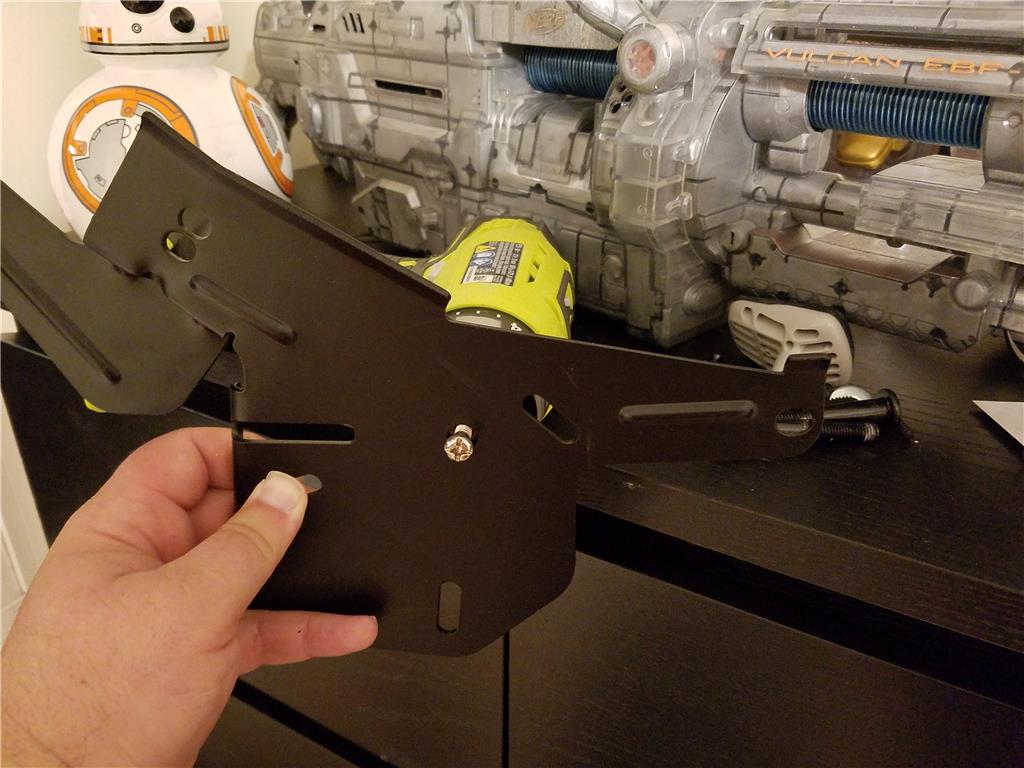
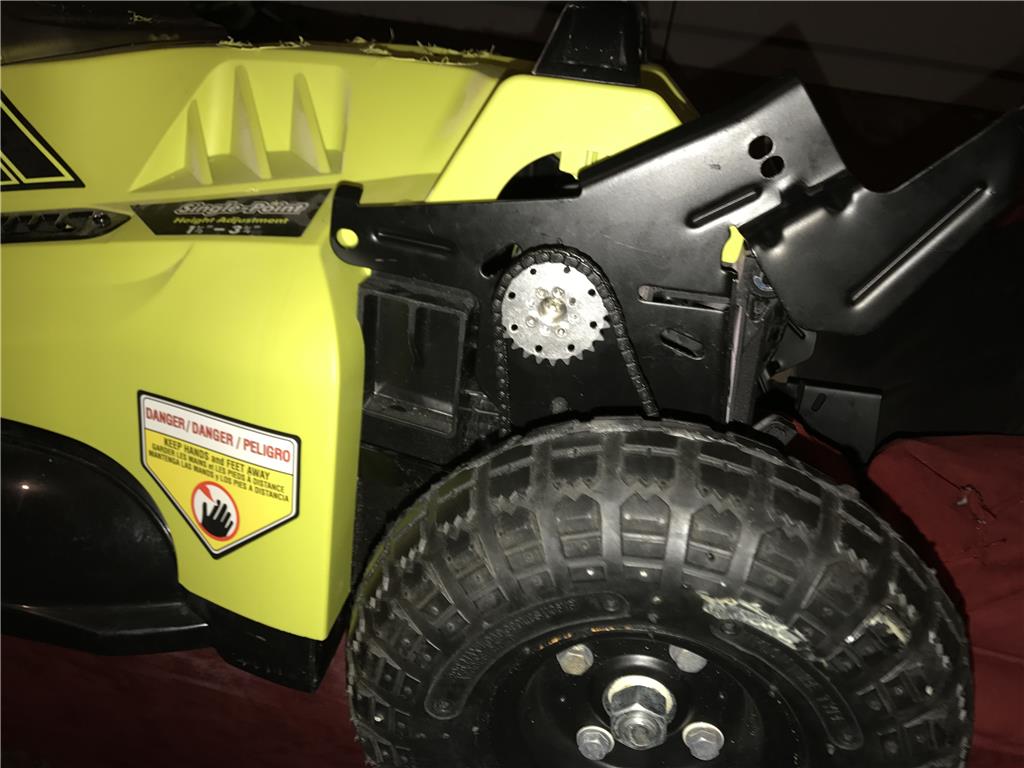
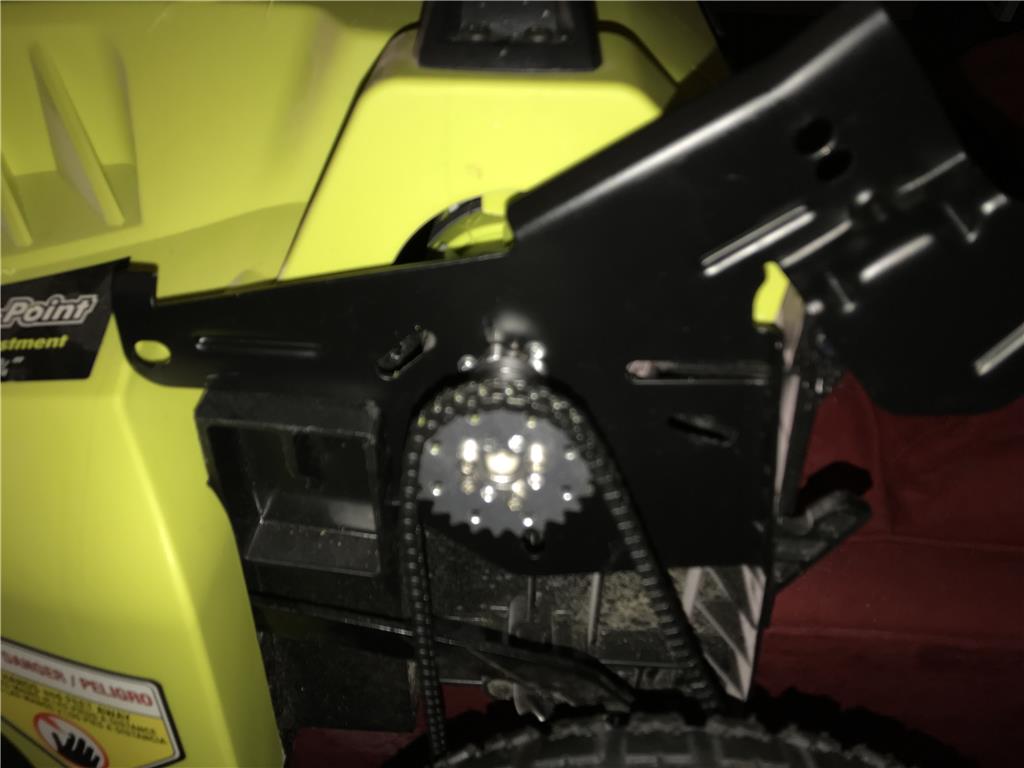
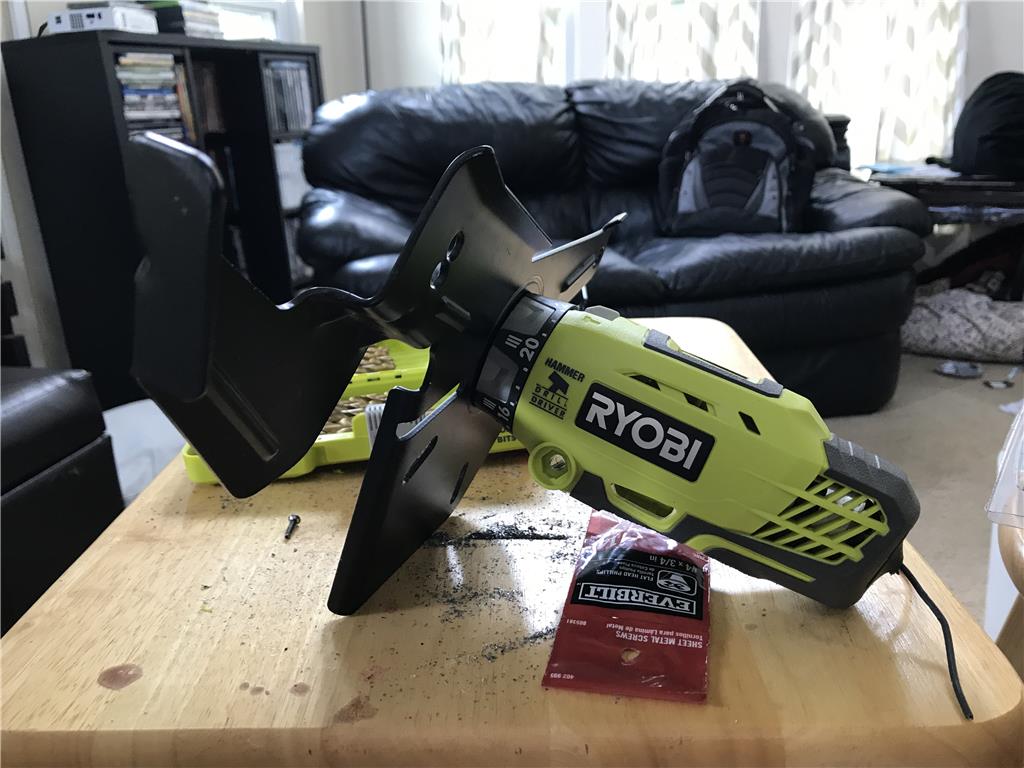
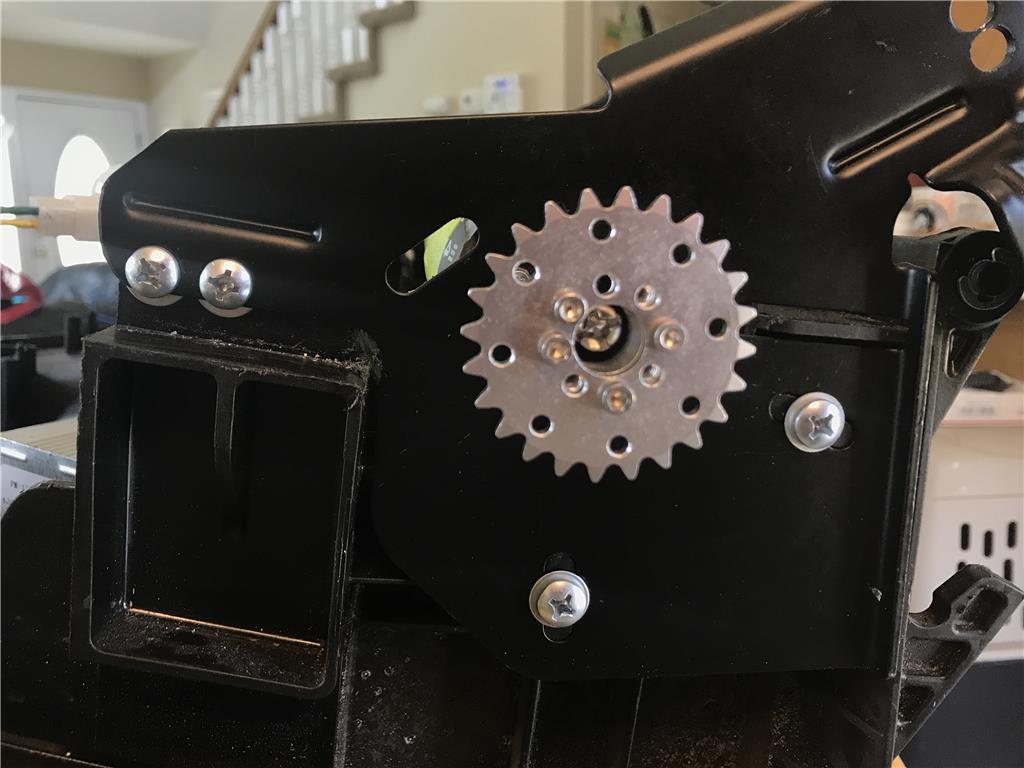
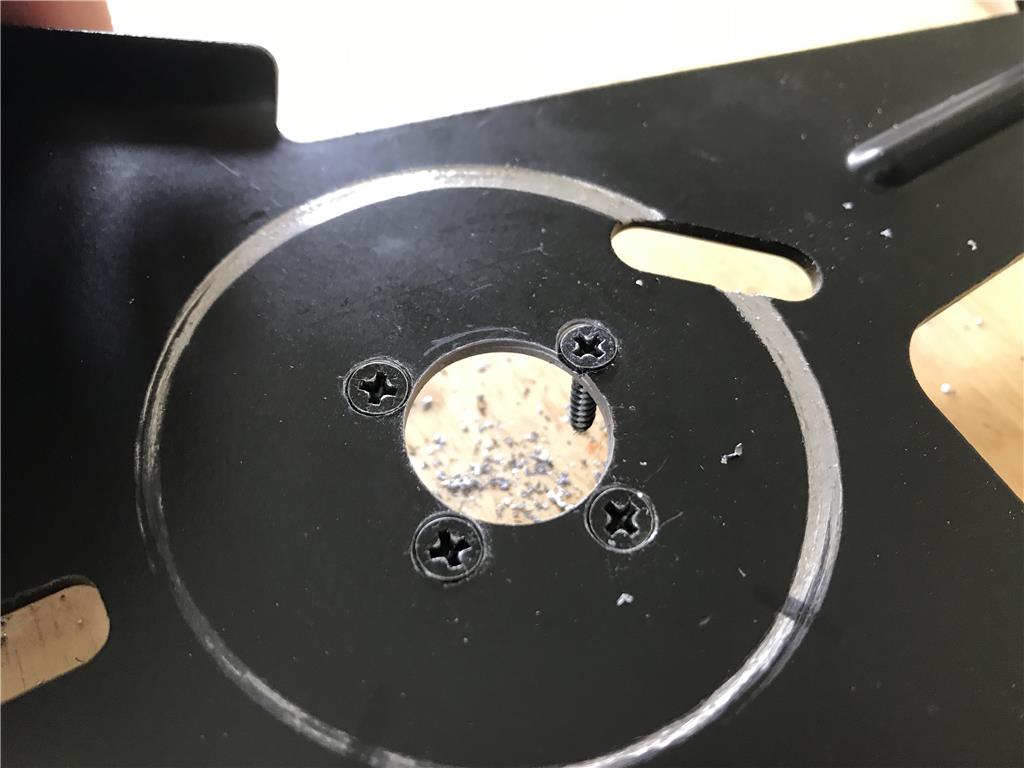
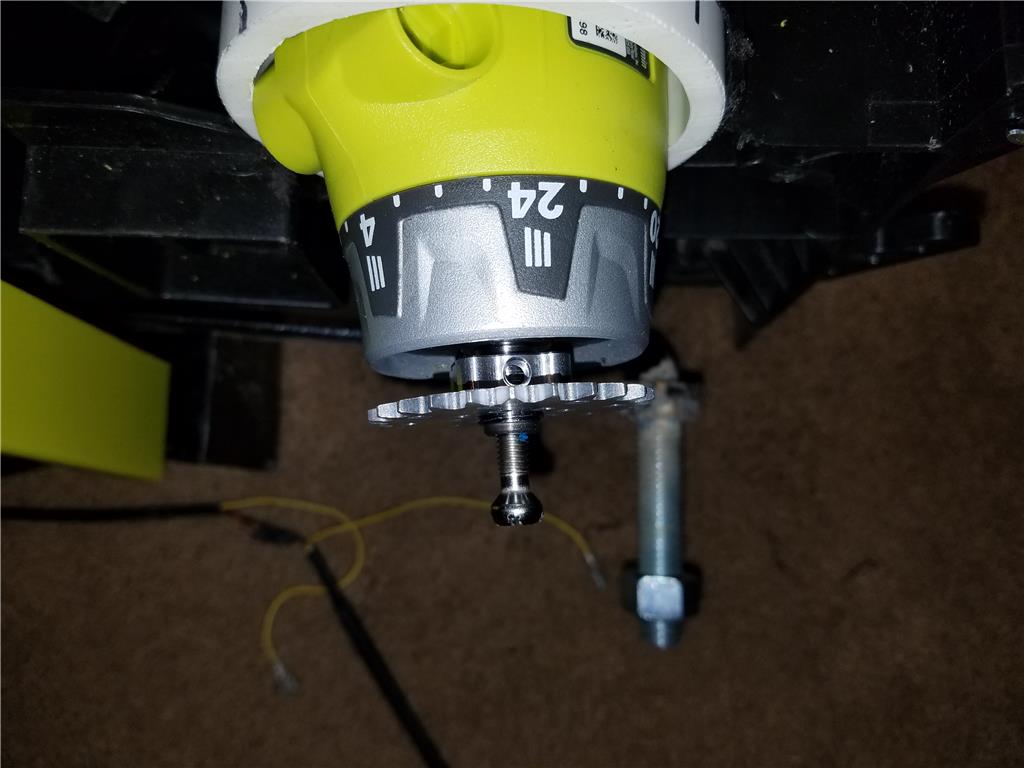
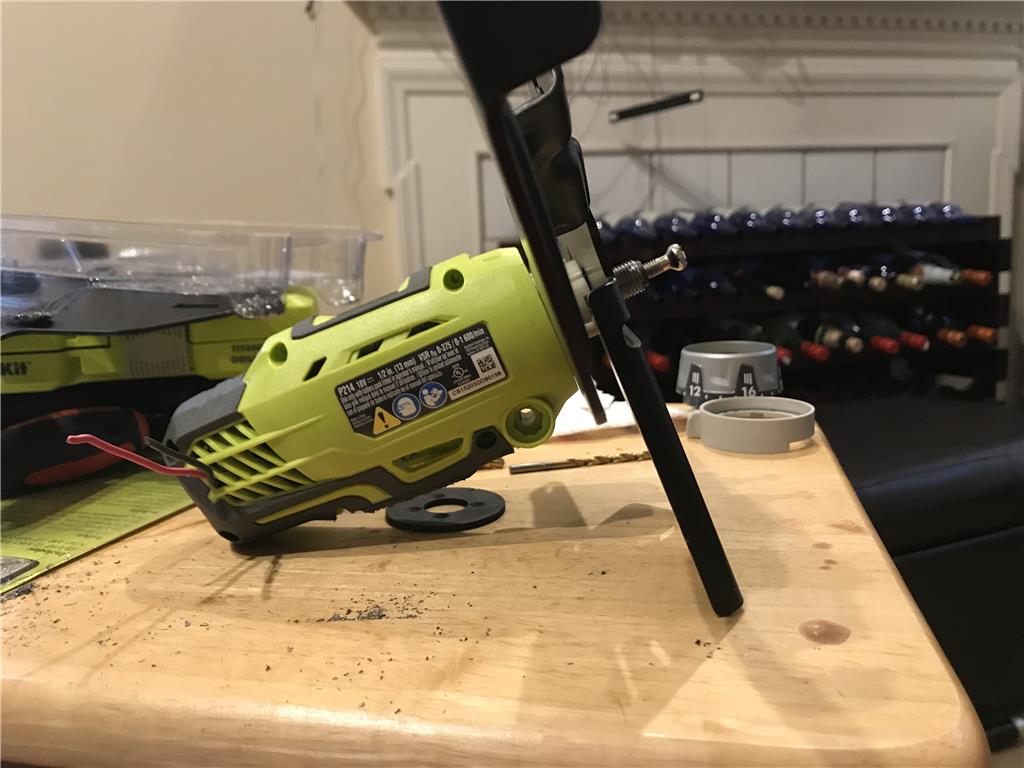
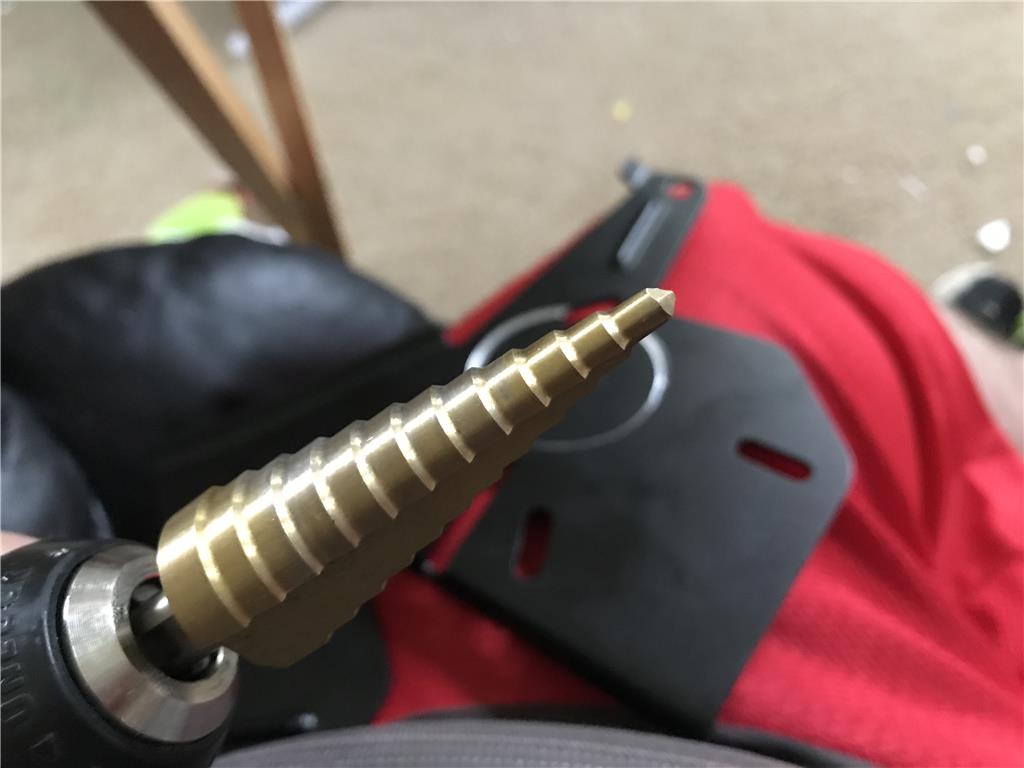
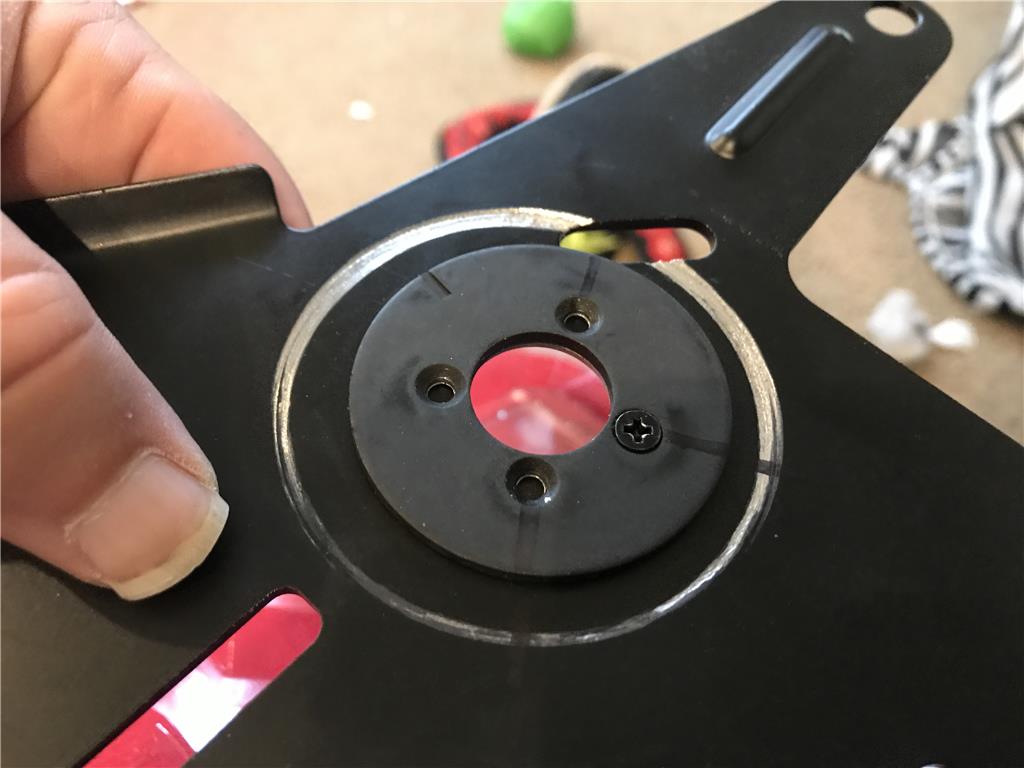
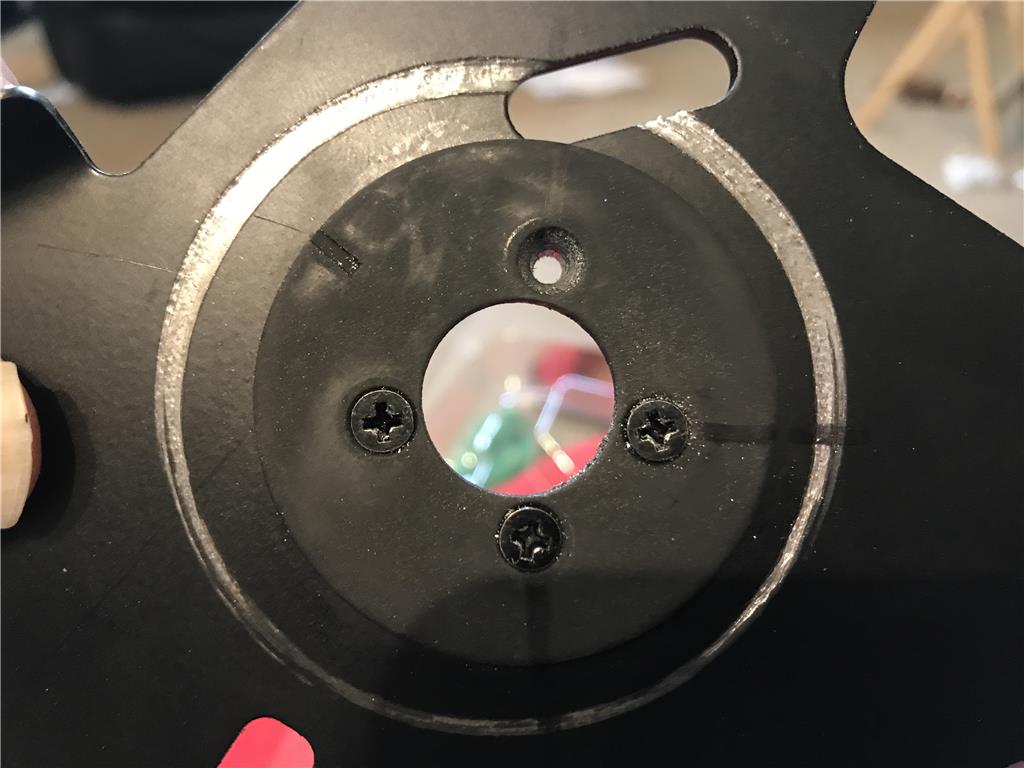
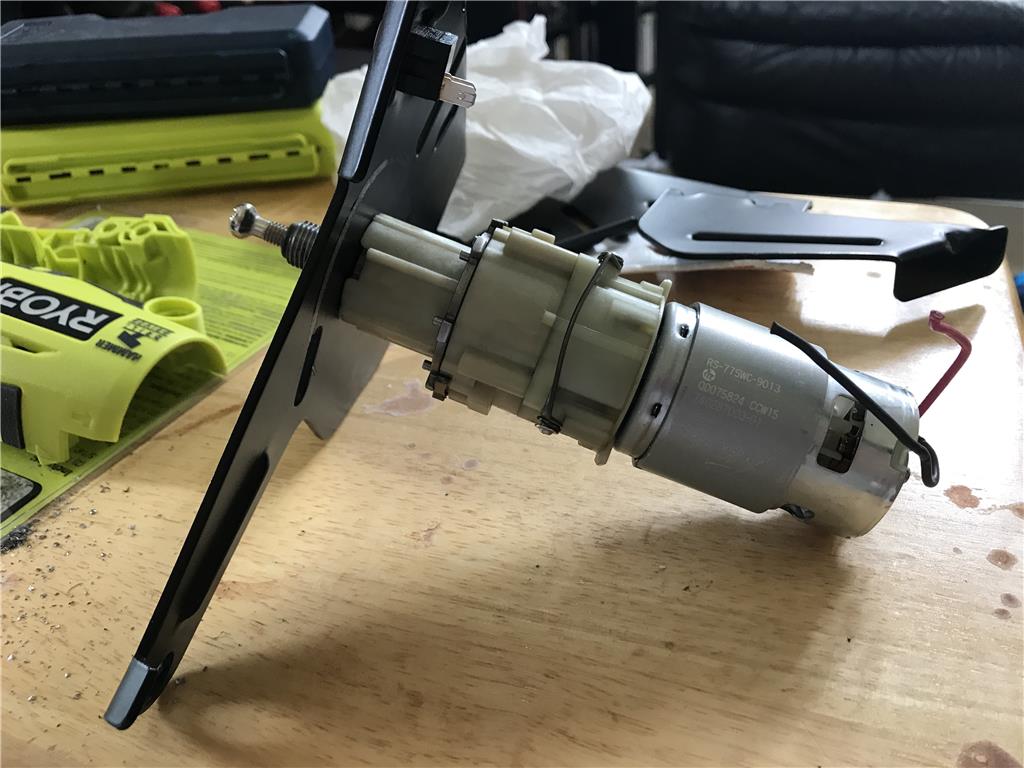
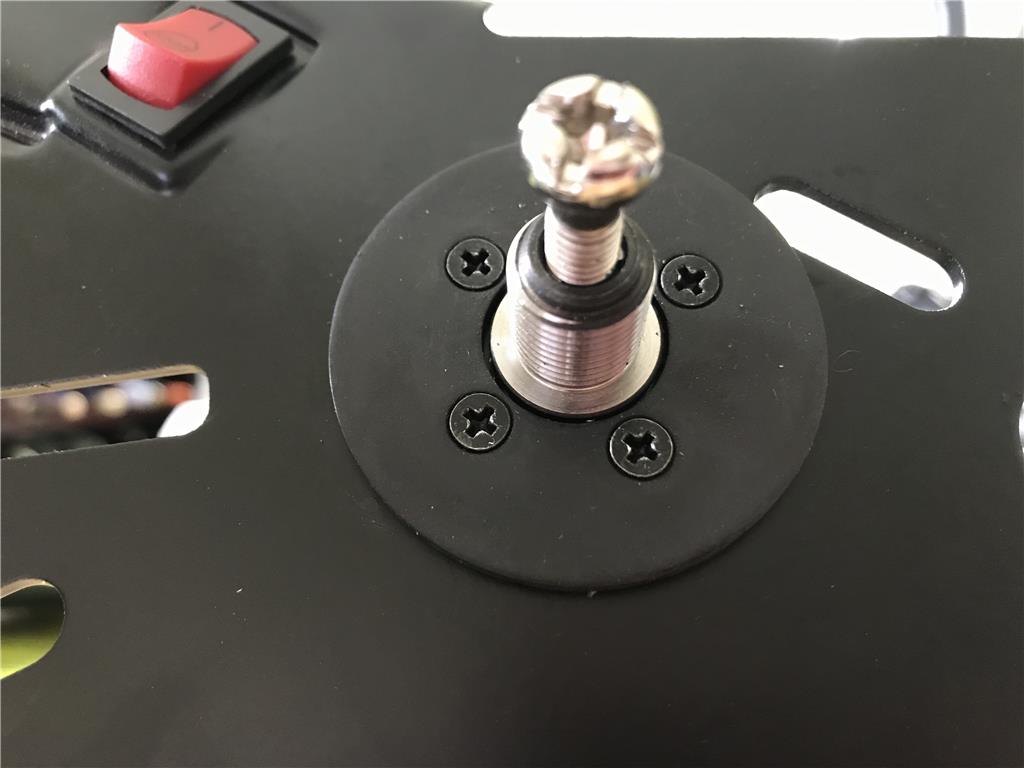
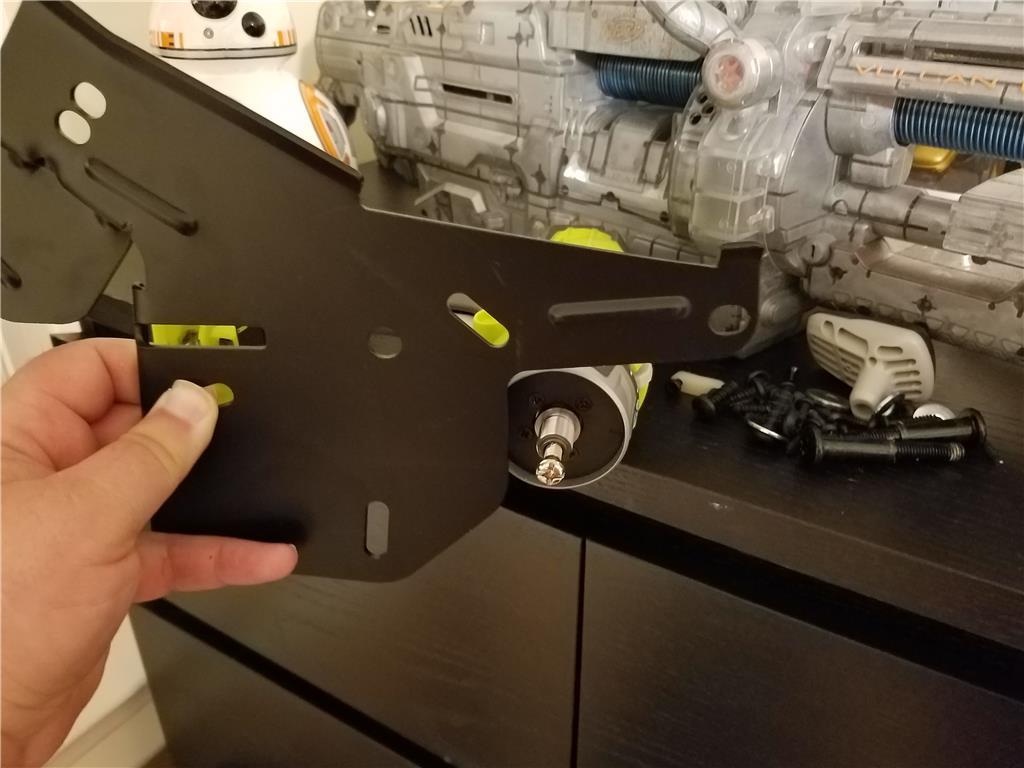
The screws are aligned with the gearbox holes but these screws require a counter sink to screw all the way in. I will use the tip of the stepper /uni-bit to make a counter sink.
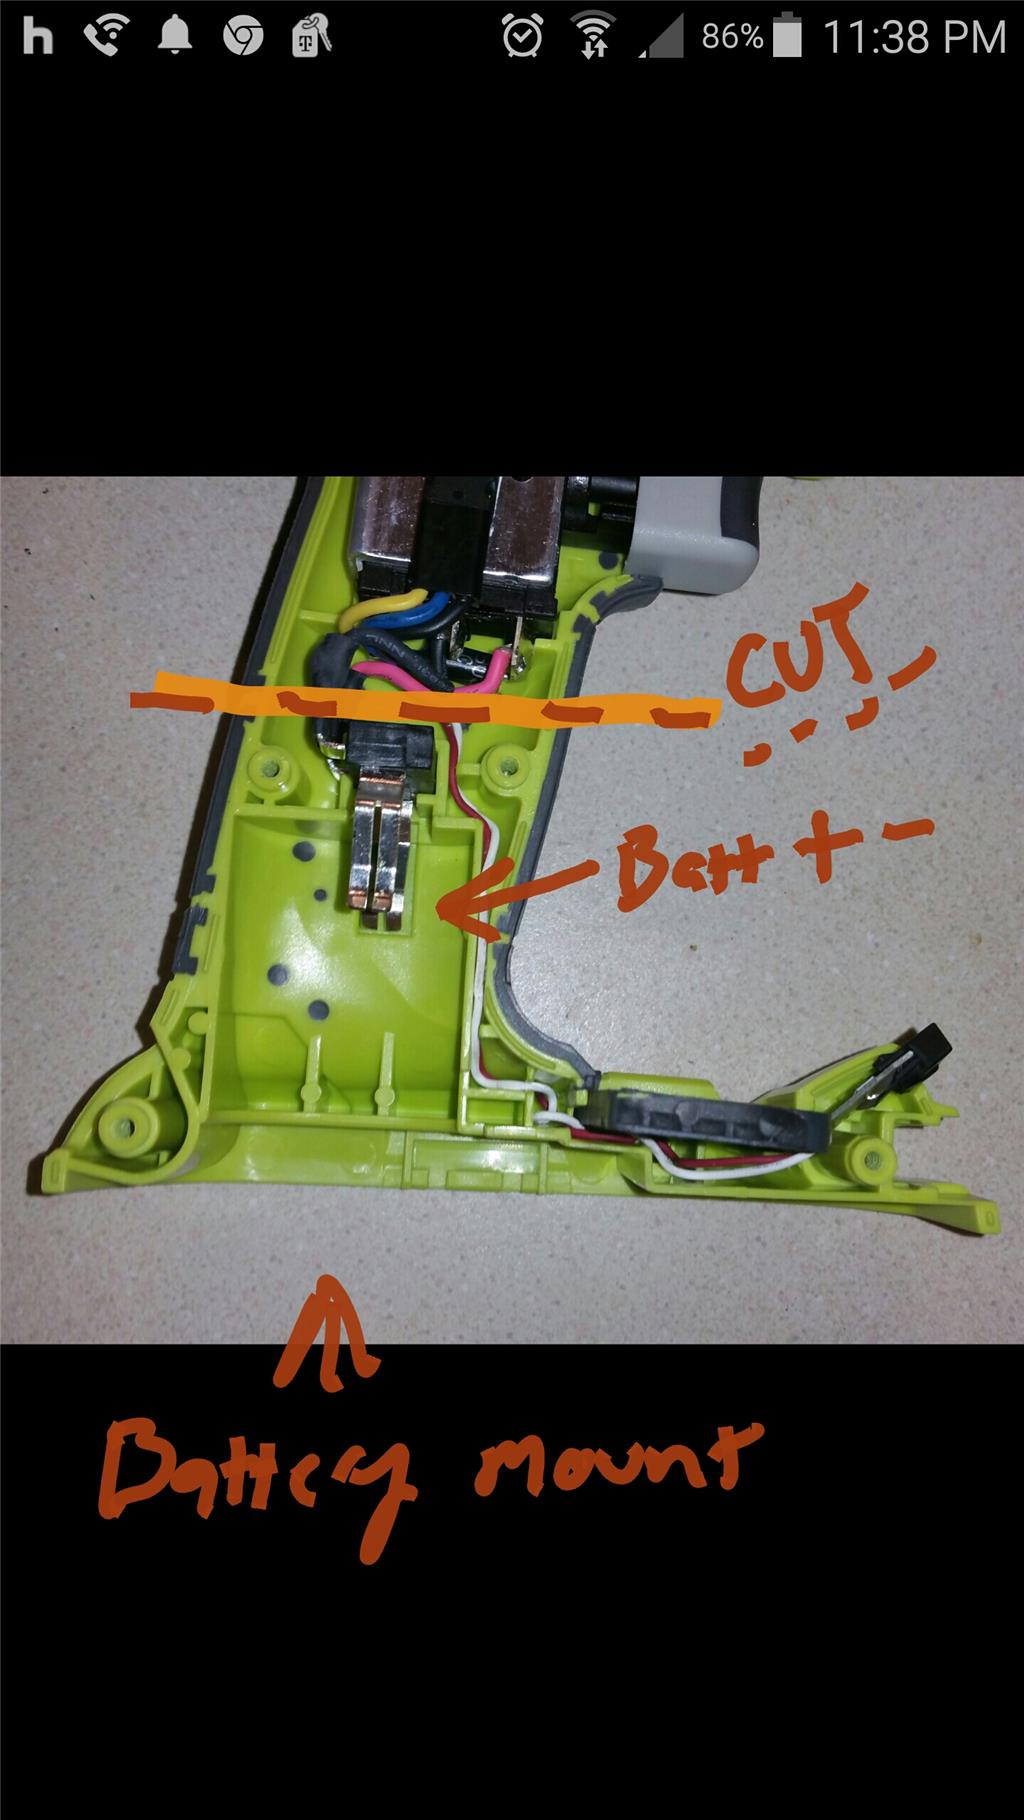
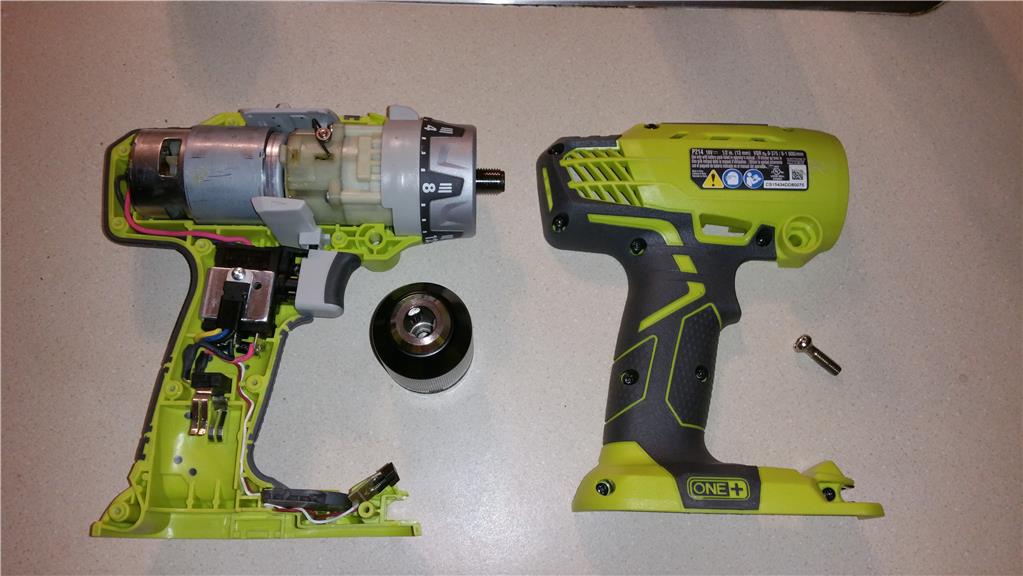
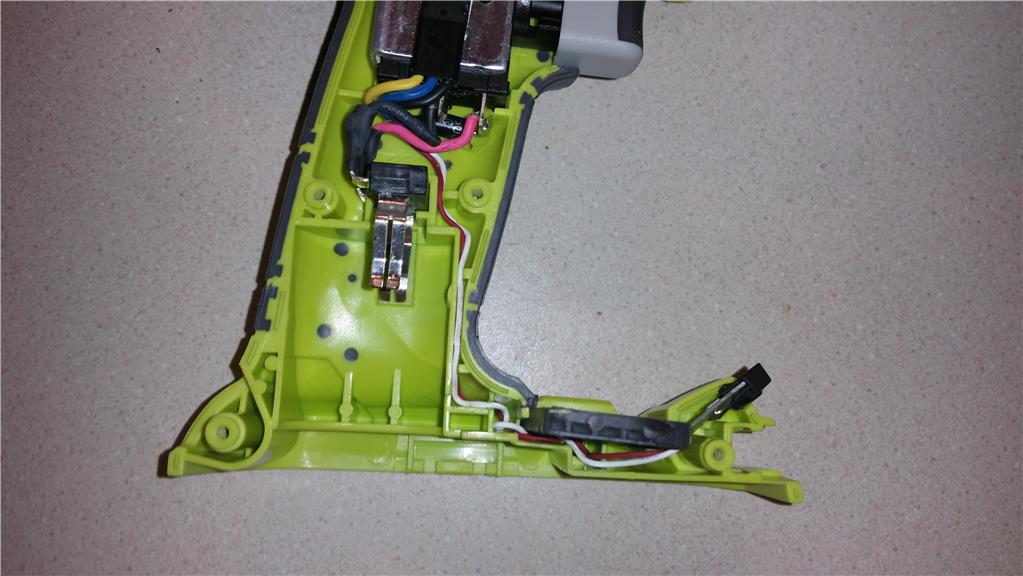
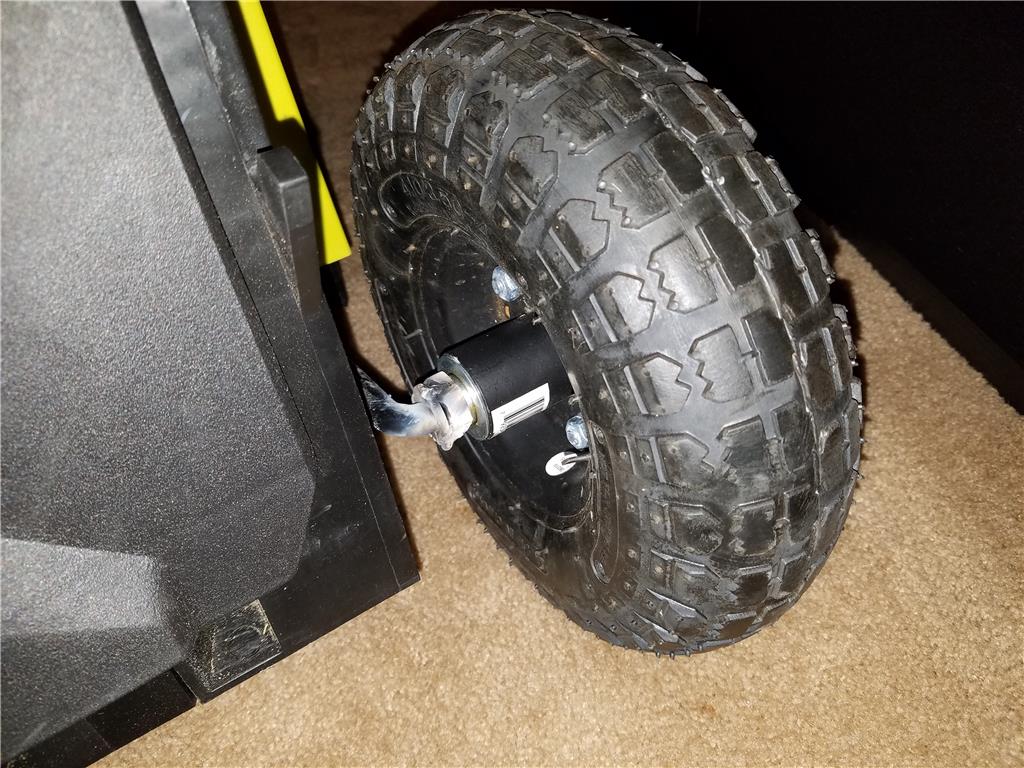
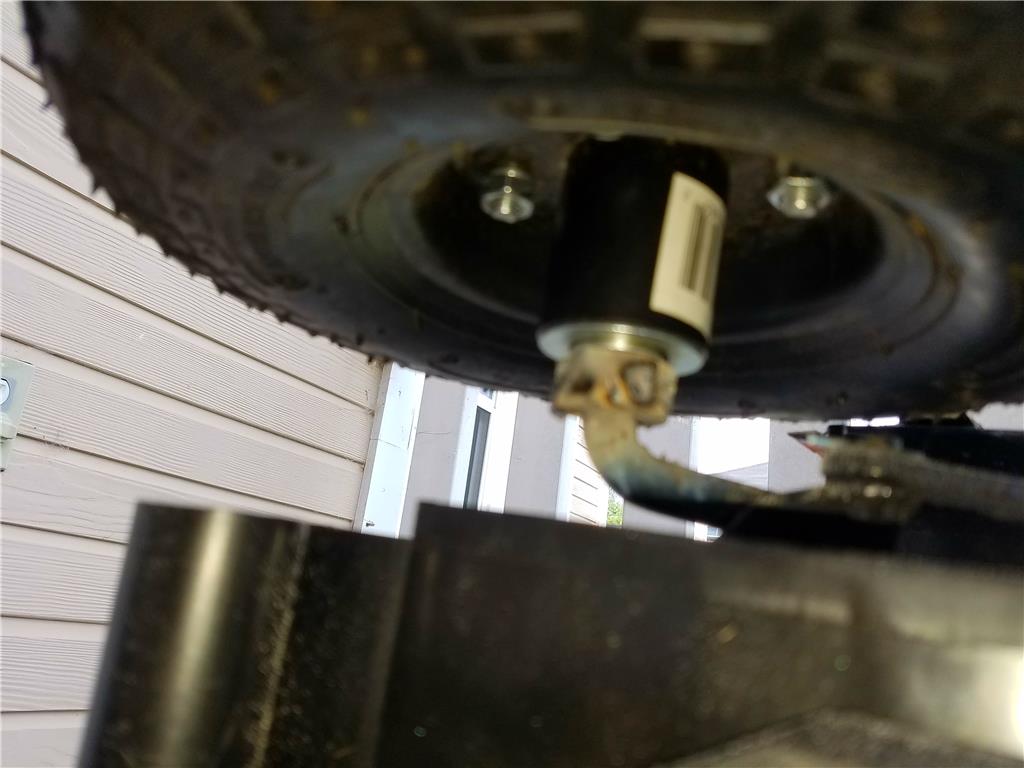
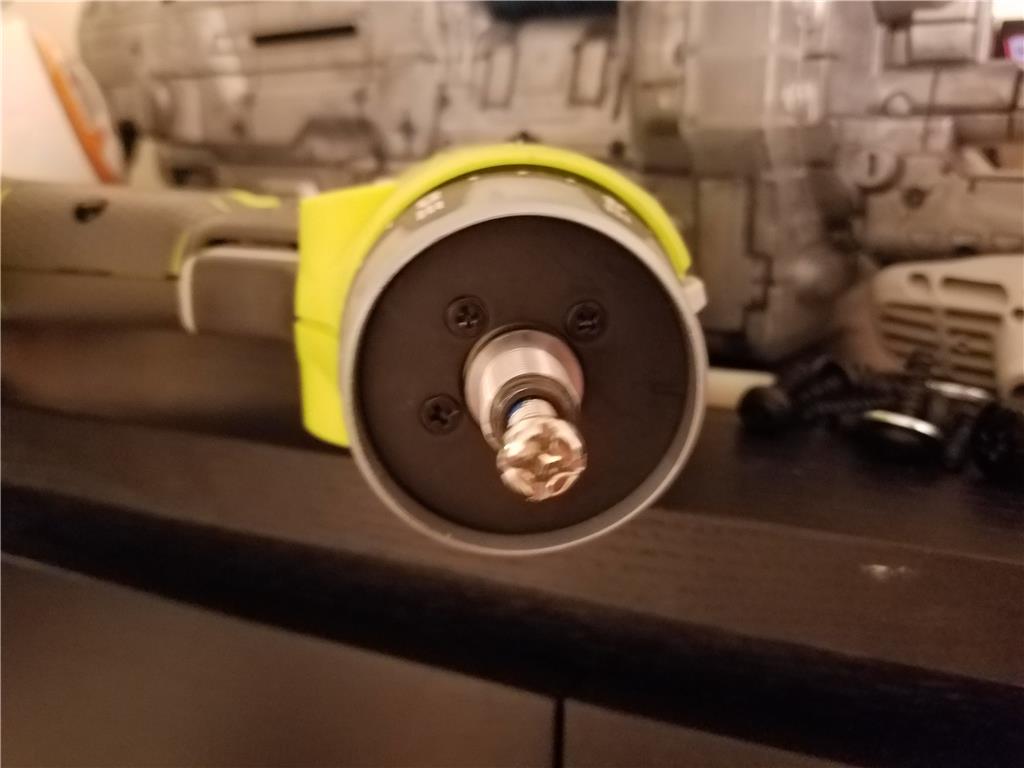
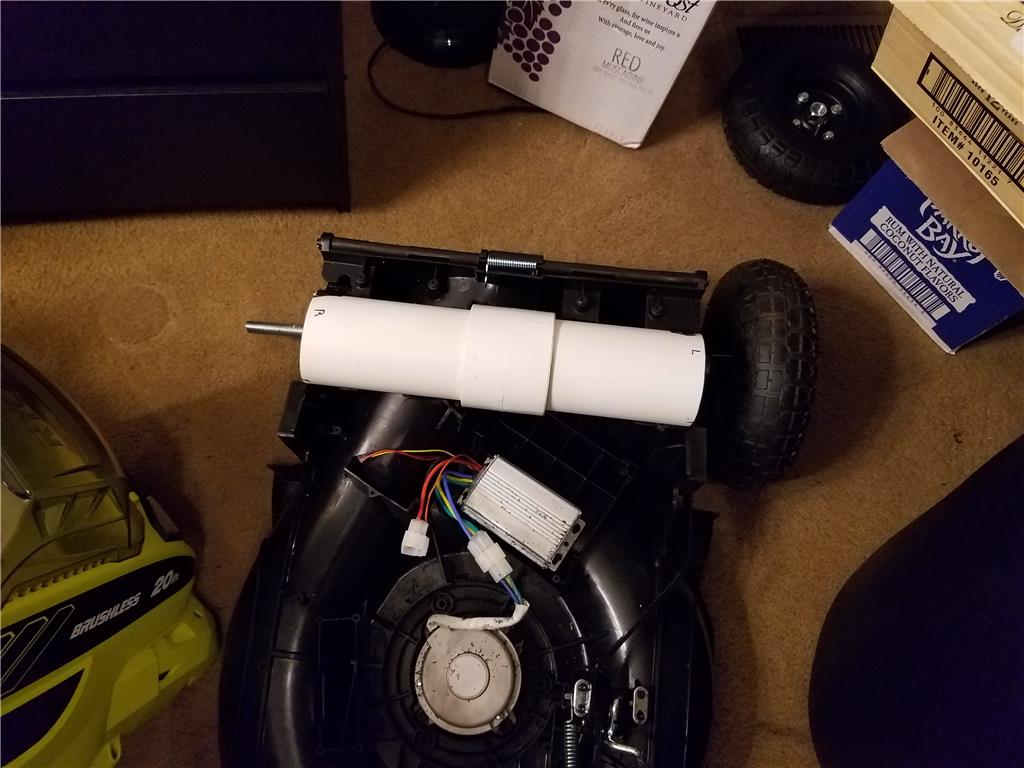
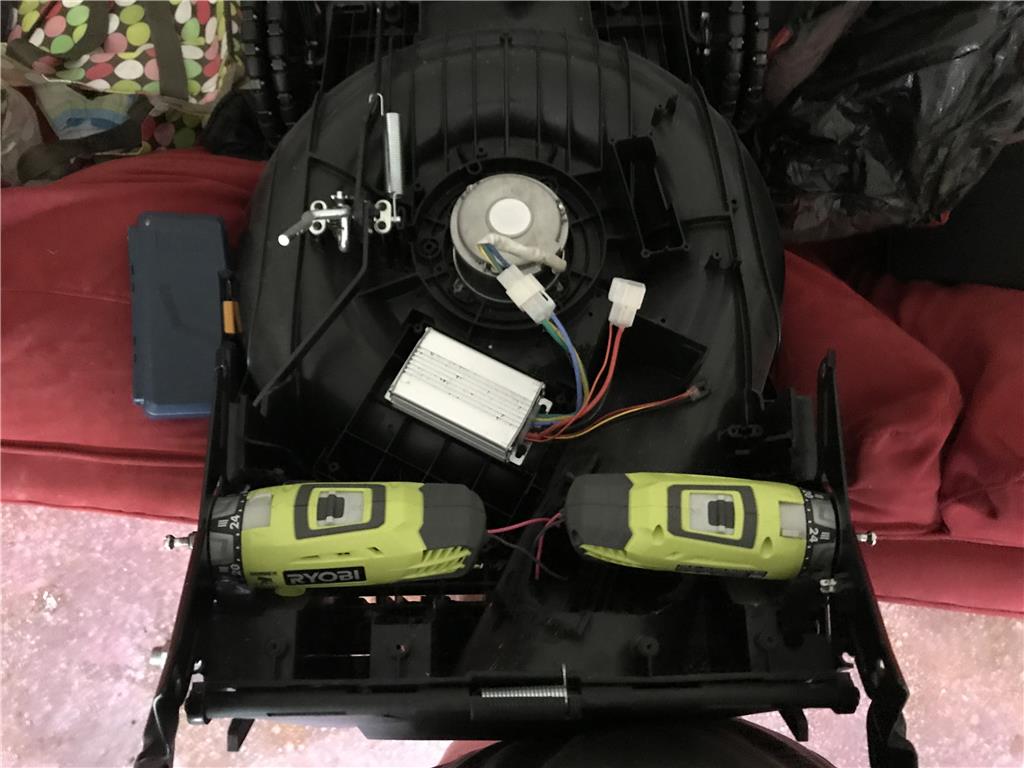
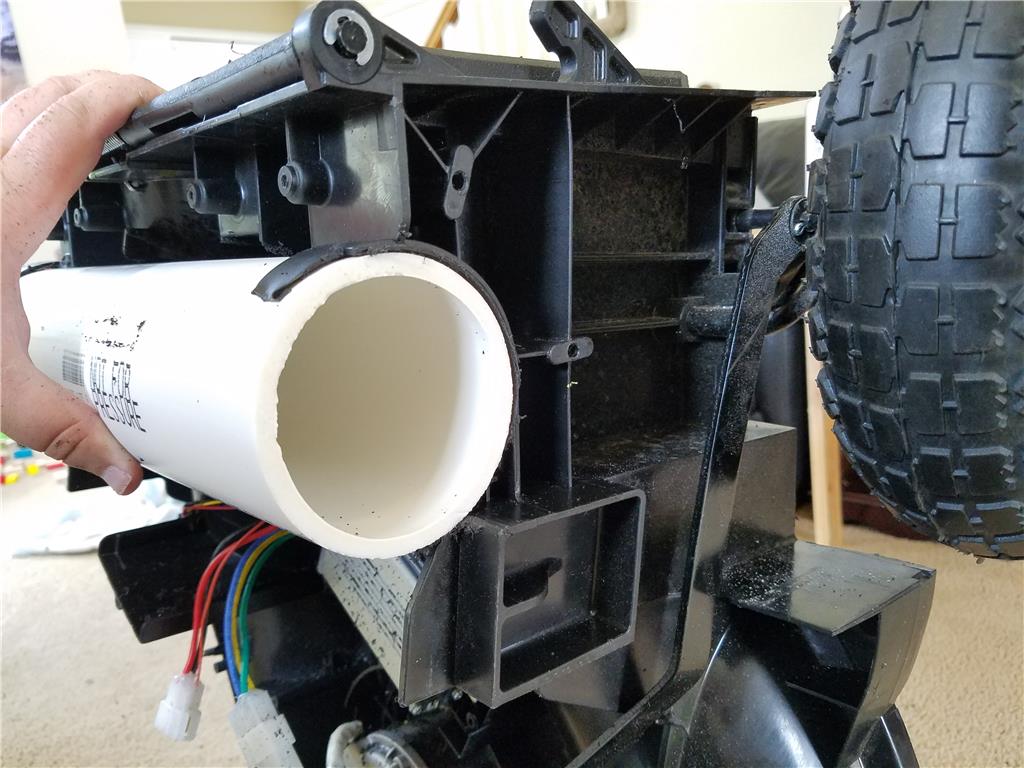
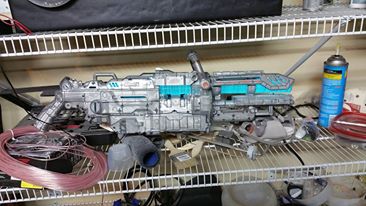
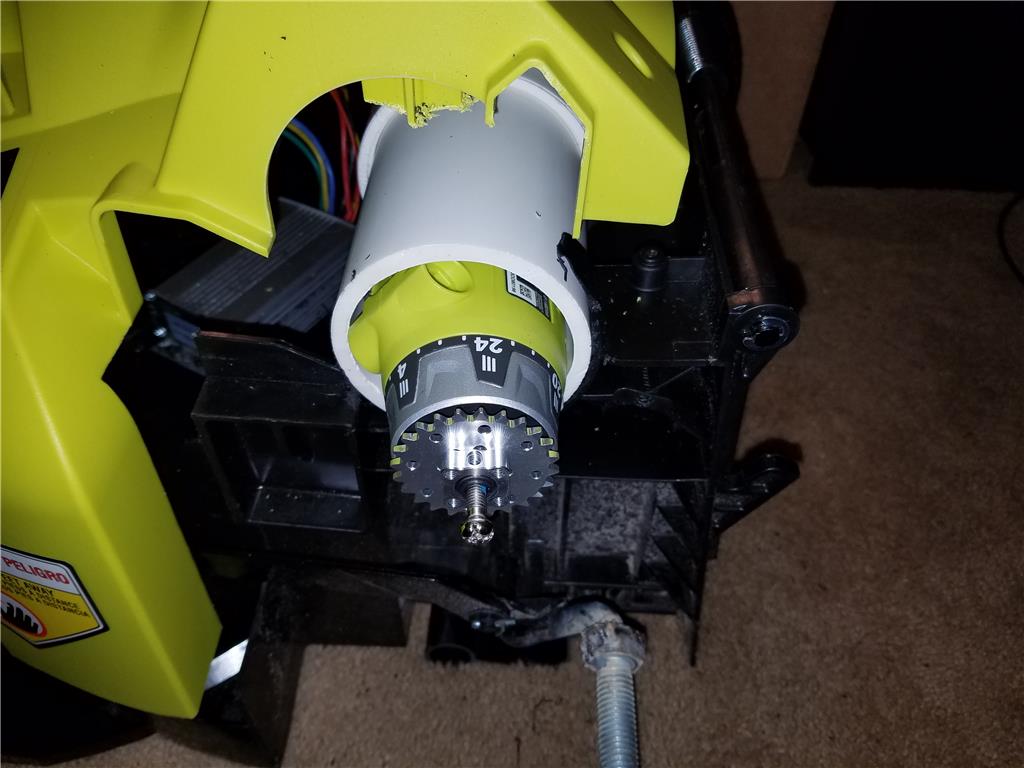
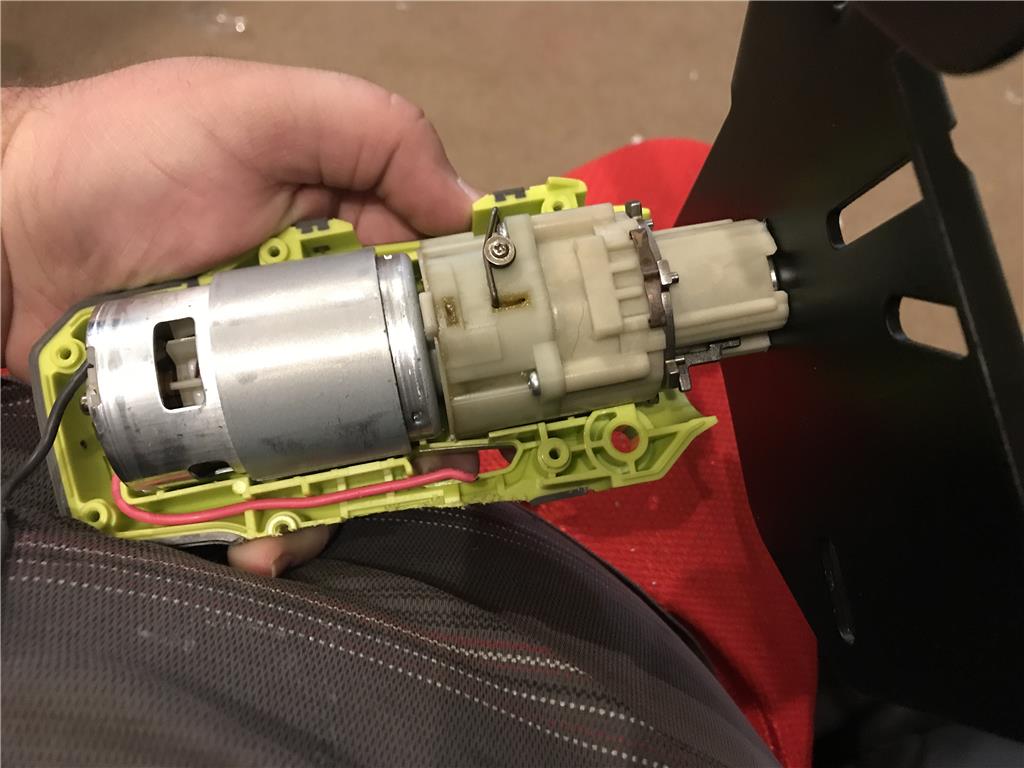
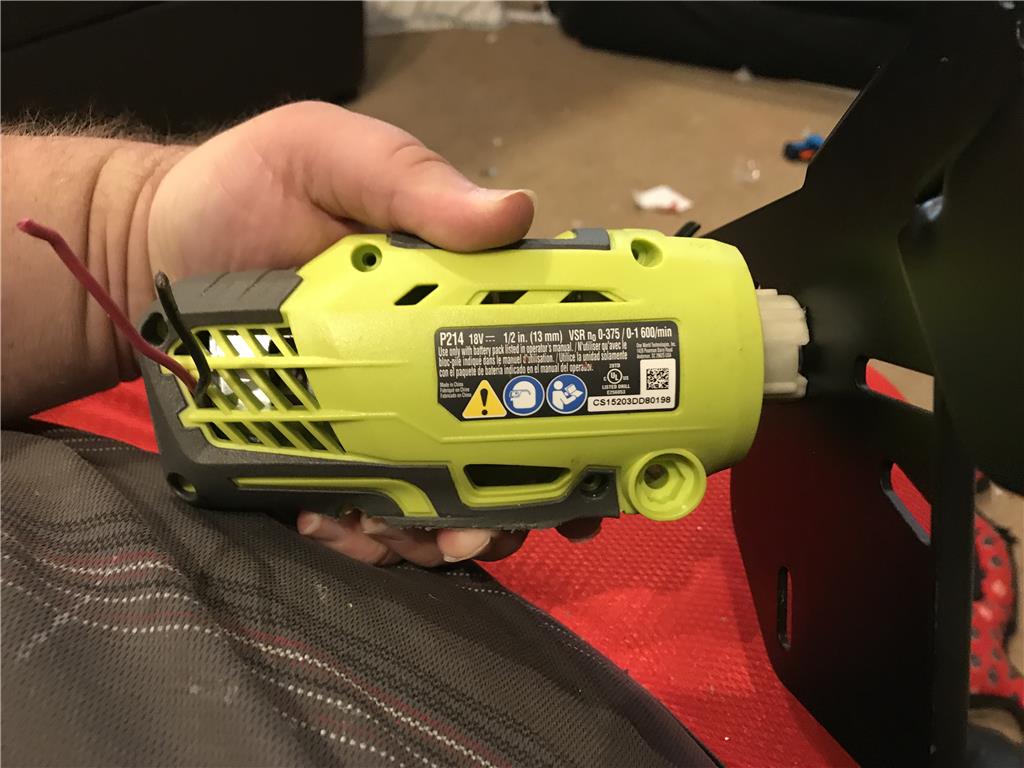
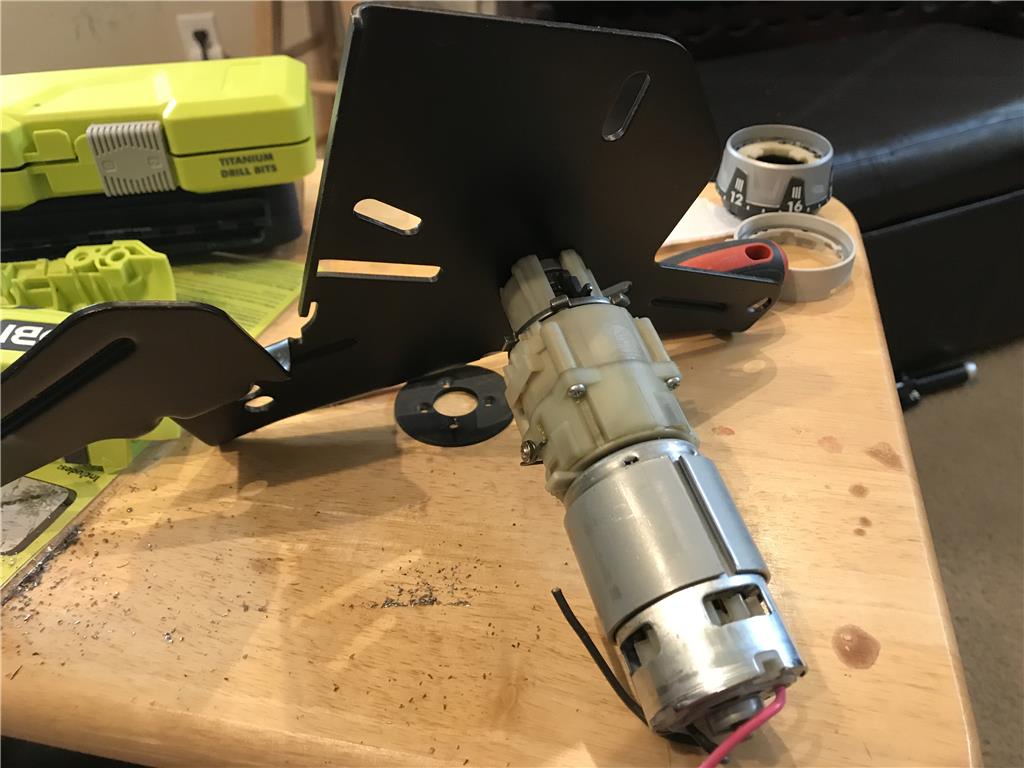
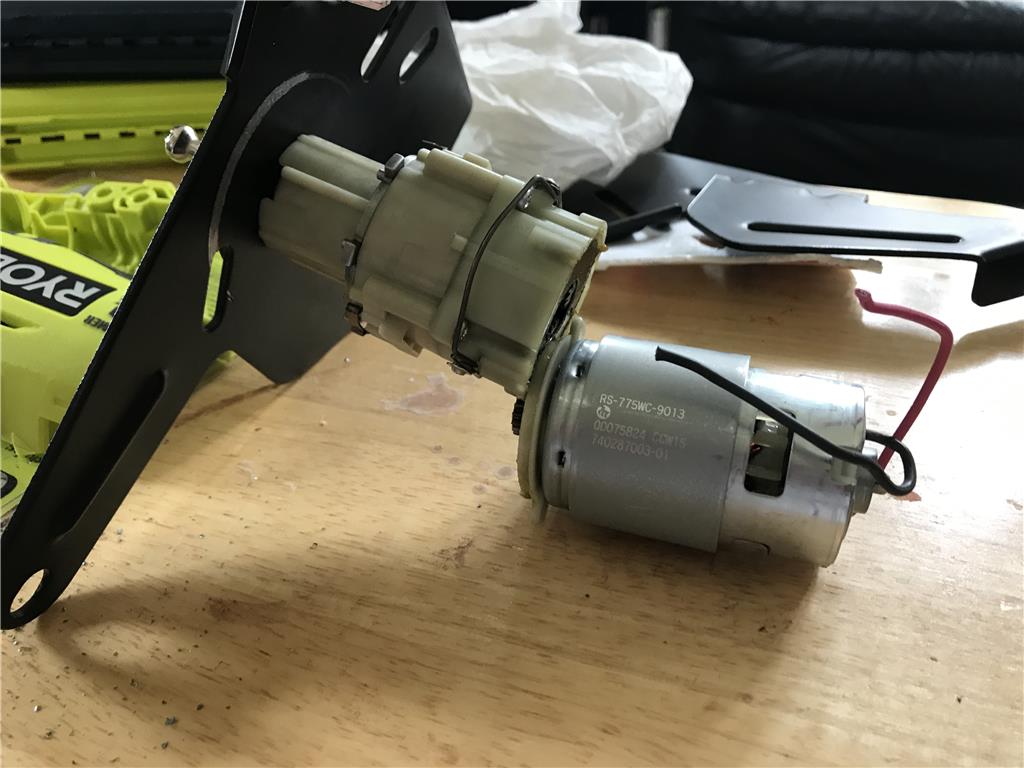
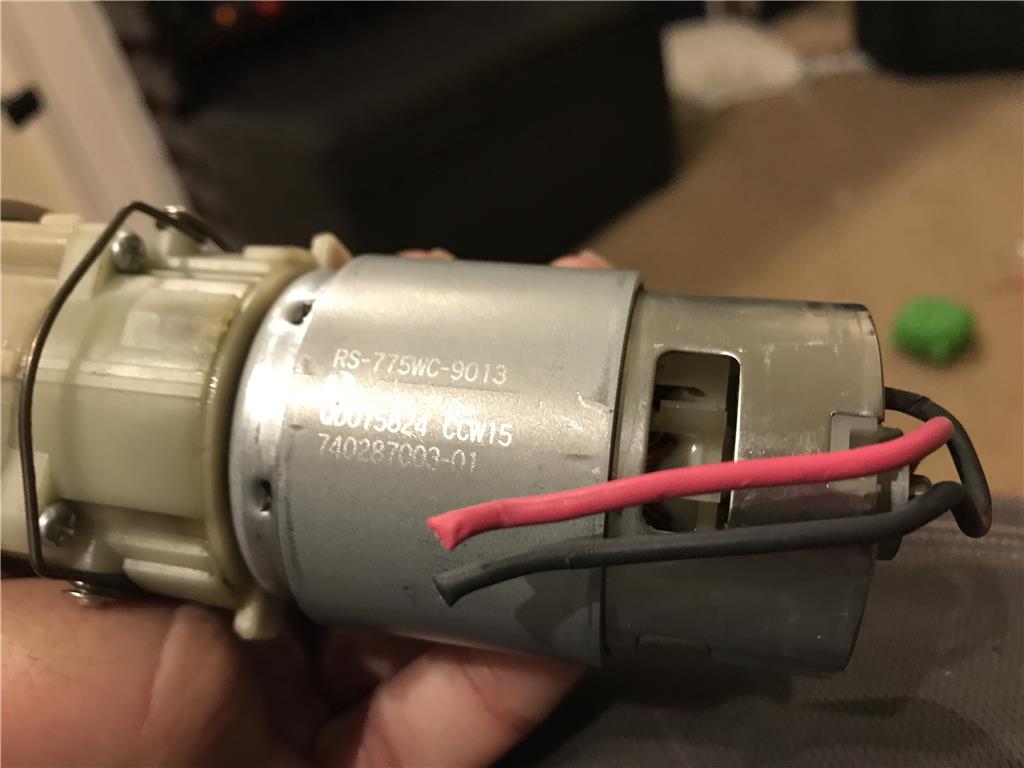
The motor unhooks from the gearbox with a simple 1/8 twist. I believe I will use a portion of the original casing to keep them mated together.
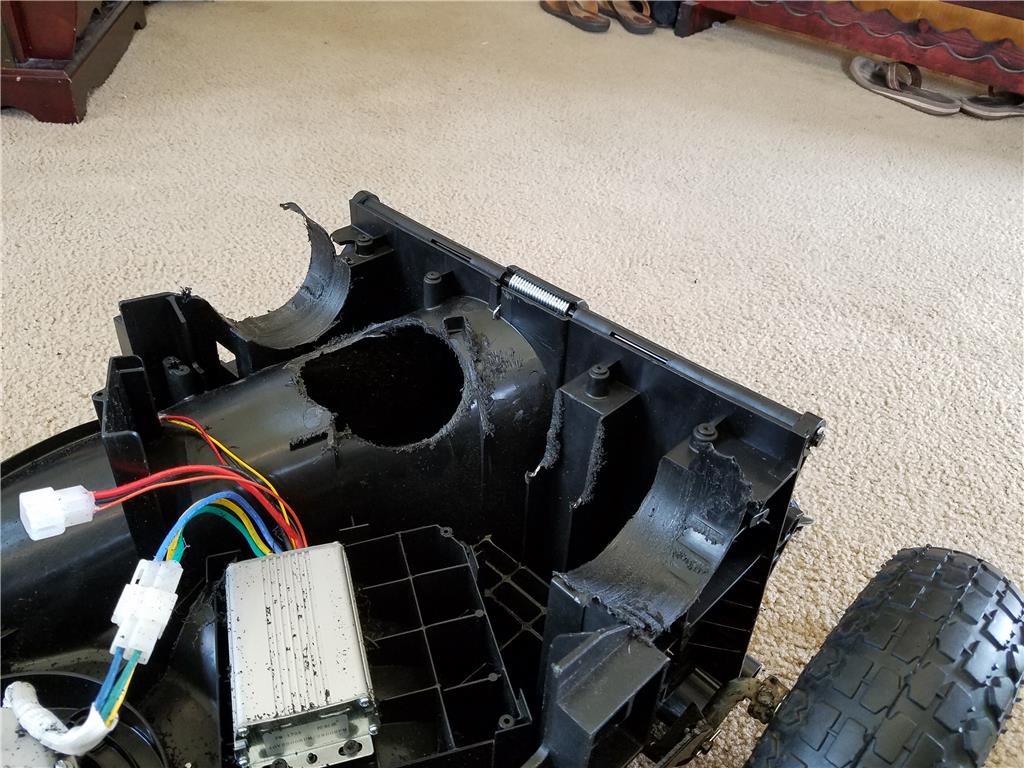
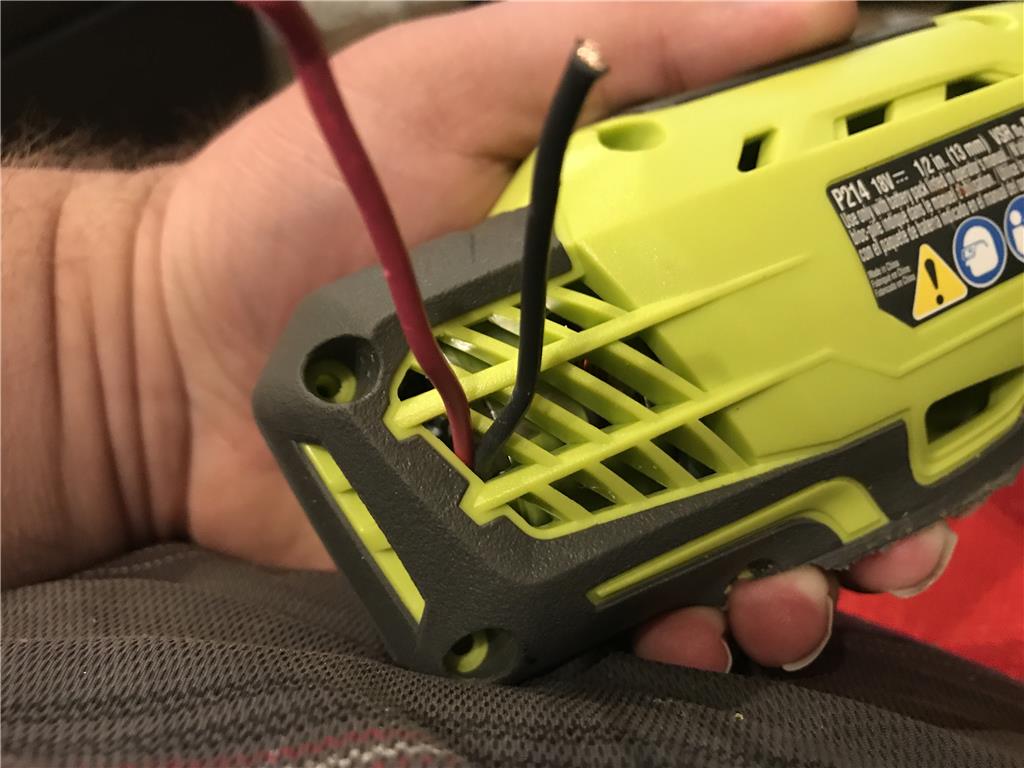
I will add a large hole at the end for the power wires to feed through
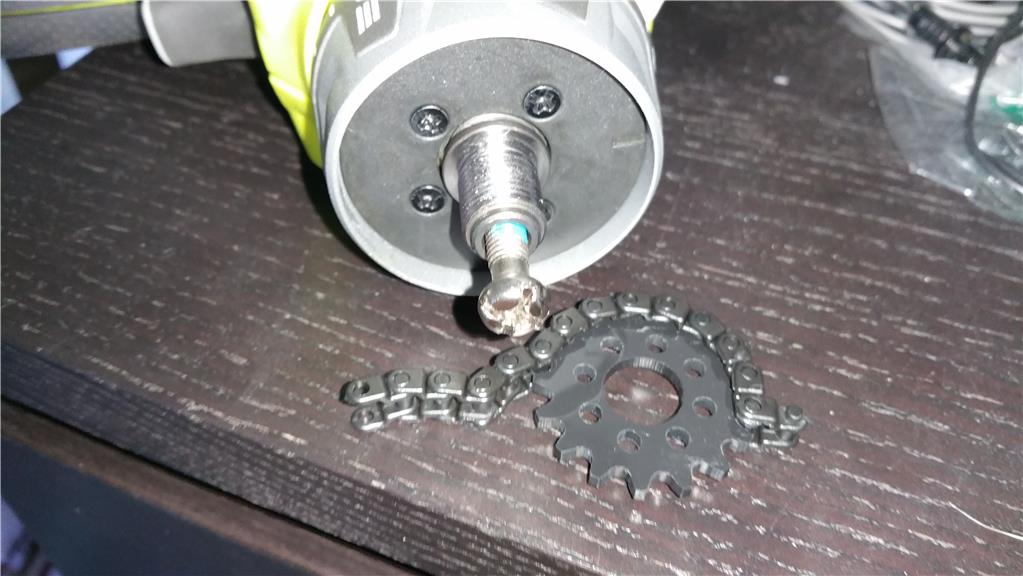
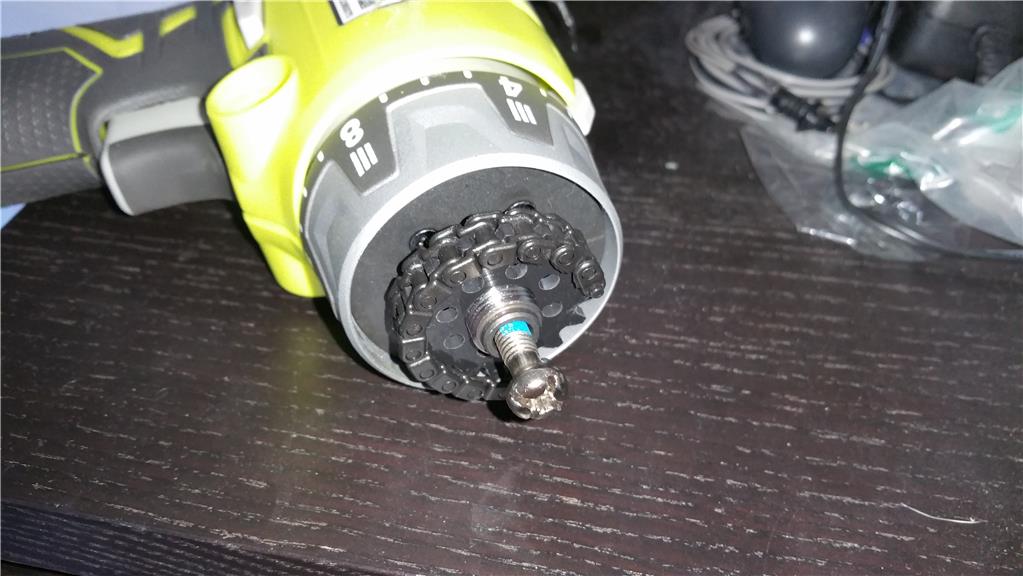
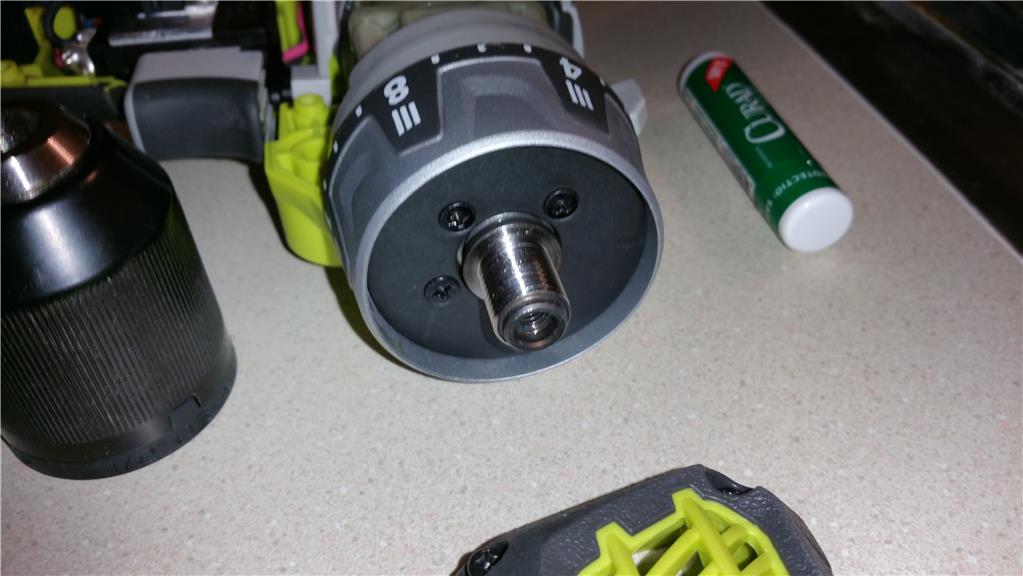
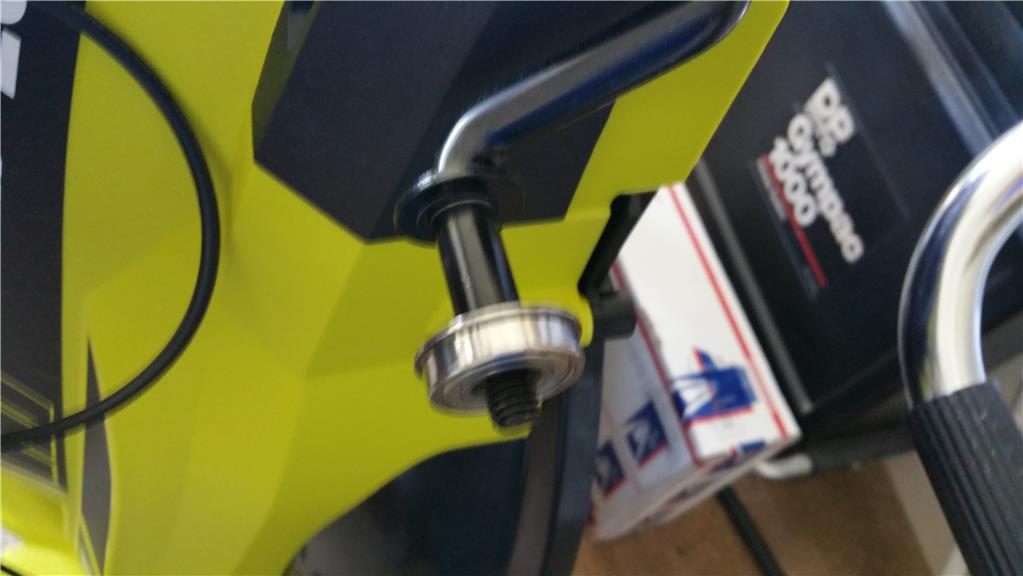
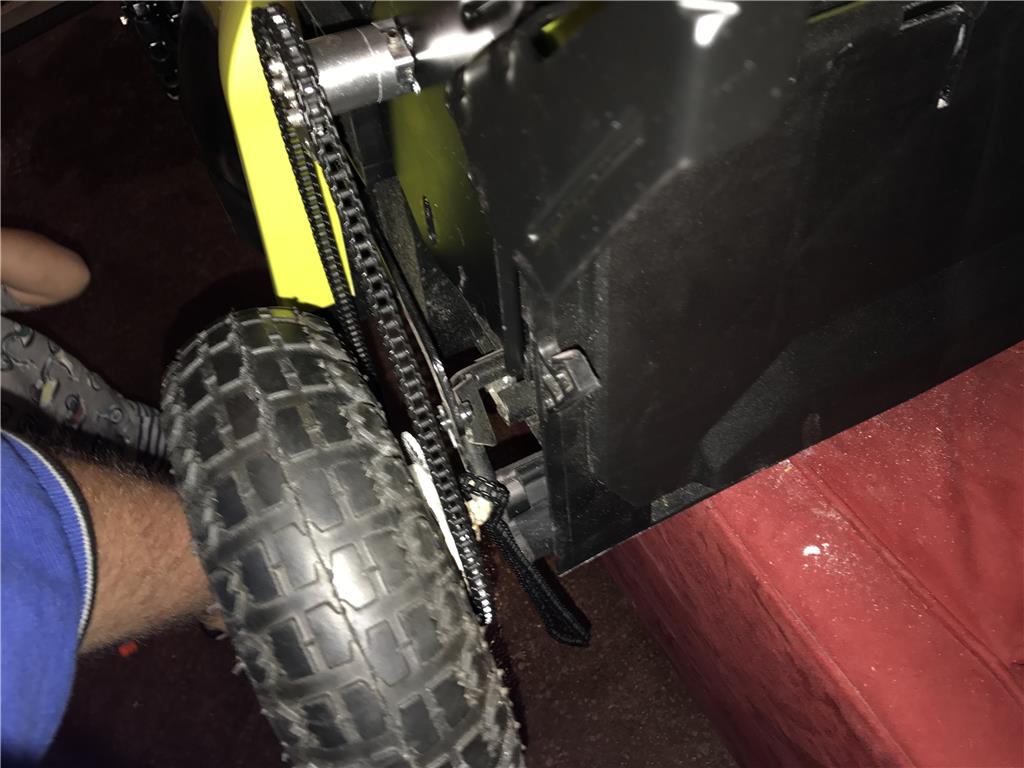
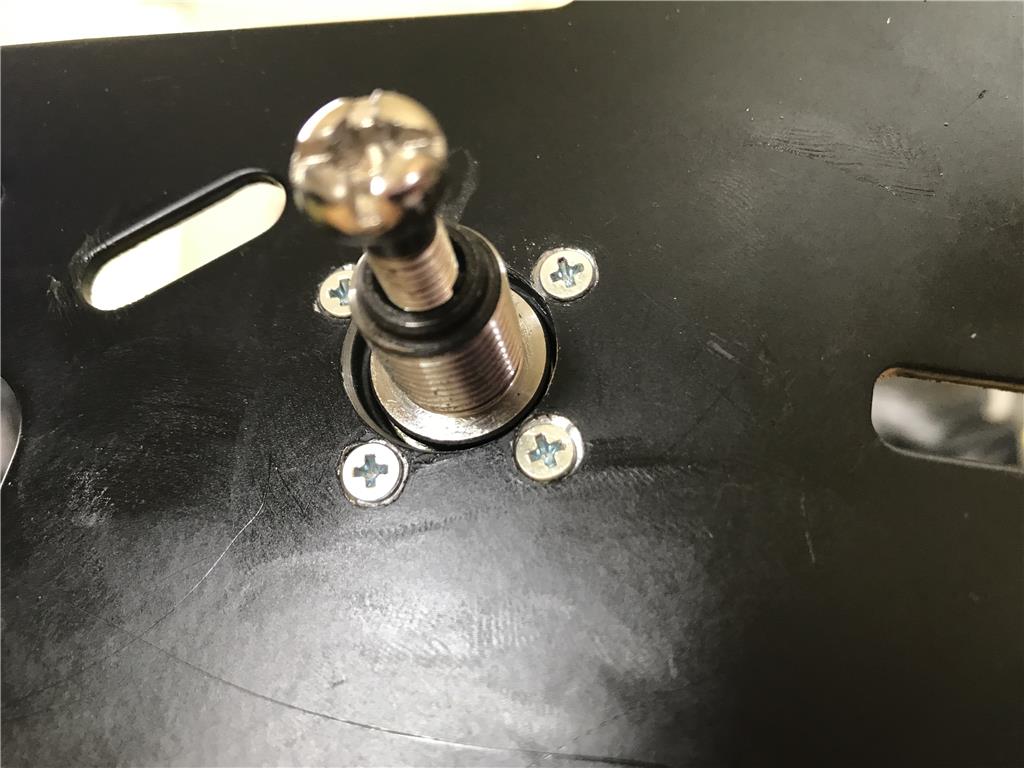
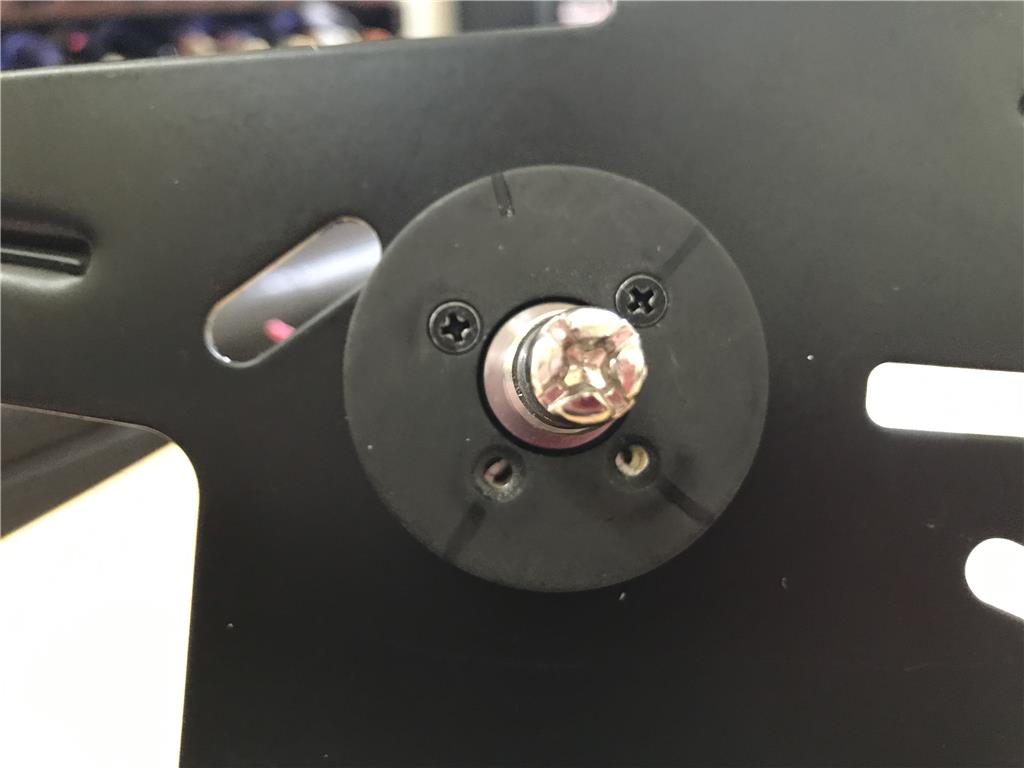
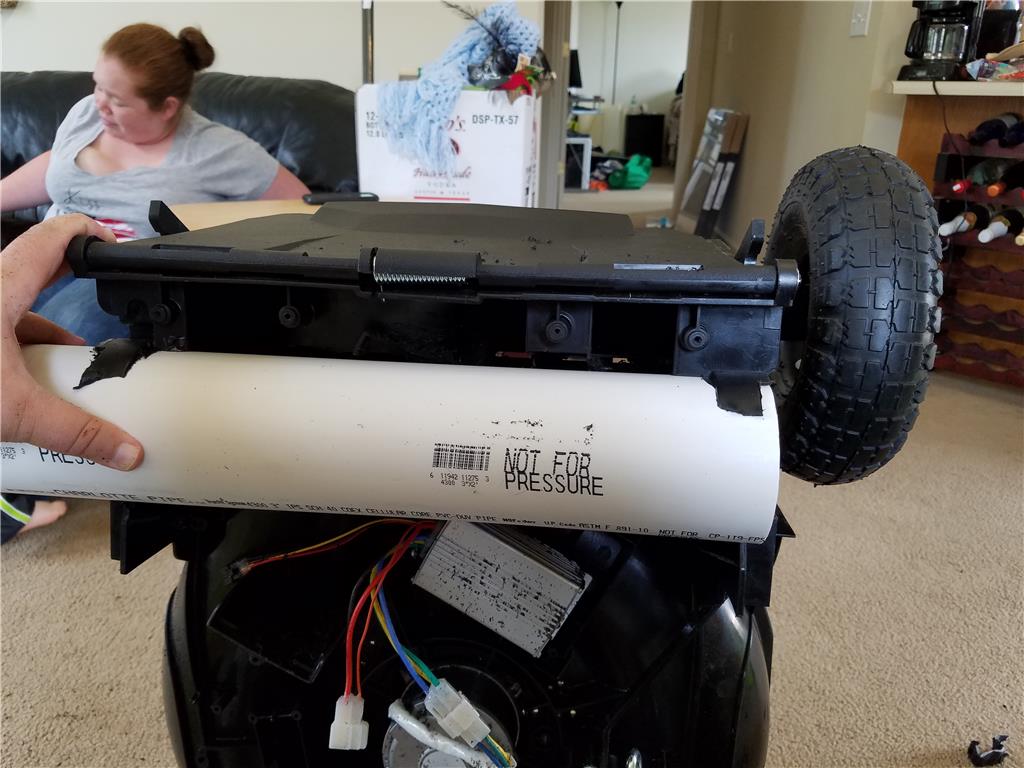
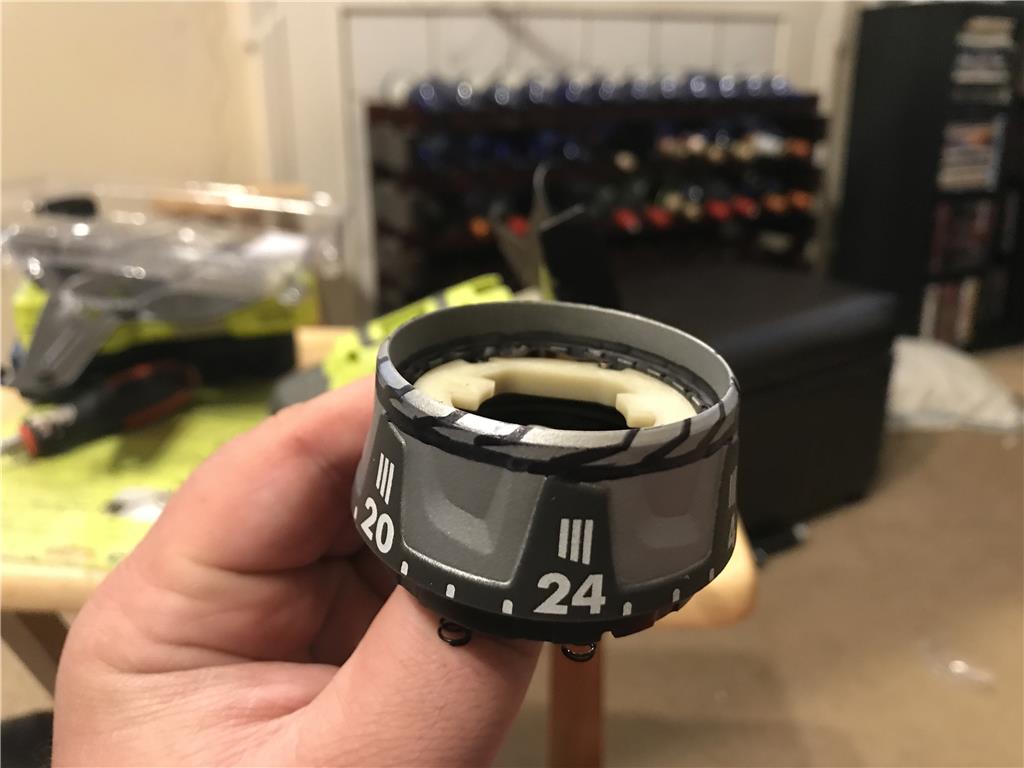
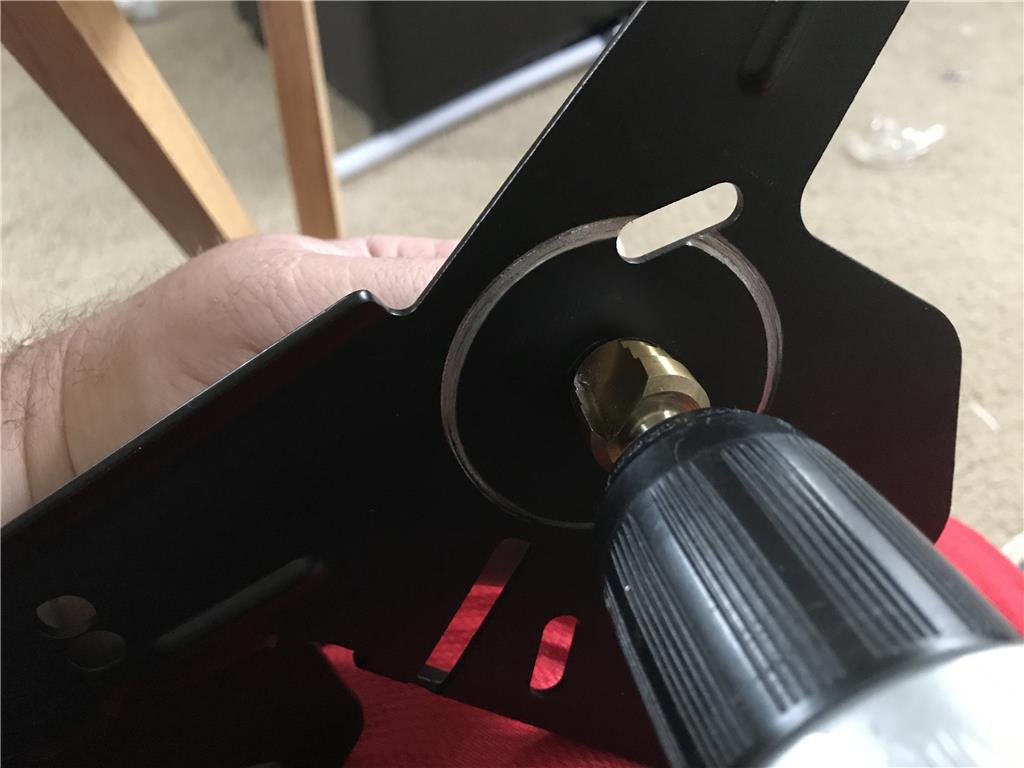
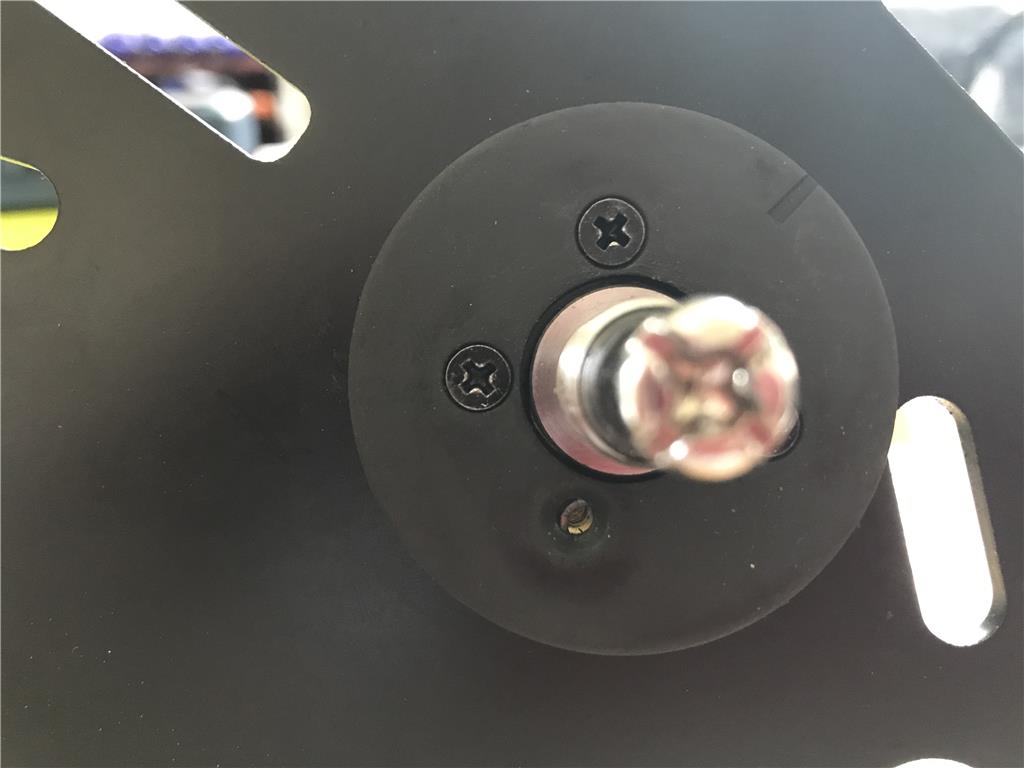
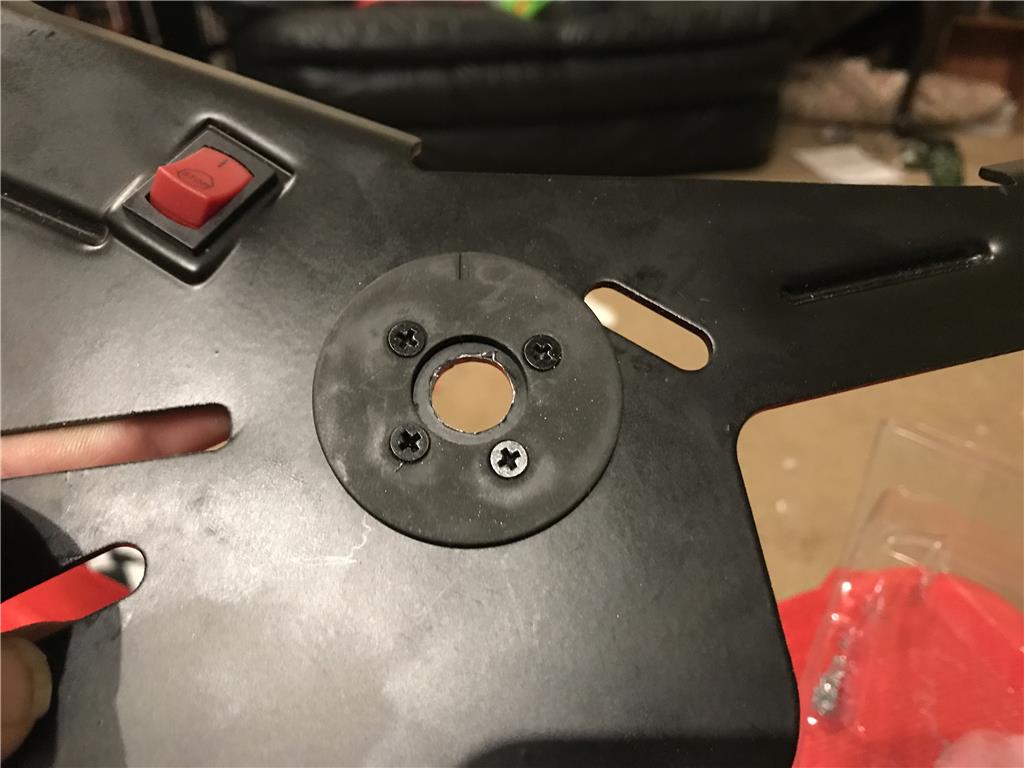
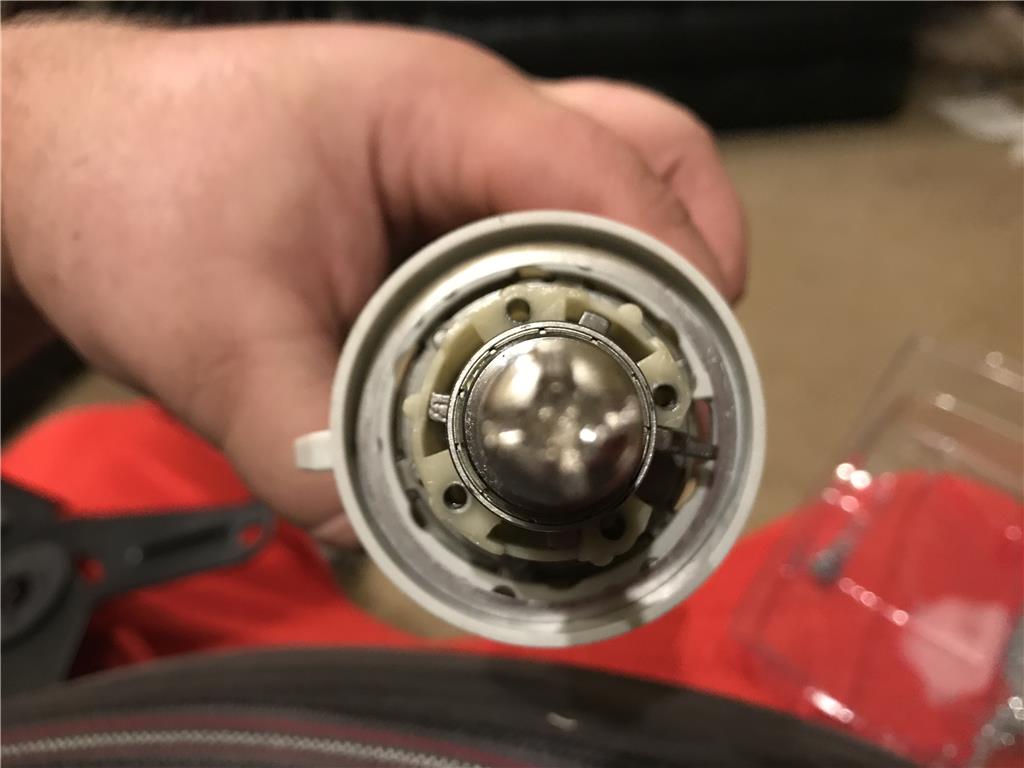
After measuring I found that there is too much plastic lip on the clutch sleeve. I will need to find the dremel and trim down the clutch so that I can fit it behind the metal plate and still be able to screw it all the way down to the face of the gearbox.
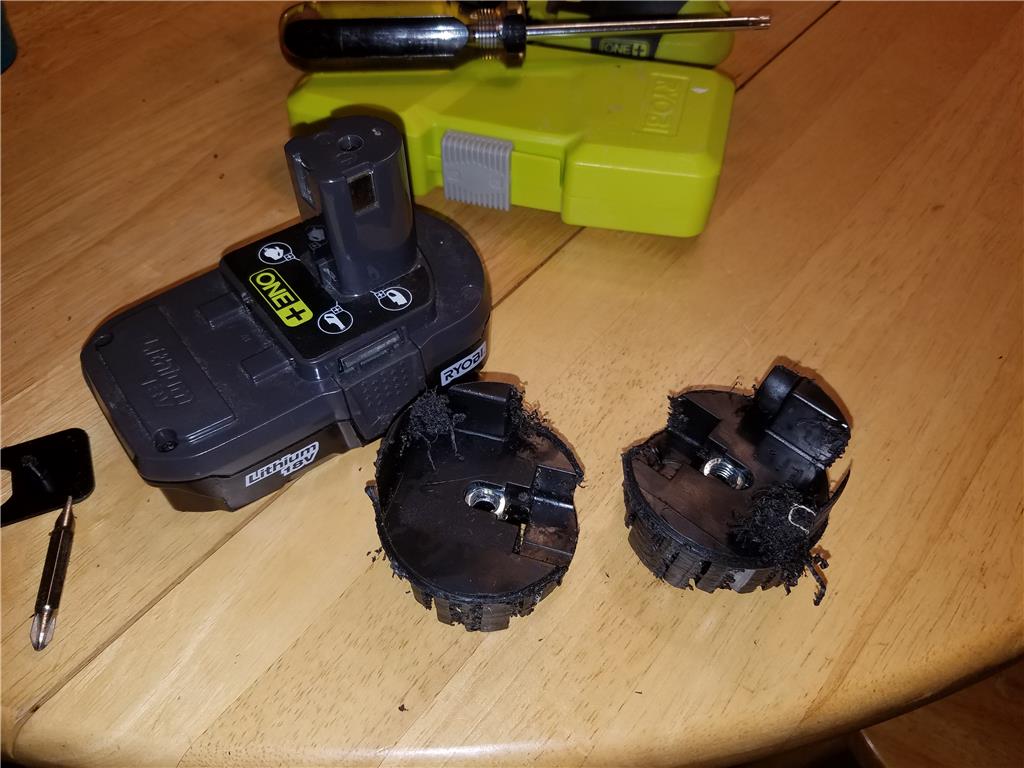
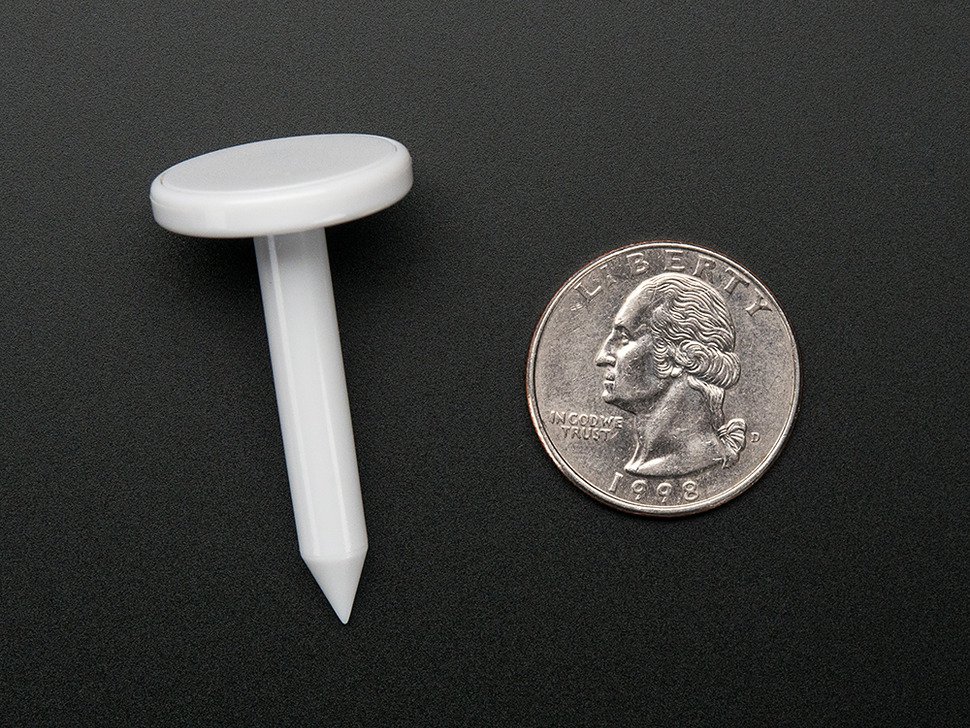
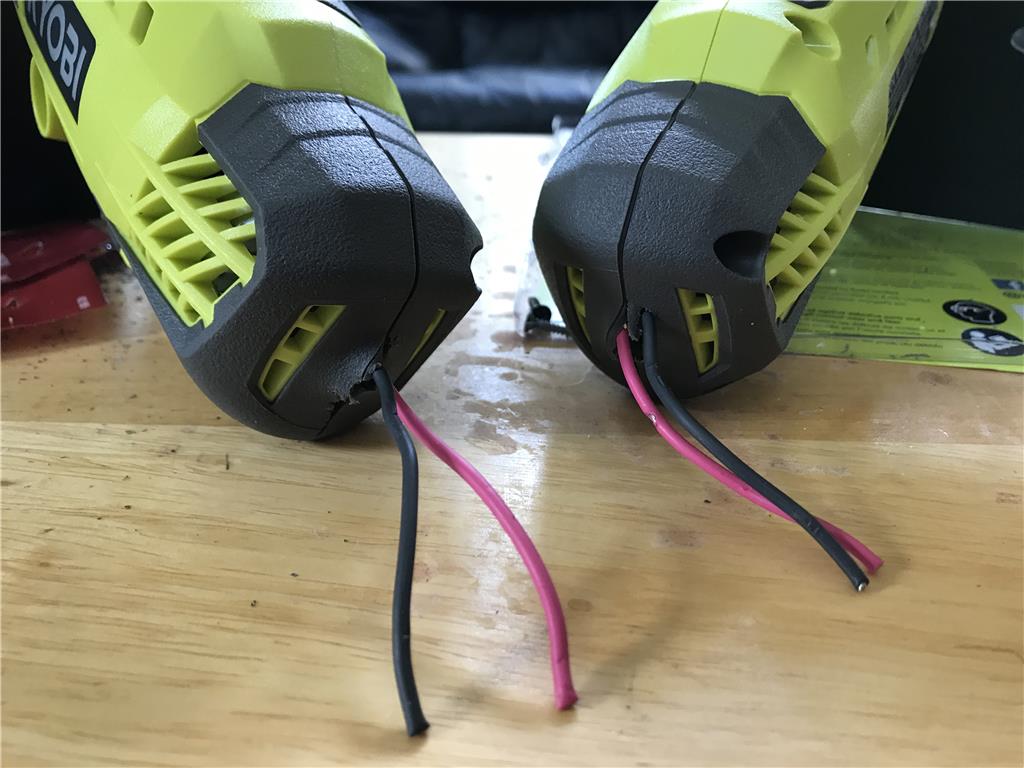
On a side note I am going to go find those nail clippers! Those are scary.
Those nails will work well for stripping wire.....
Project is going well. Looking forward to more.
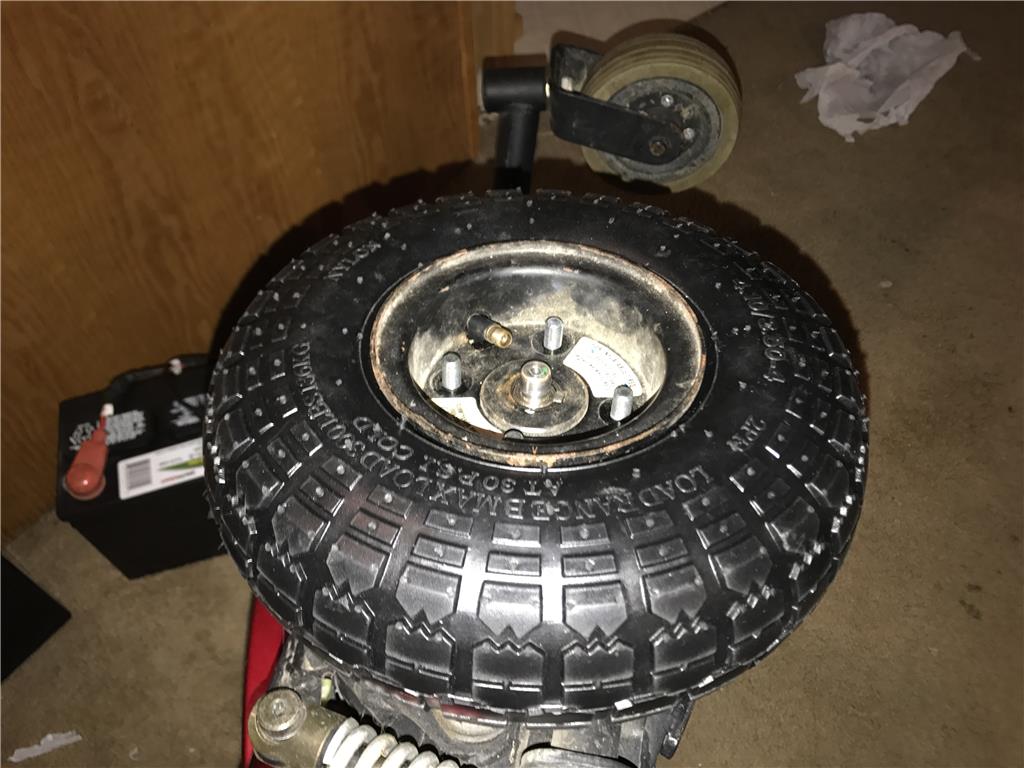
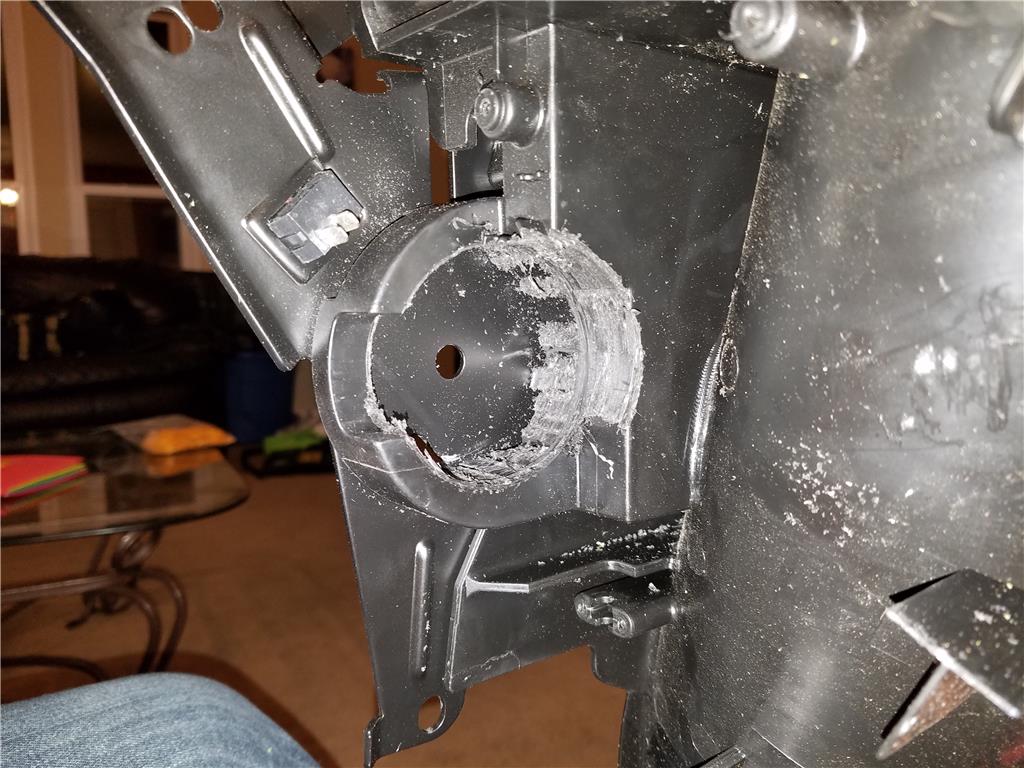
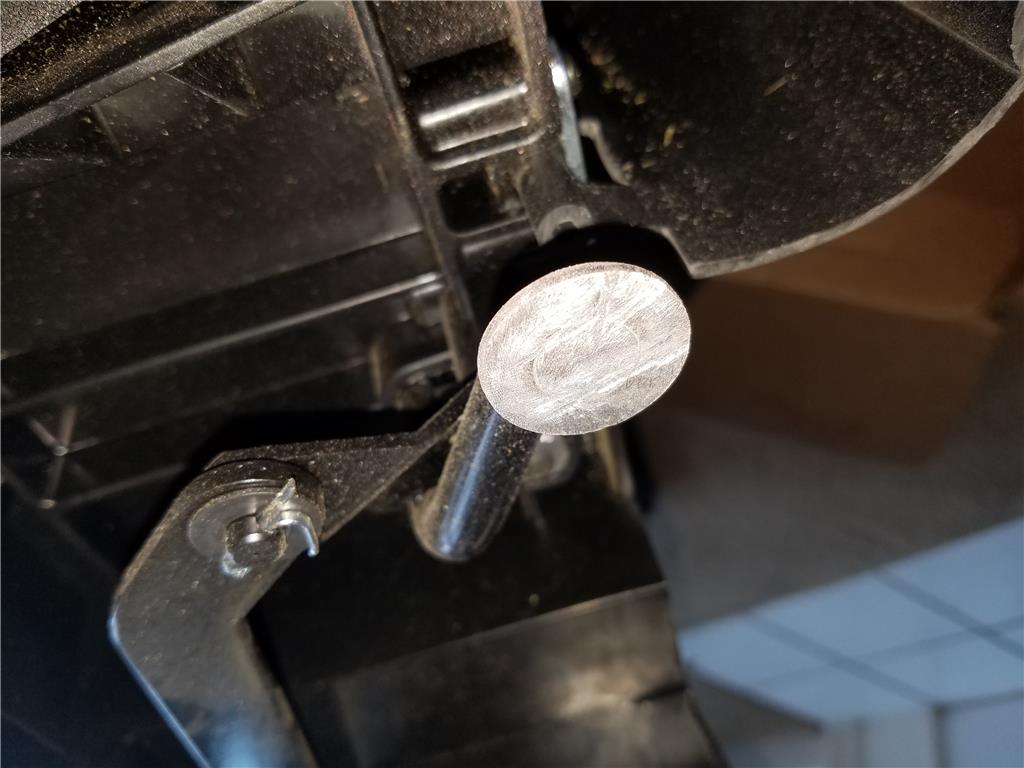
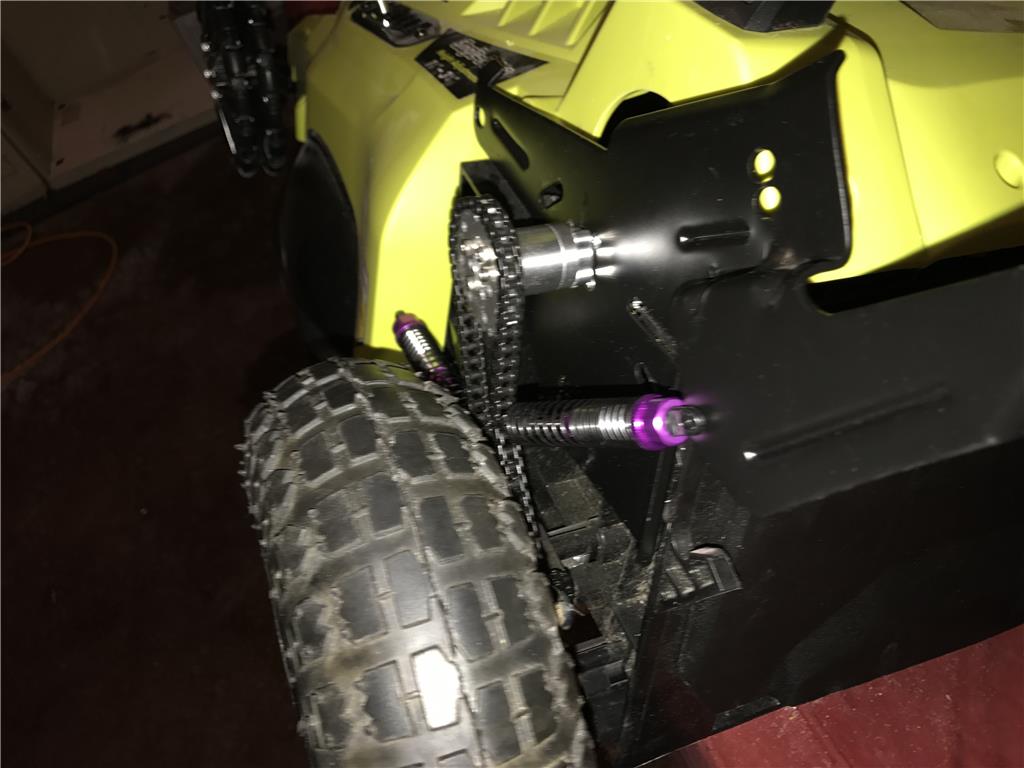
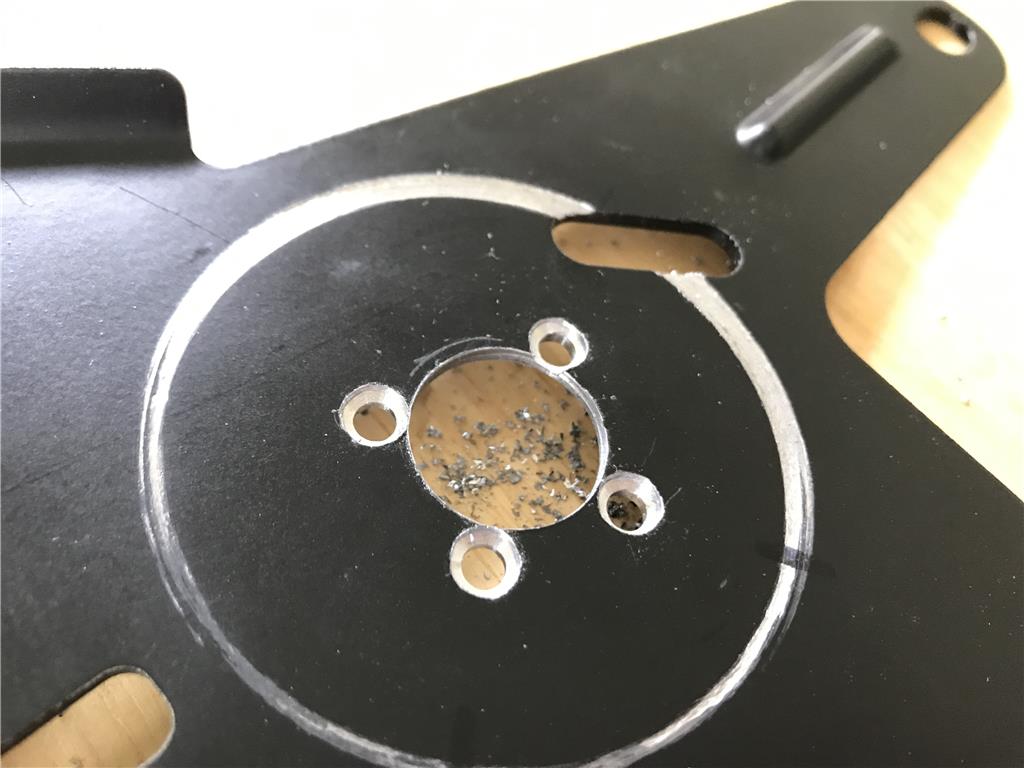
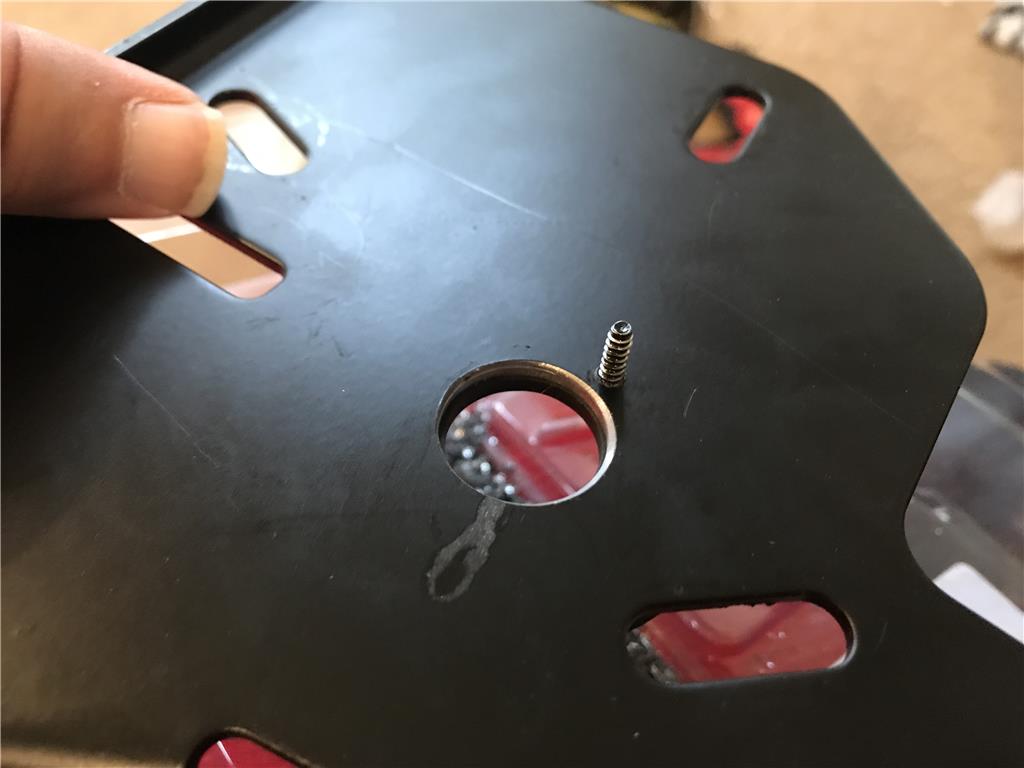
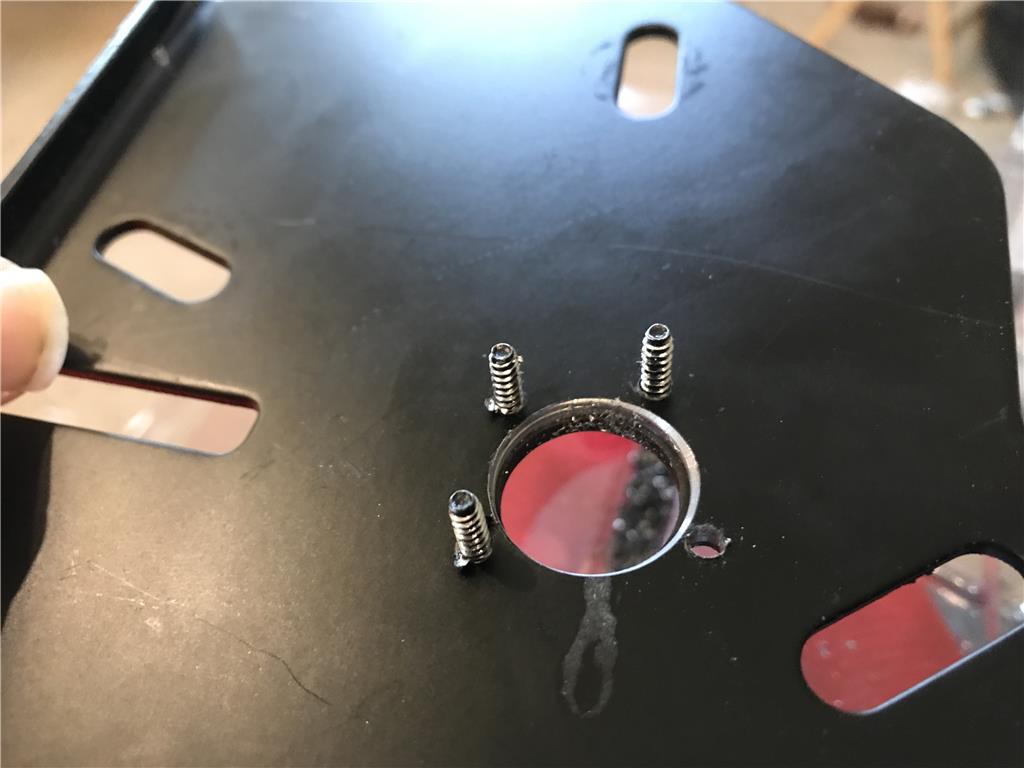
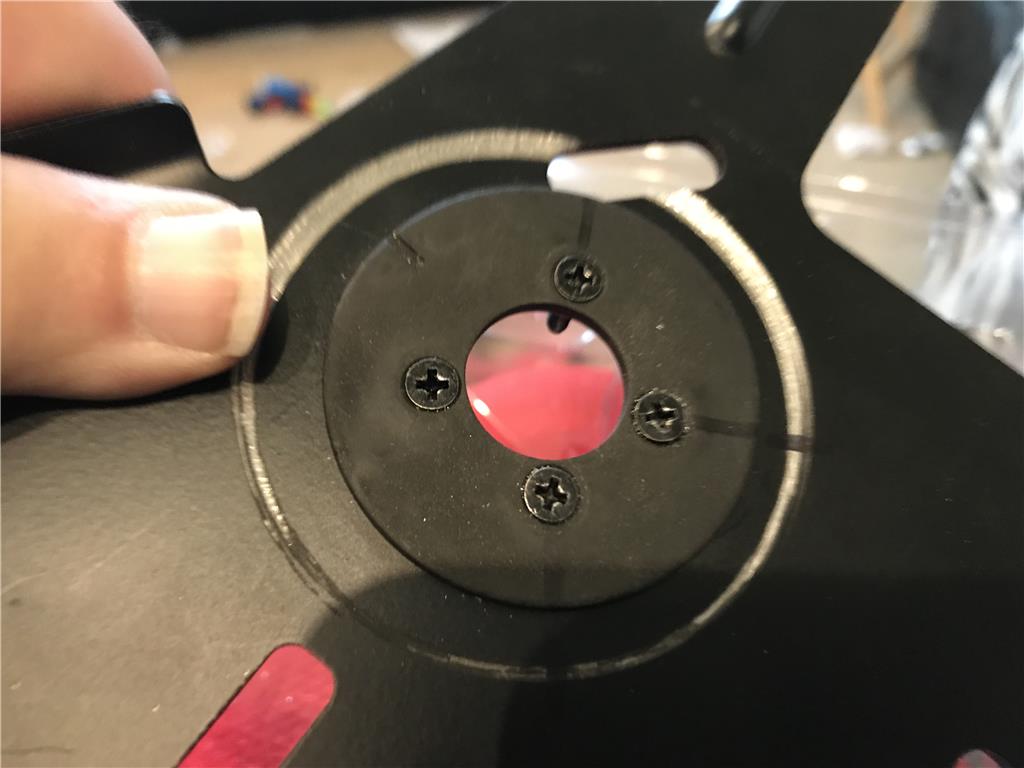
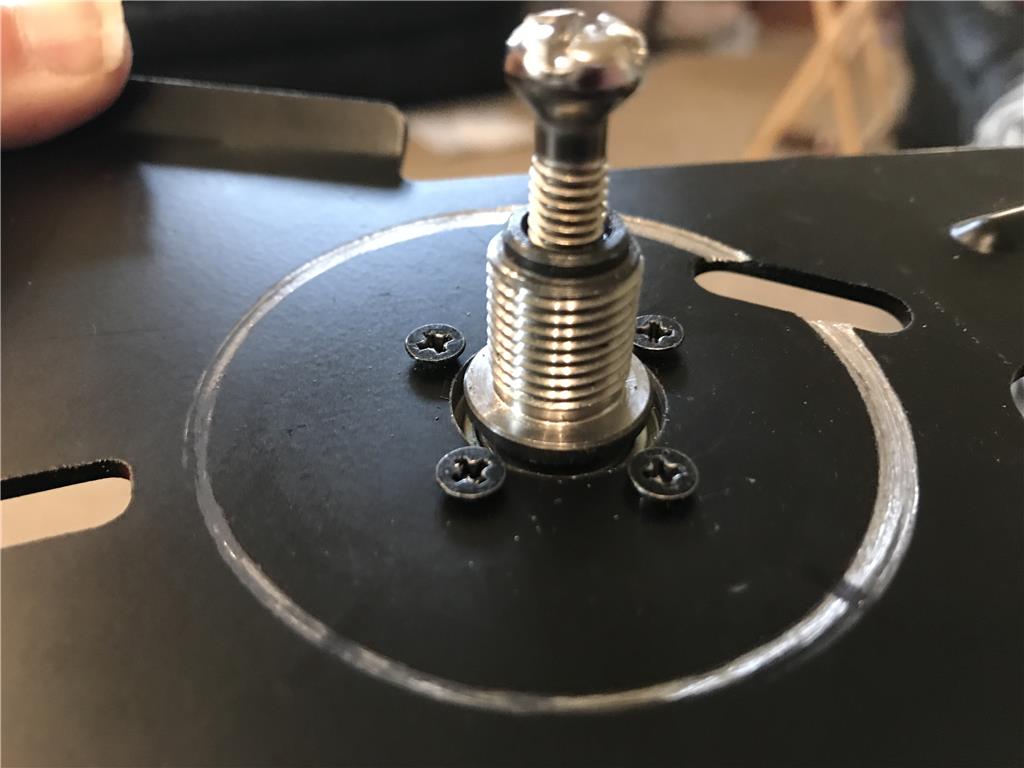
Ok so I used a larger bit and slowly machined out the holes to countersink the screws.
They sink in well now
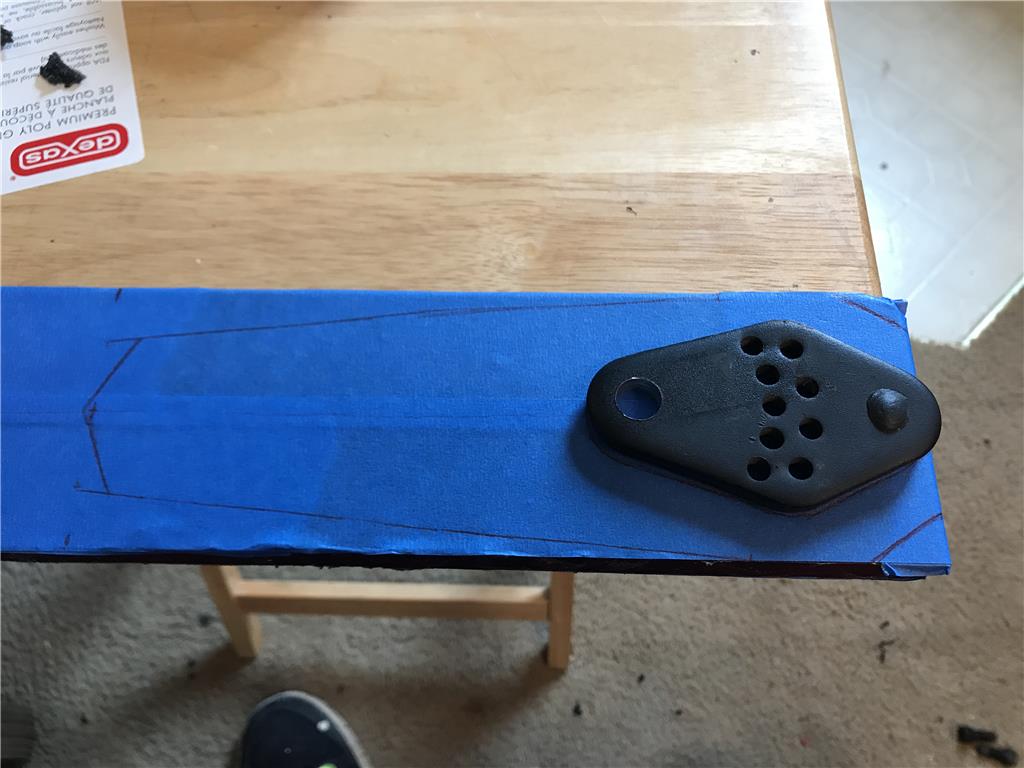
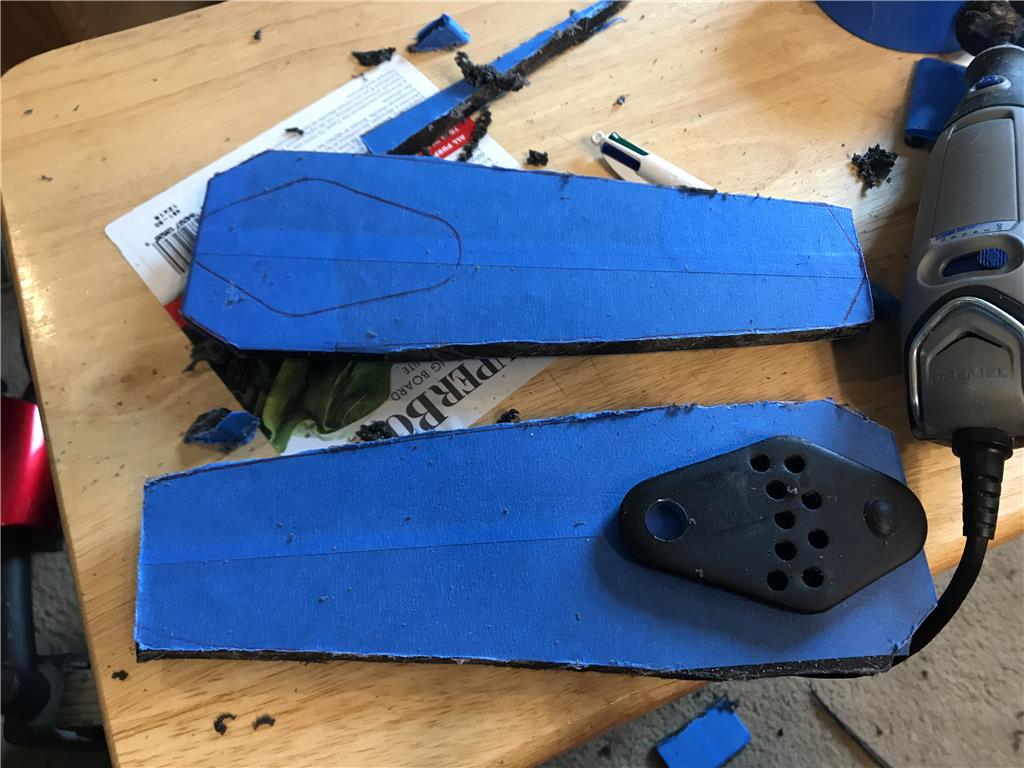
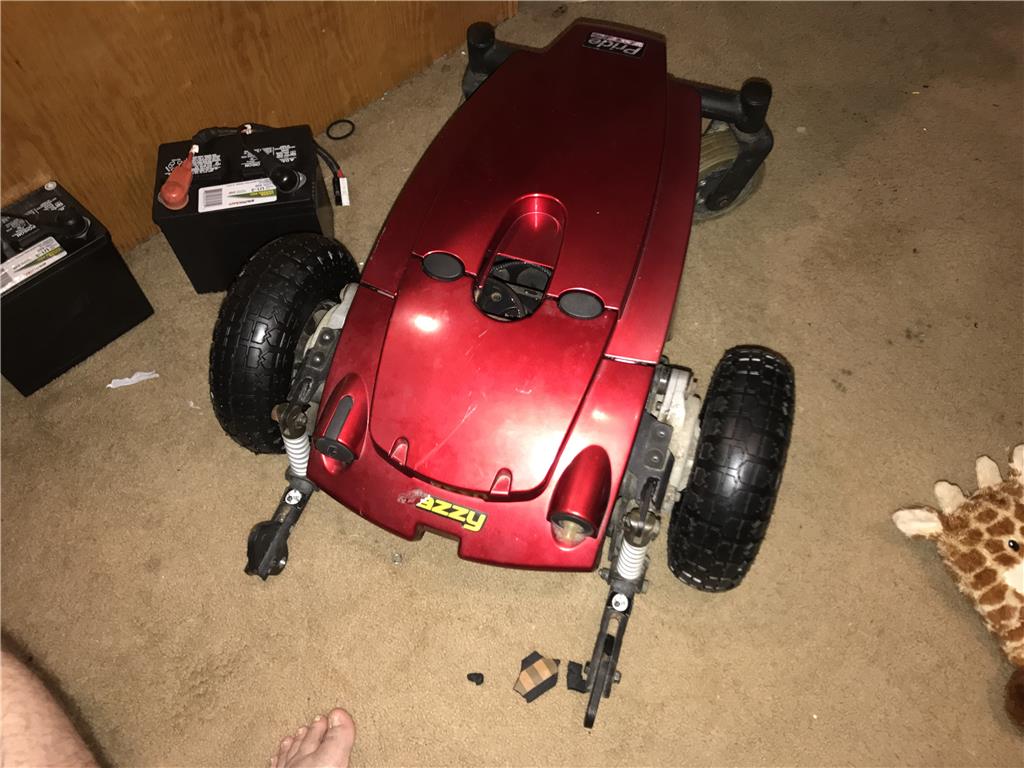
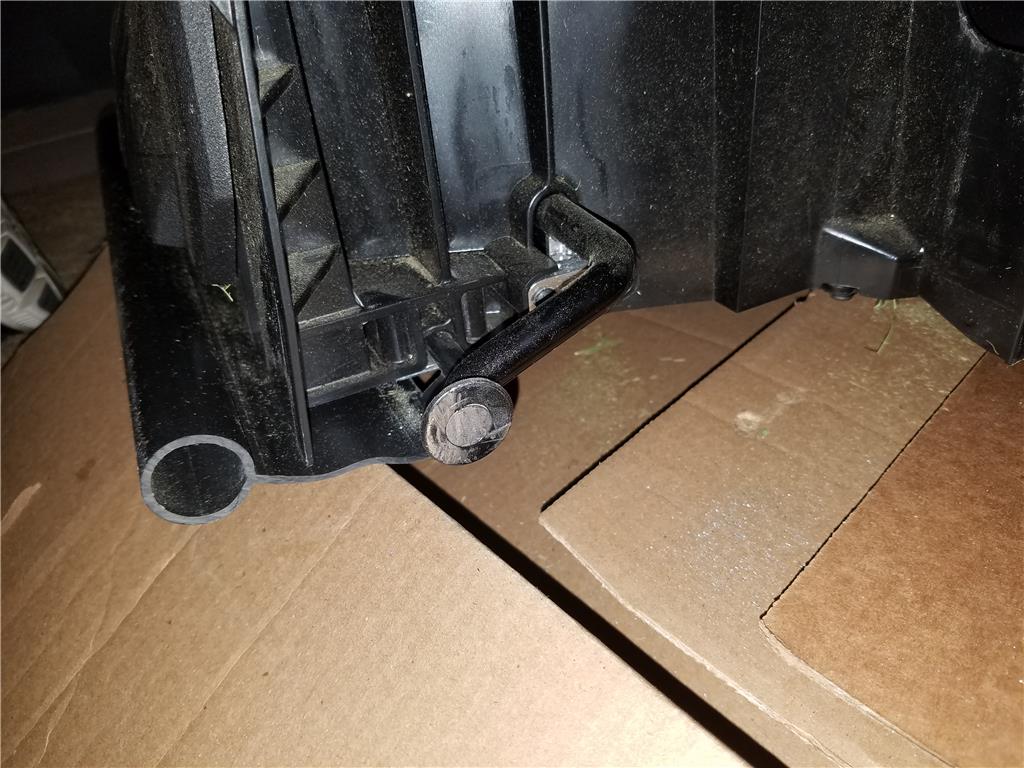
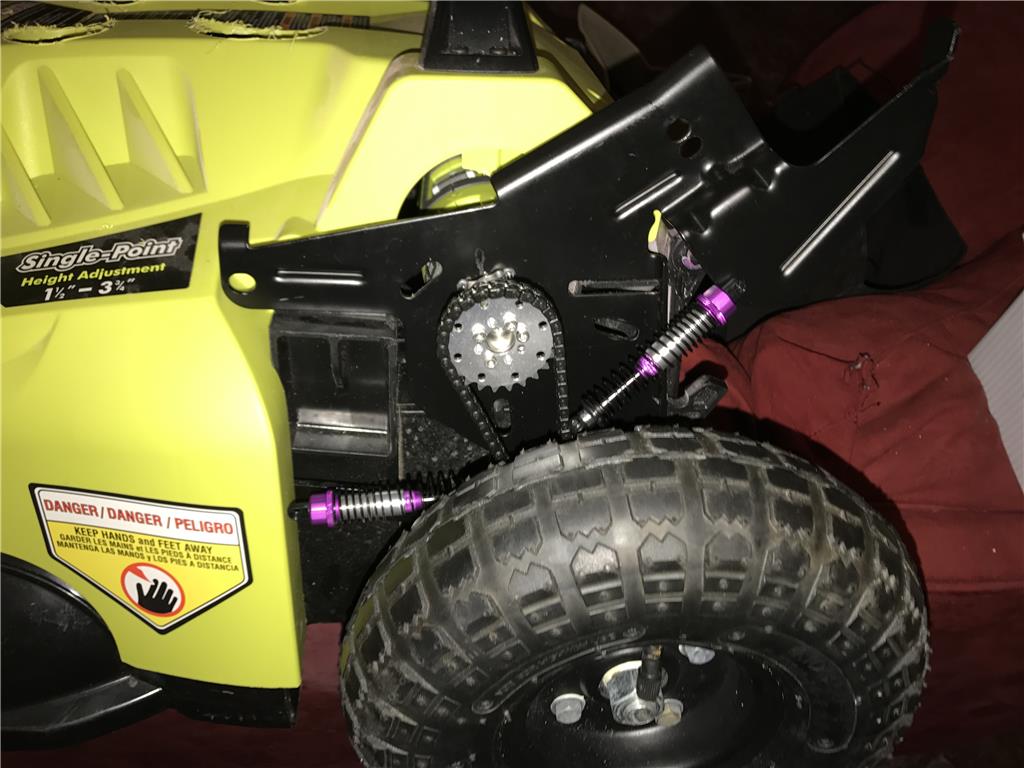
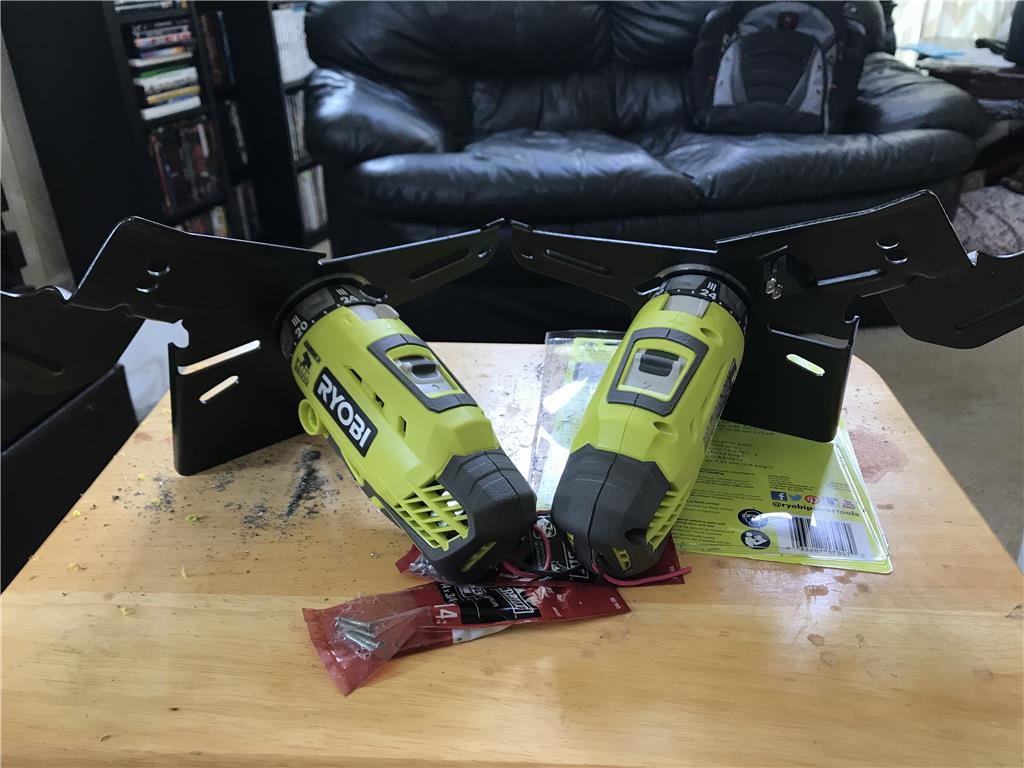
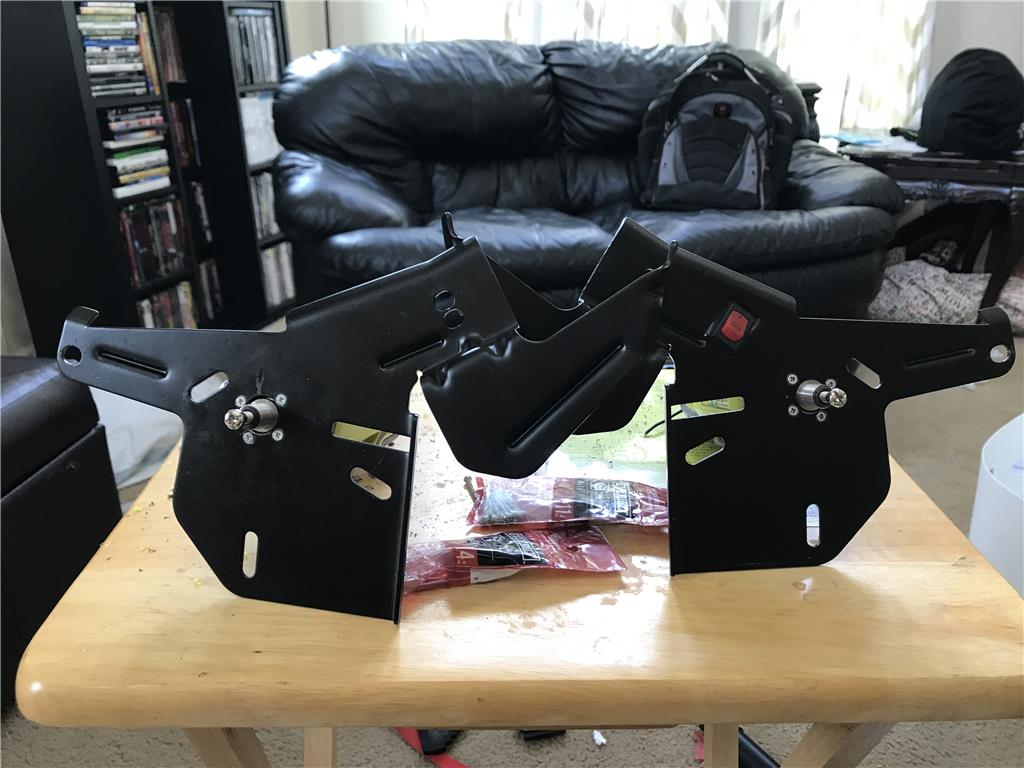
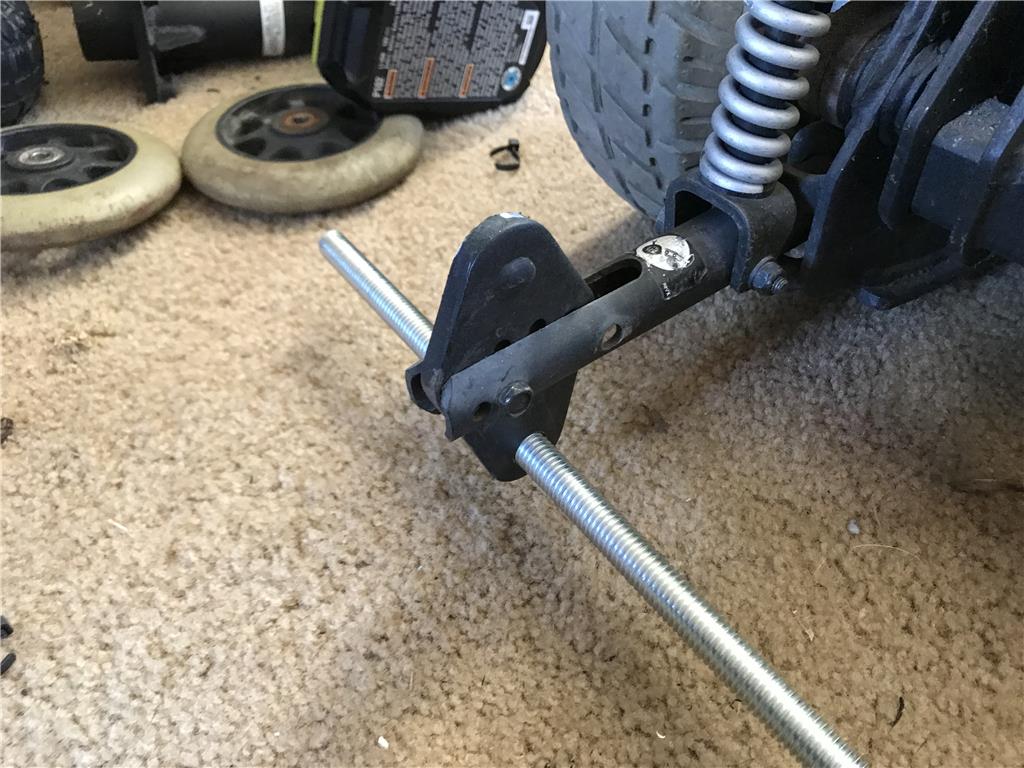
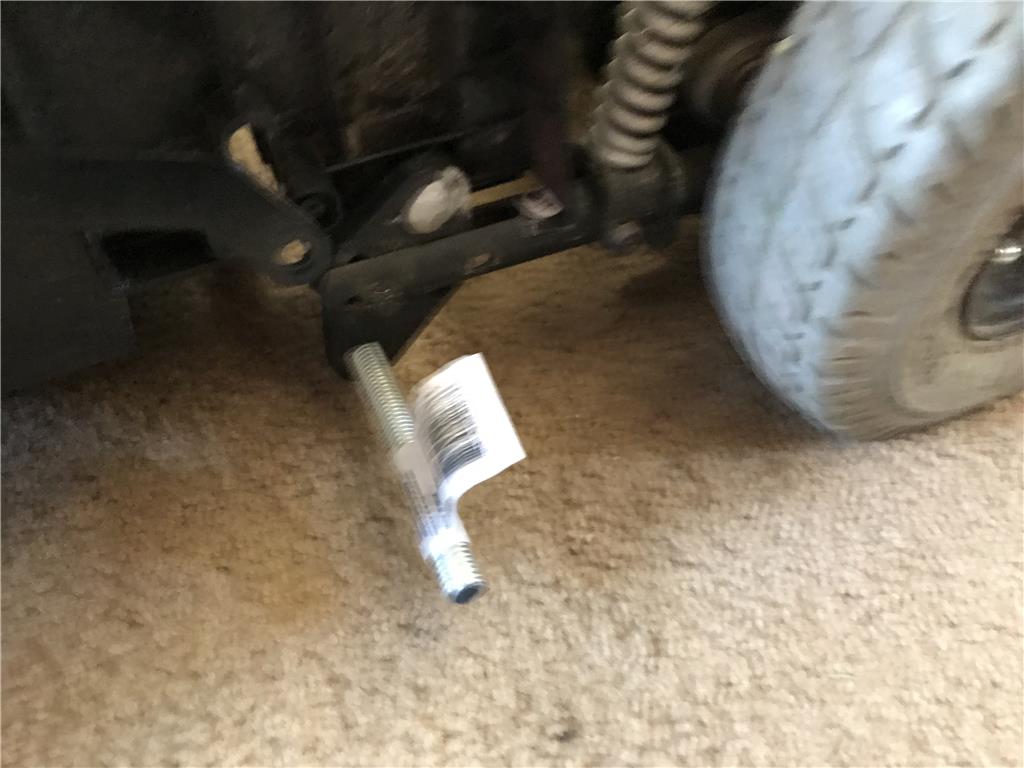
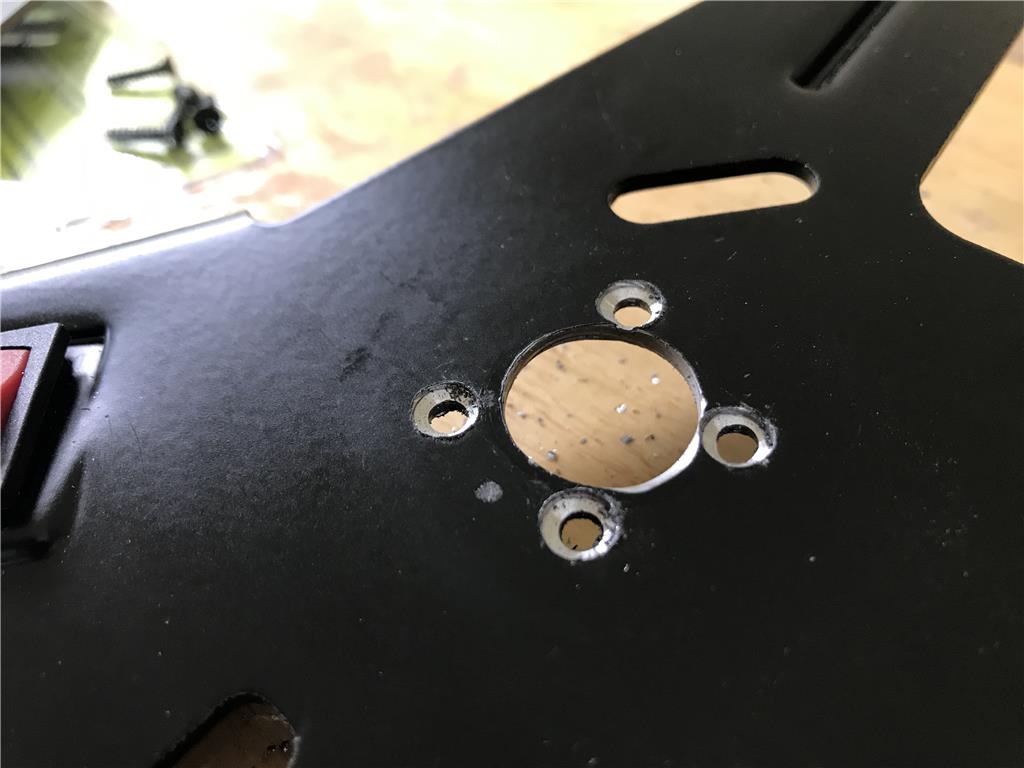
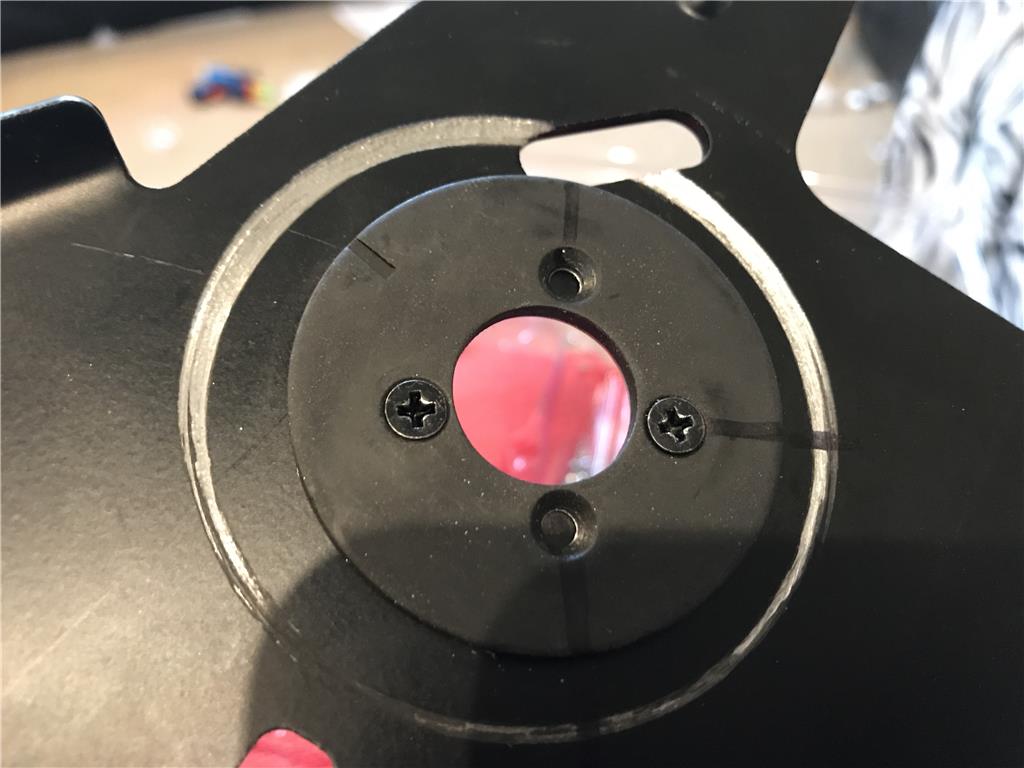
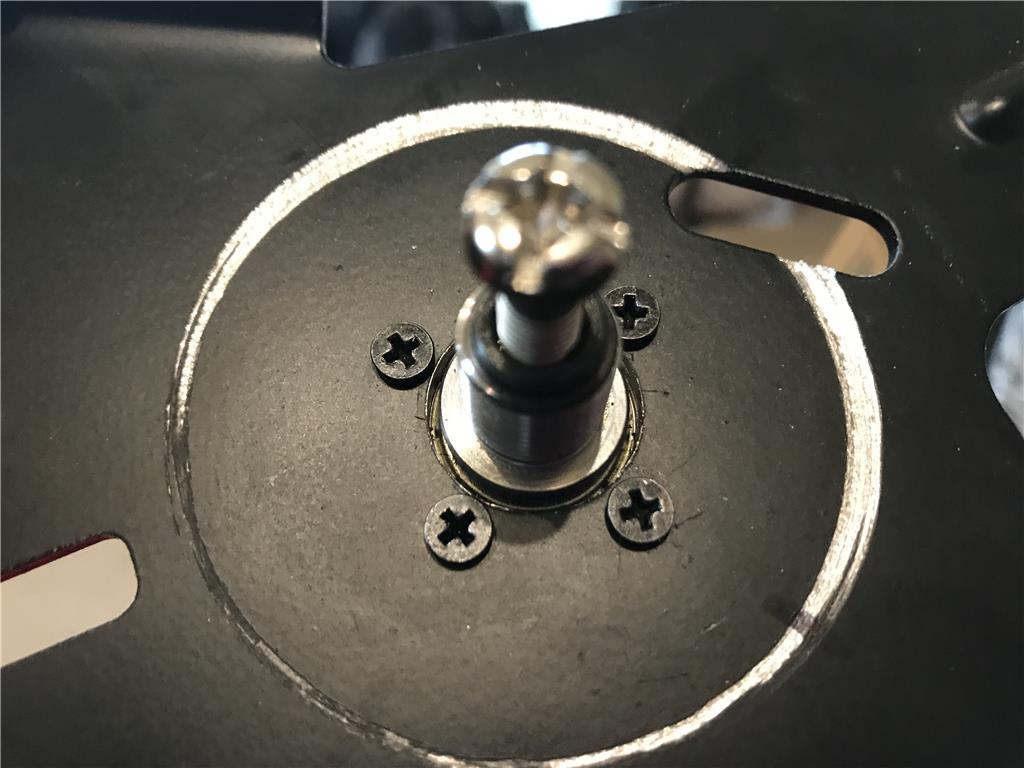
Ok so you are going to laugh but I drilled the pattern from the WRONG side on the left bracet. At first I thought it would be ok till I found the holes are not symmetrical. So I had to make some adjustments. Ugh
You can see they are a couple mm off, it is fixable but I am still grumpy