


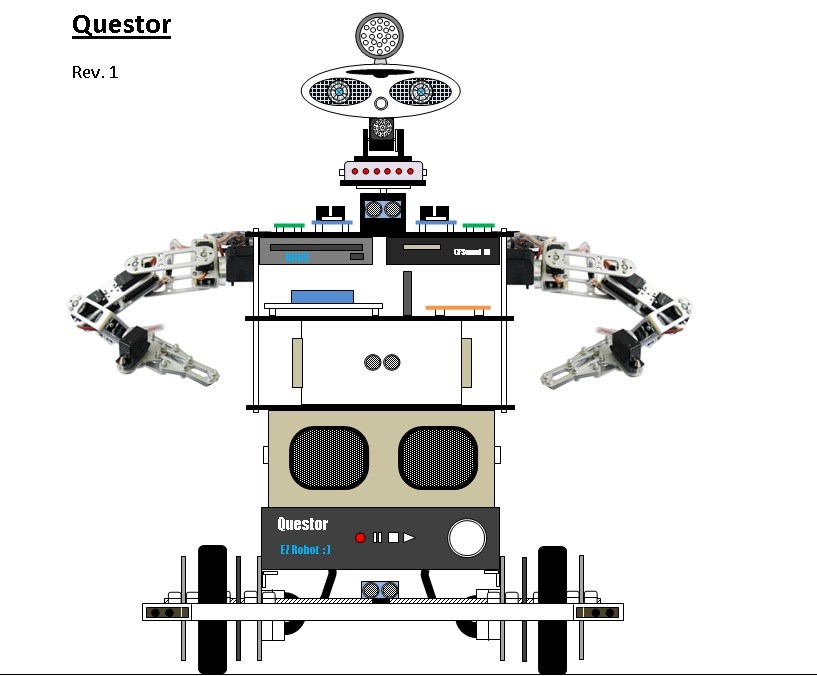
Introducing Questor.
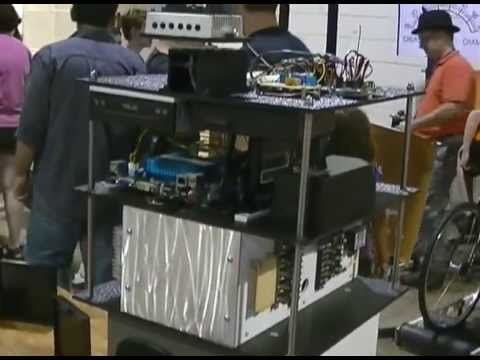
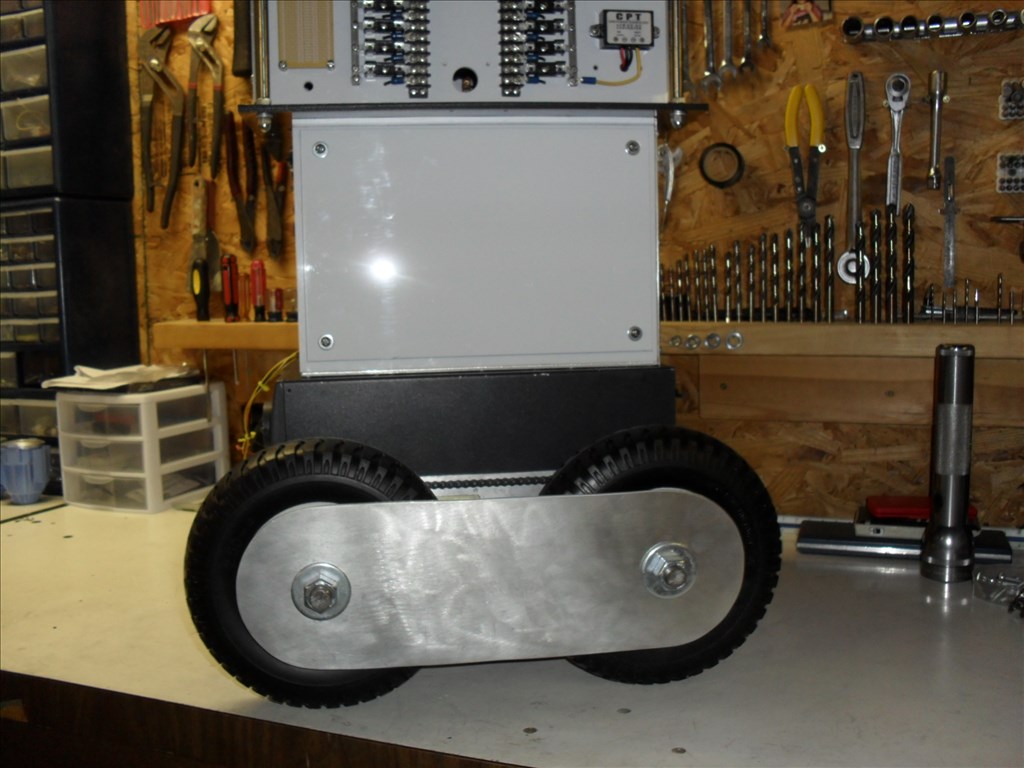
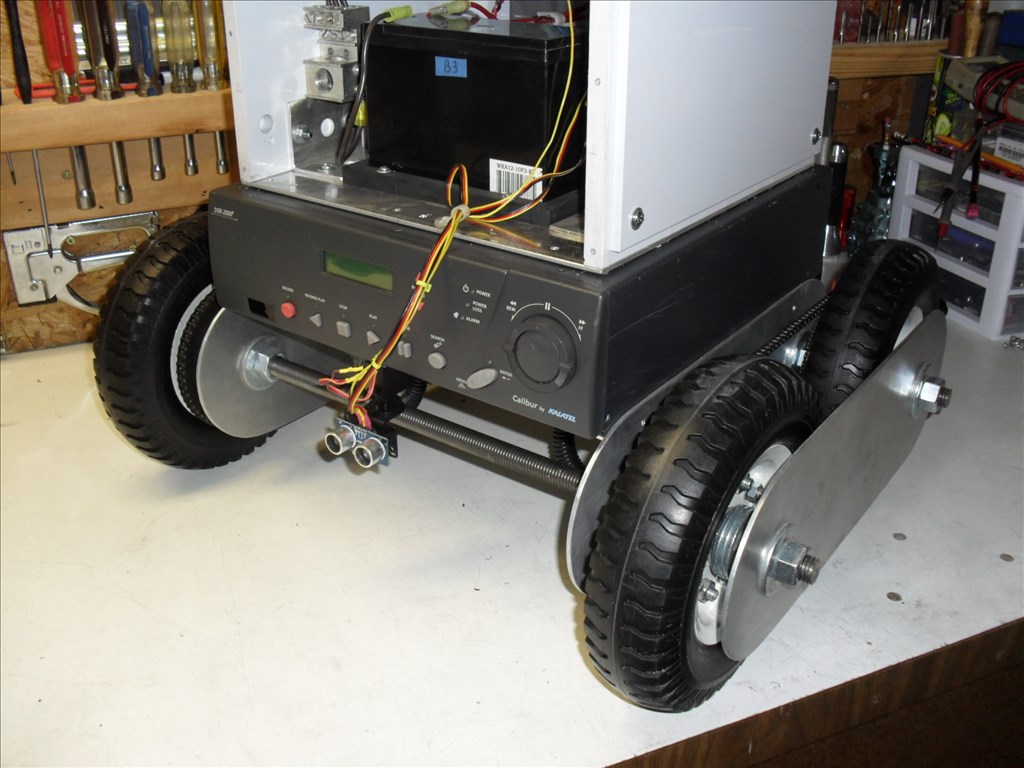
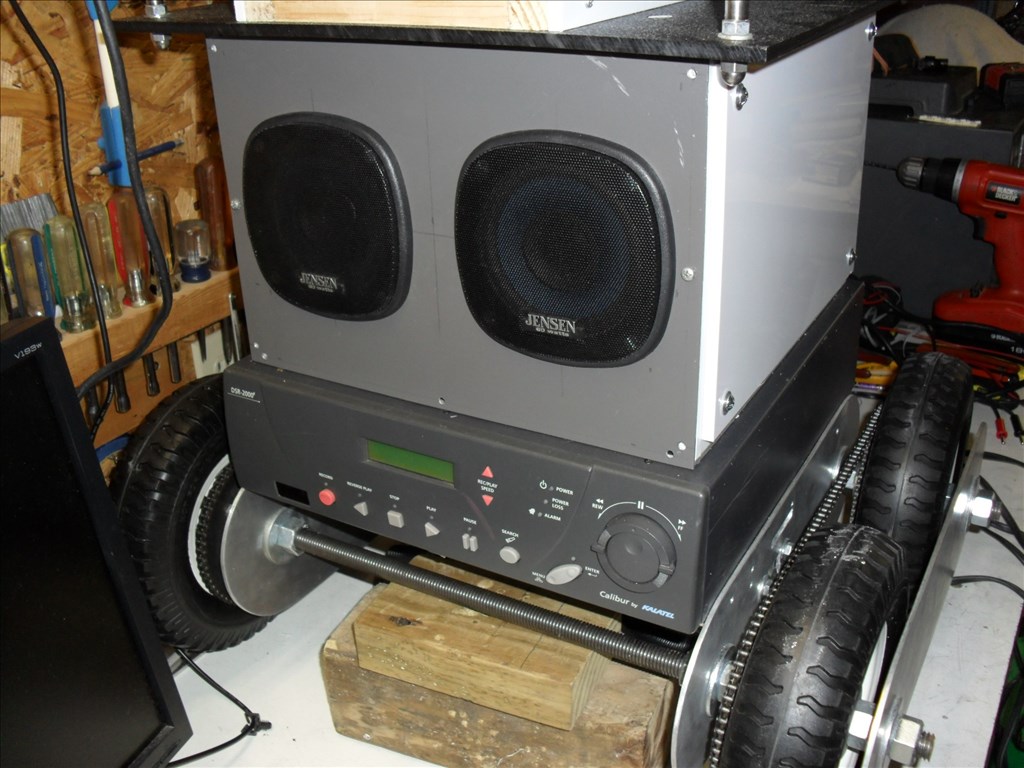
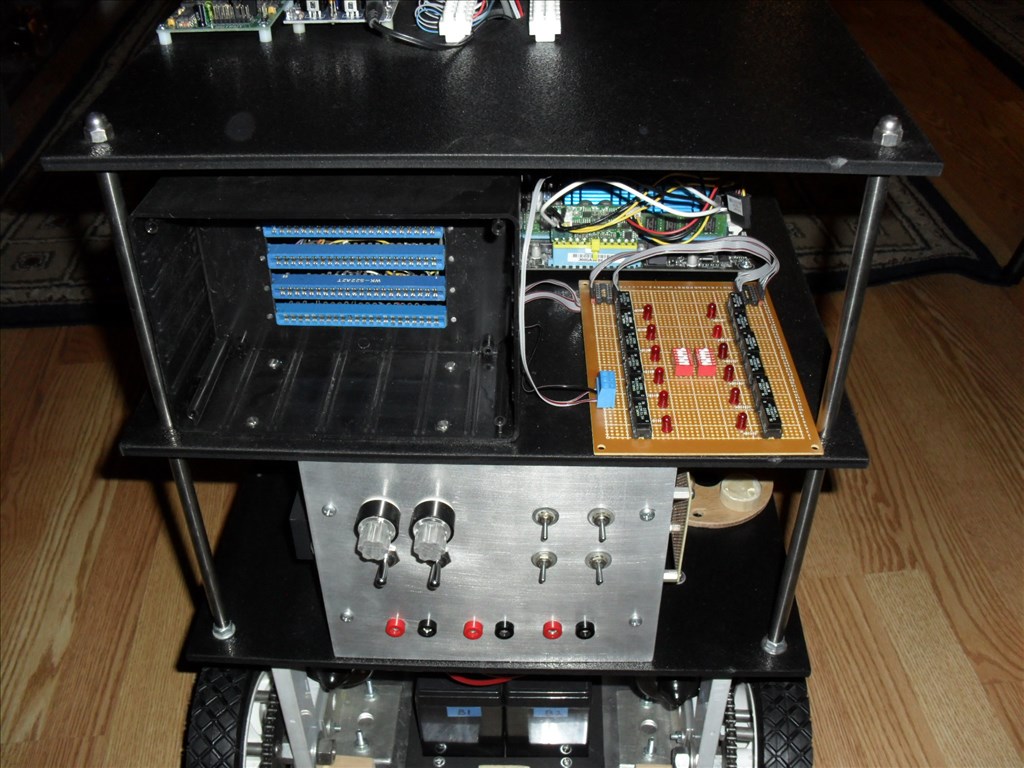
I put a hold on my large robot project Magnus awhile back due to budget and time constraints. I wanted to have a platform that was way smaller, easy to modify for testing purposes and small enough to roam around inside the house autonomously. Questor will serve as a test platform for systems that will eventually be placed in Magnus. Questor was not intended to be a cool looking robot platform, just functional and very basic in appearance. My main goal is for him to be autonomous with the option of me being able to take over remote control separately if needed. I would like for him to be able to automatically find and connect with his battery charger and to eventually have a good A.I.
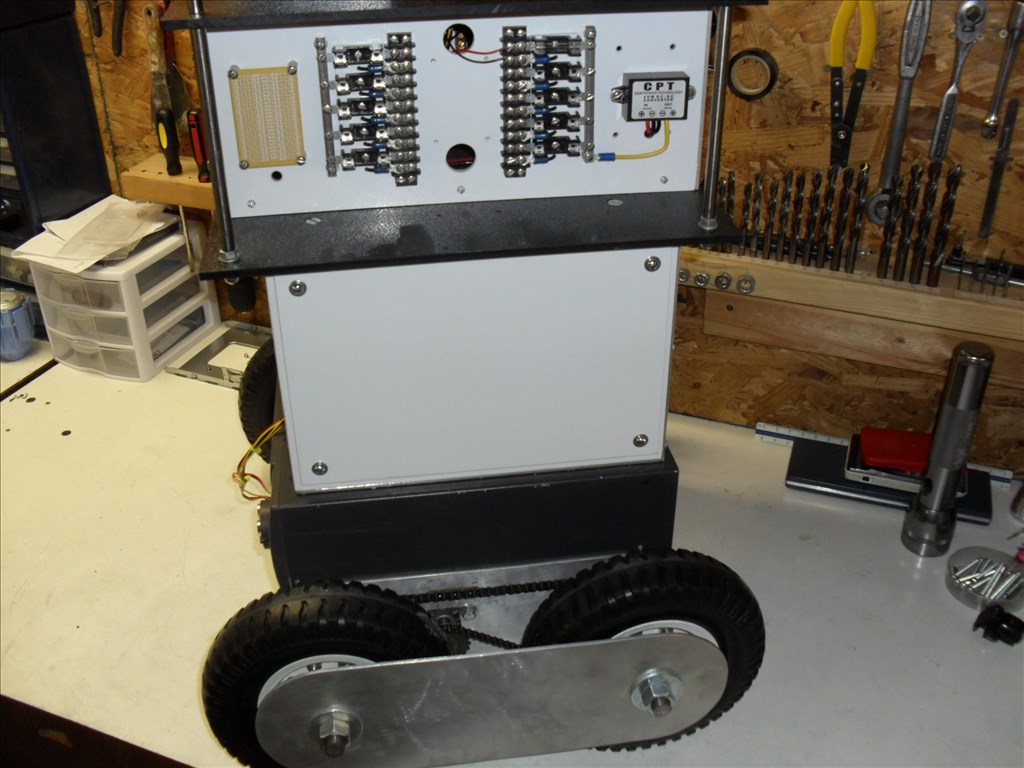
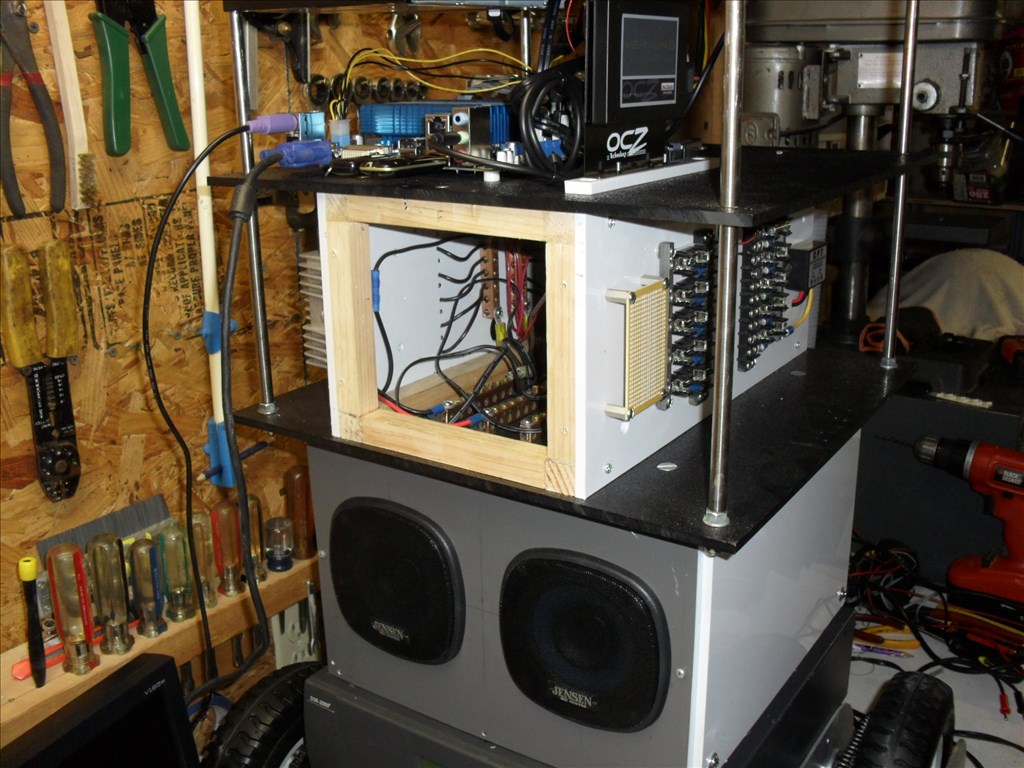
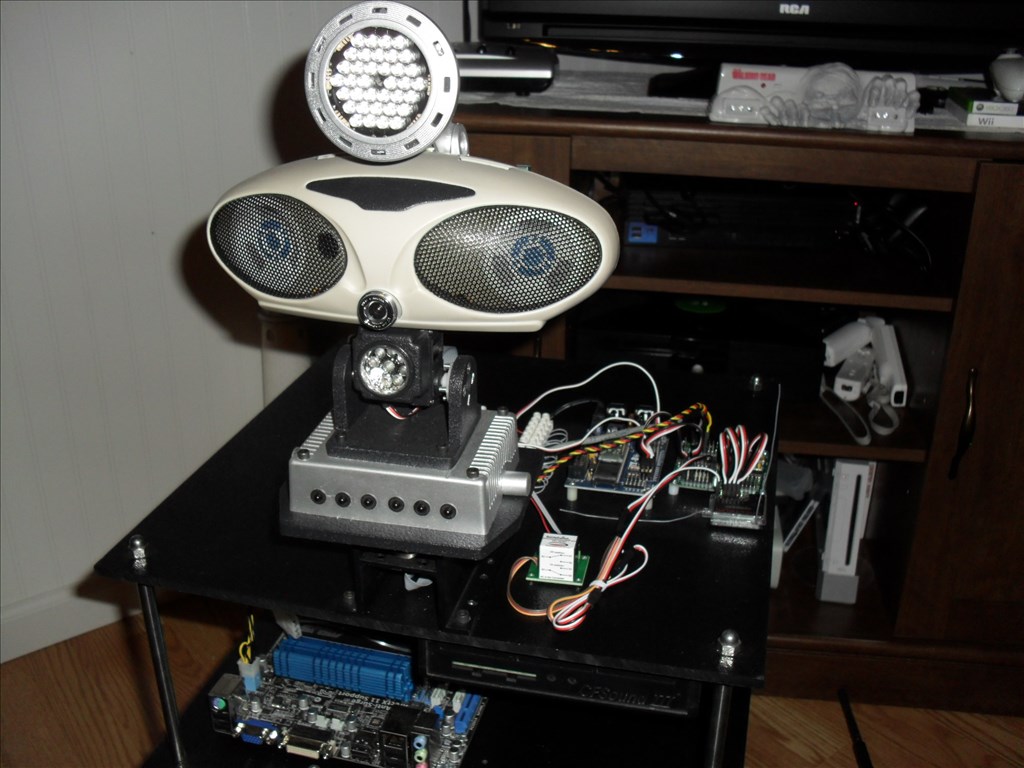
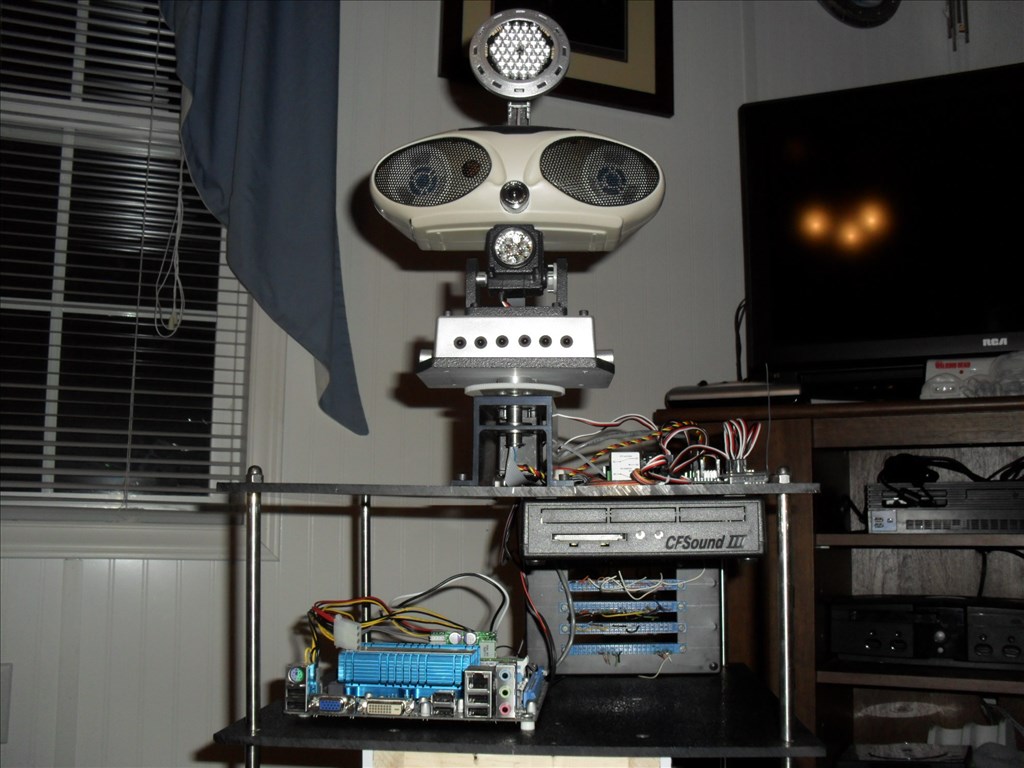
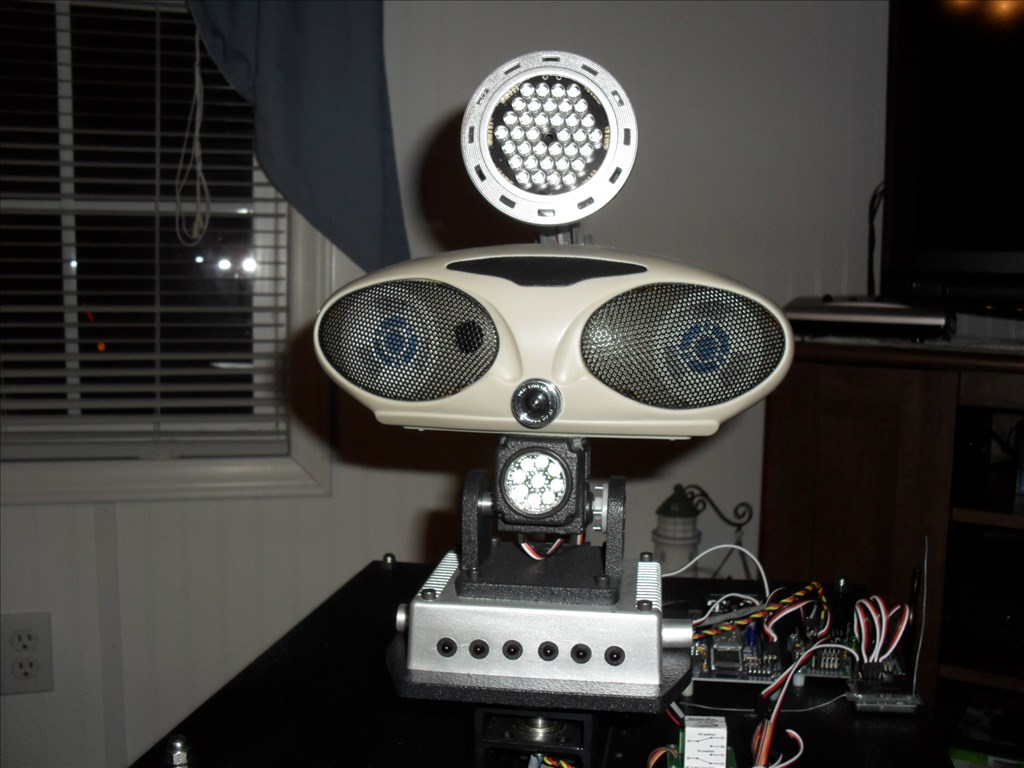
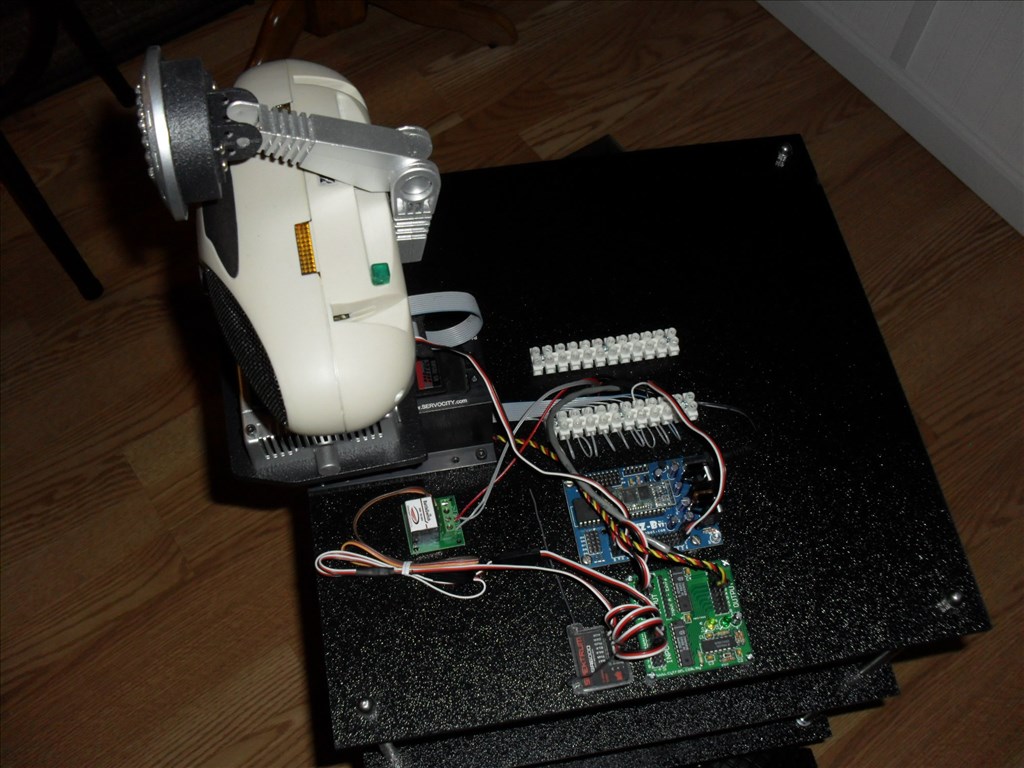
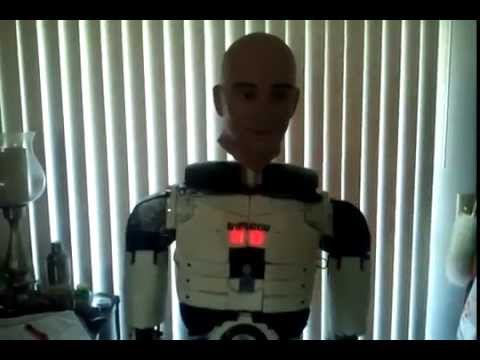
So here is a first look at him...


Weird....the pictures below [b]this line were not intended to be here in this first post. When I made the new post below, it saved the pictures in this post also. When I tried to go back and edit them out of this first post they don't show up on the thread so I can delete them. They belong in the post below....see details for the new wheels in the later post.[/b]
Discover more robots
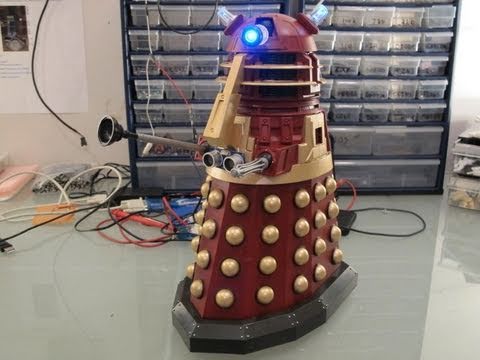
DJ's Dalek
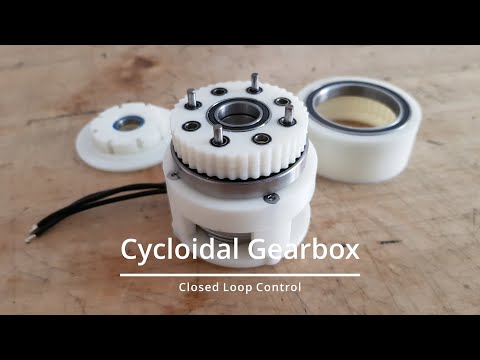
Mickey666maus's BLDC Control Odrive-For-ARC

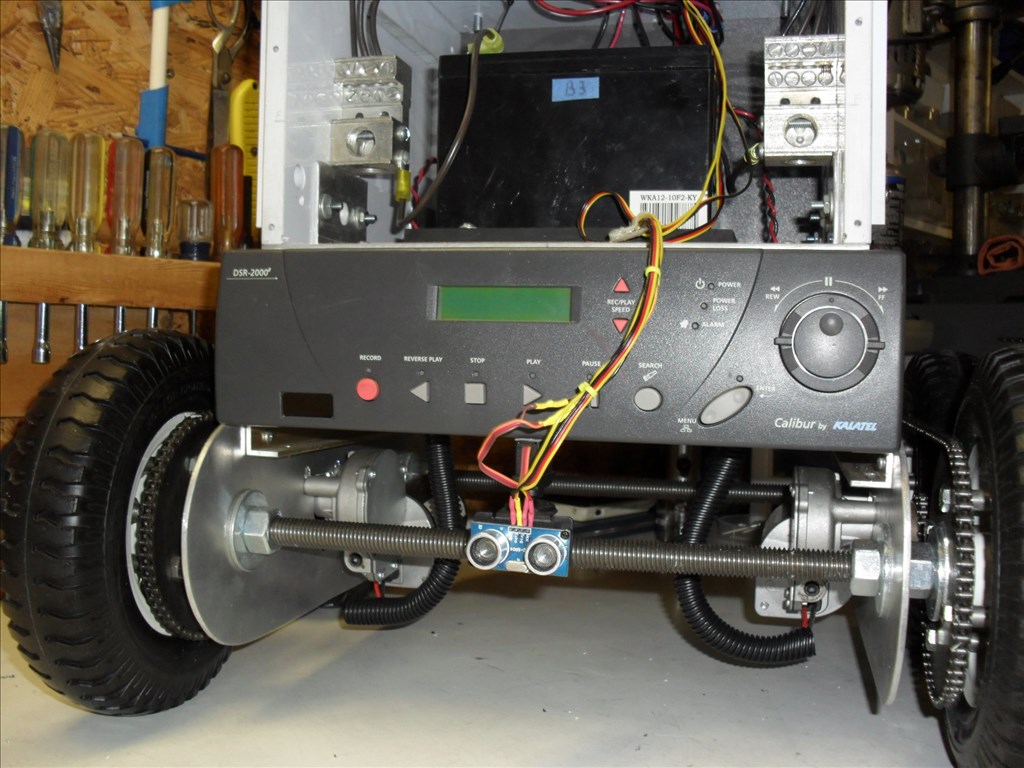
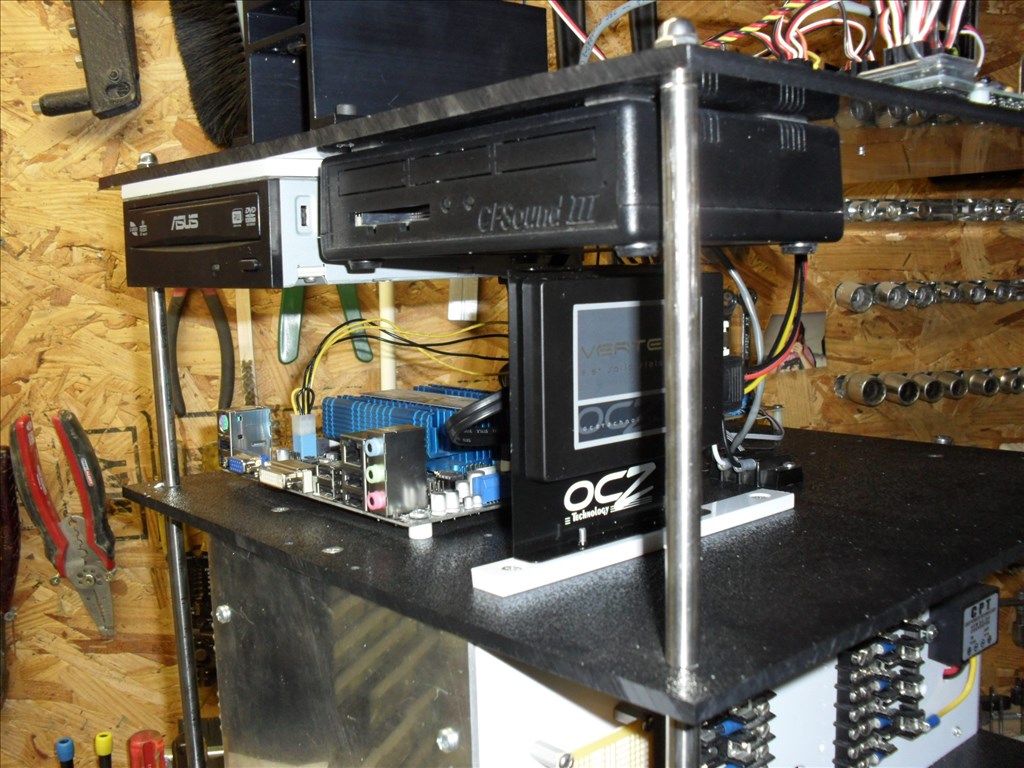
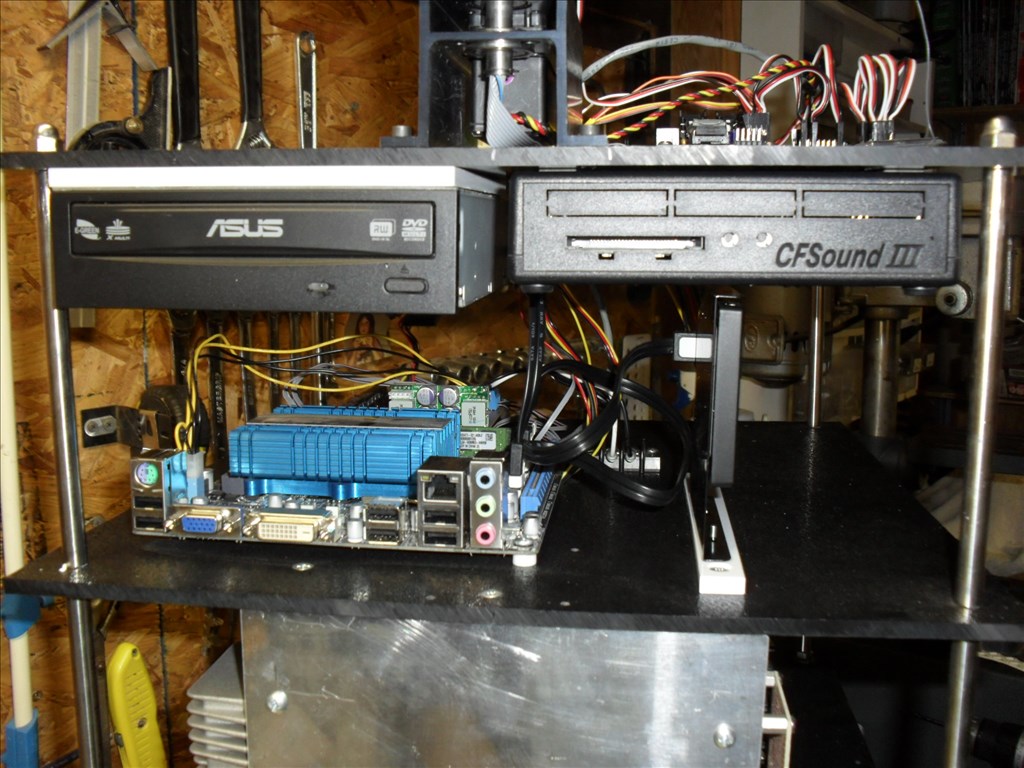
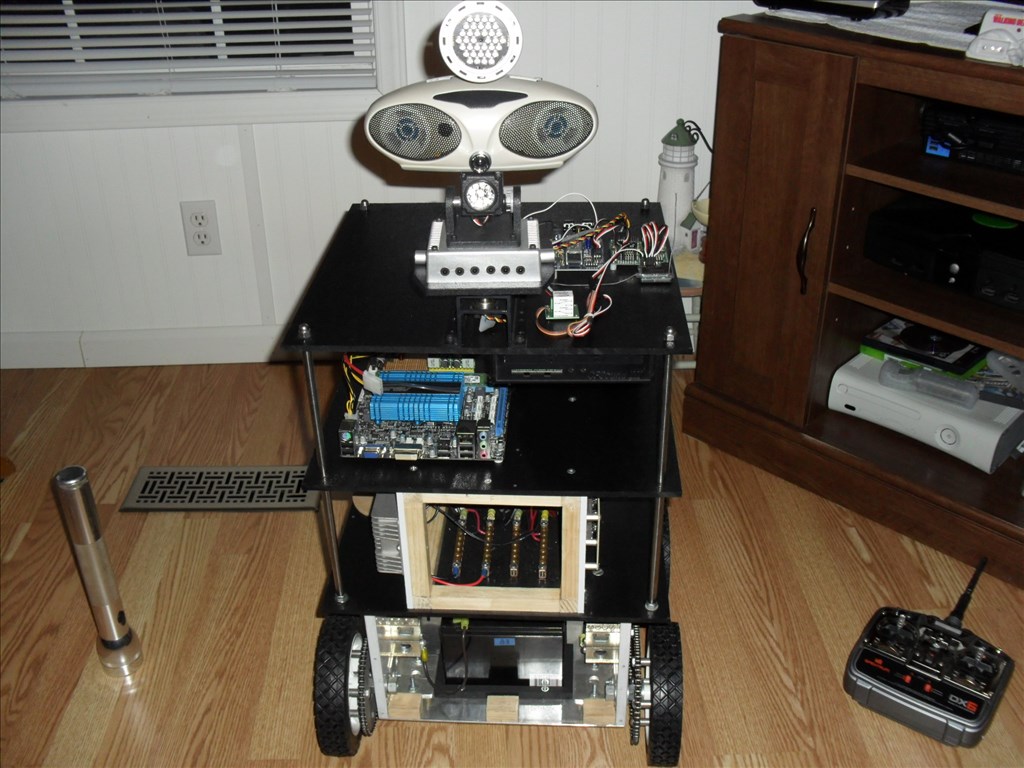
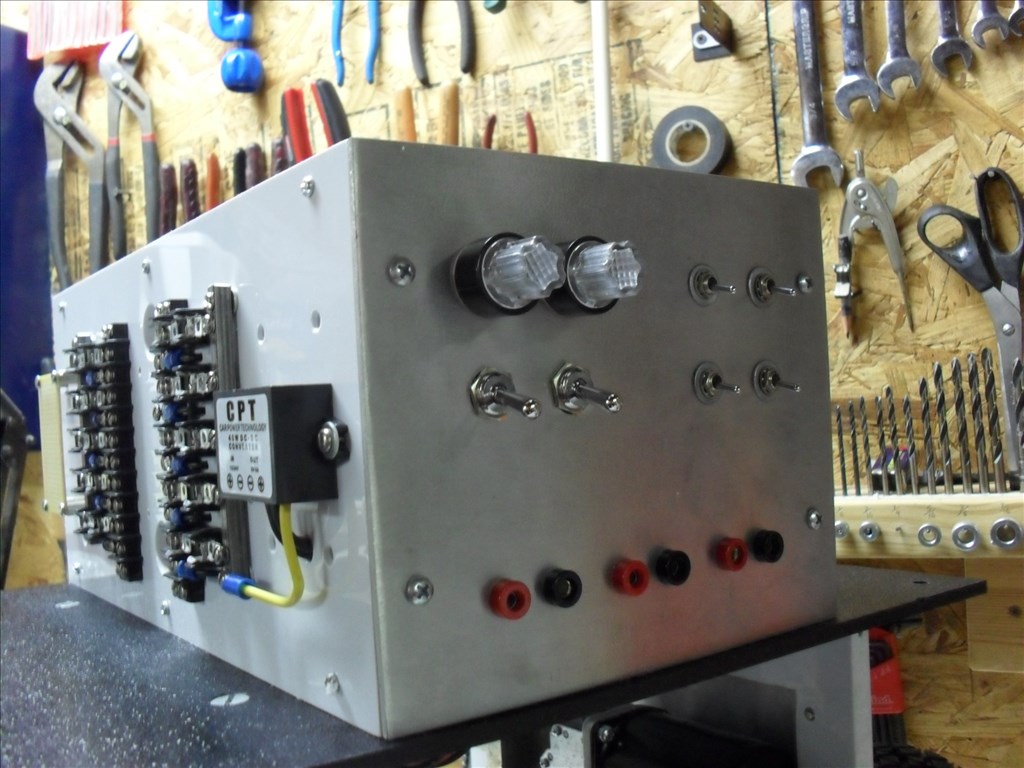
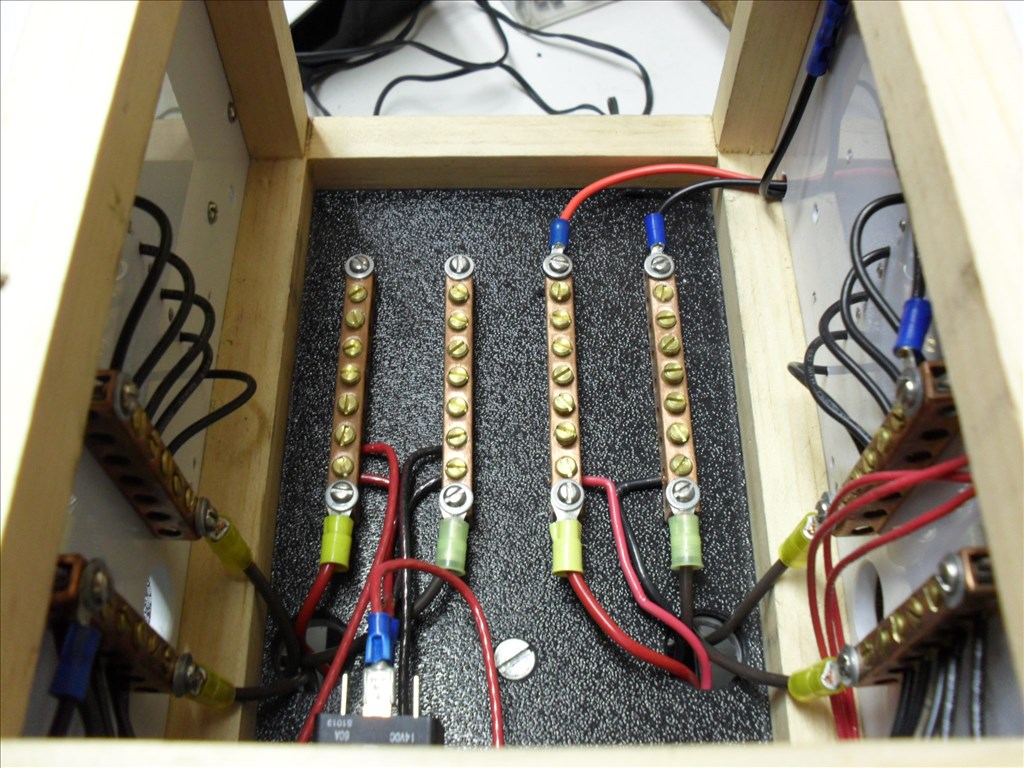
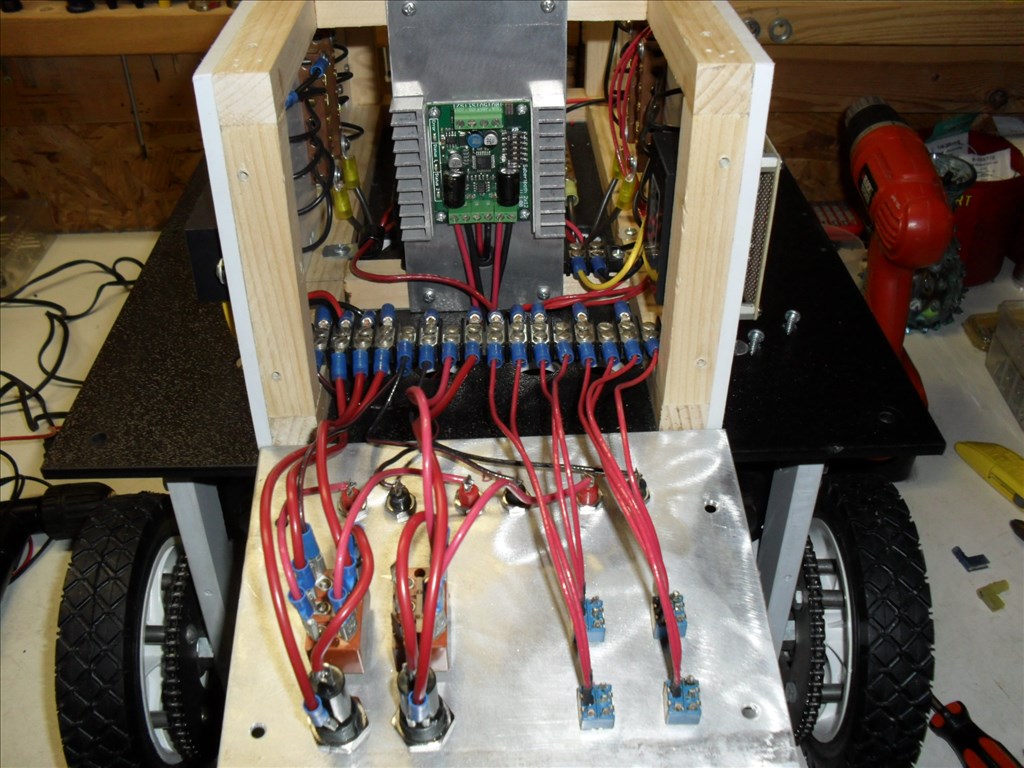
@Dave ....I will work on the Motherboard issue after the Maker Fair. Right now trying to get Questor presentable. I think there may be an issue with the (old) toggle switch I used. Once when I turned it on and nothing happened I checked and there was no voltage at the power terminal strip. I wiggled the switch a little and the voltage was restored. I also want to increase the gauge of the wires that feed the motherboard.
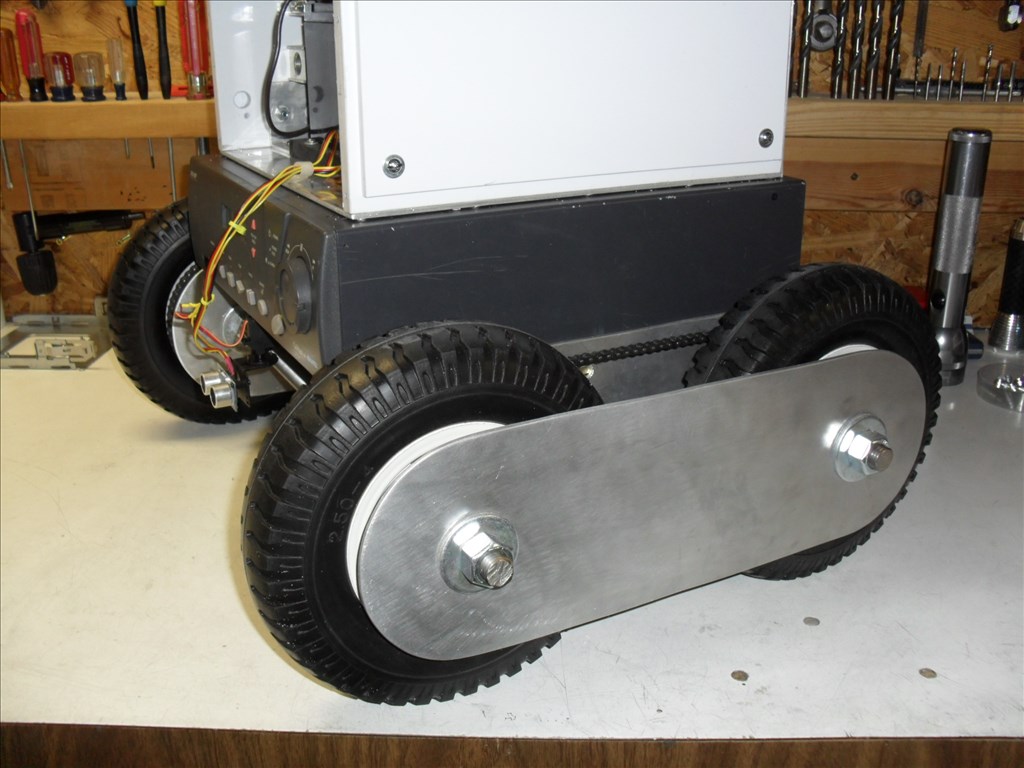
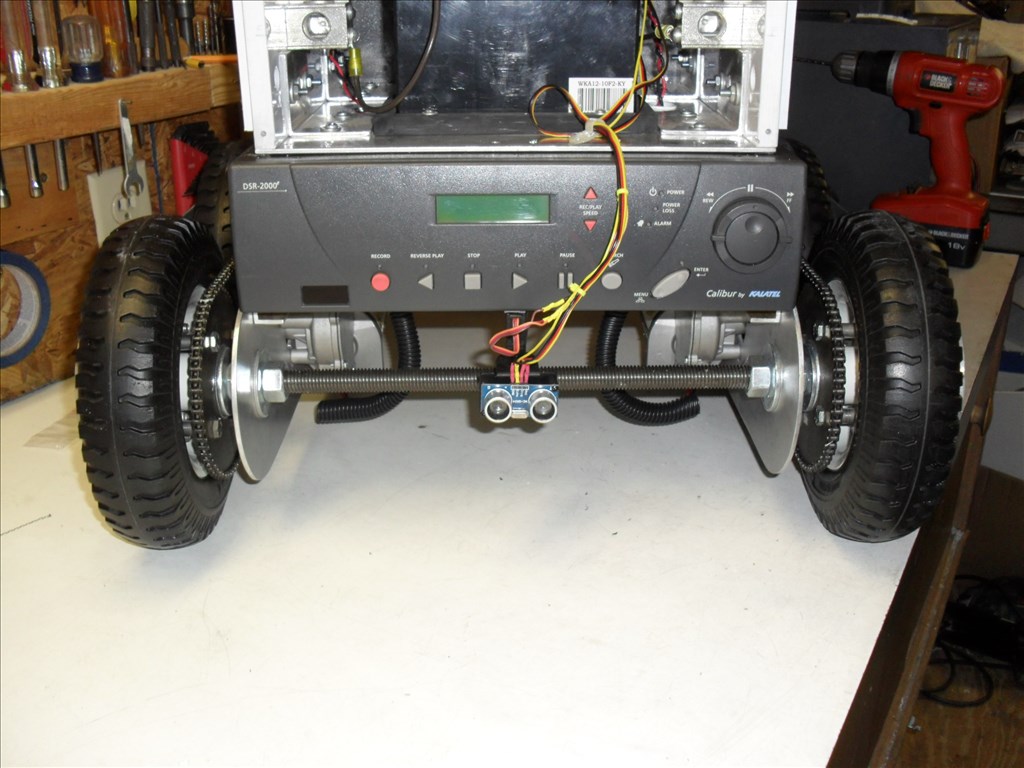
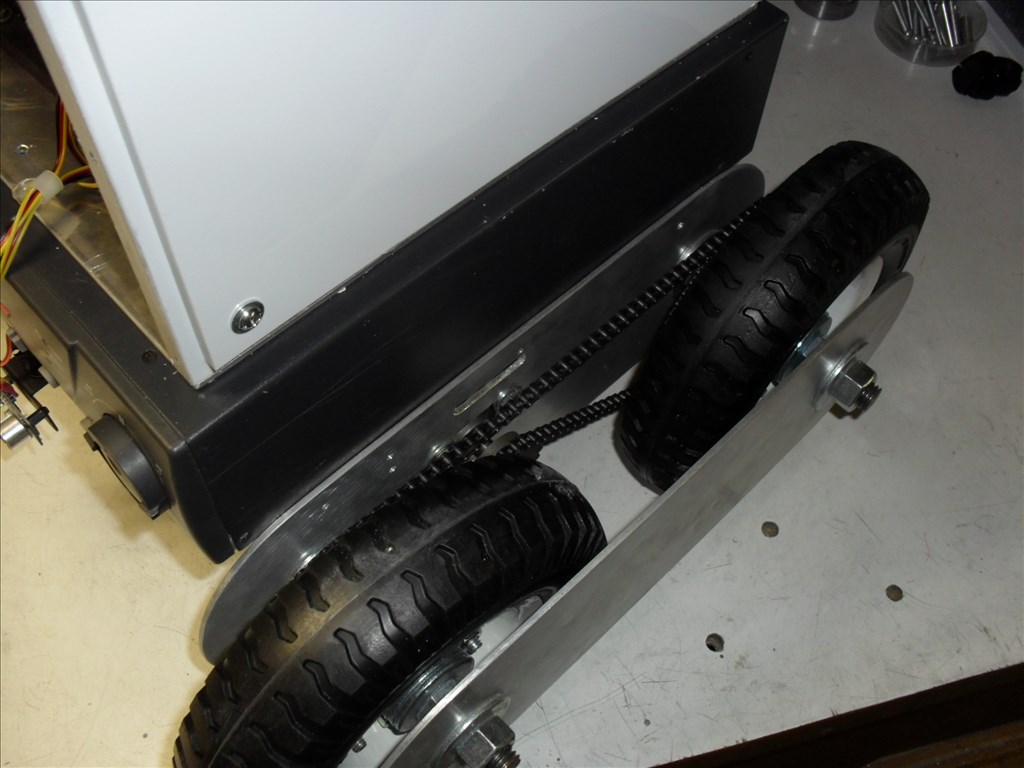
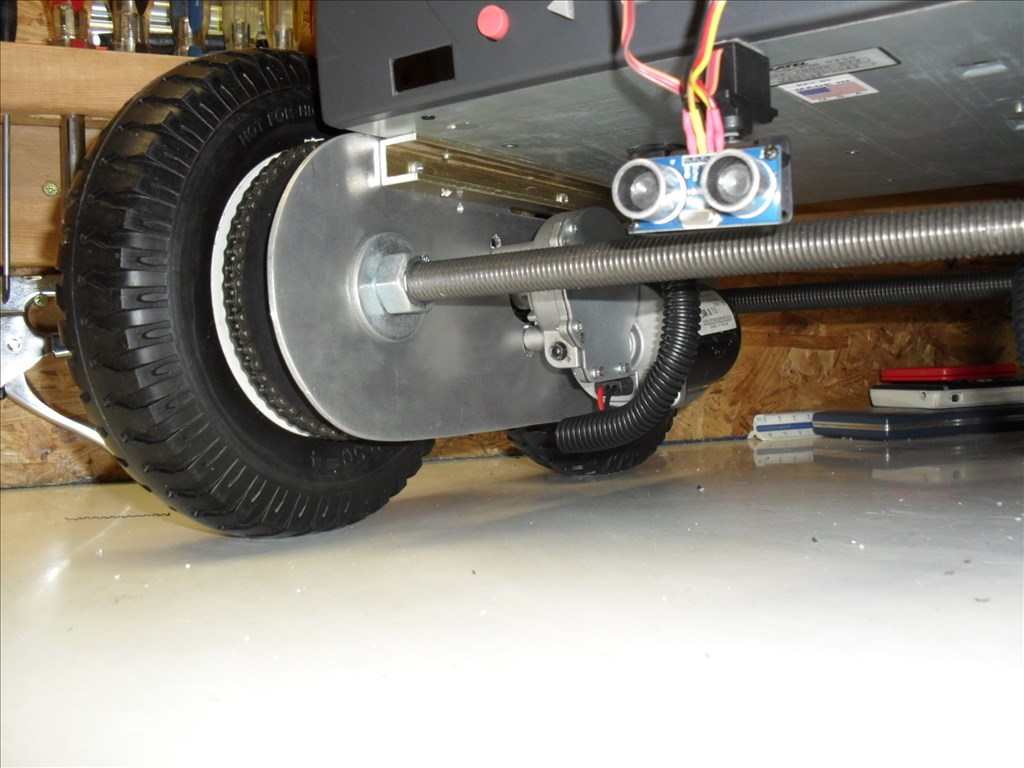
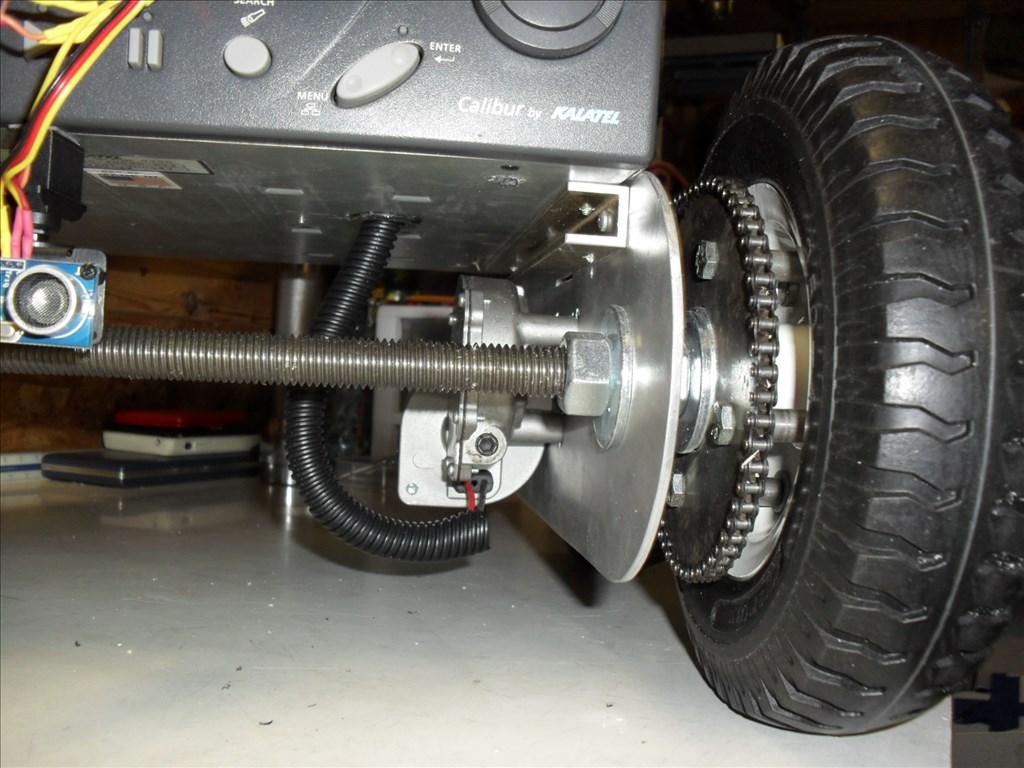
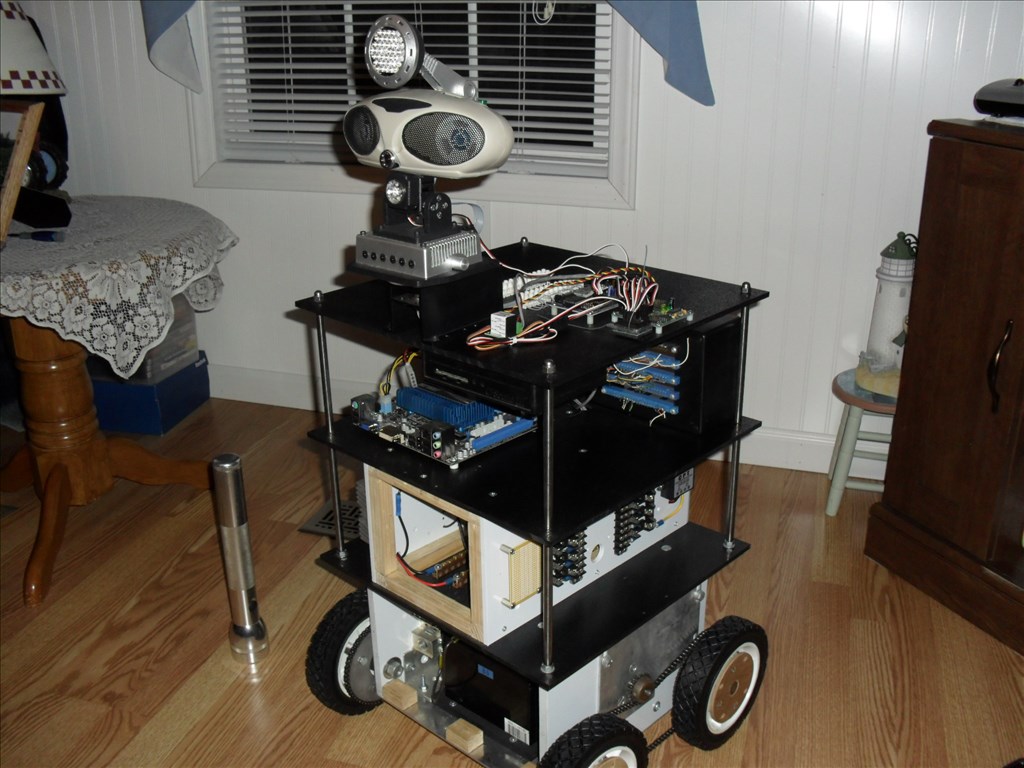
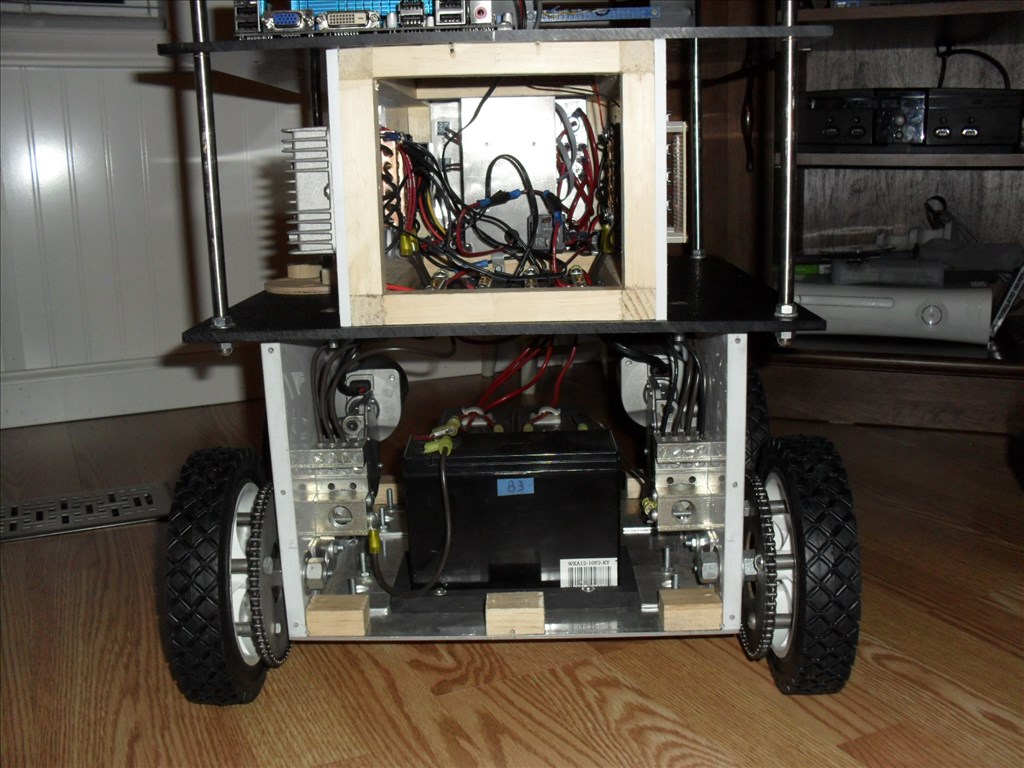
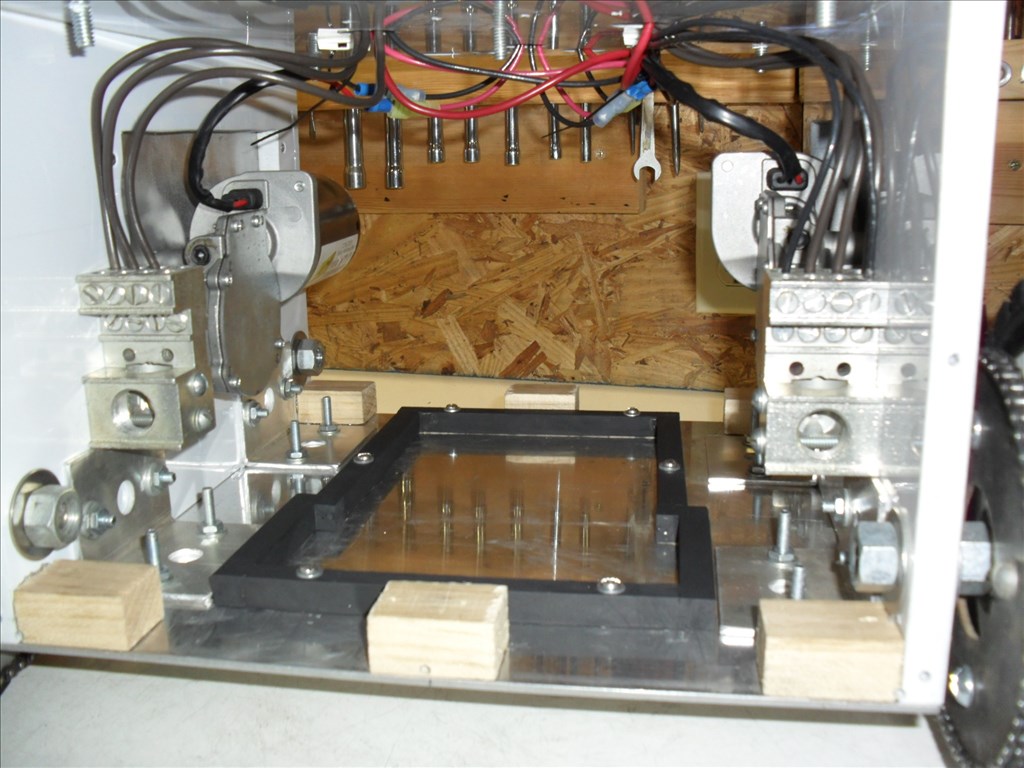
@Bret ....The wheels are a hard plastic with just a little tread on the outside edges. I had to change from the rubber push mower wheels to the plastic ones so Questor could make turns on rugs and carpet better (see earlier post). They are 8" diameter wheels from Tractor Supply. They have ball bearings for the axles which is something else I wanted because Questor is getting so heavy. They were about $10 a piece. I'm sure they could withstand over one hundred pounds of load weight just by the looks of them. I will check to see if I can find out for you. When initiating a hard turn or full rotation one set of tires move forward while the other set moves in reverse. However, I could try the other method you mentioned.
...The unforeseen problem (LOL) is that now whenever Questor rolls across hard wood or tile floors the tires make a (for lack of a better term) ...a farting noise. sick
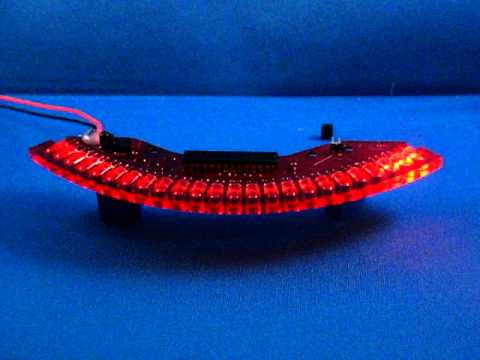
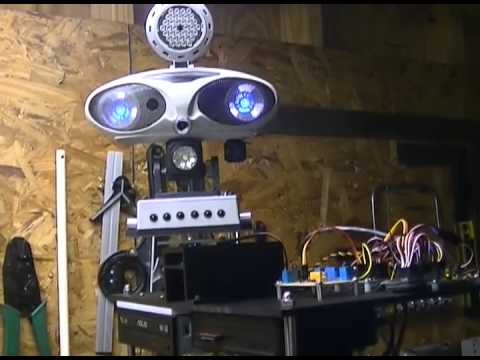
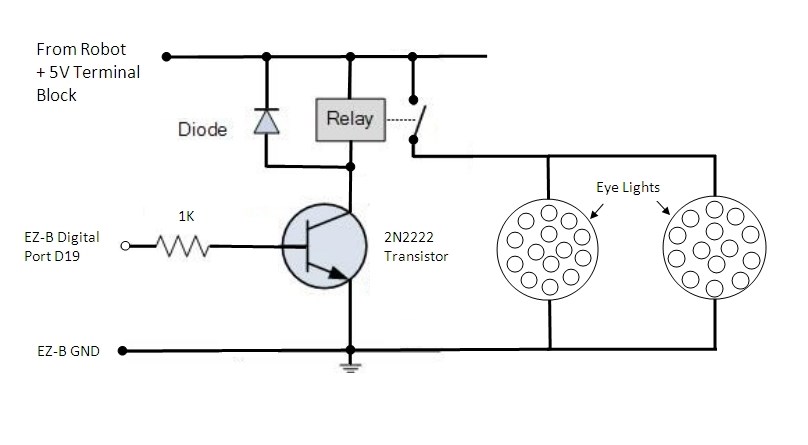
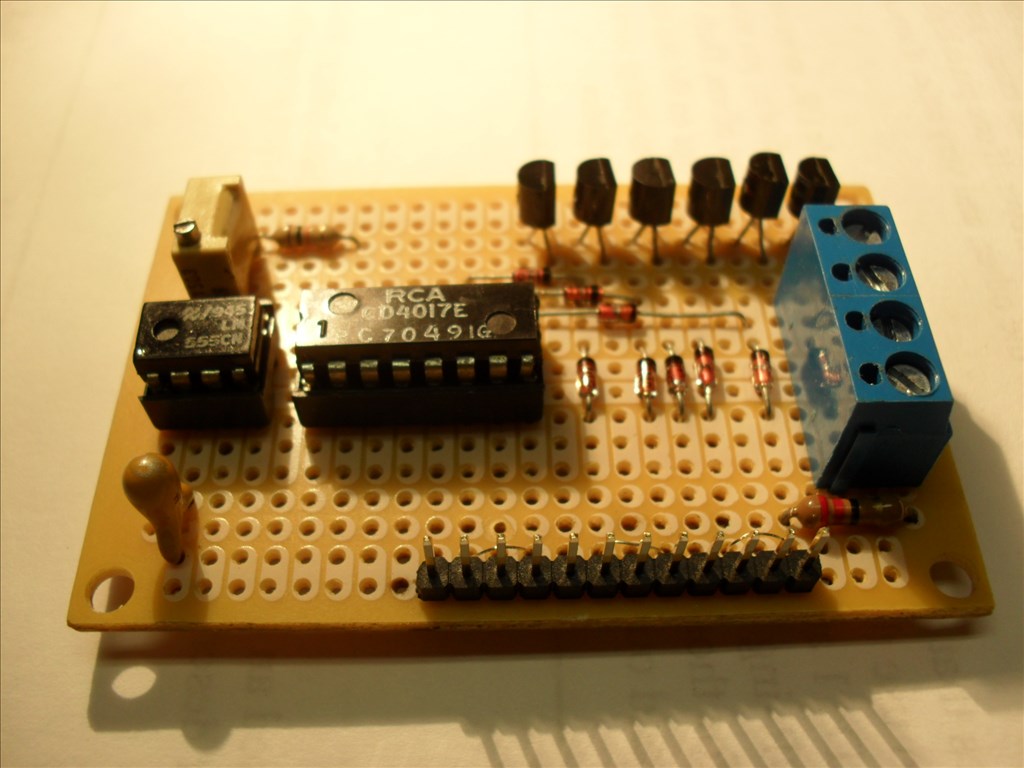
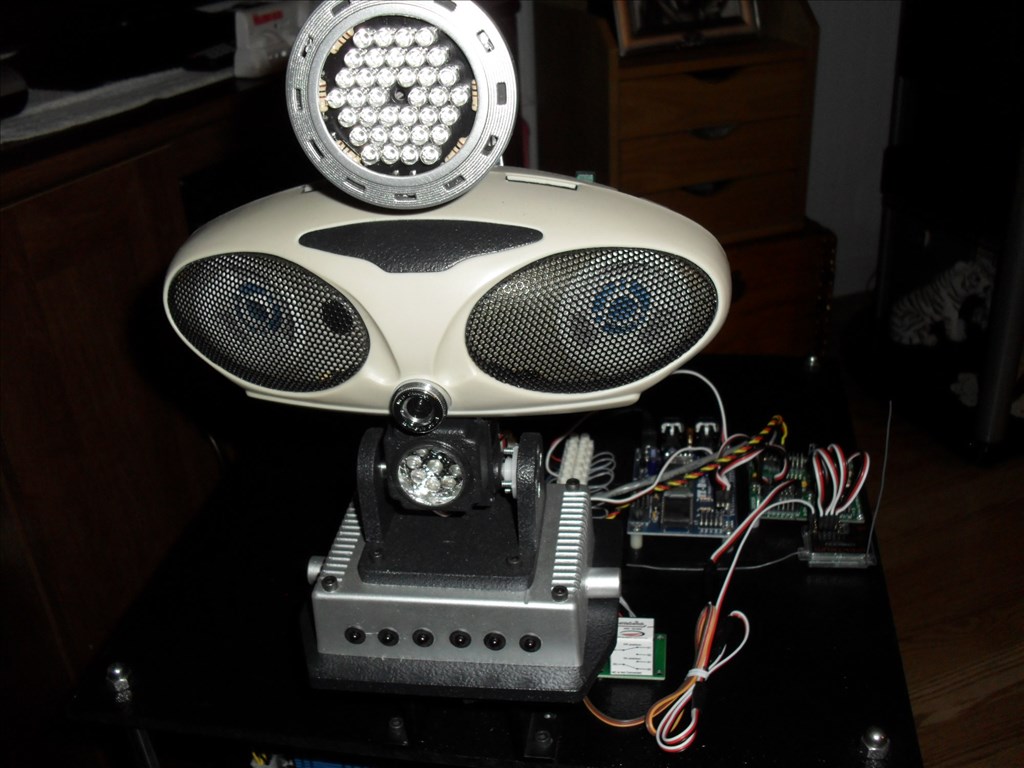
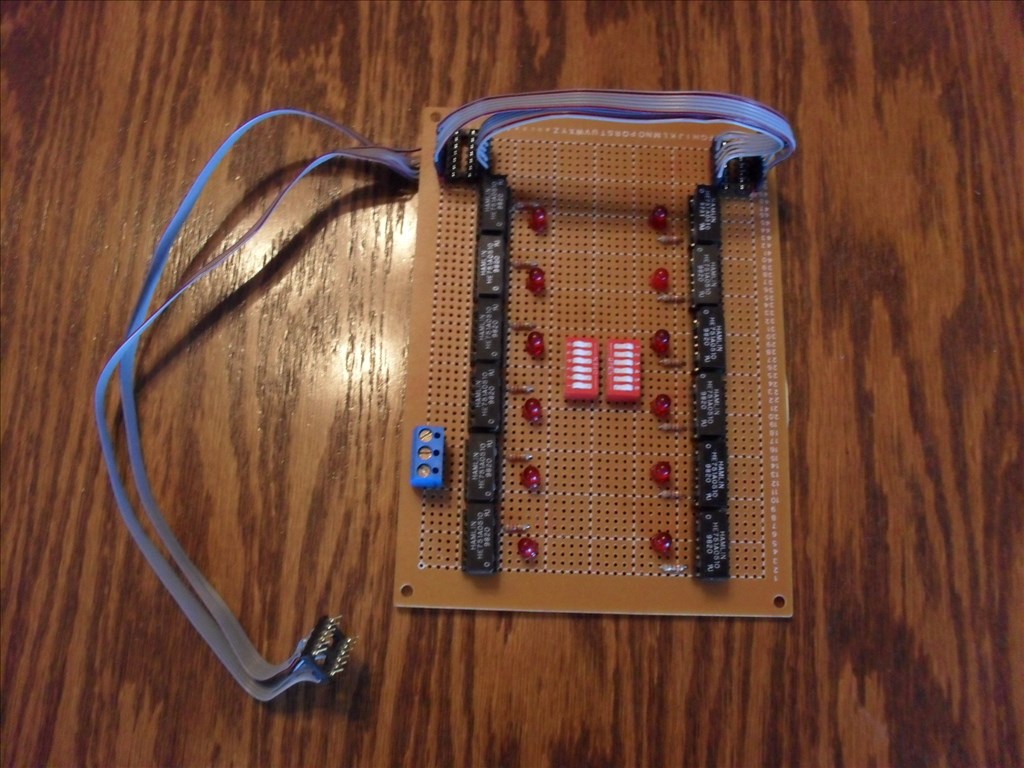
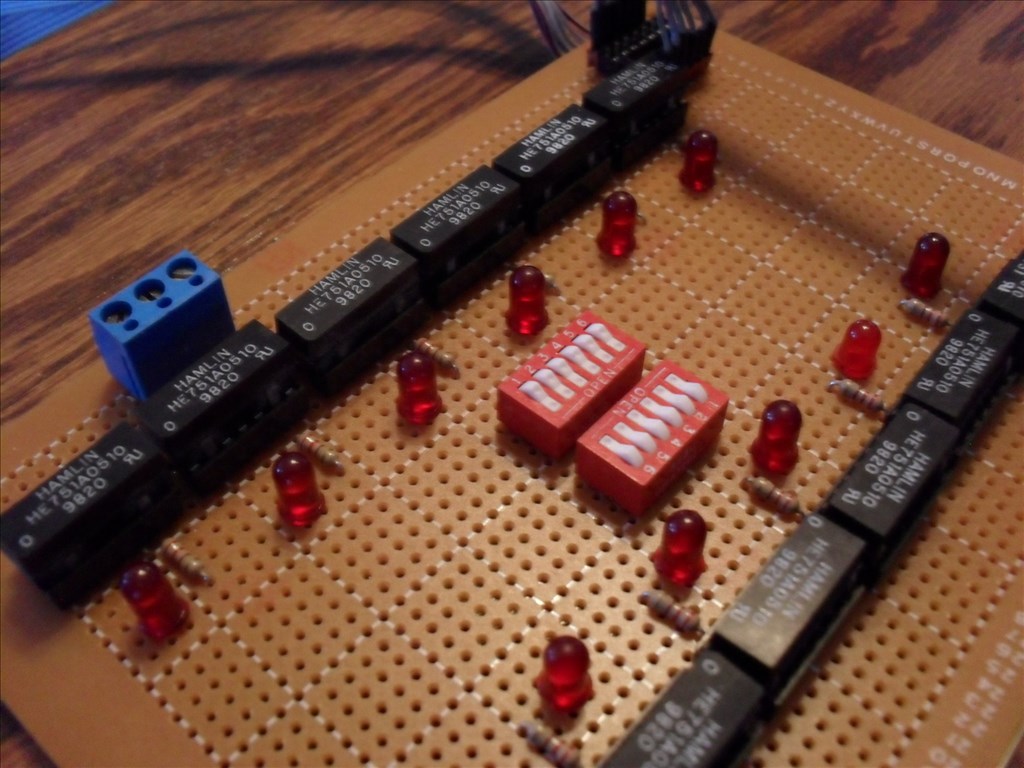
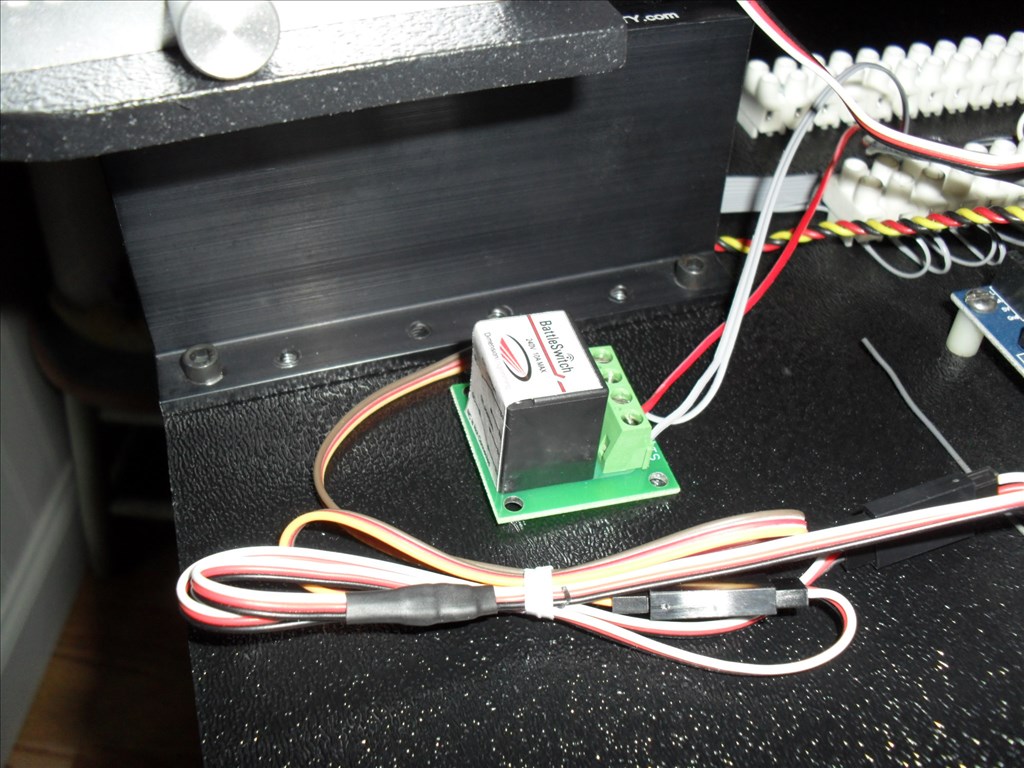
@hhammoud ...I will use the EZ-B digital port to turn the eyes on or off via a script later (for now I just click the button on the ARC window for the digital control. I used the small transistor and relay because I did not have a proper transistor. The voice light has about 15 LEDs in it.
Rolls over in the floor laughing at the farting wheels
Suggestion, 2N2222A can take up to 800mA so by limiting total current to .5 A wich is almost 25mA per led you can take out the relay from the circuit and can use Pwm signal to make diming effects with your LEDs and even you can use RGB led for more effects.
Ohhh...my bad....I'm getting the two mixed up in my posts....I meant the relay circuit is for the eyes on/off.
I already have a TIP-31 transistor for controlling the voice lights. Although, I could not get it to work with the SoundServo control. The voice lights stayed on all the time. Got to go back and experiment some more with that. I tried using the PWM Control for that port and it did vary the LEDs from off all the way to full brightness. So that may be what I need to use based on what Rich was saying.
Sorry for the confusion. That's what I get for trying to sneak and update my posts while I am at work.
OK...any ideas on how to remedy the farting wheel sound....anyone? confused stress
GasX
Really though, you could try a silicone spray of some type. Something like this: www.amazon.com/Sno-Seal-Silicone-Water-Guard-Aerosol/dp/B0018QIYDK
Yeah, stop blaming the robot for your gas.
:P
 LOL
LOL